by Steve Laug
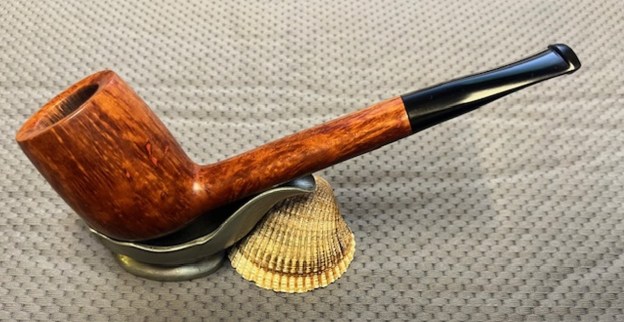
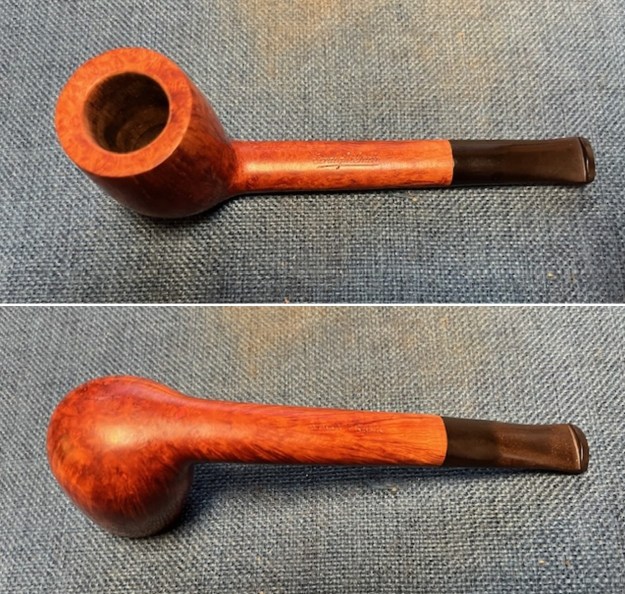
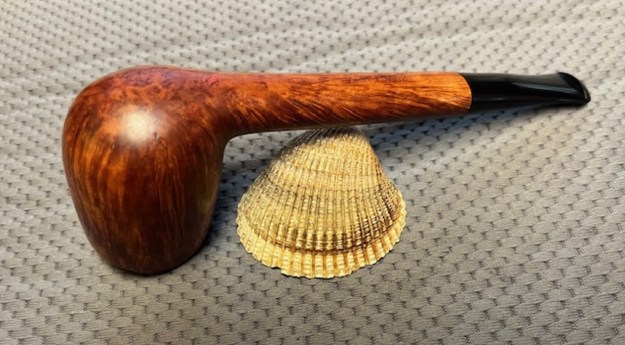
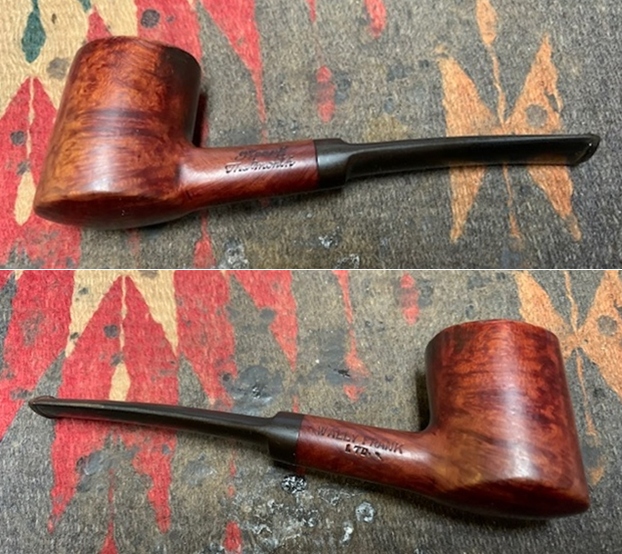
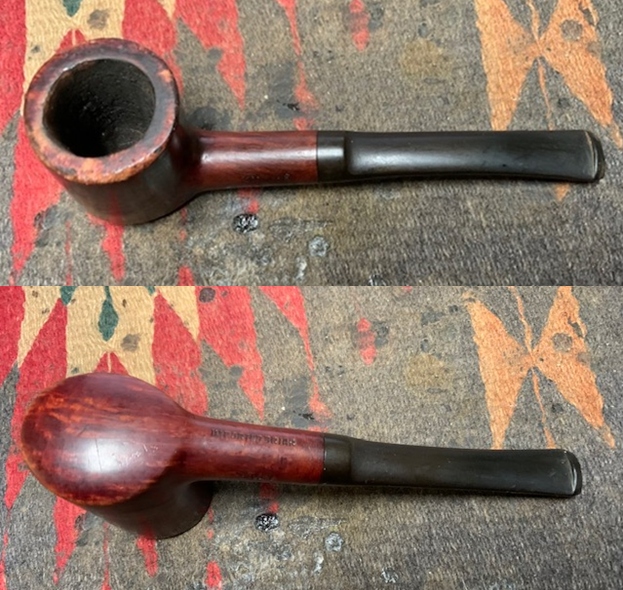
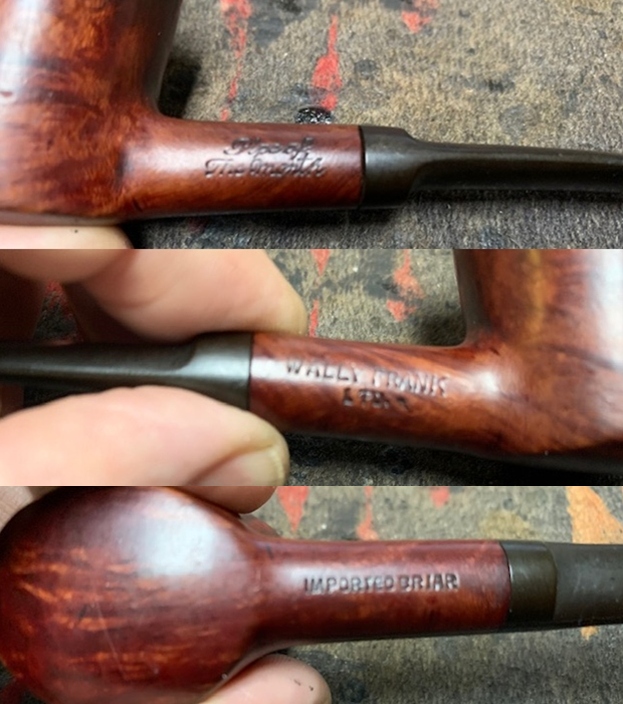
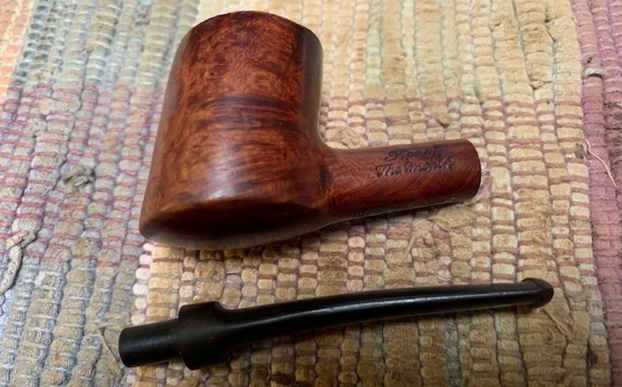
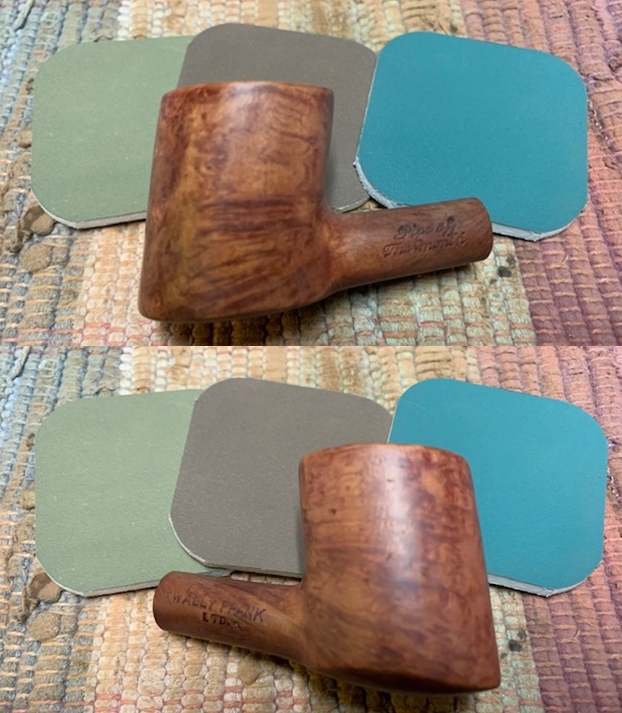
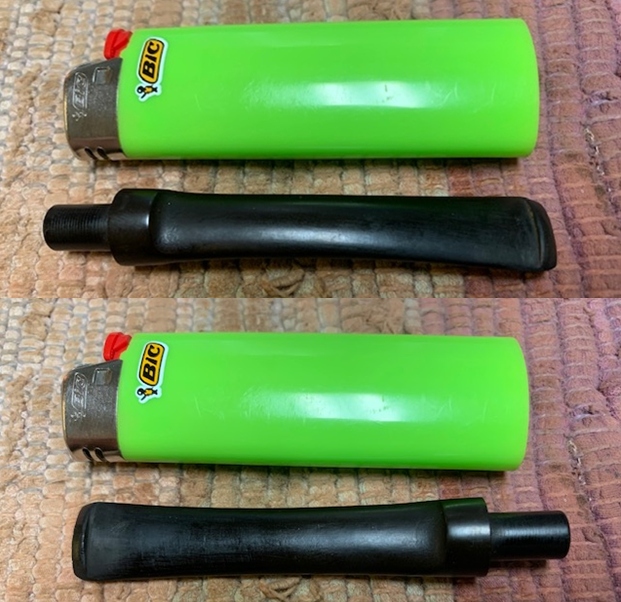
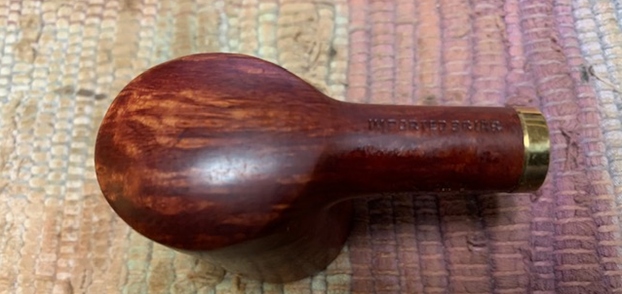
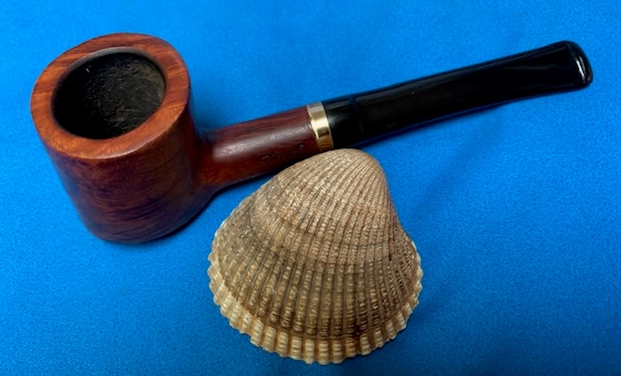
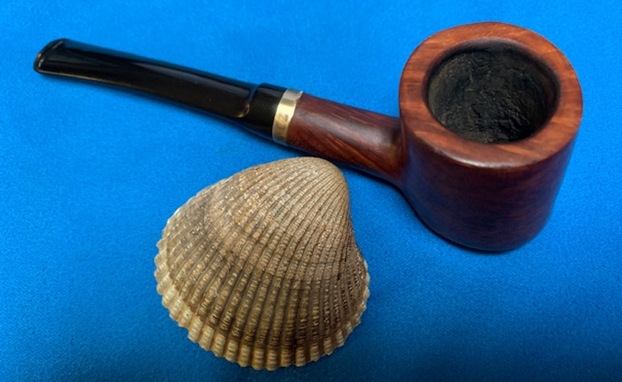
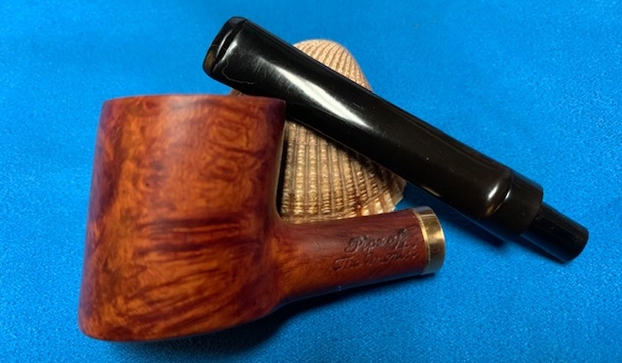
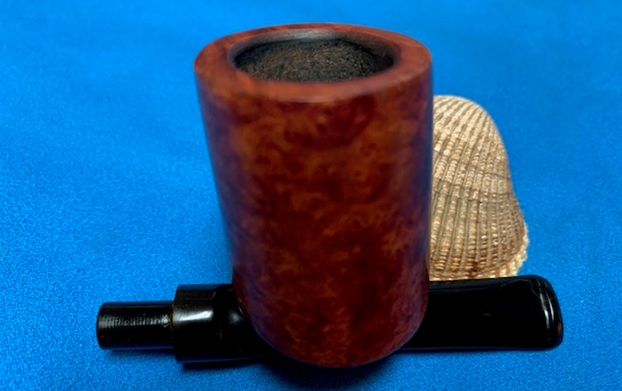
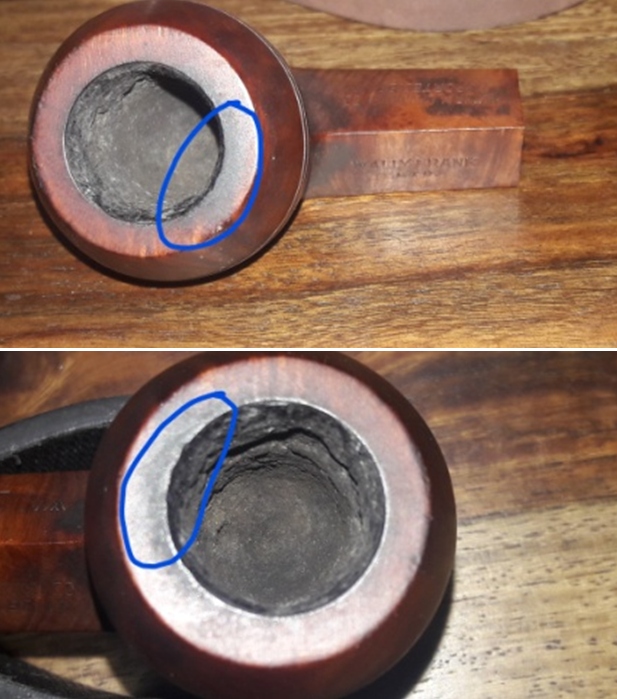
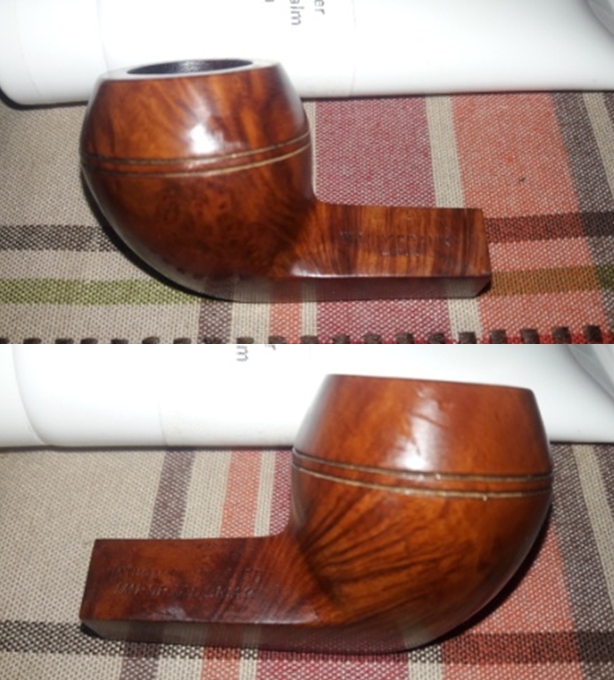
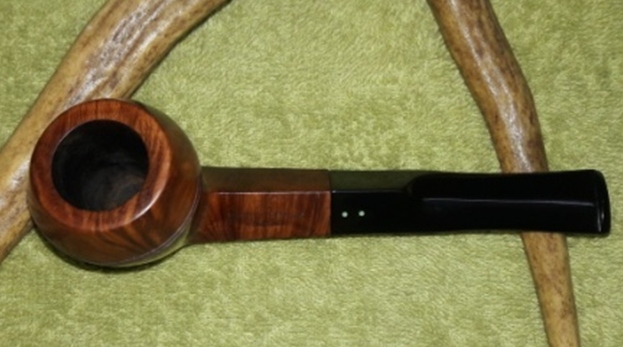
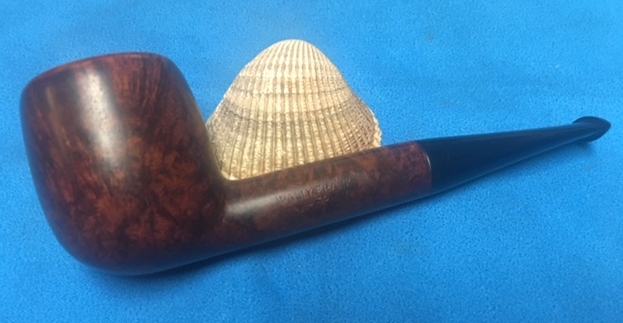
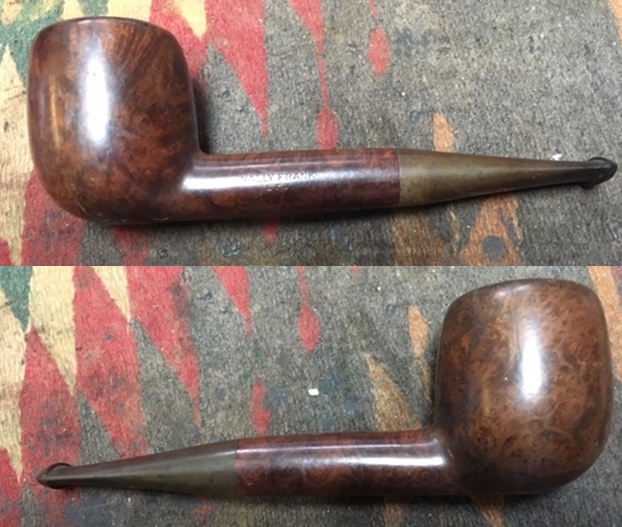
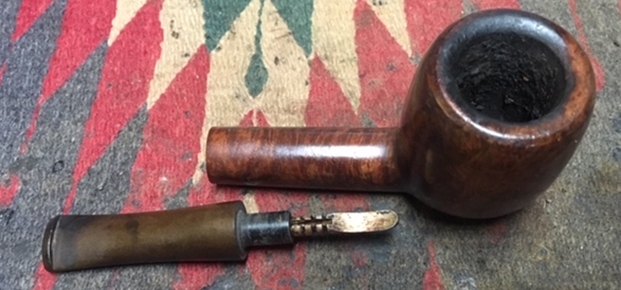
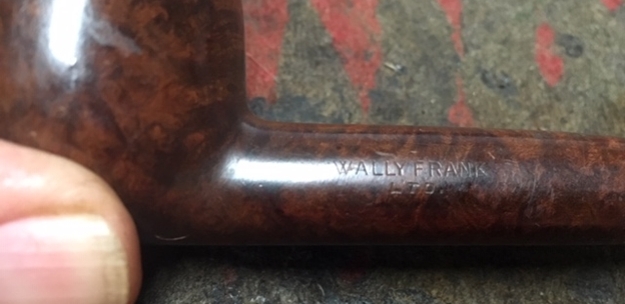
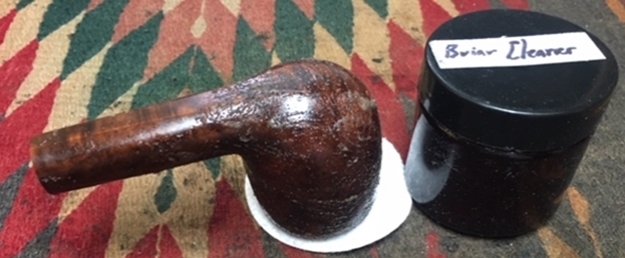
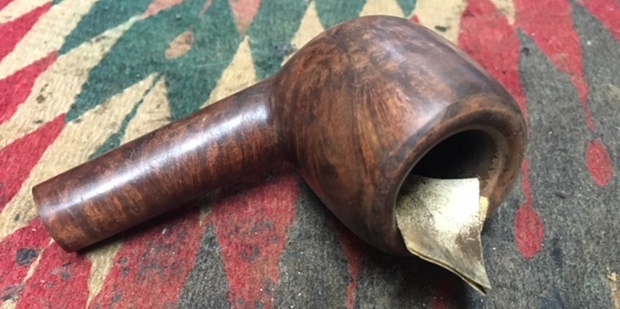
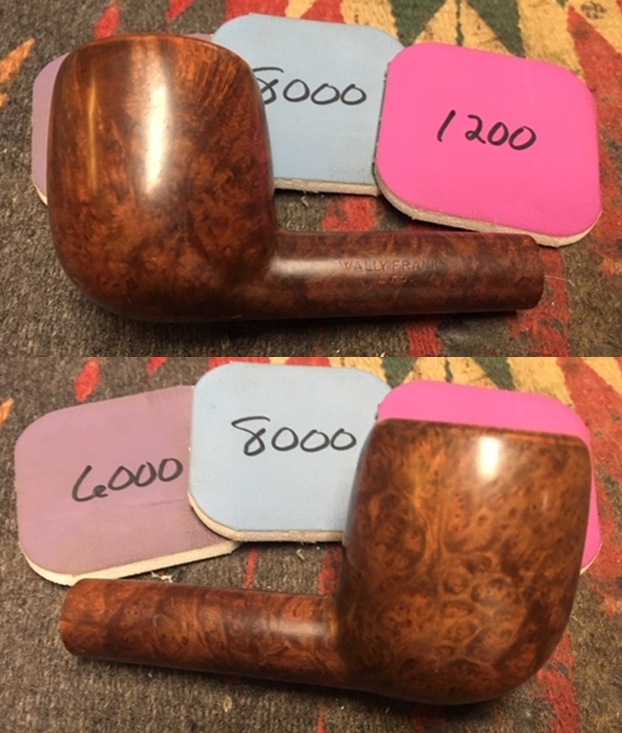
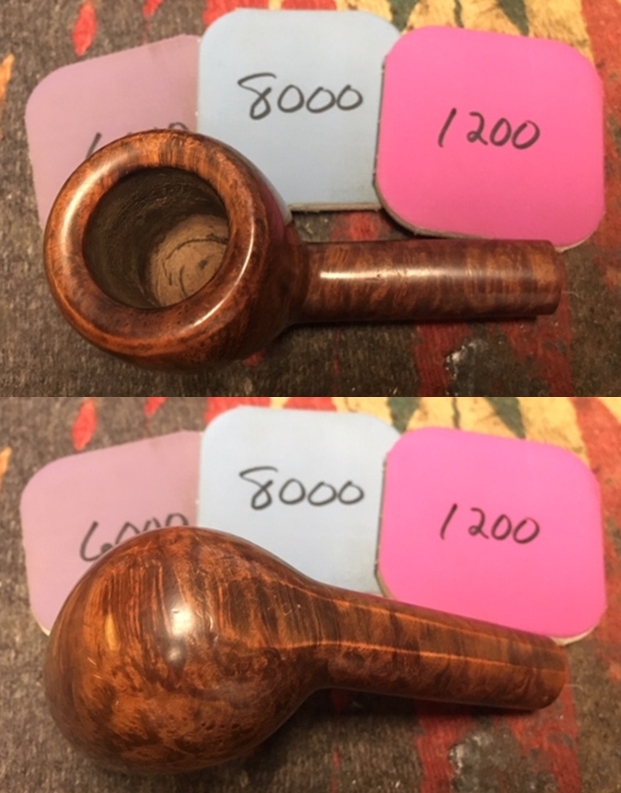
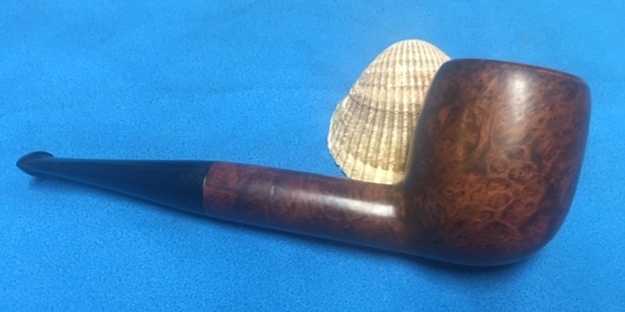
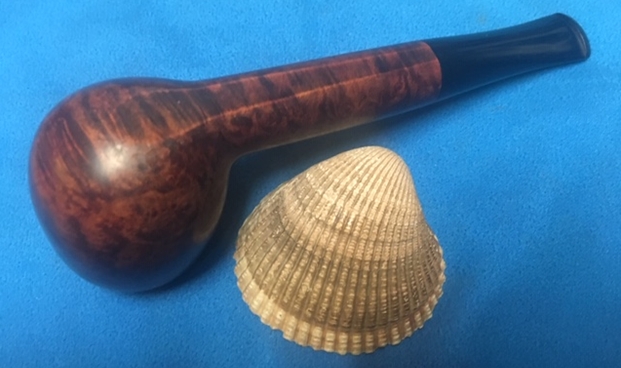
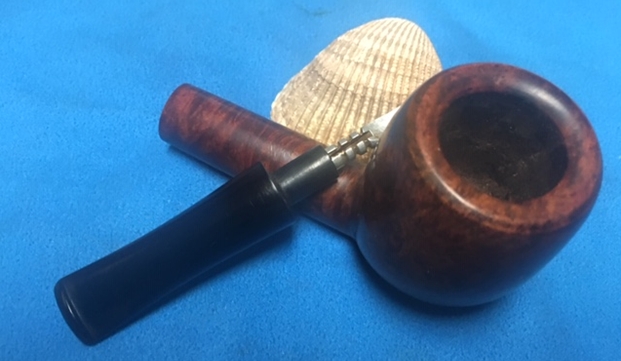
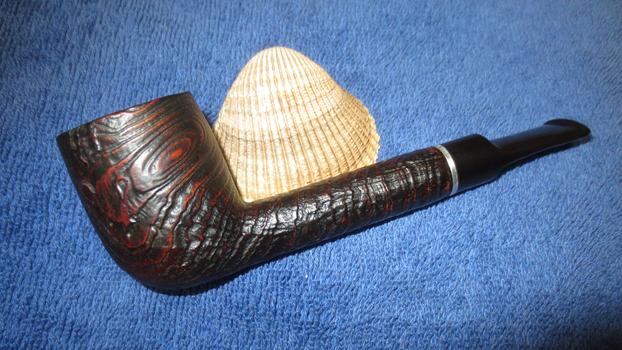
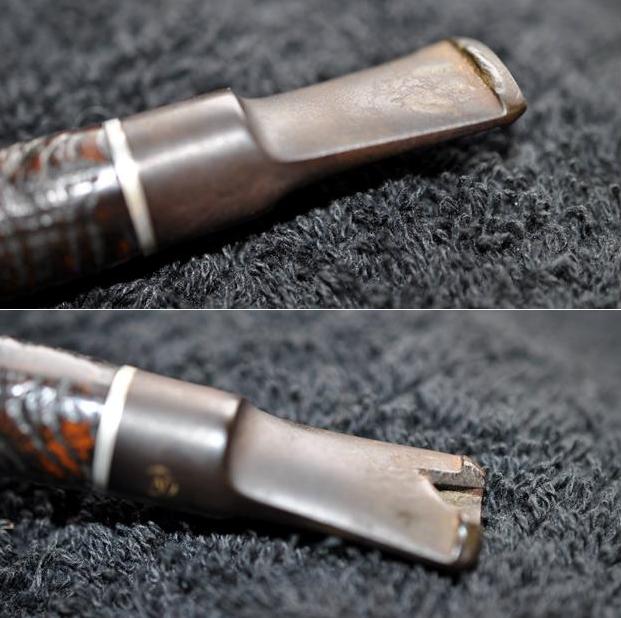
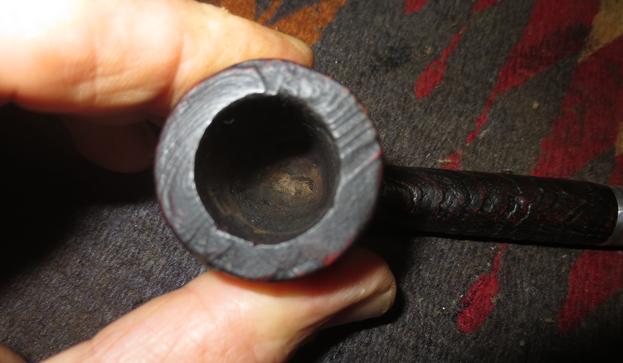
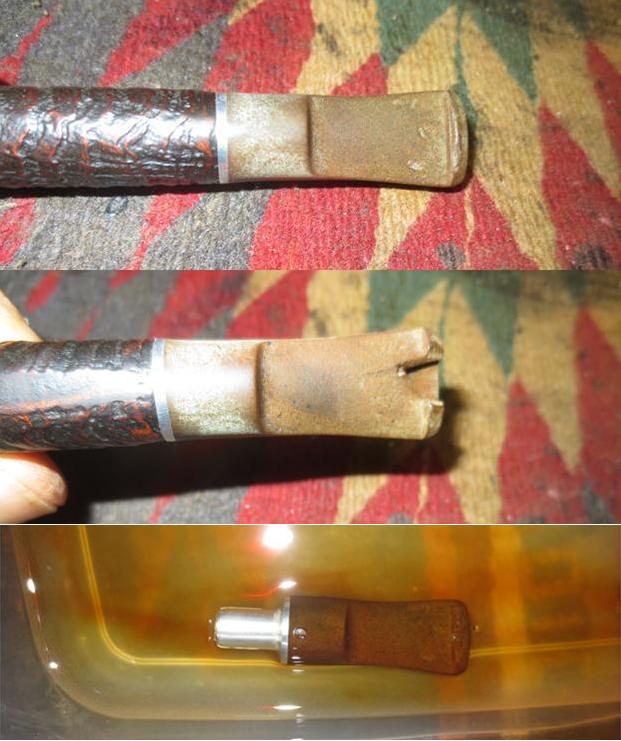
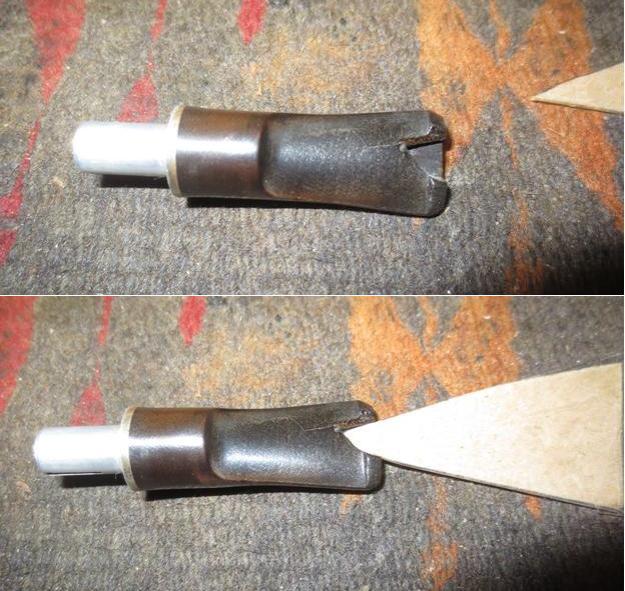
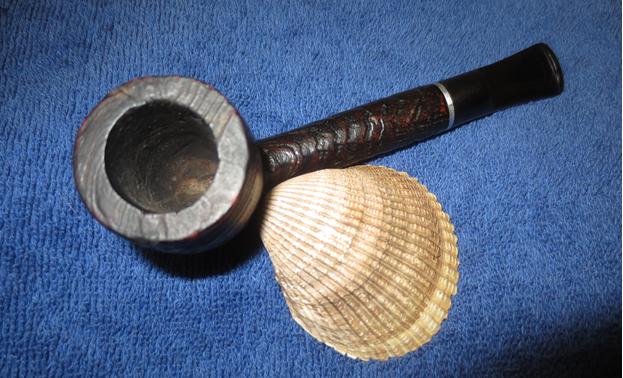
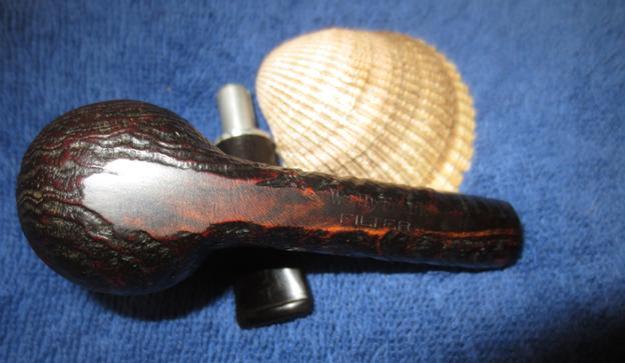
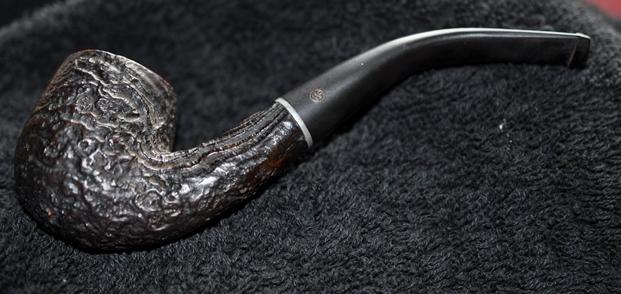
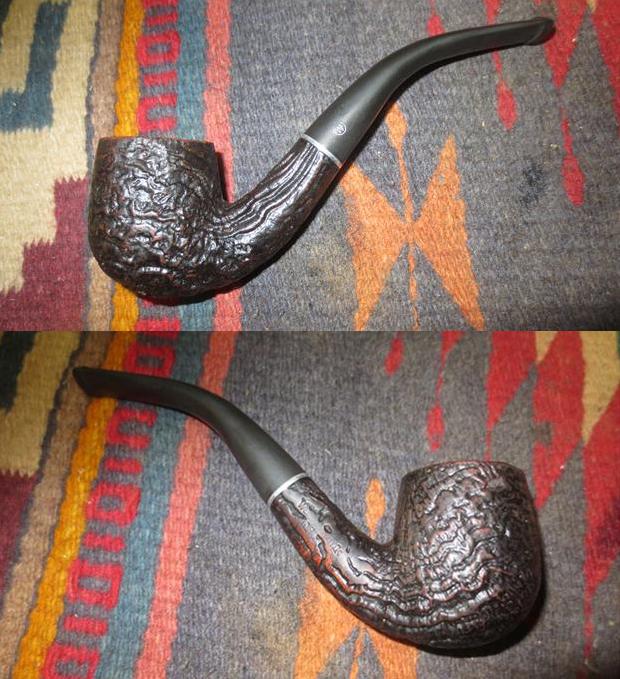
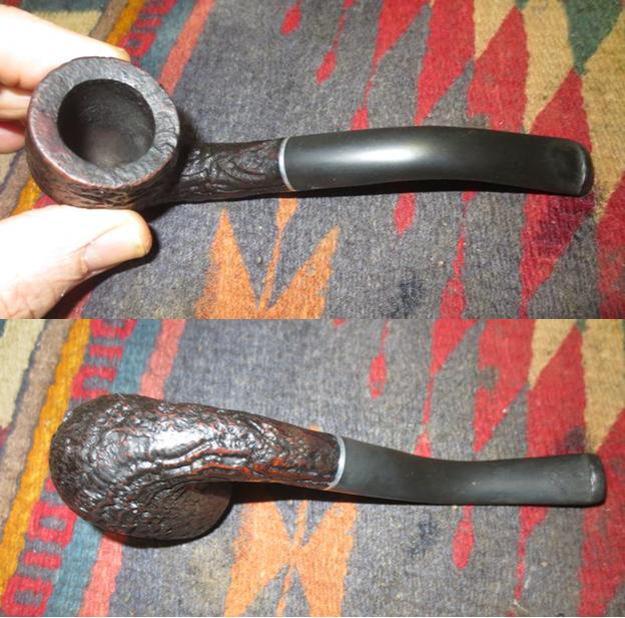
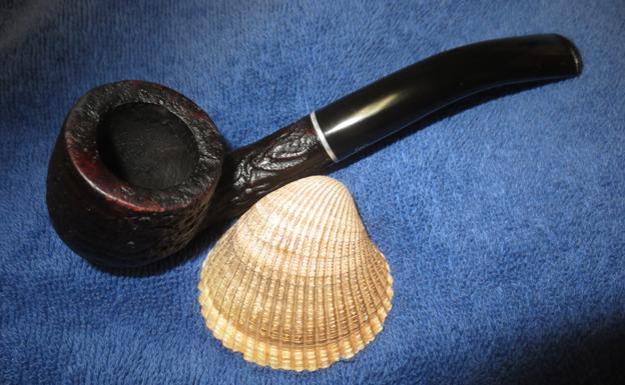
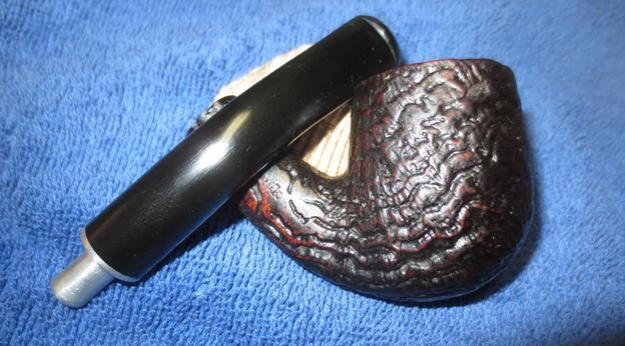
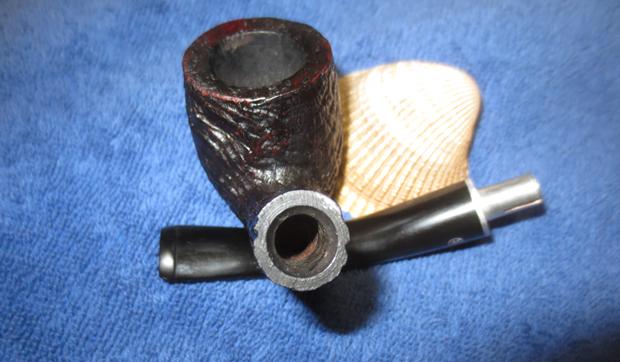
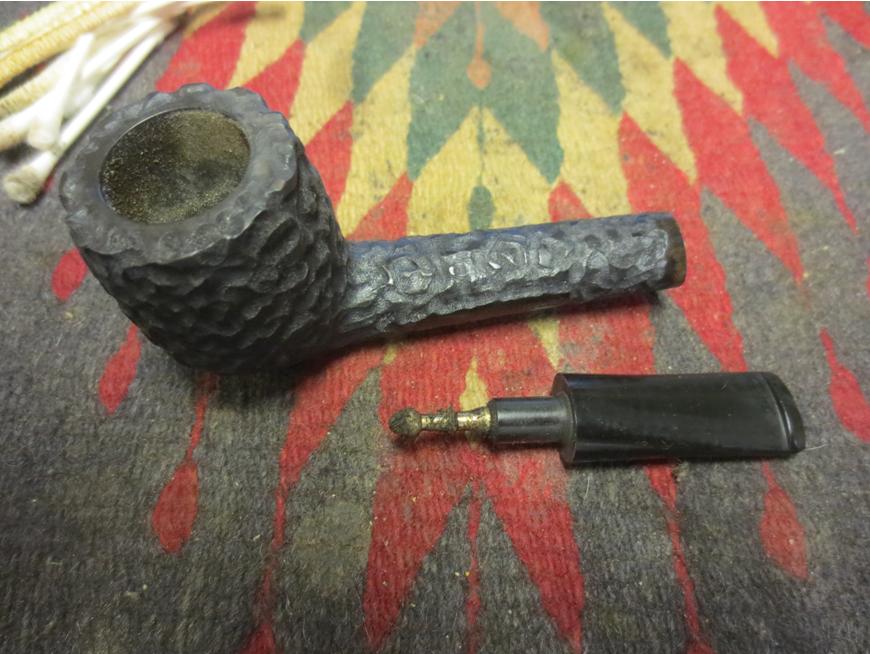
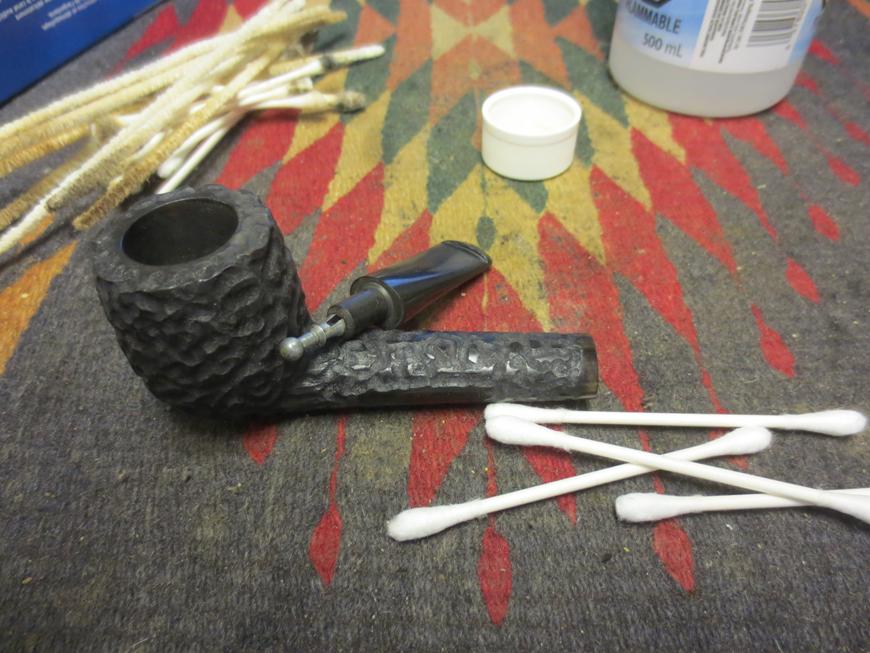
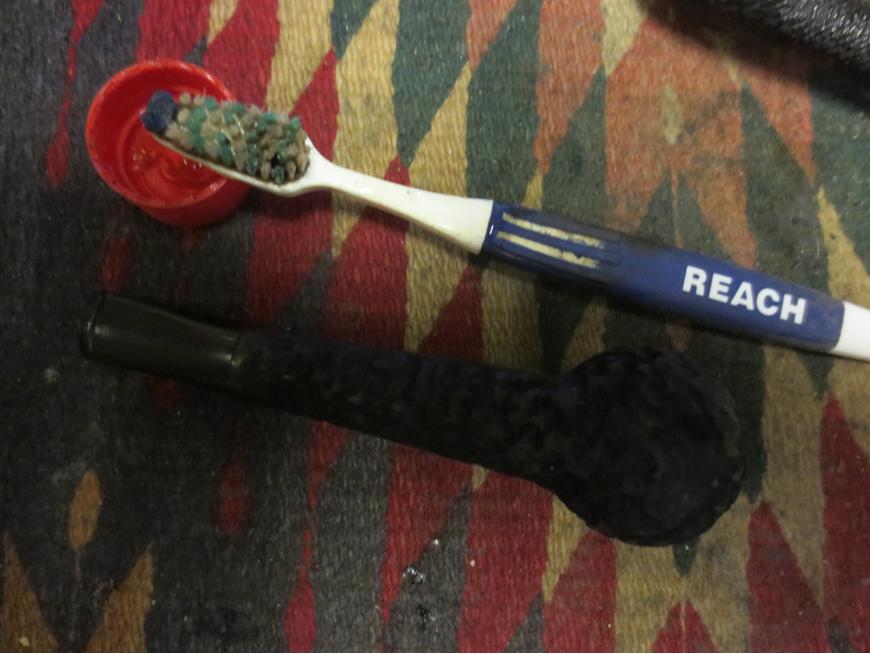
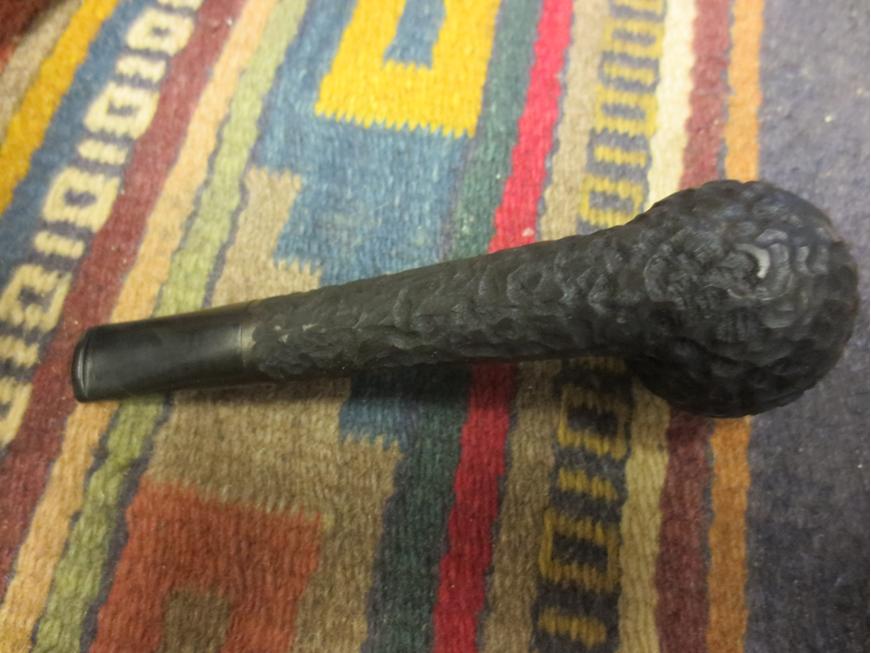
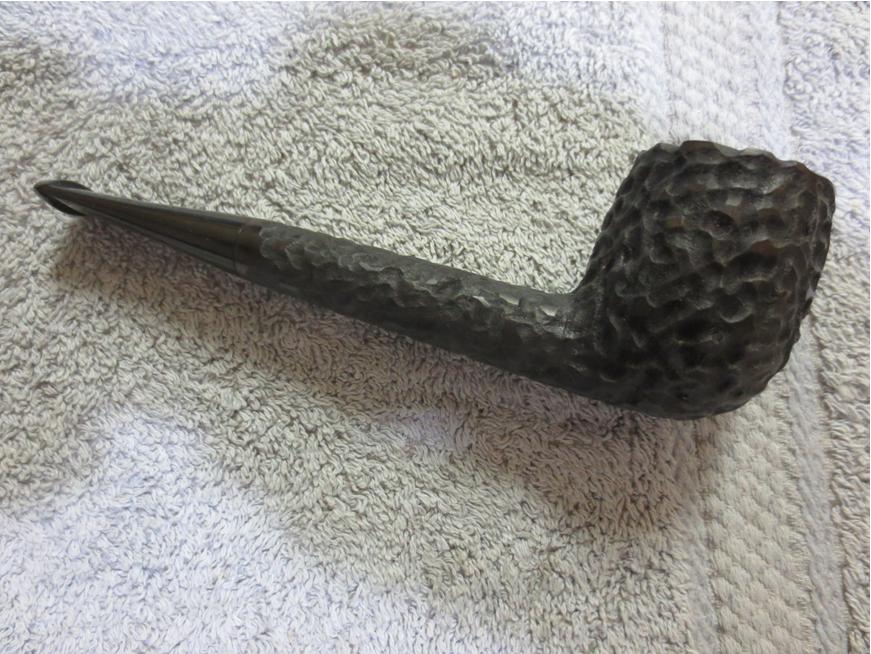
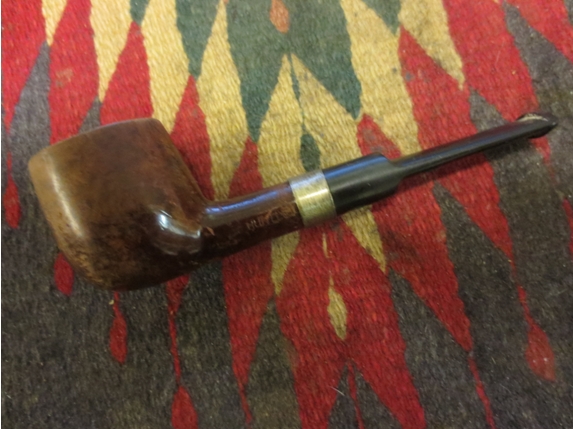
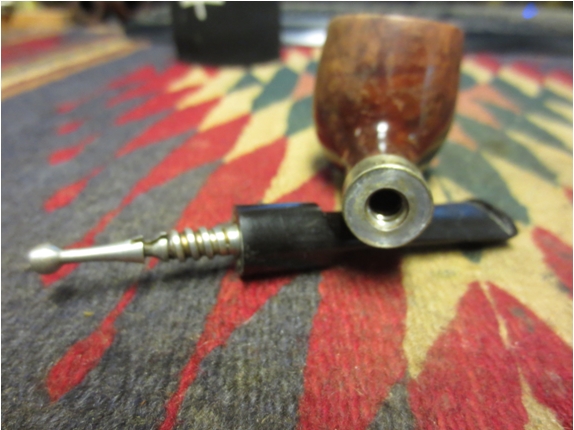
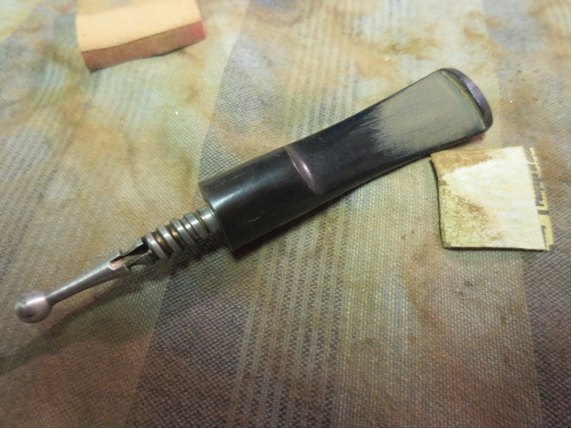
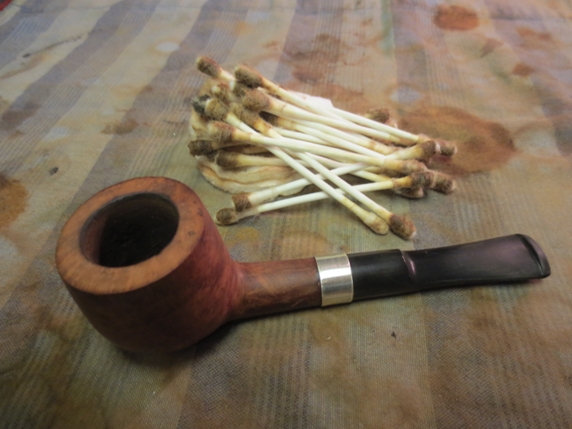
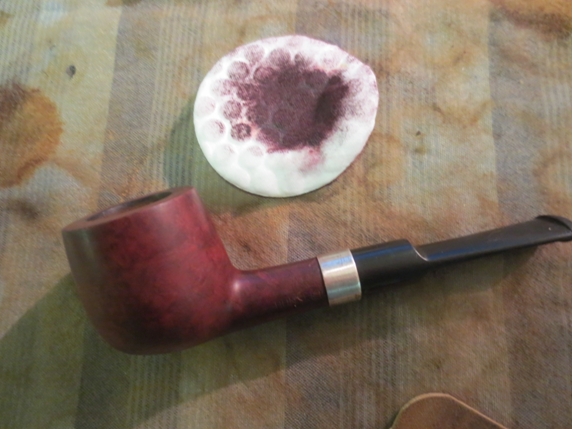
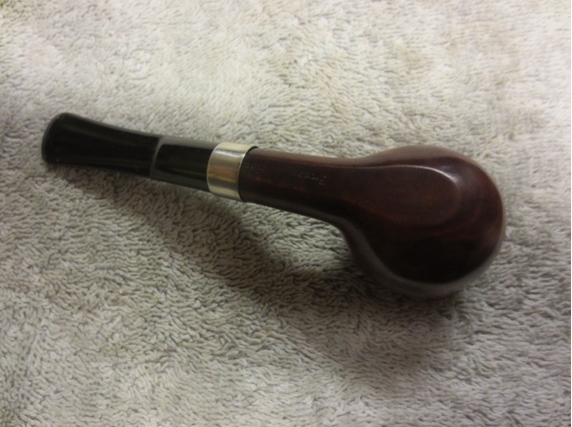
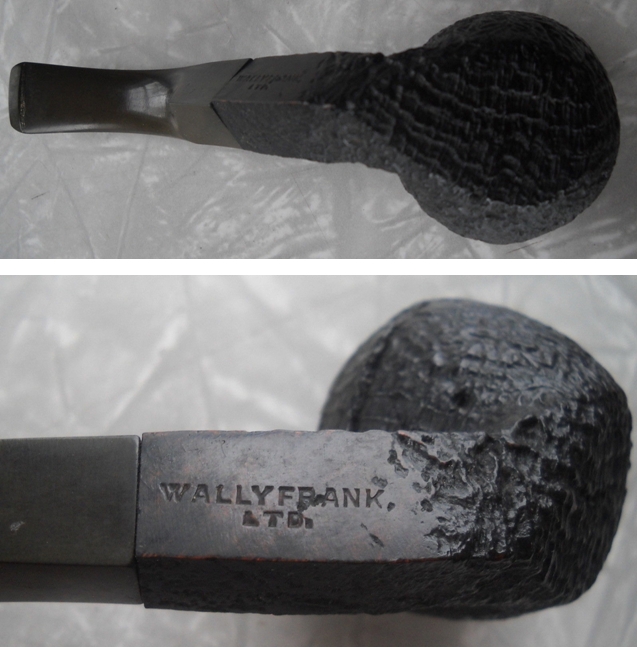
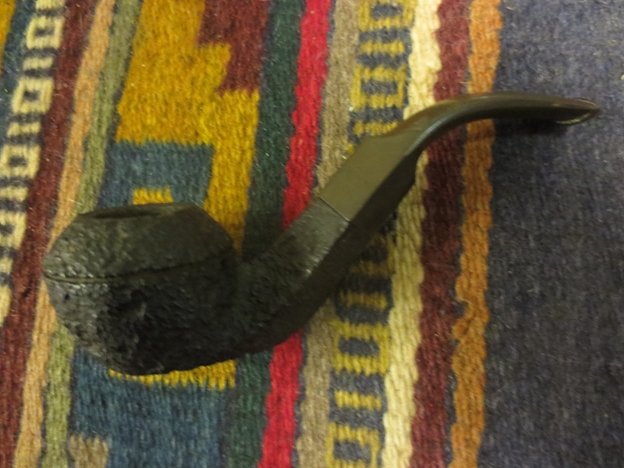
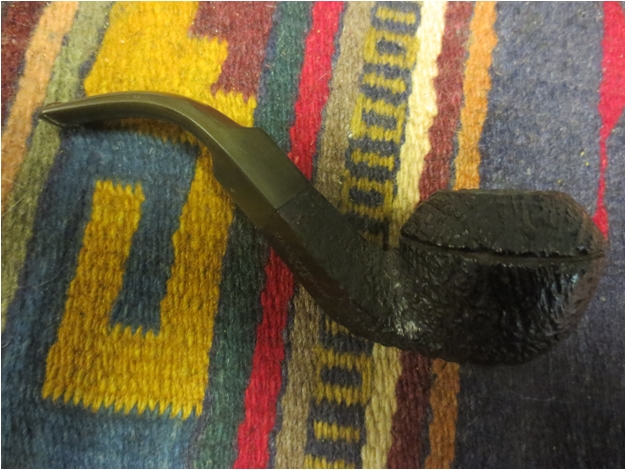
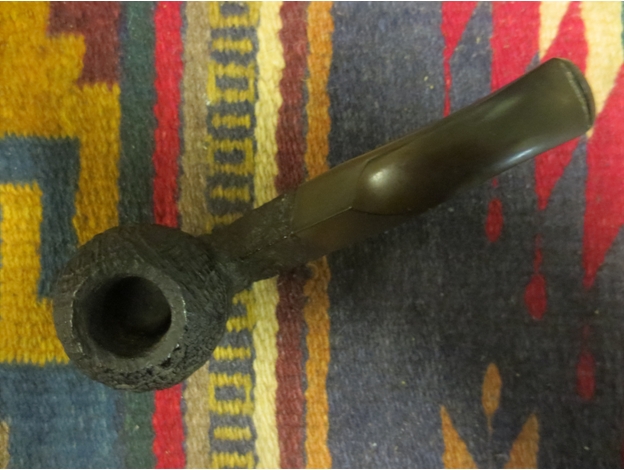
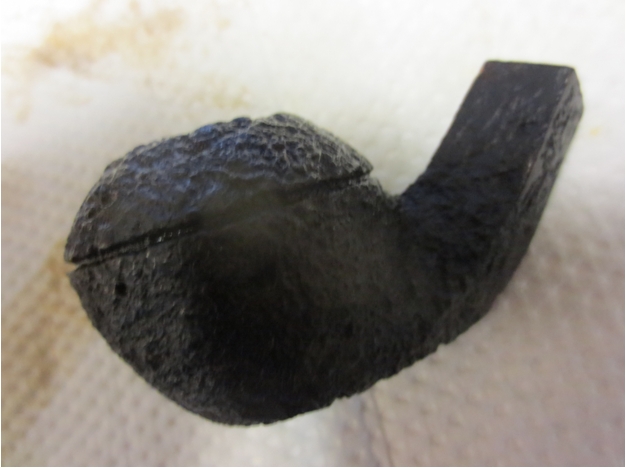
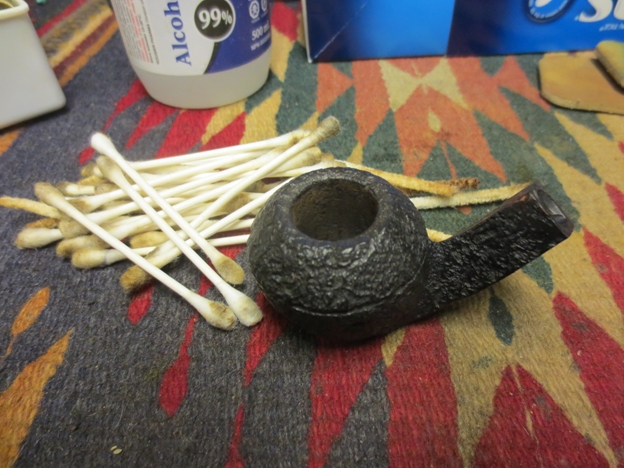
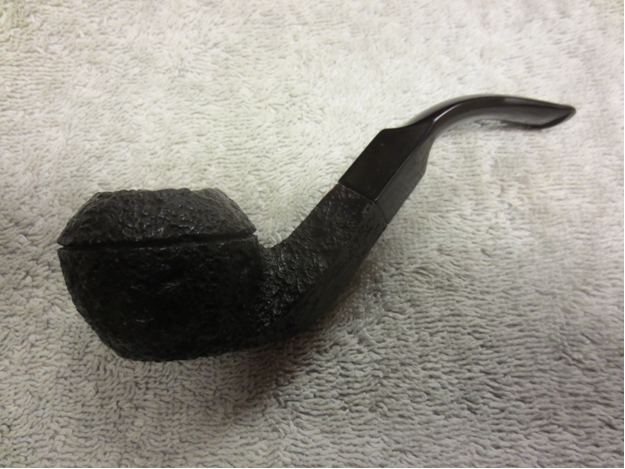
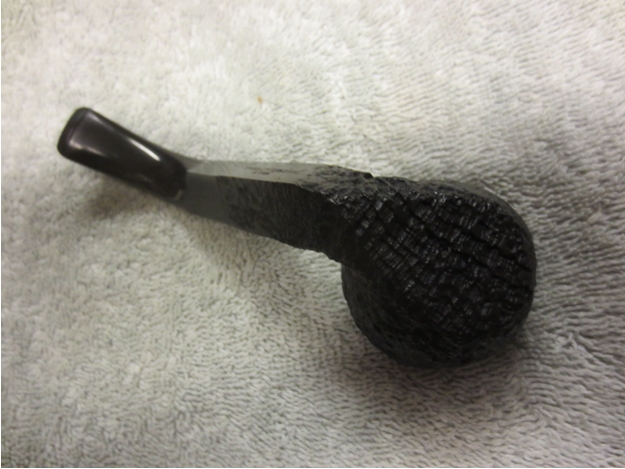
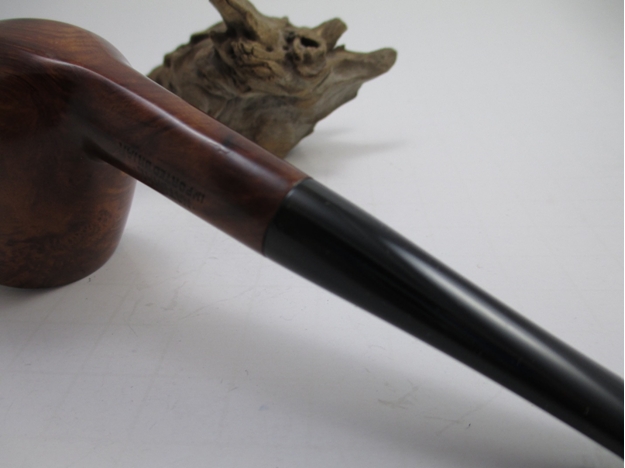
The next pipe on the table is one that we were given by a friend in Naples, Florida, USA on 07/17/2024. The smooth finish, the grain around the bowl sides and rim top along with the stamping on the shank is what caught our eye. It is stamped on the topside of the shank and reads Straight Grain. On the underside it is stamped Wally Frank in block letters. It is a beautifully shaped Canadian with beautiful straight grain around the bowl and the shank. The bowl had been reamed and was quite clean. There was light debris in the bottom of the bowl. The stem is lightly oxidized and there are some light tooth marks and chatter on the top and underside ahead of the button and on the button surface. Jeff took some photos of the pipe to show the general condition of the pipe before he started his clean up.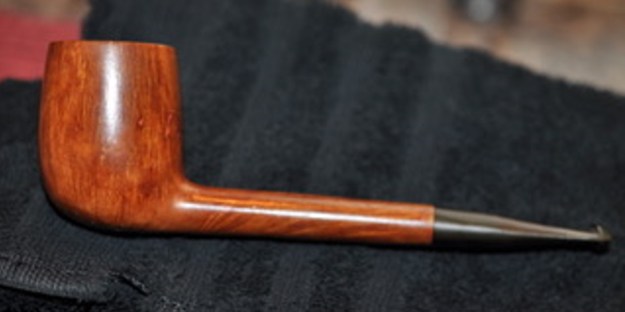
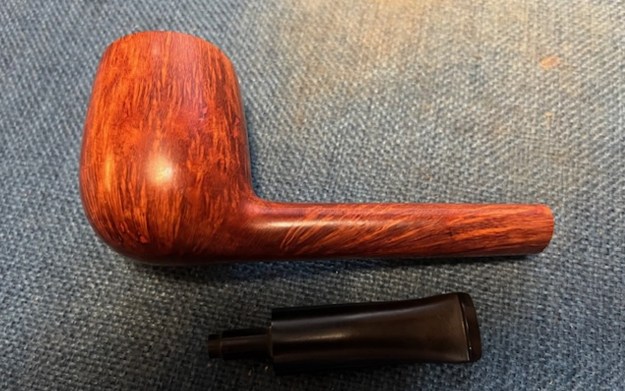
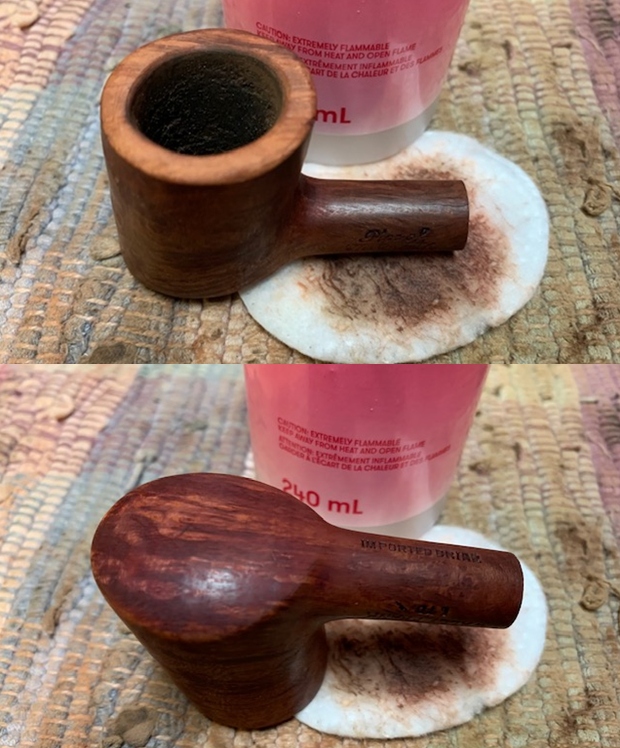
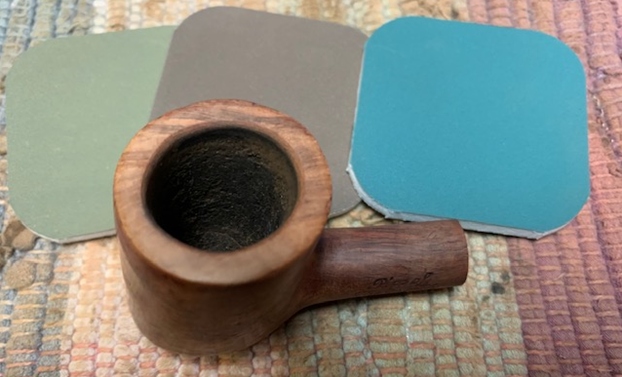
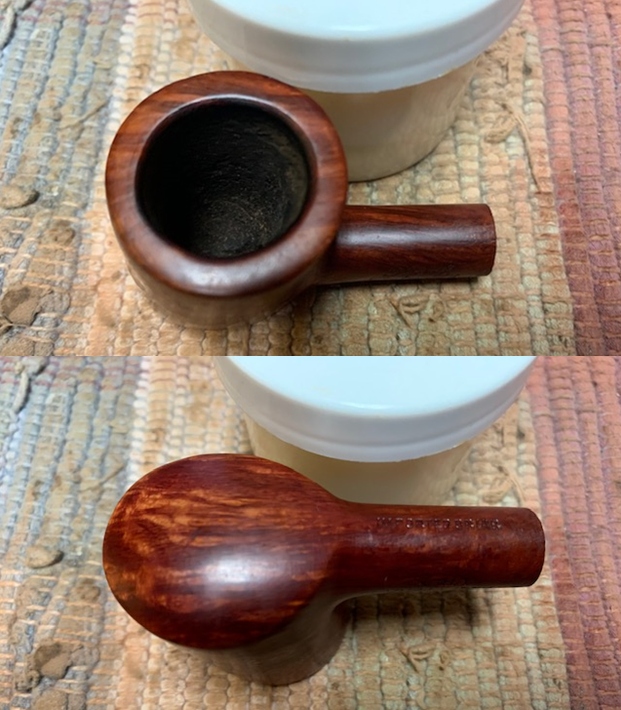
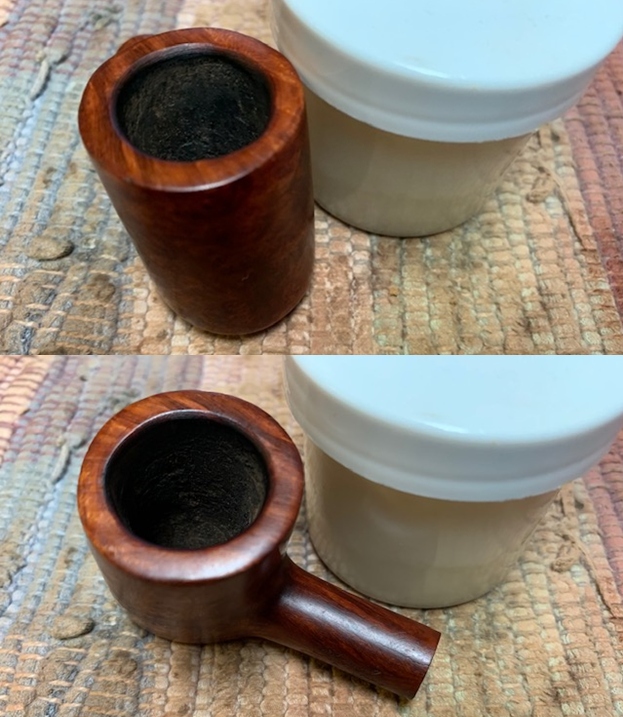
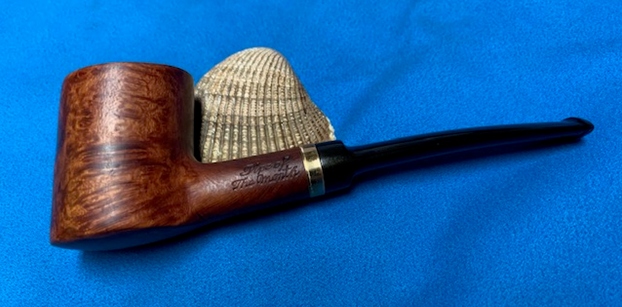
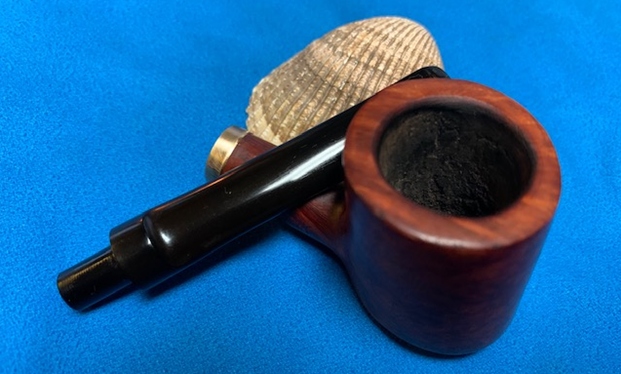
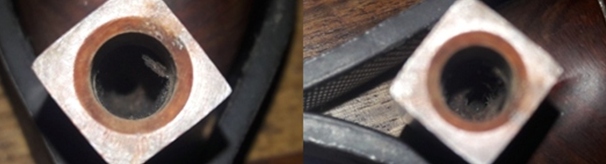
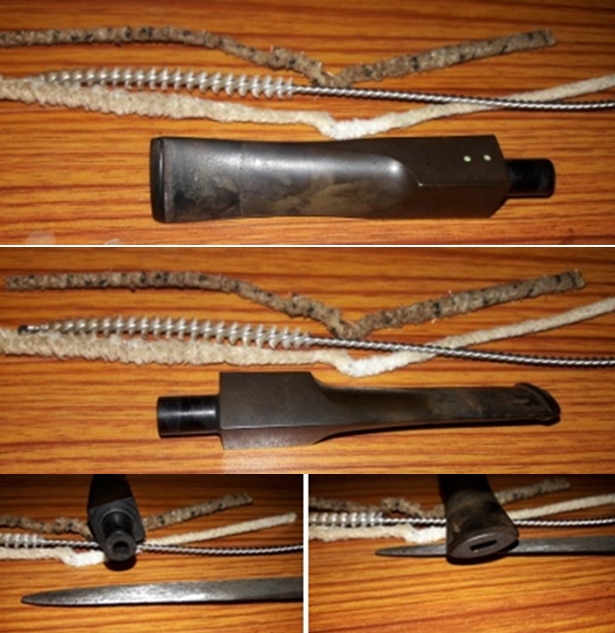
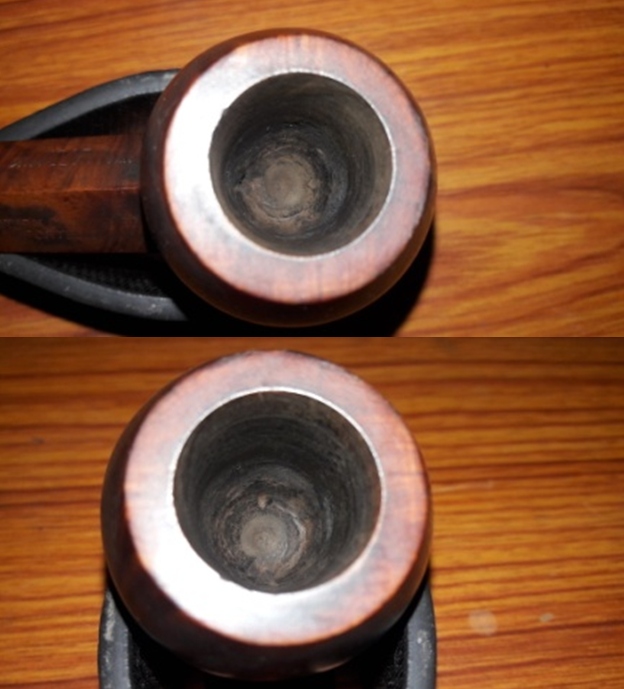
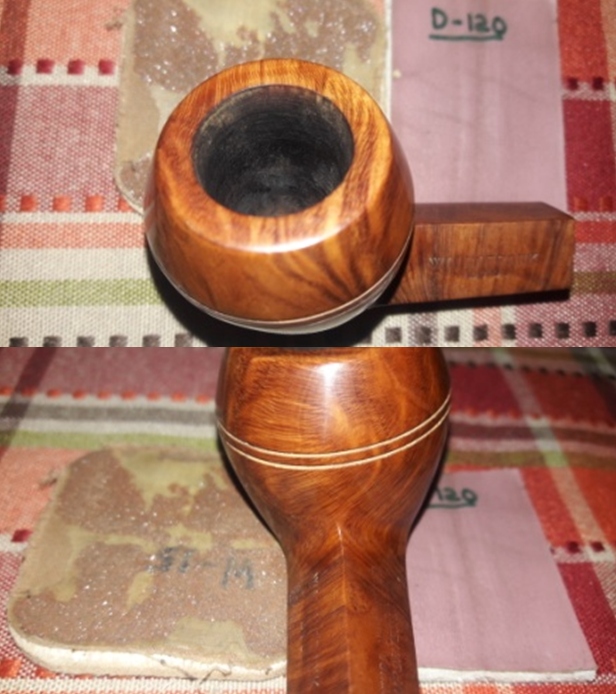
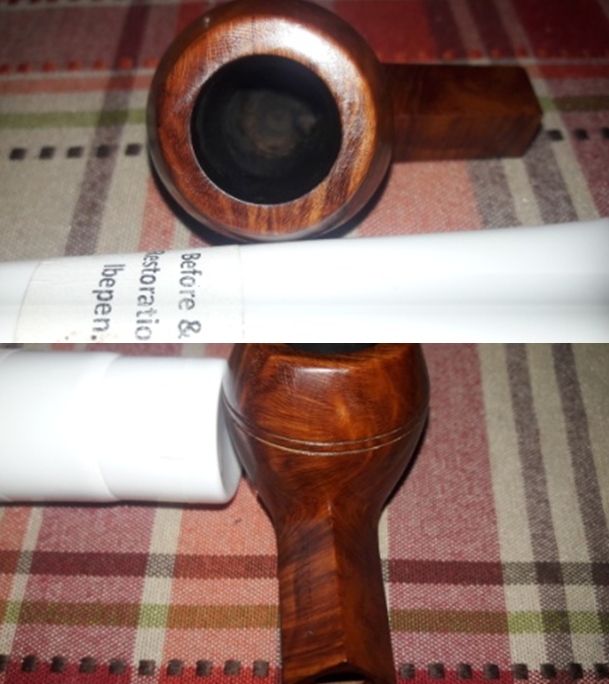
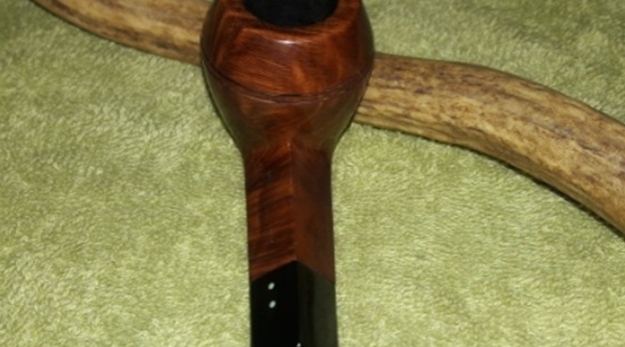
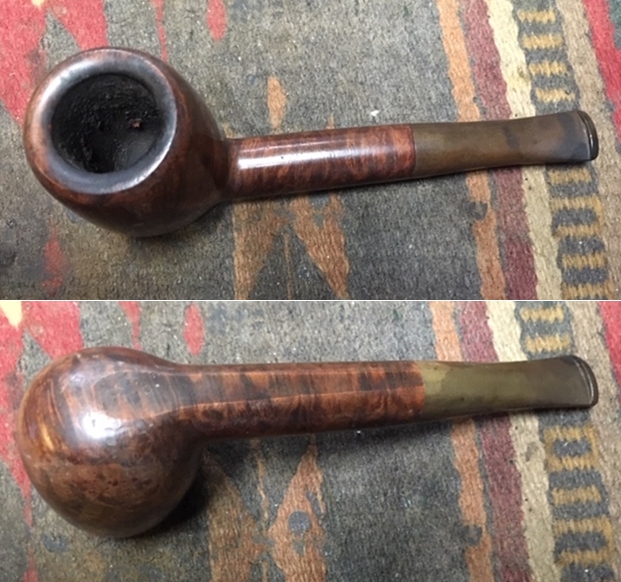
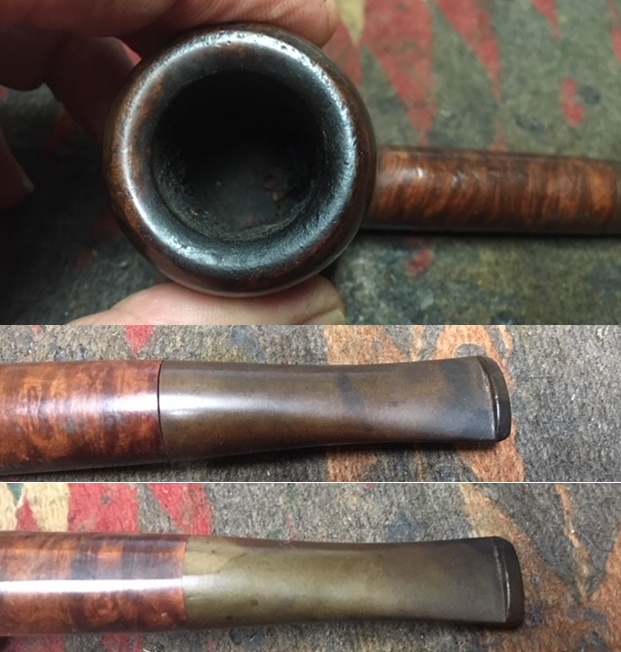
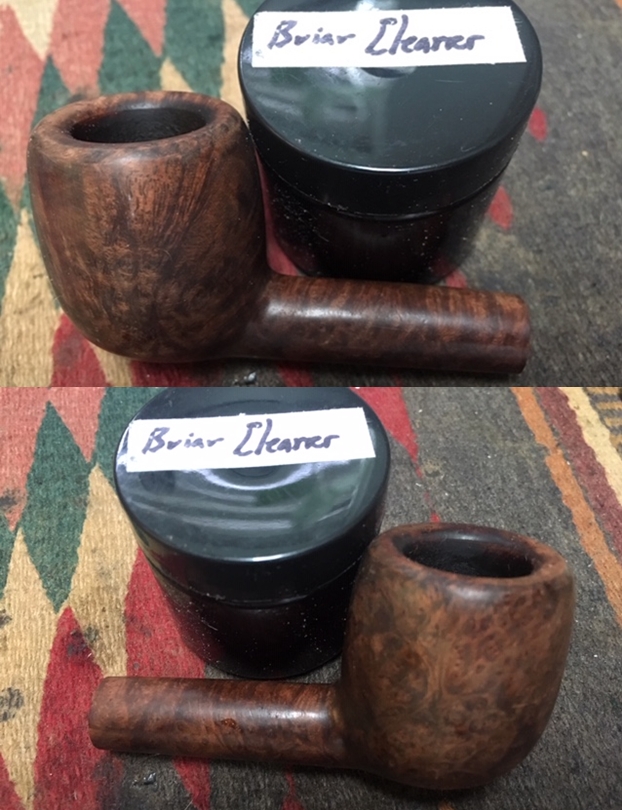
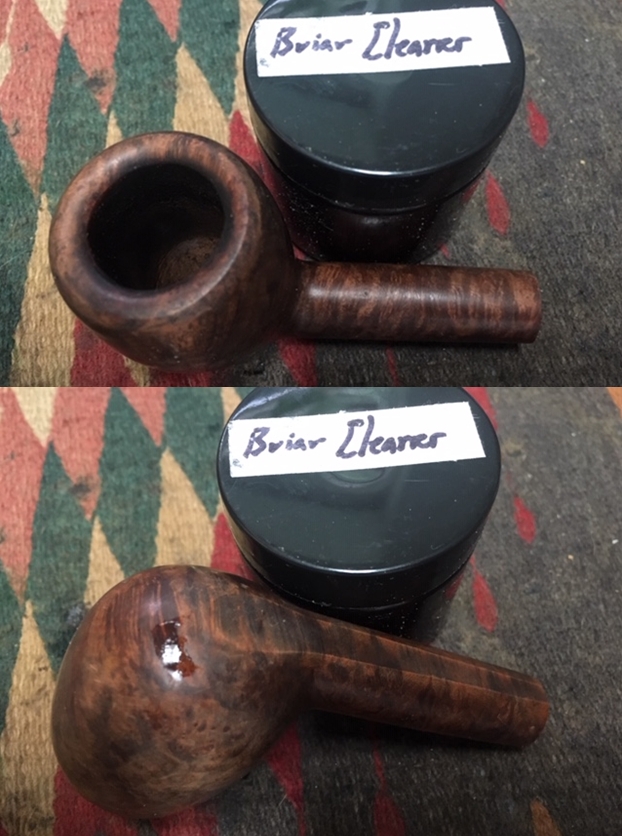
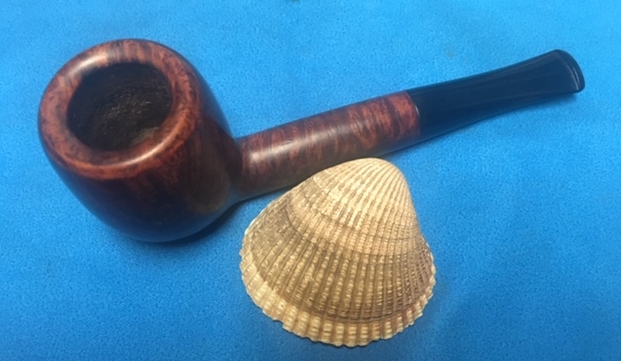
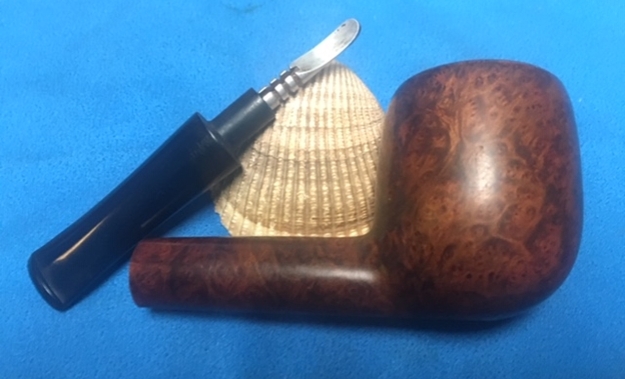
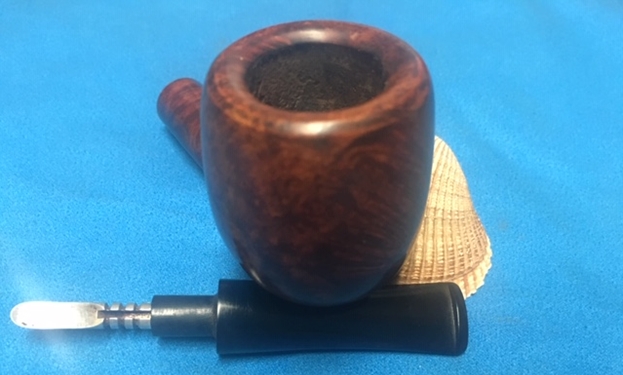
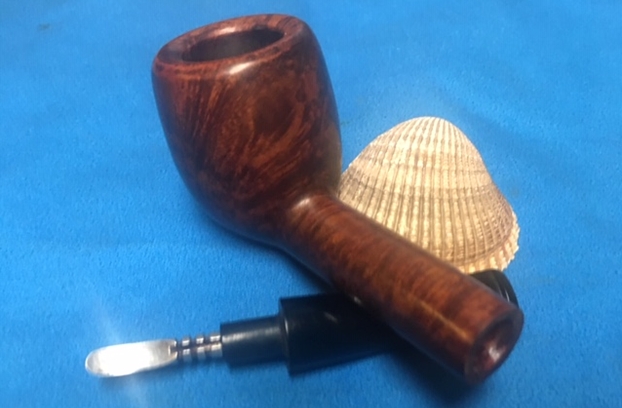
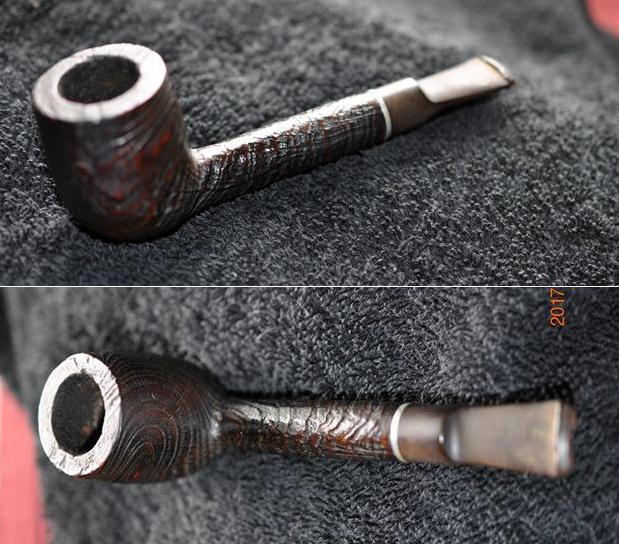
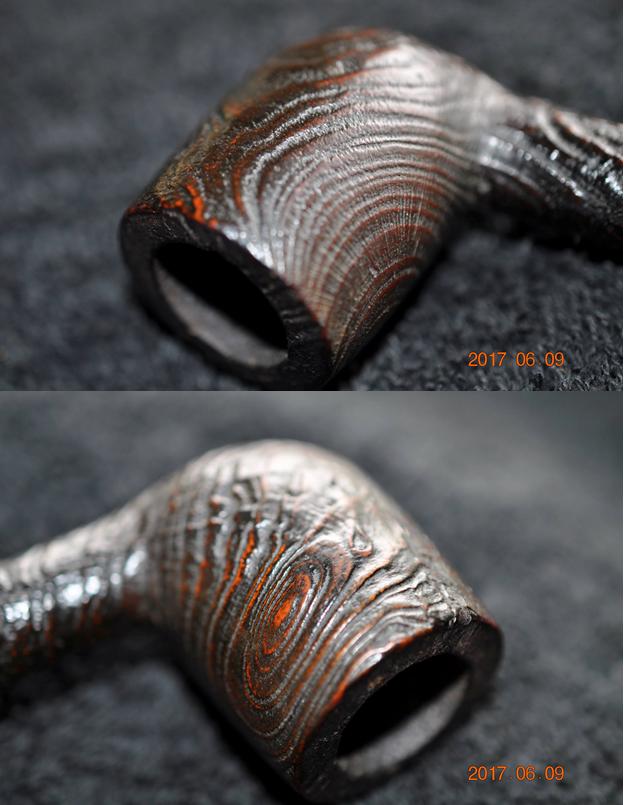
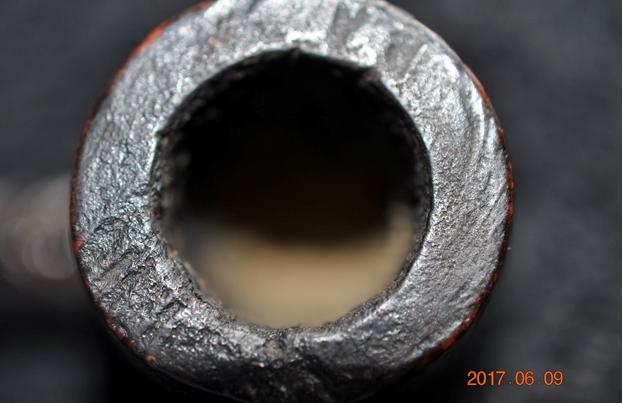
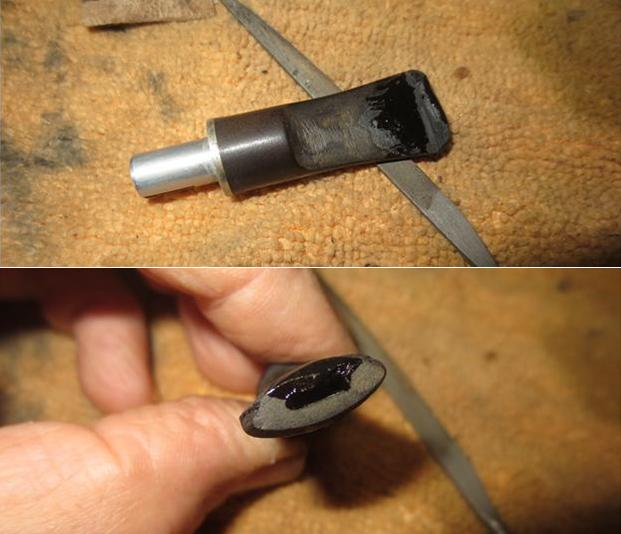
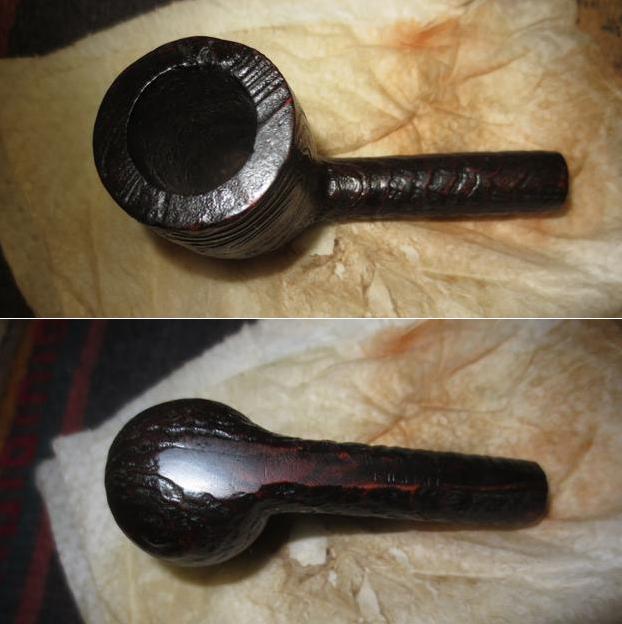
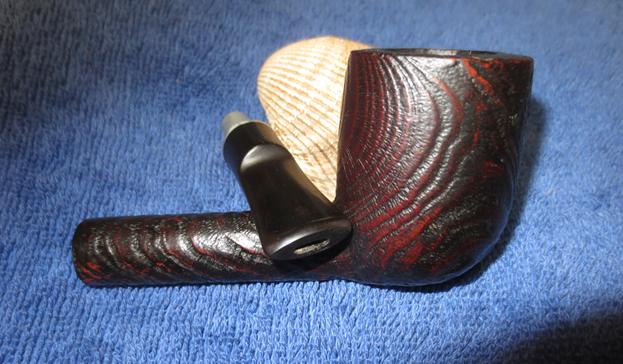
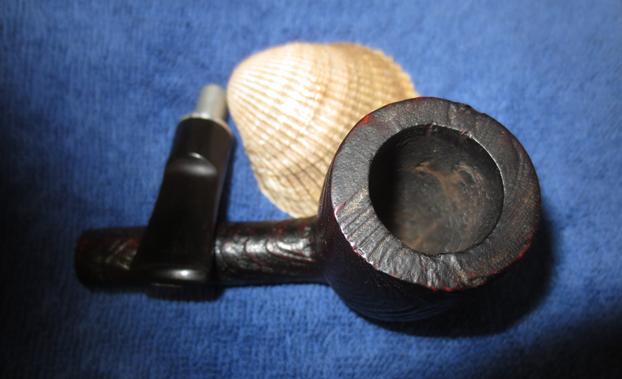
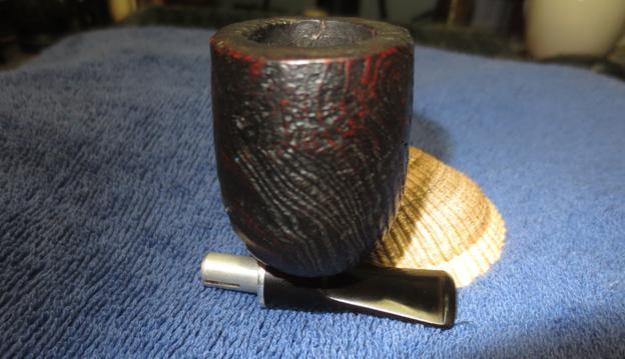
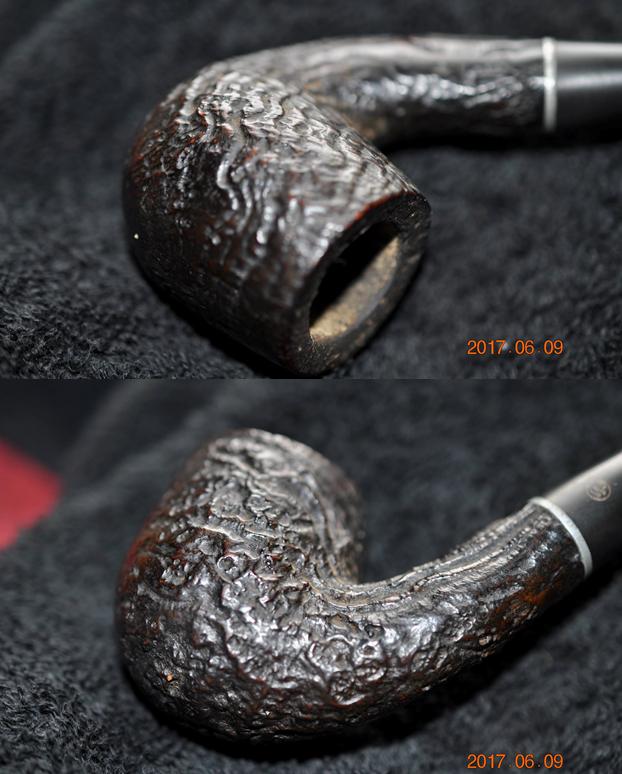
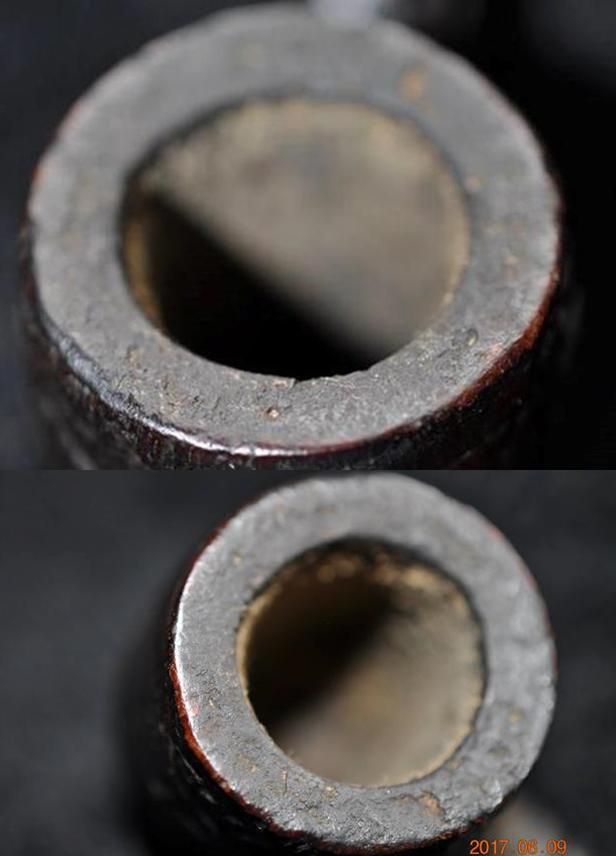
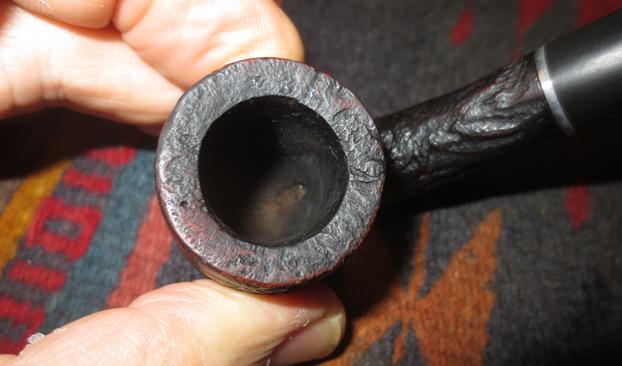
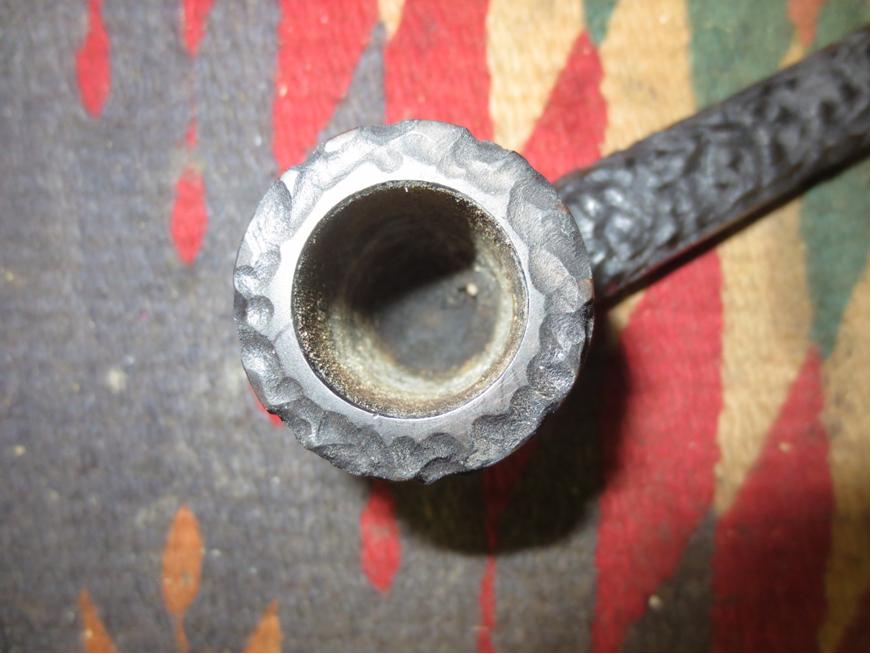
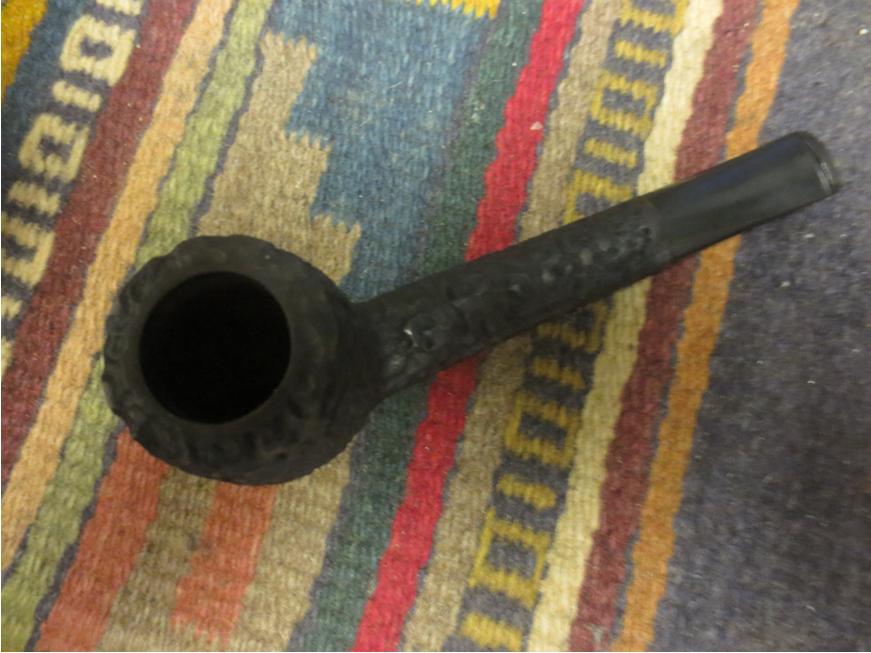
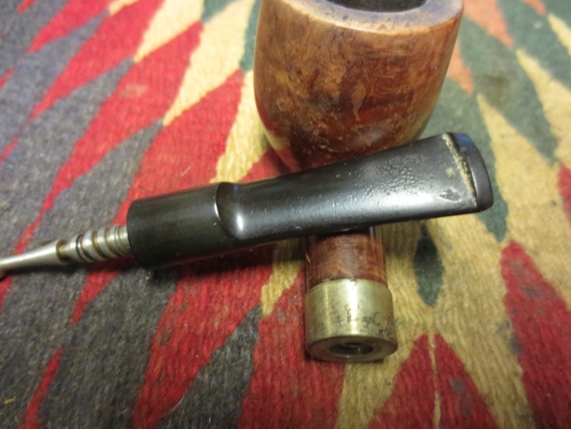
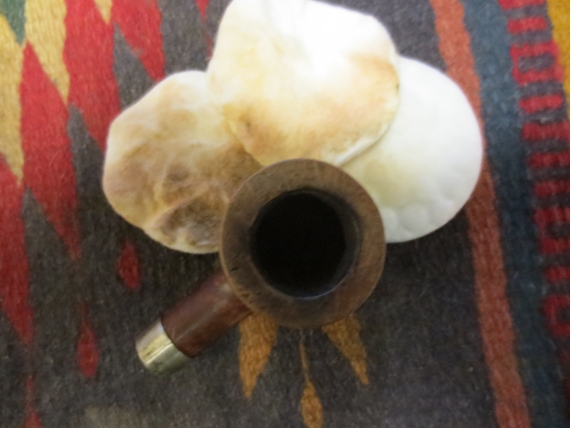
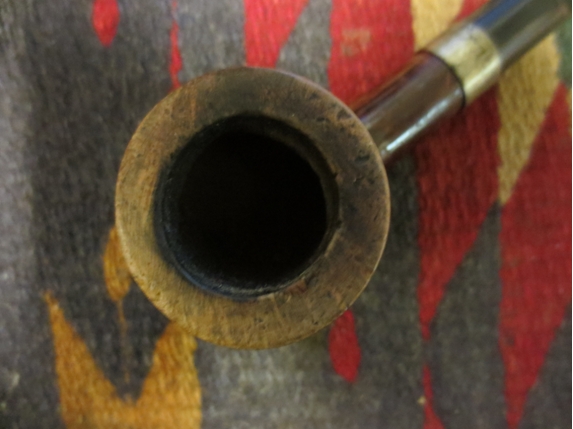
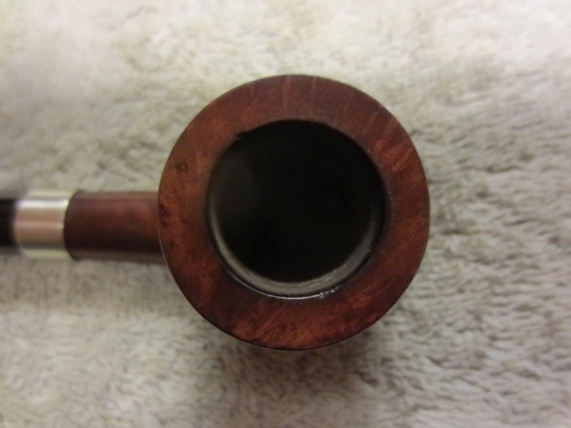
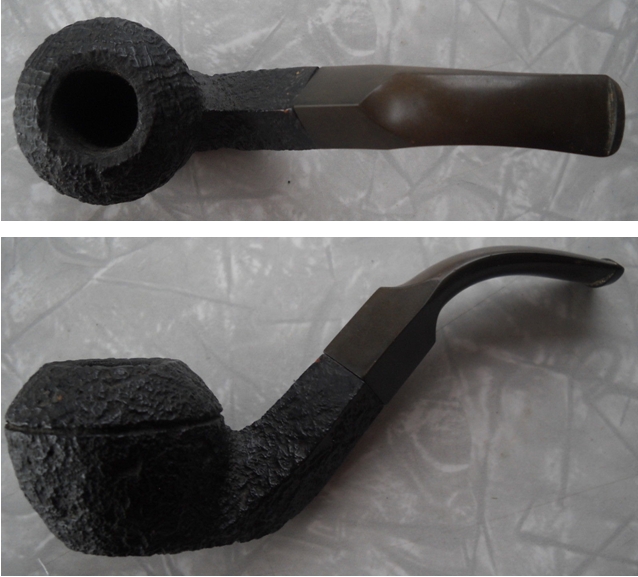
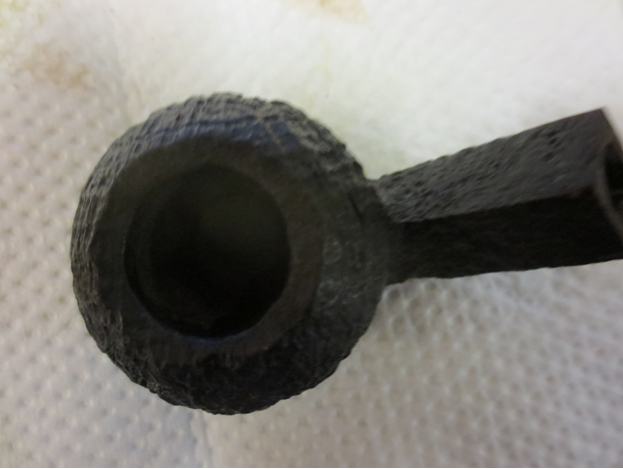
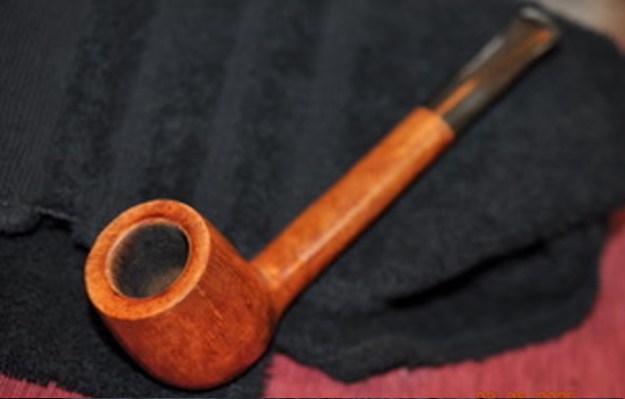 He took some photos of the rim top and bowl from various angles to give me a clear picture of the condition of the rim top and bowl. You can see the clean bowl and the rim top and edges. He included photos that show the top and underside of the stem. It is as described above.
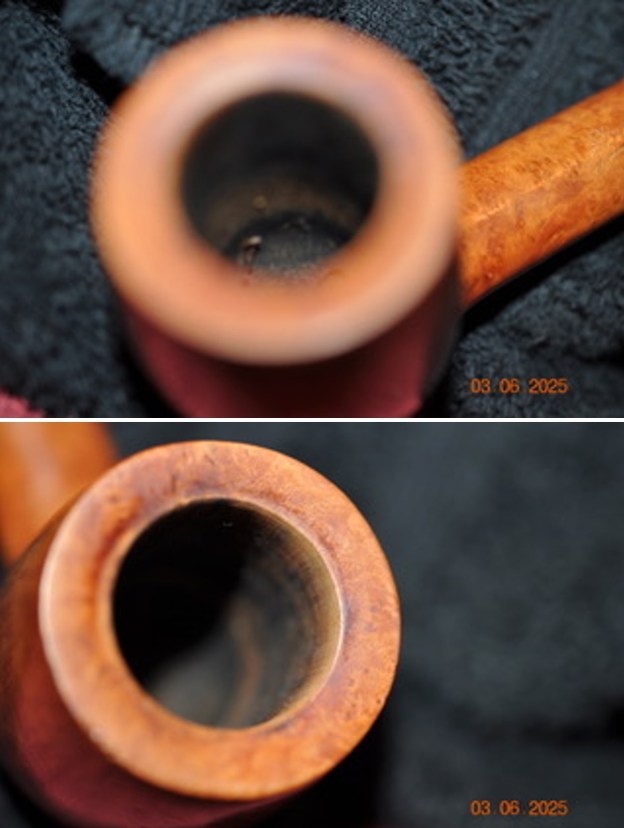

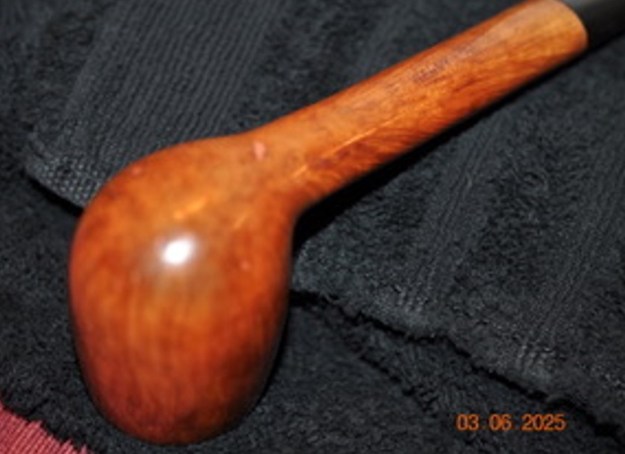
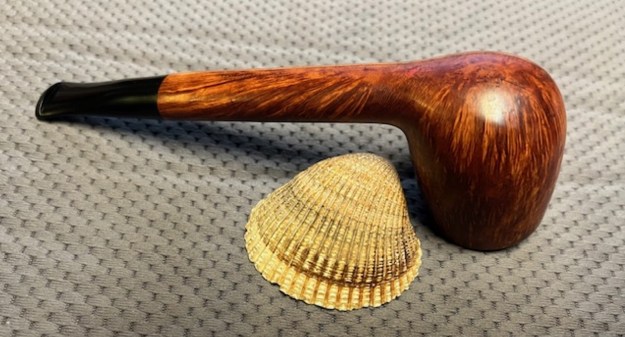
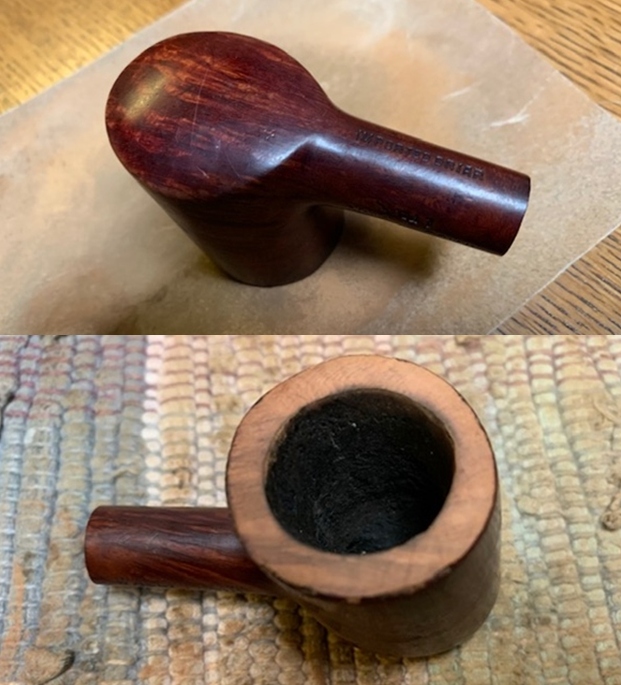
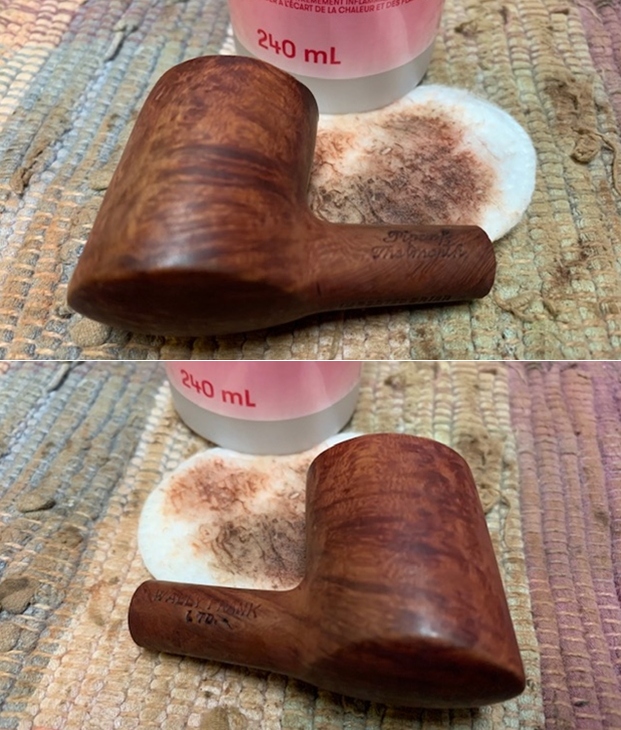
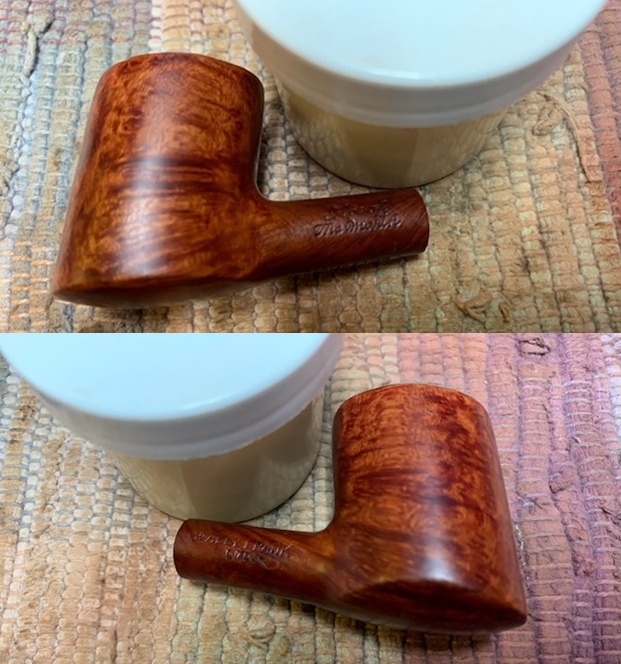
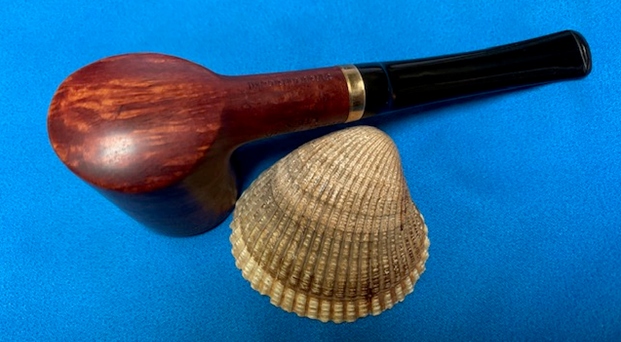
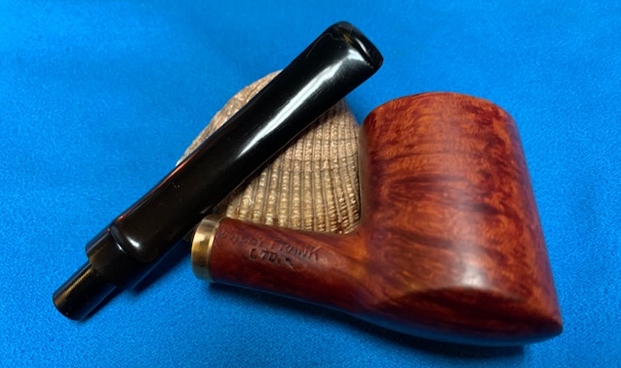
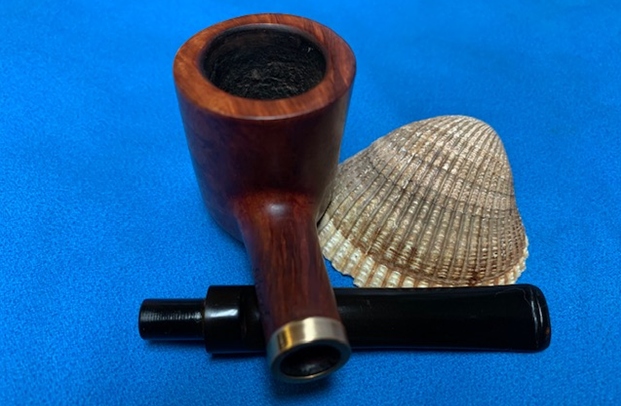
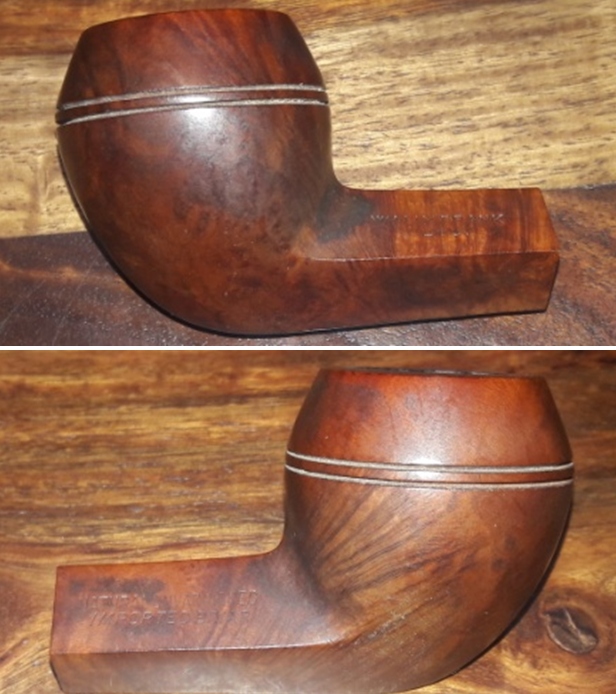
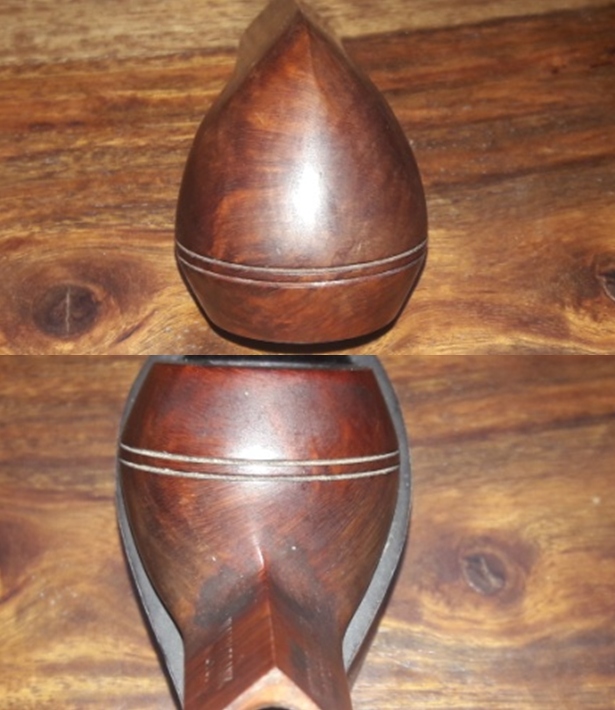
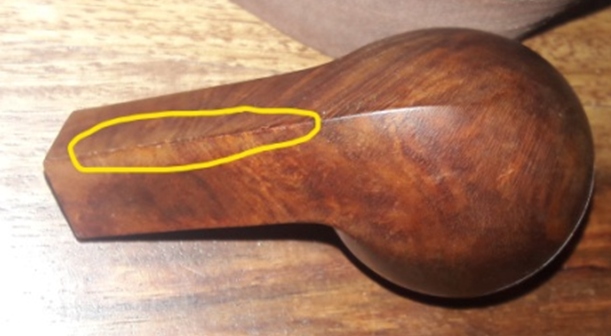
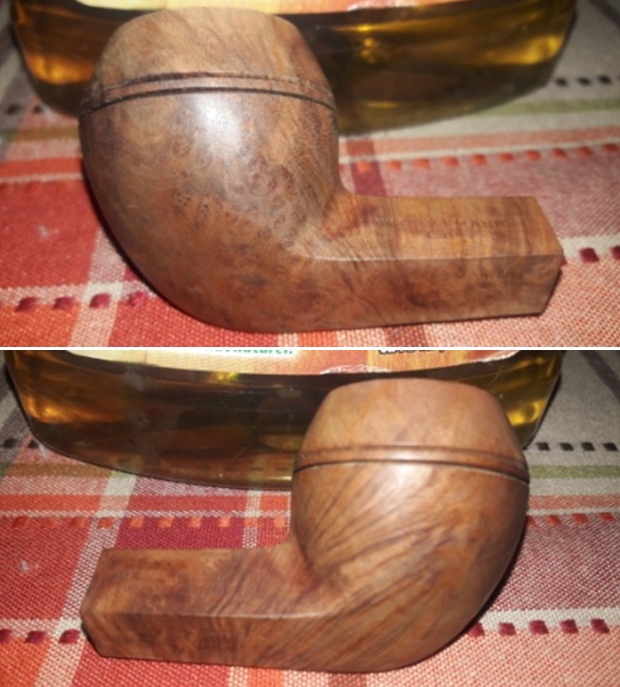
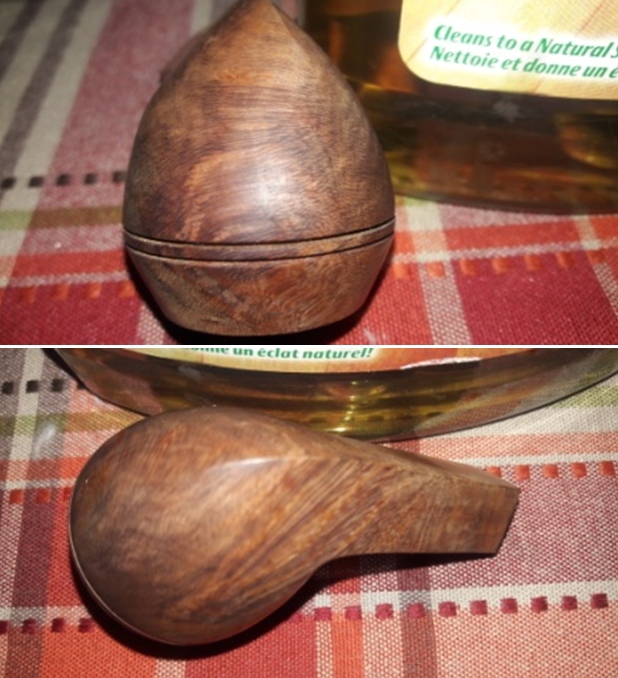
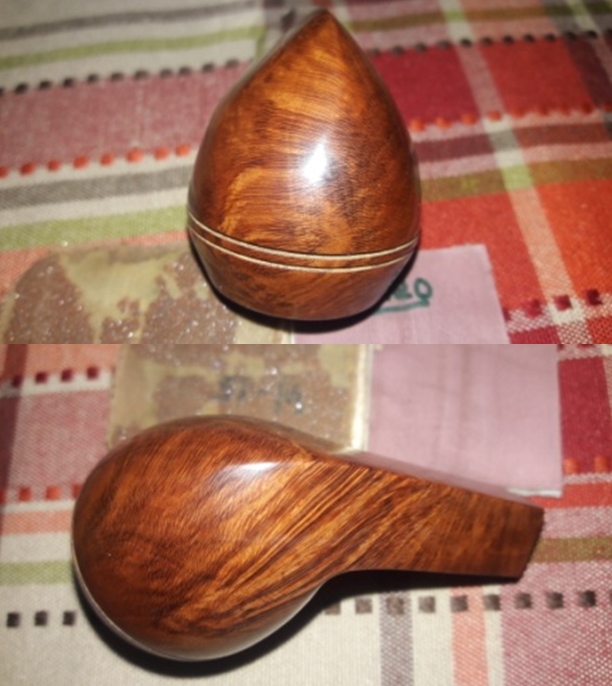
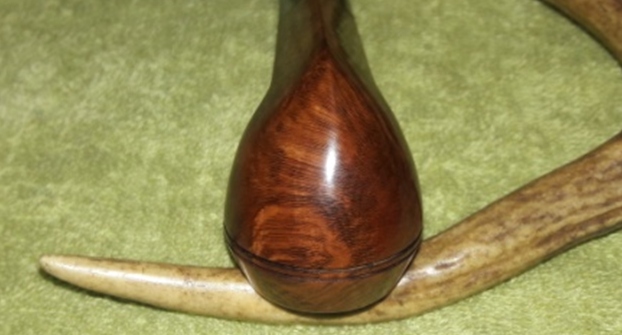
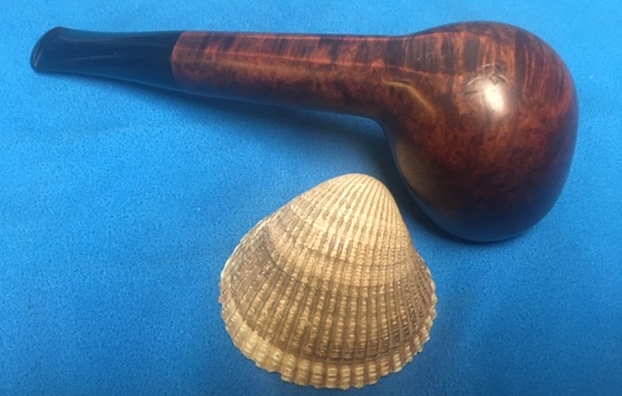
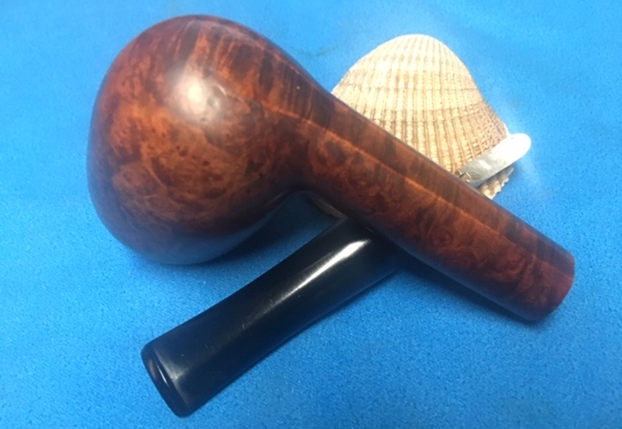
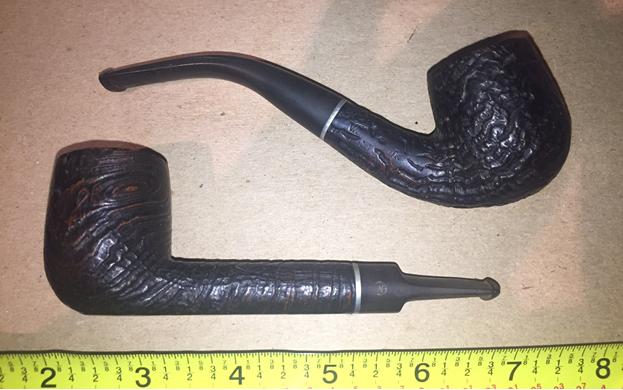
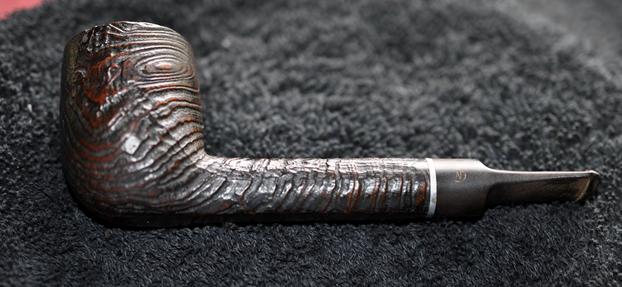
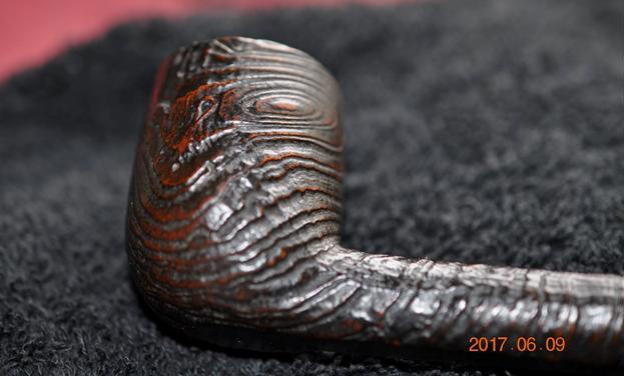
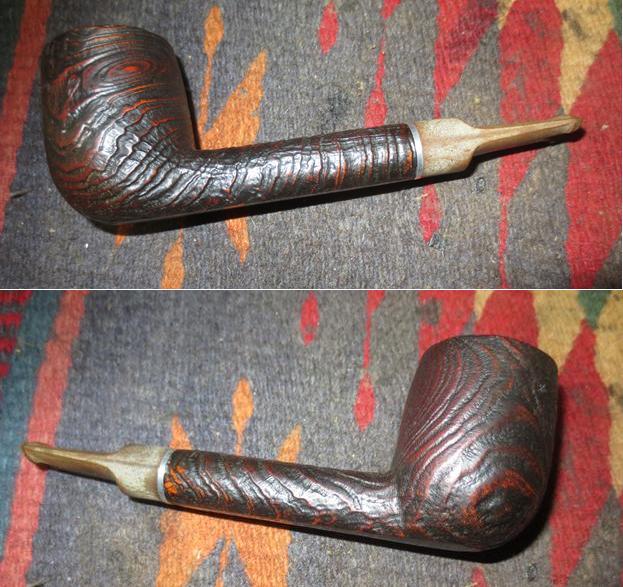
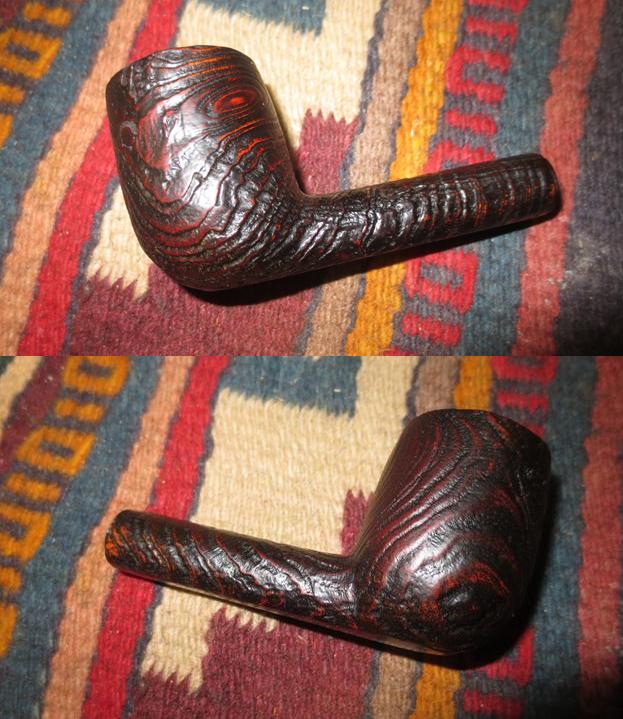
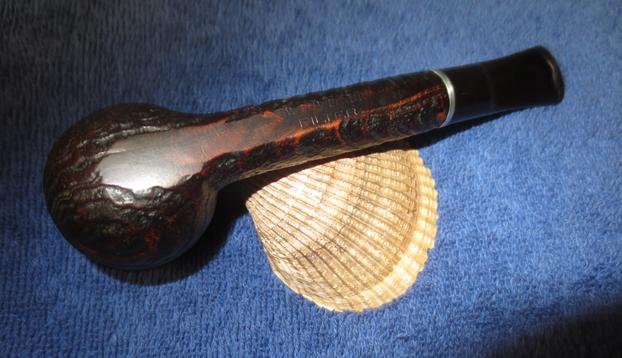
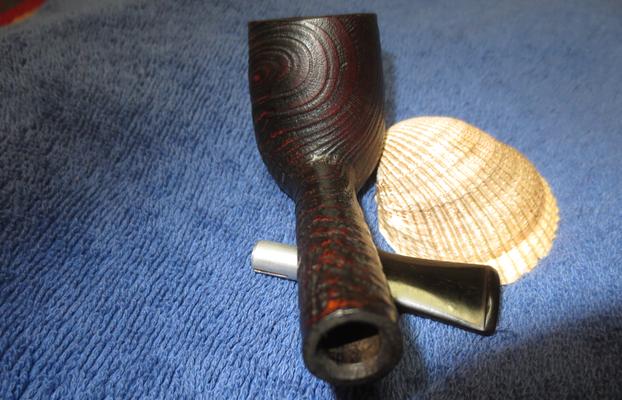
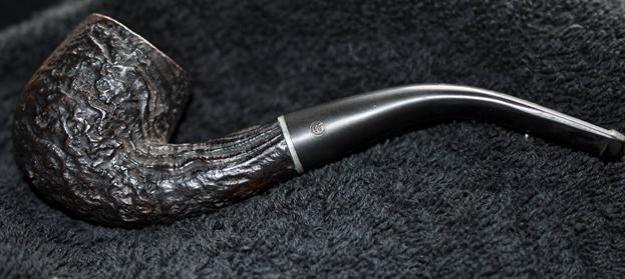
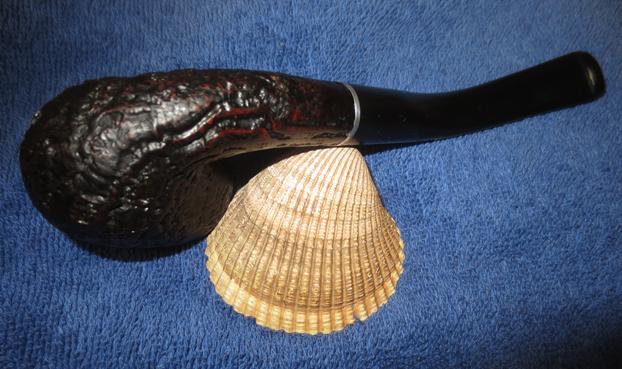
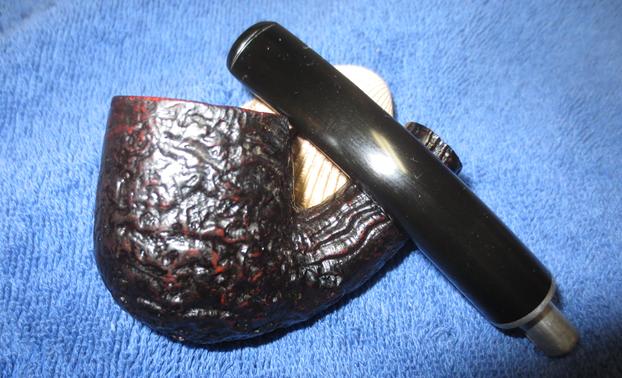
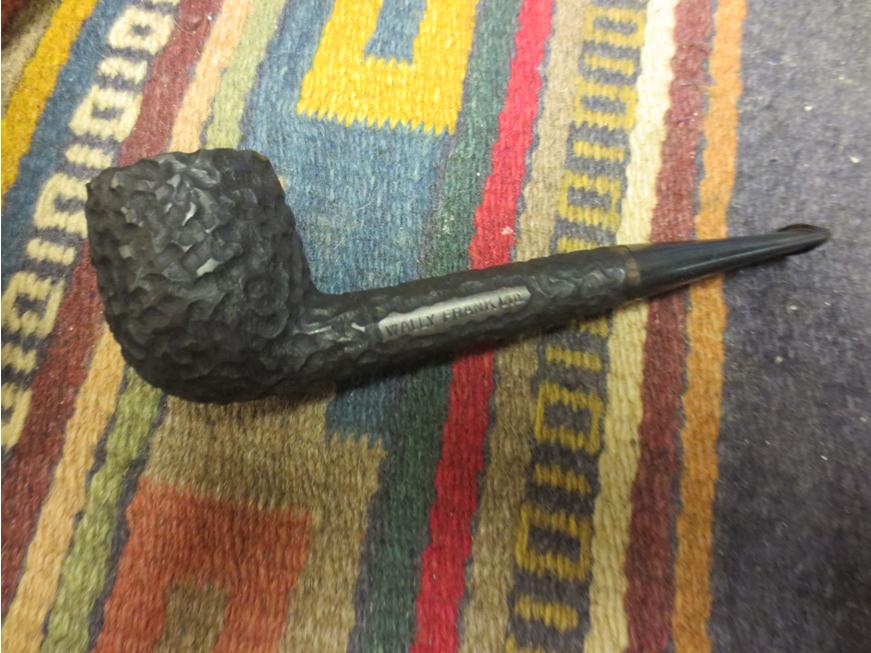
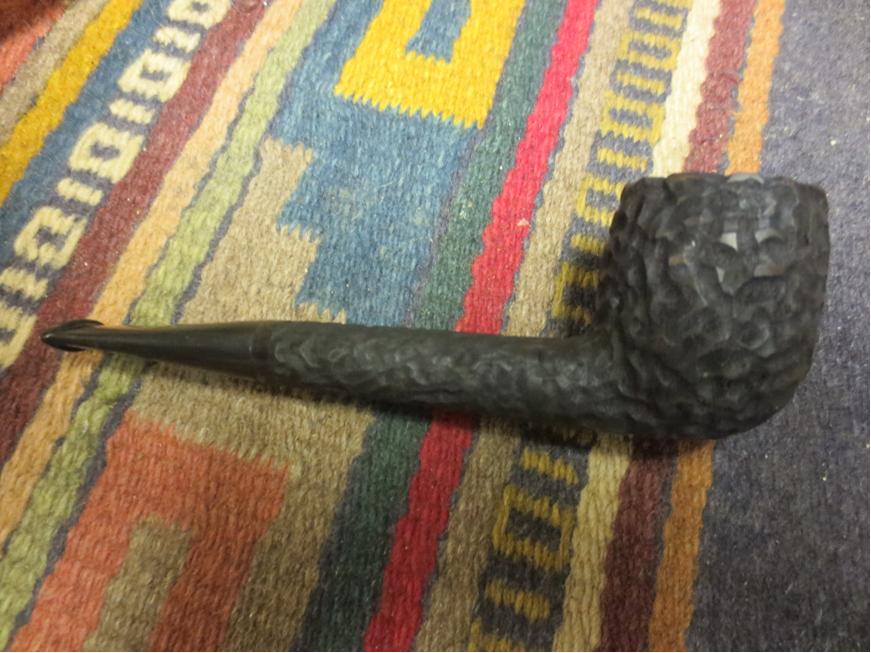
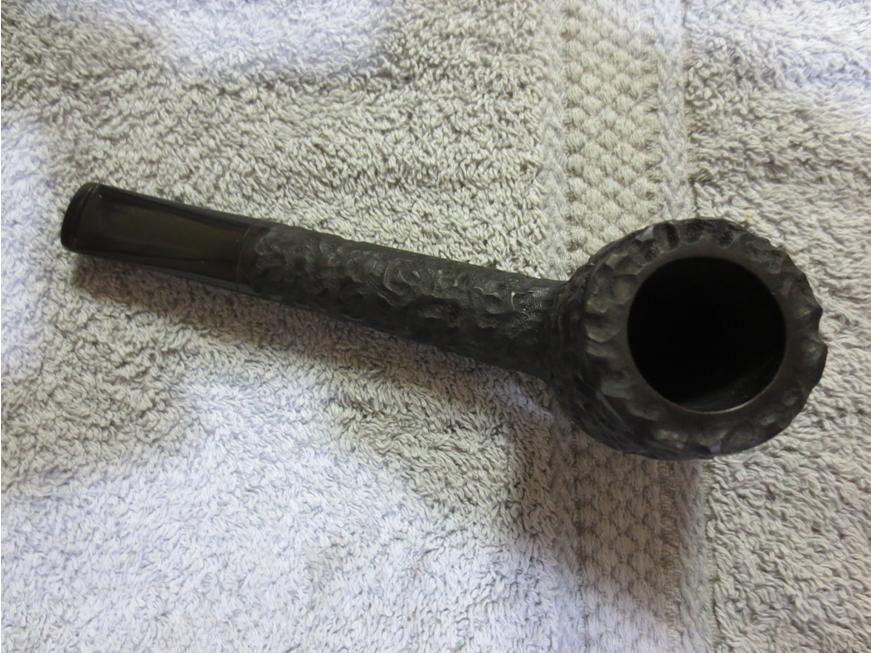
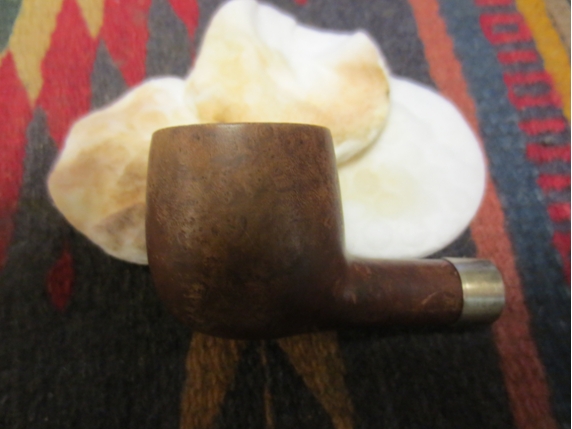
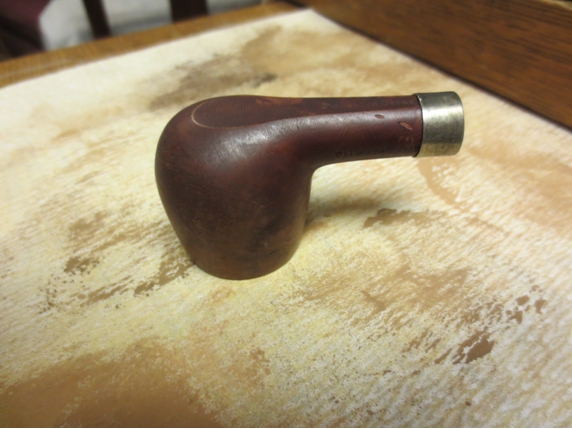
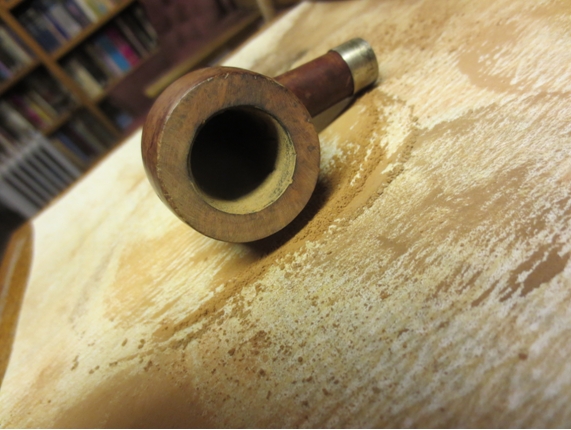
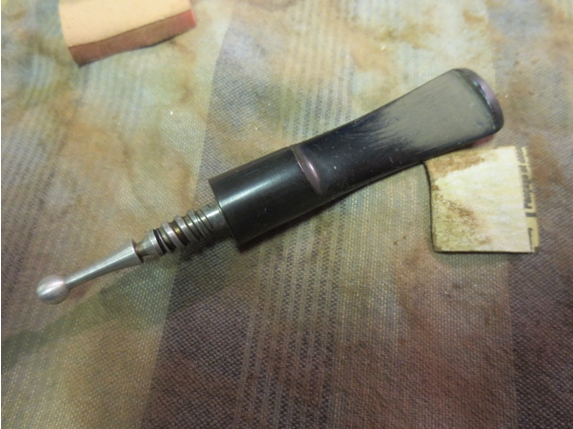
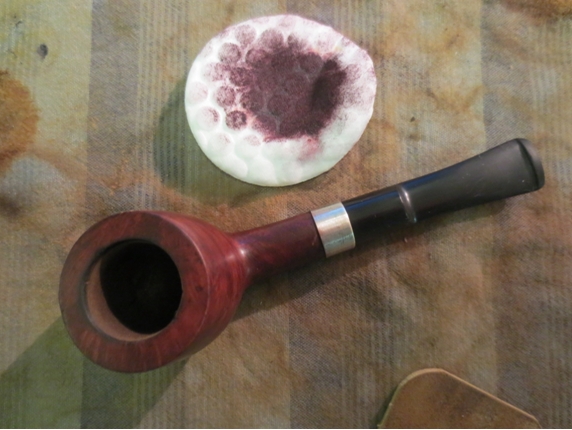
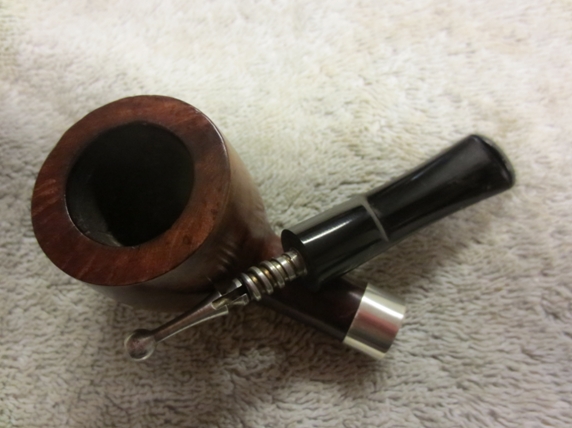
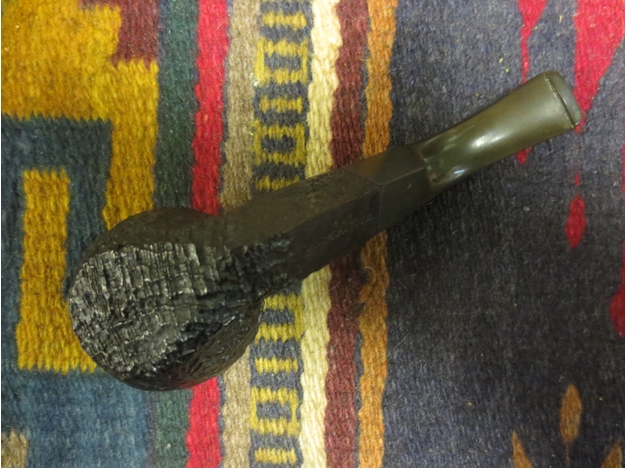
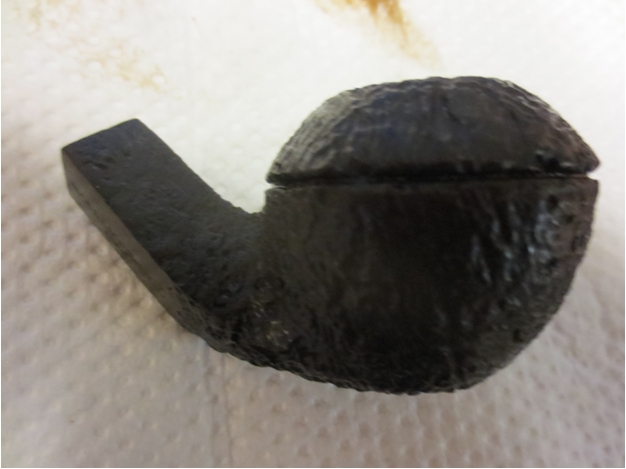
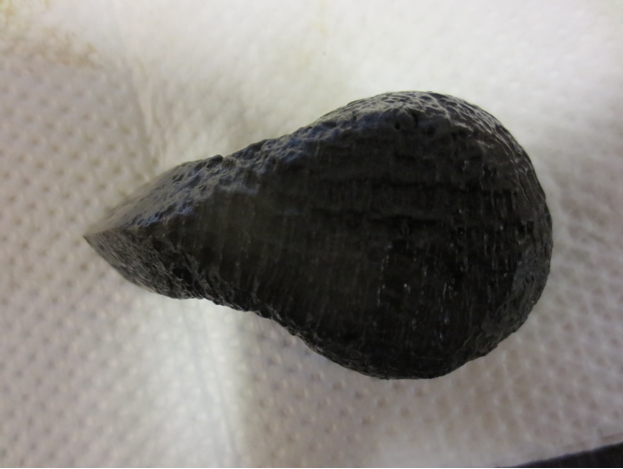
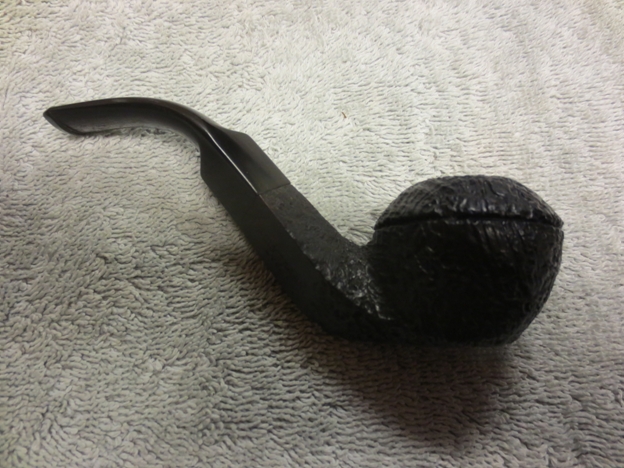
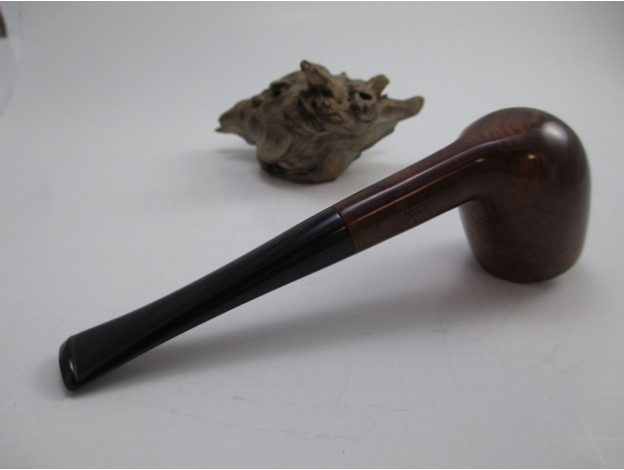
 Jeff took some photos of the sides and heel of the bowl to show the condition of the finish on the pipe. The photos showed some great grain around the bowl and shank. It is a great looking piece of briar.
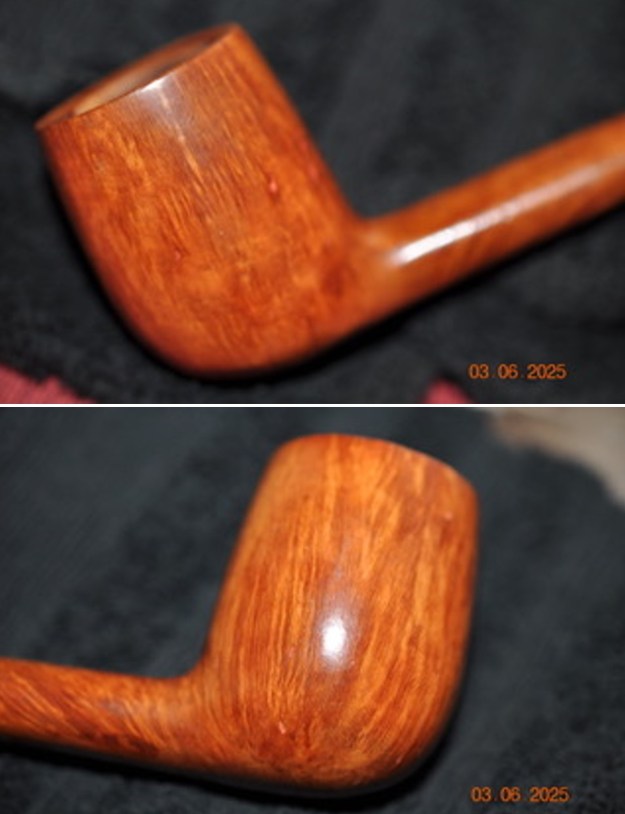
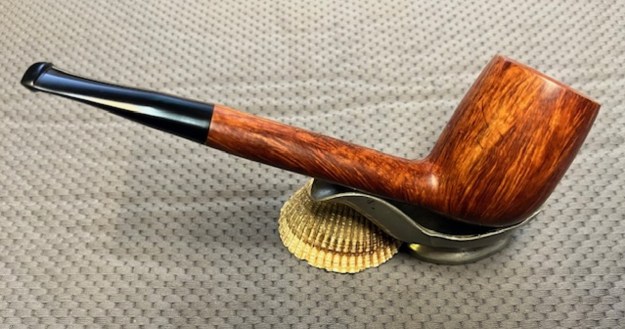
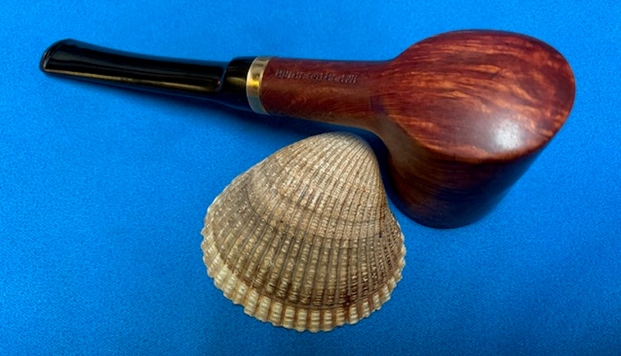
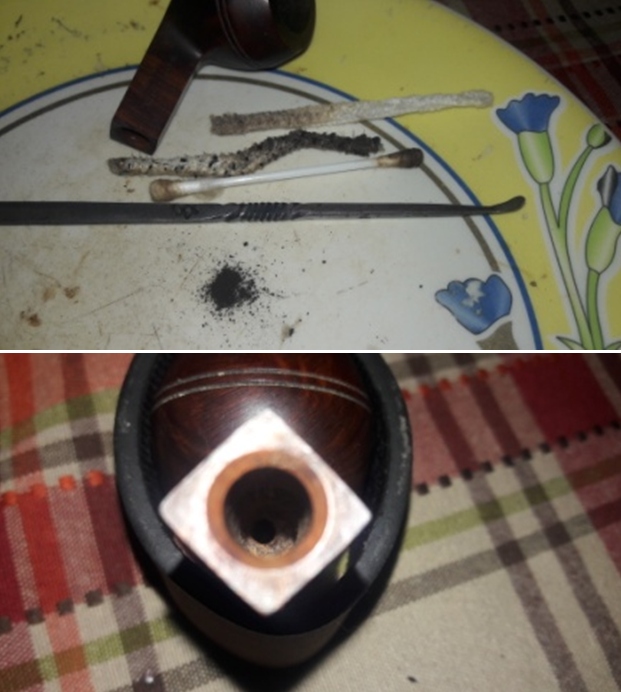
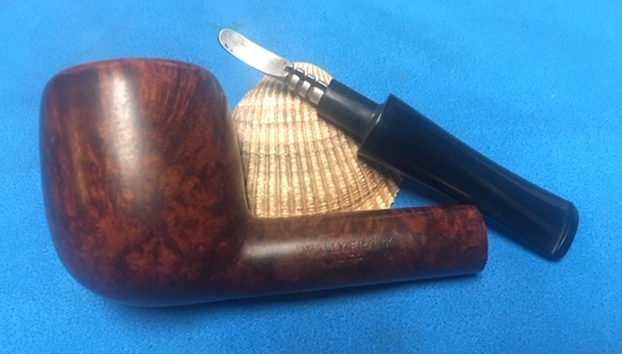
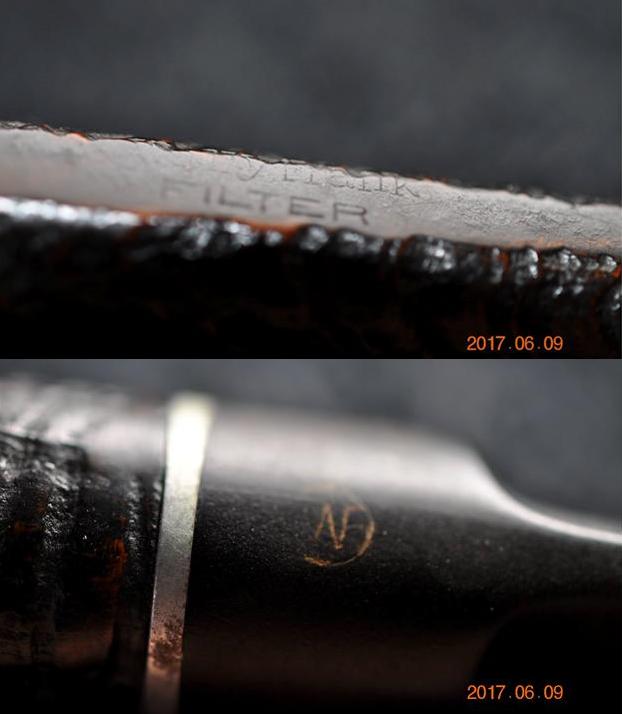
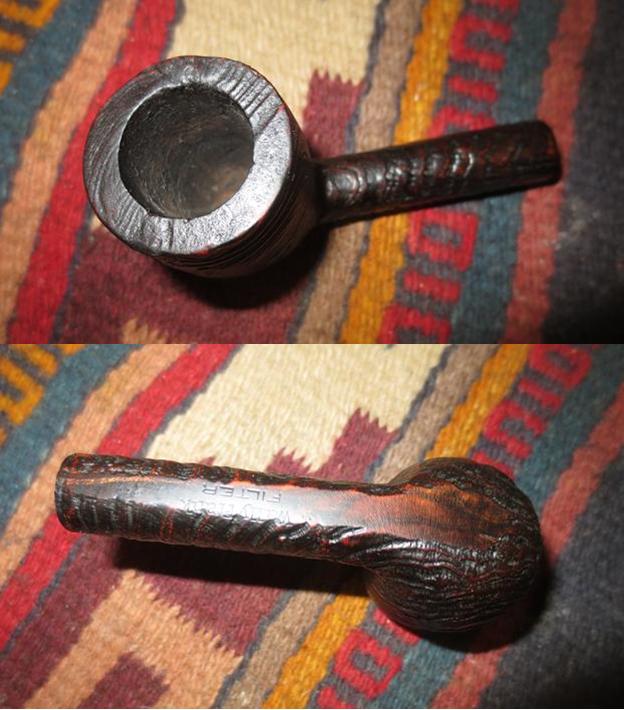
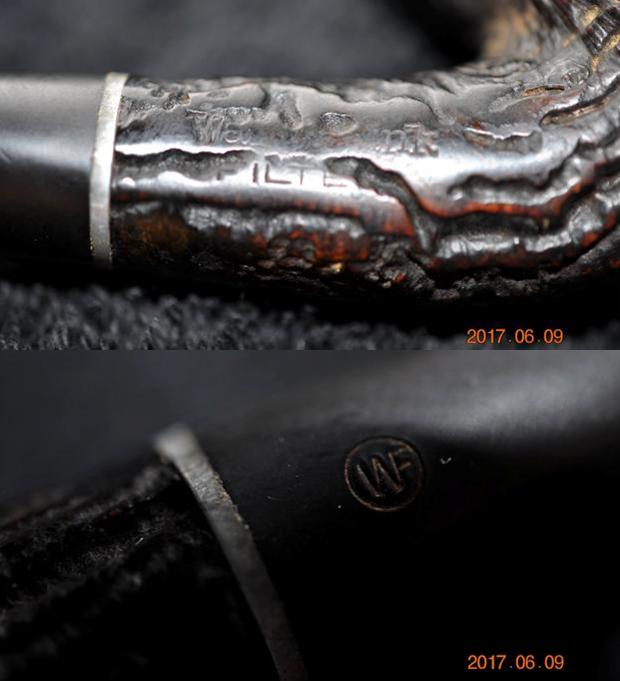
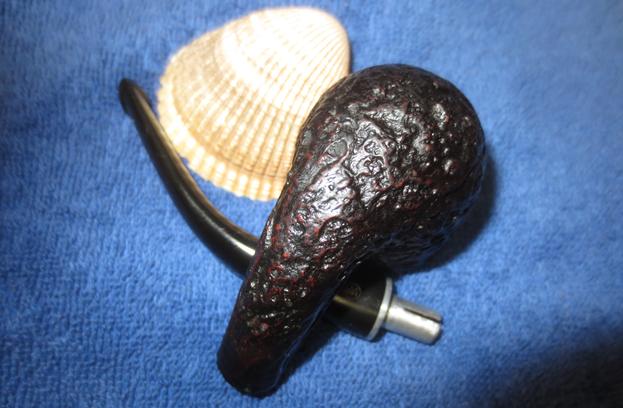
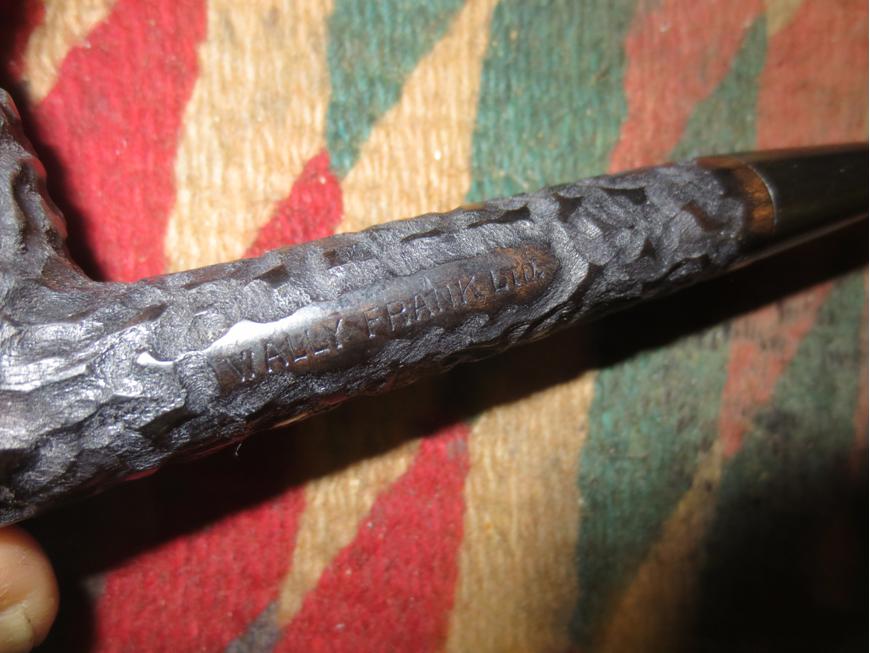
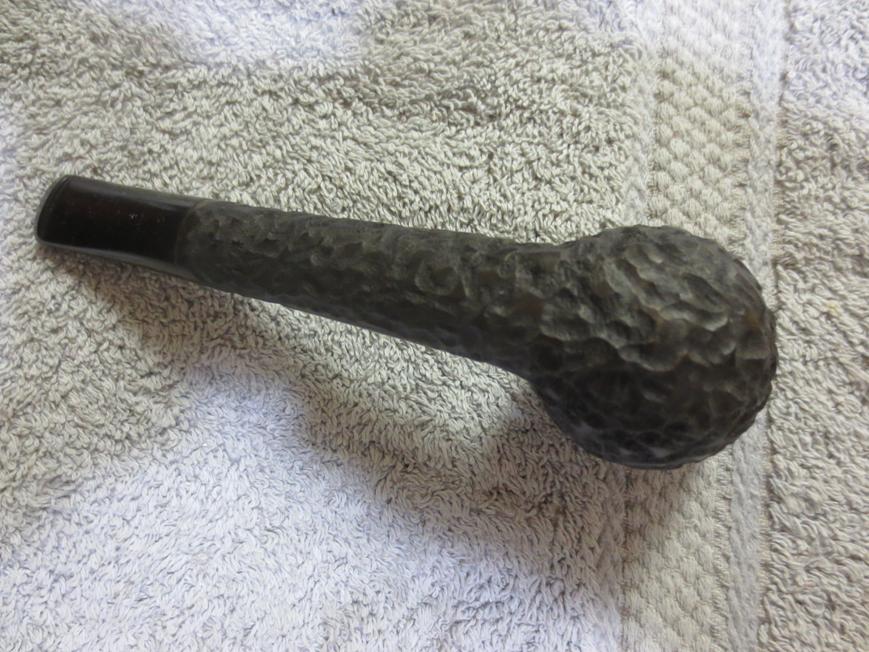
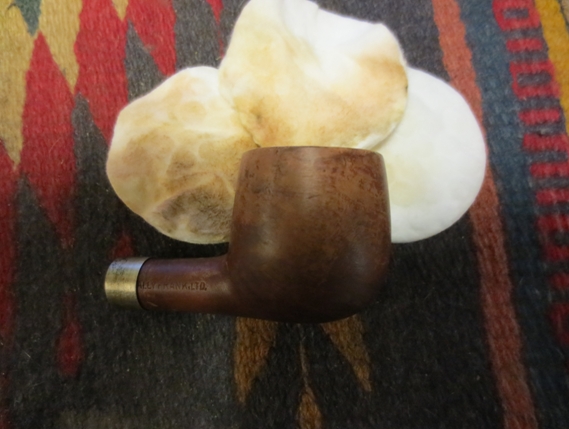
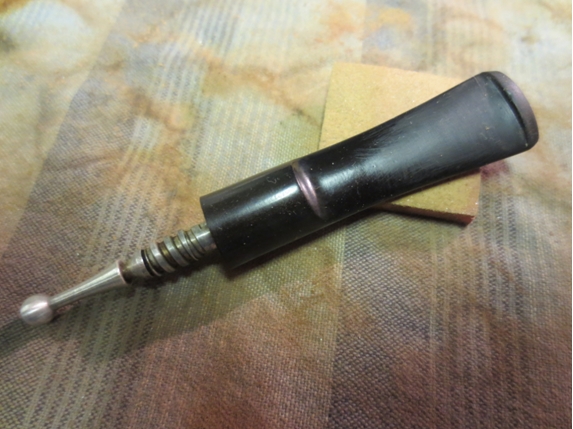
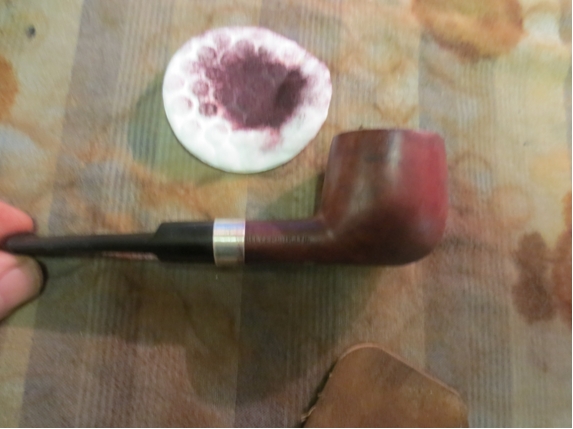
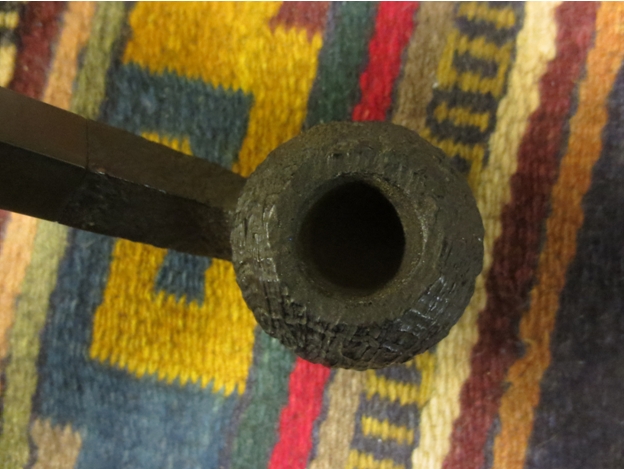
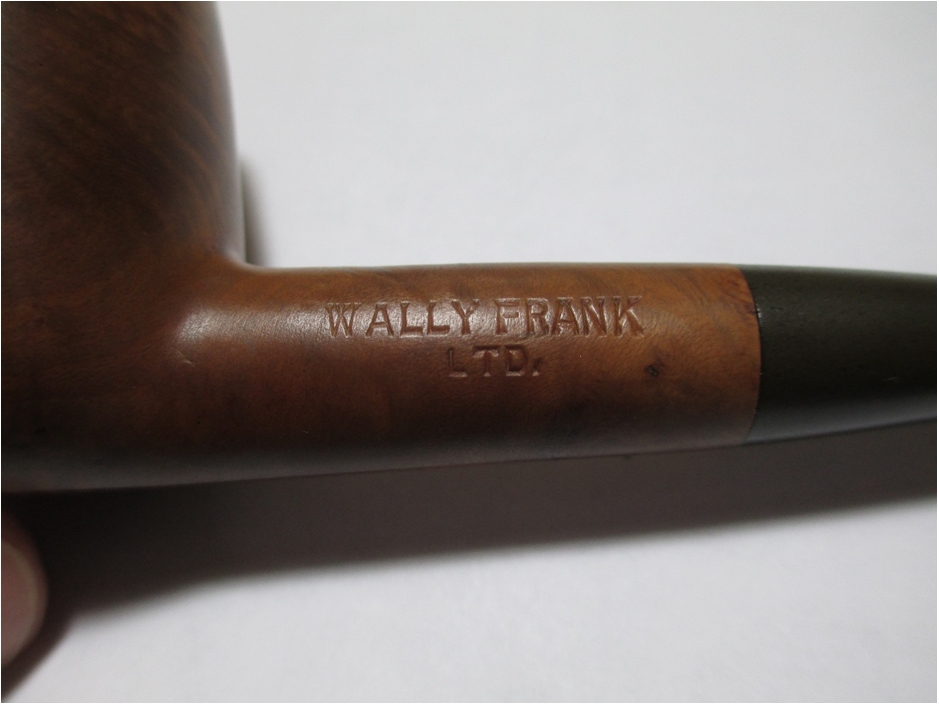
 He took photos of the stamping on the sides of the shank. The stamping was clear and readable as noted above.
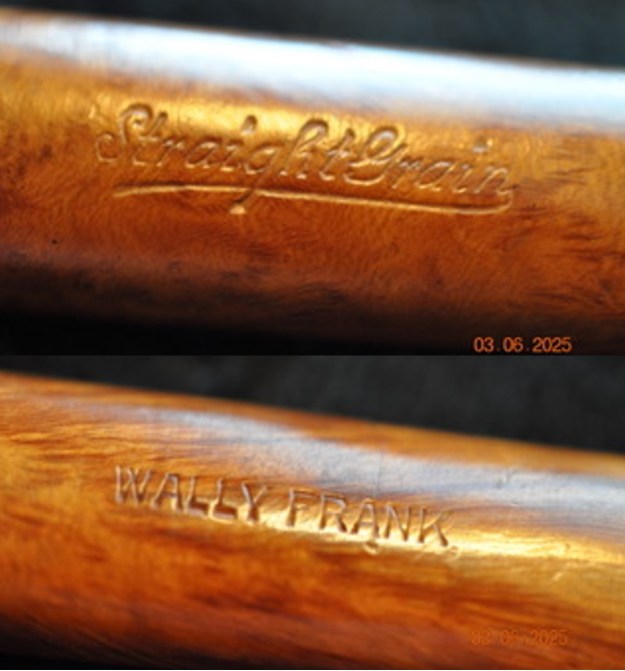 I remembered a a lot about the brand in that I knew it was an old US pipe and tobacco store in and around New York City. I also knew that they did not make their own pipes but had others carve them from a variety of well known pipe making companies. I wanted to double check and seek more information on the brand before I went to work on this one. To me it certainly looked very British but other than that I had no idea.
I turned first to the Pipephil website (http://www.pipephil.eu/logos/en/logo-w1.html). There was some information on the various stampings and lines of the brand and one matched this one. I also found out though the site that … the brand started in 1930. The pipes came from English, French, Danish, Italian and even US companies.  That was a good start I continued by turning to Pipedia for more information and found some helpful clues regarding the pipe (https://pipedia.org/wiki/Wally_Frank). I quote:
Wally Frank, Ltd. was one of America’s oldest and most respected names in pipes and tobaccos, beginning in the early 1930’s. Wally Frank operated a chain of tobacco stores in New York City (the flagship store was in Lexington Avenue) and had a vast catalog business for pipes and pipe tobaccos. Their numerous private-label pipes were made by many makers, including Charatan, Sasieni, Weber, and many others. Wally Frank, Ltd. also owned the Pioneer brand of meerschaum pipes, made from both Turkish and African meerschaum. In addition to importing pipes, he had many pipes made in his own name and also employed pipemakers like Peter Stokkebye, Svend Bang, and Ed Burak (who later became the owner of Connoisseur). As a result, each Wally Frank pipe must be individually evaluated on its own merit.
In 1952, Wally Frank was on a buying trip in Italy and “discovered” pipe maker Carlo Scotti. Frank liked Scotti’s pipes, but there was the small problem of Scotti’s pipes bearing the same trademark or logo as one of Wally Frank’s pipe lines, the White Bar. The two men decided on creating a new logo for pipes sold in the U.S.: a hole drilled in the stem and with a piece of silver foil inserted in the hole and covered with clear Lucite.
Wally Frank (the person) wrote the forward to Georges Herment’s 1954 book “The Pipe.”
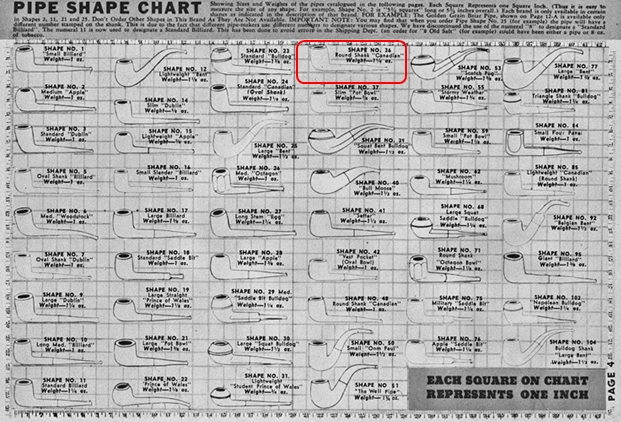
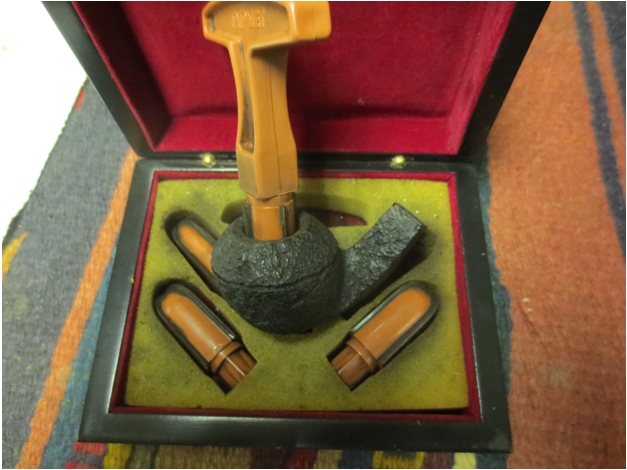
There was also a great catalog page on the Straight Grain on the site that I thought was helpful so I have included it below (https://pipedia.org/wiki/File:WallyFrankImmortal11.jpg). There was also a catalogue page of what are called Wally Frank Straigh Grain “Seconds” that also has helpful information(https://pipedia.org/wiki/File:WallyFrank16.jpg). I have included a copy of that below.
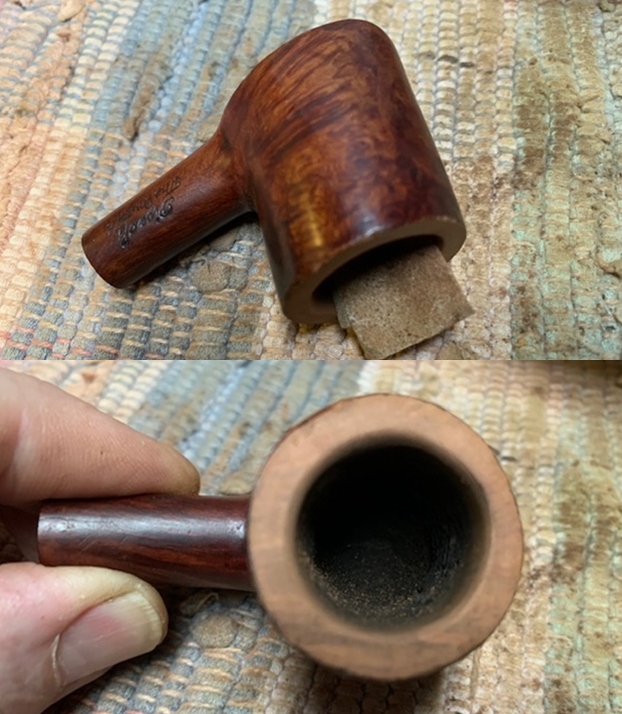
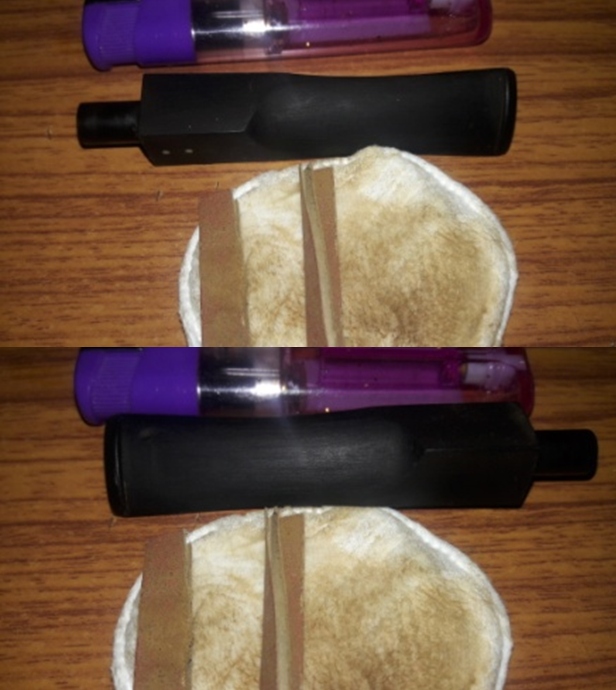
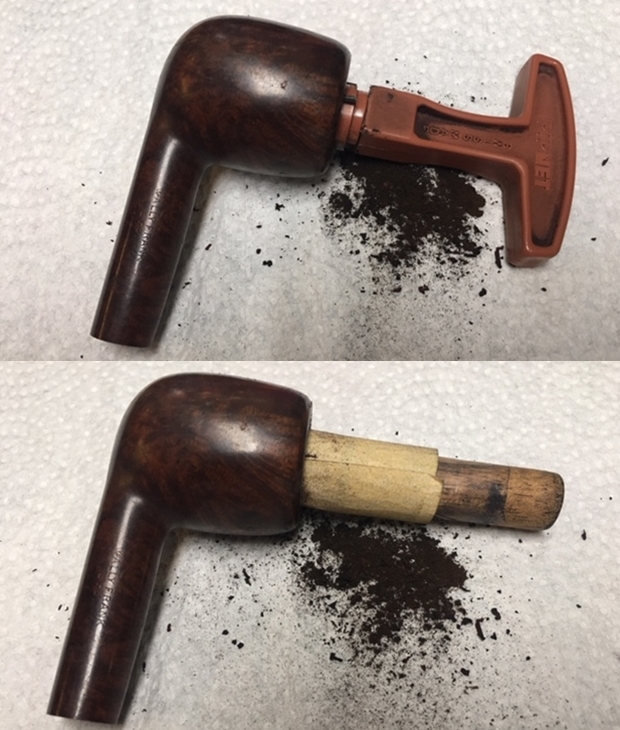
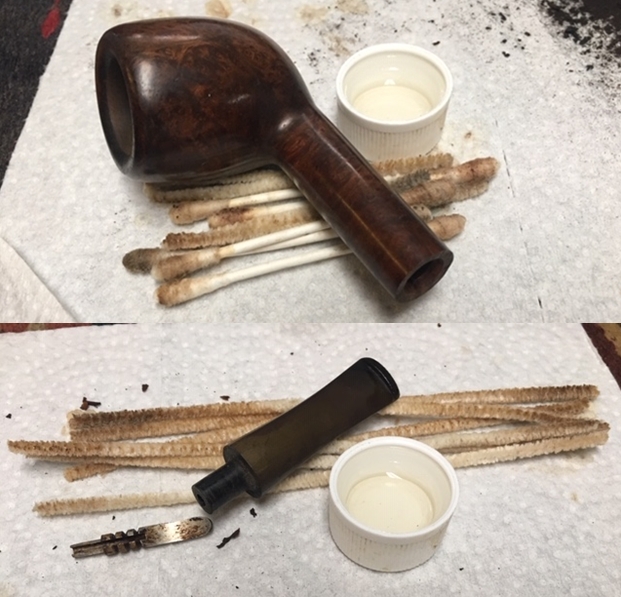
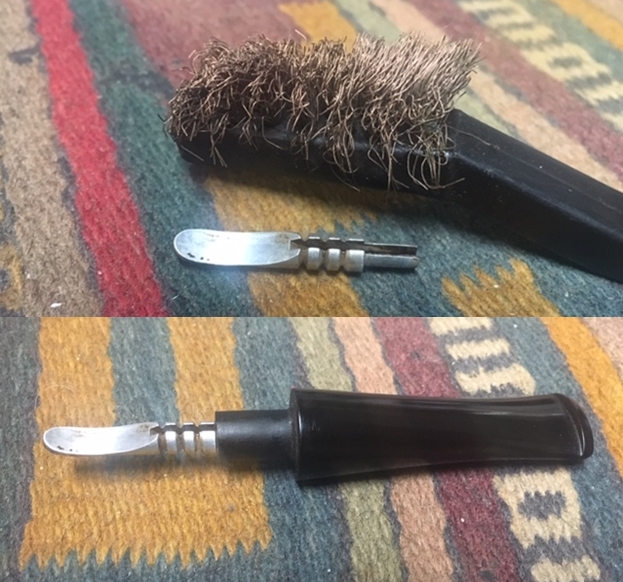
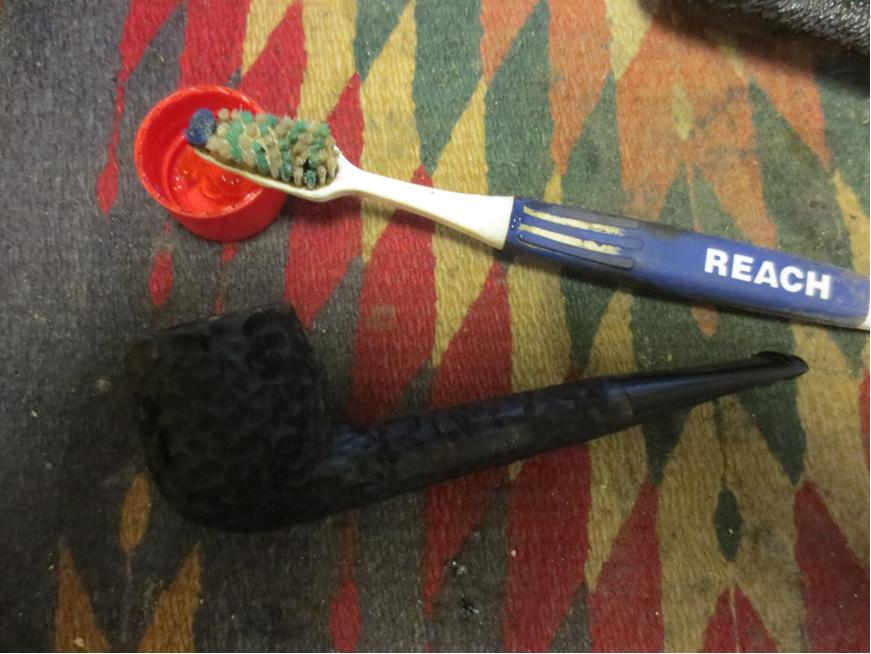
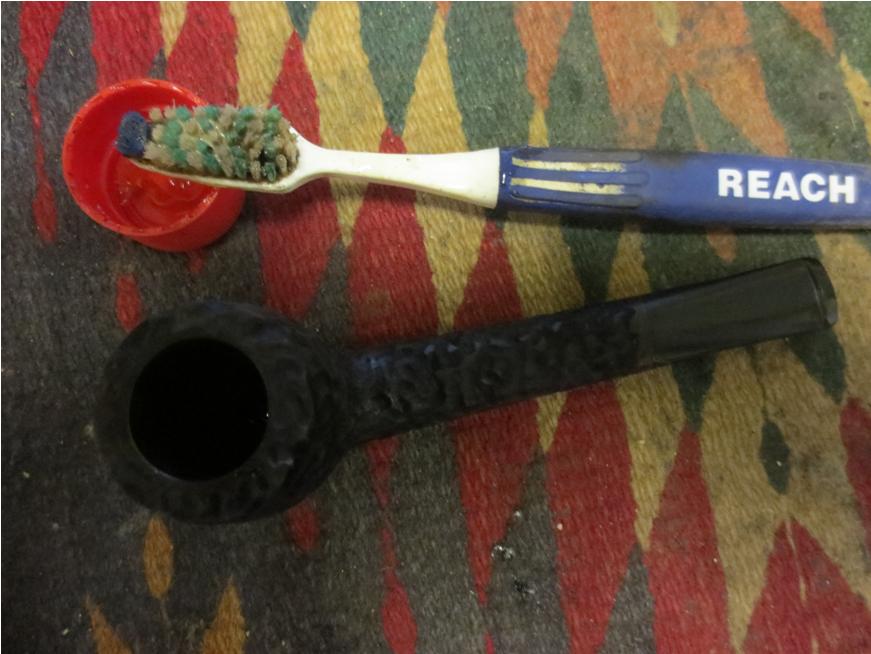
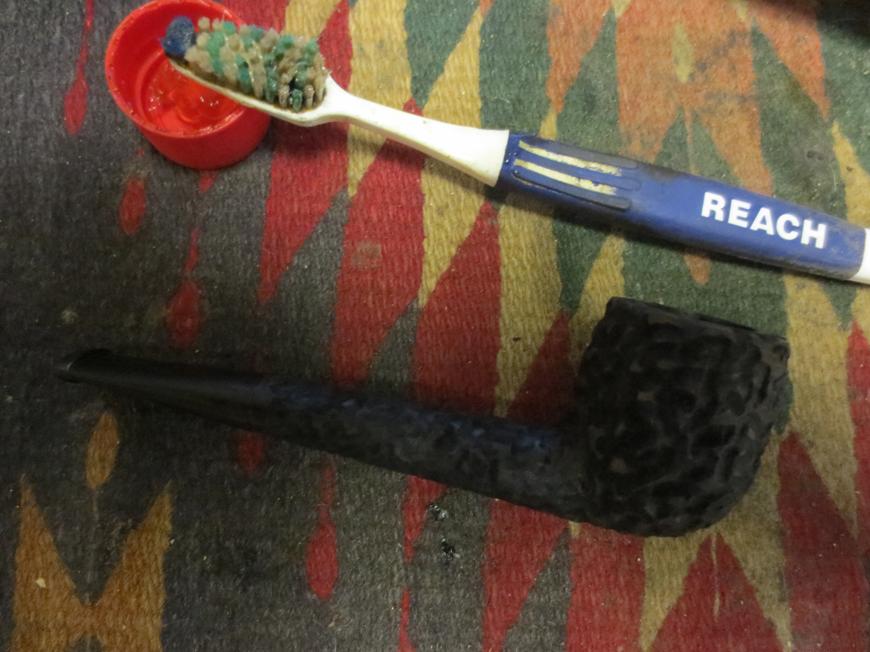
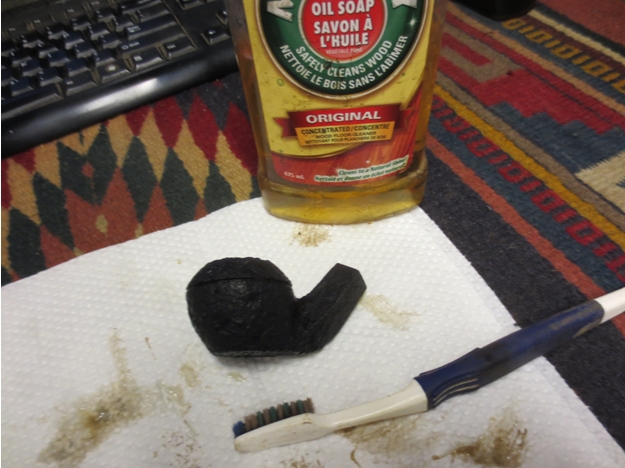
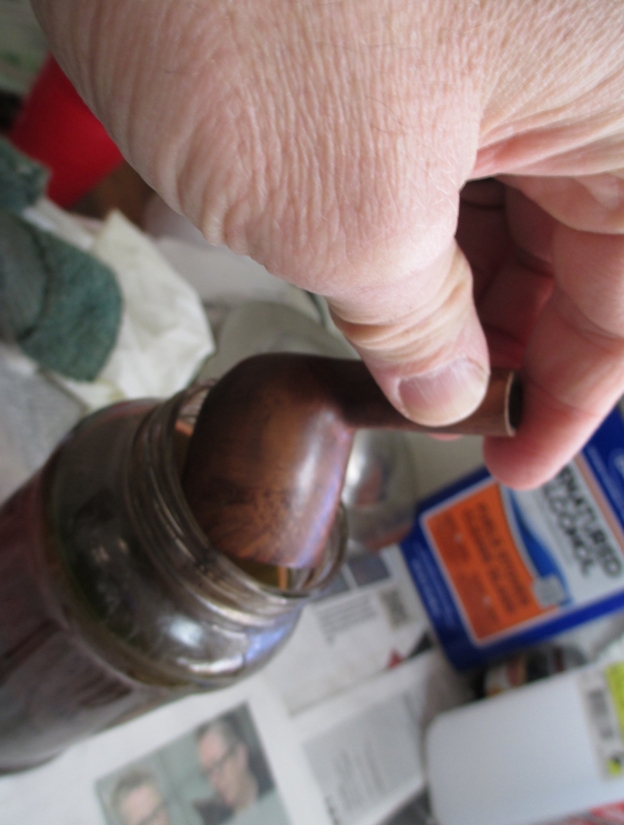
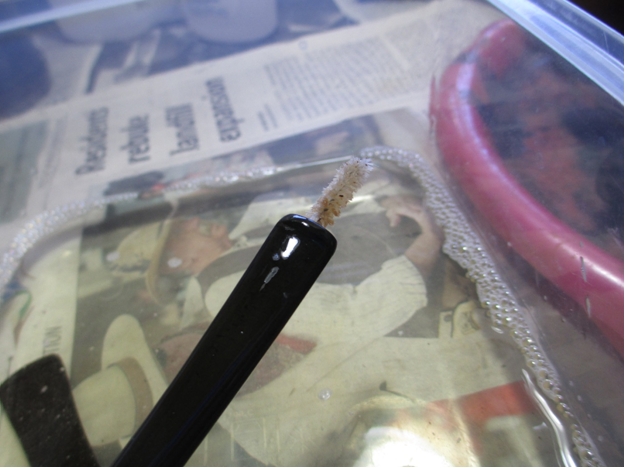
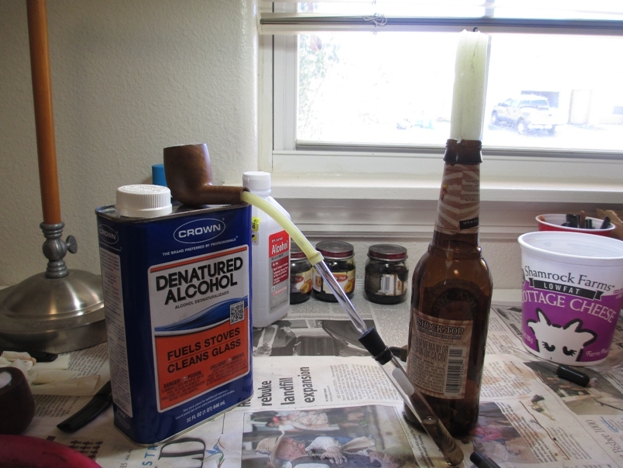
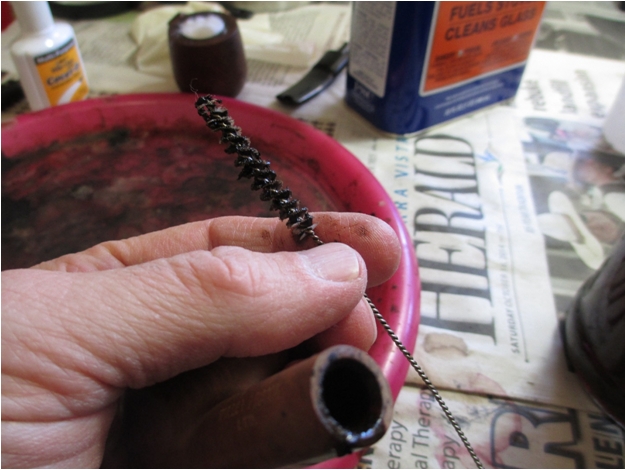
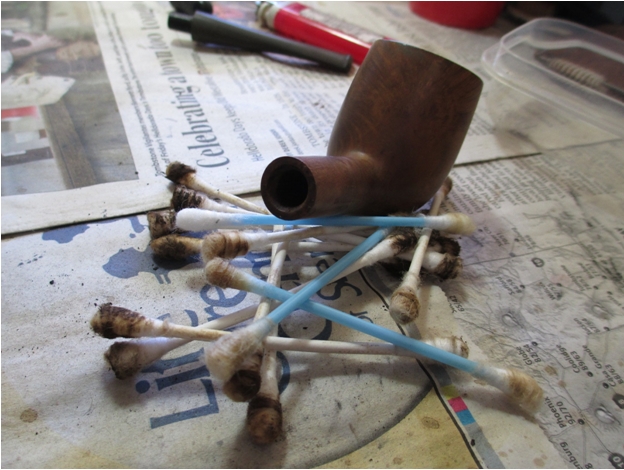
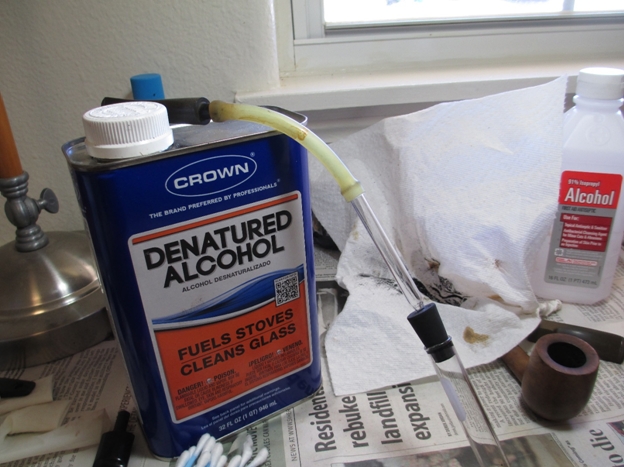
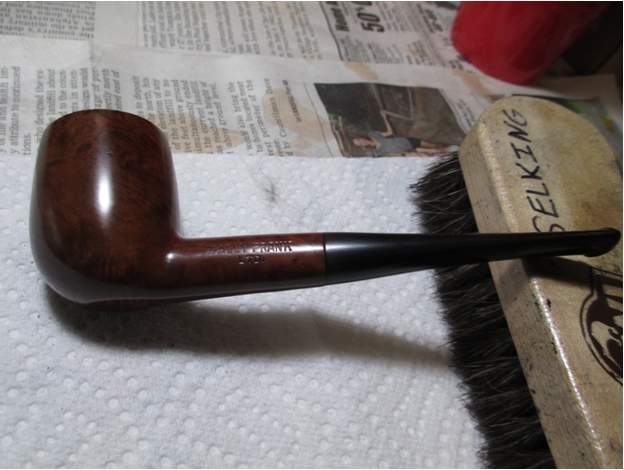
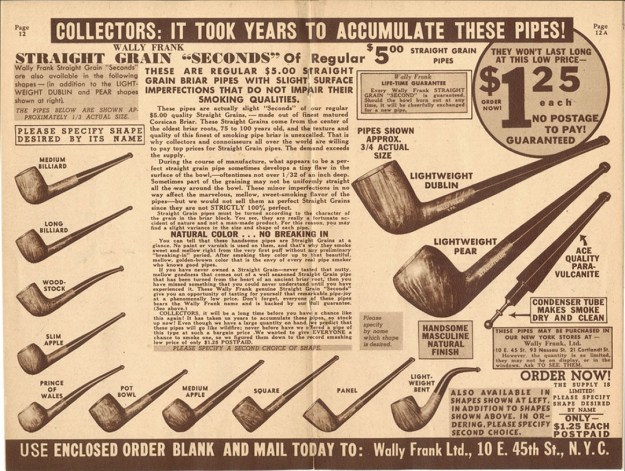 Armed with that information I turned to work on the pipe itself. Jeff had done a great job cleaning up the pipe as usual. He cleaned up the inside of the bowl with a PipNet reamer and a Savinelli Fitsall Pipe Knife. The bowl walls looked very good. He scrubbed the interior of the bowl and shank with pipe cleaners, cotton swabs and alcohol to remove the tars and oils. He scrubbed the exterior of the pipe with Murphy’s Oil Soap and a tooth brush to remove the grime from the finish. He worked on the rim top lava and darkening with the soap and tooth brush. He scrubbed the inside of the stem with alcohol and pipe cleaners. He scrubbed the exterior with Soft Scrub and then soaked it in Briarville’s Pipe Stem Deoxidizer. He washed it off with warm water to remove the deoxidizer. The pipe looked far better. I took photos of the pipe when I received it before I started working on it.
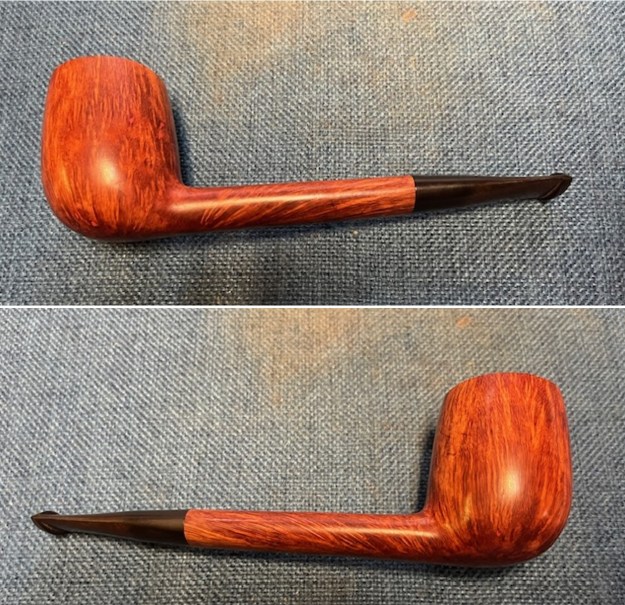
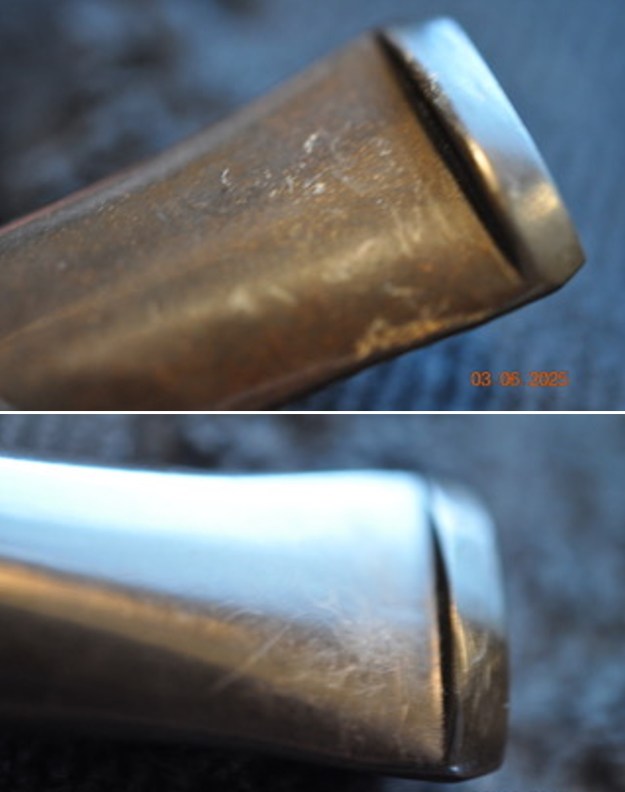
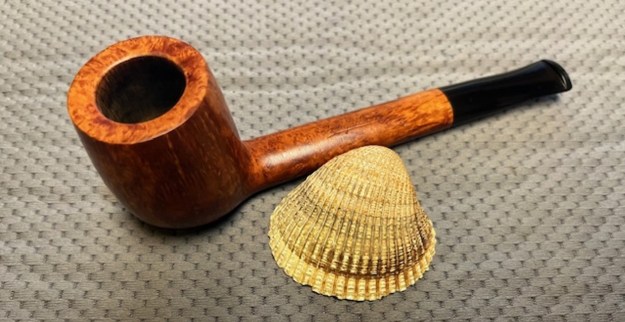
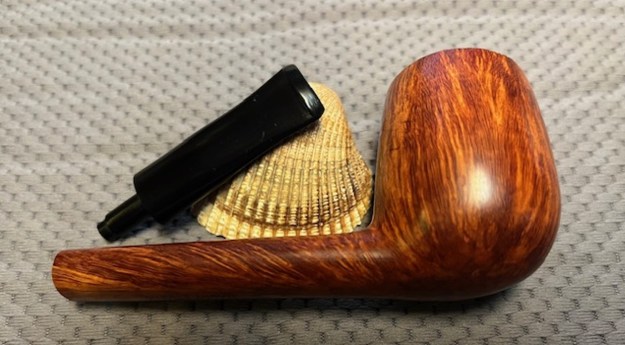
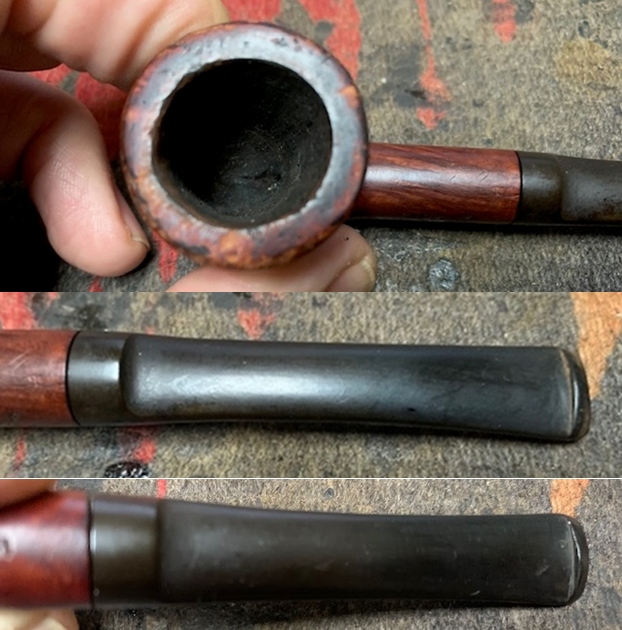
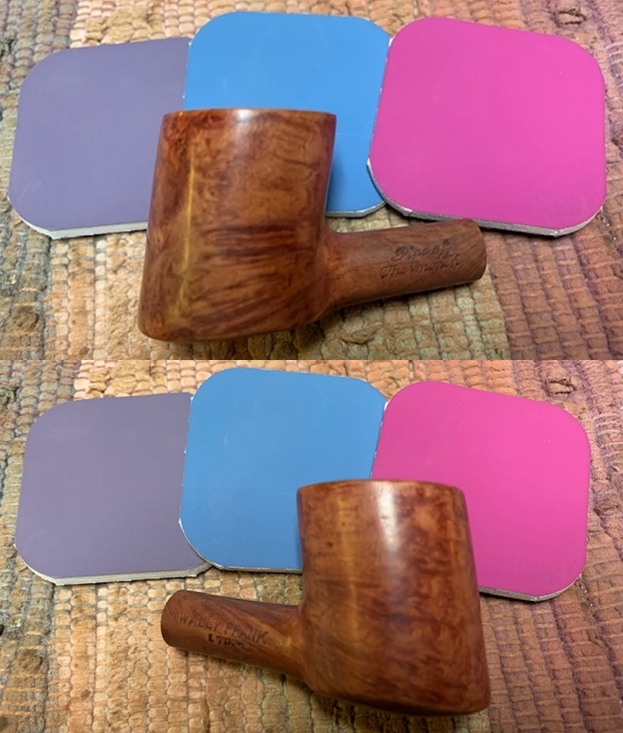
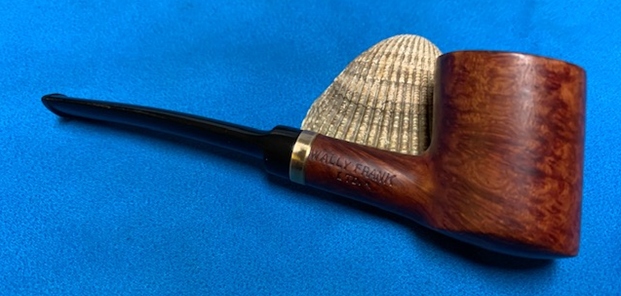
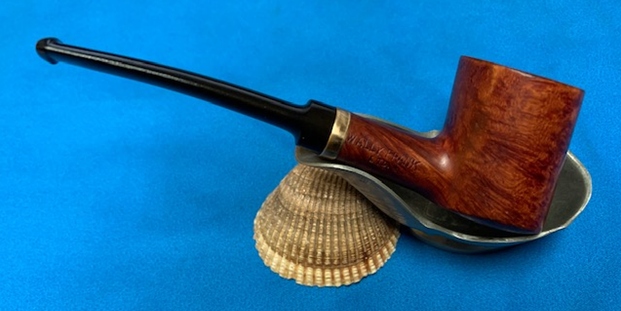
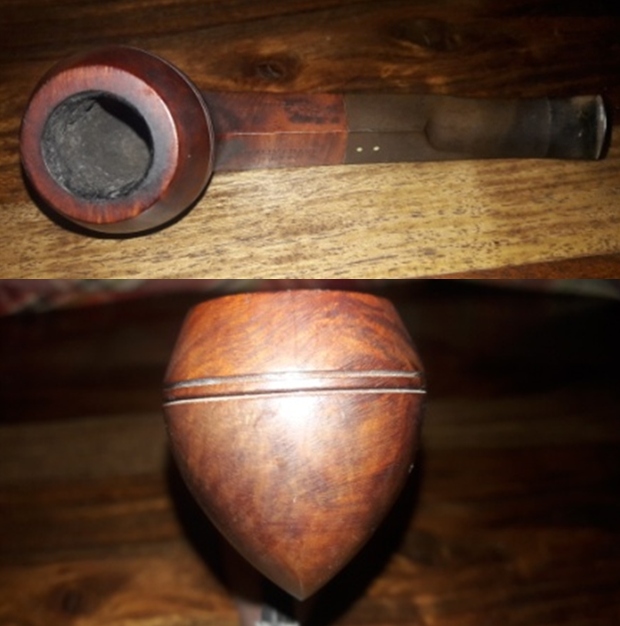
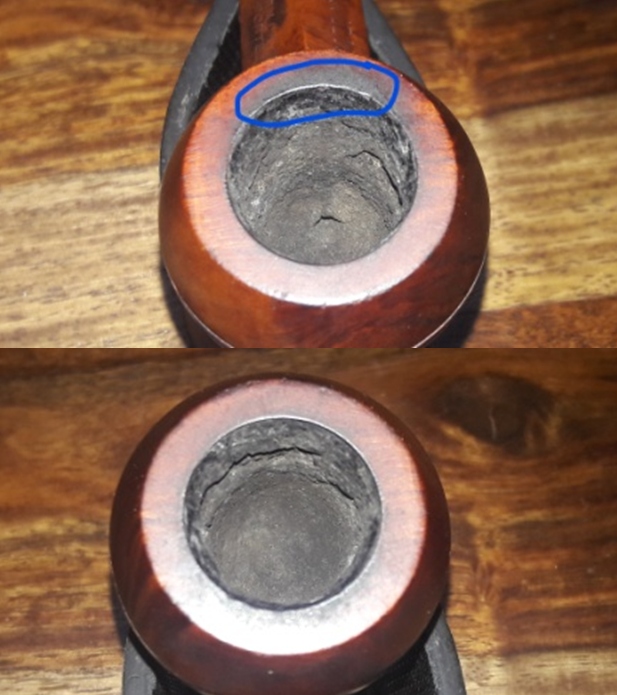
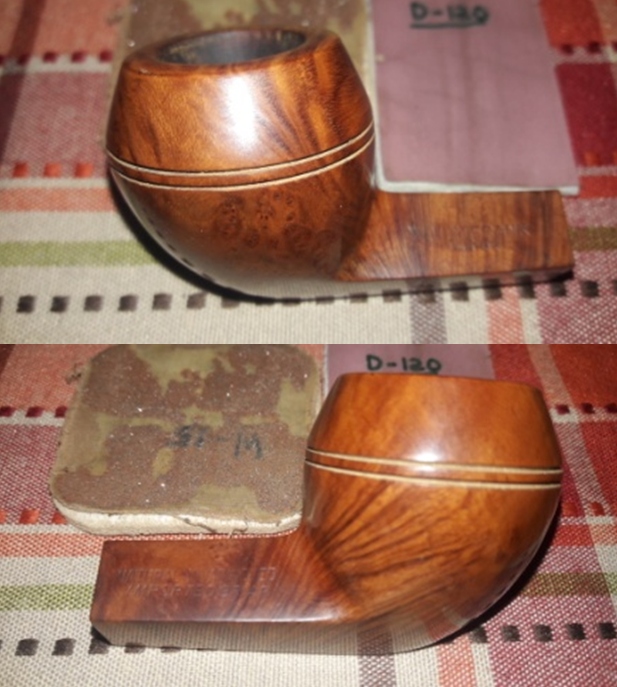
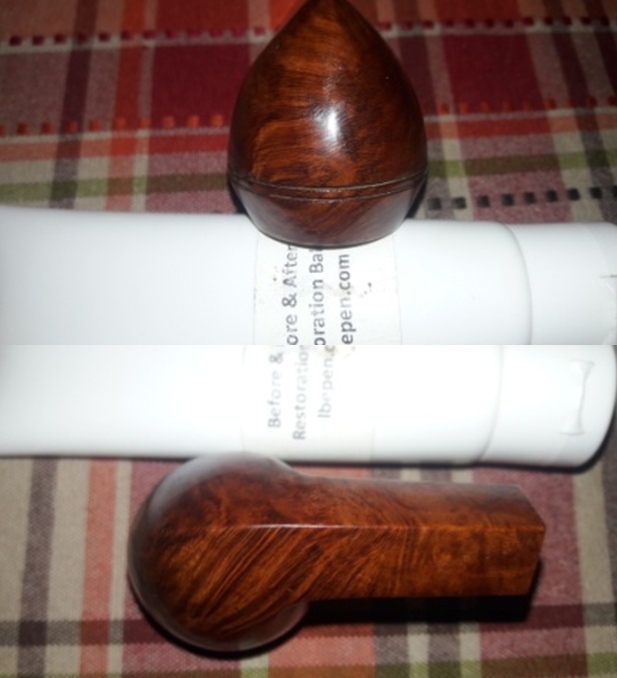
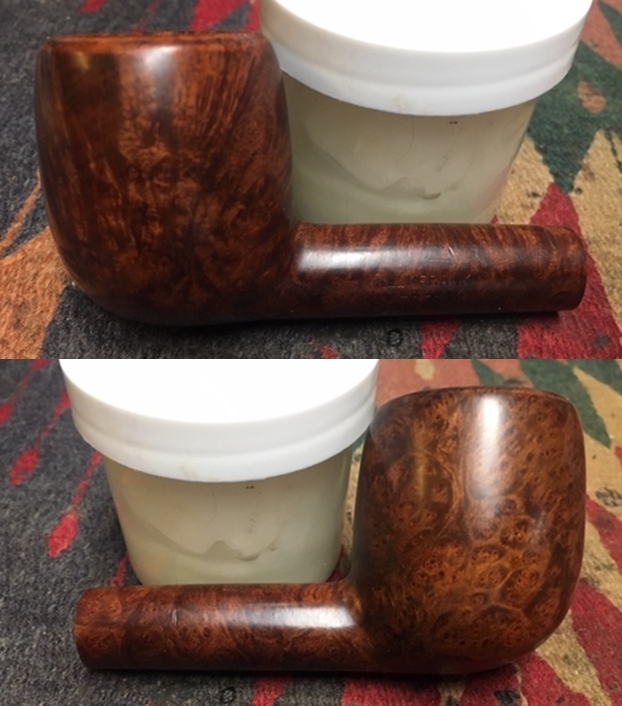
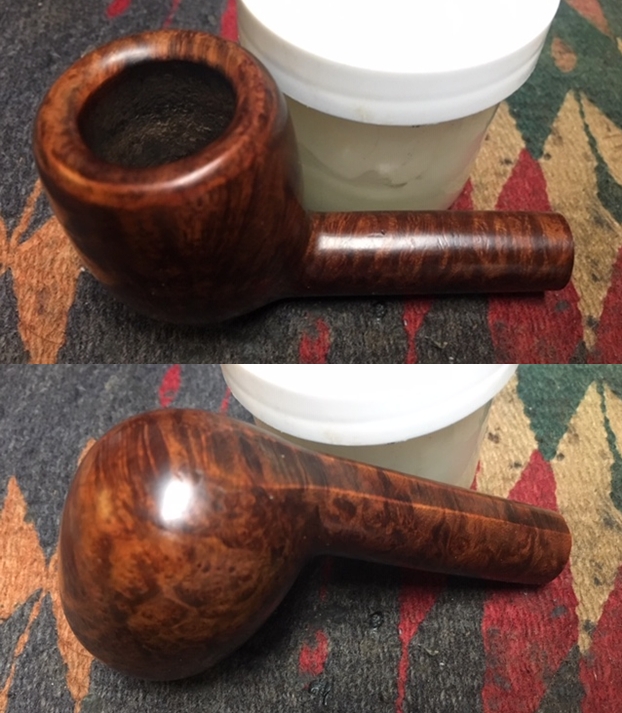
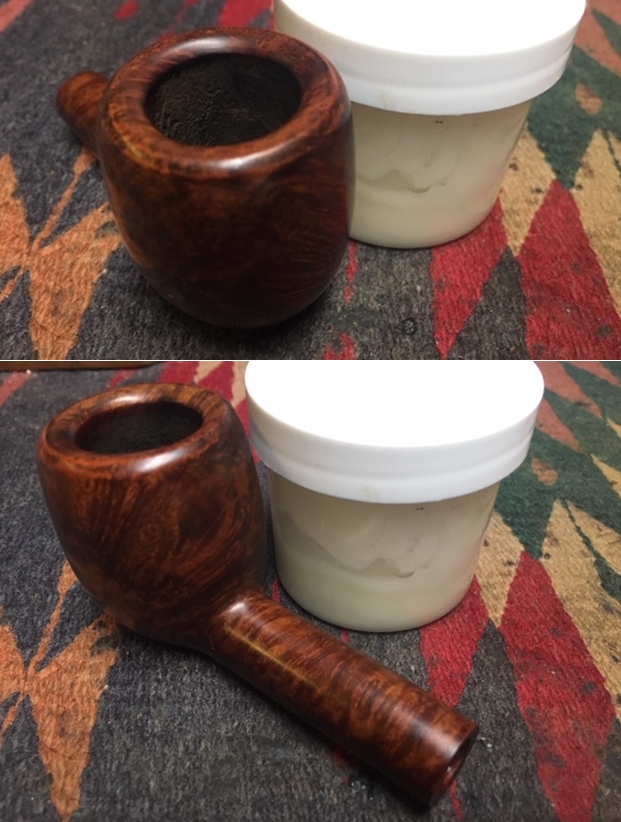
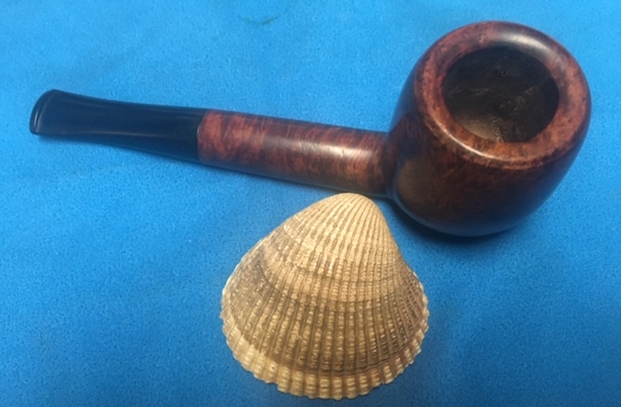
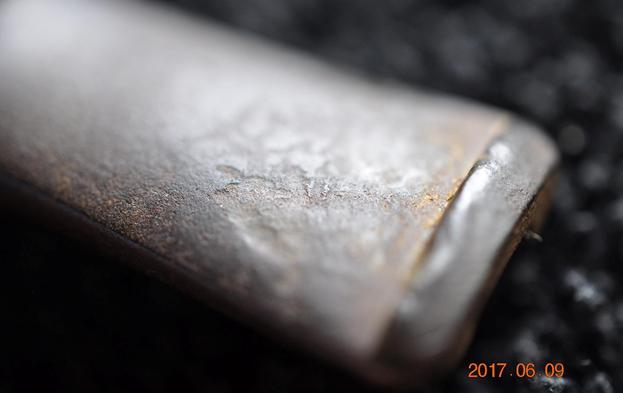
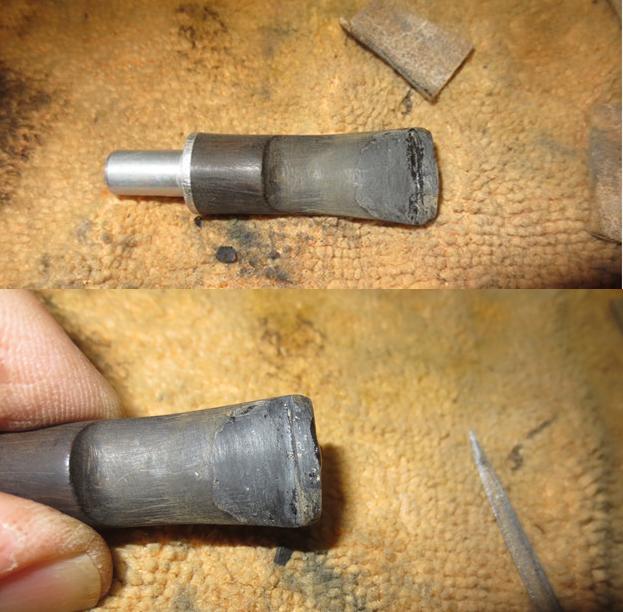
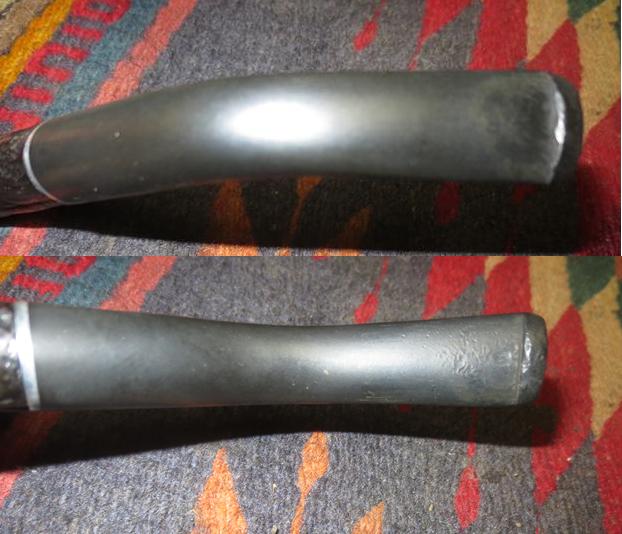
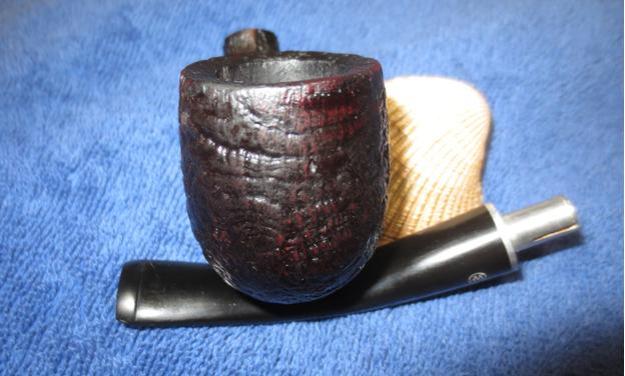
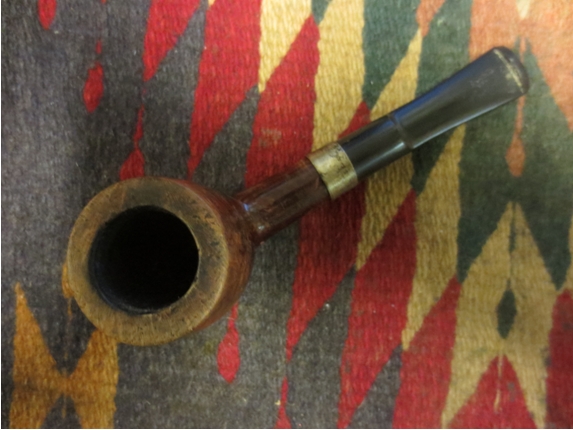
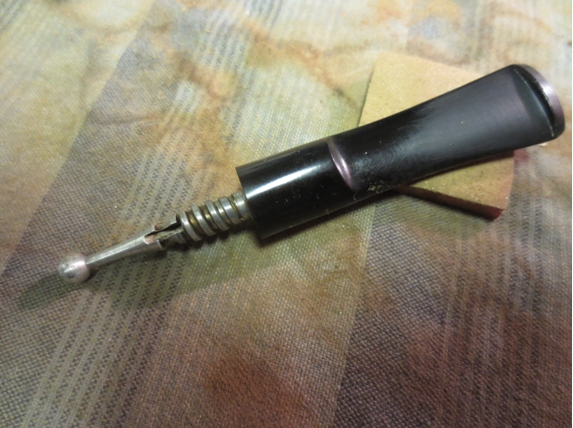
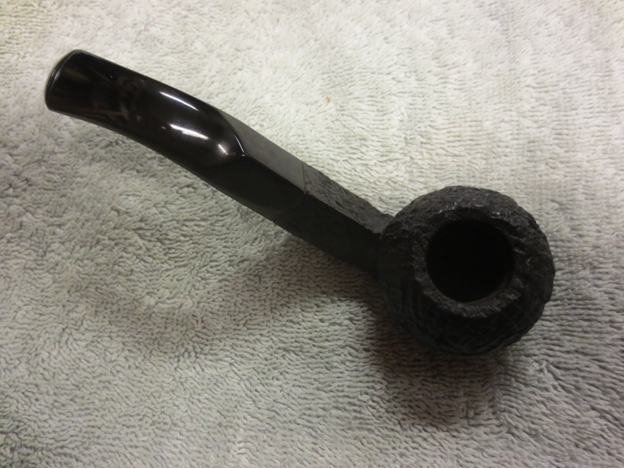
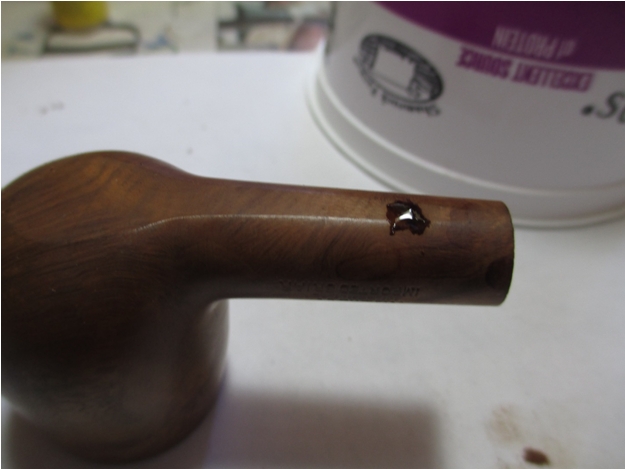
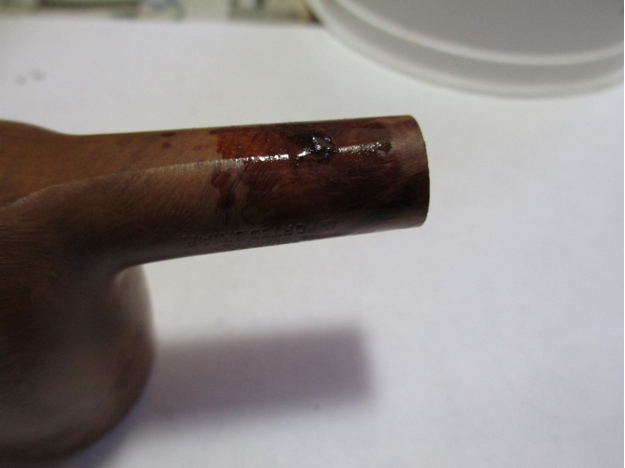
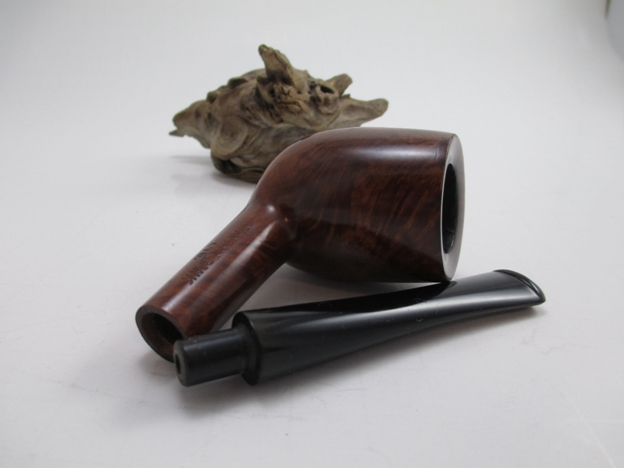
 I took a close up photo of the rim top and stem surface to show the condition after the clean up. The bowl was in good condition though the rim top and edges showed some darkening. The stem surface showed some oxidation and some light tooth marks and chatter on both sides.
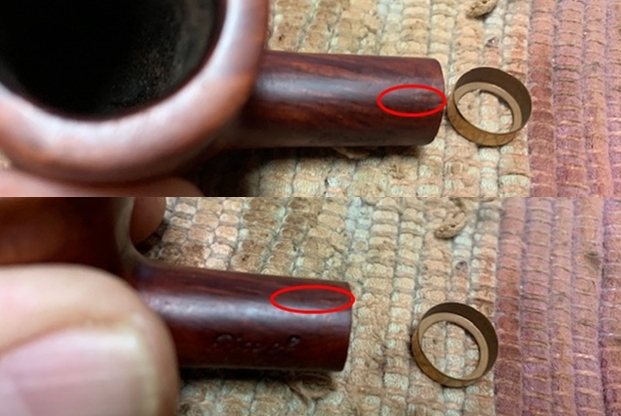
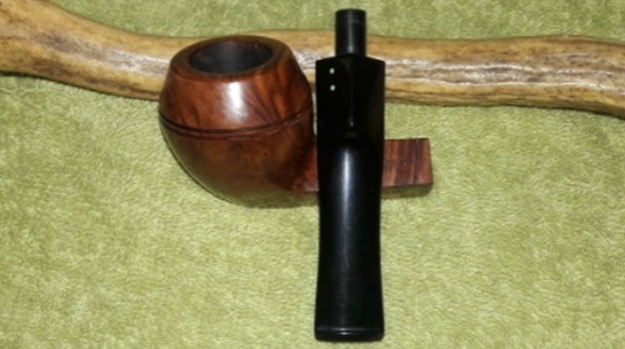
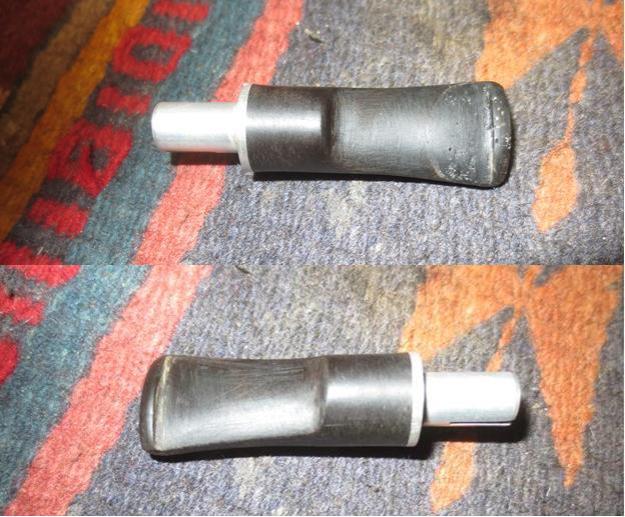
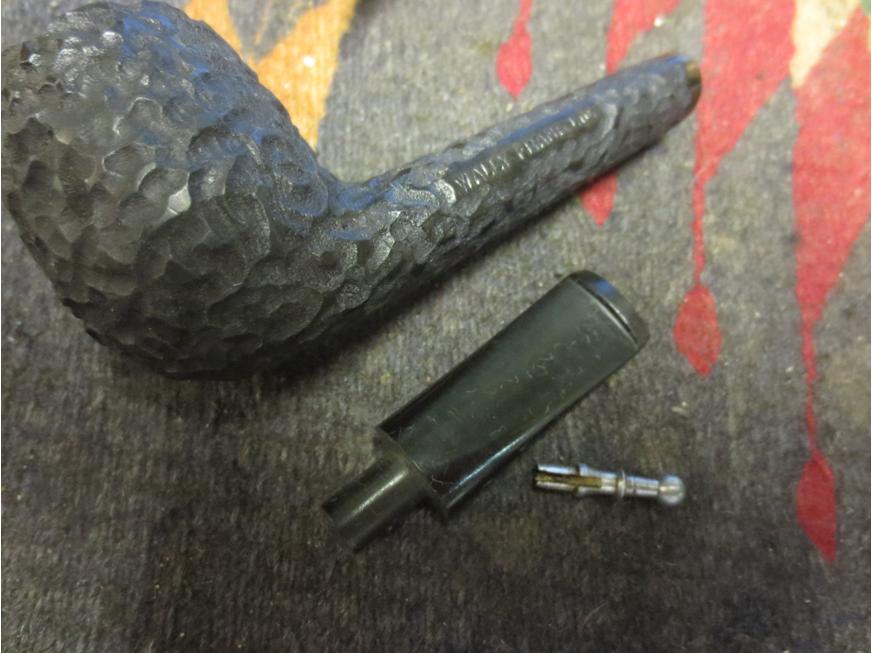
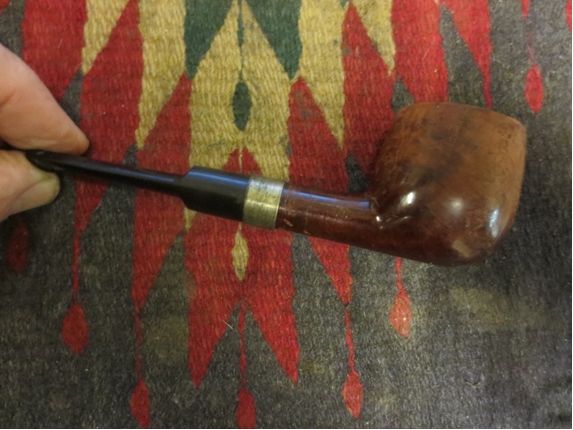
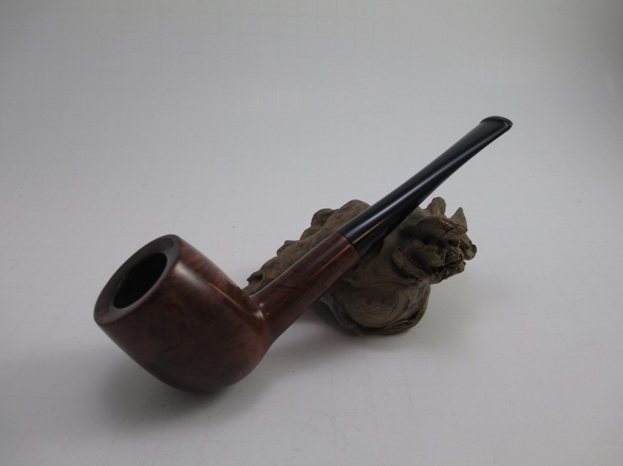
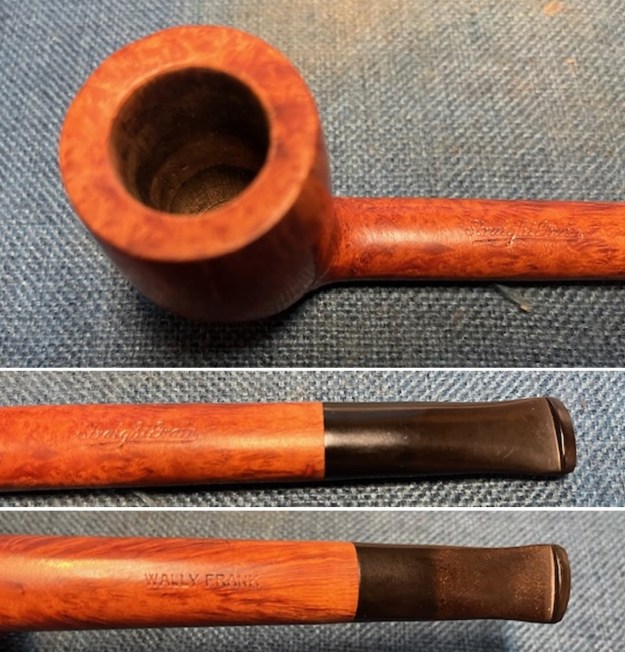 The stamping on the shank was readable as noted above. I took the stem off the pipe and took a photo of the pipe in proportion. It is a beautiful pipe.
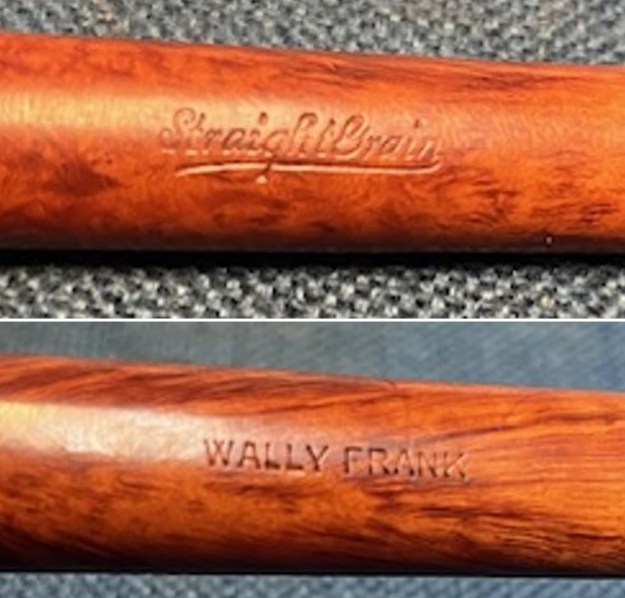
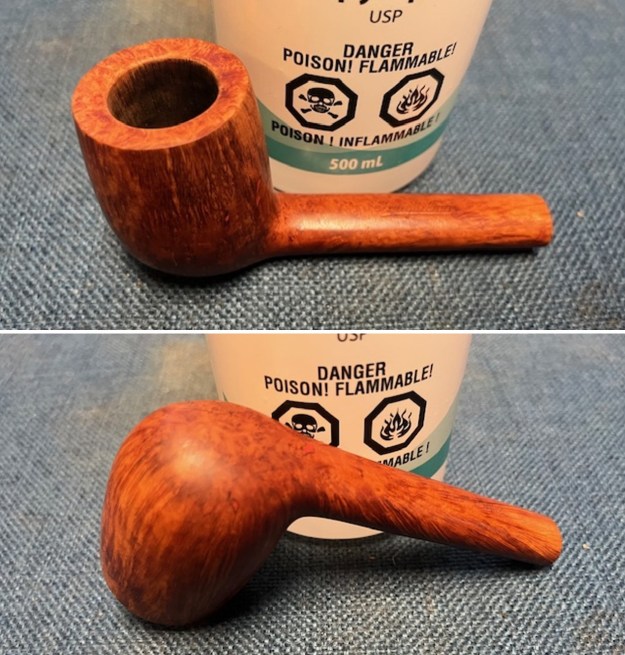
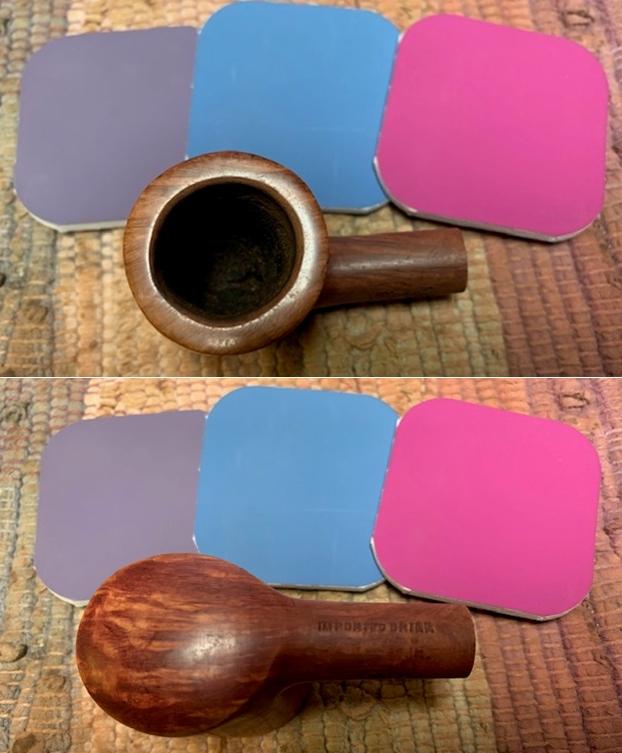
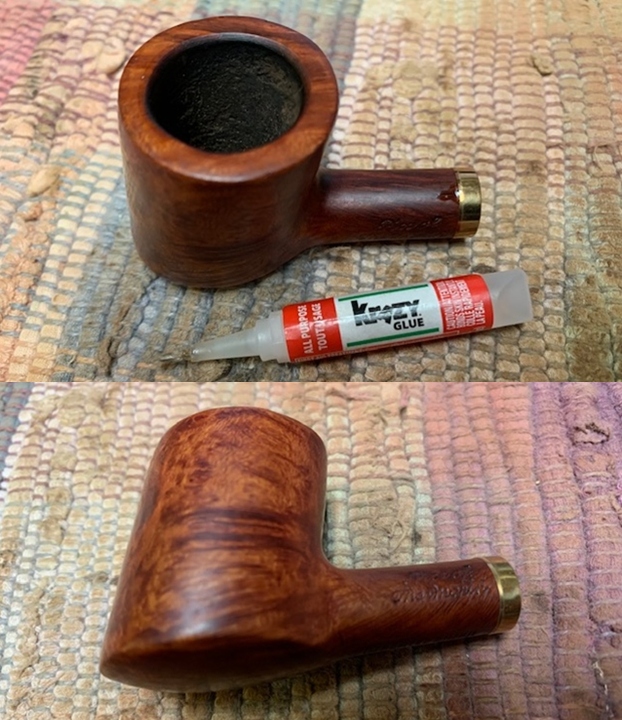
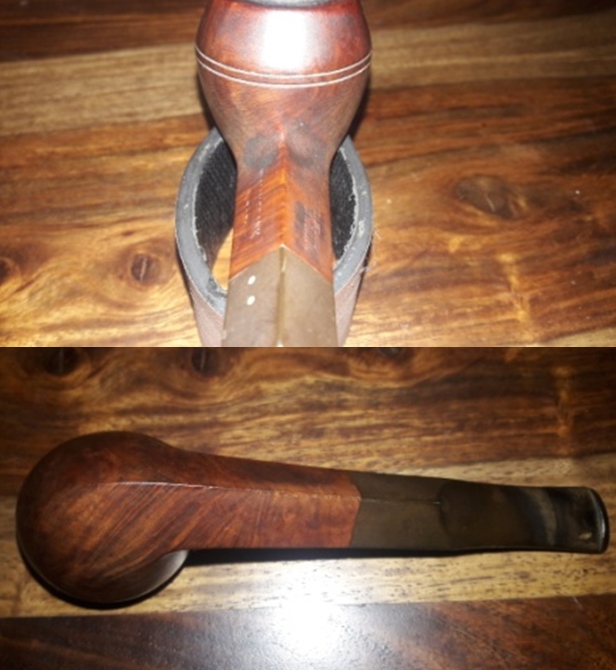
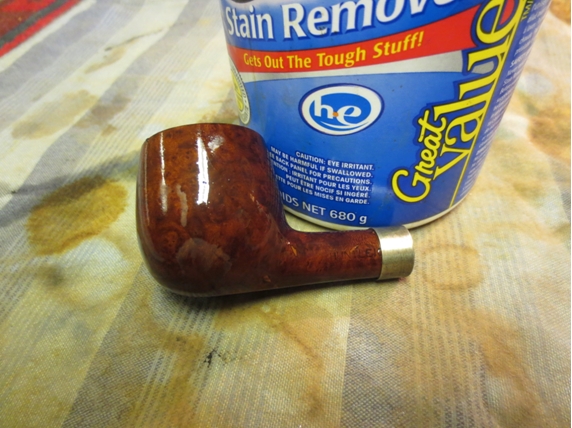
 The bowl and shank had a topcoat of varnish on the surface. From my examination of it was spotty and did not fully or evenly cover the briar surface. I decided to remove that topcoat finish with isopropyl alcohol on a cotton pad. It easily removed the varnish coat and the smooth briar surface was much better.
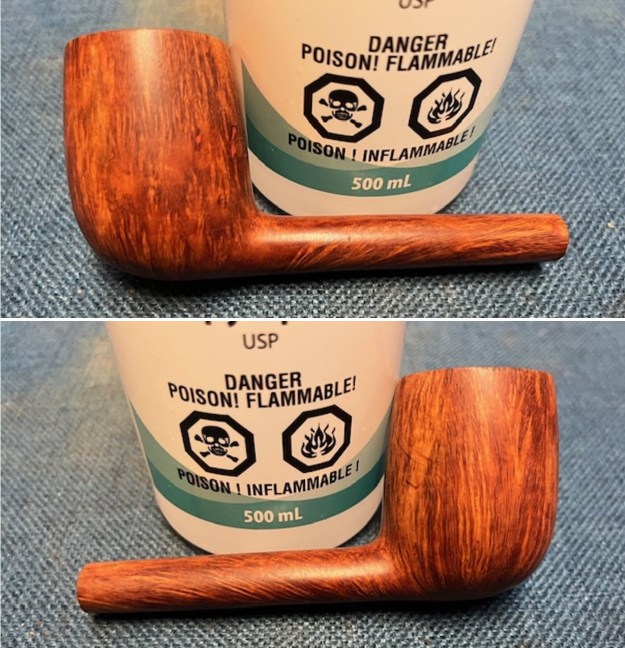
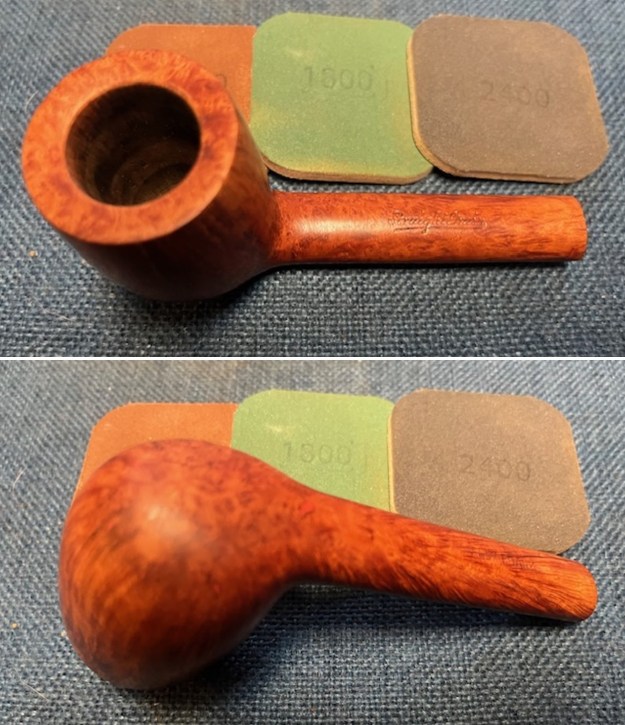
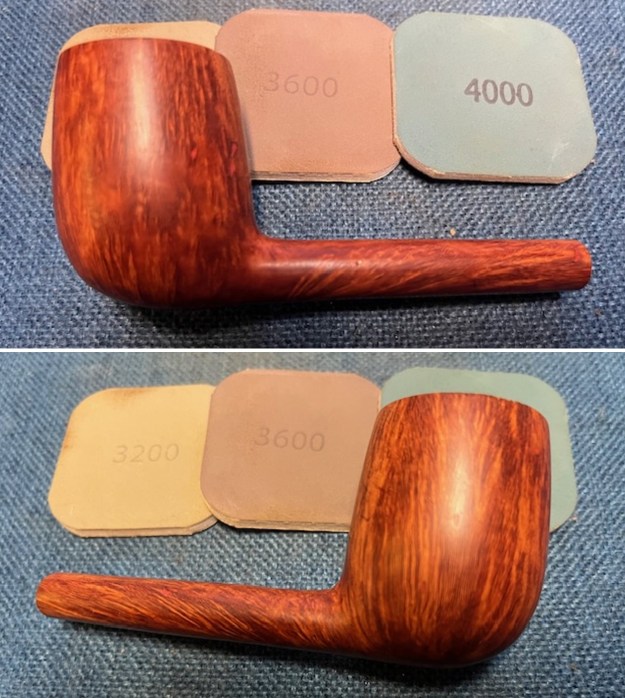
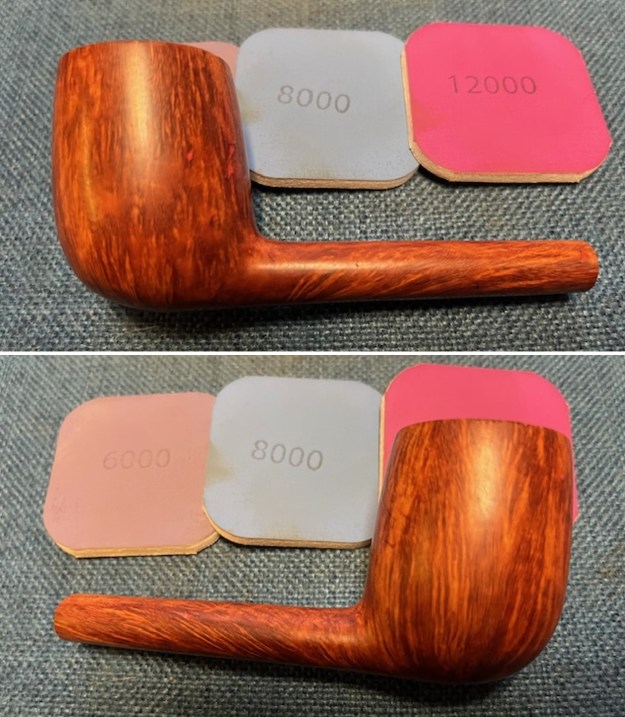
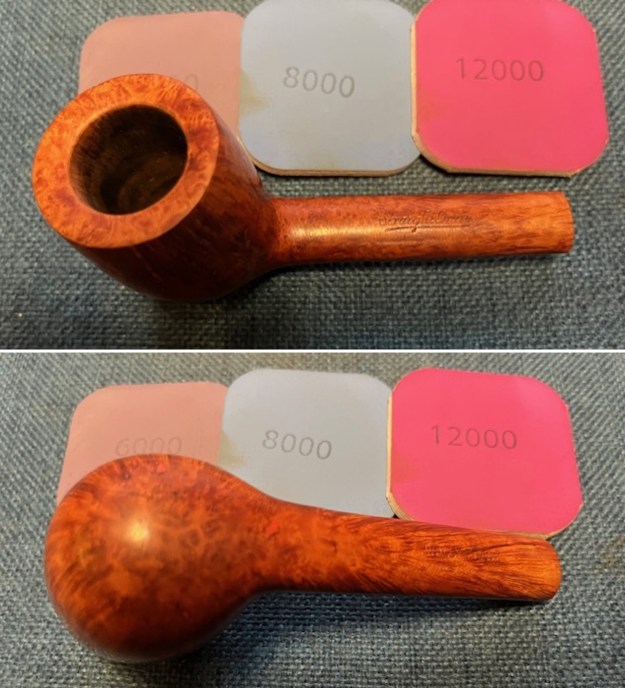
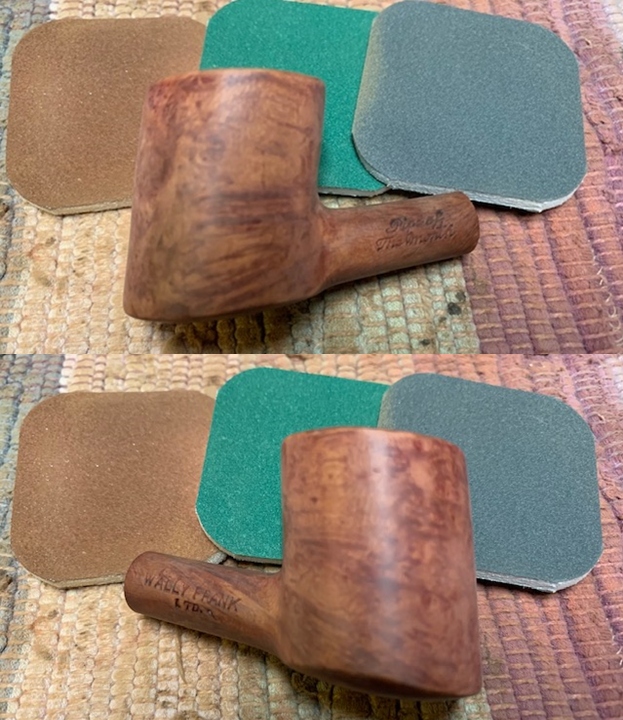
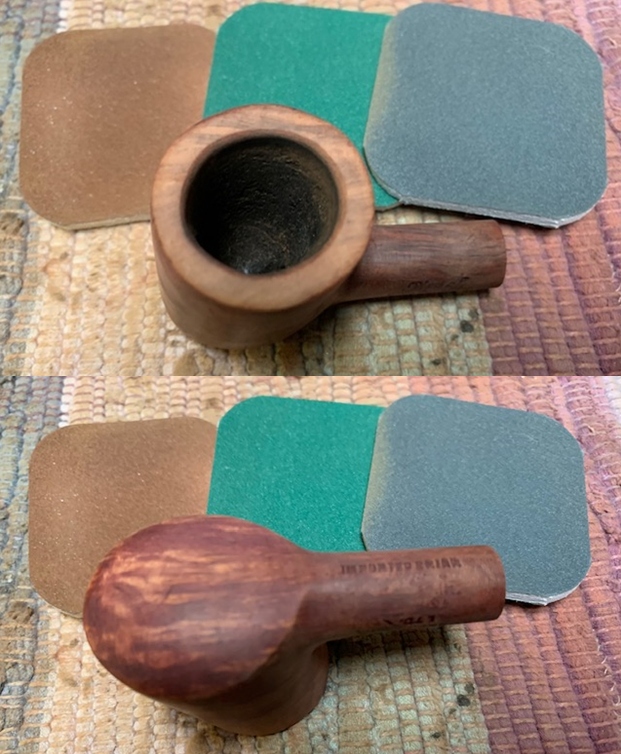
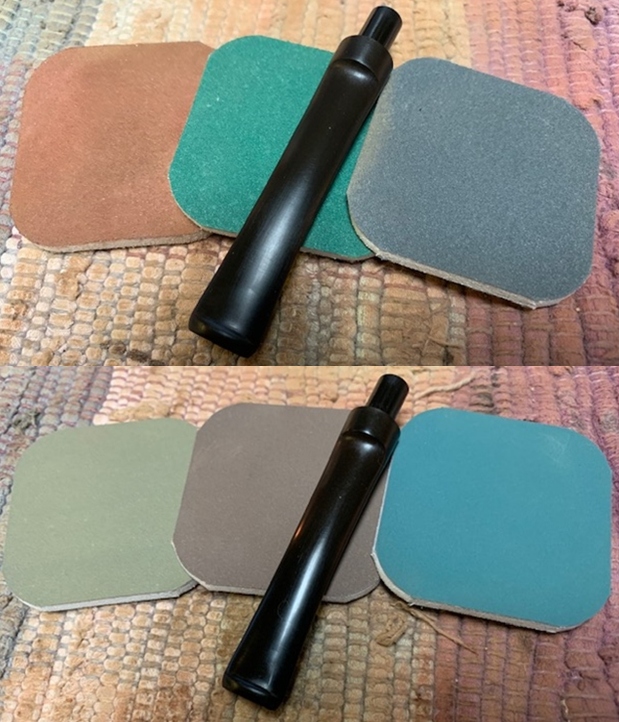
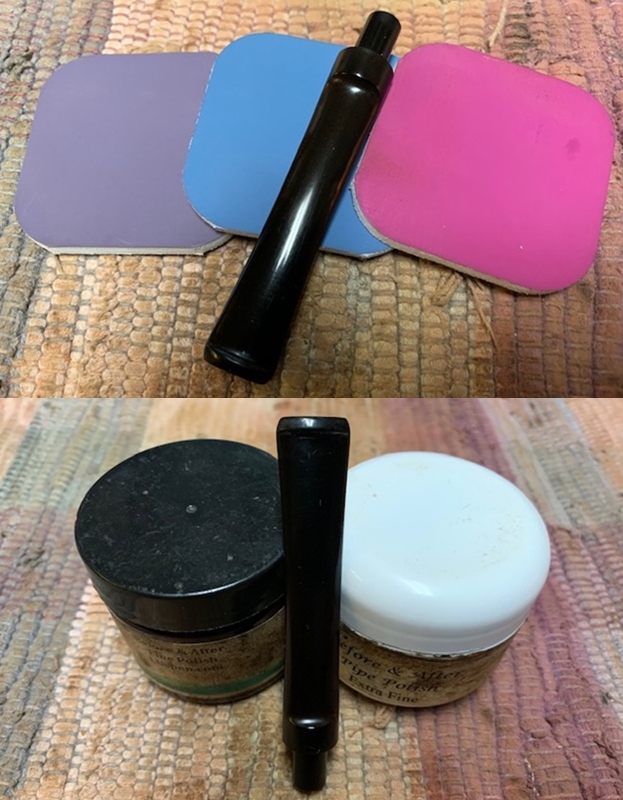
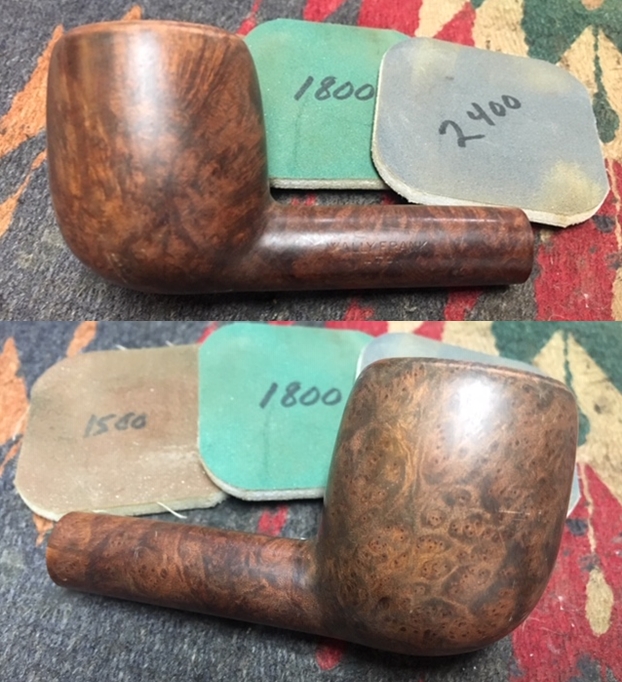
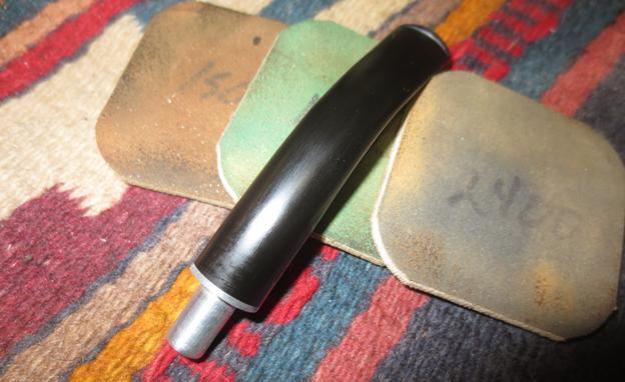
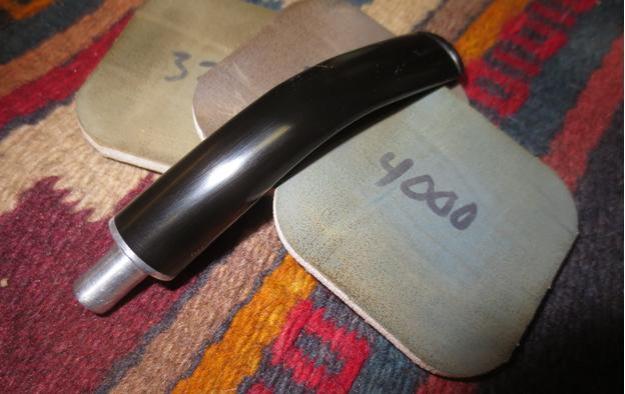
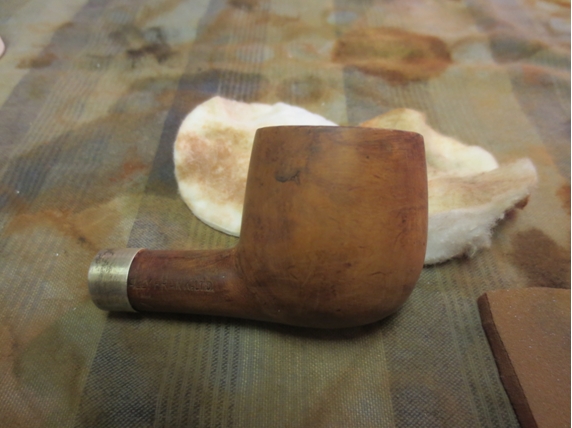
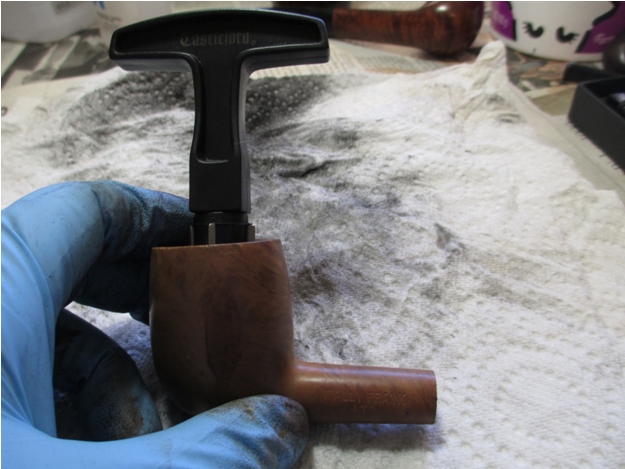
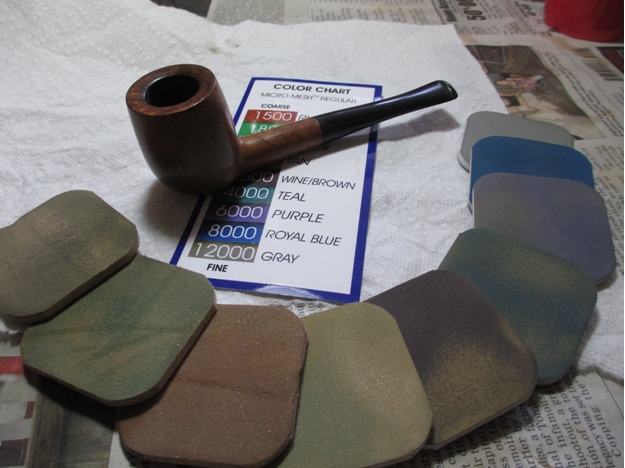
 I polished the bowl sides, bevelled rim top and the inner edge of the rim with micromesh sanding pads – dry sanding with 1500-12000 grit sanding pads. I wiped it down after each sanding pad to remove the sanding debris. The pipe looked much improved at this point.
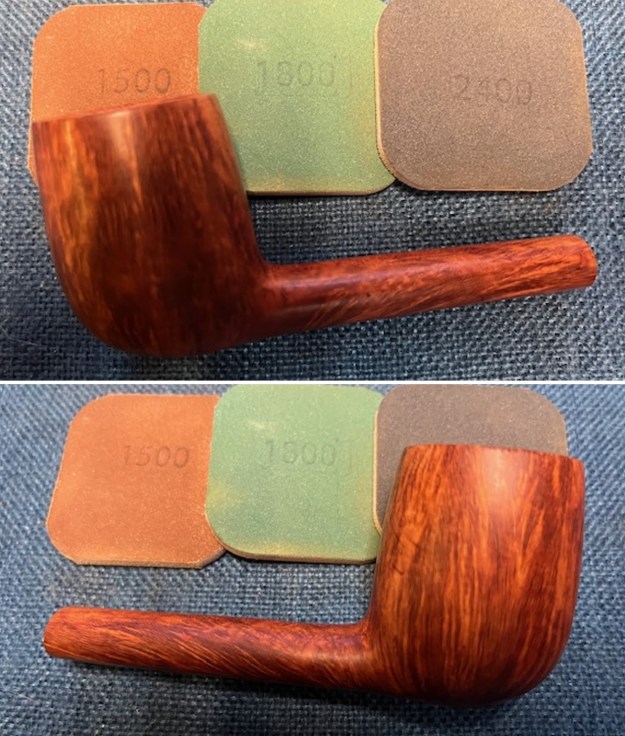

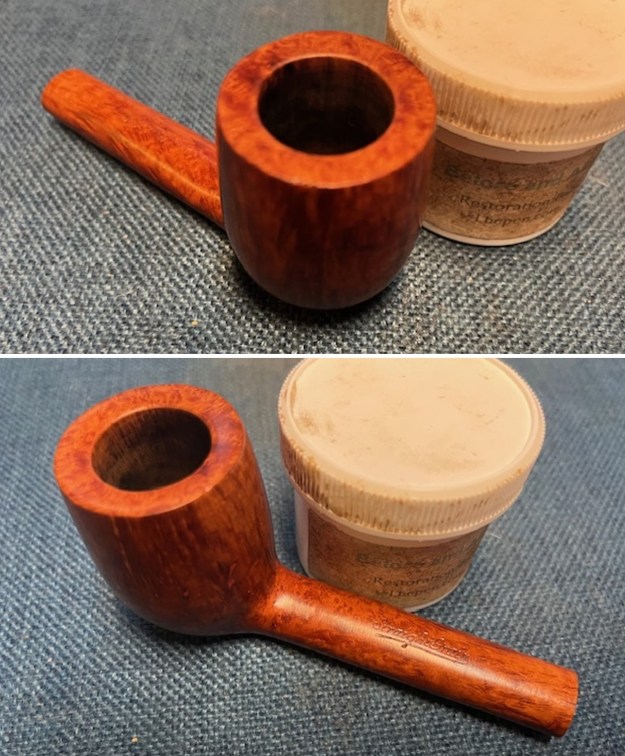
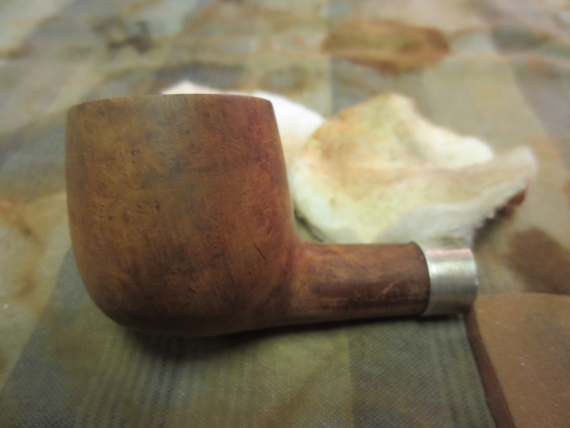
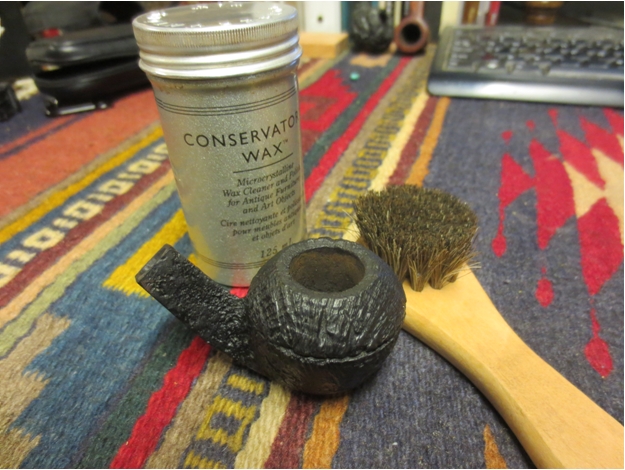
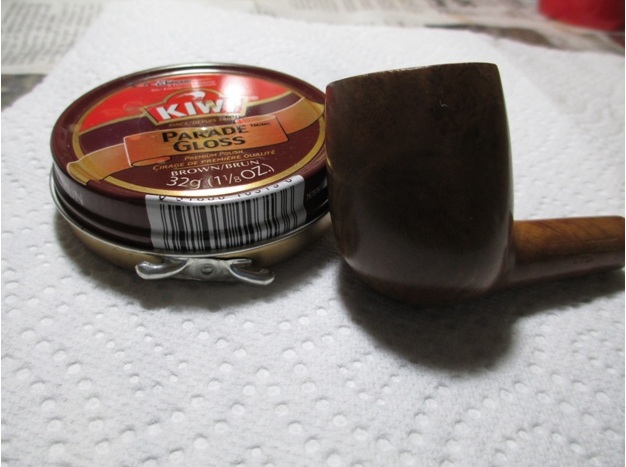
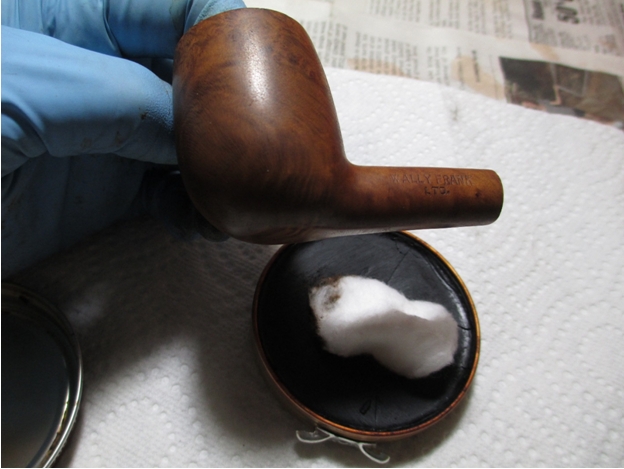
 I rubbed the bowl down with Before & After Restoration Balm working it into the briar with my fingertips to clean, enliven and protect it. I let the balm sit for 15 minutes and then buffed with a cotton cloth to raise the shine. Mark Hoover’s Balm is a product that I have come to appreciate and one I use on every pipe I have been working on.

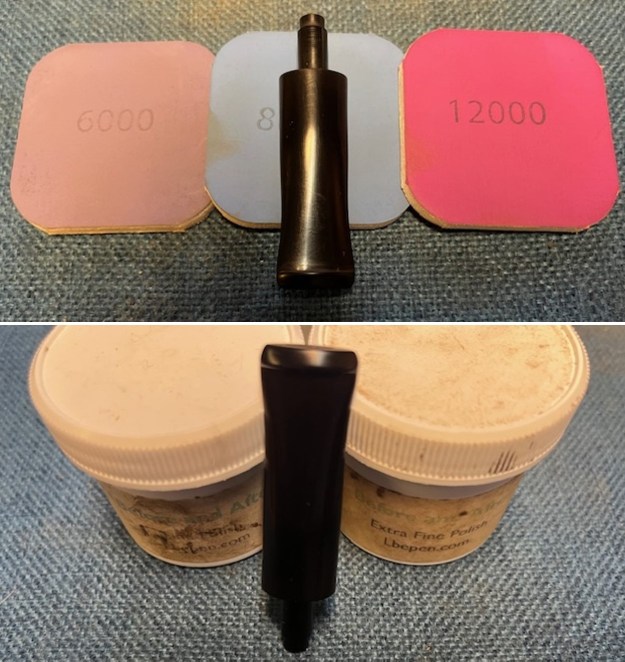
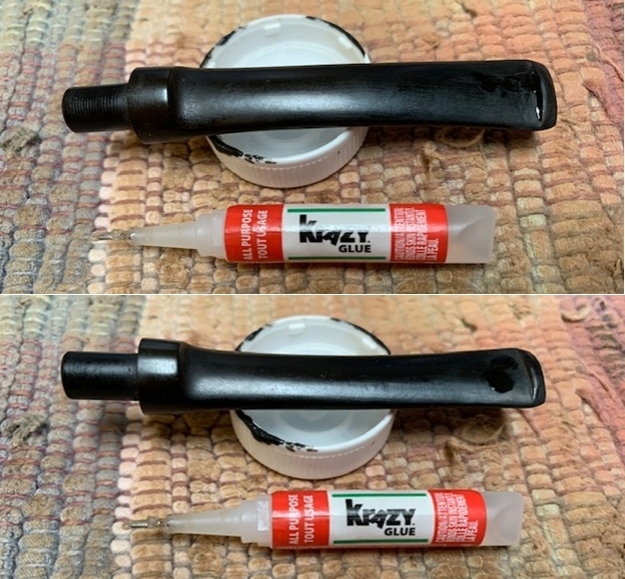
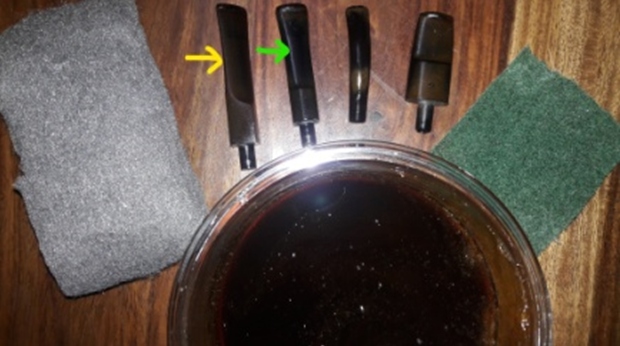
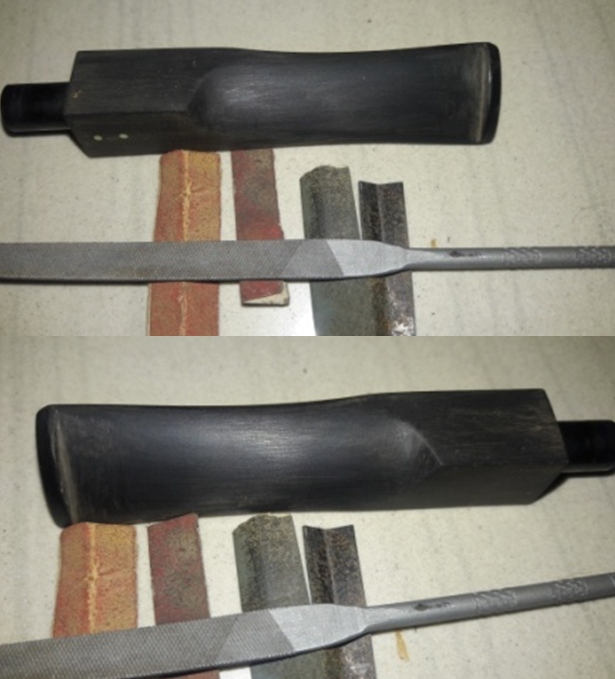
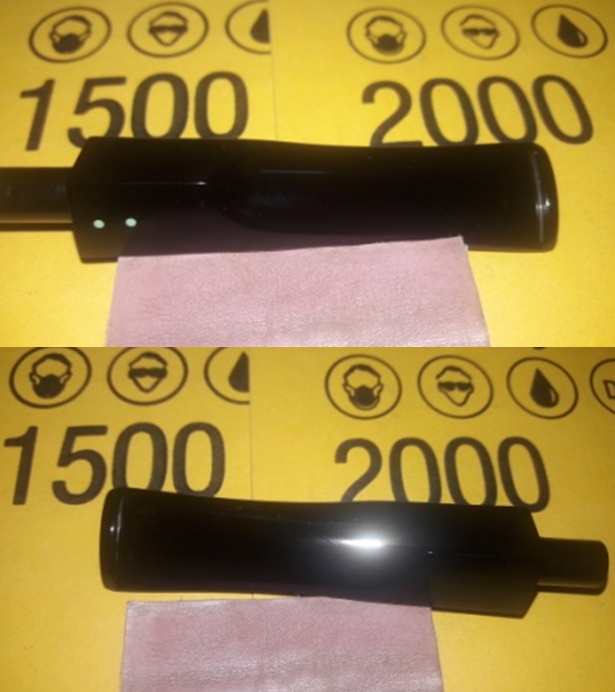
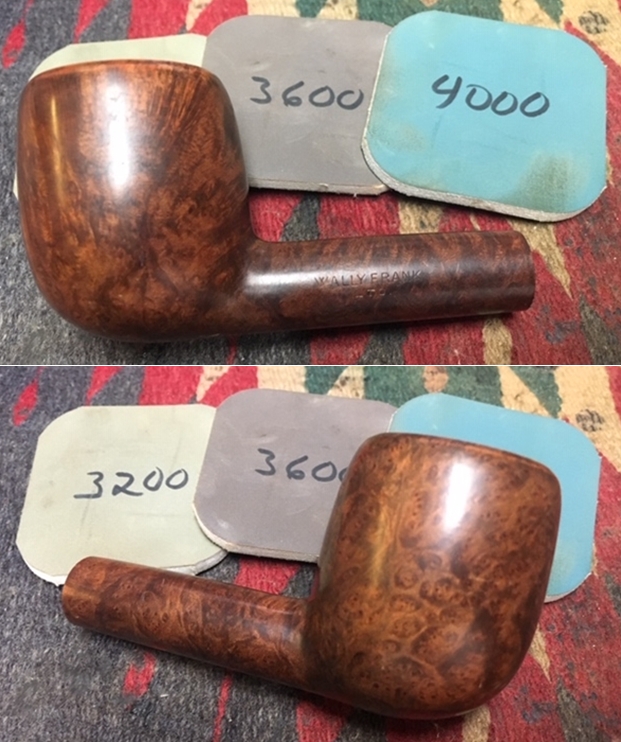
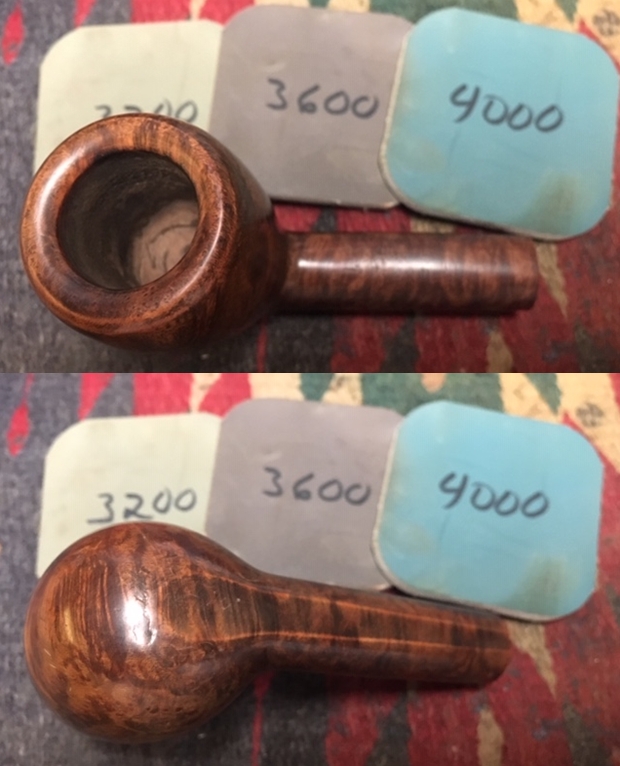
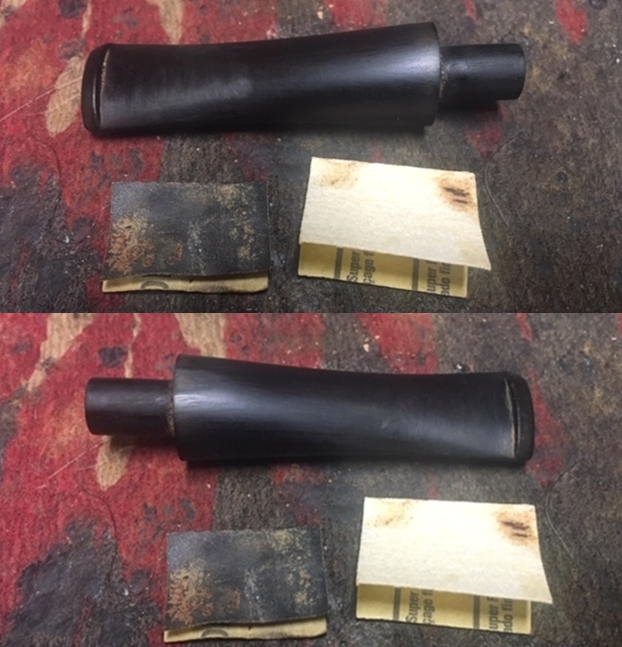
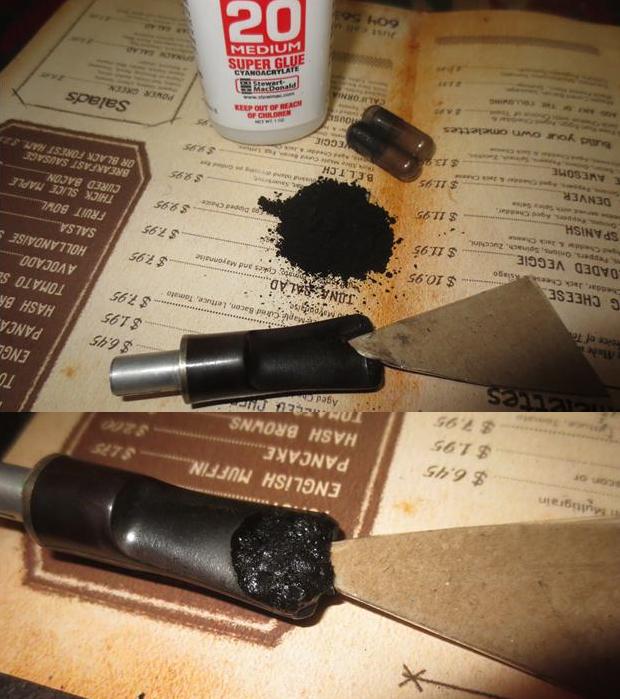
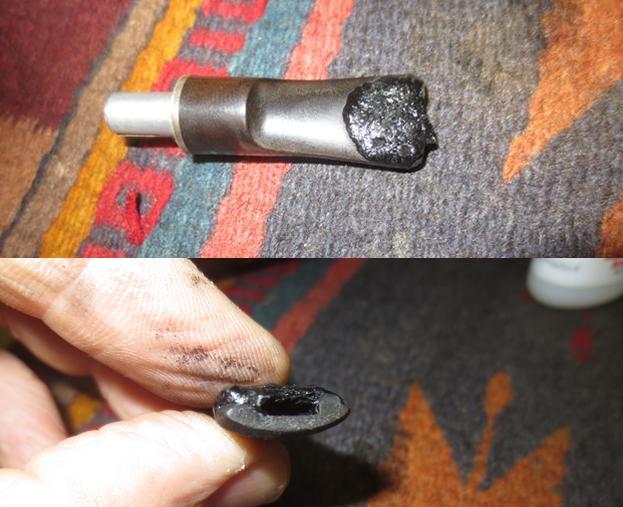
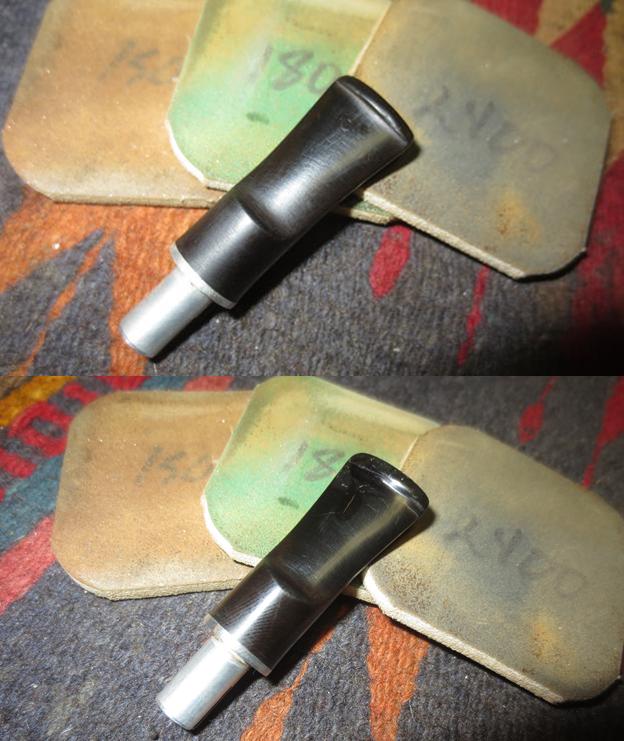
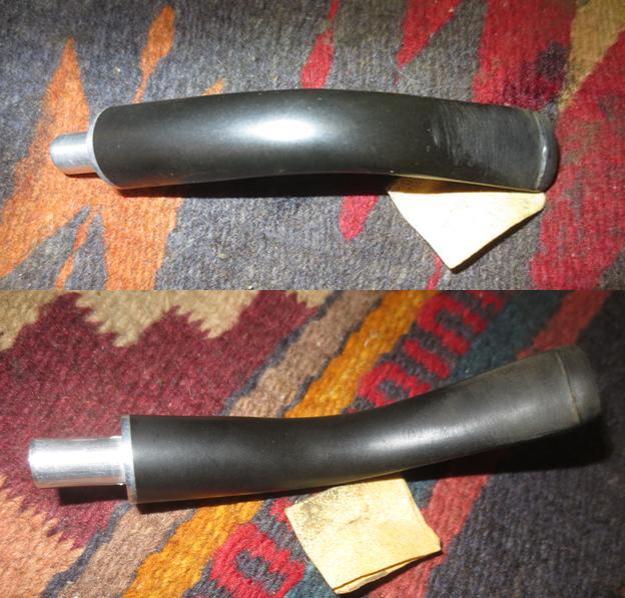
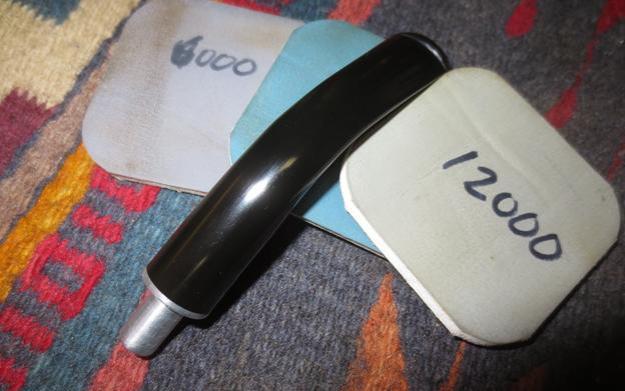
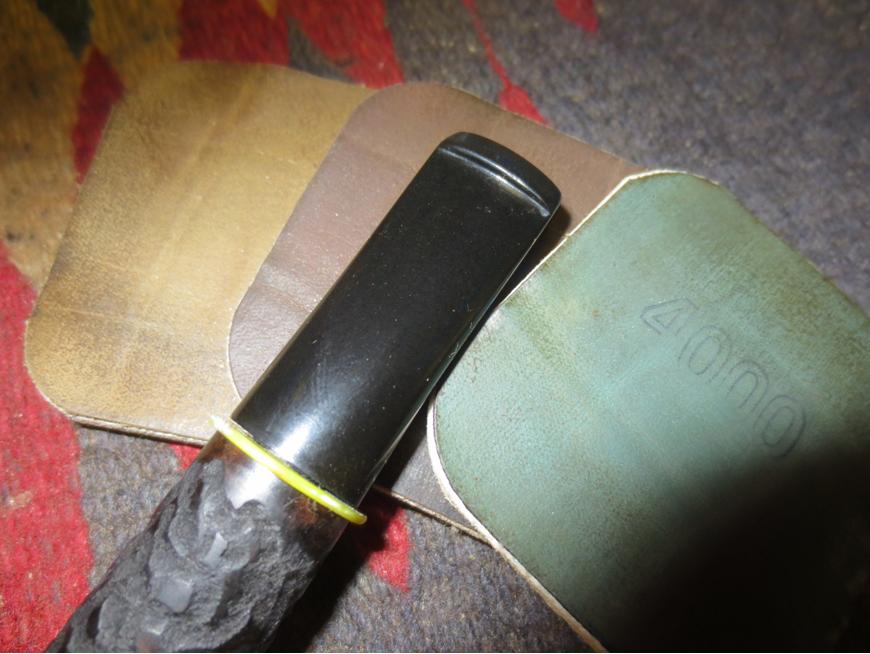
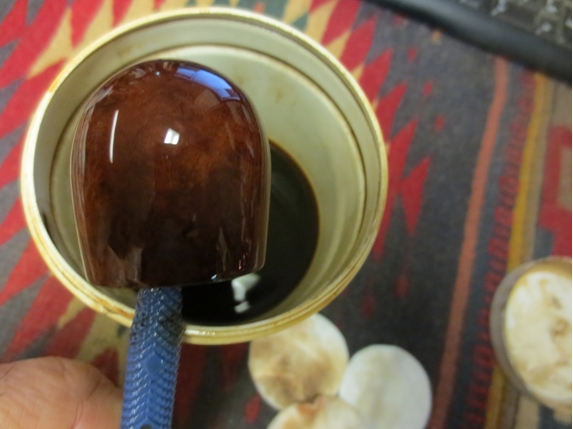
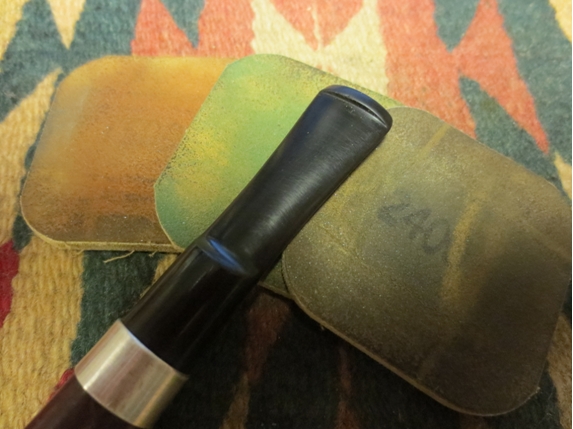
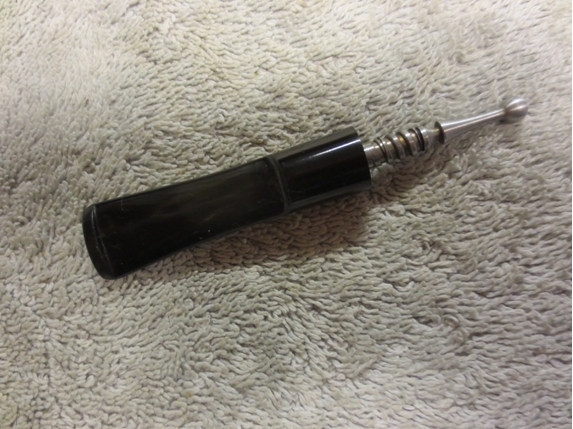
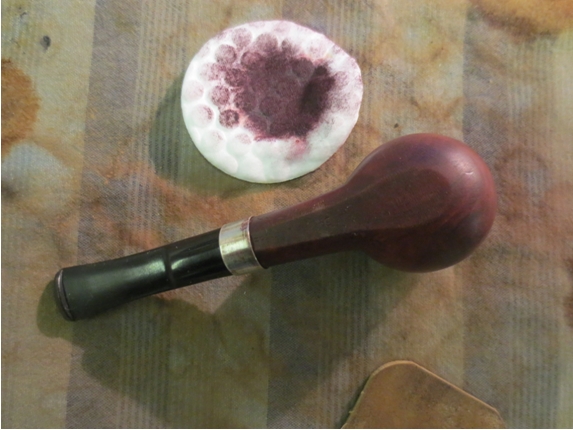
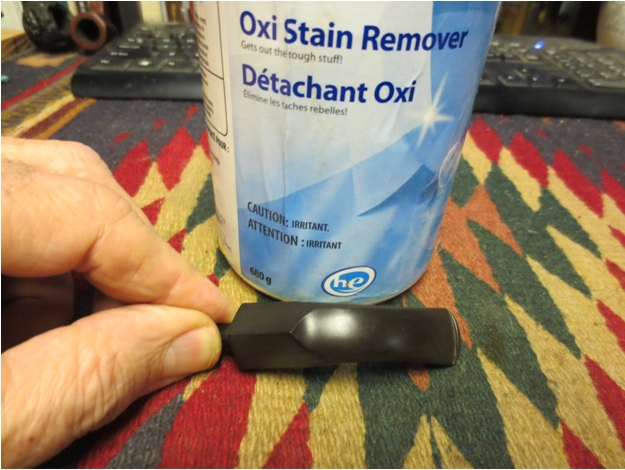
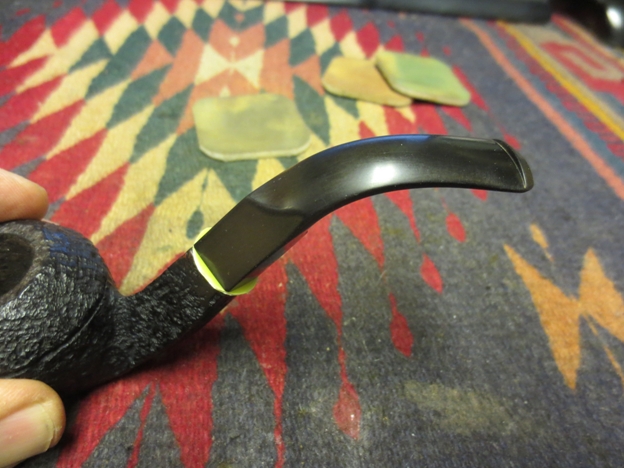
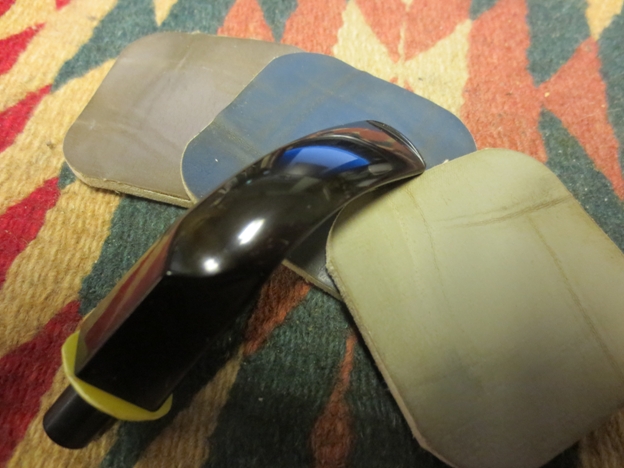
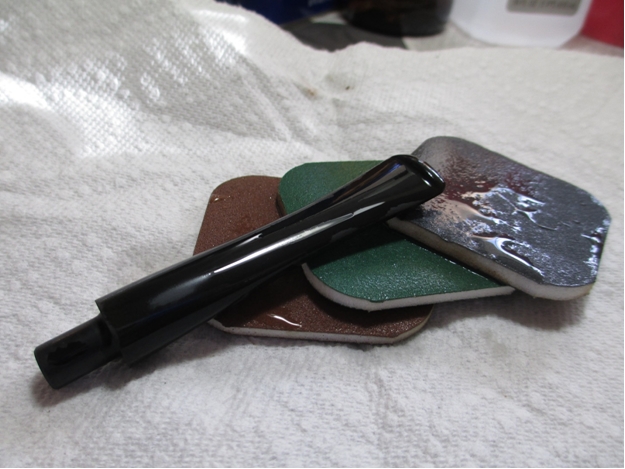
 Looking at the stem in bright light I could see some oxidation starting mid stem going to the button. While the chatter and tooth marks were light the oxidation was quite deep and only visible in bright lights. I sanded the stem with 320-3500 grit sanding pads. I wiped the stem down with an Obsidian Oil cloth after each sanding pad. I think I finally beat the oxidation.
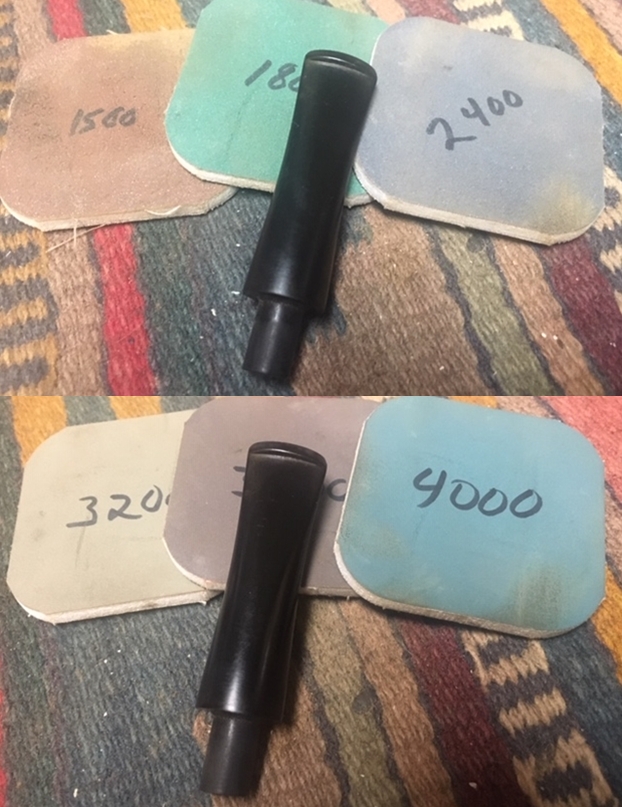
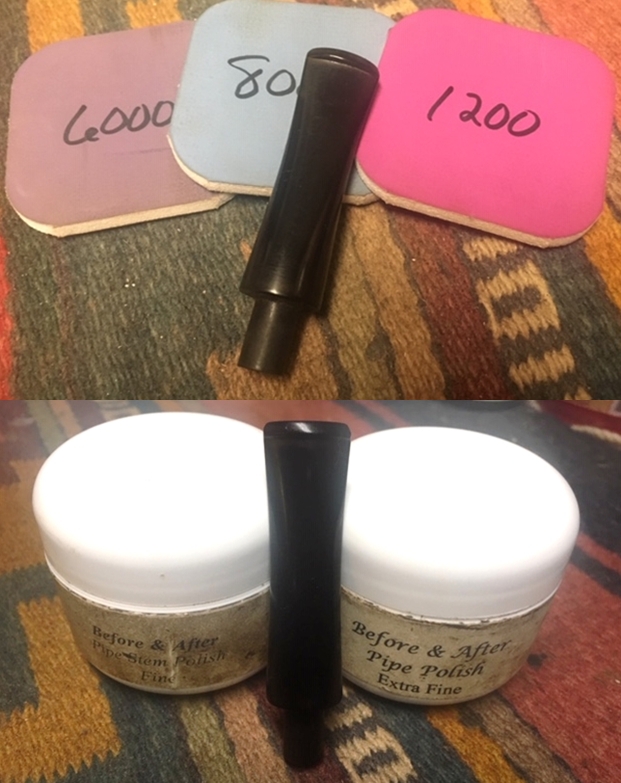
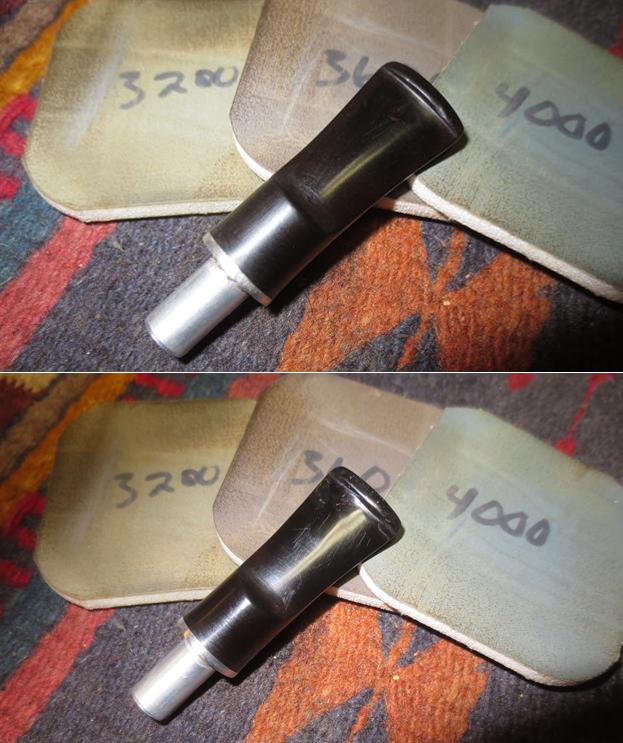
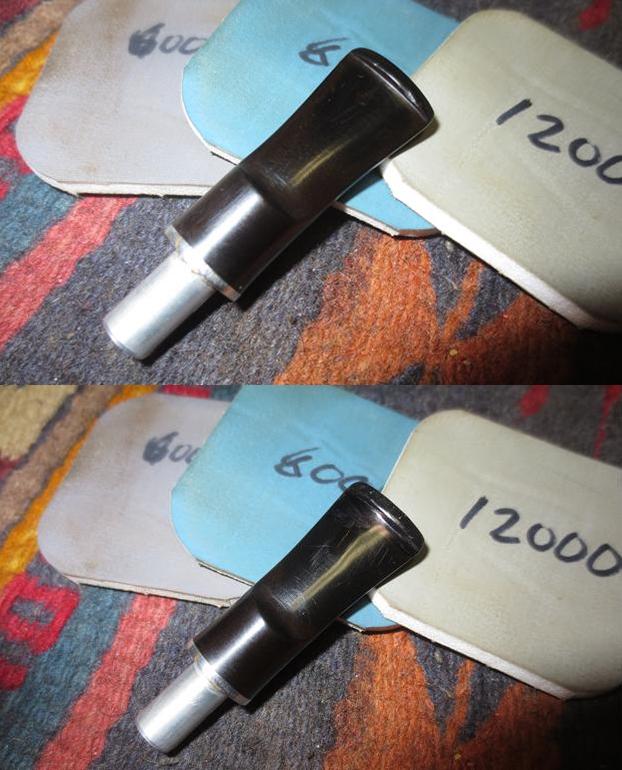
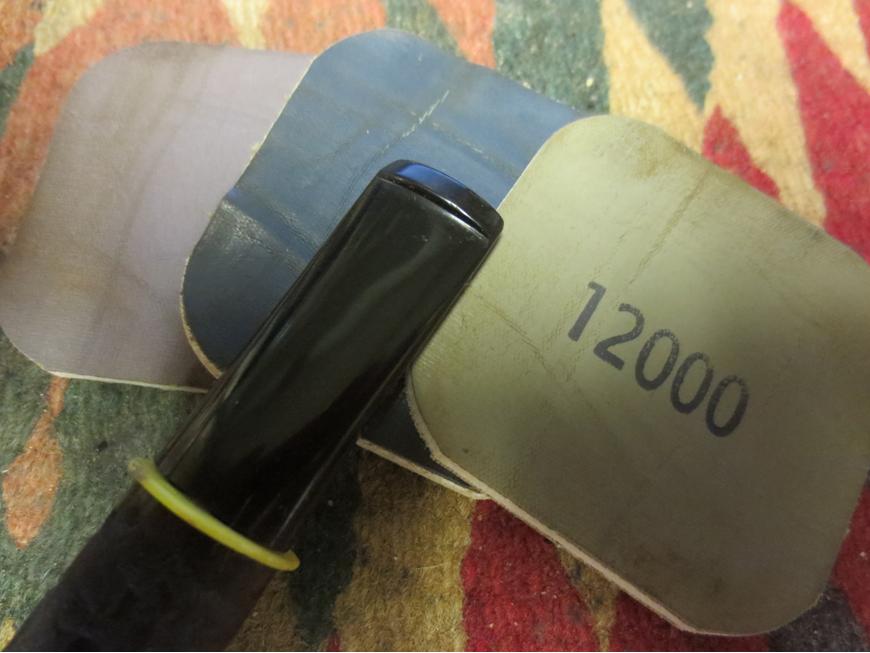
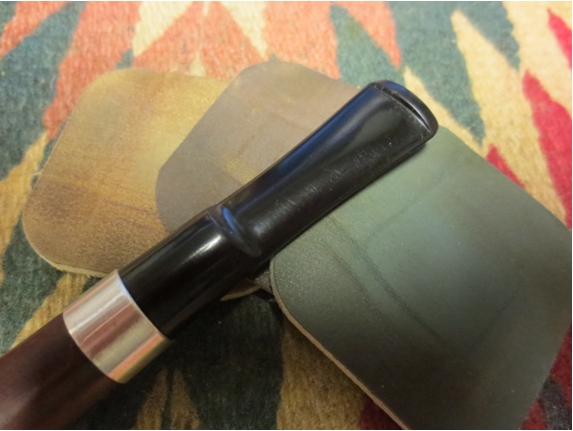
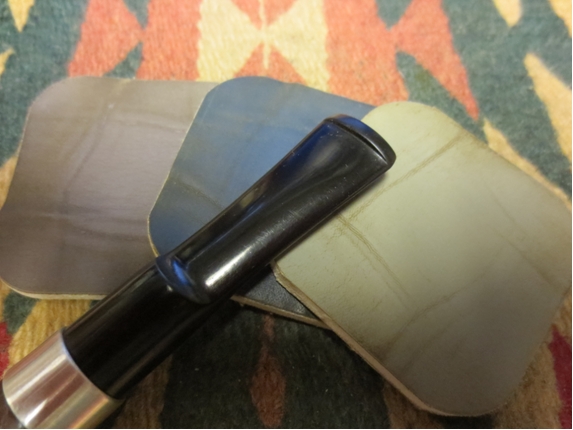
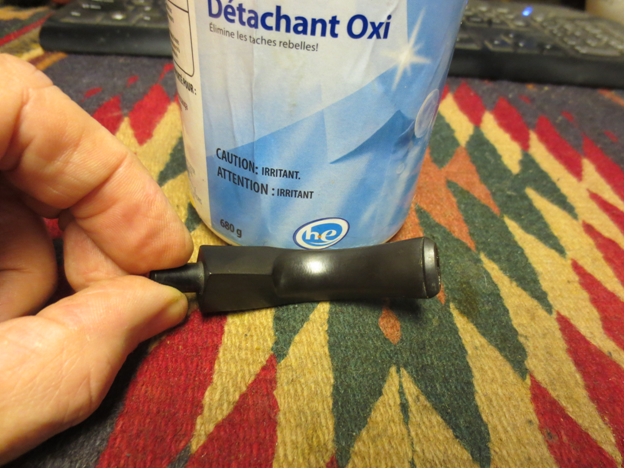
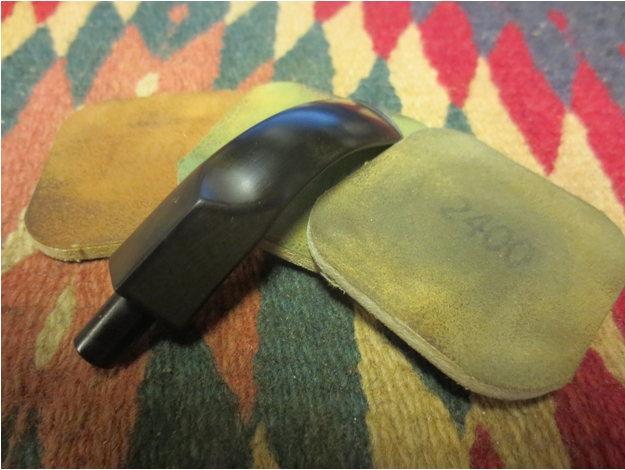
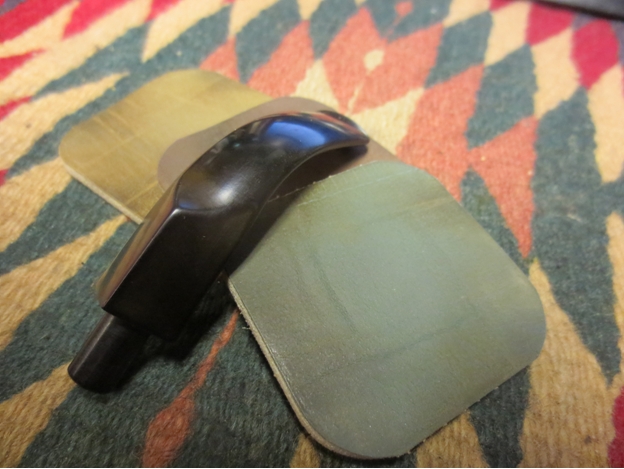
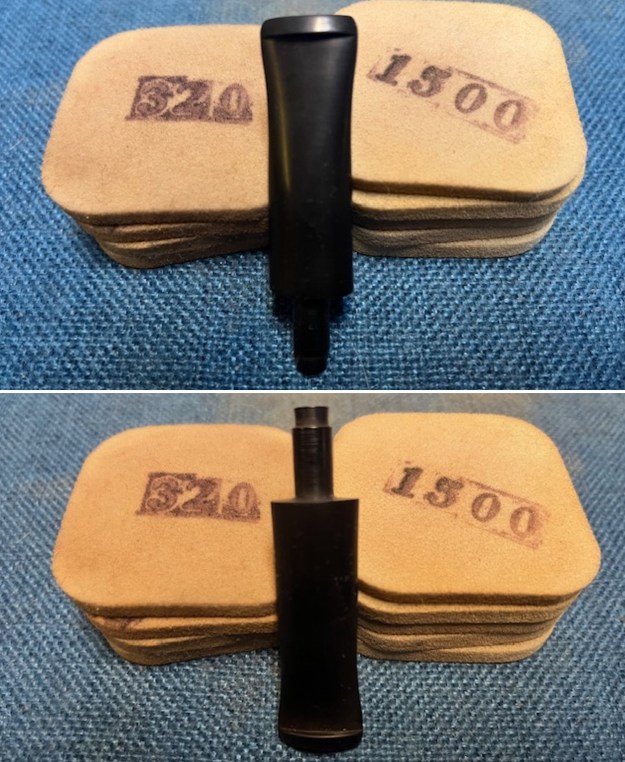 I polished it with micromesh sanding pads – dry sanding with 1500-12000 grit pads and wiping the surface down with Obsidian Oil after each sanding pad. It is really shining. I polished it further with Before & After Stem Polish – both Fine and Extra Fine. I gave it another coat of Obsidian Oil to finish this step.
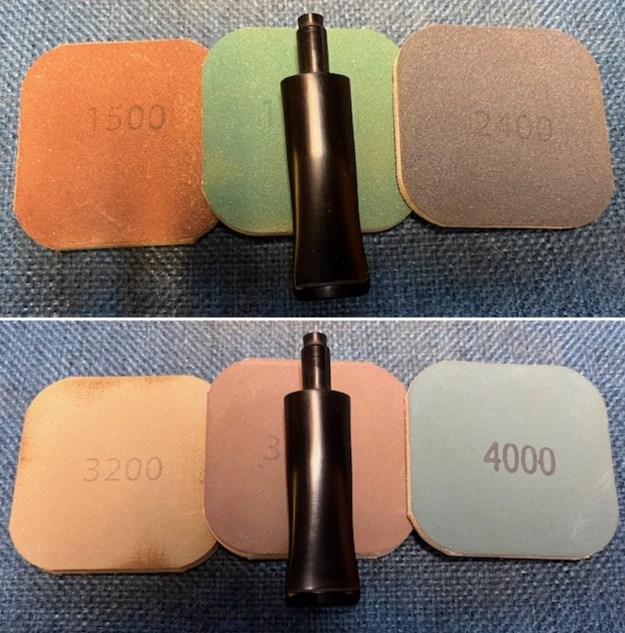
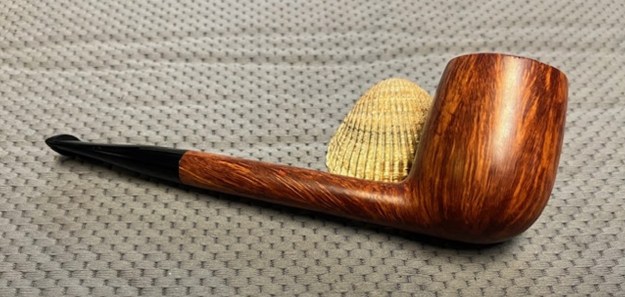
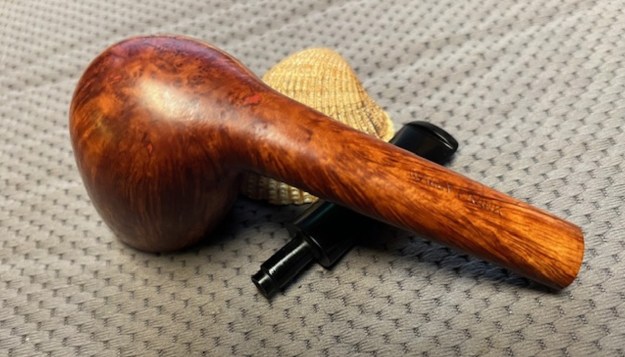
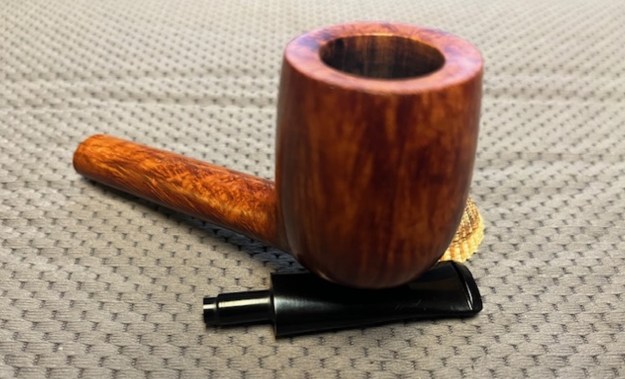
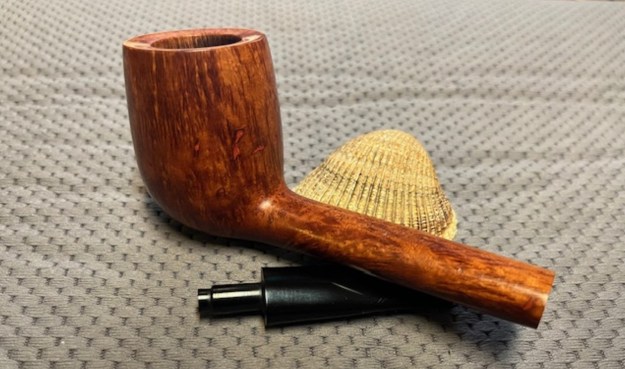
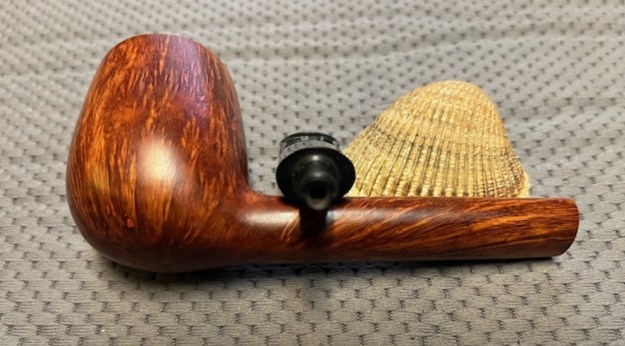
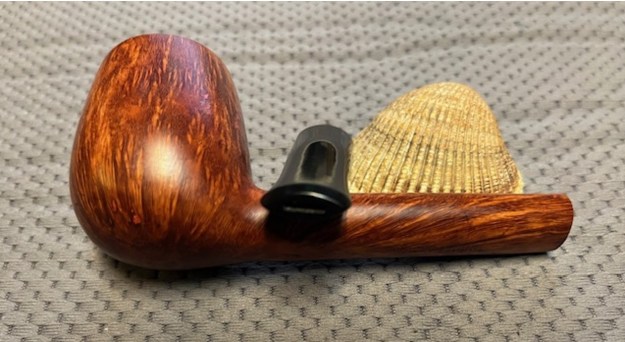
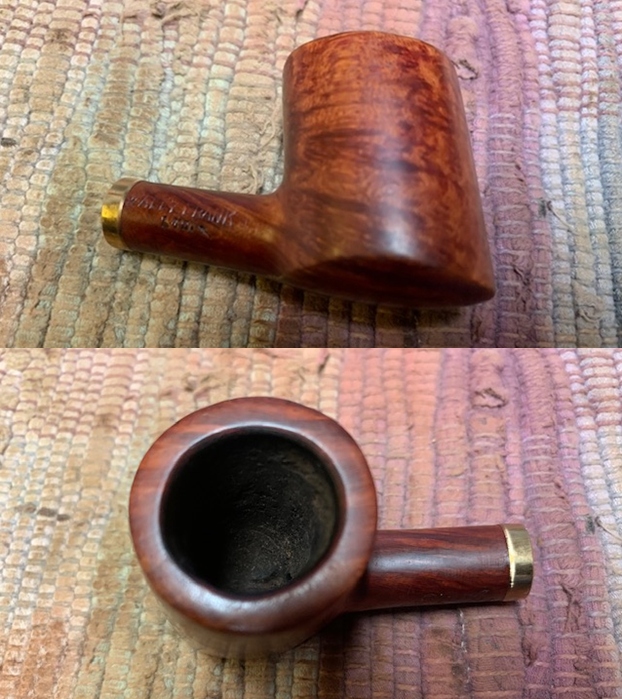
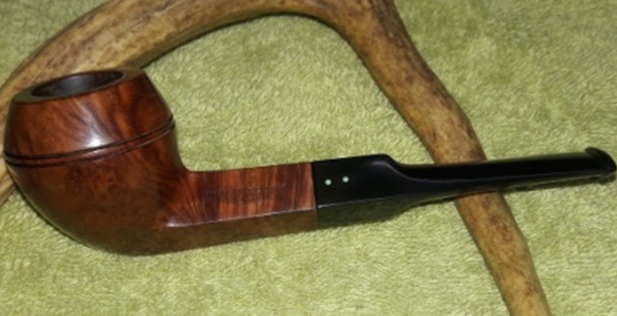
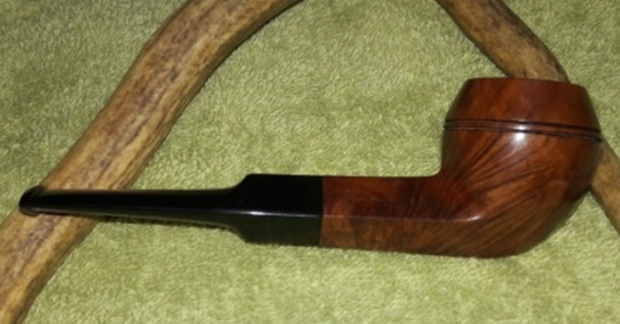
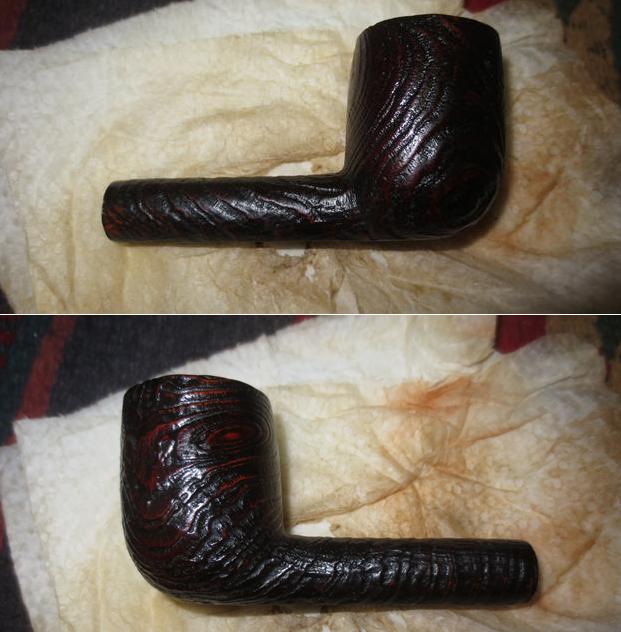
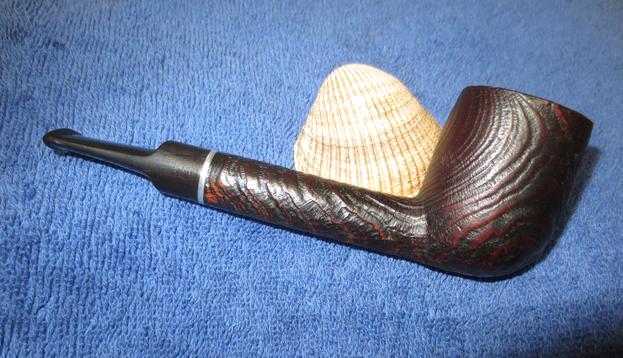
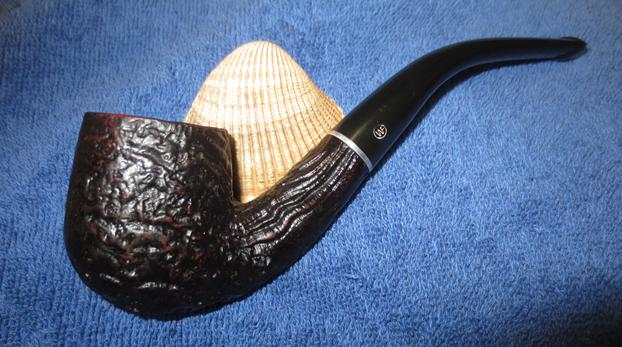
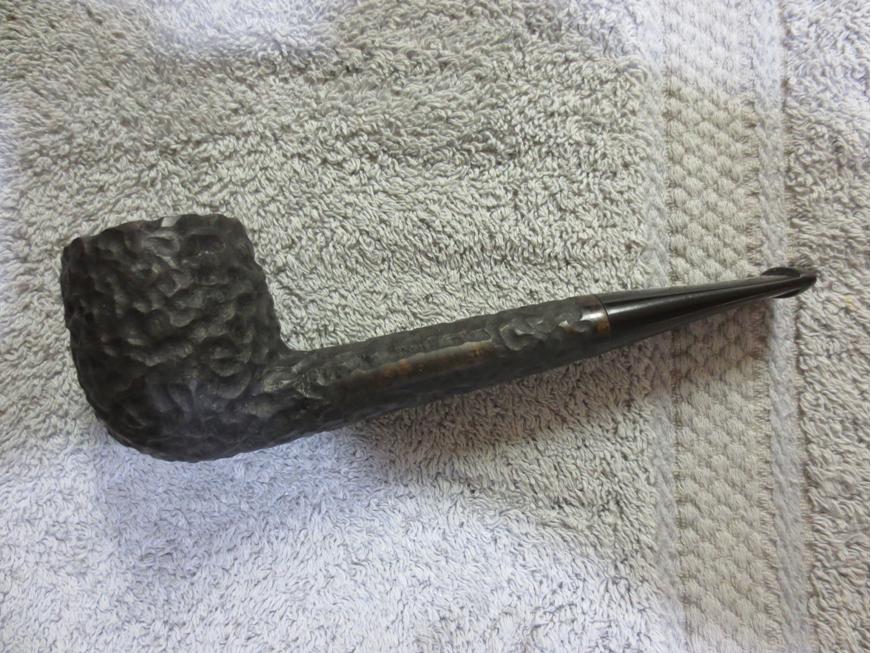
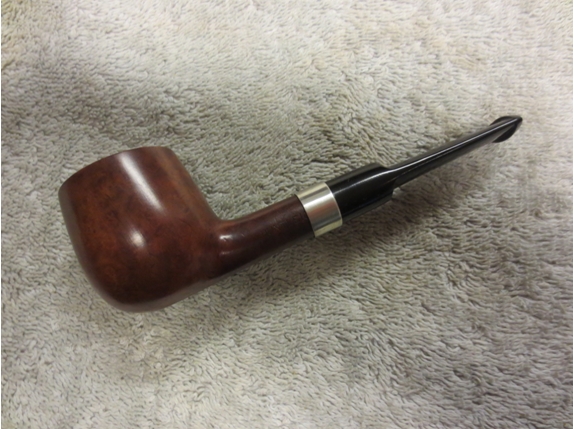
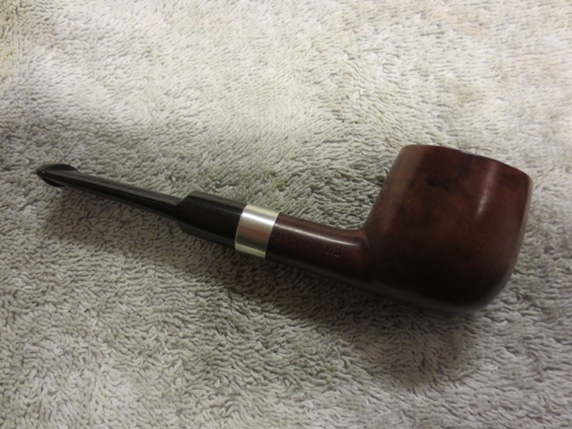
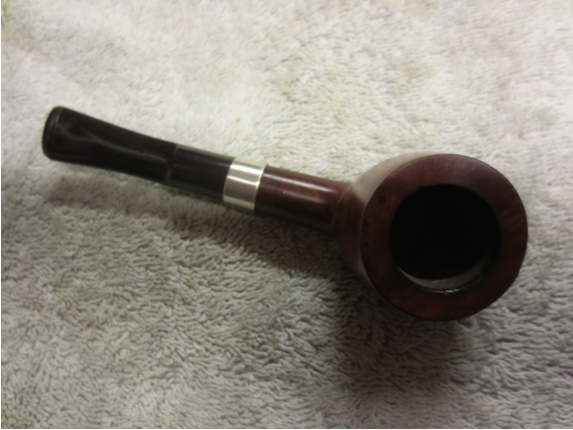
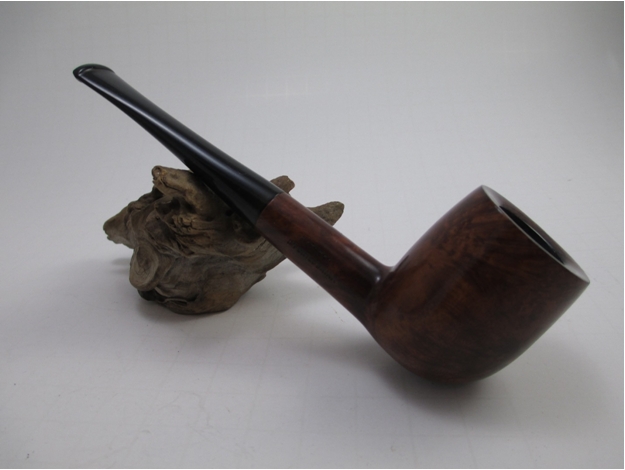
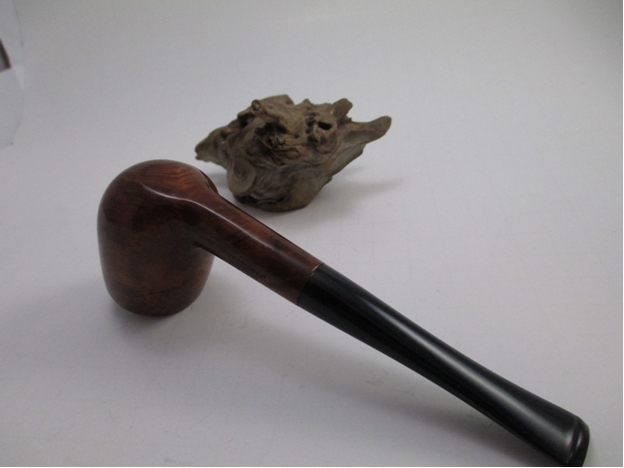
 I put the stem back on the Wally Frank Straight Grain Canadian and took it to the buffer. I worked it over with Blue Diamond to polish out the remaining small scratches. I gave the bowl and the stem several coats of carnauba wax and buffed the pipe with a clean buffing pad to raise the shine. I hand buffed it with a microfiber cloth to deepen the shine. The pipe polished up really well and the bevelled rim top looked good. I was happy with the look of the finished pipe. The photos below show what the pipe looks like after the restoration. This Wally Frank Straight Grain Canadian is a beautiful and unique take on a classic shape. The polished vulcanite taper stem looks really good with the browns of the briar. The dimensions of the pipe are Length: 6 inches, Height: 2 inches, Outside diameter of the bowl: 1 ½ inches, Chamber diameter: ¾ of an inch. The weight of the pipe is 1.69 ounces/48 grams. This is another pipe that I will be putting it on the rebornpipes store in the American Pipe Makers Section shortly, if you are interested in adding it to your collection. The long shank and tall bowl look and feel great in the hand. This one should be a great smoker. Thanks for walking through the restoration with me on this beauty!
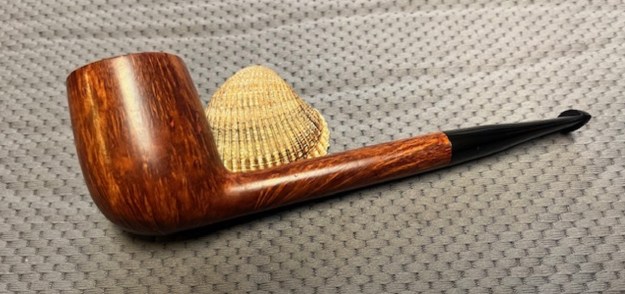


