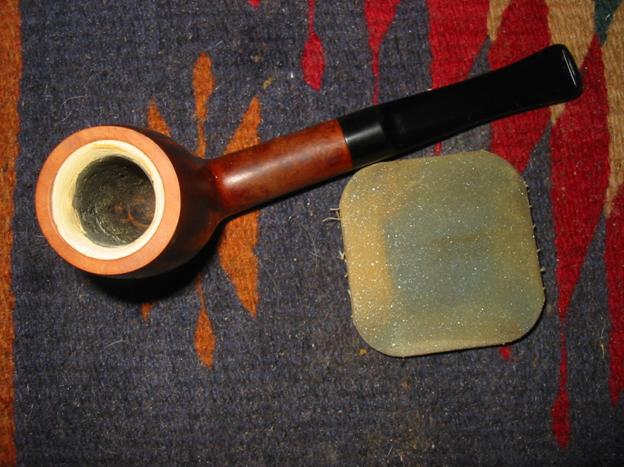
Blog by Steve Laug
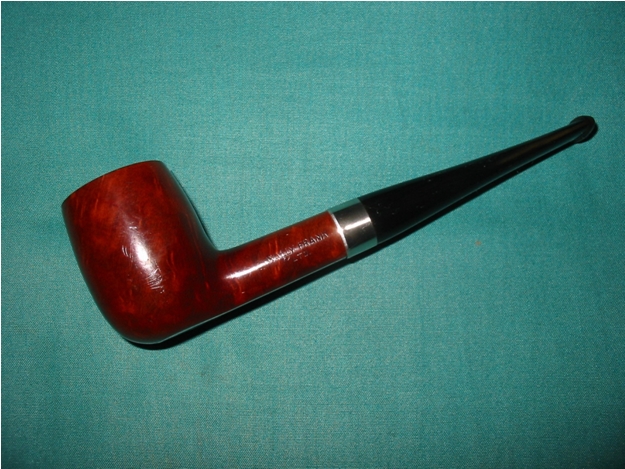
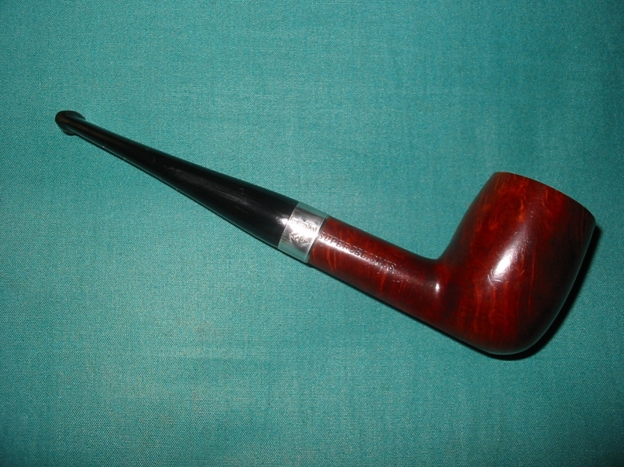
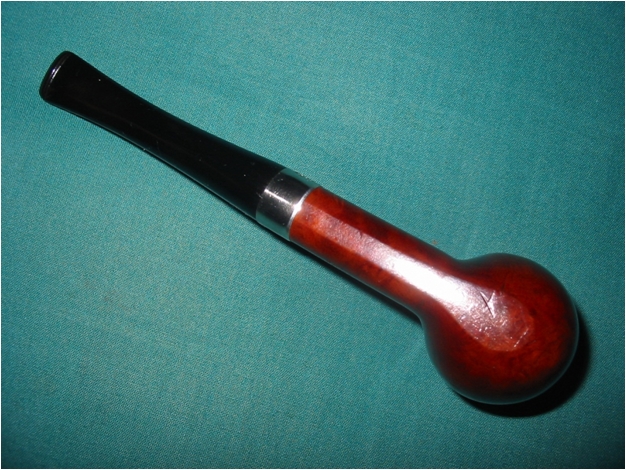
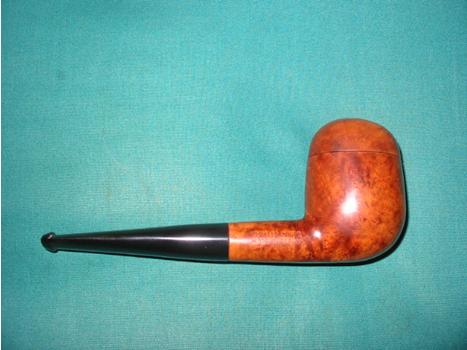
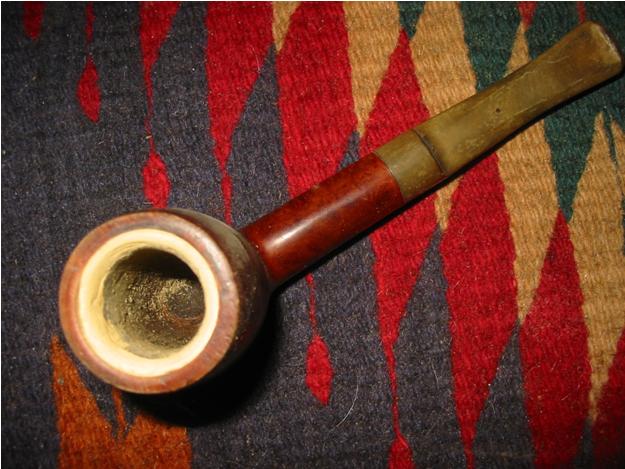
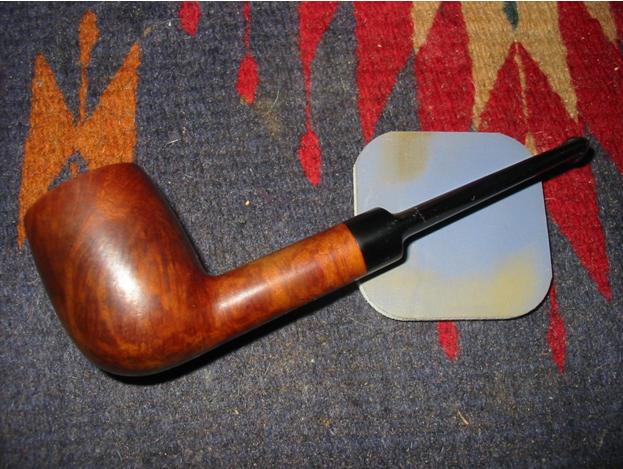
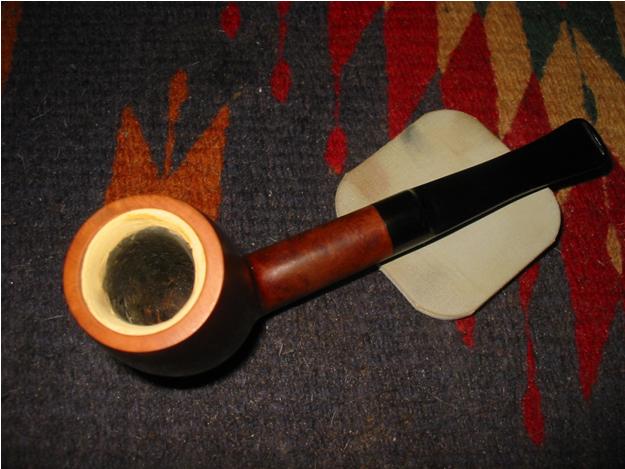
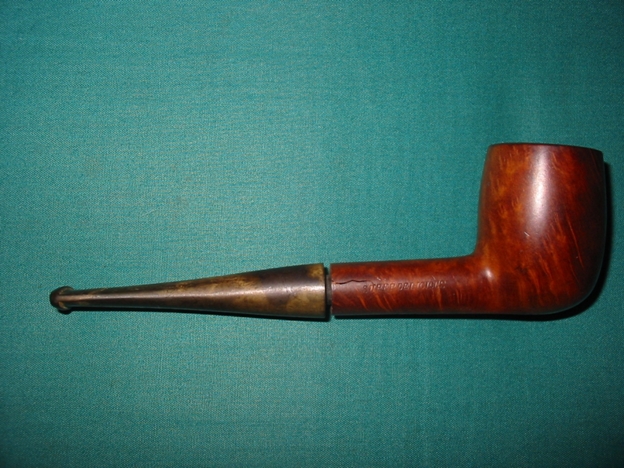
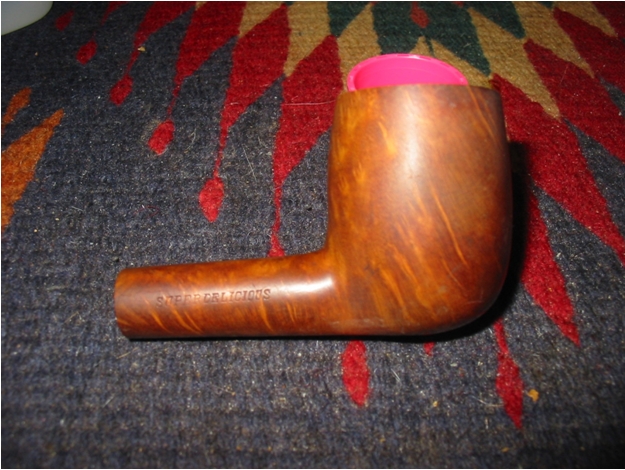
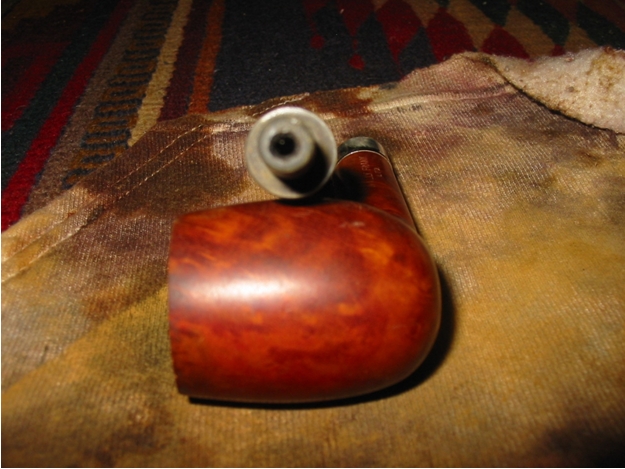
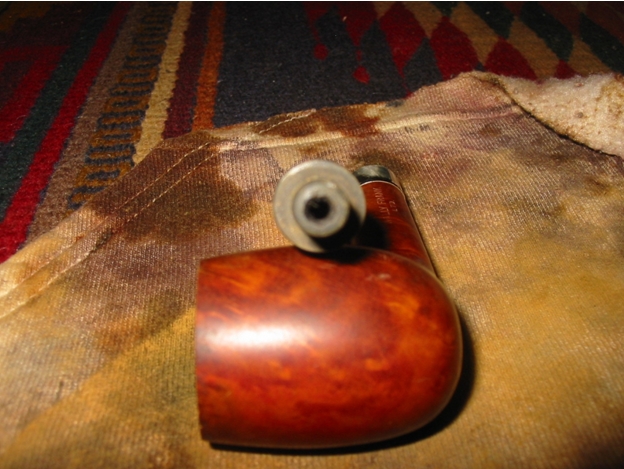
I have become familiar with many of the Wally Frank lines of pipes but this was one I had not heard of before. It almost sounds like something to eat rather than smoke. It is stamped Wally Frank Ltd on the left side of the shank and on the right Super Delicious – interesting stamping indeed. The pipe was one of the bowls that I had in my box needing to be restemmed. It also had a cracked shank that was present before I matched a stem to it. Often a shank will crack like this if a tenon that is oversized is forced into the shank. That obviously had happened to this old pipe sometime in its life. I found a stem that fit the shank and inserted it enough to show the crack in the shank for the first photo below. The crack approximately ½ inch long and was in a portion of the shank where it was thinner than the other side. One of the challenges in restemming these older pipes is the fact that the shank is very often out of round and the stem has to be shaped to match it accordingly. The bowl has some nice grain on it and was well worth restoring. The remaining three photos in the first group of four show the grain and shape of the pipe. Note that rim was not only darkened but was worn on the front edge of the outer rim.


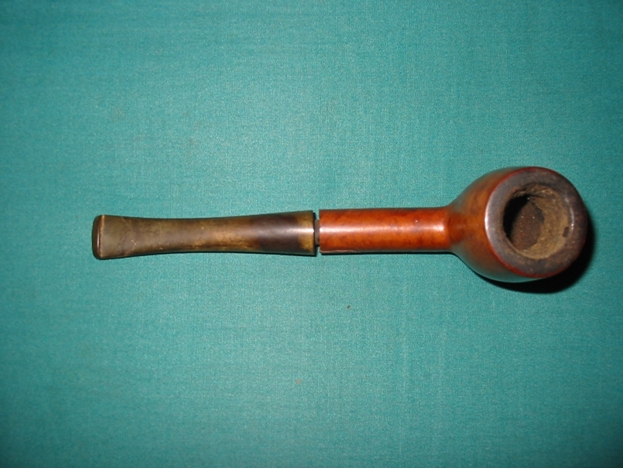
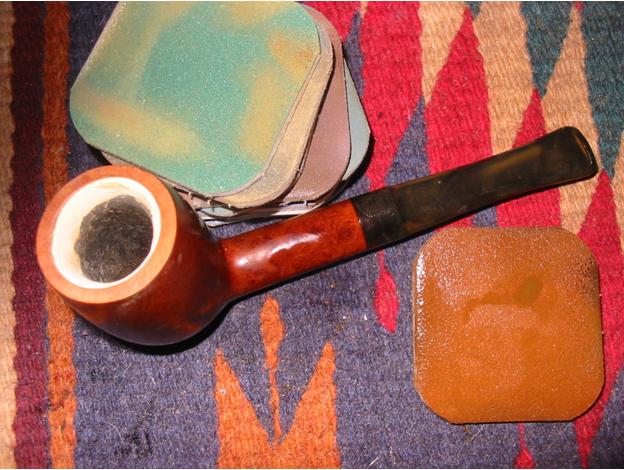
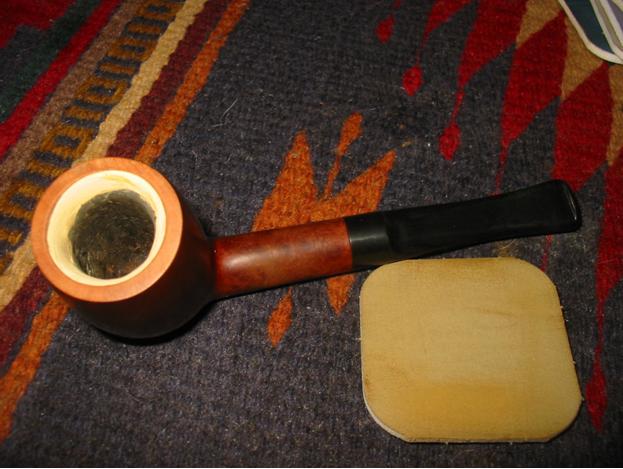
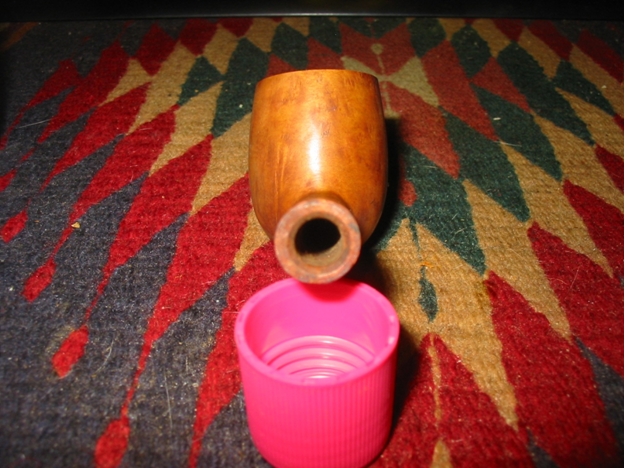
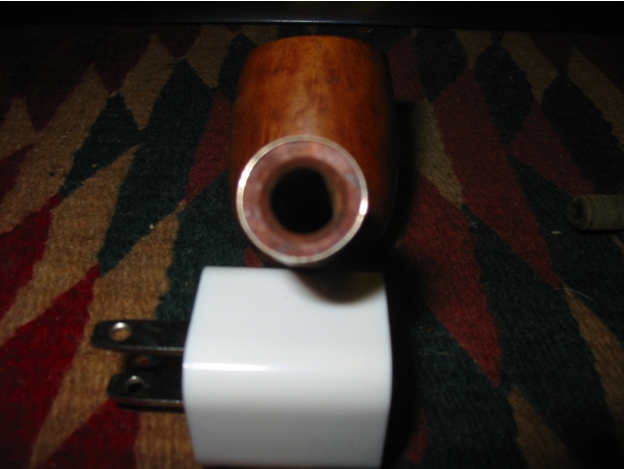
I reamed out the bowl and removed the cake that was present only in the top half of the bowl. It seemed that the lower portion of the bowl was not even broken in. The top of the bowl needed to be topped to even out the flat top of the bowl. The way the angle was after the tars and grime were removed was d a slight slant toward the front of the bowl and the front edge was rounded from tapping out the bowl repeatedly on a hard surface. I used the board and sandpaper to top the bowl and even out the top. I also made certain that the bowl was held against the board to even out the angle and make the top smooth and flat. The first photo below shows how out of round the shank is in proportion to the mortise. Notice the difference in thickness all around the shank diameter. The crack in the shank is at about 3 o’clock on the shank. The next two photos show the bowl after it has been topped and is even with no slant toward the back or front of the bowl.
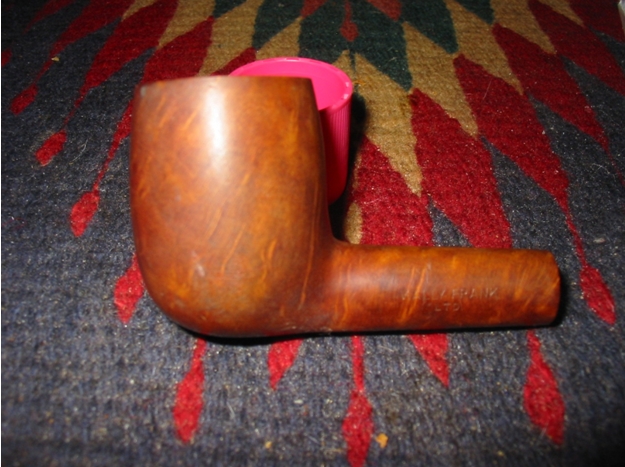
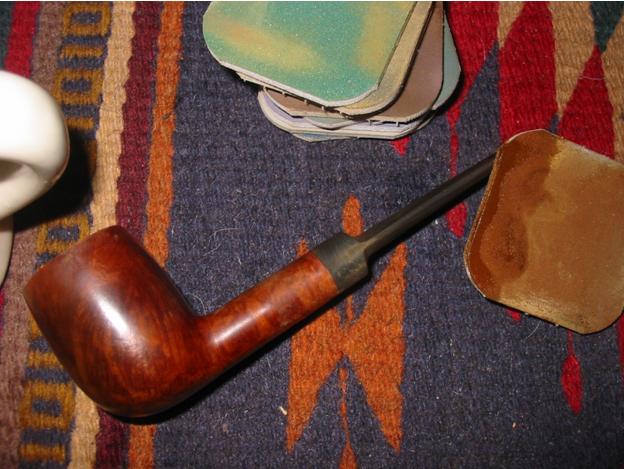
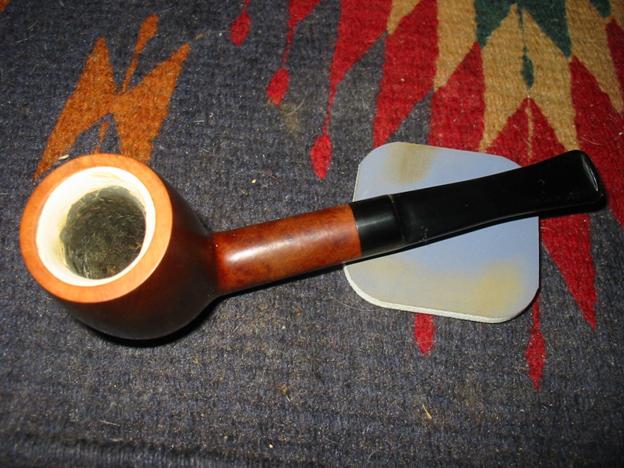
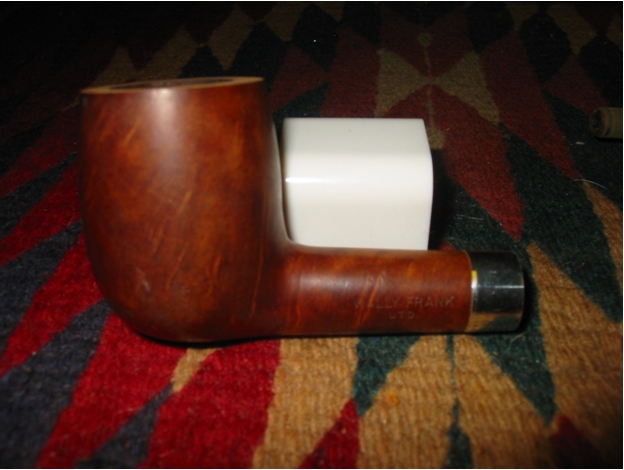
After I had topped the bowl and evened things out I wiped the entirety of the bowl down with acetone on a soft cotton pad to remove the grime and the remaining finish on the bowl. It came off almost black when I was finished cleaning it. I then needed to band the crack shank. I opened it with the stem and then dripped a bit of superglue in the crack before pressure fitting the band in place. The first photo below shows the shape of the shank and makes the thin area very clear. This would require quite a bit of shaping to make the stem fit the shank correctly. The next two photos show the banded stem and how it fits on the shank. I kind of like the look of the band against the natural colour of the briar.
The next two photos below show the stem shape after I had removed much of the material at the top left corner of the picture. The stem is round at this point but the tenon is no longer in the center of the stem. It is proportionately toward the top left of the picture and on the top bottom when it is in place in the shank.
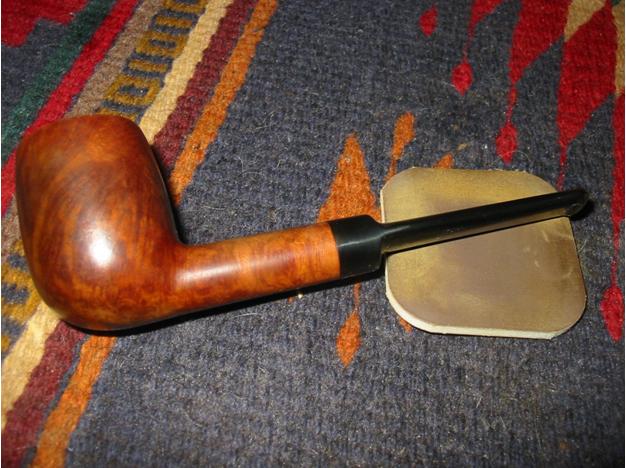
At this point in the process I restained the bowl with a dark brown aniline stain that I thinned with isopropyl alcohol so that it would match the colour of the bowl. My goal was to match the rim that I had topped and was raw briar to the natural patina of the bowl and shank. I mixed the stain until it was the colour I was aiming for and then stained the entire bowl with multiple applications of the stain to the rim. I flamed the stain and reapplied it to the rim, flamed it again and then took the pipe to the buffer. I buffed the bowl and stem with Tripoli and White Diamond. Once I was done with that I buffed the bowl and shank with multiple coats of carnauba wax to bring depth to the shine and also to blend the rim and bowl together.
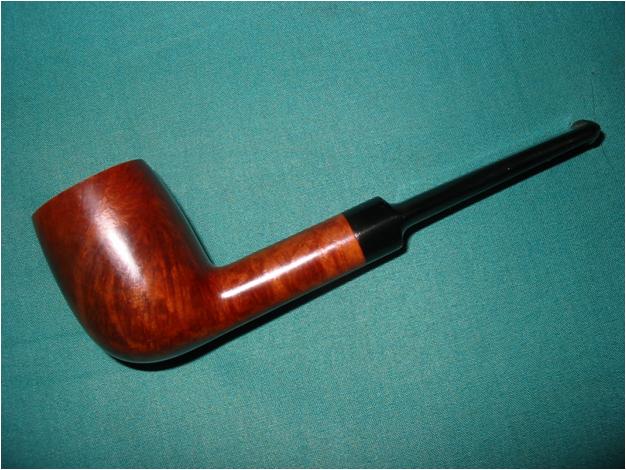
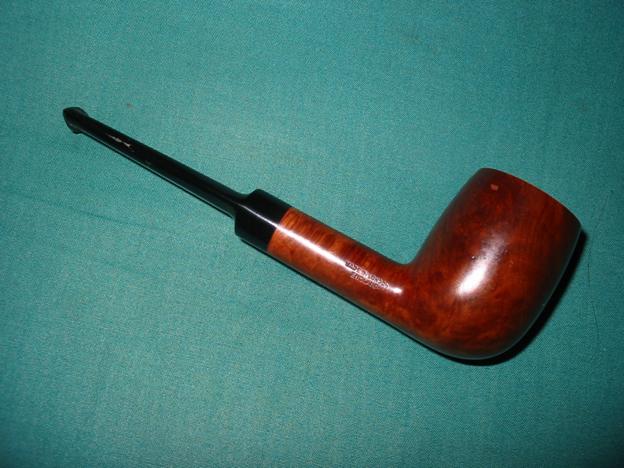
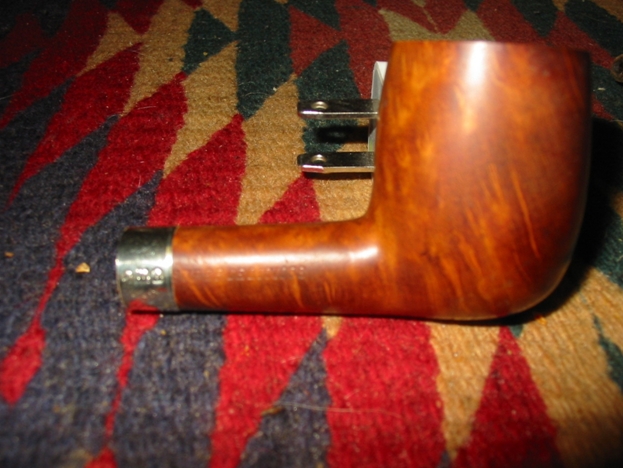
I then worked on the oxidation of the stem. I had shaped it to fit the shank with my Dremel and when it fit well I sanded the stem from front to button with 280 grit sandpaper and then 400 and 600 grit wet dry sandpaper to remove the oxidation and scratch marks from the Dremel. Once it was smooth I progressed through the micromesh sanding pads from 1500-12,000 grit. In between 4000 and 6000 grits I polished the stem with Maguiar’s Scratch X 2.0 and then finished sanding with the micromesh. I finished the stem with a coat of Obsidian Oil and then multiple coats of carnauba wax to give it shine. The next series of four photos show the finished pipe. It is shined and ready to smoke.