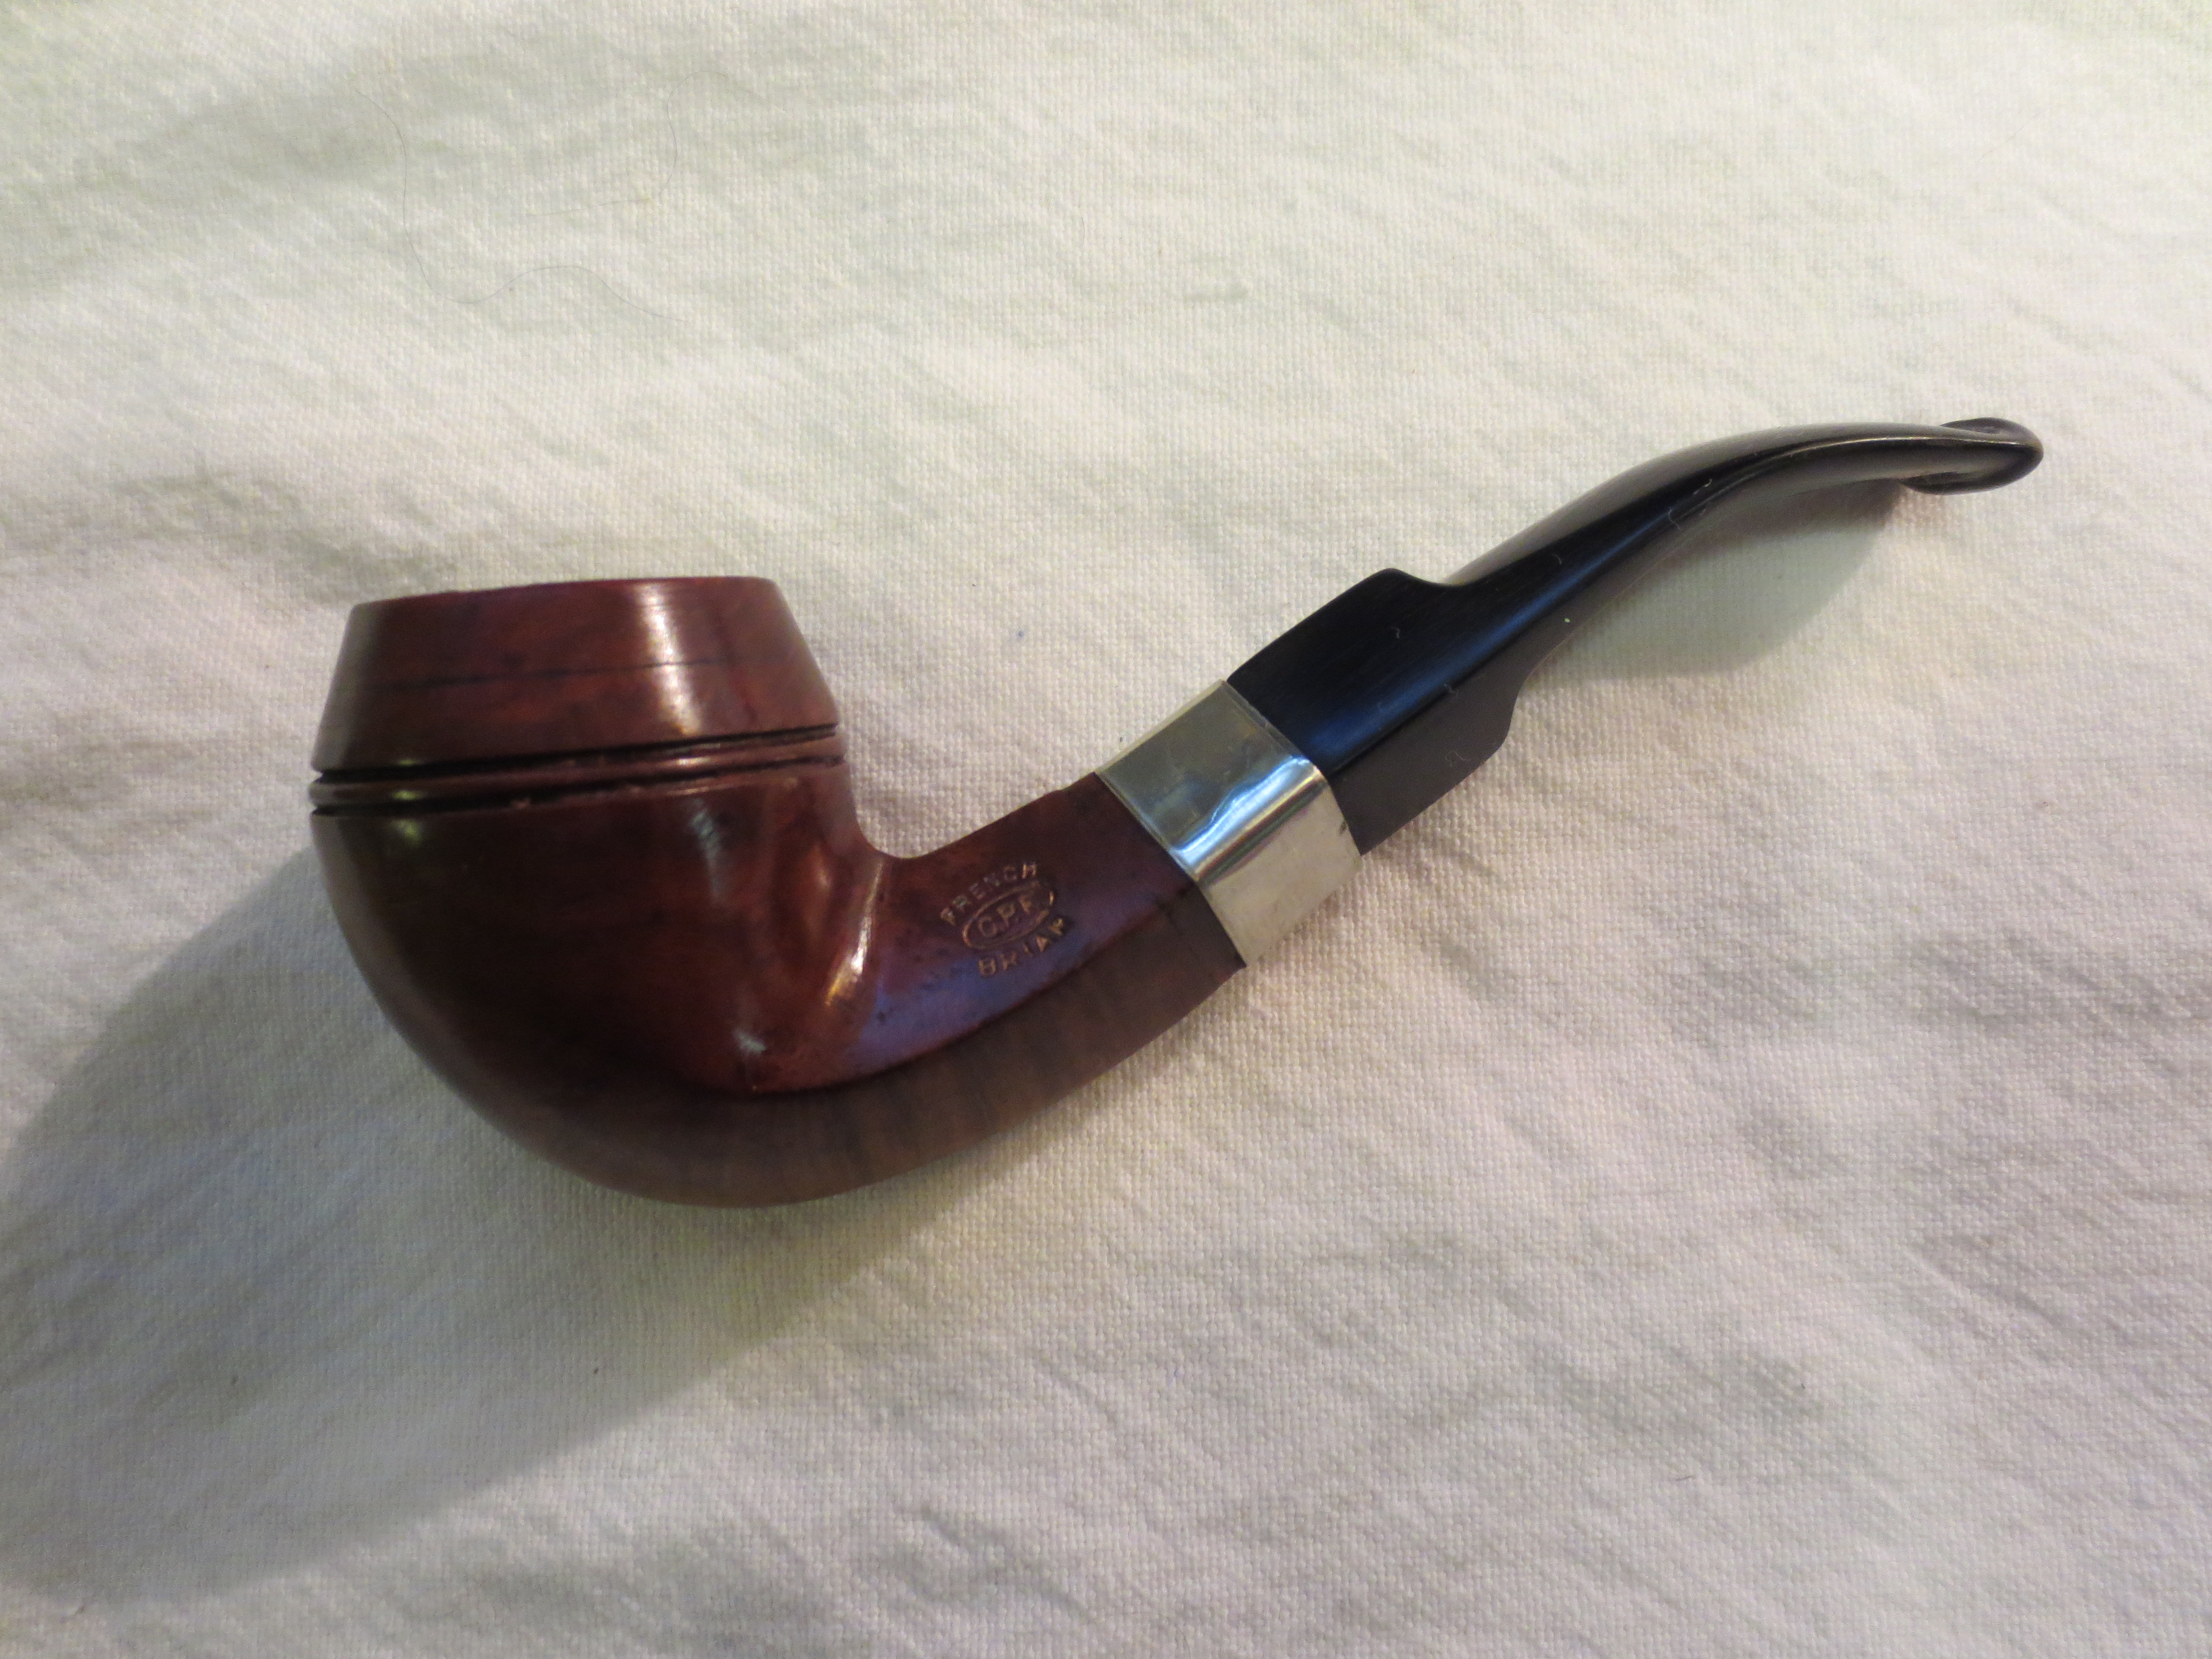
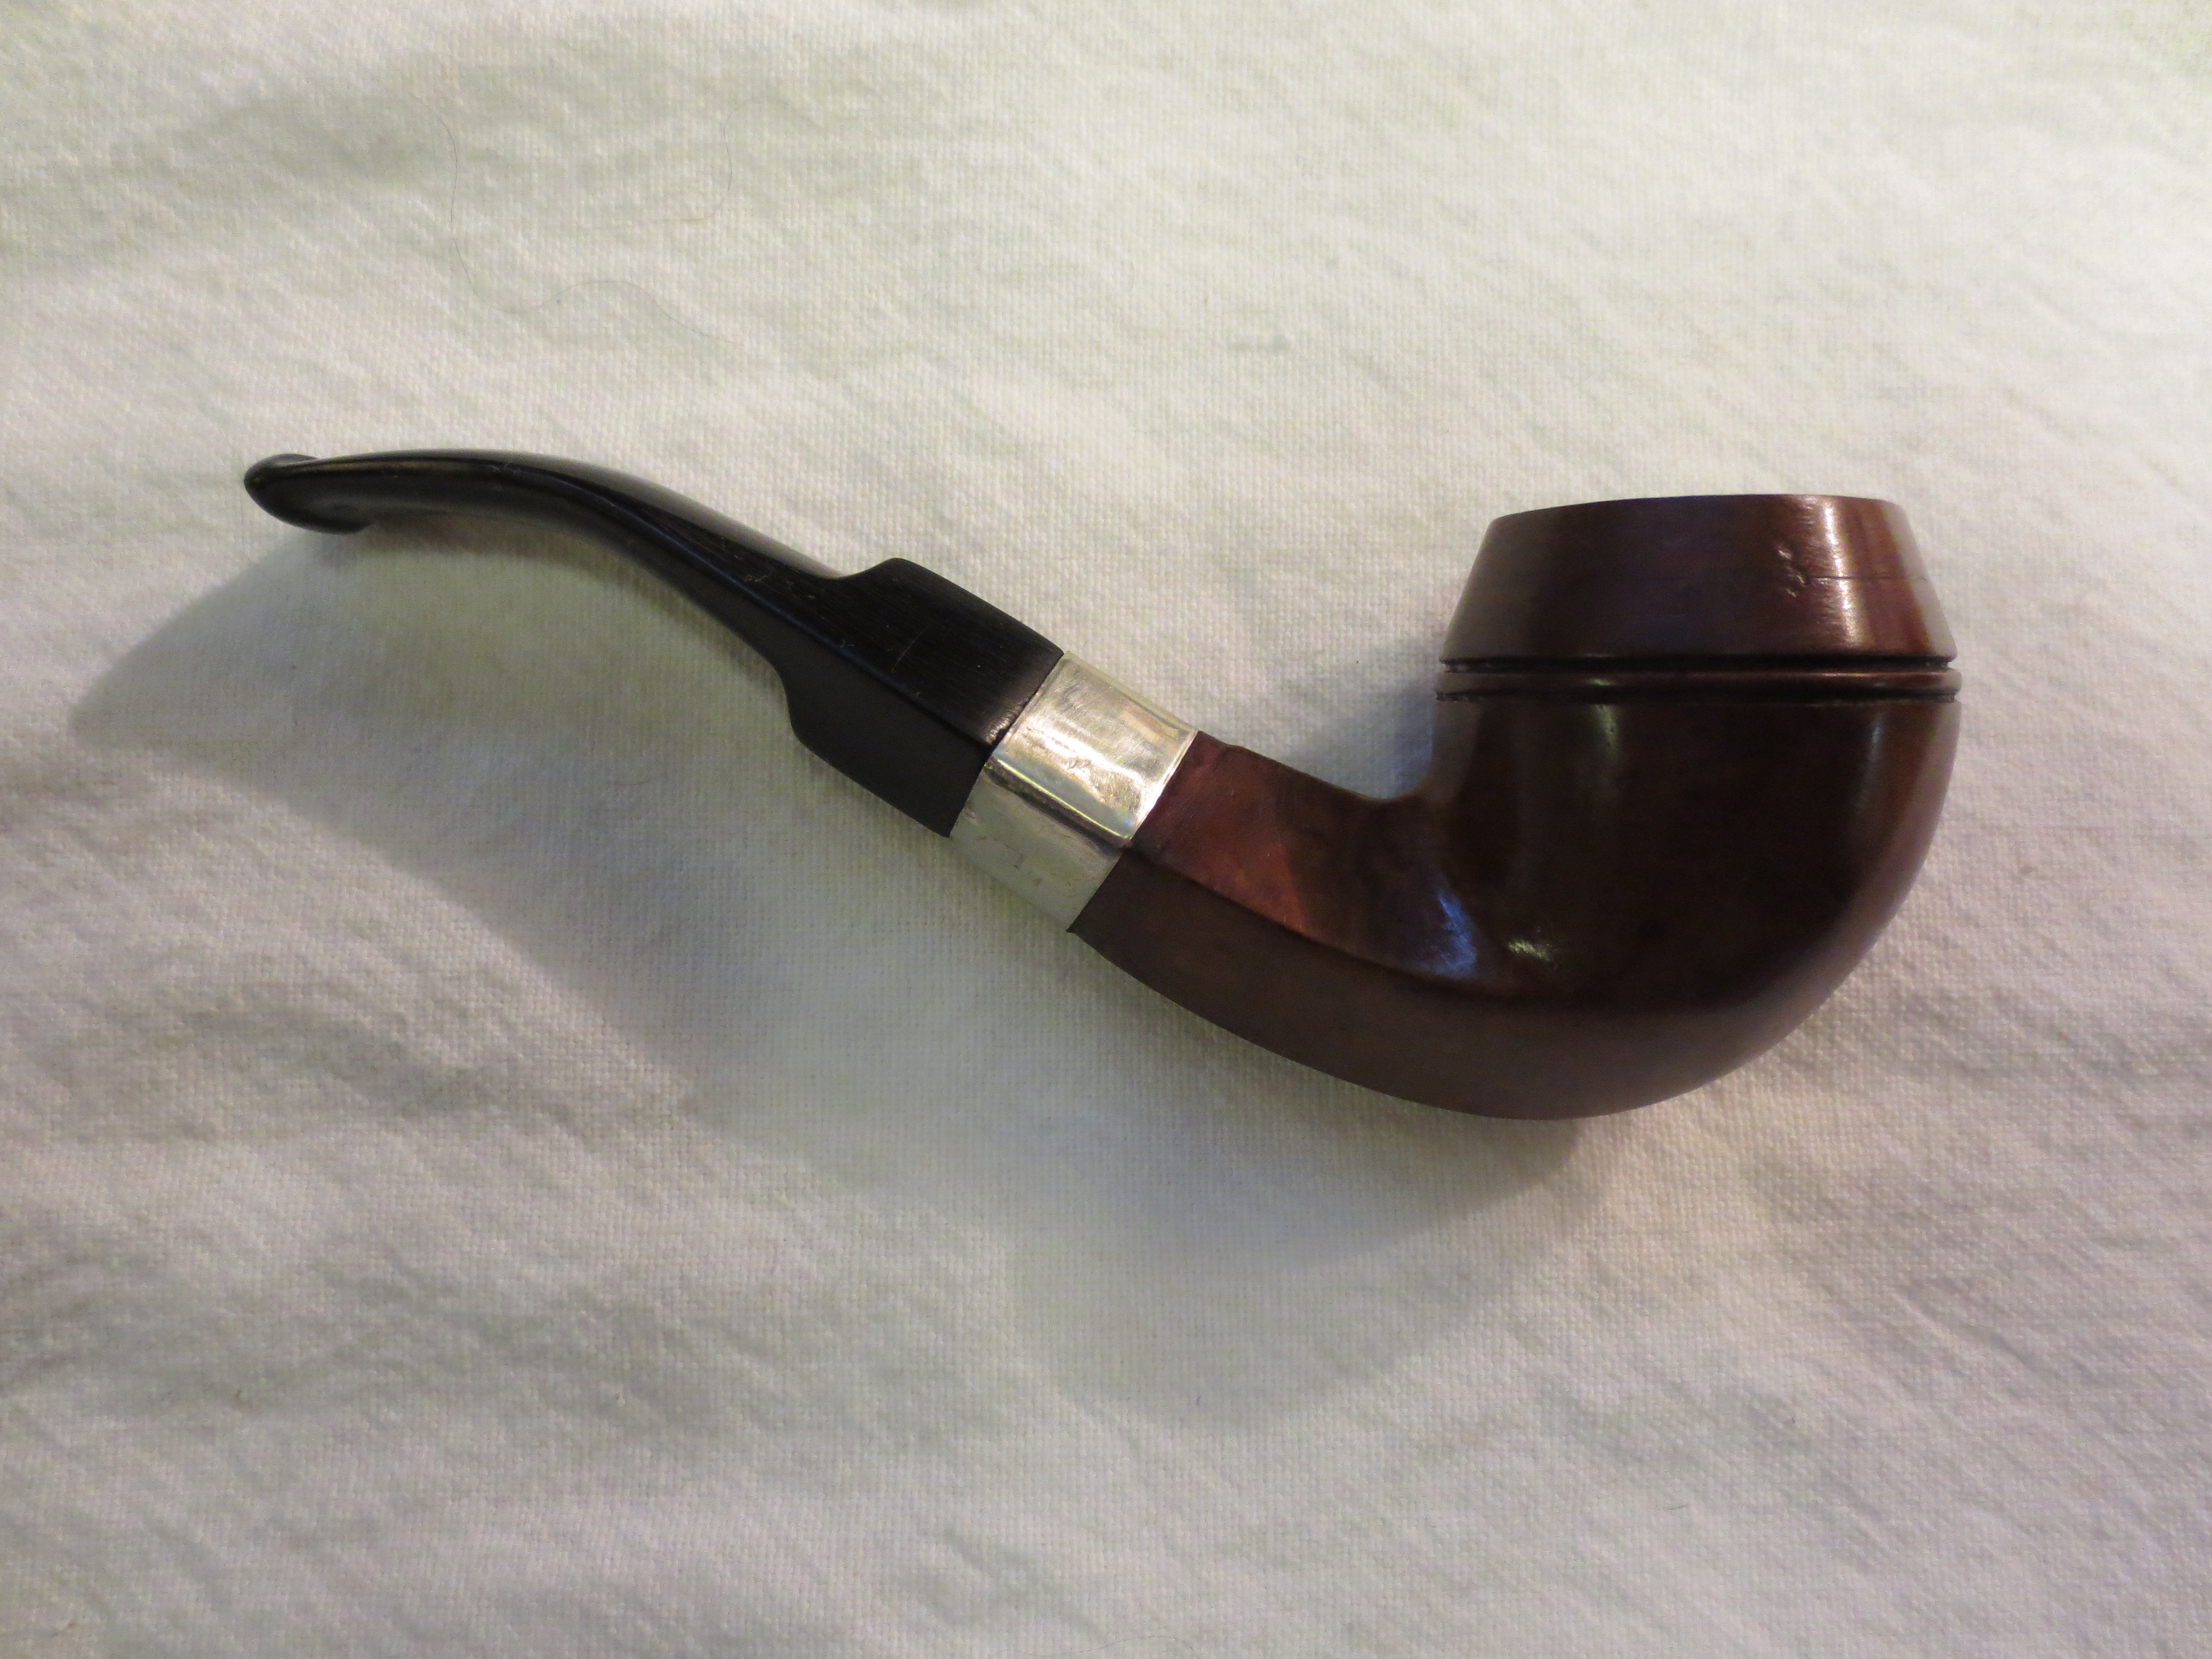
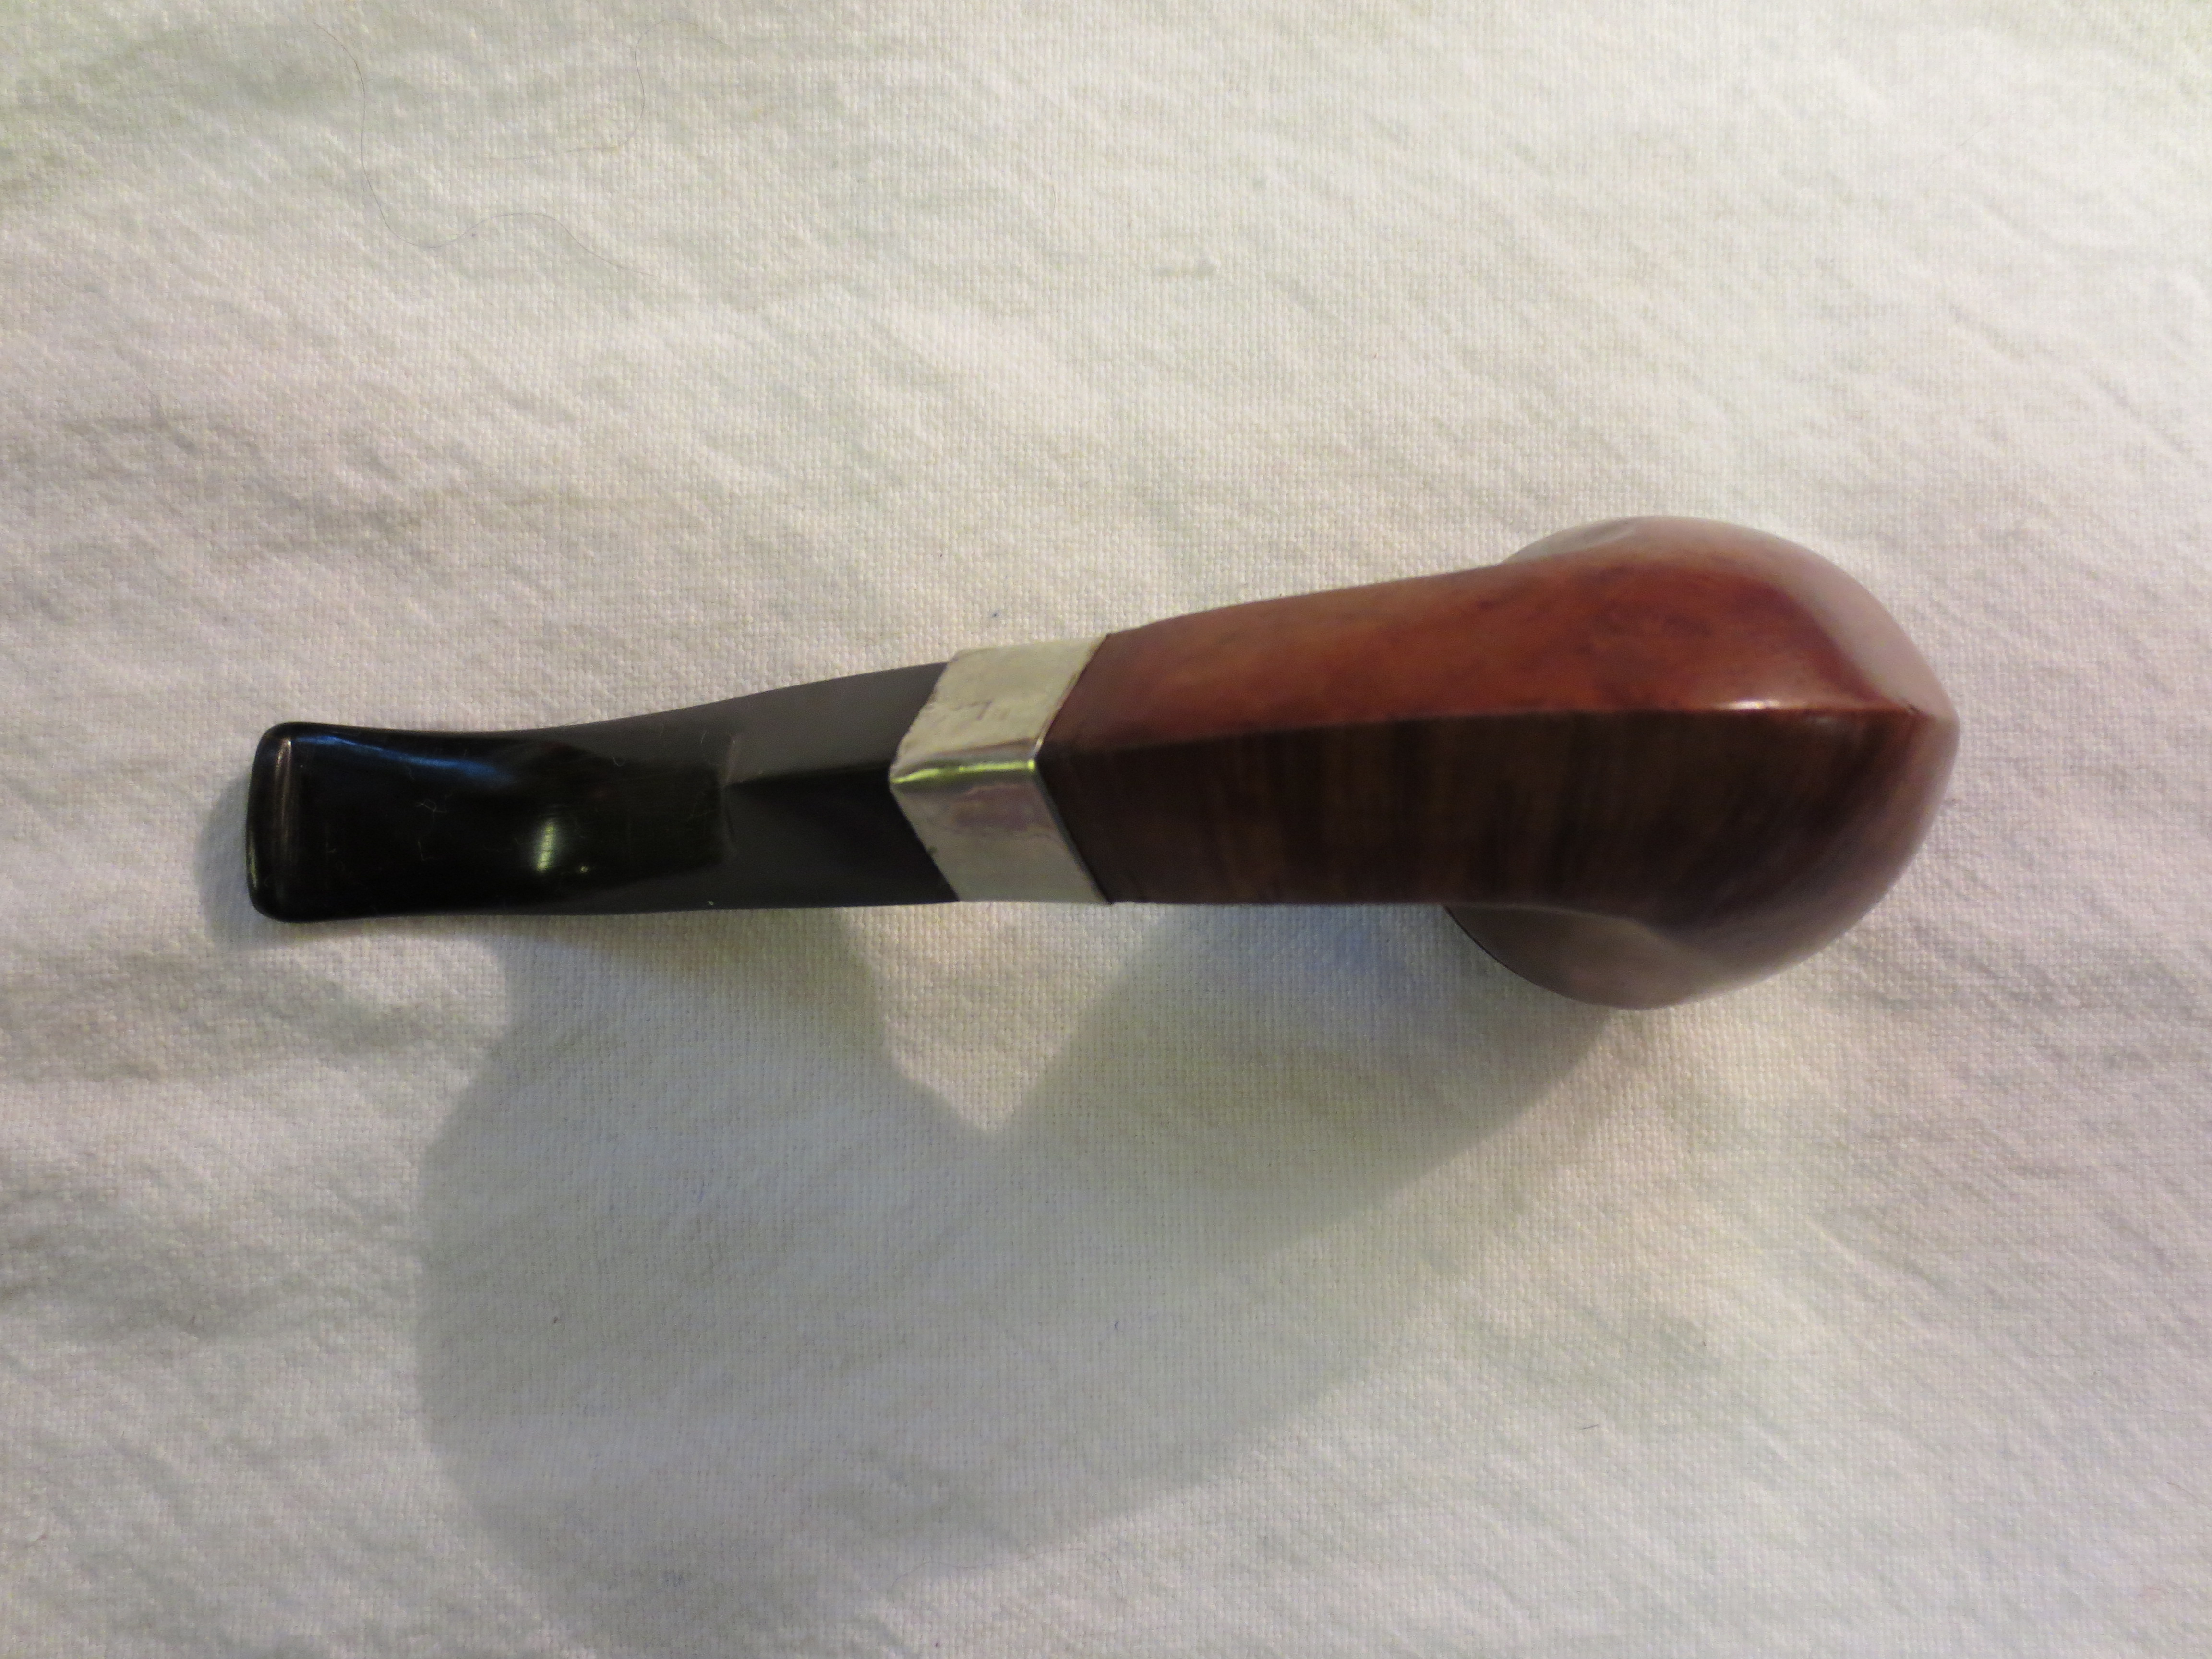
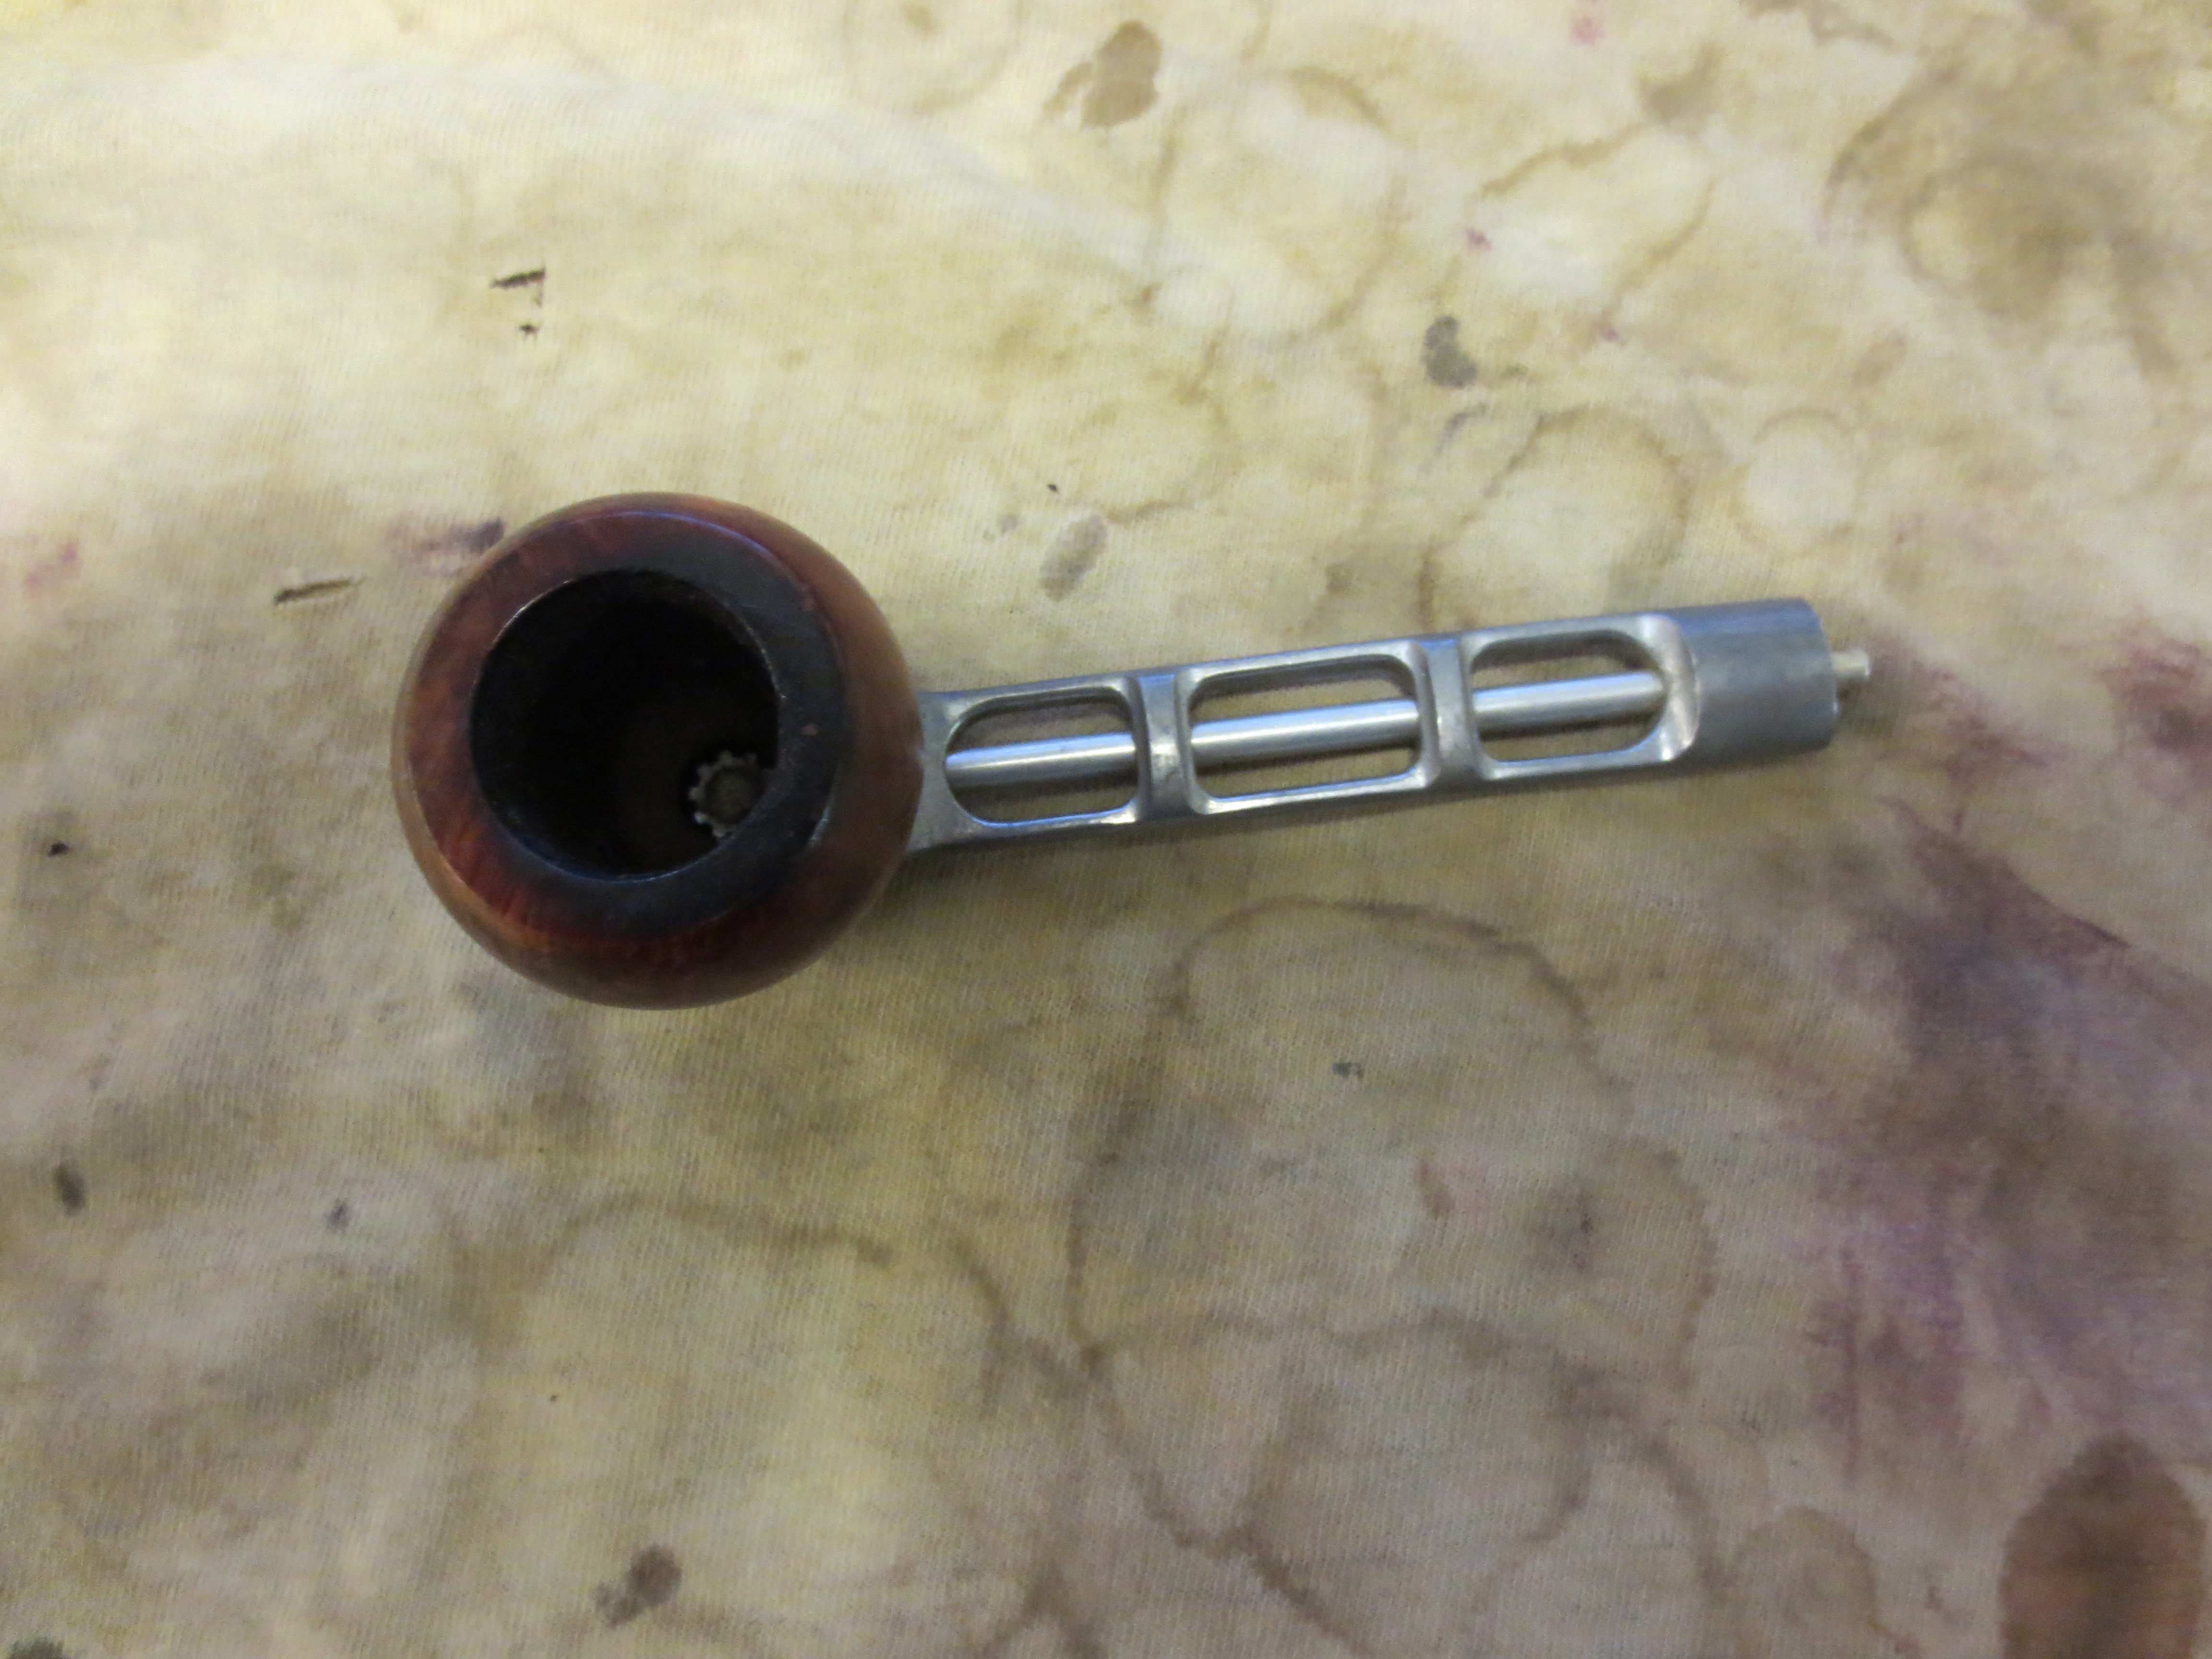
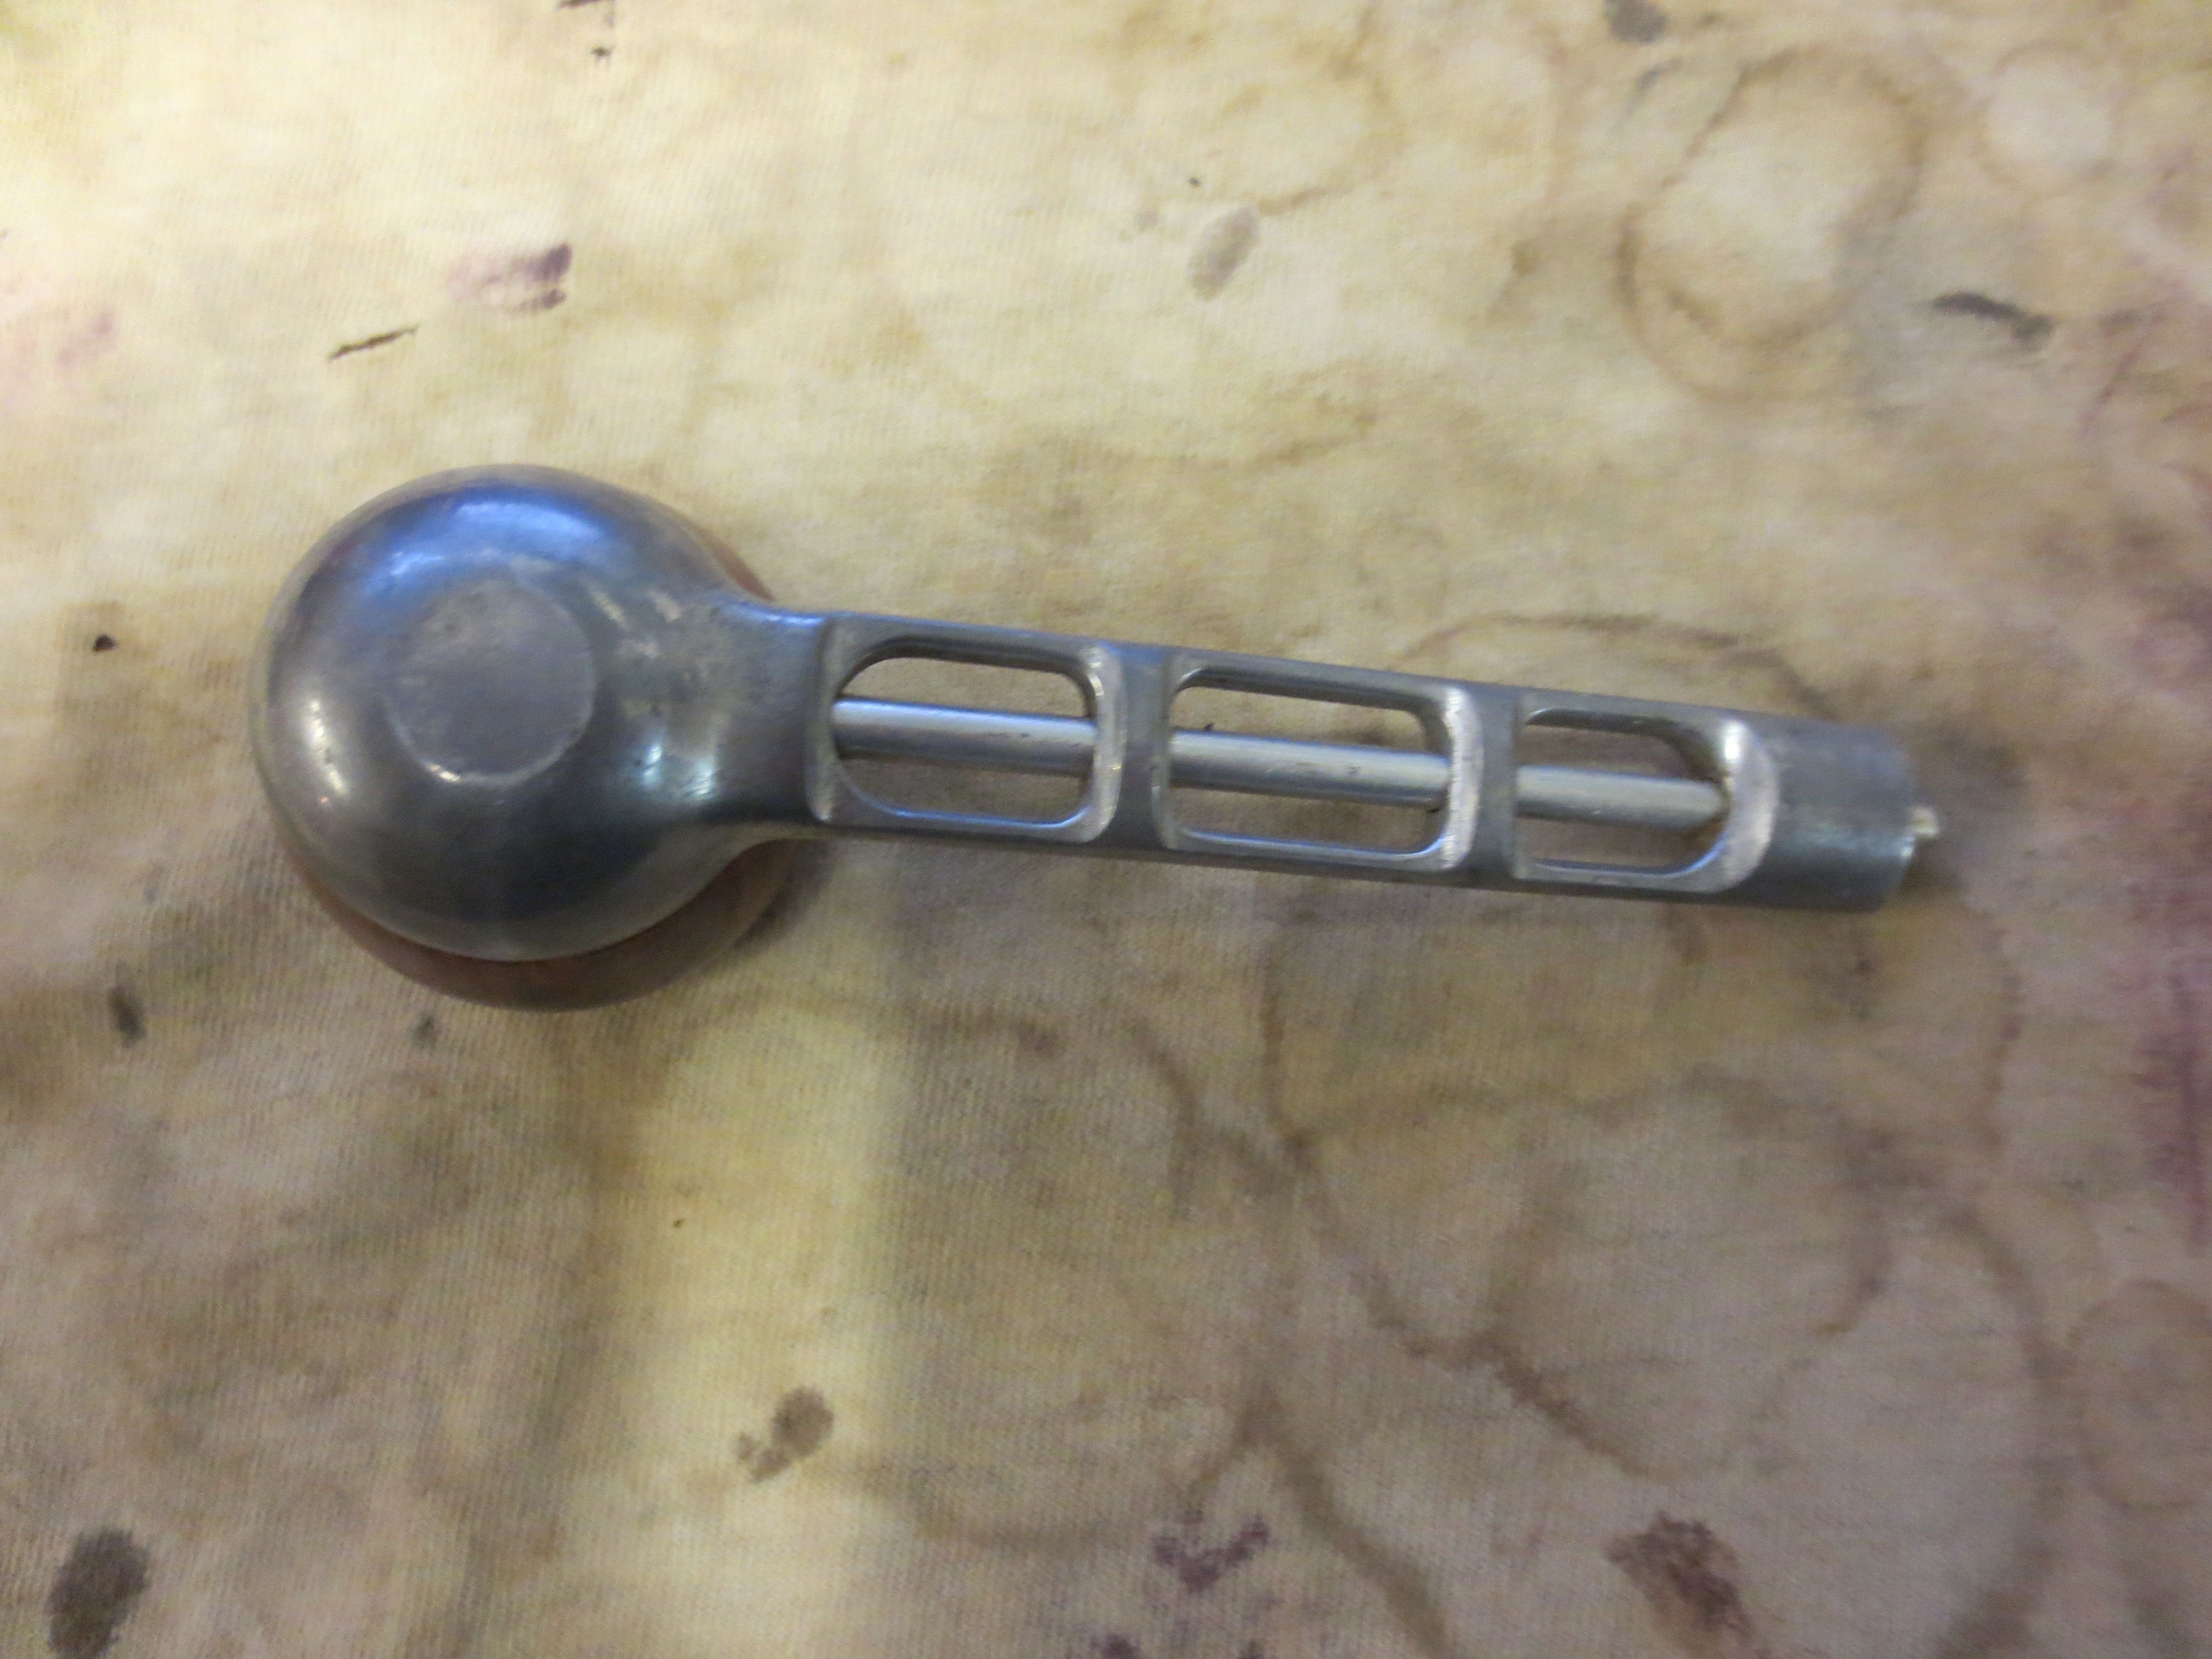
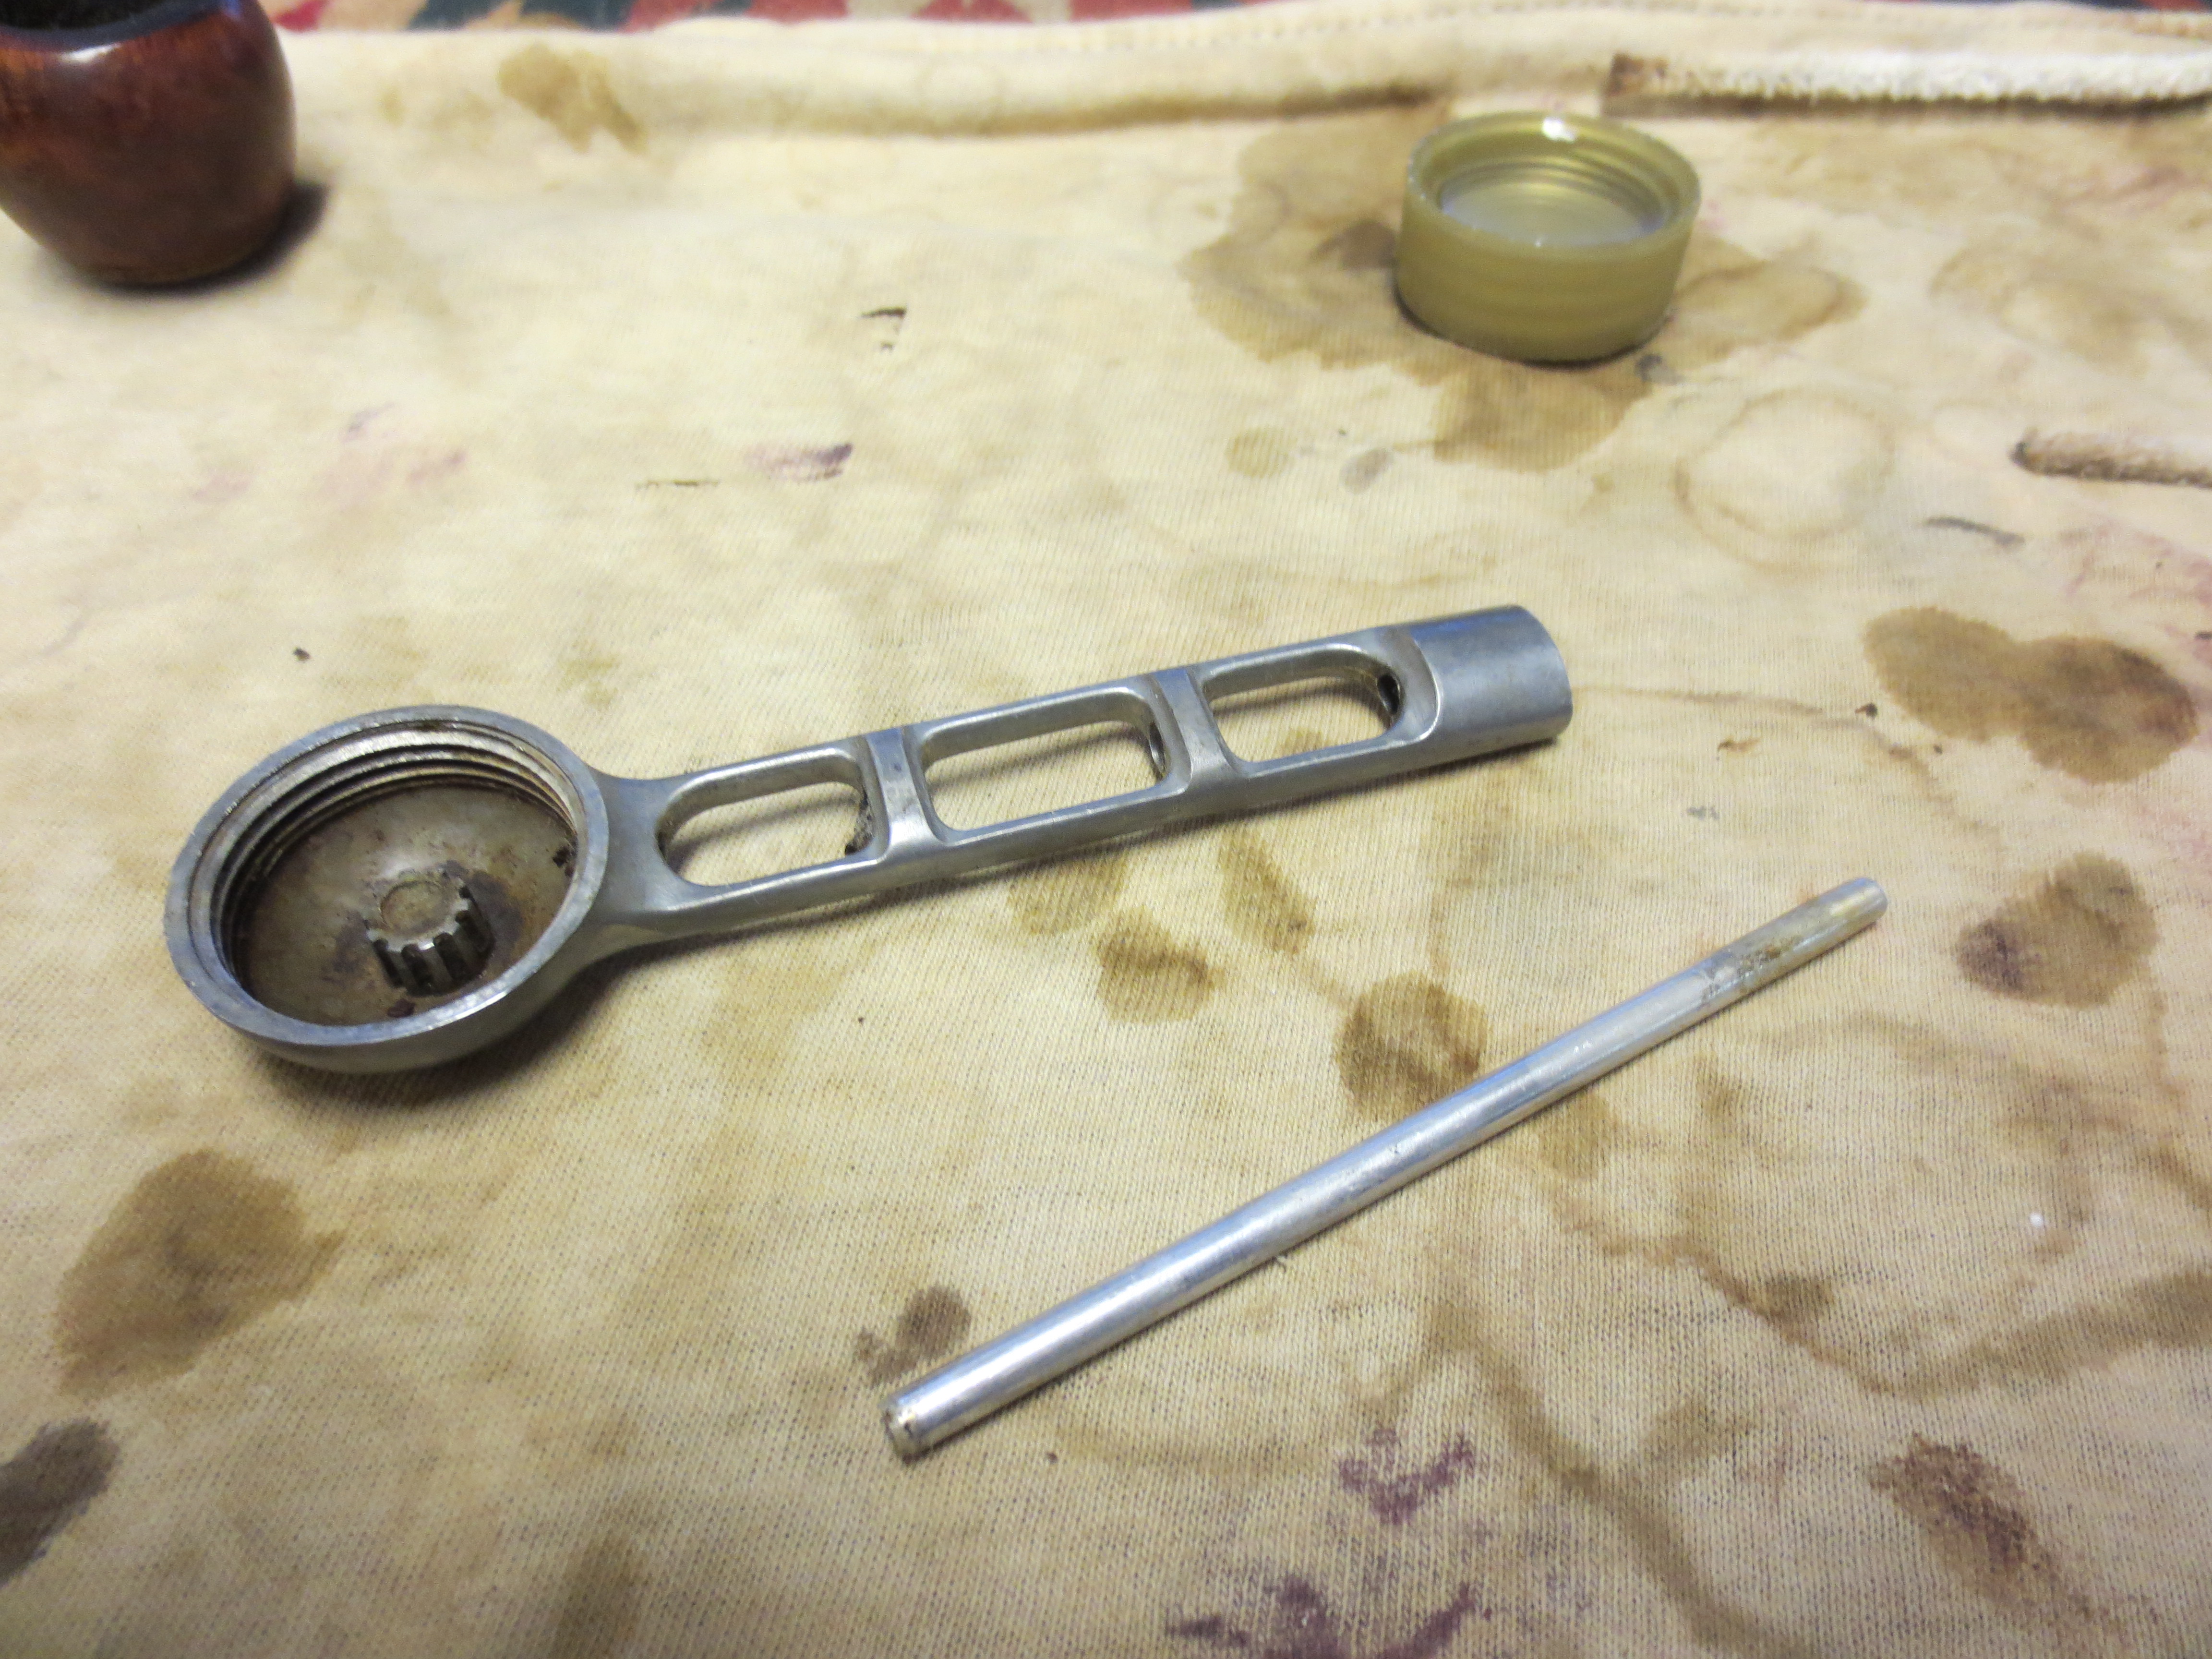
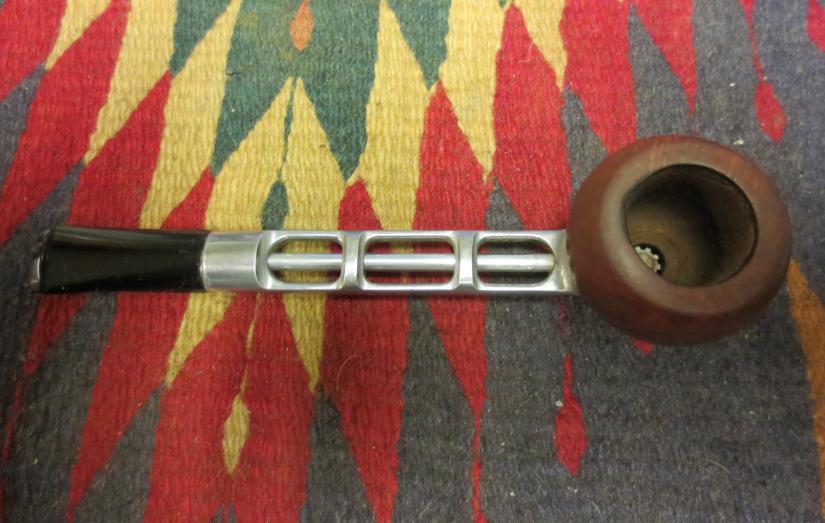
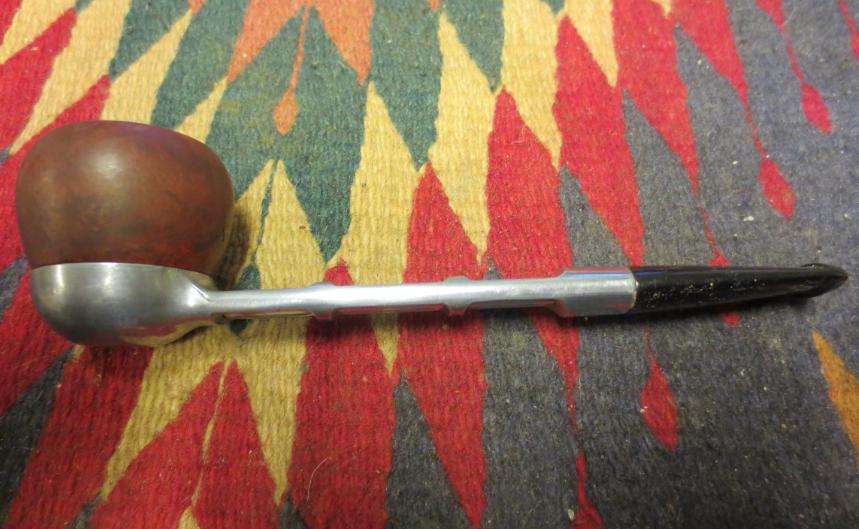
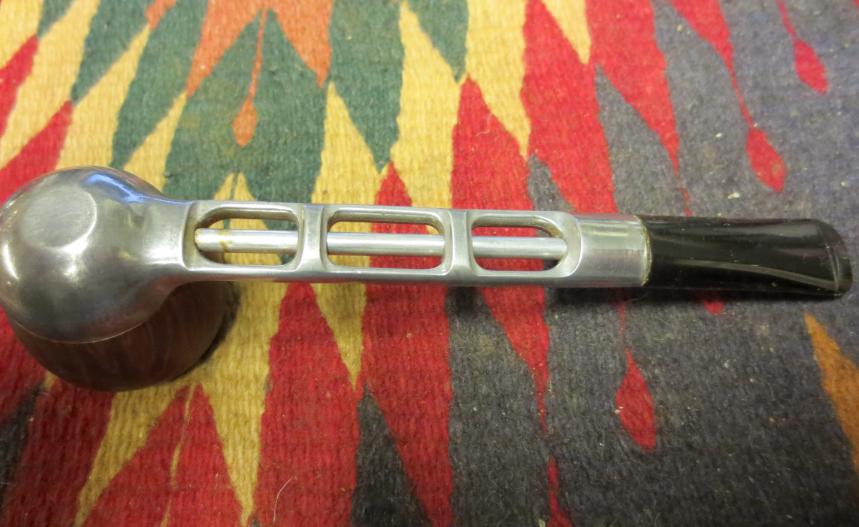
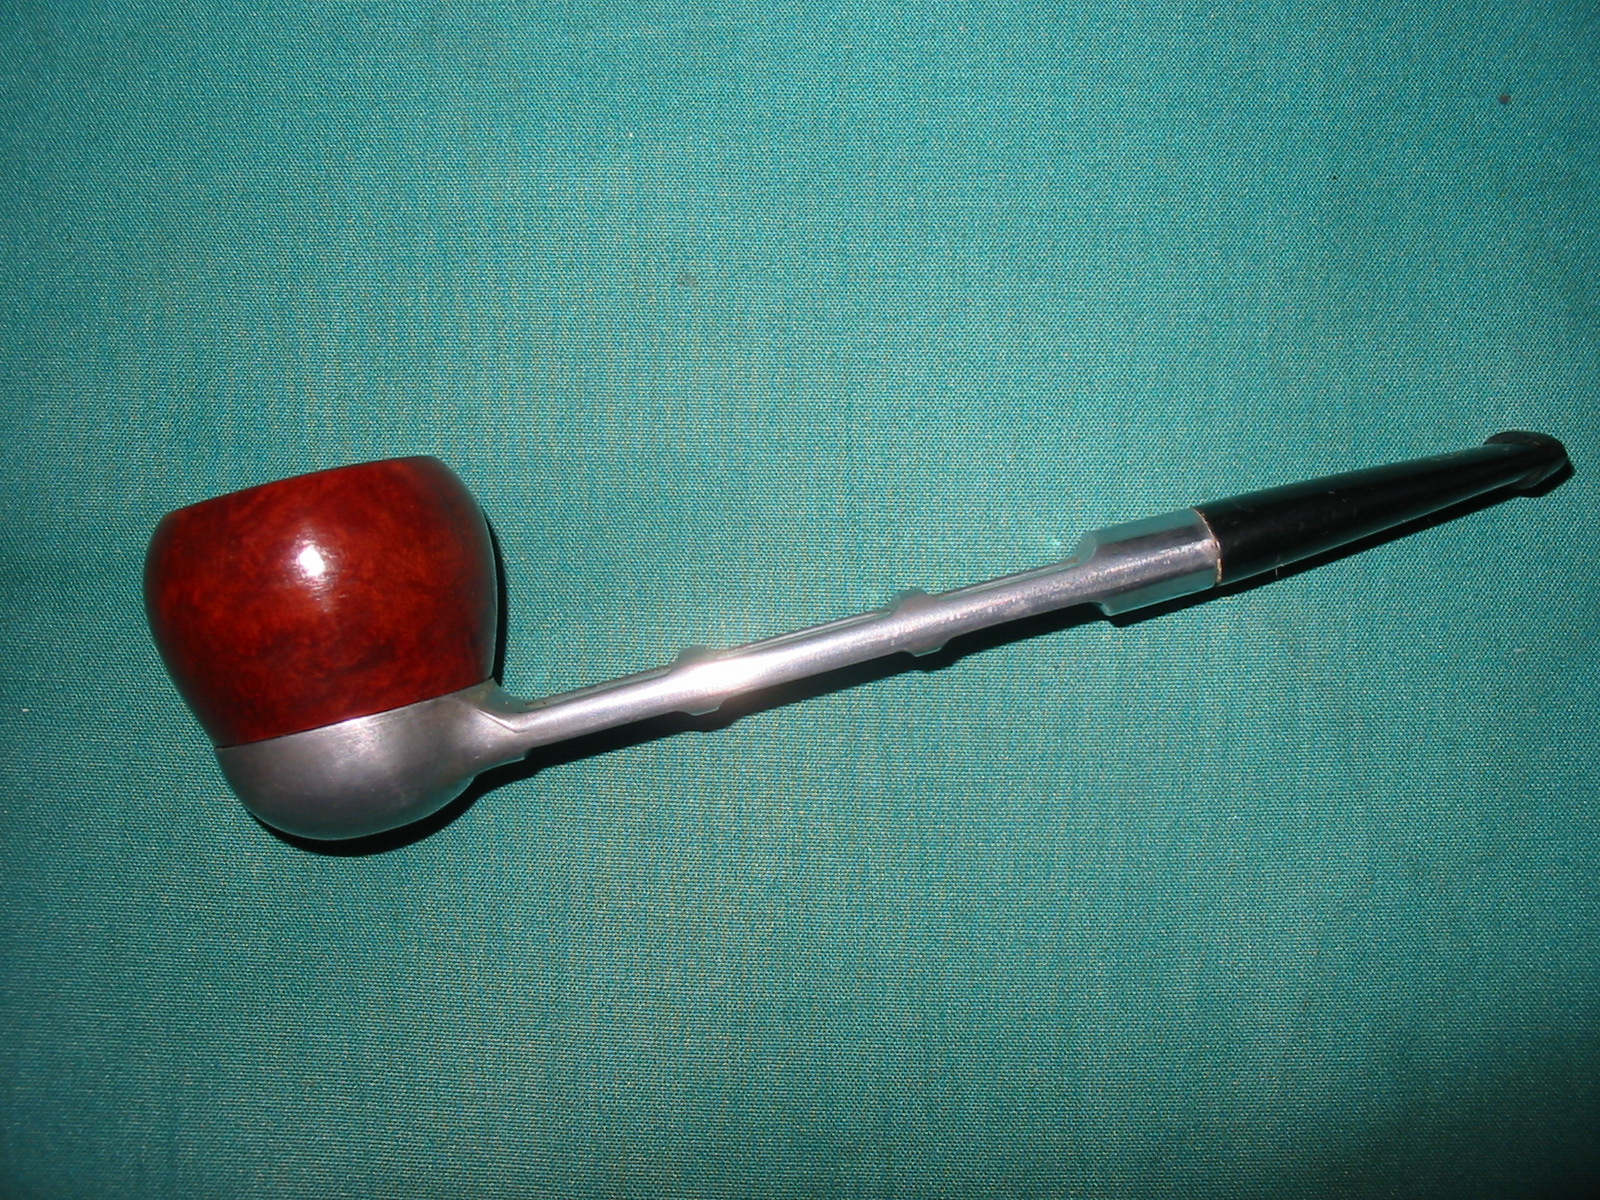
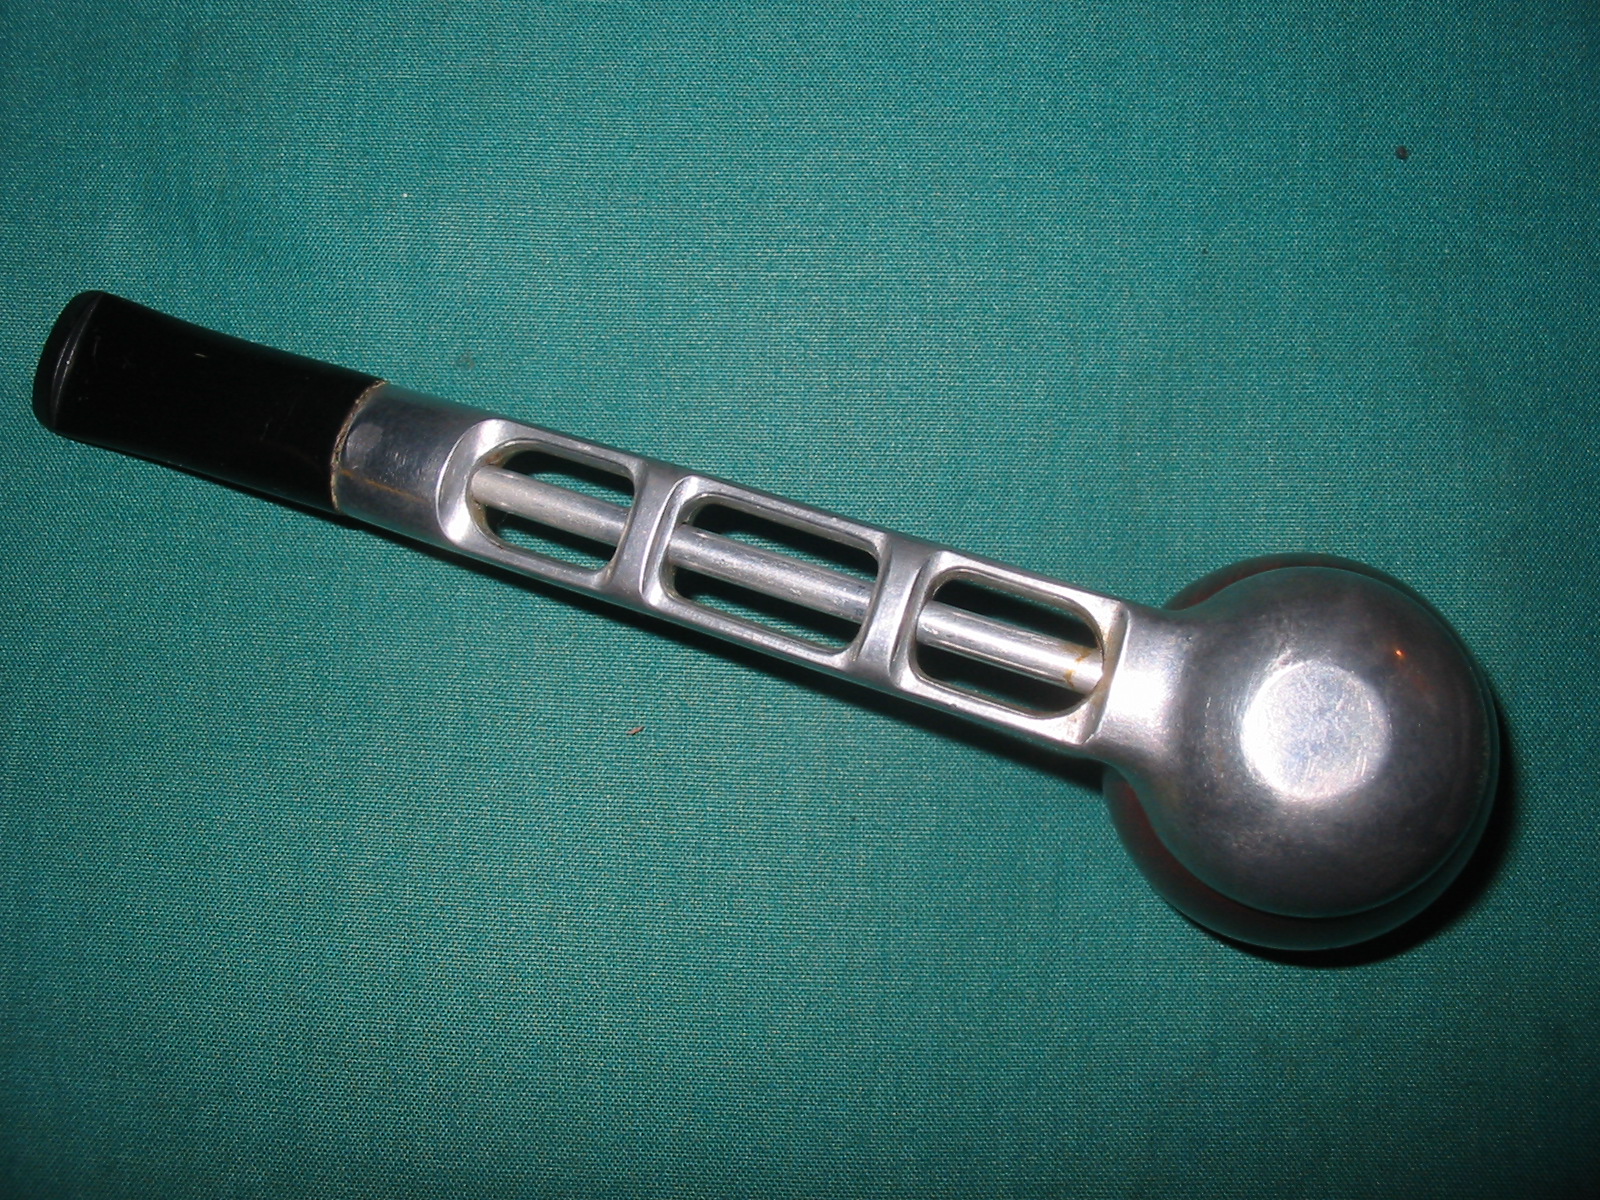
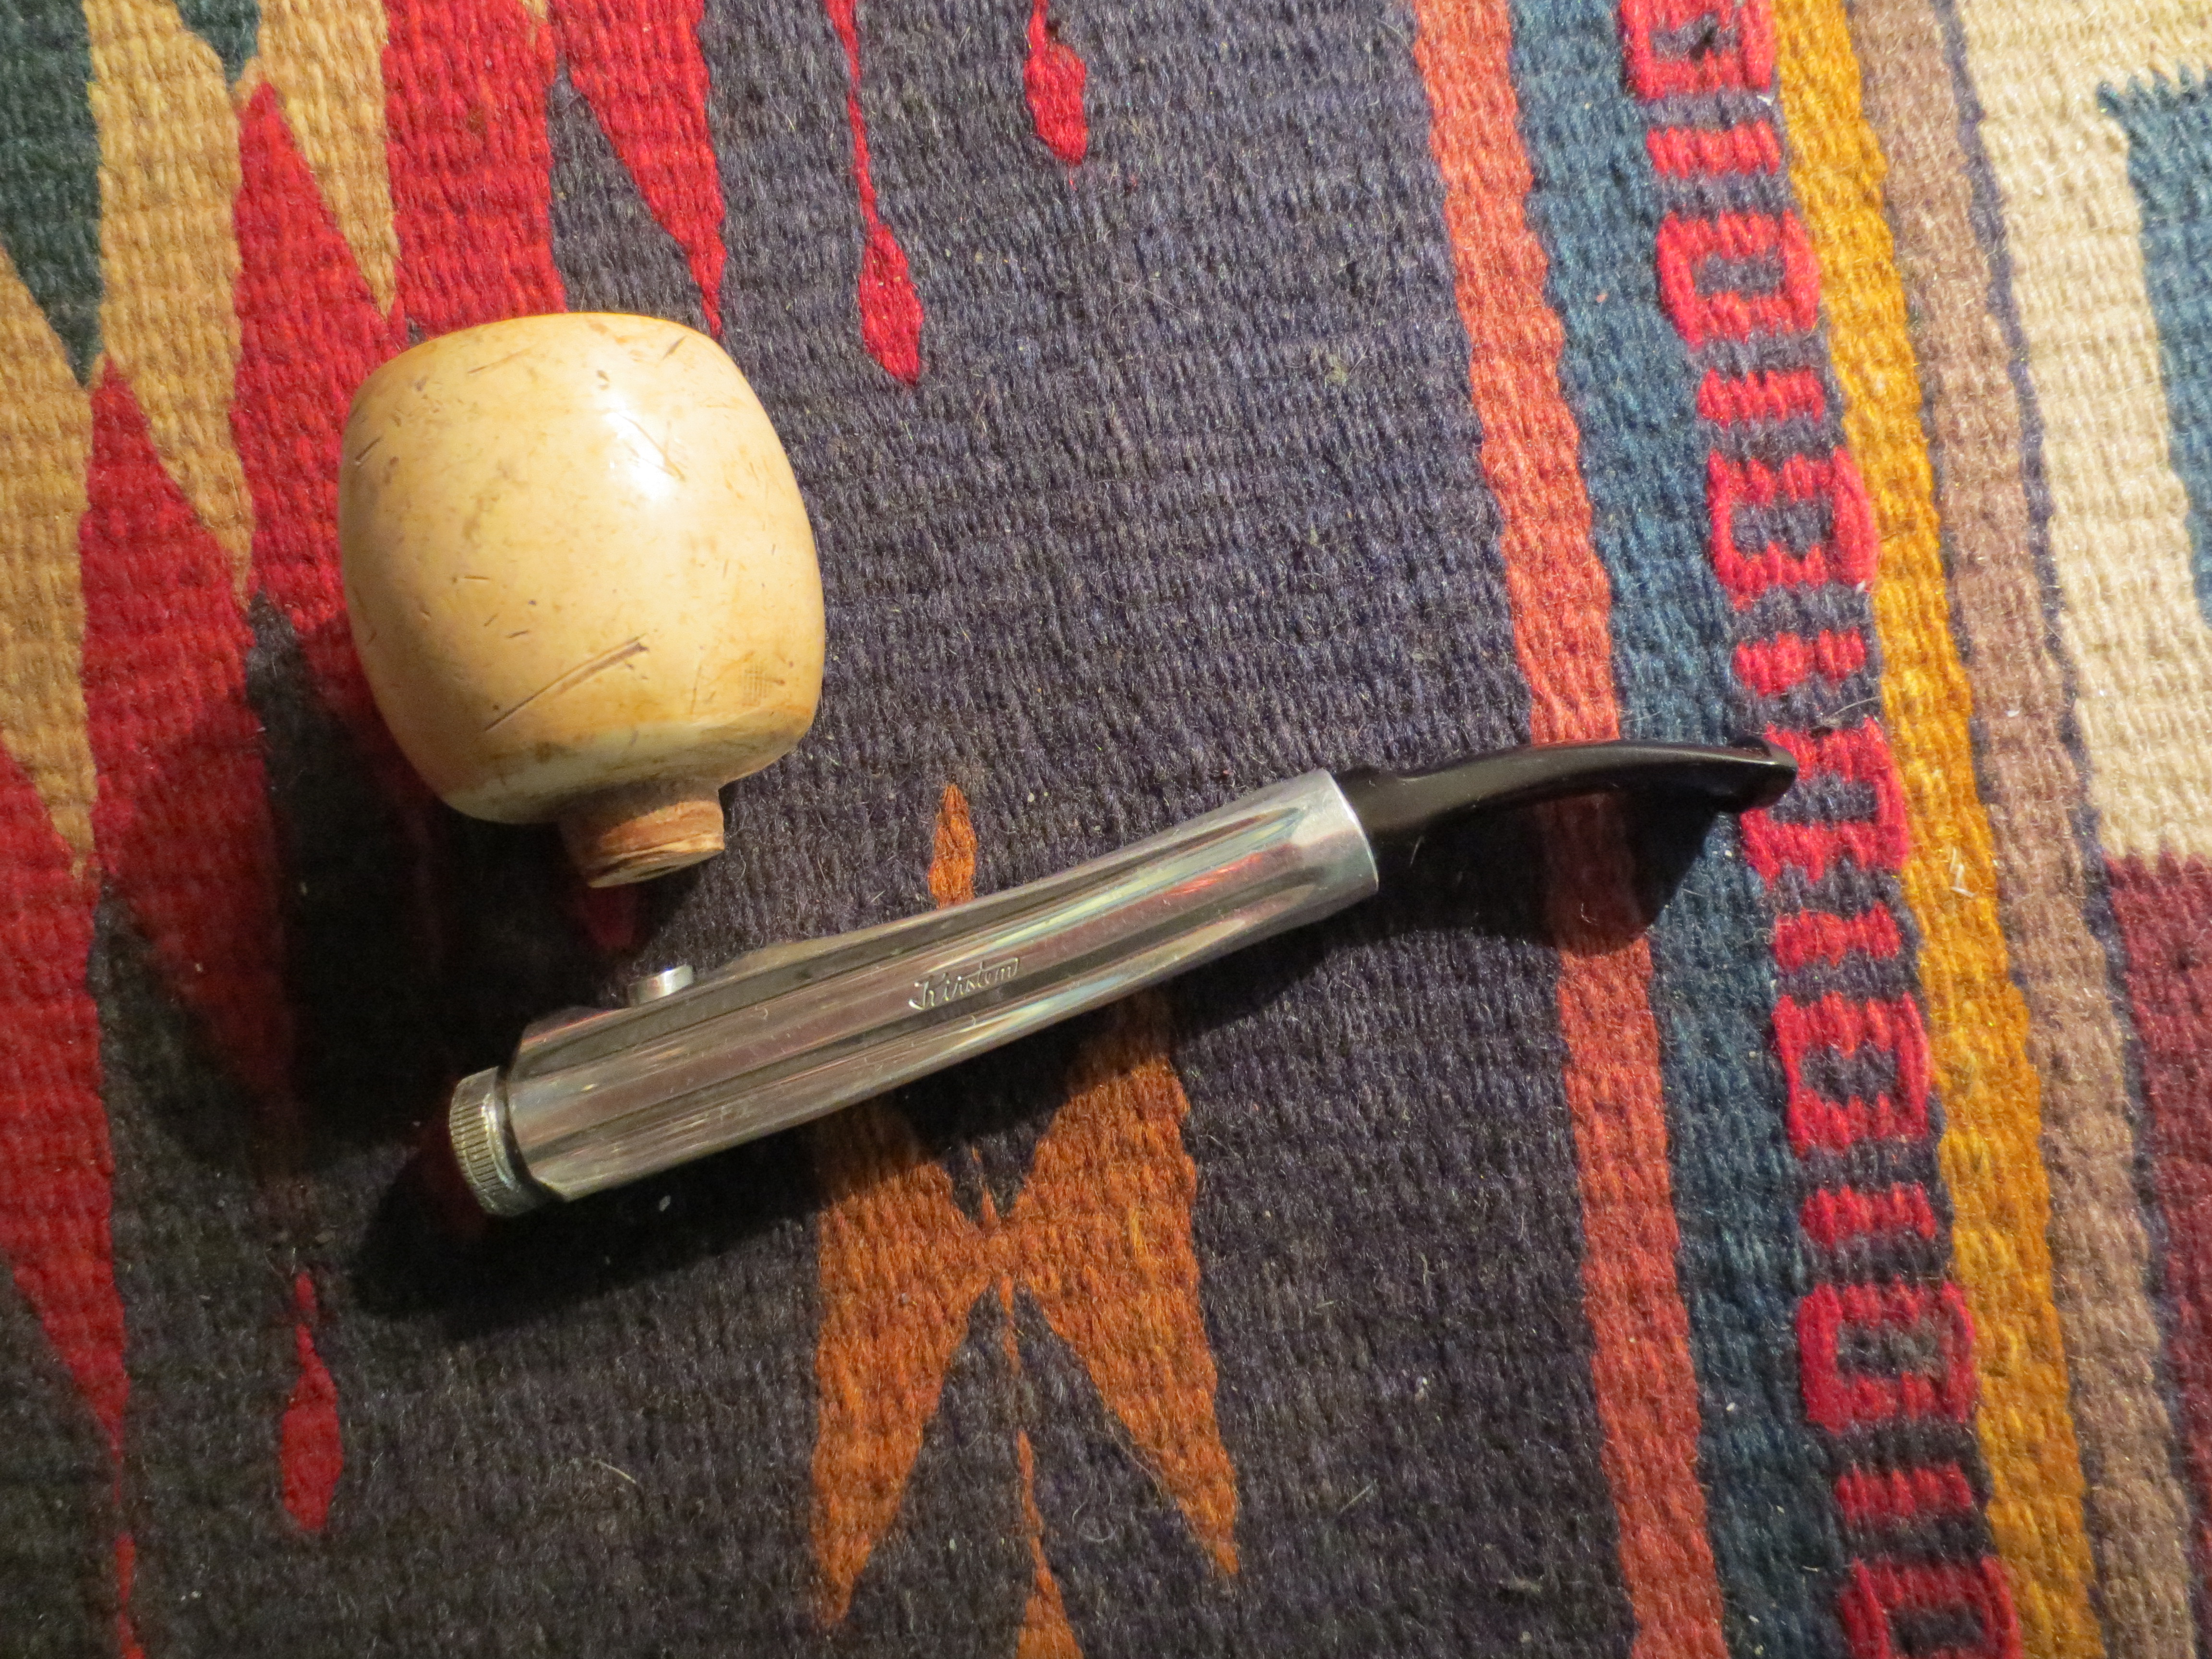
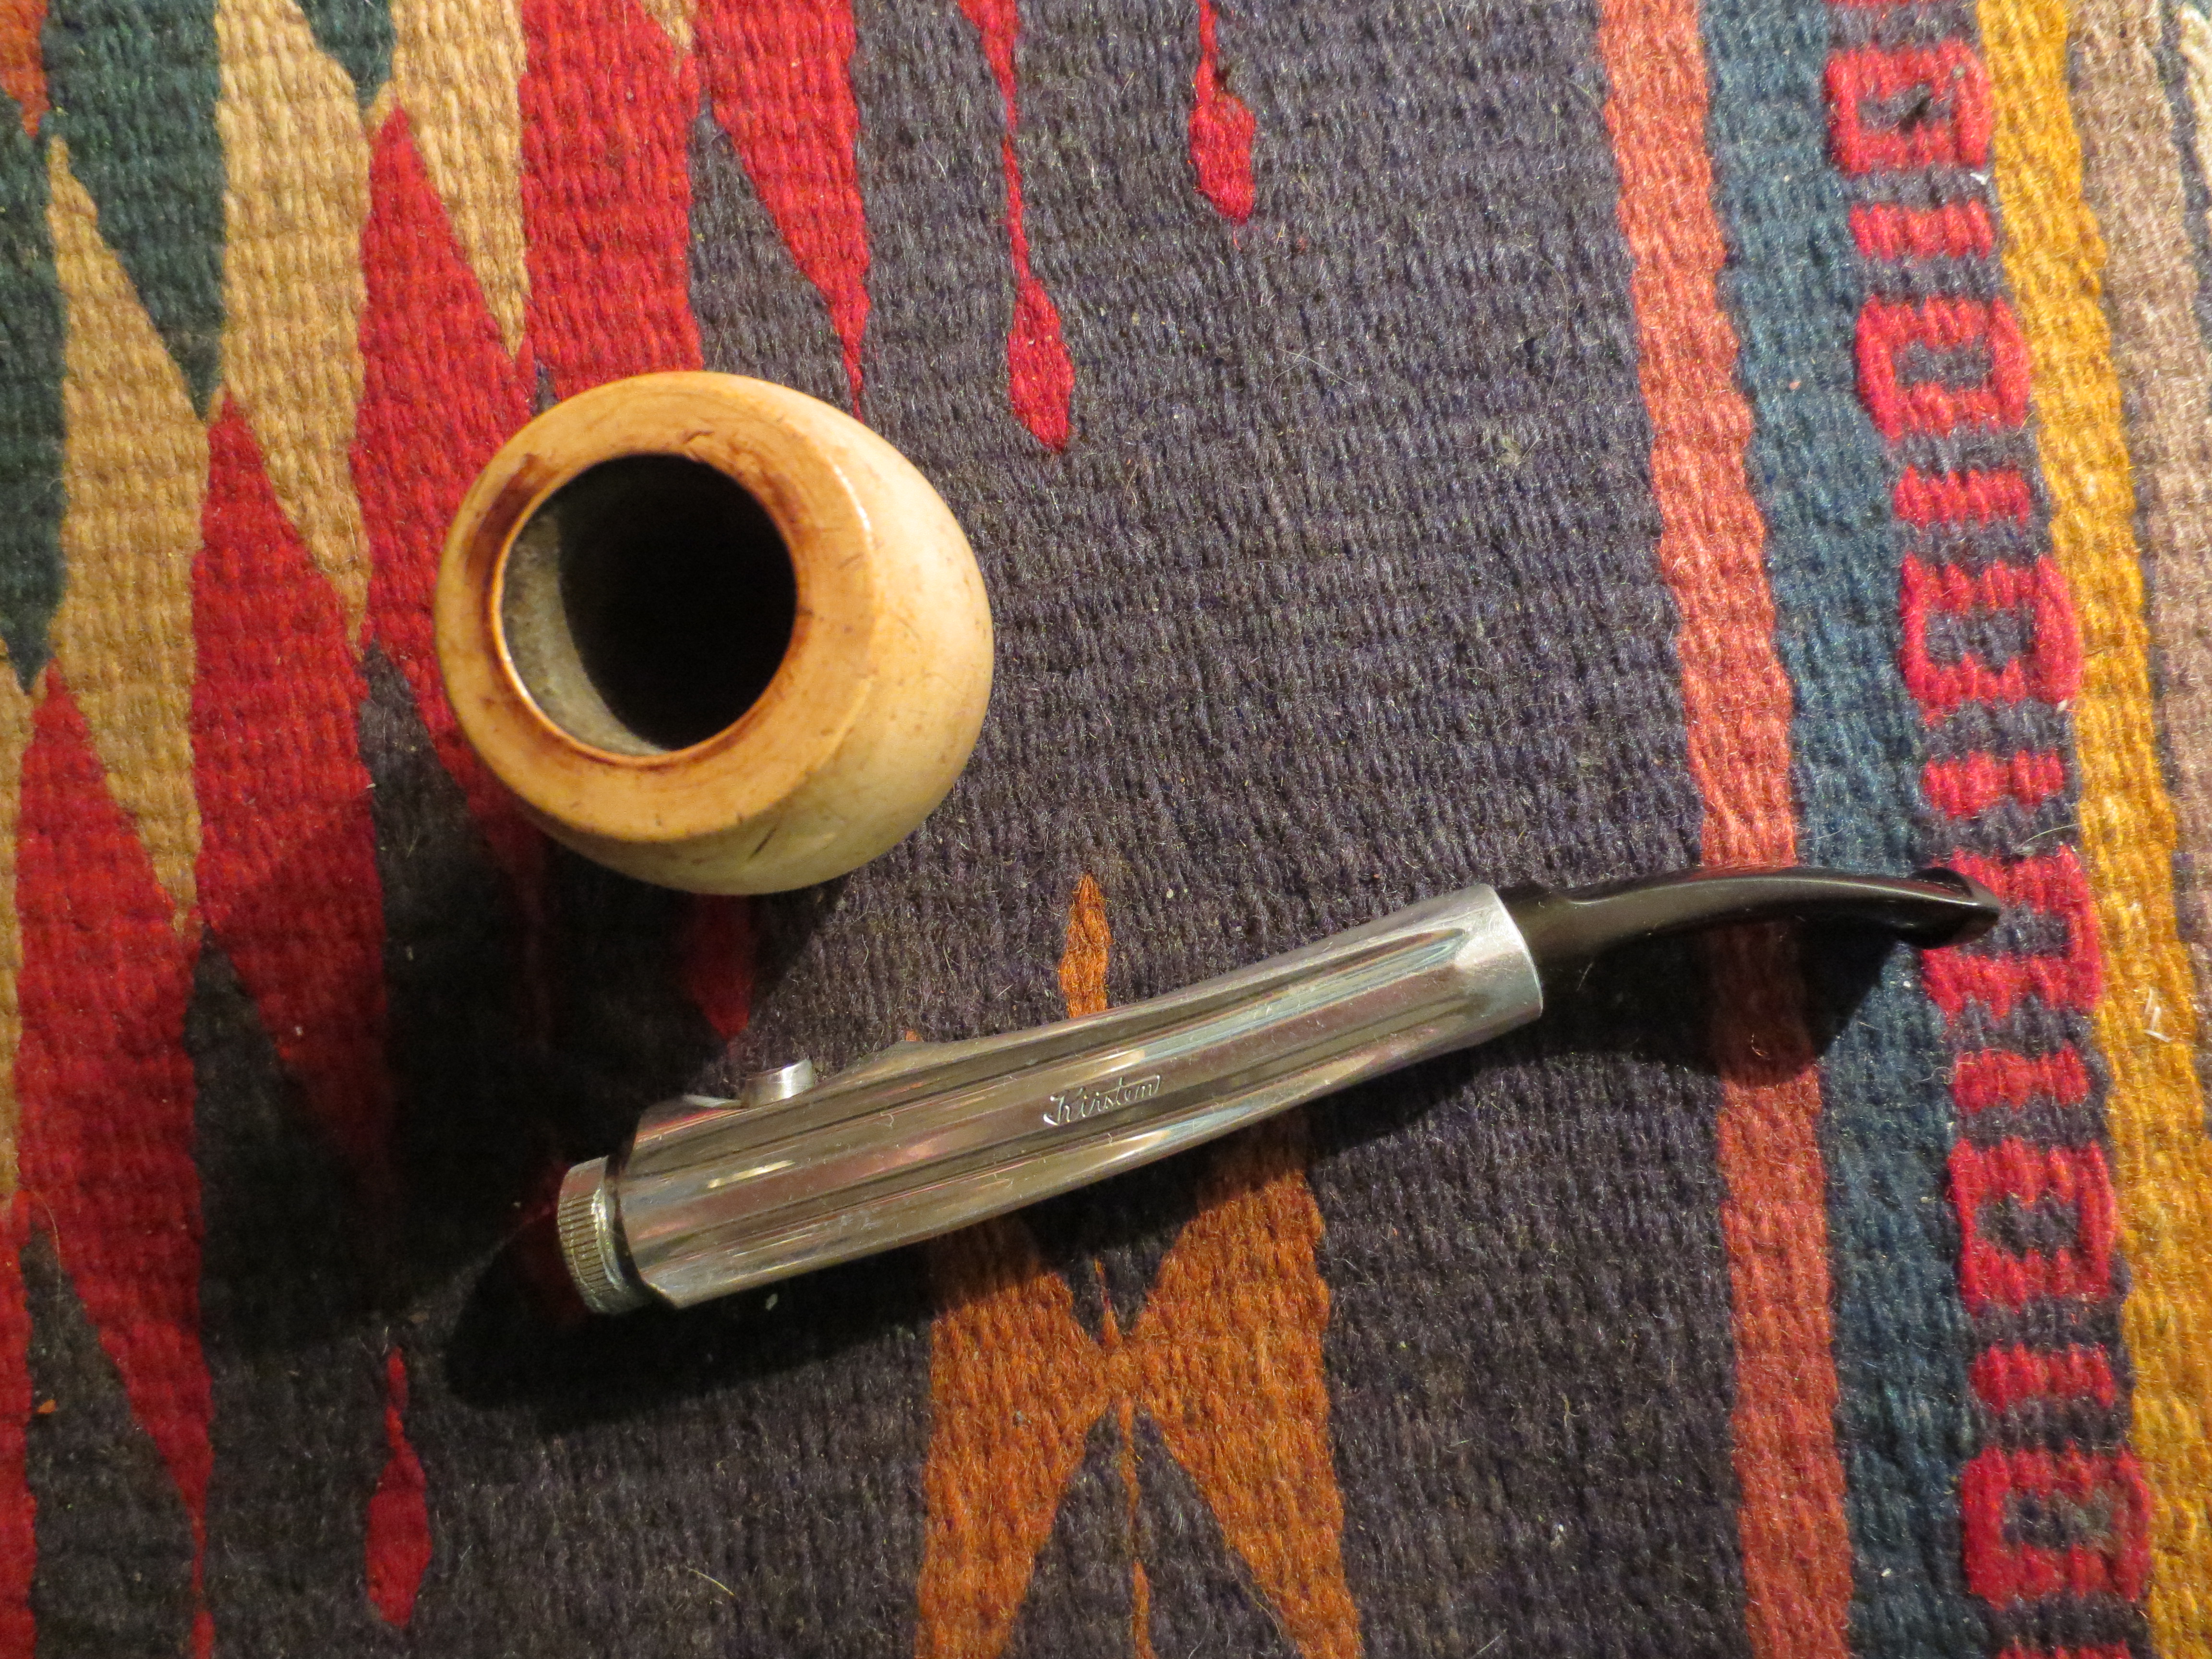
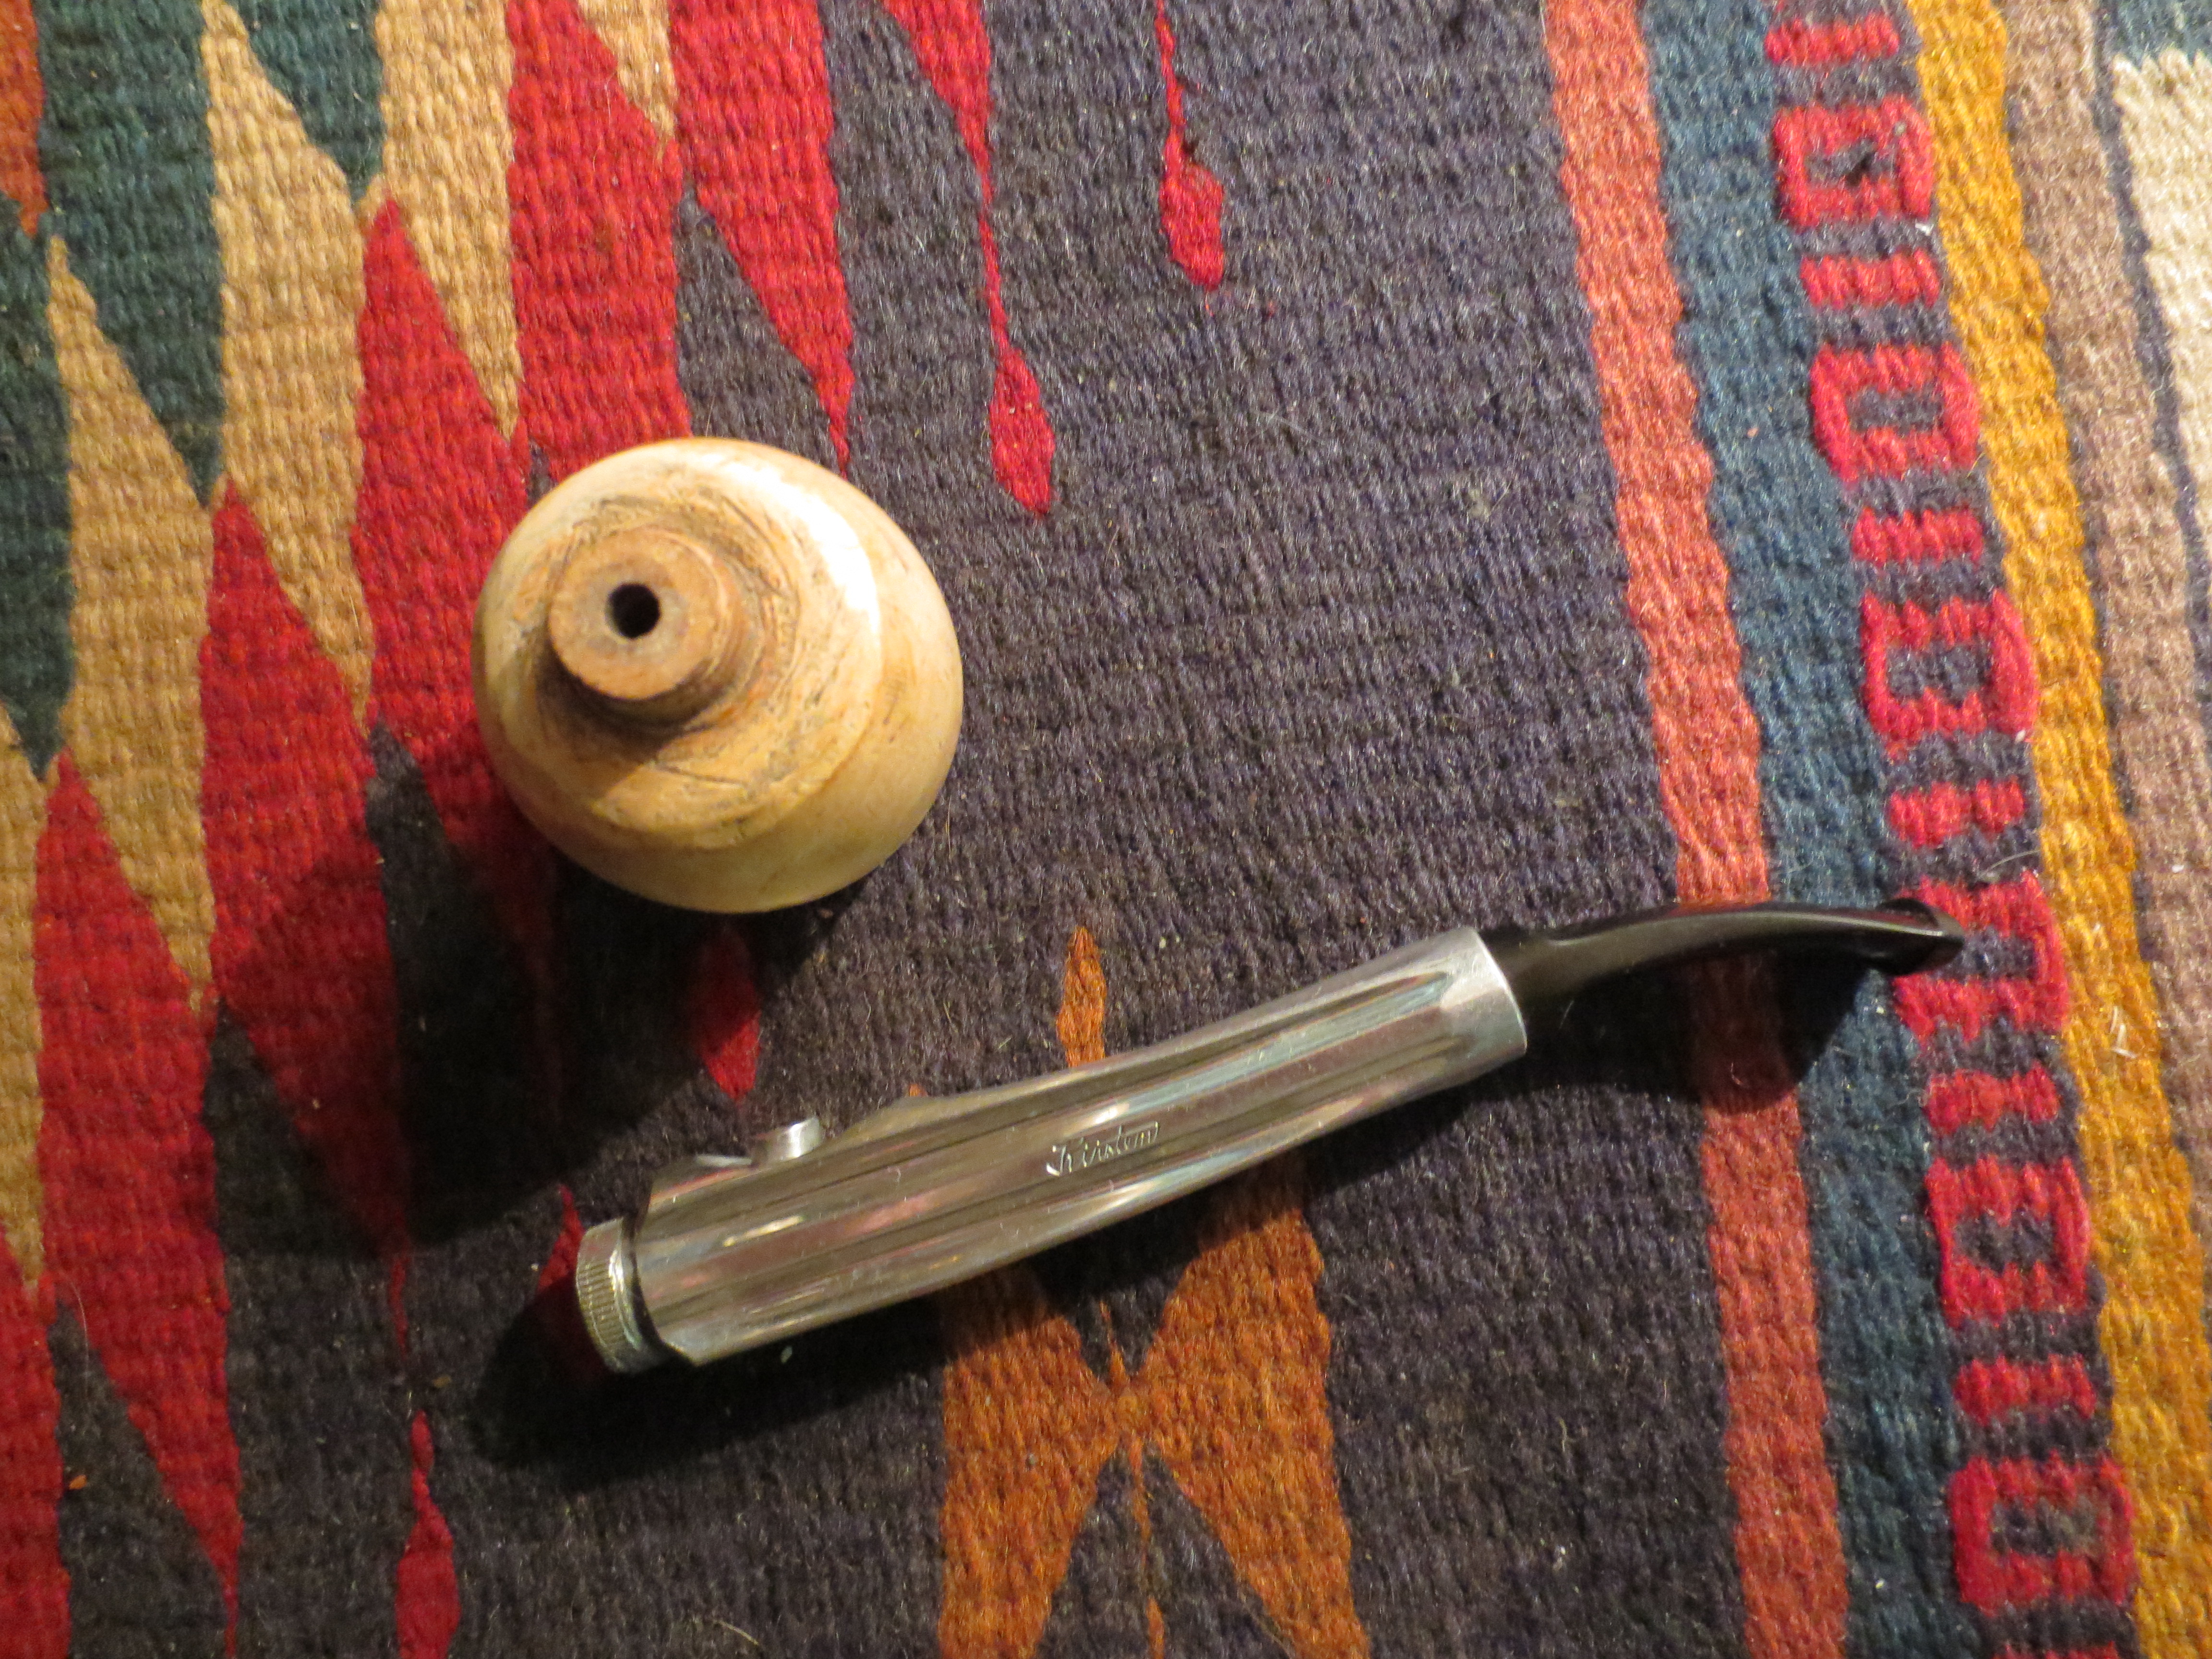
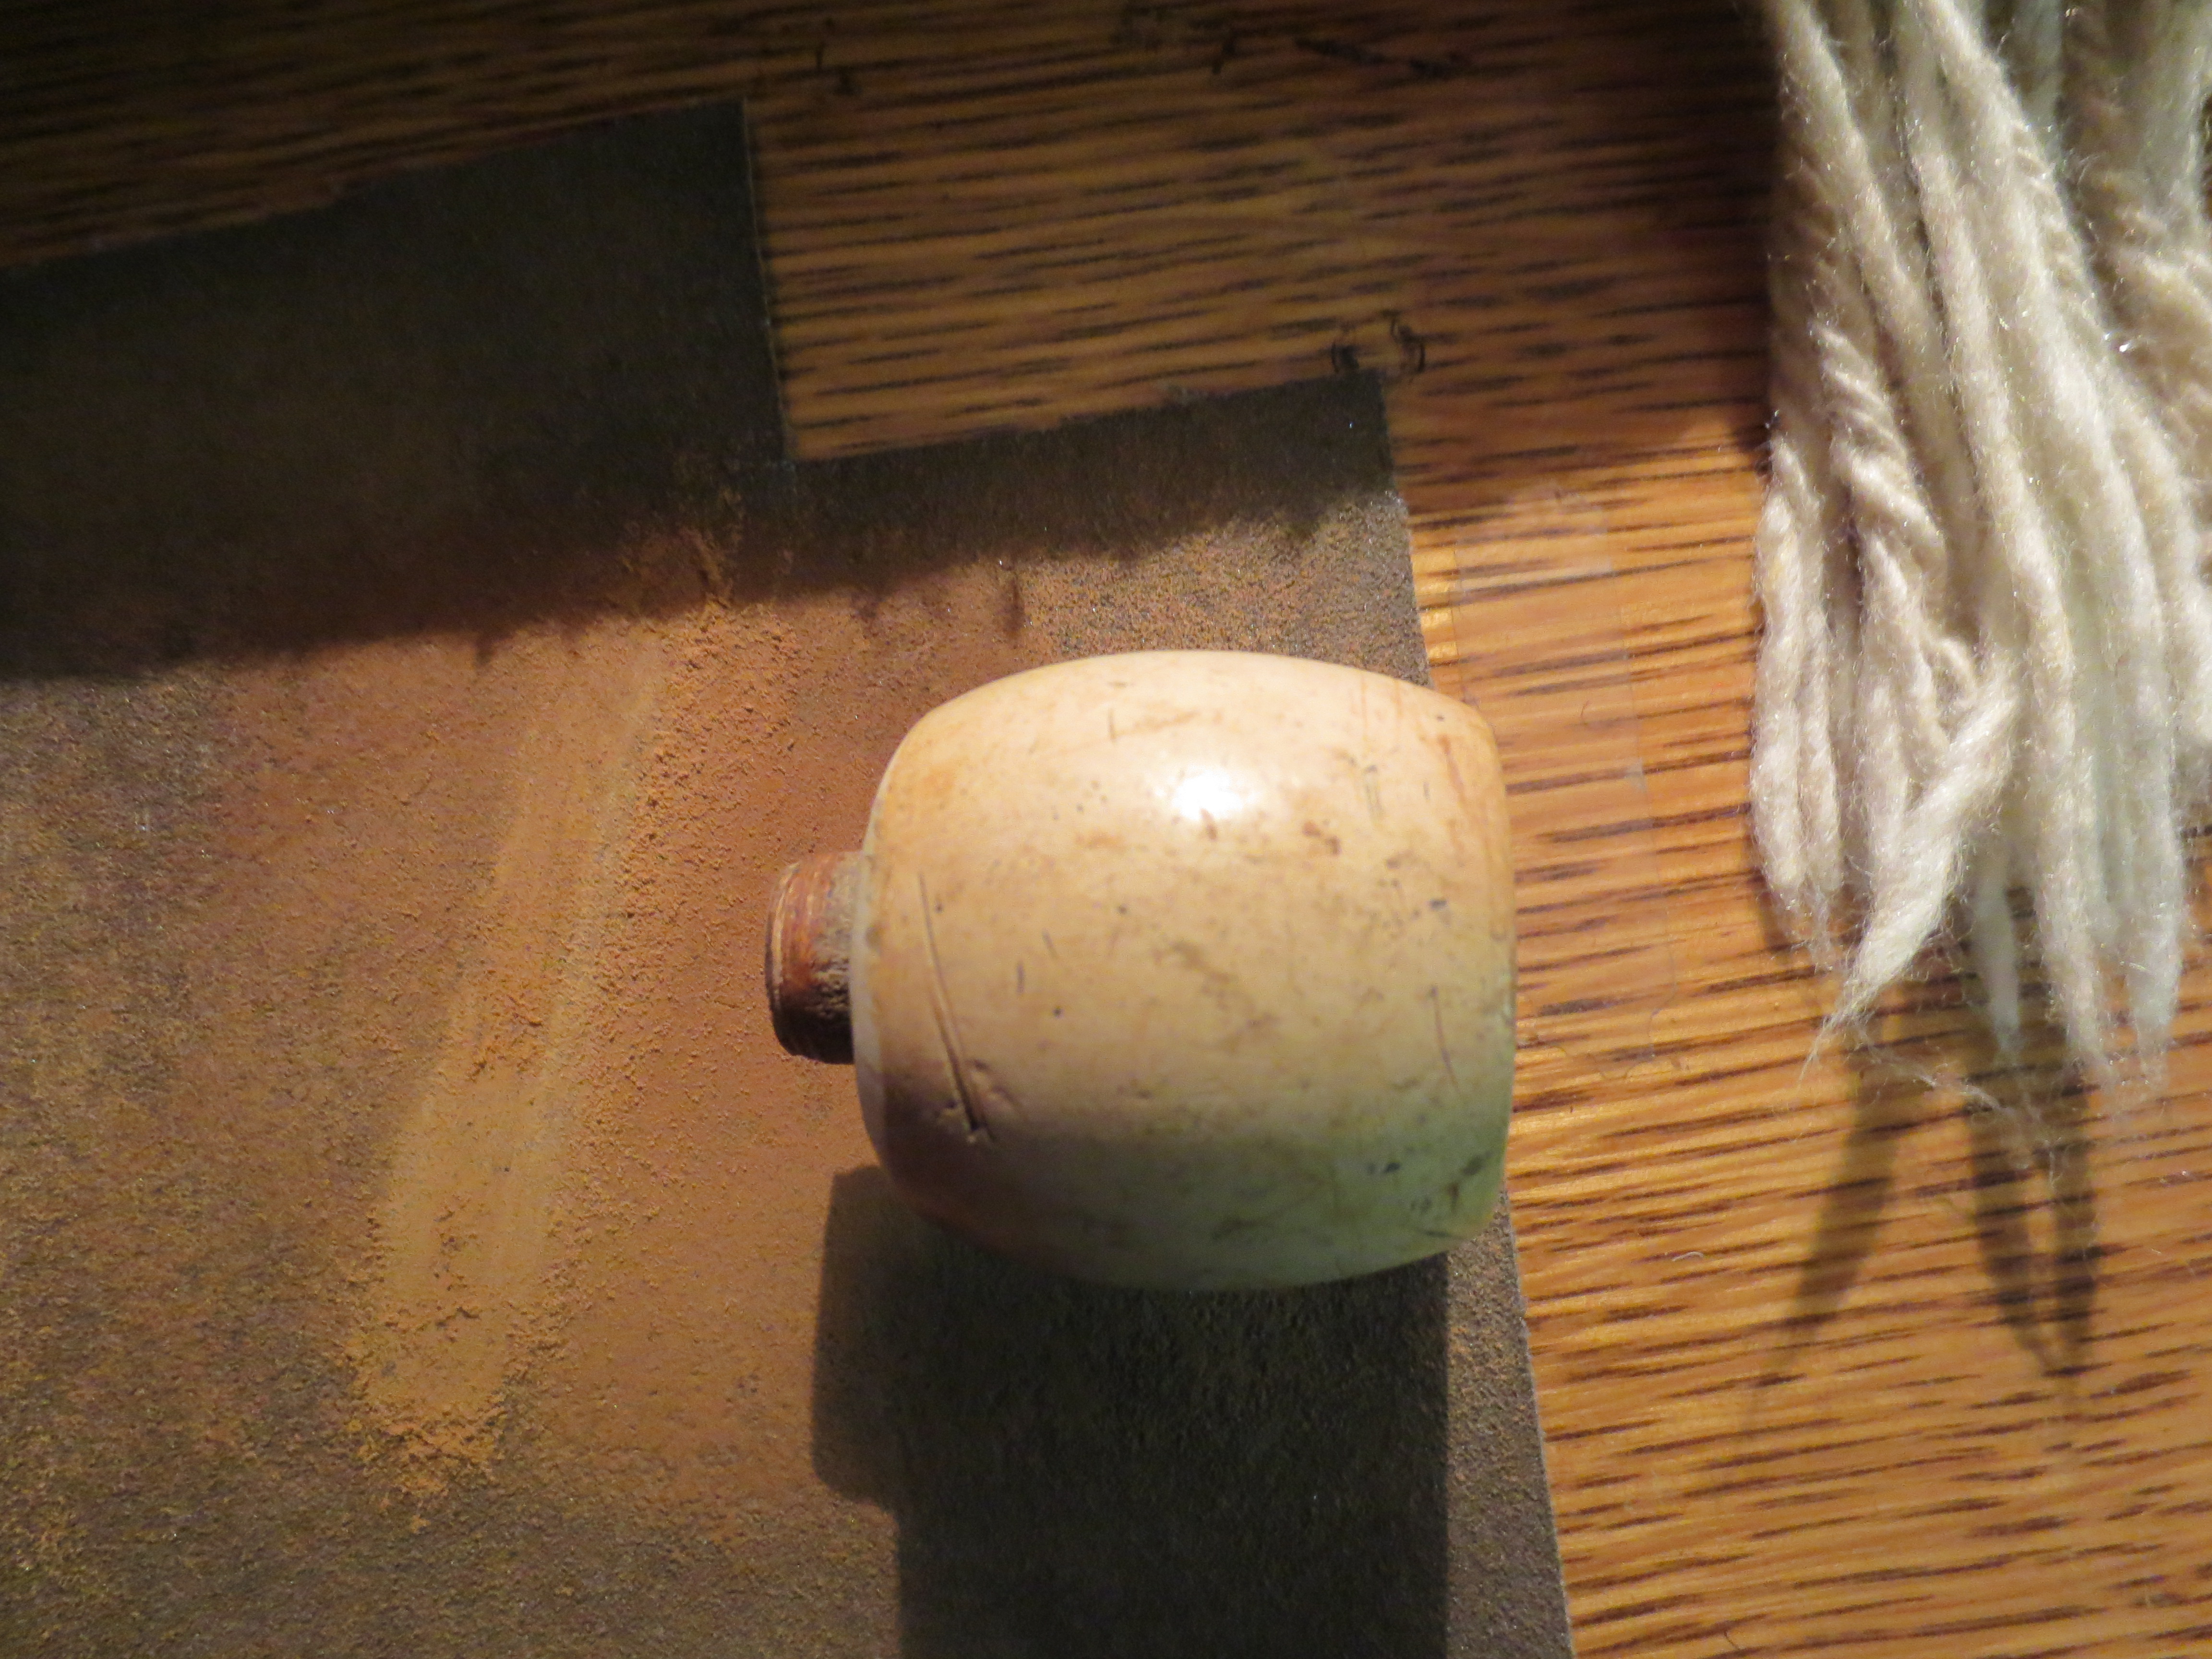
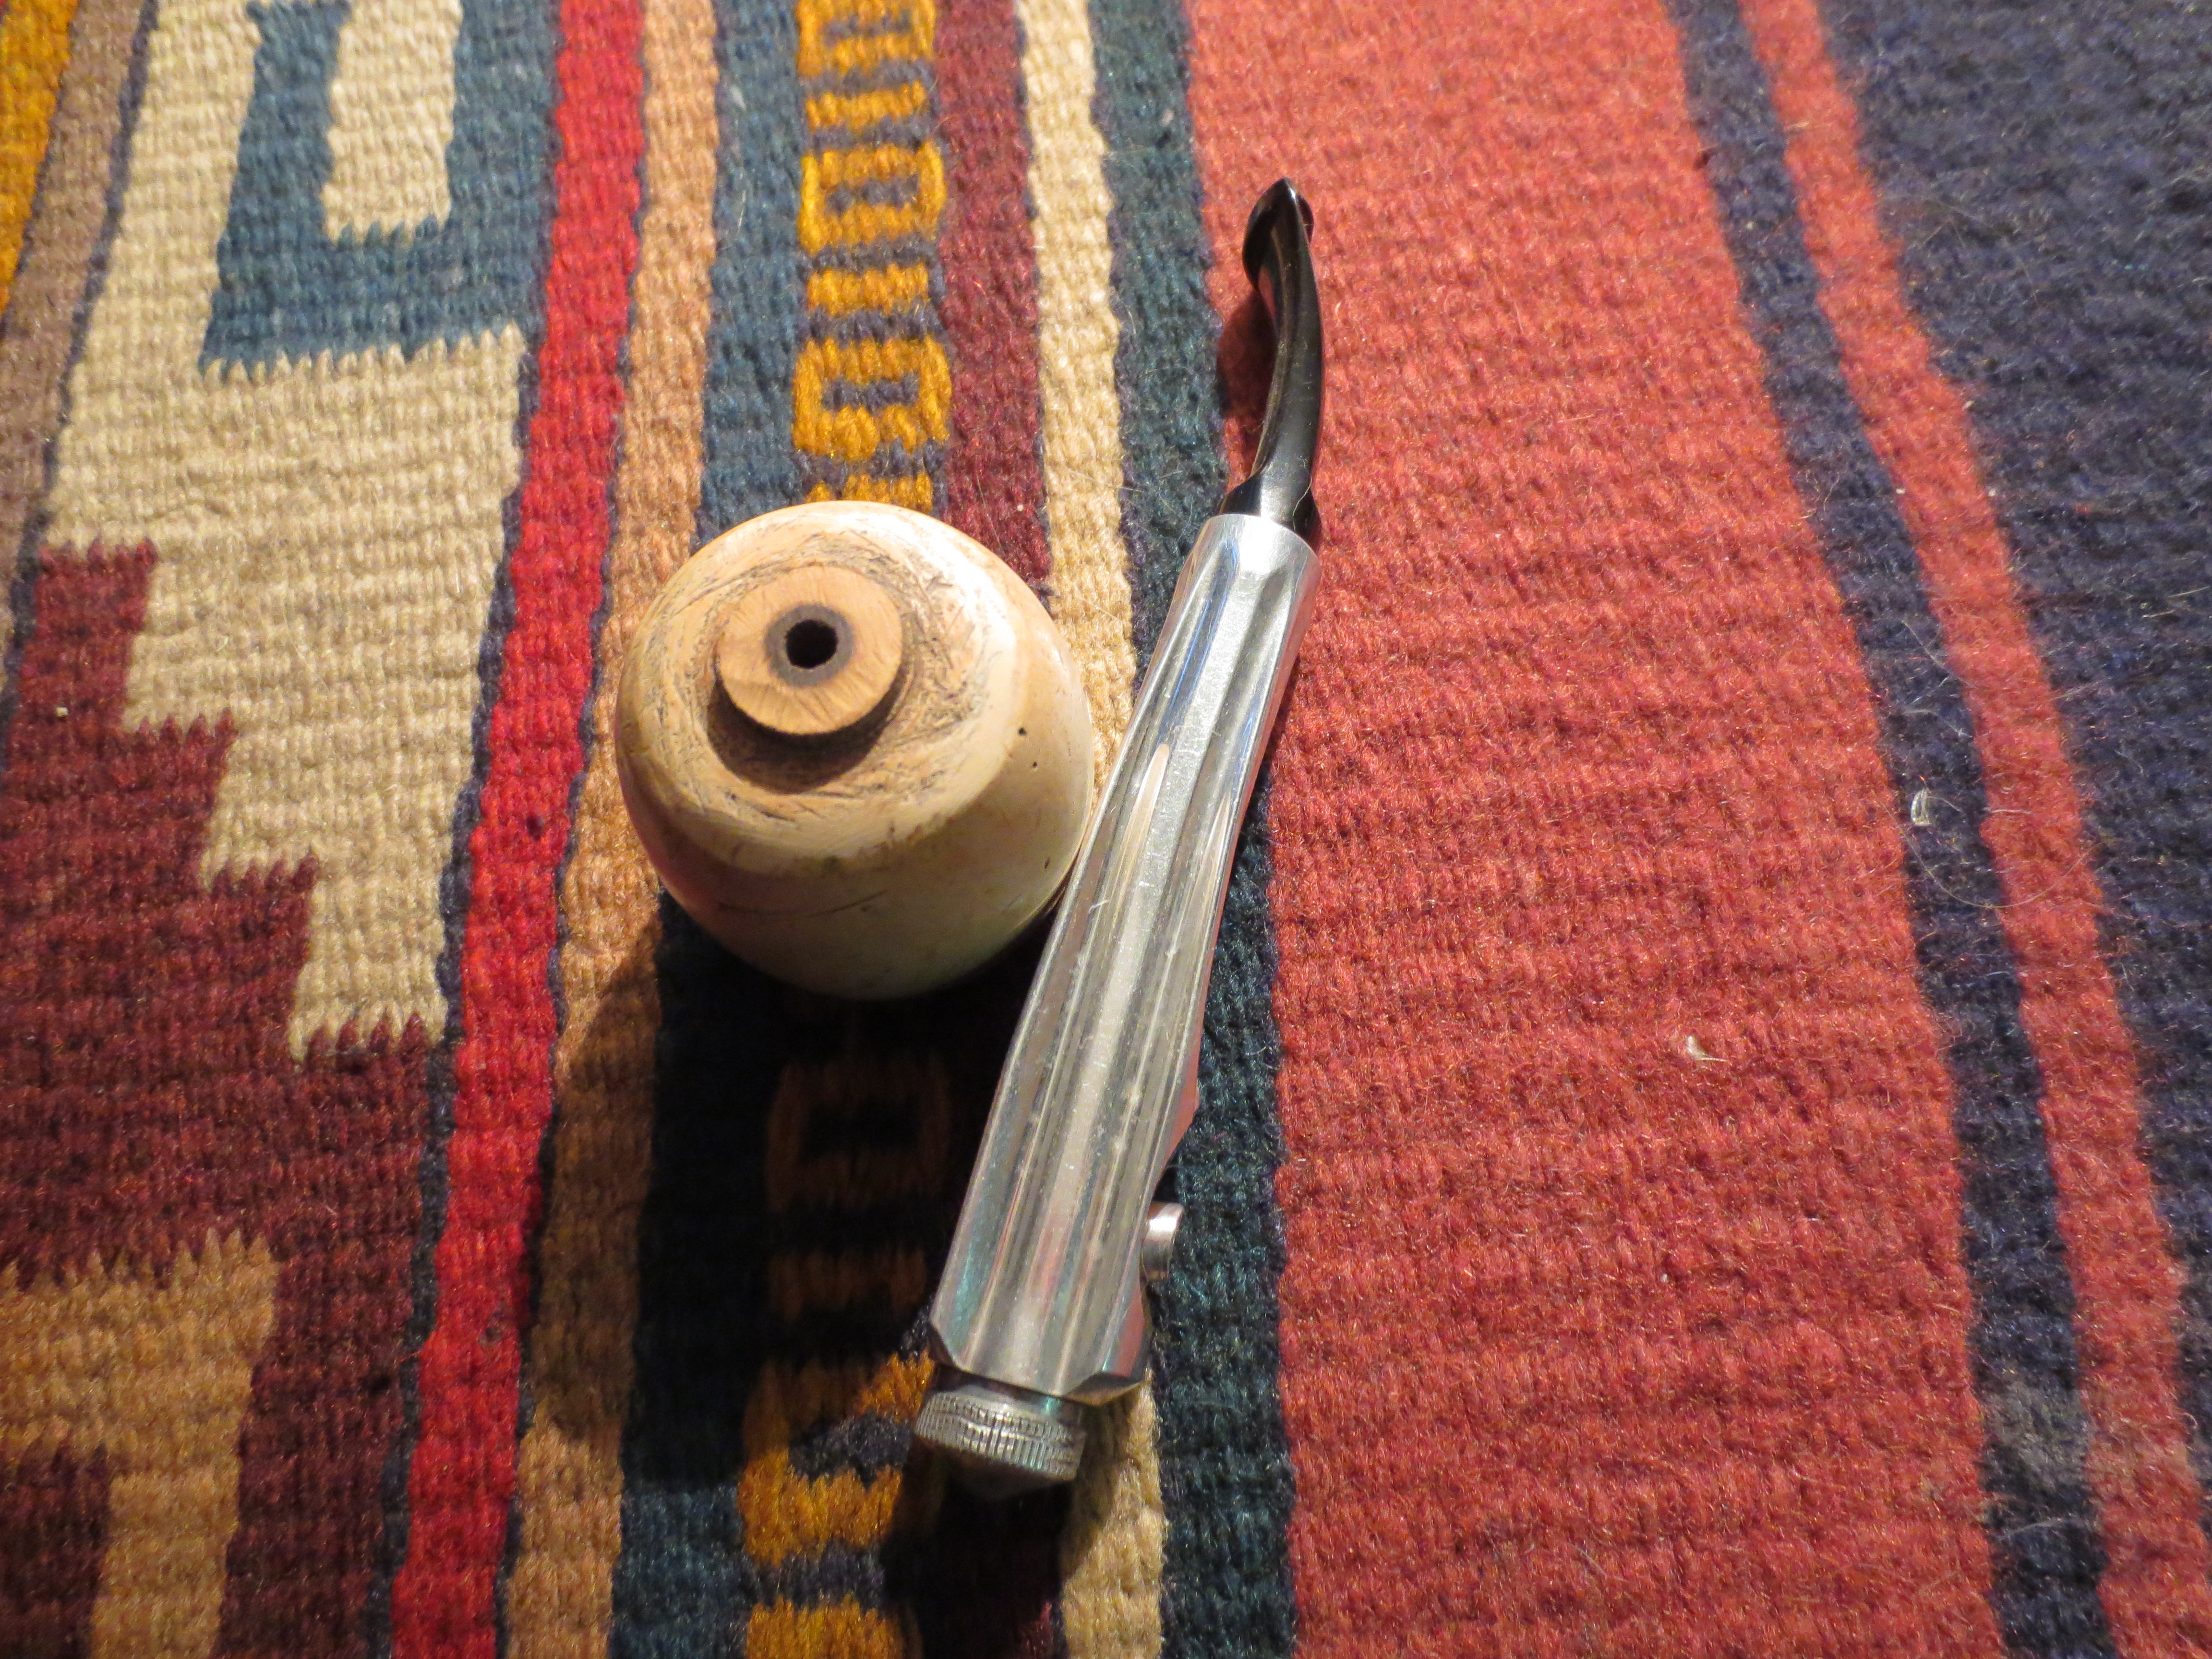
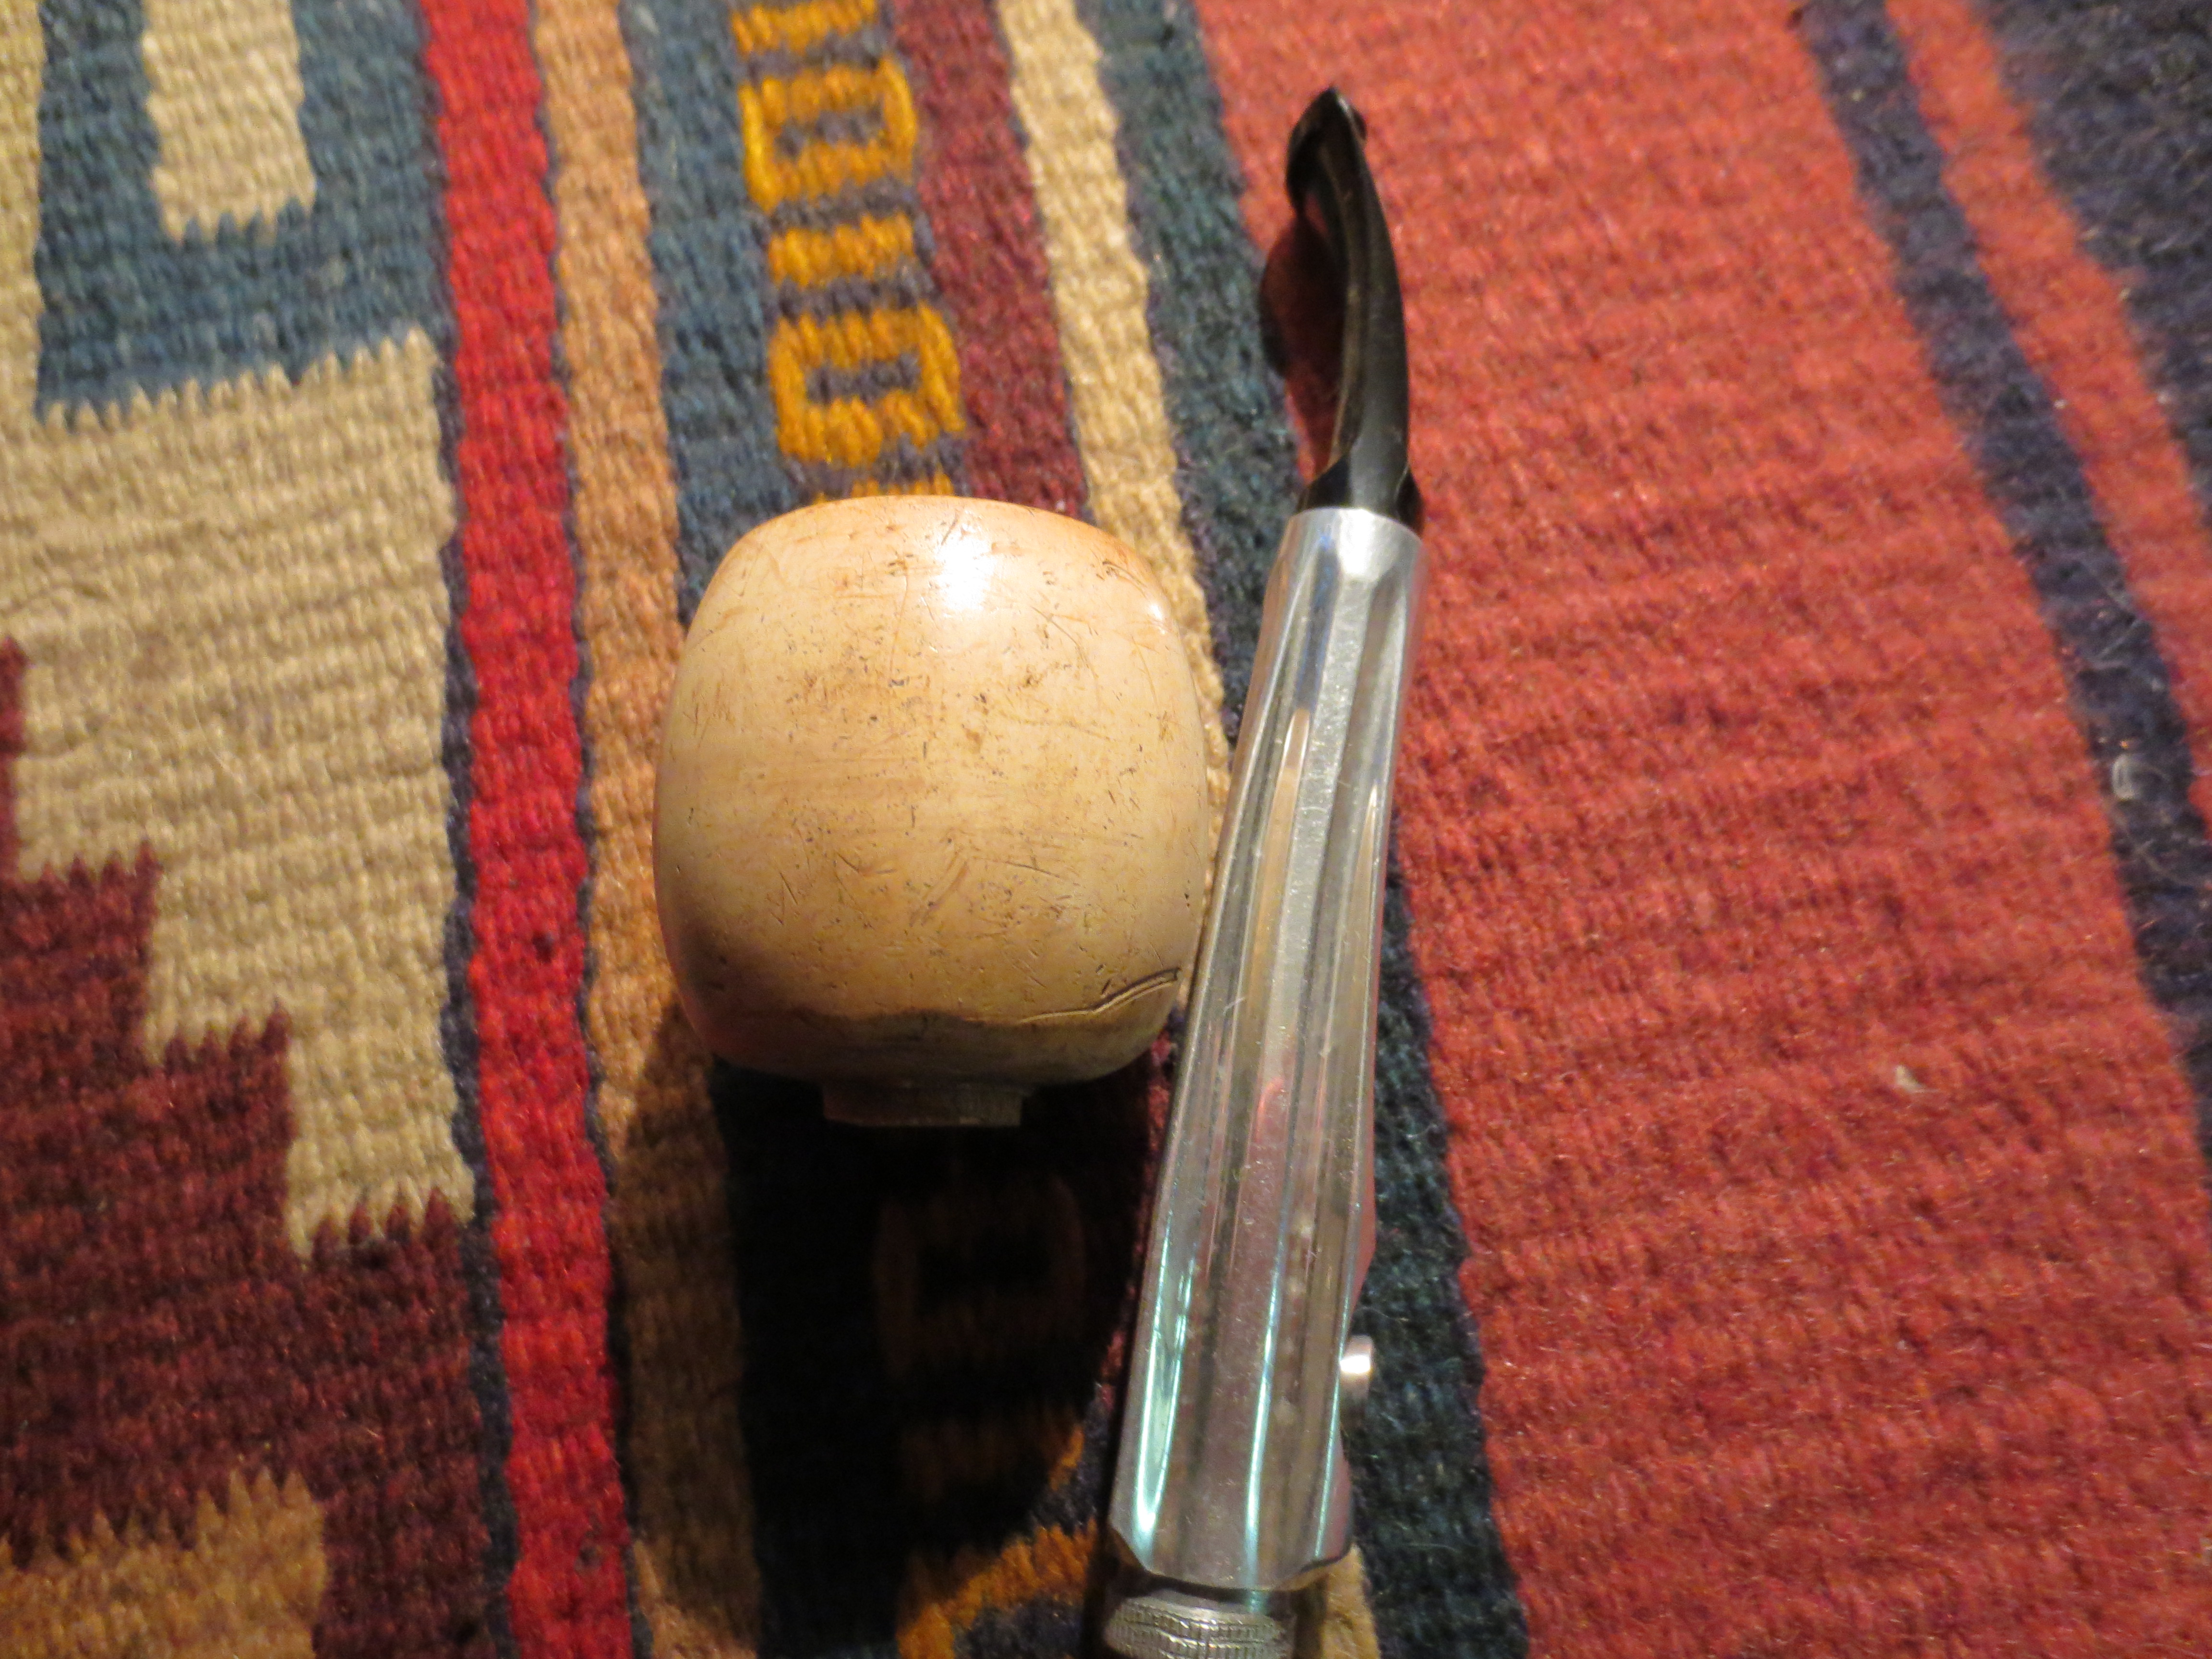
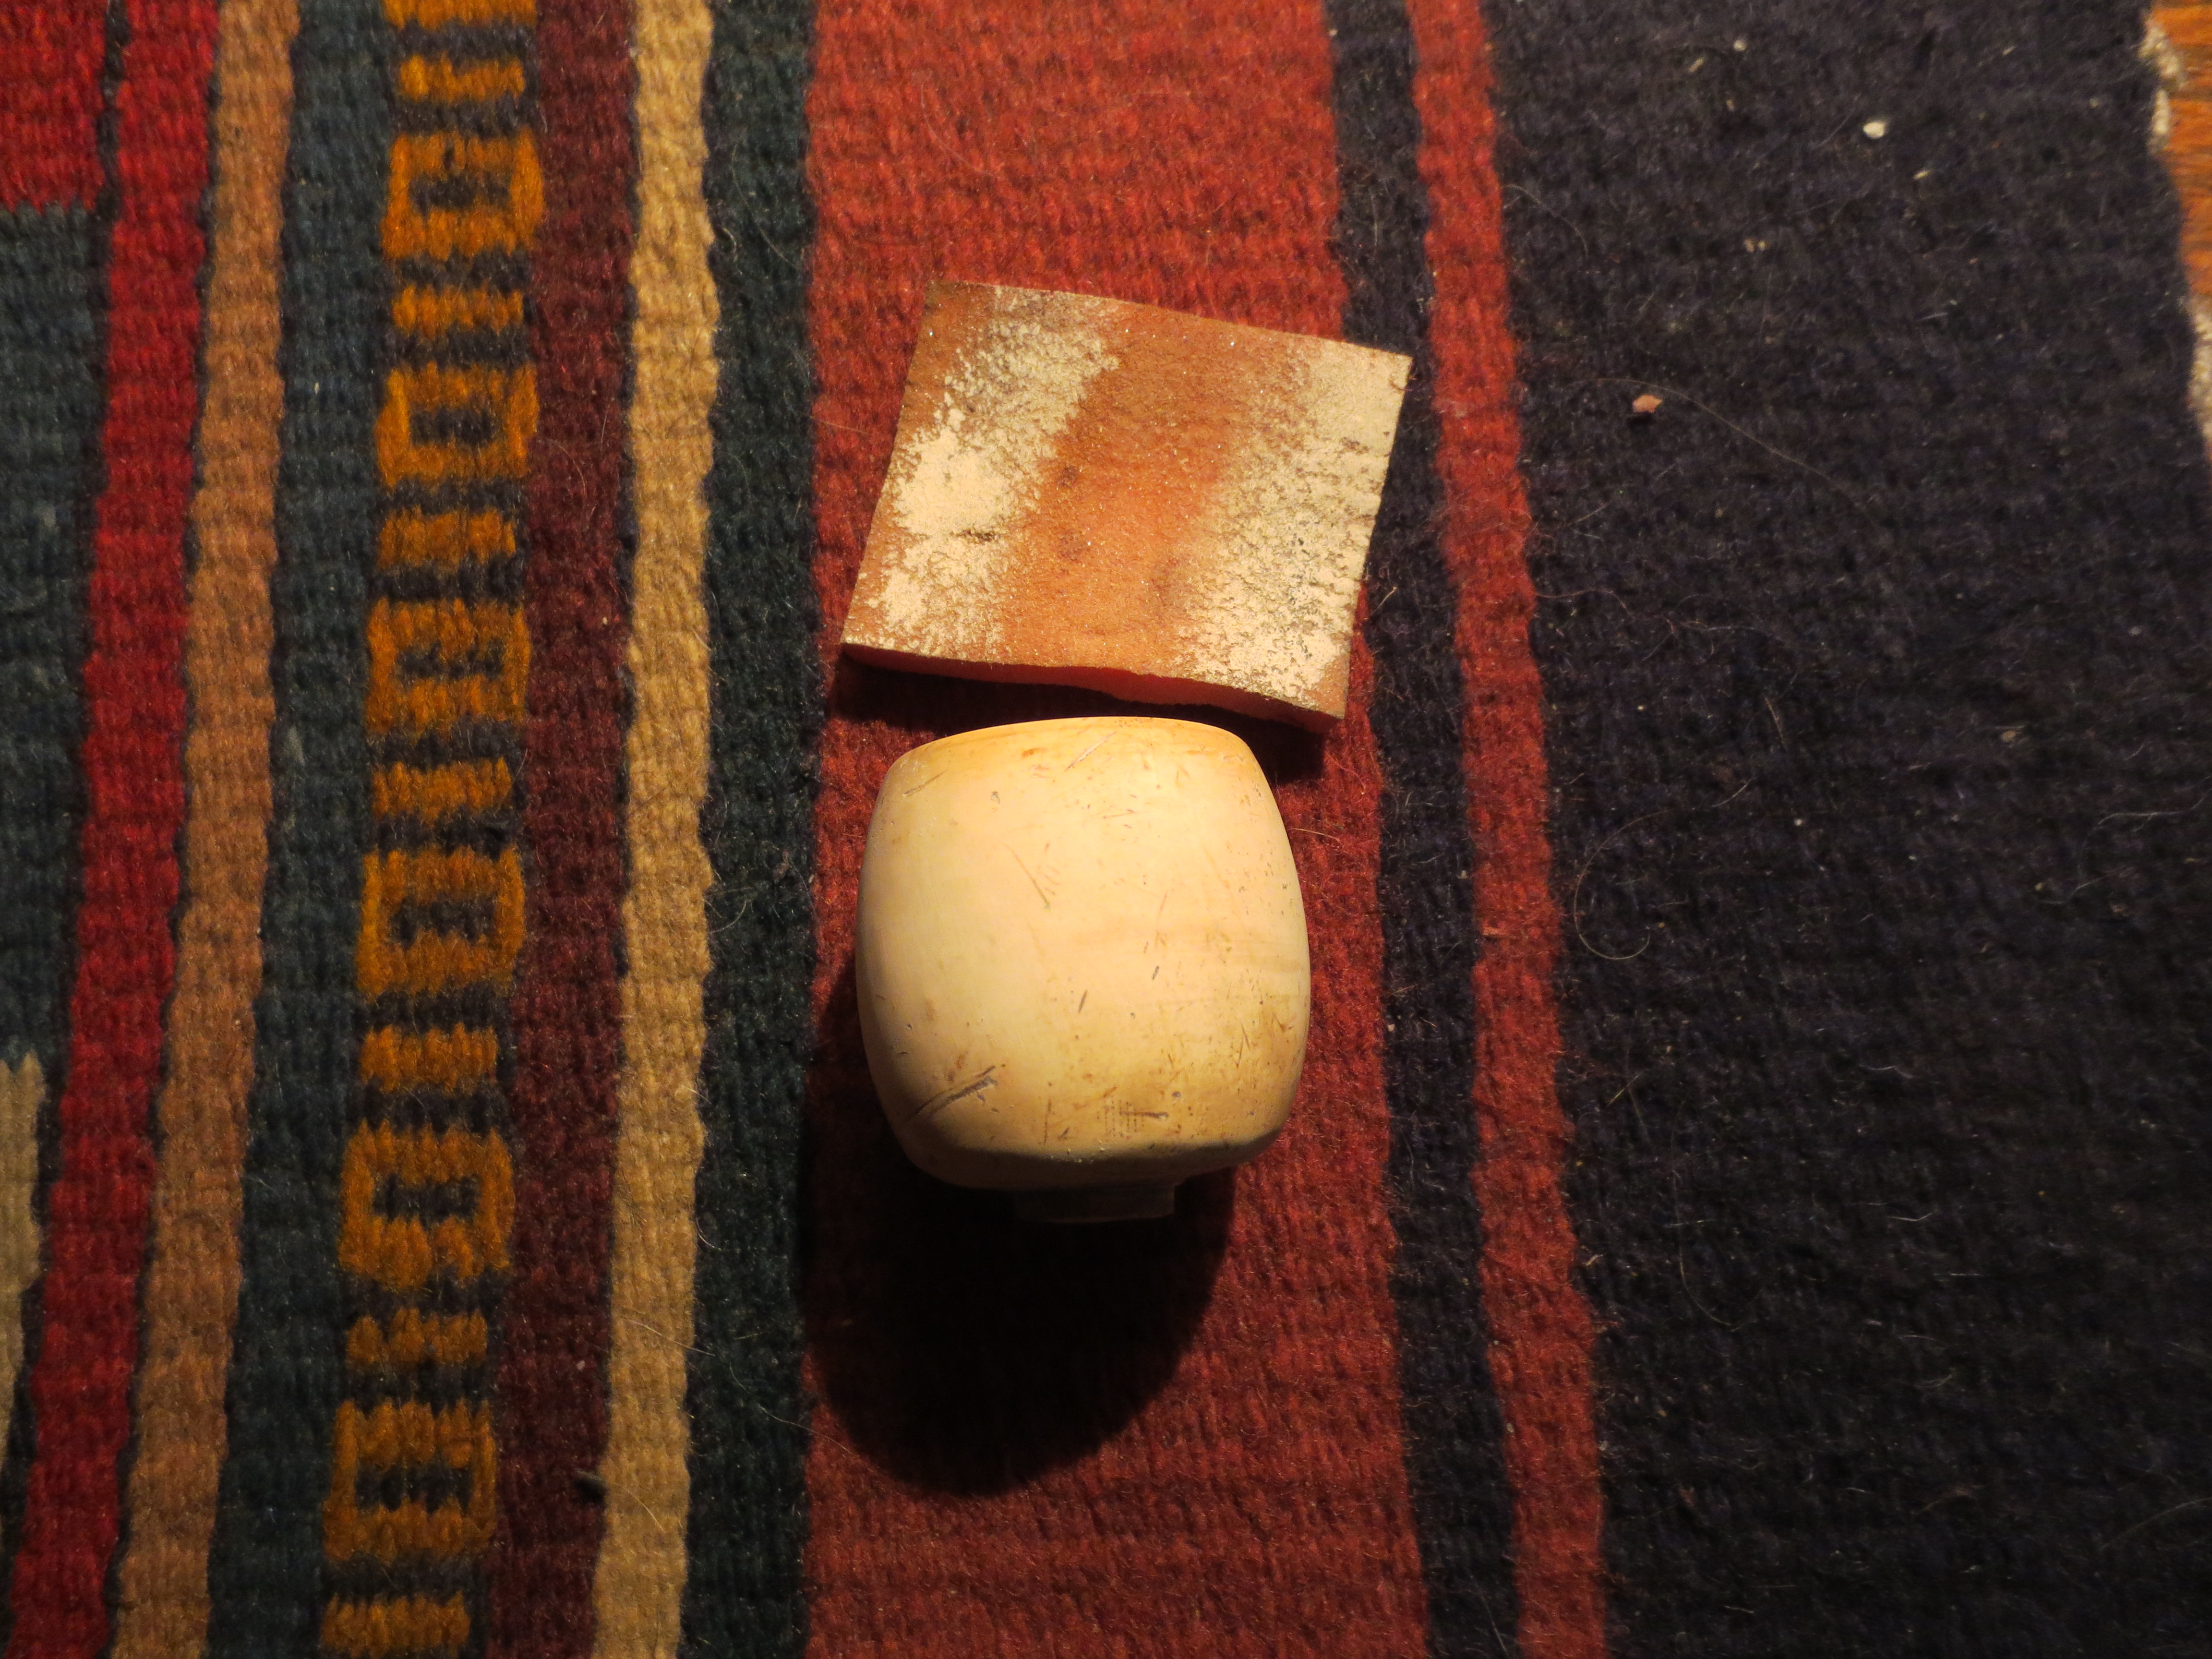
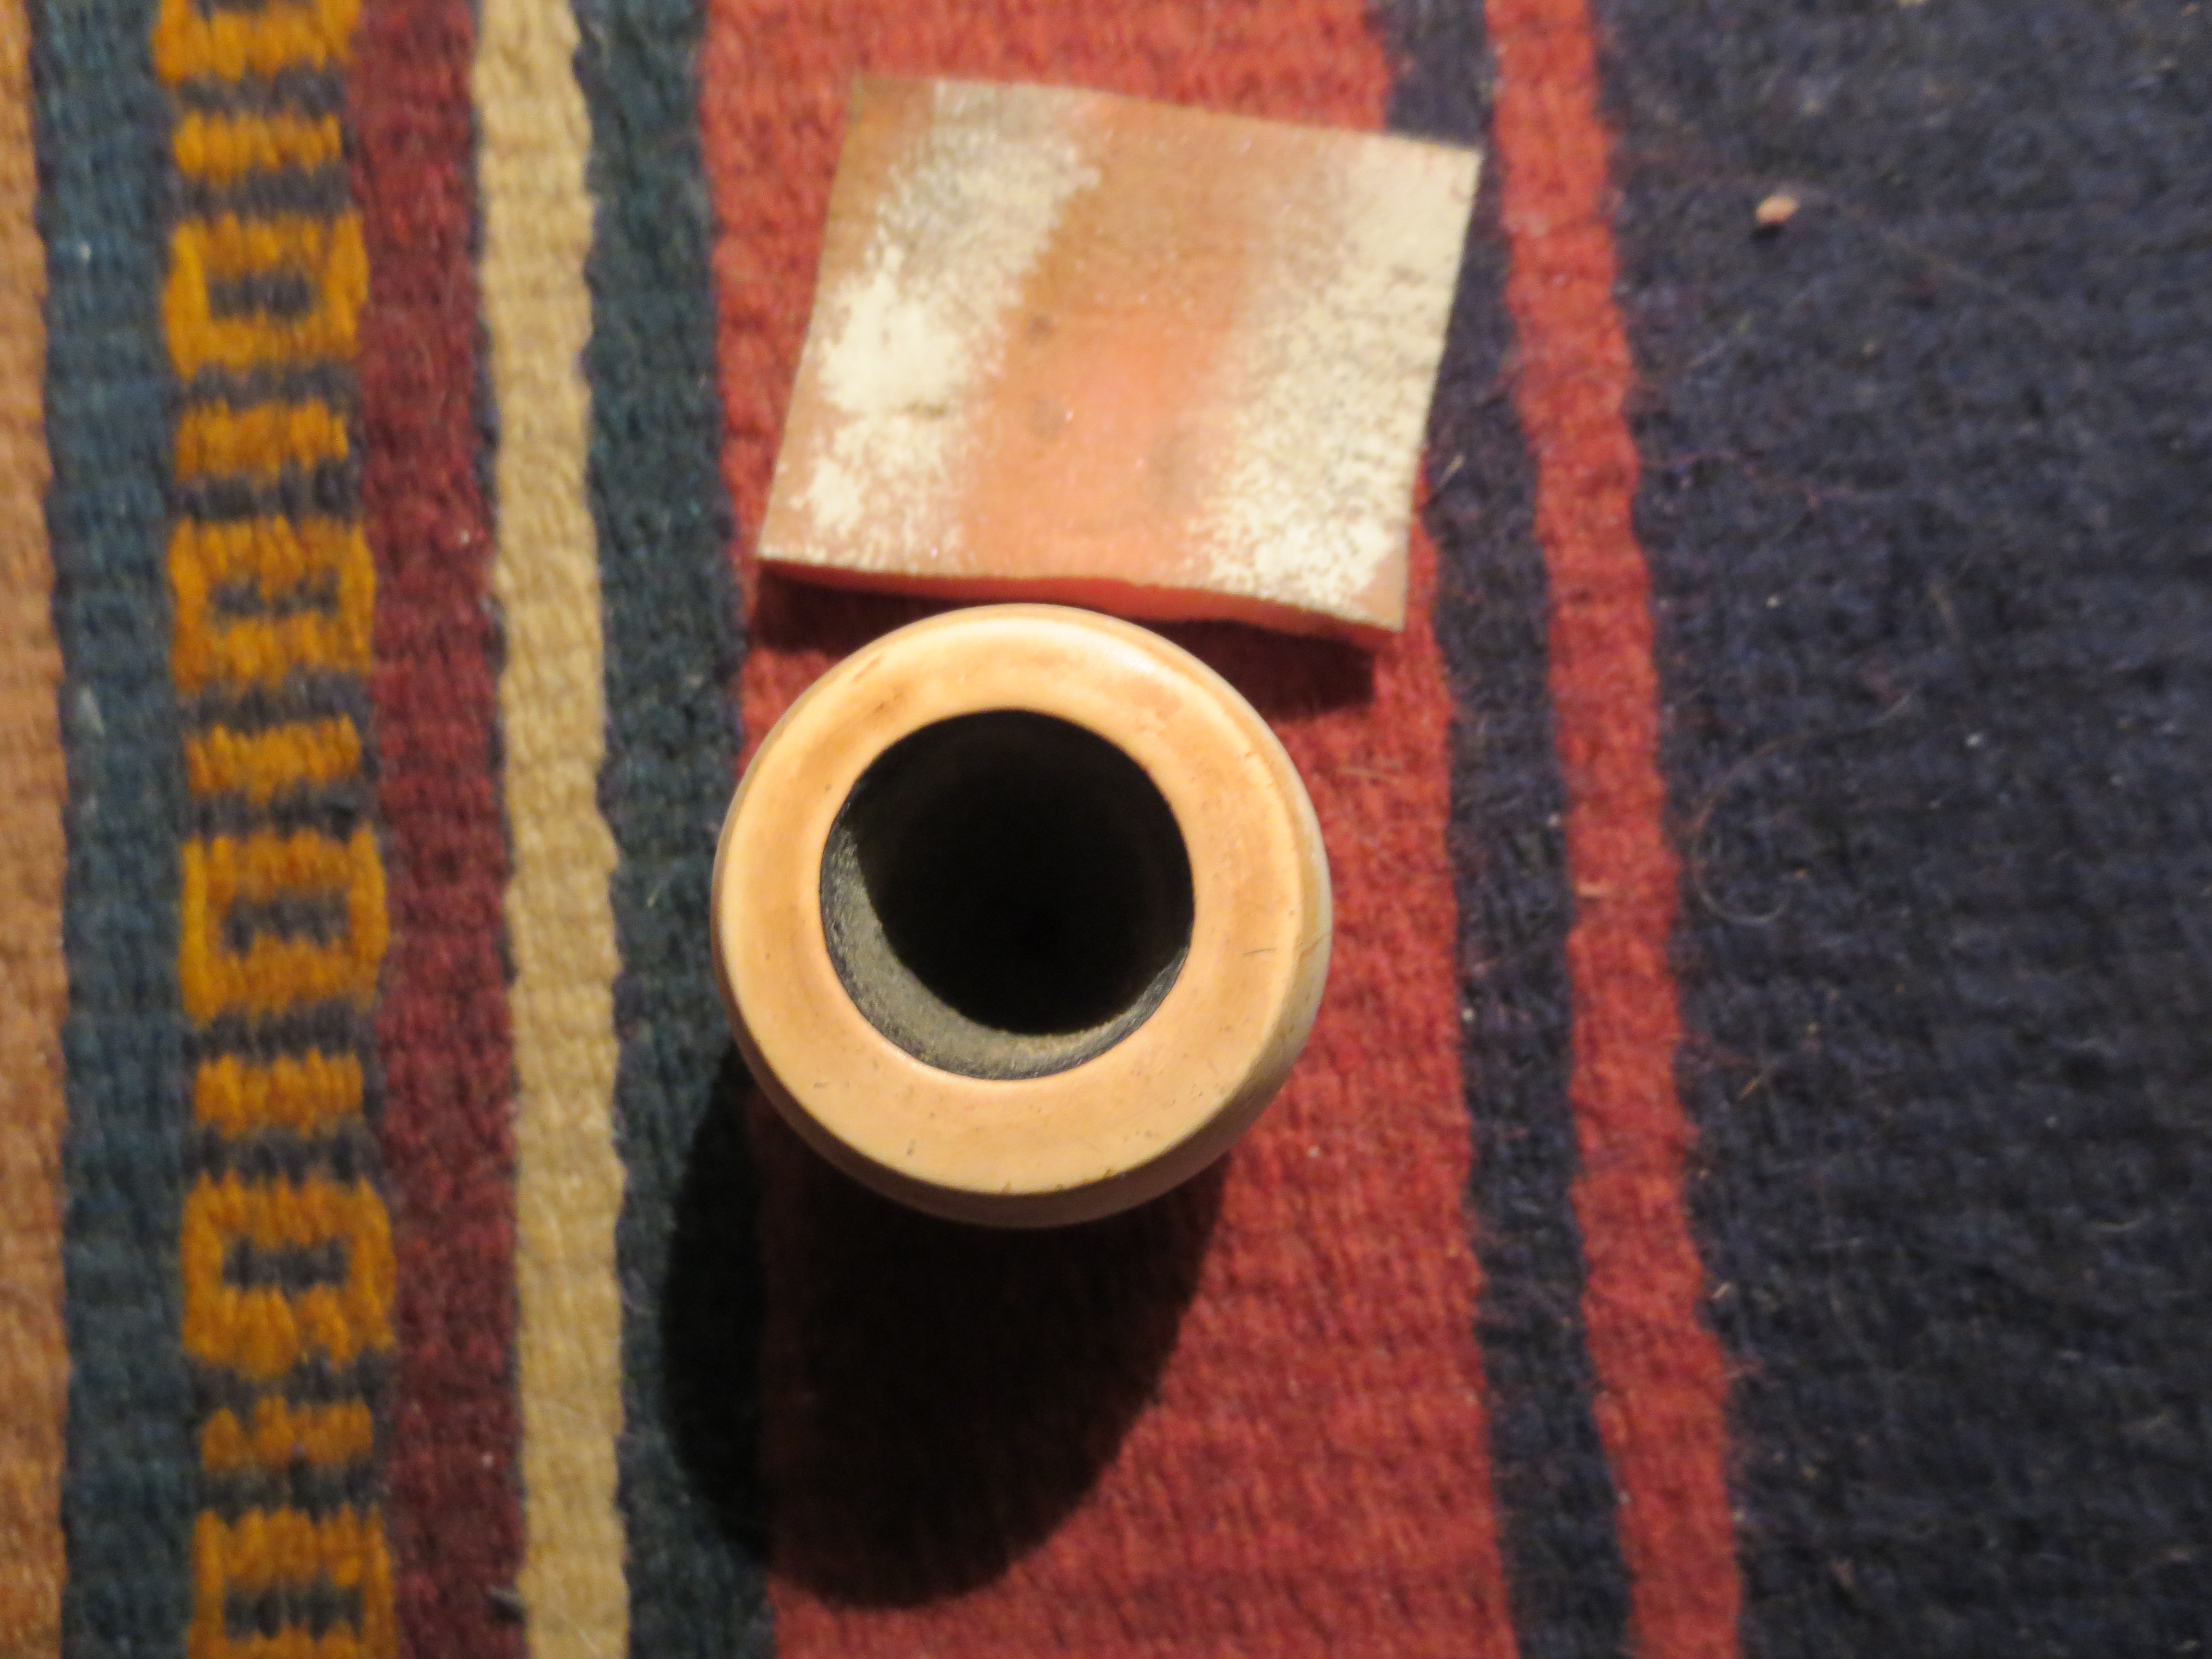
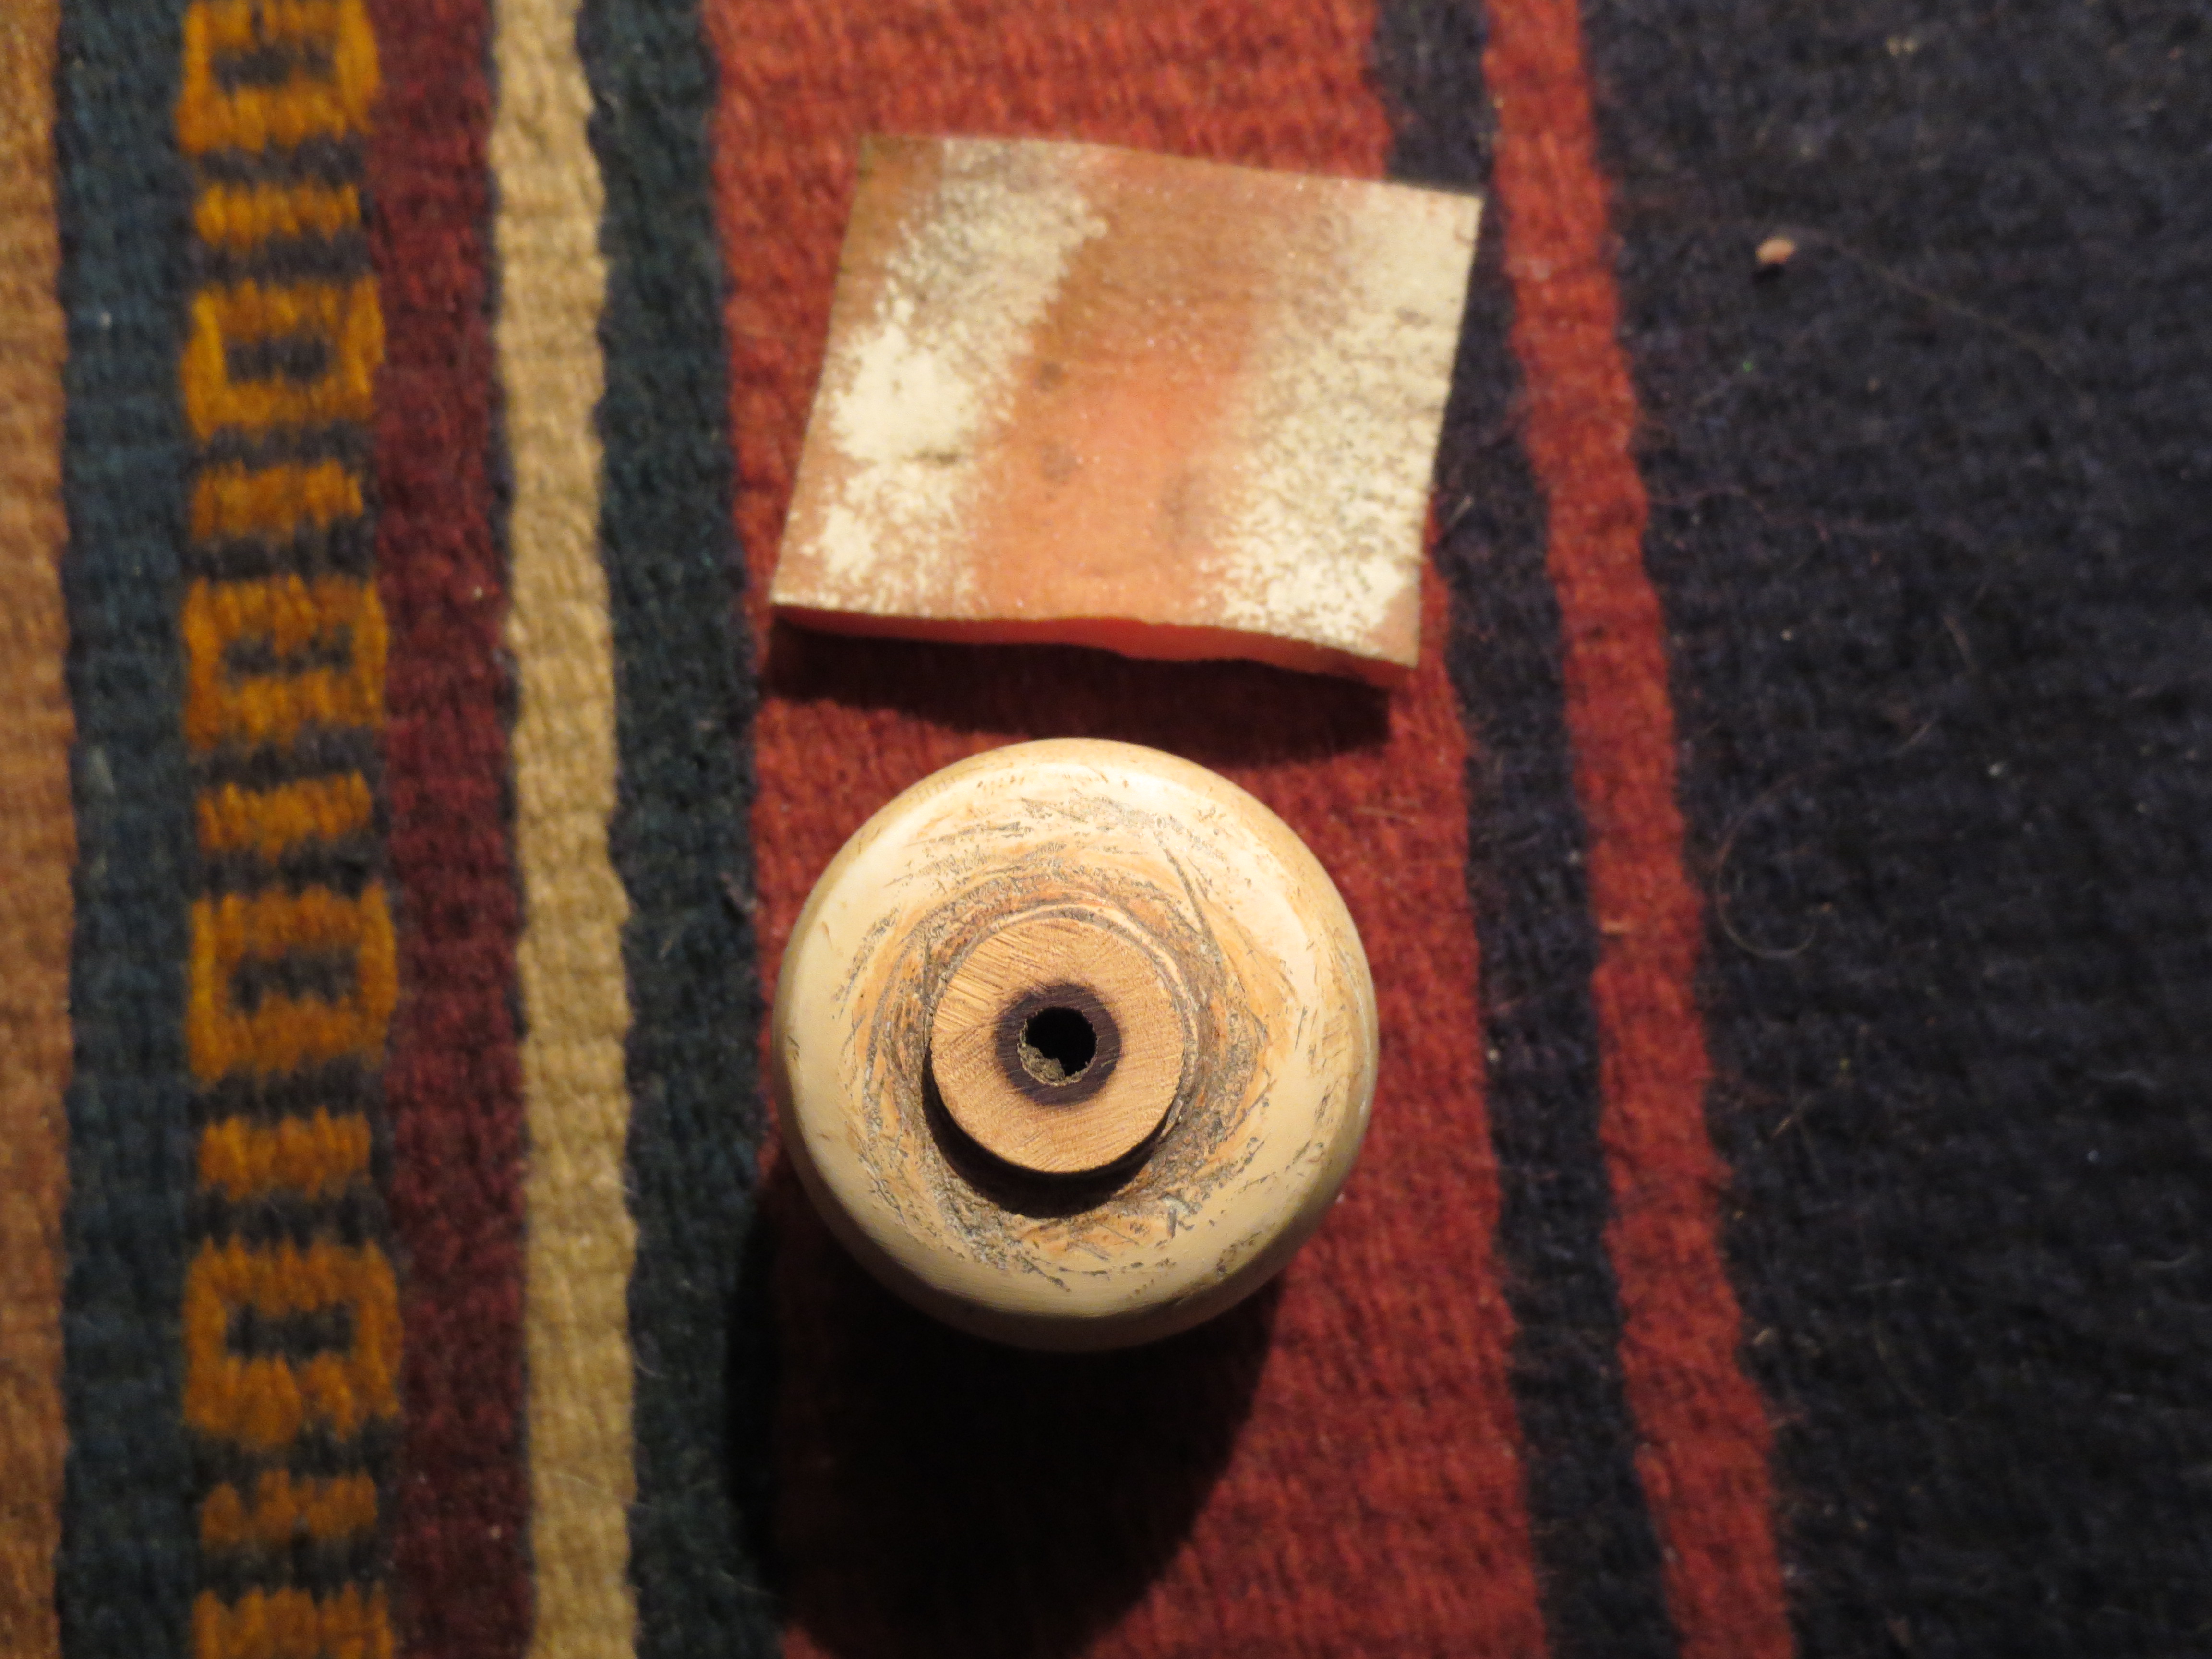
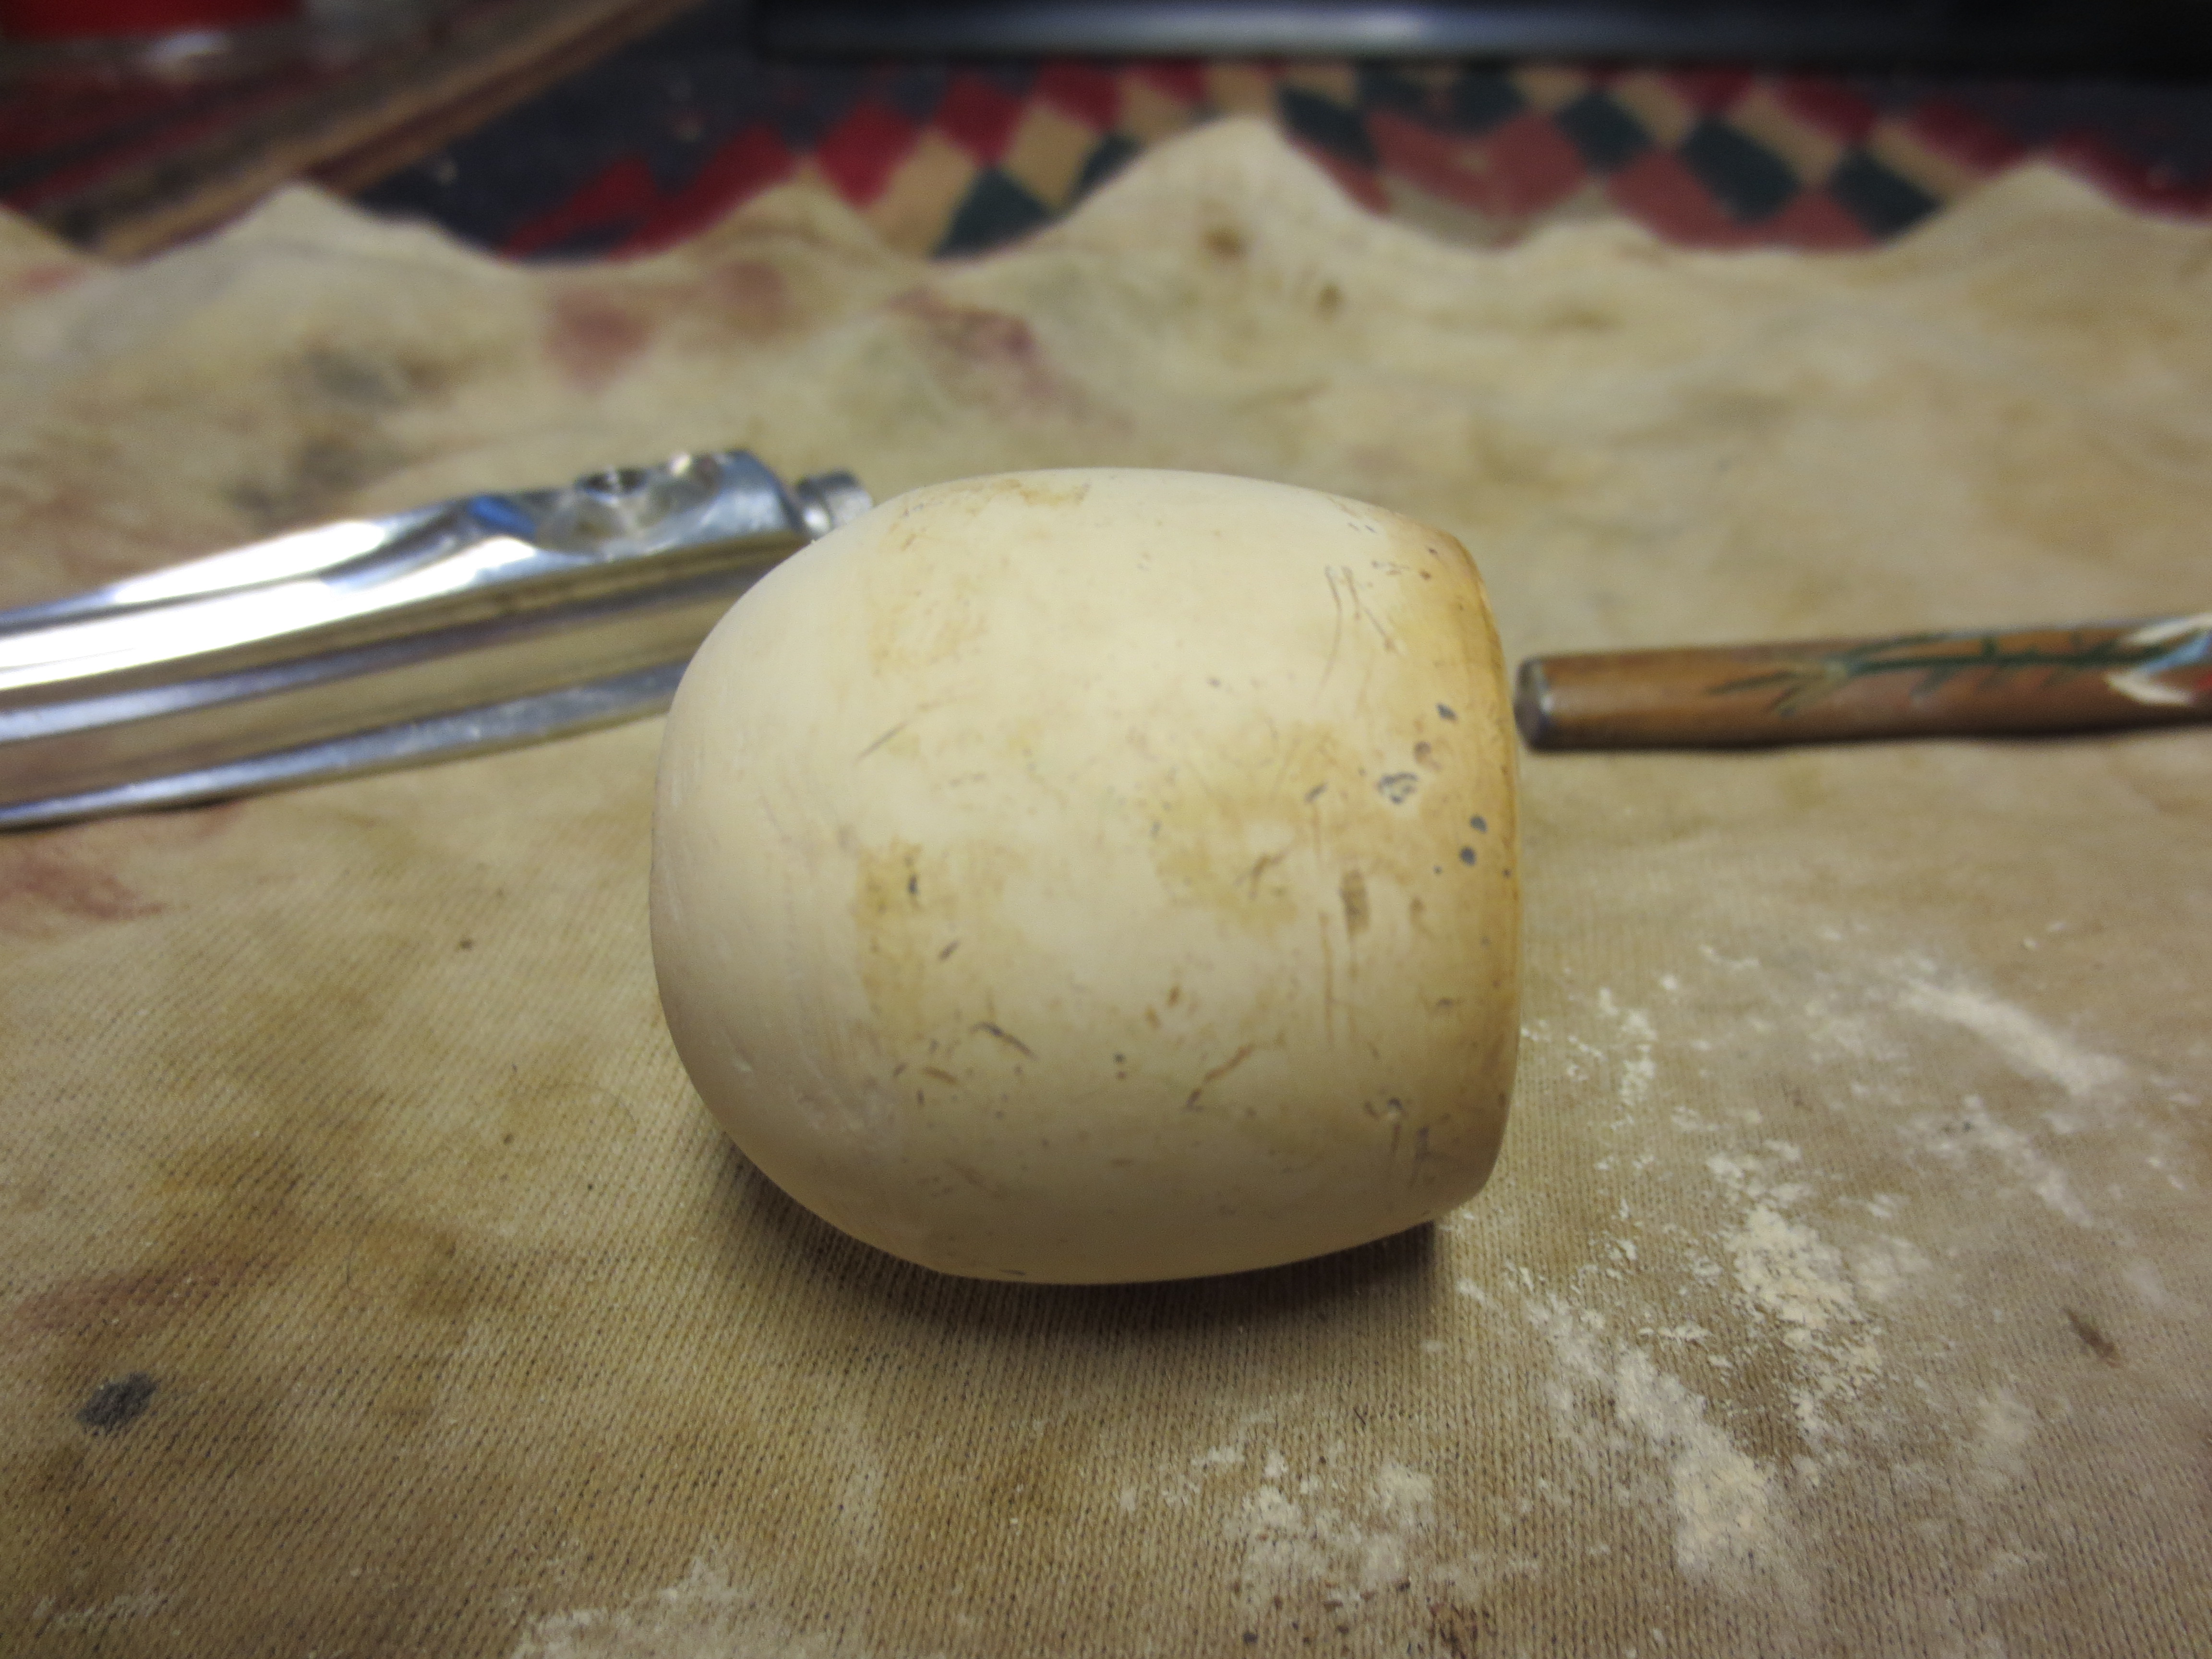
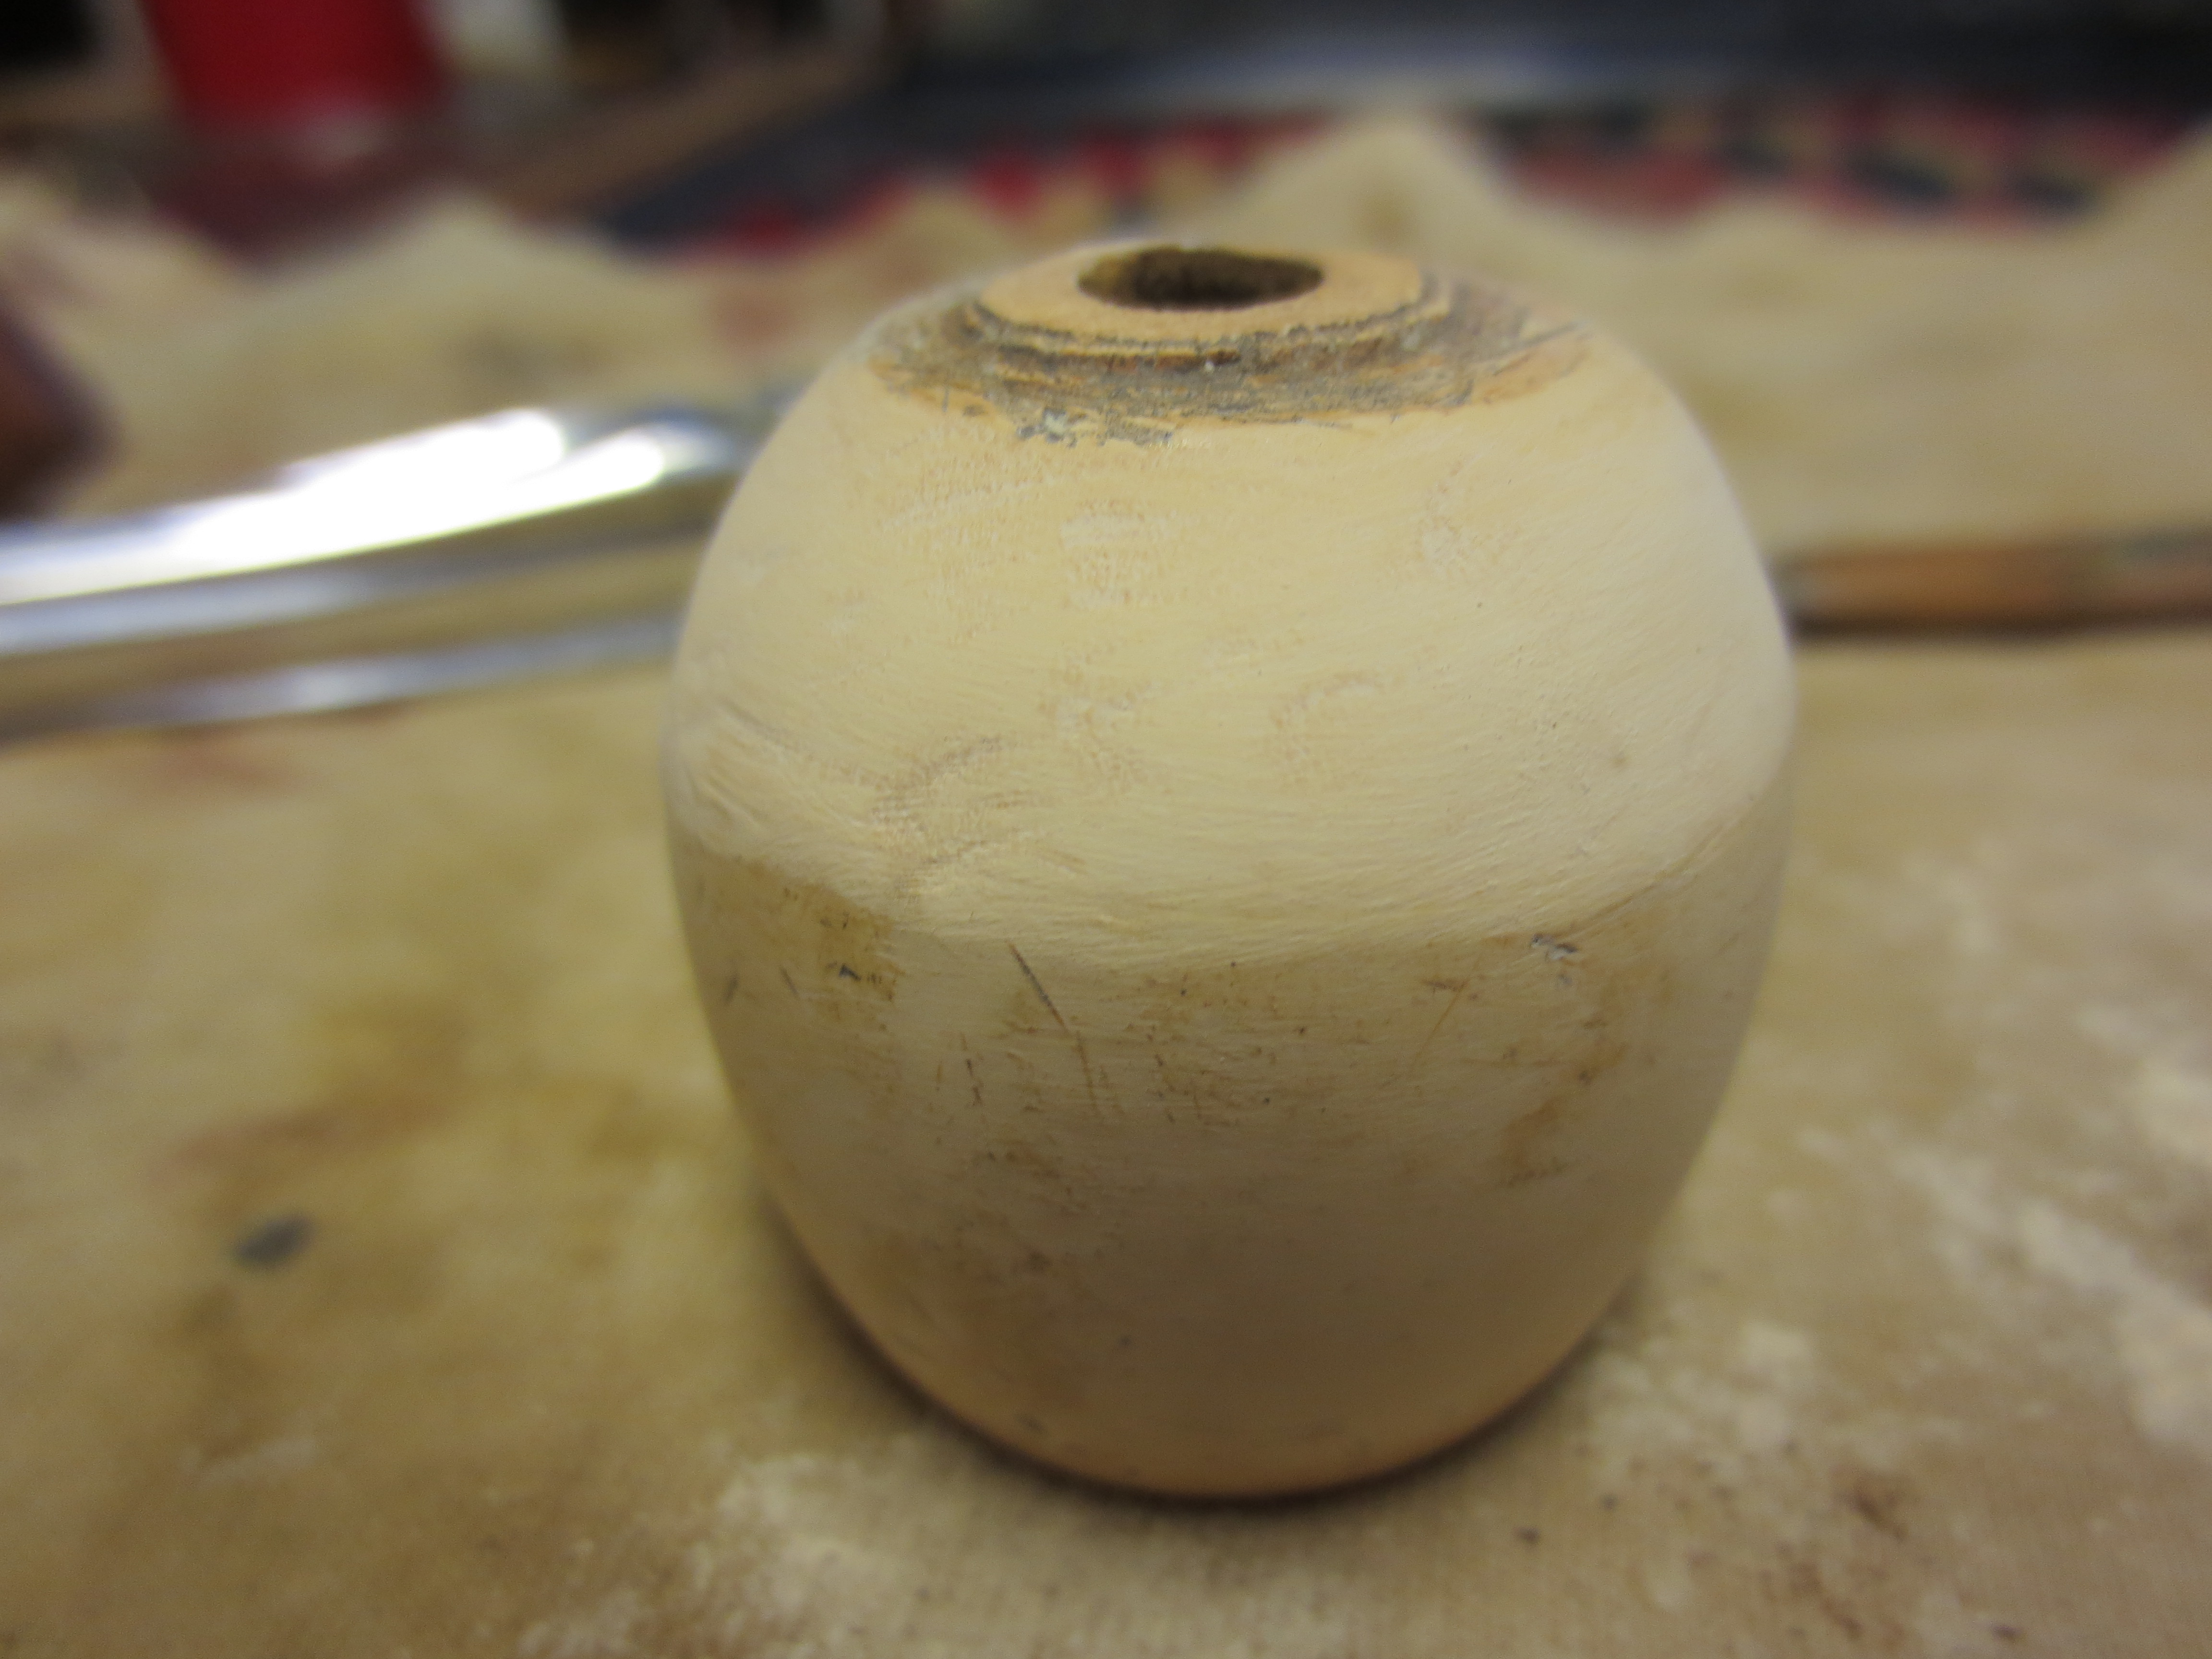
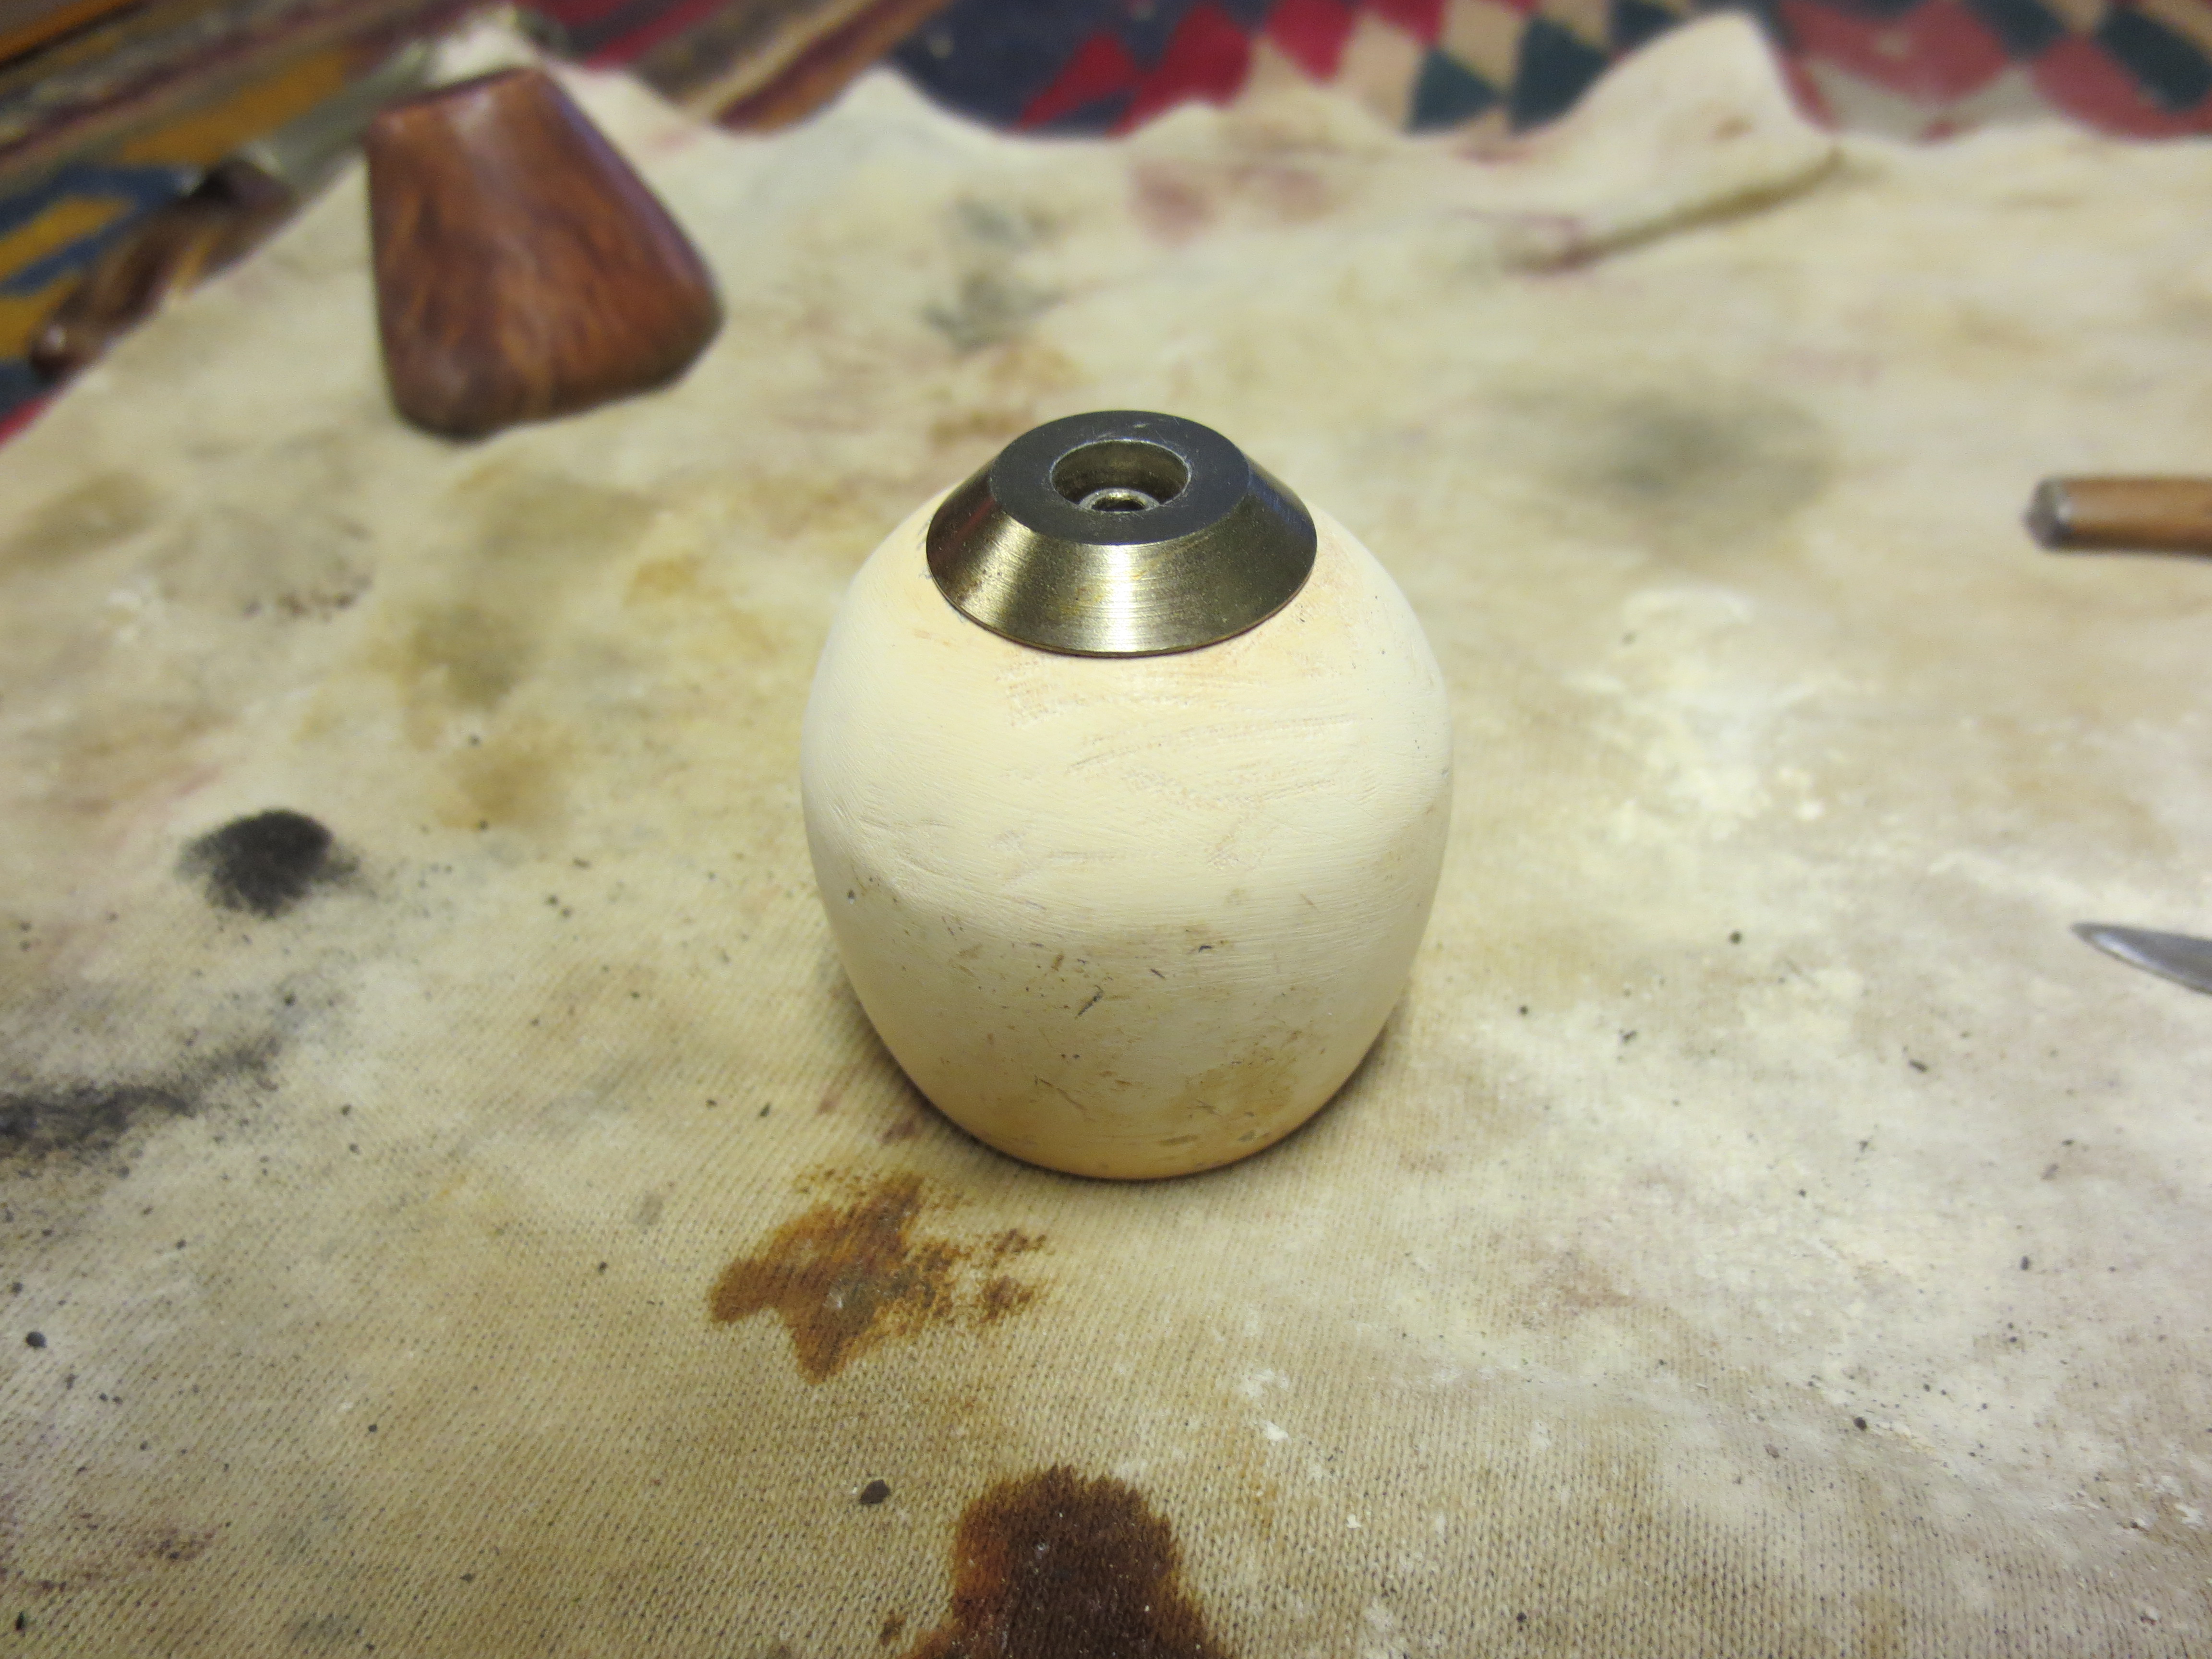
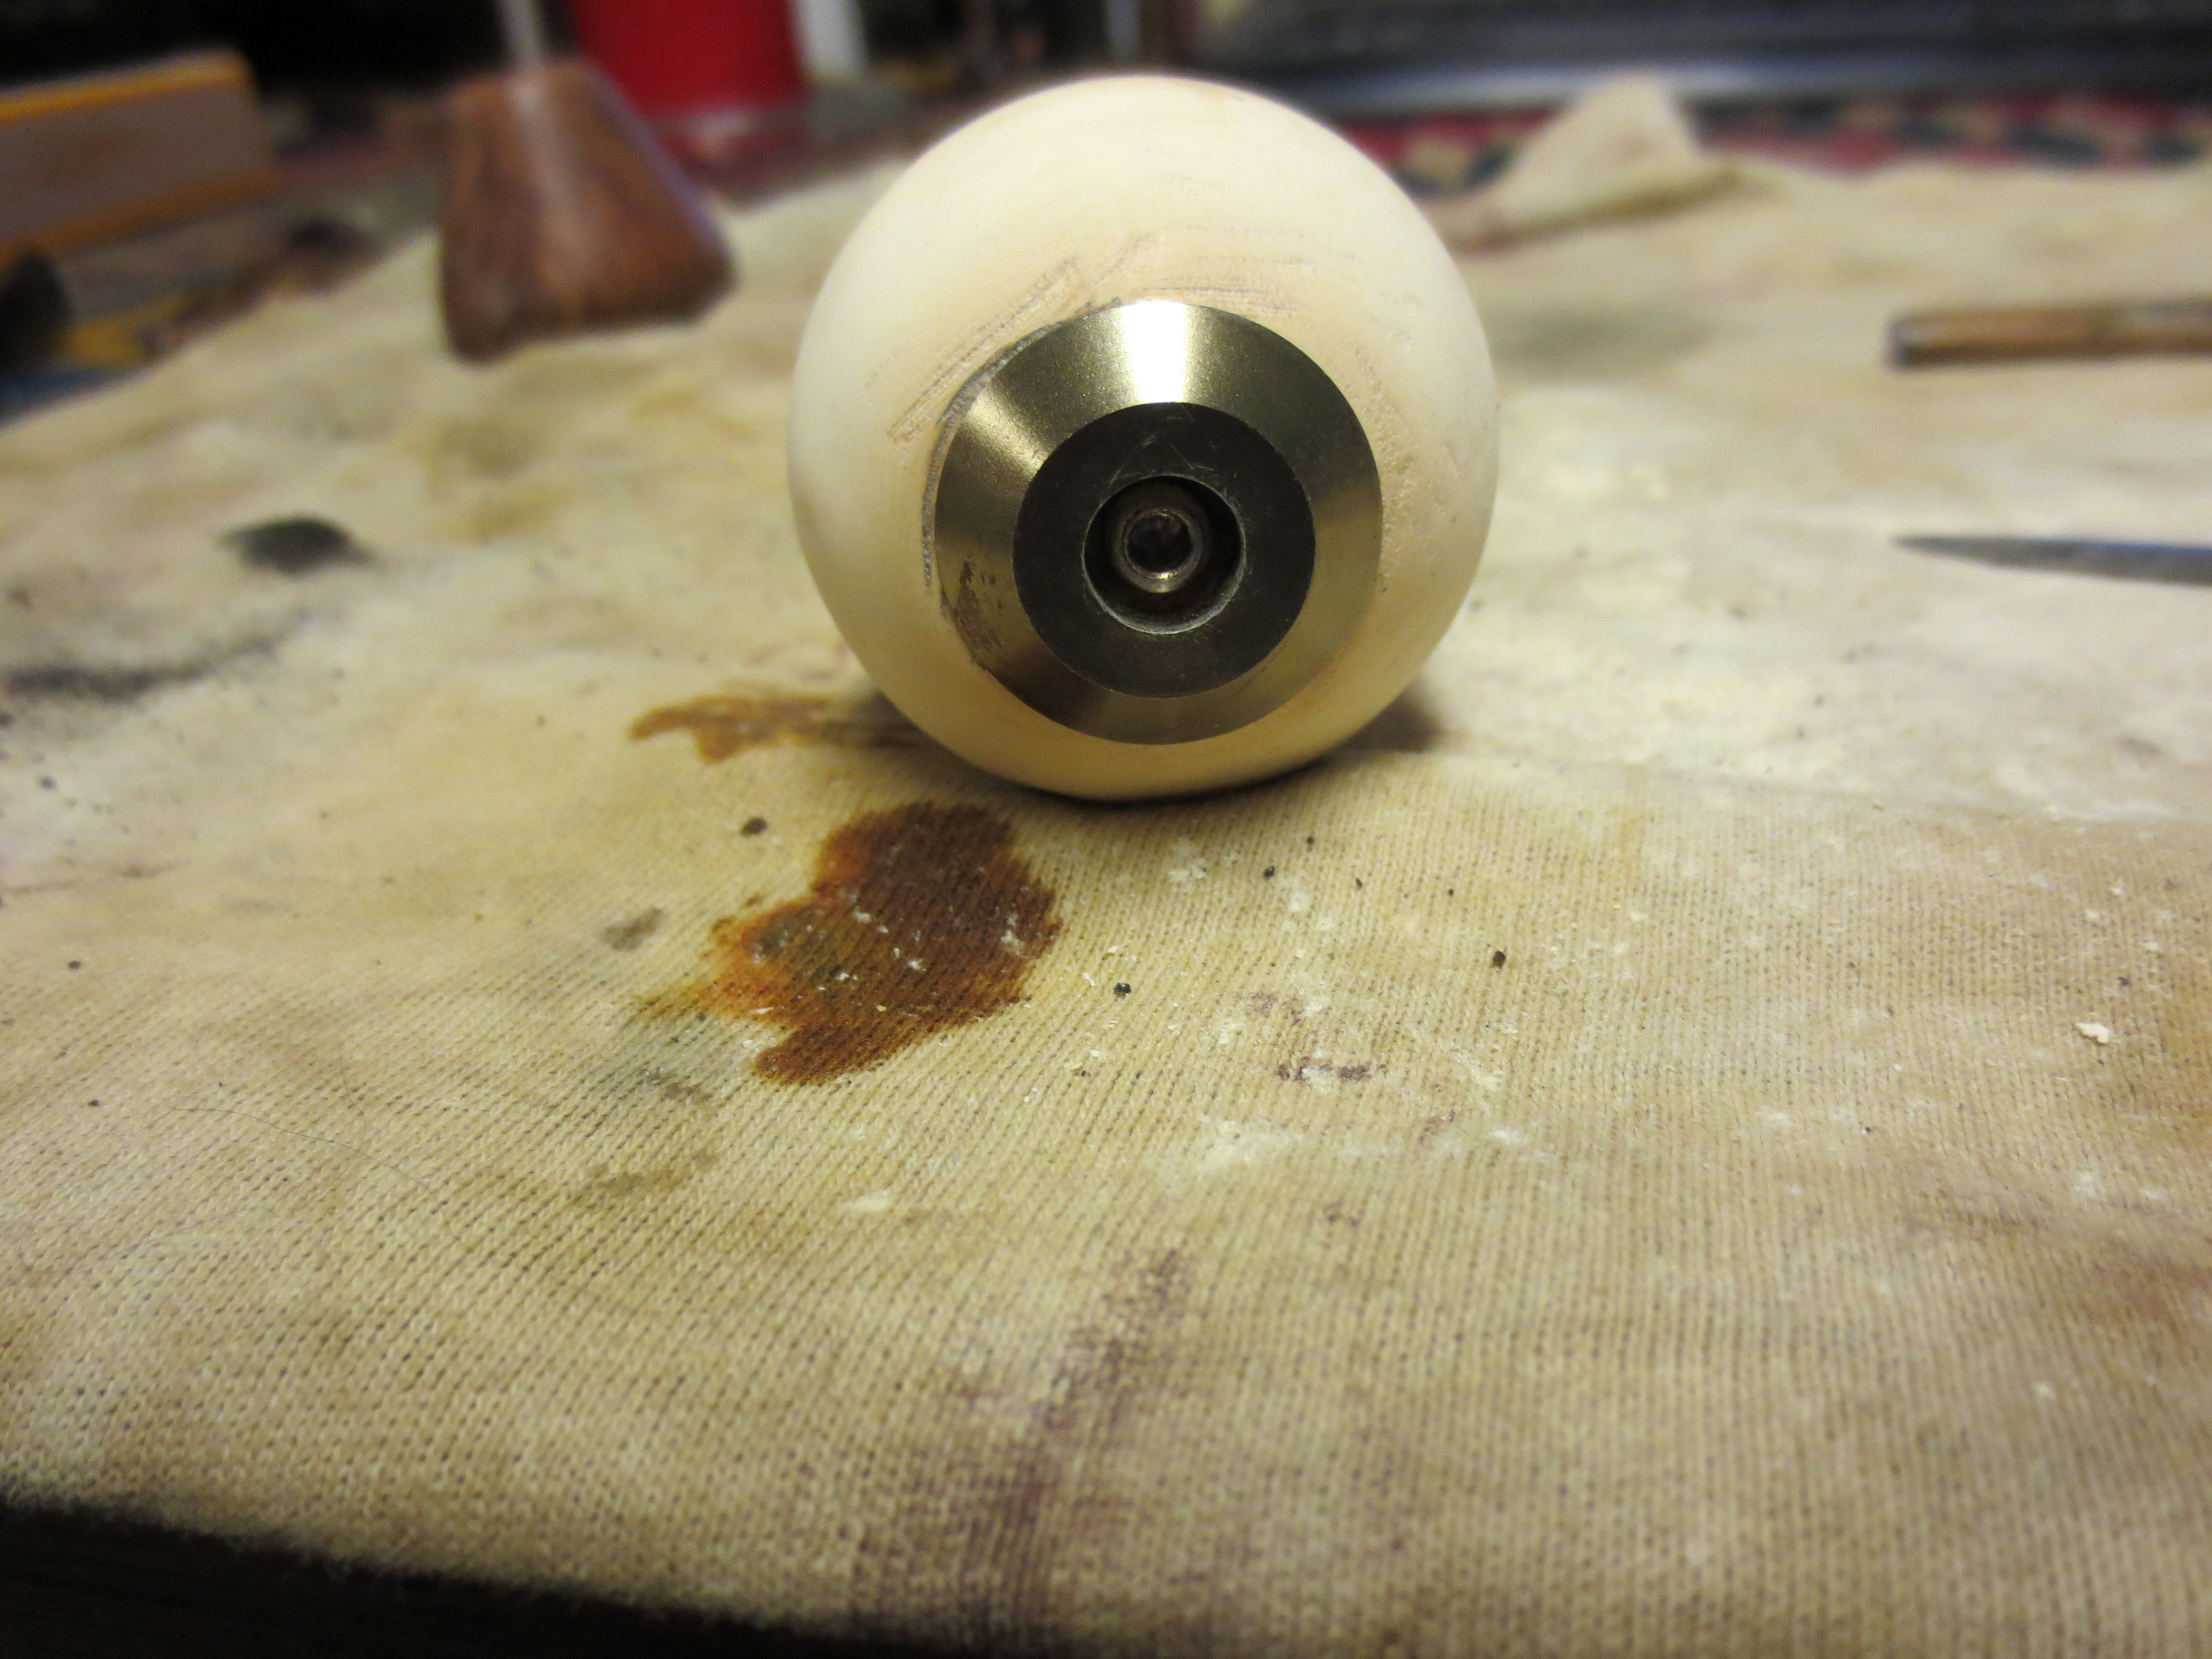
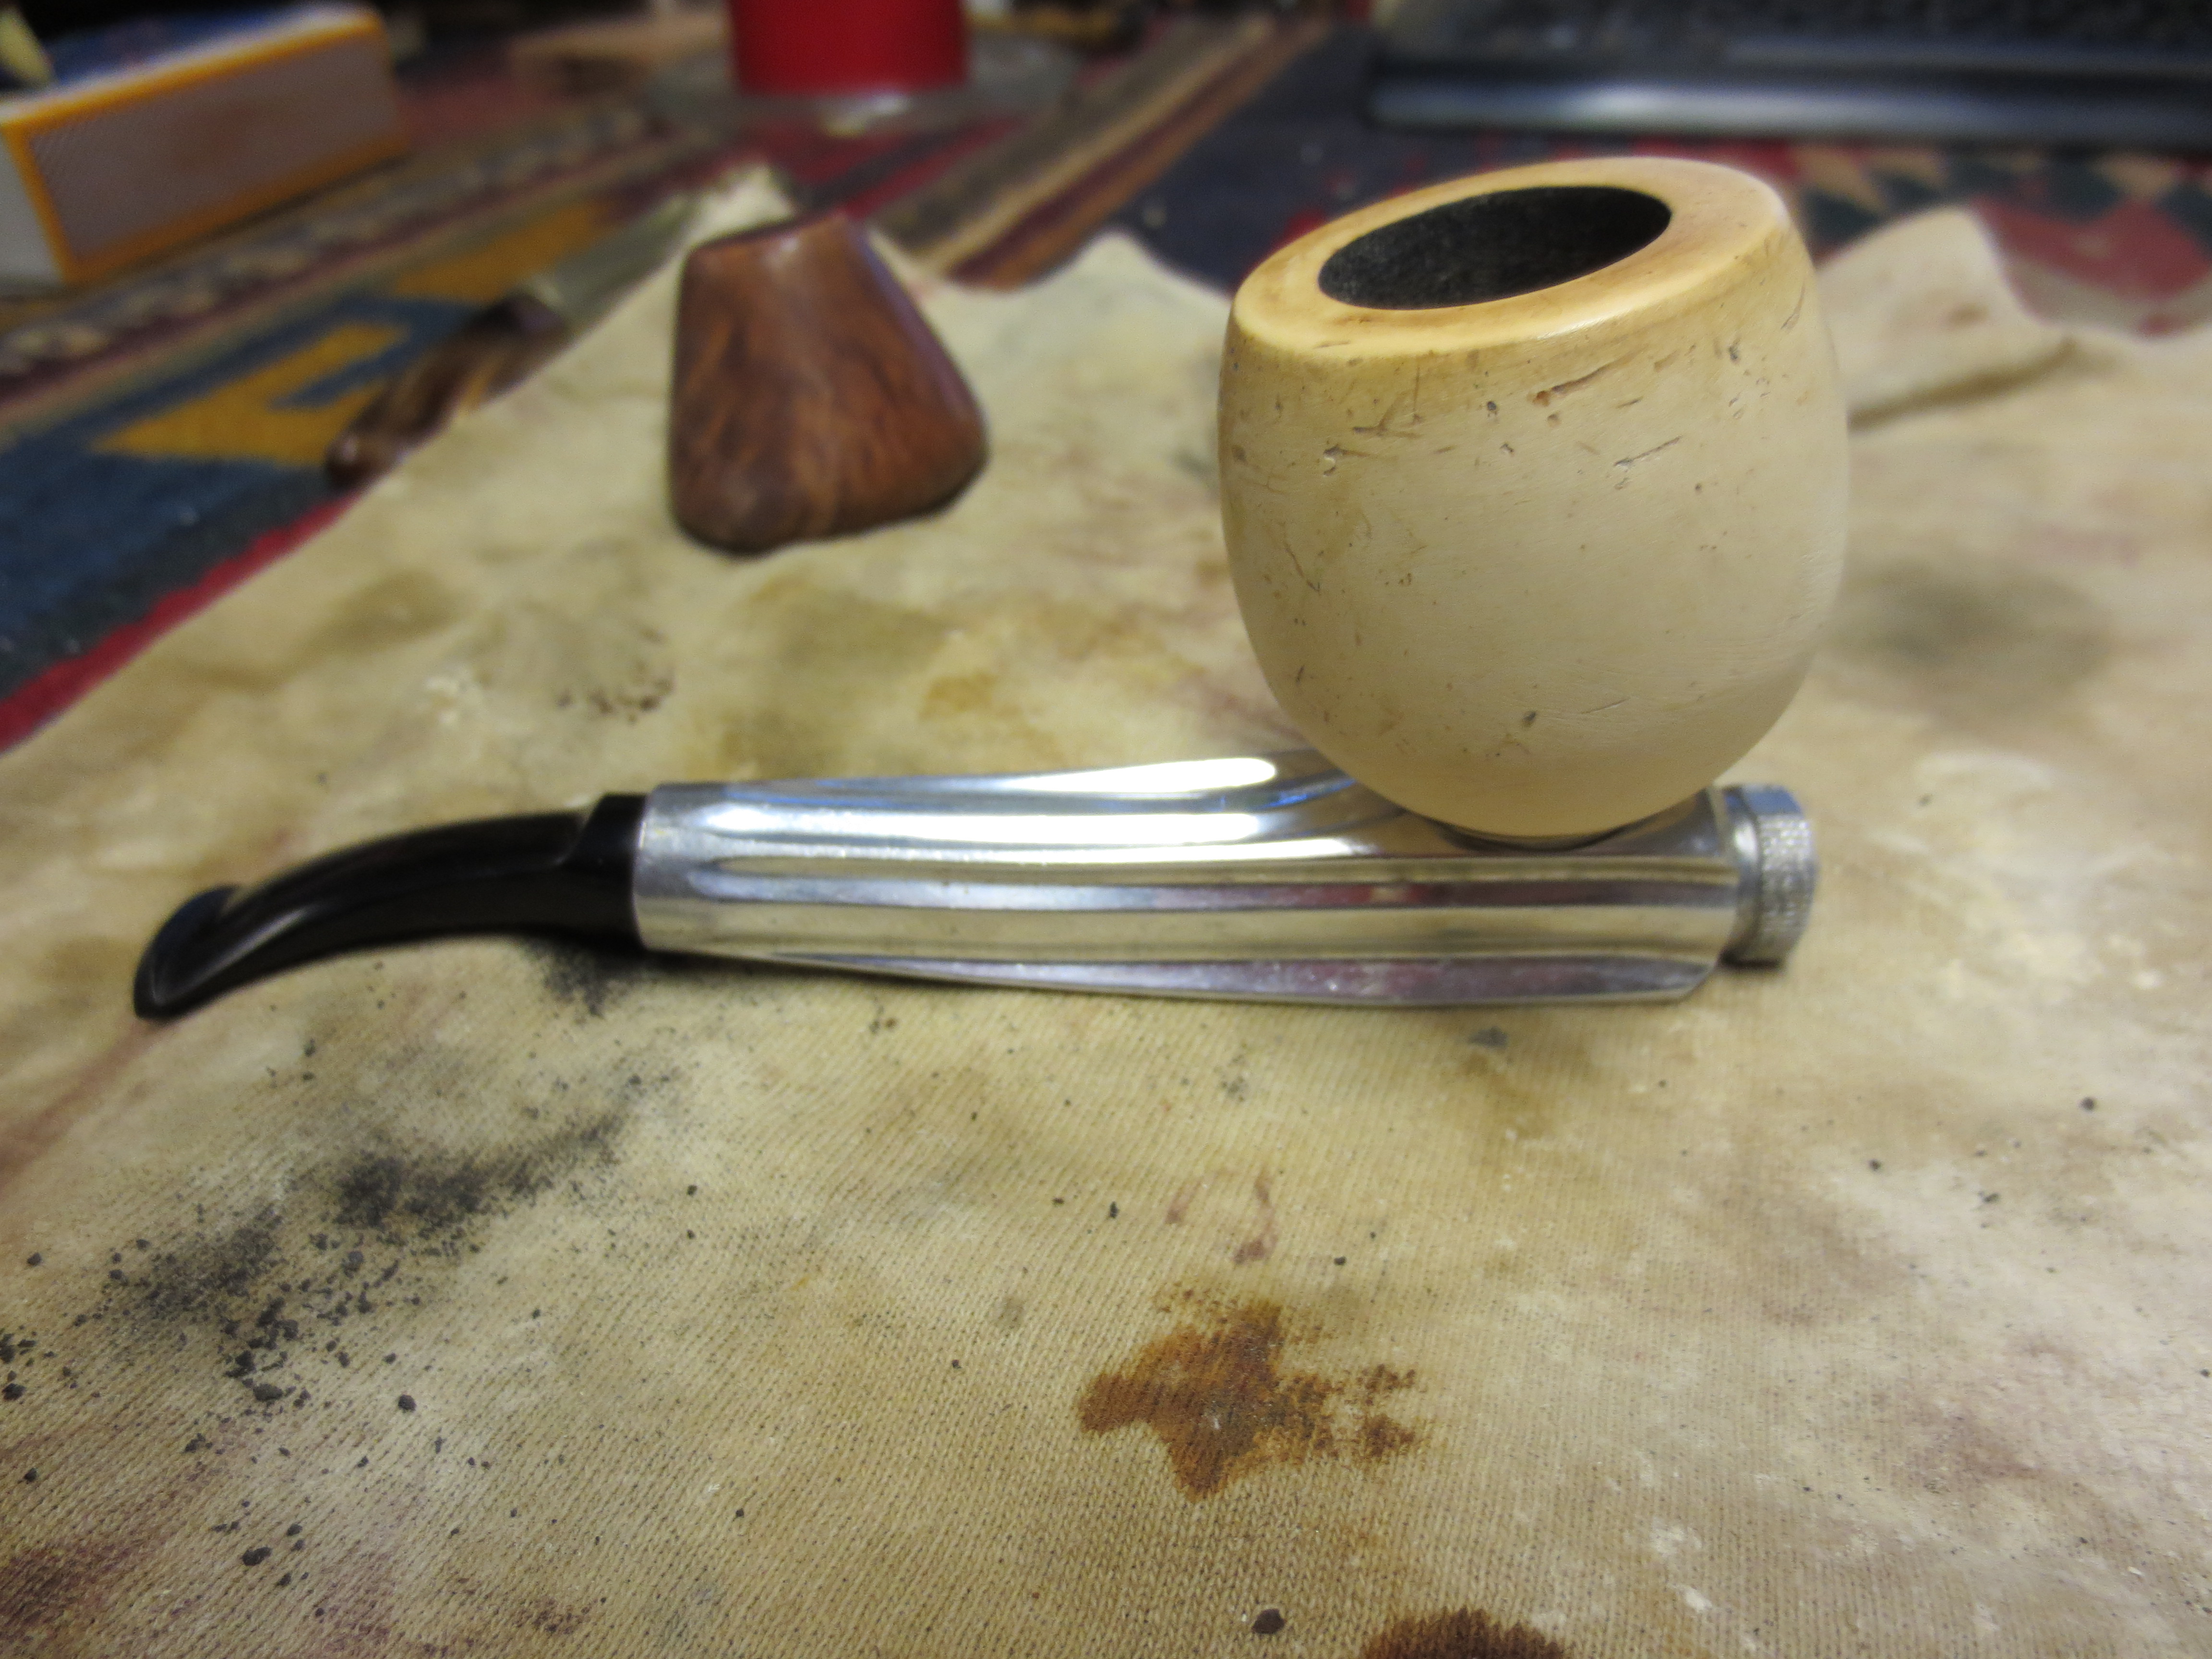
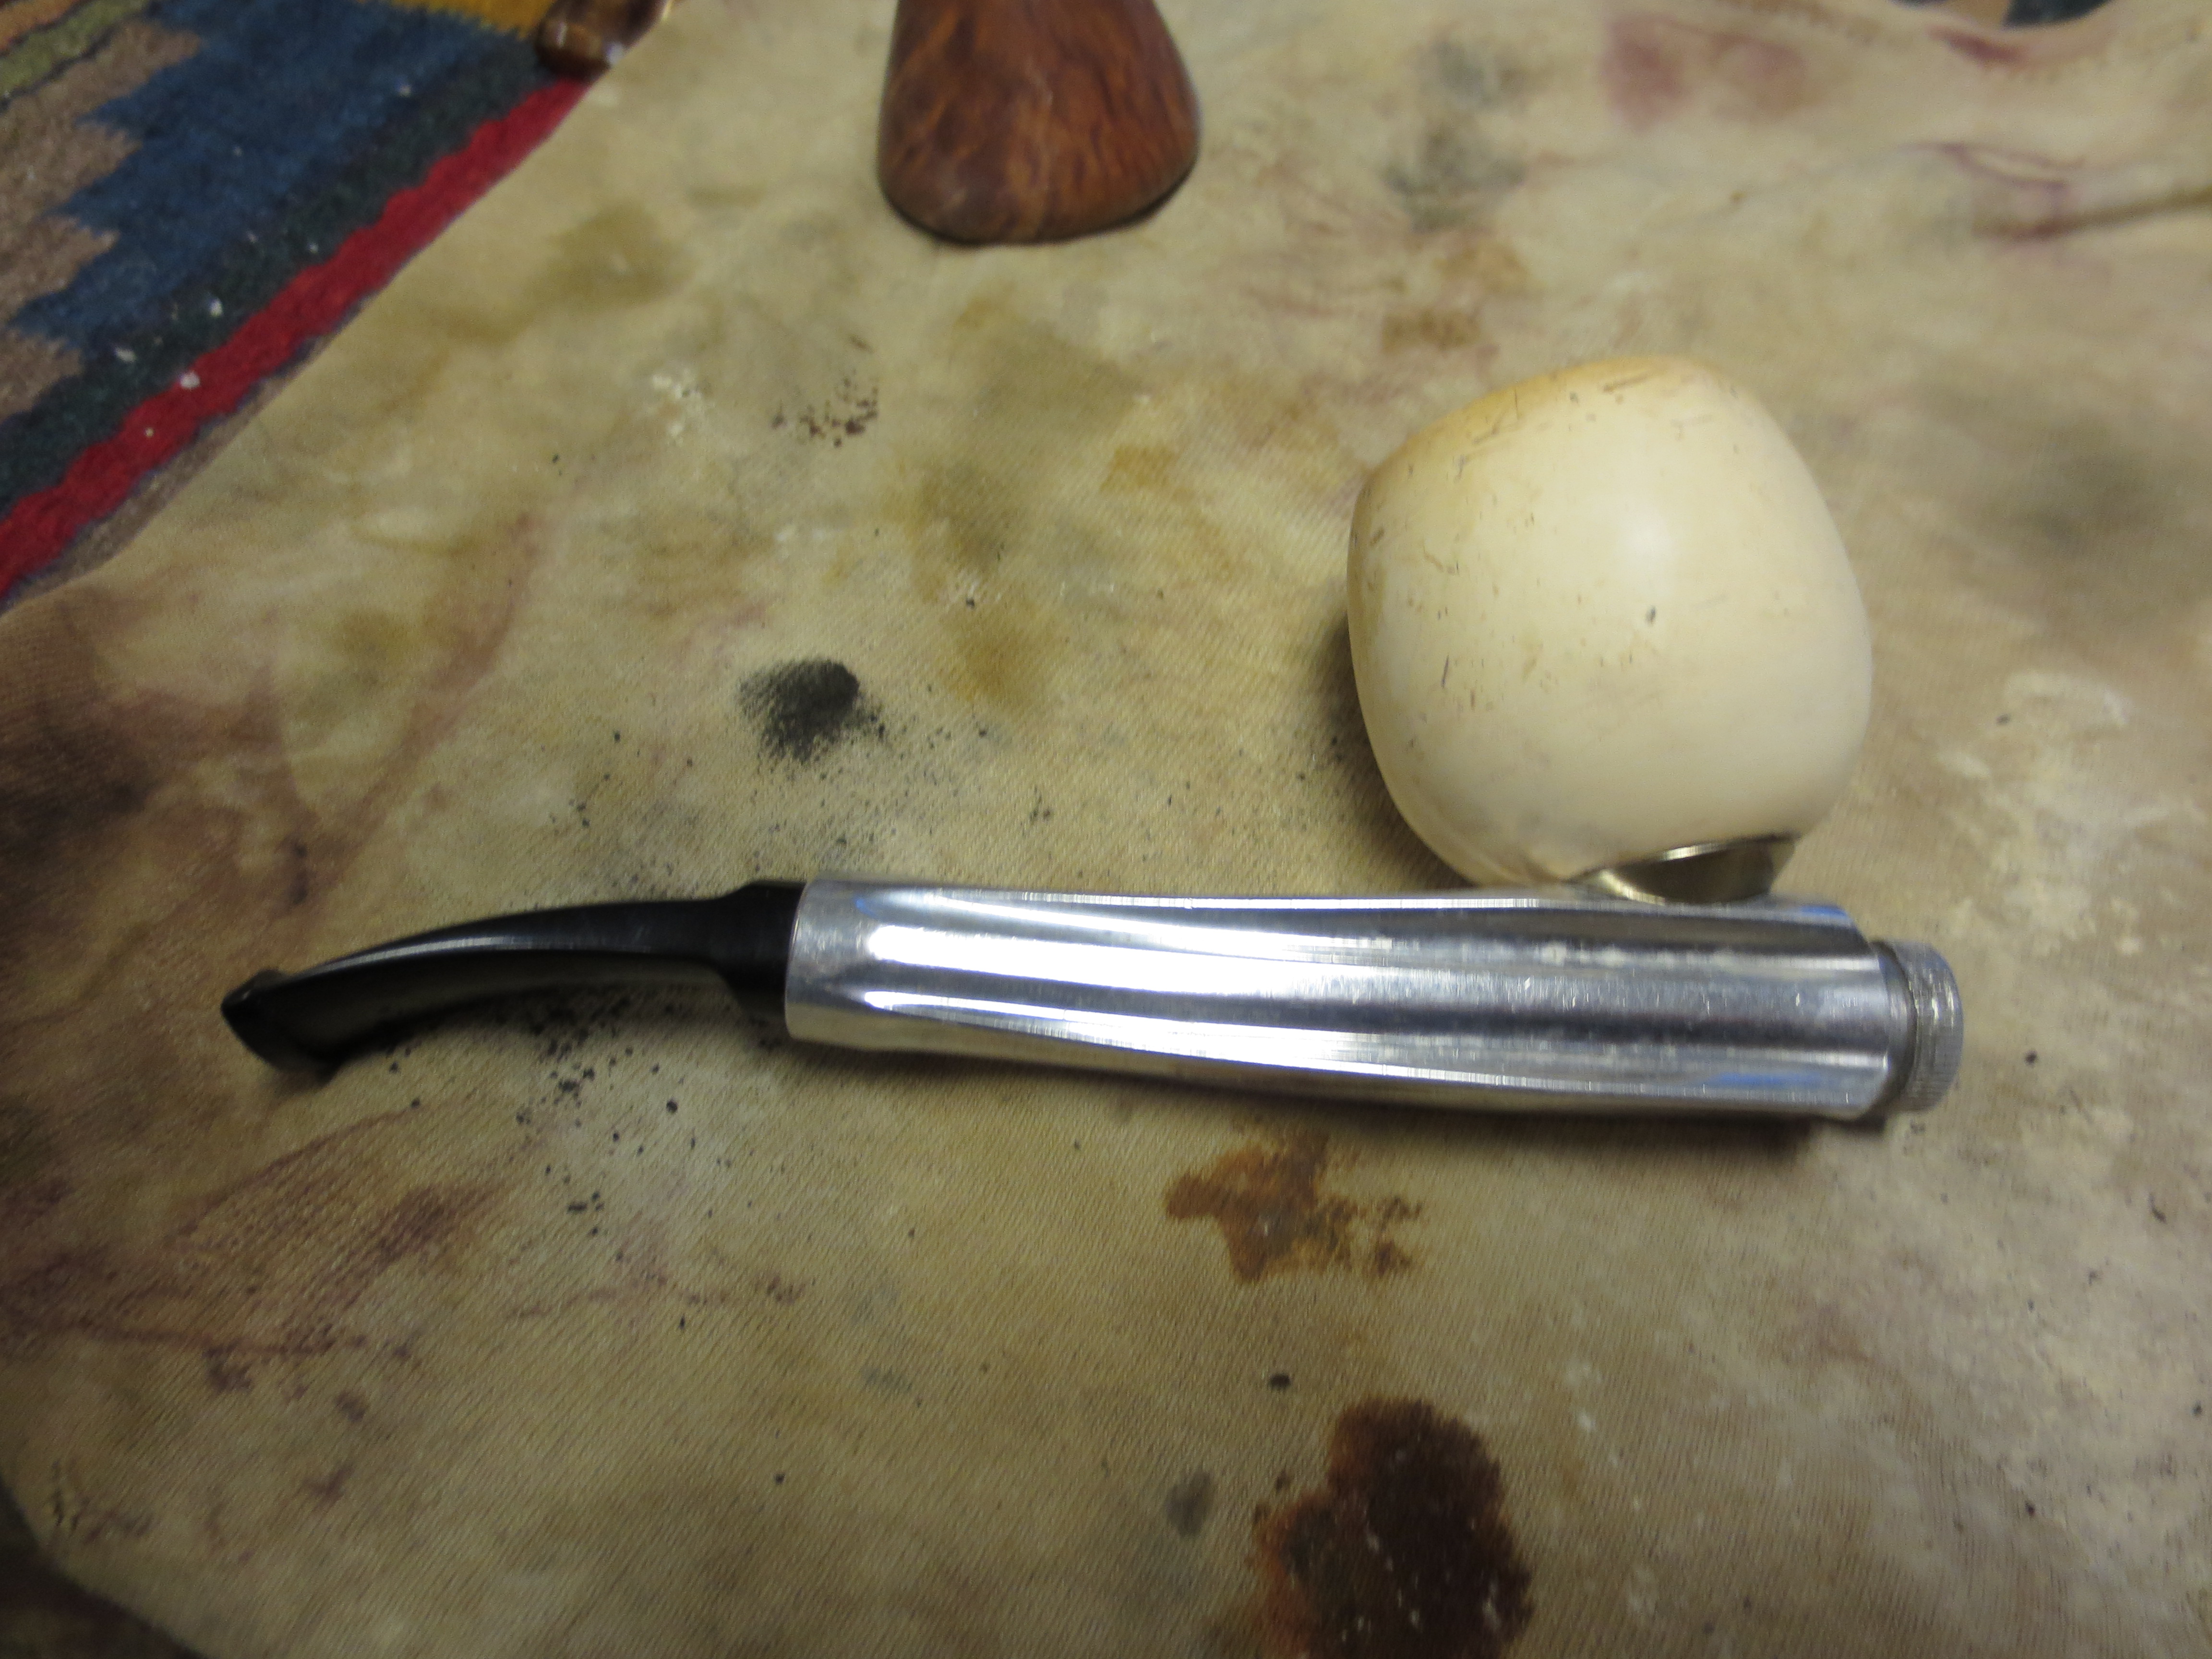
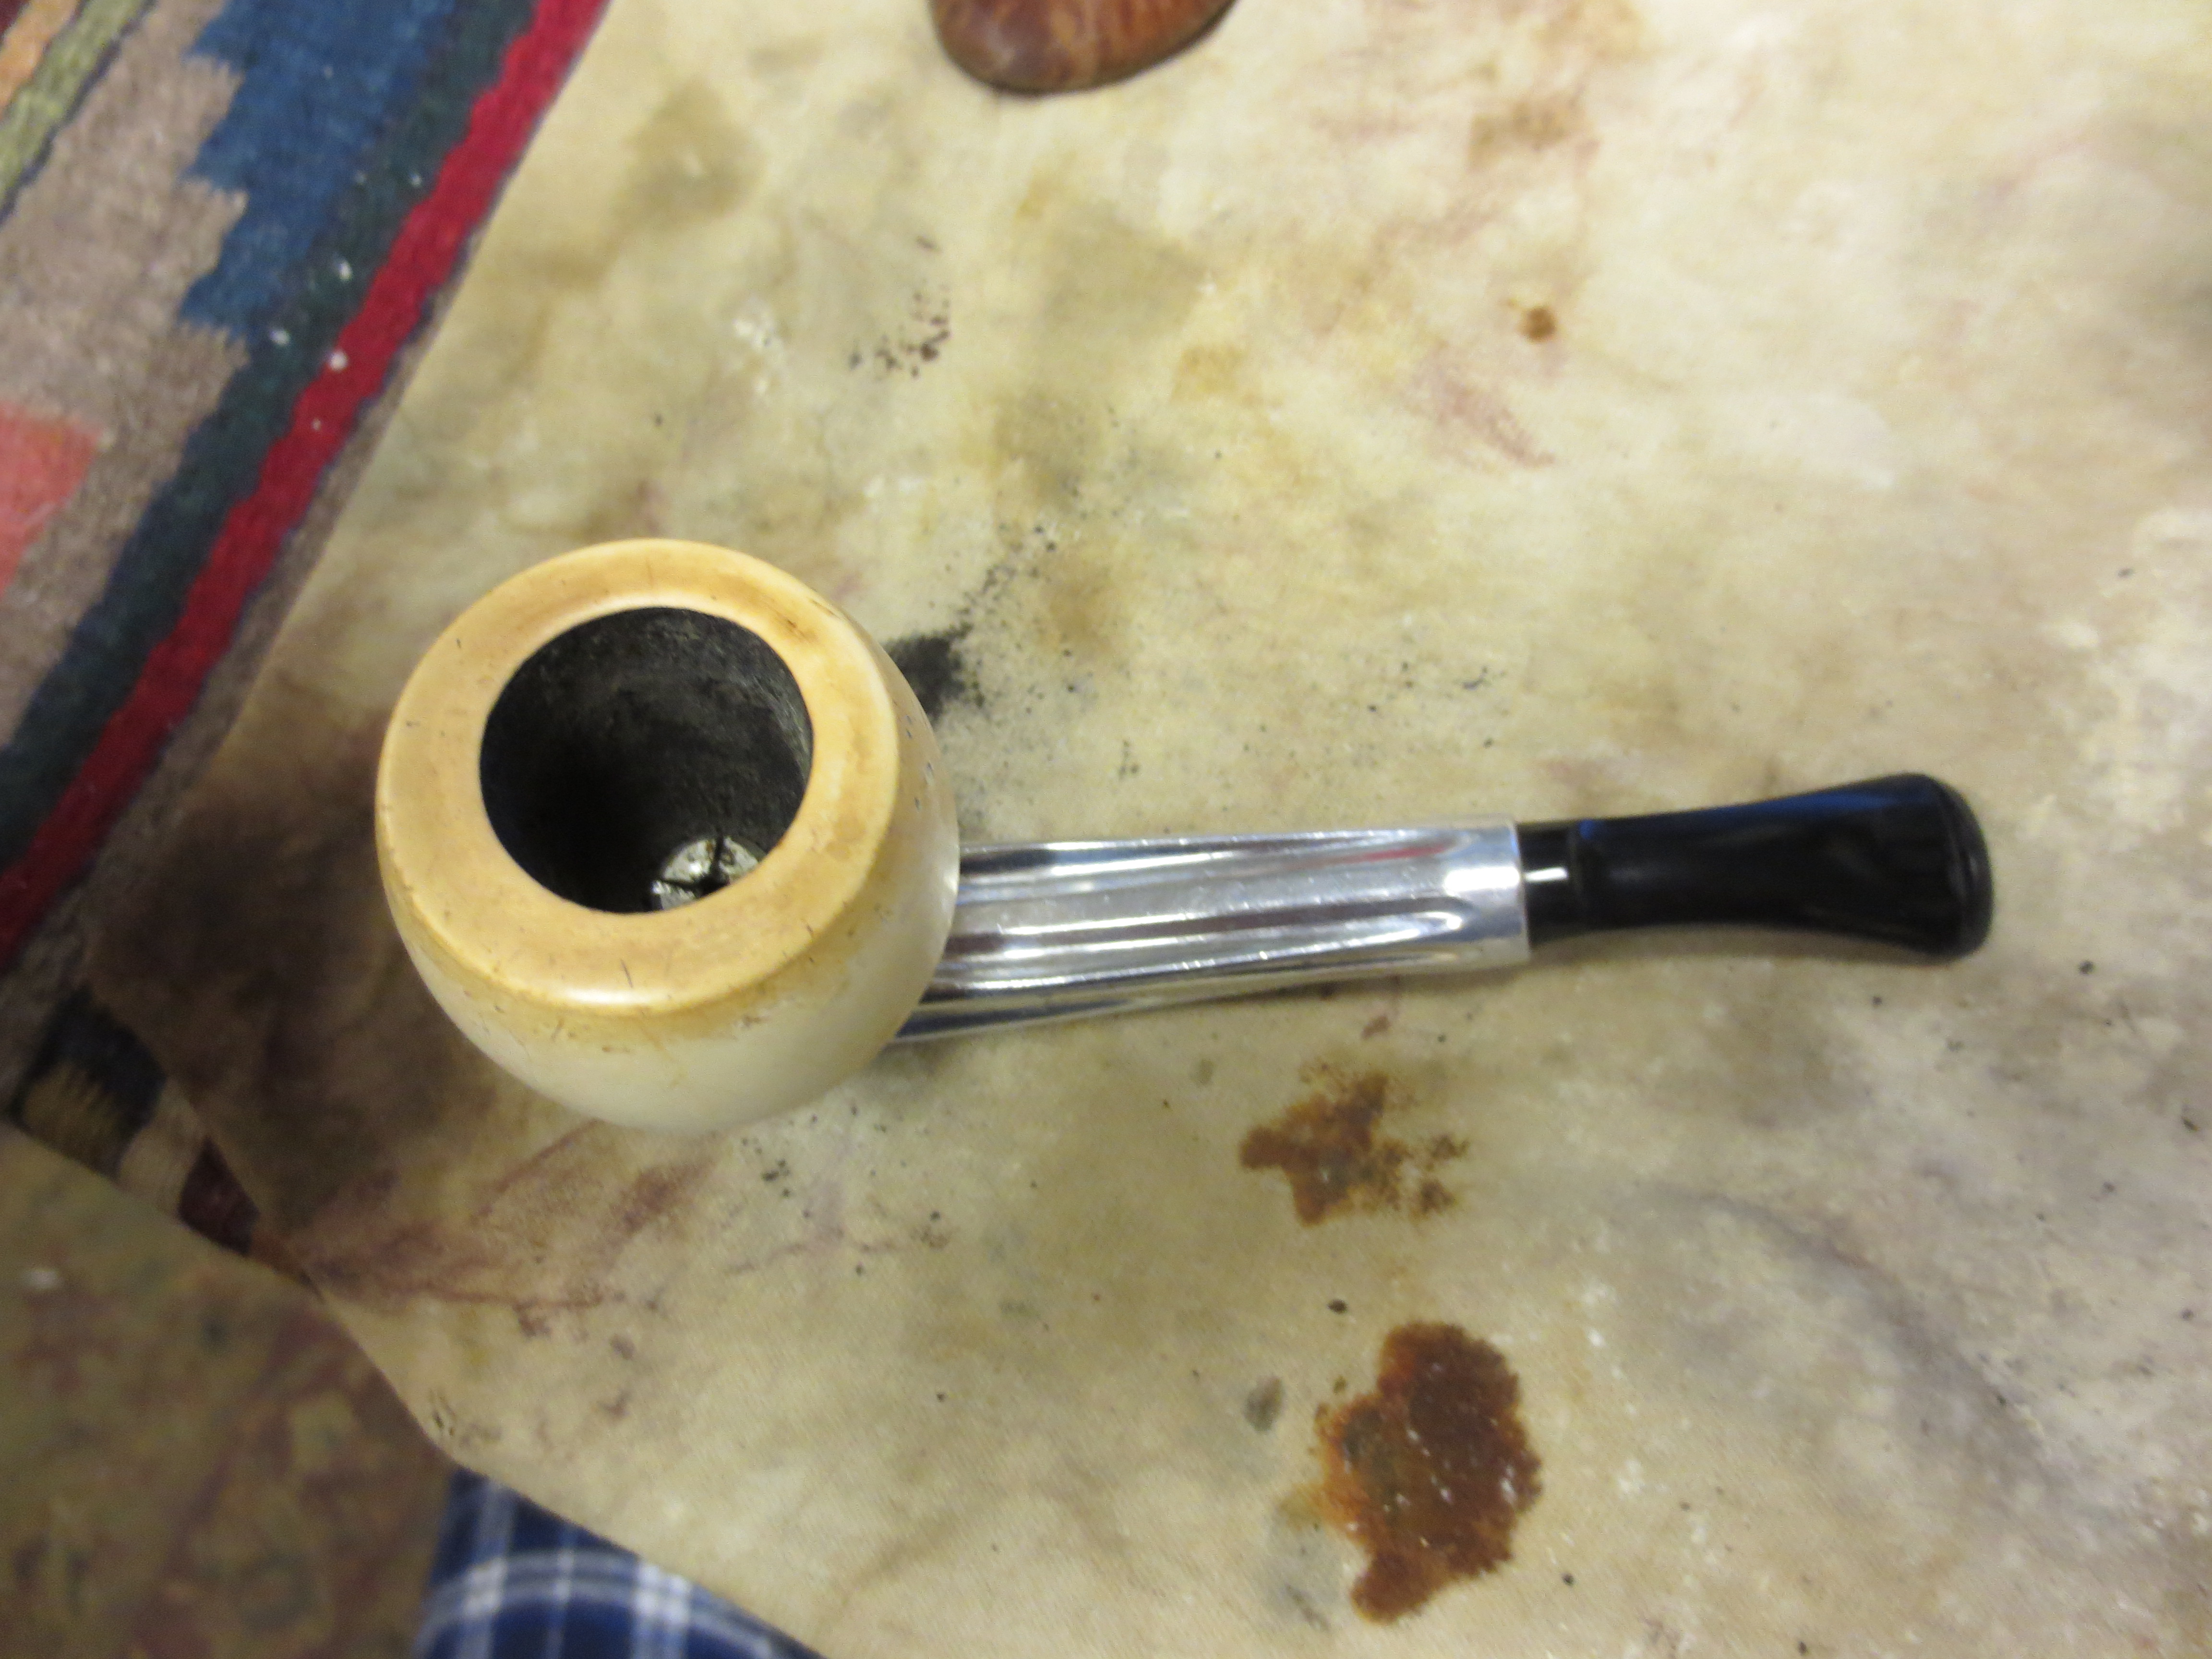
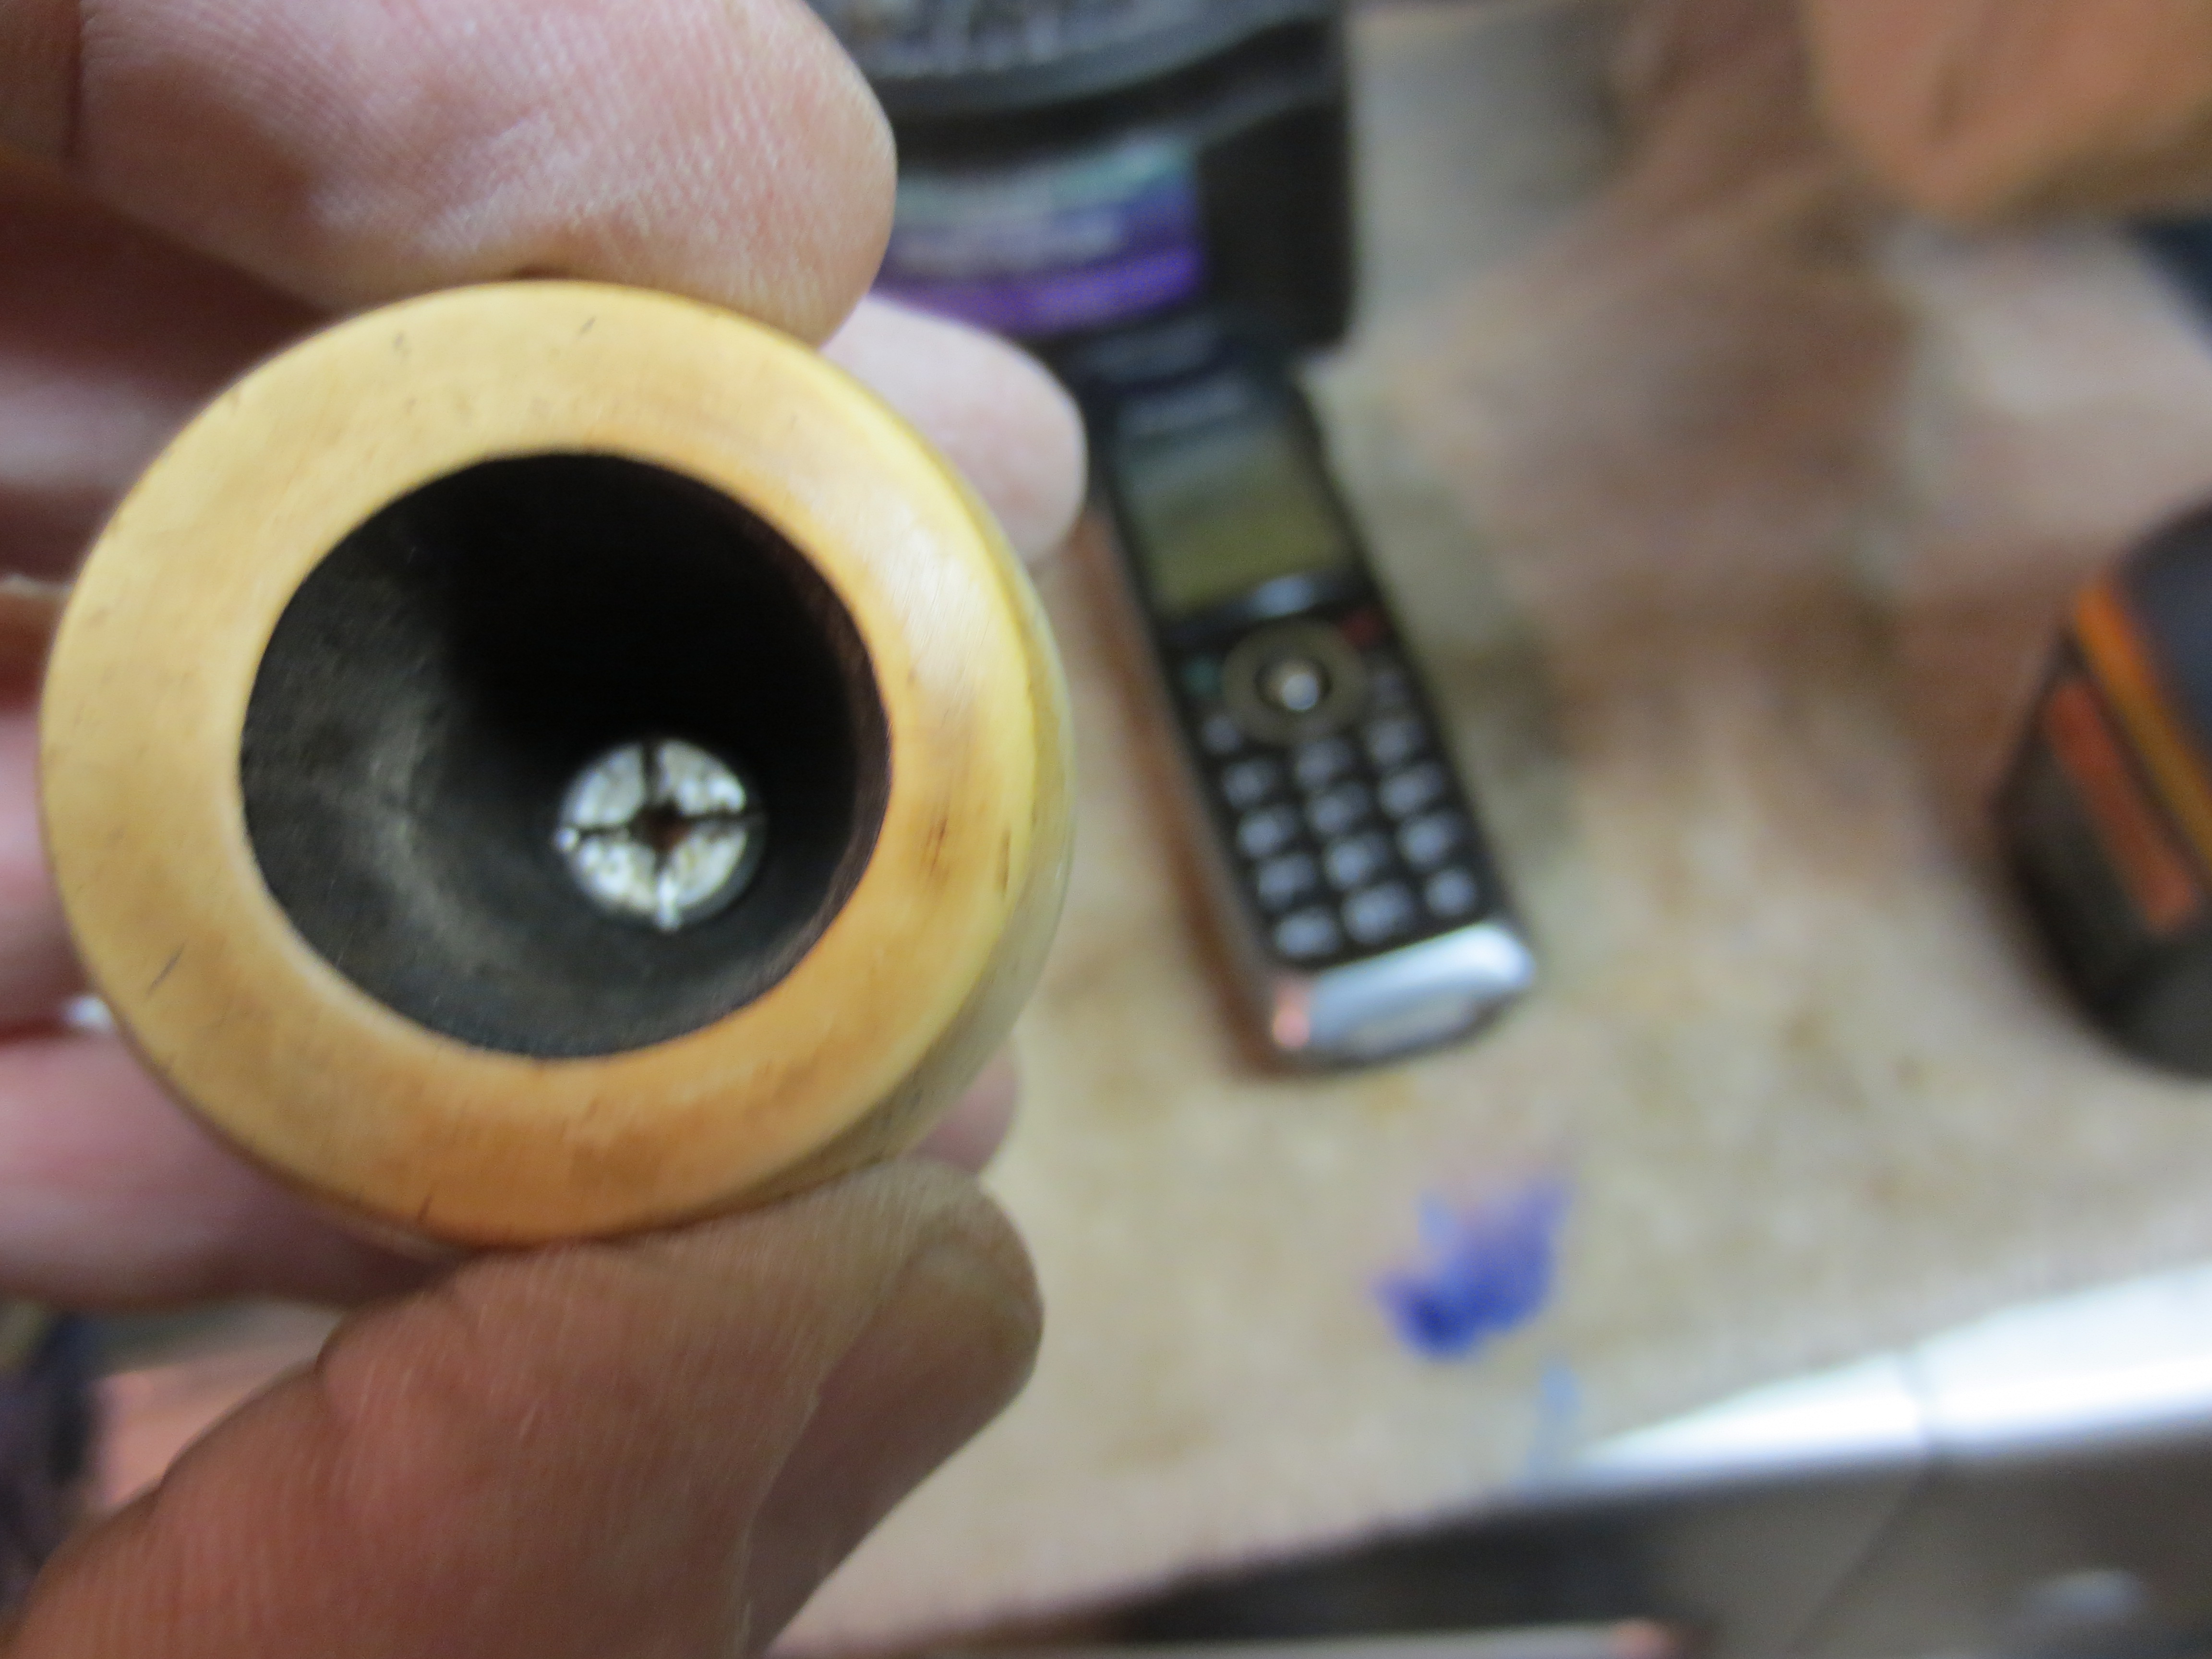
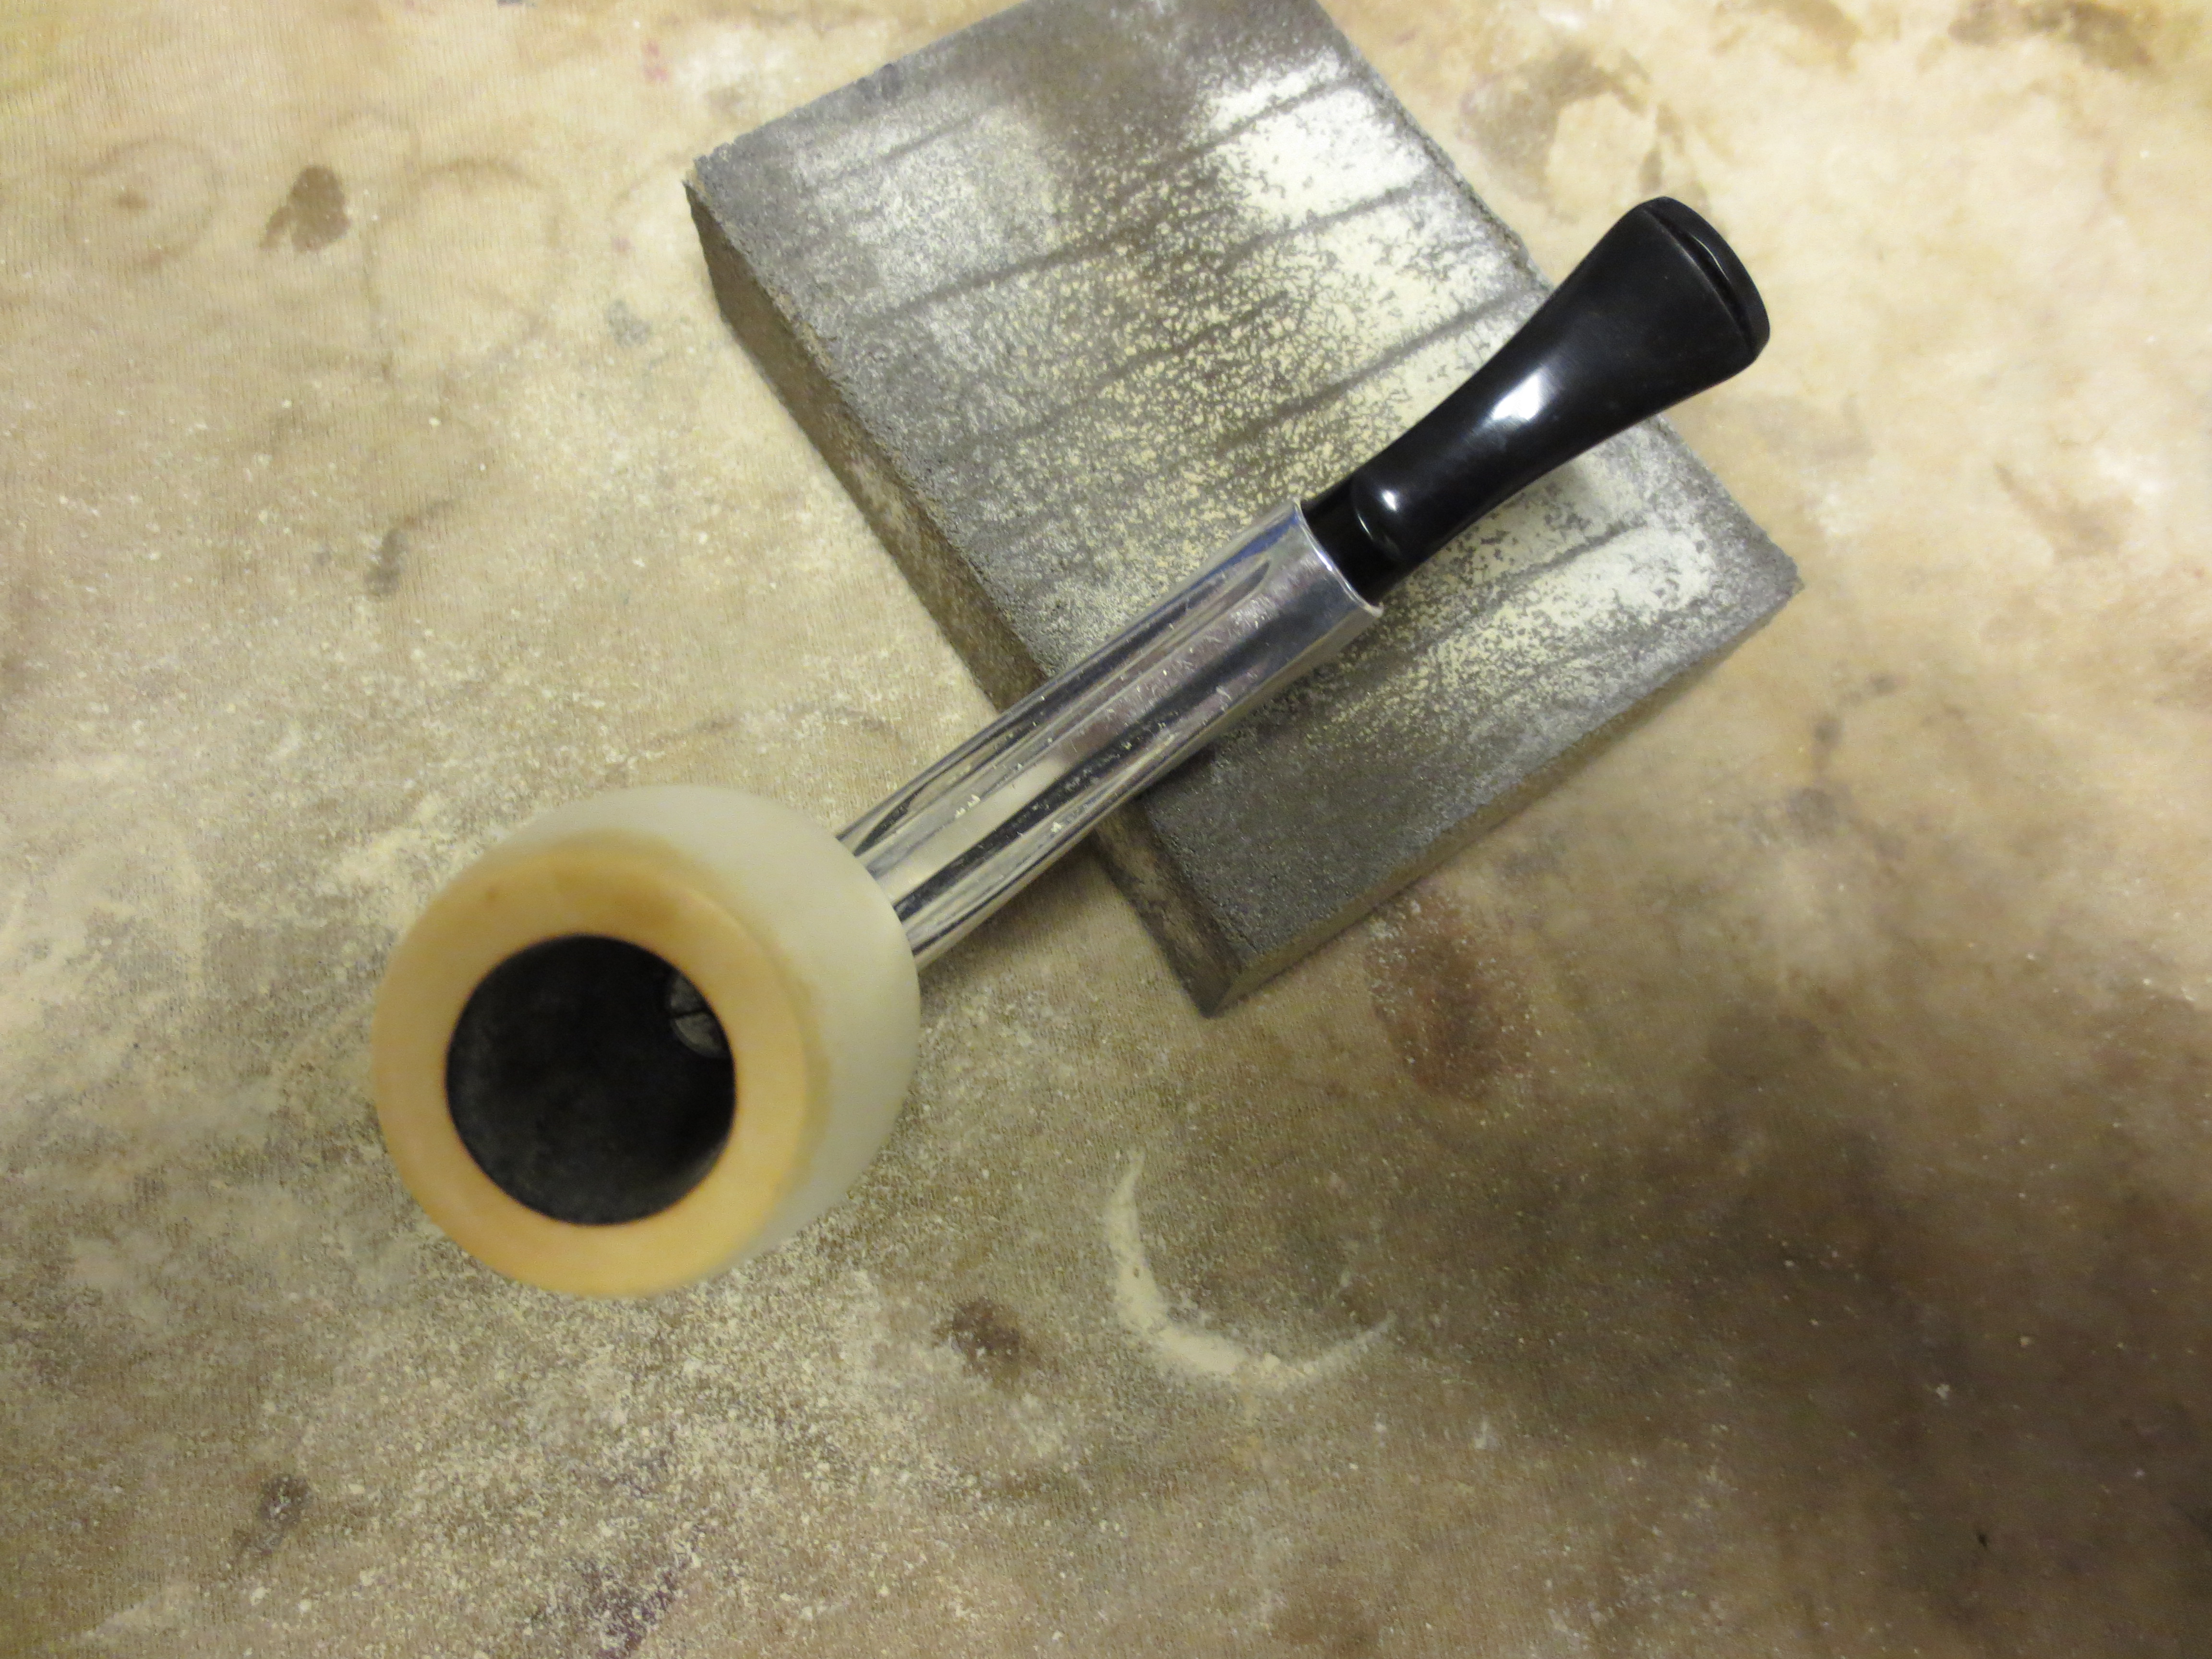
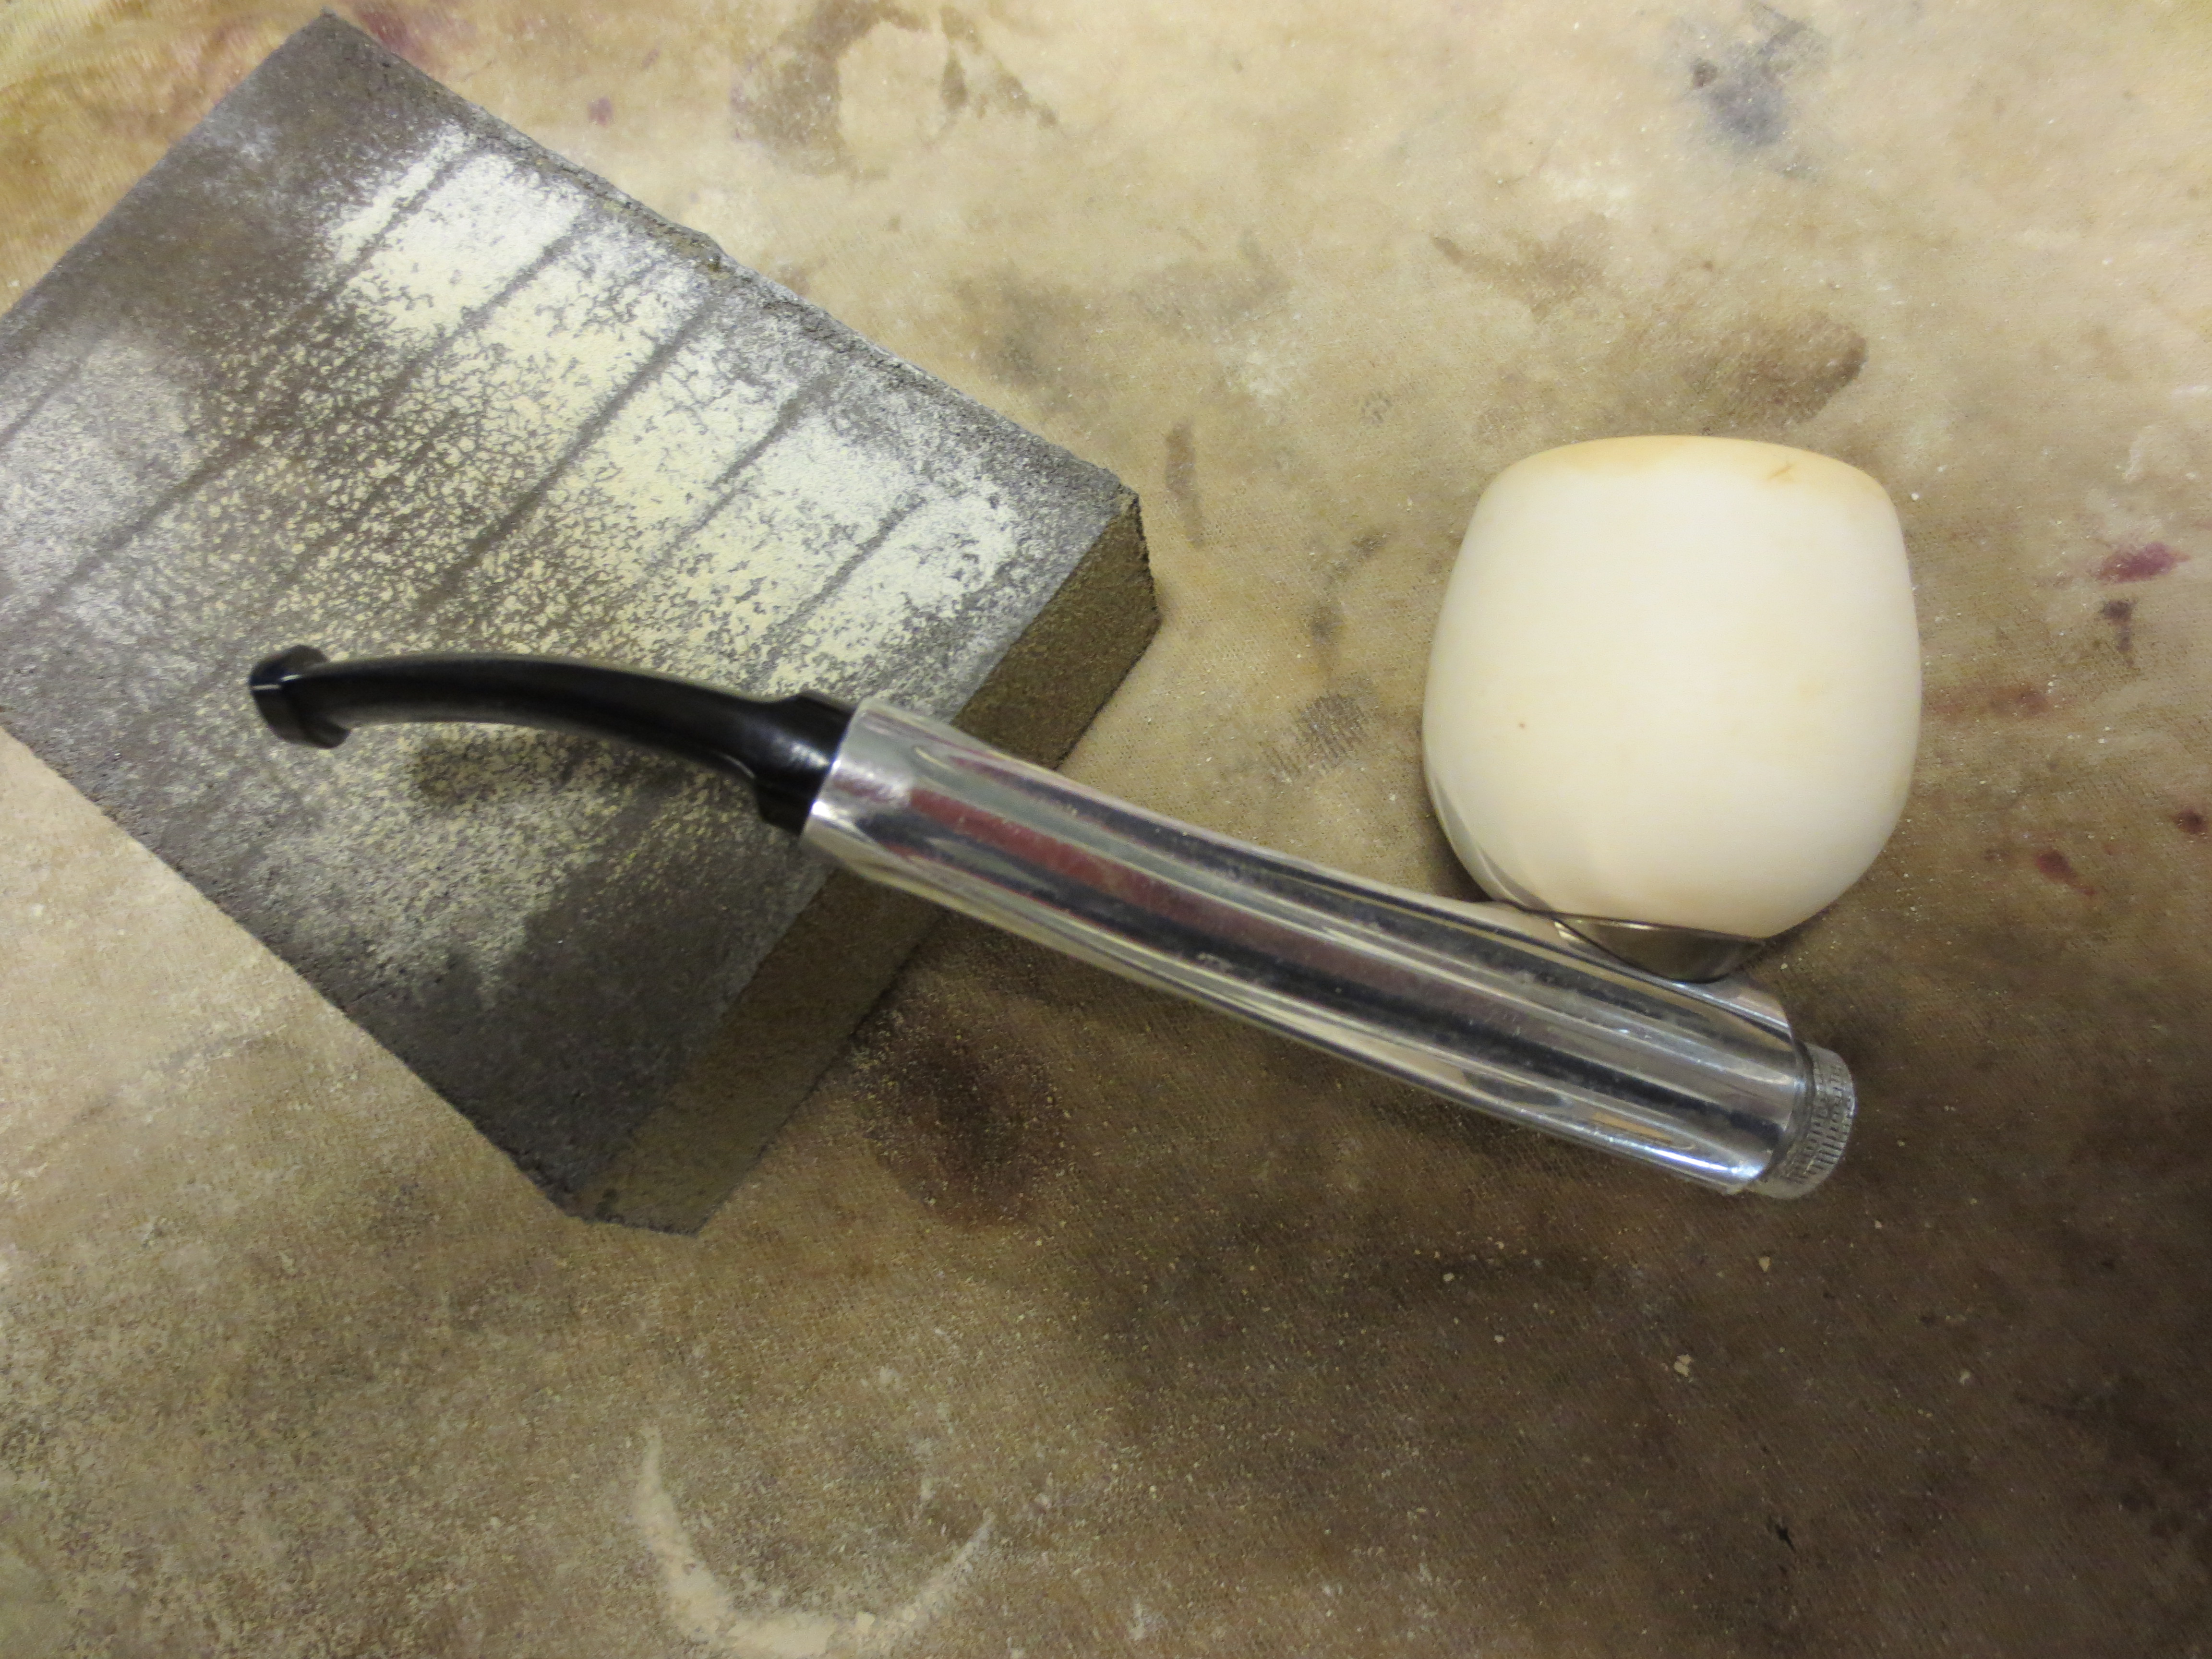
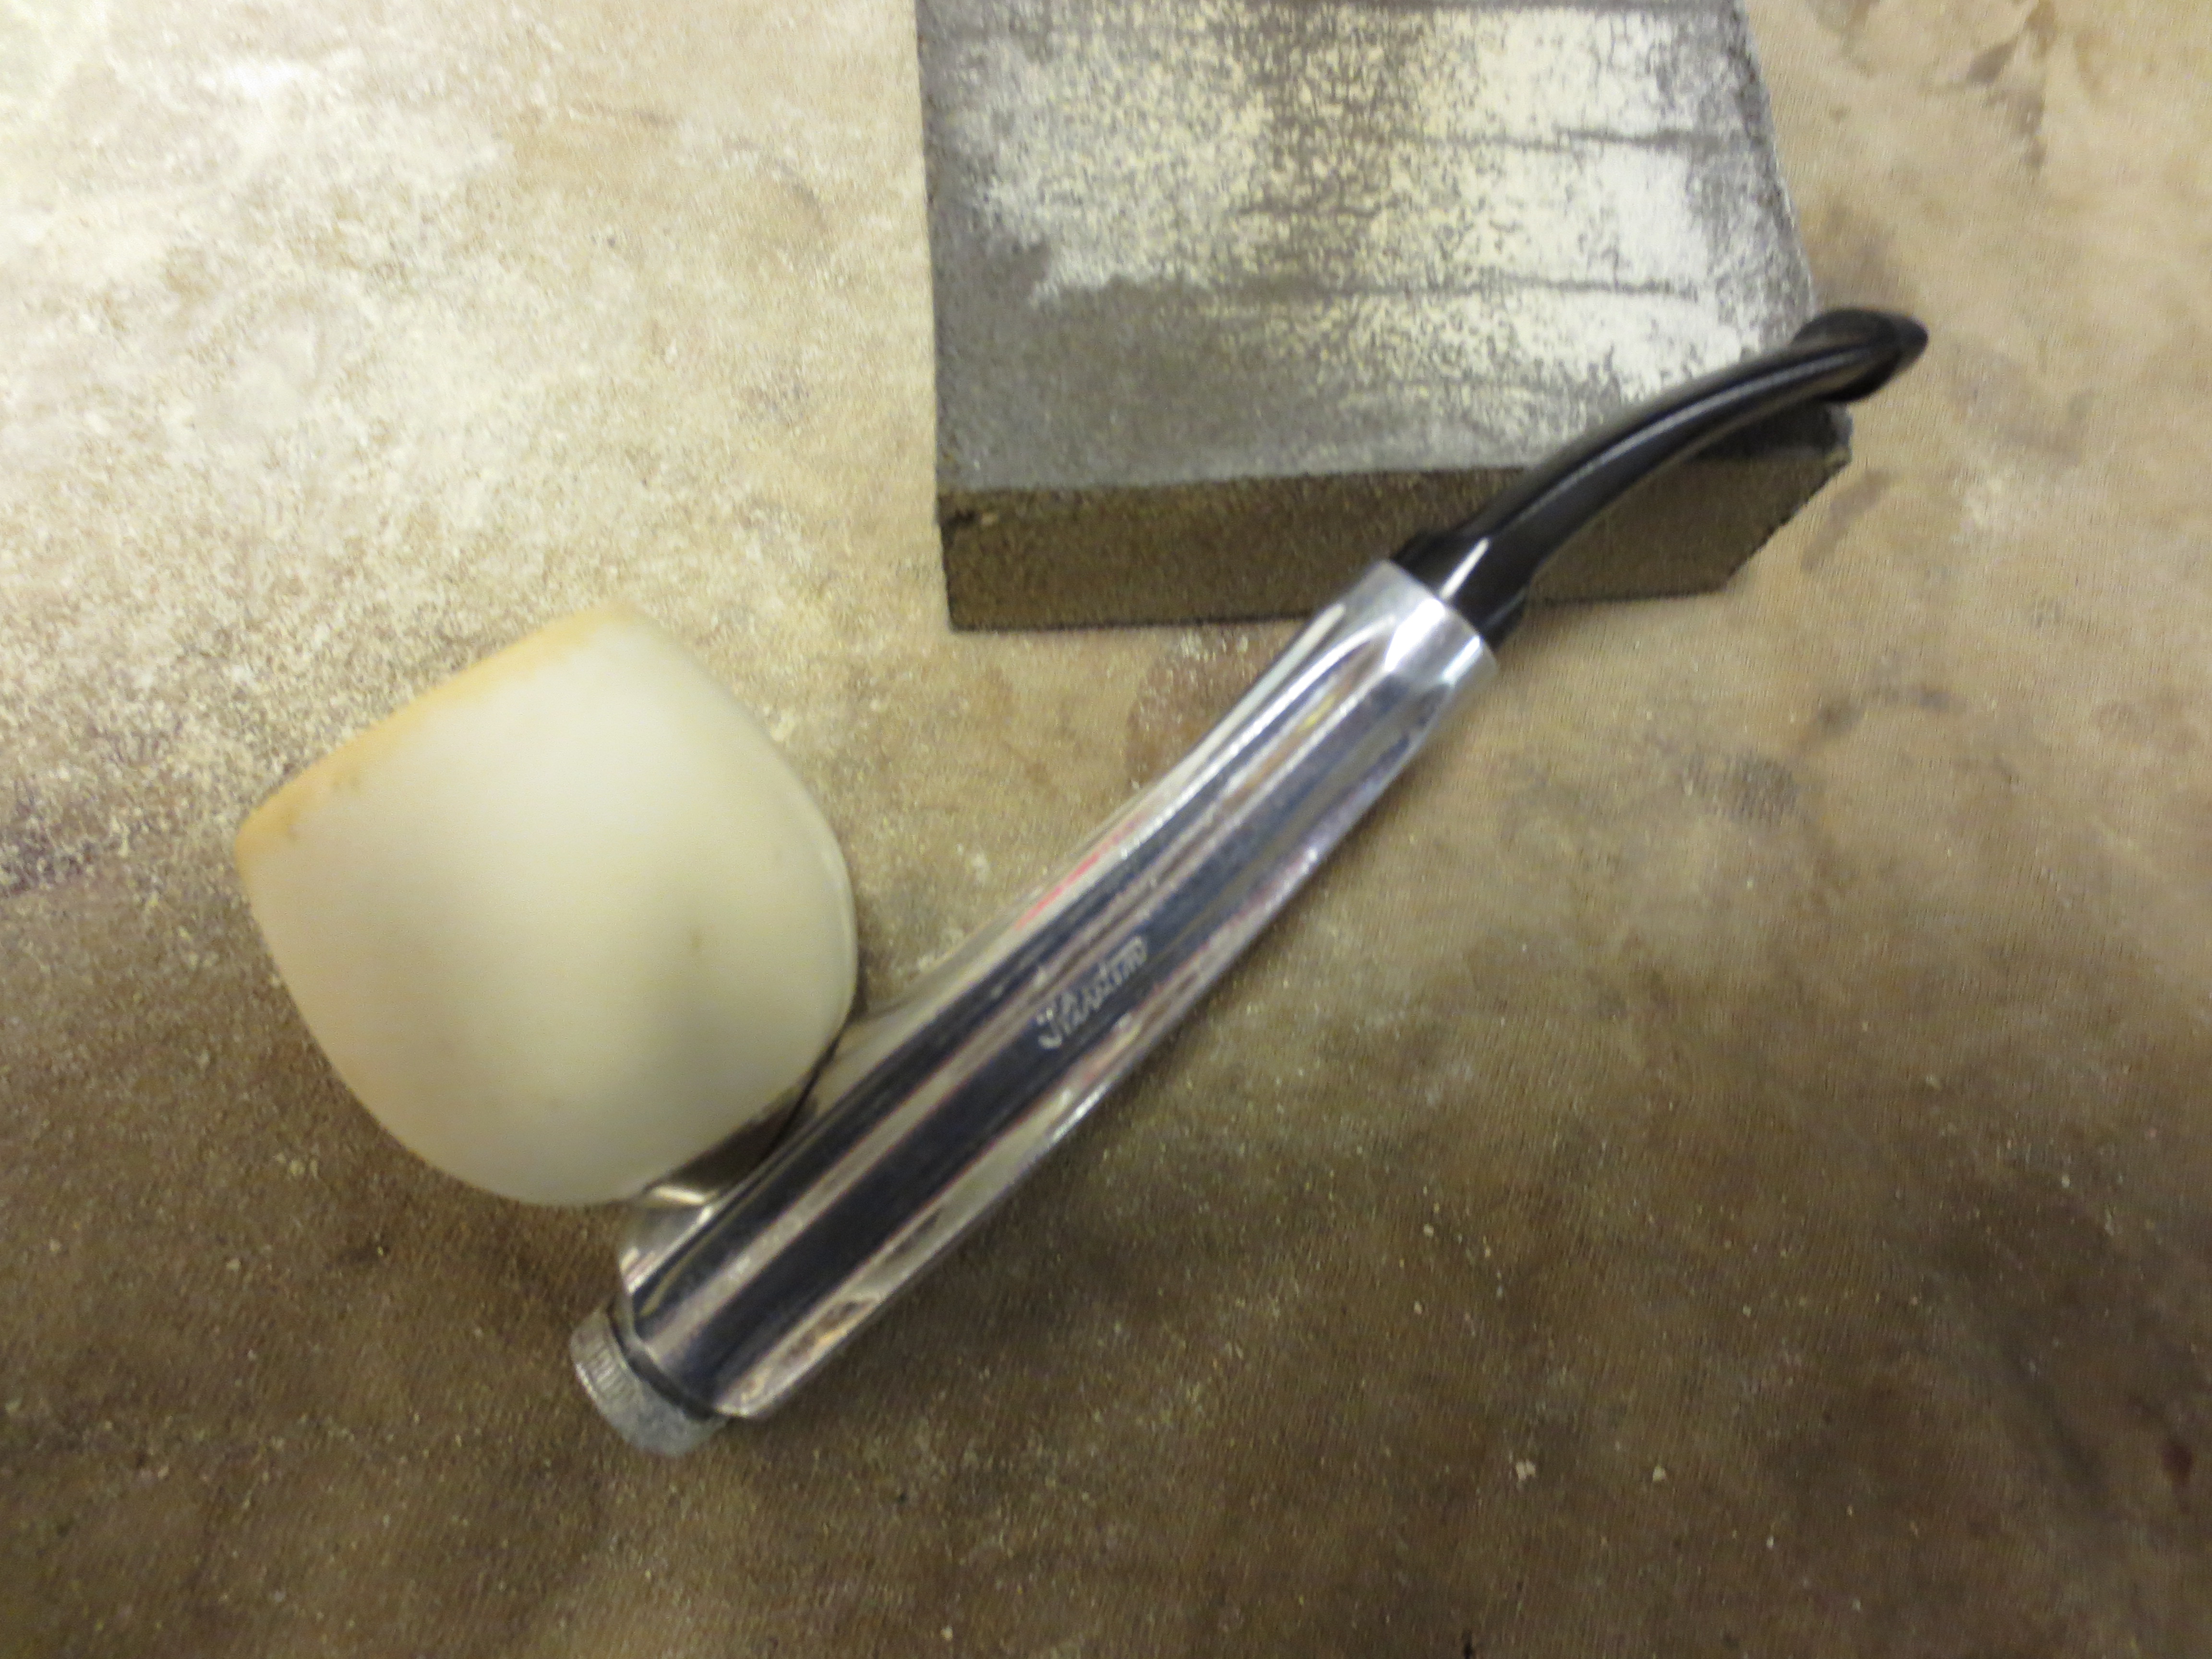
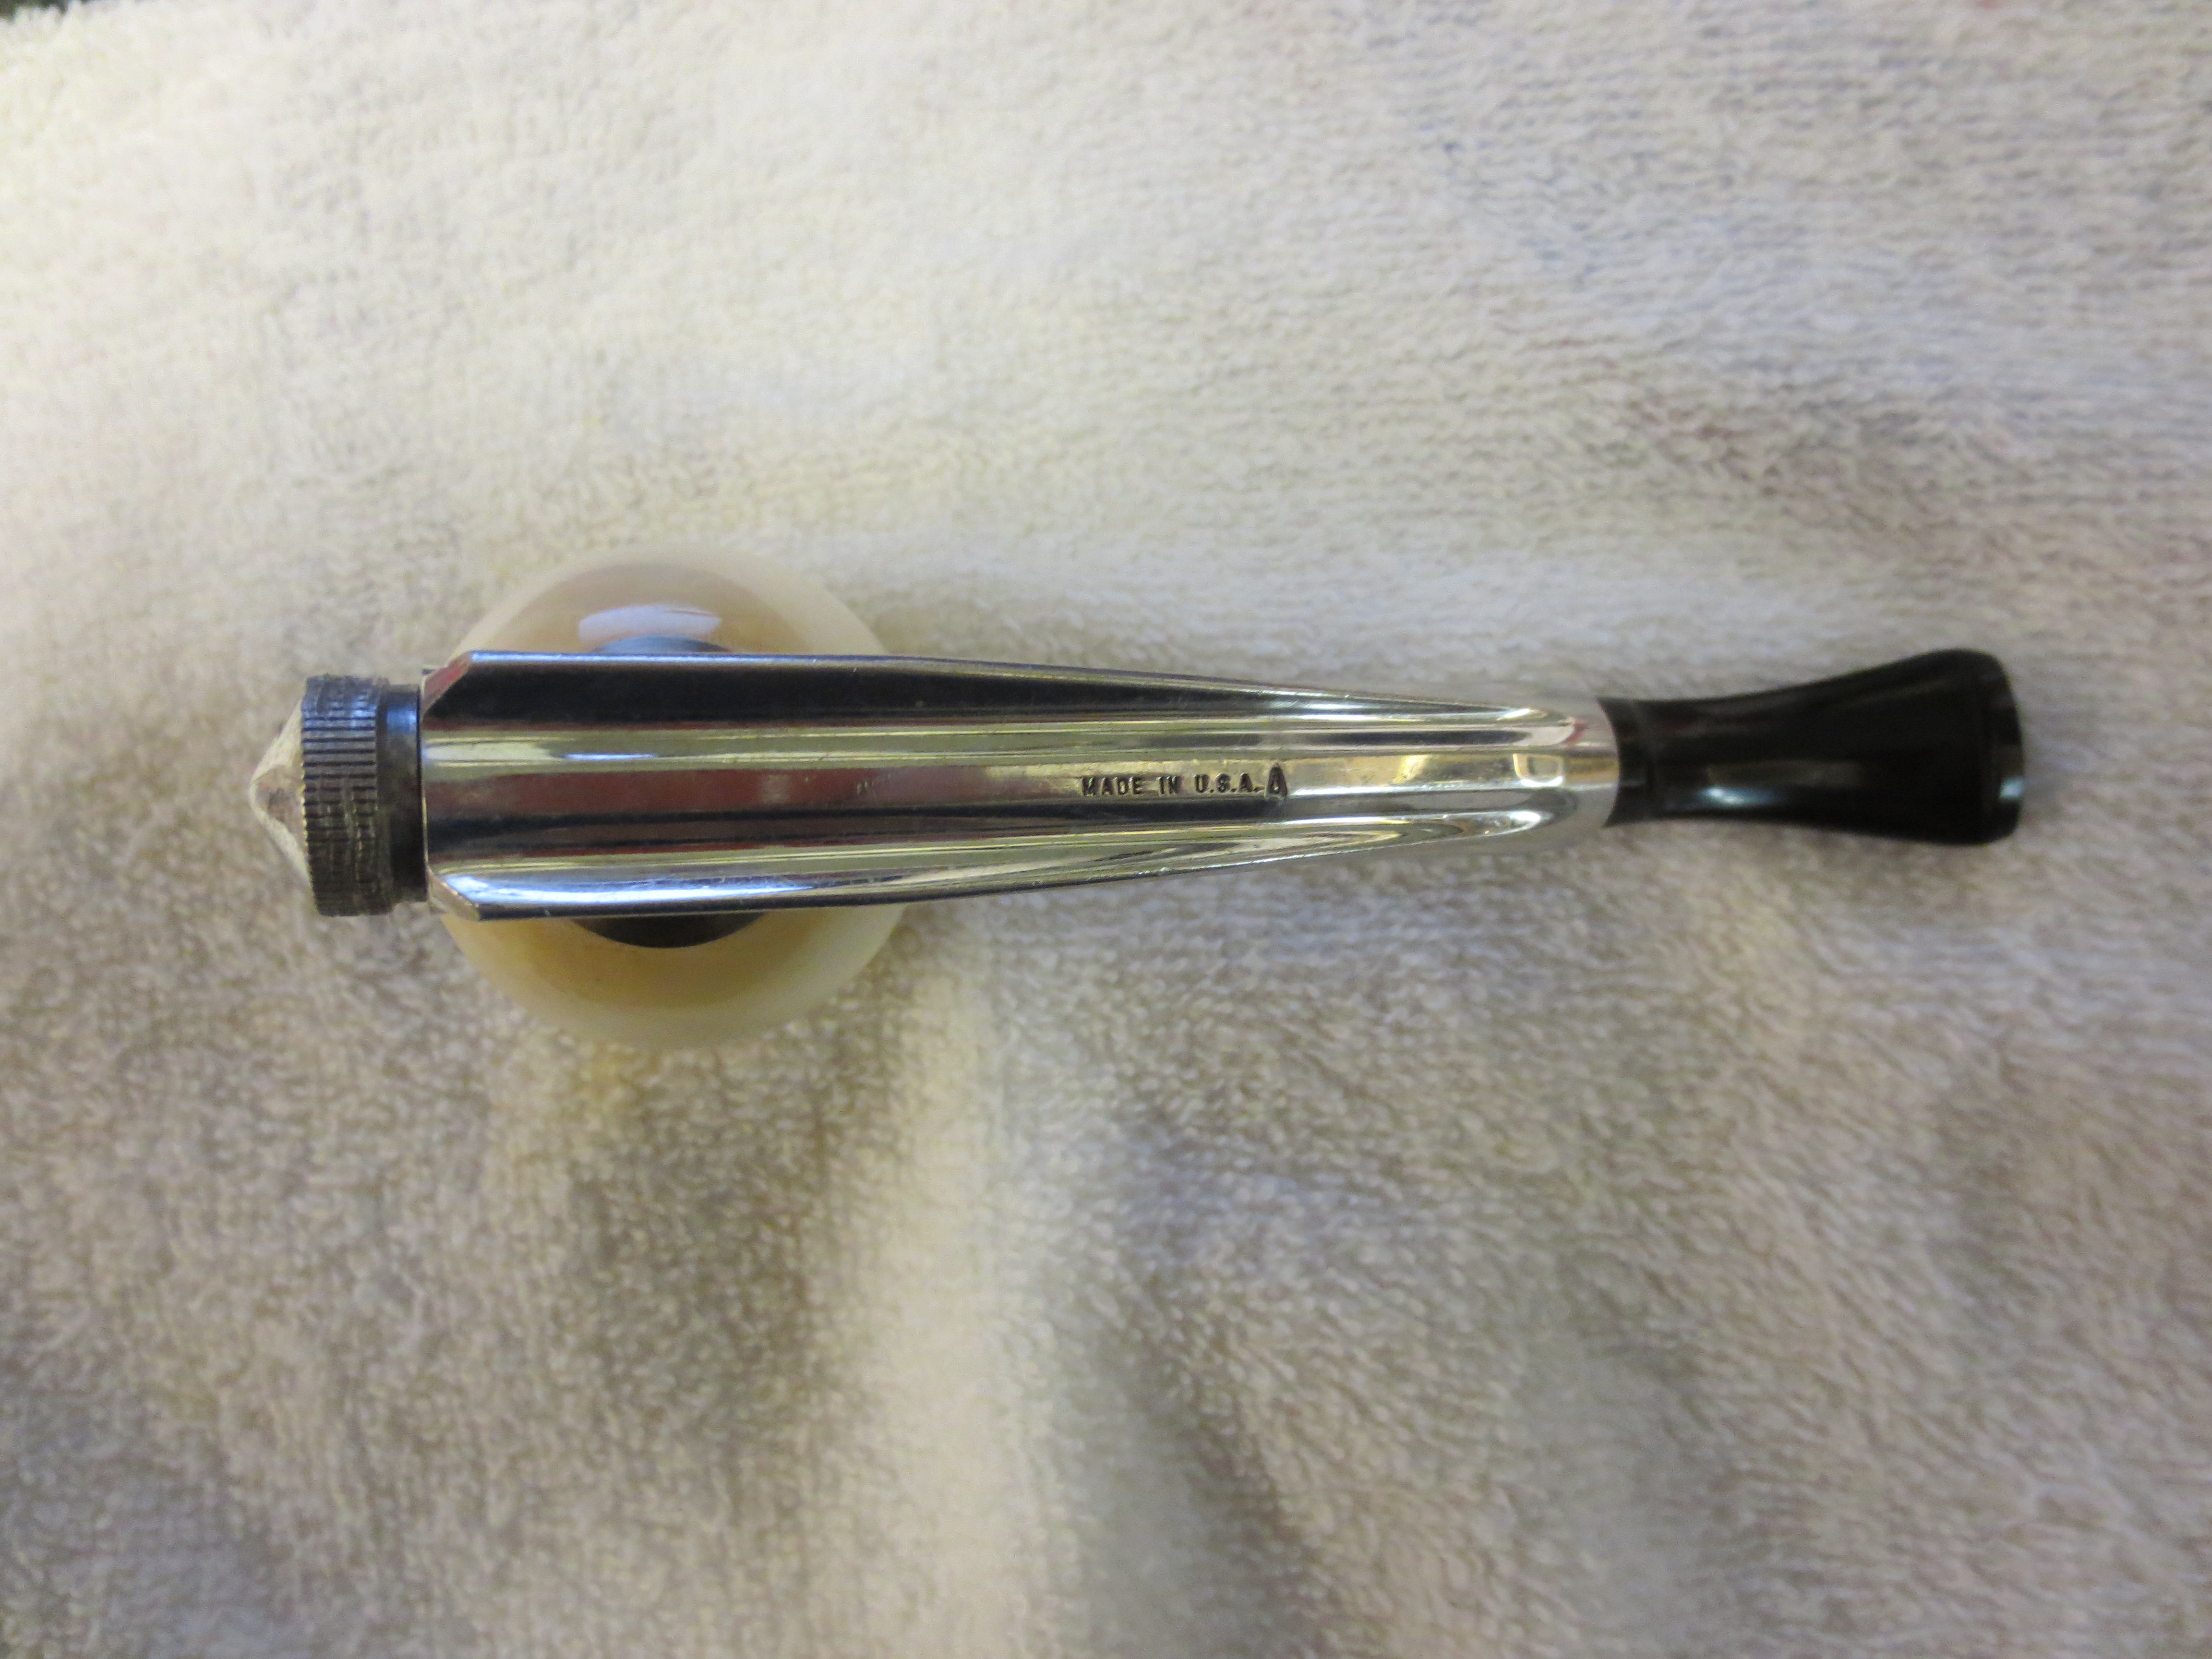
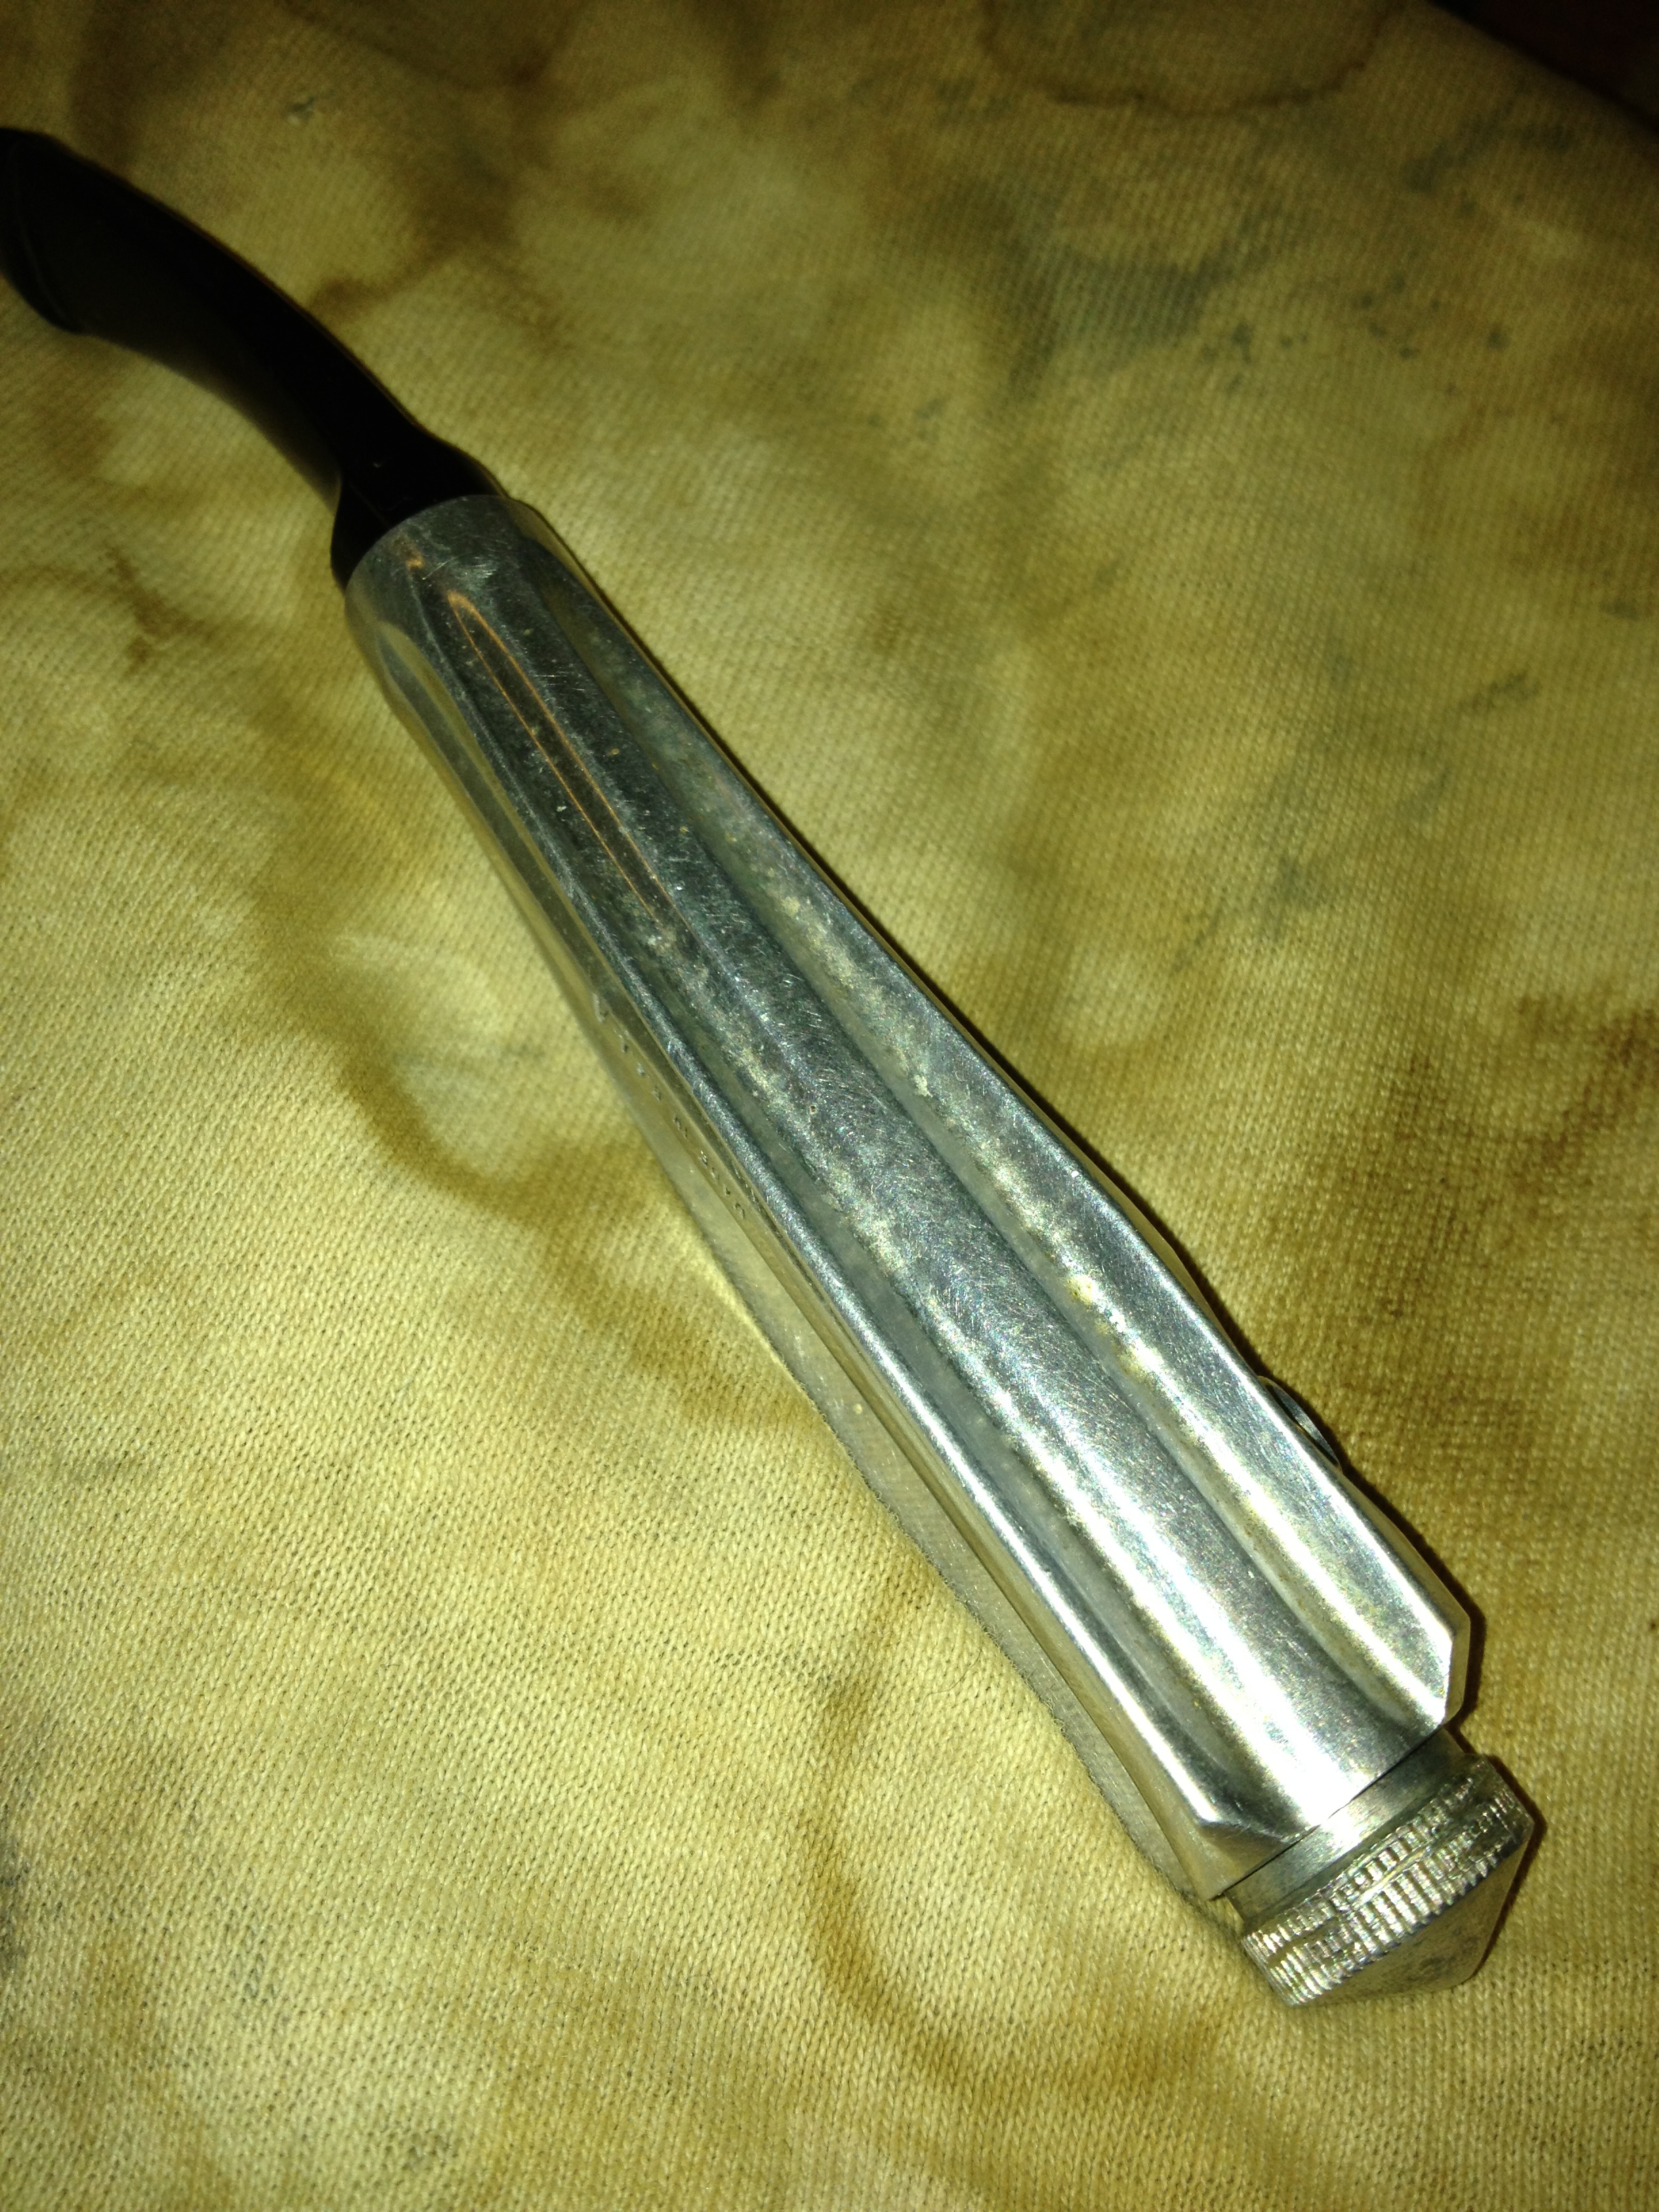
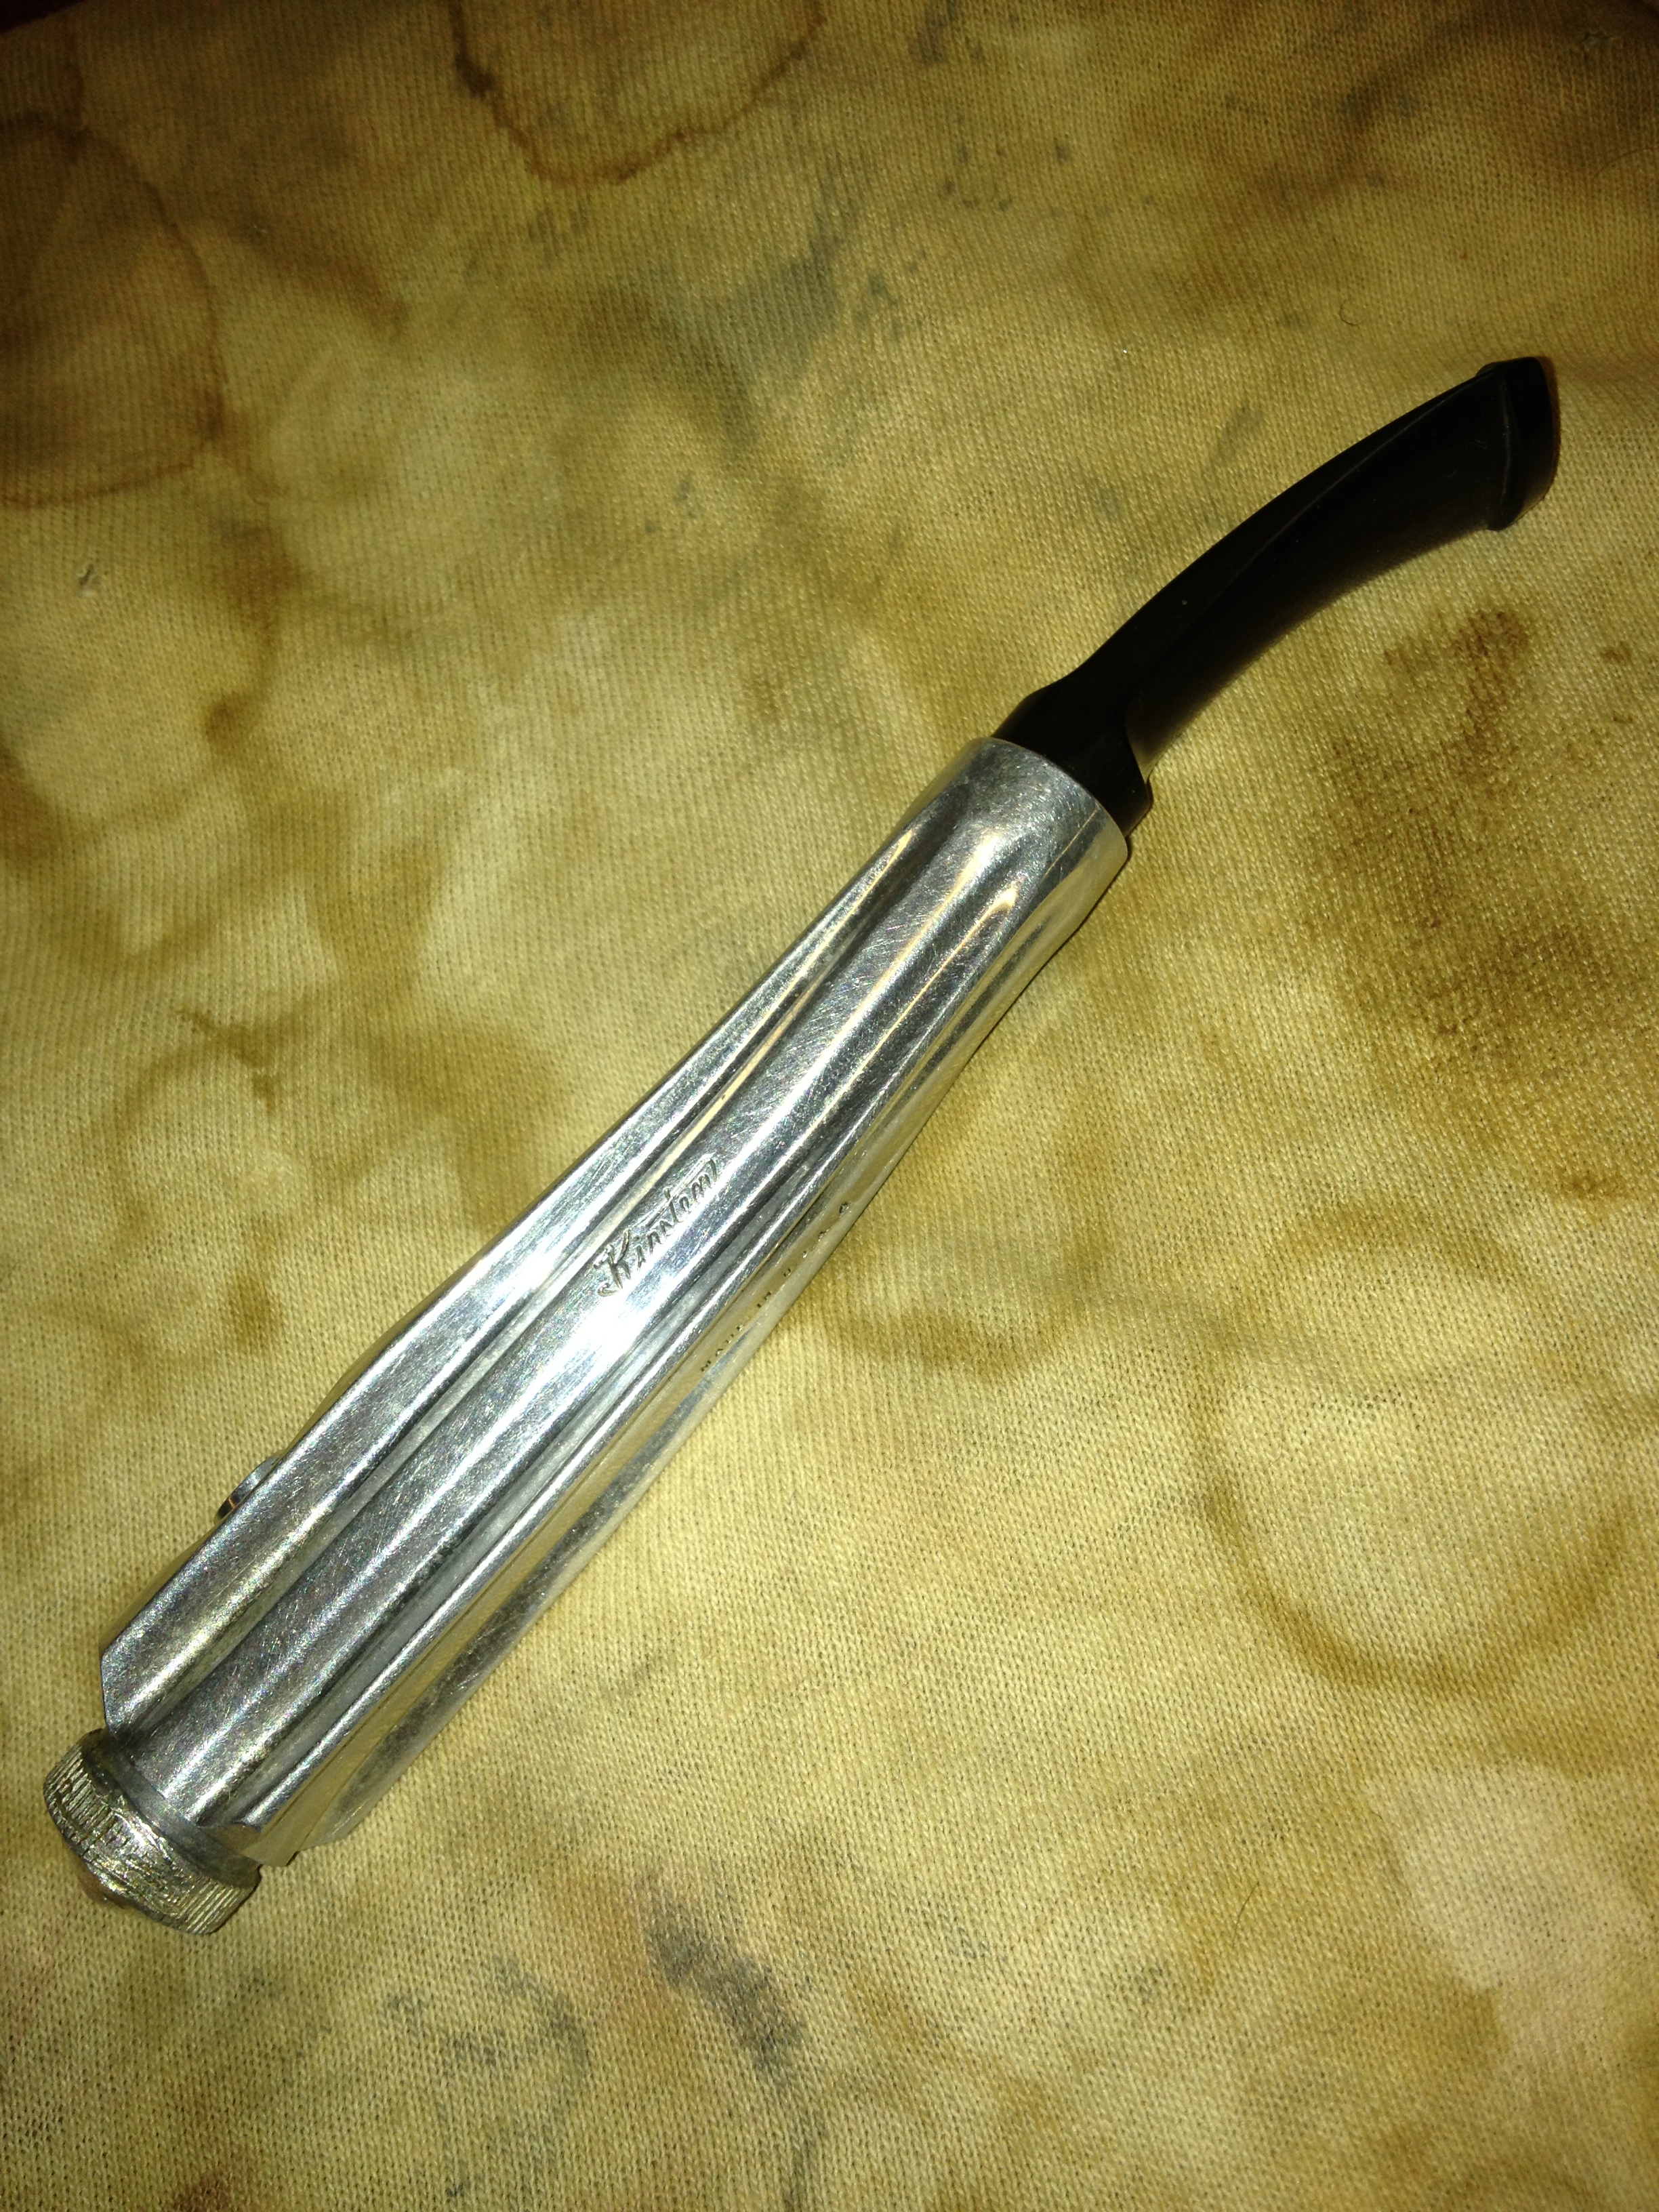
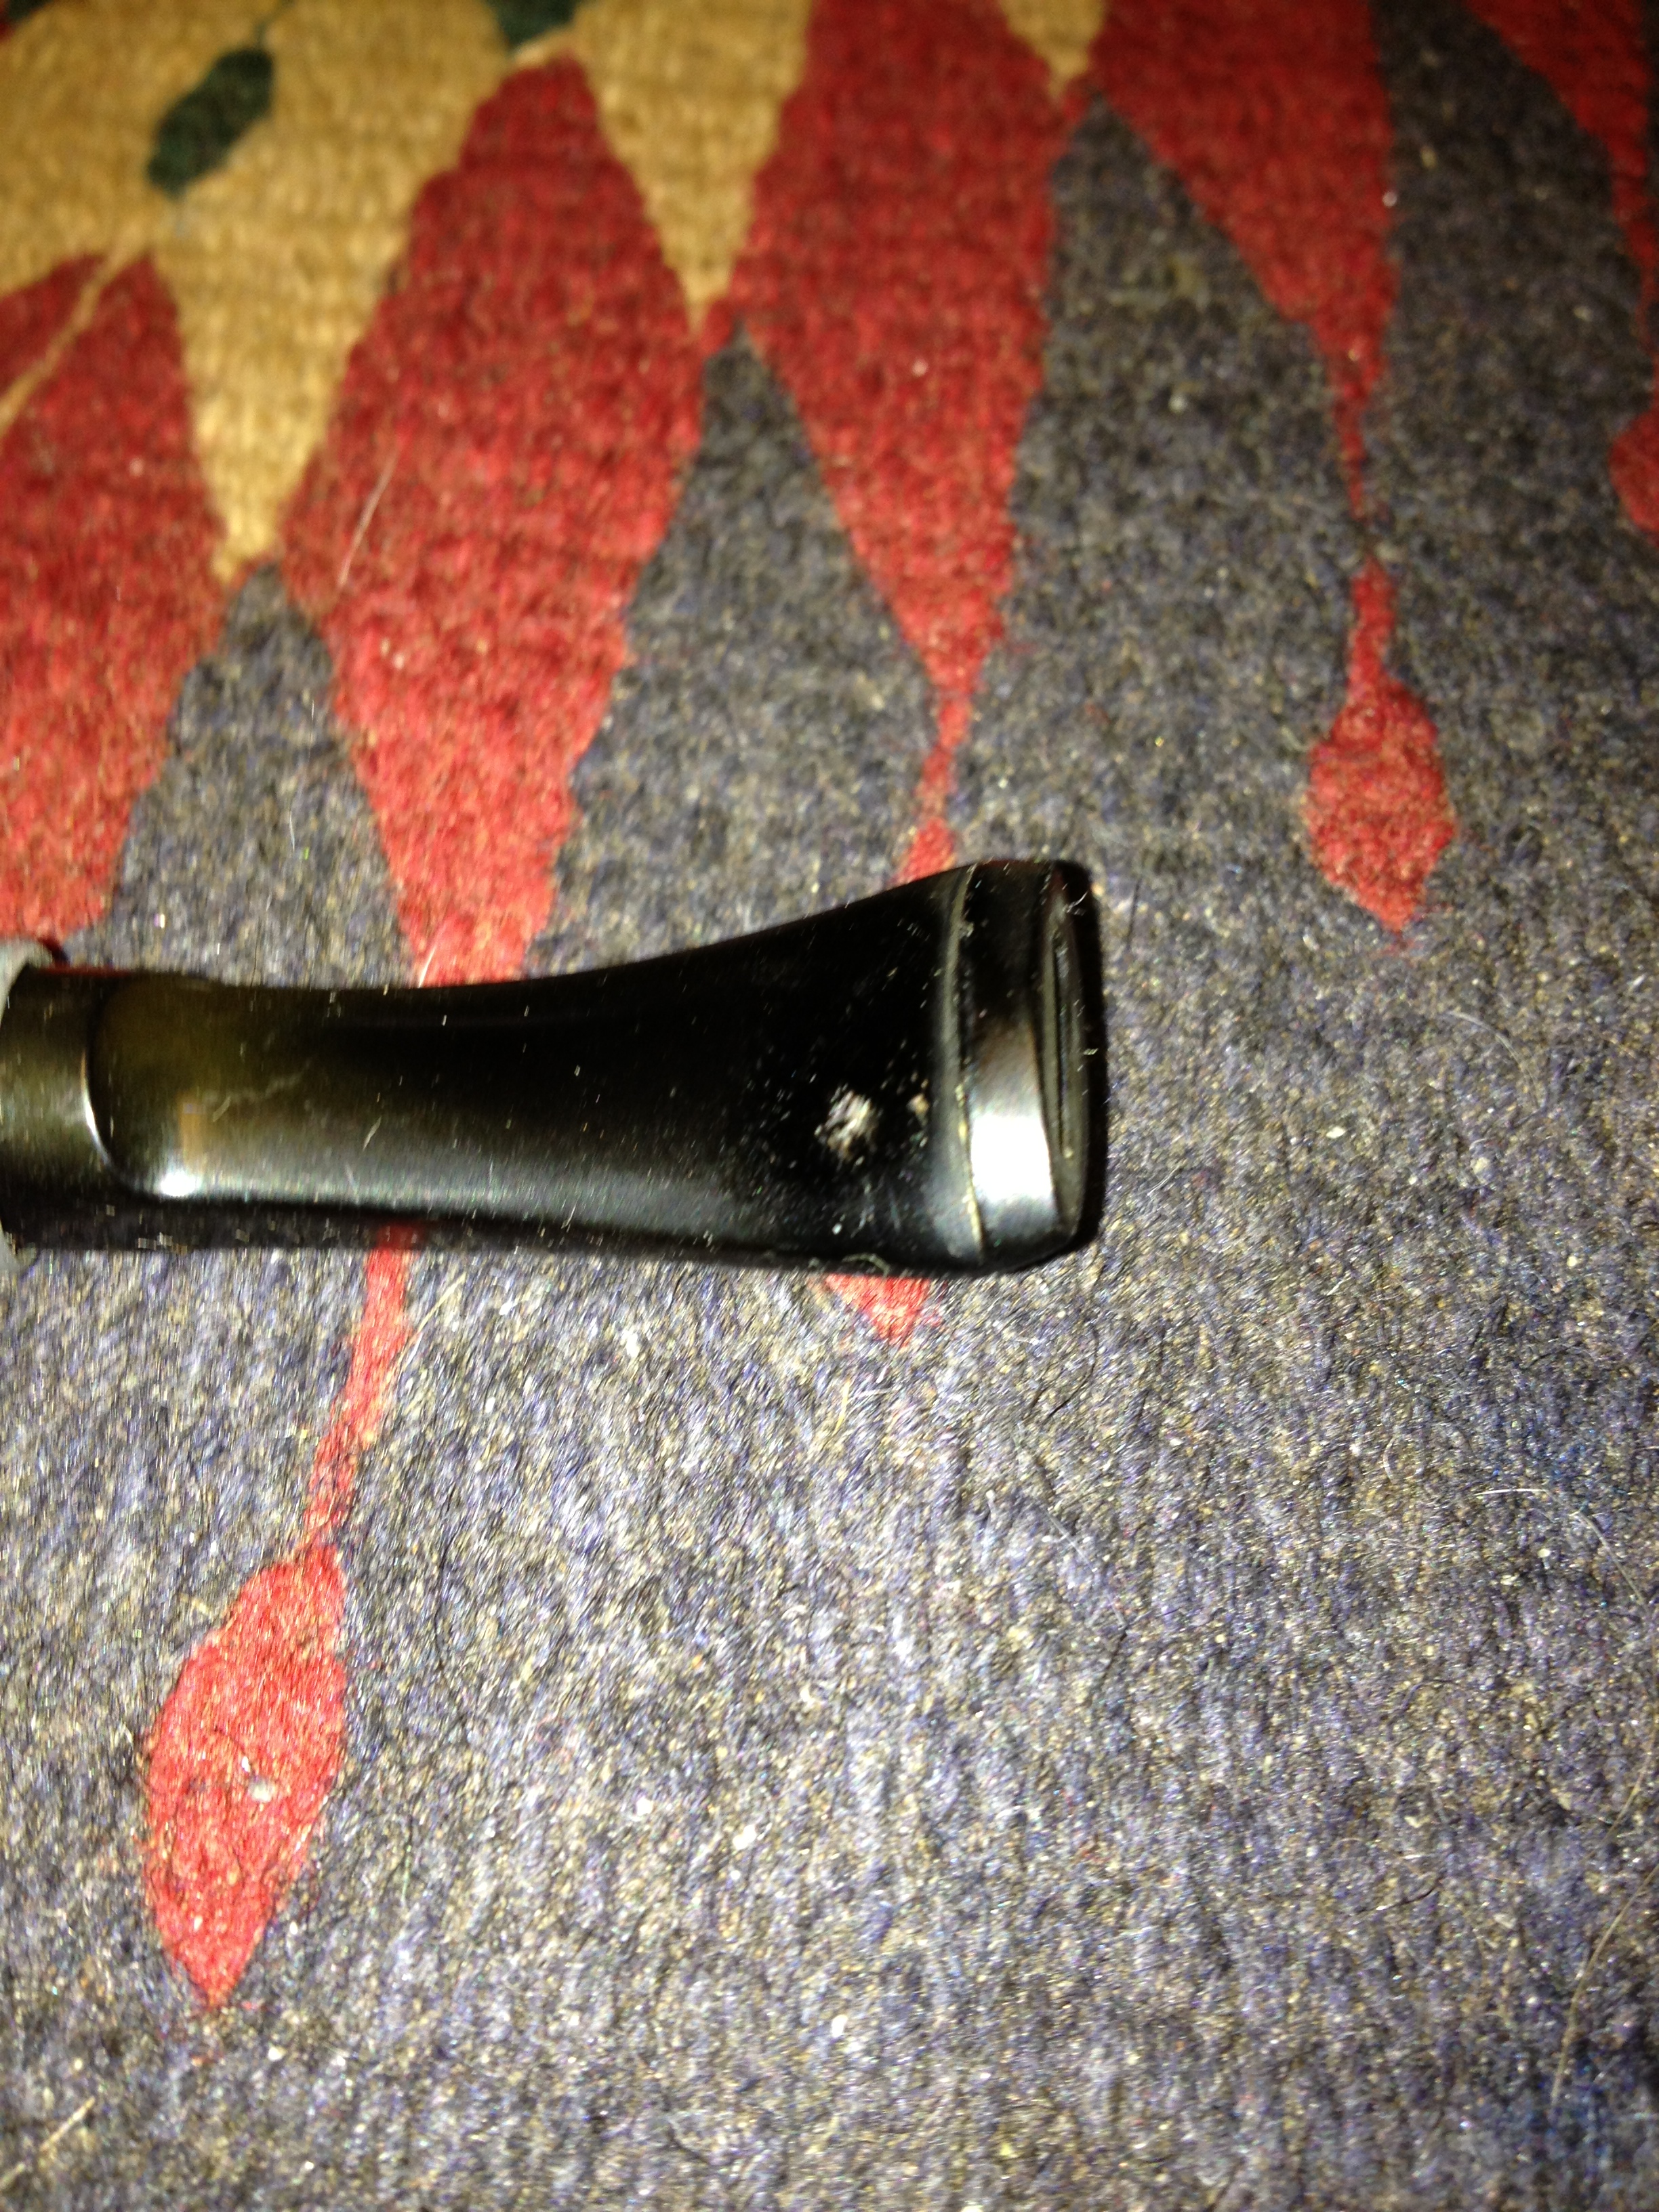
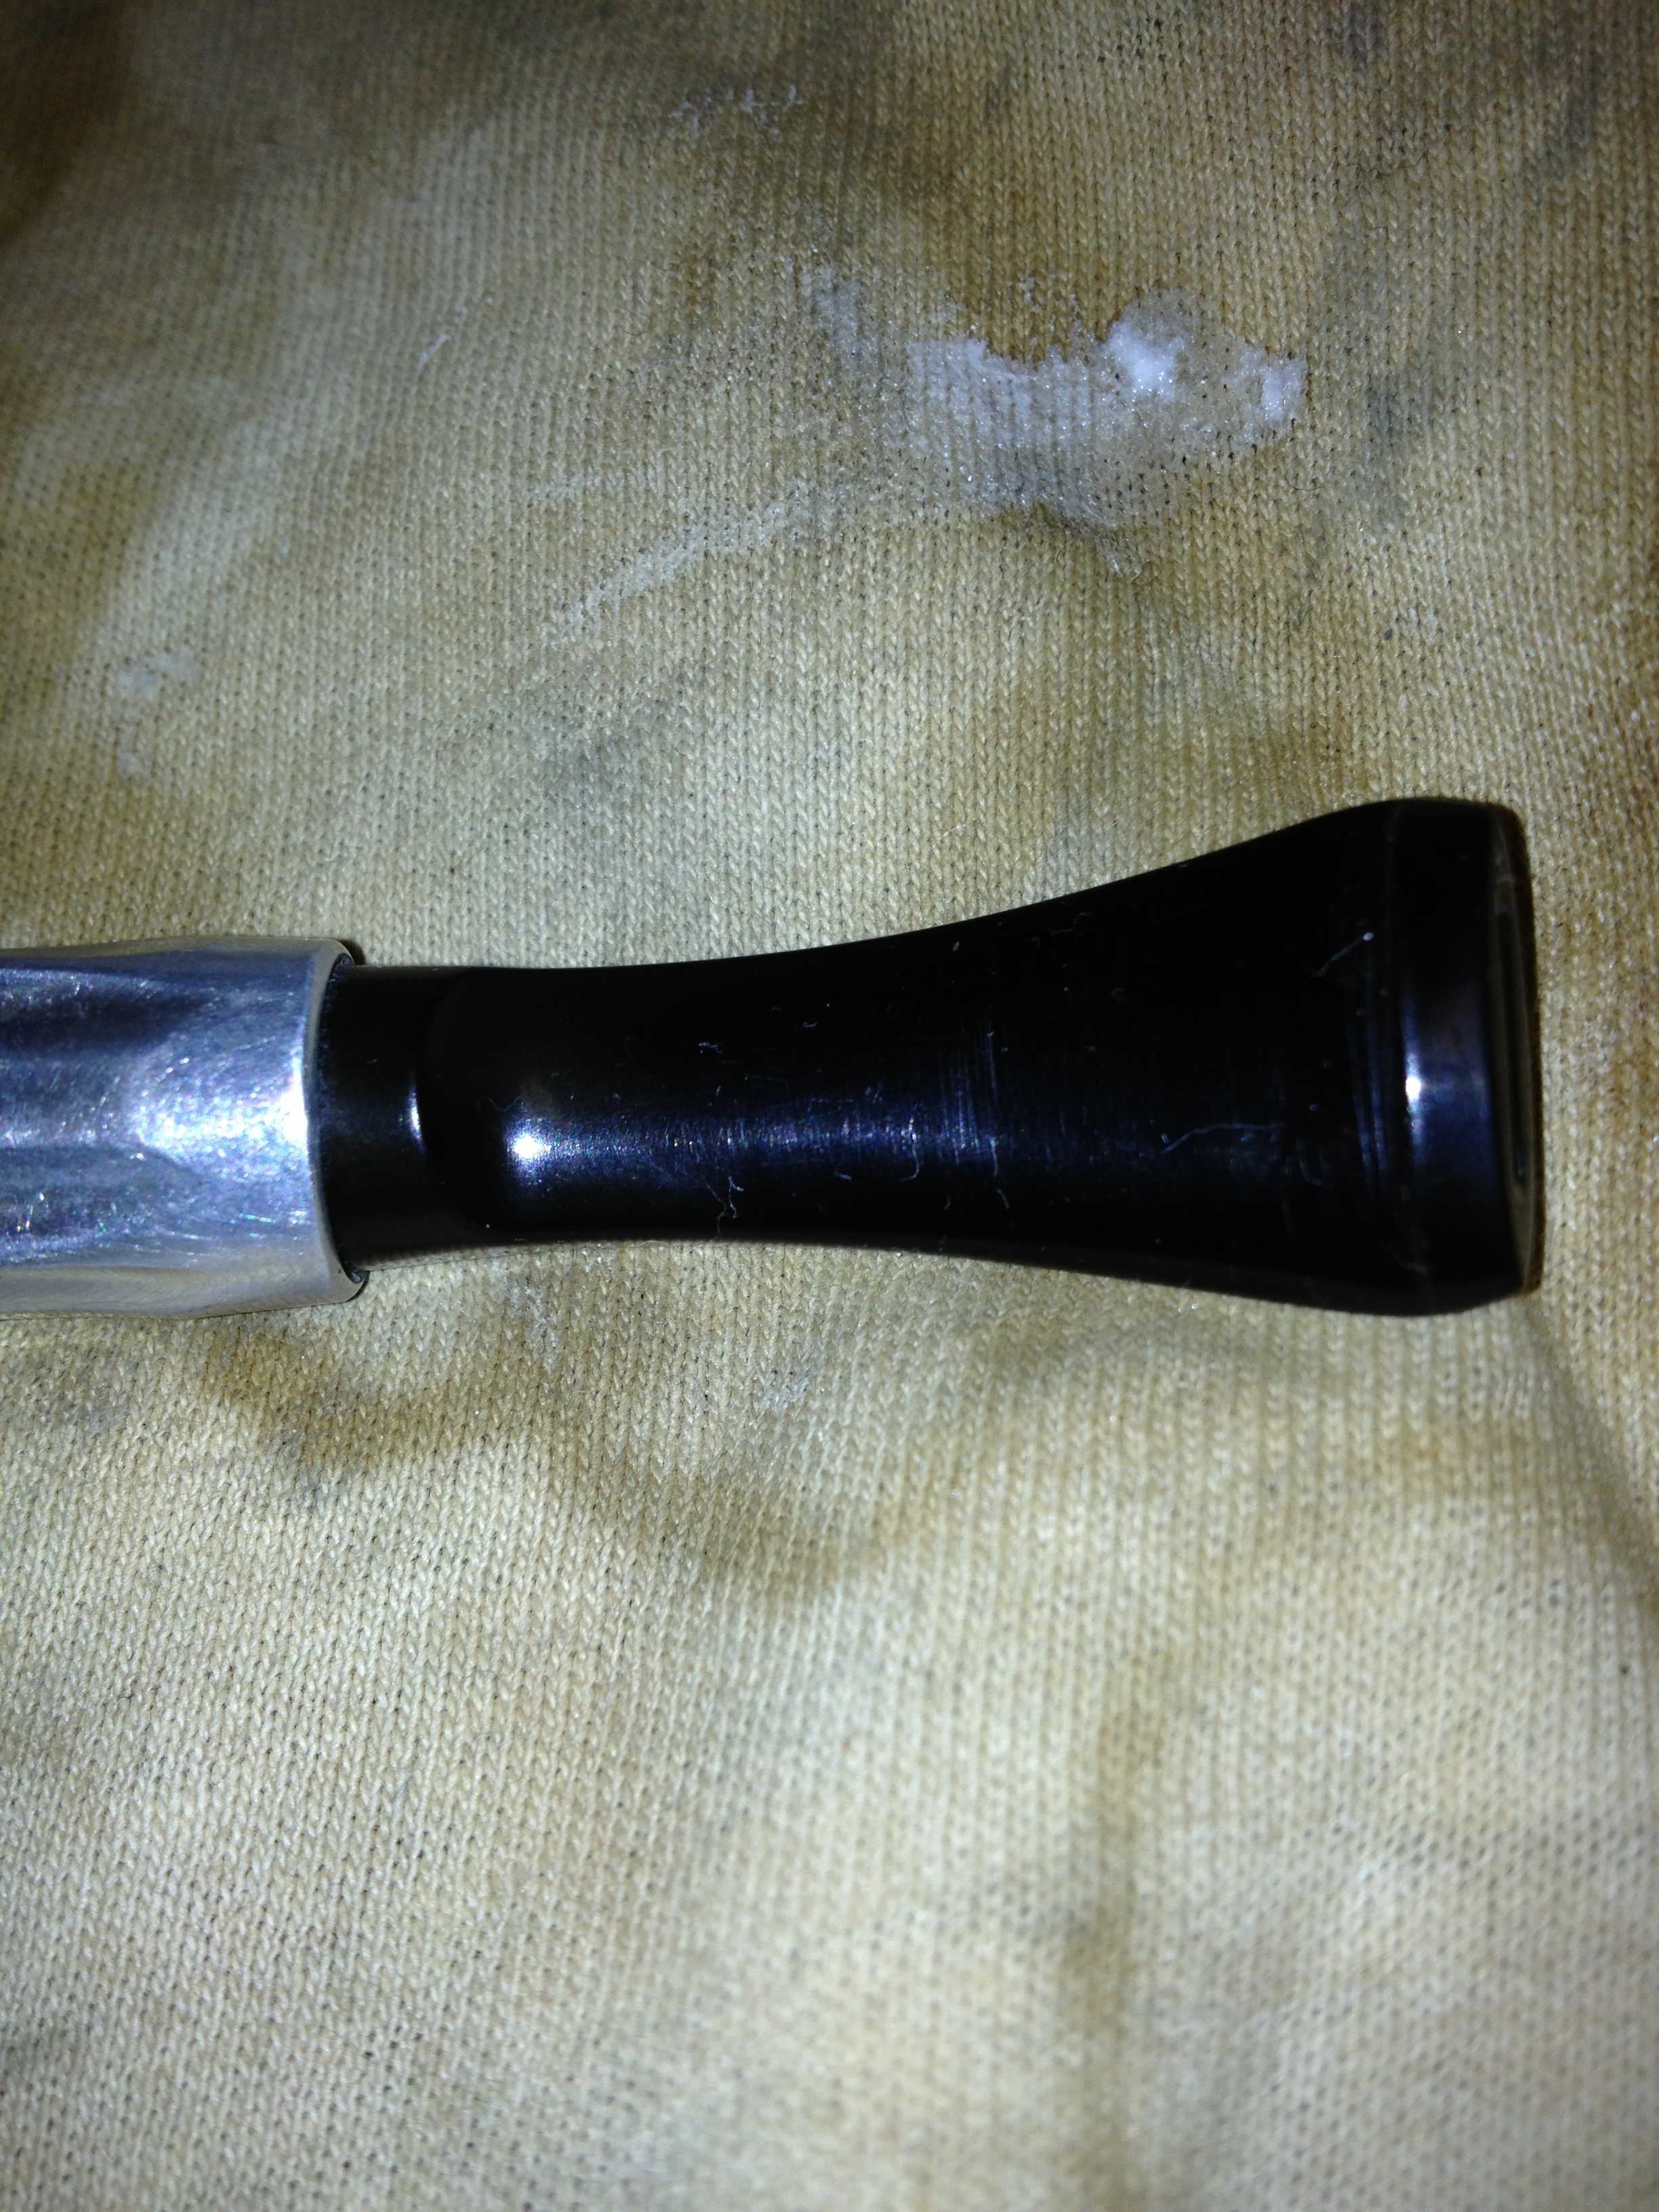
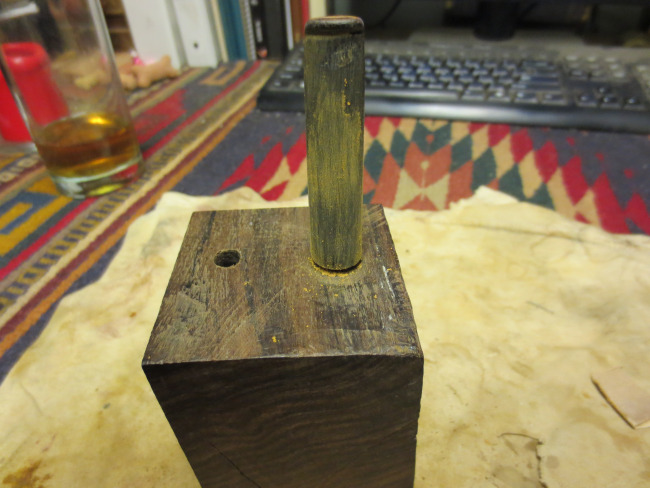
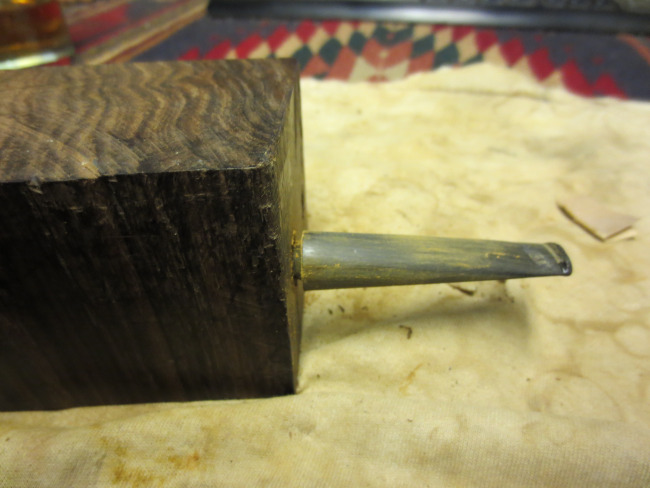
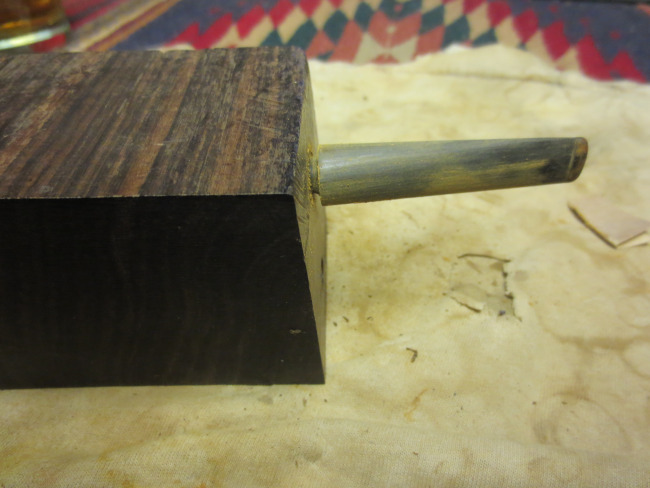
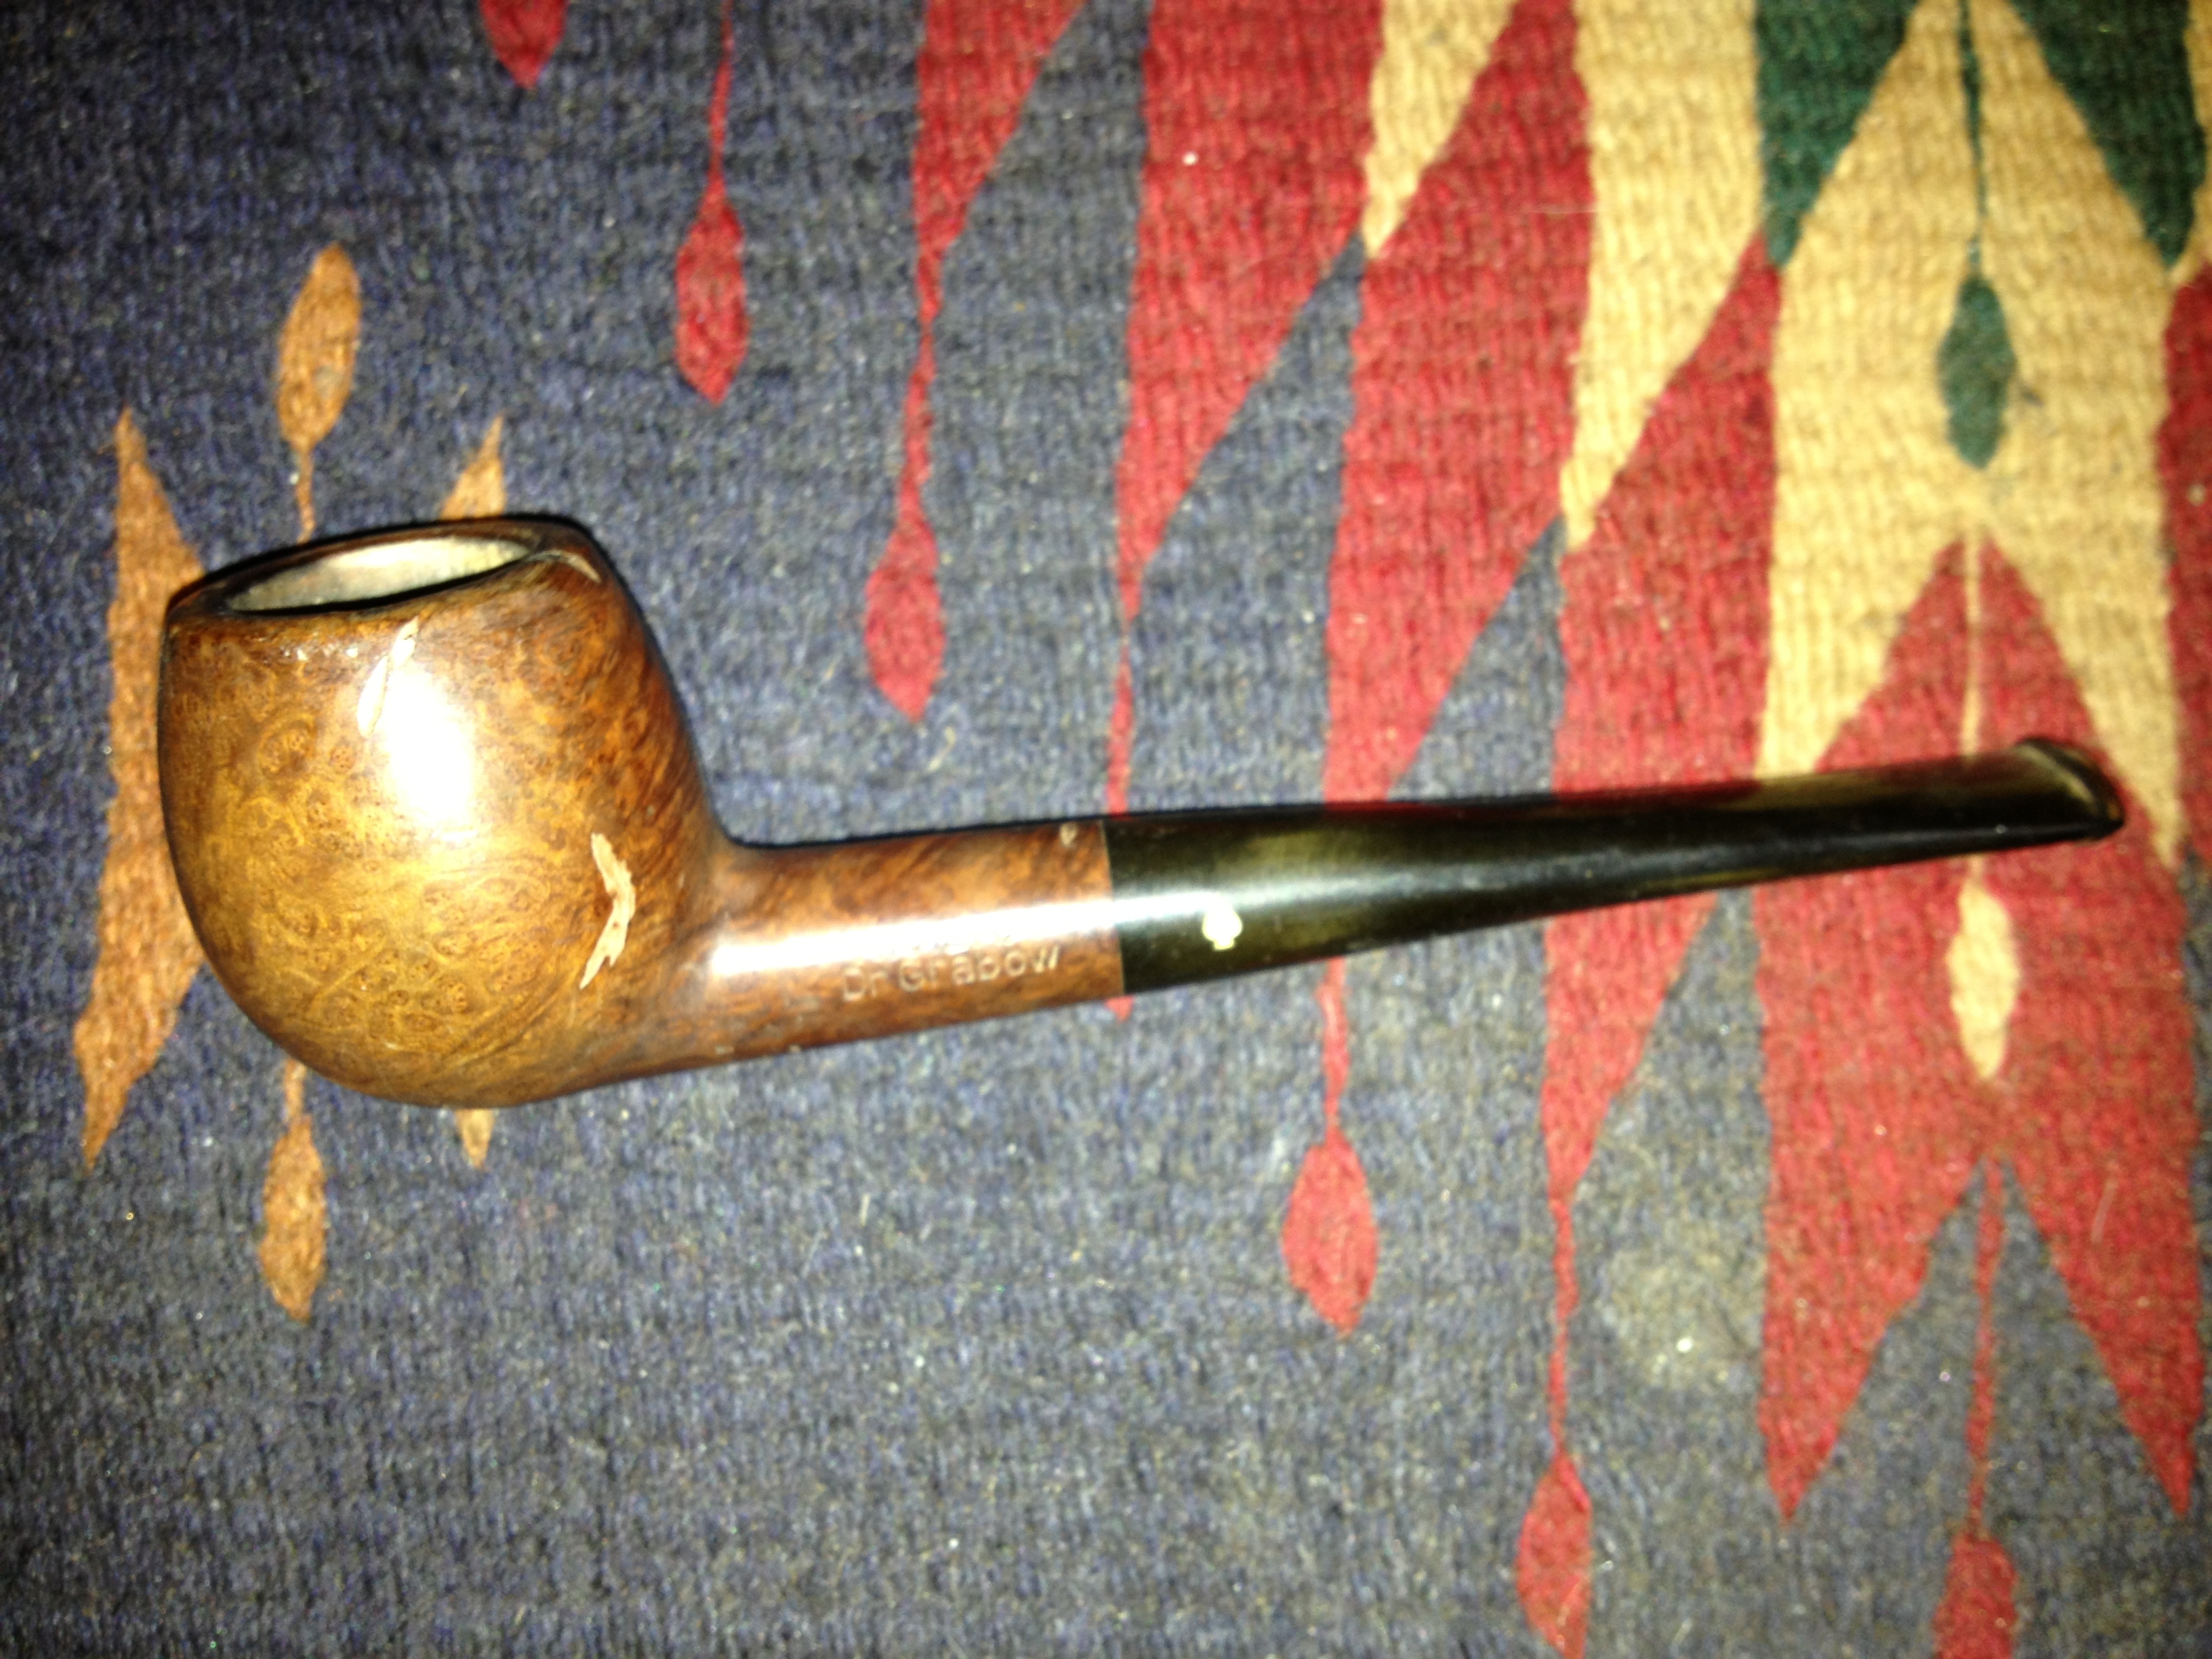
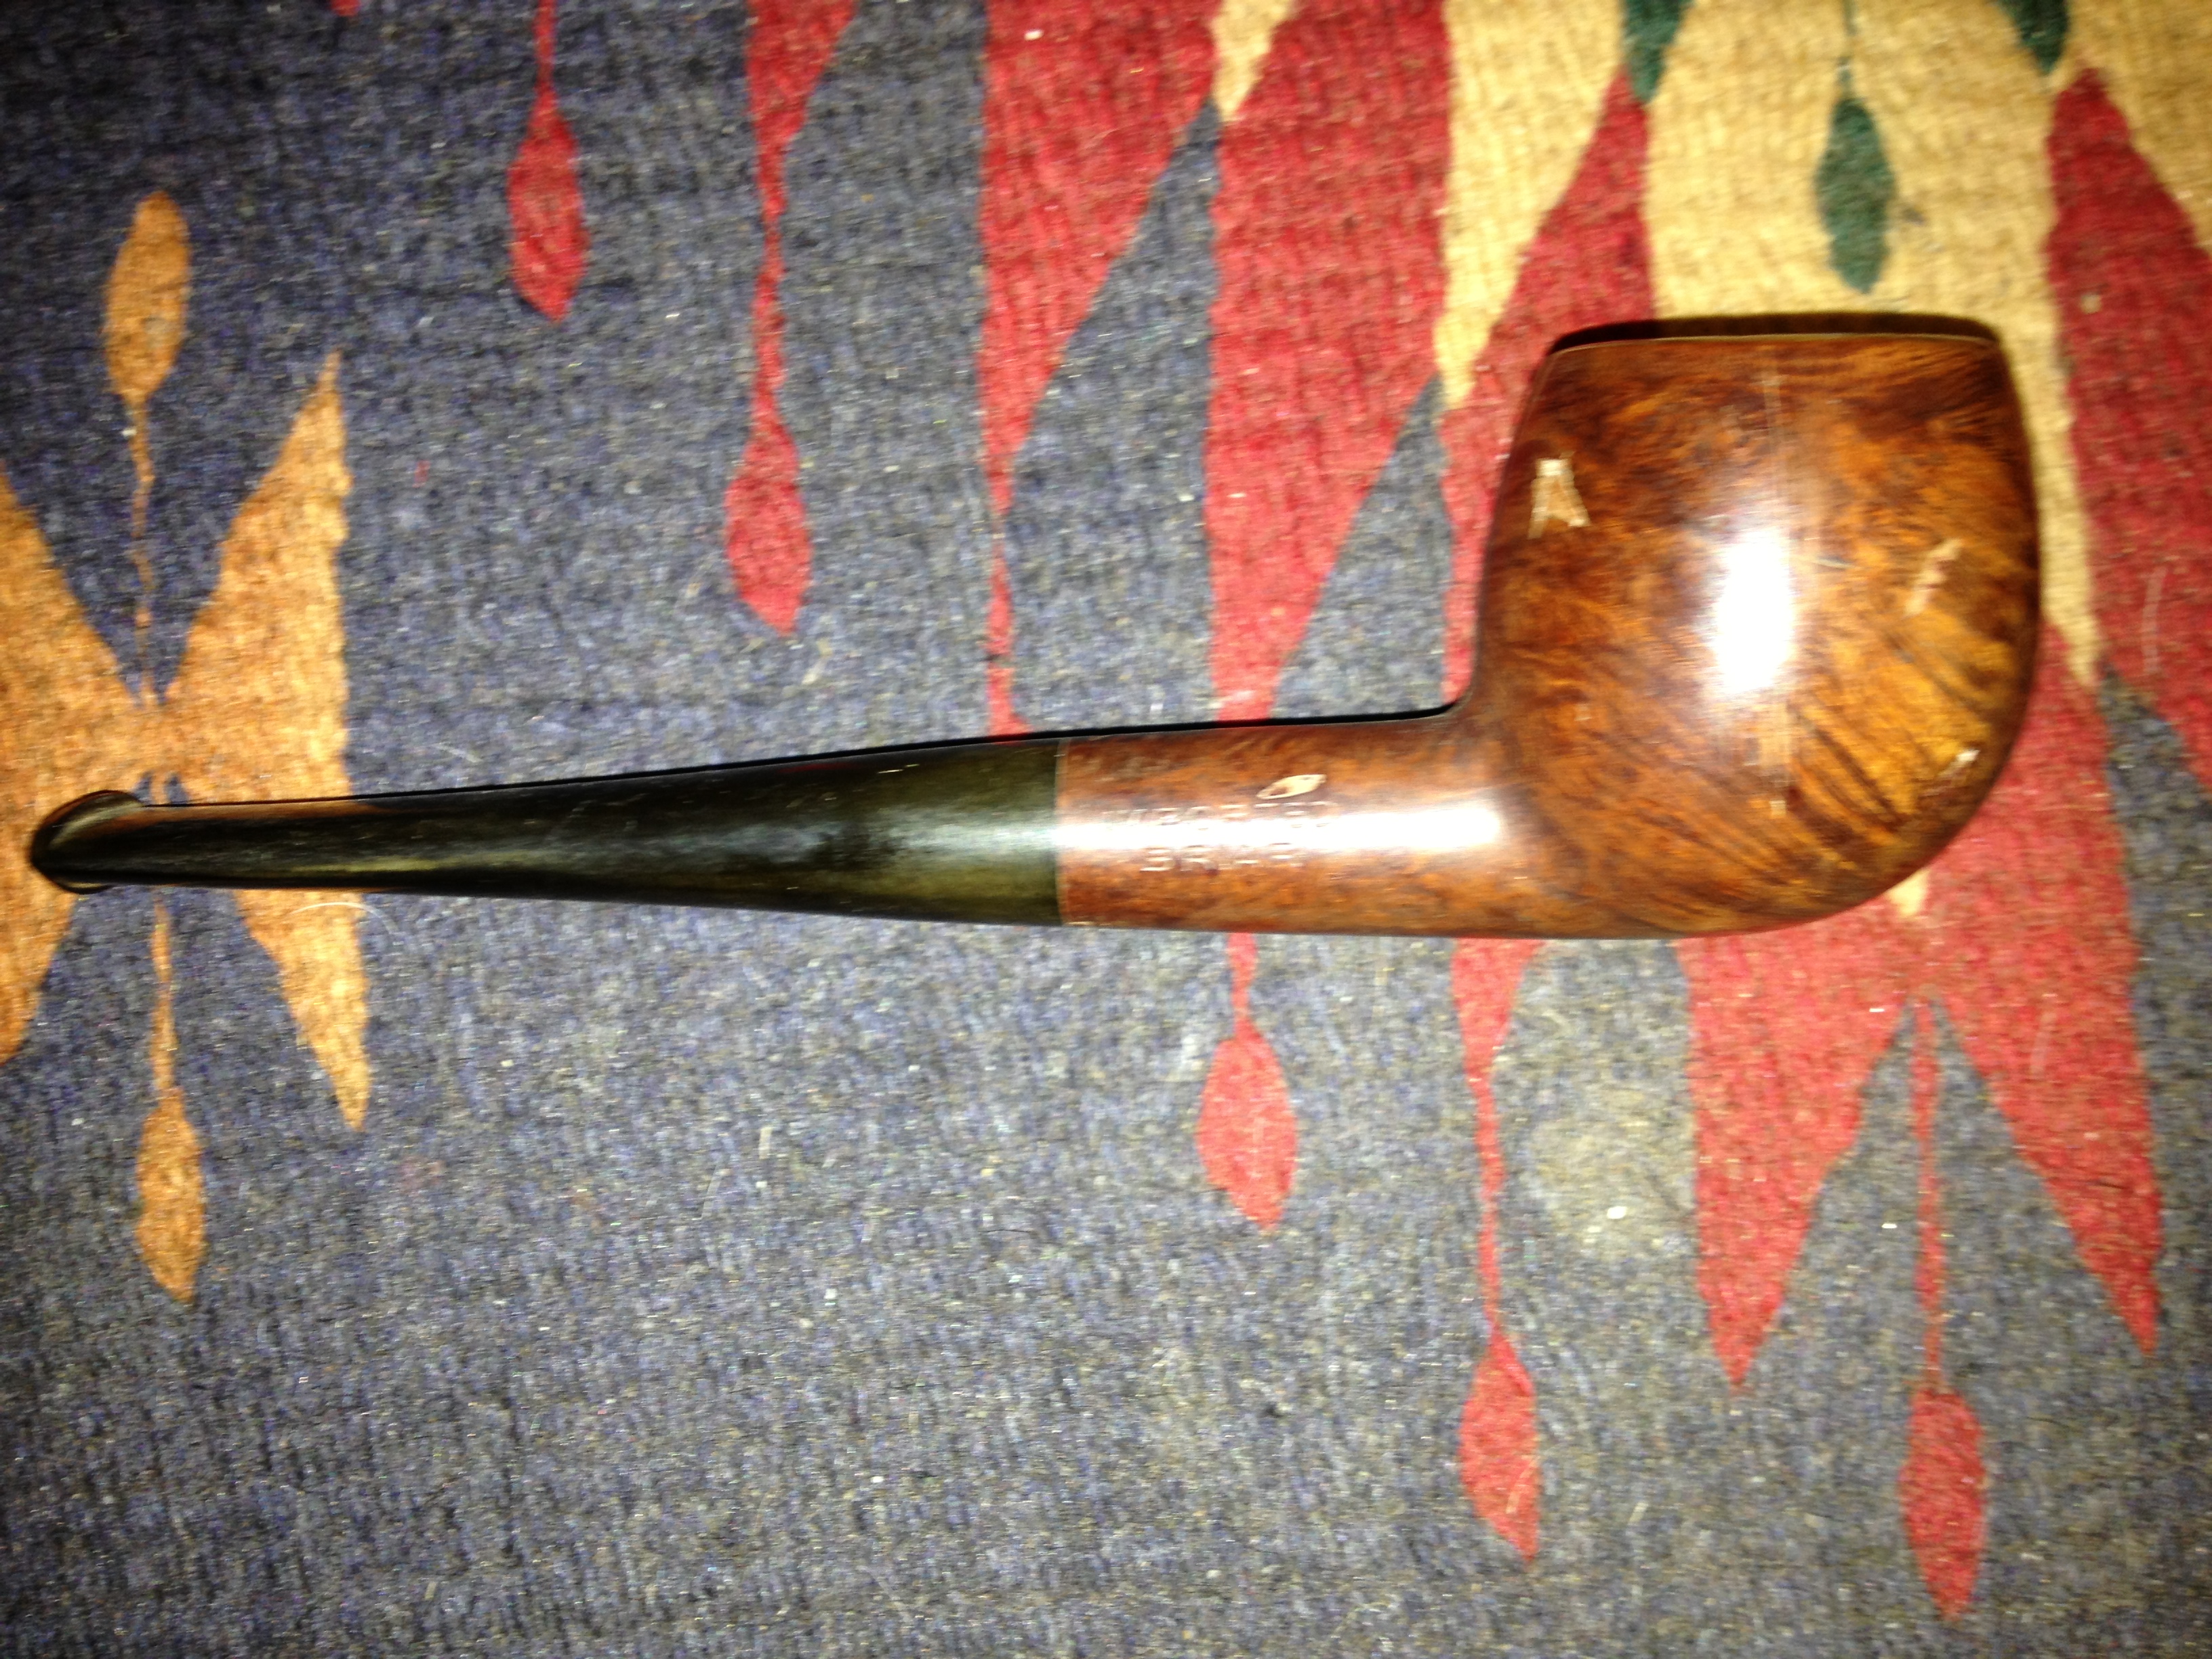
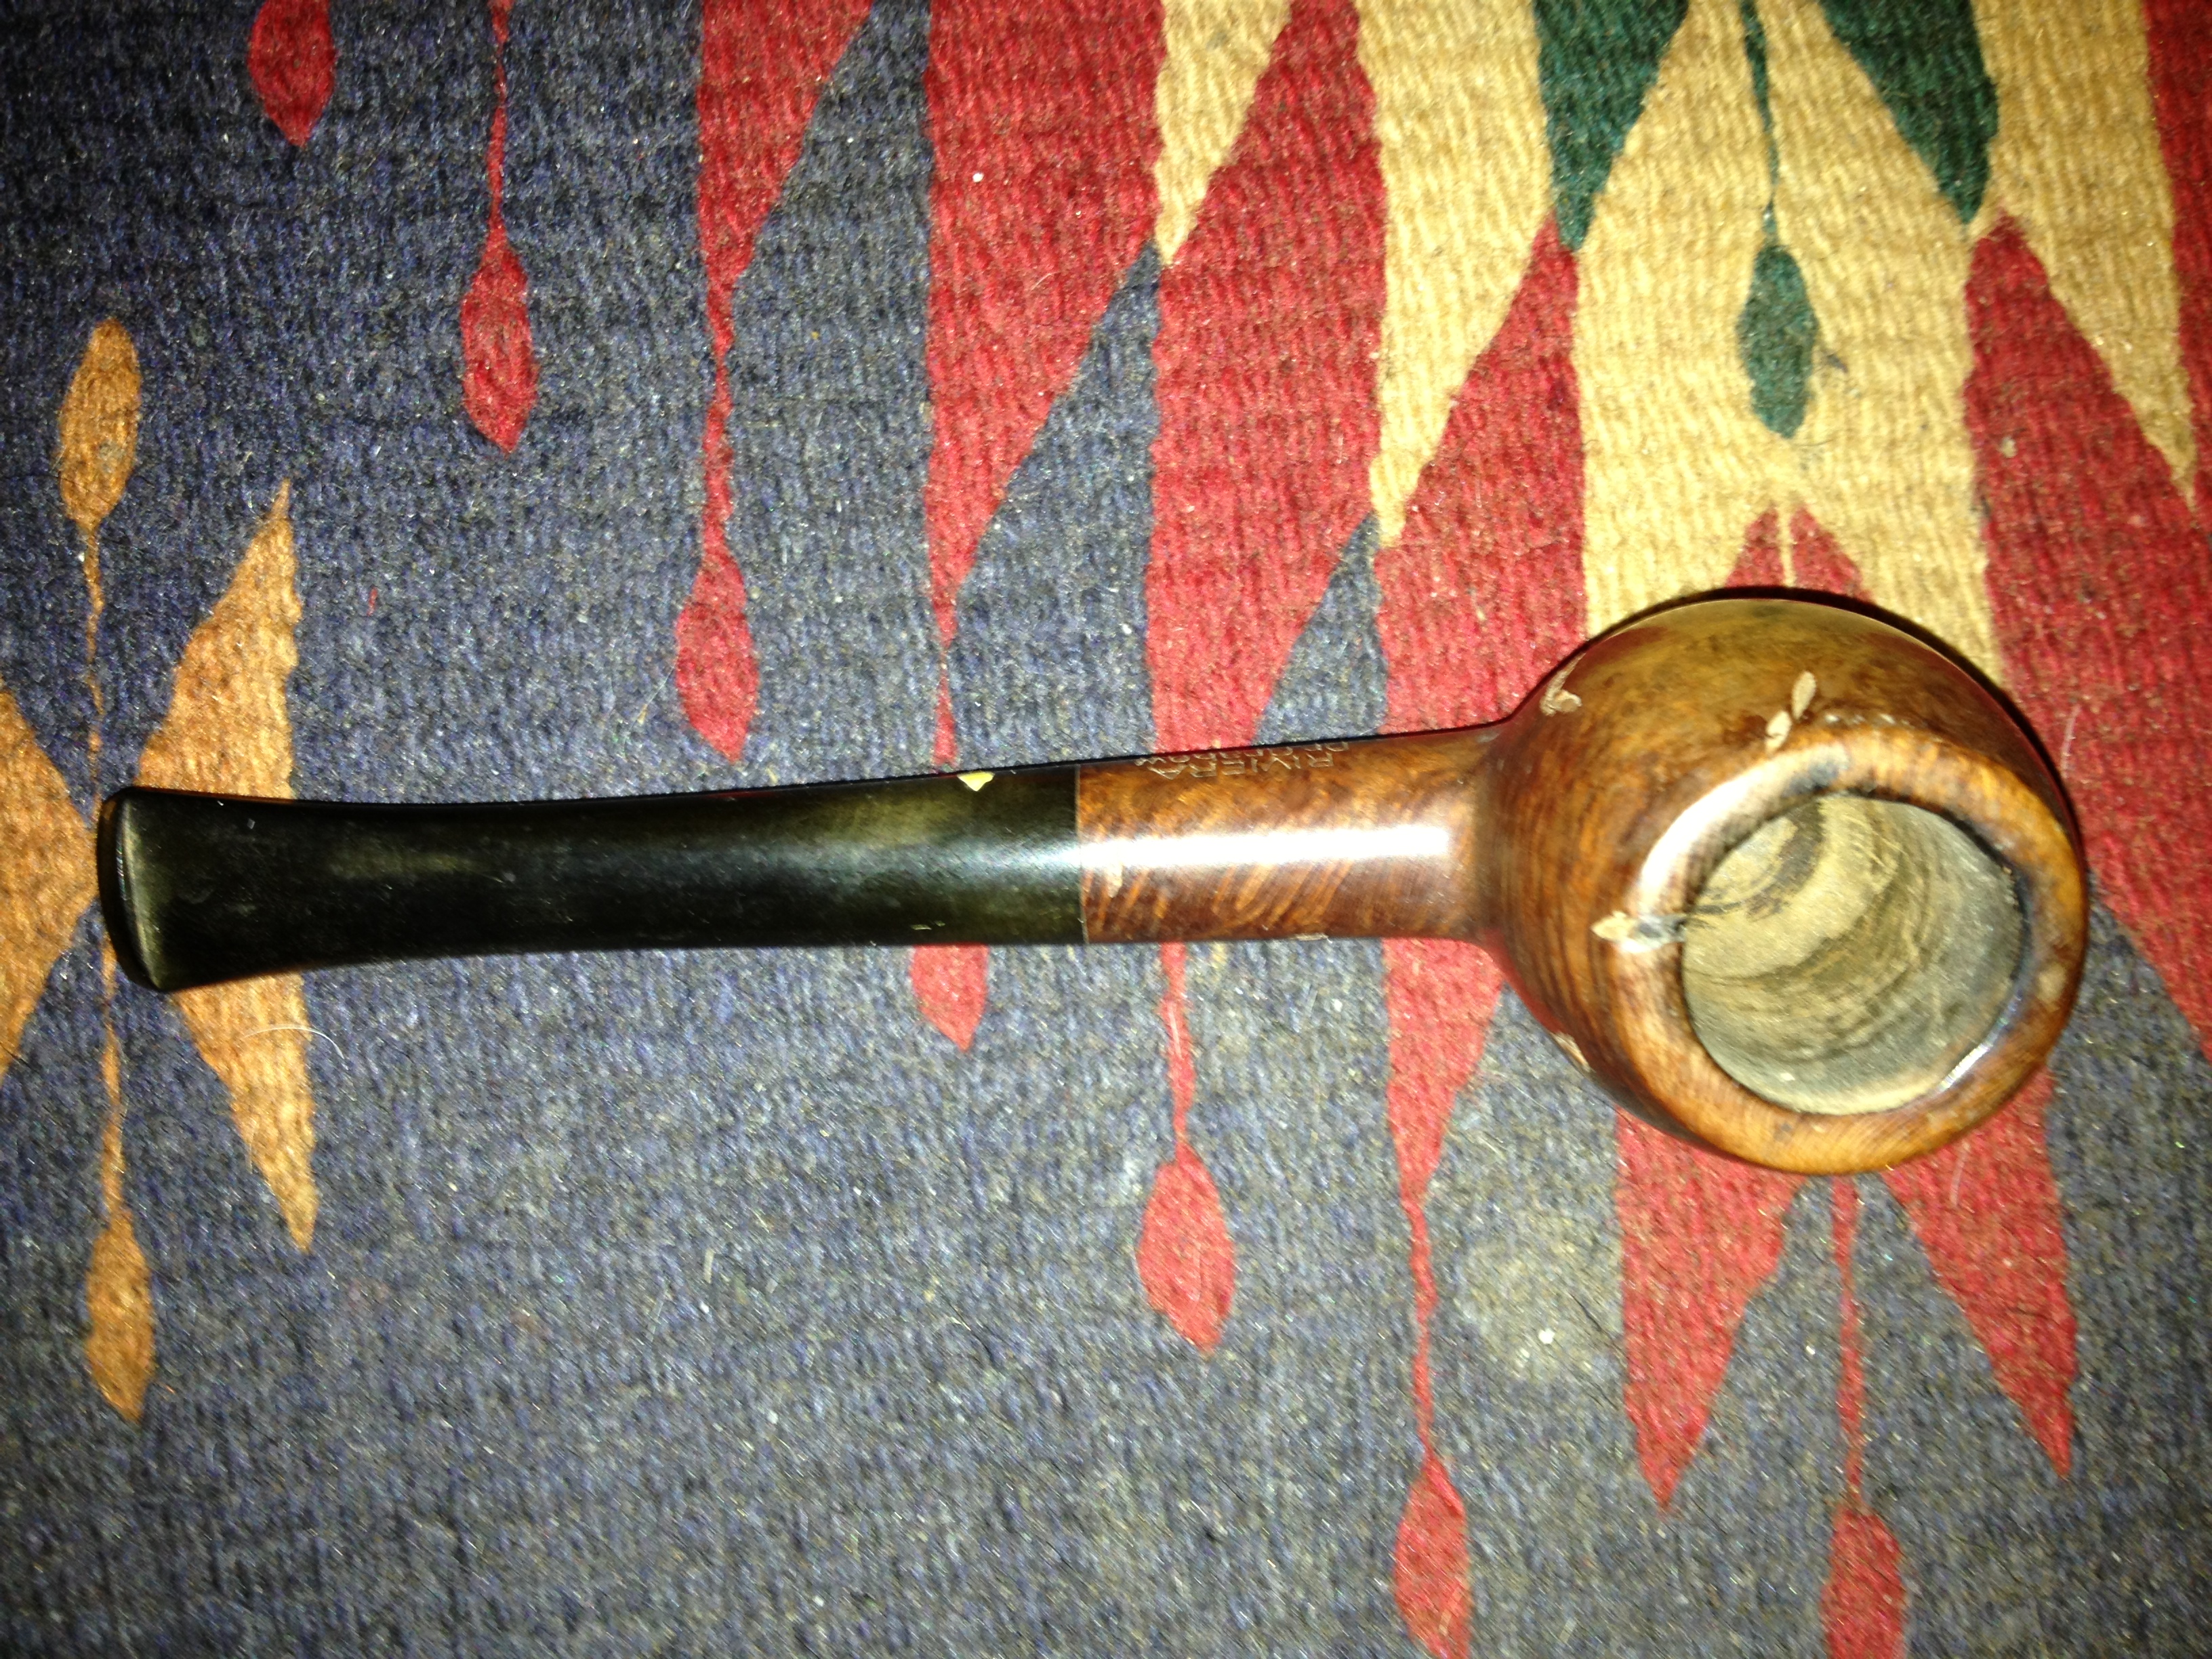
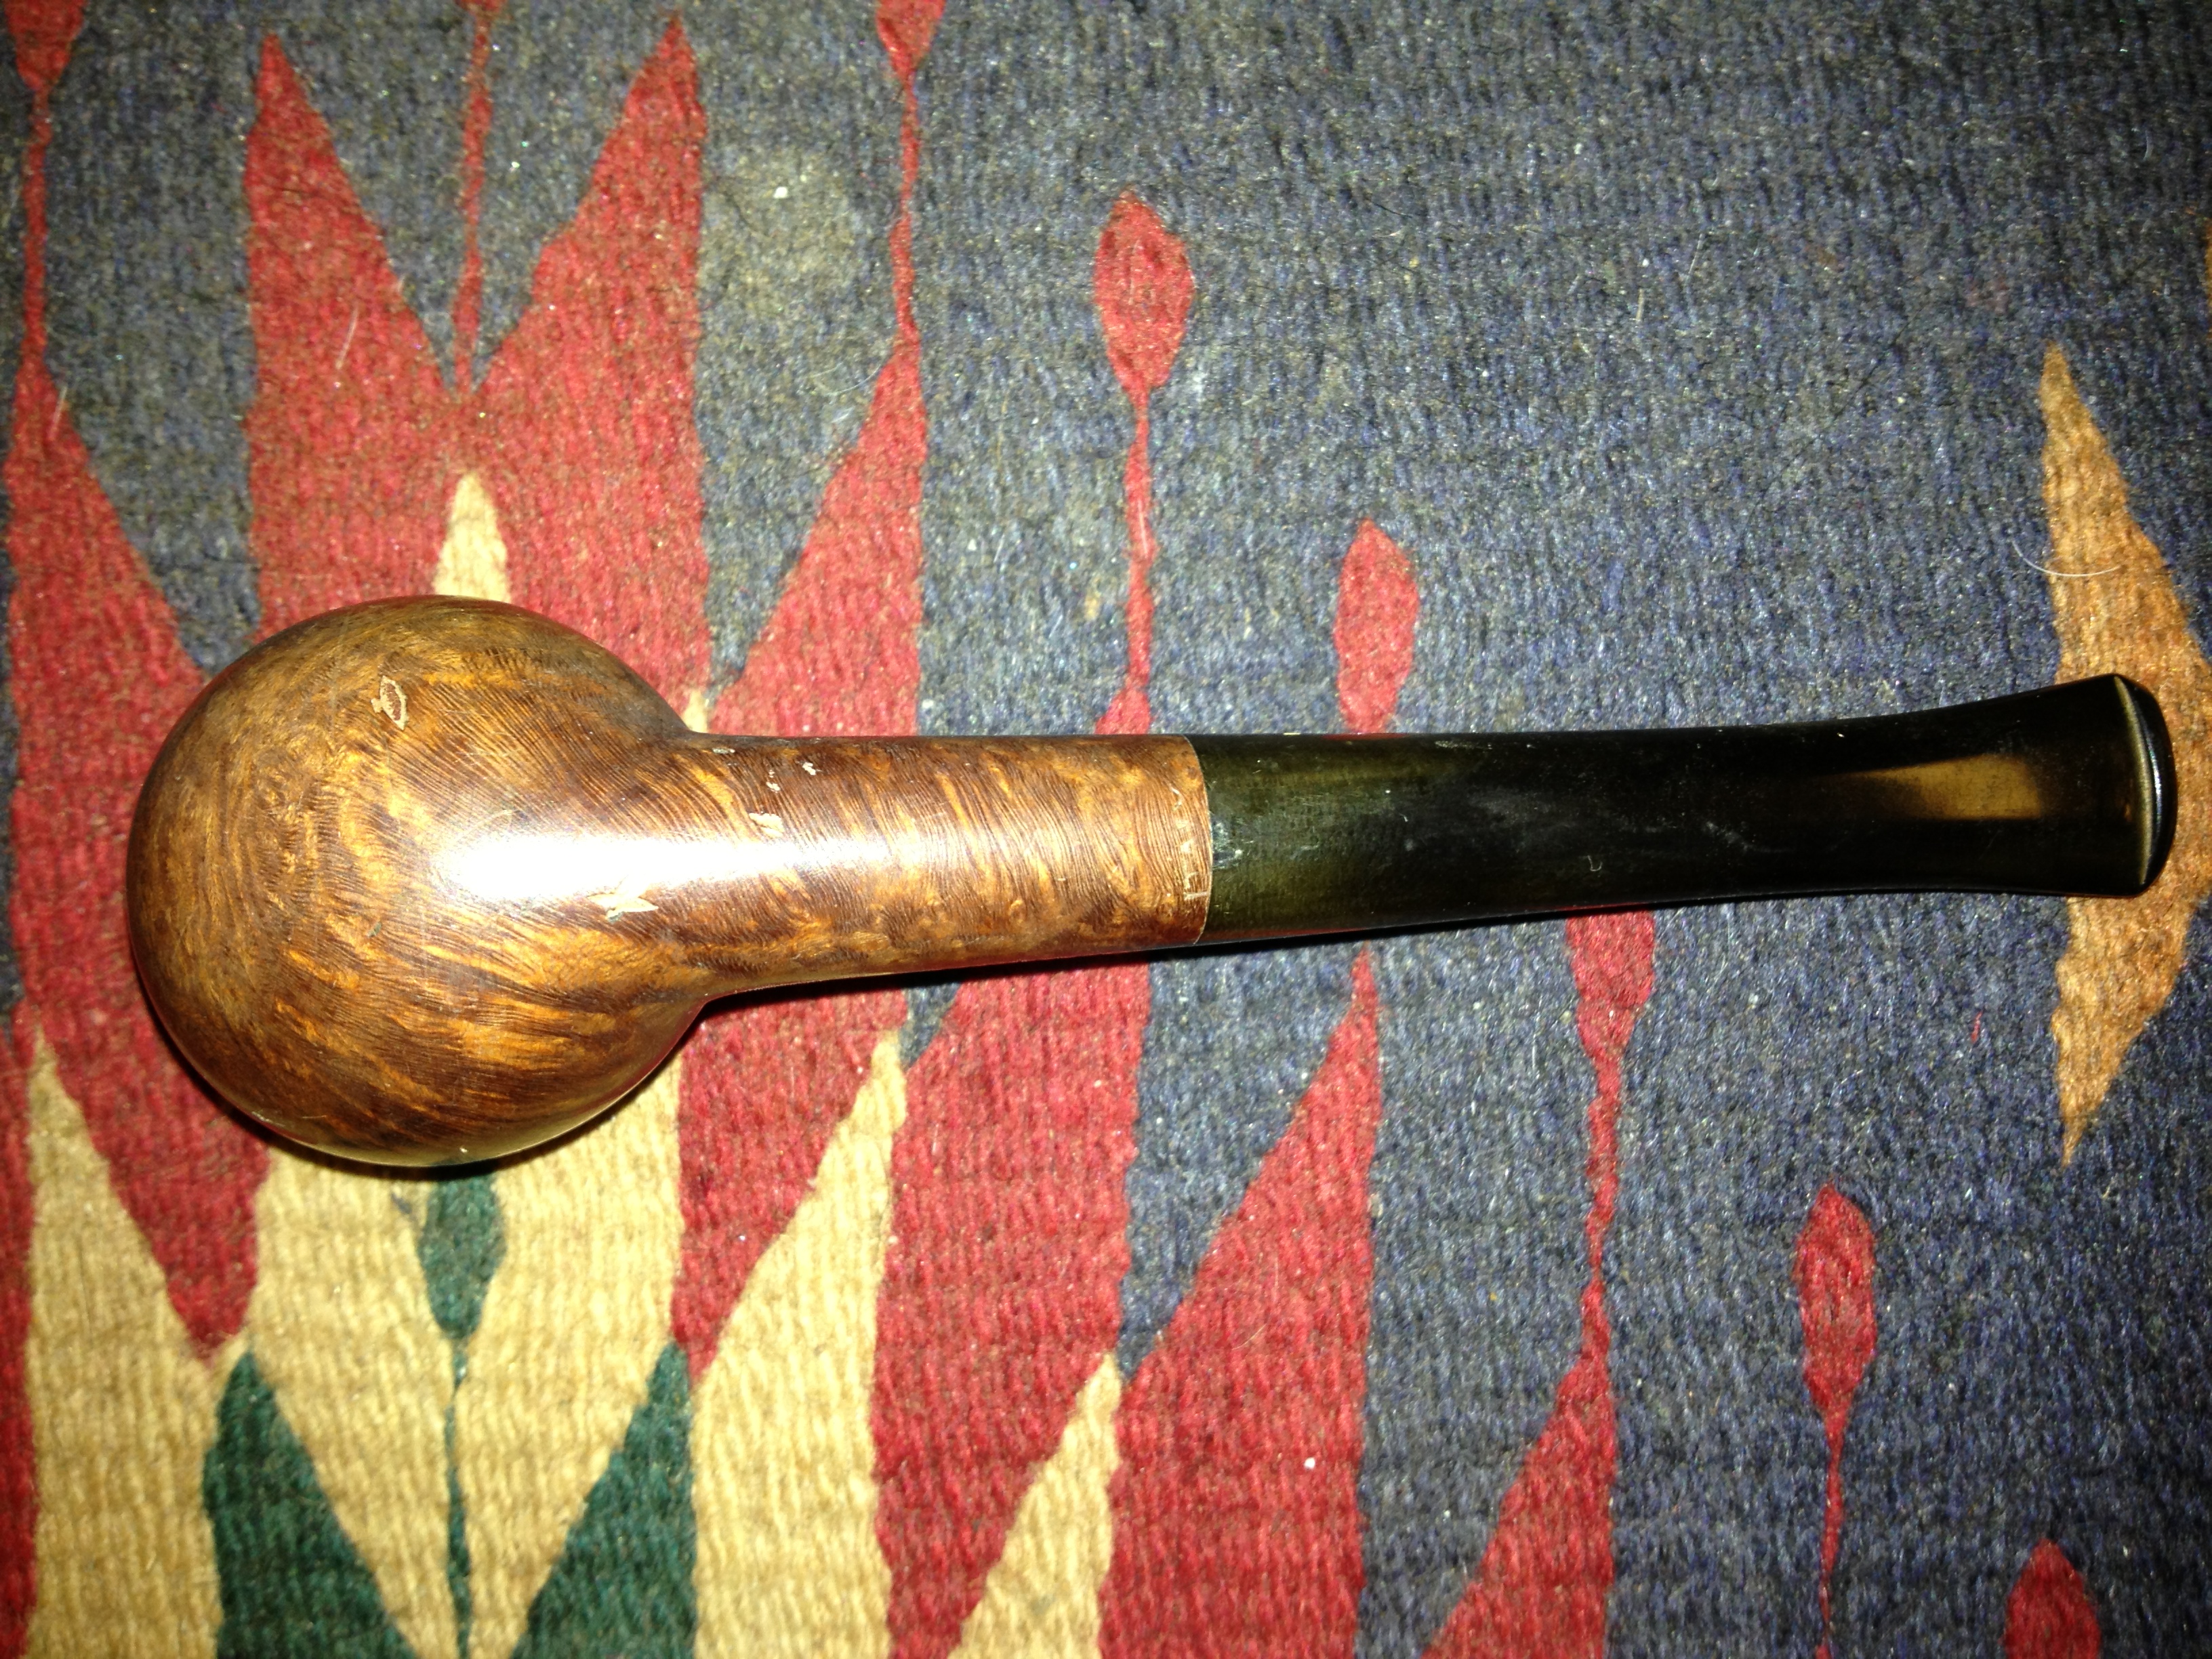
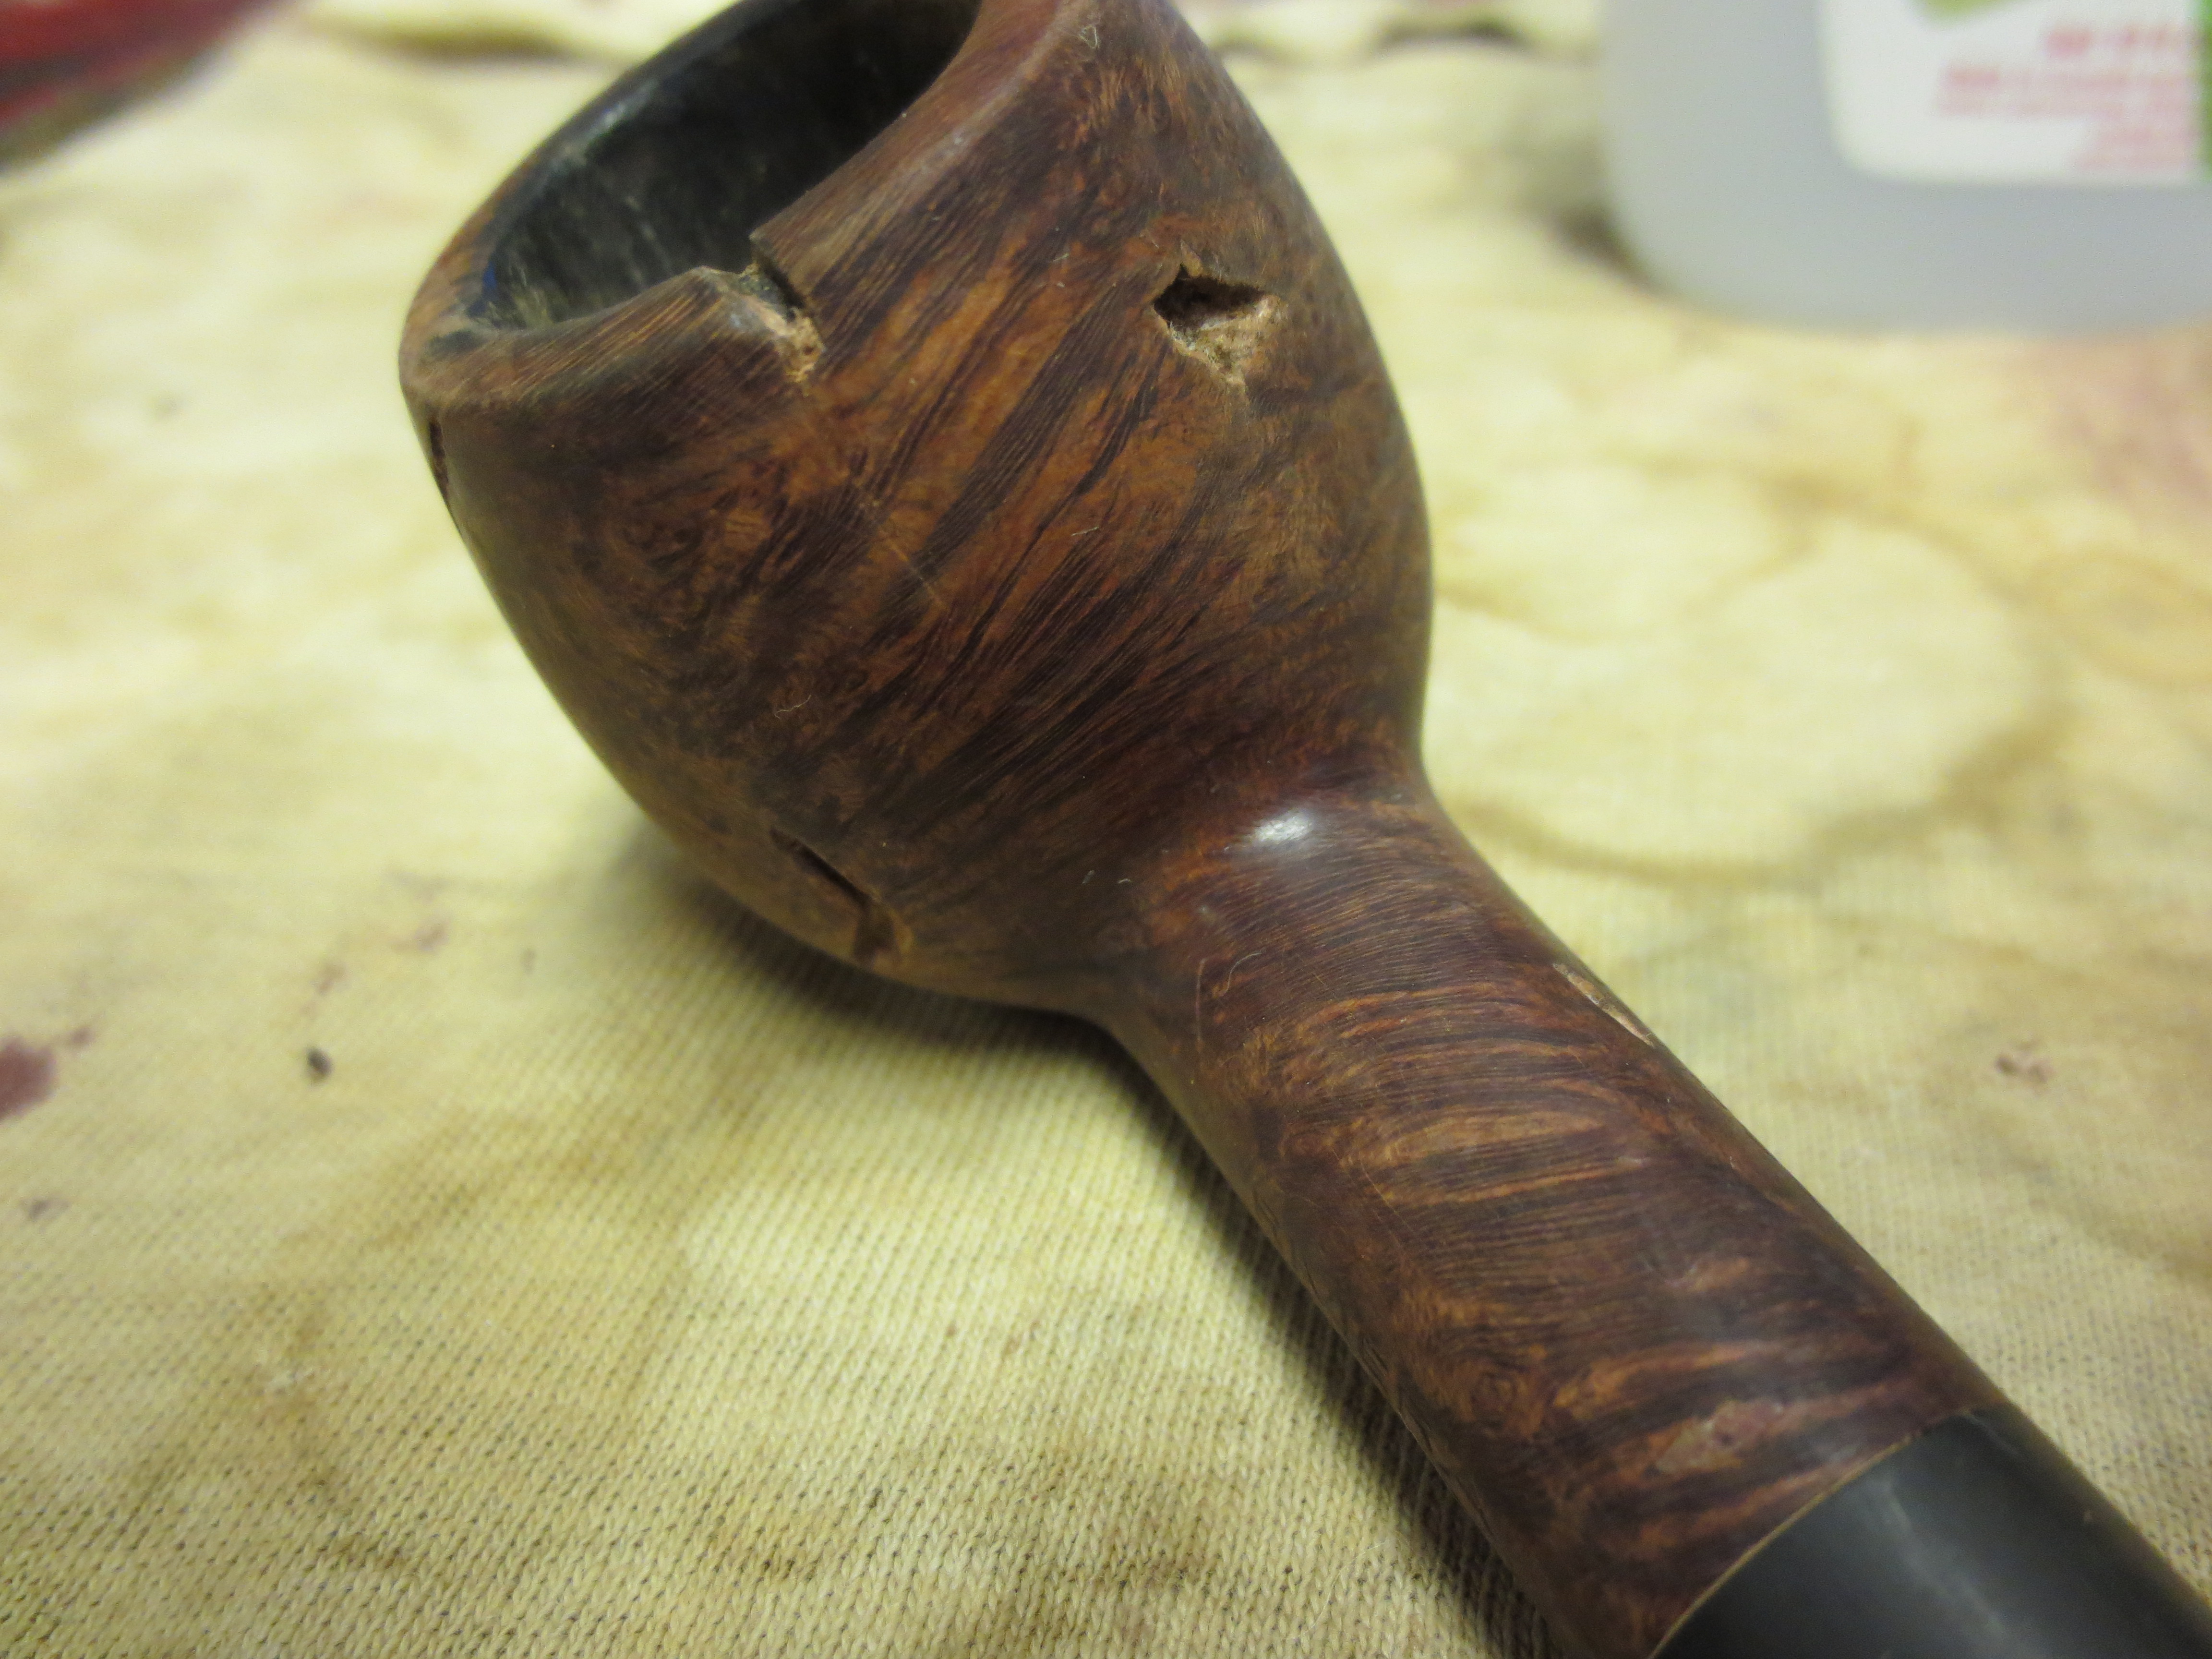
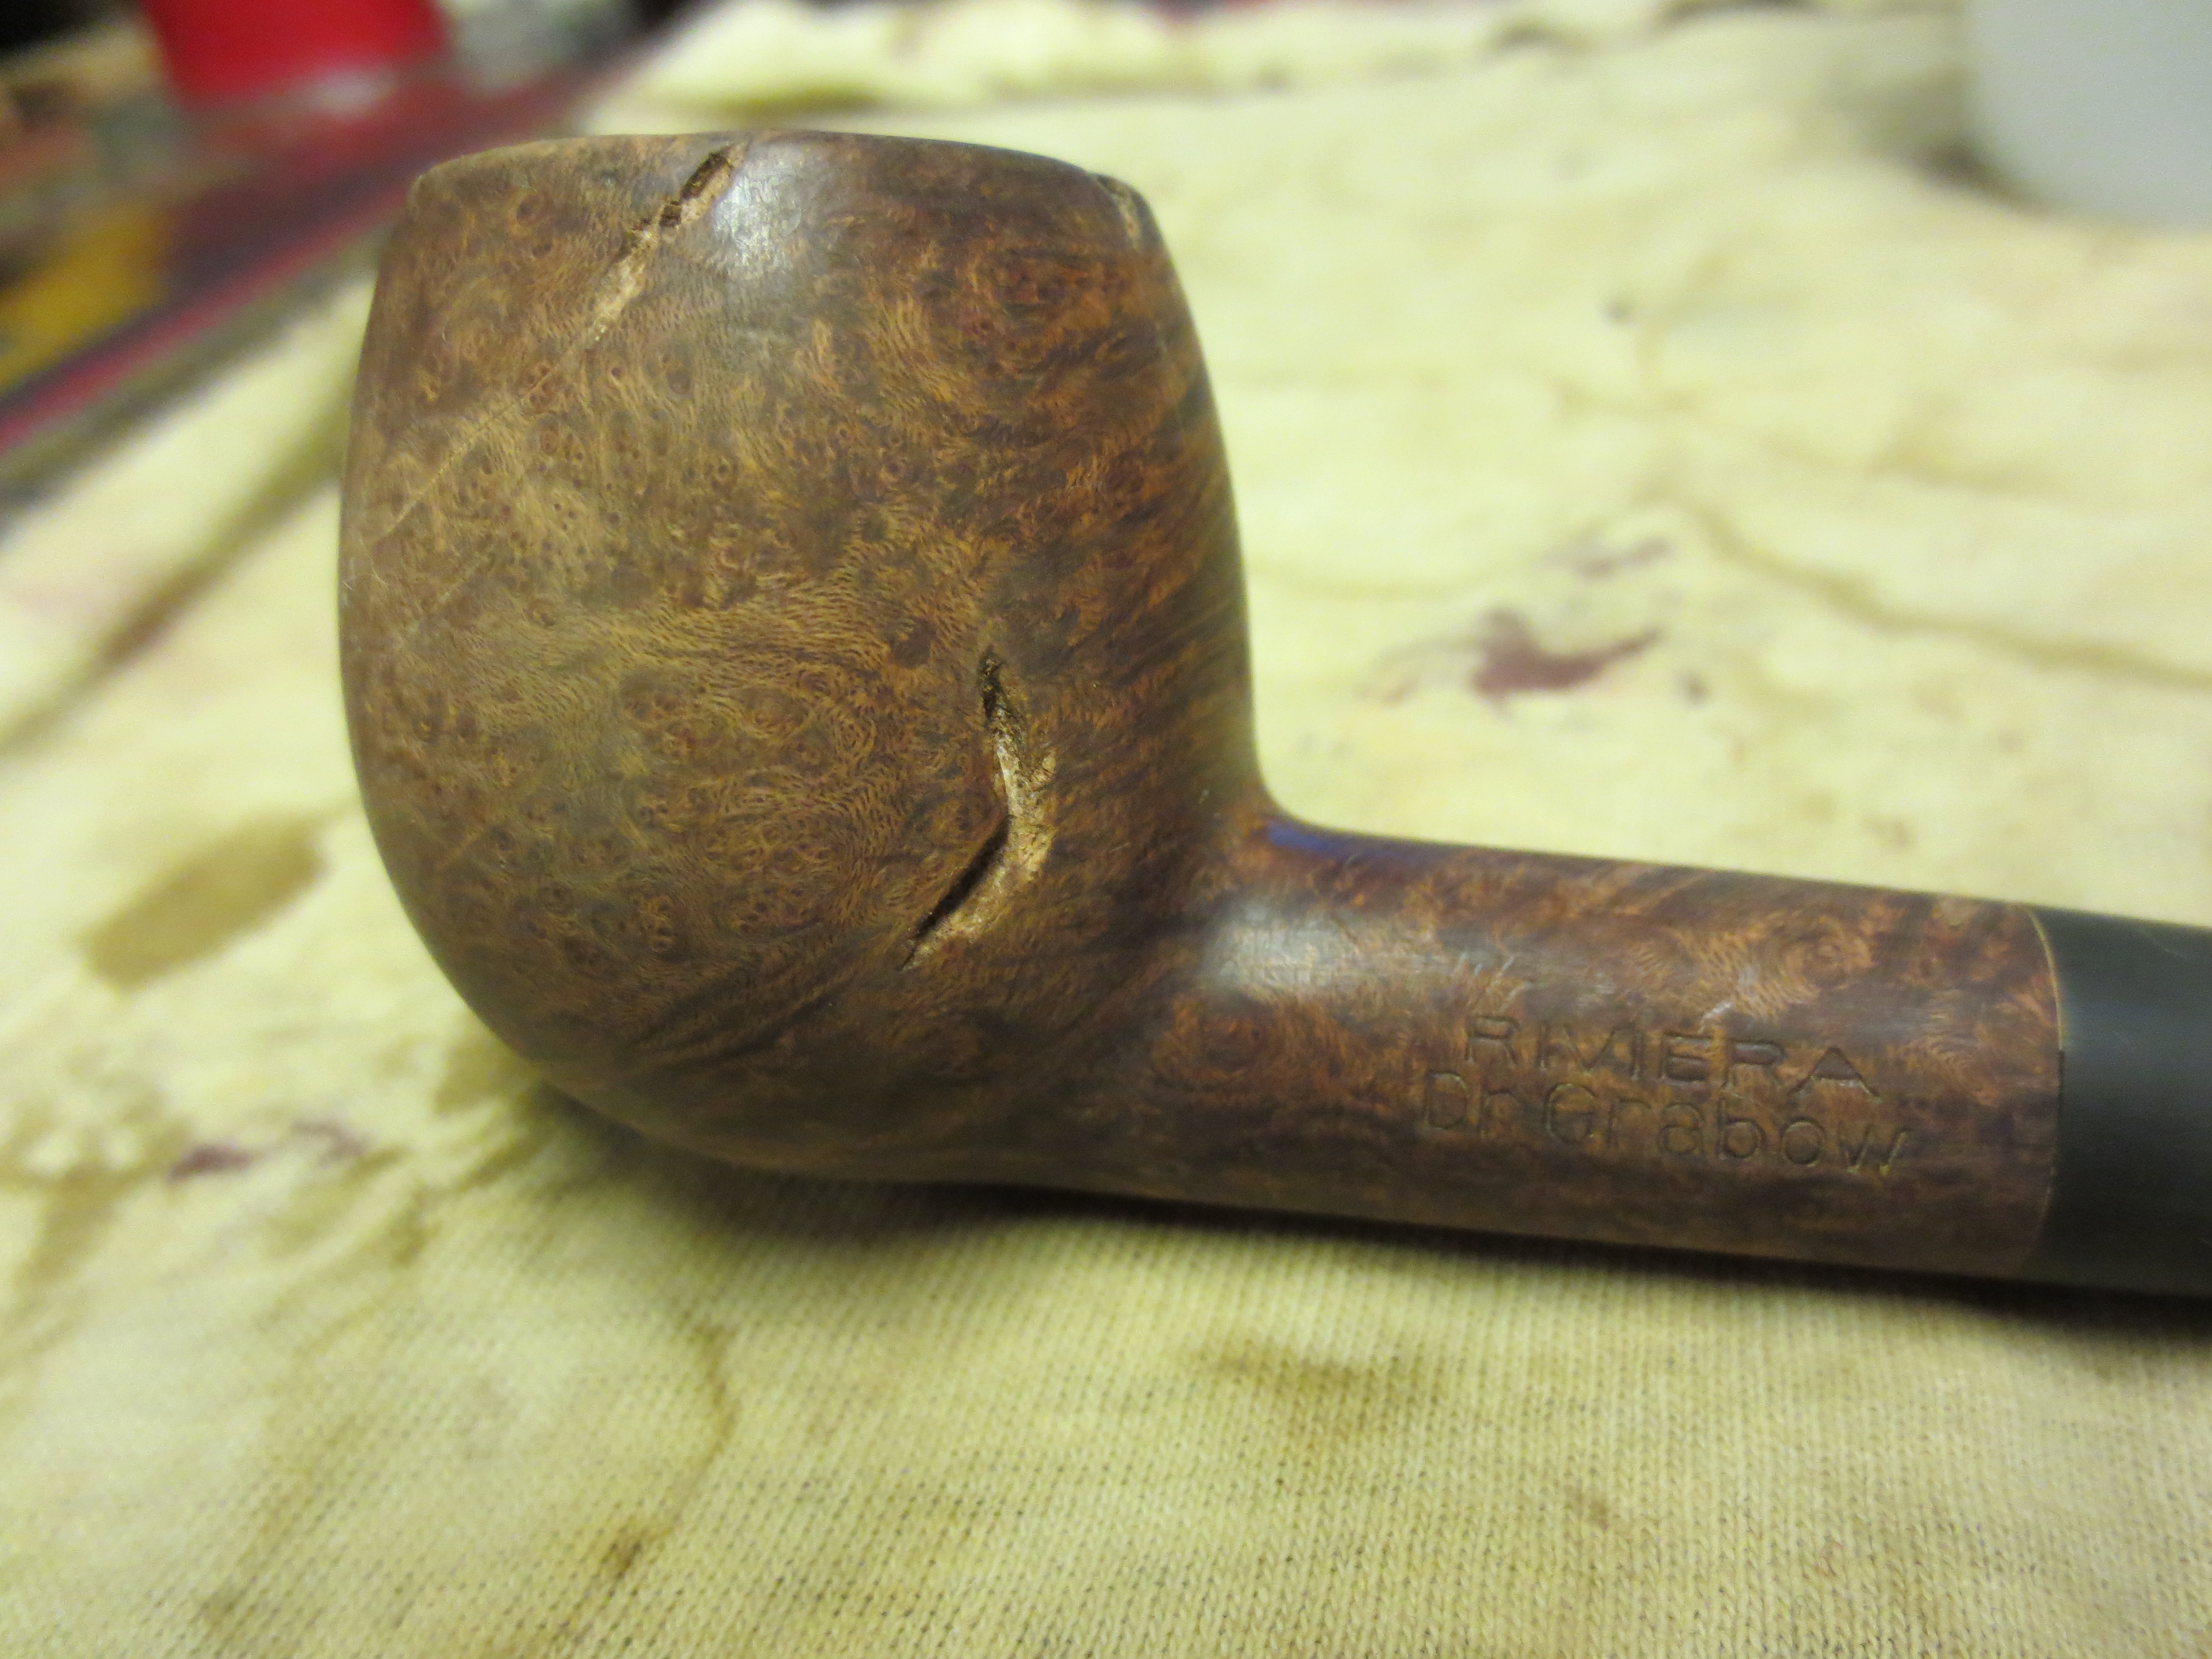
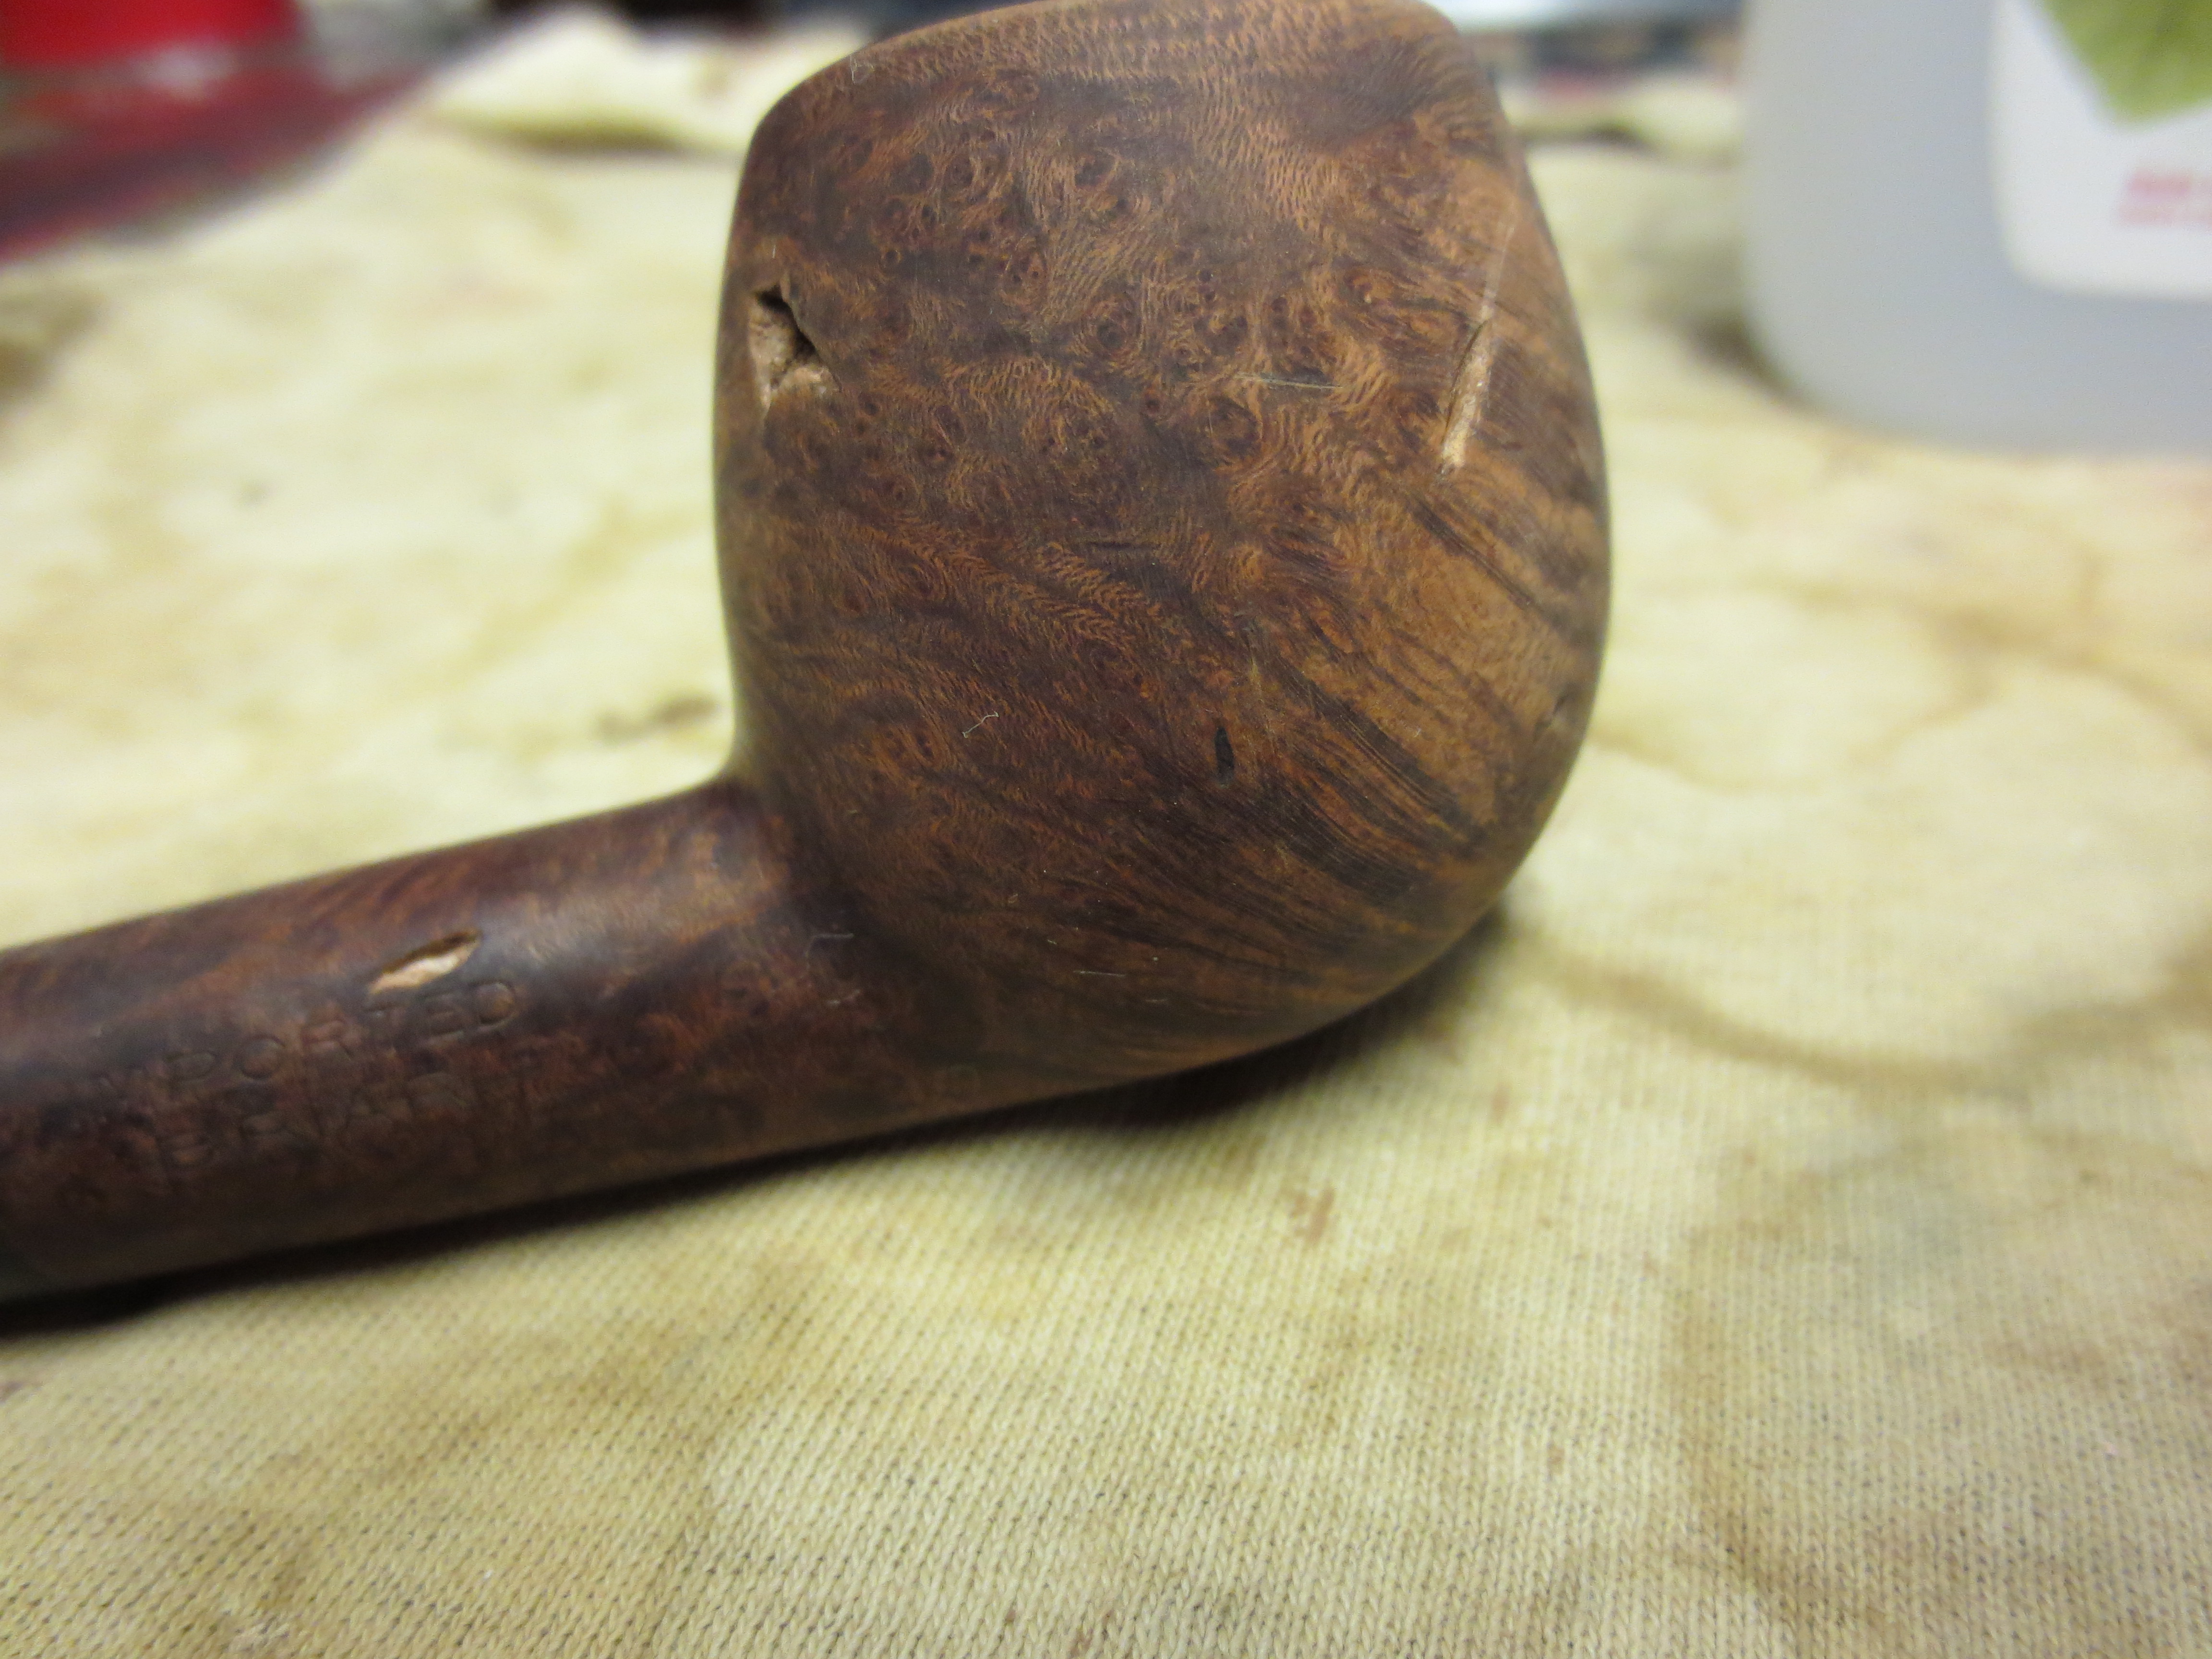
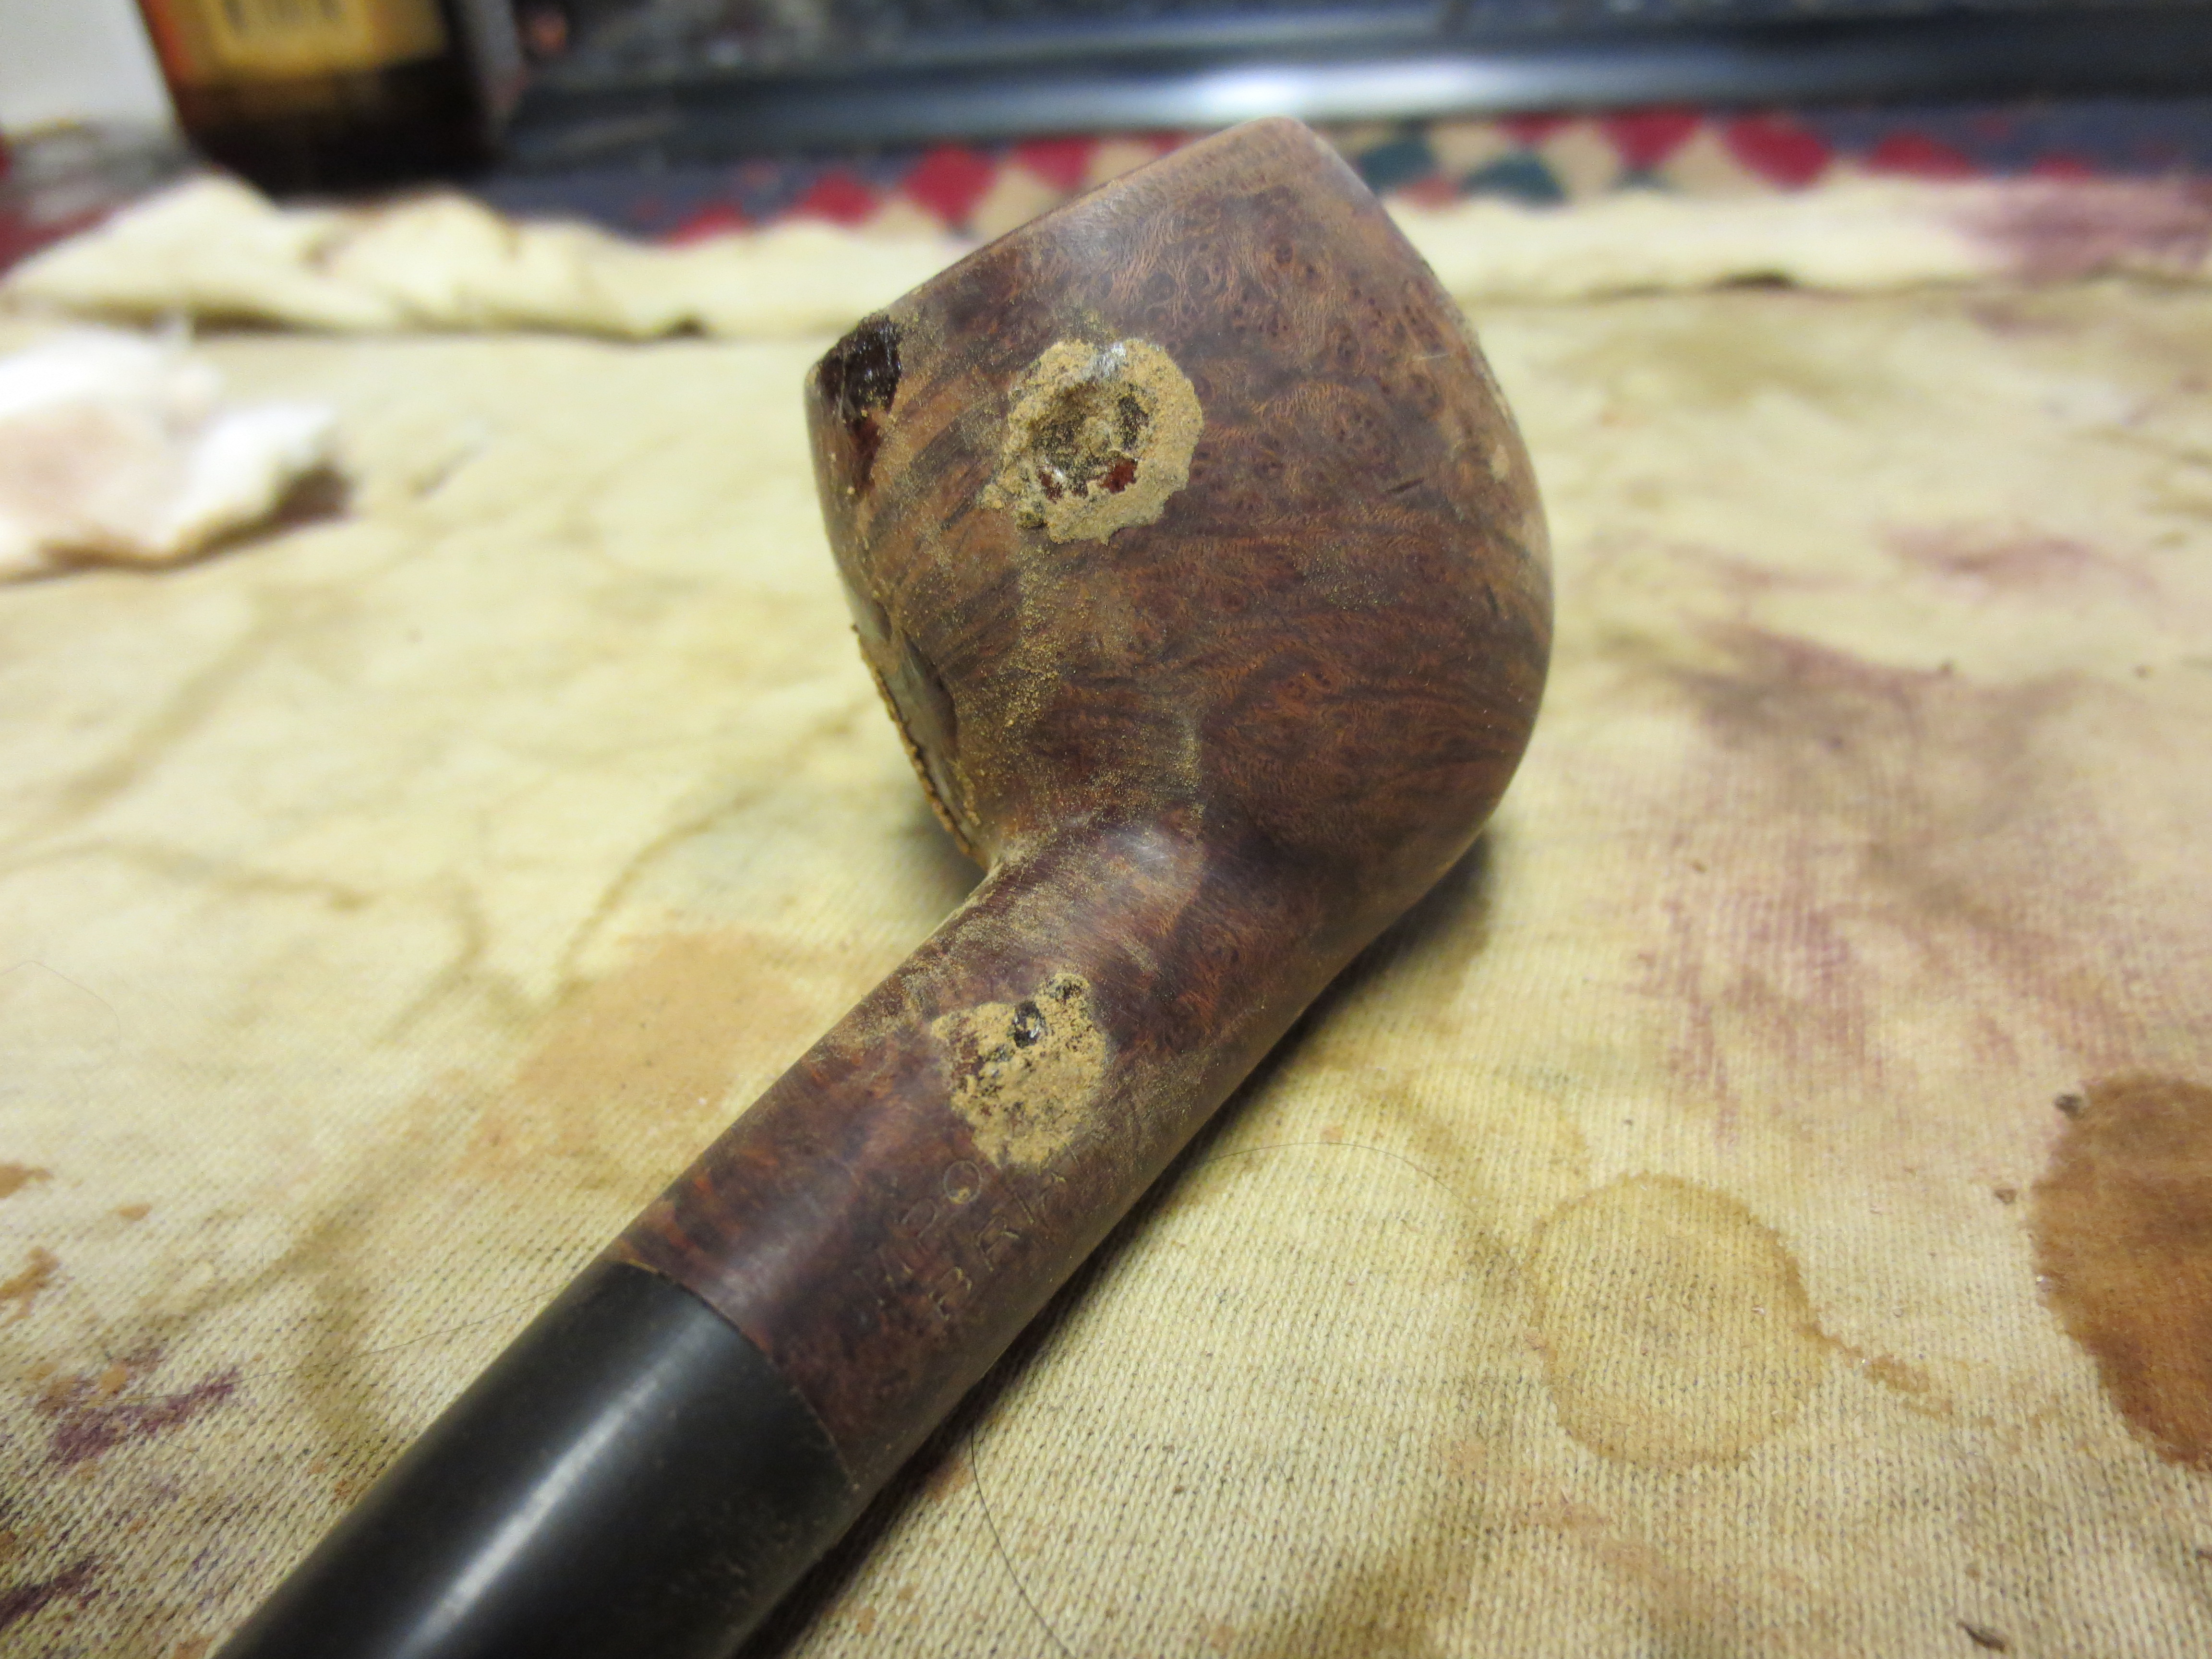
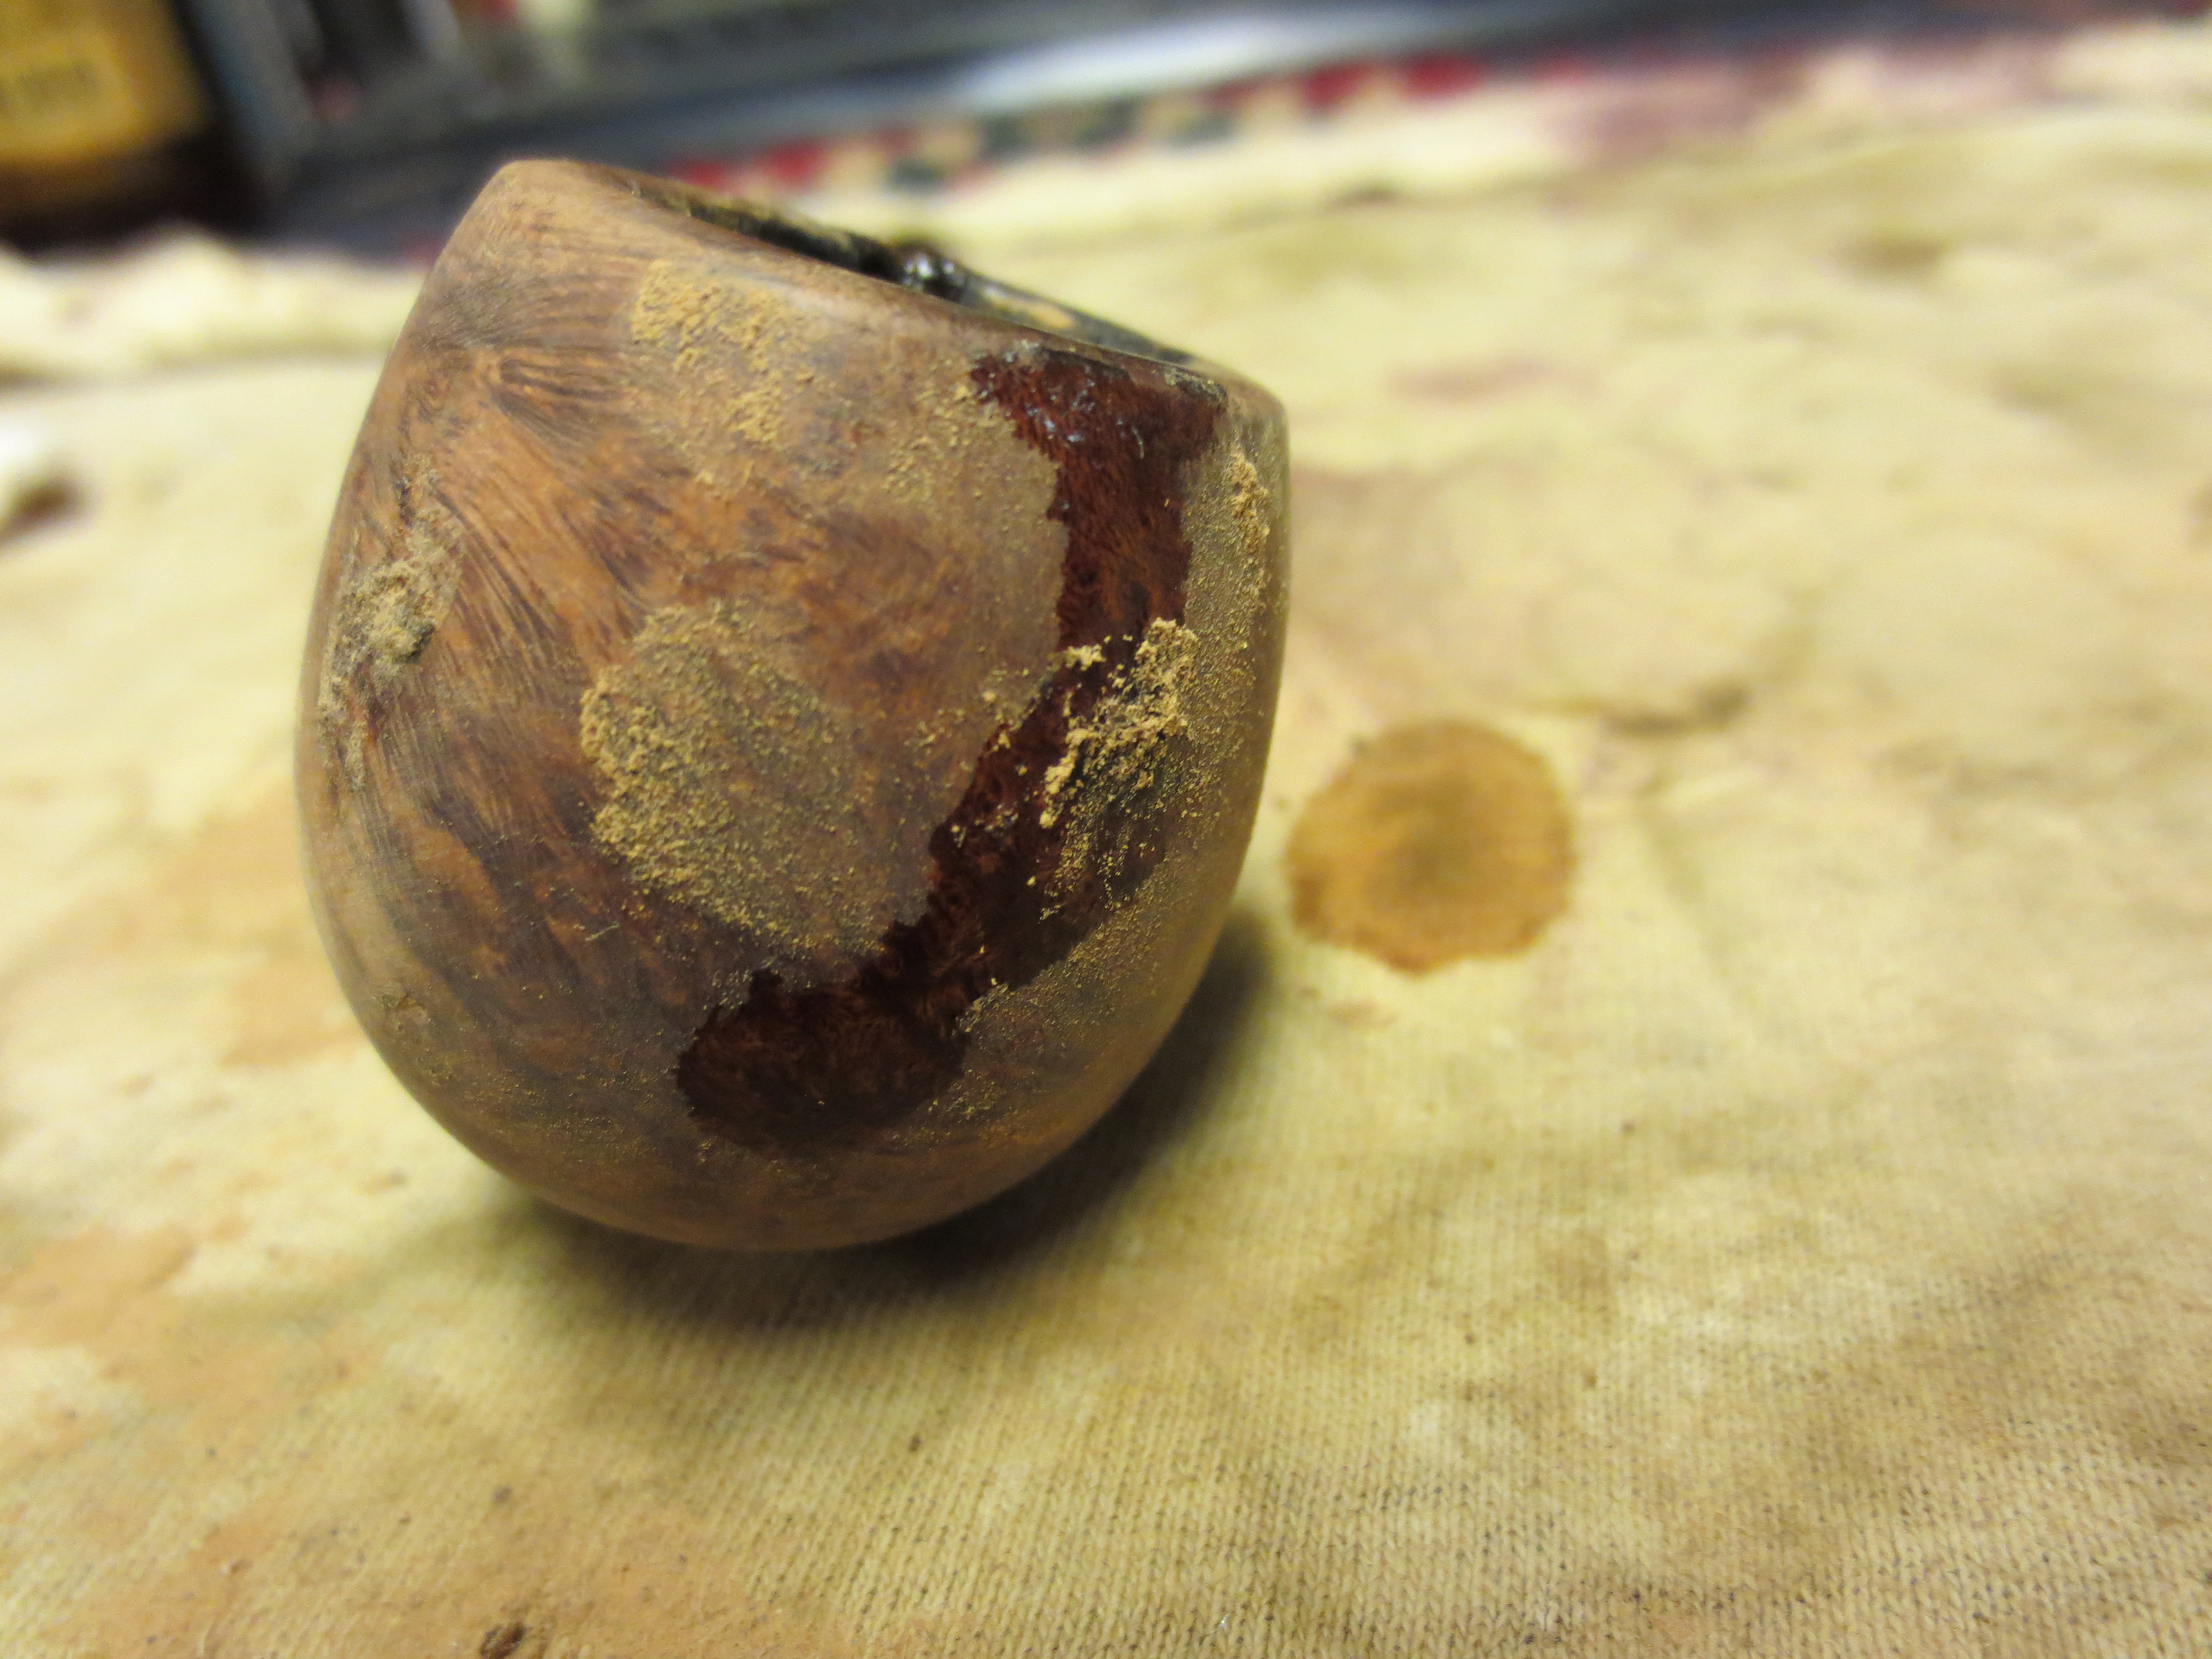
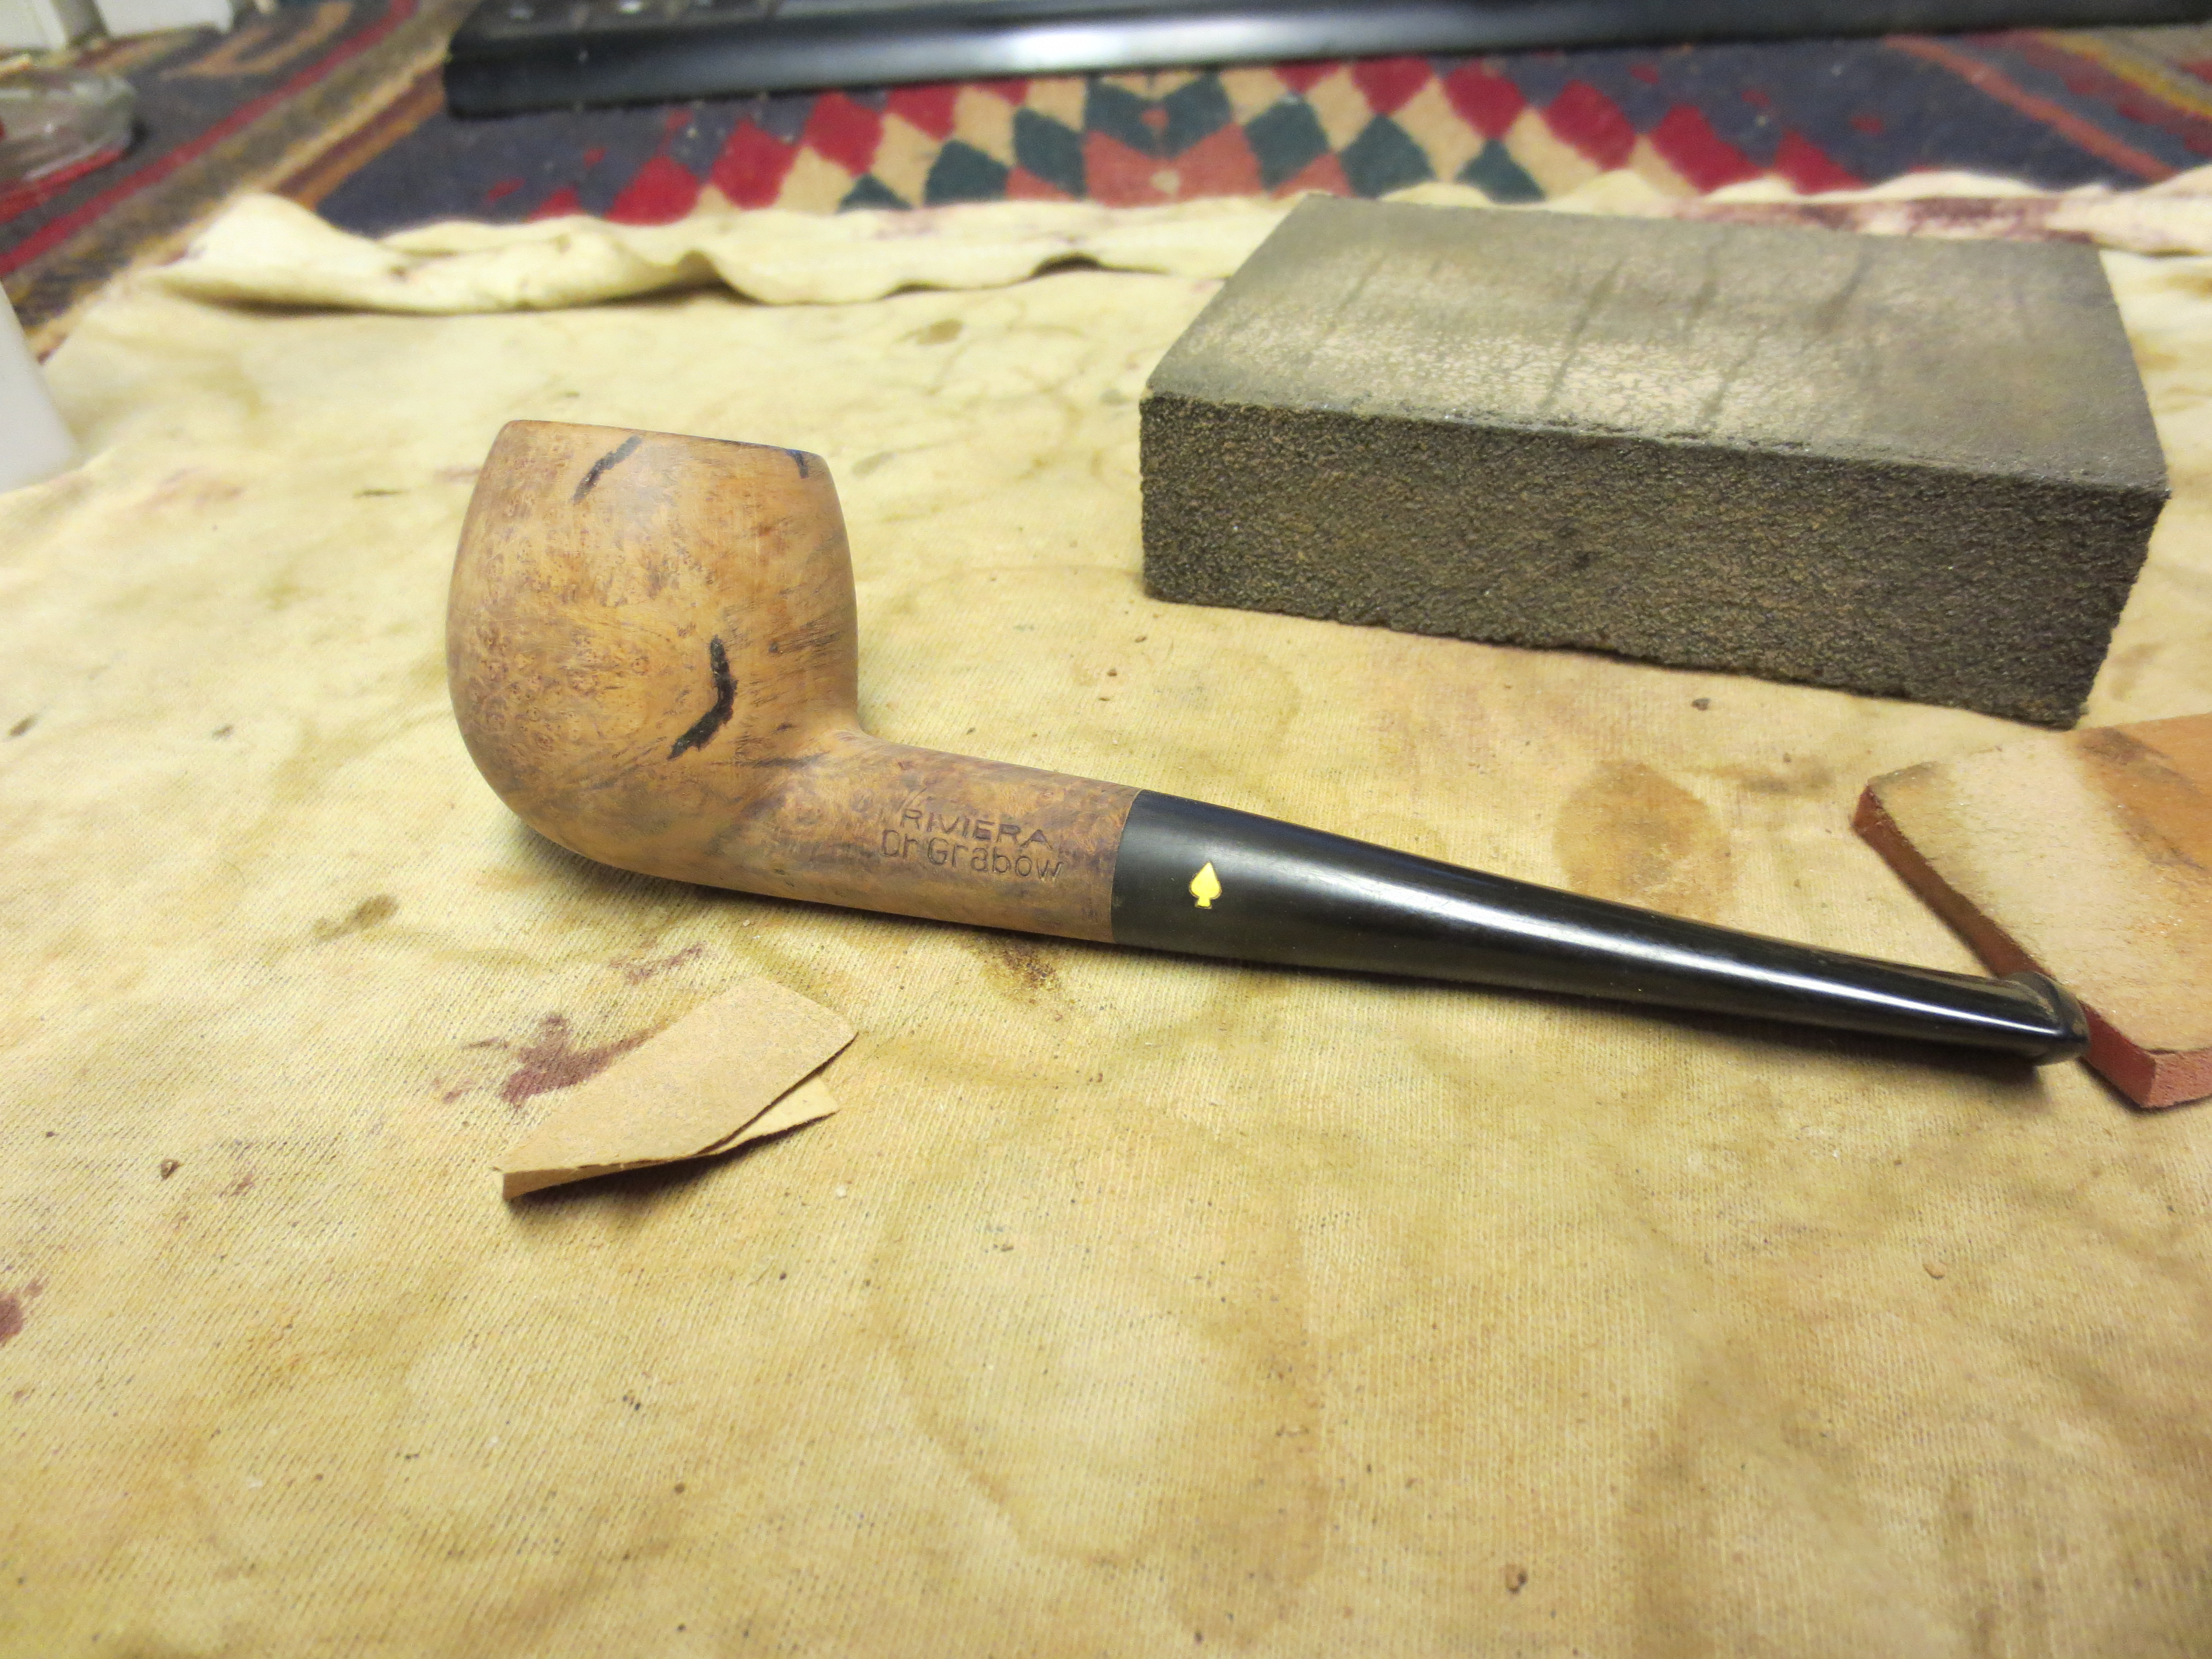
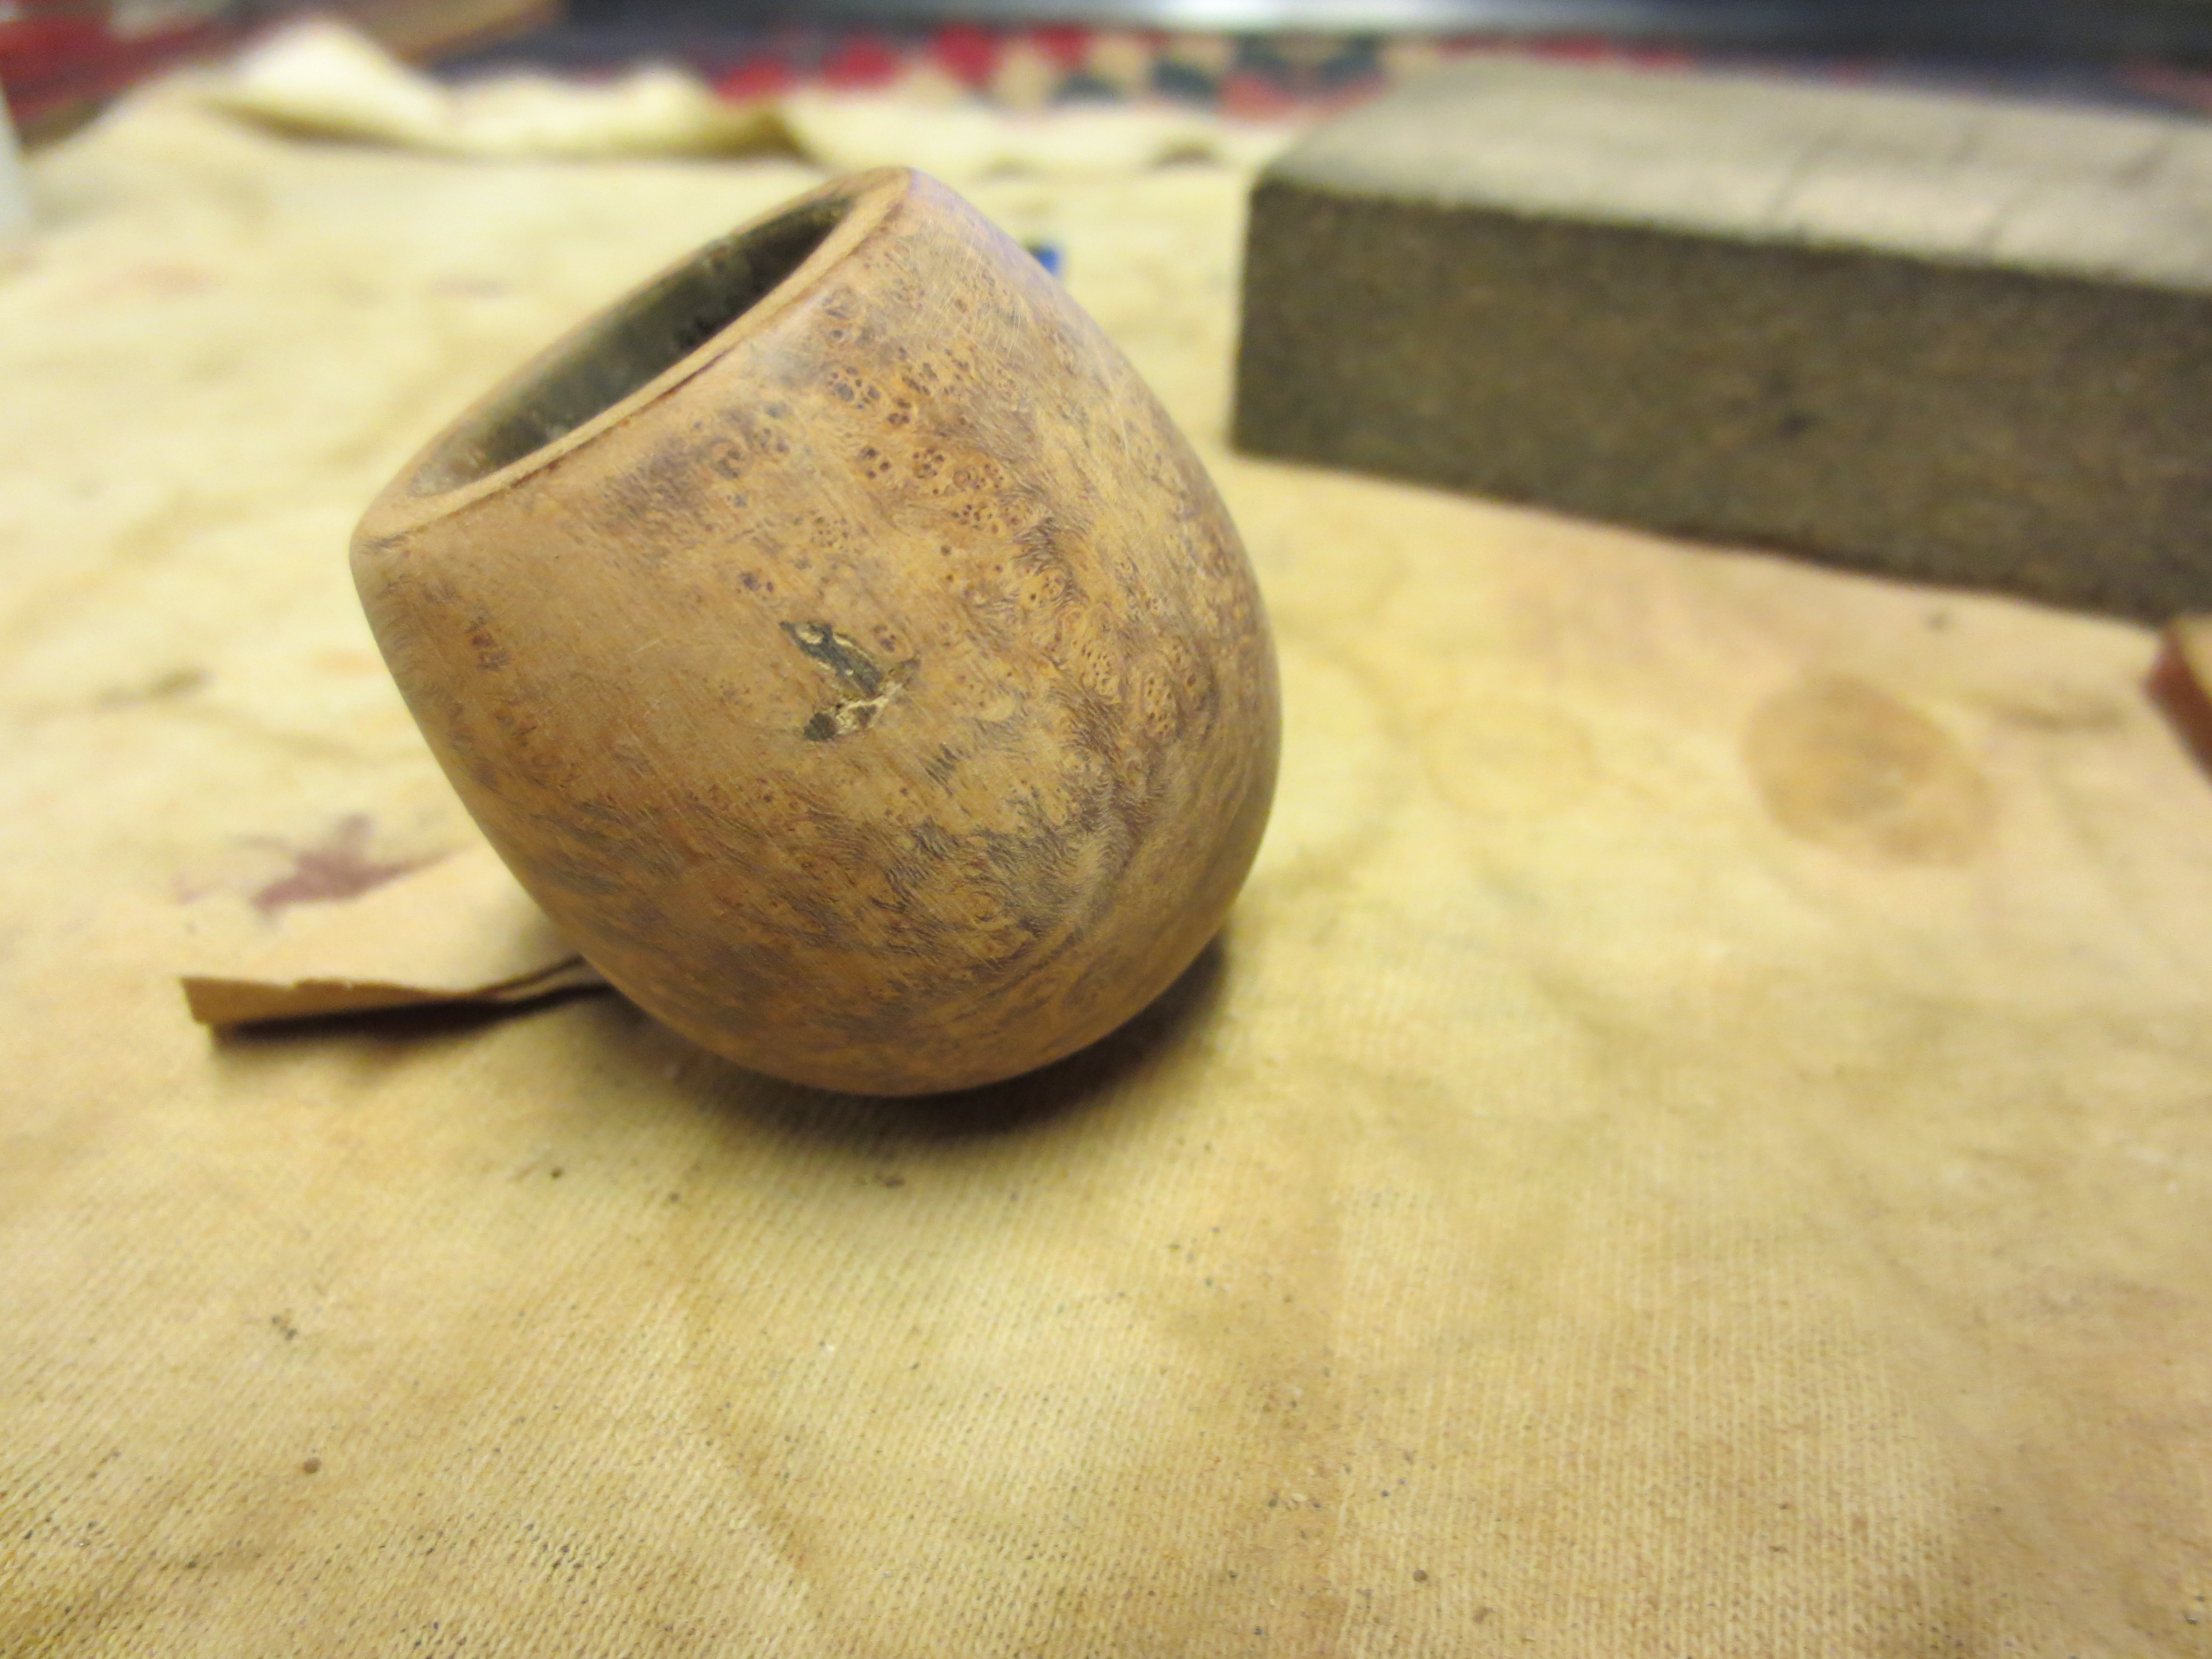
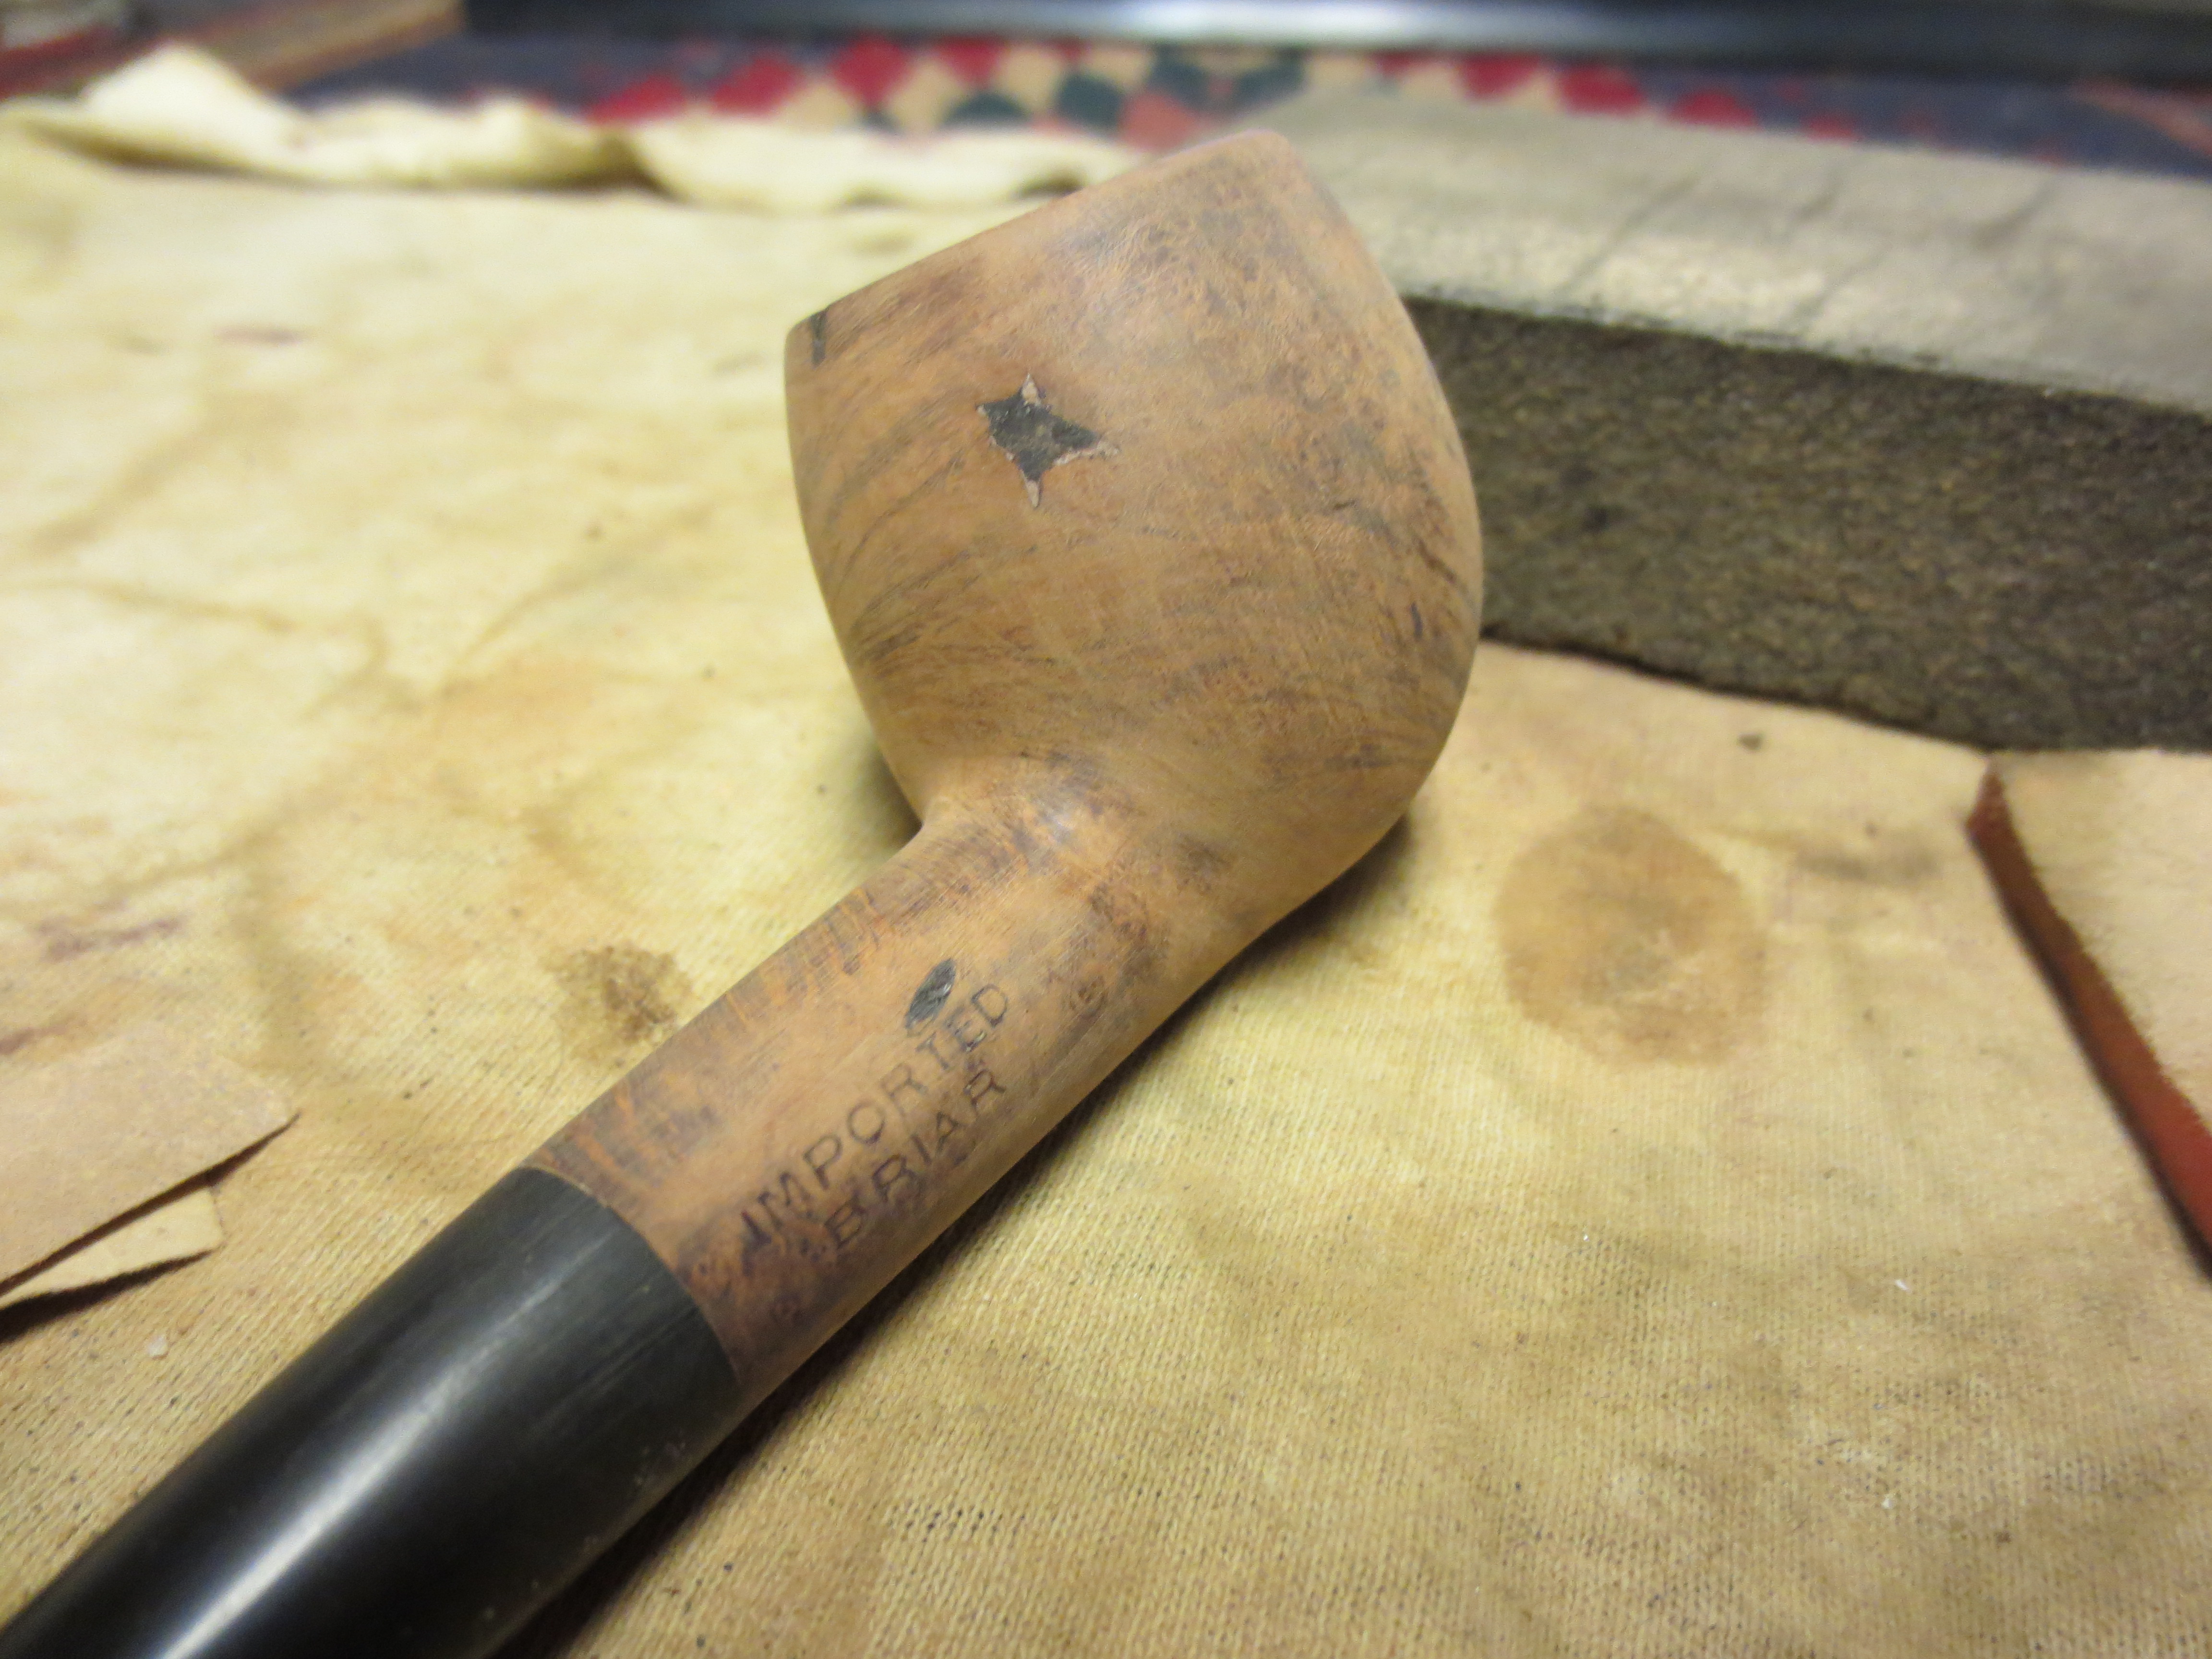
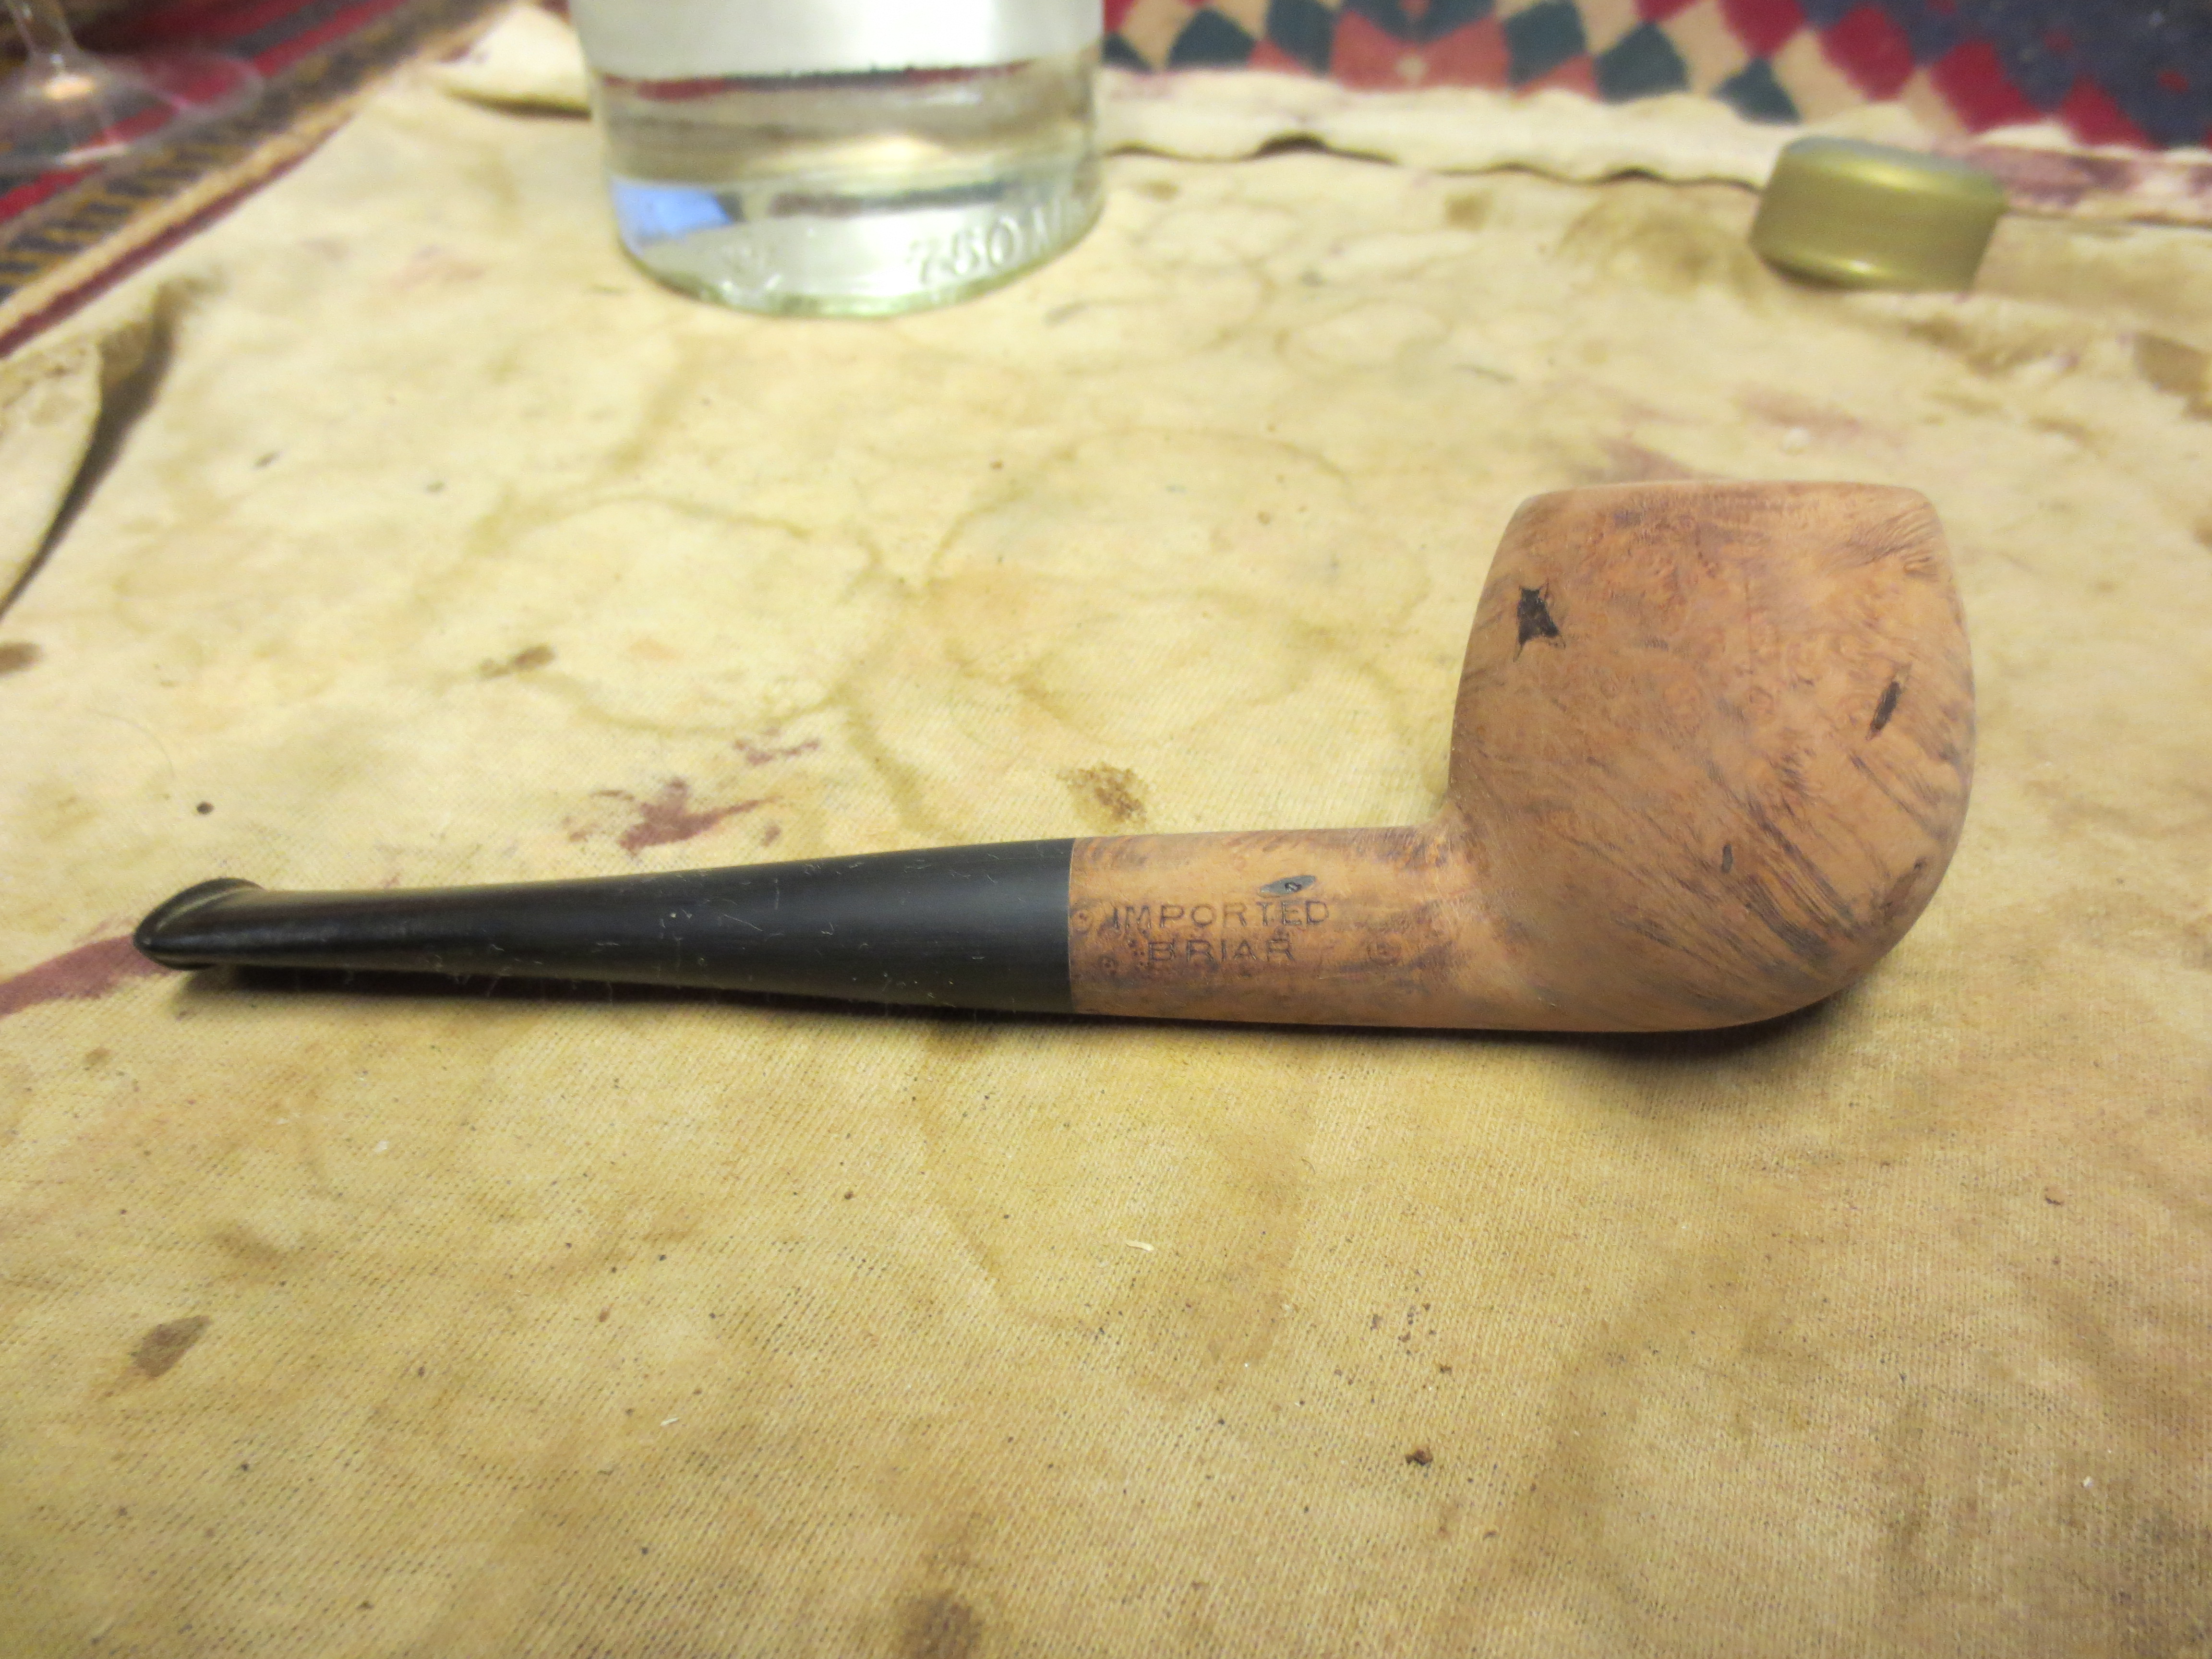
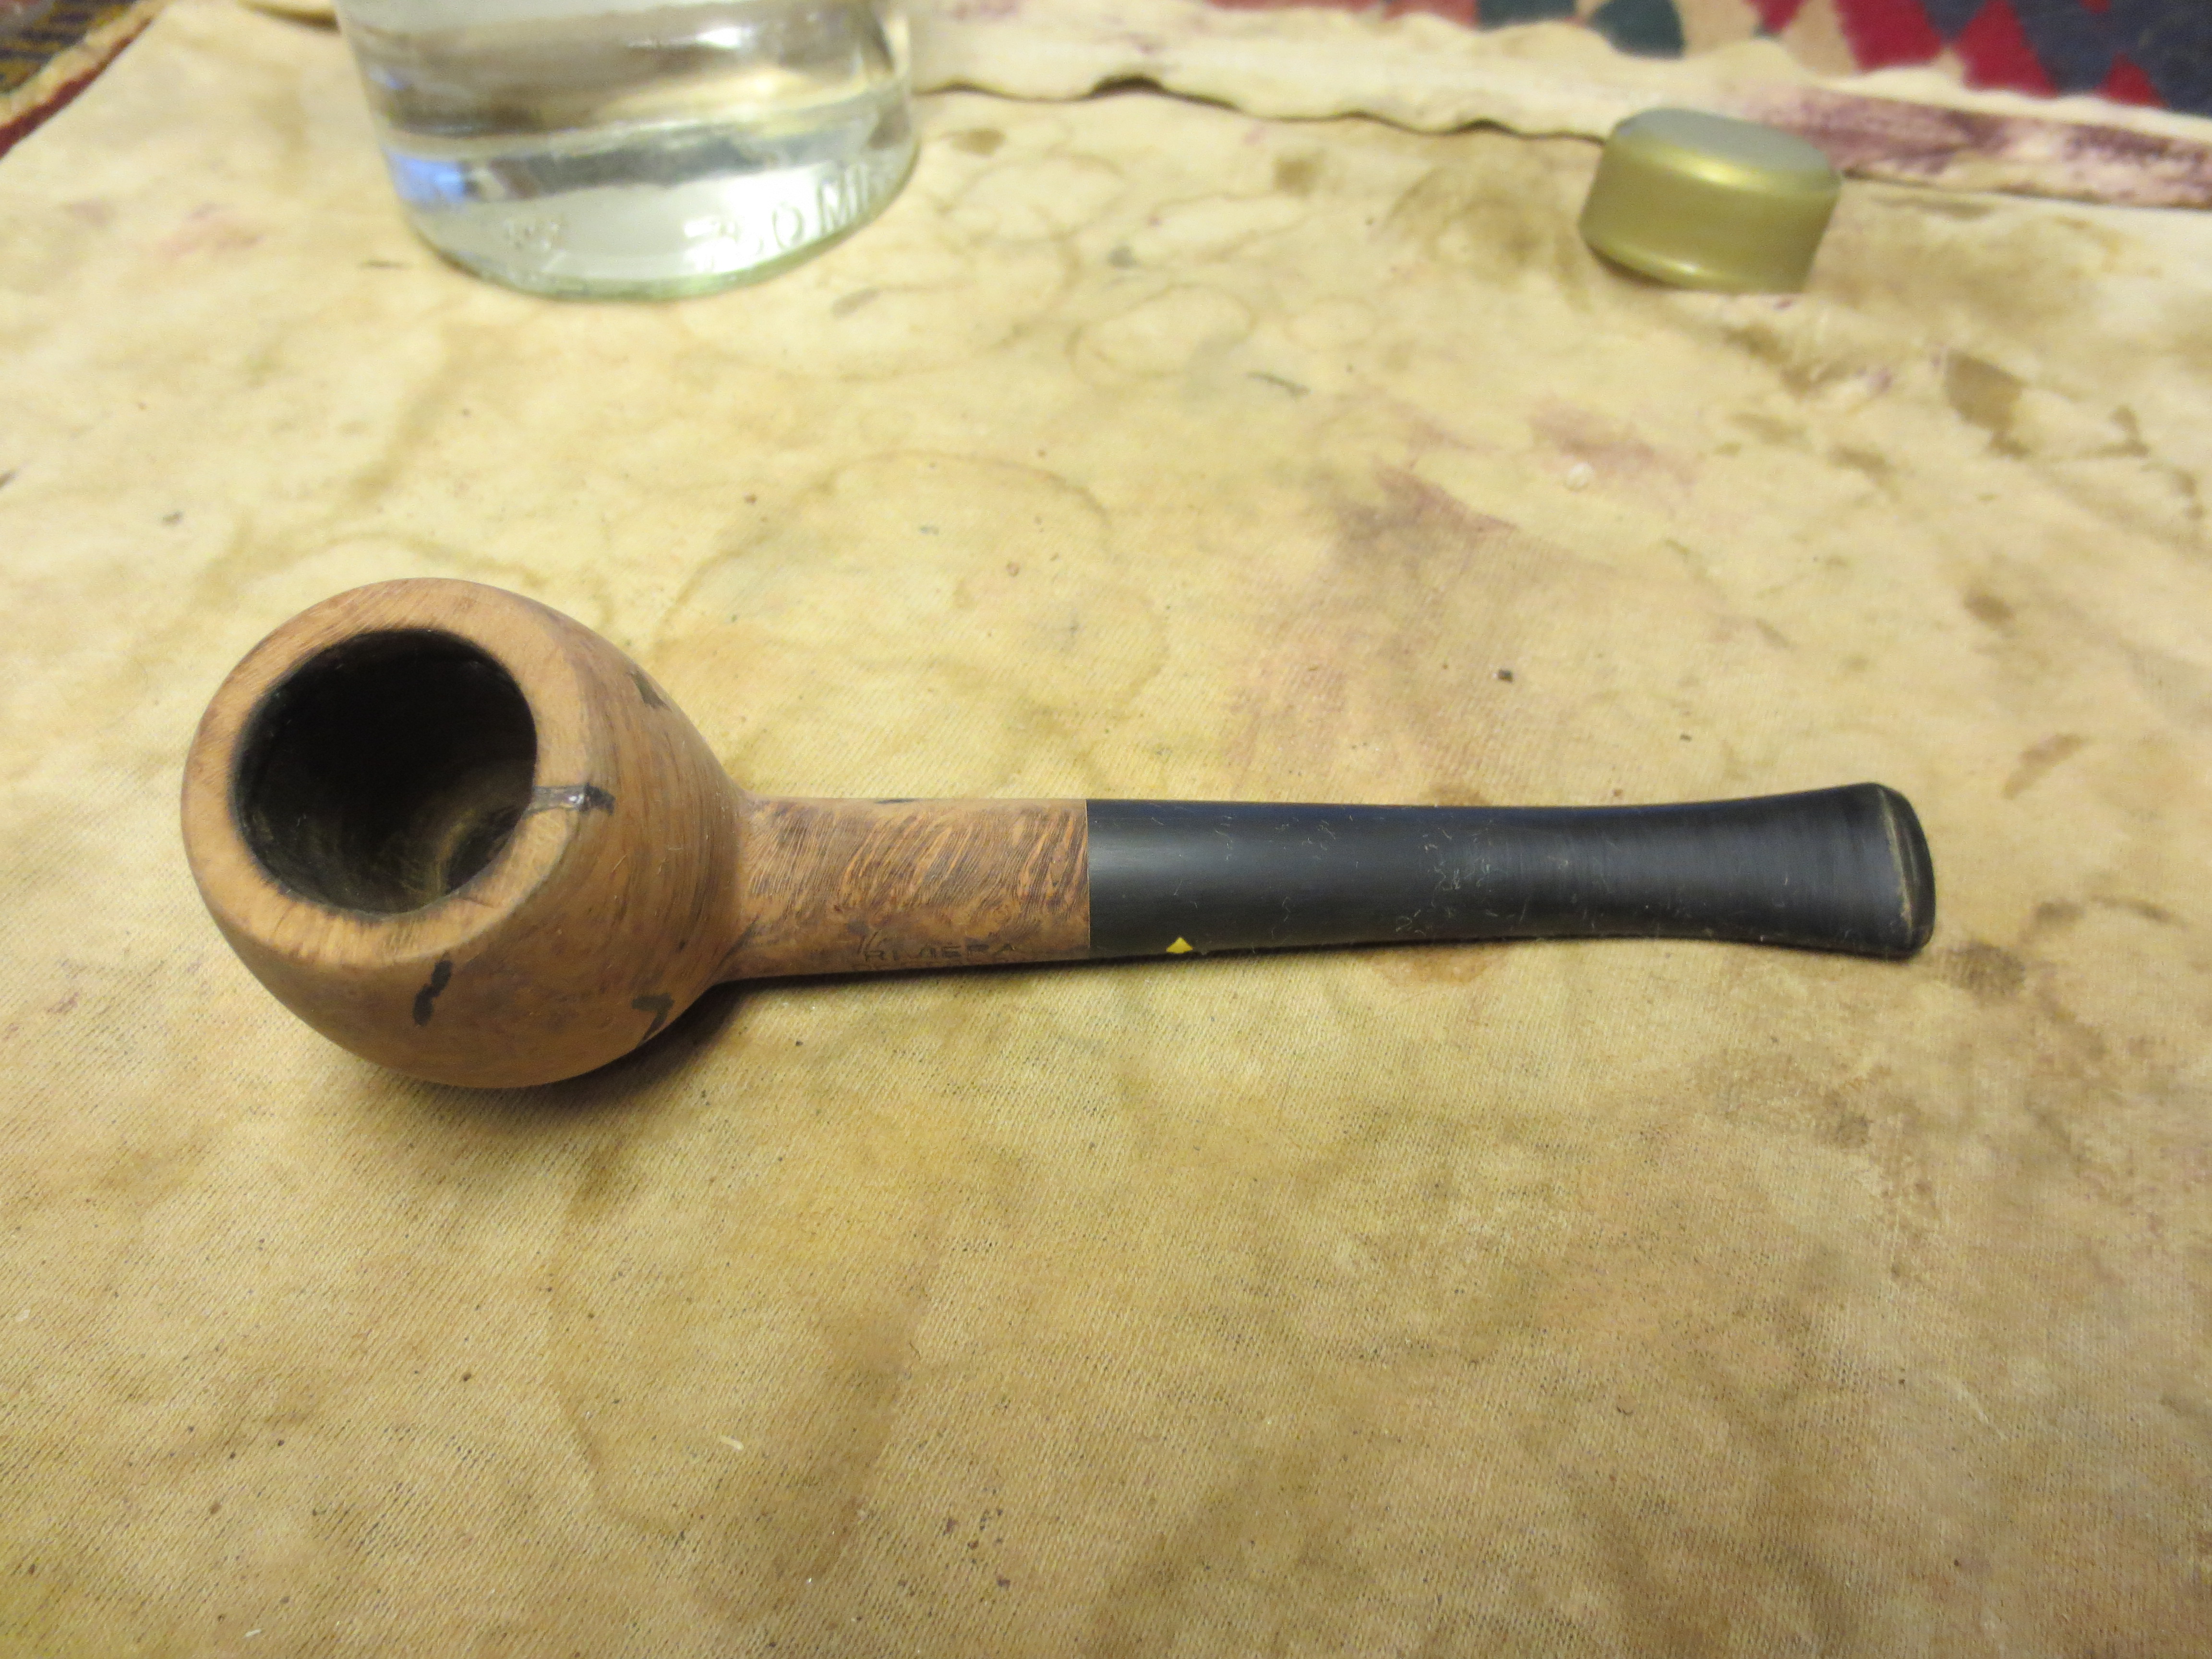
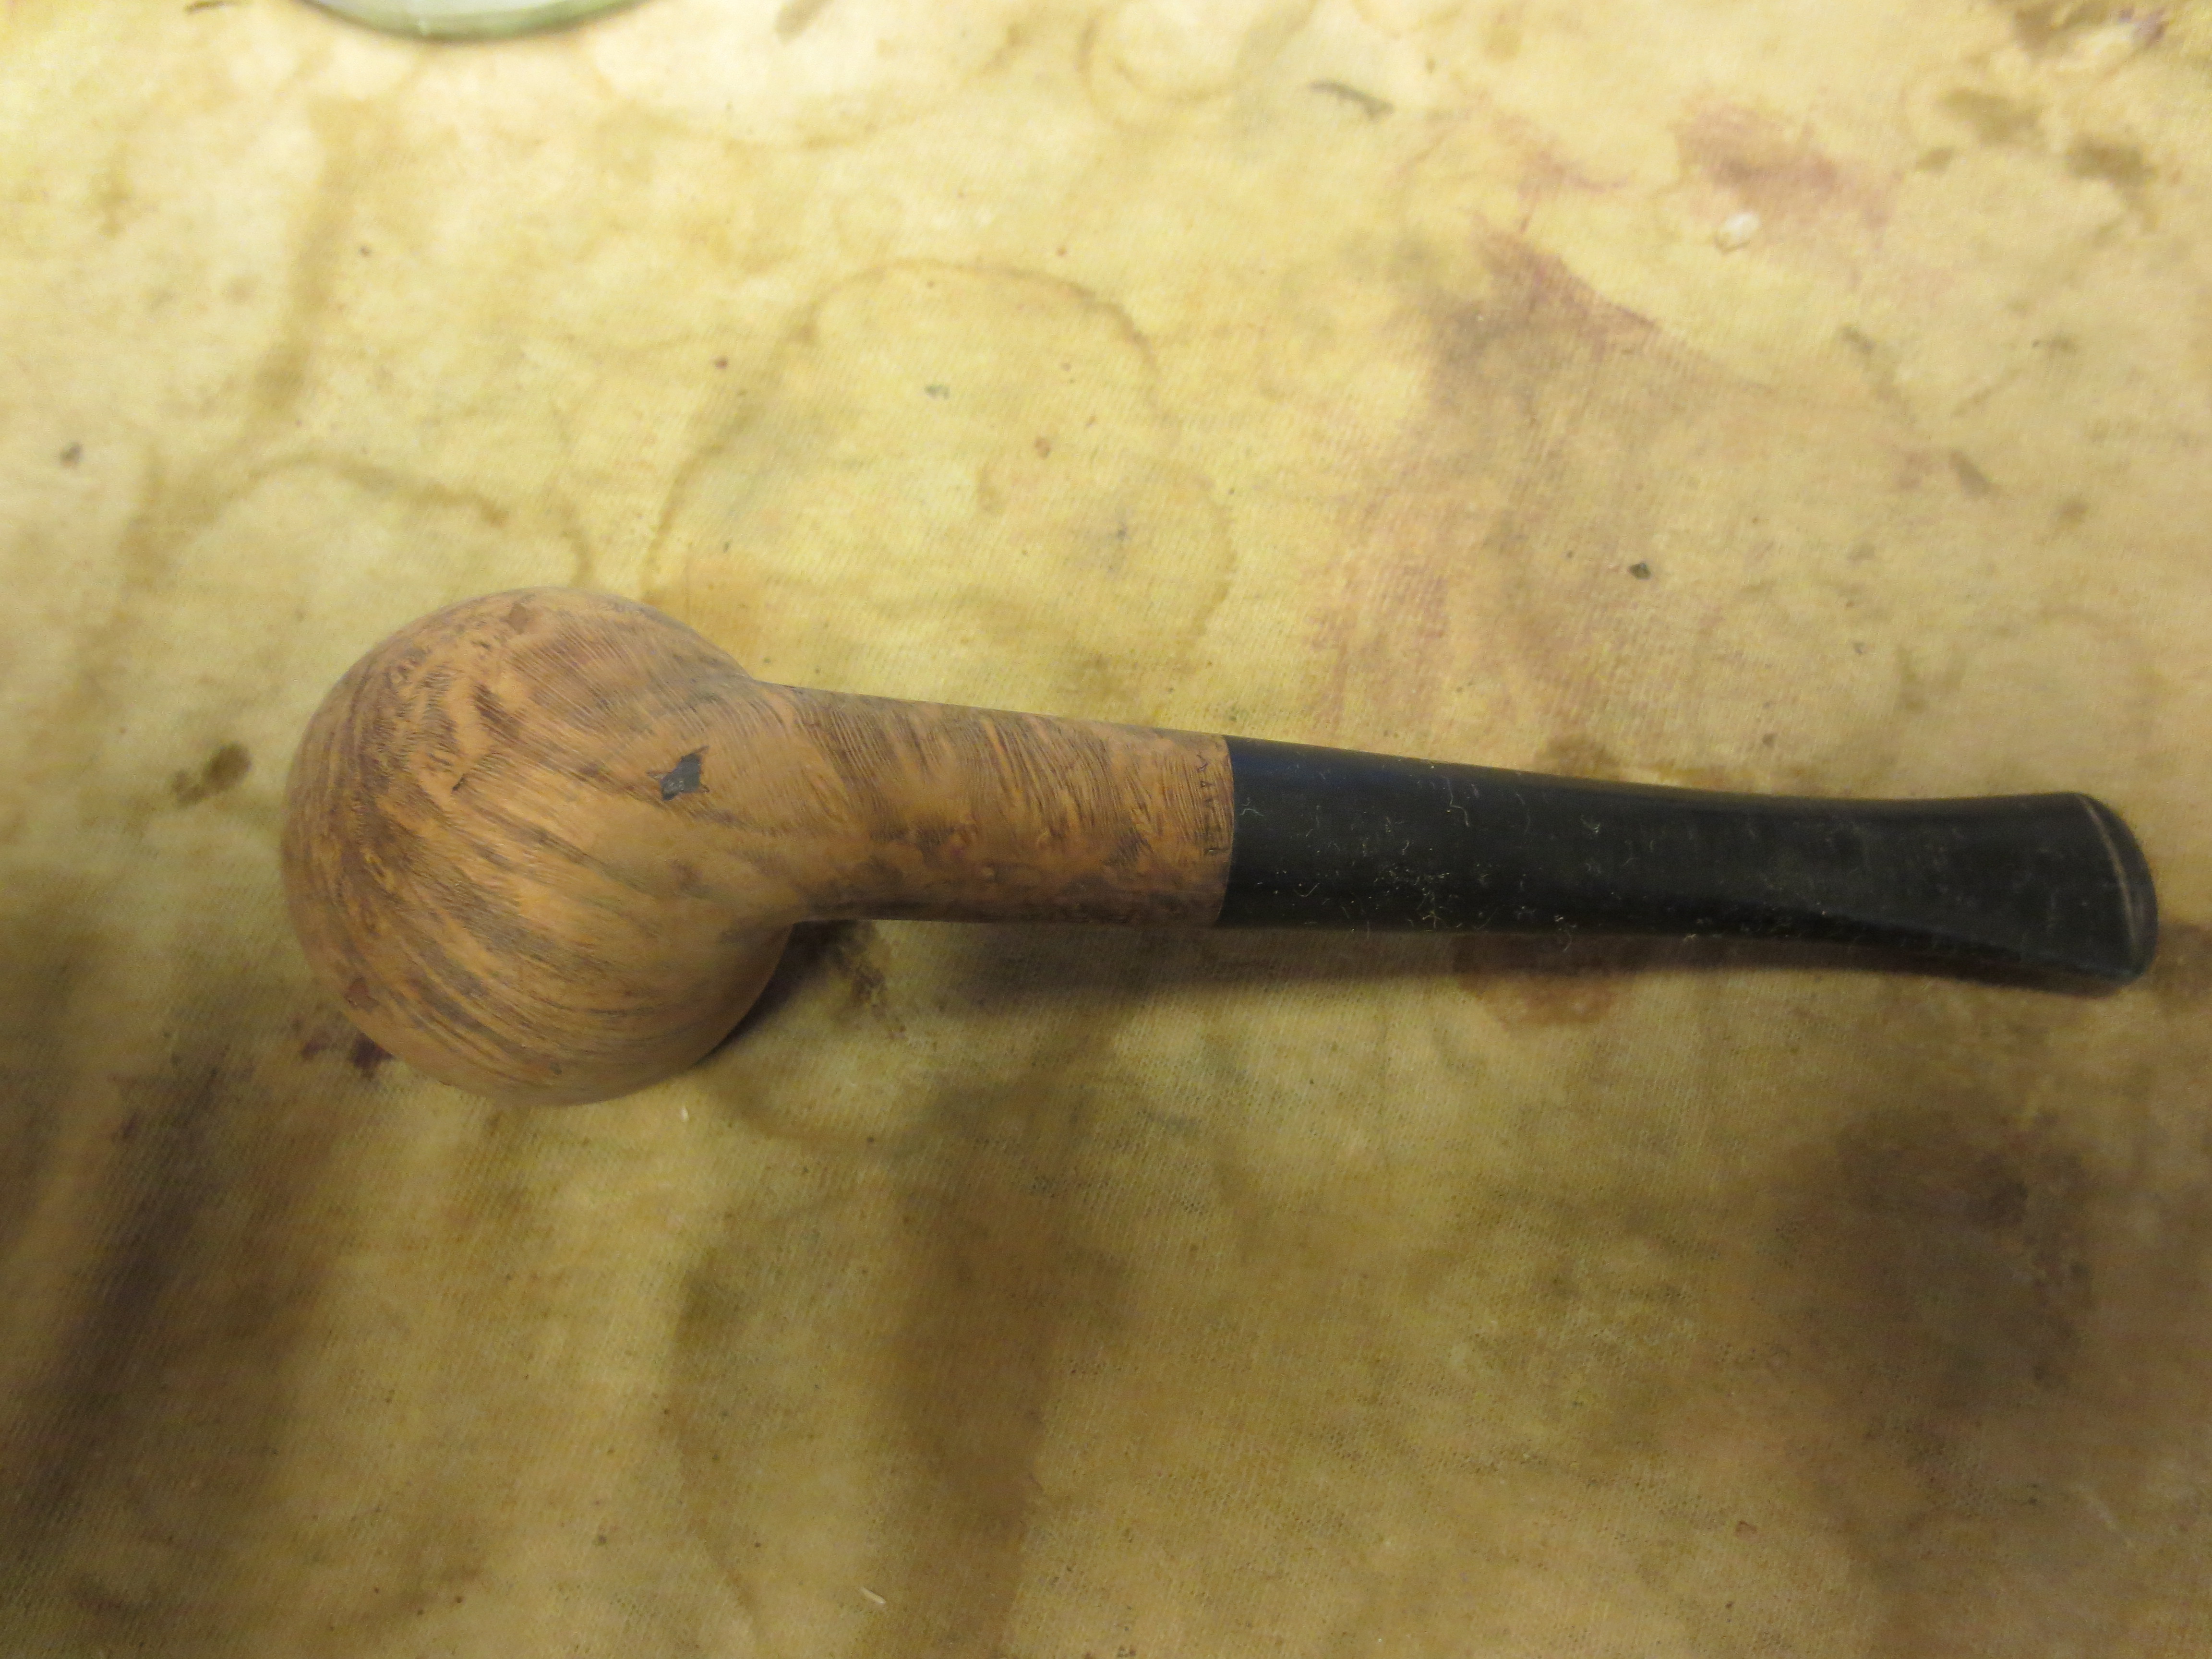
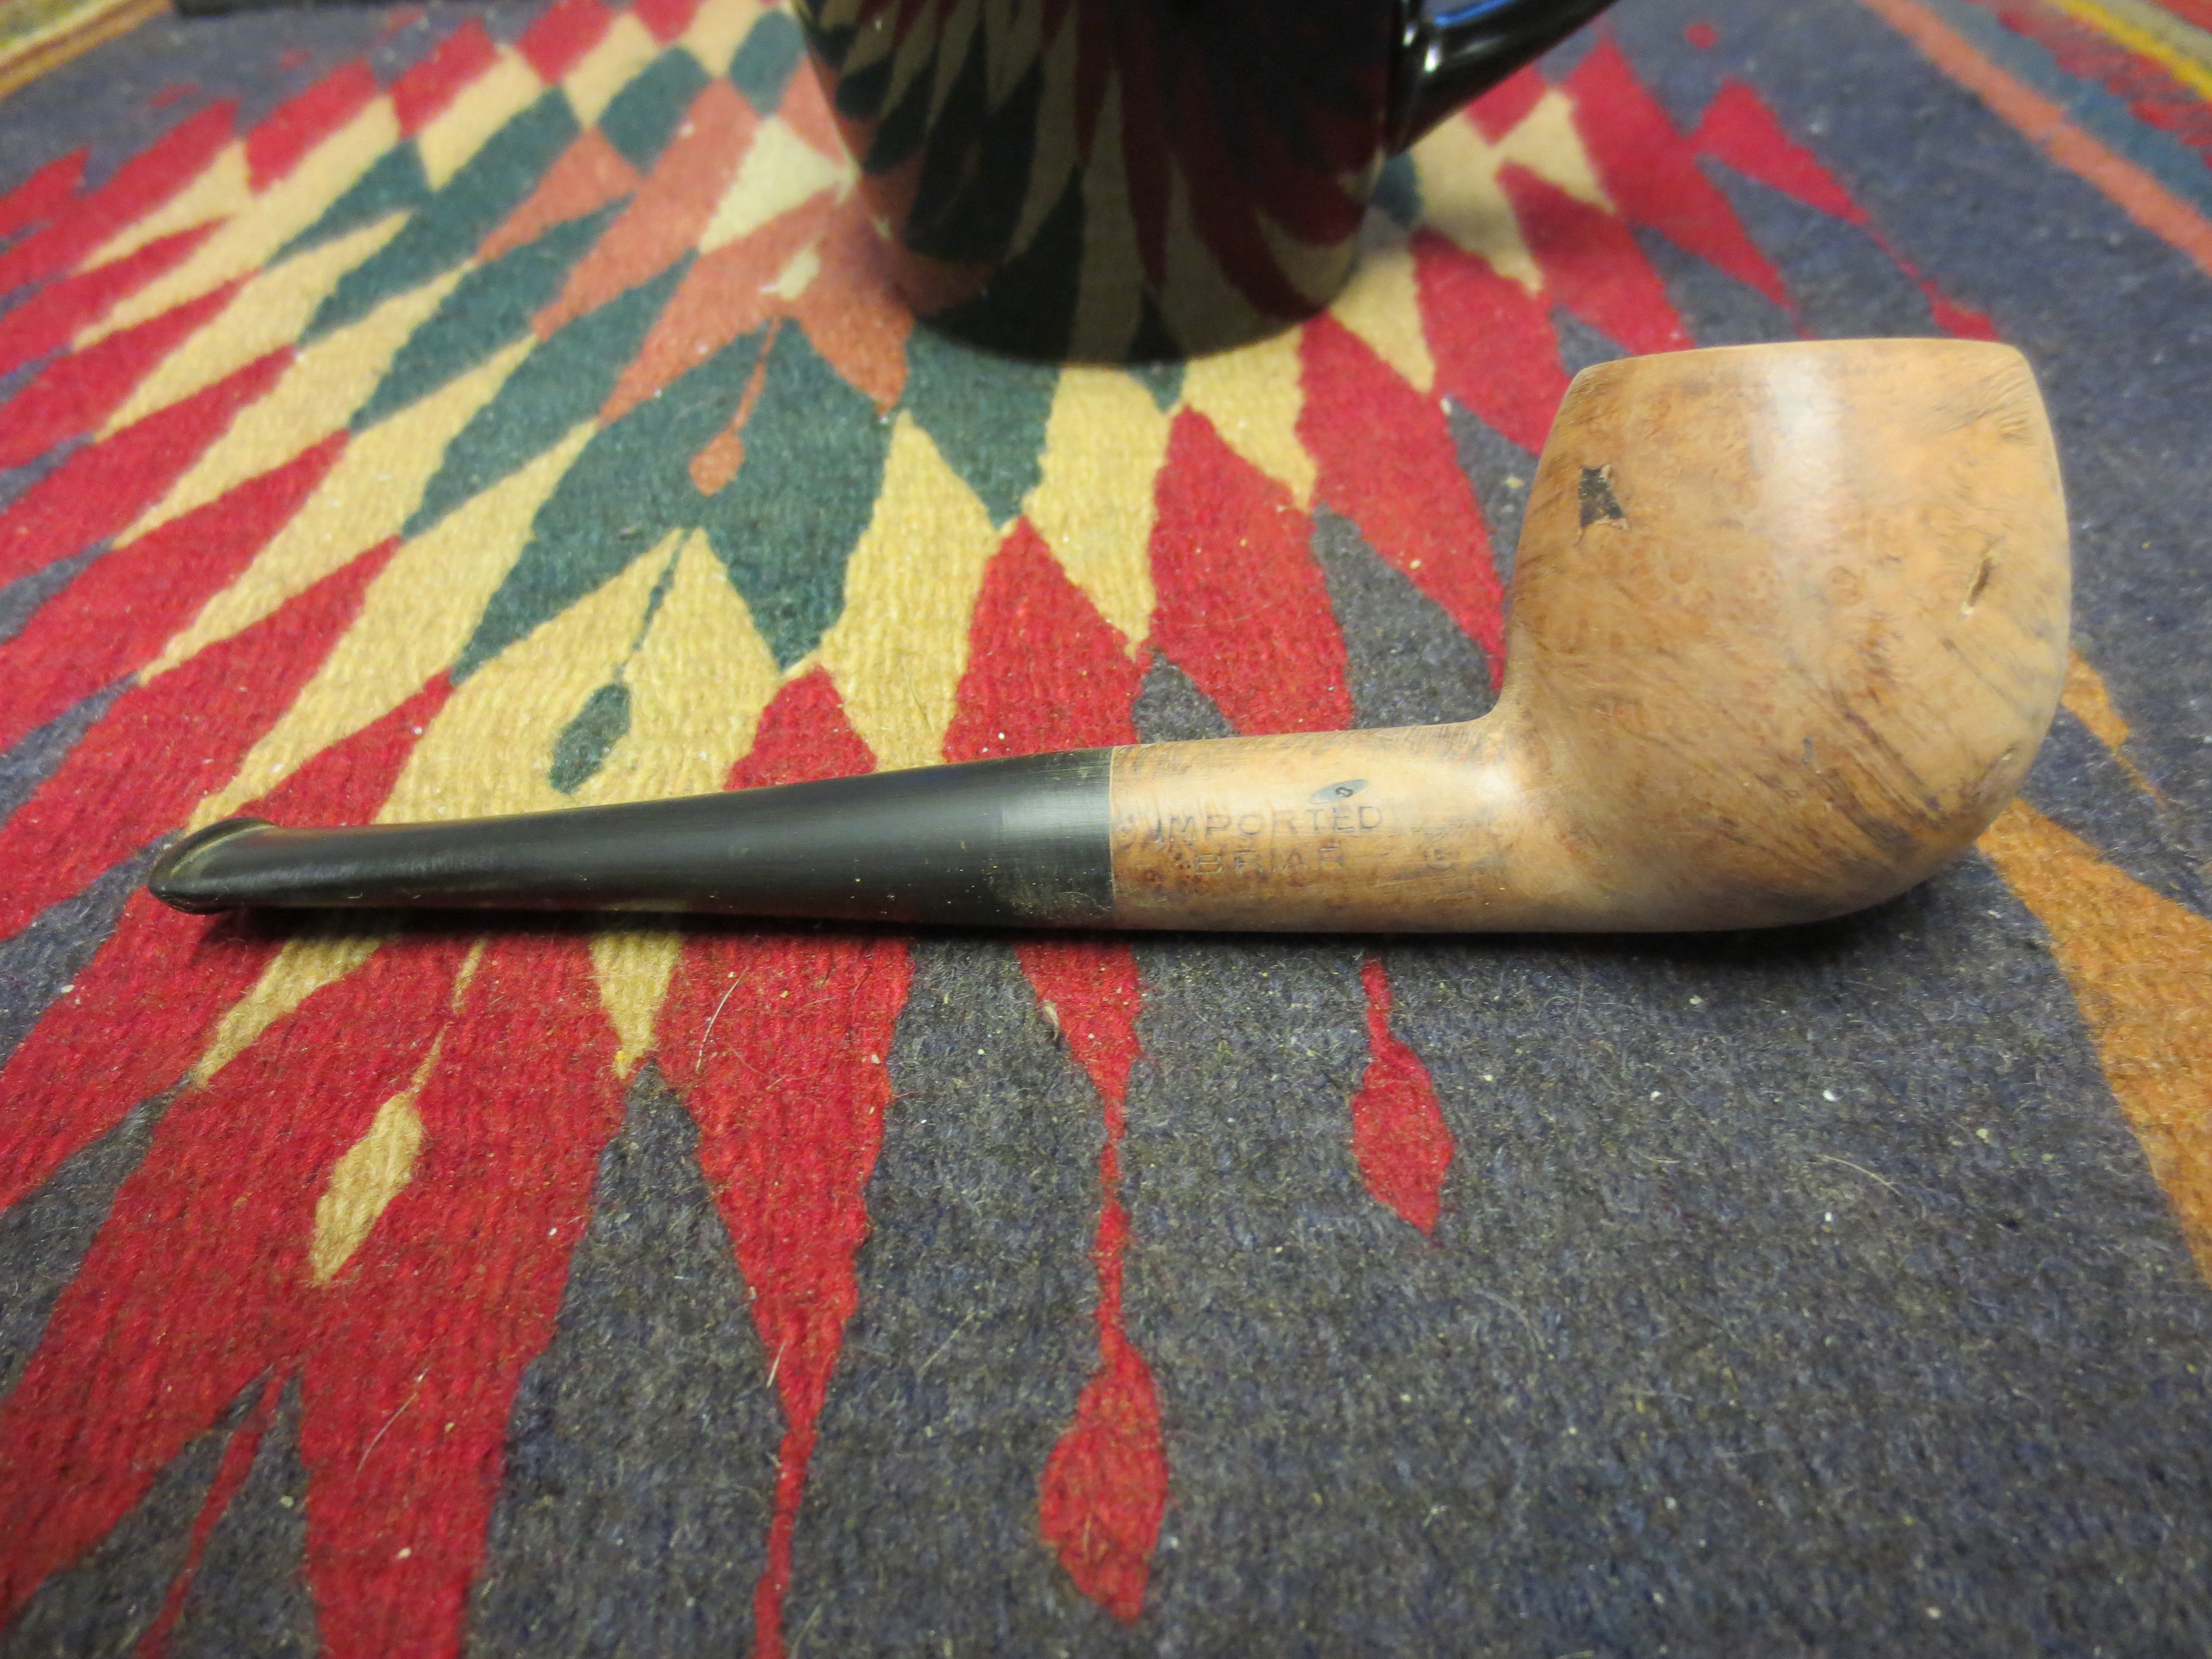
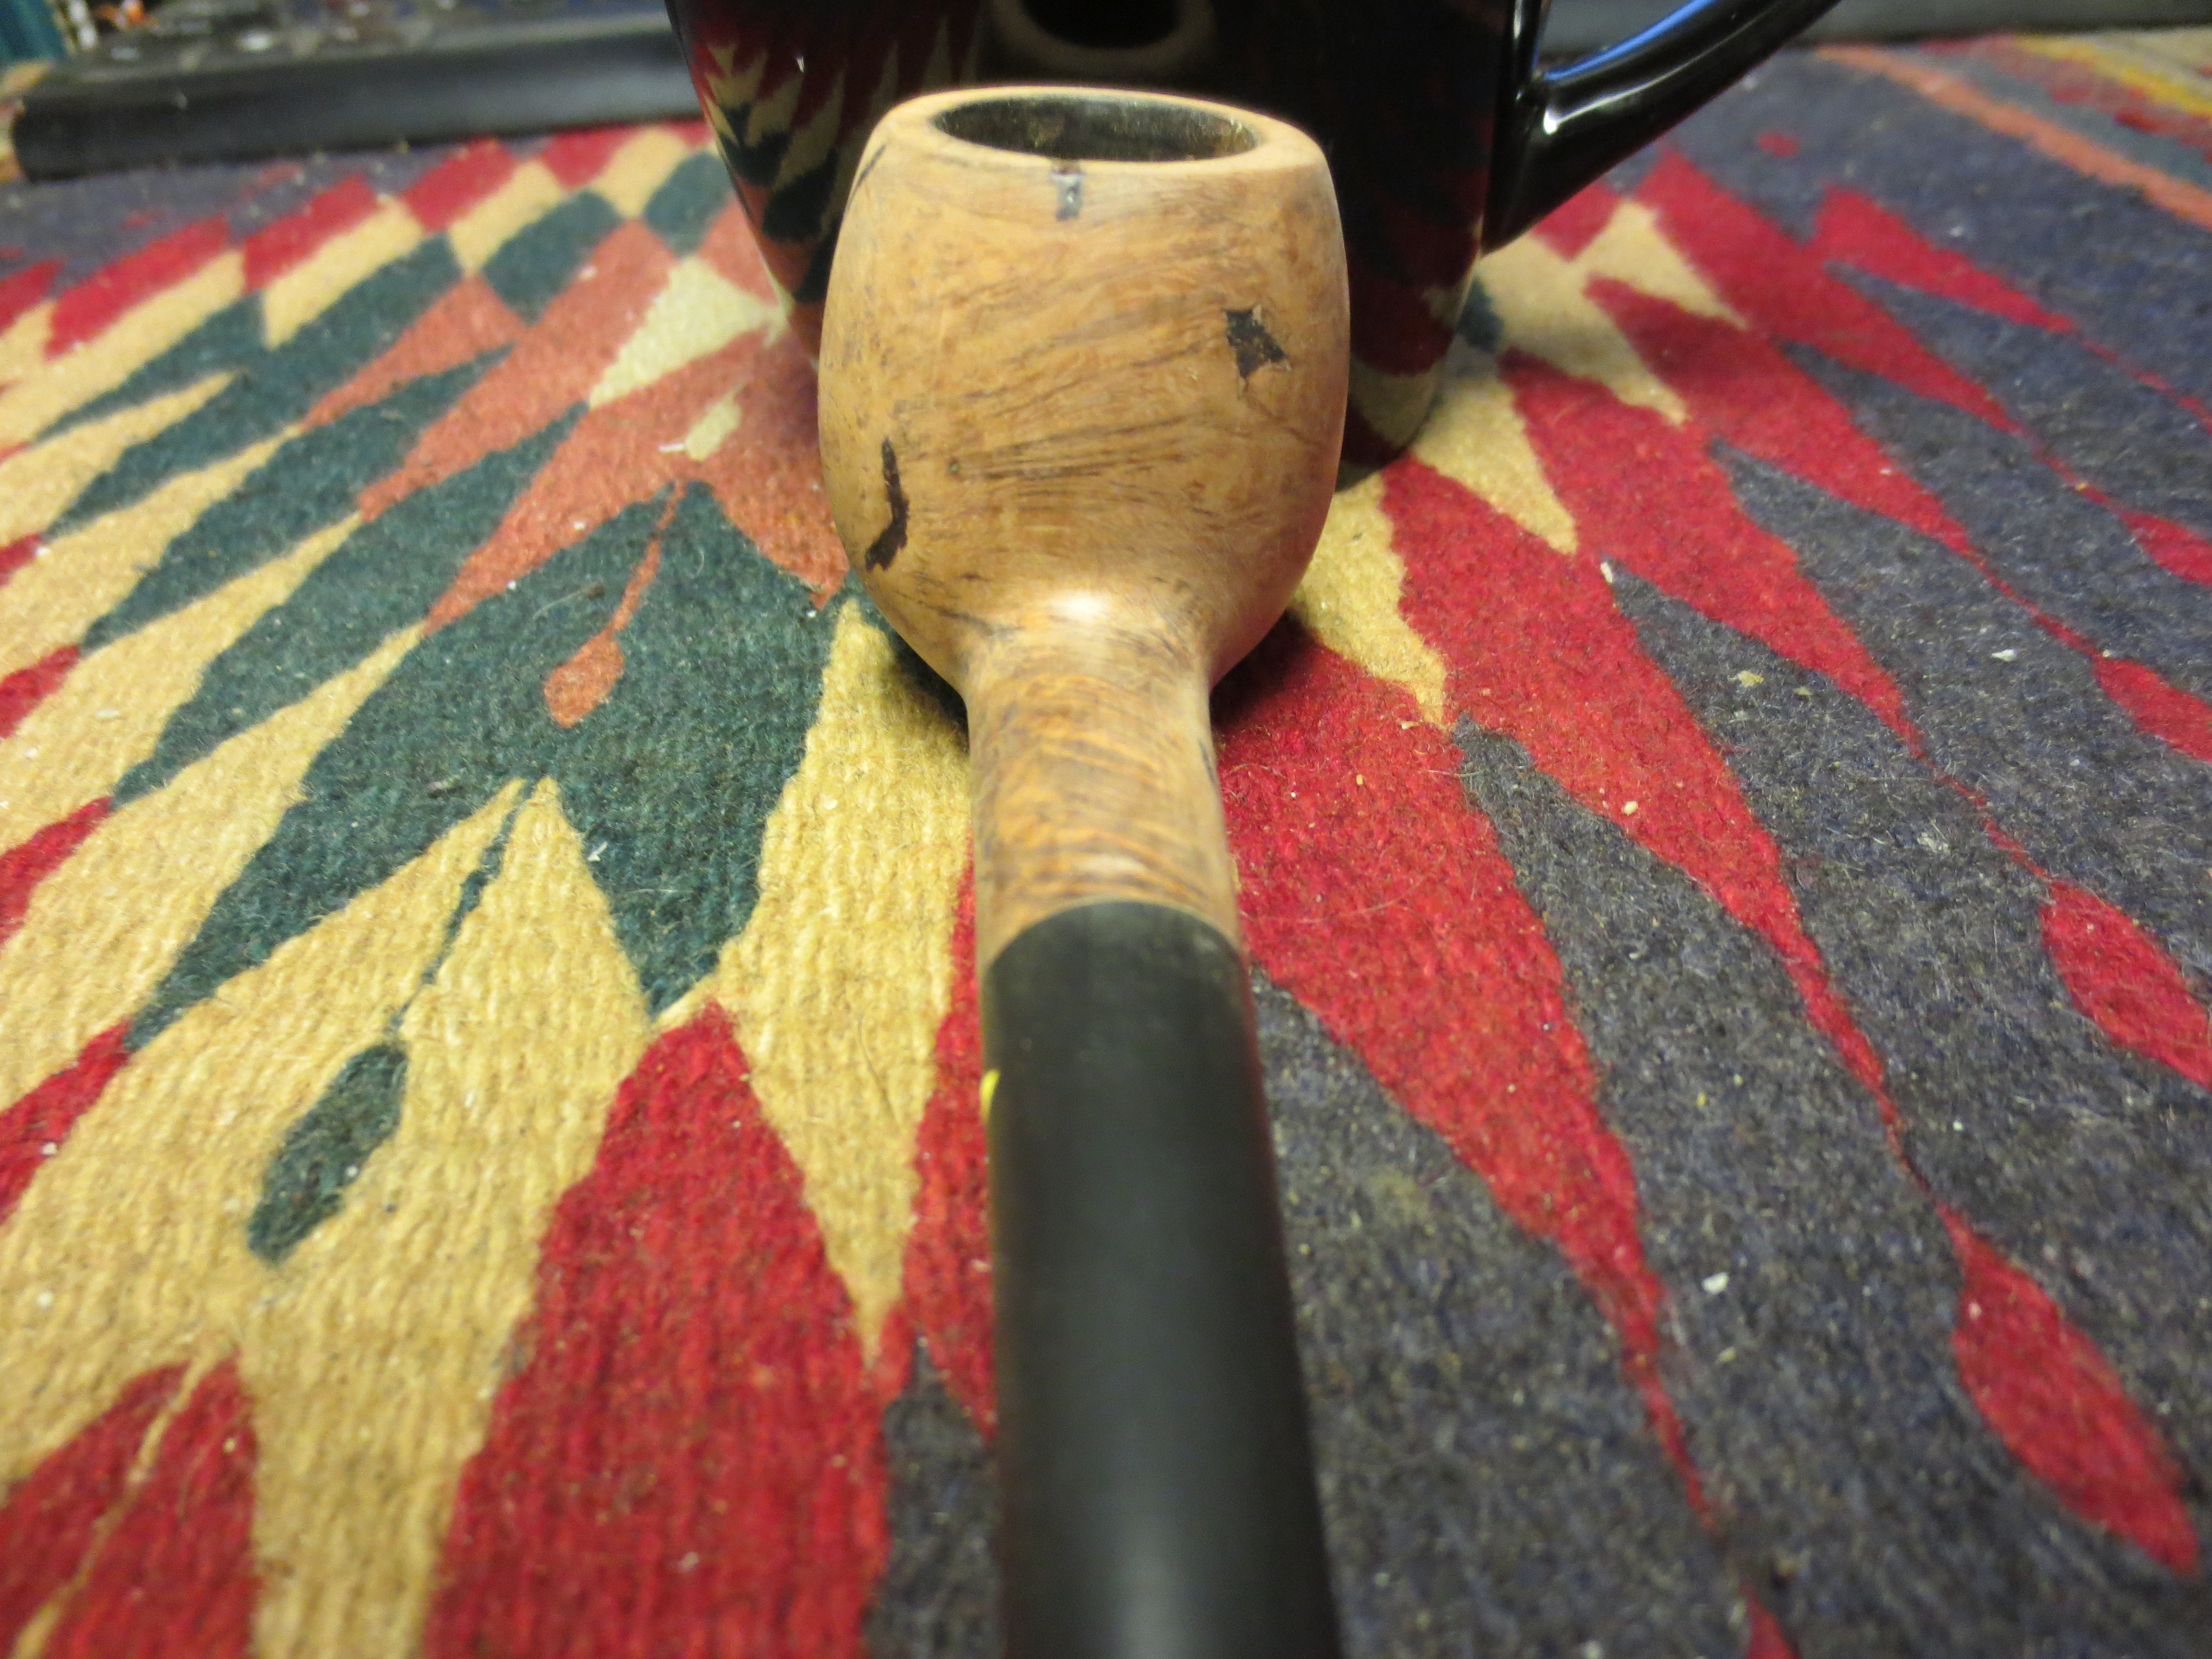
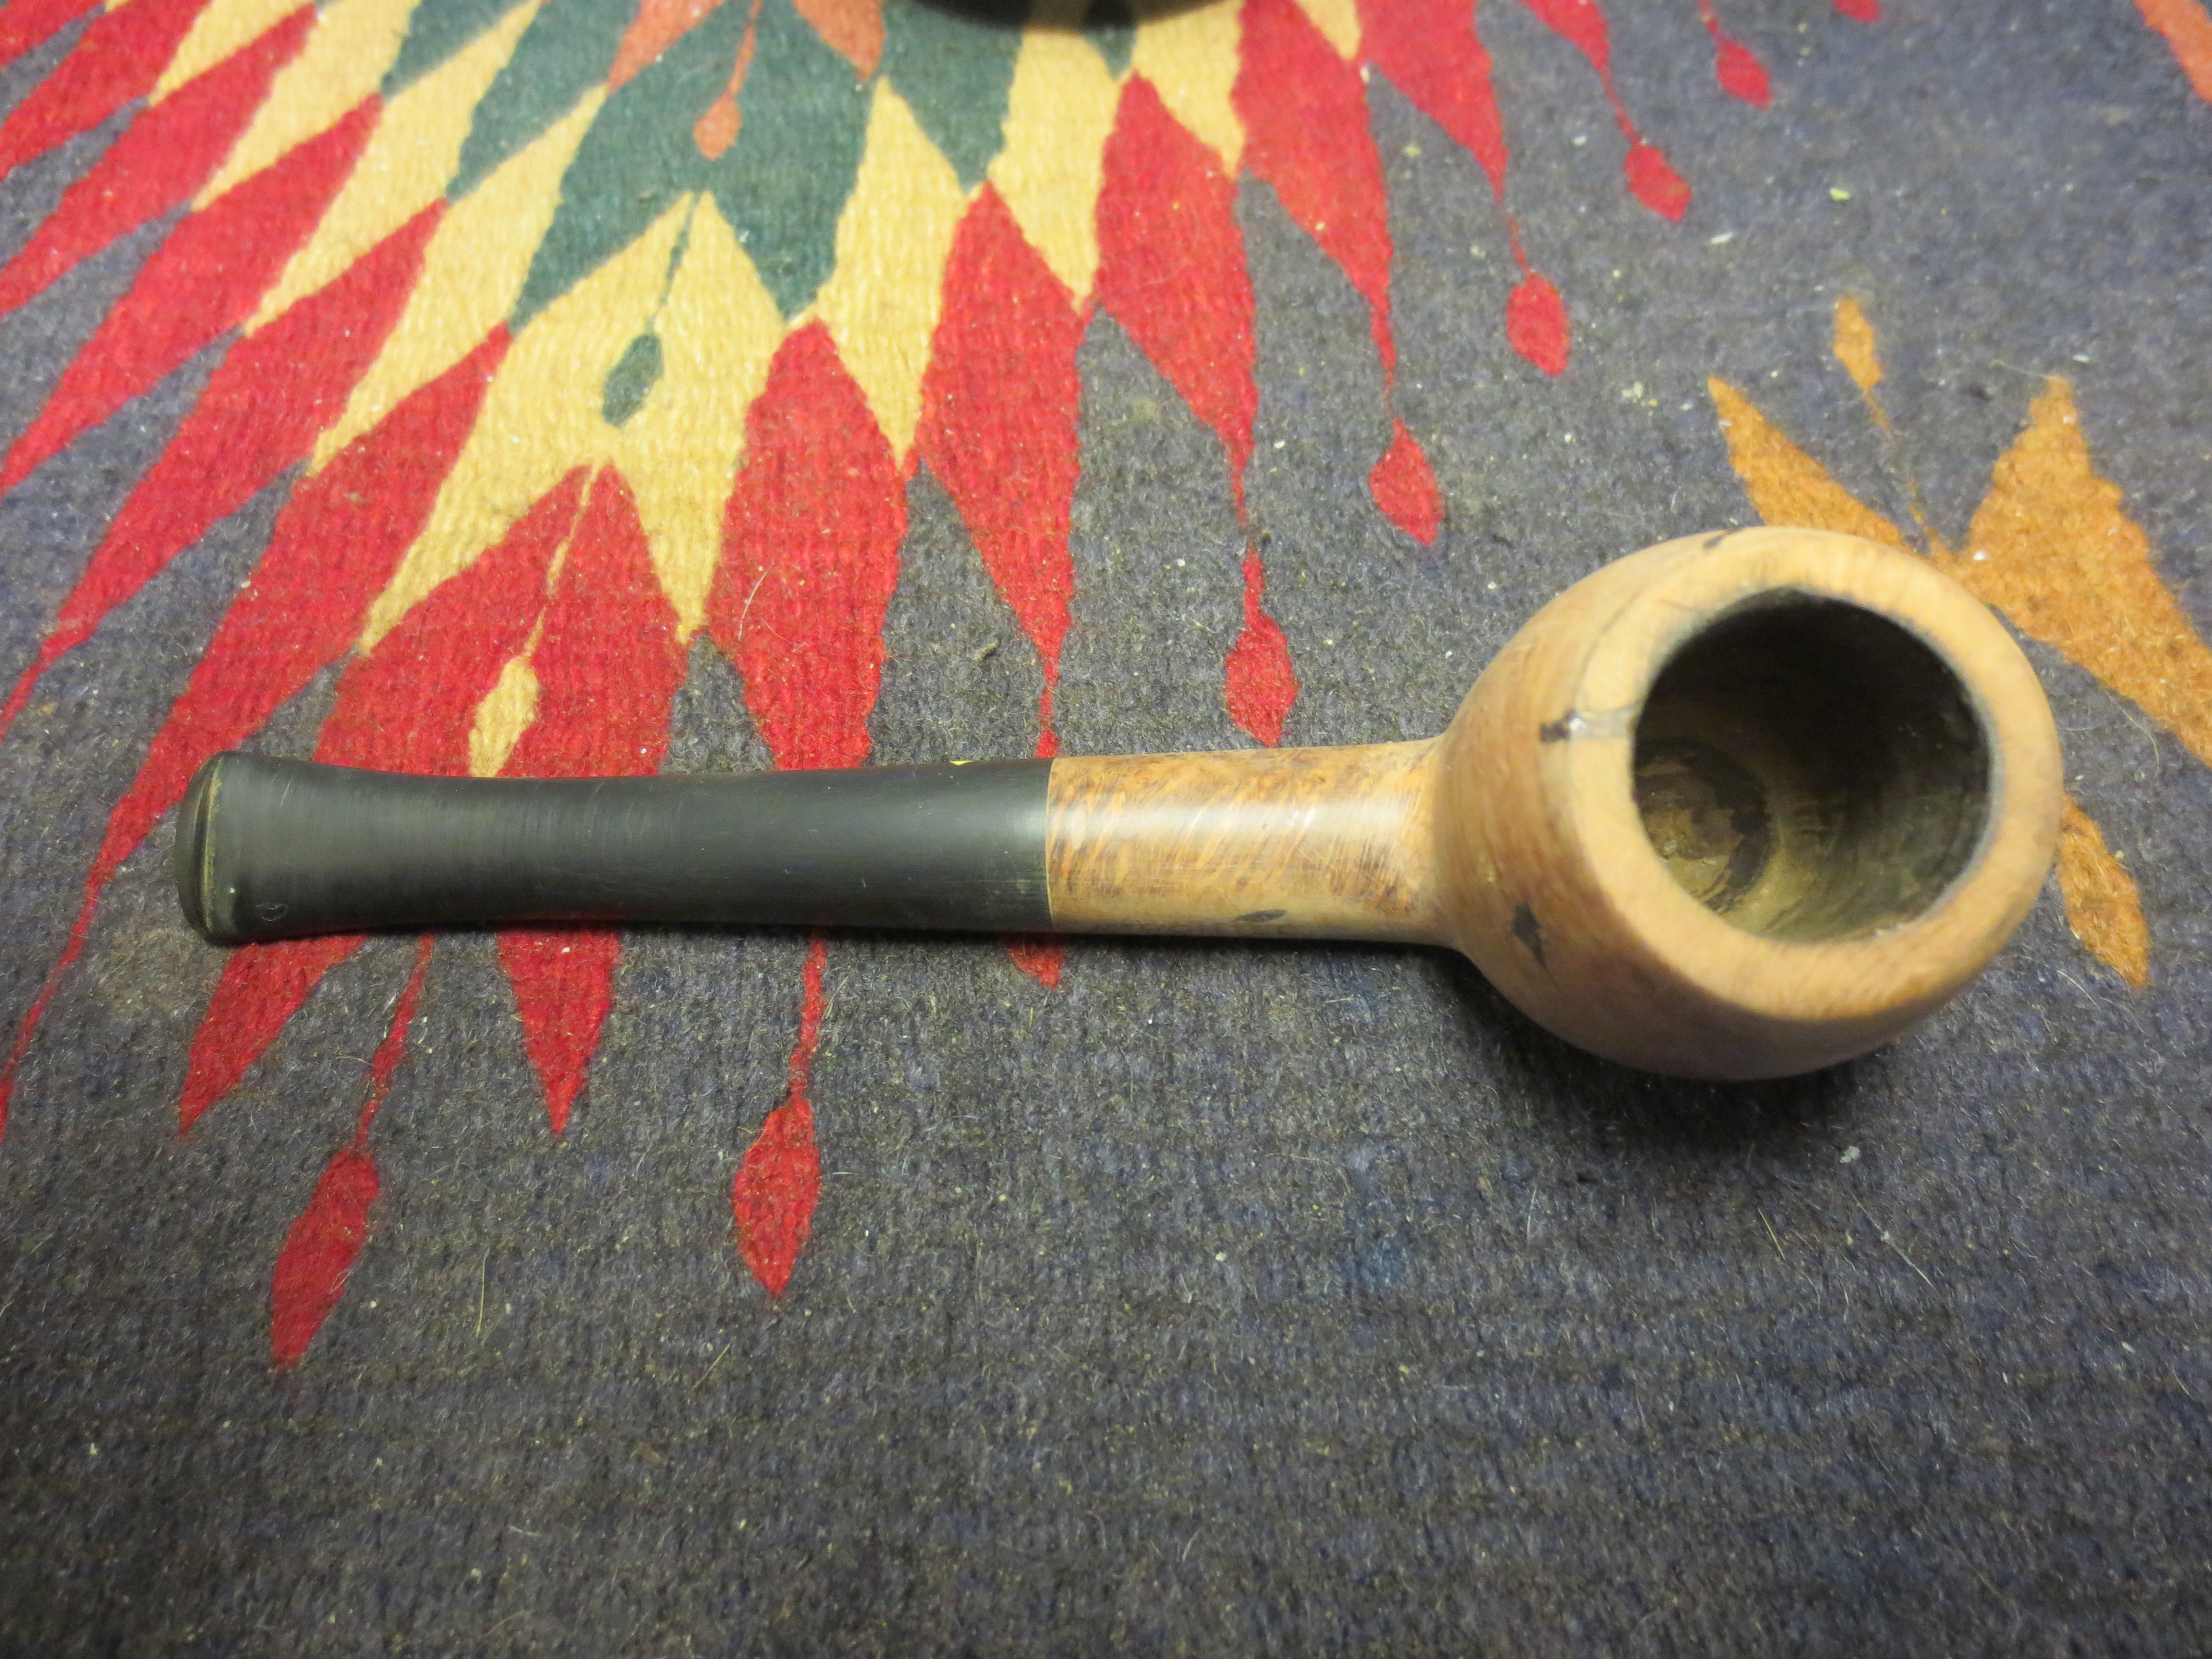
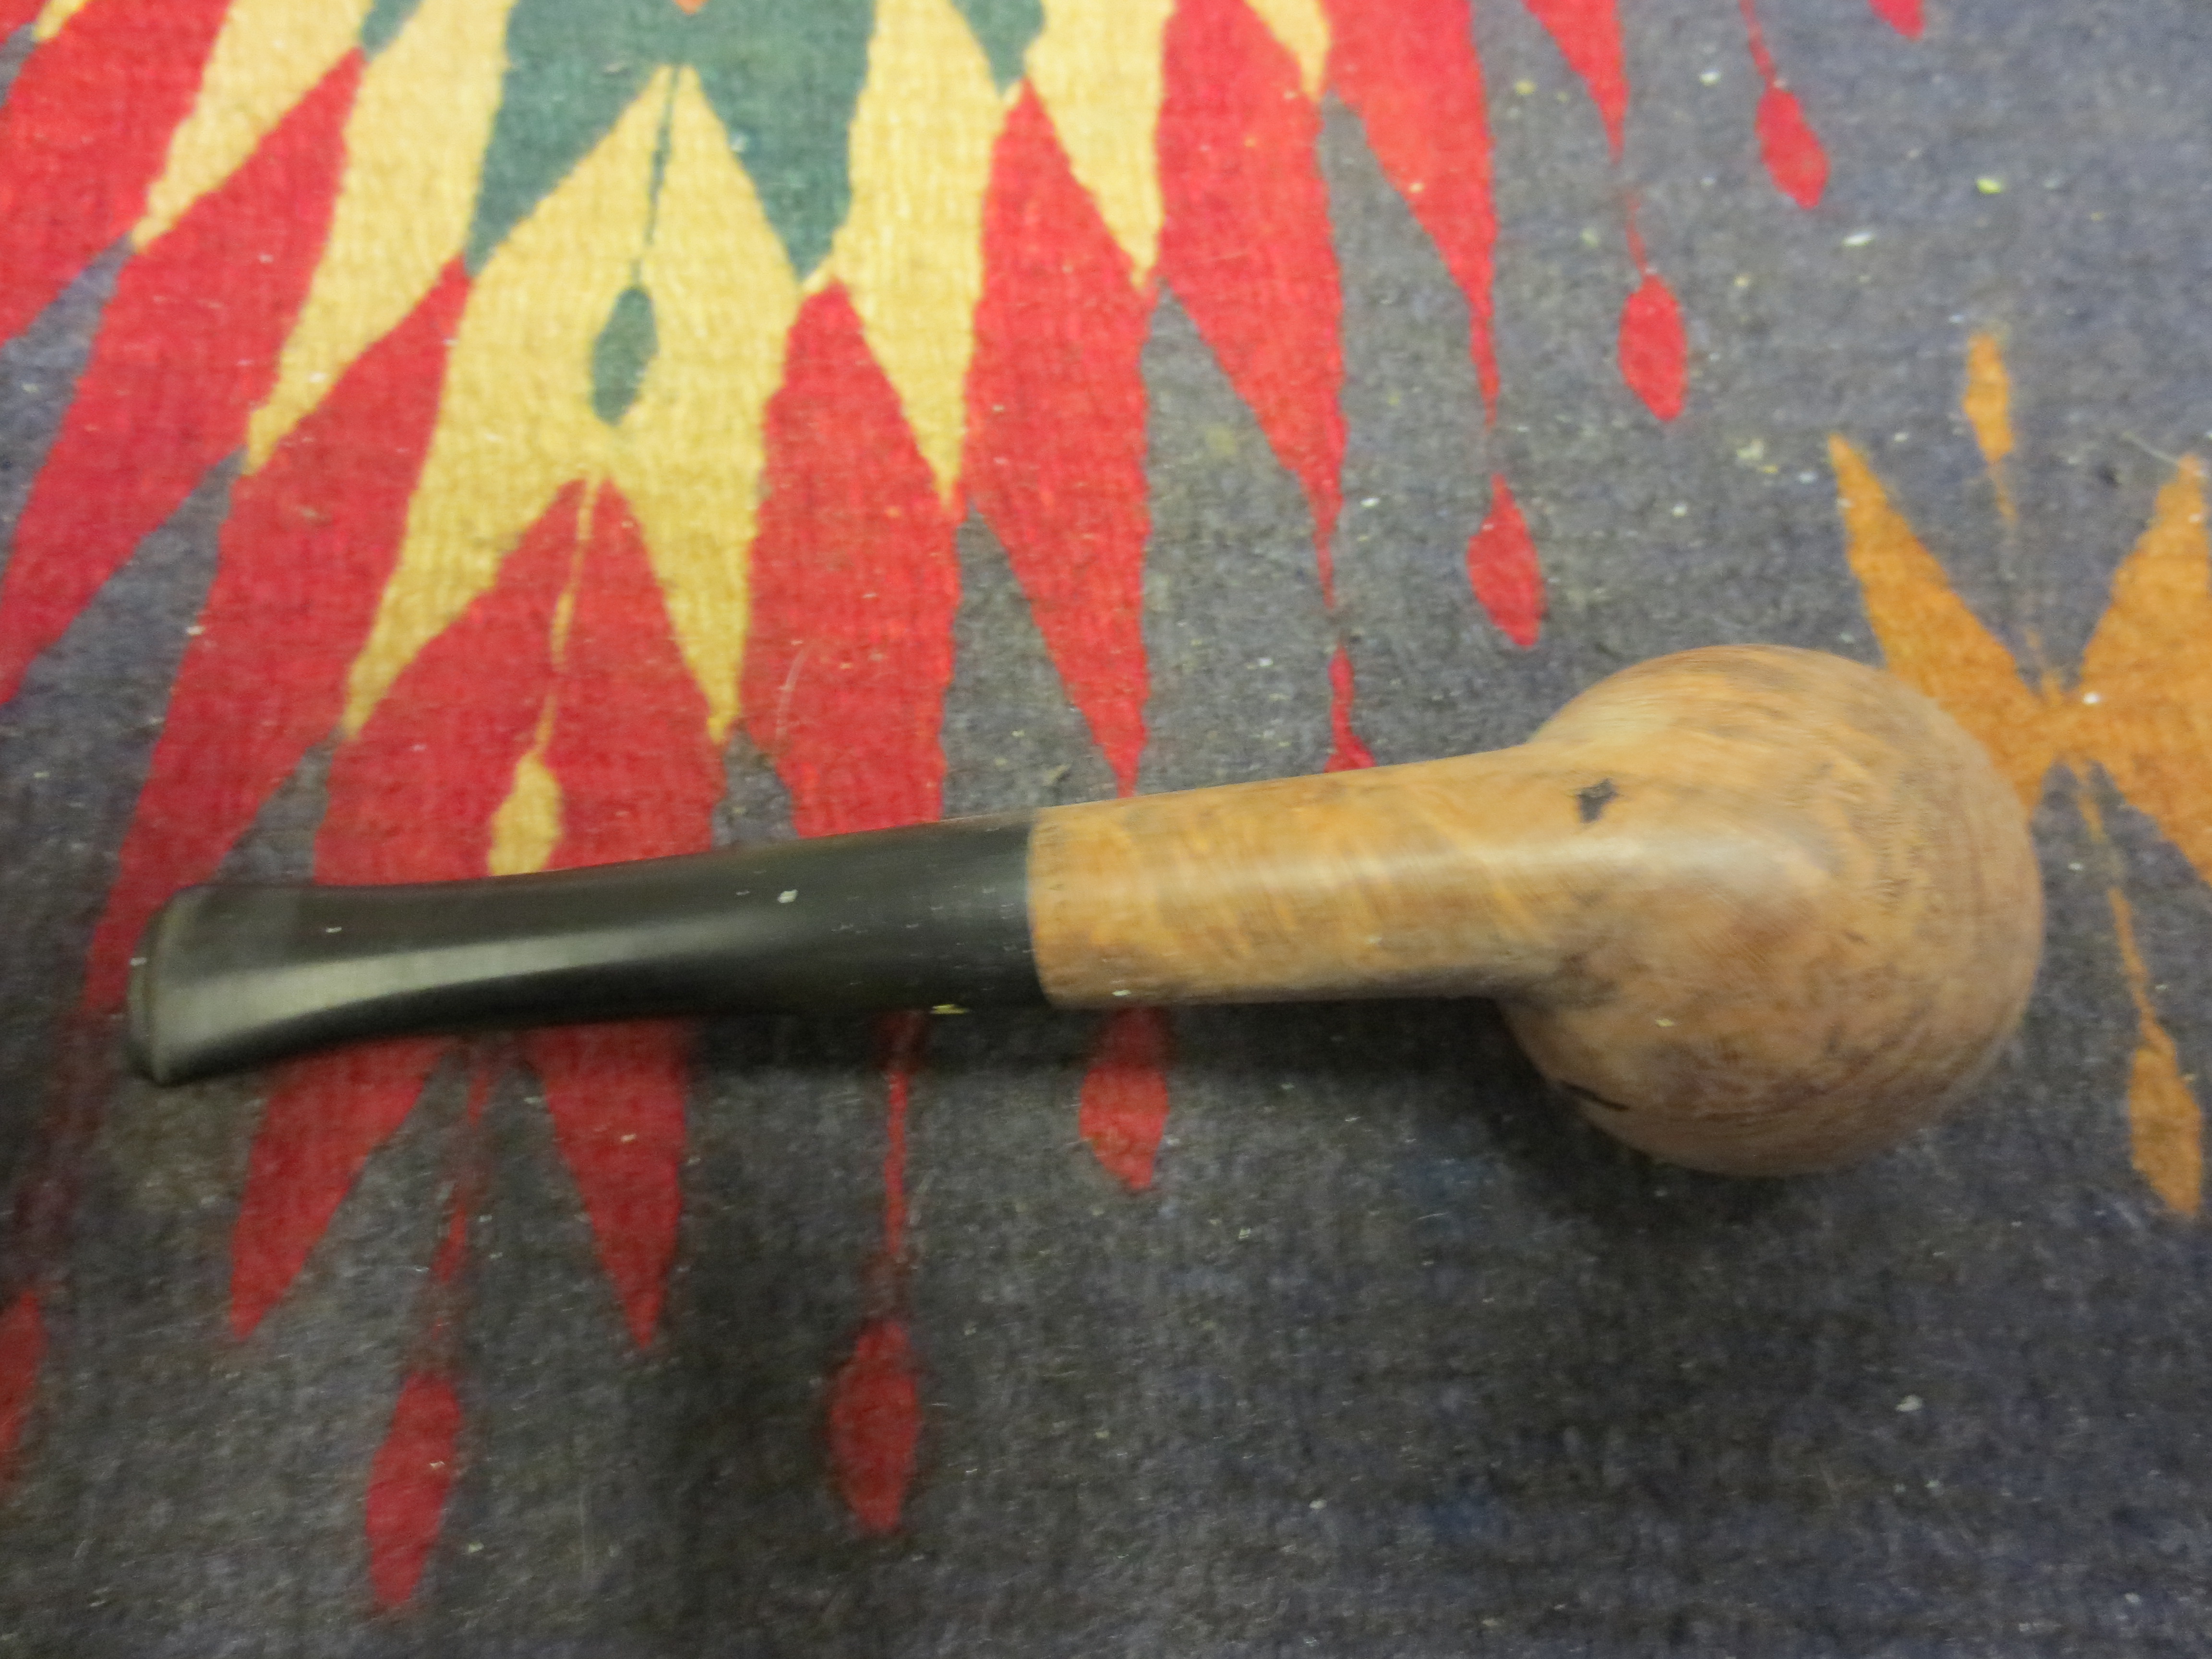
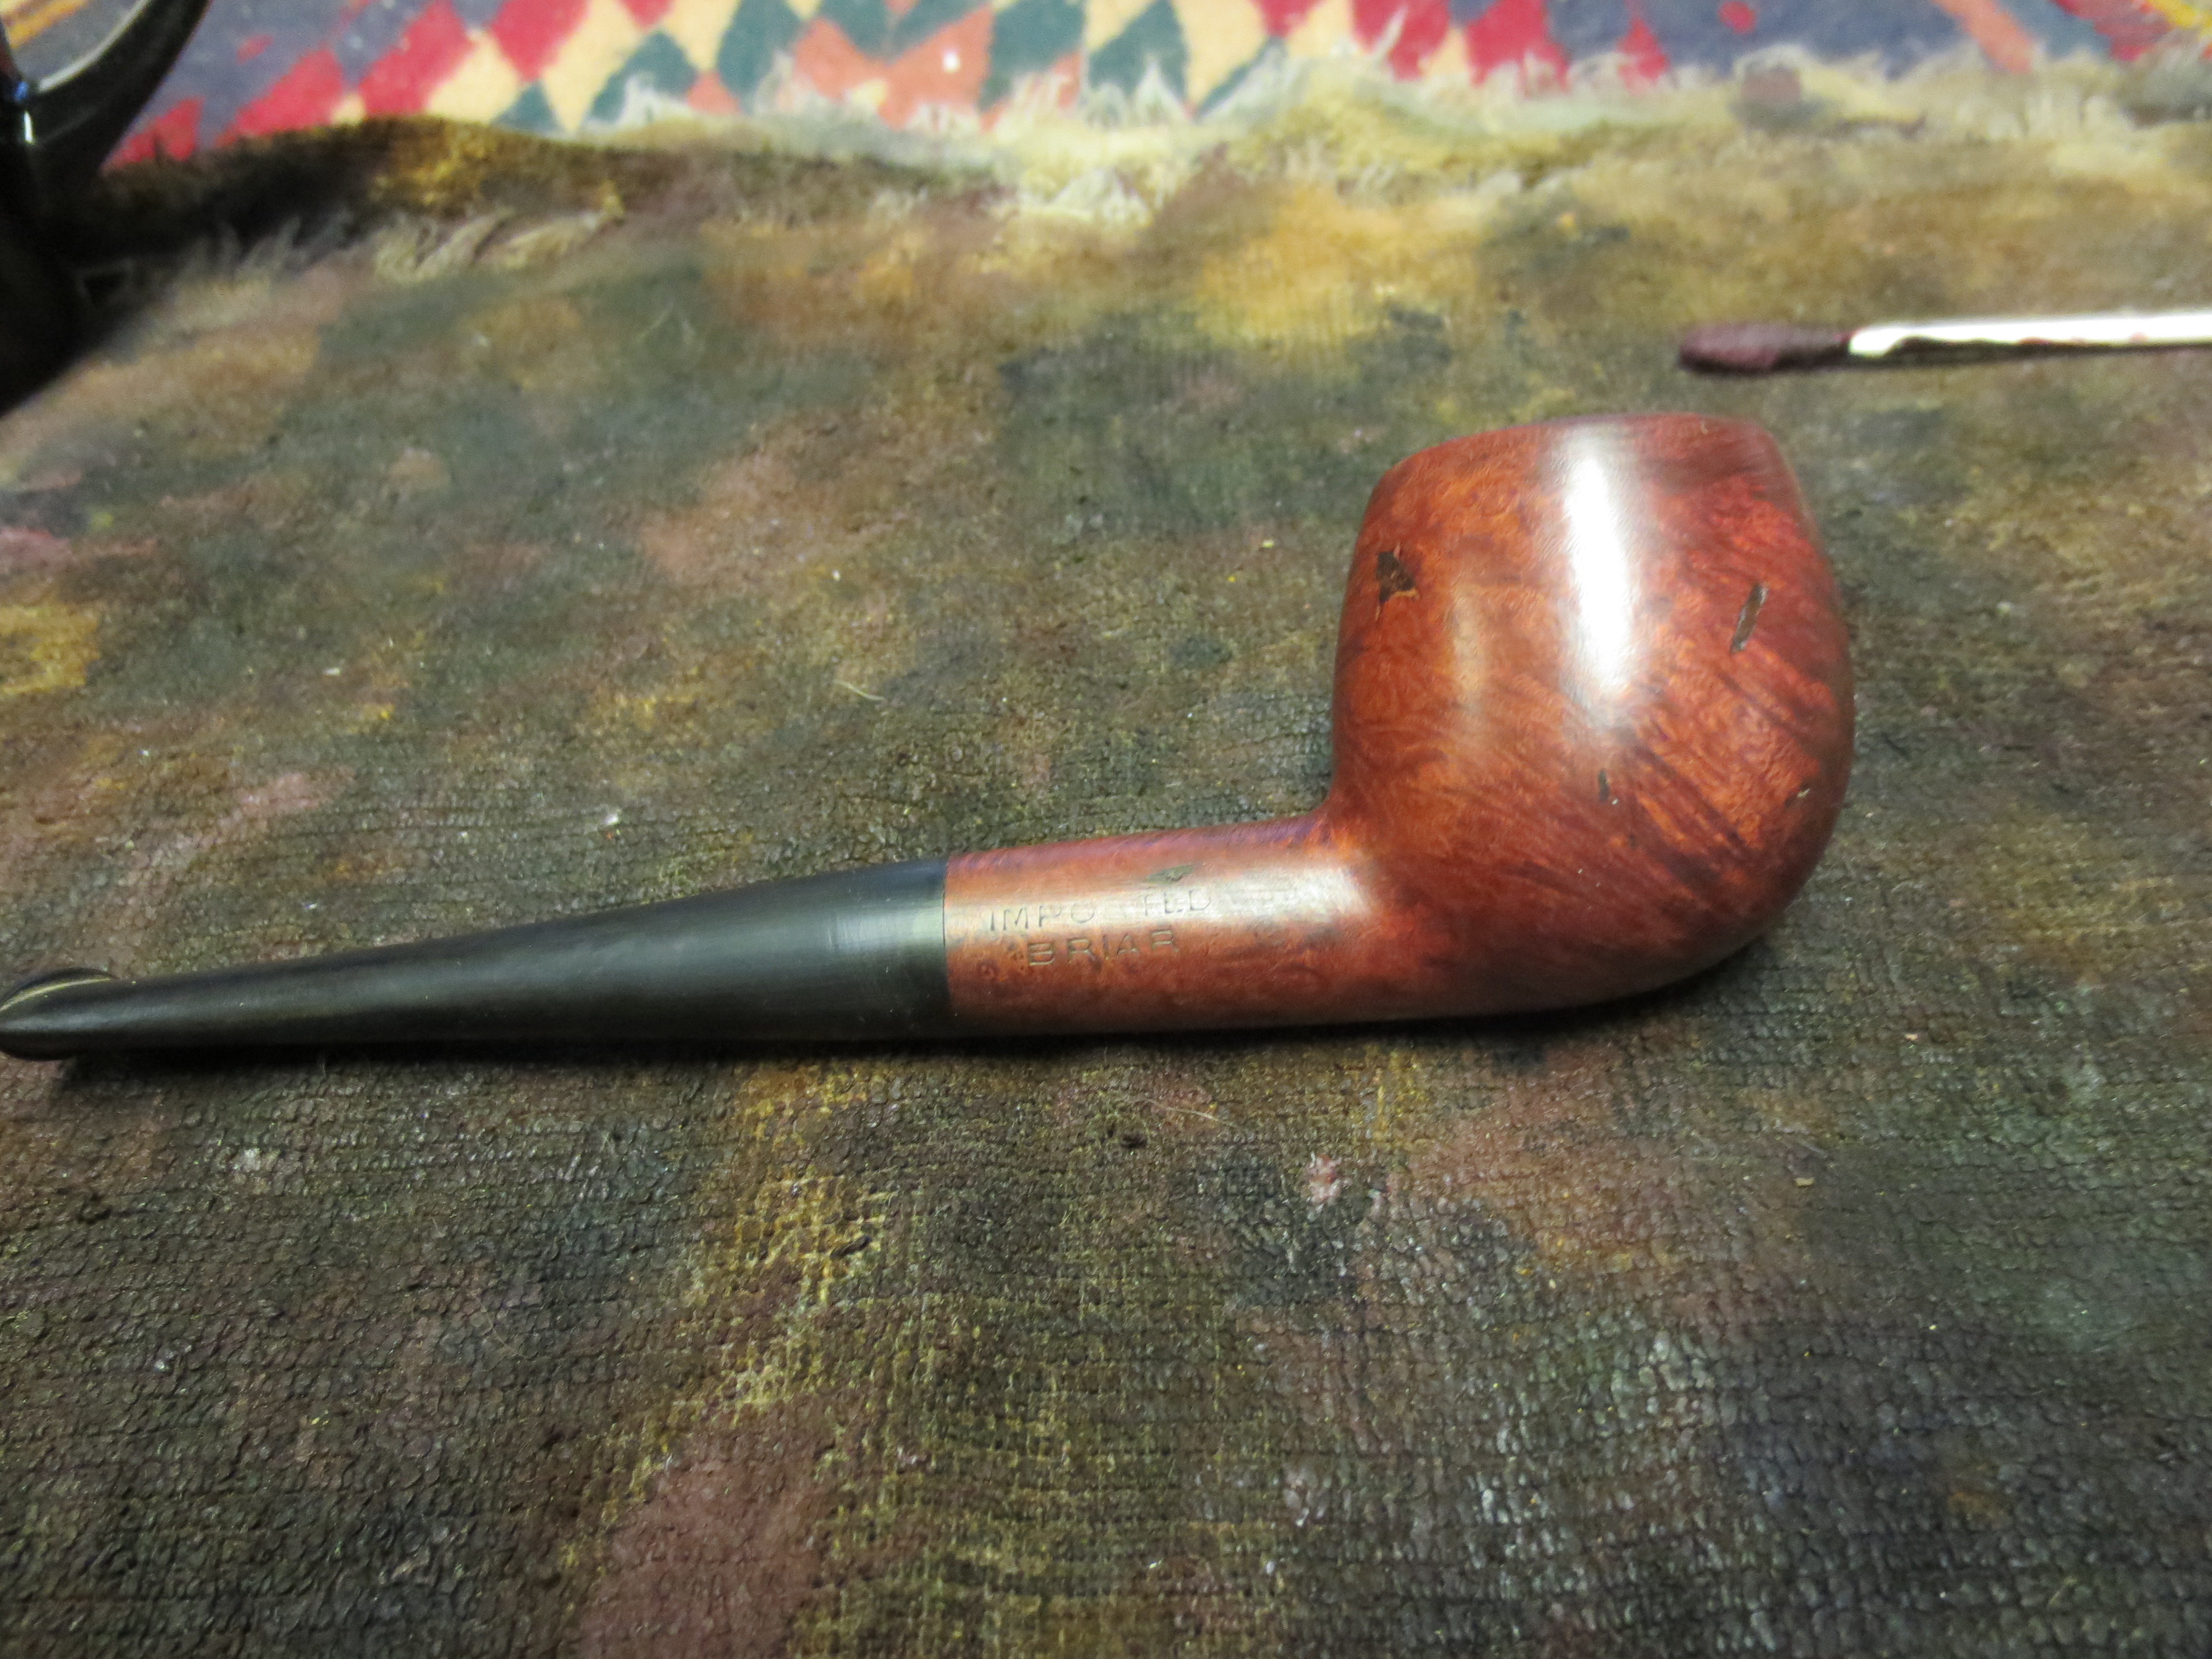
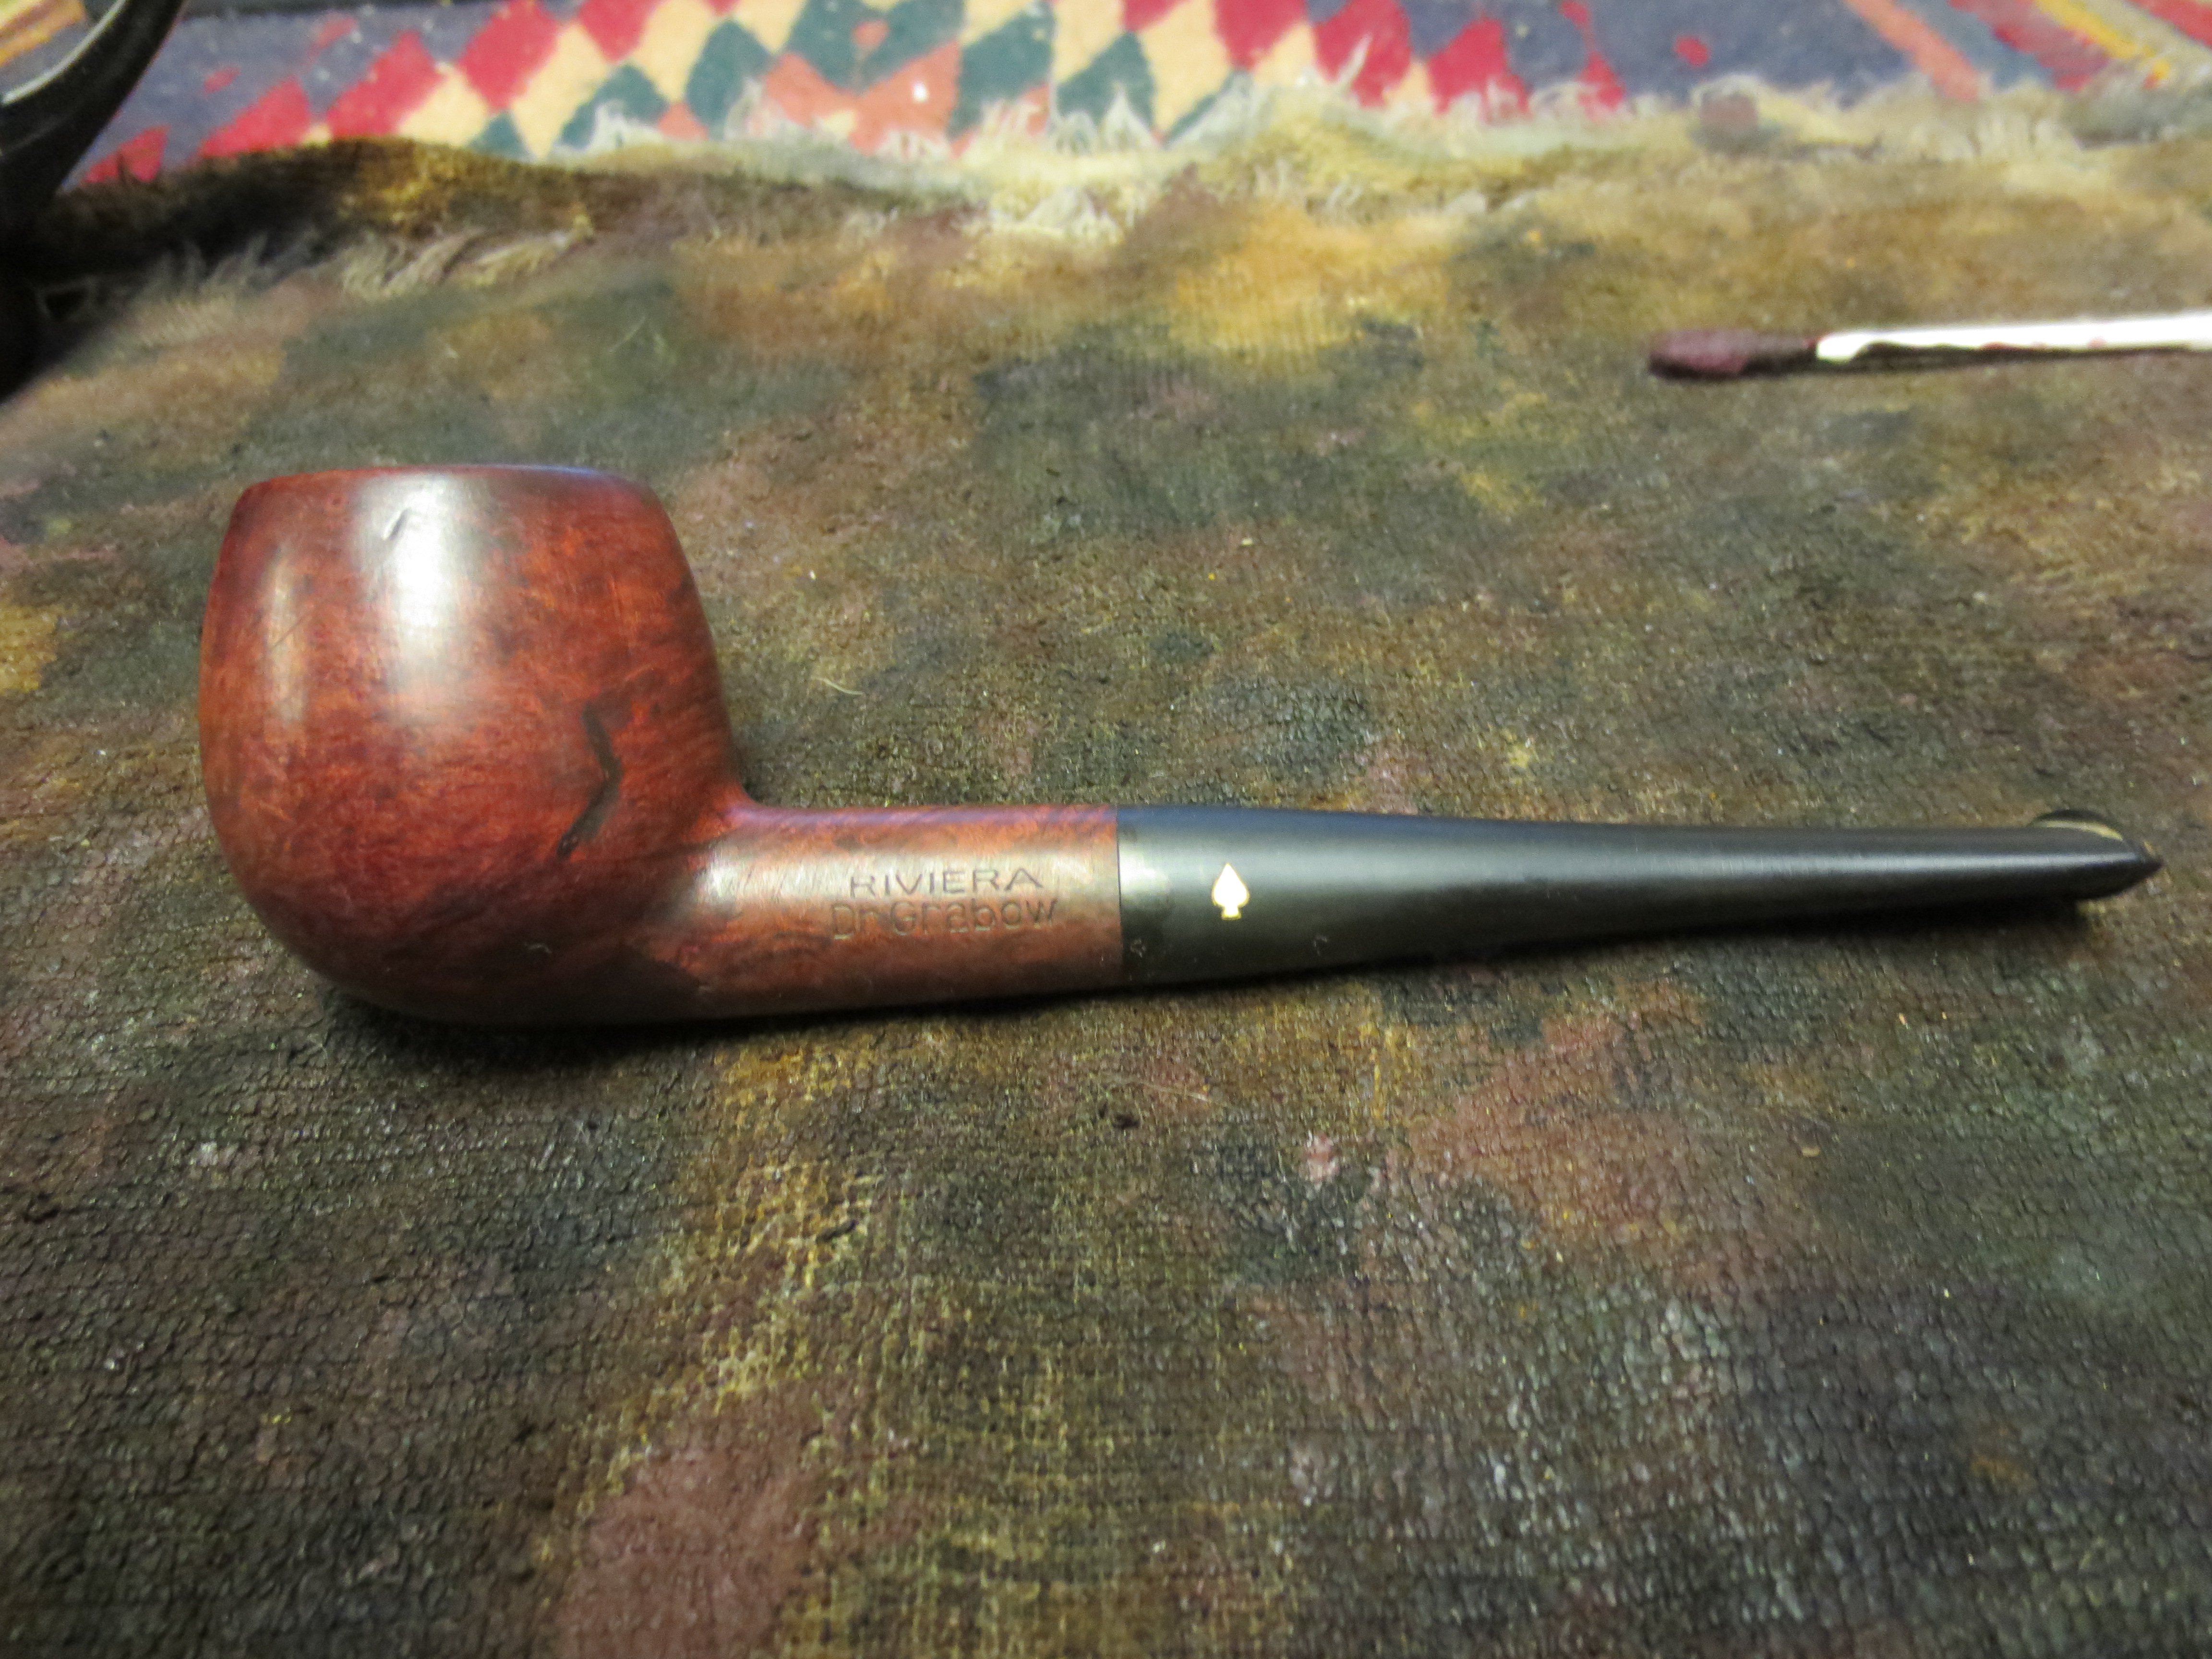
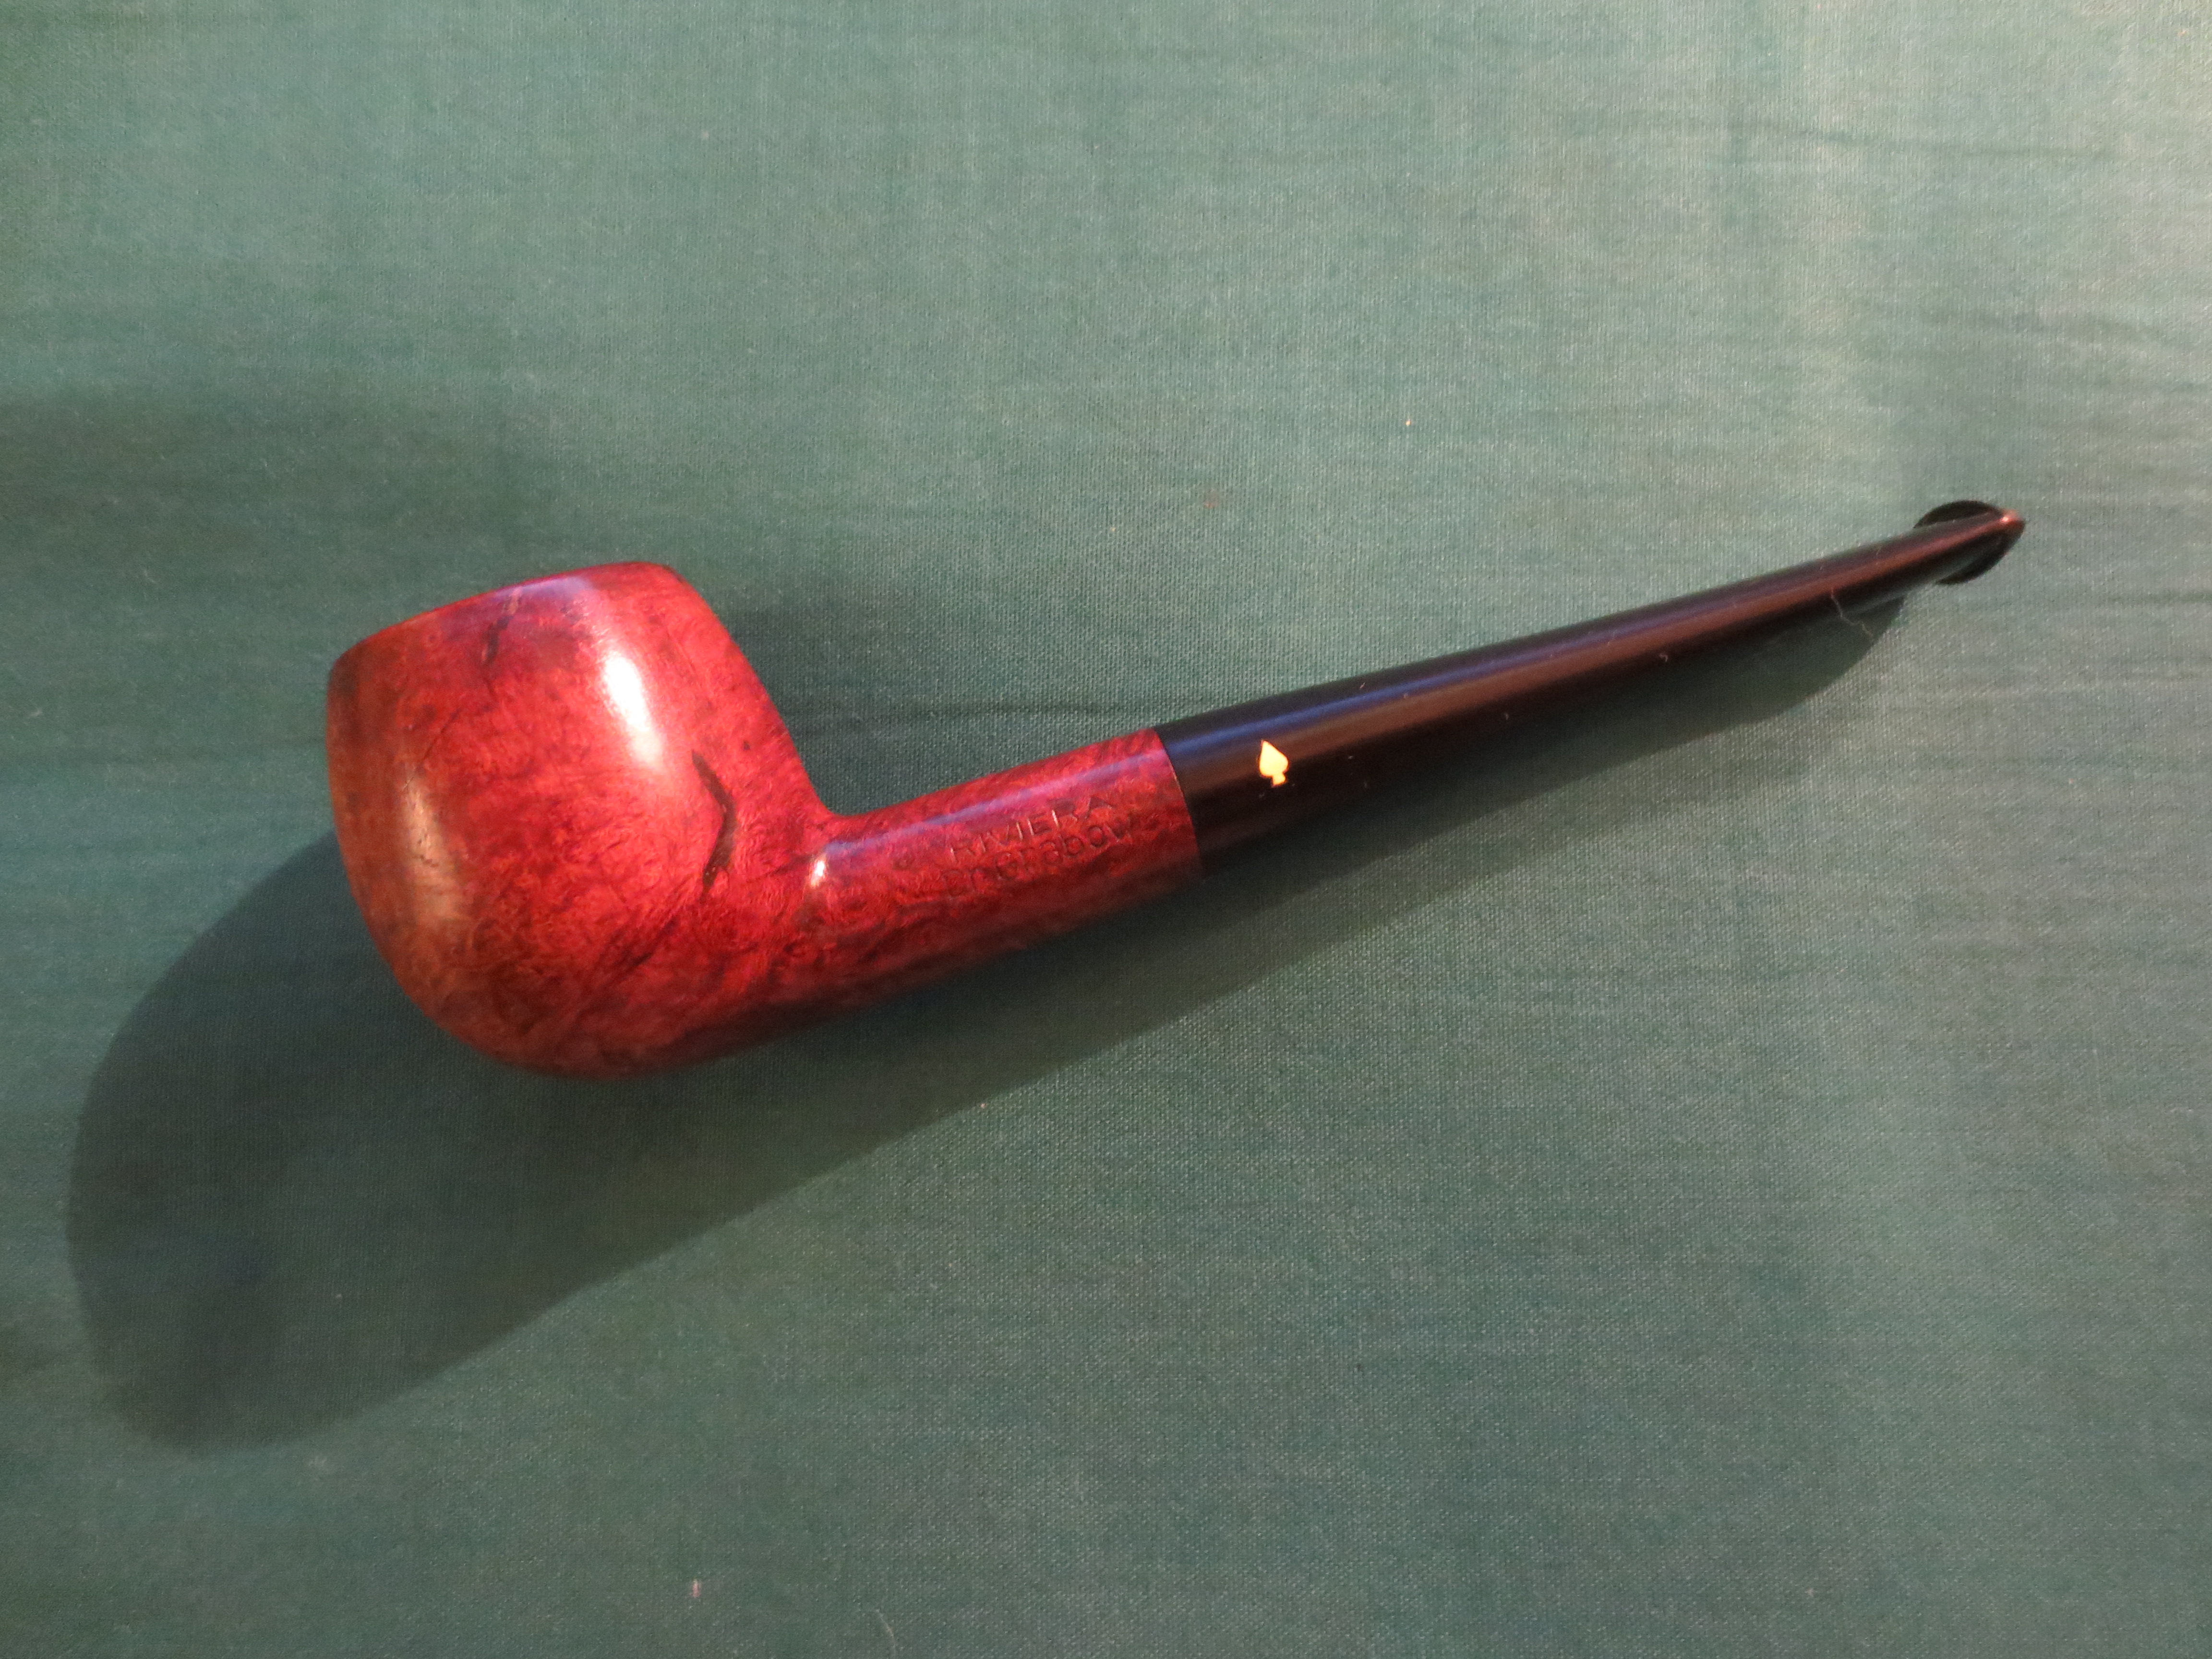
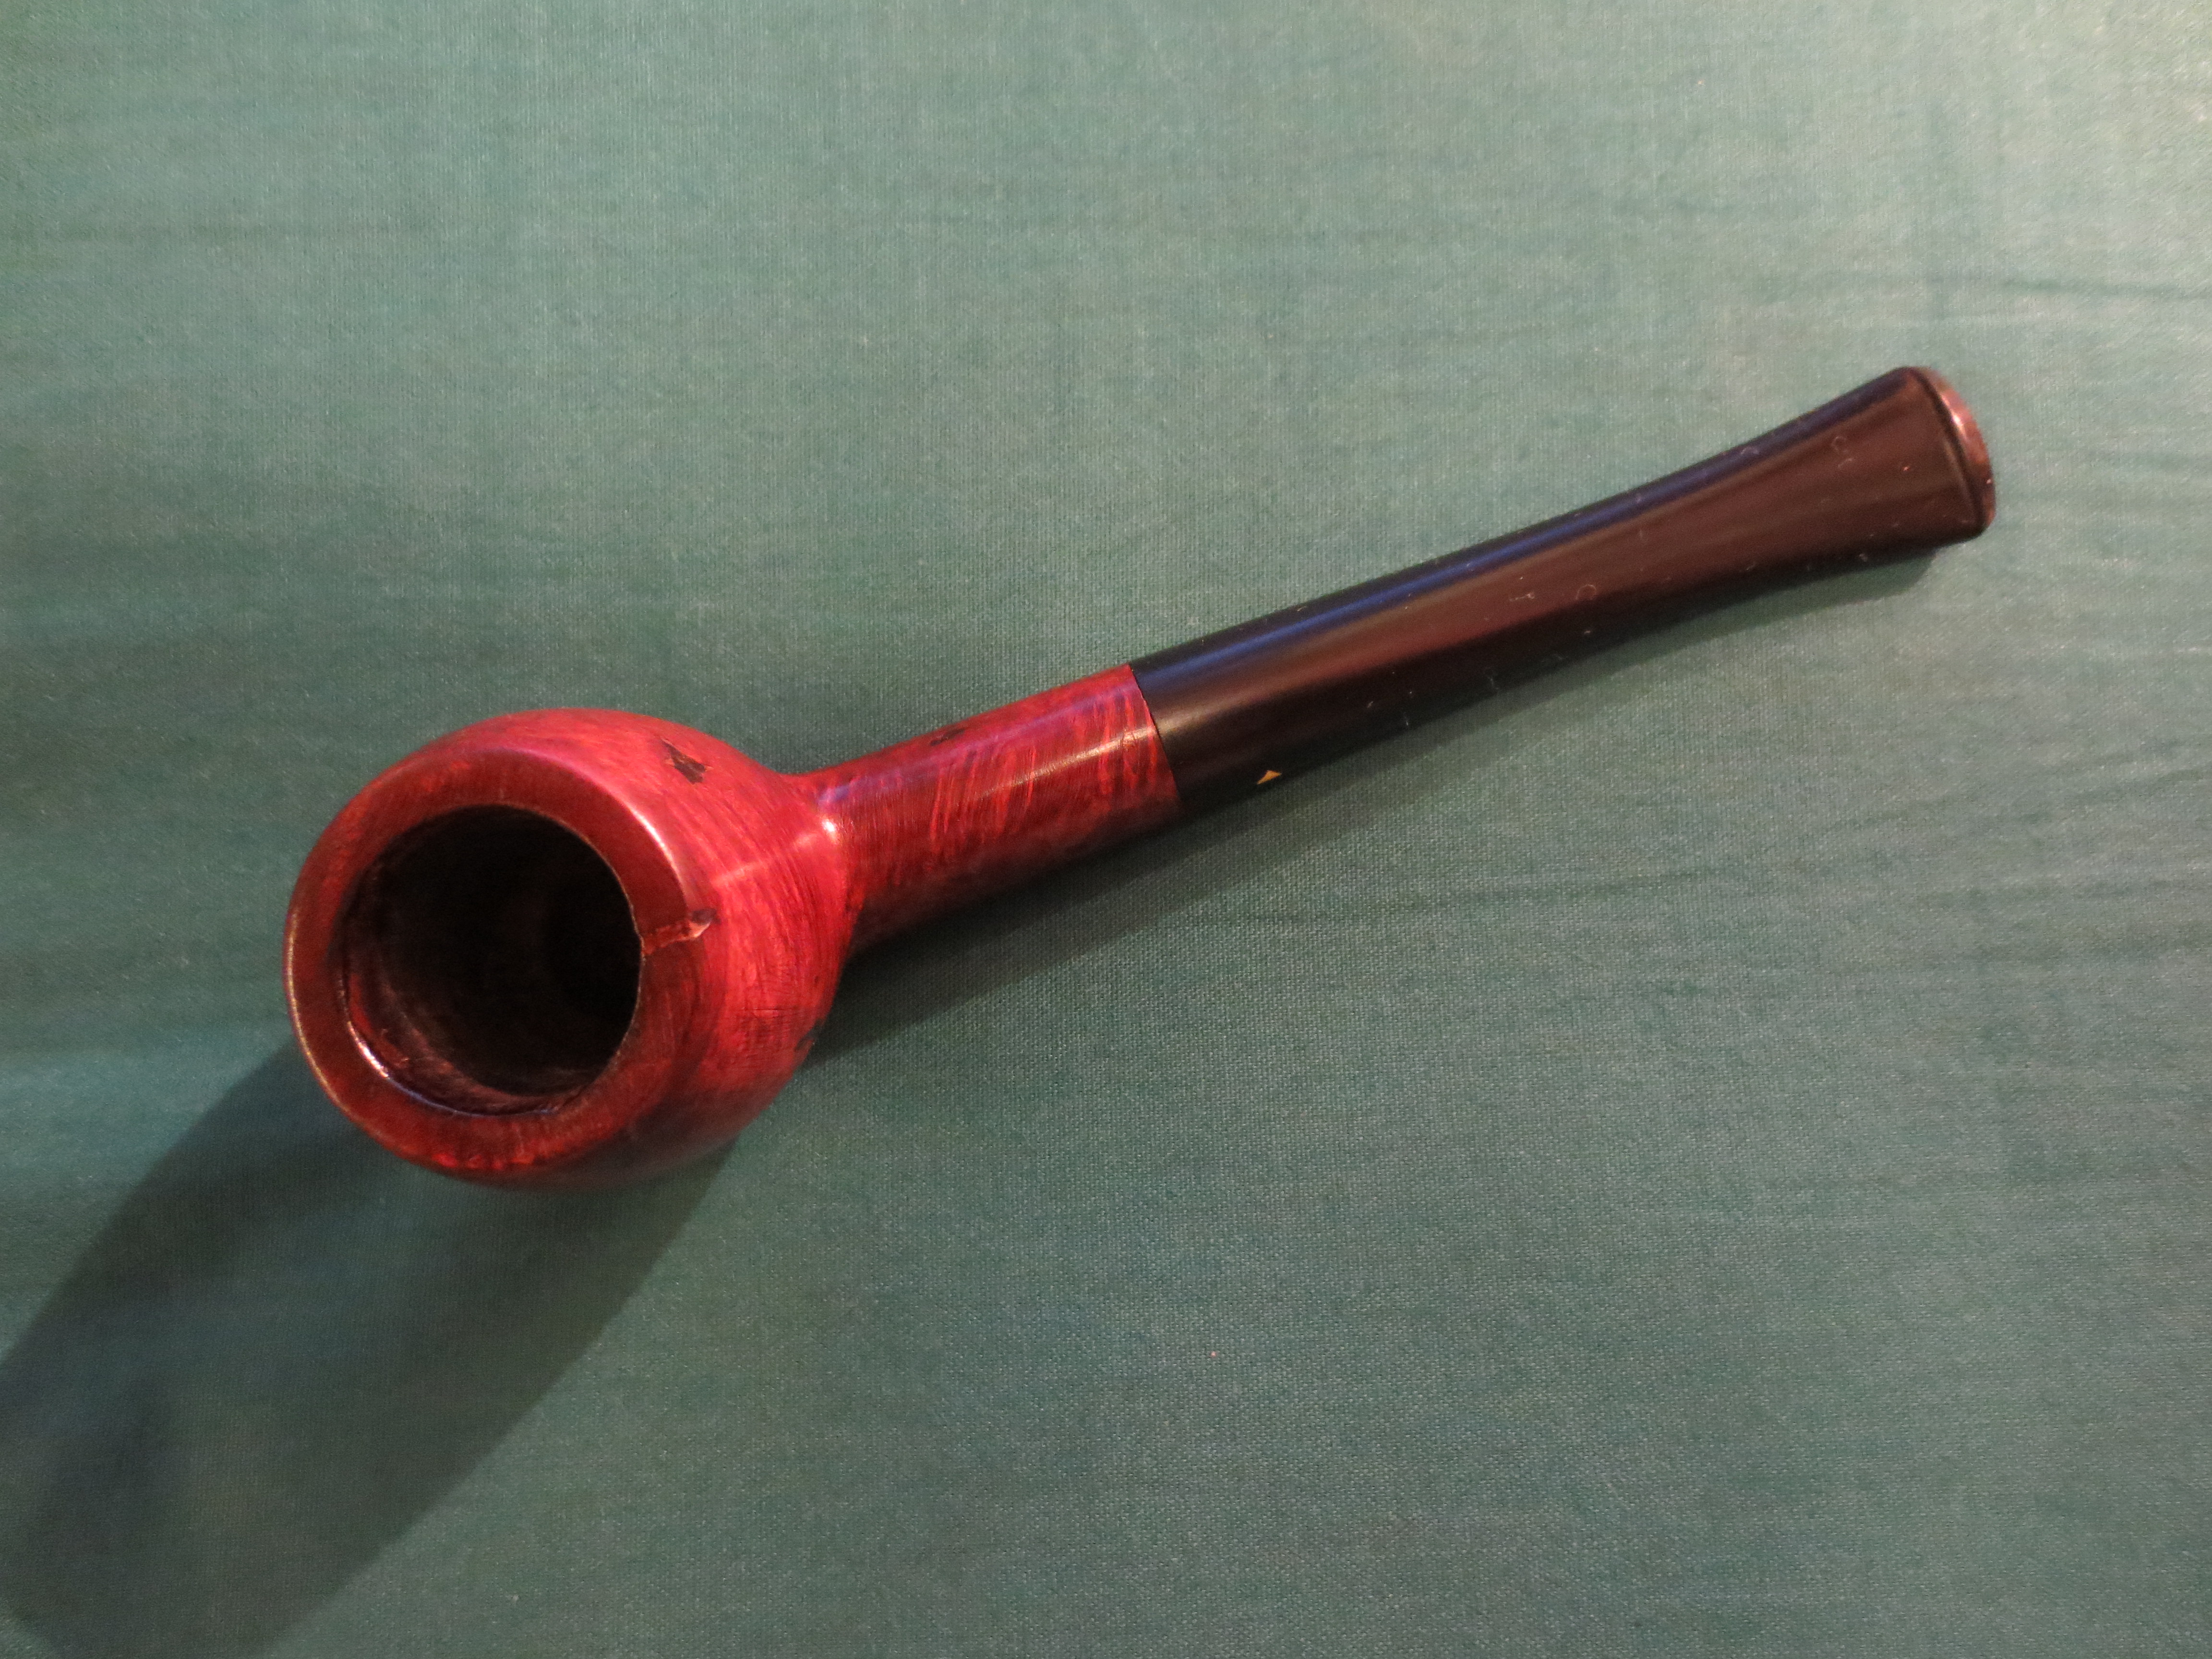
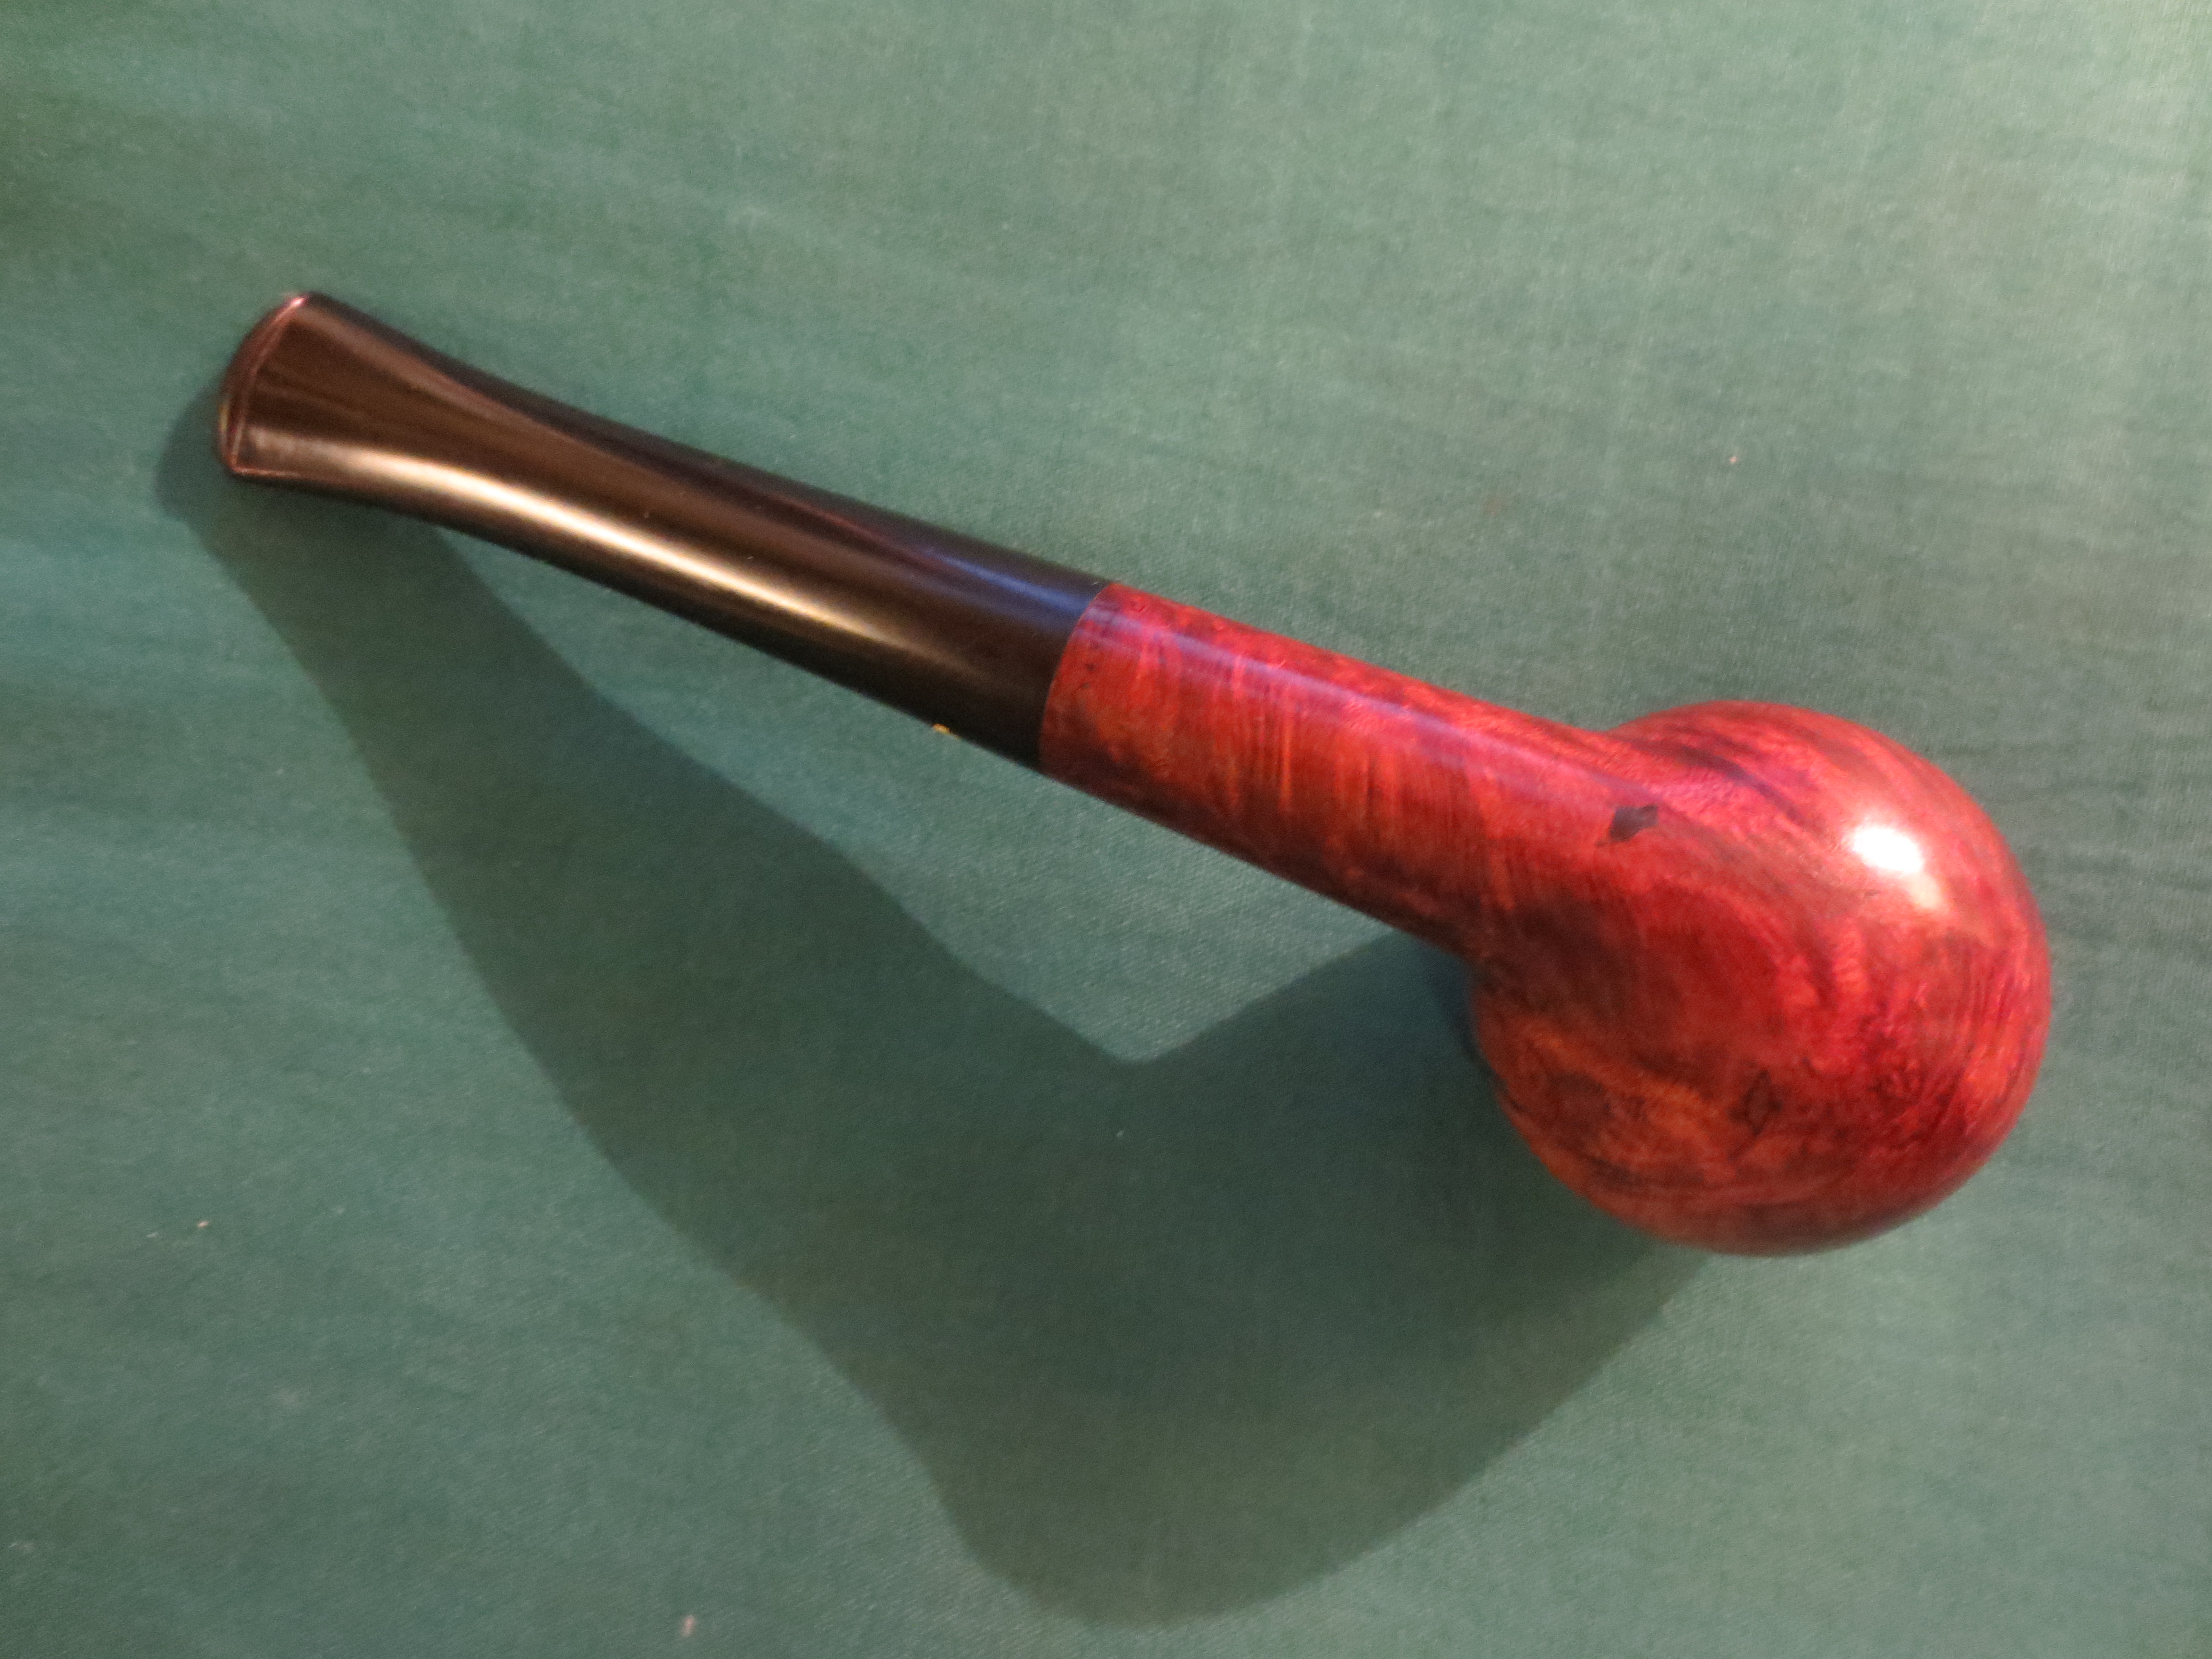
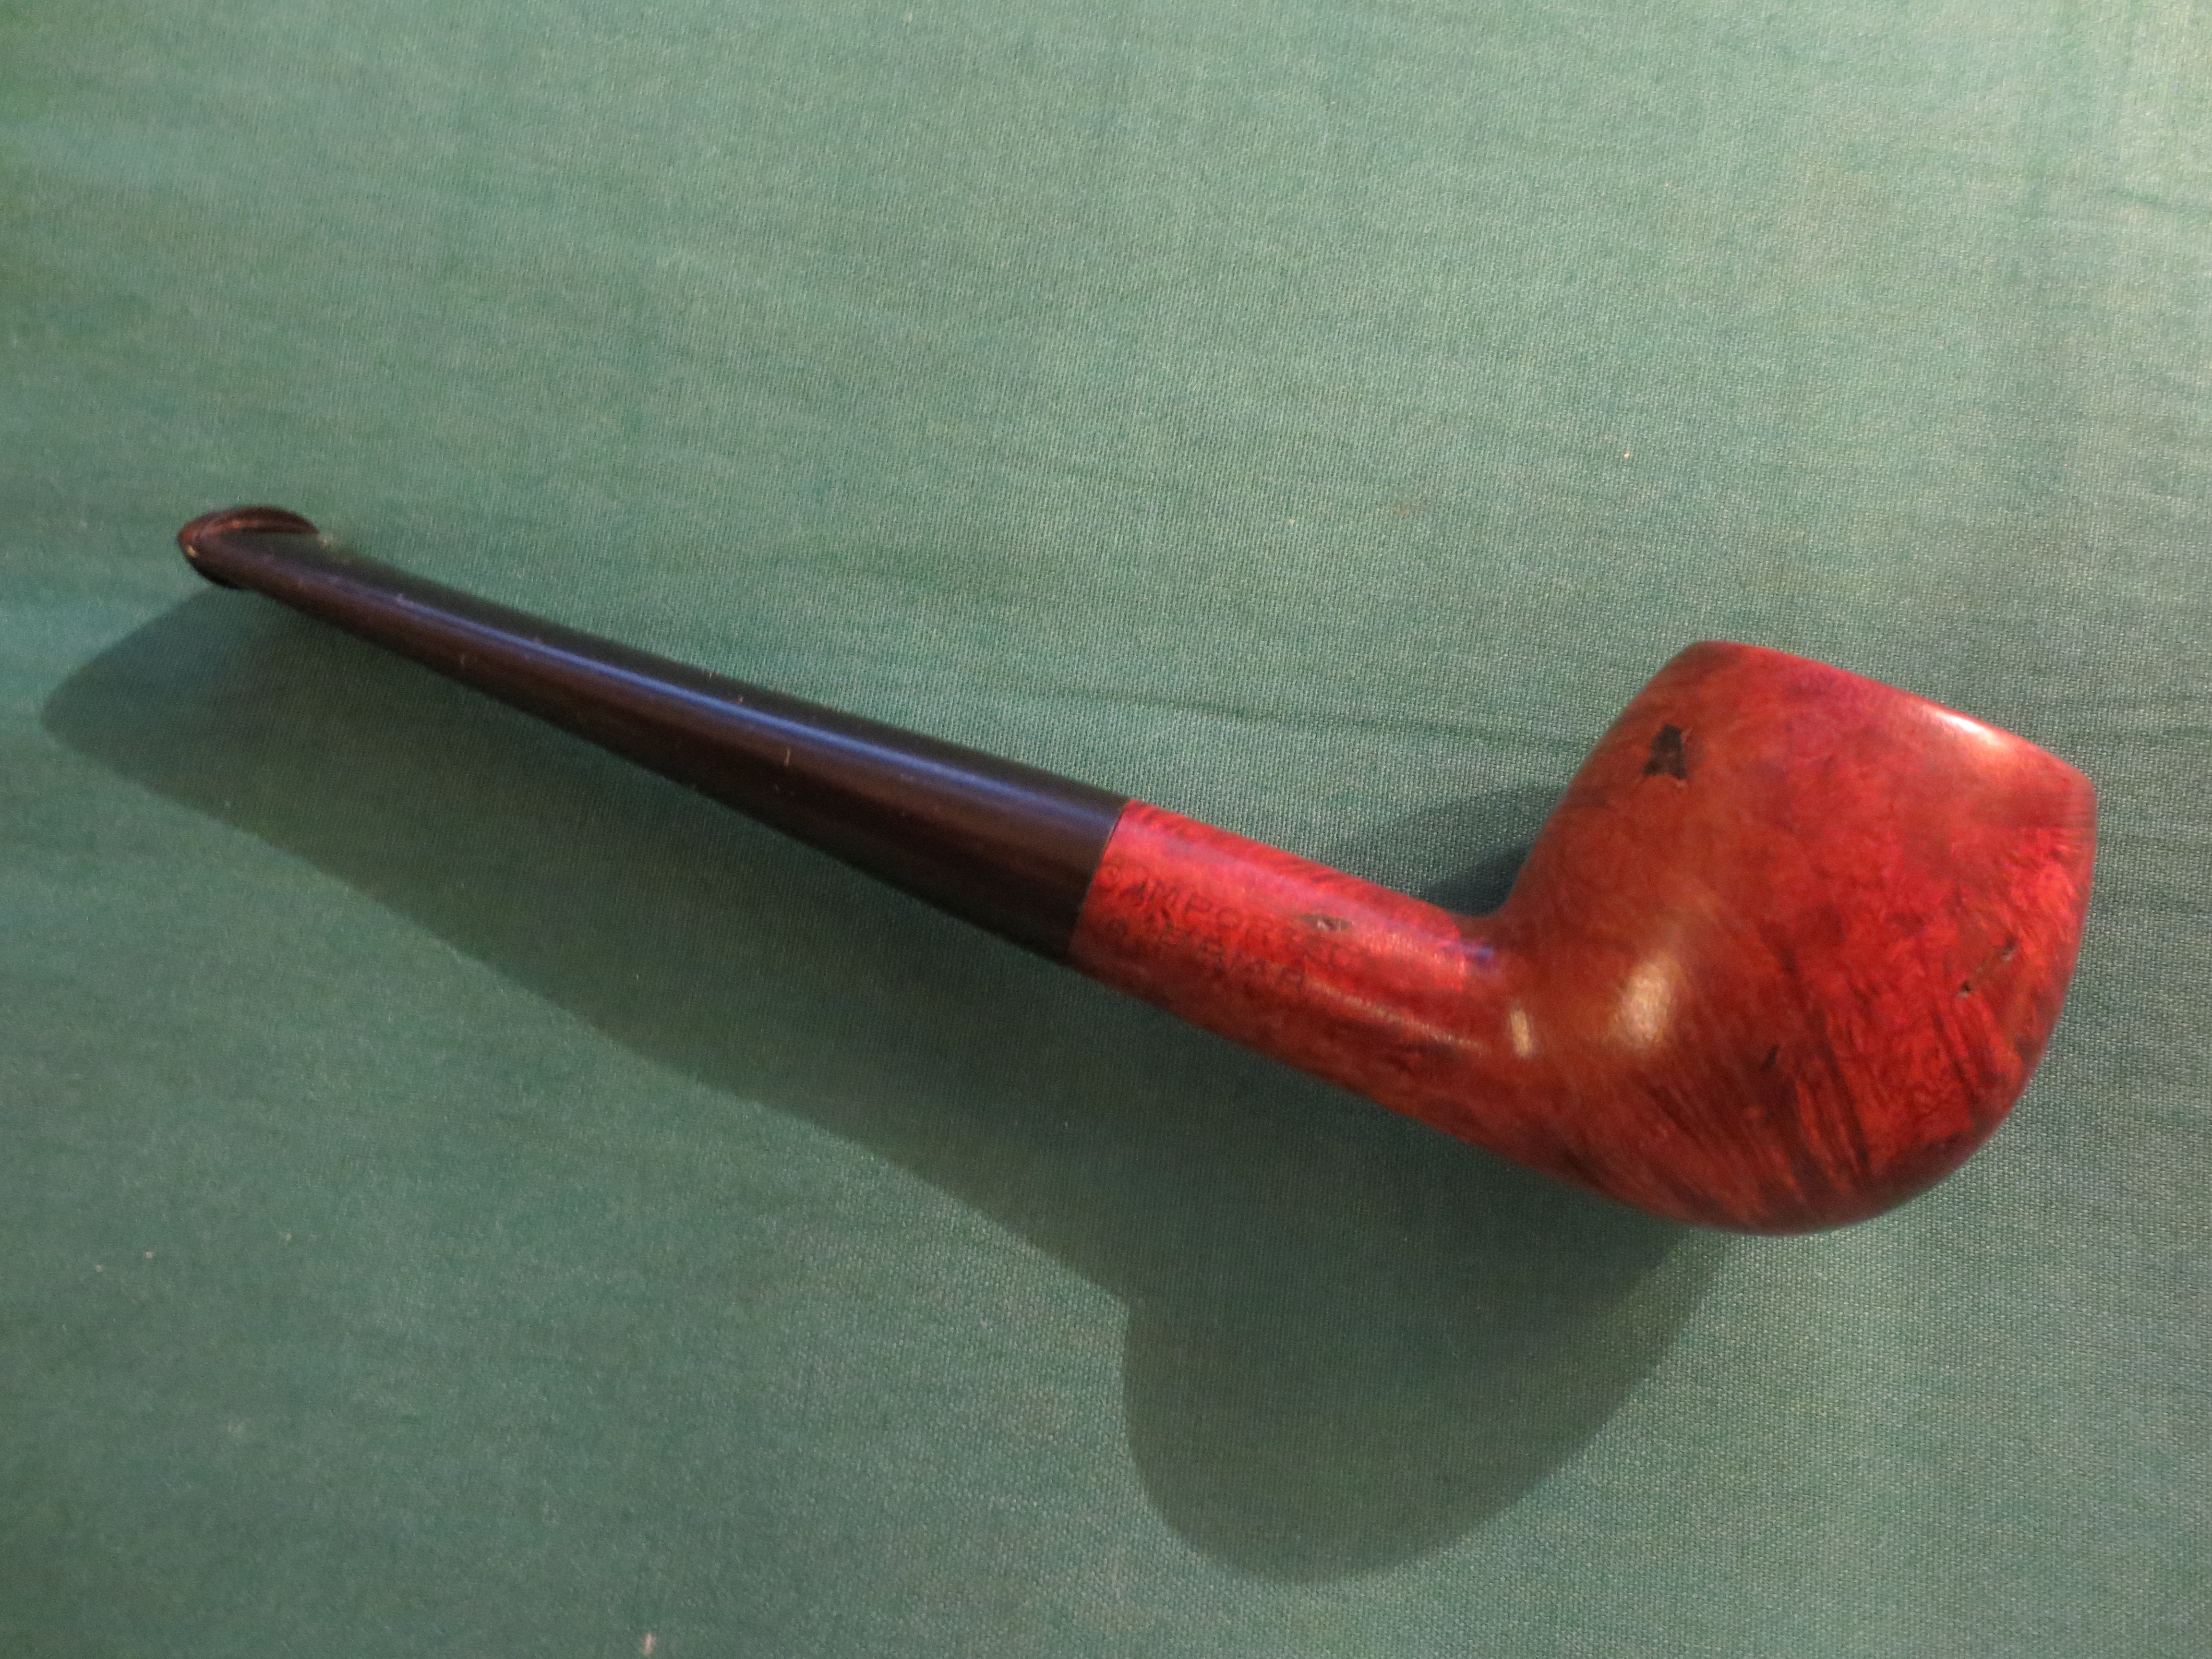
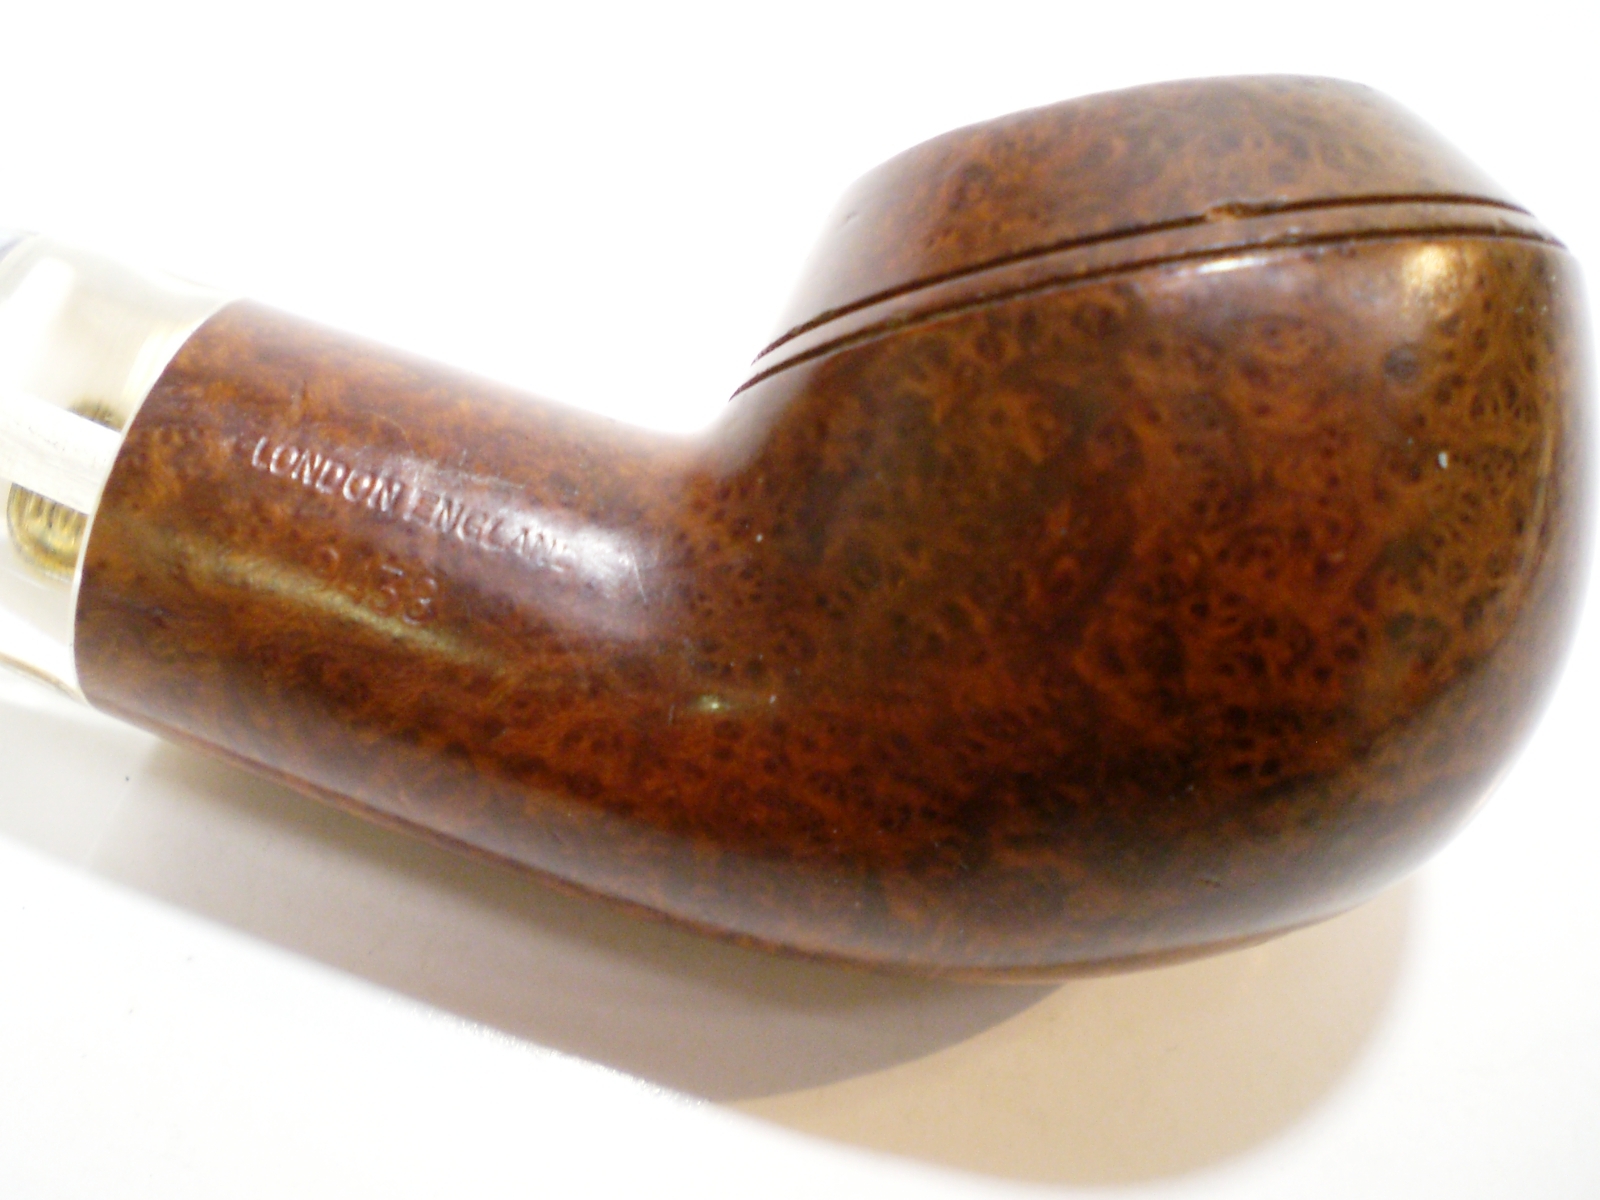
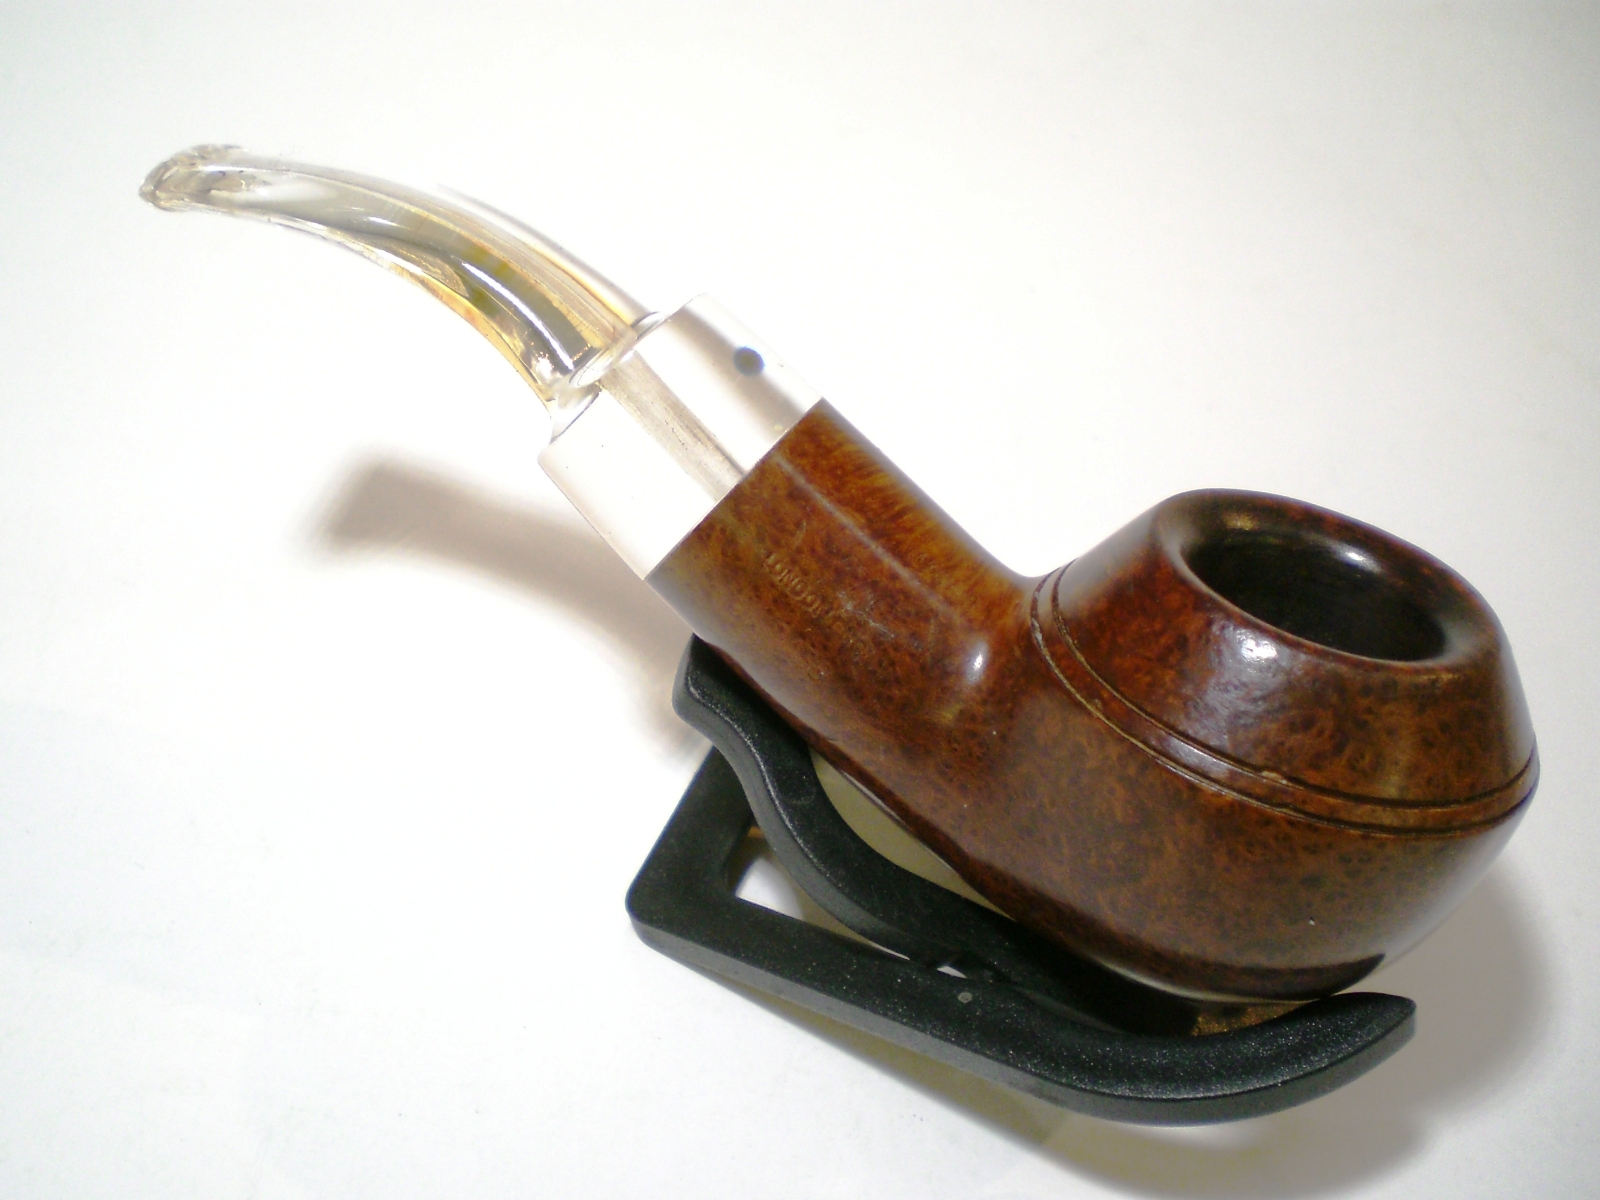
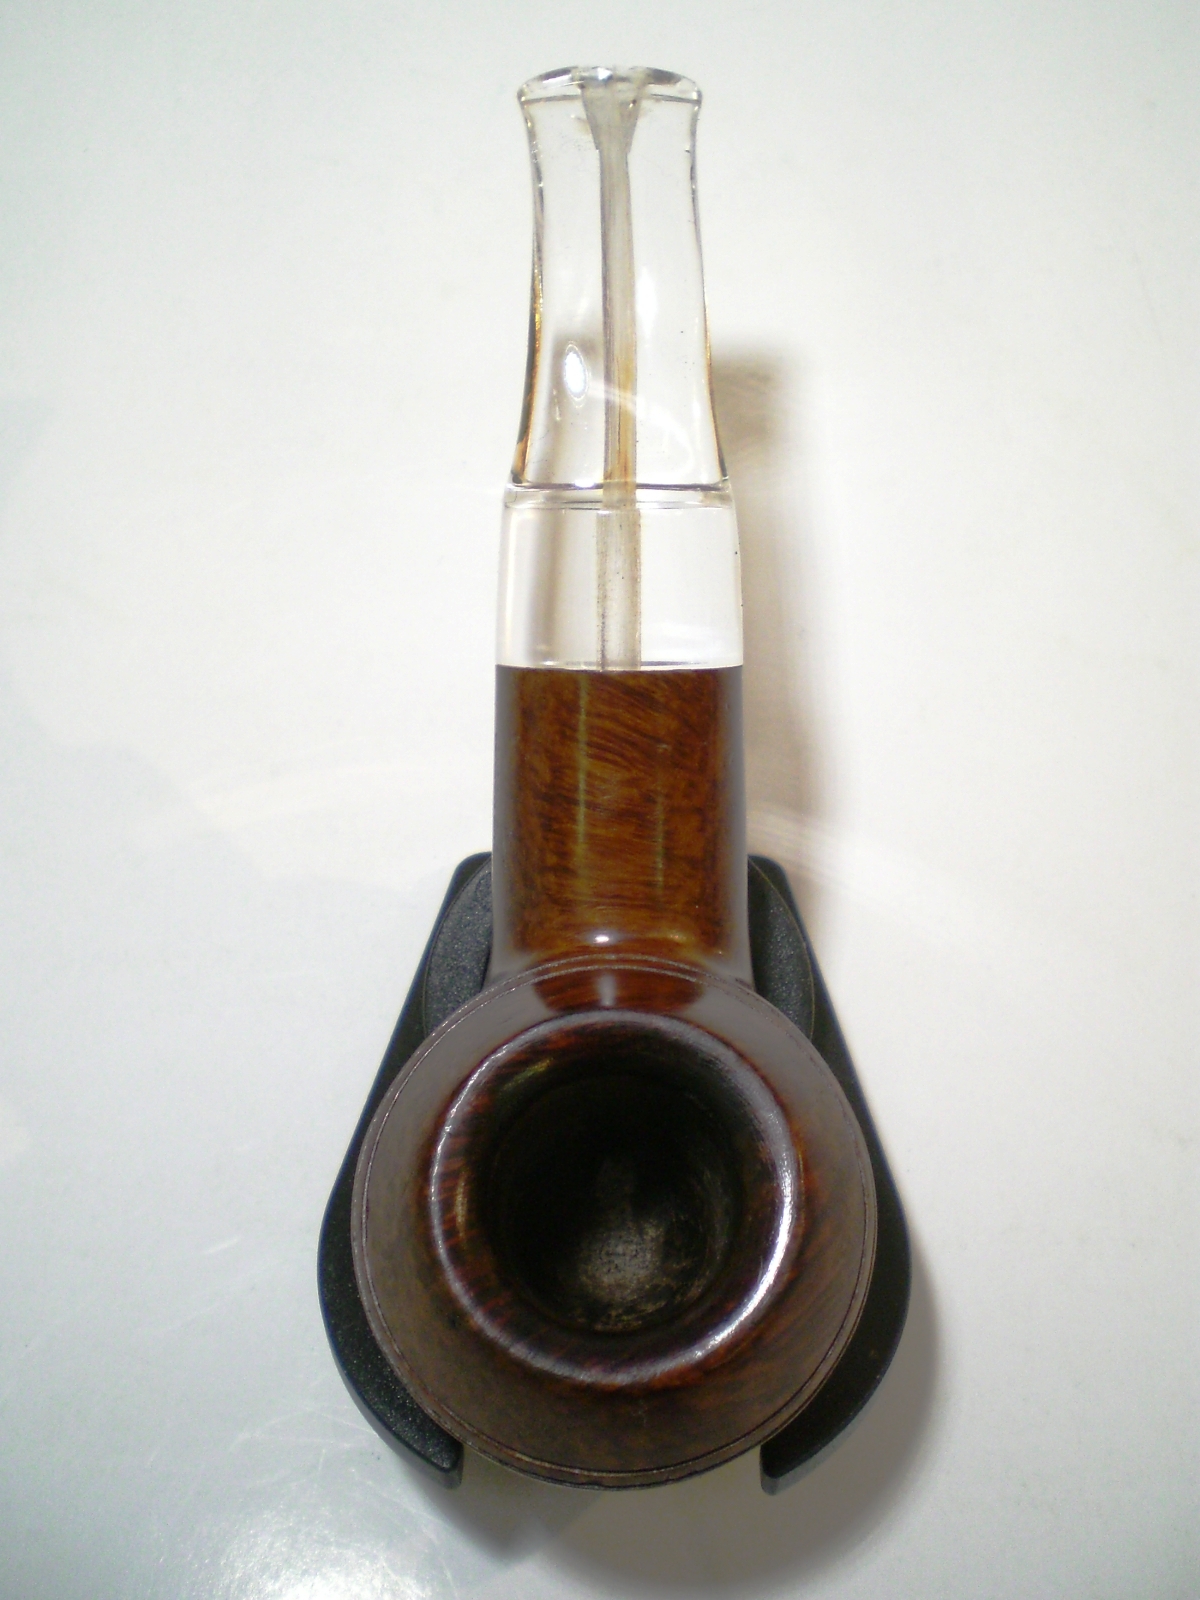
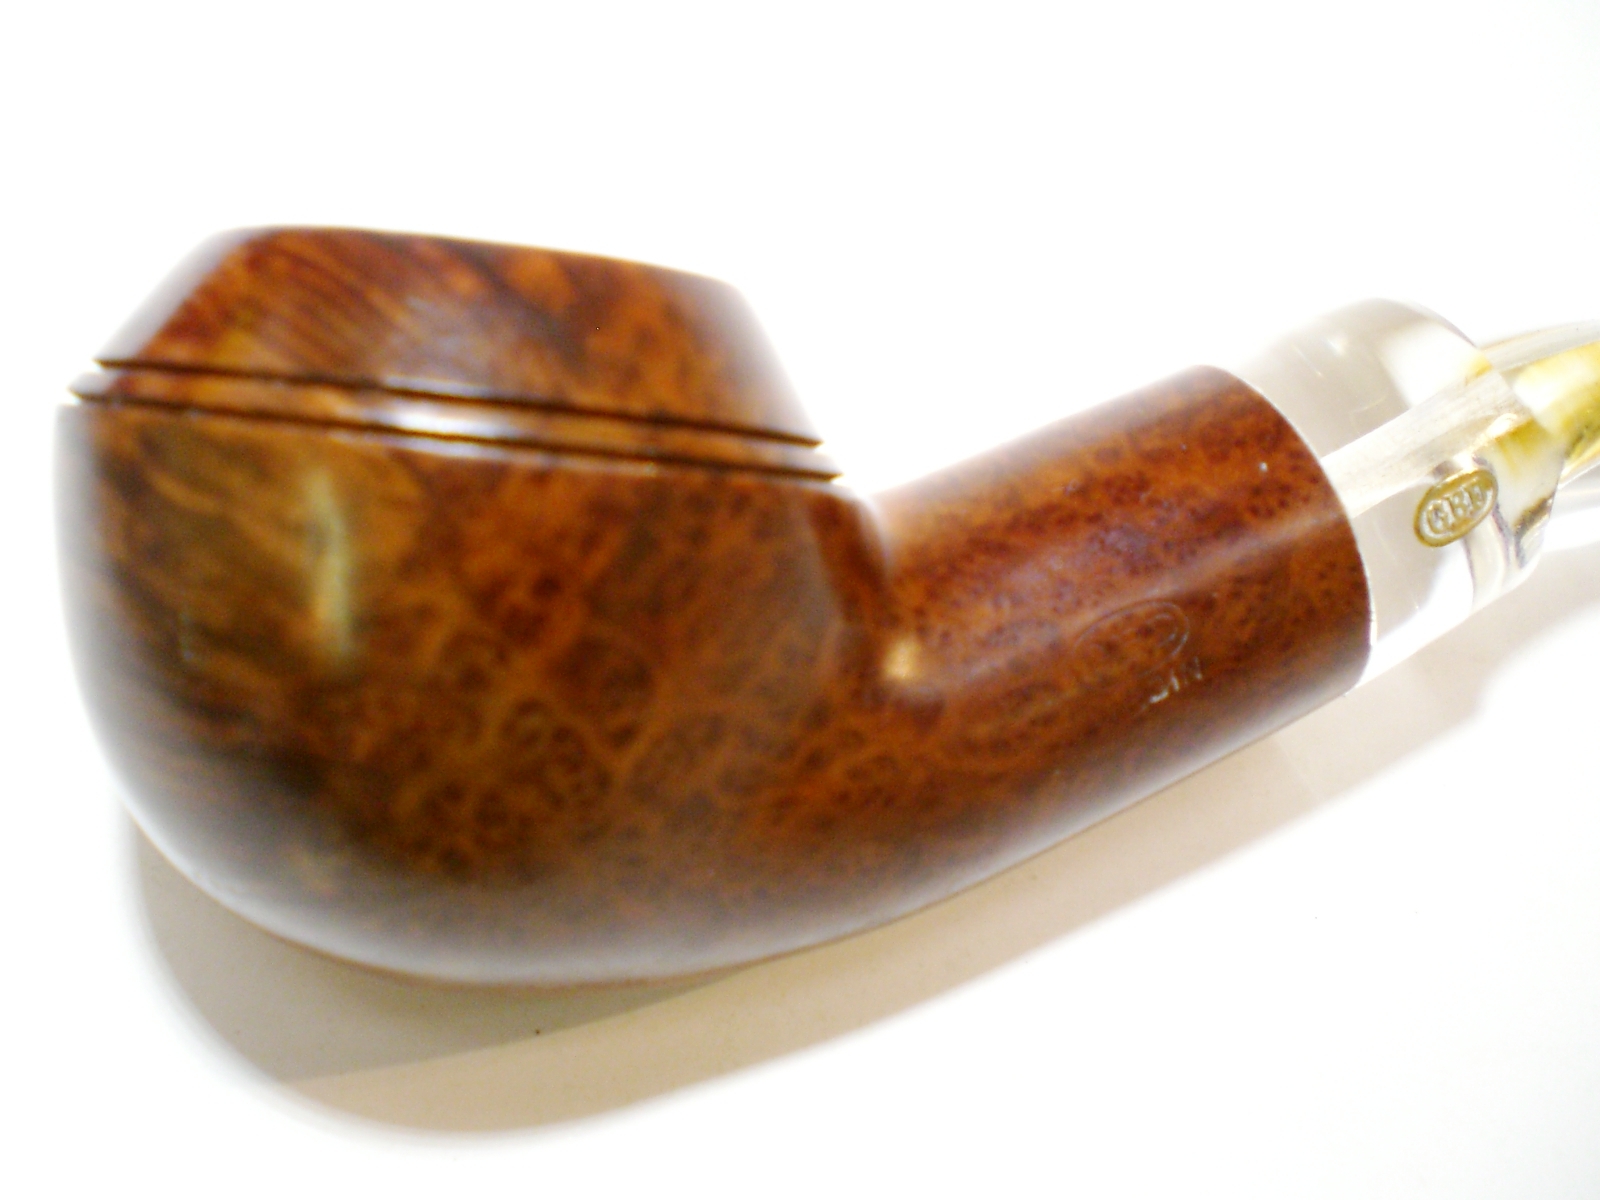
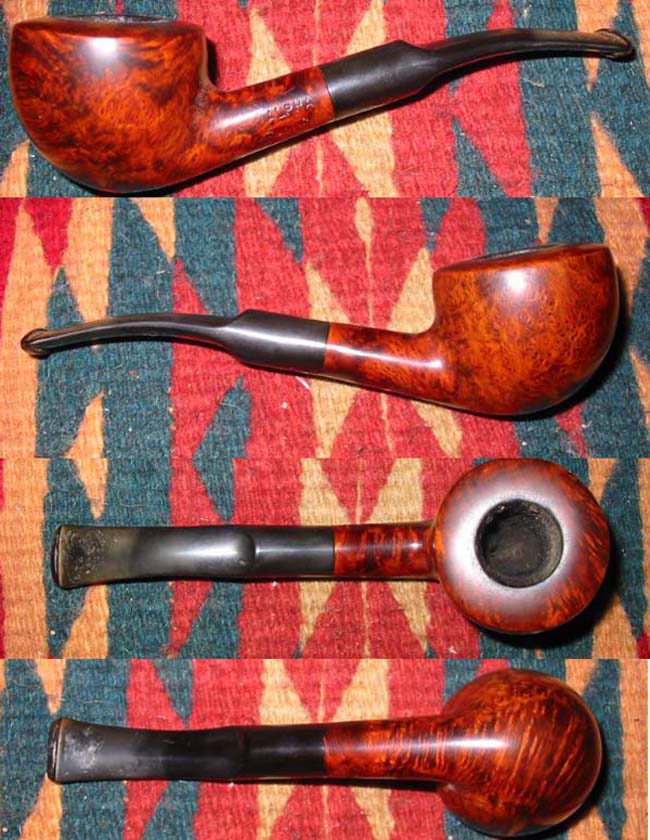
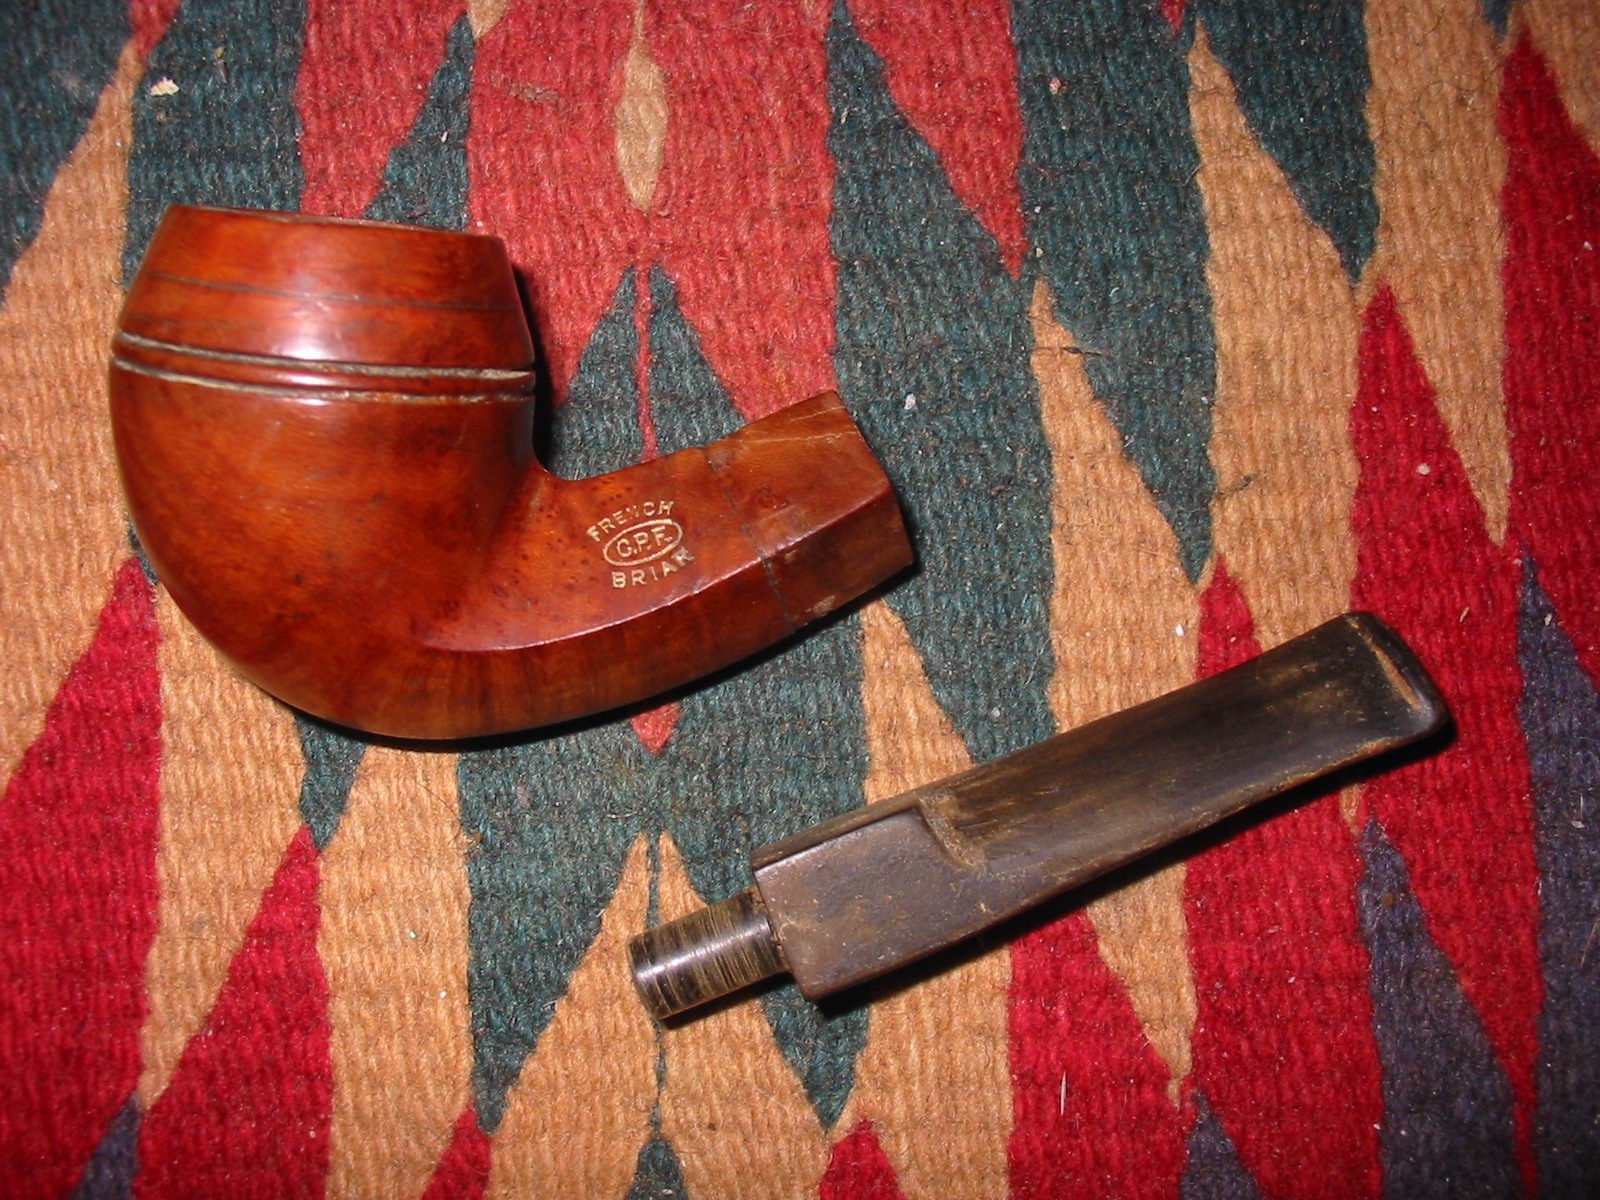
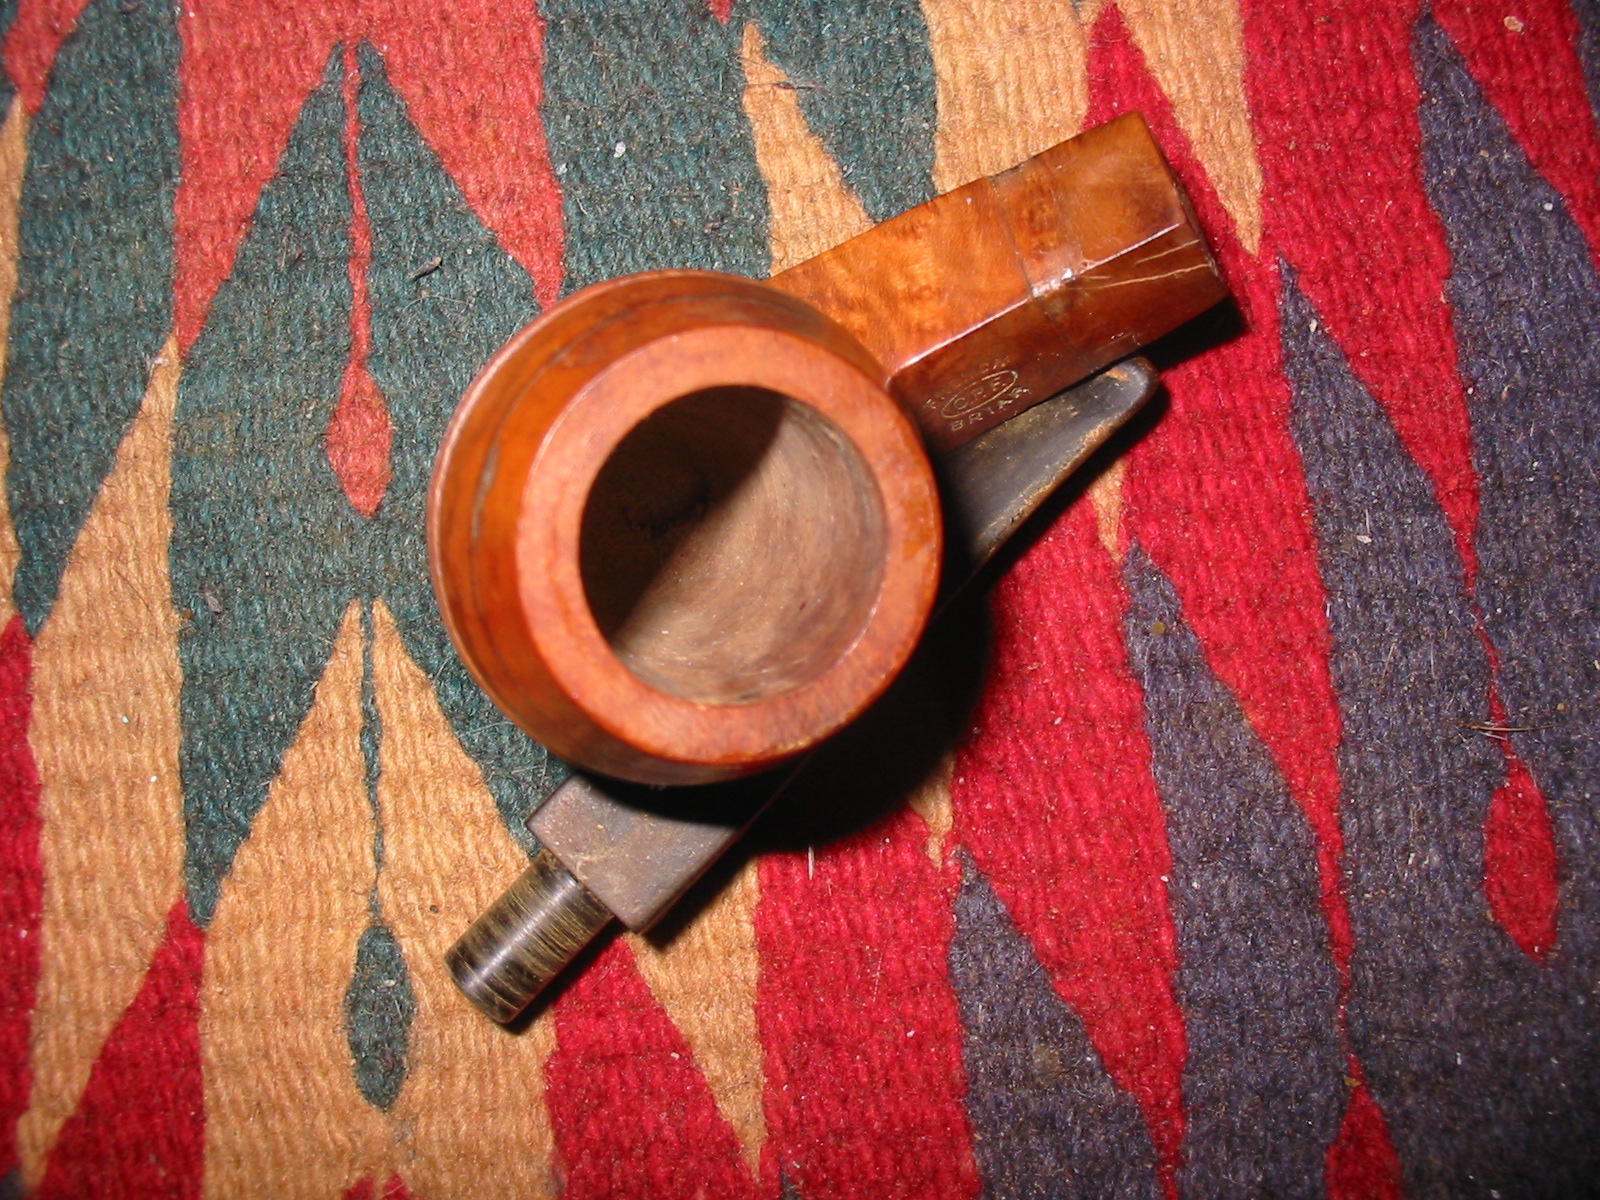
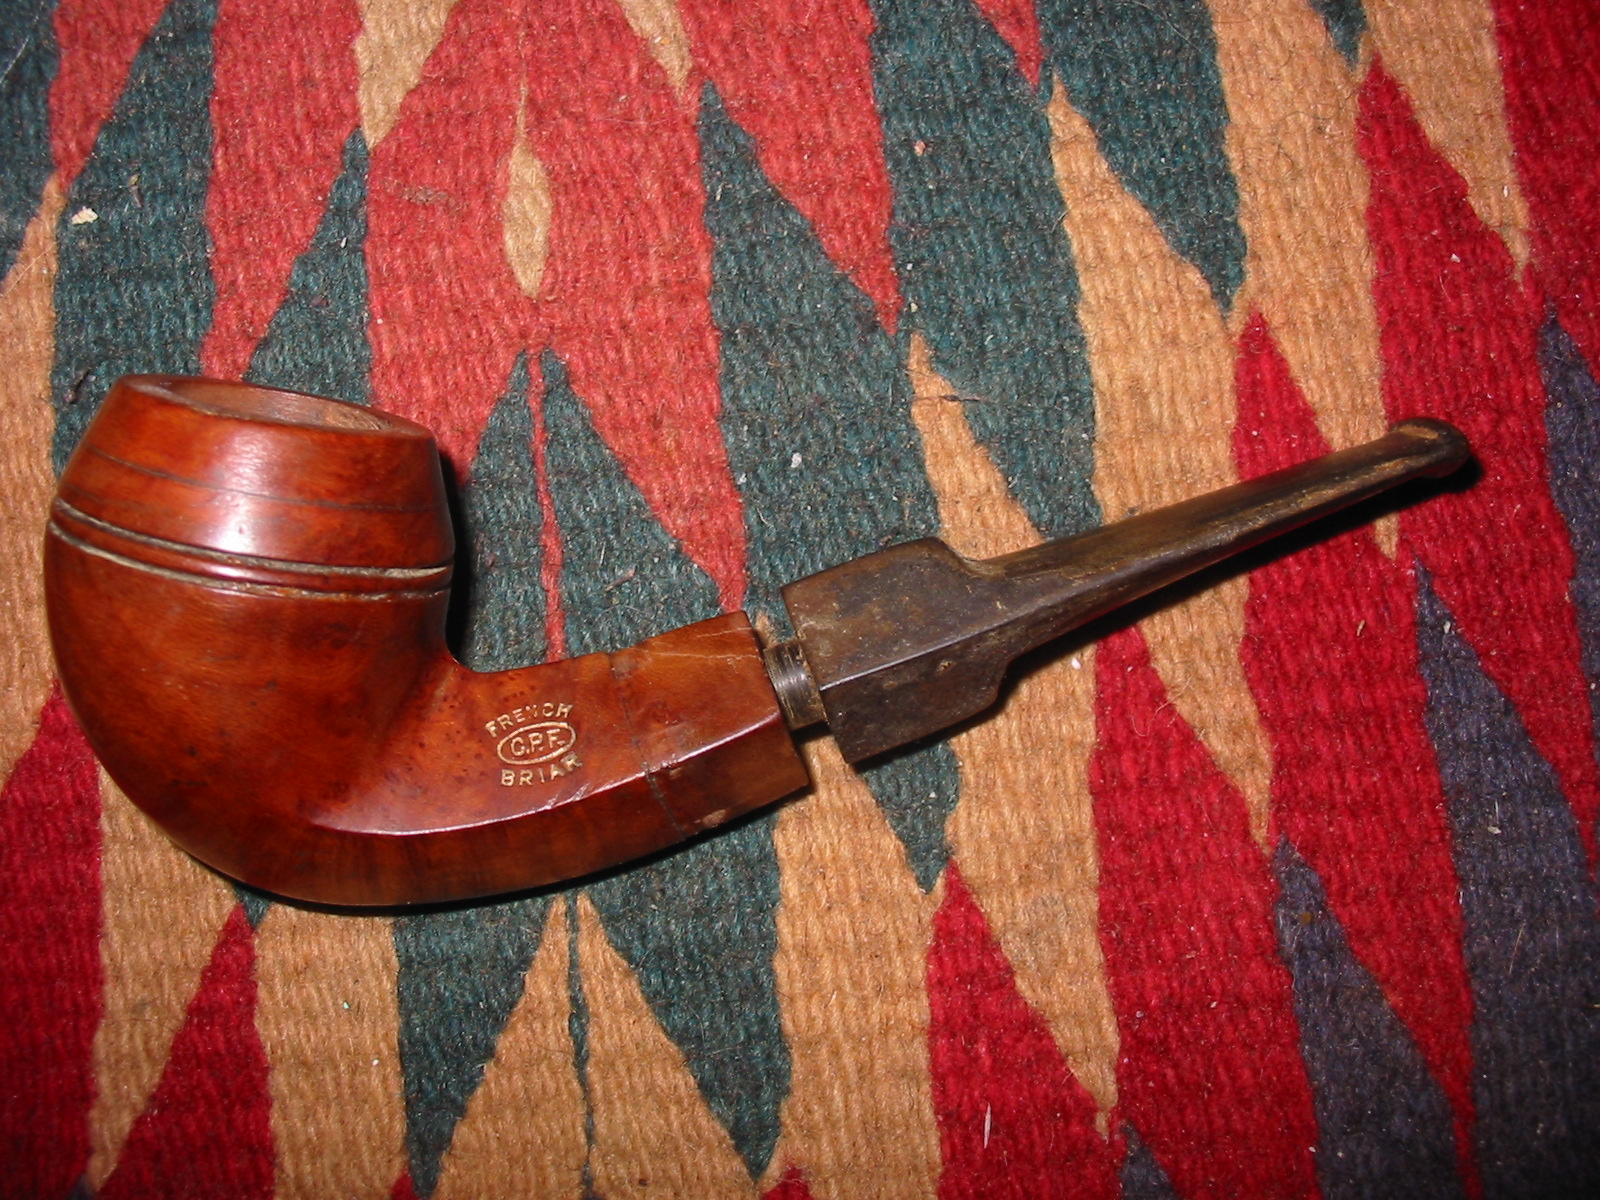
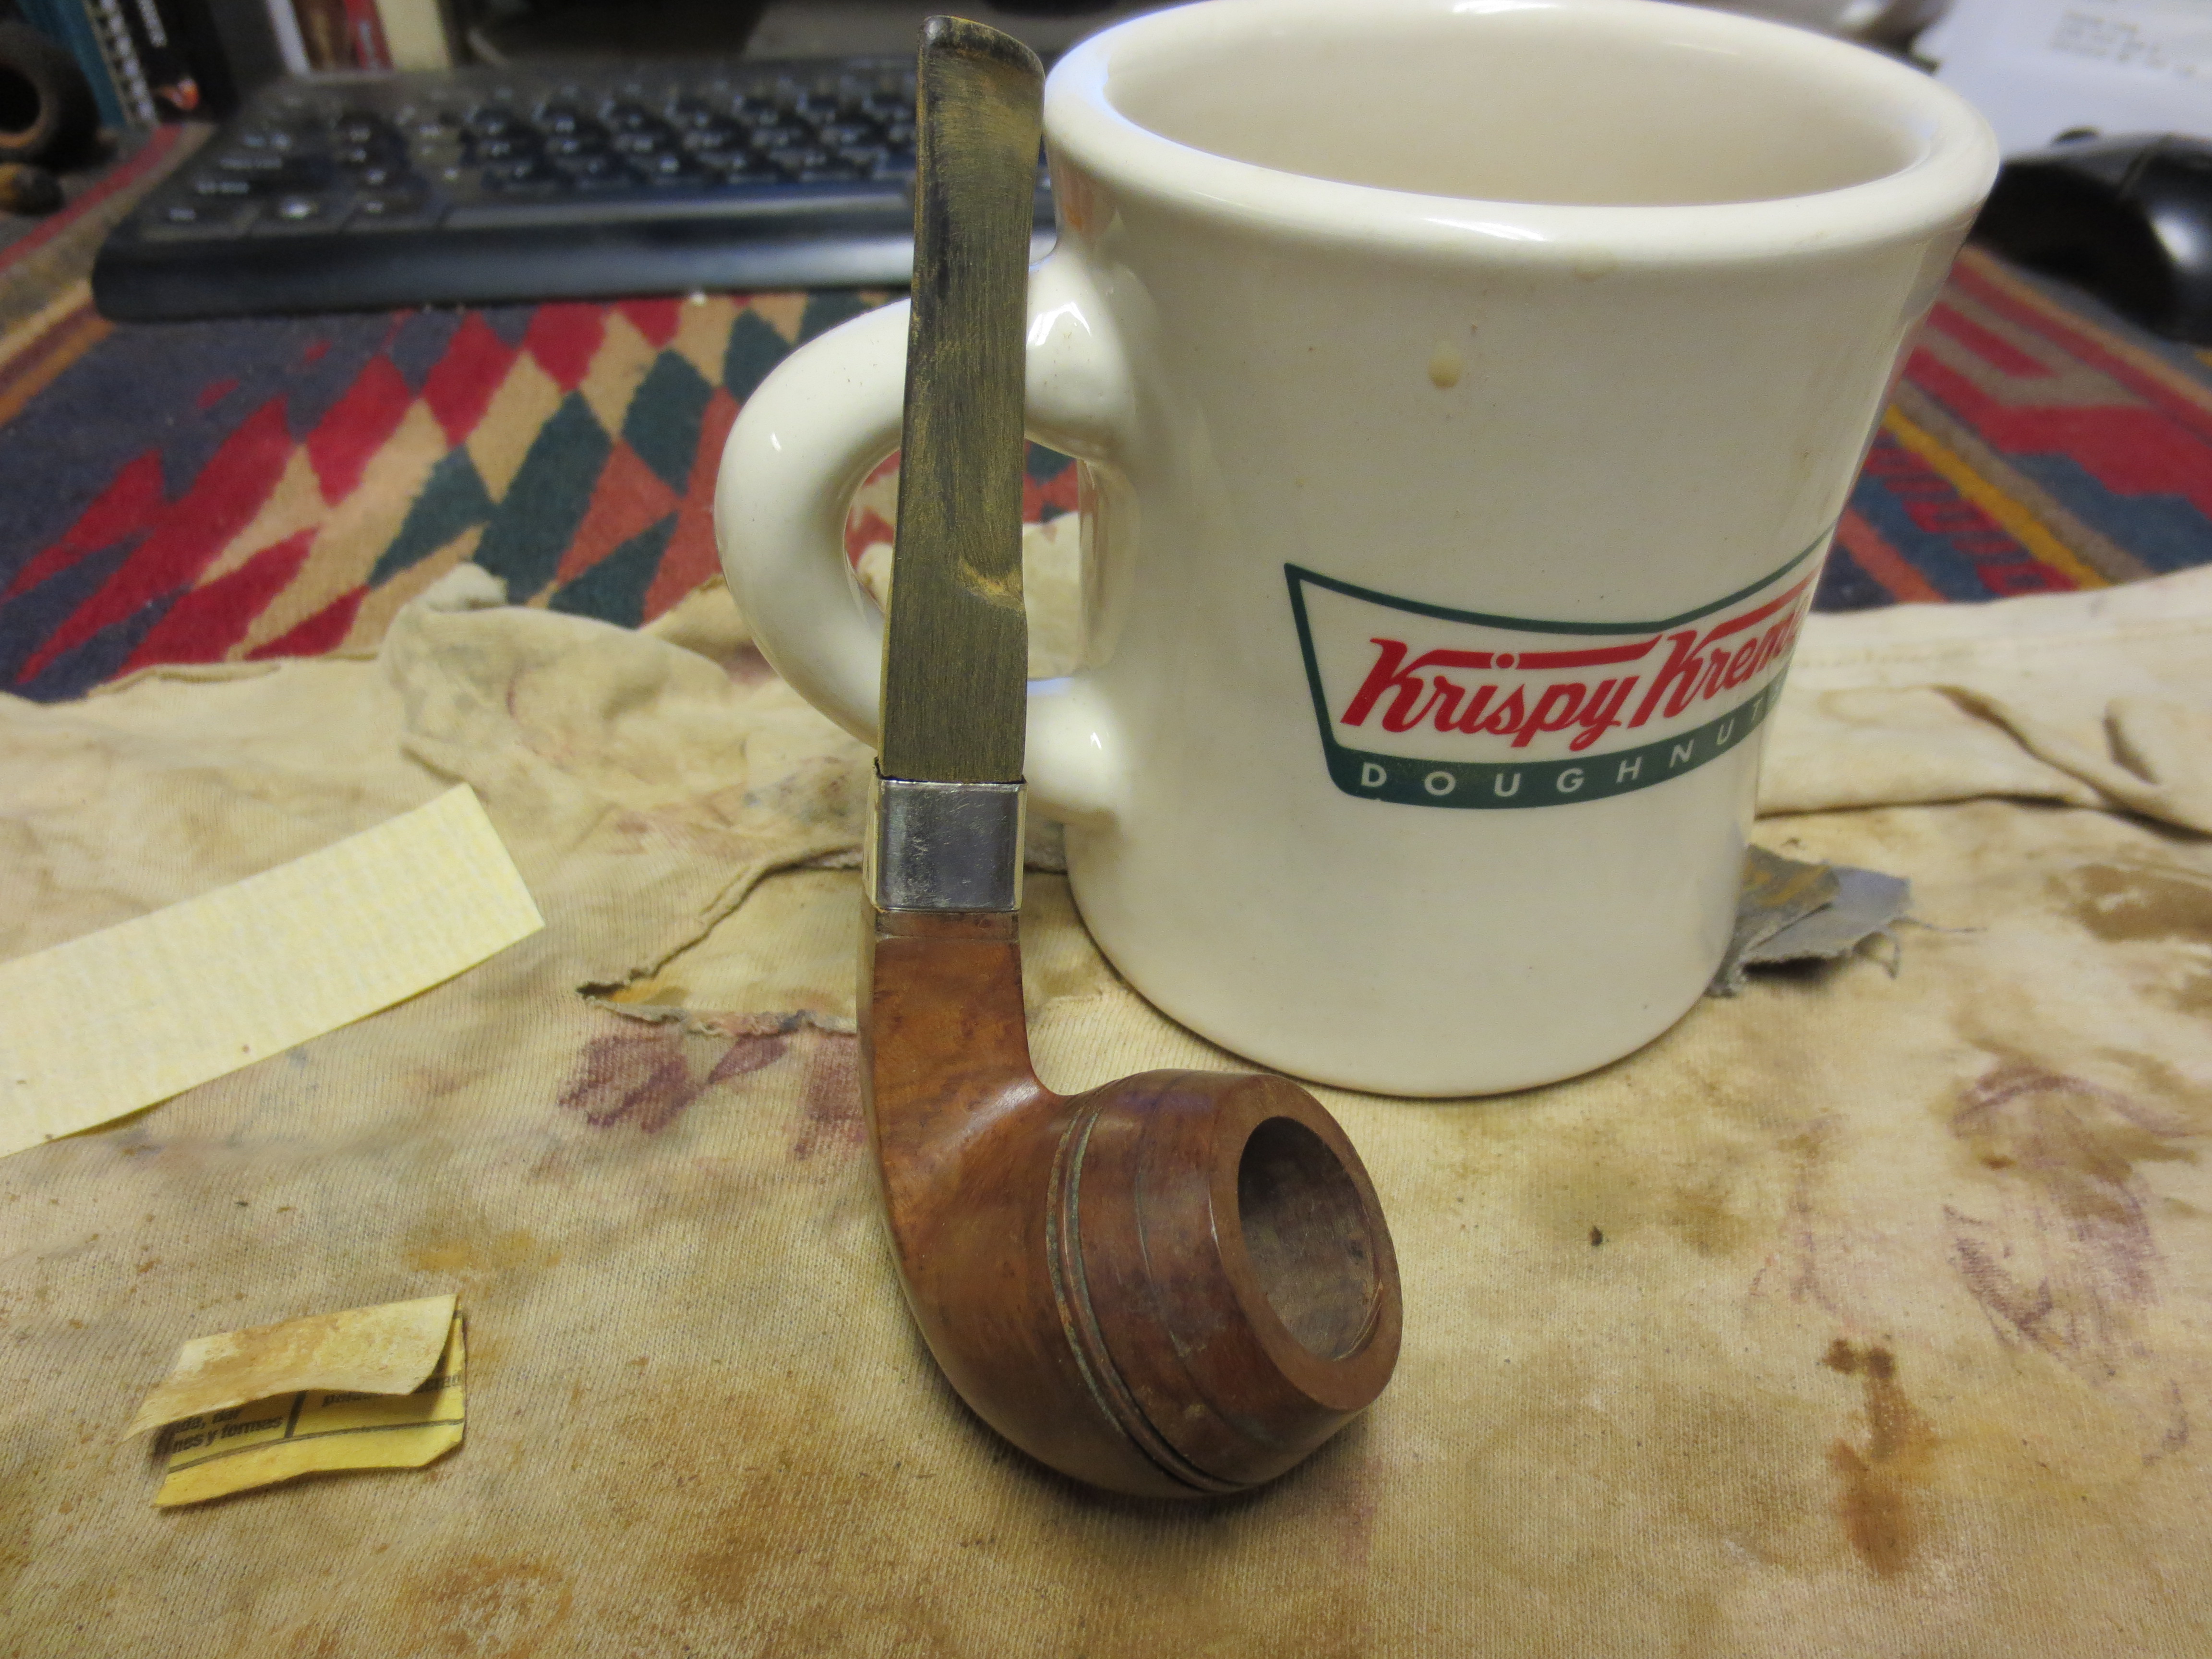
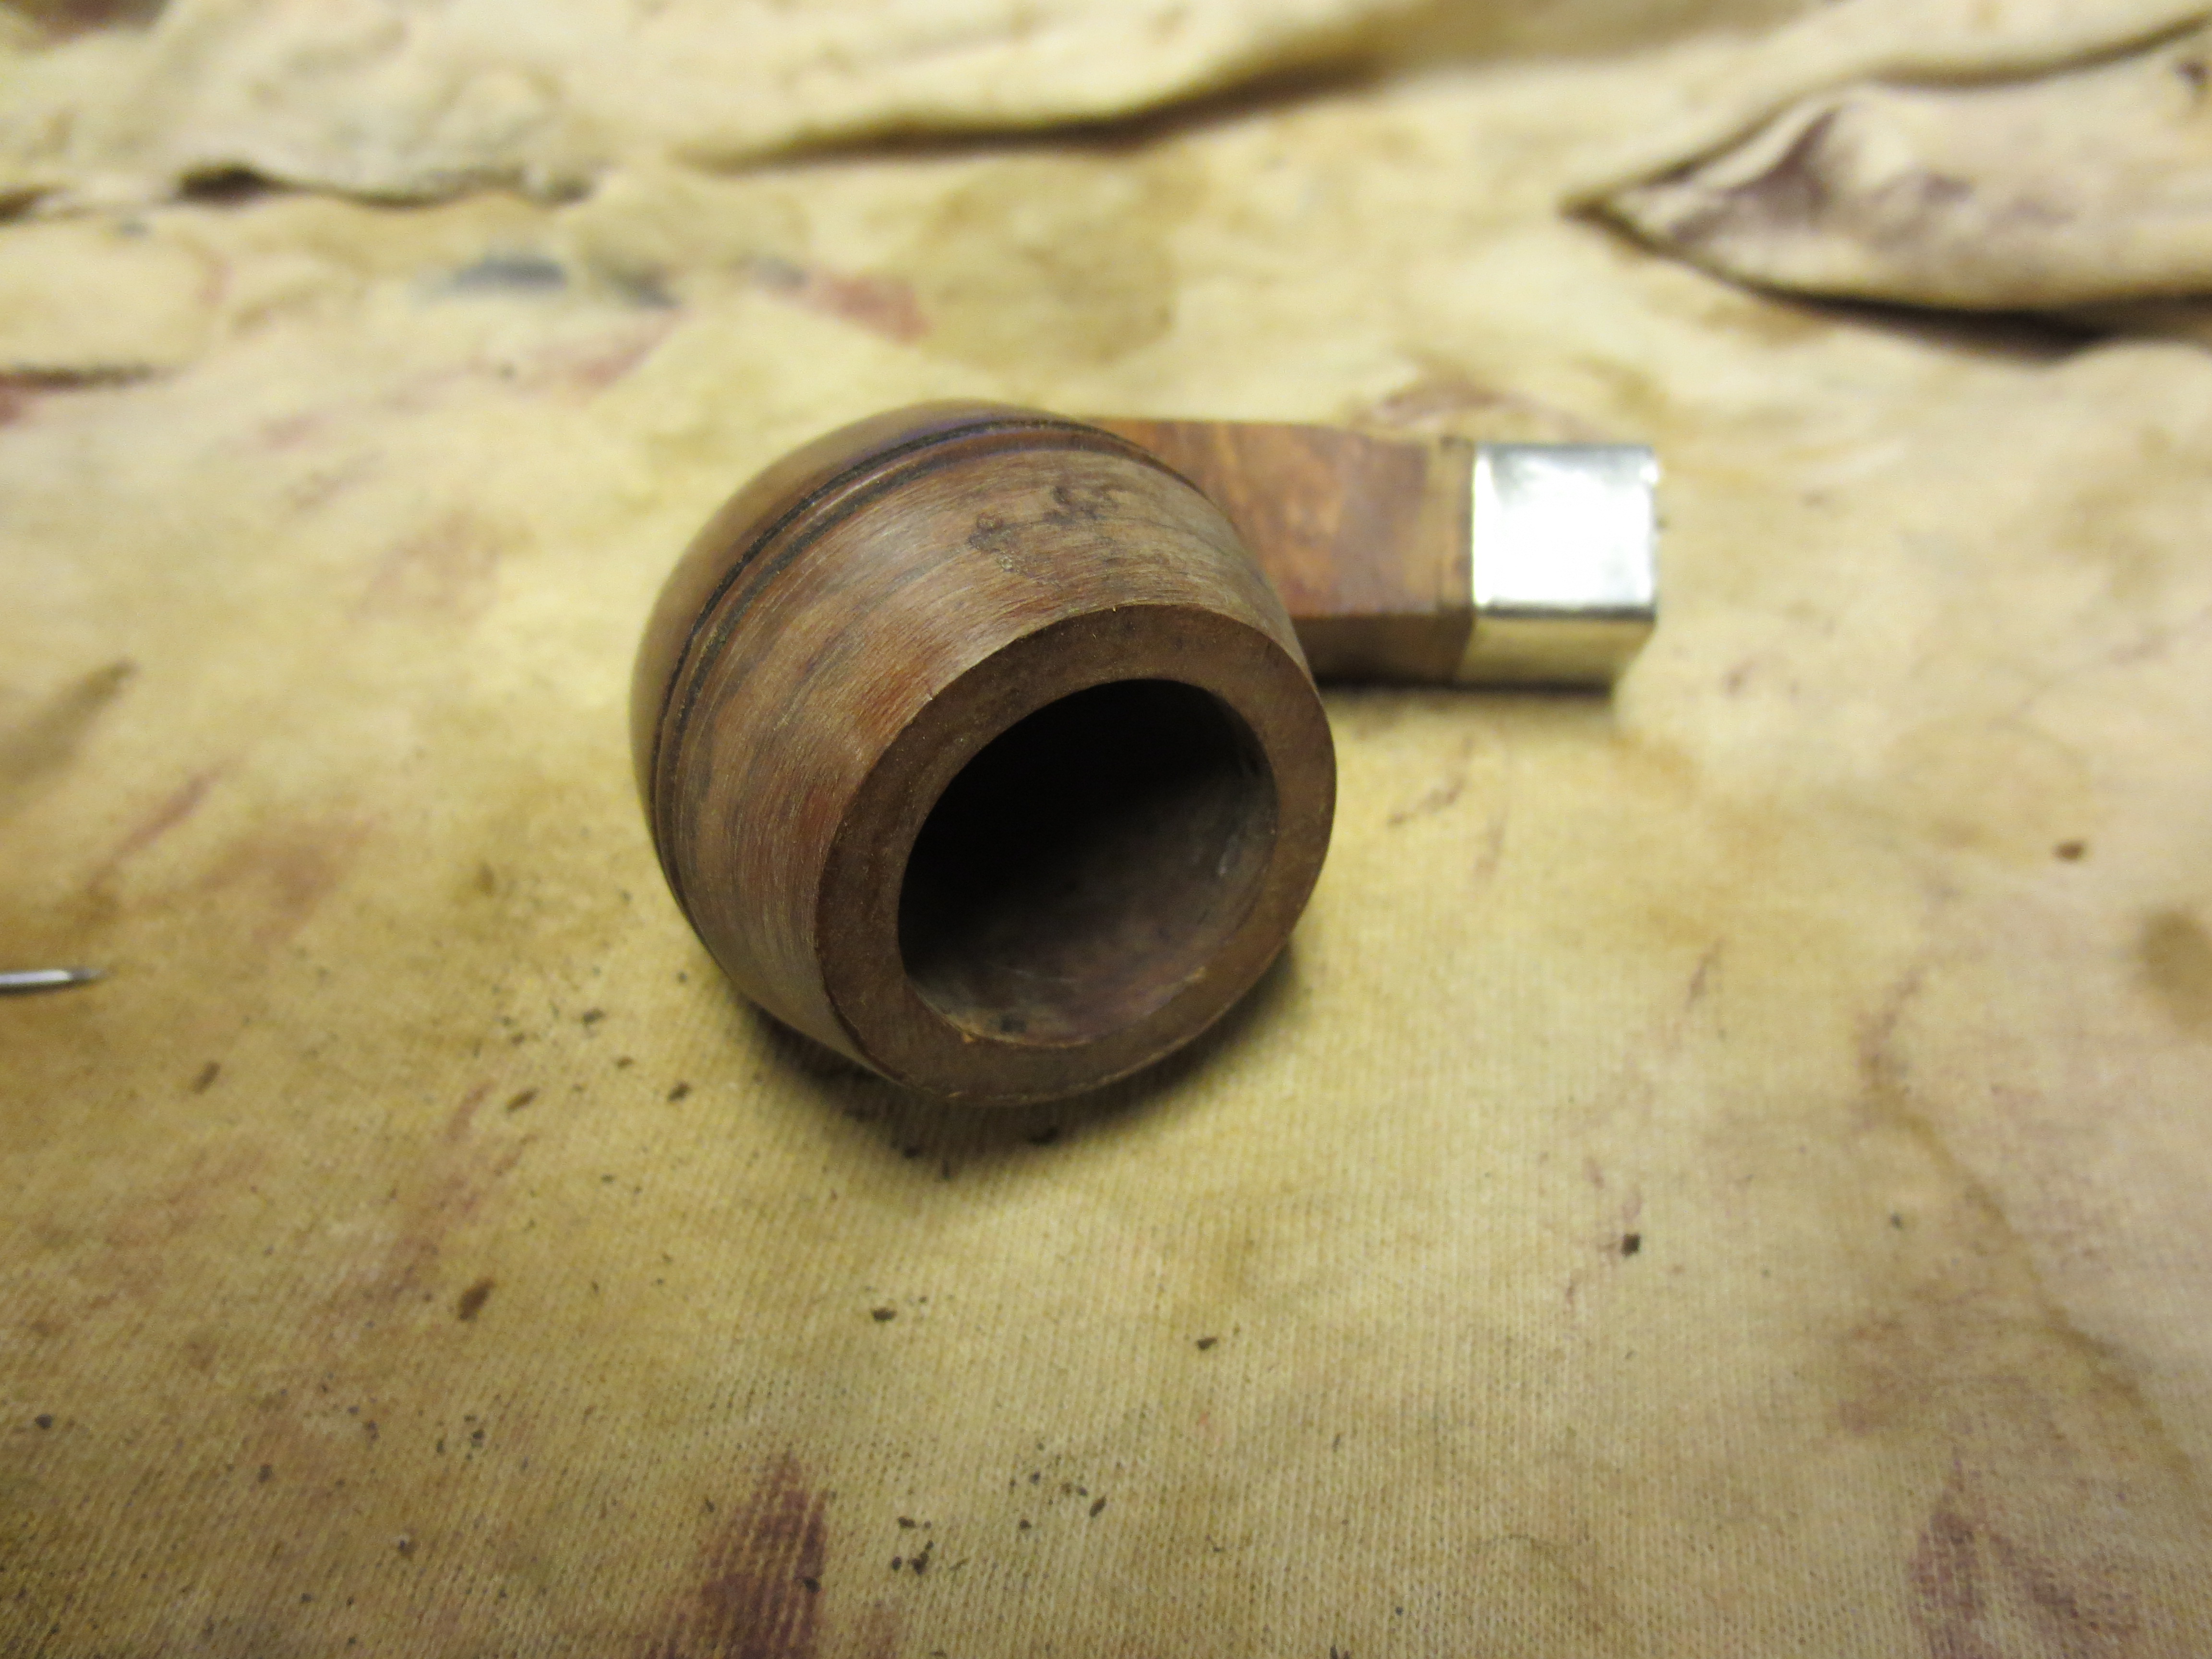
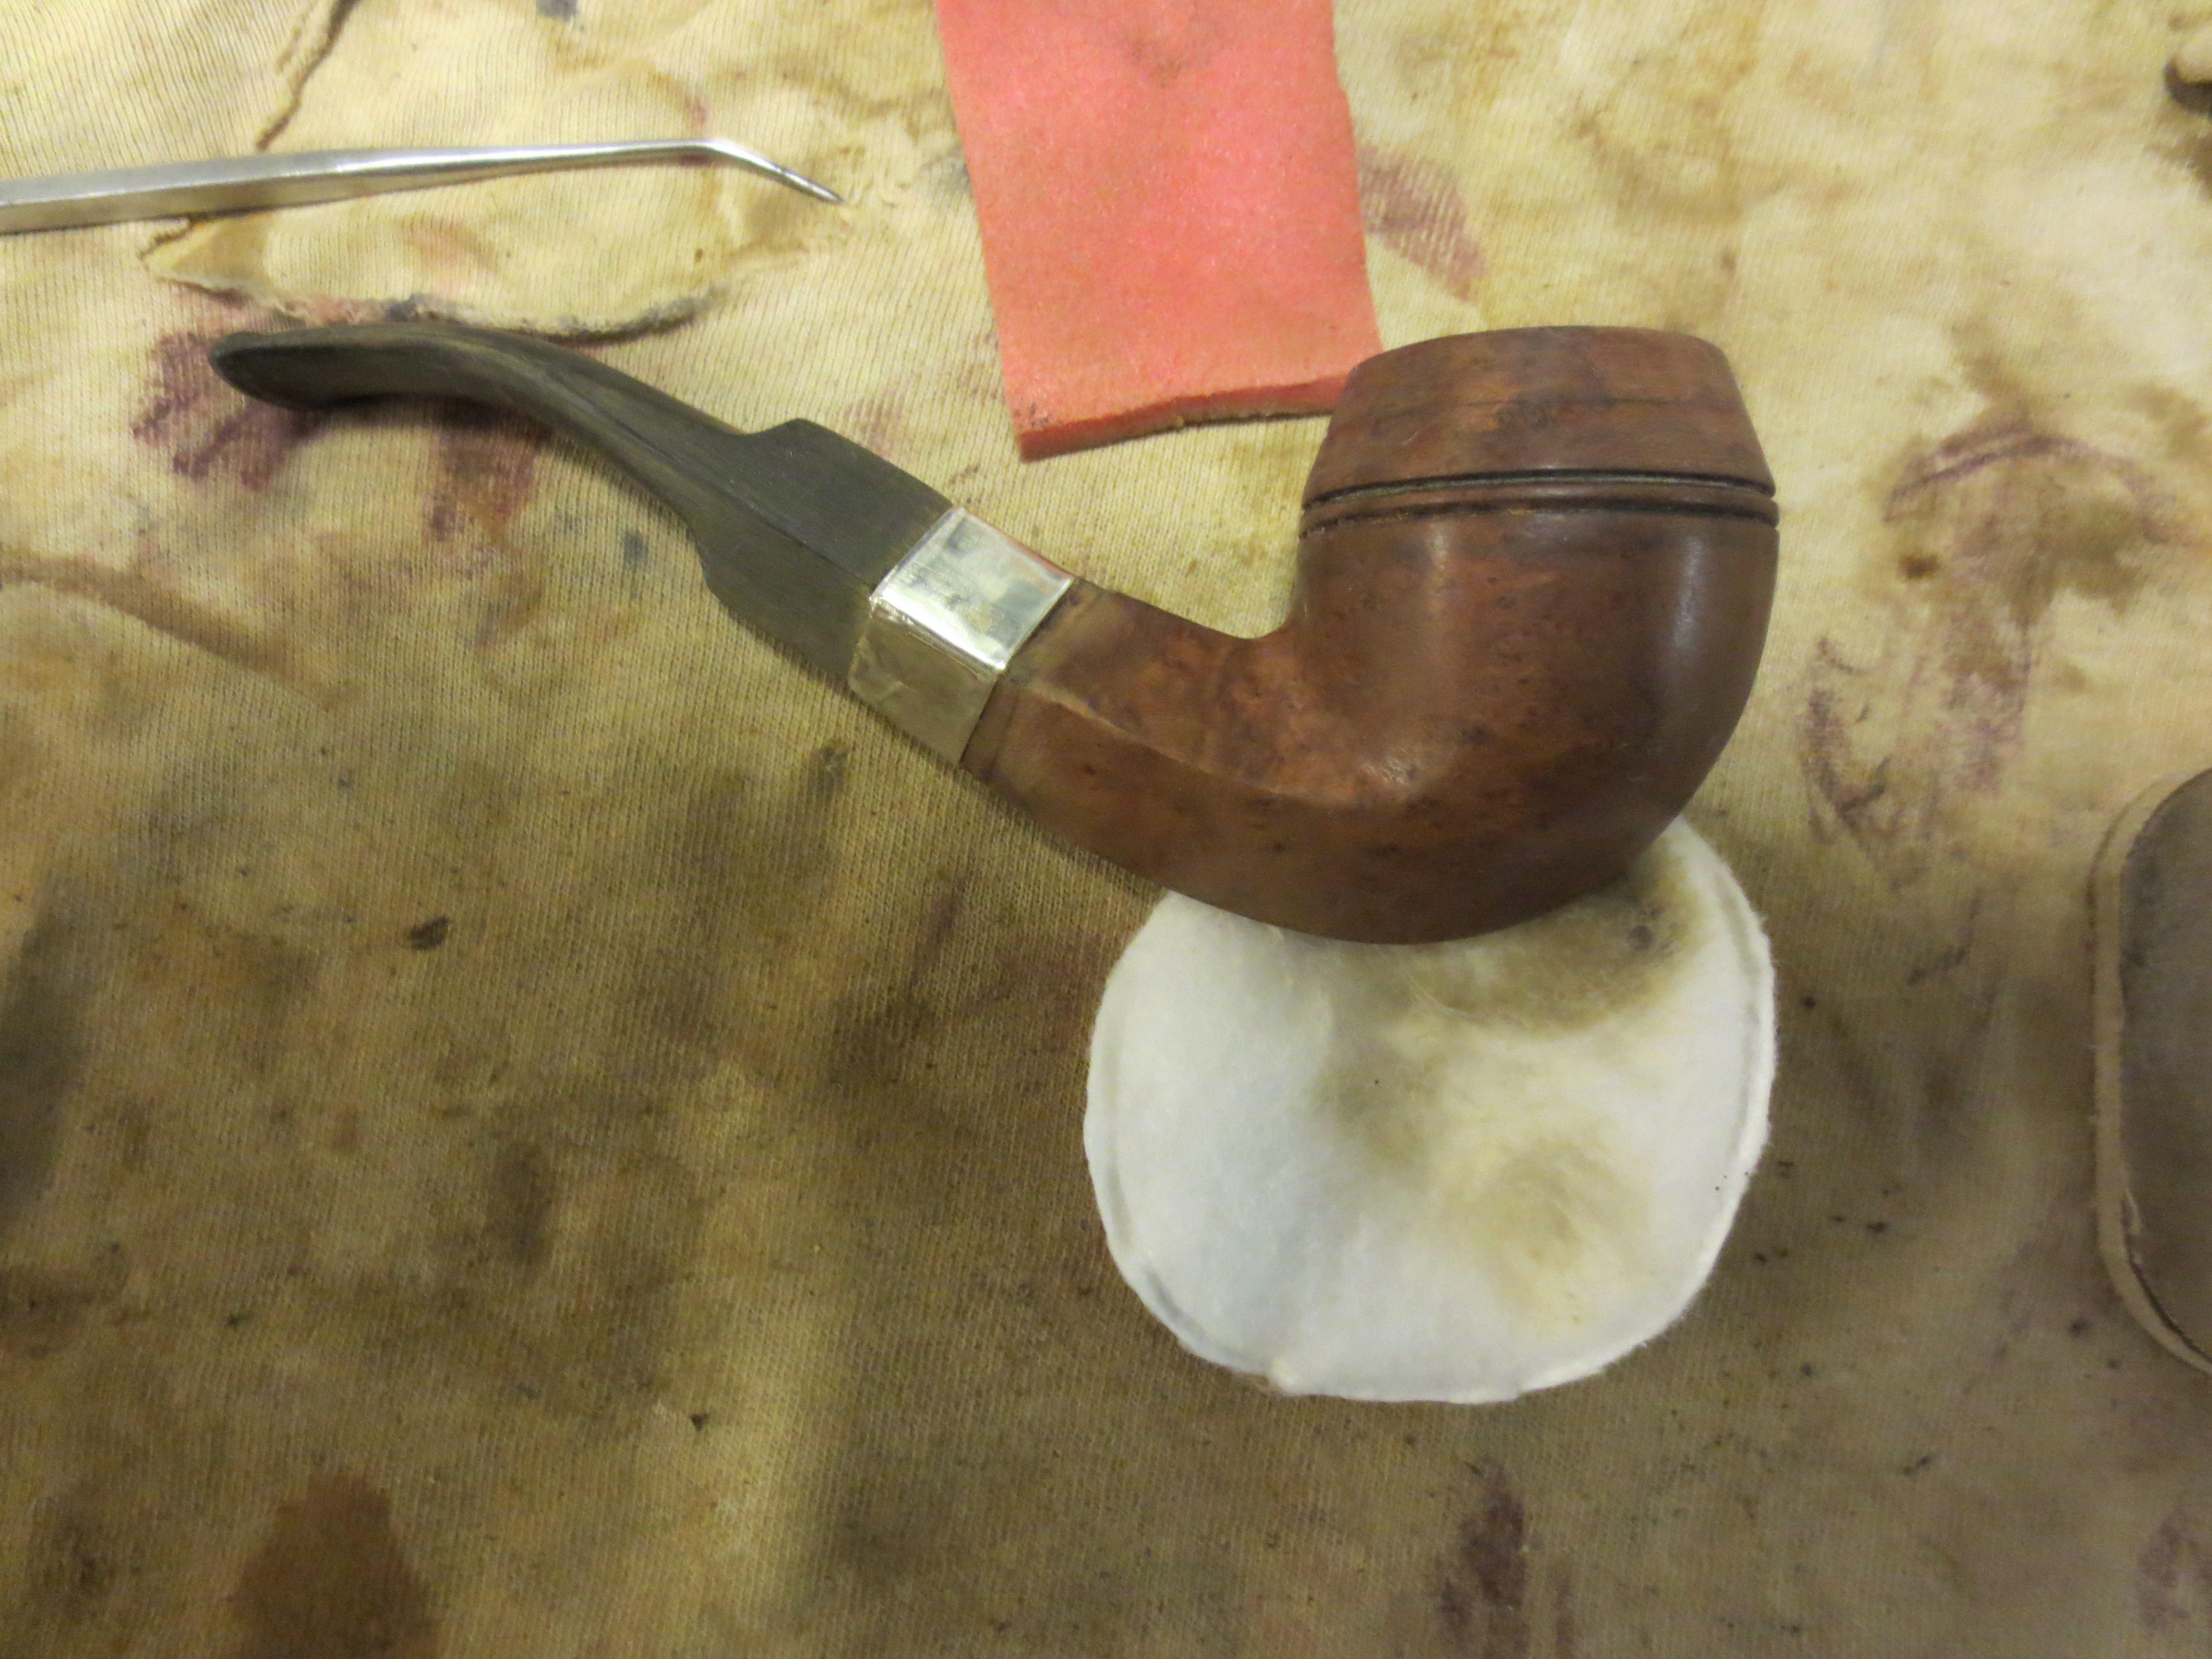
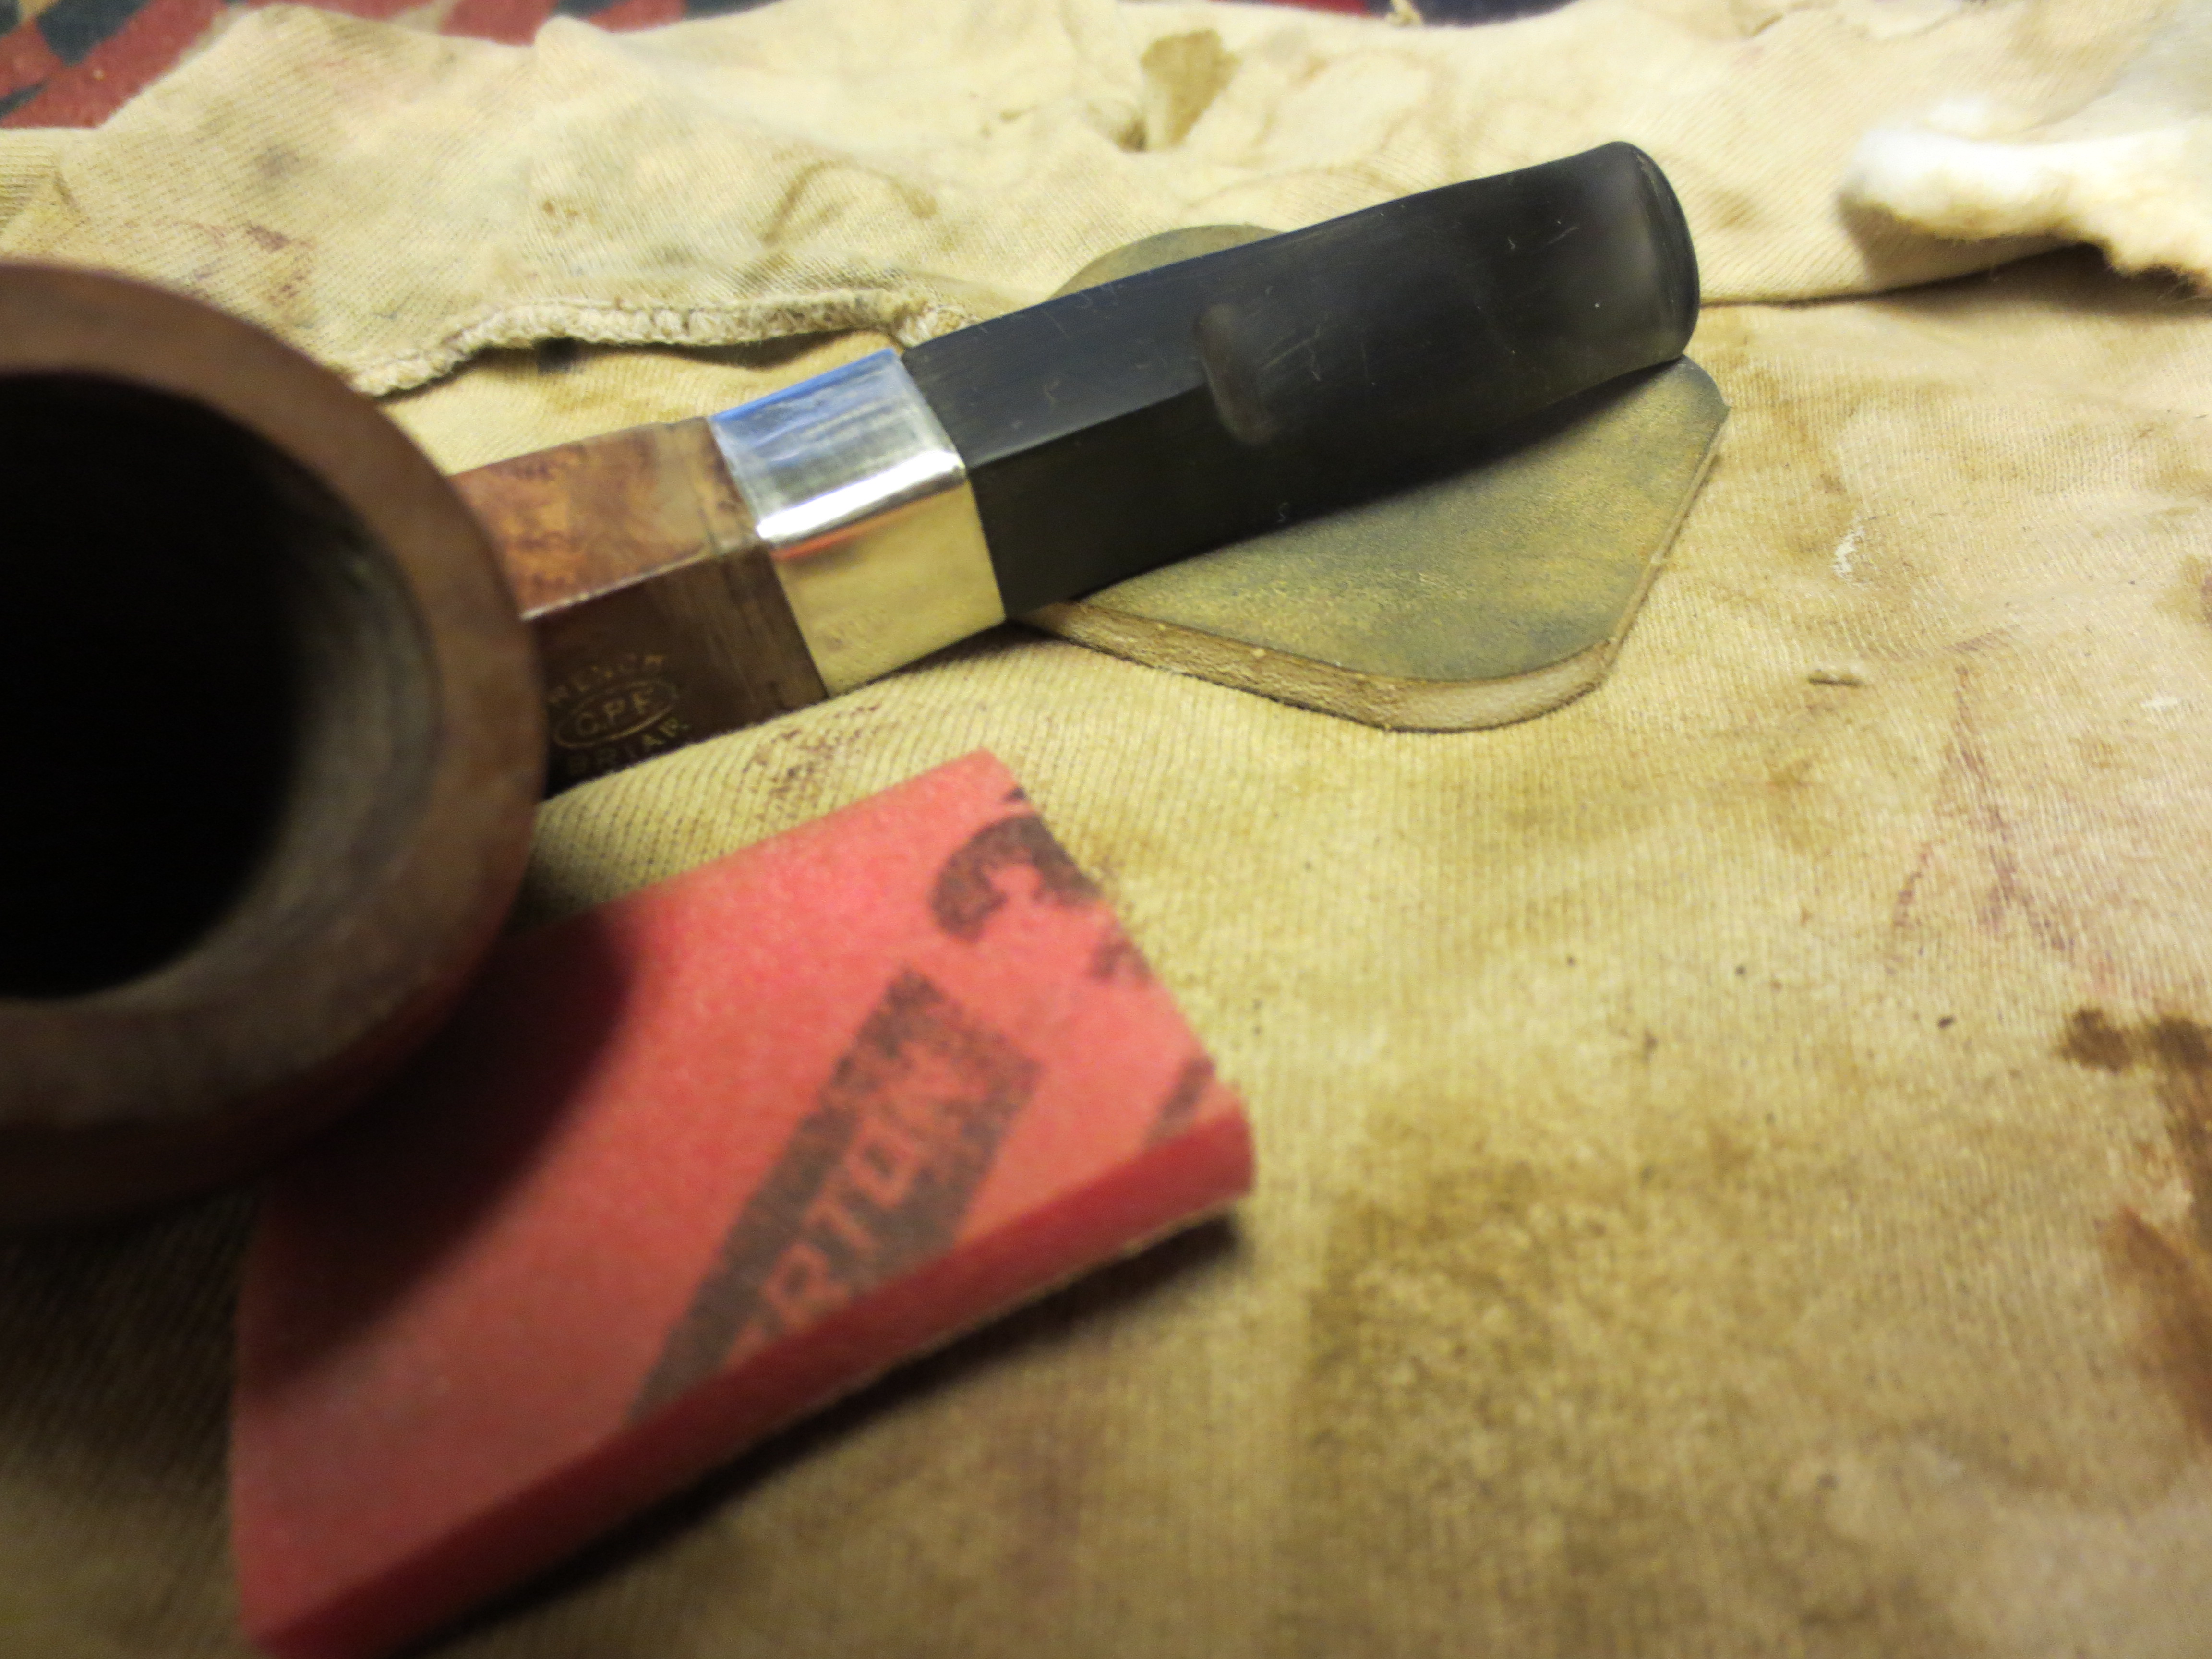
This morning I decided to start working on one of the pipes that came in the lot of bowls I picked up off of EBay. I chose one of the CPF Bulldogs. It looks to be an old timer. It also looked like it had quite a different look in times past as there were signs of a band on the shank and something around the rim as well. It could well have been the gold/brass filigree that is often seen on these old timers but there is no way of telling for sure. The bowl rim was clean as if once the decoration was removed the briar underneath was raw stain. The bowl itself was also absolutely clean on the inside – taken back to bare briar. Around the inside of the rim there were several small nail holes that looked like they held the rim cap in place. These holes were also on the outside as well though they had all been patched. The shank was cracked and repaired. The repair looks to be old and may well have been under the band that had disappeared. The mortise was originally threaded but that had been drilled almost smooth. I had a stem in my box of stem that would fit with a little work. It was the right size and the angles on the diamond matched those on the stem – a rare feat to be sure. I would not have to do much sanding to bring it fit well. The finish was clean but there were lines on the bowl and the shank from the cap and band. The stamping was clear – CPF in an oval with French above and Briar below. It had a gold paint that had been applied to the stamping and it was very clean. The series of three photos below show the condition of the pipe and the new stem when I began this morning.
I asked Robert Boughton about the CPF brand stamp as he is currently refurbishing an old CPF Meerschaum and had done work on the brand. He sent me the following information:
“Chuck (Richards) assigned to me the challenge of finding out what CPF stood for and anything else I could learn… I found conclusive evidence that despite several other names associated with CPF, it indeed stands for Colossus Pipe Factory…Below are the links I sent to Chuck at the time and a few more. But again, it’s nothing Chuck didn’t already know. He also knew it would be good experience for me and that I would enjoy the task! Indeed, I was proud of my findings!”
http://pipedia.org/index.php?title=C…s_Pipe_Factory Bottom of center row of newspaper clip
http://www.google.com/search?q=colos…w=1600&bih=658
http://pipephil.eu/logos/en/logo-c1.html See CPF — includes briars
http://pipesmokersforum.com/communit…ing-one.10858/
http://www.worthpoint.com/worthopedi…pipe-287735110
http://www.smokingpipes.com/pipes/es…oduct_id=74274
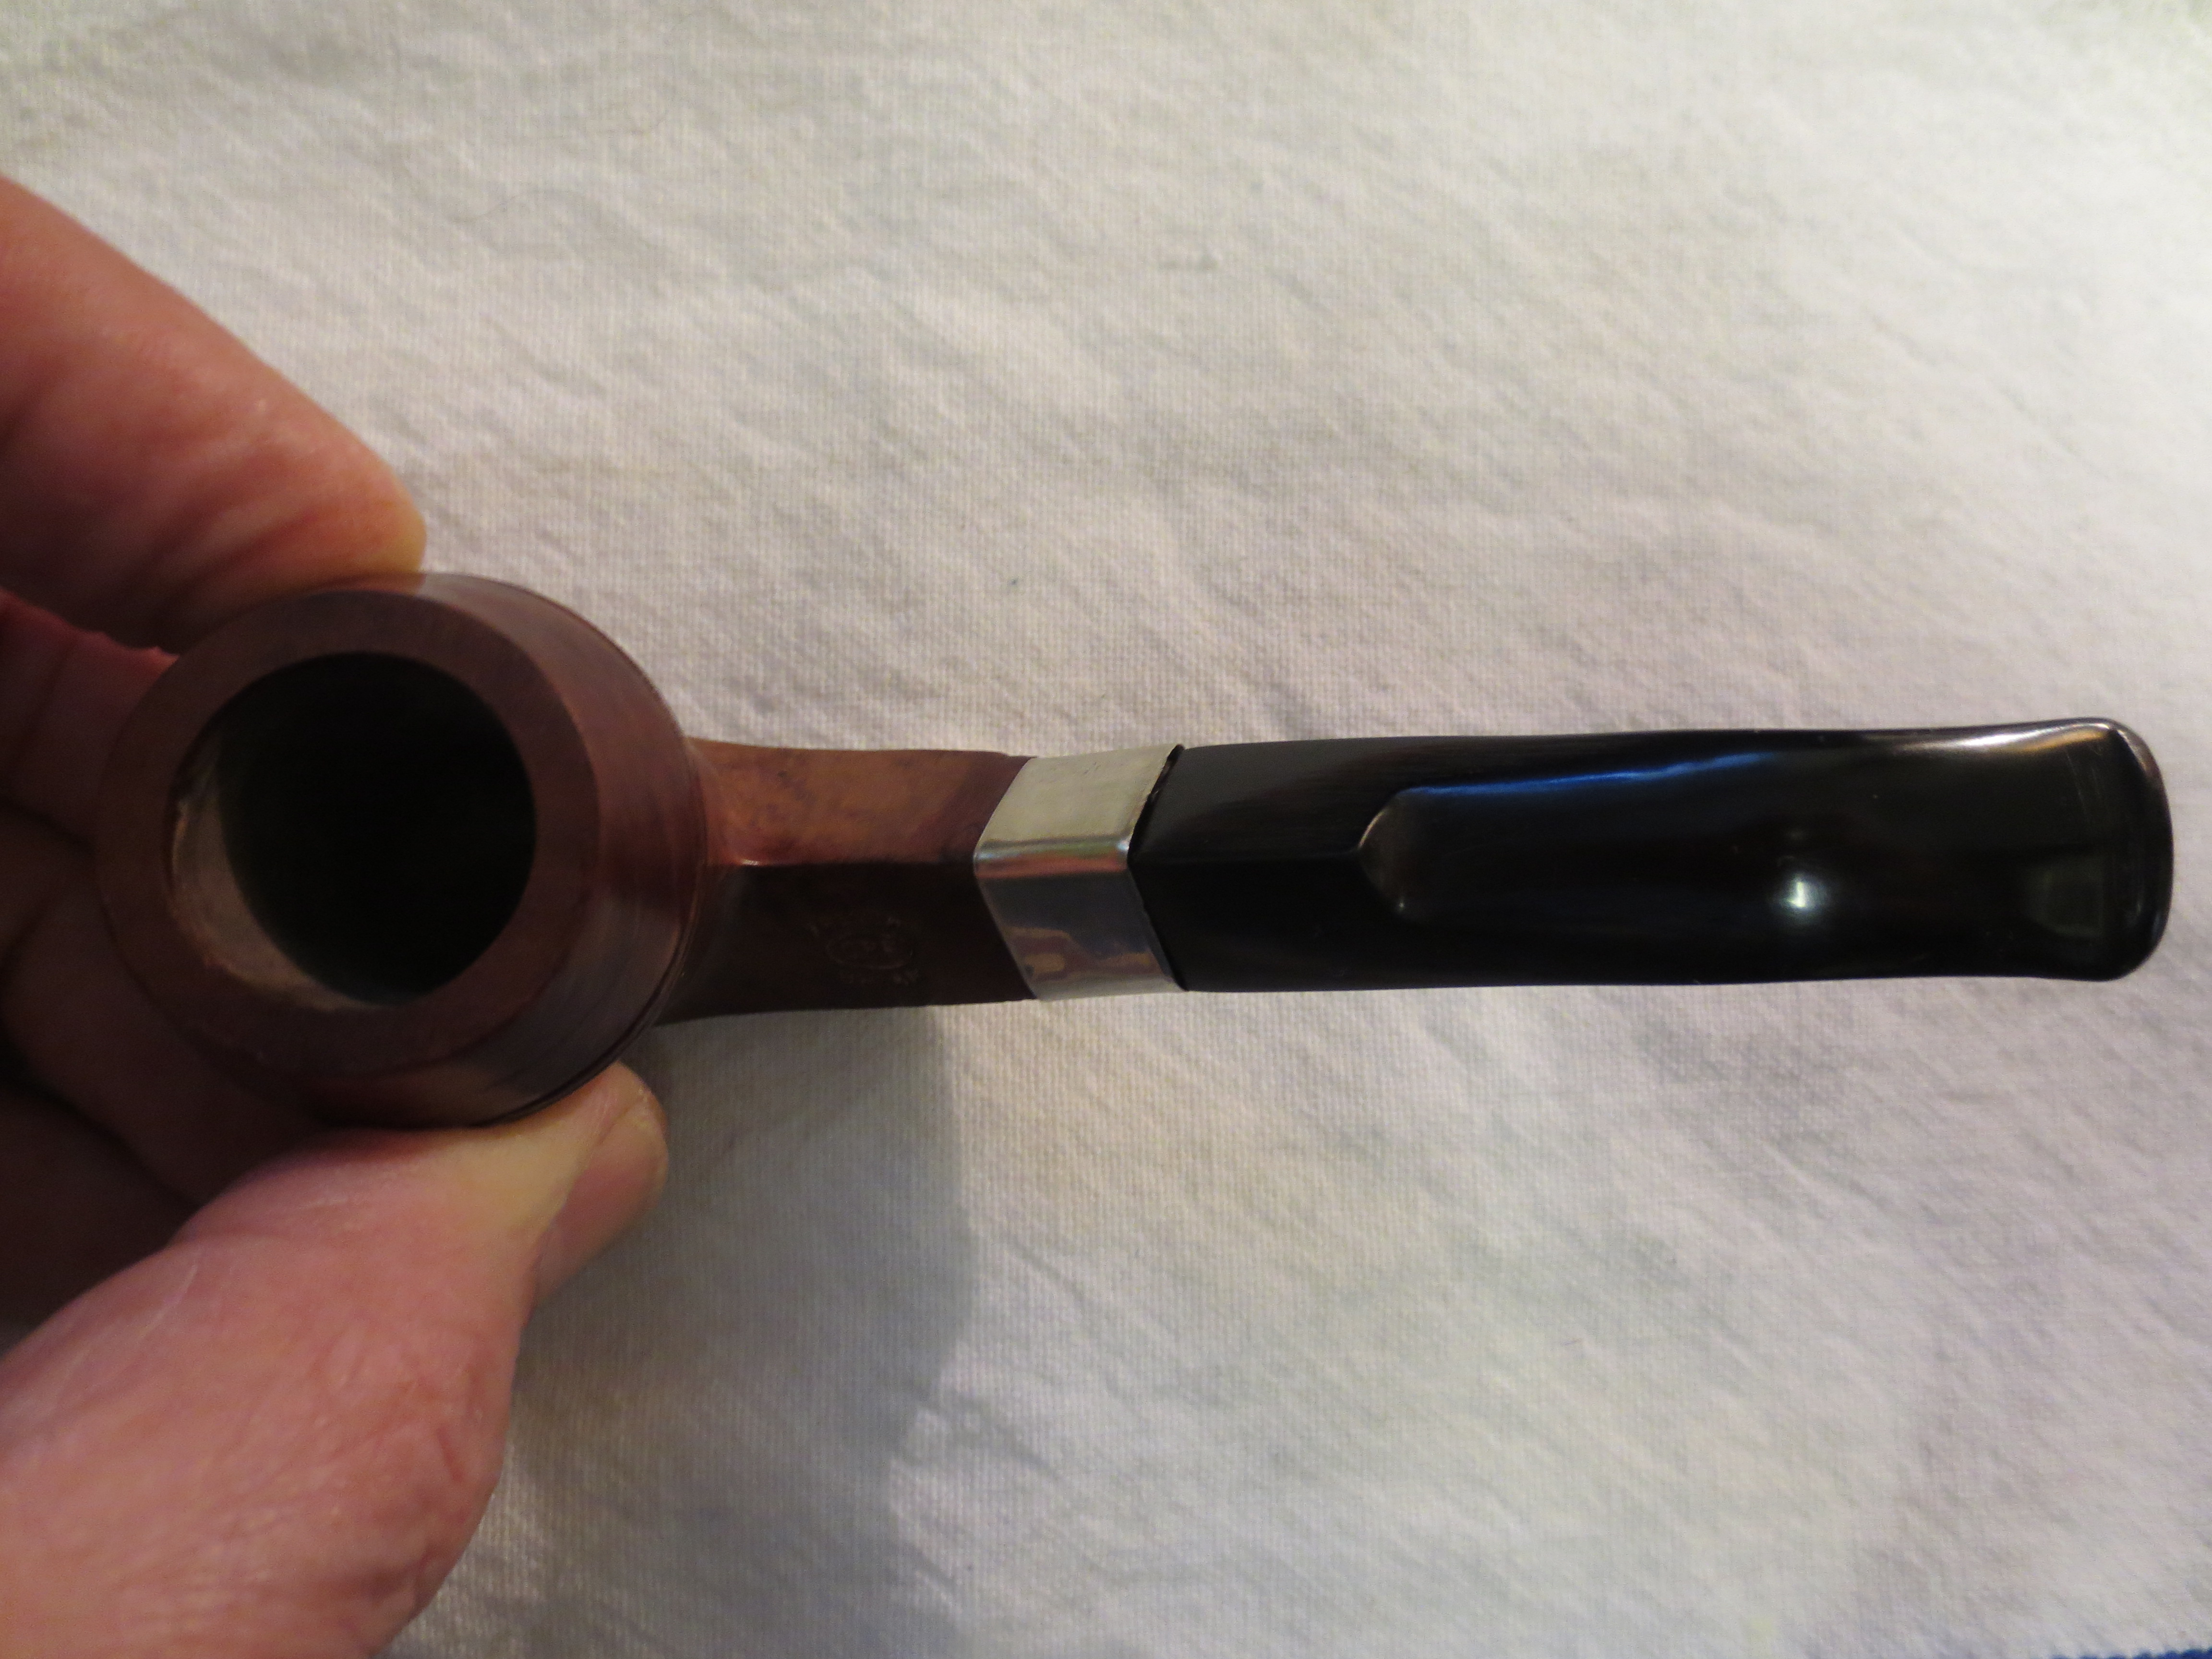
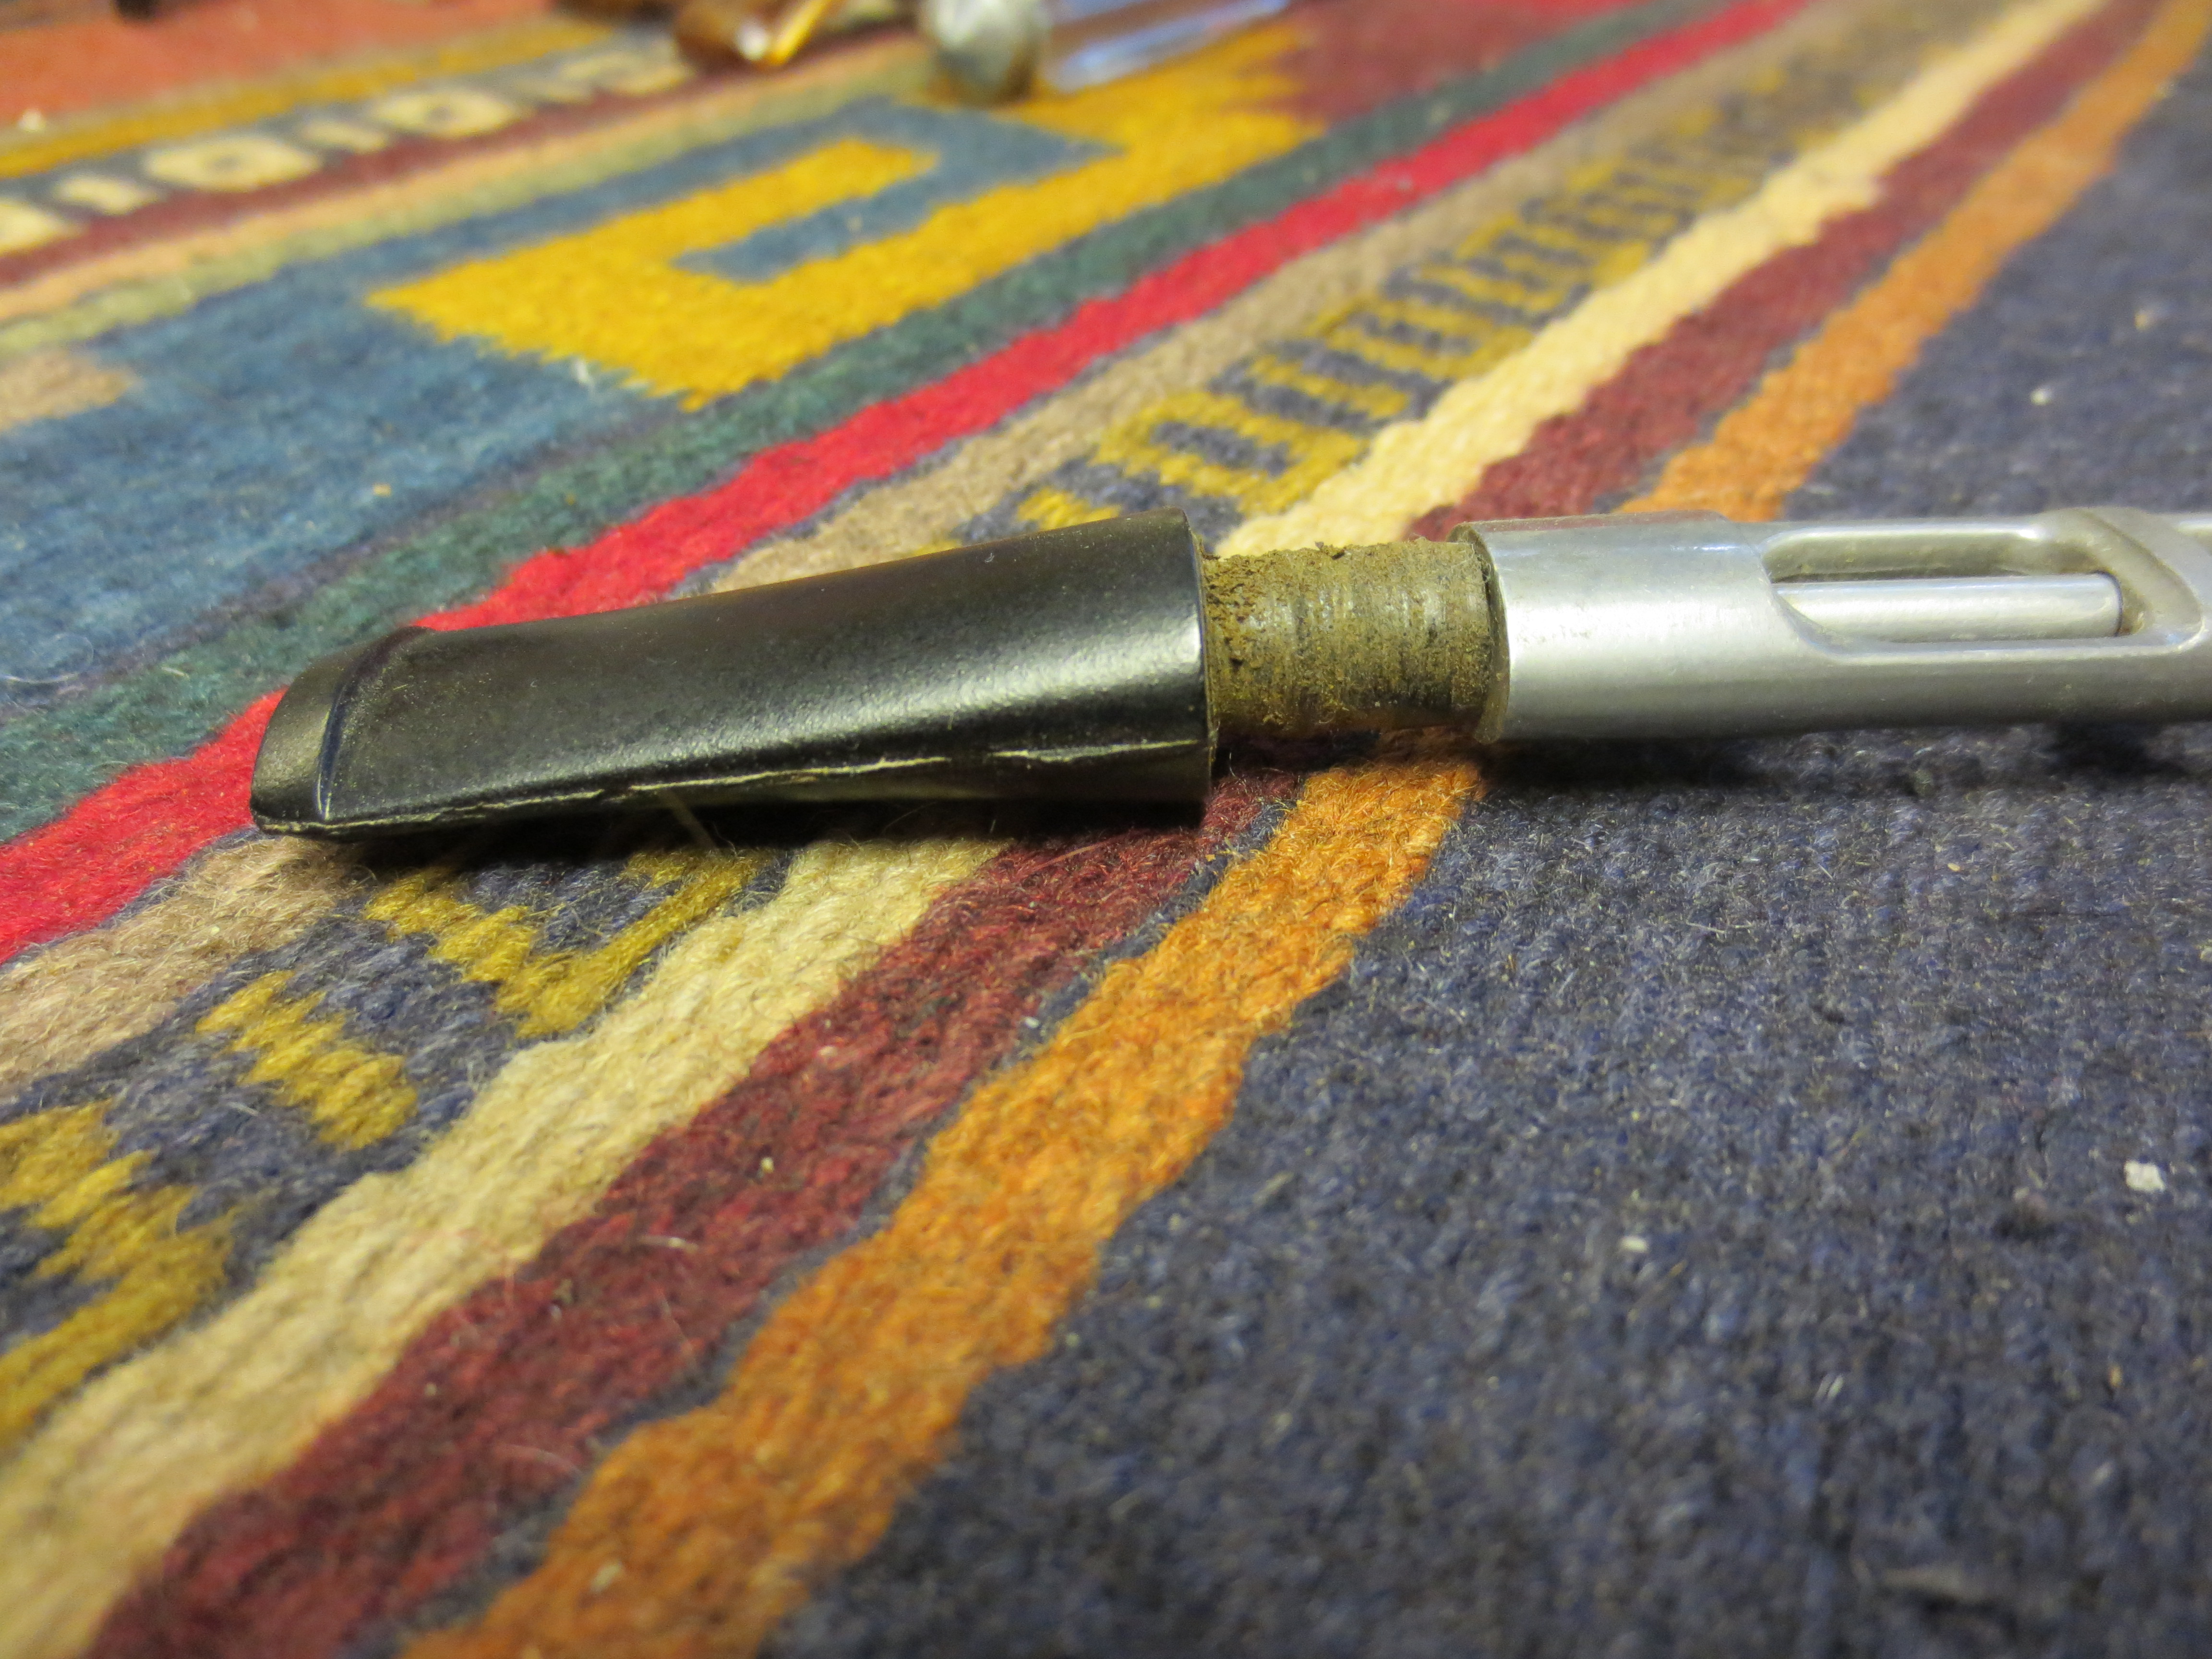
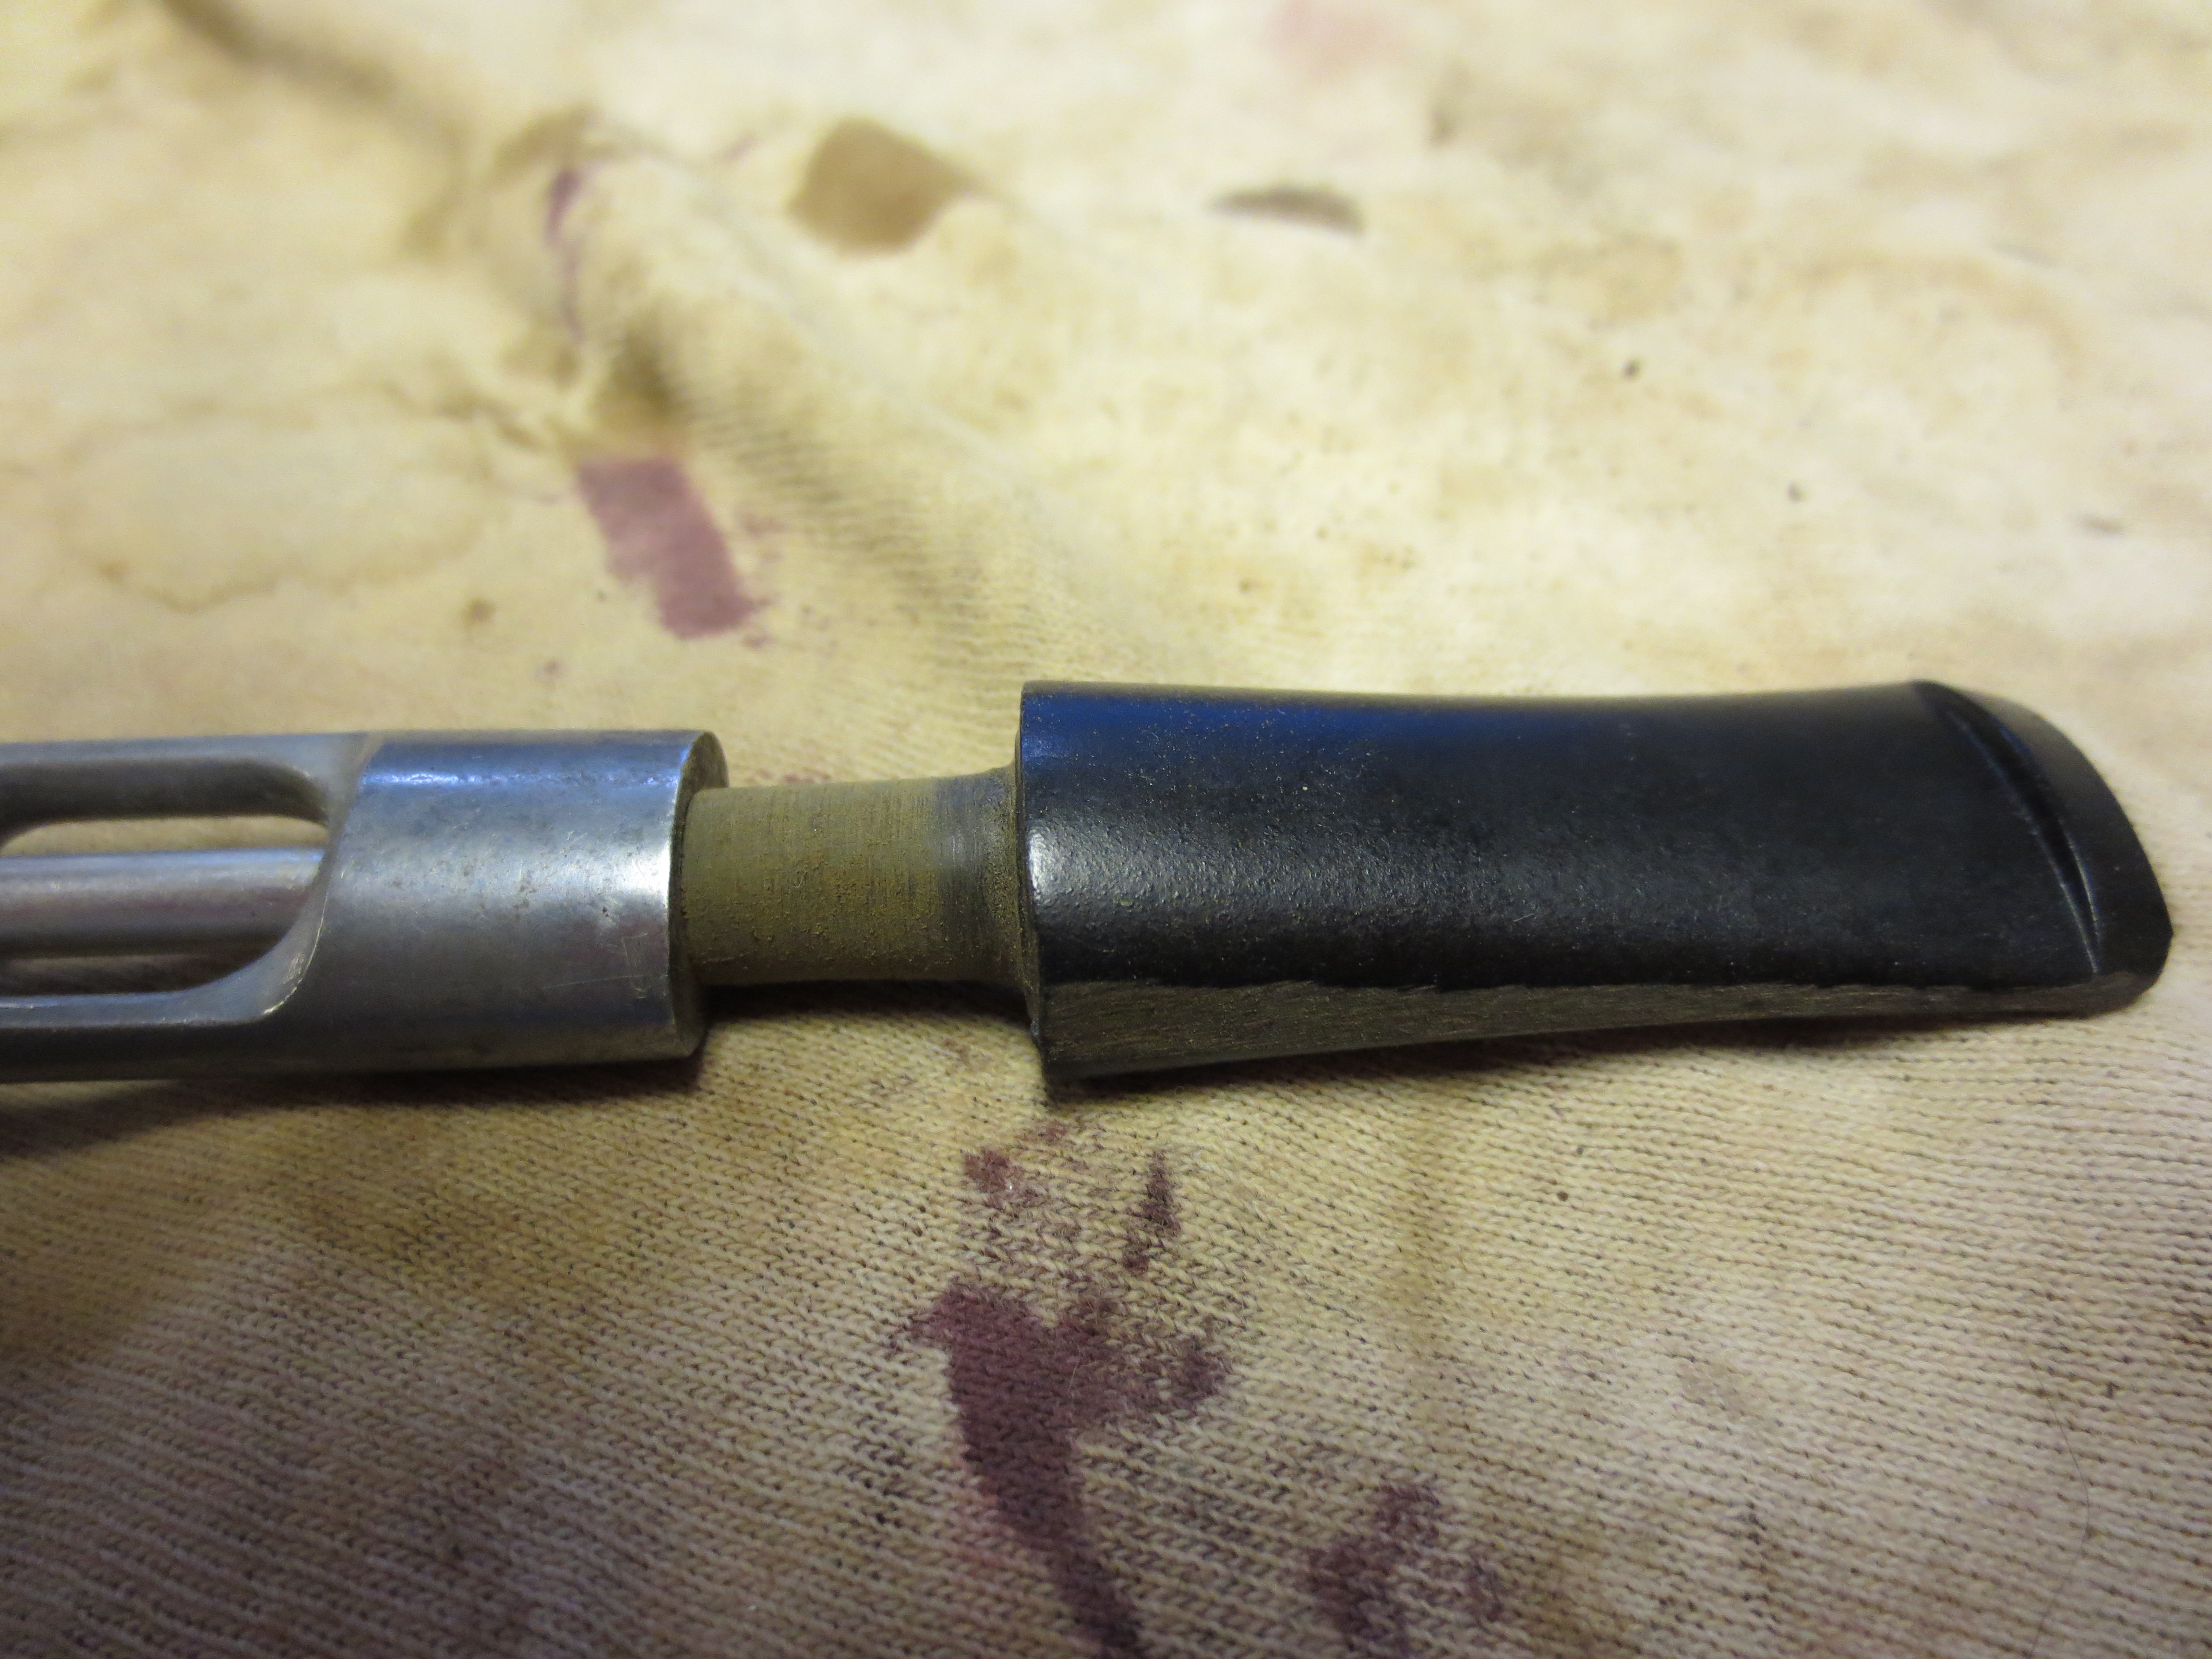
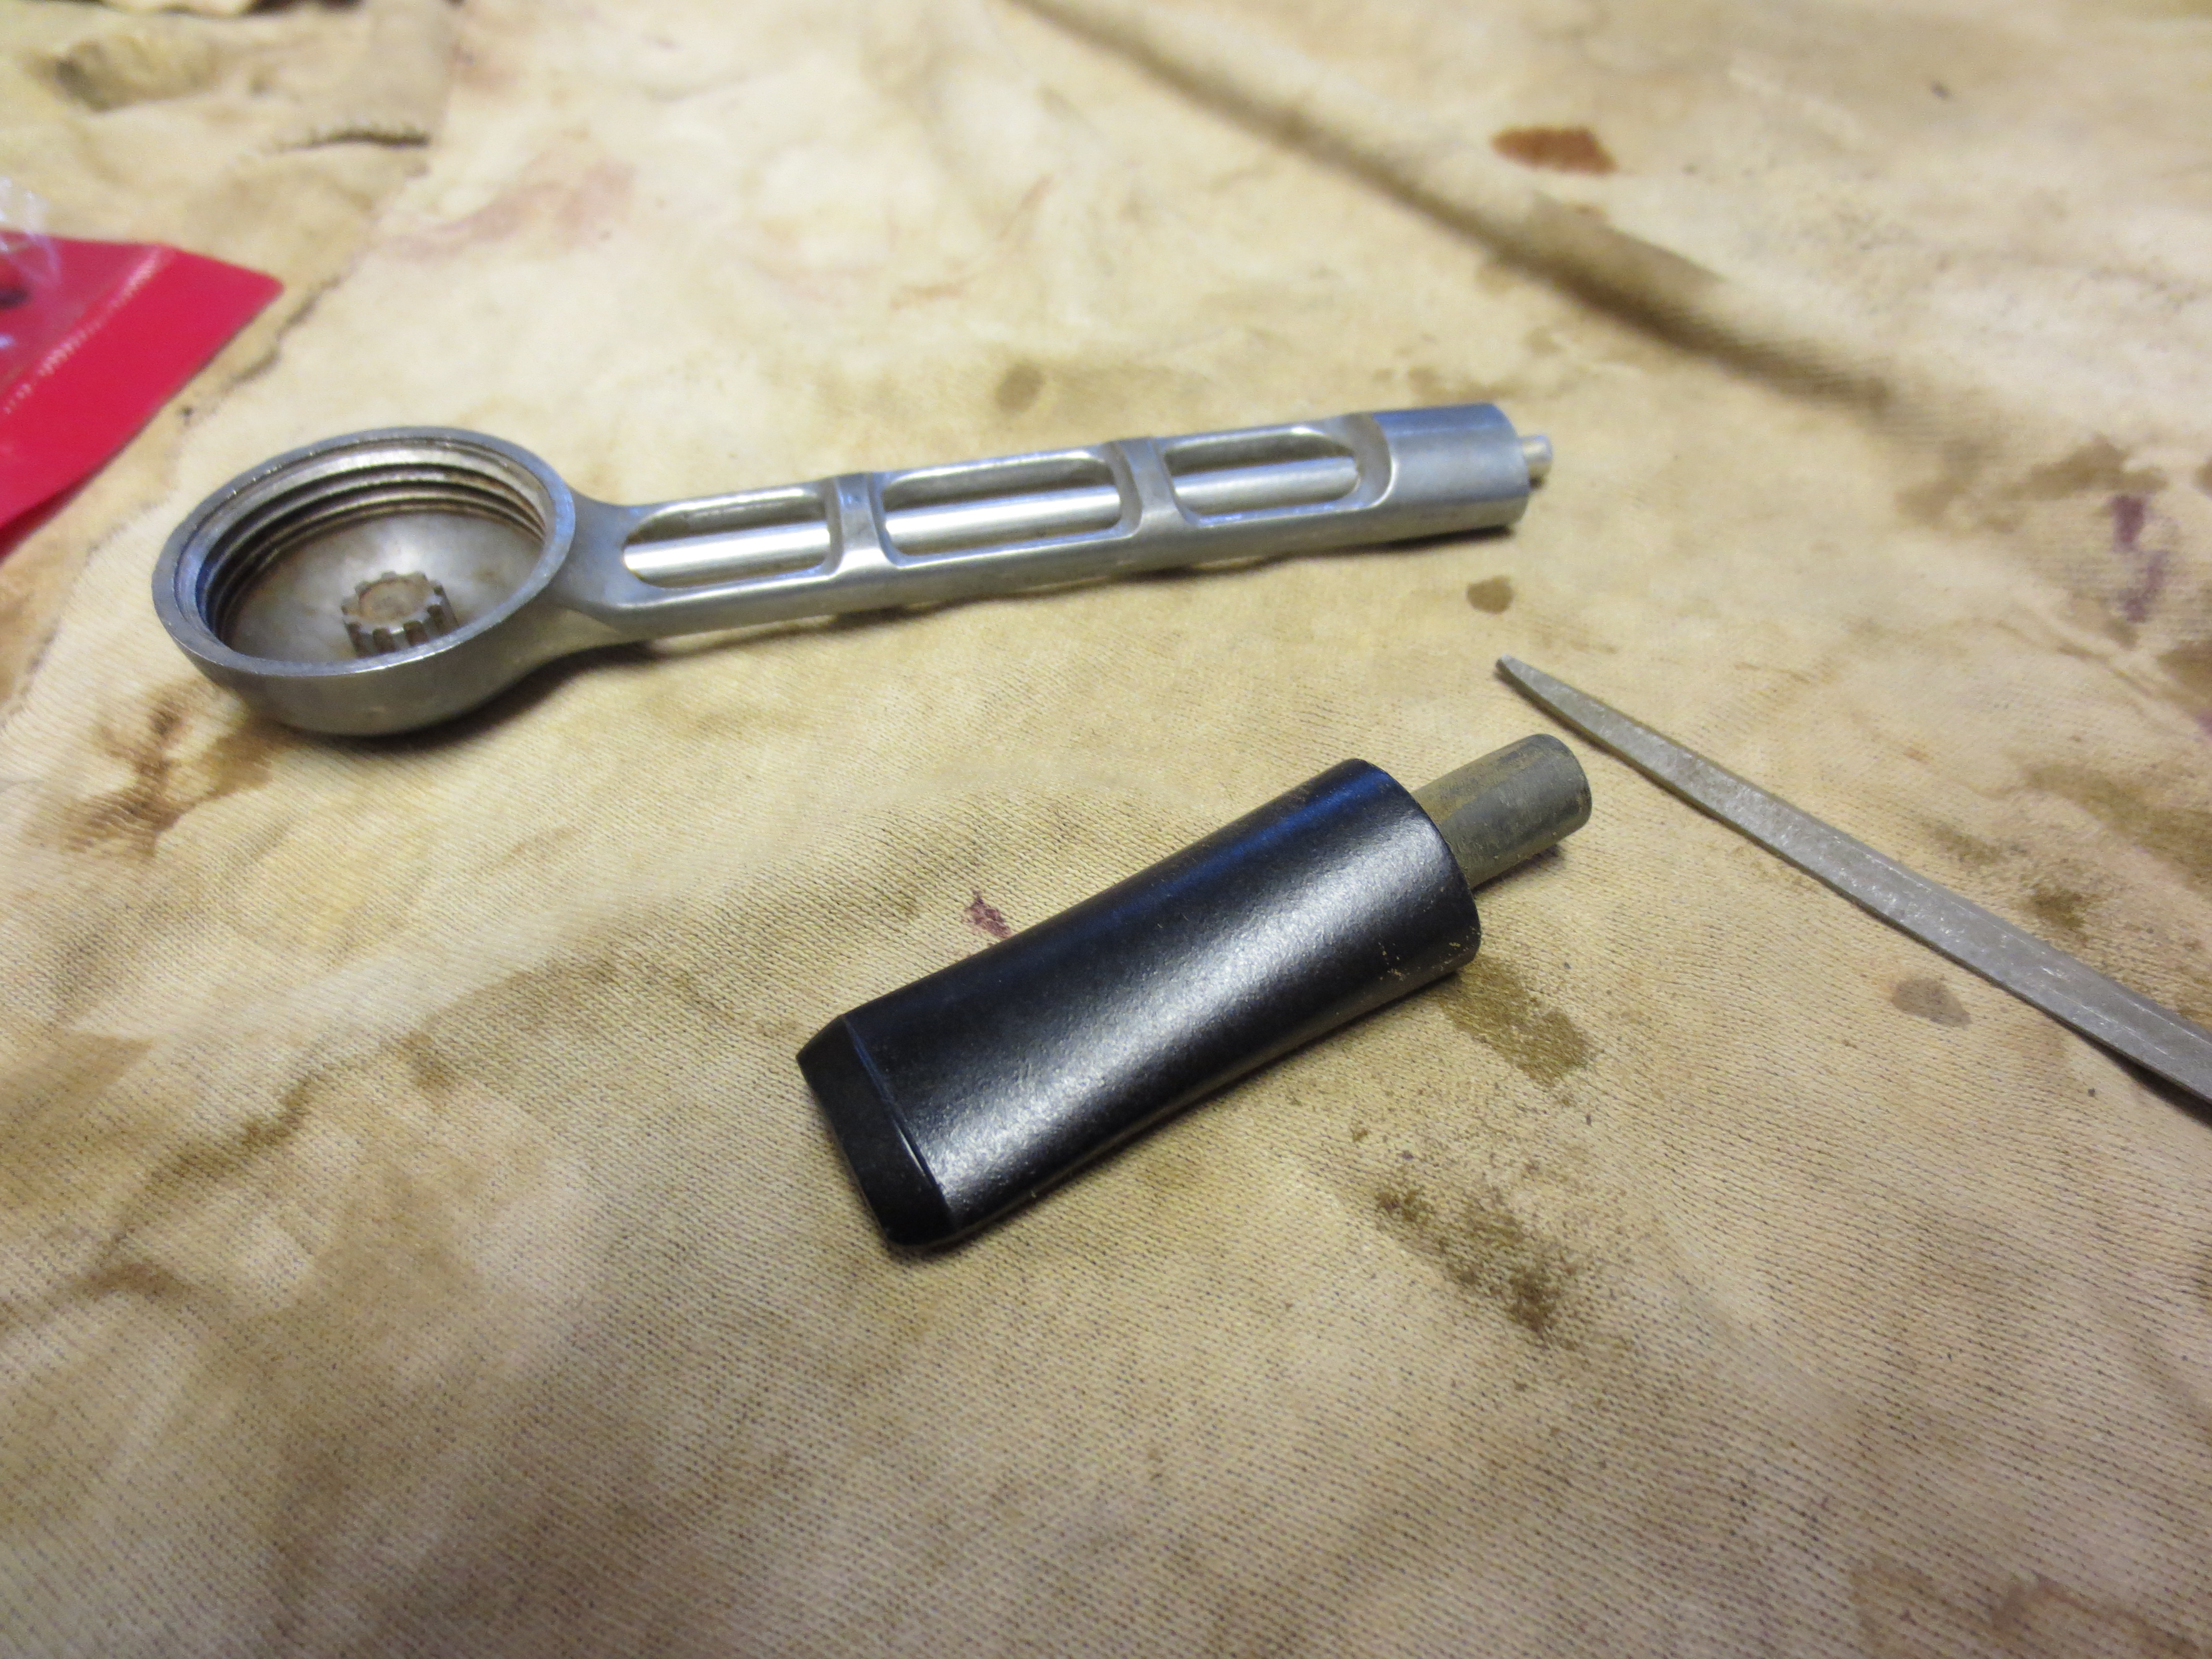
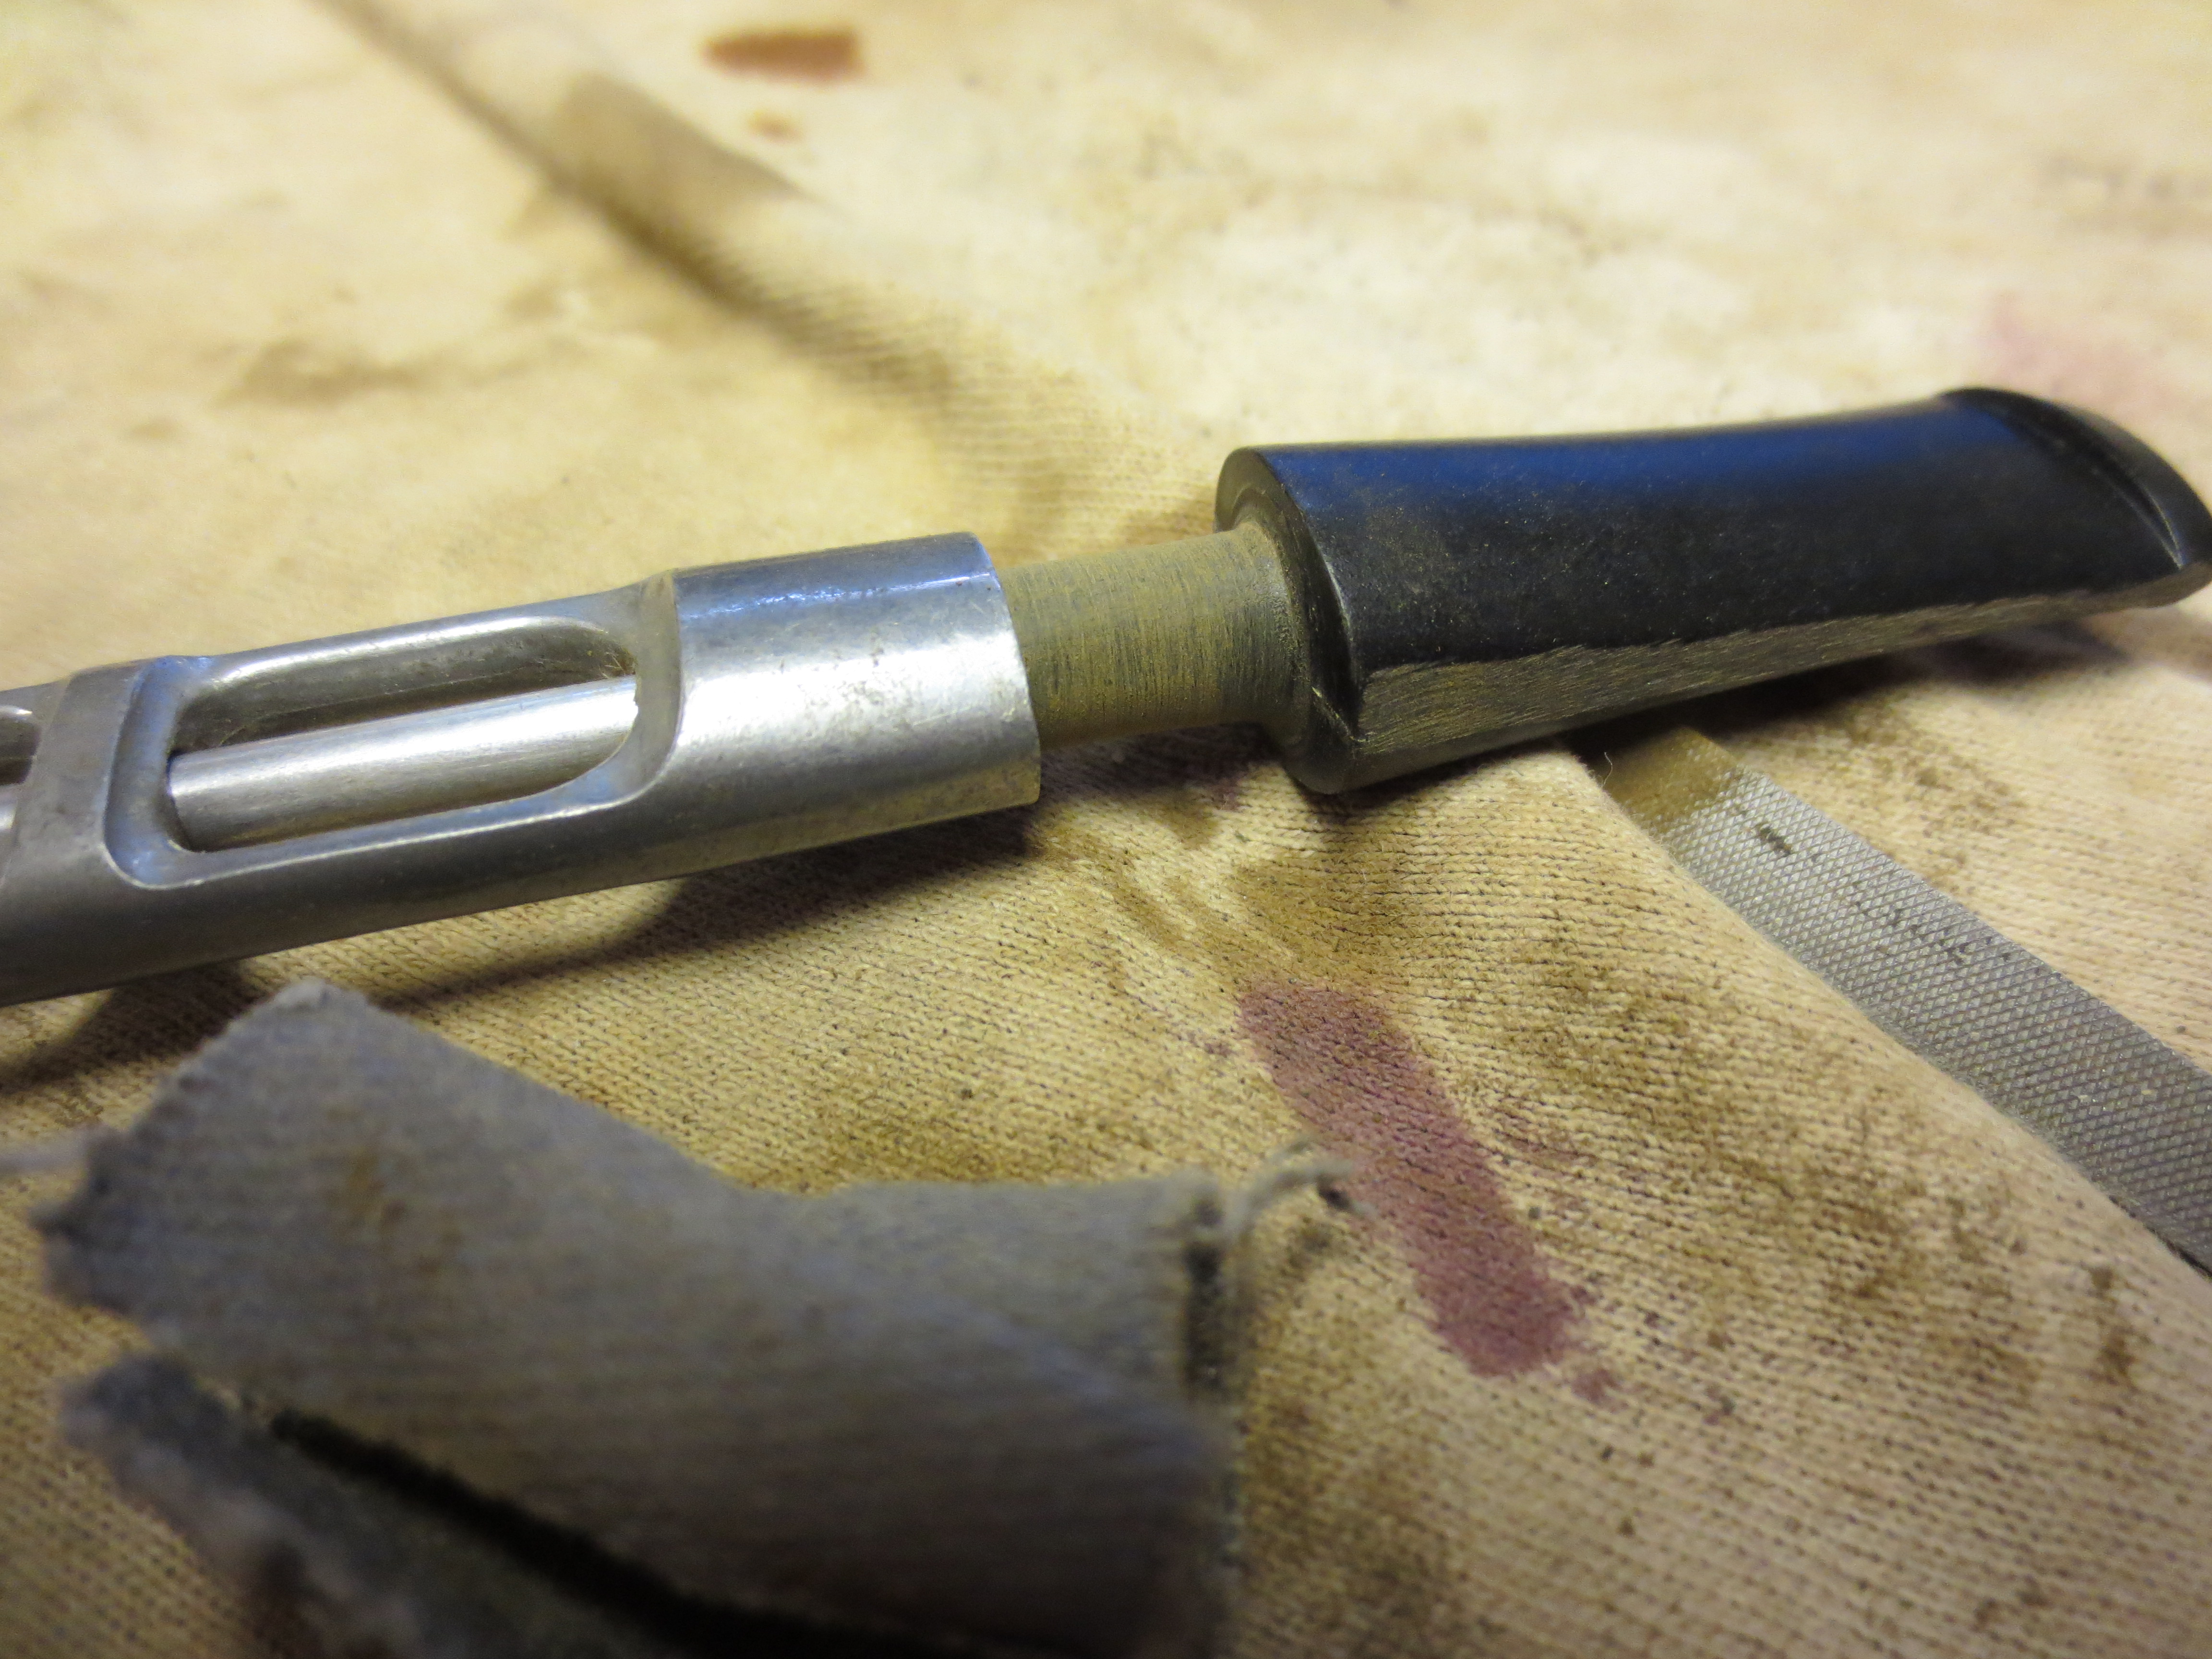
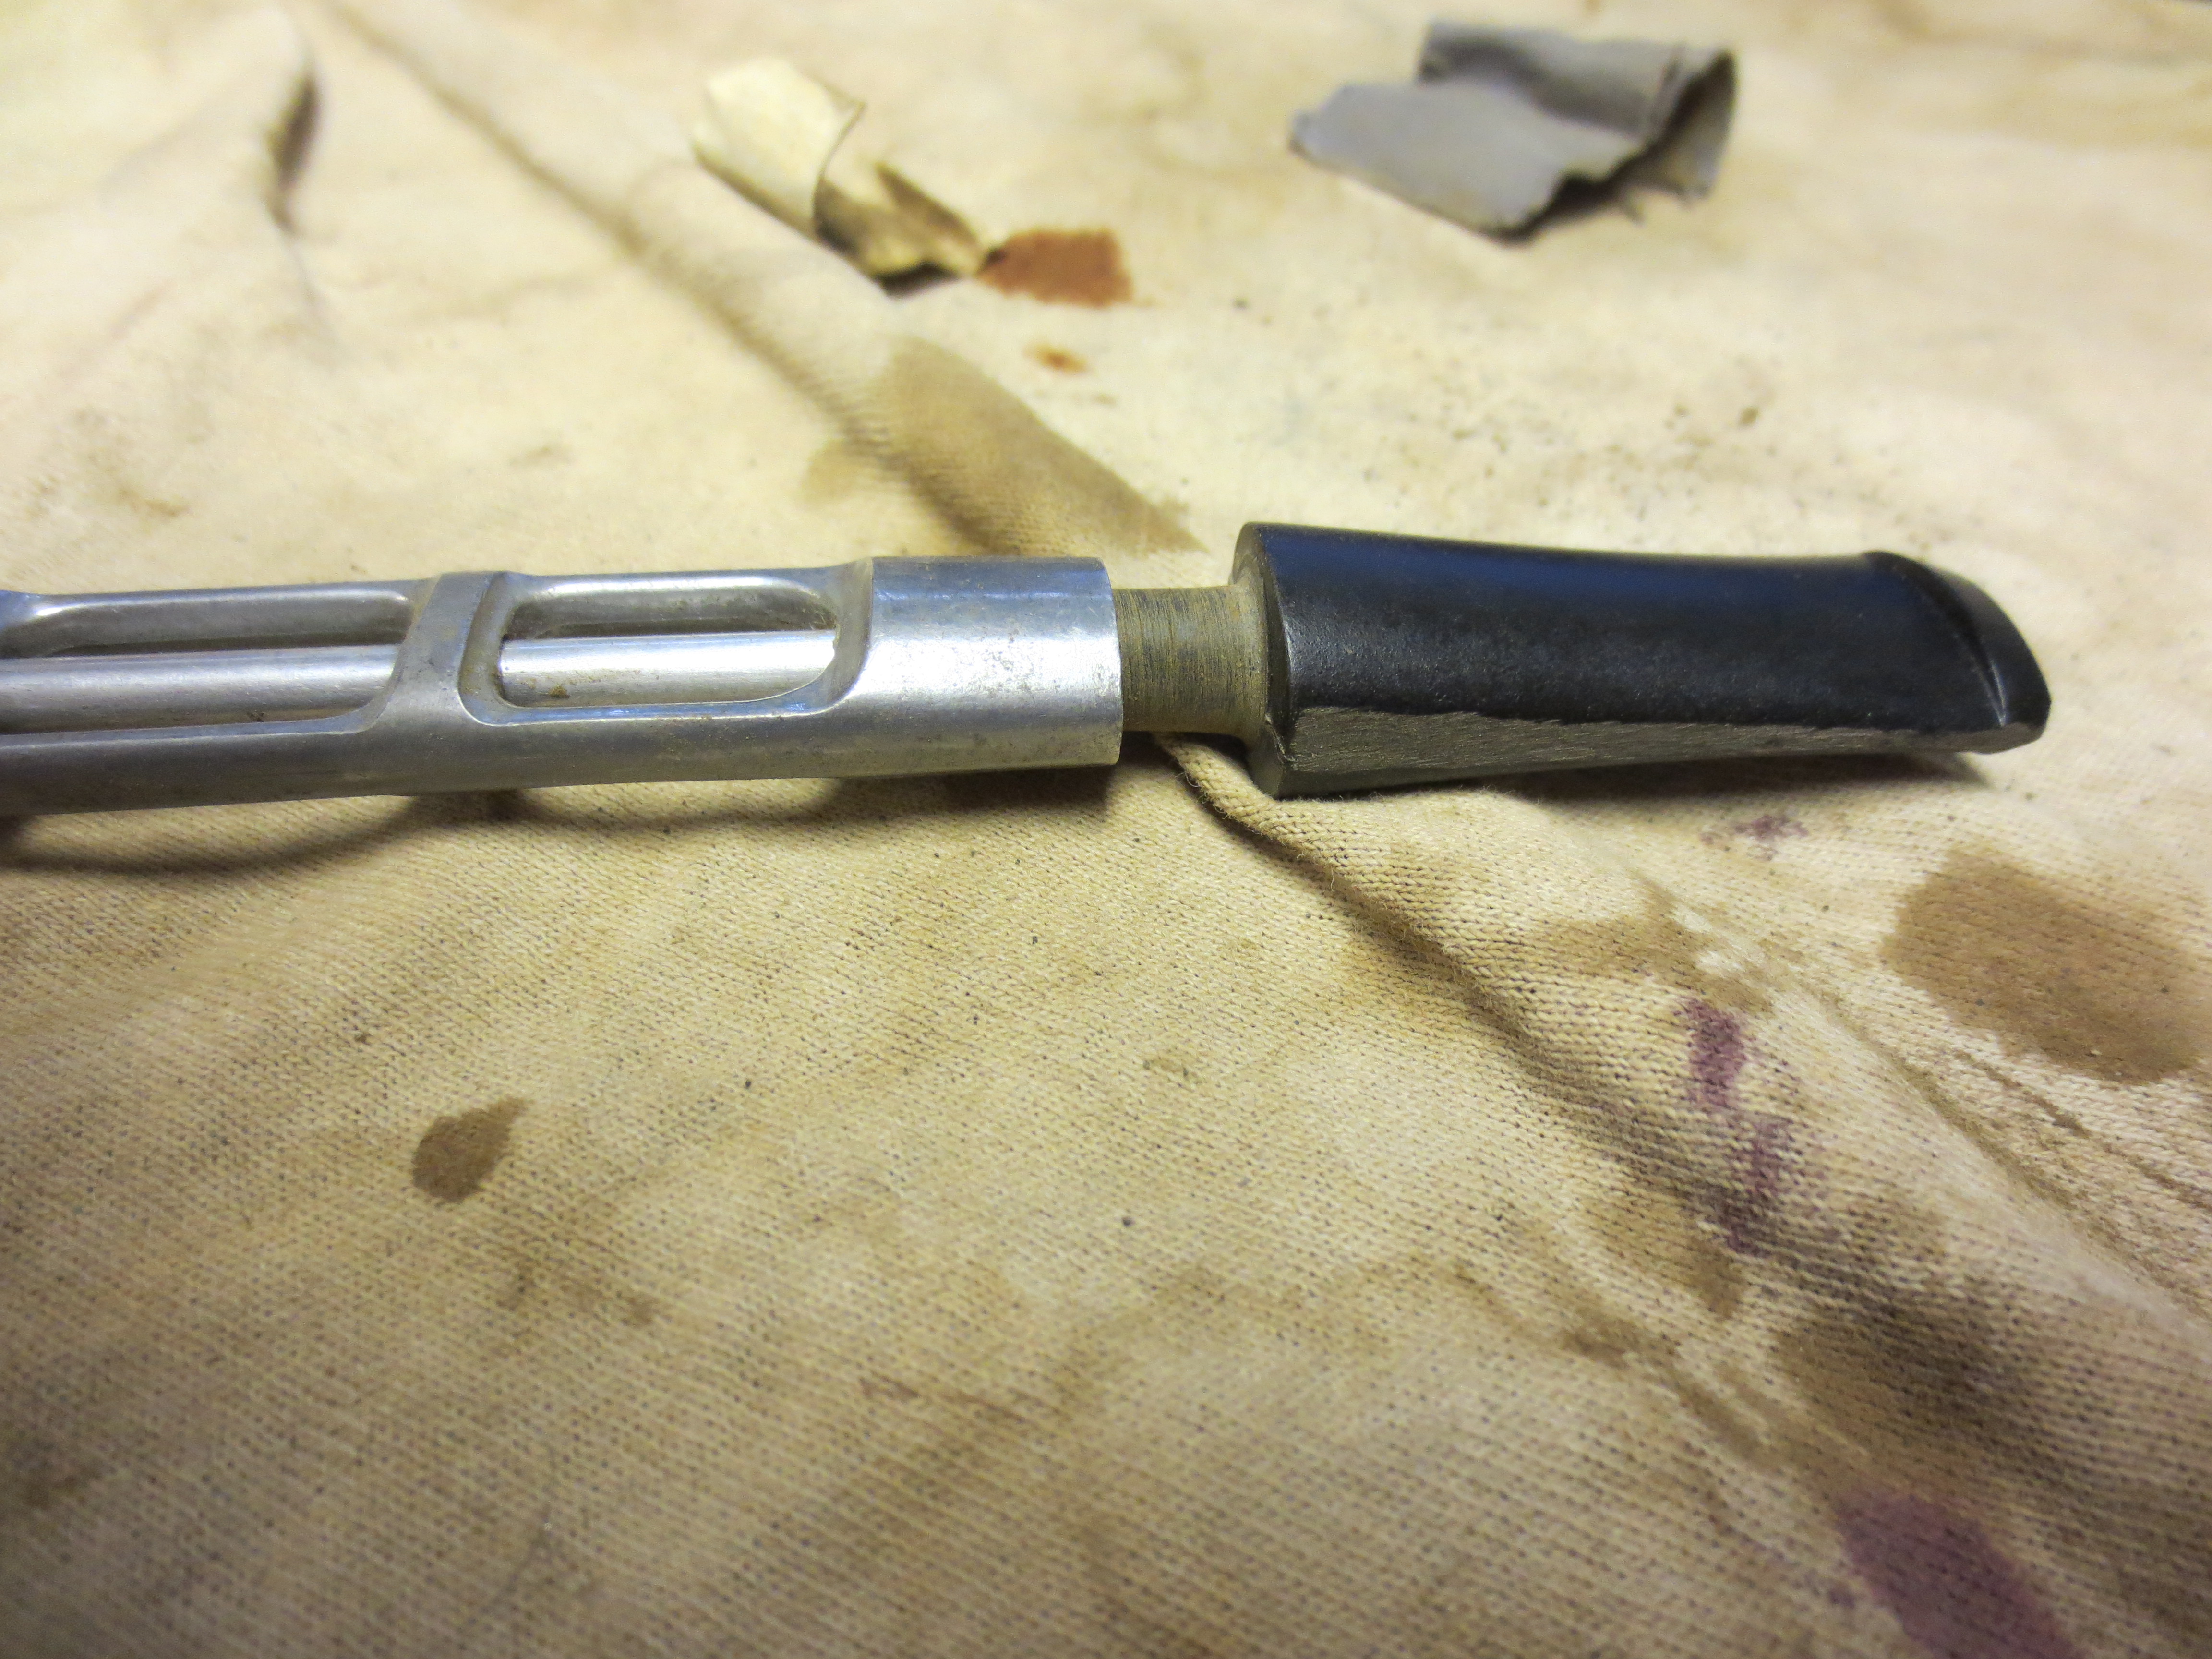
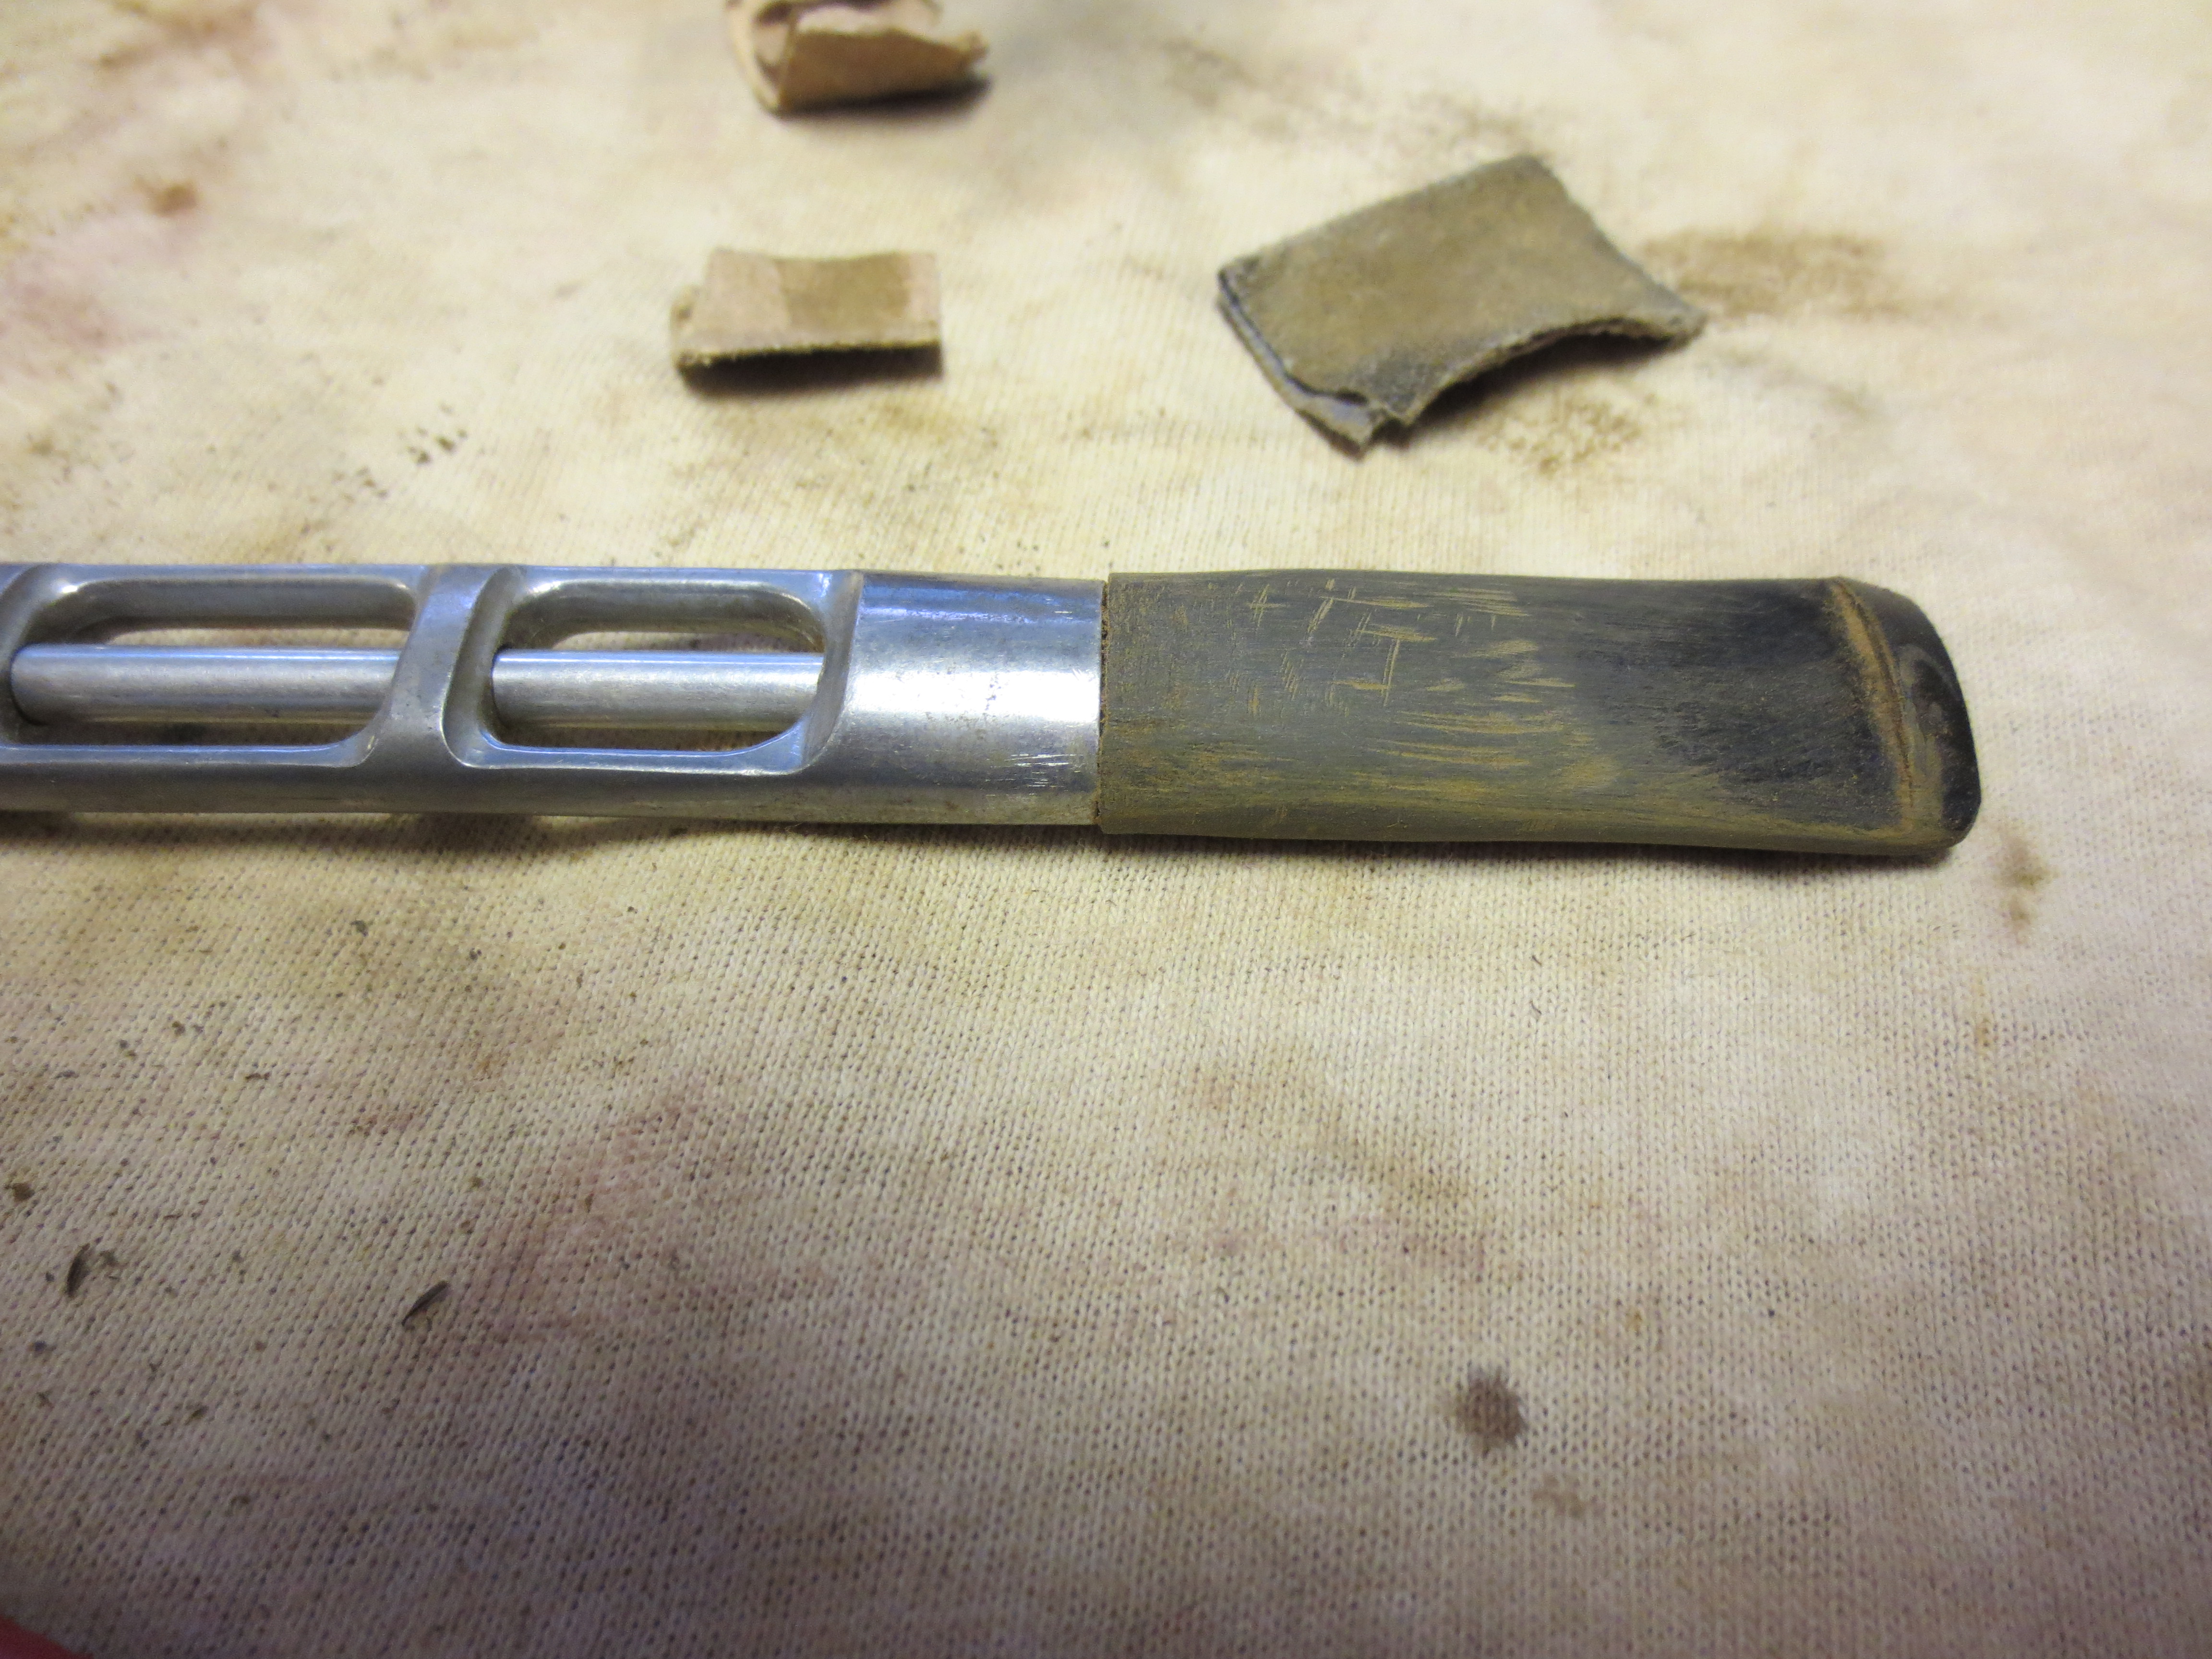
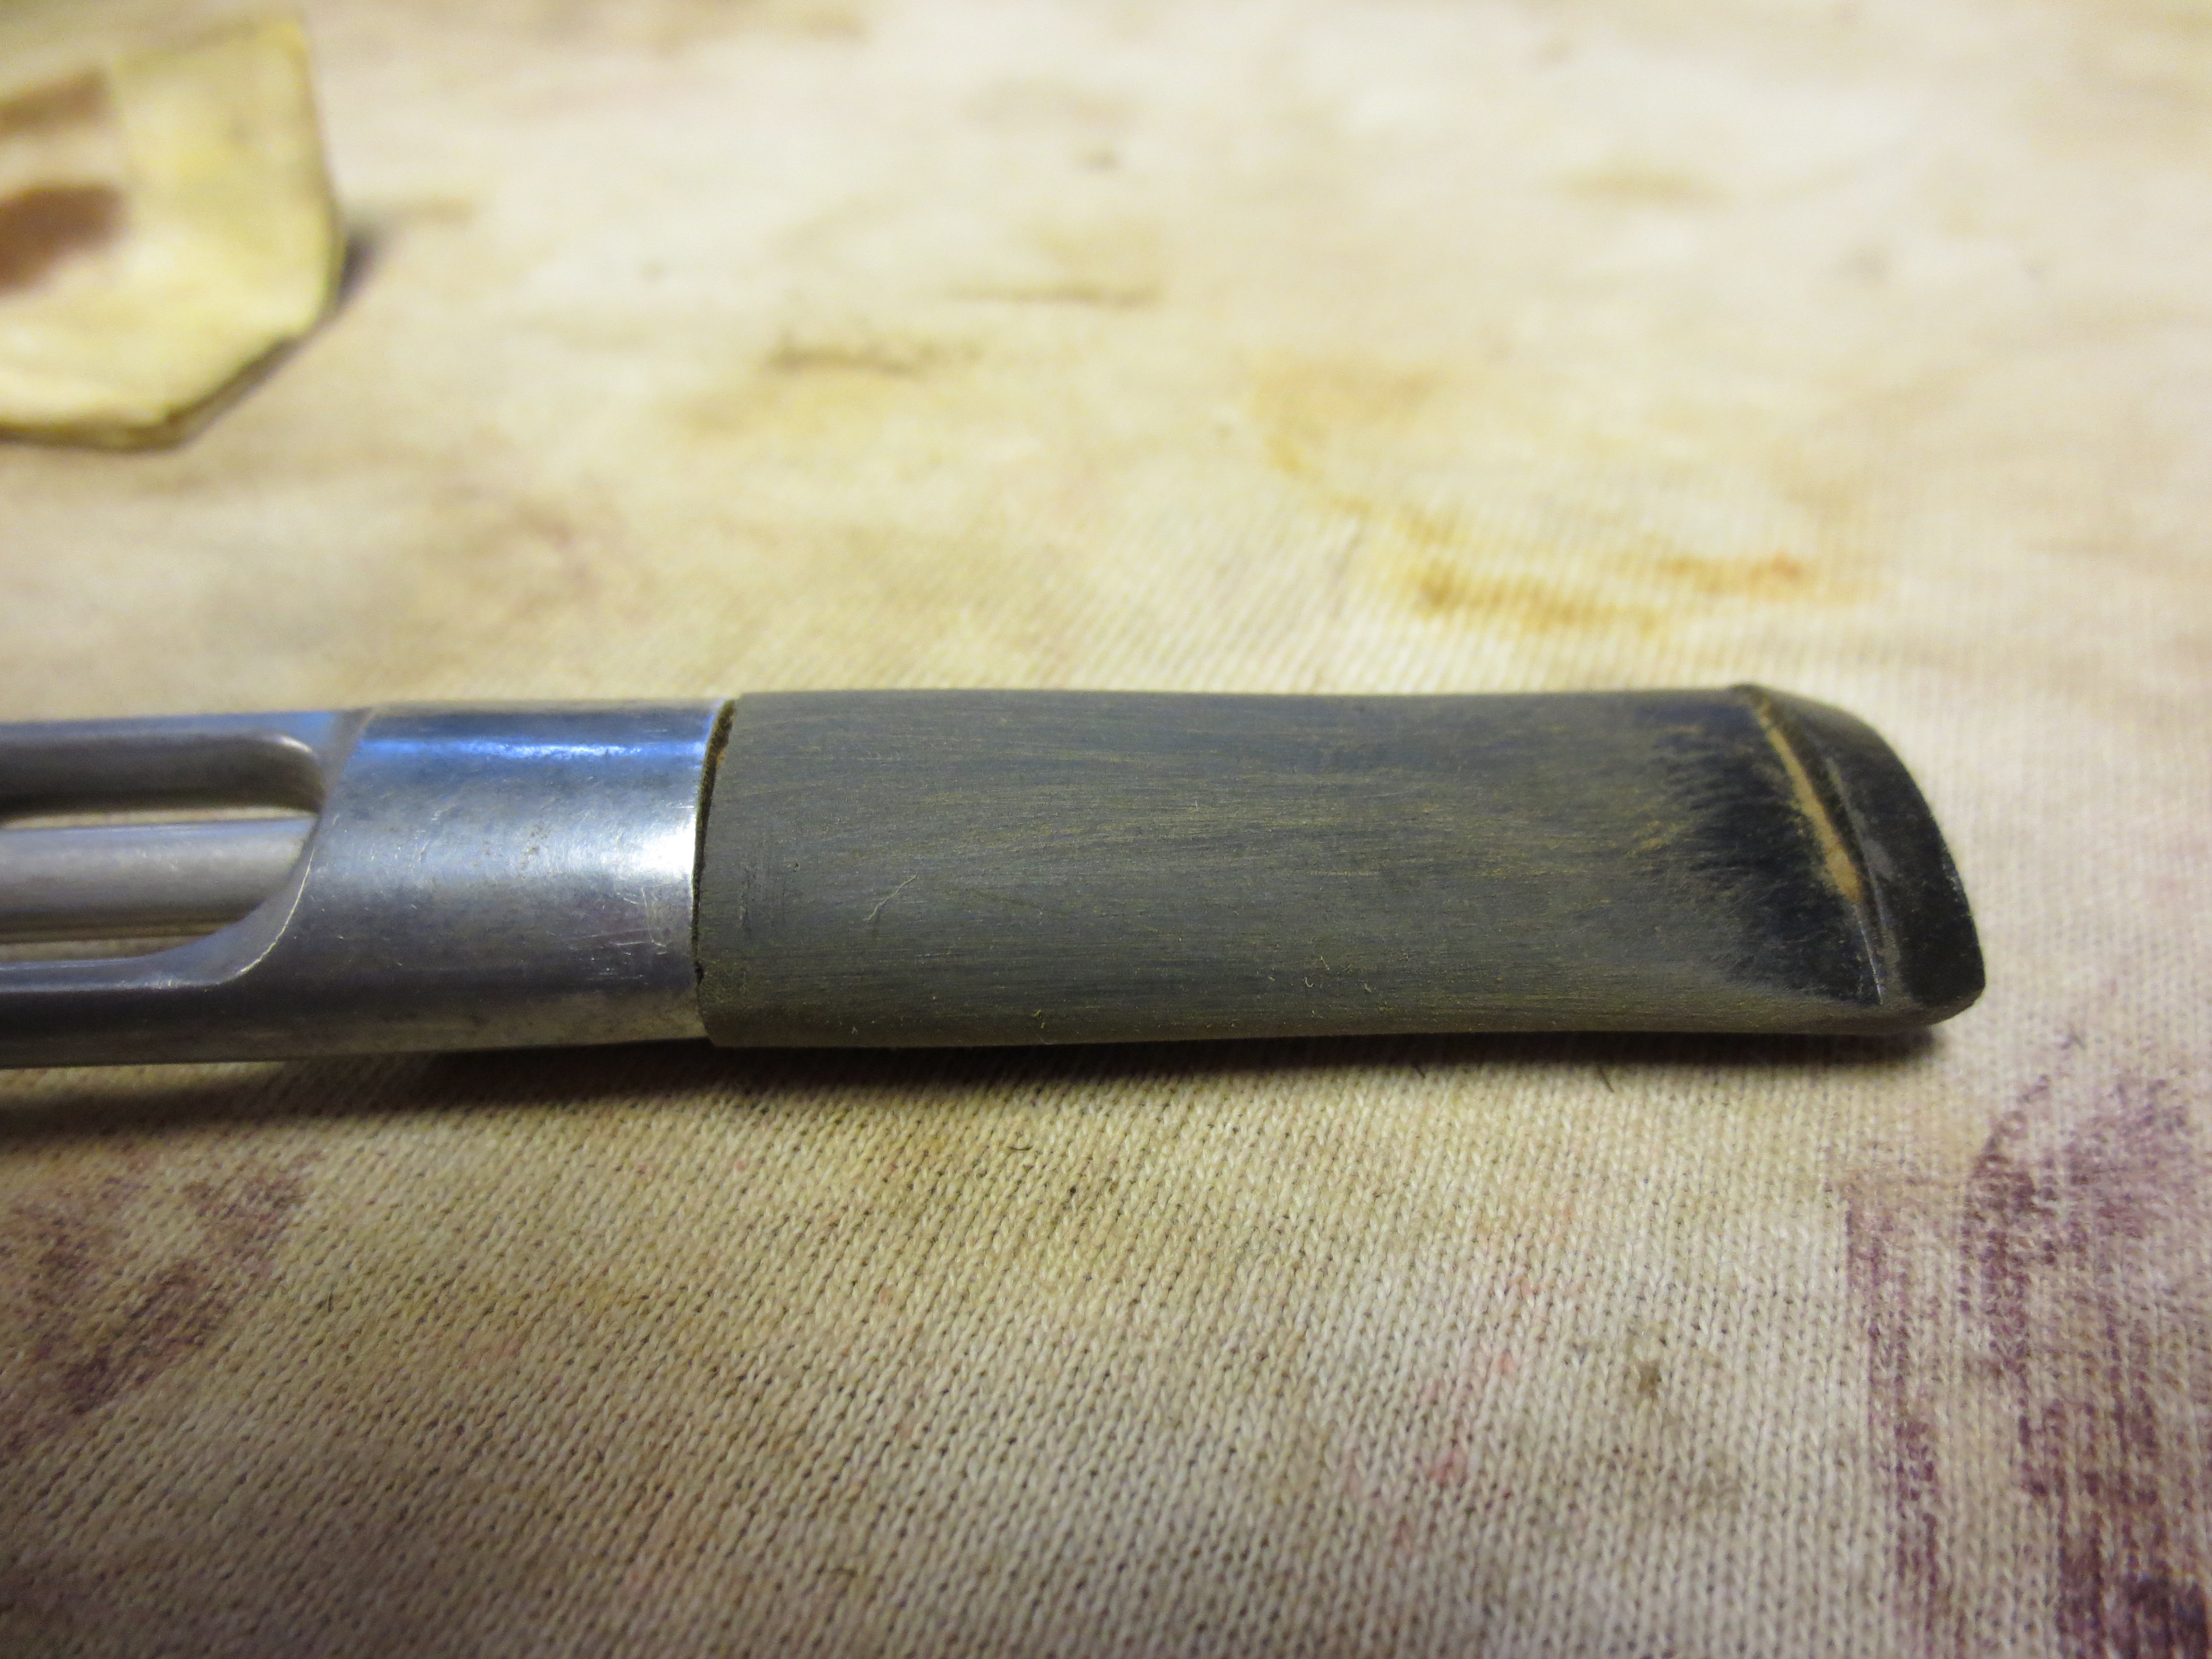
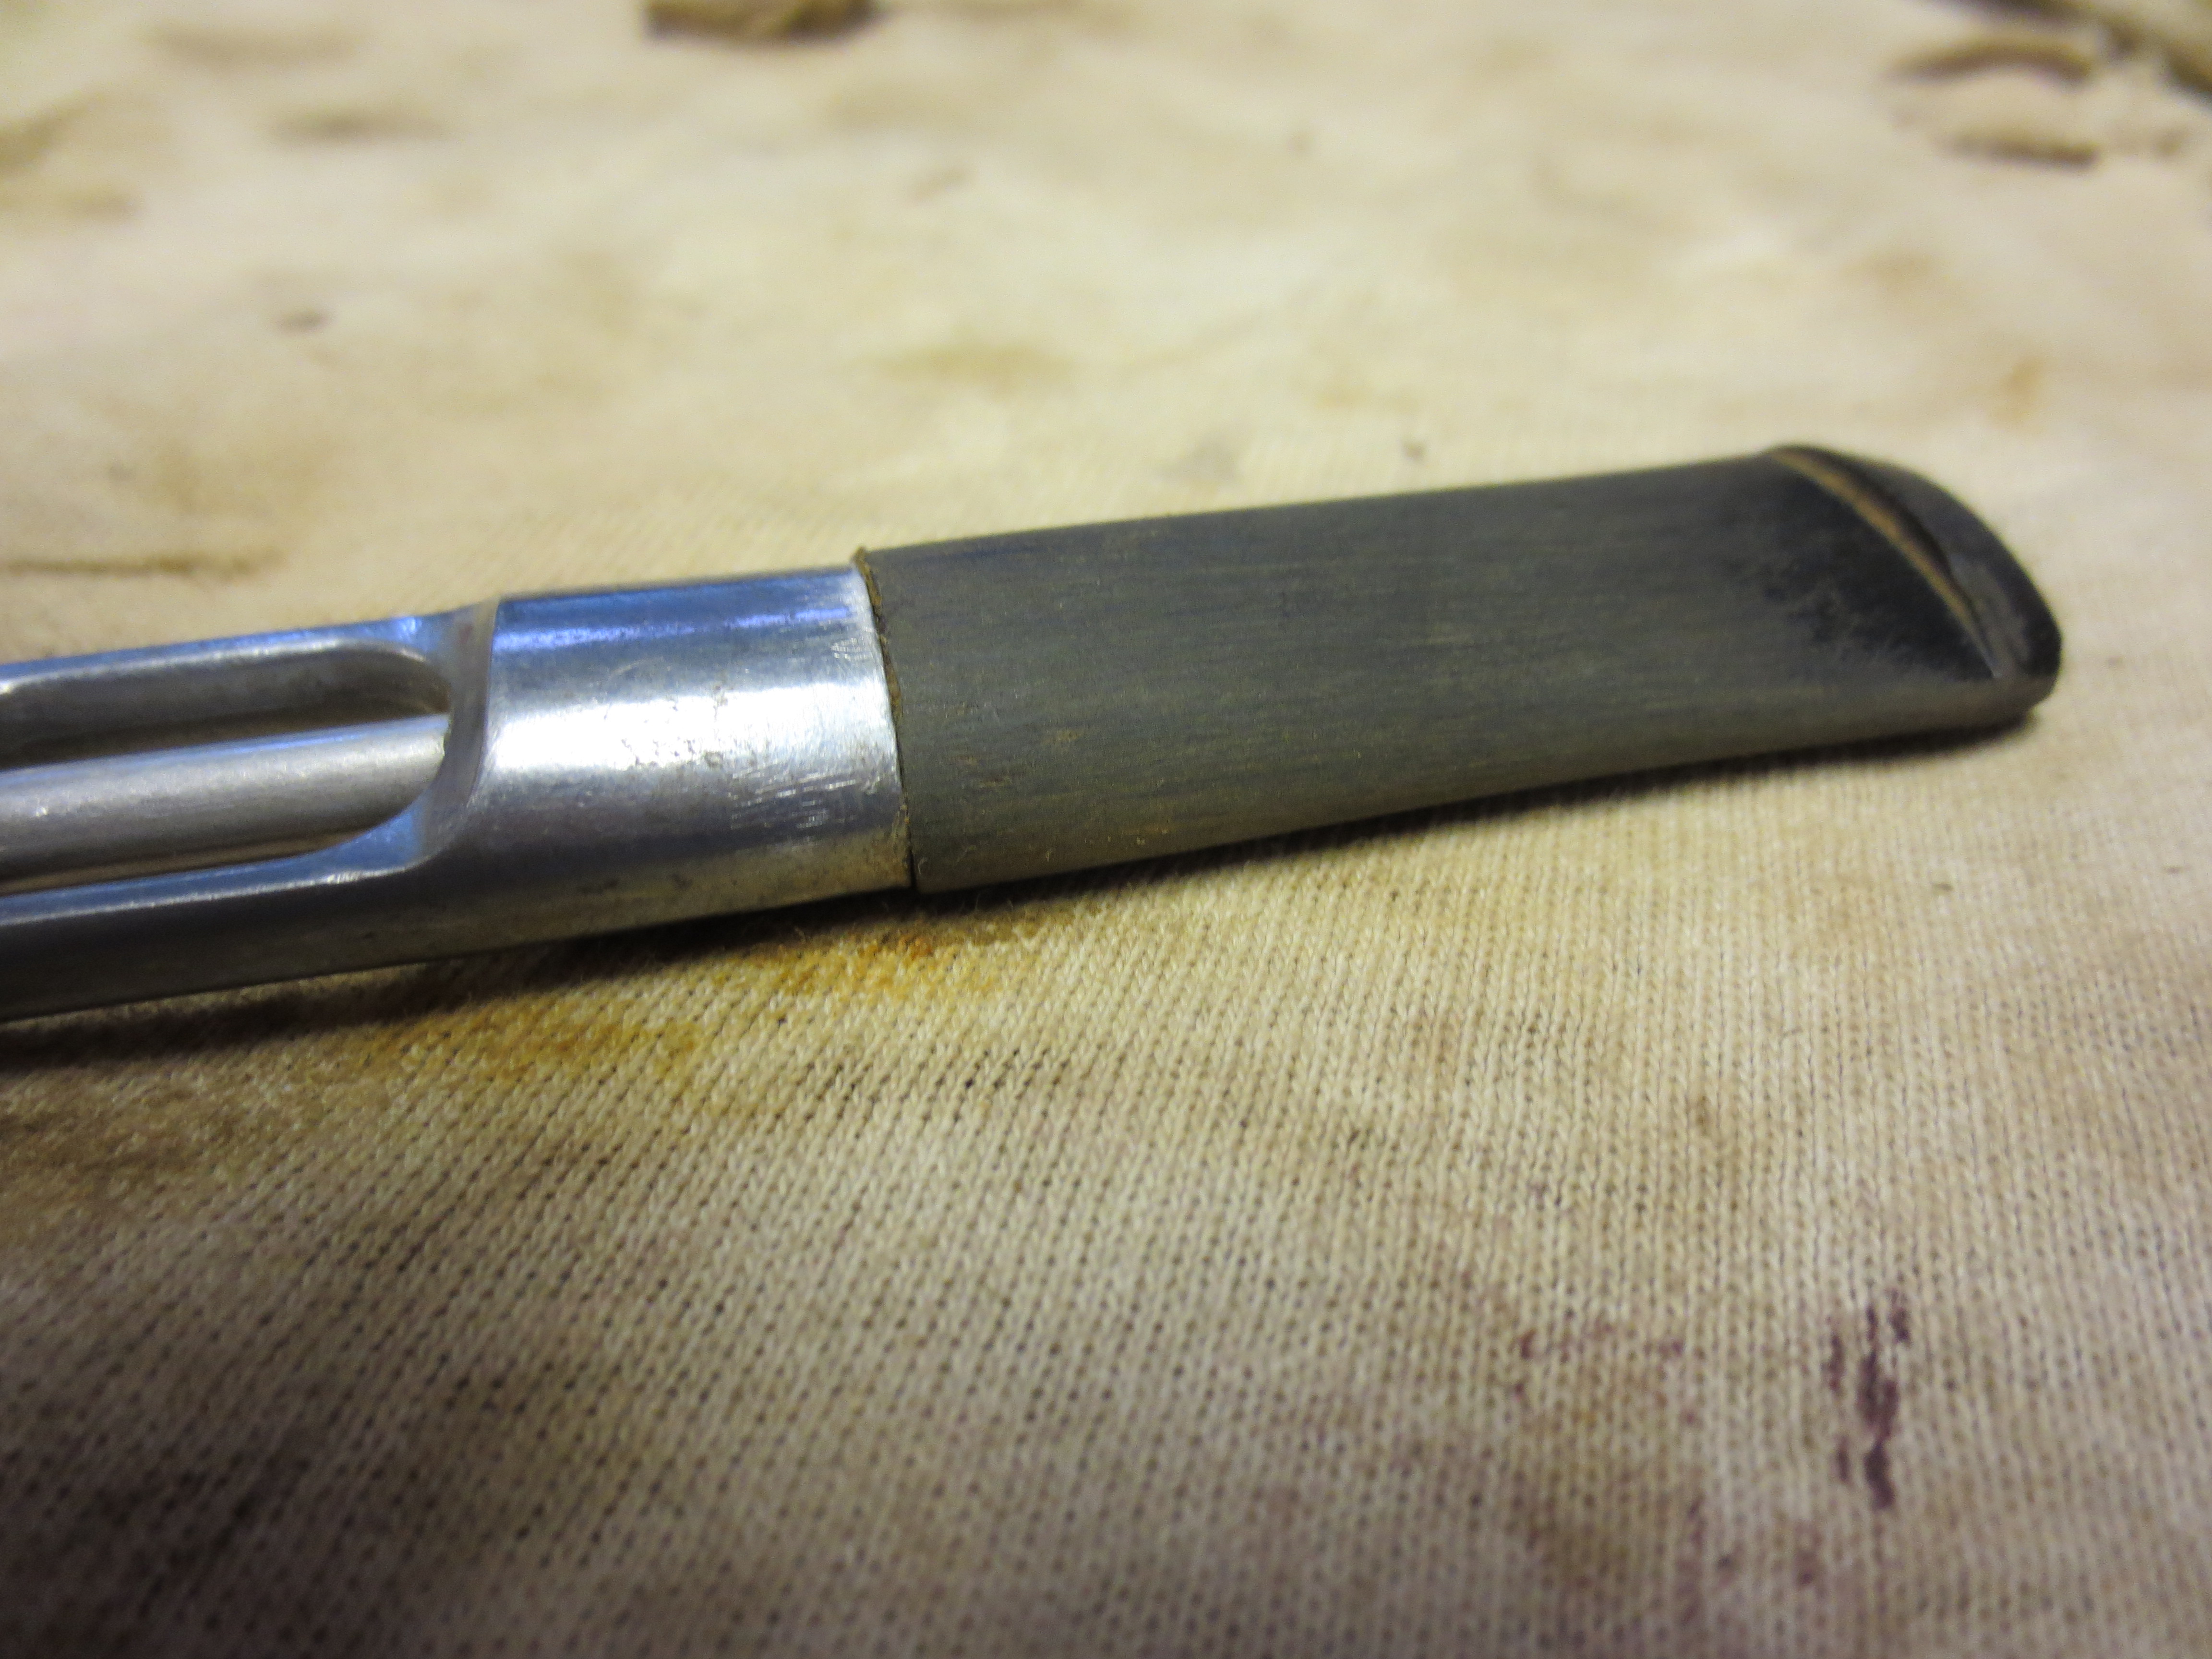
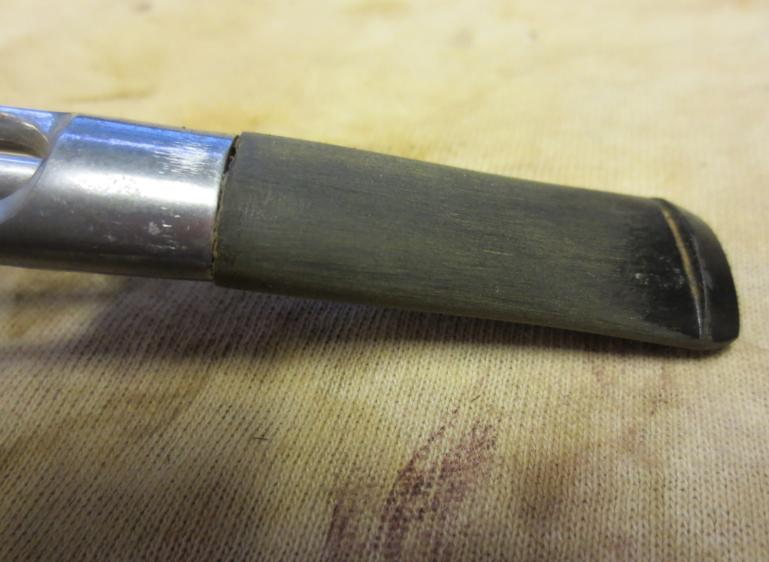
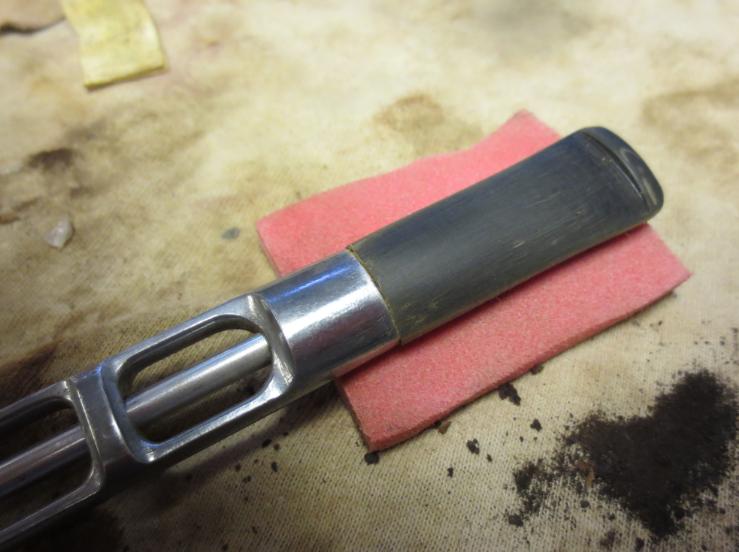
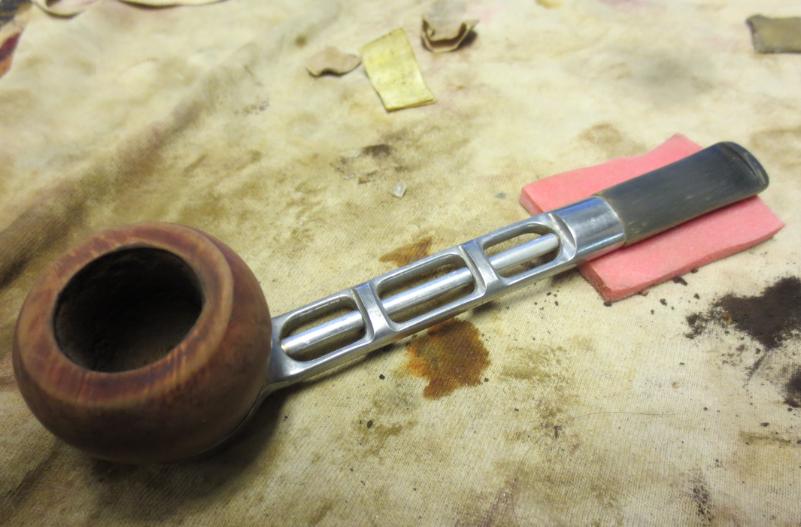
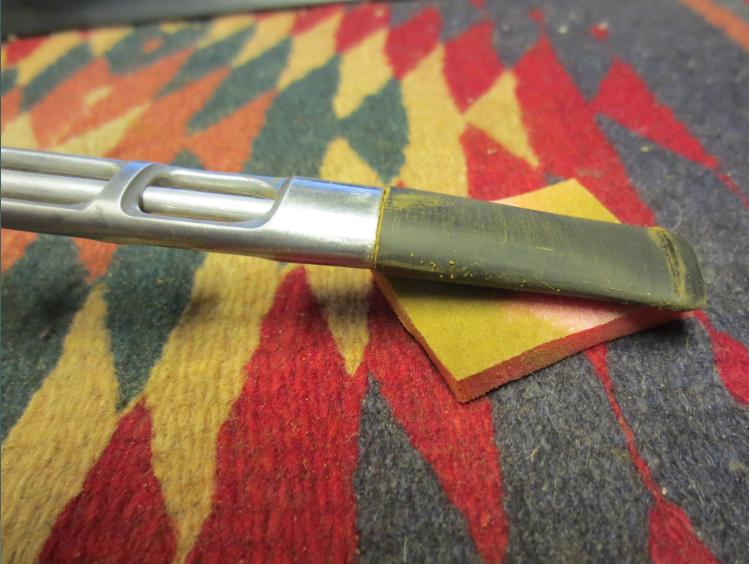
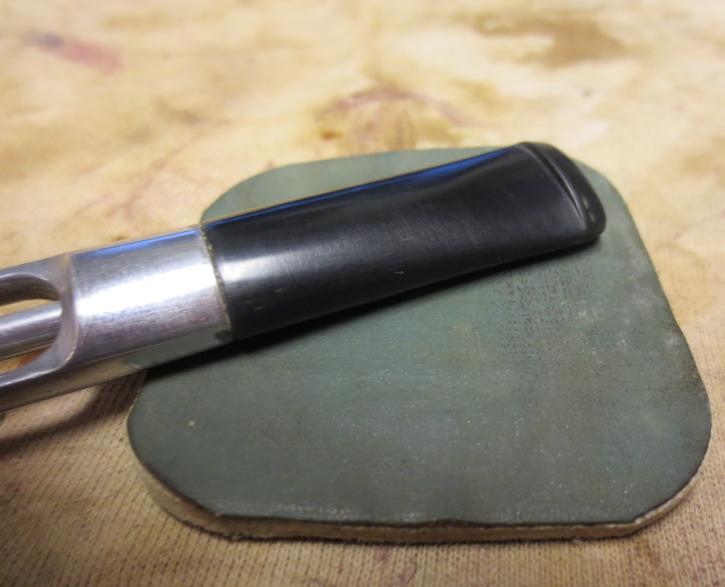
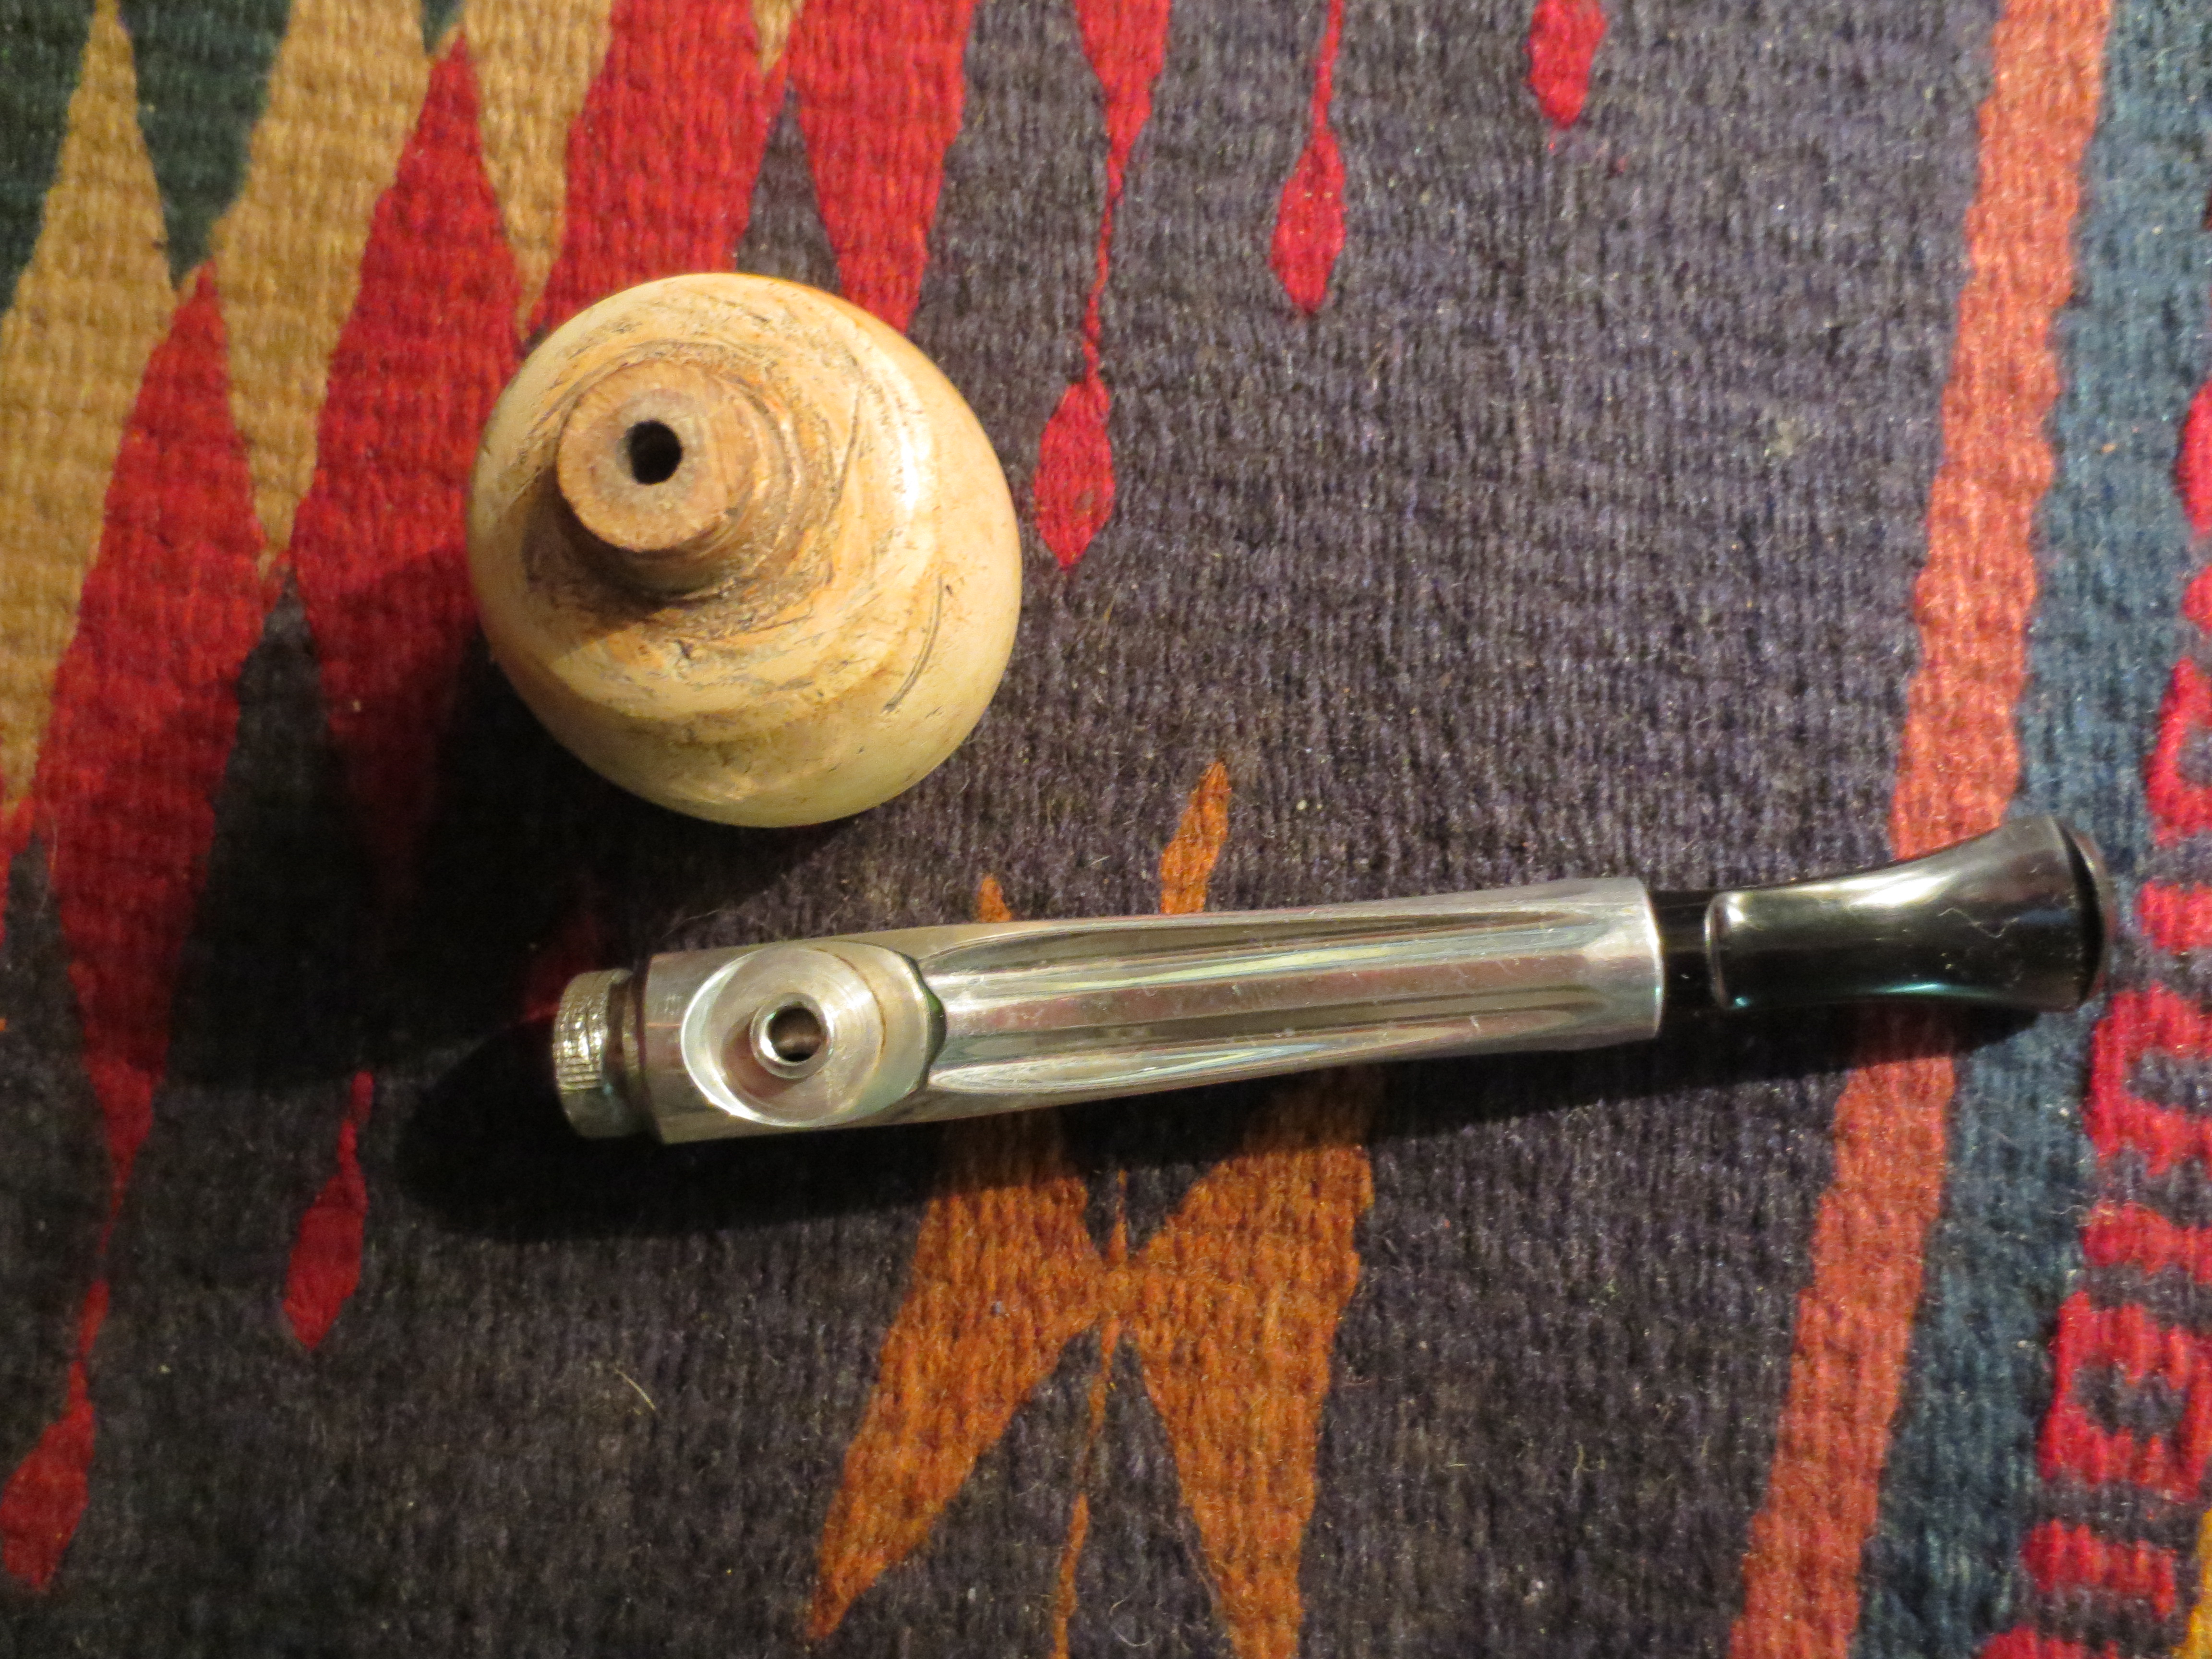
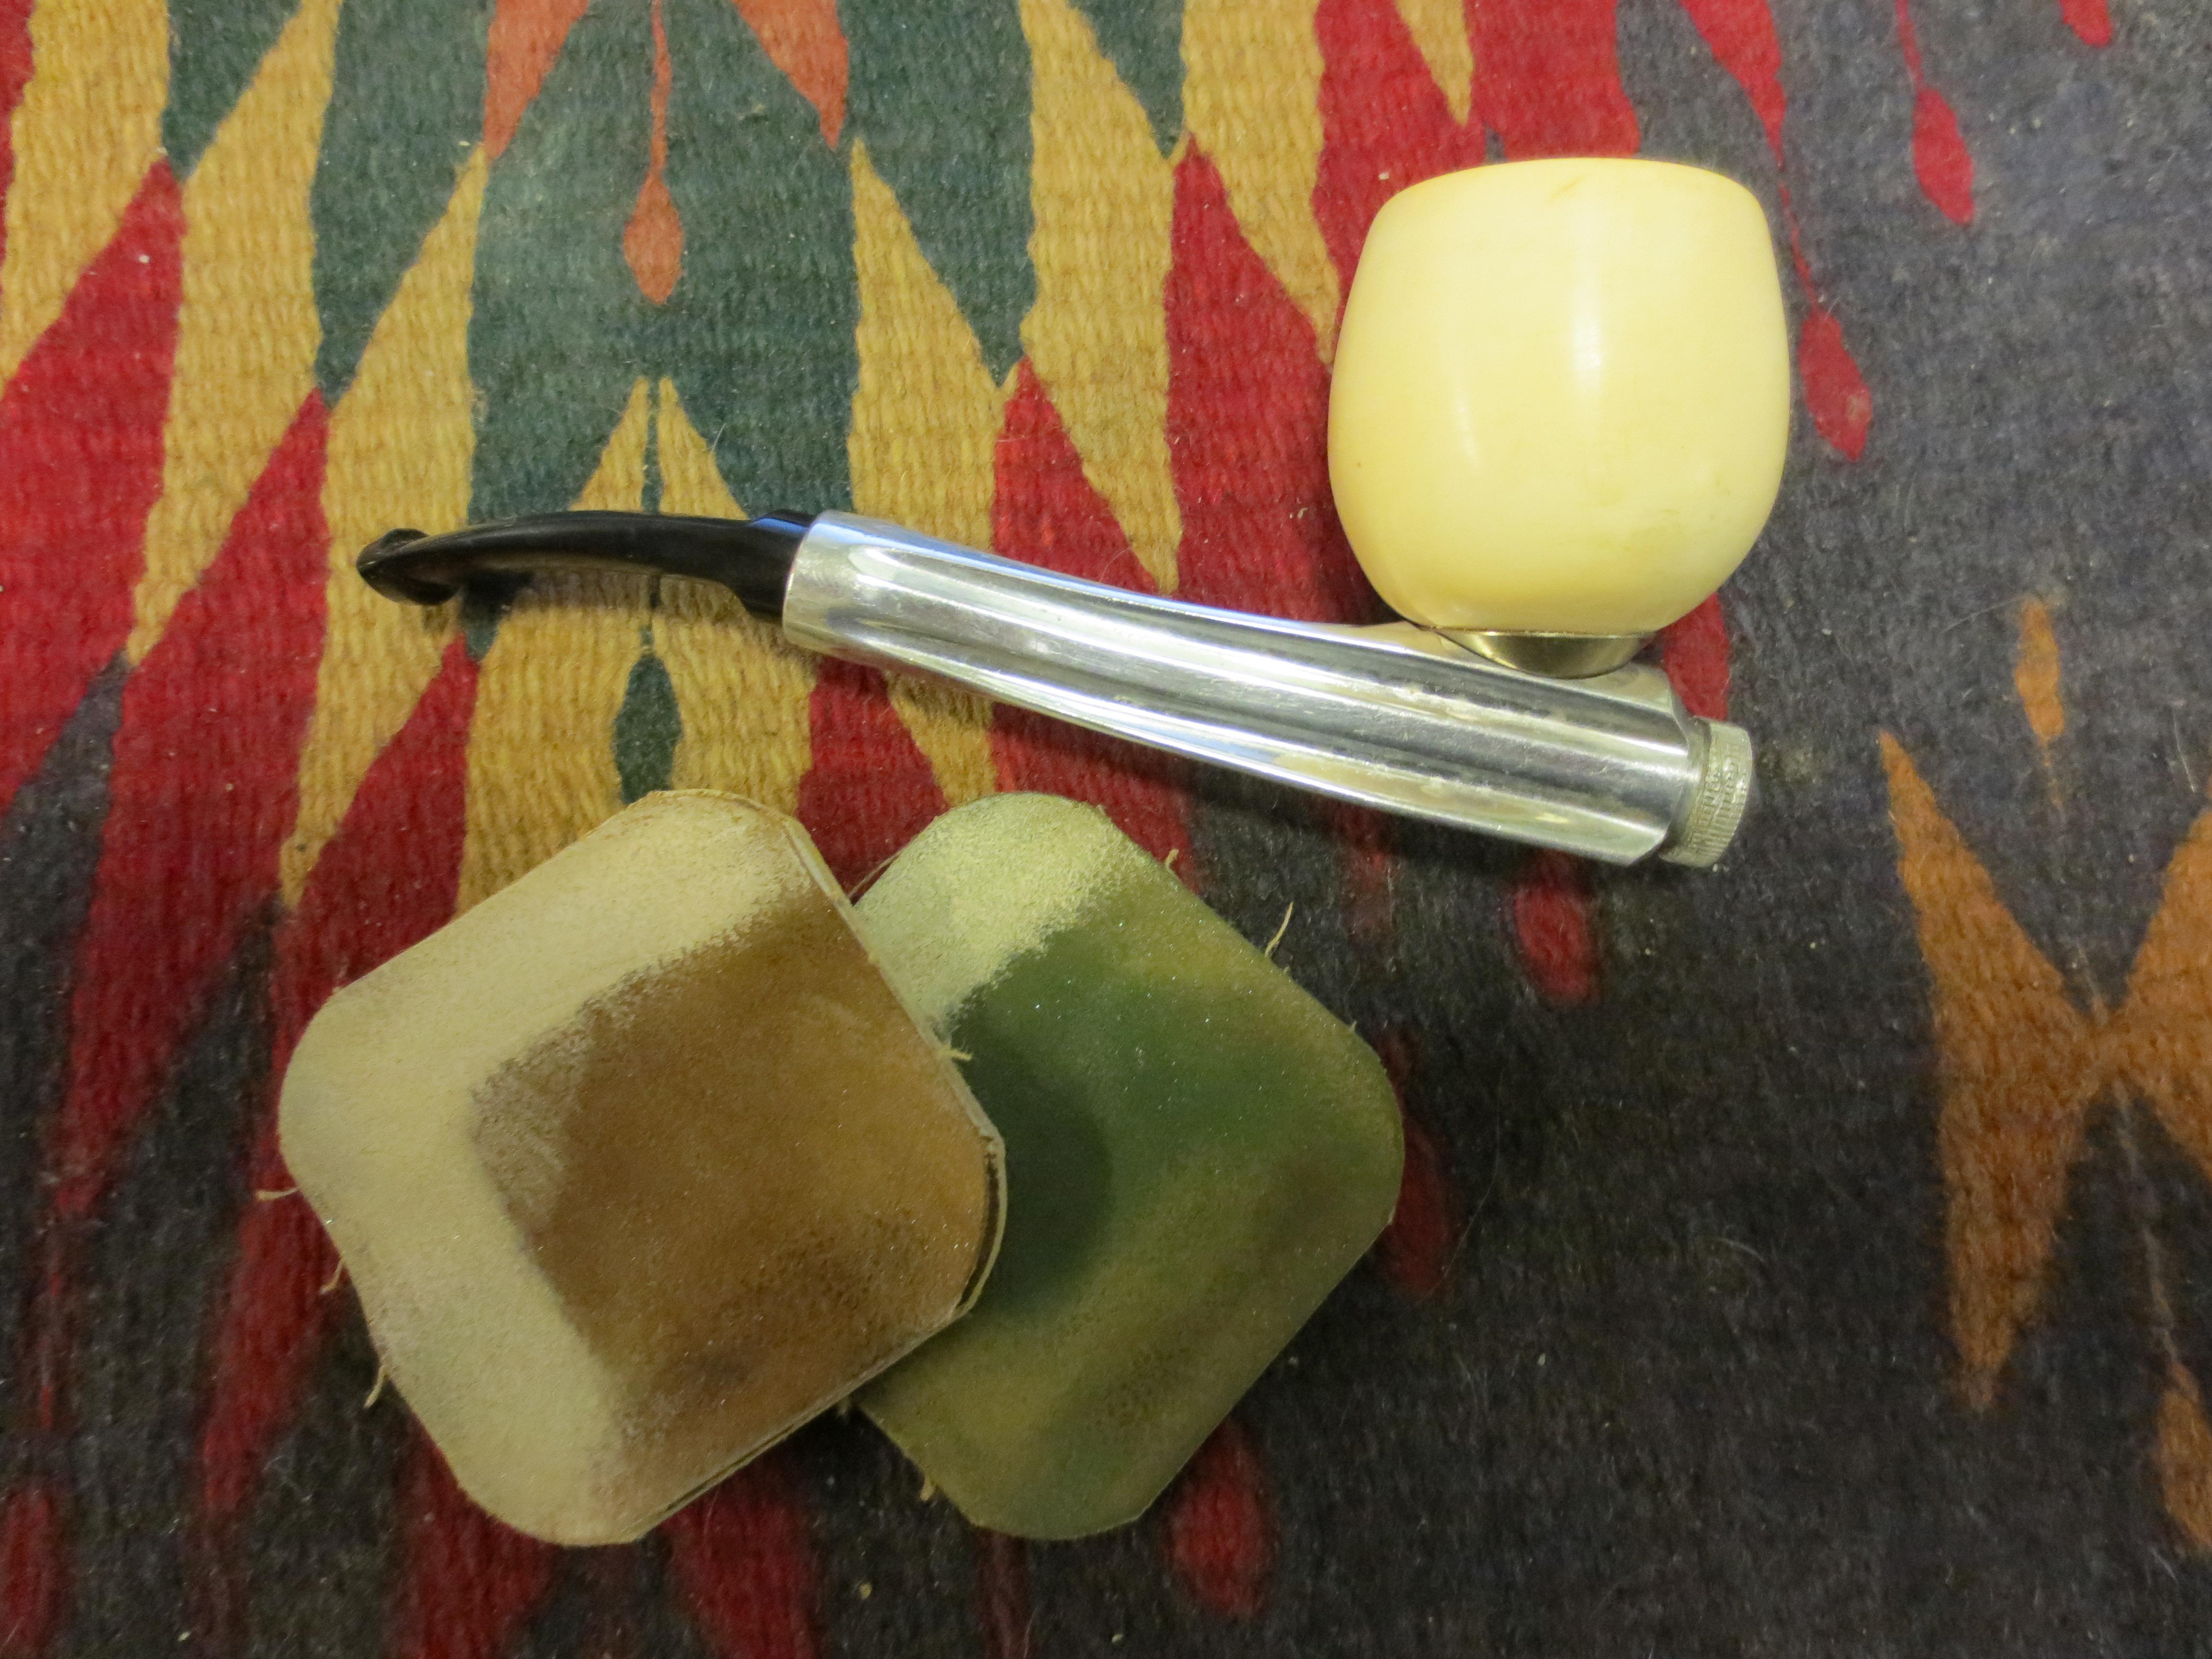
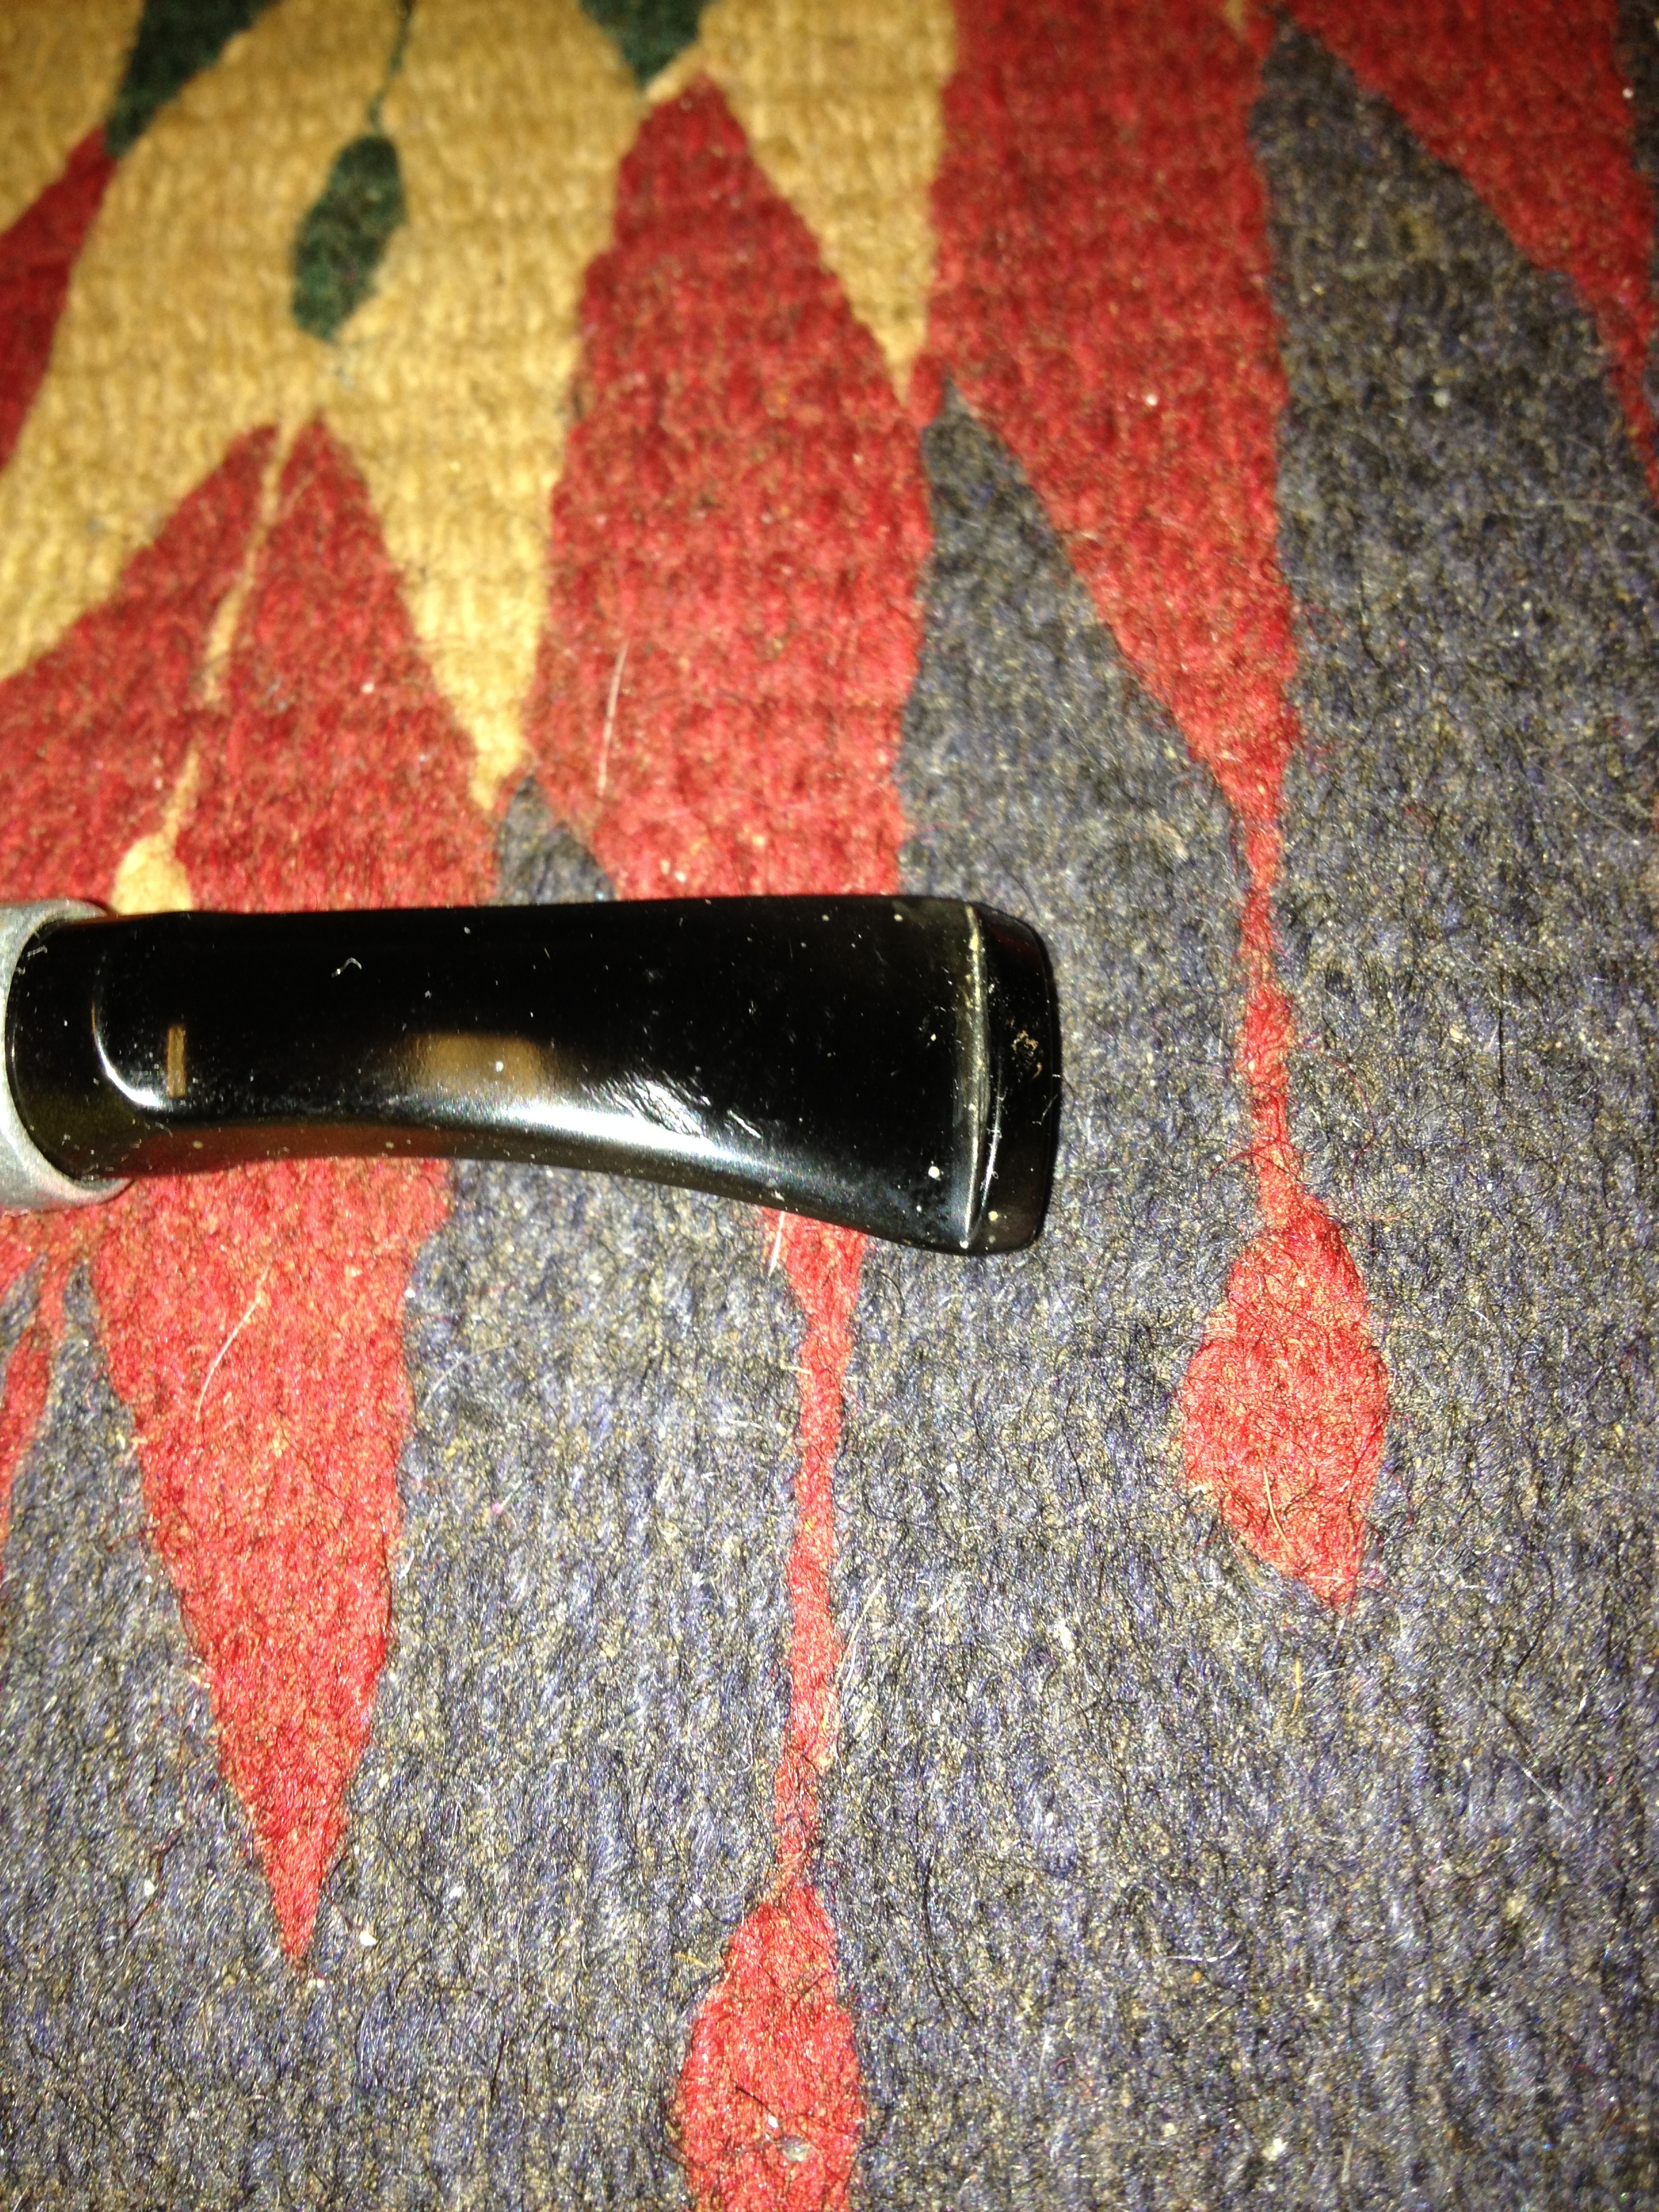
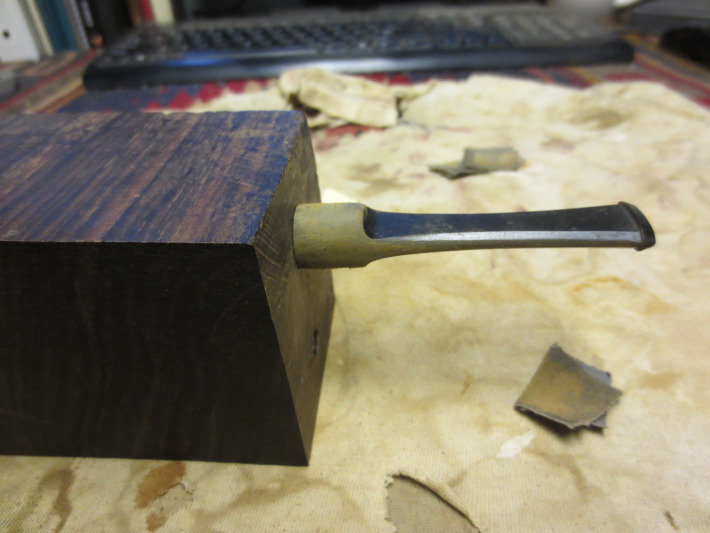
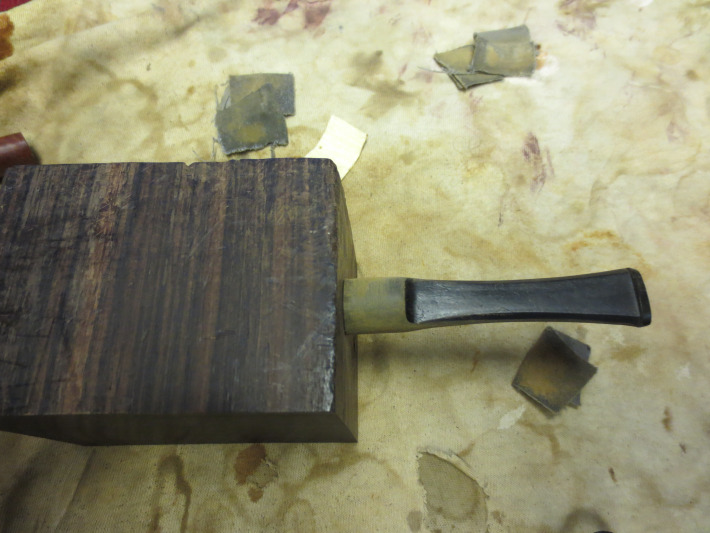
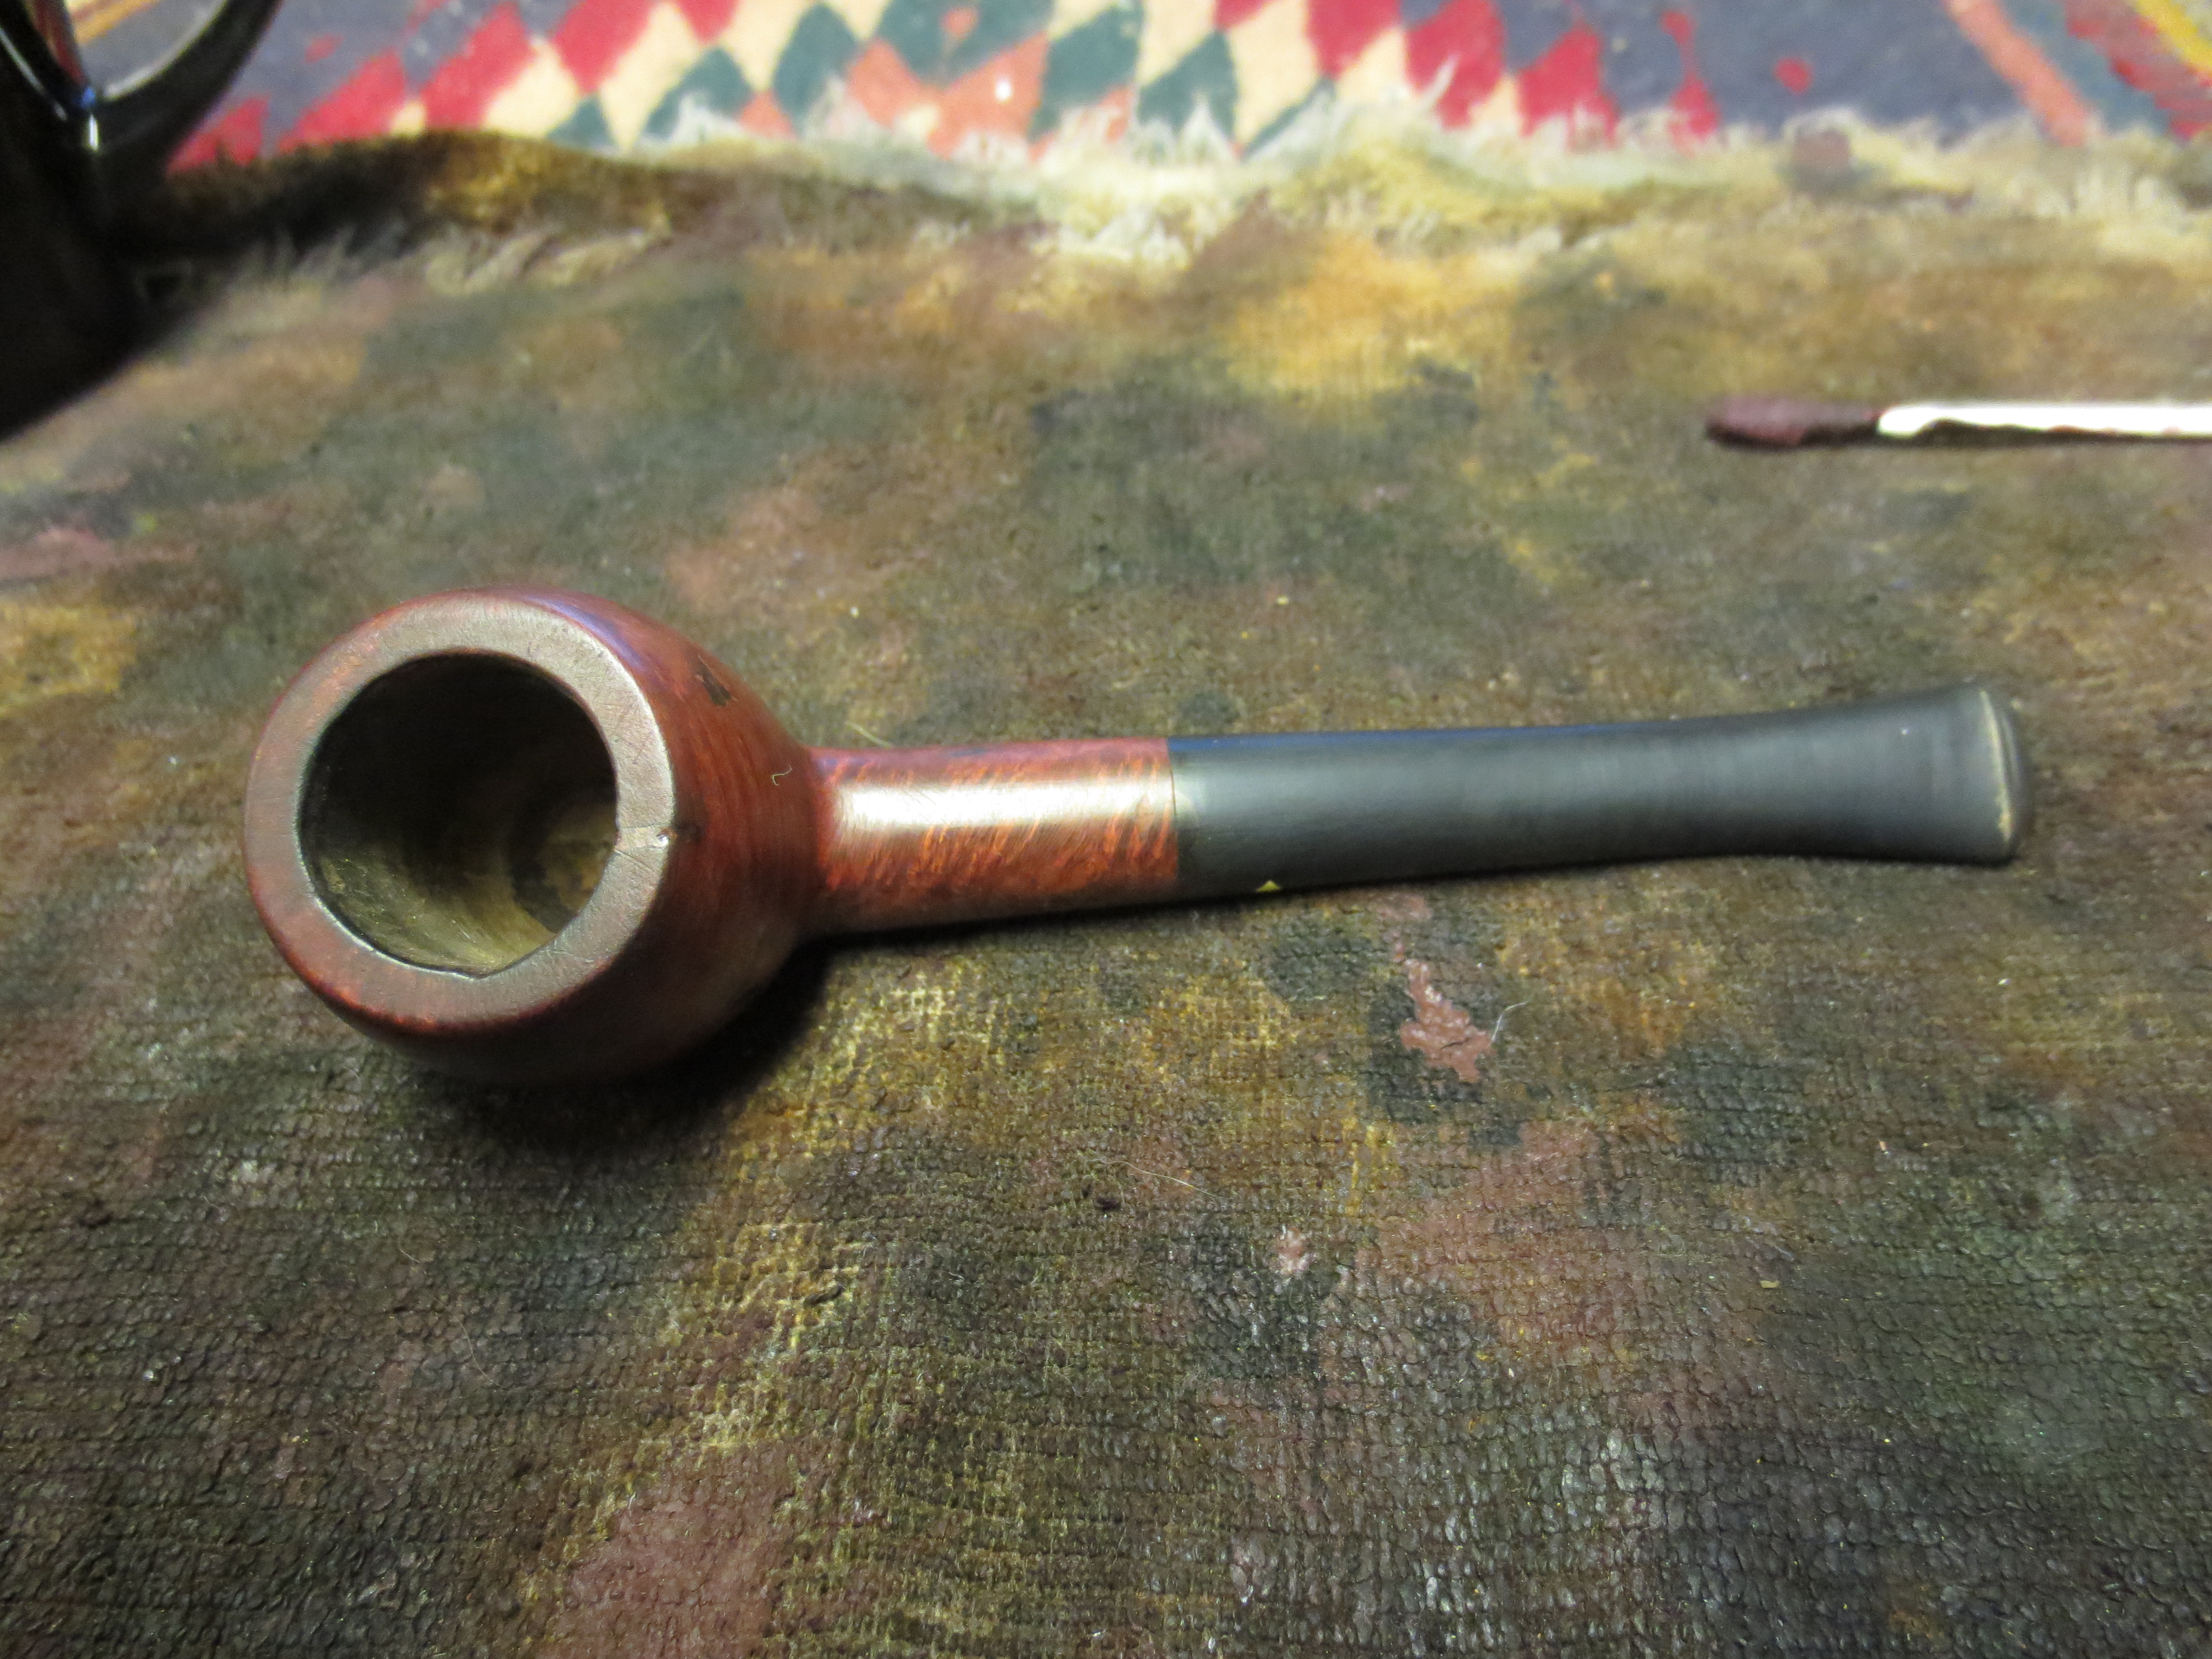
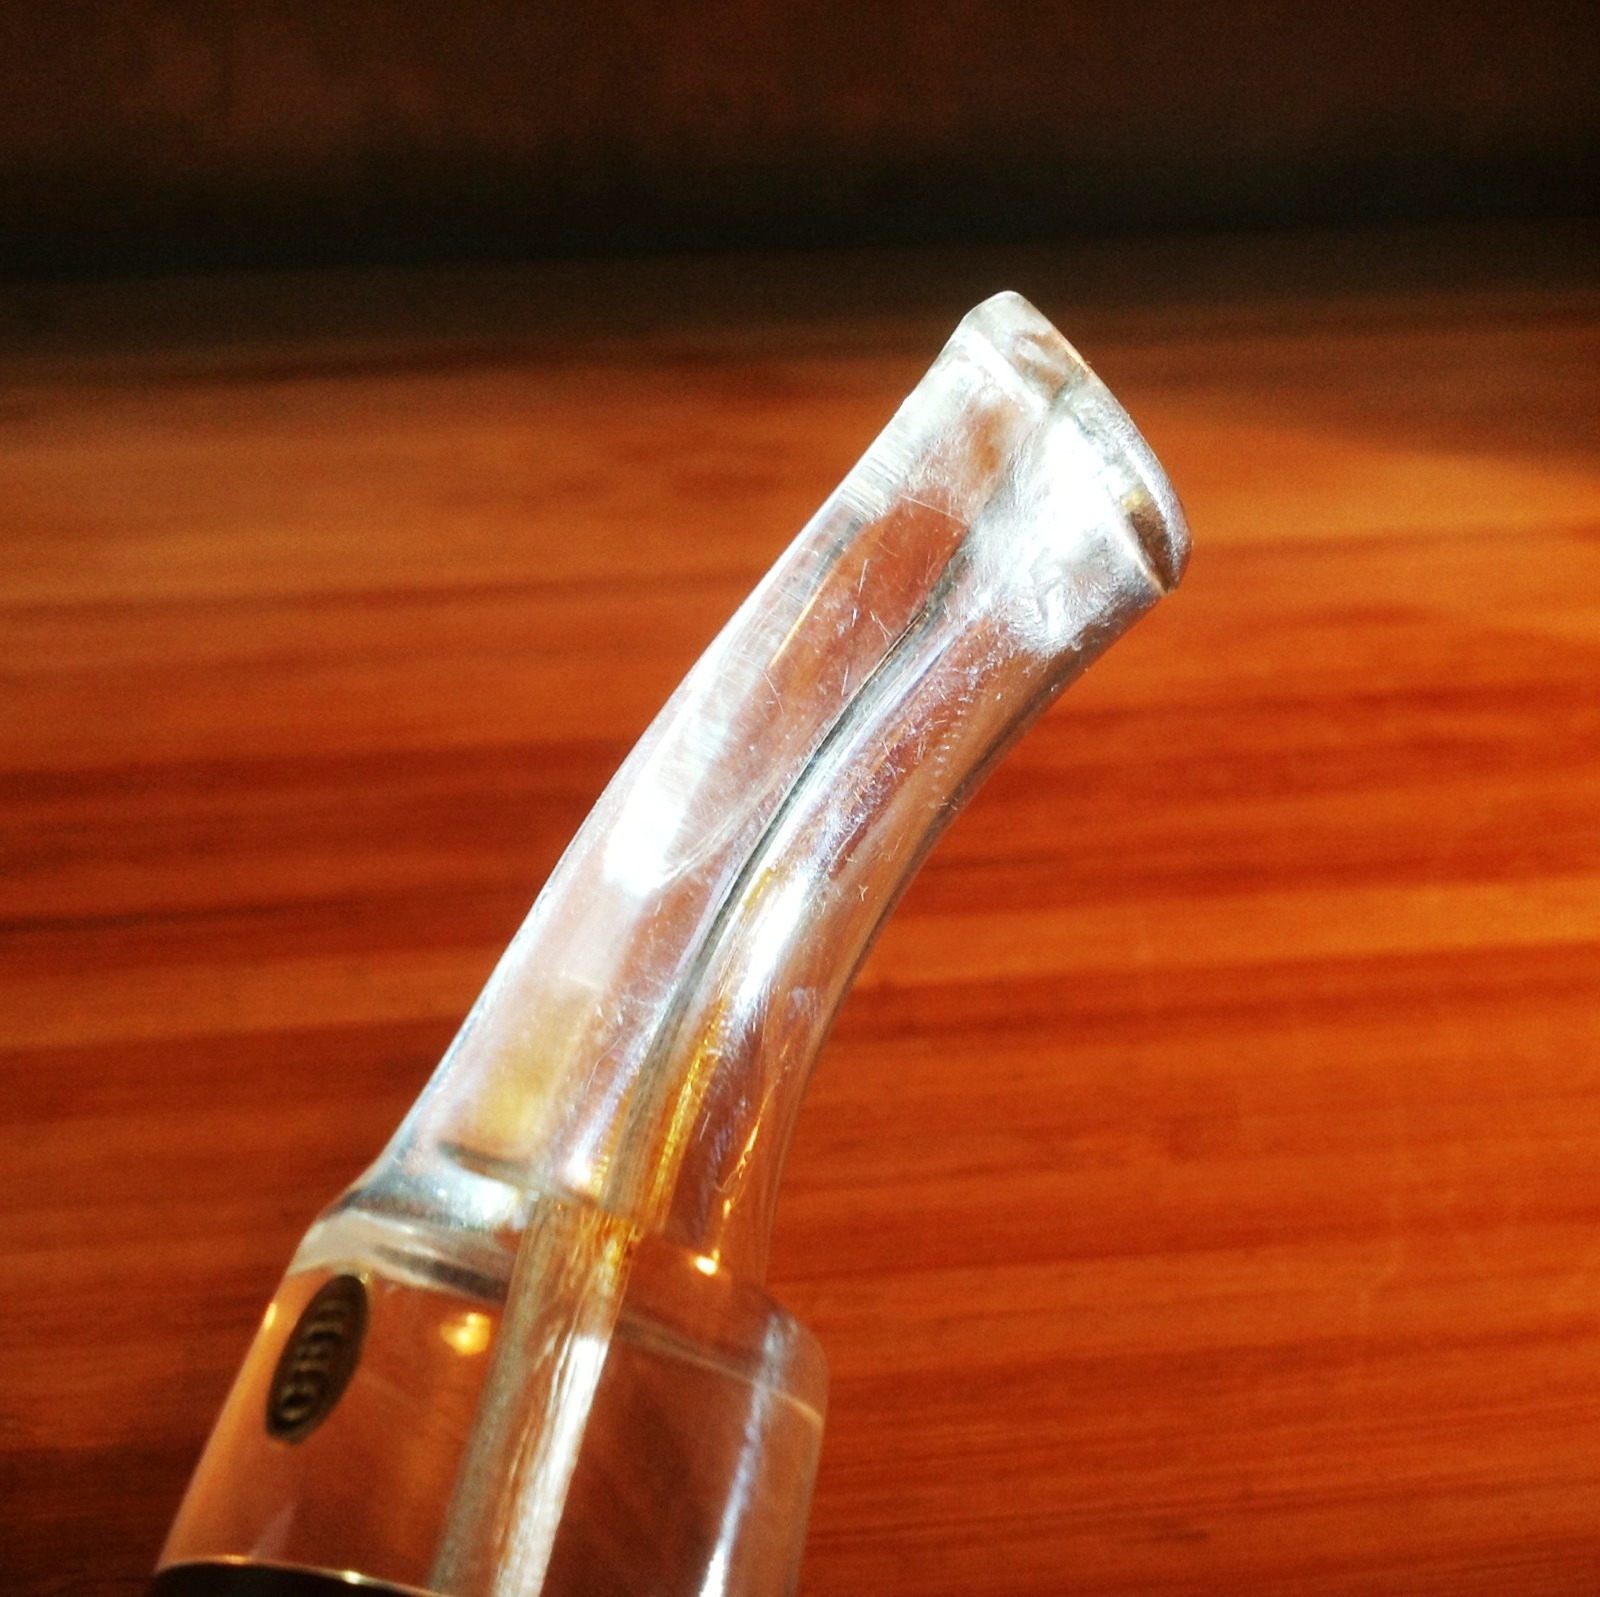
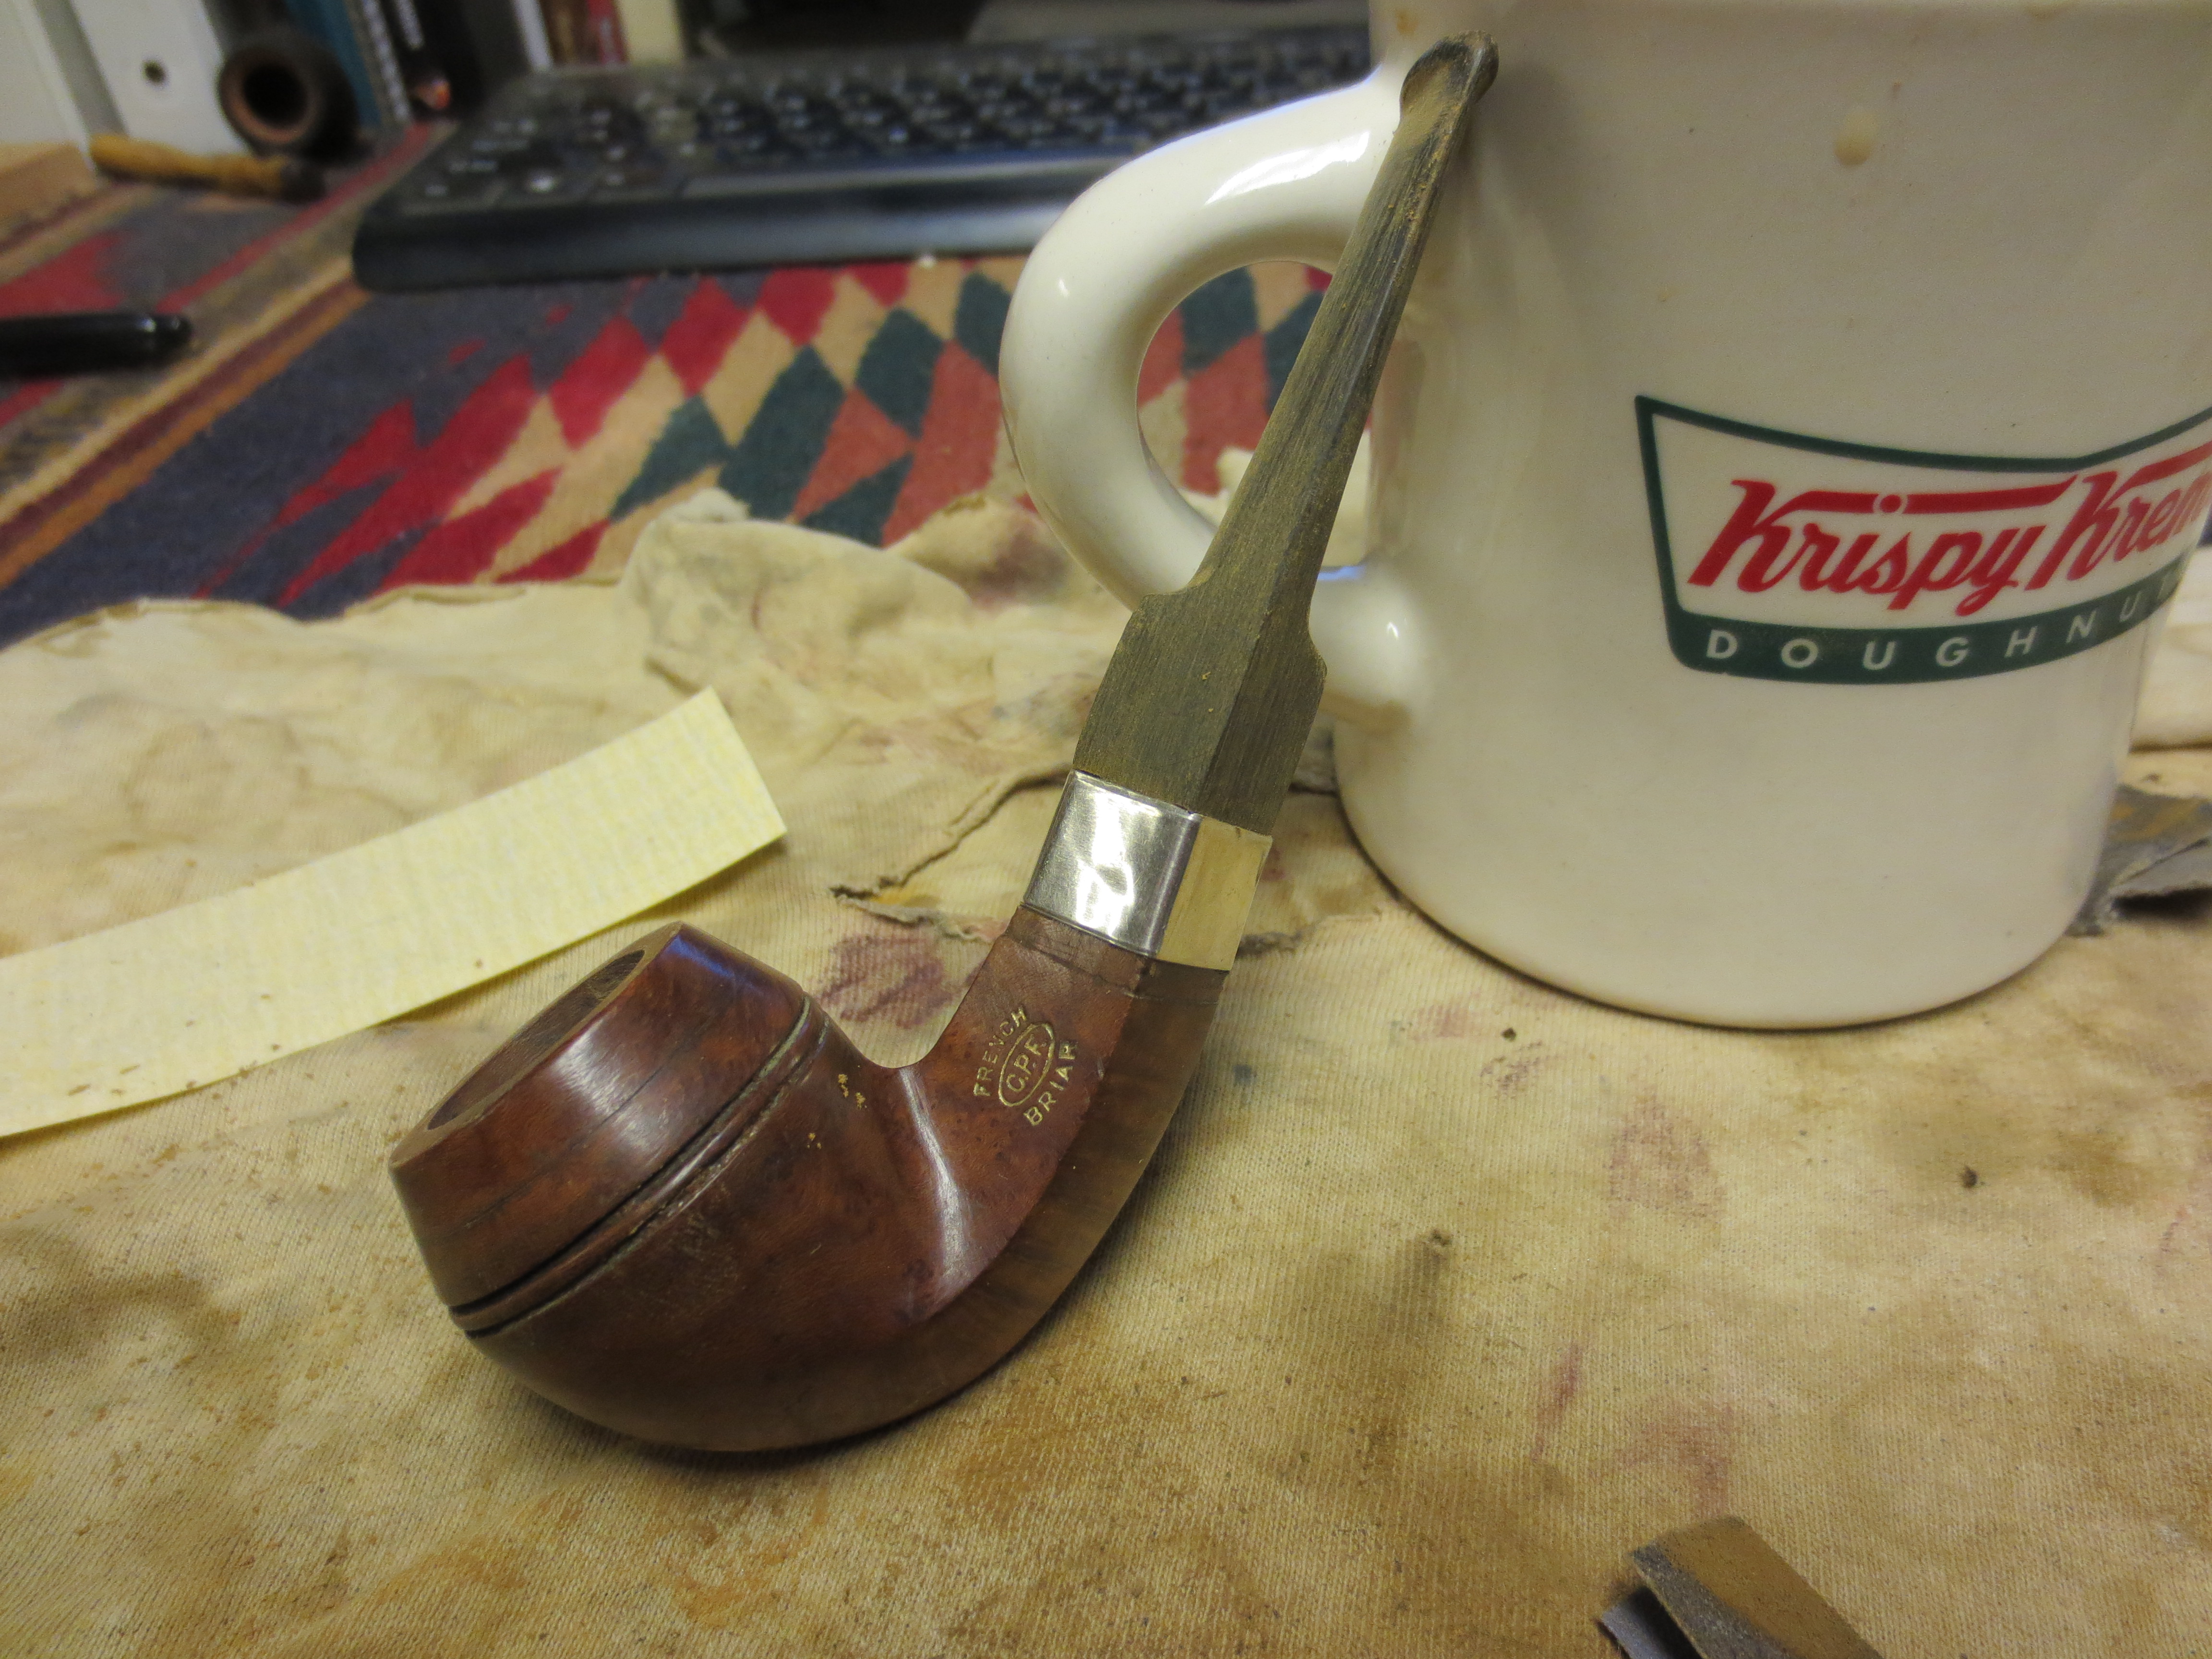
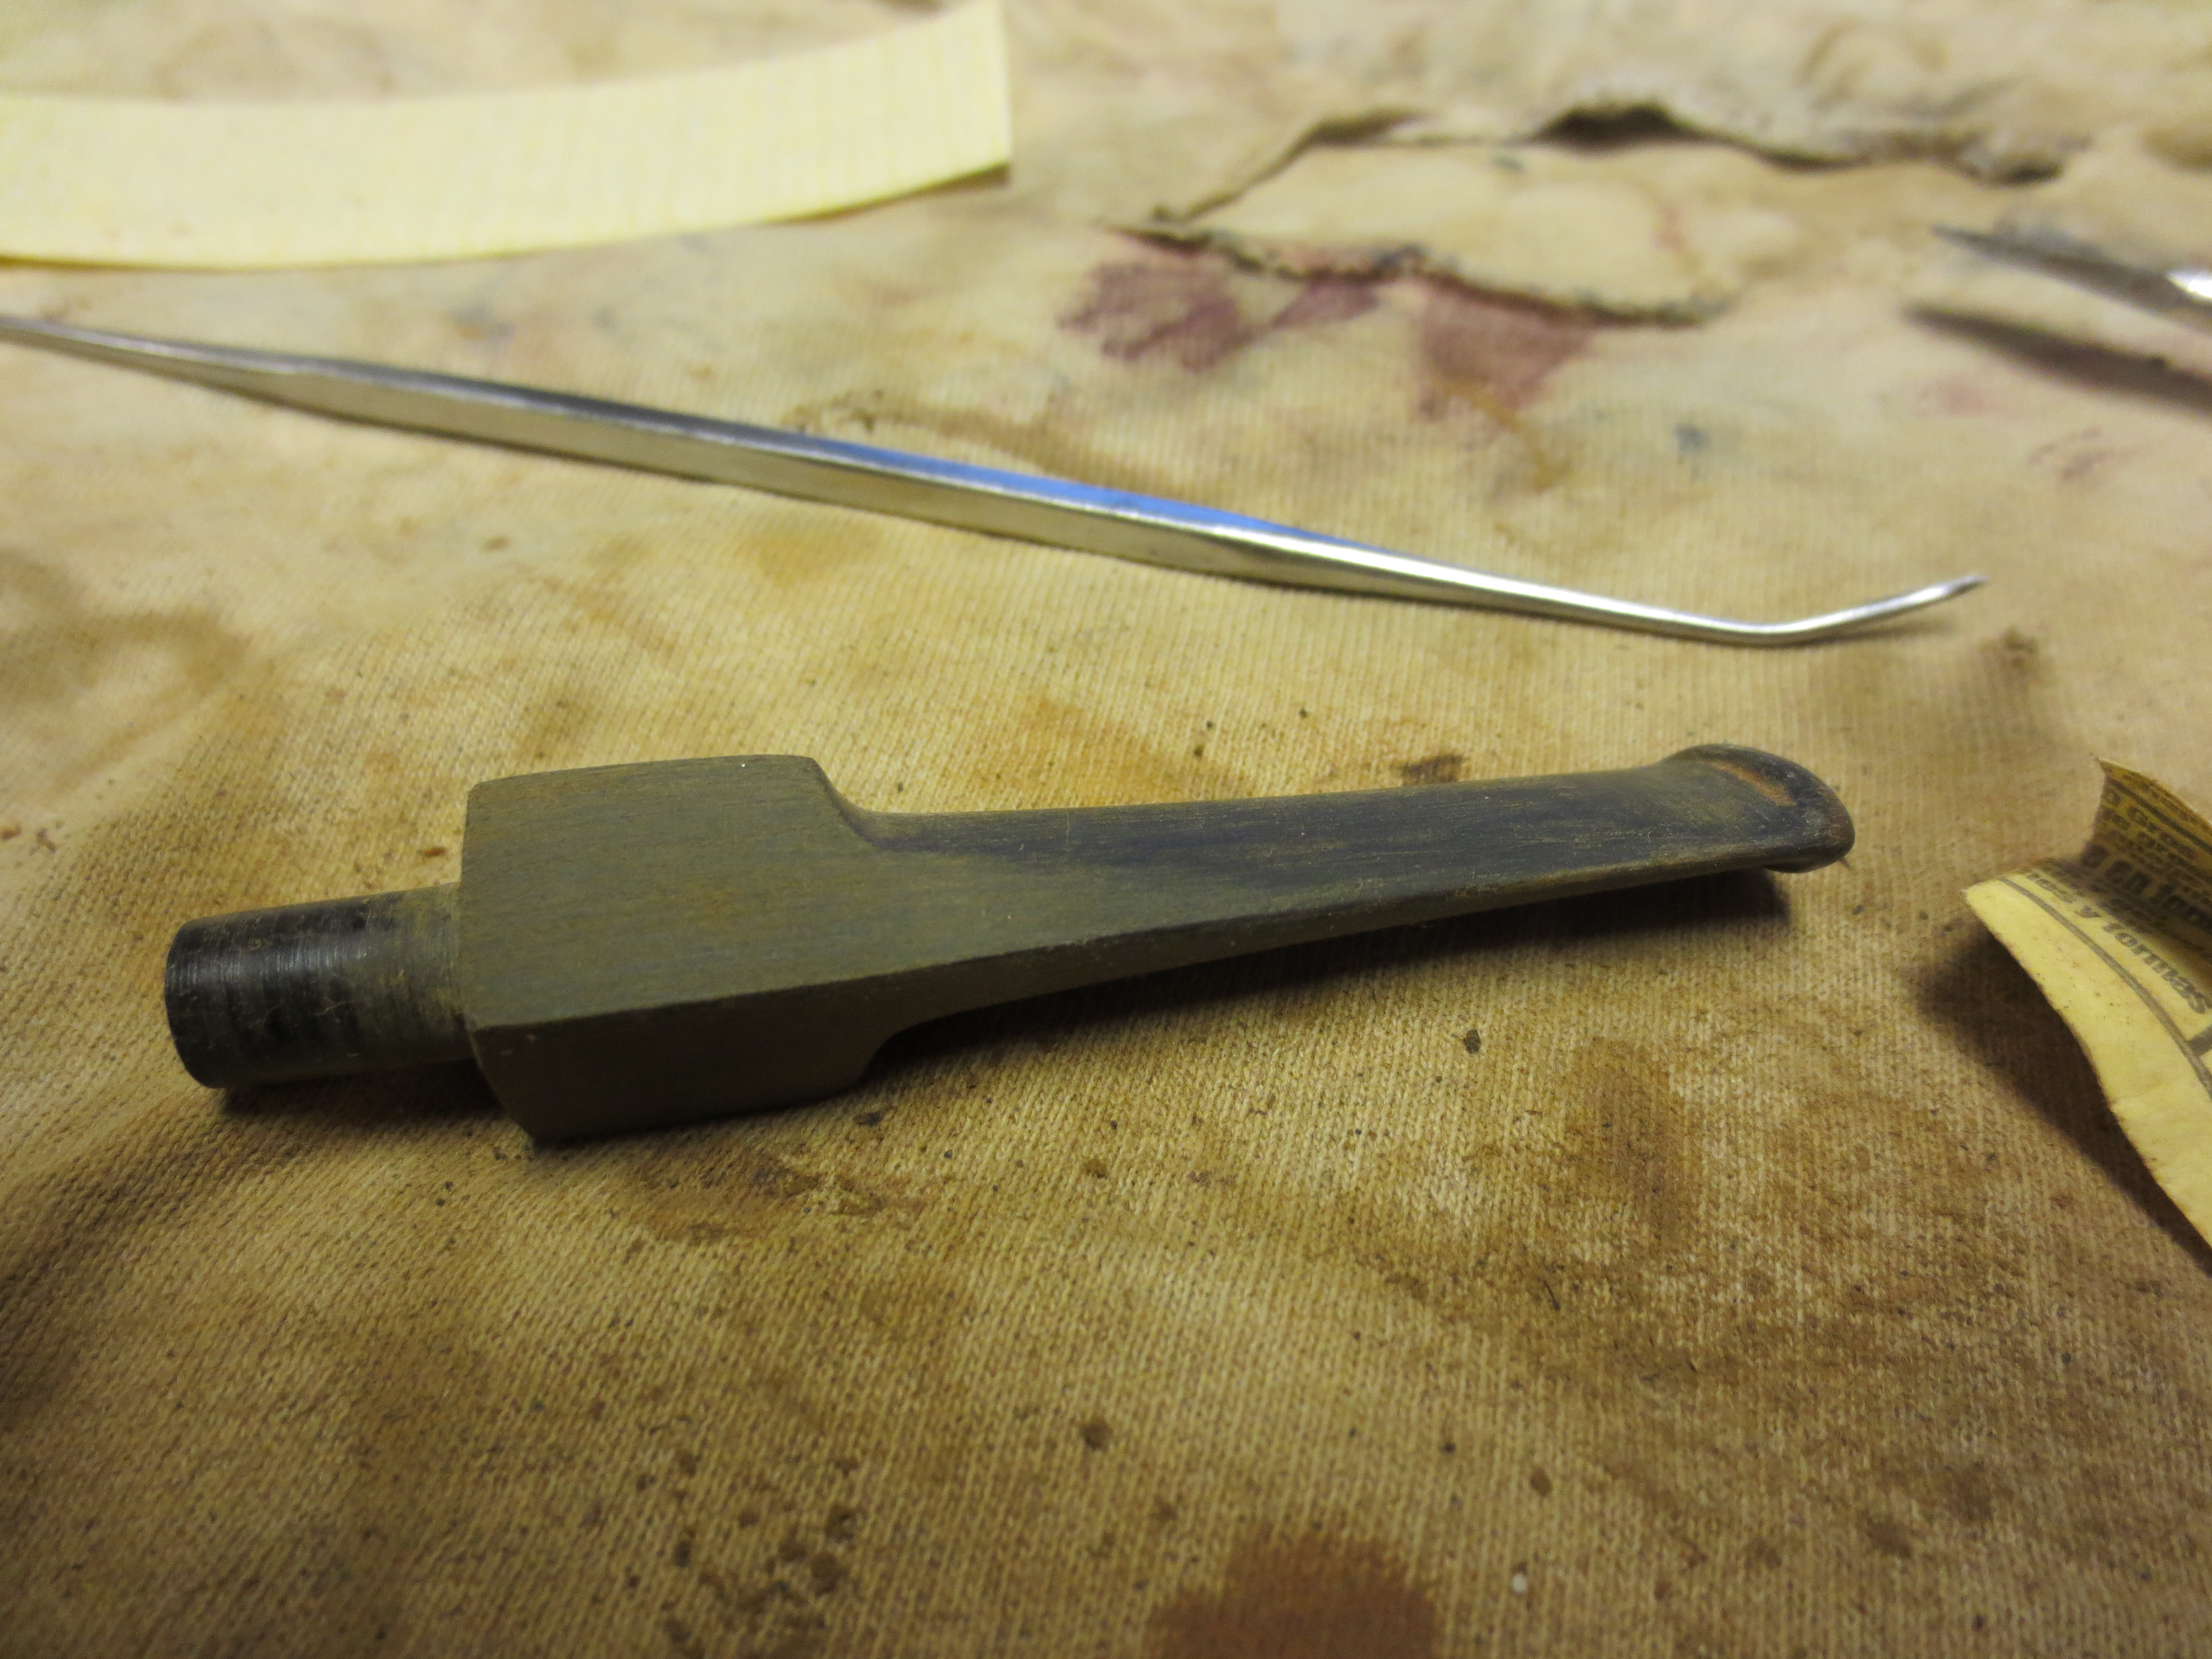
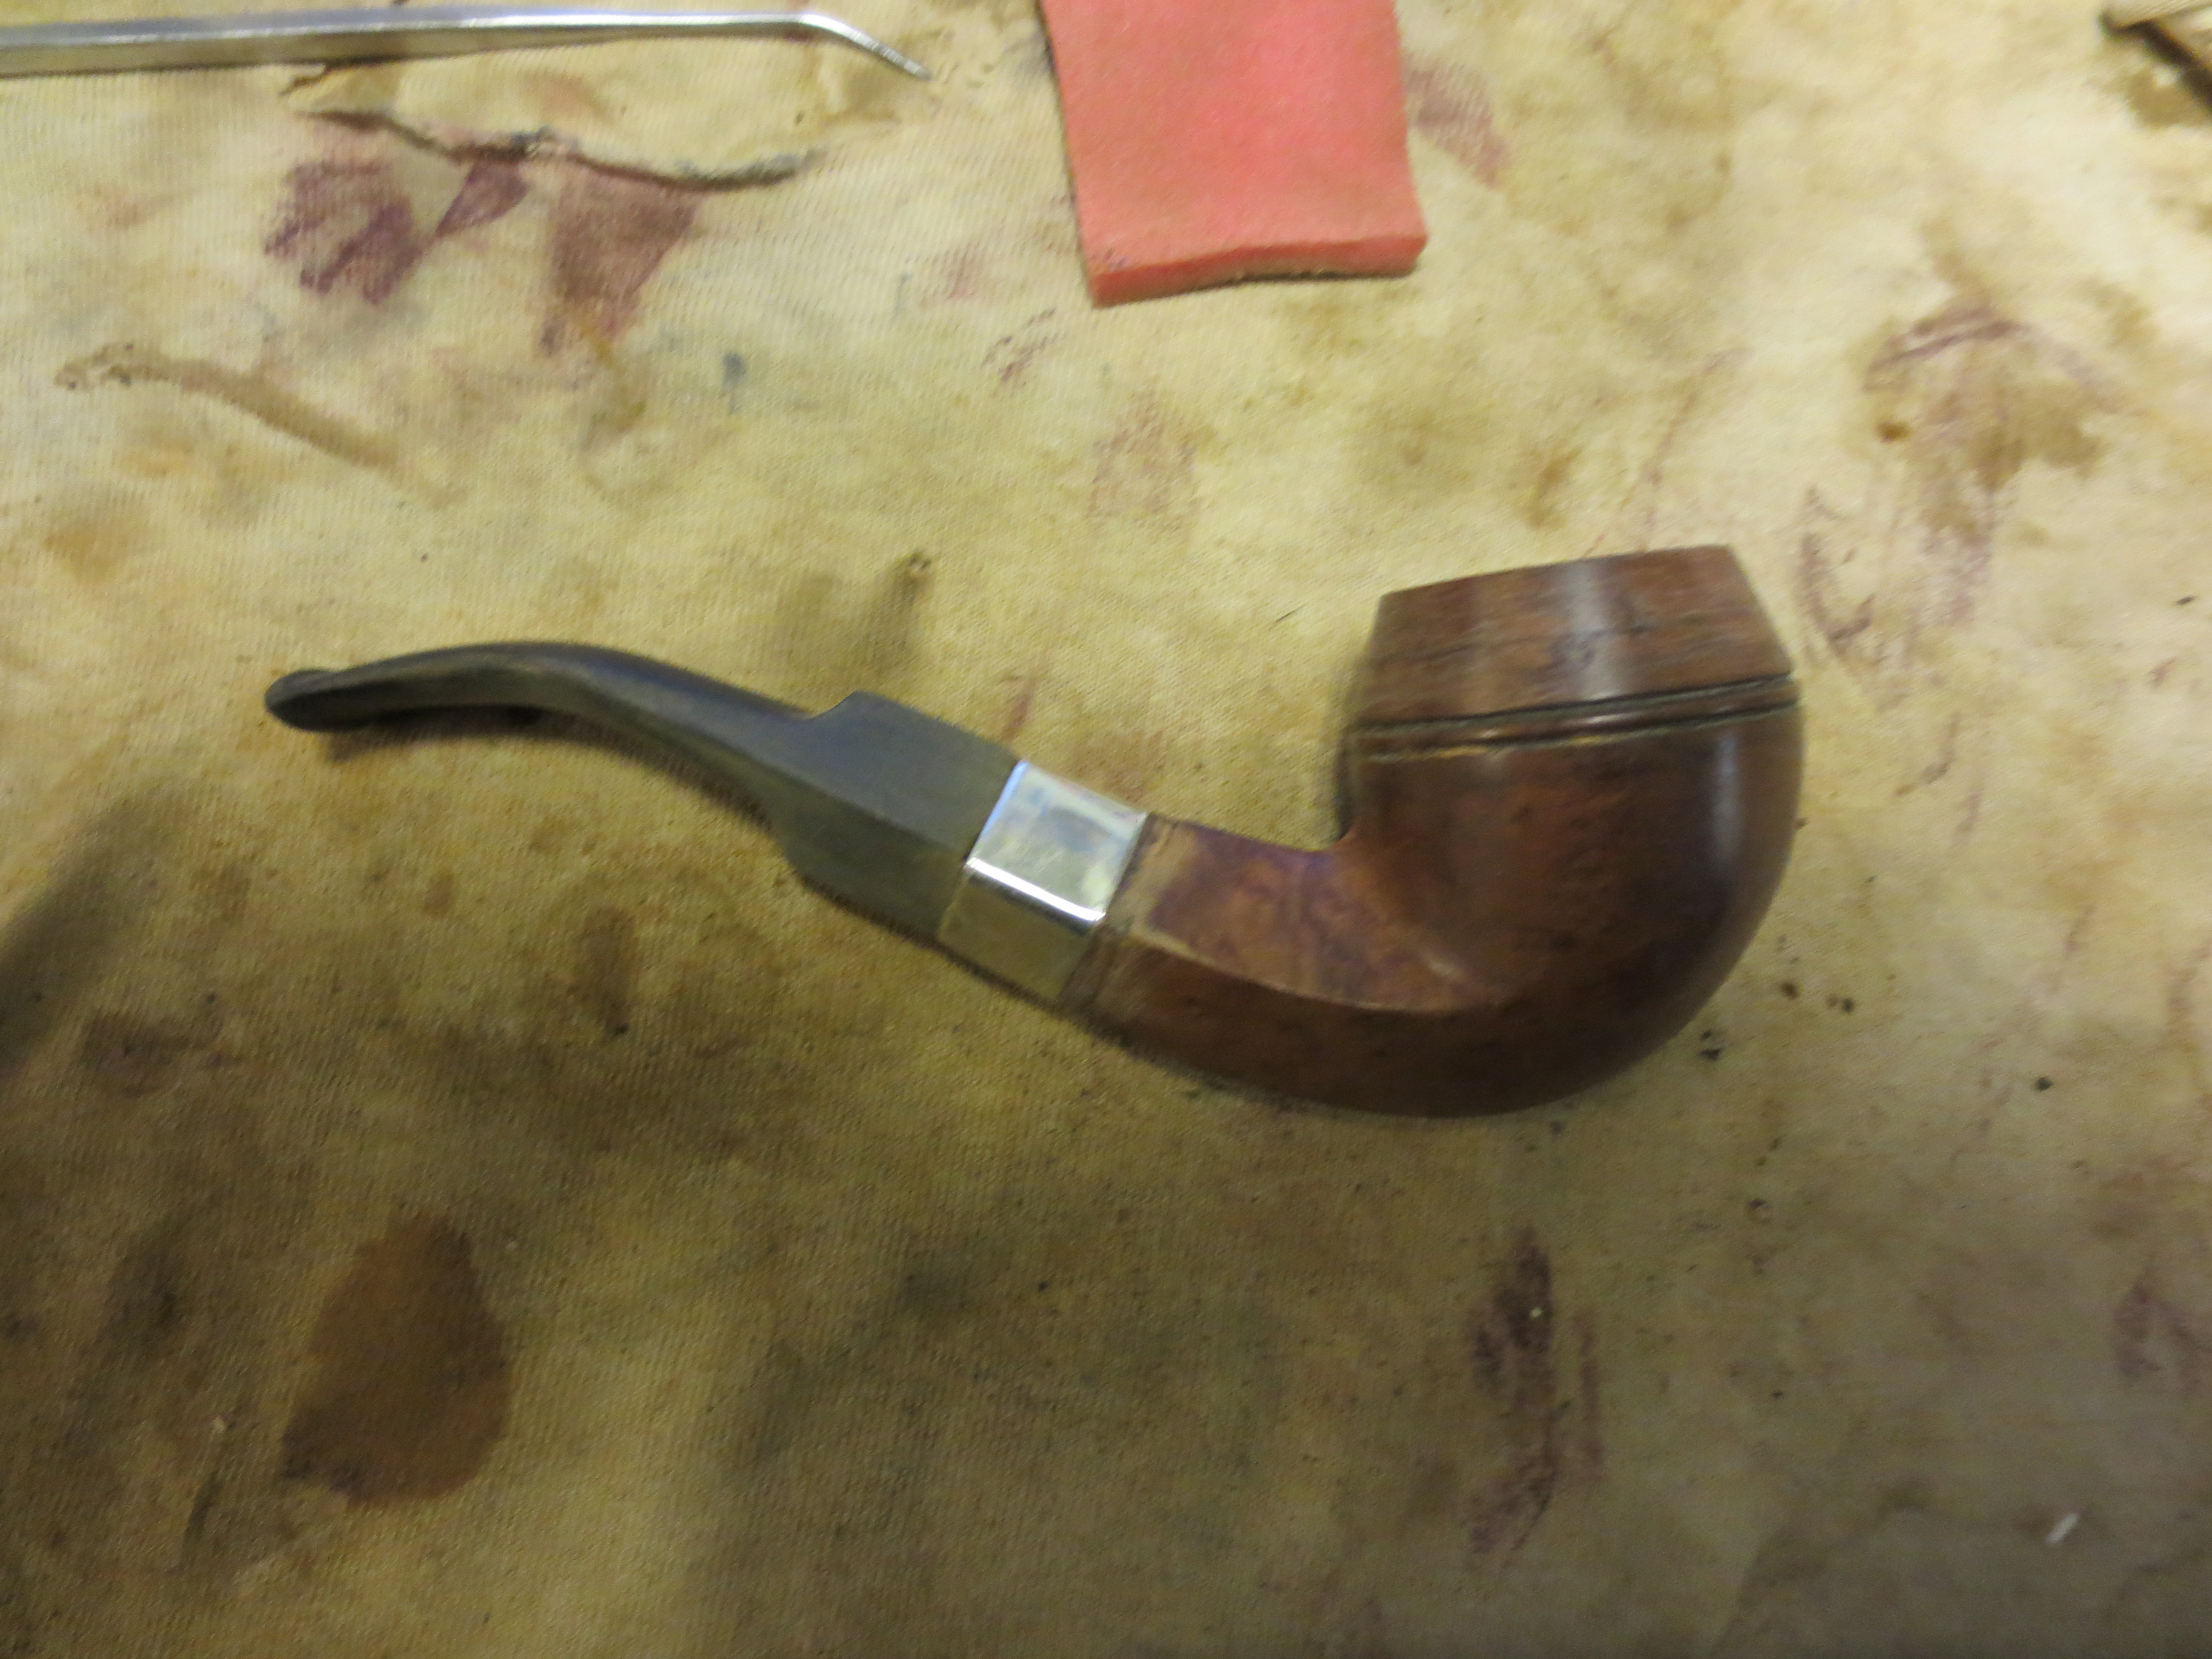
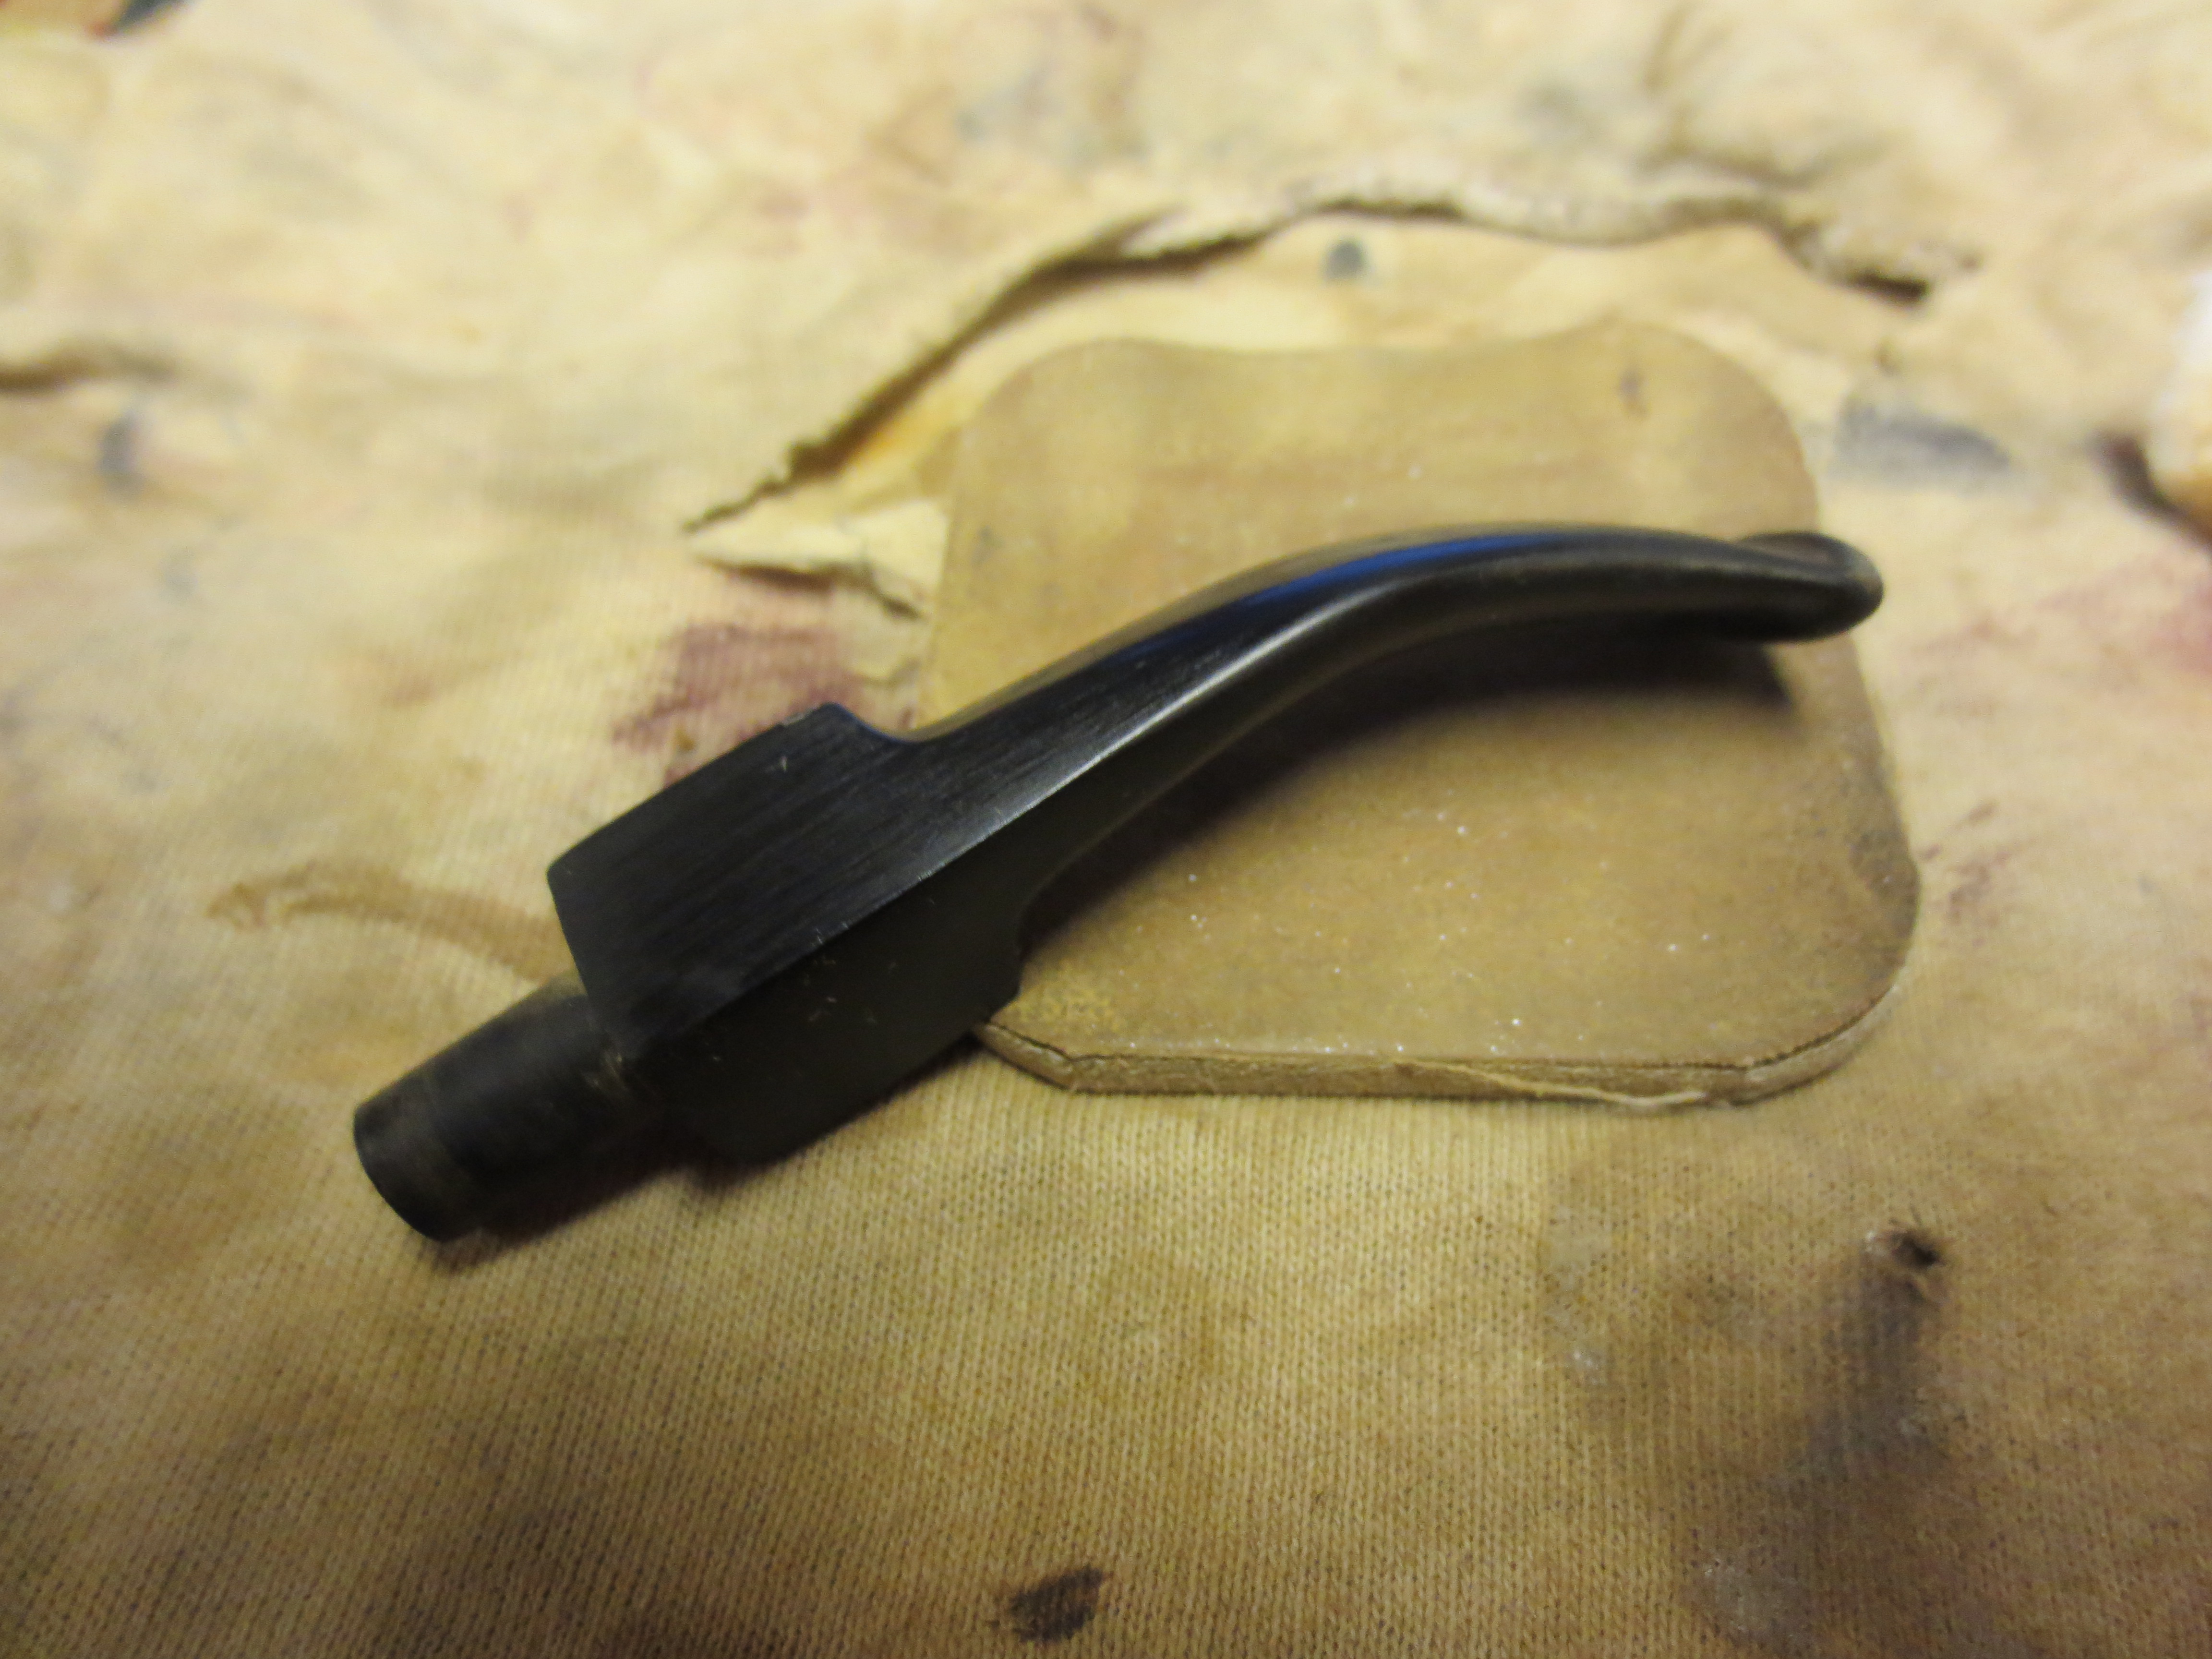
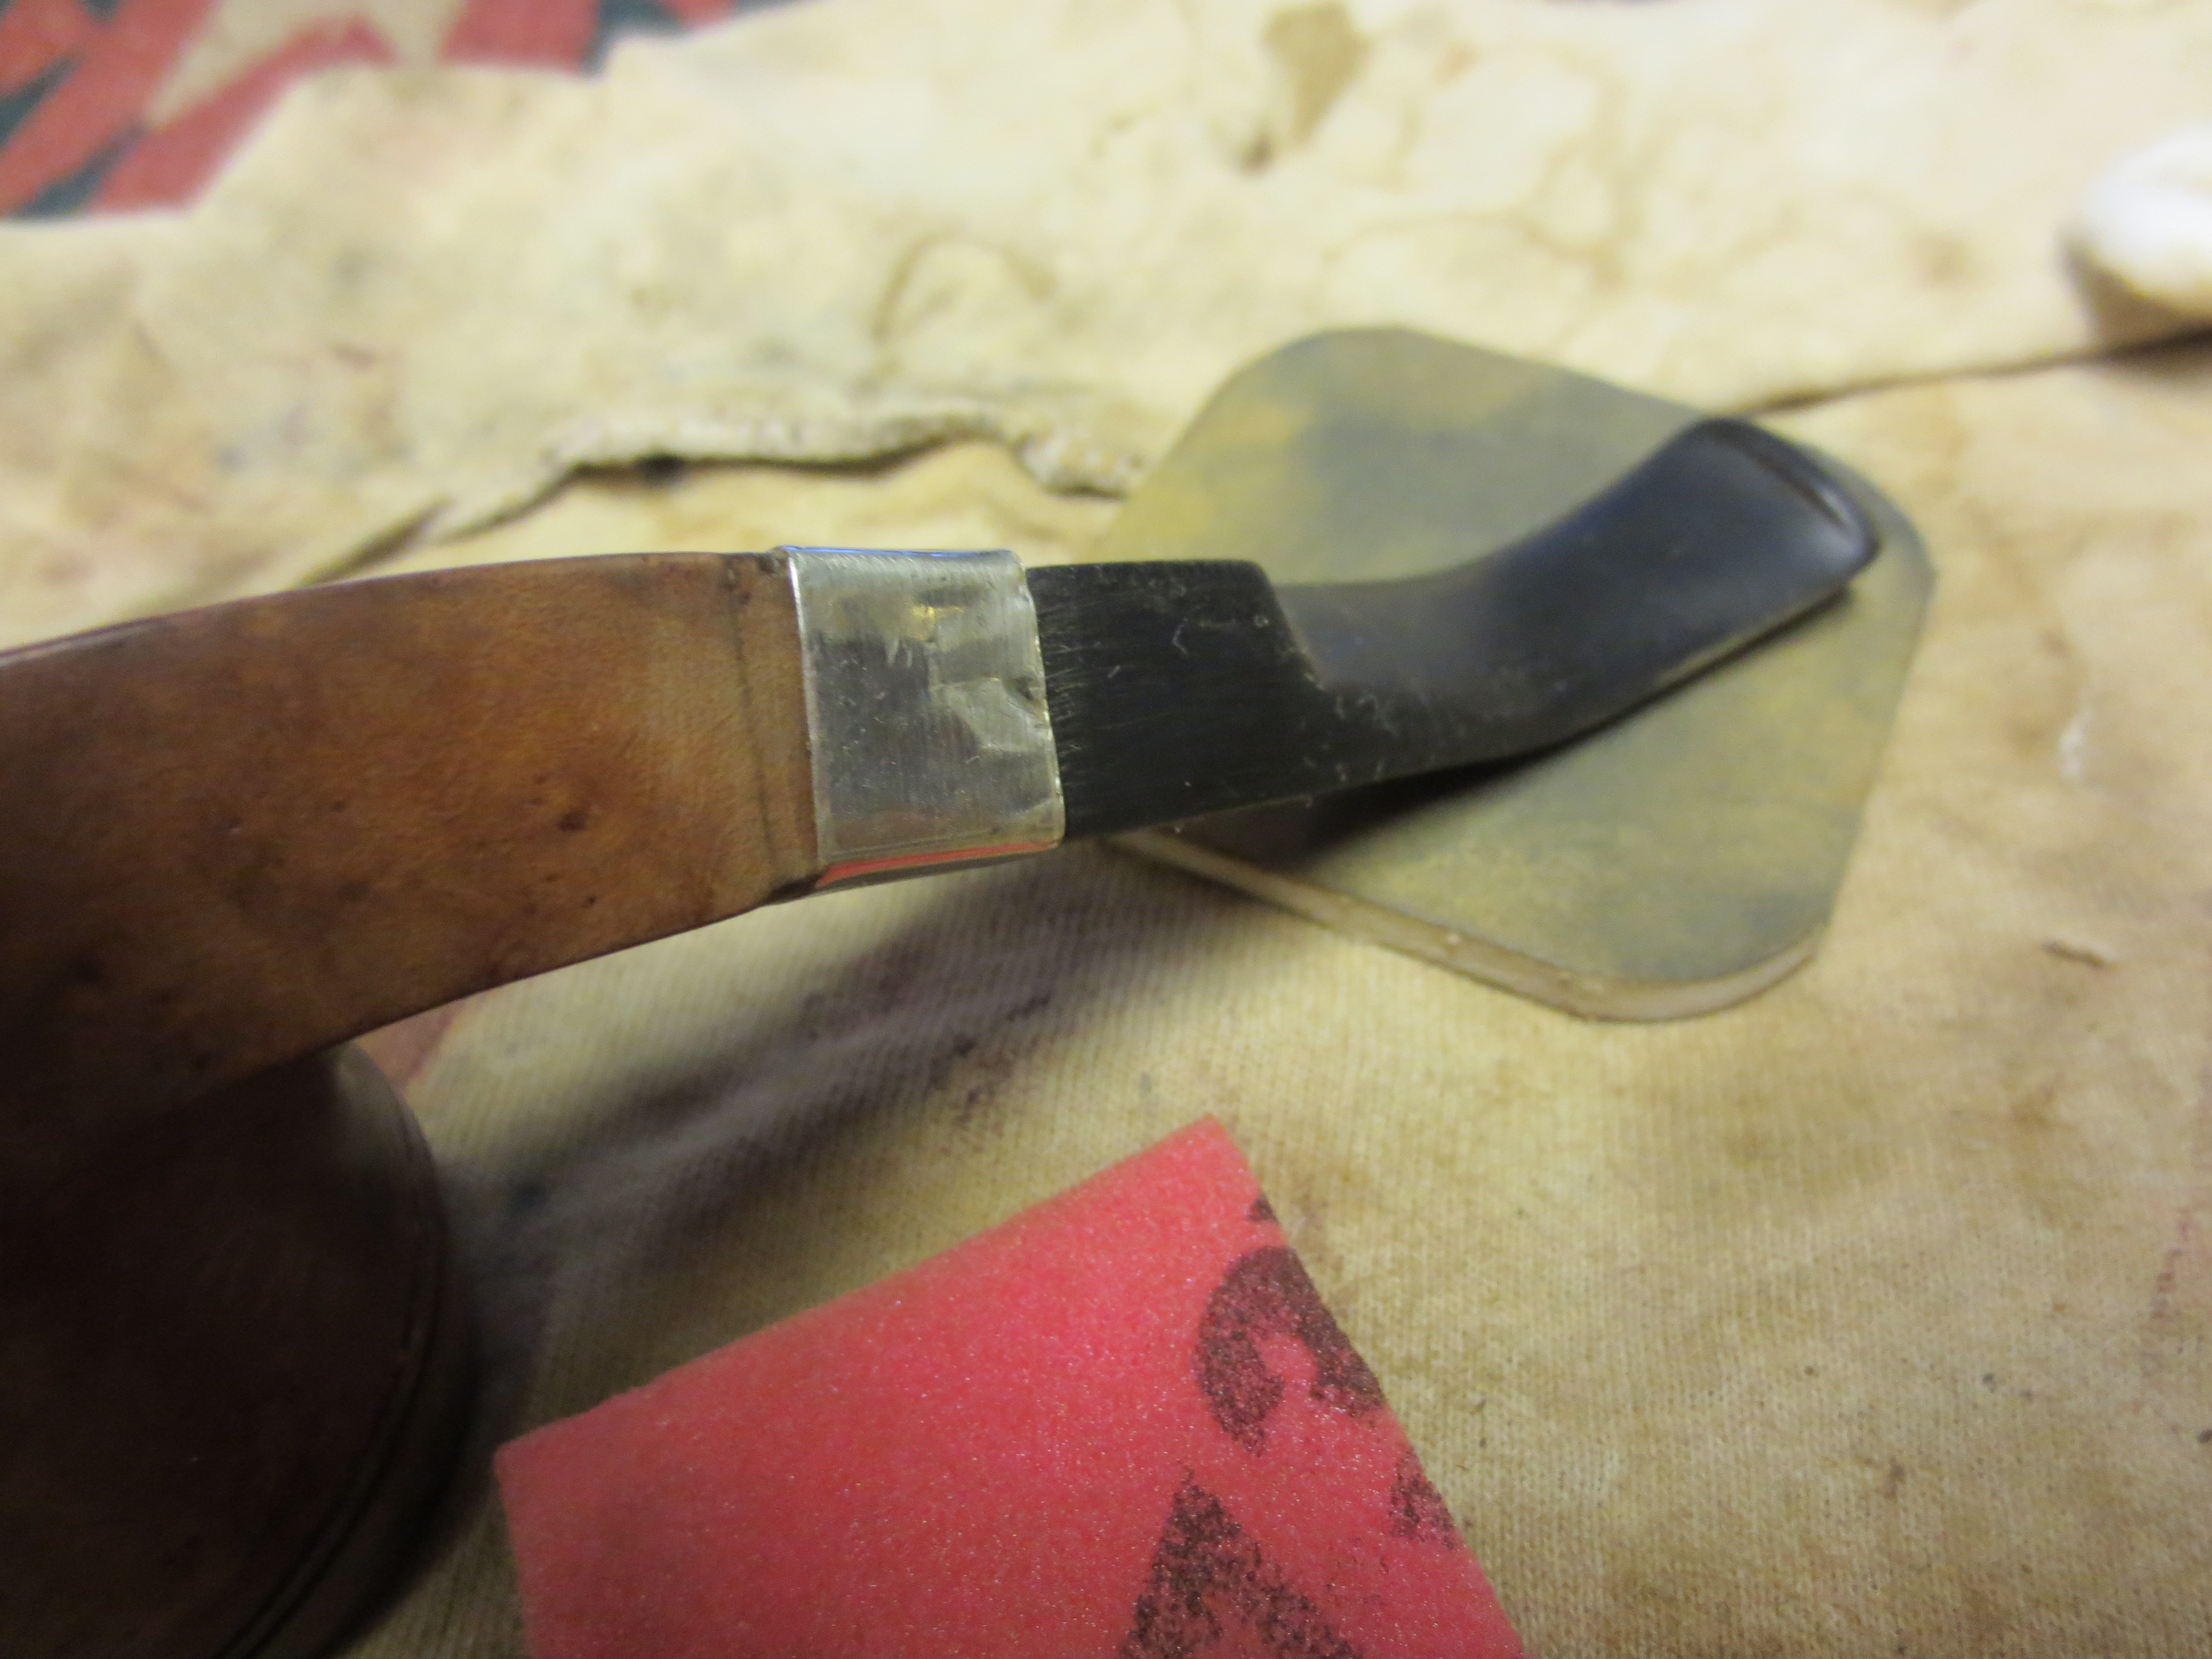
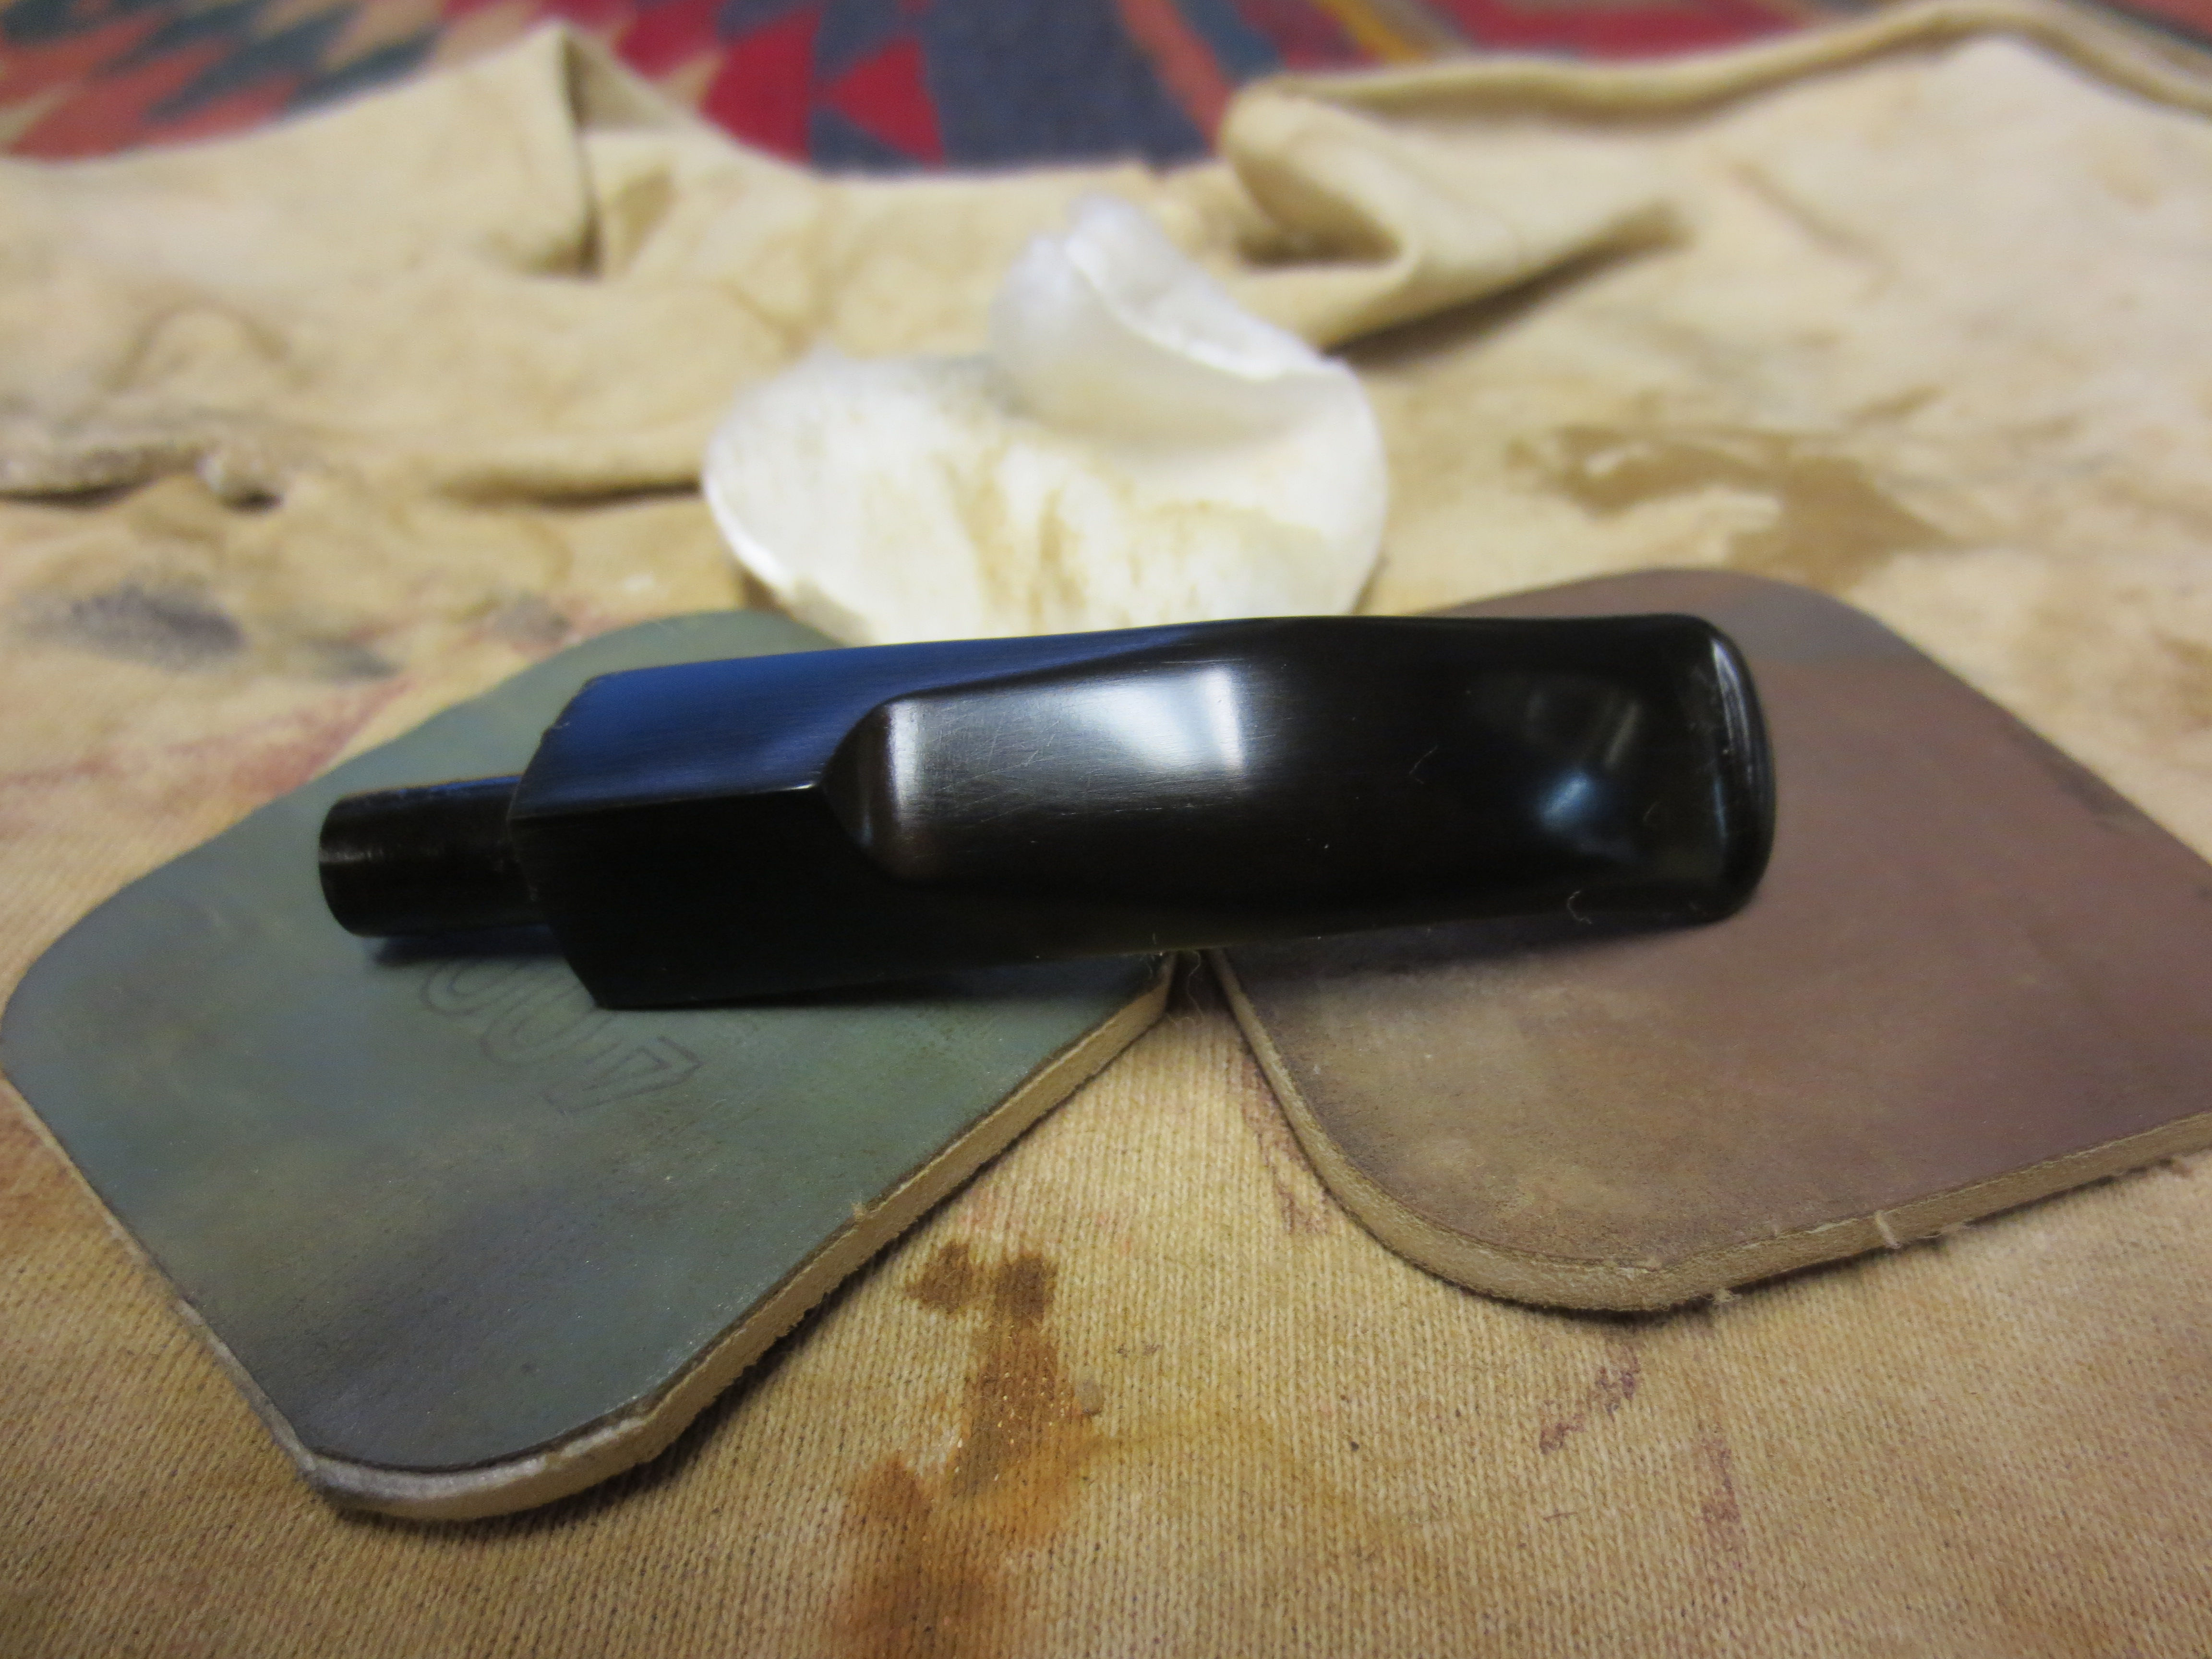
With that information in hand, thanks to Robert, I went to work on this older American bulldog to bring it back to life. I had an old nickel band that fit pretty well to the shank. It was shorter than the original band but it covered the repair in the shank. I heated it and pressure fit it to the shank. It was a bit dented and would need to be straightened once it was in place. I then worked on the stem to get it fit the shank and band connection. I used medium grit emery paper to remove some of the vulcanite to get the sides and angles of the stem to match the shank. This had to be done carefully so as not to change the angles. Each side had to have the same amount of material removed to keep the diamond angles even. The next series of four photos show the stem after it has been shaped and sanded to match the shank and the band.
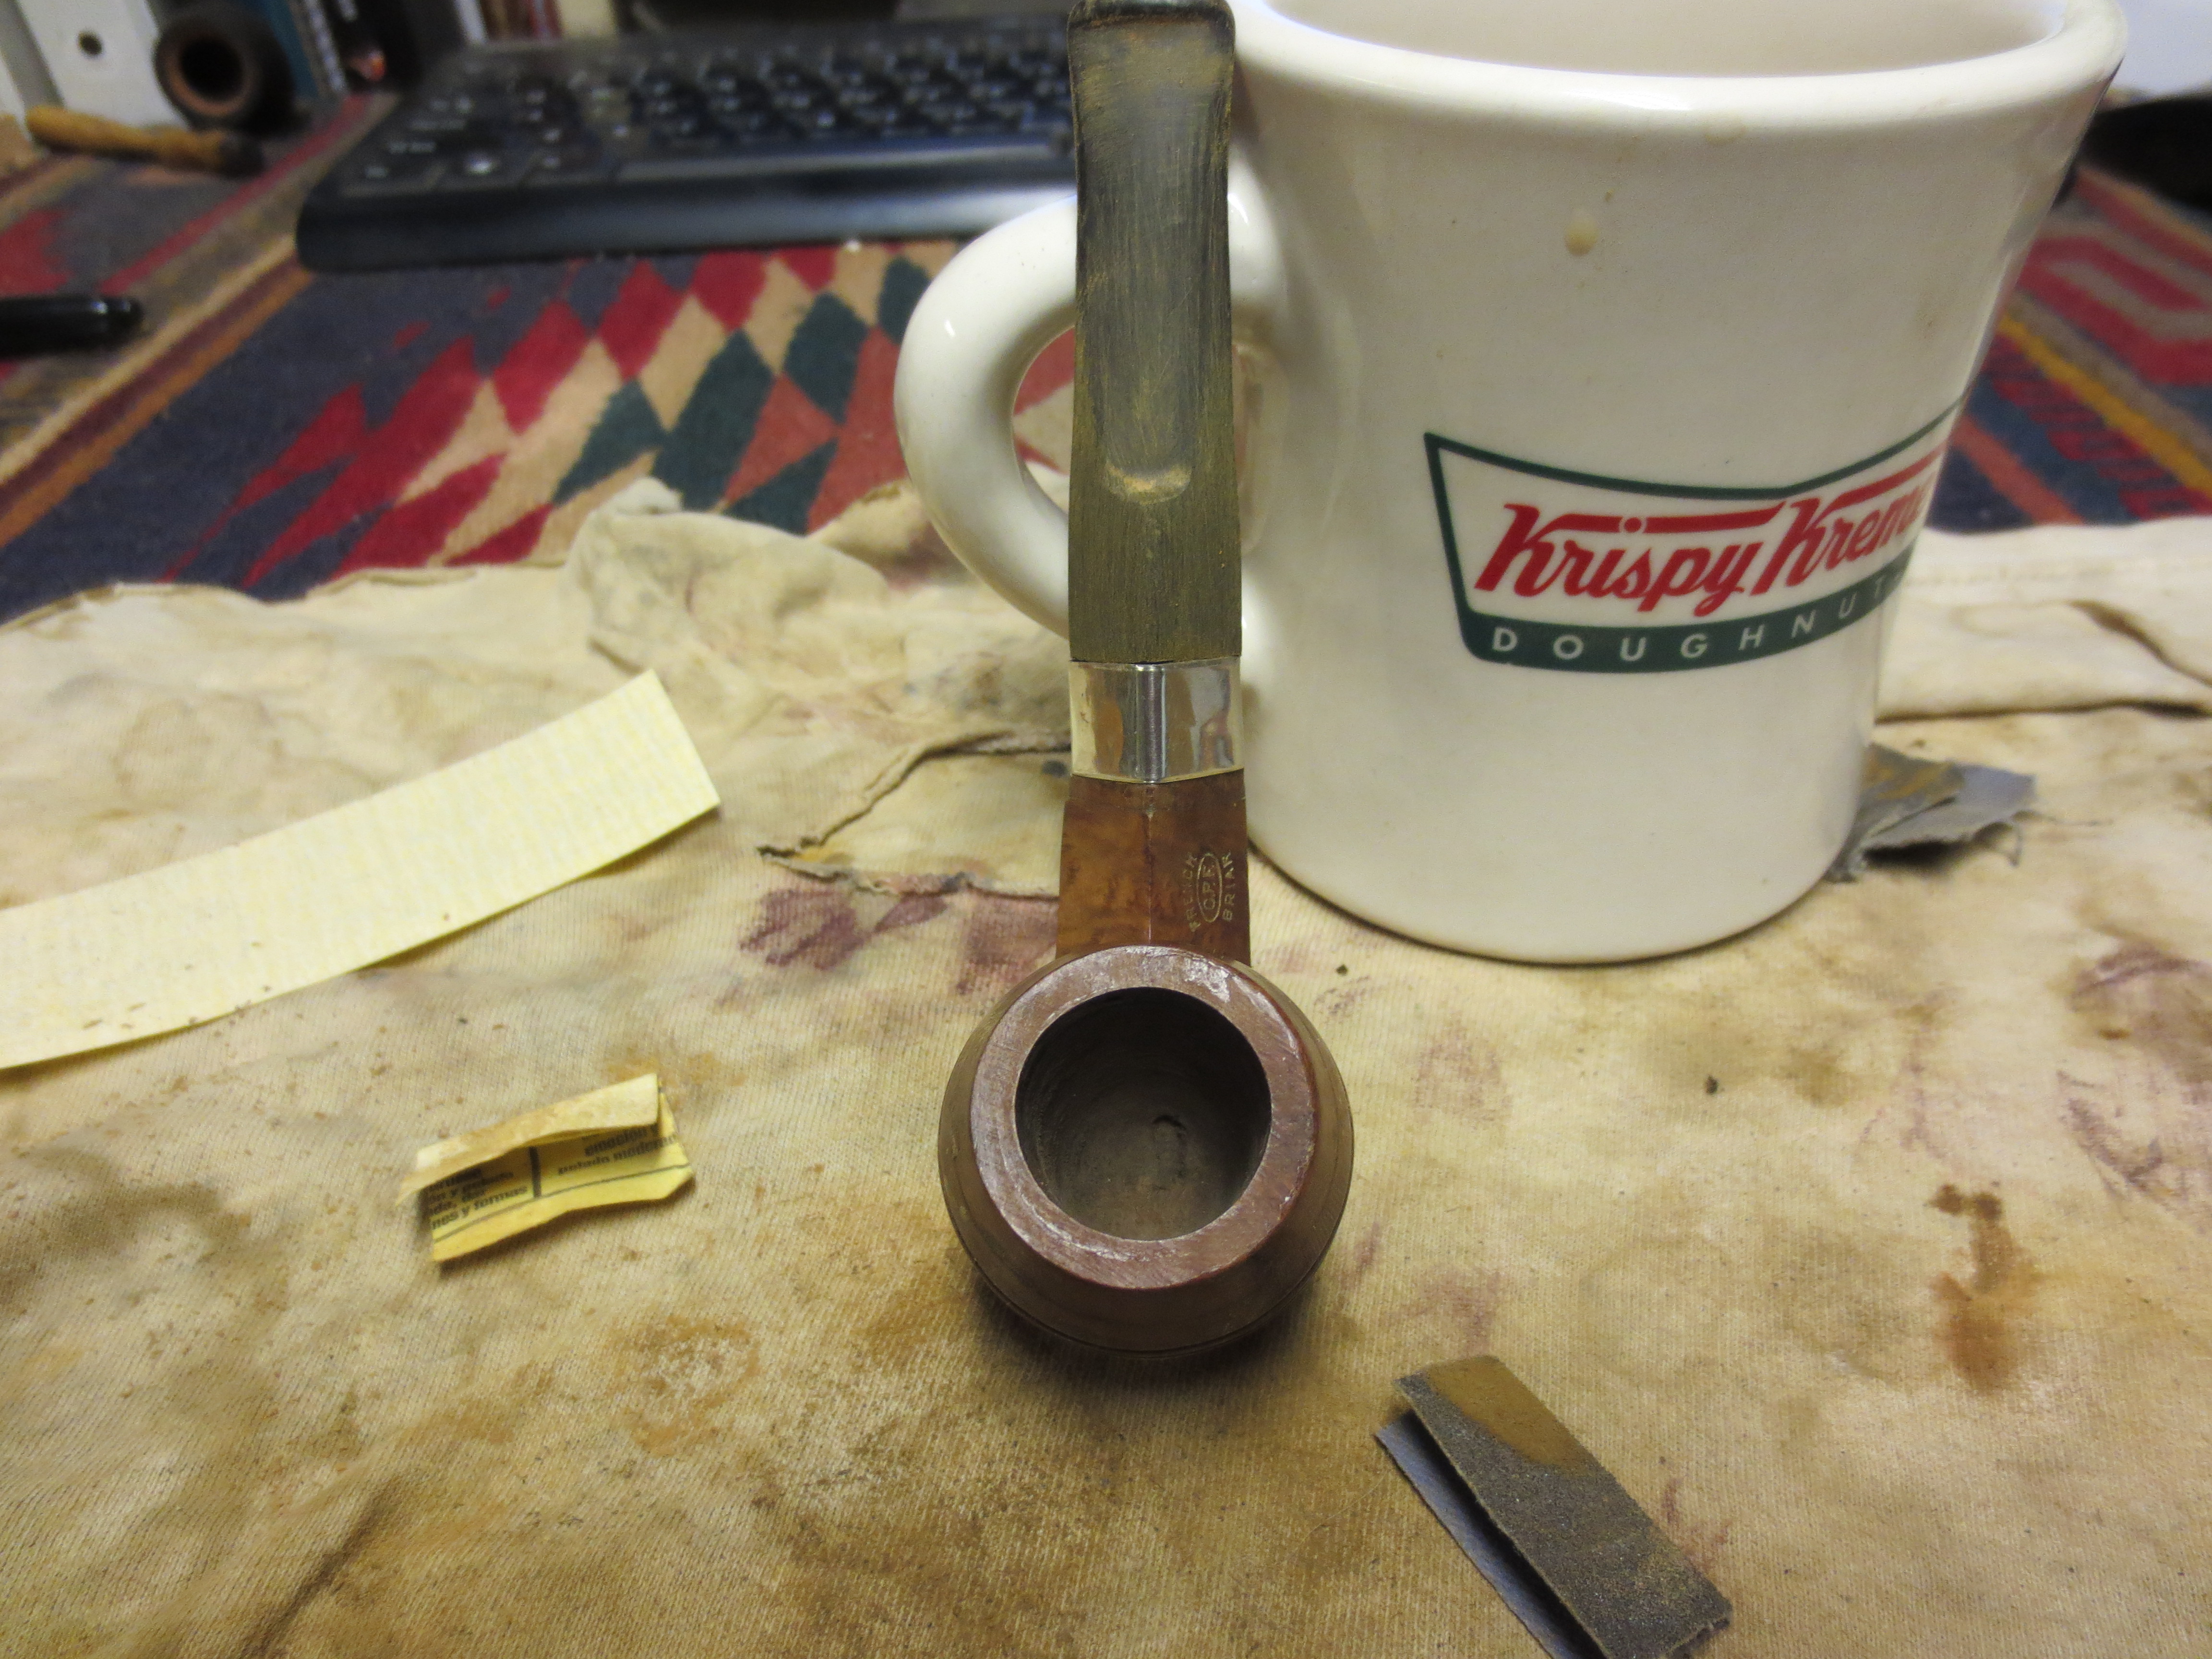
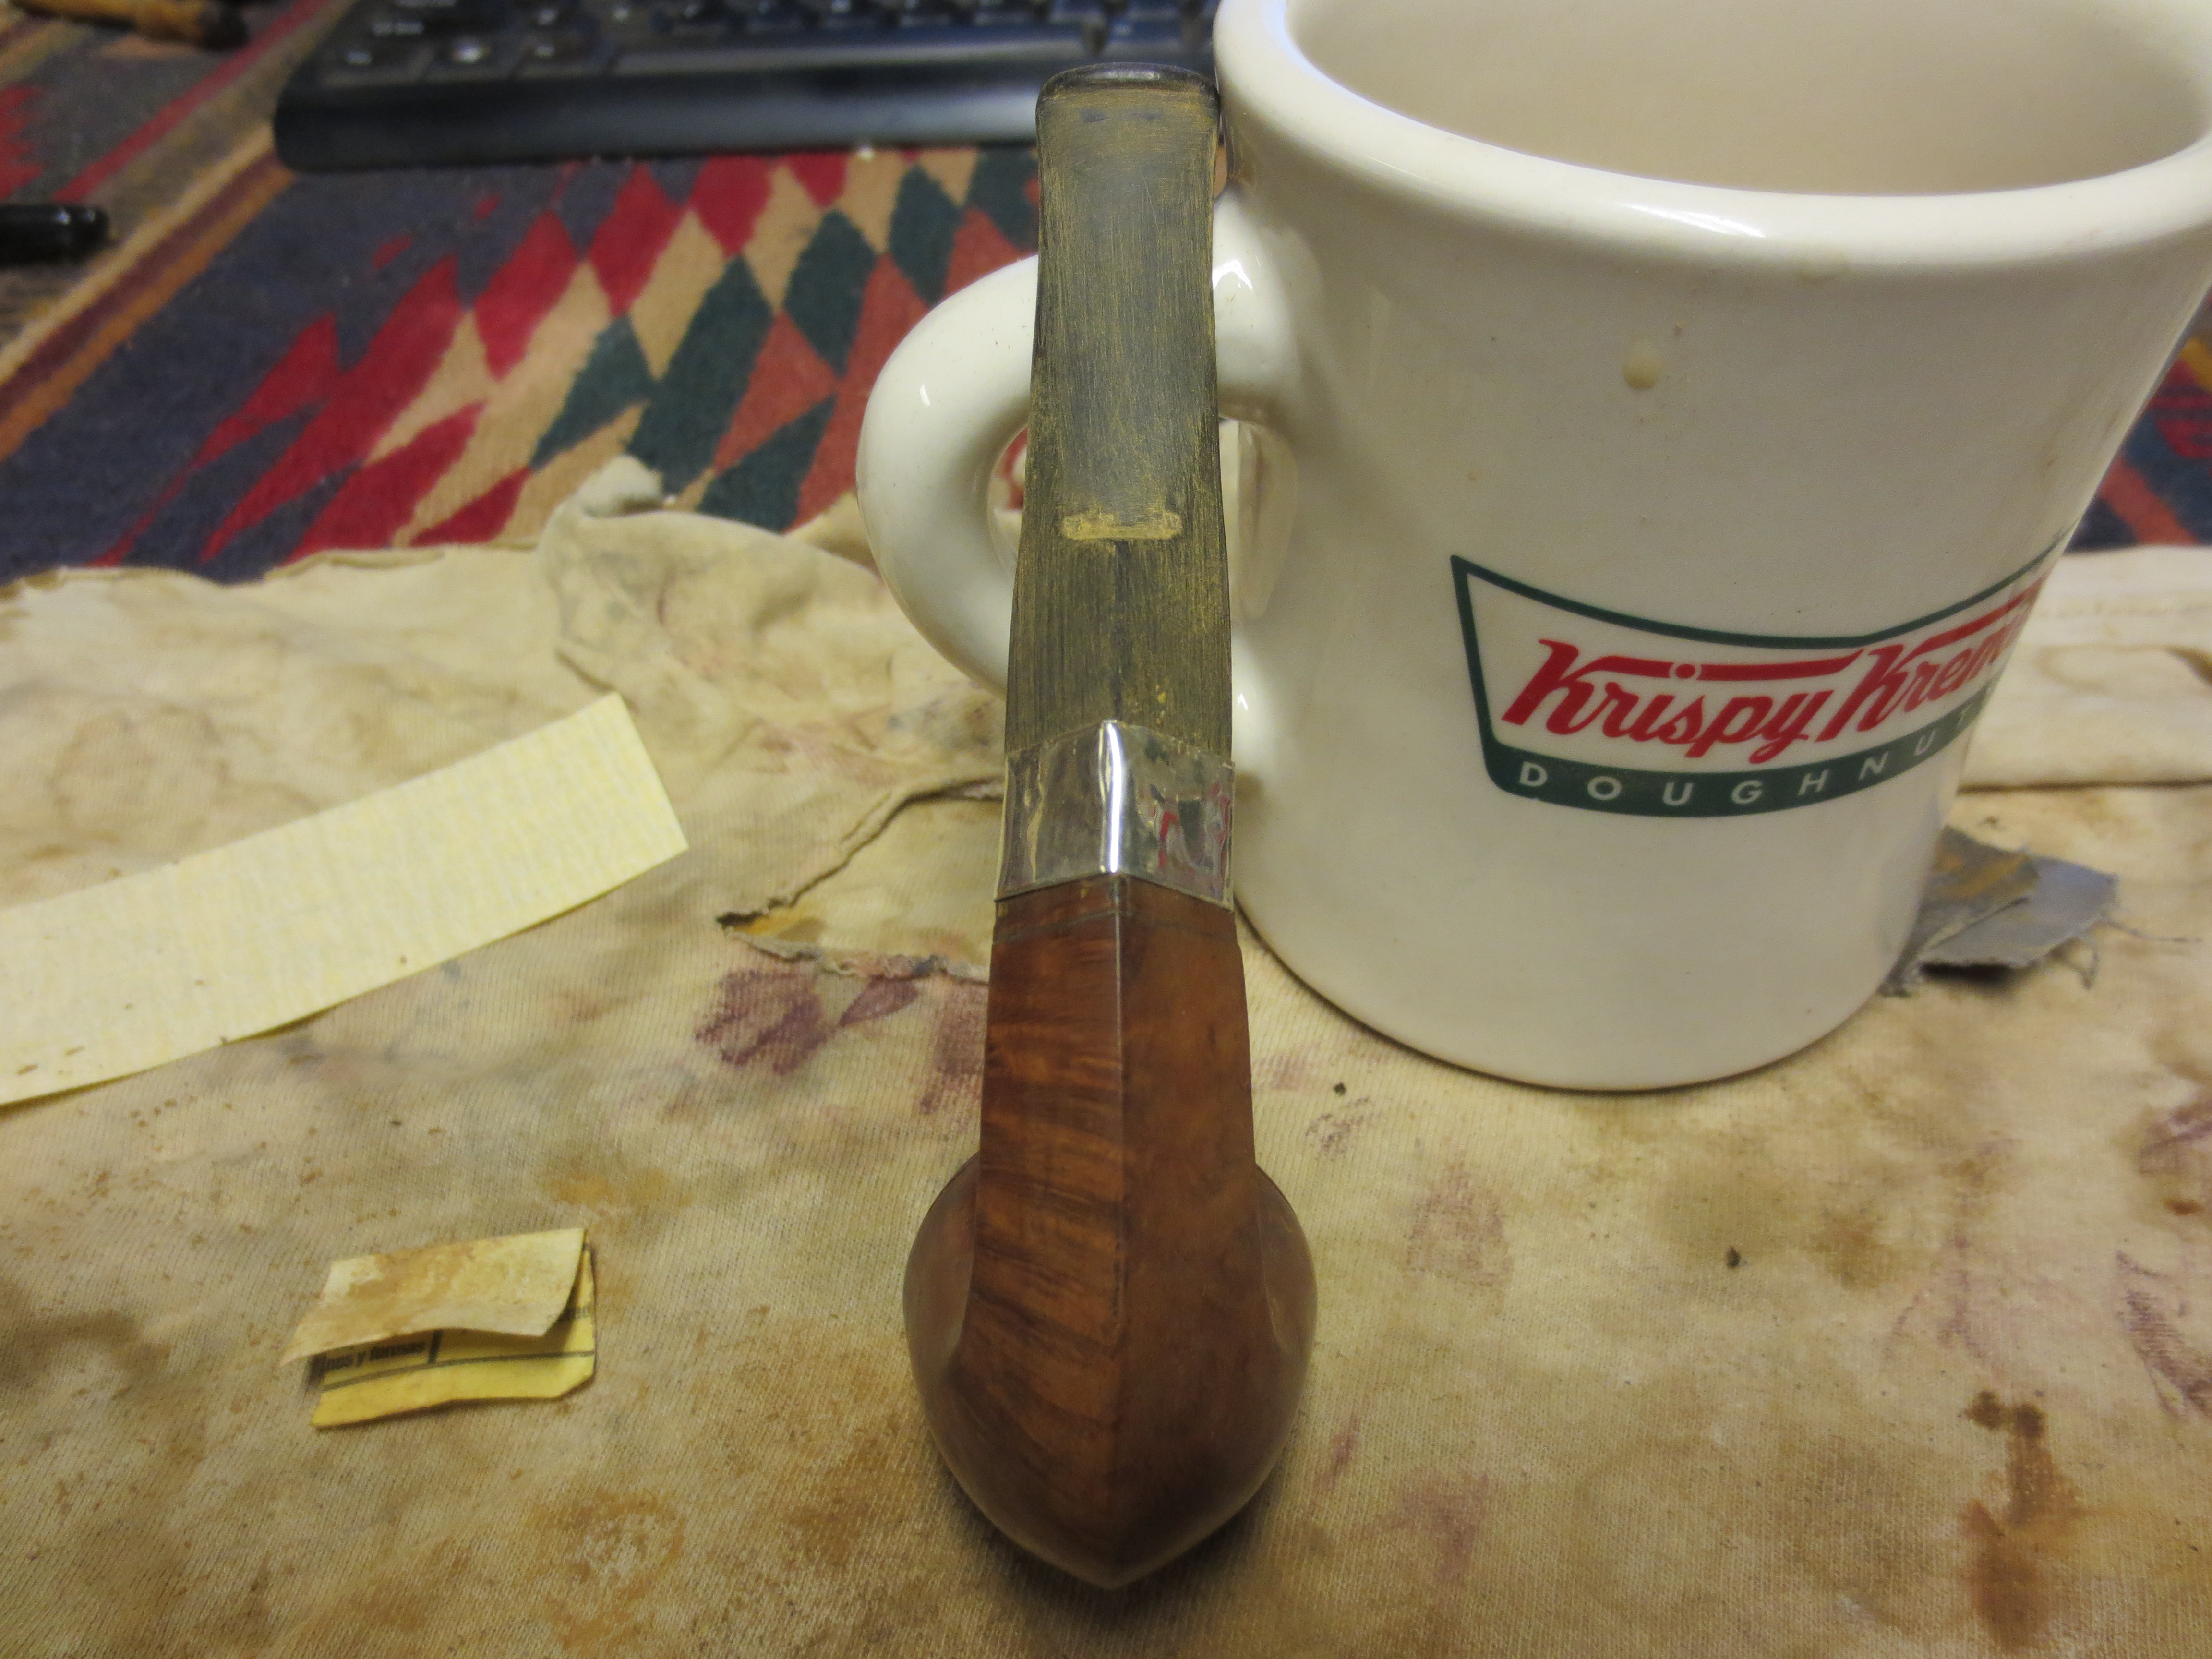
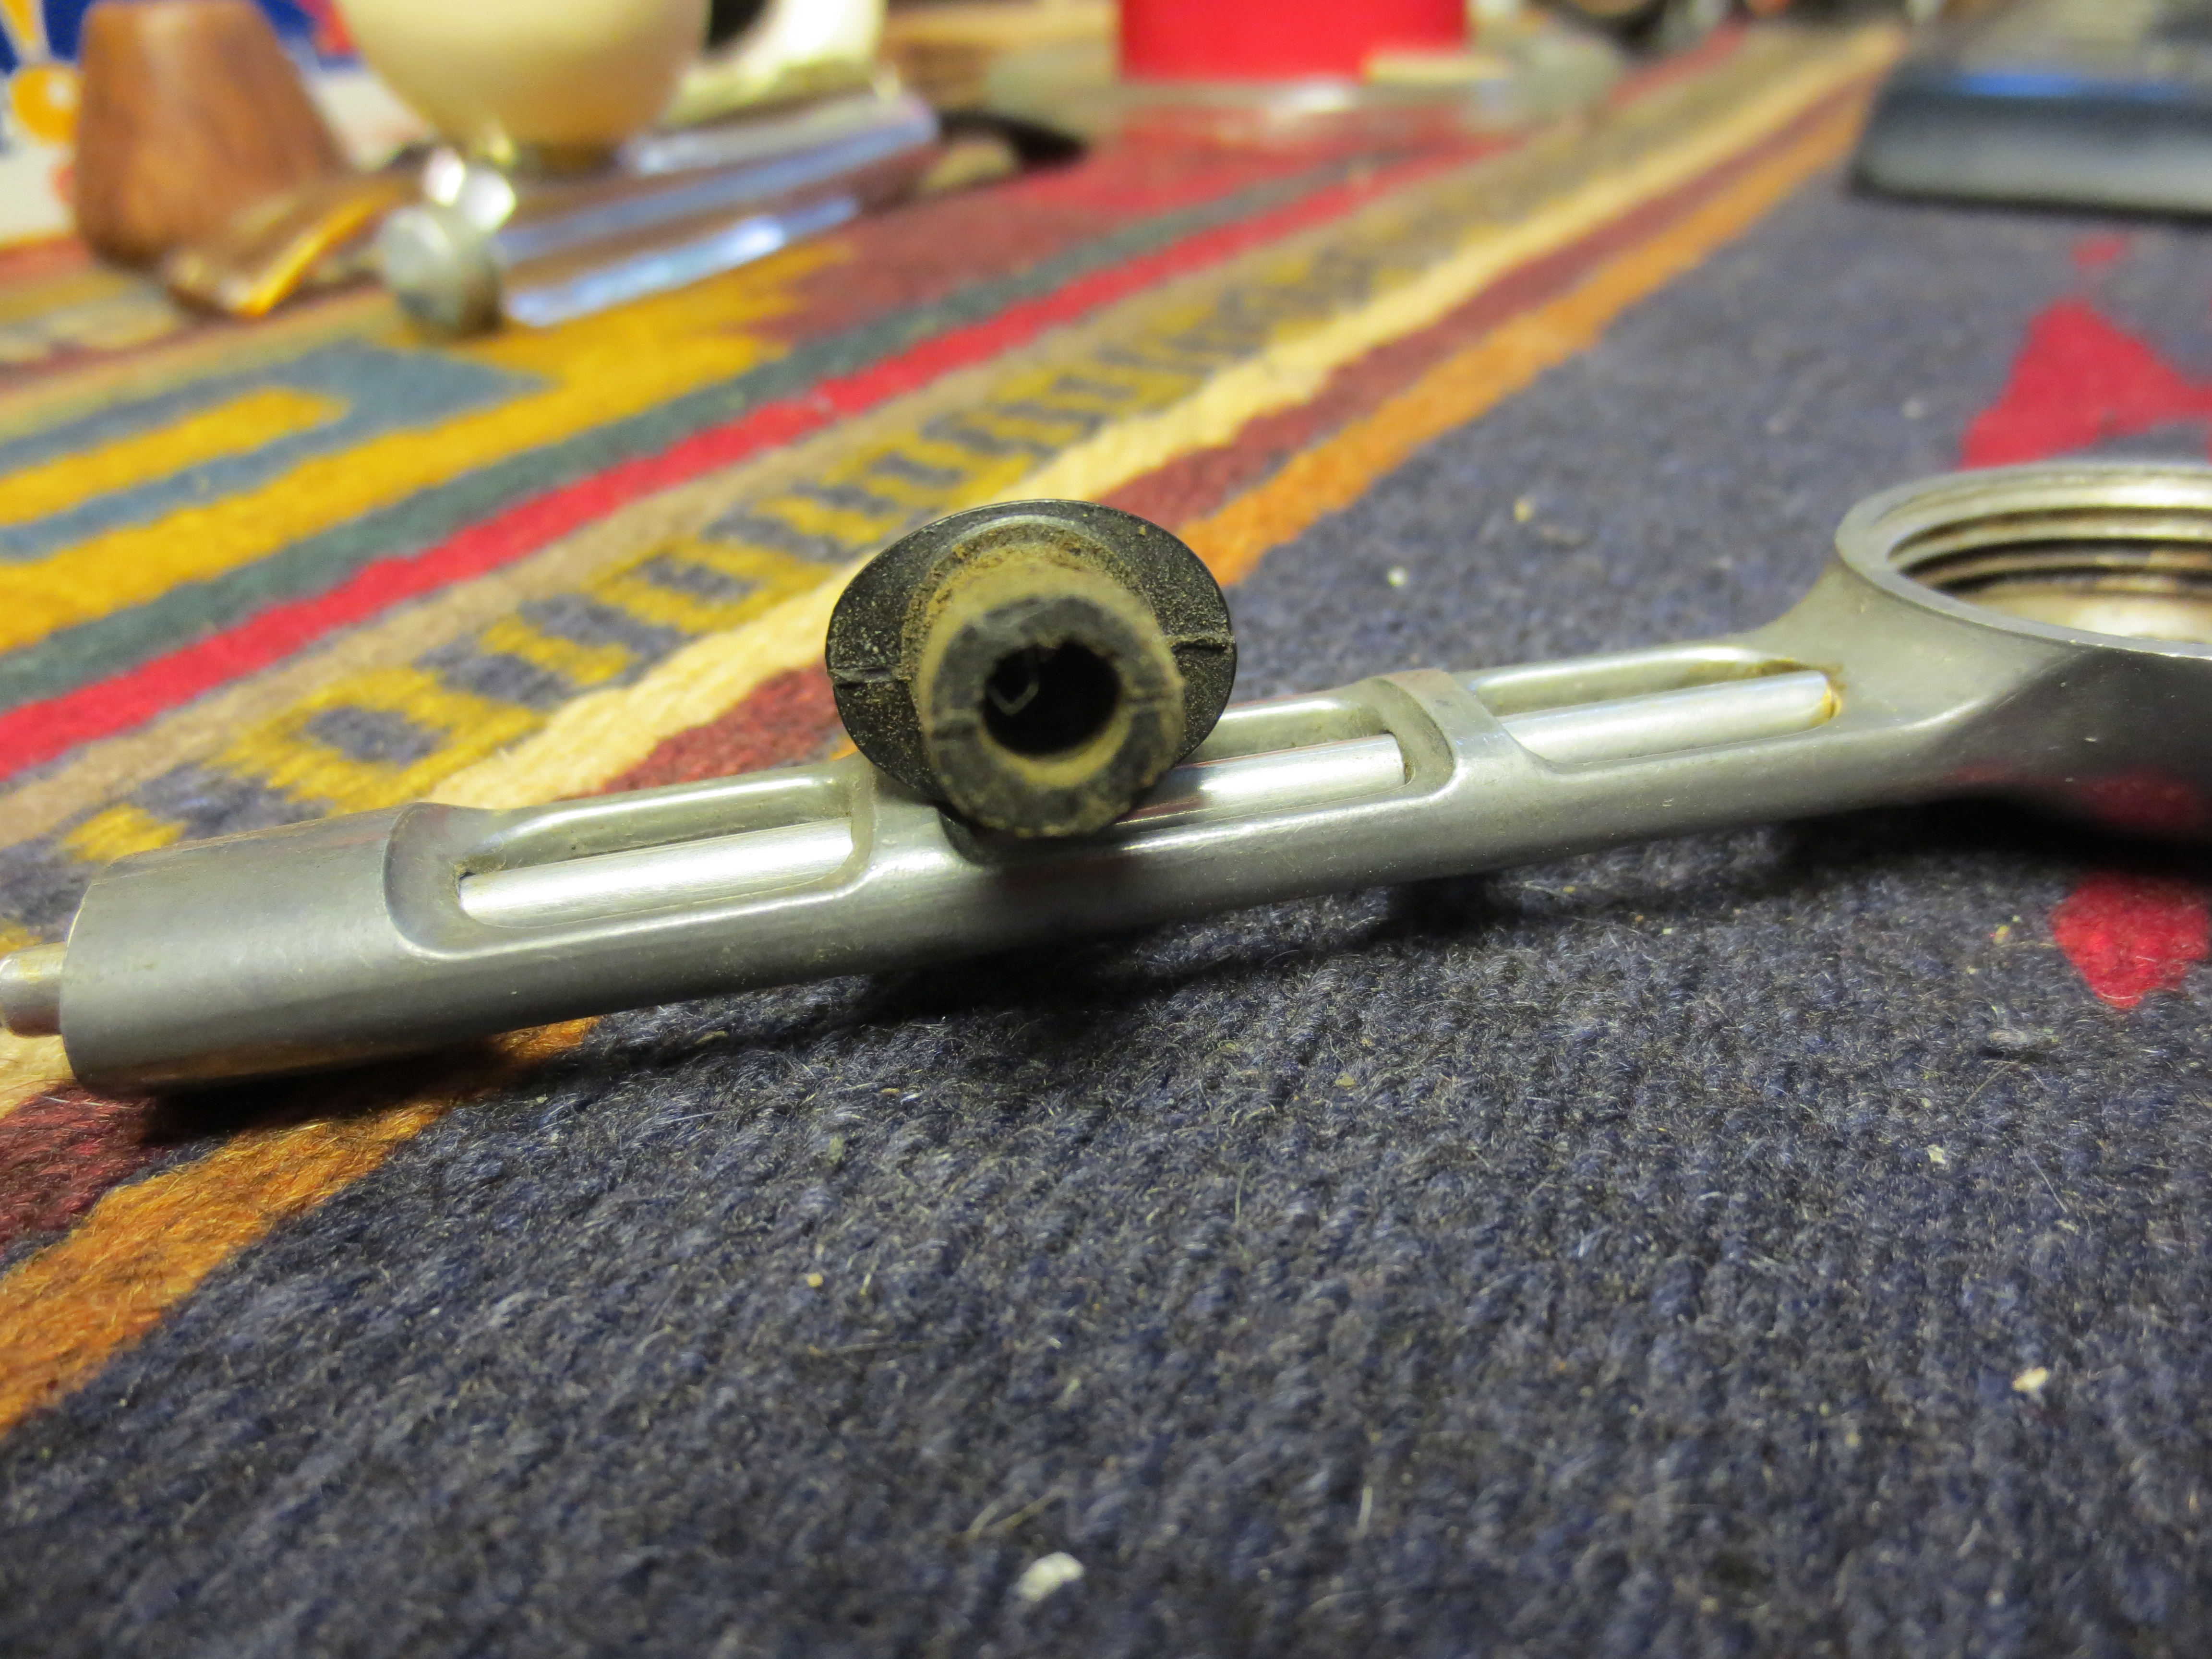
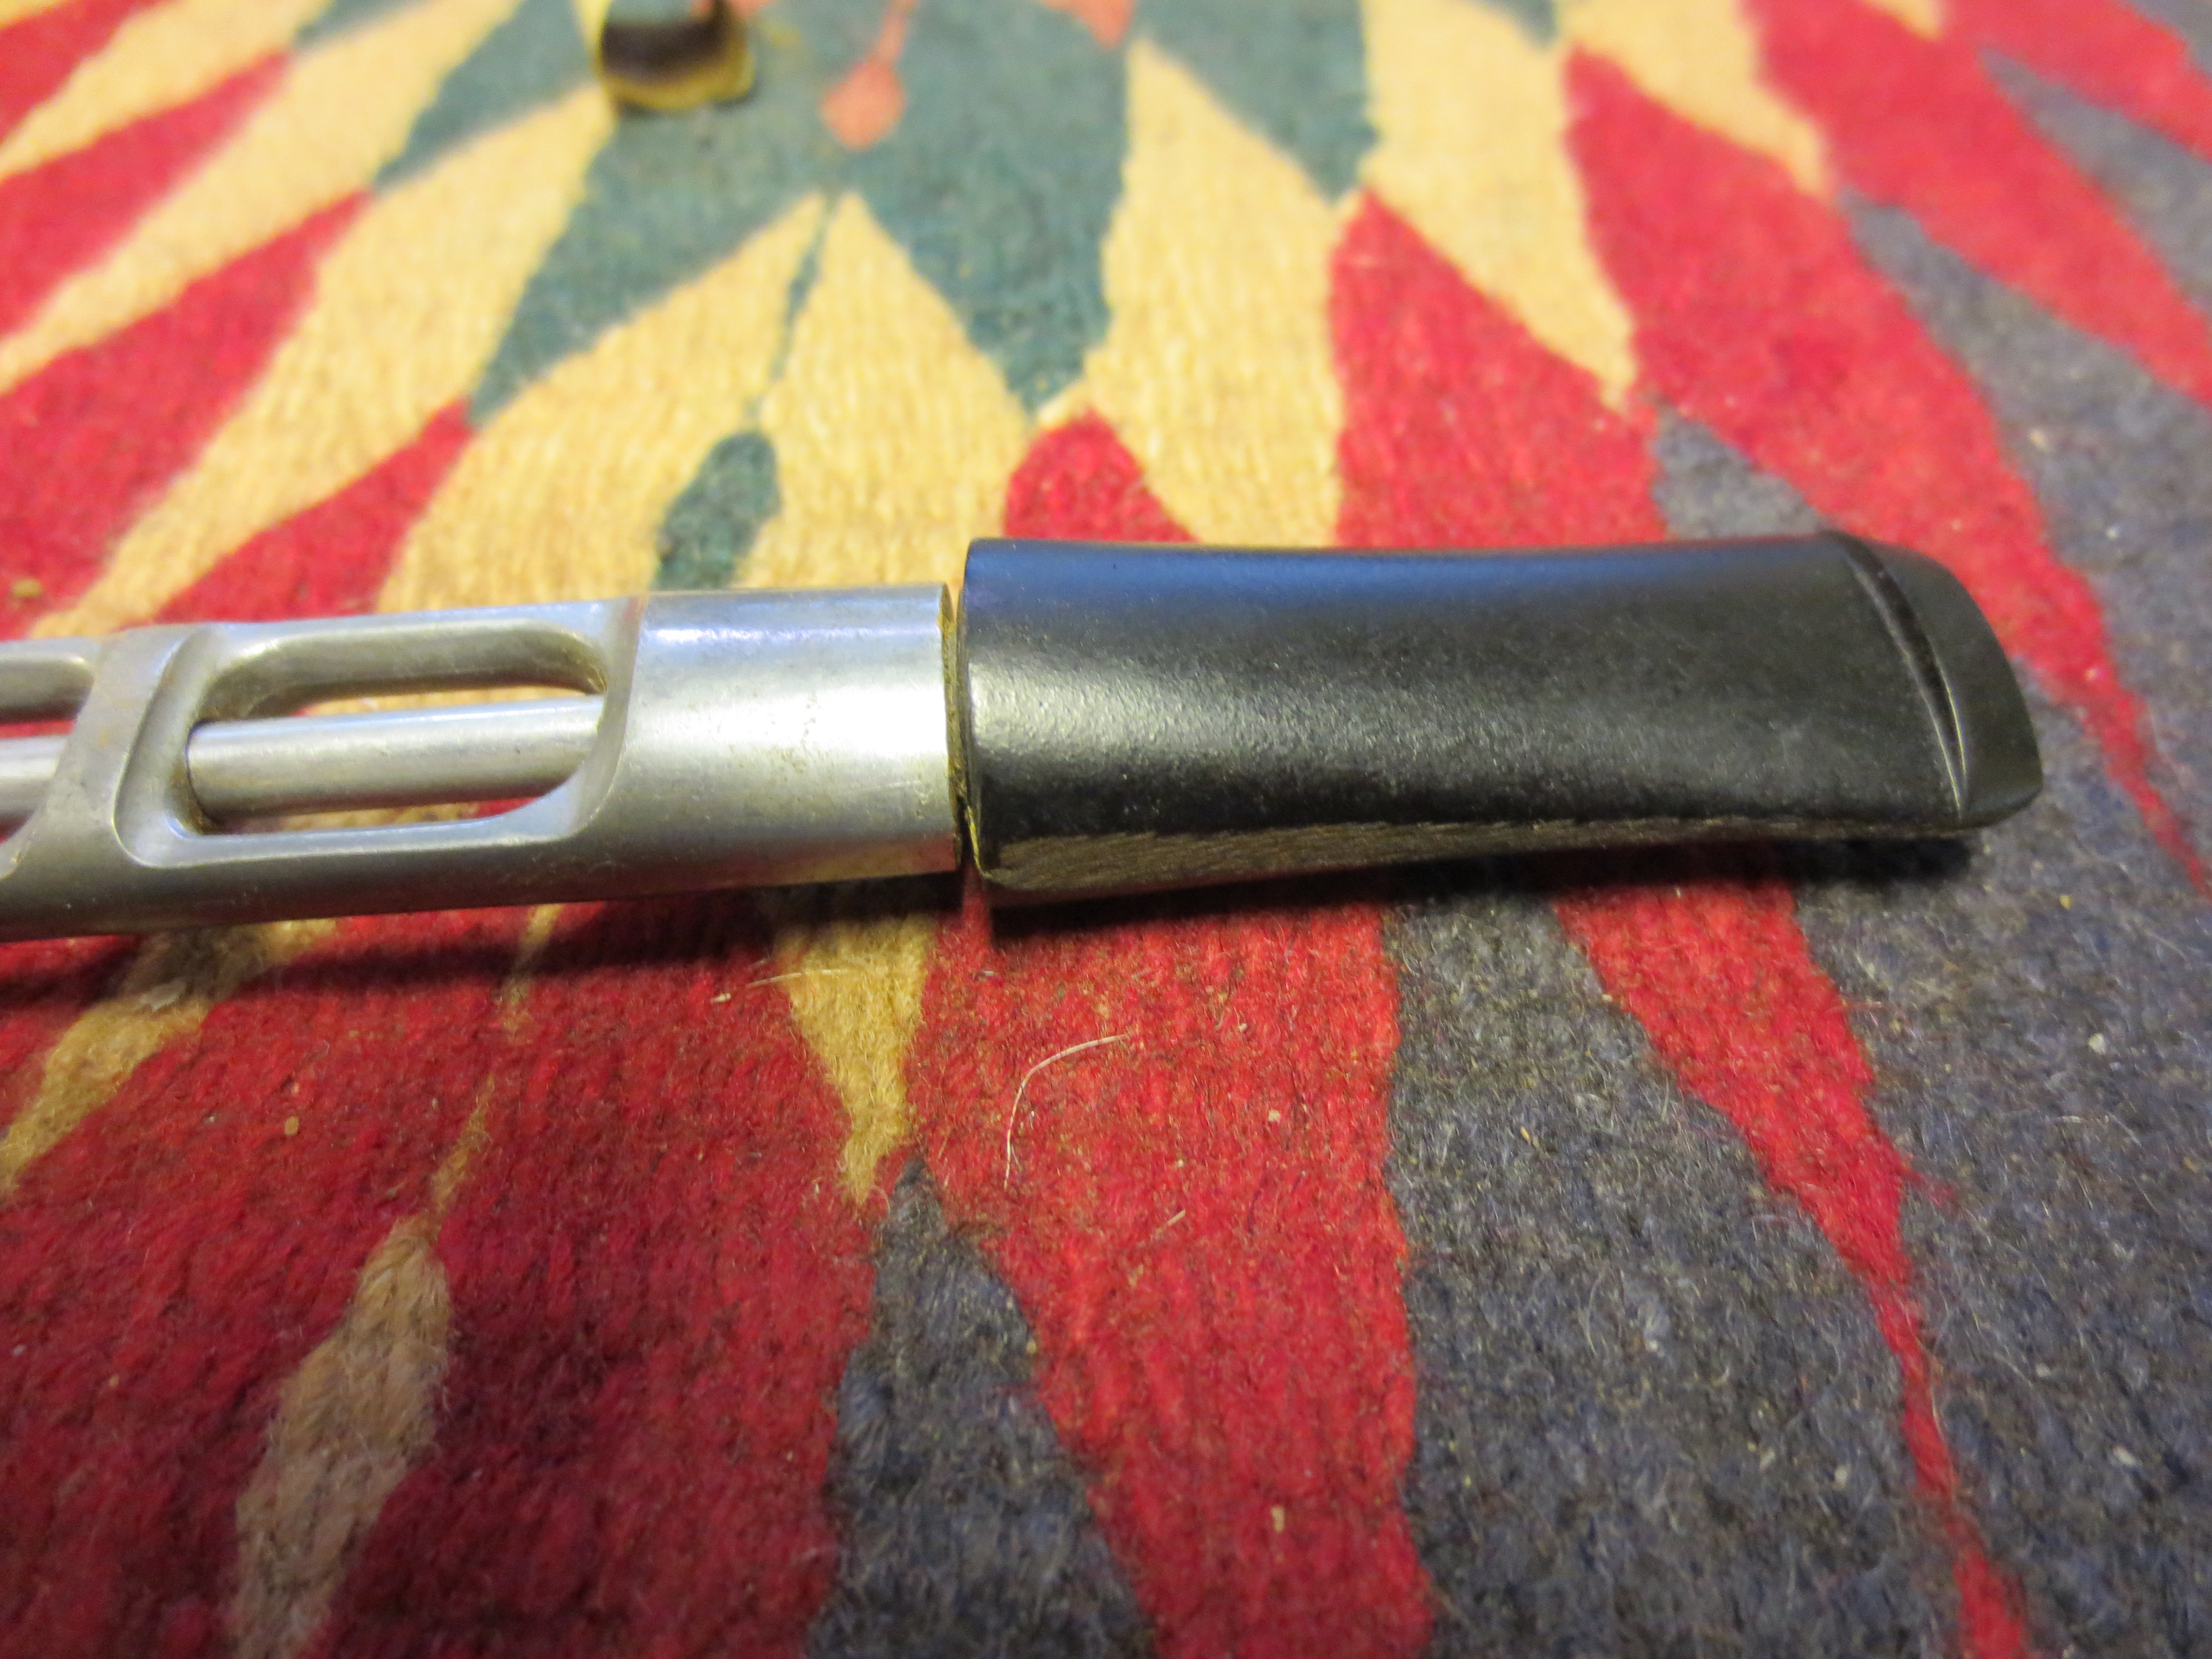
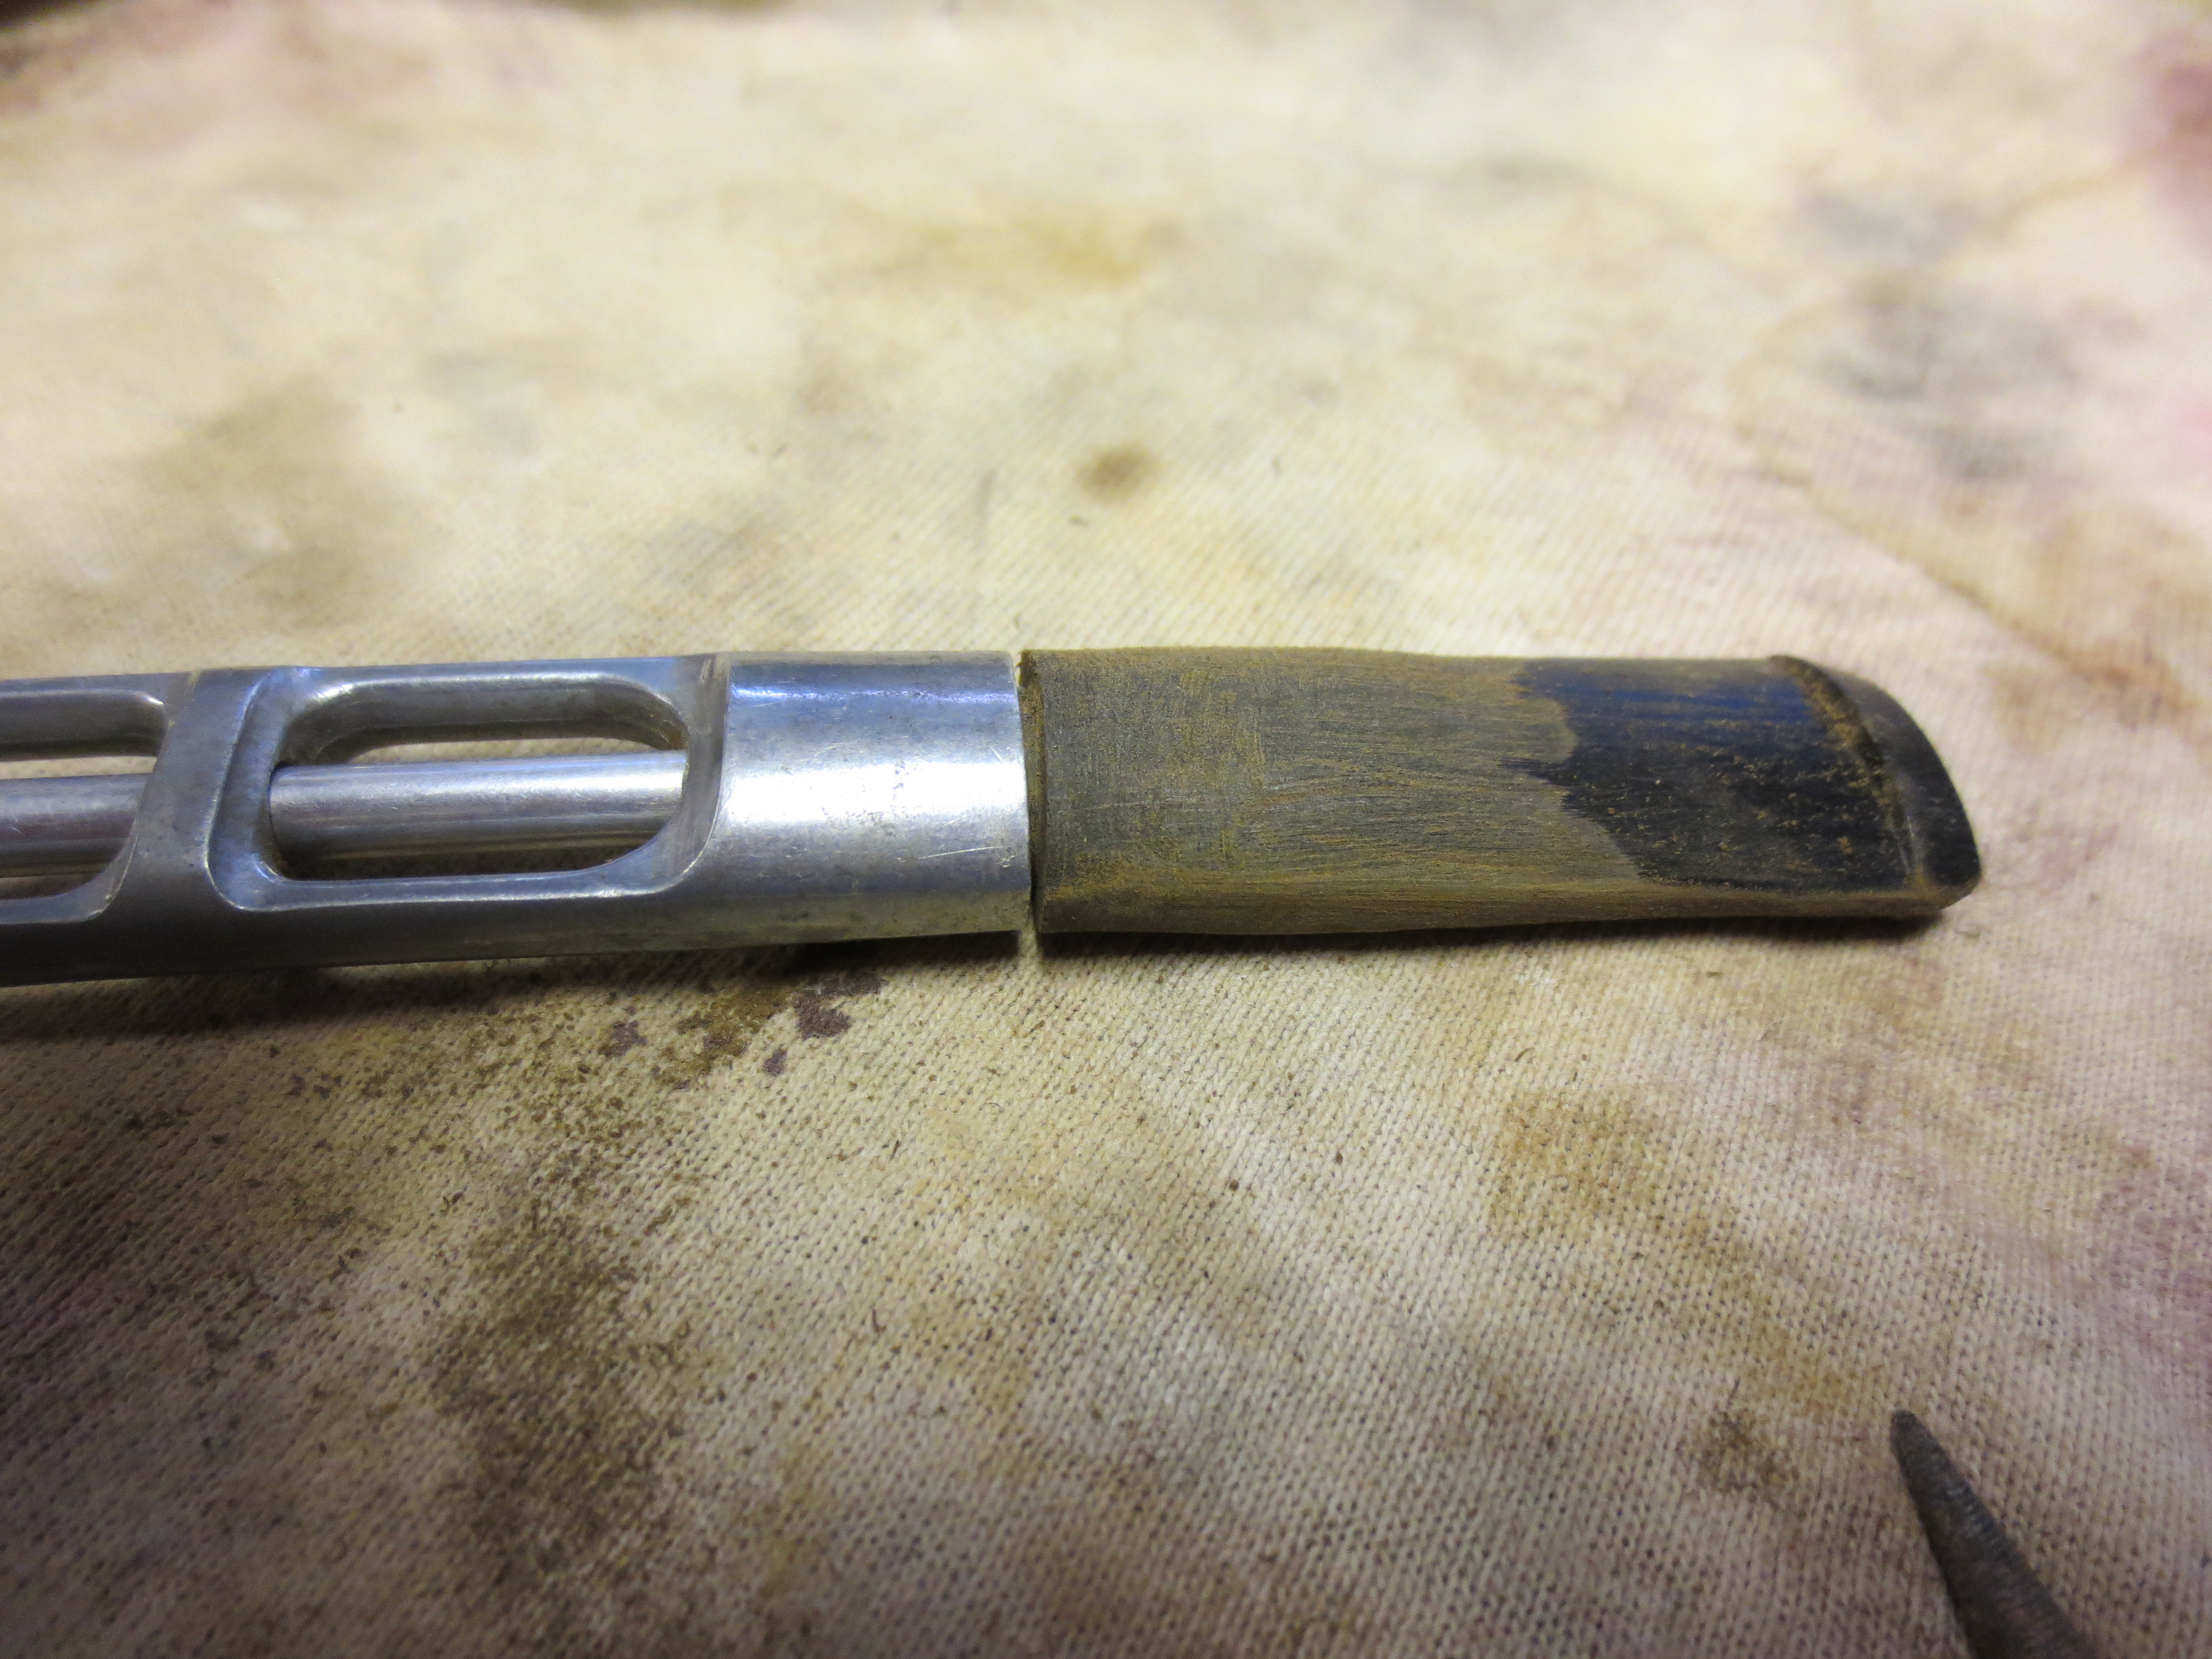
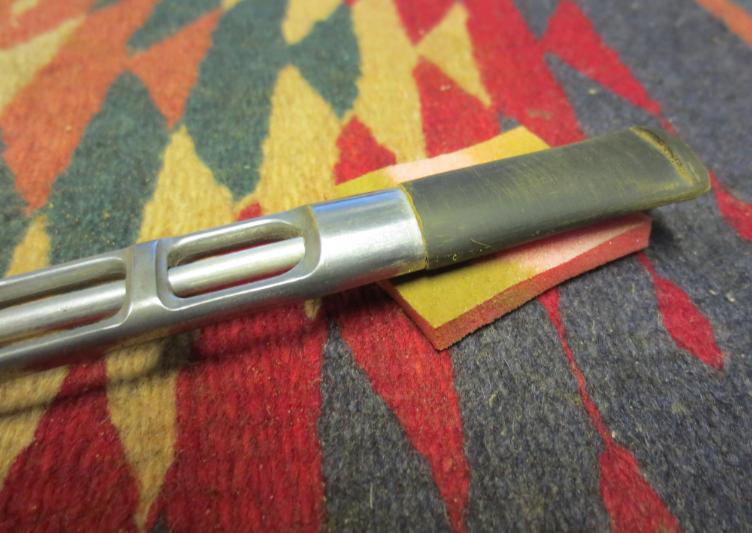
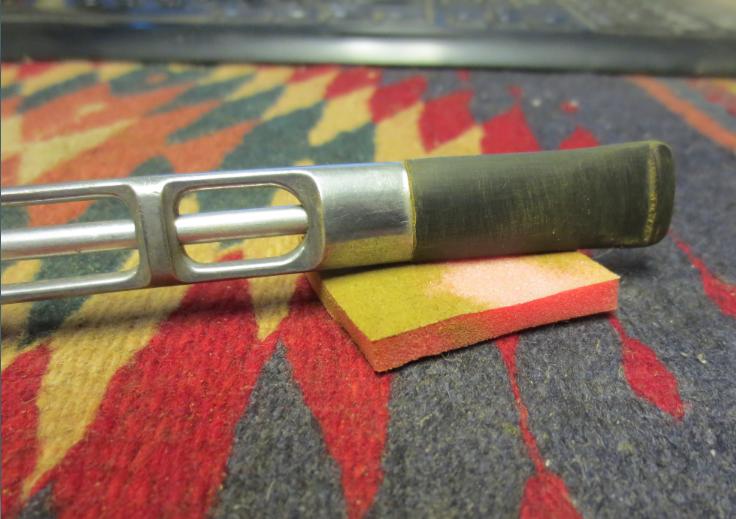
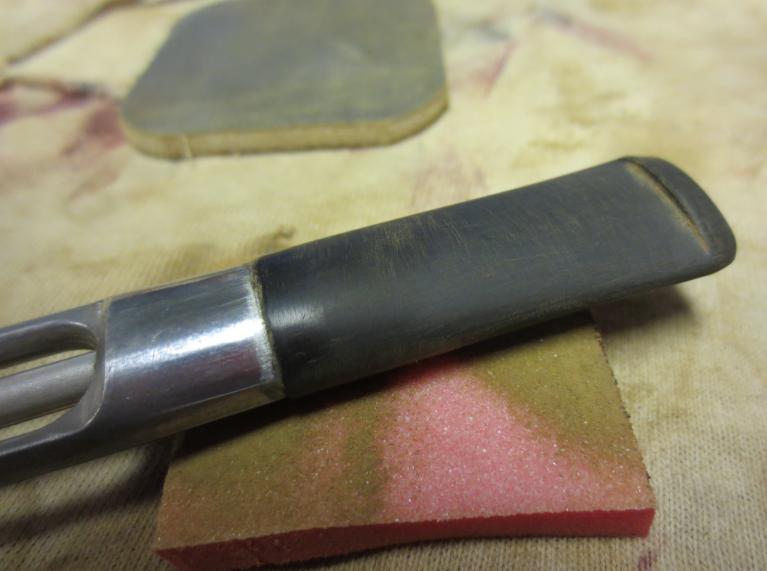
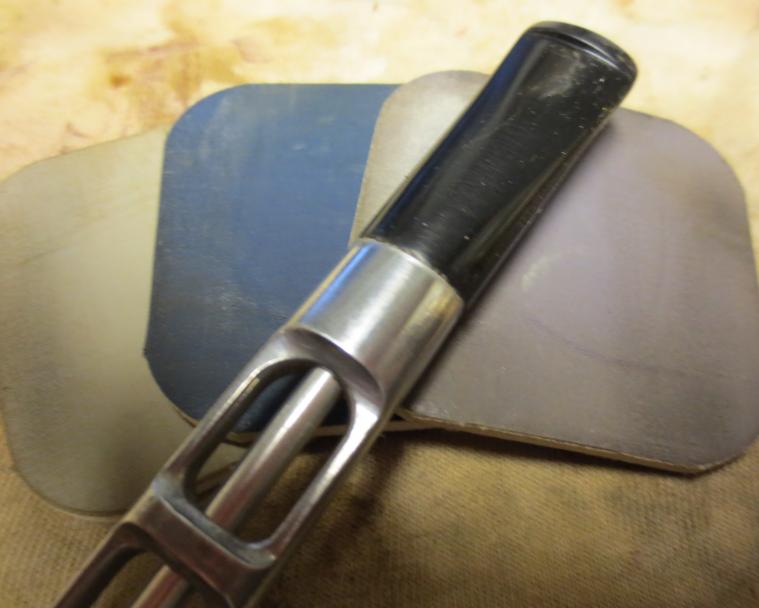
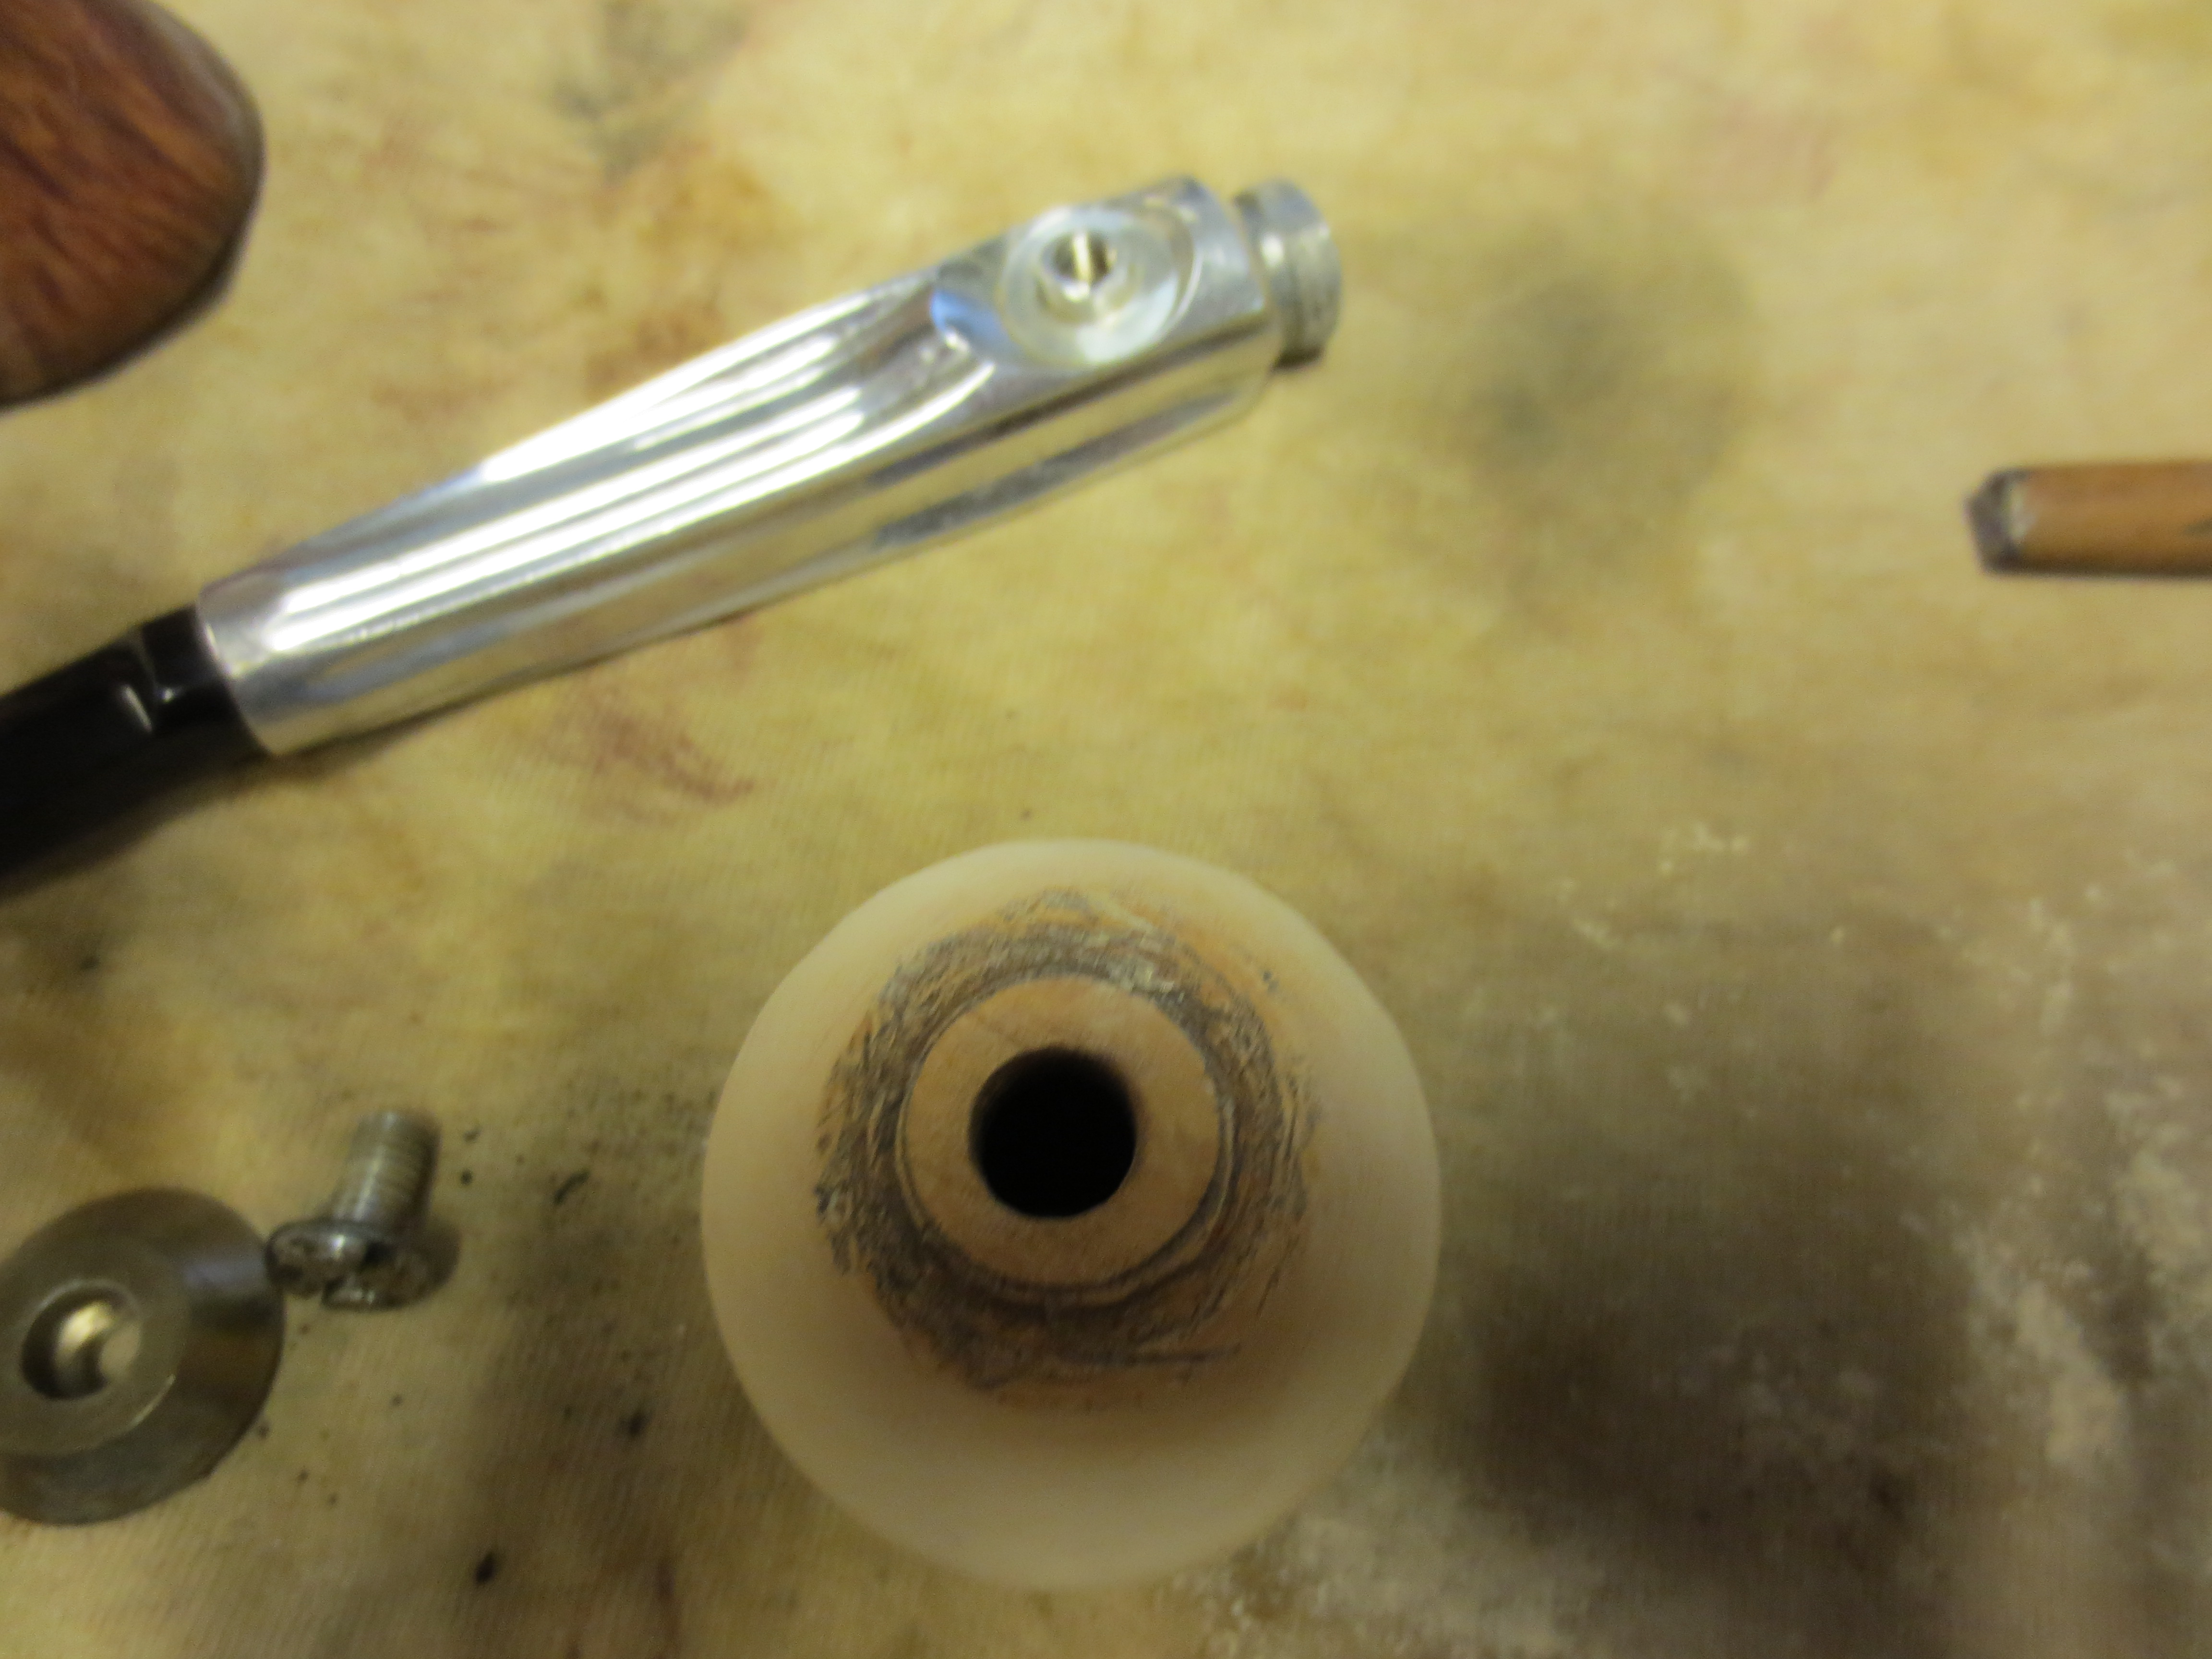
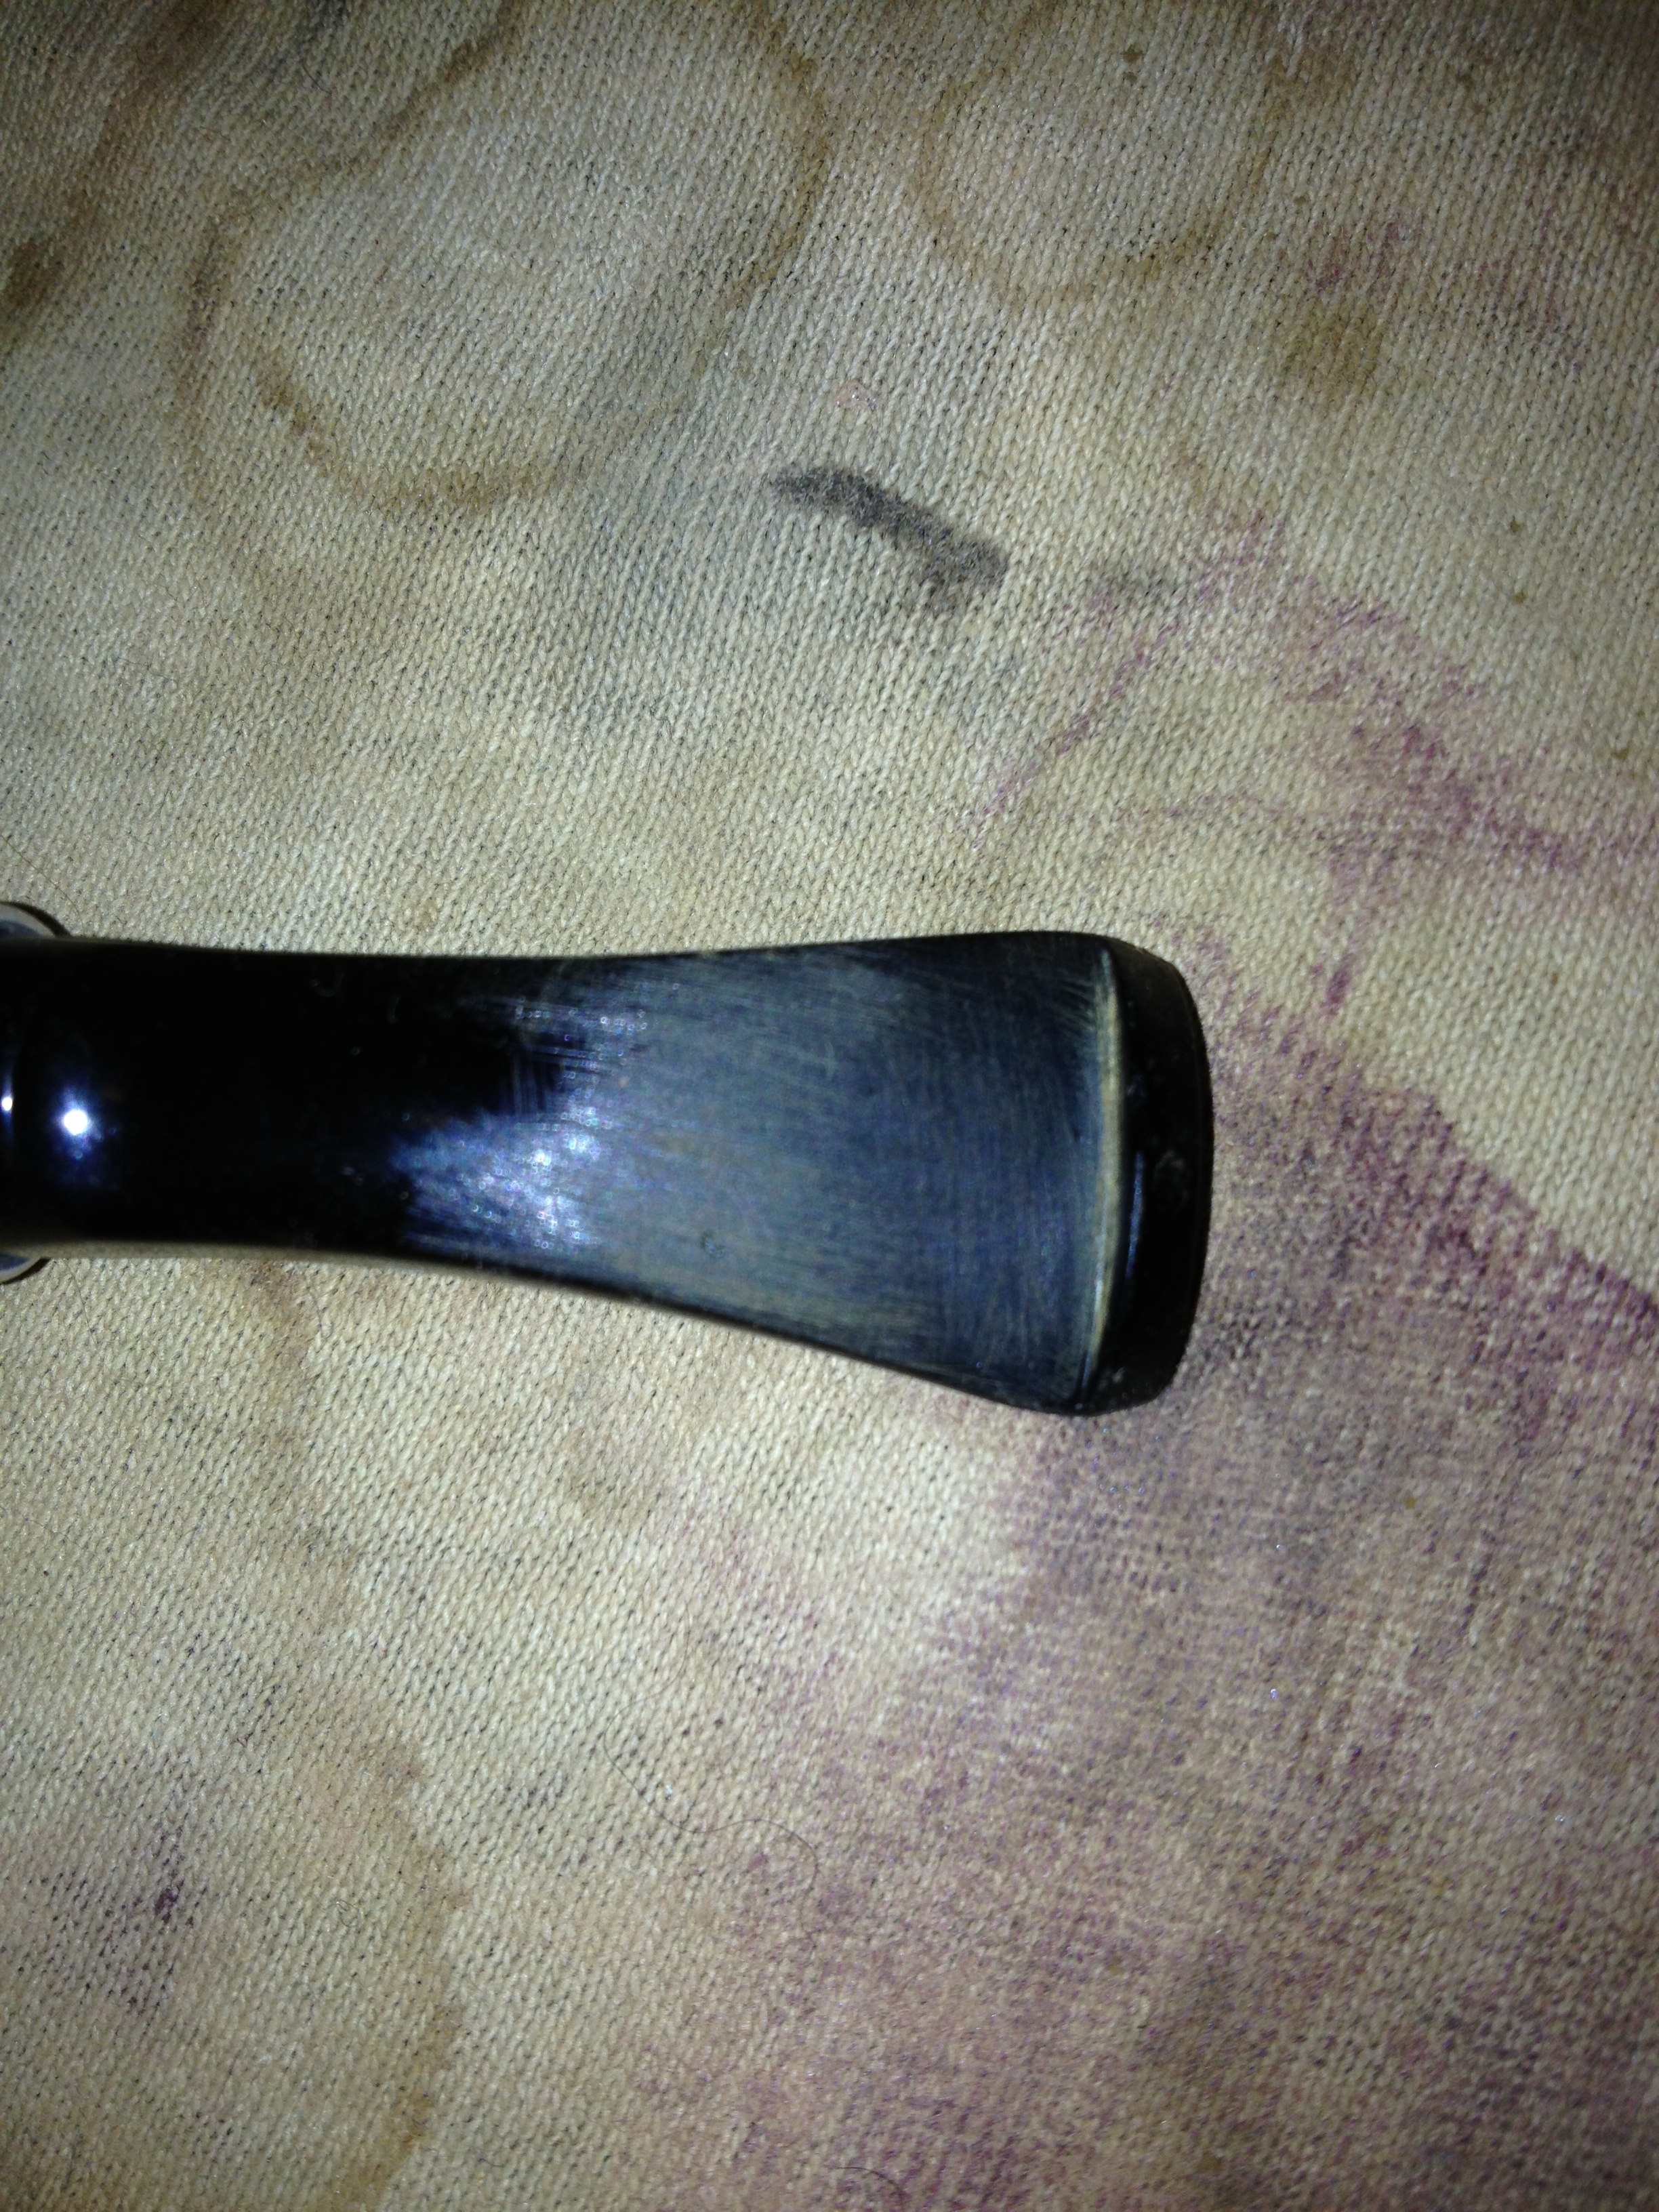
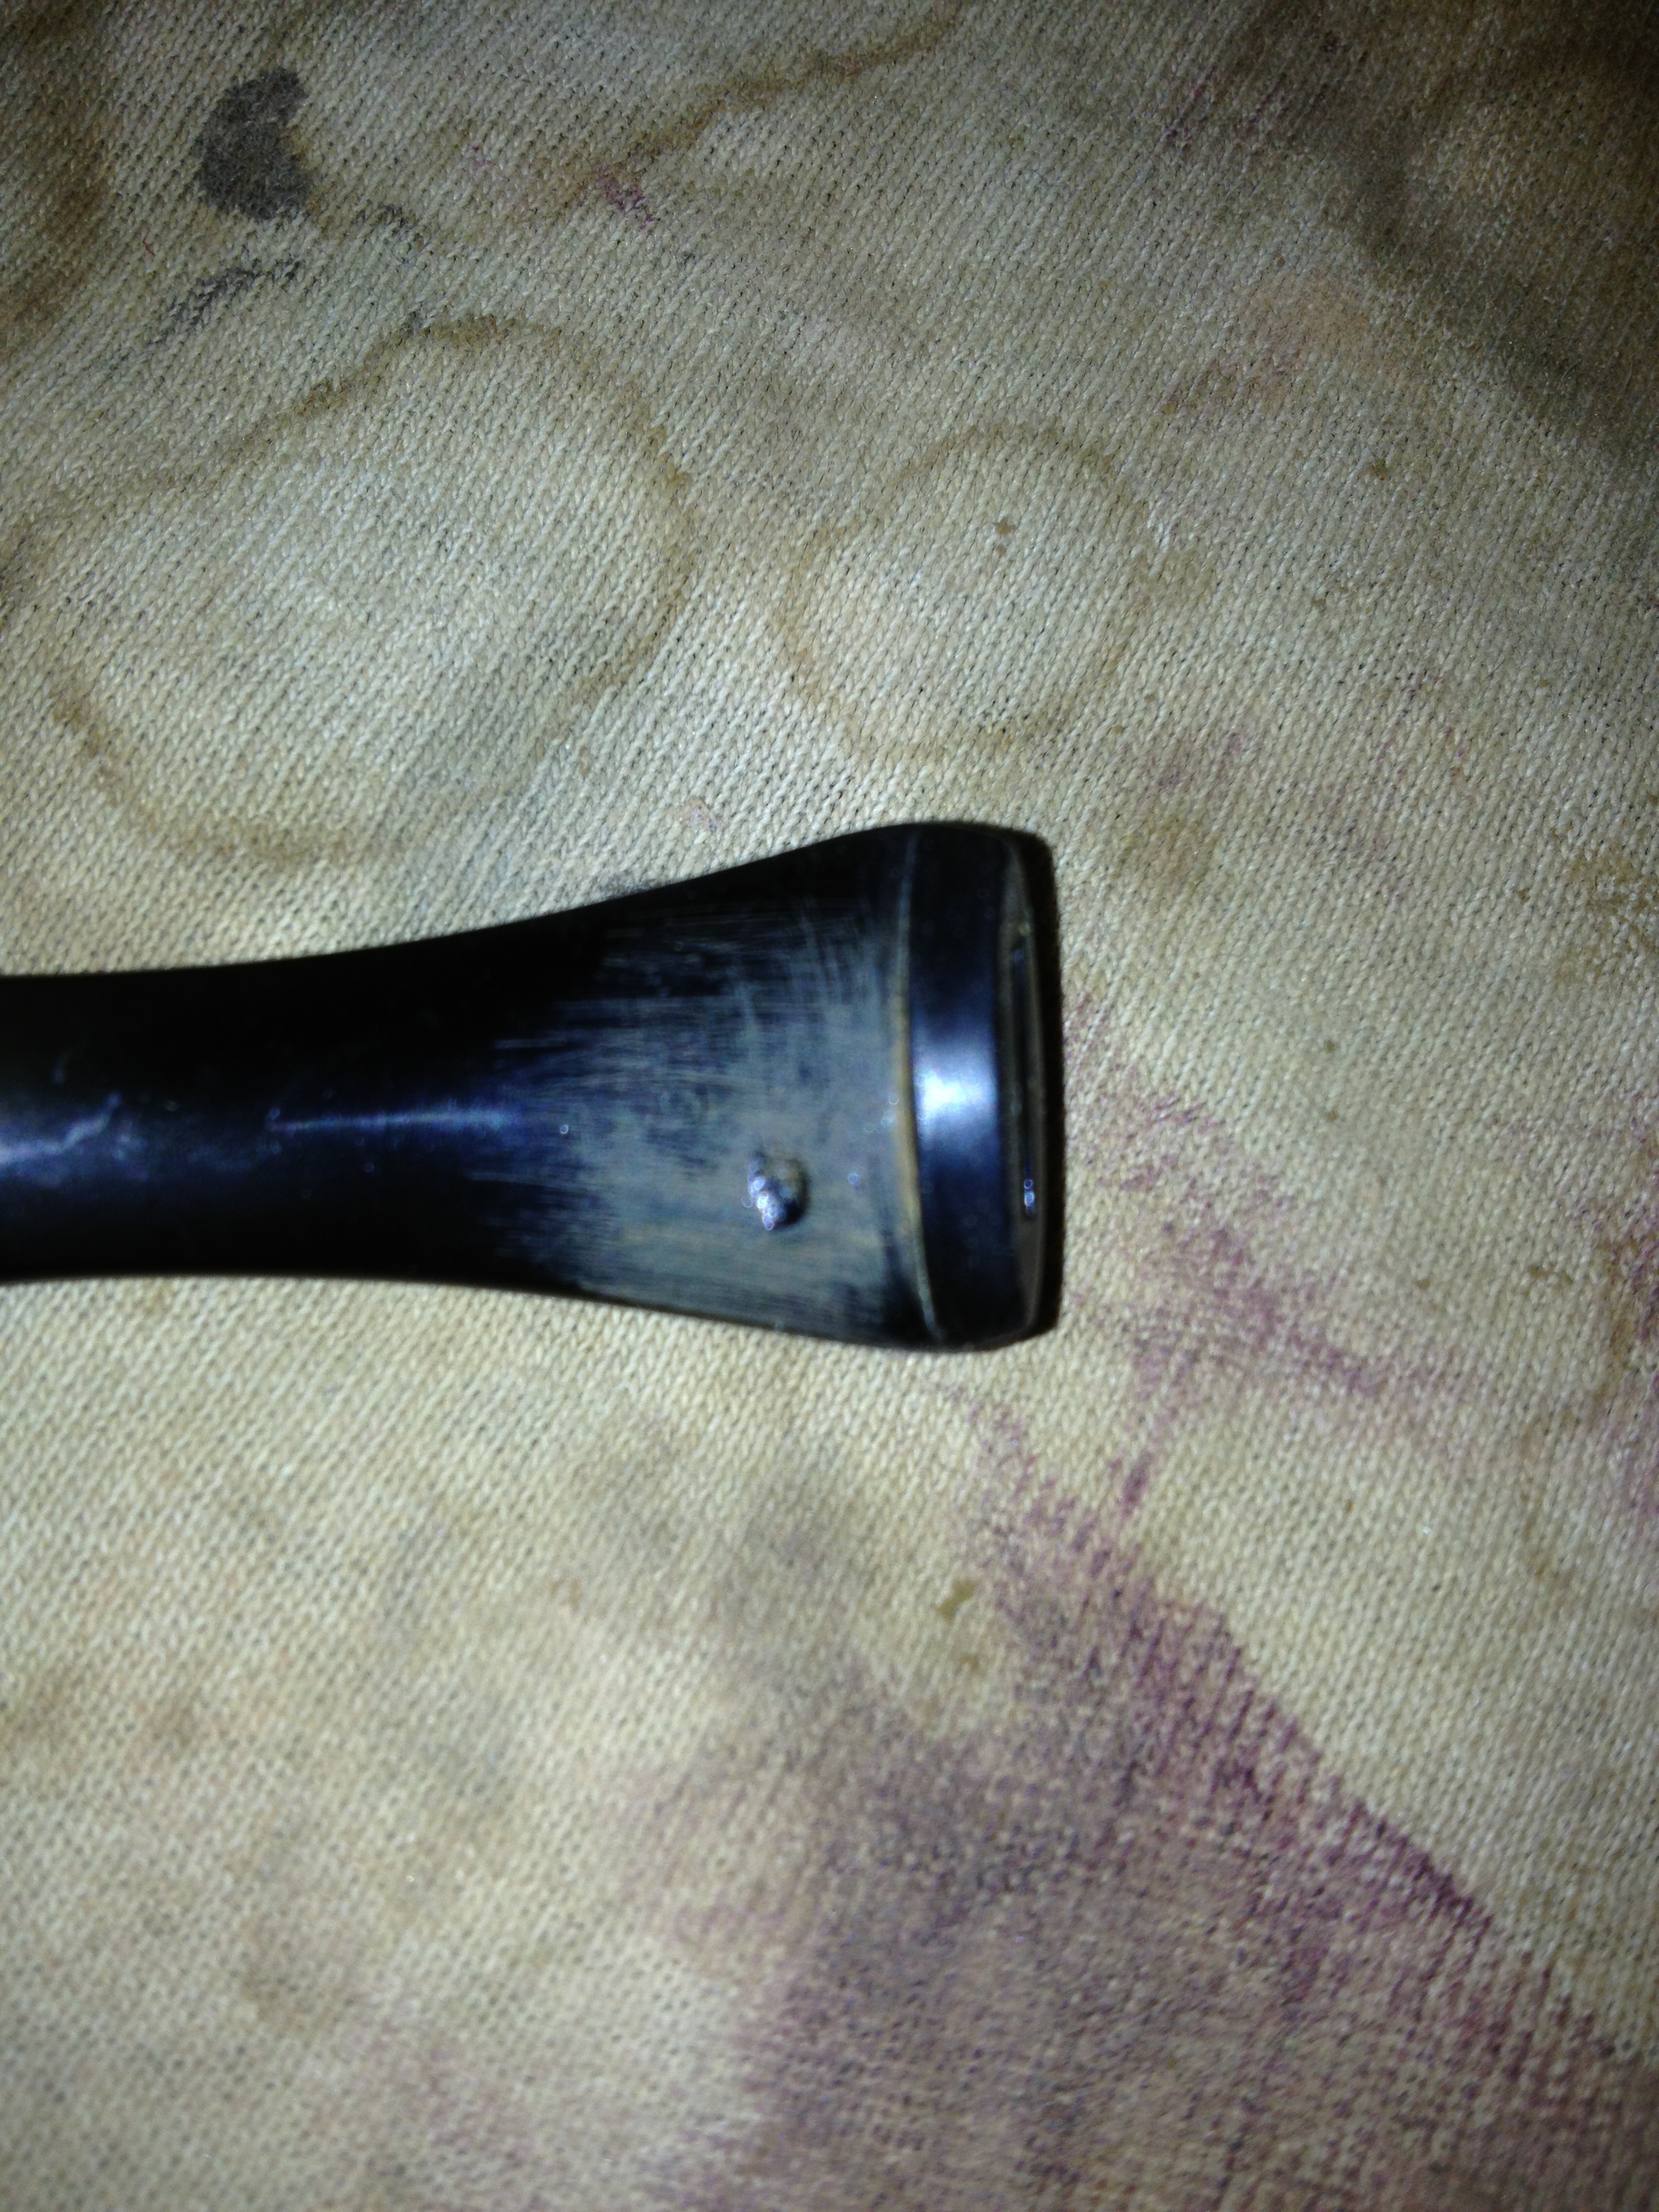
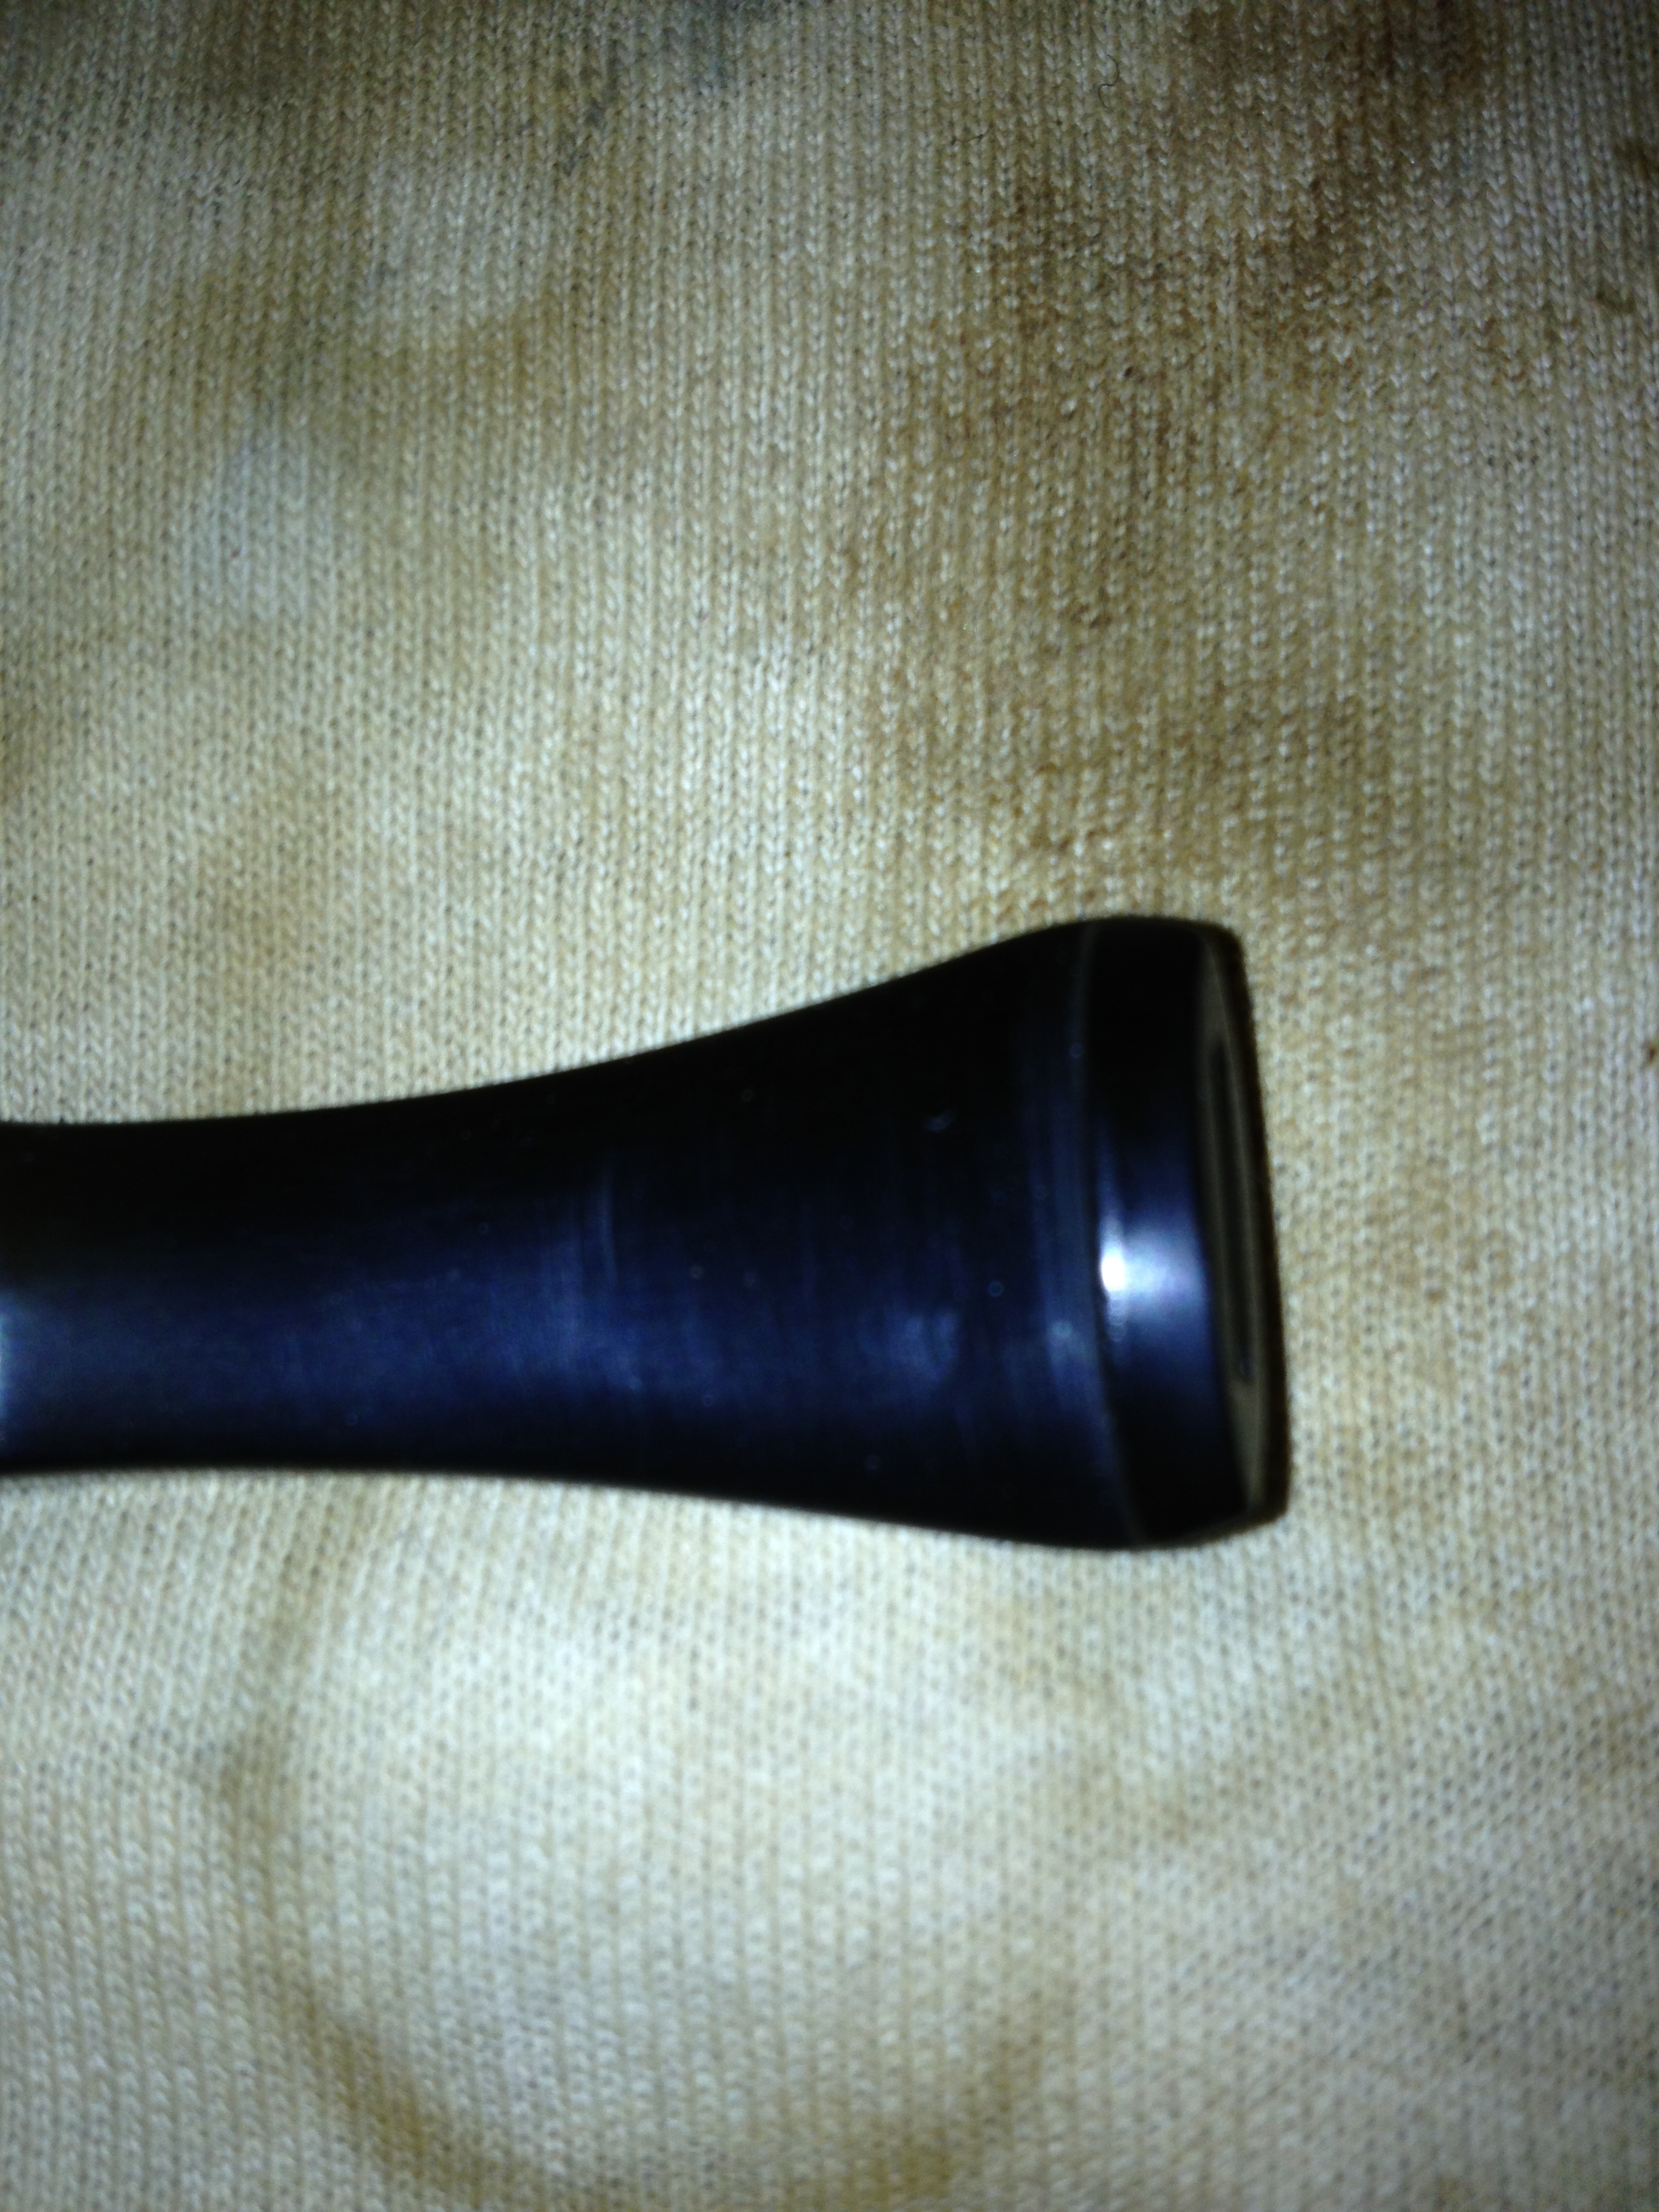
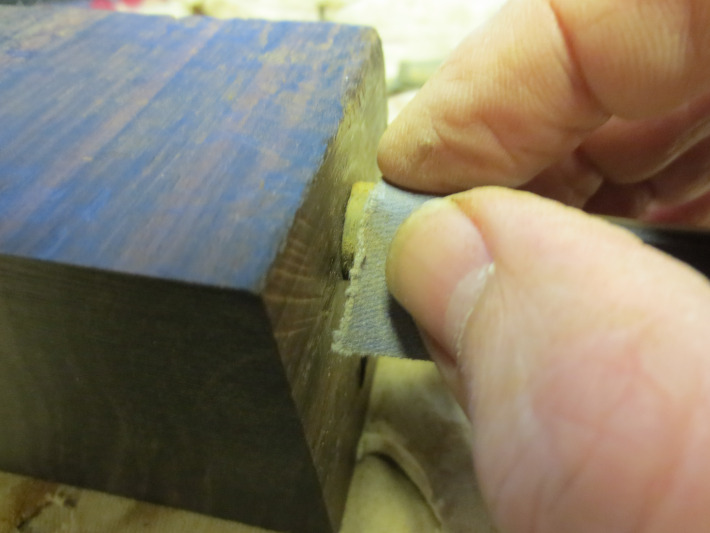
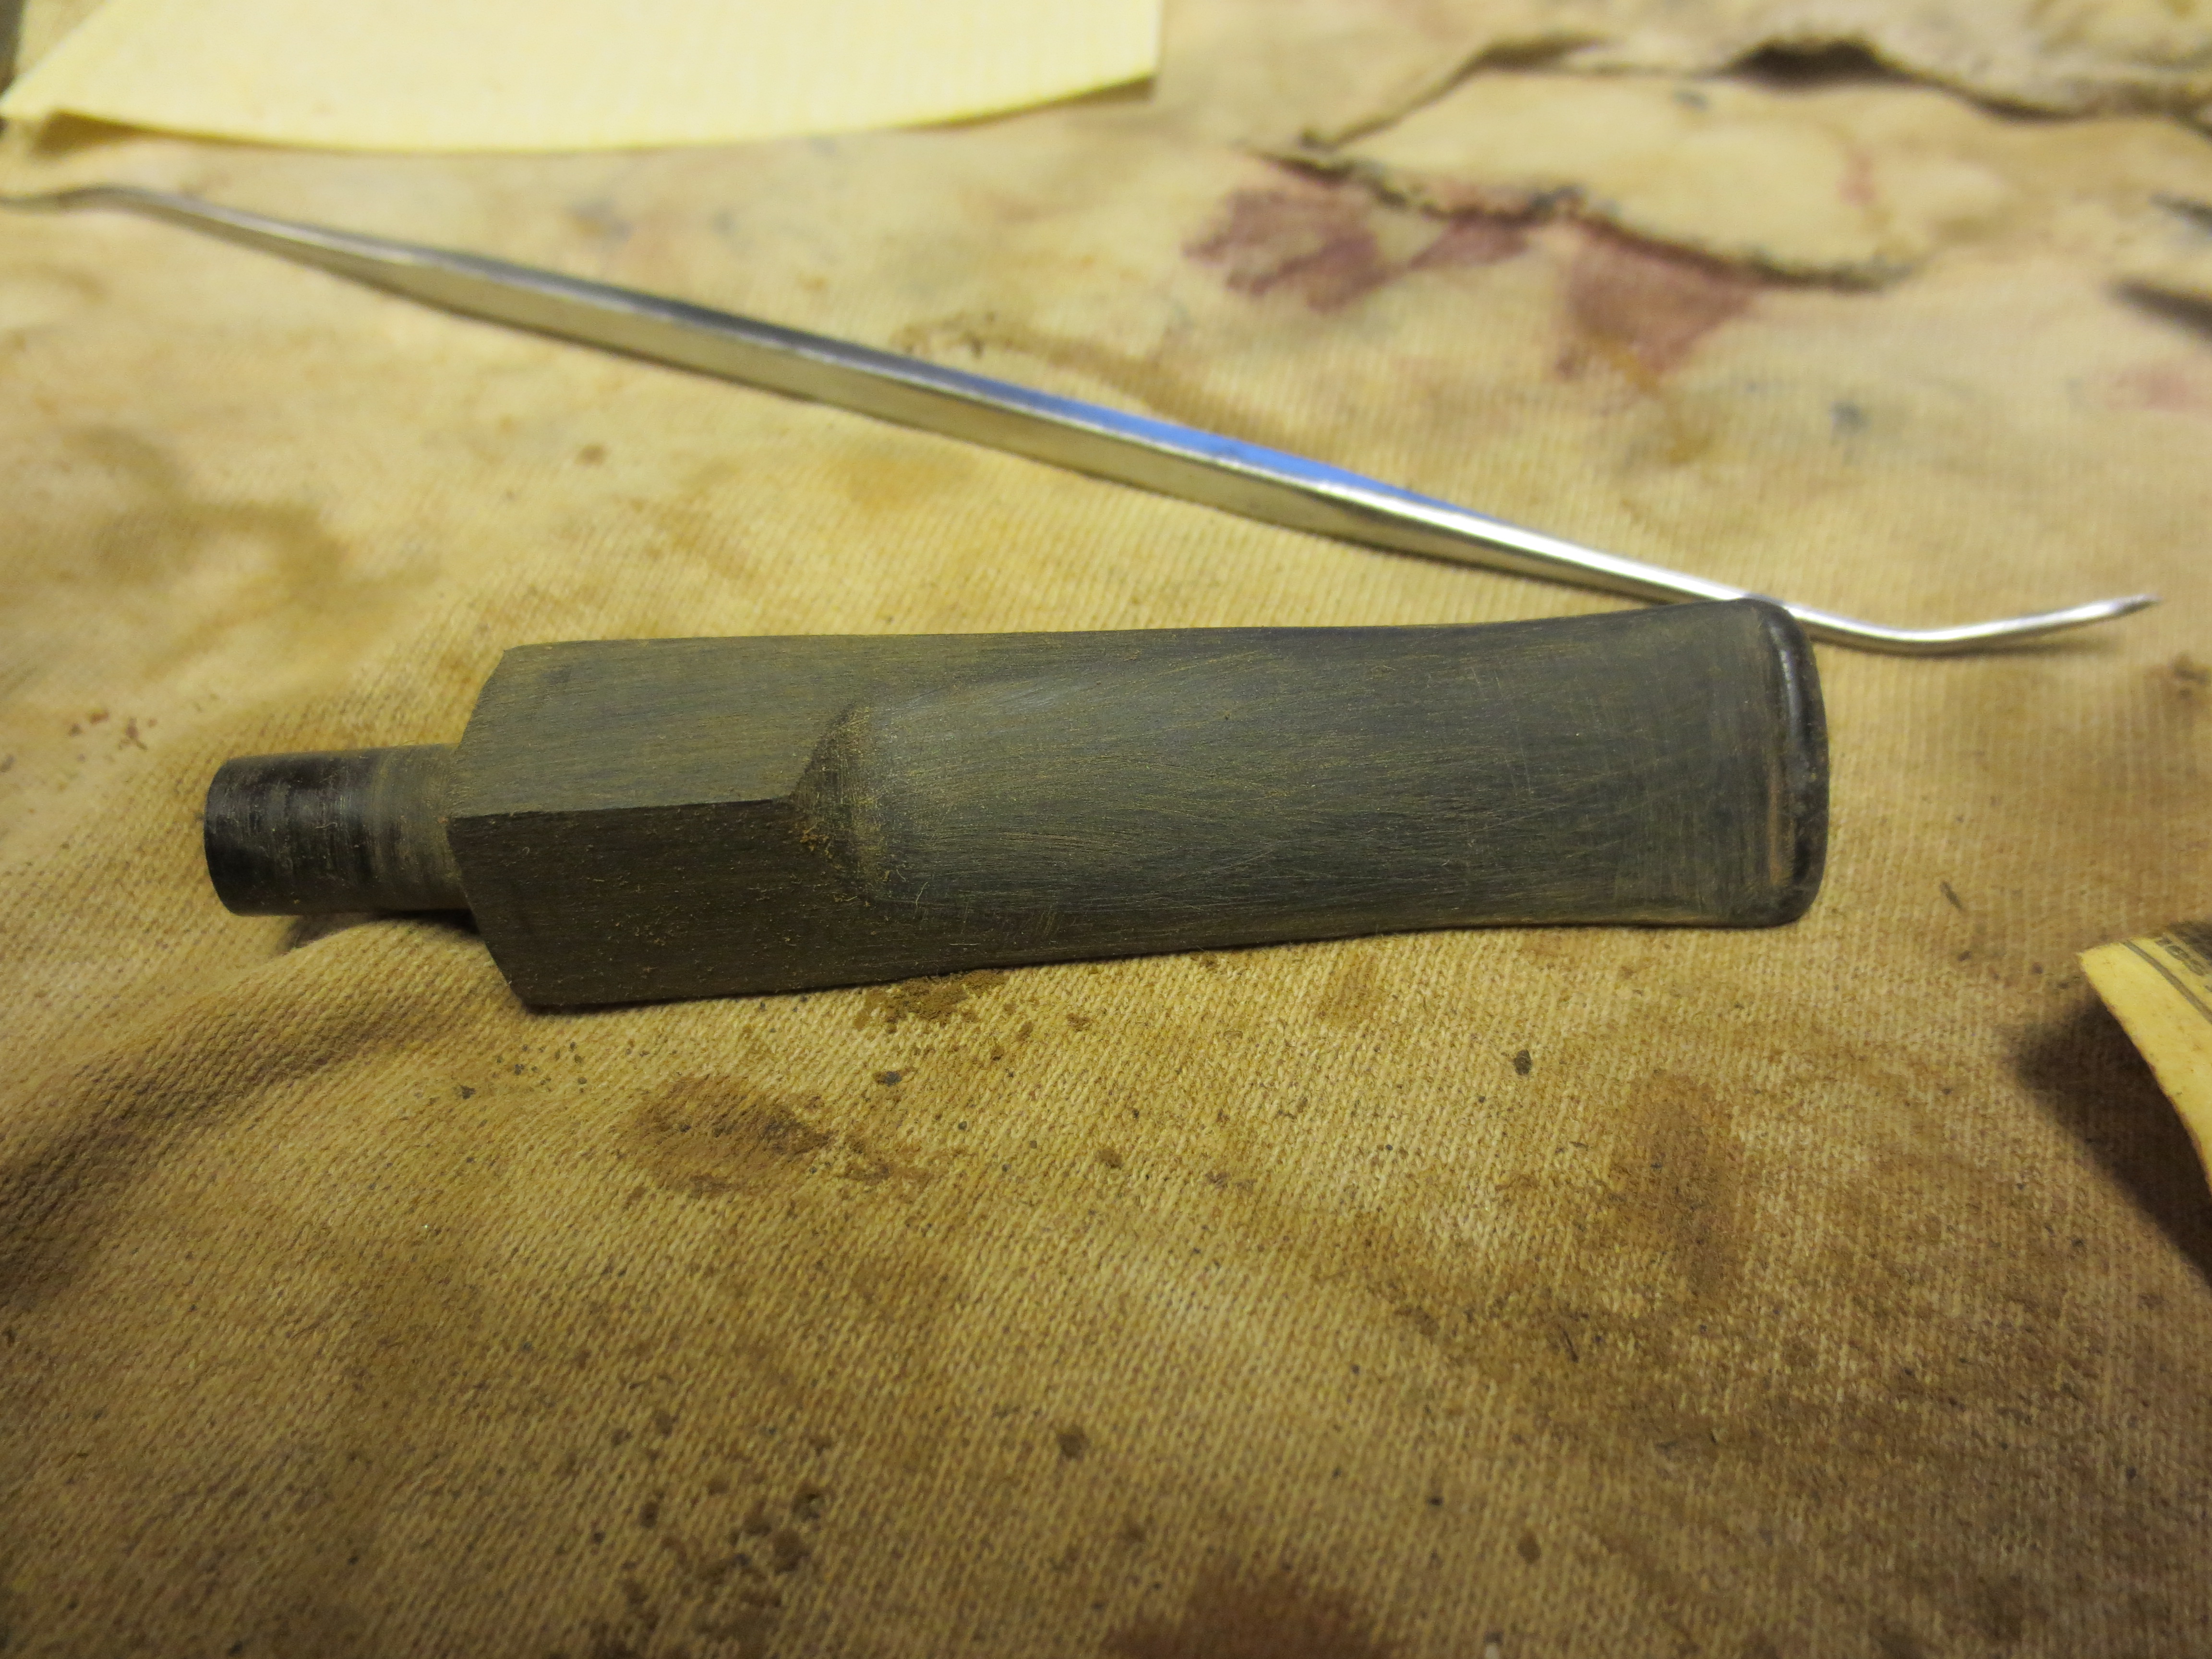
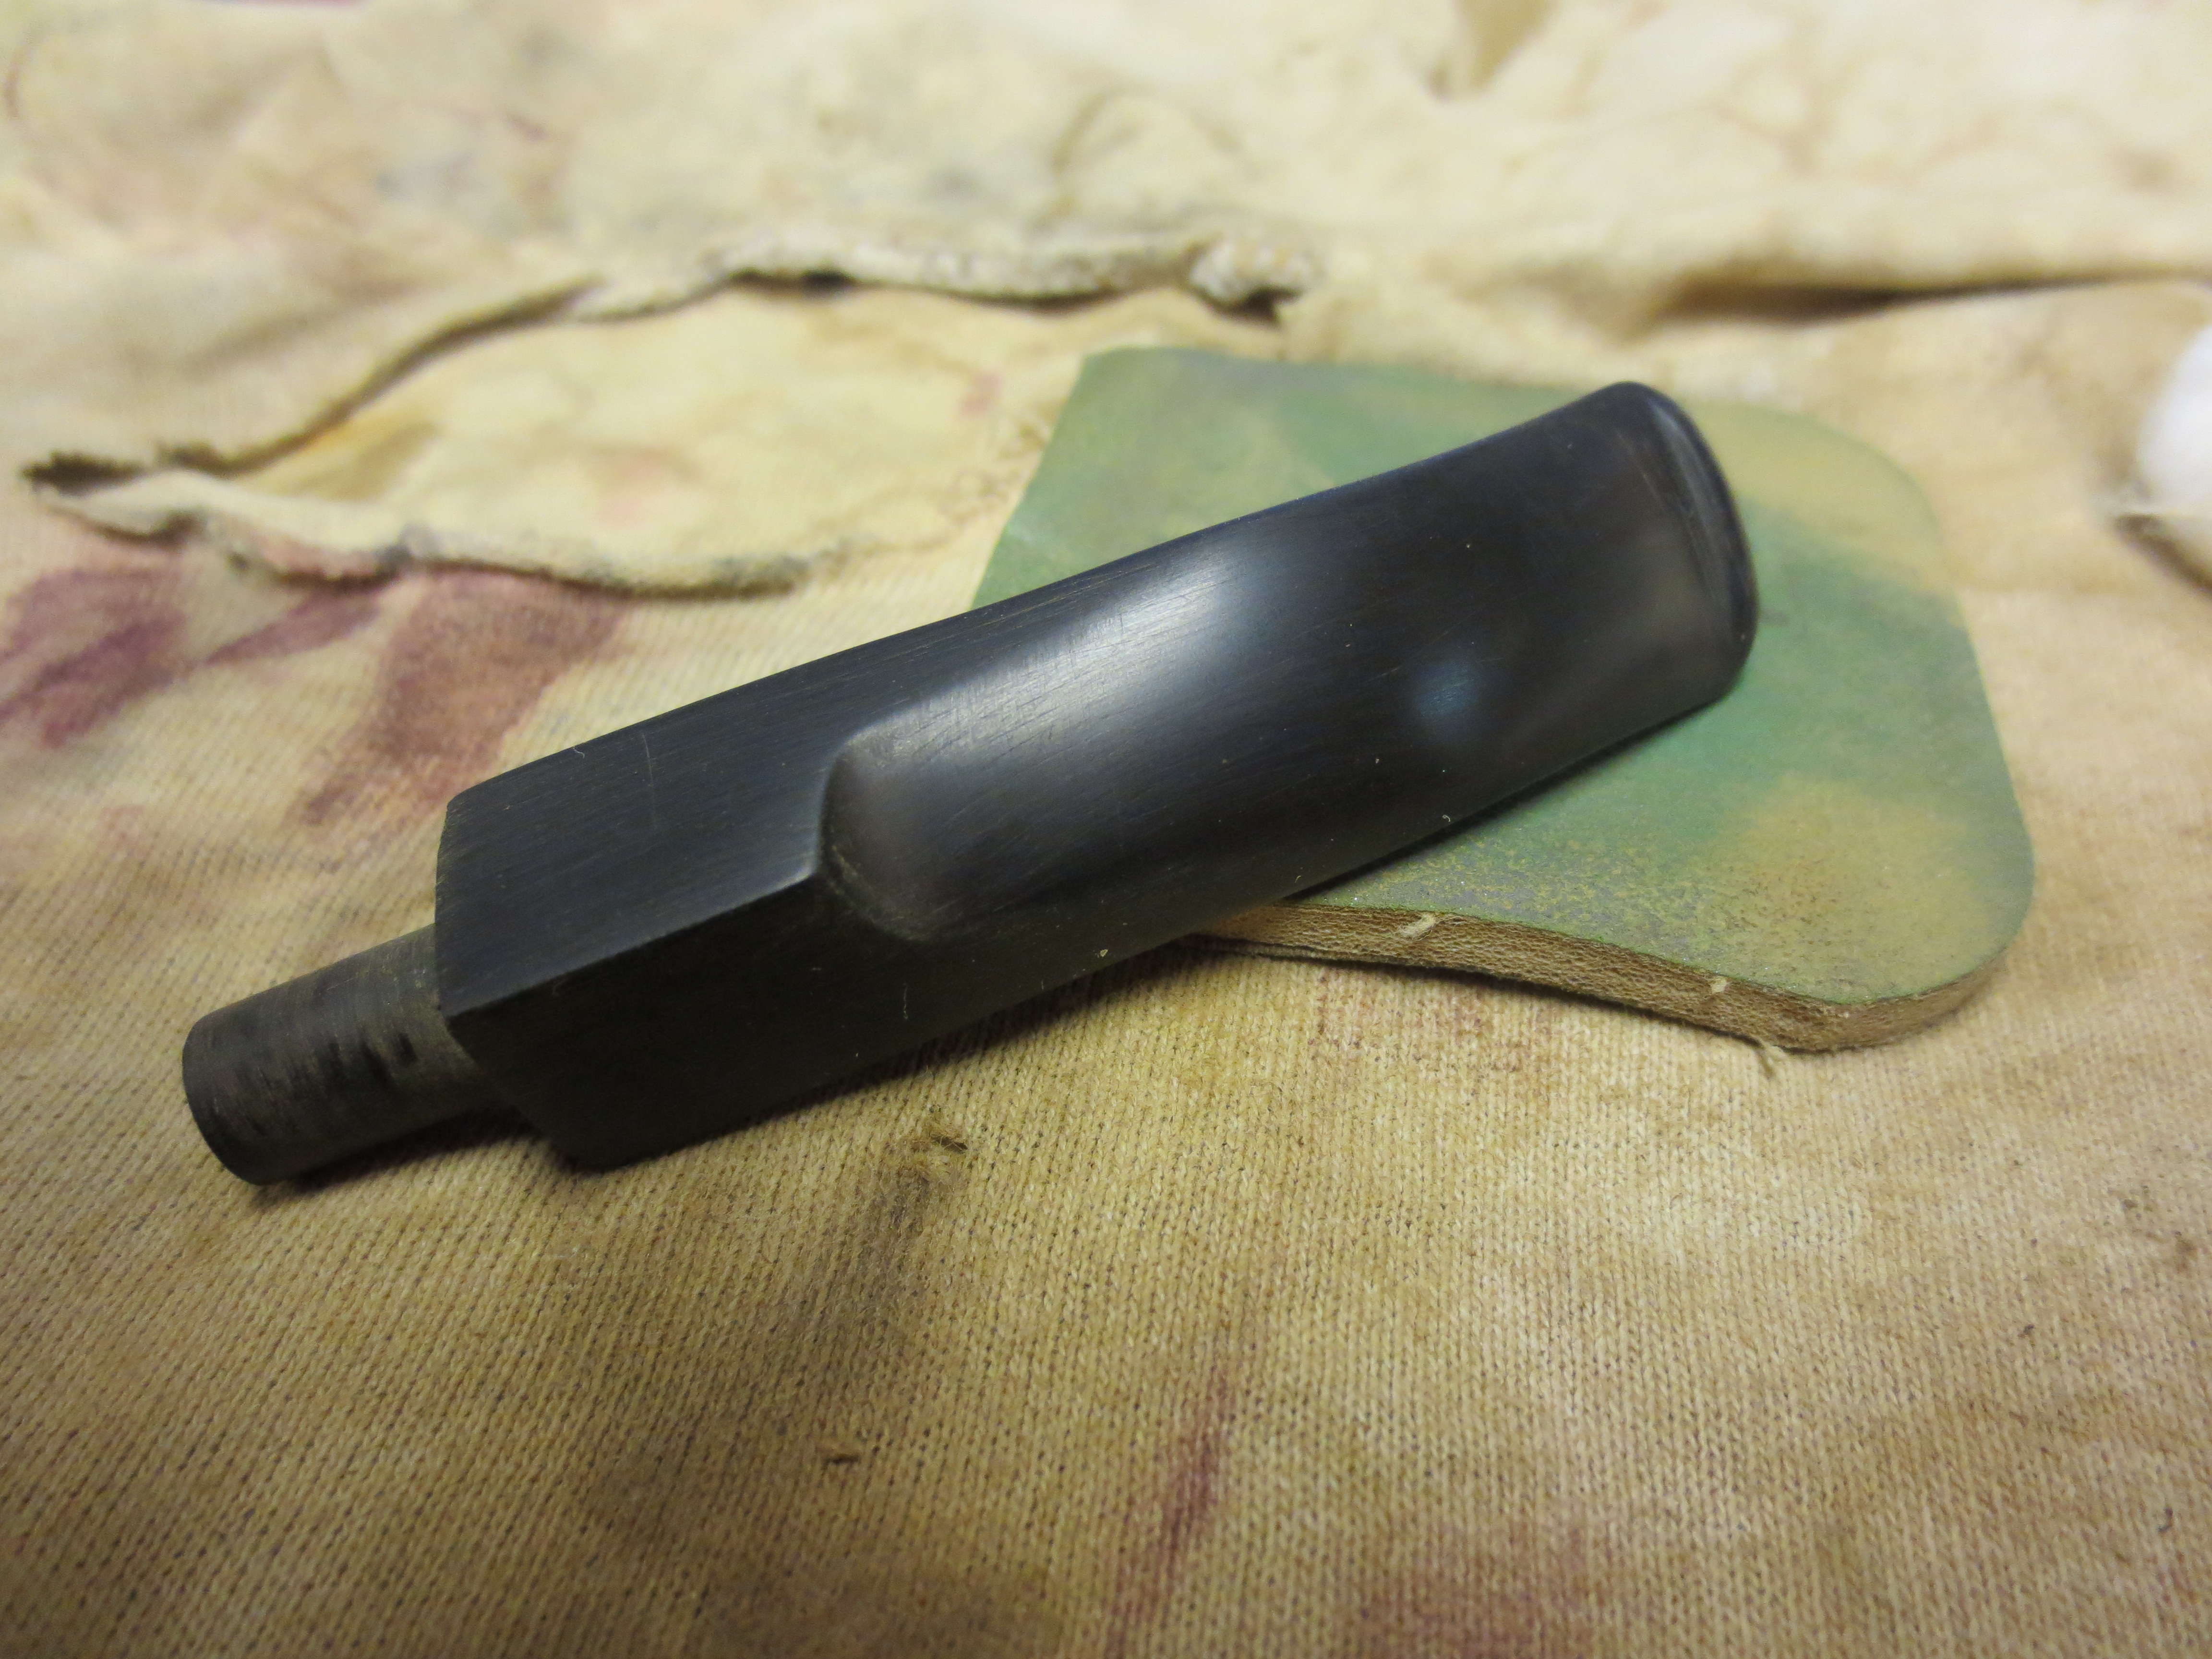
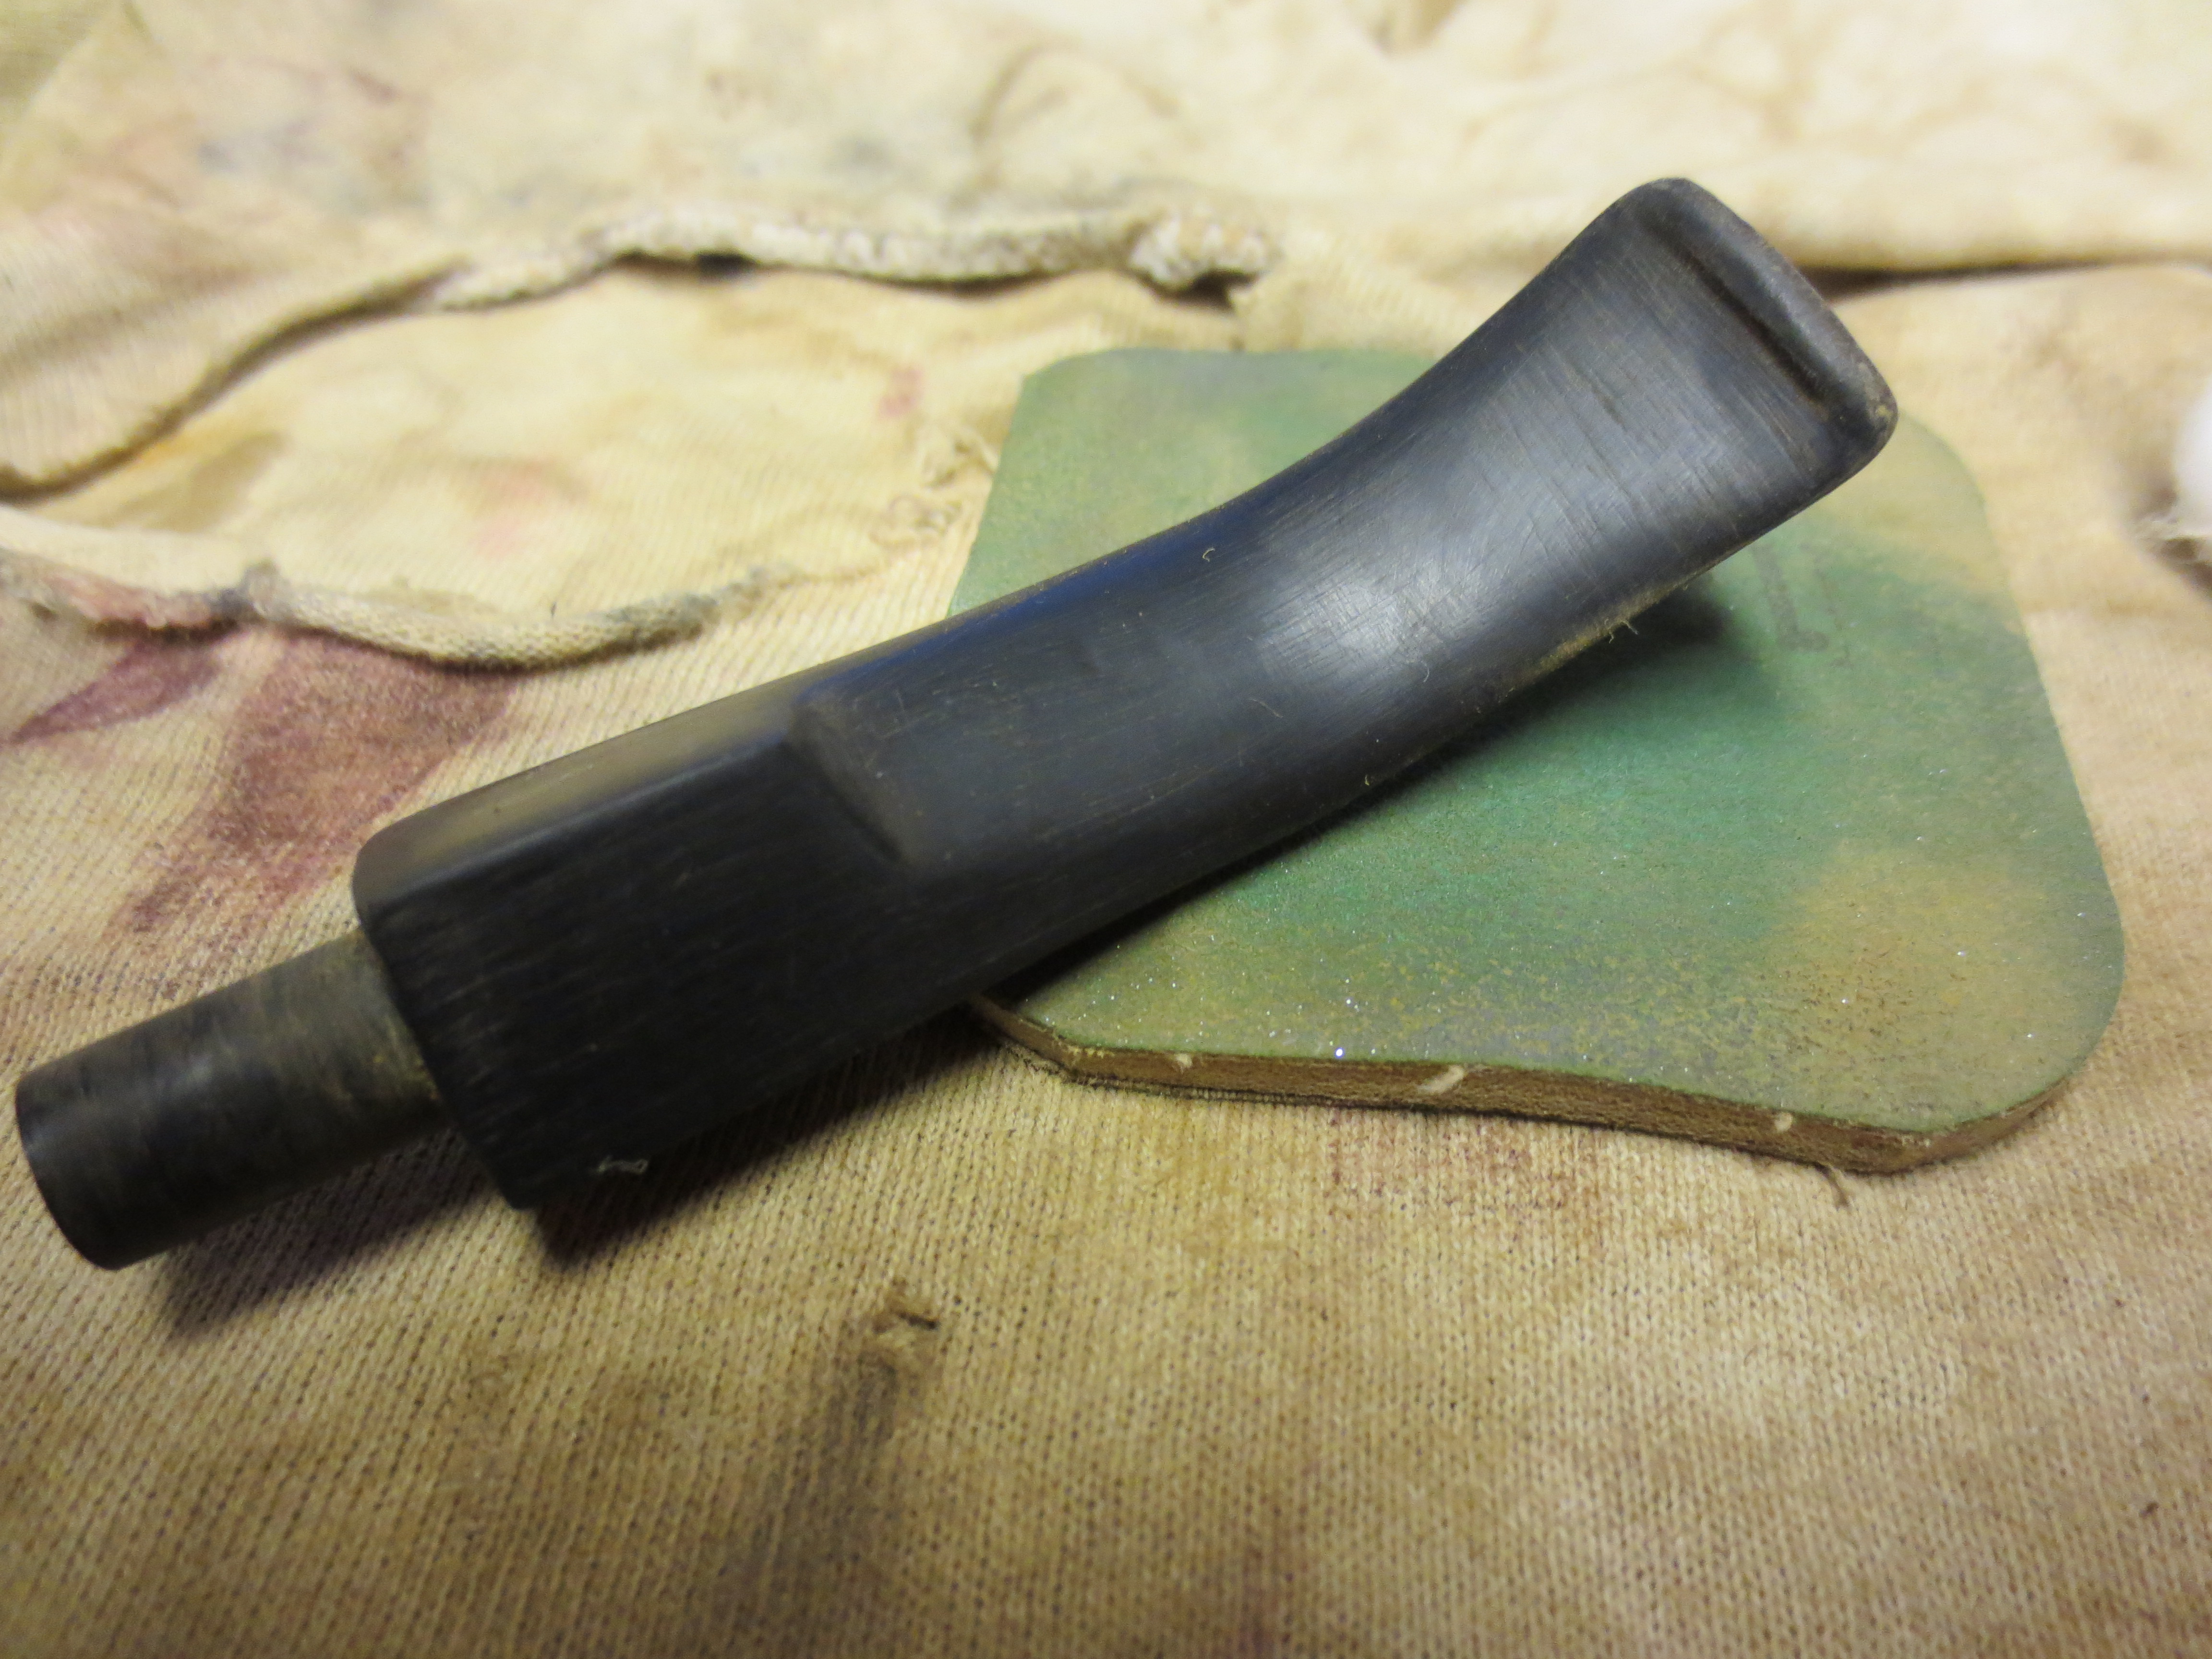
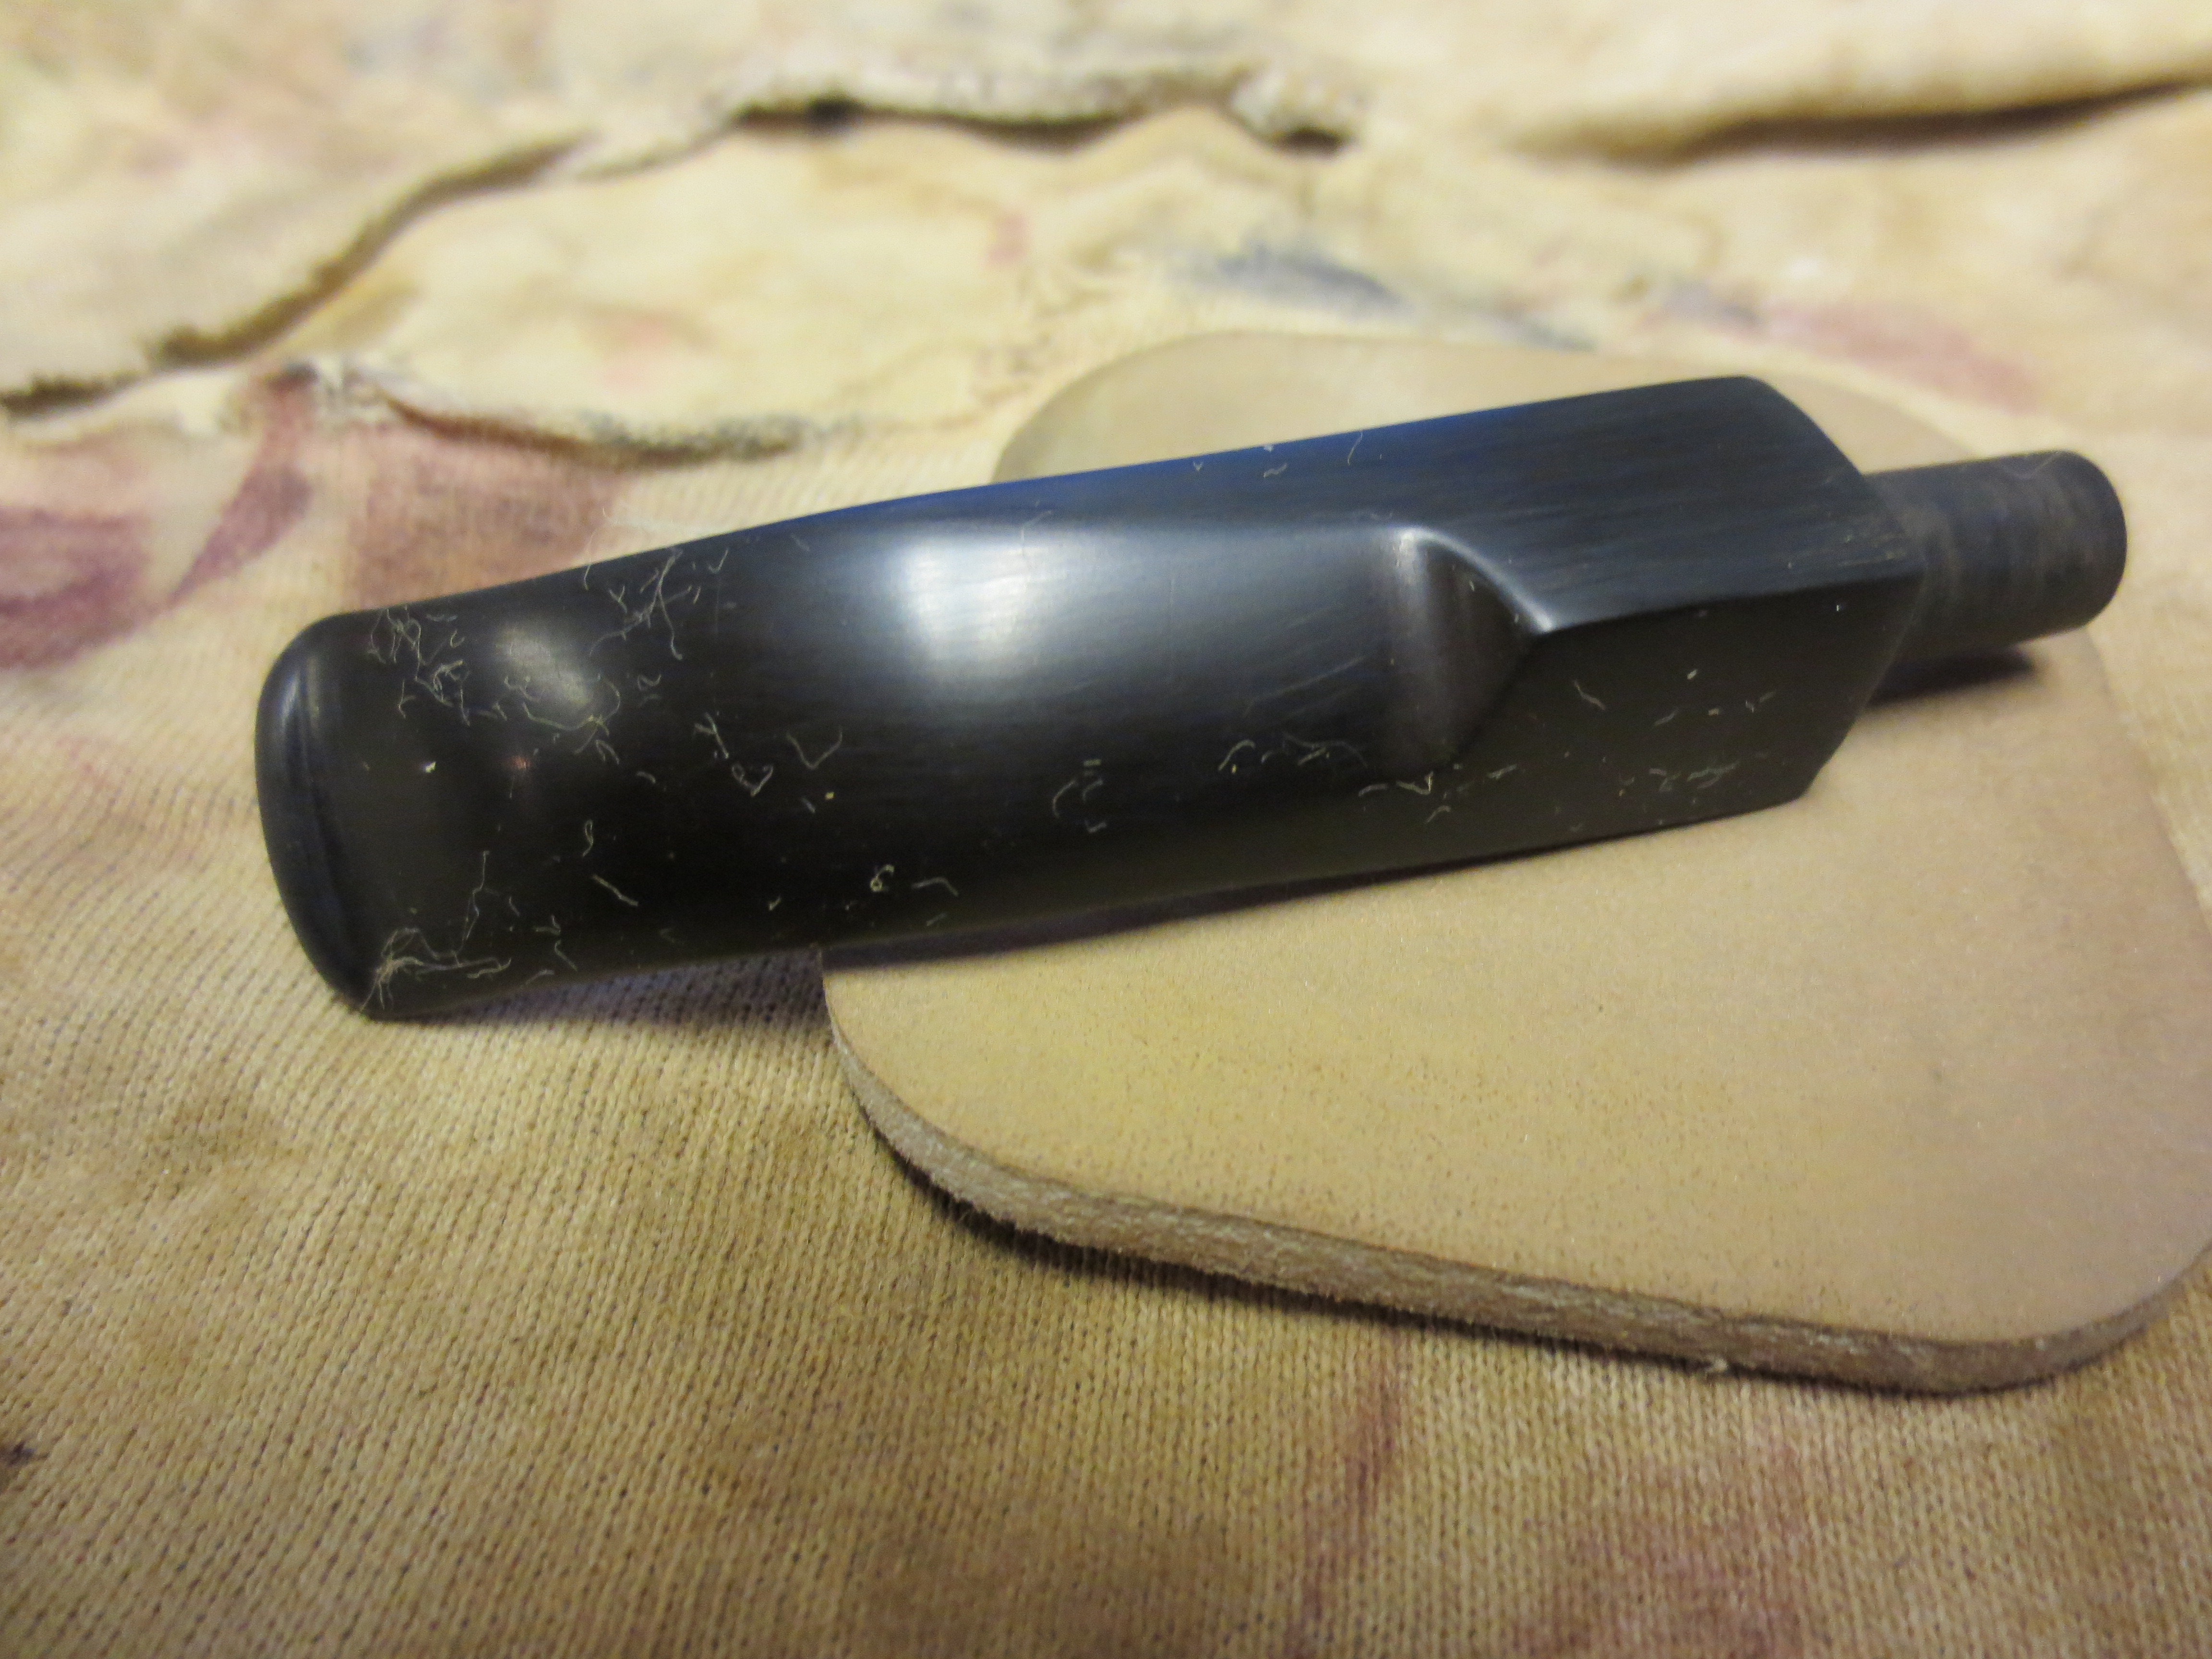
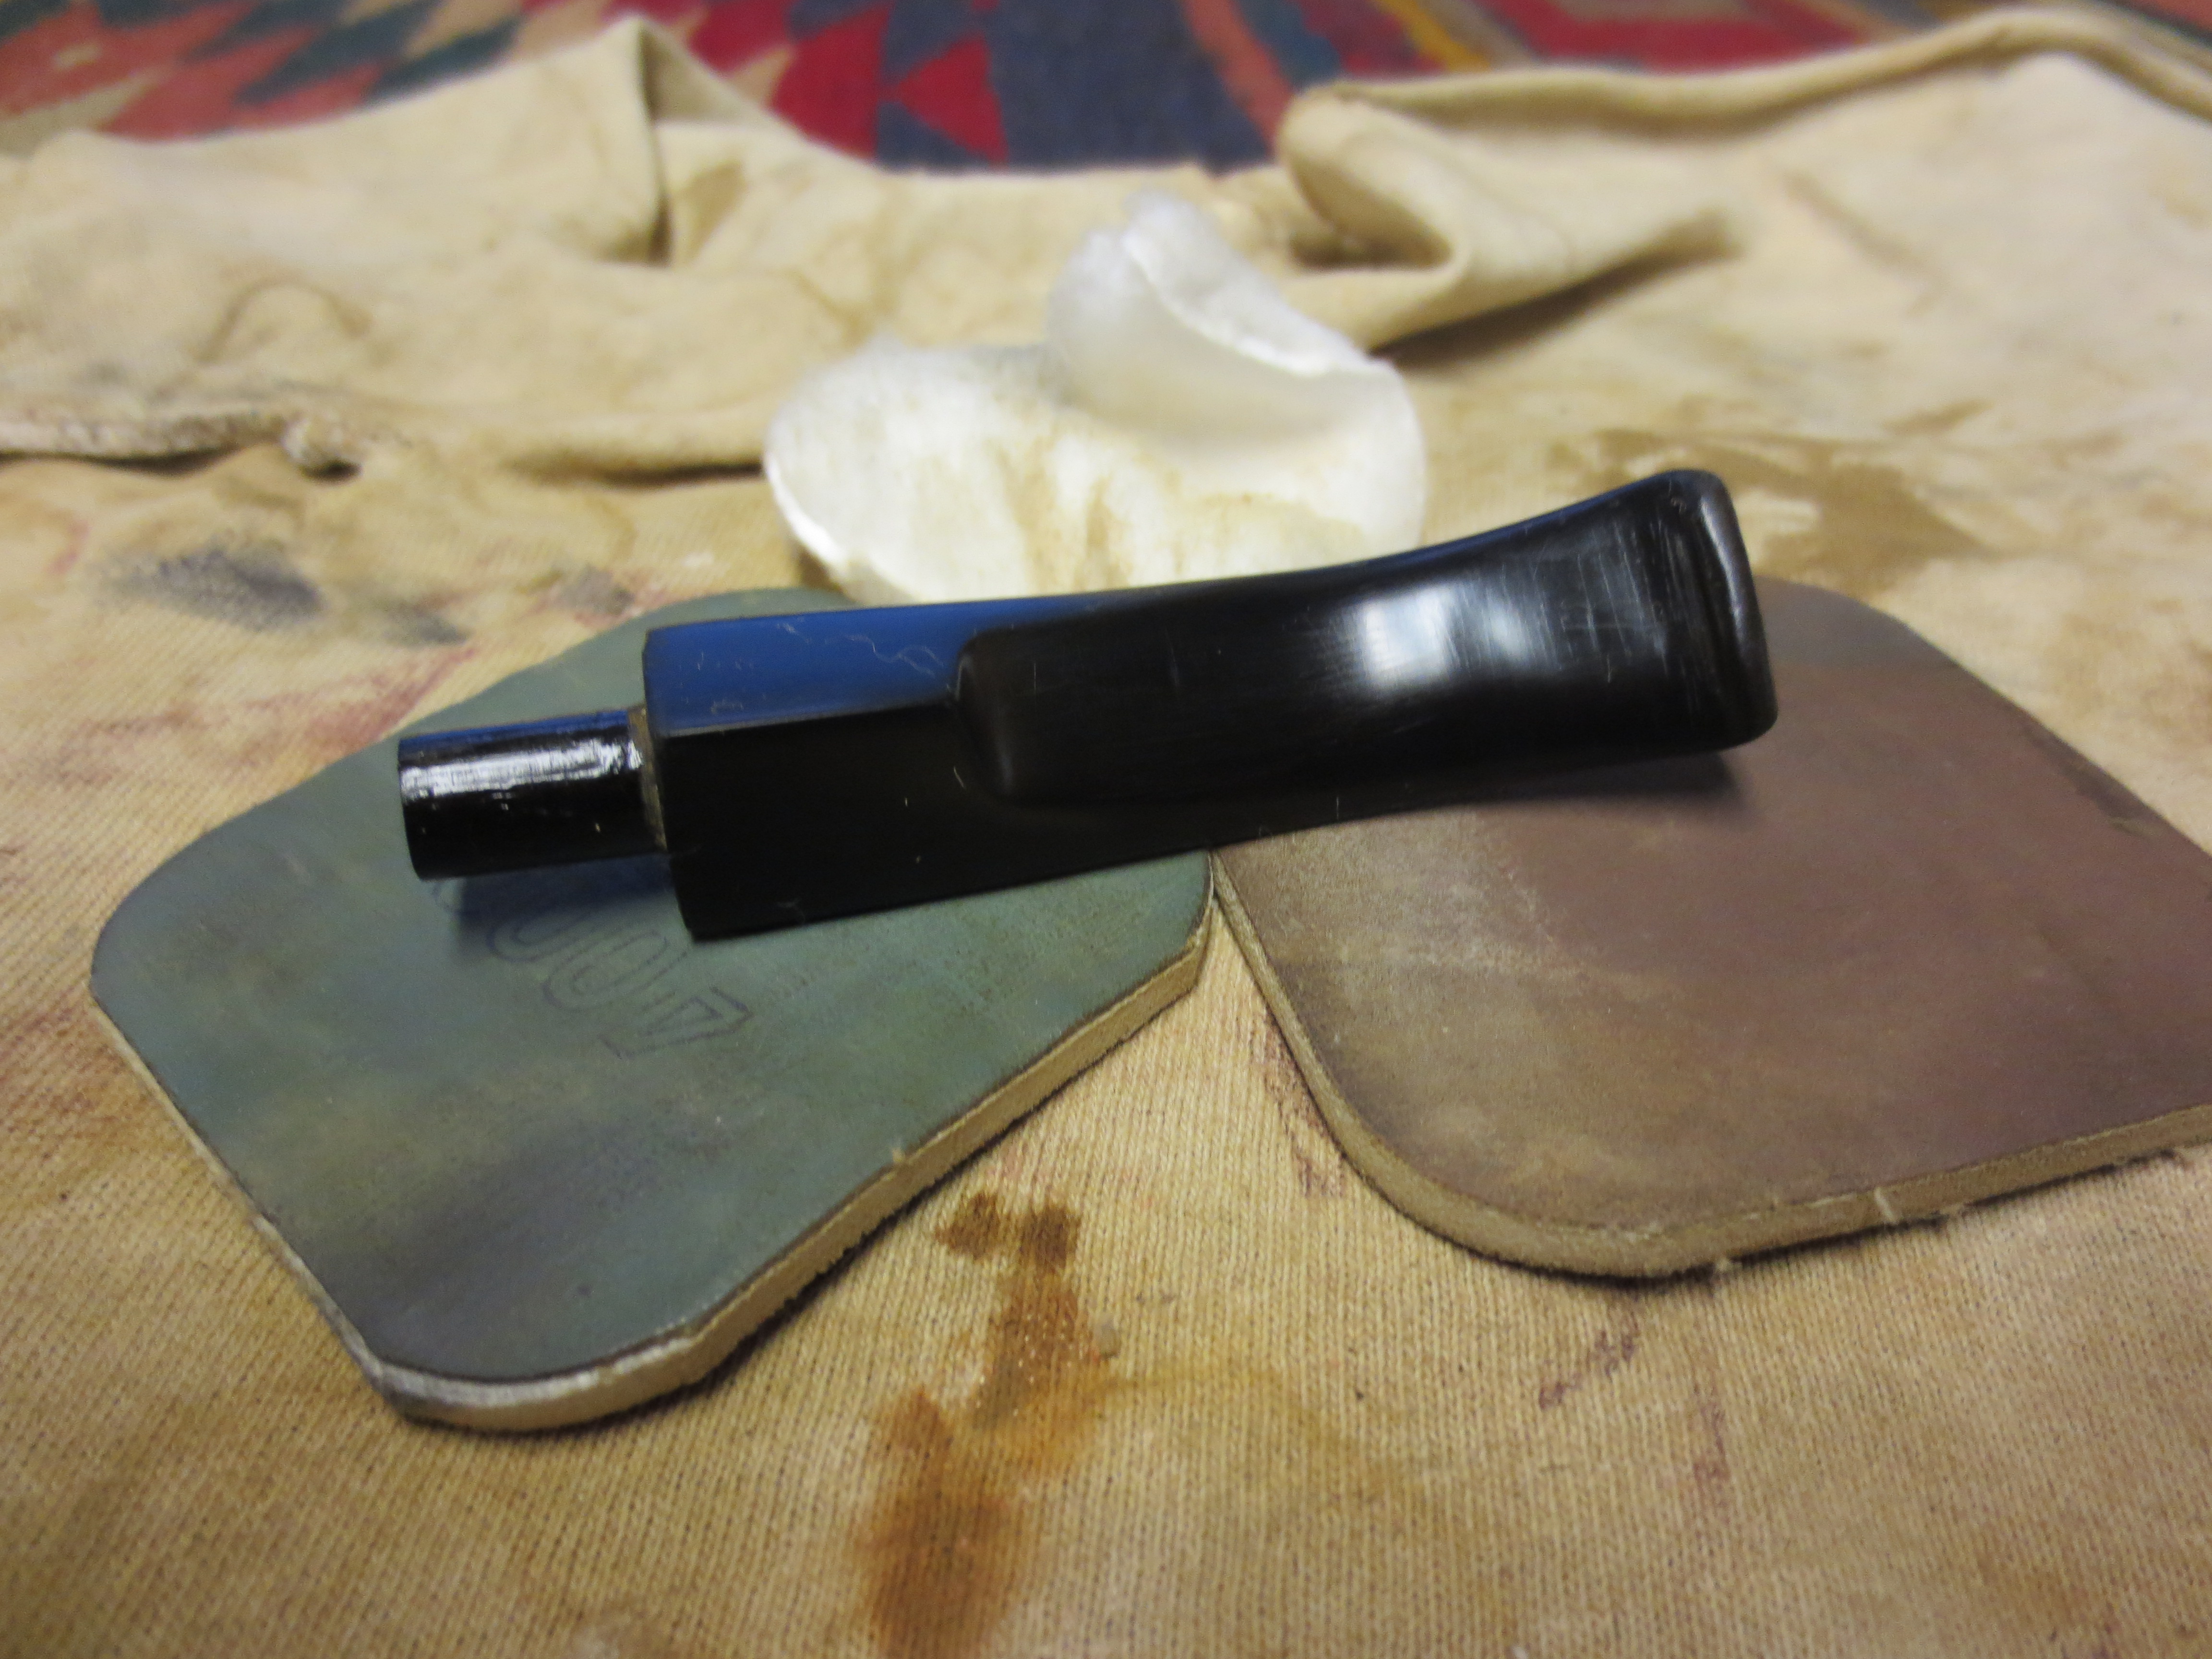
I cleaned out the inside of the stem as it was very dirty. I had sanded down most of the oxidation and the calcification on the stem earlier but needed to work on that some more. I also used a dental pick to clean out the slot as it was packed tightly on both sides of a small centre hole what was left. I finished sanding with medium grit emery cloth and move on to 320 grit sandpaper to begin to work on the scratches in the stem. The next three photos show the stem after sanding with the emery paper (photo 1) and then the 320 grit sandpaper (photo 2-3).

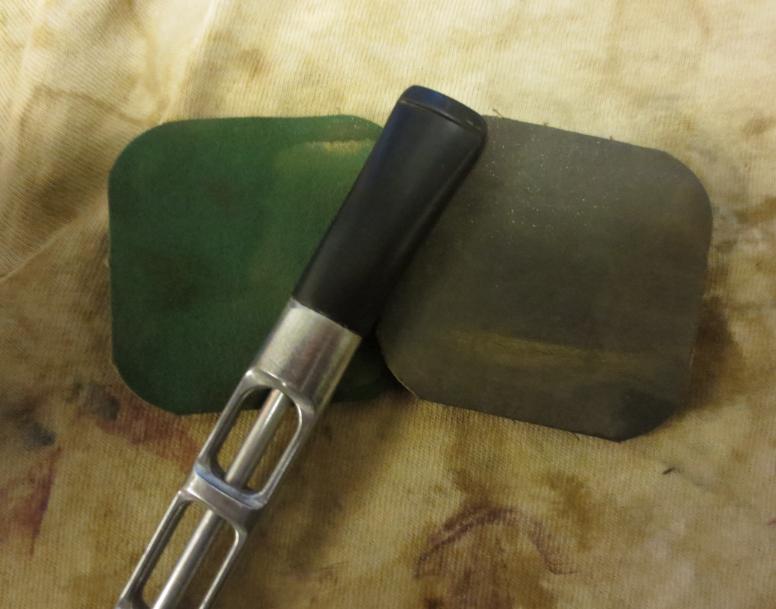
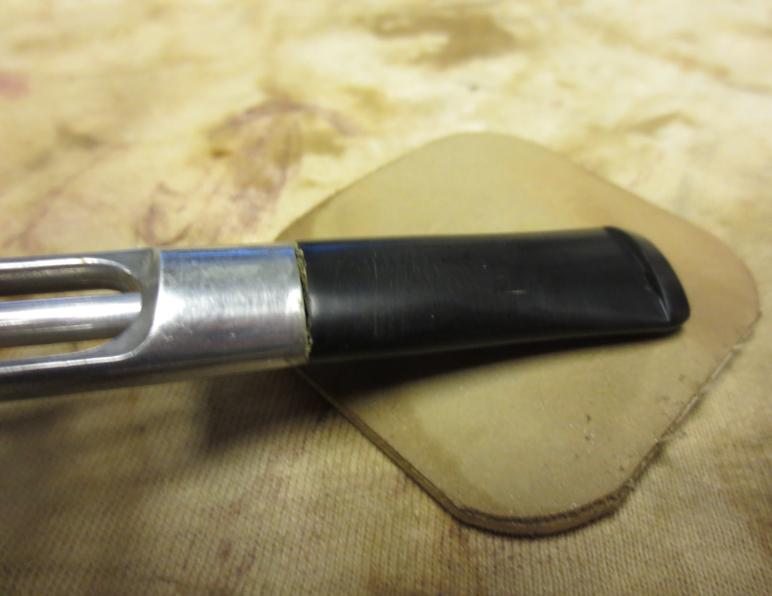
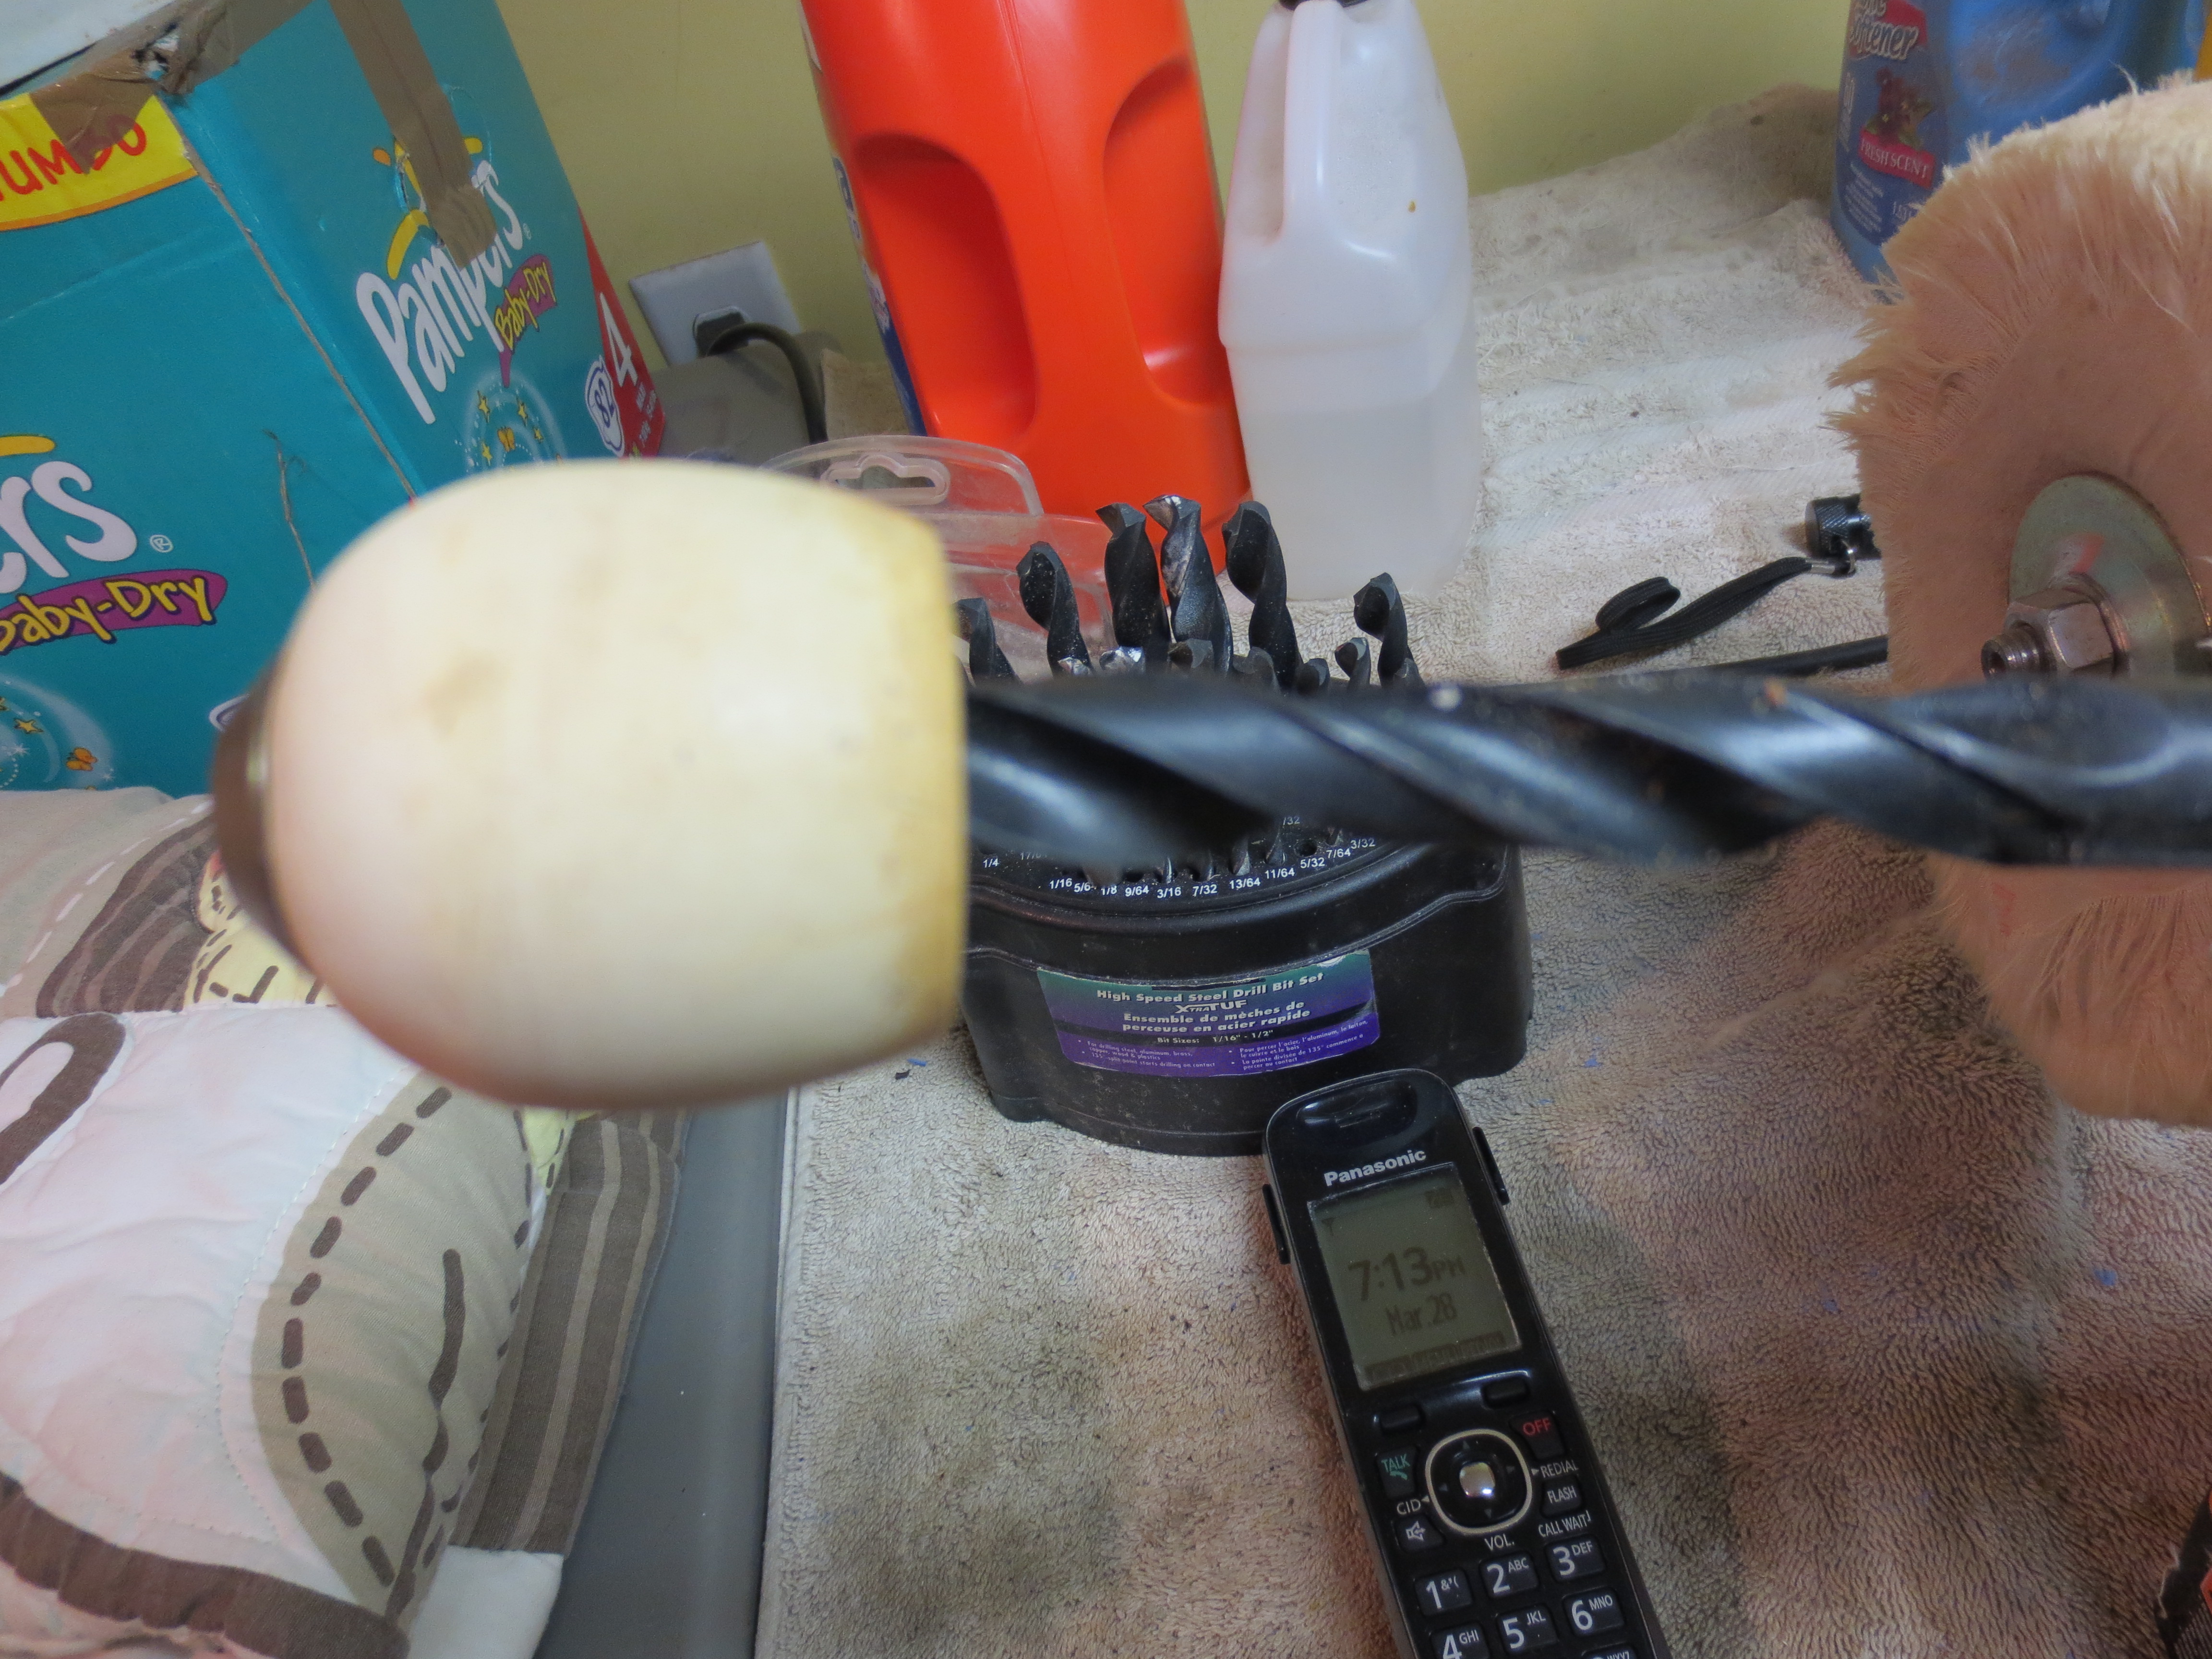
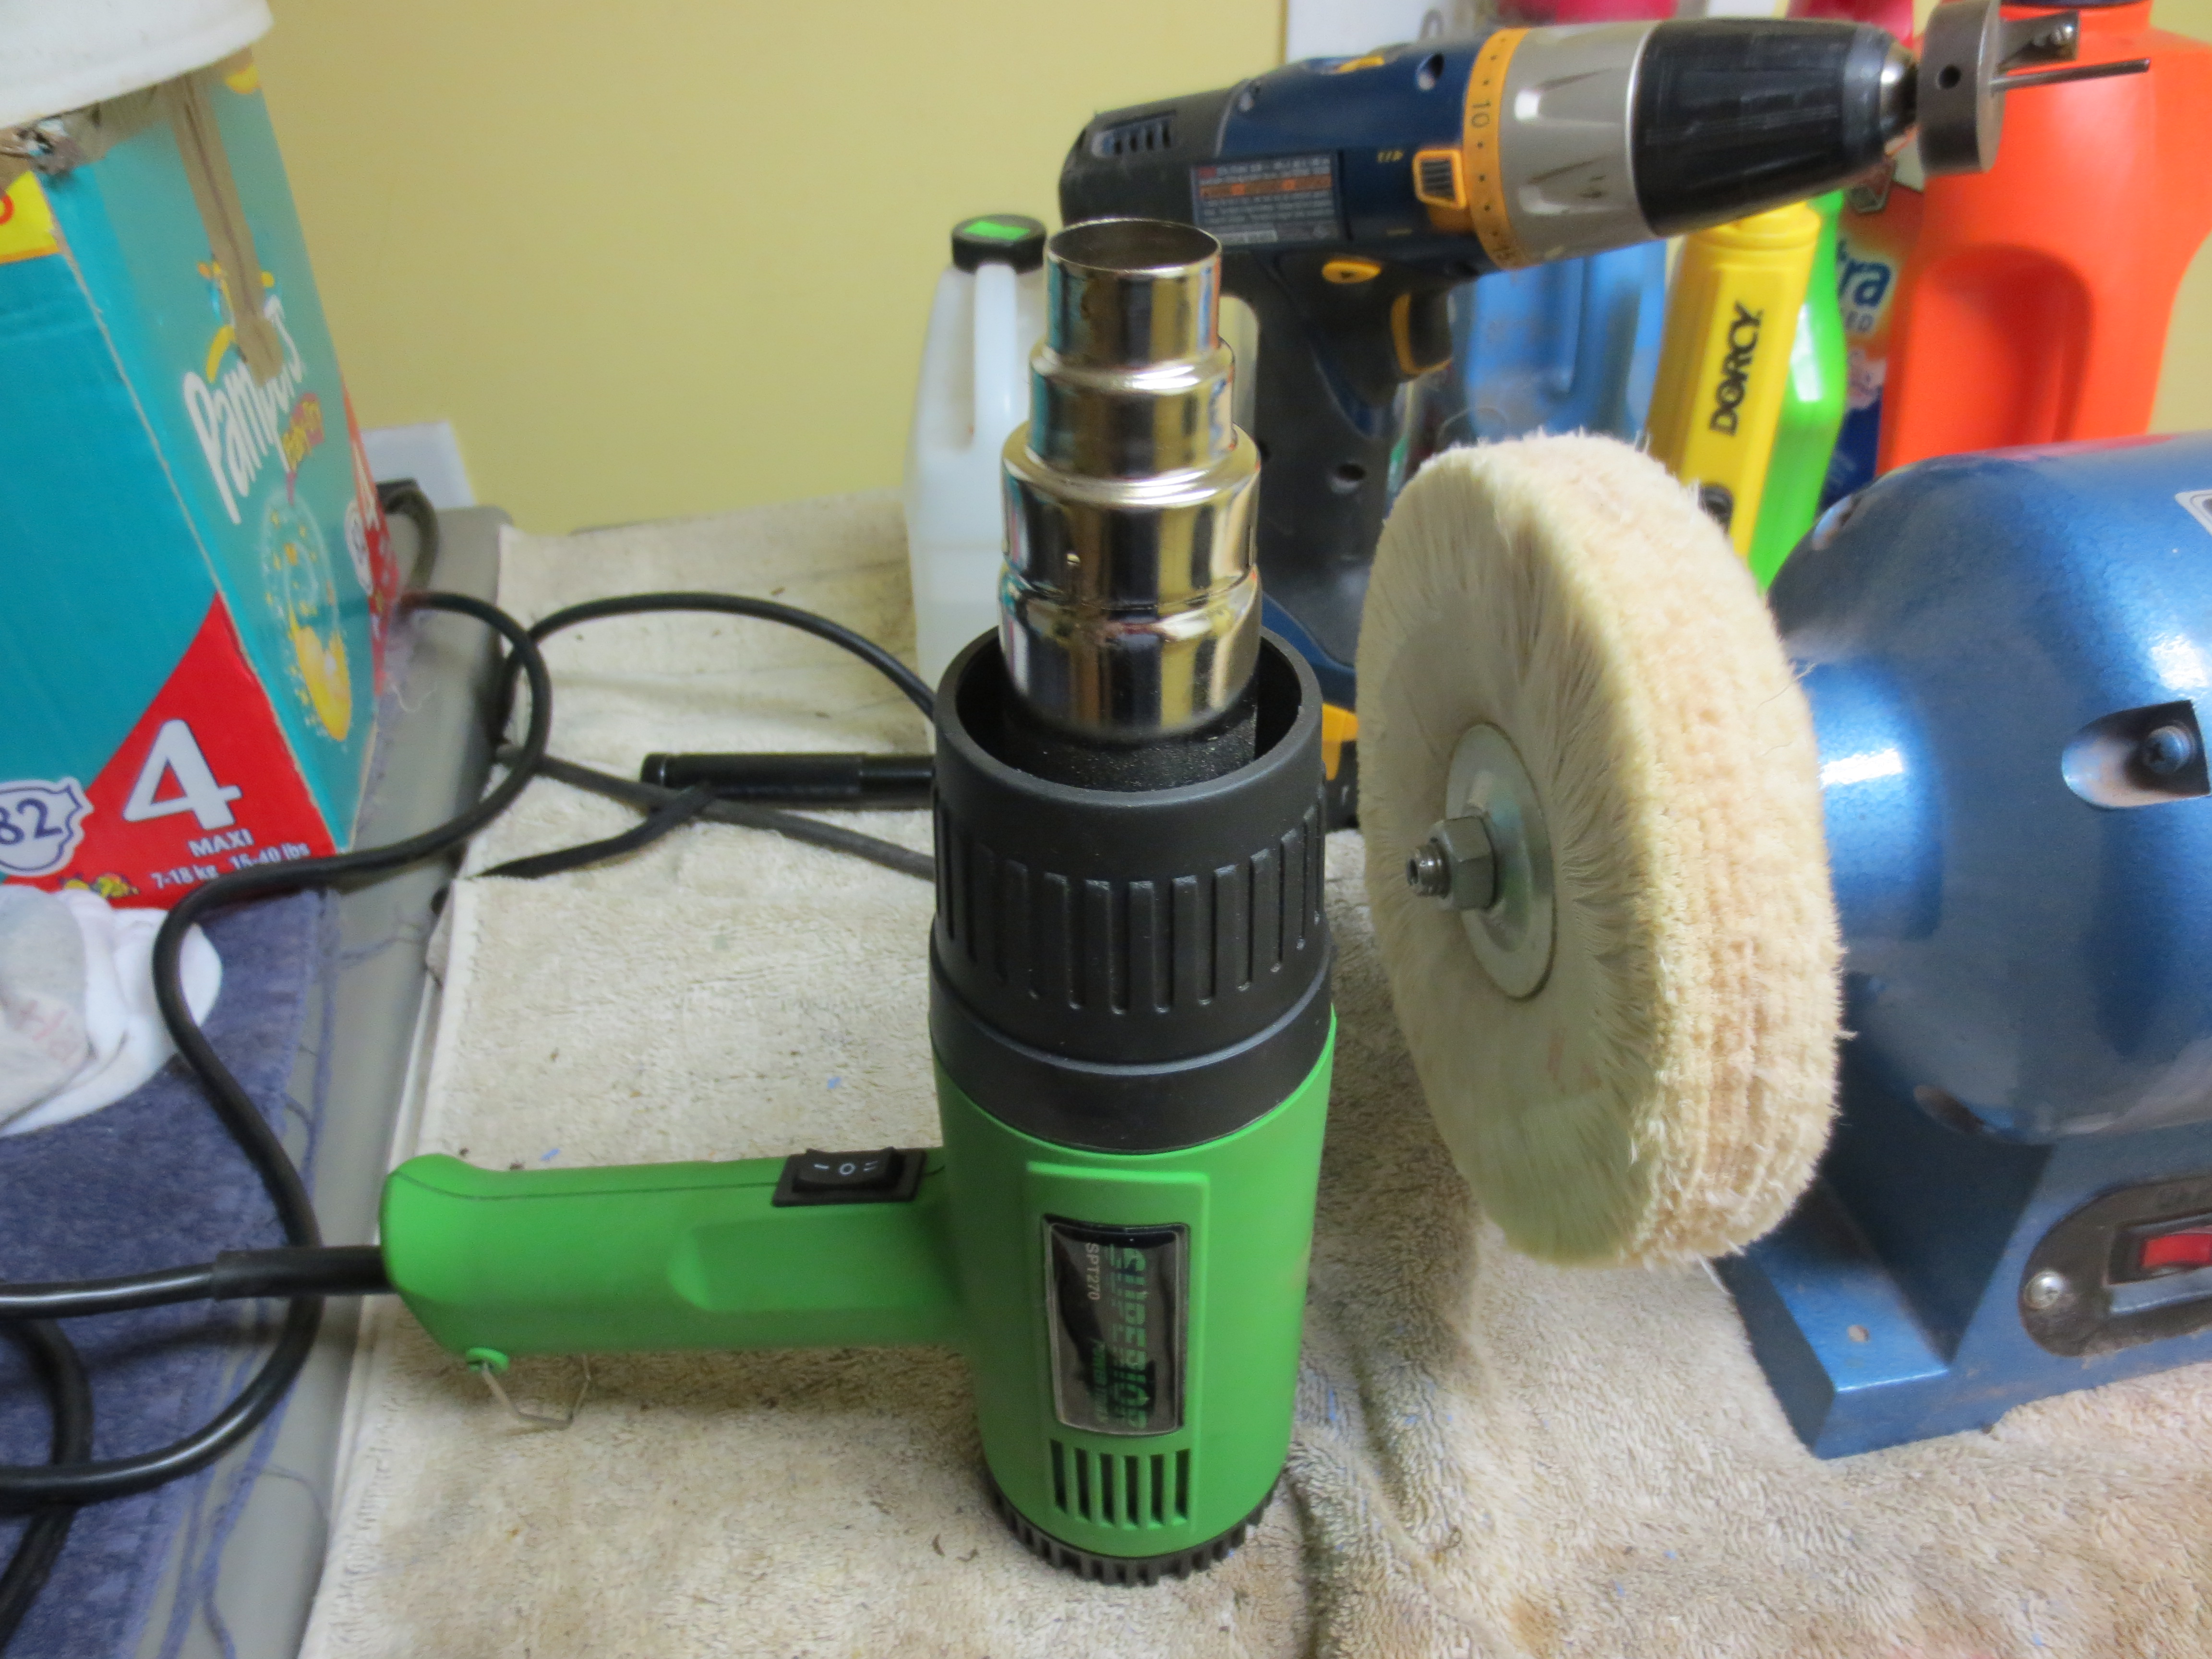
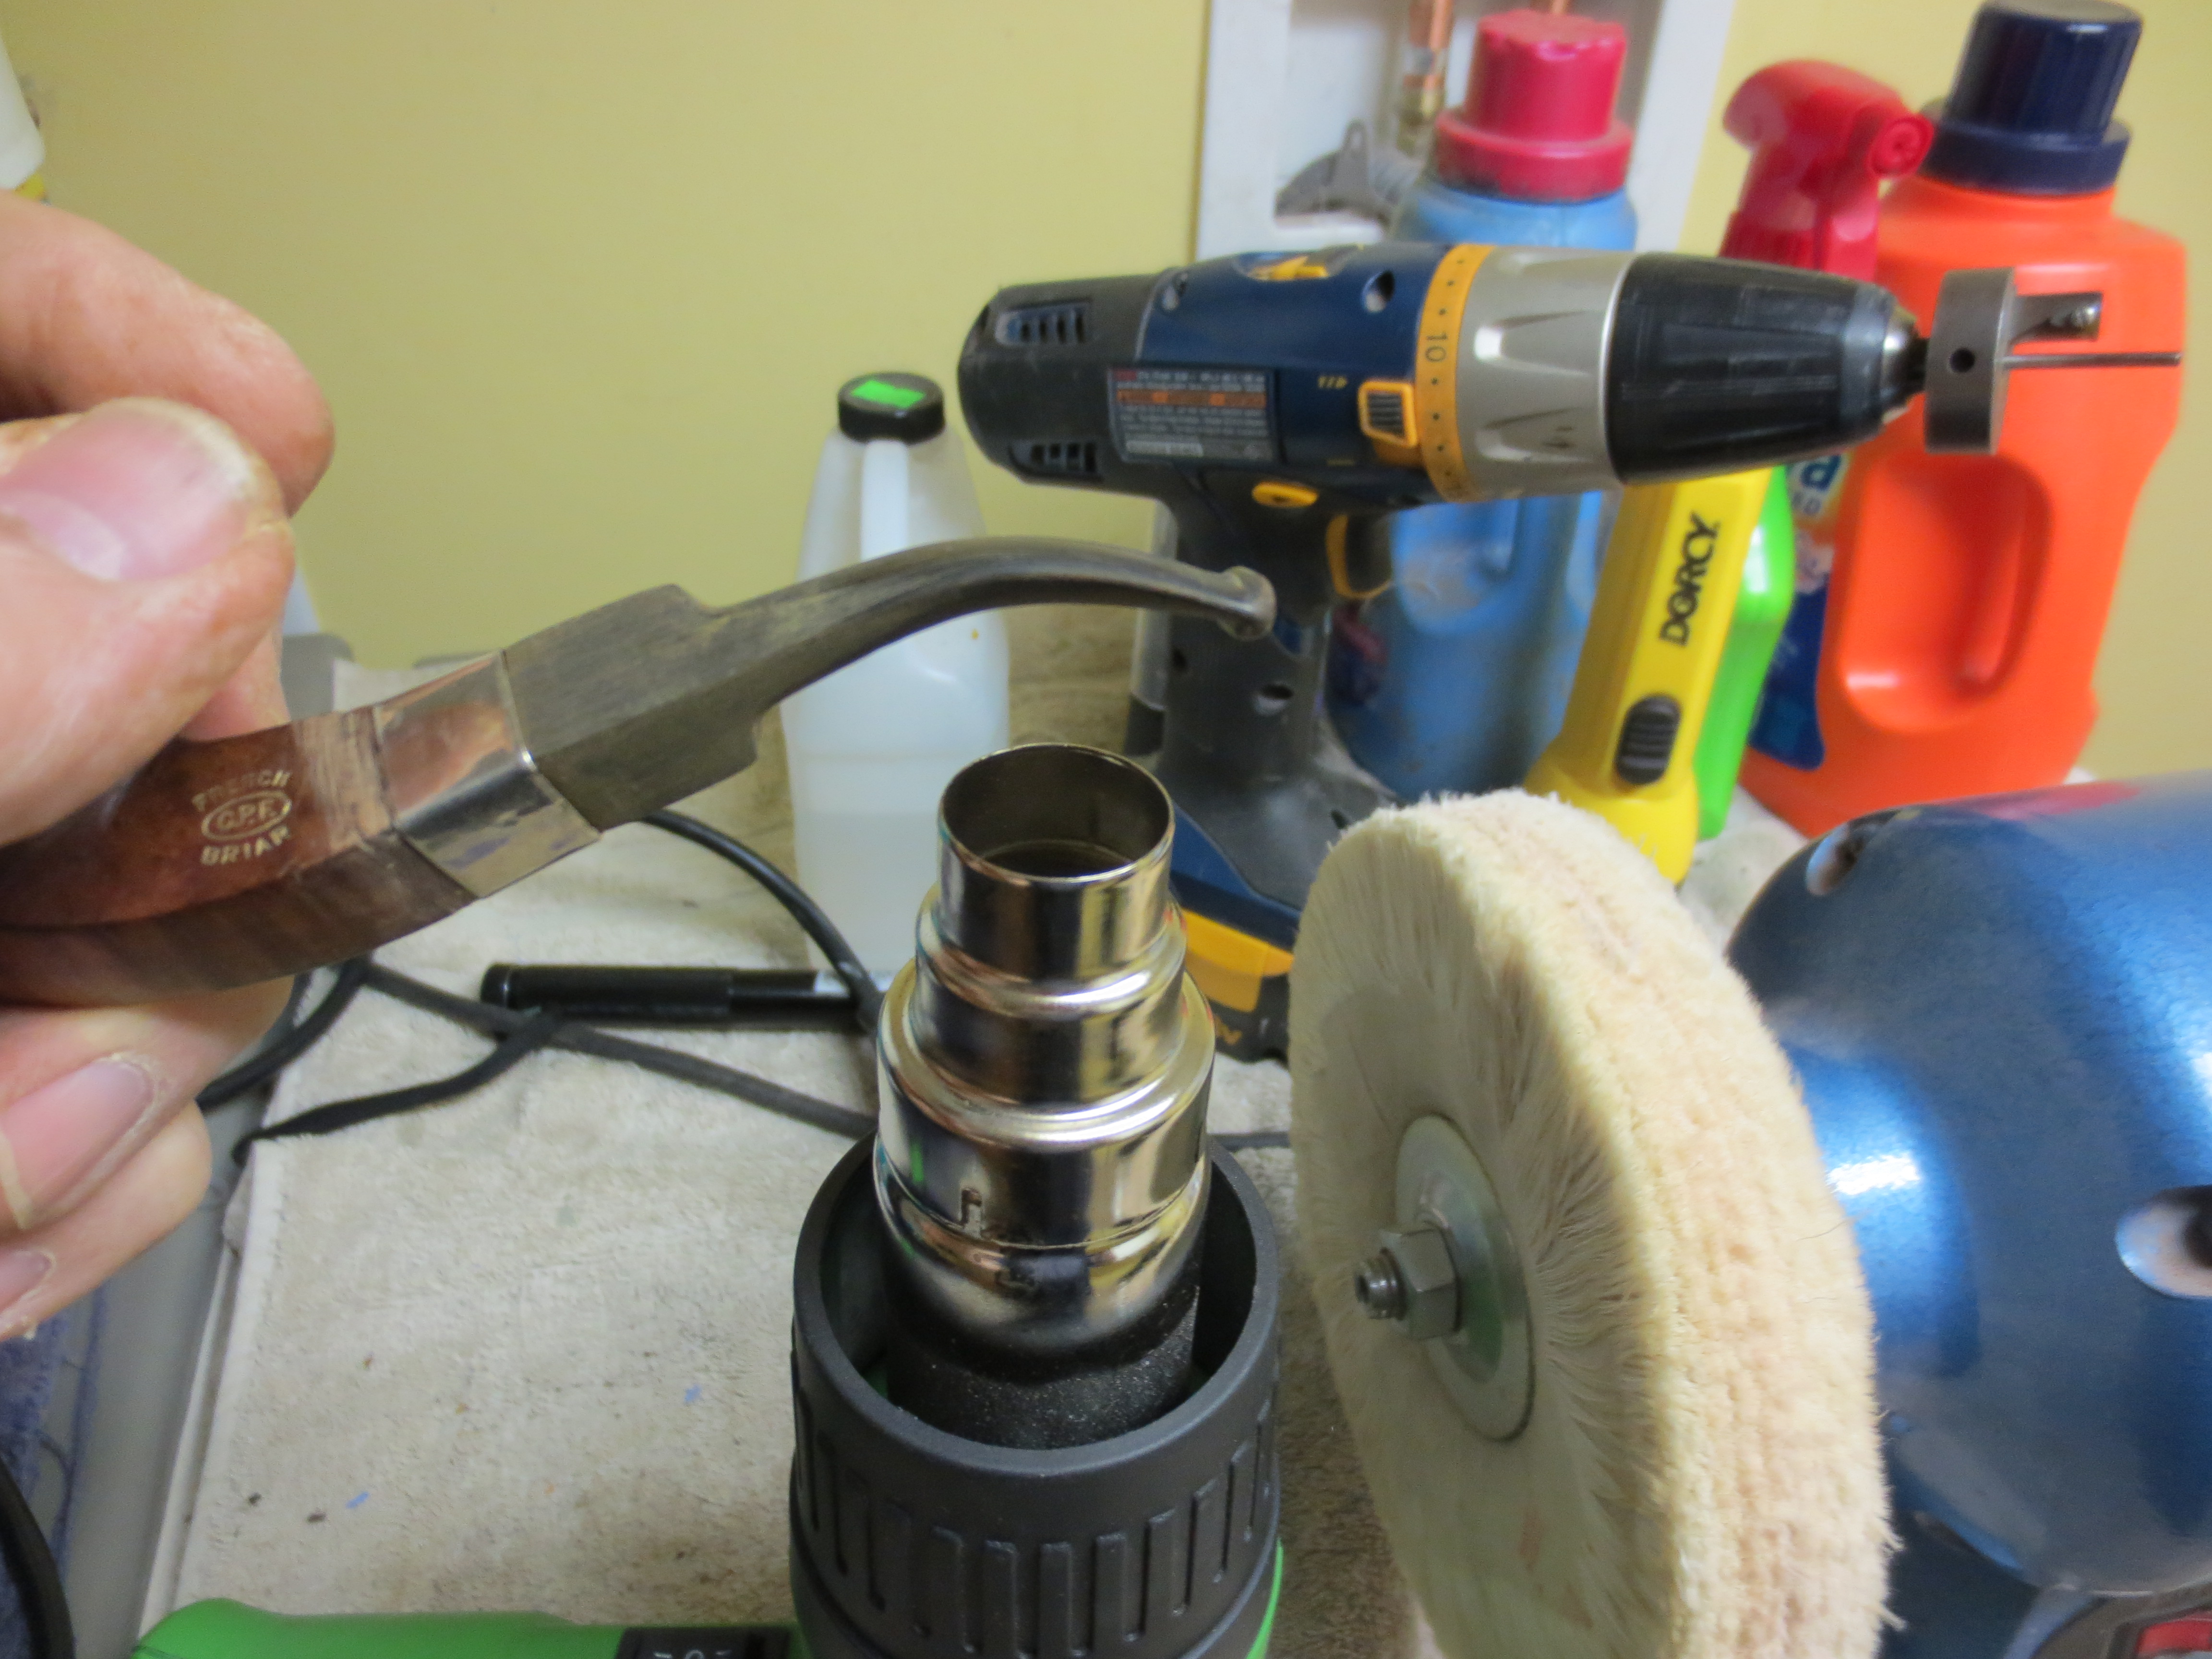
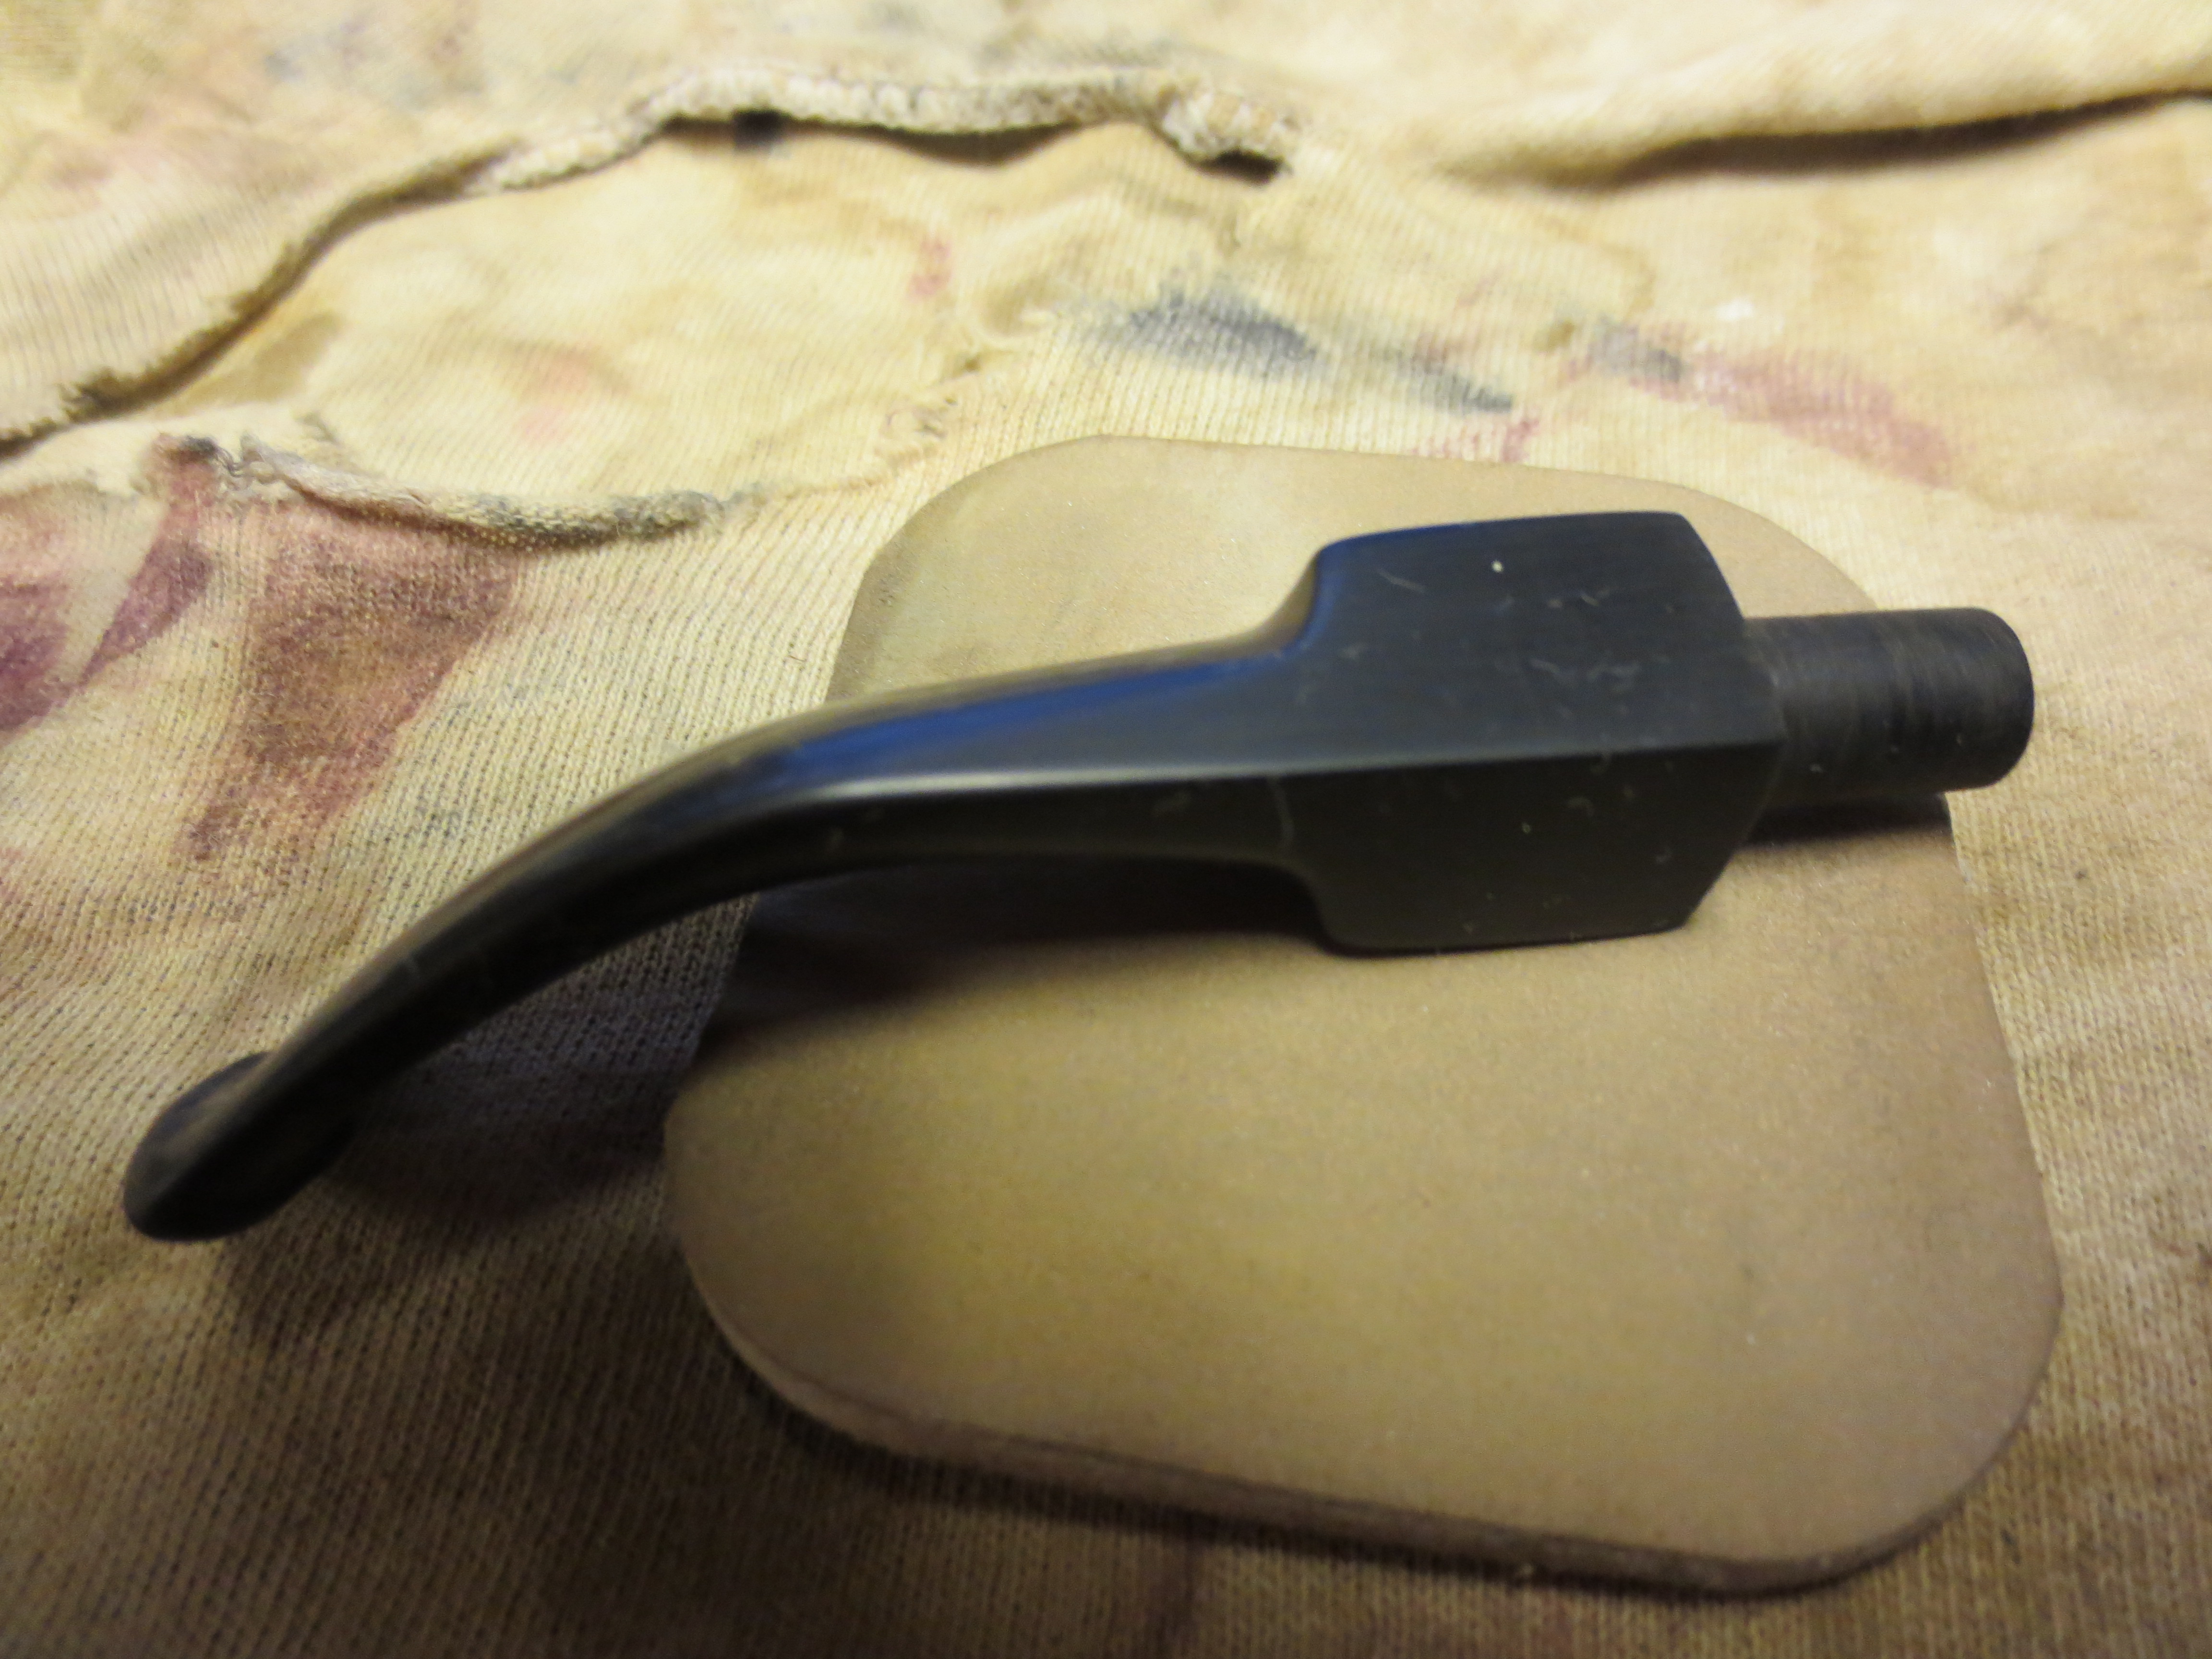
At this point in the process I decided to bend the stem to get the flow of the pipe correct. In retrospect I could have waited until I had polished the stem to do the bend. But I was curious to see the look of the bent stem on the pipe bowl so I set up my heat gun and carried the stem to the gun. I have been using a hardwood rolling pin that my wife discarded as the curves to bend the stem over. I find that using this keeps the bend straight and also gives me the degree of curve I wanted. I adjust the curve by where I put the stem on the pin to bend it. I use low heat on my heat gun and move the stem quickly over the heat about 3 inches above the tip. It does not take long to heat it to the point it is ready to bend and then I lay it over the pin and bend it. I hold it in place until it cools enough to set the bend. The next series of three photos show my set up for bending the stem.

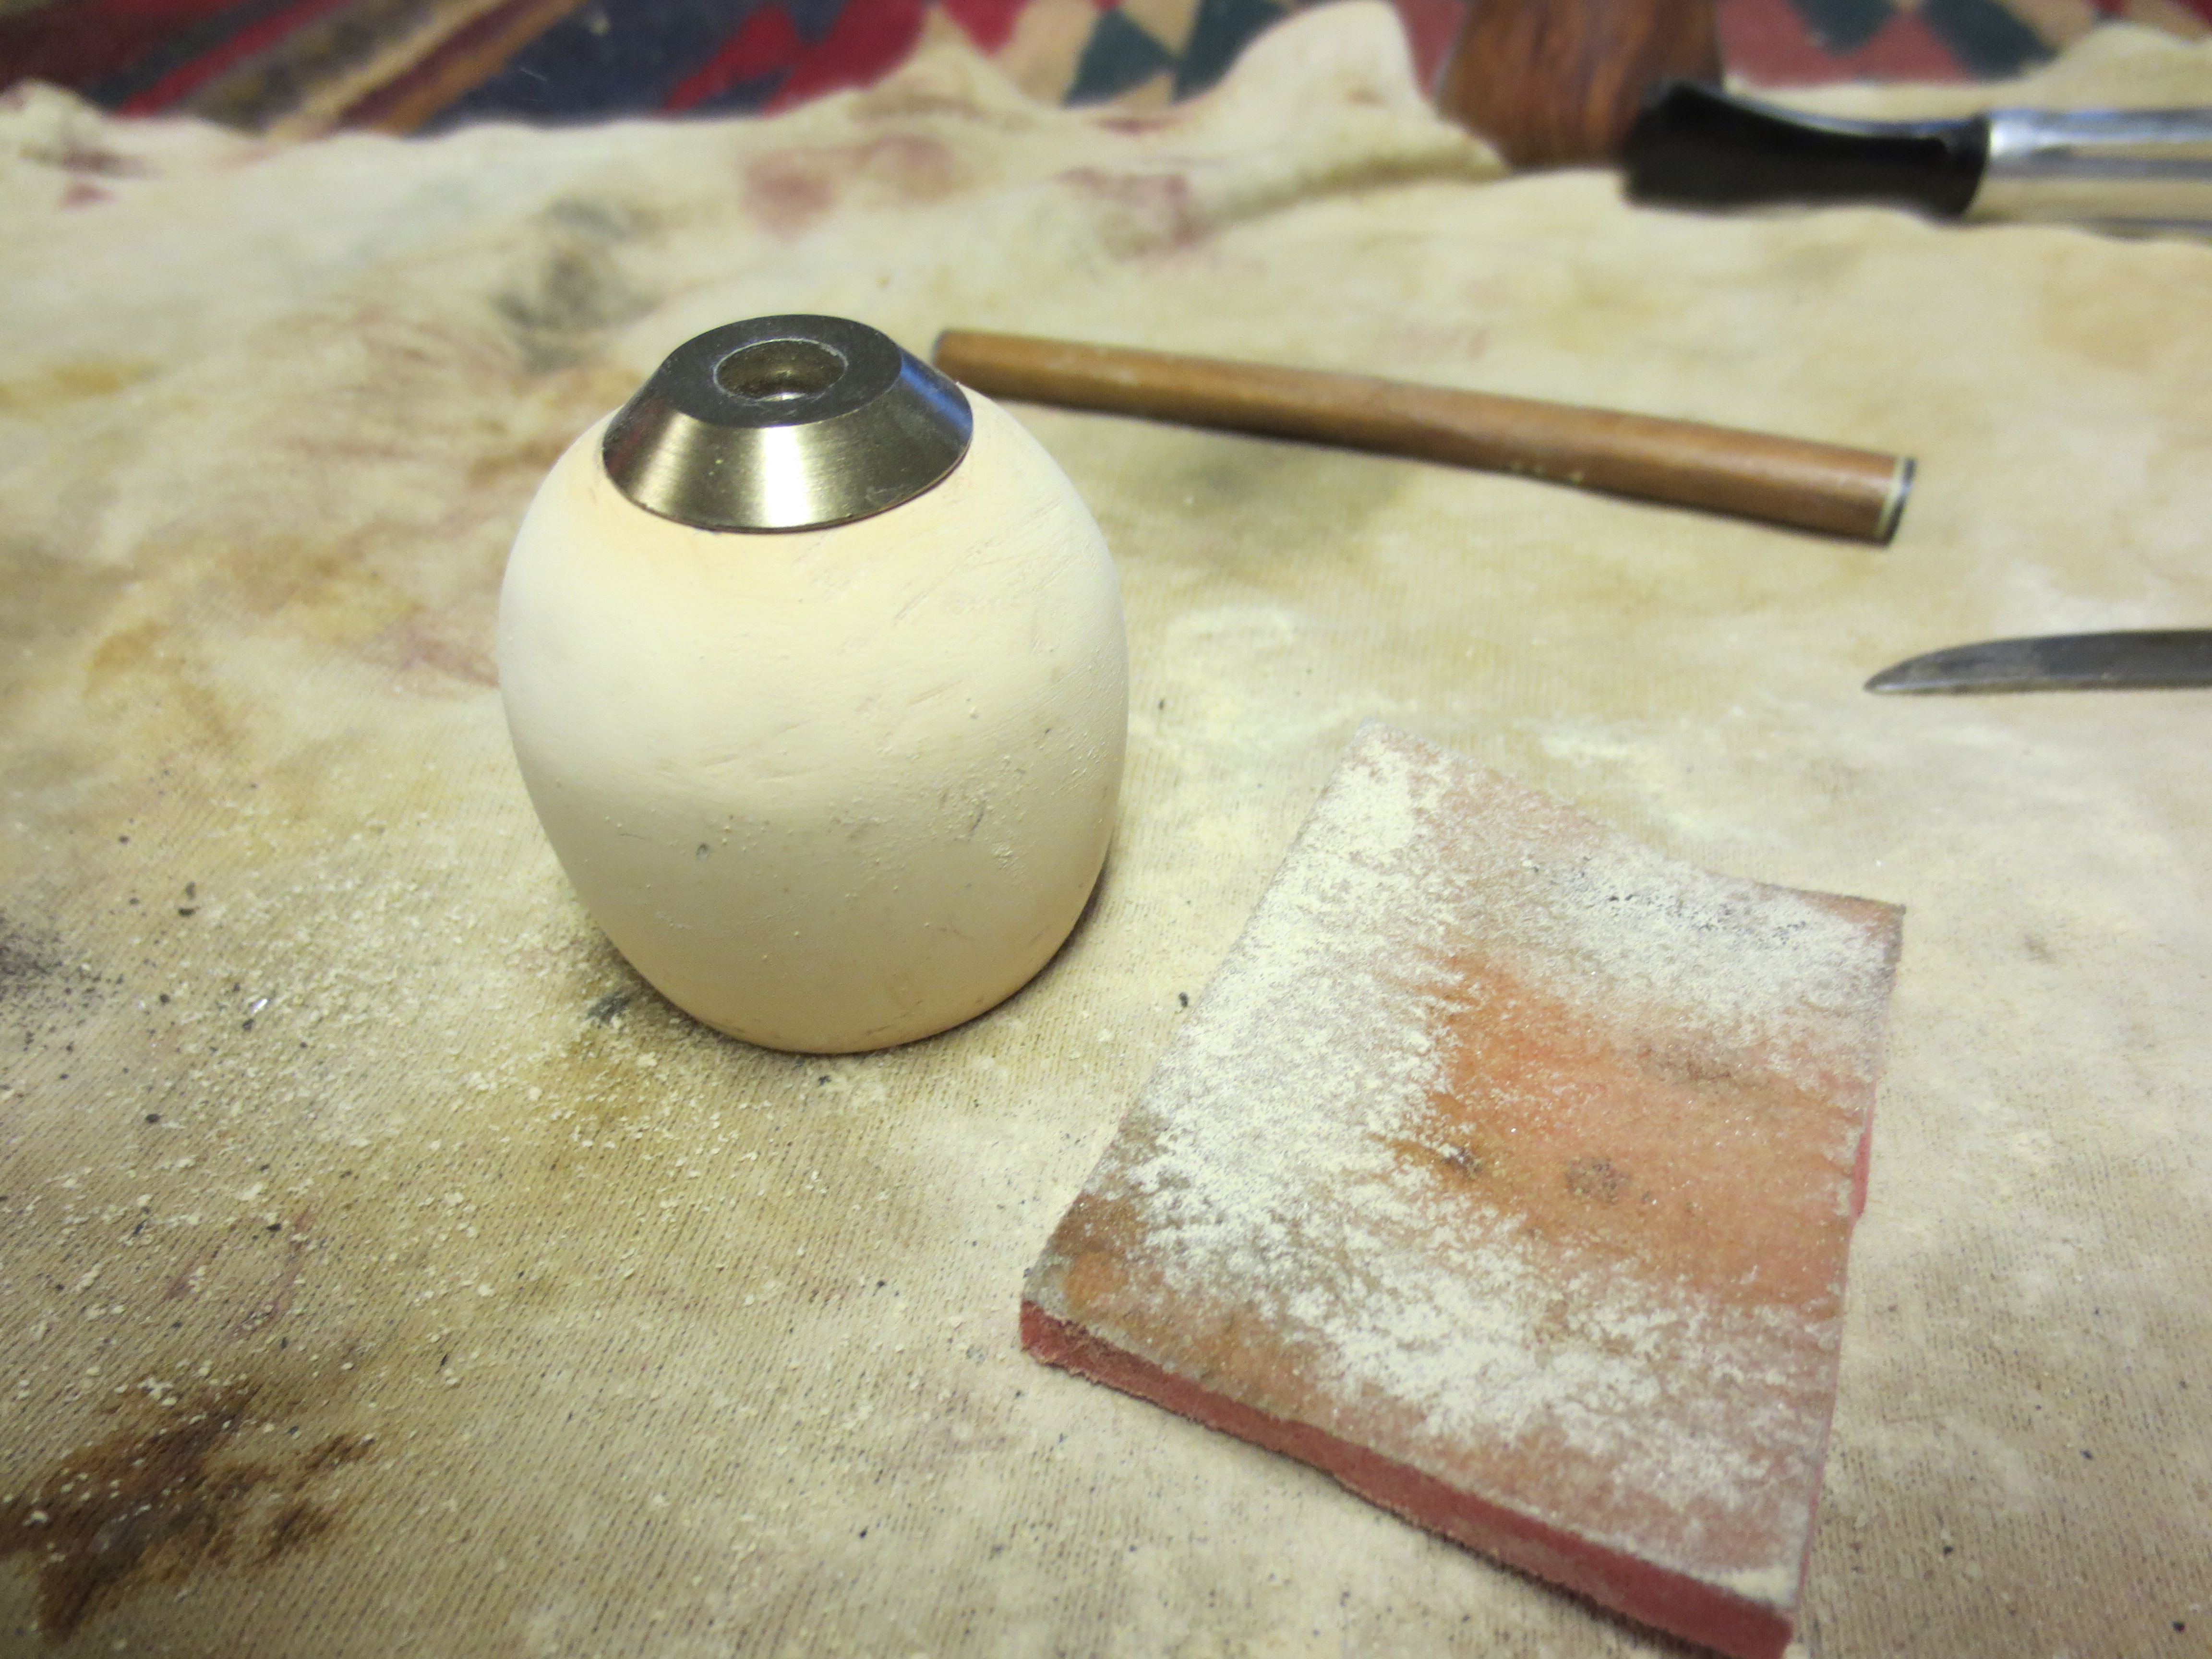
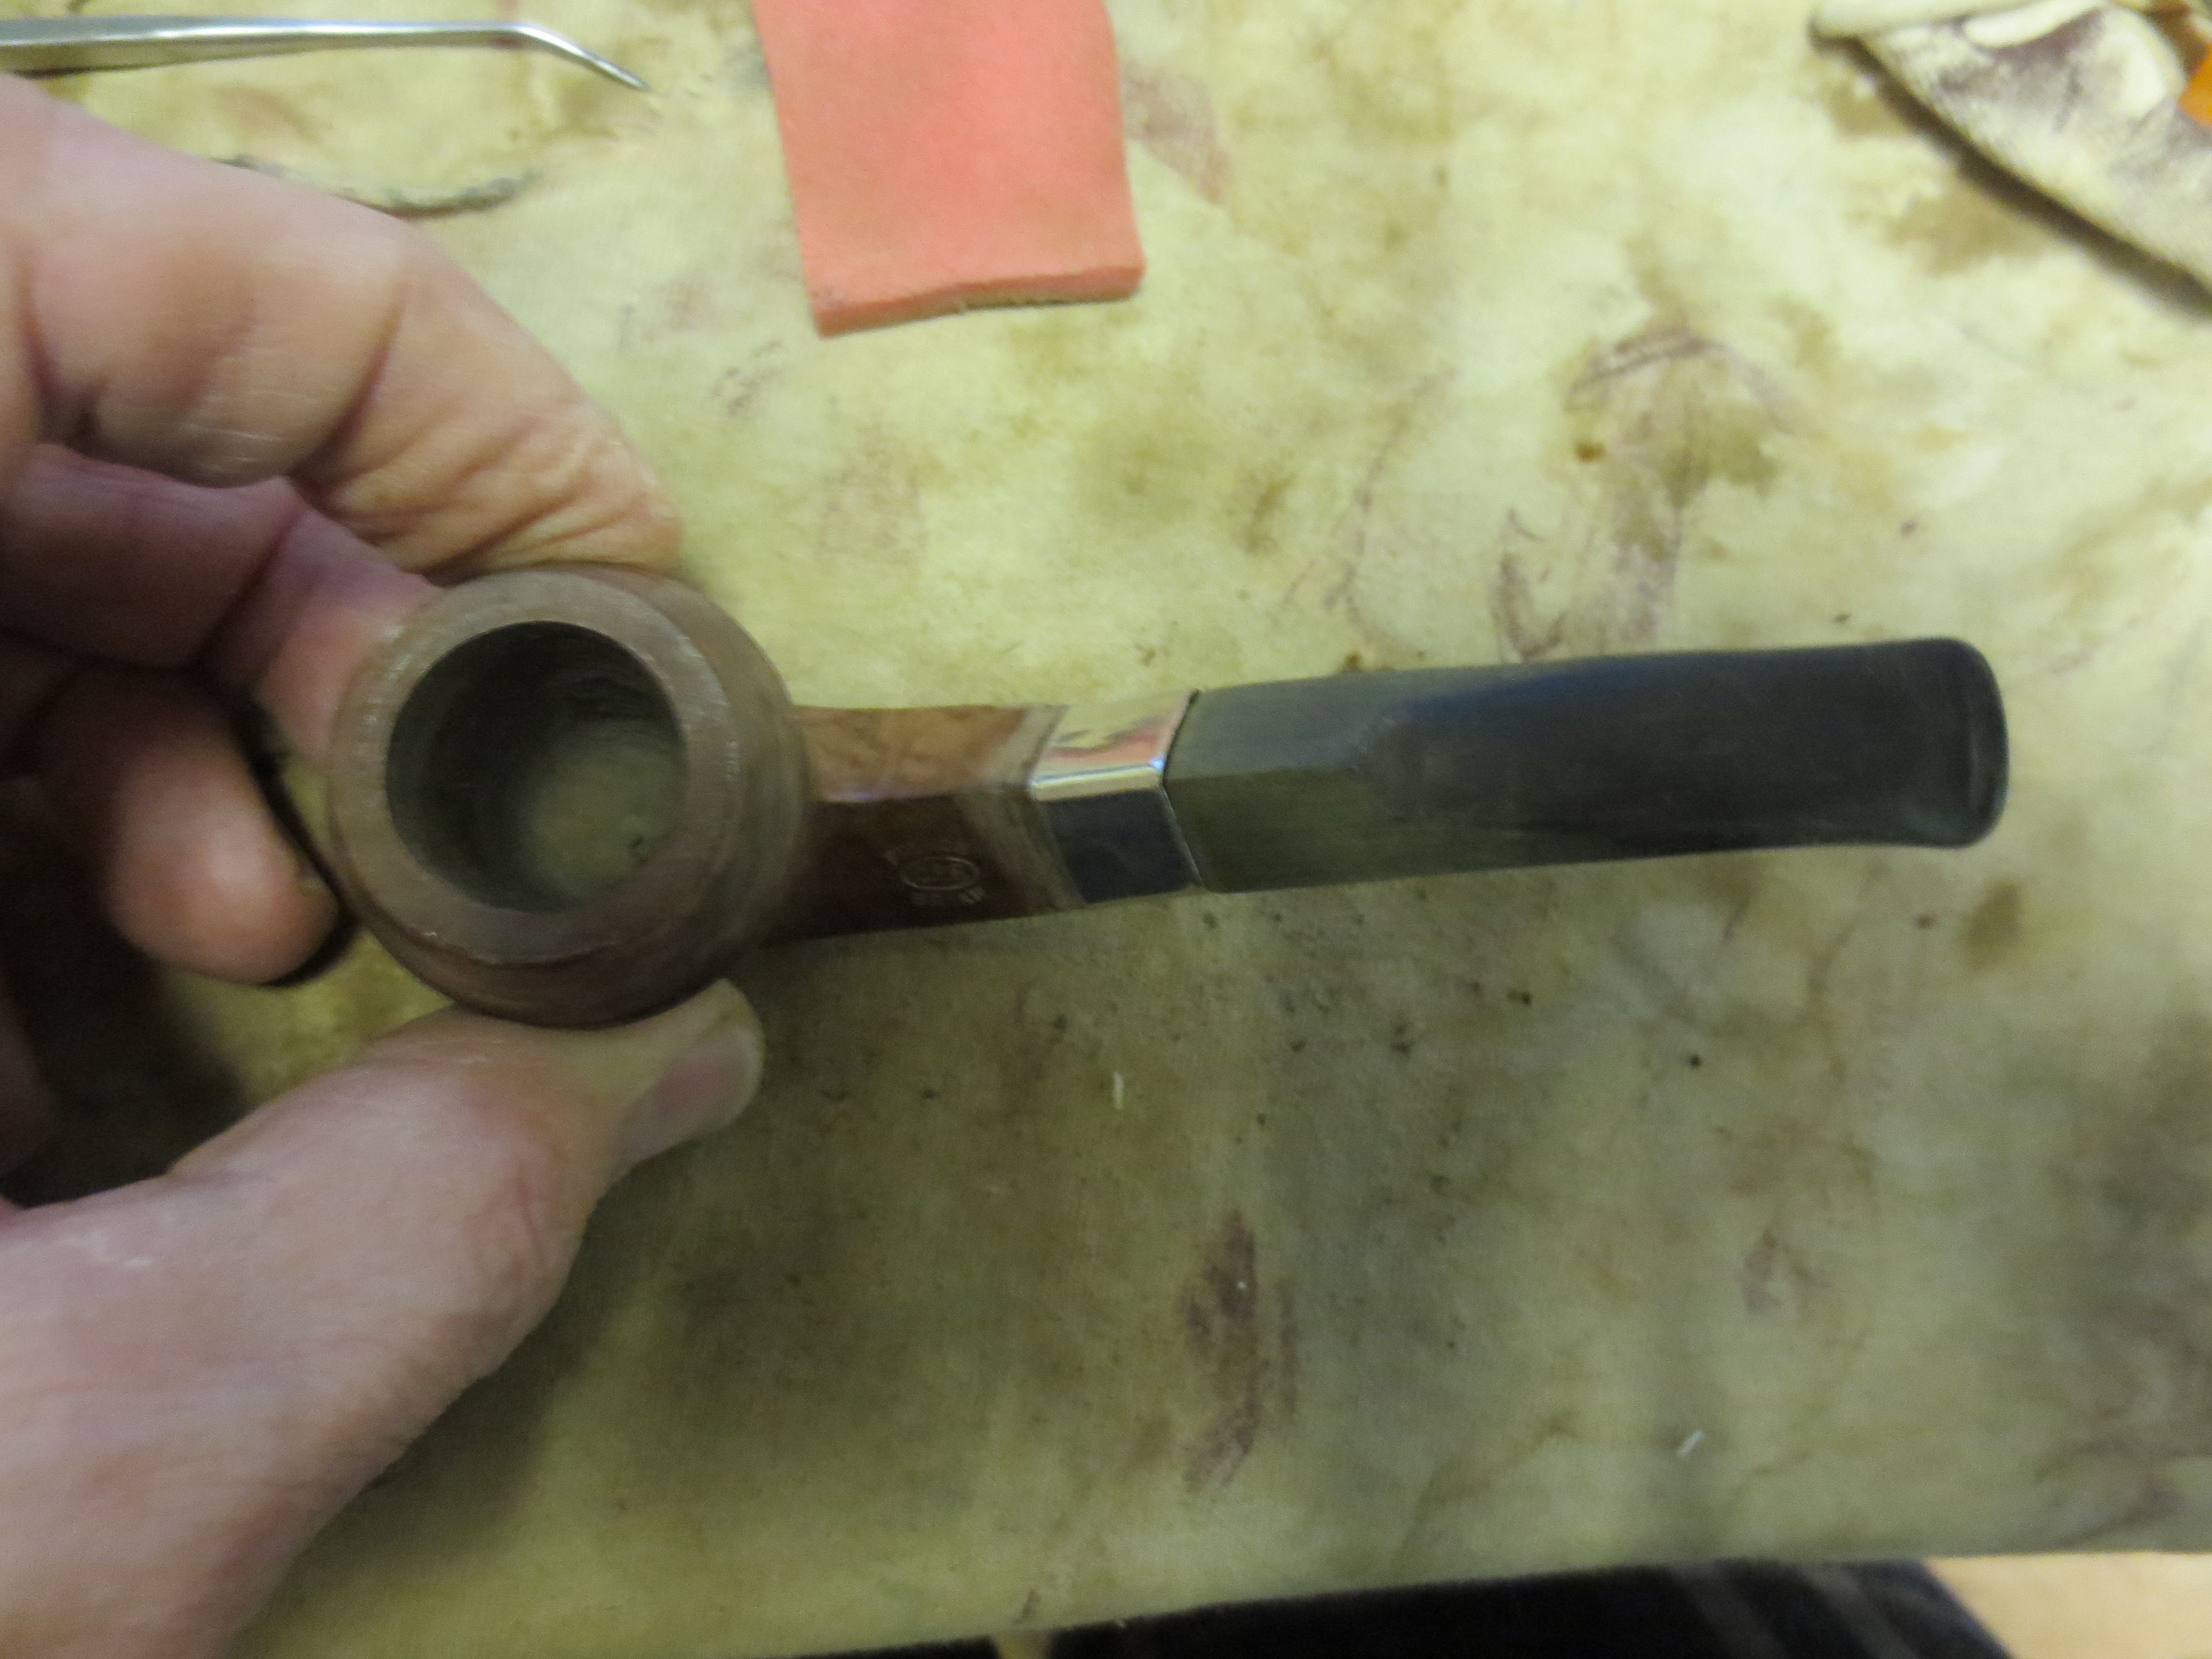
I then decided to work on the bowl of the pipe. I wiped it down with acetone on a cotton pad being careful to avoid the gold stamping in the shank. I also sanded the line around the rim and the shank with 320 grit sandpaper and then with 1500-2400 grit micromesh sanding pads to try to minimize the line around both points. I used a flat tip screw driver blade as a smooth surface to hammer out the dents and rough spots on the band. I also laid the shank flat on a board and used the screw driver tip to smooth the inside edge of the band and square up the corners of the diamond. The next series of six photos show that process. I finished by inserting the stem and continuing to smooth out the band.


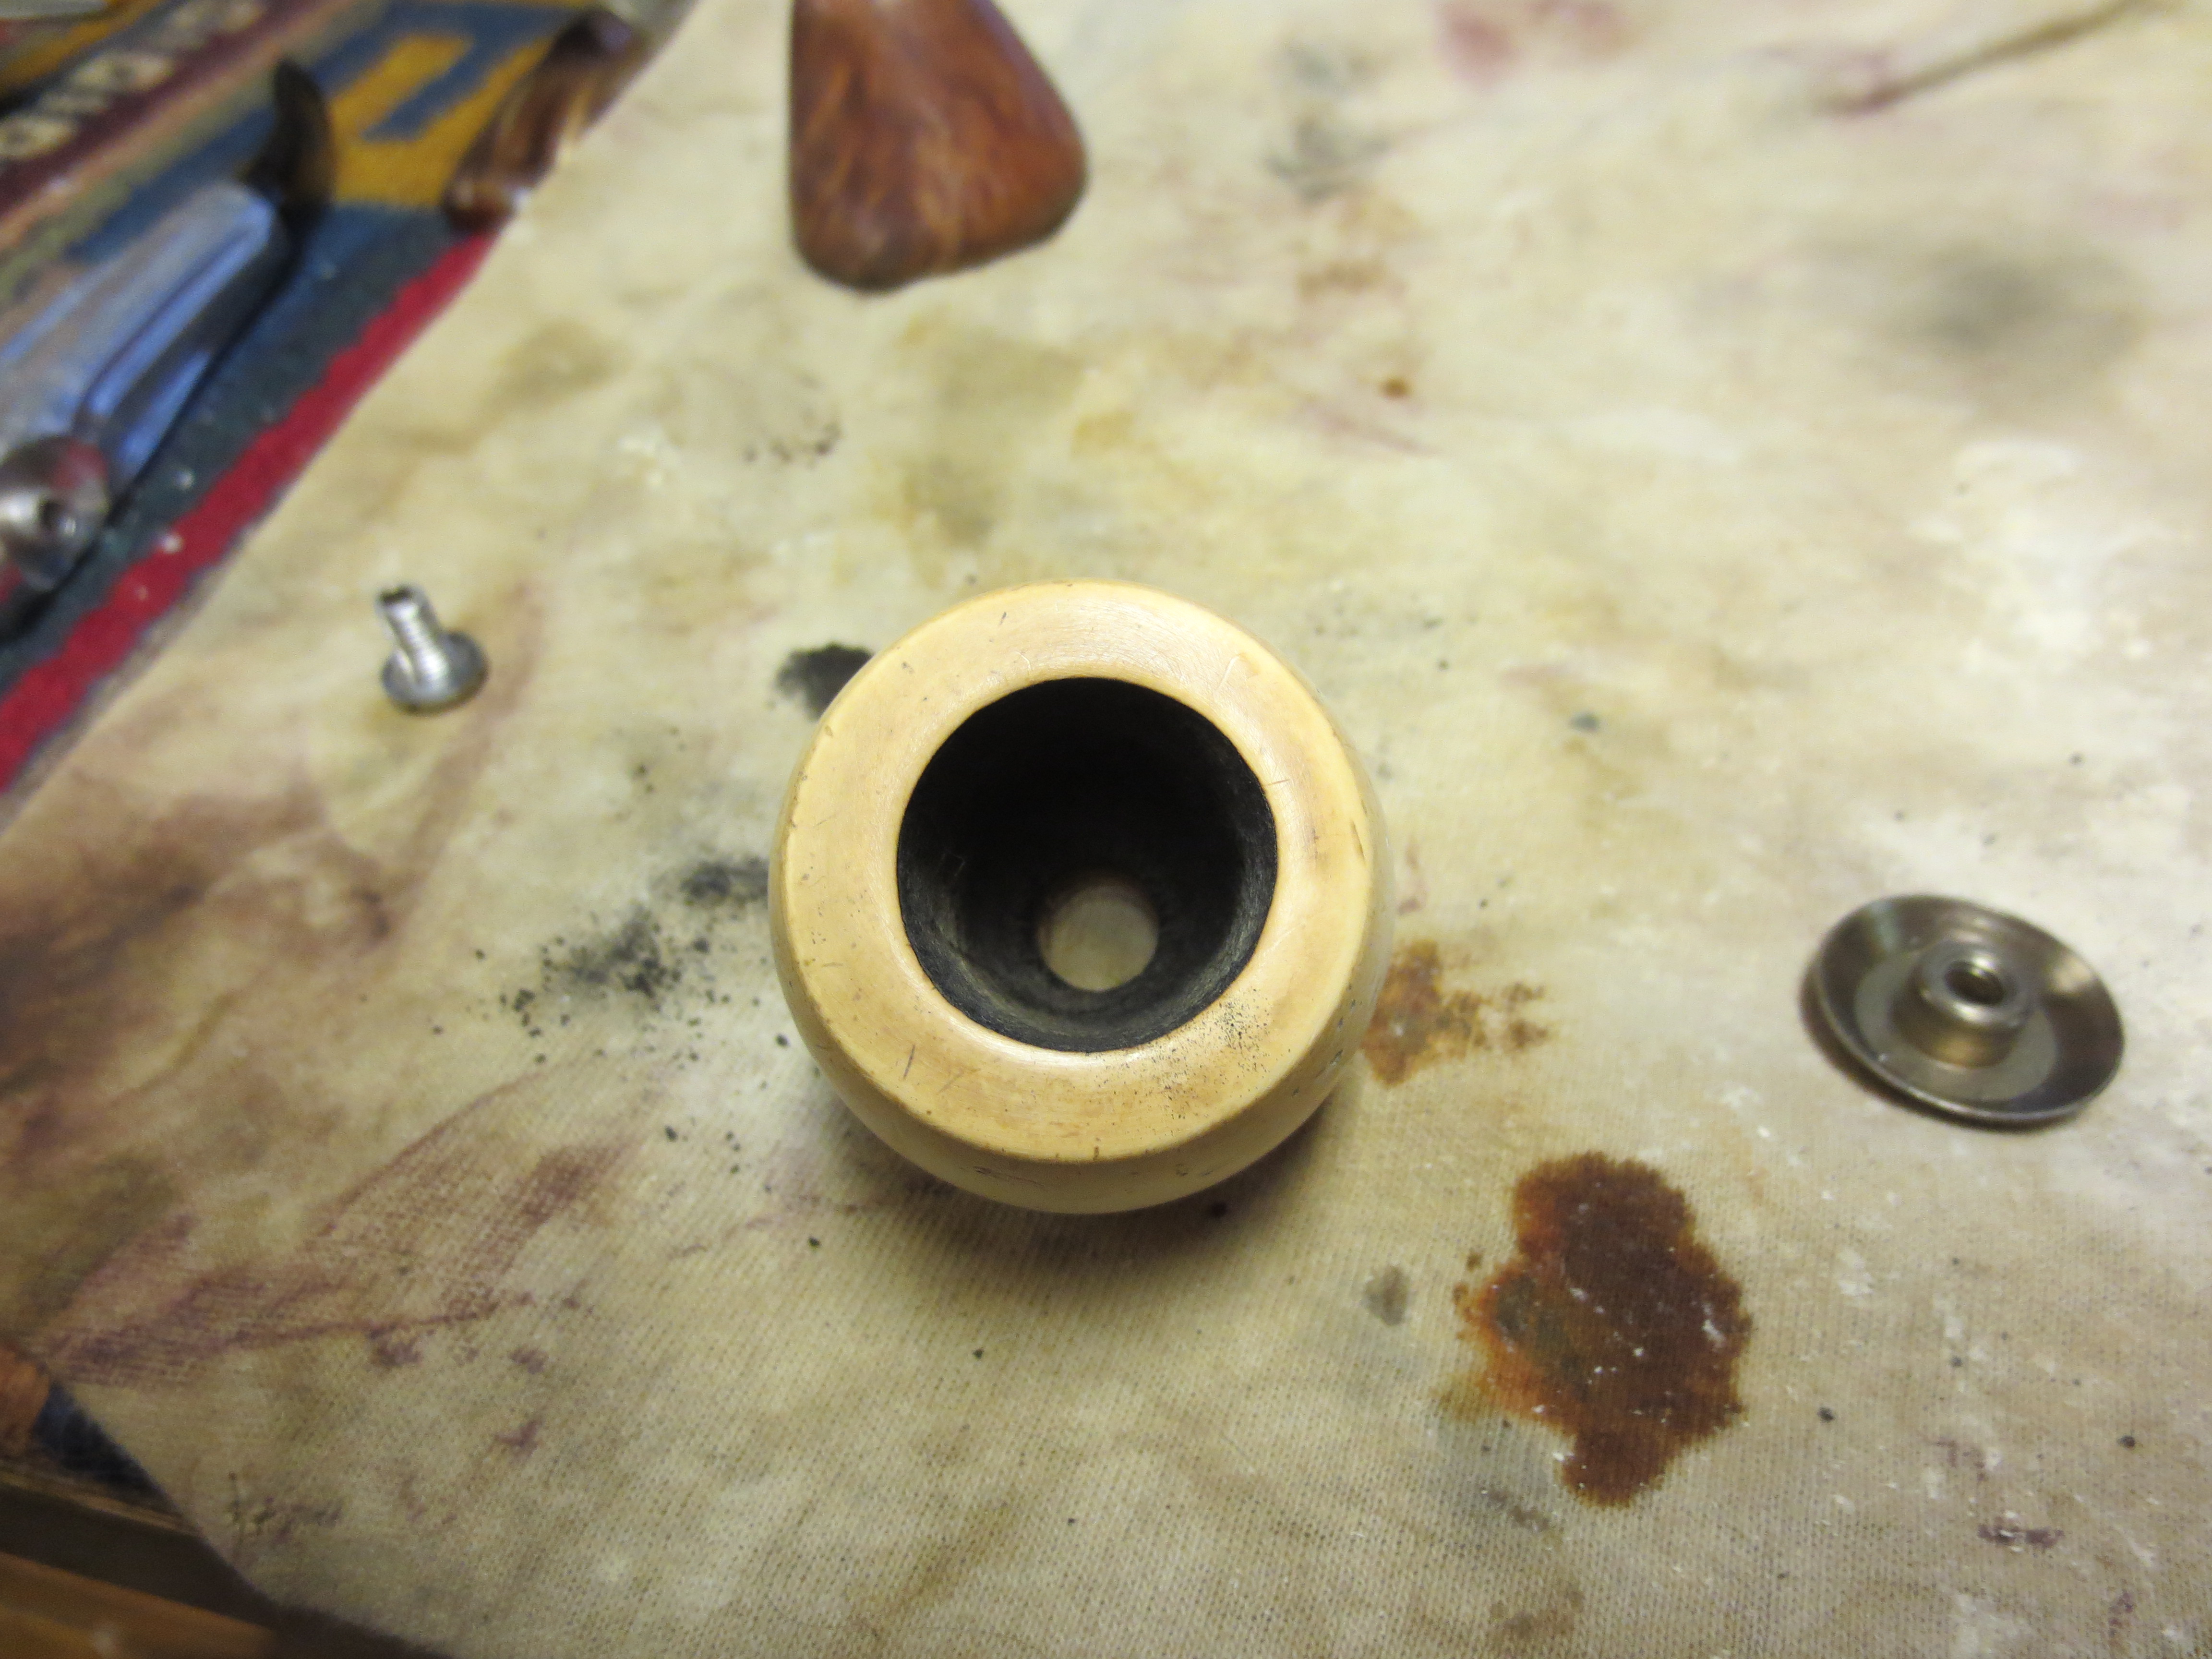
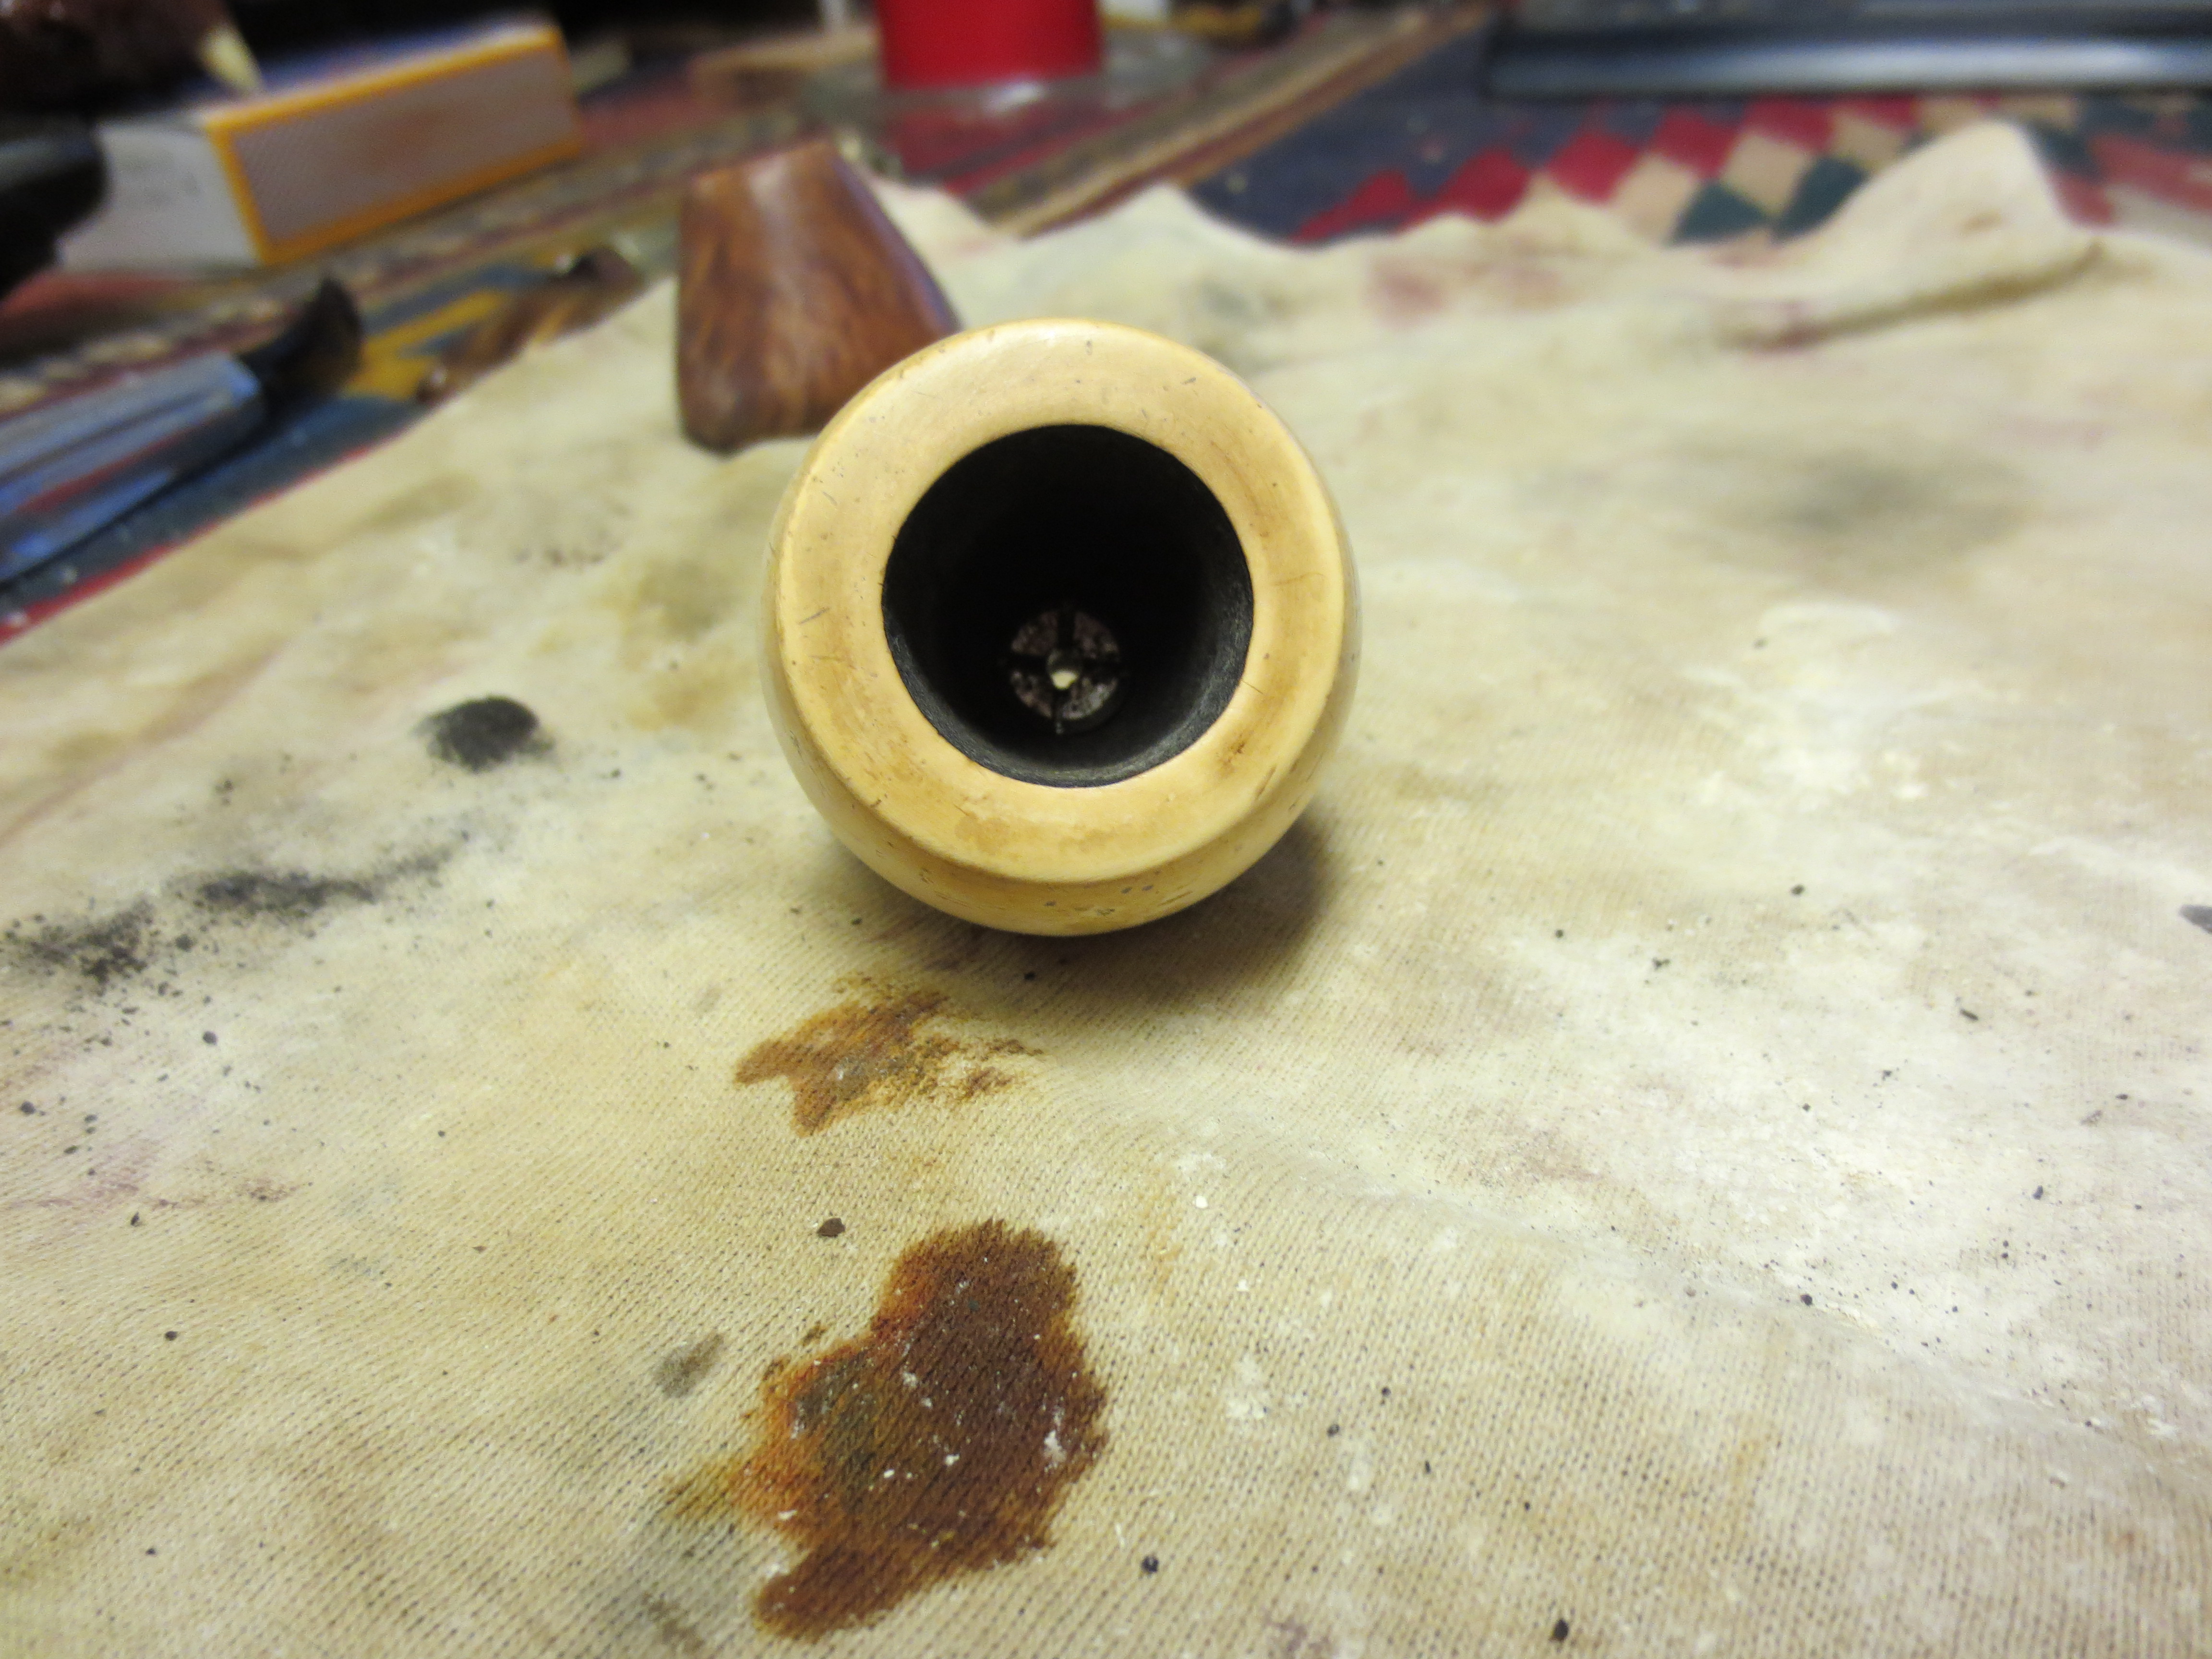
I wiped the bowl down with another acetone wetted cotton pad to remove the sanding dust from the bowl and the rings around the bowl. I used a dental pick and retraced the rings to clean them out as well of previous wax and dirt that catches in those spots. The photo below shows the pipe bowl ready to restain.
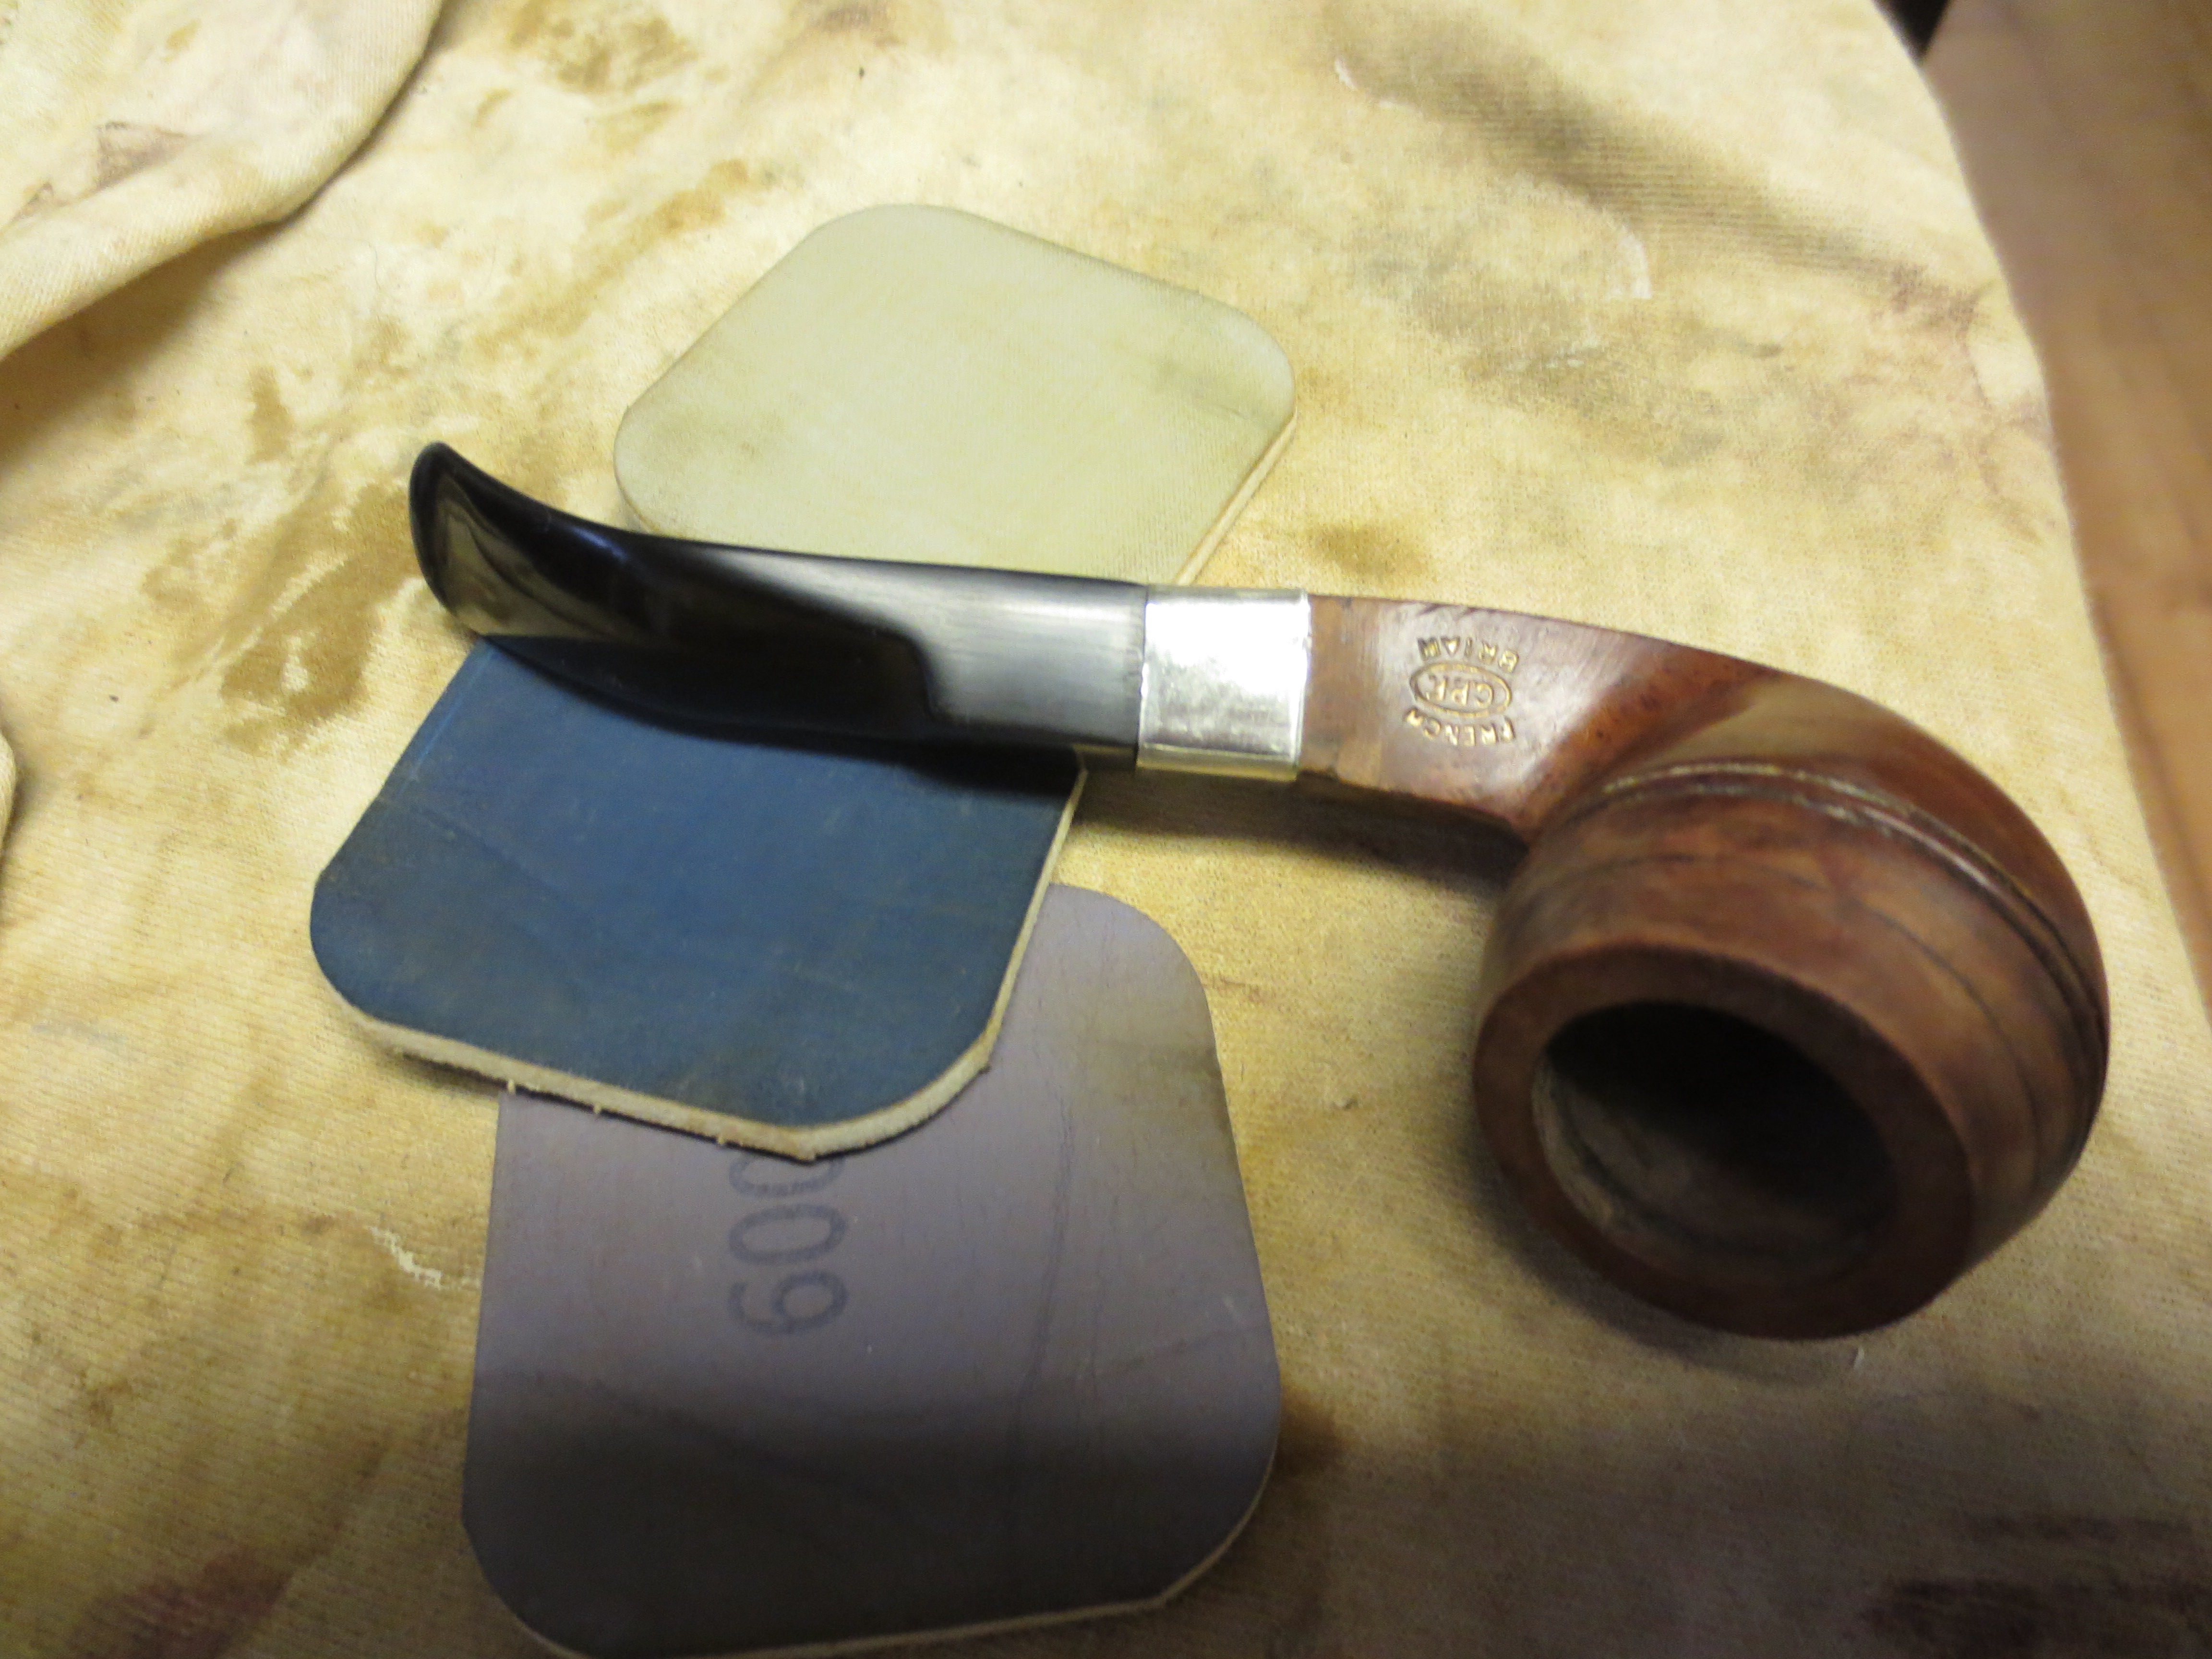
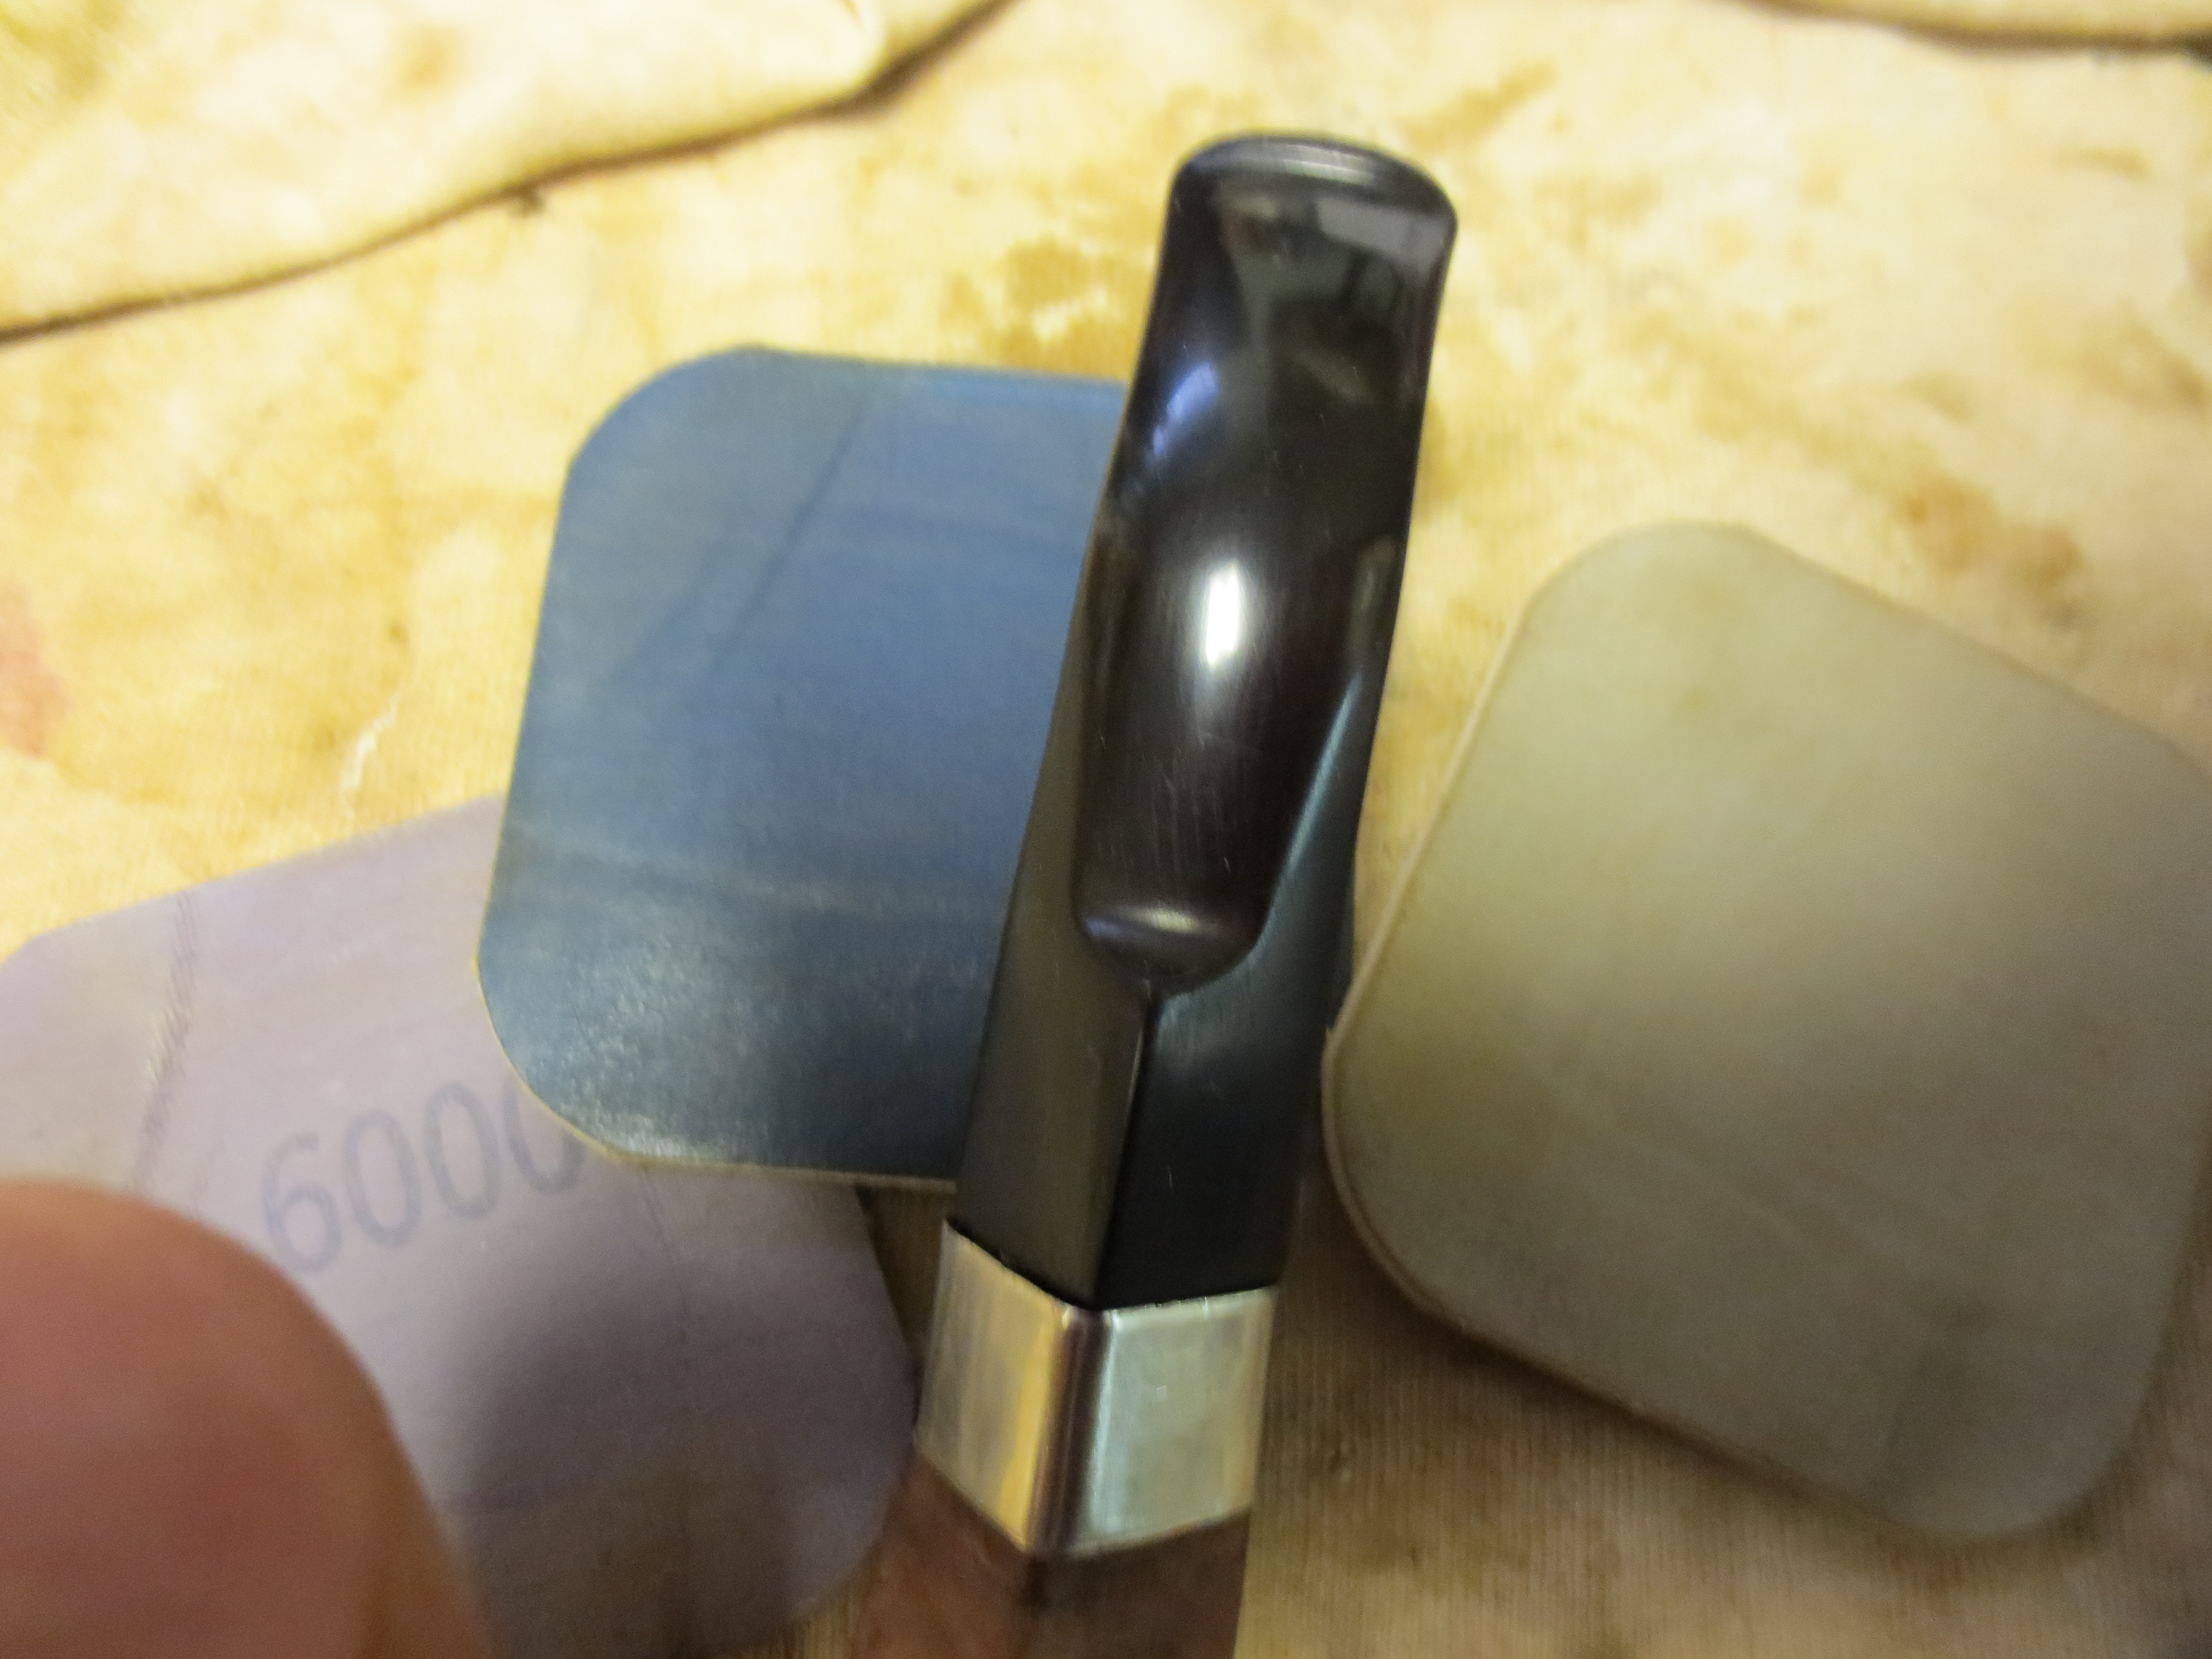
Before staining I worked on the stem some more to smooth out the remaining scratches and bring it to a shine. I used micromesh sanding pads from 1500-12,000 grit to bring the stem to a glossy finish. The next twelve photos show the progress shine developing after each successive grit of micromesh sanding pad was used.

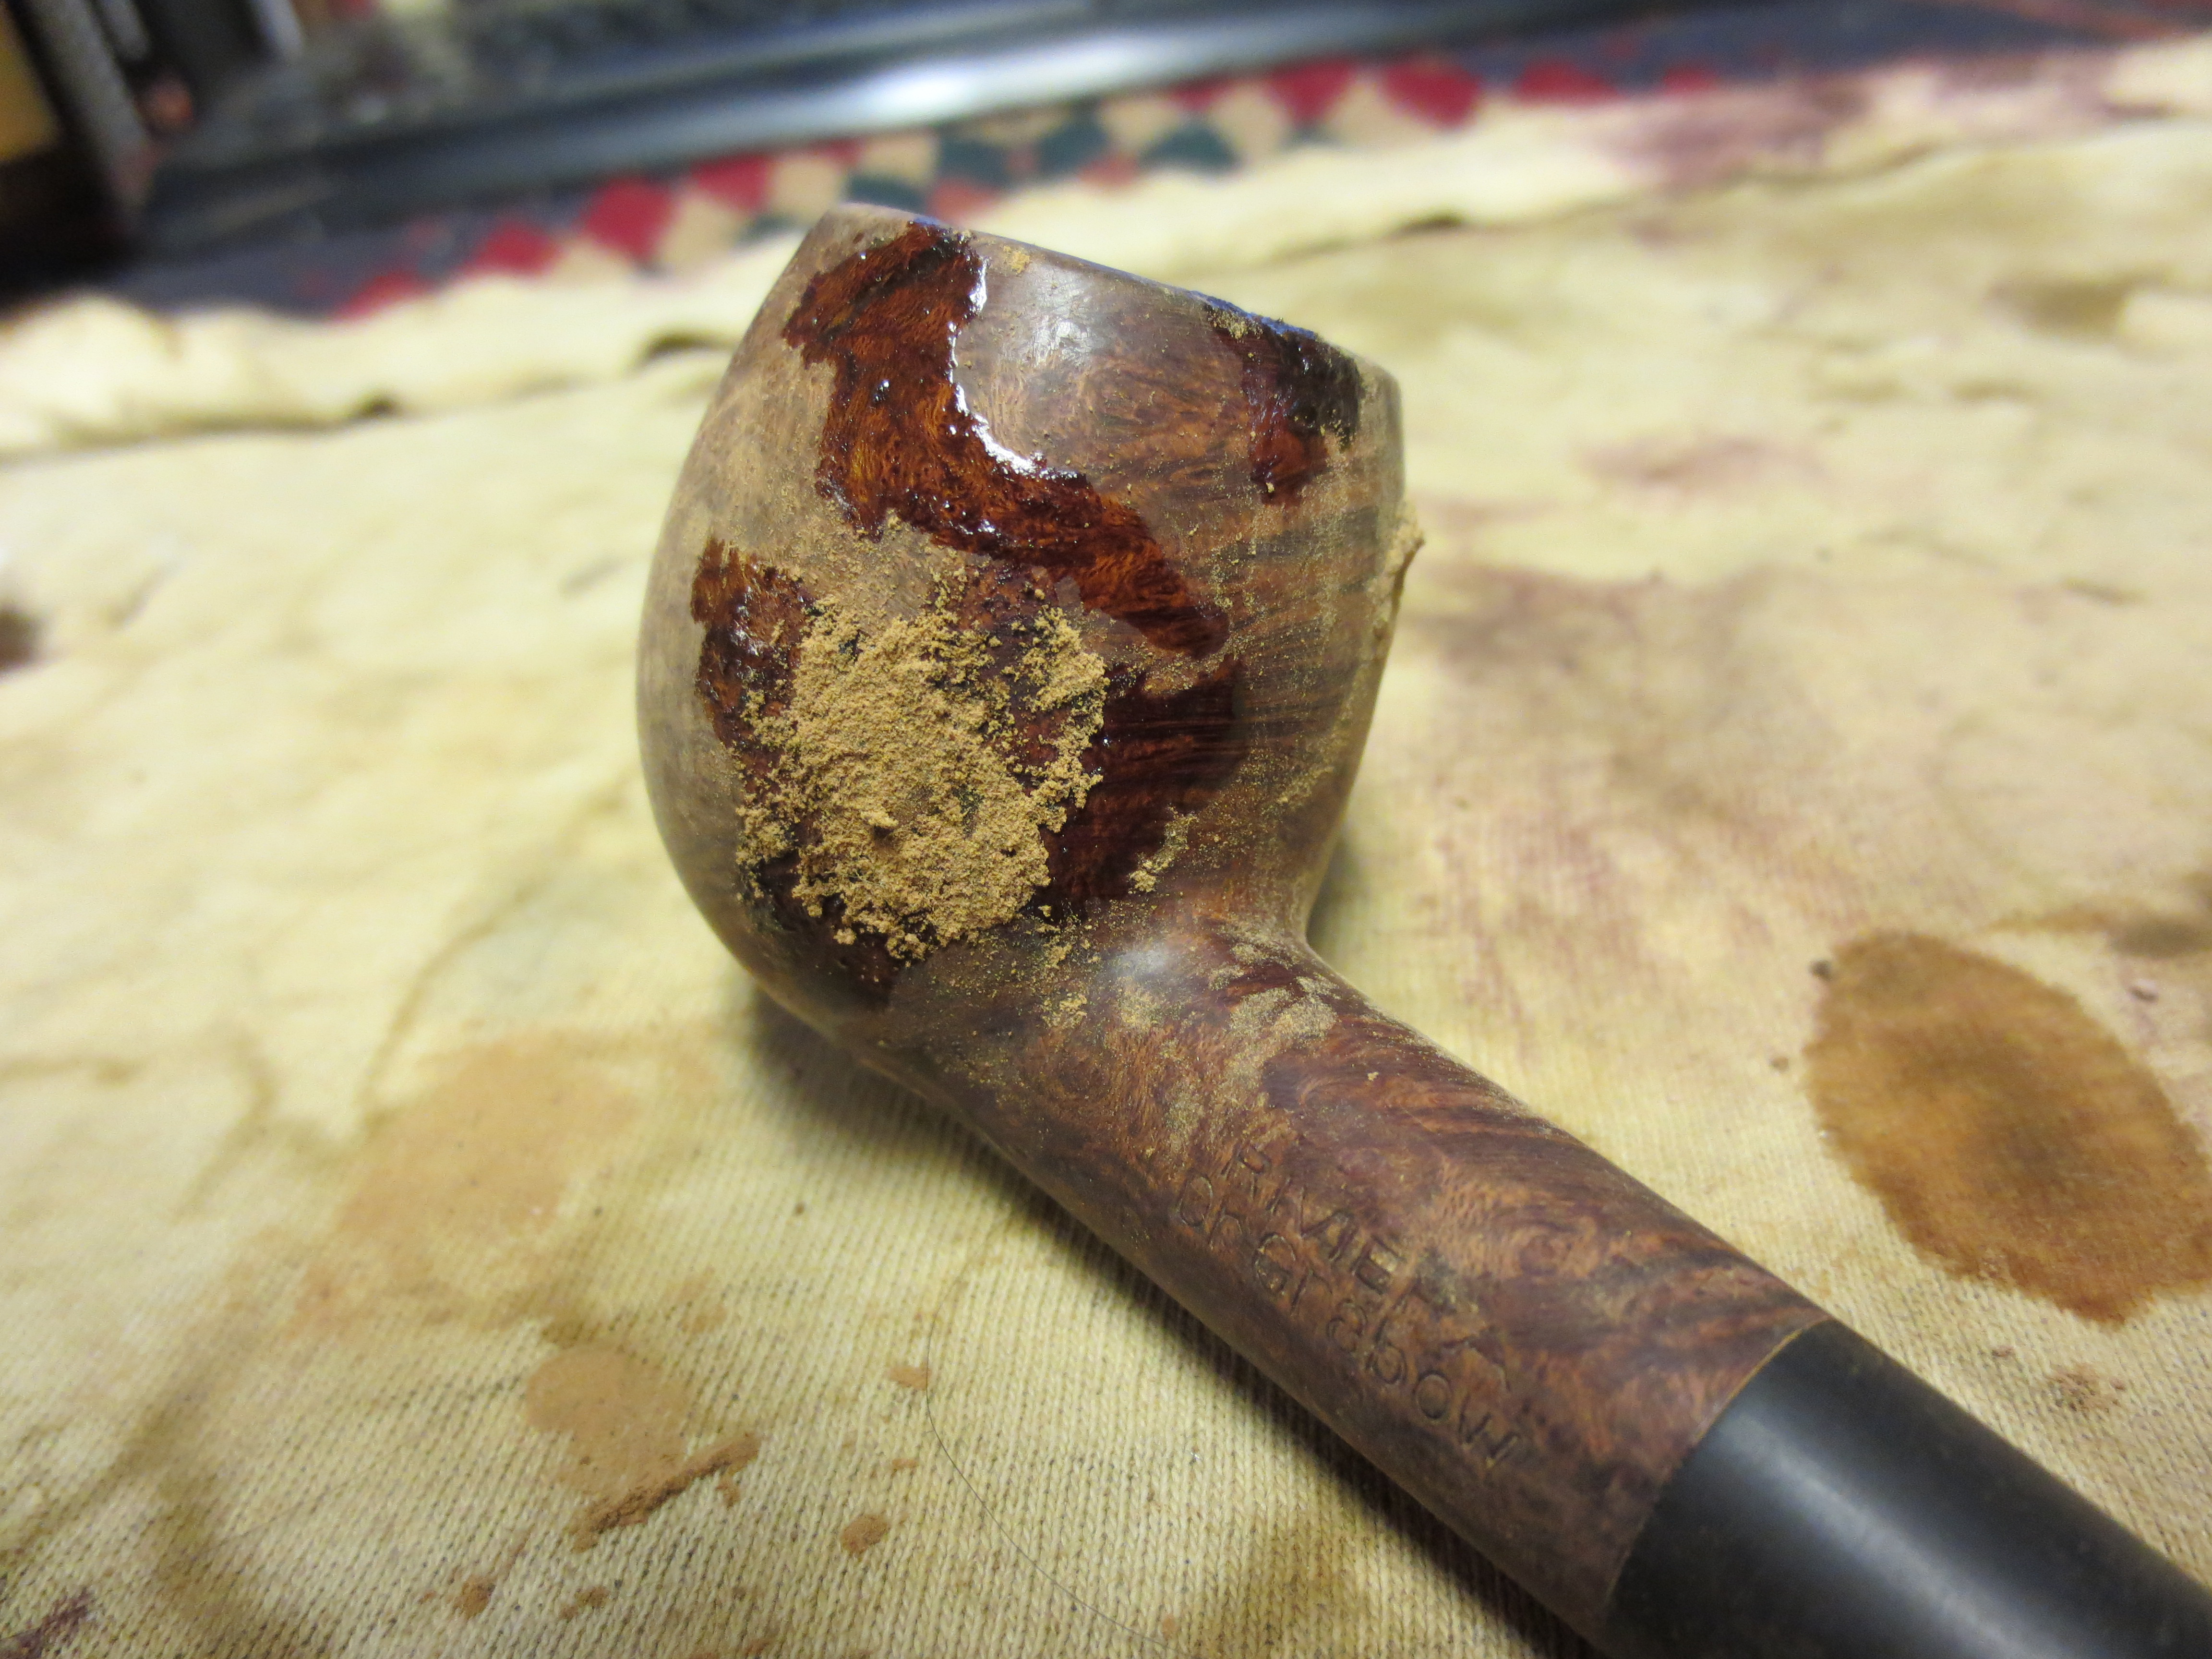
Once the stem was done I was ready to stain the pipe. I used an oxblood aniline stain to restain the pipe. I applied it with a cotton swab, flamed it, restained and flamed it a second time. The next two photos show the bowl with the oxblood stain applied just before I flamed it. Once I had flamed it I took it to the buffer and buffed it with White Diamond.
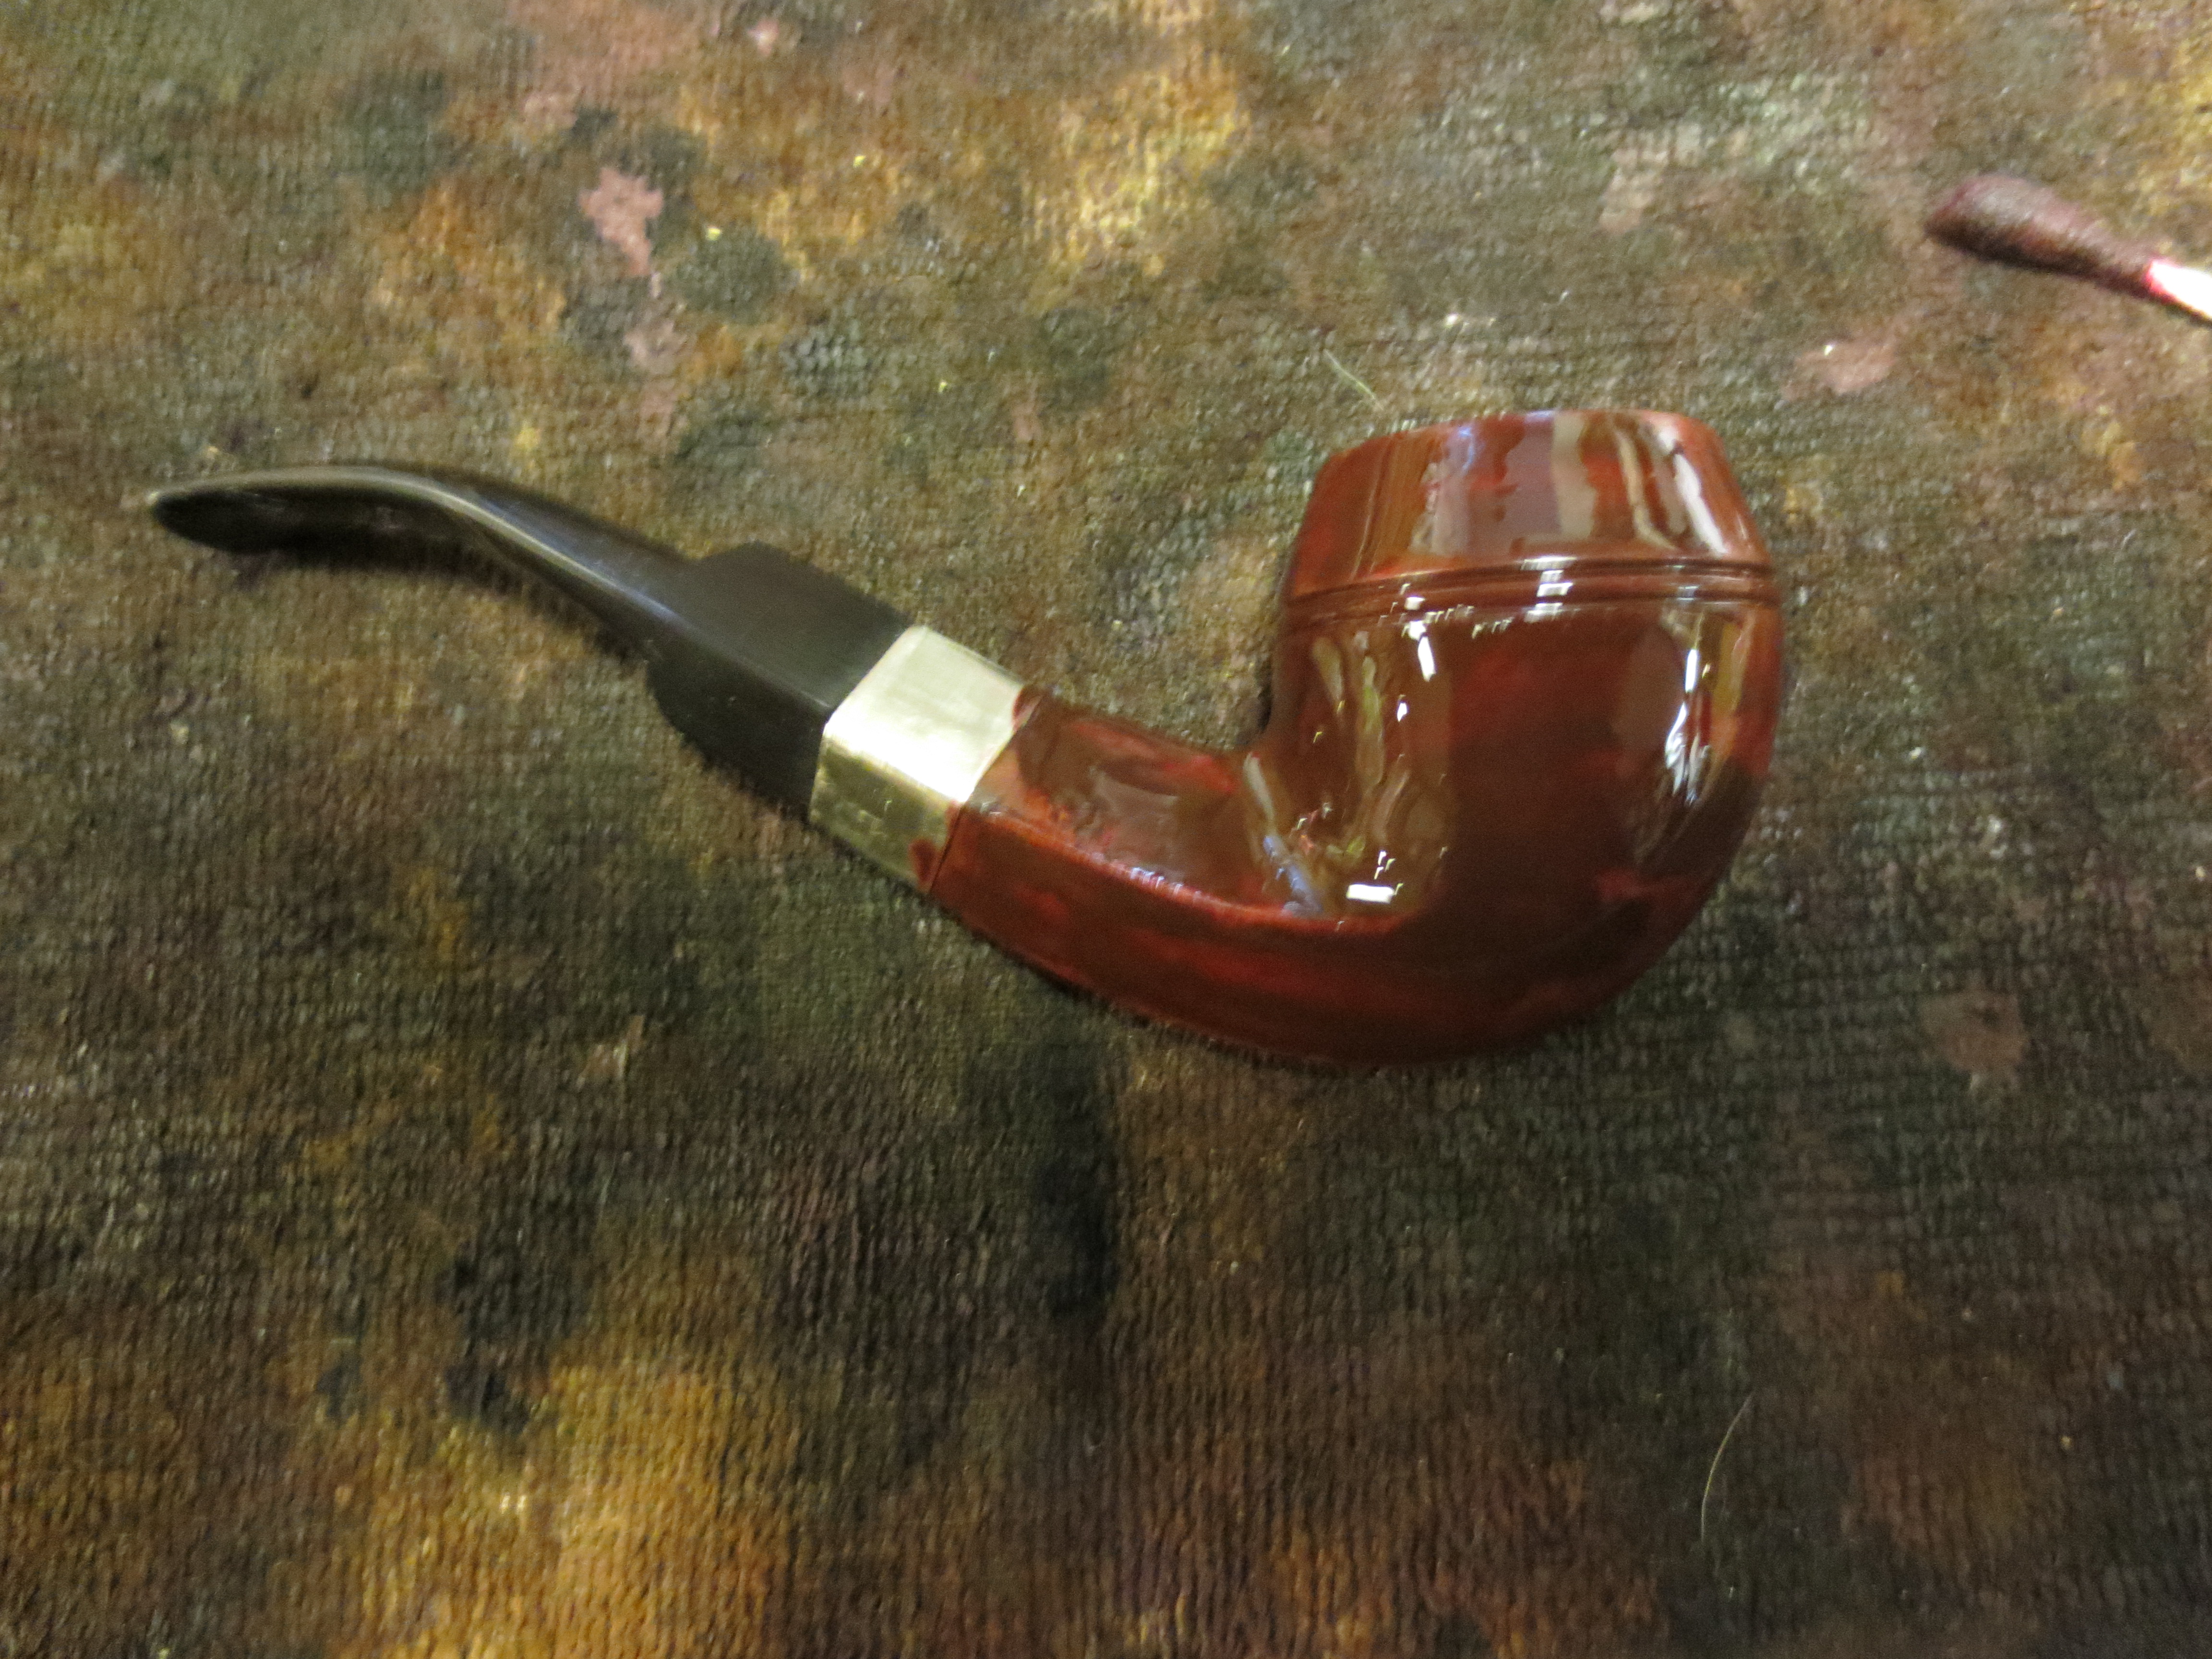

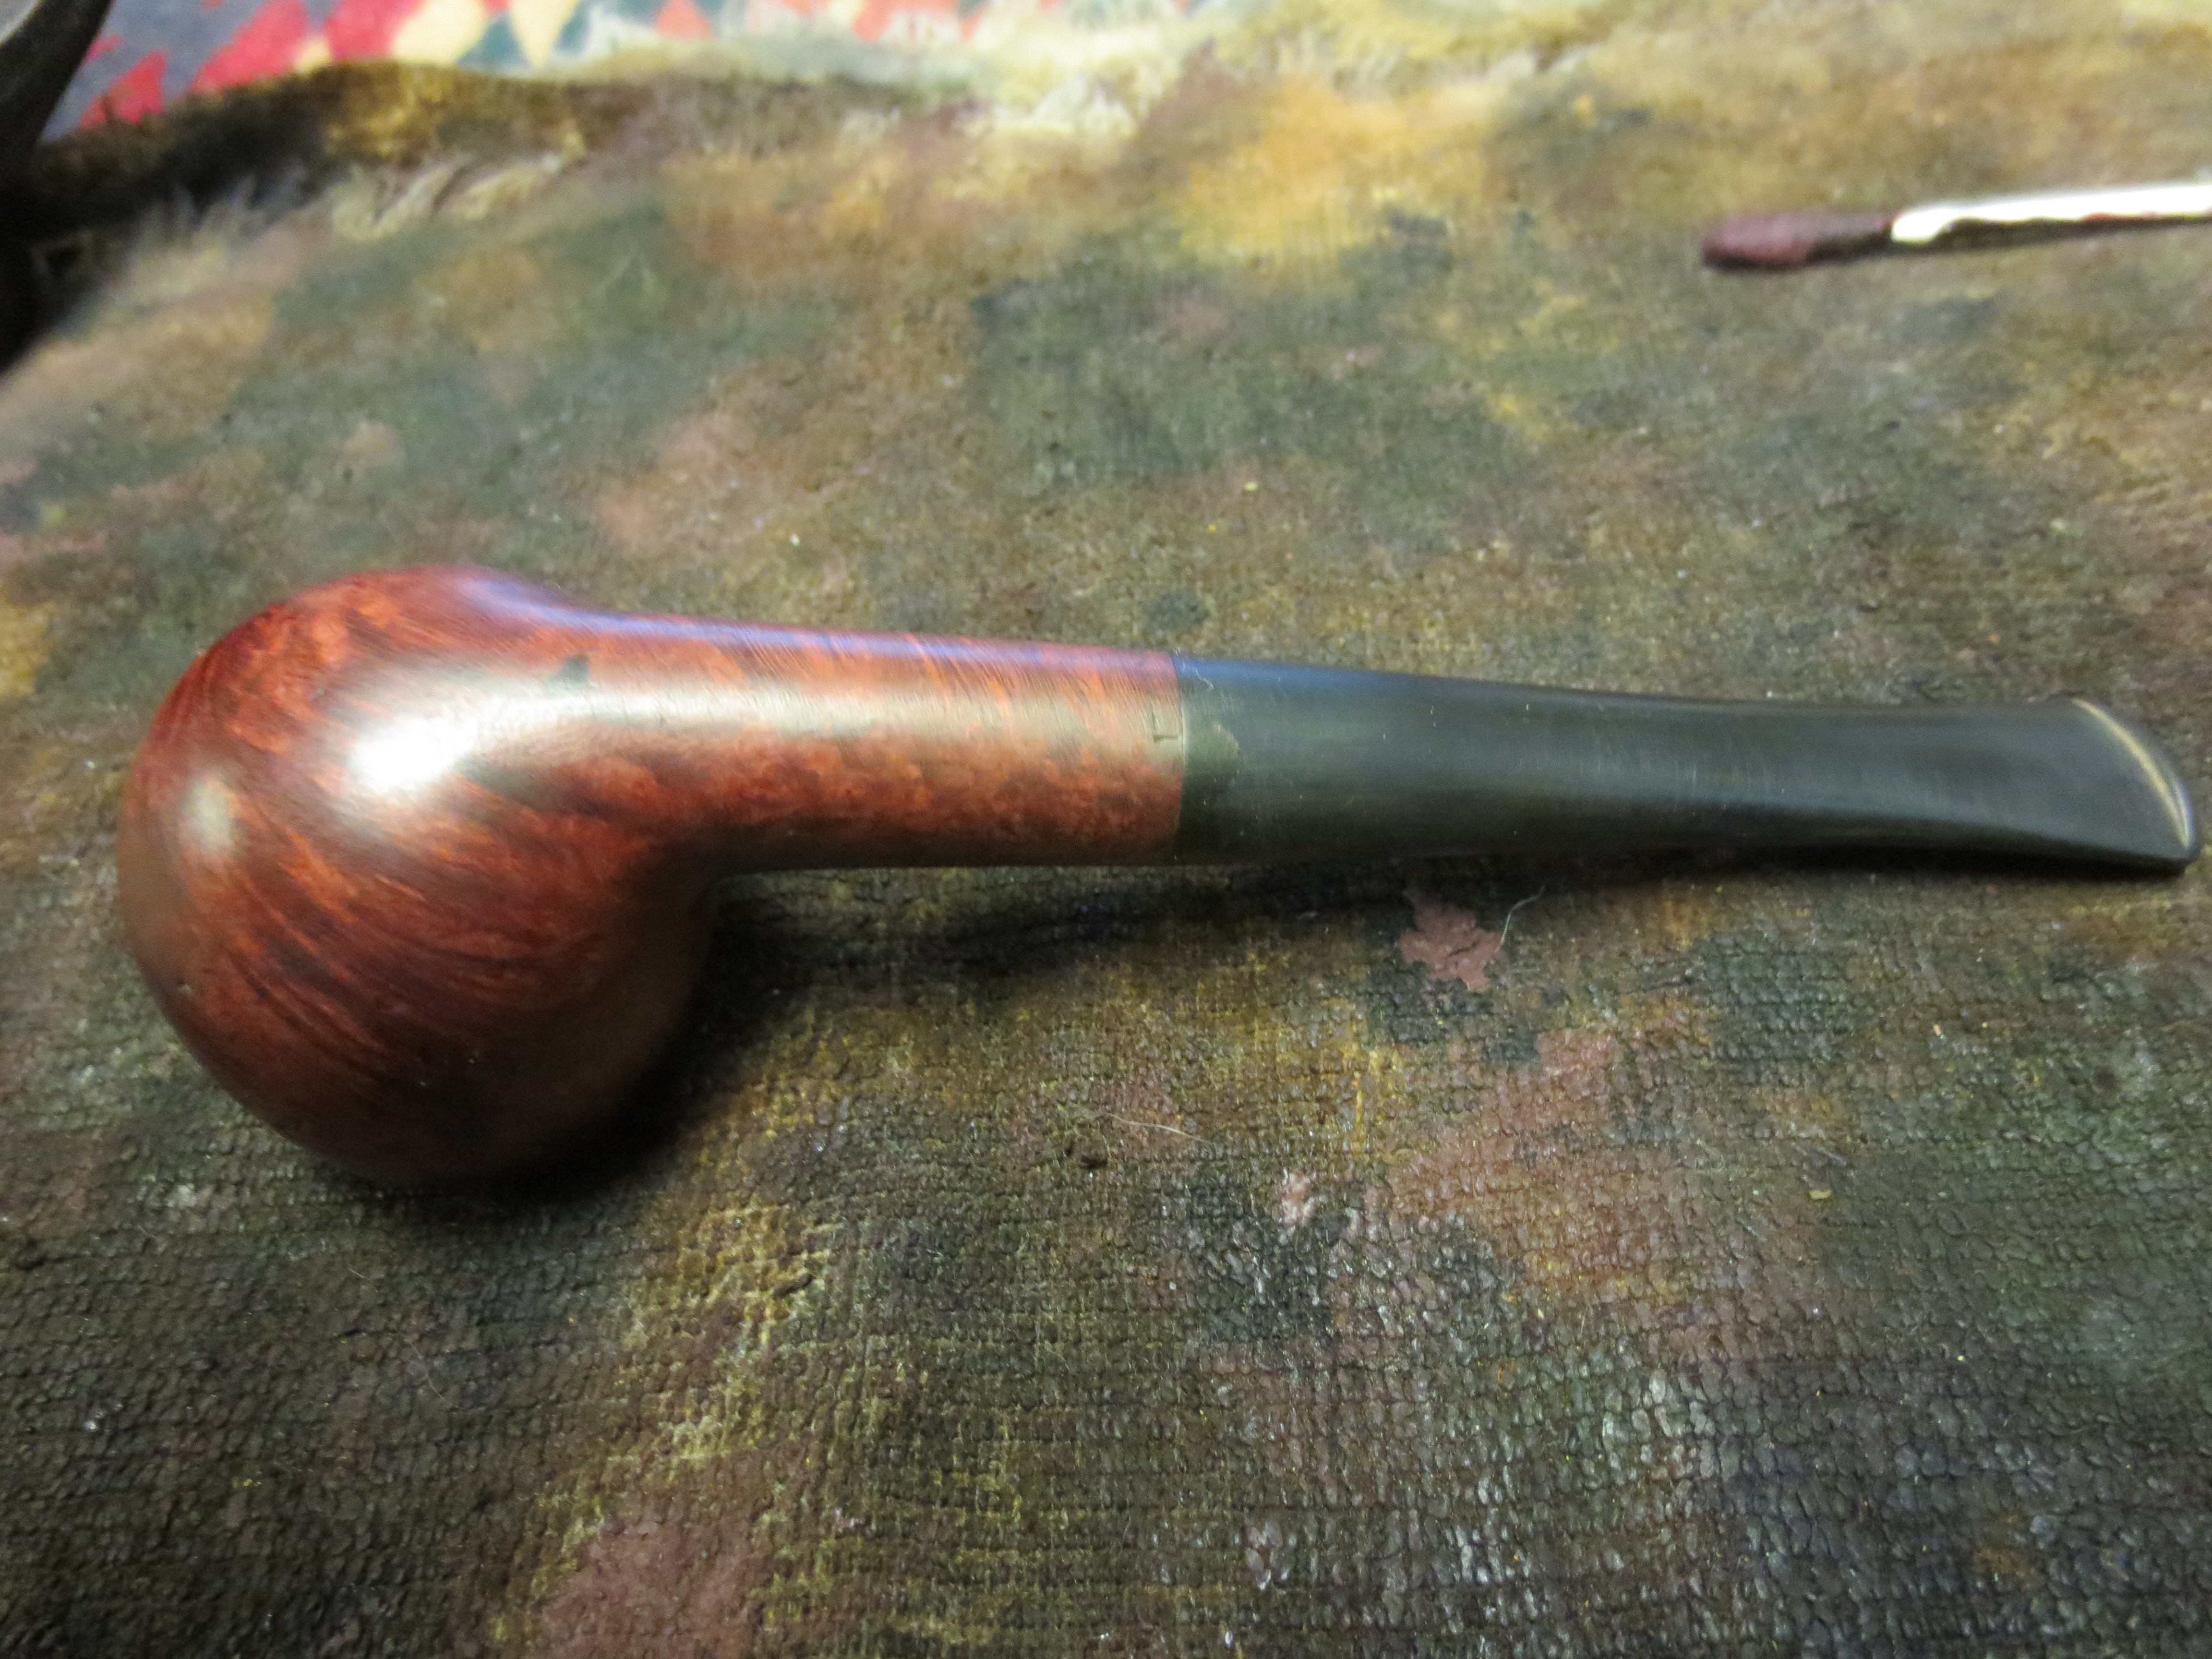
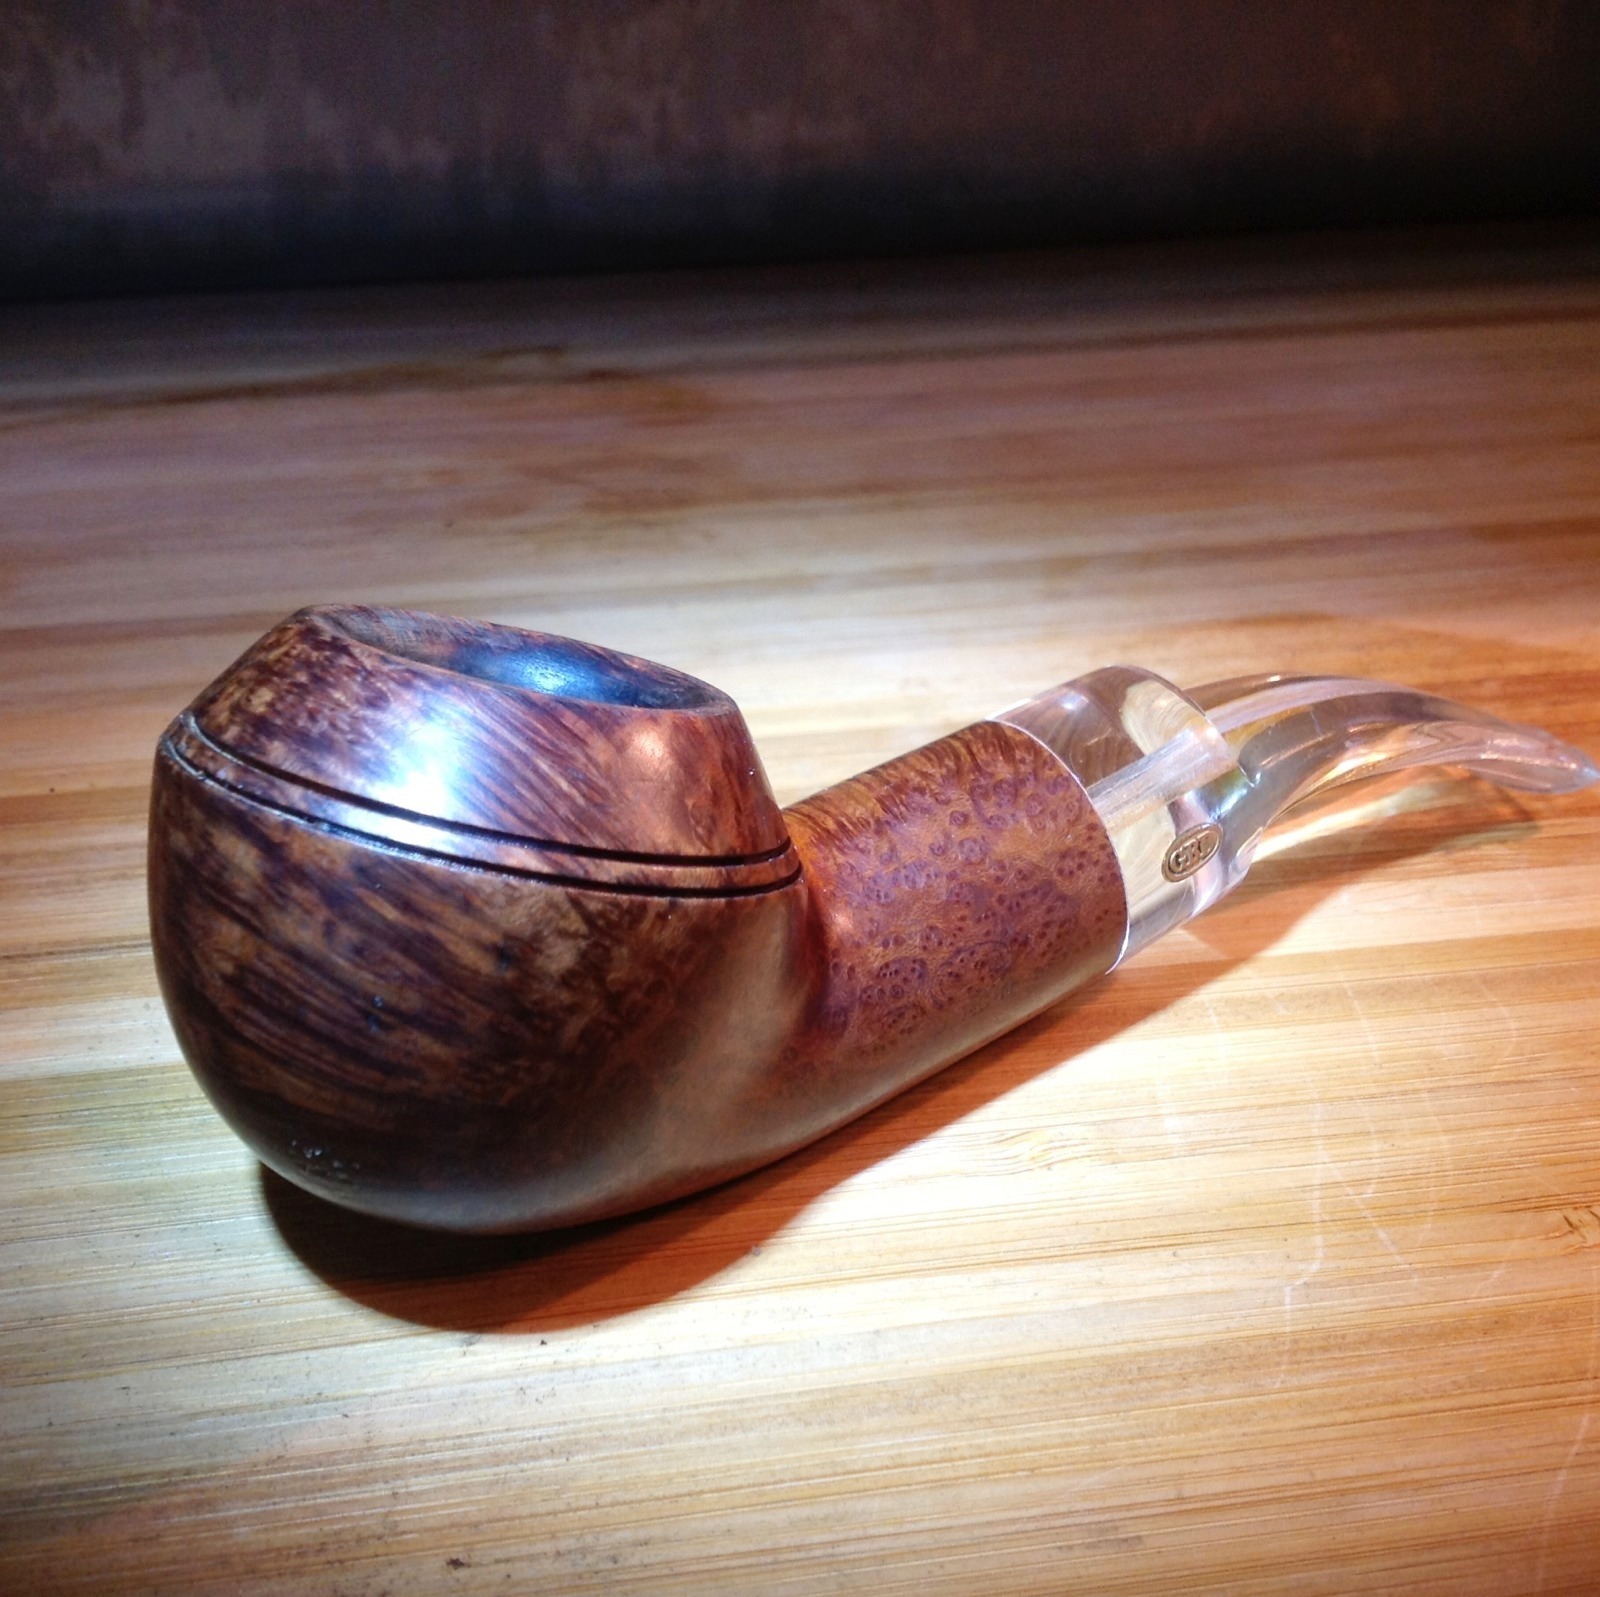
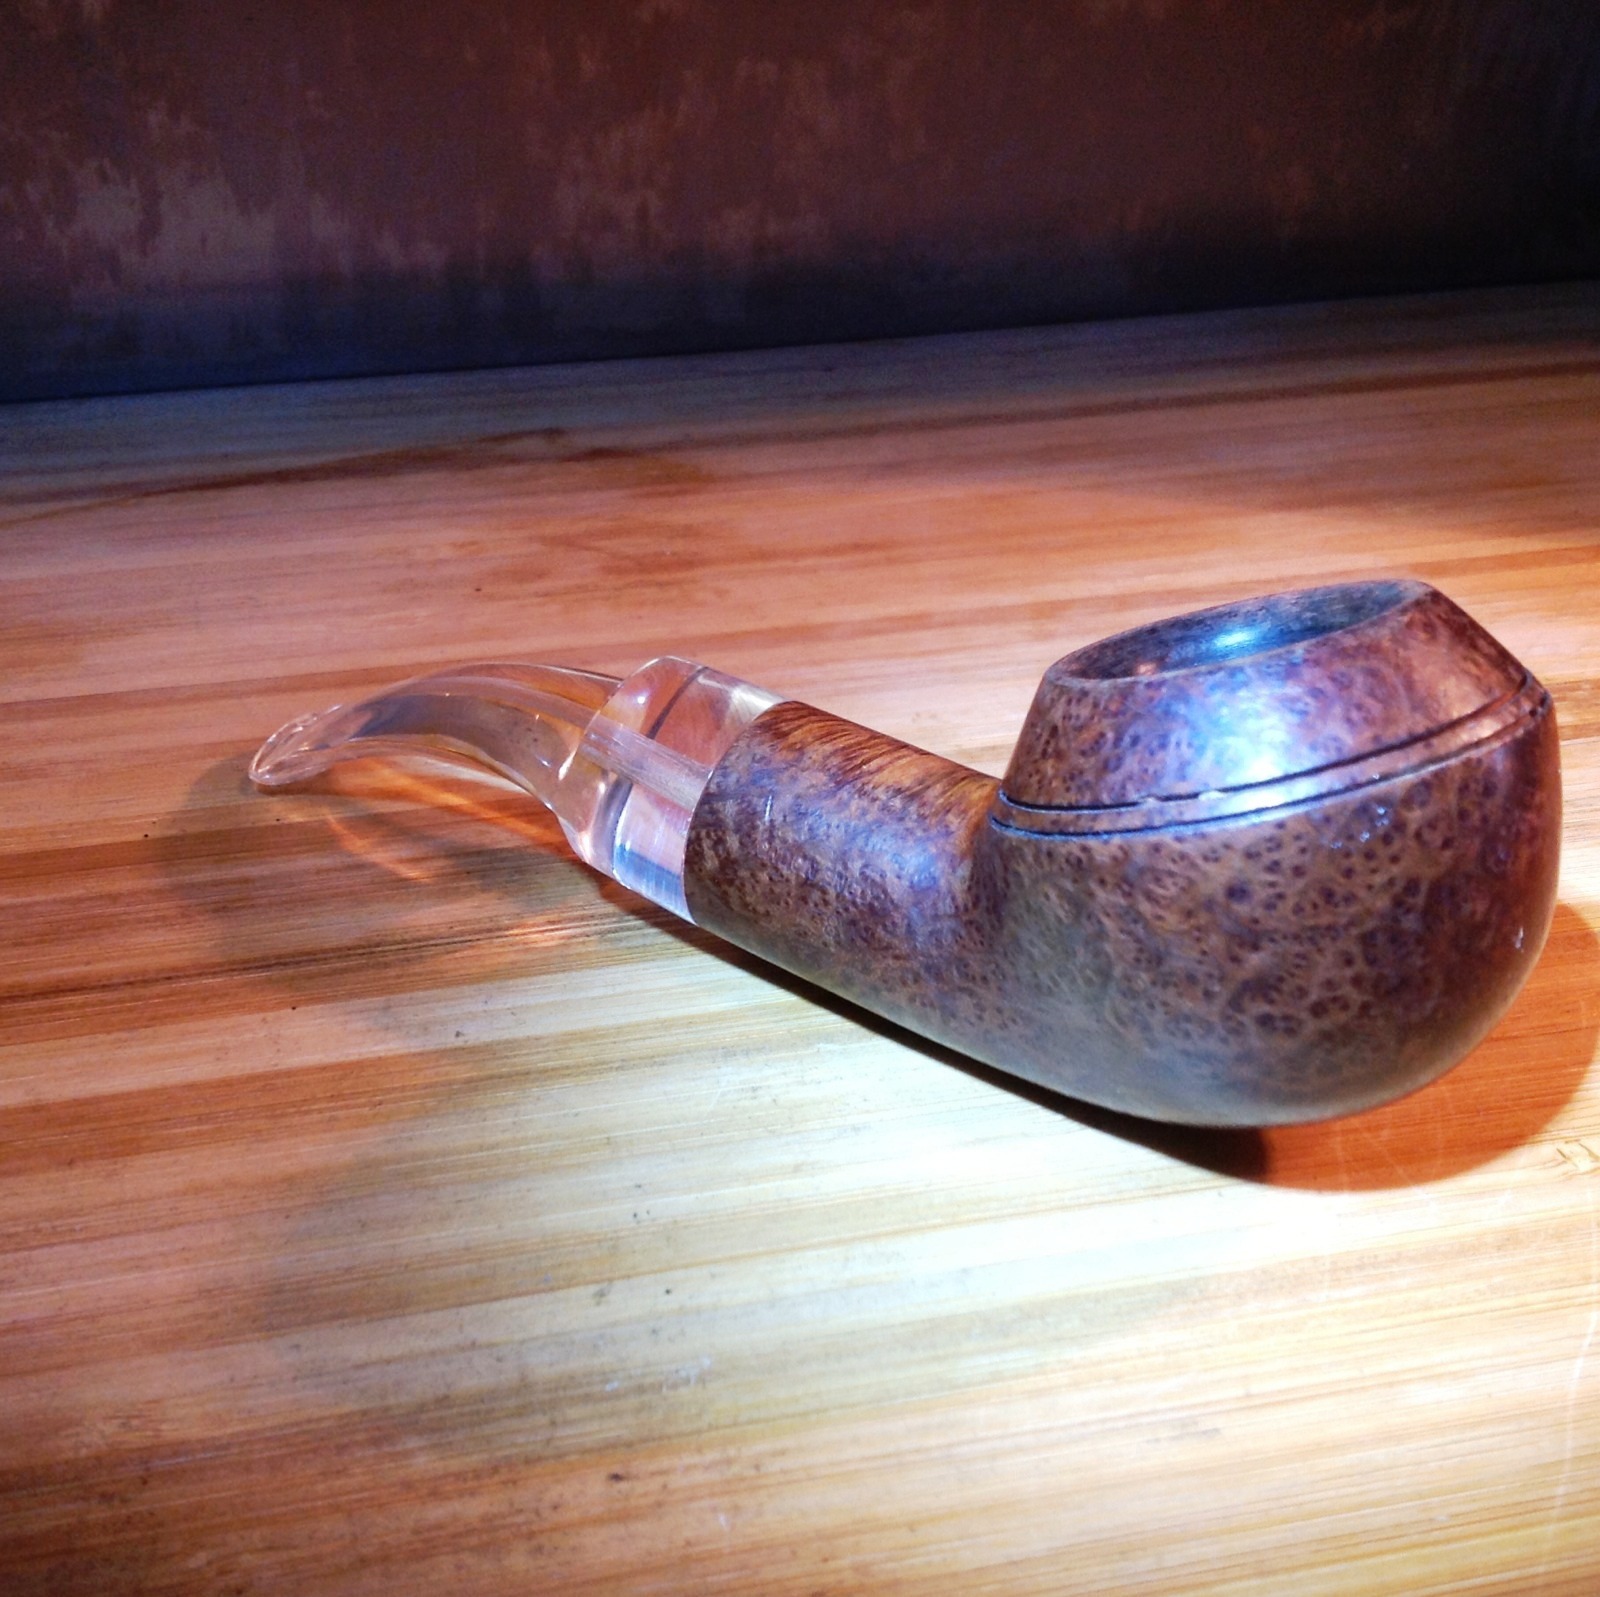
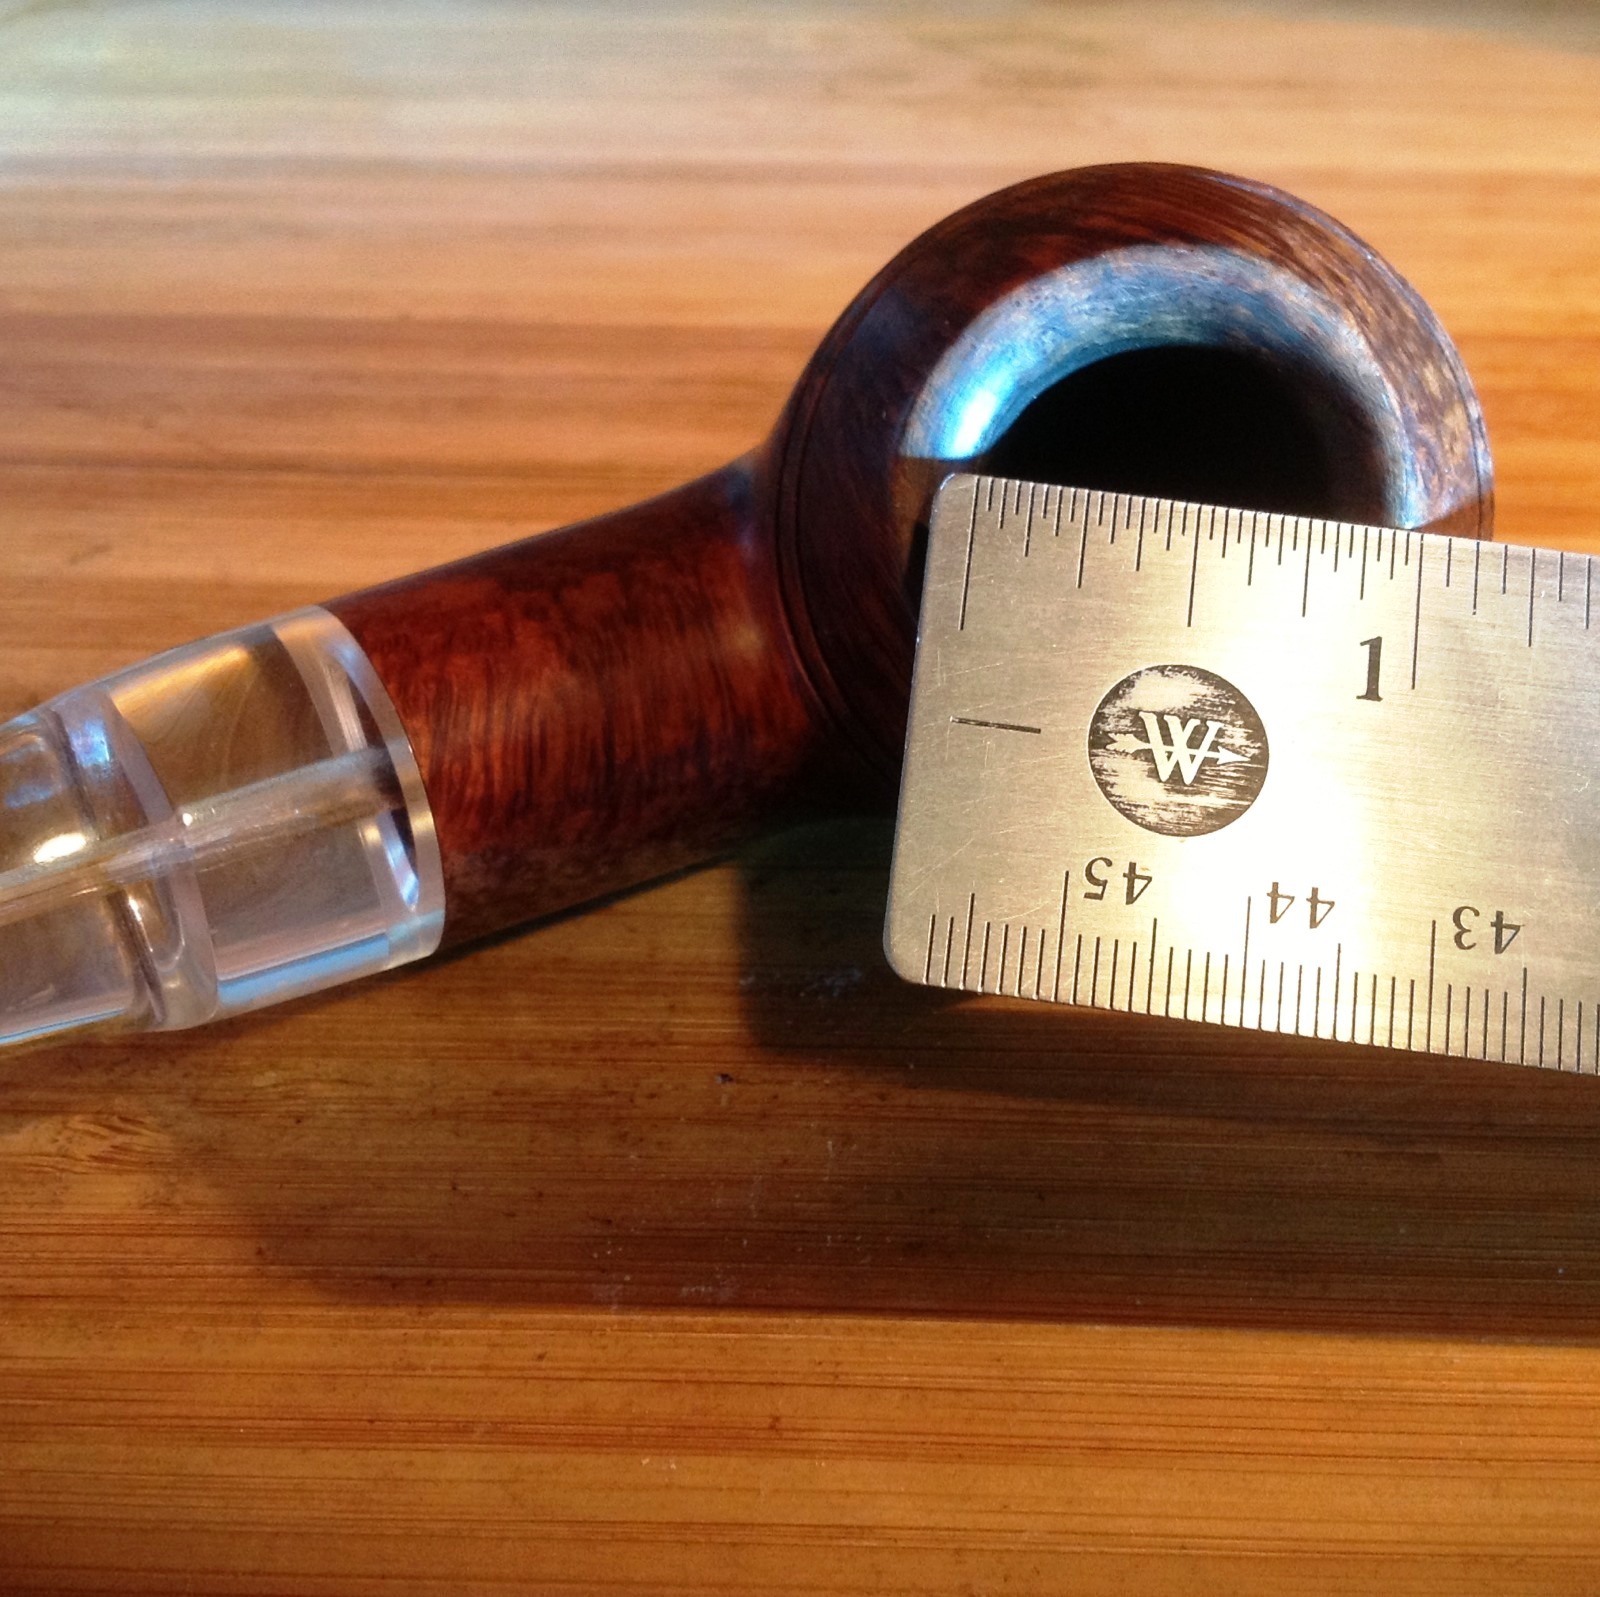
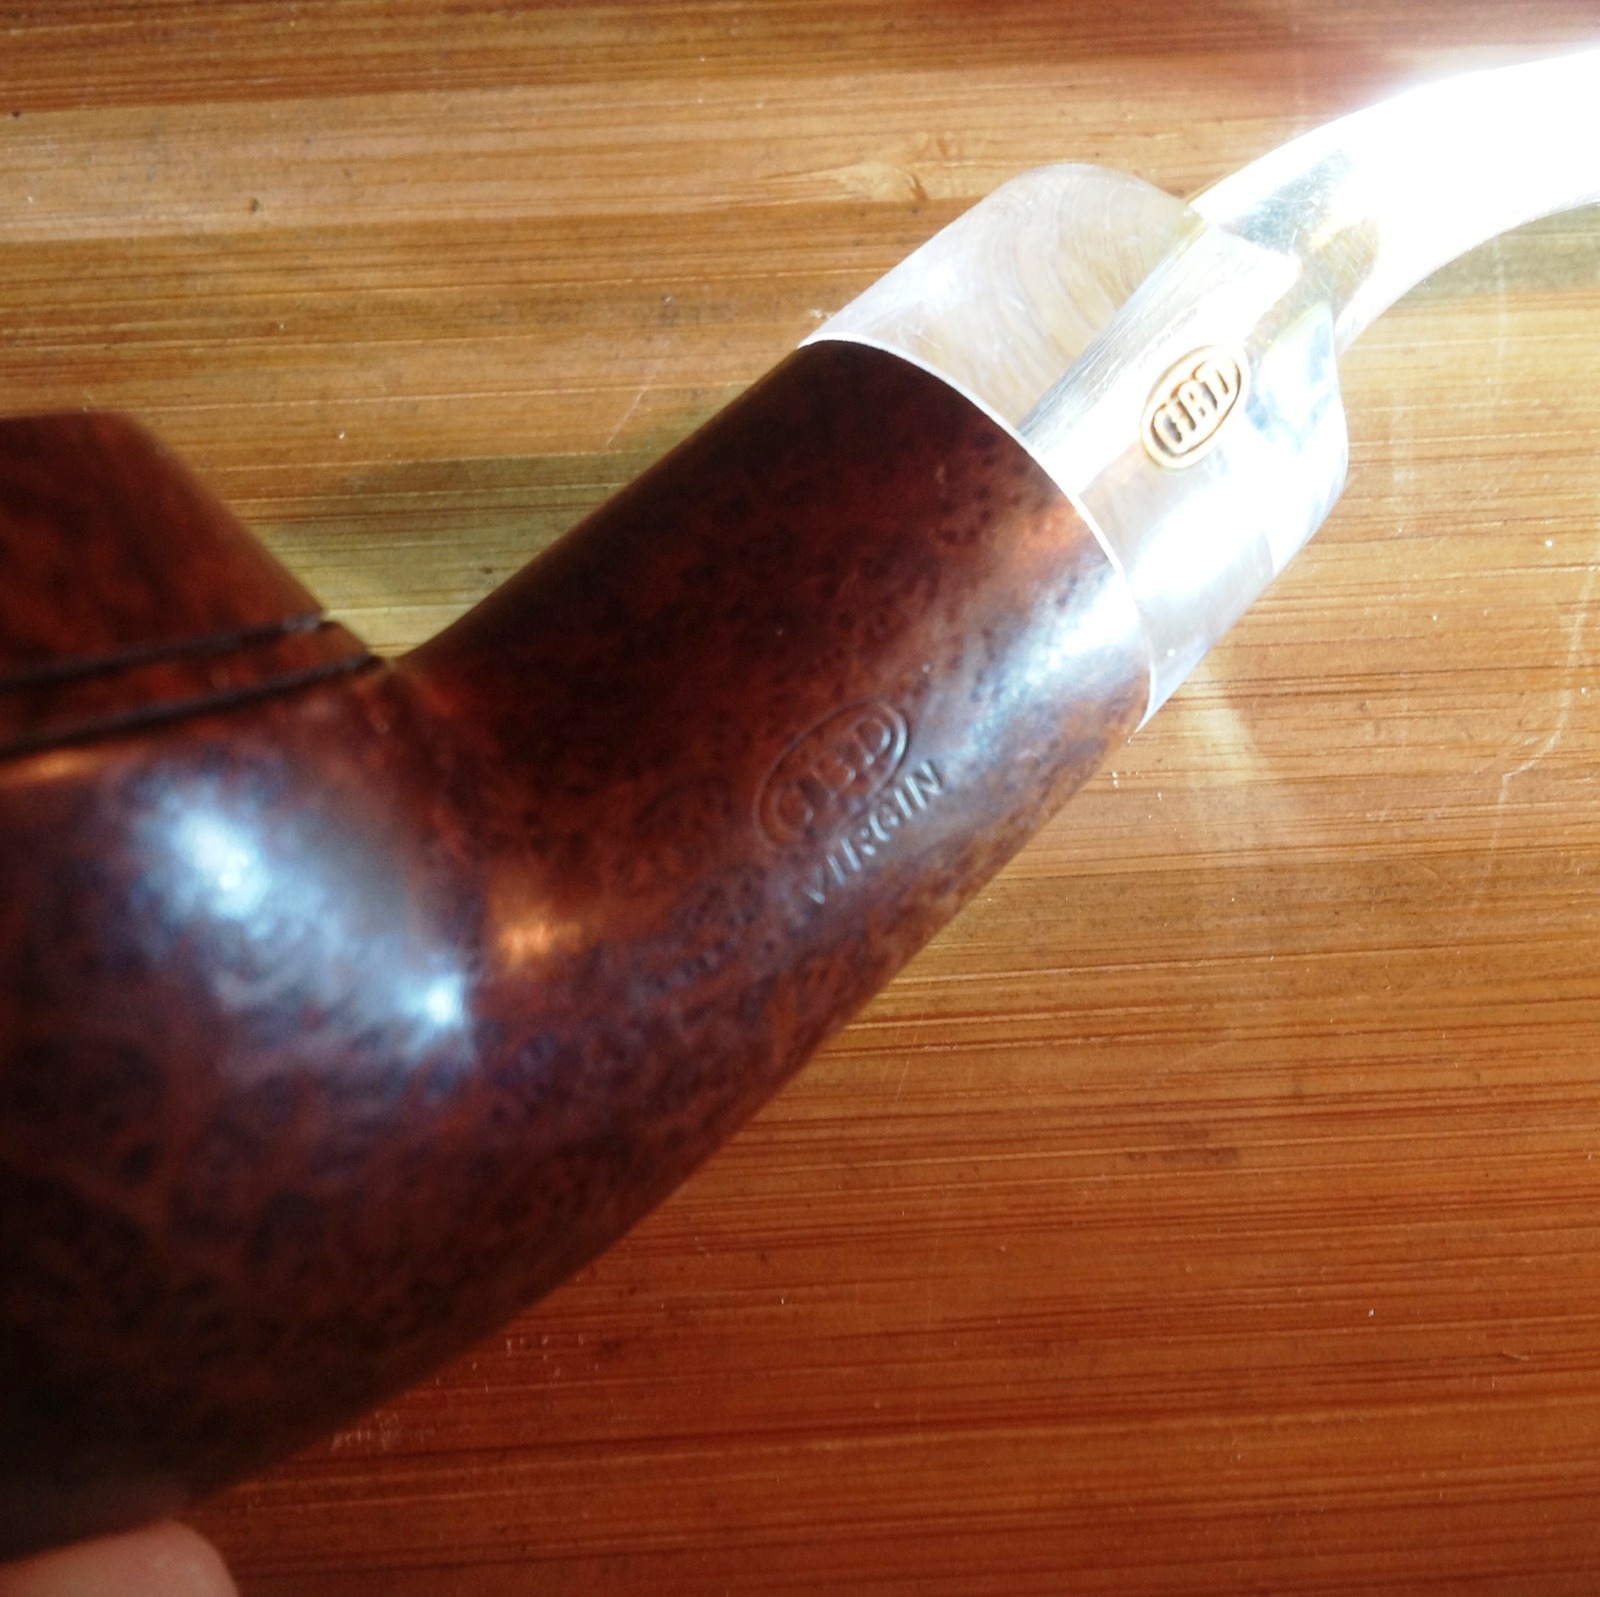
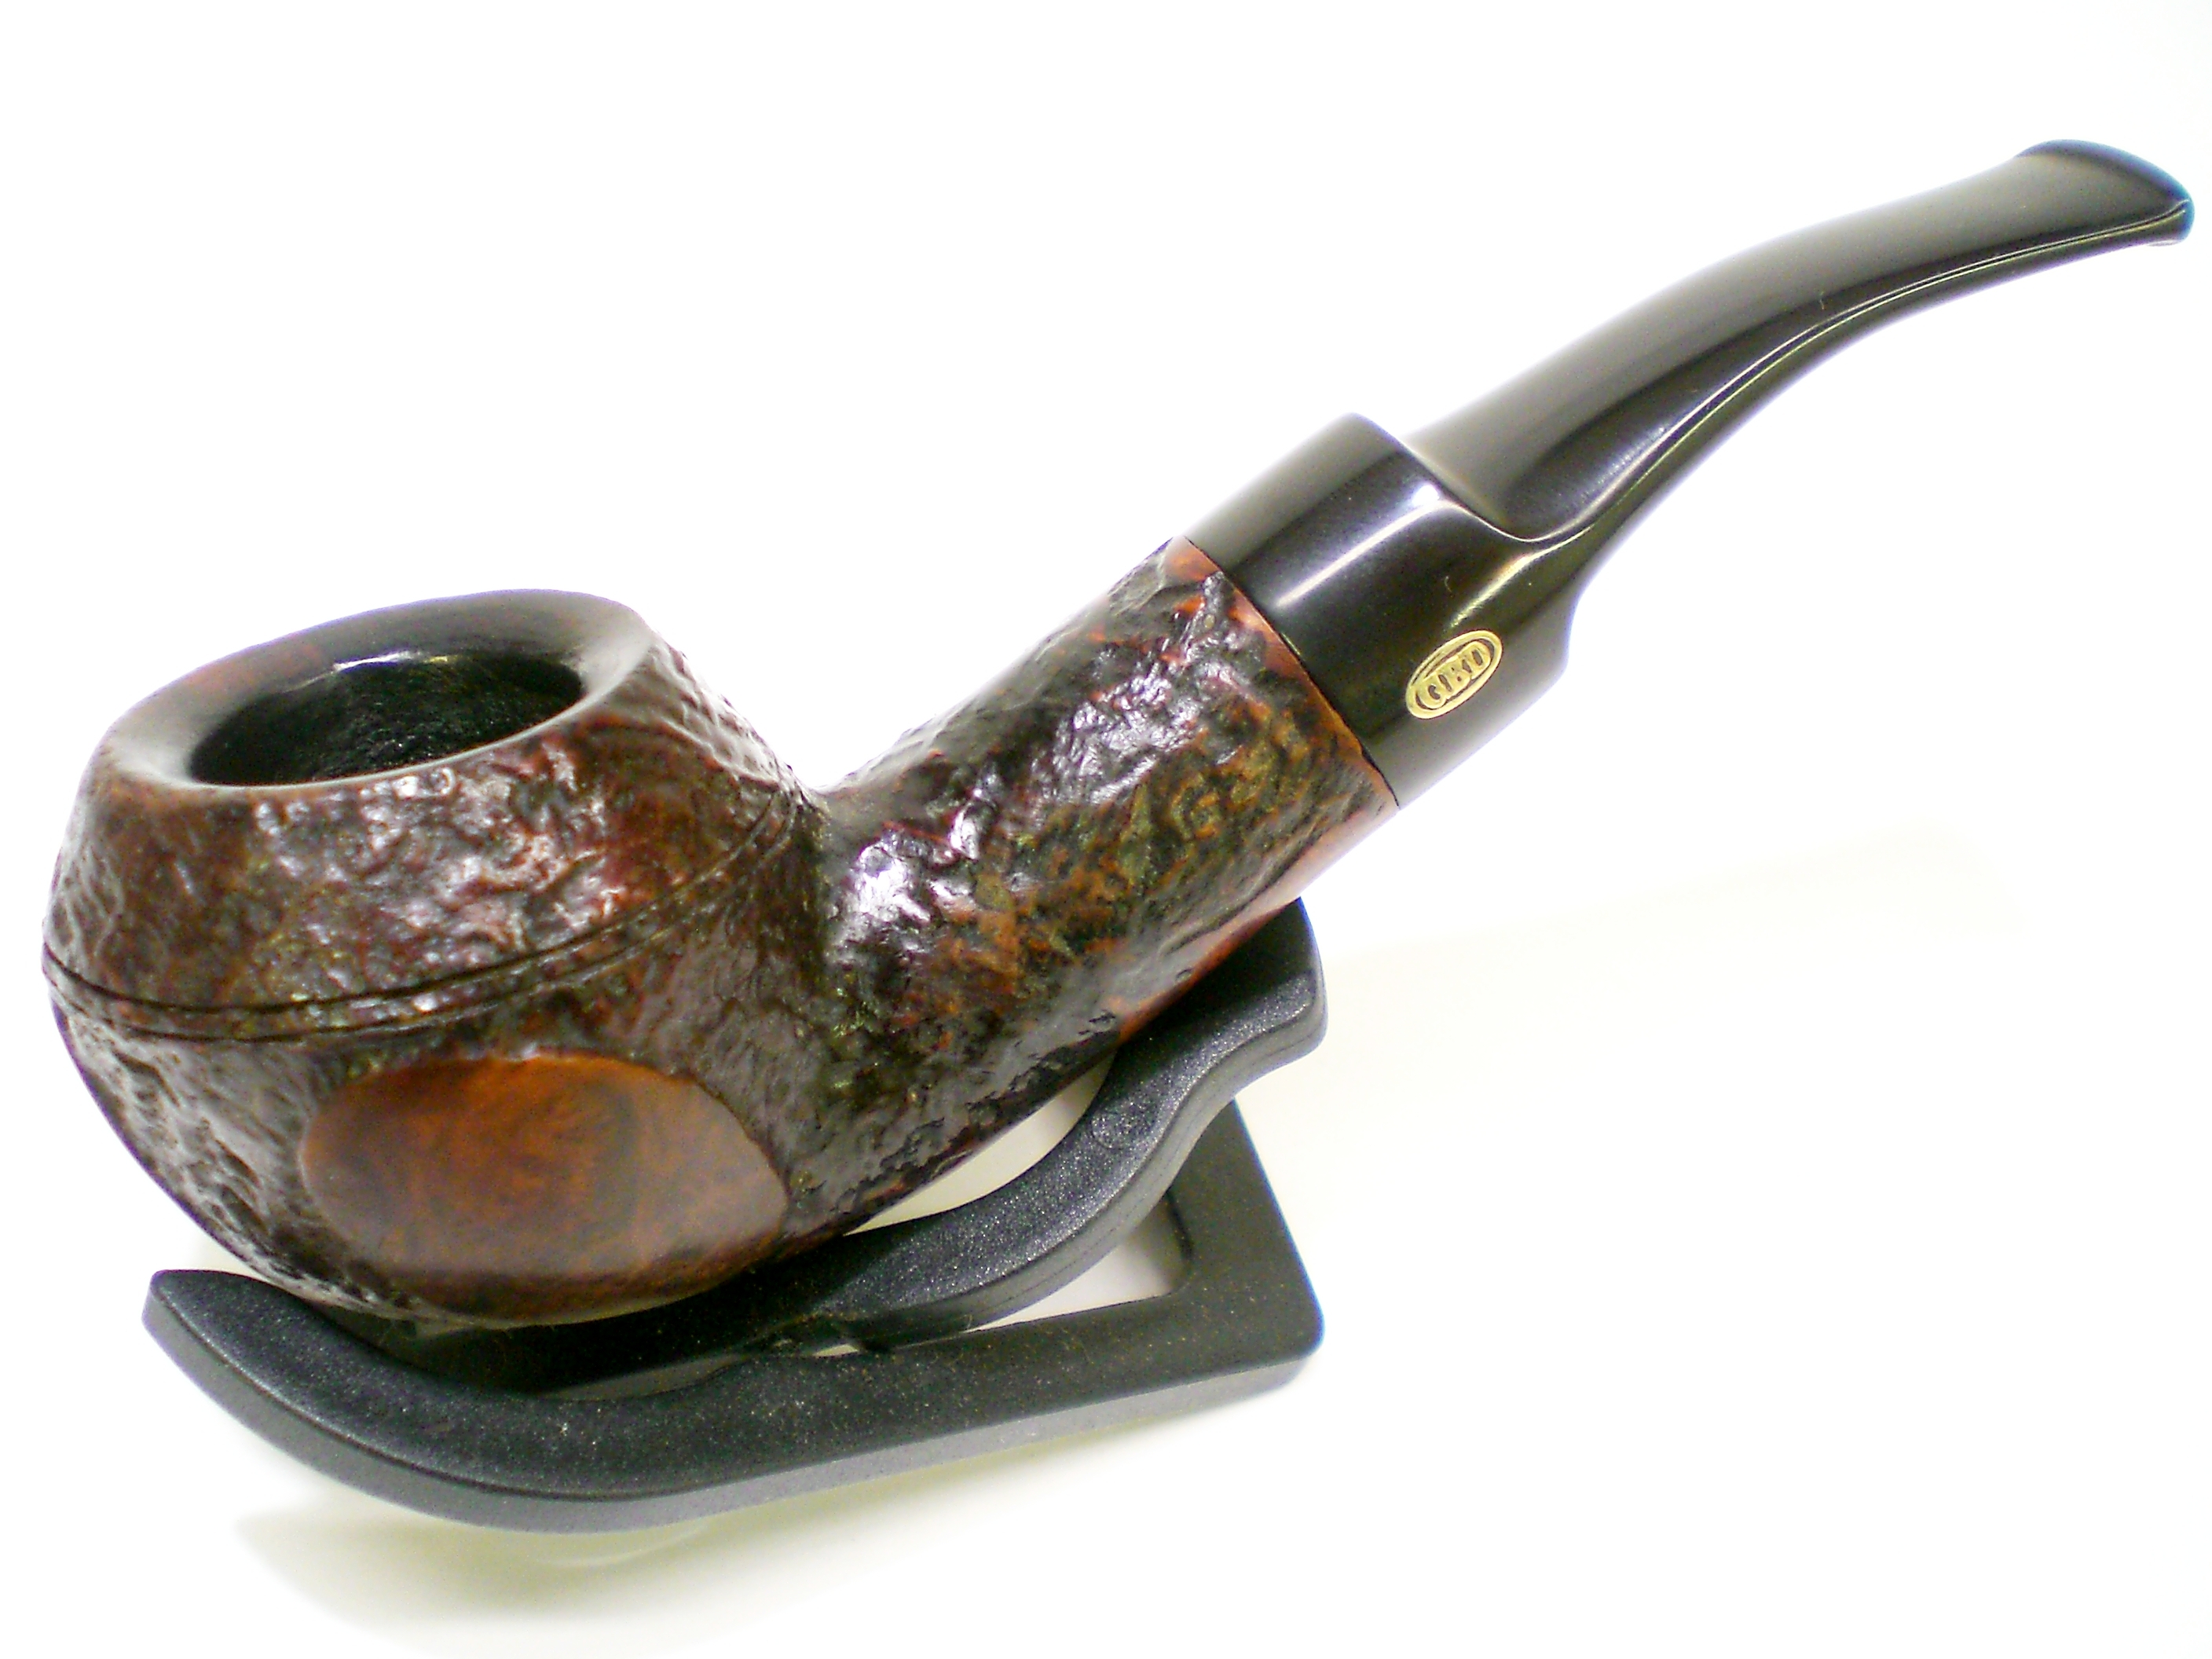
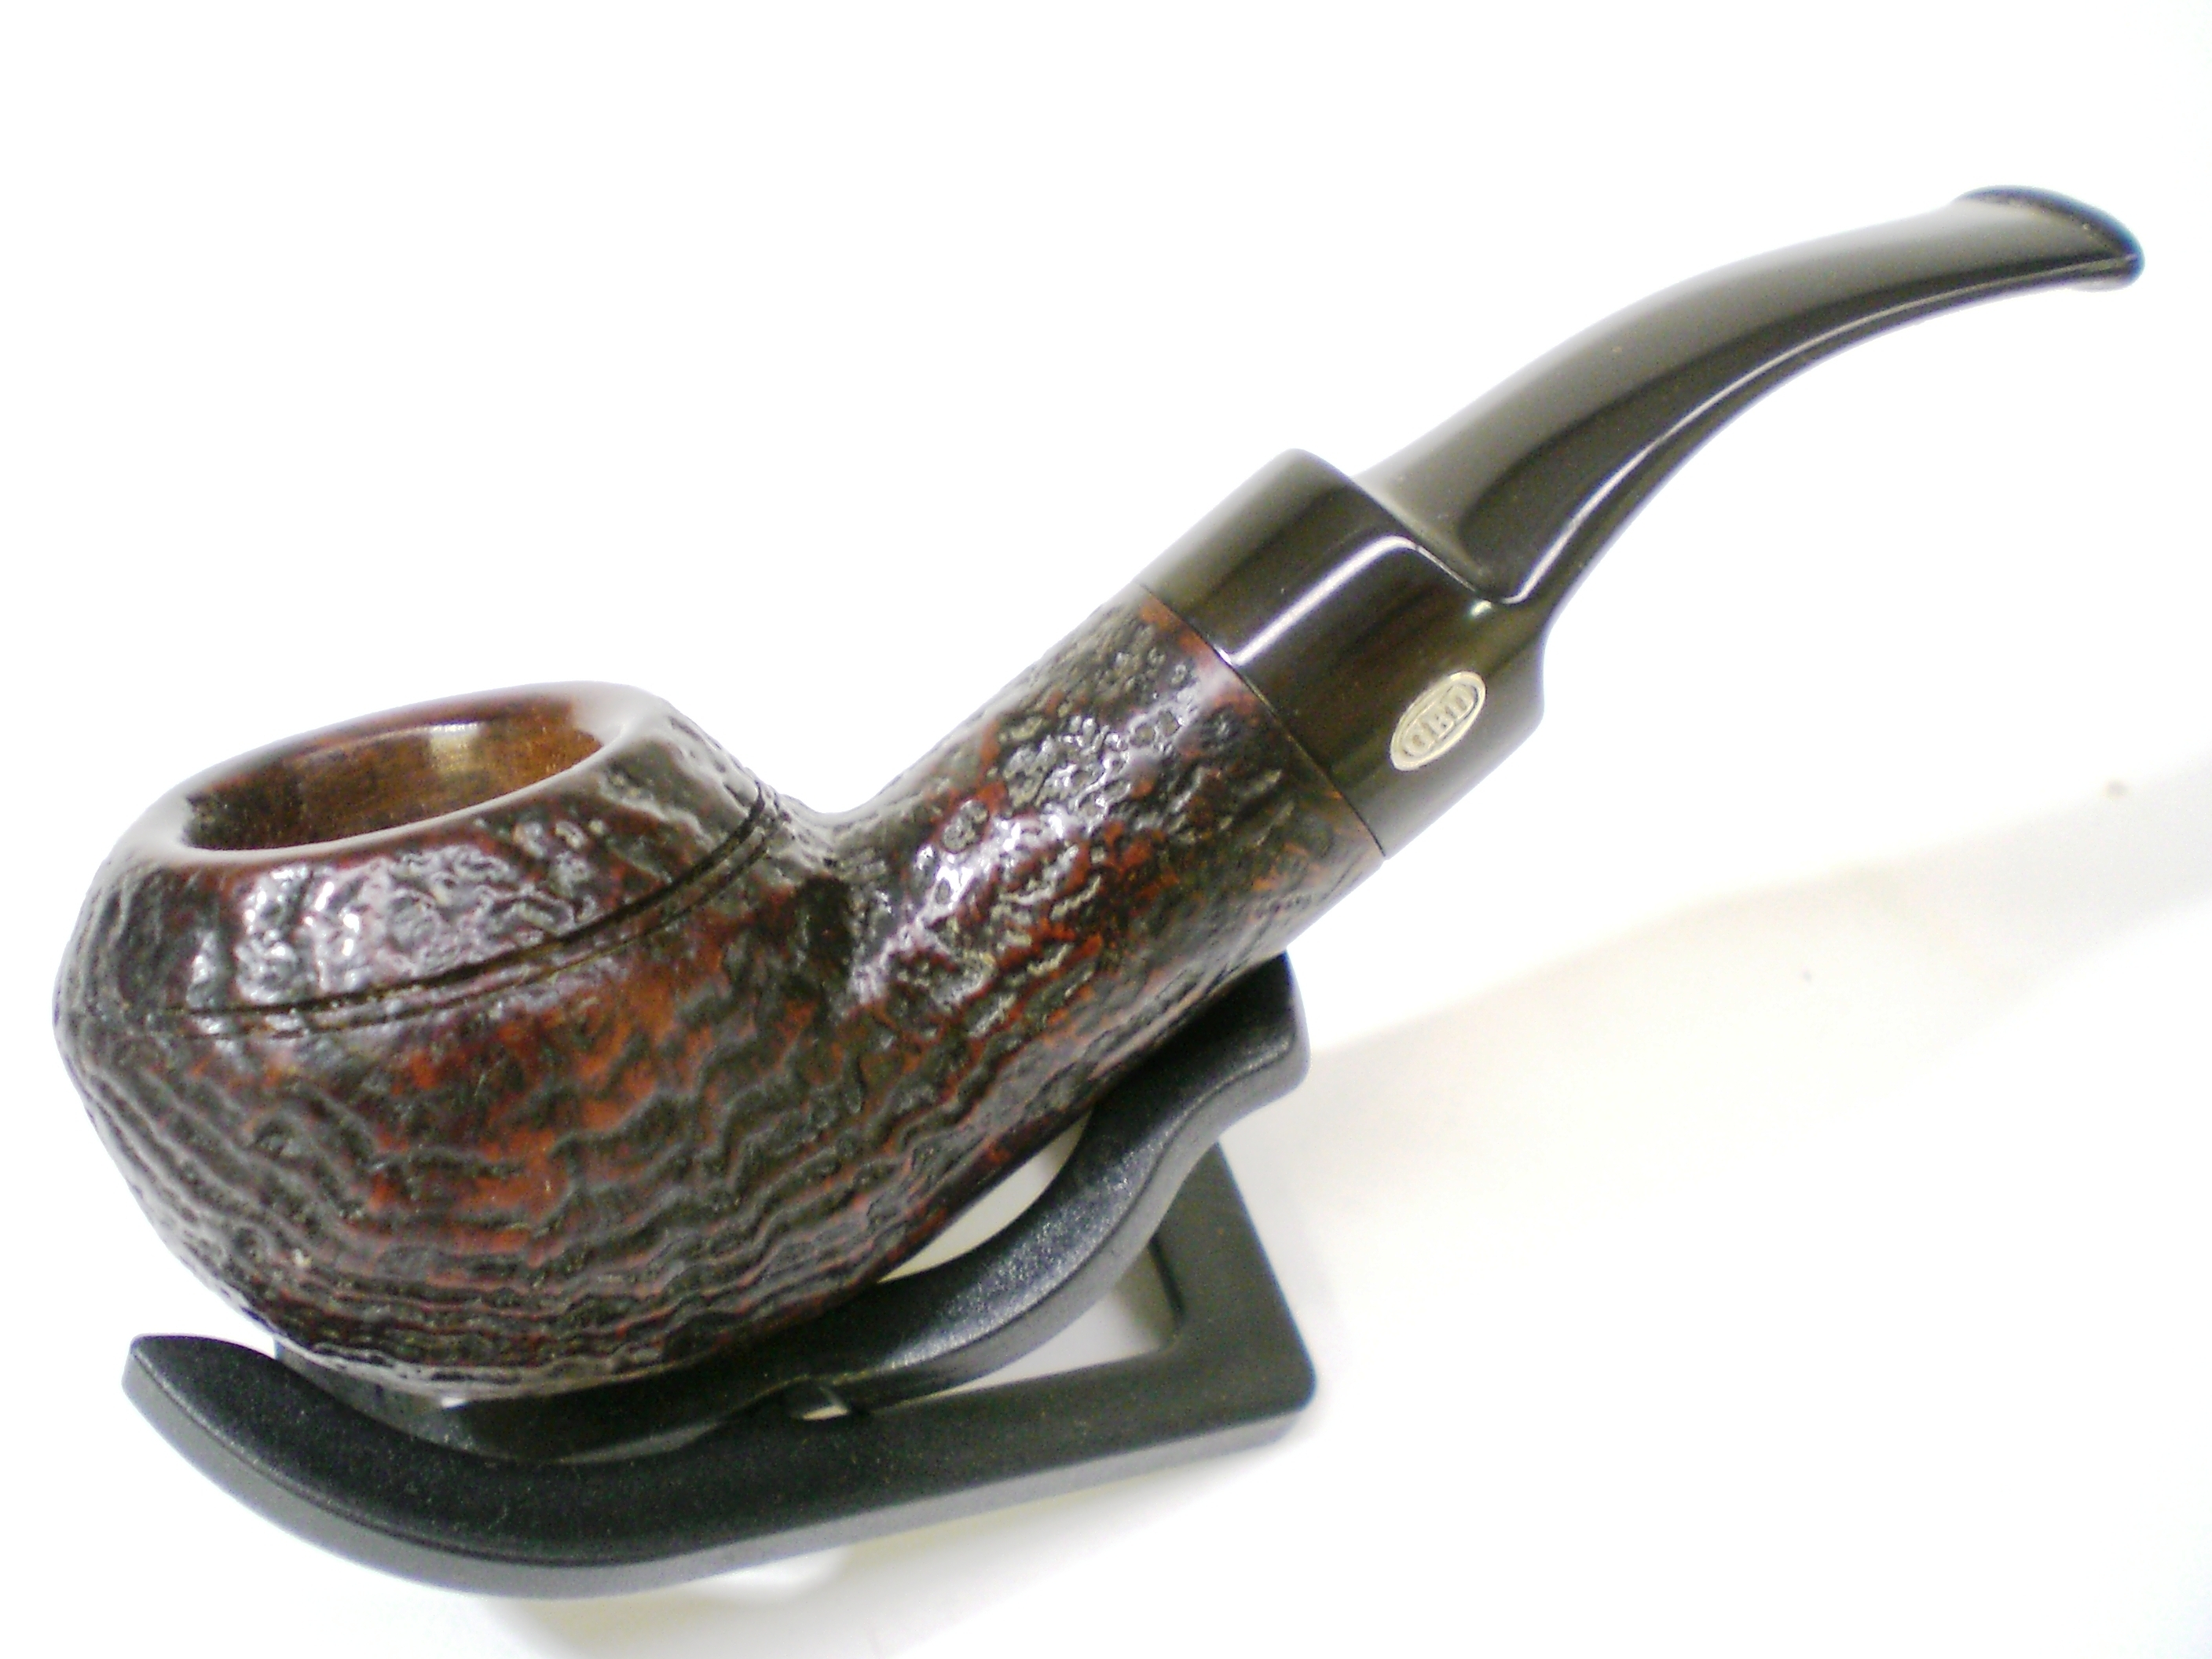
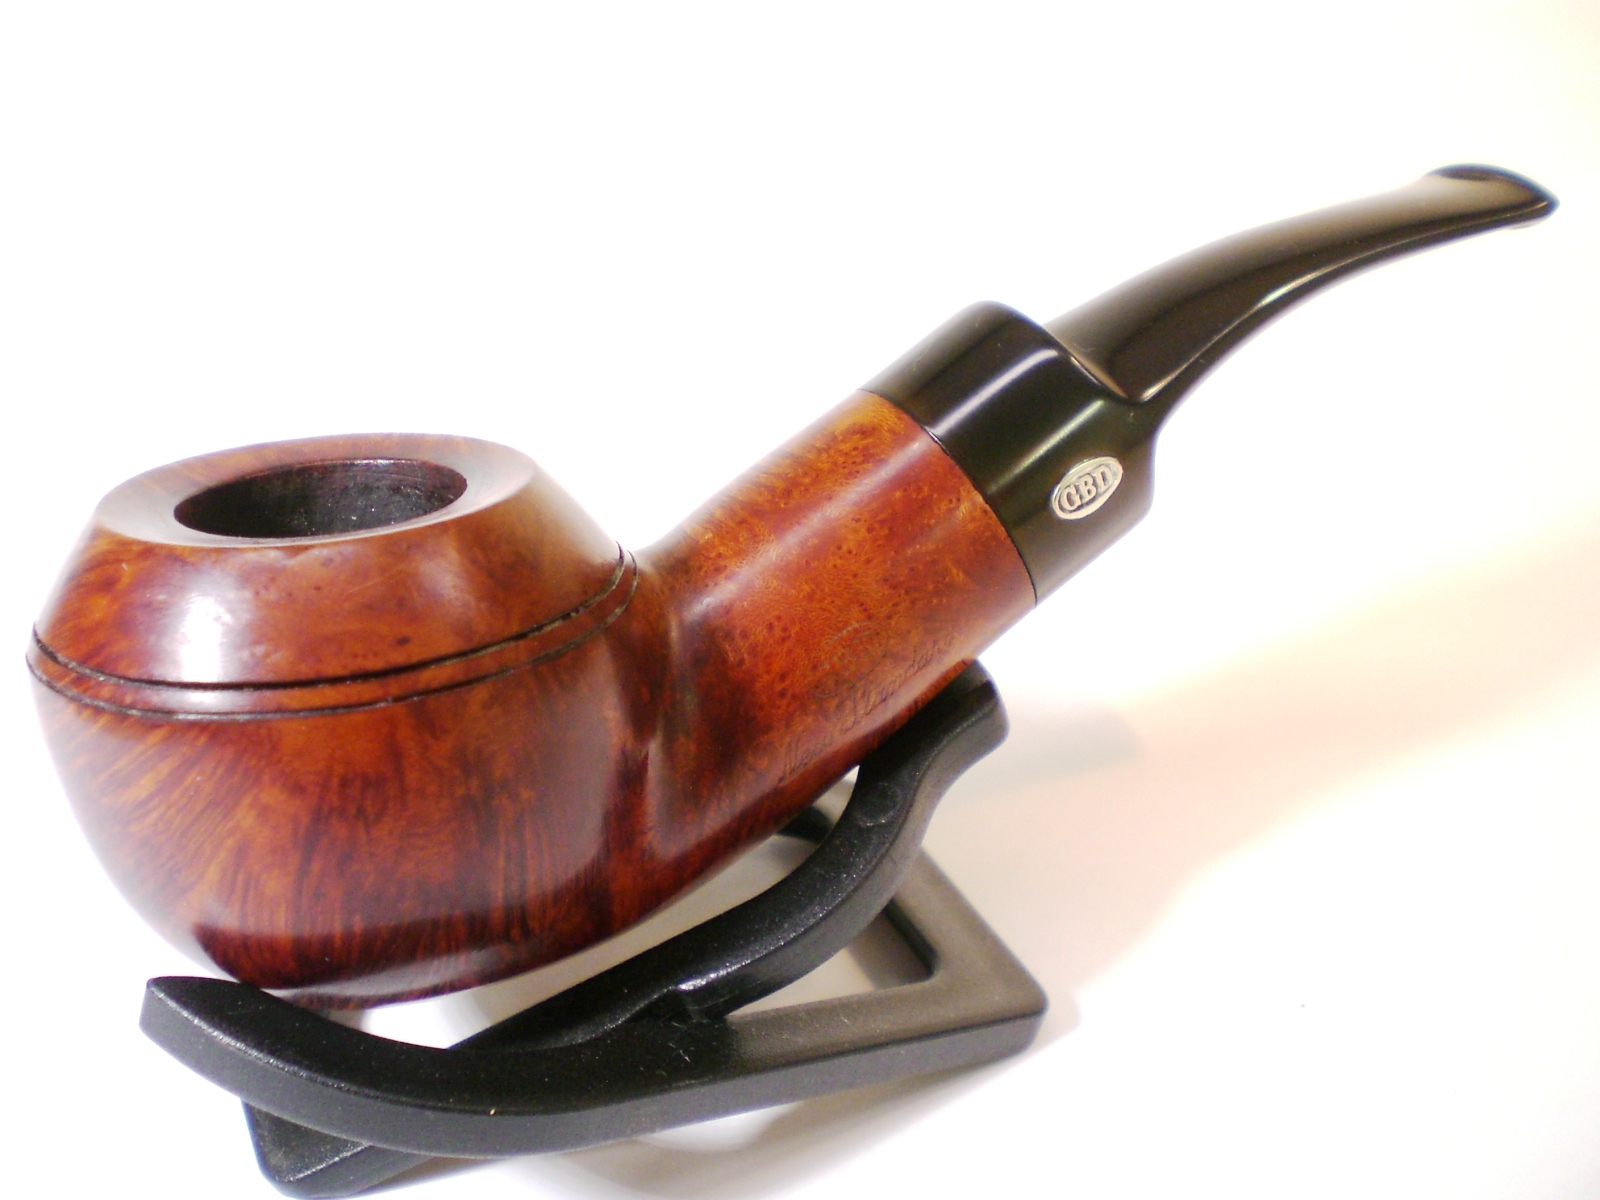
After I buffed it with White Diamond I gave it repeated buffing with carnauba wax to protect the stem and the bowl. The next four photos show the finished pipe.