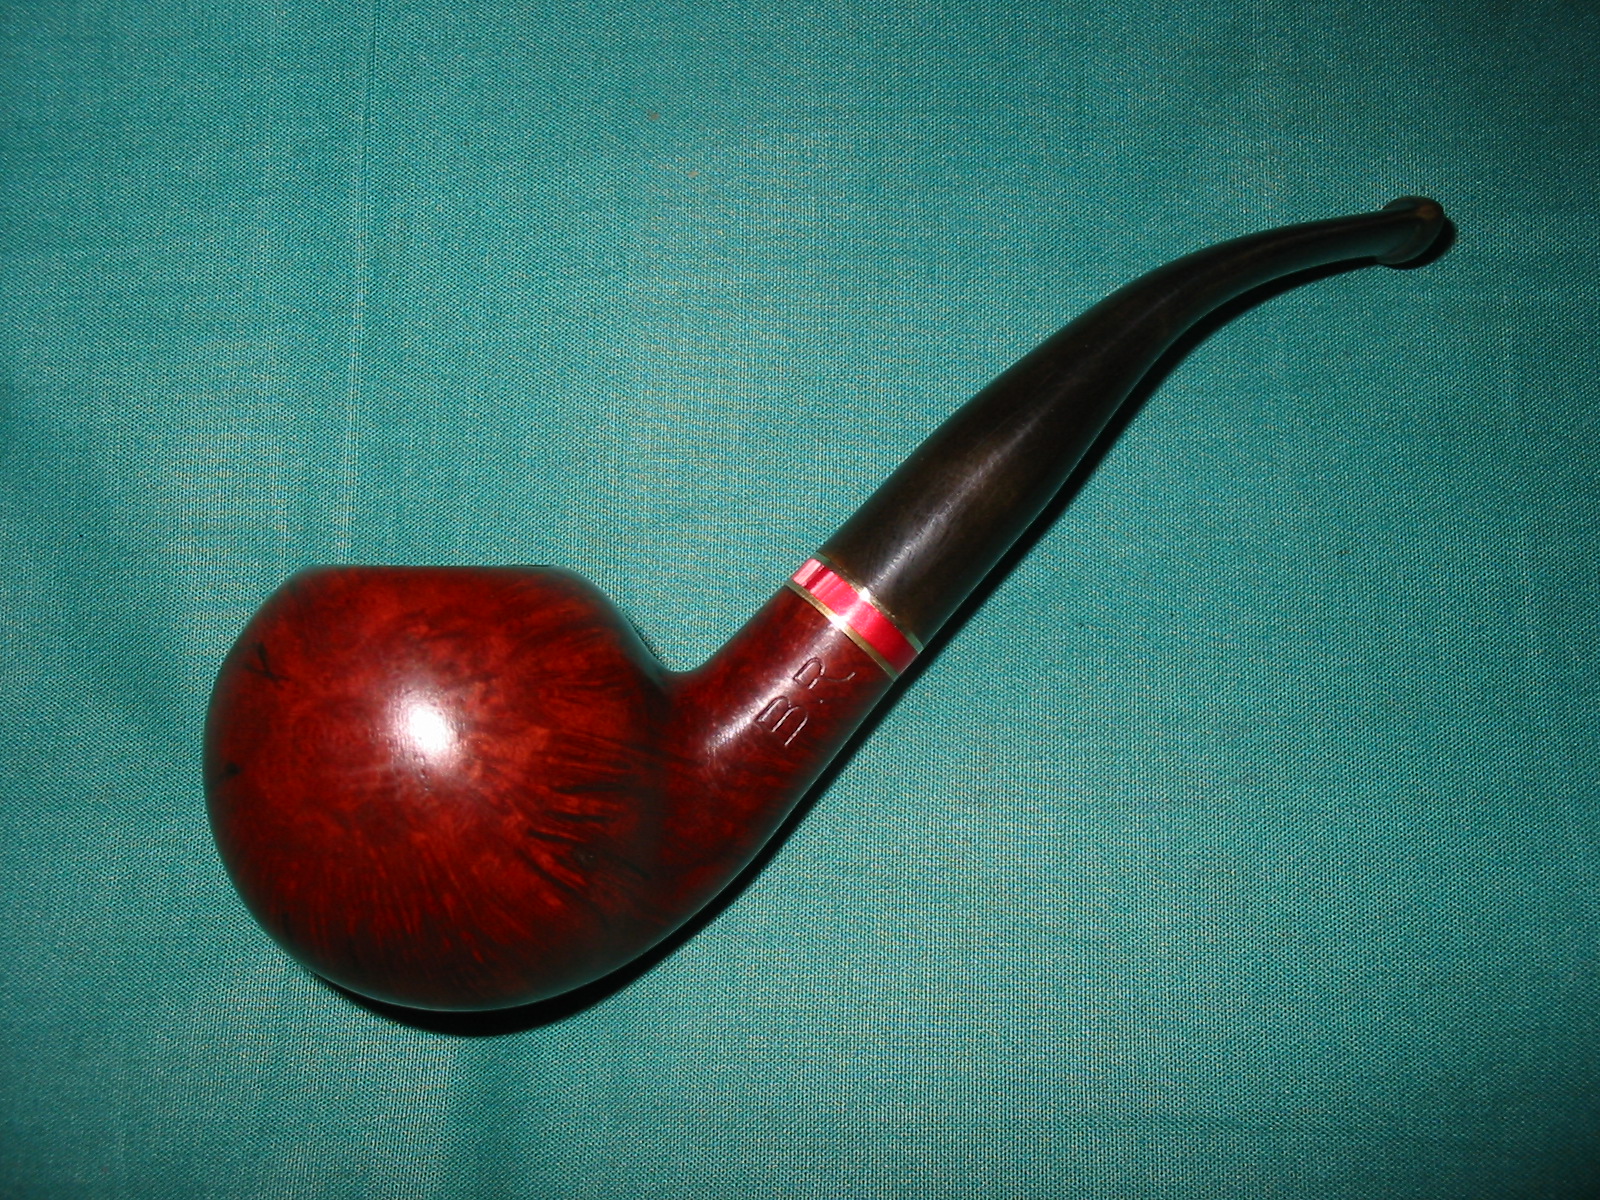
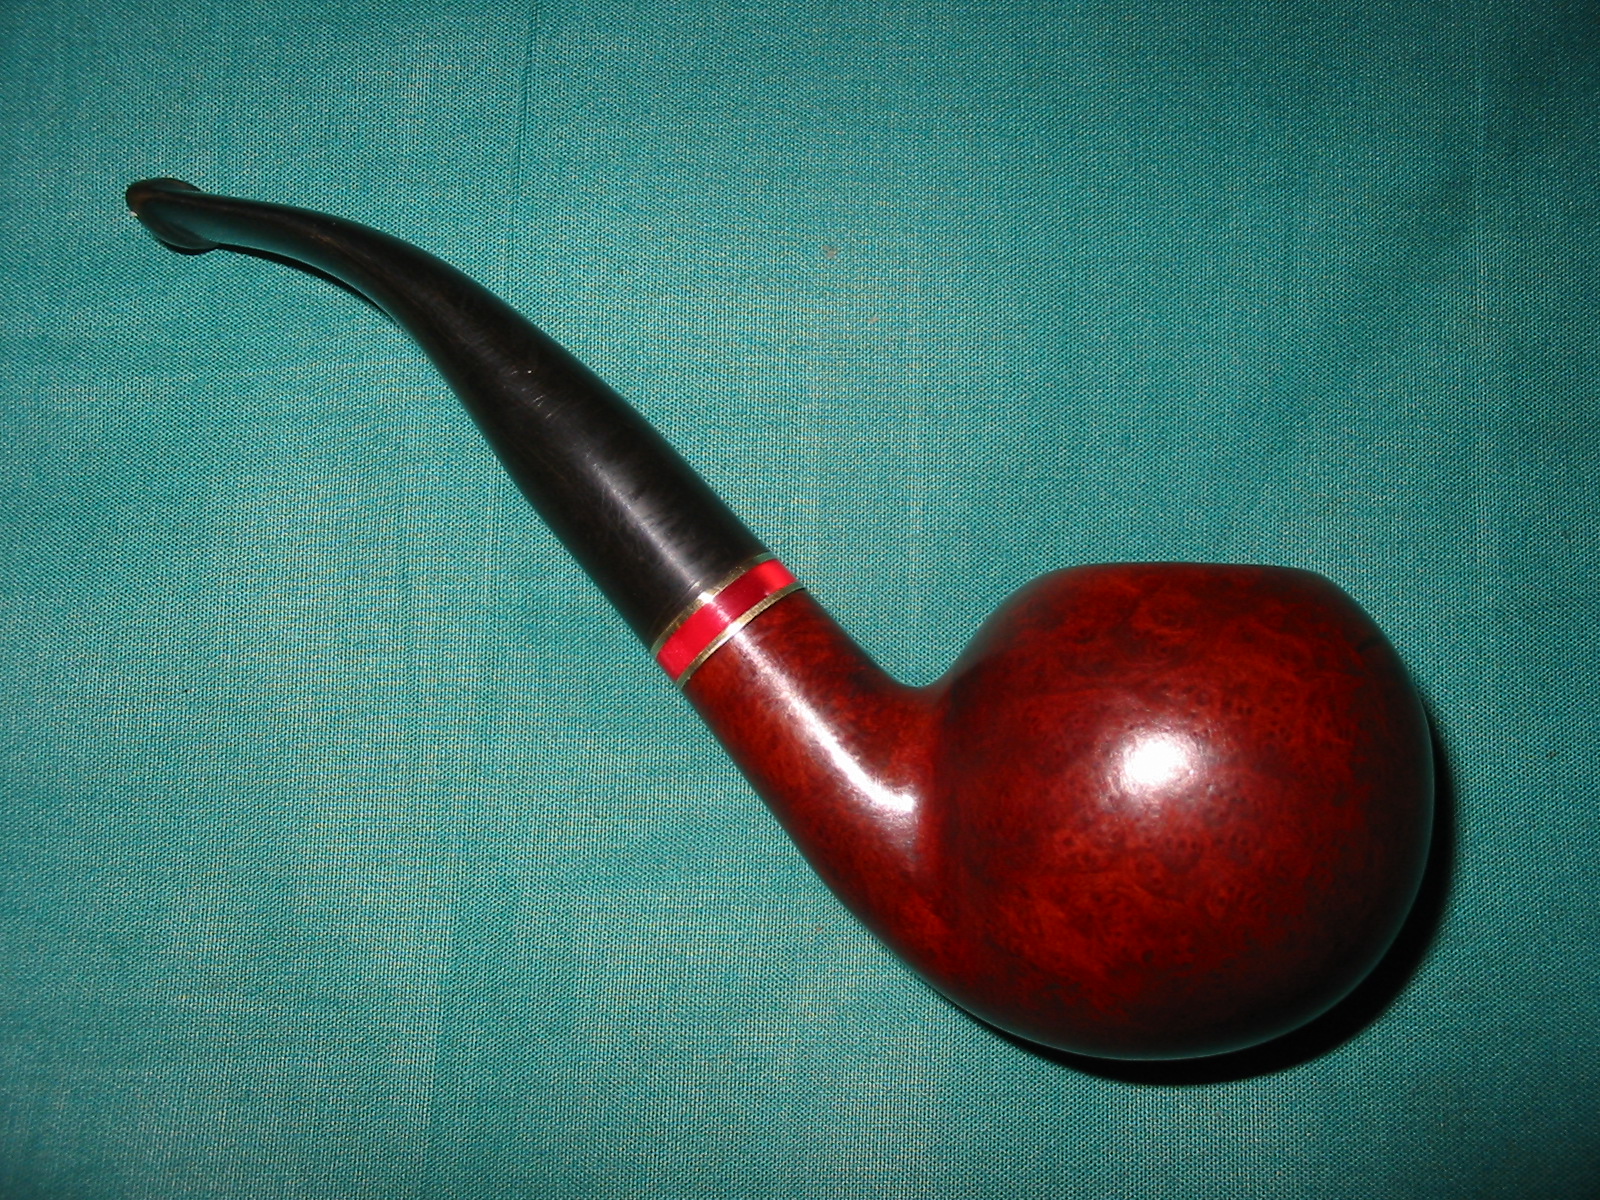
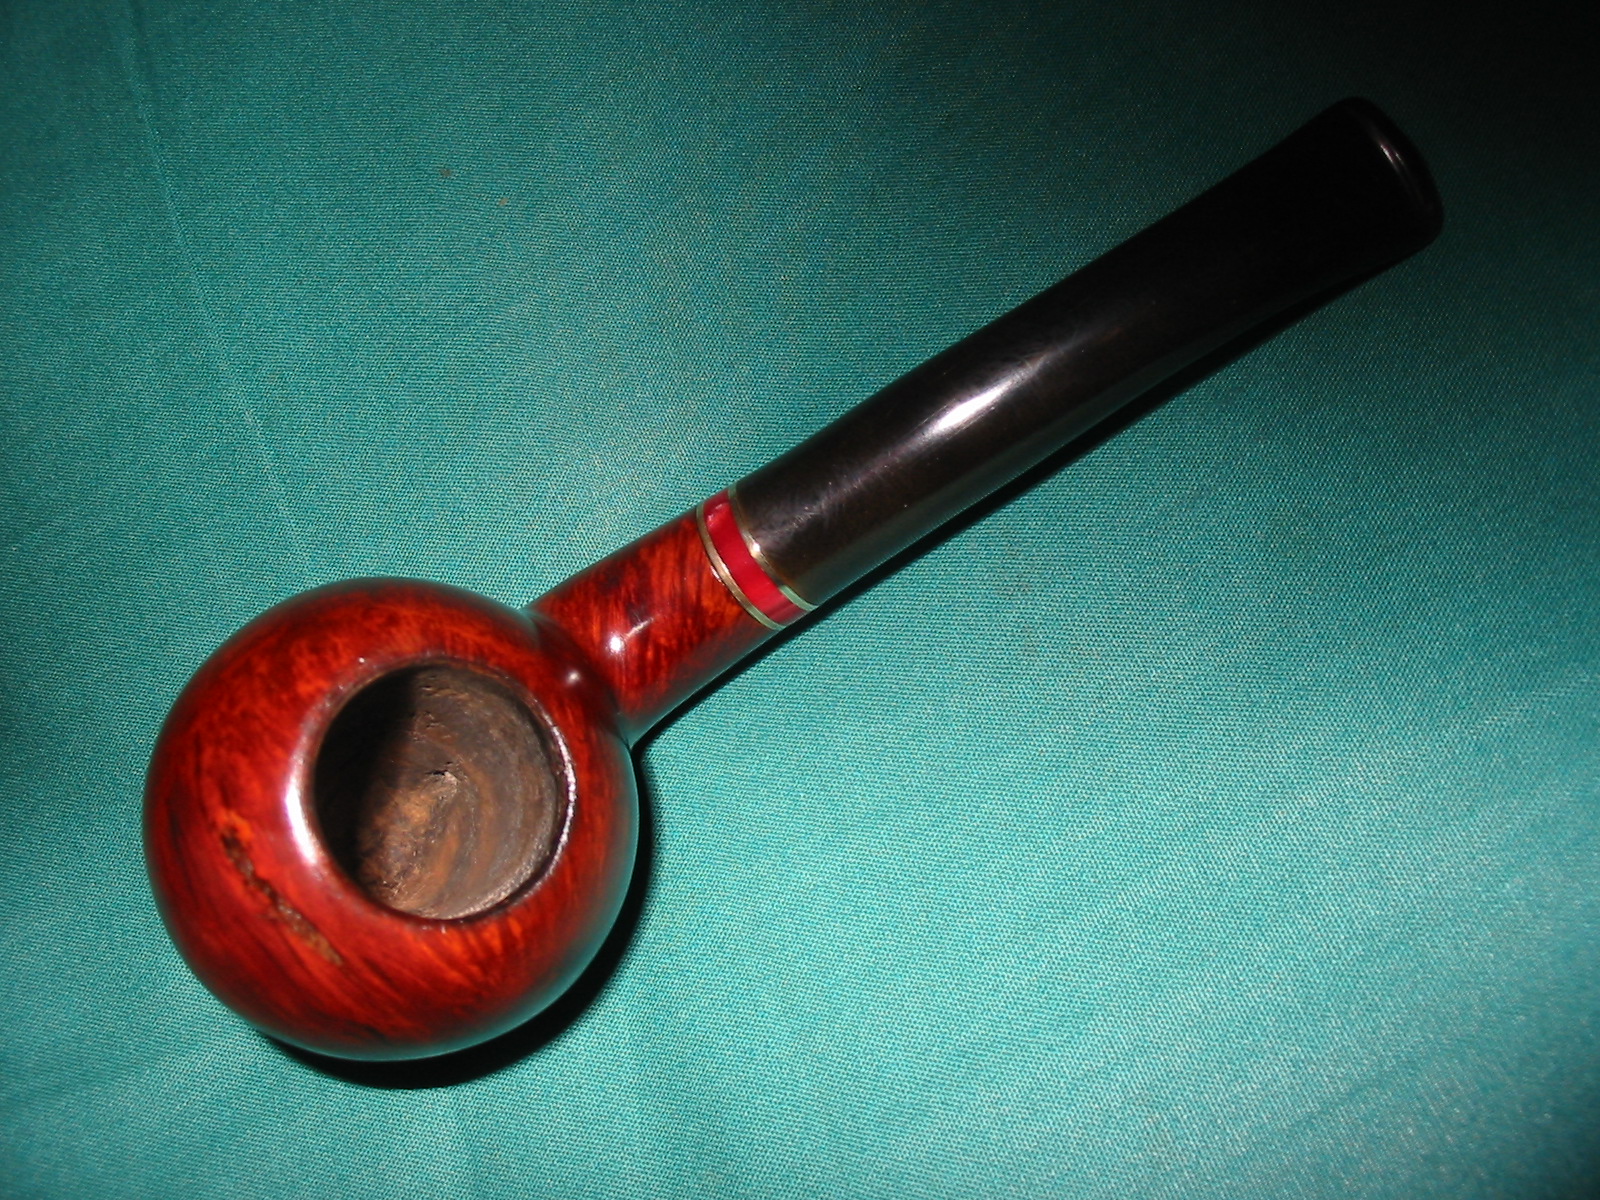
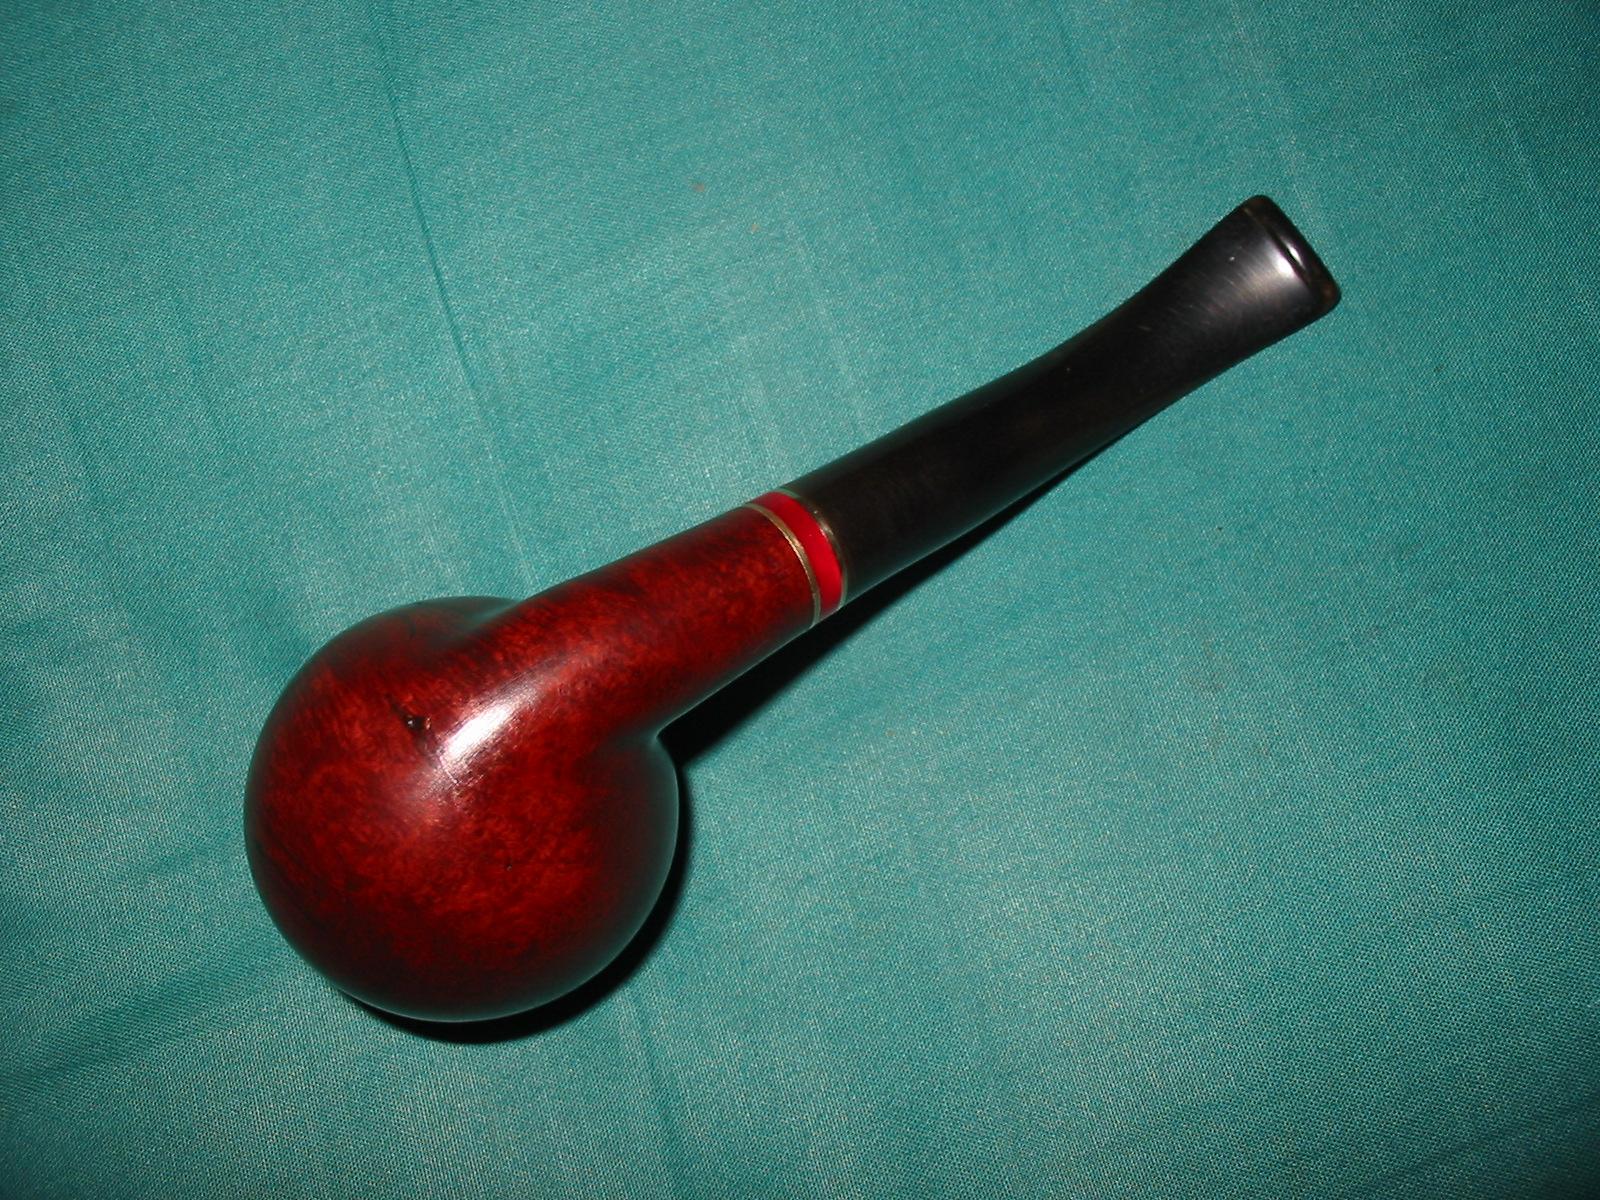
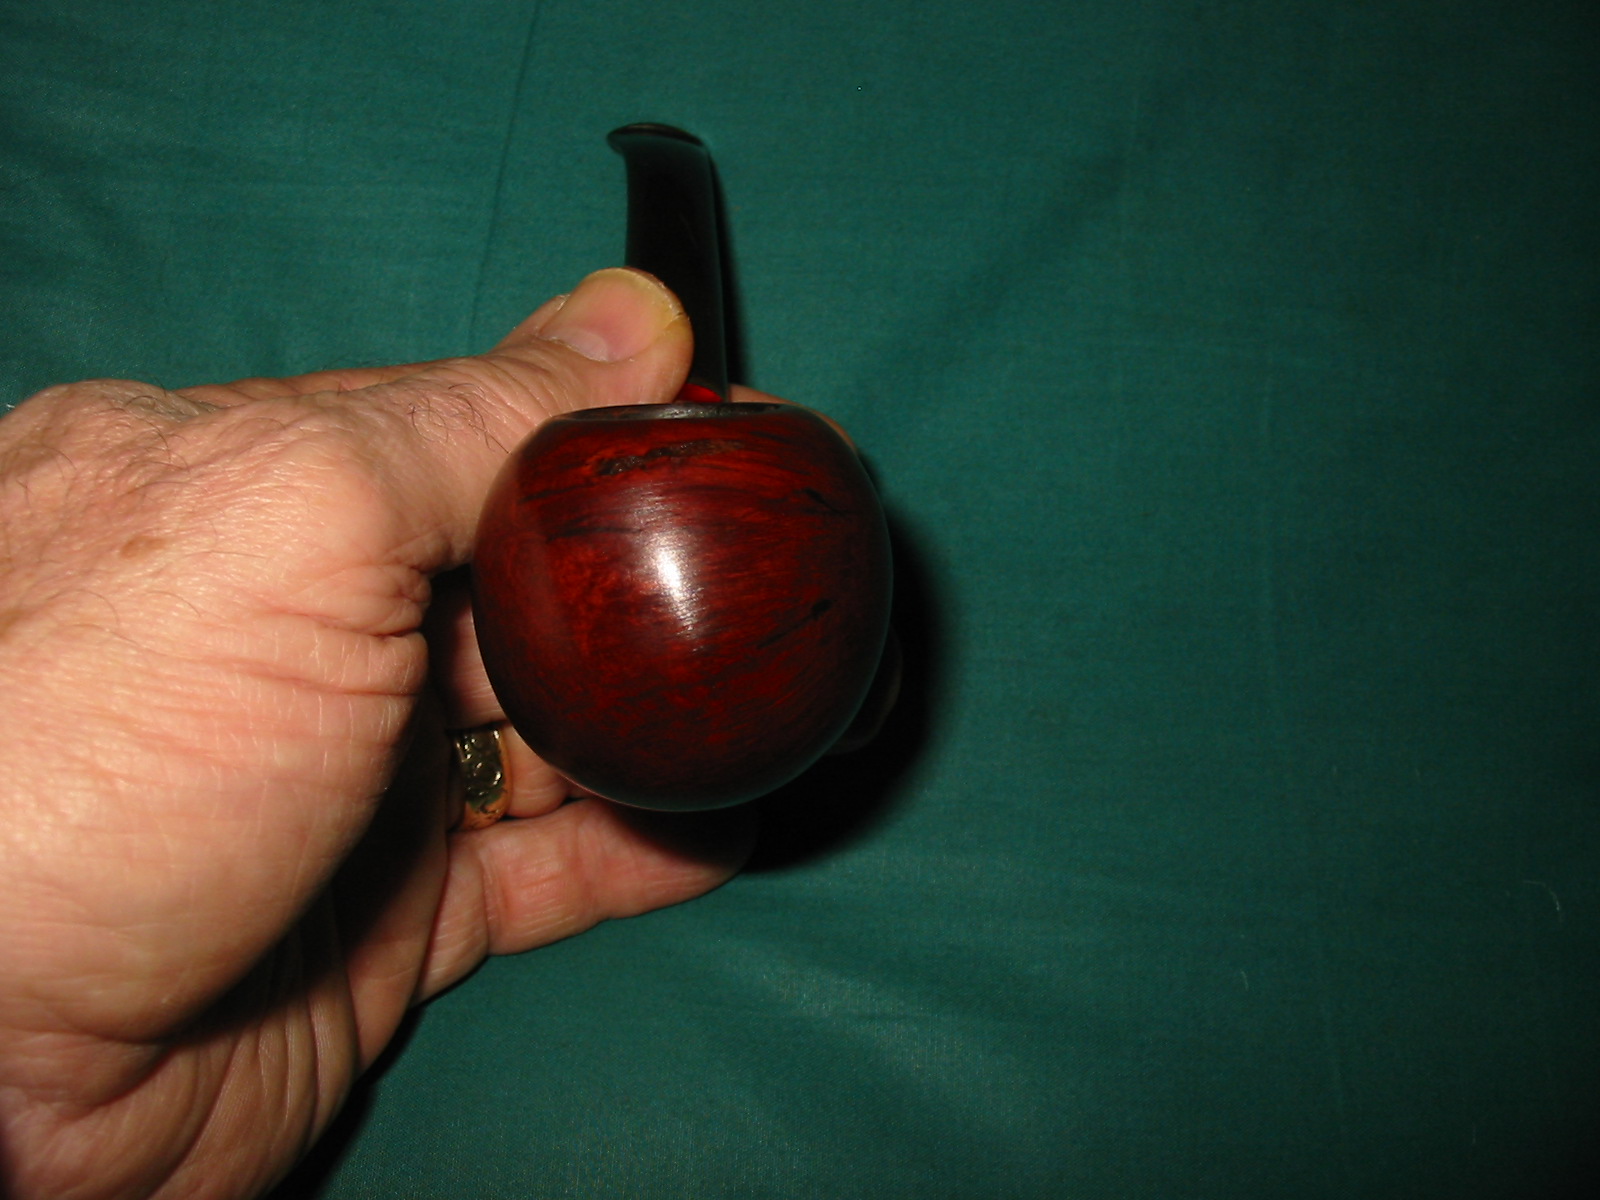
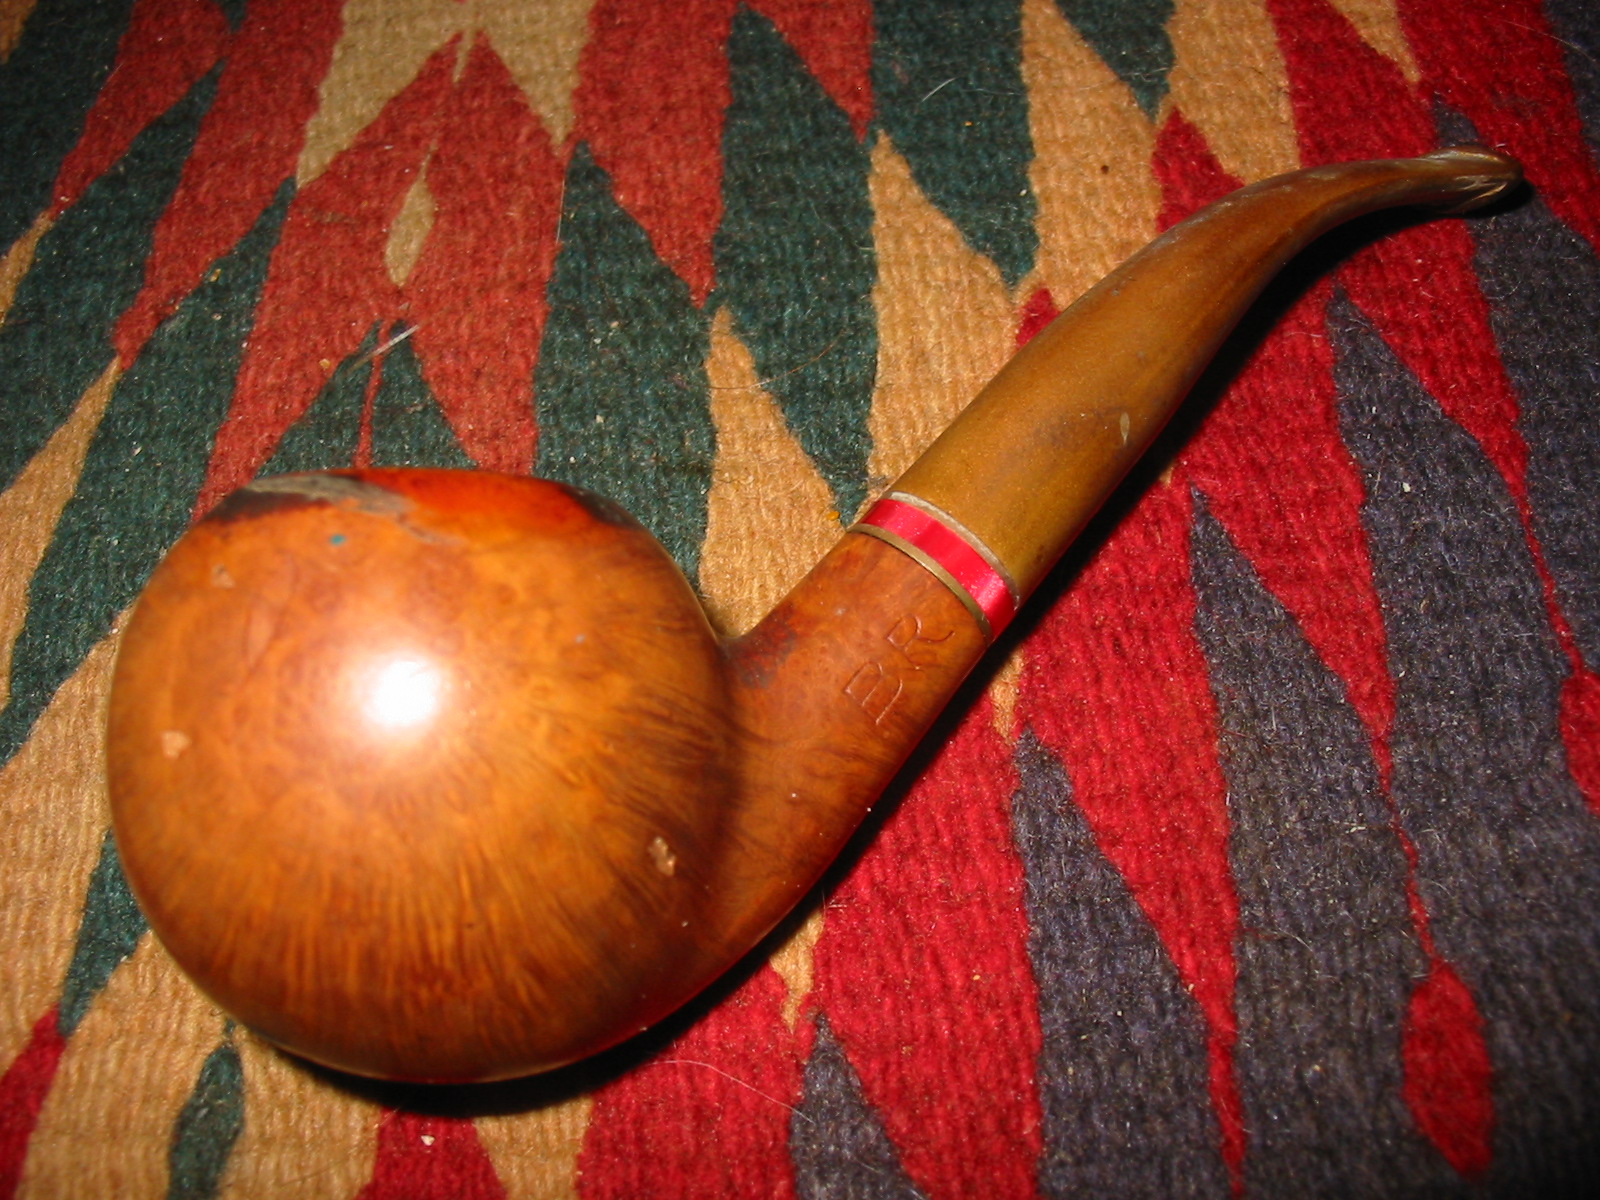
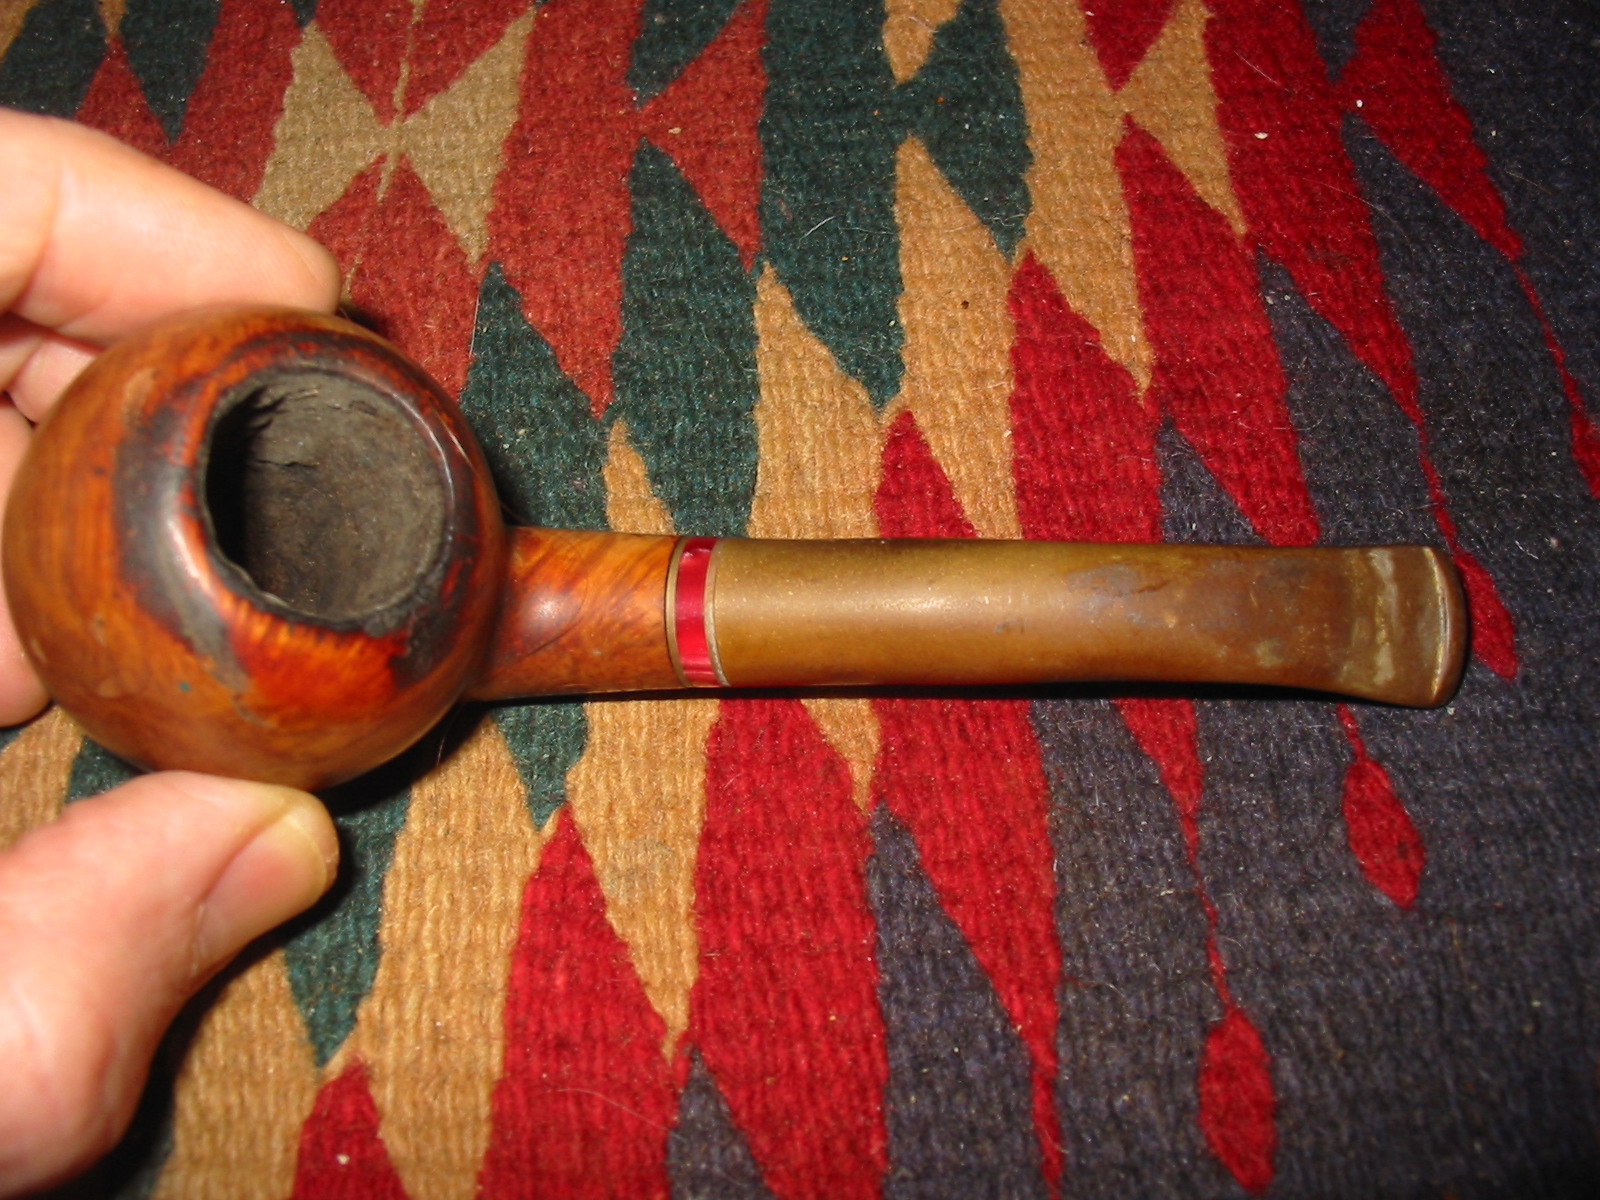
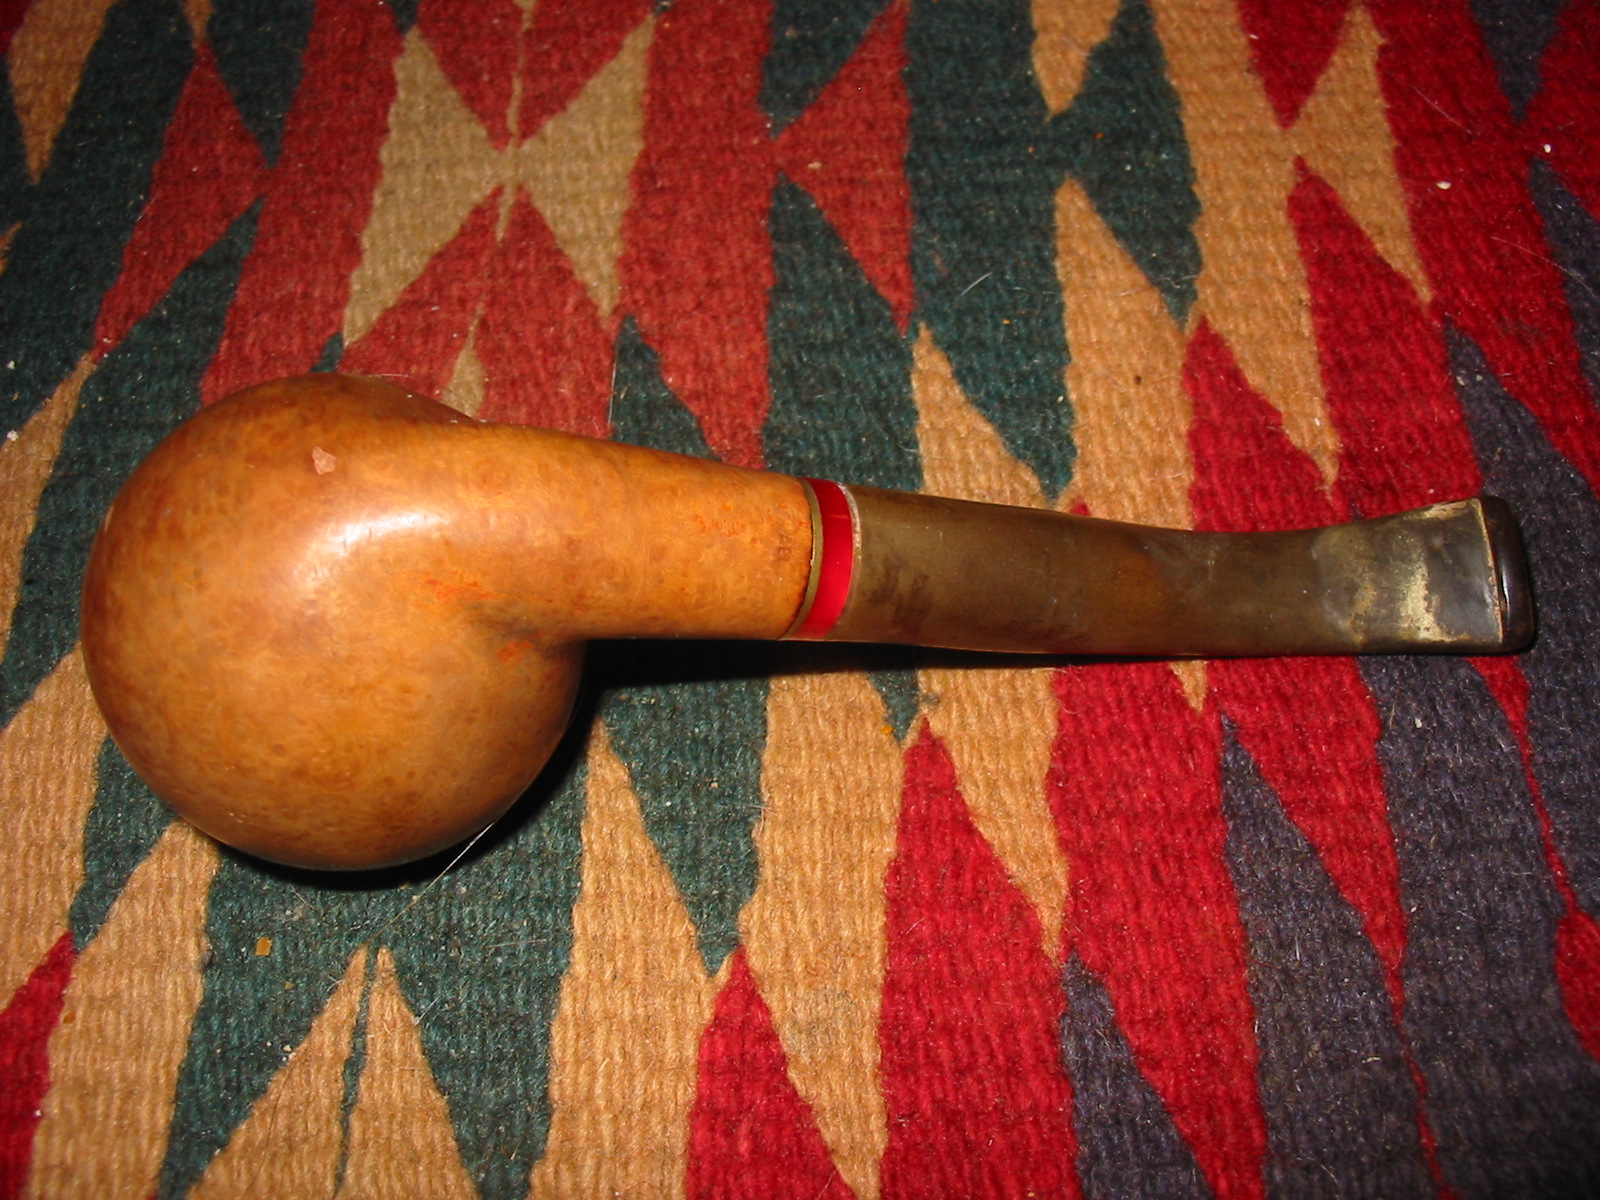
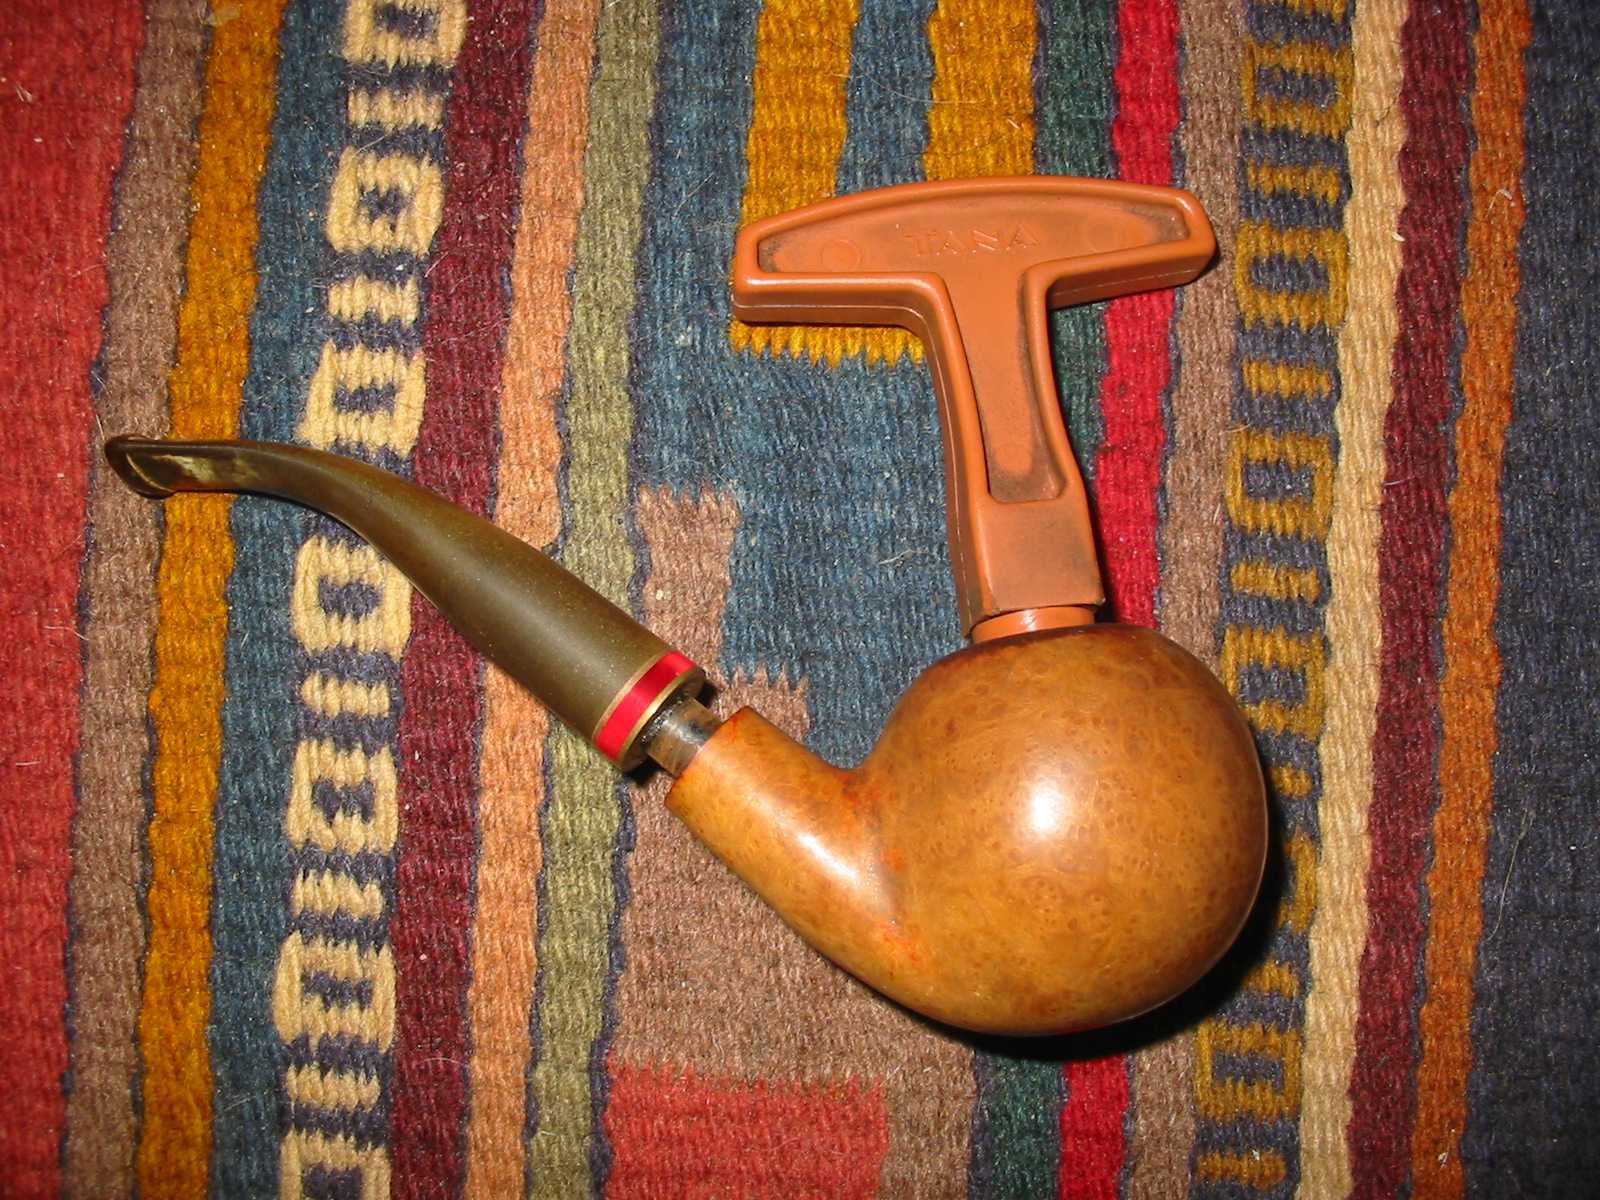
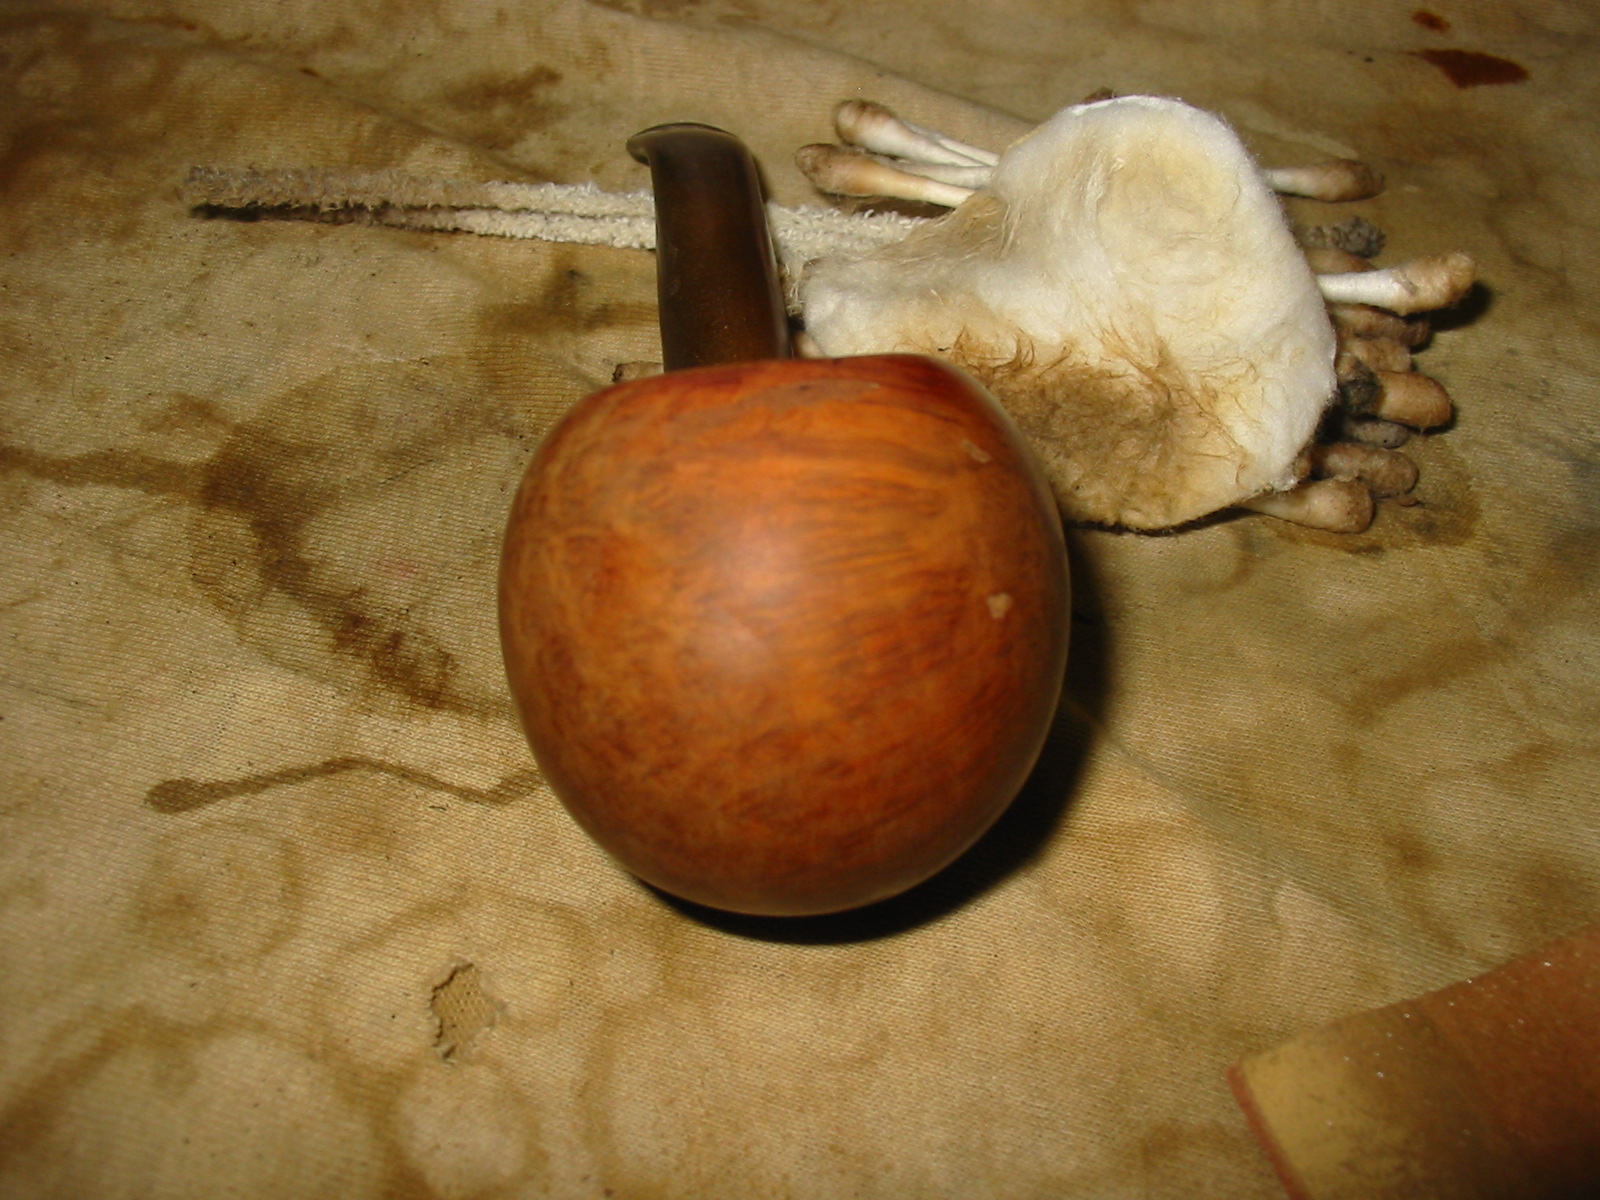
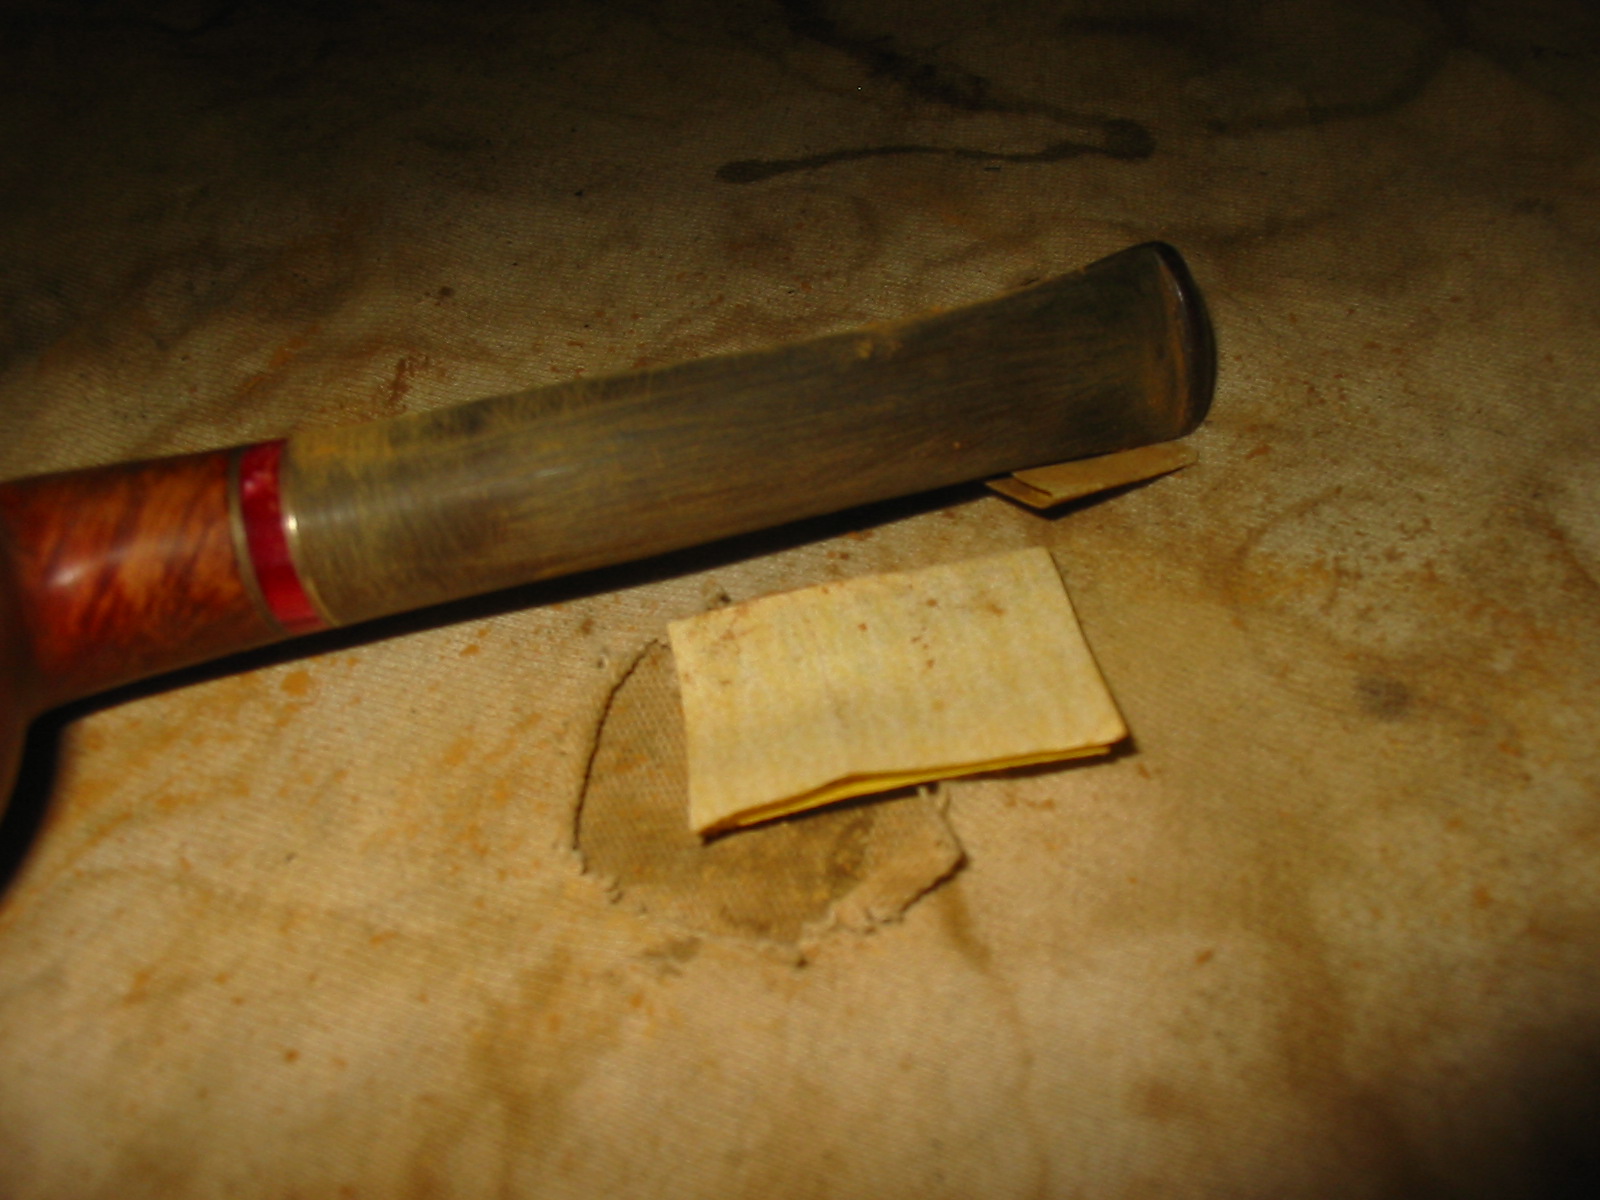
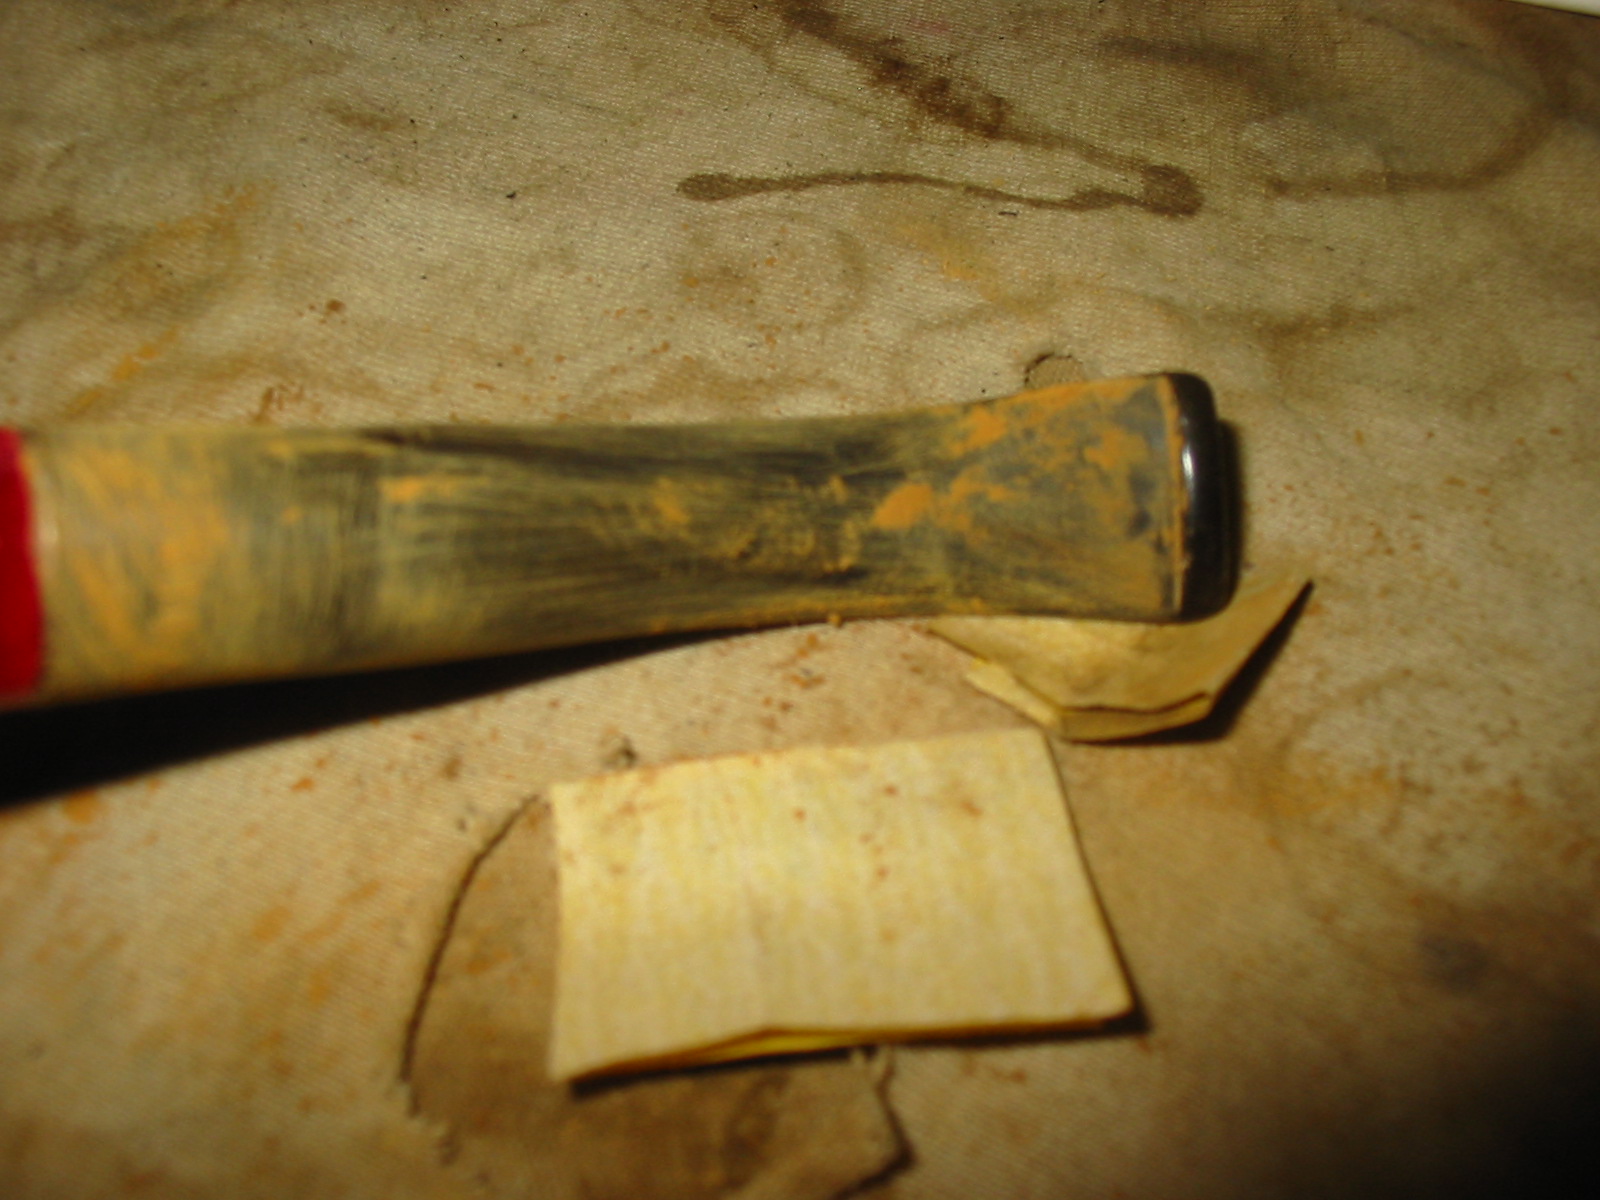
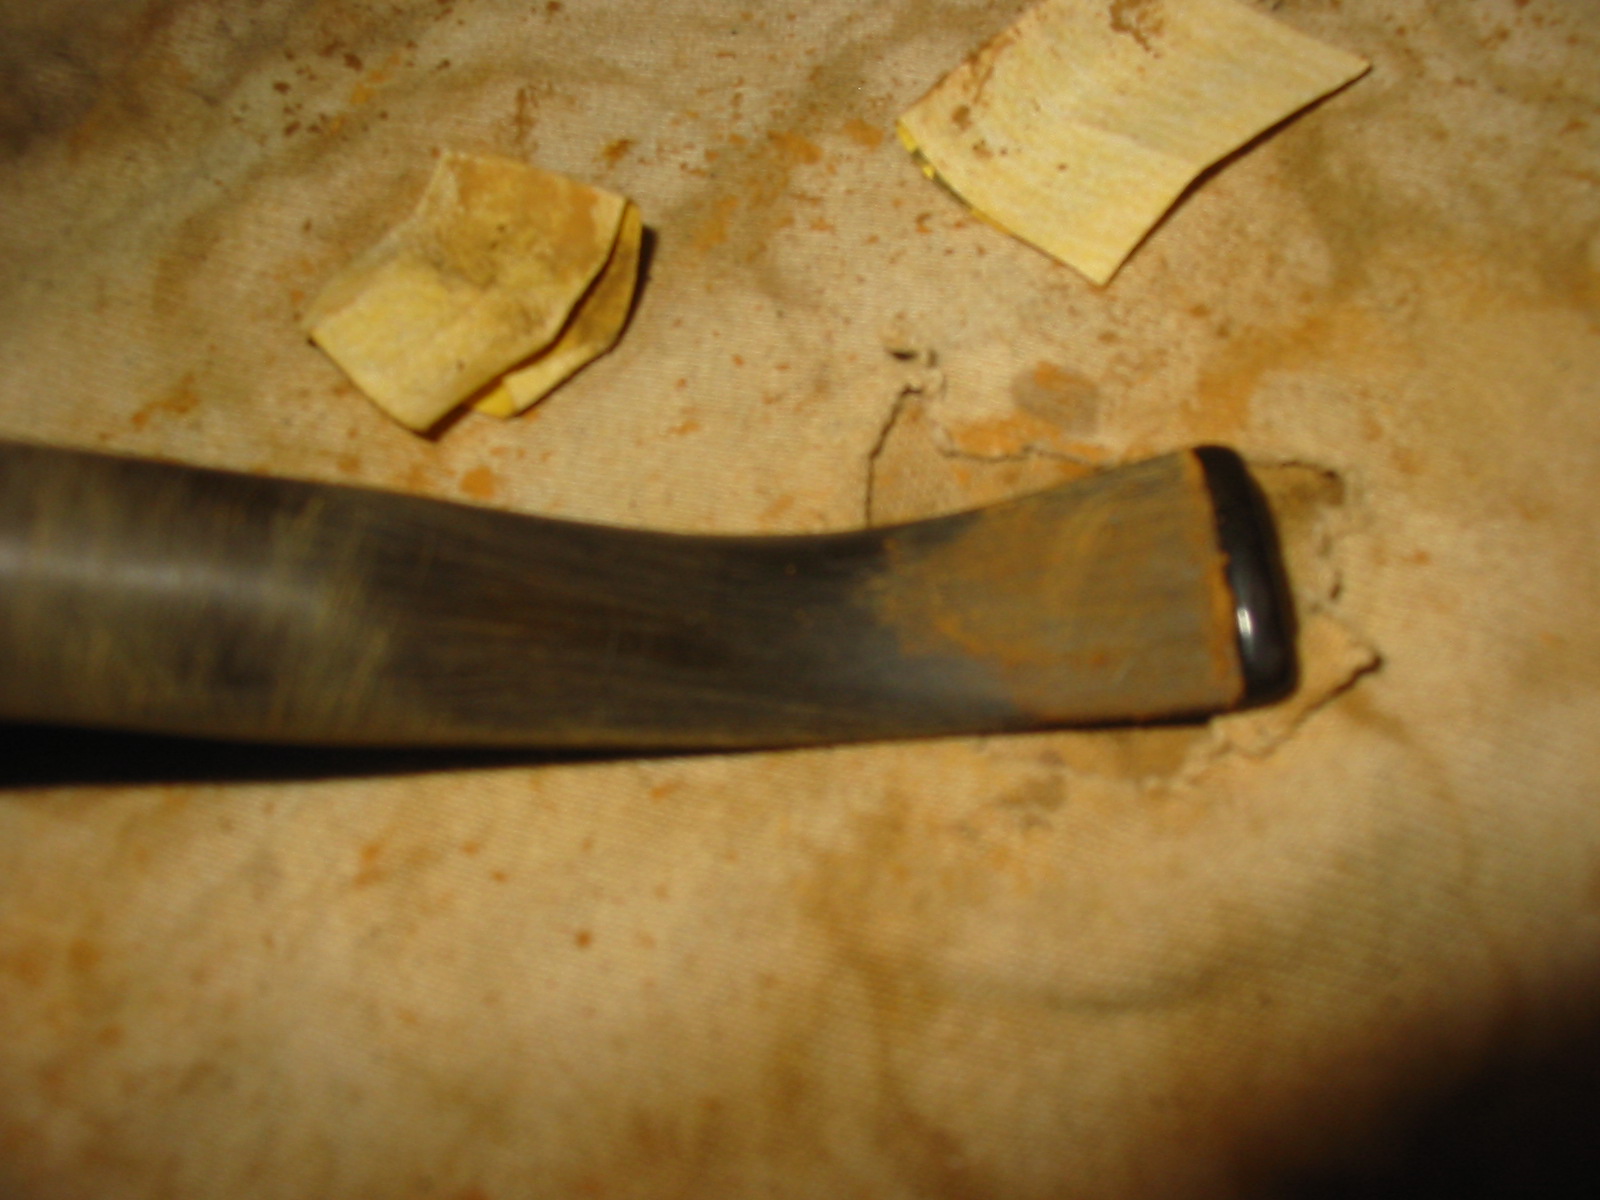
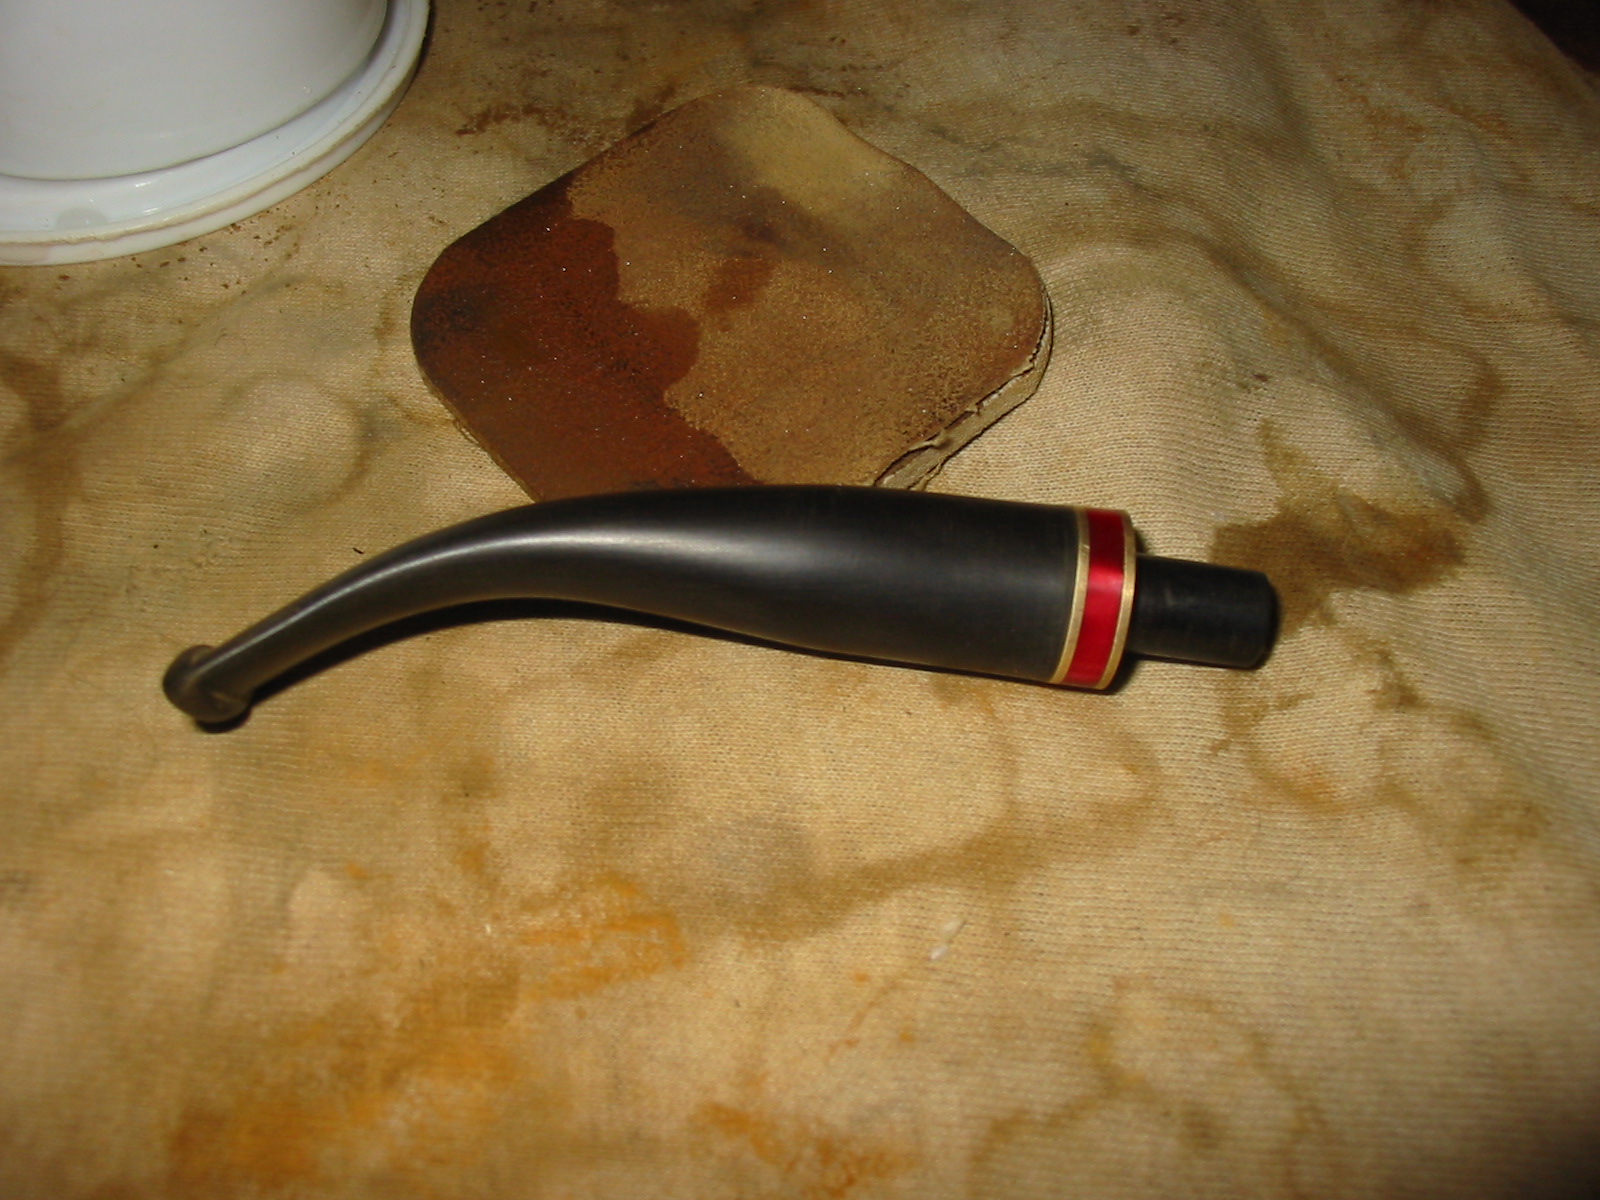
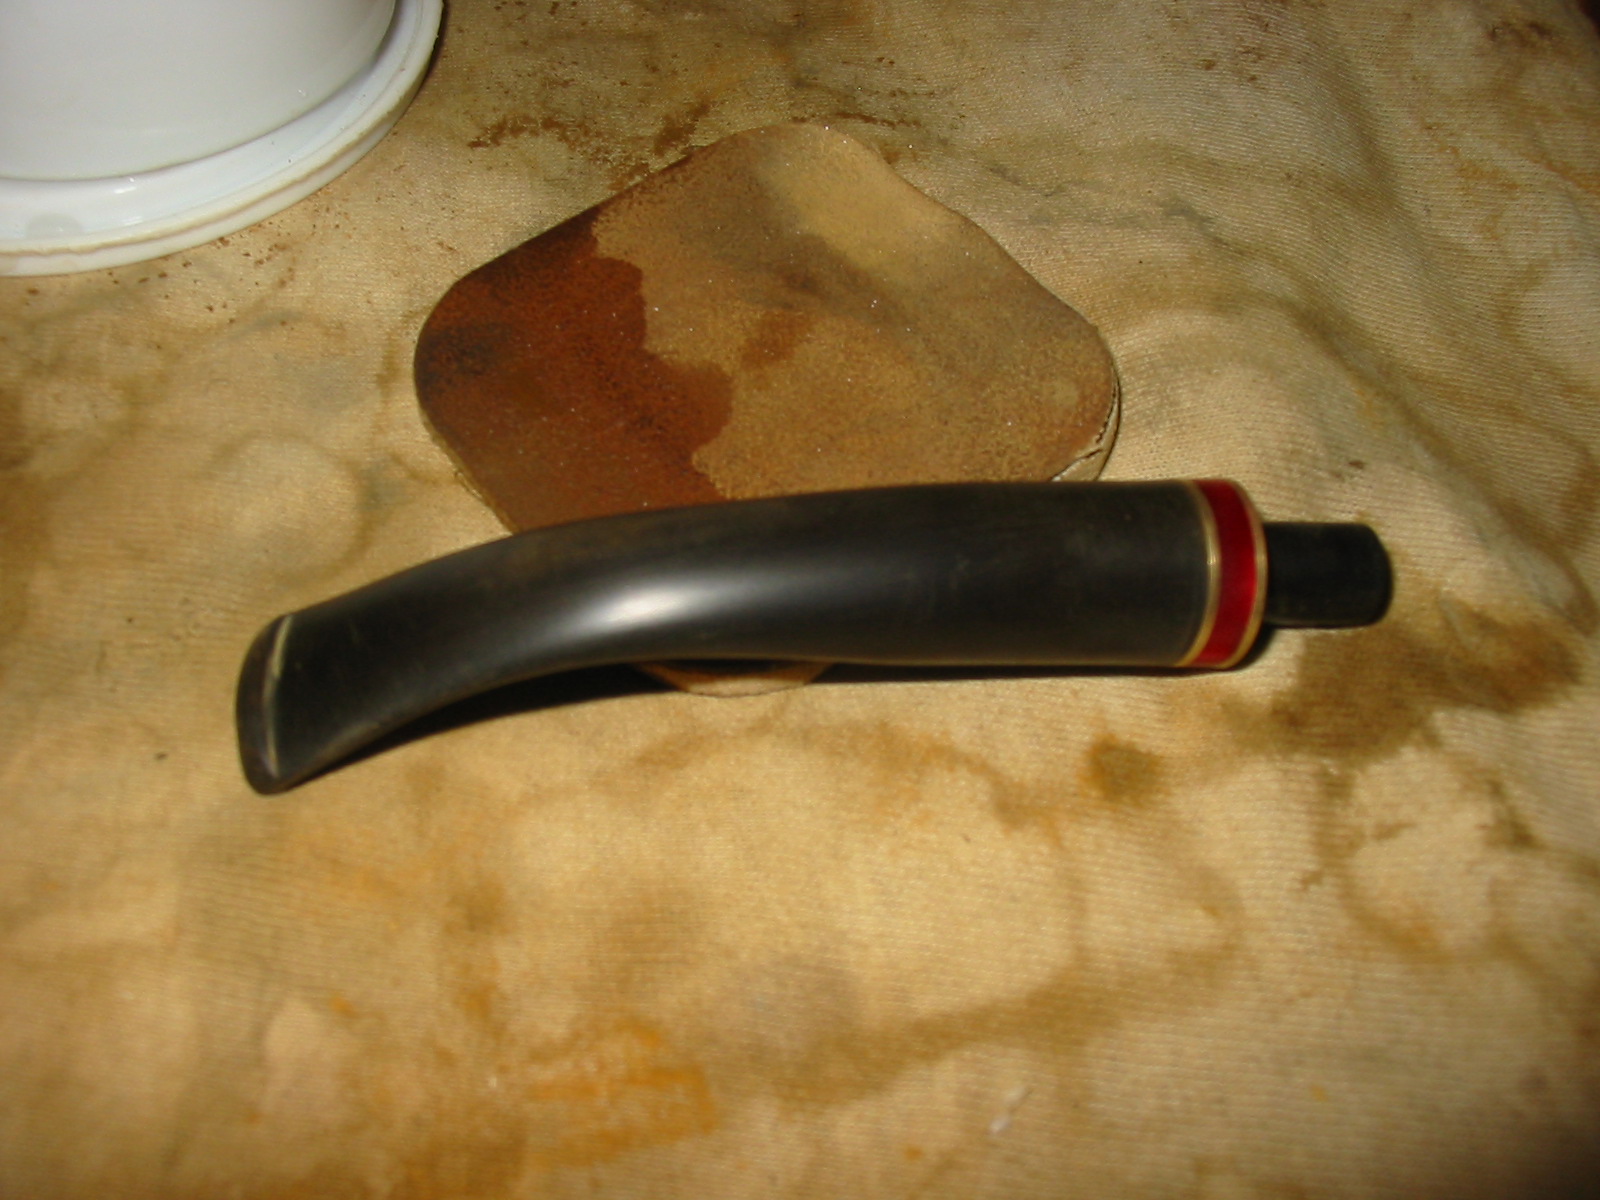
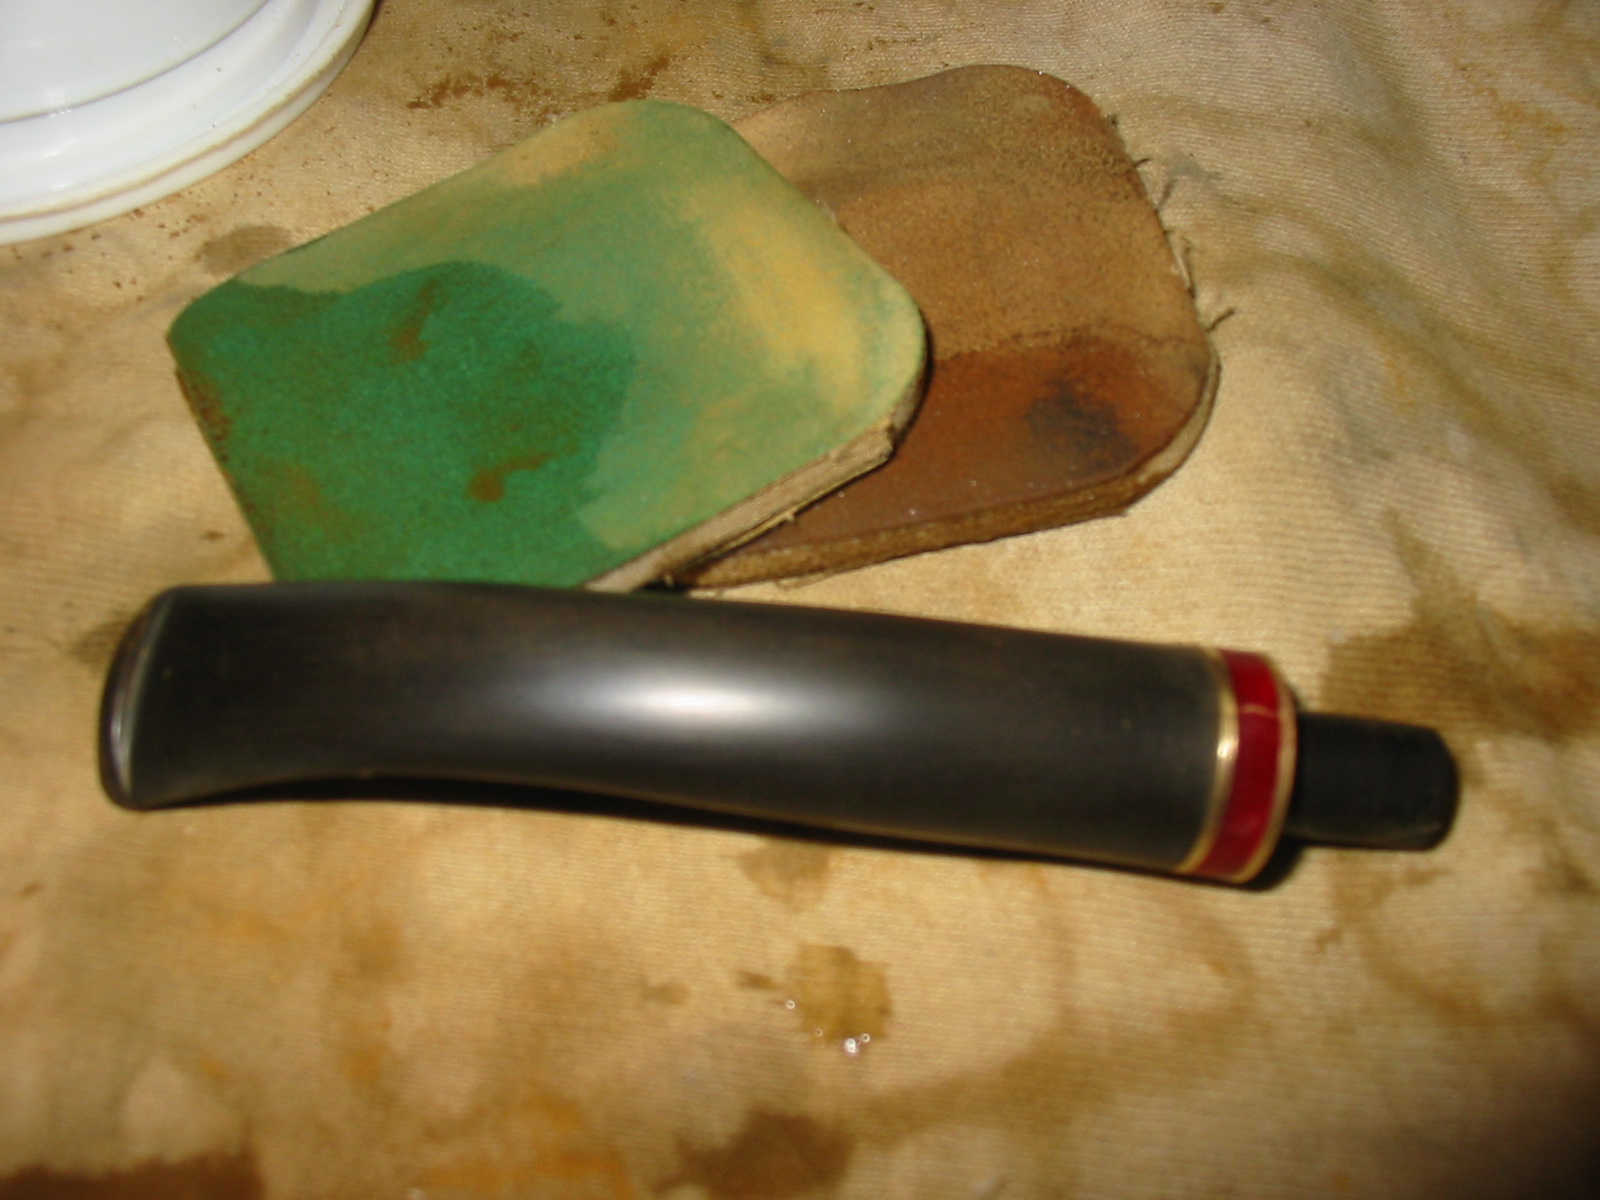
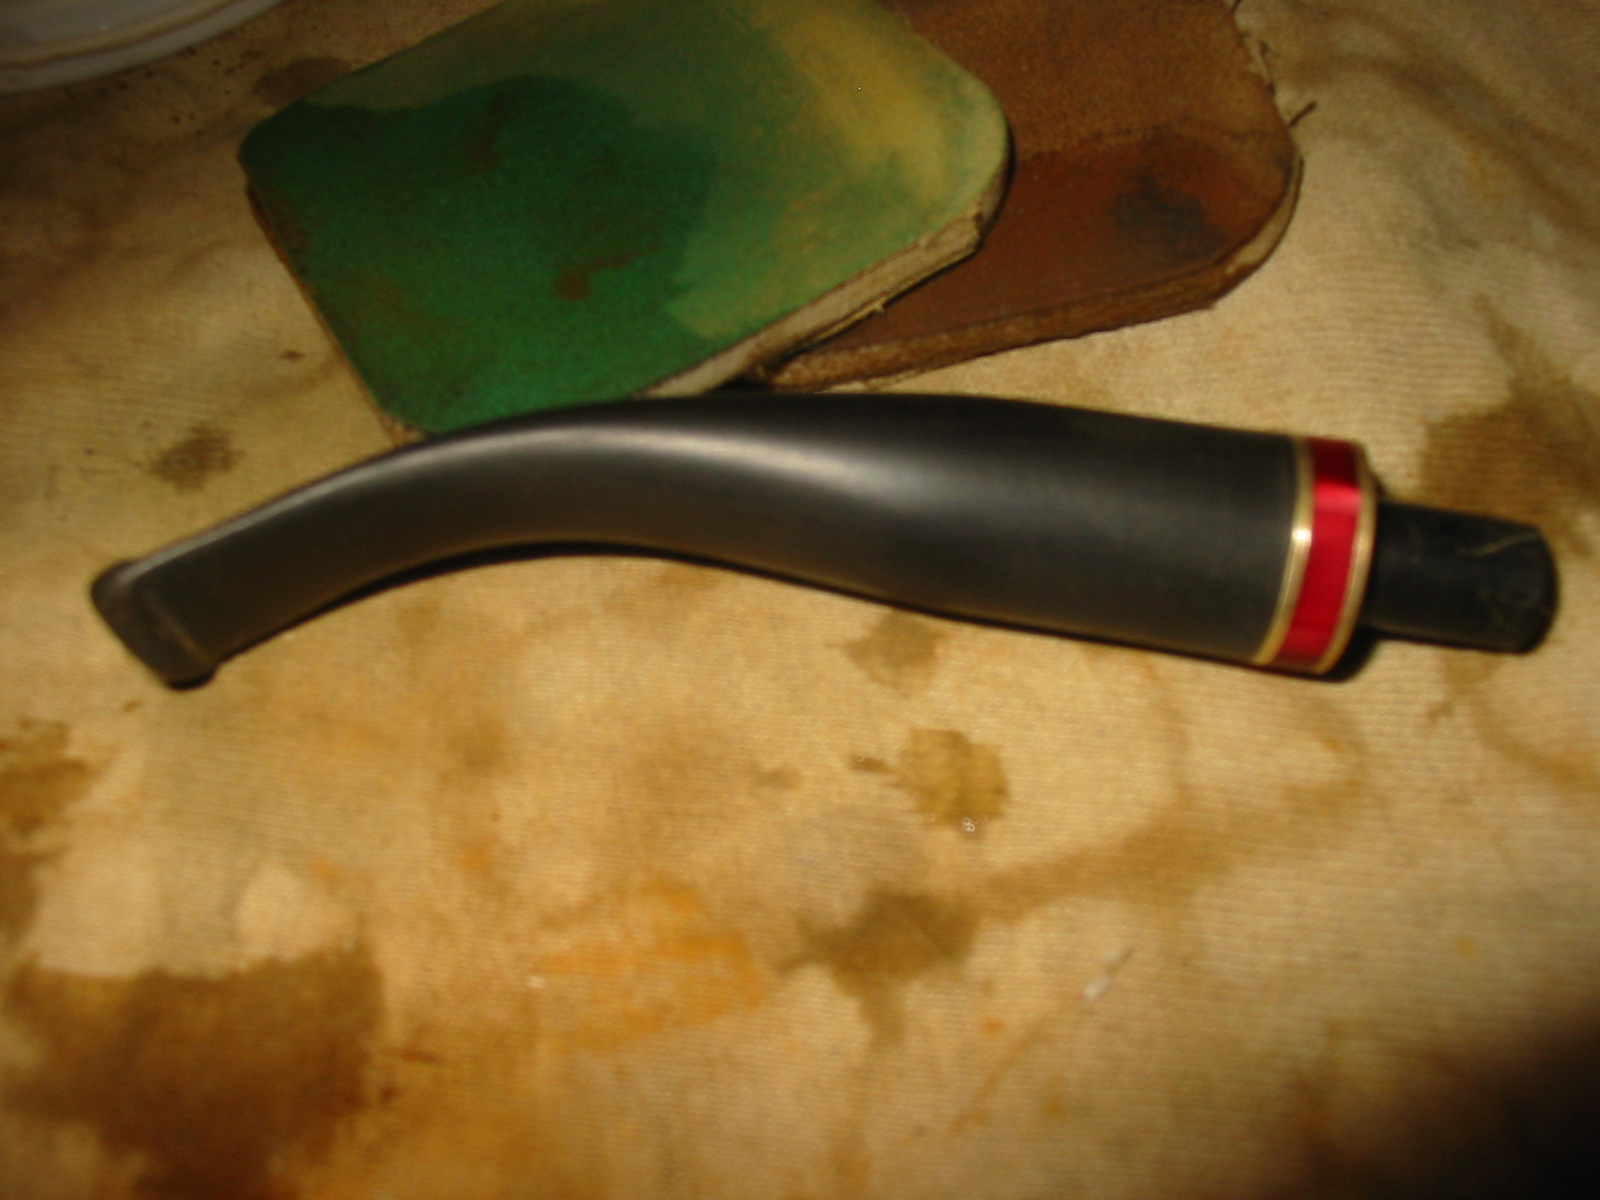
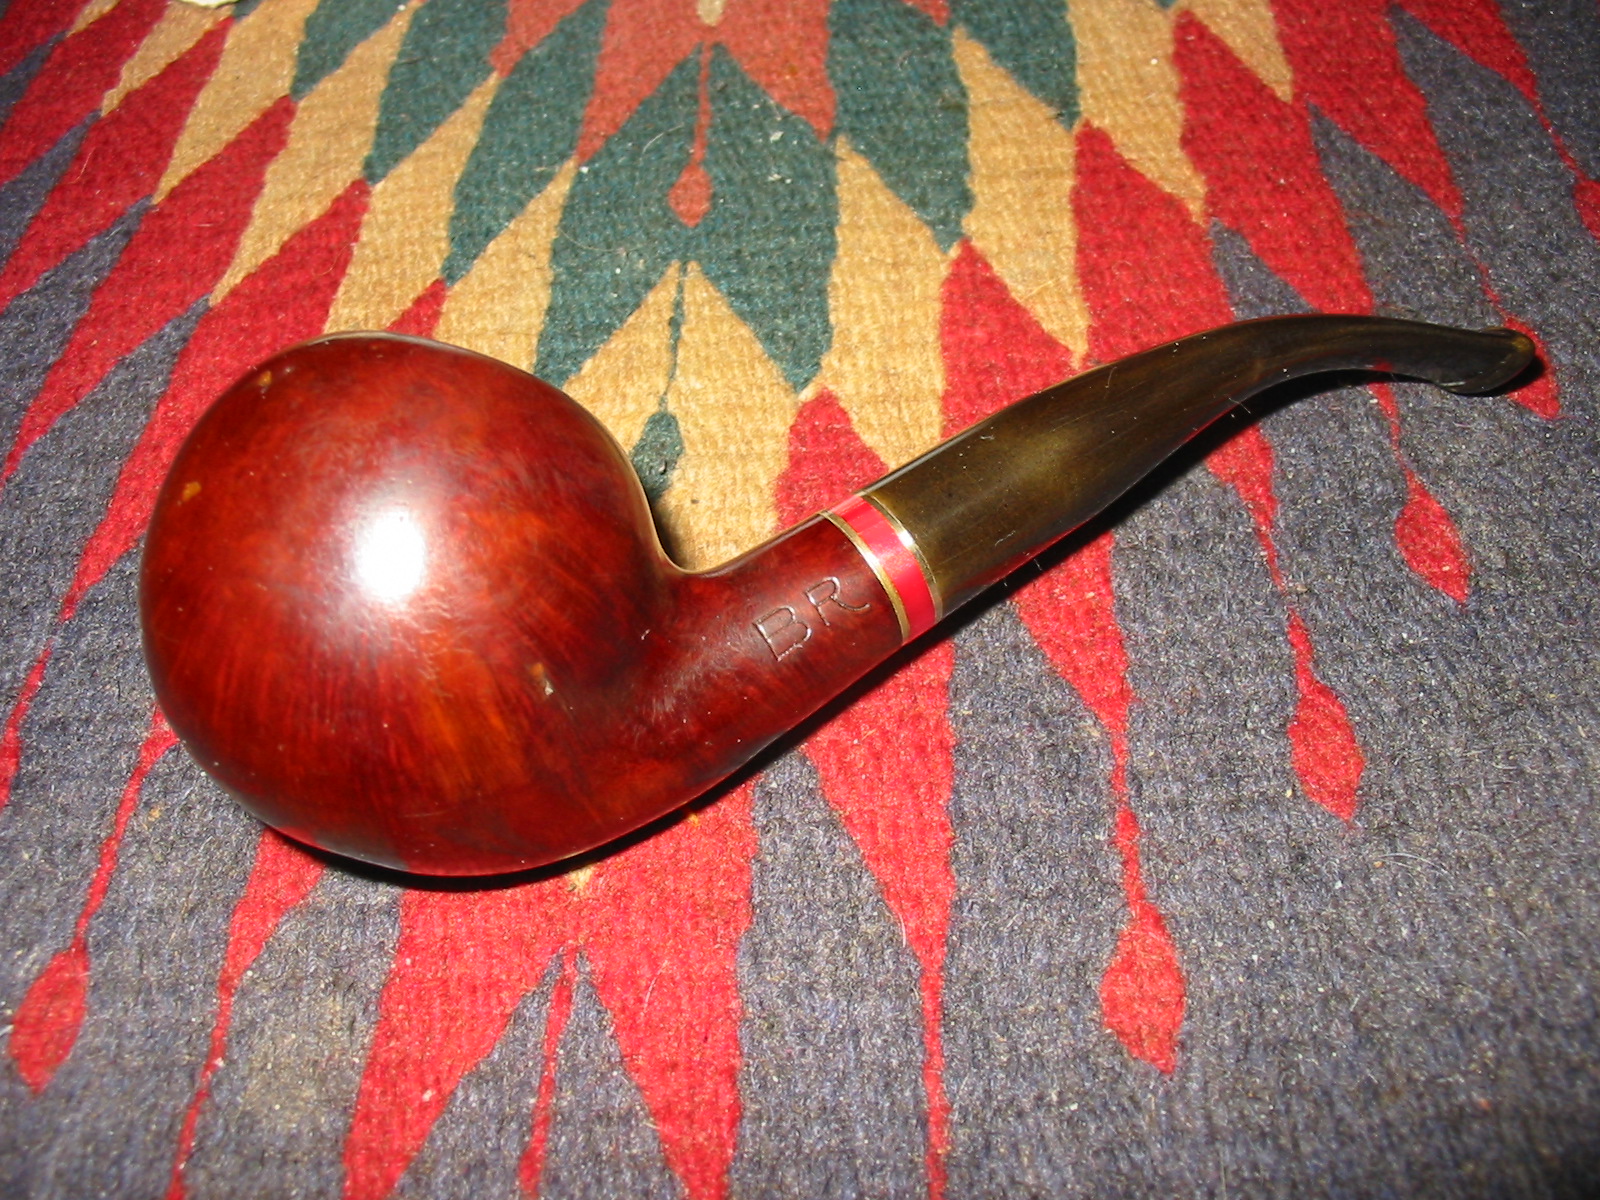
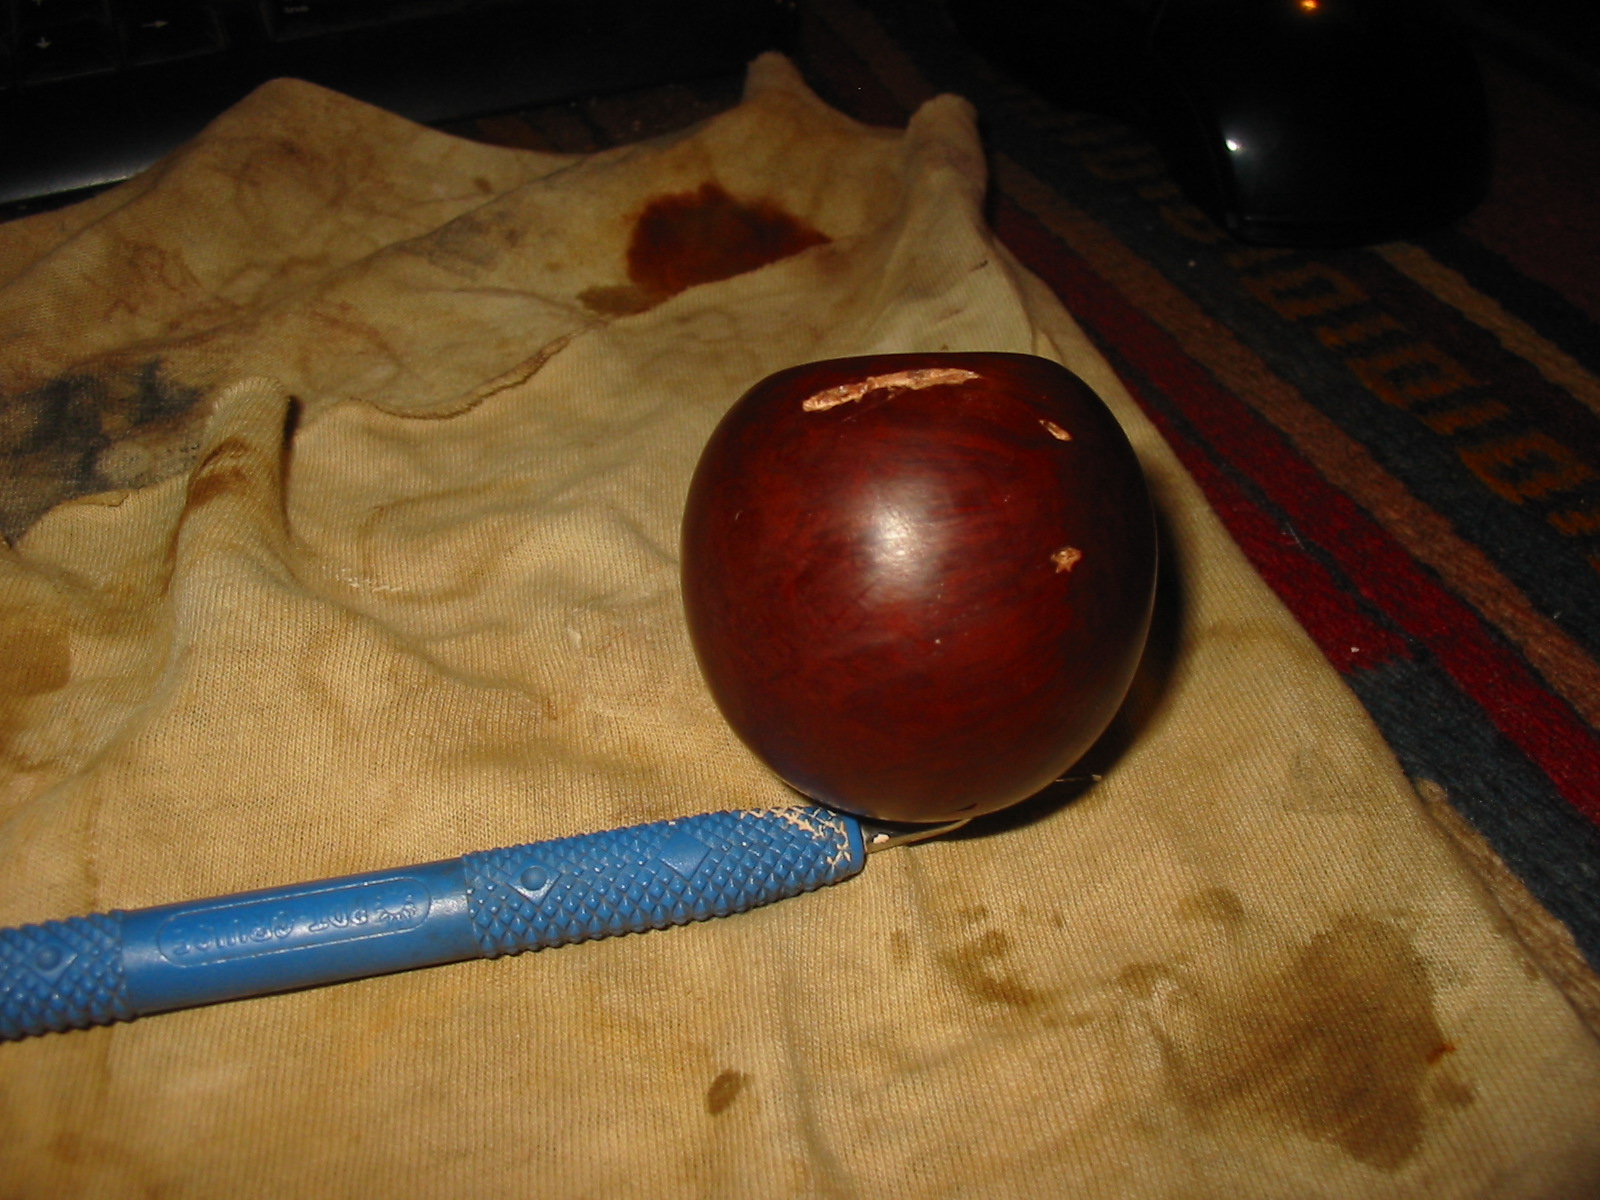
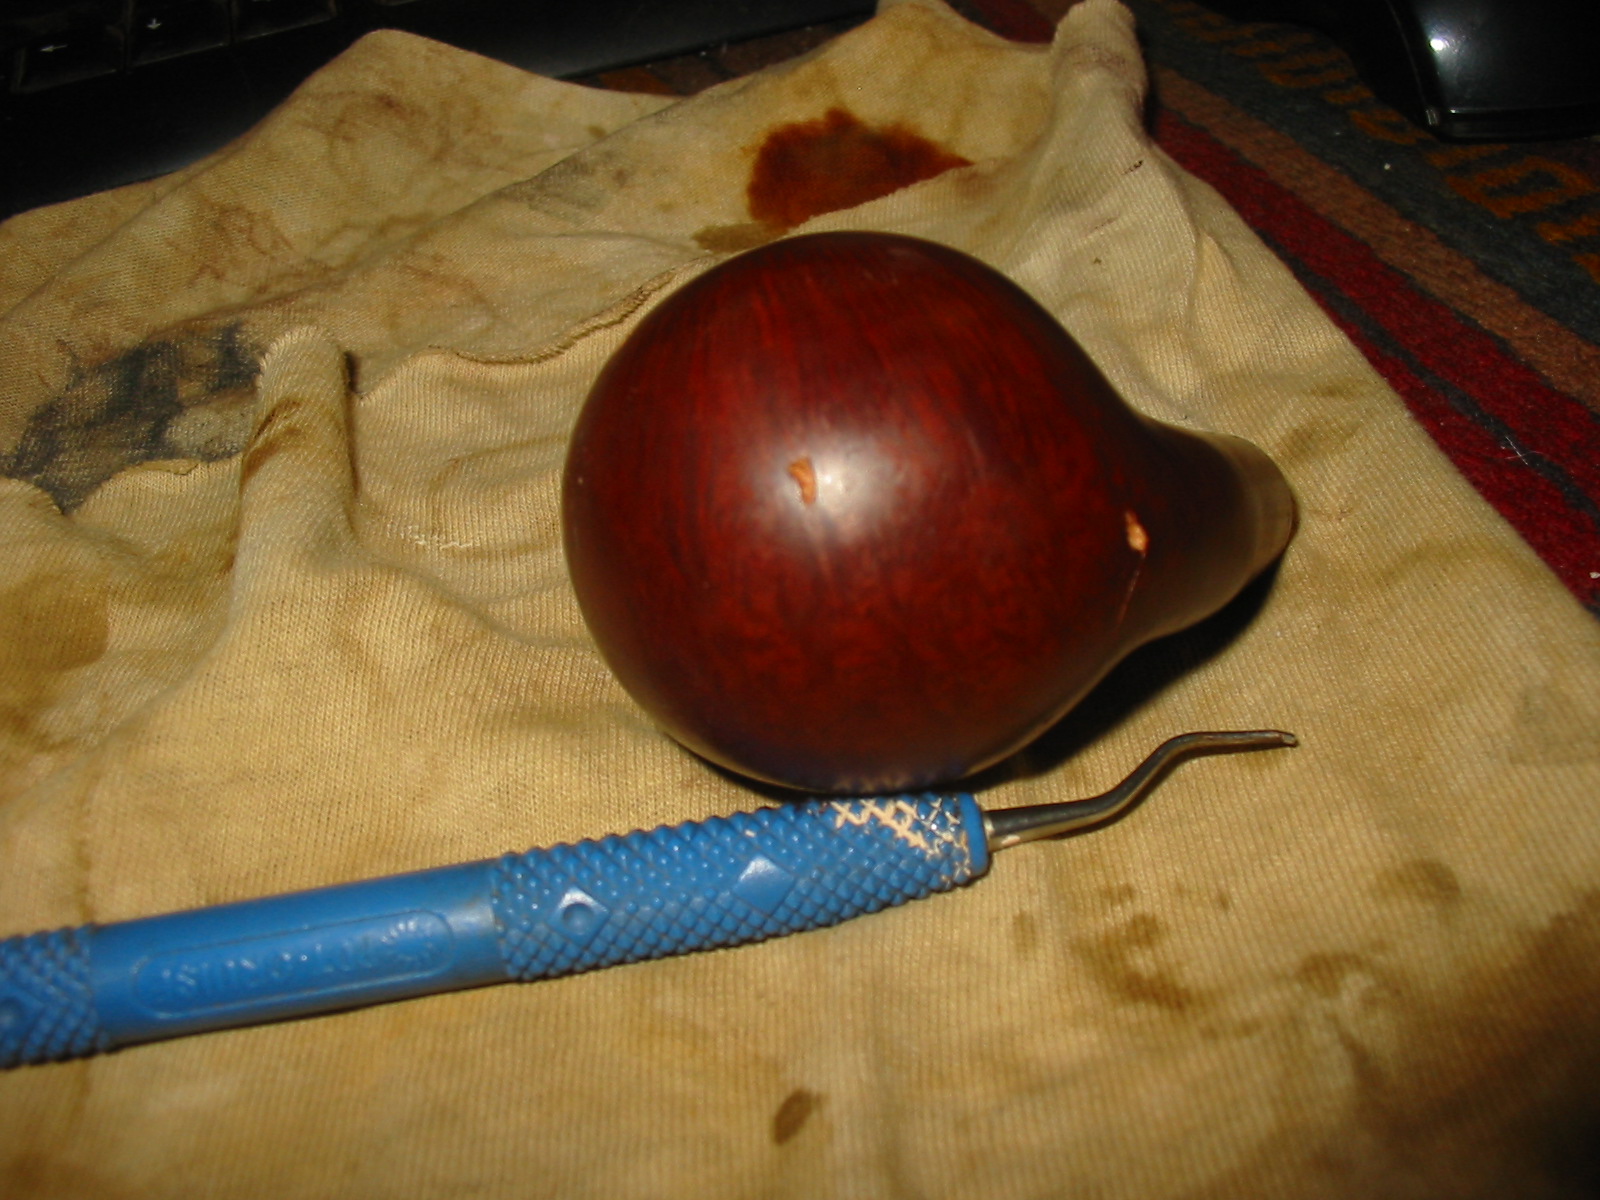
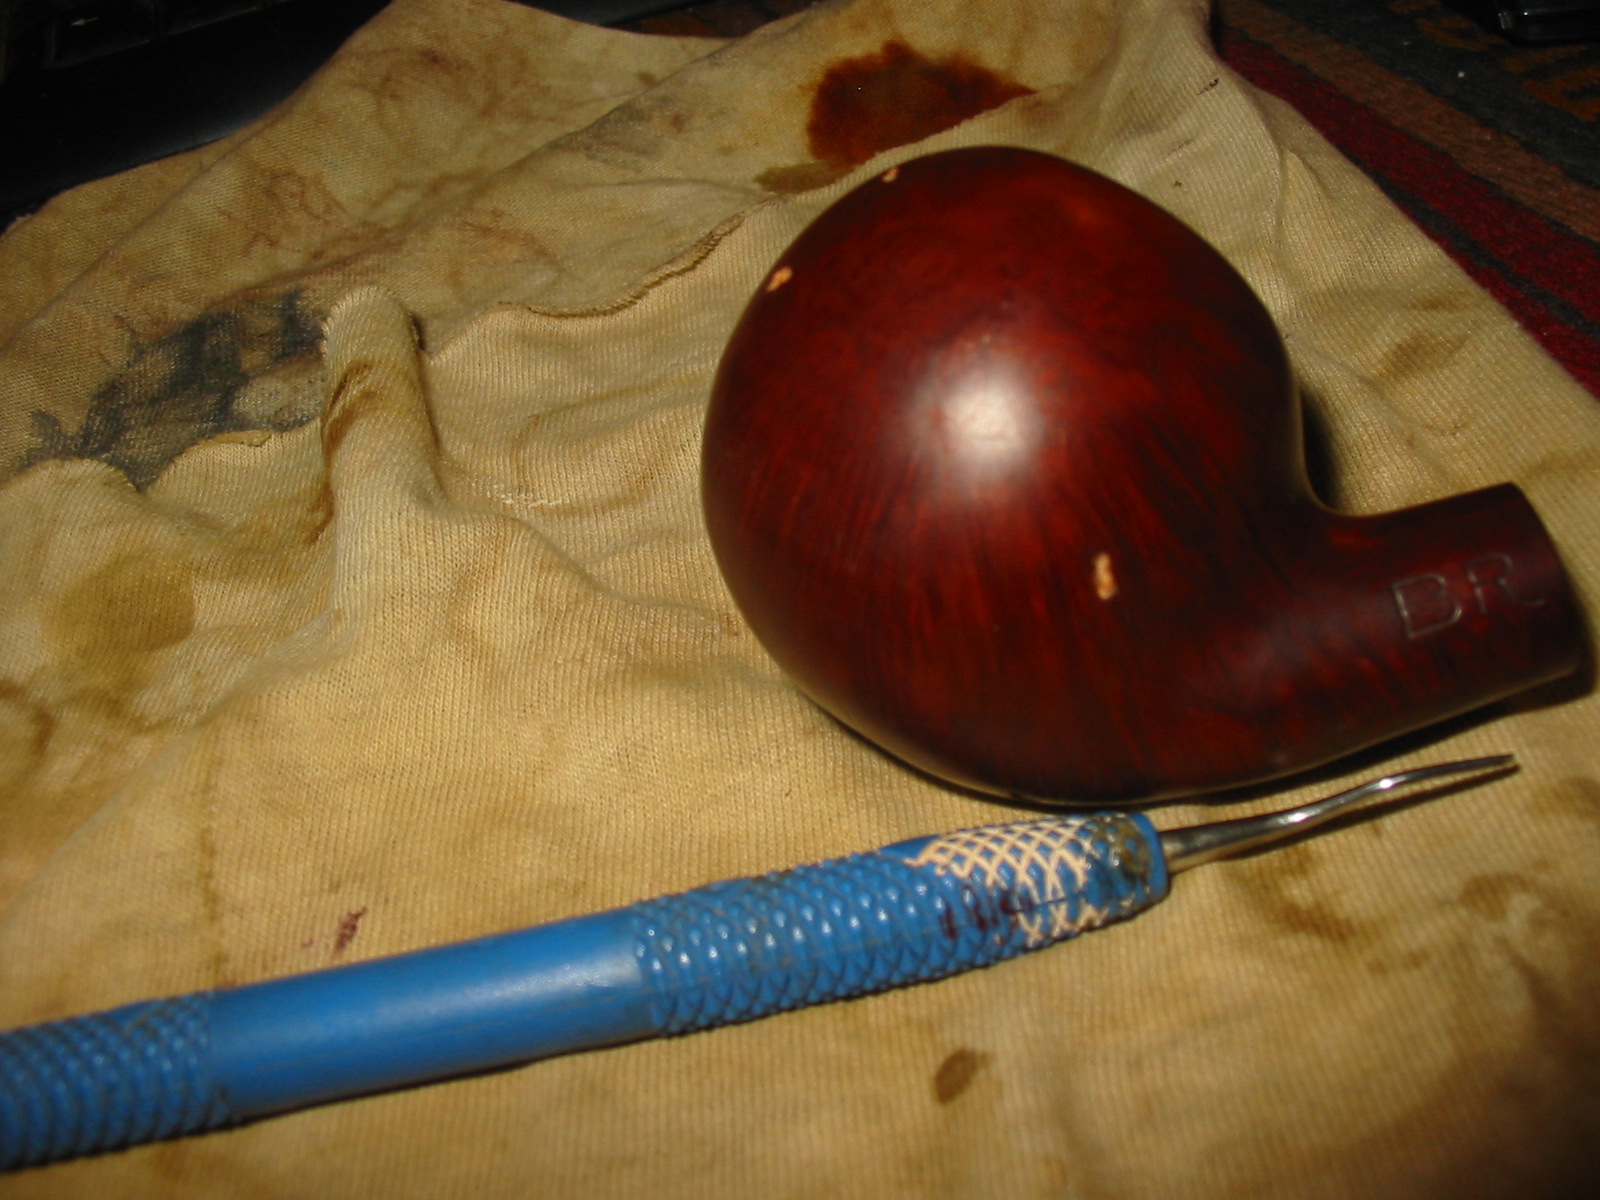
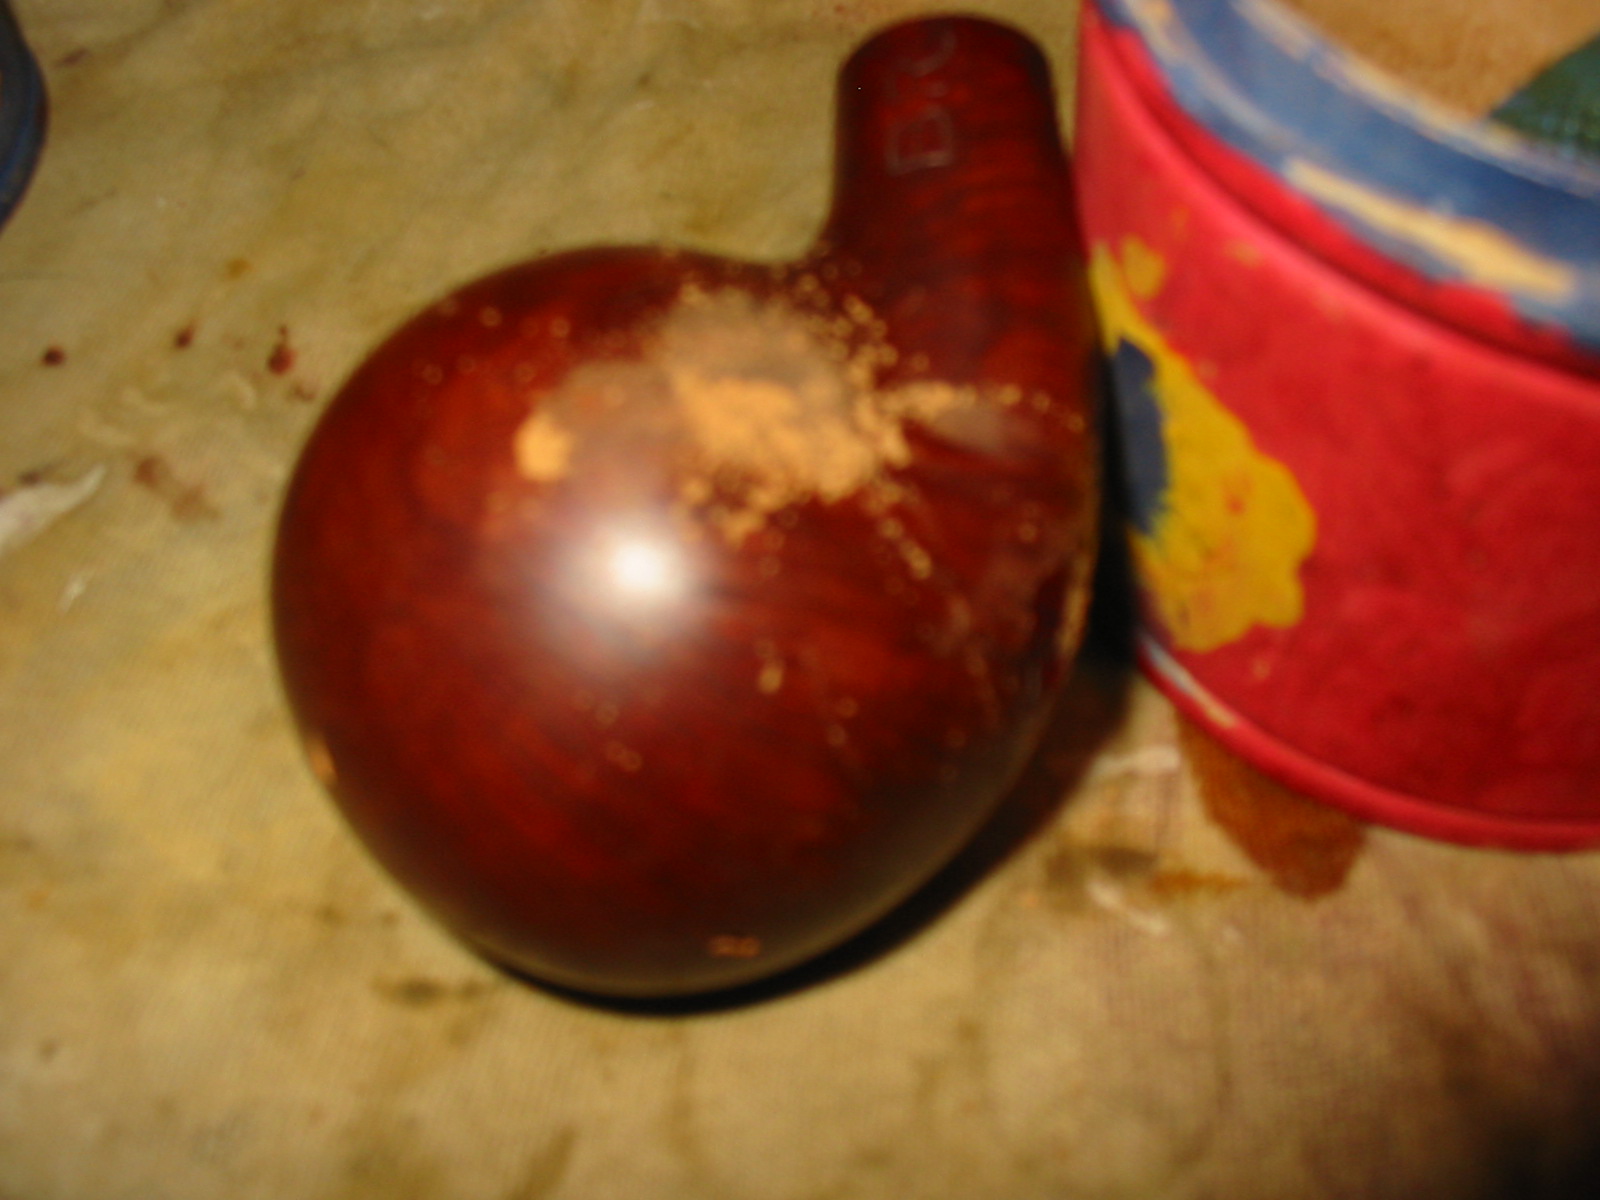
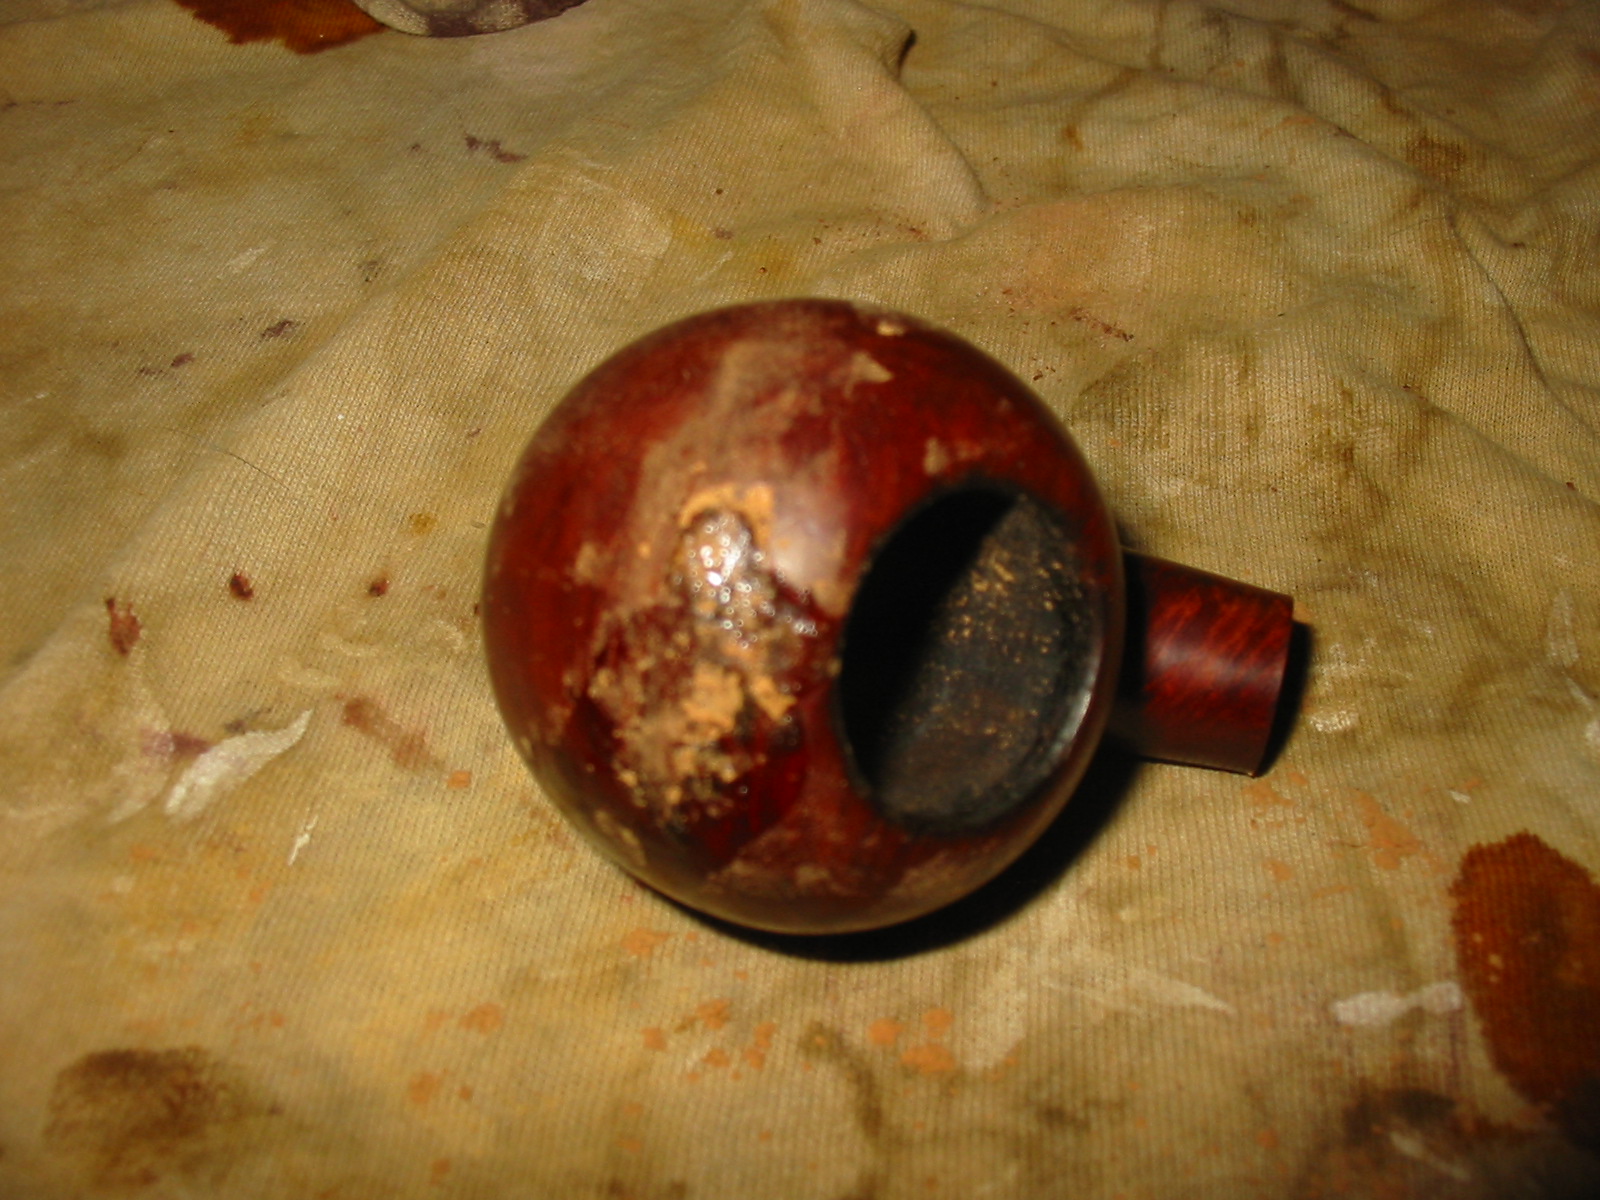
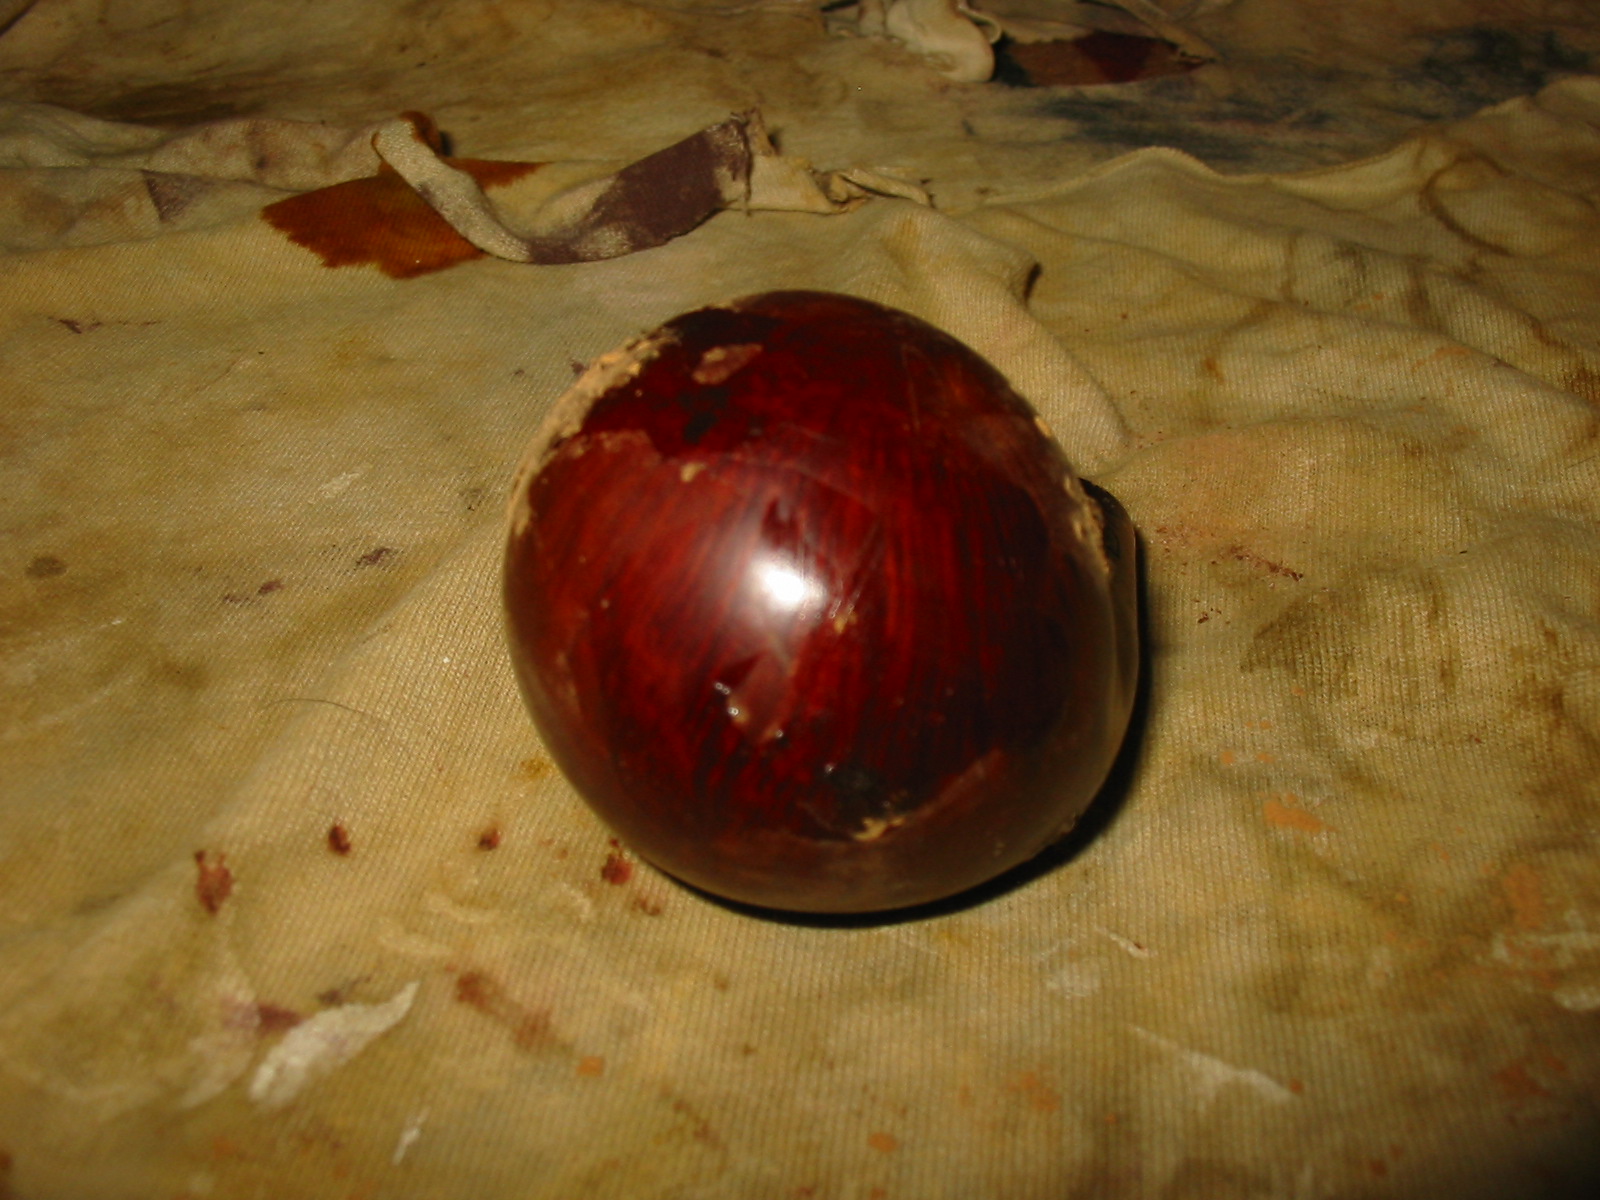
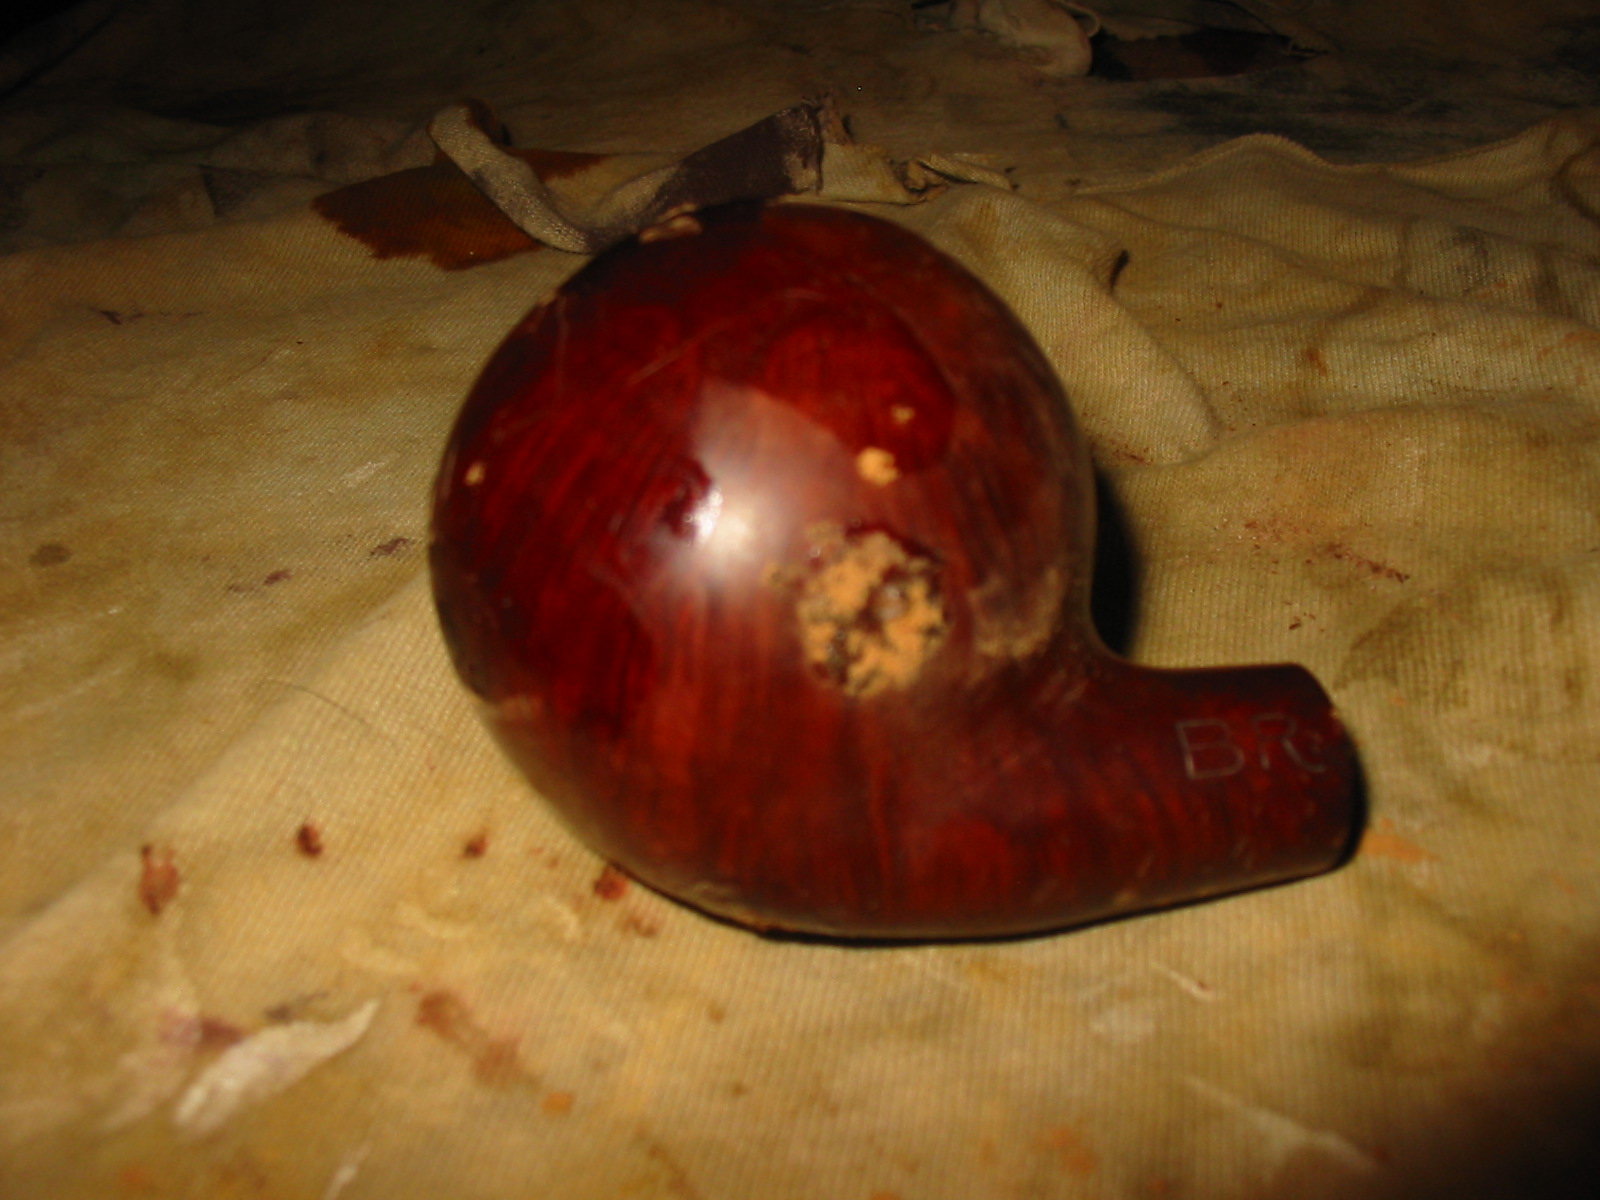
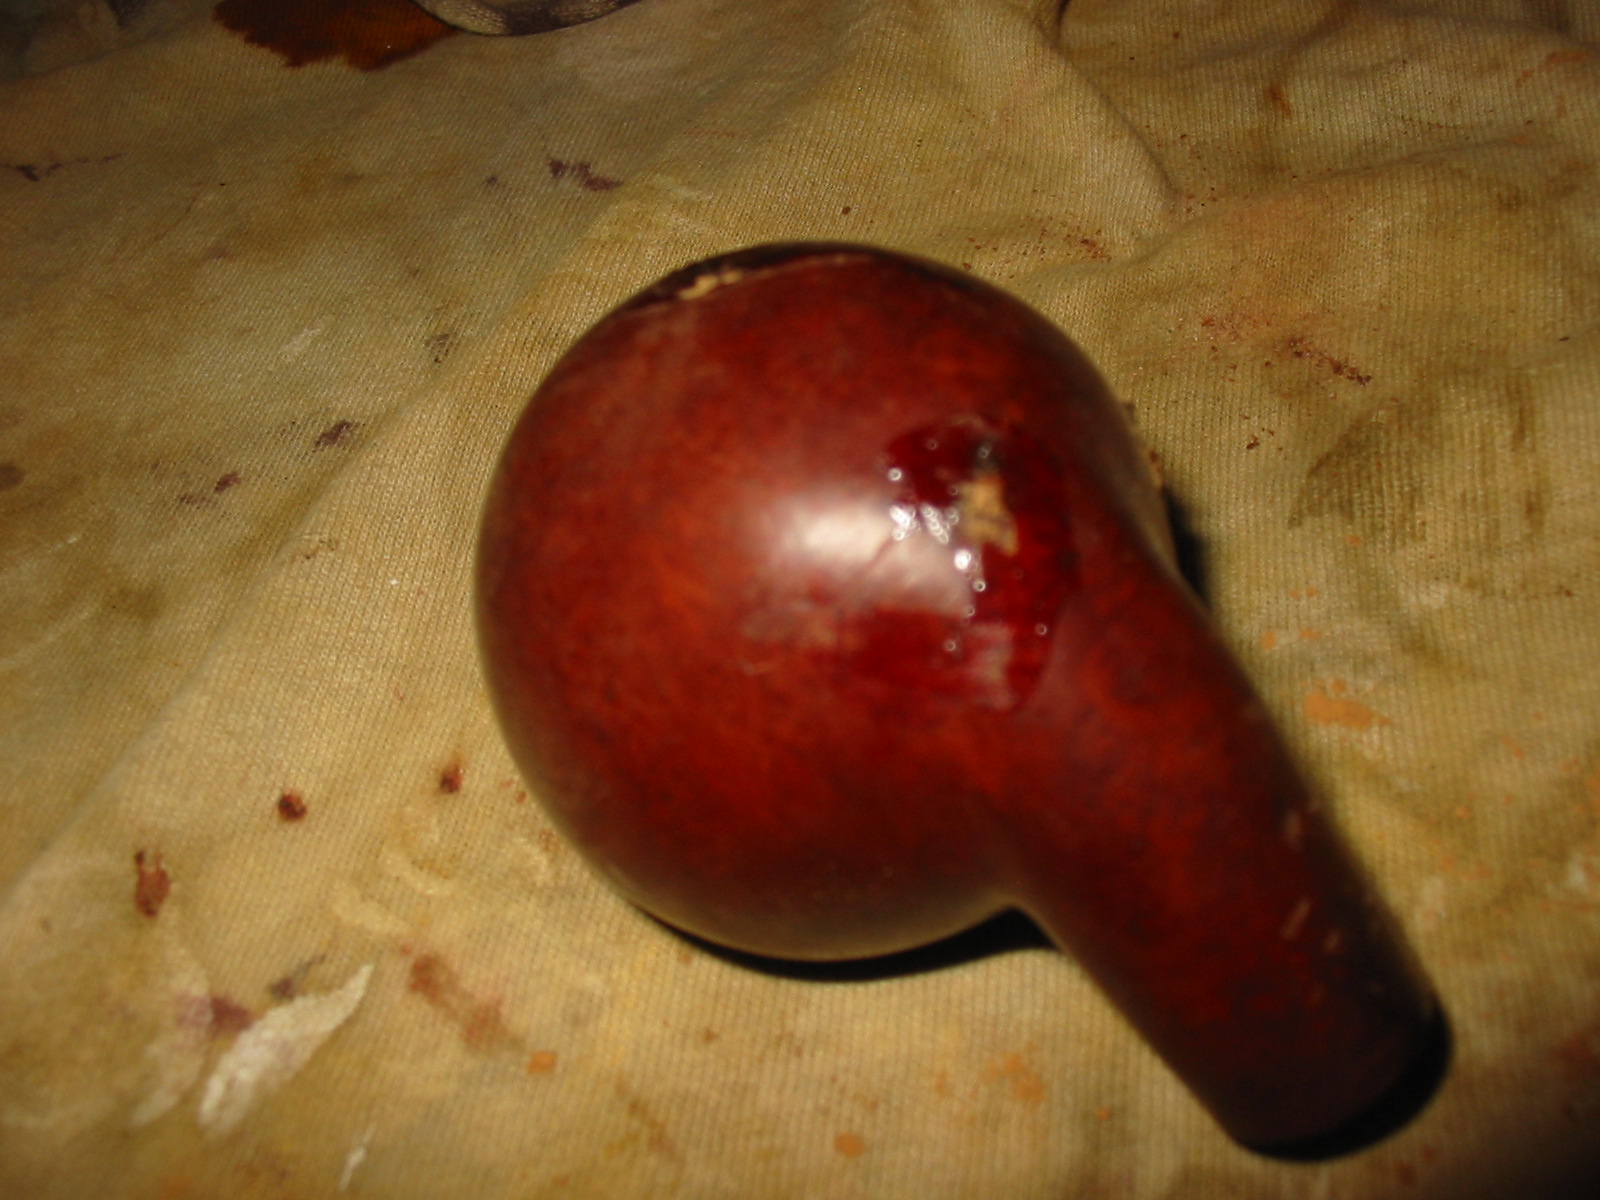
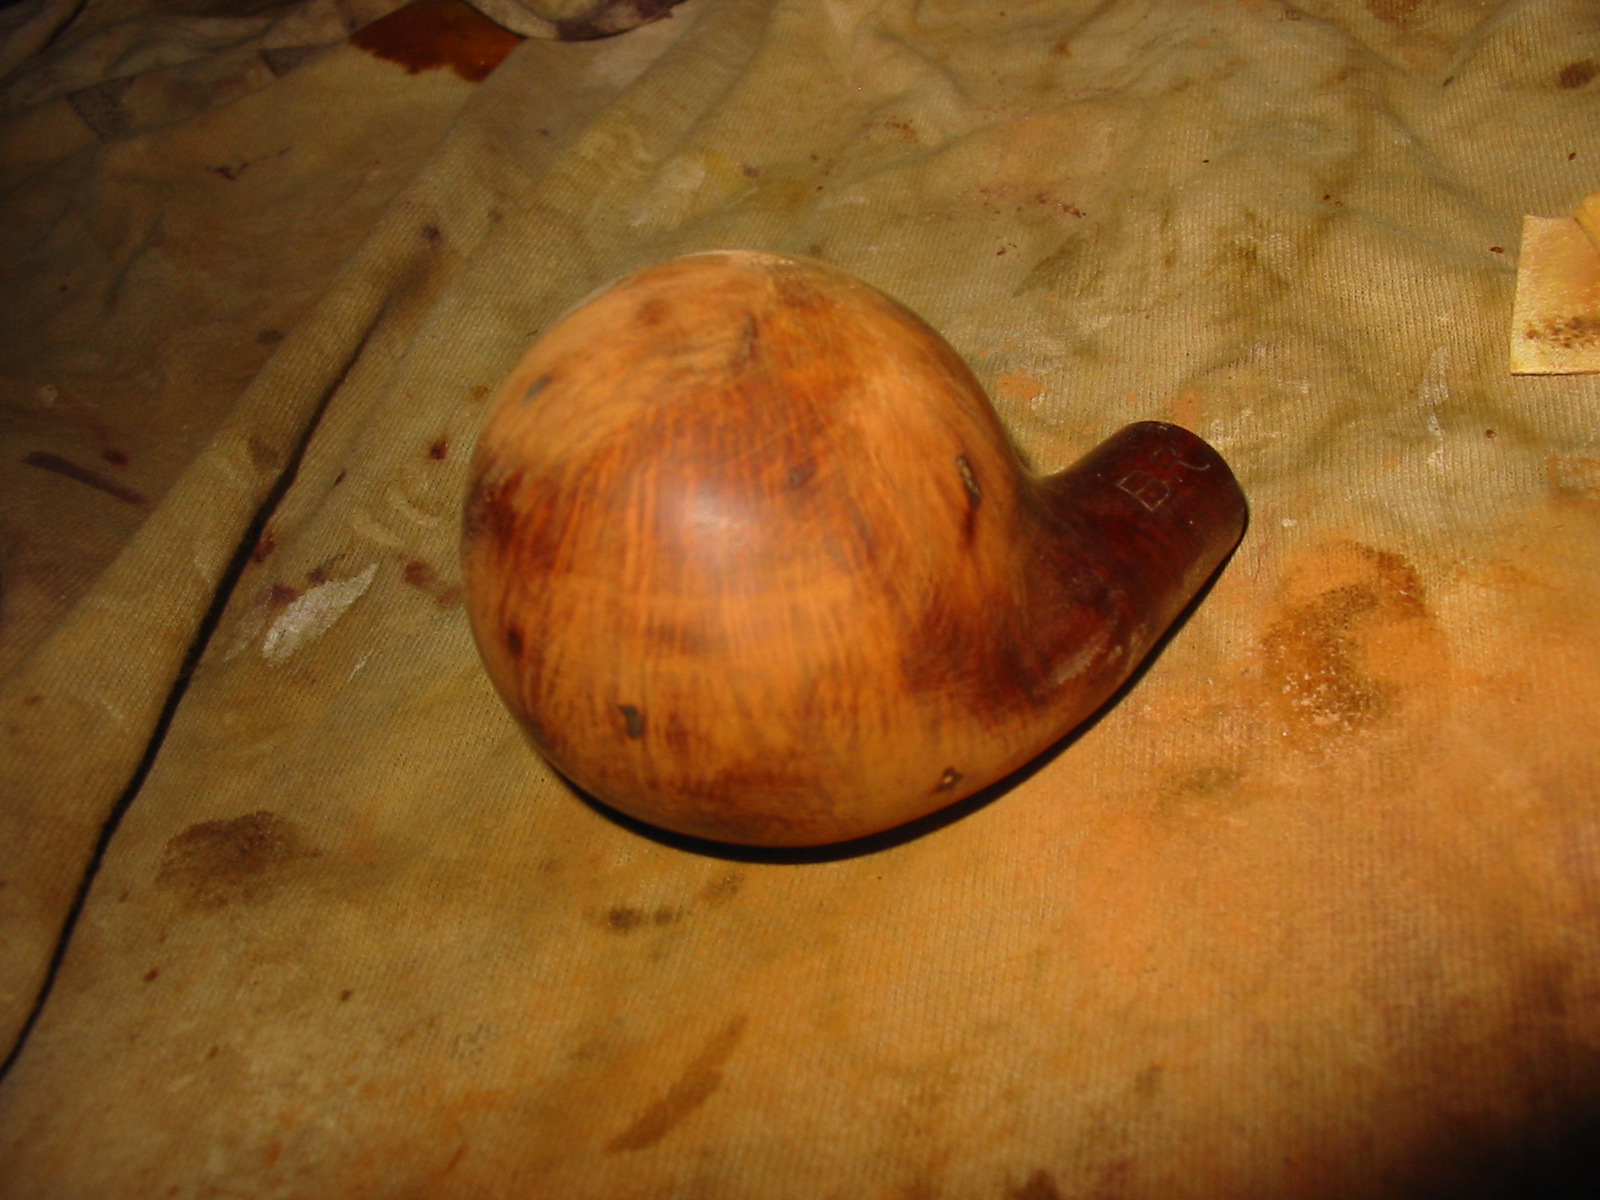
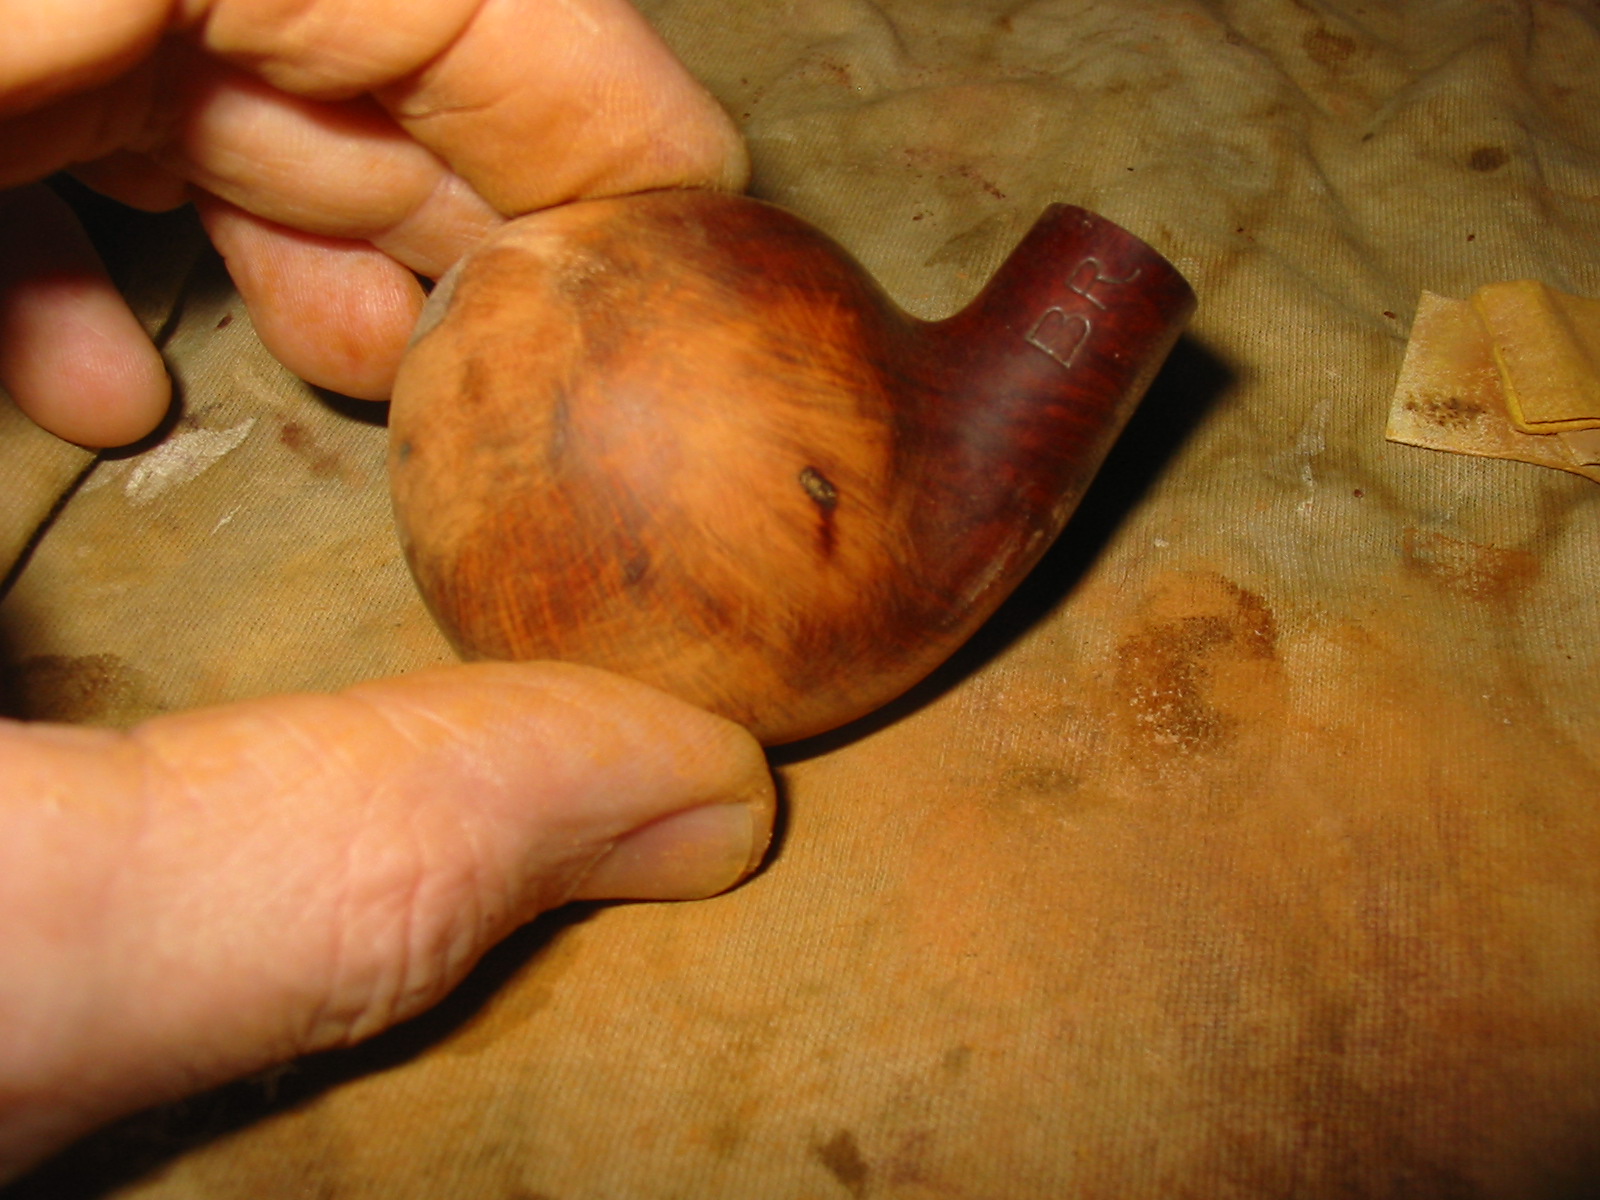
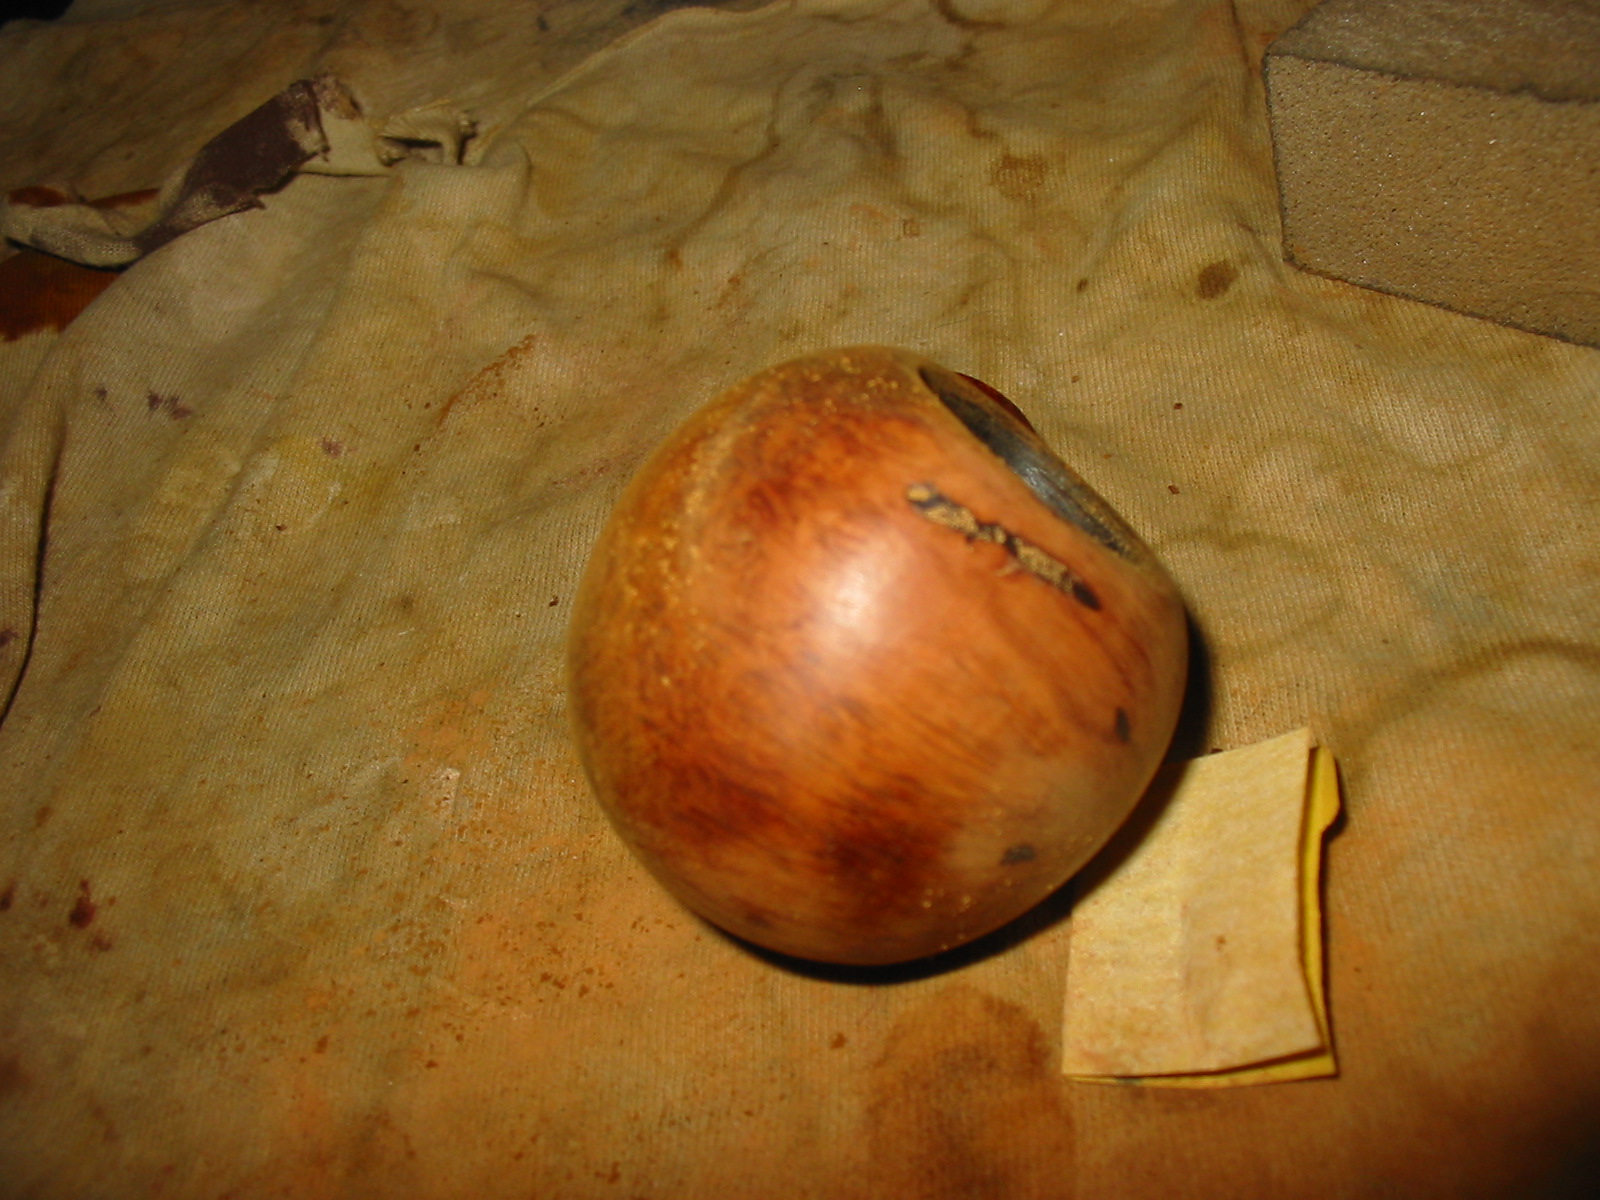
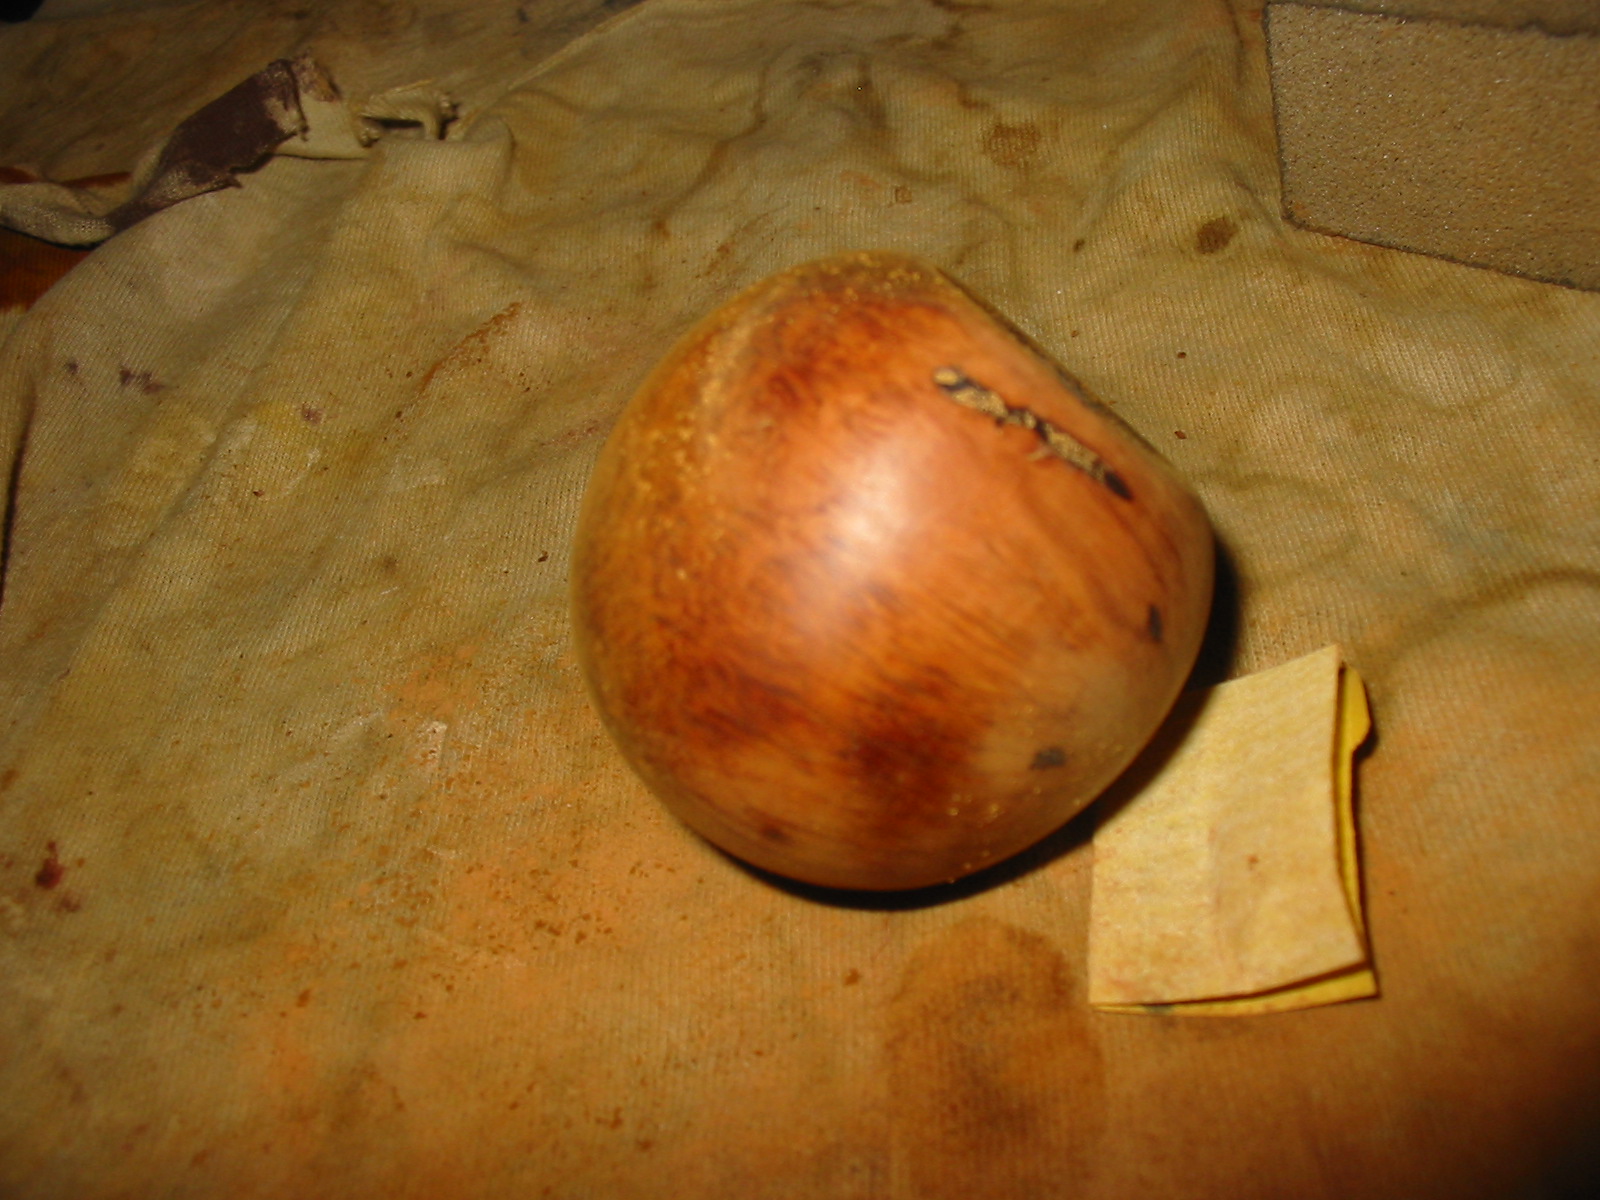
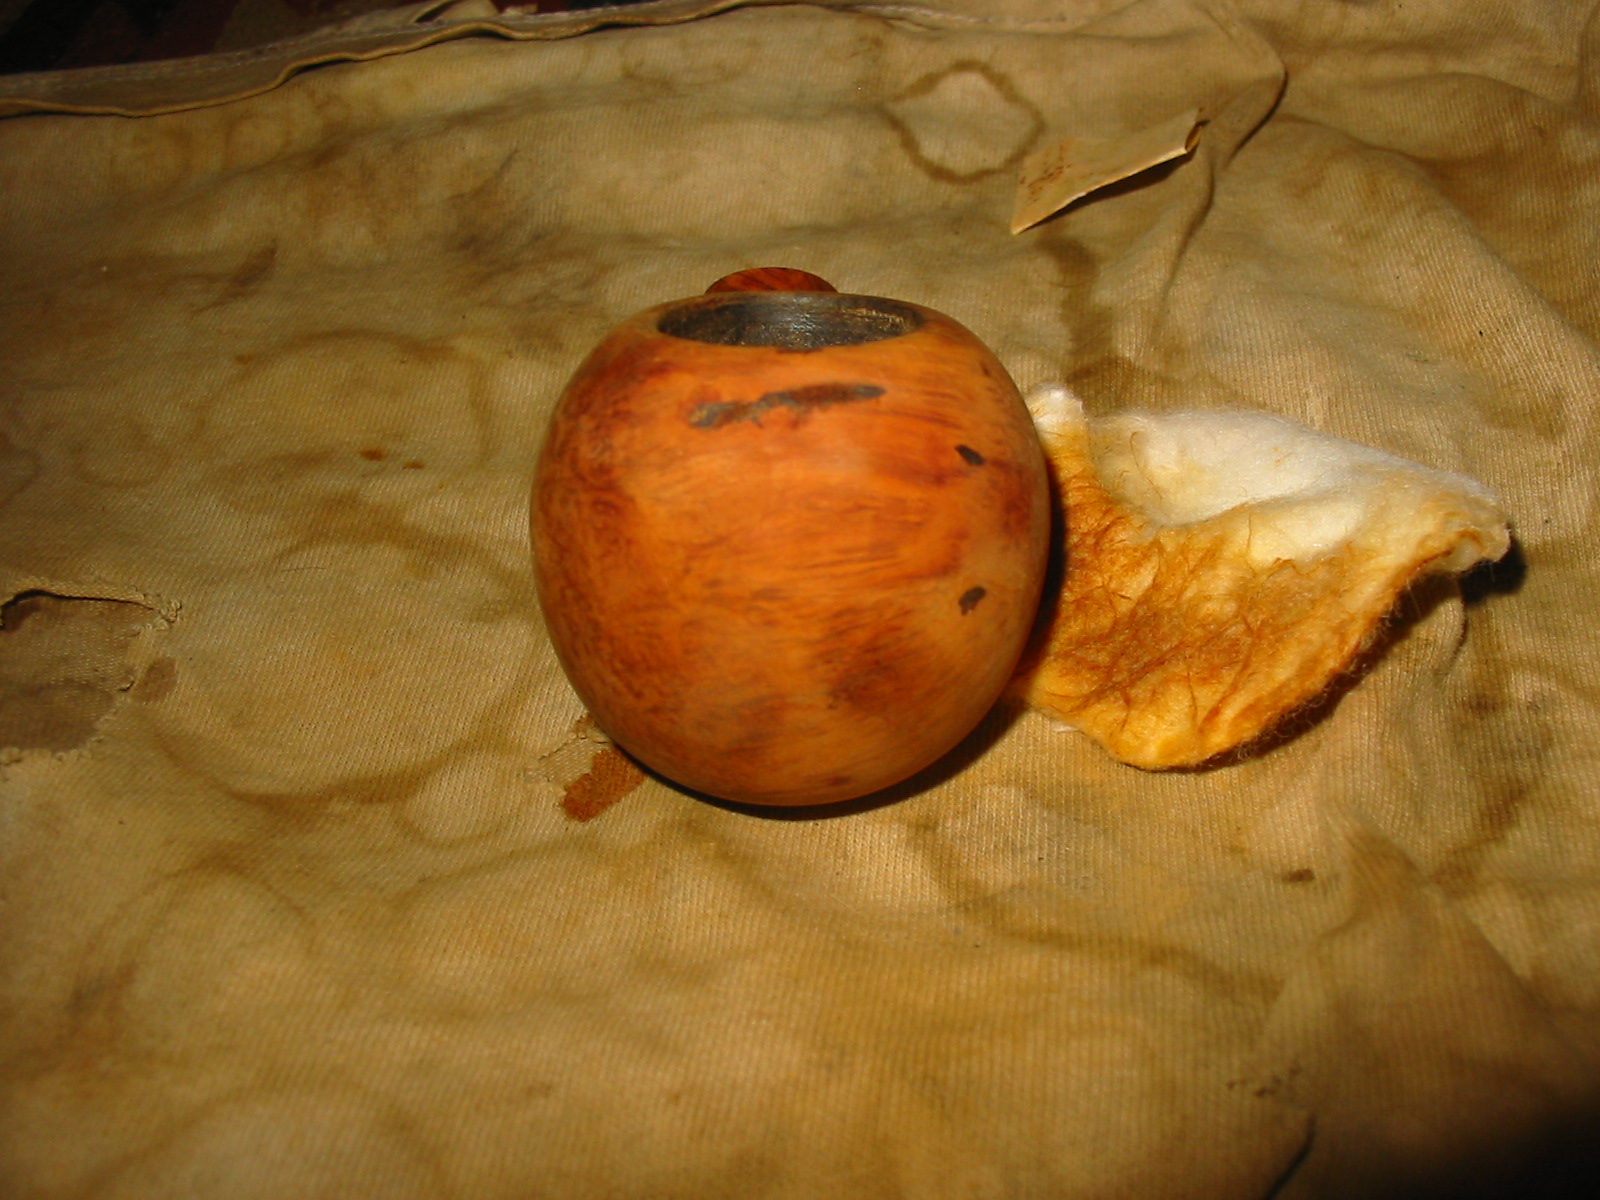
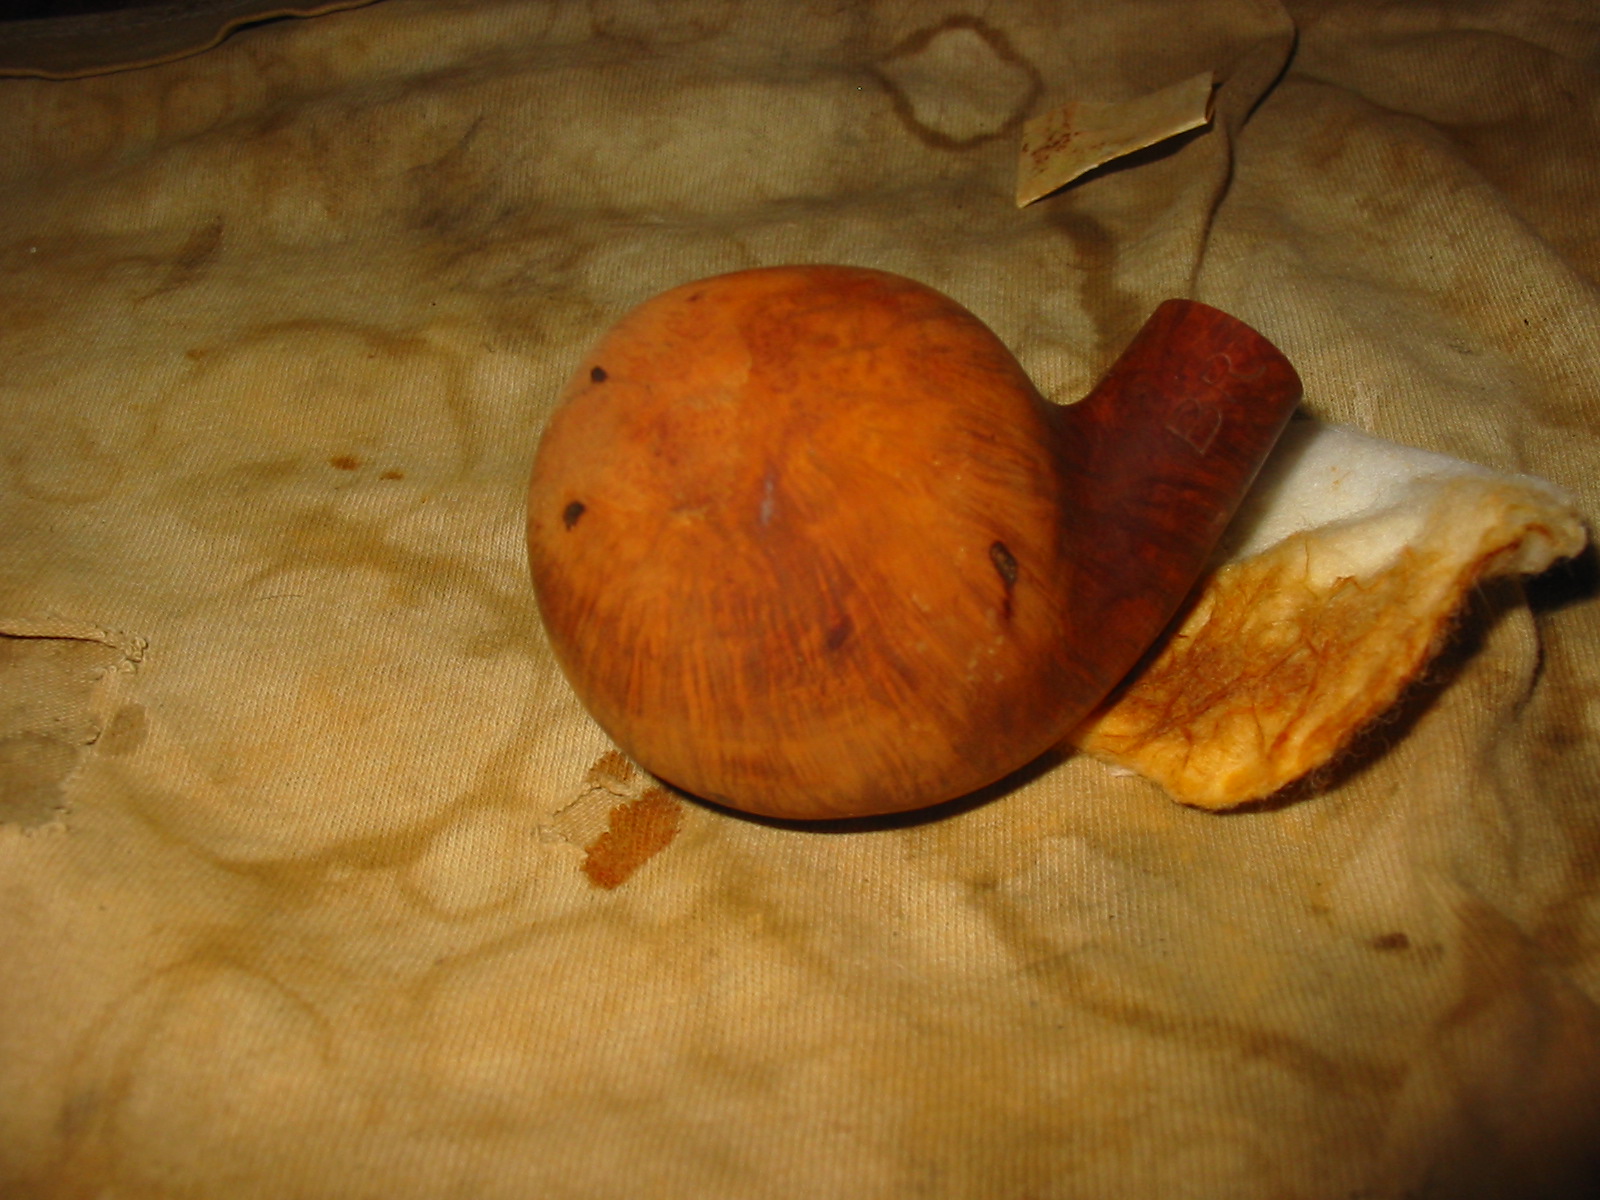
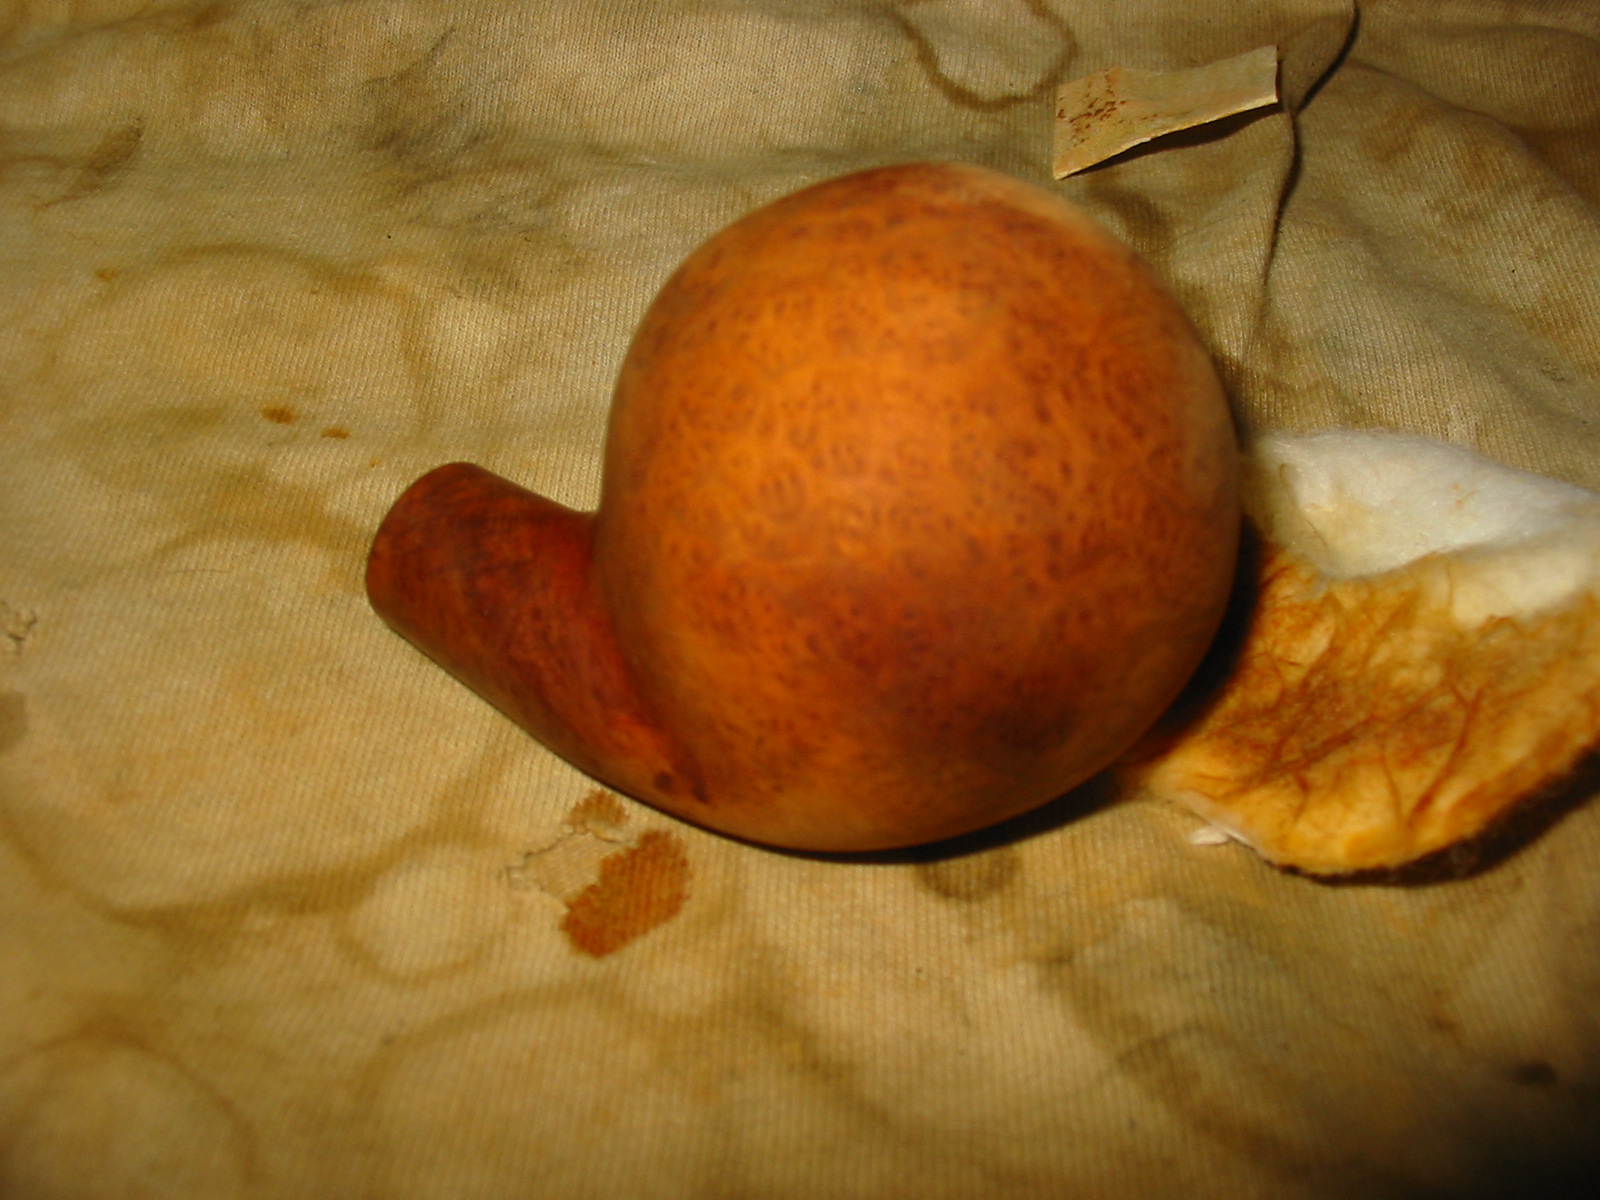
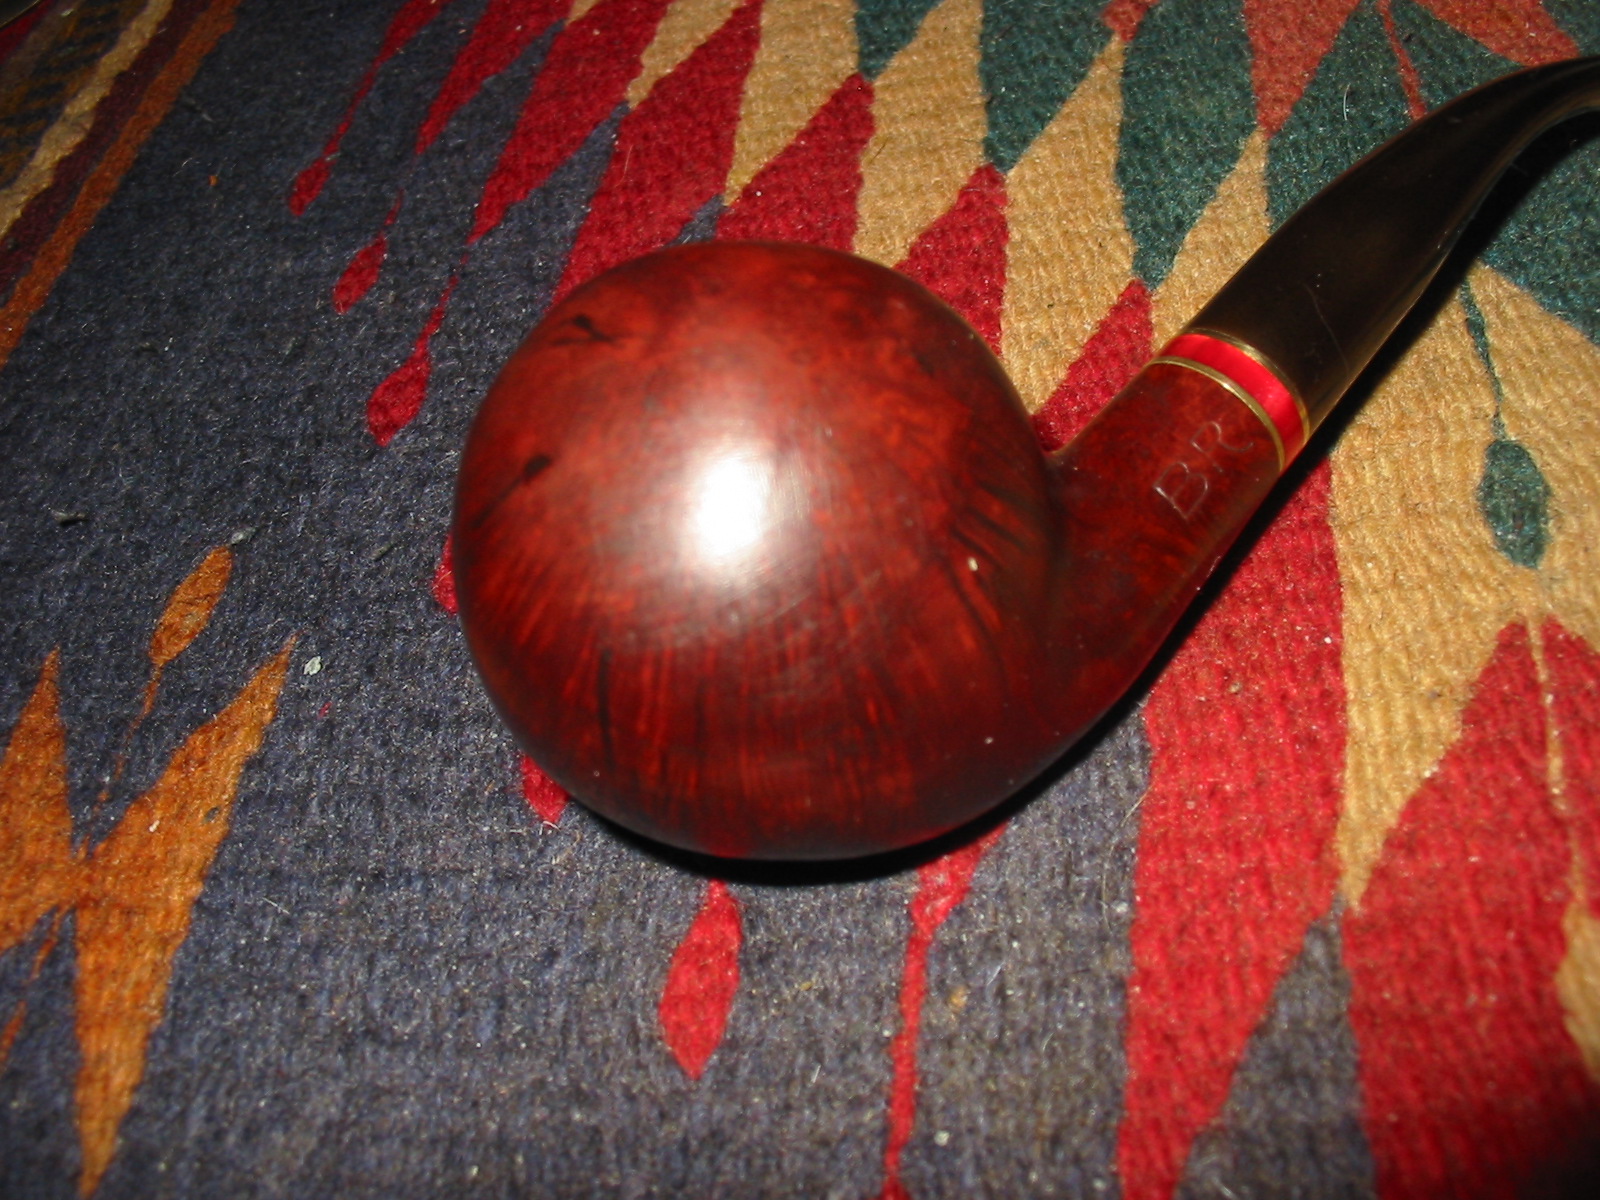
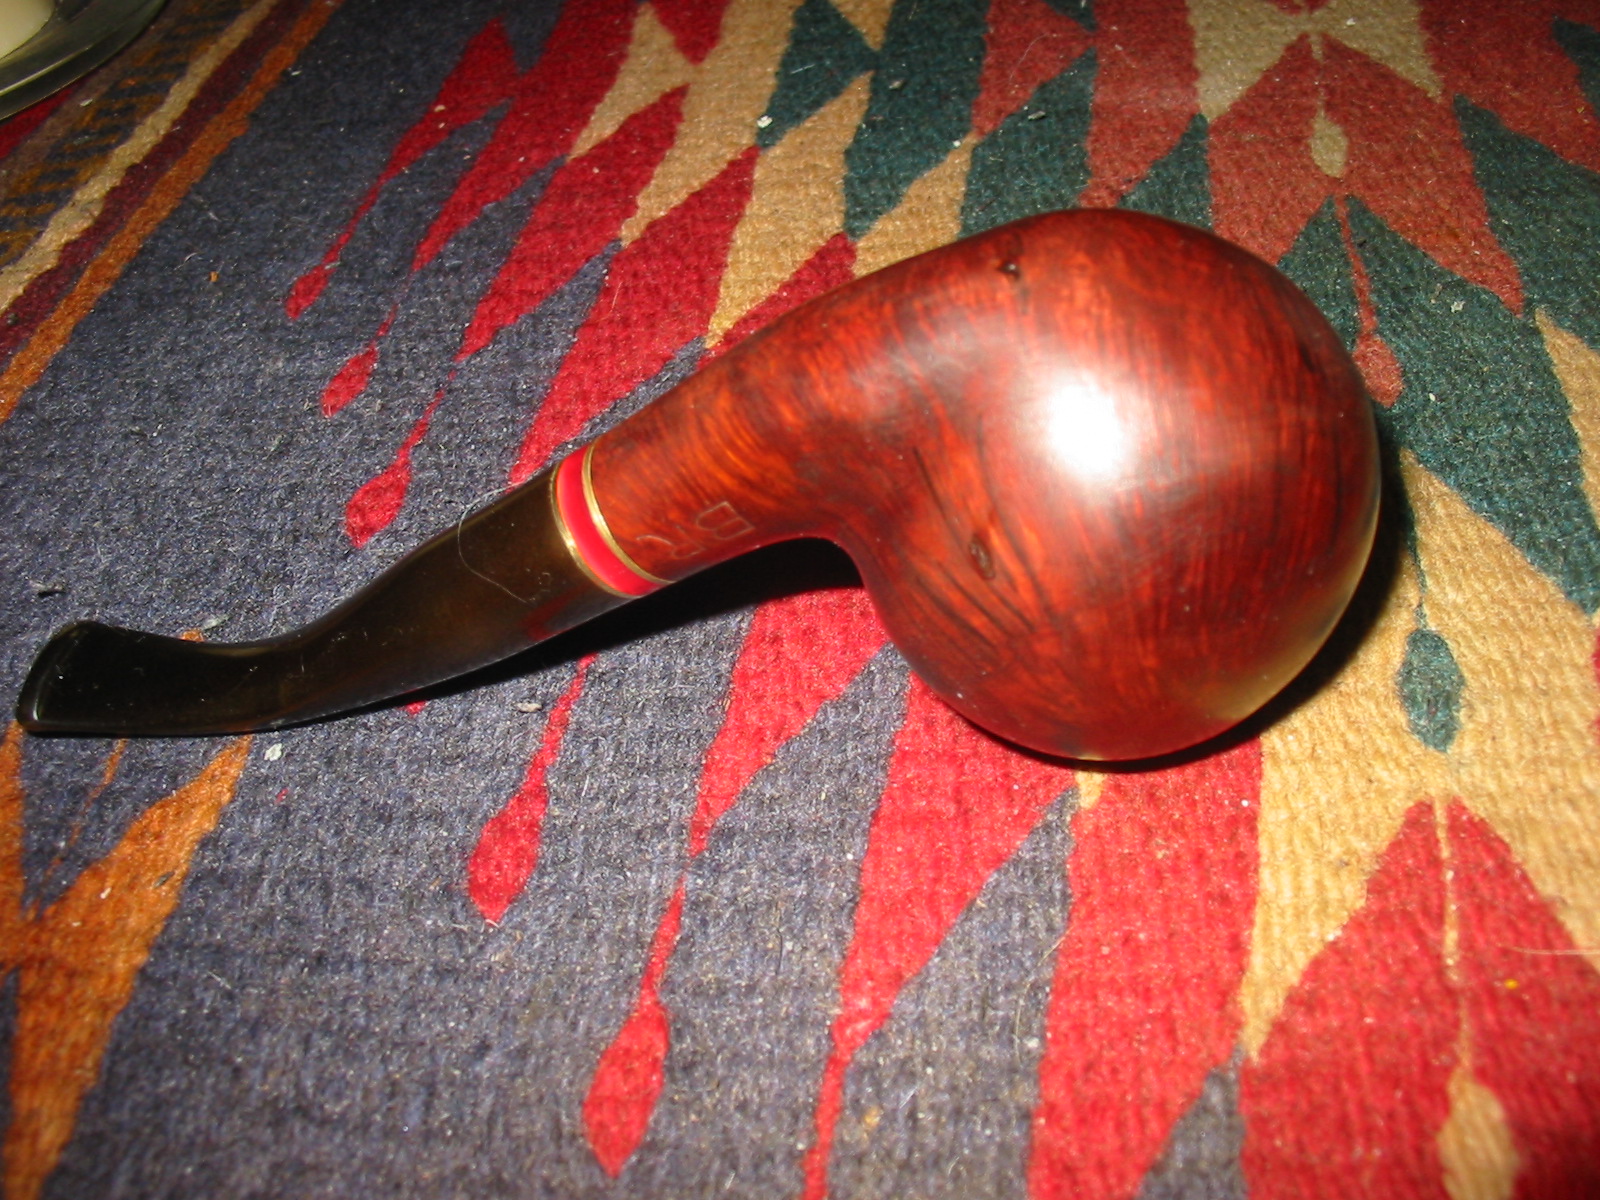
This is the second of three pipes that I picked up in a lot from EBay. It included the Richmond, a Comoy’s Everyman, and this BR Israeli made ball. It is stamped BR in large block script on the left side of the shank. On the underside of the shank is stamped ISRAEL. I know nothing of the brand and would love to hear from any of you who might have some information. The stem had tooth chatter and bite marks. It looked like it had also had a rub bite guard on it because the white calcified build up on the top and the bottom of the stem was the same distance into the stem as the bite guard. There was a distinct line where the edge was. The coloured band is slid on to the tenon of the stem. It is a brass wheel with an inlaid acrylic. The finish was shot and the briar was full of fills. The right side was the only clean side on the pipe. The front had a large putty fill at the top near the edge and several on the lower portion, the left side had 3-4 fills and the underside also had two. Most of these were on the smaller side as far as fills go but the one on the front was huge and spanned the width of the bowl. The rim and downward curve of the bowl from the rim back was very tarred and oily. There was a gummy buildup that was like a lava flow down the bowl sides. The bowl was caked with an uneven and oily aromatic smelling cake. The first series of four photos shows the state of the pipe when it arrived on my worktable.

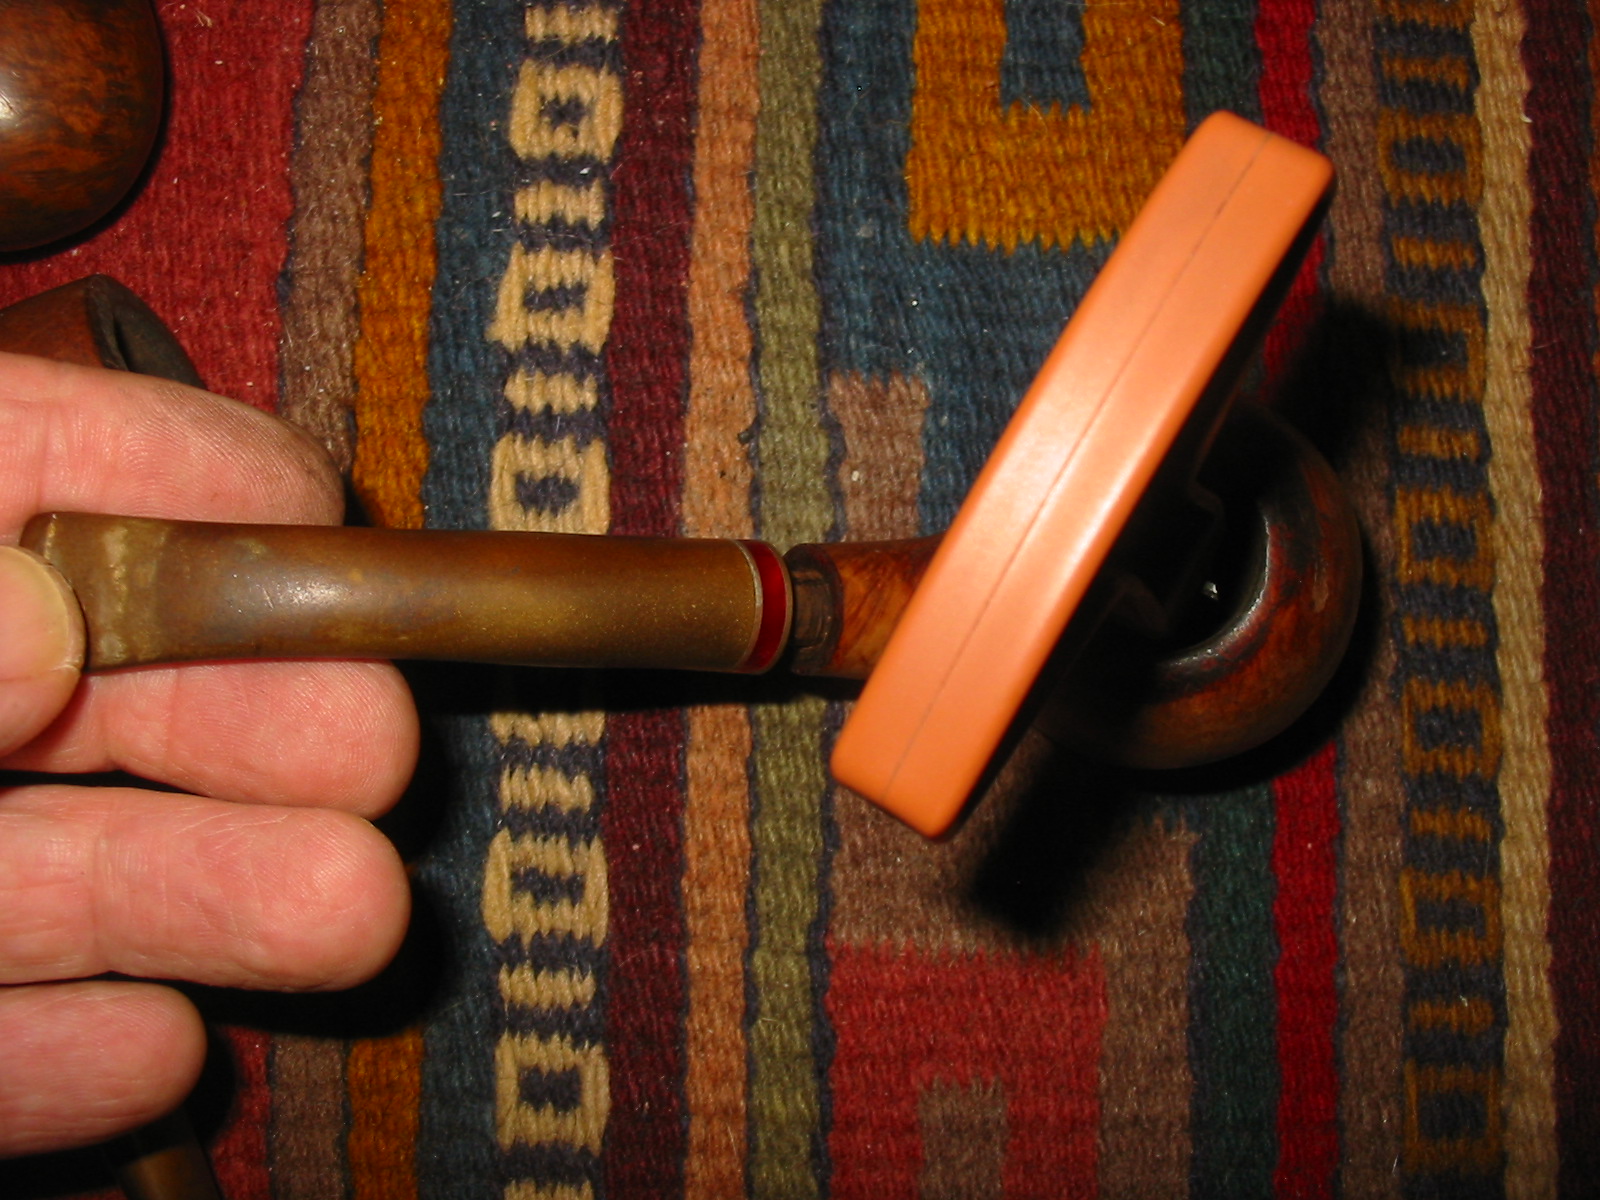
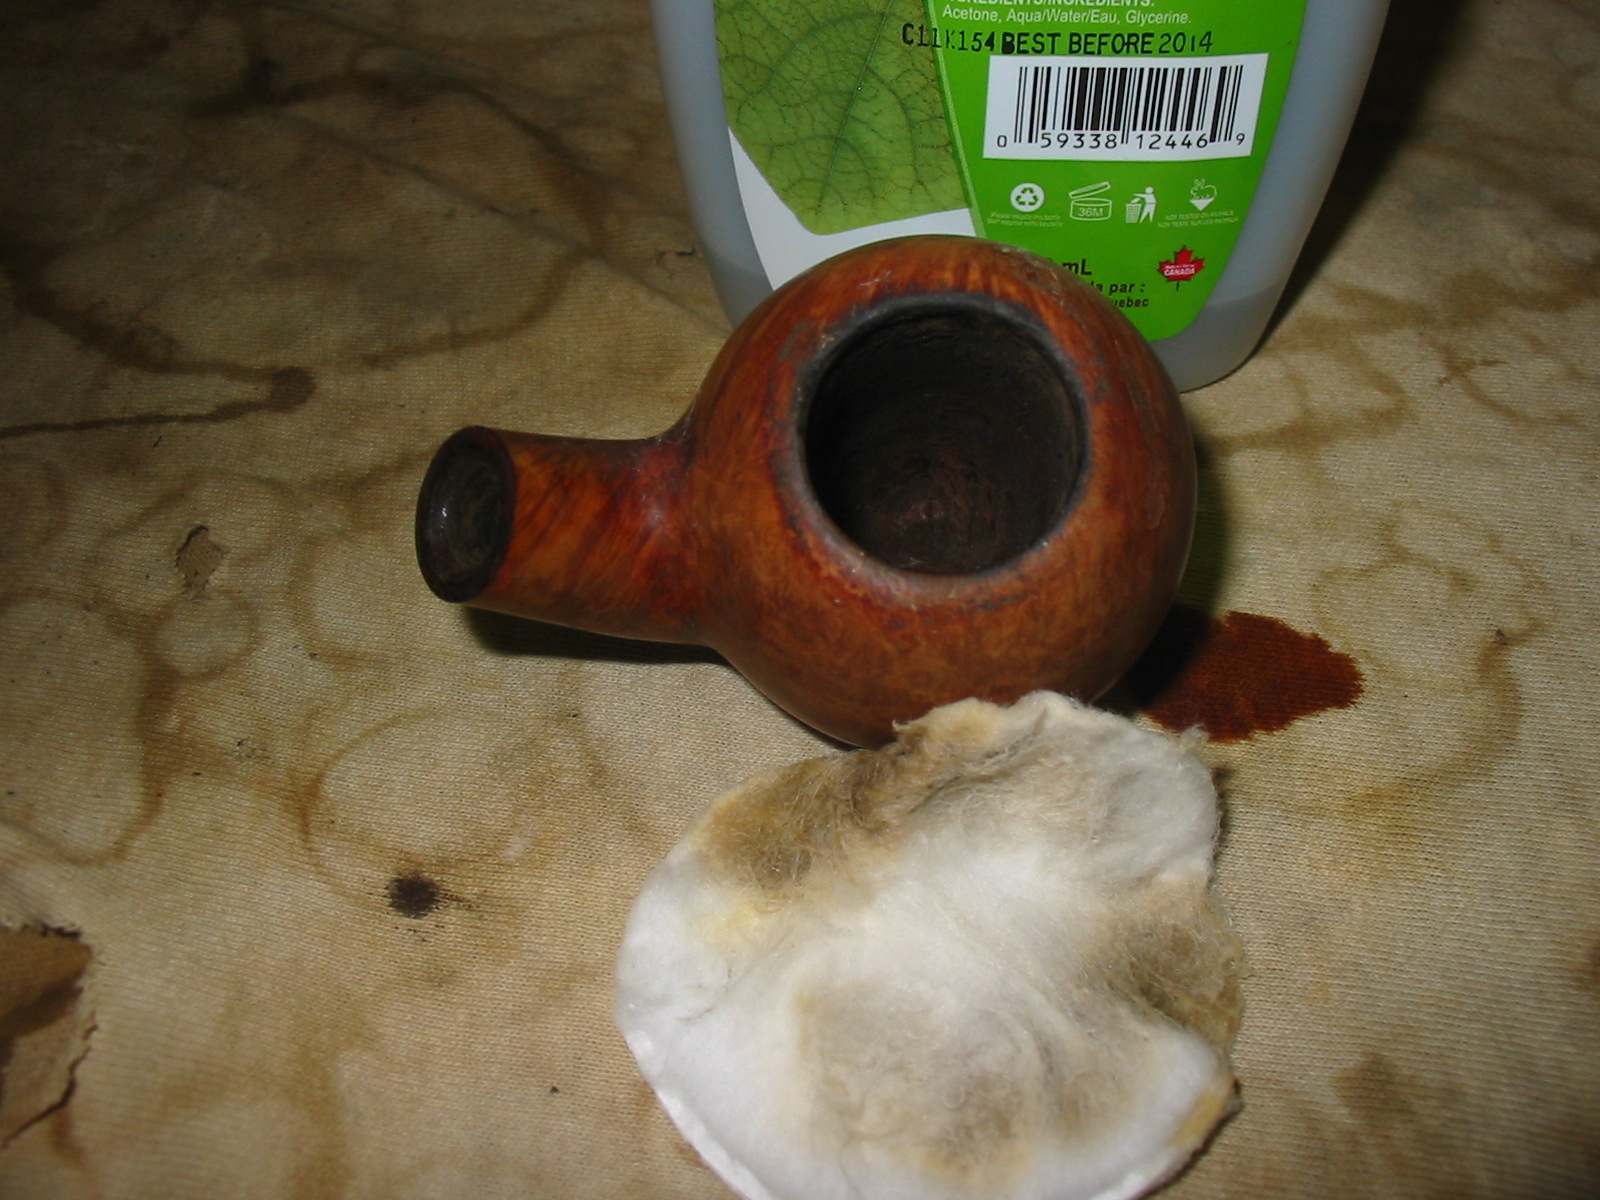
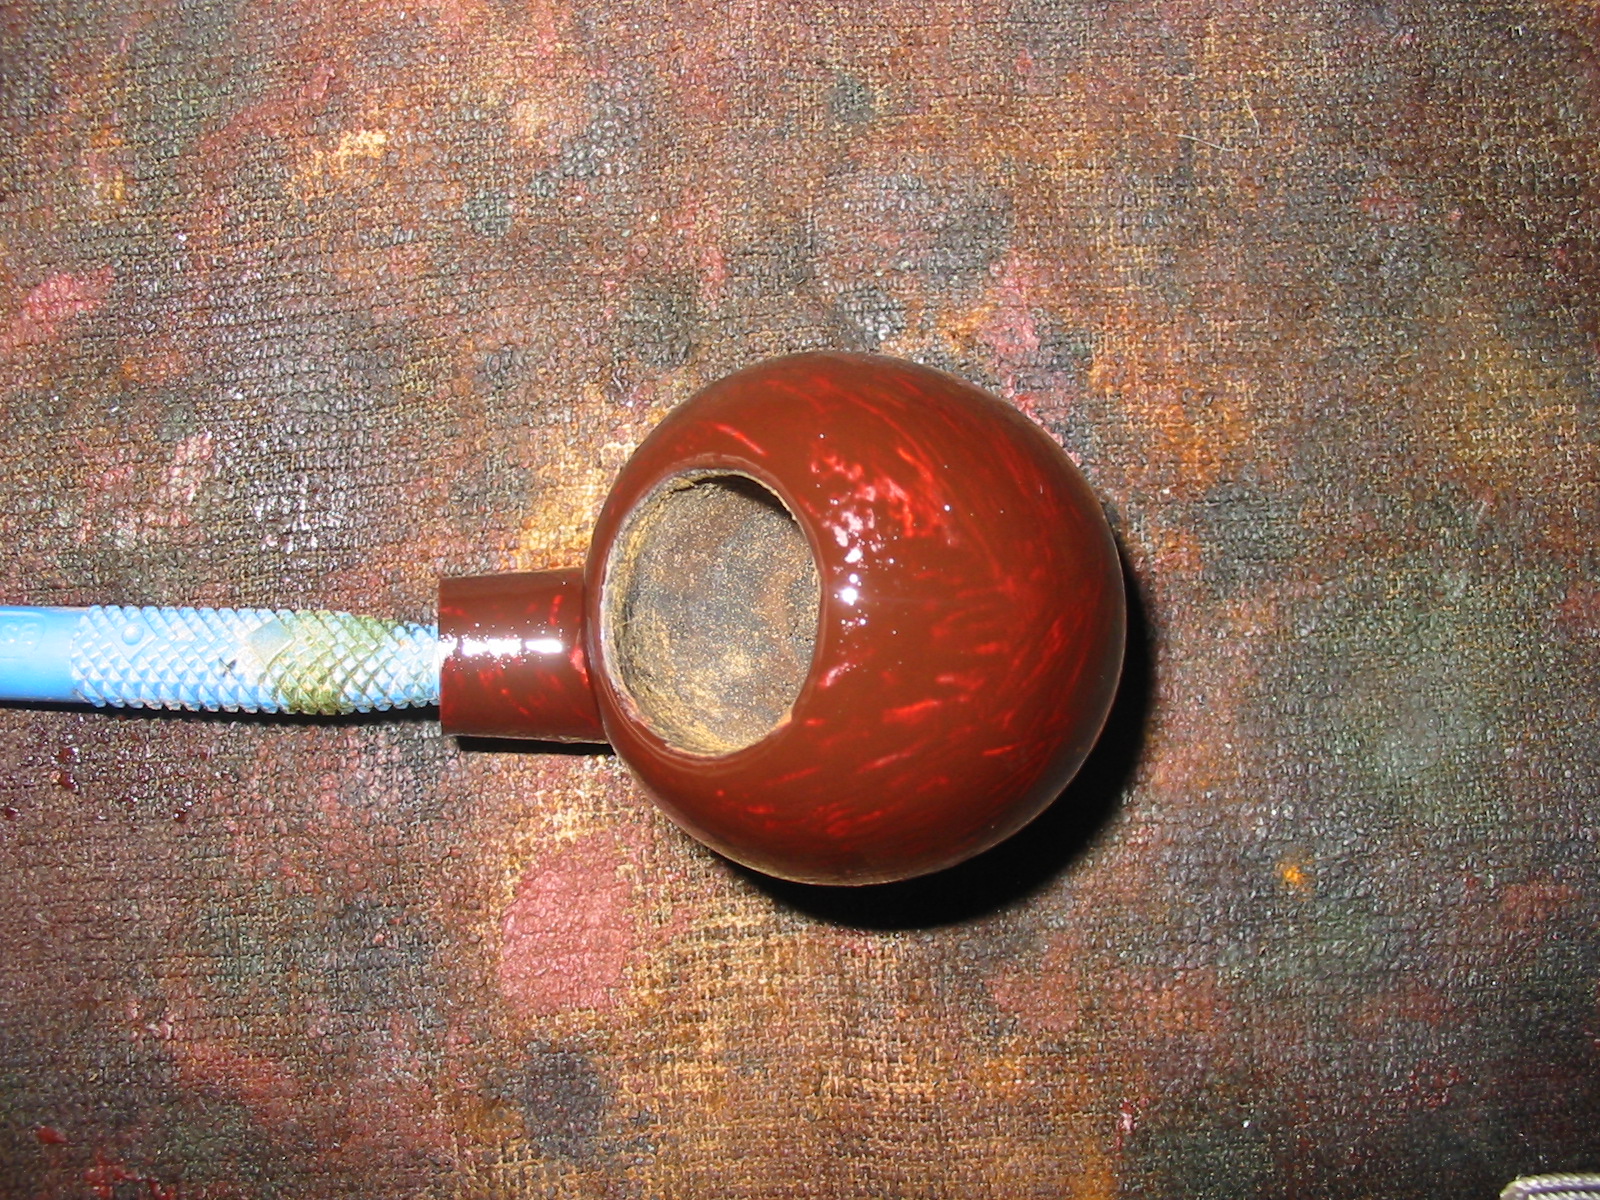
When I get a bowl that looks like this one I usually start by reaming the bowl. That aromatic, syrupy cherry smelling cake has to go in my opinion. I reamed it with my T handled Pipnet Reaming set. I generally start with a small cutting head and work my way up until I have removed most of the cake. The next two photos show the reaming process.
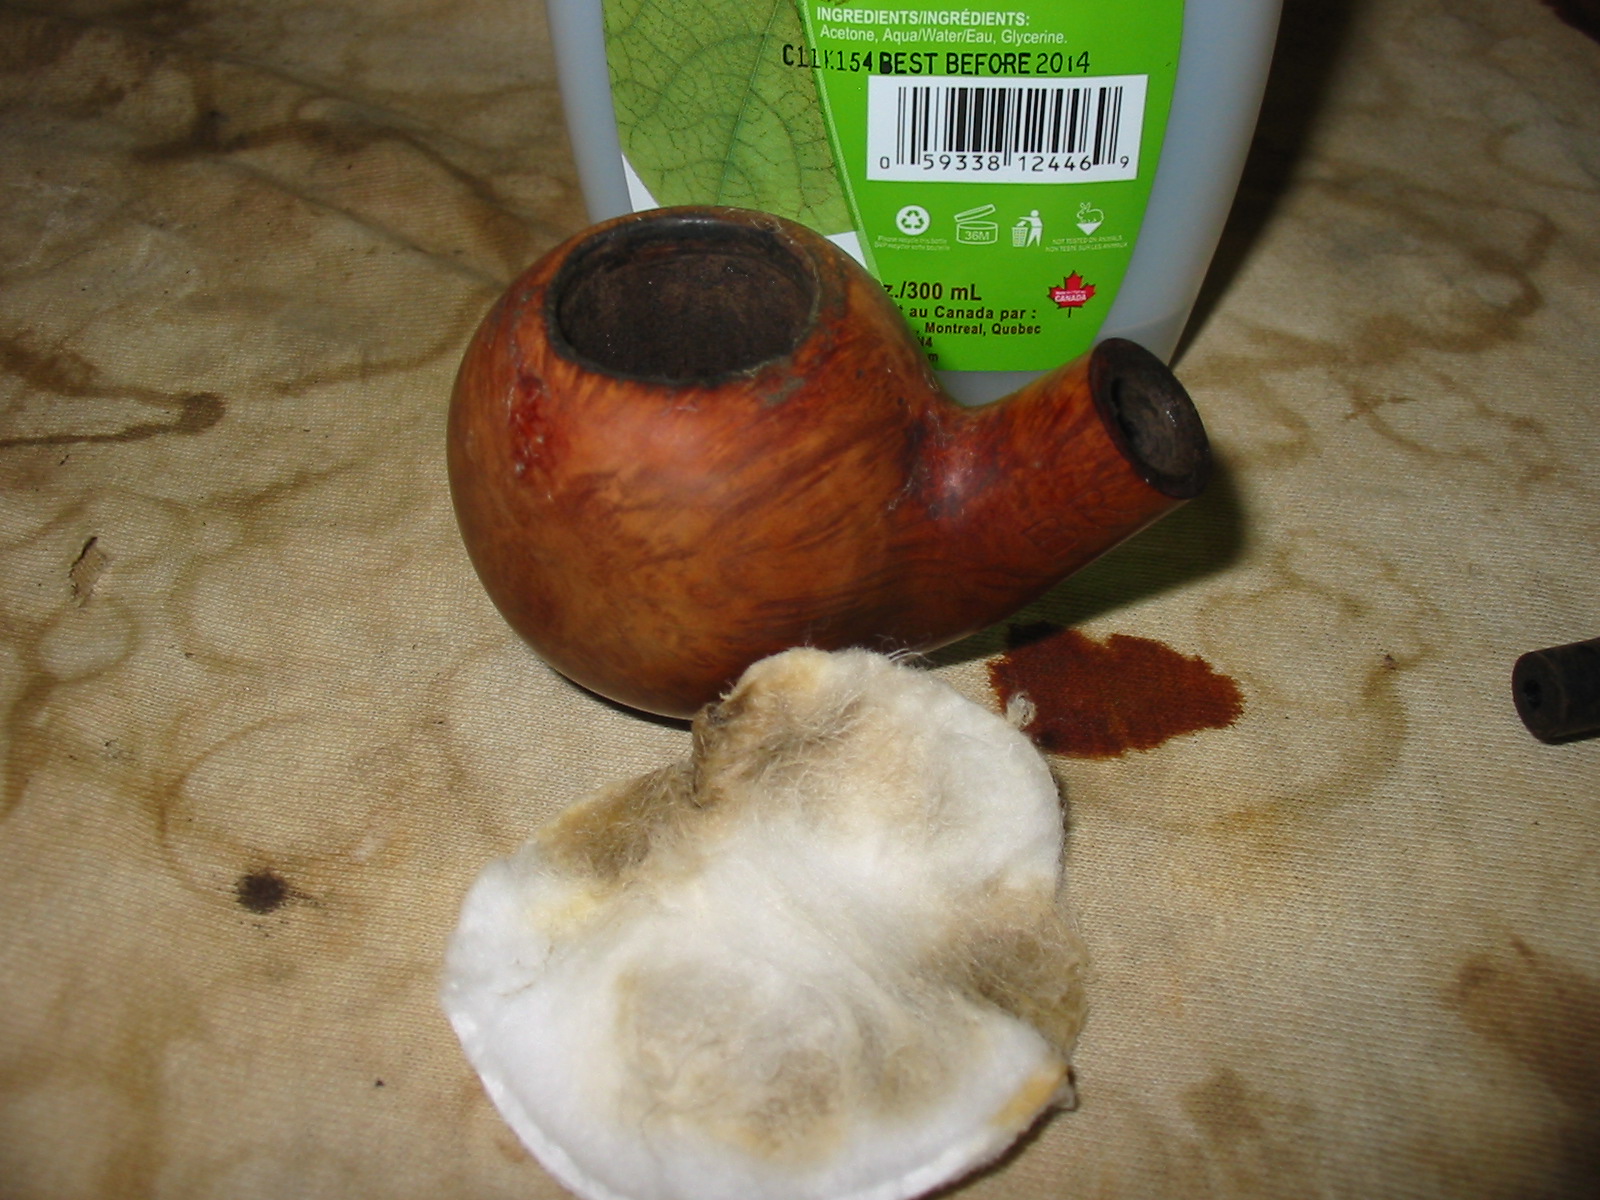
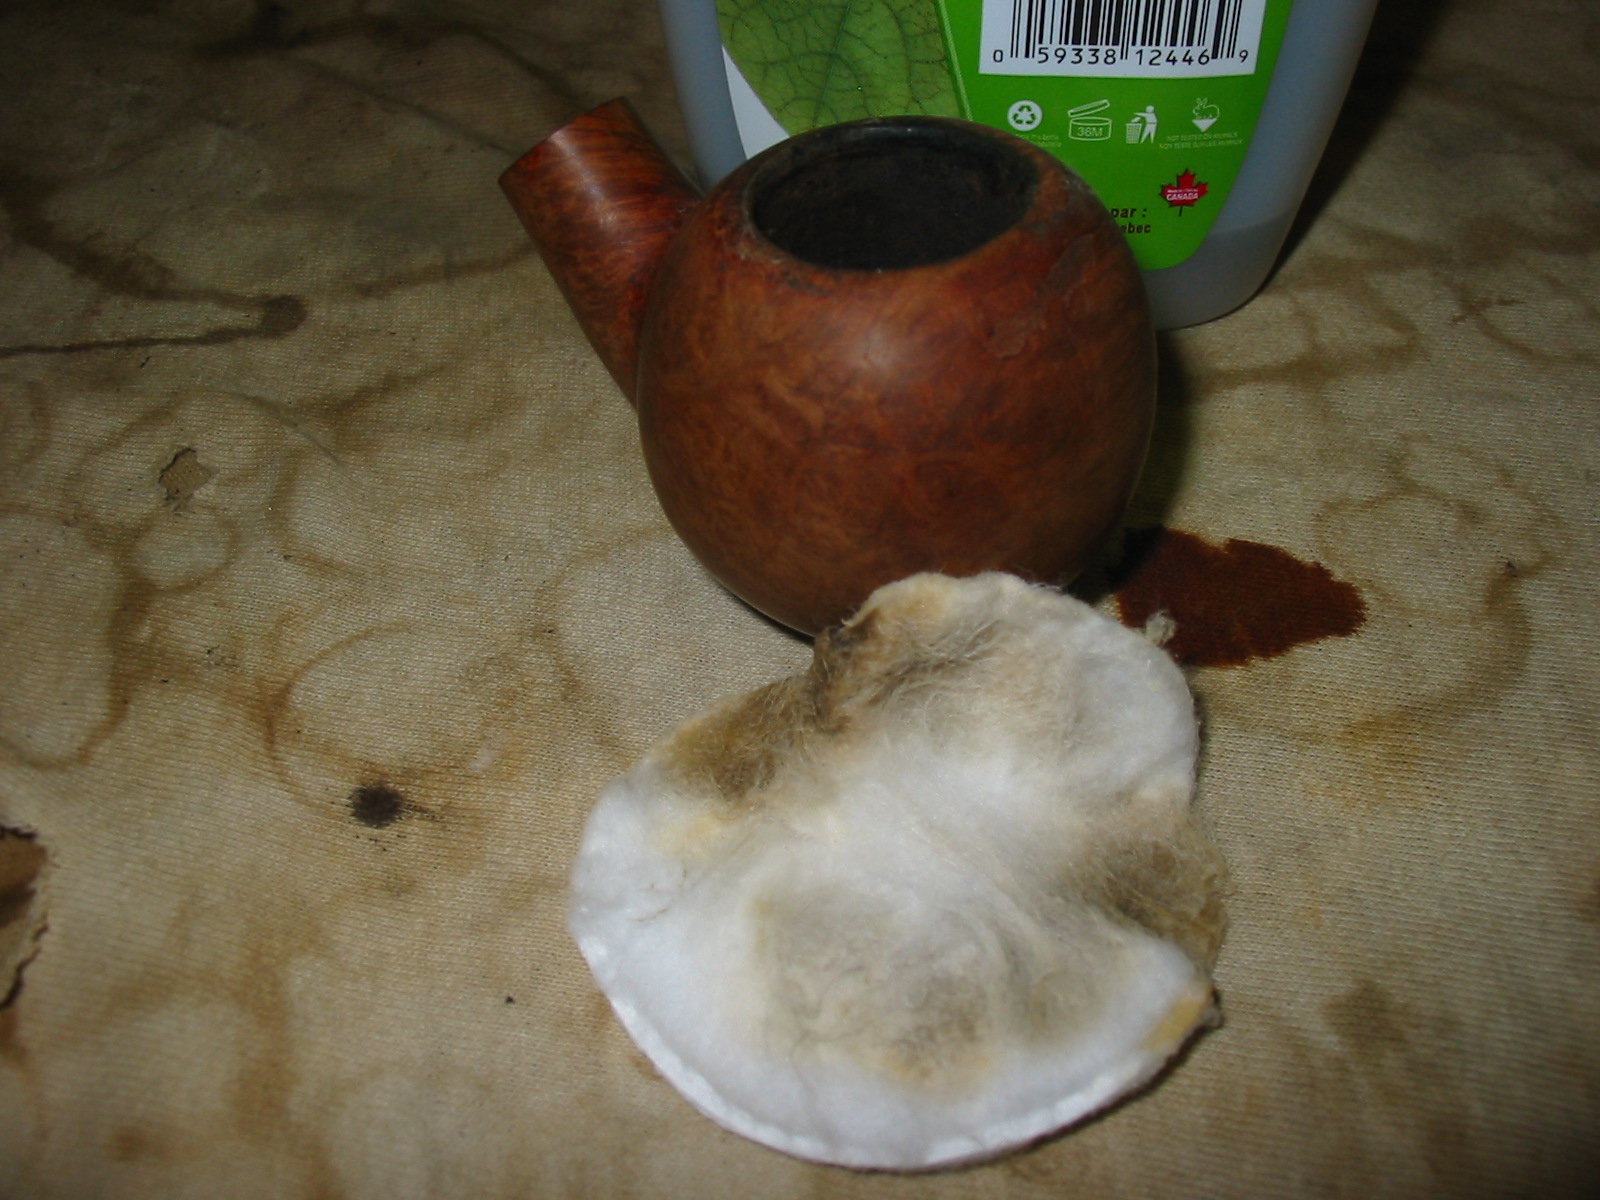
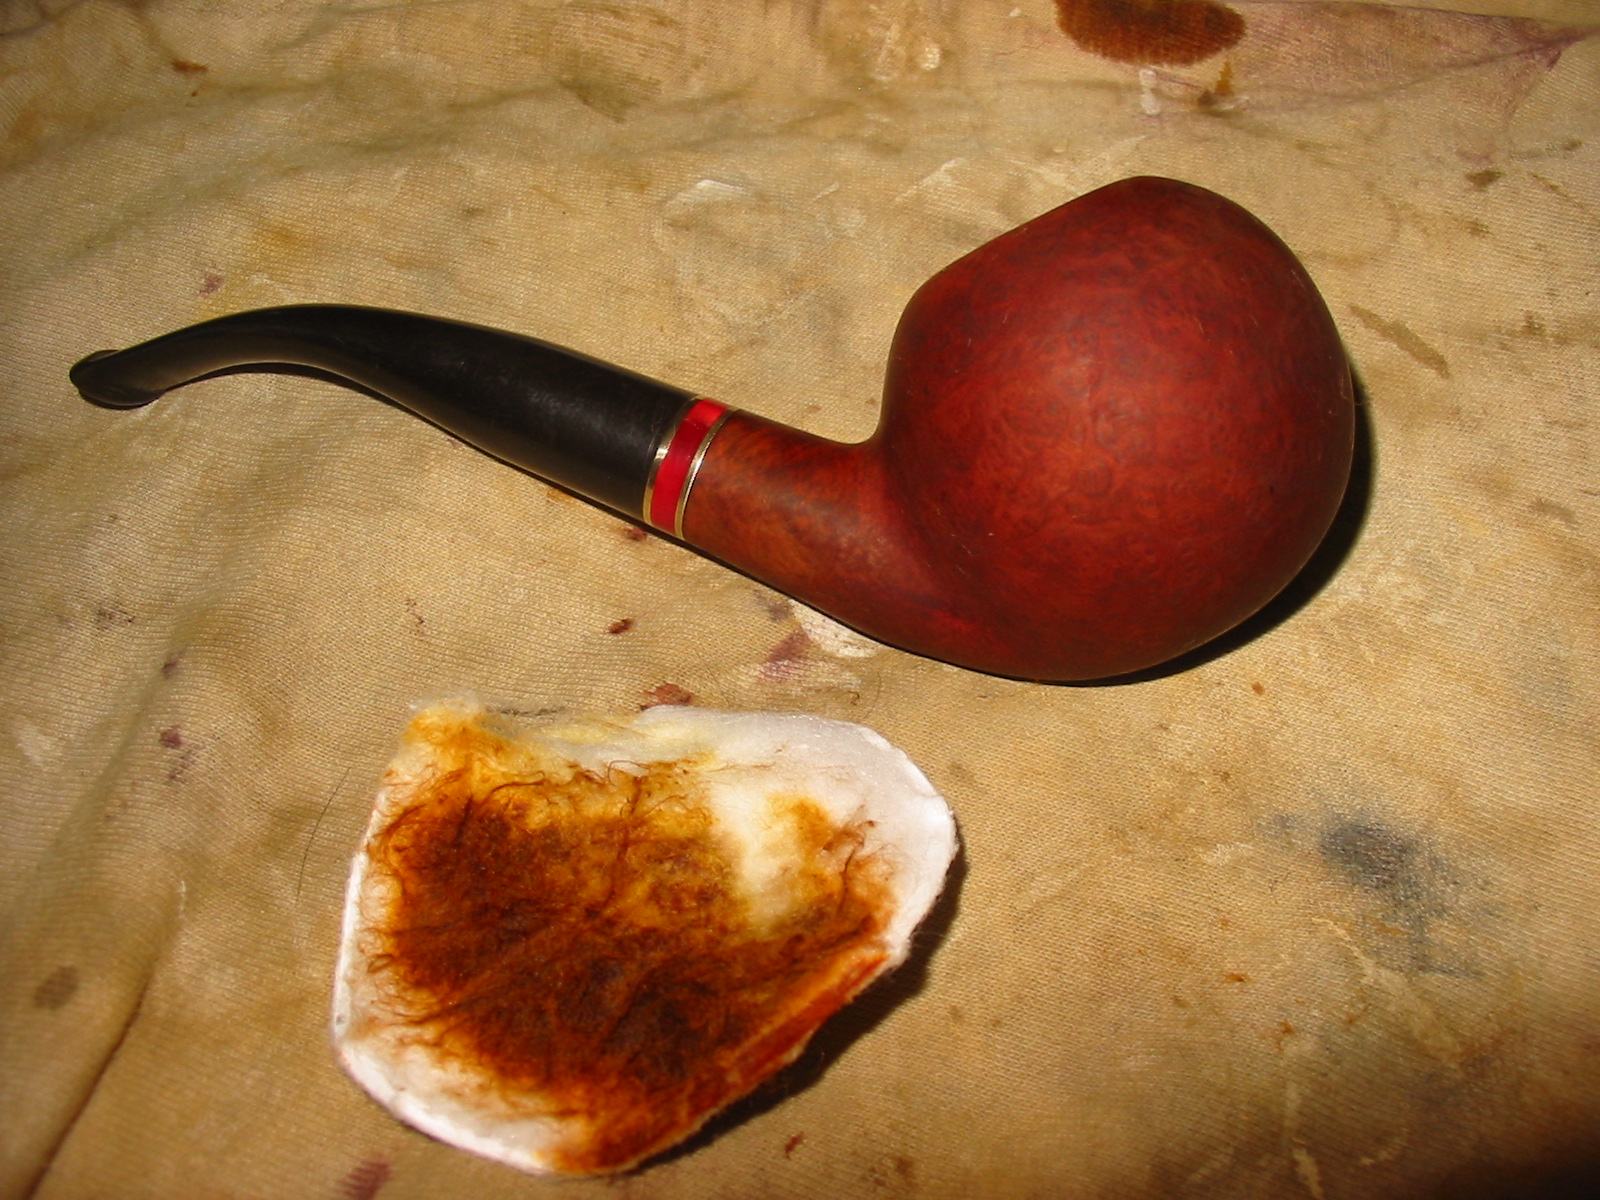
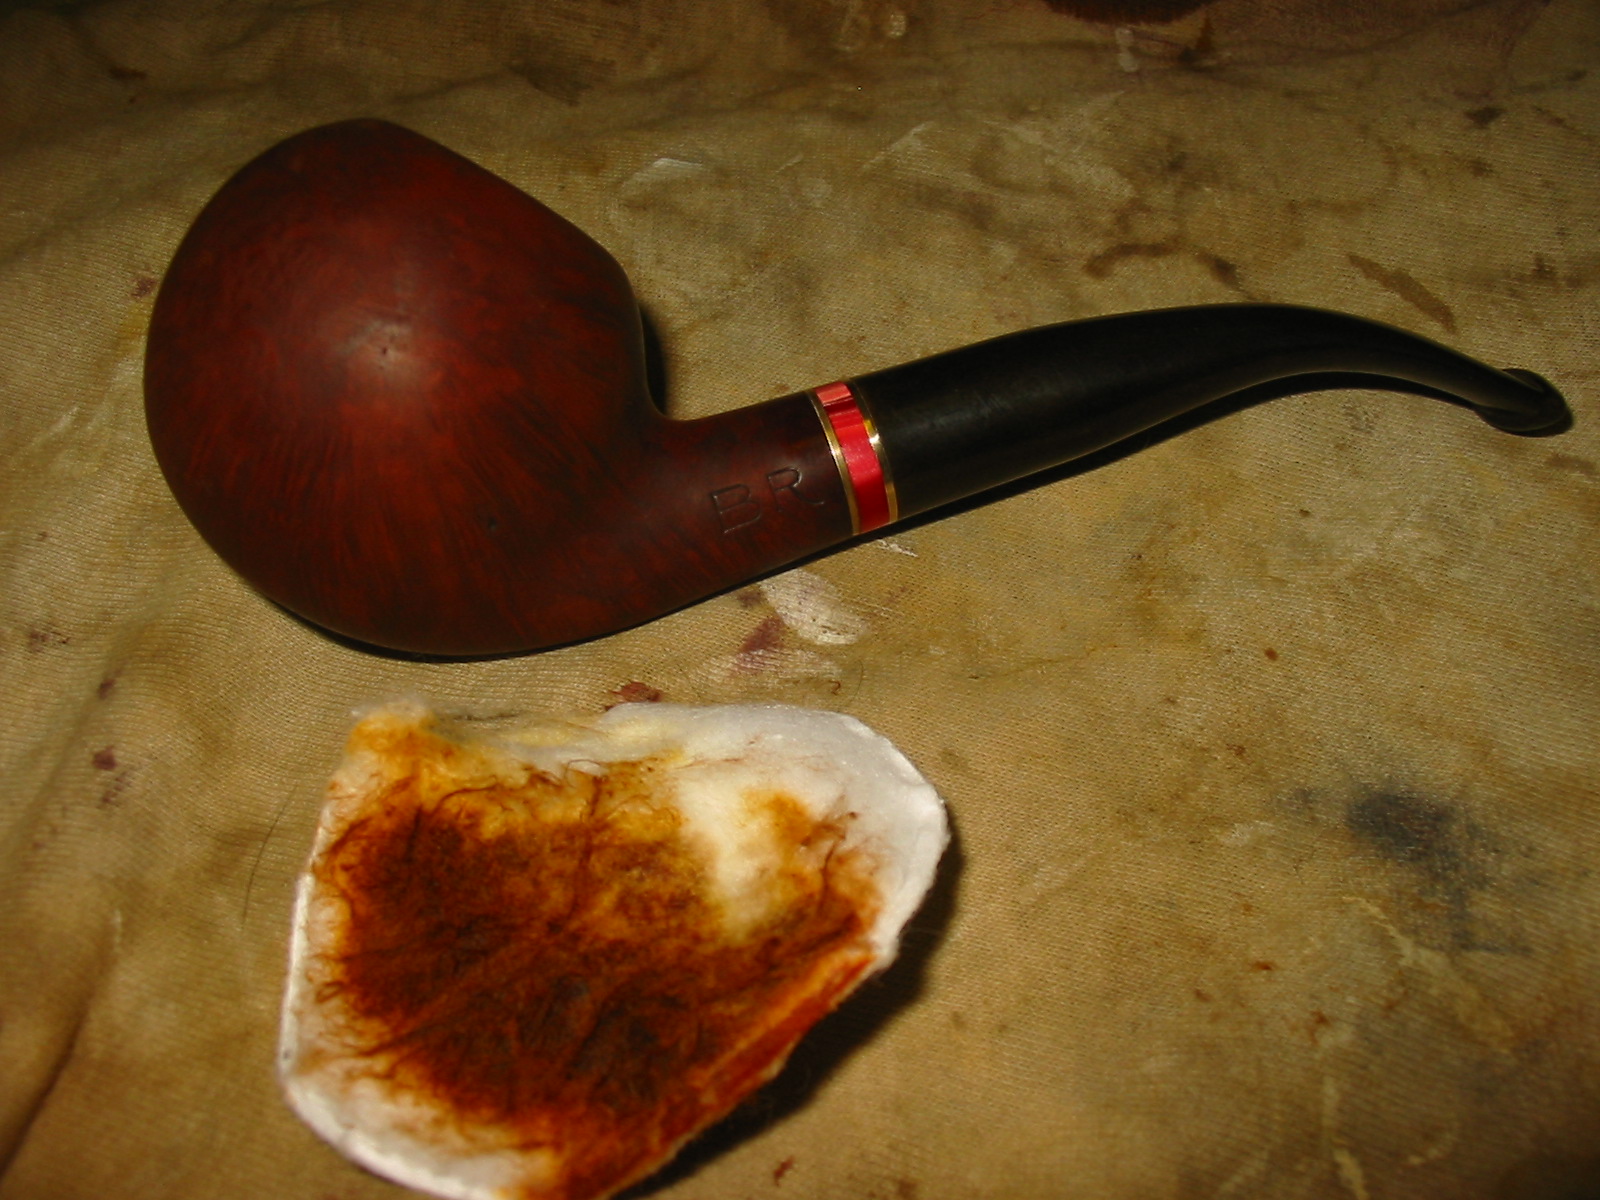
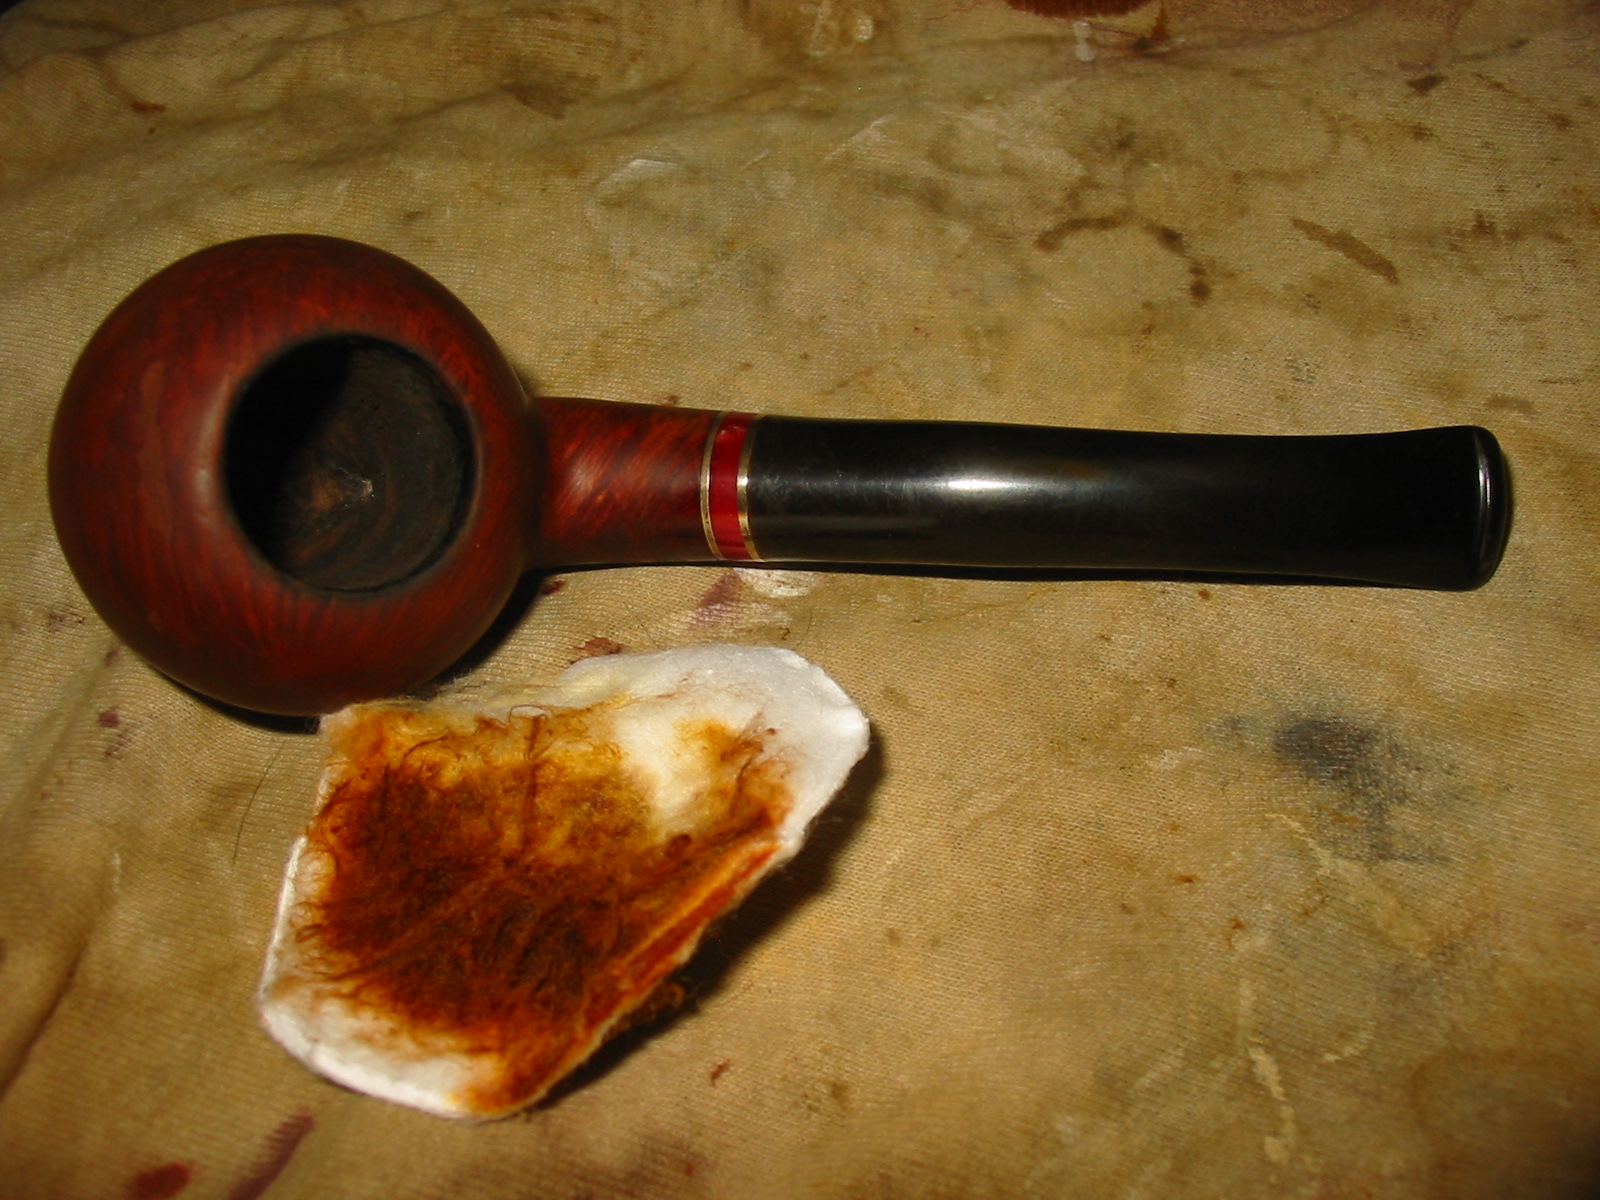
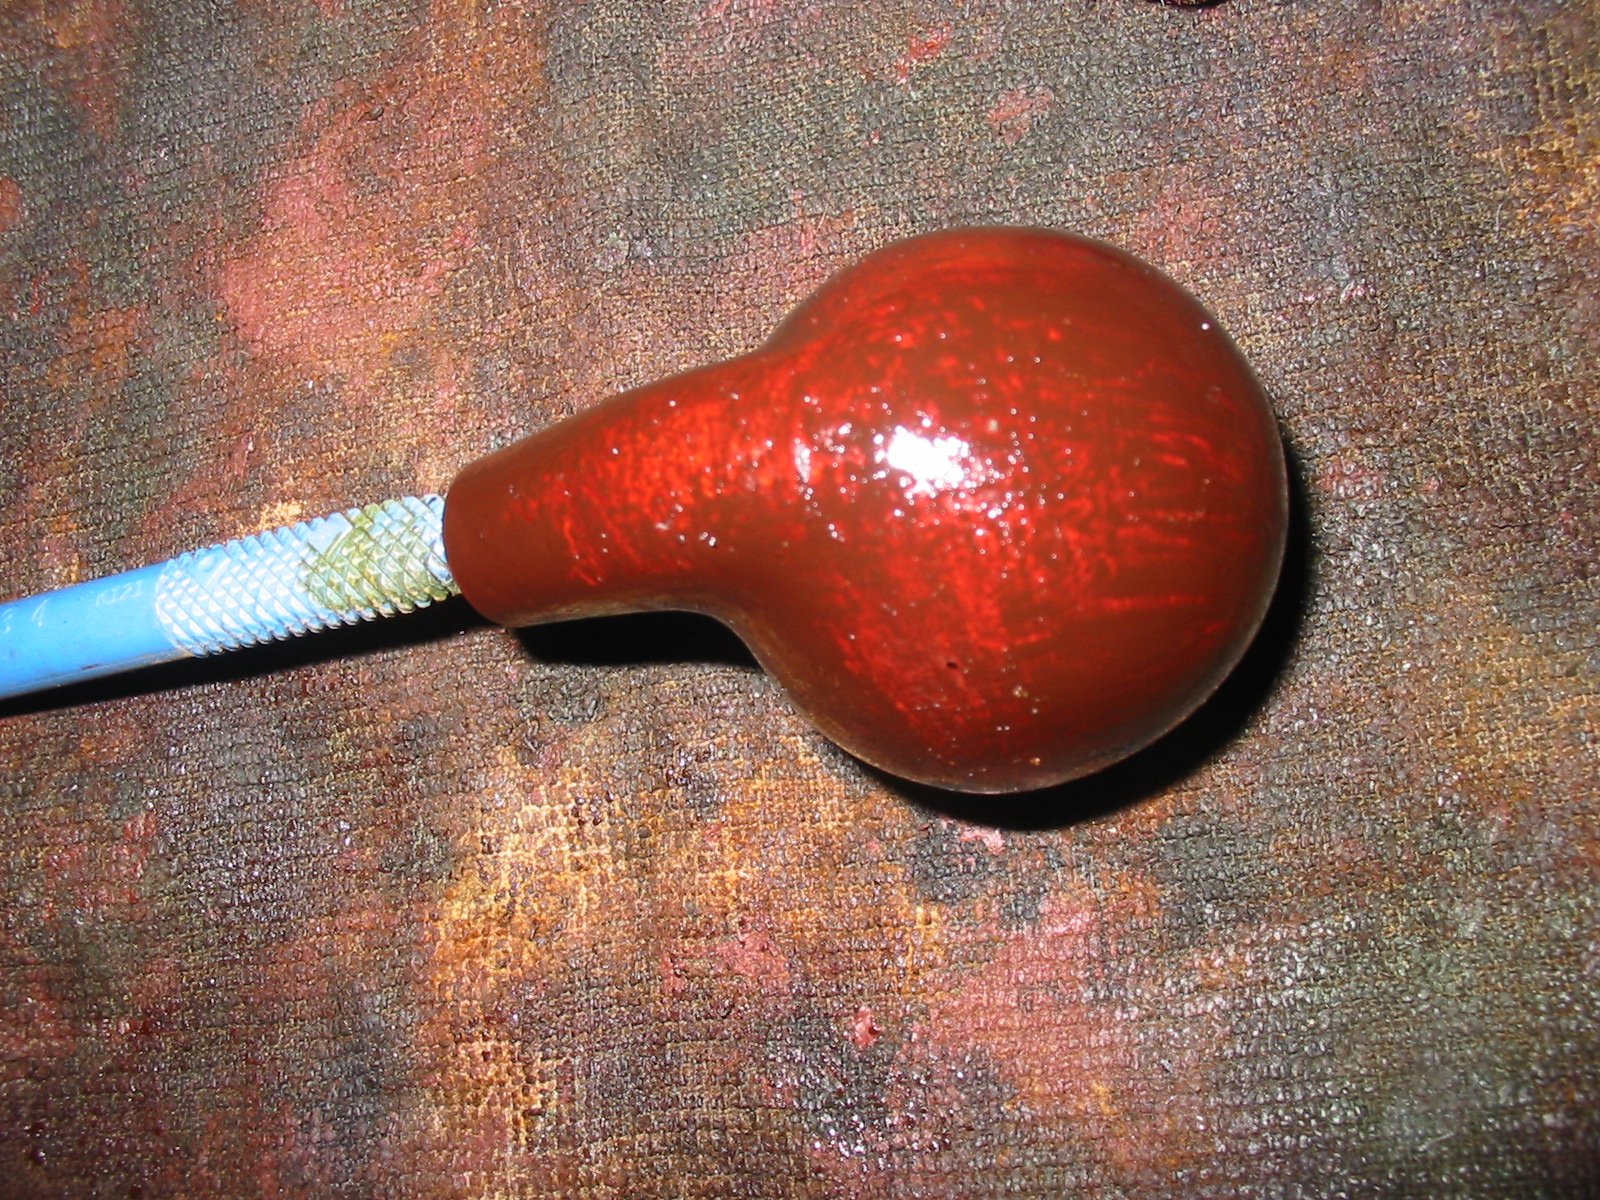
Once the bowl was reamed it was time to scrub the exterior with some acetone on cotton pads. I wanted to remove the tars and oils from the rim and bowl sides and also remove the embedded grime and surface dirt on the whole pipe. The next series of three photos show the process of the scrubbing and the look of the bowl once the grime and tars were removed. I would still have to sand the bowl down to remove the remaining buildup once I had washed it with acetone.
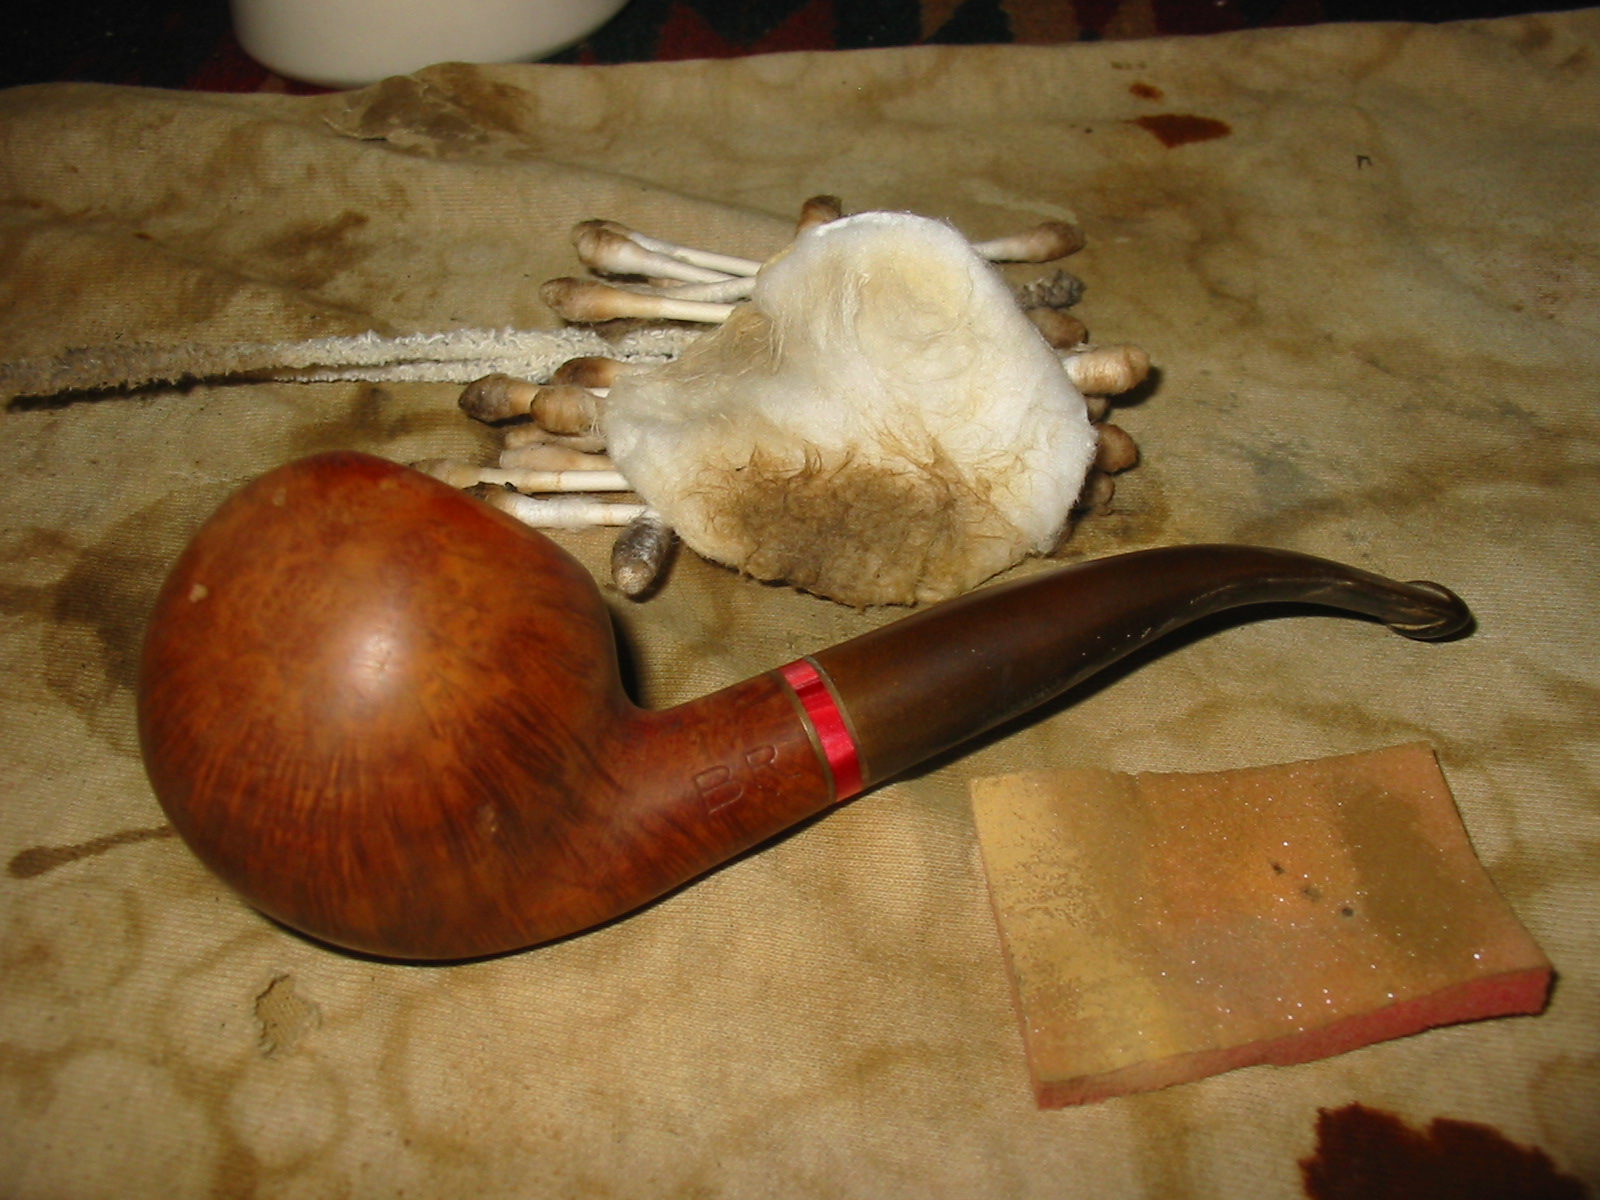
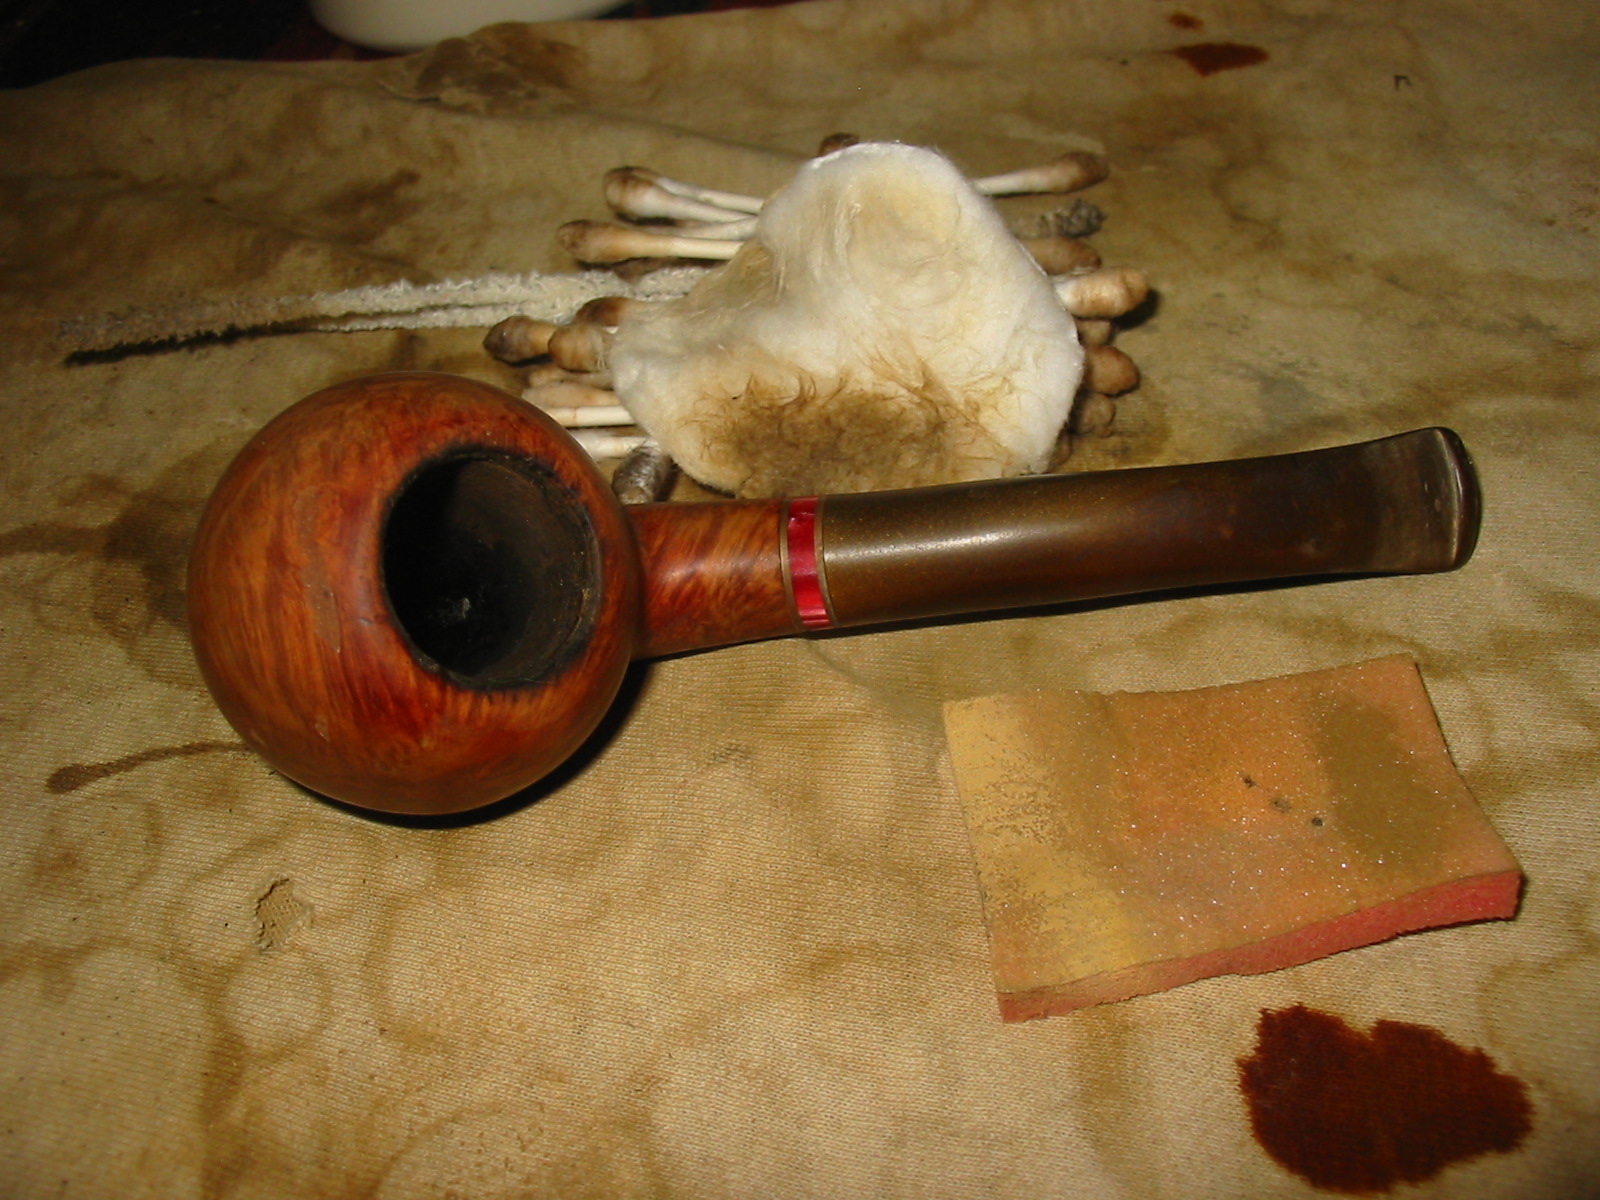
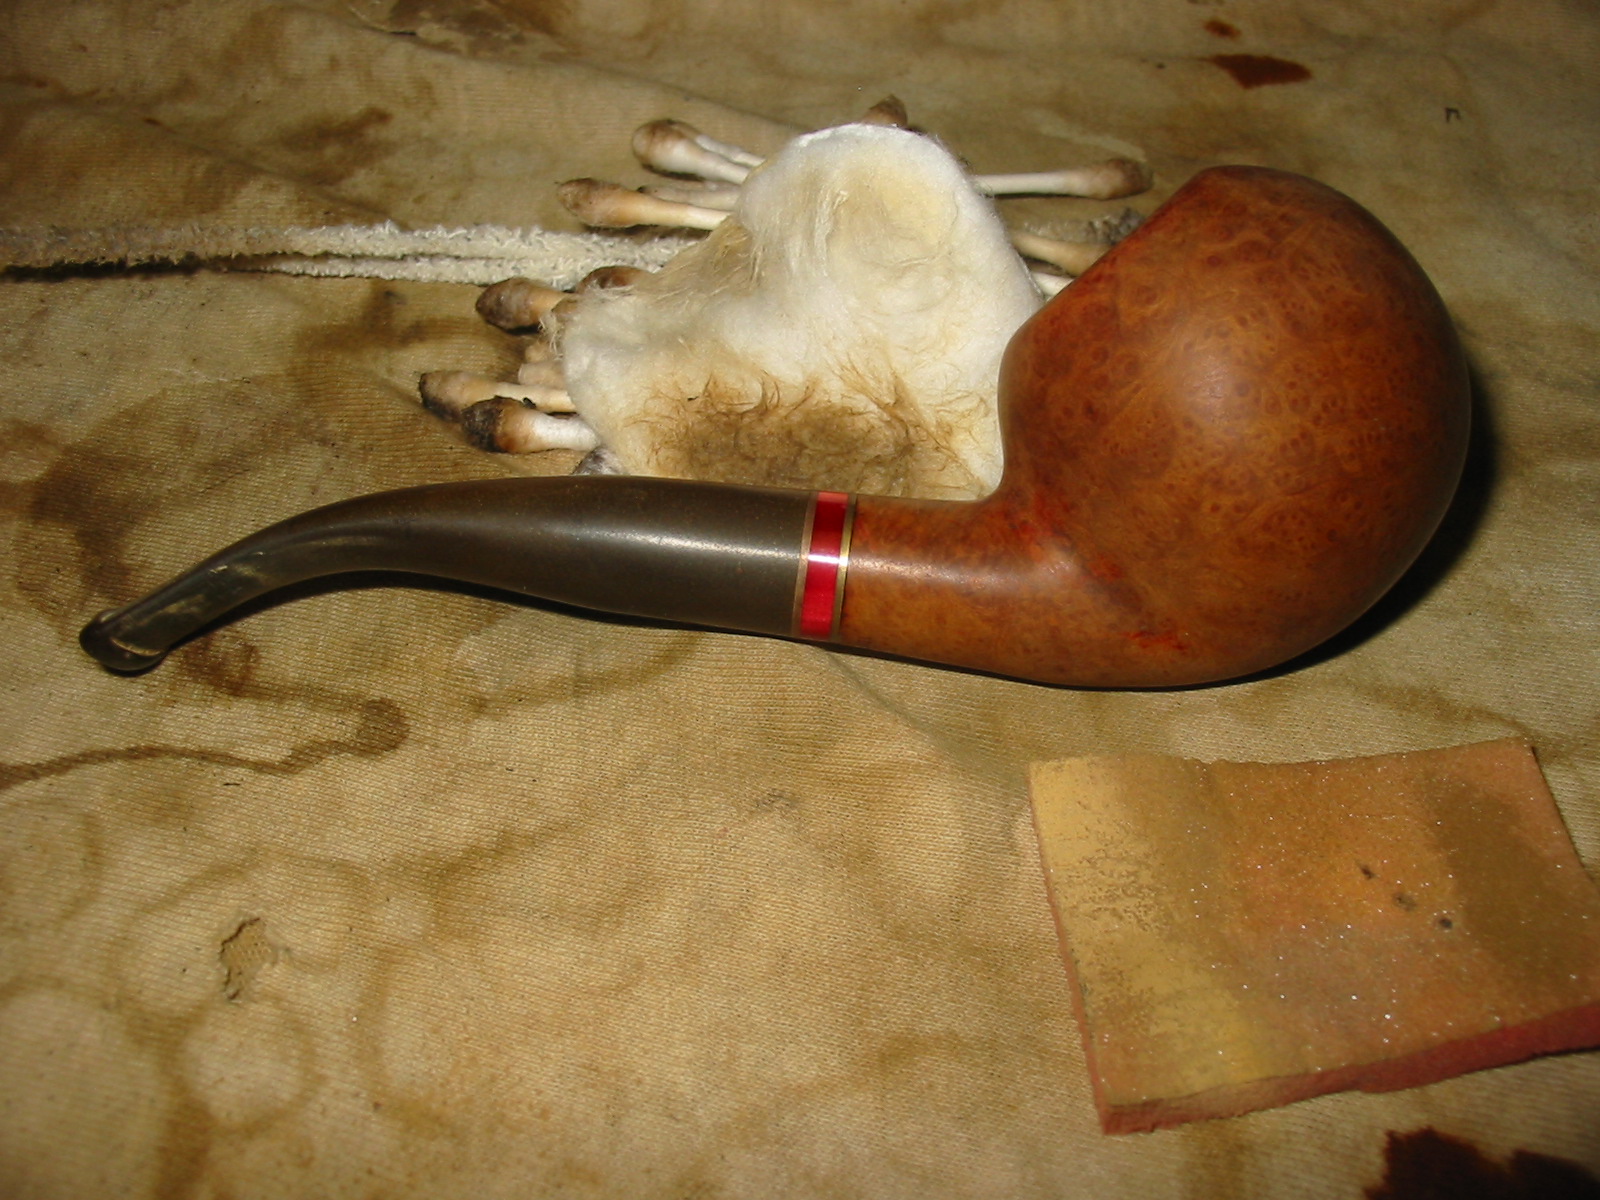
I cleaned out the shank and mortise with cotton swabs and Everclear. I dipped the cotton swab in some of the alcohol that I poured in the lid and used as a bowl for washing the shank. It took a lot of cotton swabs to clean out all the tars and oils in the shank. When I started it smelled like cherry cough syrup and as I added the alcohol it was stronger. The nice thing was that as it got clean the smell disappeared. I used fluffy pipe cleaners to clean out the airway to the bowl. When I was finished I put the stem back on the bowl for sanding so that I would not round any edges on the shank and also to protect the shank from any changes in shape from sanding. I find that when I do this I am more careful around the stem shank union than when I sand without the stem. I used a medium and a fine grit sanding sponge (pink foam sanding sponge in the pictures below). I sanded the entire bowl and spend a significant amount of time on the upper curves of the bowl so that I could get rid of all of the tar remnants. I also sanded the stem with the sanding sponges as well. The next series of four photos show the cleaned bowl and the oxidation and calcification beginning to be removed from the stem.
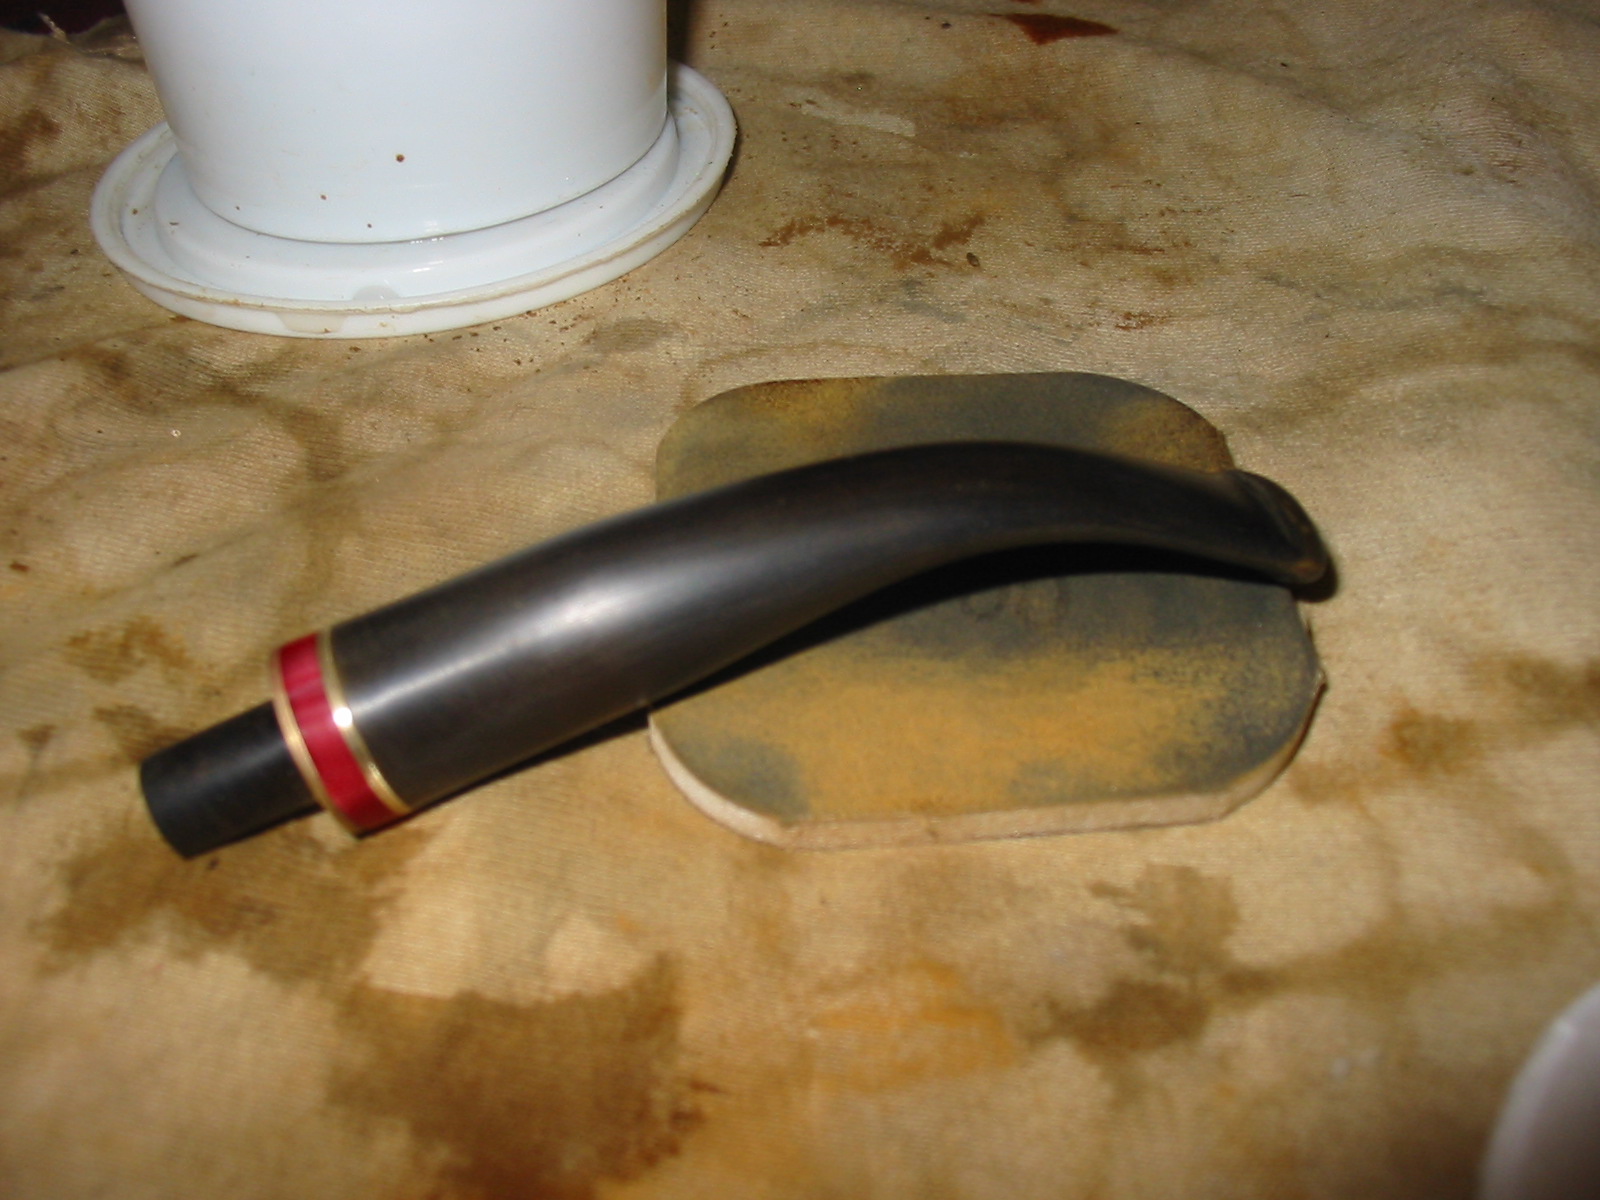
When I finished sanding the bowl I wiped it down with an alcohol dampened cotton pad to remove the sanding dust and remaining grime on the briar. Then I laid the bowl aside and worked on the stem. I sanded it with 320 grit sandpaper to get rid of the oxidation and remaining signs of calcification around the button. I also worked on the tooth marks with the sandpaper. The next three photos show the stem as I sanded away the tooth chatter and the oxidation.
After this initial sanding I decided to wet sand with the 1500-2400 grit micromesh sanding pads. The next series of five photos show that process and the ever blackening colour of the stem sans oxidation.
After the 2400 grit micromesh sanding I used Maguiar’s Scratch X2.0 and rubbed it onto the stem with my fingers and scrubbed it off with cotton pads.

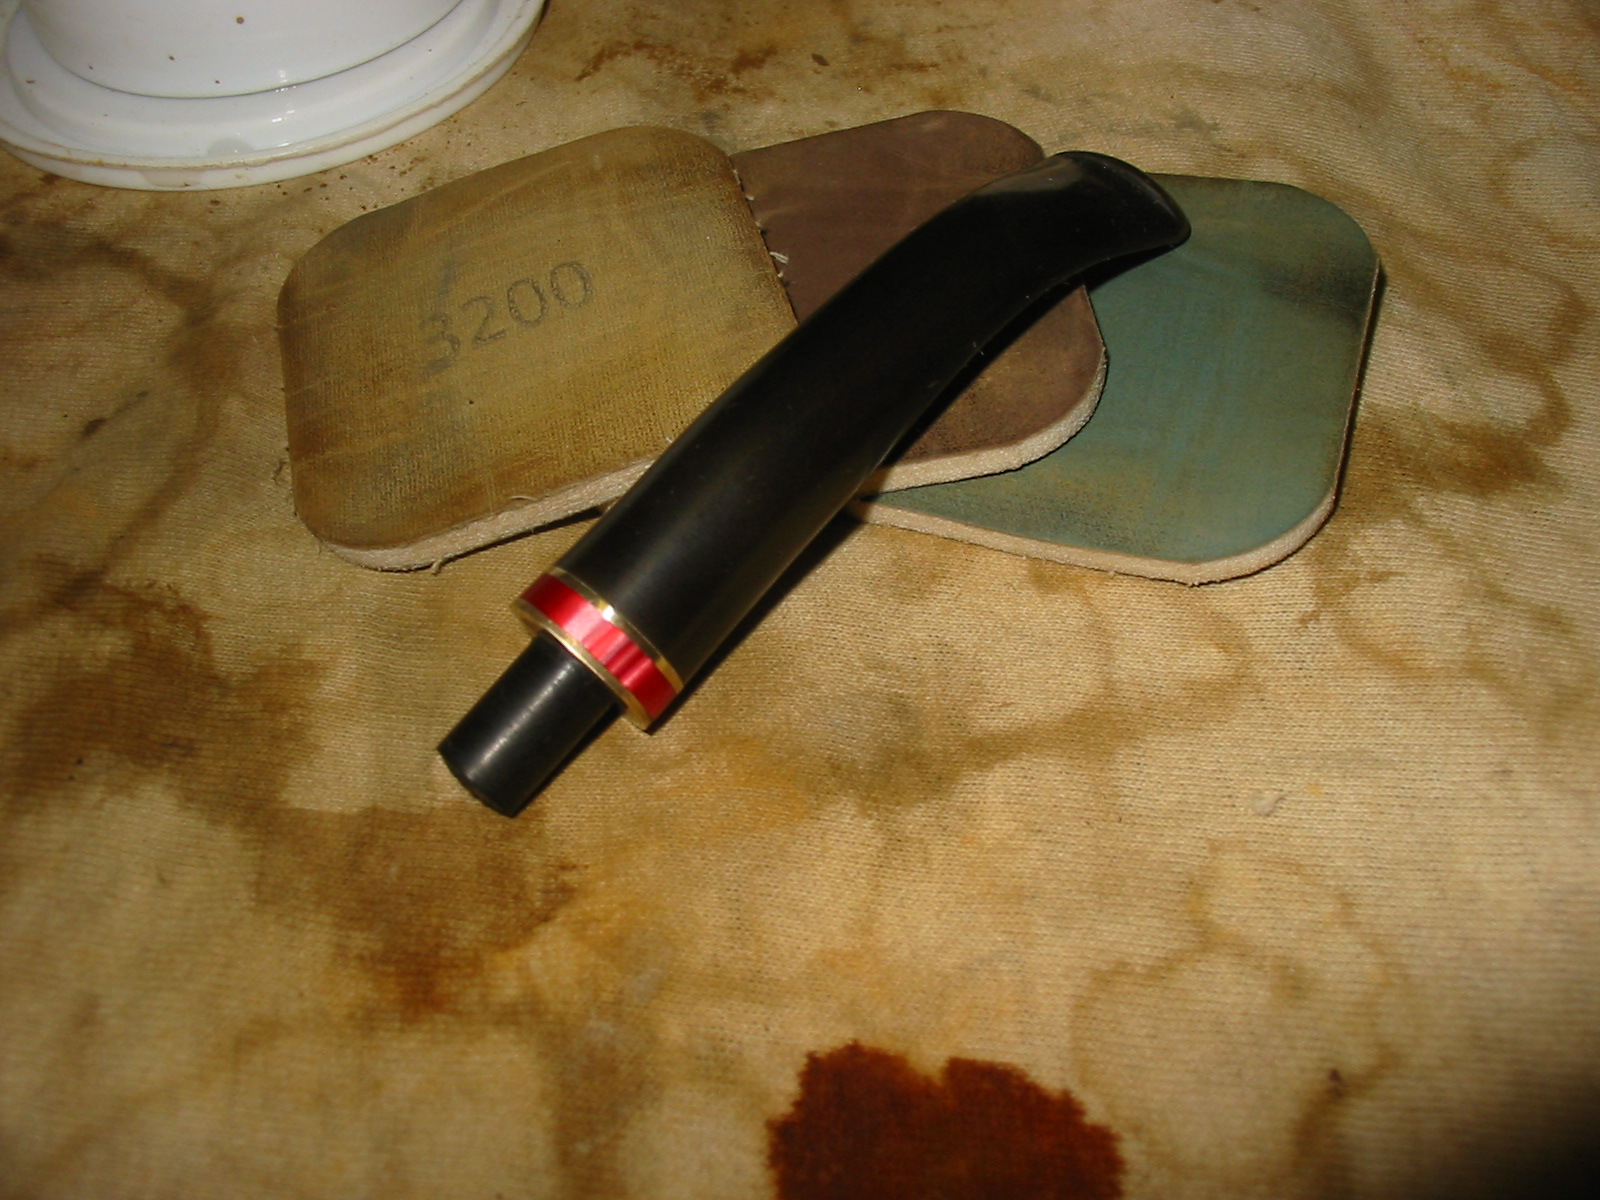
I then dry sanded it with 3200, 3600 and 4000 grit micromesh sanding pads. I finished sanding with the remaining grits of micromesh from 6000-12,000 and then set the stem aside to work on the bowl.
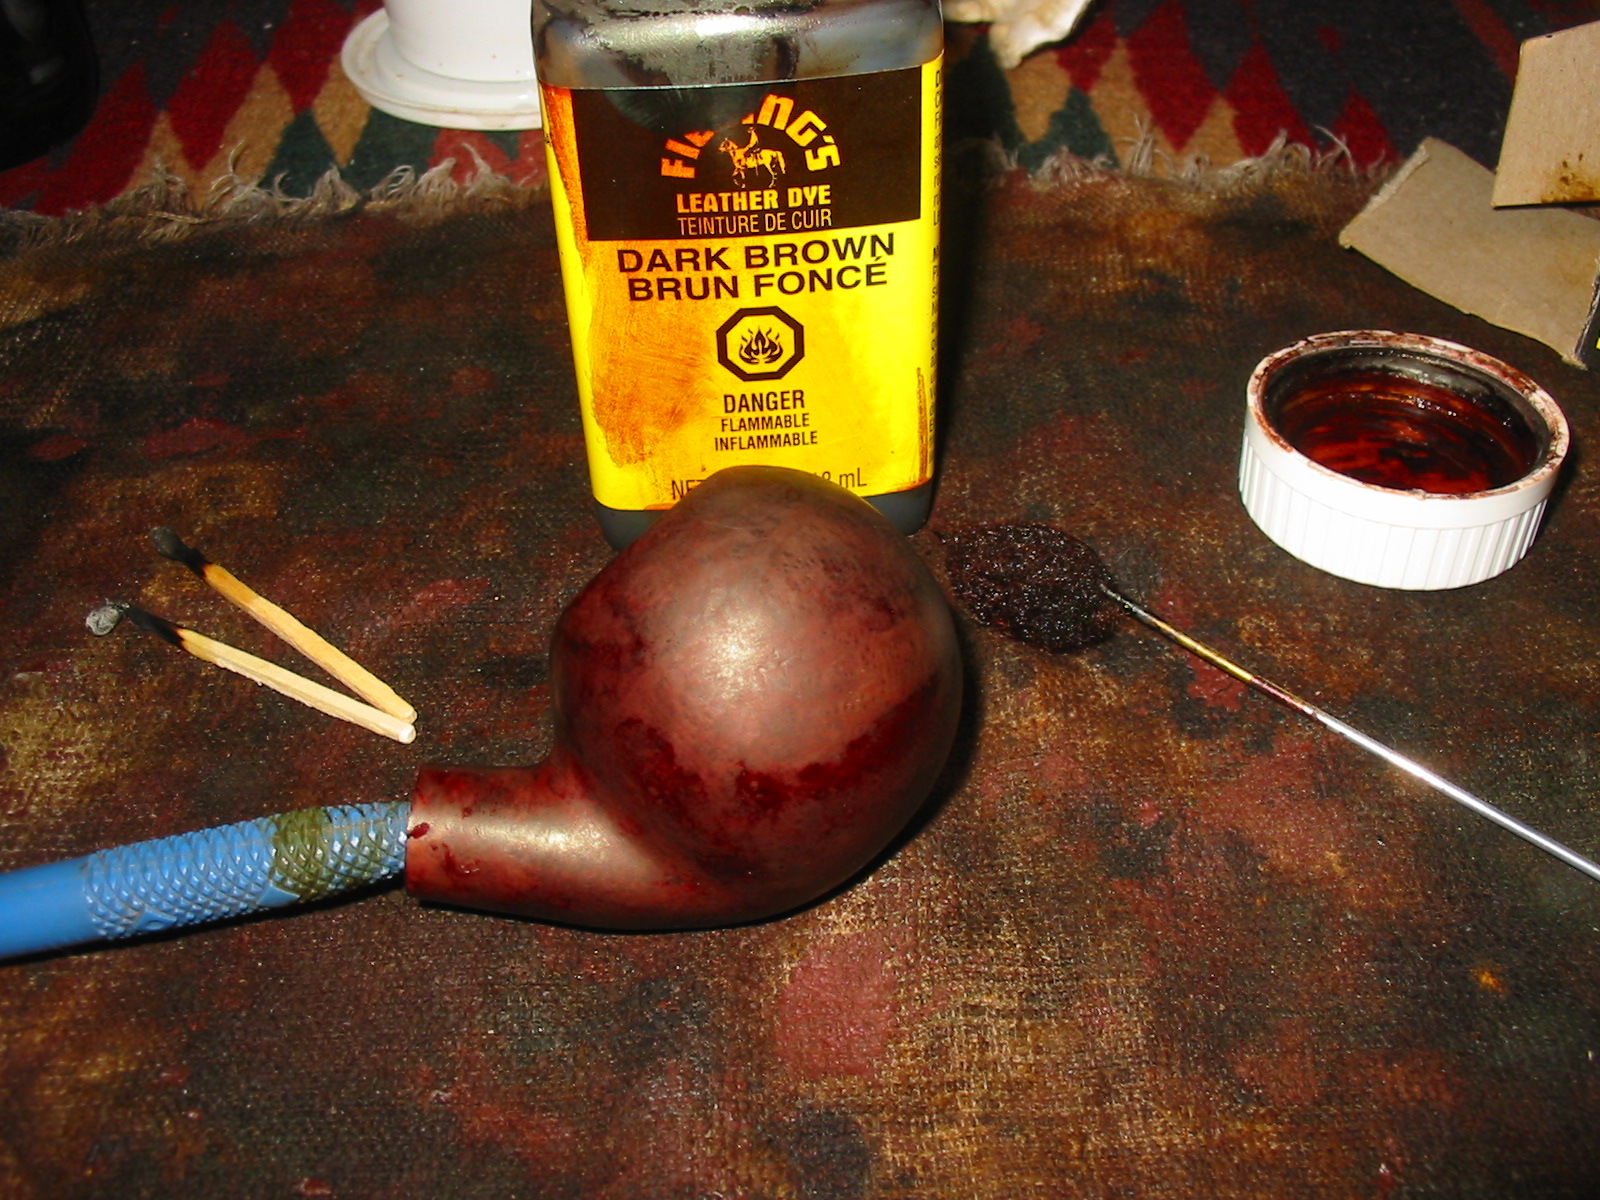
I decided to stain the pipe with a Dark Brown aniline stain to see how it would cover the fills. I was a bit worried that they would not pick up the pigment of the stain. I warmed the bowl and then applied the stain with the dauber and then flamed it, restained it, reflamed it and let it dry. The next two photos show the stained bowl and the fills standing out from the stain.

I put the stem back on the pipe and took it to my buffer. I buffed it with Tripoli and White Diamond to a shine. The fills seemed to just pop from the surface of the bowls! They stood out like eyesores and really bothered me. In the first two photos below you can see them clearly. The stem also showed a bit more oxidation that I would need to address as I finished the pipe.
I decided to try lightening the colour to see if the fills would blend in any better. I wondered if the high contrast of the dark stain and the light fills made them more visible. I wiped the bowl down with an alcohol dampened cotton pad to remove excess finish and try to blend the fills into the finish. It worked to a degree and the next three photos show the softened colour of the stain. In person the fills were still way to visible for my liking.
I wiped the stem down with Obsidian Oil and set it aside while I worked on picking out the fills with my dental pick. The next series of three photos show the cleaned out fills. They are stark white after the removal of the putty. In actuality they are a natural briar colour. I picked them clean and then wiped down the area with the damp pad one final time before I went to work on filling them.
The next series of seven photos shows the process I use for replacing putty fills. After I have cleaned them out I fill them with briar dust that I have collected. I pack it into the fill holes with the end of my dental pick. I wet the end of the pick so that the briar dust sticks to the end when I dip it in the dust. I then scrape the dust into the hole and pack it in tightly. I work on one hole at a time as I don’t want the dust and superglue mix running all over the pipe. That is a real challenge on a ball shaped bowl. Once I have the dust packed in the hole I drip superglue into the dust. I also add a bit more dust if it is necessary and repack and reglue it. You can see from the photos that the result is a messy patch over the fill hole. The dust and superglue mix hardens quickly and forms a great patch for the holes. Once I had all the holes filled I then sanded the bowl.


The next eight photos show the sanded bowl. I use 320 grit sandpaper to sand off the excess superglue and briar dust and bring the surface of the patch smooth with the surface of the bowl. The finished patch is almost black in appearance. In the bare briar bowl the patches show up as black on the light coloured briar. I find that this dark patch actually is easier to blend in with the stain than the lighter putty patches. Once I have sanded the patches smooth I sand the entire bowl with the fine grit sanding sponge so that when I restain it I will be able to get an even coat. After sanding I wipe the bowl down with an alcohol dampened cotton pad to remove any remaining finish and the dust and grit from sanding the bowl. This prepares it for staining.

For the restain of the bowl I decided I would use an oxblood stain. It is an alcohol based paste stain that I have used in the past with good coverage over the replace fills. I applied with a dauber and rubber is into the surface of the pipe. Once I had the whole pipe covered I flamed it and then rubbed it off with a cotton towel I use for that purpose. The next four photos show the coverage of the stain before I wiped it off.

Once the stain was dry I buffed it on my buffer using White Diamond. The next four photos show the bowl after buffing. The fills are still dark and stand out to the eye. I have learned through experimenting that I can blend them into the stain a bit better by using a permanent marker and draw grain lines through the fills making them flow with the pattern of the grain on the bowl. The trick it not to have a heavy hand and to try to follow existing graining patterns. The black permanent marker stands out initially on the new stain but after is applied I restain the bowl with another coat of the oxblood stain, flame it and then rub it off.
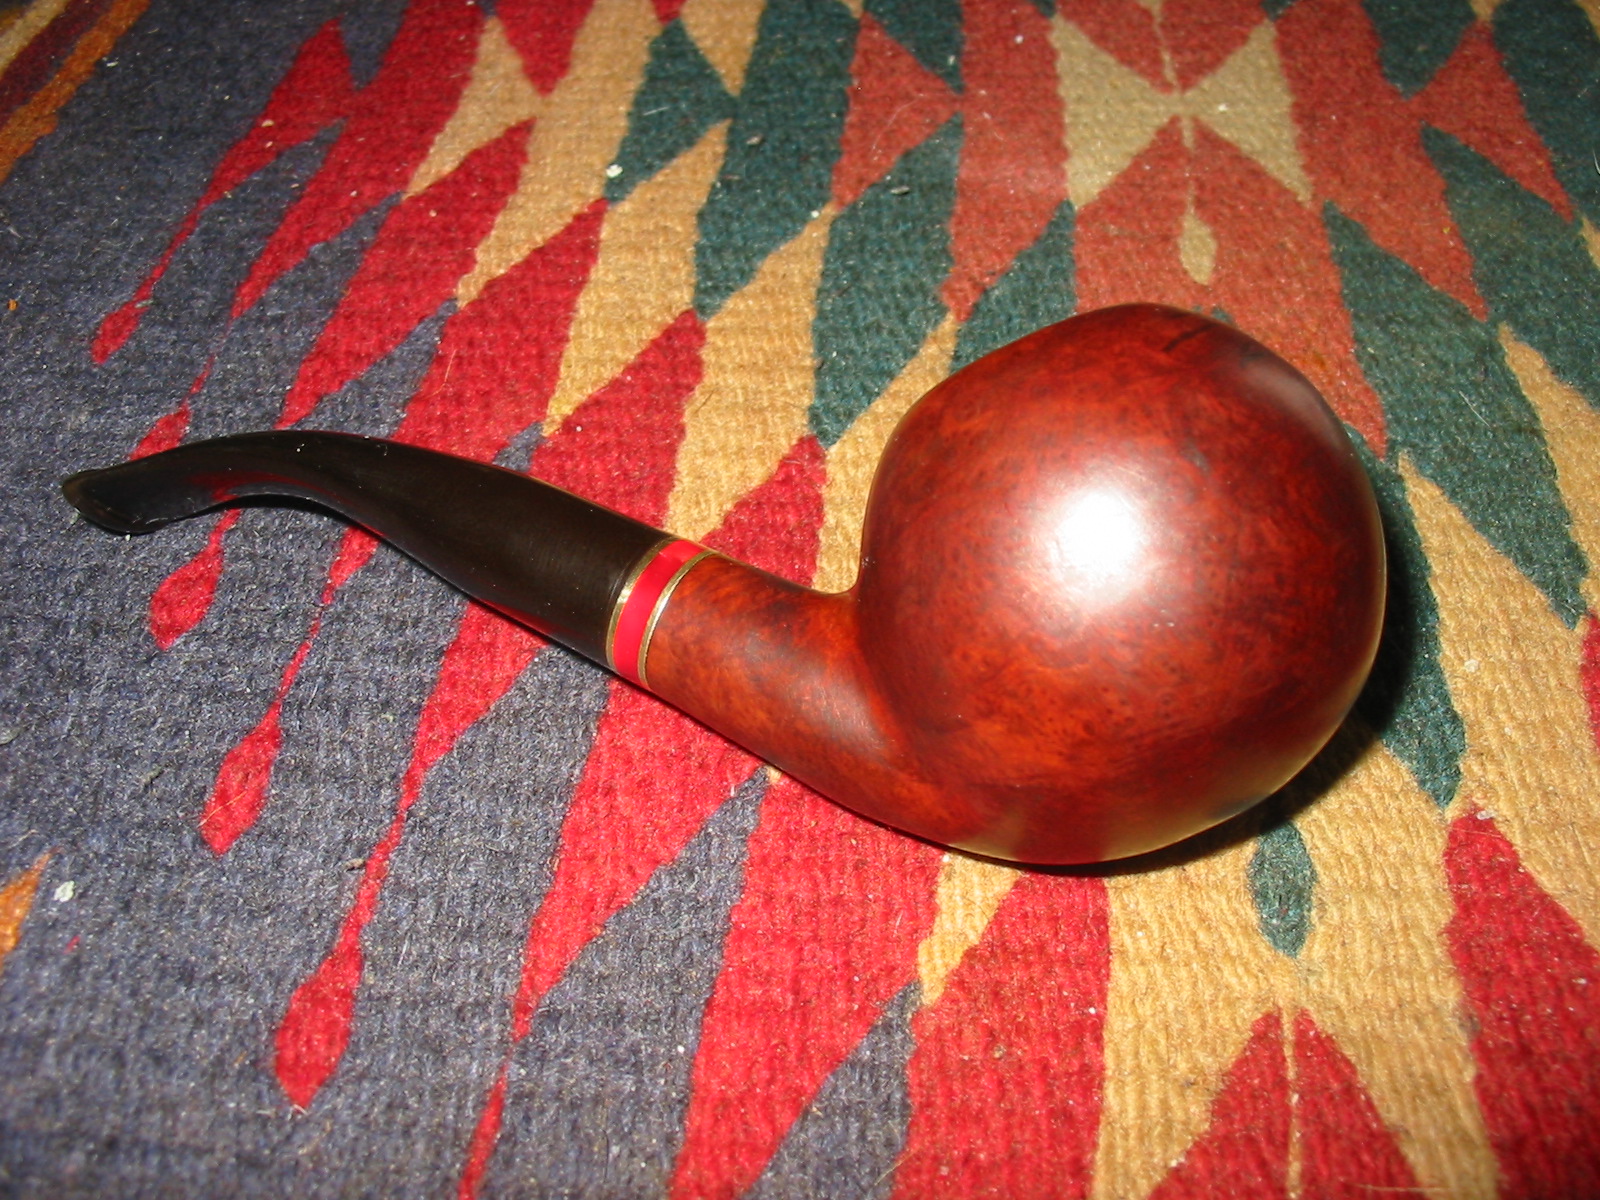
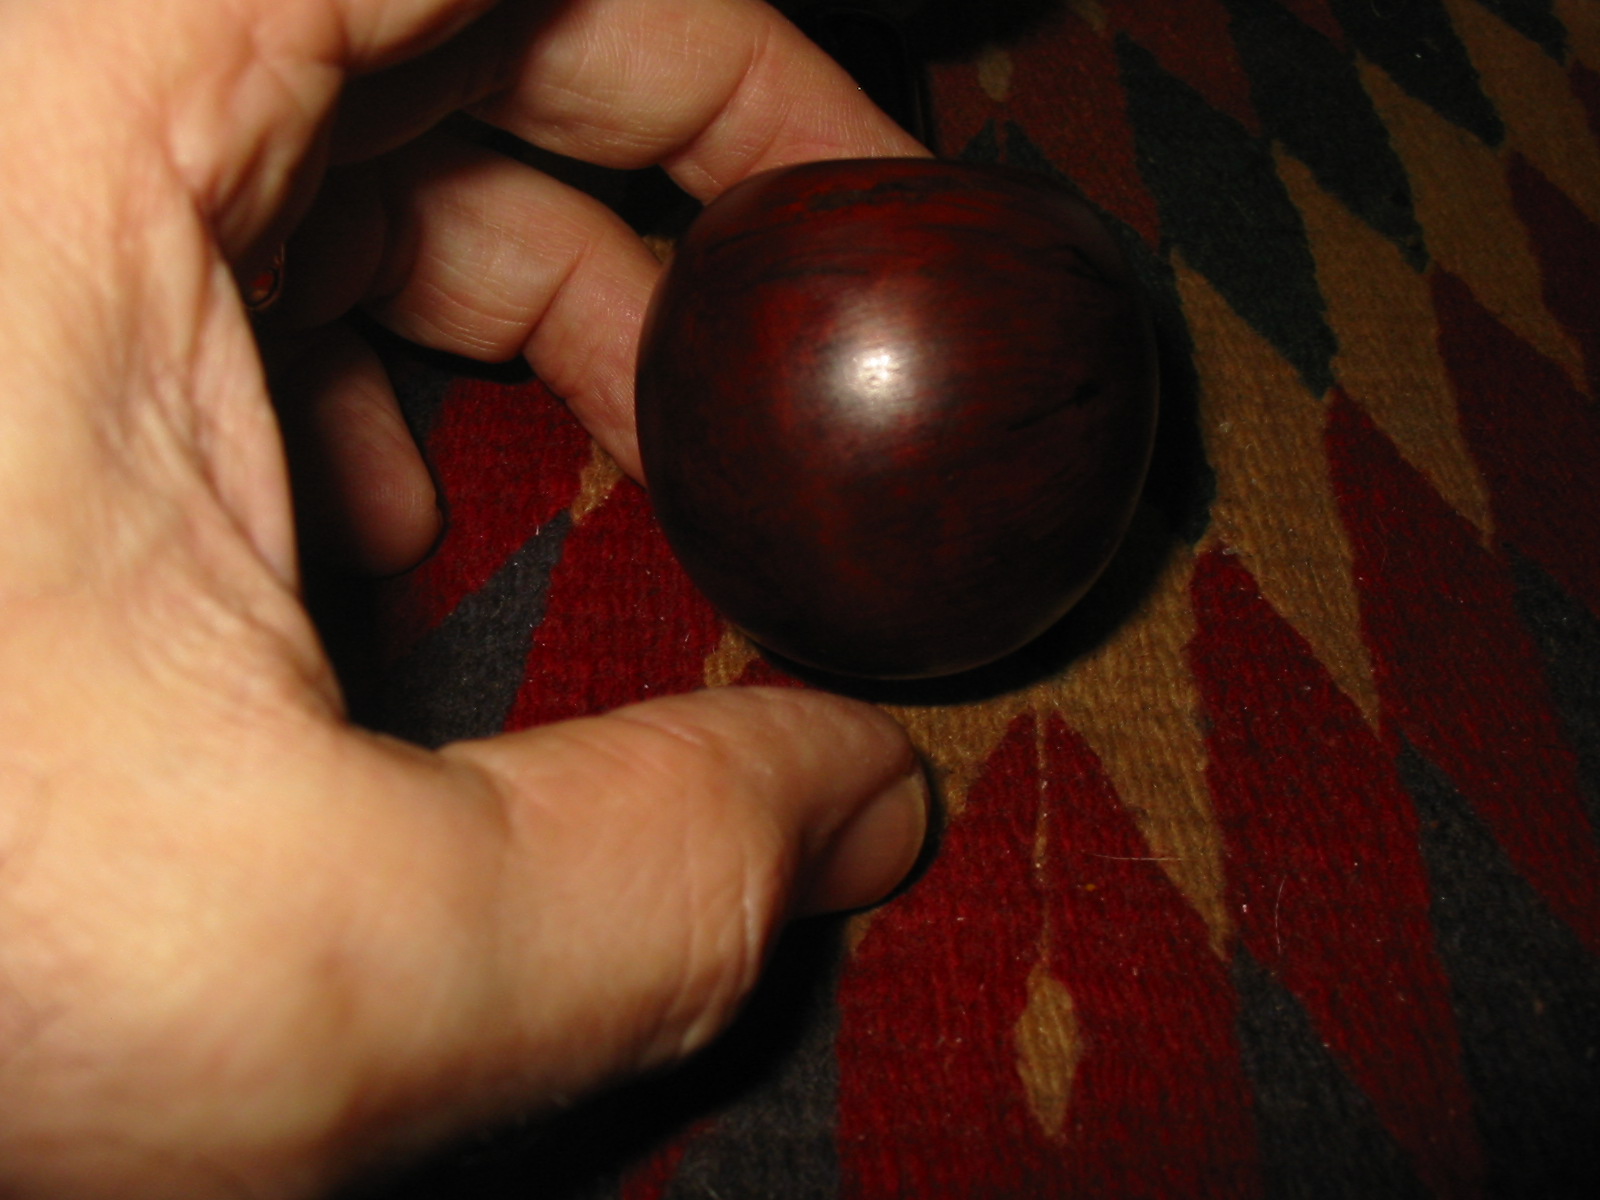
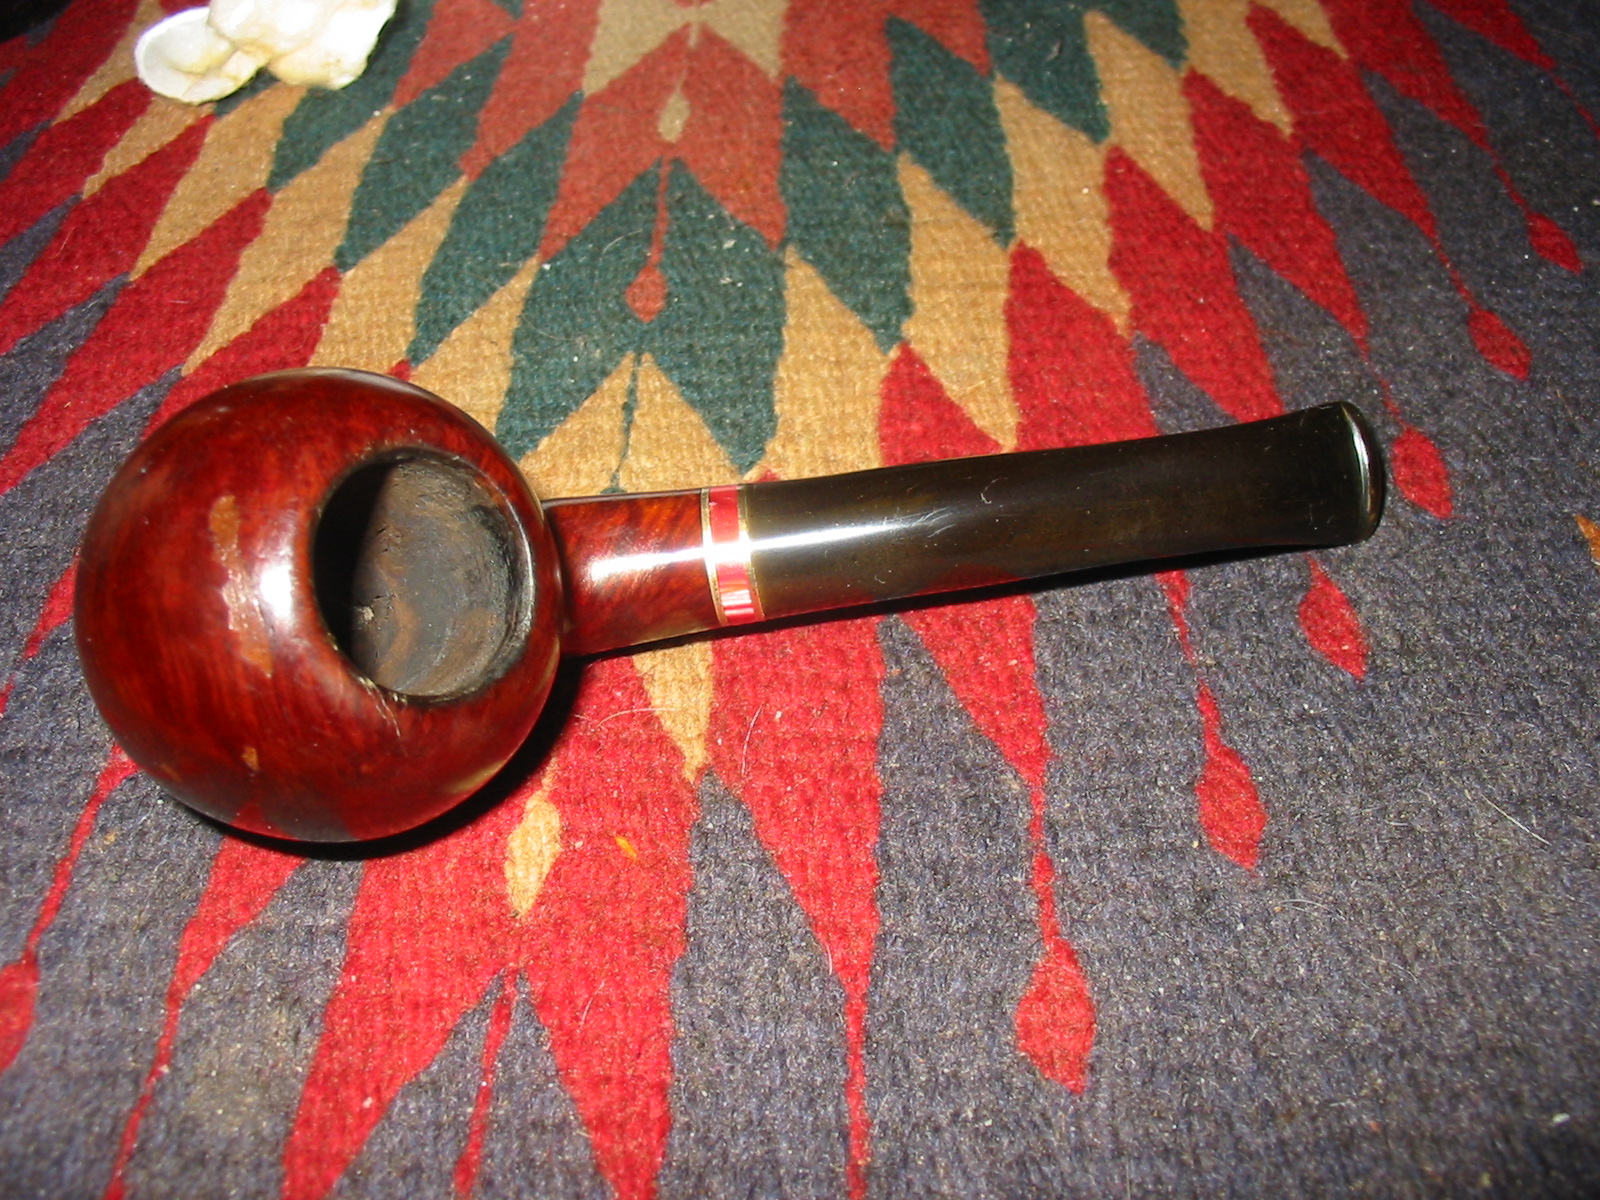
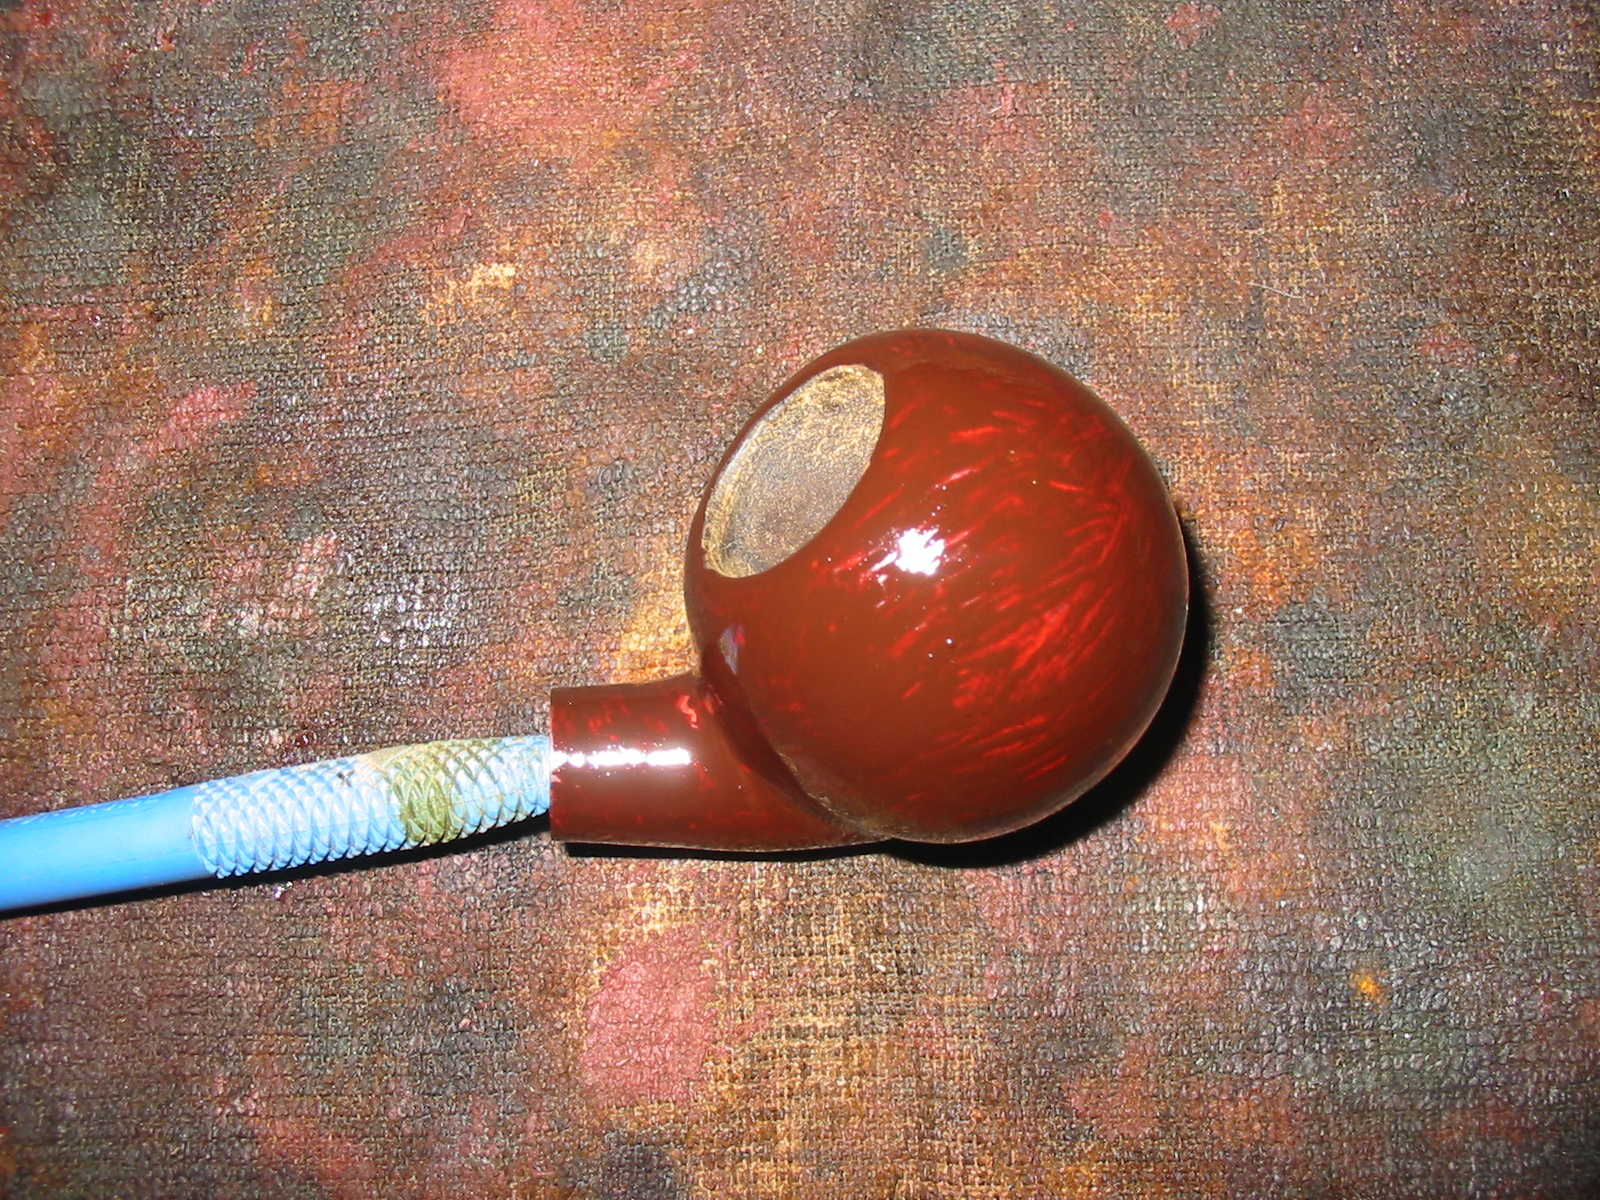
The final series of five photos show the finished pipe. The fills are still visible if you look closely but they blend into the surface of the bowl and stain more nicely. I gave the pipe a final buff with White Diamond and then applied several coats of carnauba wax and buffed with a clean flannel buffing pad. The pipe is now ready to smoke and the medicinal cherry smell is gone. Though the fills are far from being invisible they are certainly better and the overall effect is a much nicer pipe.