Monthly Archives: November 2013

A New Look for an Italian Made Billiard – Restemmed and Reworked


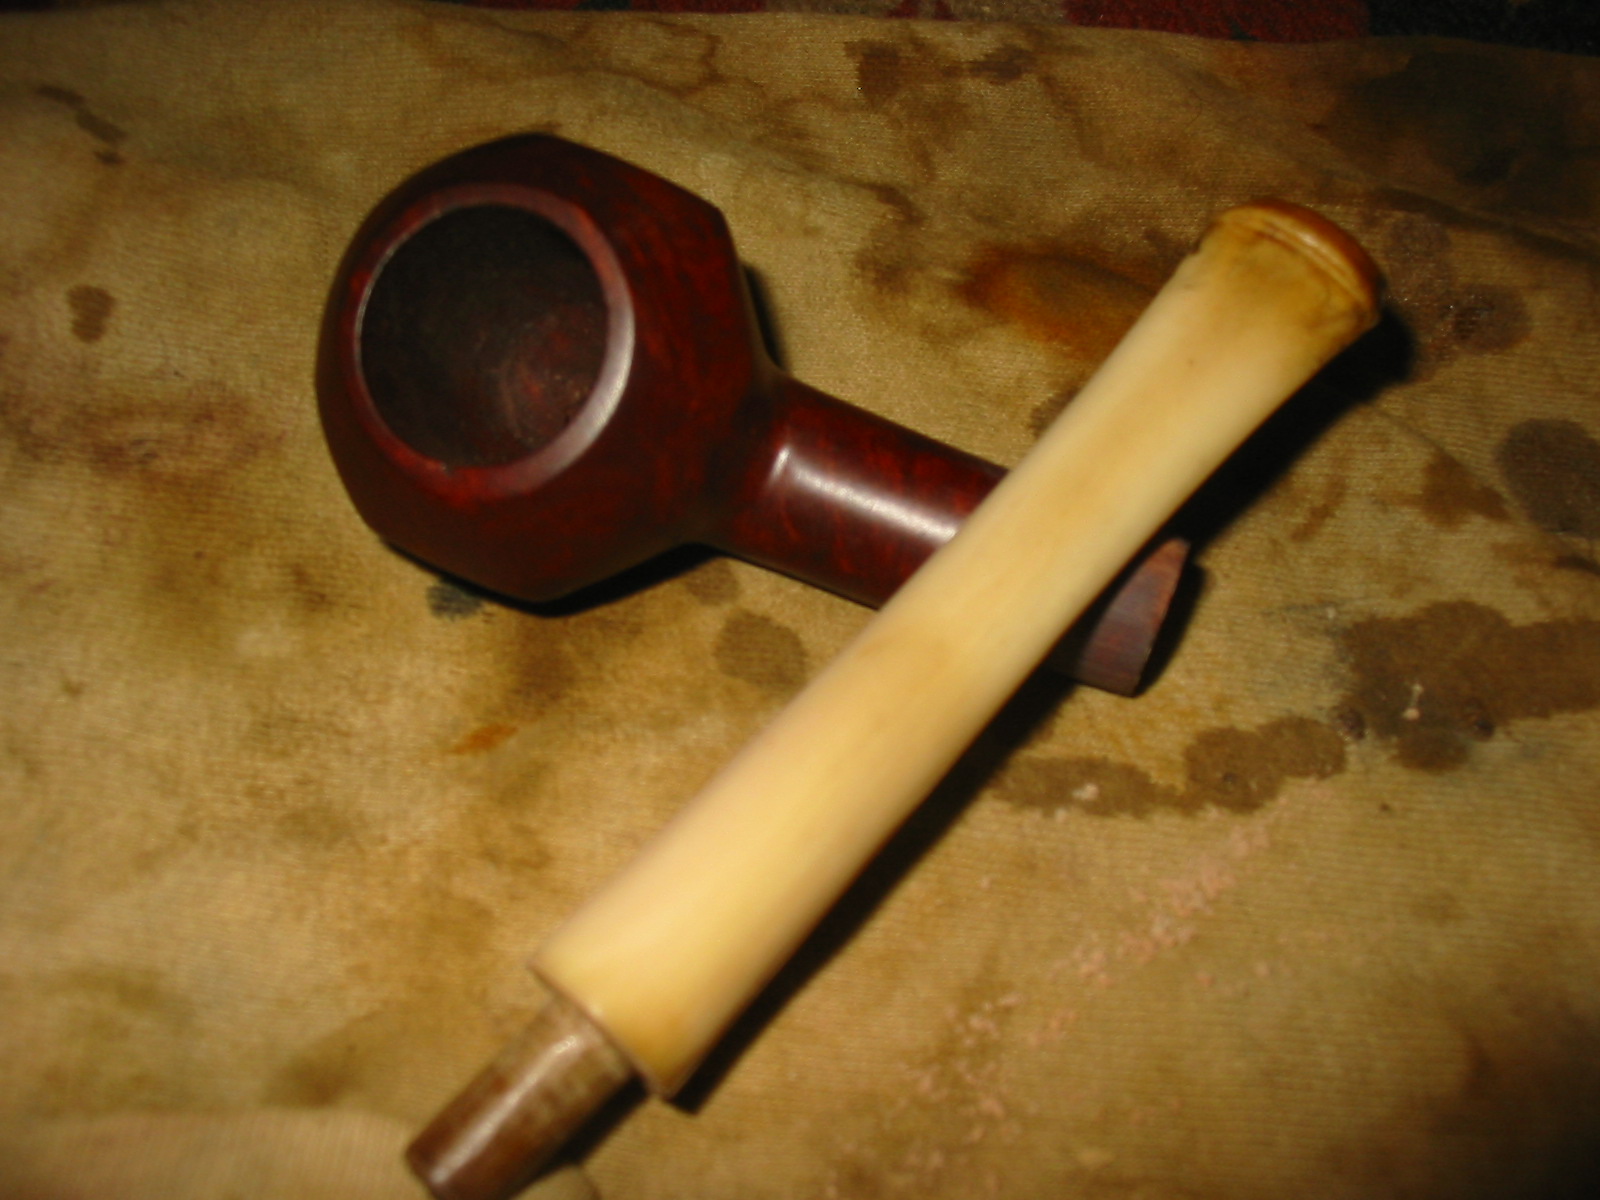
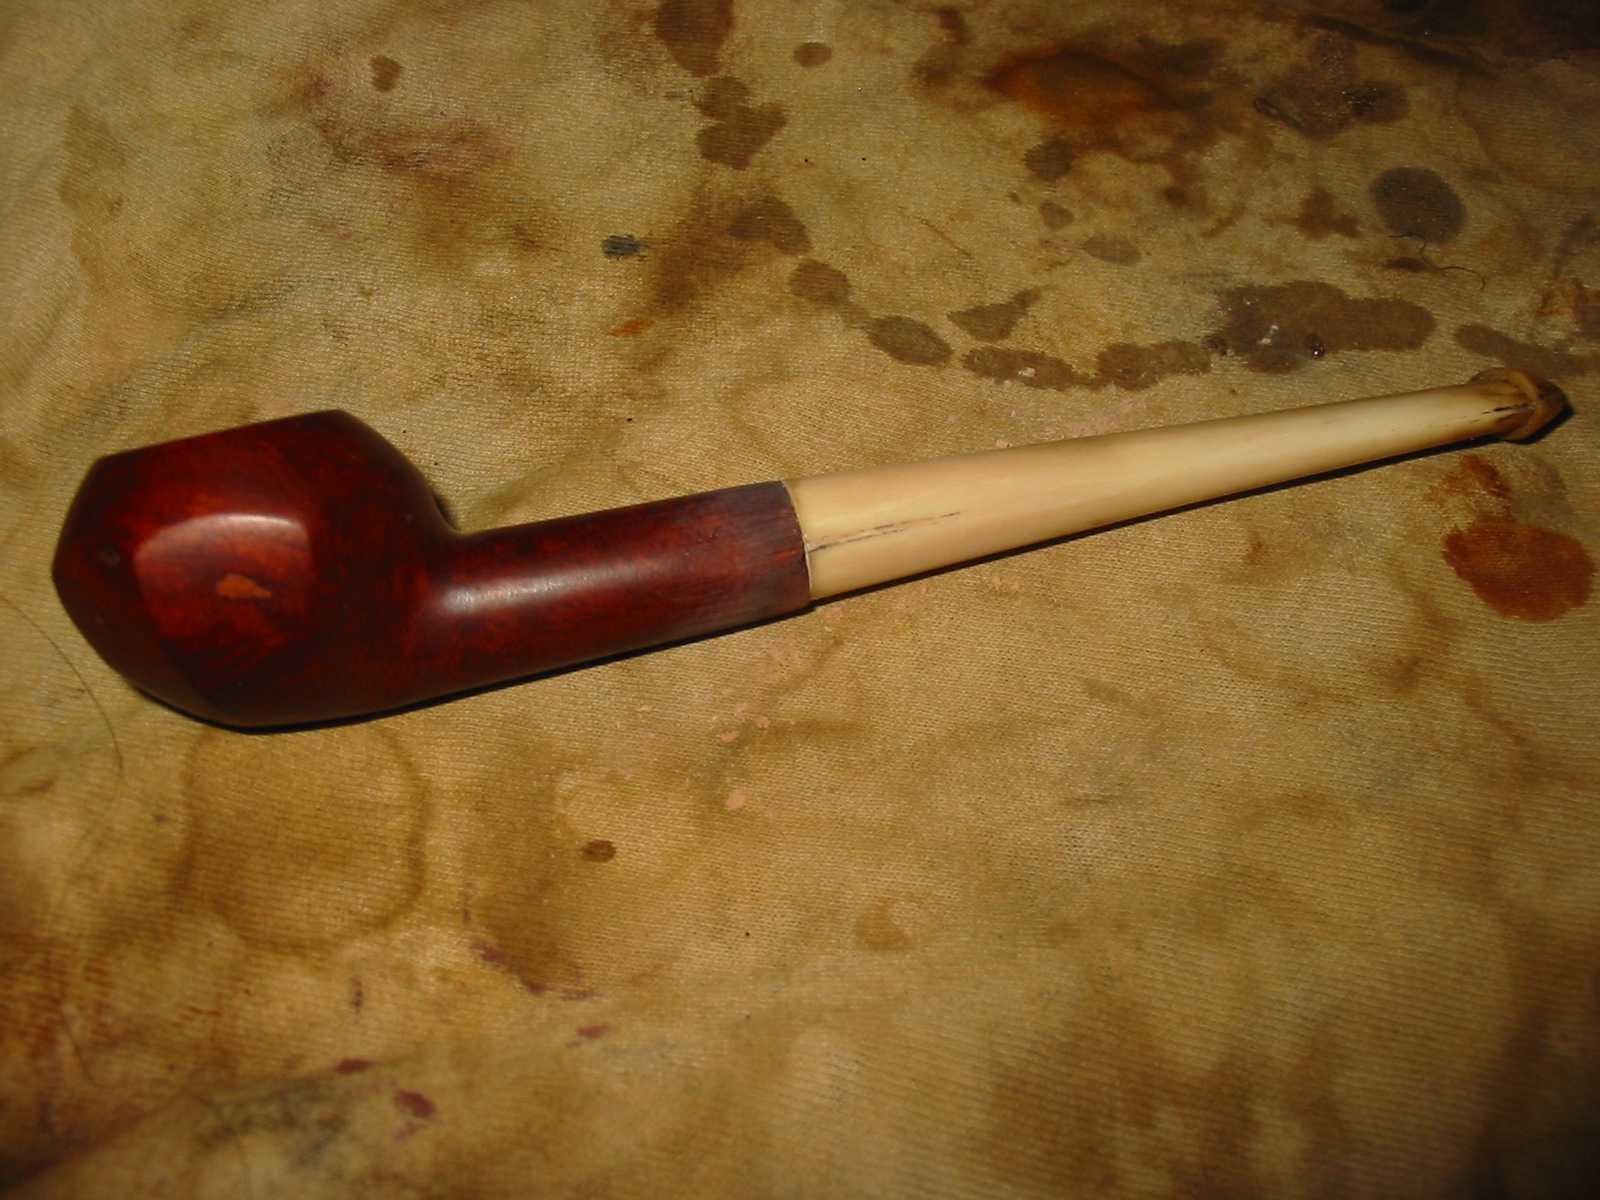
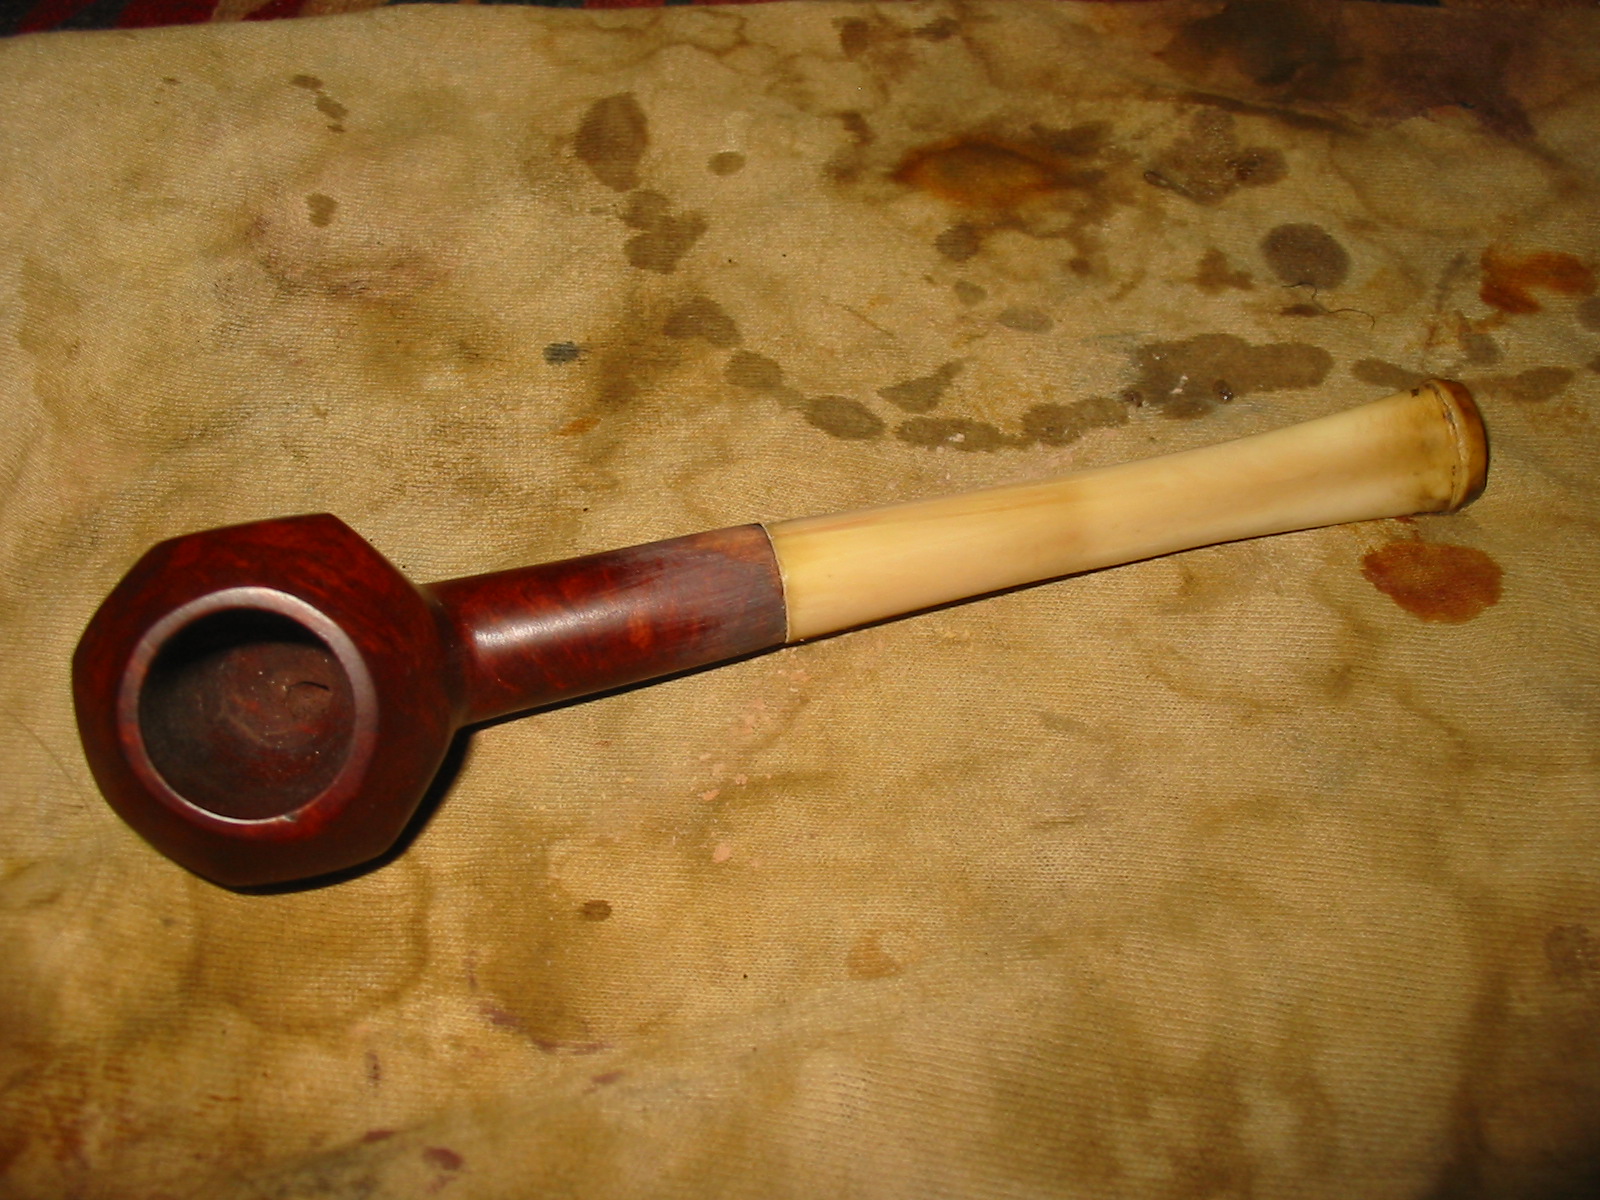
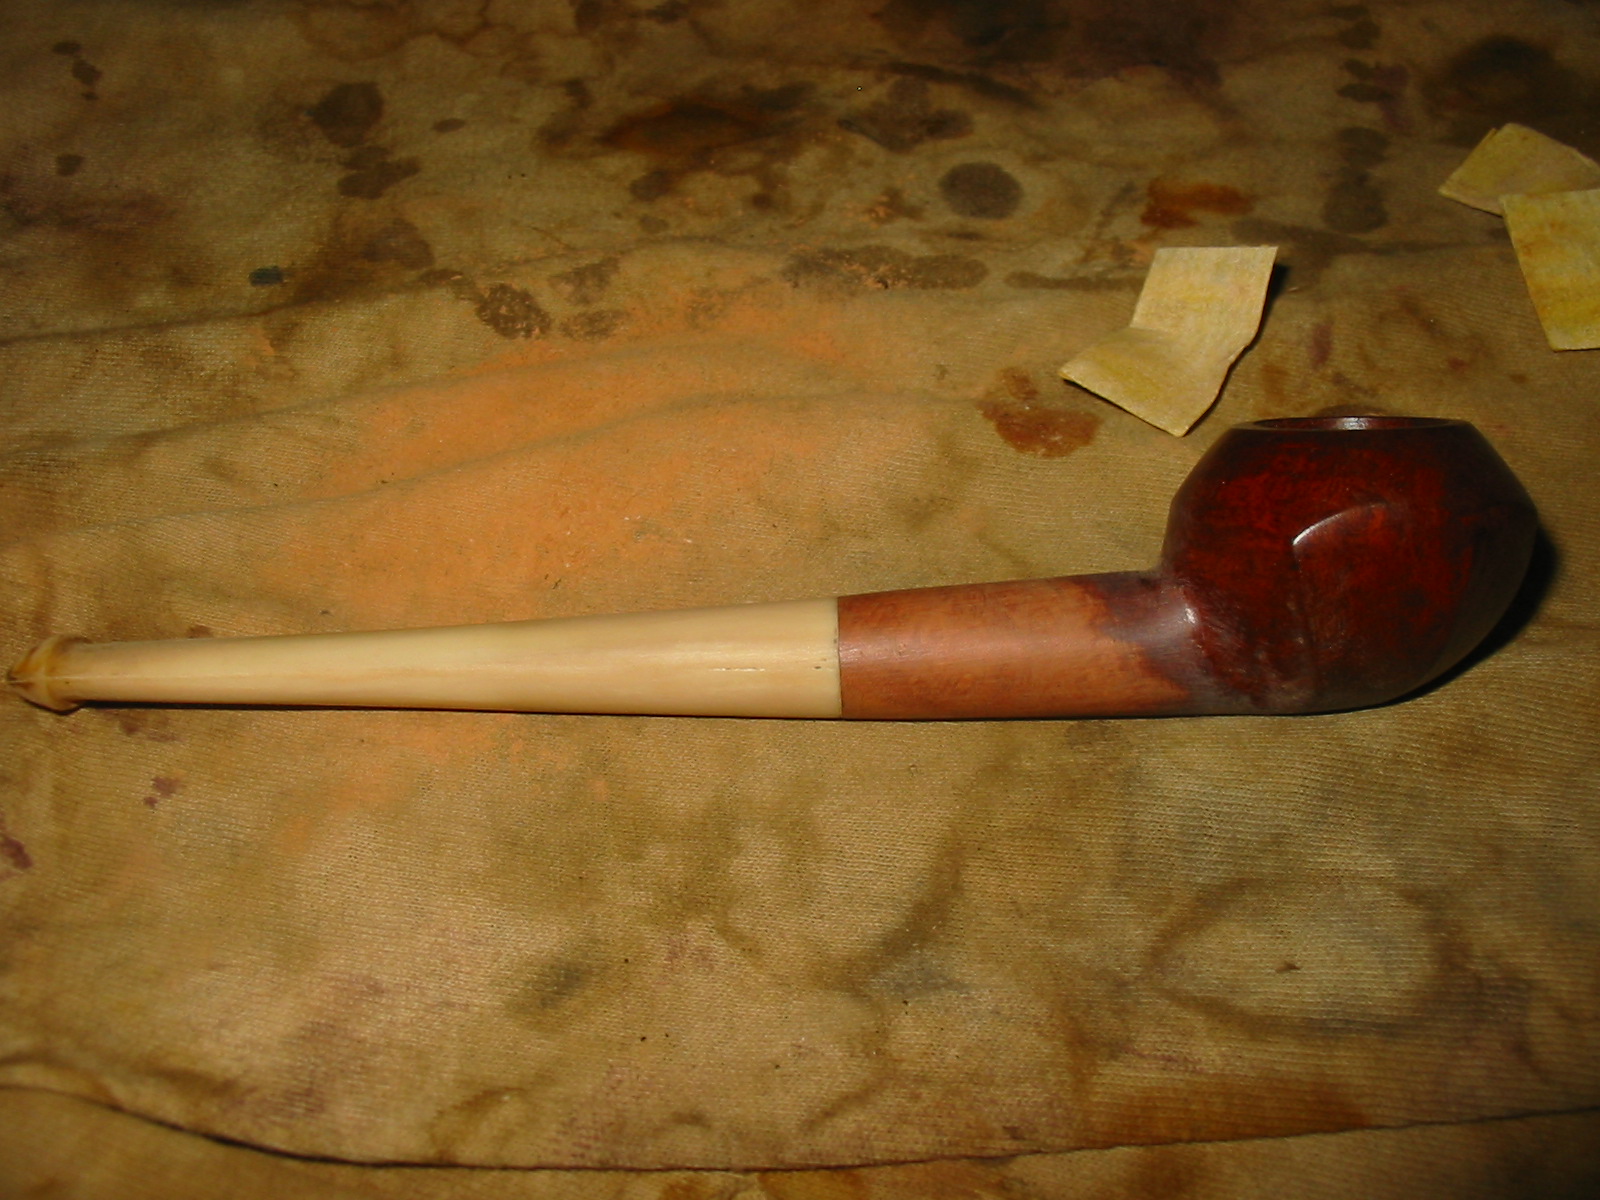
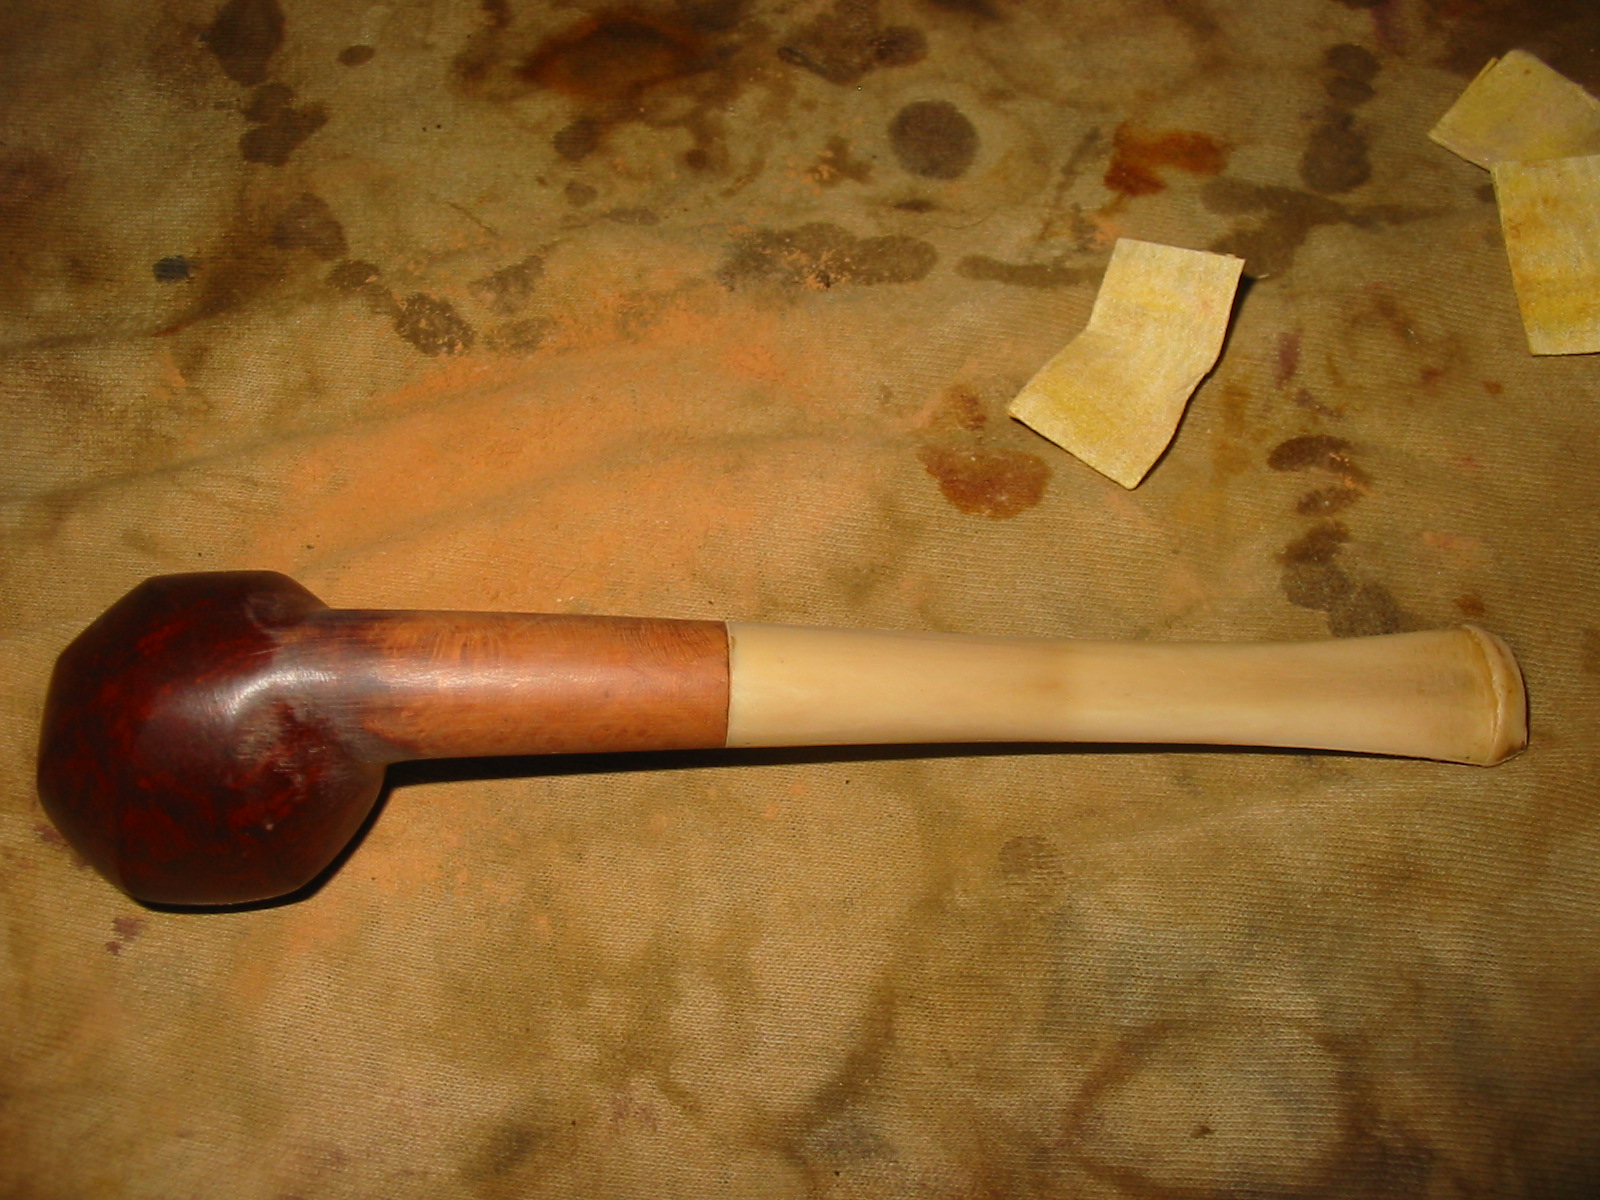
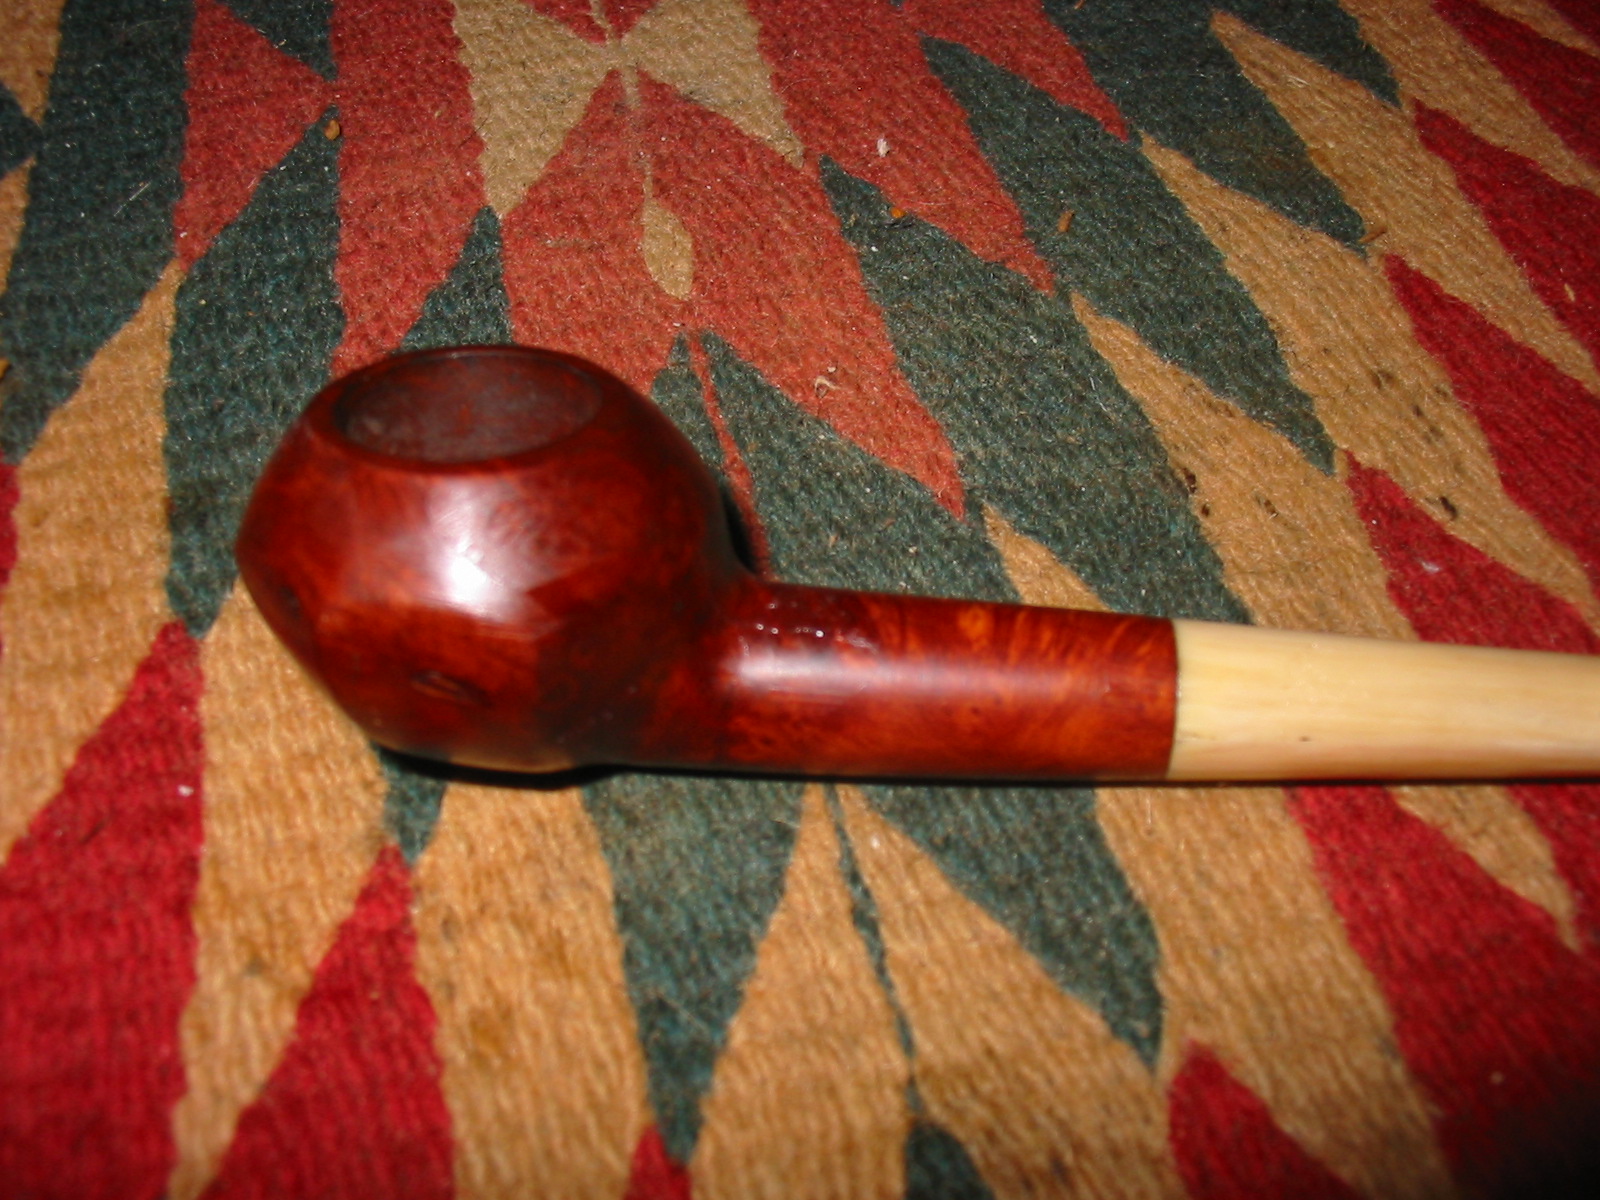
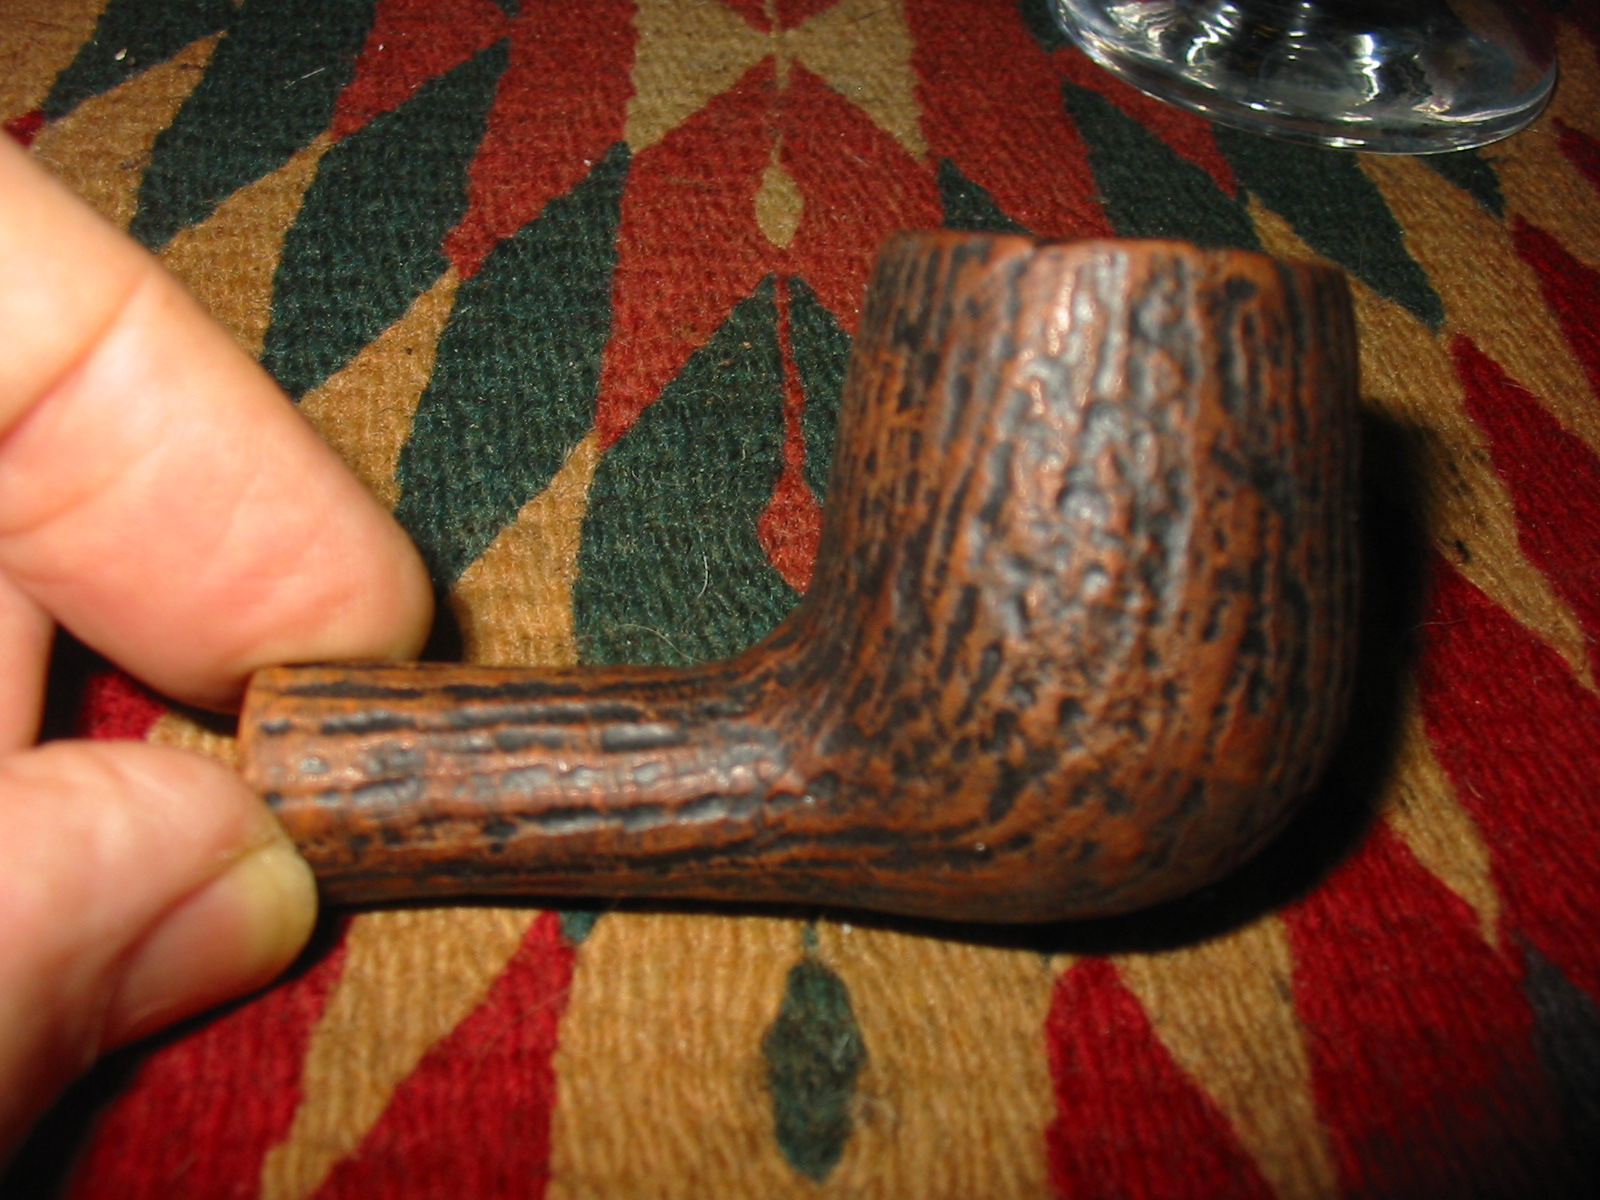
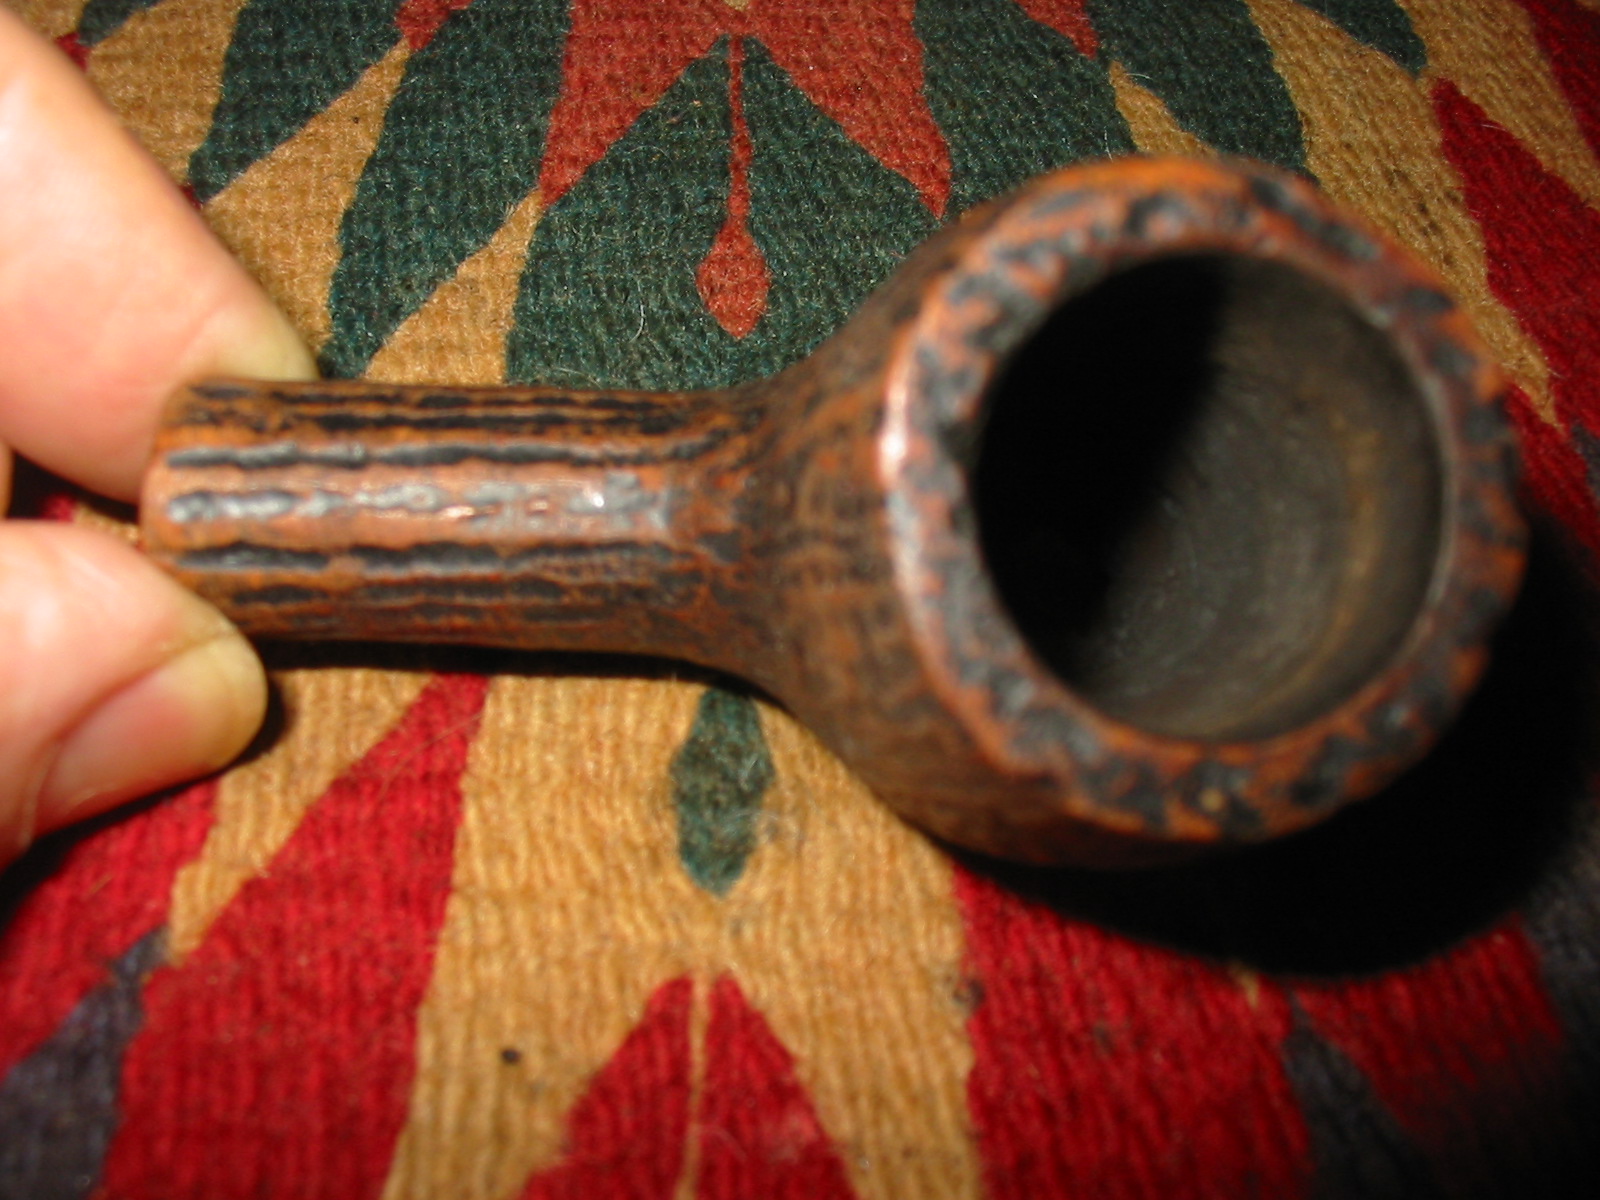
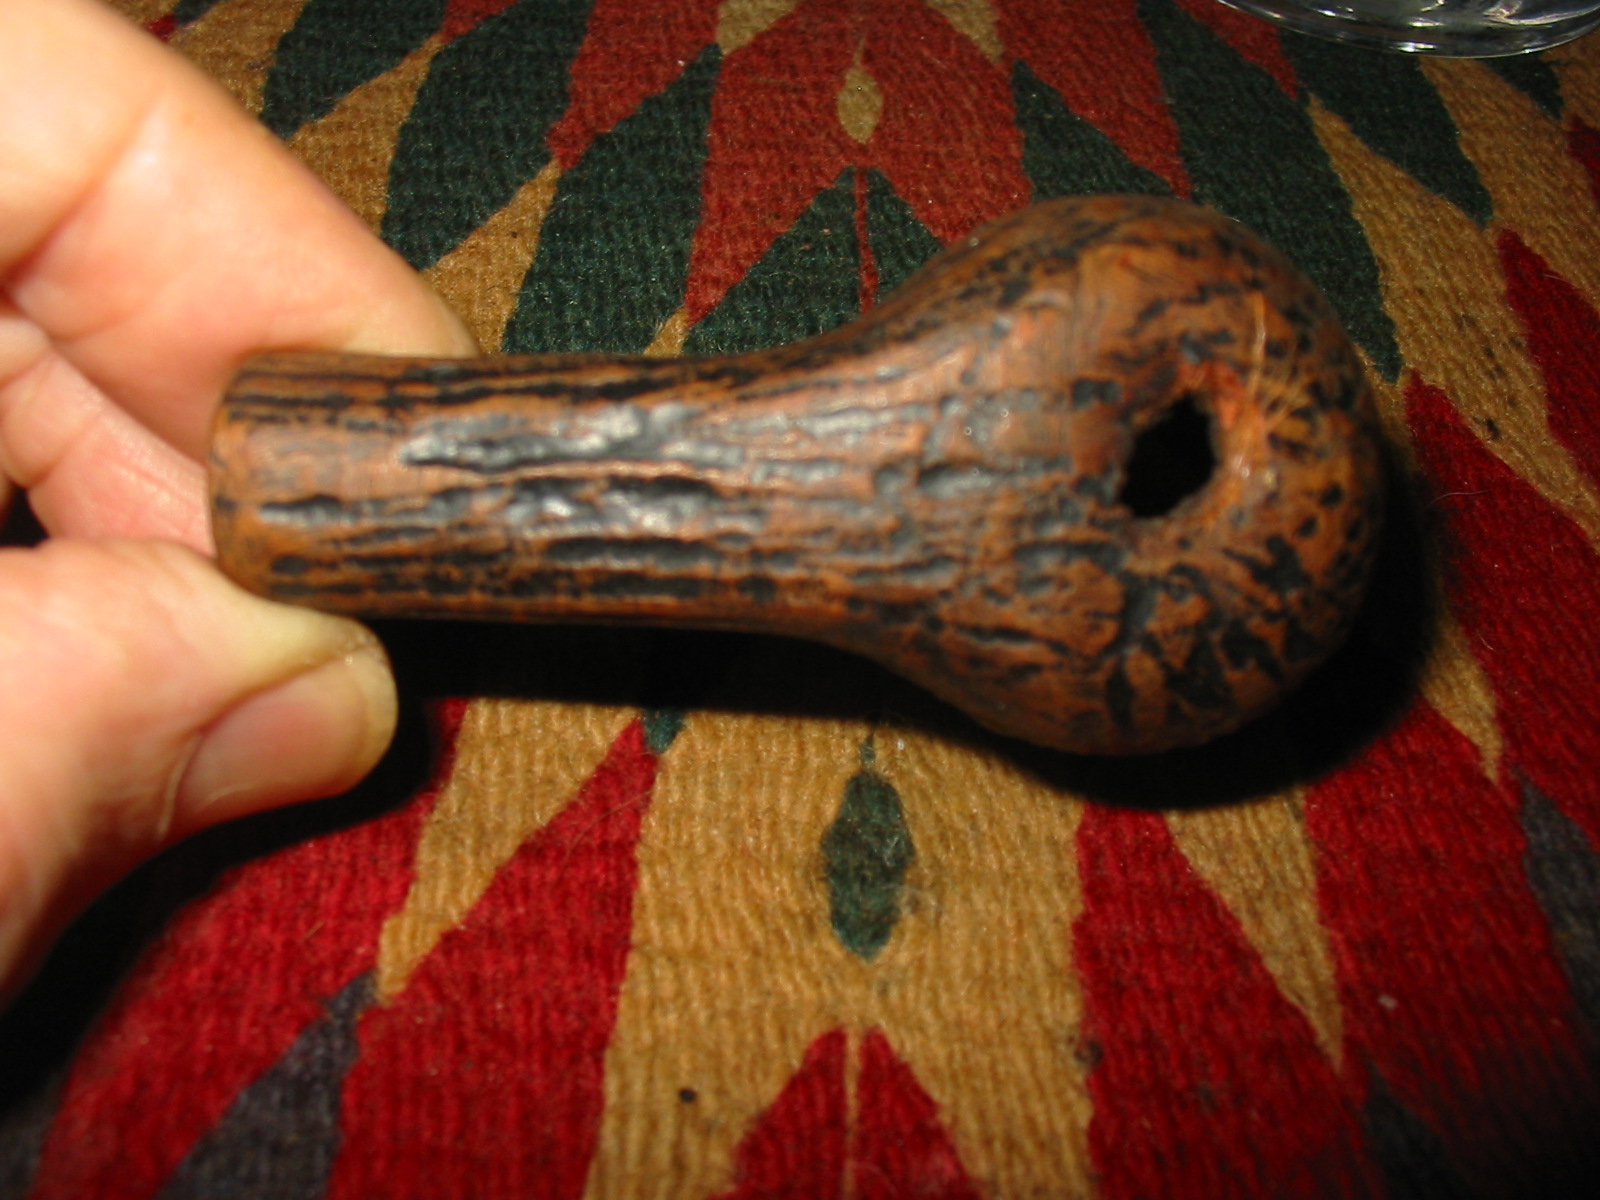
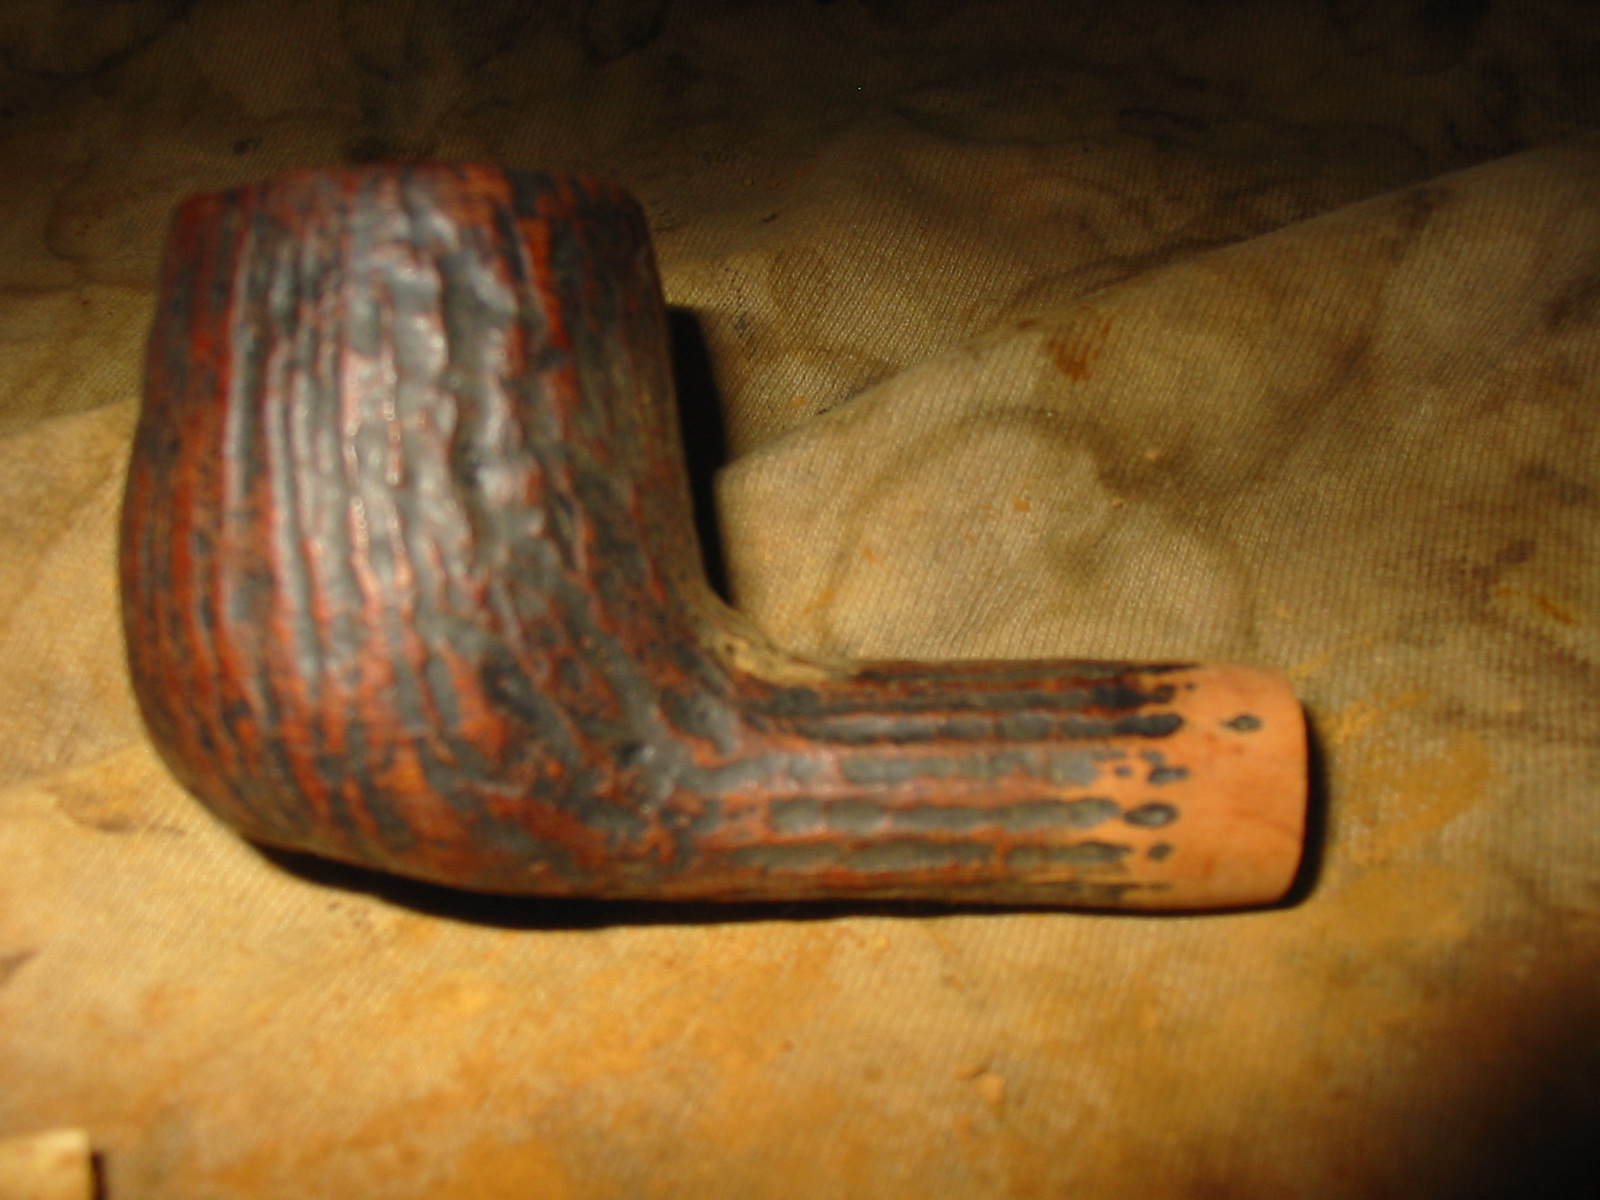
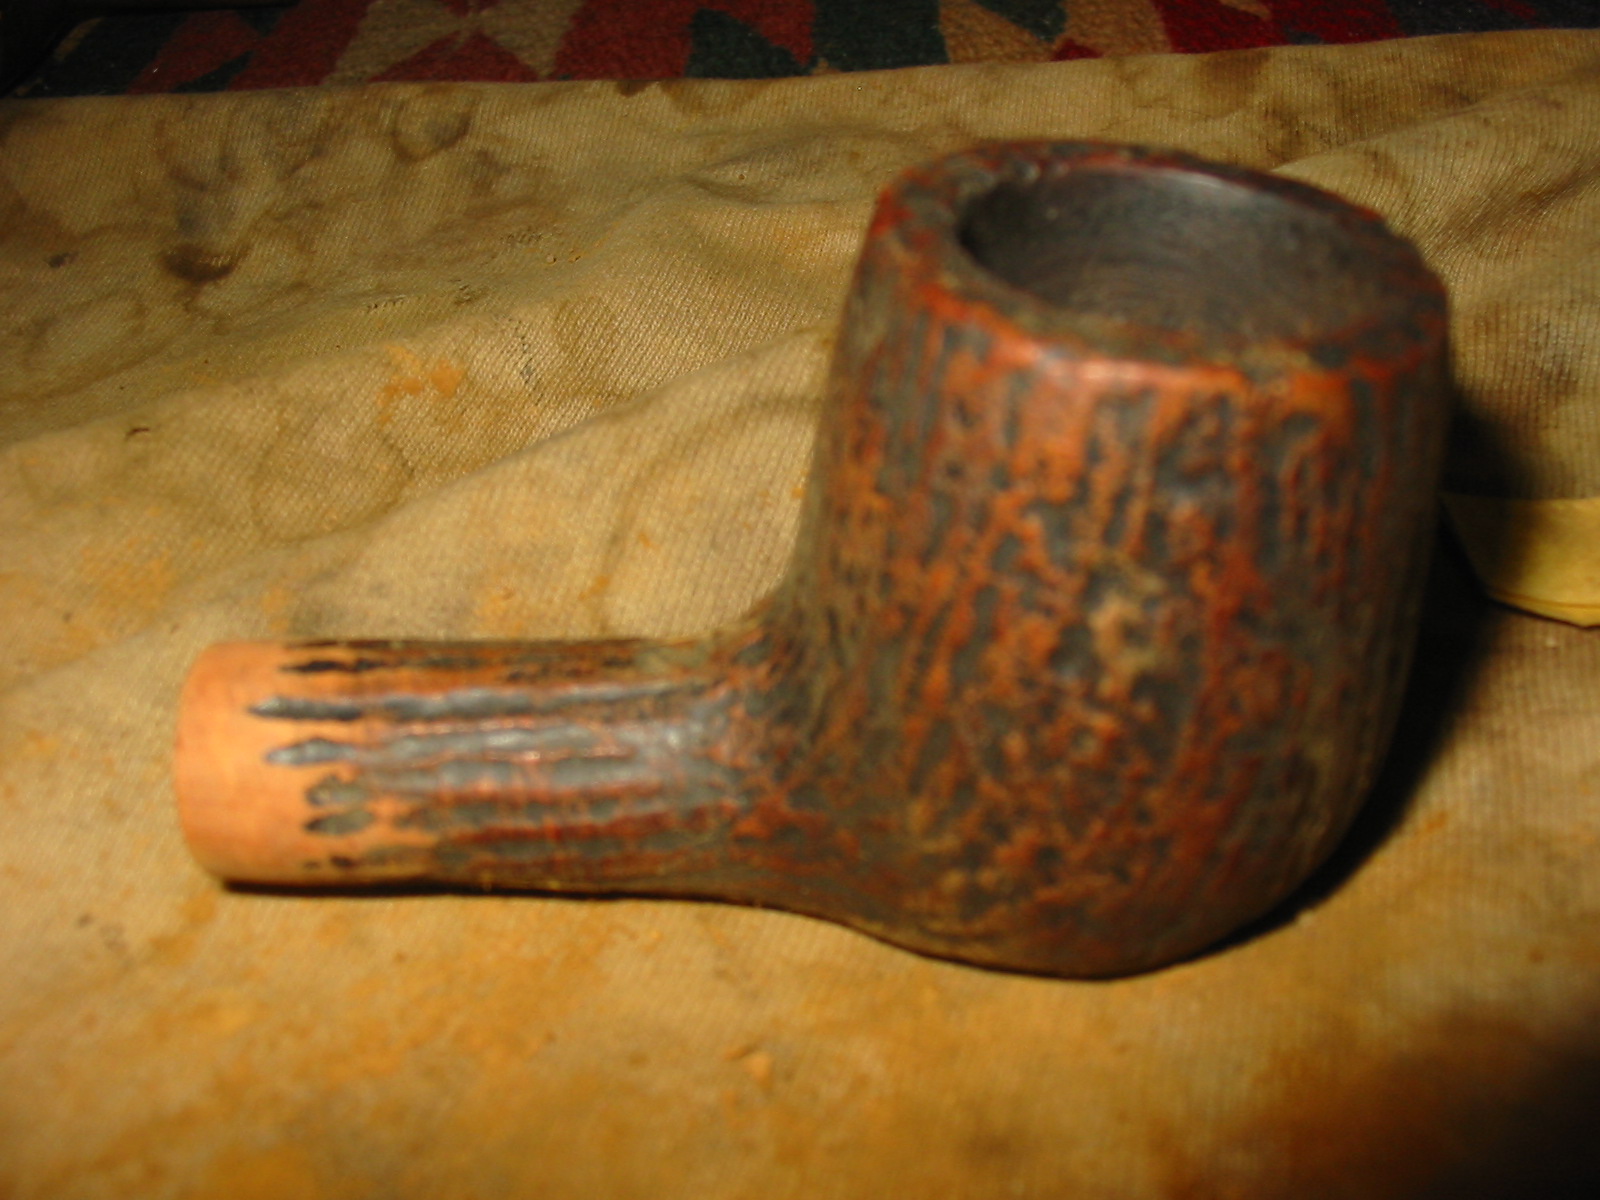
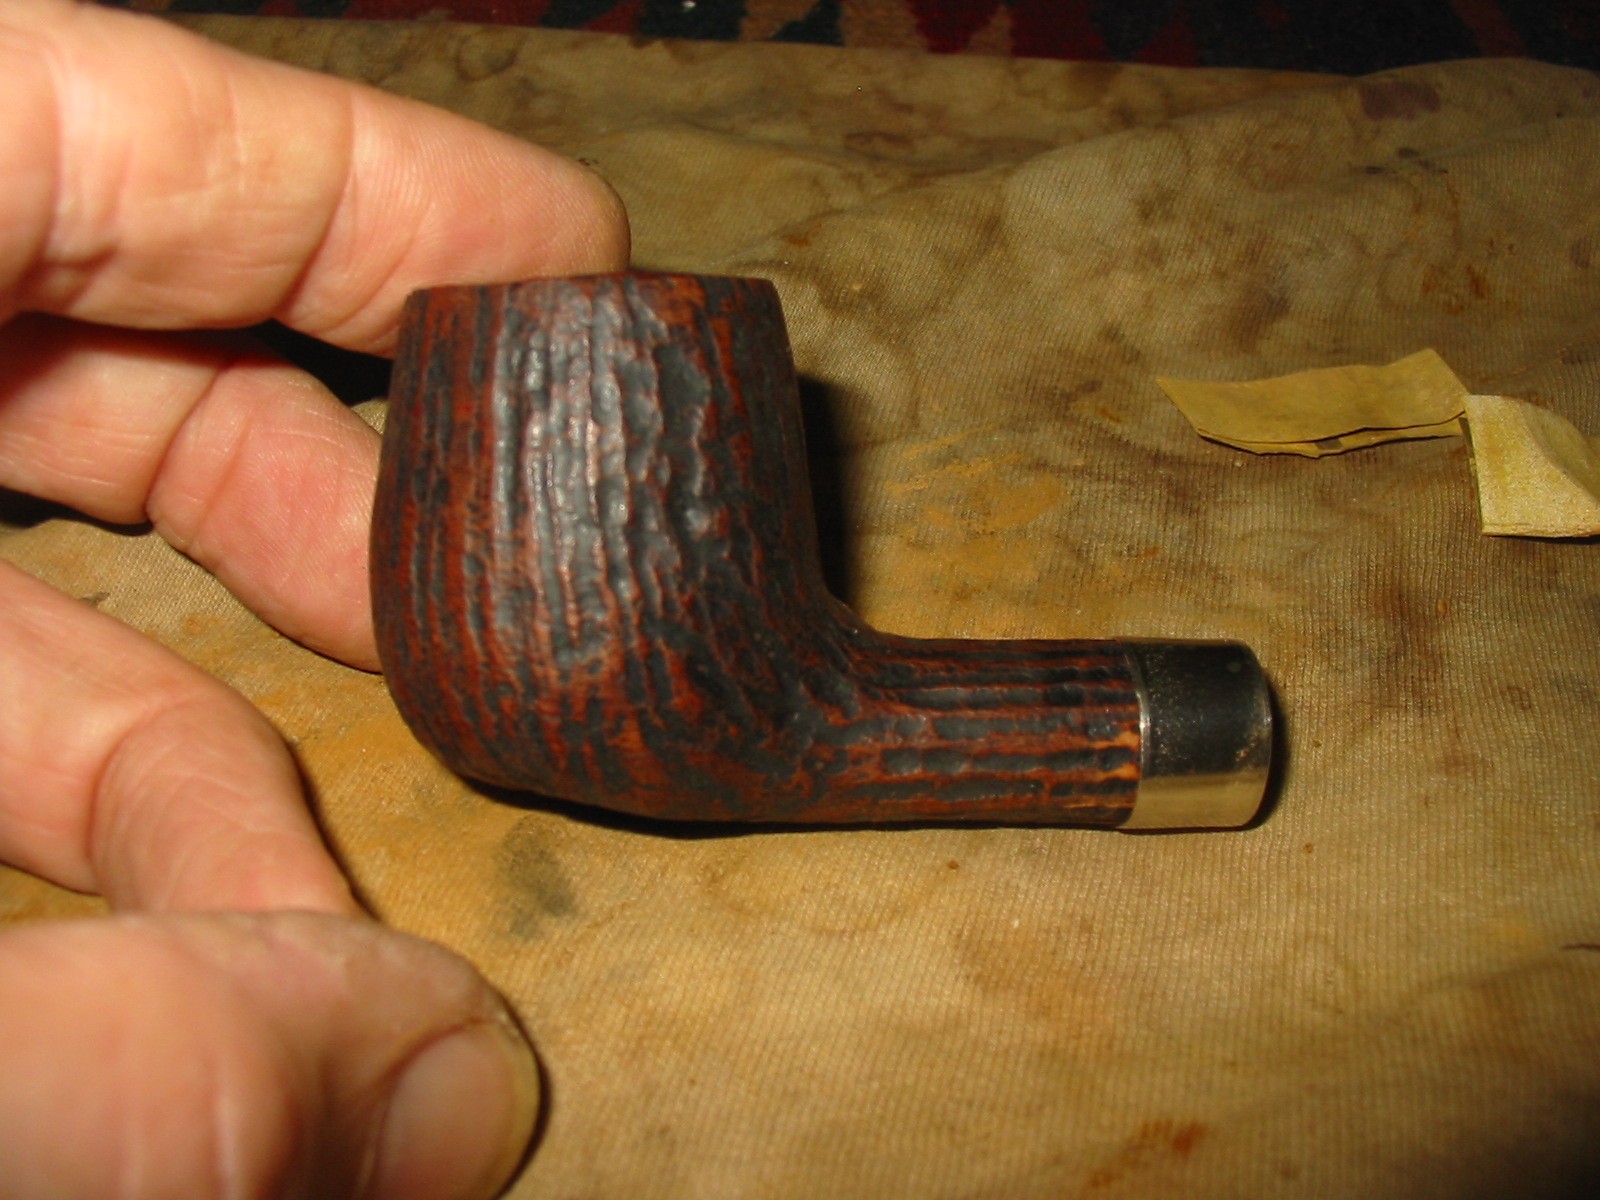
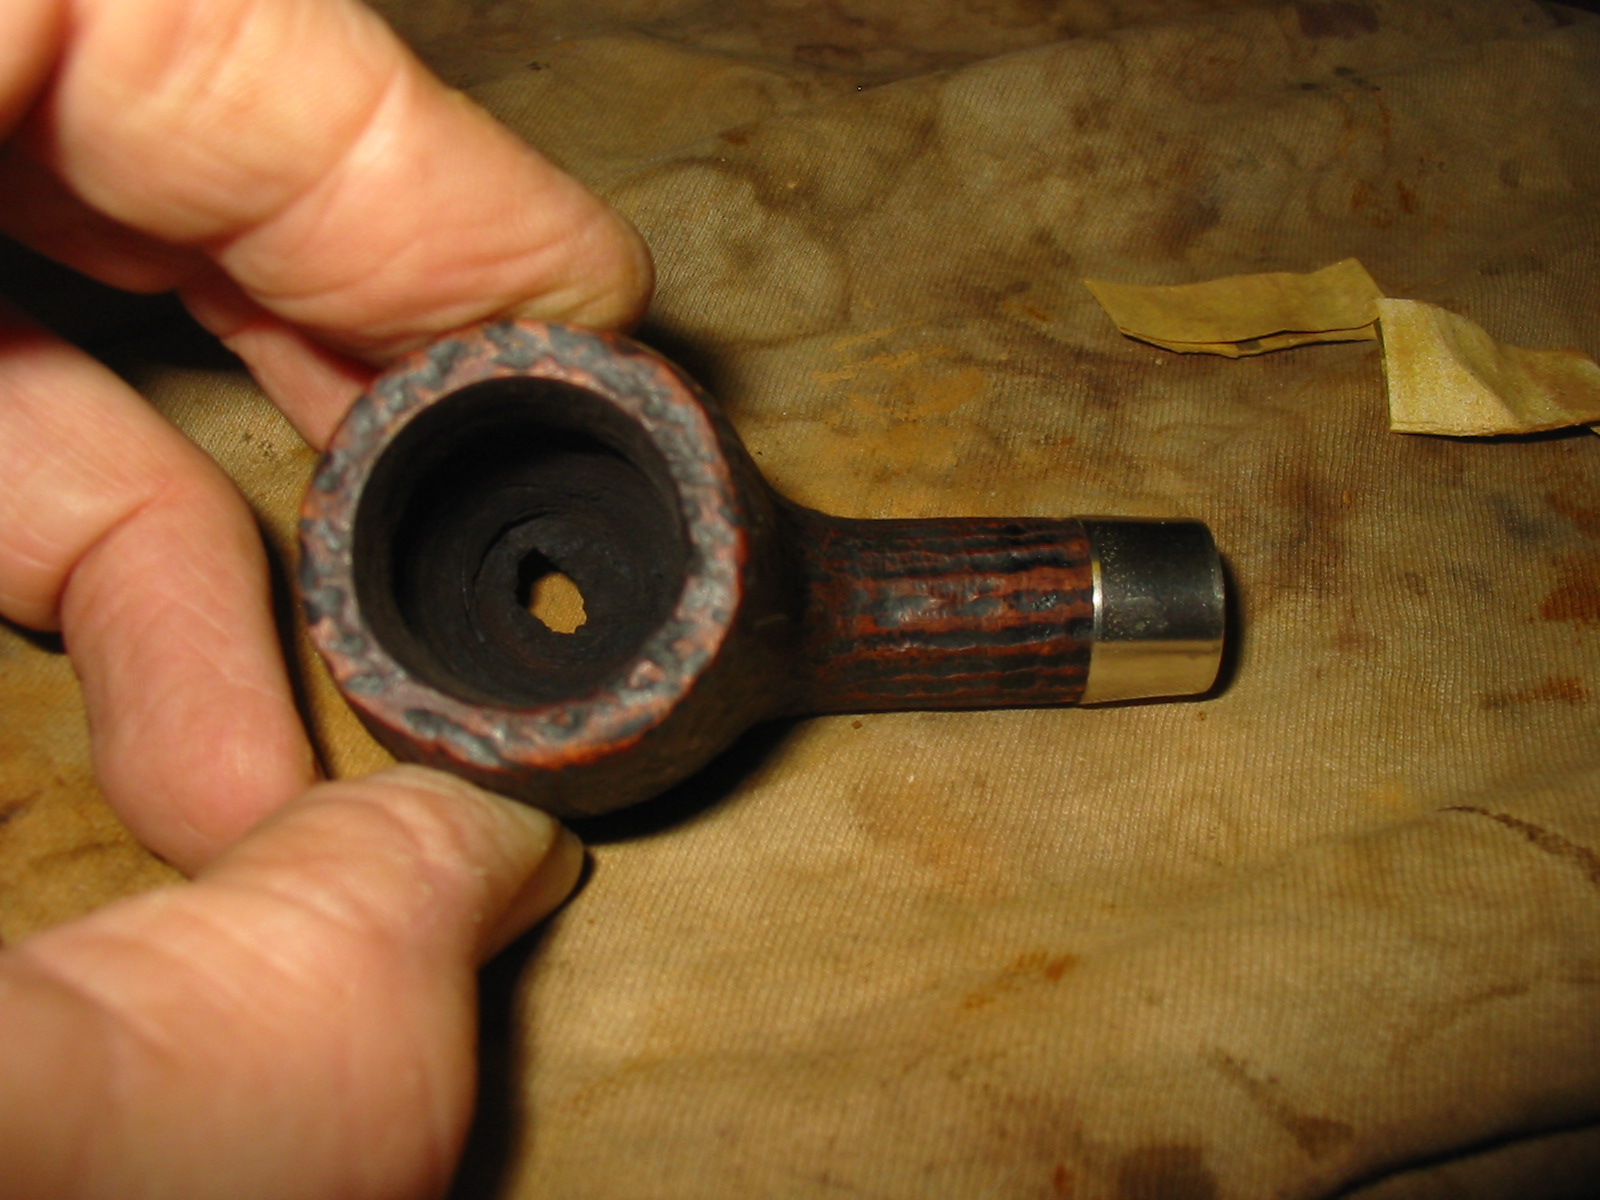
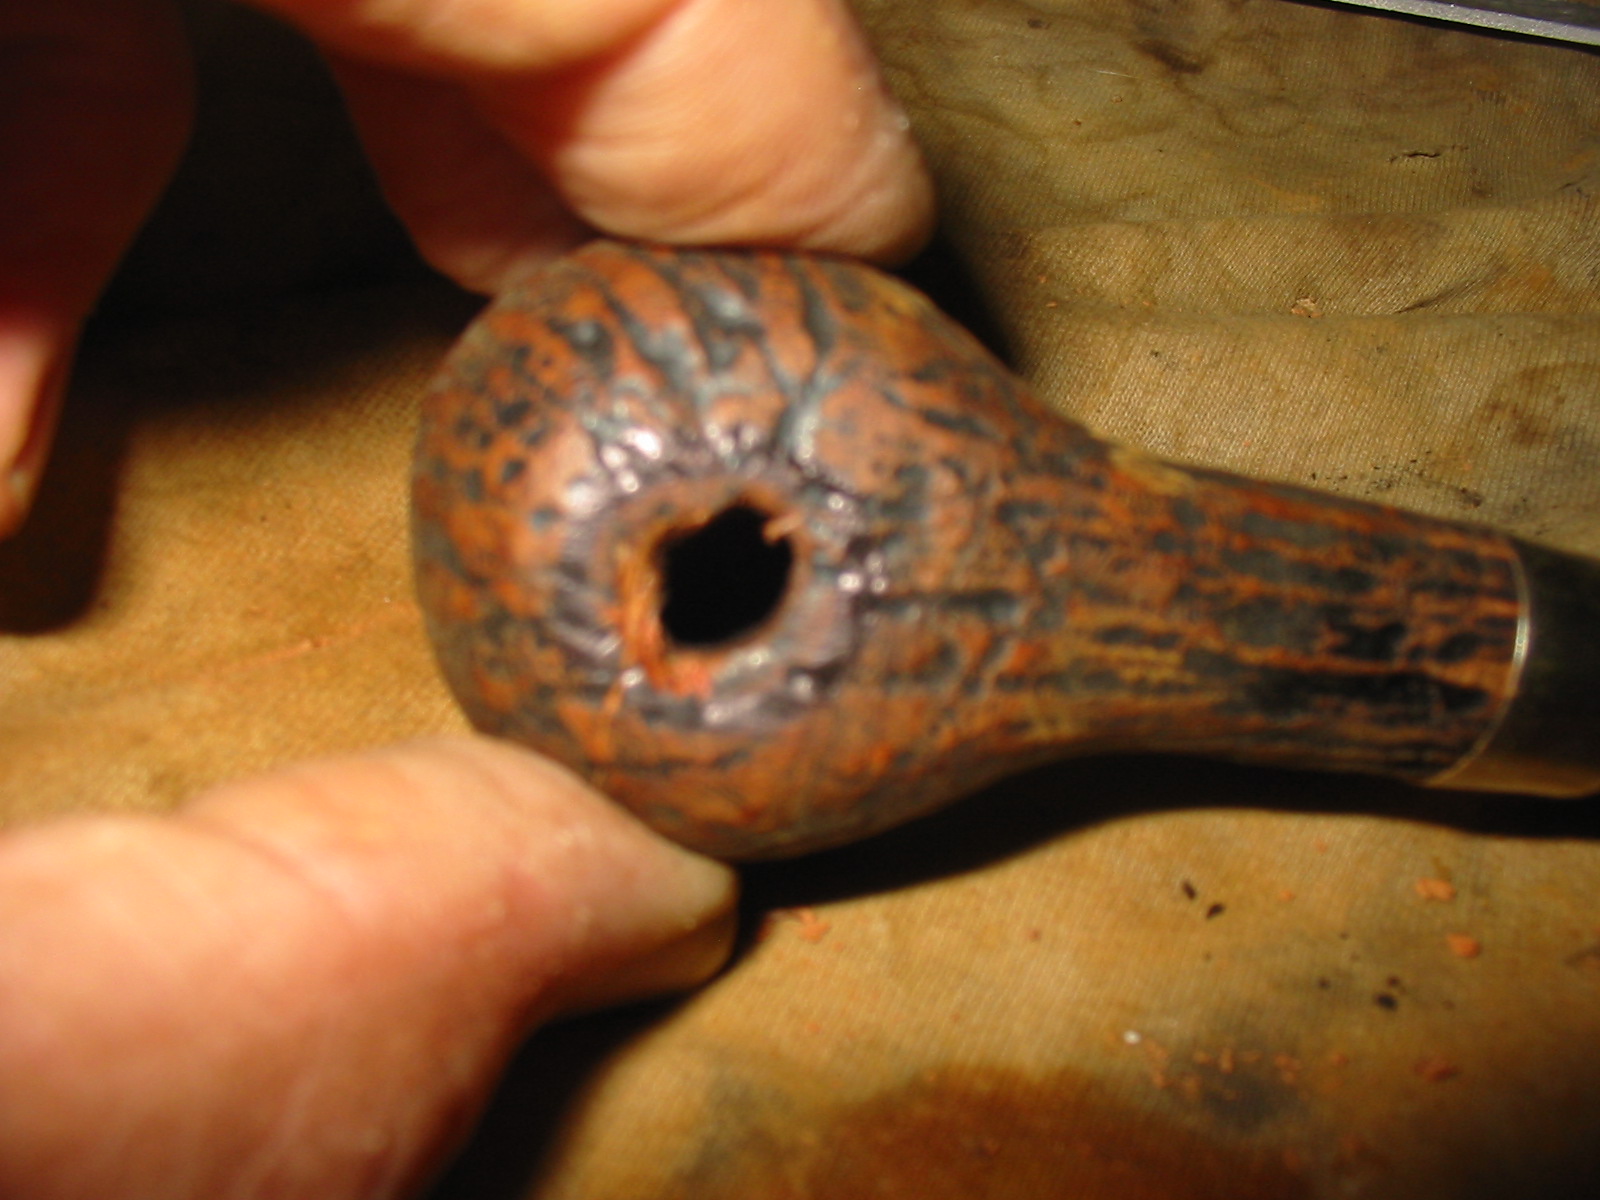
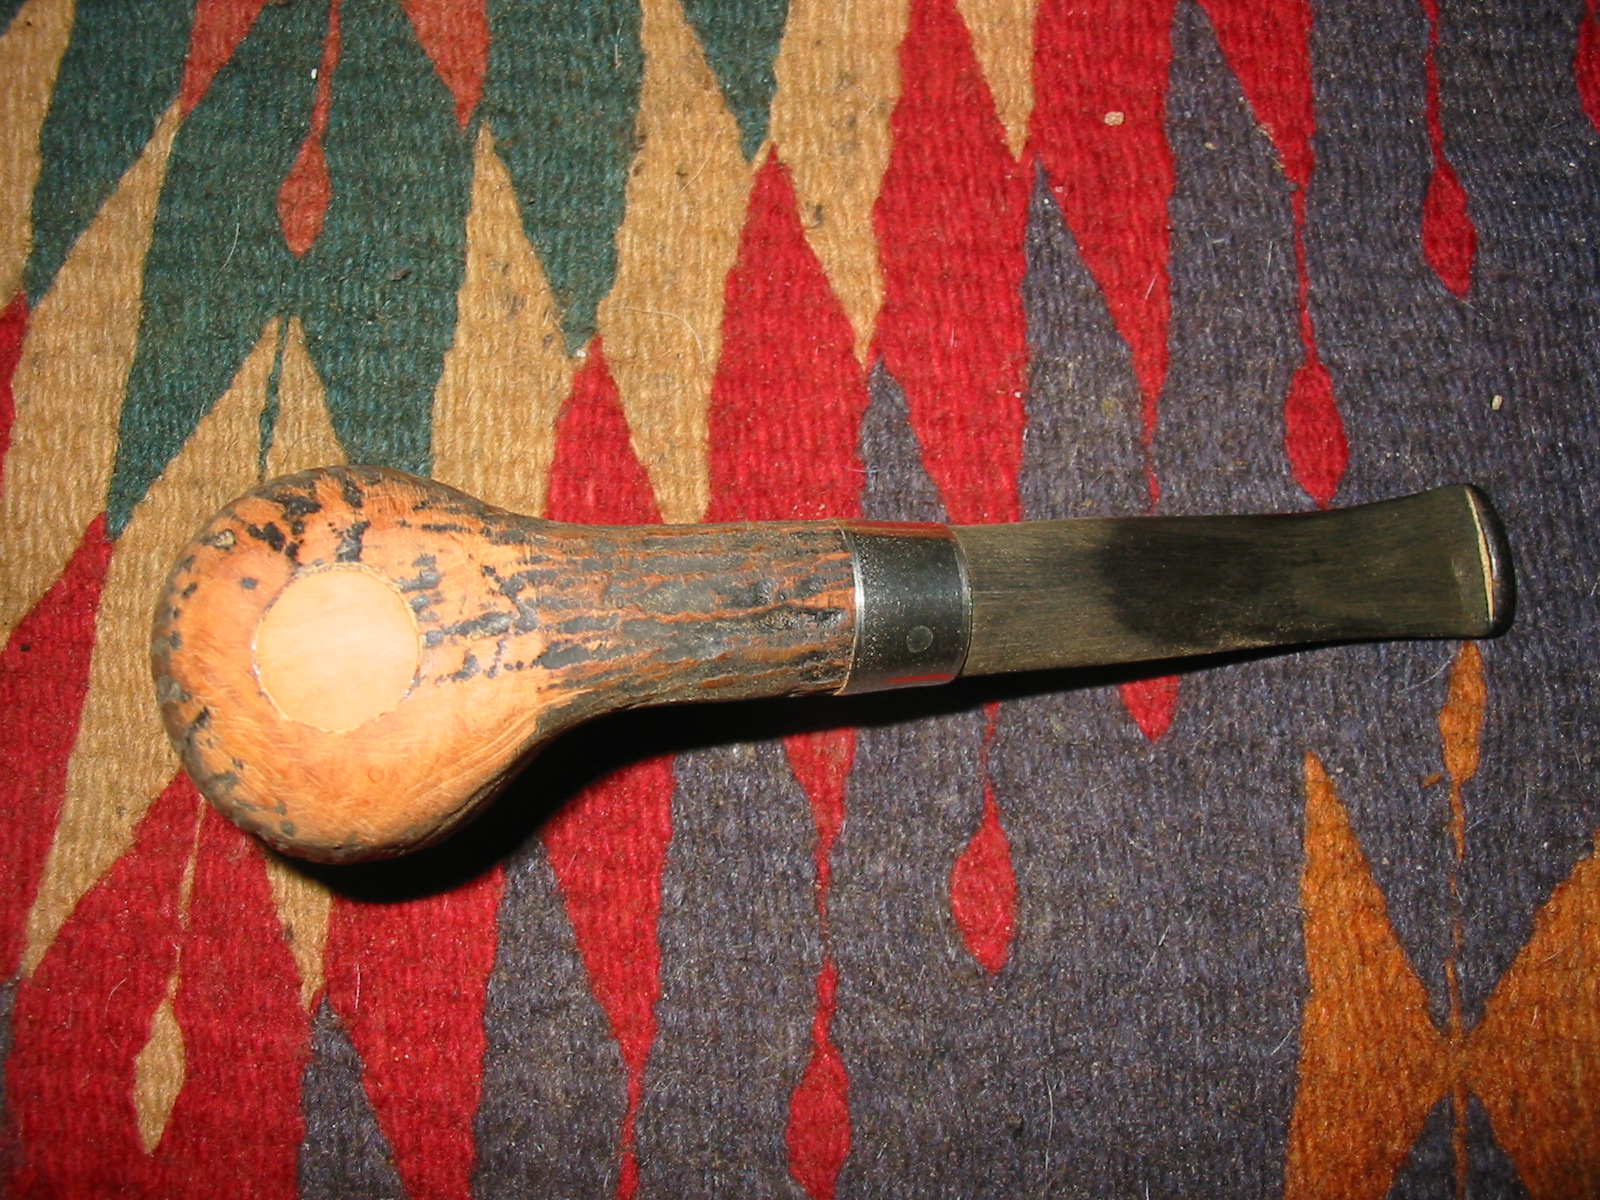
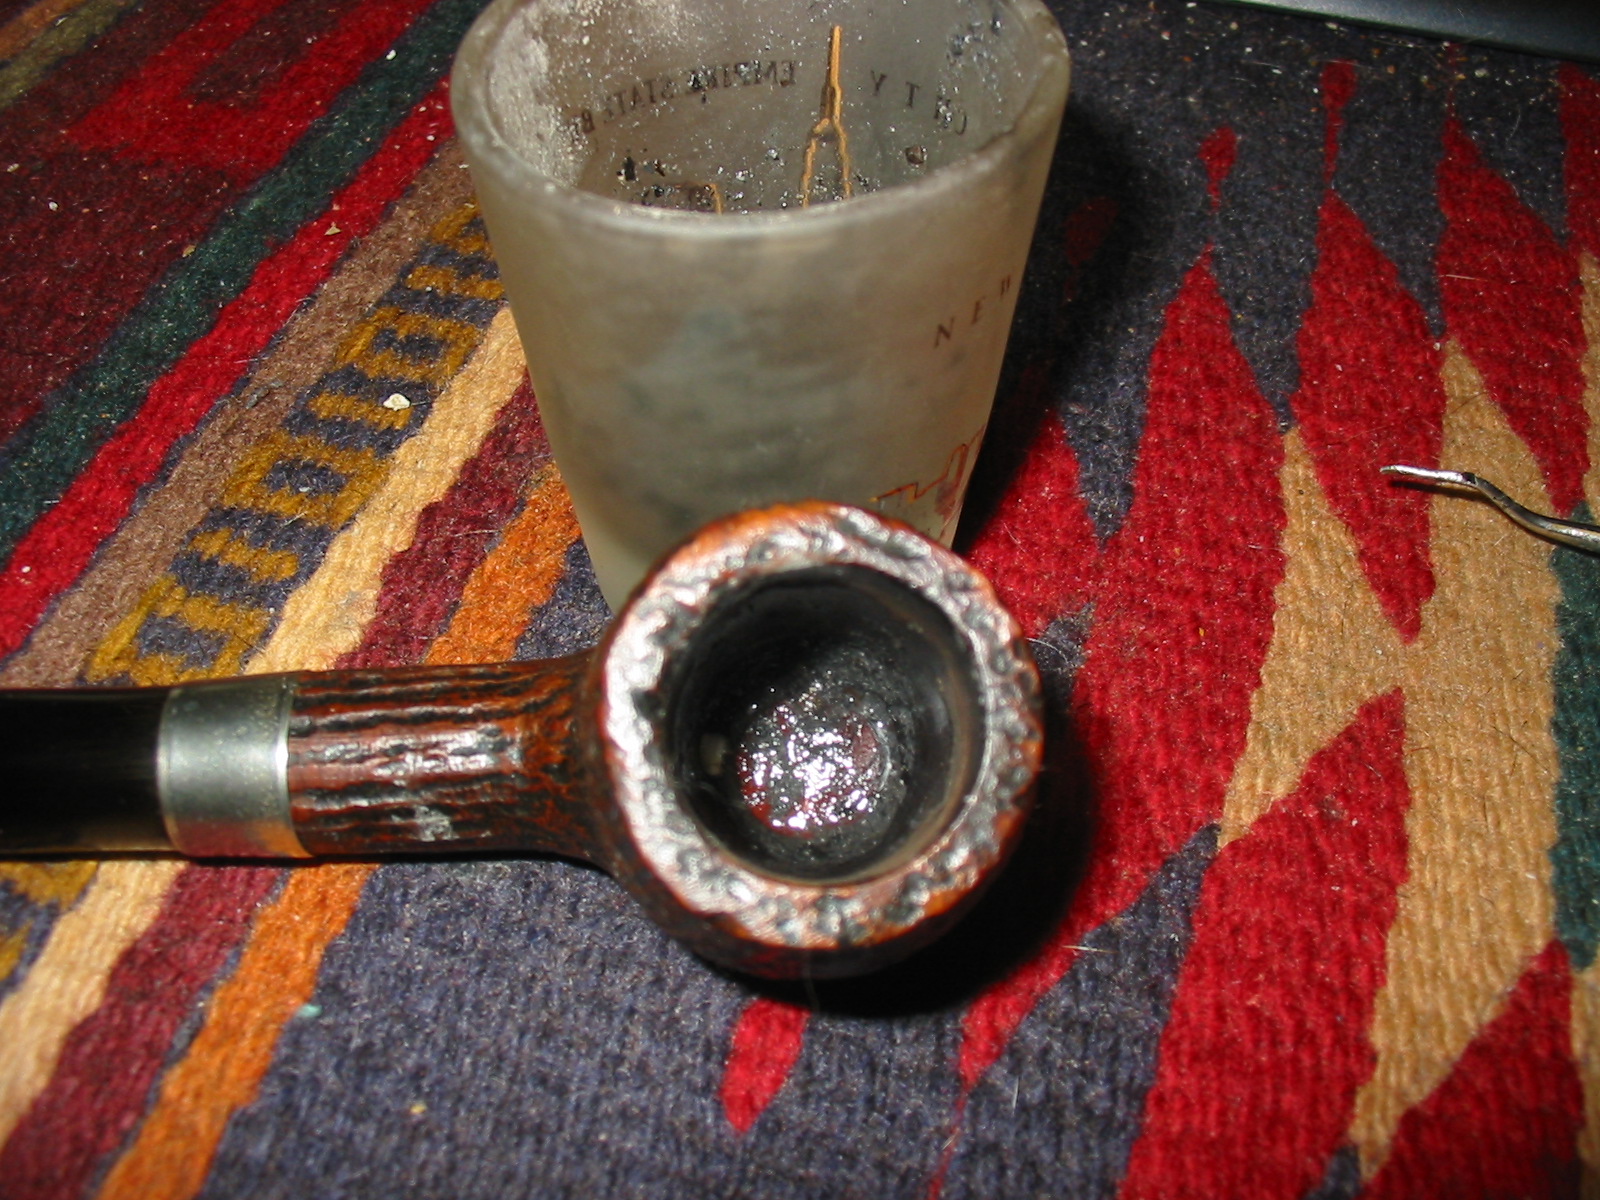
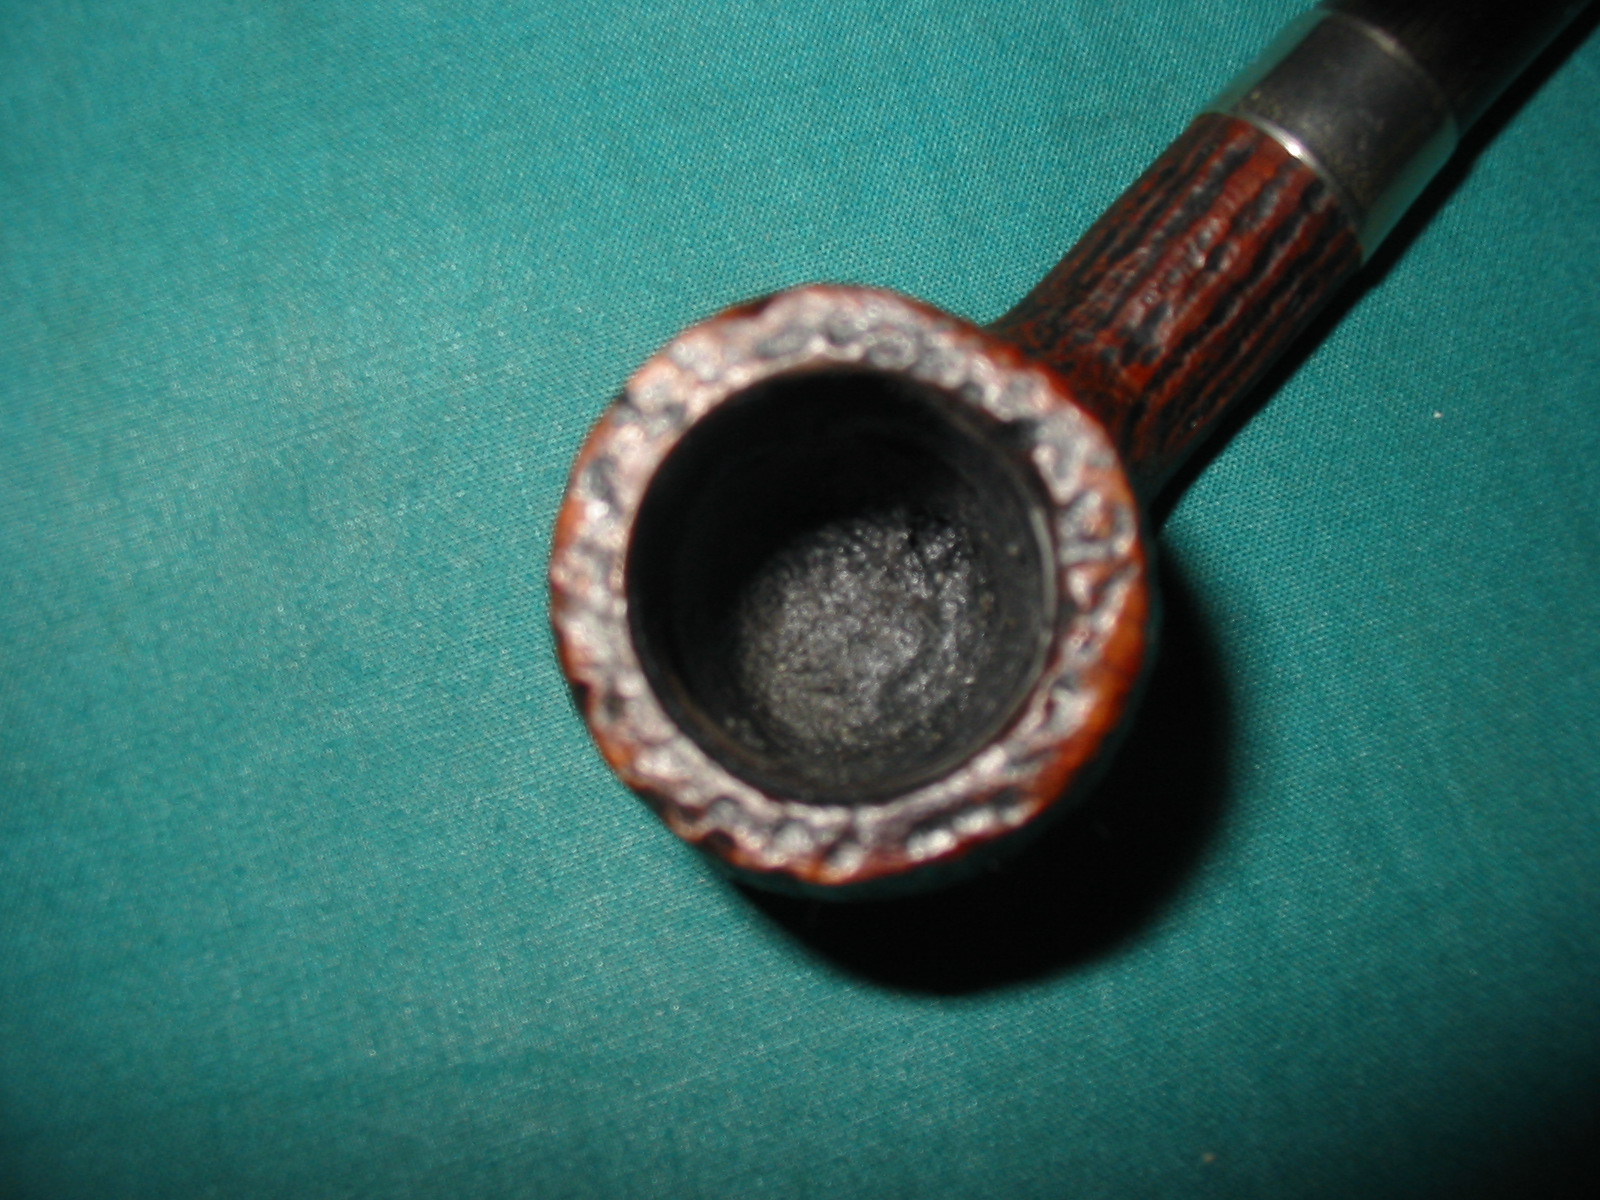
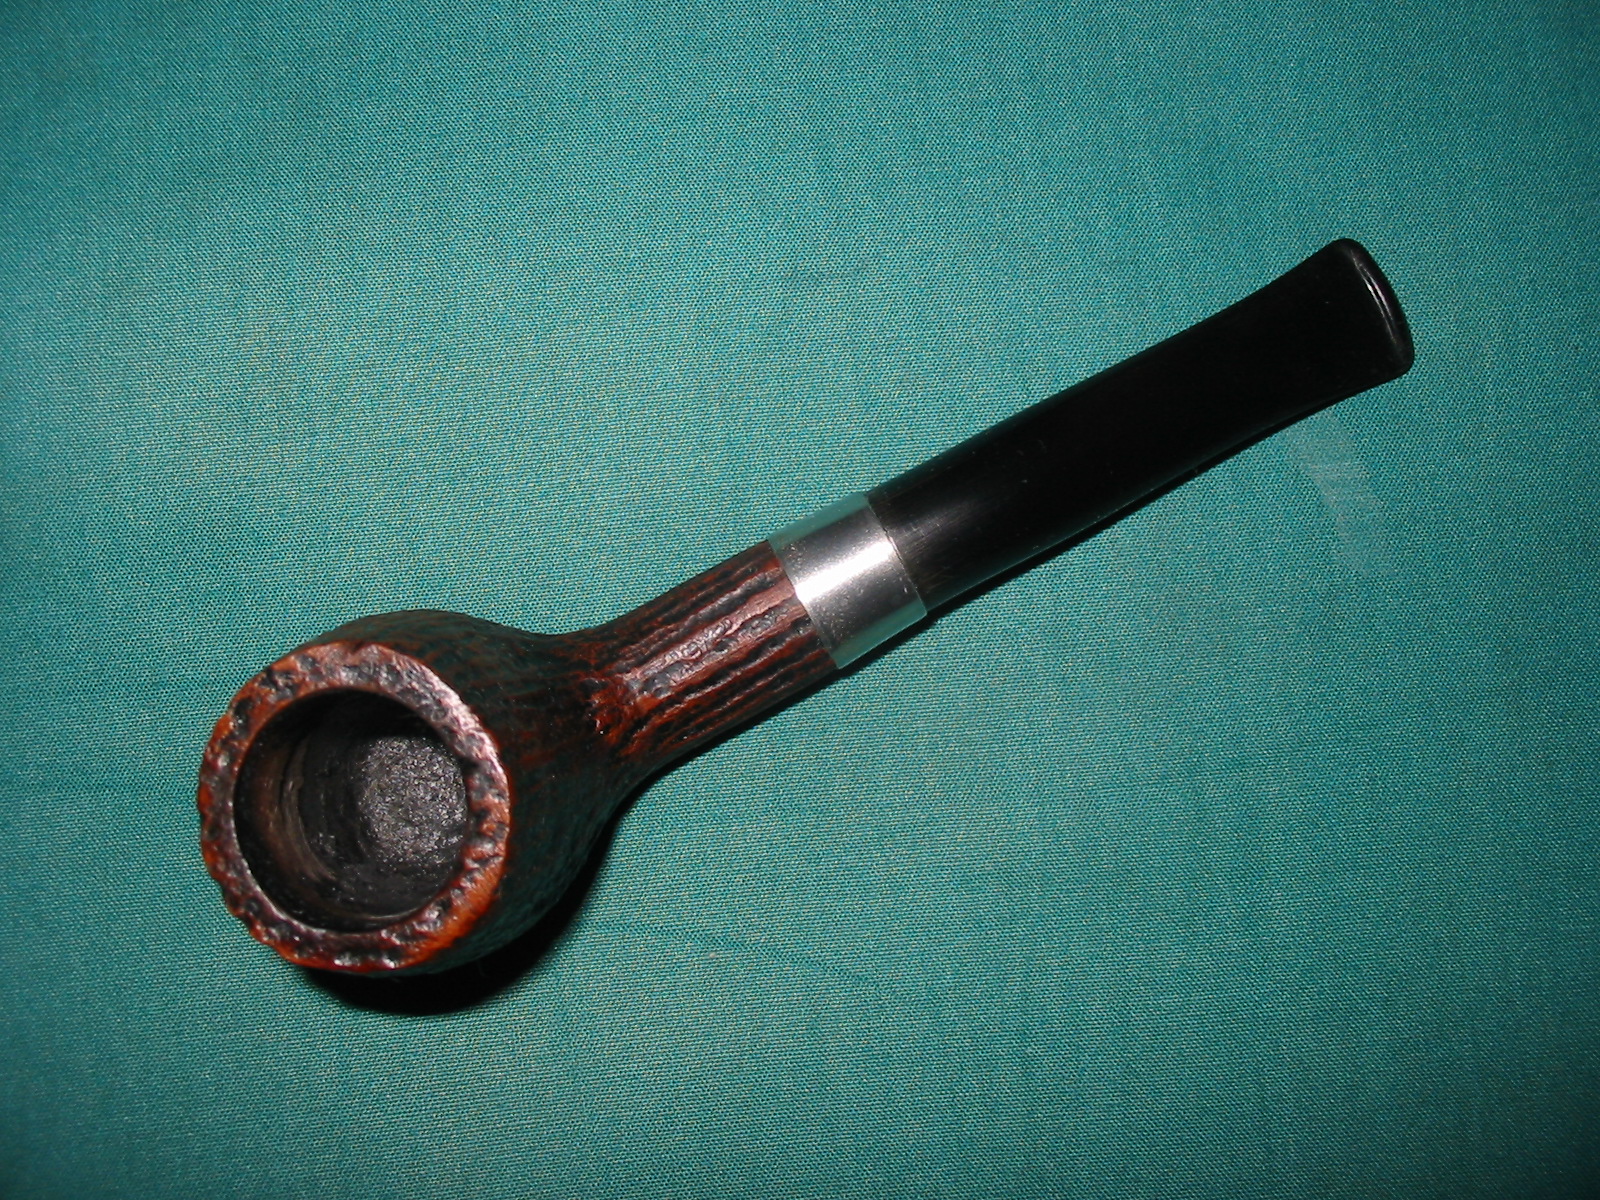
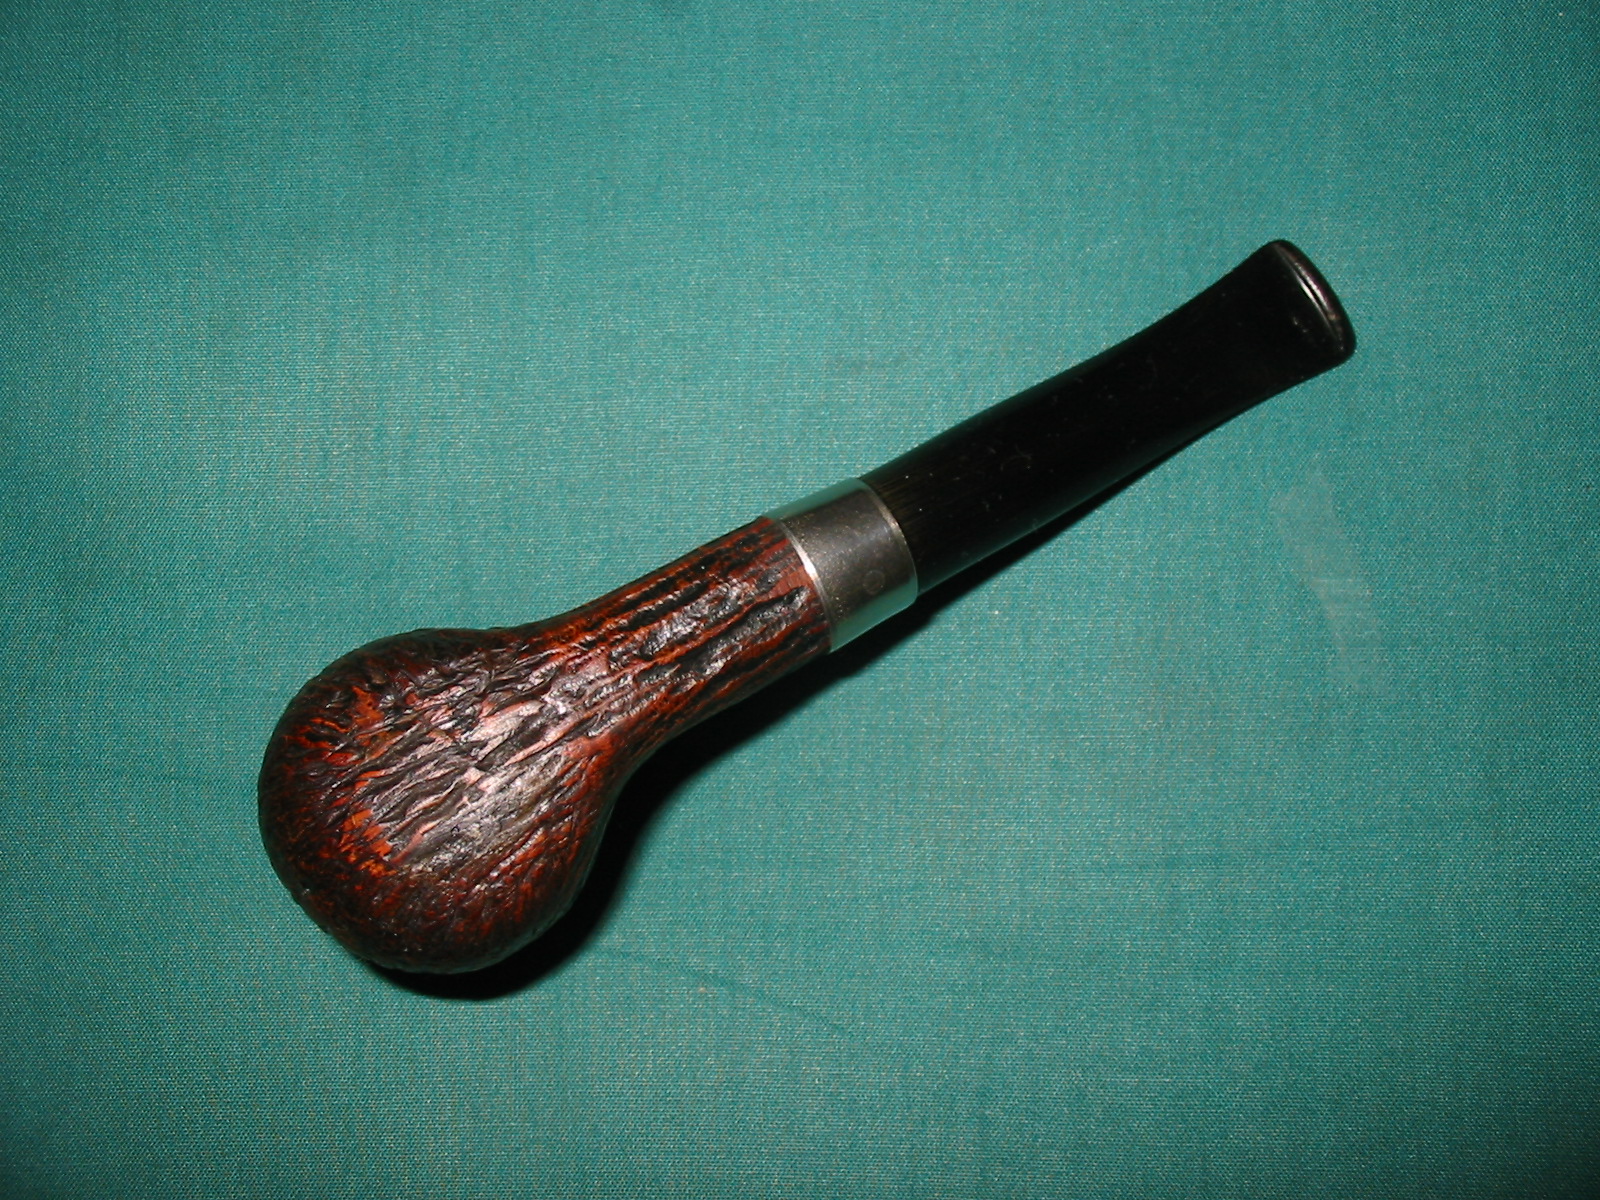
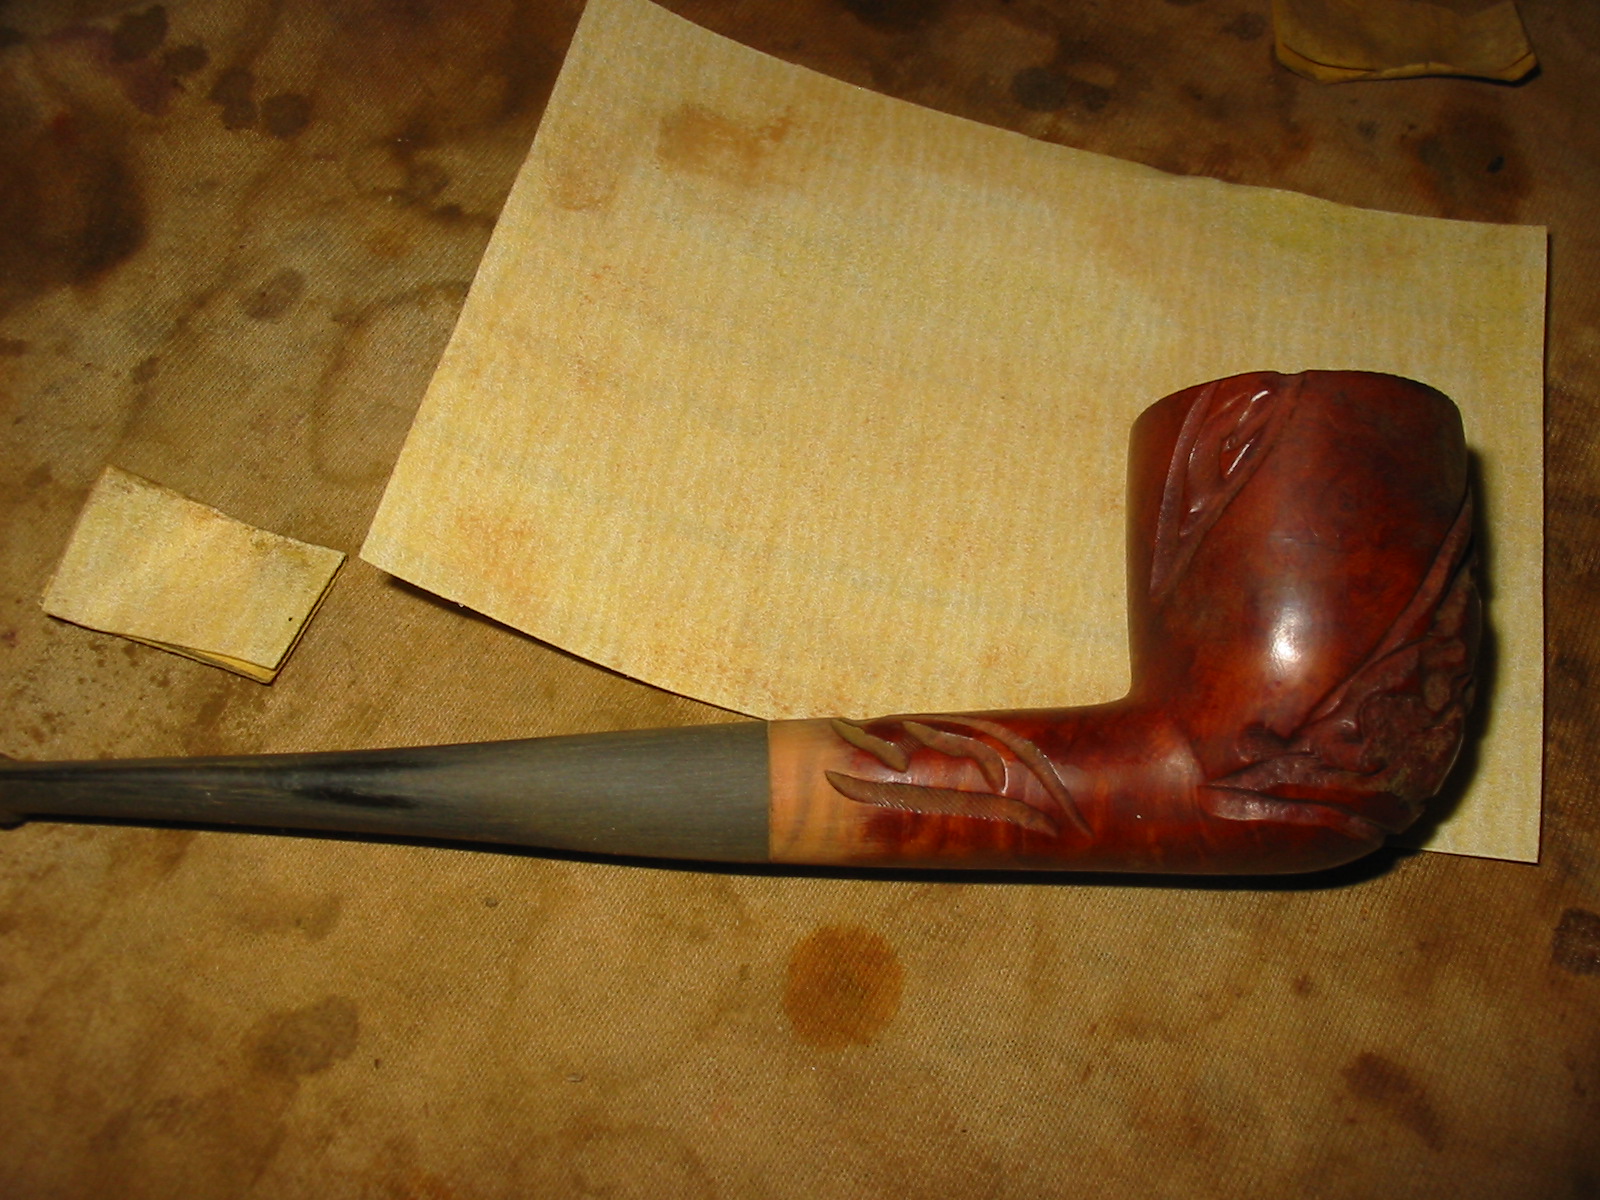
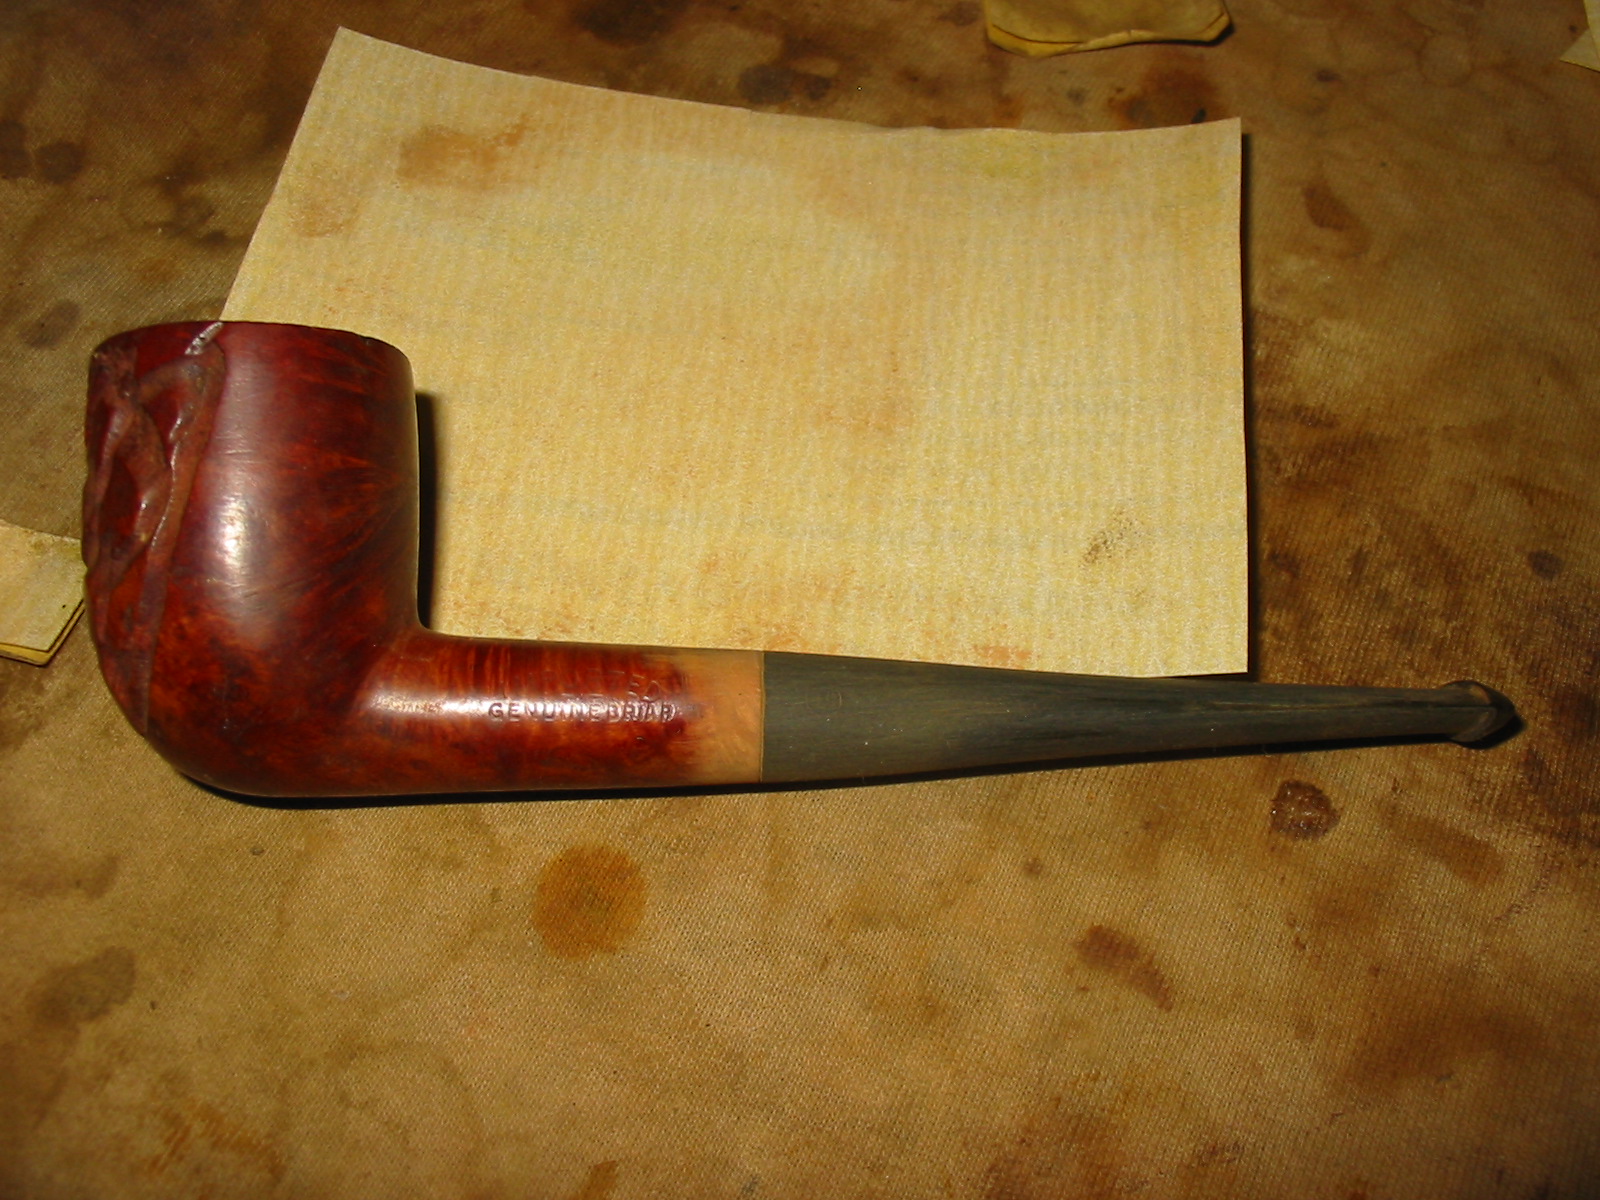
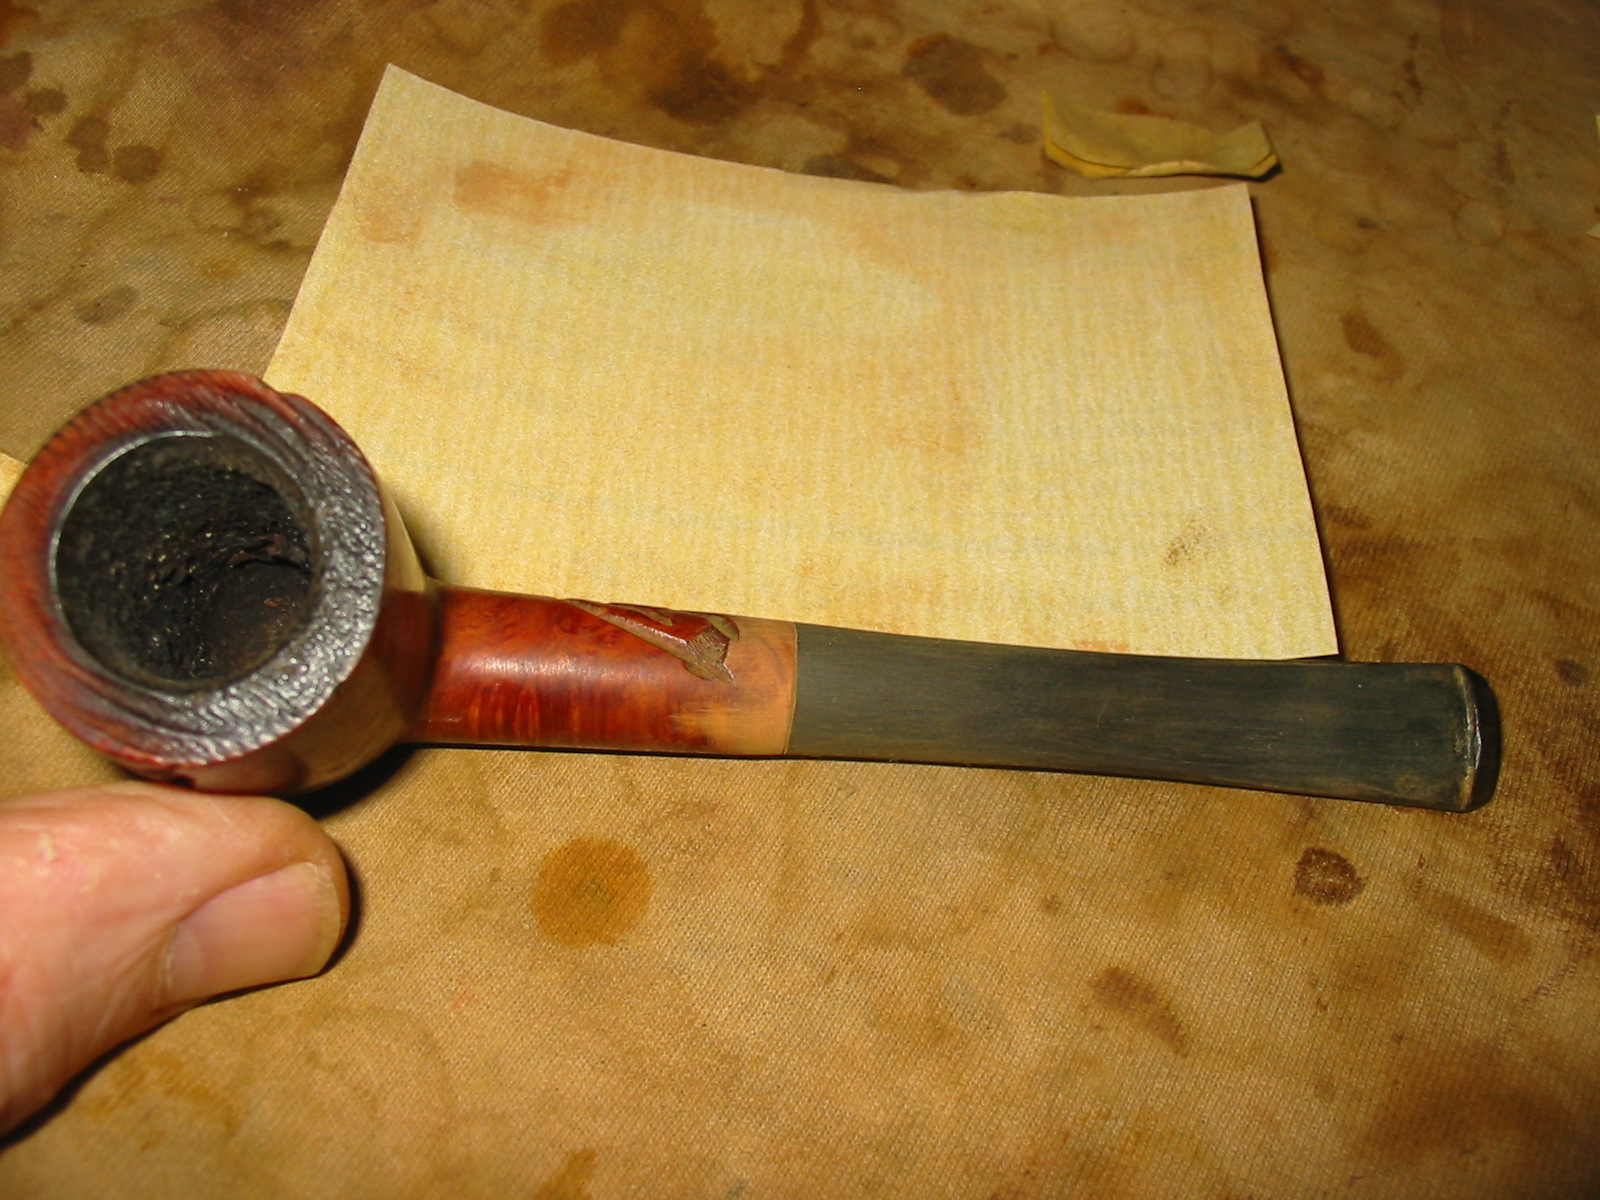
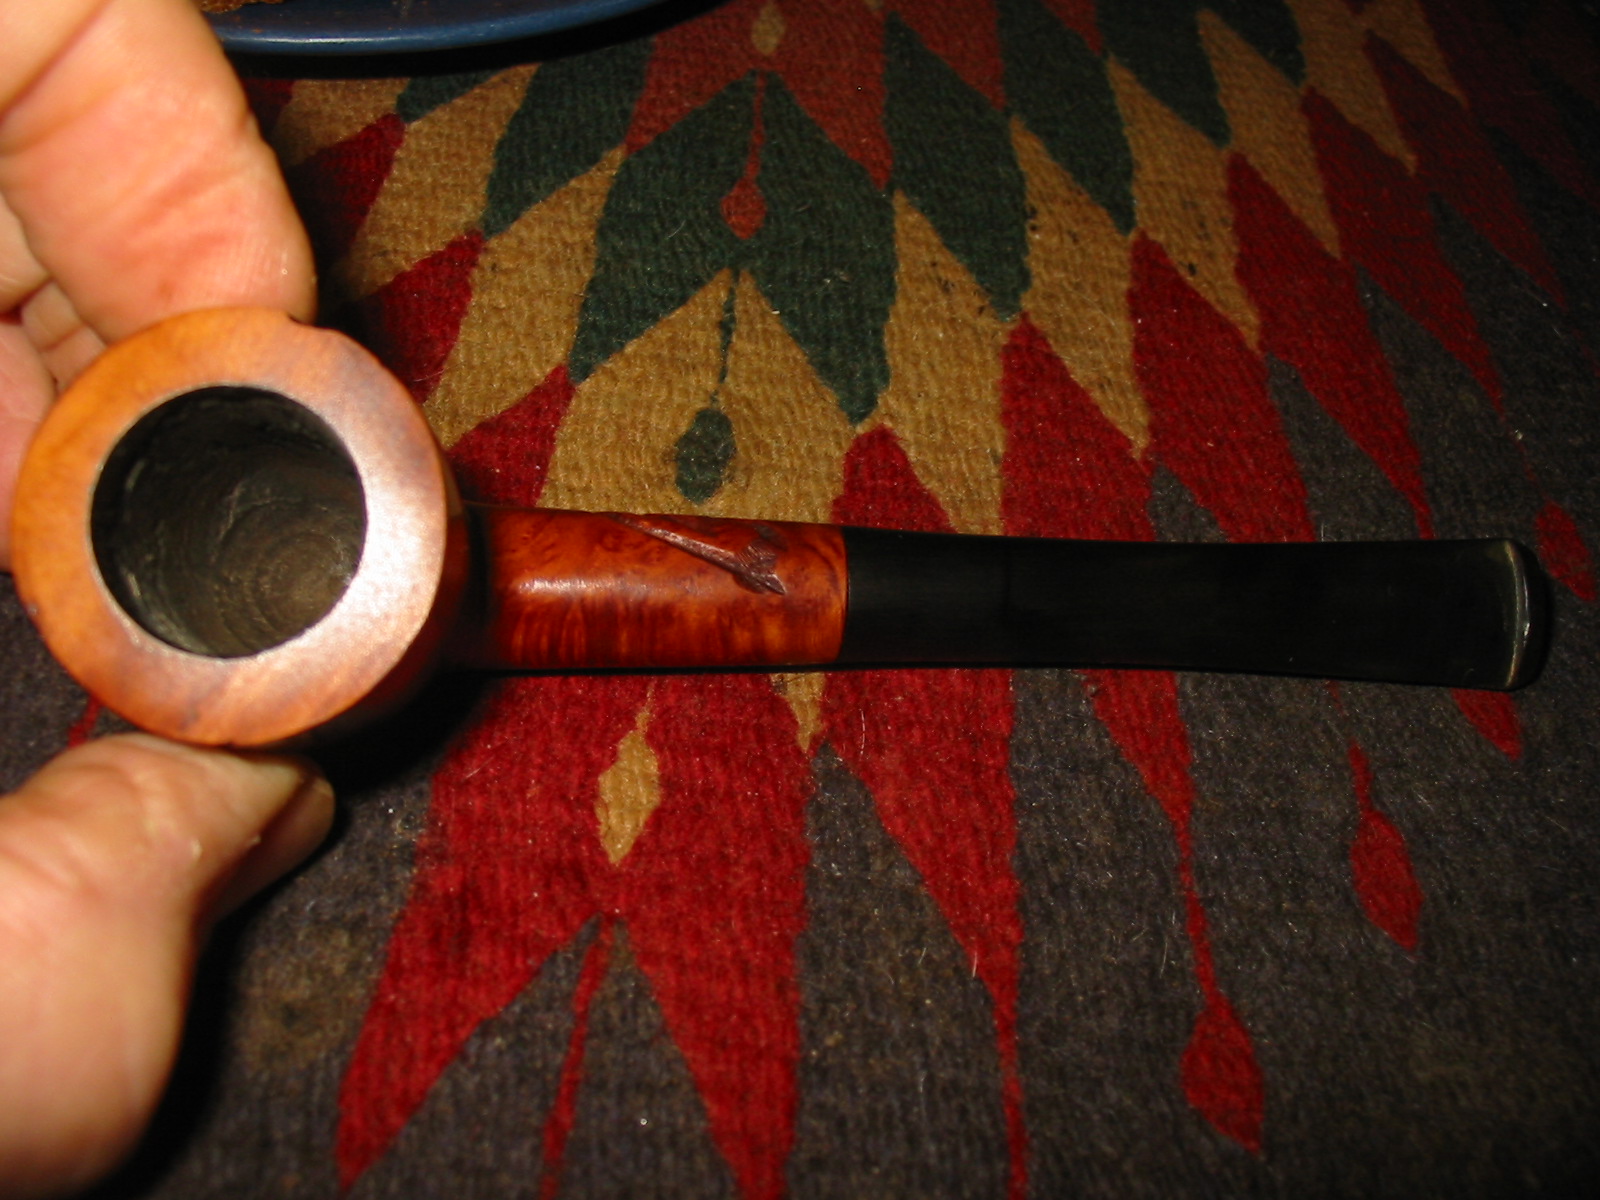
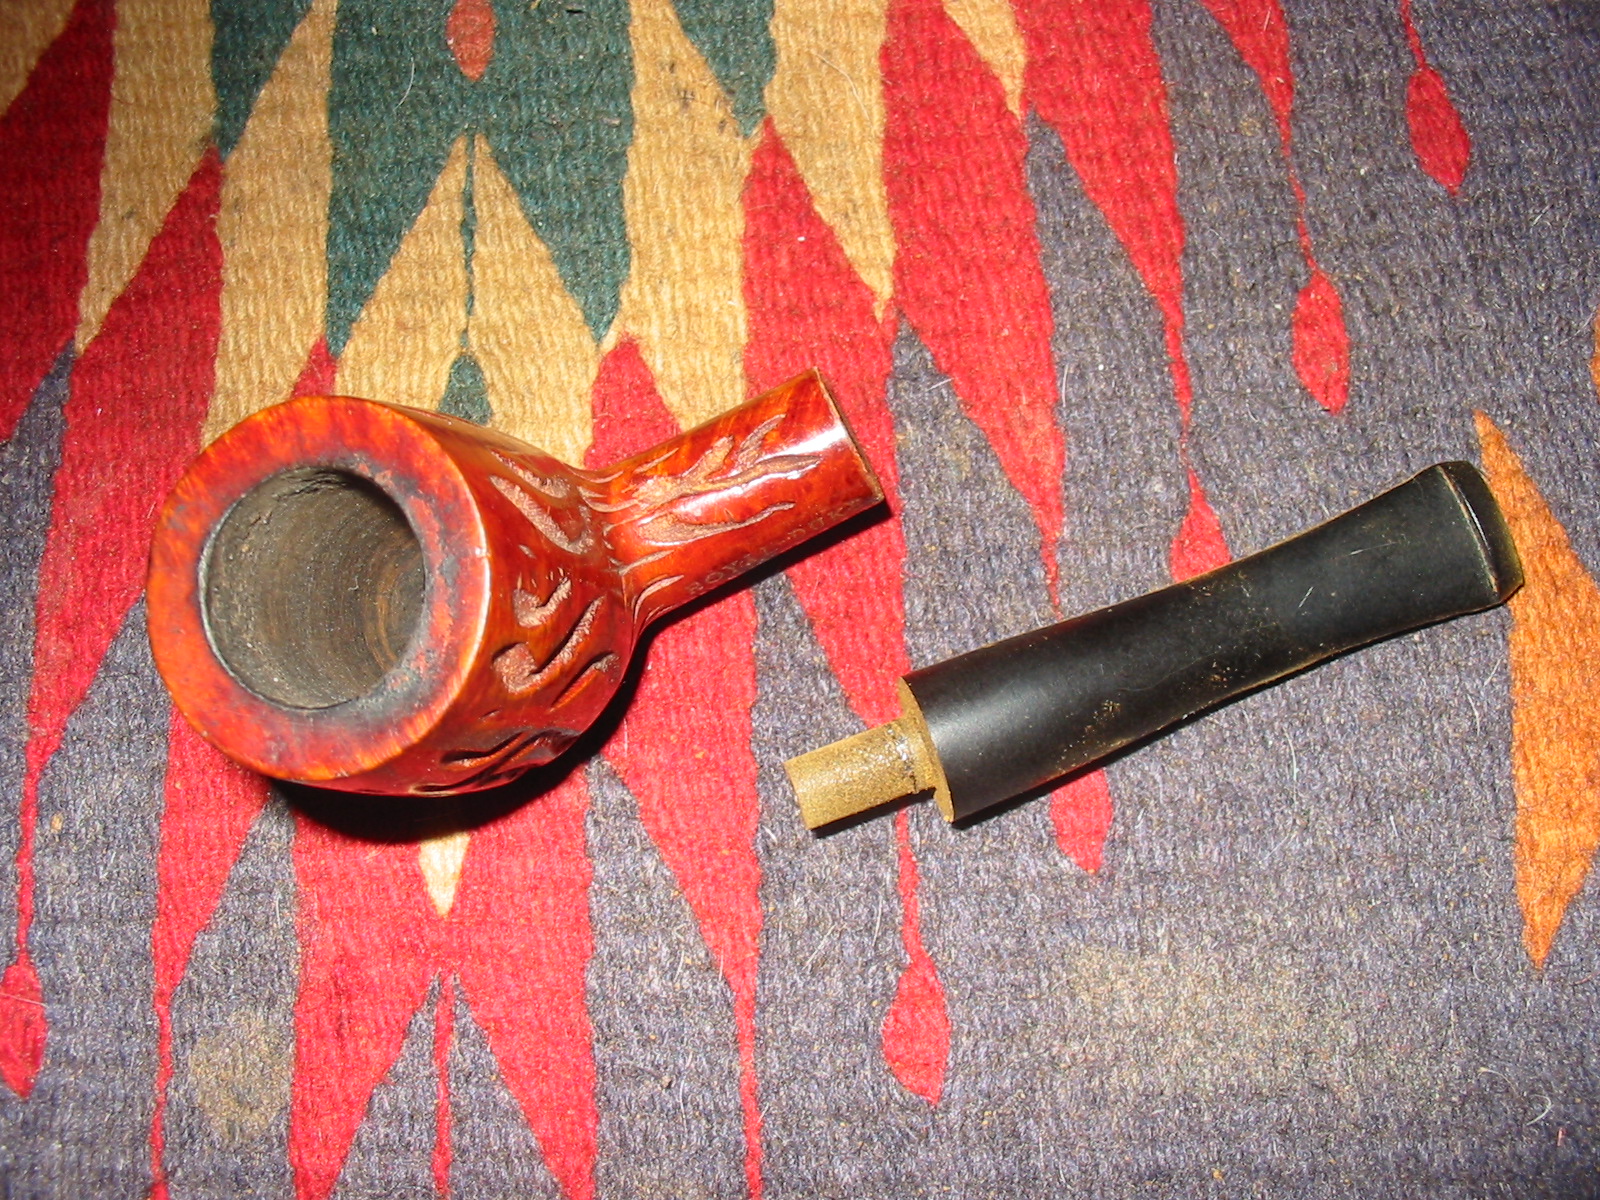
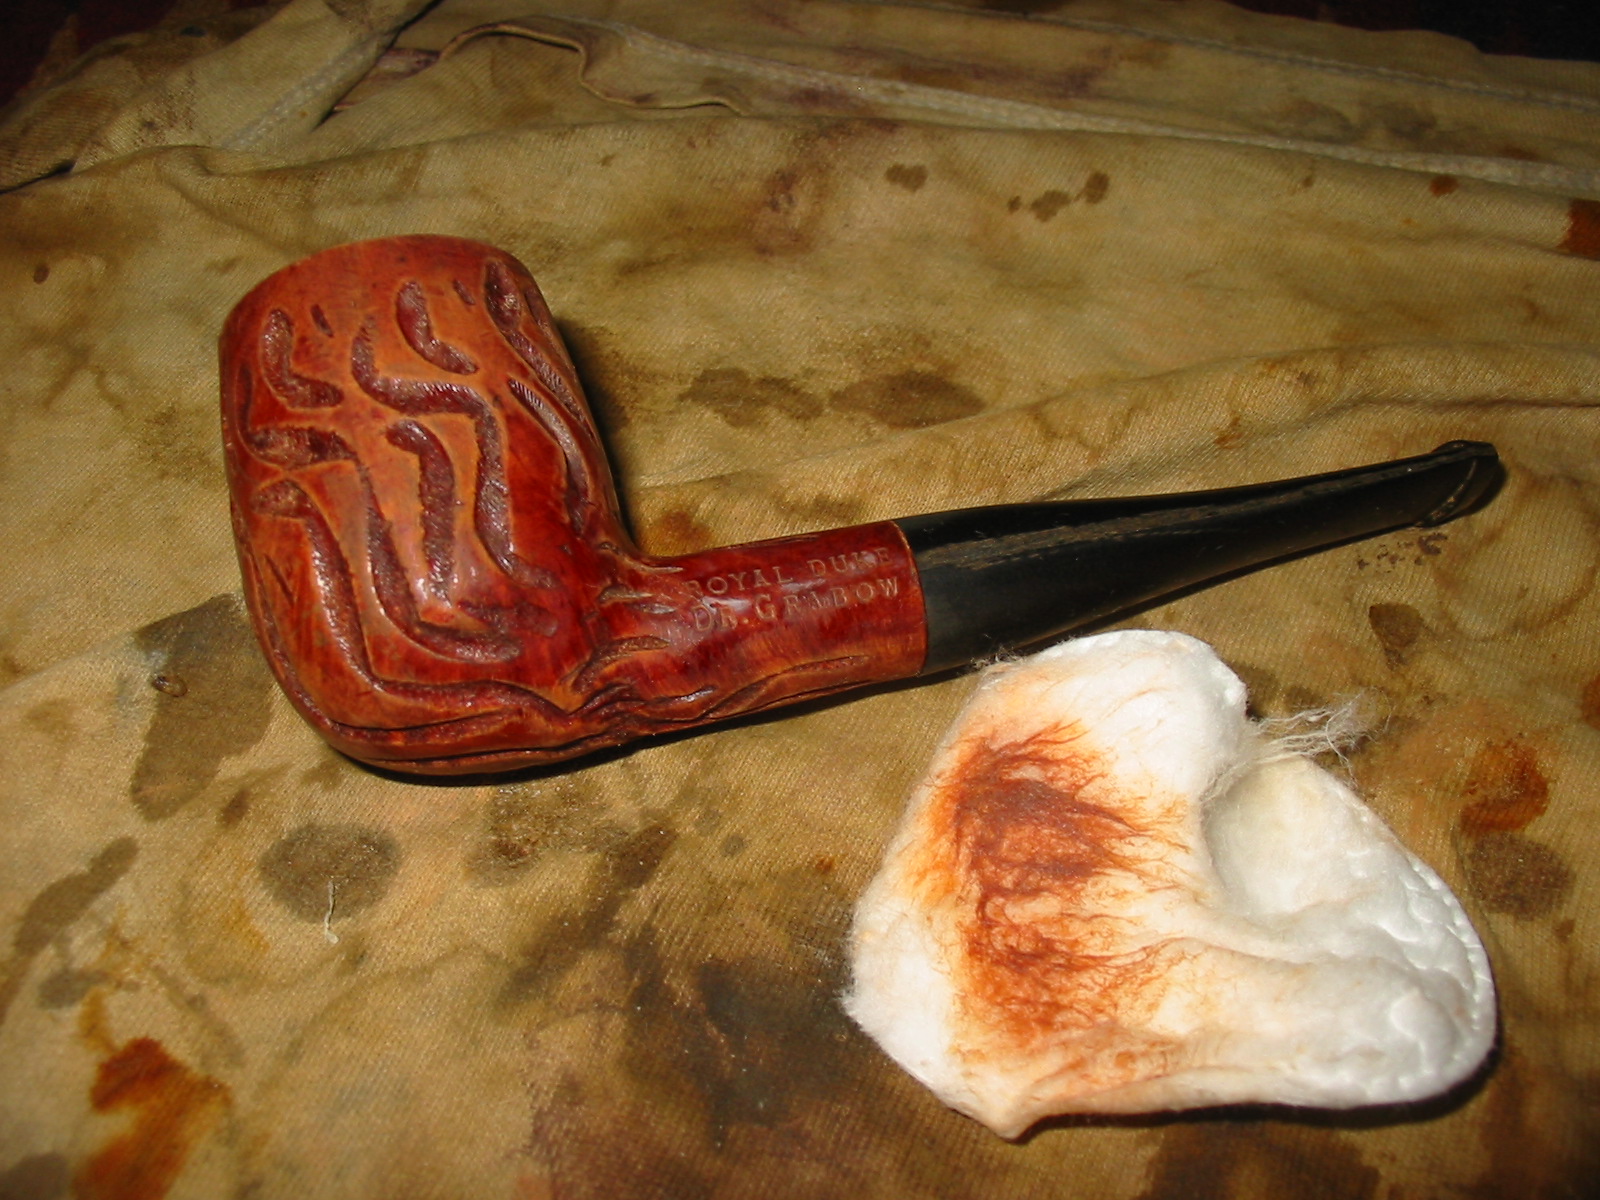
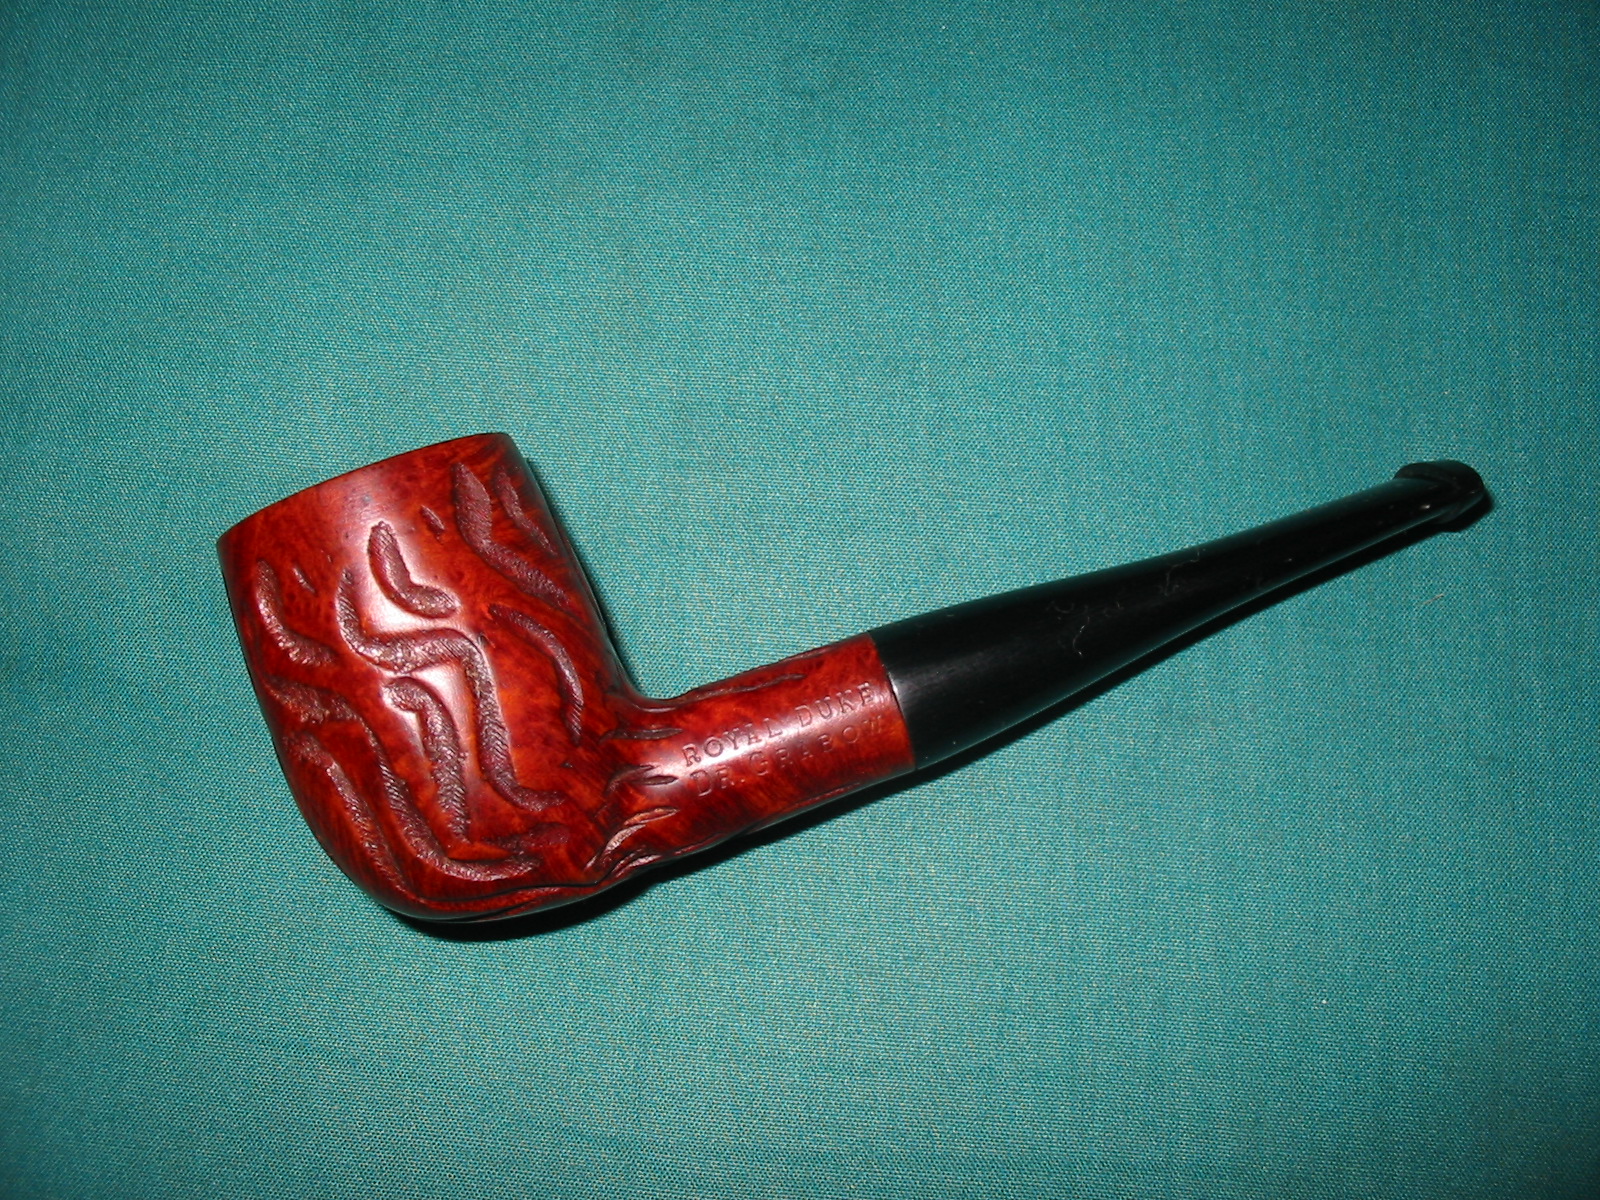
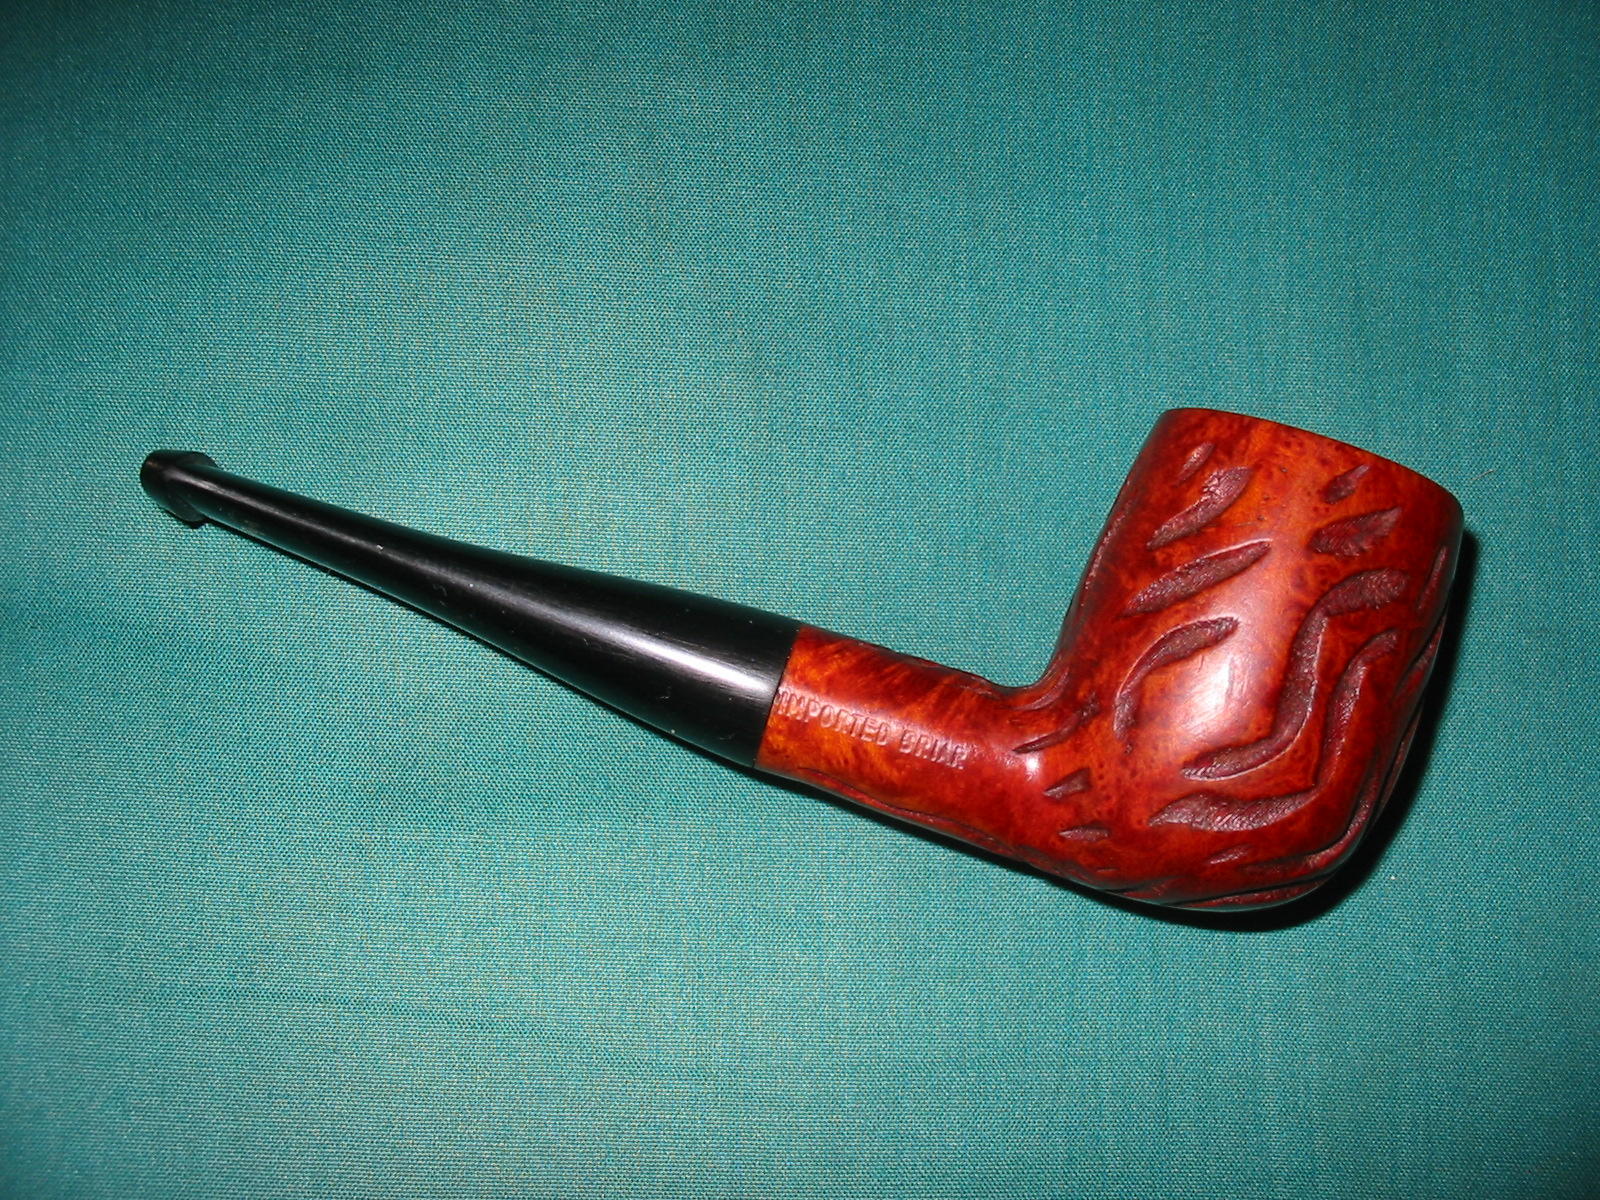
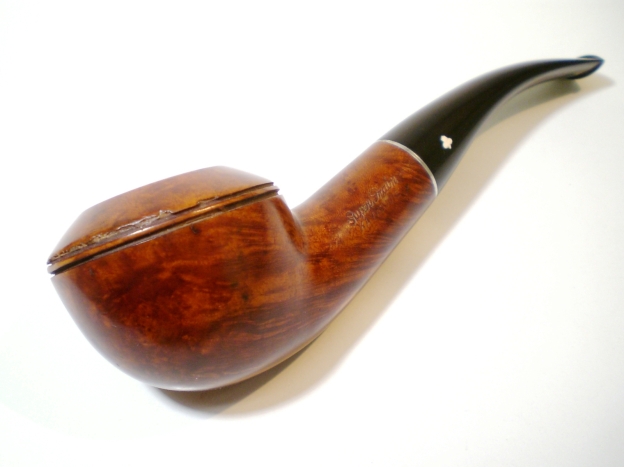
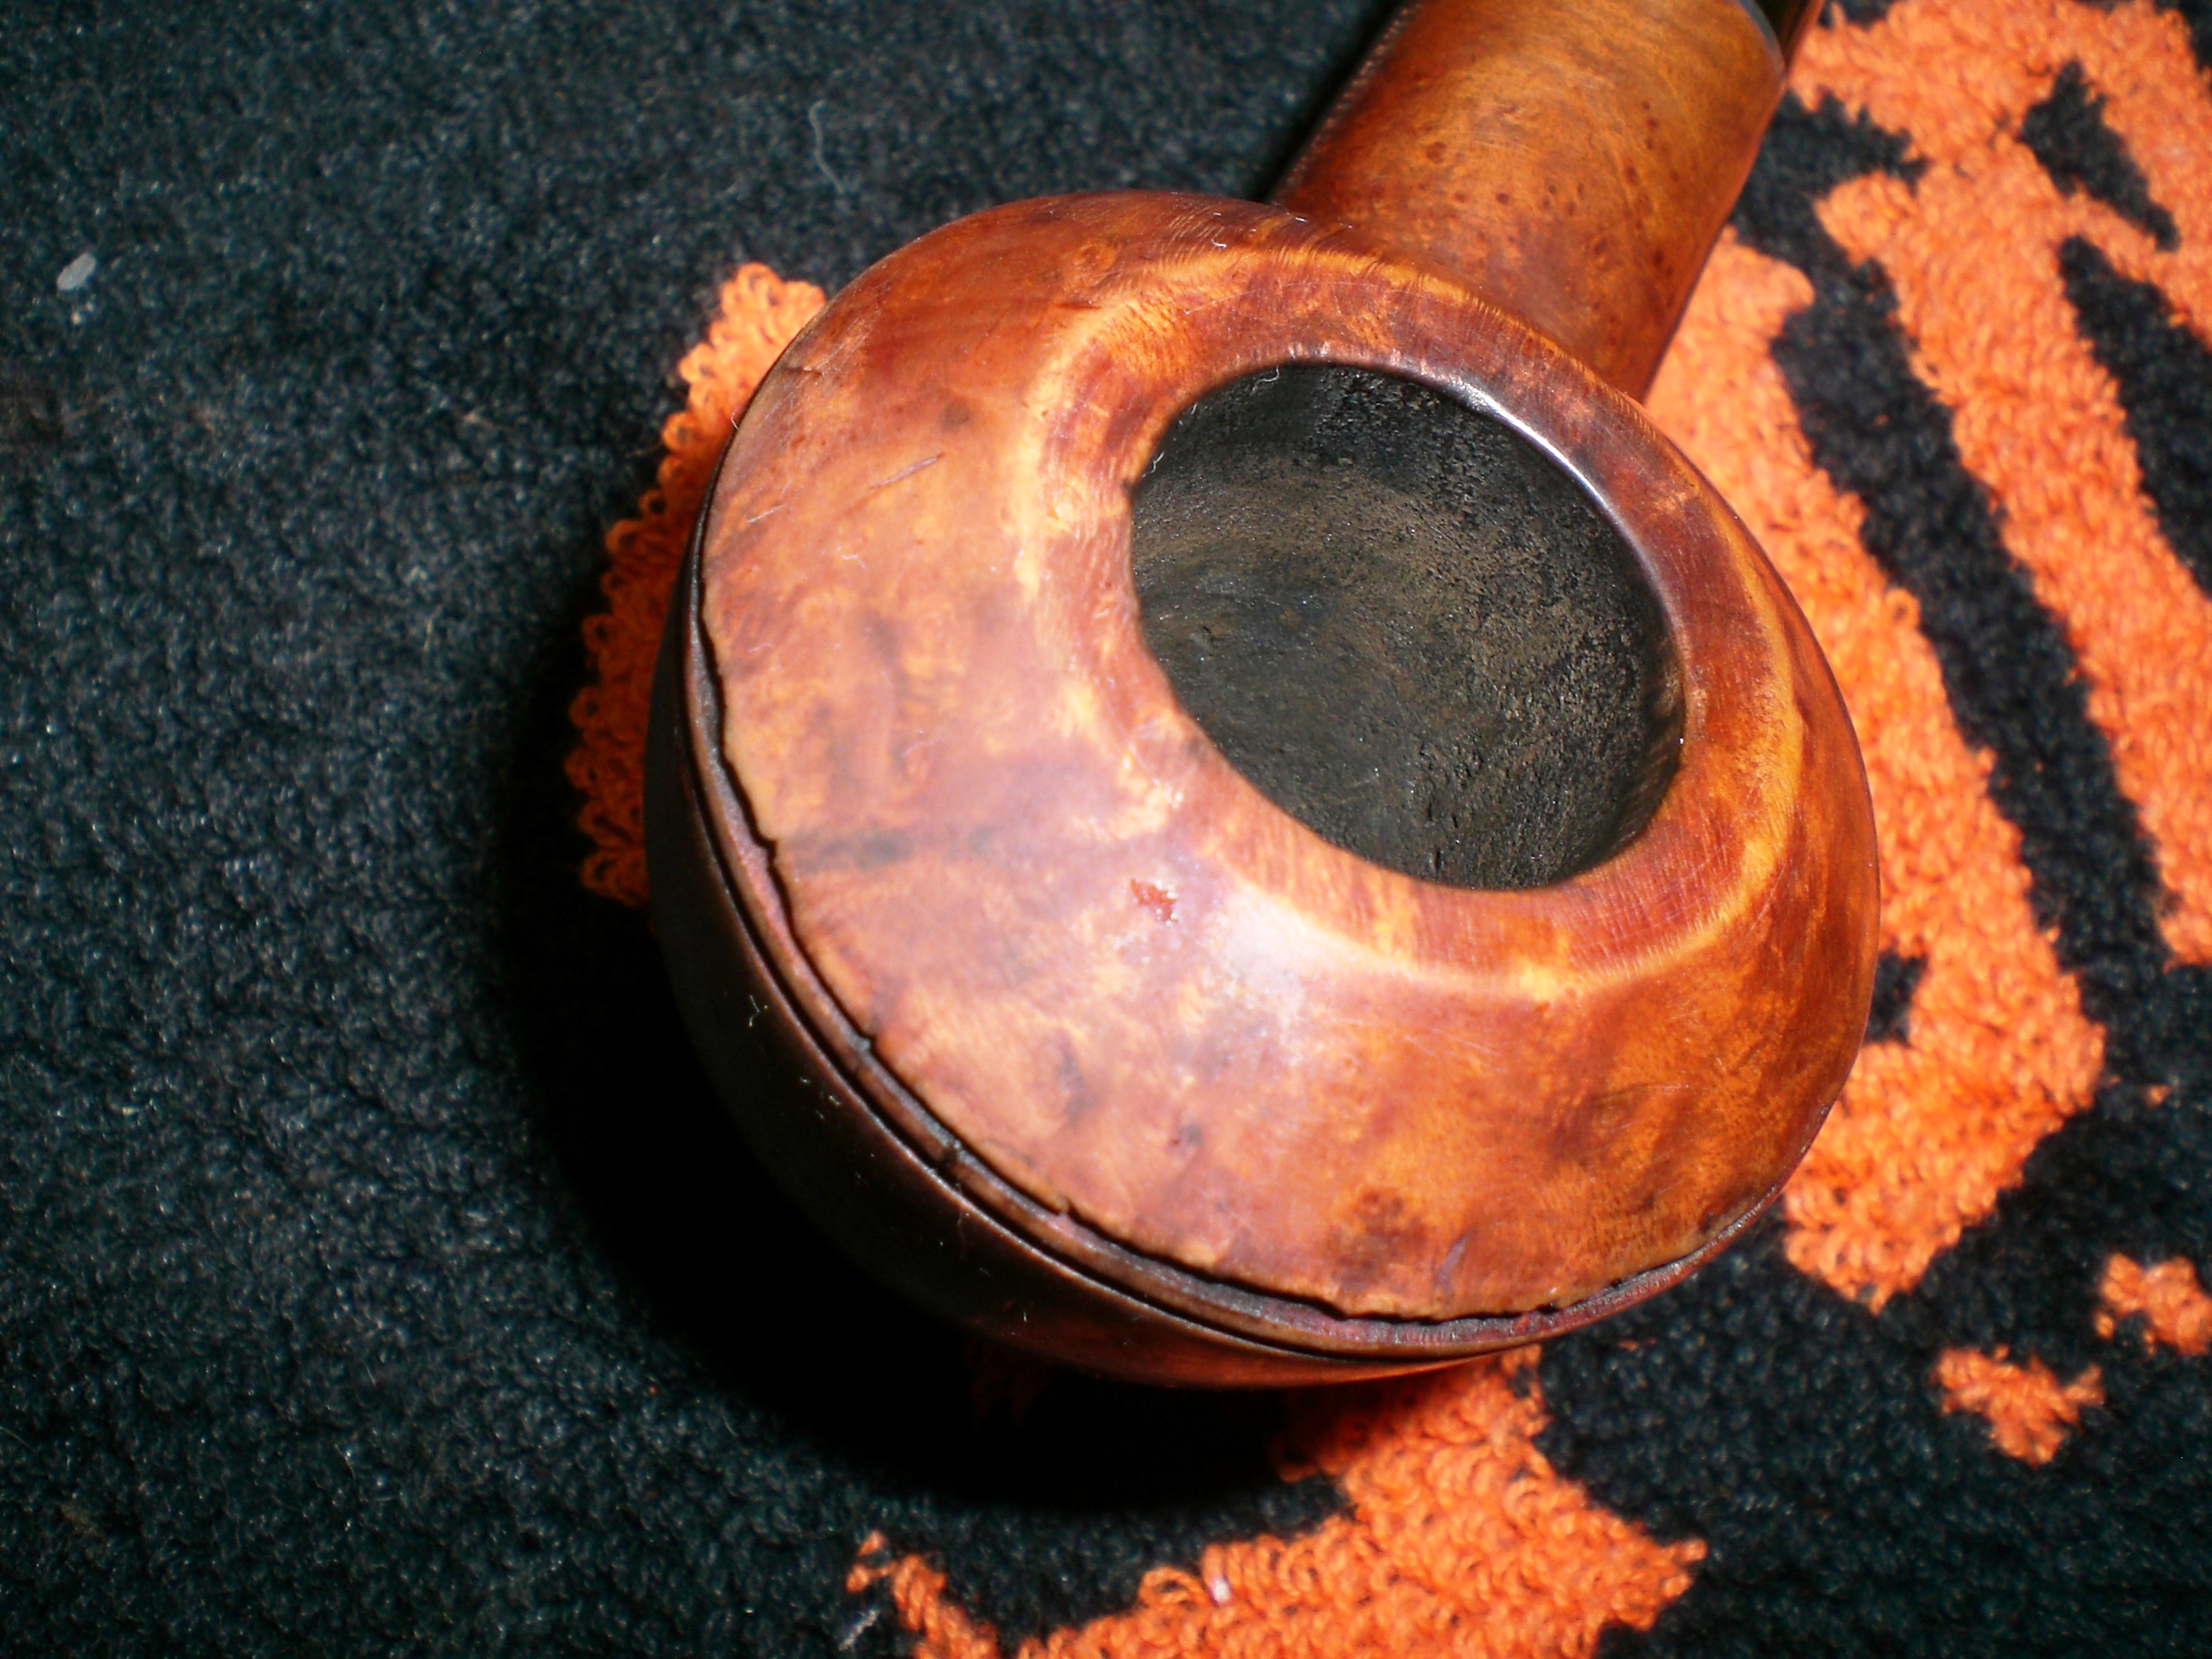
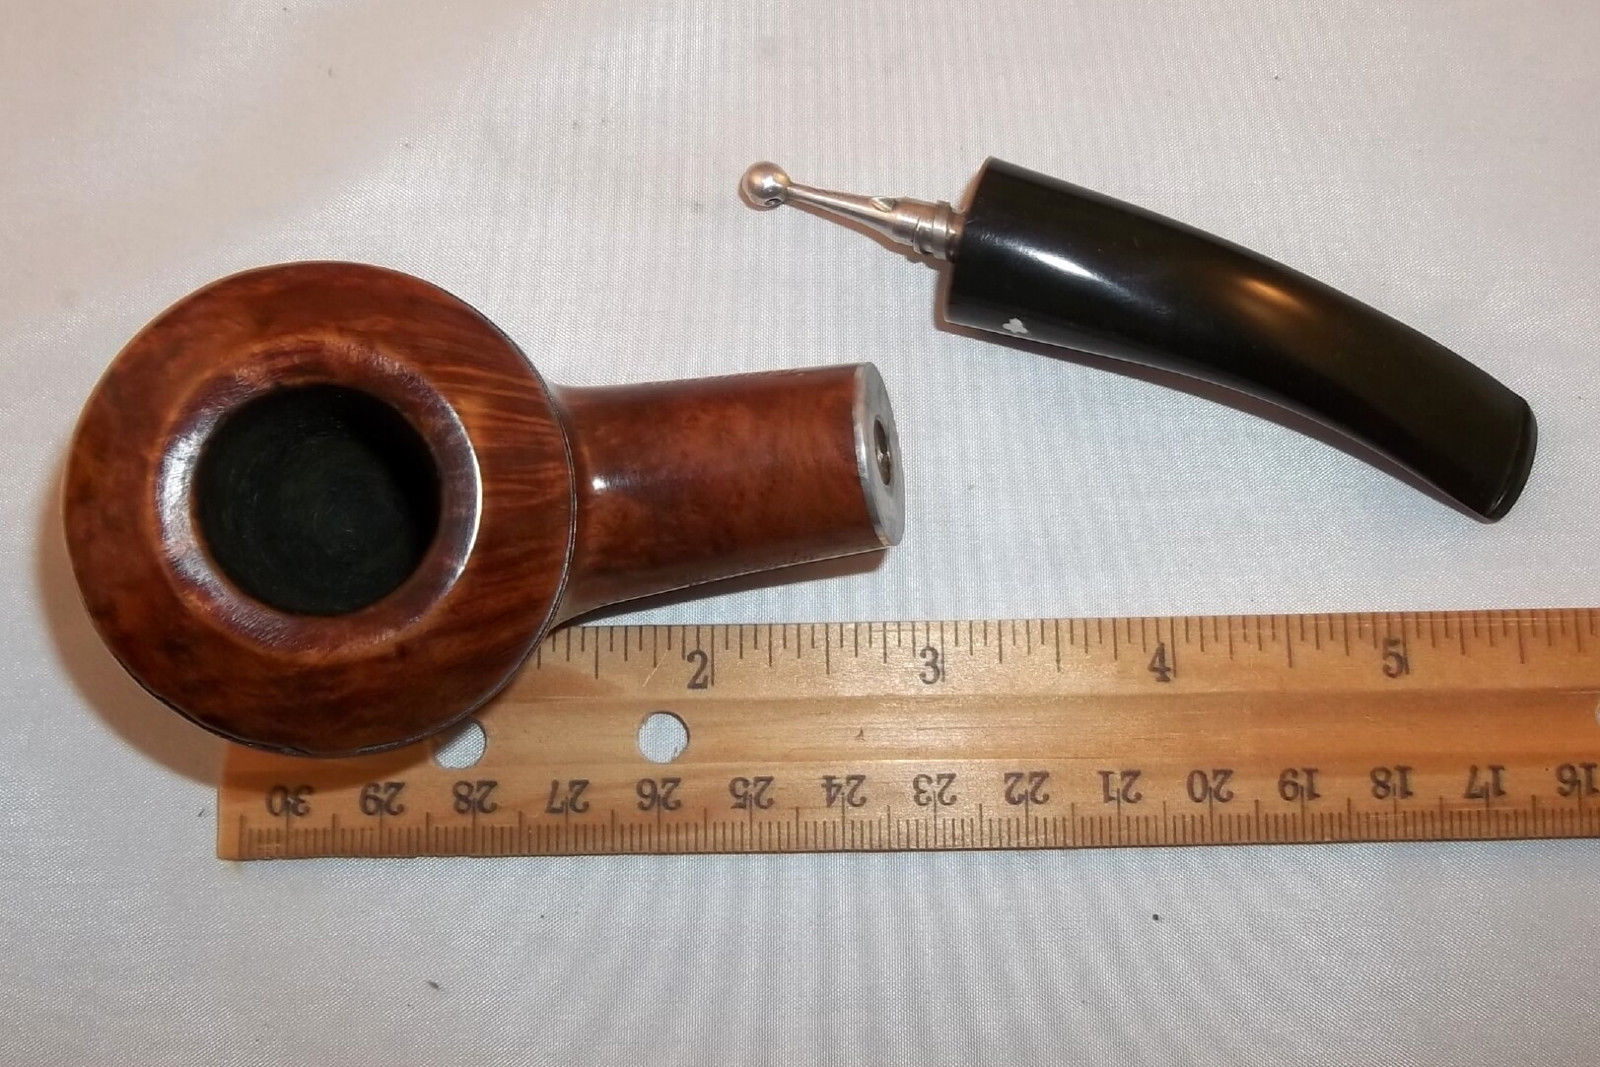
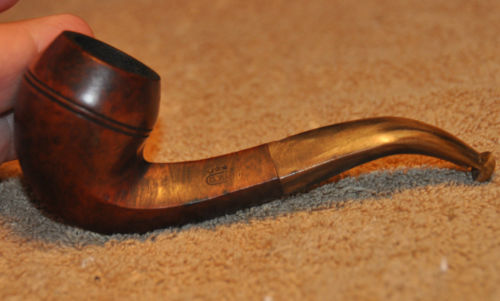
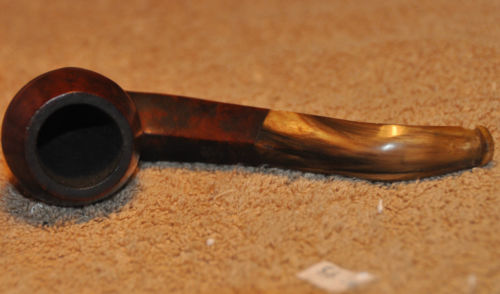
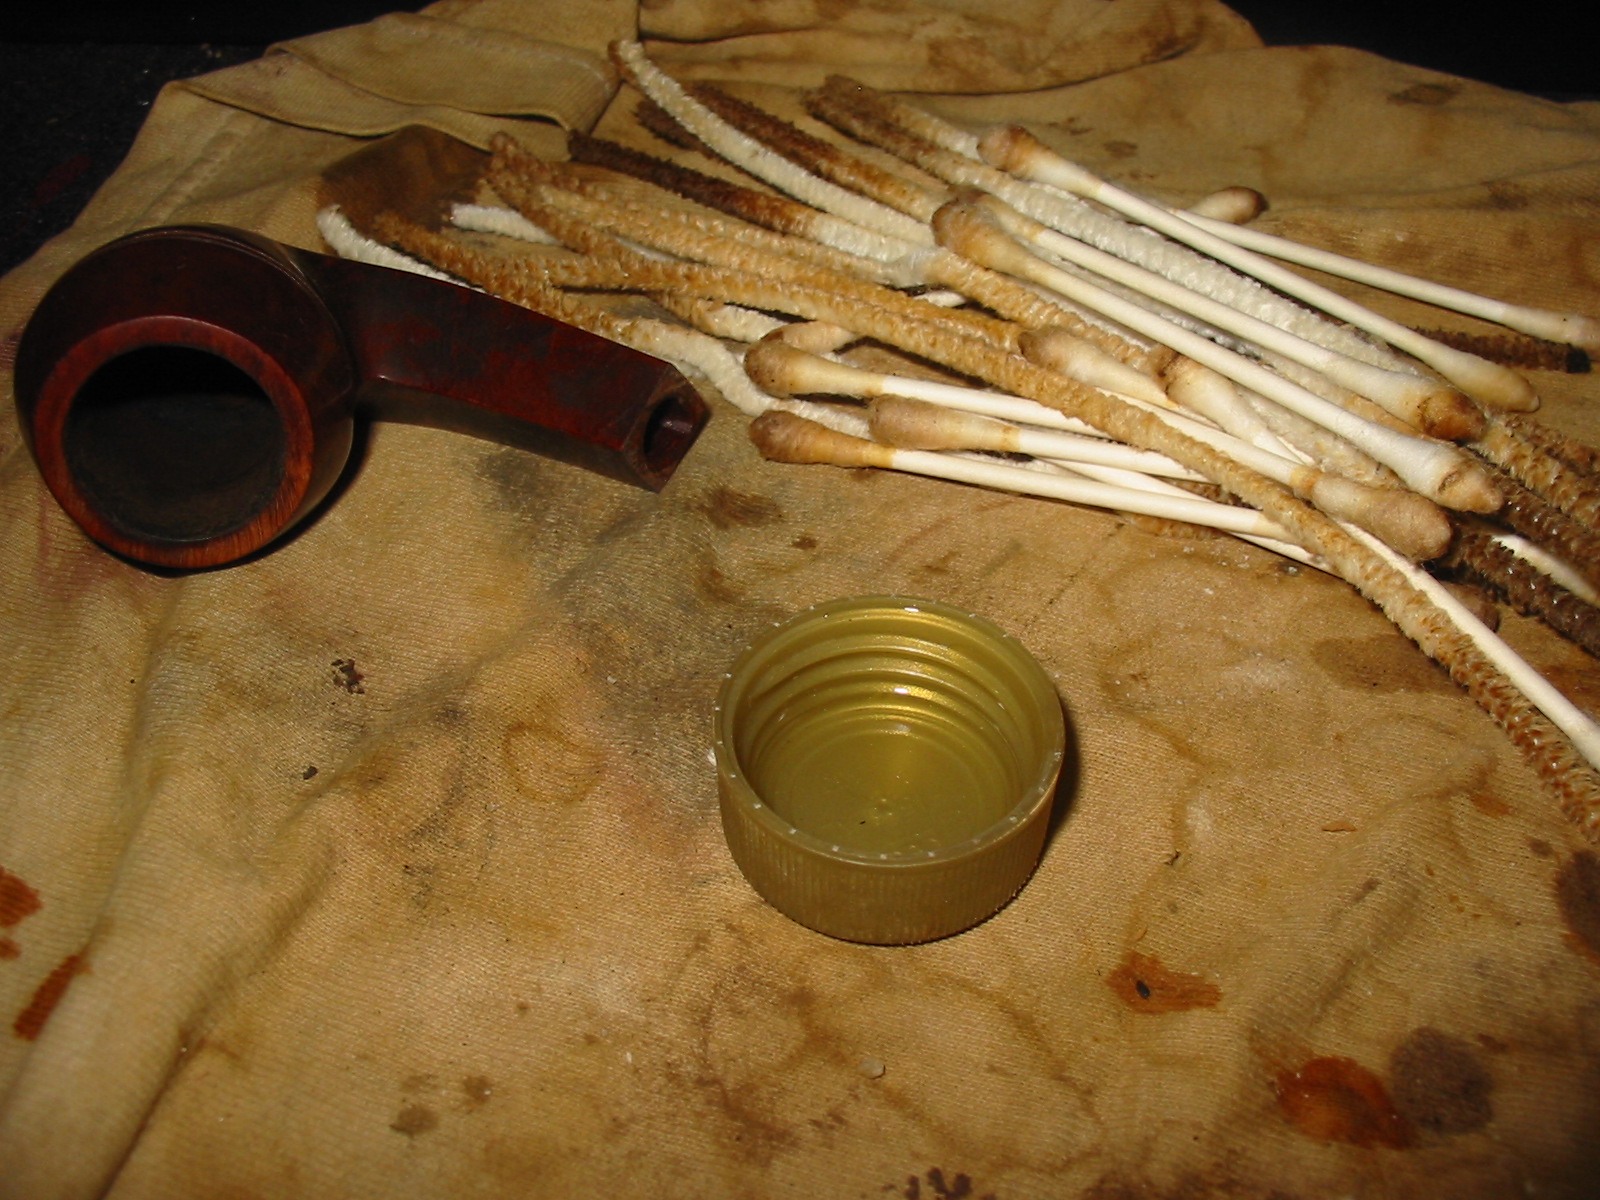
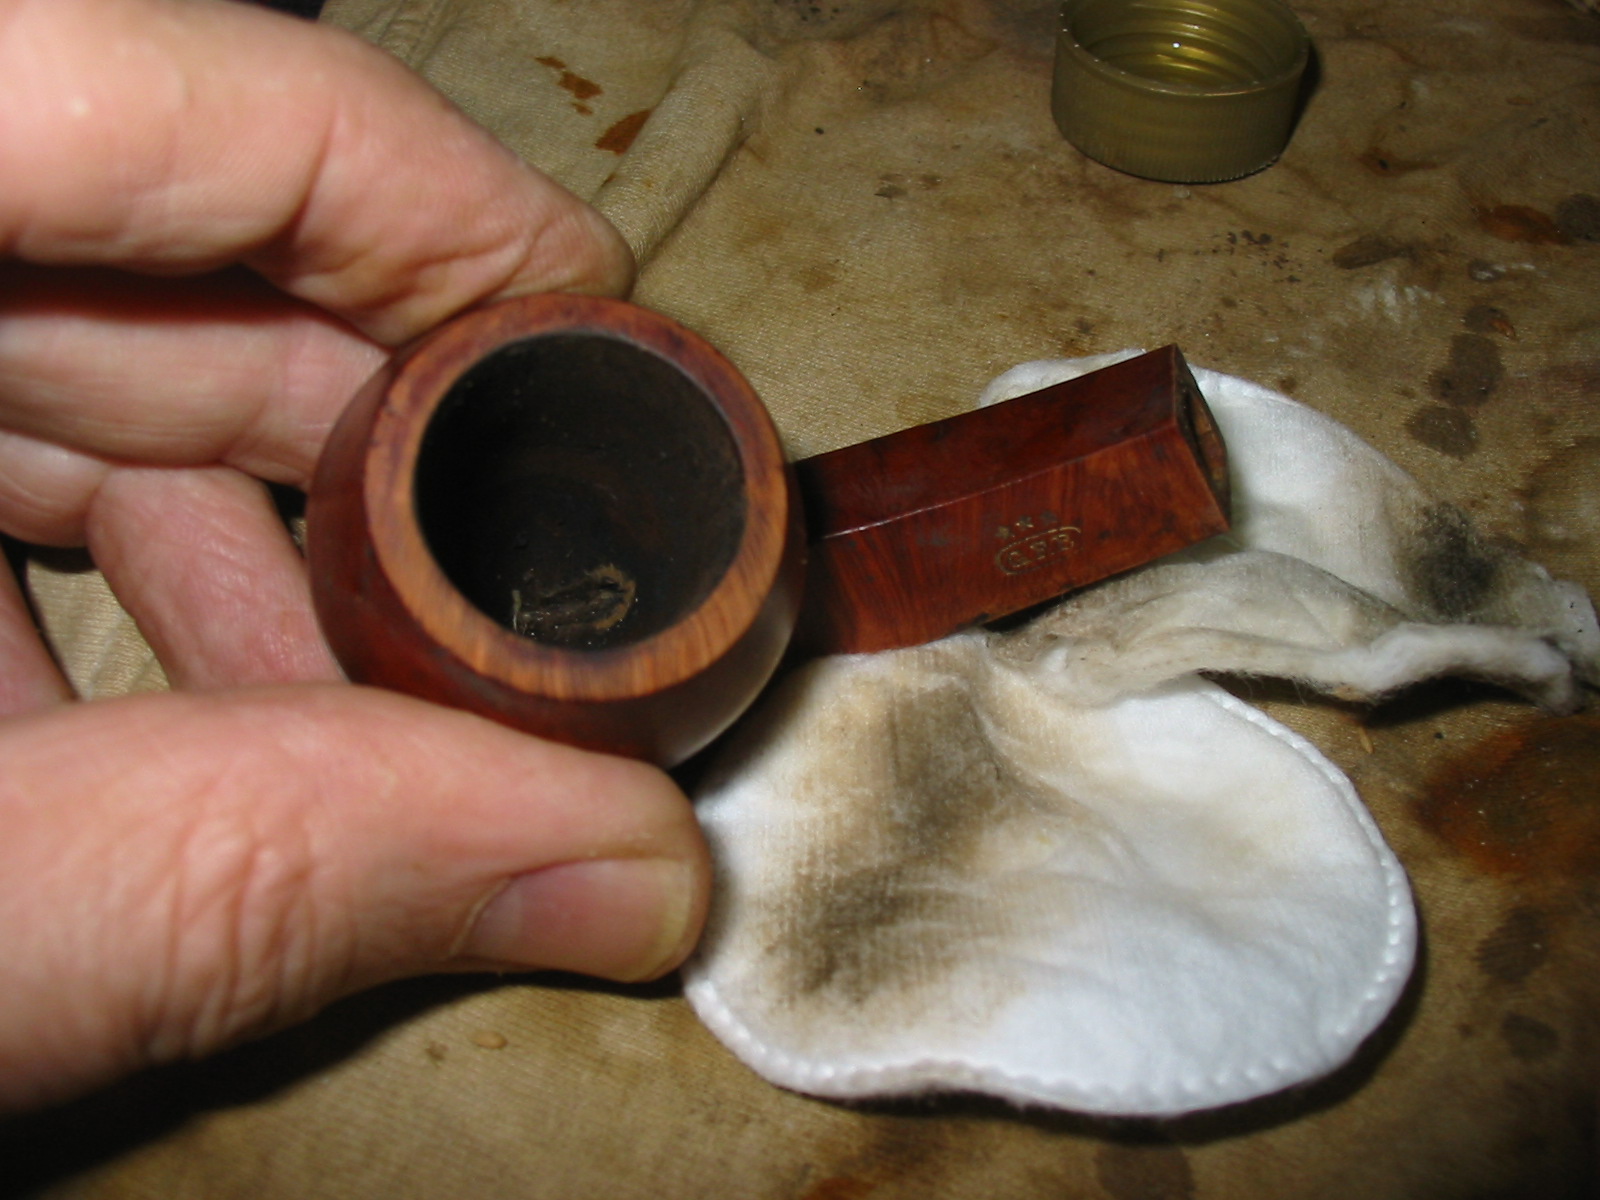
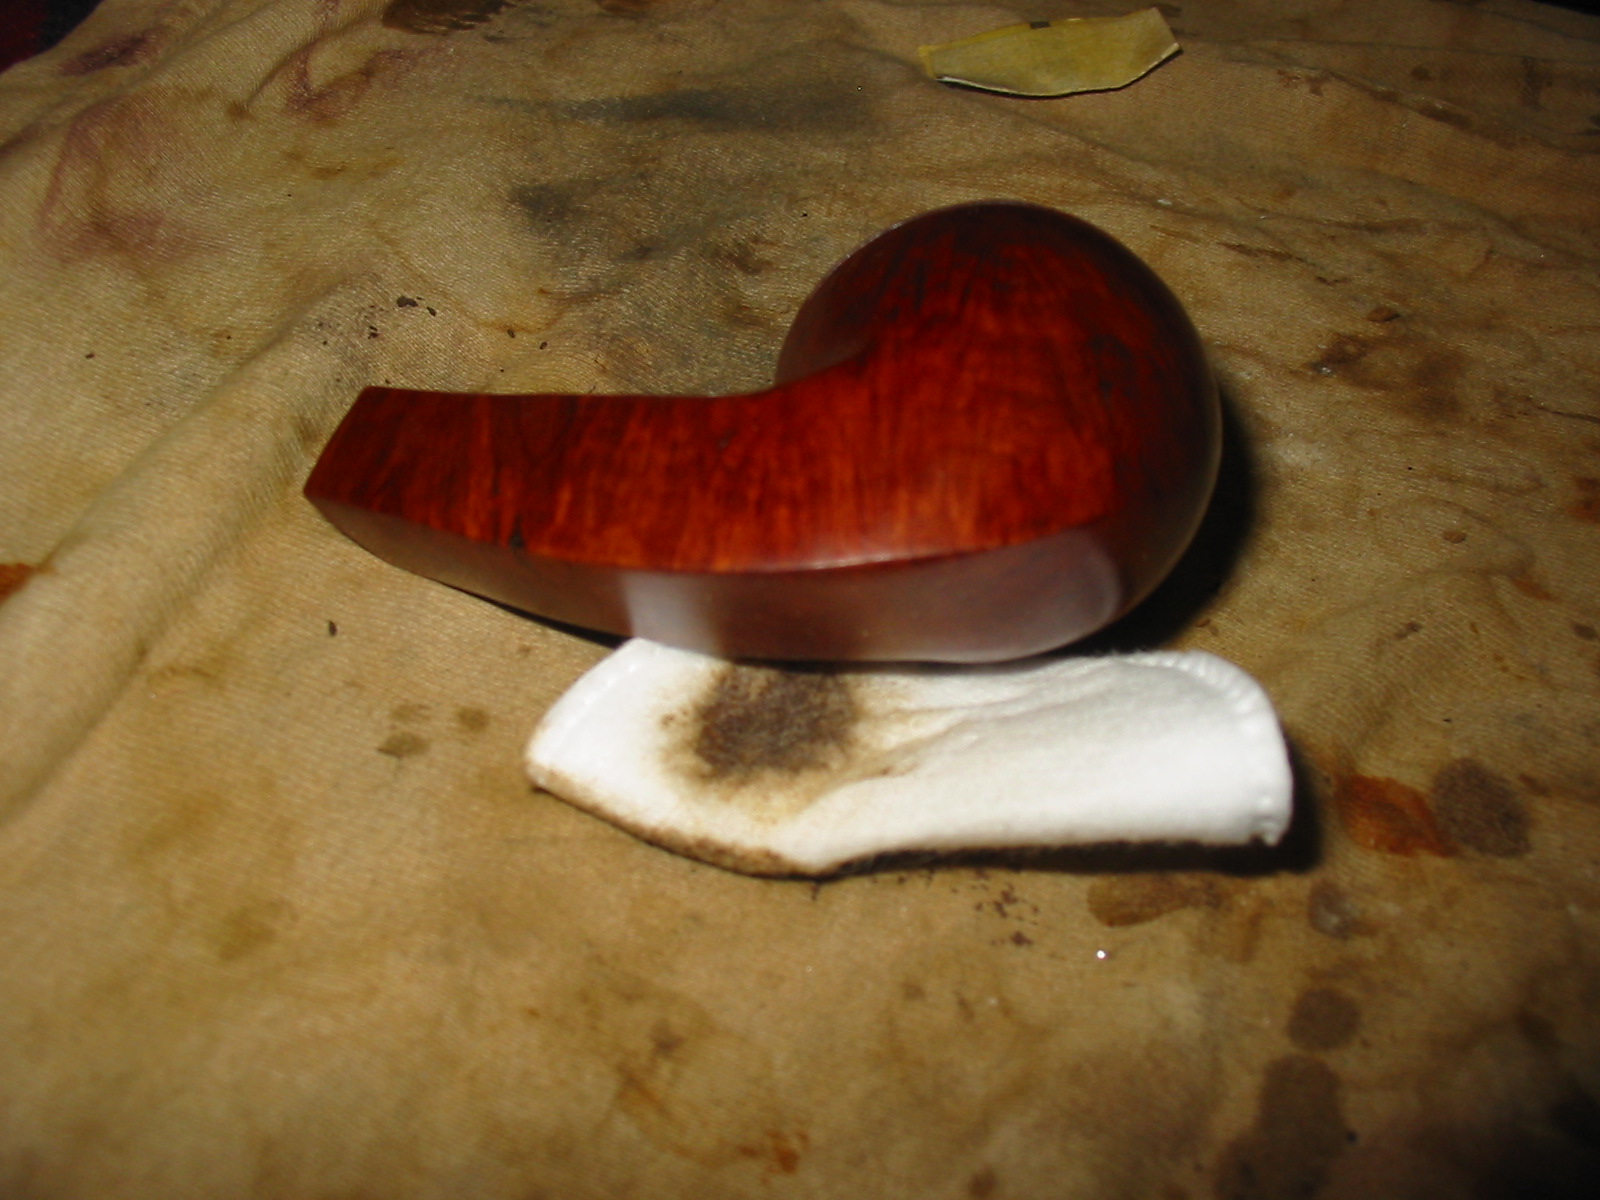
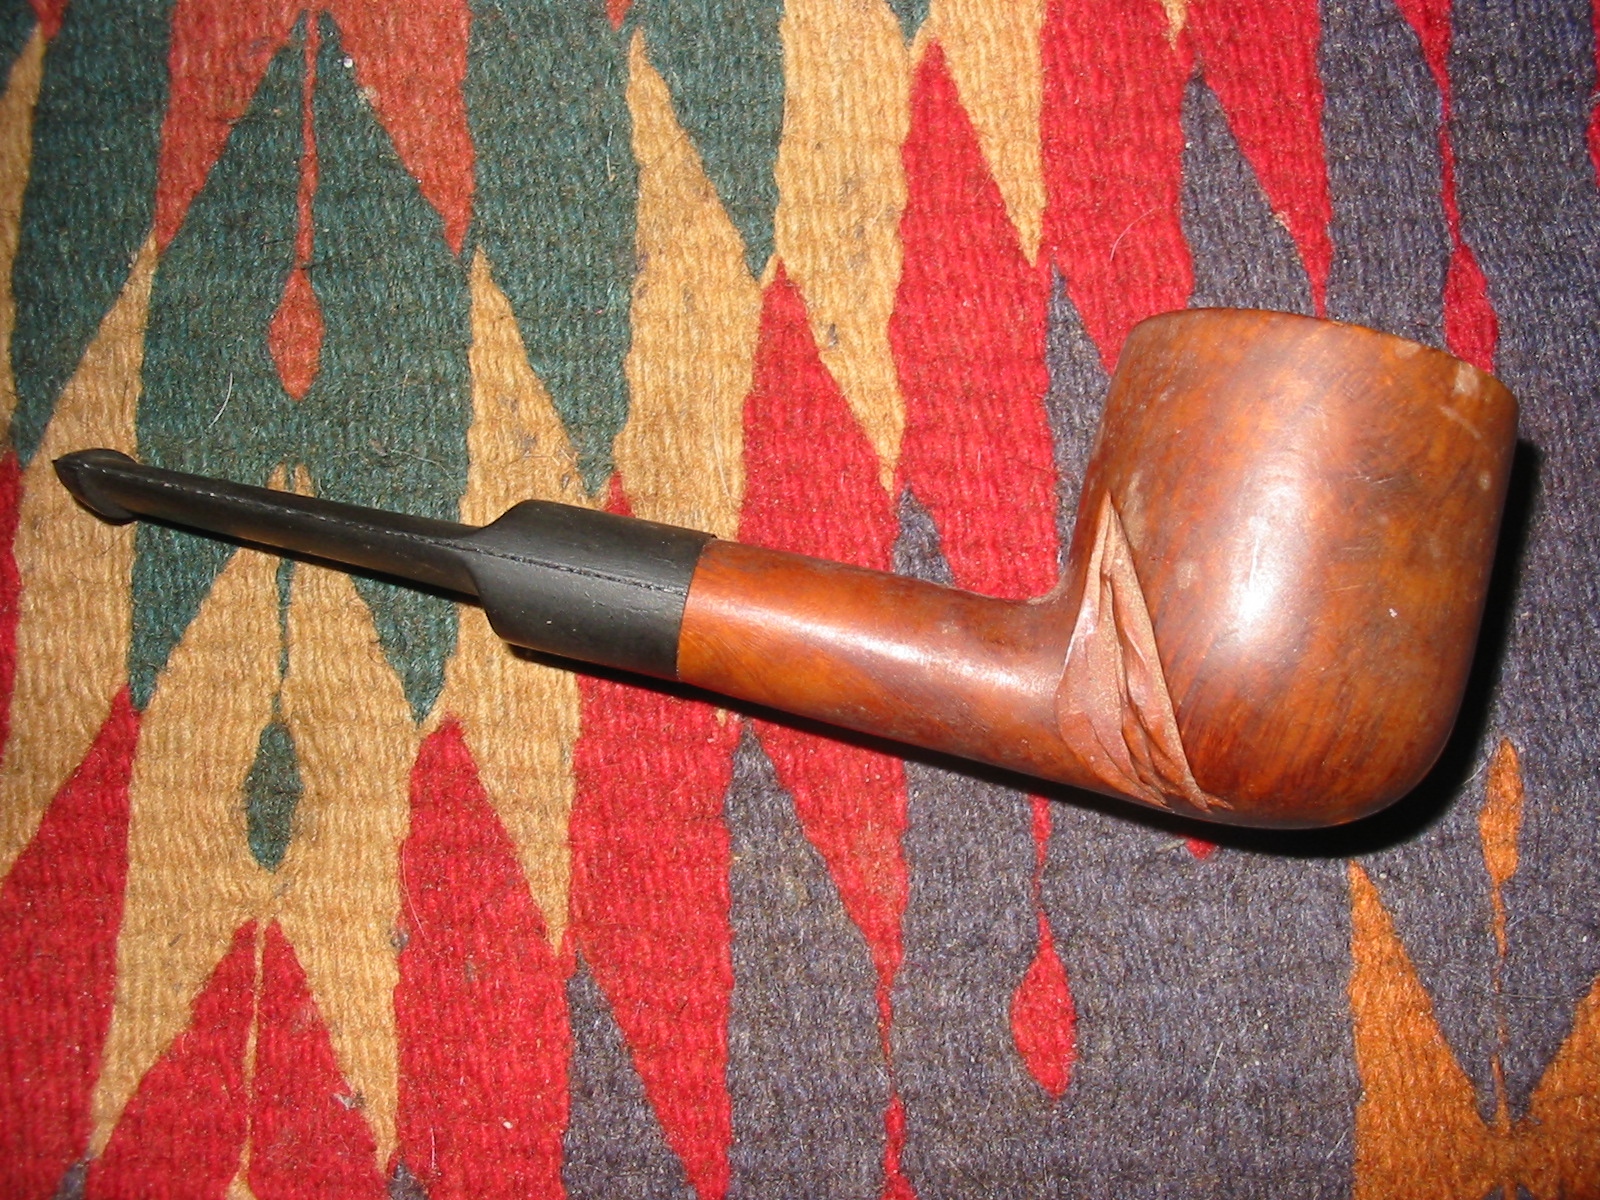
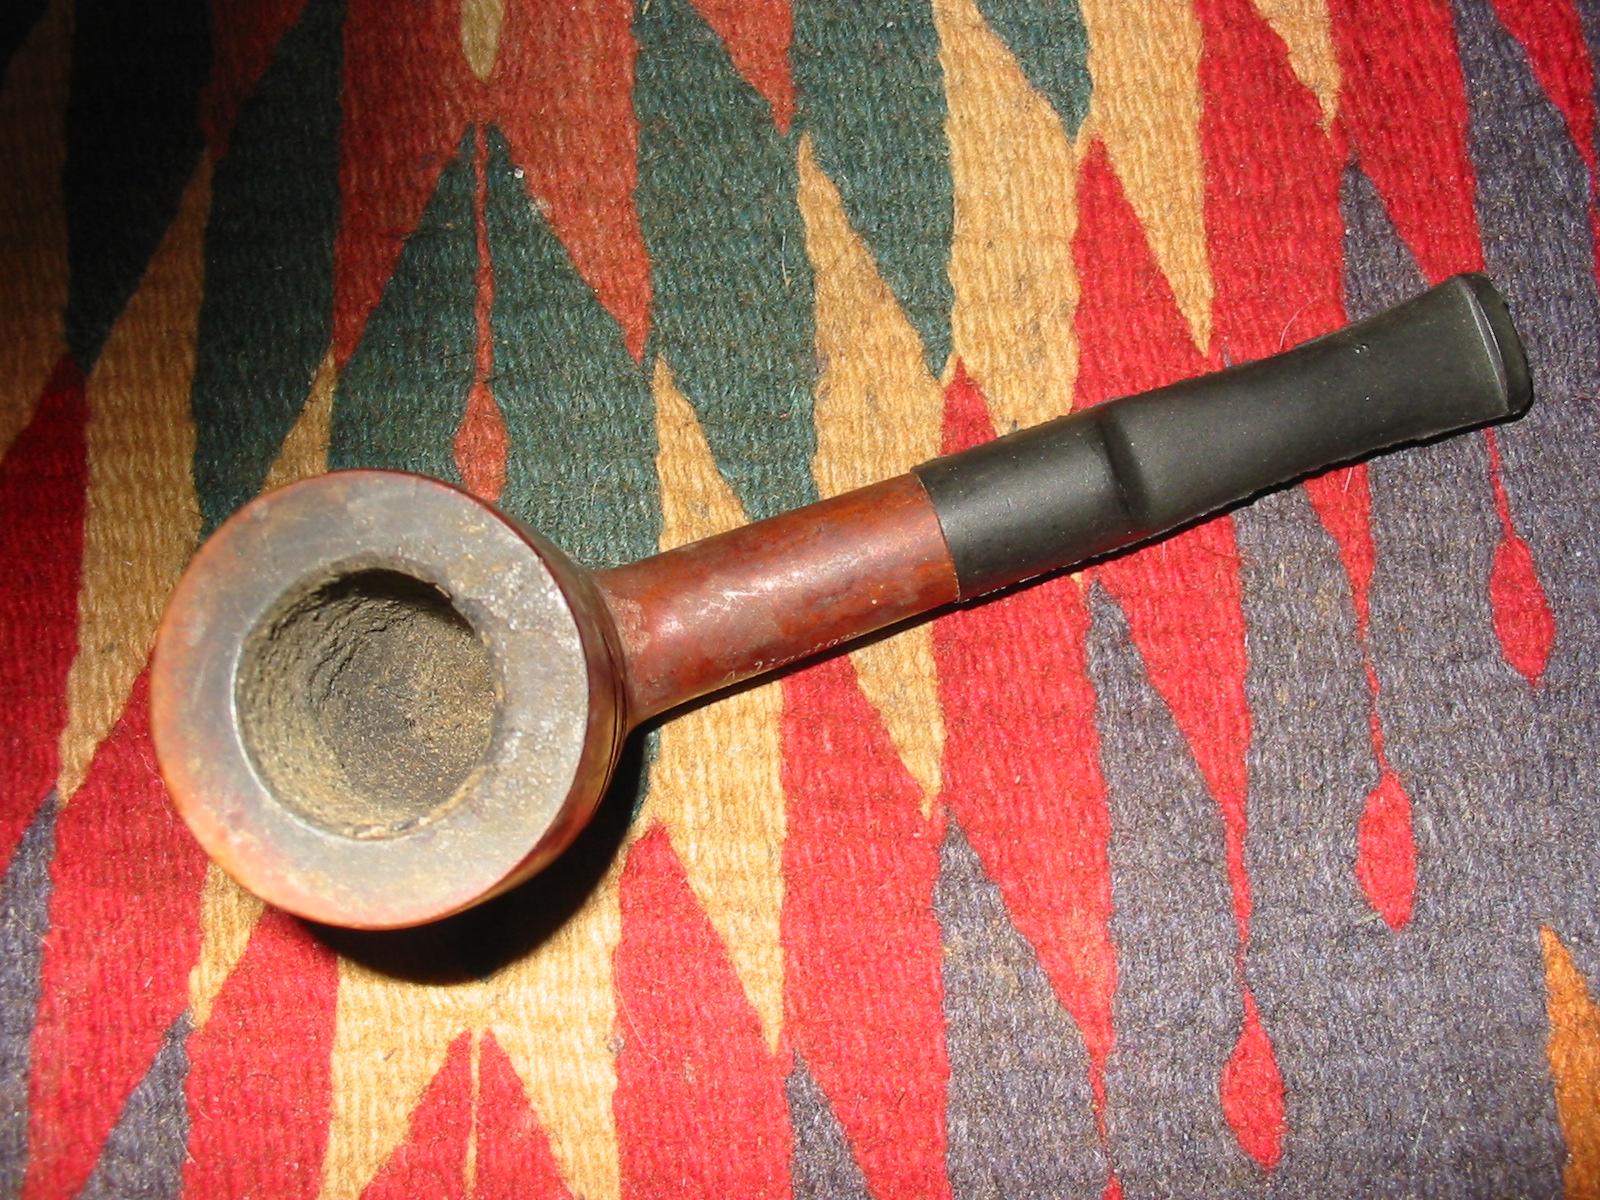
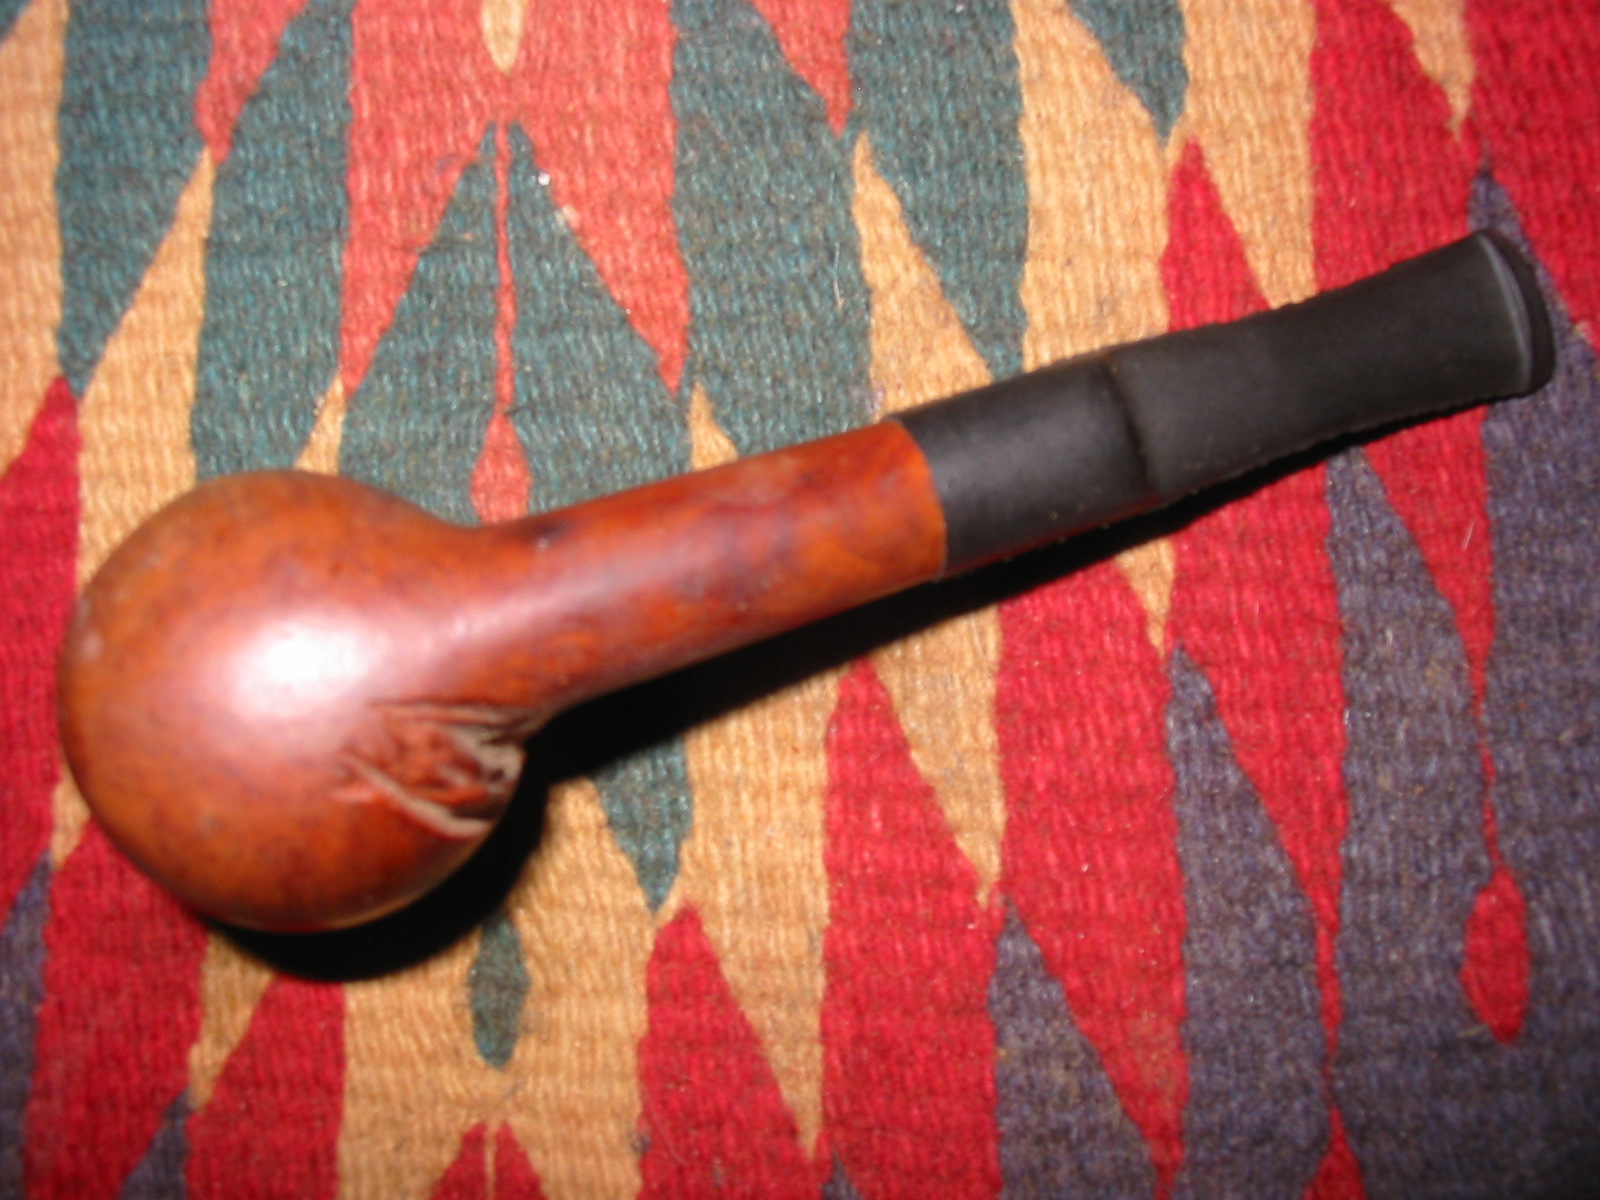
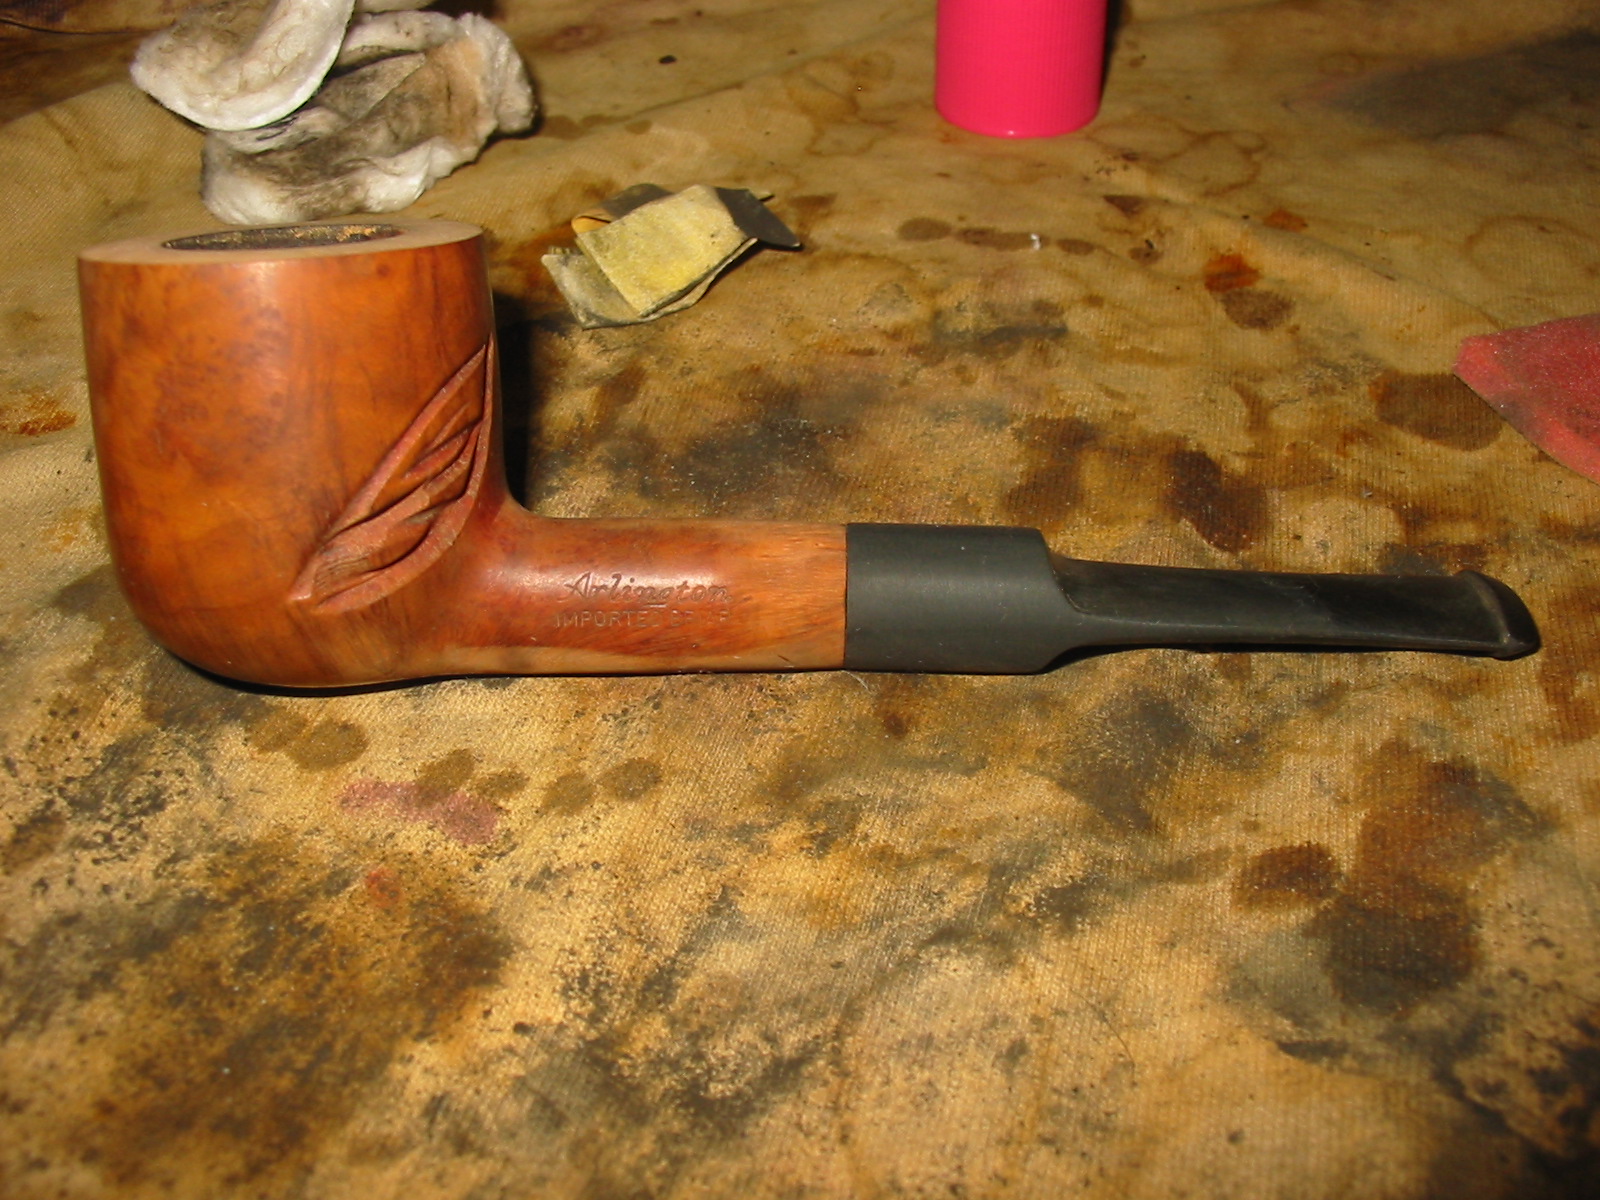
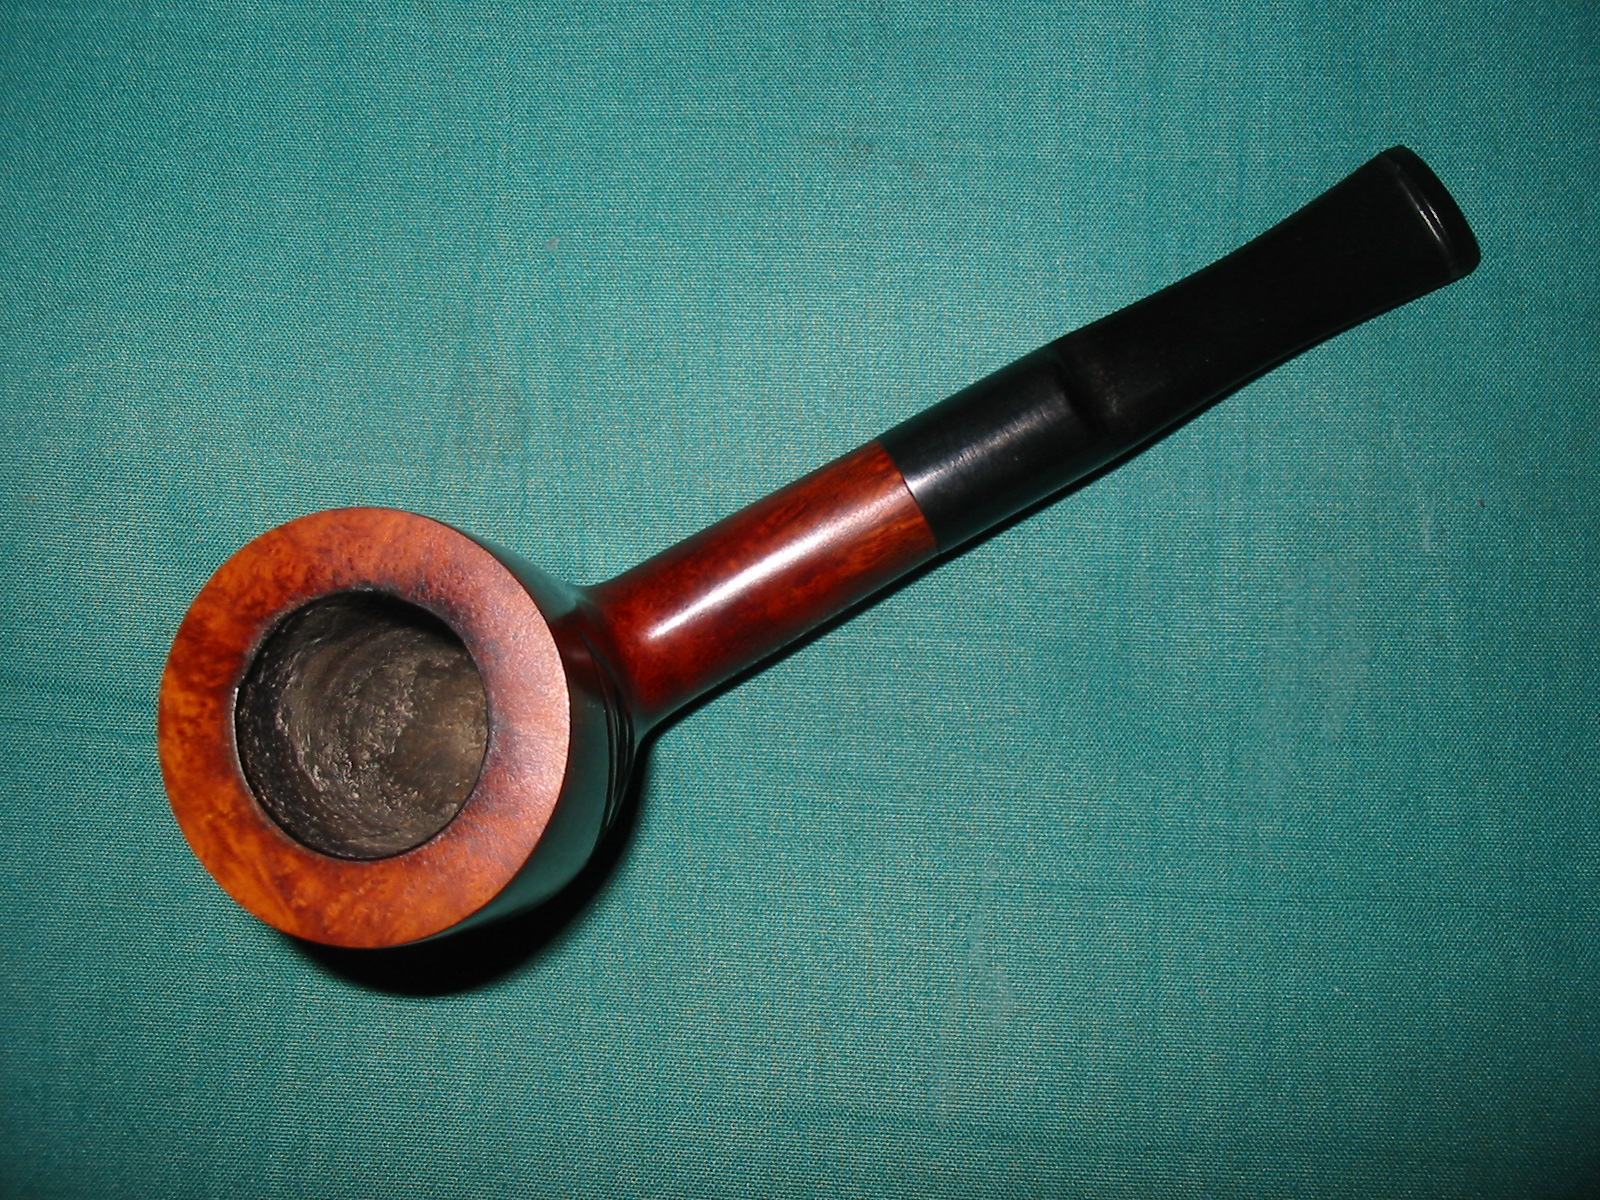
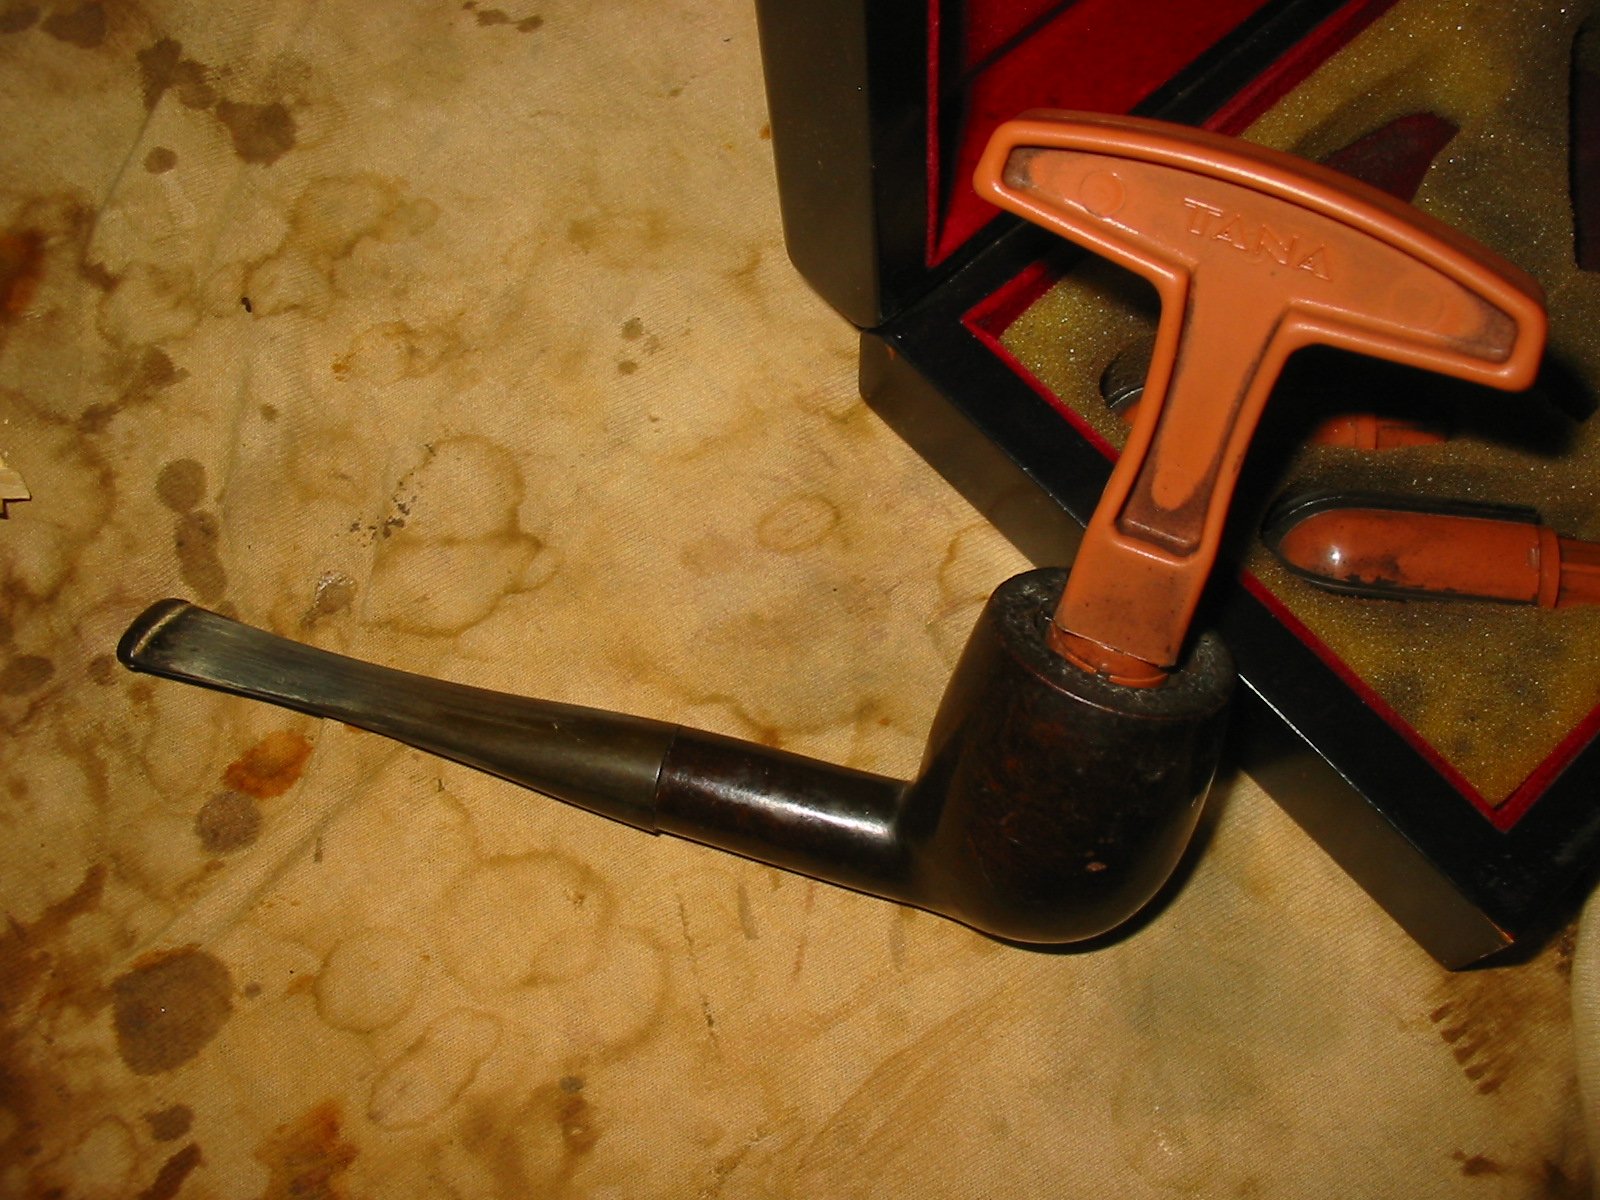
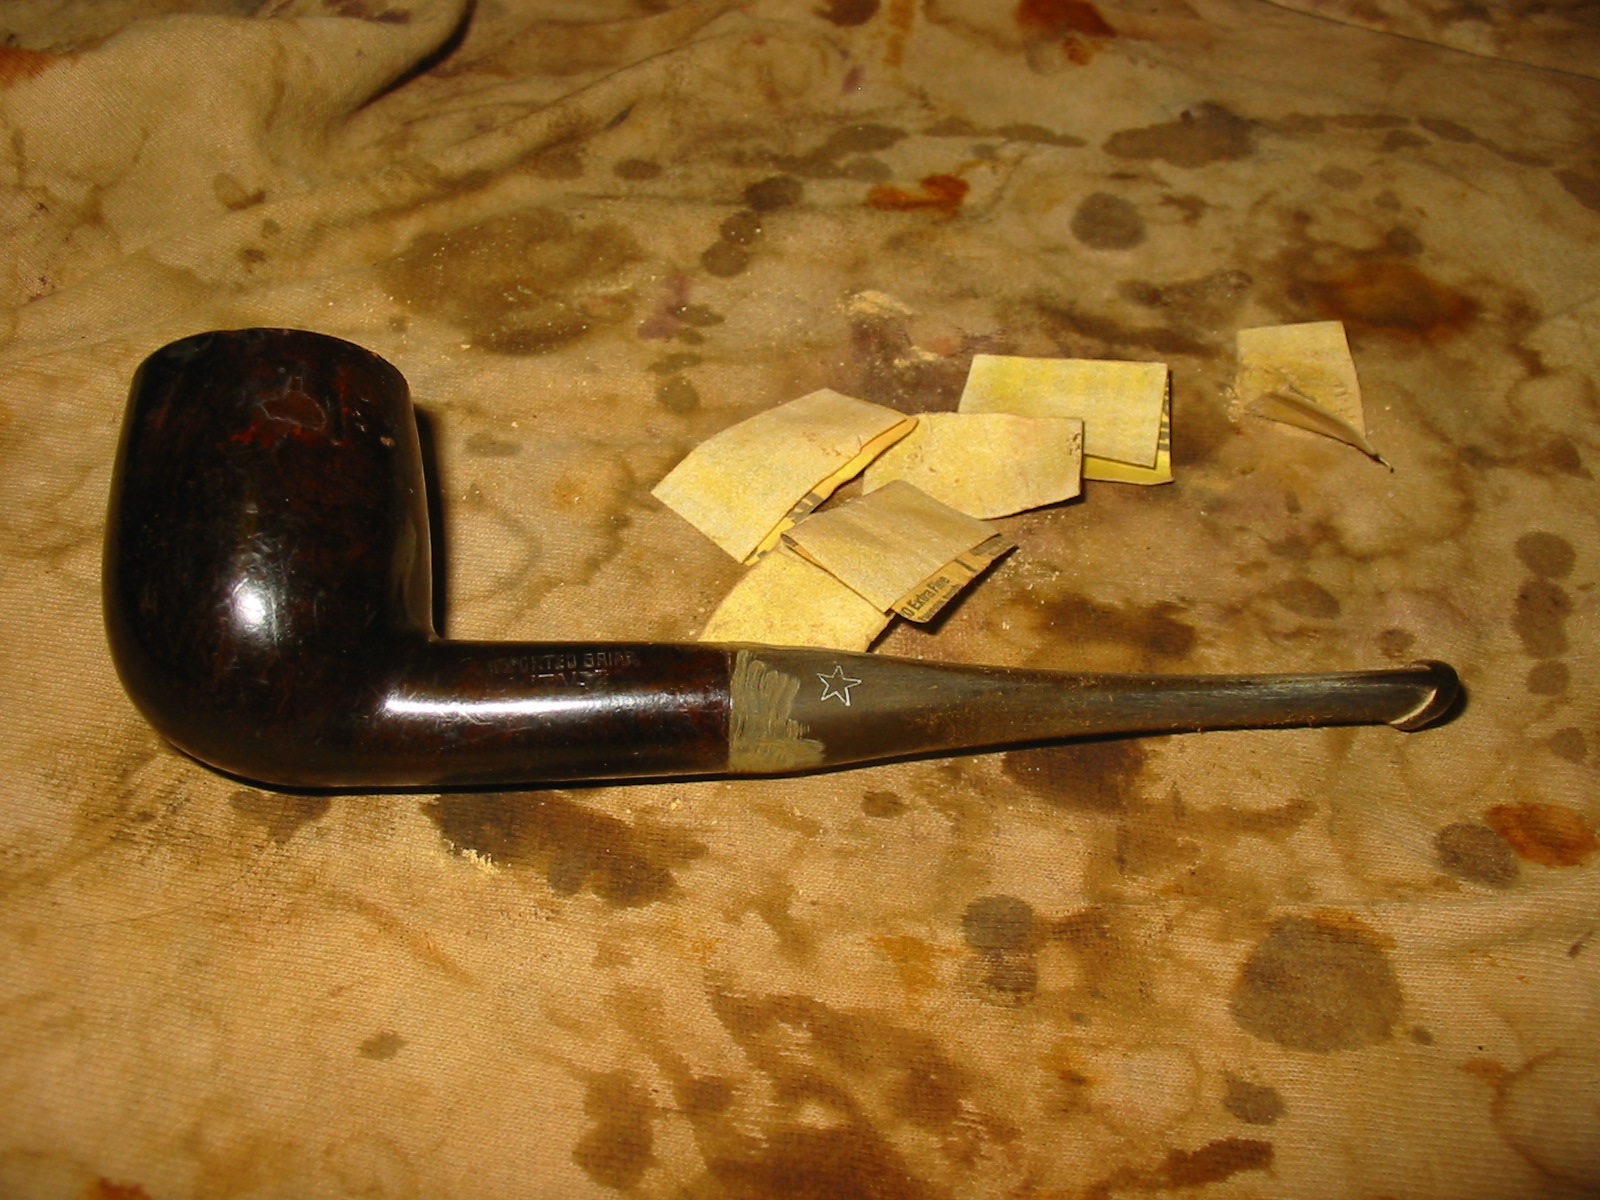
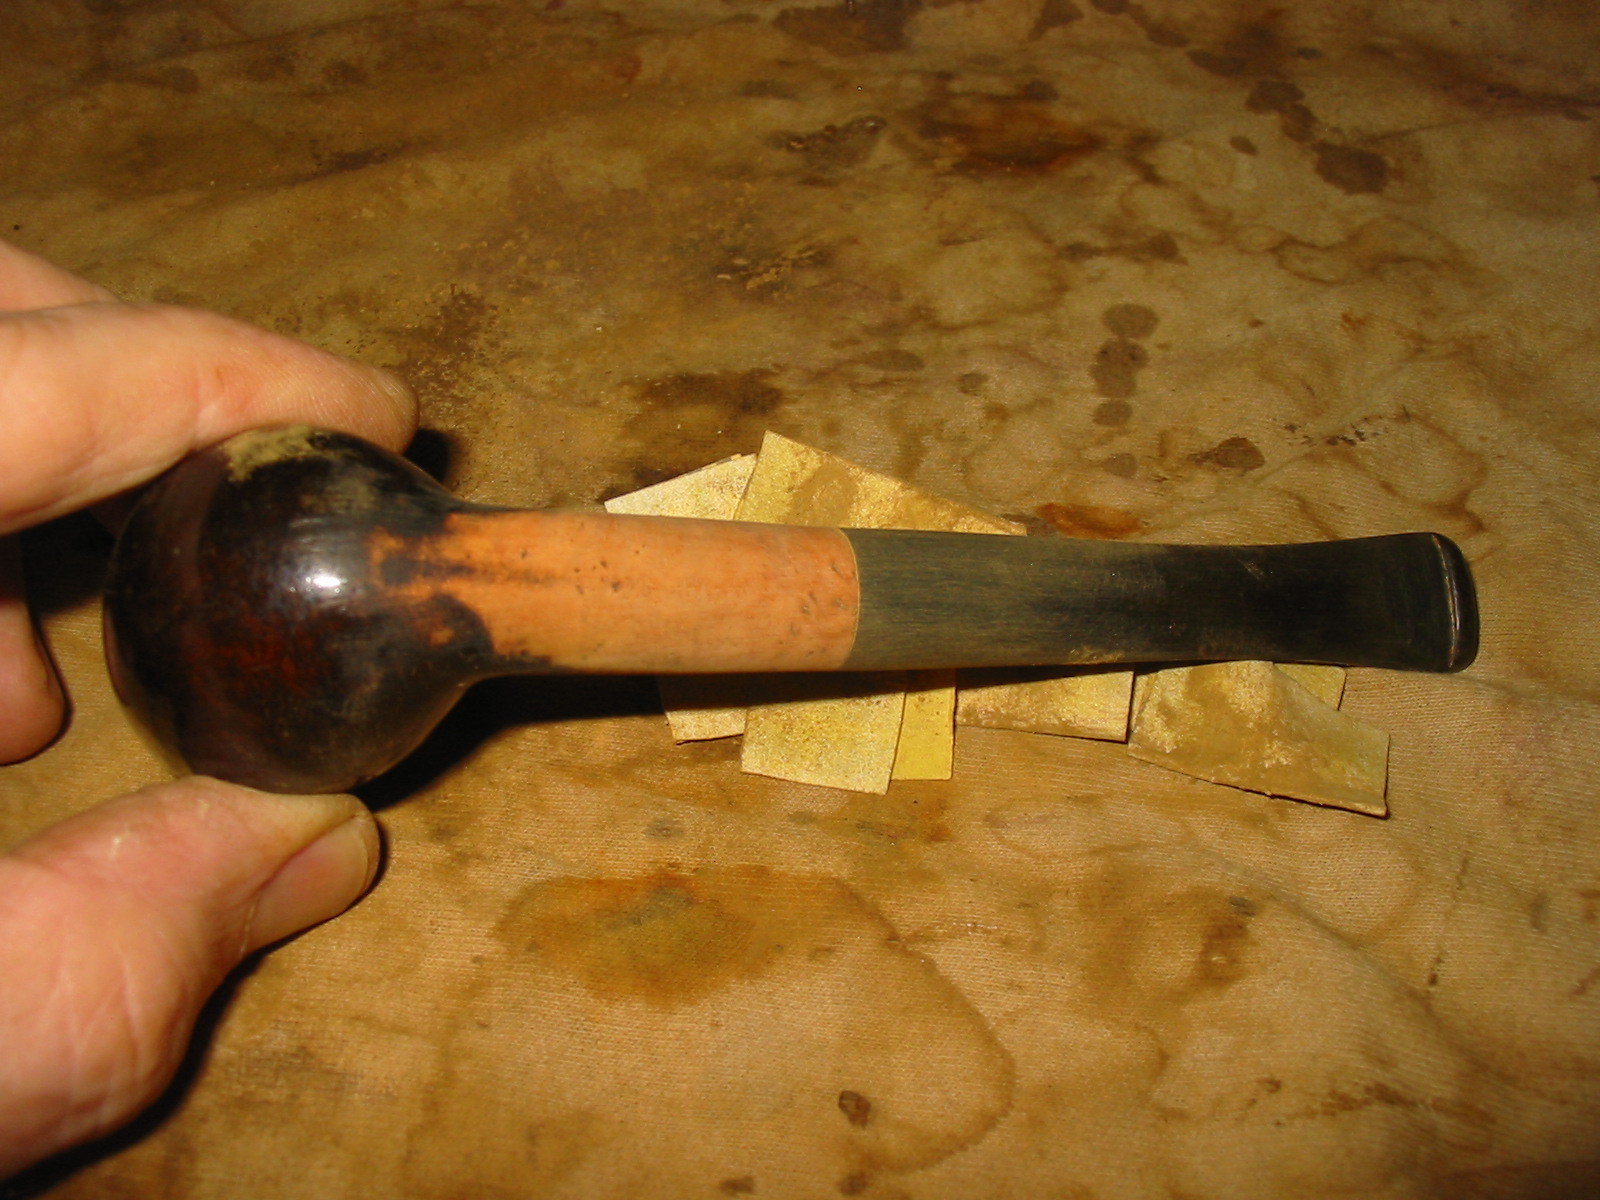
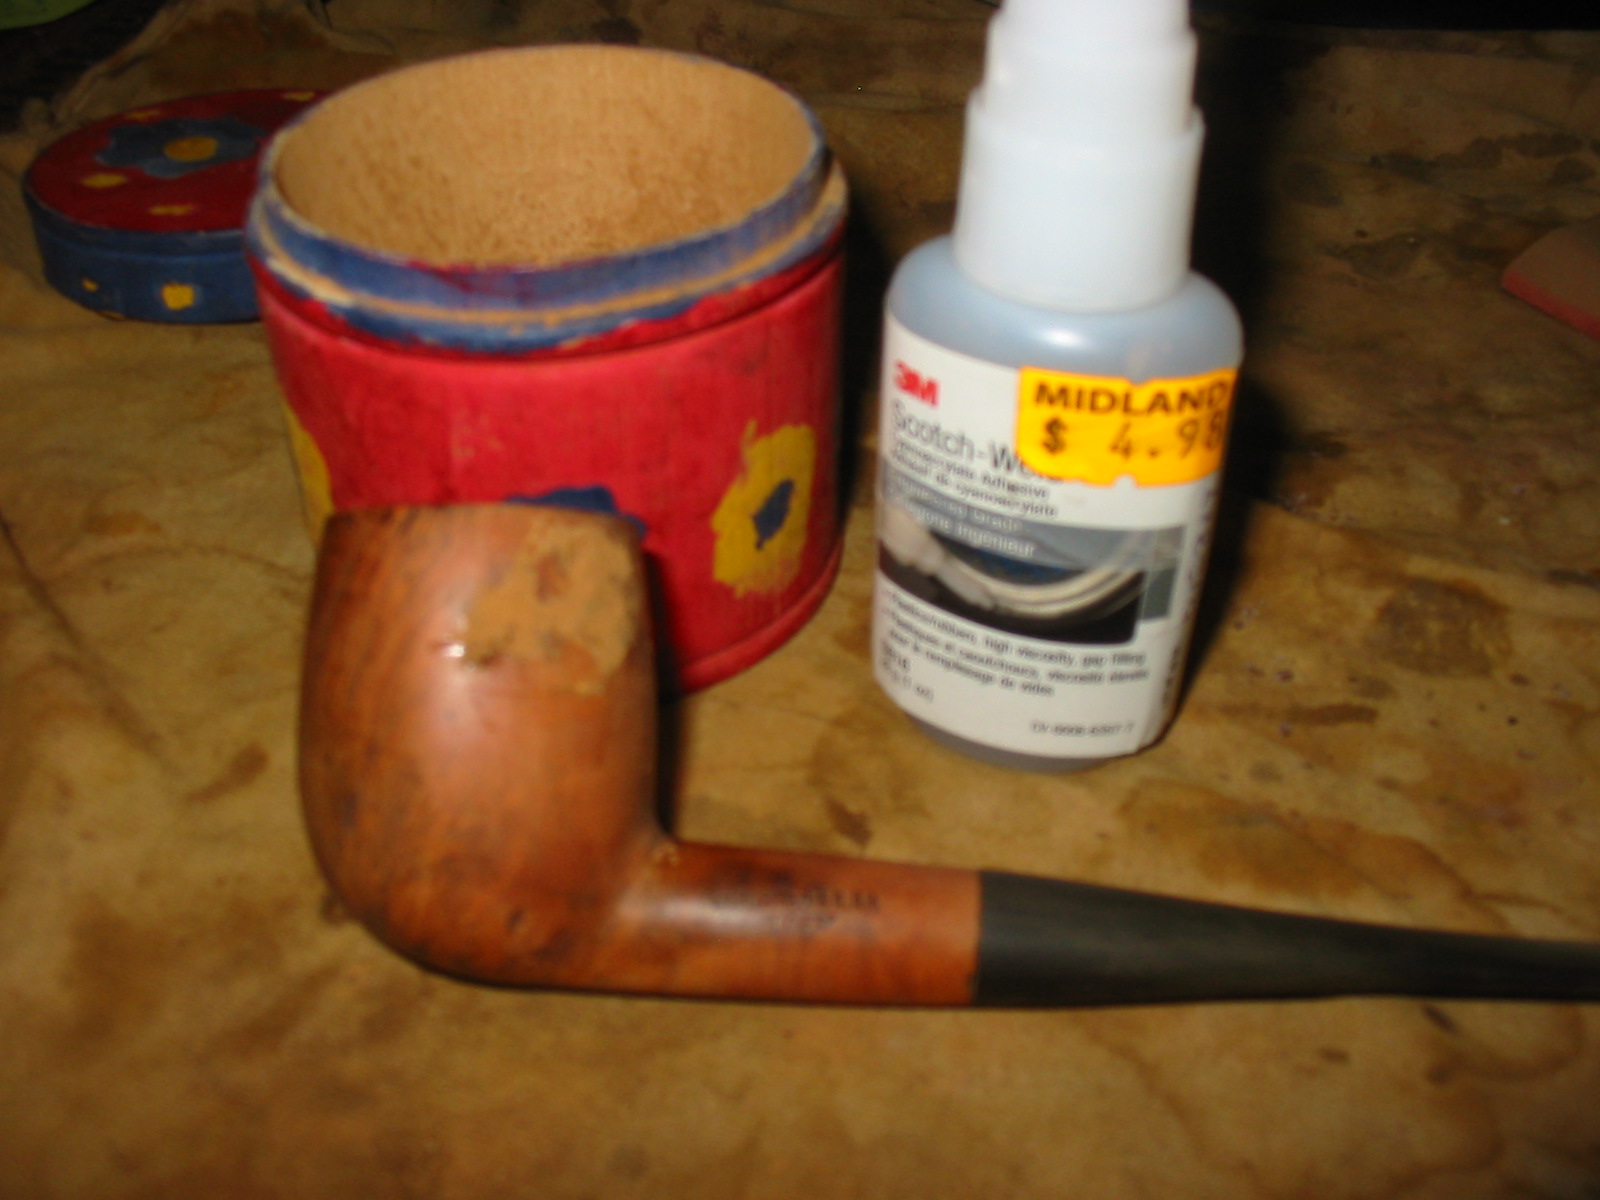
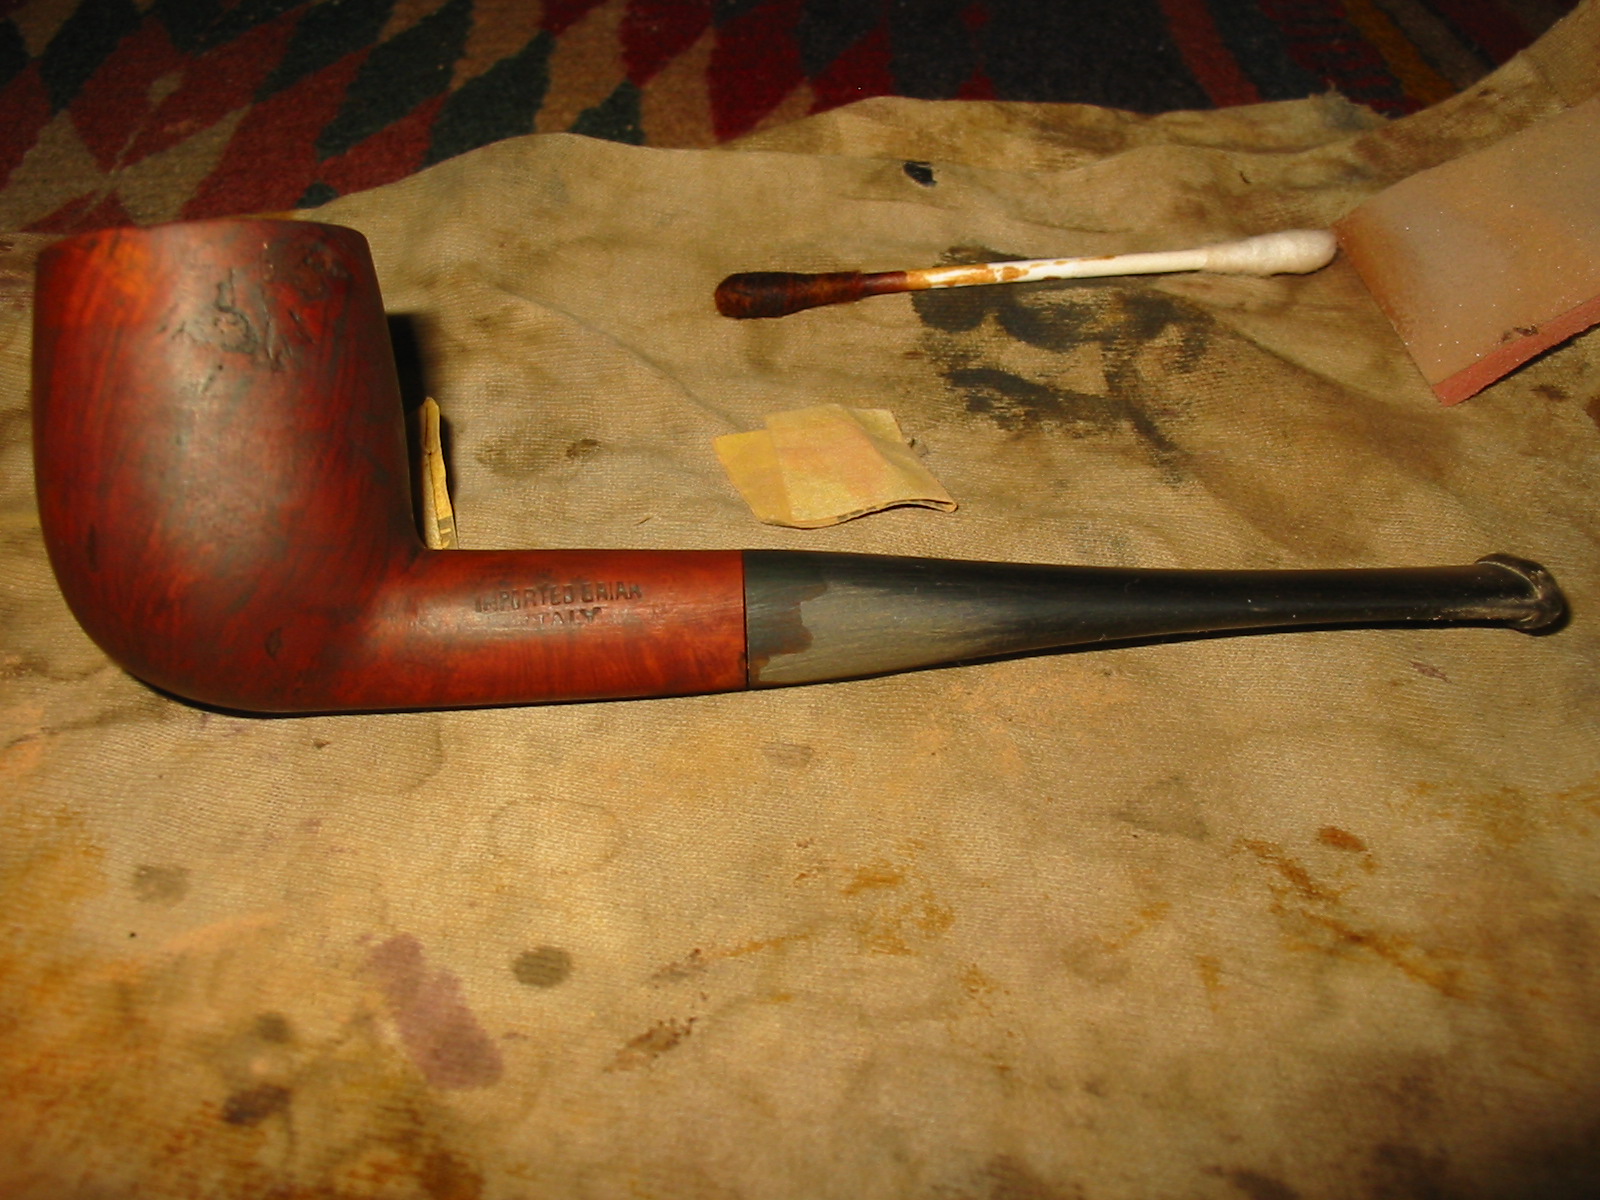
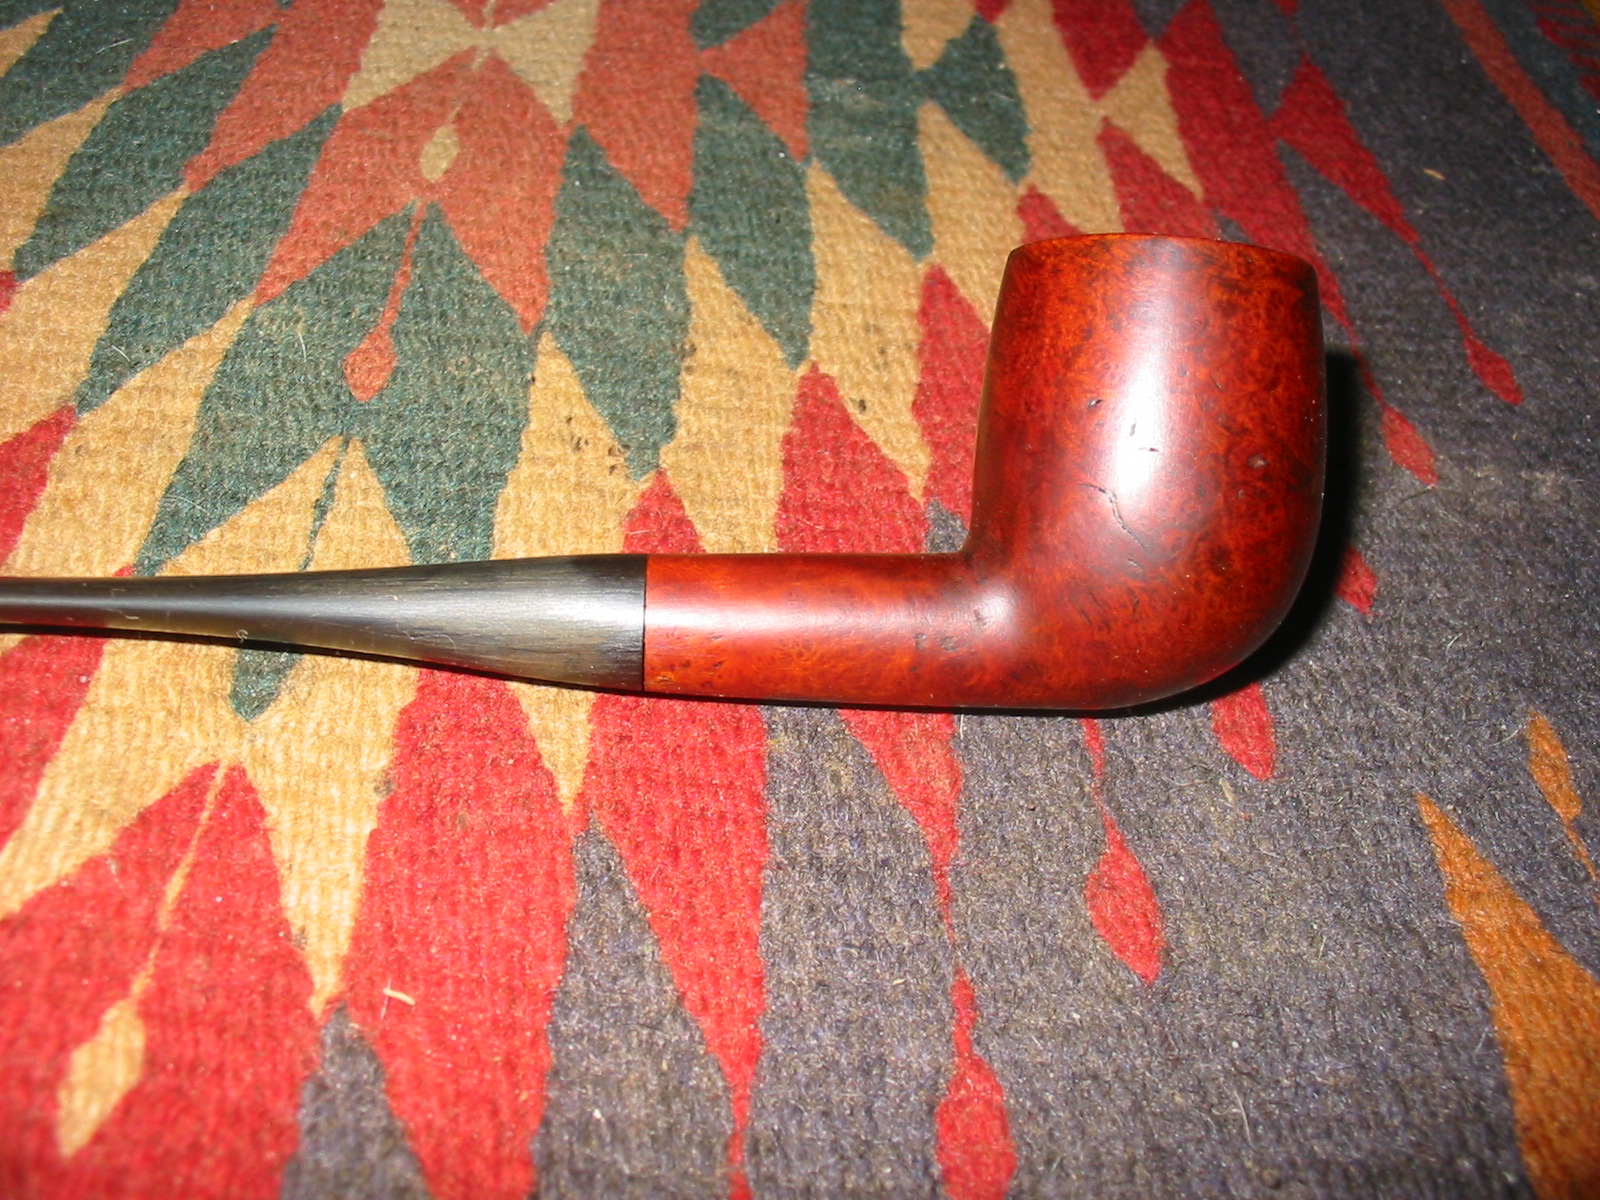
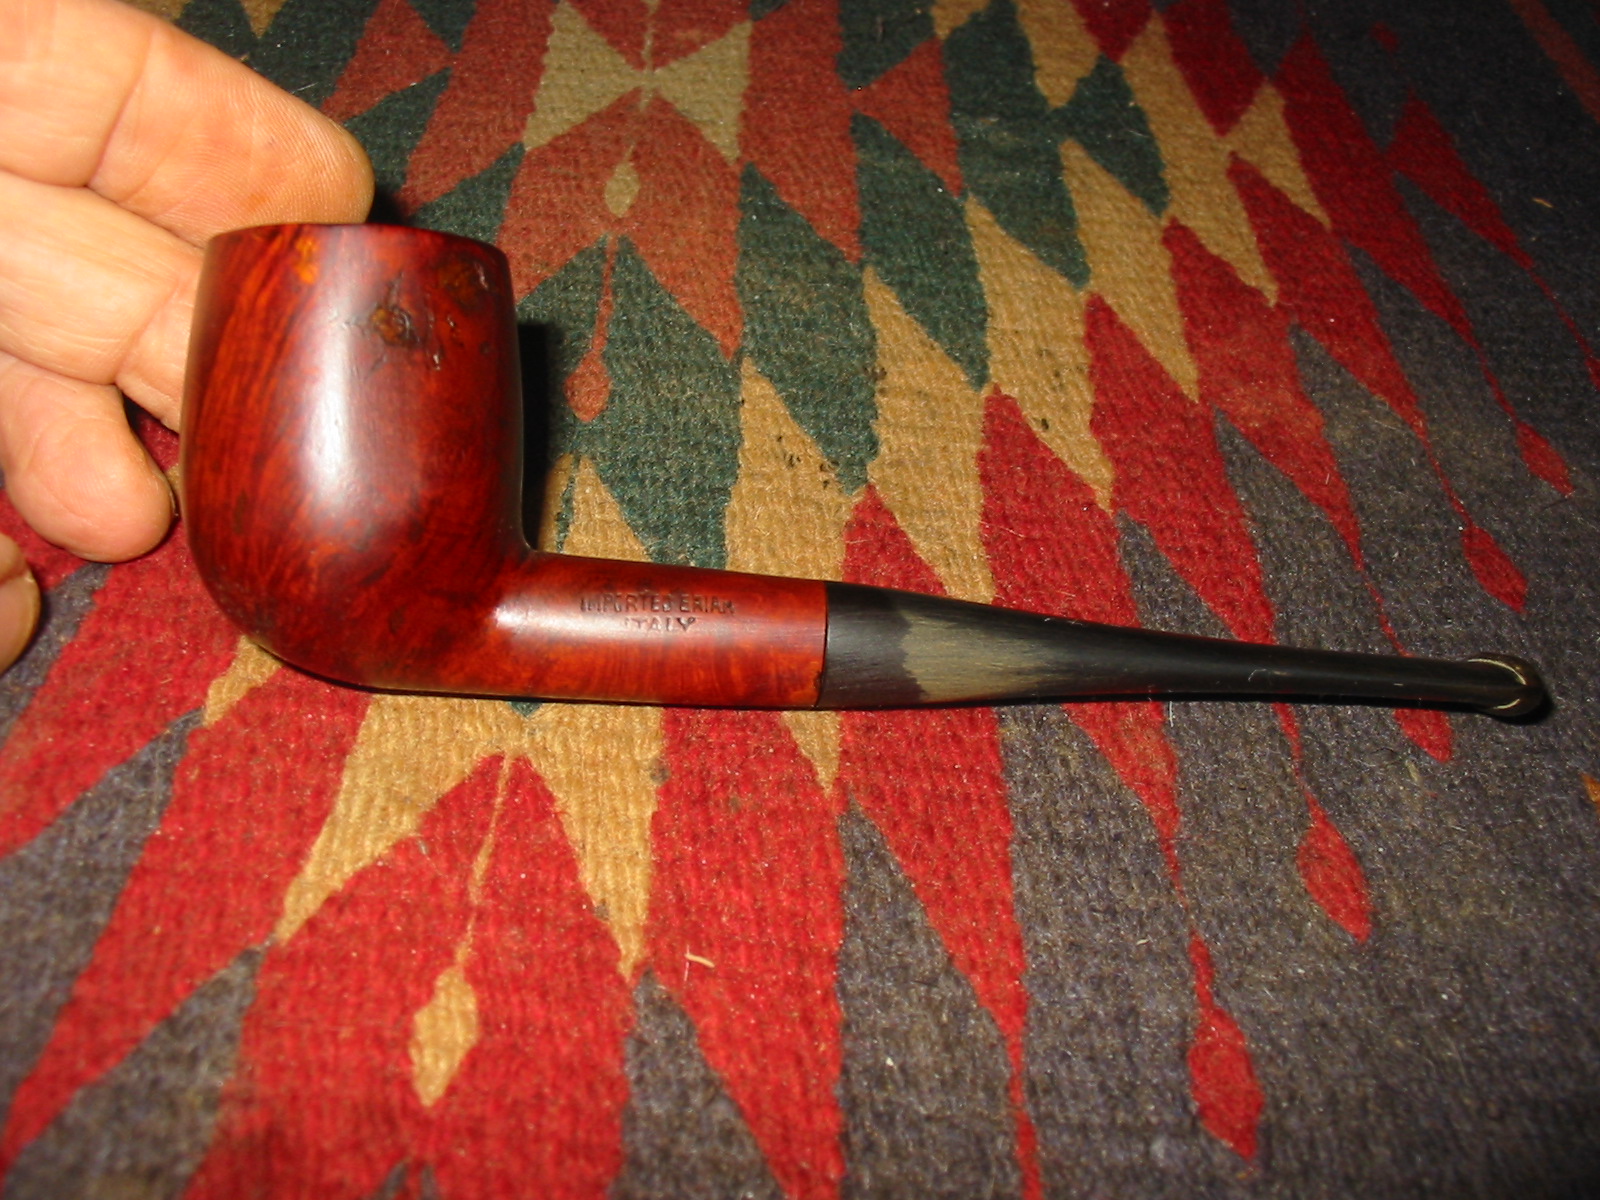
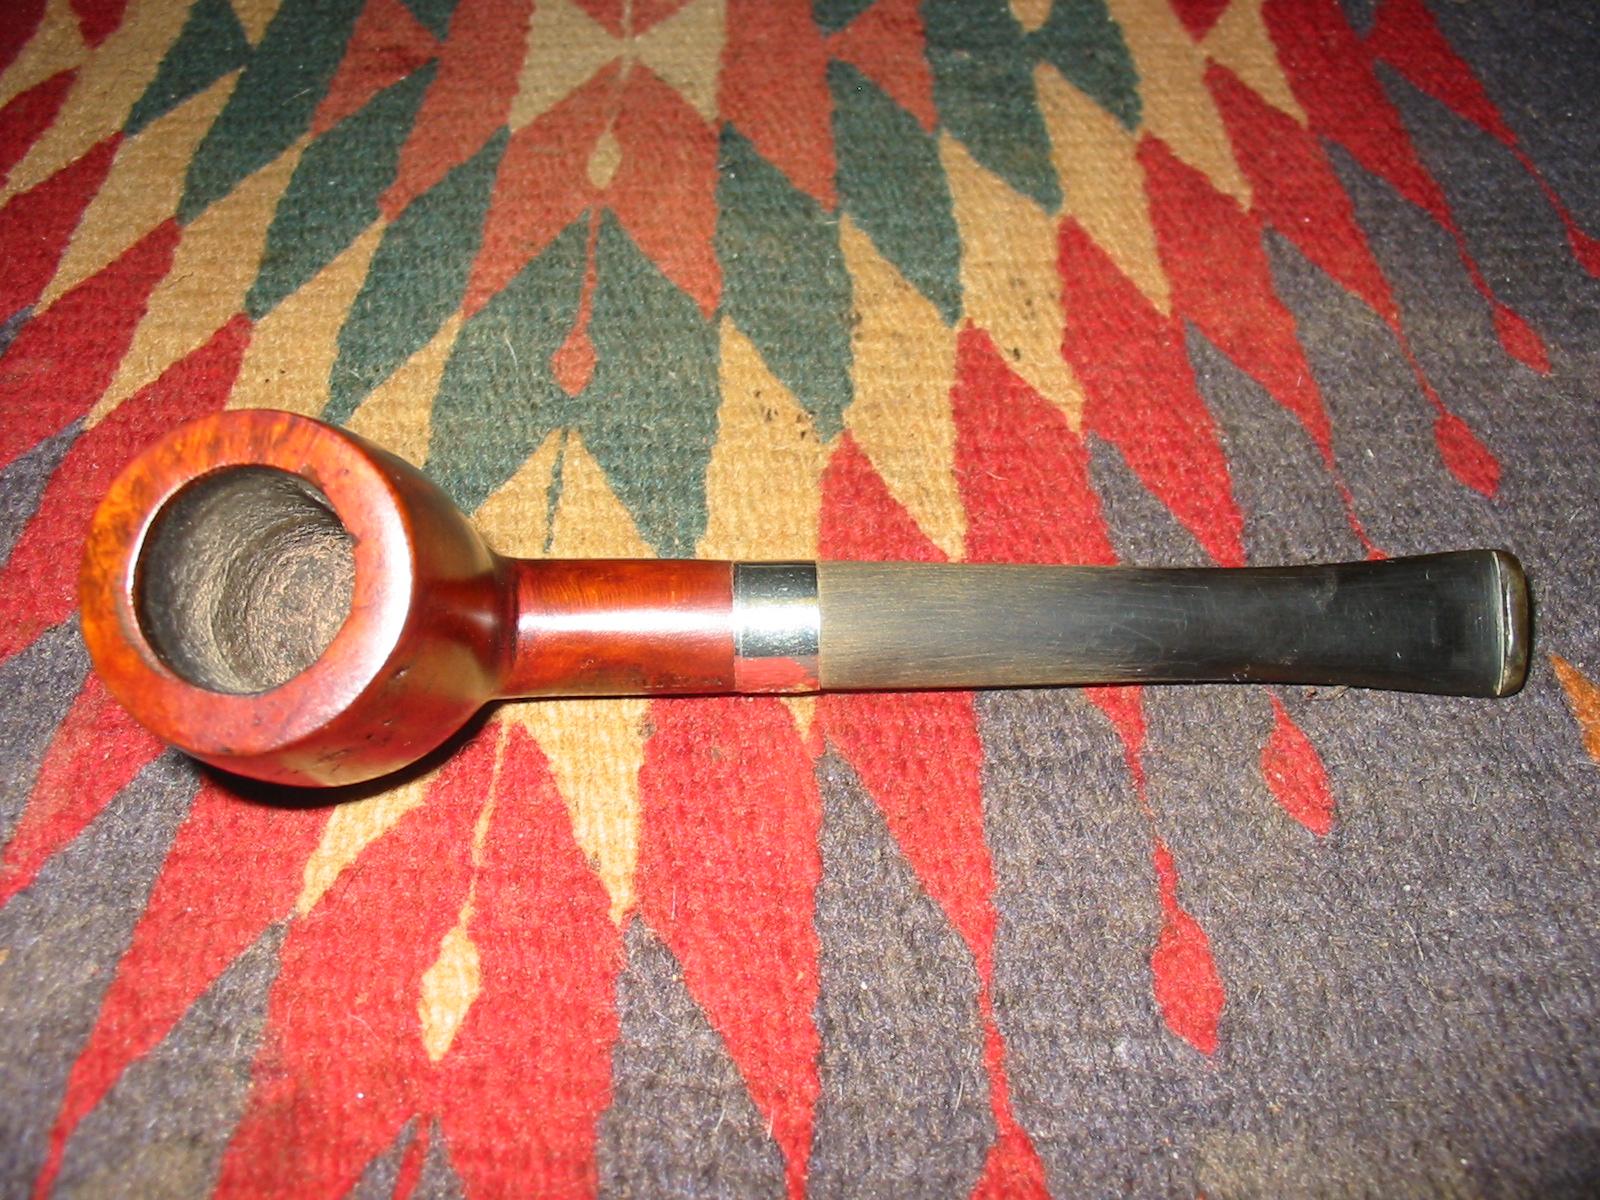
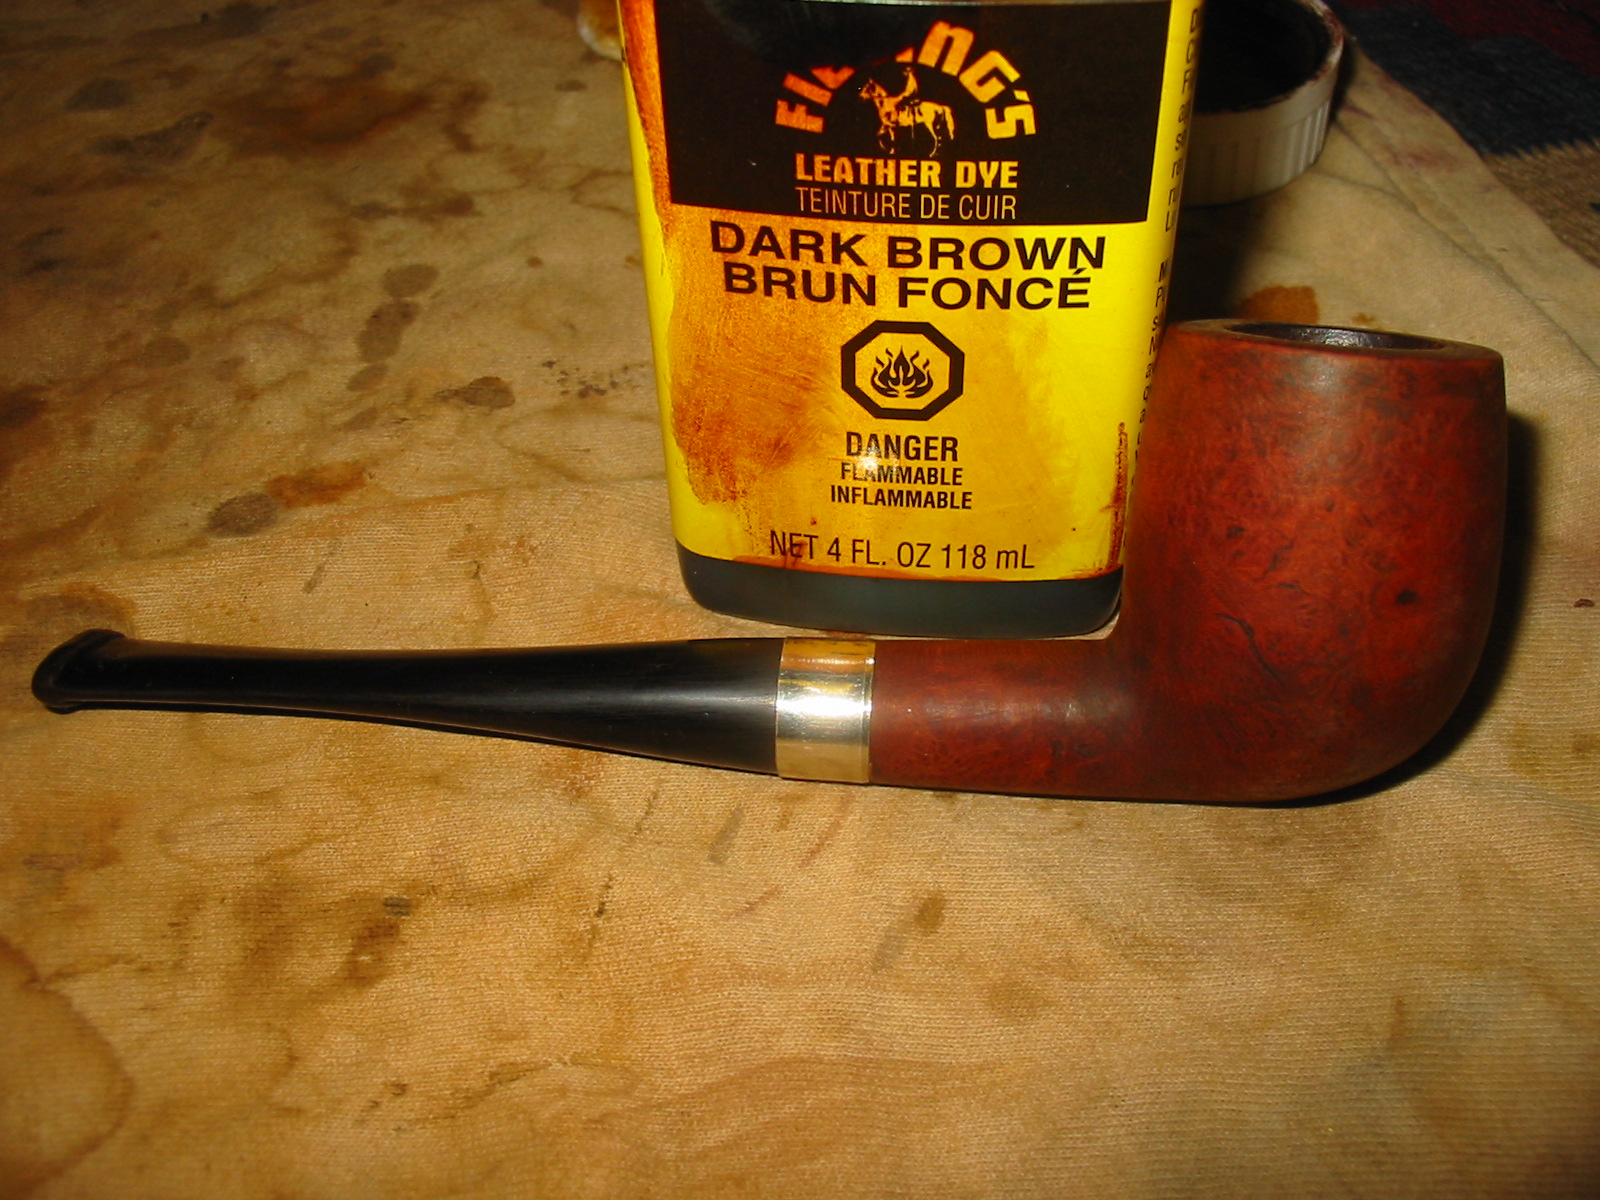
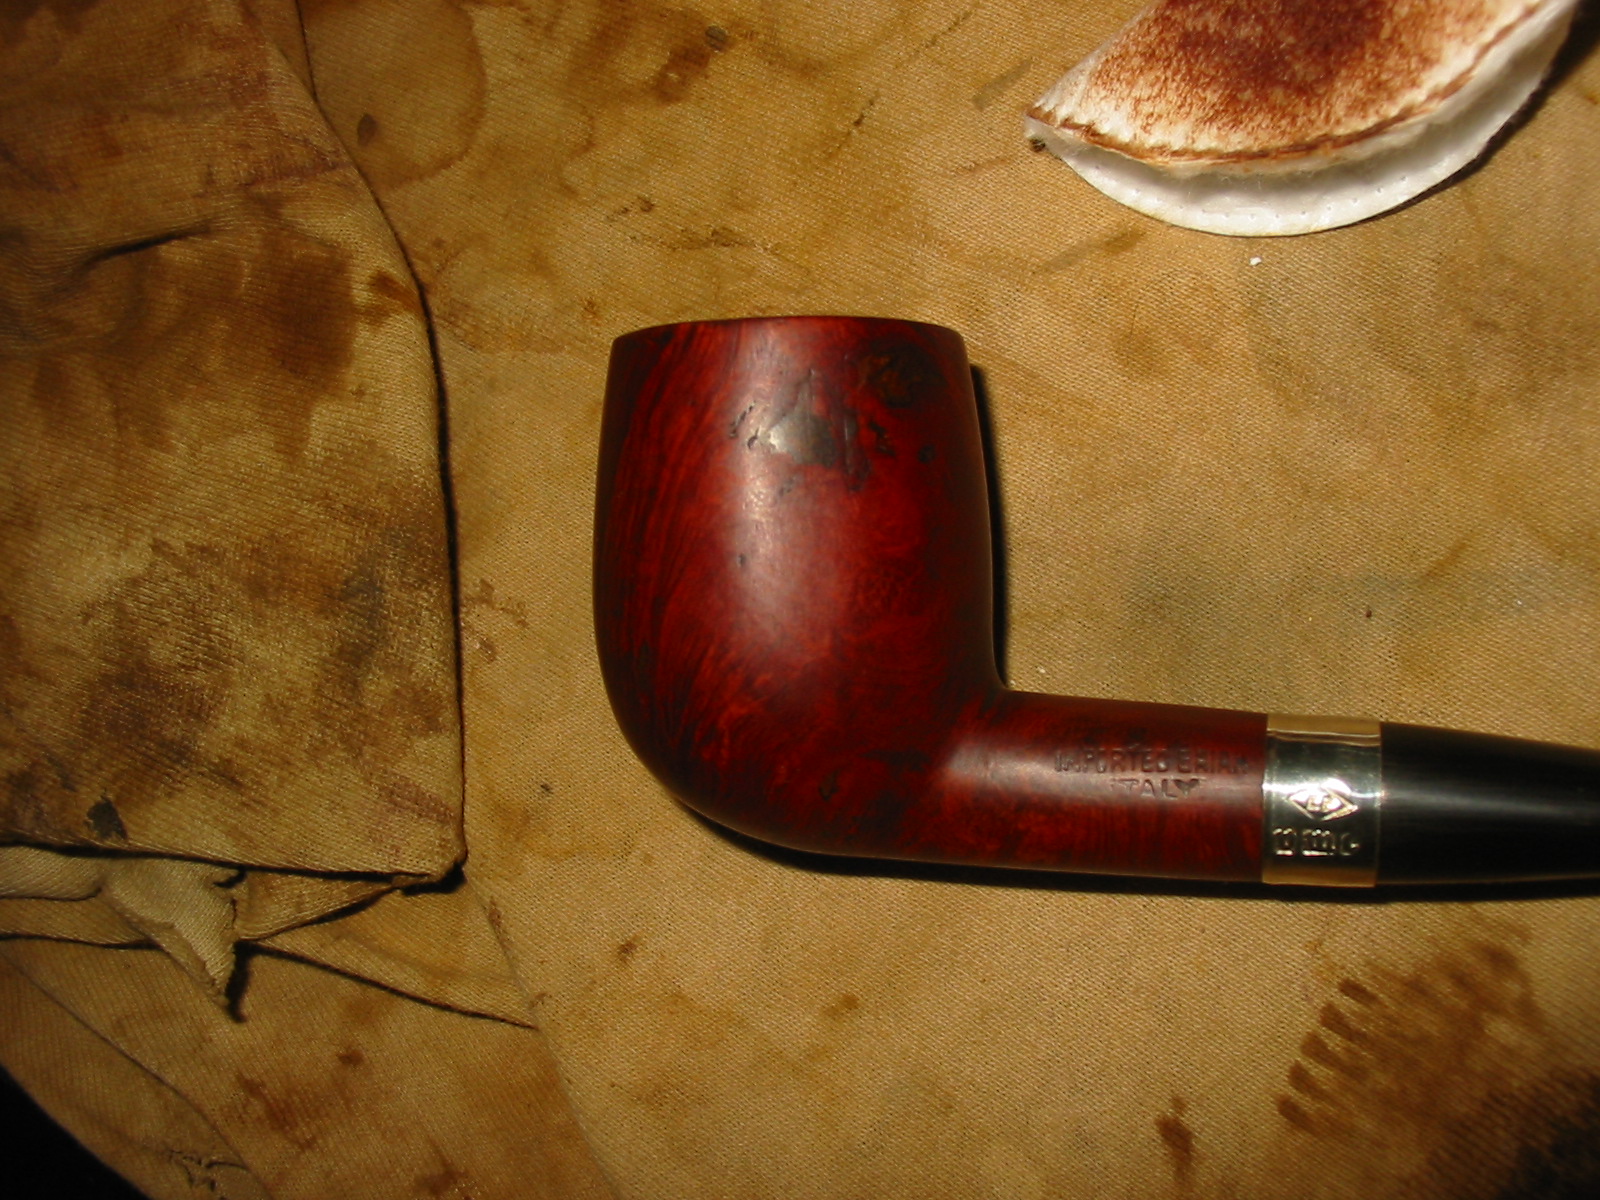
This is yet another bowl from the bottom of the box of pipes for refurbishing. This one is an Italian made no name basket pipe. The stamping merely says Imported Briar Italy. The finish was spotty and peeling from the bowl. It almost looked like a dark brown opaque stain coat and then a thick varnish coat over that. The bowl was badly caked, the shank was filthy and the rim caked and peeling. There were some large fills on the left side of the bowl that were coming out of the holes and were peeling around the edges. The bowl did not have a stem so I found one in my box of stems that fit with a little adjustment to the tenon.
IMG_2826

IMG_2827

IMG_2828

IMG_2830

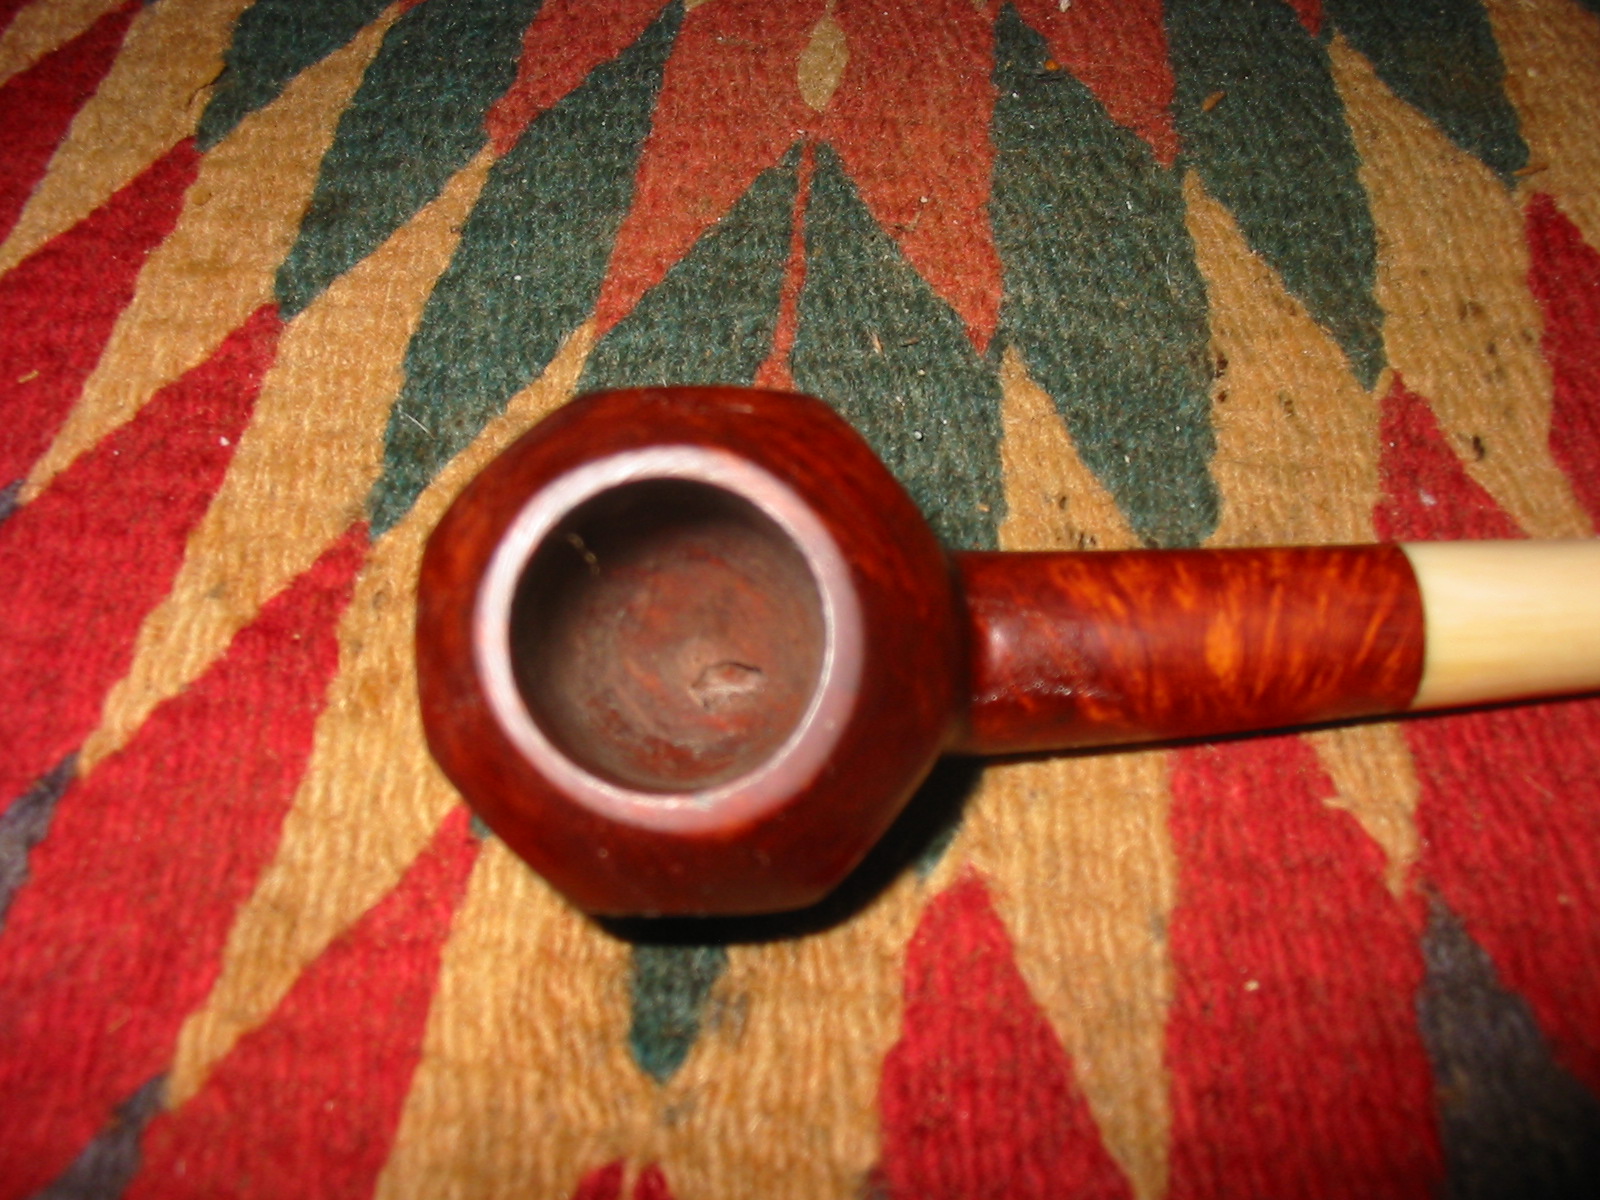
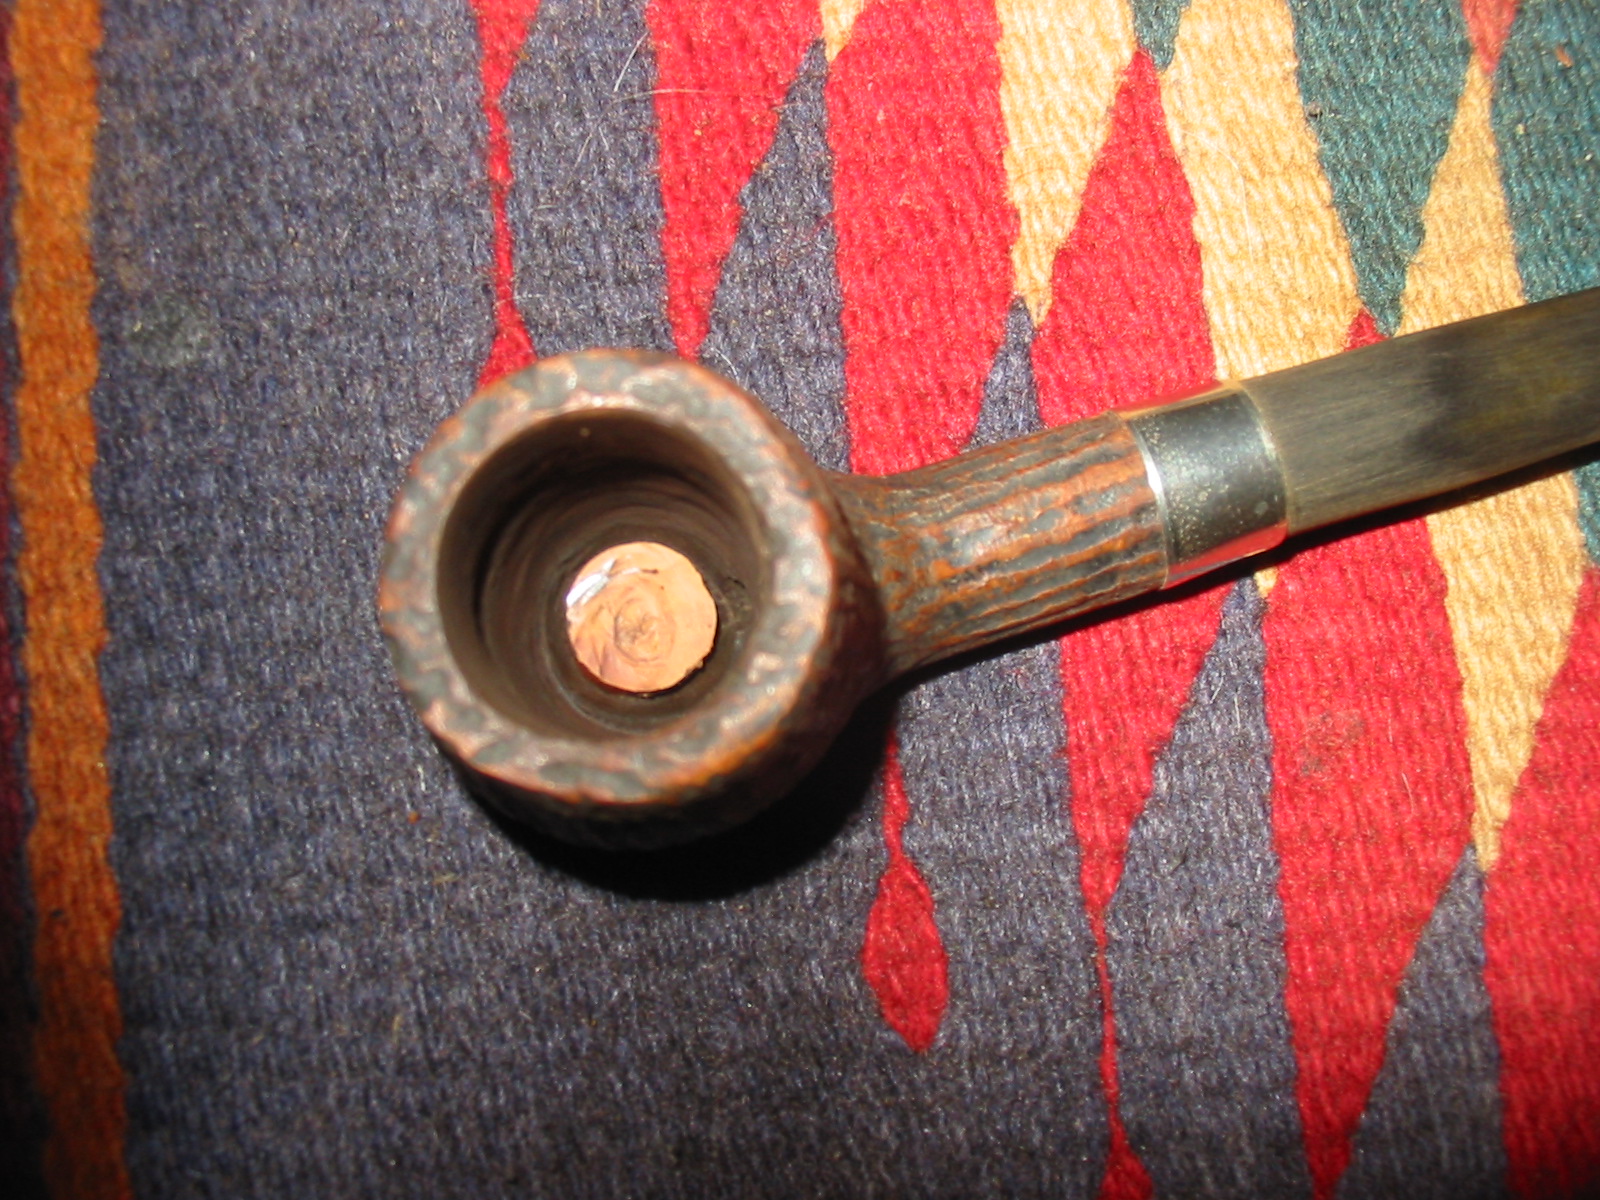
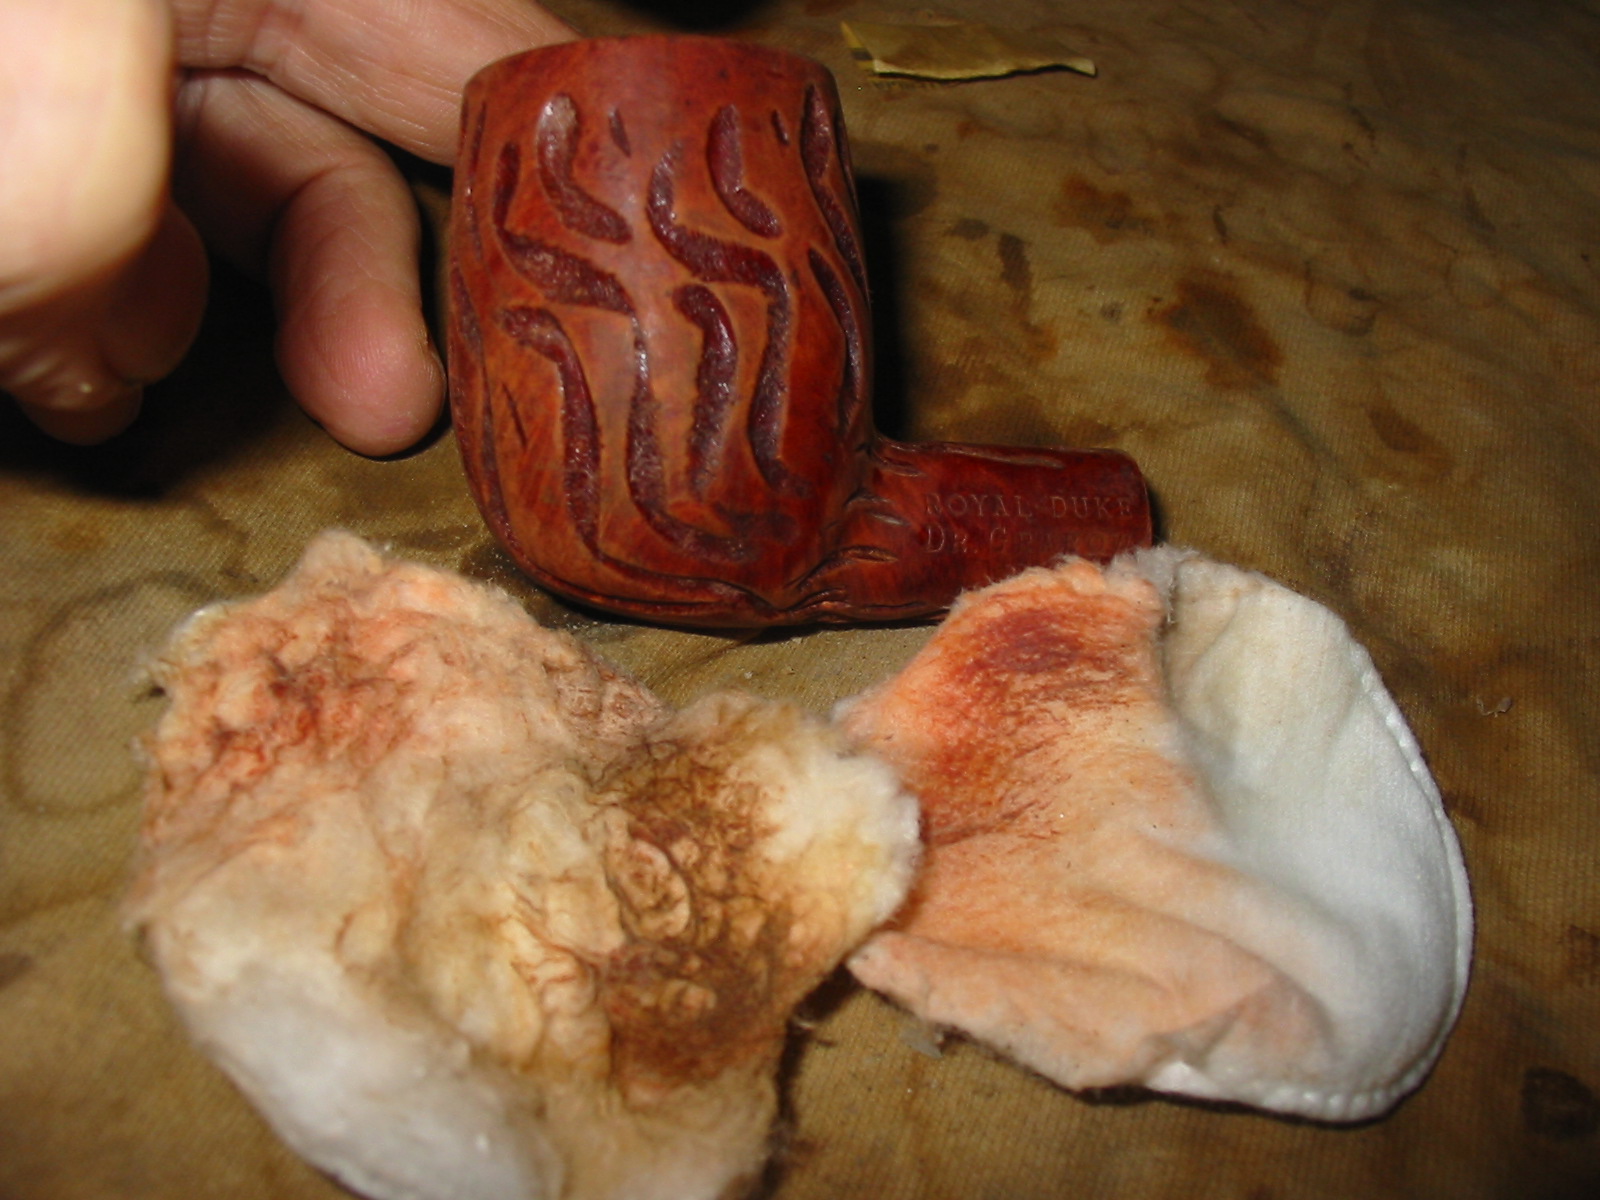
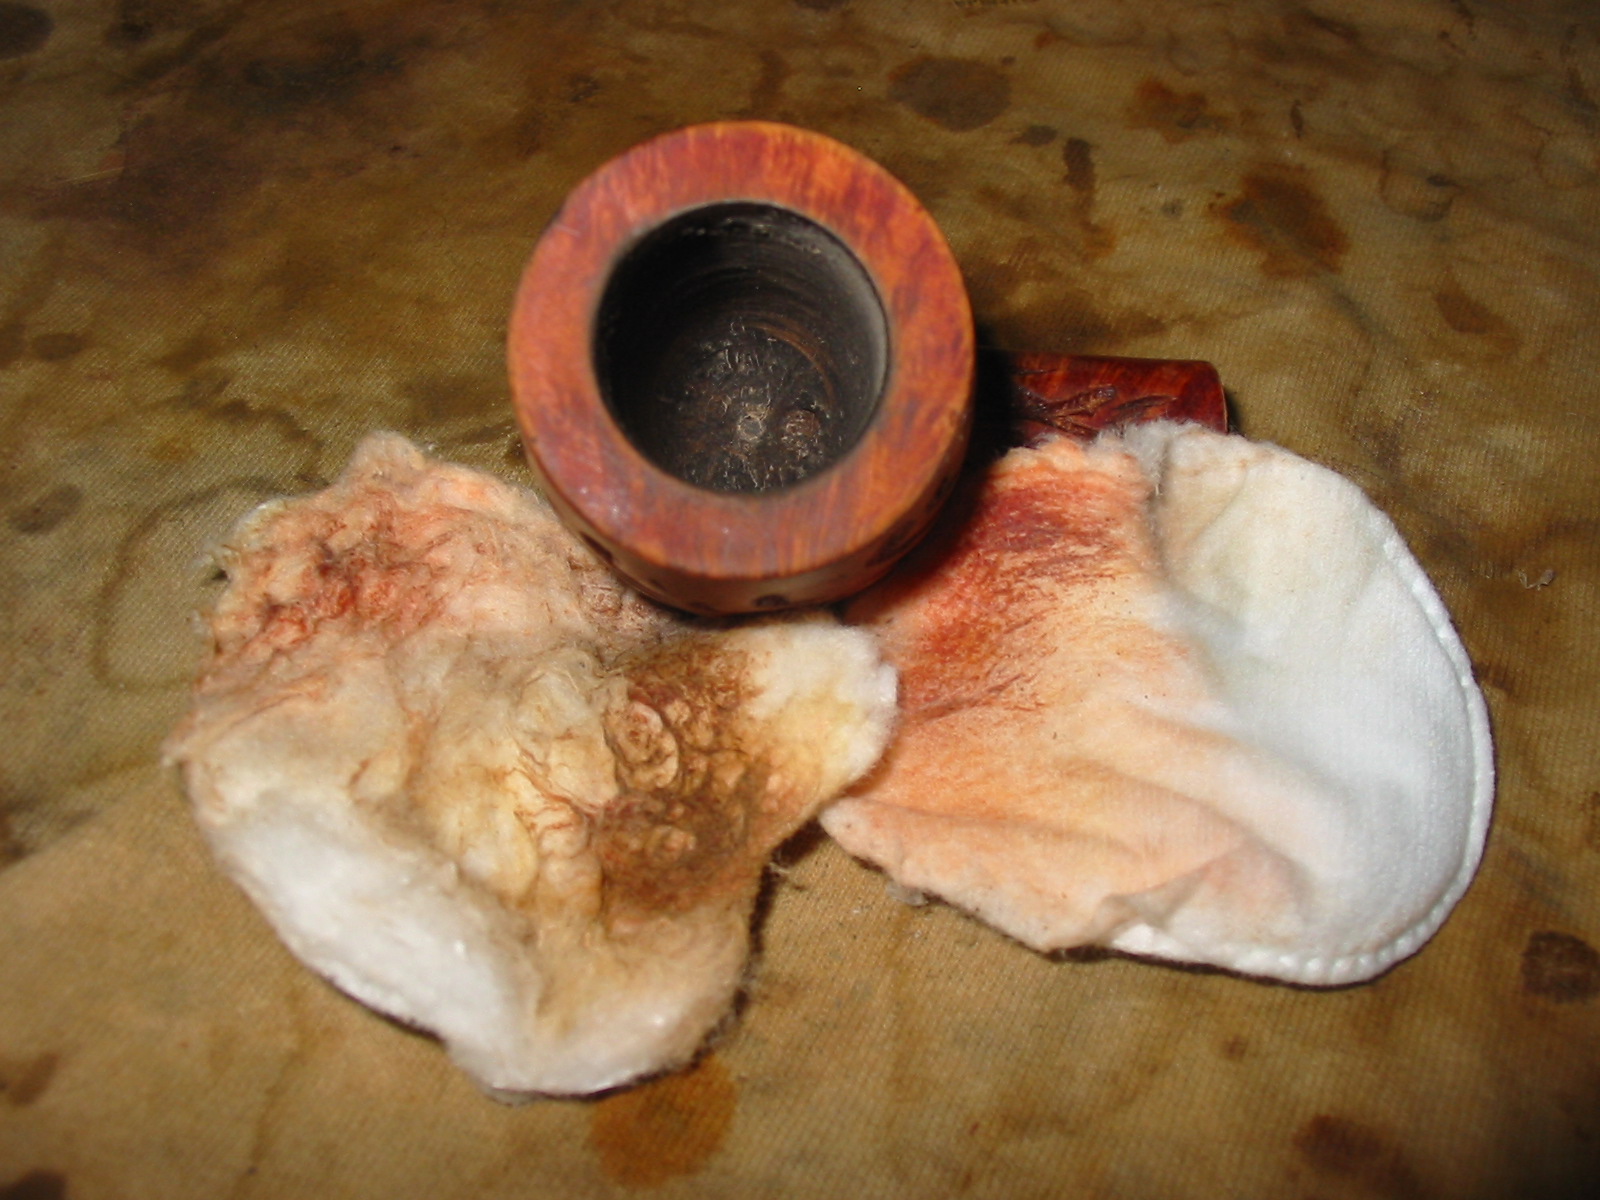
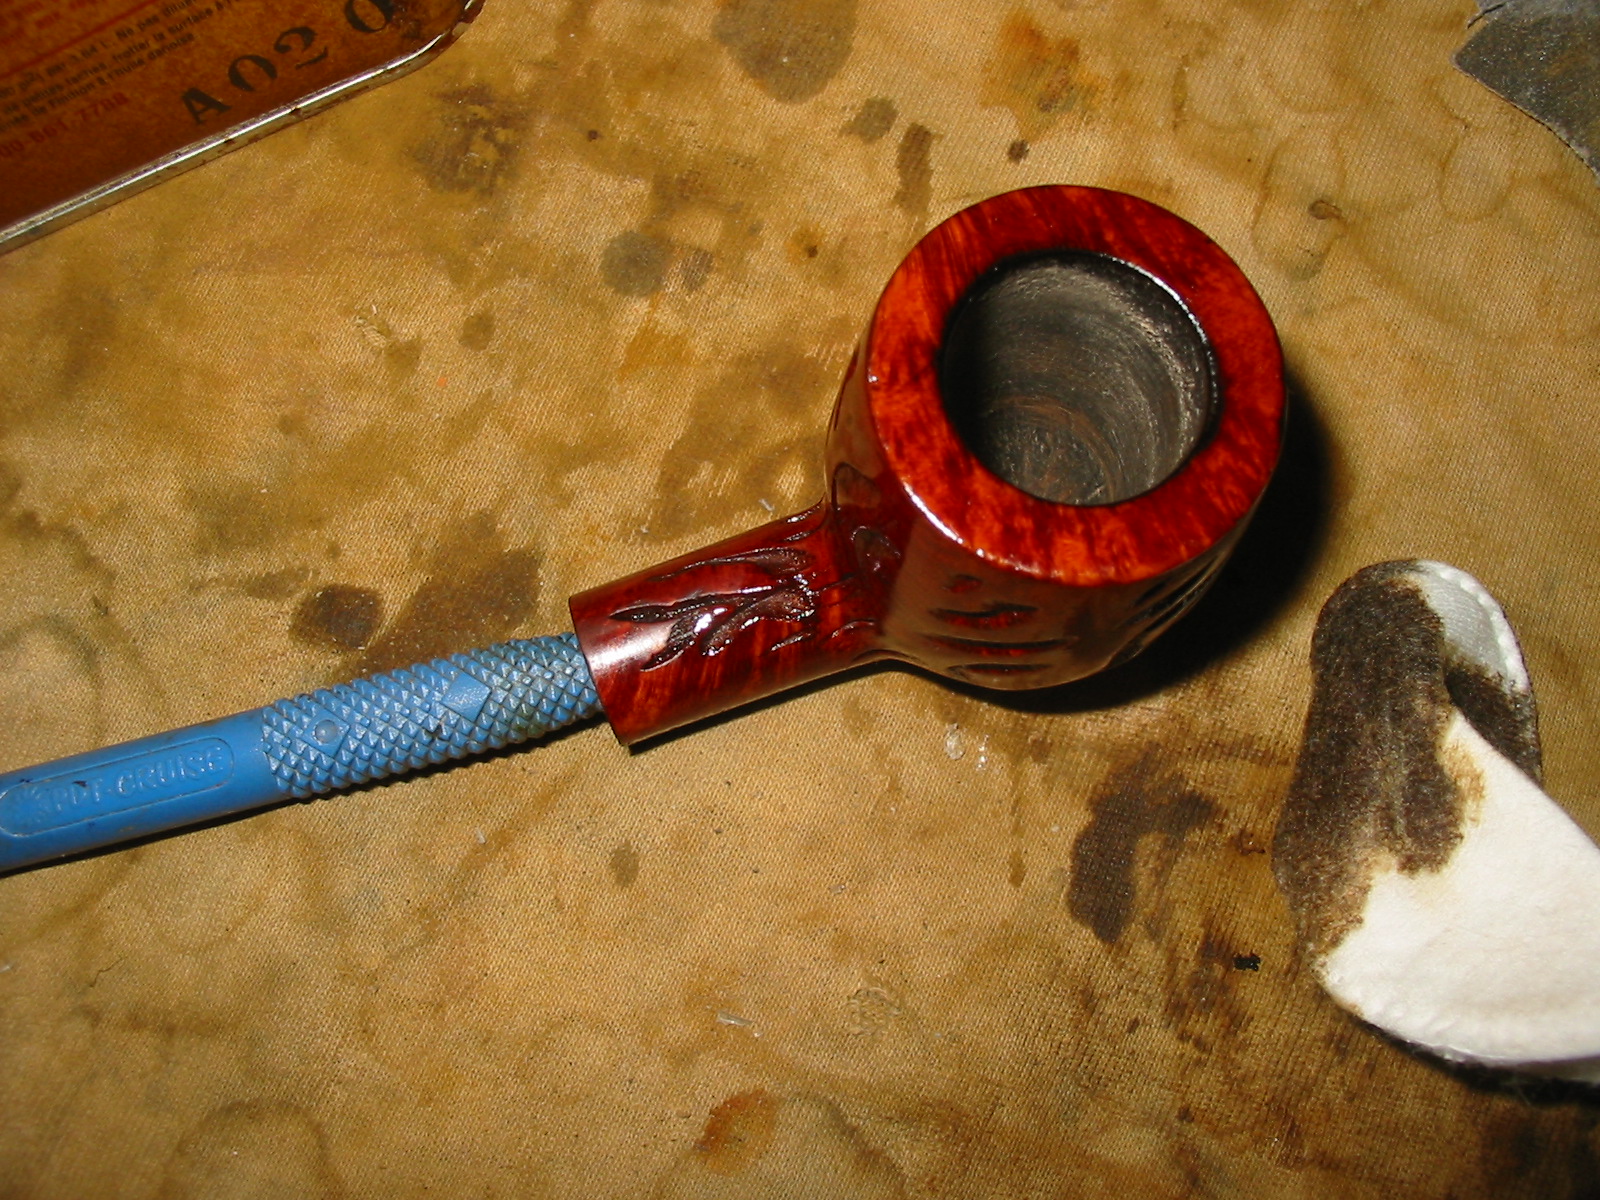
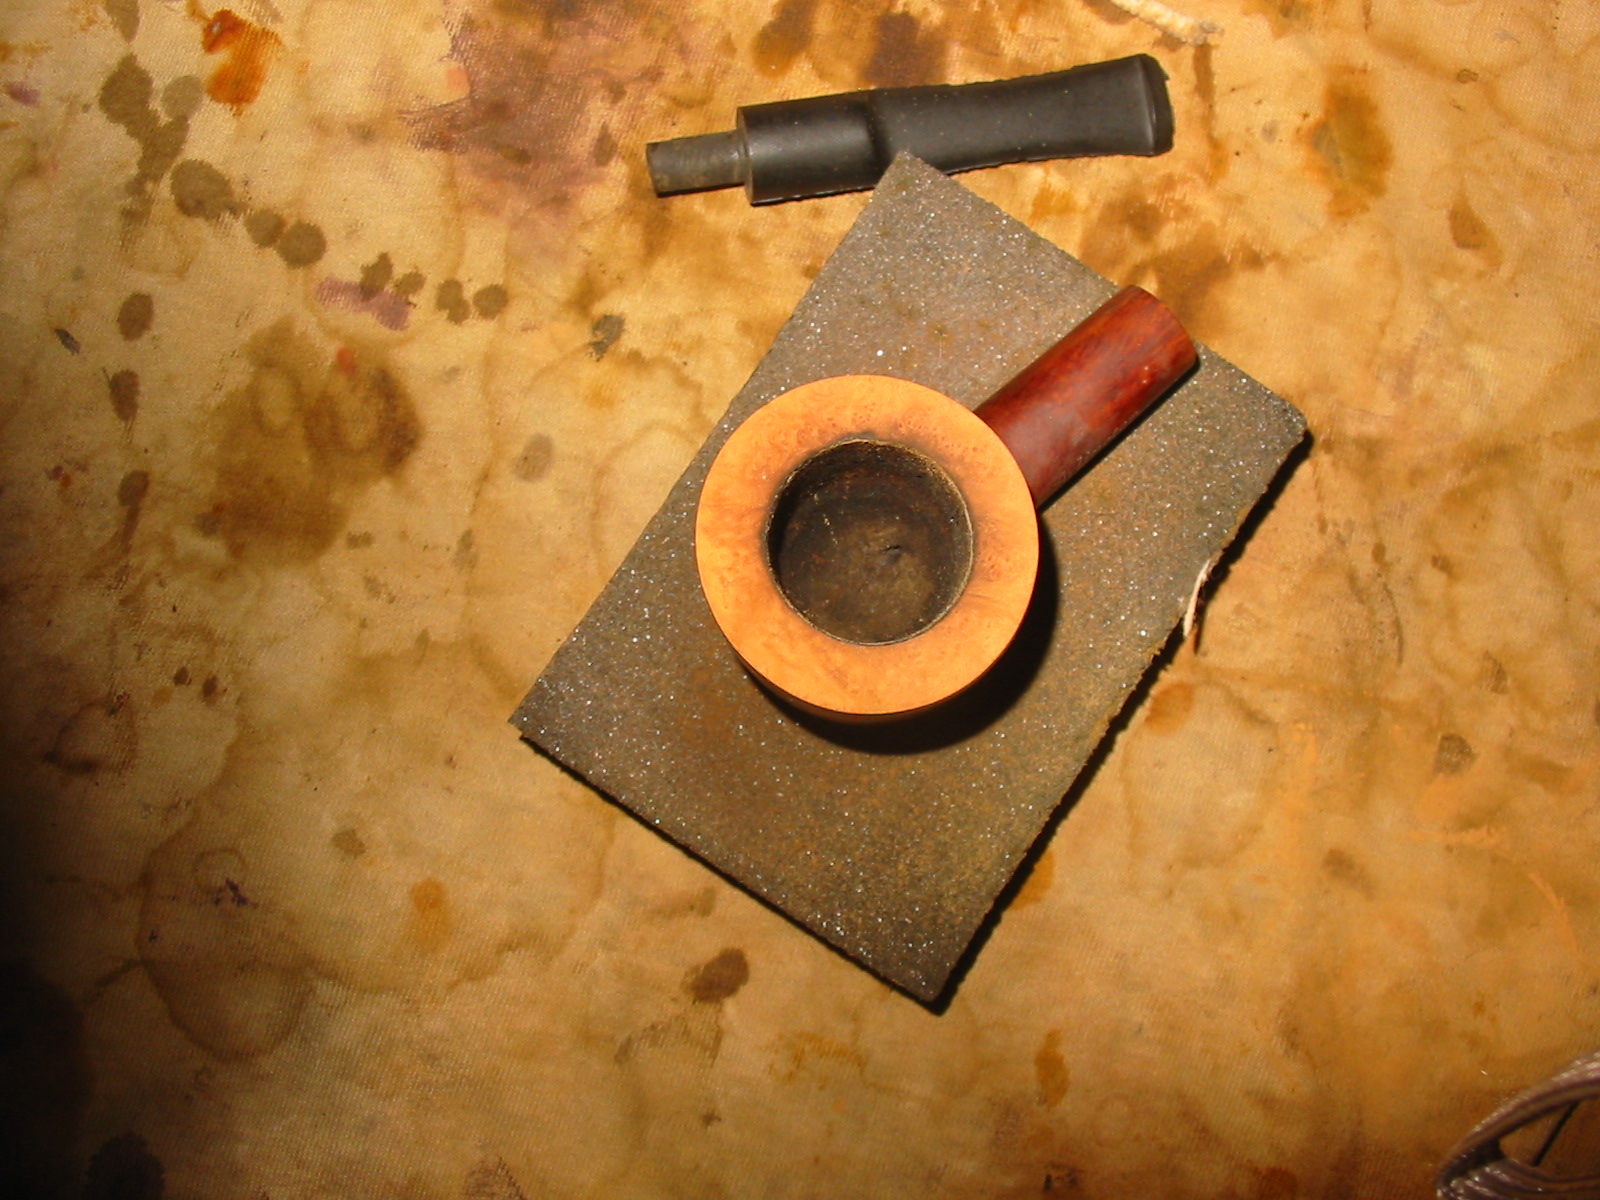
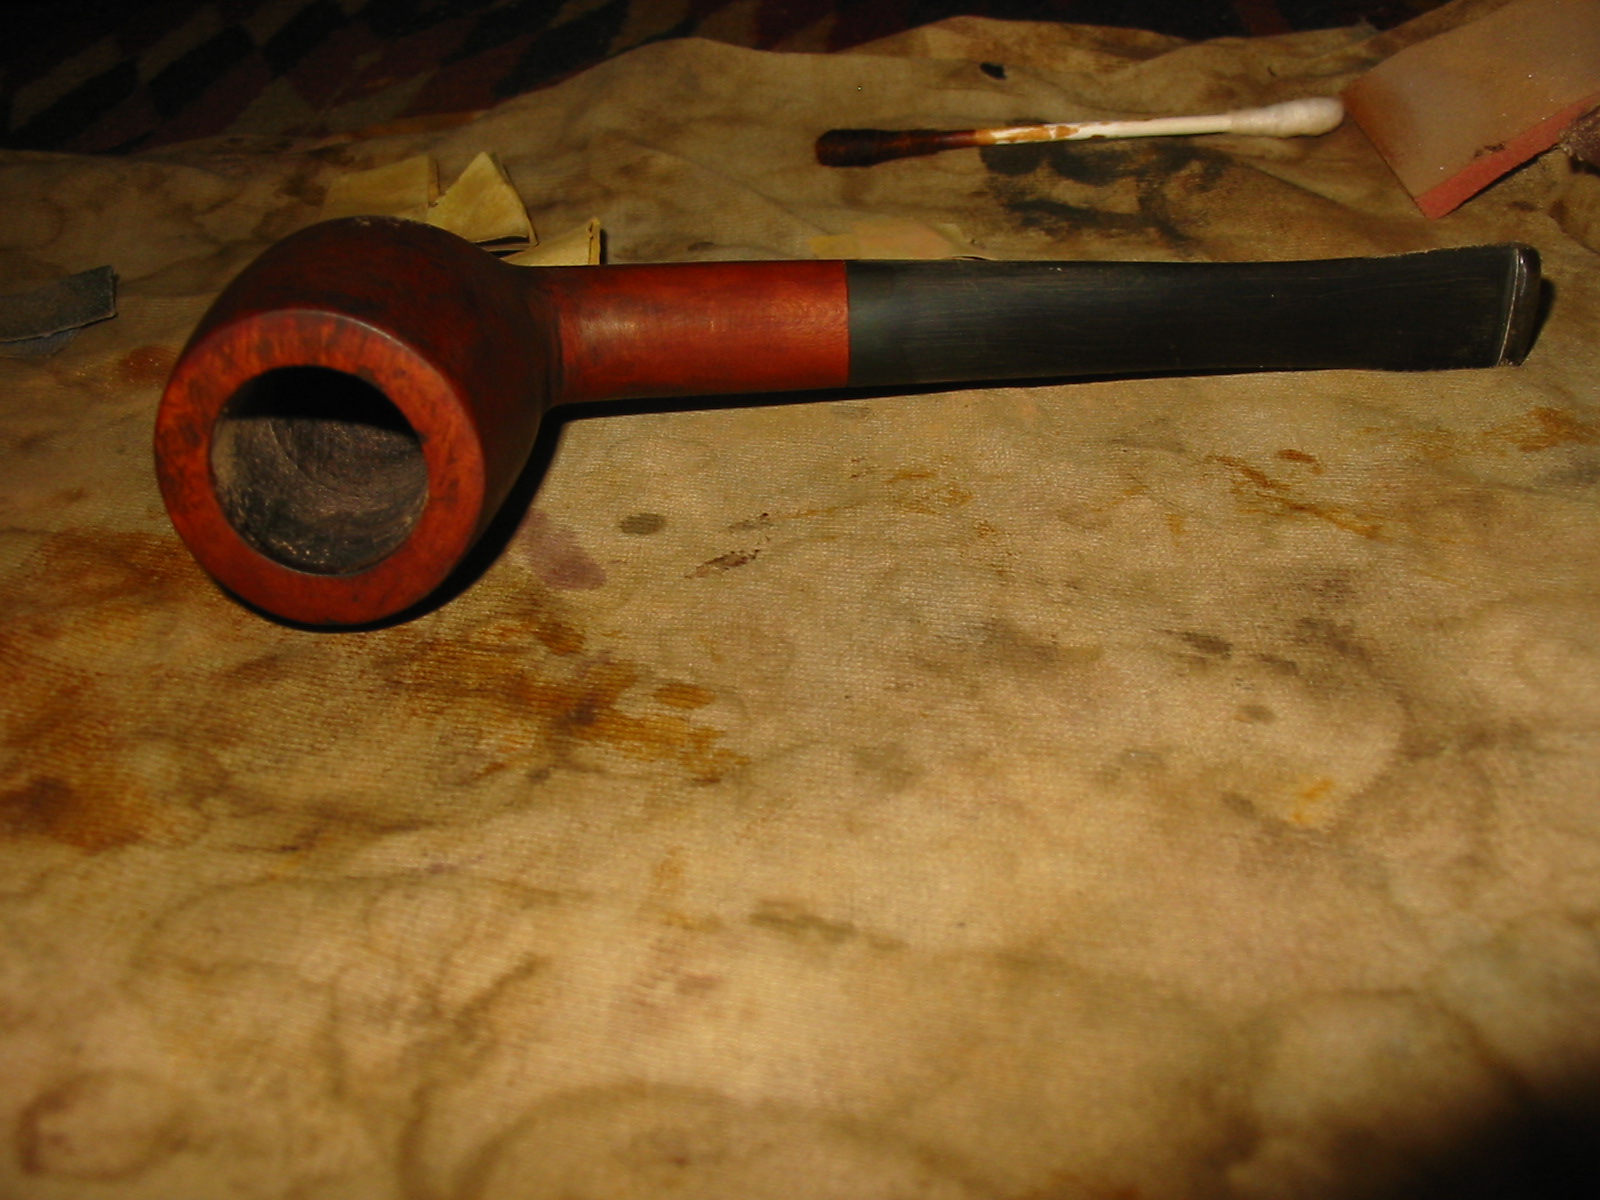
I reamed the bowl with a PipNet reamer to take the cake back to bare briar. The bowl and shank smelled heavily of aromatics with a fruity overtone and I wanted to remove that so that the new owner could form a cake of his/her own choice.
IMG_2831

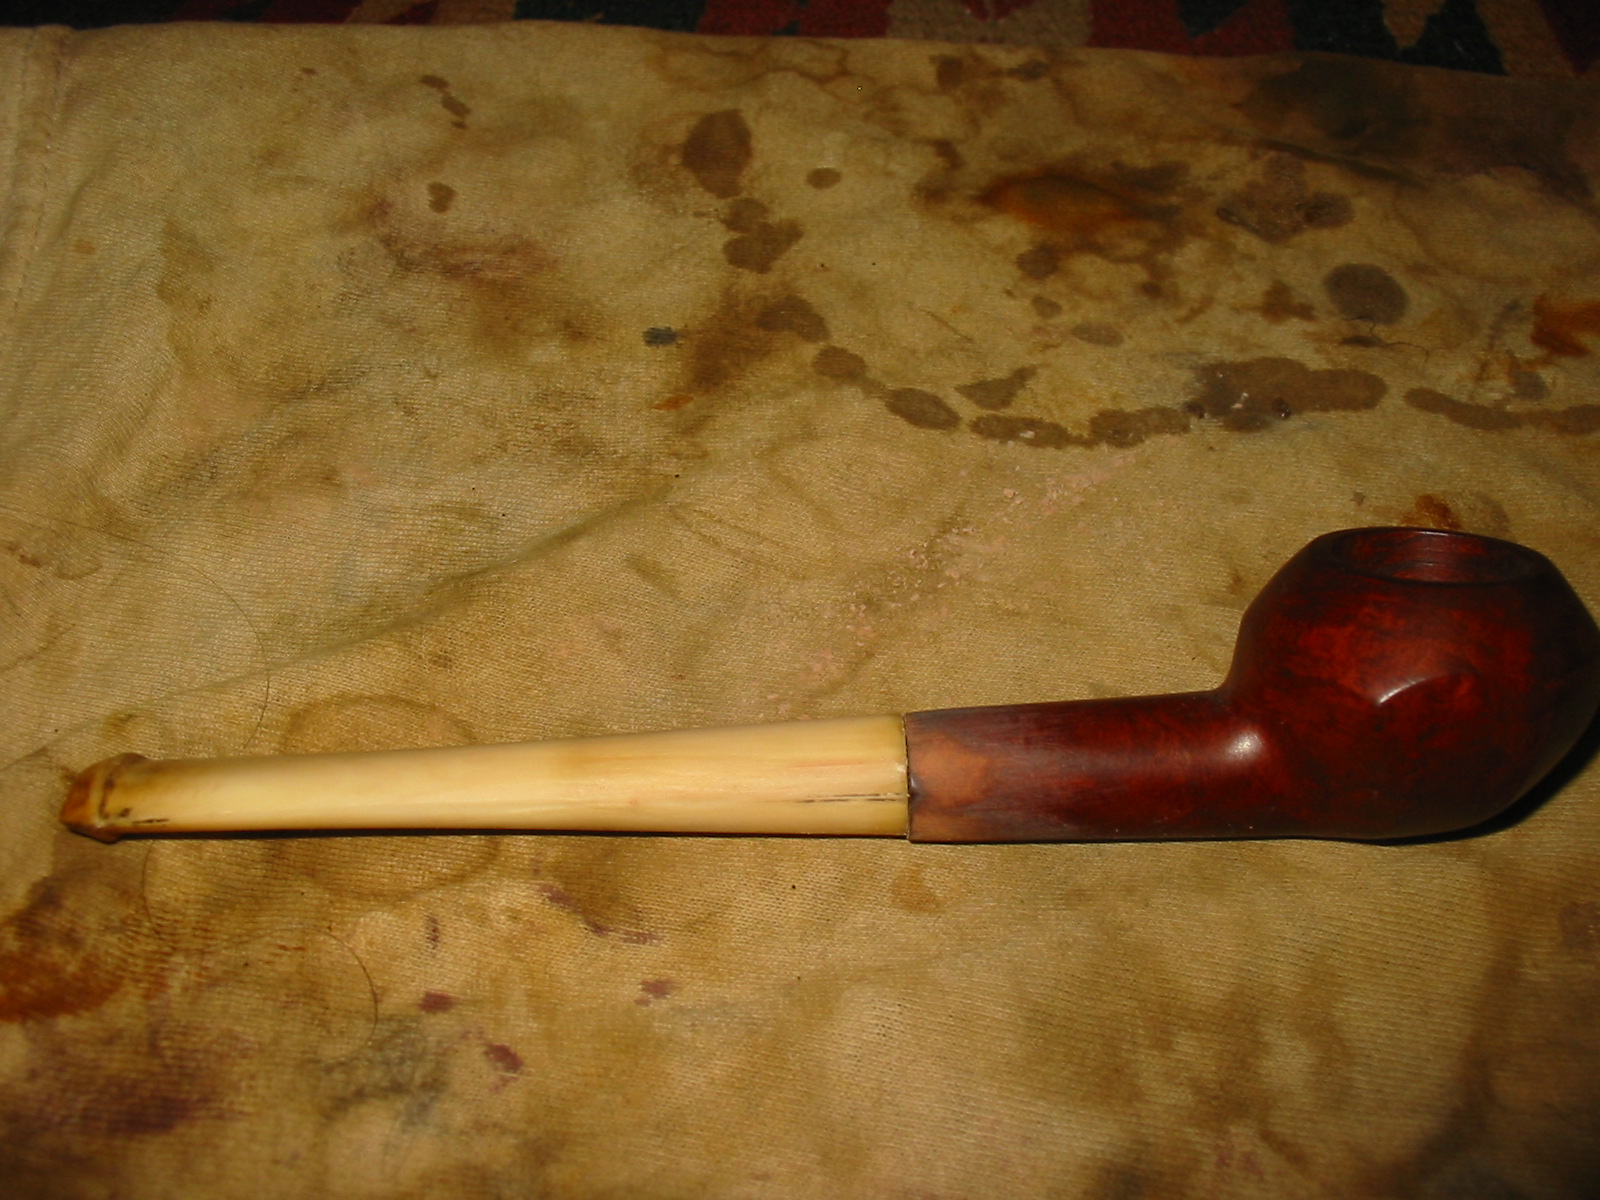
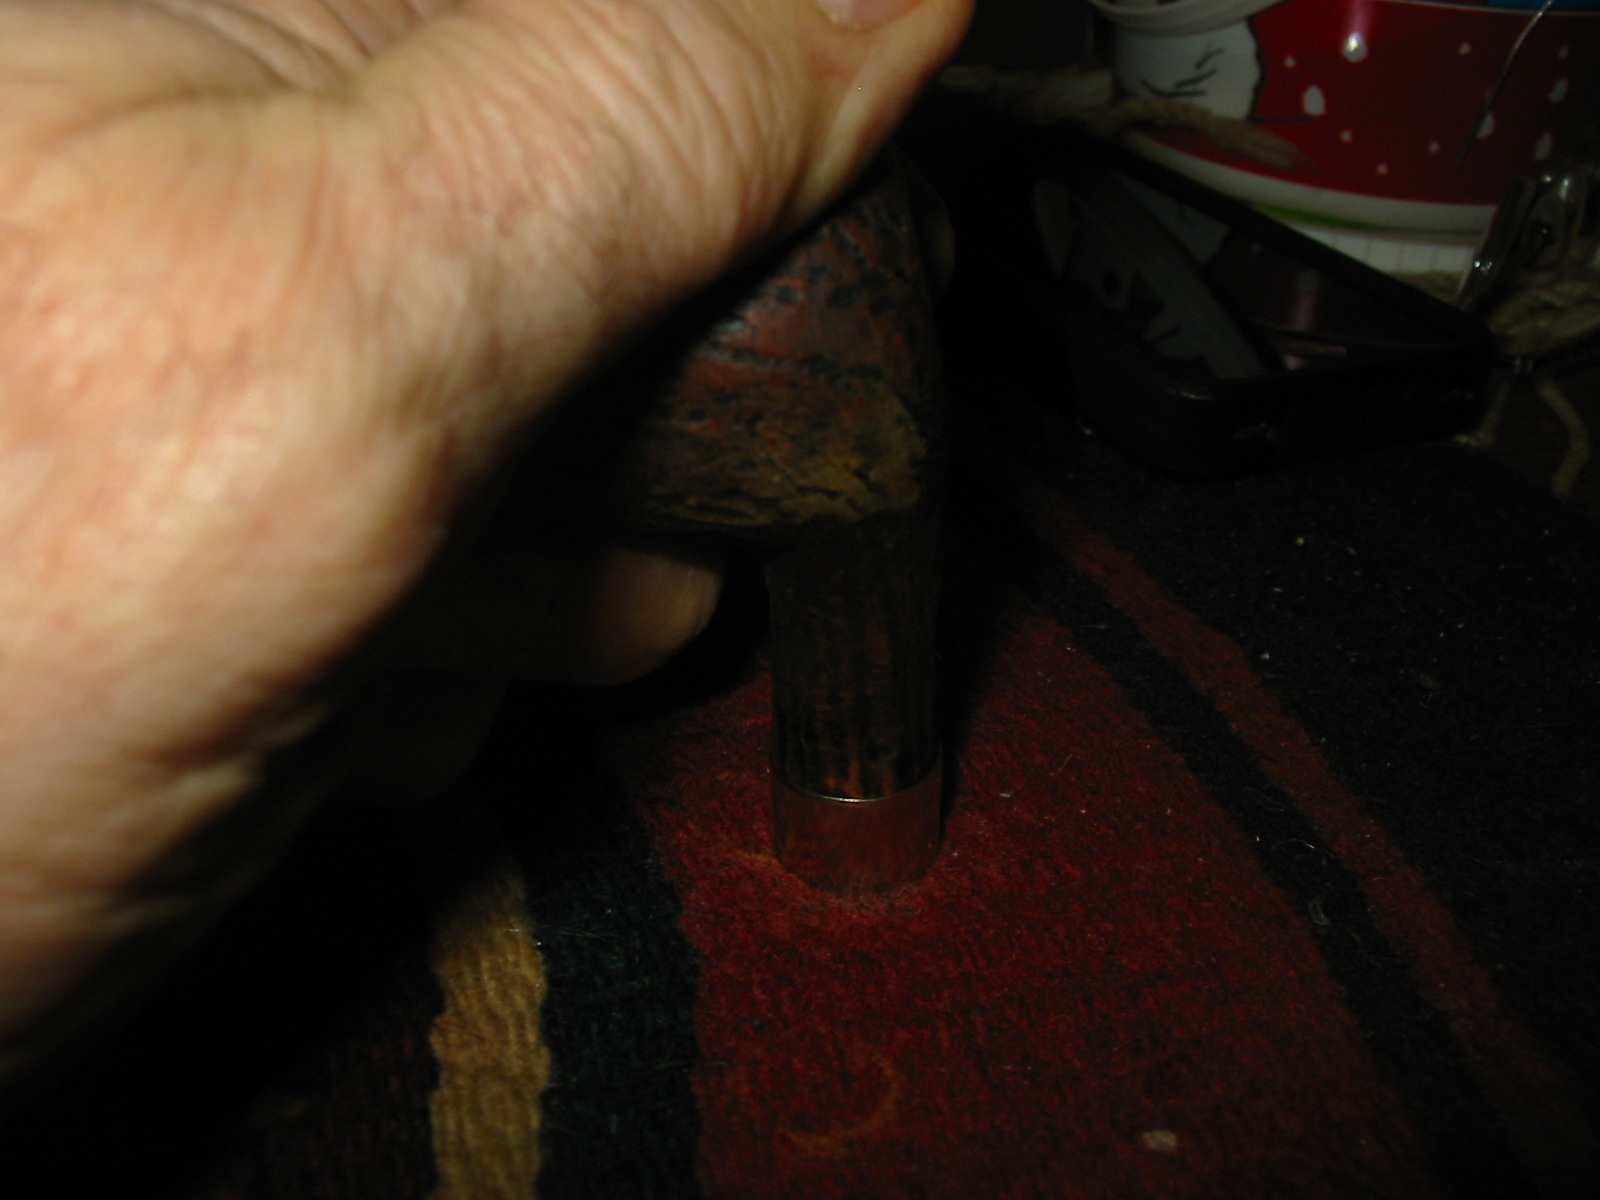
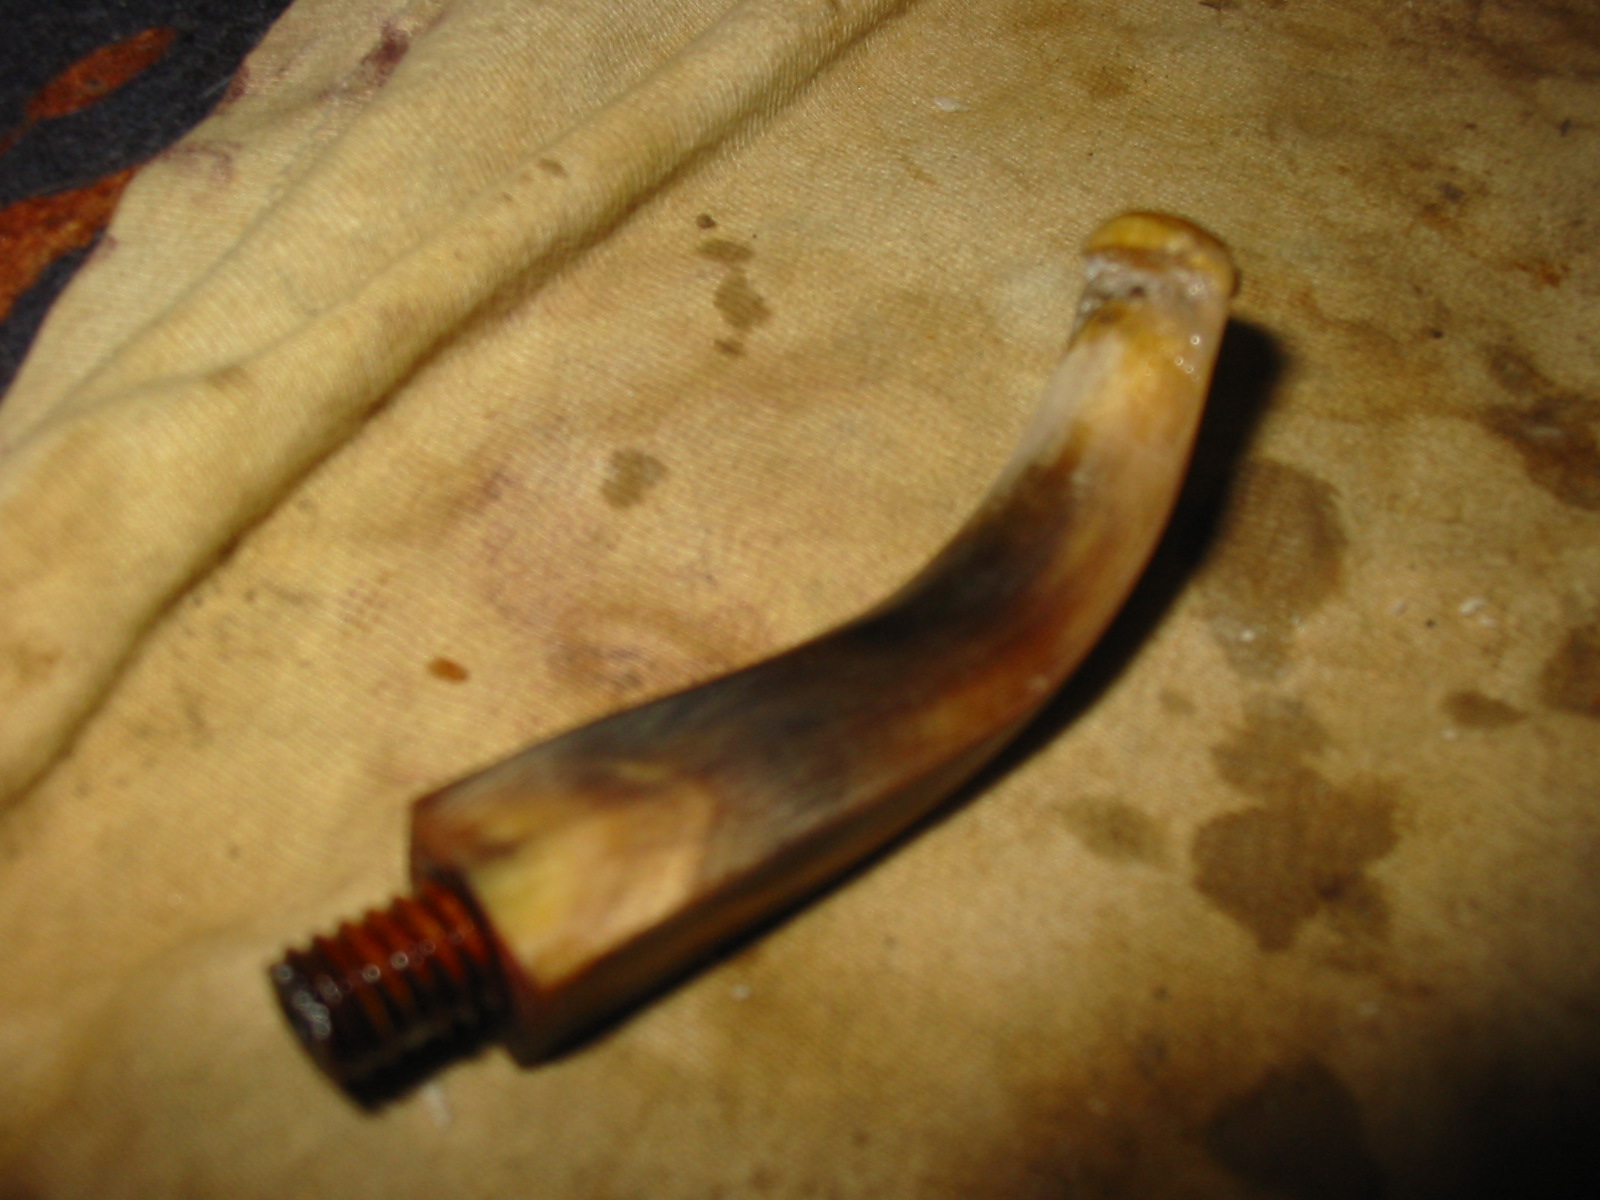
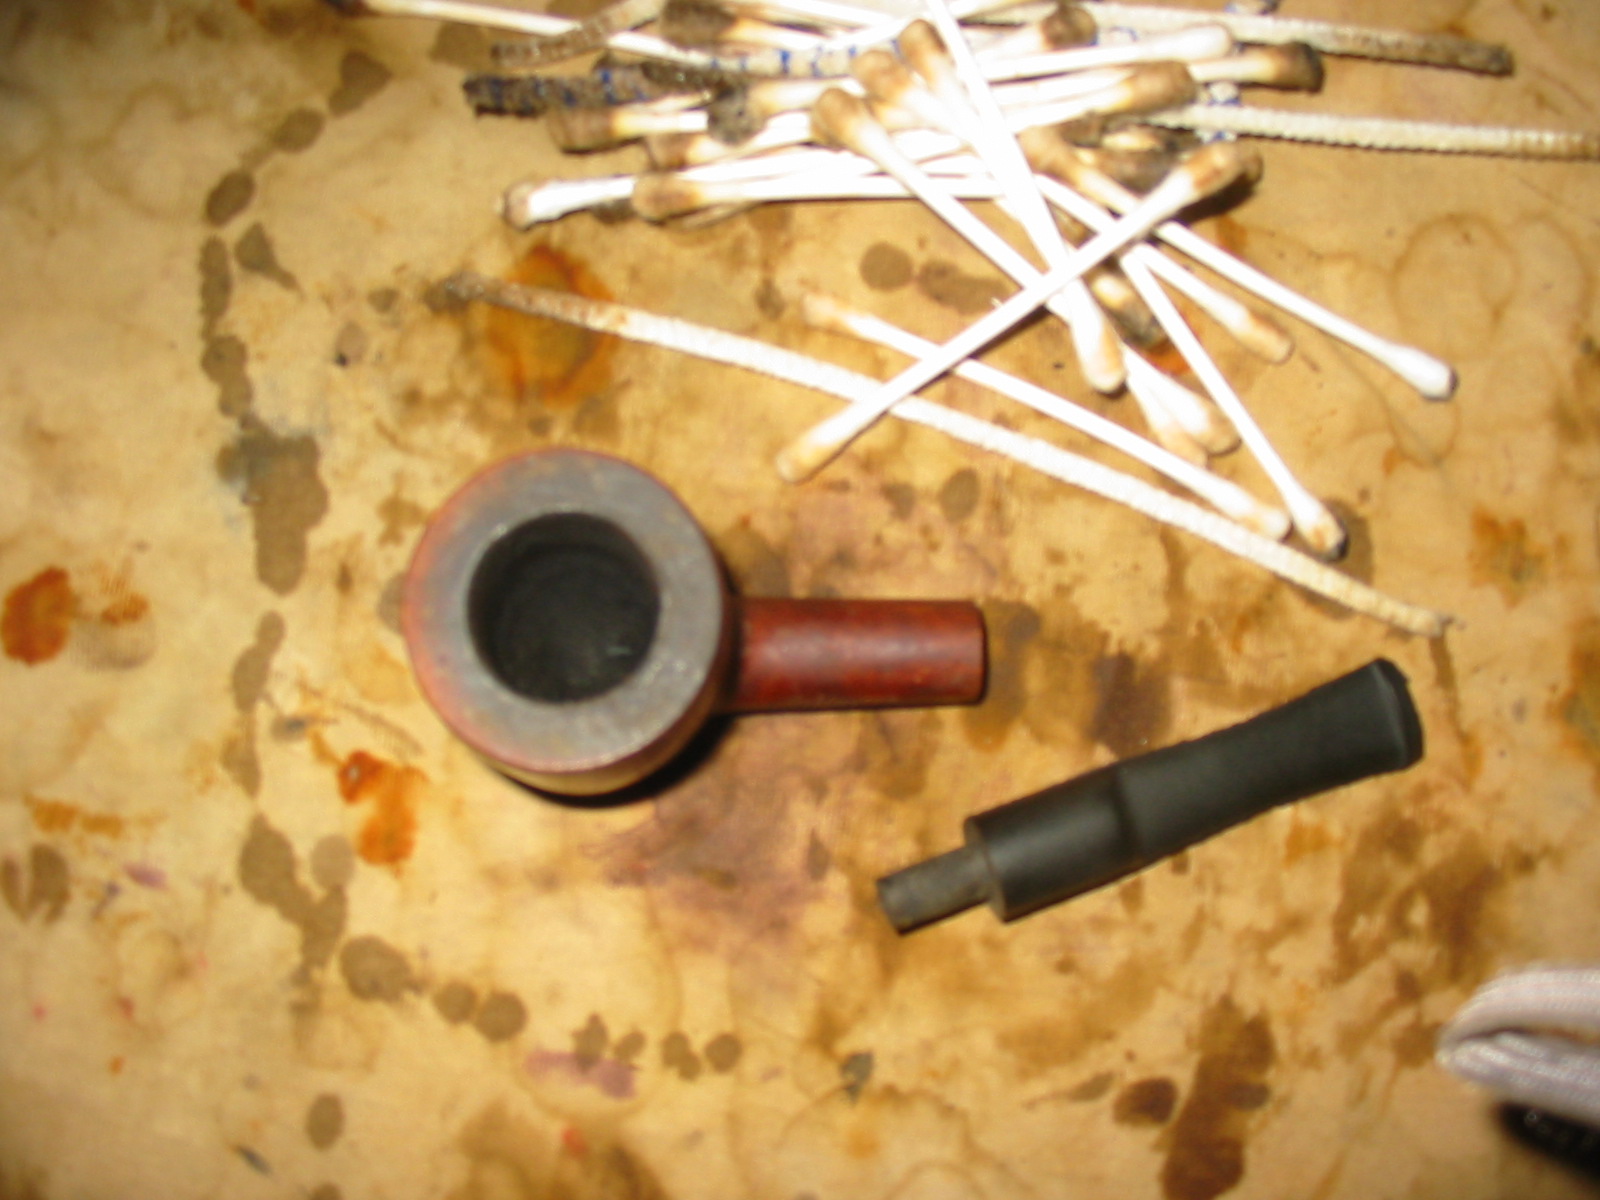
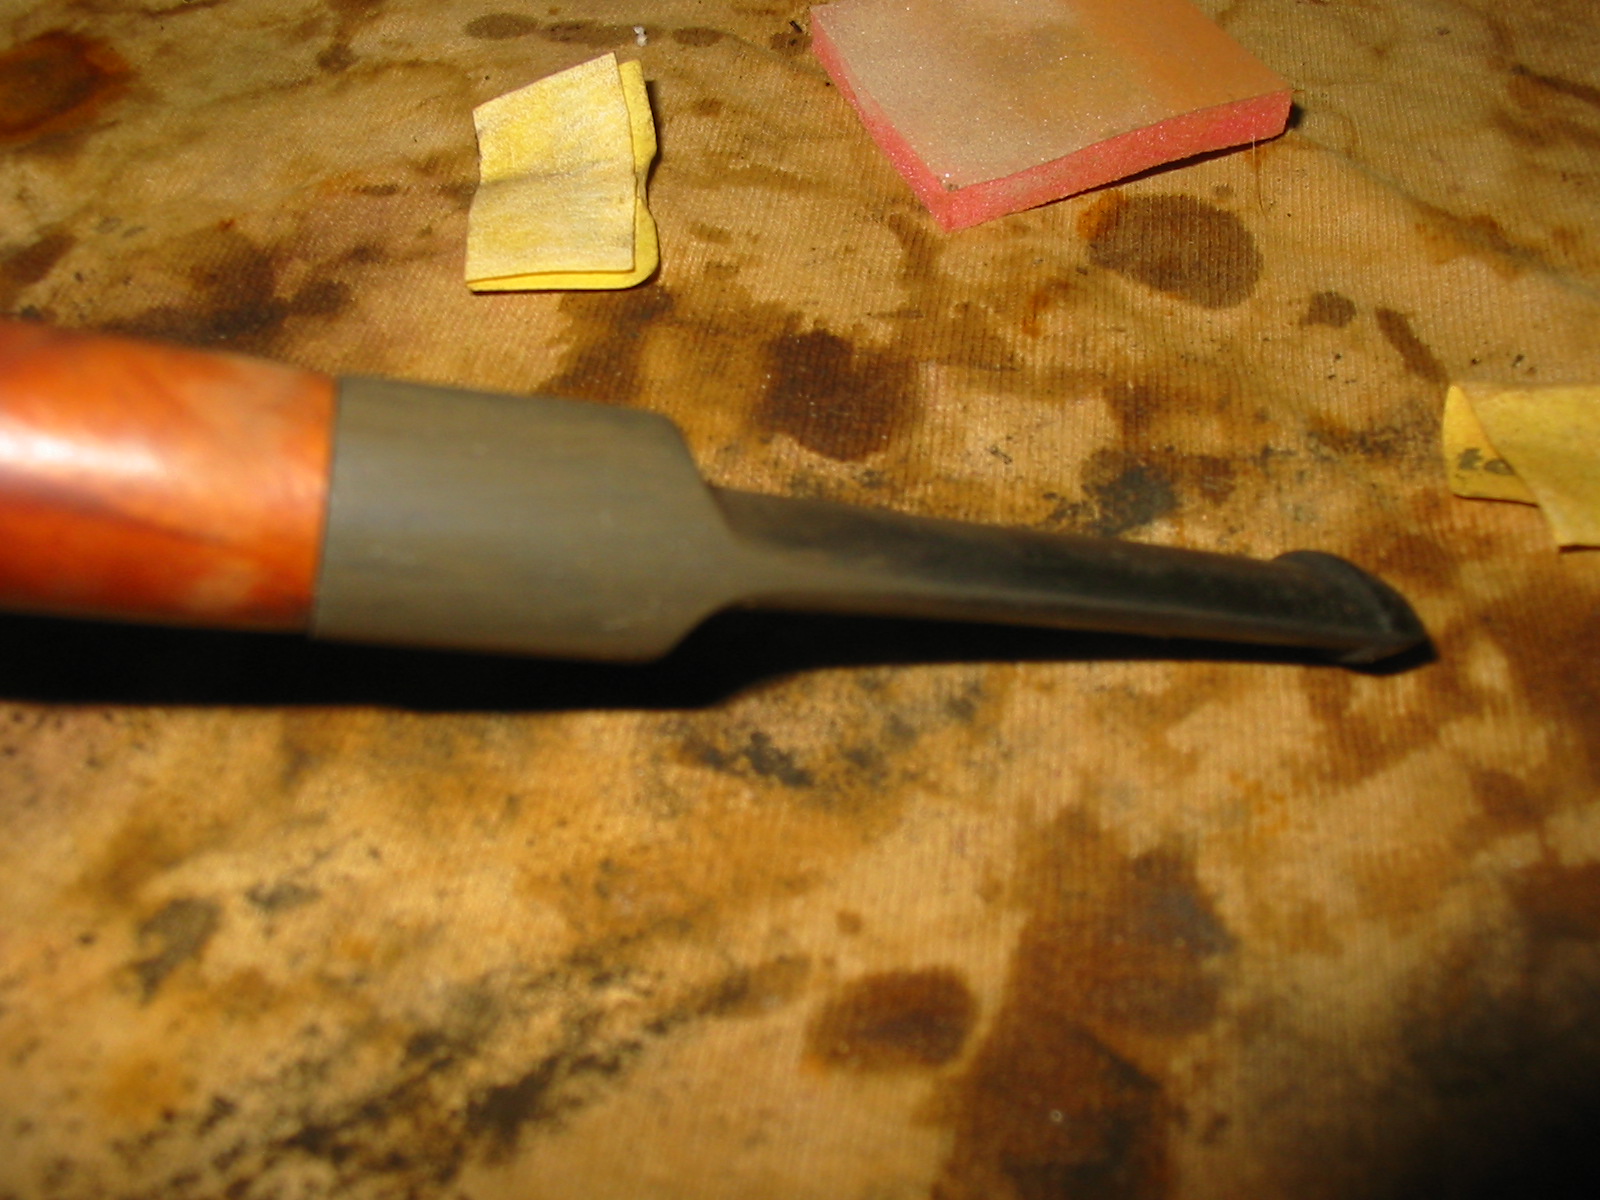
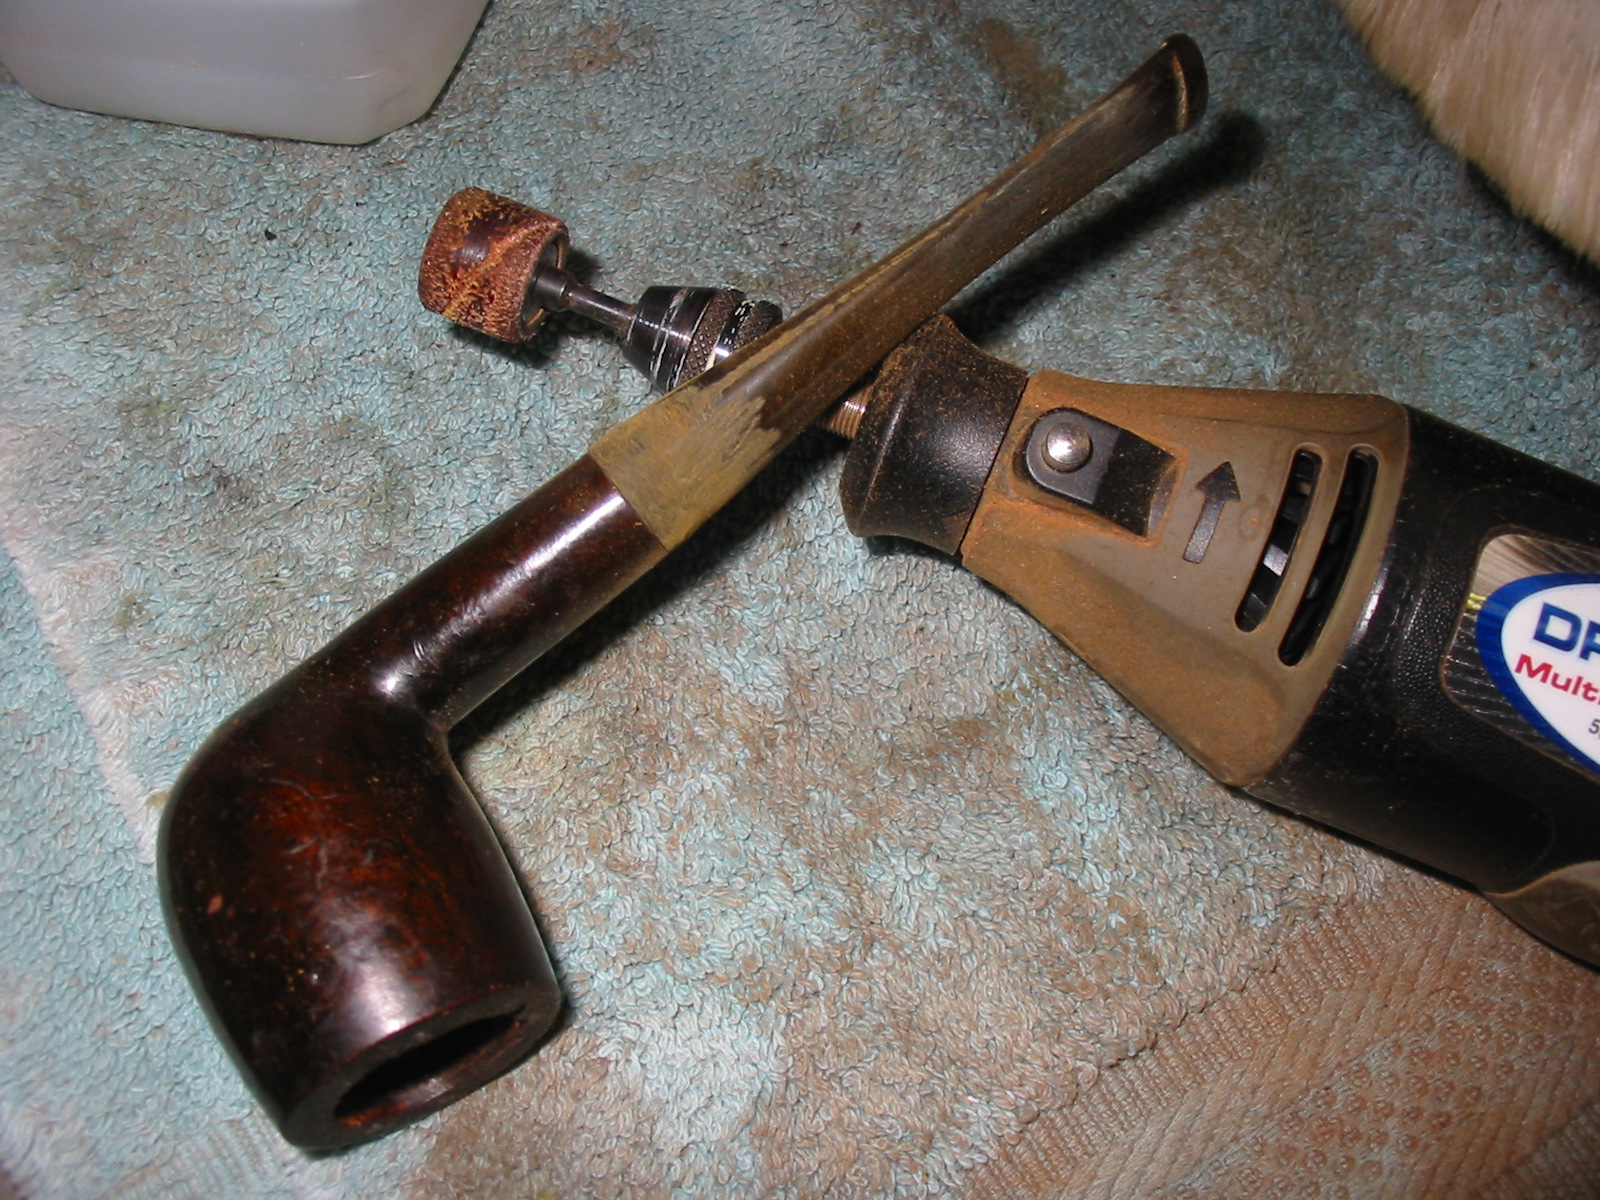
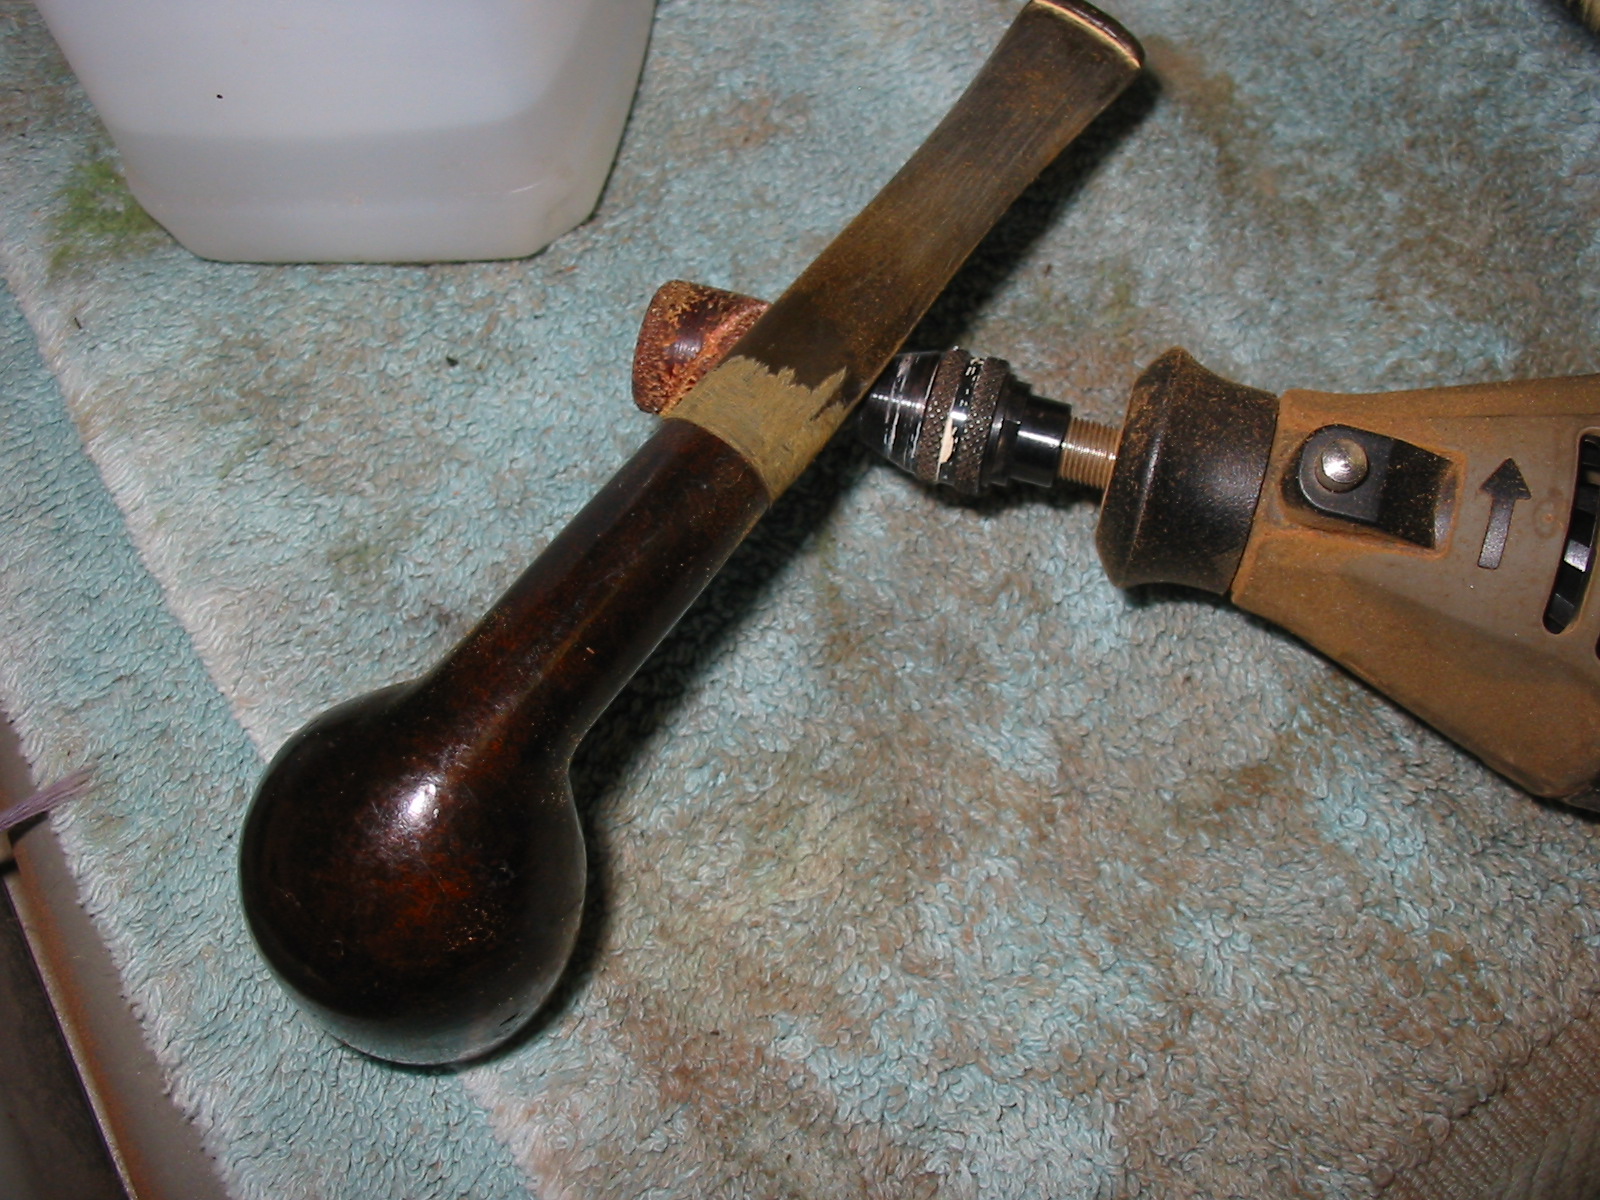
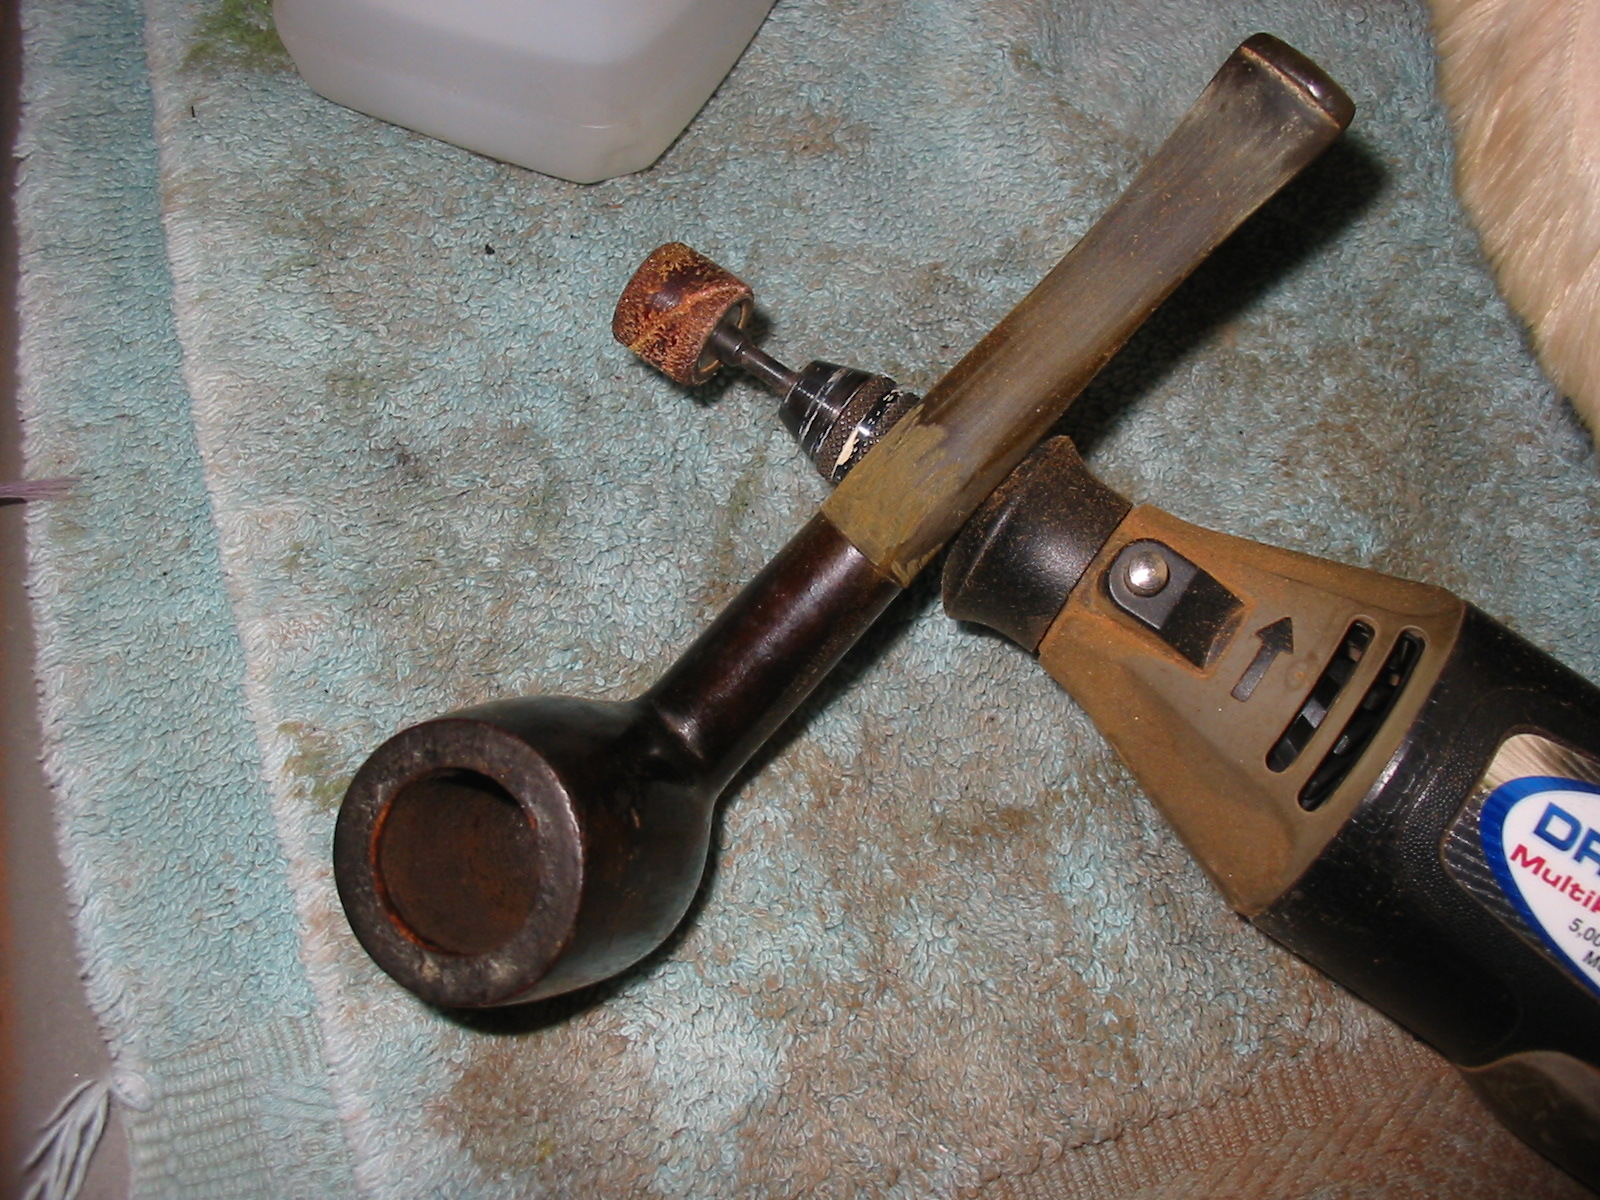
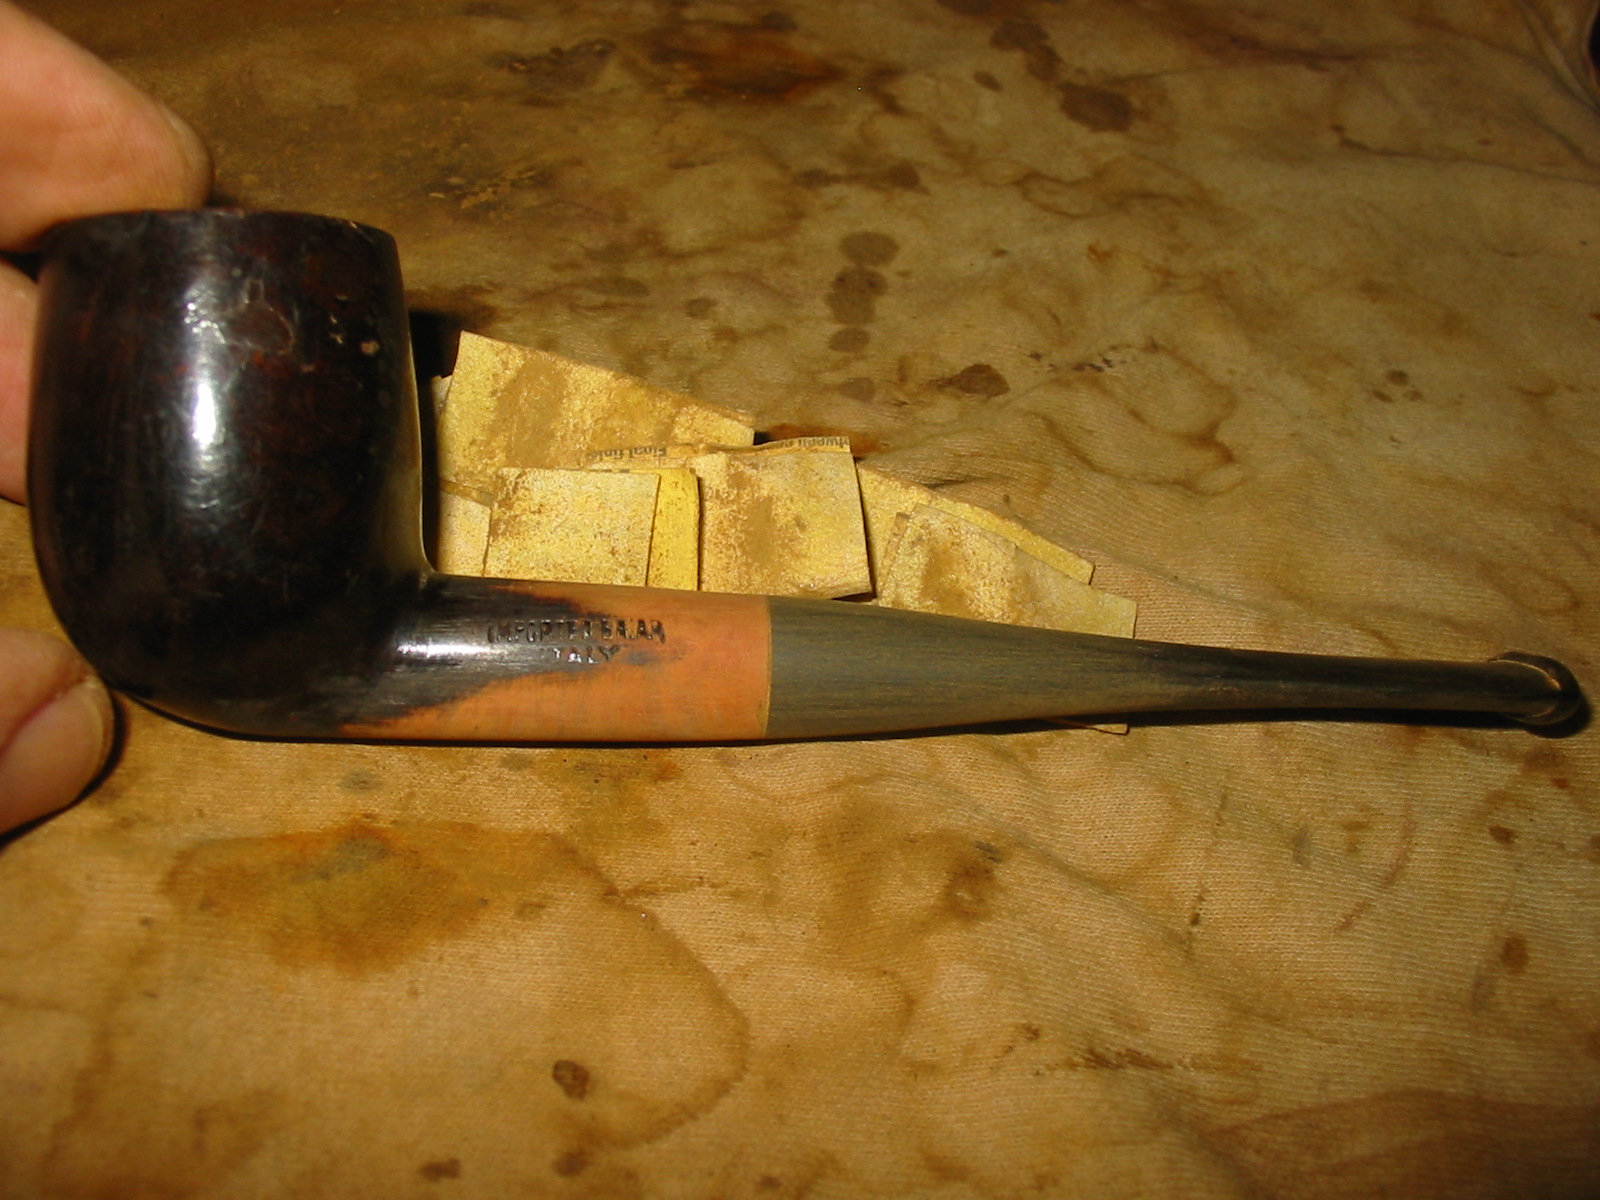
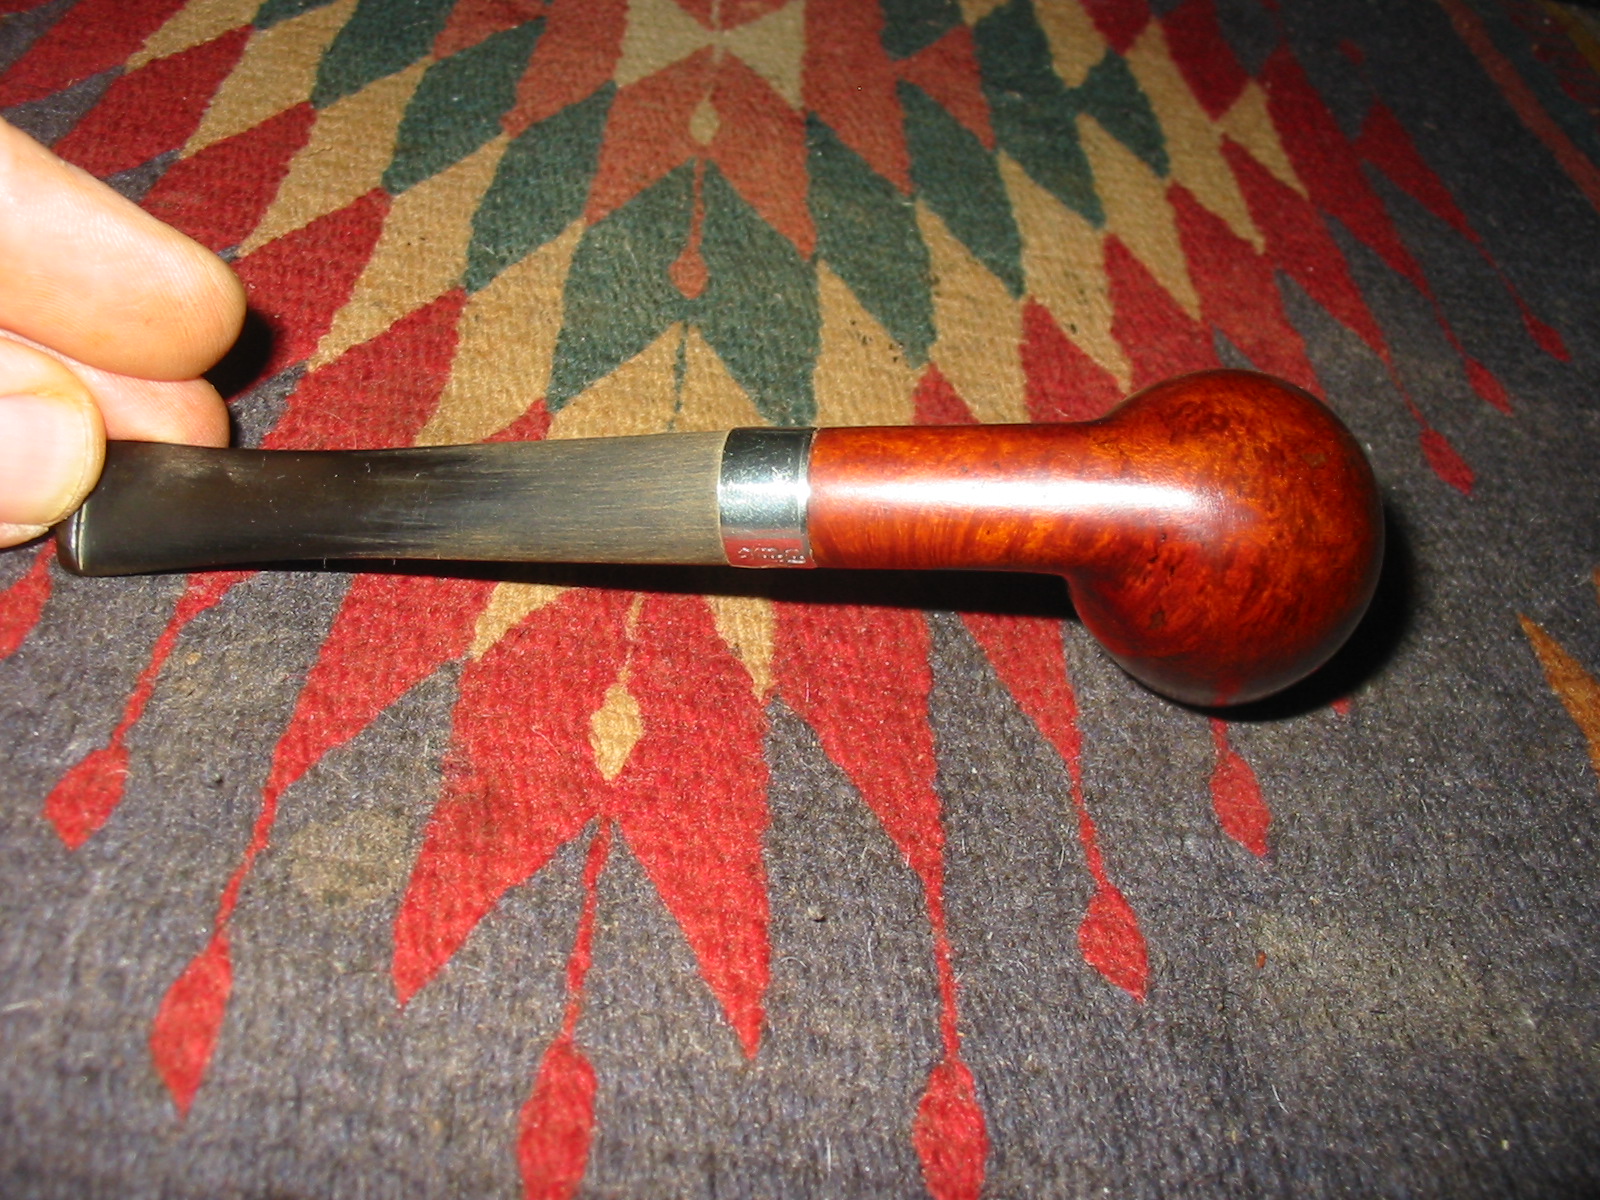
The stem was too large in diameter at the stem shank junction. So I sanded it back with a sanding drum on a Dremel. I have found that a Dremel run a medium speed can be carefully used to take back the diameter of a stem to almost match the shank with the stem in the shank. Care must be exercised so as not to nick the briar of the shank with the sanding drum.
IMG_2832

IMG_2833

IMG_2834

IMG_2835

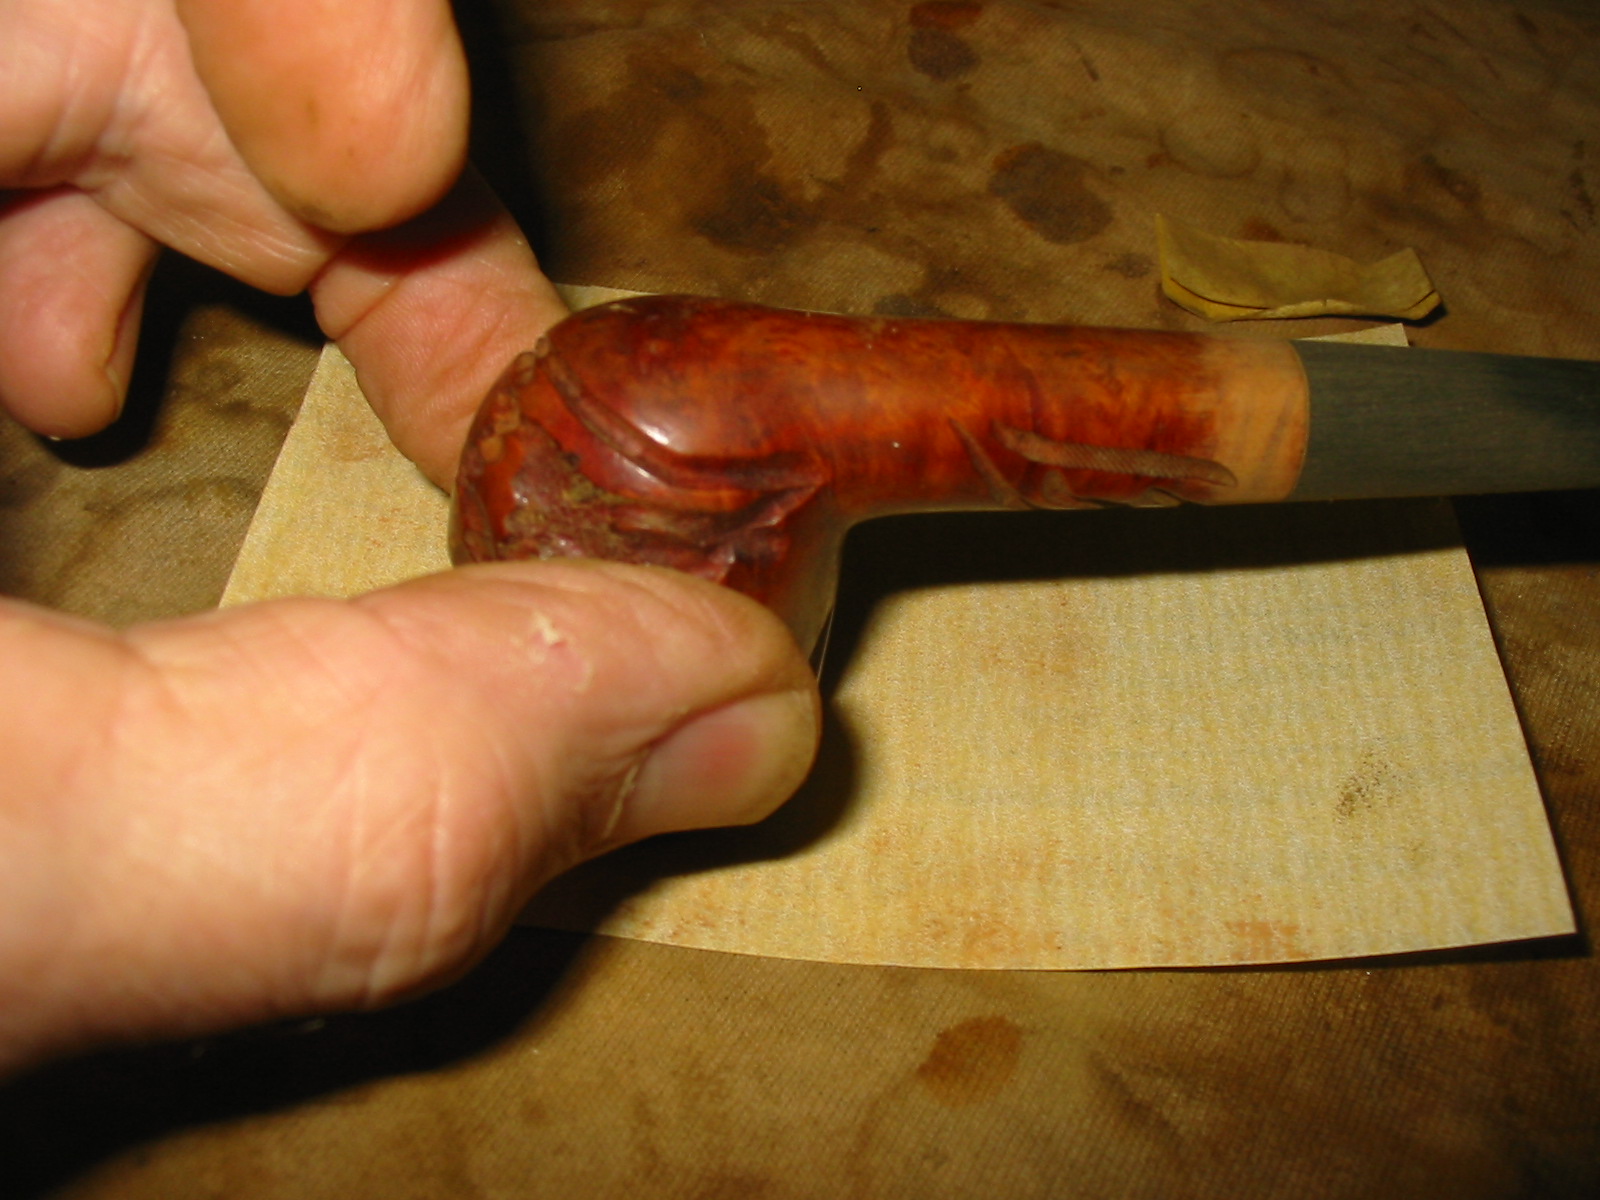
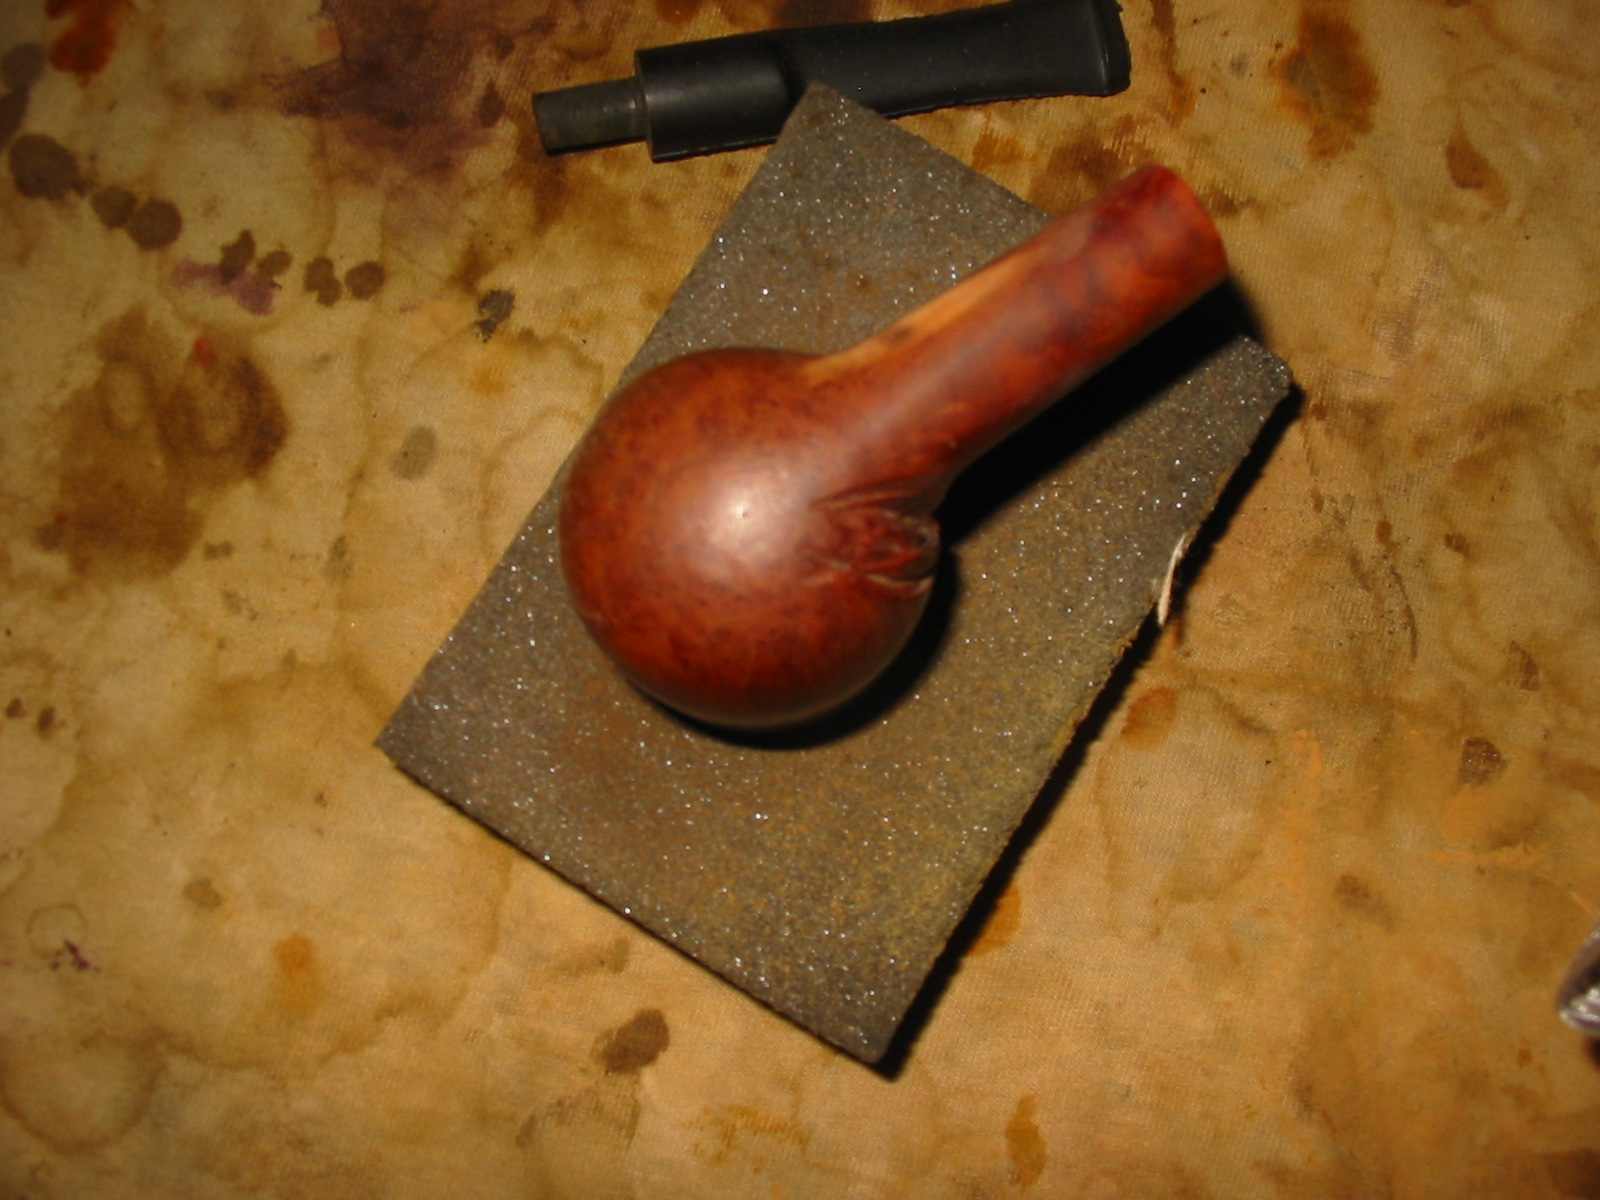
I took the pipe back to the work table and sanded it until it fit well with 220 grit sandpaper. I also decided to sand the shank with the sandpaper as well to achieve a good flow from shank to stem. I also wanted to remove the heavy black/brown finish on the pipe so removing it from the shank was not problematic.
IMG_2837

IMG_2838

IMG_2839

IMG_2840

IMG_2841

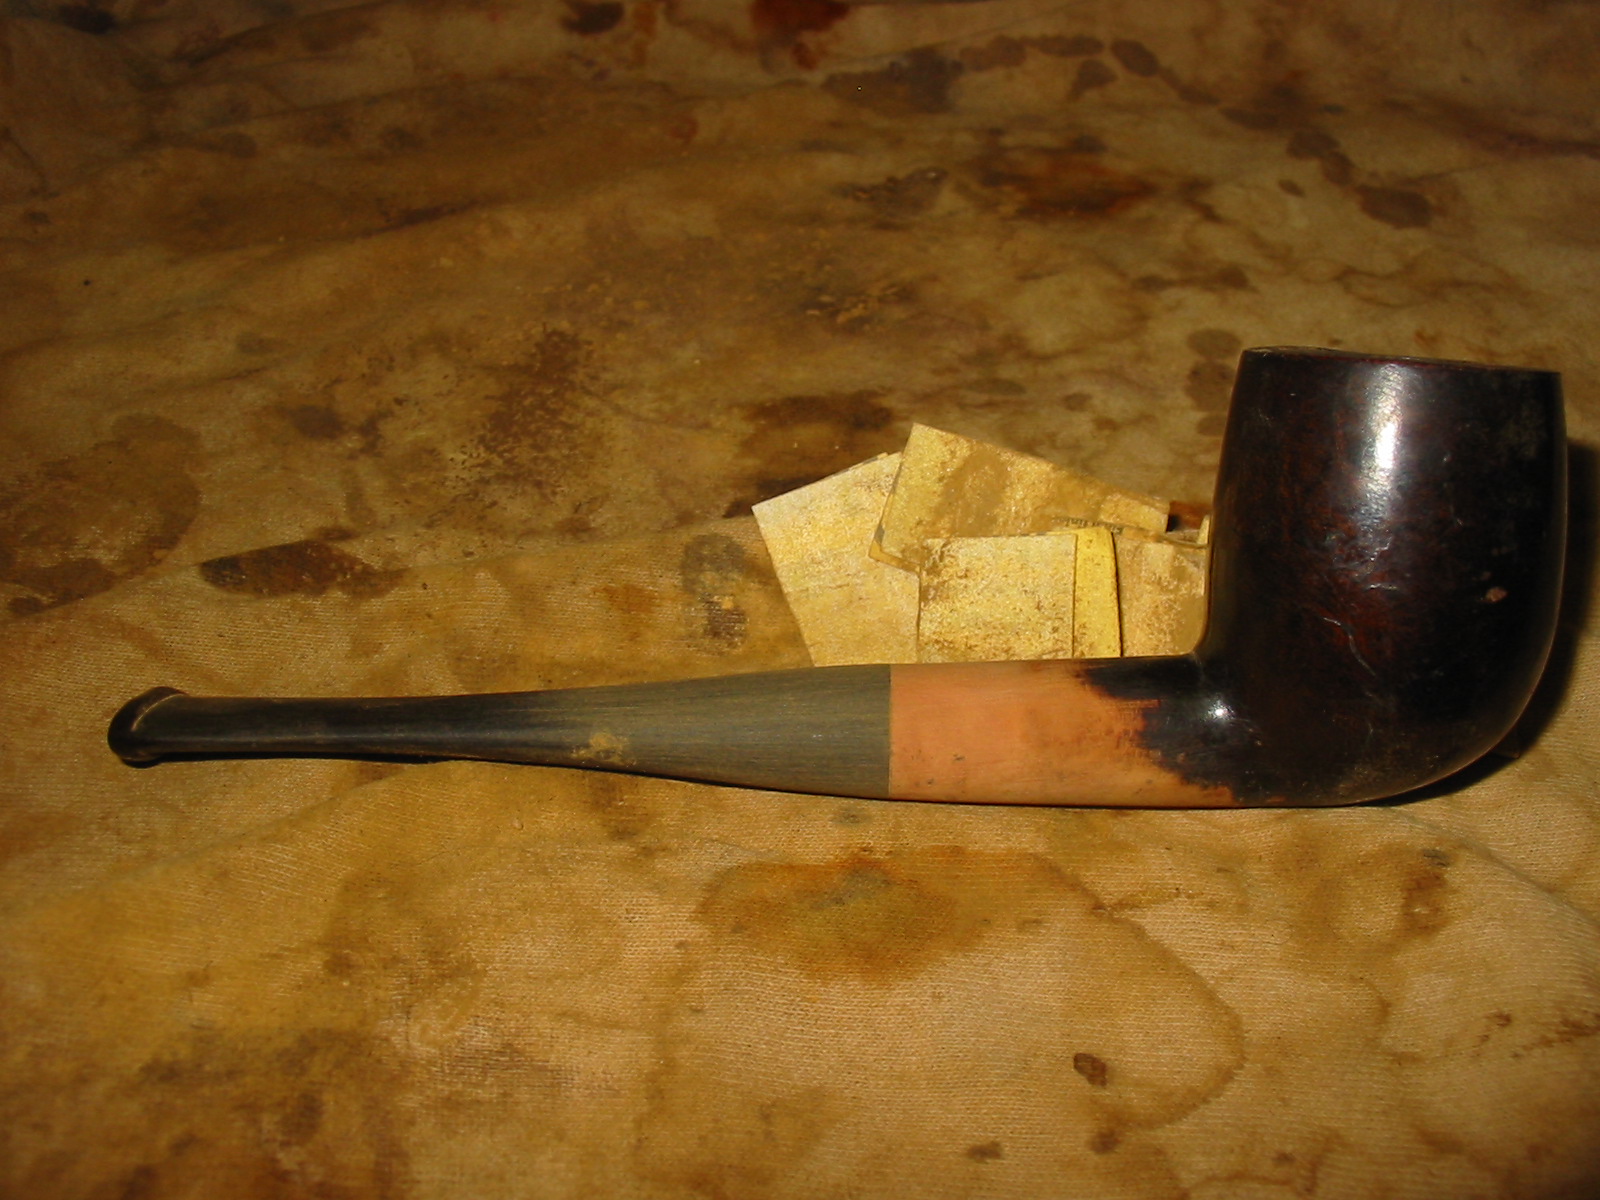
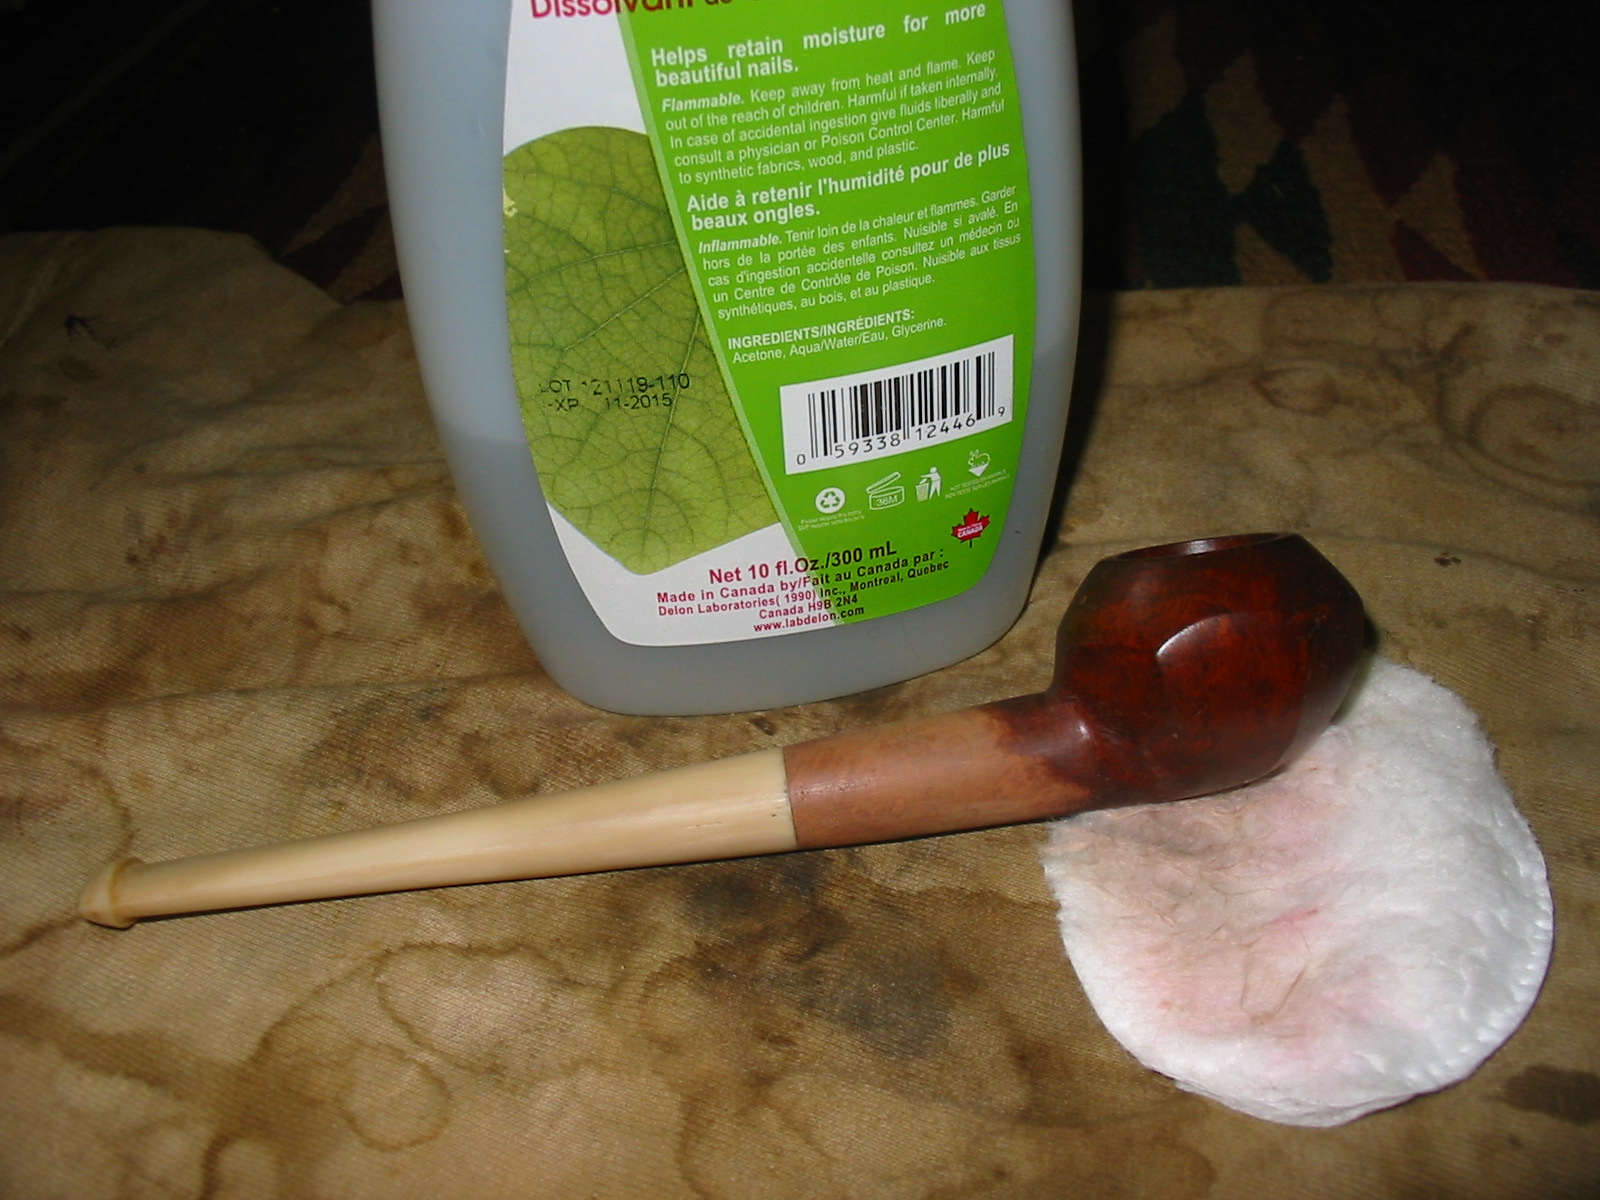
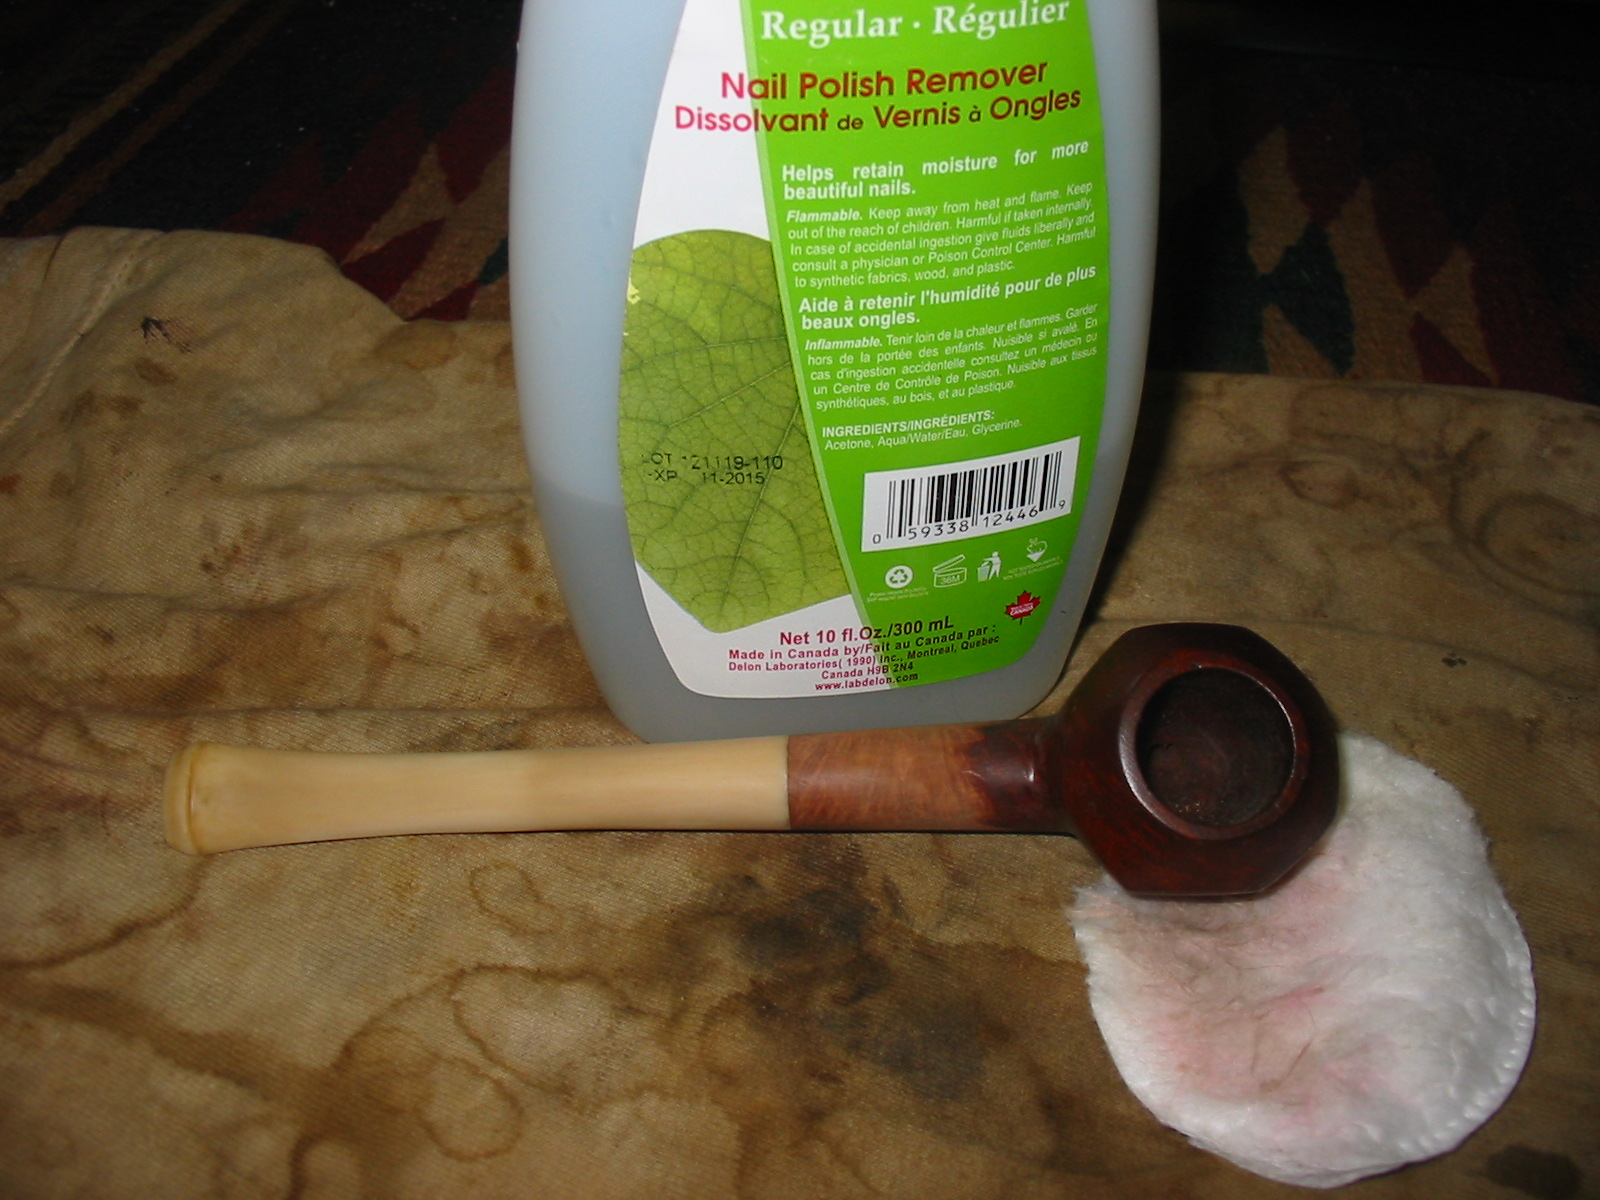
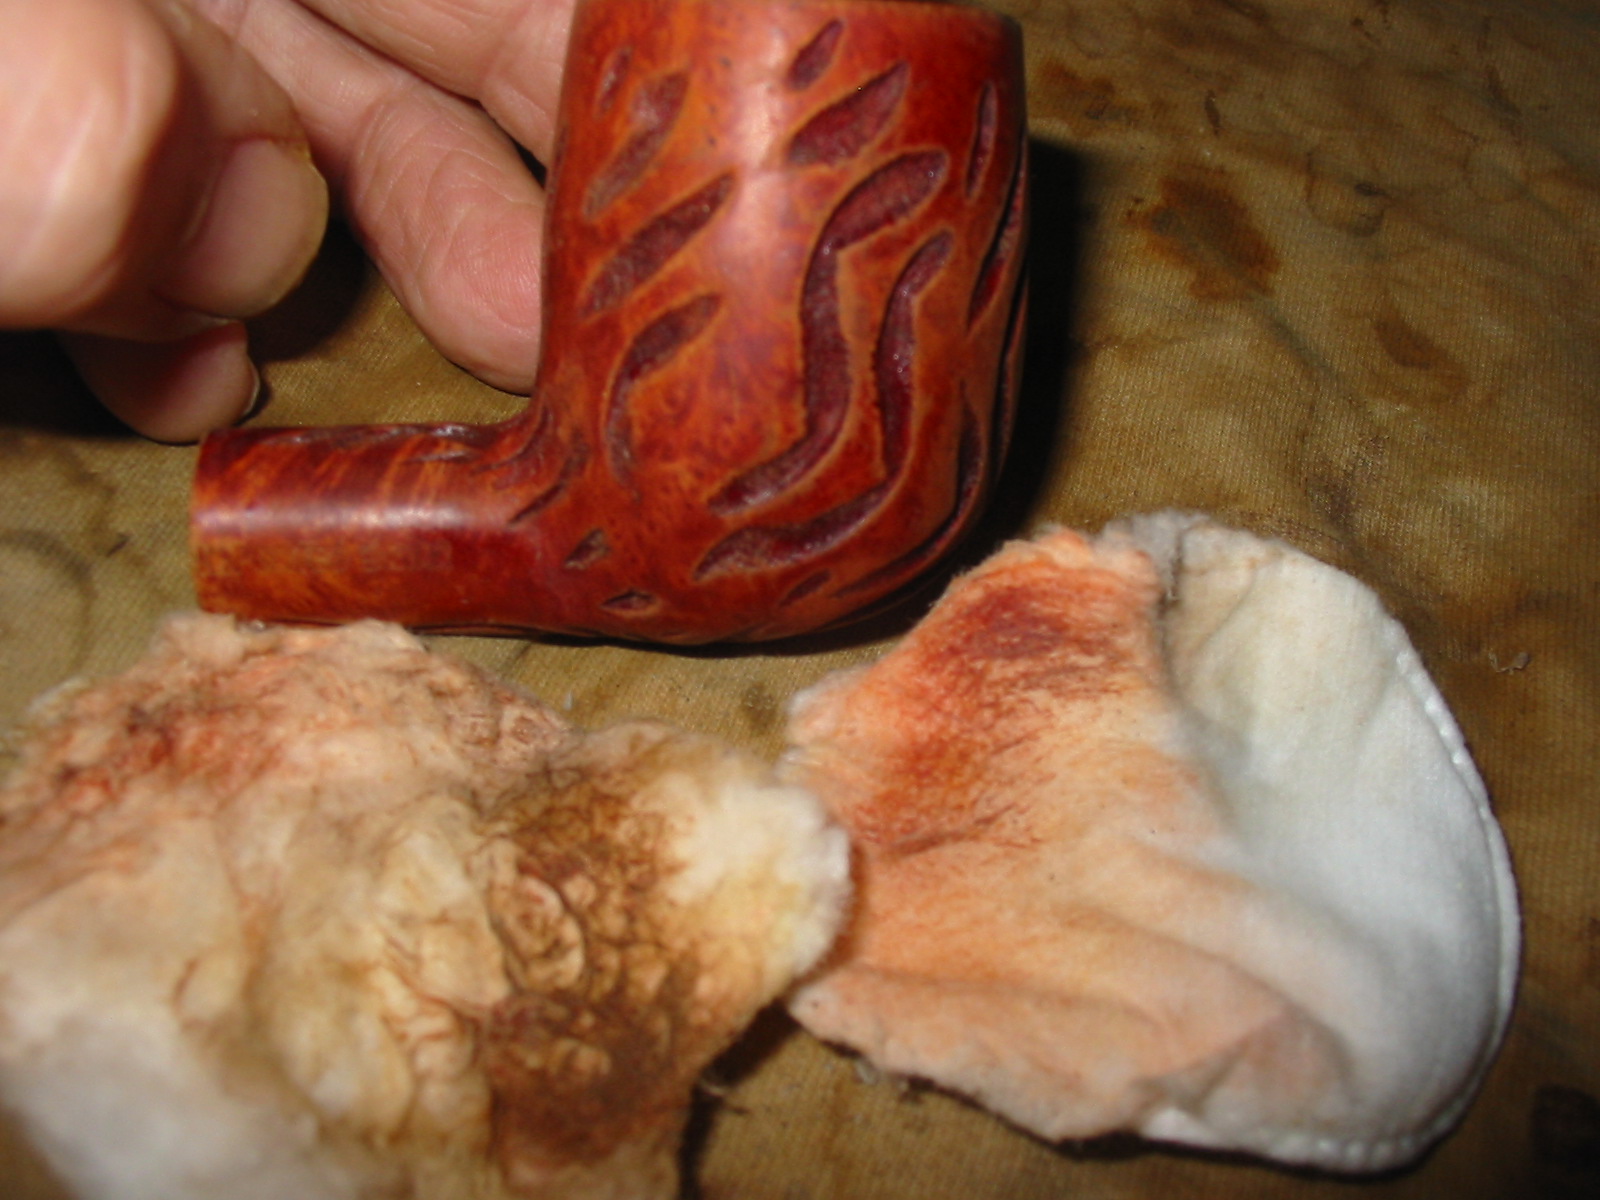
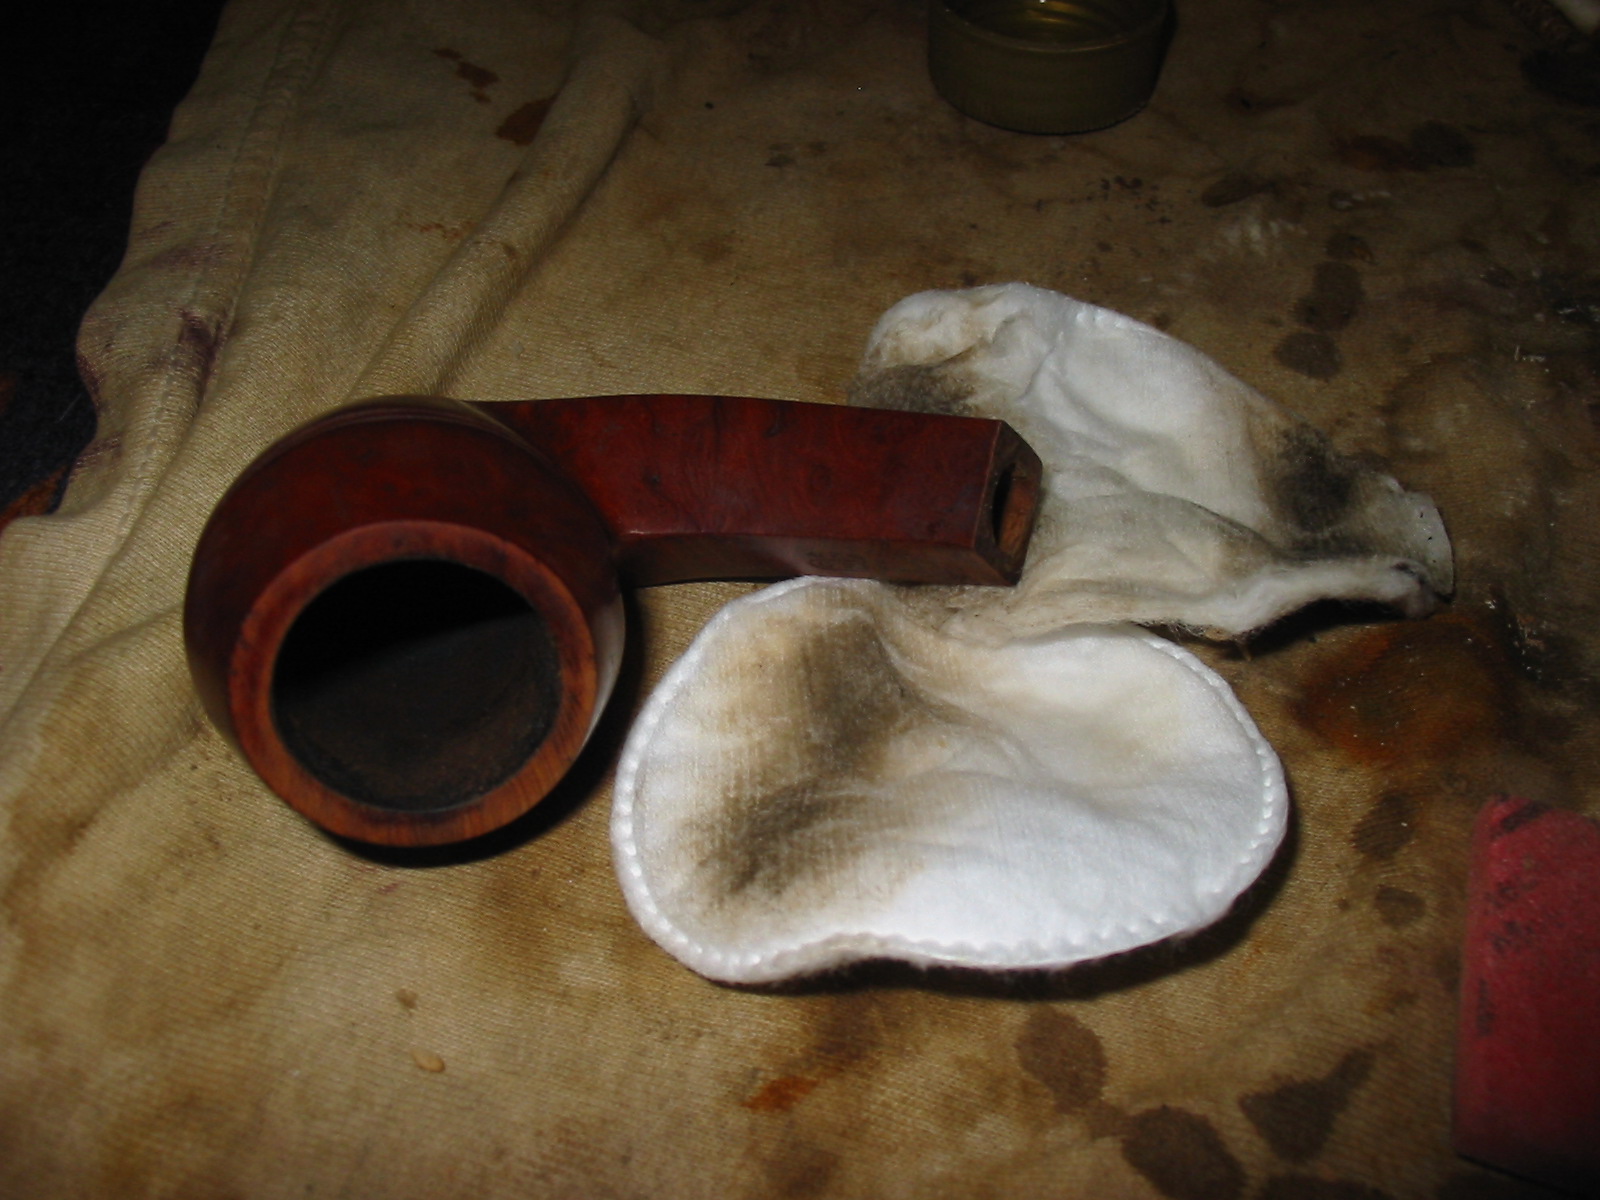
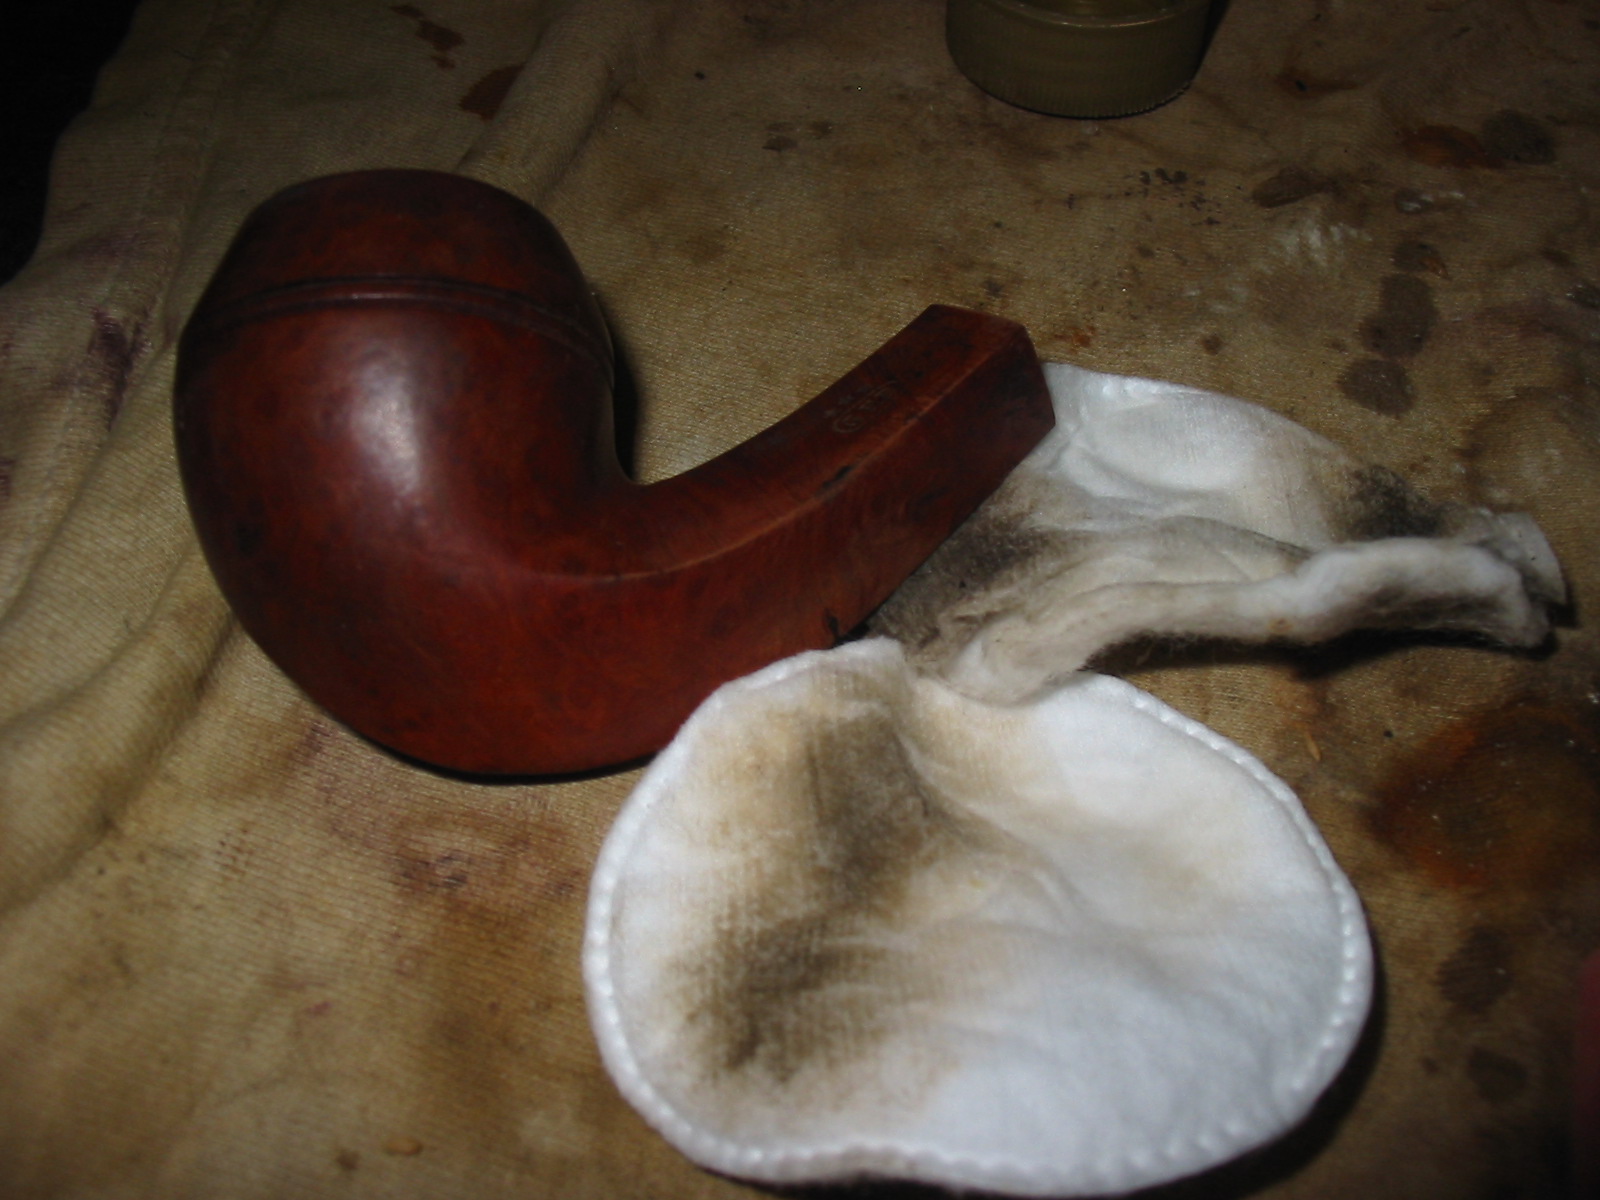
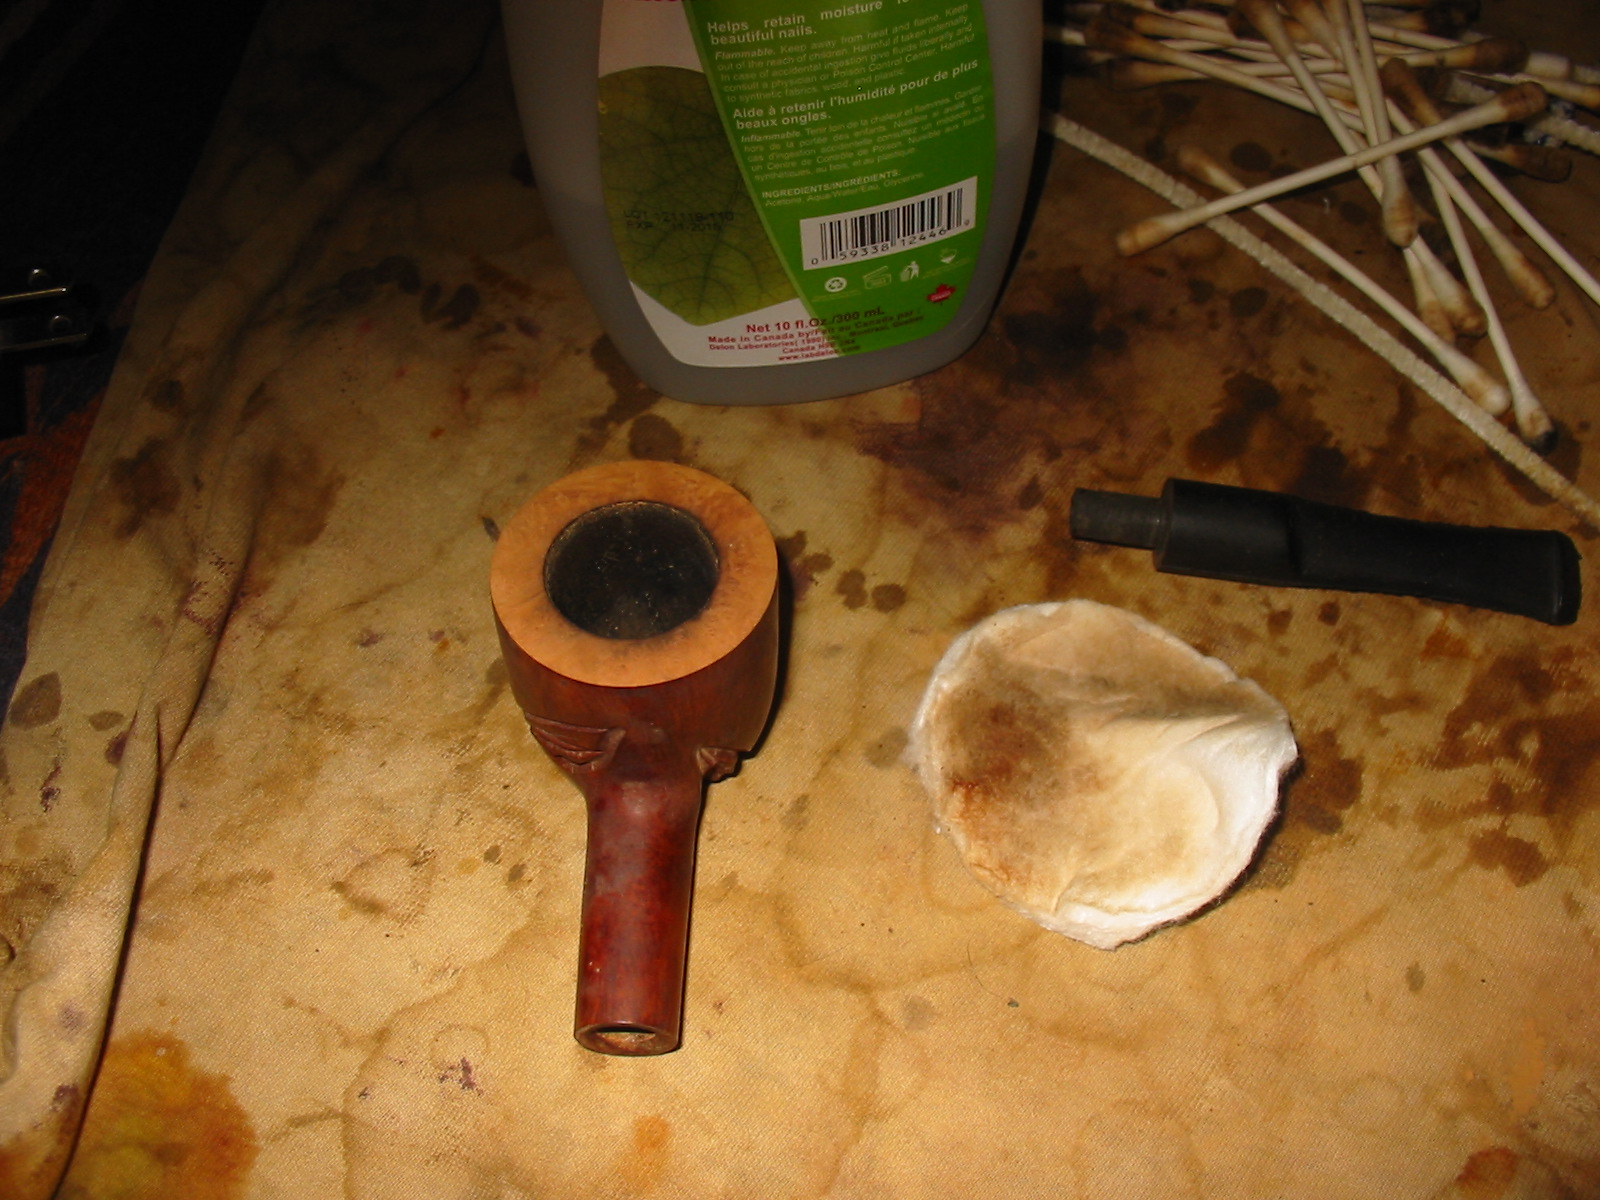
Once I had sanded the transition smooth I wiped the bowl down with acetone on a cotton pad to remove the remainder of the finish on the bowl.
IMG_2842

IMG_2843

IMG_2844

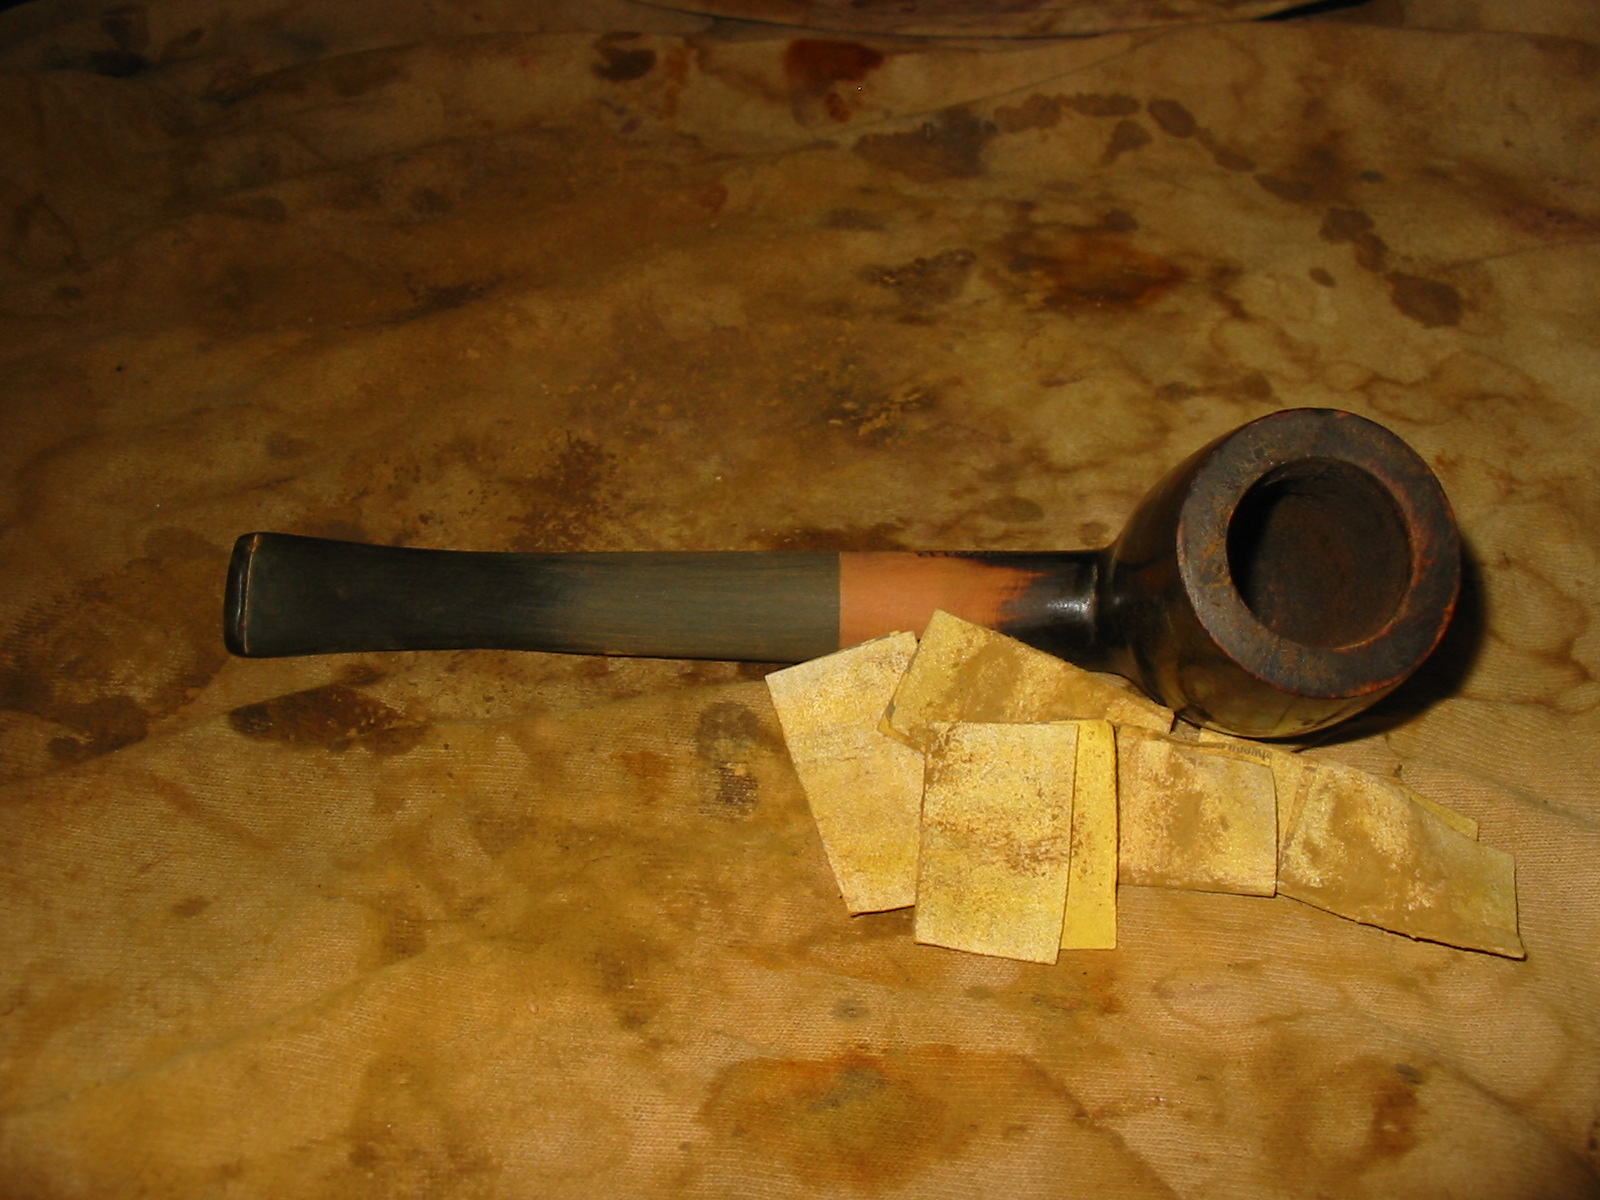
After wiping it down I gave it a buff with red Tripoli on the buffing wheel to remove the remainder of the finish and give me an idea of what would still need to be done with the bowl.
IMG_2845

IMG_2846

IMG_2847

IMG_2848

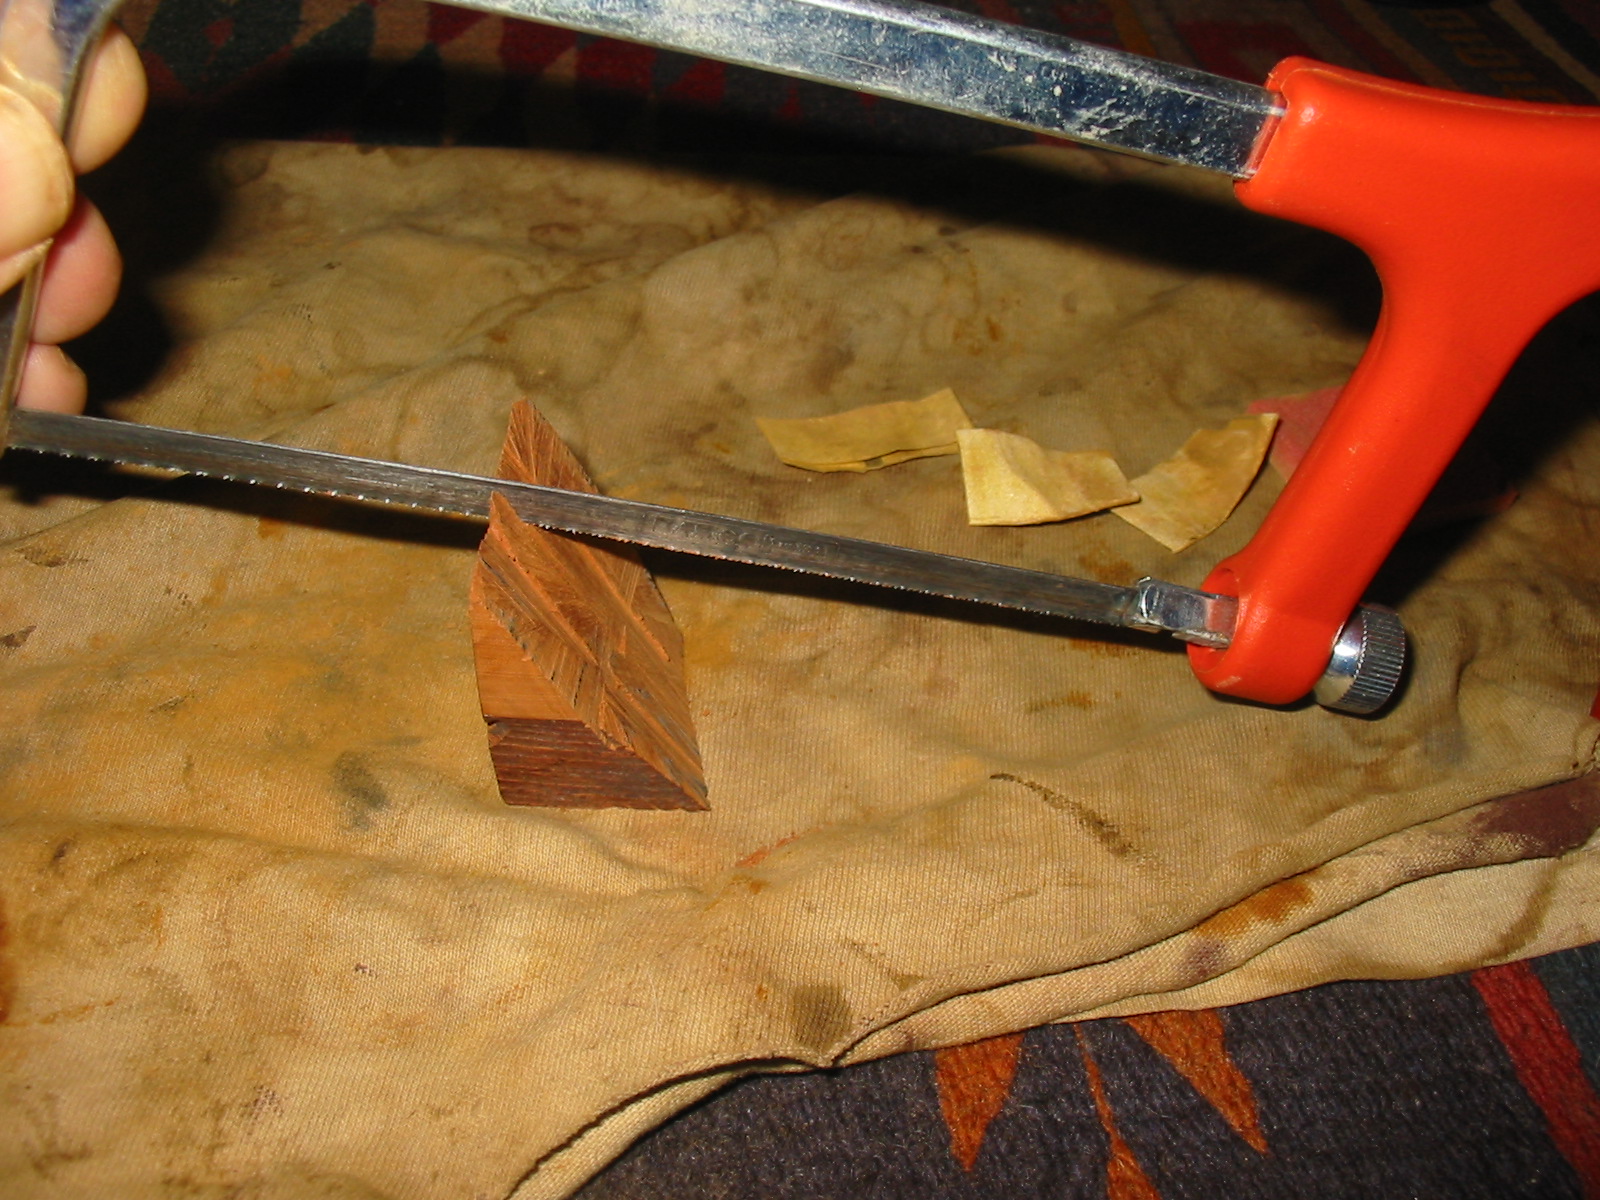
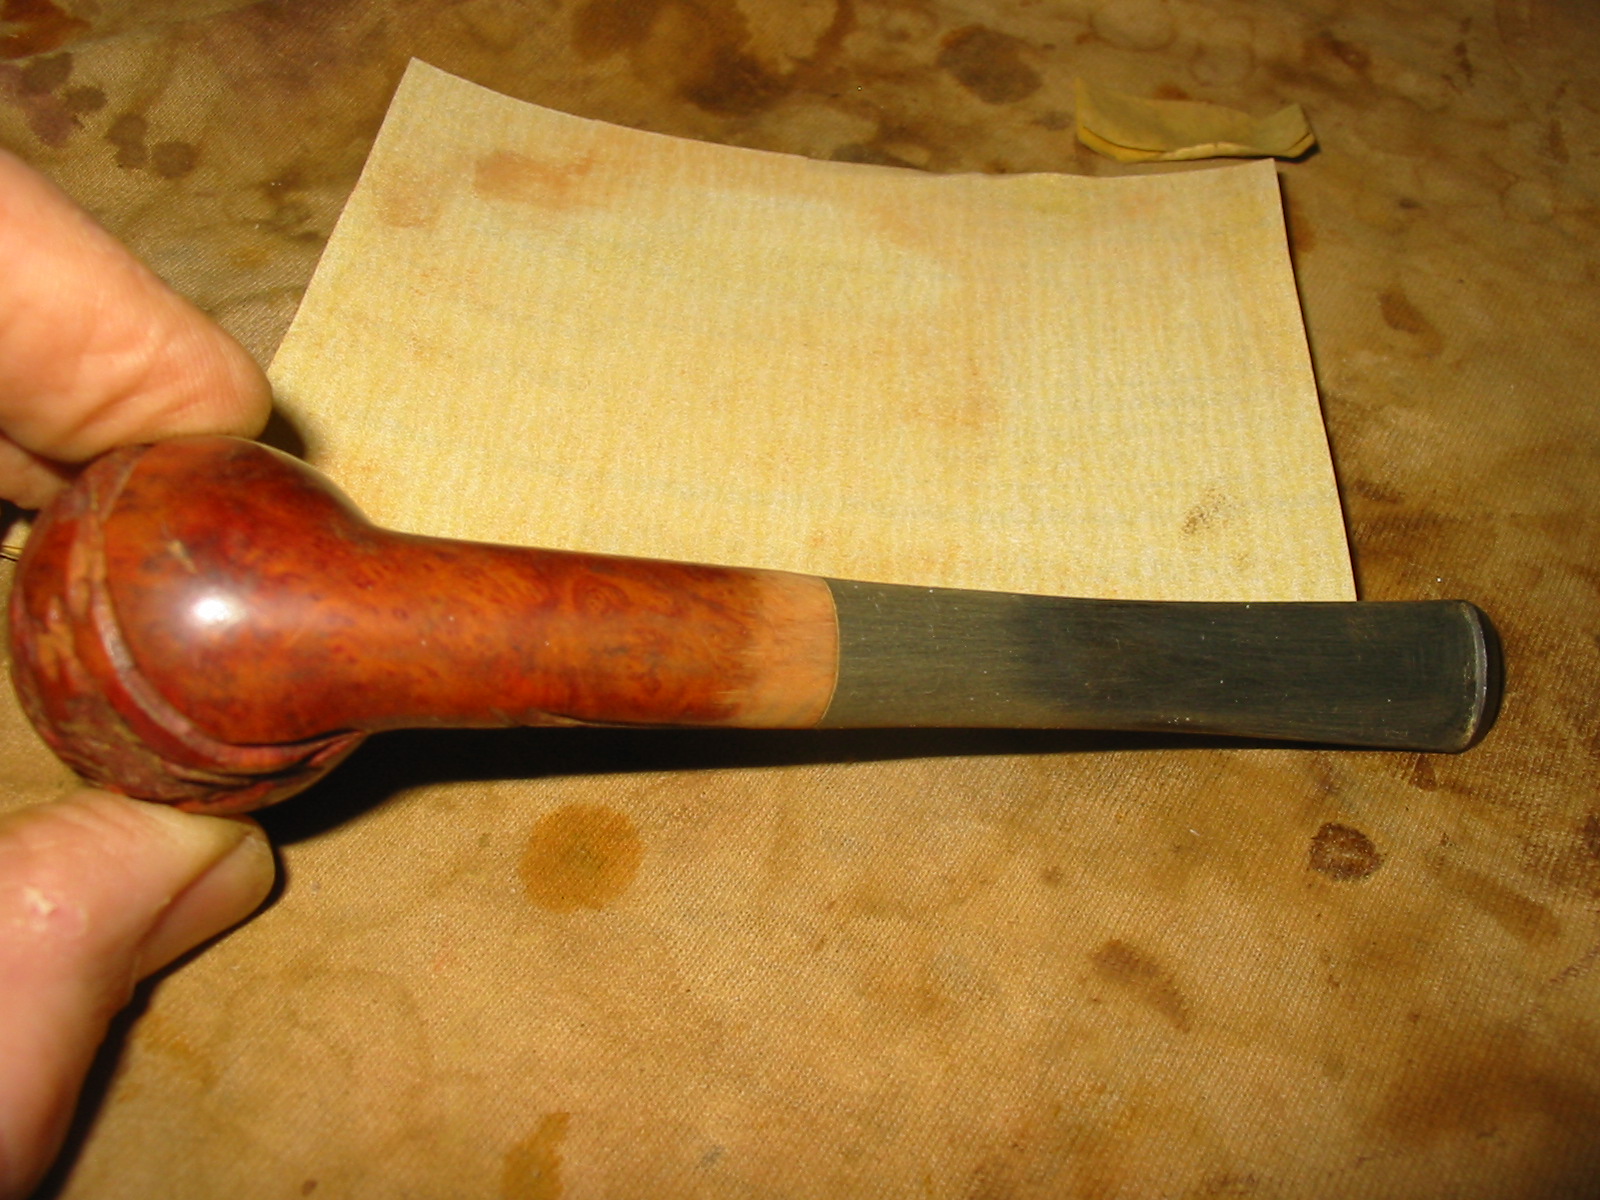
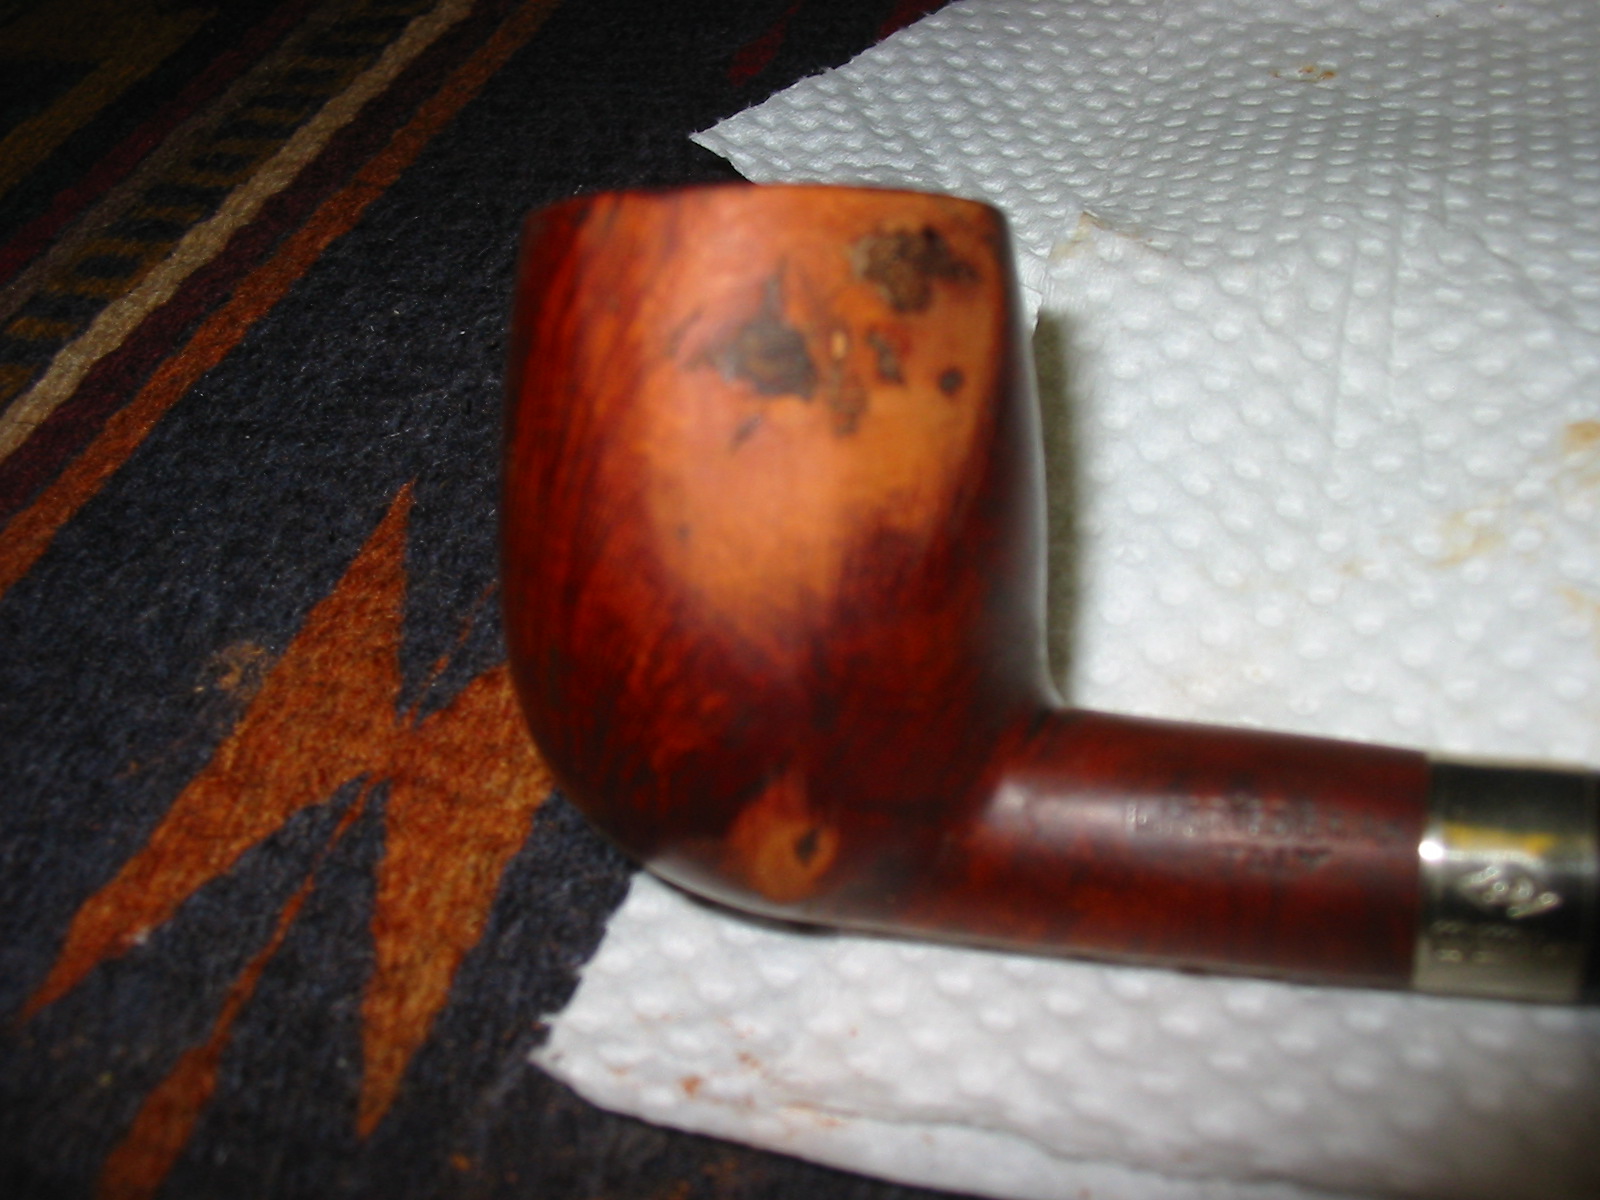
I sanded the bowl with a medium grit sanding sponge and then picked out the large broken fills on the left side of the bowl. I wiped it with acetone to clean it one more time before packing the fills with briar dust. I packed in the briar dust with a dental pick and then tamped it down with flat head tamper to make sure the pack was good and tight. I dripped some superglue gel into the briar dust and then more briar dust on top of the glue. I tamped it another time to get a good solid fill. I sanded the excess briar dust superglue mixture with 220 grit sandpaper and then a medium grit sanding sponge.
IMG_2849

IMG_2852

IMG_2854

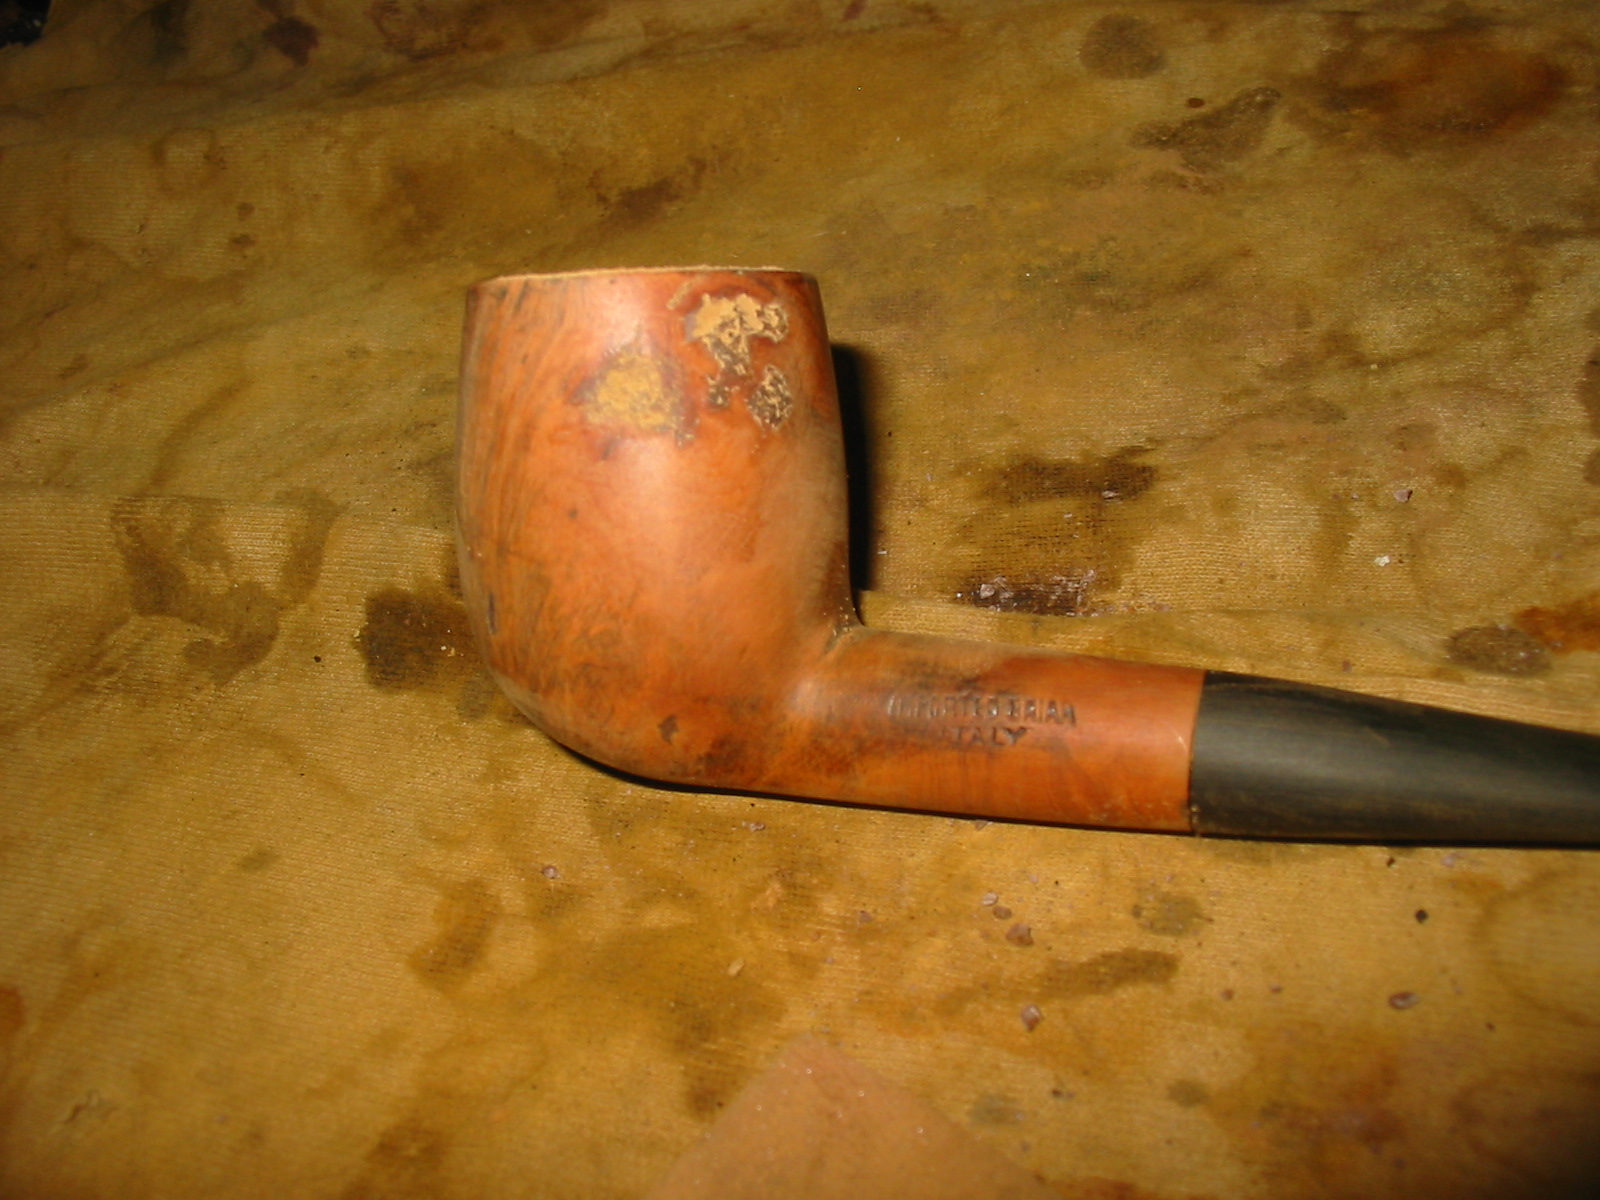
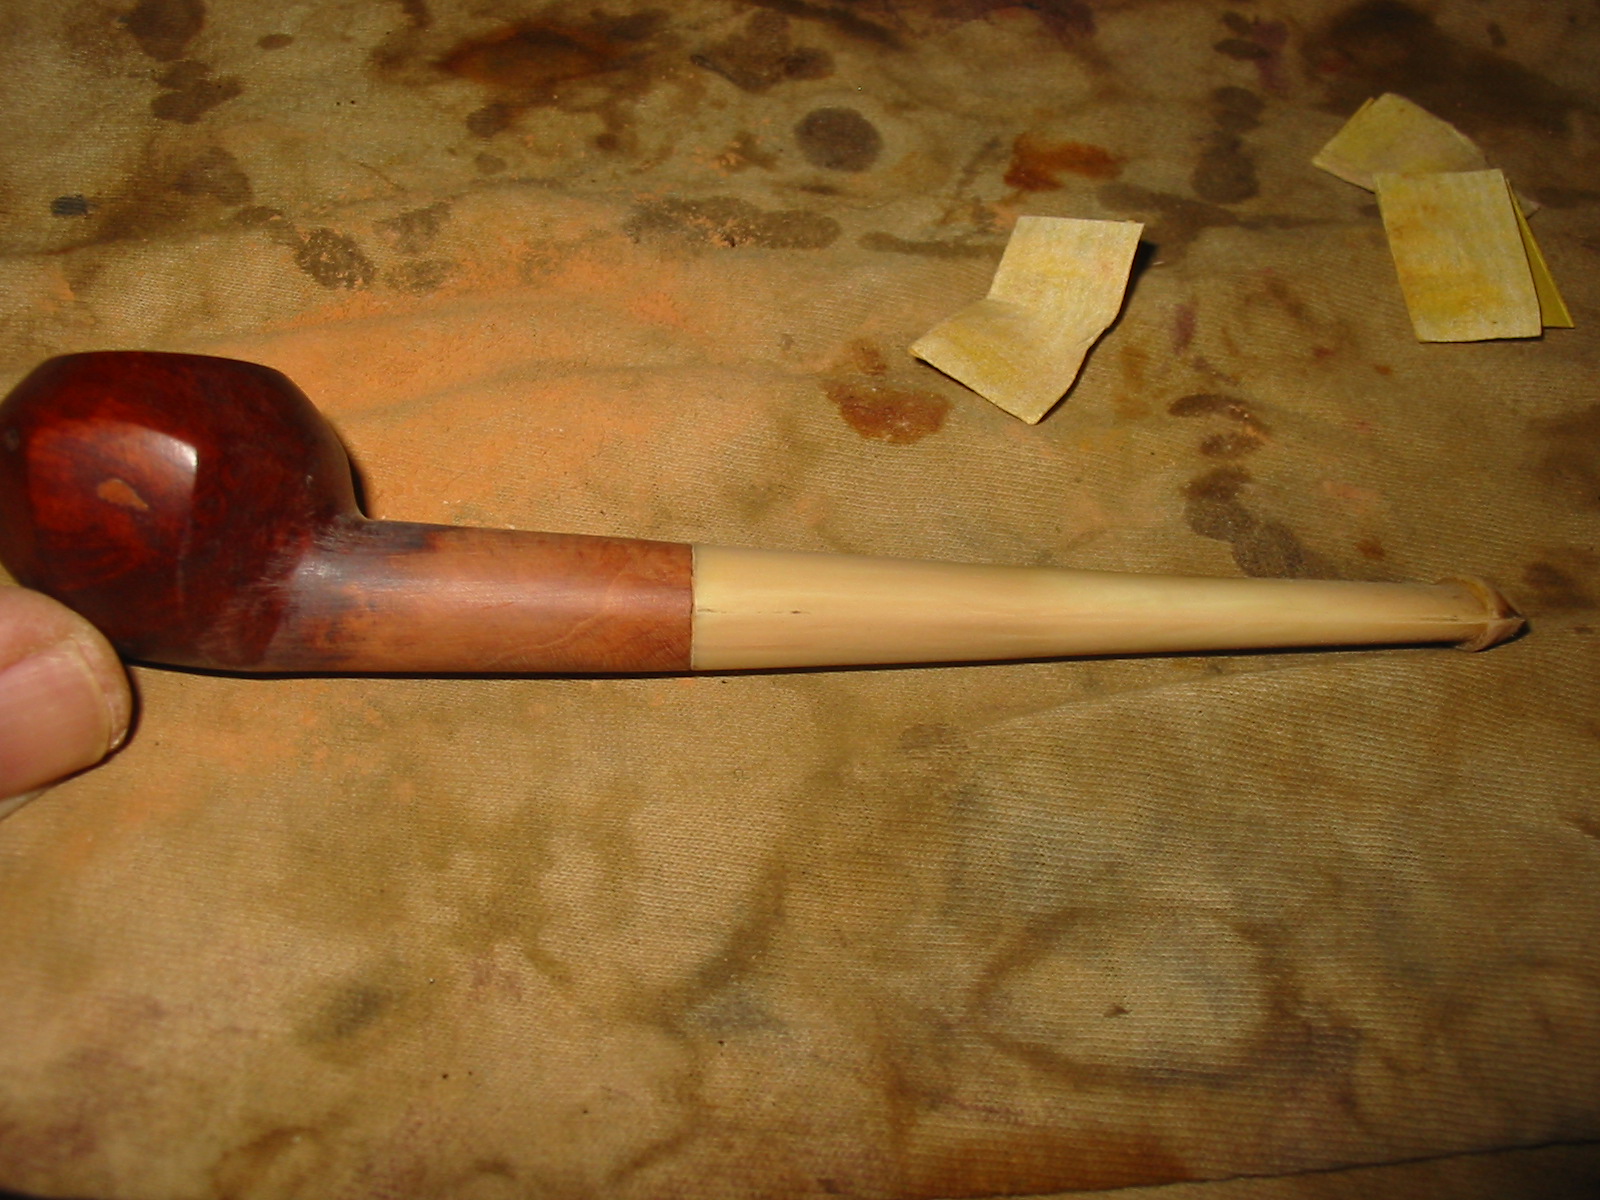
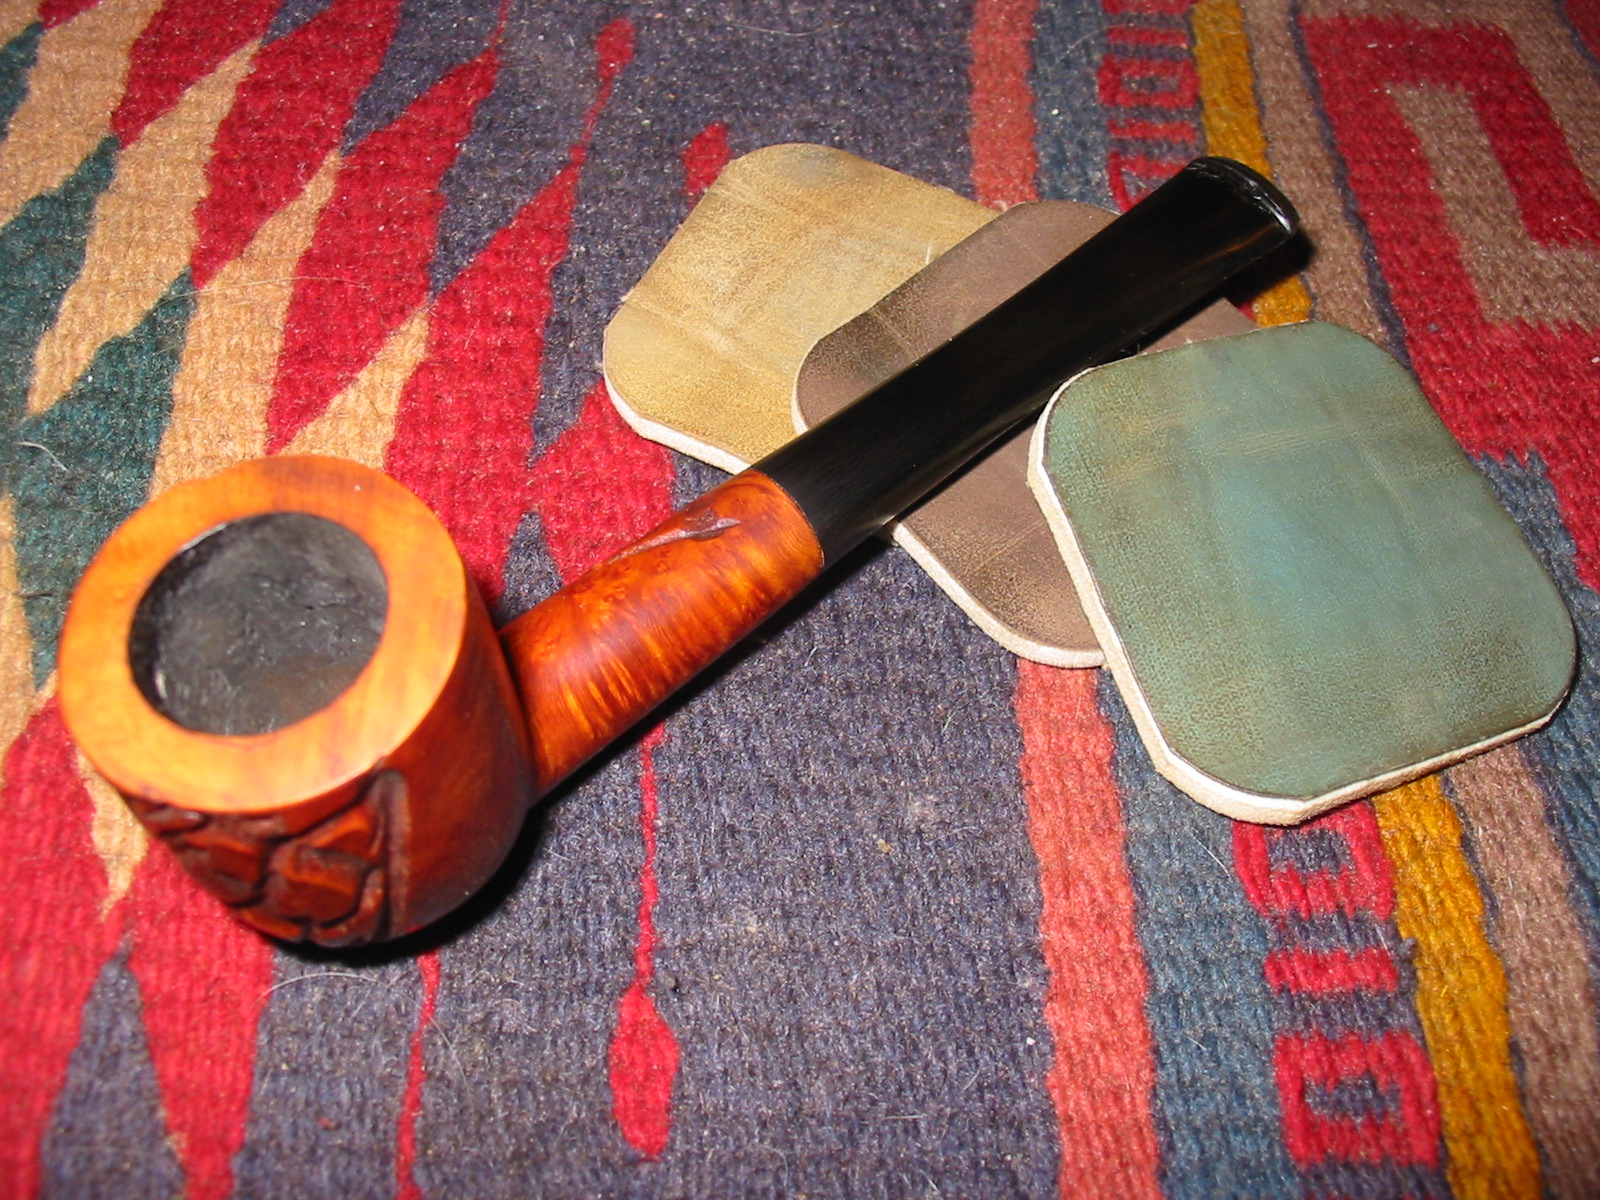
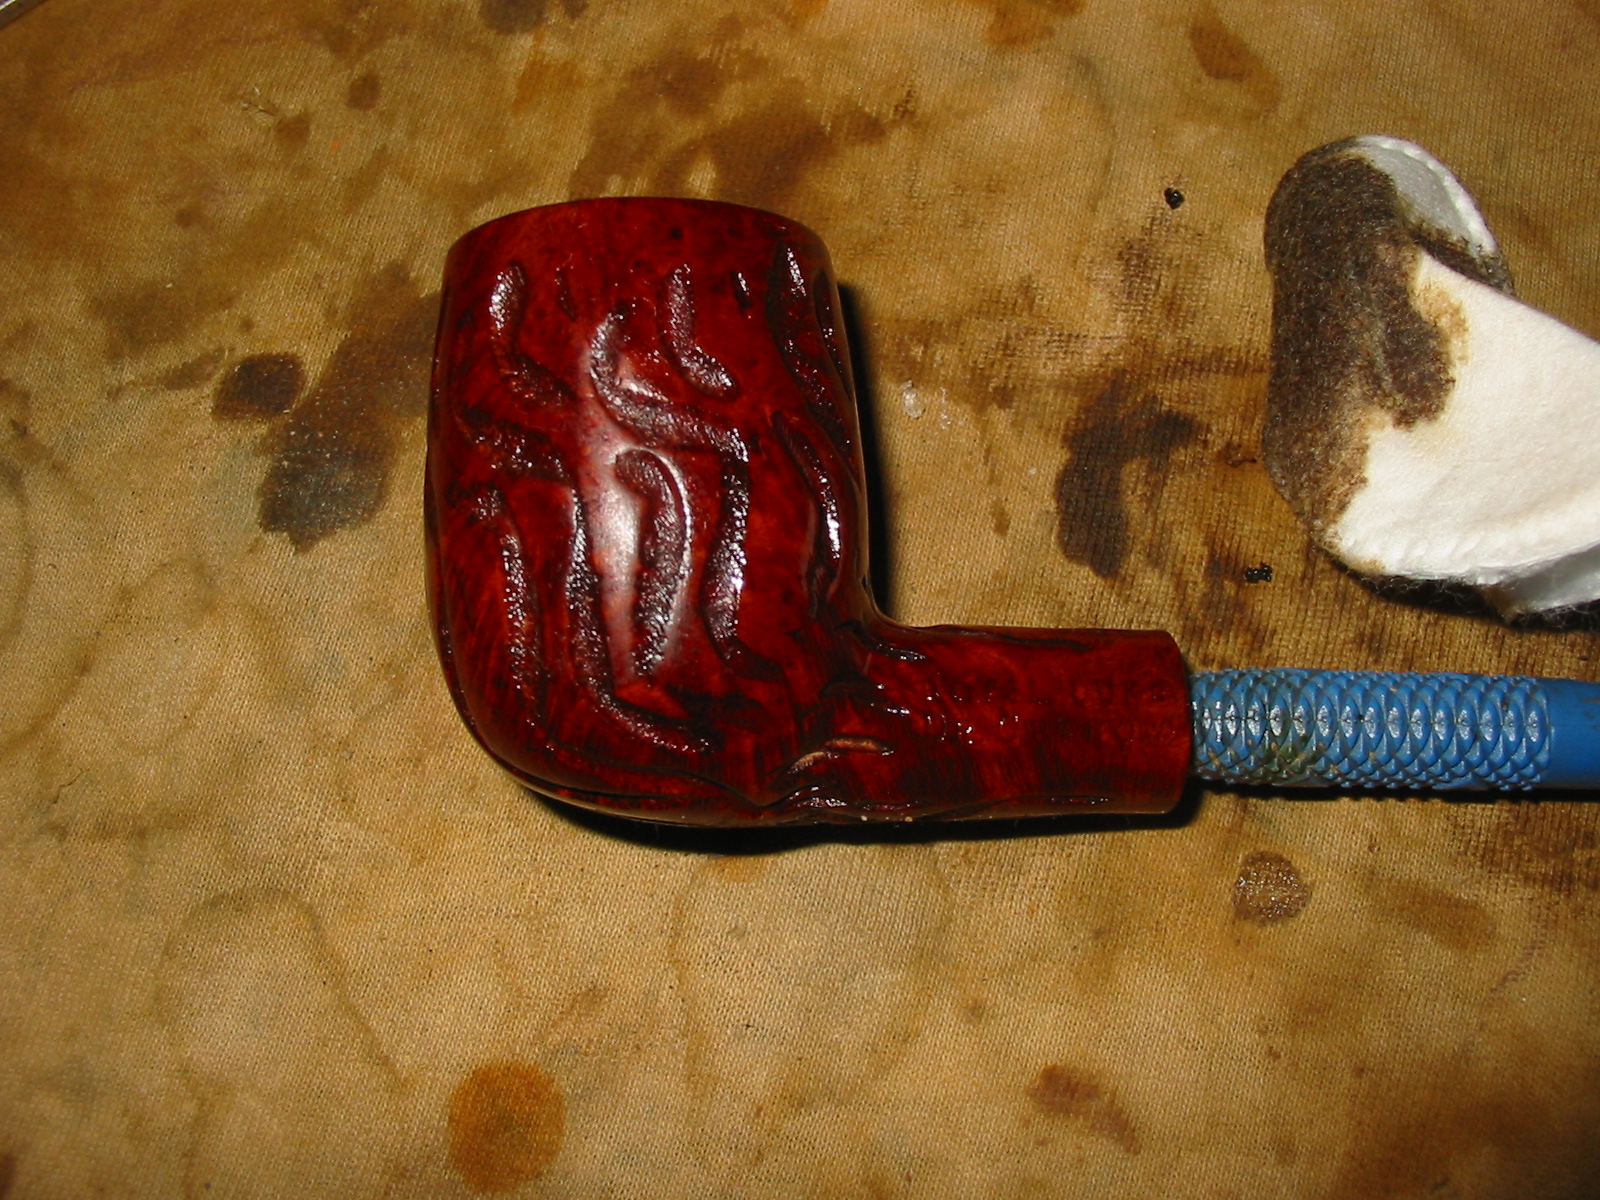
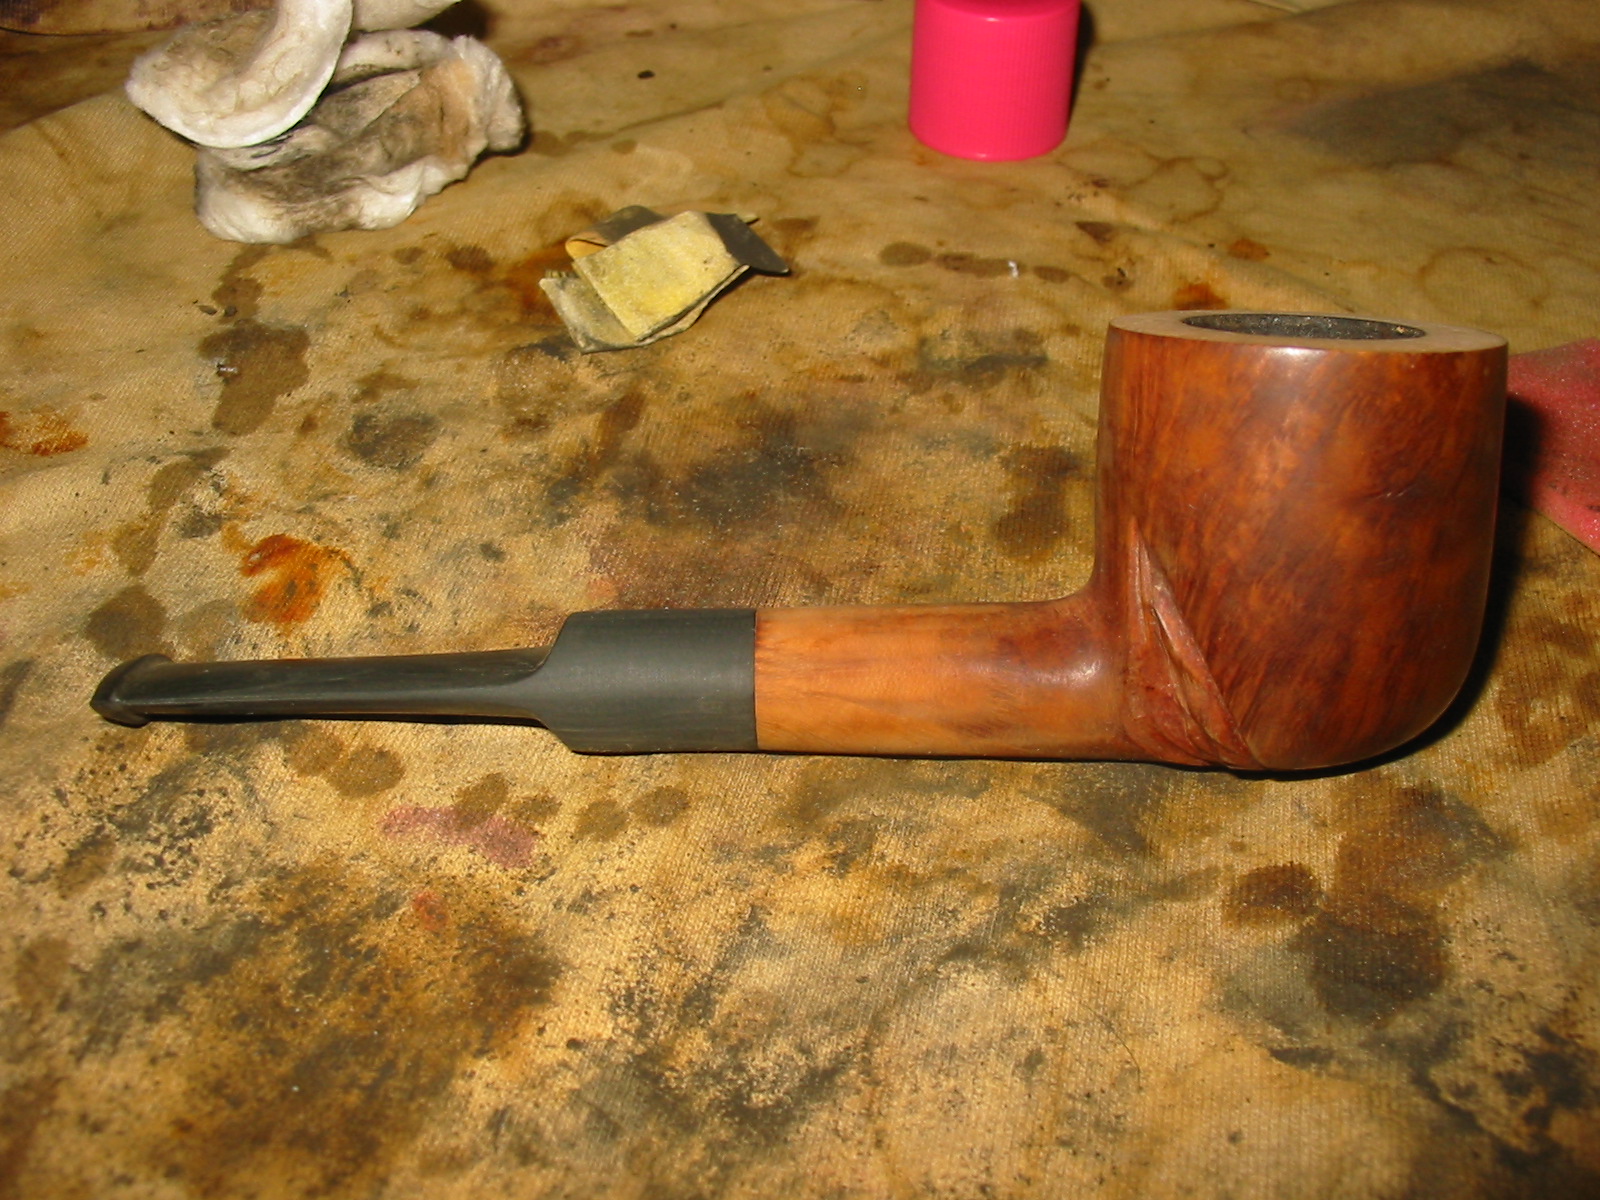
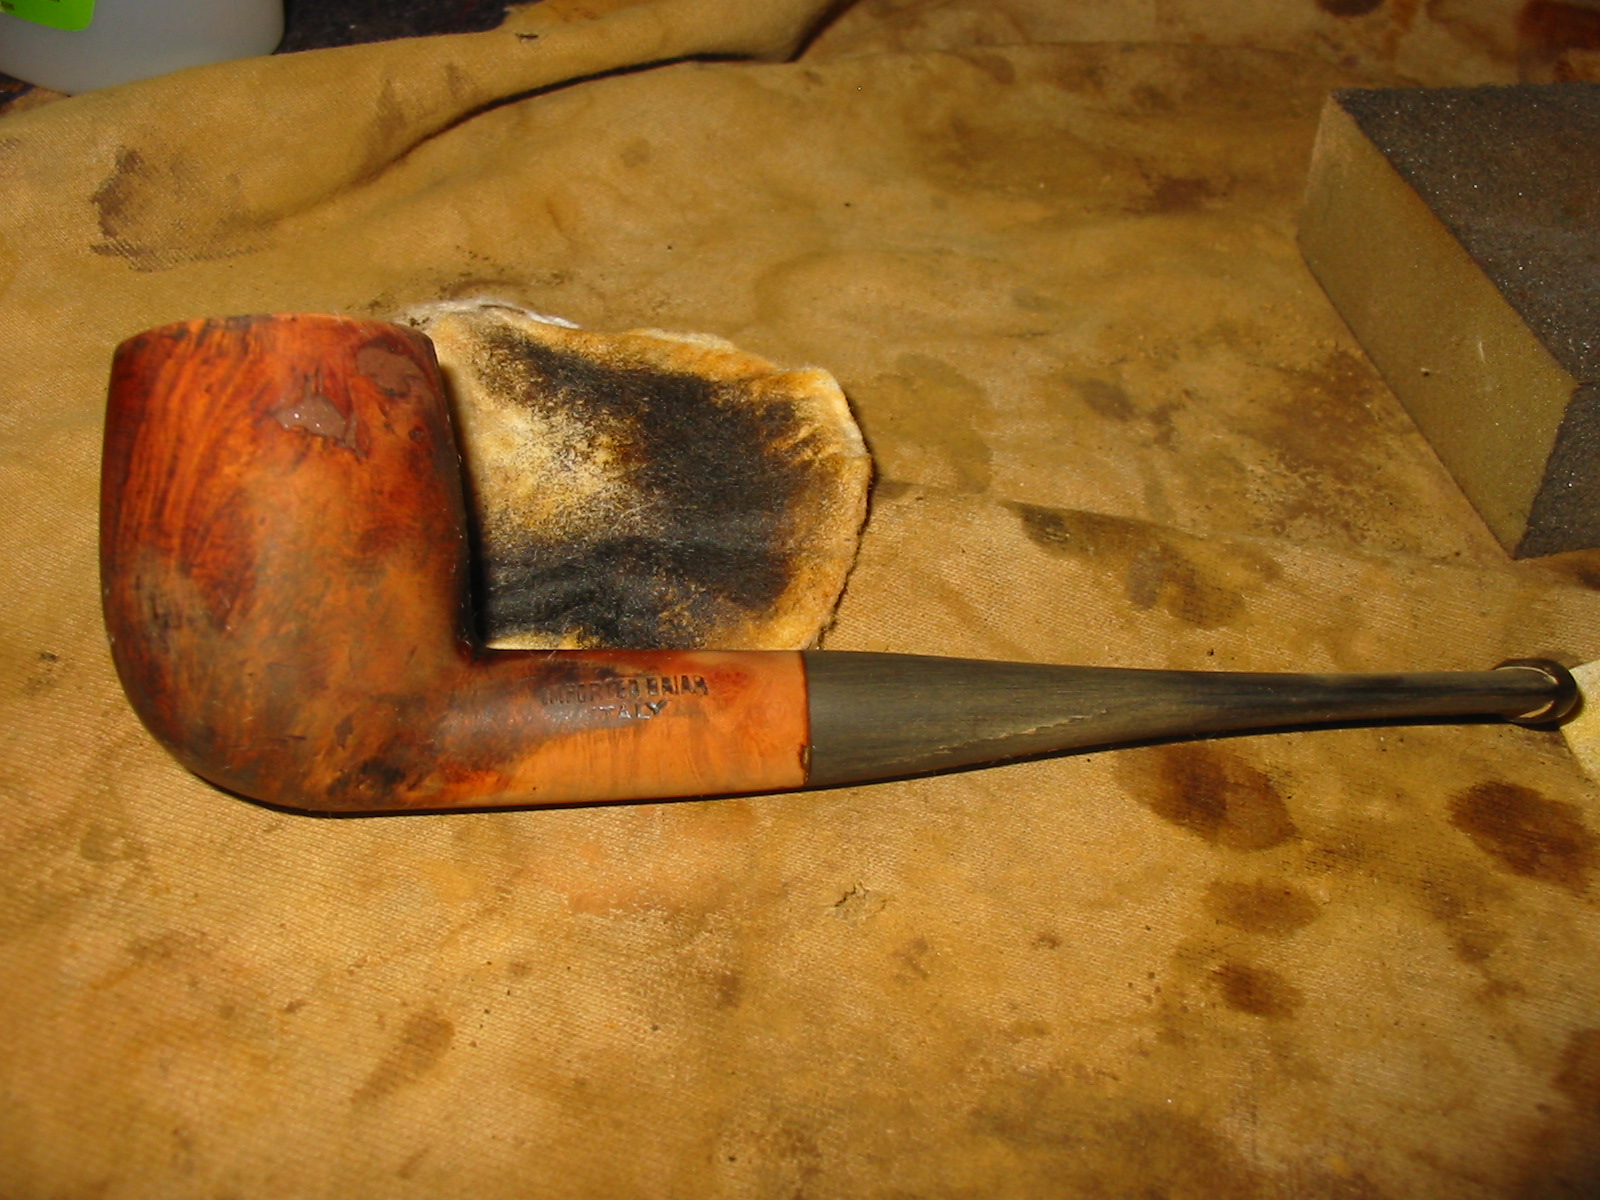
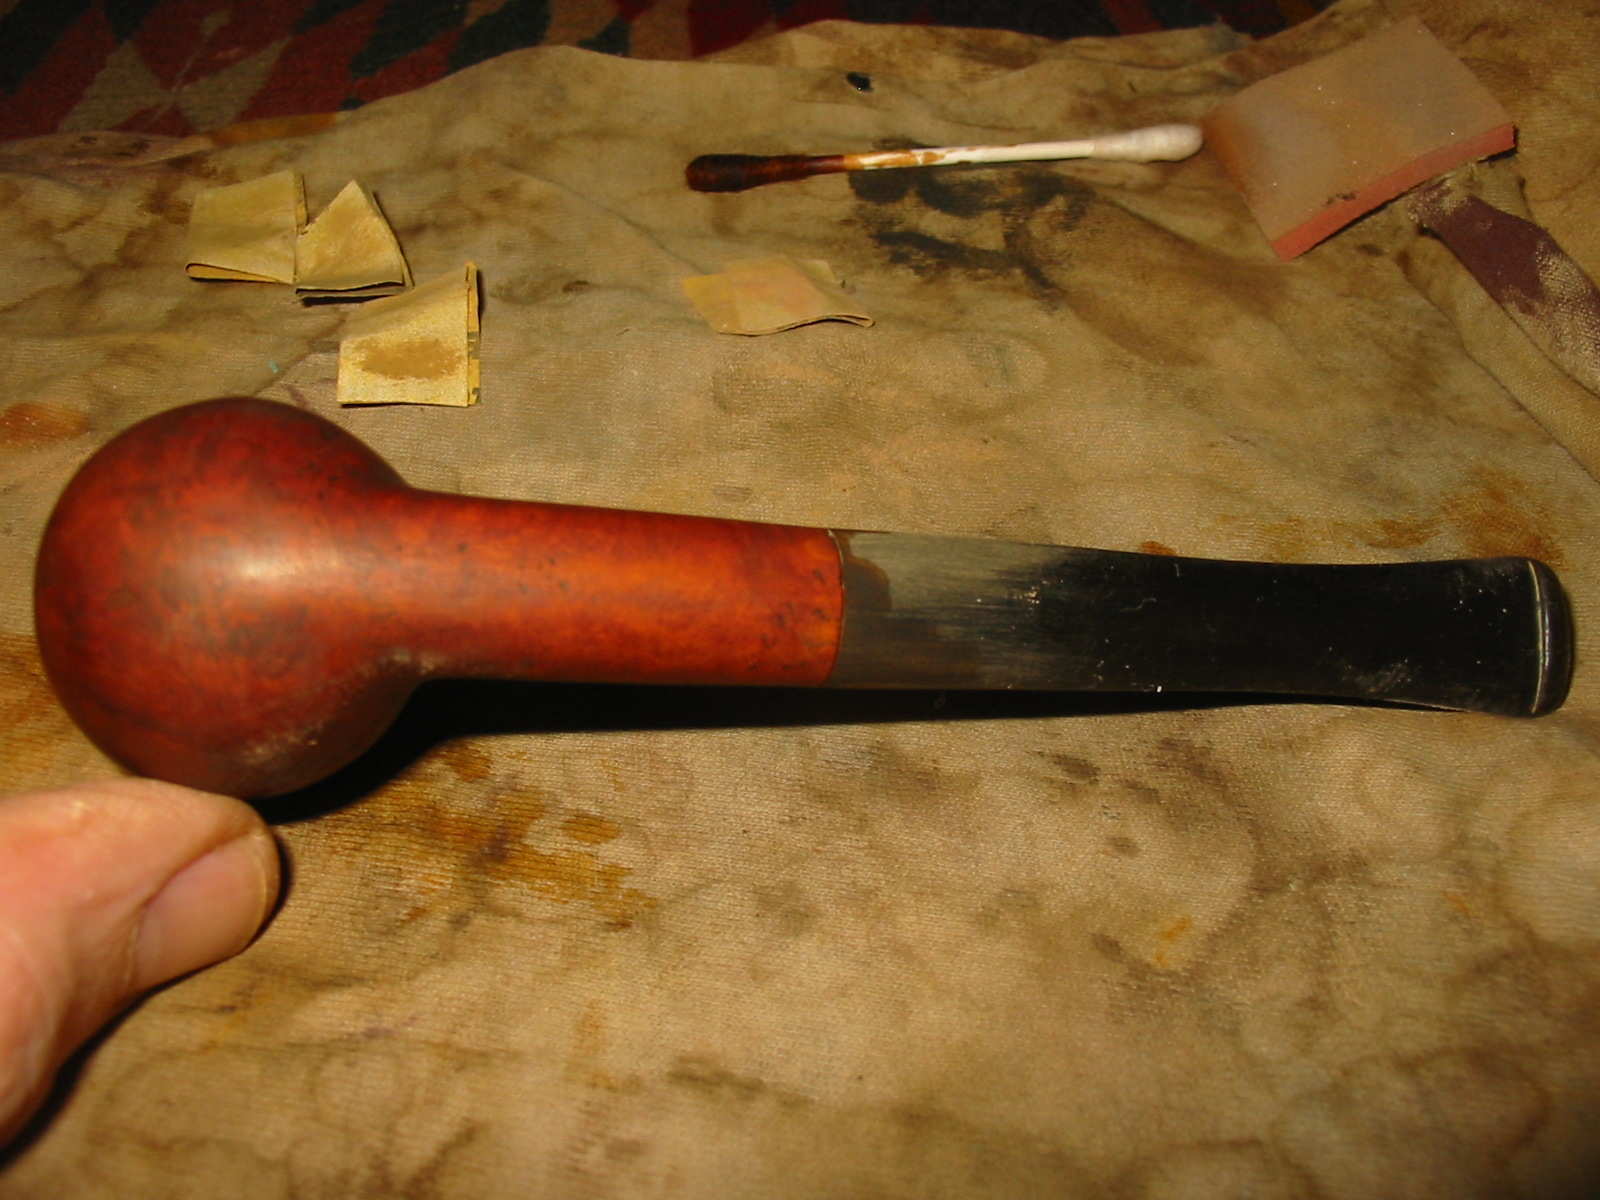
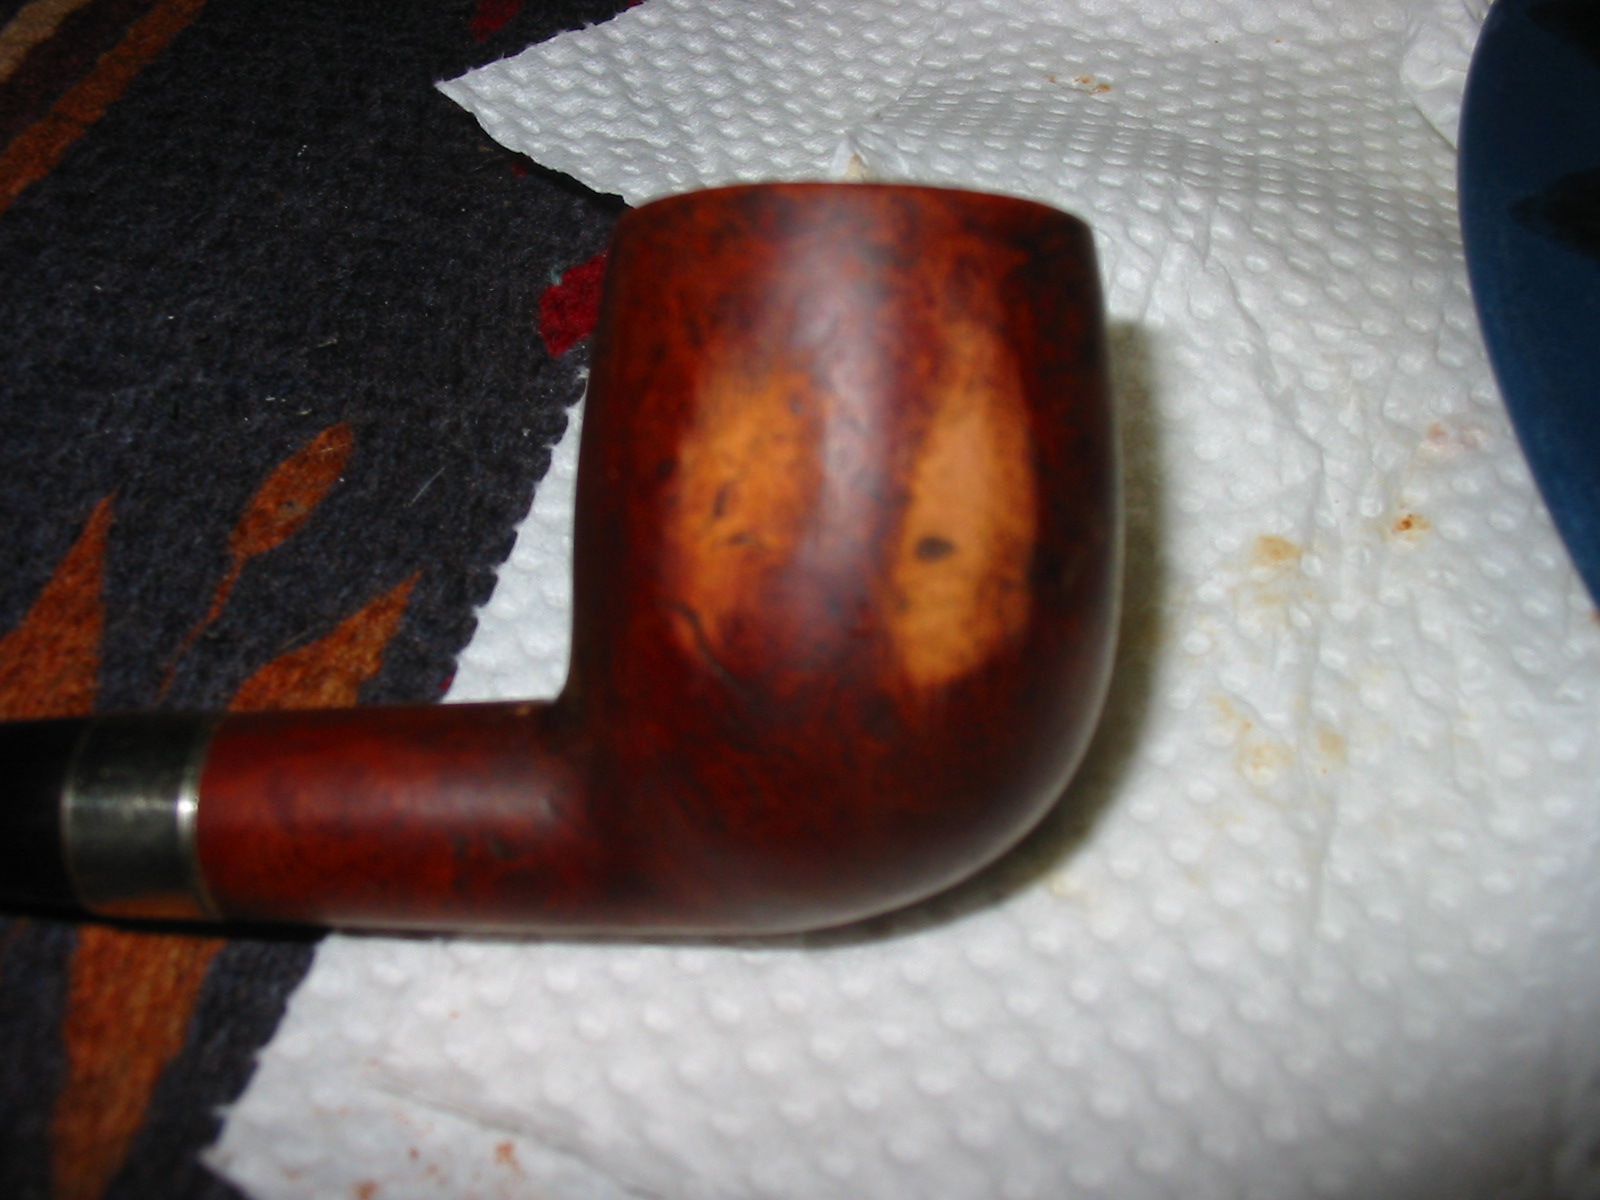
I stained the pipe with a dark brown aniline stain thinned 2:1 with isopropyl alcohol as the undercoat on the pipe. I stained and flamed the stain repeatedly until the coverage was even and solid over the entire pipe. The patch on the side is still visible but in no longer flaking and falling out the fill. The surface remains slightly rough but I will continue to sand it before giving it another coat of stain.
IMG_2855

IMG_2856

IMG_2857

IMG_2858

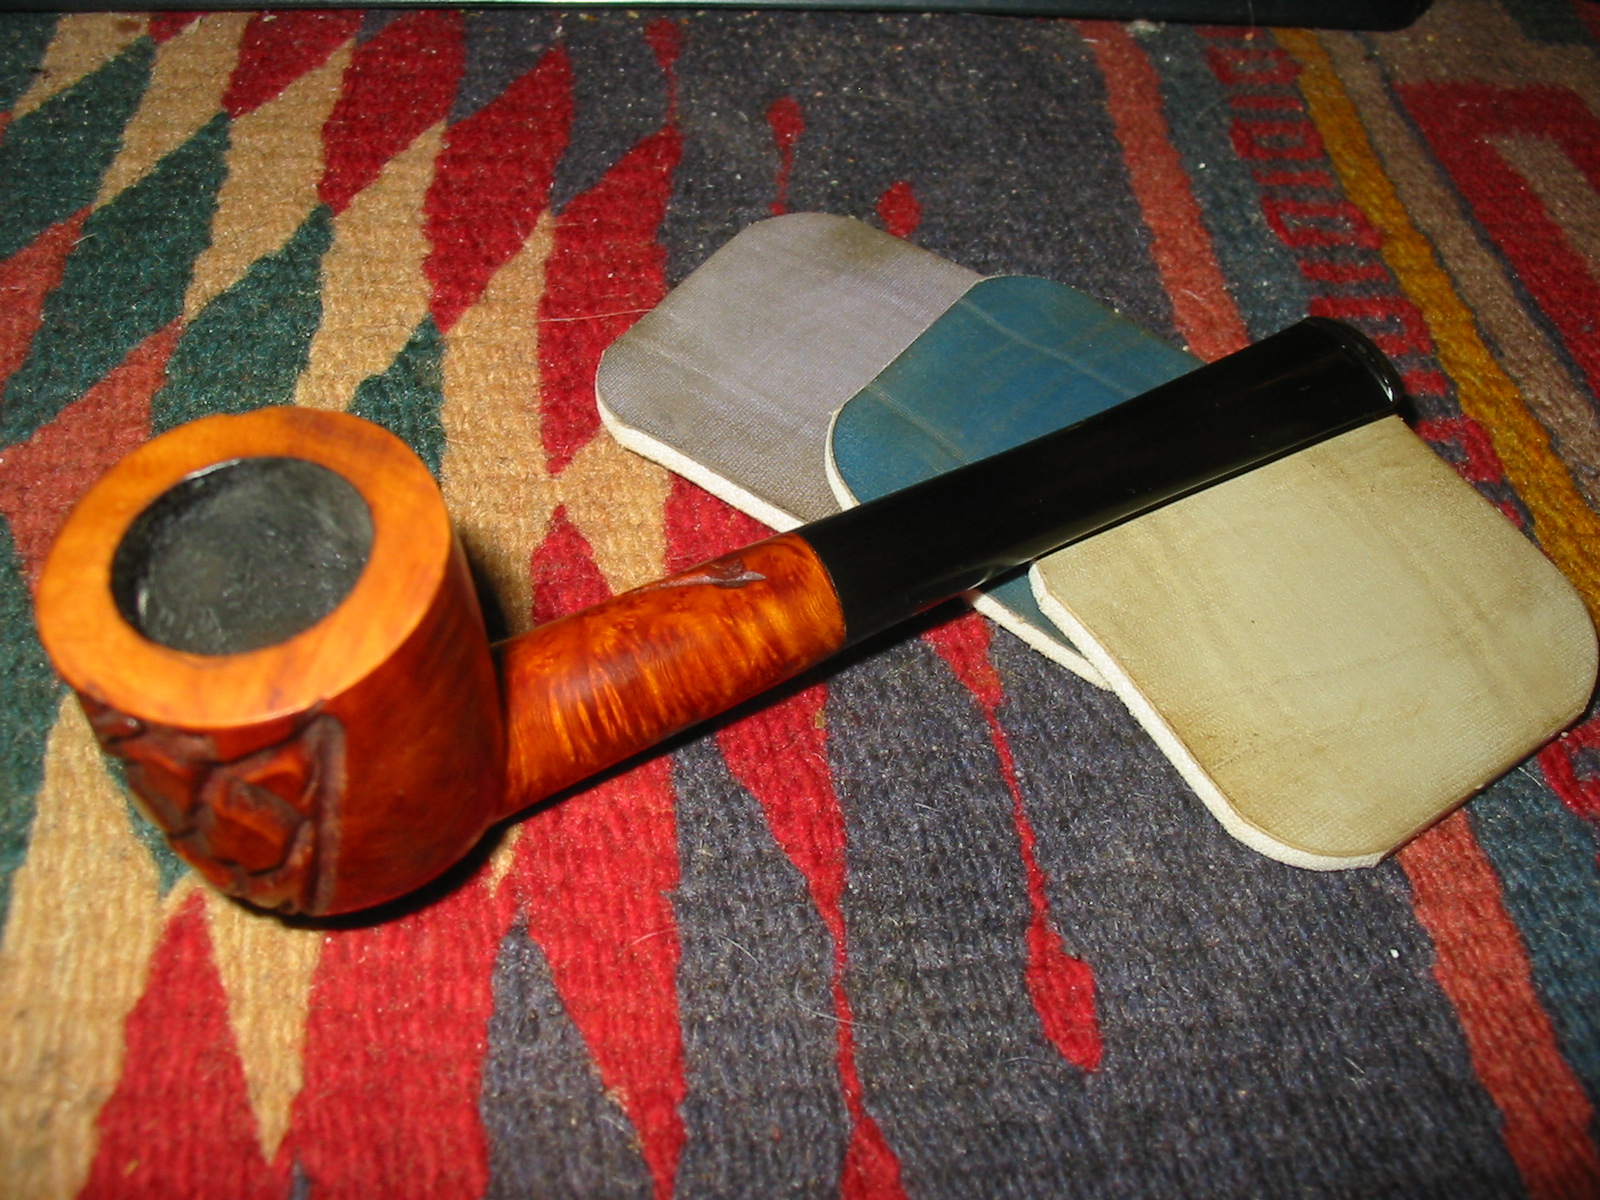
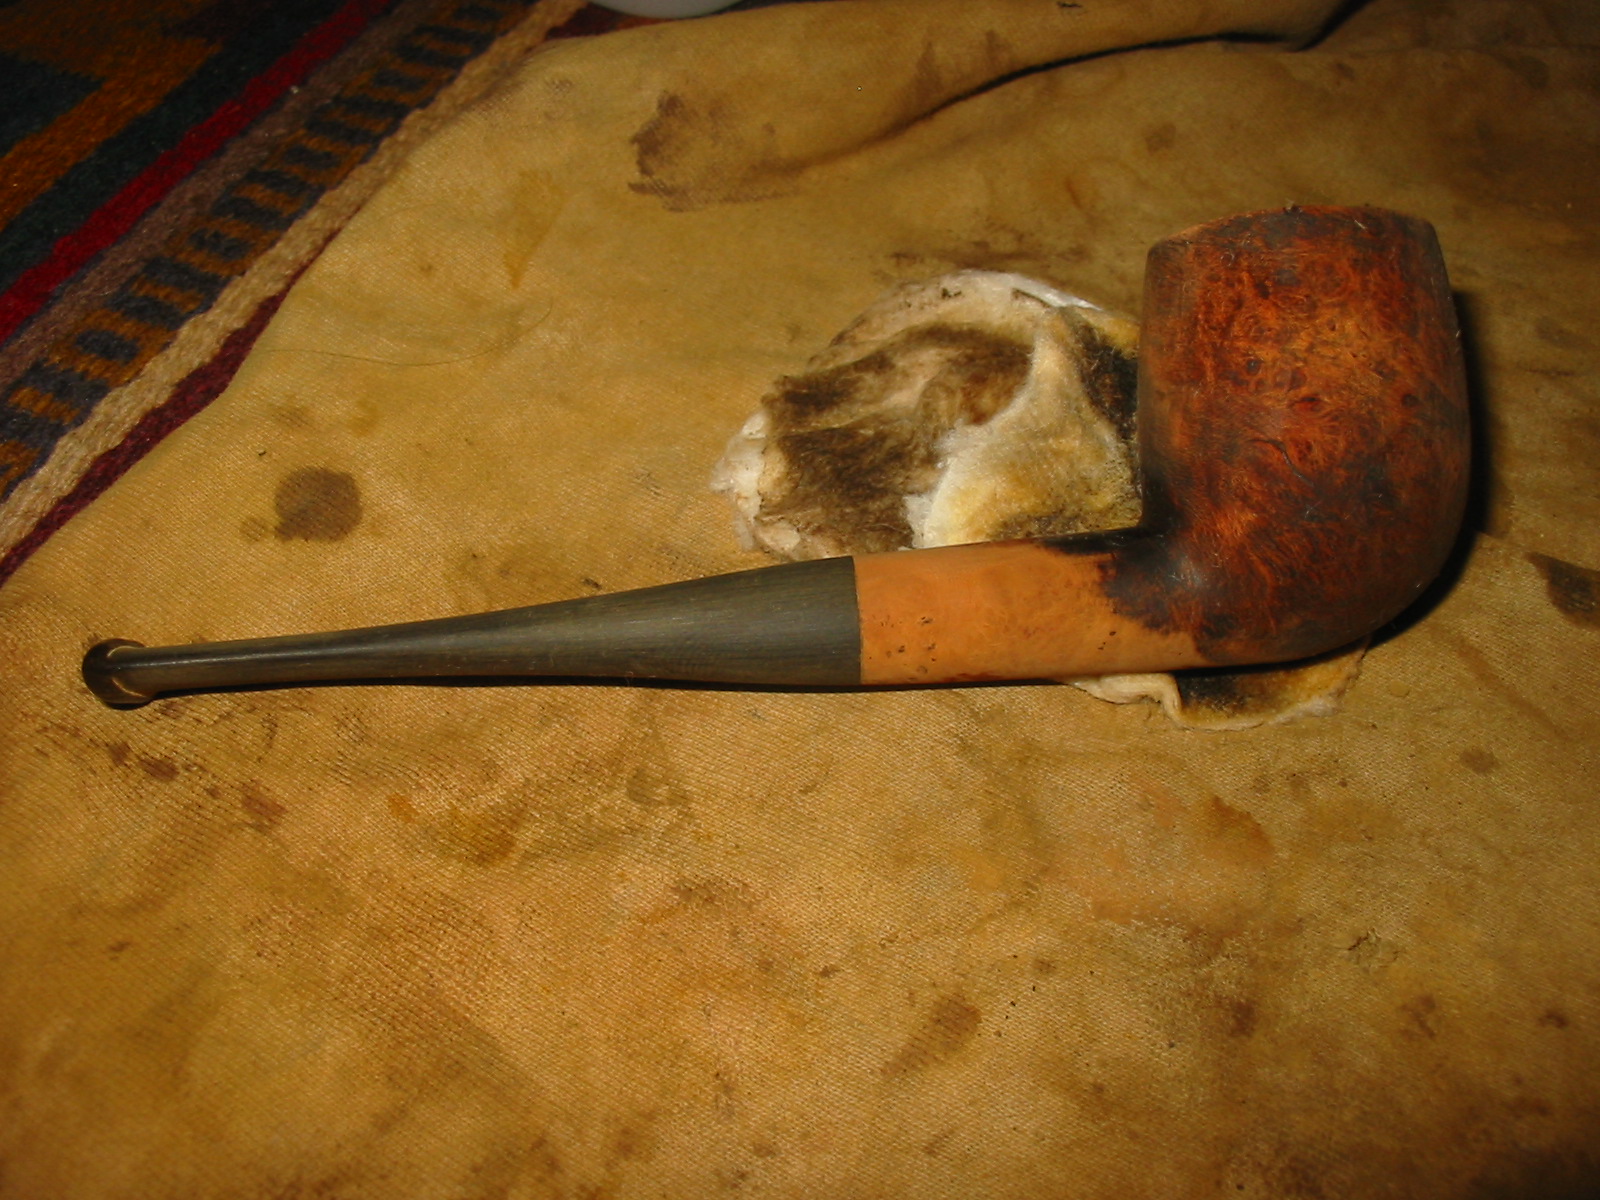
I buffed the bowl with Red Tripoli and then with White Diamond in preparation for the next coat of stain. I sanded the fill area with a fine grit sanding sponge and then sanded the bowl with micromesh sanding pads 1500-2400 grit. I then restained the bowl with a oxblood stain as the second coat on the bowl. I applied it and flamed it until the coverage was even. Then buffed it with White Diamond.
IMG_2859

IMG_2860

IMG_2861

IMG_2862

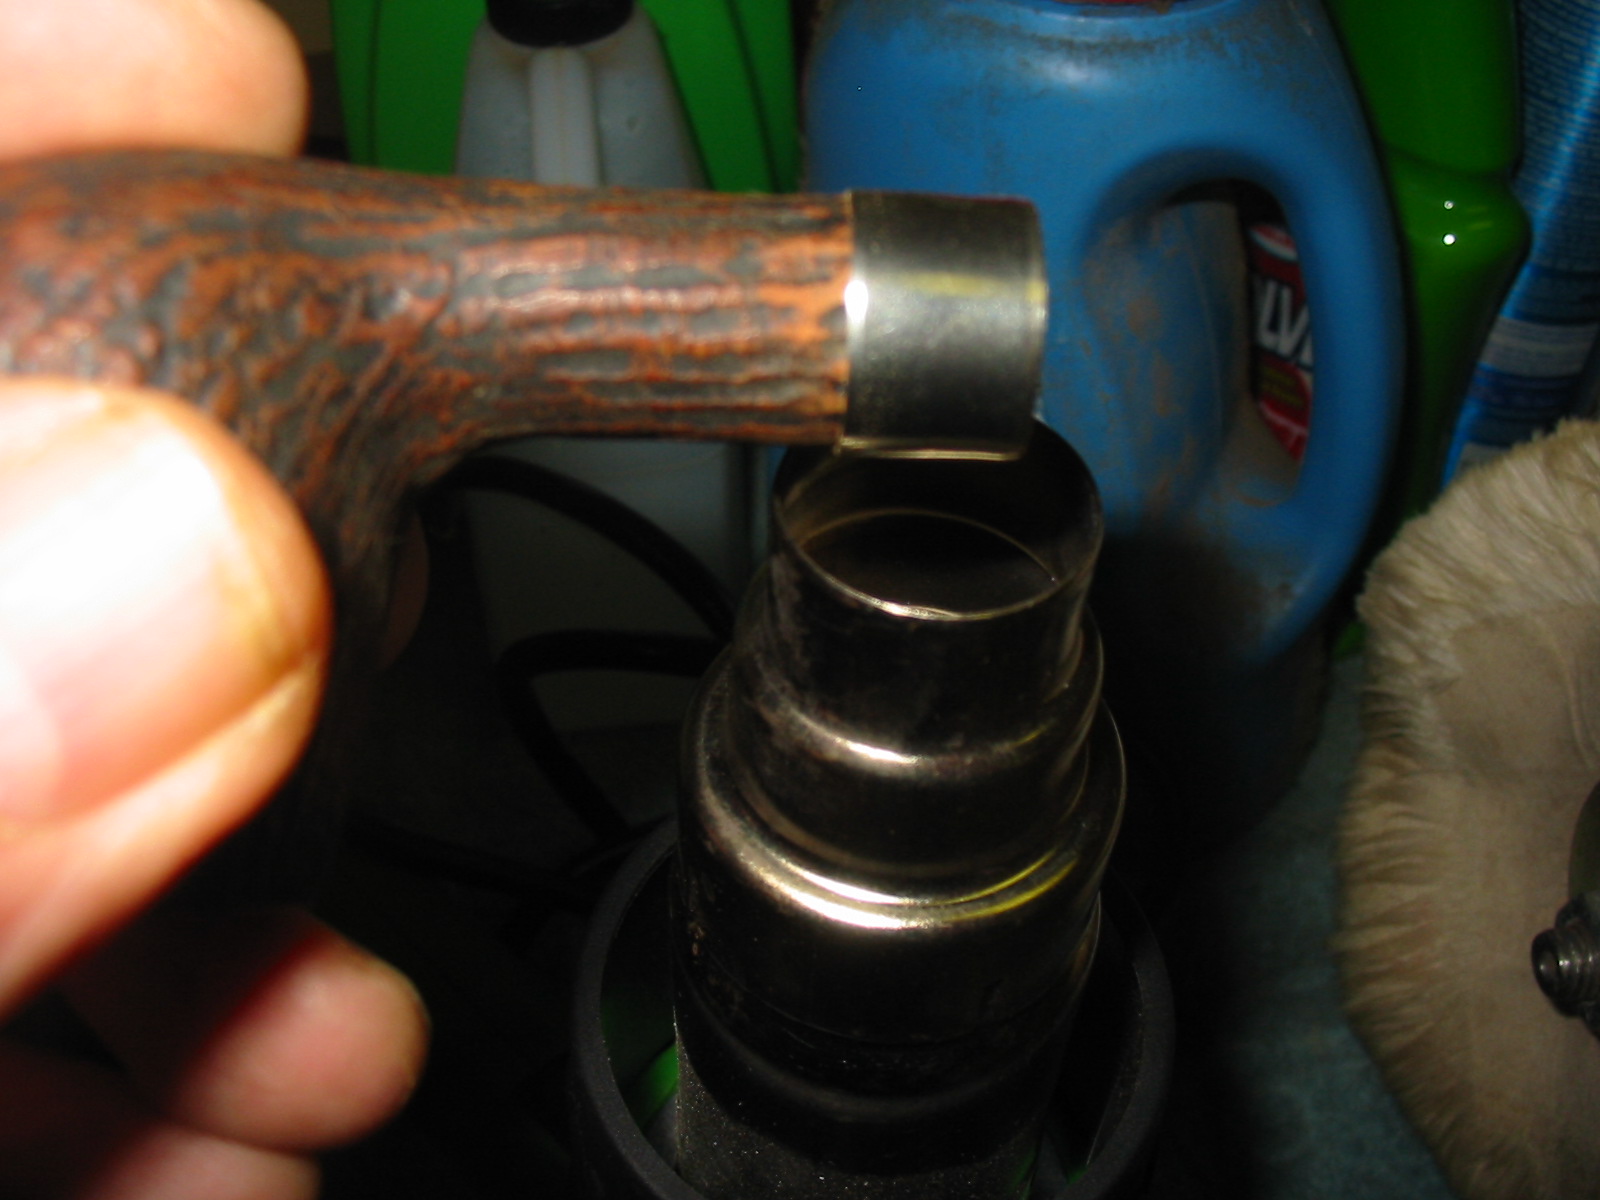
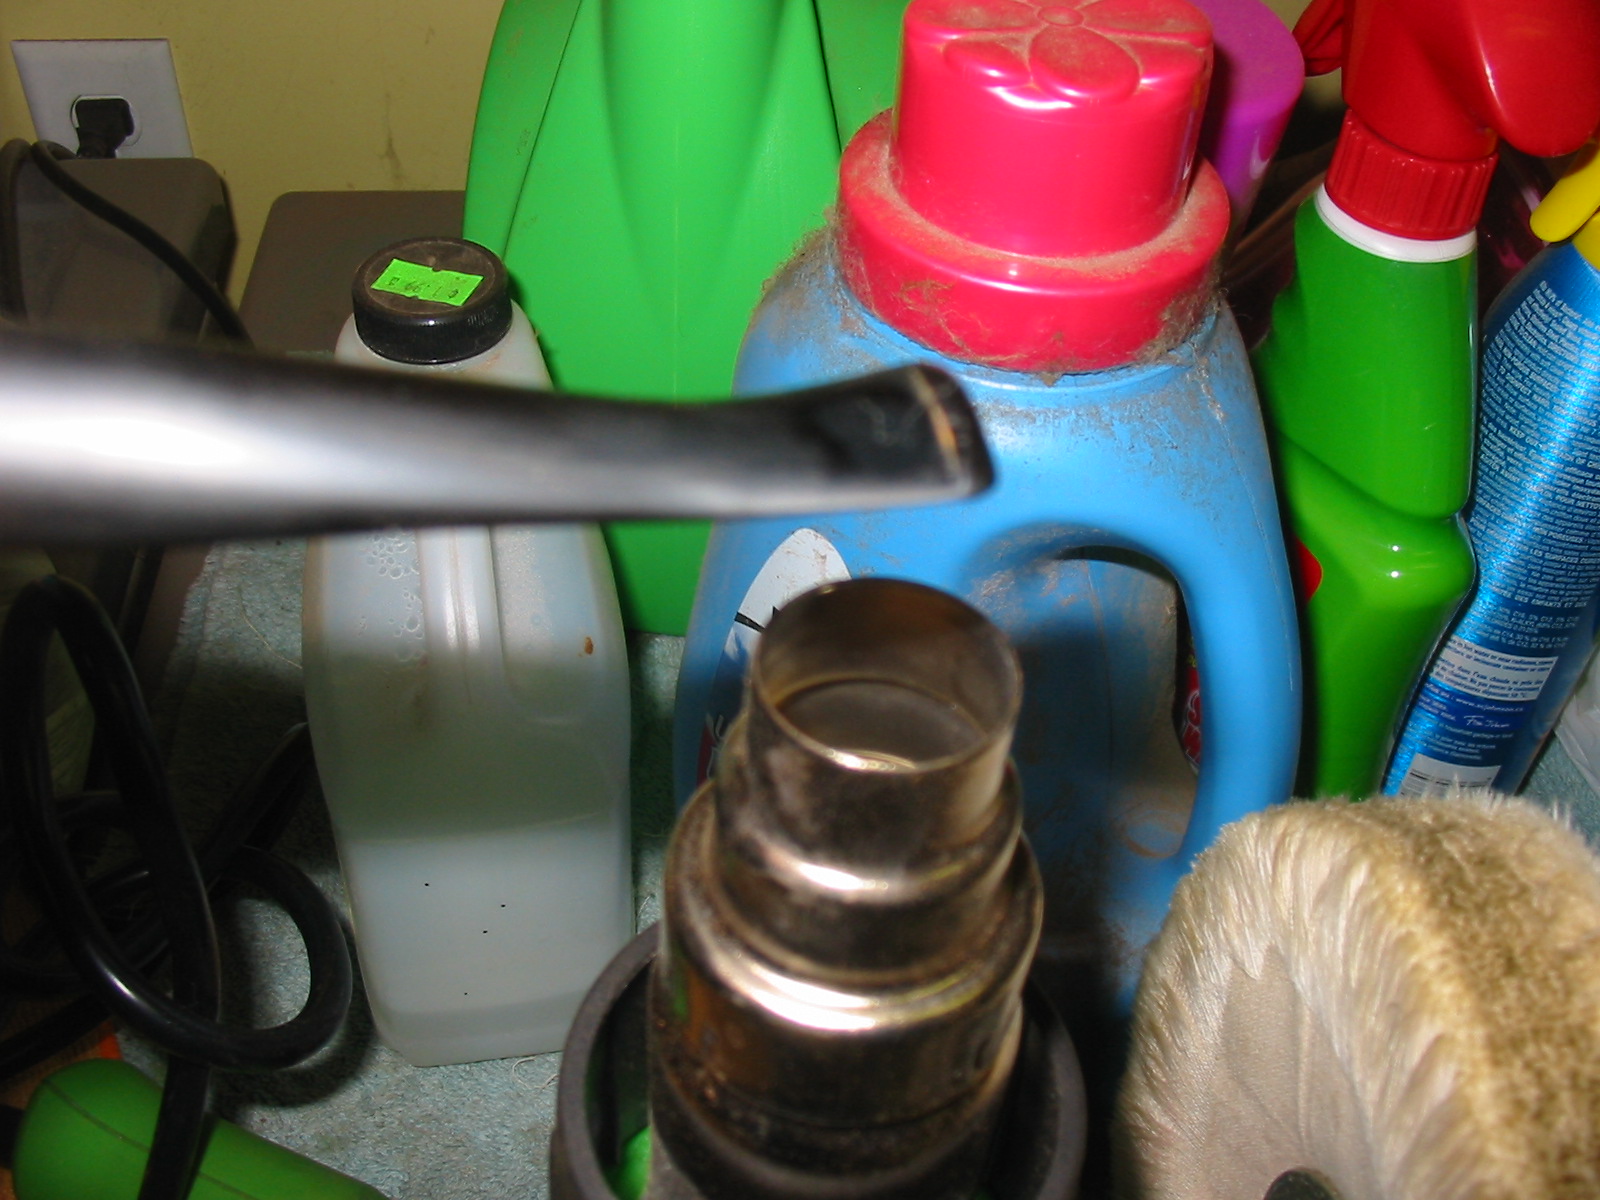
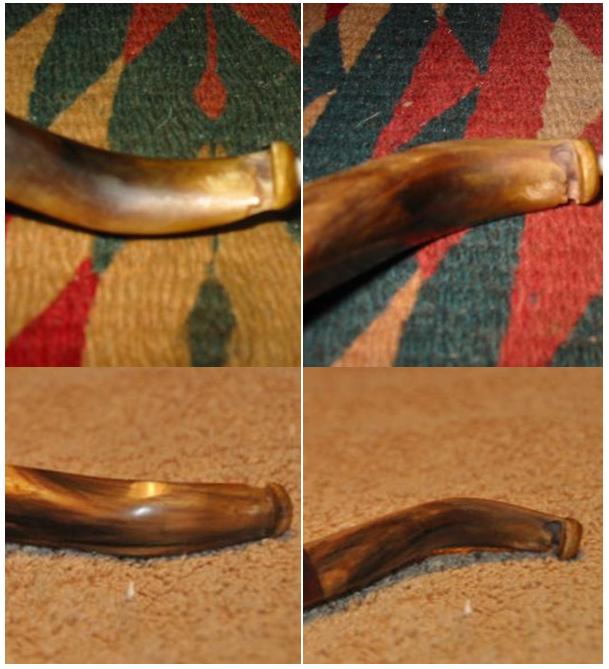
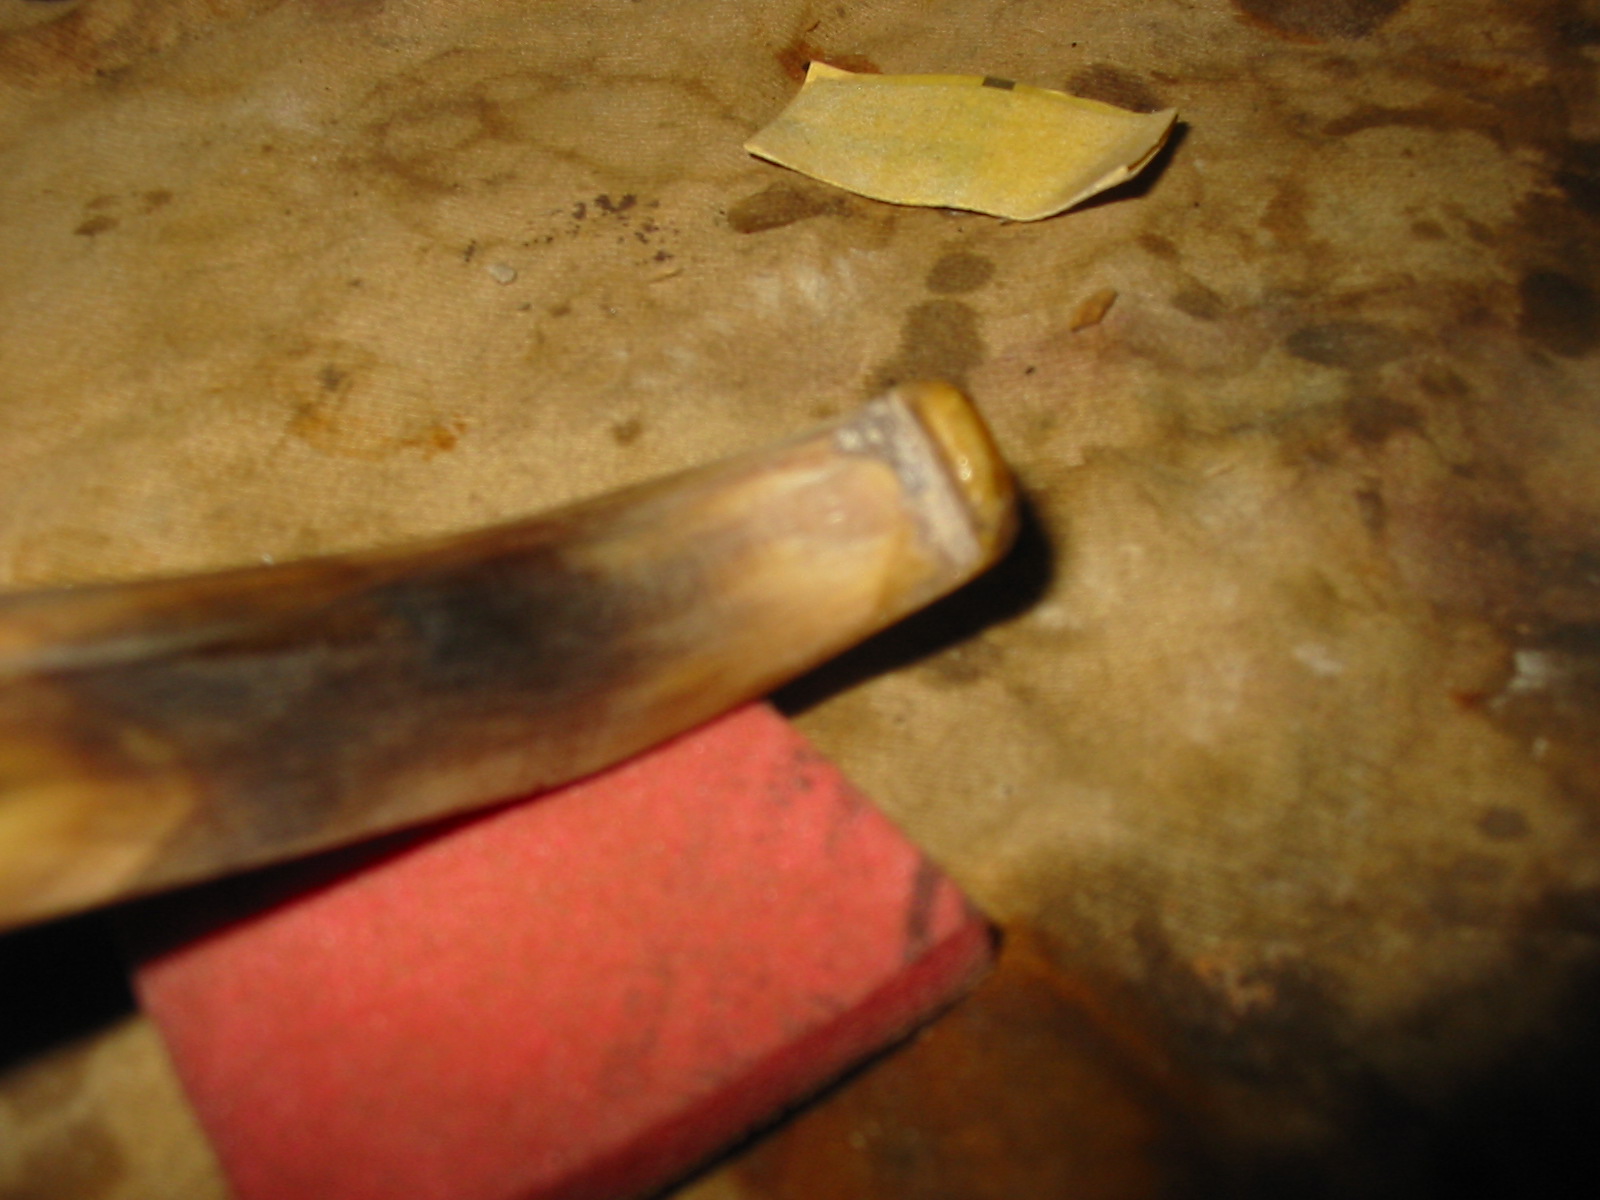
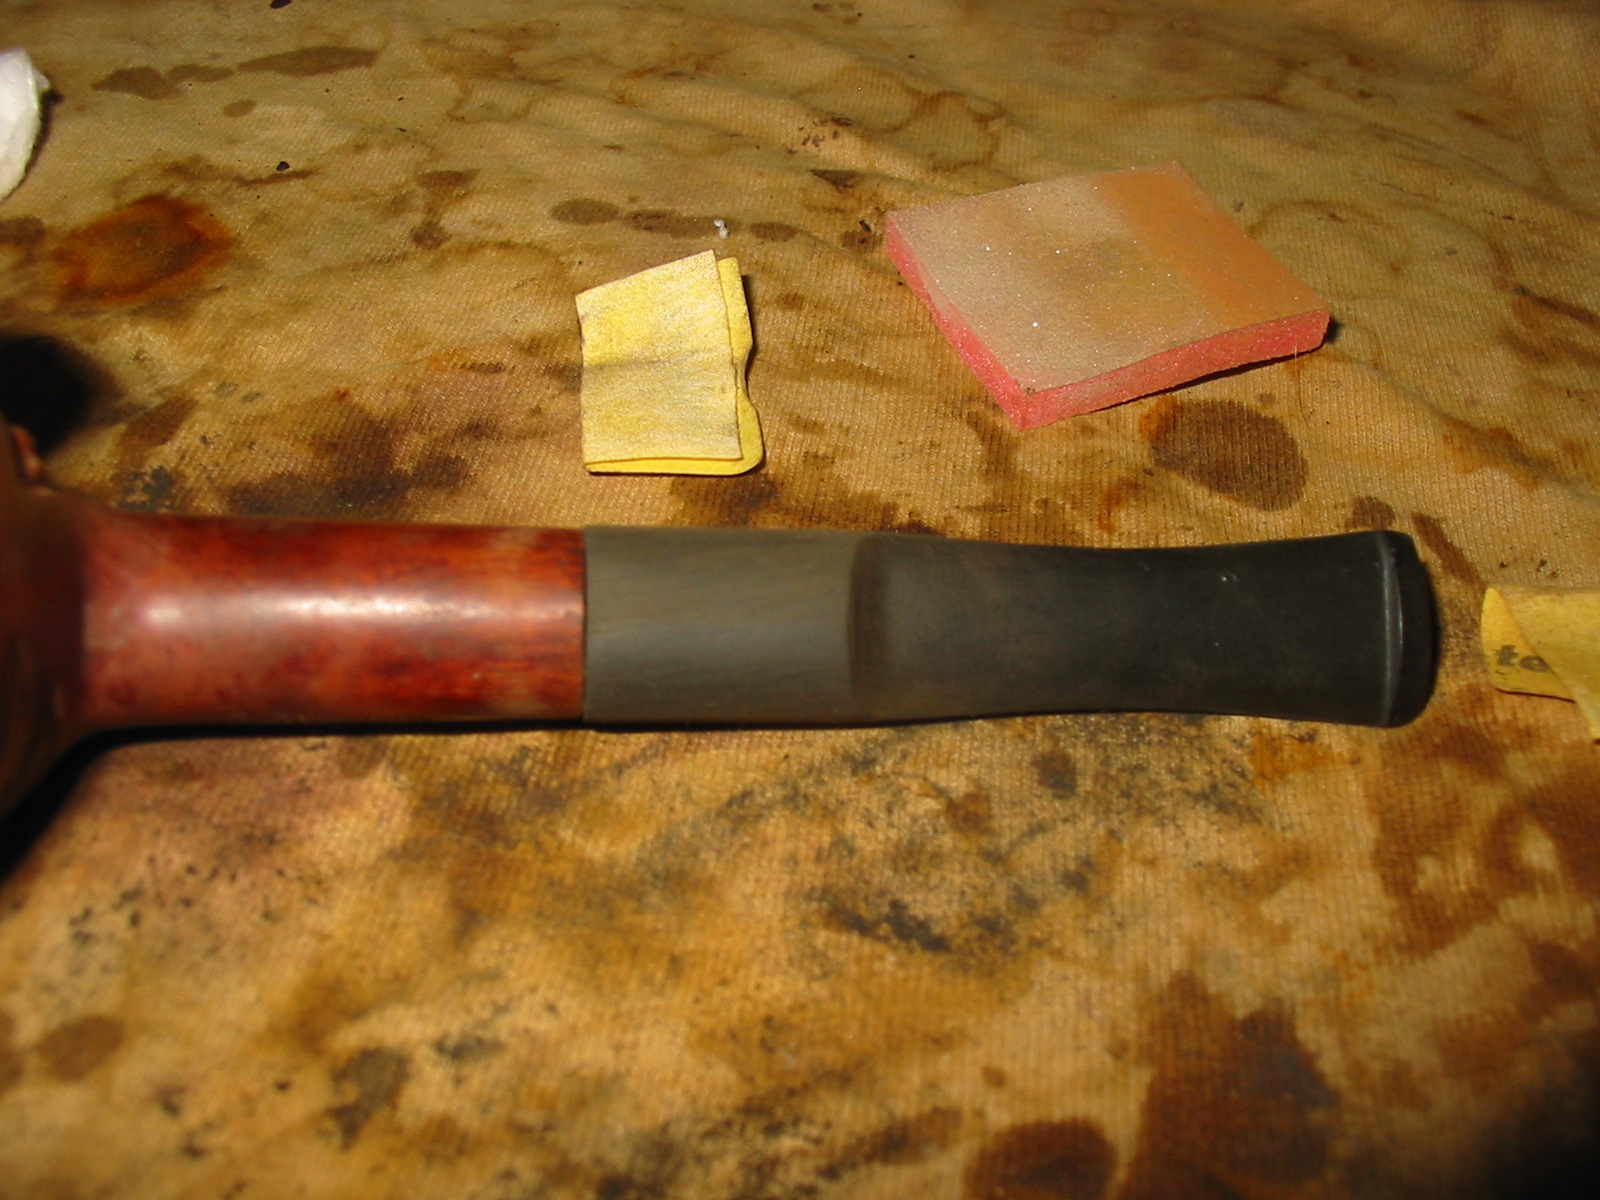
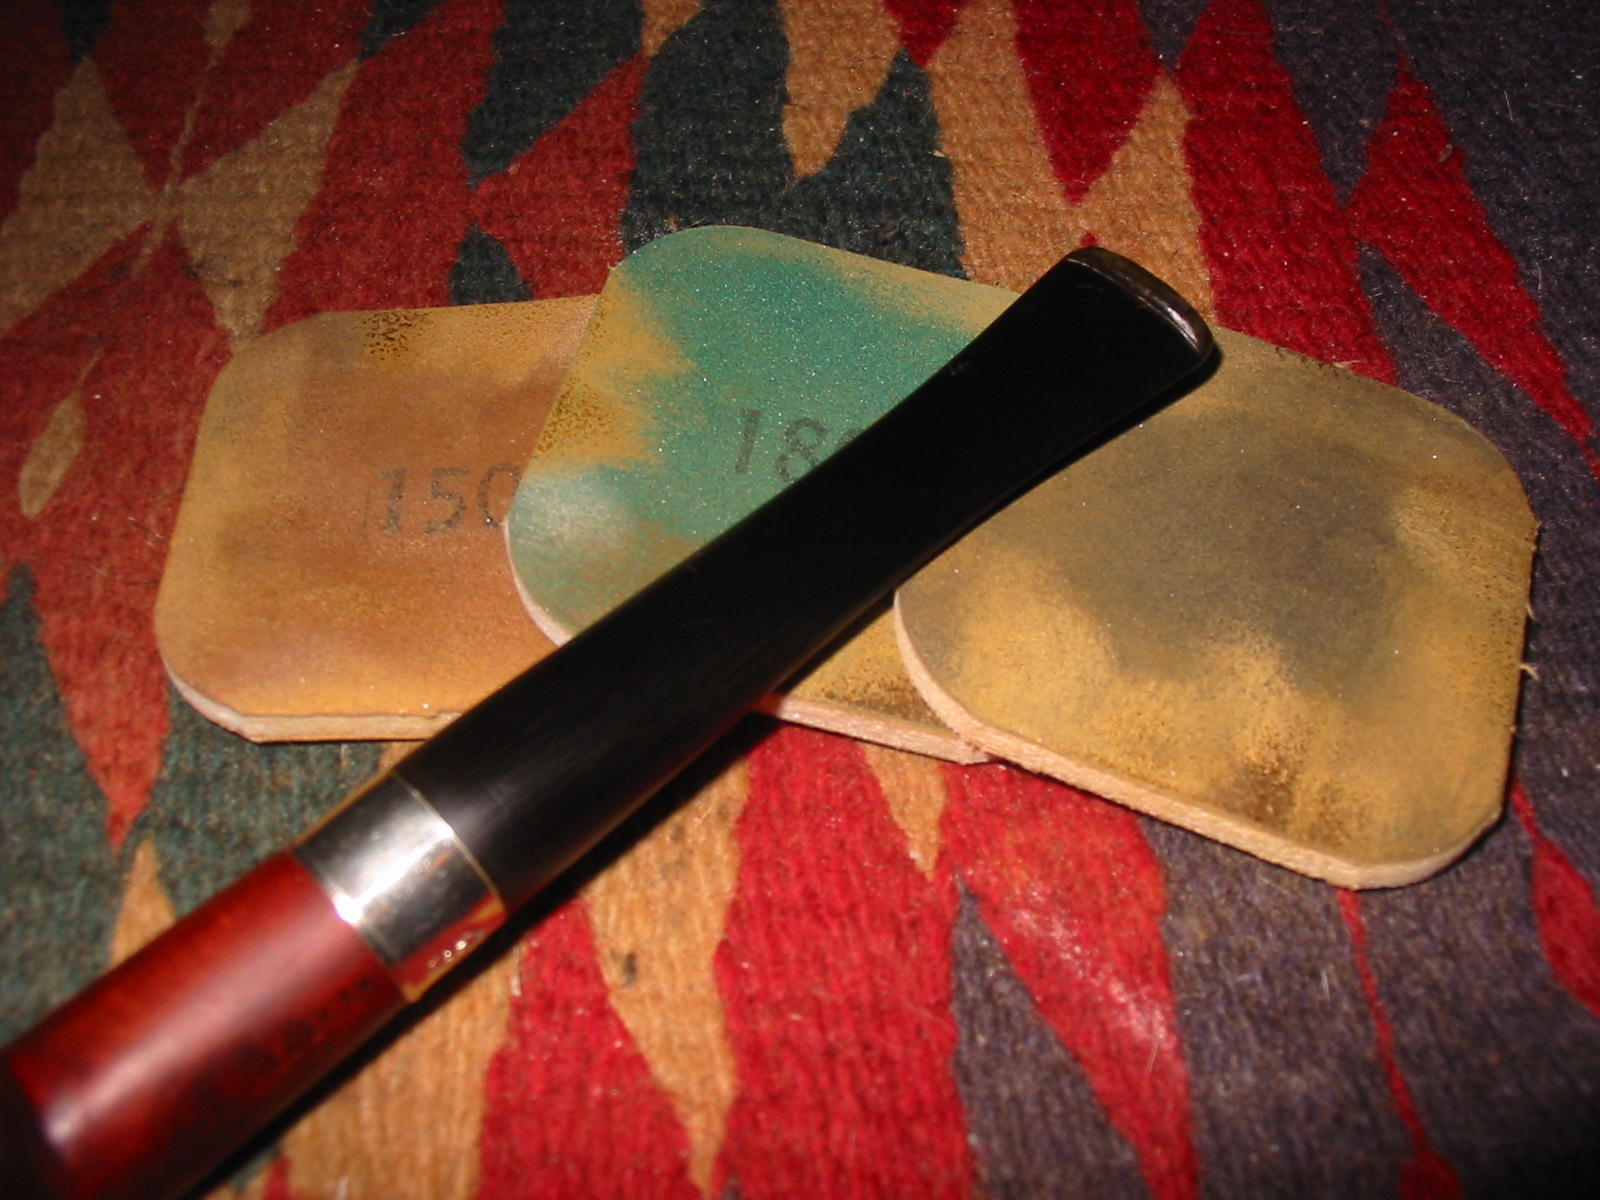
During this second staining I removed the stem and examined the end of the shank and saw small hairline cracks in several places. They did not go through to the surface of the shank but they were troublesome enough to me that I decided to band the pipe. There were also several nicks in the outer edge of the shank that made a tight fit relatively impossible to attain. I heated a nickel band with a heat gun and pressure fit it in place on the shank. I had to reduce the tenon slightly to get a good fit on the stem. I also sanded the stem around the junction so that it would fit properly against the banded shank.
IMG_2863

IMG_2865

IMG_2866

IMG_2867

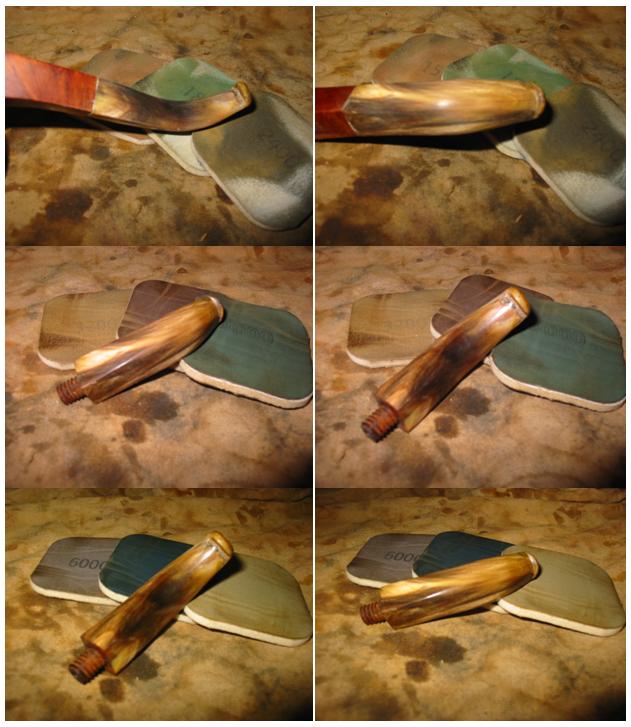
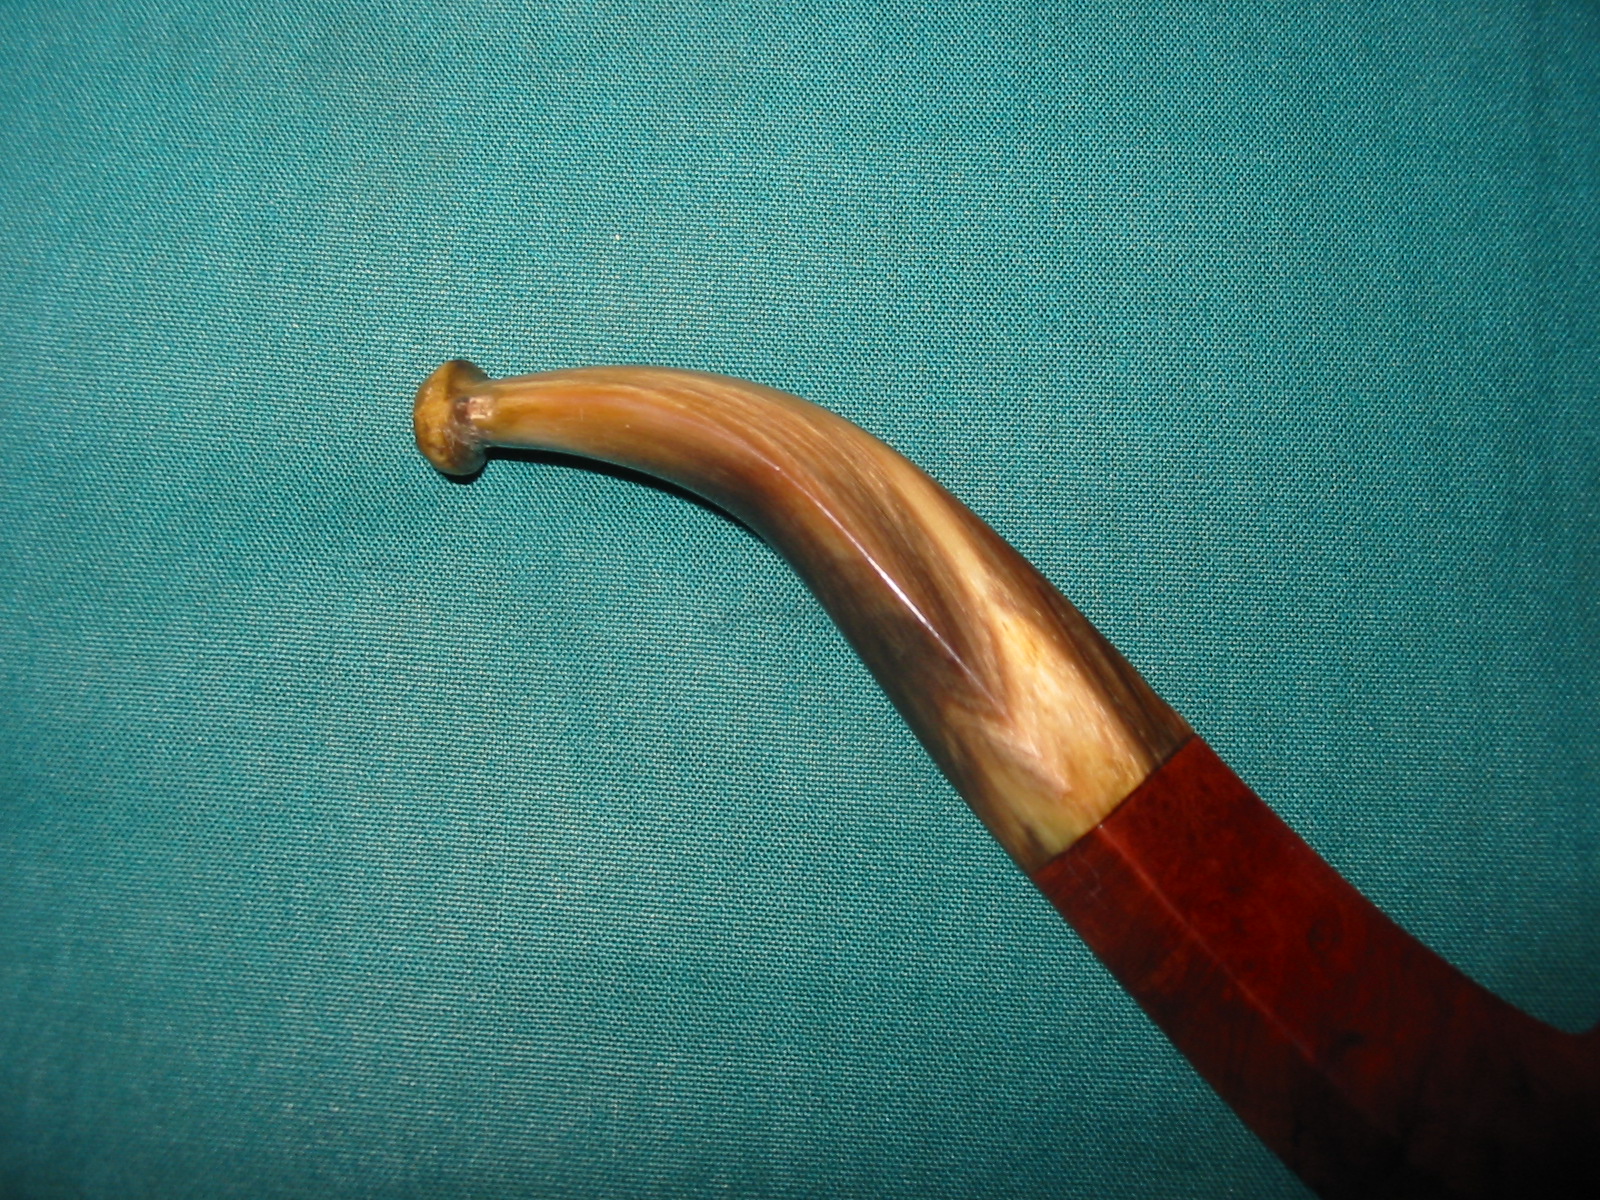
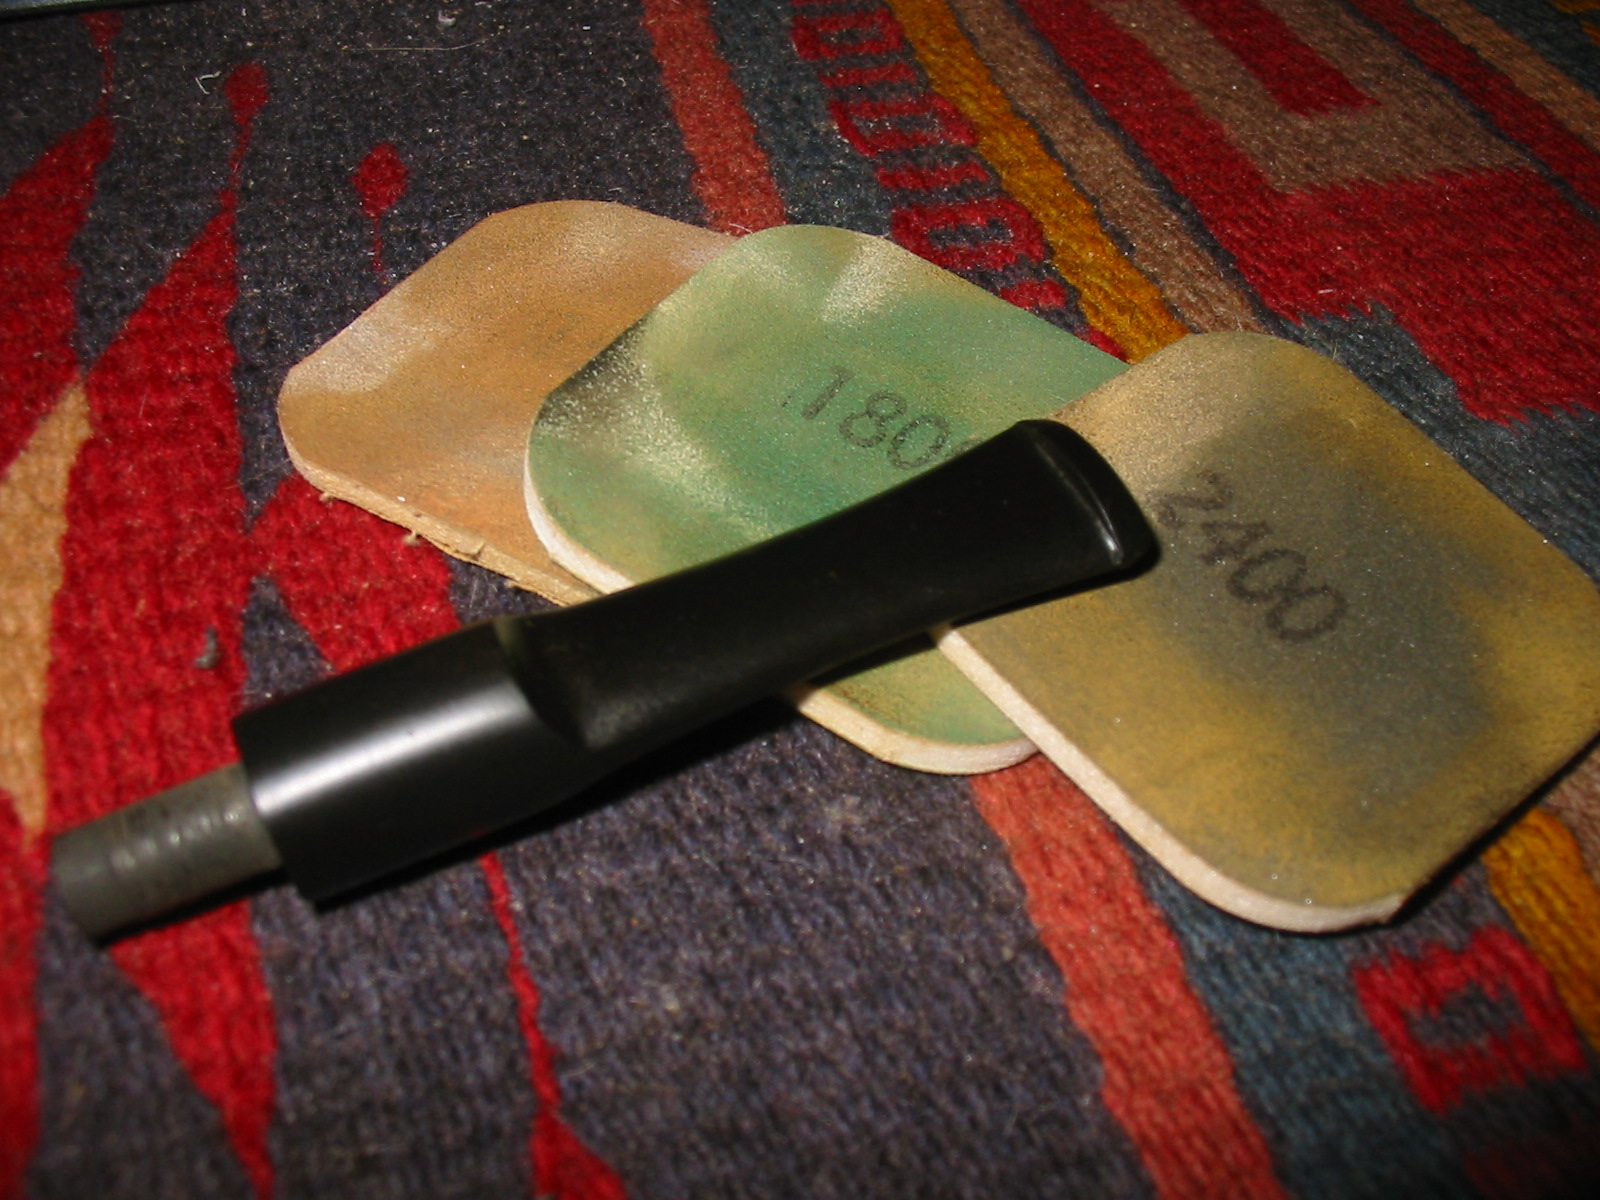
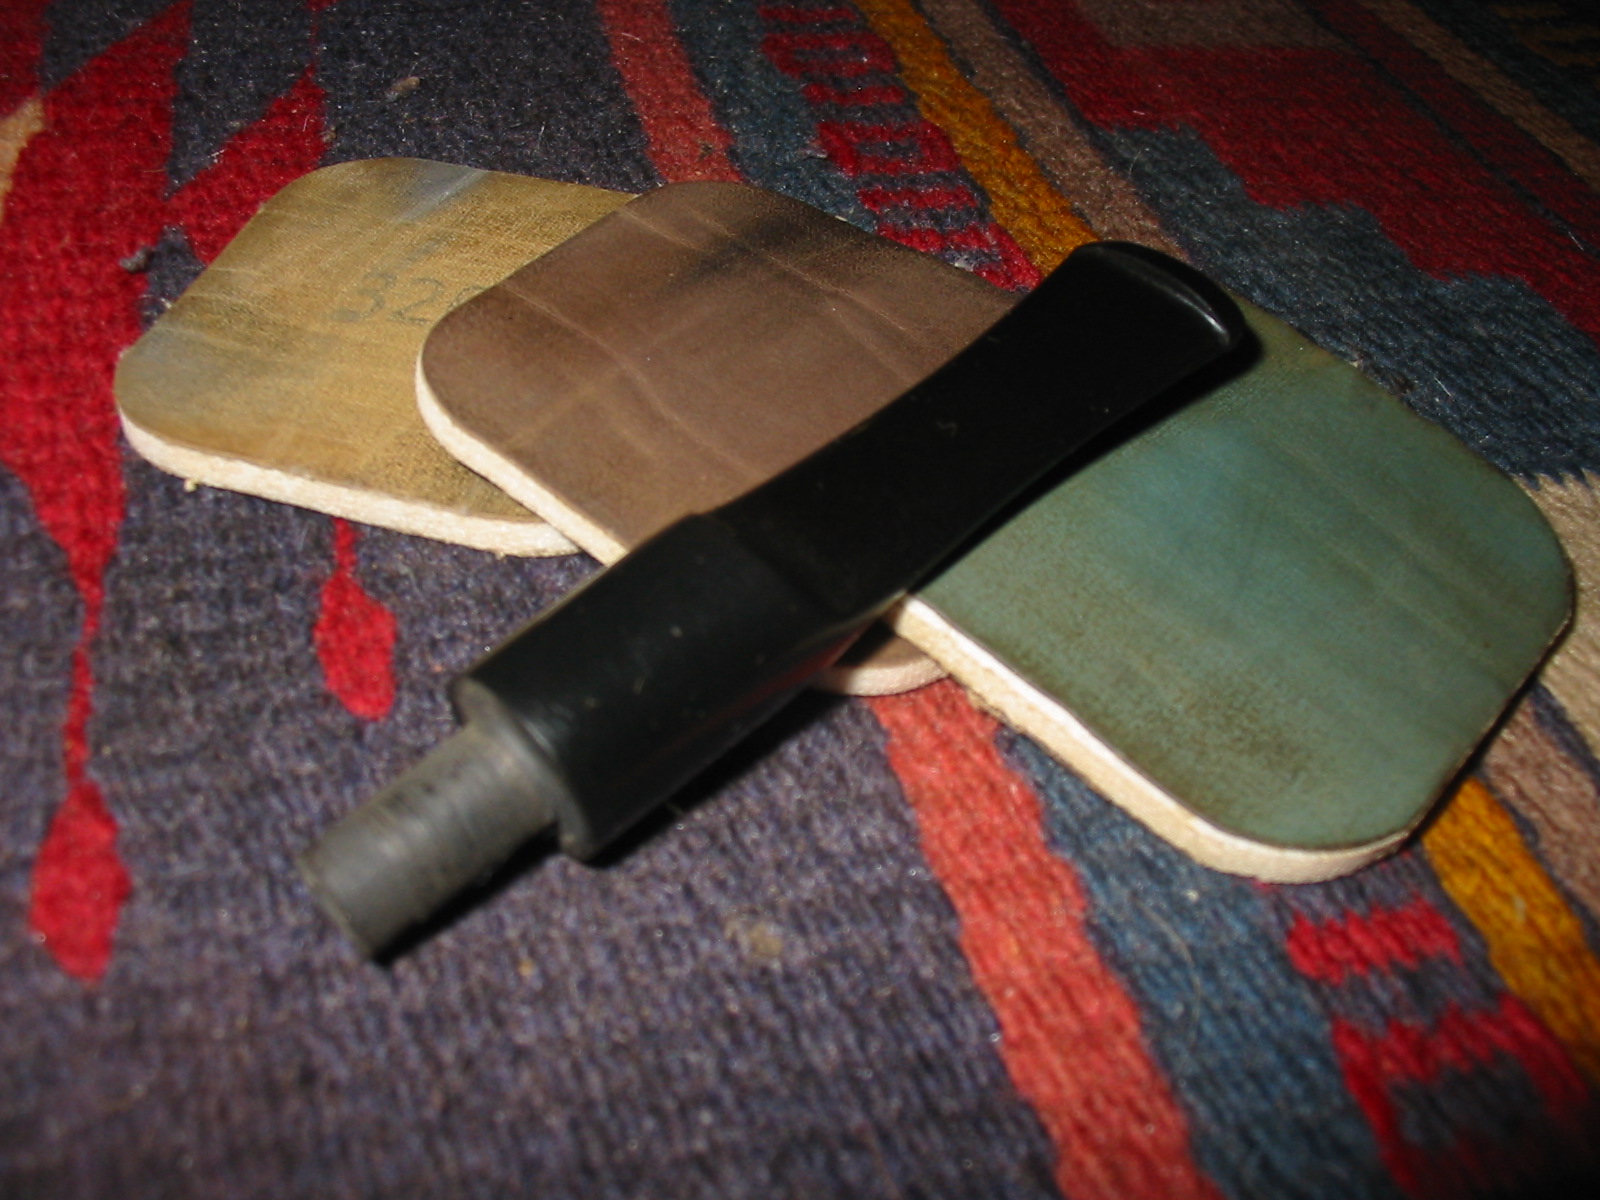
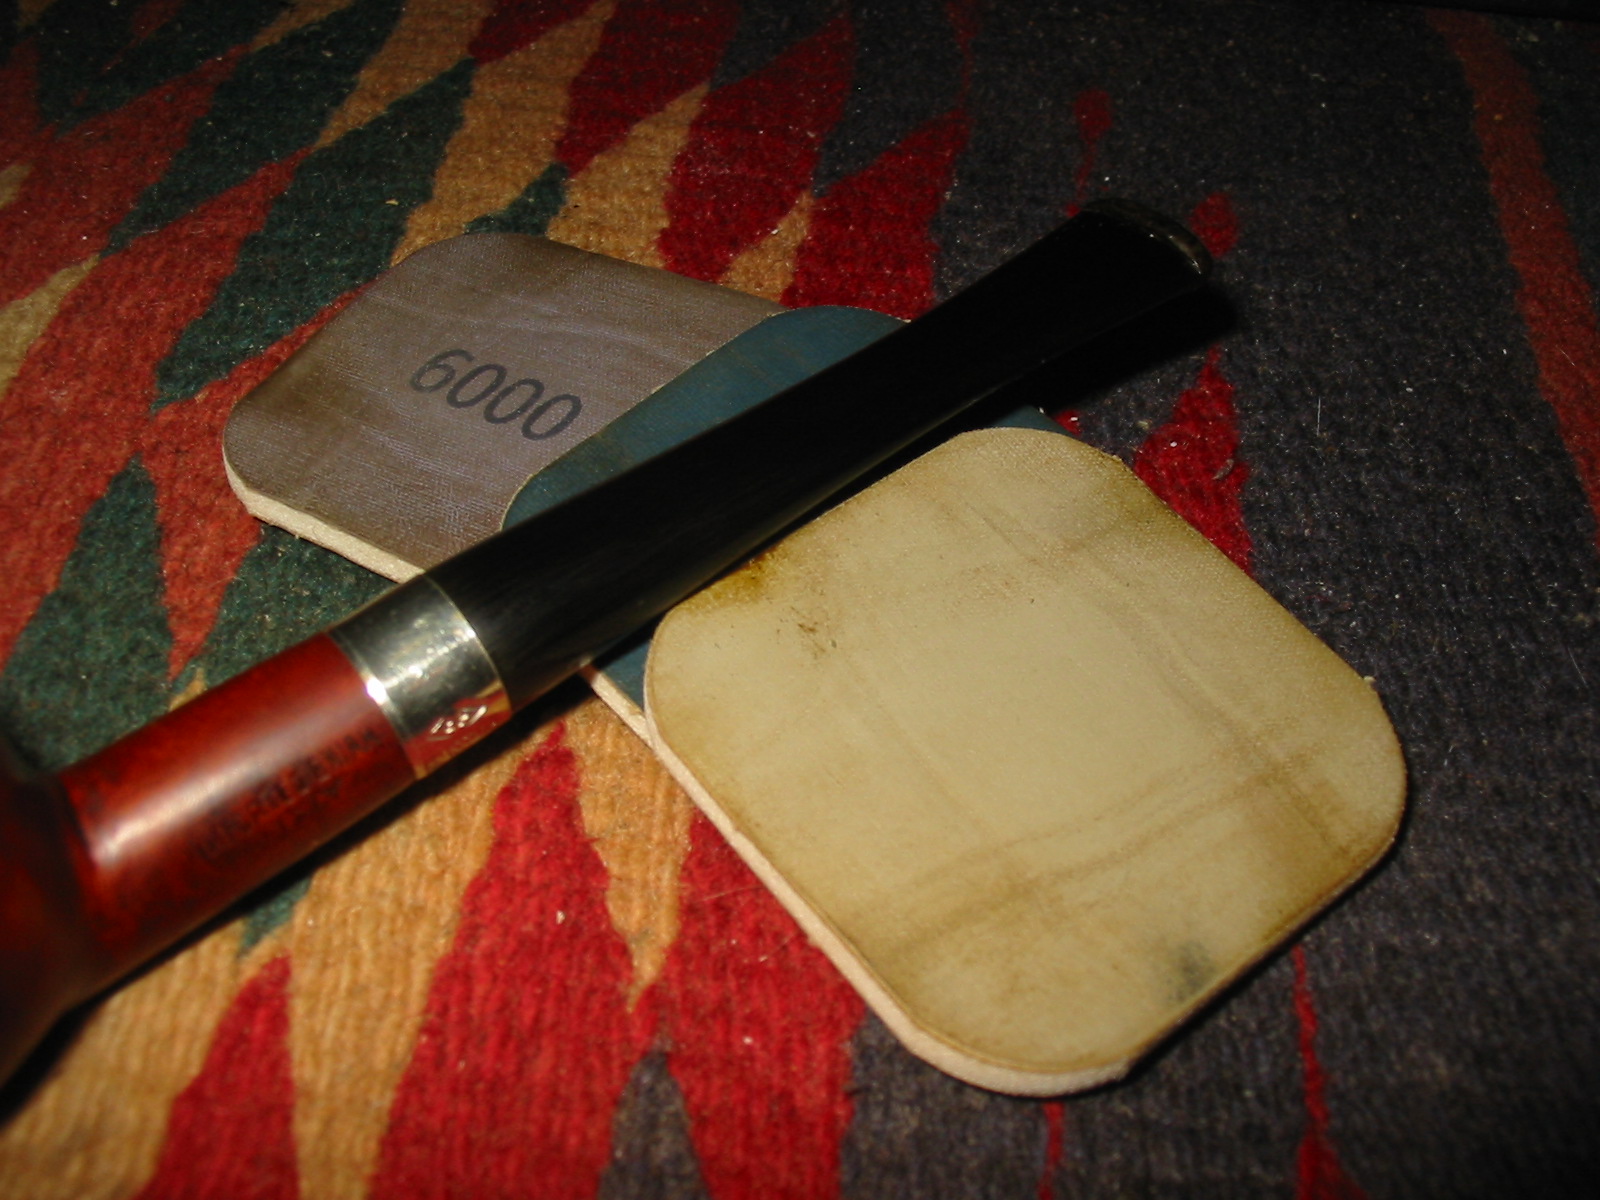
The fills still needed more work but for the time being I worked on the stem some more. I sanded it with micromesh sanding pads. I wet sanded with 1500-2400 grit pads and dry sanded with 3200-12,000 grit pads. I rubbed the stem down with Obsidian Oil and I took it to the buffer and buffed it with White Diamond and gave it multiple coats of carnauba wax.
IMG_2868

IMG_2869

IMG_2870

I decided to do some more work on the areas of the fills. I sanded the areas of the fills down with 220 grit sandpaper and then a medium grit sanding sponge. I then sanded the entire bowl and shank with a fine grit sanding sponge to remove the finish. I wiped it down with a cotton pad and Everclear to remove the last of the finish and also the sanding grit. I used superglue to refill the fills and even out the surface and dips that still remained after the first reworking. I then sanded the spots with 220 grit sandpaper, a medium grit and a fine grit sanding sponge to remove the scratches and blend the fills into the surface of the bowl.
IMG_2876

IMG_2877

IMG_2878

I stained the bowl with a 2:1 mixture of aniline dark brown stain and isopropyl alcohol. I applied the stain with a cotton swab and flamed it. I reapplied and reflamed it several times until I had a good even coverage on the bowl and shank.
IMG_2879

IMG_2880

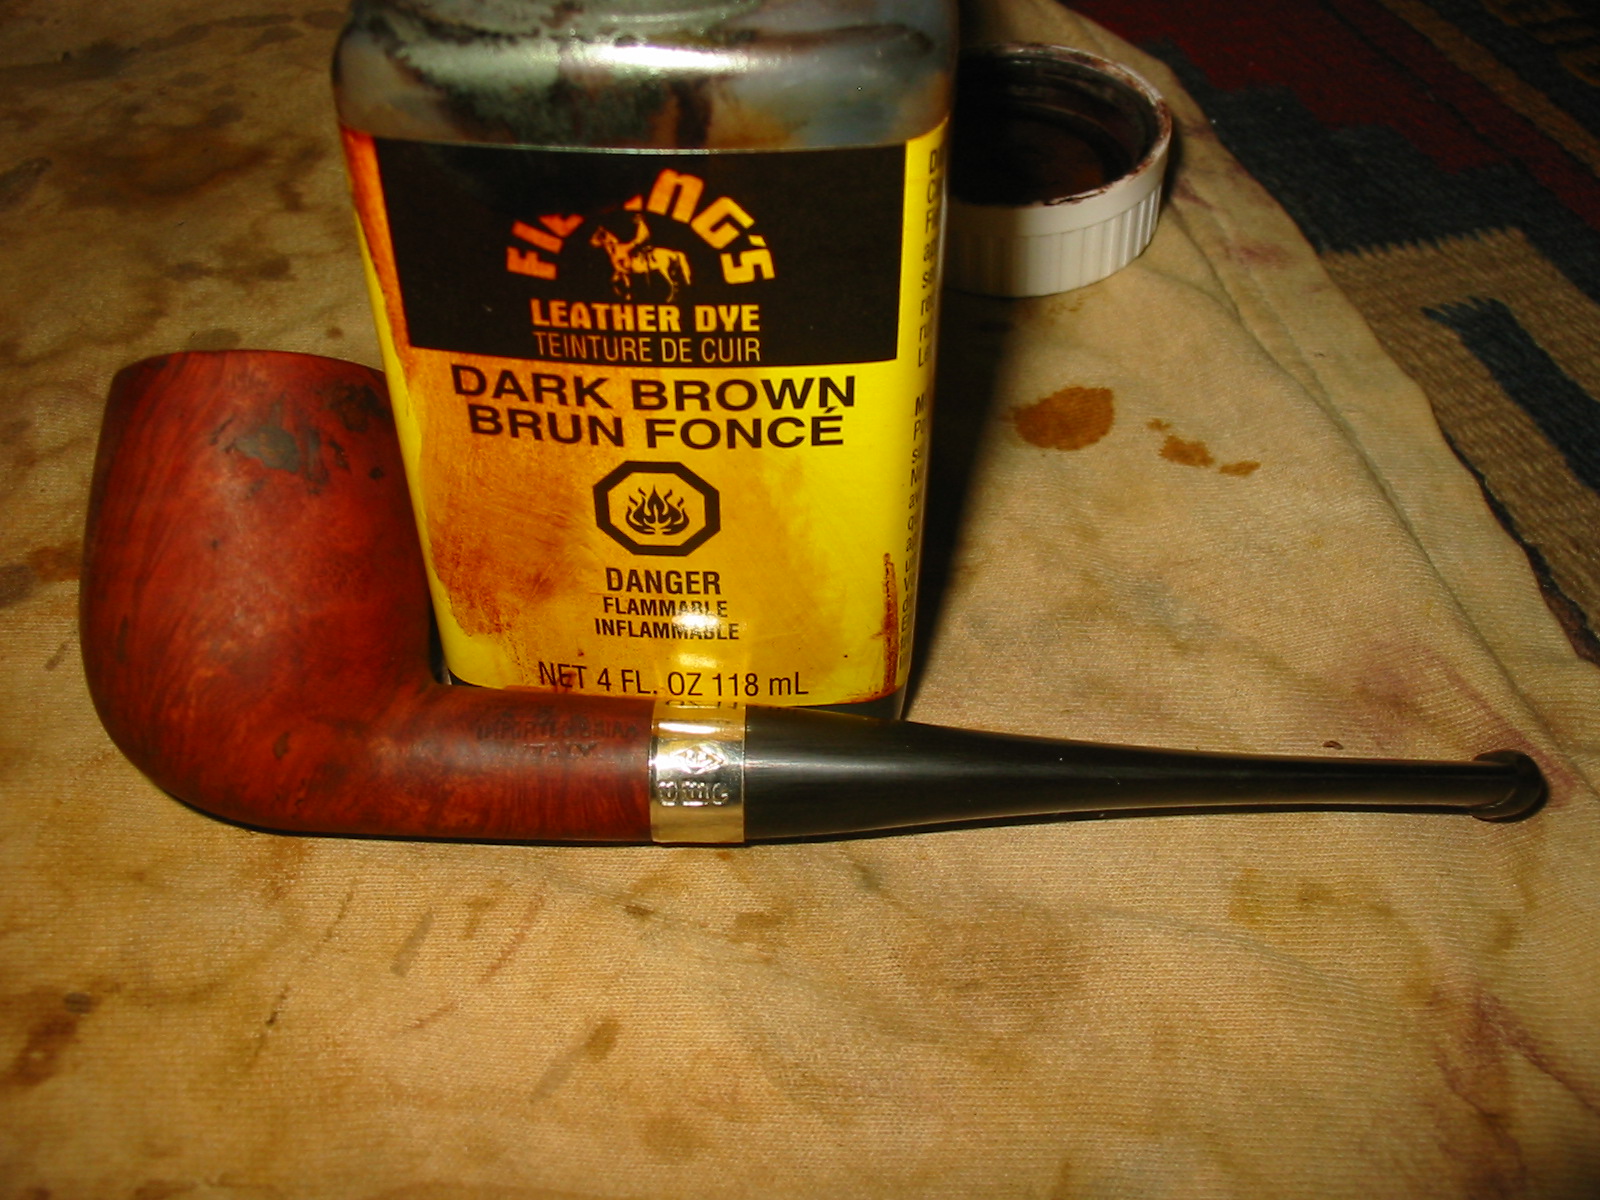
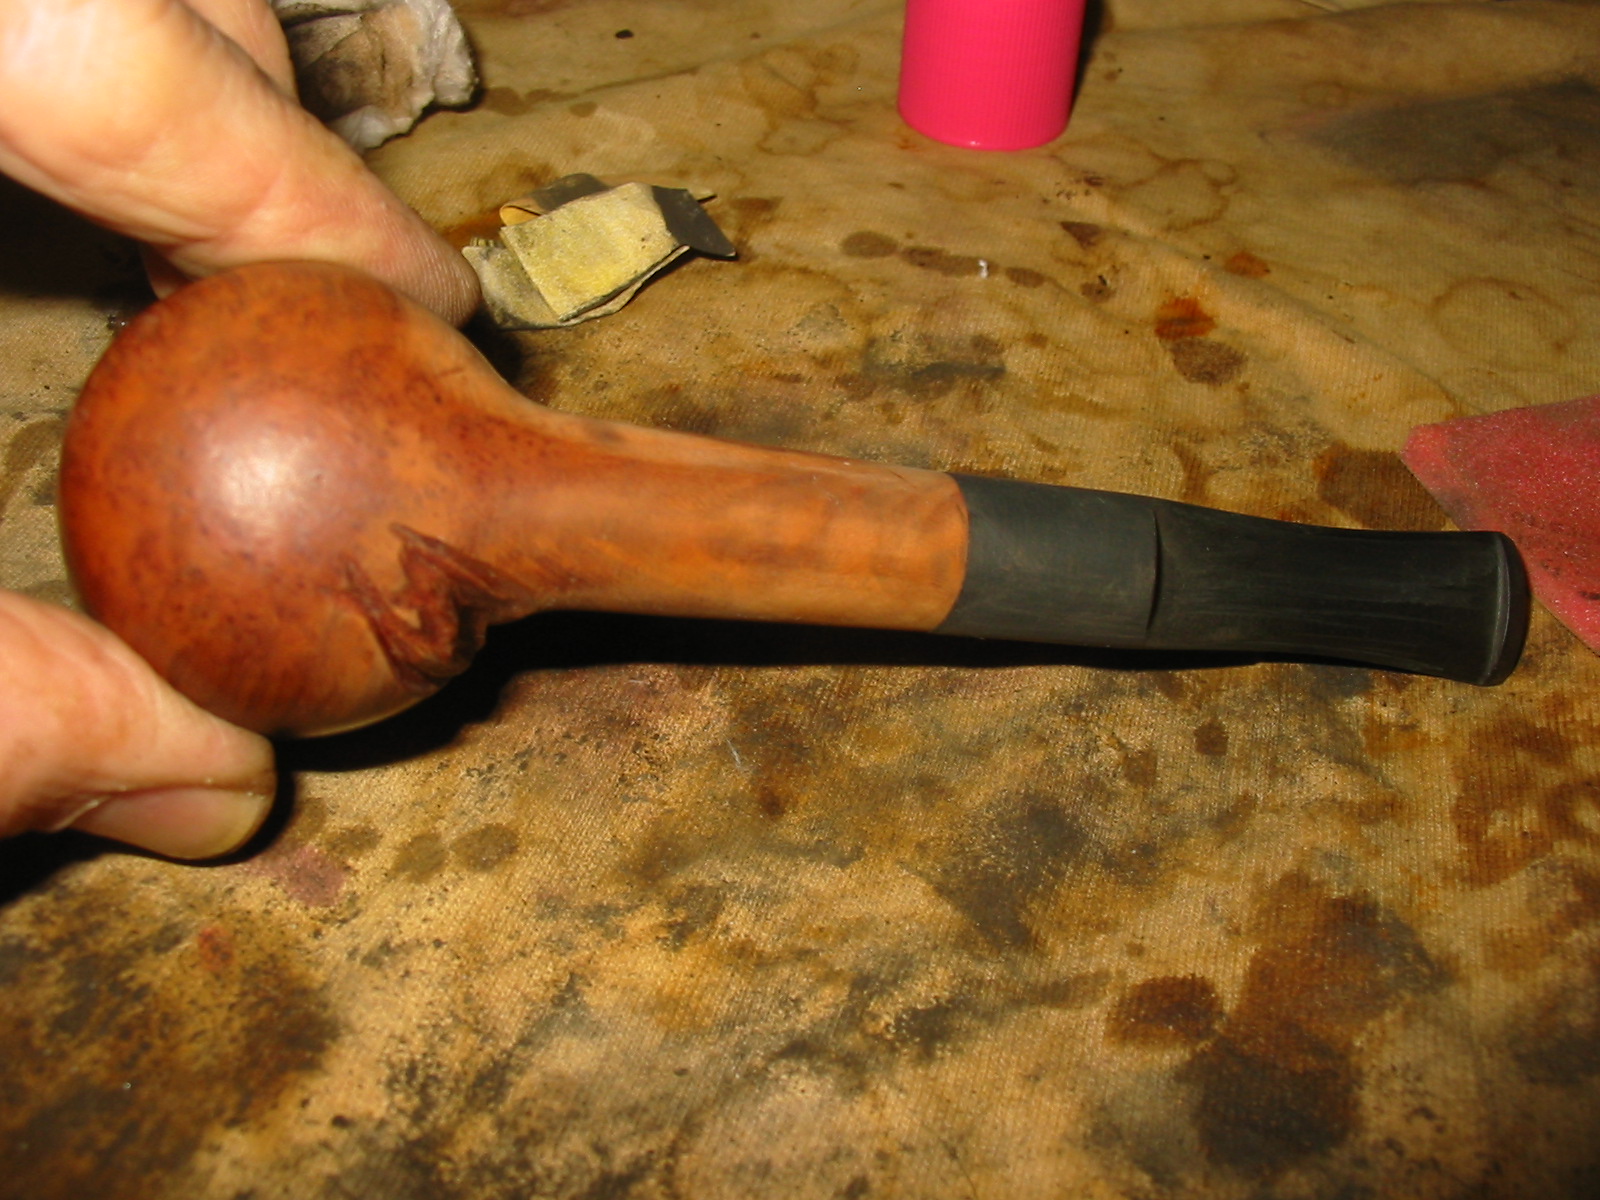
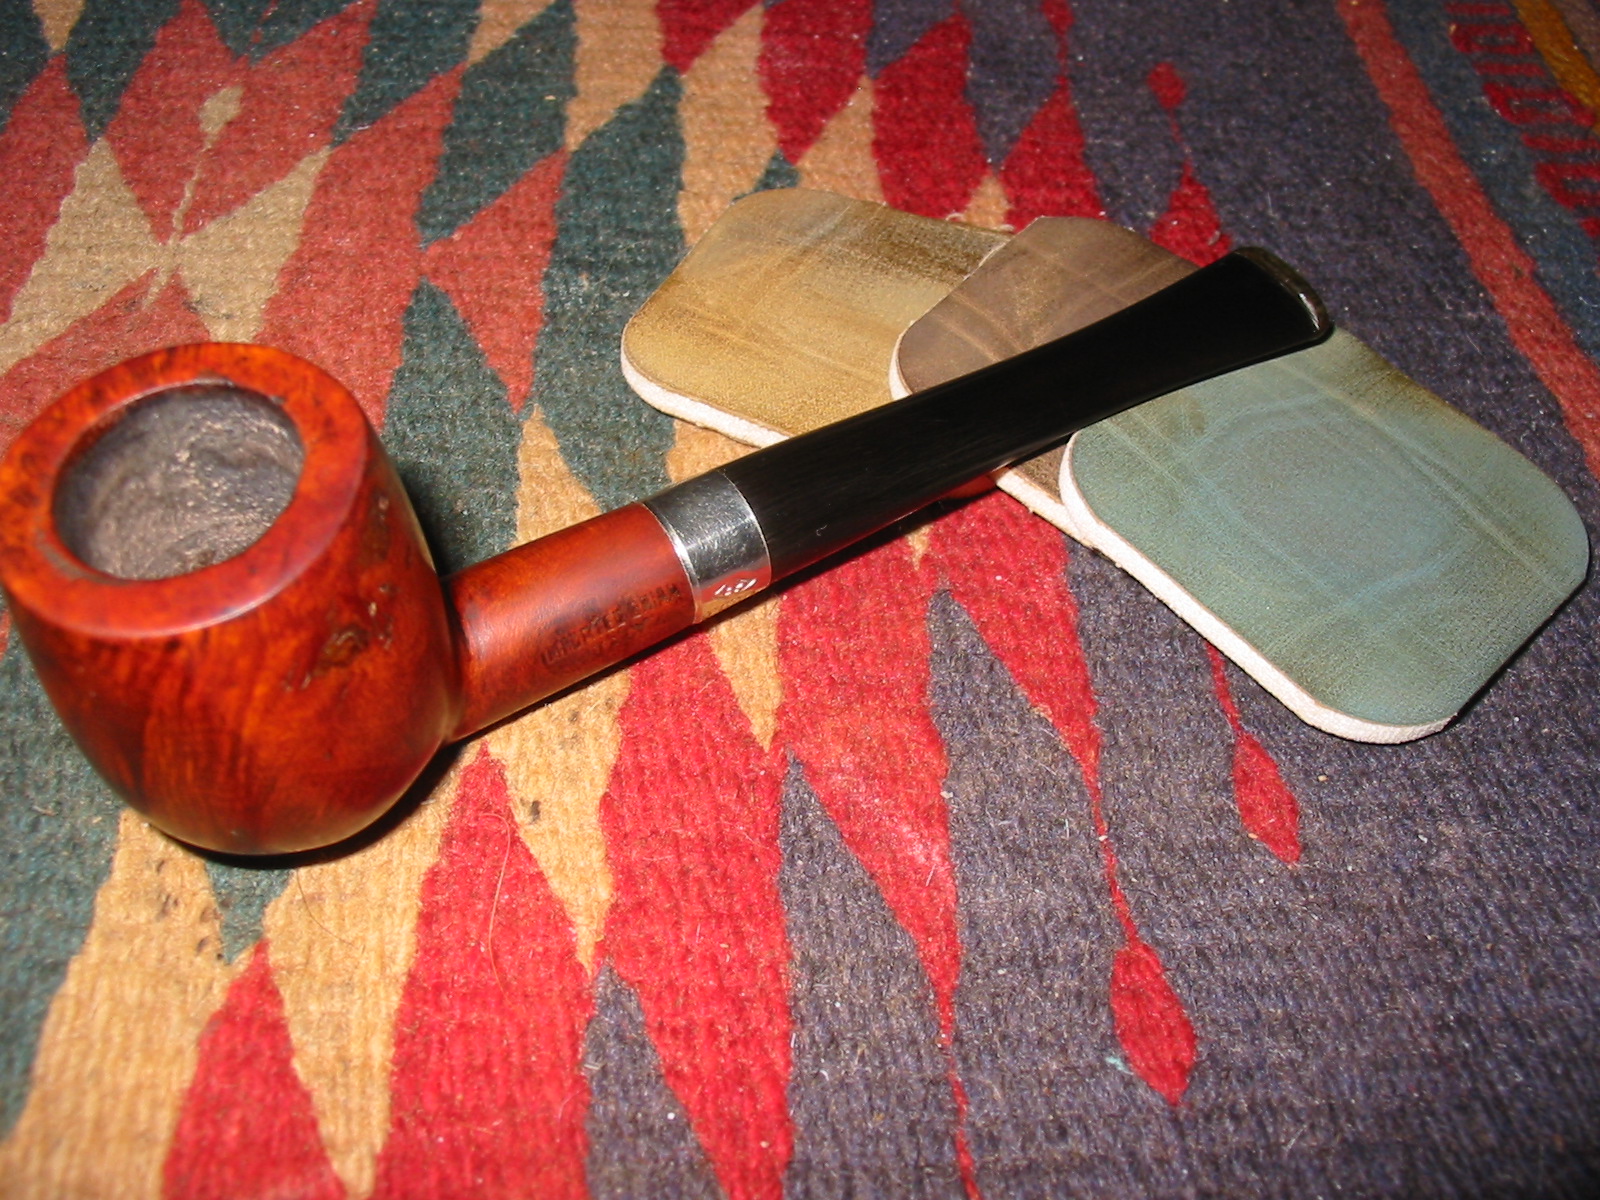
I buffed the pipe with White Diamond to smooth out the surface of the bowl and then gave it a top coat of oxblood stain. I wiped the stain on with a cotton pad and flamed it repeating the process until I was happy with the coverage on the bowl. I was much happier now with the fills as they were smooth to the touch and there were no more pits or divots in them.
IMG_2881

IMG_2882

IMG_2883

IMG_2884

IMG_2885

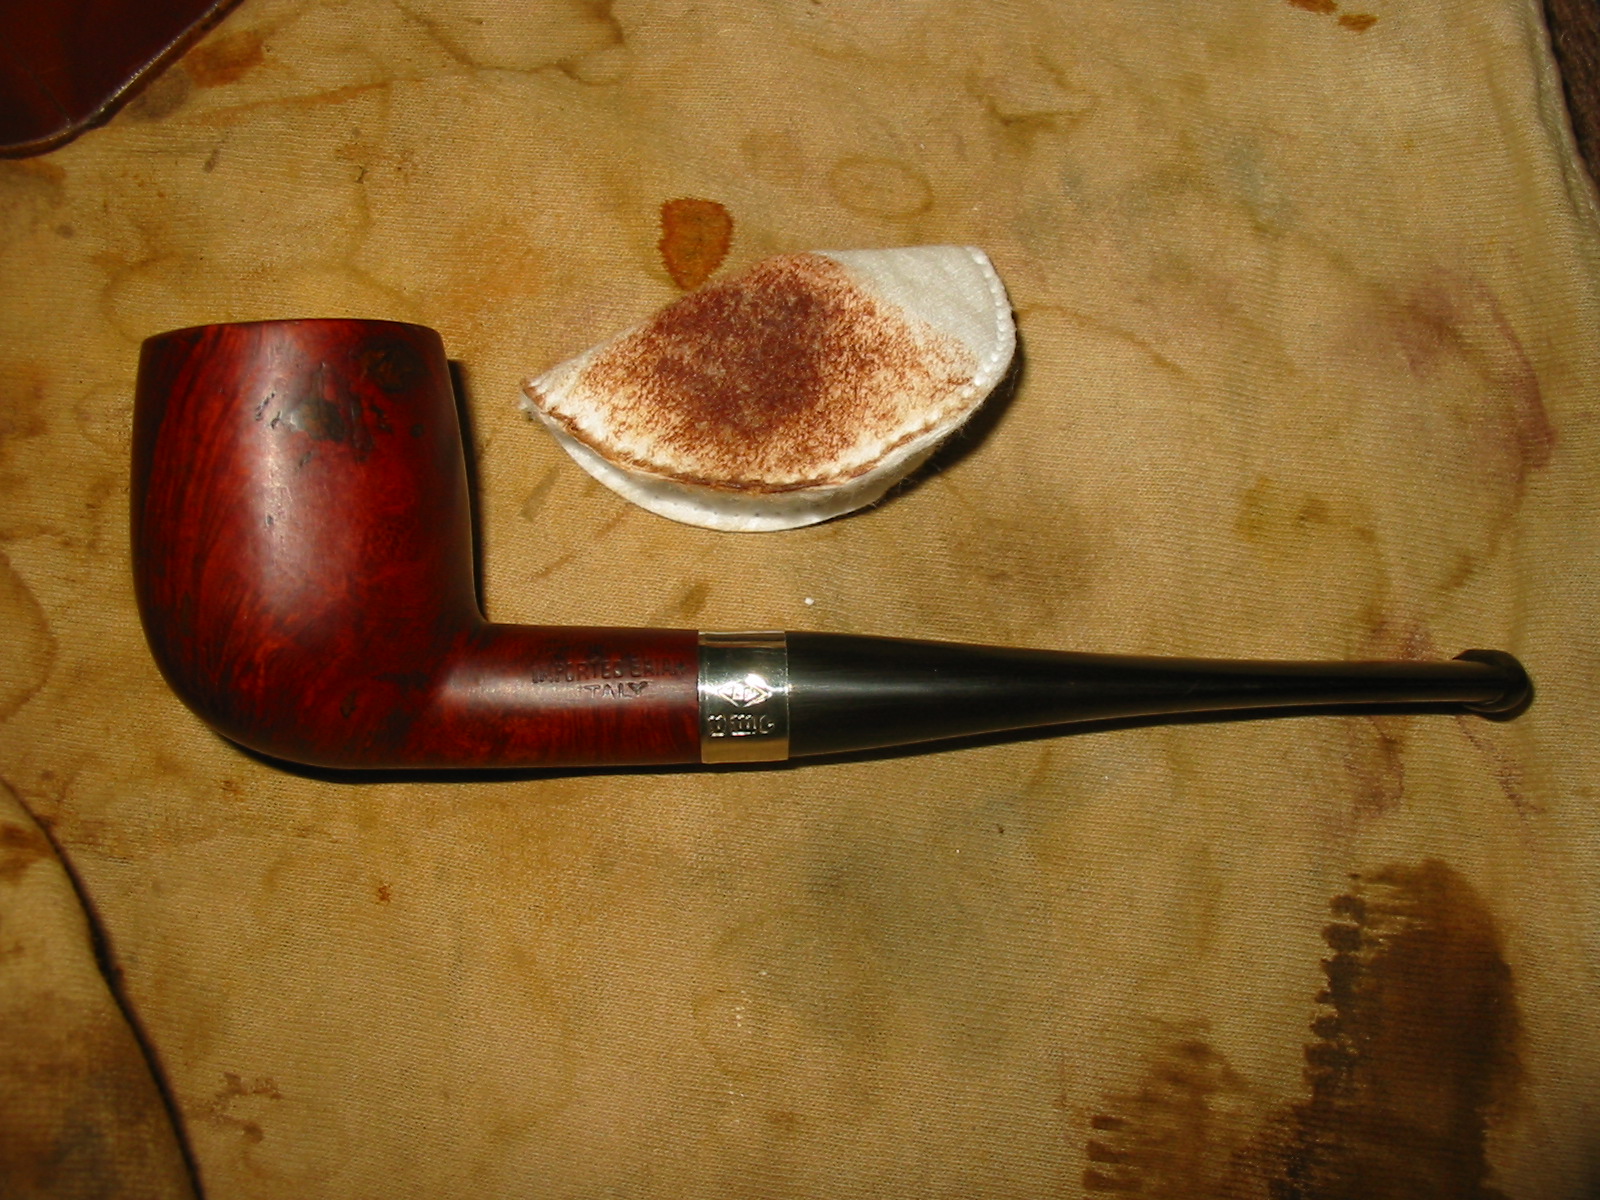
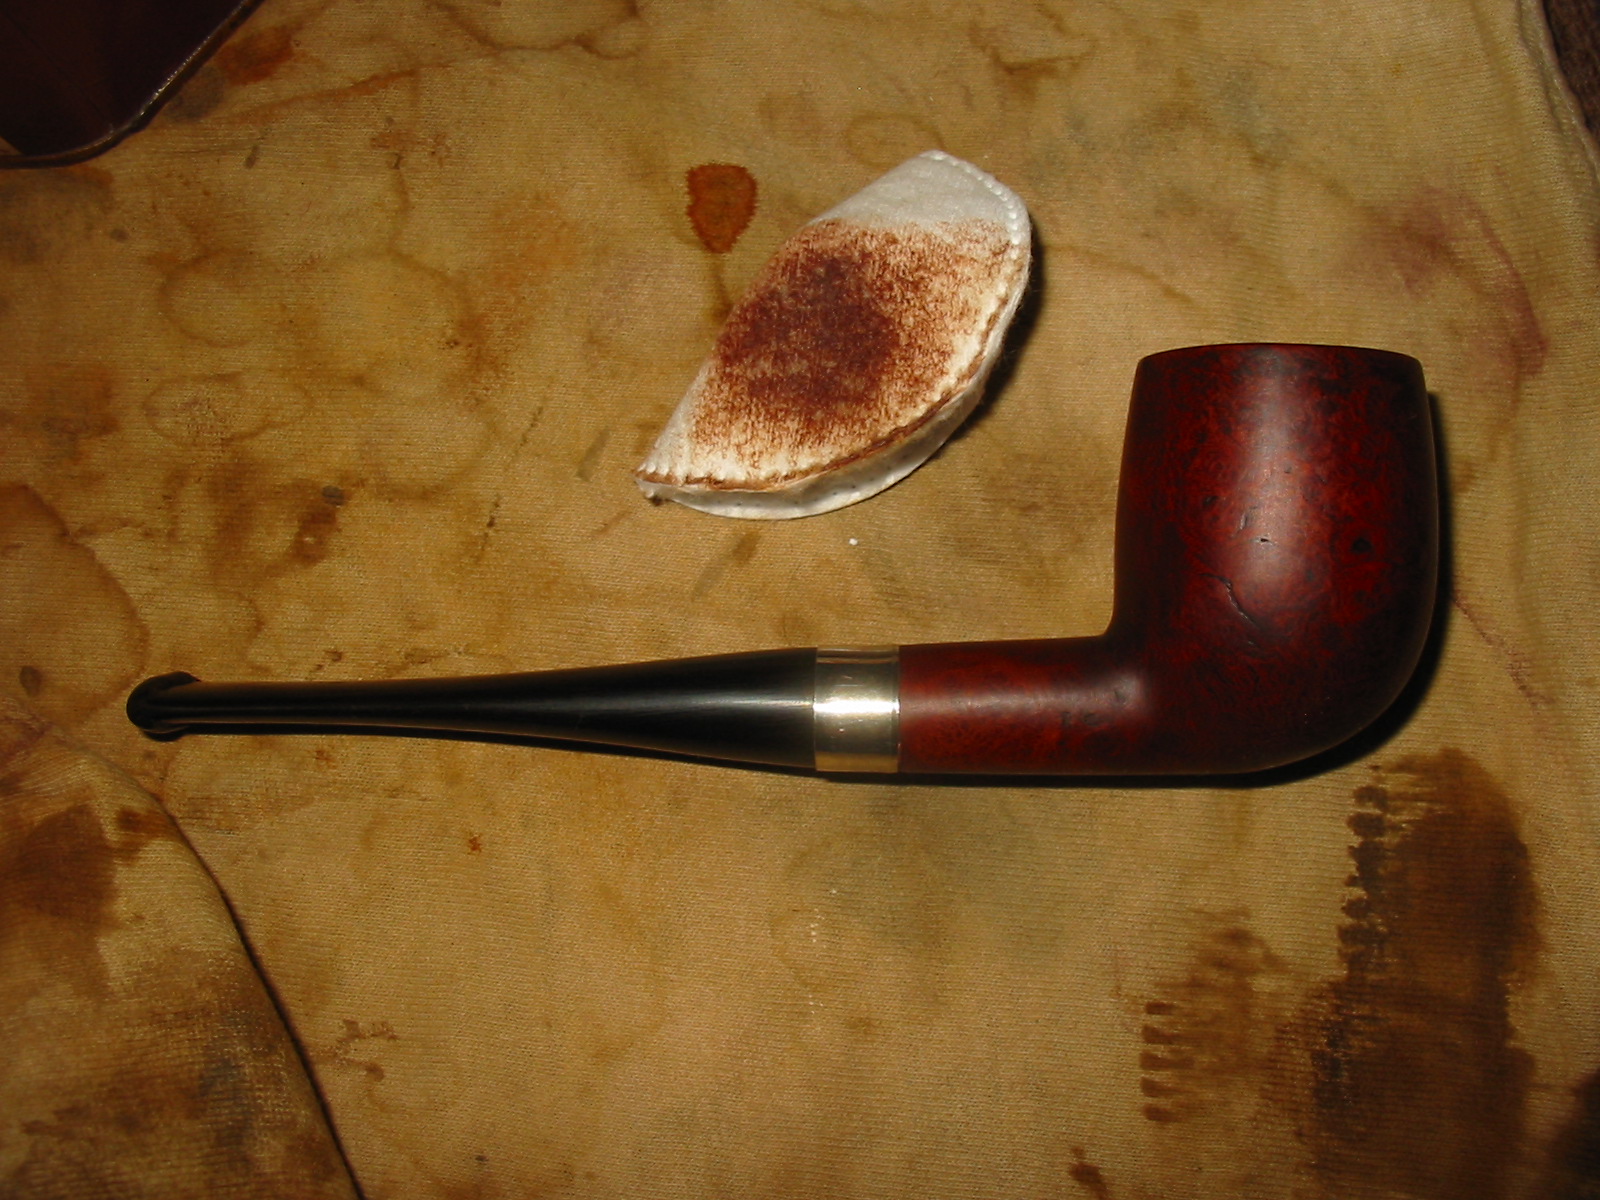
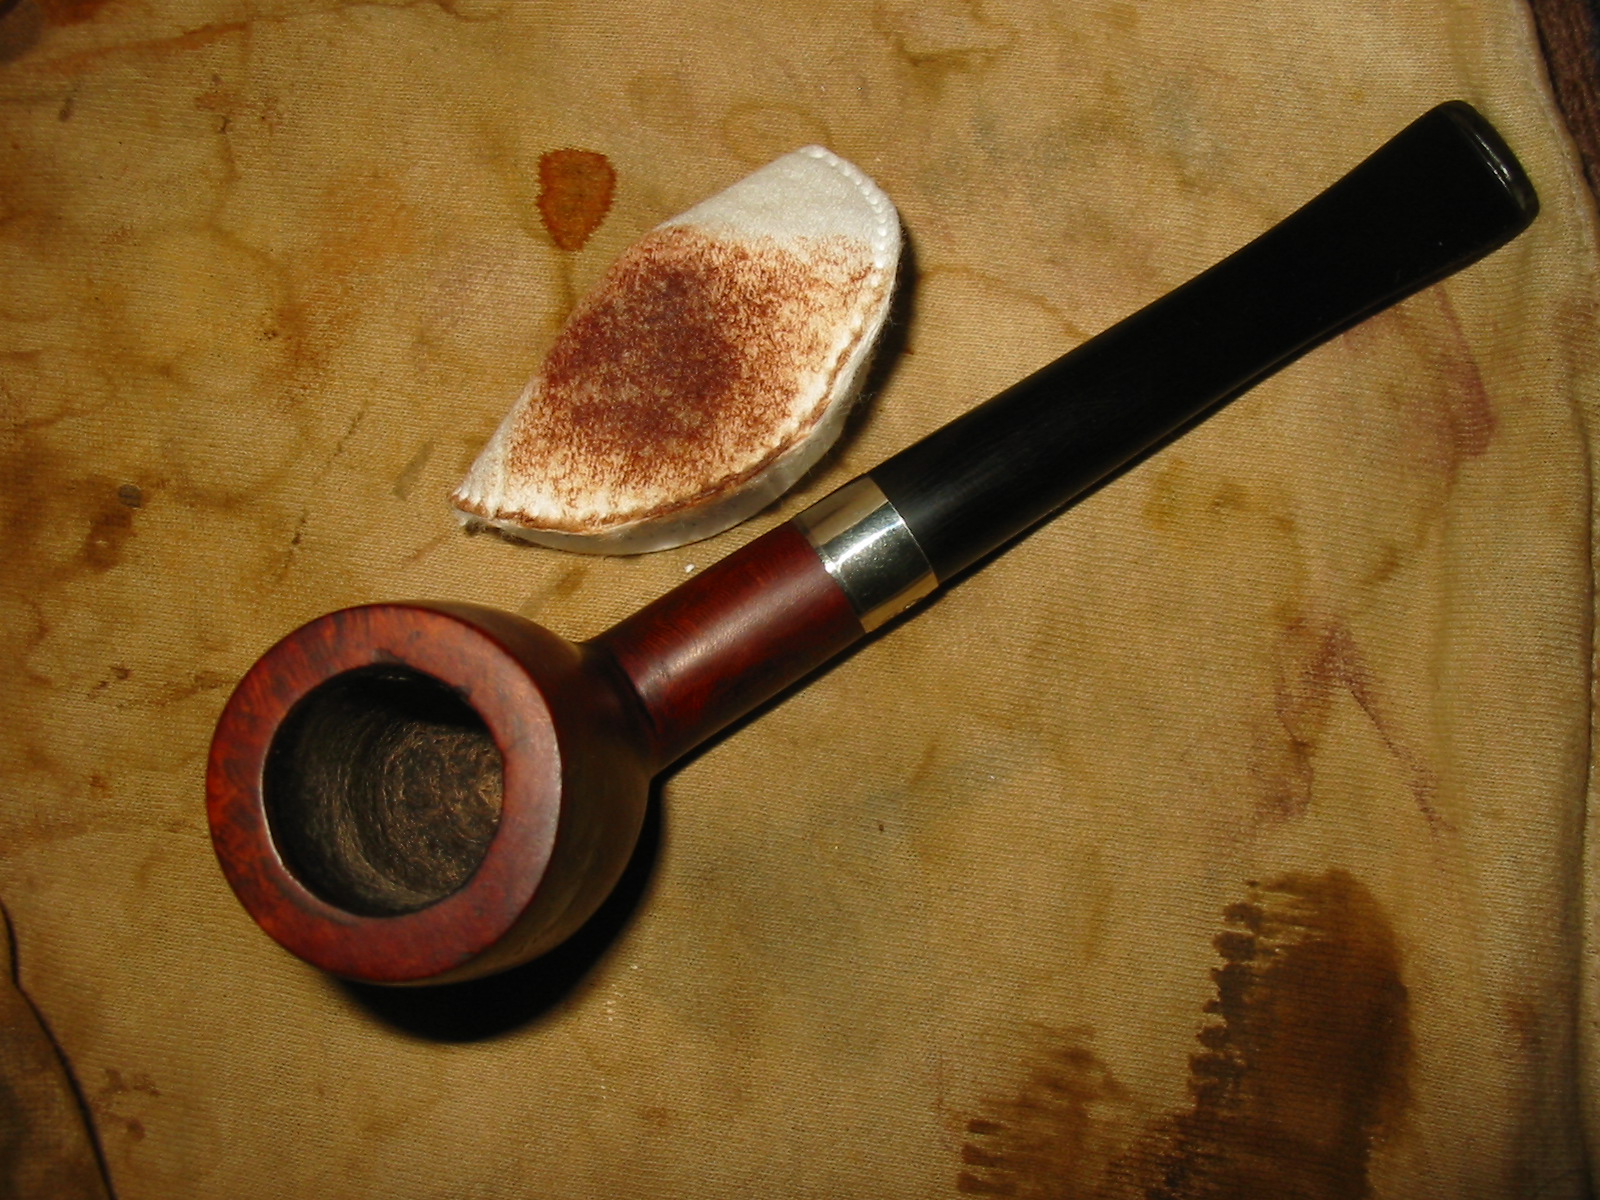
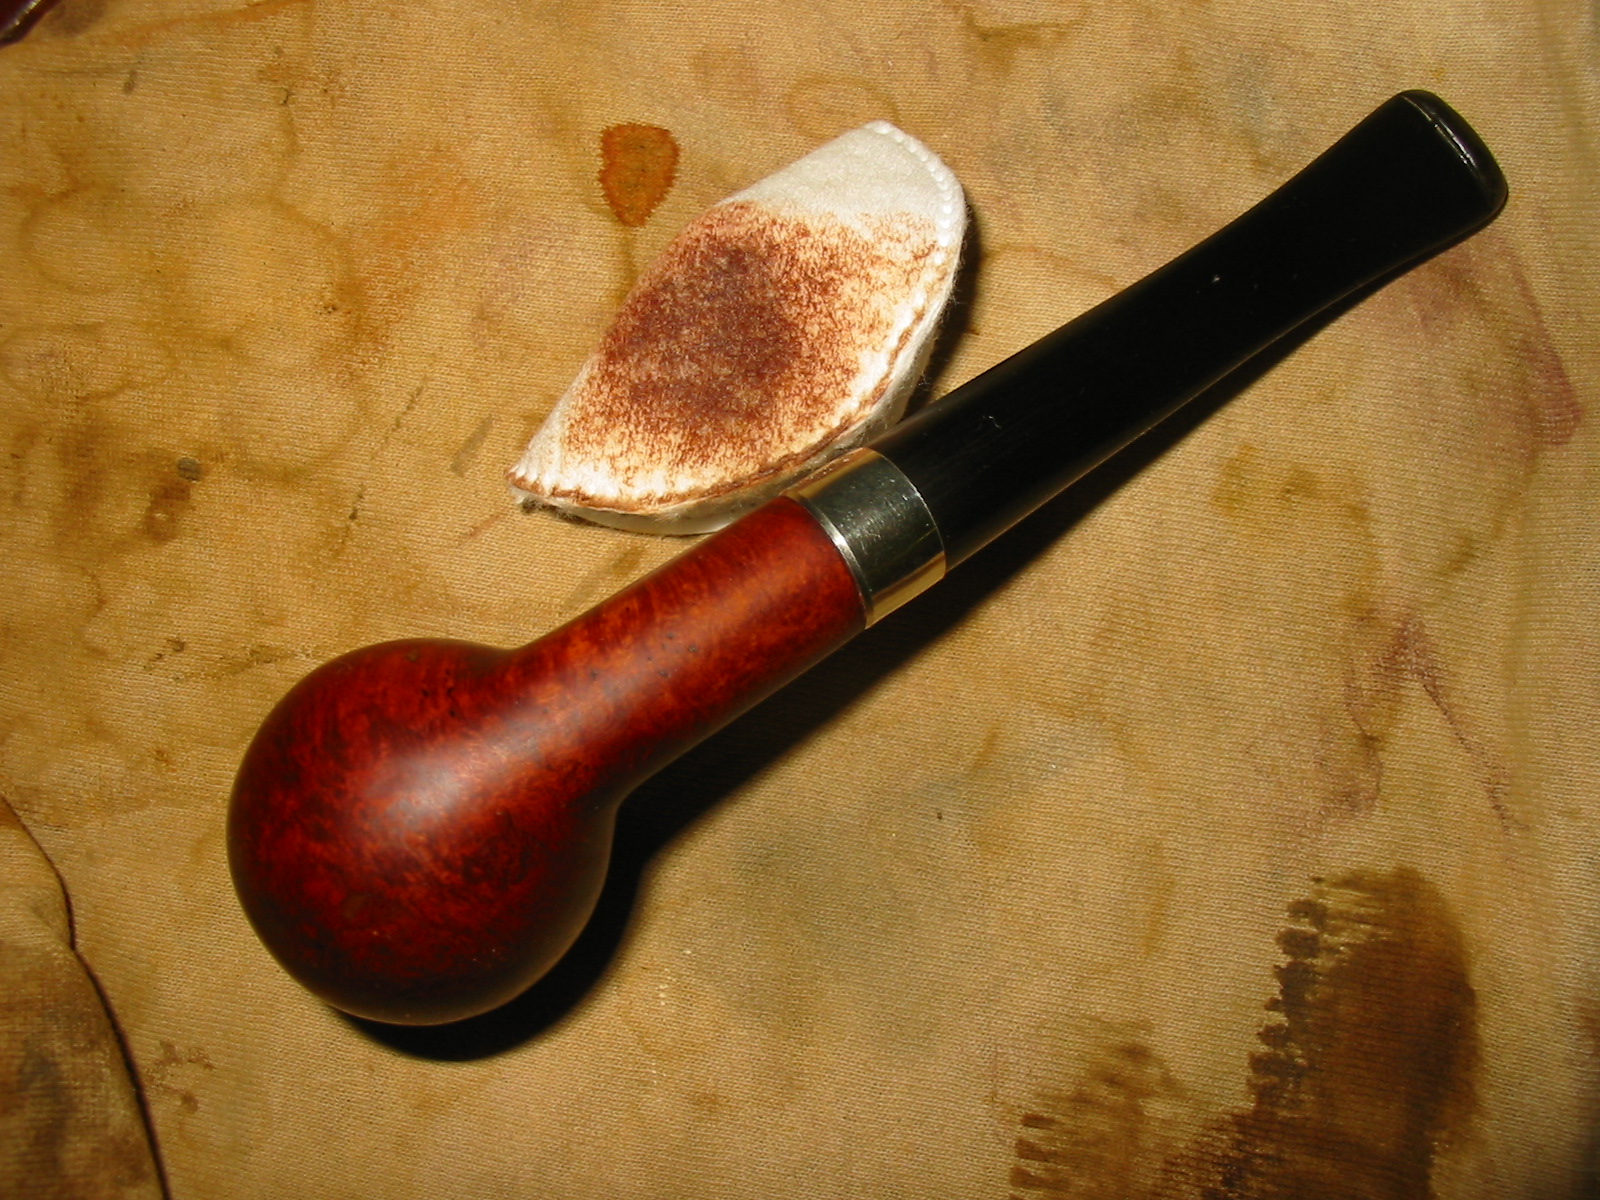
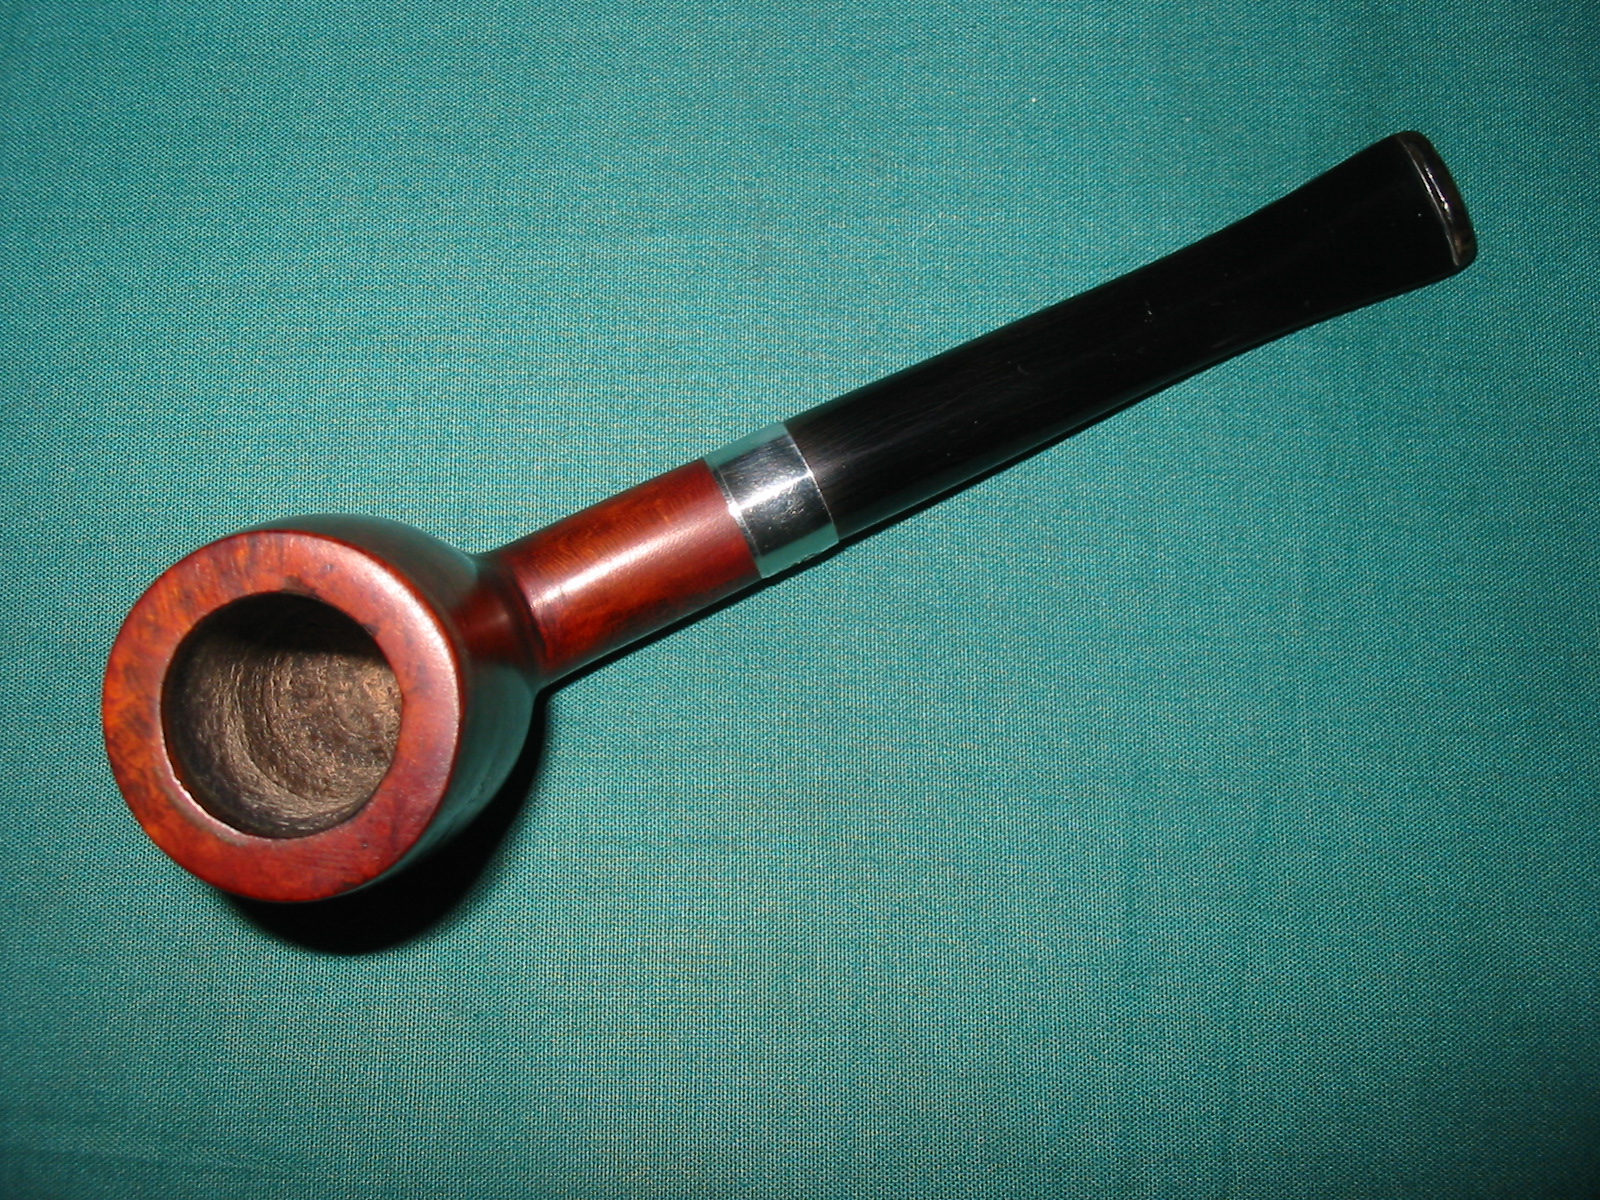
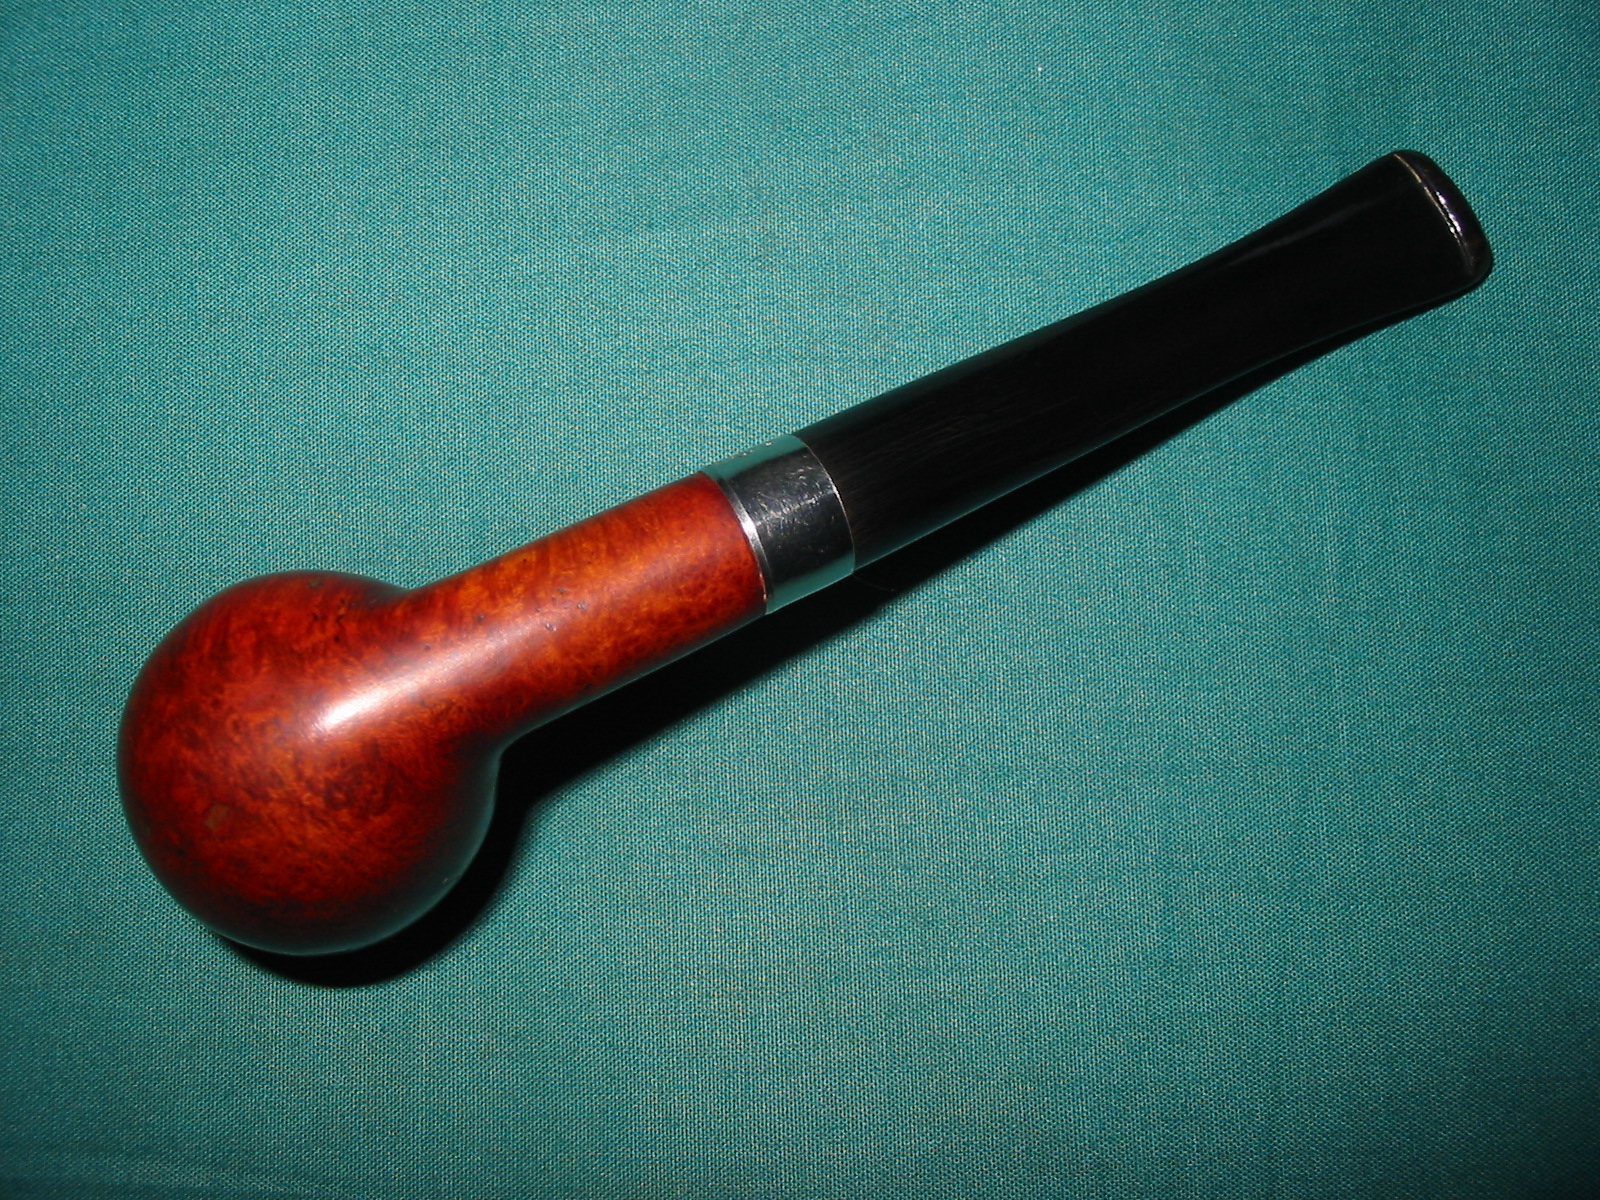
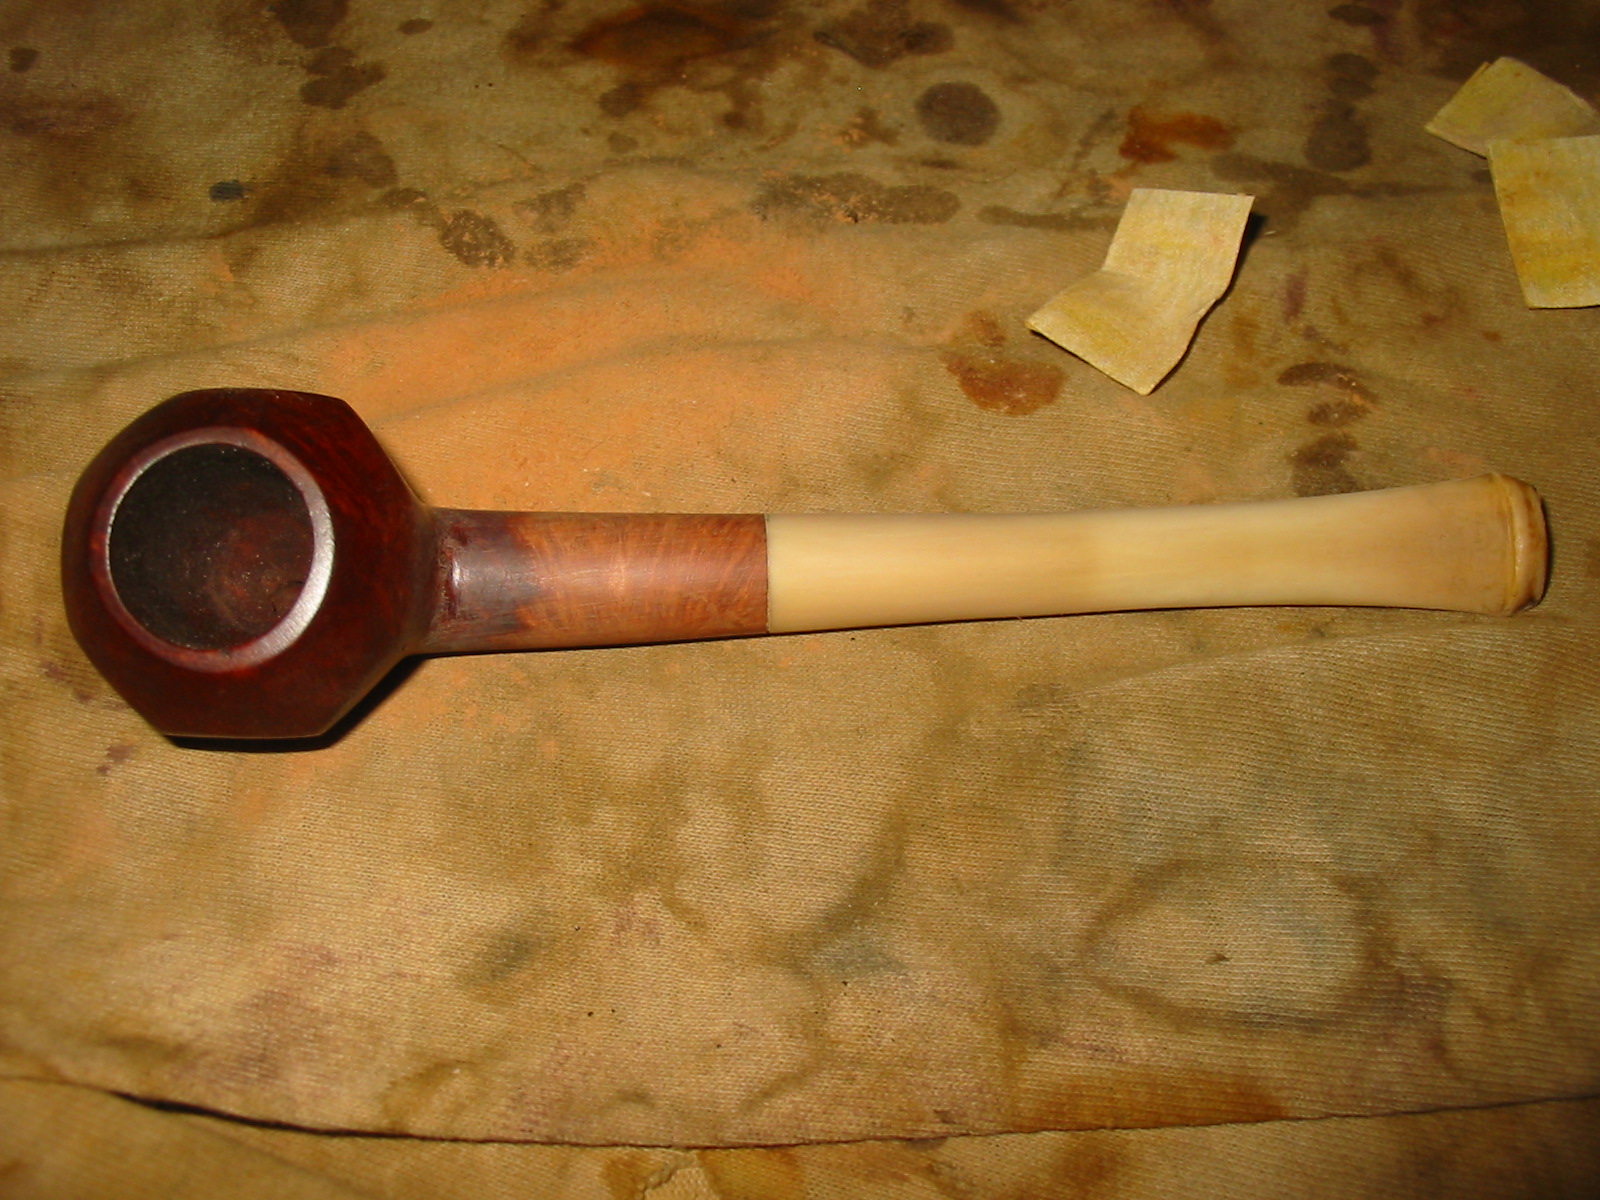
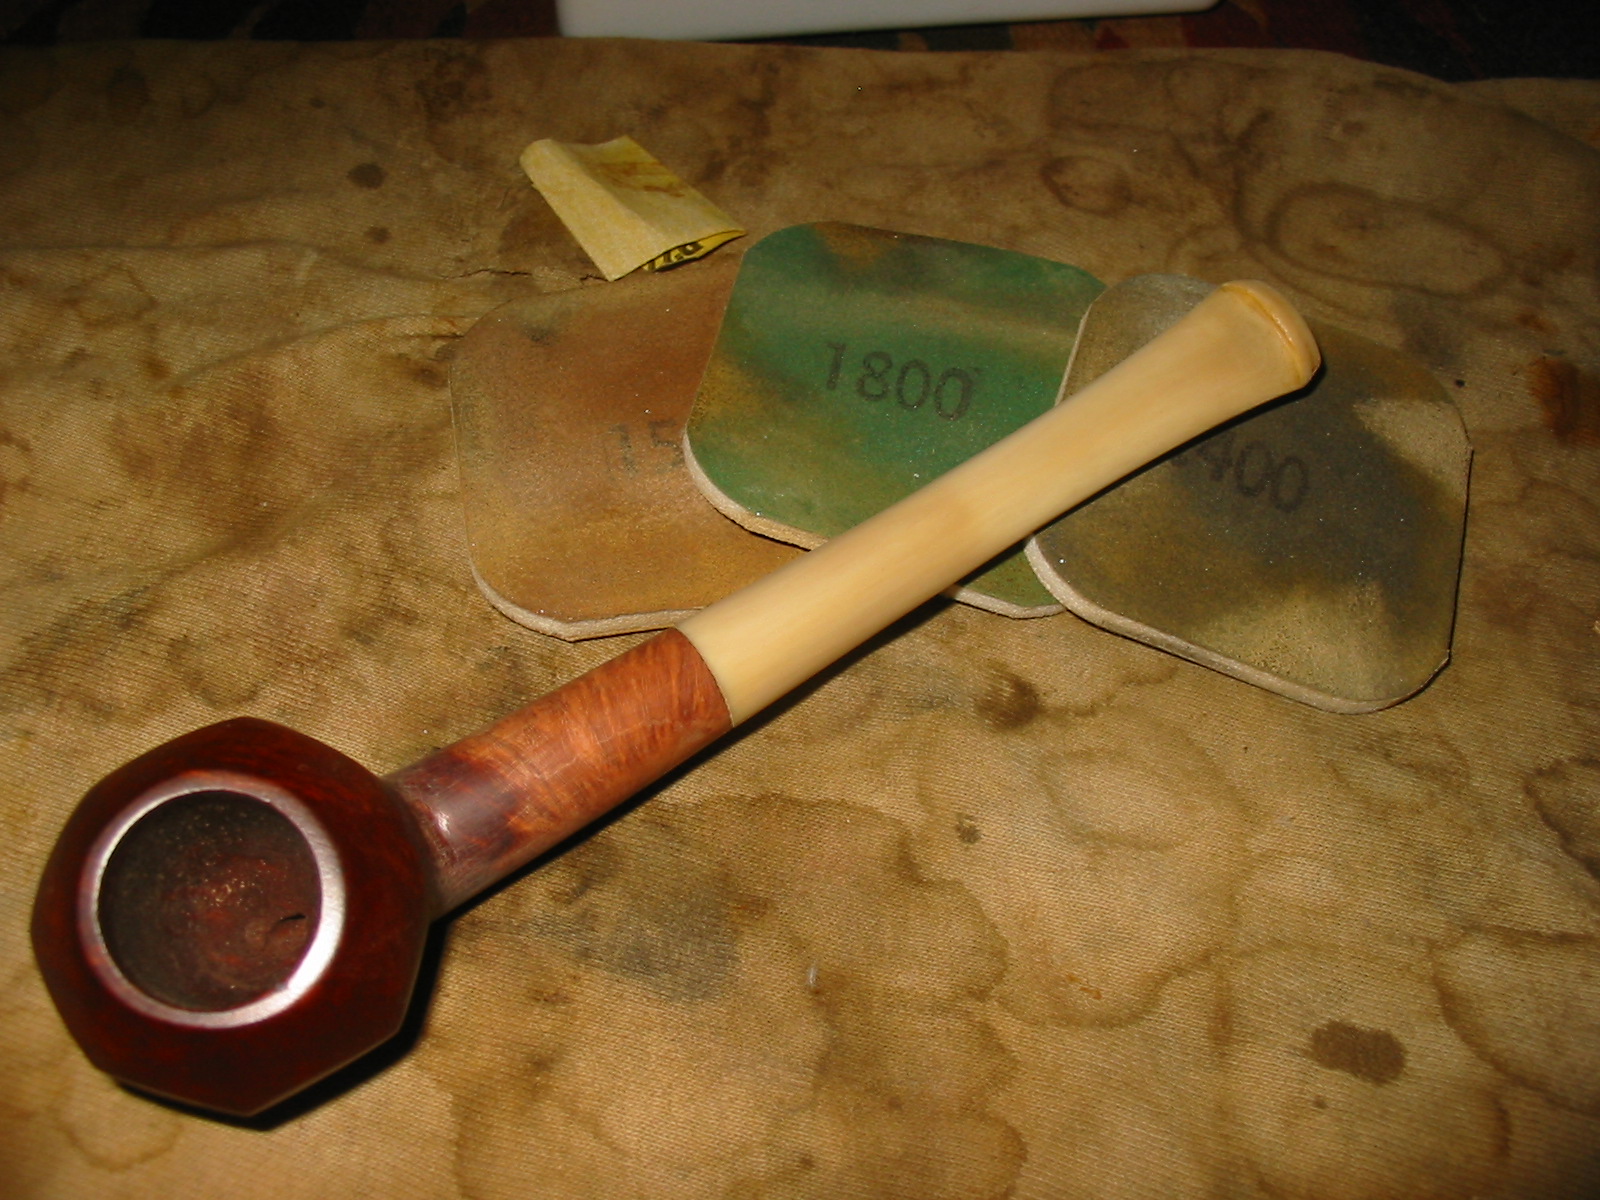
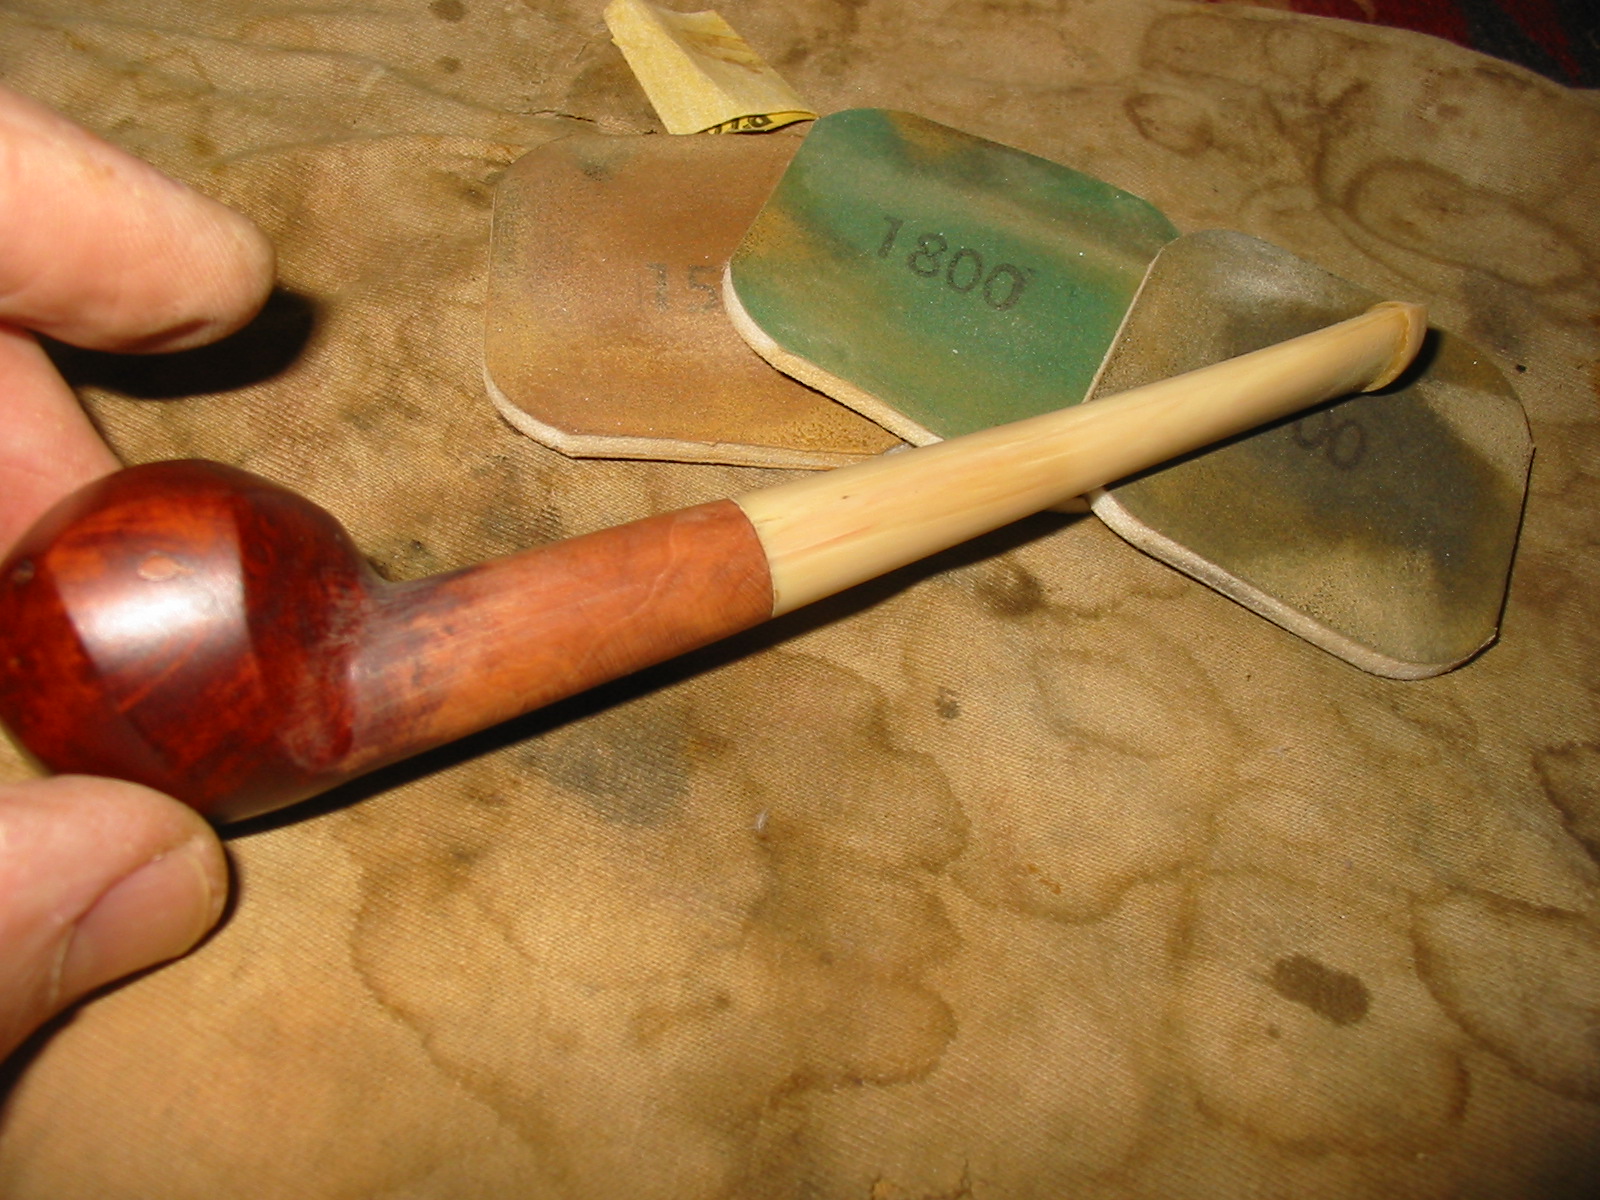
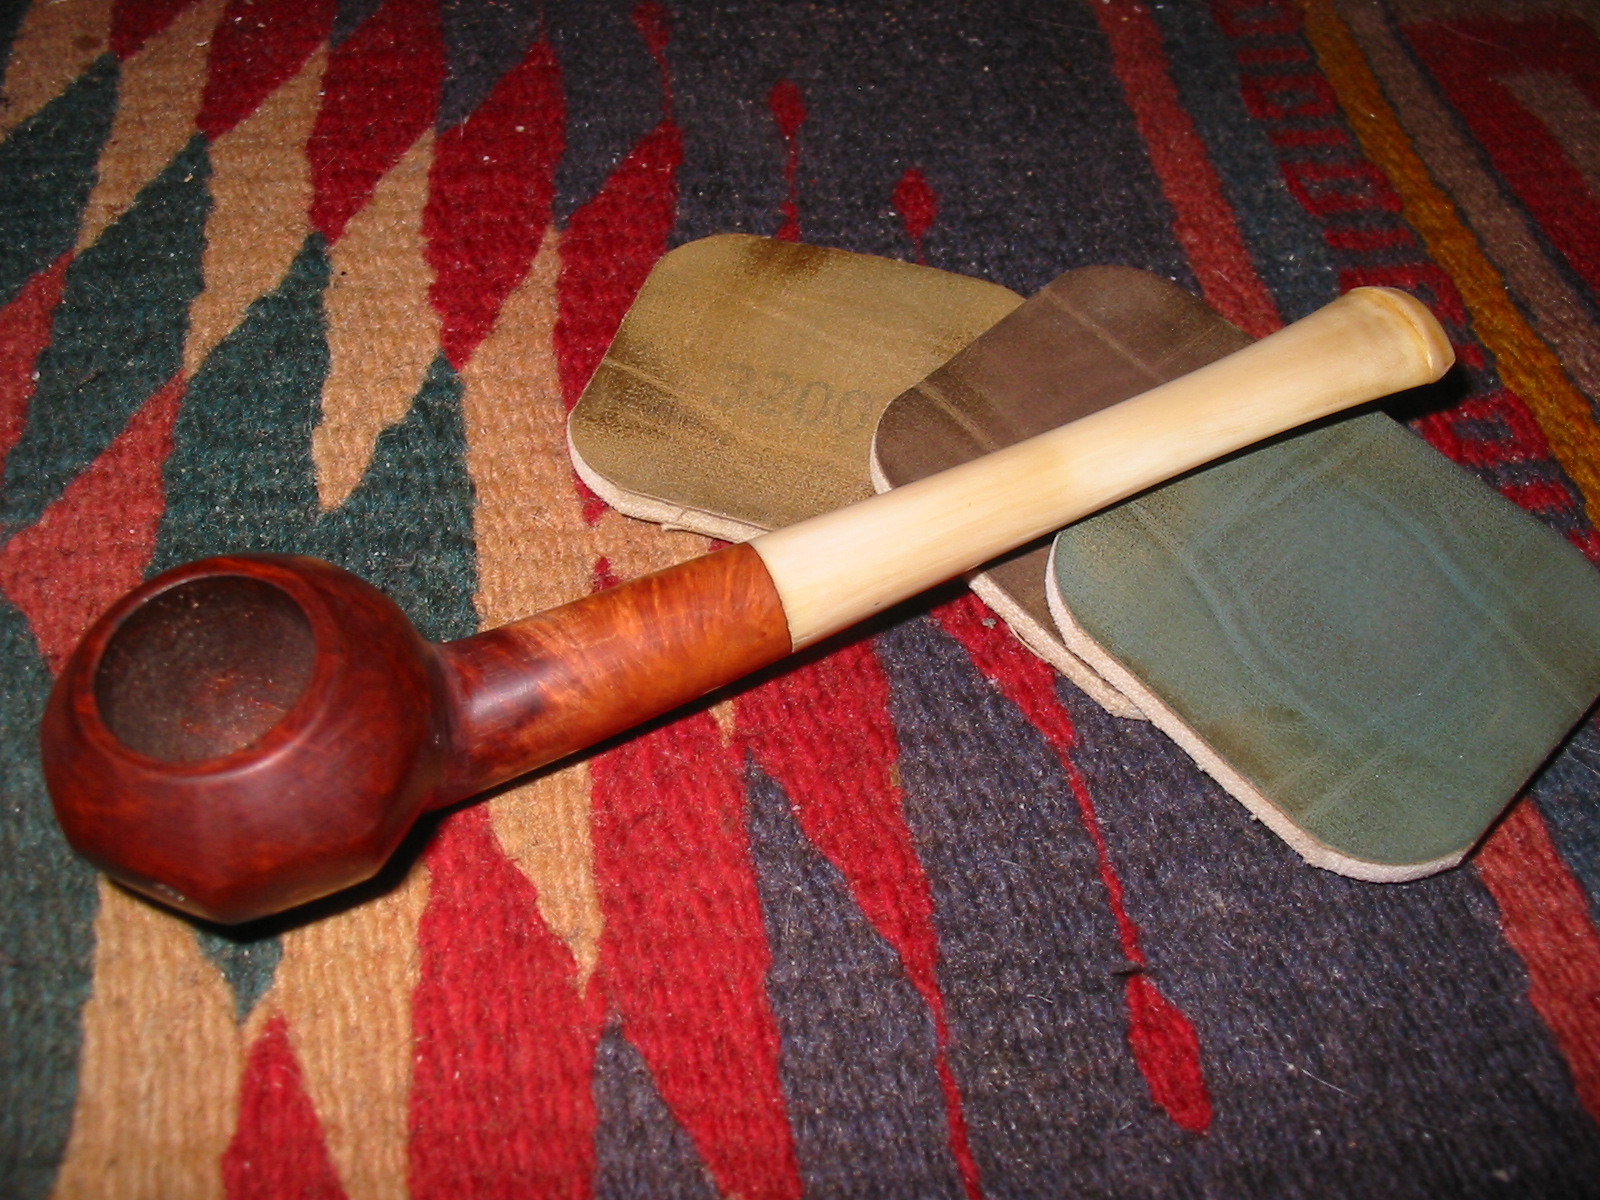
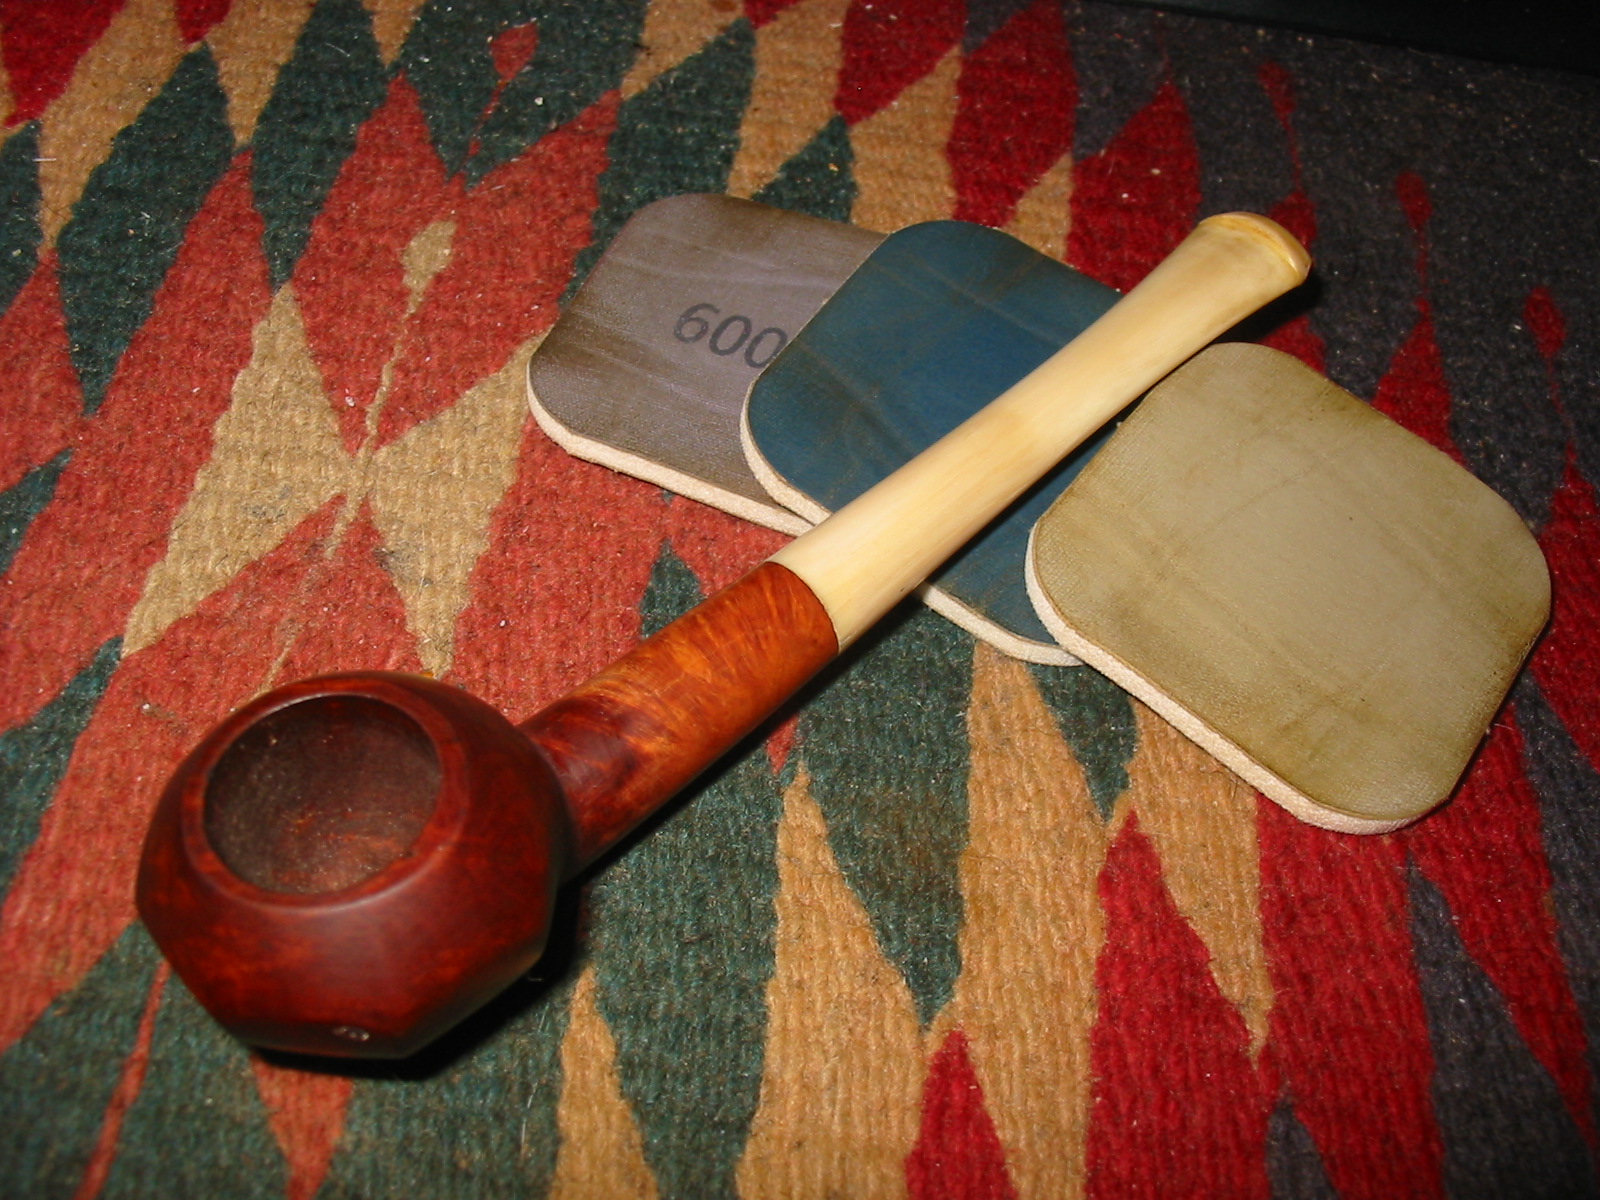
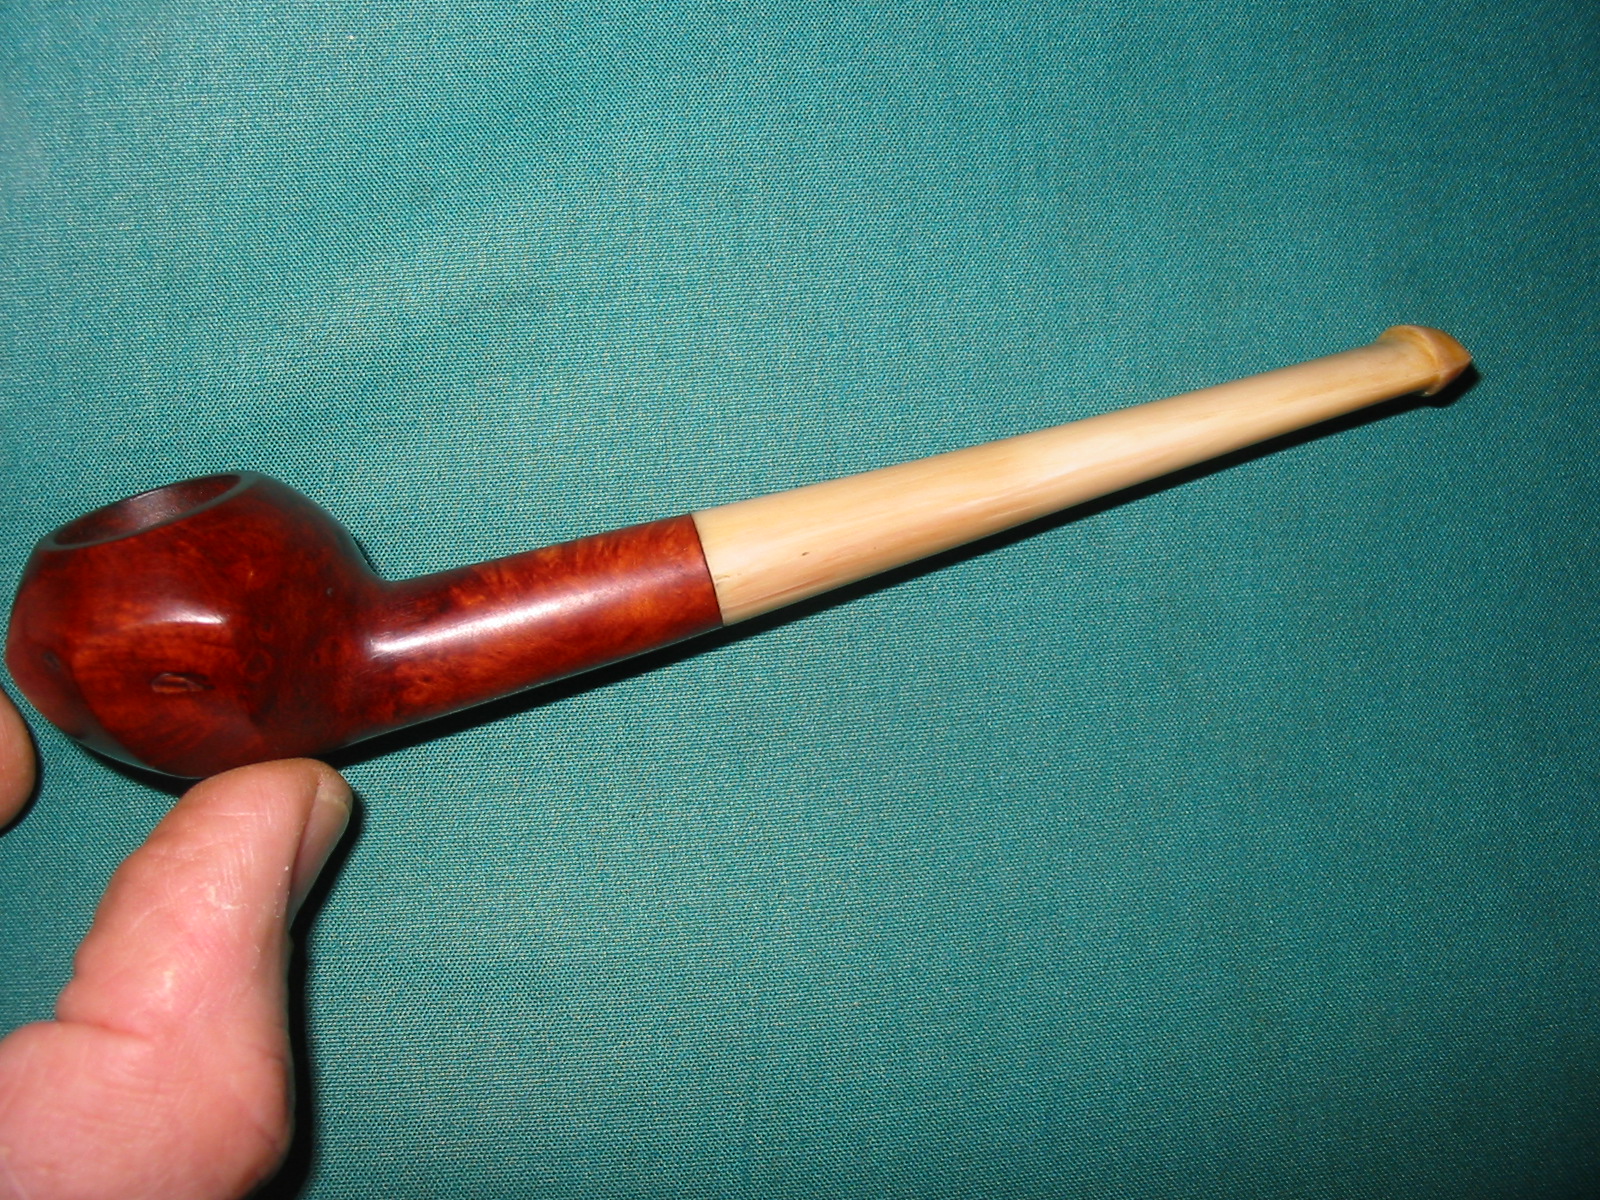
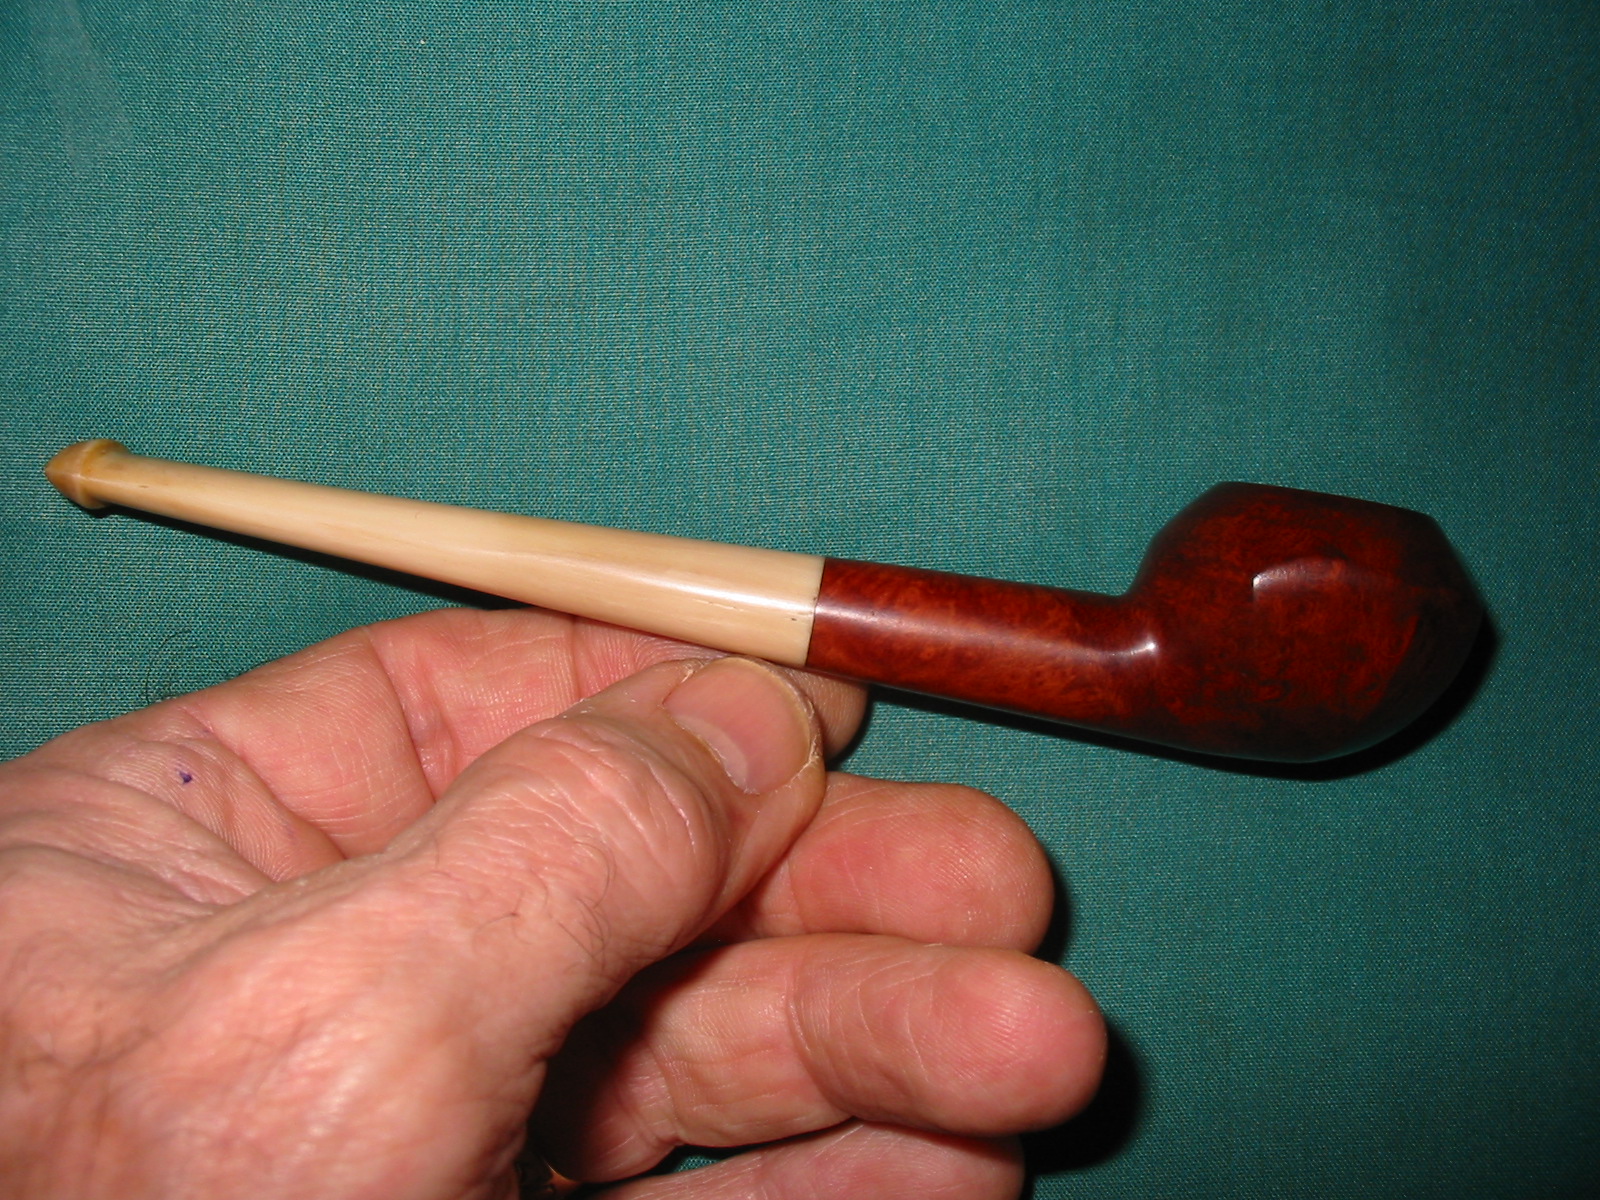
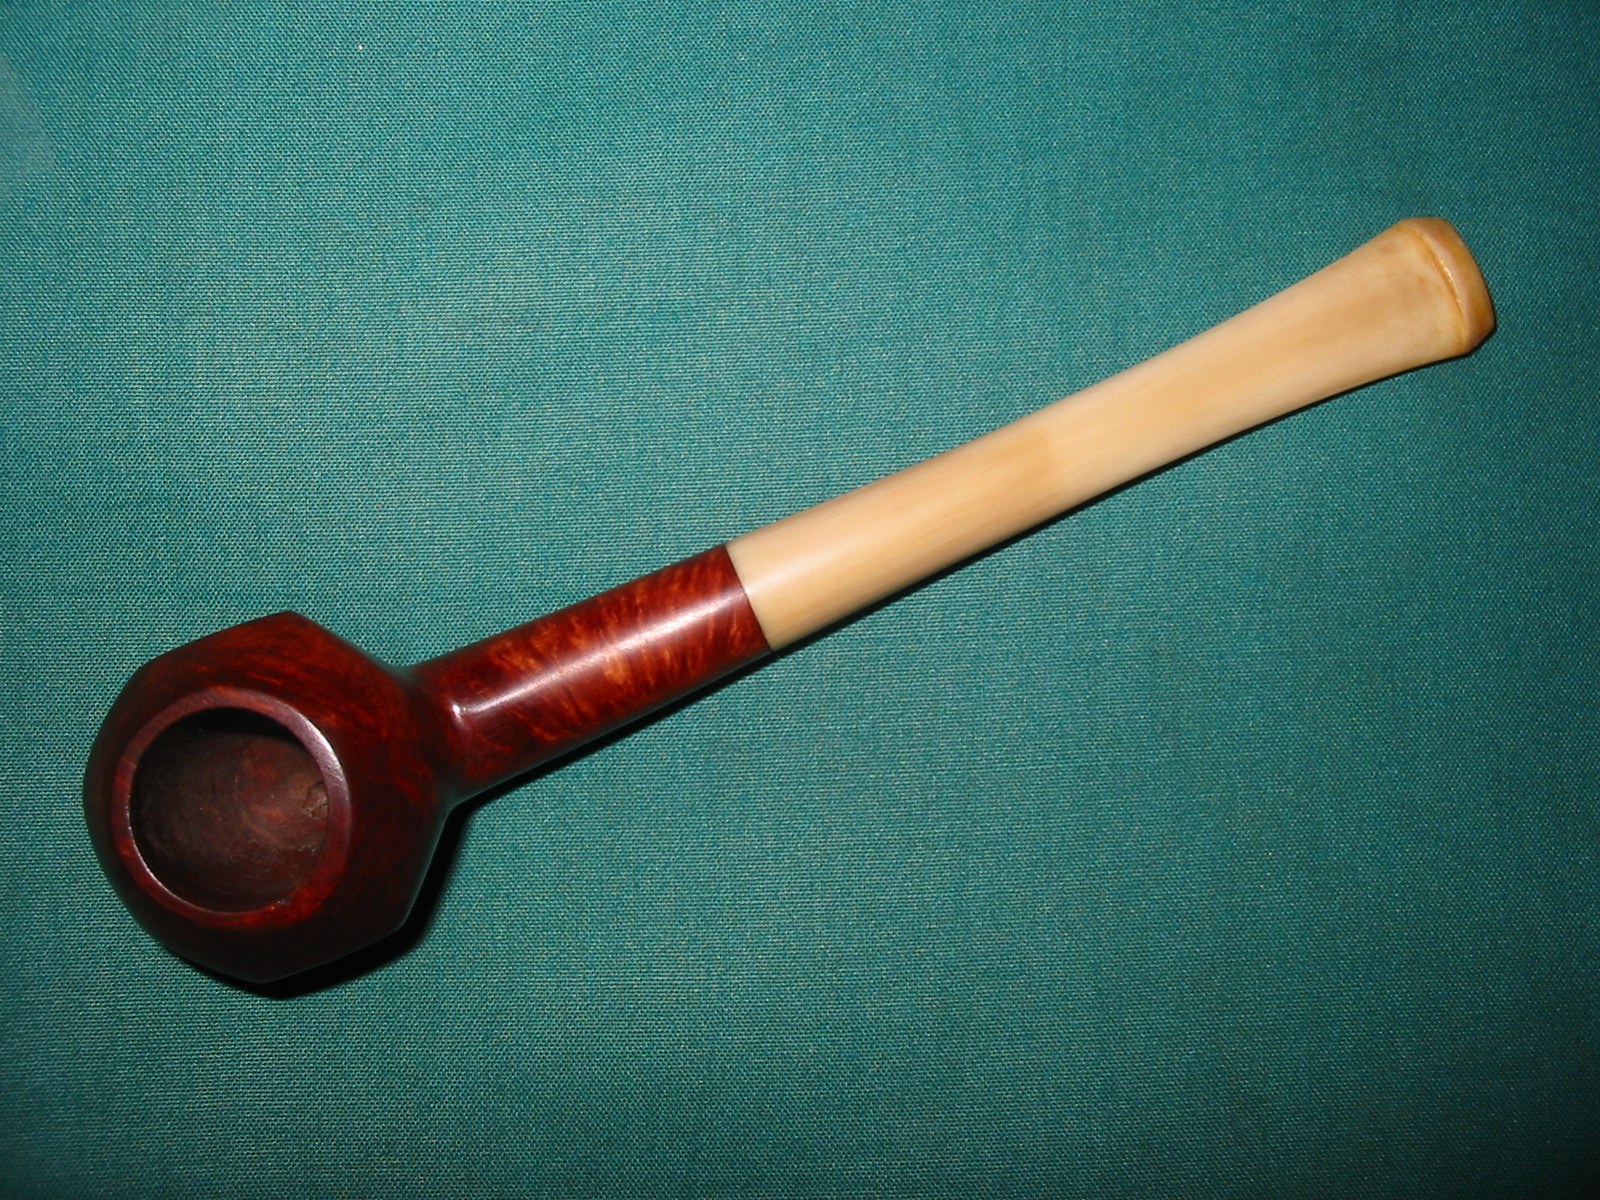
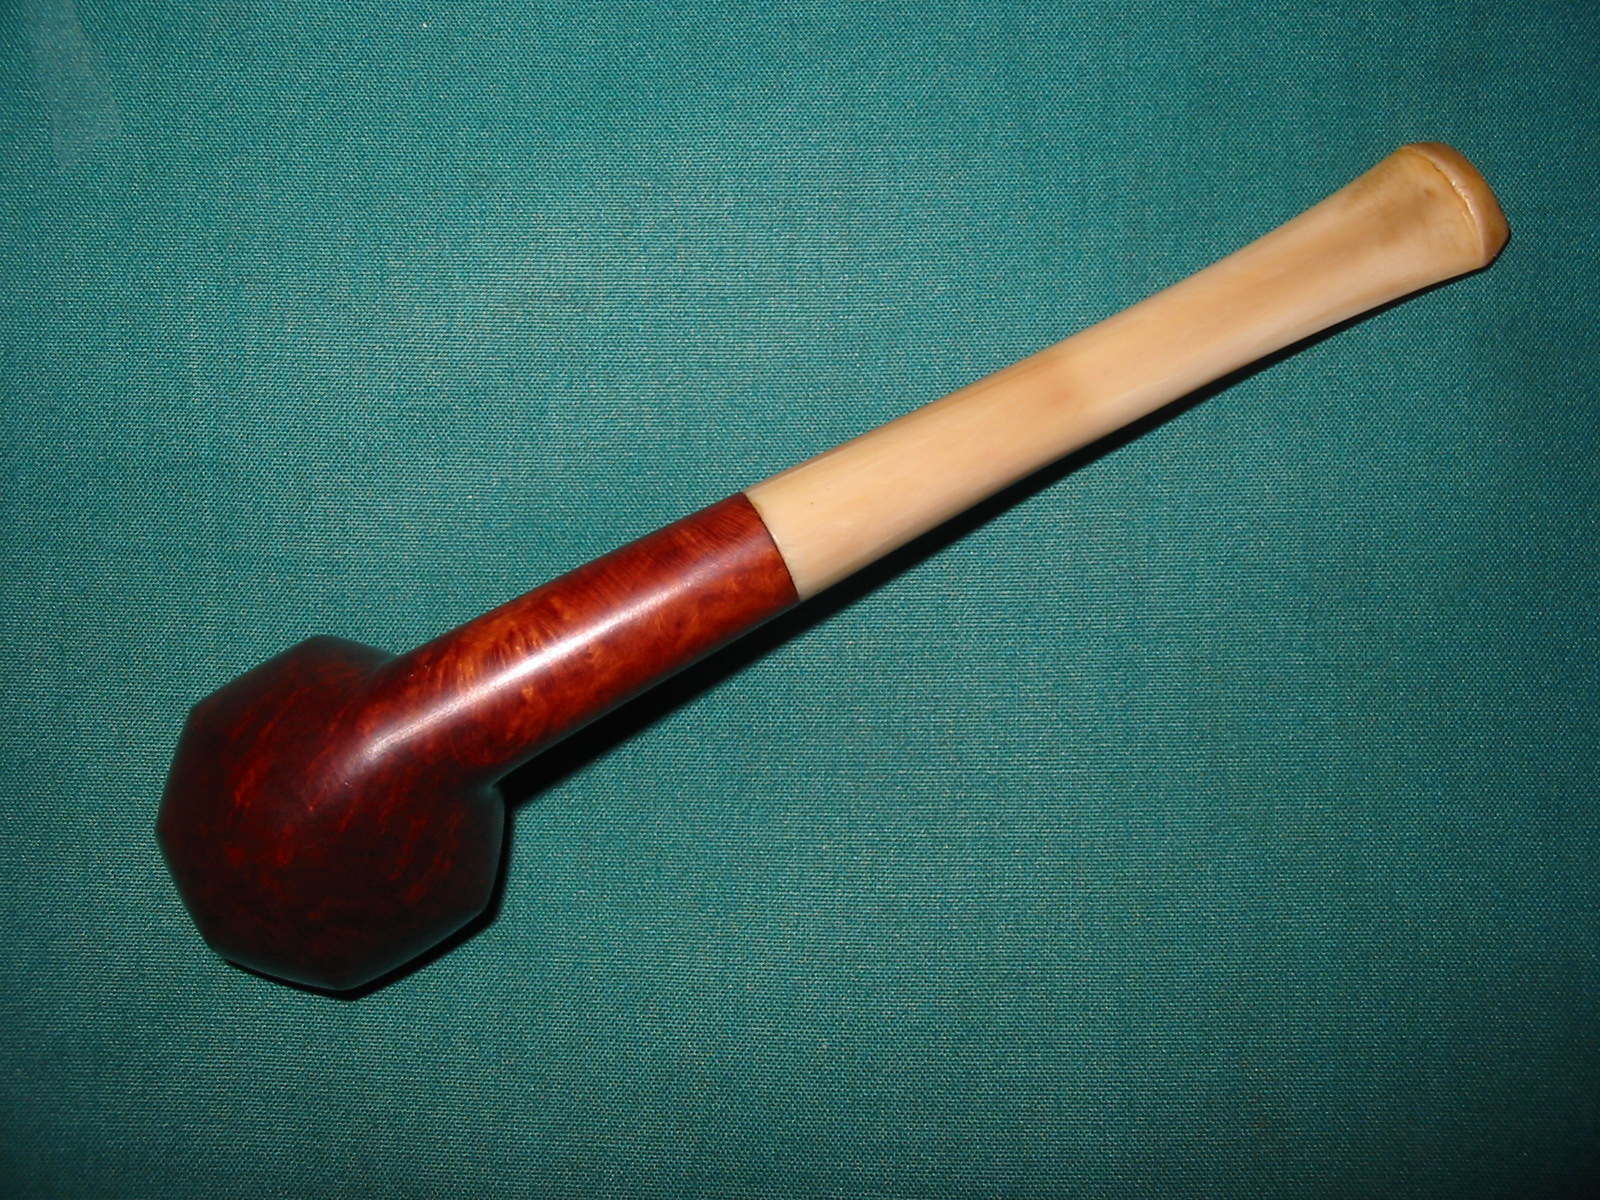
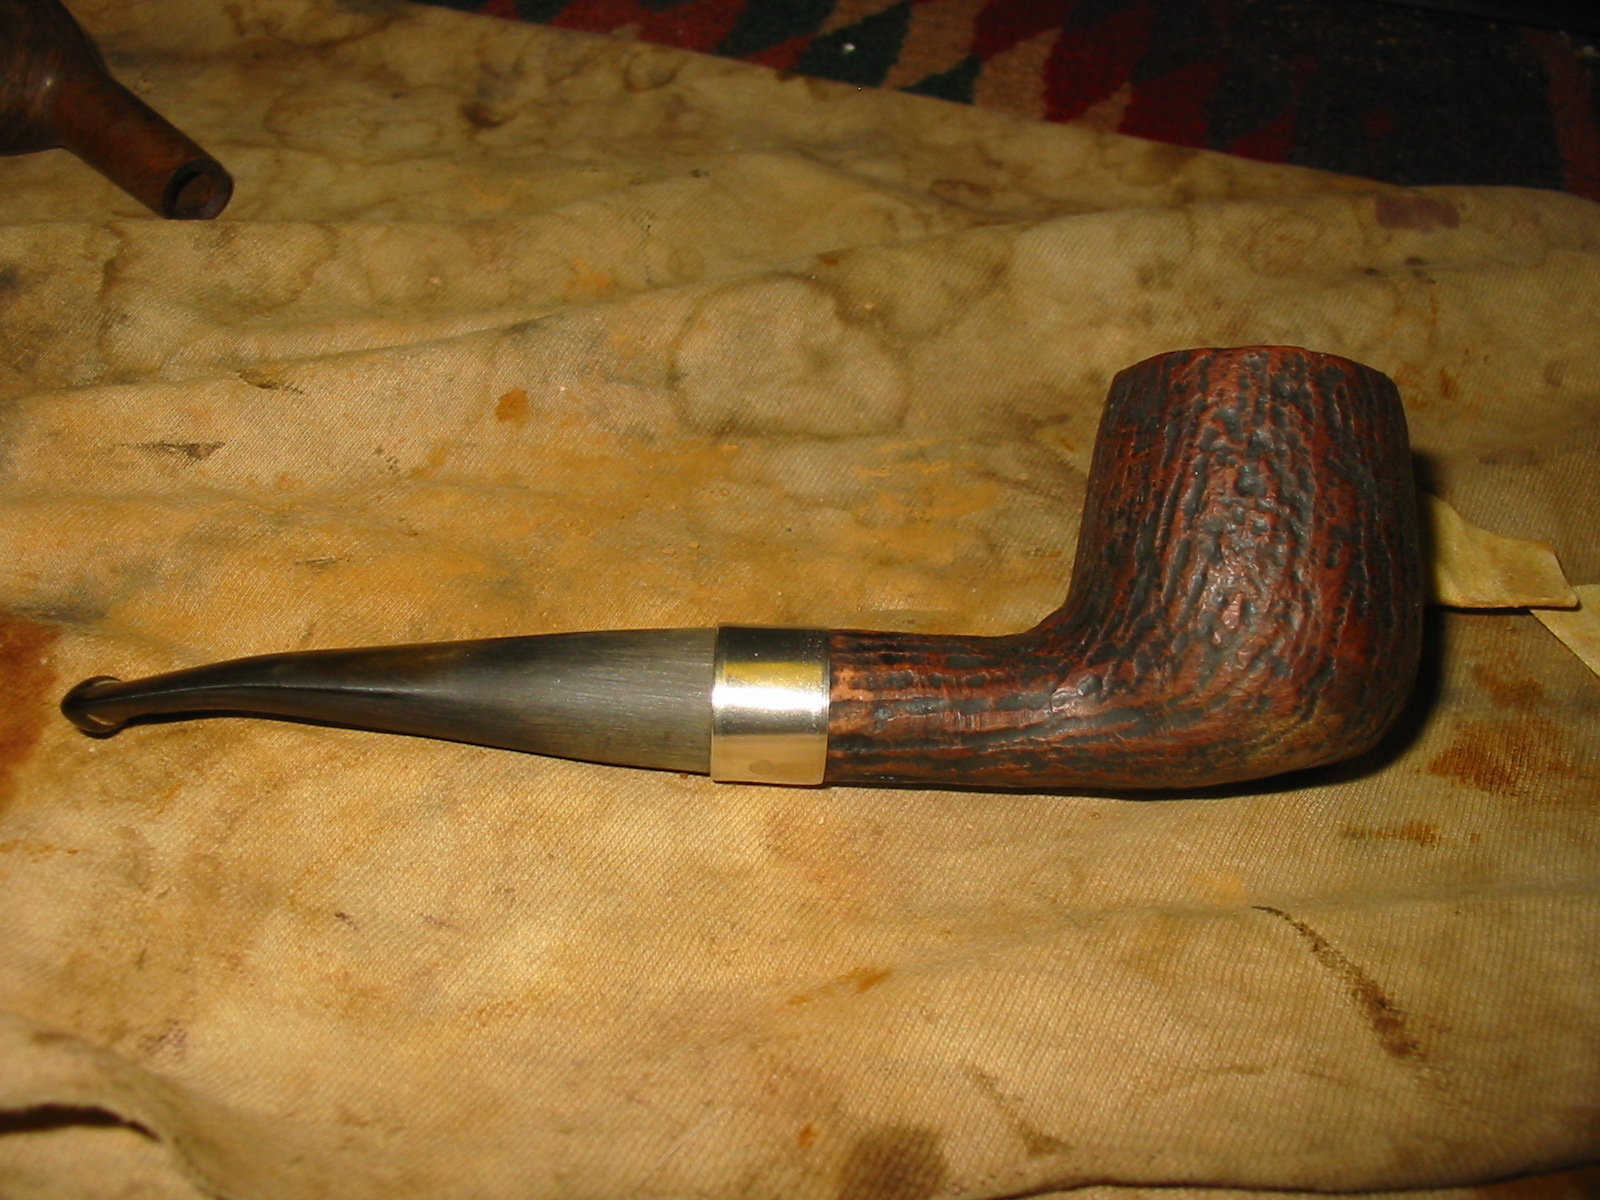
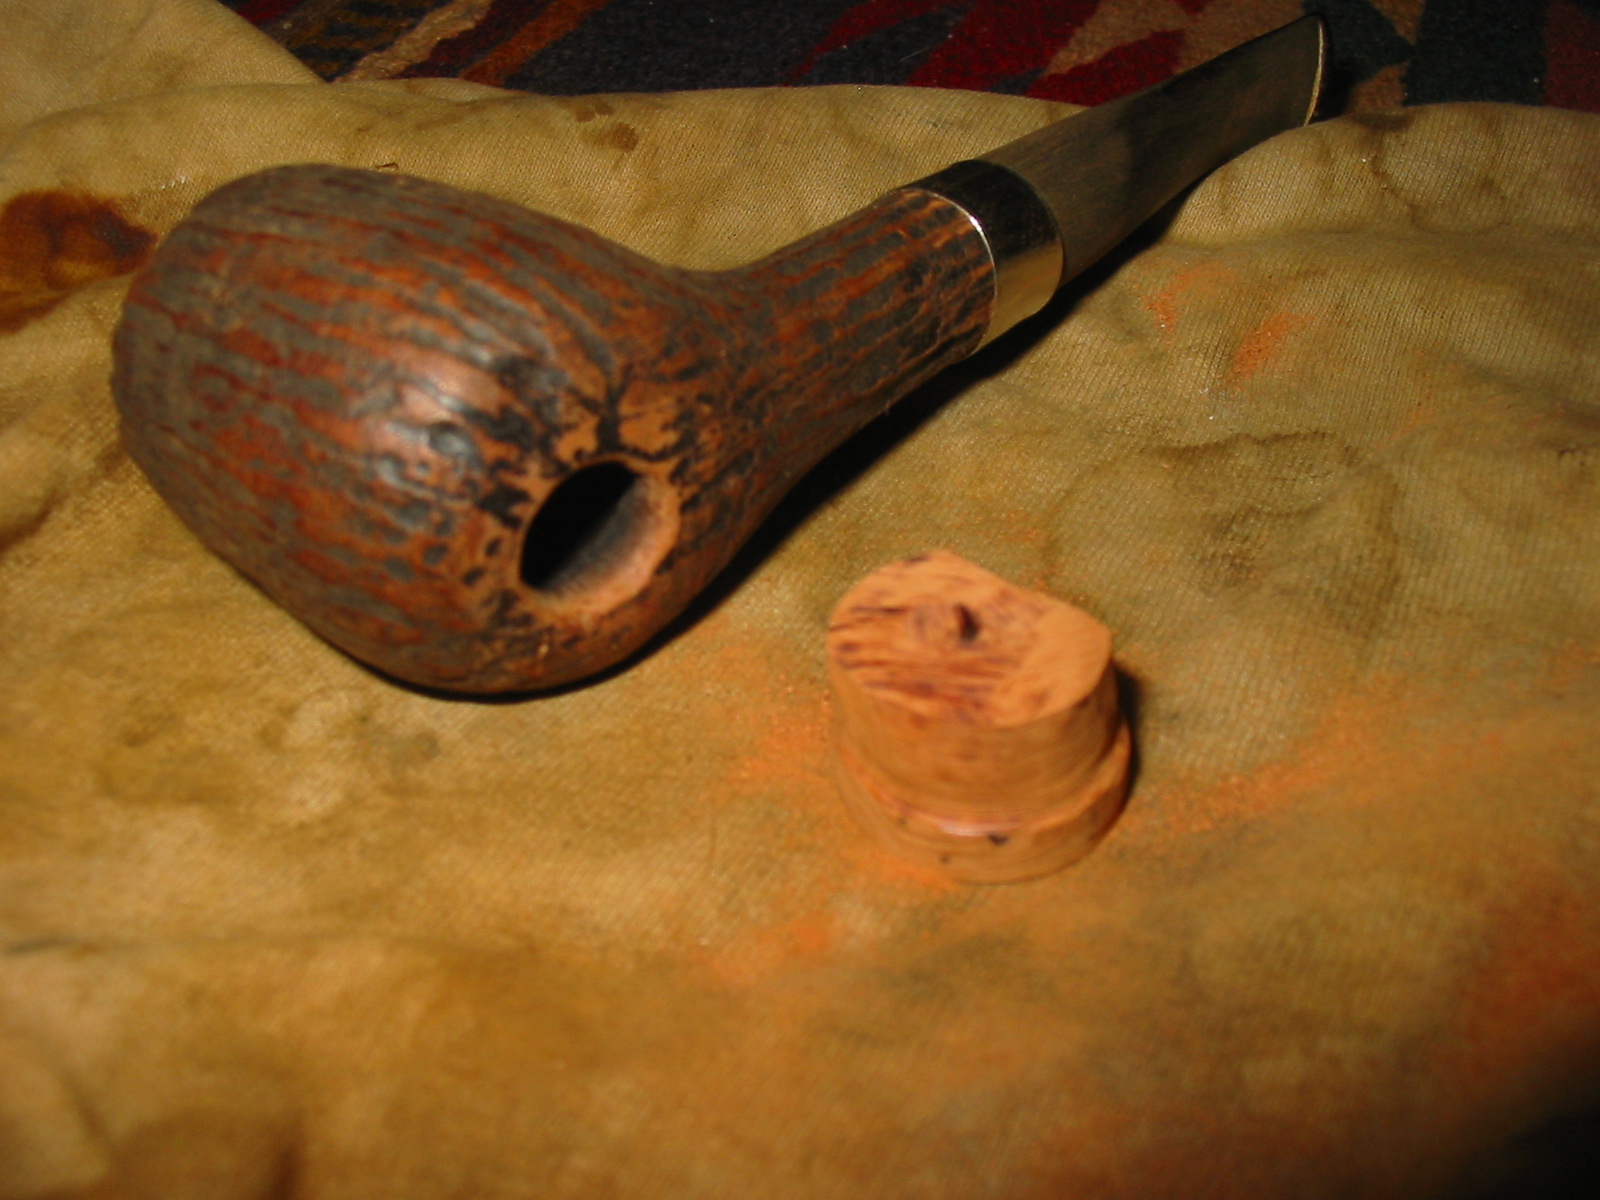
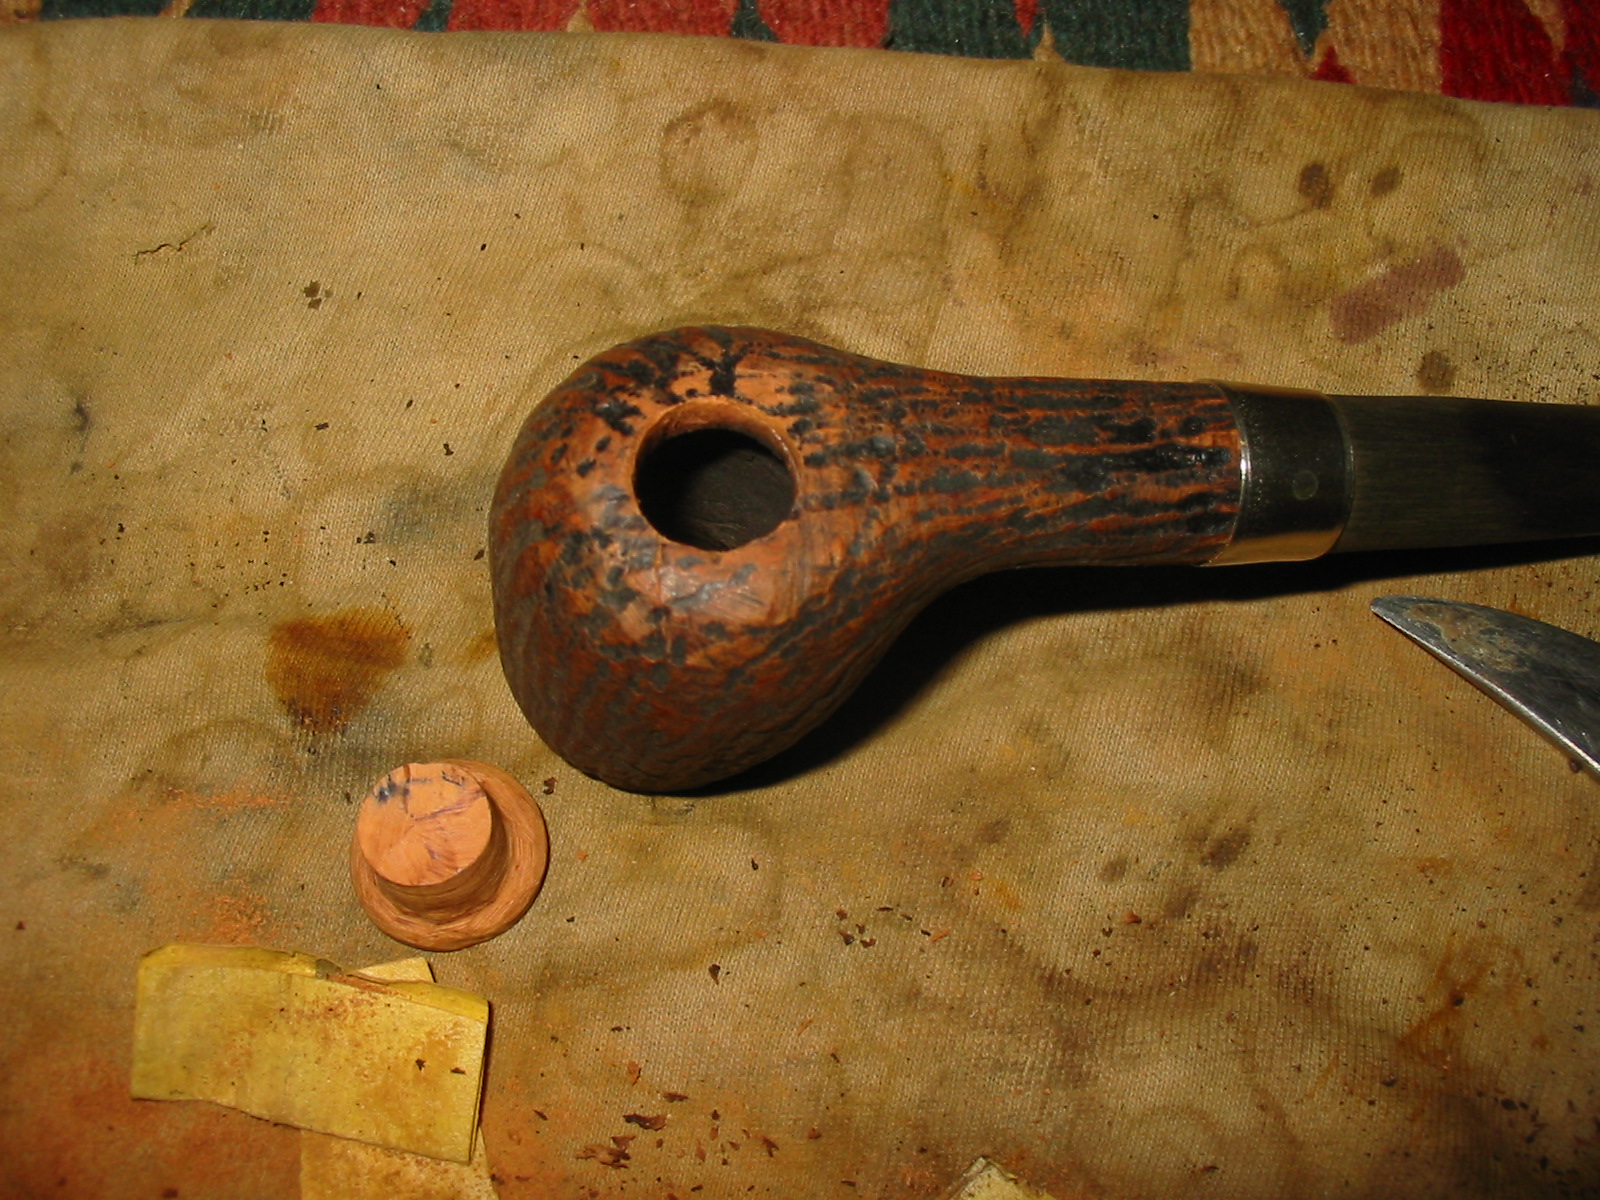
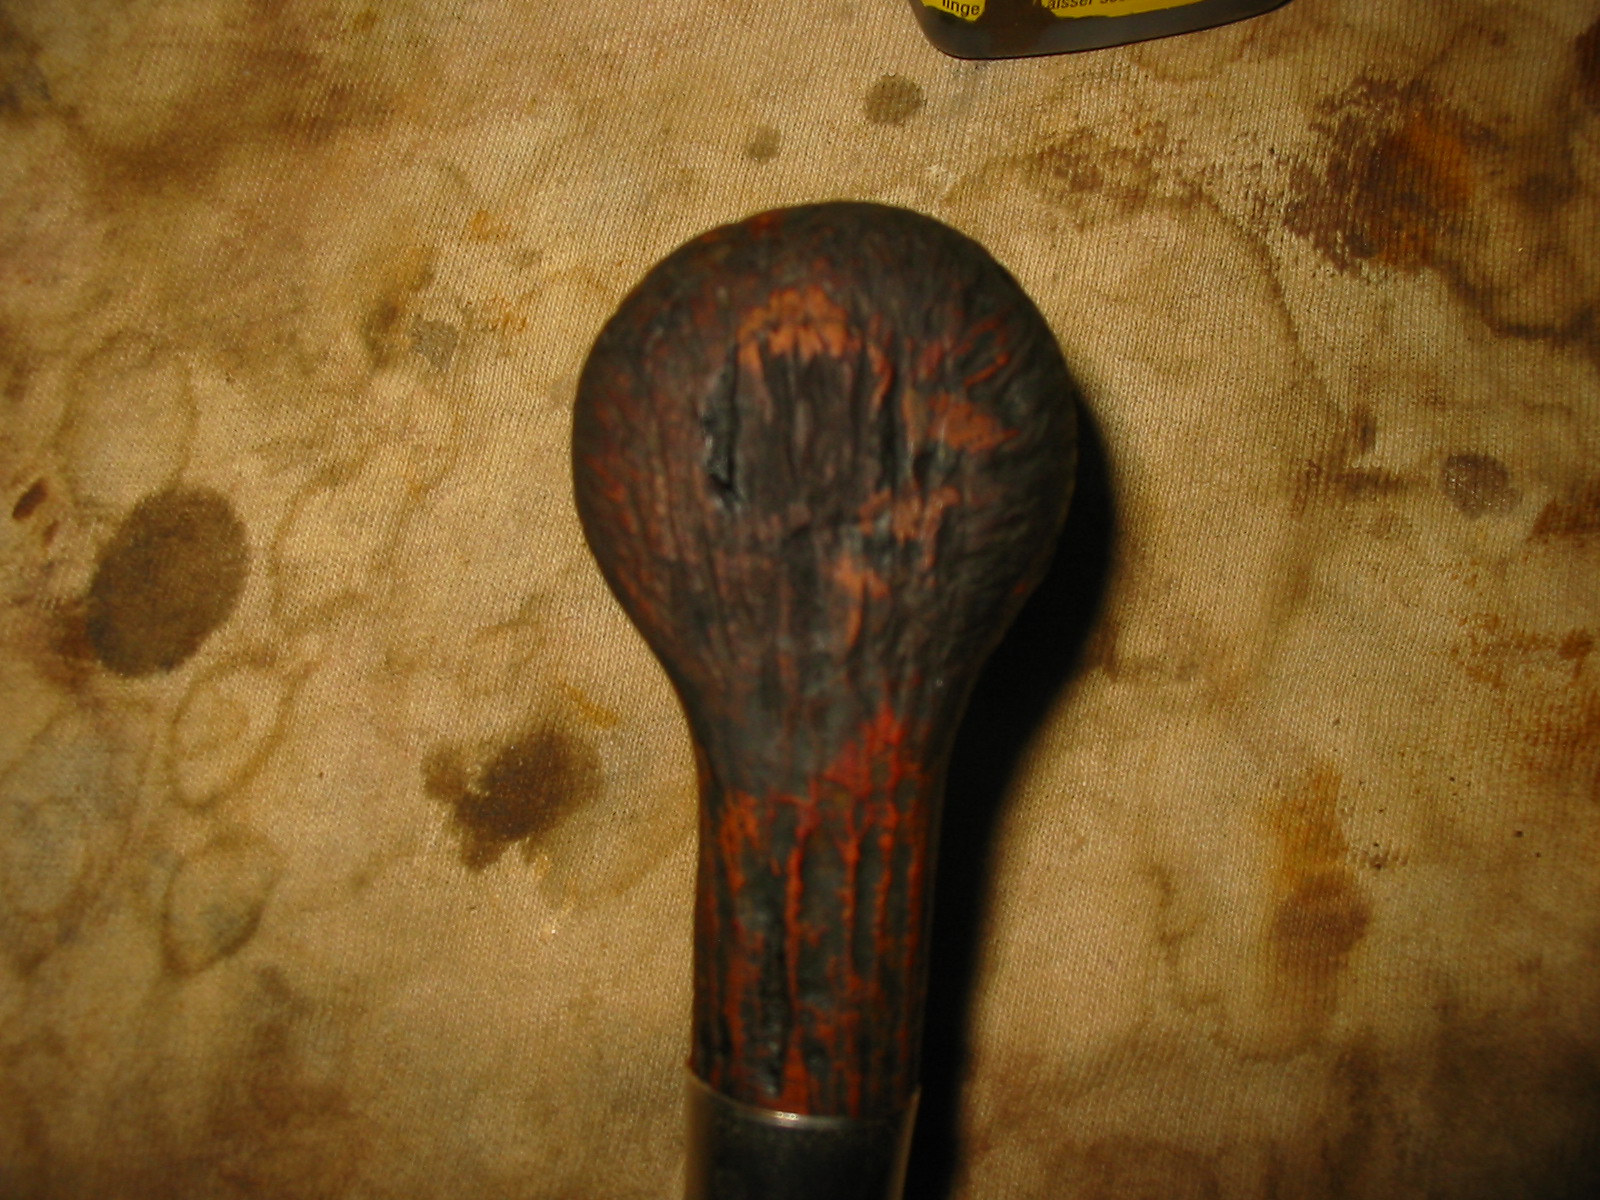
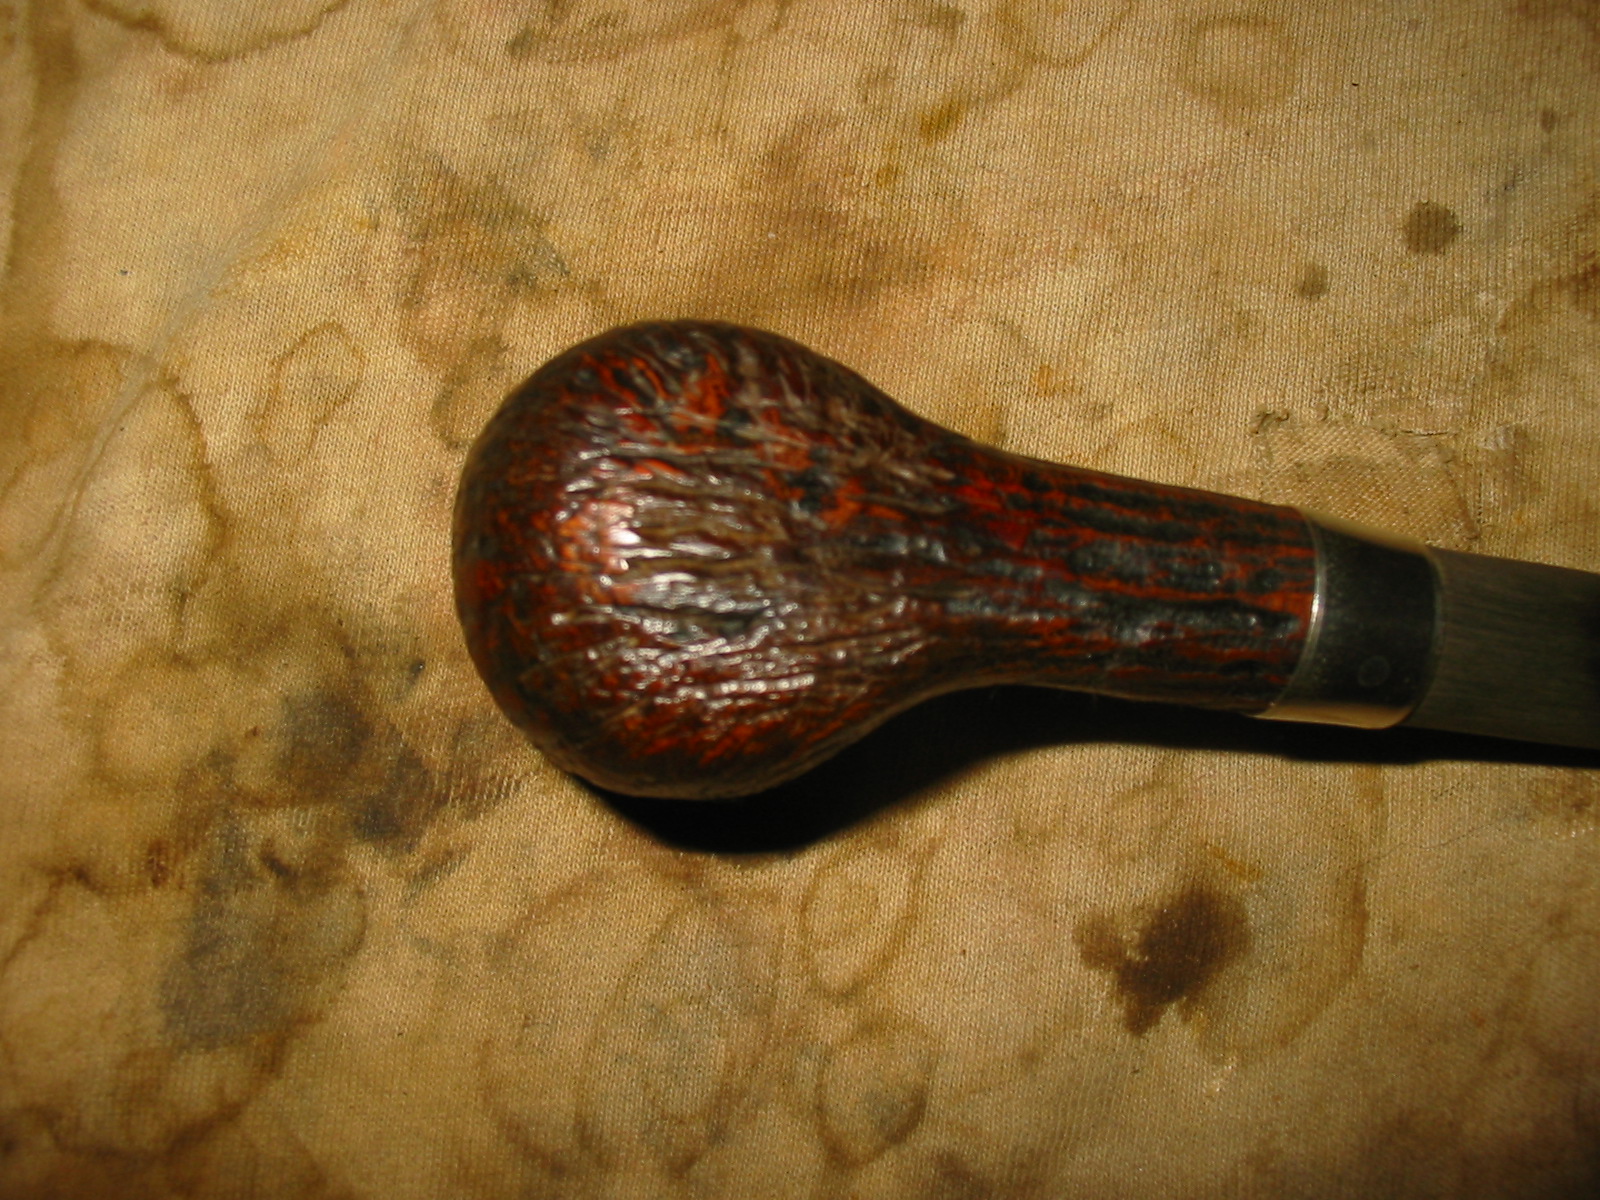
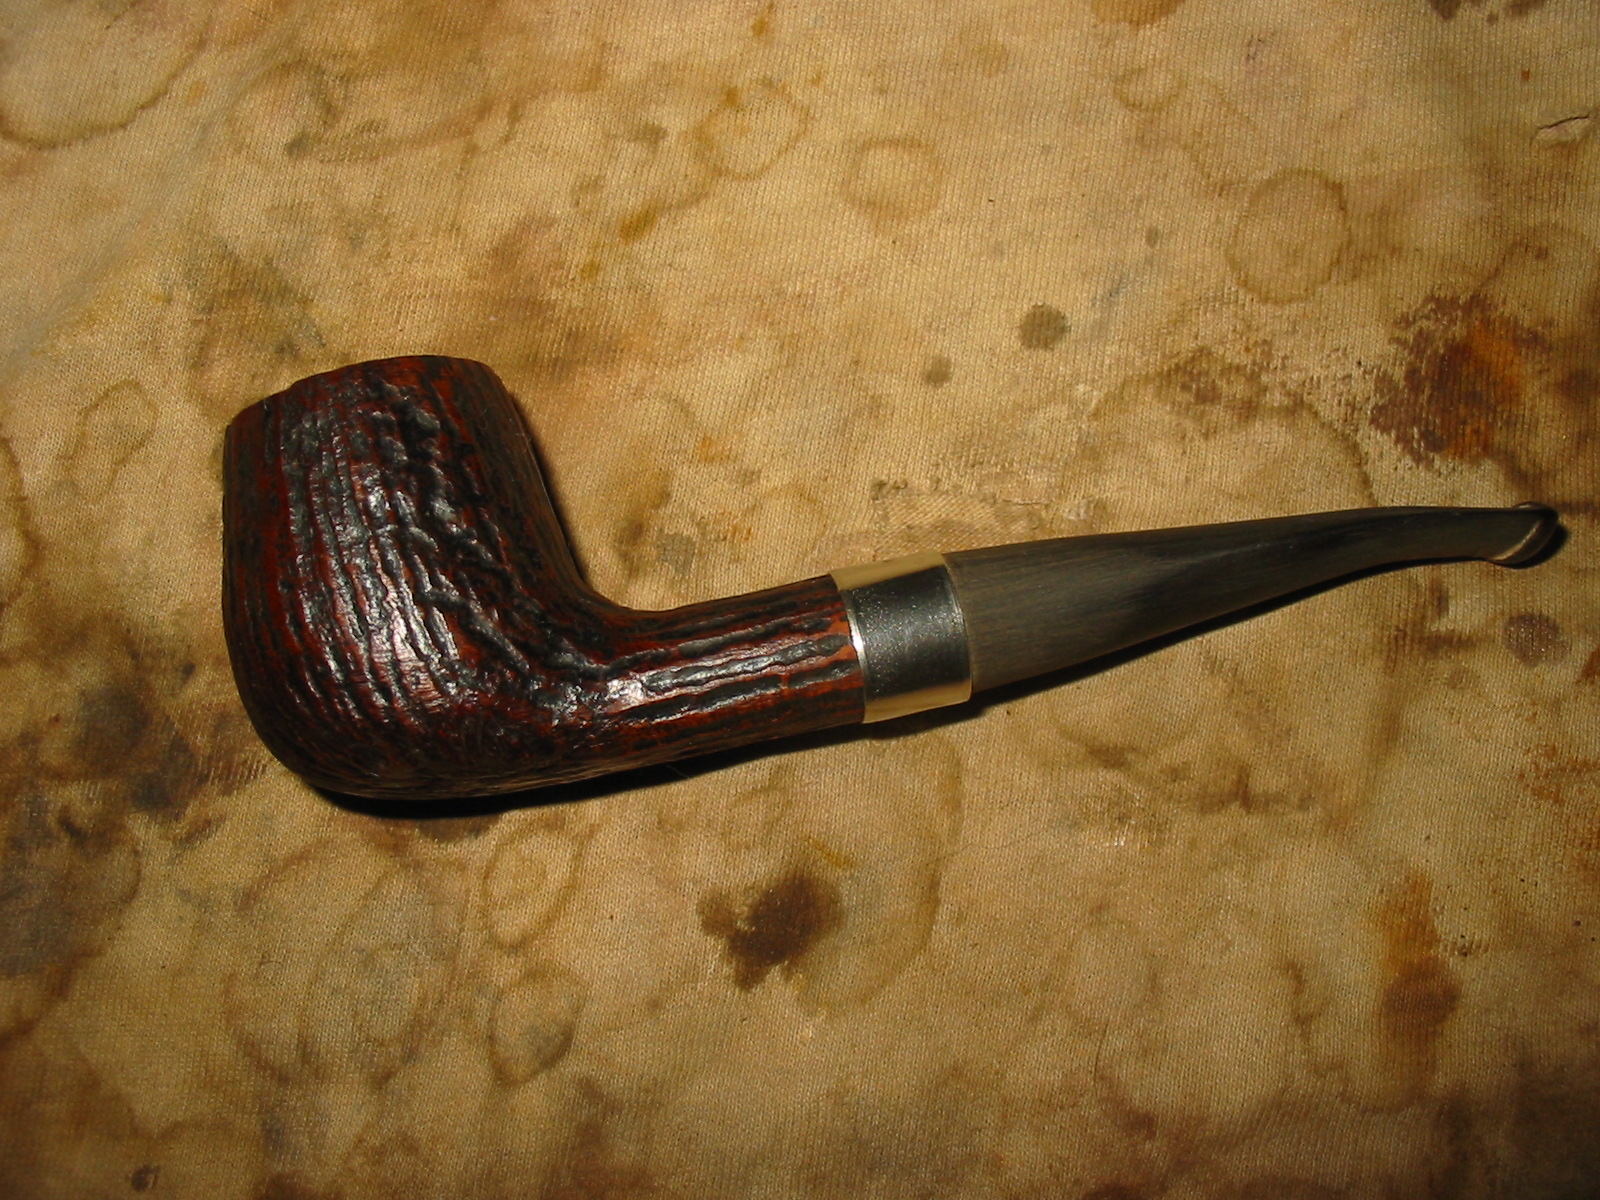
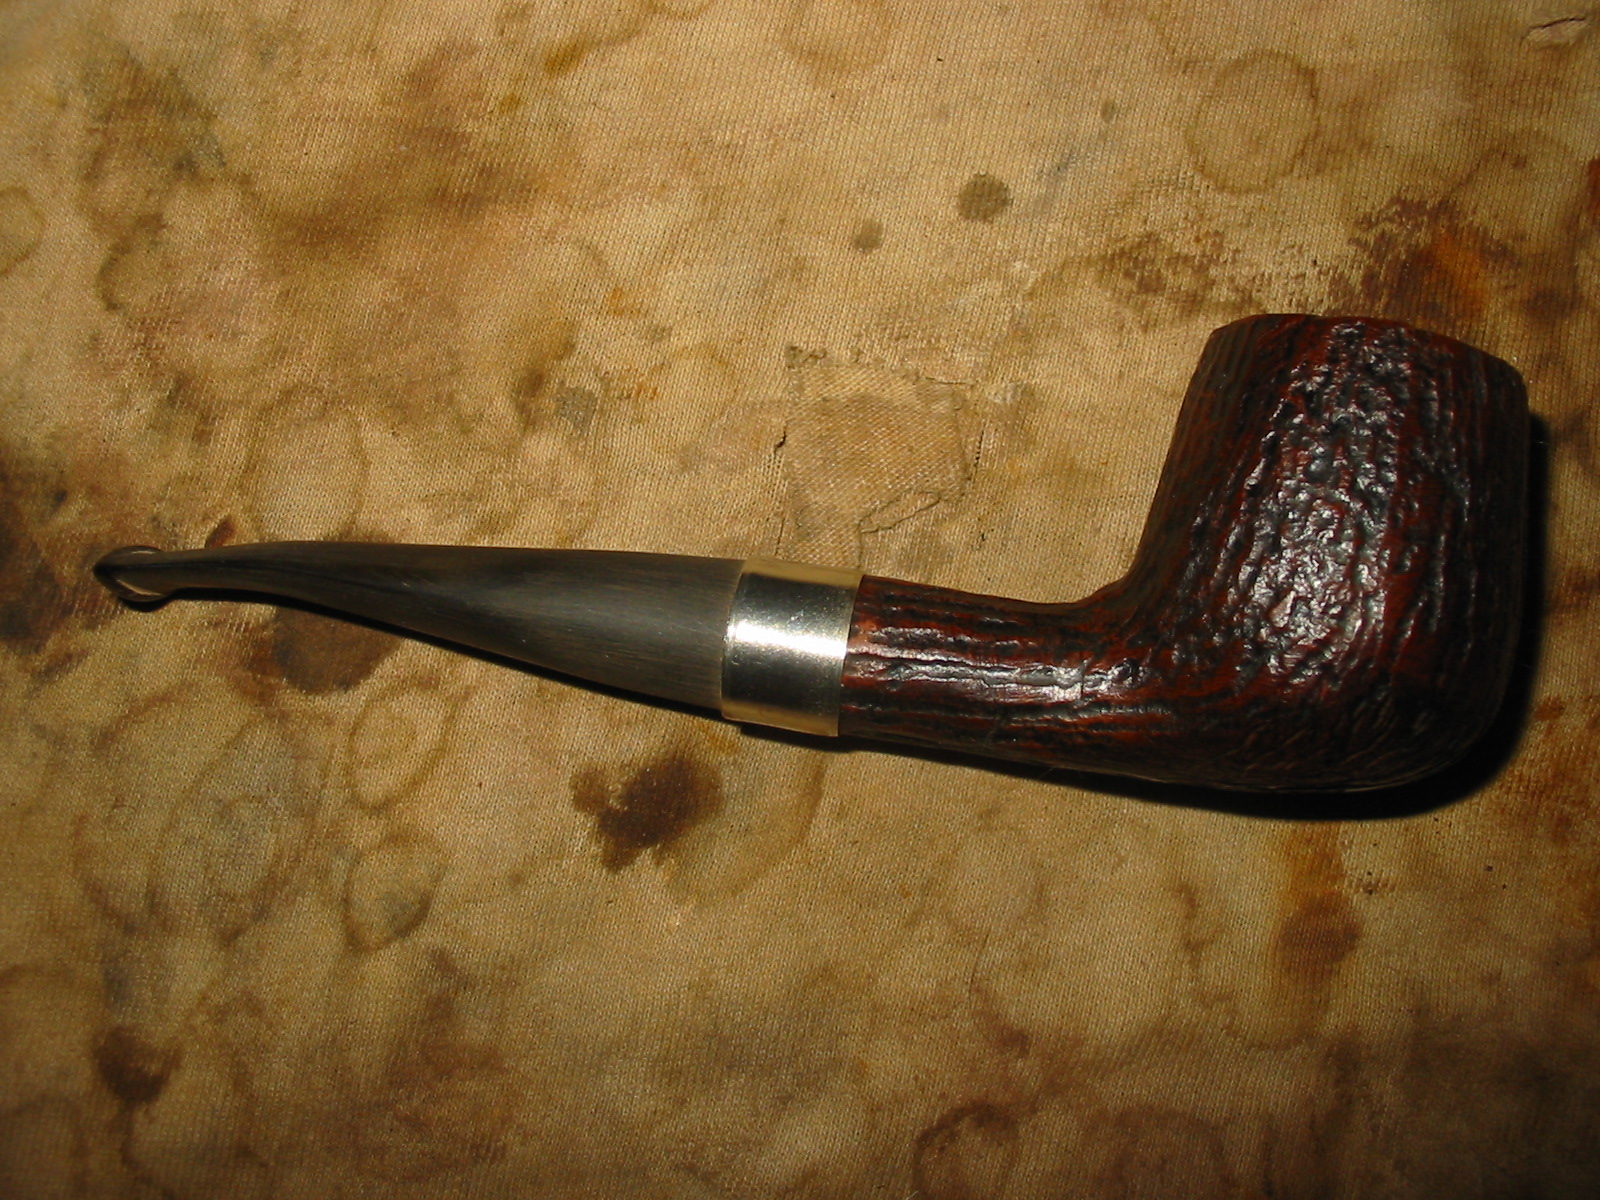
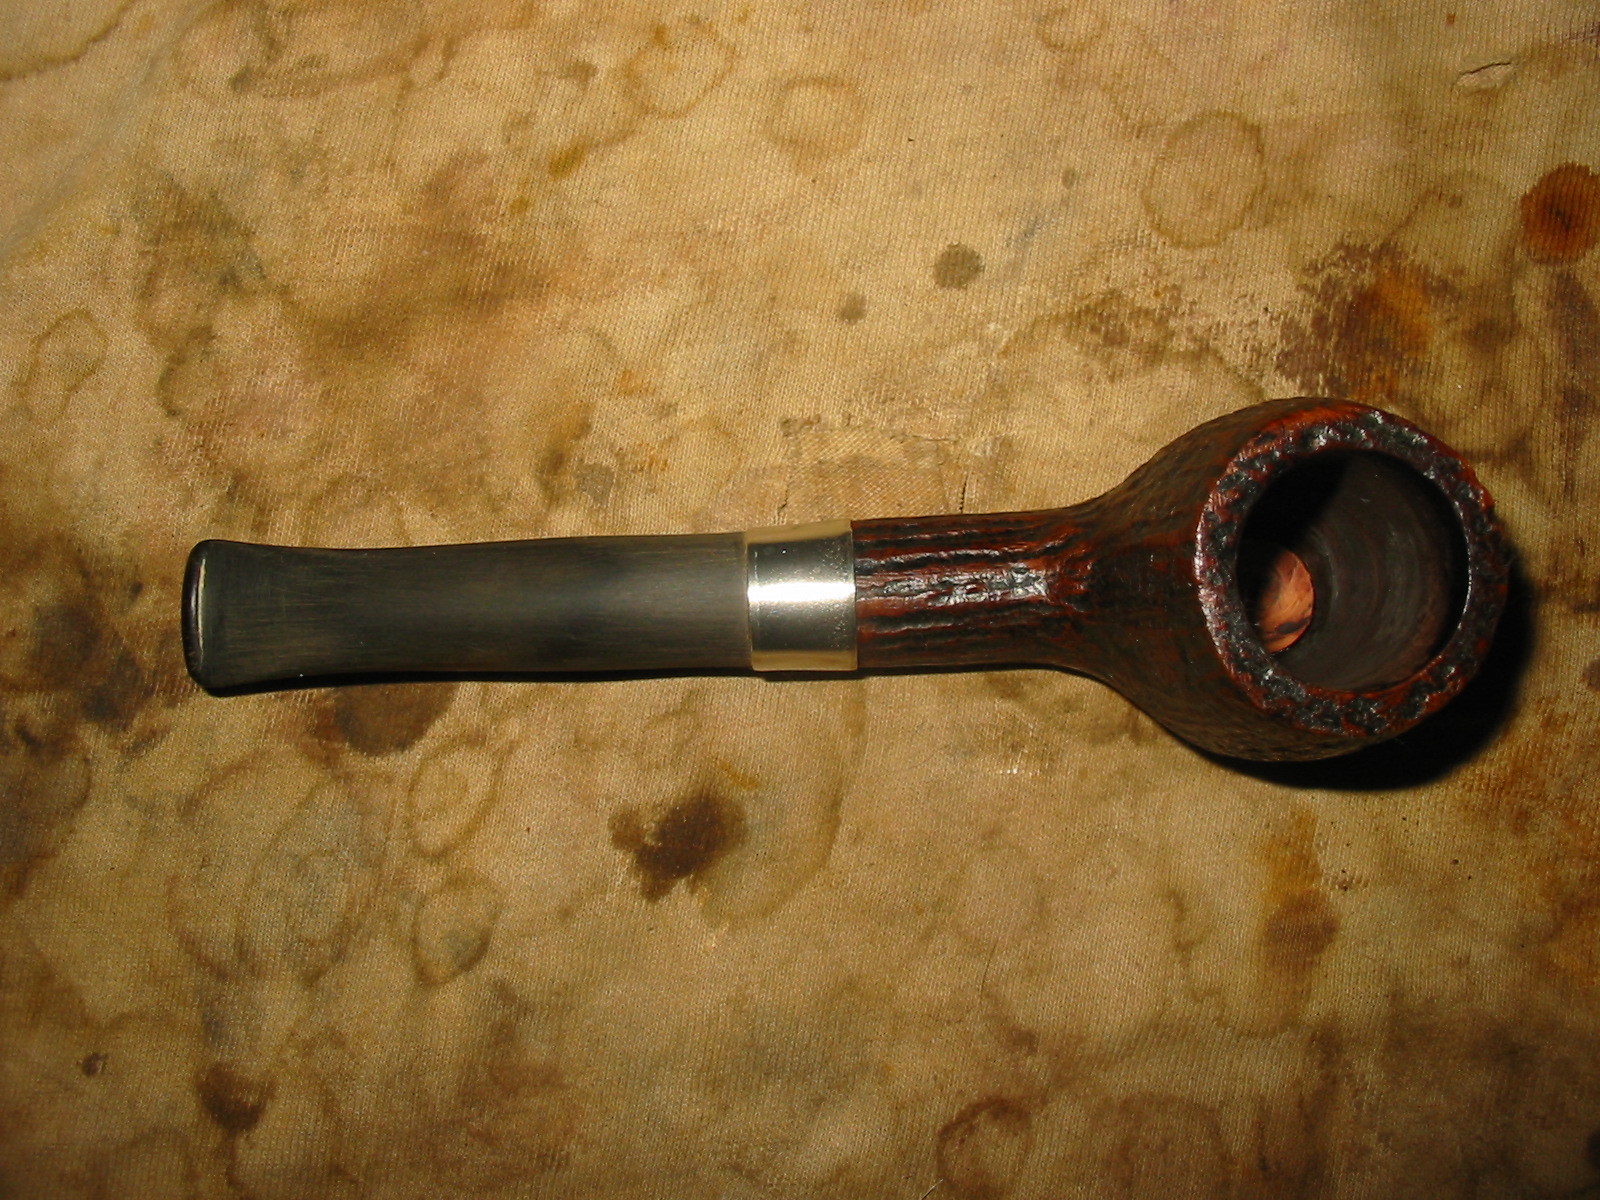
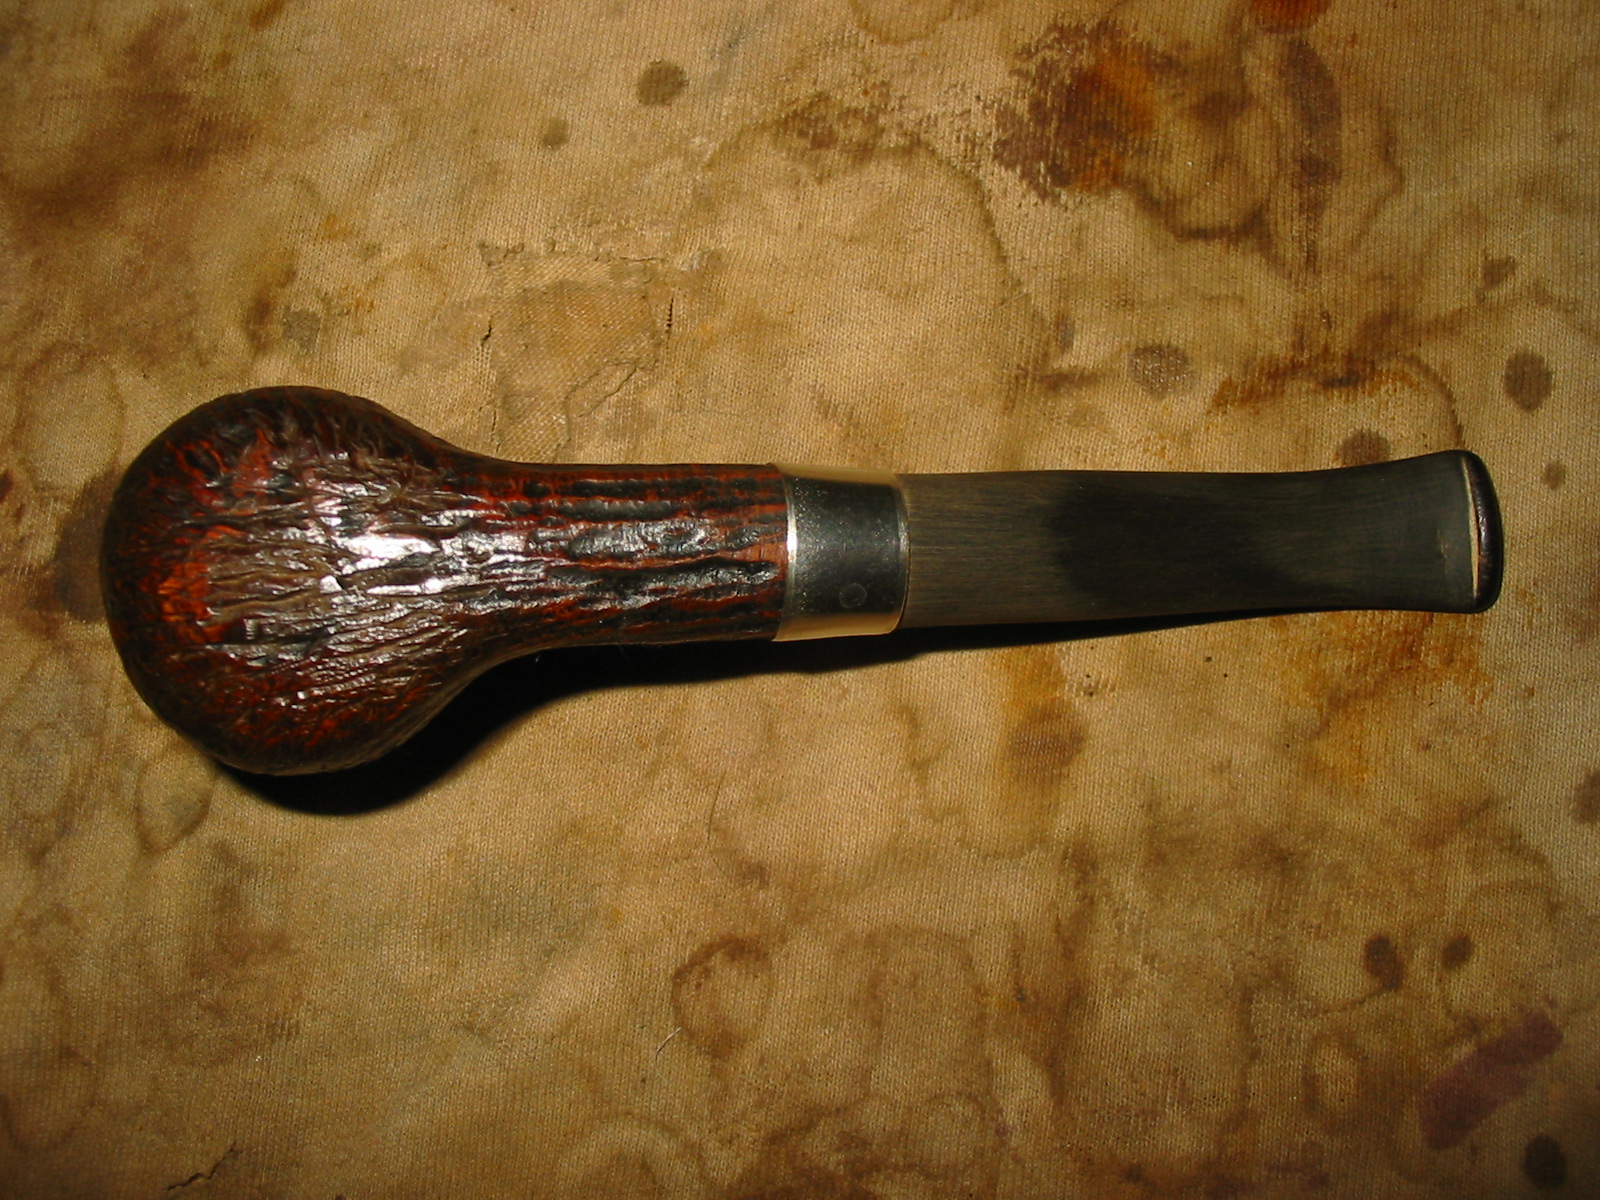
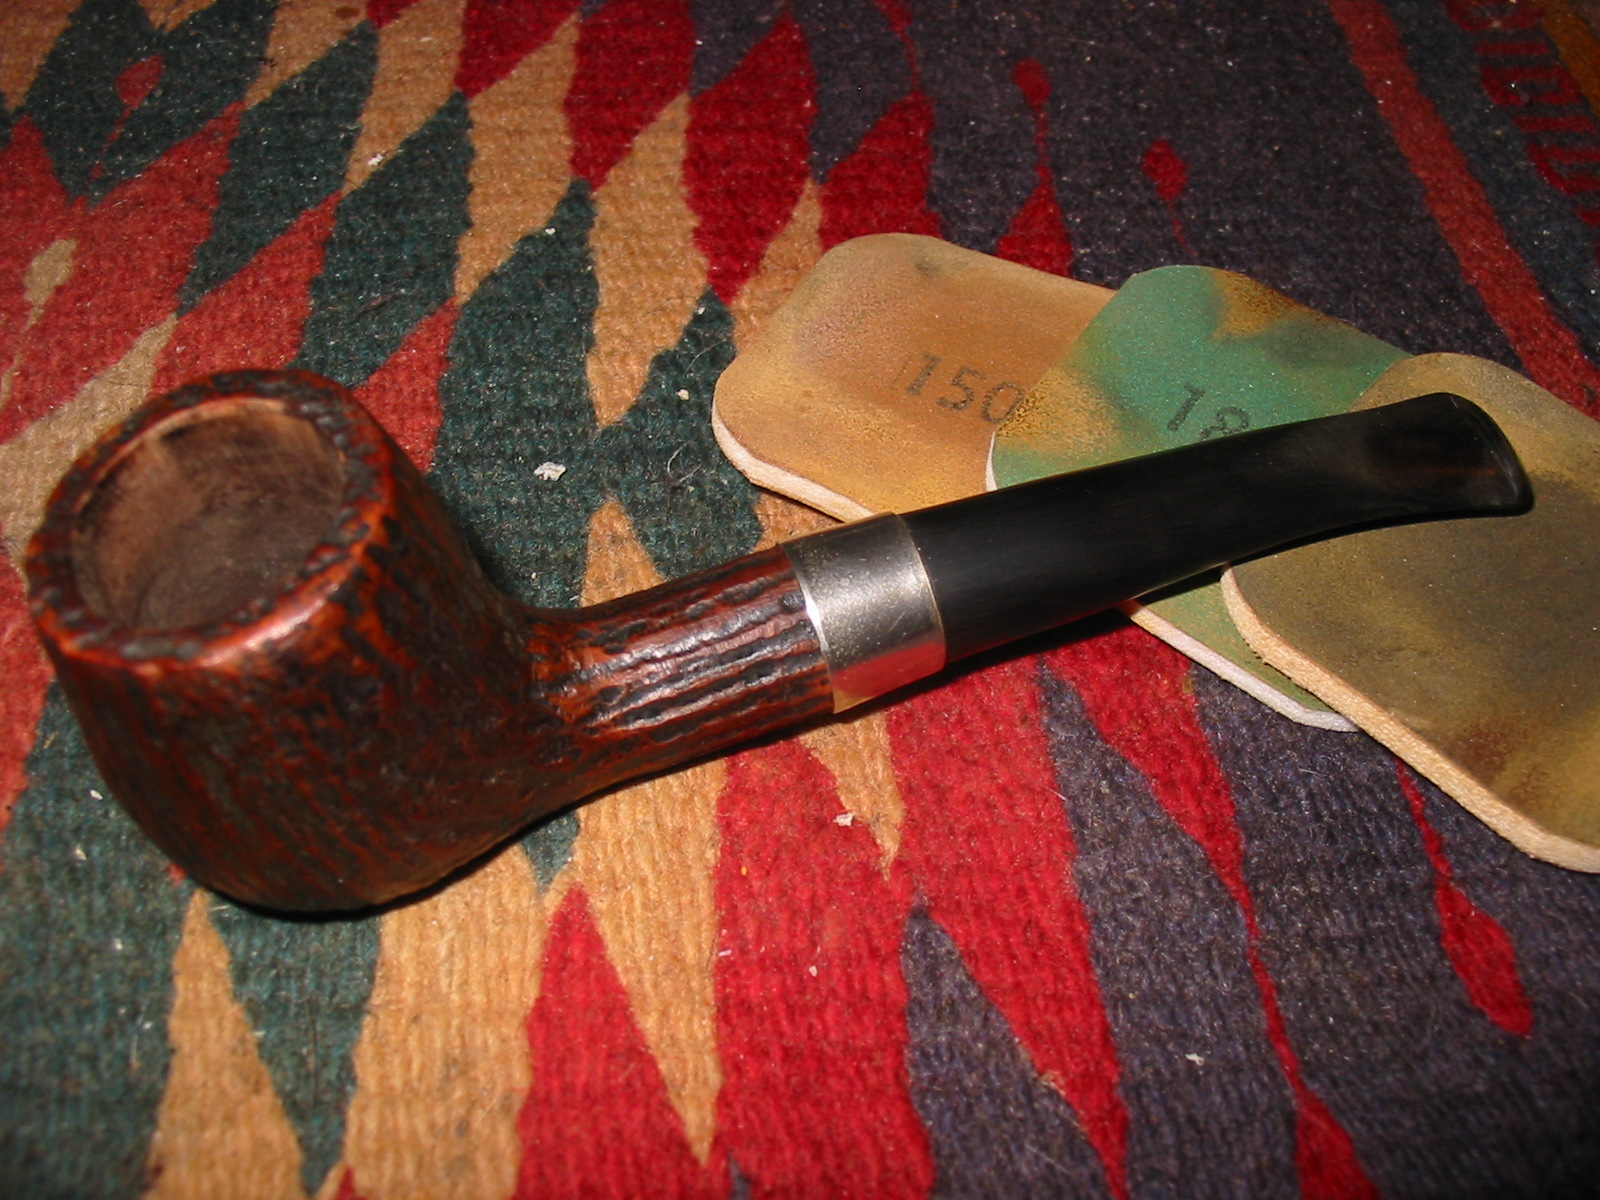
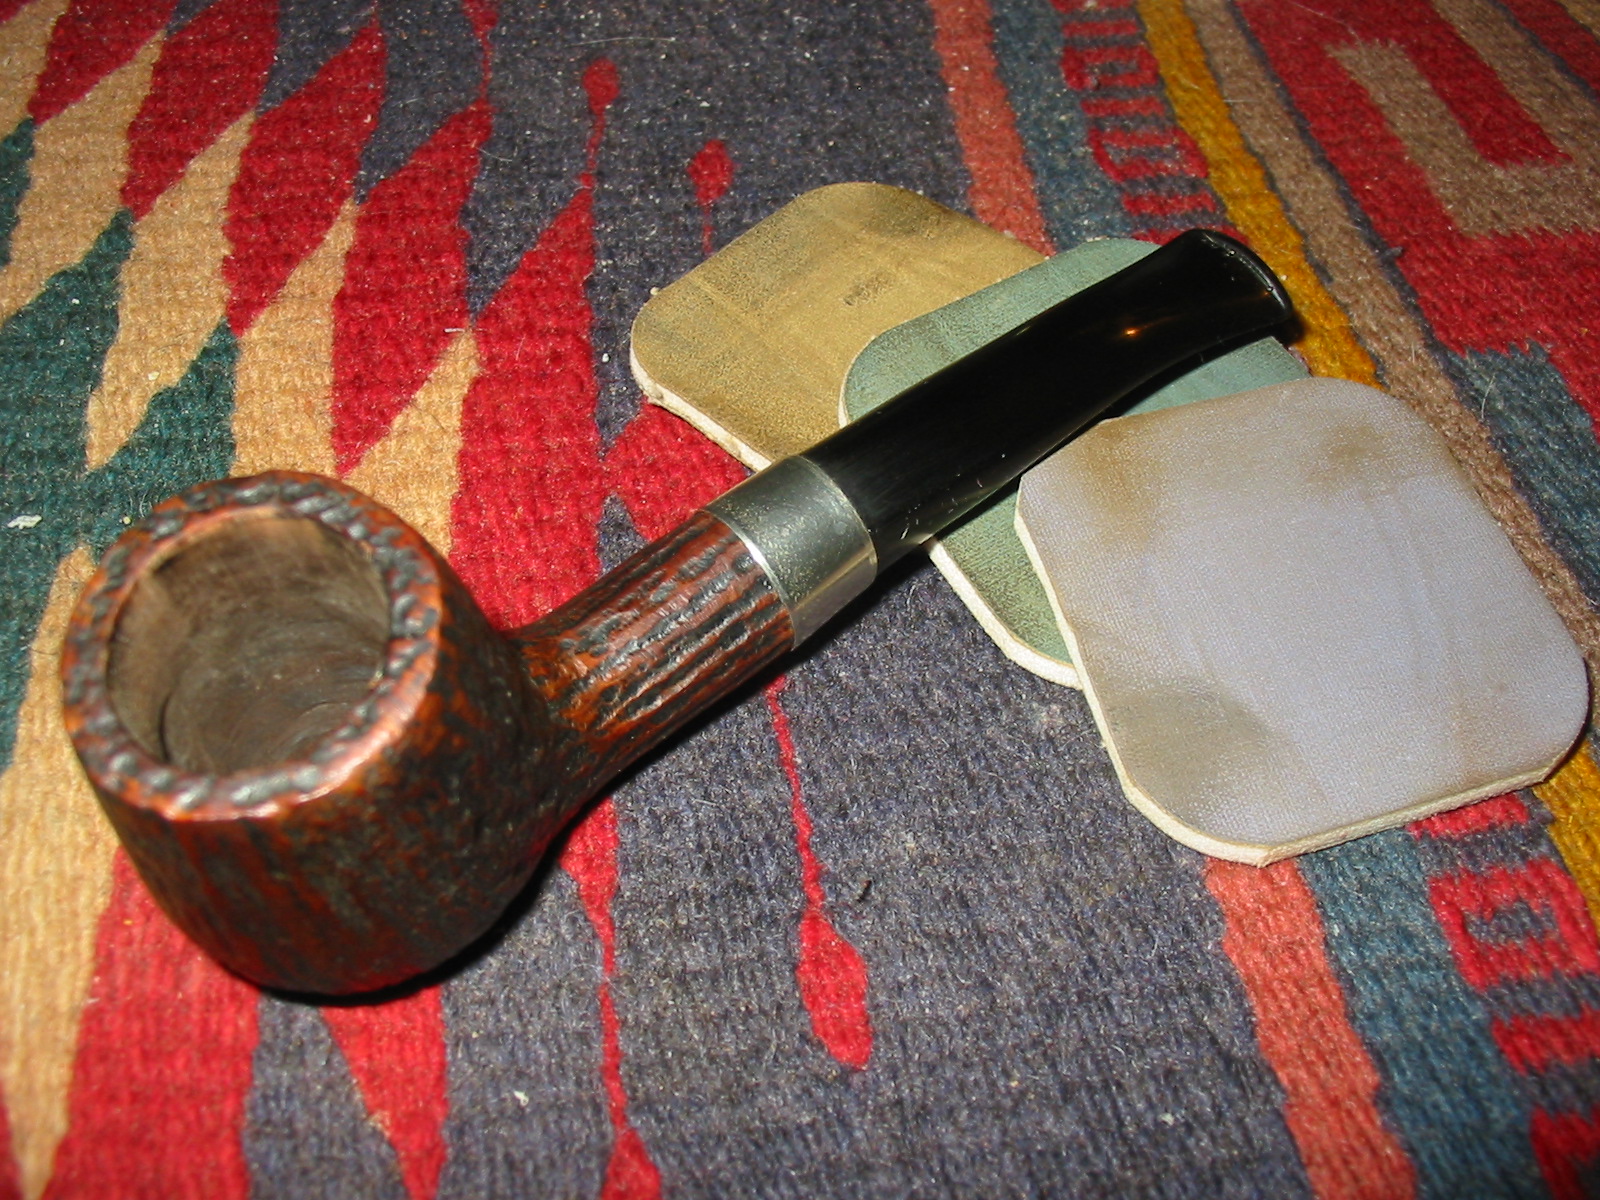
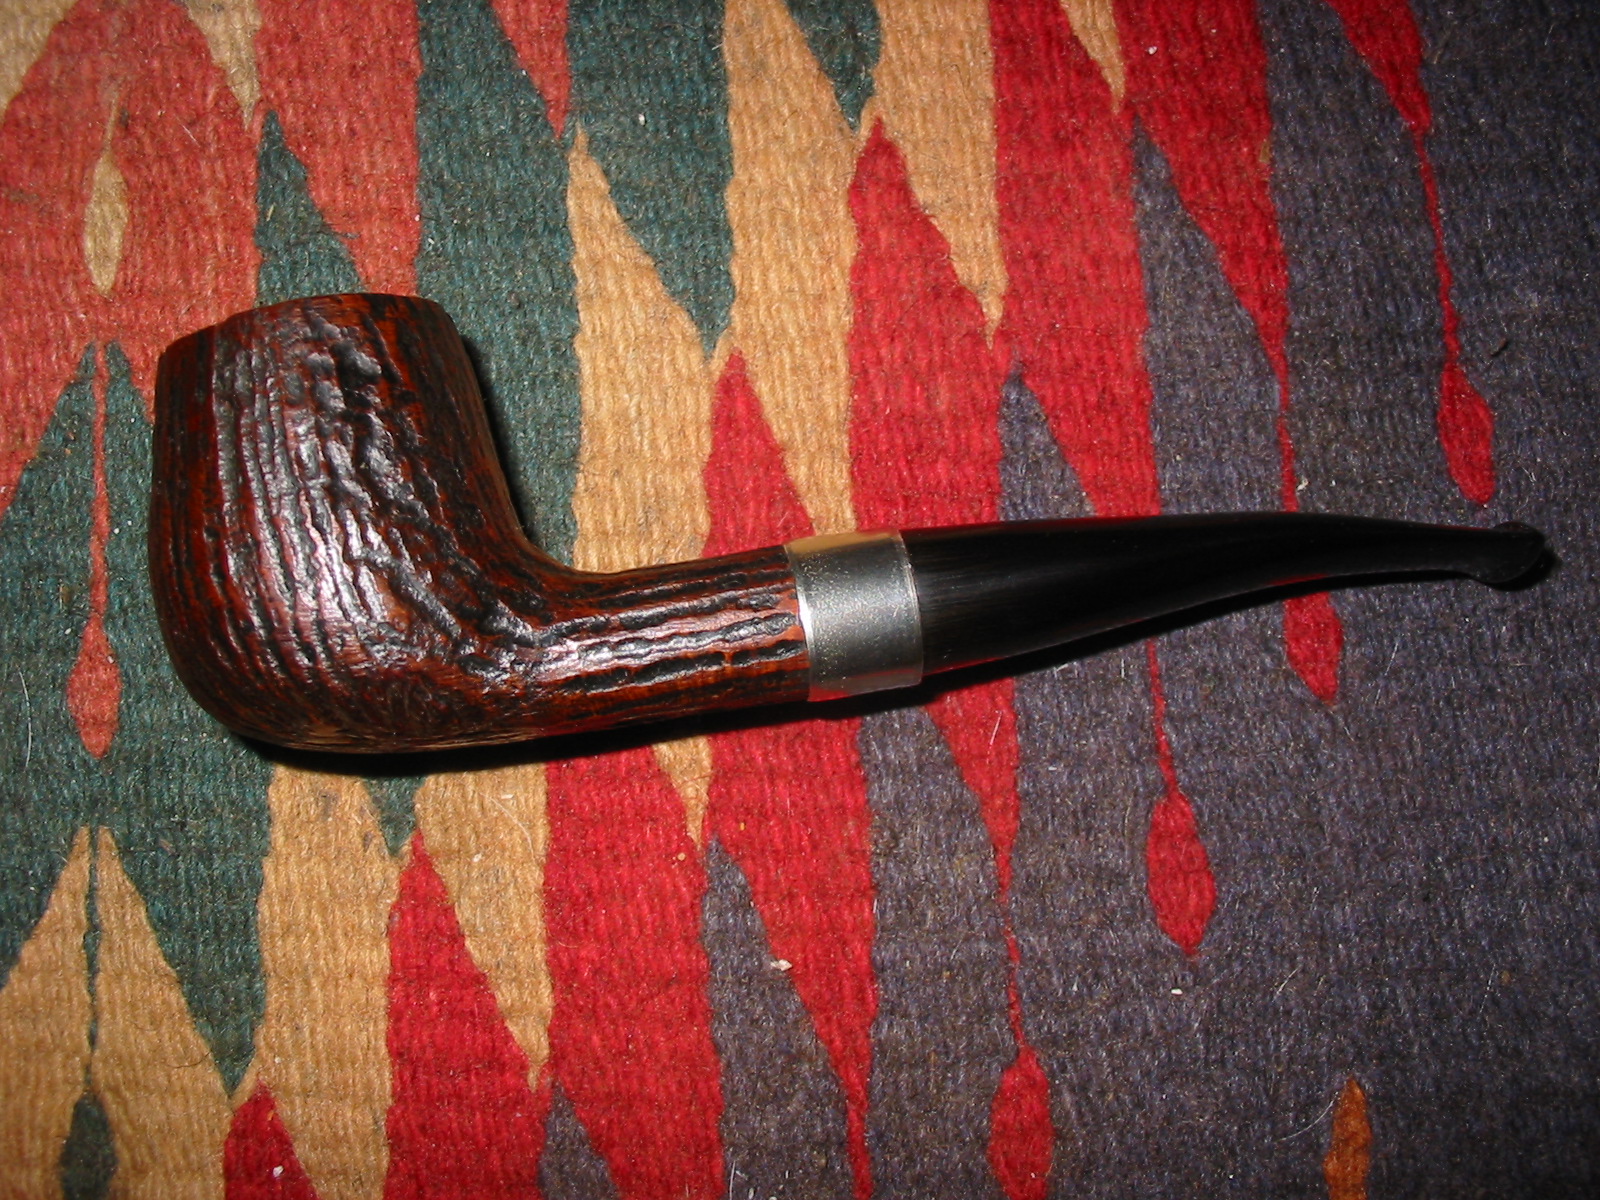
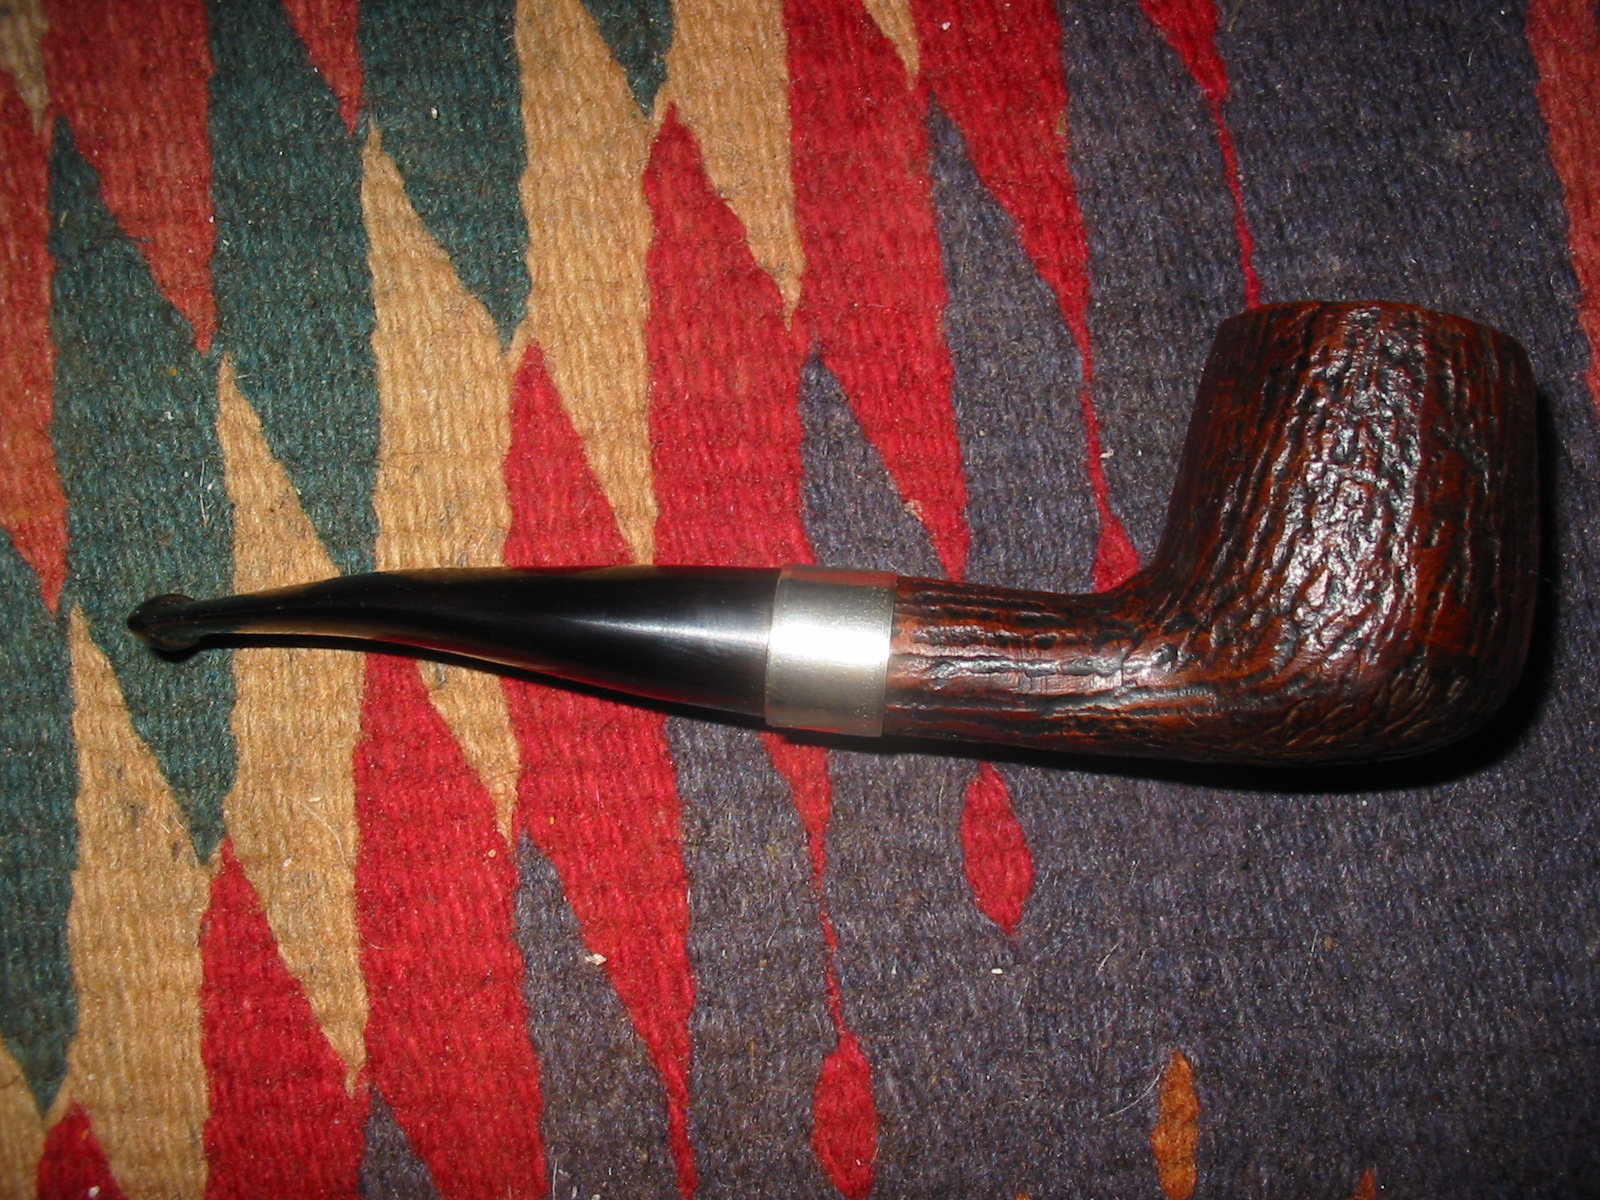
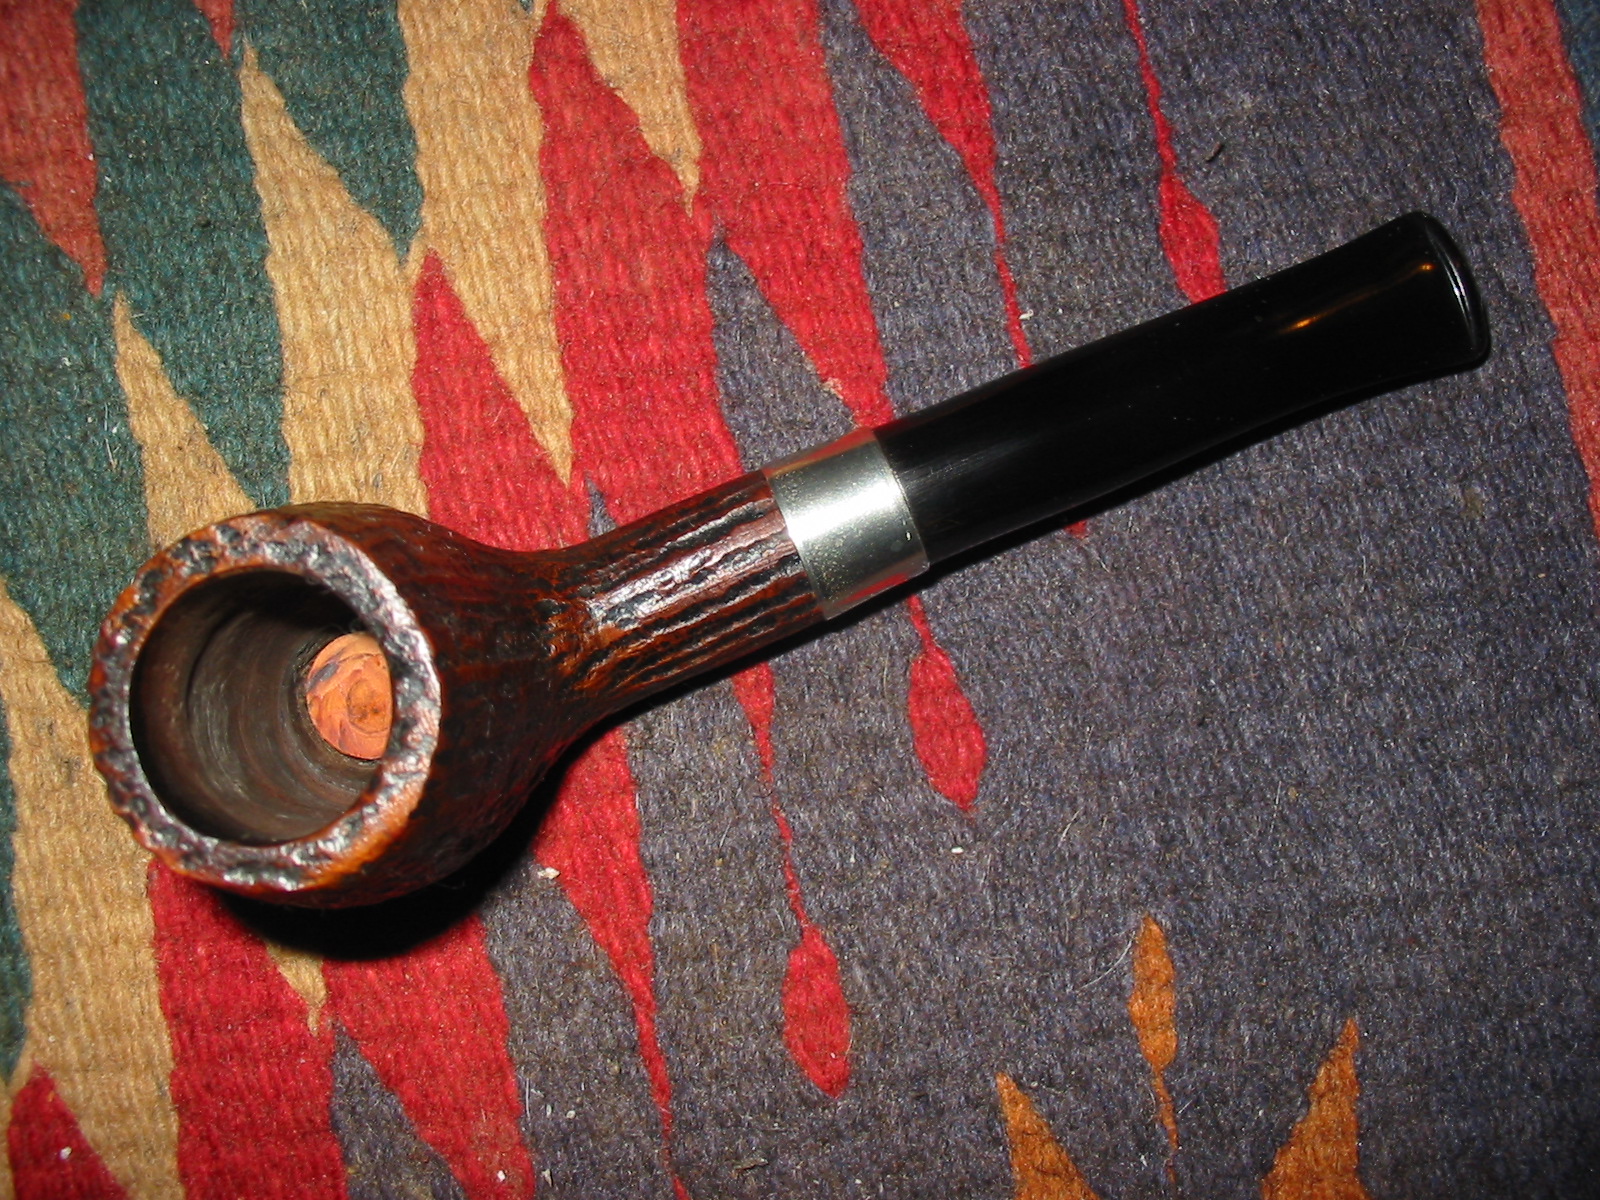
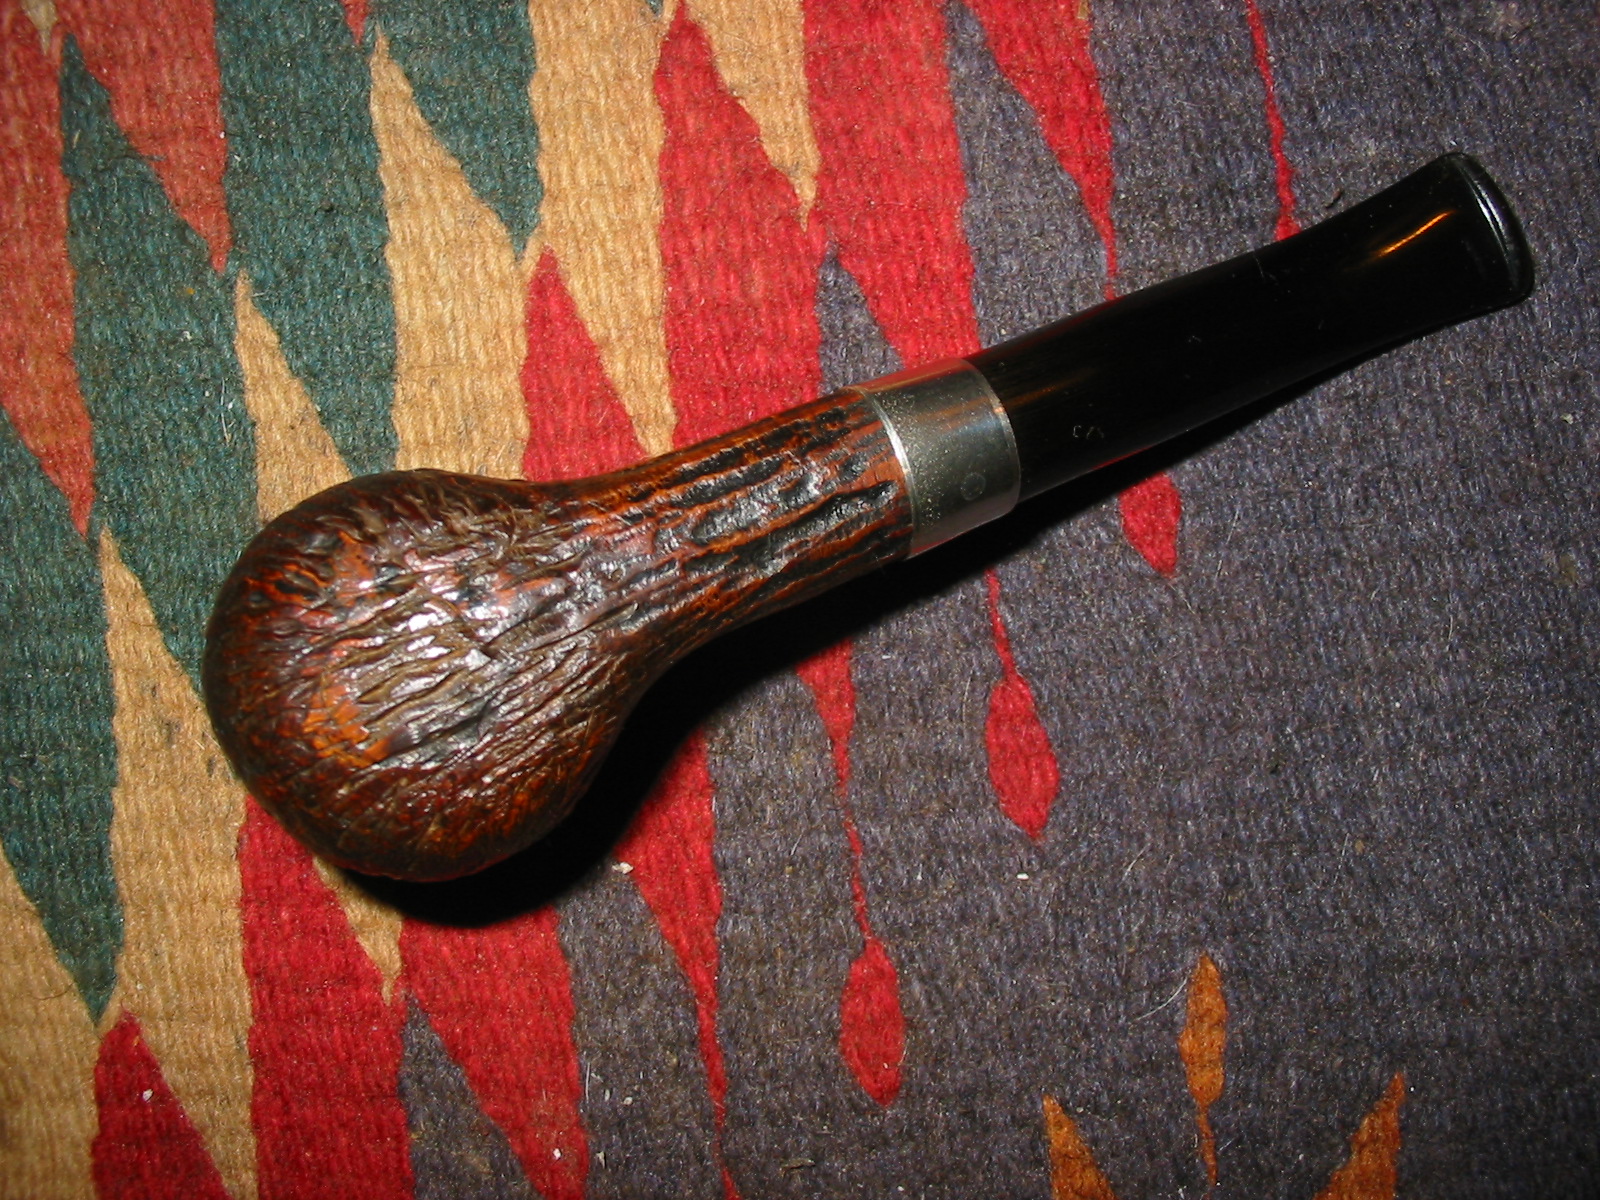
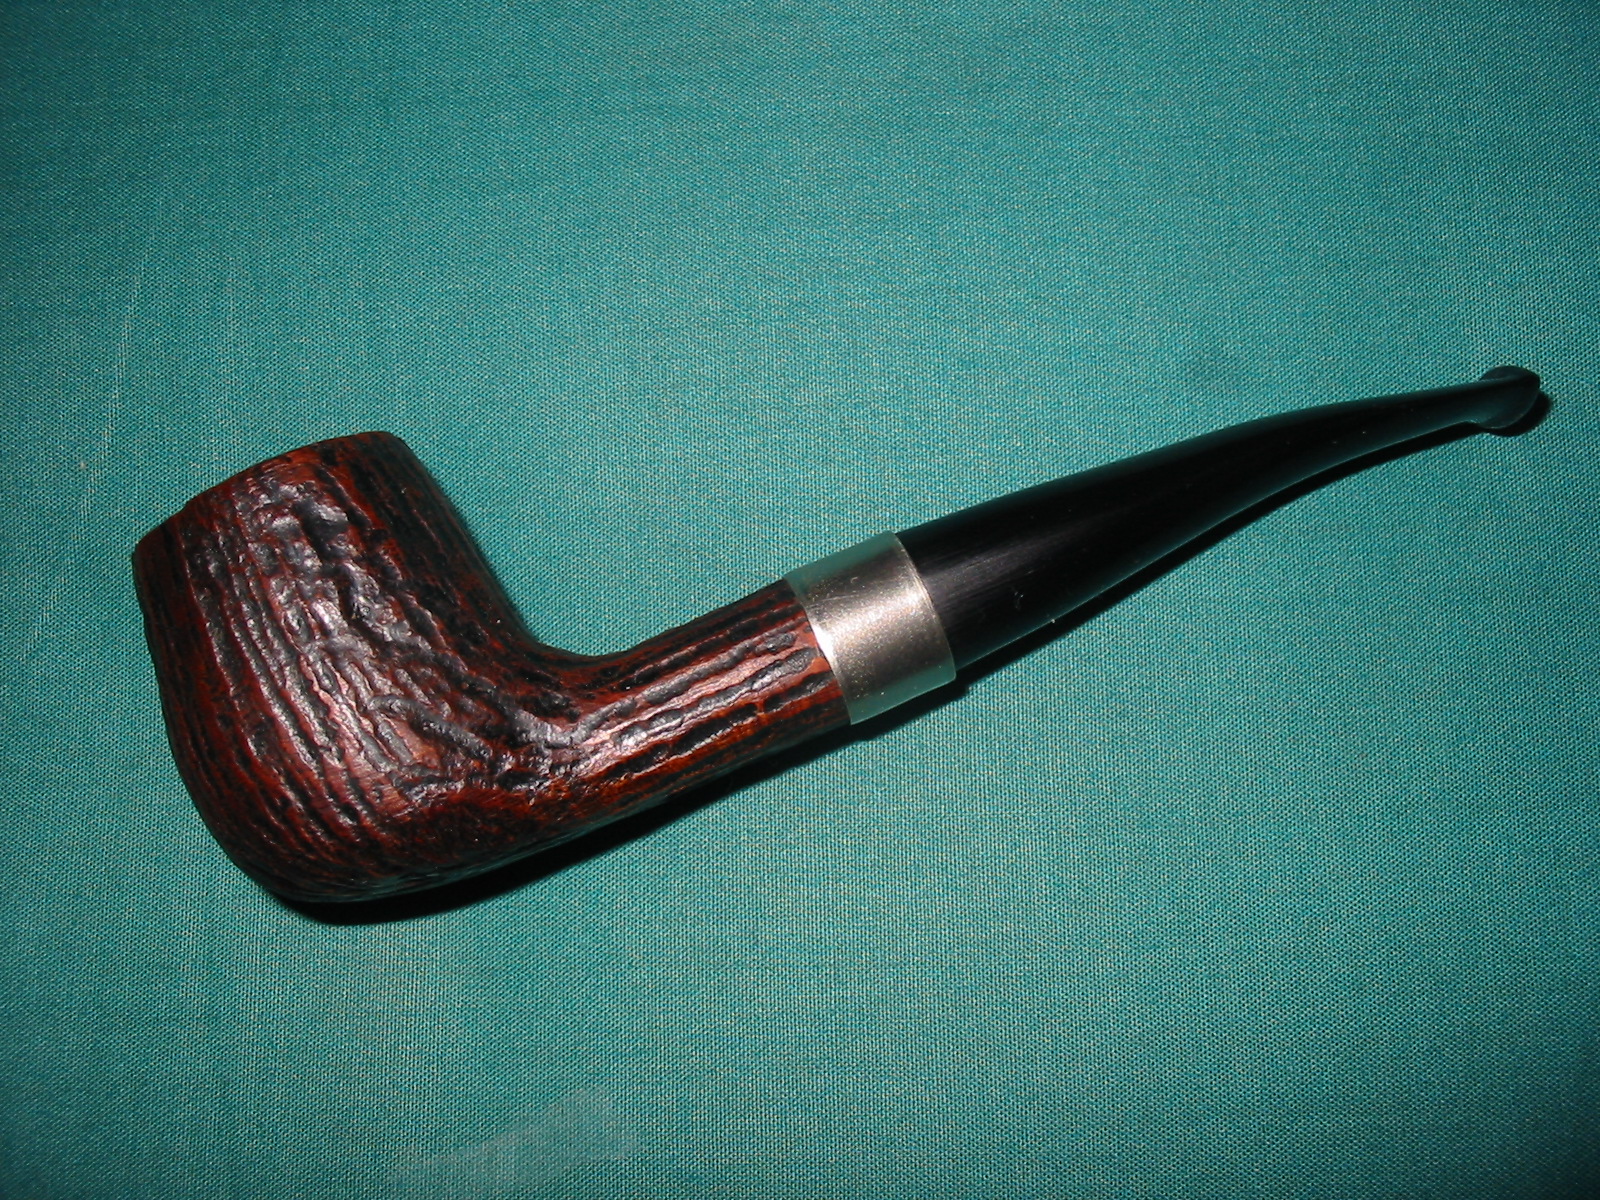
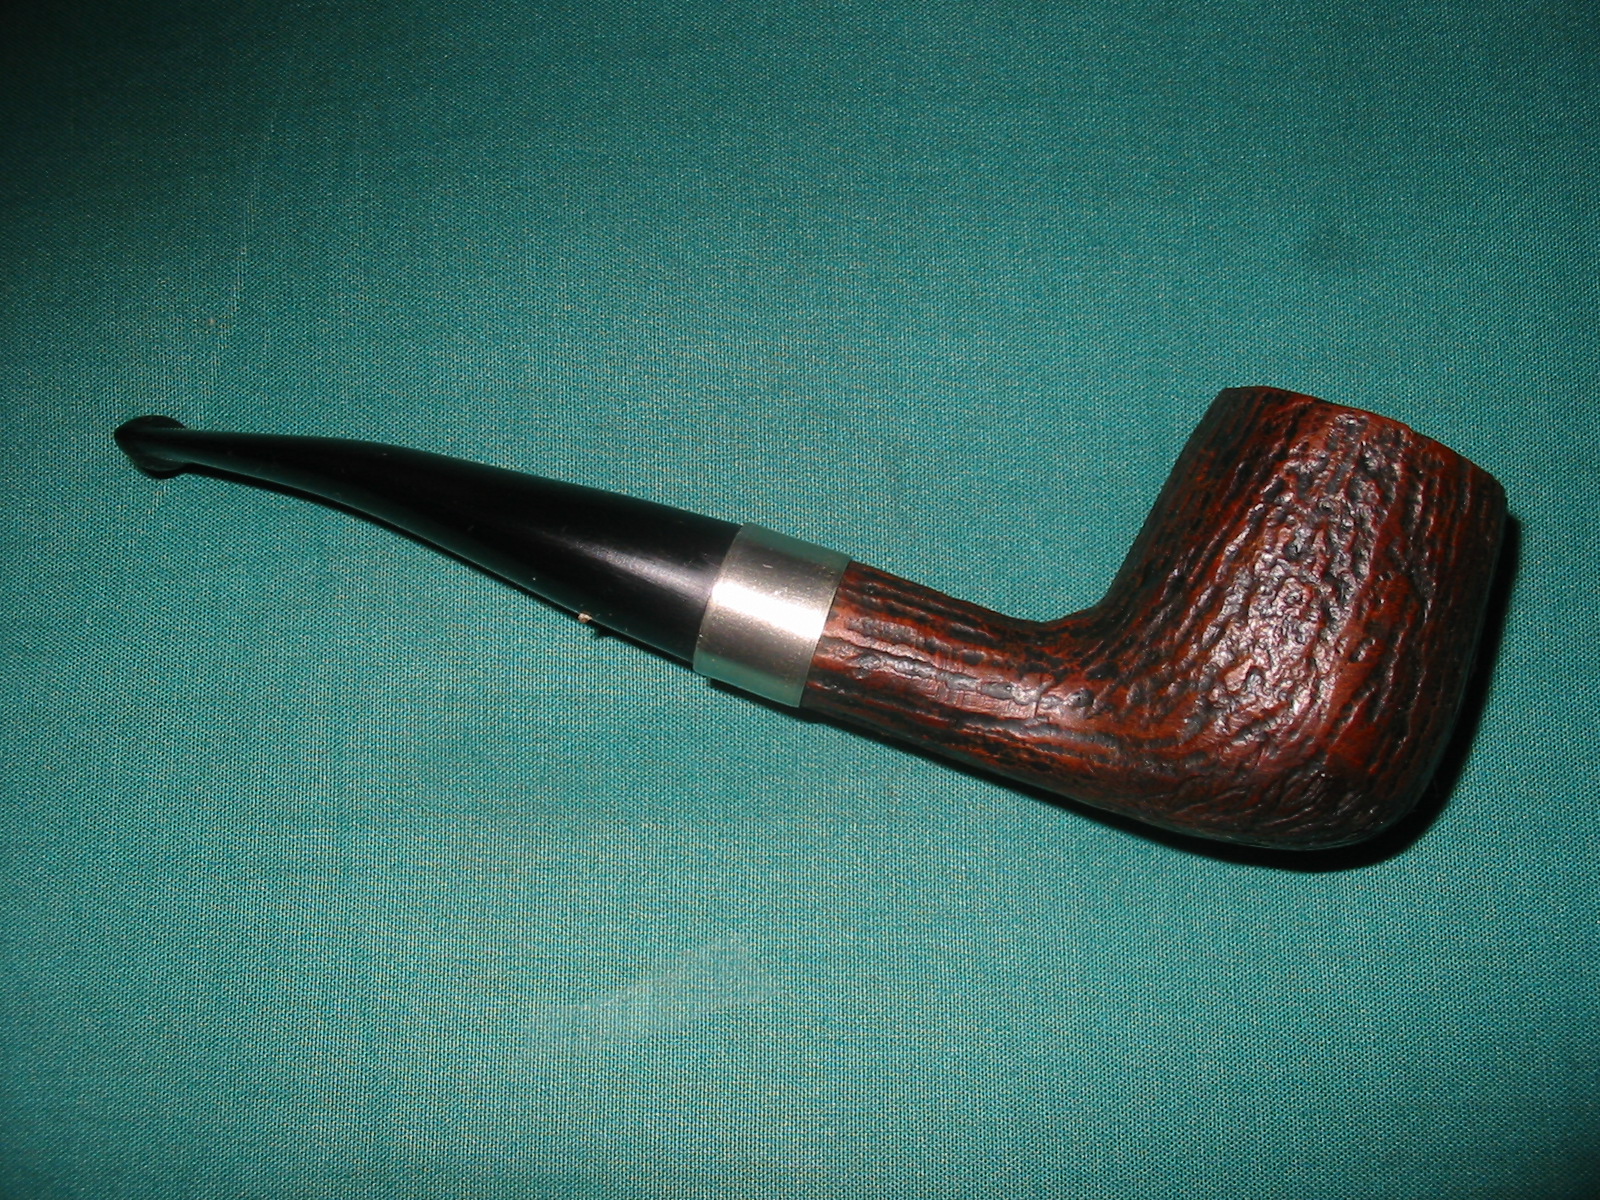
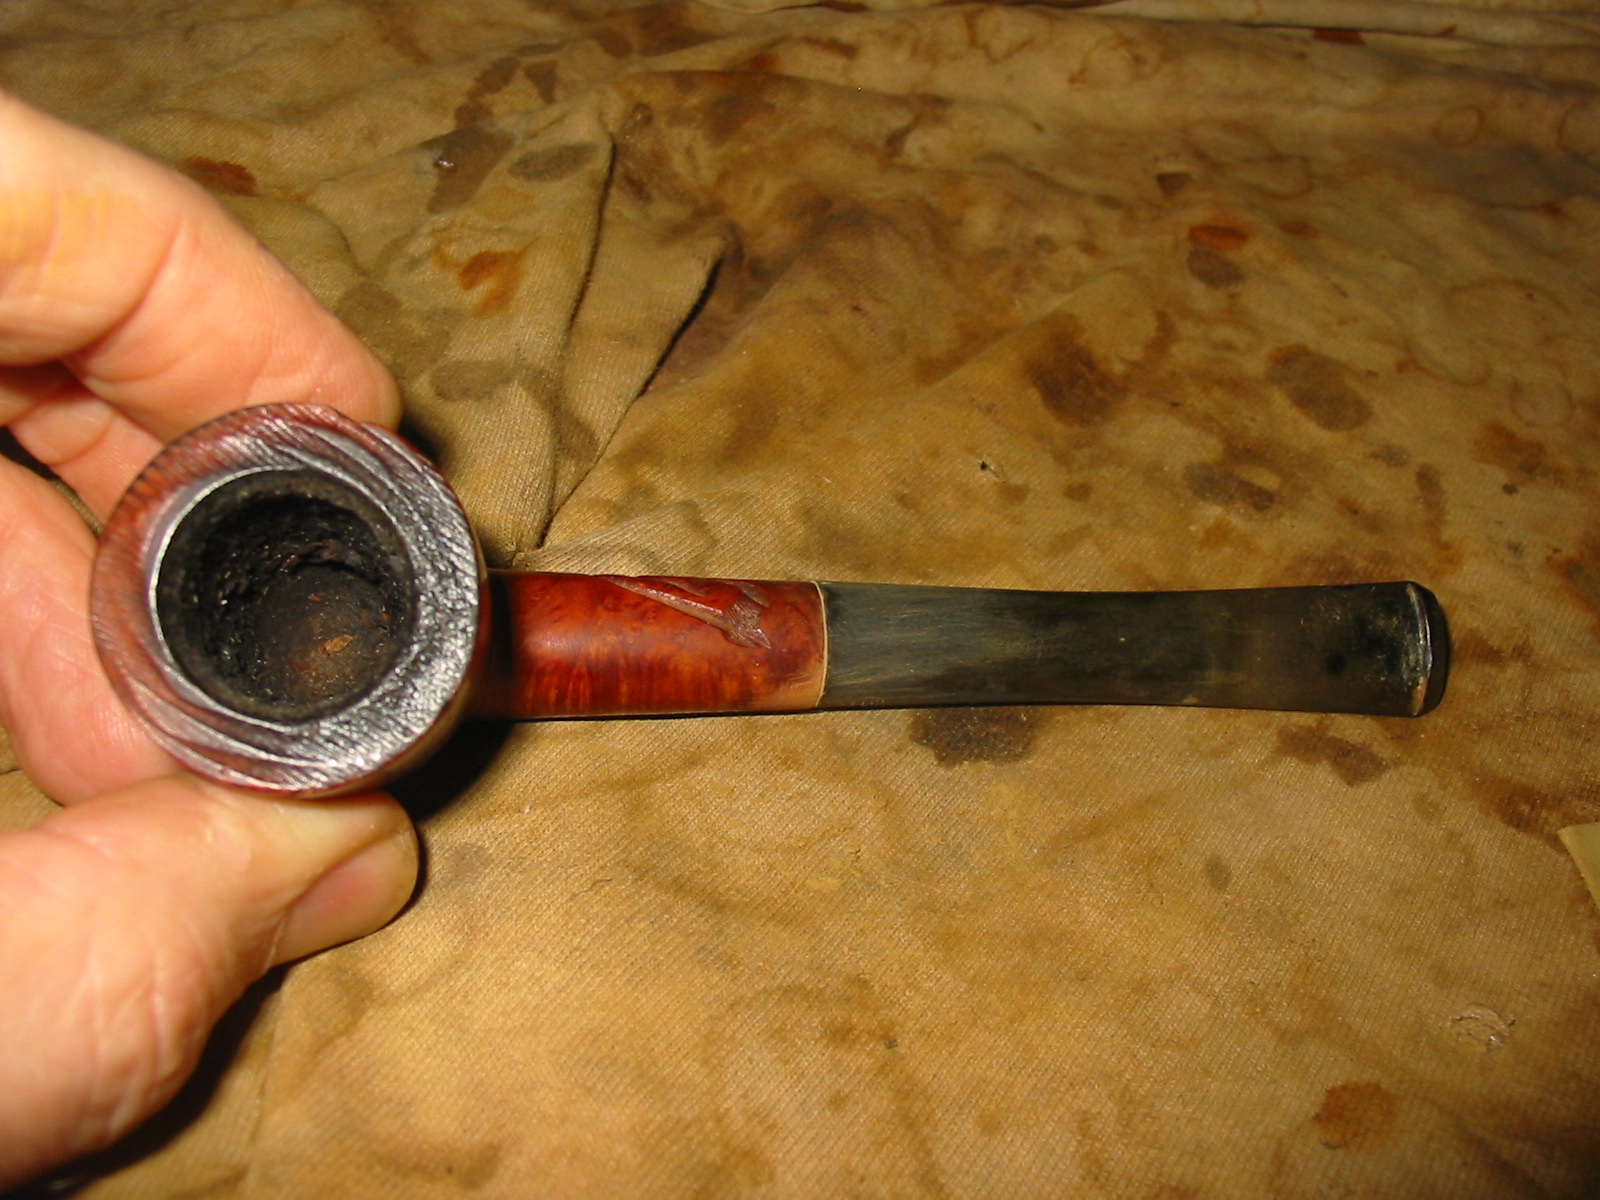
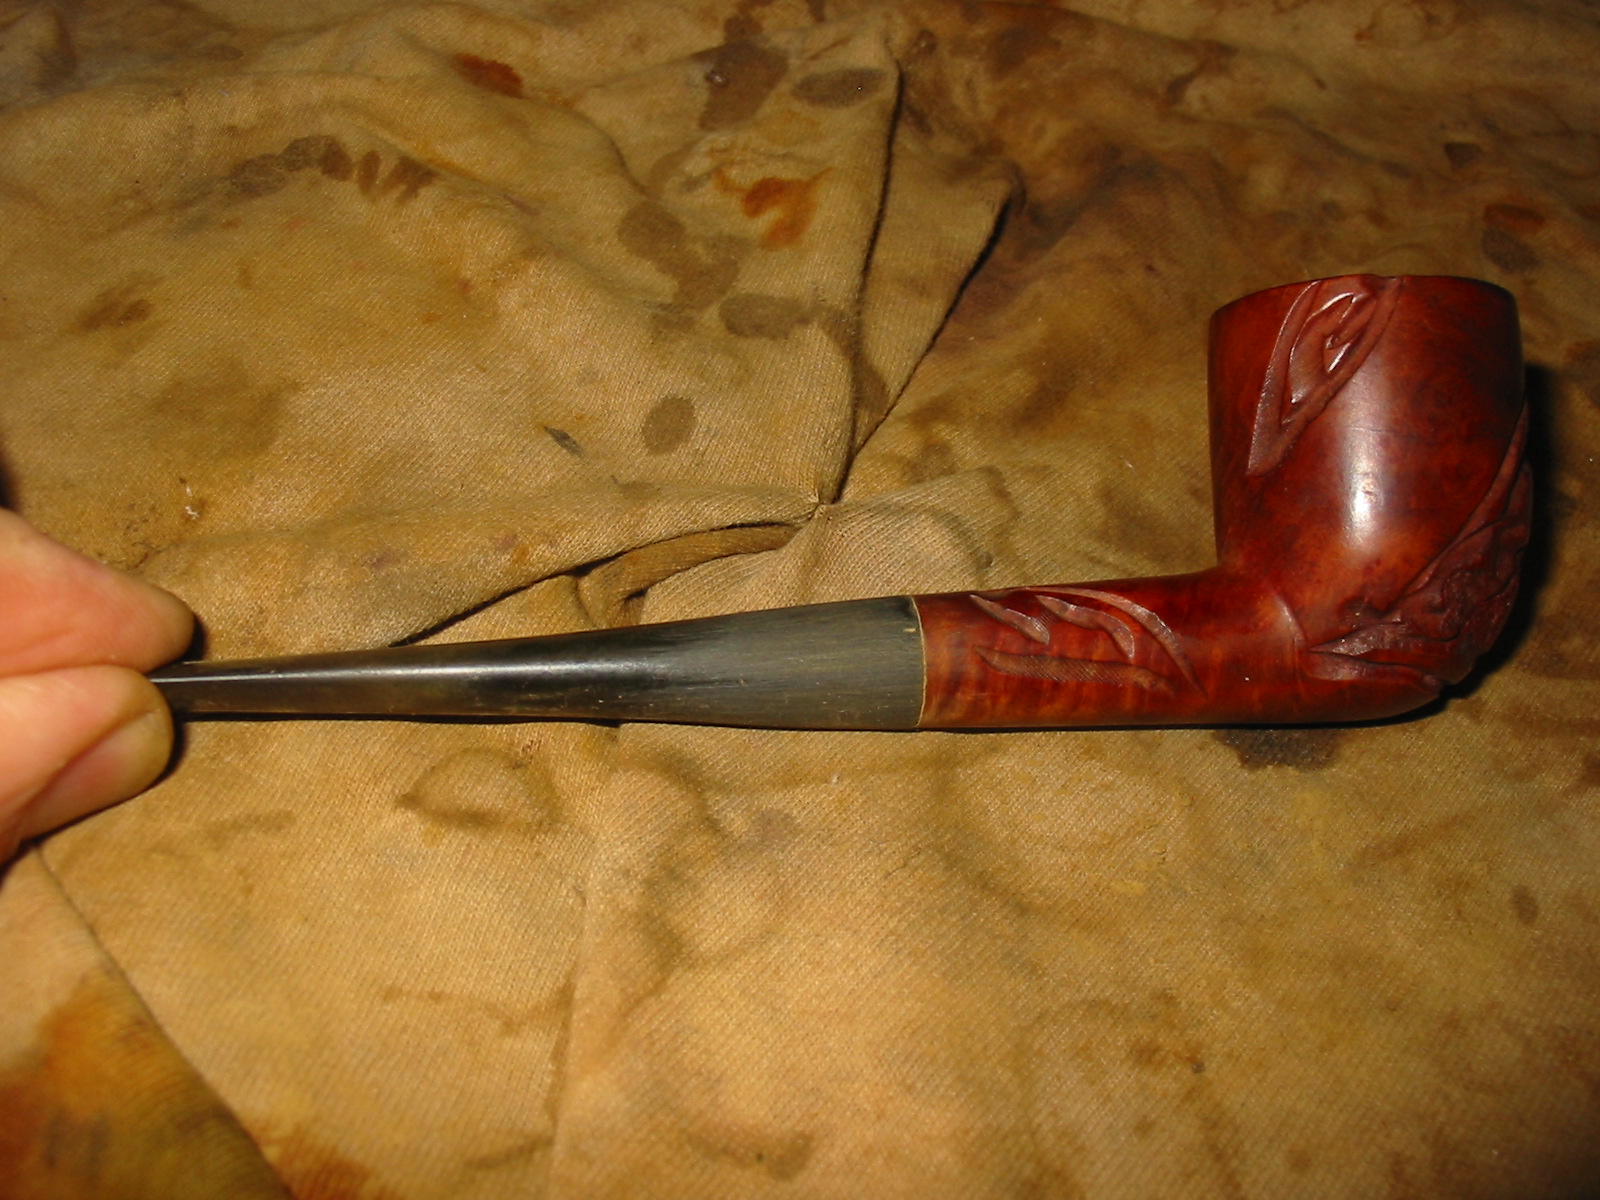
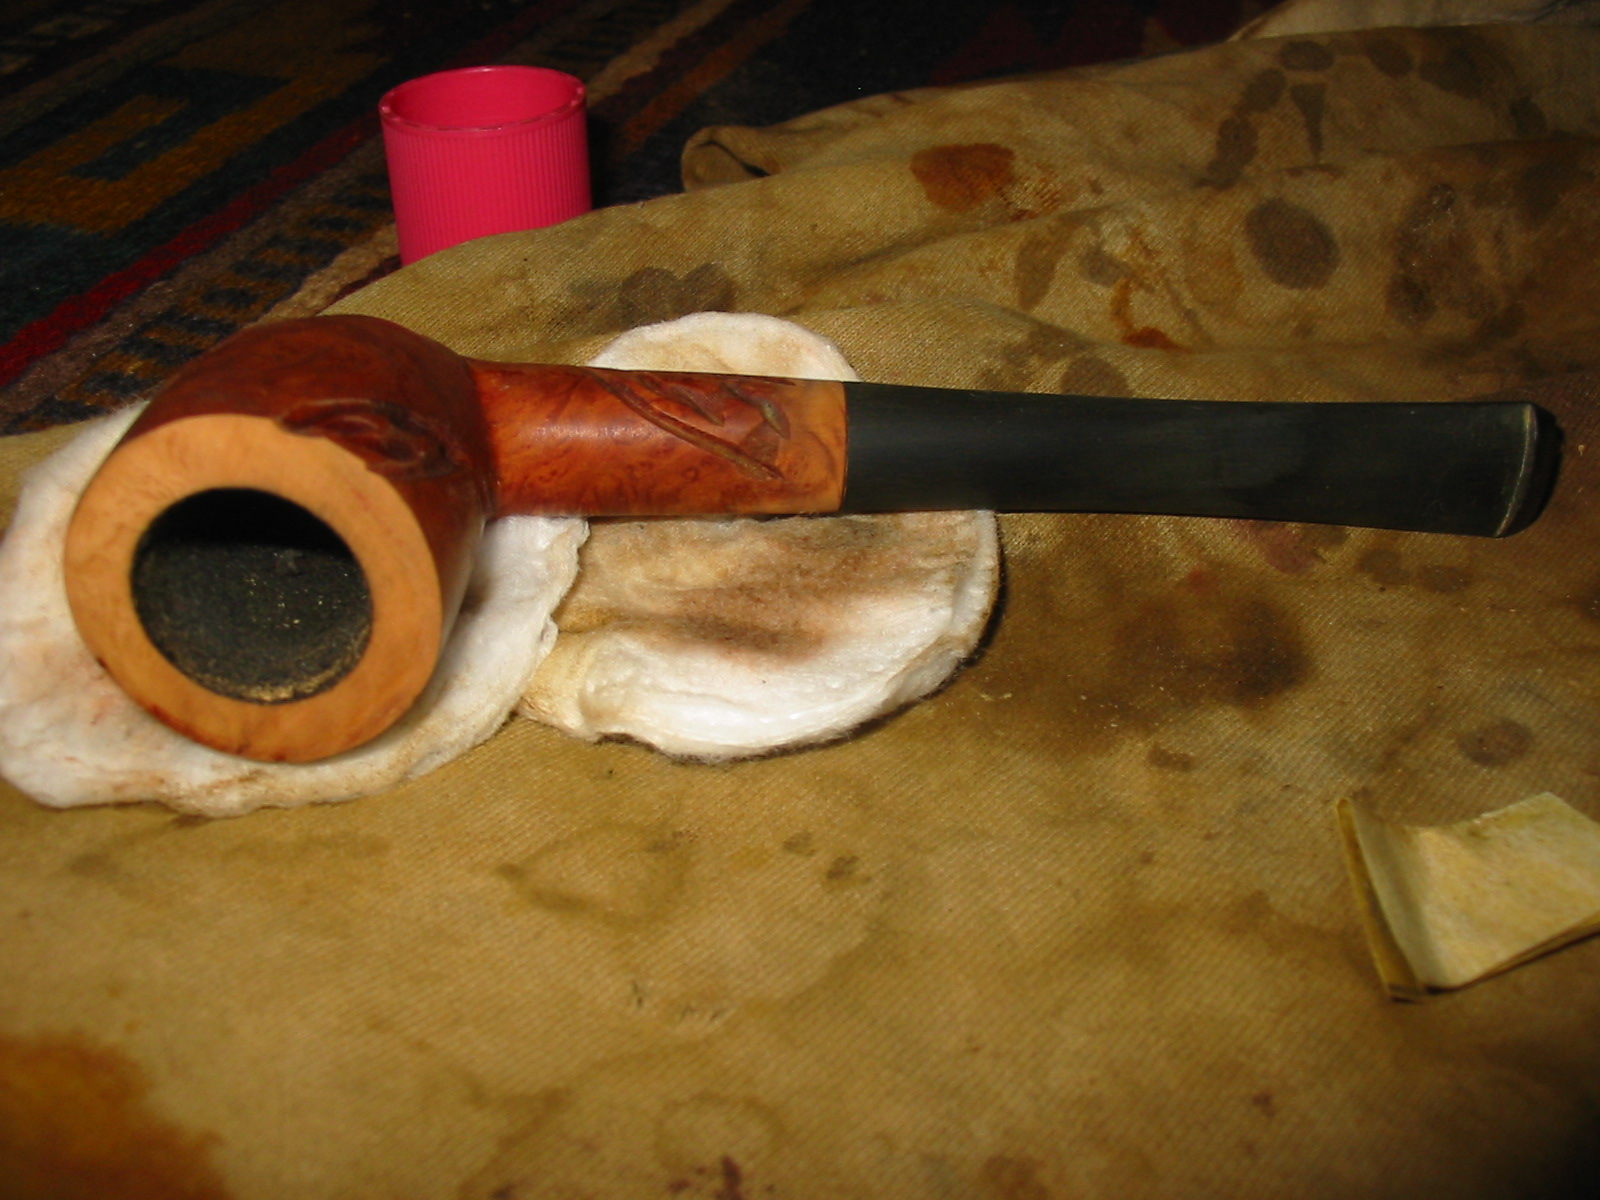
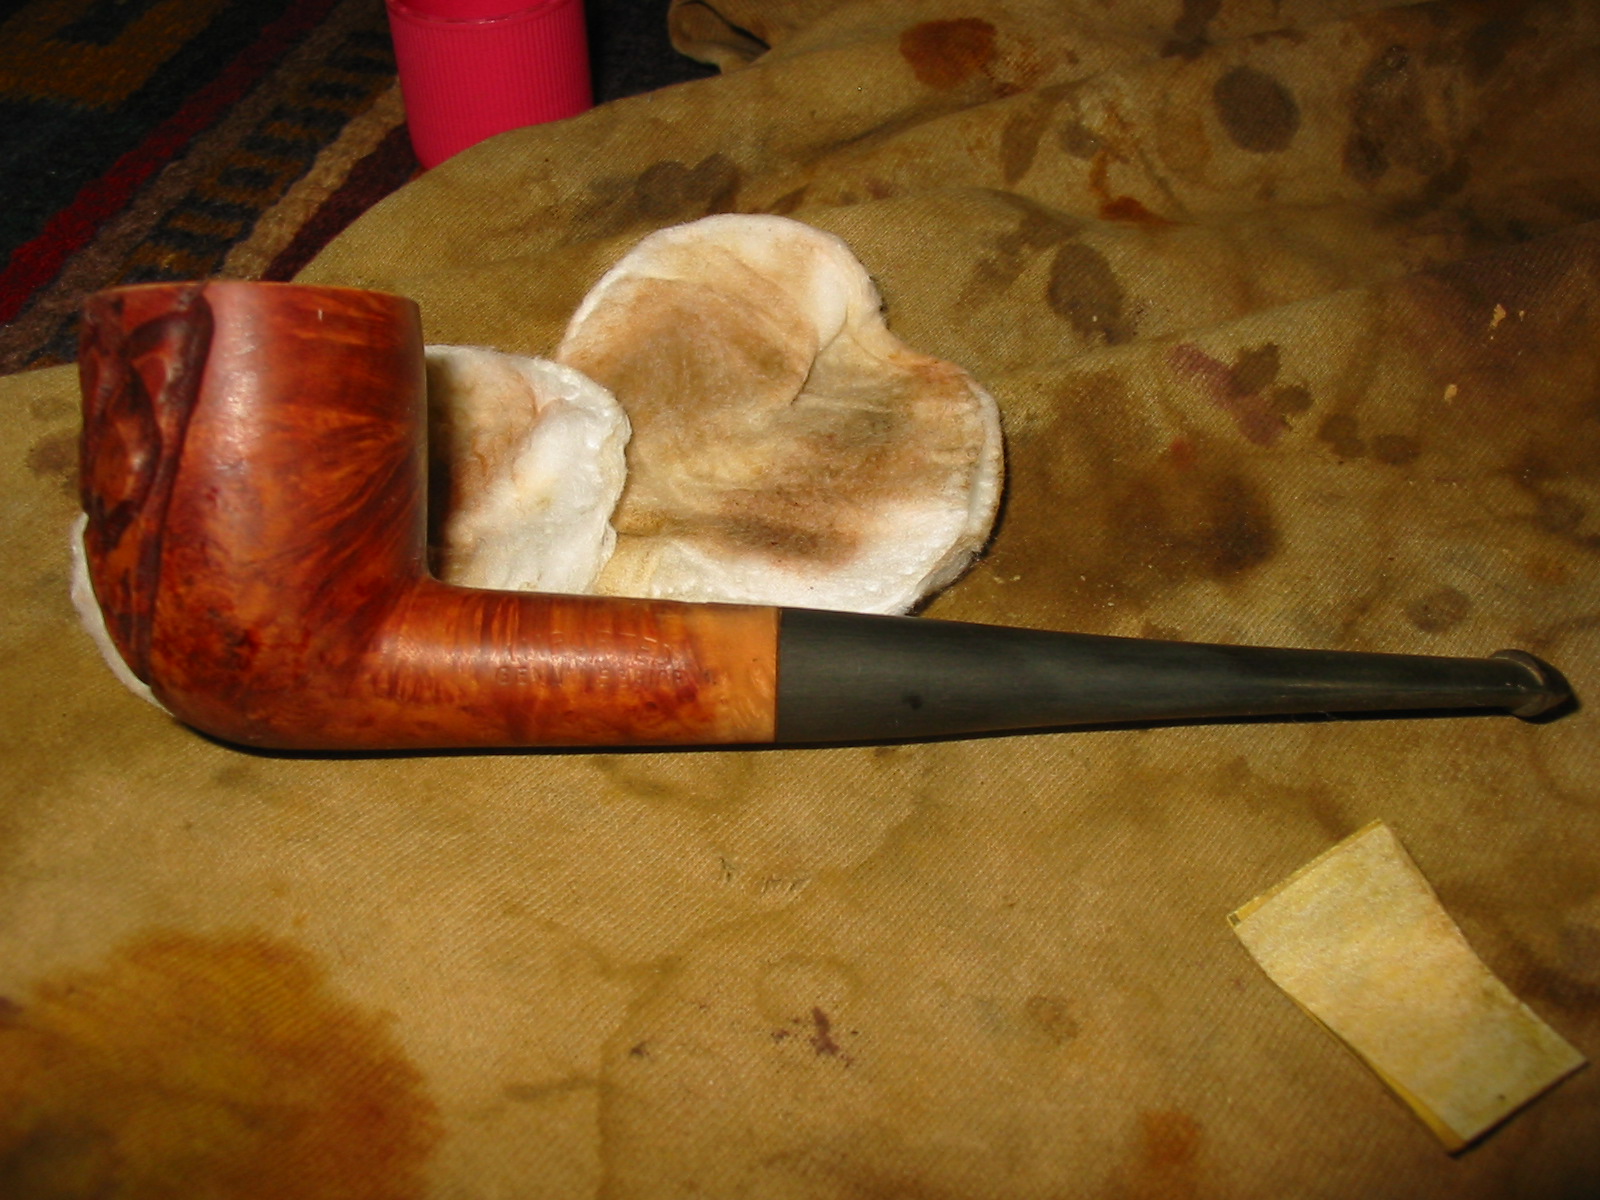
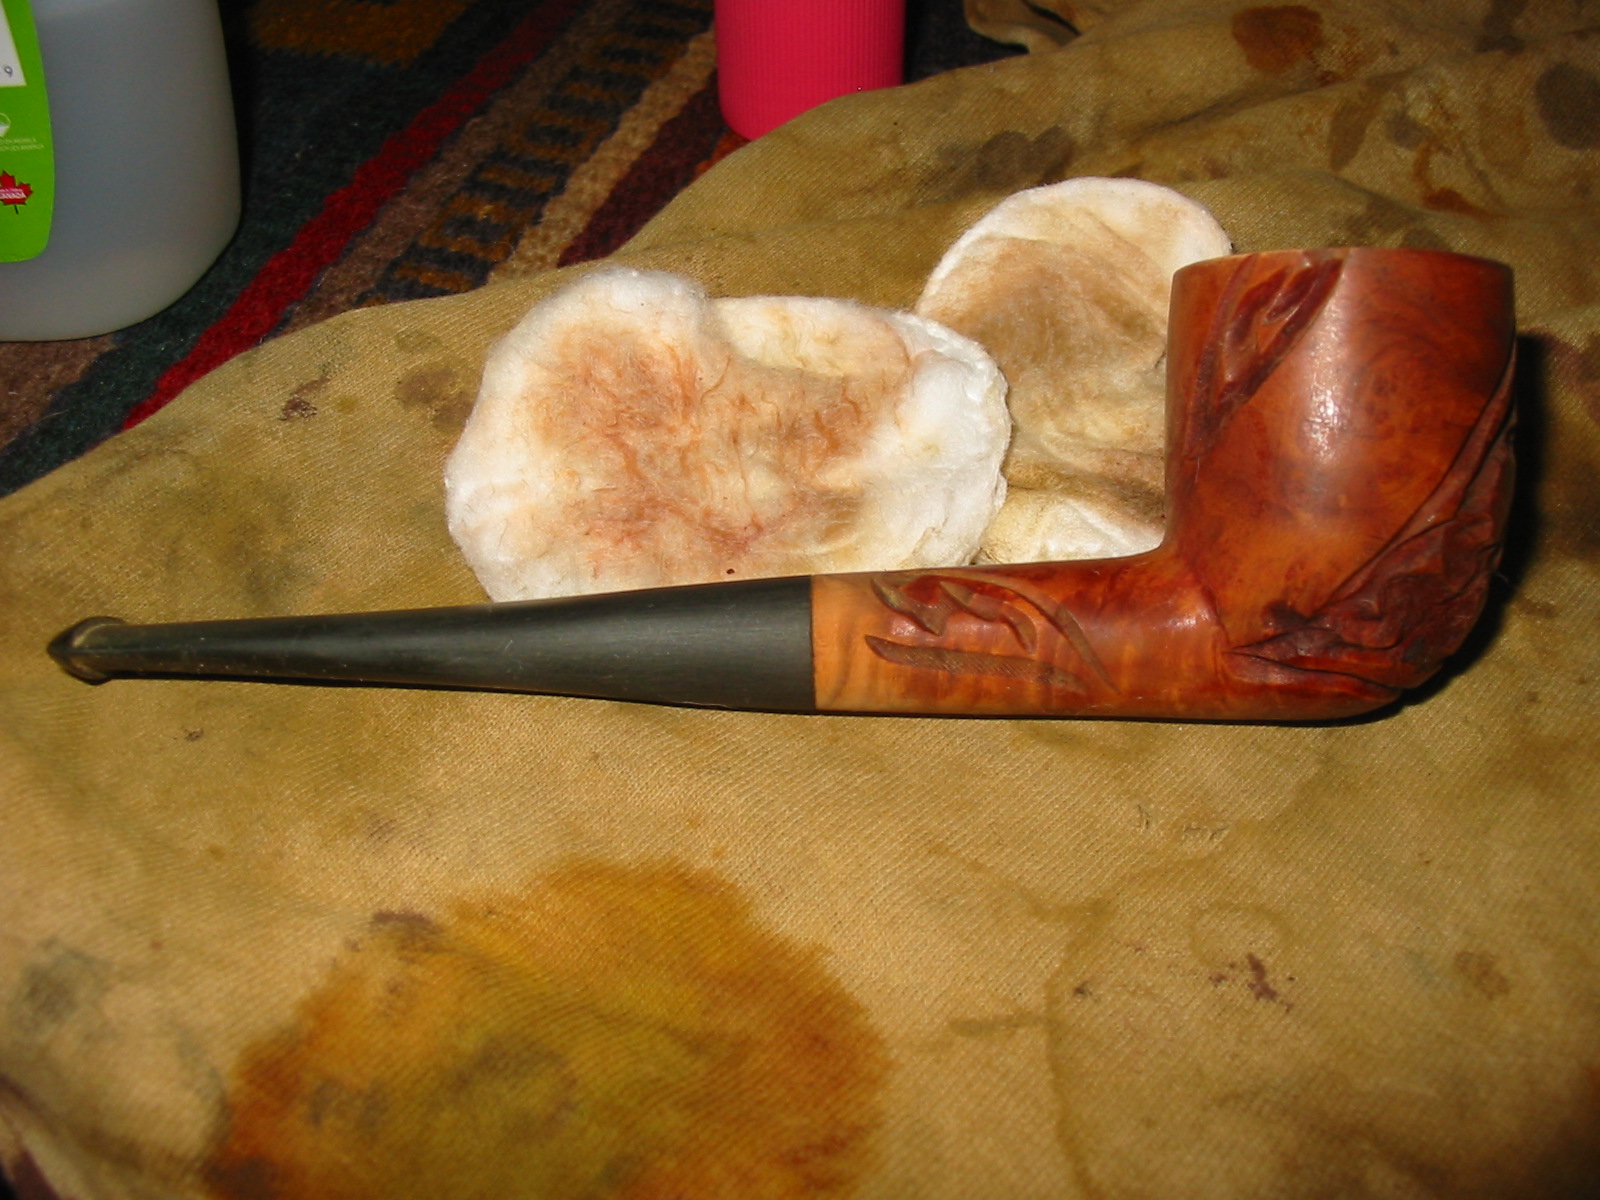
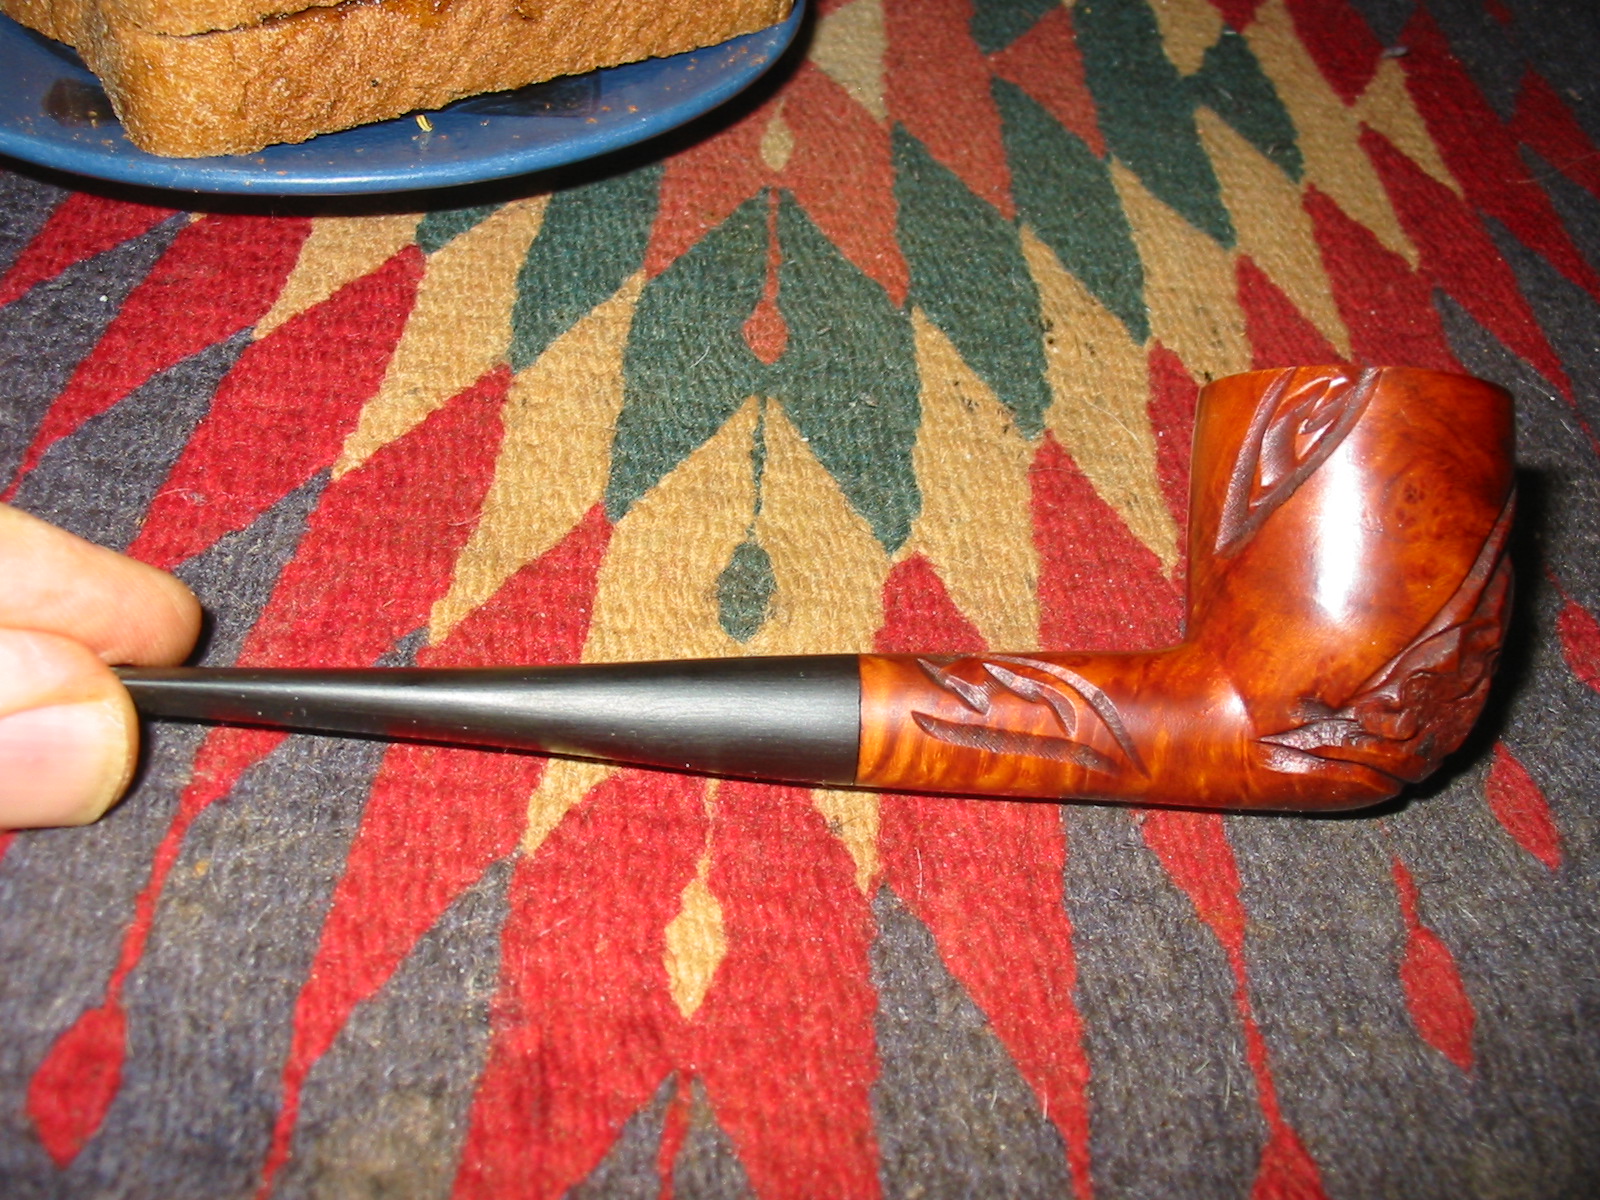
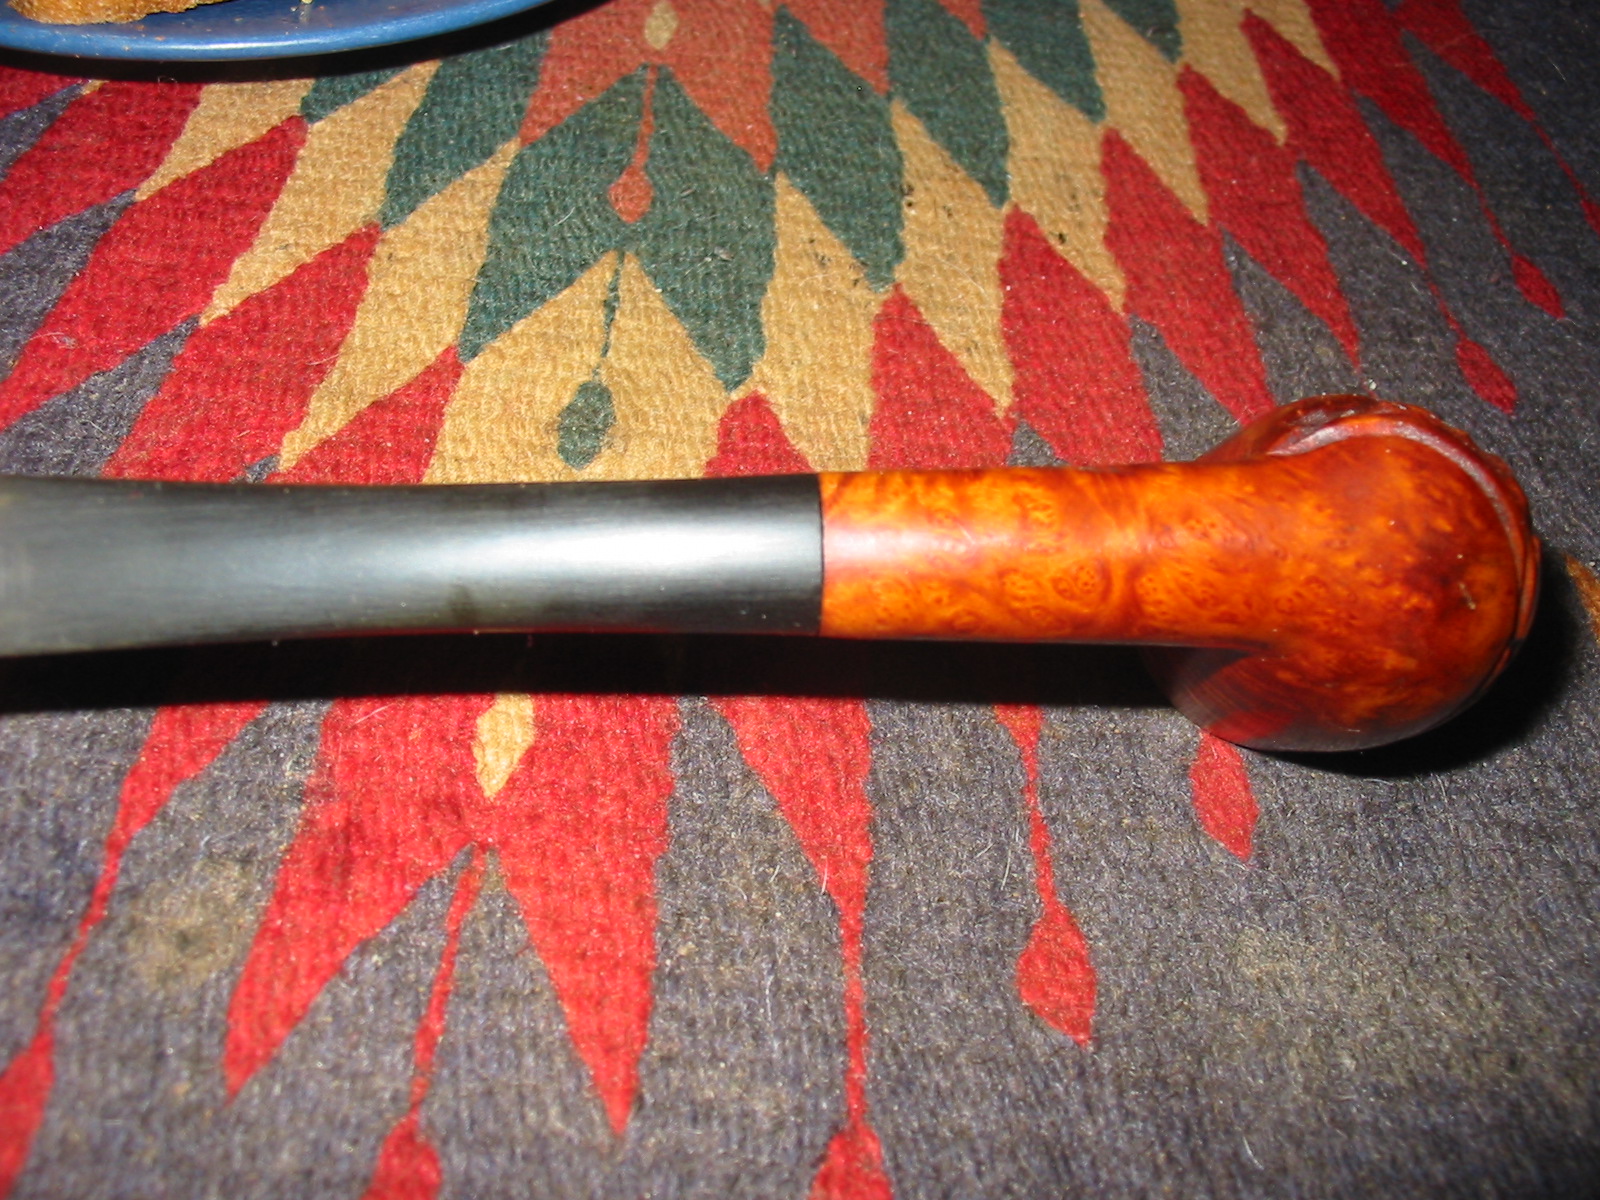
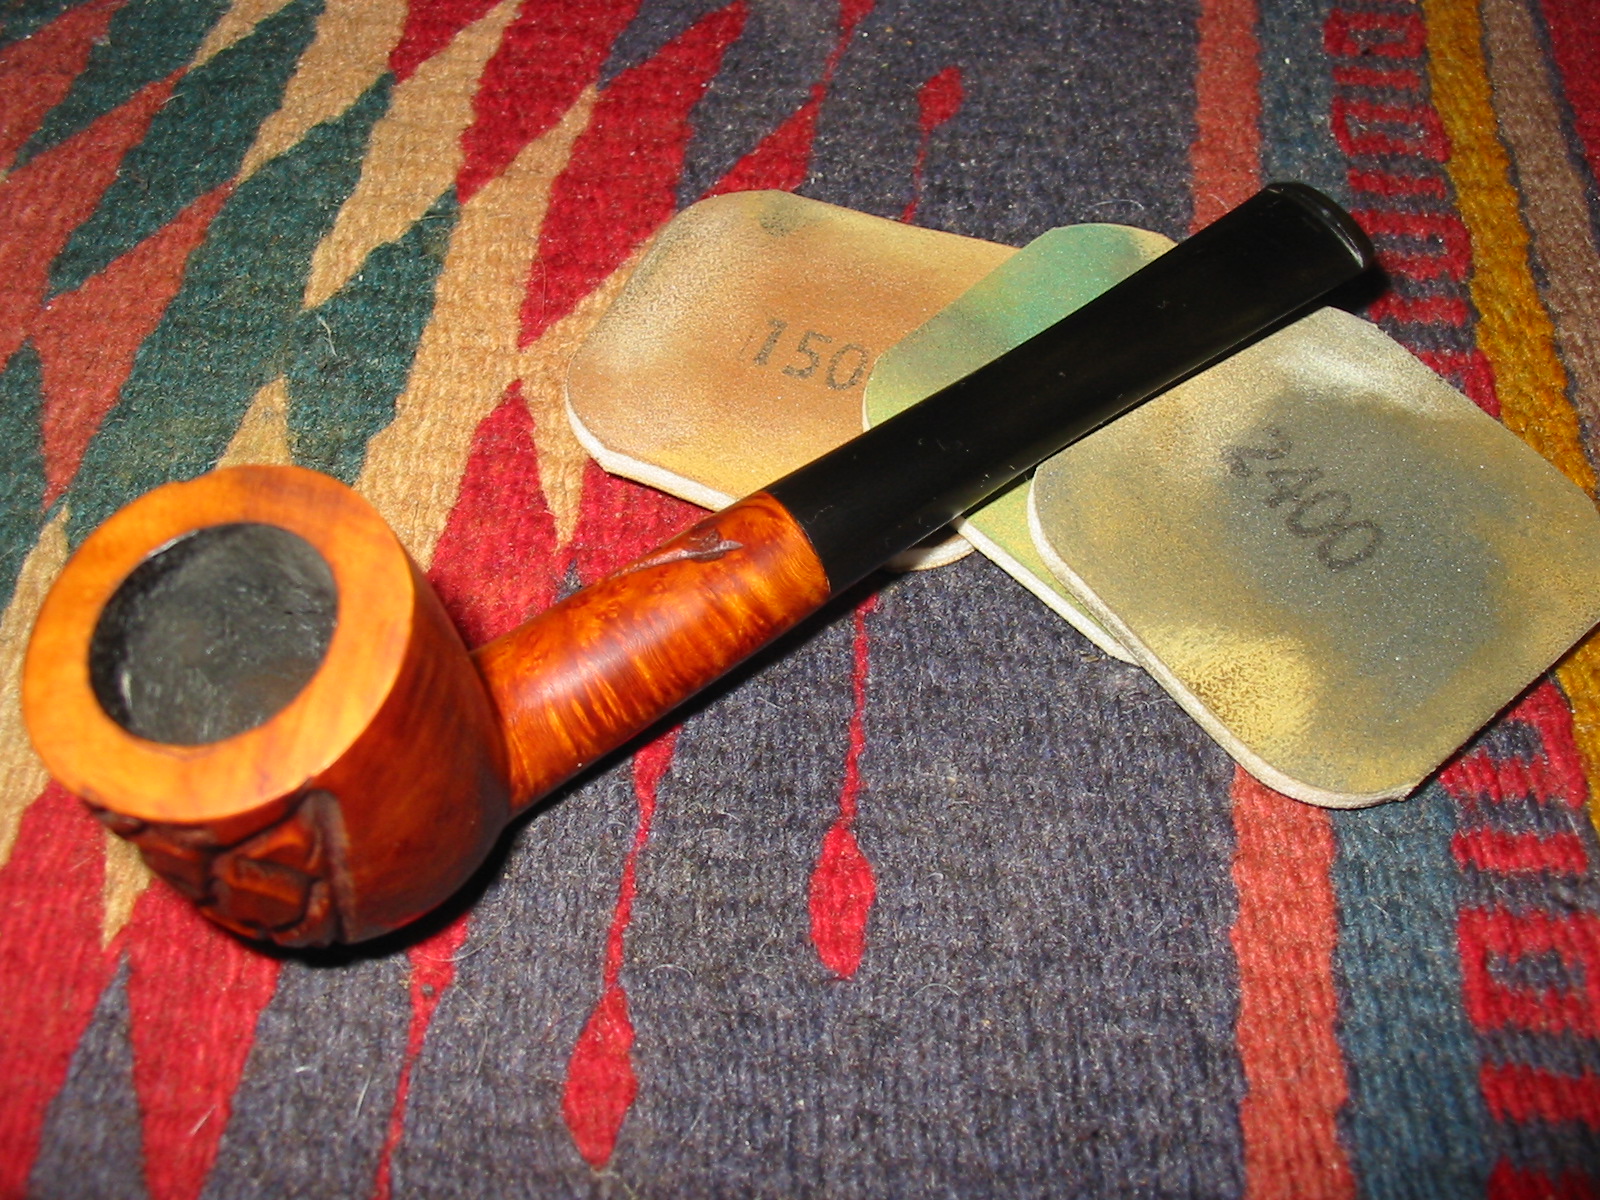
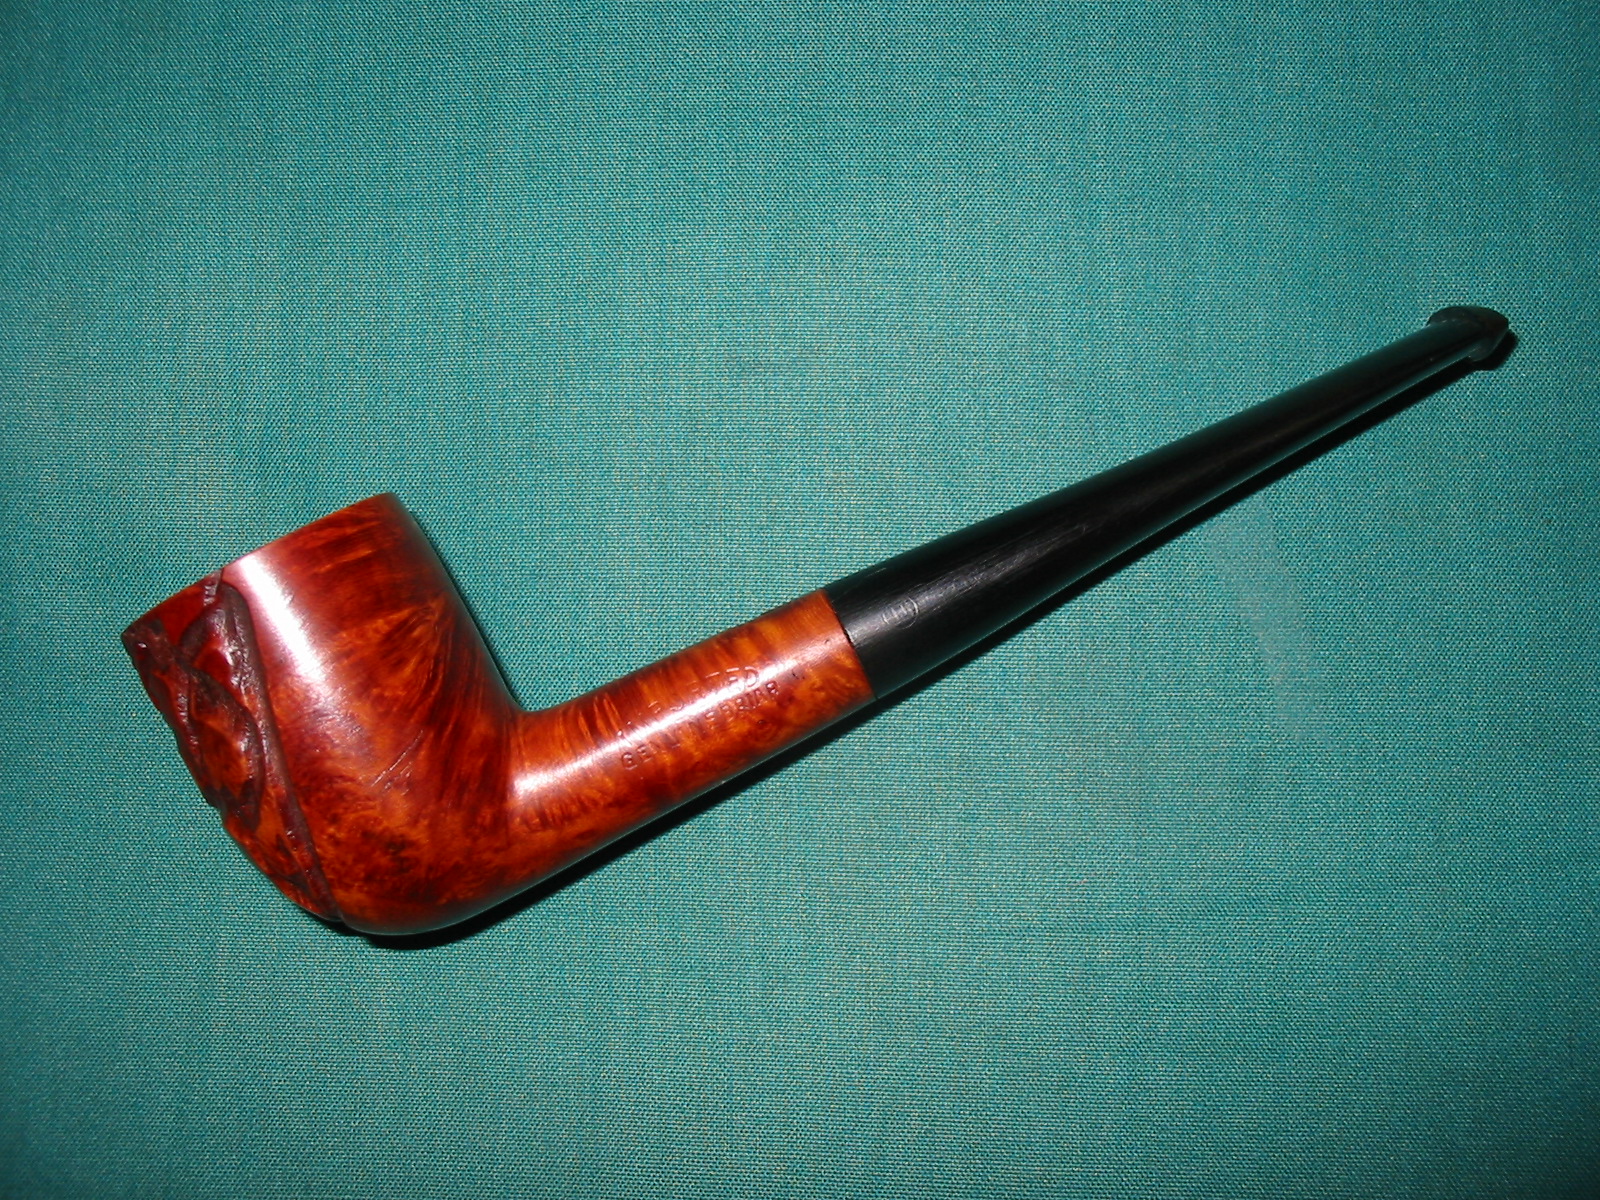
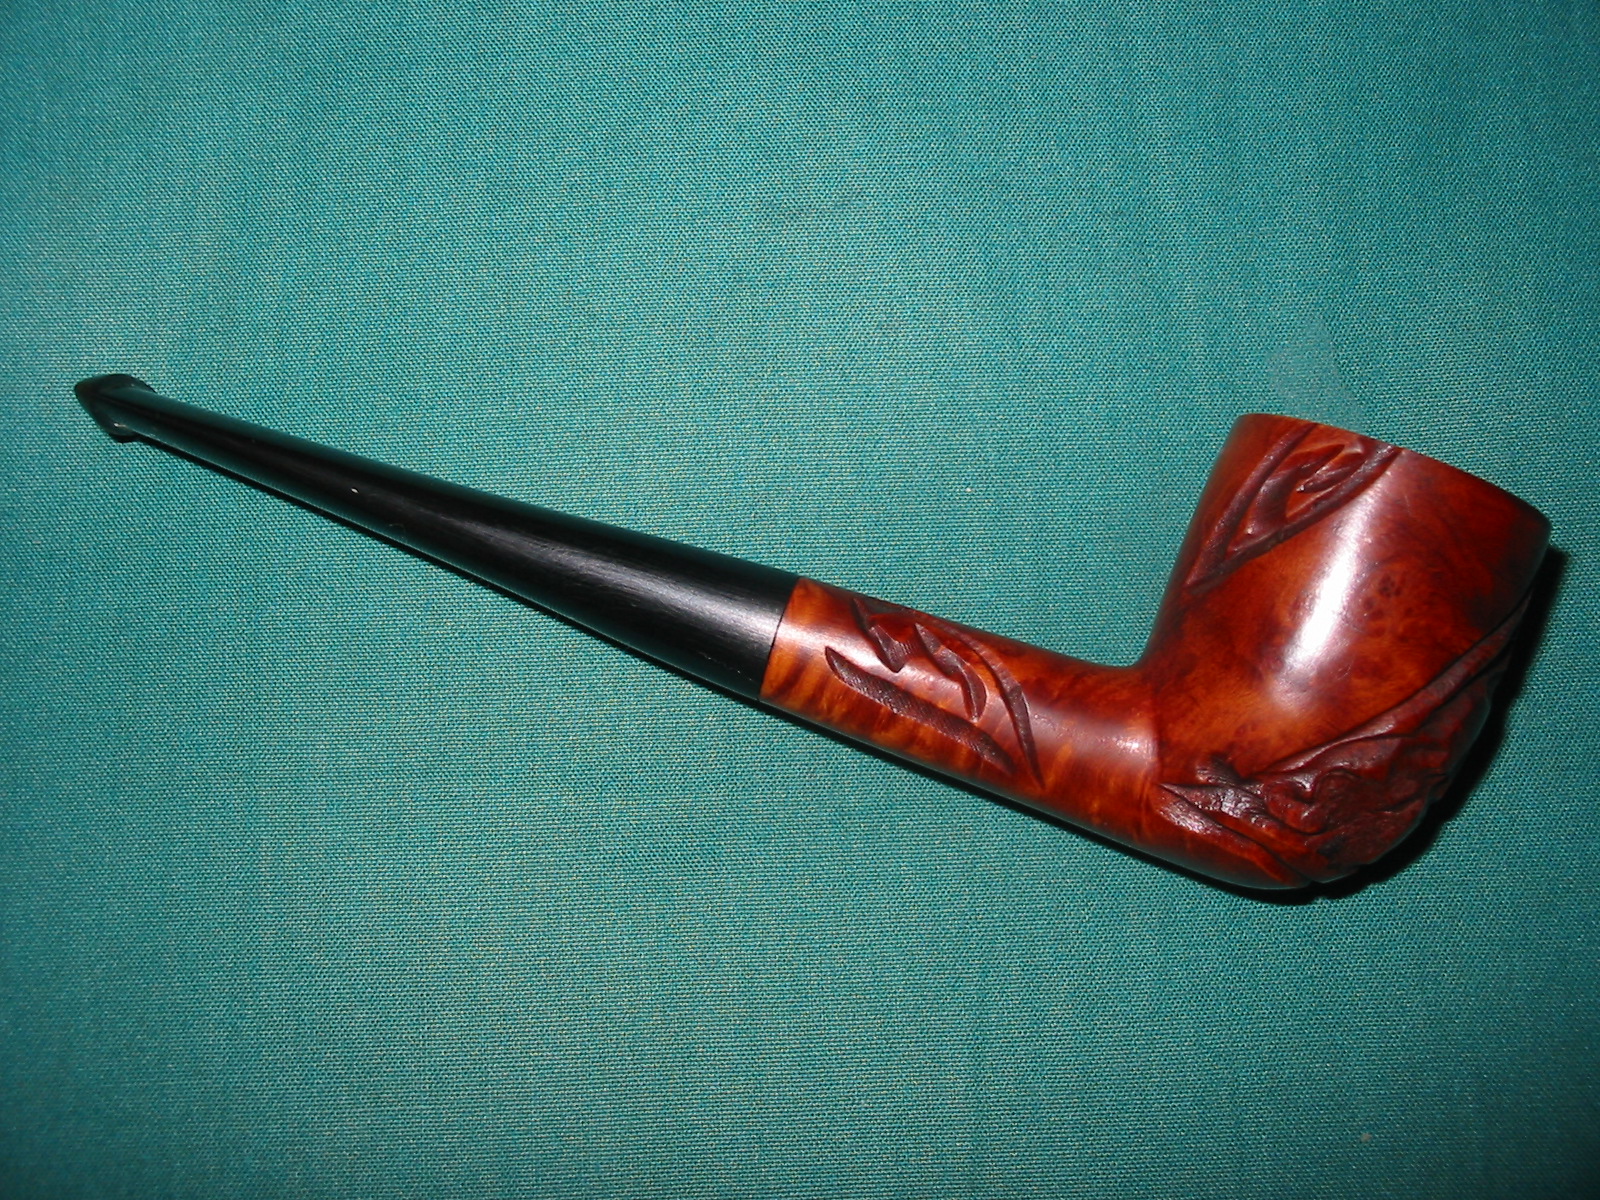
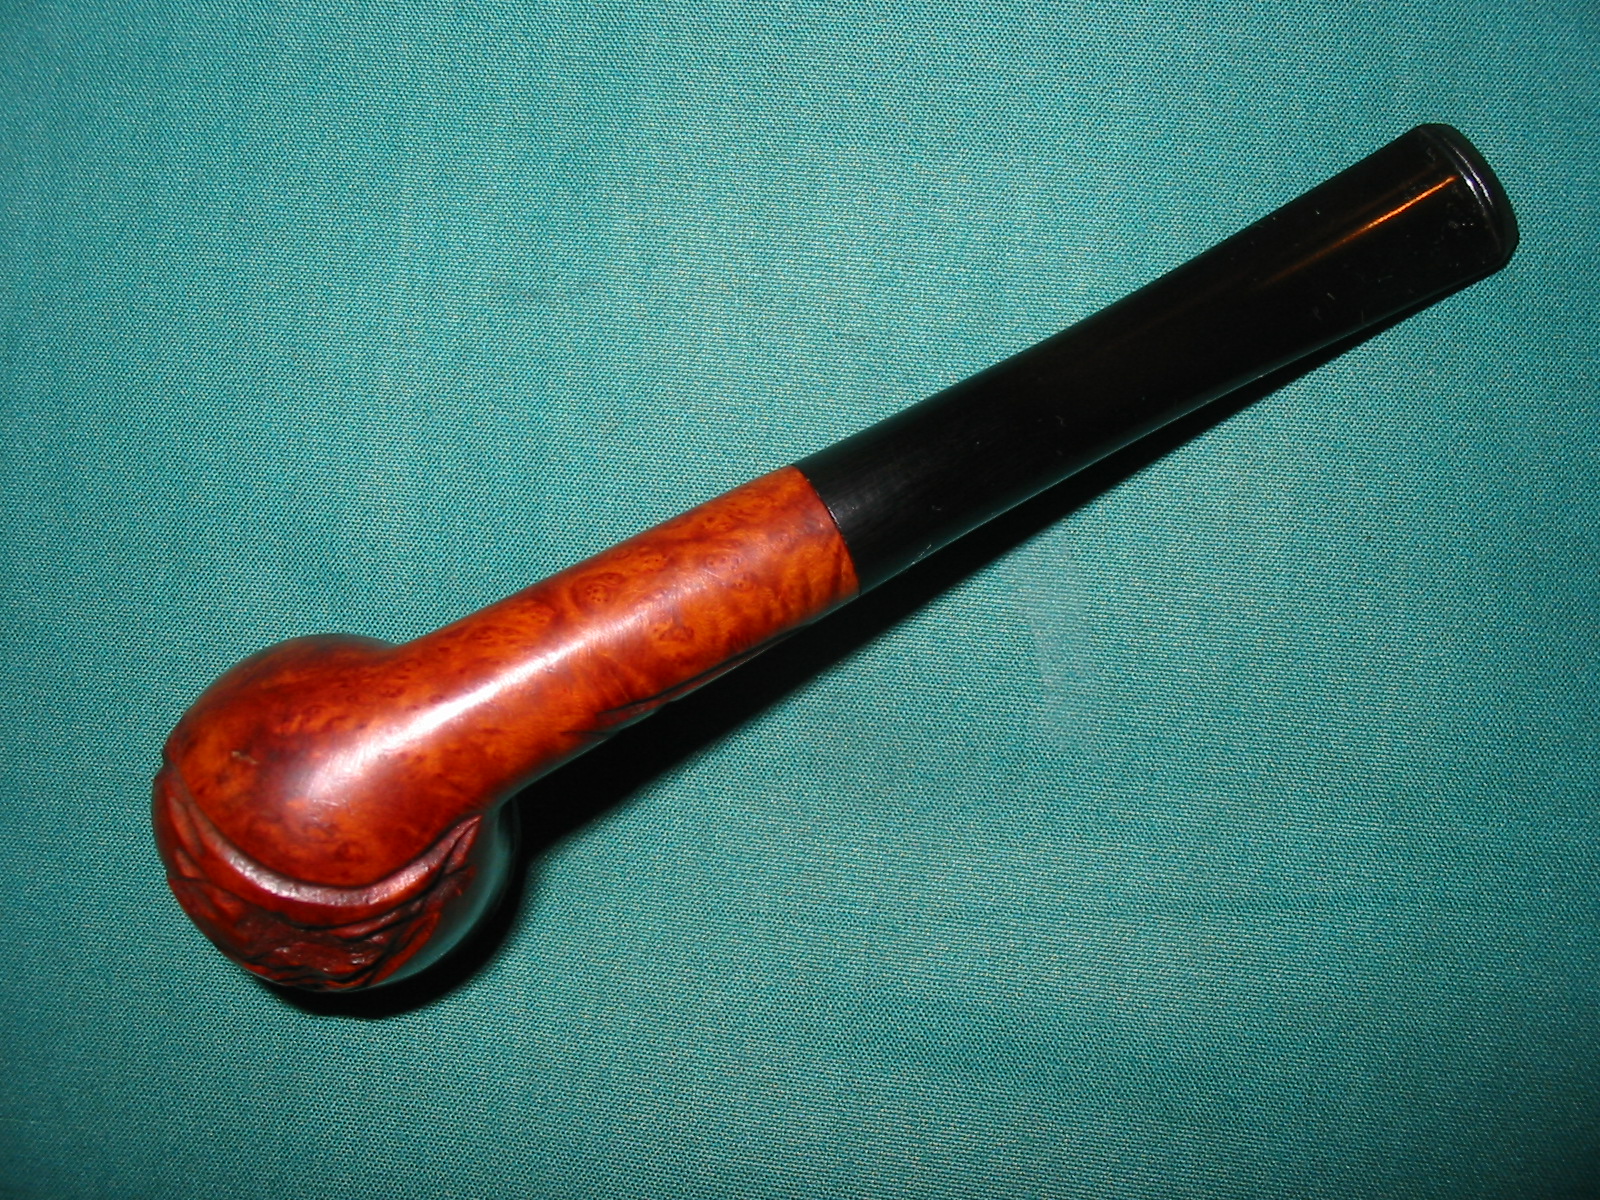
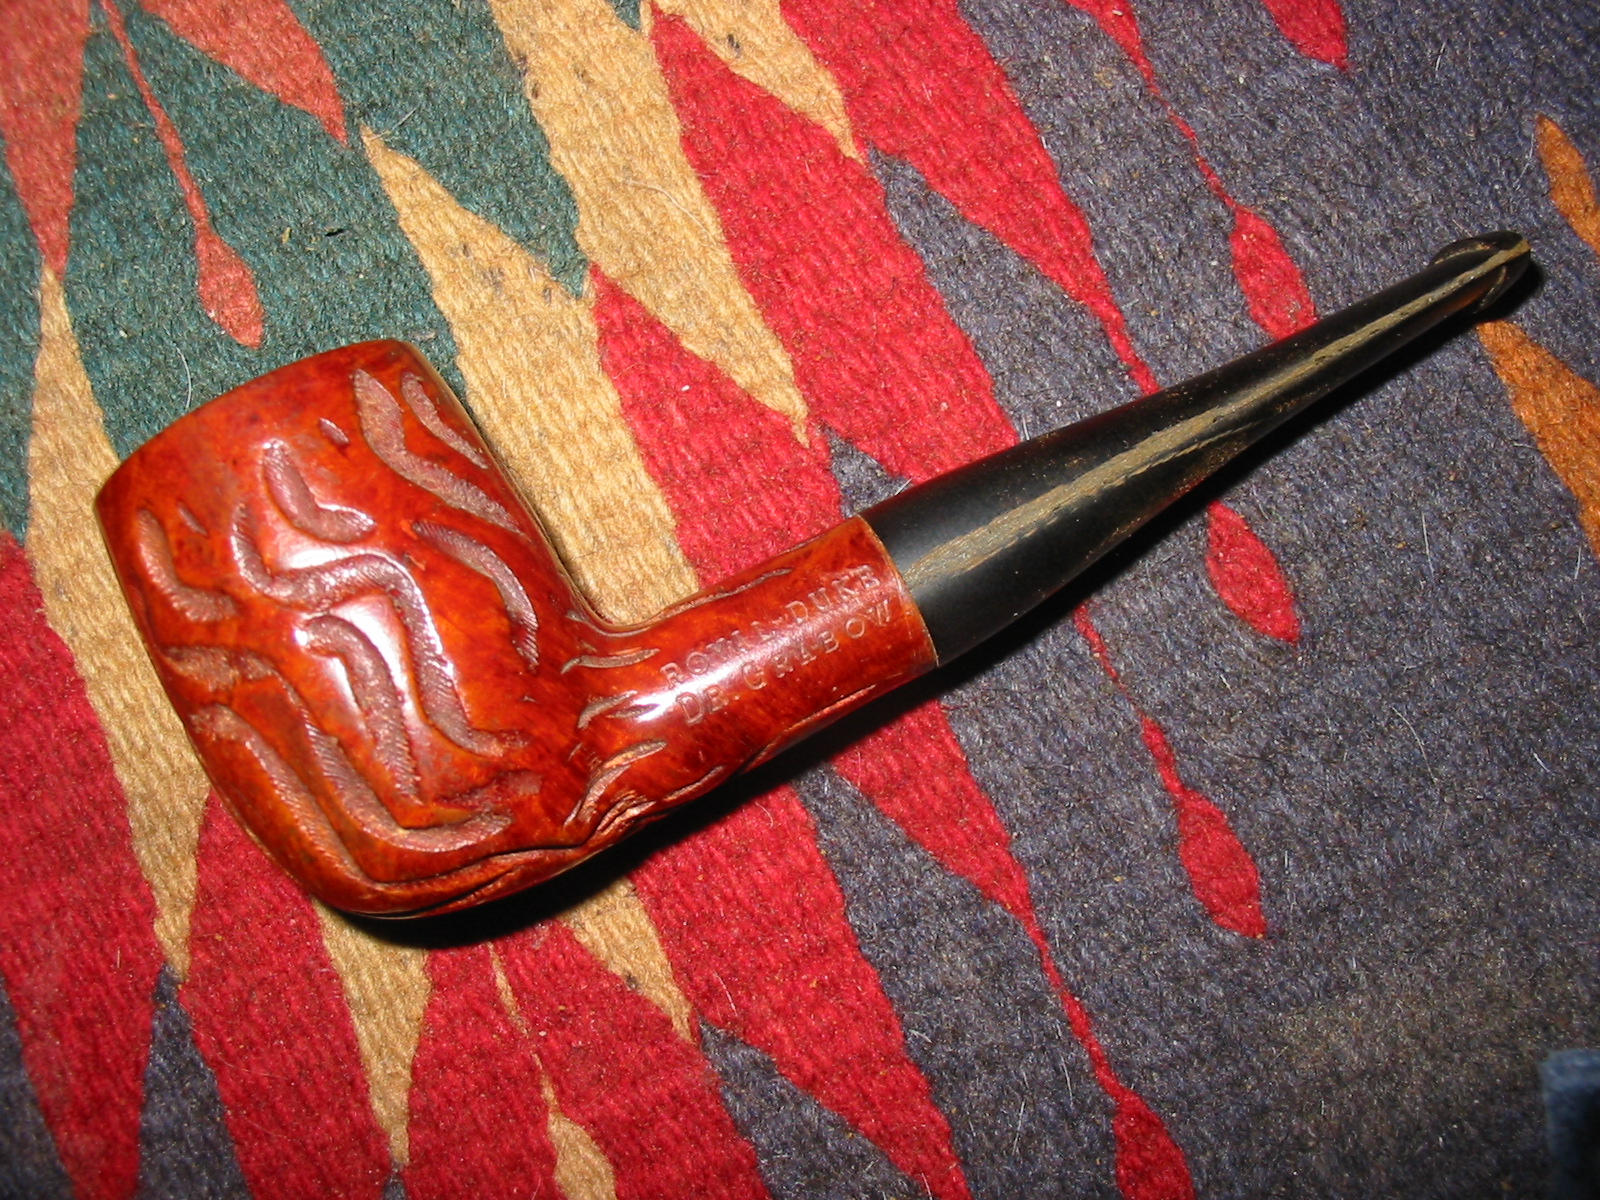
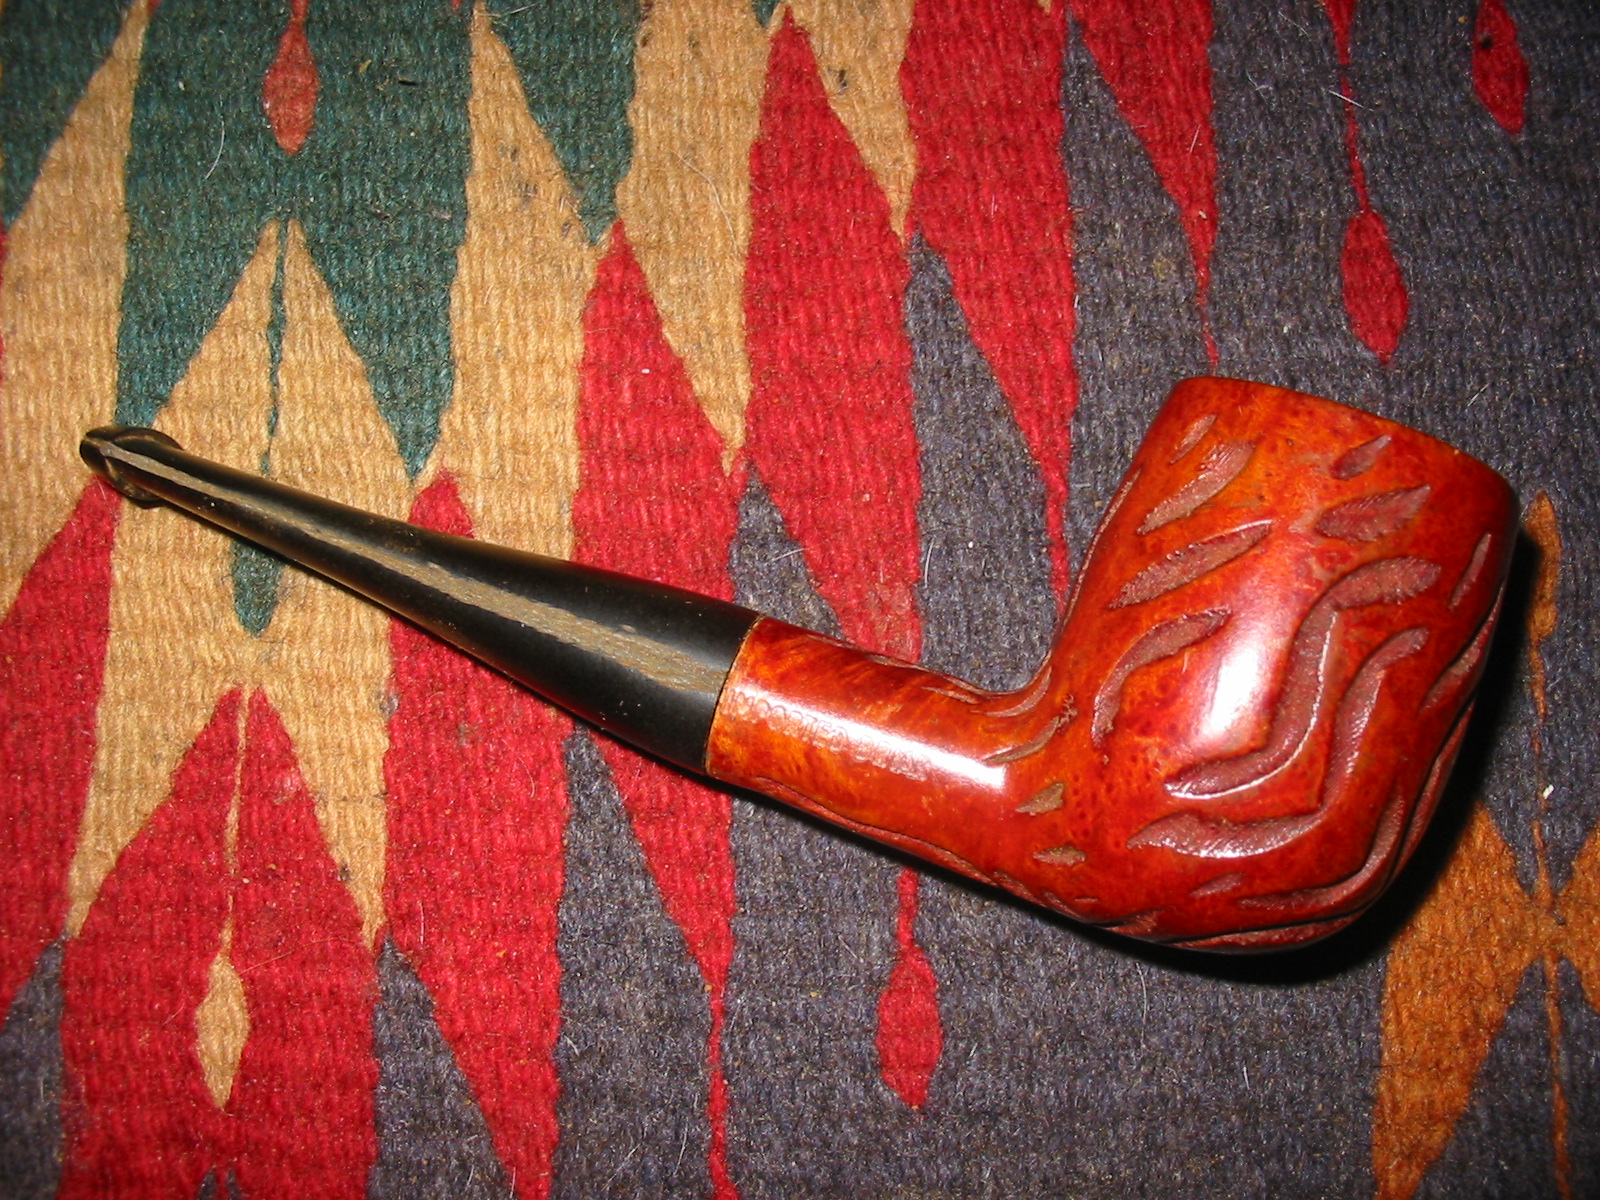
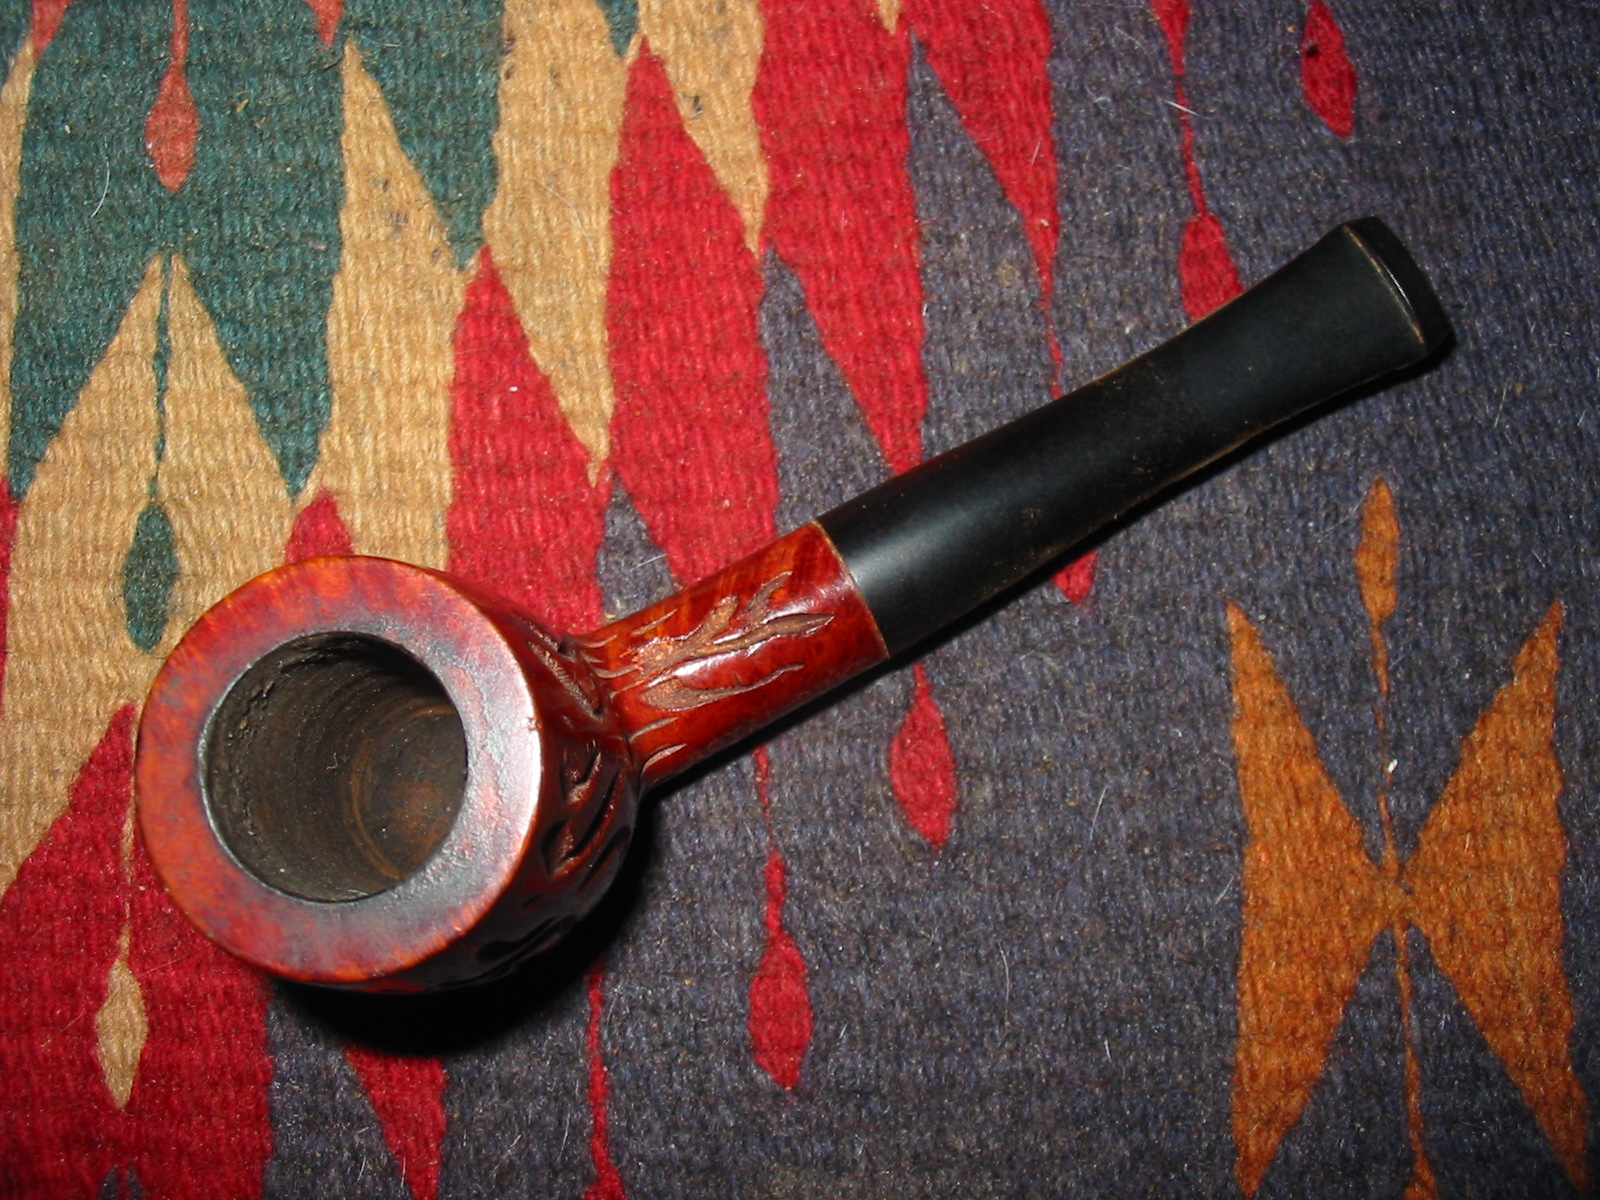
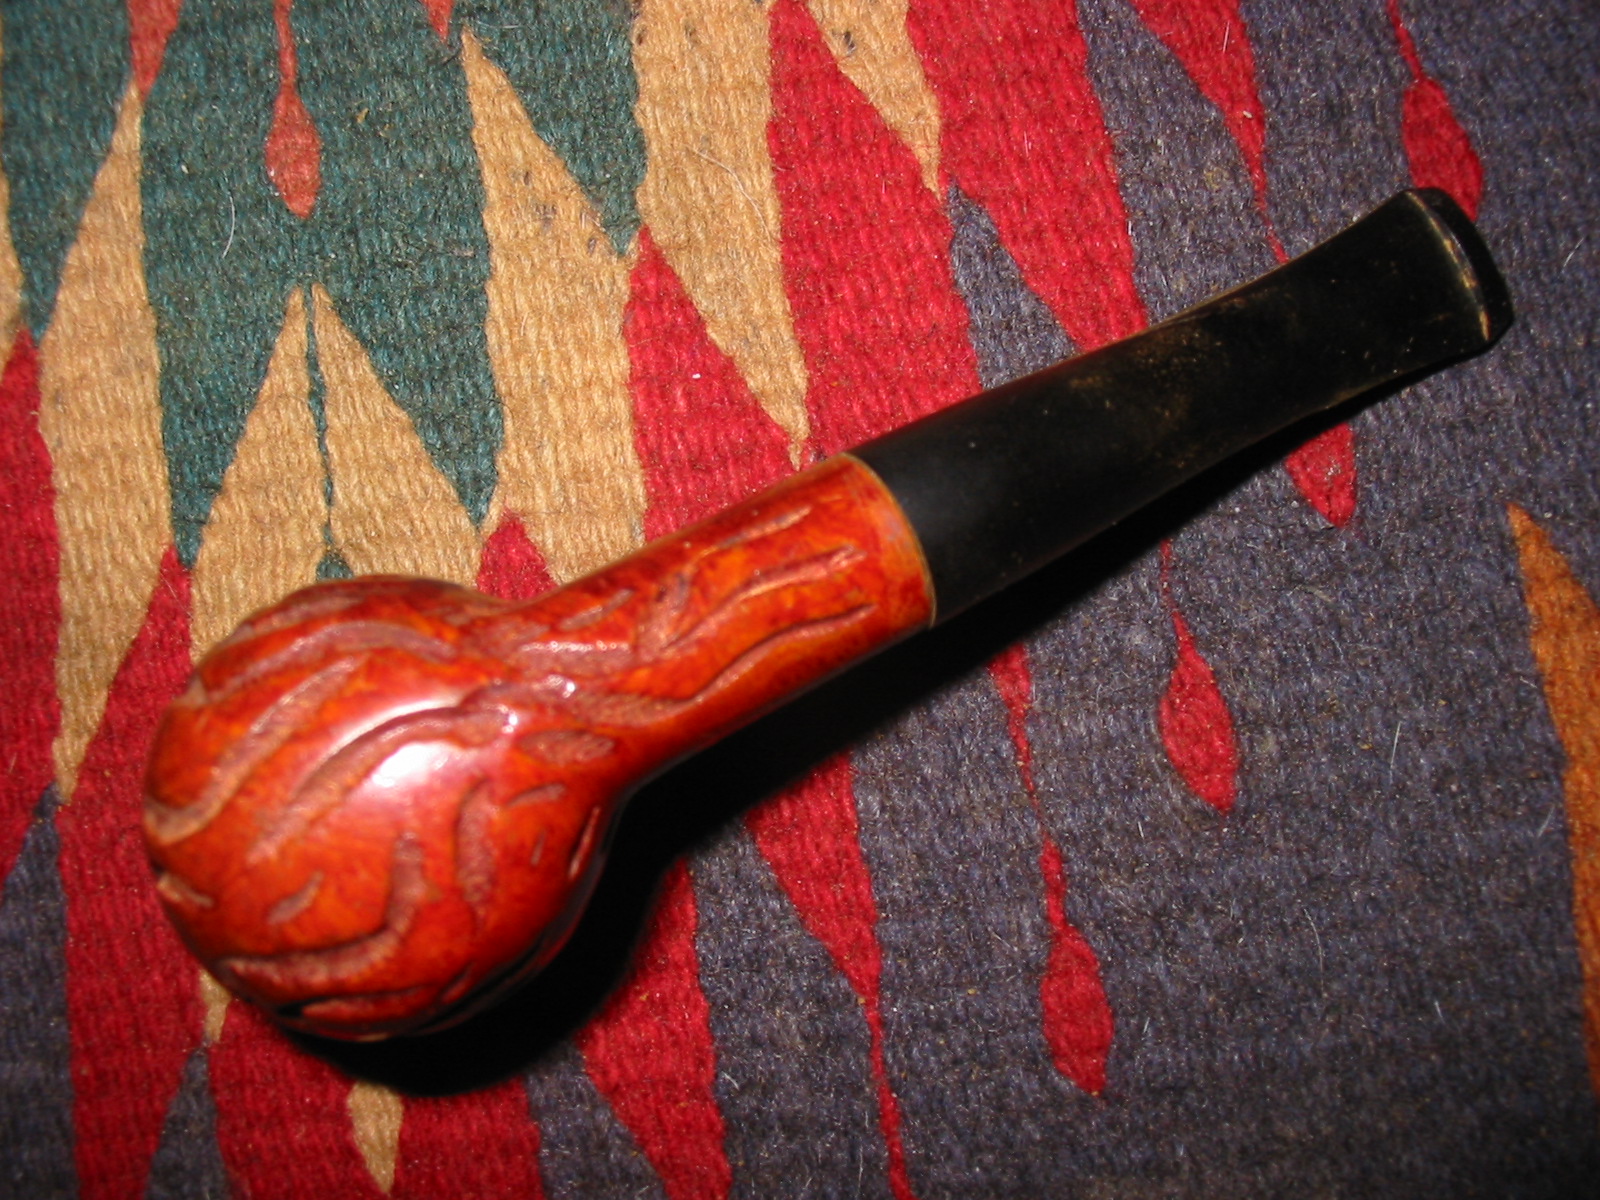
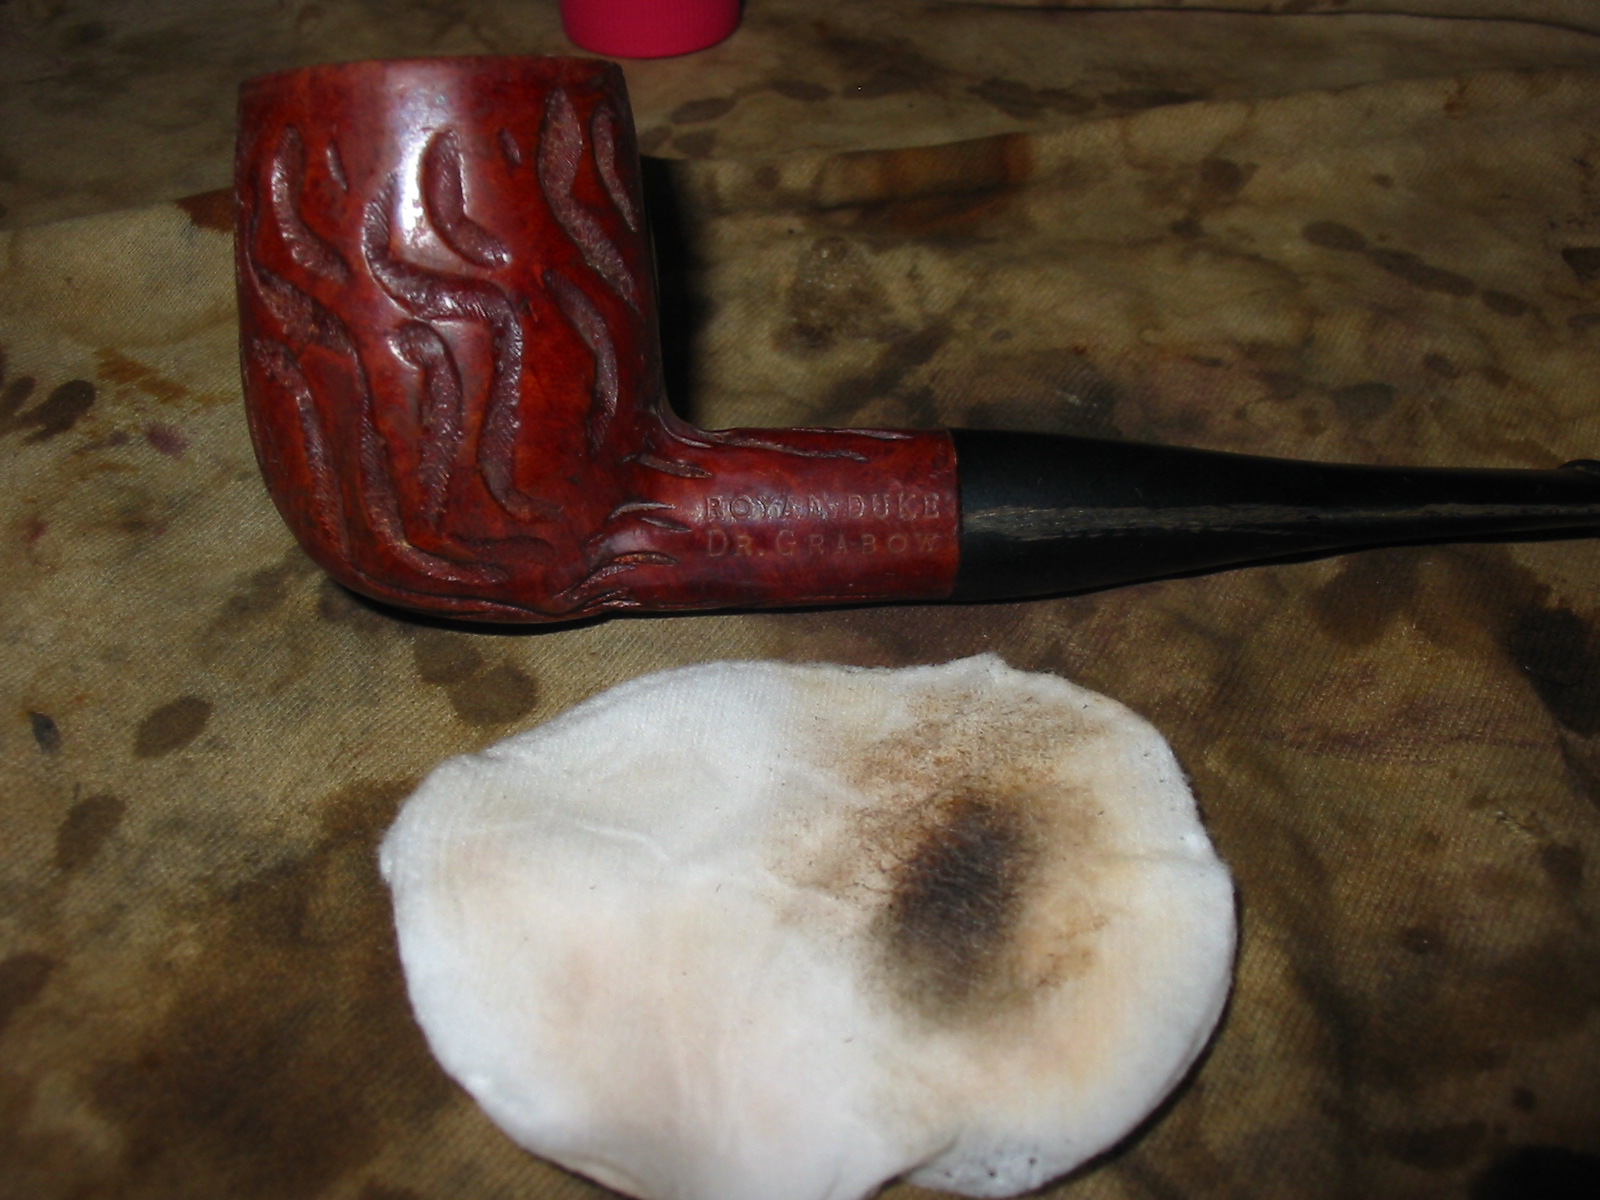
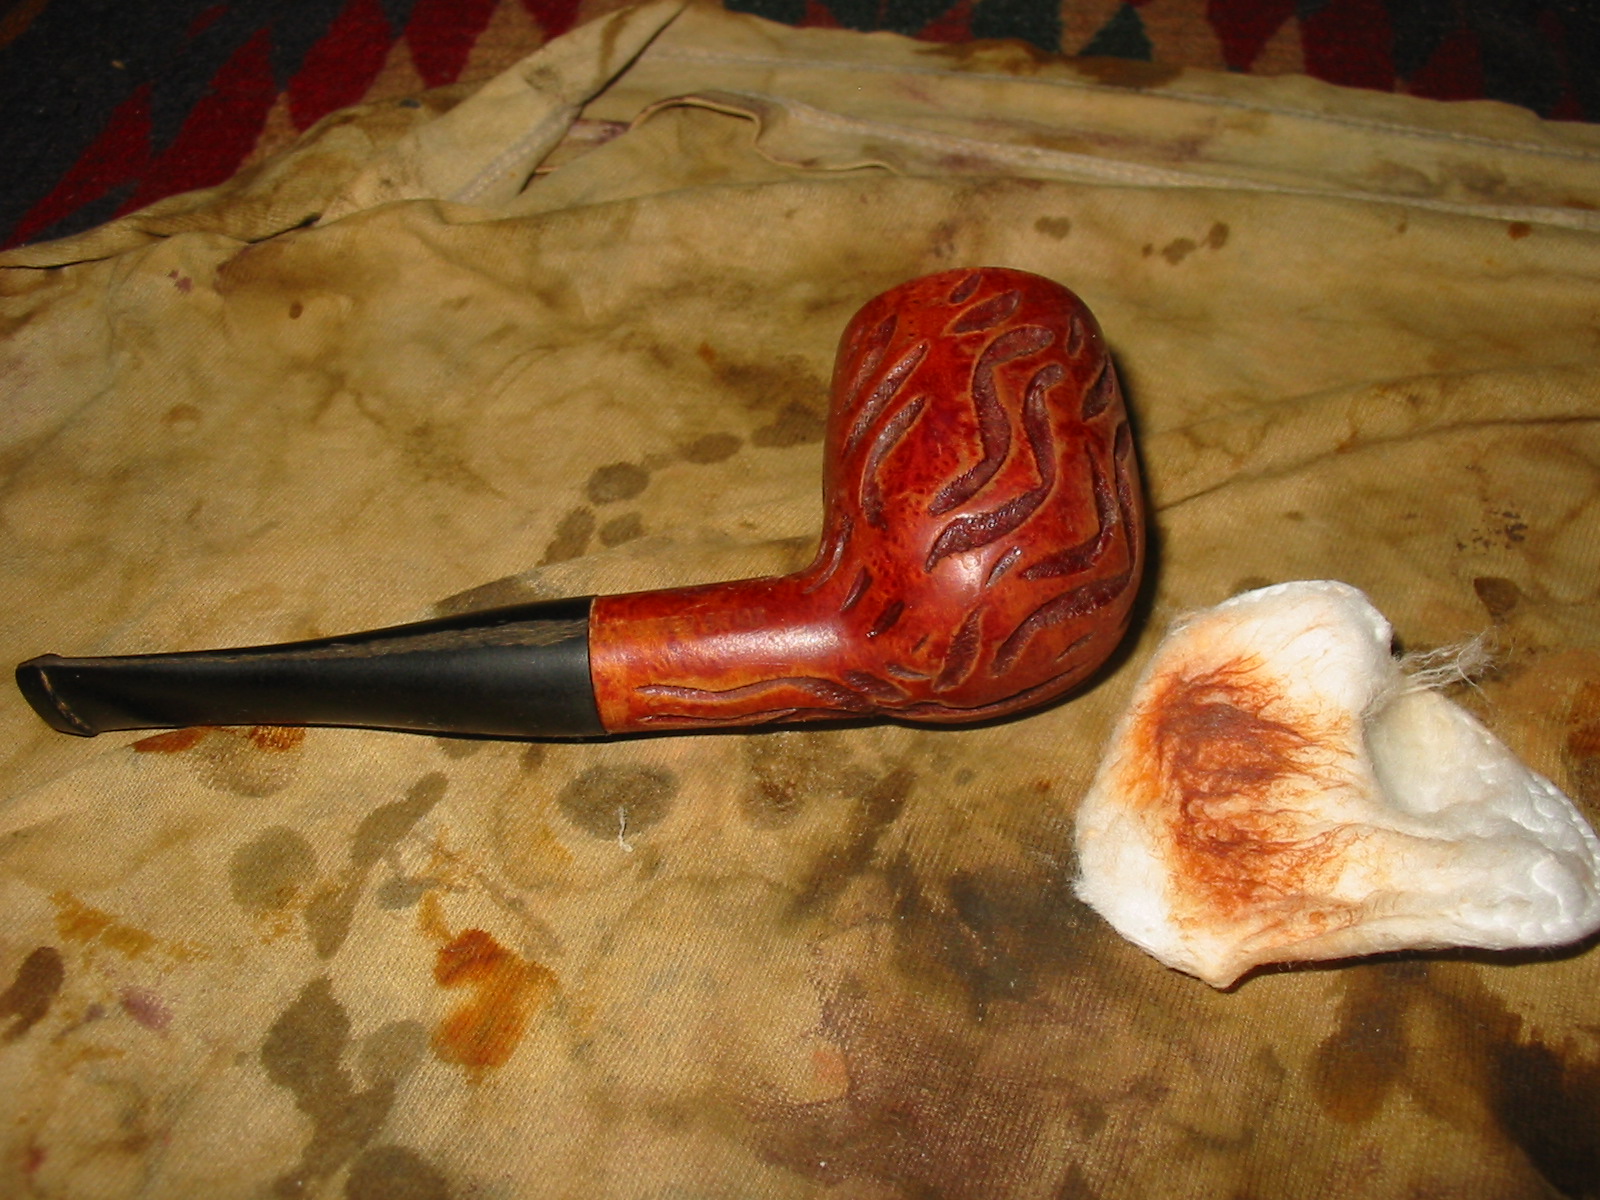
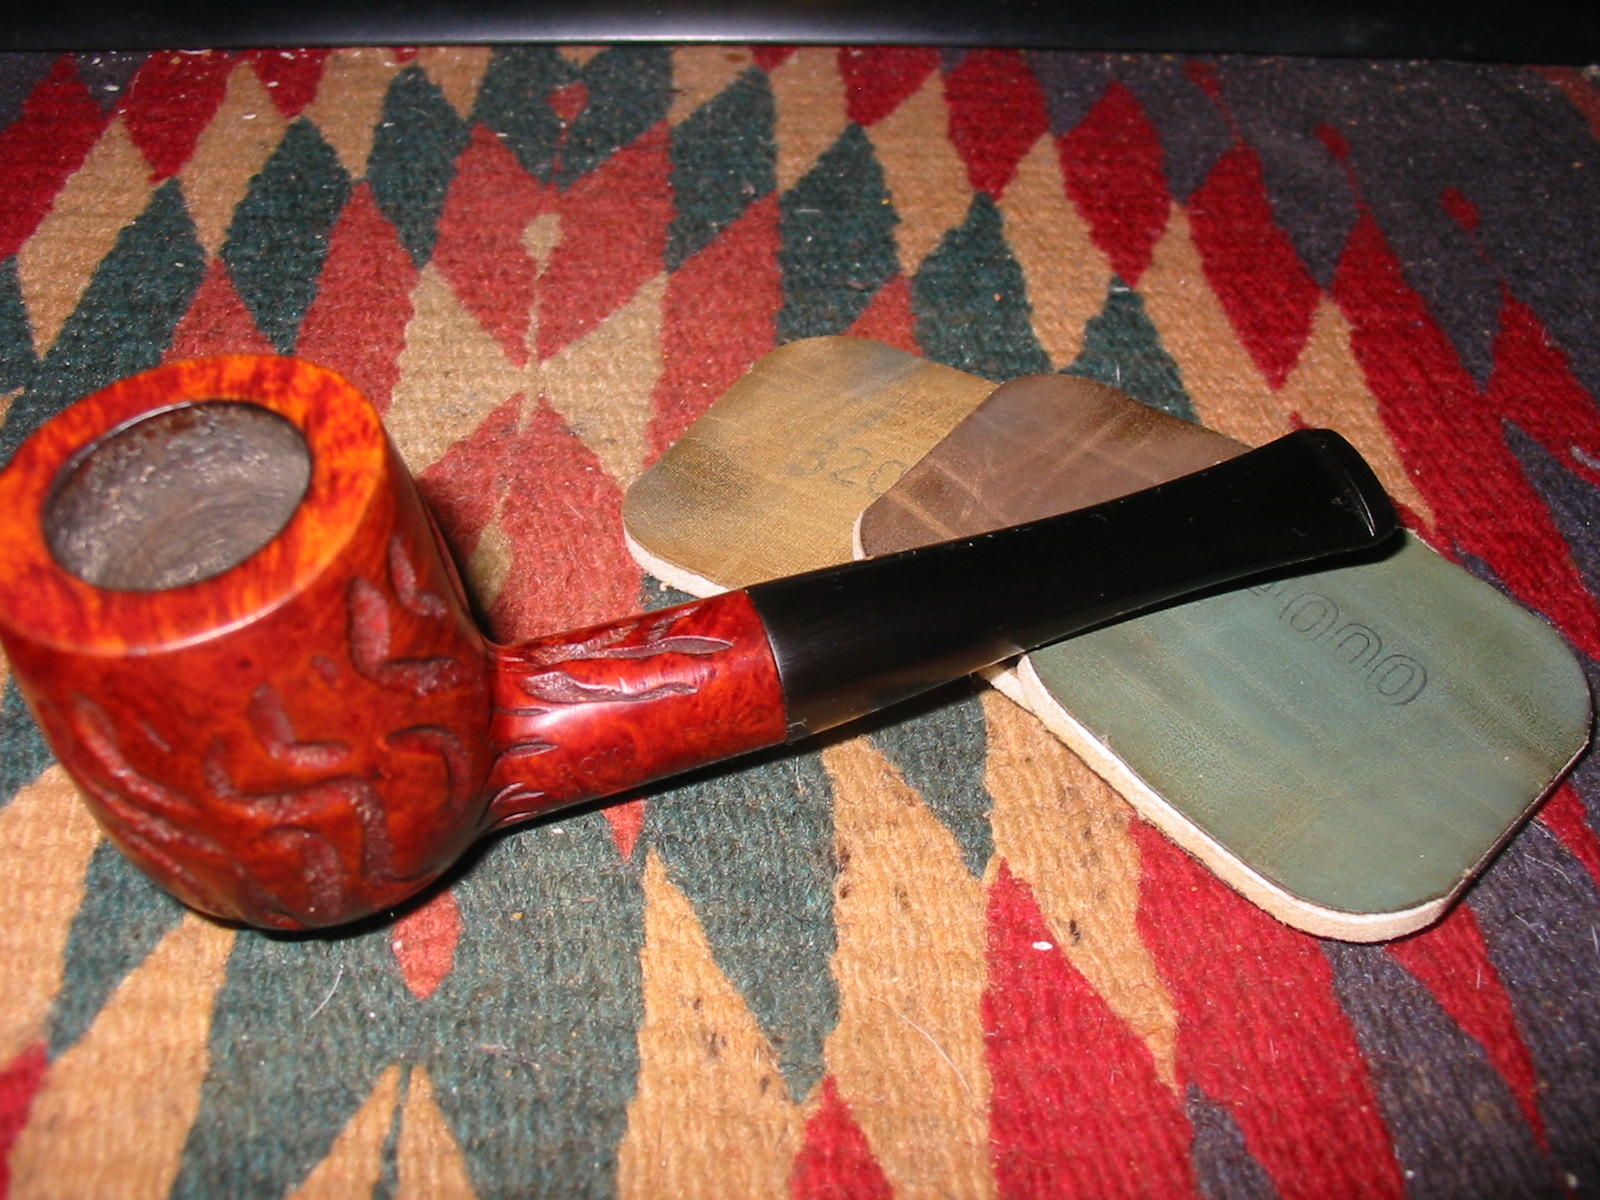
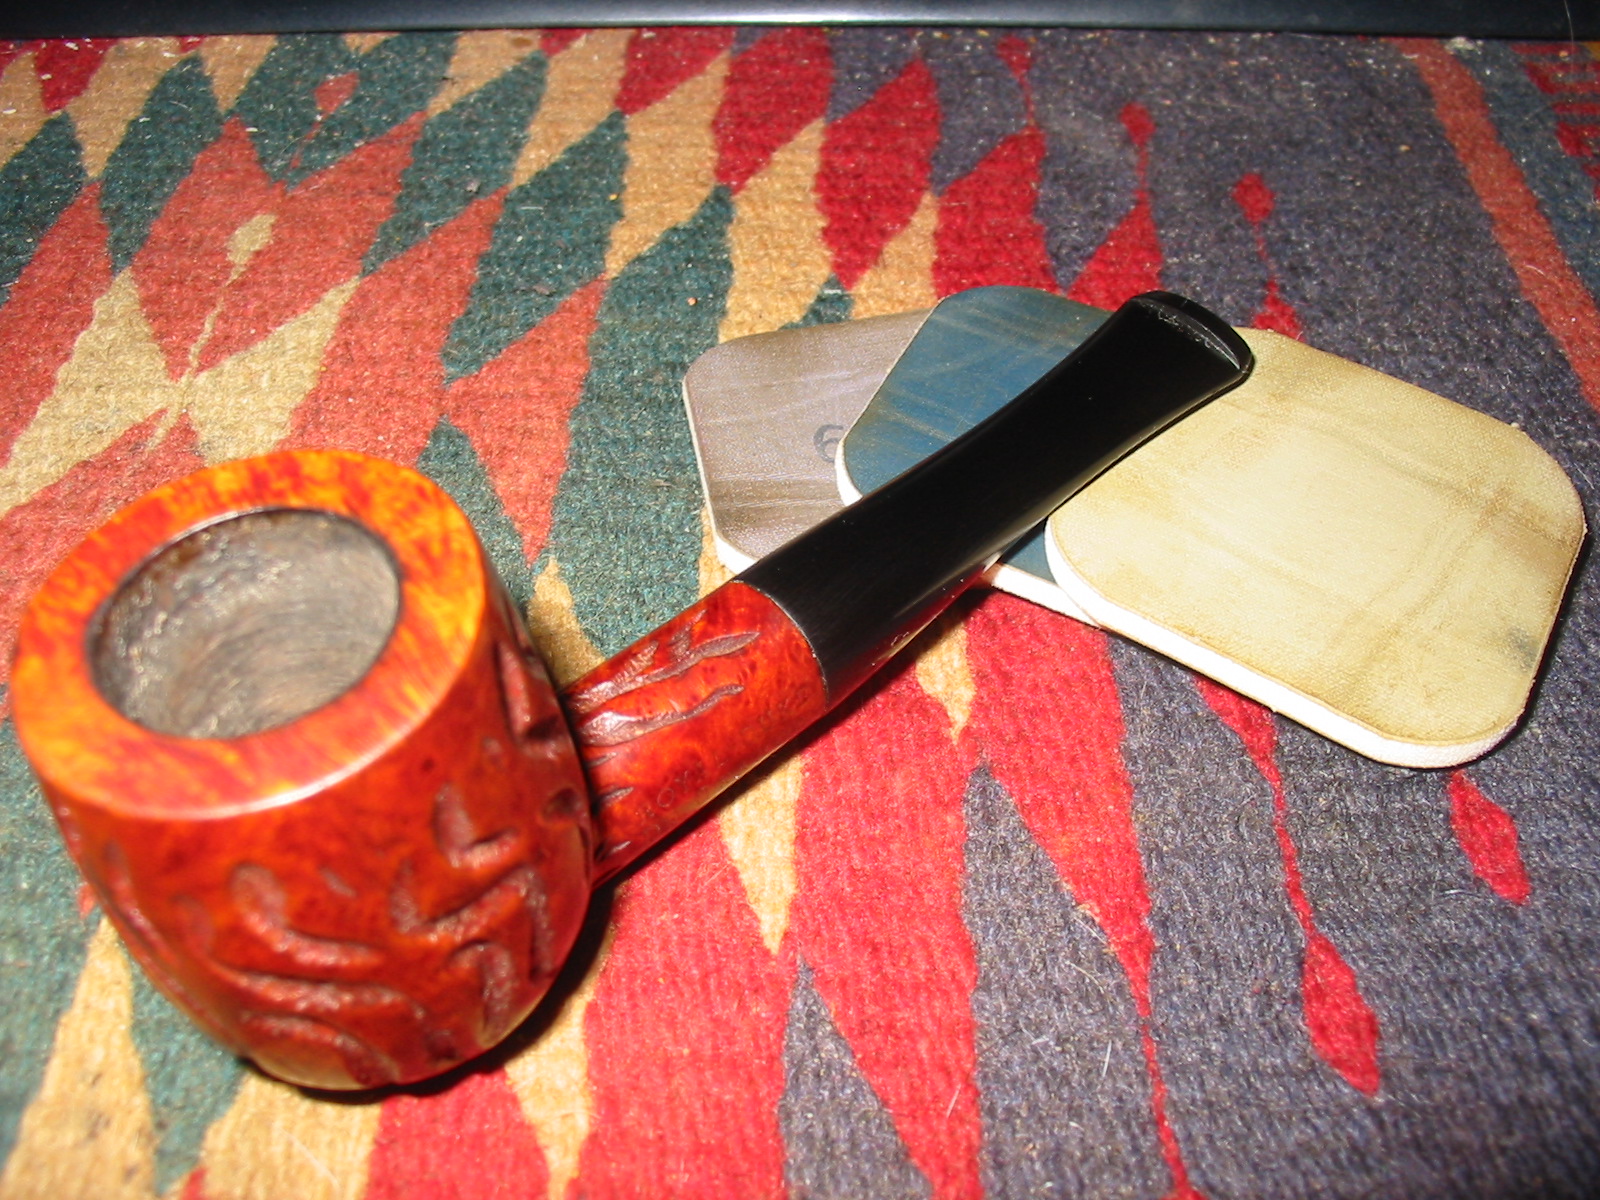
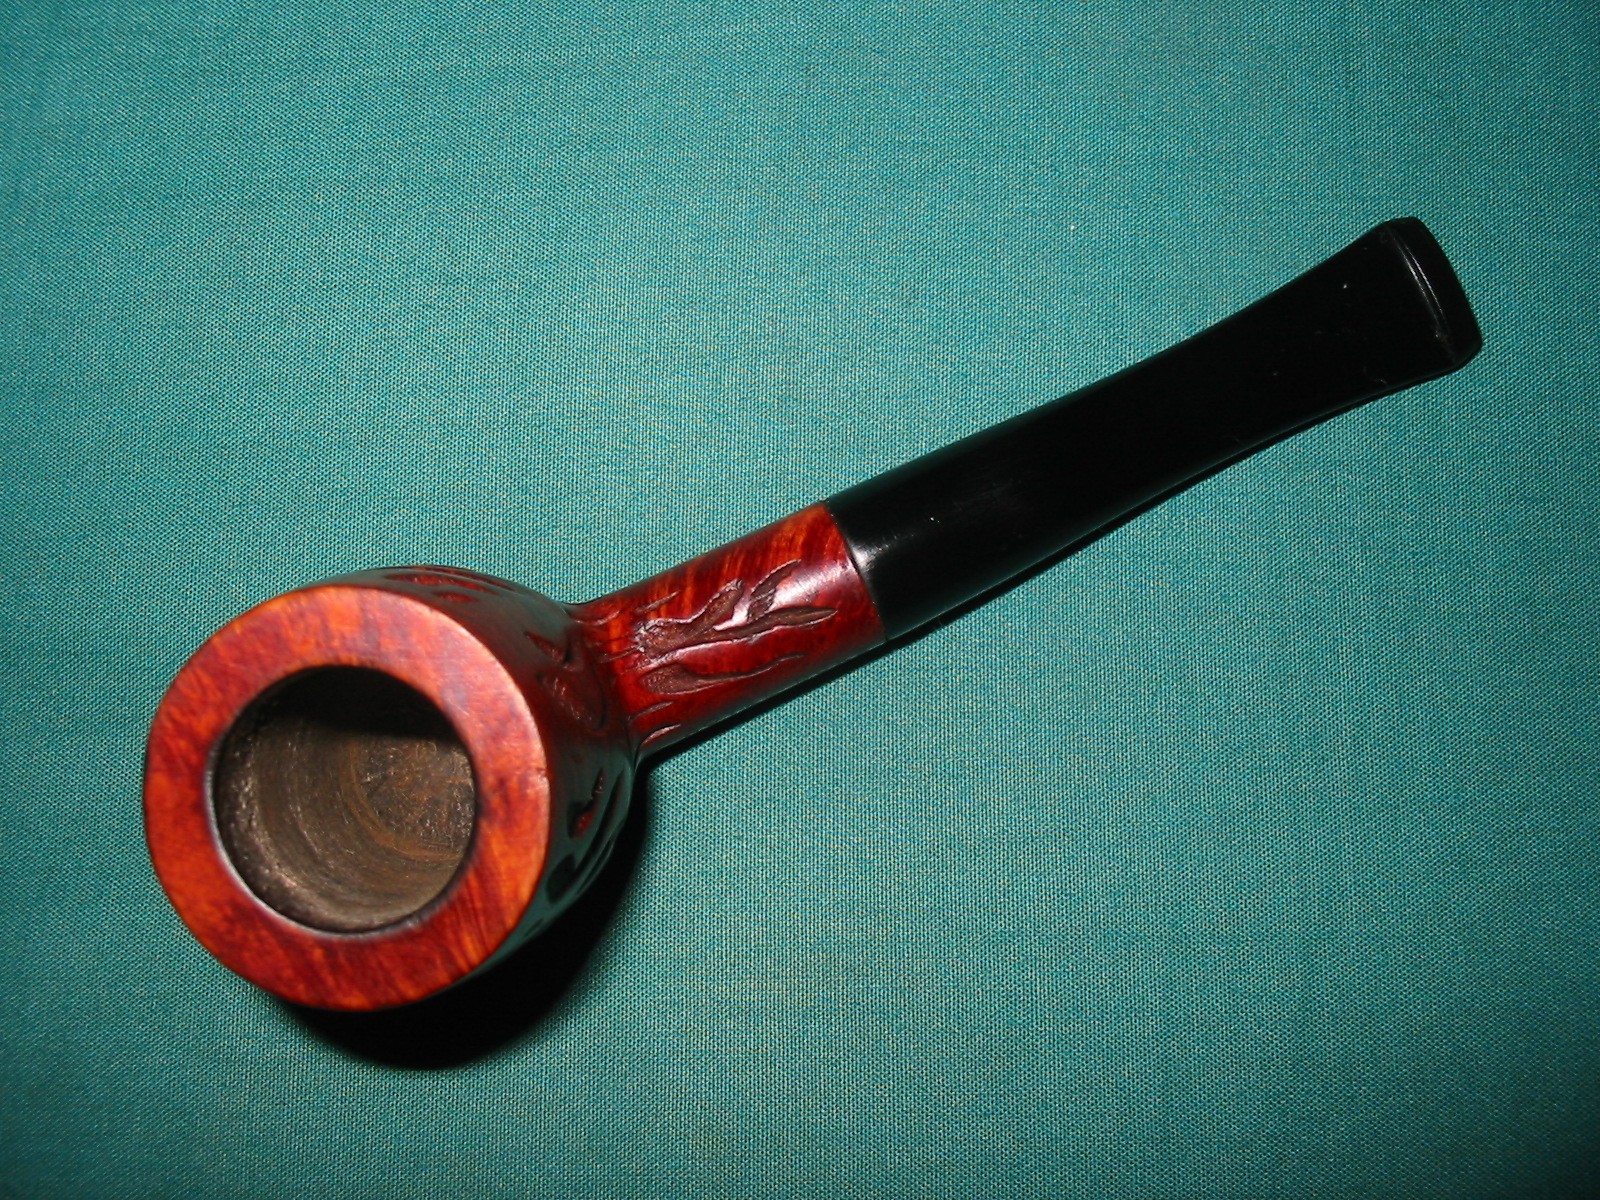
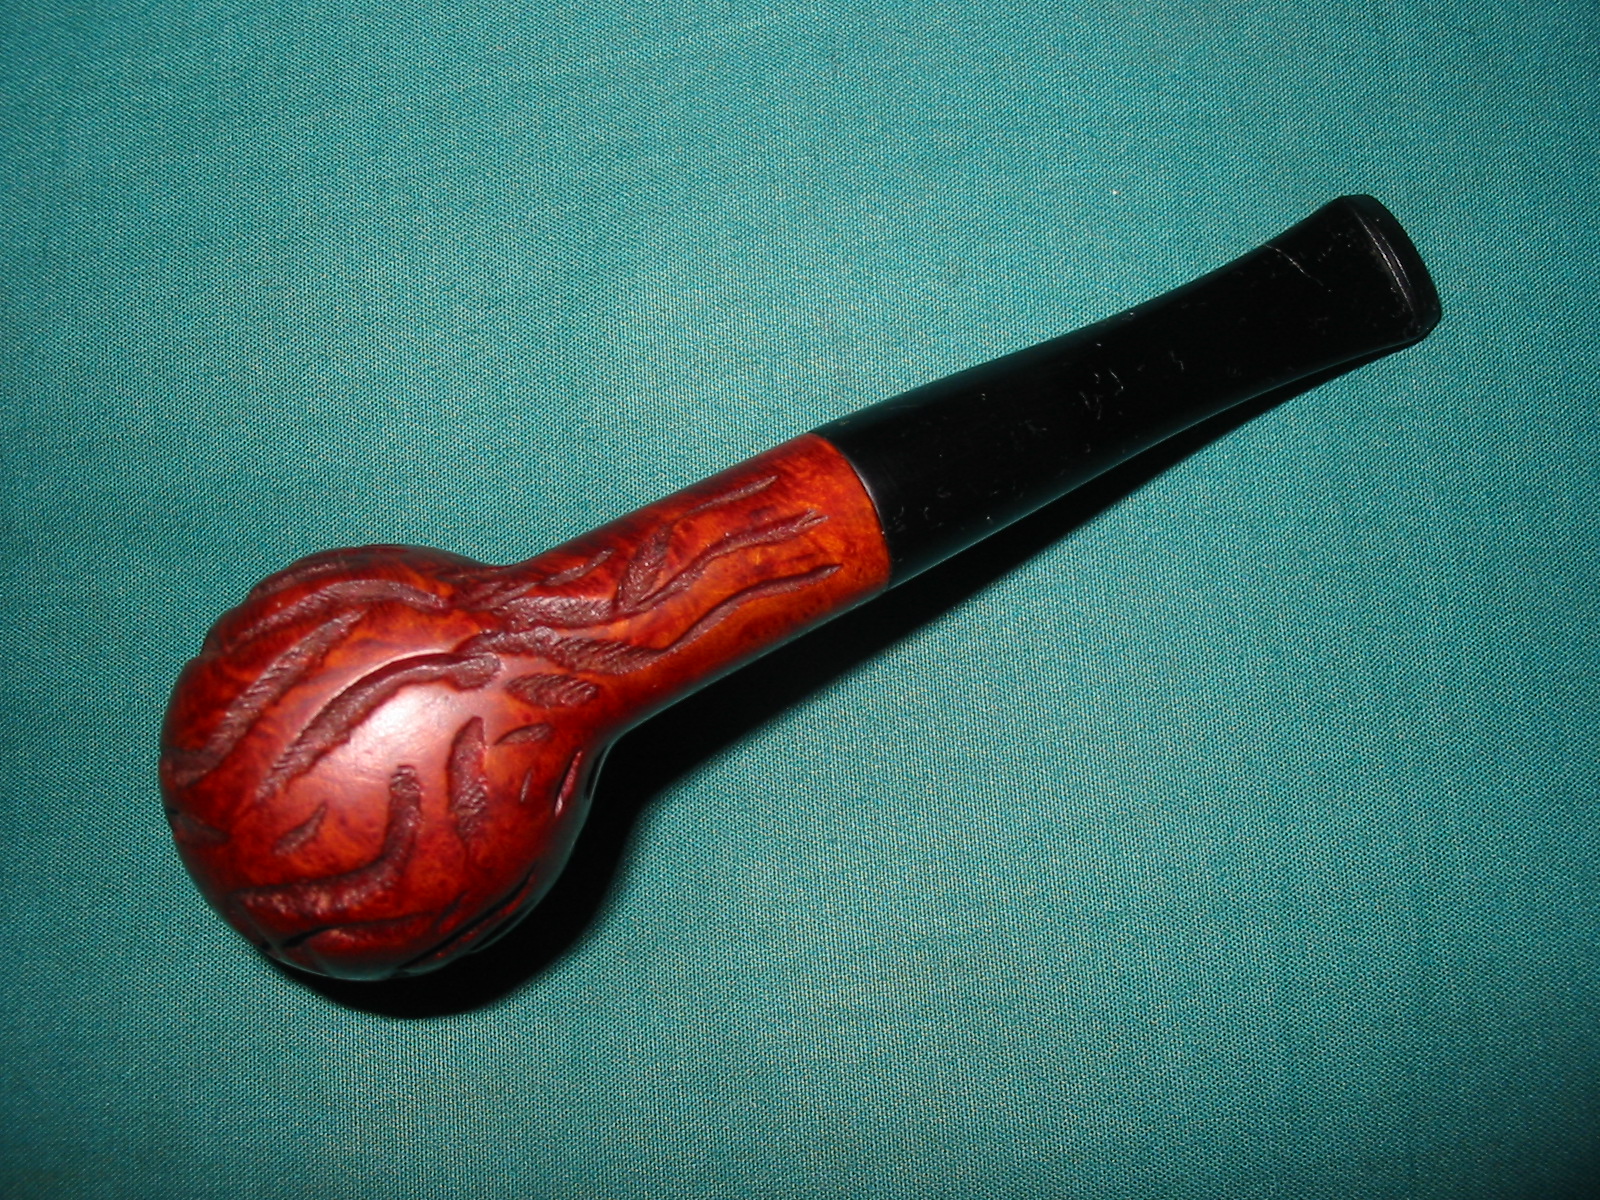
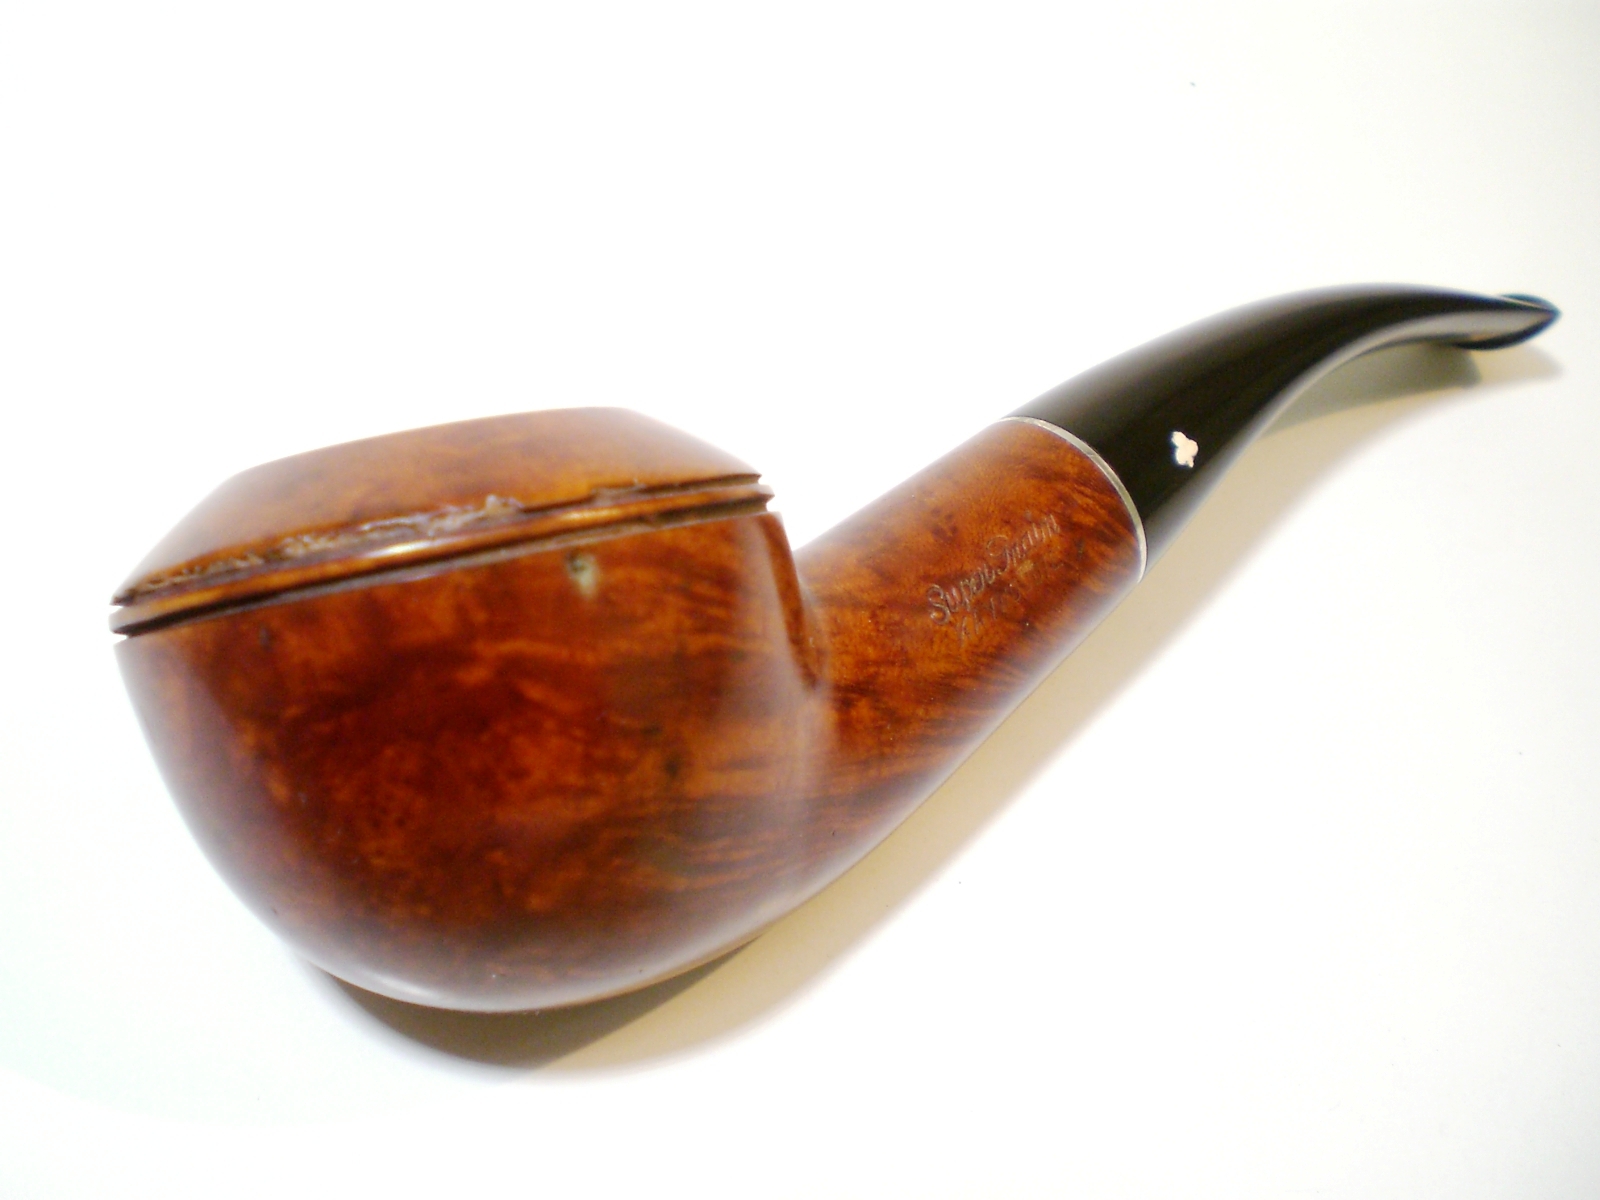
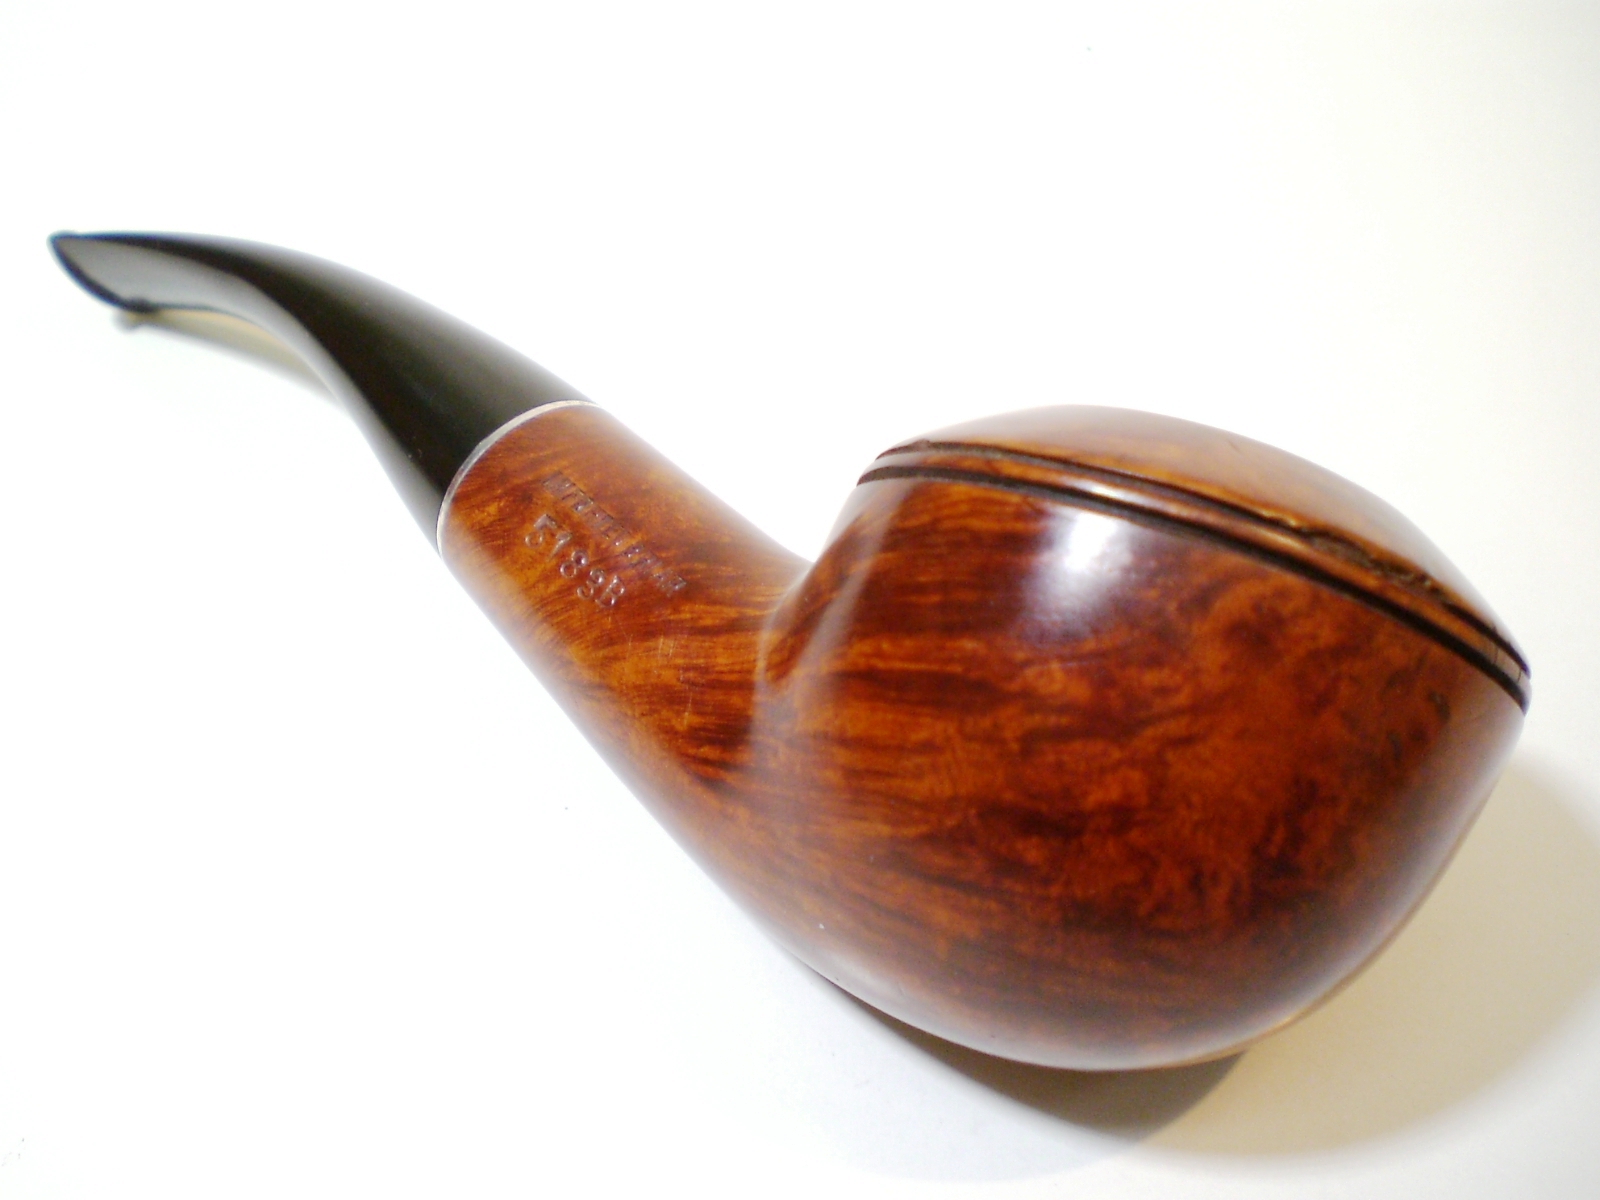
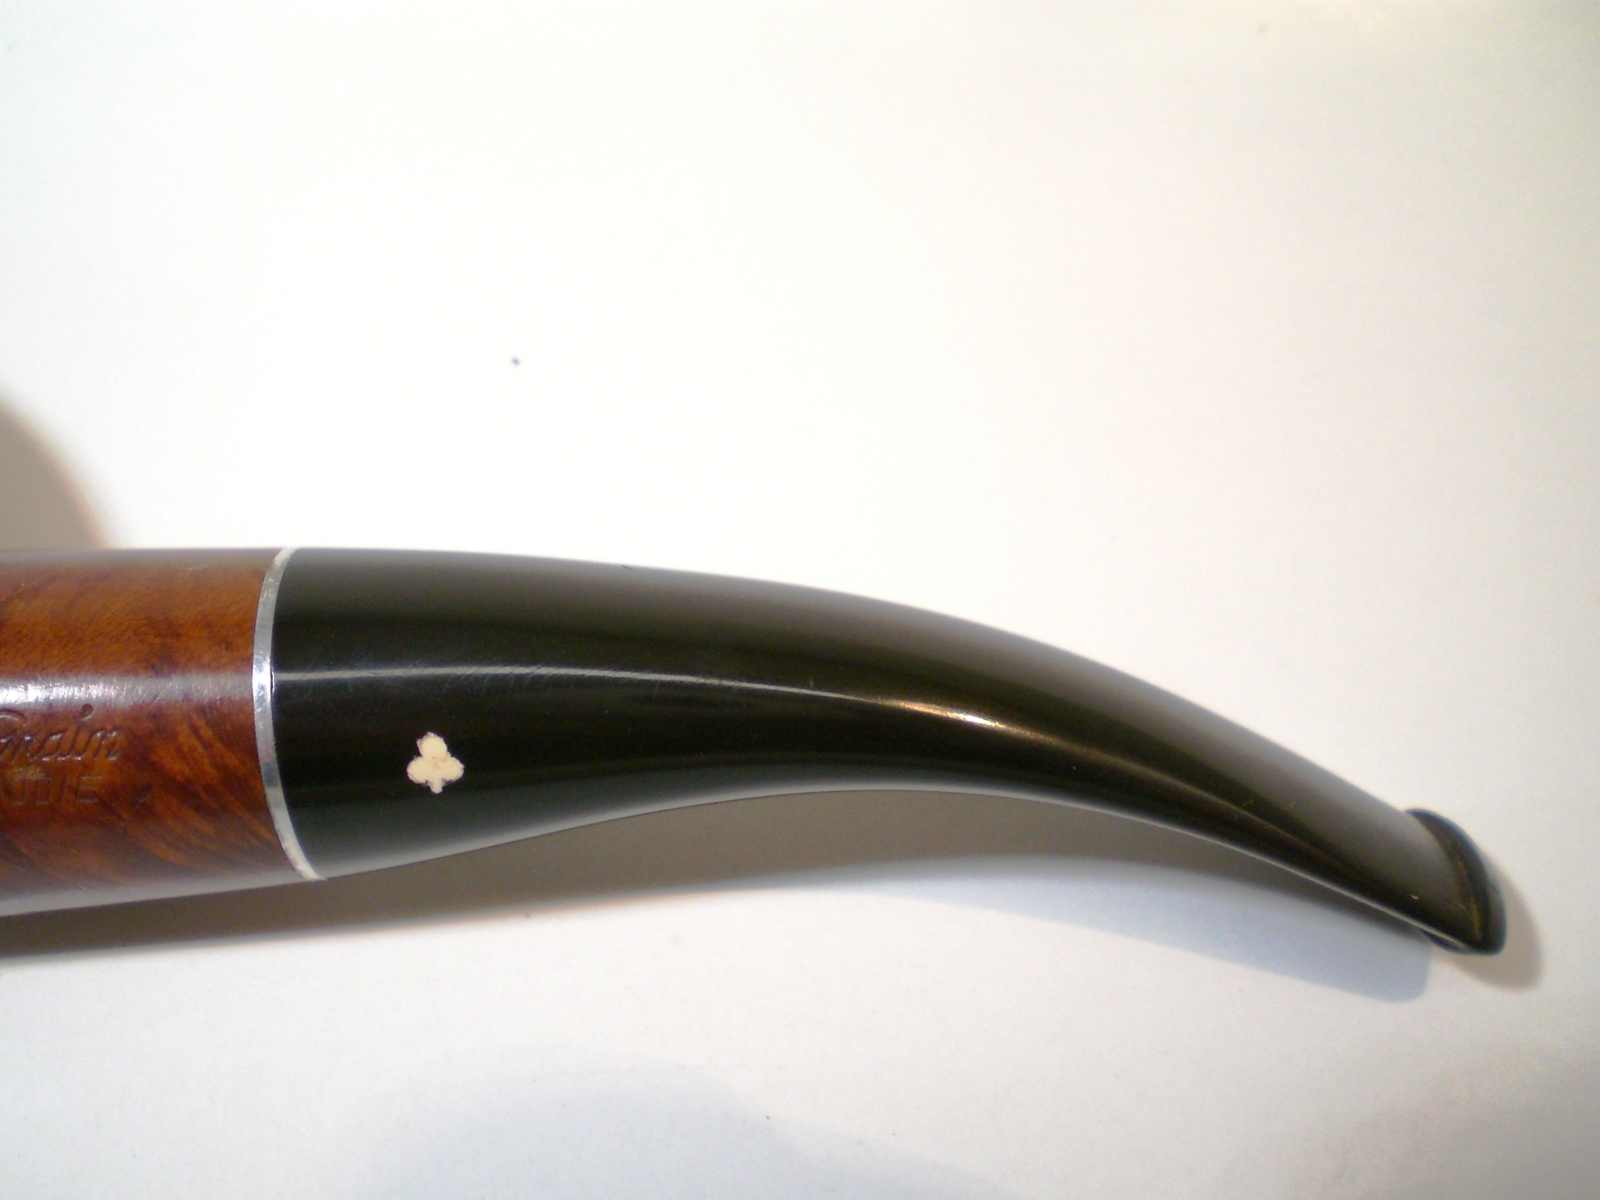
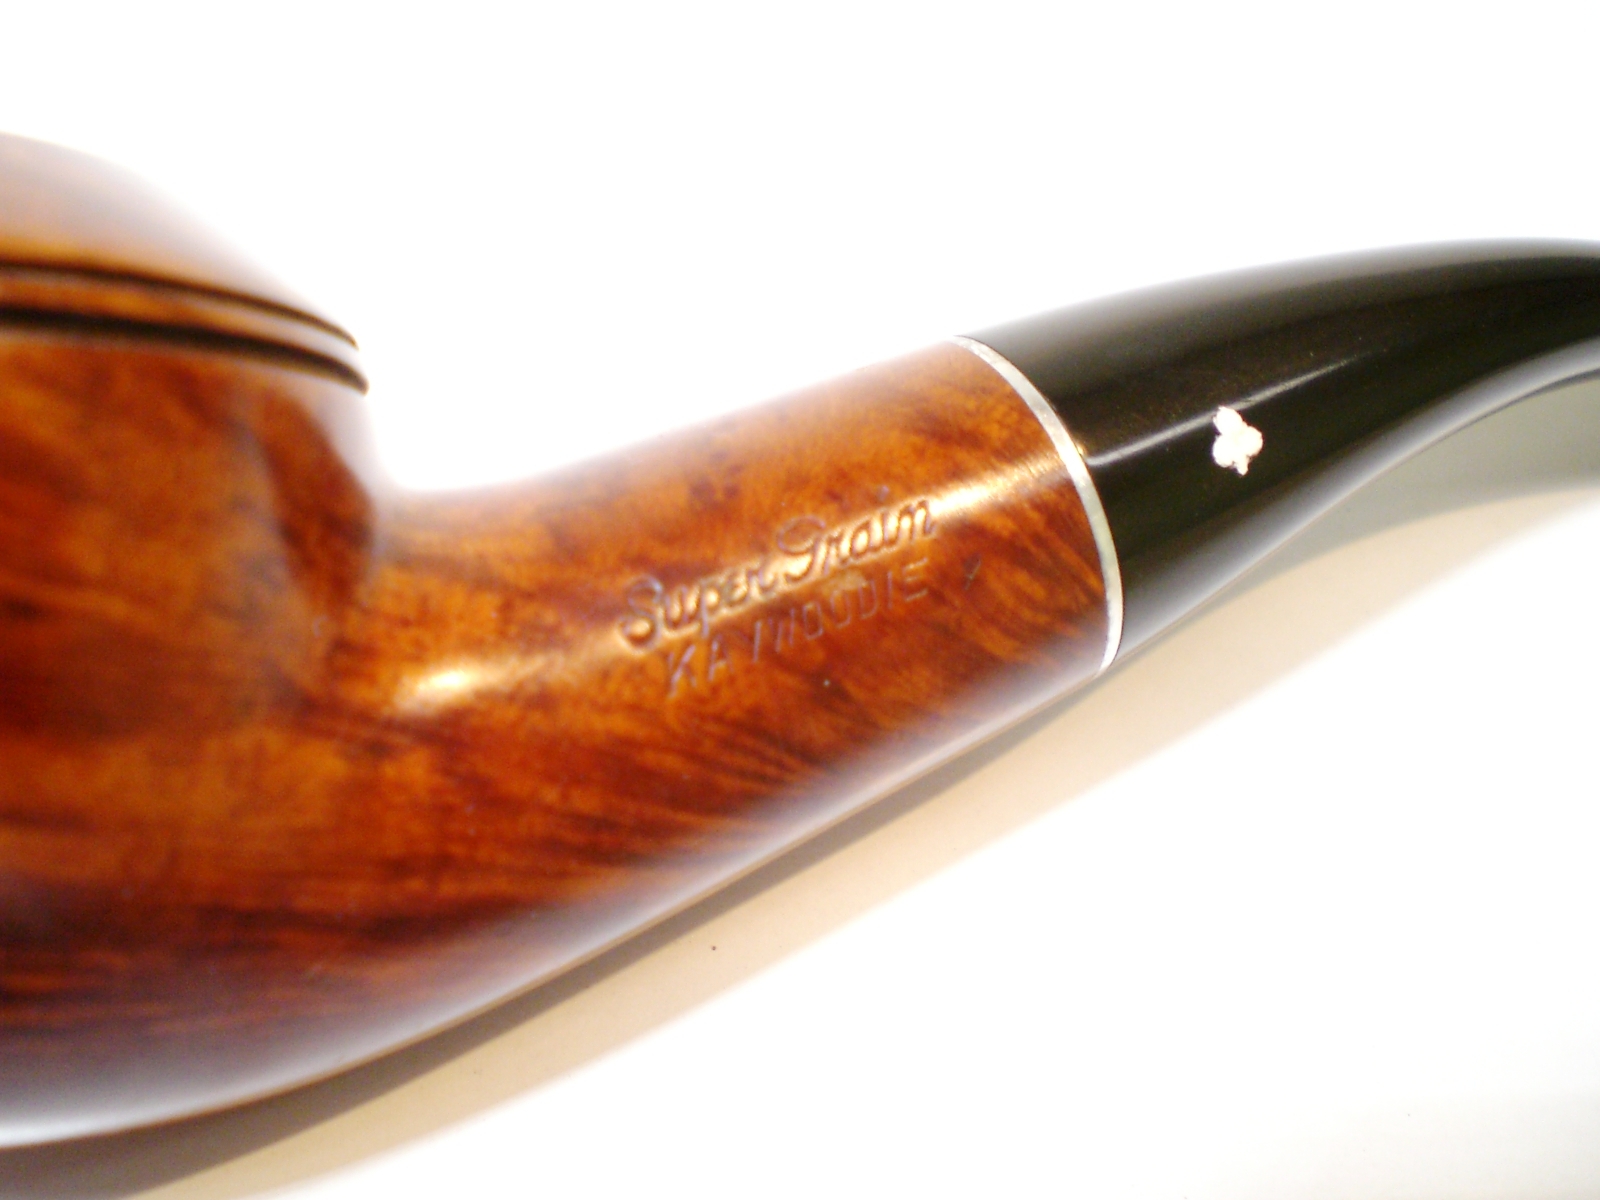
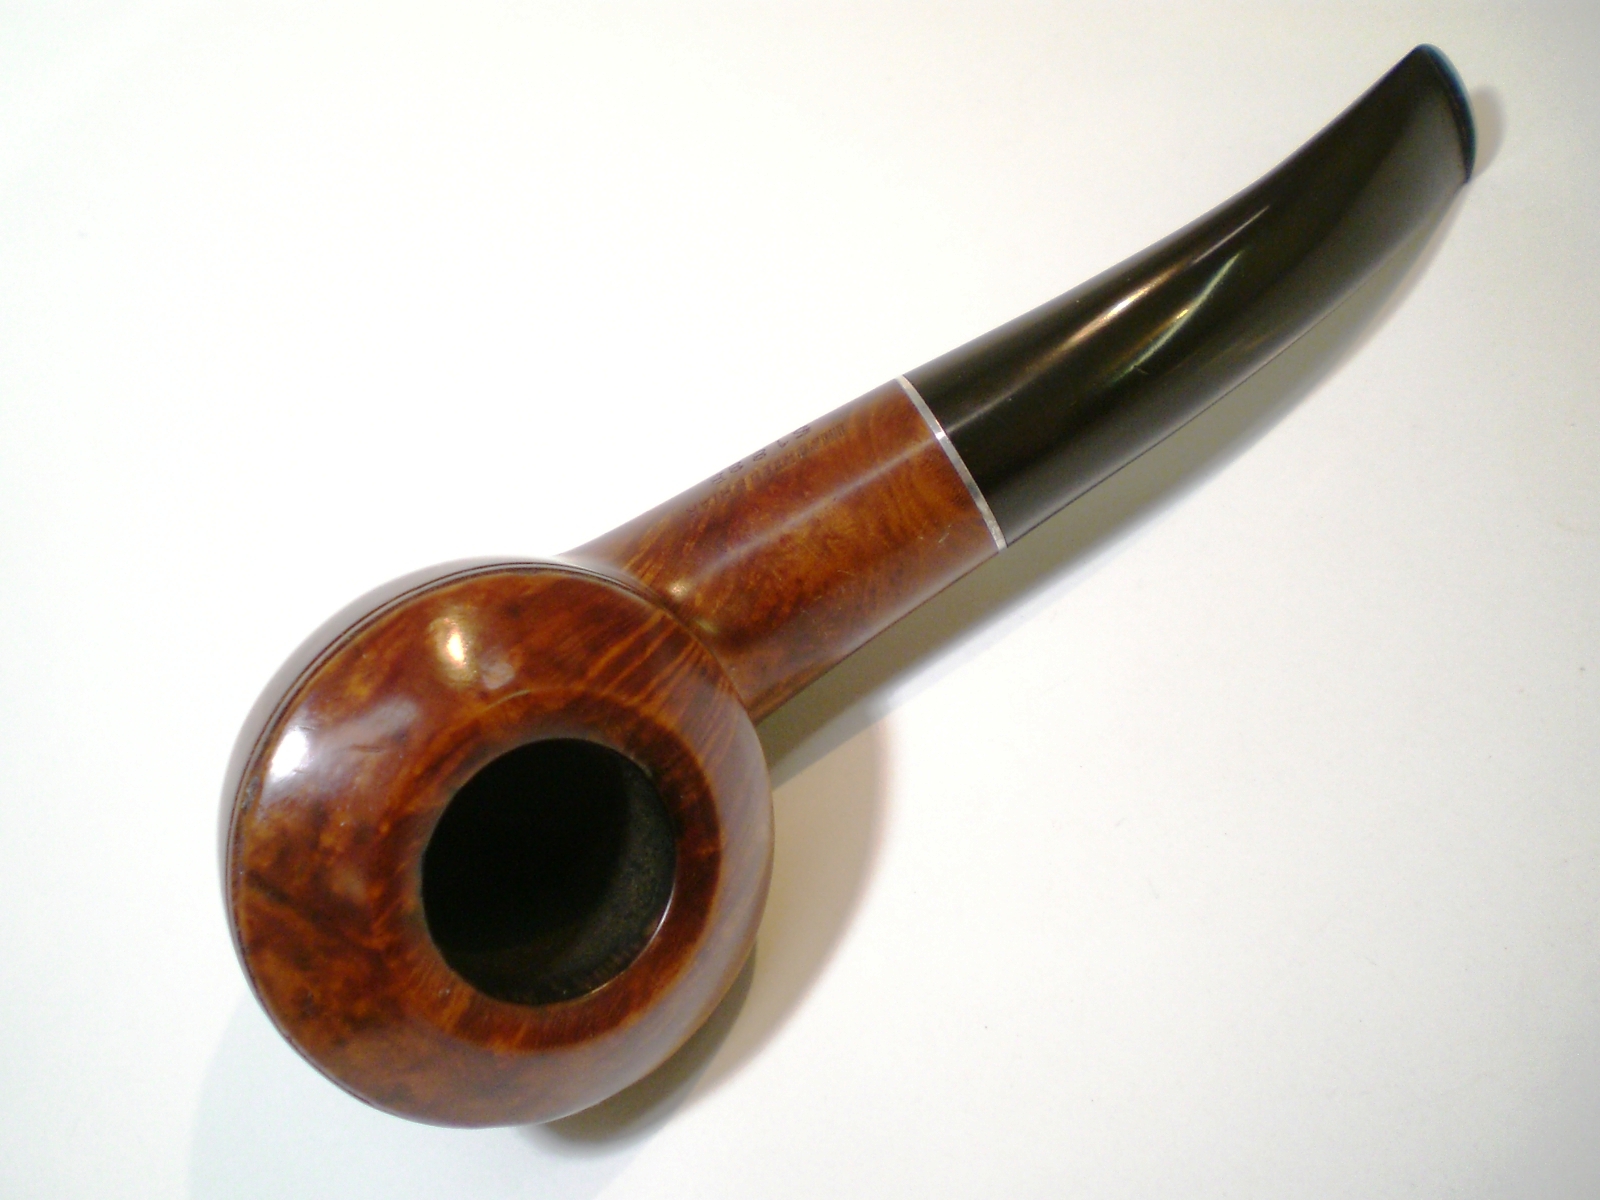
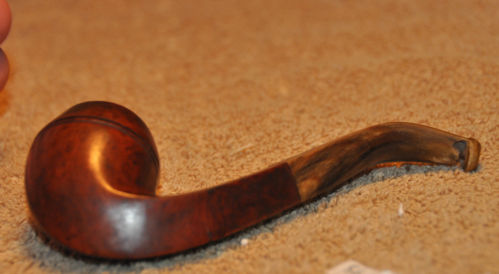
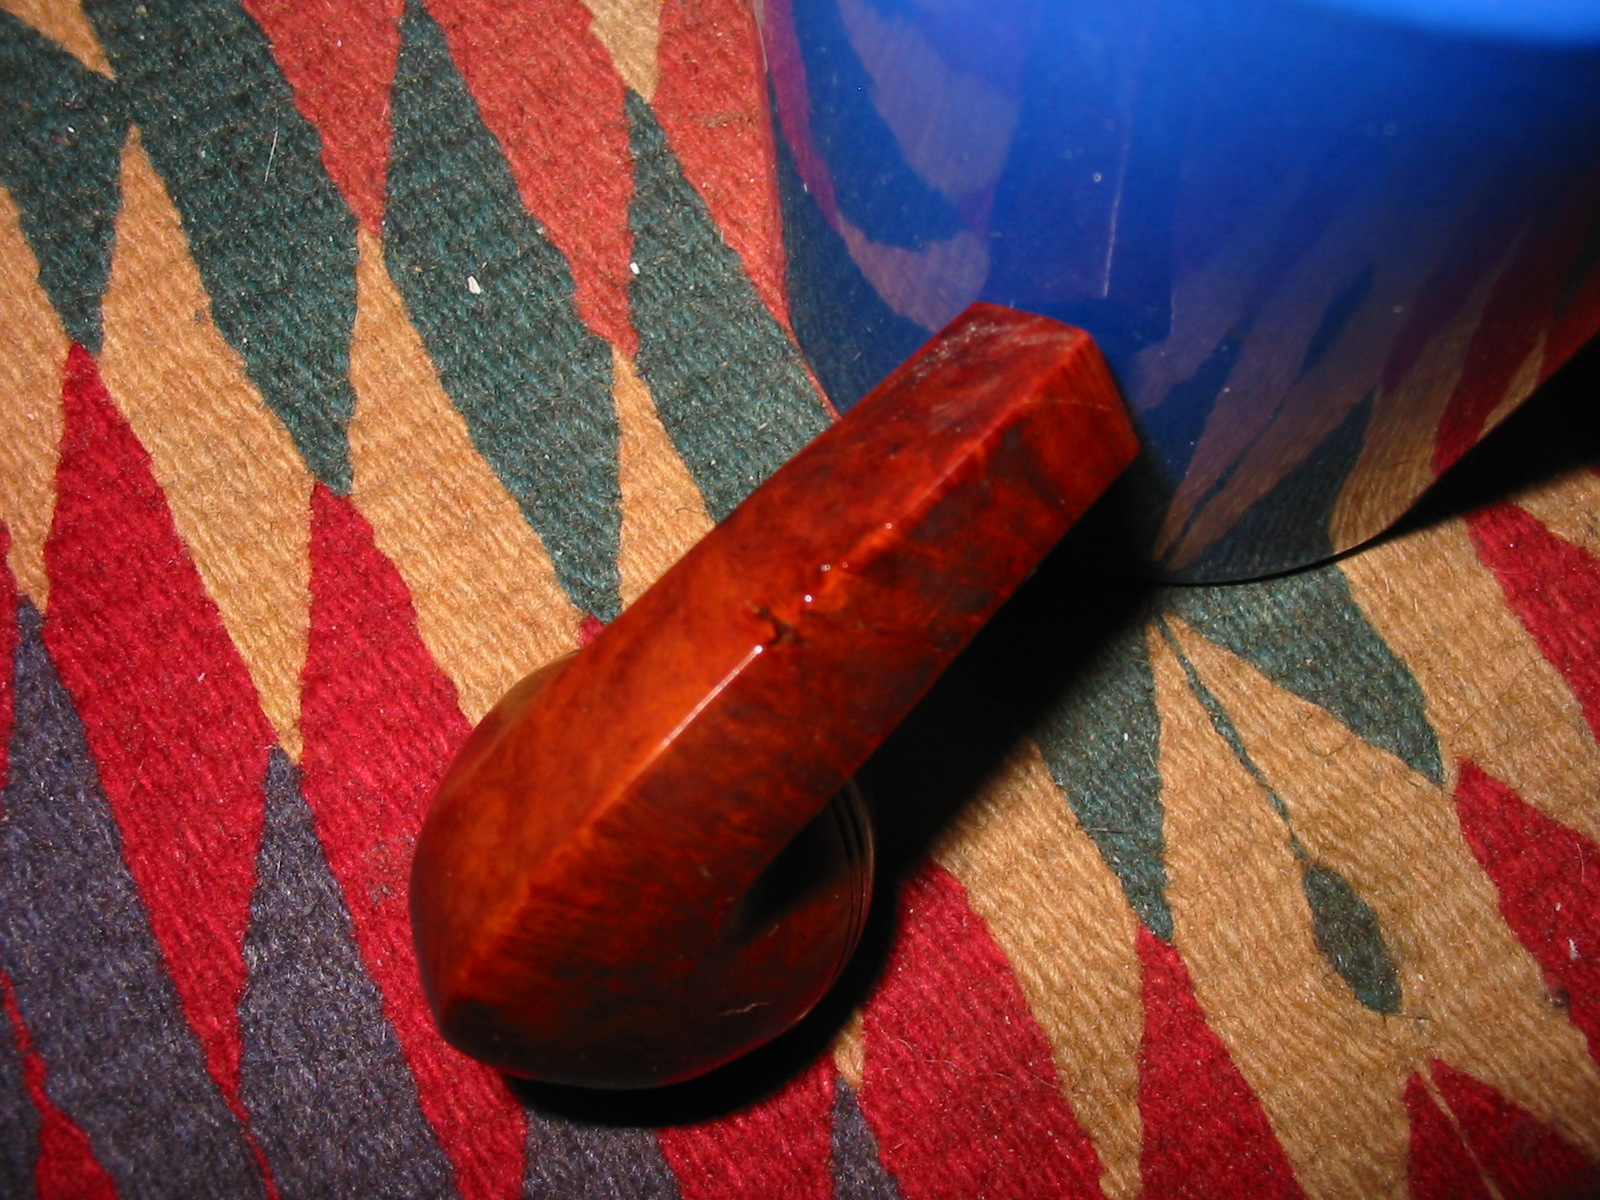
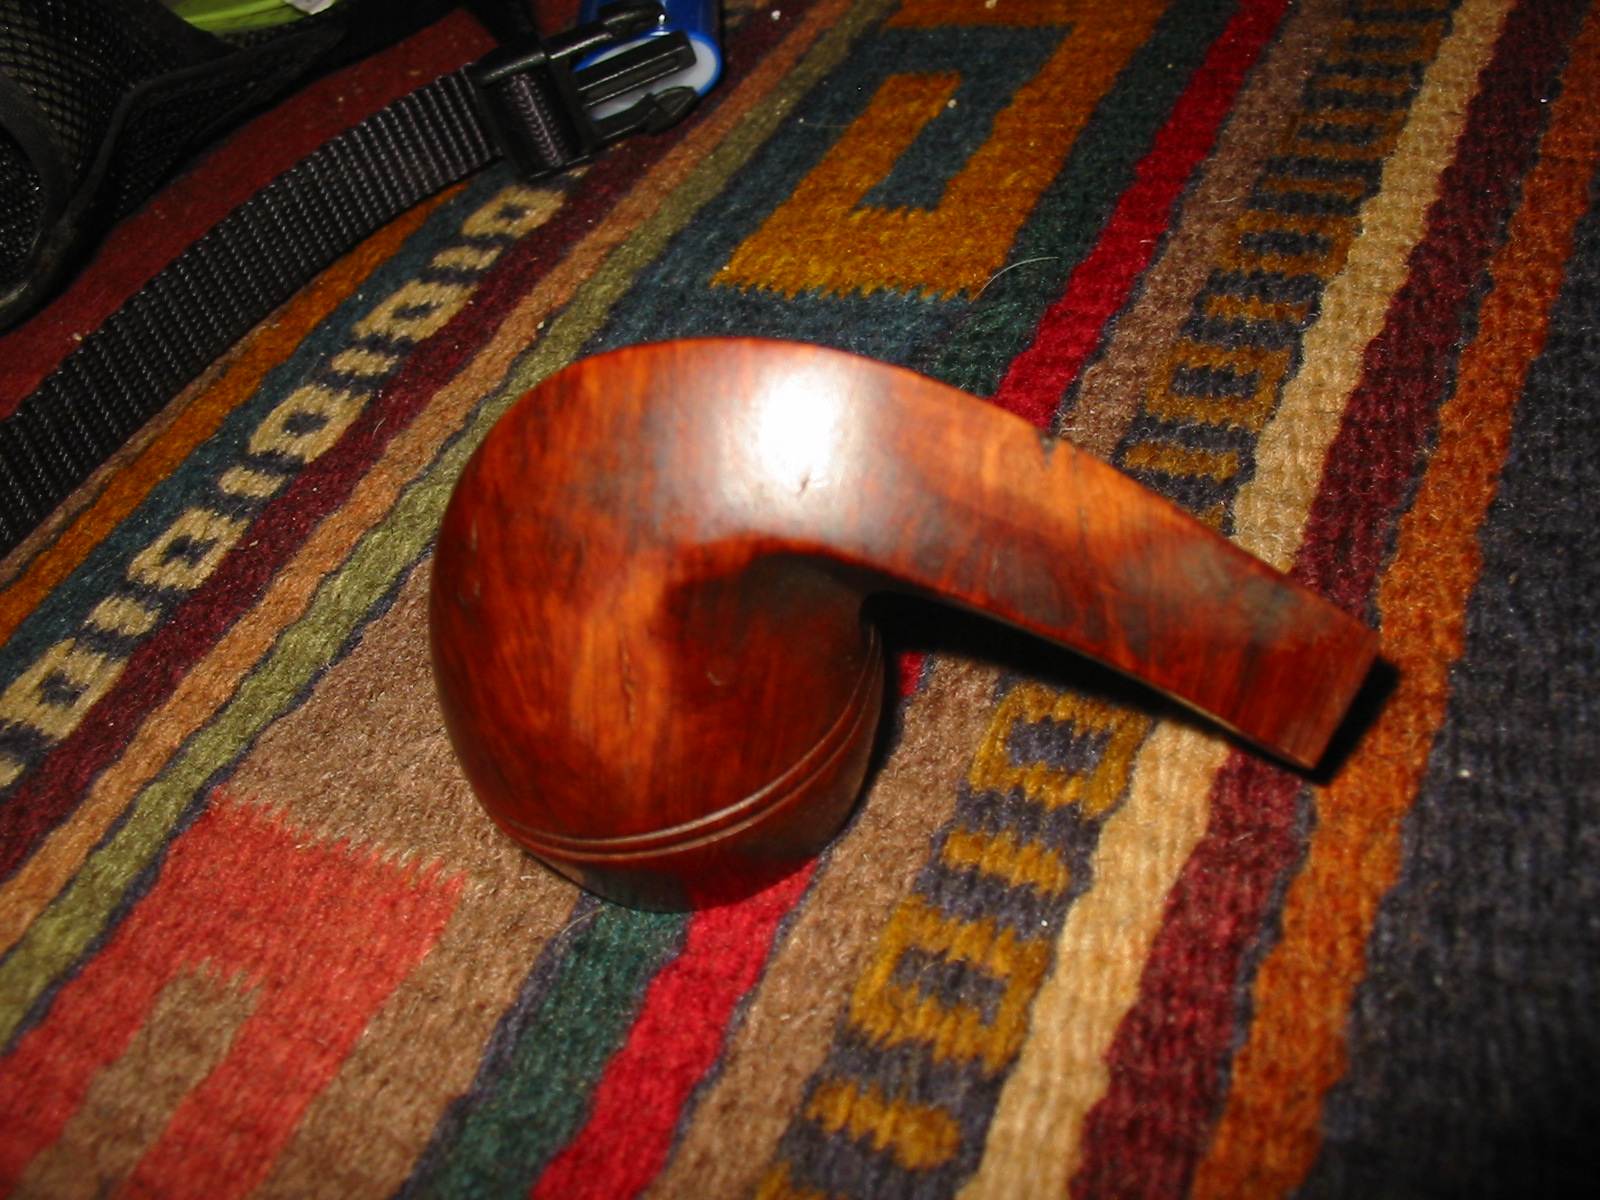
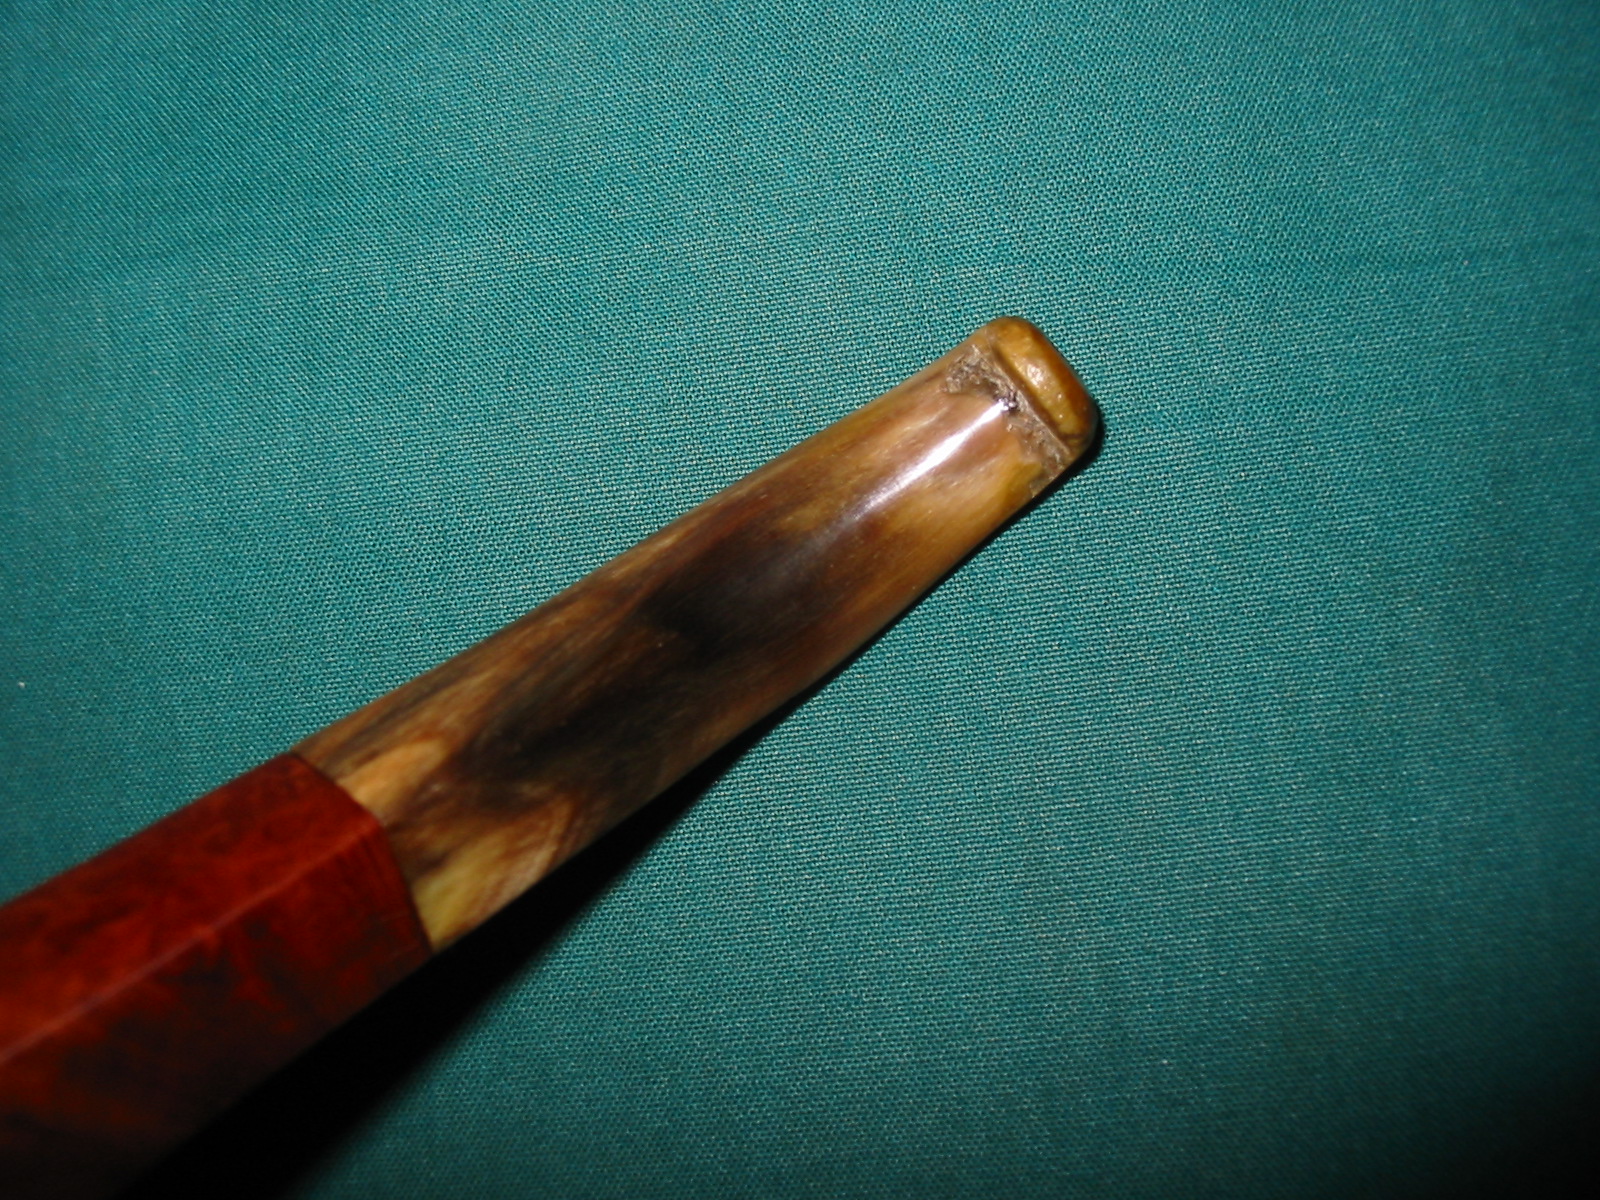
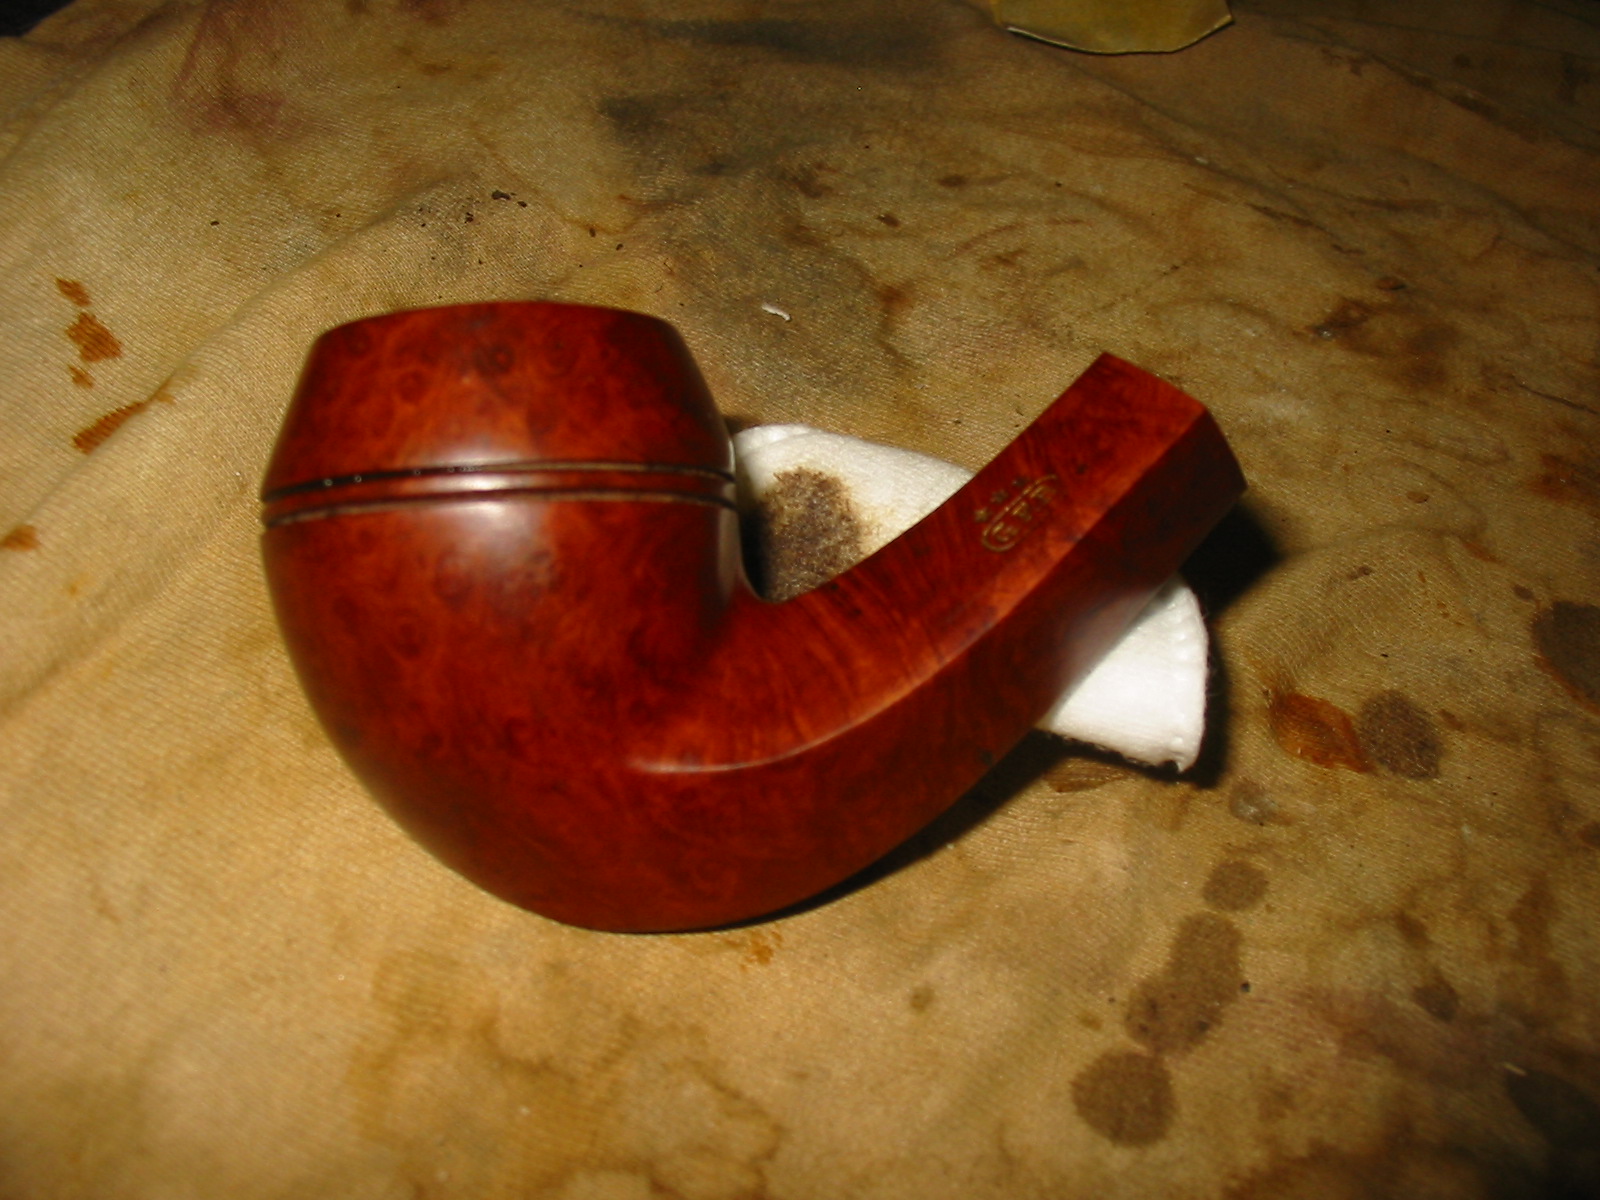
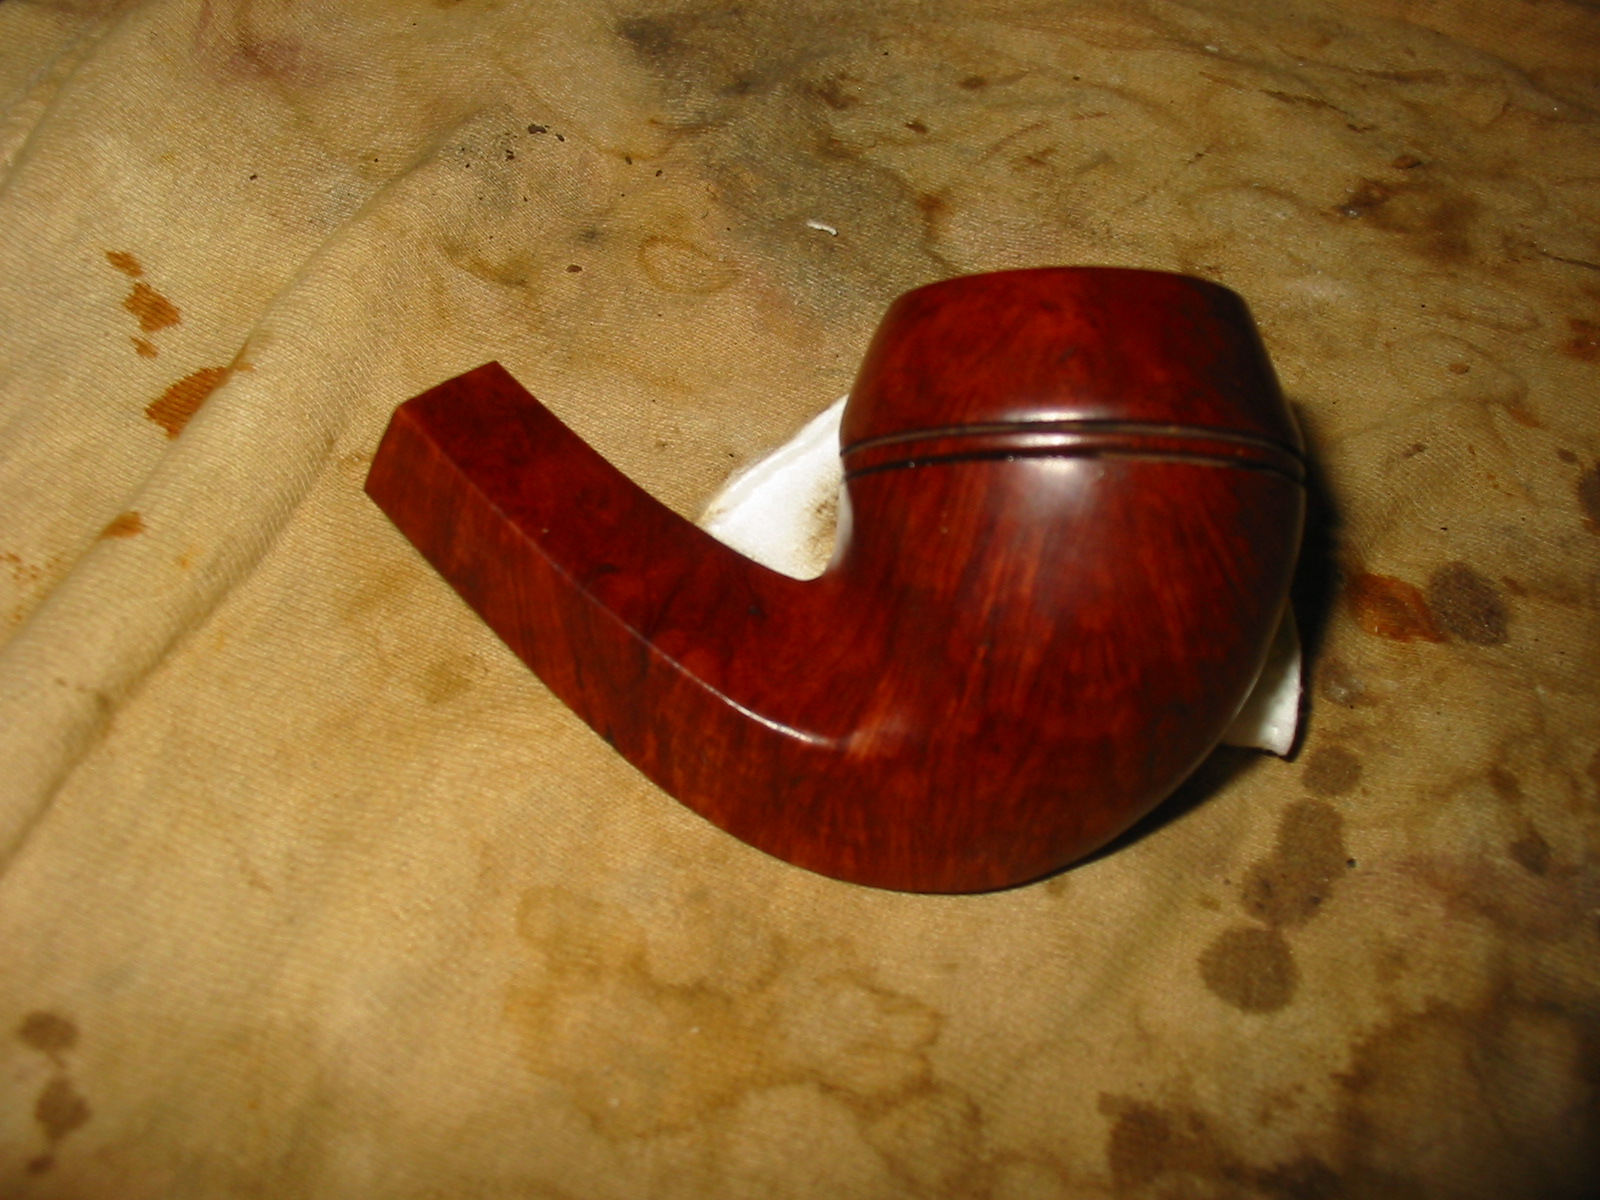
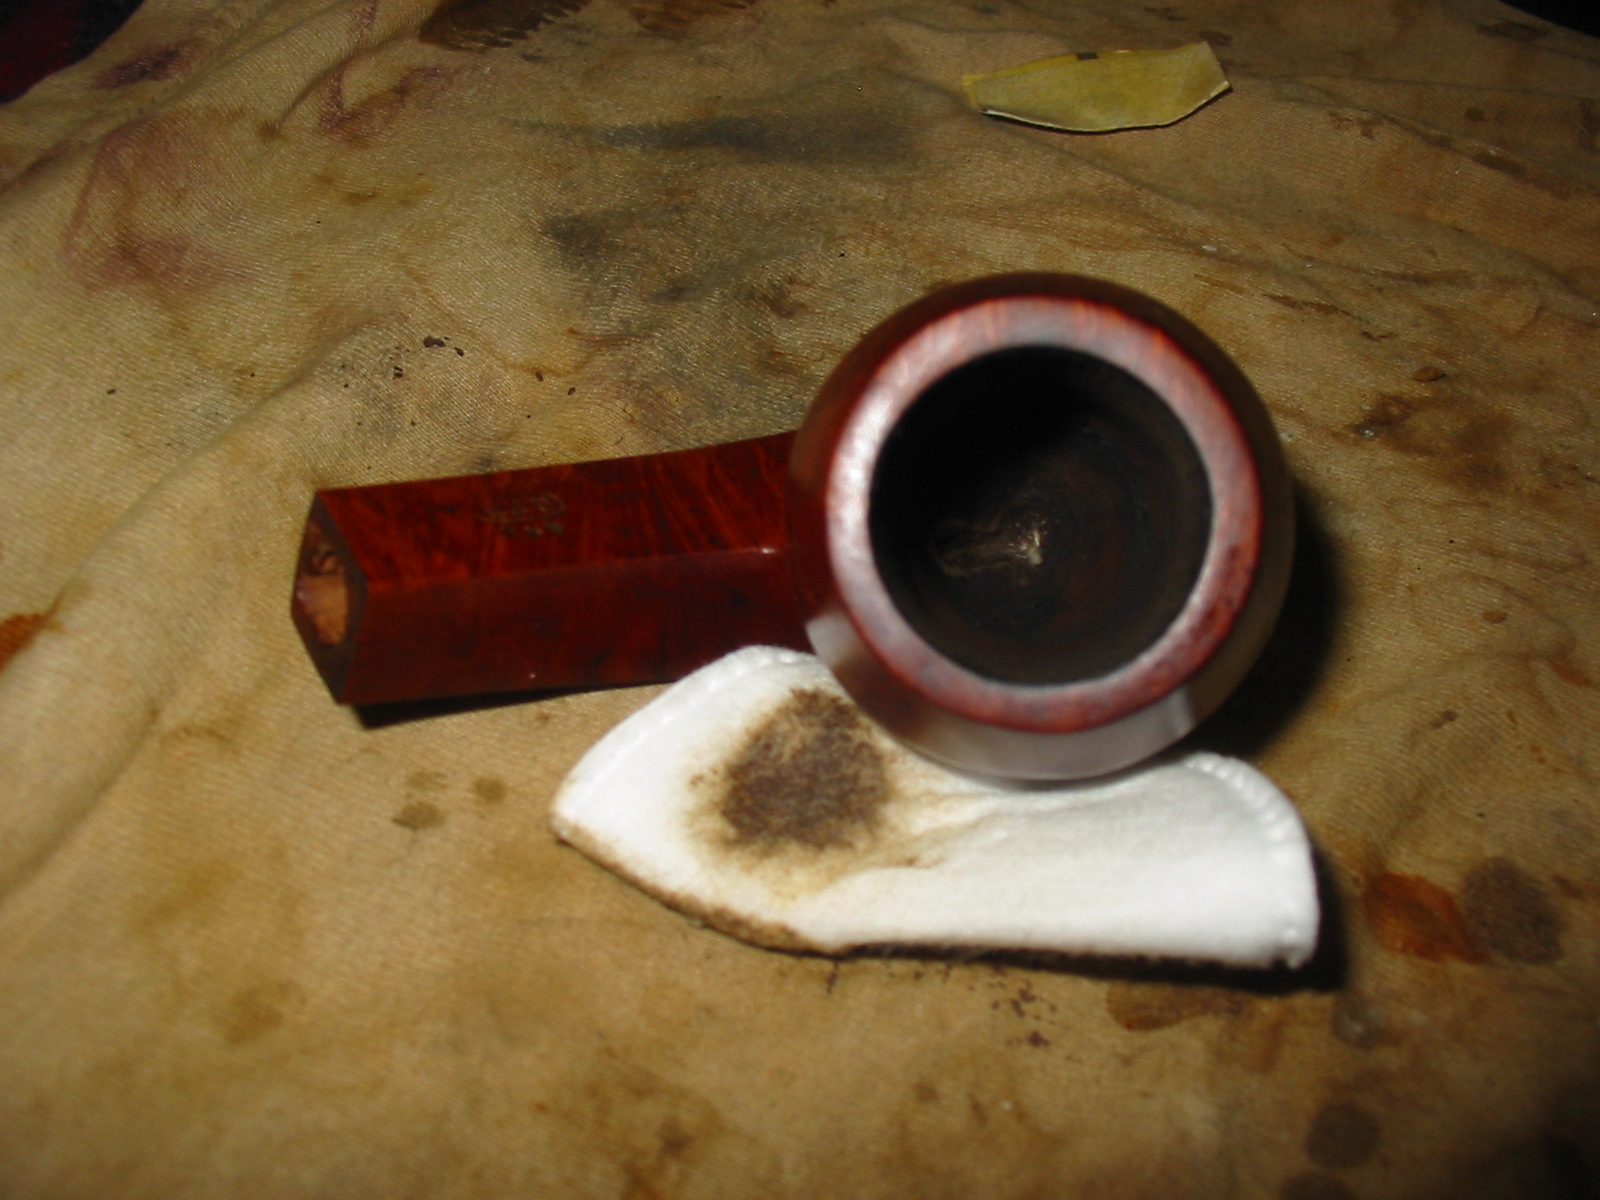
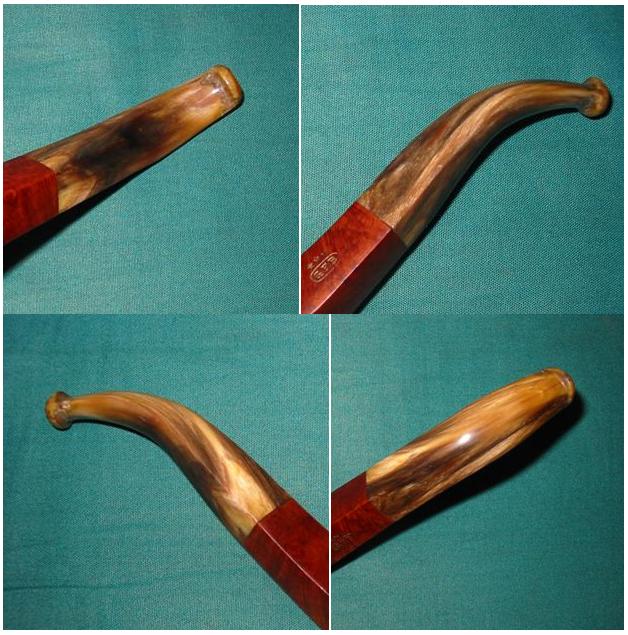
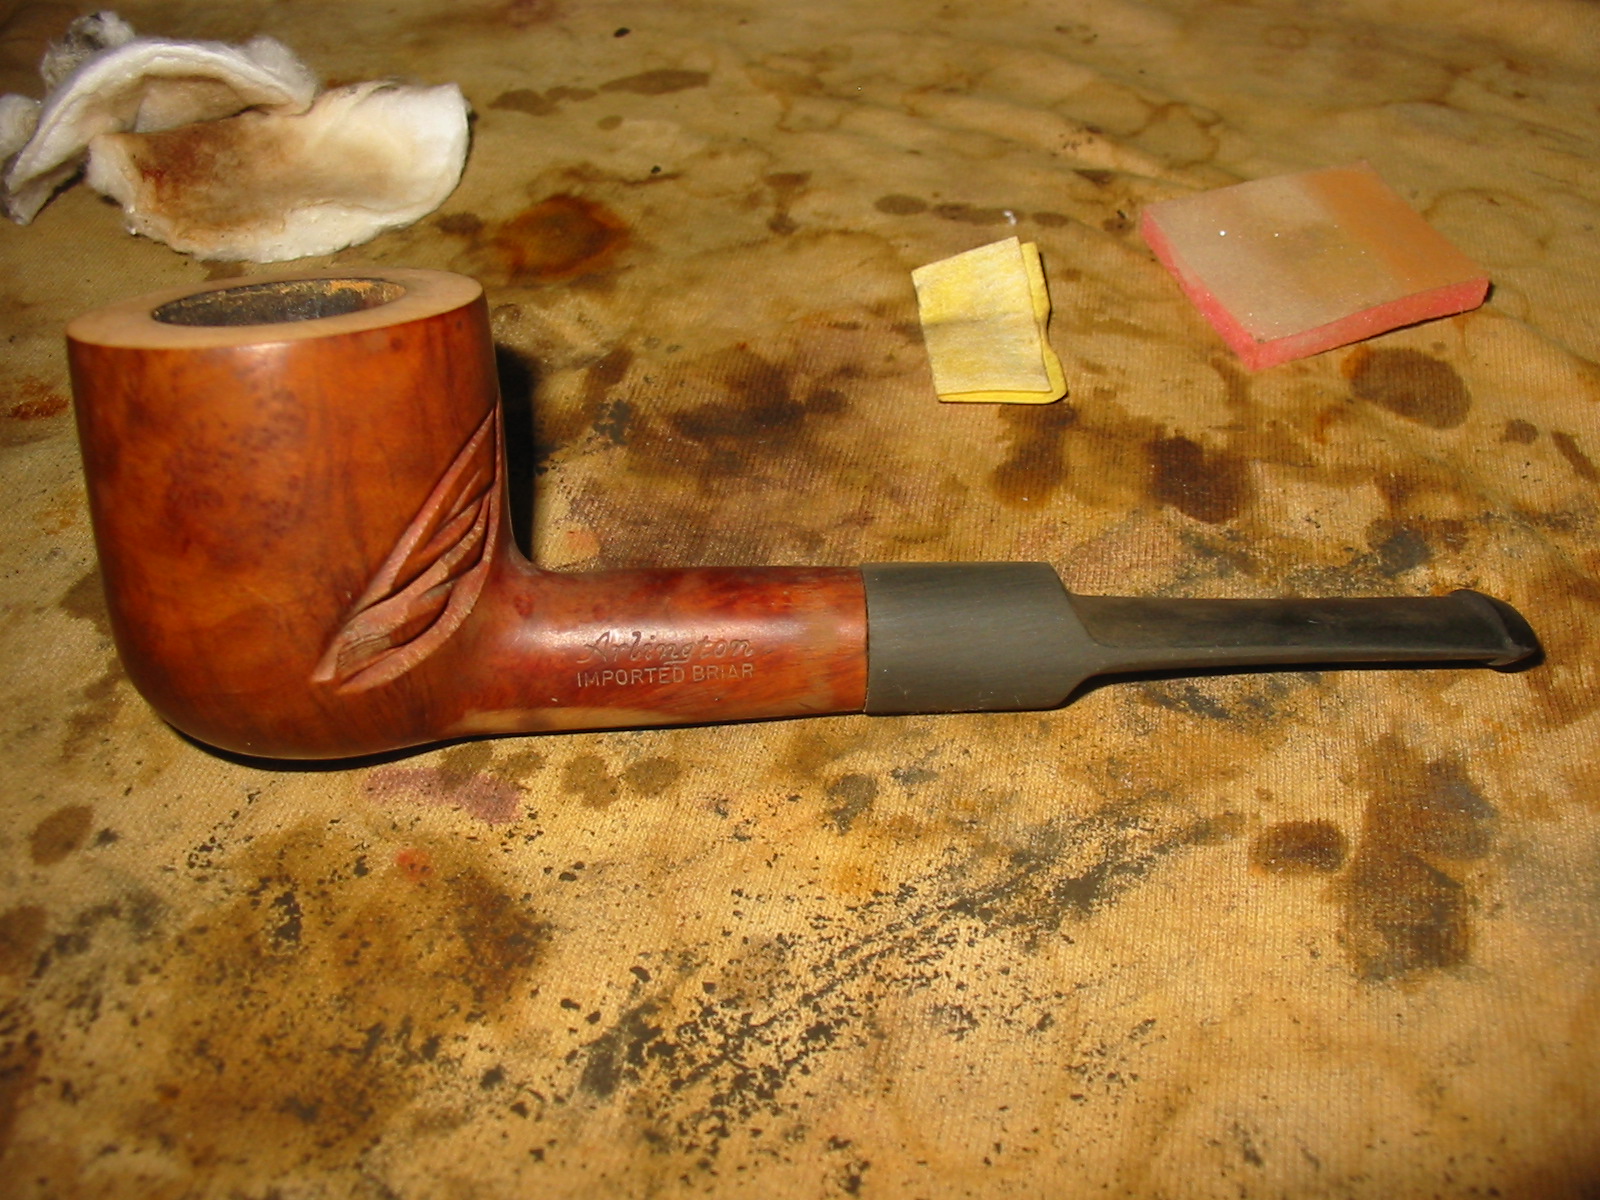
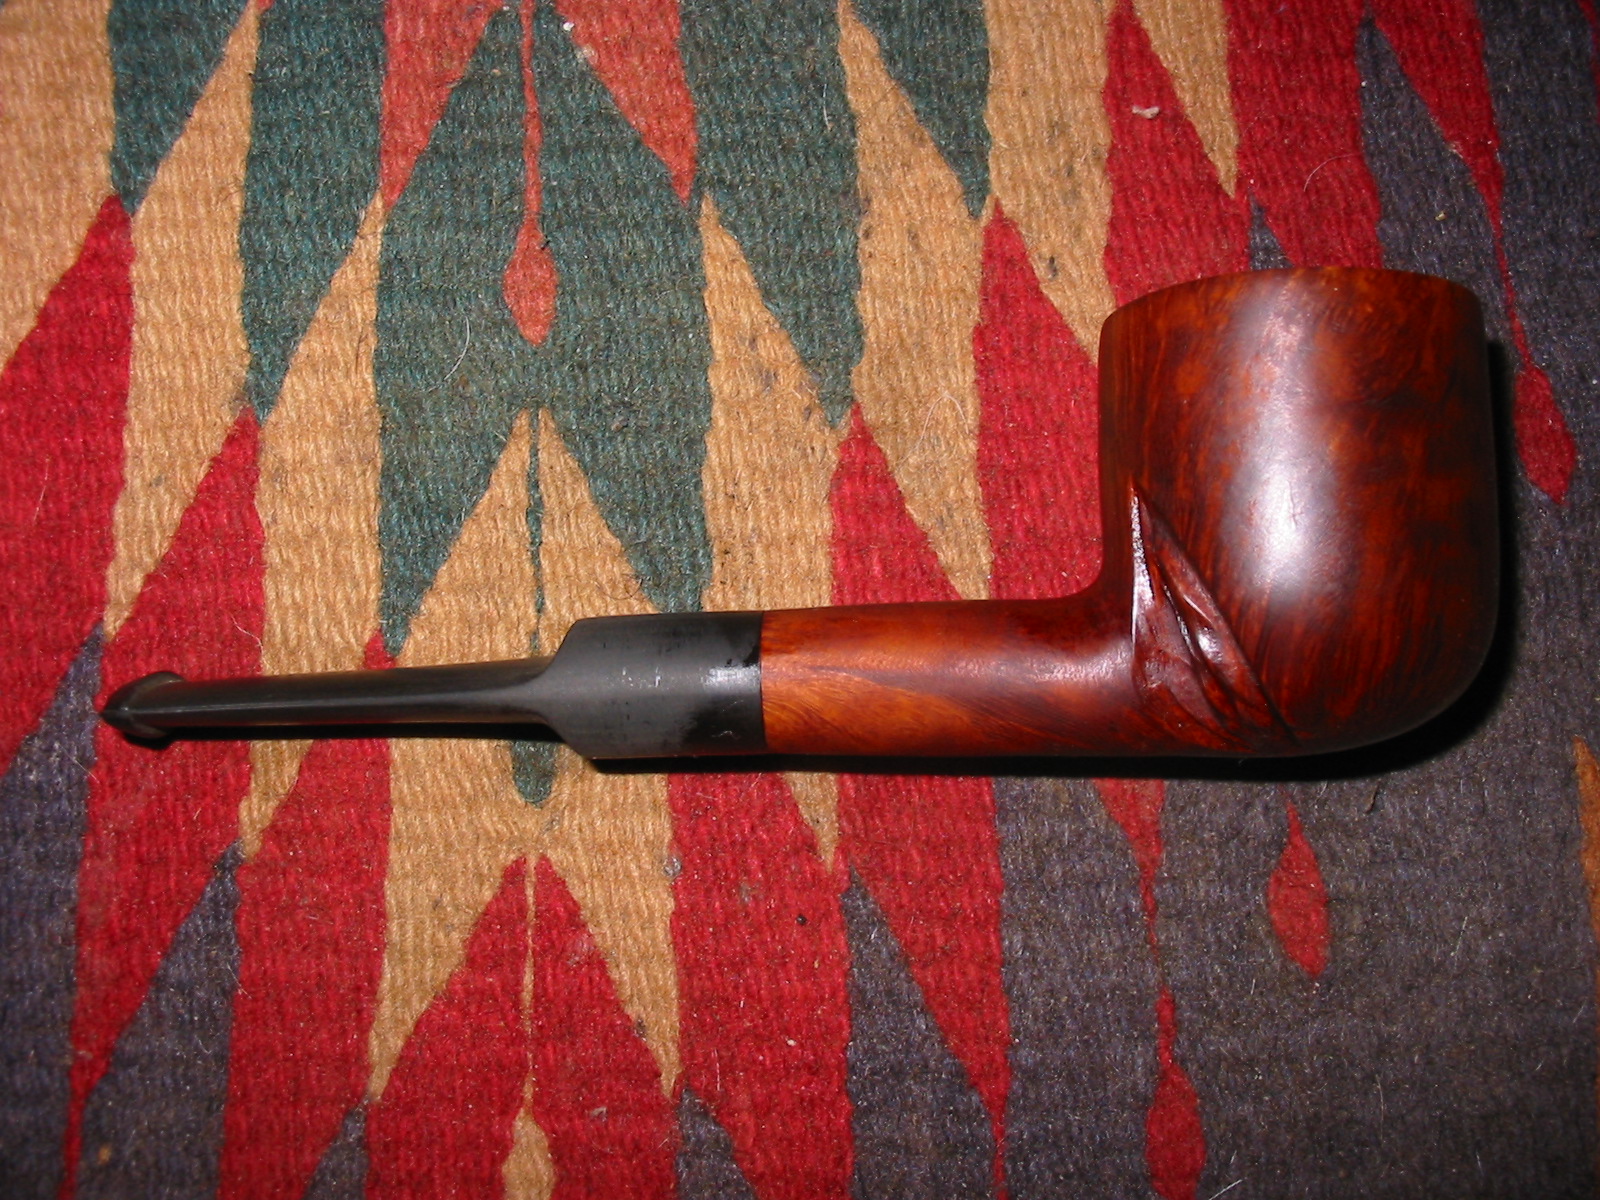
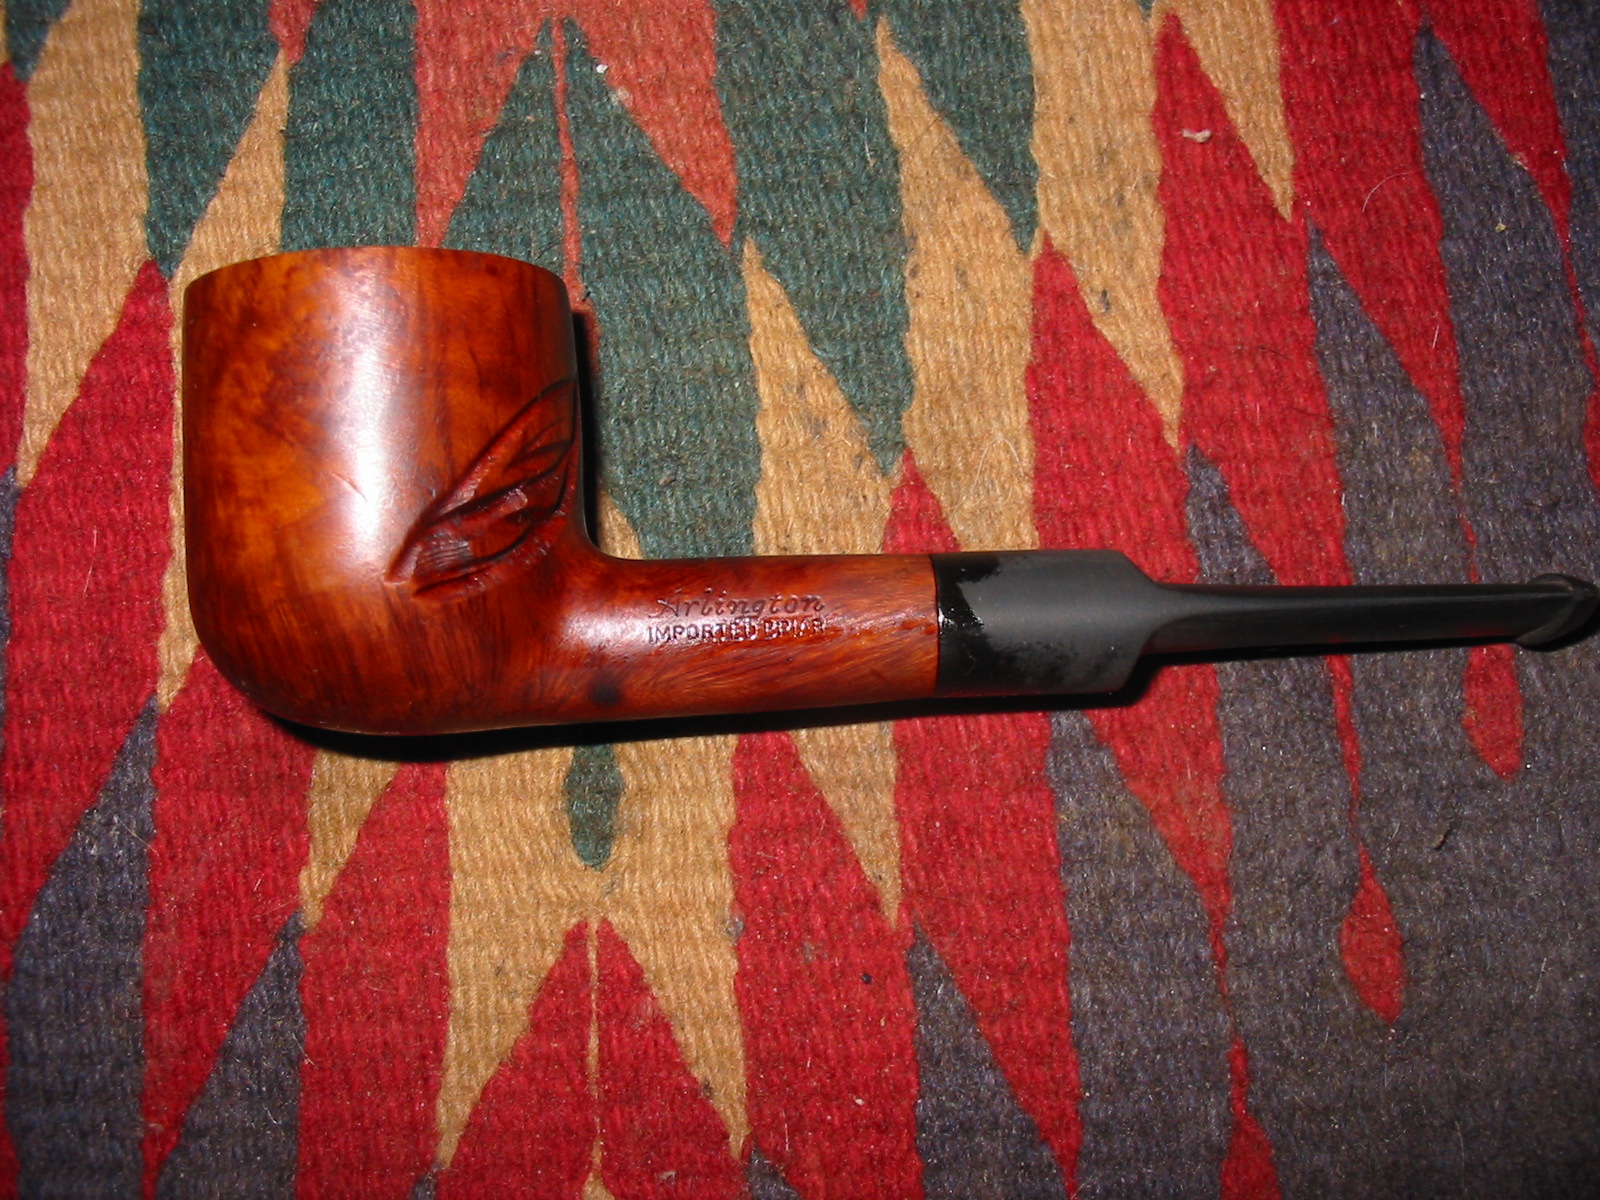
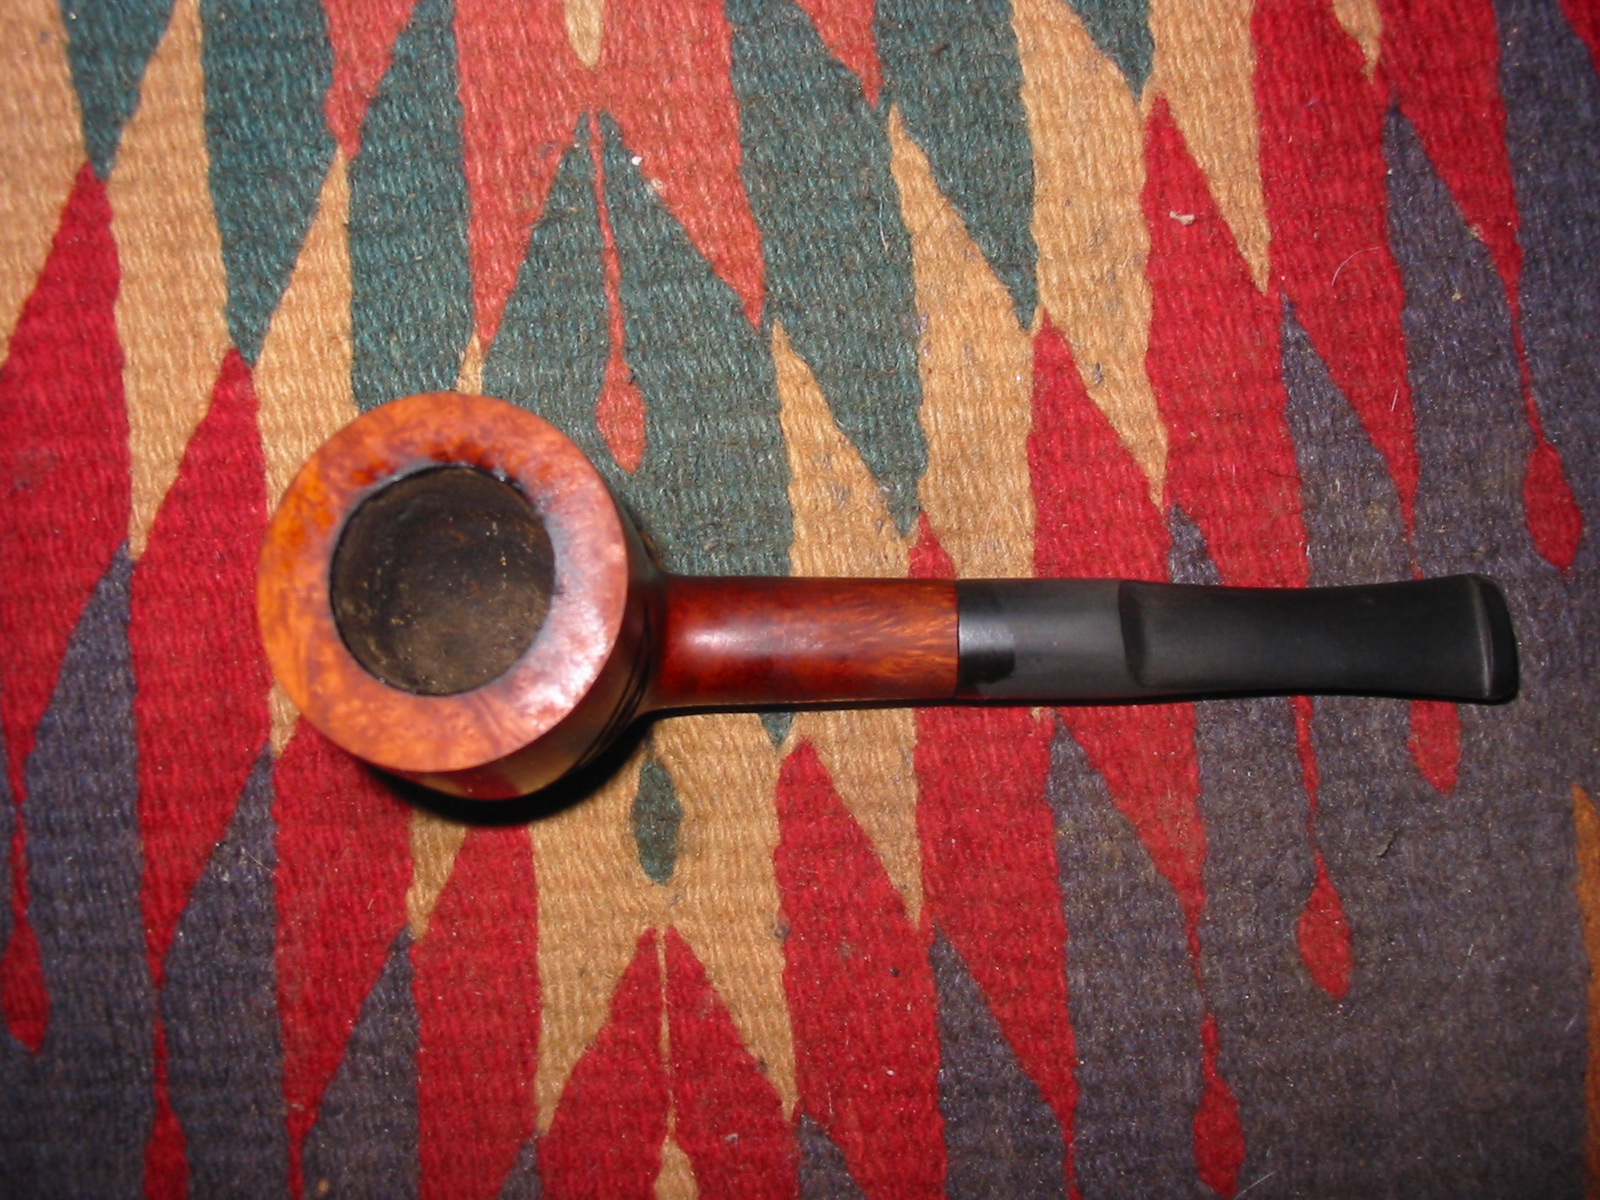
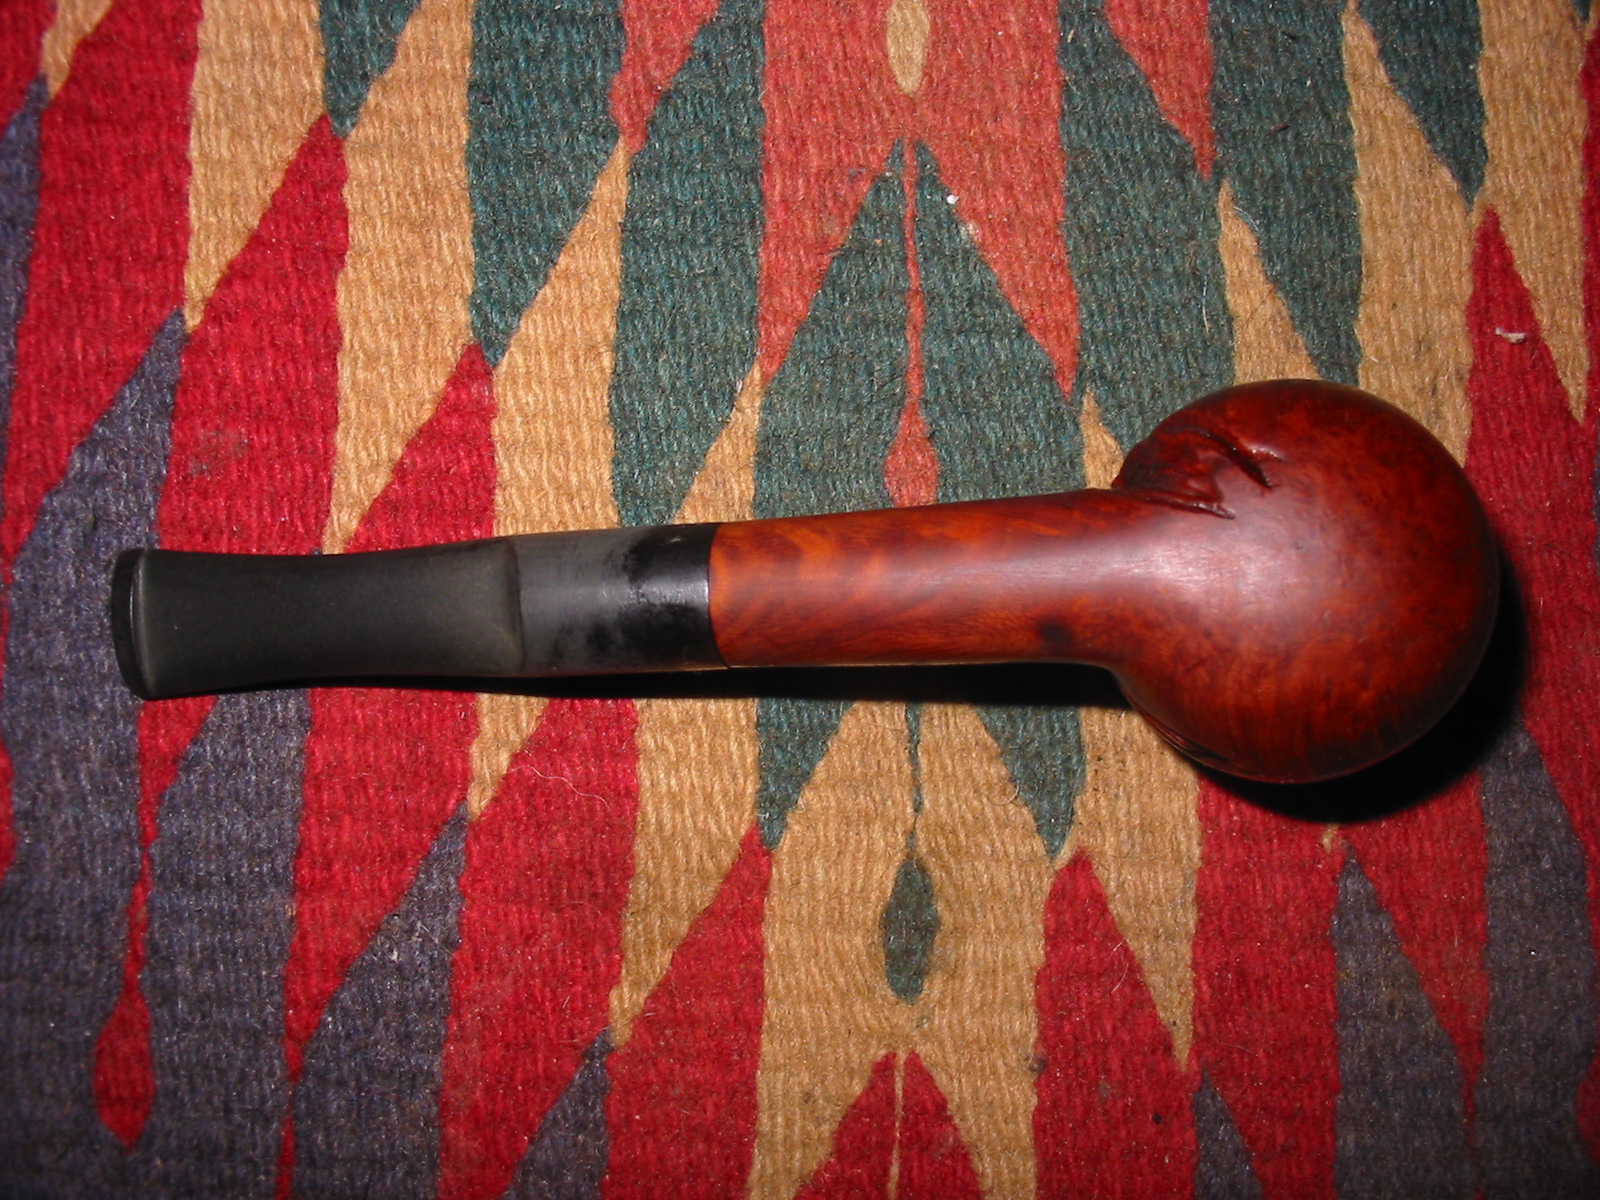
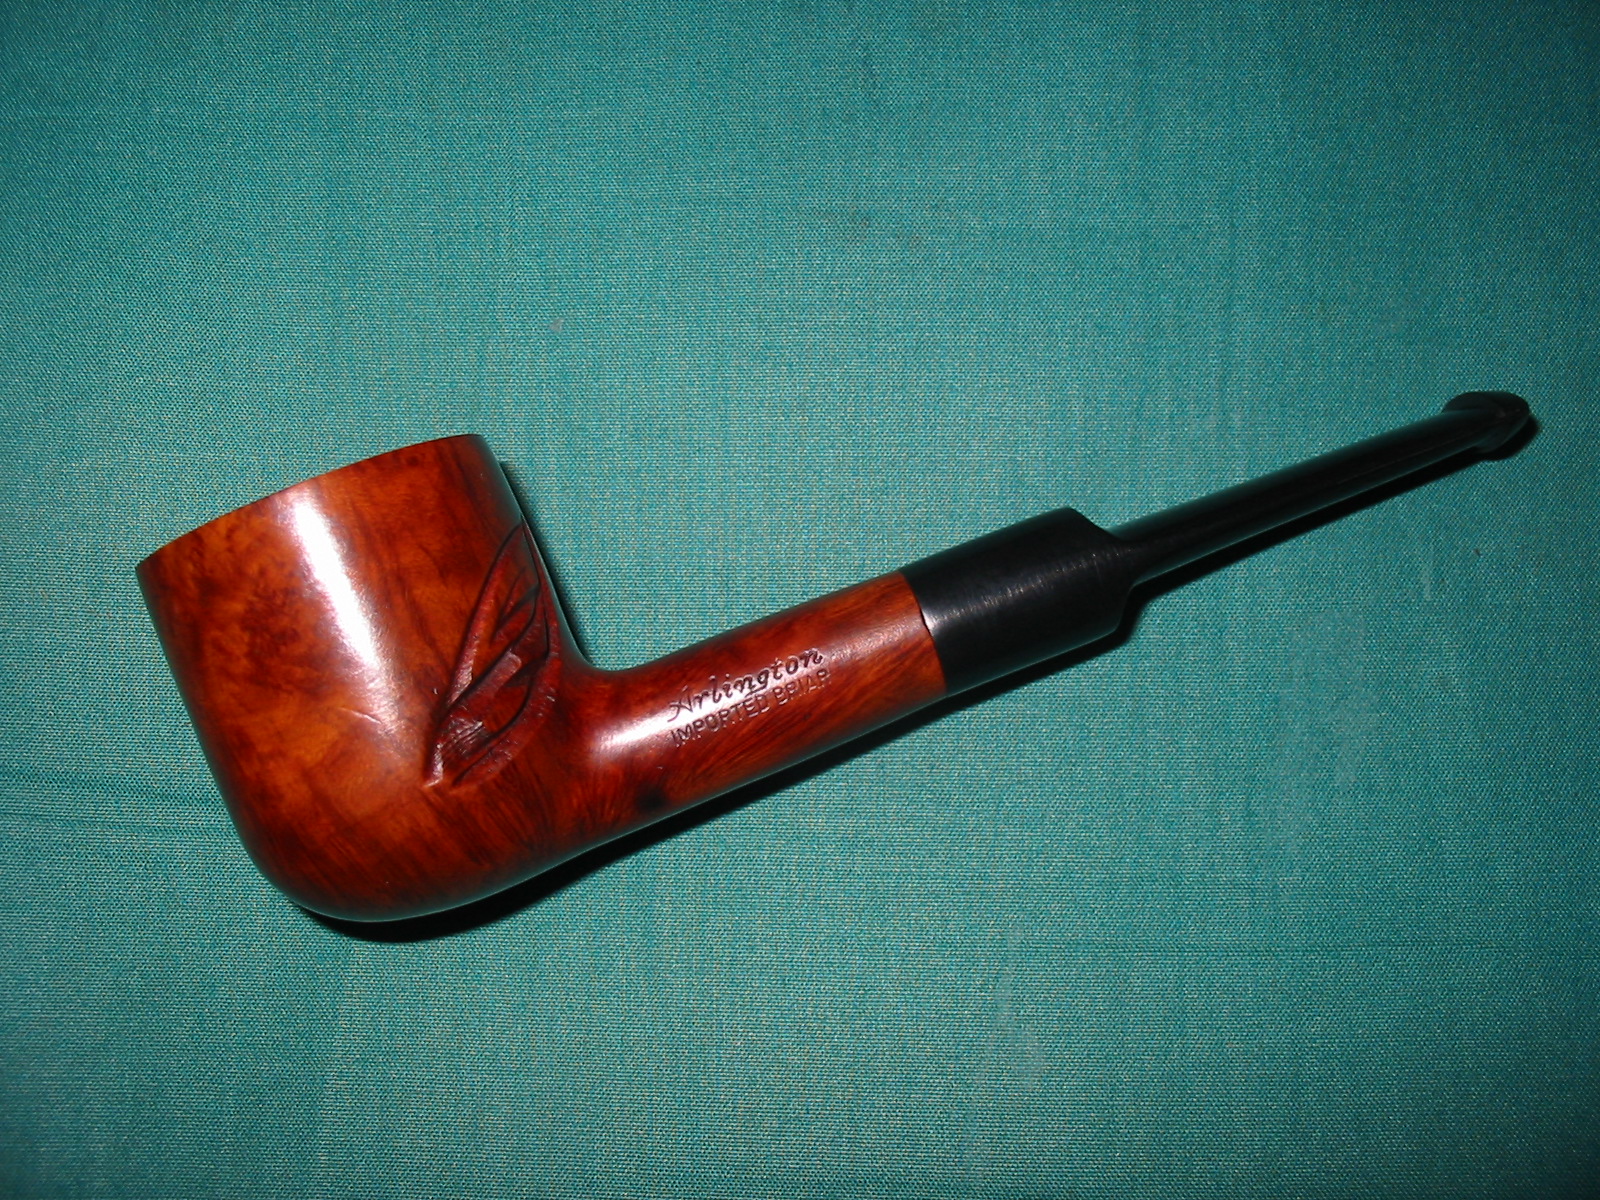
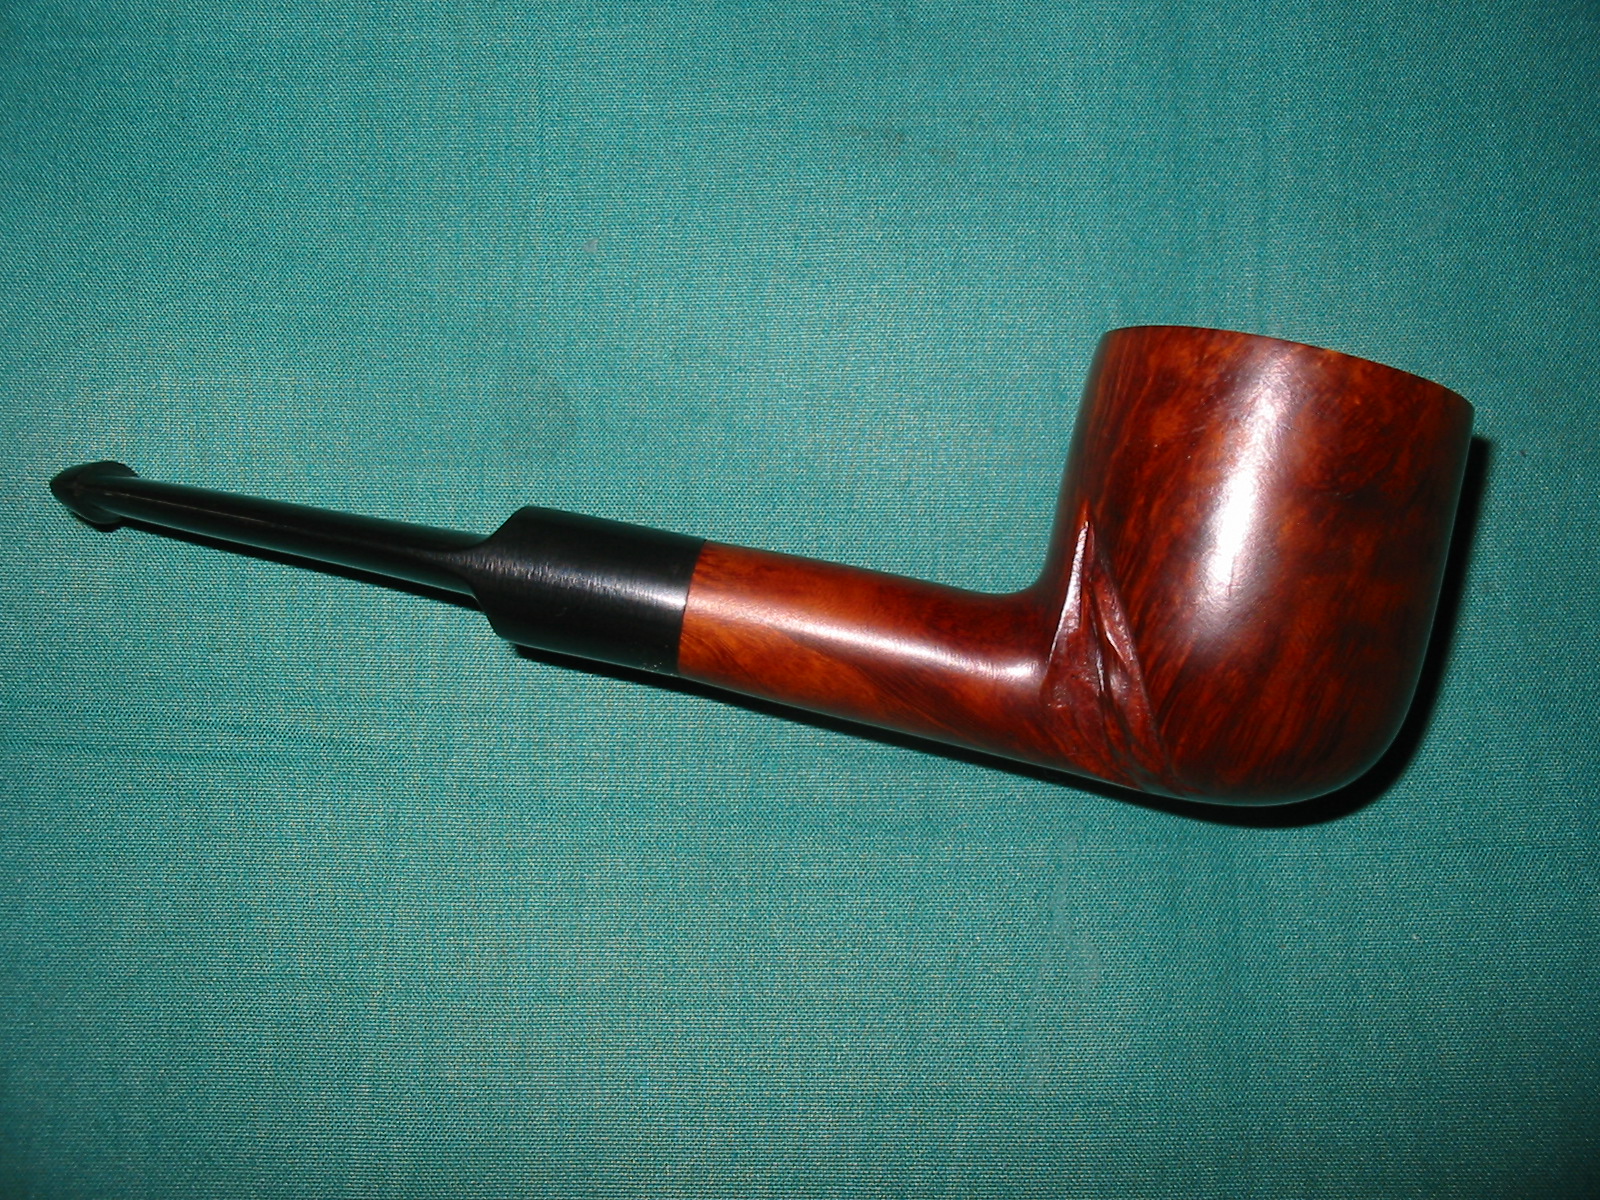
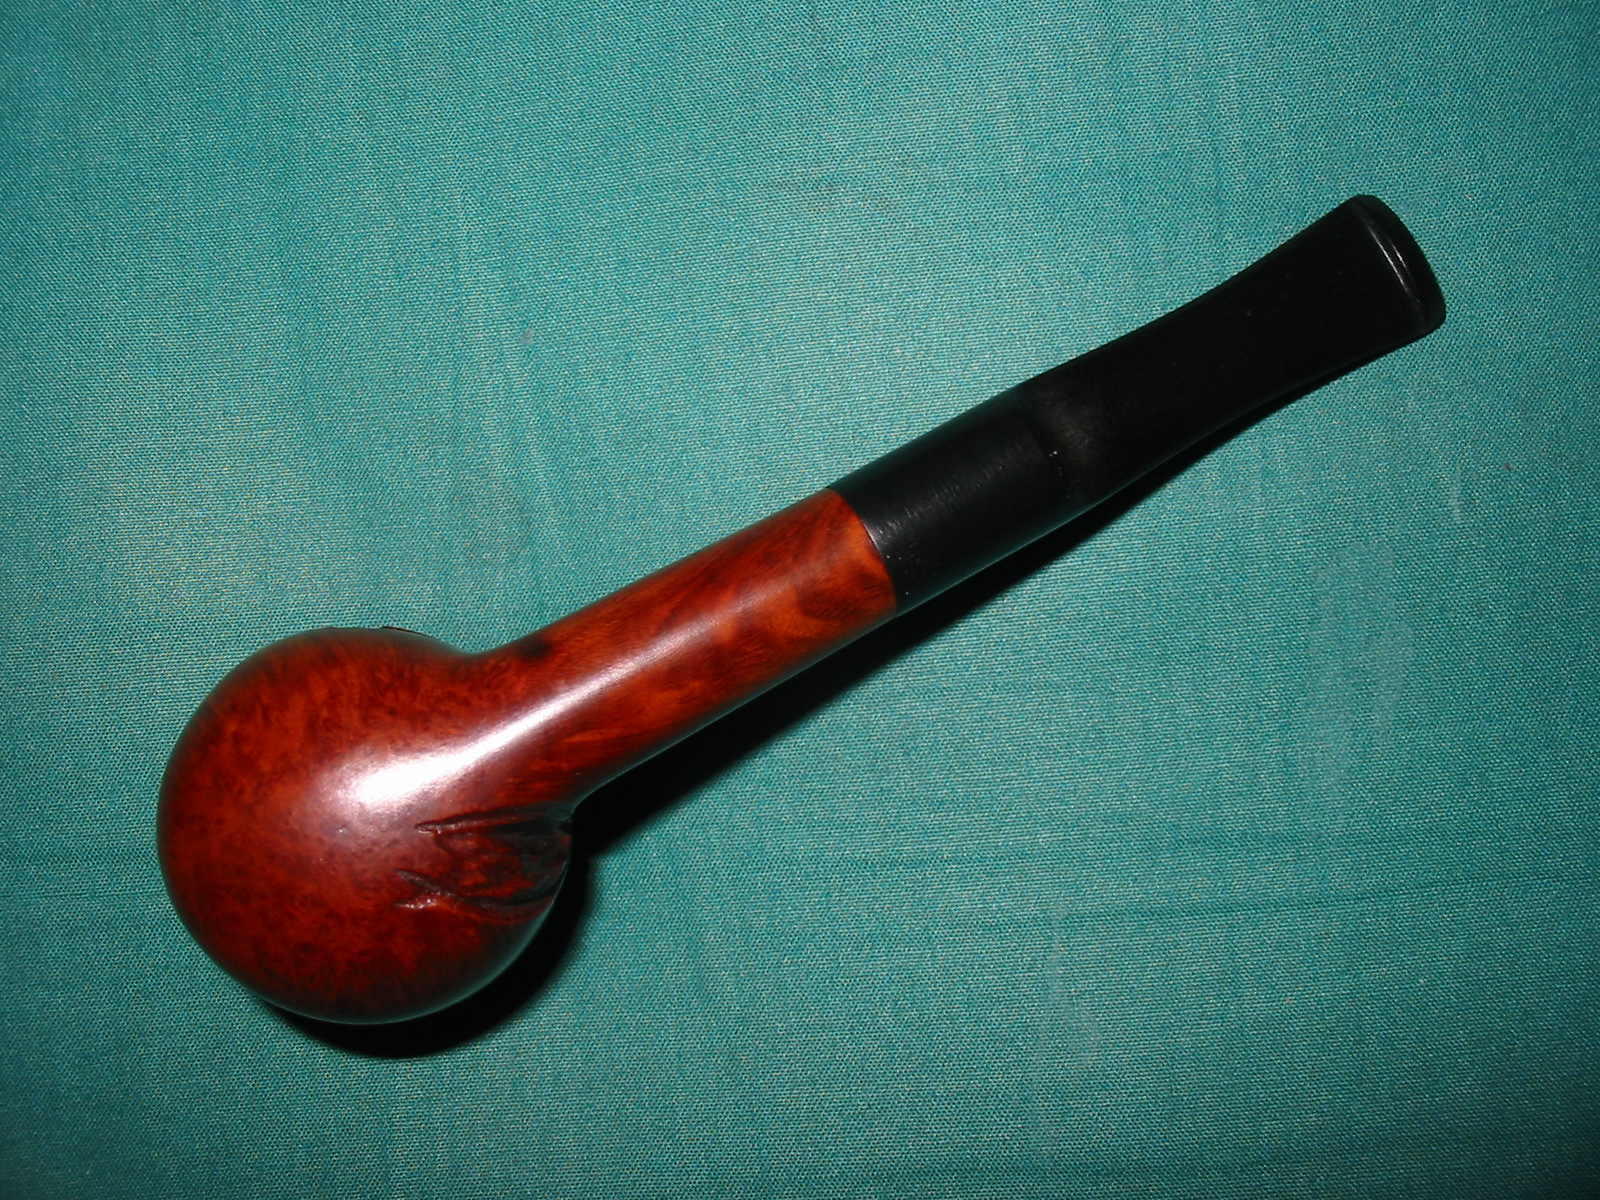
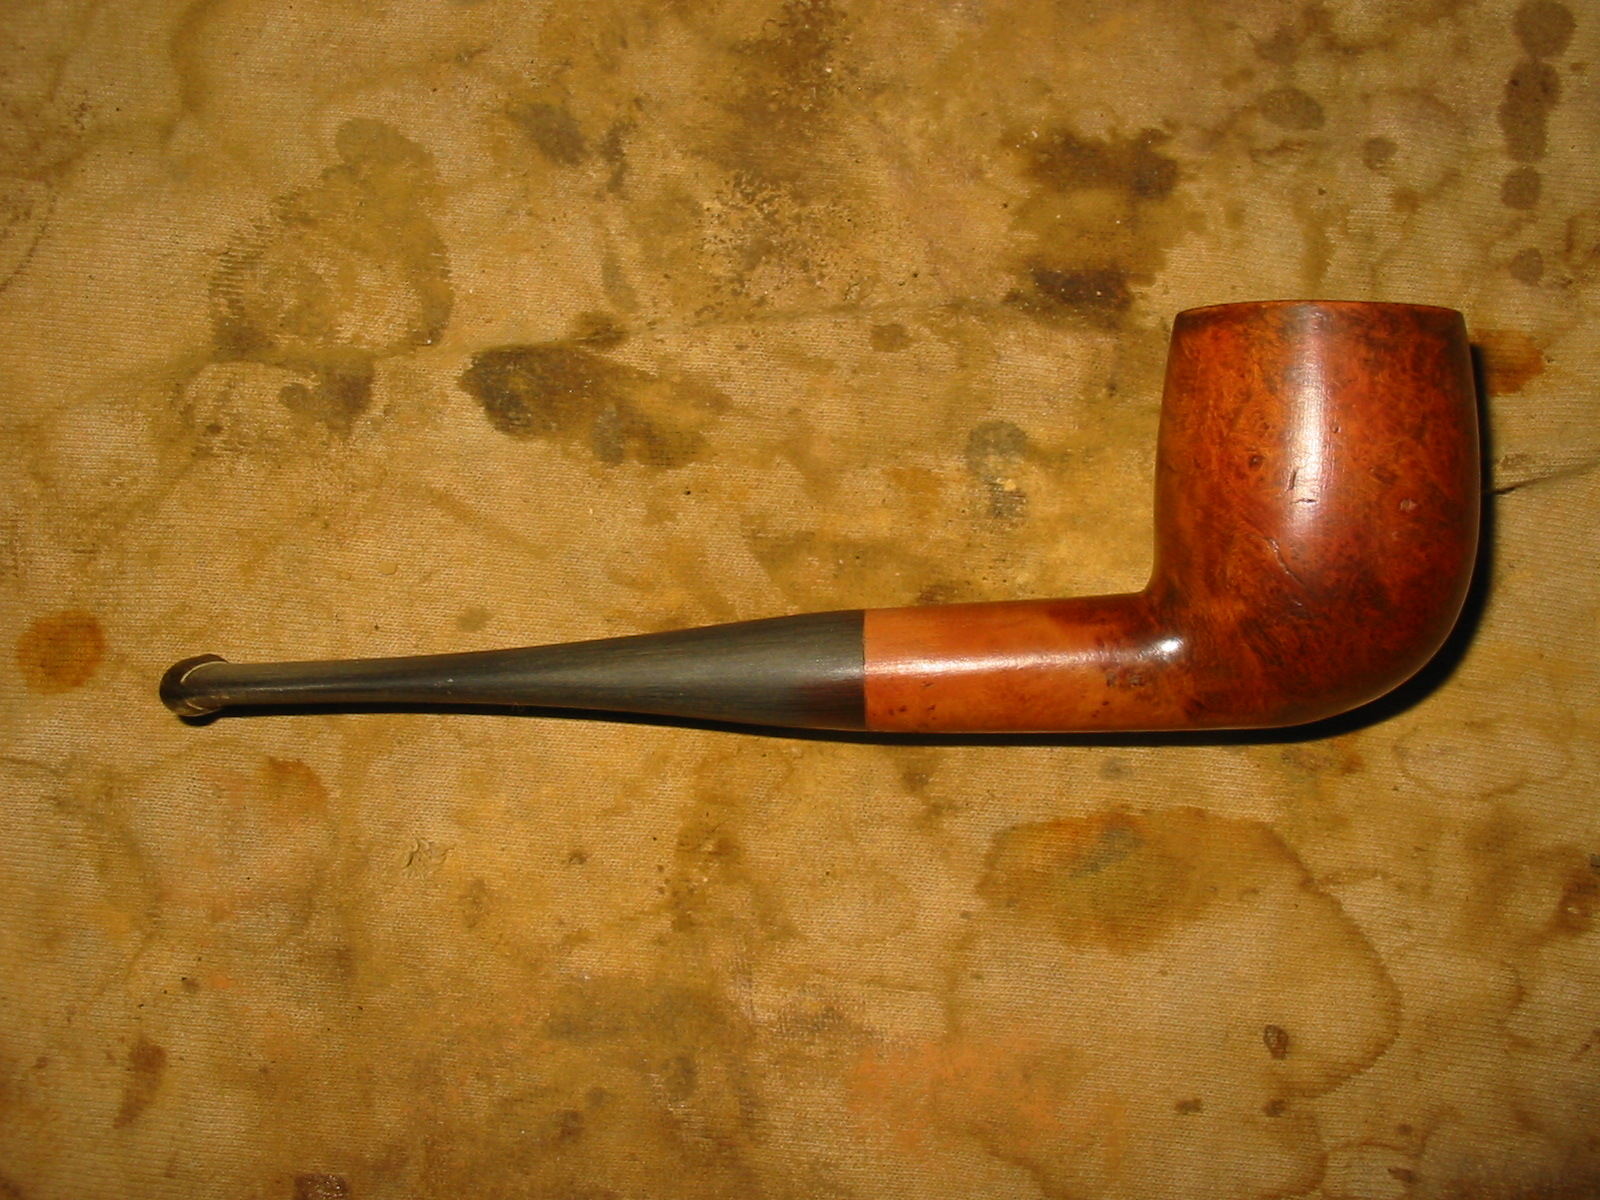
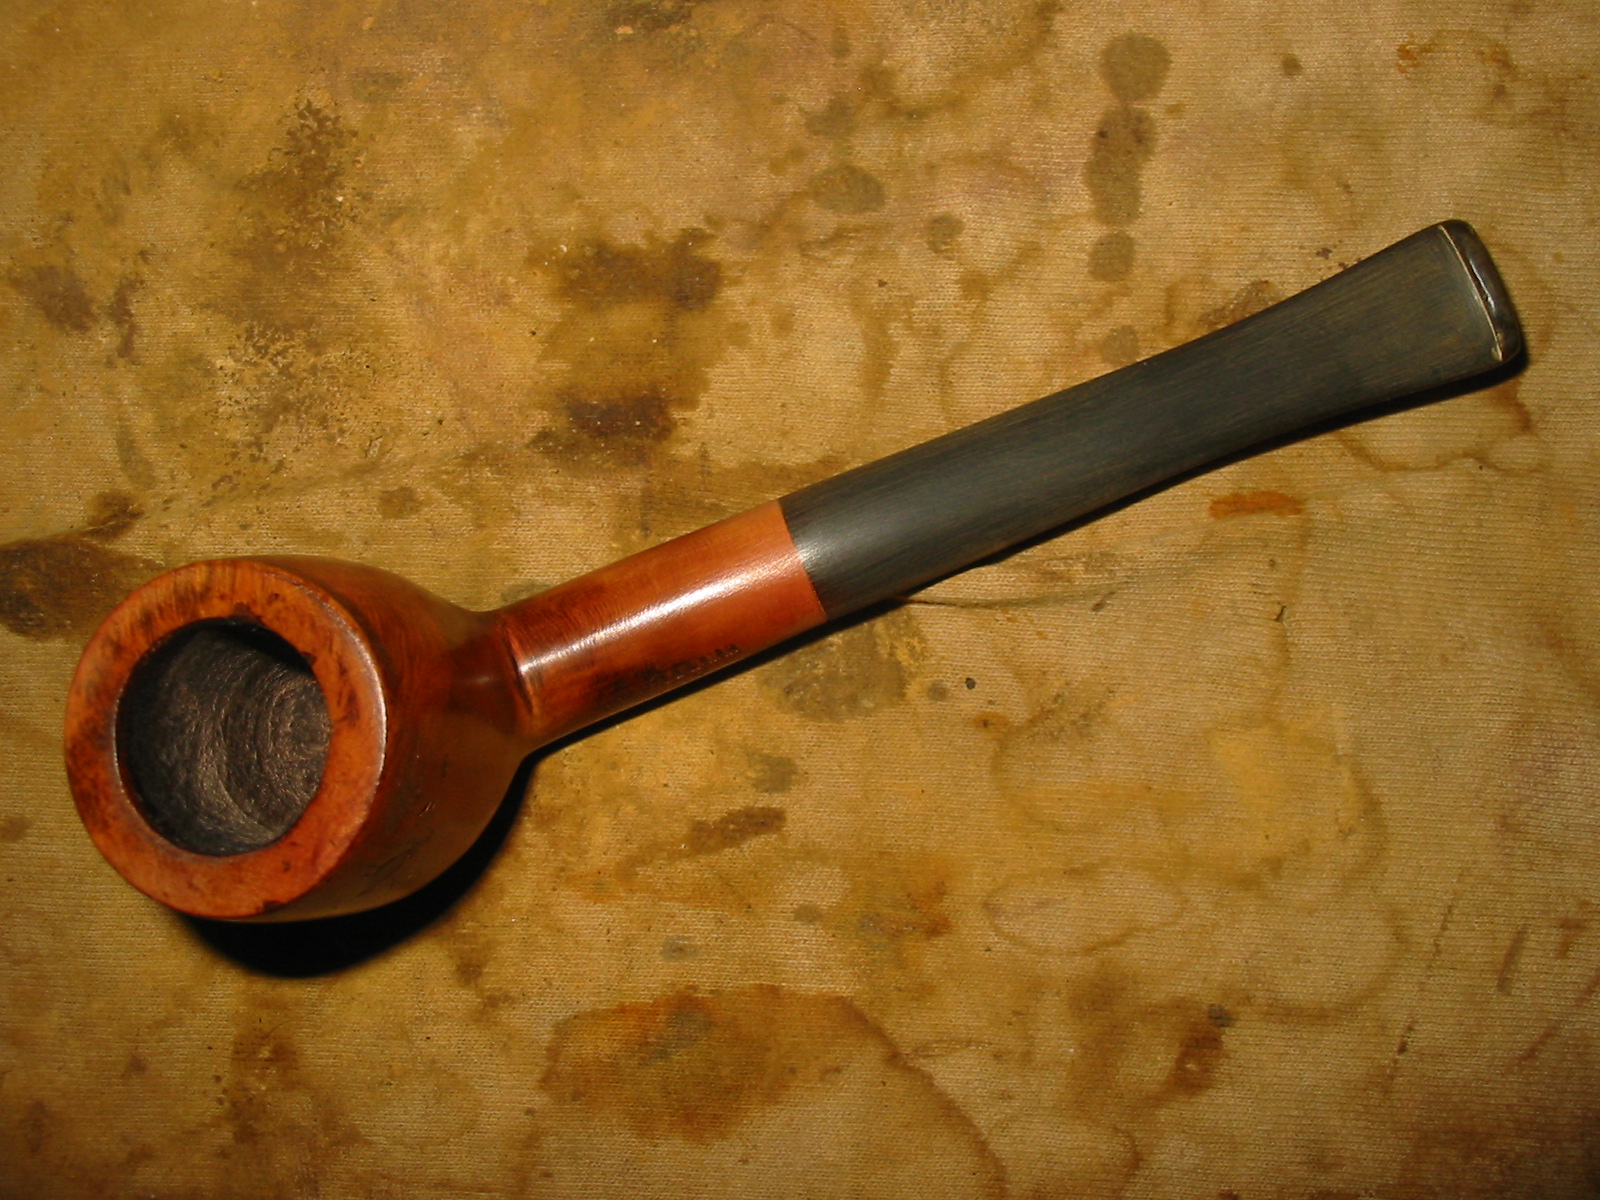
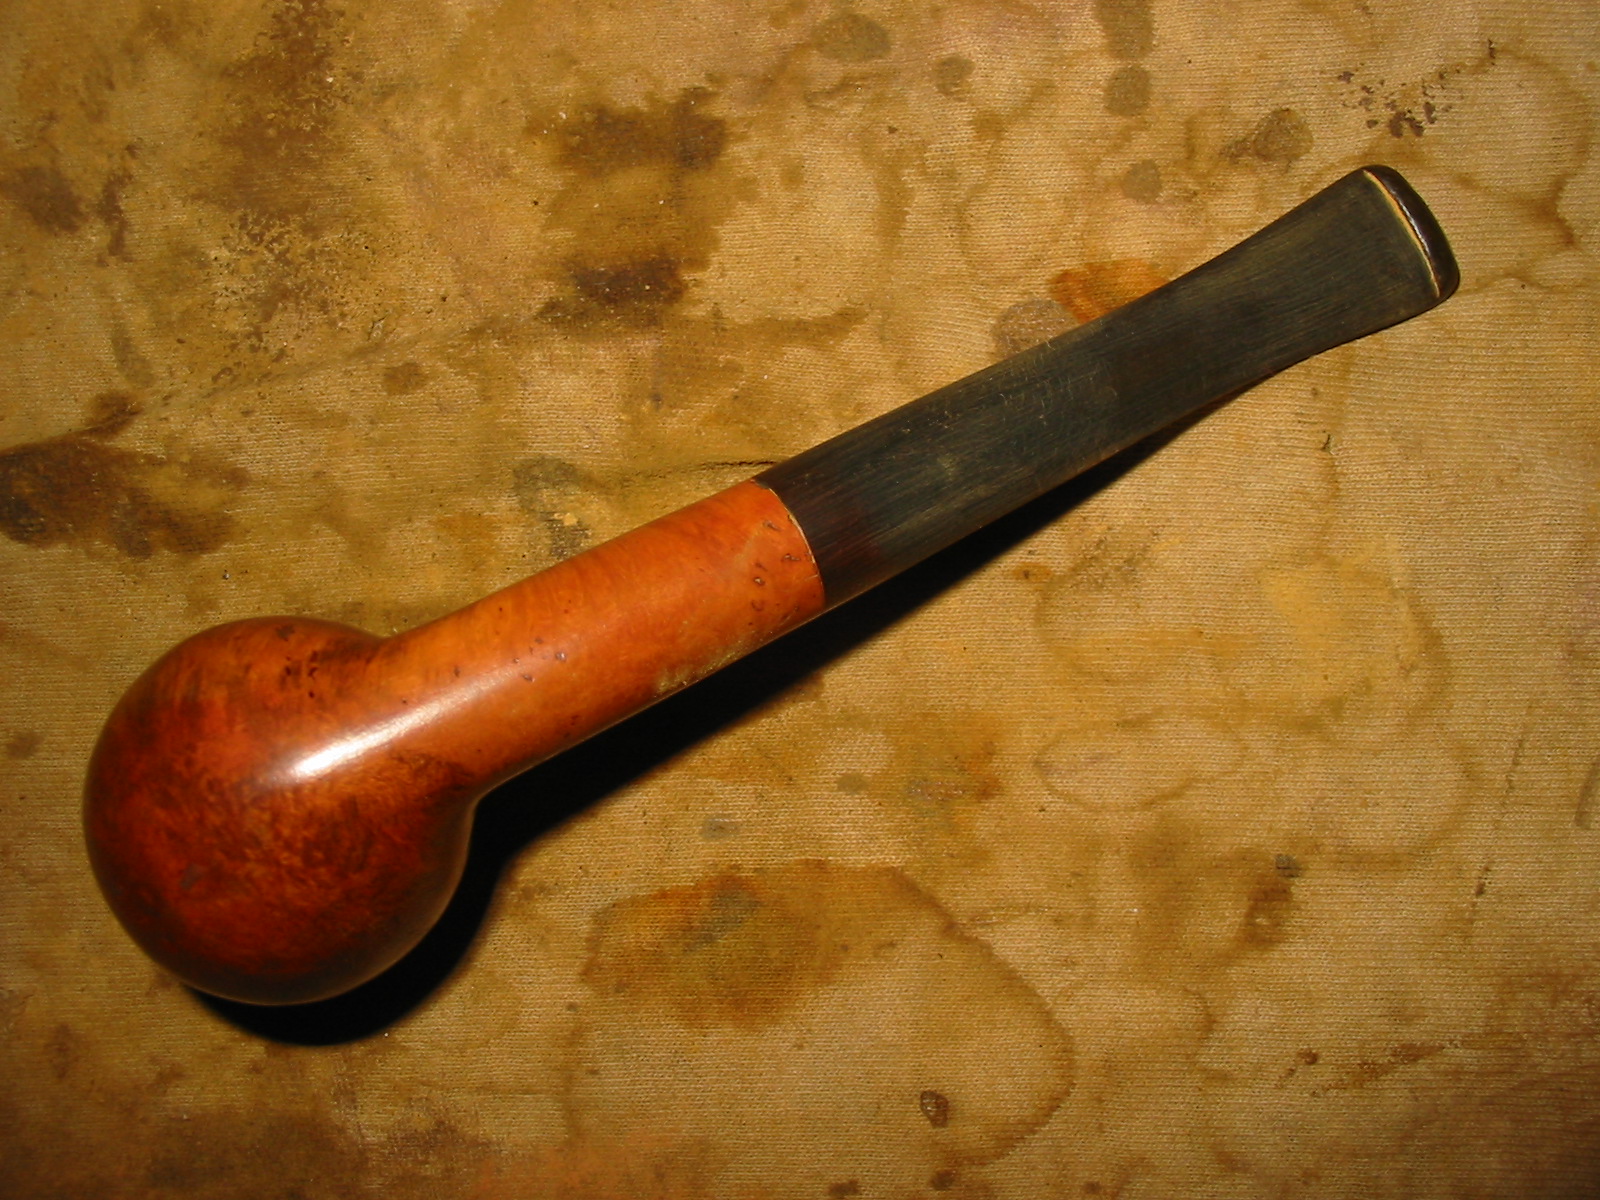
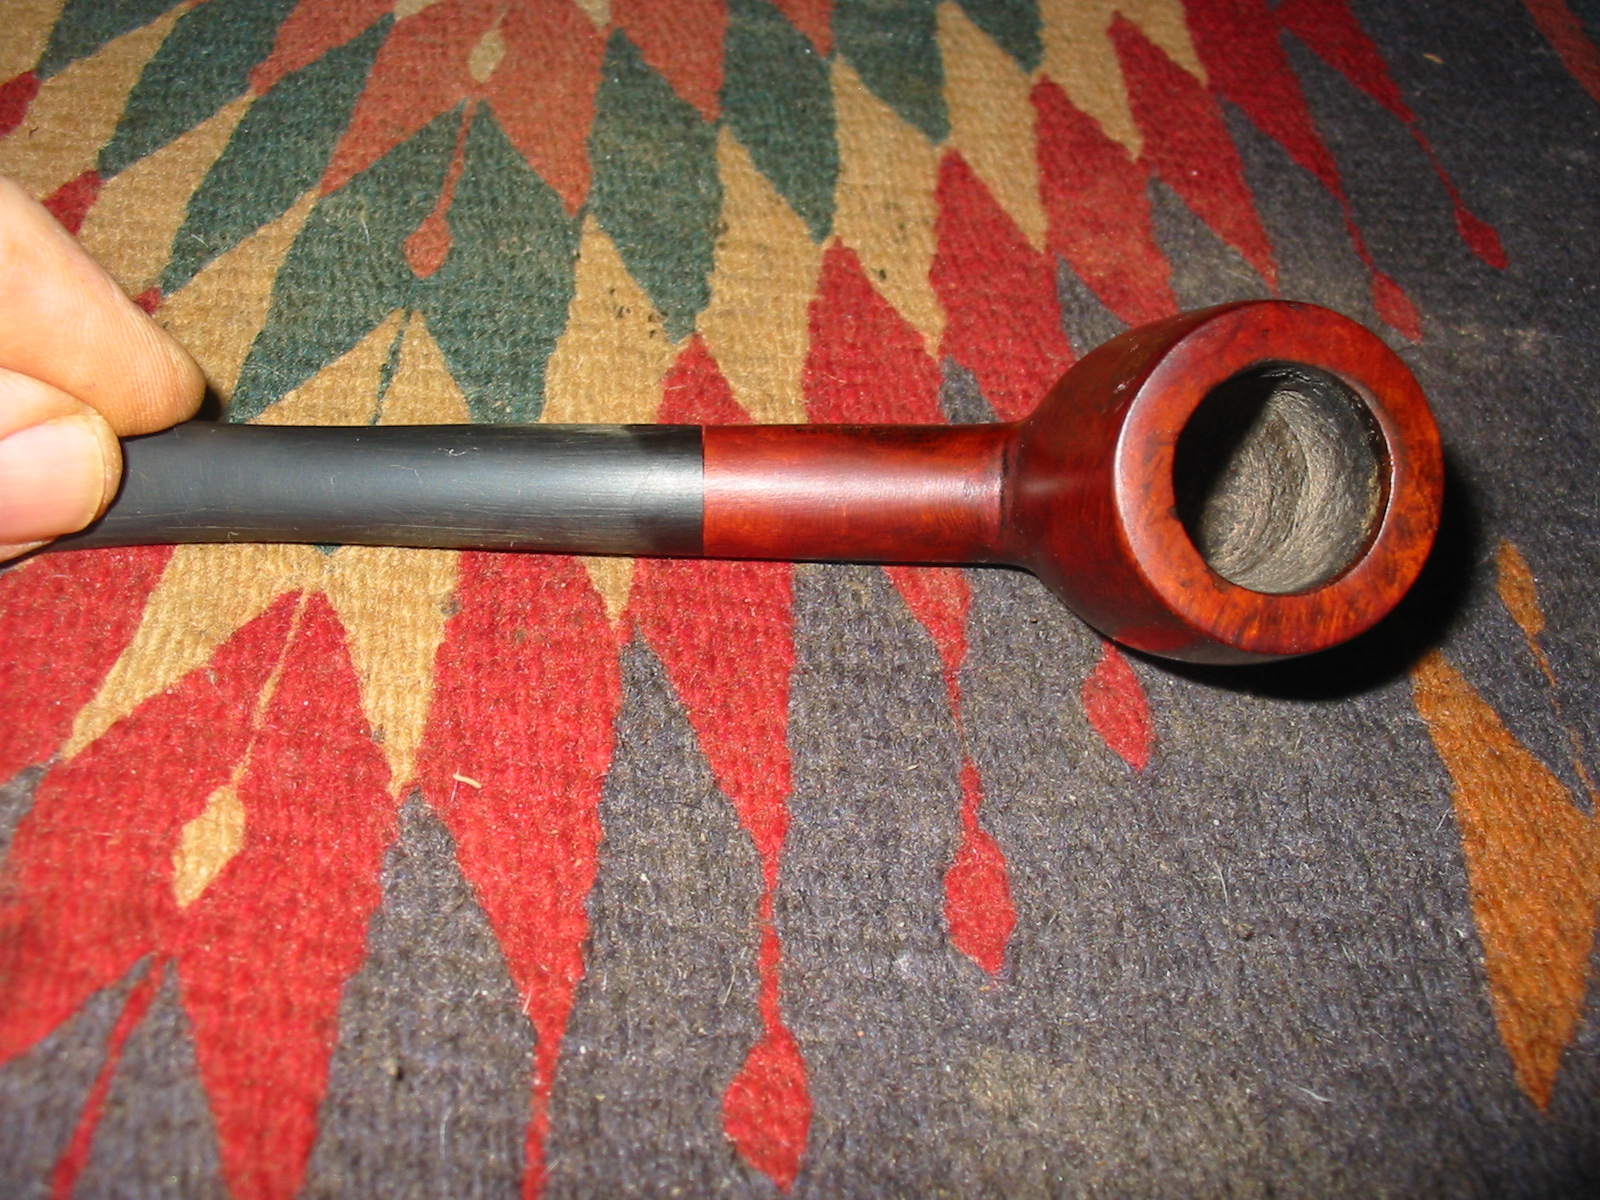
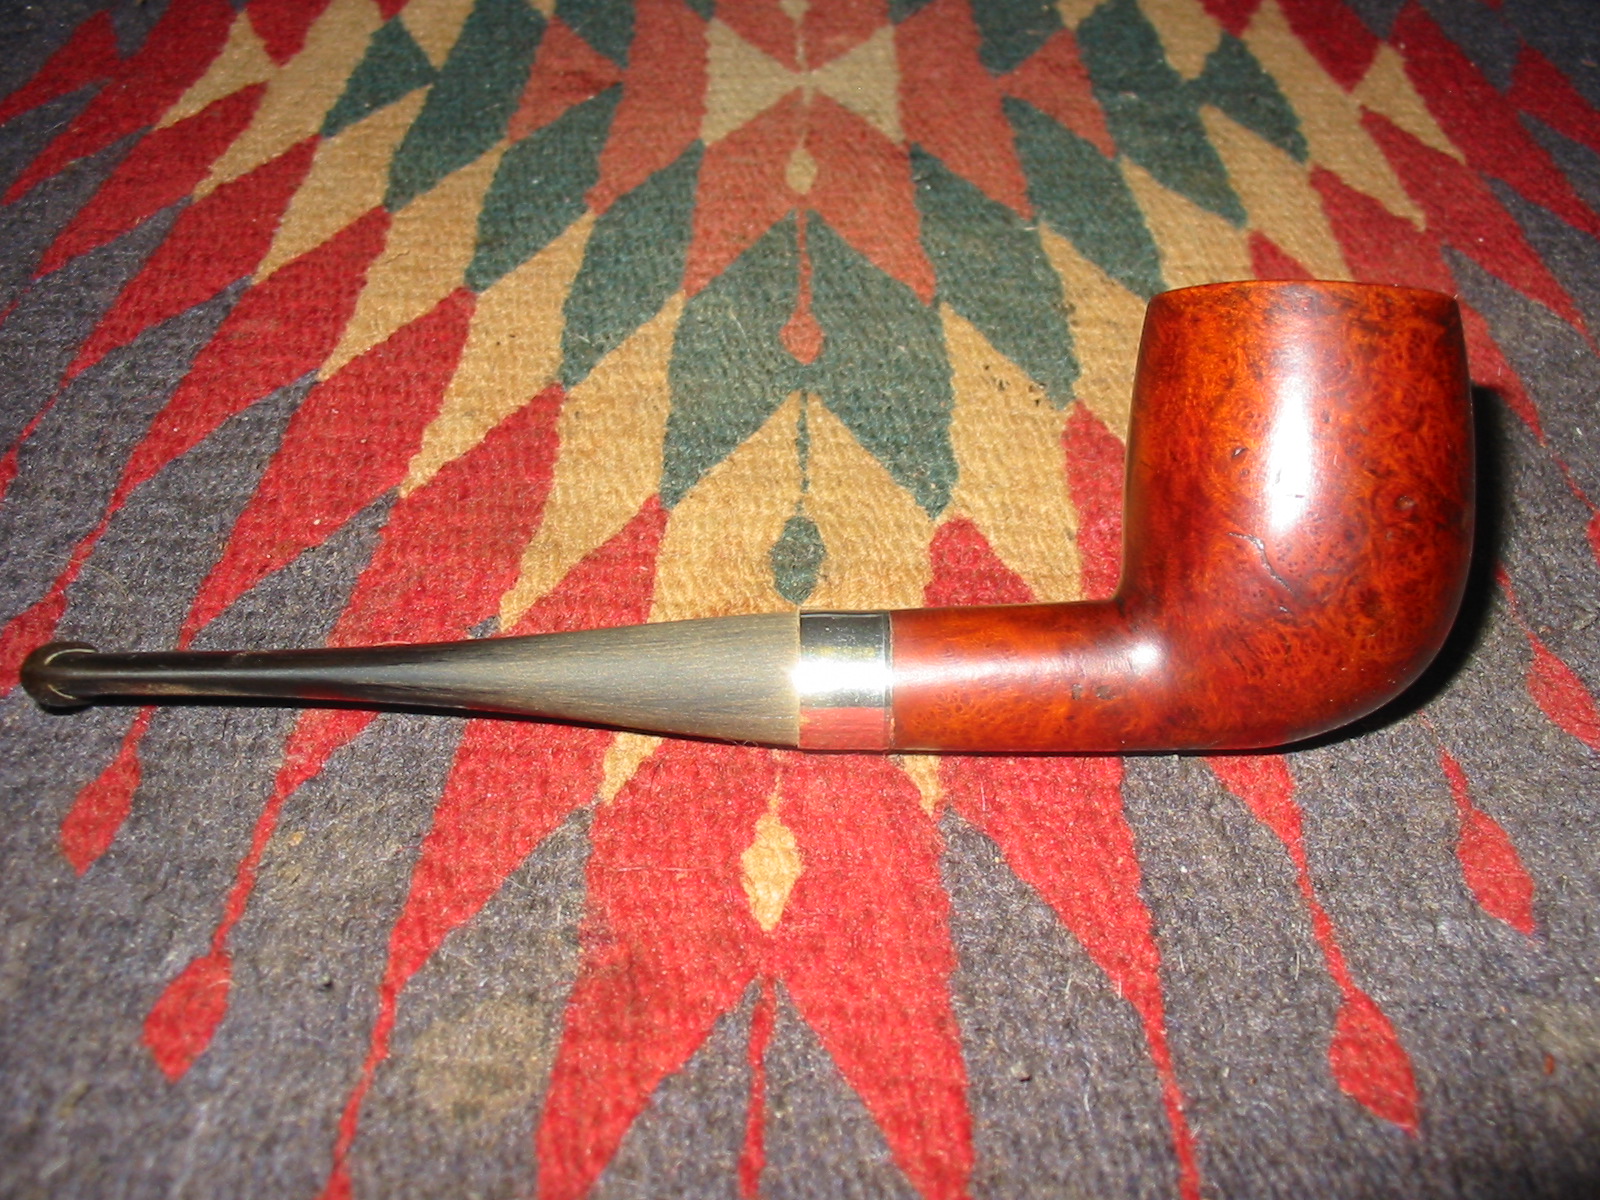
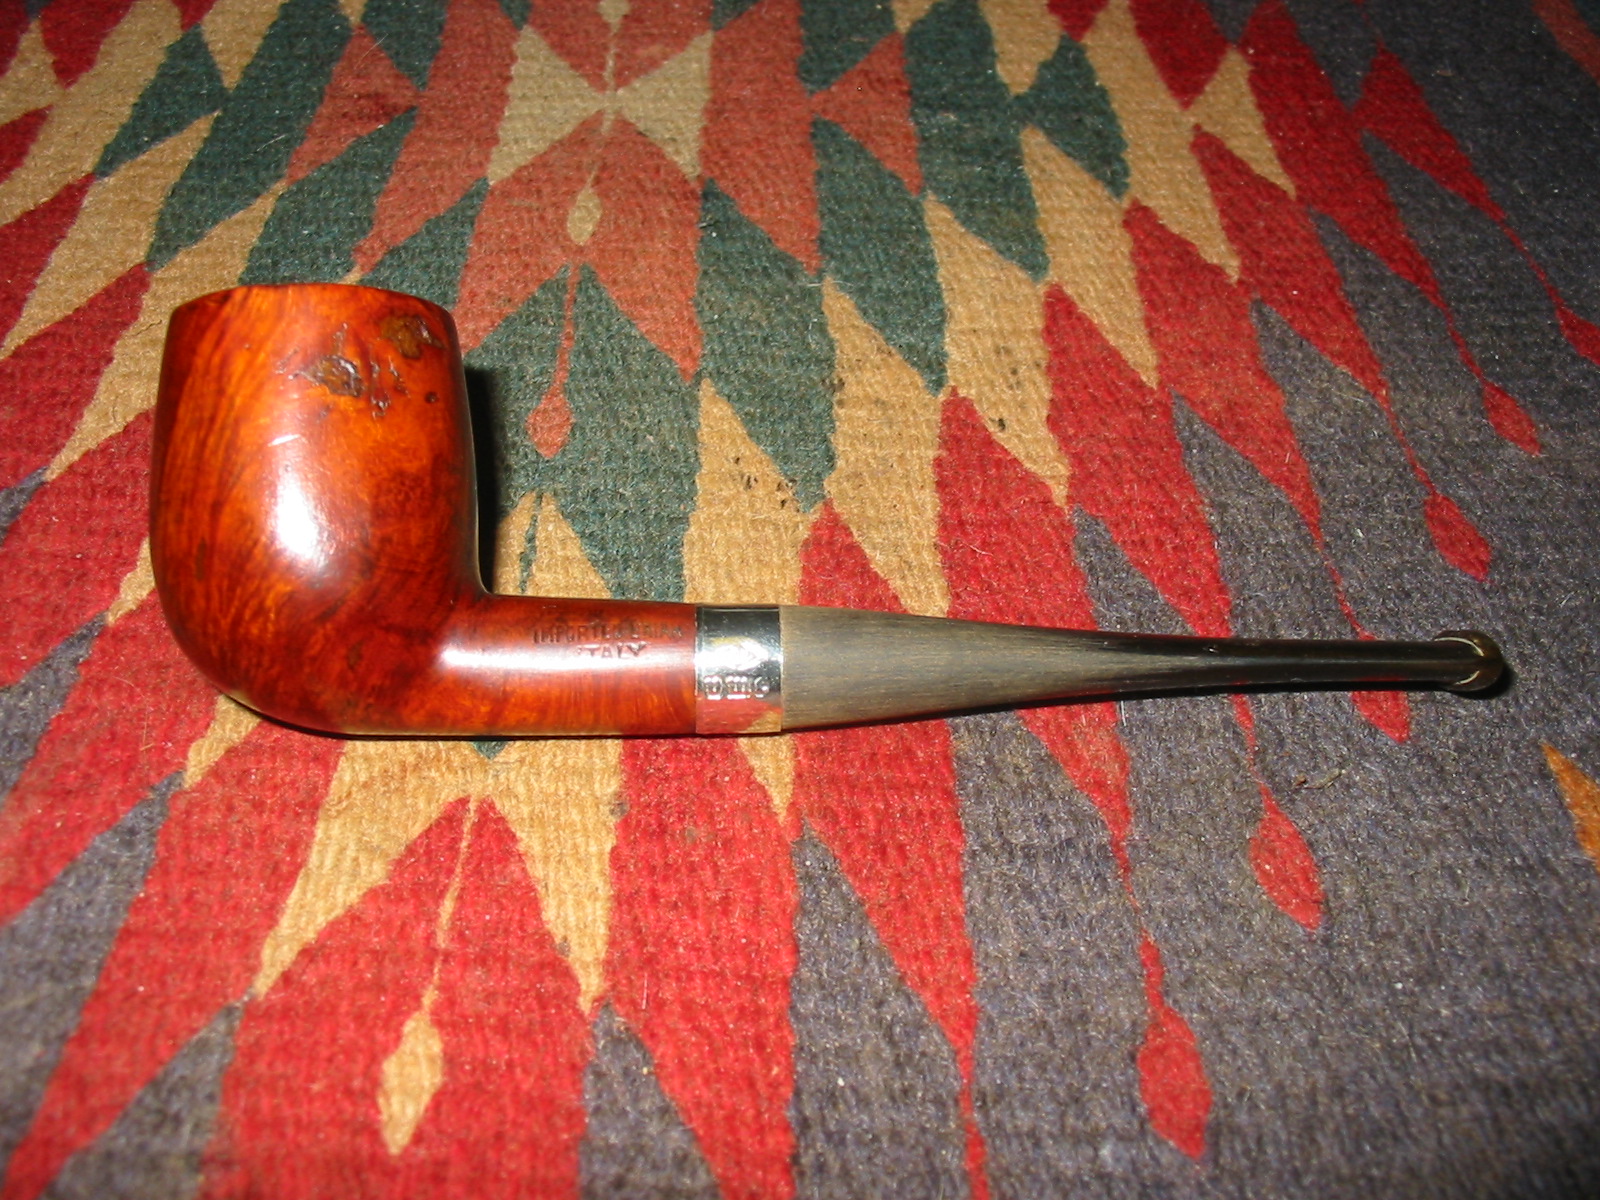
I took the pipe to the buffer and buffed the bowl and stem with White Diamond one more time. It brought a deep rich shine to the bowl and the stem. I then gave the bowl and stem multiple coats of carnauba wax to protect and polish the pipe. The four photos below show the finished pipe. It is ready for someone to load it and fire it up. It should provide a reliable and lightweight pipe for someone’s rack.
IMG_2890

IMG_2891

IMG_2892

IMG_2893

Refurbishing and Restemming an Unsmoked Small Paneled Rhodesian


I am scraping the bottom of the box for pipes to refurbish. It is clear that I am going to have to go on the hunt again soon. At the bottom of the box I have a few small/tiny pipe bowls that have come to me from a variety of sources. I believe this little one came from Mark Domingues as well. It is unsmoked and stemless. The bowl was in pretty fair shape though the finish coat was varnish of some sort. The stain was spotty under the varnish coat. There was one dominant fill on the left side of the bowl on one of the panels. The drilling is a bit of centre in the bottom of the bowl – slightly to the left of centre. The drilling was wide open and the draught on the bowl was very good. The bowl did not have a ring around the top before the bevel to the rim. It was a smooth transition. I have had several of these older Rhodesian and Bulldogs in the past and they generally had horn stems. This one did not have any stamping on it so I have no idea as to the maker. There was also no stem present. I had a smaller nylon stem in my box of stems that took very little work on the tenon to make for a snug fit in the shank.
IMG_2798

IMG_2799

Once the stem fit well in the shank I sanded the shank and stem to get a good smooth transition between stem and shank. I used 220 grit sandpaper to do the rough work and then used a medium grit sanding sponge to clean up the shank and stem. The stem had casting marks on both sides of the stem and also heavy tobacco stains around the button and in the slot. The airway was virtually clogged and I could barely get a straightened paper clip through before I worked on it with Everclear and bristle pipe cleaners.
IMG_2800

IMG_2801

IMG_2802

I decided to sand the stain off the shank and rework the taper on the pipe from button to bowl. I sanded it with 220 grit sandpaper to remove the excess briar and nylon and smooth out the taper. What I wanted was a clean smooth line from button to bowl. The next four photos show the shank and the stem after sanding with the 220 grit sandpaper. The flow is smooth and even and the lines are very graceful. The casting marks are gone from both sides of the stem and the button is cleaned of the majority of the stains.
IMG_2803

IMG_2804

IMG_2805

IMG_2806

I wiped the bowl and shank down with acetone on a cotton pad to remove the varnish finish and some of the stain on the bowl in order to make it easier to match the stain on the newly sanded shank and the bowl. I also sanded the bowl, shank and stem with a fine grit sanding sponge to remove scratches left behind by the sandpaper and to prepare the stem for sanding with micromesh sanding pads.
IMG_2807

IMG_2808

I sanded the entire pipe and stem with micromesh sanding pads. I wet sanded the stem and the bowl with 1500-2400 grit sanding pads and dry sanded the bowl alone with 3200-12,000 grit pads. I did not want to make the briar to smooth to take a good coat of the stain.
IMG_2809

IMG_2810

IMG_2811

IMG_2812

I stained the bowl with a medium brown aniline stain mixed 2 parts stain with 1 part isopropyl alcohol to get the colour I wanted. I was going for more of a wash than a deep coat. I wanted the grain on the shank and bowl to come through the colour. I used a black permanent mark to draw grain marks on the two fills and to make it easier for the stain coat to blend in and hide the putty marks.
IMG_2813

IMG_2814

IMG_2815

IMG_2816

Once the stain was dry I buffed the bowl with White Diamond to give it a shine and then reinserted the stem and lightly buffed the stem with White Diamond as well. The nylon stems take a very soft touch or they are easily damaged. I gave the bowl and stem several coats of carnauba wax to protect them and then lightly buffed the pipe a soft flannel buffing pad. The finished pipe is pictured below. It is not a big pipe in any sense but should be a great flake pipe. The second photo below gives an idea of proportion by the inclusion of my hand with the pipe. The yellow nylon stem approximates the unique colour and look of the horn stem that must have originally graced this little bowl. The stem is thin and the new taper gives a very delicate look to the new pipe.
IMG_2817

IMG_2818

IMG_2820

IMG_2821

Repairing a Burned Through Bowl


Blog by Steve Laug

There are many times I take on the challenge of repairing a pipe totally for the learning experience. When I begin working on it there is nothing of redeeming value in the pipe itself. It is not beautiful or worthy of keeping. Rather it provides a unique learning opportunity for me to work on a skill in my refurbishing hobby. The pipe below is exactly that kind of pipe. Mark Domigues sent it to me along with other bowls when I was working on the shank repair on his old Peterson pipe. It is a no name pipe with a rustication pattern that I did find particularly attractive. In fact I put off working on it as it just did not appeal to me. I can’t tell you how many times I picked the bowl up and carried it to the recycle bin (a bin I used for briar parts) and then carried it back to the “to be refurbished” box.
pipemud1

pipemud2

pipemud3

Finally, Monday the challenge called me. I took the bowl out of my box and looked it over. As I looked at it, the shape kind of grew on me. It is a brandy glass shape and the shank actually has a flare to it as well. The rustication is a bit striated but as I cleaned up the exterior it is a lot like tree bark. The stain is a contrast stain – a black undercoat in the grooves and a brown top coat. It was worn but could be salvaged. The shank stem junction was also worn but a band would clean up that part of the pipe. The interior bowl sides were clean and solid. The rim was in good shape. But the glaring problem is visible in the photo below – a large, ½ inch diameter burnout on the flat bottom of the pipe. The surrounding briar was solid. The burnout was very focused. The burn did not extend into the rest of the bottom of the pipe. In fact the wood around the edges of the hole was clean and solid. There was none of the darkening around edges of the burnout or on the bottom of the bowl. It looked like it might be a great candidate for practicing a repair. I have done one other repair on a burn out which involved inserting a briar plug and this looked like it was another candidate for that repair. The difference in this one was the solidness of the briar around the hole.
pipemud4

As I worked up the chutzpah to tackle this repair I decided to work on the shank. I sanded the shank smooth in preparation for the band. I like to have a smooth surface under the band rather than a rusticated pattern. I find it gives a good smooth fit to the band. I sanded out the rustication to the width of a nickel band. Once it was sanded smooth, I heated a band over a heat gun and then pressed it into place. I liked the finished look of the band.
pipemud5

pipemud6

pipemud7

pipemud8

pipemud9

pipemud10

I am sure that you can tell at this point that I am procrastinating in addressing the main issue of the bowl with all of the other random work on the pipe but that went on a little longer. I found a stem in my stem box that fit the shank quite well. The mortise had originally had a screw in fitment so it was threaded. The threads were well worn so I decided to use a regular style push stem. I sanded the tenon to get a good tight fit on the stem and then sanded the stem to get a good fit against the shank and band. The slight bend in the stem looked good but it was a bit crooked so I would address that issue later. The finished look of the stem and band with the bowl was quite nice…maybe there was something redeemable about the bowl after all.
pipemud11

pipemud12

I have a few pieces of scrap briar that I have scavenged from pipe maker friends that I had put away for this kind of repair. So I found one that had enough briar left that I could carve it into a plug for the bottom of the bowl. I trimmed it with a hack saw to reduce the size of the plug.
pipemud13

In the first photo below you can see what the hole looked like after I had cleaned it up with a pick and Everclear. I had also reamed the inside of the bowl to remove all of the cake from the sides and the bottom of the bowl. The second photo shows the hole after I had drilled it out. I used a cordless drill with a ½ inch drill bit to round out the damage area and remove any further damage around the burnout. I chose the ½ inch bit as that was the diameter of the hole at the widest part of the hole.
pipemud14

pipemud15

I shaped the briar plug with a Dremel and sanding drum. The next series of photos show the progress of the shaping. I took the rough briar from a wedge to a circular plug and then shortened it to a round plug. I shaped a cap on the plug to the inner diameter of the bowl. Also originally I envisioned pushing the plug through from the inside of the bowl and then cutting off the portion that extended beyond the bottom of the bowl. I would then redrill the airway to finish the repair.
pipemud16

pipemud17

pipemud18

pipemud19

I continued to reduce the diameter of the plug until it was the same size as the hole in the bowl. The inside bowl bottom was hard to match with the cap of the plug. I continued to shape it until it was cup shaped. It seemed no matter how I shaped it however, it would not fit in the bowl bottom as the burnout was not centered in the bowl bottom. It was toward the front of the bowl bottom. I finally decided to use a different tact. I would forgo inserting it from the inside and go the other direction. I would insert it from the outside in. I measured the thickness of the bowl bottom (which was actually in good shape other than the burned portion). I then shortened the plug until it was relatively flush with the bottom of the airway. I coated the plug with superglue gel which gives me a bit more time before it sets and pushed it into the drilled hole. I pressed it against the table top to get the plug in place solidly.
pipemud20

pipemud21

Once the glue set I sanded away the excess briar with a Dremel to match the surface of the bowl. I was not worried about the rustication as I would duplicate that after I finished working the plug into place. The next two photos show the plug and the bowl surface are smooth and the plug is tightly in place.
pipemud22

pipemud23

The next photo shows the interior of the bowl. The plug is even with the entrance of the airway. There is difference in bowl depth around the left edge. I plan to give the bottom of the bowl a thick coating of pipe mud to both protect the new plug and to even out the slight trough on the left front edge of the plug.
pipemud24

I rusticated the bottom of the bowl with the Dremel to match the tree bark look of the rustication on the bowl (Photo 1 below). I stained it with a dark brown aniline stain and then also gave the bottom of the bowl a second coat with black stain to emulate the effect of the stain coat on the rest of the bowl (Photos 2 and 3 below).
pipemud25

pipemud26

pipemud27

I stained the rest of the bowl with the dark brown stain to freshen it up and blend in the stain on the bottom of the bowl. I buffed it with red Tripoli and White Diamond to raise a shine and then gave it several coats of carnauba wax on the buffer. The finished exterior is visible in the first close up below and the following four photos of the pipe.
pipemud28

pipemud29

pipemud30

pipemud31

pipemud32

With the repair finished on the exterior of the pipe I worked on the stem. I sanded it with 220 grit sandpaper and then with a medium grit sanding sponge to clean up the oxidation and scratches on the vulcanite. I heated the stem with a heat gun to straighten it and then rebent it over a rolling-pin to give it a slight bend. I set the bend under cool water and then gave the stem a quick buff with Tripoli before taking it back to the work table to further sand the stem.
pipemud33

pipemud34

I continued to sand the stem with micromesh sanding pads from 1500-12,000 grit to bring a shine to the vulcanite. I wet sanded with 1500-2400 grit pads and dry sanded with 3200-12,000 grit sanding pads. When I finished sanding with the pads I rubbed the stem down with Obsidian Oil and let it dry then buffed it with White Diamond and gave it multiple coats of carnauba wax.
pipemud35

pipemud36

pipemud37

pipemud38

pipemud39

pipemud40

pipemud41

With the externals repaired and finished it was time to make up some pipe mud to coat the bottom of the bowl and give a protective coat over the bowl plug. I sacrificed a nice little Cohiba Cuban cigar for the purpose of making the mud of the ash. When the cigar was finished I had a nice bowl of clean ash.
pipemud42

I mixed the ash with a small amount of water to make a paste. I inserted a pipe cleaner into the airway and then applied it to the bottom of the bowl, tamping it into the crevices around the plug and building up the bowl bottom. As the pipe mud dried I added additional layers of mud to the bottom of the bowl and around the lower sides of the bowl. The next series of three photos show the progressive build up of the mud in the bottom of the bowl.
pipemud43

pipemud44

pipemud45

When the mud had dried to touch I buffed the pipe a final time with White Diamond and then gave the entire pipe several coats of carnauba wax to protect and give it a shine. I then used a clean flannel buff for the final buffing. The restored pipe is pictured below. I will let the pipe mud cure and harden for a few days before loading up the pipe and smoking the inaugural bowl.
pipemud46

pipemud47

pipemud48

pipemud49

Pipe Time: A discourse on pipe smoking & the question of time – Eric Boehm


I want to take this time to thank Eric Boehm for his contributions to the rebornpipes blog. I am posting this contemplative piece written by Eric some time ago for your reading pleasure. It is great to have some of the pieces that Eric has written available for each of us to read and enjoy. Thanks again Eric.

time-warp I’ve often wondered what makes pipe smoking special. Why writers, thinkers, contemplatives and philosophers advocated so strongly for the pipe. Was it simply Lady Nicotine calling or was there something deeper in the act of smoking a pipe?

Physicists tell us that the fourth dimension (after the three coordinate spatial dimensions of x, y & z) is time. Man’s preoccupation with time is all-consuming and dominates center stage of the human experience. Work, money, science, religion, war – indeed, human history itself – all share time as the central paradigm. Einstein and modern physics are obsessed with time. Time cognition or time awareness in humans therefore is central to the human condition. Therefore, any substance or human activity that alters our perception of time is of great interest. In my opinion, the ability to alter the perceived rate of time as experienced by pipe smokers is perhaps the true gift given from the New World Amerindian to the Old World European.

The consumption of tobacco in a pipe, being a protracted affair, forces you to stop normal activities related to work and play. And during this temporary cessation of daily activity, one is afforded the opportunity to look towards the horizon, ponder, and think on the larger picture. In this sense, protracted tobacco consumption in a pipe allows one to slow down – to cheat time in a sense.

This ability to slow time perception also is related to life span, I believe. In that animals and plants with longer life spans grow slower. If we measure animal life span by heartbeats, we realize that both the elephant and the mouse have the same number of heartbeats – about a billion and a half. It’s just that there is a greater interval of time between the beats in an elephant (28 beats/min.) with a corresponding lengthening of its life span as compared to the mouse (500/min.).
Doctors tell us a slower resting heart rate is the key to a longer life. It’s counter-intuitive that exercise which temporarily elevates the heart rate, in fact helps to lower the overall heart rate when the body is at rest, between exercise events, thus extending life. Of course time doesn’t really stop in the objective sense because of tobacco. But to the pipe smoker it seems to, in the subjective sense. And perhaps that’s all that really matters.

Doctors tell us anything that increases the distance between heart beats – anything that slows down the resting heart rate – lengthens life. Maybe when Ponce de León was searching for the Fountain of Youth in Florida in the early 1500s, he didn’t realize he had the gift of life in hand already. It was called tobacco. The Indians smoking on the sidelines already knew this.

Pipe smoking eases you into the present moment – savor your pipe & you’ll savor your life.

Restemmed and Restored Imported Genuine Briar Billiard


This is another bowl from my refurbishing box. It is stamped Imported in an arc over Genuine Briar on the left side of the shank. The finish was varnished and dirty. I intended on stripping it so when I restemmed it I block sanded the stem fit. I had an old Erhlich stem that fit very well and gave the pipe a nice line. The rim had a strange rustication pattern on it that did not match the carvings on the front of the bowl. It was tarred and the varnish coat had bubbled on it. So I decided I was going to top it and give the bowl a smooth rim to match the smooth portions of the bowl. I sanded the shank and stem junction to make sure that the transition was smooth. I sanded with 220 grit sandpaper, a medium grit sanding sponge and then a medium grit sanding block.
IMG_2714

IMG_2715

IMG_2716

IMG_2717

I reamed the bowl with a PipNet reamer and cleaned out the old stem and the shank with cotton swabs and pipe cleaners dipped in Everclear. I cleaned it until both came out white. I then continued to sand the union of the stem and shank with the 220 grit sandpaper until the transition was very smooth. I was careful around the stamping as I wanted to leave that intact and clear. Some nice grain began to come out once I had the finish removed at the junction. It bode well for what would be under the varnish coat once I stripped that away.
IMG_2718

IMG_2719

IMG_2720

IMG_2721

I used my usual method for topping the bowl – a piece of 220 grit sandpaper on a board and twisted the bowl rim into the sandpaper being careful to keep the rim flat against the board. I kept sanding until all of the carved grooves on the rim were gone and the rim was smooth. I also sanded the rim with a medium grit sanding sponge and then a medium grit sanding block to smooth out the scratches left by the 220 grit sandpaper. I finished the rim sanding with 1500-2400 grit micromesh sanding pads in preparation for the new stain coat.
IMG_2722

IMG_2723

I wiped the bowl and shank down with acetone on a cotton pad to remove the varnish coat and as much of the stain as possible so that blending the stain on the sanded areas into the overall finish would be simpler.
IMG_2727

IMG_2728

IMG_2729

With the finish removed I restained the bowl with a medium walnut stain in a linseed oil mixture. I think it was Mark who asked in a comment on the Dr. Grabow Royal Duke write up why I did not use the aniline stains on the past few pipe restorations. The answer is quite simply that I am out of brown aniline stain so I have been using this walnut stain until I can get time to replenish my supplies. I used cotton pads to apply the stain to the bowl and wiped it down until it was an even colour on the pipe. I repeated the process until it met my expectations. When it had dried I took it to the buffer and buffed the bowl and rim with White Diamond.
IMG_2734

IMG_2735

IMG_2736

IMG_2737

I then worked on the stem with micromesh sanding pads. I wet sanded with the 1500-2400 grit sanding pads and then dry sanded with 3200-12,000 grit pads. Each of the photos below shows the progressive shine to the vulcanite becoming more pronounced.
IMG_2738

IMG_2739

IMG_2740

With the bowl finished and the stem polished I took the pipe to the buffer and buffed it with White Diamond and then gave it multiple coats of carnauba wax. I finished by buffing it with a clean flannel buff. The finished pipe is pictured below. The colour on the rim appears lighter than the bowl in the photos. In real life it is a good match. The new look of the pipe is much better than the original in my opinion. This one should make someone a great smoking pipe in the future. The stem is a comfortable one and the light weight of the briar will make it a good yard pipe.
IMG_2741

IMG_2742

IMG_2743

IMG_2744

Restemmed Dr. Grabow Royal Duke Billiard


Blog by Steve Laug

I am getting close to the bottom of the box of pipes to refurbish so I pulled out this Dr. Grabow bowl to restem and to refinish. It is stamped Royal Duke over Dr. Grabow on the left side of the shank and Imported Briar on the right side. I like taking the sealer coat of varnish off of these old Grabows and seeing what they look like refinished. I reamed the bowl with the PipNet reamer and cutting heads. I found a stem blank in my box and turned the tenon with a Pimo Tenon Turning Tool until it was close and then finnished the fit by hand. I ran a Dremel with a sanding drum on it down the sides where the overflow from the casting of the stem blanks left the sides and end rough. The next six photos show the fit of the new stem and the look of the pipe with its new stem.
IMG_2685

IMG_2686

IMG_2687

IMG_2688

IMG_2689

IMG_2690

I wiped the bowl down with acetone to remove the finish (photos 1-3 below). I then sanded the smooth surface of the bowl with a medium grit sanding sponge to break up the varnish finish on the rim and sides. I then wiped it down with acetone a second time and was more successful removing the varnish coat (photos 4-9 below). As can be seen from the progress of the photos the finish came off nicely and the rim darkening and bubbled varnish was also removed.
IMG_2691

IMG_2692

IMG_2693

IMG_2694

IMG_2695

IMG_2696

IMG_2697

IMG_2698

IMG_2699

I decided to stain the pipe with a medium walnut stain in a linseed oil mixture. I rubbed it on the bowl and rubbed it off until the colour was solid and even over the bowl. The next series of three photos show the freshly stained bowl of the pipe. I was able to get into the grooves of the rustication with the cotton pads dipped in stain so that all surfaces were covered.
IMG_2700

IMG_2701

IMG_2702

I rubbed off the stain and took the pipe to the buffer. I buffed it with White Diamond to polish the surface of the bowl and rim. The fibres from the pad also polished the grooves of the rustication as well. I put the stem back on the bowl and sanded it down with 220 grit sandpaper and a medium grit sanding sponge to remove the scratches left behind by the Dremel. I particularly worked on the shank stem union to make sure it was a smooth transition. I sanded the stem with micromesh sanding pads. I wet sanded with 1500-2400 grit and dry sanded with 3200-12,000 grit sanding pads. The progress of the sanding with micromesh pads is visible in the next series of three photos below. When I finished sanding the stem I wiped it down with Obsidian Oil and let it dry. I rubbed it down and buffed it with White Diamond on the buffing wheel.
IMG_2703

IMG_2704

IMG_2705

The finished pipe is pictured below. I buffed the pipe with multiple coats of carnauba wax and then polished it with a clean flannel buff. This old timer is ready to go back into service and will be a nice addition to someone’s pipe rack.
IMG_2706

IMG_2707

IMG_2712

IMG_2713

Kaywoodie 5183B – 75 Year Old Briar


By Al Jones

I love the tapered Rhodesian shape and have been keeping an eye out for a Kaywoodie 5183B. The four digit Kaywoodies with “Drinkless” stamped stingers were made in the 1930’s.

I found this one on Ebay last week. It was sold by Dave Whitney. Dave is the contributor to “The Pipe Collector” (NASPC newsletter) and has written a book on estate pipe restoration called “Old Briar”.

Dave has this pipe listed as being made in 1938. From my research, and comments from other collectors, it seems a 1937-1938 is correct. The pipe is stamped “Imported Briar”.

The pipe was in overall excellent condition. Dave tells he found it in a box lot and the tobacco chamber was completely with cake build-up. The screw-in stem has the four-hole stinger intact. The beading on the bowl is degraded somewhat. There was one dent on the bowl top, which had colored darker than the rest of the briar. I was able to steam that dent out. I heat the tip of an old kitchen knife (OK, don’t tell my wife, it’s not that old..) with a propane torch and use a wet piece of cotton cloth. I double the cloth over as not to scorch the wood. The steam generated by the wet cloth causes the wood to rise to its original position. After the wood has been steamed, I buff the area with white diamond to bring back the shine and then with several coats of carnuba wax to protect it.

Kaywoodie_5138B (3)

Kaywoodie_5138B (2)

Here are some other pictures of the pipe. This is my first vintage Kaywoodie (I have a 2005 POY Rhodesian) and only “stinger” pipe in my collection. I smoked it today and found it smokes quite well. The bowl requires a light pack and the draw doesn’t feel restricted in any way. It does seem to like a slow puffing cadence. This is a rather large pipe, weighing approximately 60 grams and very close in size to the GBD 9438

Kaywoodie_5138B (4)

Kaywoodie_5138B (7)

Kaywoodie_5138B (6)

Kaywoodie_5138B (5)

Kaywoodie_5138B (8)

Kaywoodie_5183B_Ebay4

A Review – A Cody Huey Moustache Man Pipe Tamper


Blog by Steve Laug

A few days ago during my lunch break I was glancing through my twitter feeds and came across a tweet by Cody Huey showing some tampers that he had carved that looked a lot like Tiki carvings. I was intrigued with his work and had not heard of him before so I tweeted him and asked the cost. He responded quickly with gracious thanks and sent me a link to his website and store. I scrolled through his tampers that were up for sale and placed an order for a new tamper. Here is a link to his website if you are interested in his work http://codyhuey.com/

tamper1

I am always interested in learning about the artisan that I am buying from so I read through his website with interest. I spent some time on the page where he wrote about his carving and his life. The part where he wrote about the connection to his granddad and his carving was fascinating to me. It seemed like he was truly continuing the family tradition. I have included his words and a picture of the two of them from his site below to give you an idea of the carver.

20130326-101255

“I started carving right after hurricane Ike. We were without power for 14 days so I had to find something to keep me occupied. I would carve fish, shamrocks, and hearts. My grandfather was a avid wood worker. I can remember him making me rubber band guns and yo-yos when I was just a youngster. He was always cutting pieces of wood and making beautiful things out of it. He made shelves, stools, and things like that. I was working on a Texas Star for him just before he passed away. After his passing I put it down for a couple of years. I have now finished it and it is in my shop. The mustache men came from me wanting to carve something a little more detailed. At the same time I was just getting back into pipe smoking and found that the faces I was carving fit perfectly into my pipe as a tamper. After talking to my dad and showing him some of my work he said that I have the talent of my grandfather but with a lot more creativity. I really enjoy carving because it is a way for me to relax and still feel somewhat connected to my PaPa.”

The picture below is one I copied from Twitter. It shows some of the tampers that he has carved – his daughter calls them the moustache men. There is a rustic and interesting quality to each of them that makes them unique.
tampers

My tamper arrived yesterday and I have to say Cody packs a great package. He included a note card with a sketch of a Samurai tamper! It is very unique looking. He also included a handful of Werther’s Original Coffee flavoured toffees. He had no idea that those are one of my favourites. I then removed the well wrapped tamper to see which one he had sent me. I peeled off the wrapping and it revealed that he had sent the tamper on the far right in the above photo.
IMG_2682

Through Twitter I asked him to include some information regarding the wood he used in these tampers. Cody sent along the following information. “Each tamper is hand carved out of Pecan trimmings. Each one is a little different depending on how the Pecan limb is. They are carved, lightly oiled and buffed with carnauba wax.”

I could not be happier with my tamper. It fits well in my hand. The wood is gently curved with a slight notch below the moustache that fits perfectly against my finger when I holding it to tamp my pipe. The carving is well executed and is kind Cody’s take on Tiki carvings. The tamper is cleaned of the bark and then carved. The majority of the tamper is the clean yellowish wood that has been smoothed after carving. Cody left the layer under the bark on the last ¾ inches or so of the tamper at the bottom edge. It thus has the dark colour in the area that will spend its time in the bowl of my pipe. I think this is an ingenious idea as on my other wooden tampers this part darkens quickly due to the ash and tars of the burning tobacco.
IMG_2684

IMG_2683

Those who read this review have a look at Cody’s site and join me in enjoying these uniquely carved tampers. I know that you will not be disappointed.

Thank you Cody for a well made tamper with individualized and unique carving, nicely done! Your craftsmanship is evident in the finished product. Thank you for the nicely done finish on the piece and the well packed shipping. It came promptly through the mails without any problems. The card and the candies was a nice touch. I will enjoy this tamper for a long time to come. Glad to have been your first international order.

Restoring an Older GFB Three Star Horn Stem Bent Bulldog


Blog by Steve Laug

The pipe below is one I bought off EBay because it looked like a challenge, that and the fact that it was another GFB pipe. This is the third GFB that I have in my collection. I love the way they feel in the hand and the elegant look of the curves and angles they have. I went back and reread my previous two posts on the GFB pipes I had refurbished to remind myself of their history. There I described the process of hunting down information on the brand. I summarize that here for those may not have read the other two posts. (https://rebornpipes.wordpress.com/2013/06/07/restemming-and-reclaiming-an-older-unsmoked-gfb-briar-calabash/ , https://rebornpipes.wordpress.com/2013/04/01/restoring-a-gfb-bent-billiard-another-reclamation-project/)

The first thing I found was information that the GFB brand was an older French Trademark and that it came from Saint Claude, France. A more focused search for GFB French Briar Pipes led to information that the stamping GFB stood for Great French Briar – something about that did not seem right to me so I continued to look and finally came across the following advertisement from a Sears Catalogue. It shows a full page of GFB pipes and the header says GENUINE FRENCH BRIAR. That made much more sense to me, and all three of my GFB pipes match the pipes in the catalogue. It was good to be reminded of the old brand. I am pretty sure that all three of my GFB pipes come from either the late 1890’s or the early 1900’s.
genuine-french-briar-pipes-on-parade

This third pipe was a charmer to me. When I saw the photos I decided I would bid to win it. The elegance of the old pipe caught me. The bowl appeared to be in good shape and it had a horn stem. The striations and colour of the stem was beautiful even in its oxidized state. The three photos below were included in the EBay sale. The third photo shows the underside of the stem and the damage to the underside near the button. It looked to be more than tooth marks or chewing. It actually looked like “worm” damage. From the photos it appeared to be localized to that part of the stem and was worth a chance. Worst case scenario, I would sacrifice the stem and restem the old pipe with a vulcanite stem.
GFB1

GFB2

GFB3

I find that photographing stem damage is difficult and my photos can be out of focus. But I now have a tripod to help with the clarity of the photos (did not get it until after I had started the repairs on this stem. Ah well sorry about the clarity of some of these). When the pipe arrived I took it apart and examined the holes on the end of the stem. Under the lens it was clear that it was not a worm hole at all. Rather it had been bitten and the stem had crumbled in that area. It did not go through into the airway so I think that the previous owner had scraped out the crumbled area of the horn stem for cleanliness and just kept smoking it. That was encouraging to me as it meant that I could repair and not worry about an old “worm” somewhere in the horn stem chewing his way out later! The next two photos show the extent of the damage to the area
GFB4

I cleaned out the open area with cotton swabs and Everclear, careful to not use too much of the alcohol on the horn stem. Once it was clean of debris and dust I decided to fill the area with a superglue gel rather than the usual liquid superglue I generally use (Photo 1). My thinking was that the gel would sit better in the large area without running all over the stem. There were also nicks on the sharp edges near the shank that I also repaired with the superglue gel (Photo 2). I layered the glue into the hole to build it up gradually (Photo 3) as each previous layer dried.
GFB5

GFB6

GFB7

Once the glued cured over night I sanded the area with medium grit emery paper to remove the high spots and smooth out the surface (Photo 1). I refilled the low areas on the fill to further level out the area. There was also a deep nick on the sharp edge of the shank. I cleaned that out and used the superglue to fill that as well. It would dry black but with the staining of the bowl that could be minimized and I wanted it smooth to the touch rather than the sharp cut of the nick that was previously present (Photo 2).
GFB8

GFB10

With everything glued I set the bowl and stem aside and went to work for the day. I would work on the patched areas when I returned home in the evening.

When I returned in the evening, the patches were dry and the pipe was ready to be worked on. I reamed the bowl with the PipNet reamer. On this particular pipe the bowl was conical so it took three different cutting heads on the T handle to ream the bowl to the bottom. With down I cleaned the bowl, shank and stem with Everclear, pipe cleaners and cotton swabs. I wanted the pipe cleaned out before I worked on the exterior.
GFB11

GFB15

The next two photos show the stem after the patches had hardened. Though the photos are a bit blurry, the shininess of the spots where the superglue patches were applied is very clearly visible. Those areas would need to be sanded smooth to match the surface of the surrounding horn.
GFB12

GFB13

I sanded the patch on the shank of the pipe with 220 grit sandpaper and also medium grit sanding sponge to remove the excess glue from the patch. Then I wiped the bowl down with Everclear on a cotton pad. I decided not to use acetone as the stamping on the shank was filled with a gold paint and was still visible. I did not want to damage that stamping. I carefully worked the Everclear around the stamping so as not to get any in the grooves of the stars and GFB stamp.
GFB14

GFB16

GFB17

GFB18

I sanded the patch on the stem with 220 grit sandpaper and then a medium grit sanding sponge to smooth out the patch. I continued to sand it with the micromesh sanding pads. I wet sanded with 1500-2400 grit and dry sanded with the remaining grits up to 12,000.
IMG_2645

GFB19

I buffed the stem with White Diamond on the buffer and the finished stem is shown below. The patch still shows some small holes that need to be repaired with superglue. The sanding and polishing made them very apparent in the first photo below. The patch at the sharp edge near the shank came out very well and is invisible. The horn of the rest of the stem has a deep sheen to it after all the sanding and polishing.
GFB20

GFB21

I unscrewed the stem and set it aside while I stained the bowl. I used a medium walnut stain mixed with linseed oil to stain this pipe. The colour is a rich brown with a slight red in certain lights. It matches the colour of the other GFB pipes that are in my collection. I buffed the bowl with White Diamond on the buffing wheel. Then I gave it a coat of carnauba wax and set it aside to work some more on the stem.
GFB22

GFB23

GFB24

GFB25

I was not completely satisfied with the stem patch so I sanded it next to the button some more and cleaned it out. I put some more of the superglue in the low spots and set it aside to cure while I went to work for the day.
GFB26

GFB27

When I returned the glue was hard and the patch a solid bubble on the surface of the stem. I sanded it with the medium grit emery paper and then 220 grit sandpaper to remove the over fill. I always over fill the spots as the glue shrinks as it dries. I have learned that it is easier to remove the excess than to continue to fill and sand repeatedly. I sanded it with a medium grit sanding sponge and then went through the grits of micromesh sanding pads again from 1500-12,000 grit. When I had finished I rubbed the stem down with Obsidian Oil and set it aside to absorb. Once done I buffed it on the wheel with multiple coats of carnauba wax.
GFB28

After buffing and polishing the horn stem I buffed the entire pipe with White Diamond on the buffing wheel to polish it then gave it multiple coats of carnauba wax to restore and preserve the shine on the horn and the briar. The finished pipe is back to usable with the stem patch taking care of the deep holes that were previously in the stem. The striated horn stem looks like new and the colouration of the horn goes amazingly well with the medium brown walnut stain. Other than the slightly visible patch the pipe looks like new. I intend to enjoy a bowl of some aged tobacco in a pipe that is far older than I am. I look forward to the day when I pass it on in trust to the next pipeman who will care for and cherish it. Sentimental? I don’t think so, just a realist who knows that this pipe has lived and will live longer than I.
GFB29

GFB30

GFB31

GFB32

Restemming and Refurbishing an Arlington Imported Briar Pot


Blog by Steve Laug

I have a box with a few pipe bowls in it that need restemming. When I get low on pipes for refurbishing I take one of these bowls and restem it. Generally they are not even midrange pipes. Rather they are an odd assortment of no name bowls or low end bowls that I have picked up along the way somewhere. Each of these provides me with something to practice on in terms of staining, bowl topping, repairing fills, rustication or restemming. The one I worked on last evening is stamped Arlington over Imported Briar on the left side of the shank and no other numbers. The bowl was dirty and tarred with a thick and crumbly cake. The rim was tarred and dented but no roughening from hitting against something. The shank was full of tars and even a few cobwebs. The rustication was deep on the bowl toward the bottom at the bowl shank junction. The finish was gone and the briar was dirty.

There is not much information available on the brand. A search on Google did not turn up much other than some information from Pipedia. The Brooklyn, New York Company known as Arlington Briar Pipe Corporation mainly operated as a sub-contractor for other brands. Jobey pipes are said to be made by Arlington at an unknown point of time. Arlington’s own pipes are seldom seen. The article also included the following advertisement from the RTDA Catalogue.
Arlington_01

I used the PIMO tenon turning tool to fit a tenon on a stem blank that I had in my can of stems. I fine-tuned the fit with sand paper until it fit well.I took the next series of four photos to show the state of the pipe before I worked on it.
IMG_2597

IMG_2598

IMG_2599

IMG_2600

I cleaned the inside of the shank and bowl with cotton swabs and pipe cleaners dipped in Everclear. The alcohol removed the grime from the shank. I reamed the bowl with a PipNet reamer. The bowl is quite large – so I used the largest cutting head on the reamer. I wiped down the tars on the rim with alcohol wetted cotton pads to clean off the buildup as much as possible.
IMG_2602

To clean up the rim damage I lightly topped the bowl with a medium grit sanding block. I also sanded the burn spot on the side of the shank to try to minimize it and see how deeply the damage went. It was still hard and not too badly damaged but to remove it I would change the profile of the shank so I left it as a character mark.
IMG_2603

IMG_2604

After topping the bowl I wiped the entirety down with acetone on a cotton pad. I wanted to remove as much of the remaining finish as possible to make a match between the rim and the rest of bowl easier to achieve.
IMG_2605

I then sanded the stem to bring the diameter to match the shank. I also wanted to remove the entire casting overflow on the sides and the end of the stem. I used a Dremel with a sanding drum to remove the initial excess and to bring the diameter close to that of the shank. Then I used 220 grit sandpaper to finish the fitting. I cleaned up the scratches left behind by the sandpaper with a medium grit sanding sponge and then finally used a sanding block to sand the shank and stem to good smooth fit and flow. The next seven photos show the progress to a proper fit of the new stem.
IMG_2606

IMG_2607

IMG_2608

IMG_2609

IMG_2610

IMG_2611

IMG_2612

I stained the bowl with a medium walnut stain in a linseed oil base. I rubbed it on the bowl with a cotton pad and then wiped it off with a soft cloth. I reapplied the stain until I had good coverage to the bowl. The bowl has some great grain in places and the deep grooves looked good with the new stain coat. Once the stain was dry to touch I buffed it on the wheel with White Diamond and set it aside to work on the stem.
IMG_2613

IMG_2614

IMG_2615

IMG_2616

I sanded the stem with my usual stack of micromesh sanding pads from 1500-12,000 grit. I wet sanded with the first three grits of micromesh and dry sanded with the remaining grits. Once I had finished the sanding I gave the stem a coat of Obsidian Oil and rubbed it into the vulcanite.
IMG_2618

IMG_2619

IMG_2620

When I had finished with the stem I reinserted it in the shank and took the pipe to the buffer again. I buffed the pipe and stem with White Diamond and then gave the entirety multiple coats of carnauba wax. I buffed it with a clean flannel buff to give it a shine. The next four photos show the finished pipe.
IMG_2621

IMG_2622

IMG_2623

IMG_2624