Blog by Steve Laug
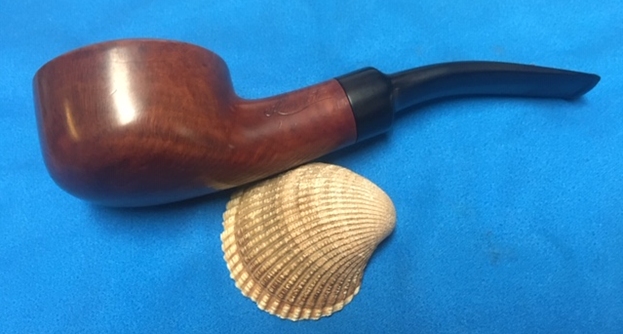
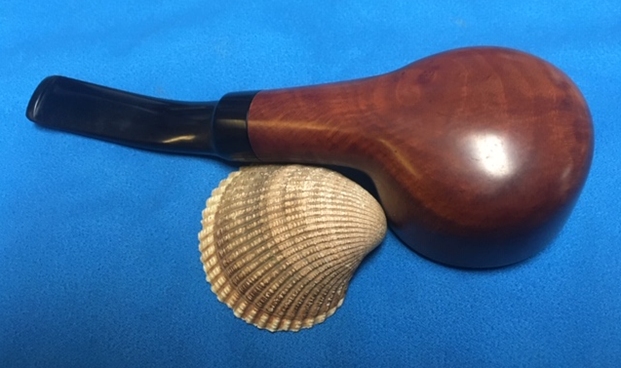
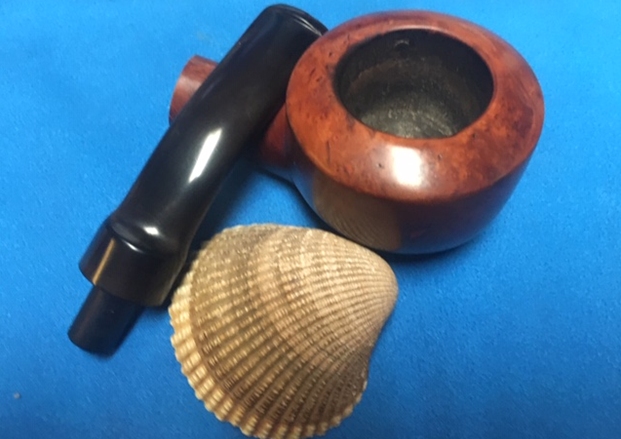
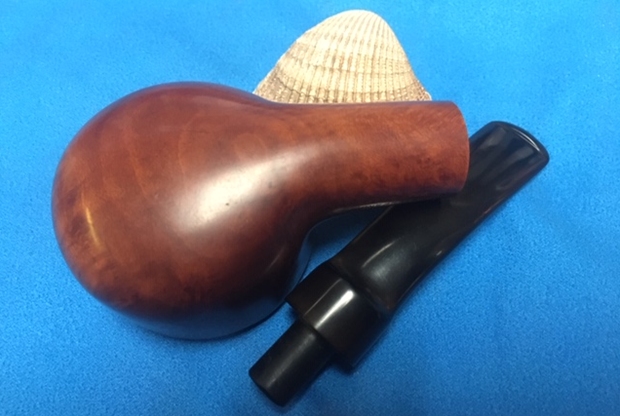
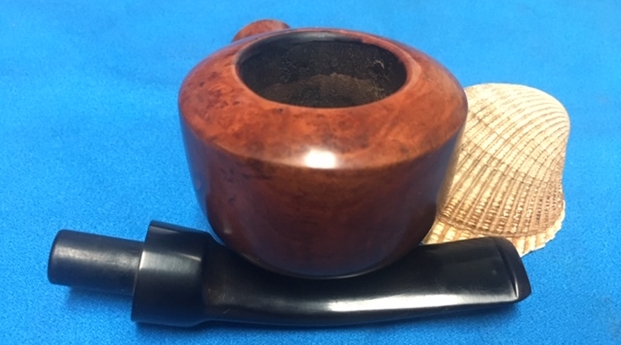
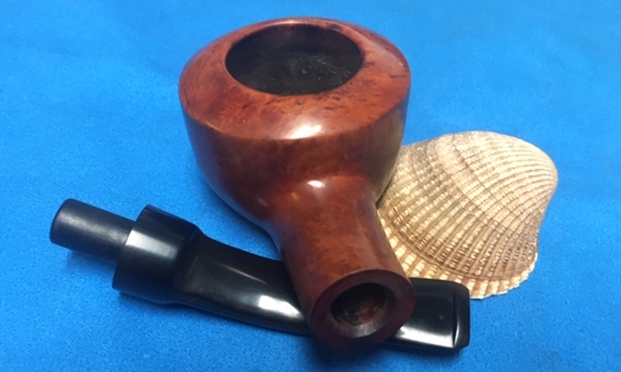
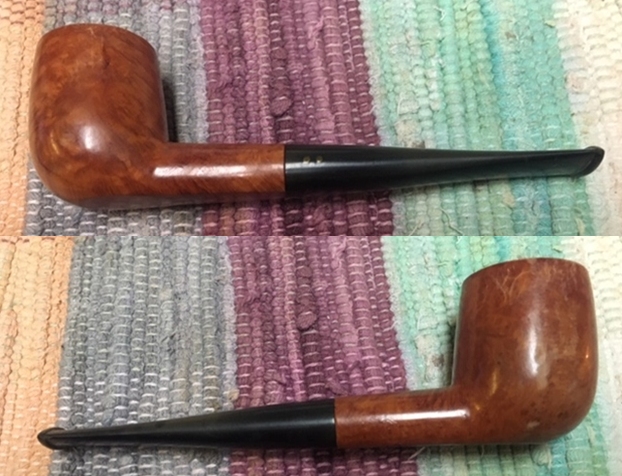
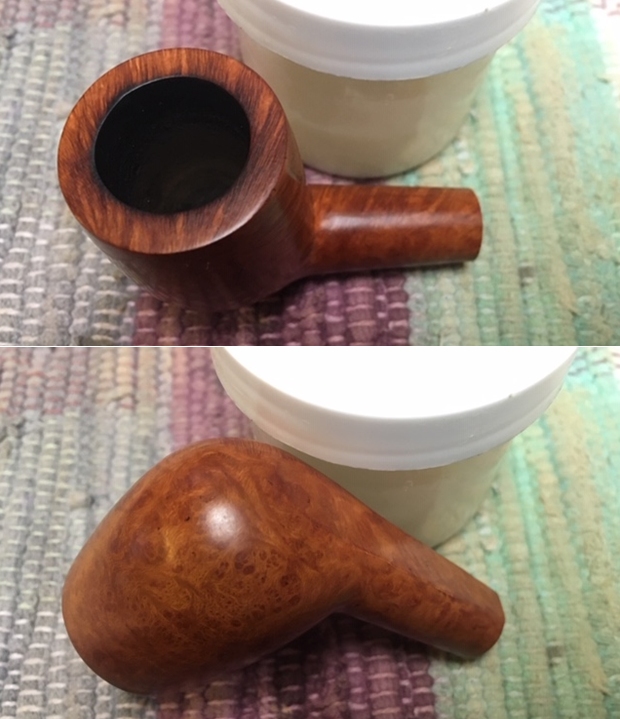
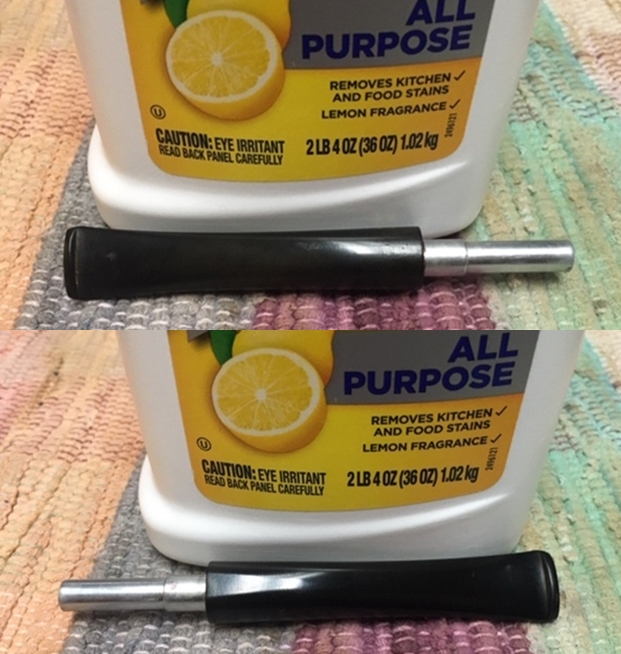
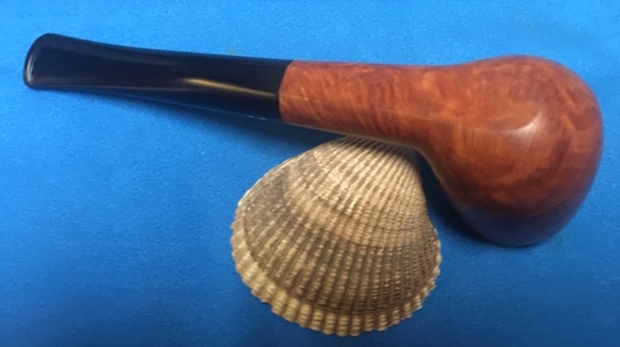
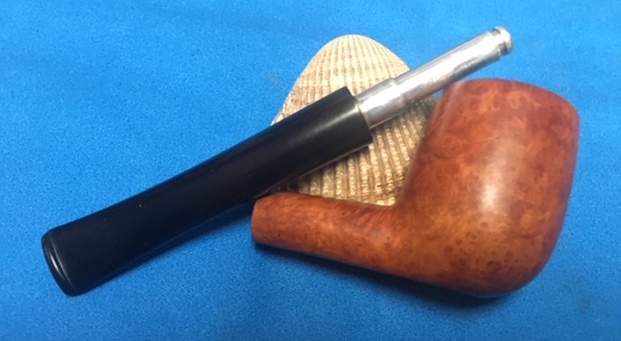
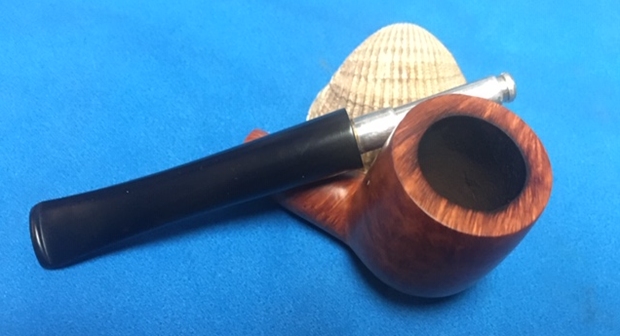
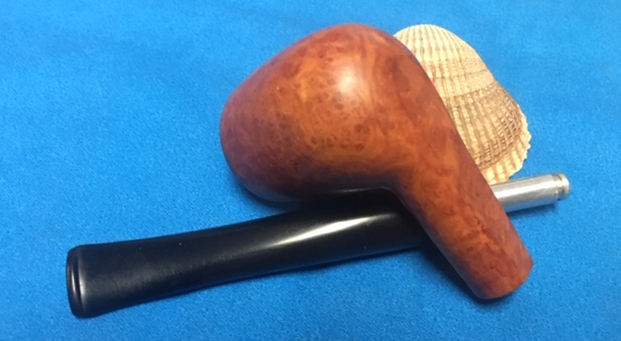
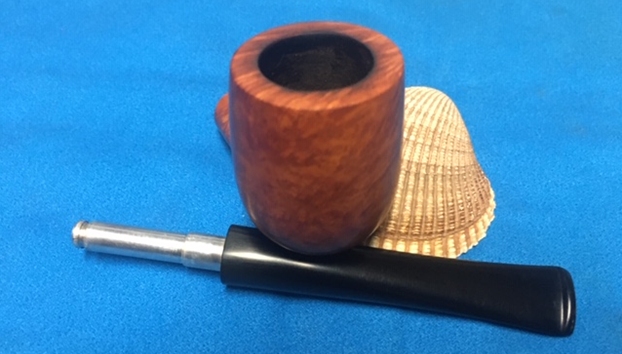
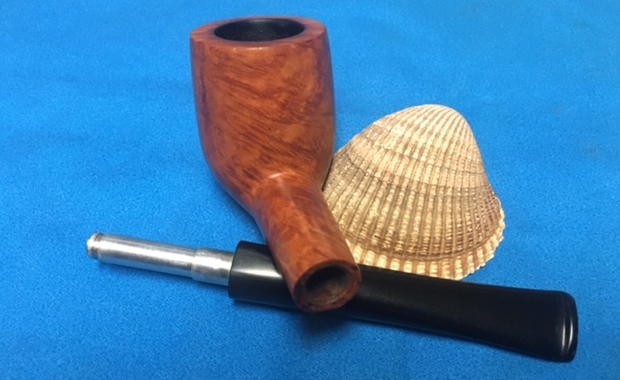
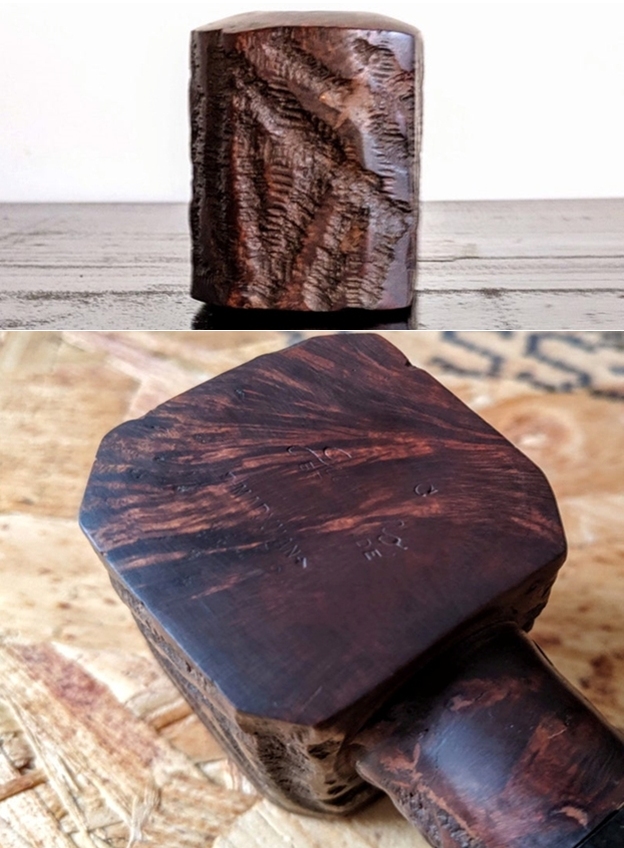
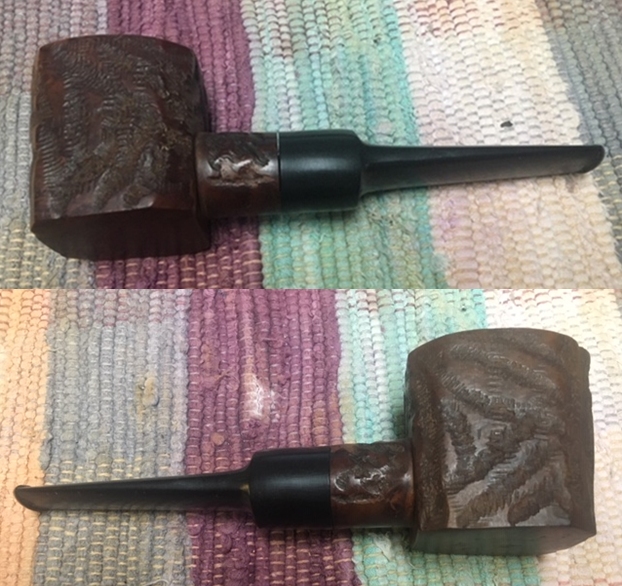
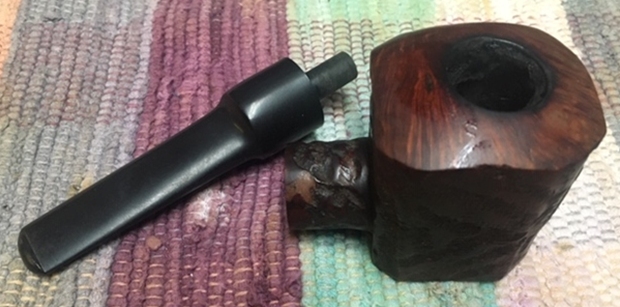
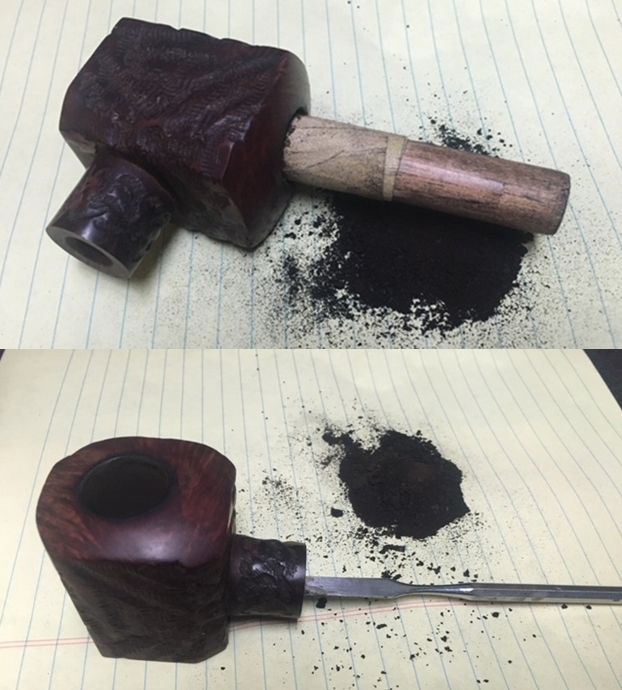
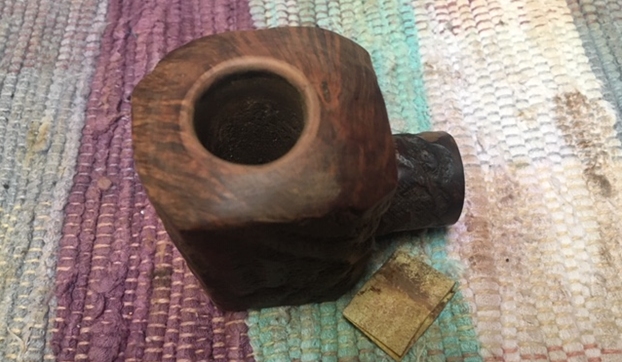
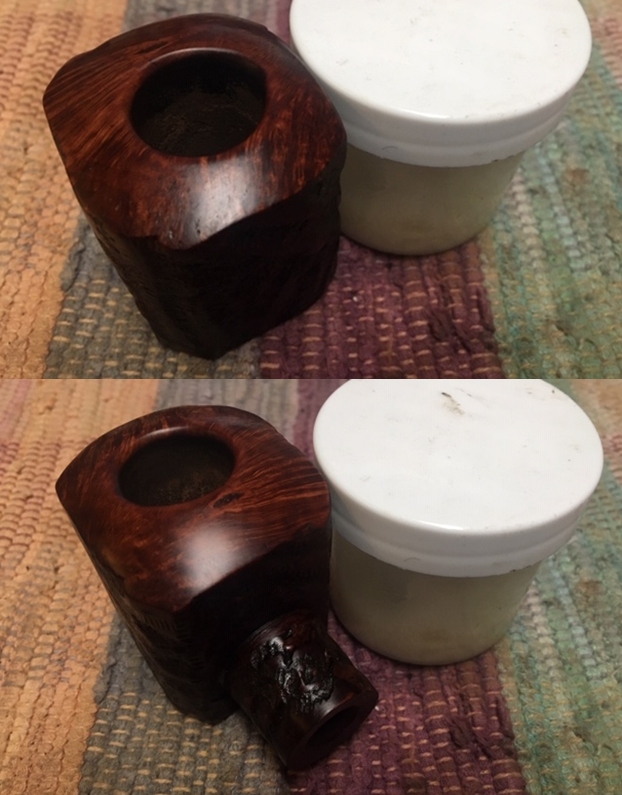
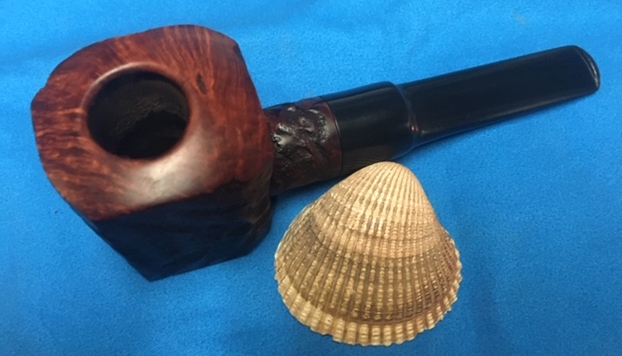
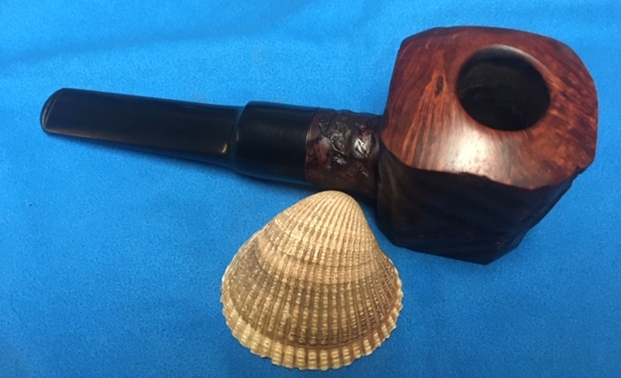
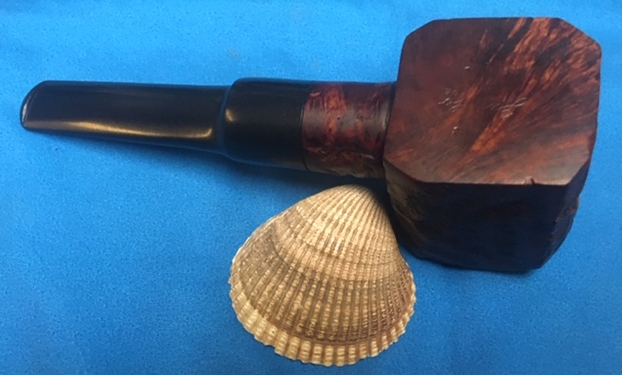
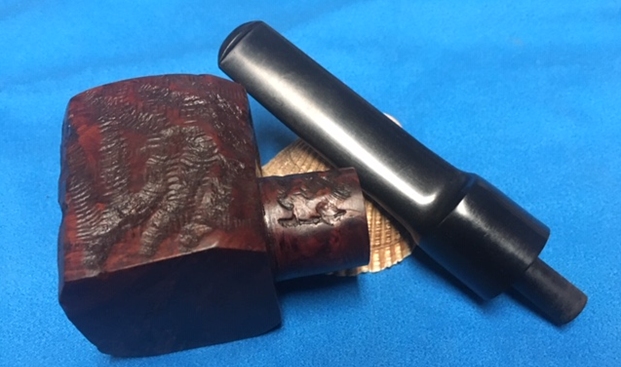
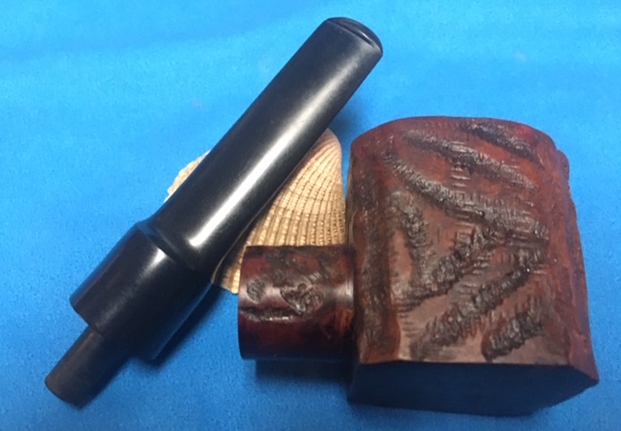
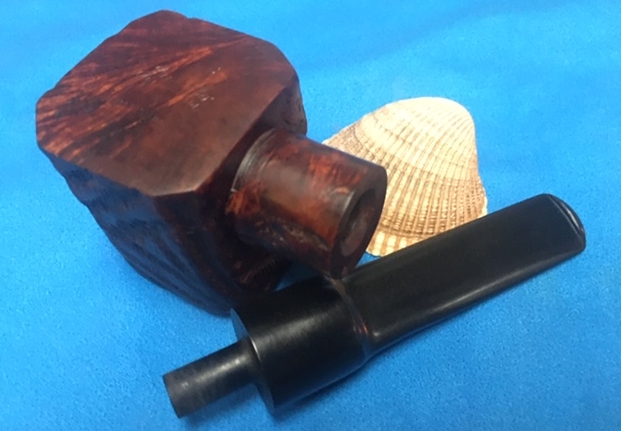
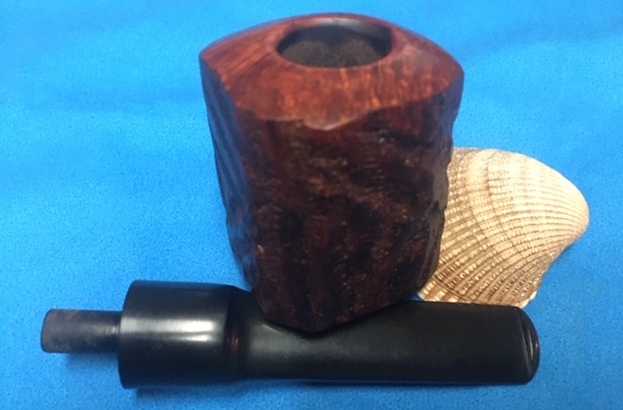
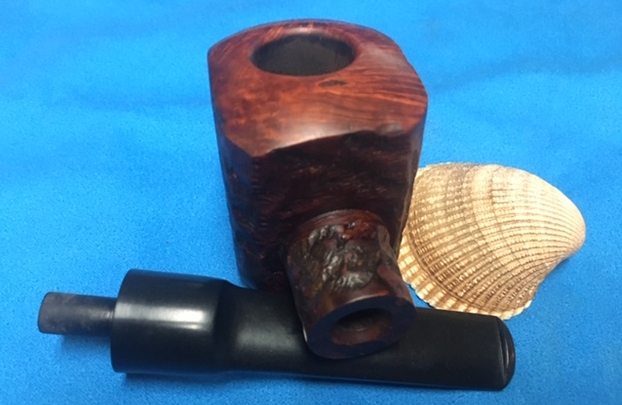
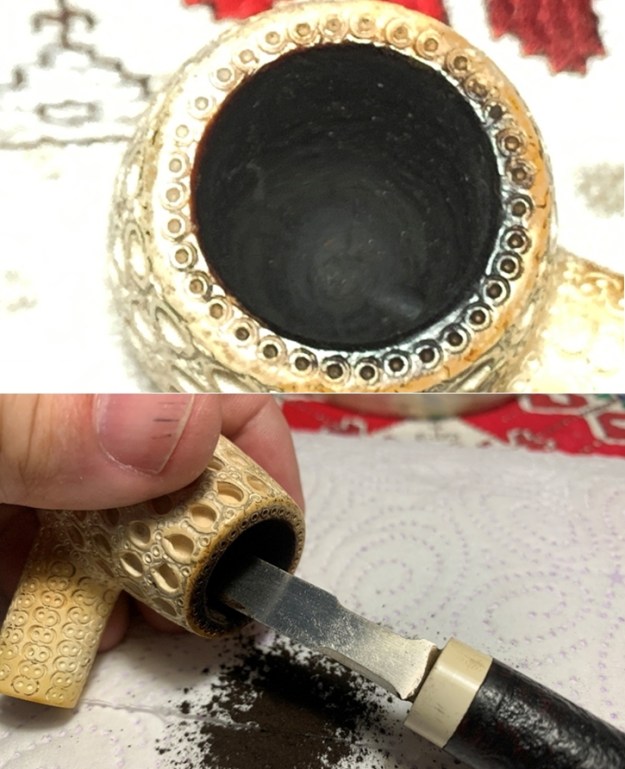
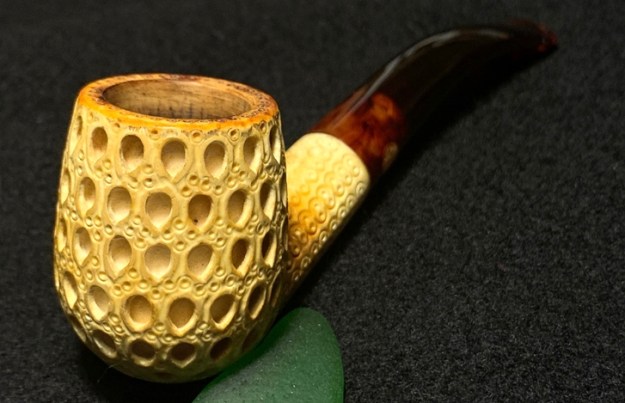
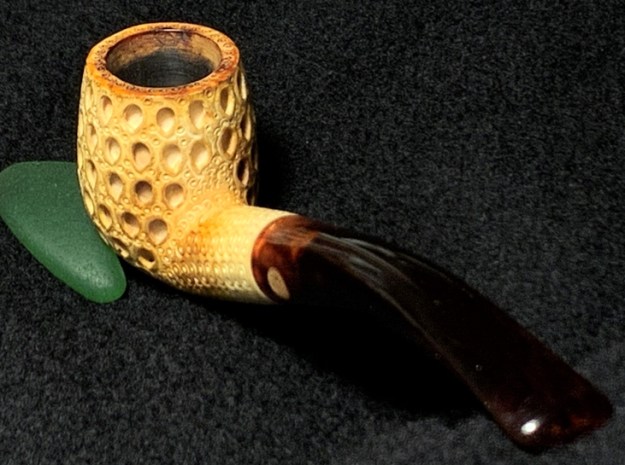
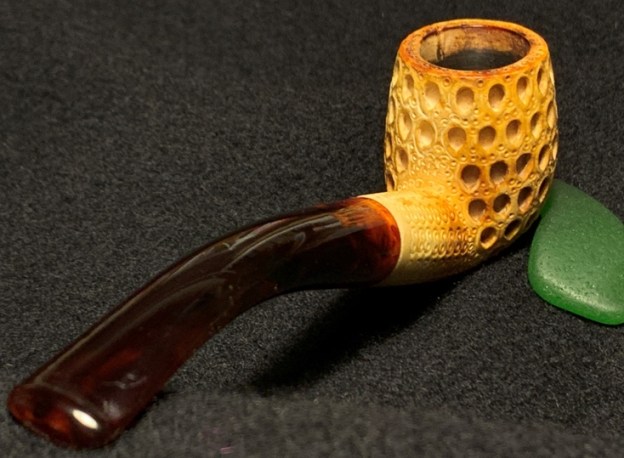
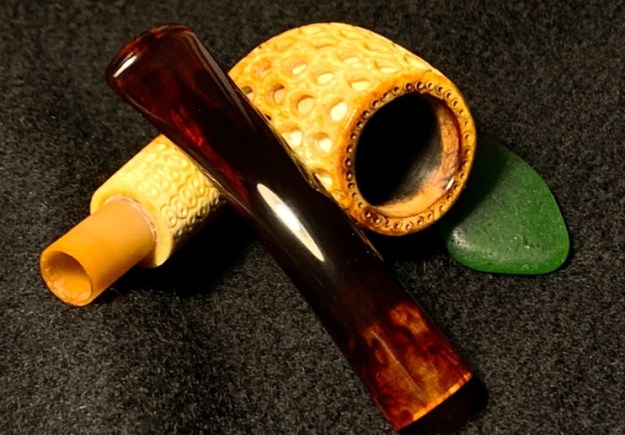
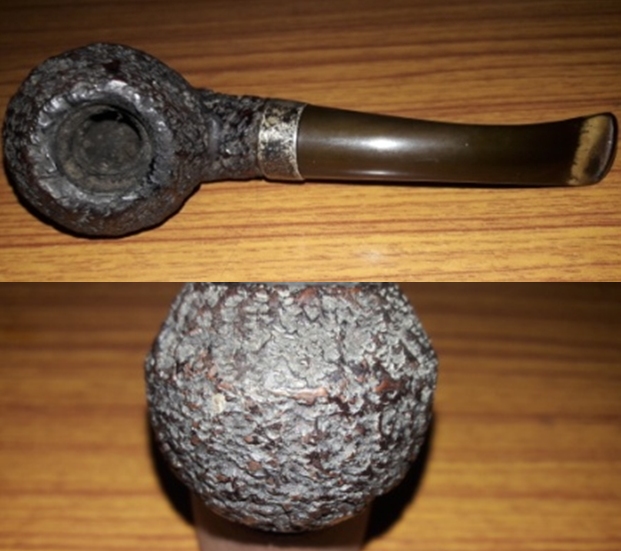
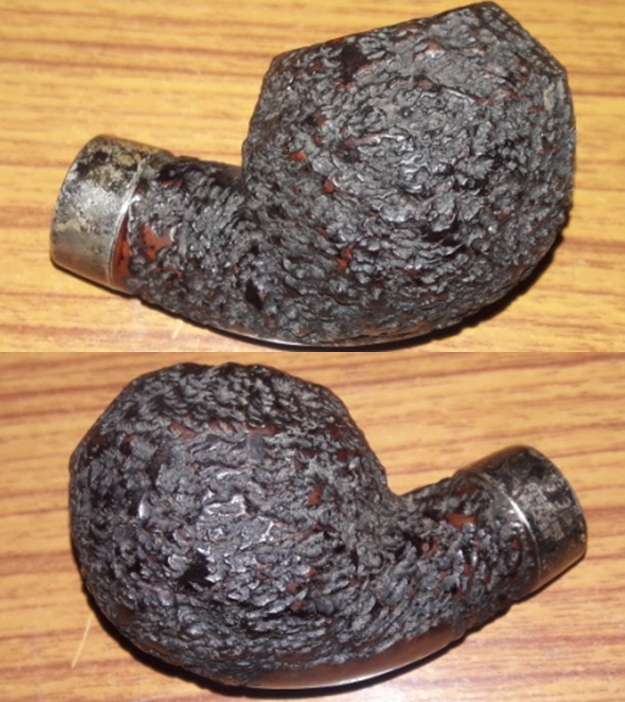
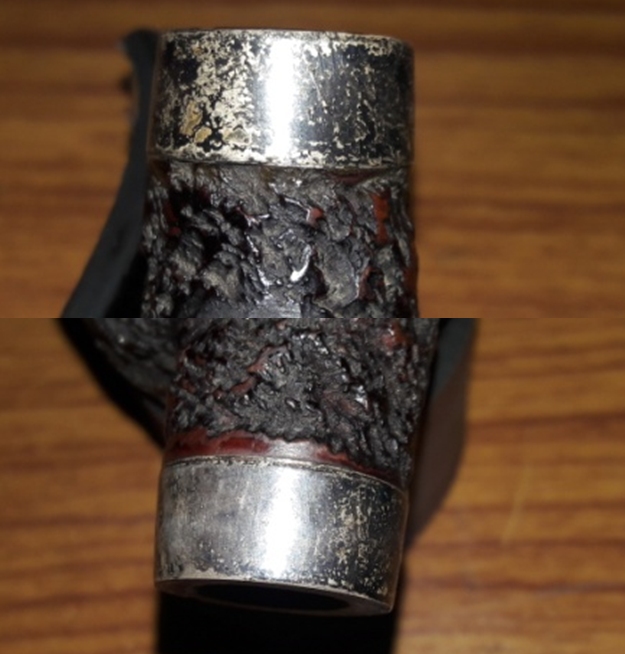
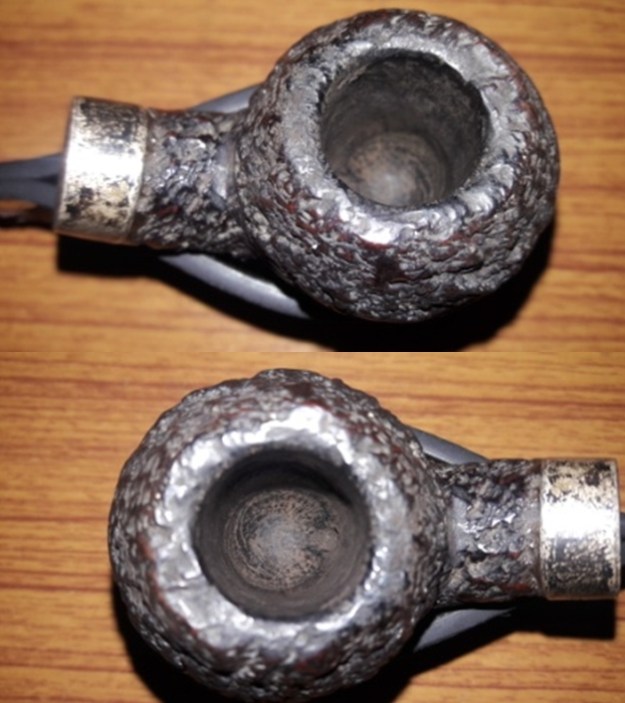
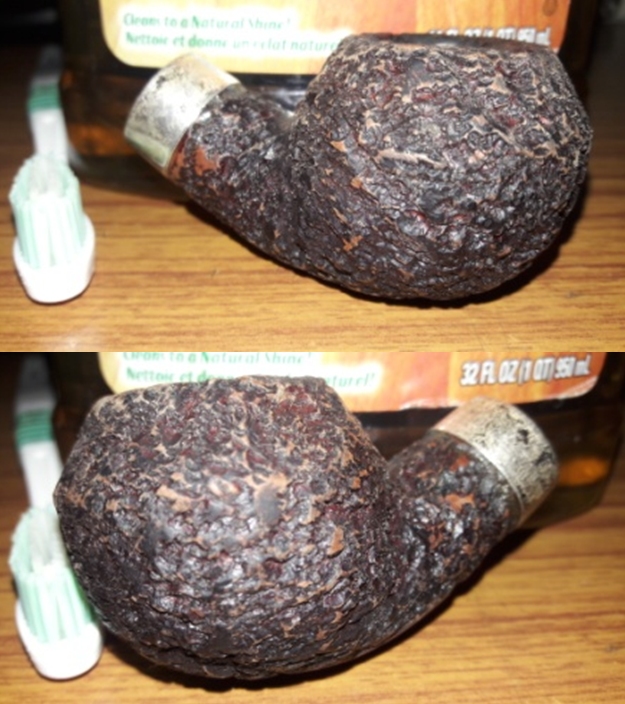
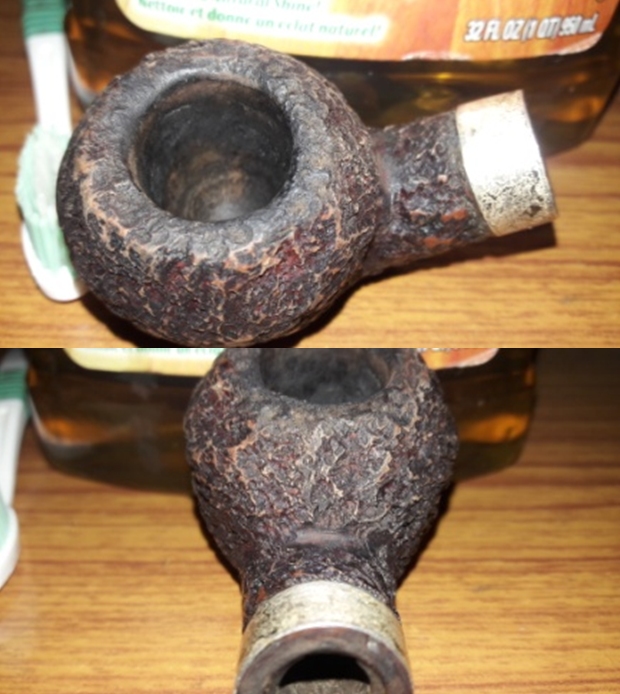
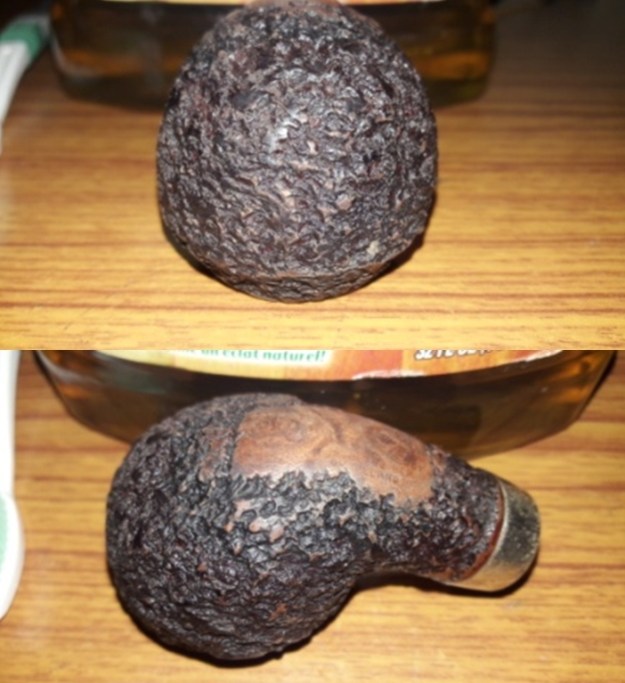
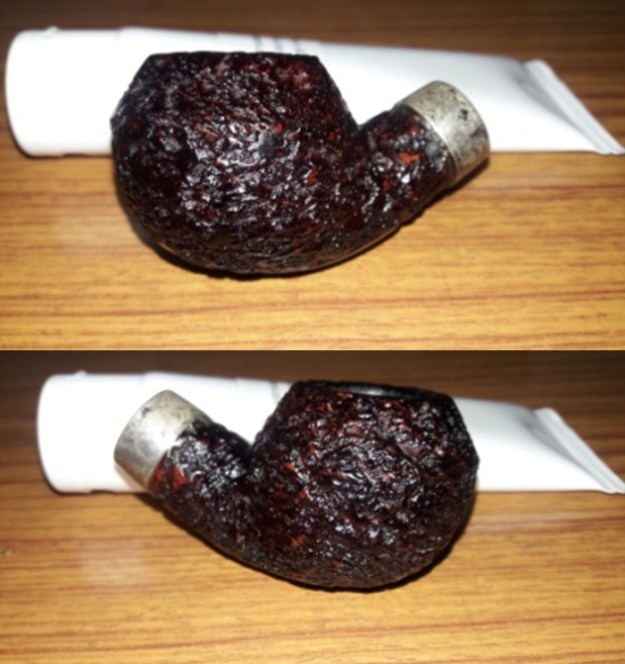
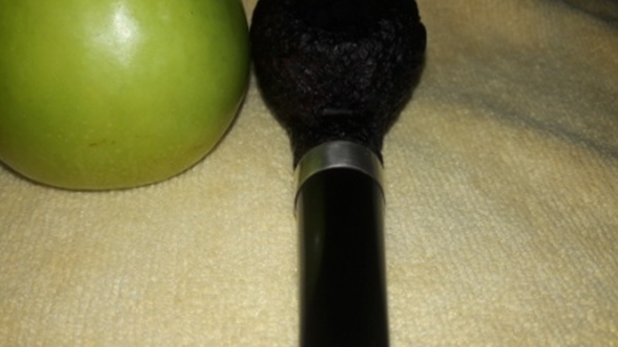
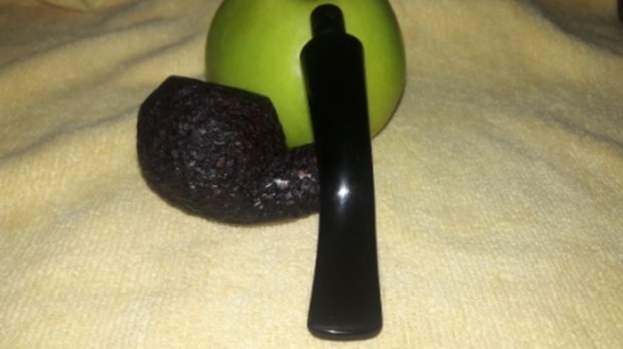
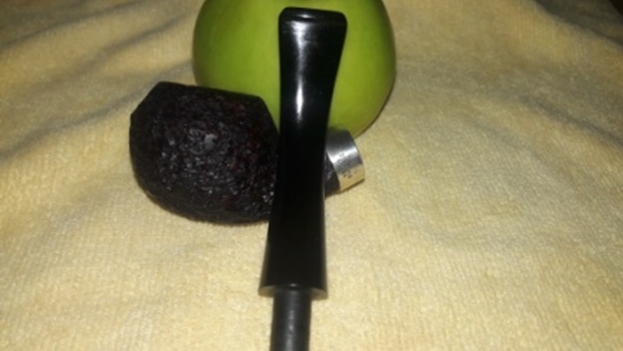
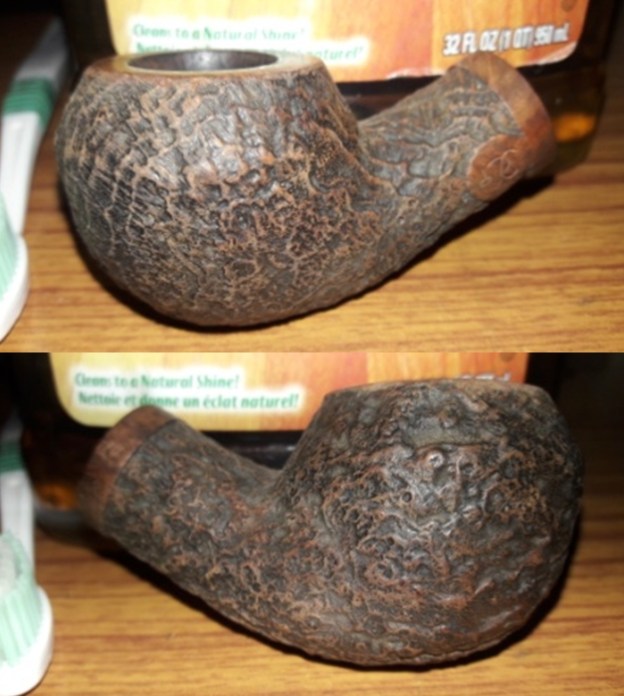
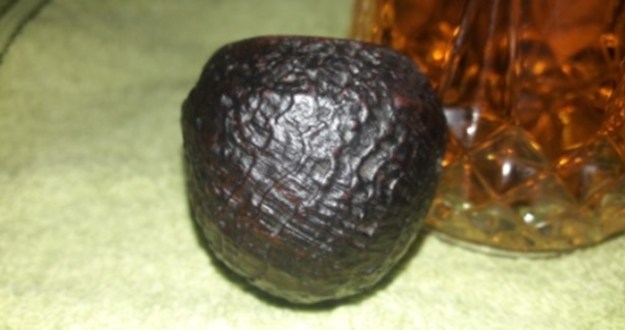
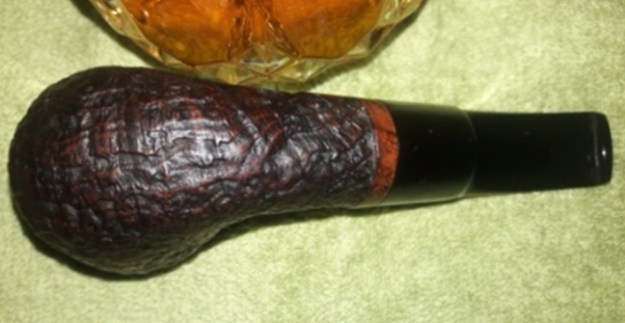
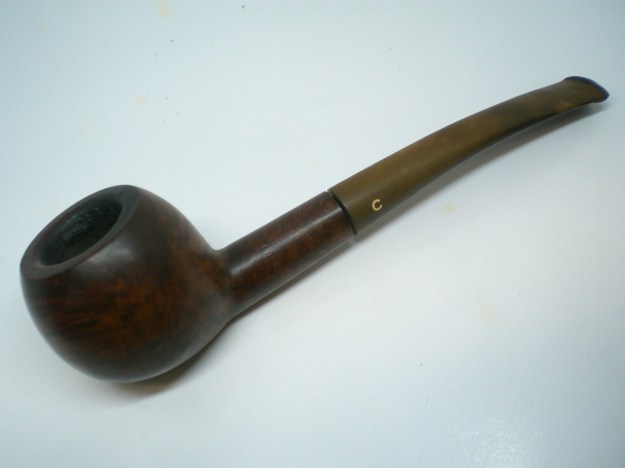
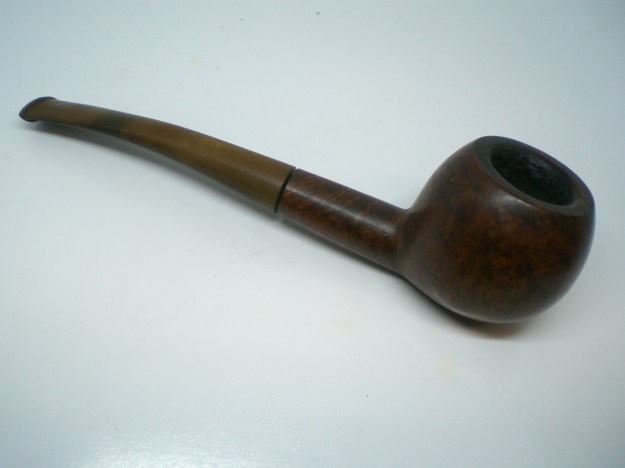
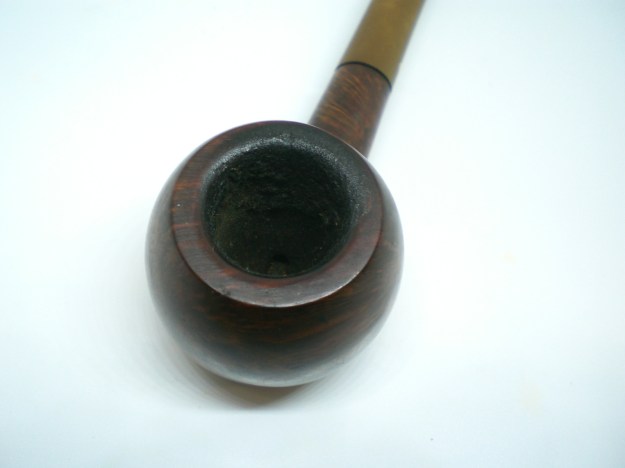
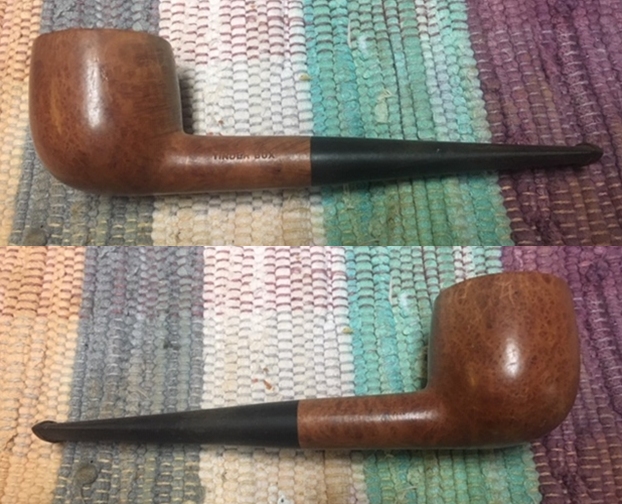
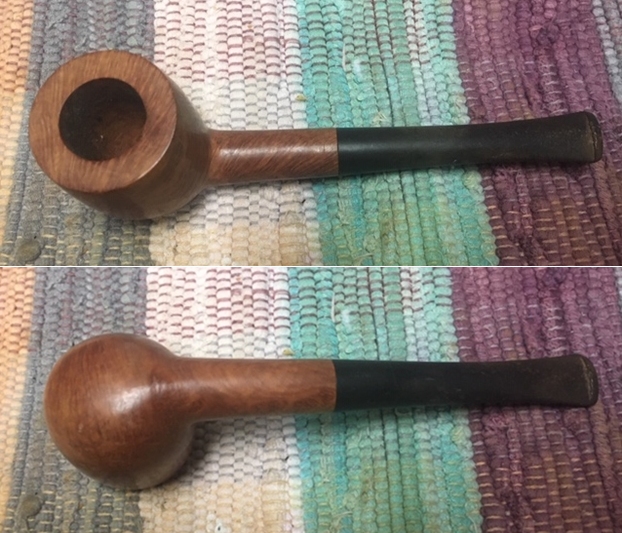
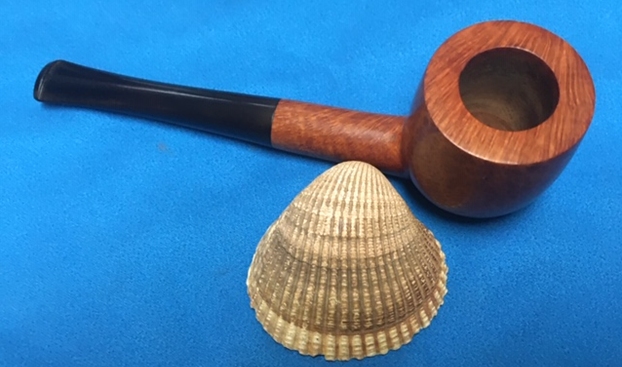
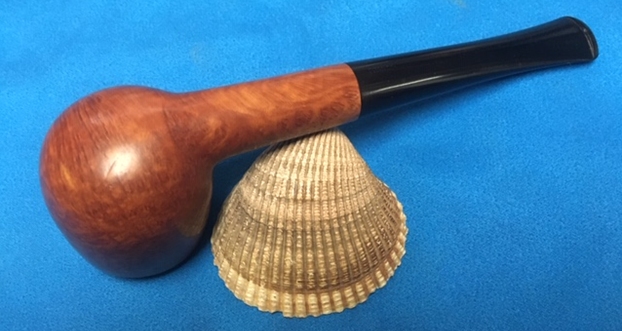
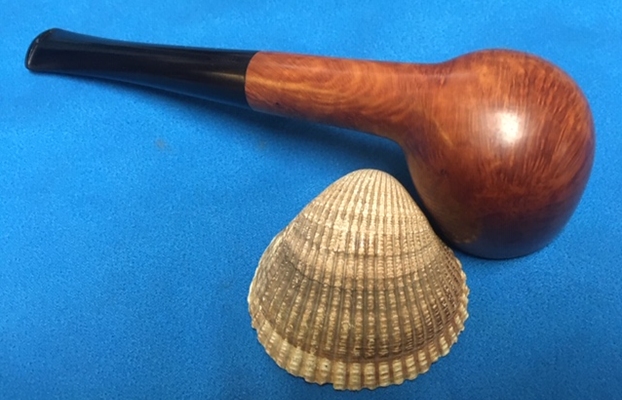
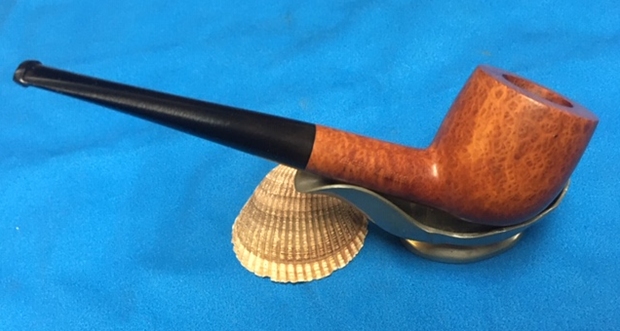
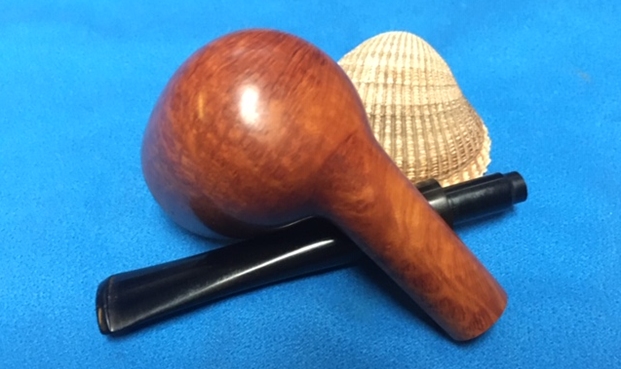
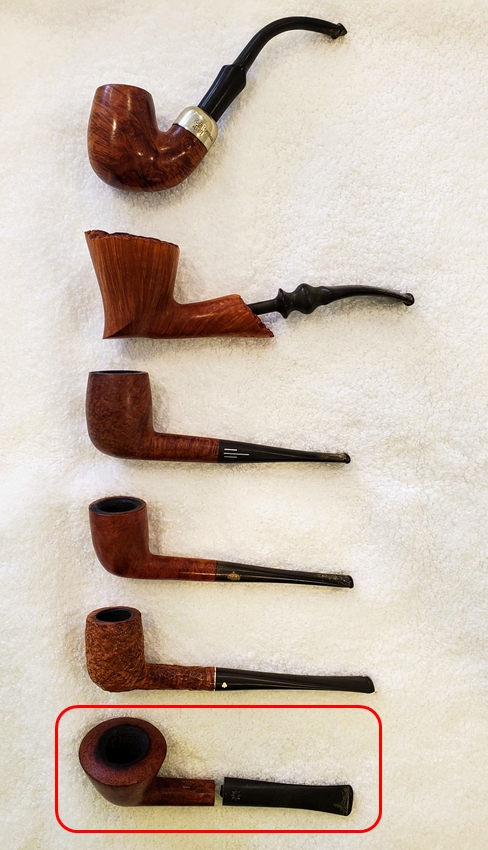
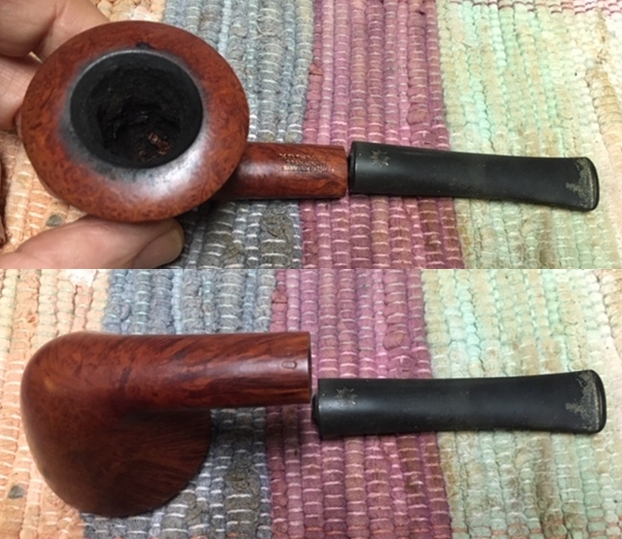
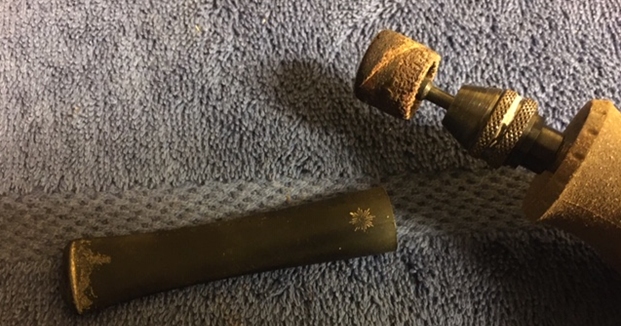
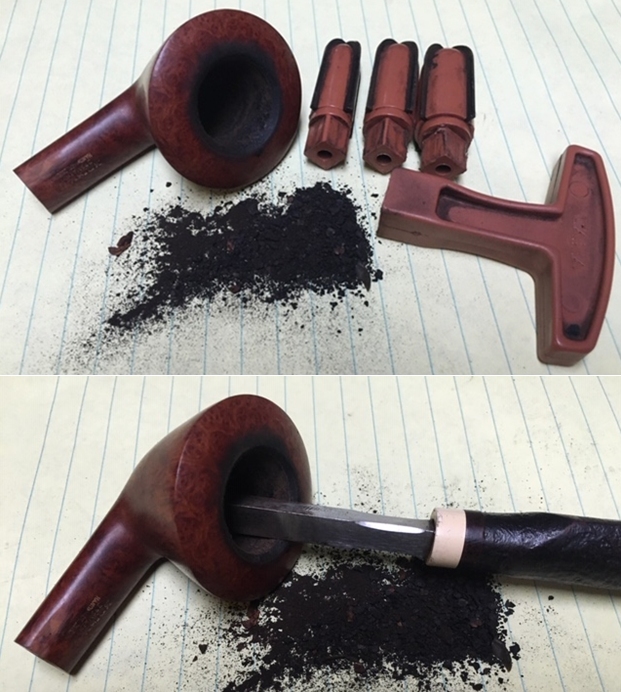
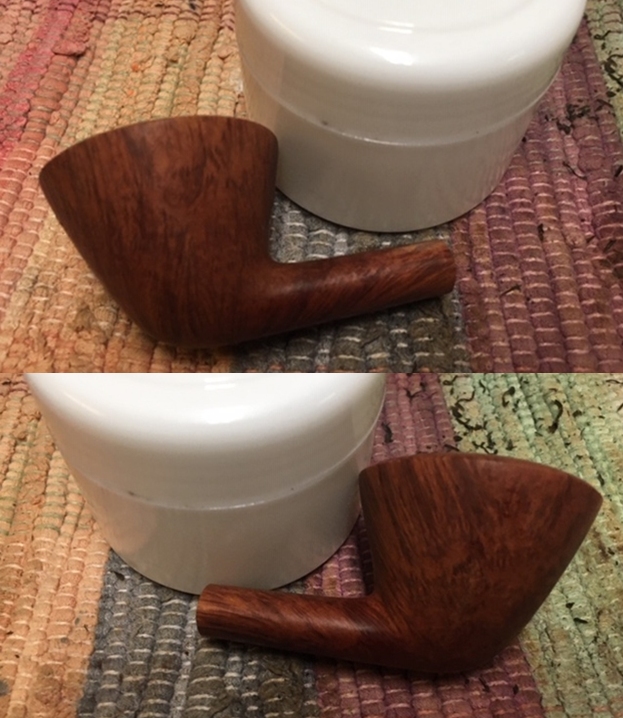
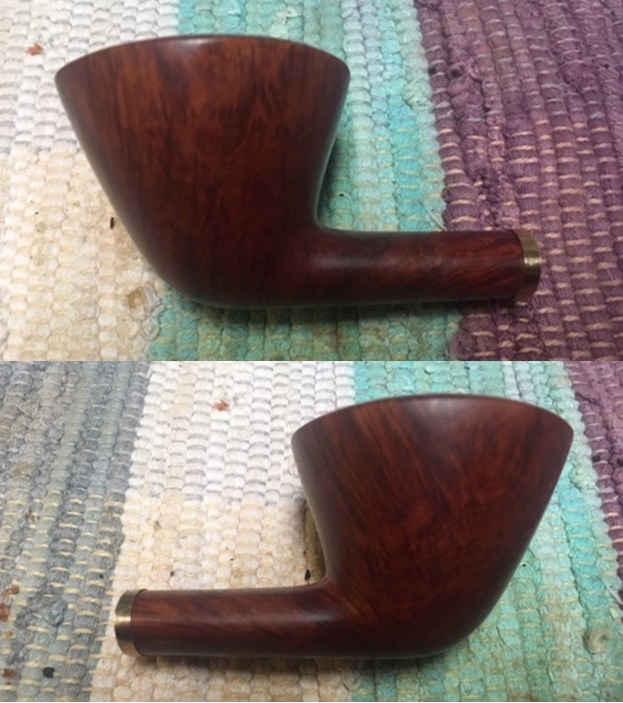
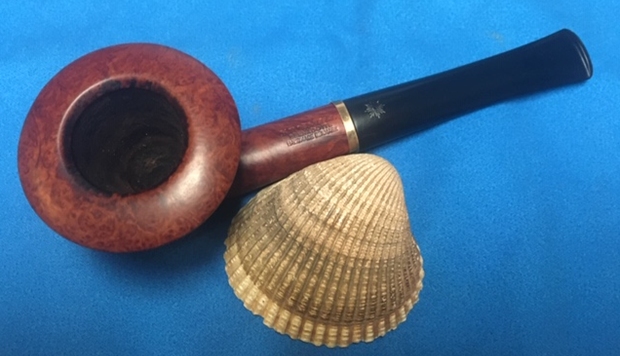
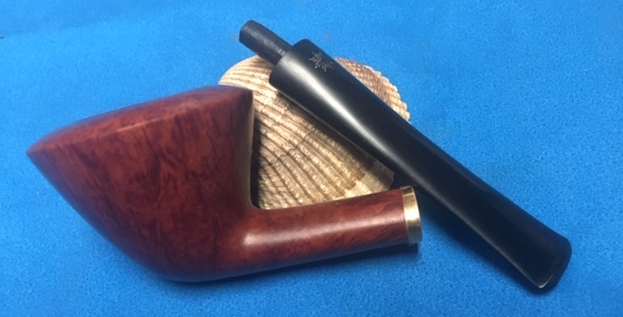
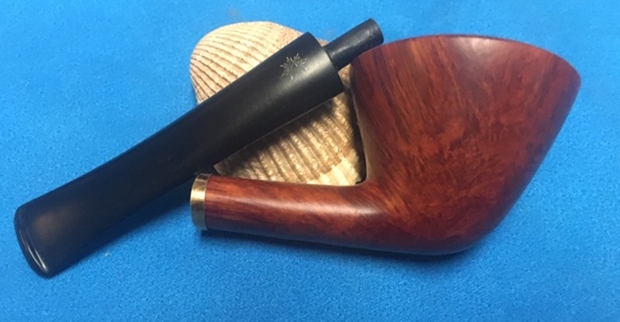
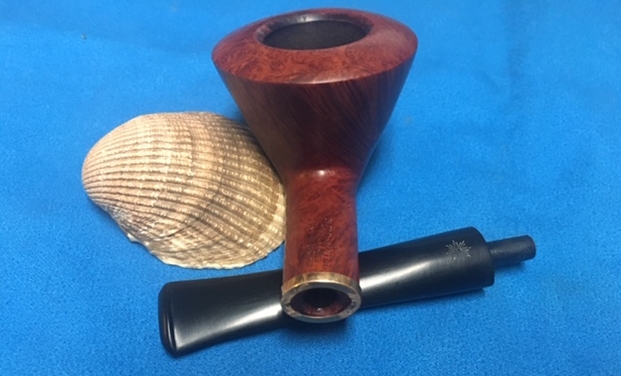
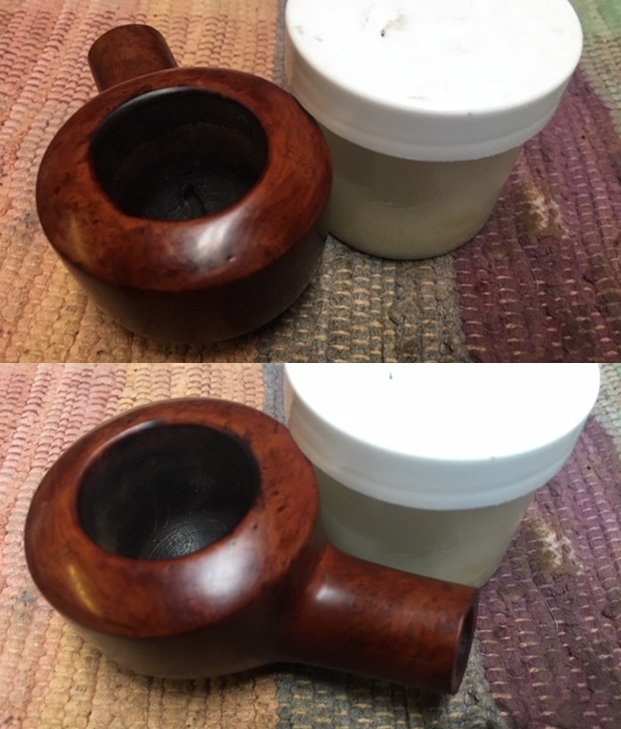
I just finished working on the Marxman Jumbo Bench Made Poker for the fellow in Quebec. I wrote a blog about it (https://rebornpipes.com/2020/02/28/restoring-an-obstinate-marxman-jumbo-war-club/). When he sent the Marxman he included another pipe that he wanted to donate for the support of the SA Foundation. I am always glad to work on those and pass them on to others who not only want a good pipe but want to donate to a worthy cause – the restoration and recovery of women and children who have escaped sexual exploitation and trafficking. It’s a large pipe stamped on the left side of the shank in script and read Anscot. On the right side it is stamped Mediterranean Aged Briar. The stamping is clear and readable. The stem did not seat in the shank completely and was very tight. The finish was shiny and dirty like it had been coated with varnish or shellac. There was one large fill on the front of the right side mid-bowl. The bowl had been cleaned and there was a small bit of cake in the base of the chamber near the entrance of the airway. The rim top had some burn damage on the inner edge of the bowl toward the front of the bowl. The inner edge of the chamber was out of round and damaged. The stem was high quality vulcanite and had tooth chatter and marks on both sides near the button. The stem would not seat against shank. The photos show what I saw as I examined the pipe.
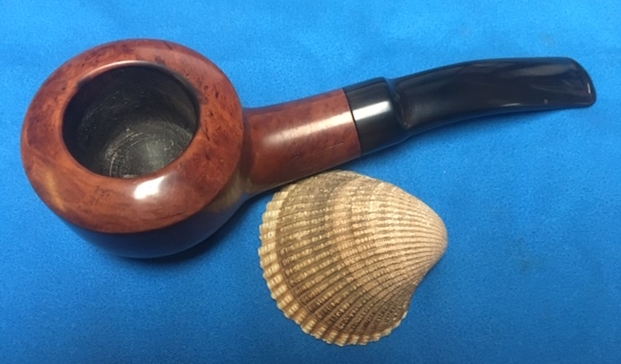
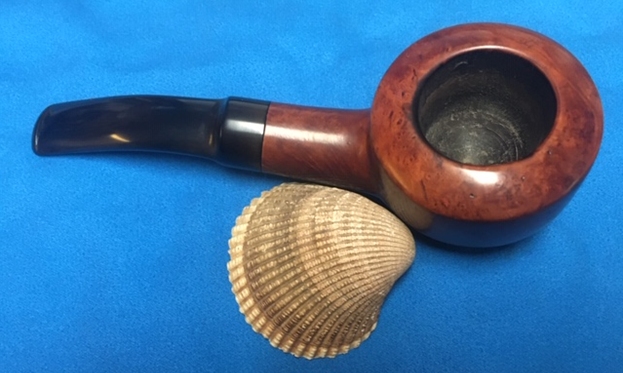
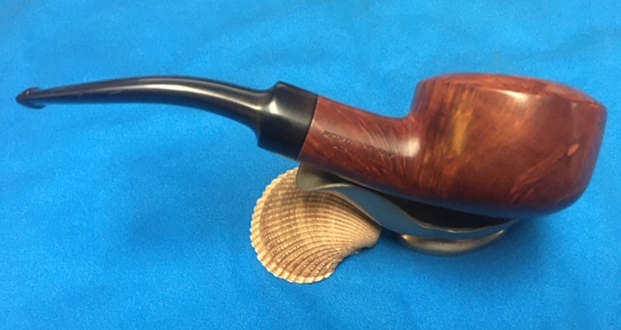
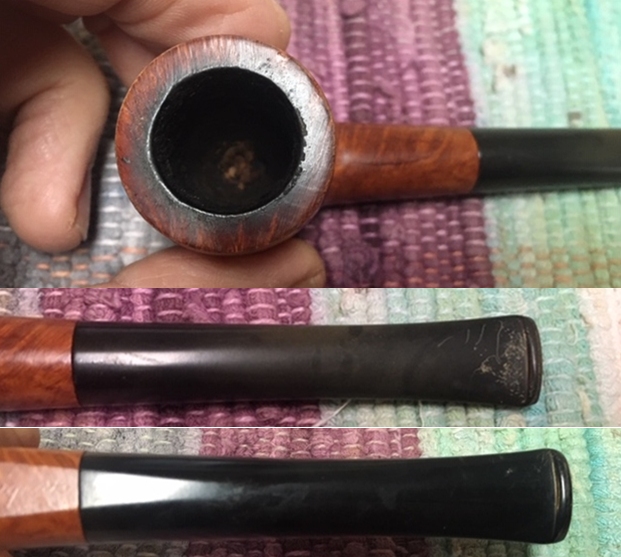
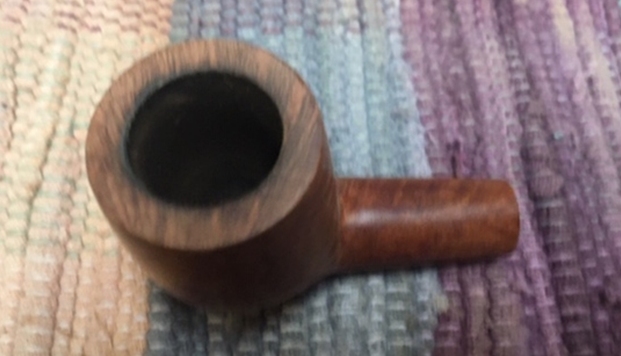
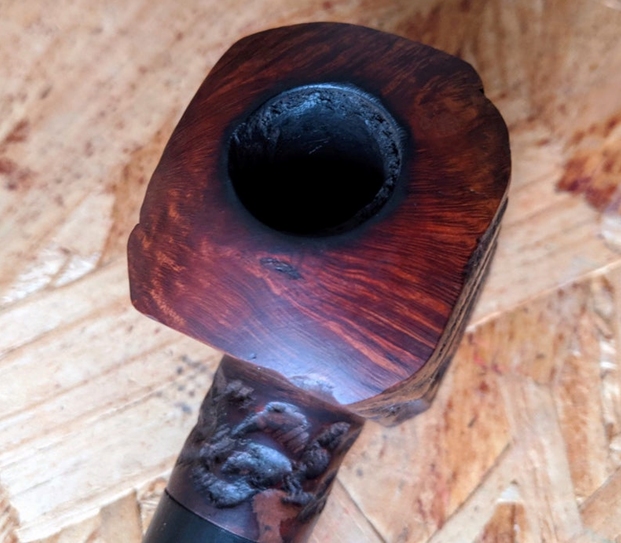
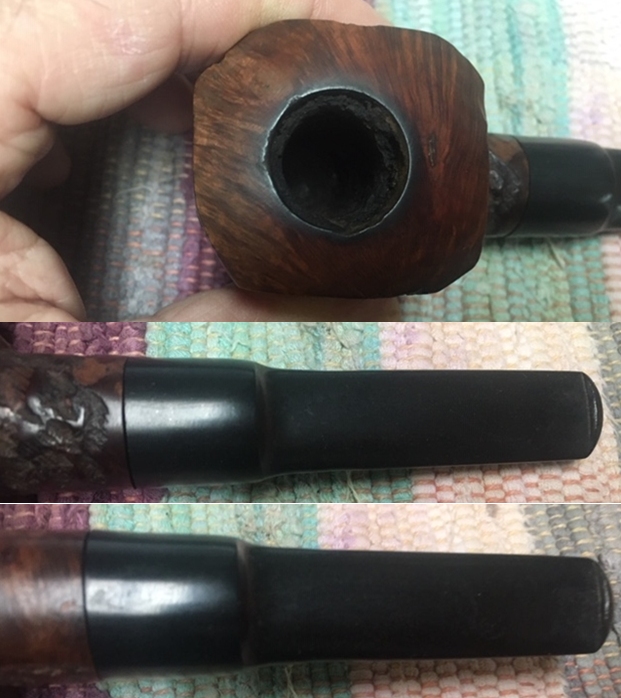
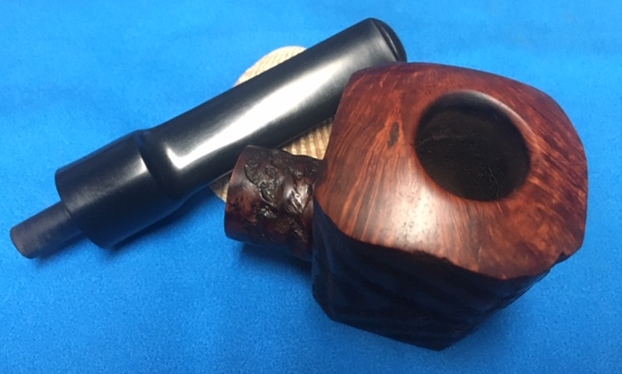
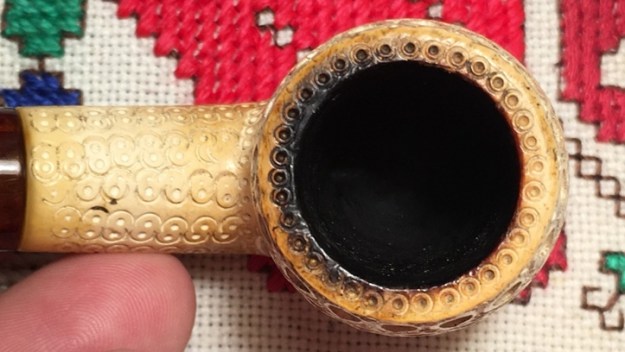
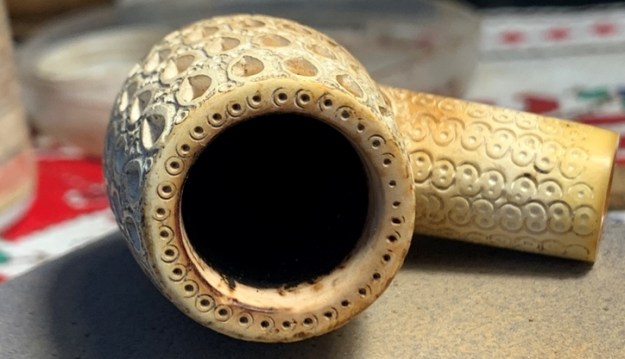
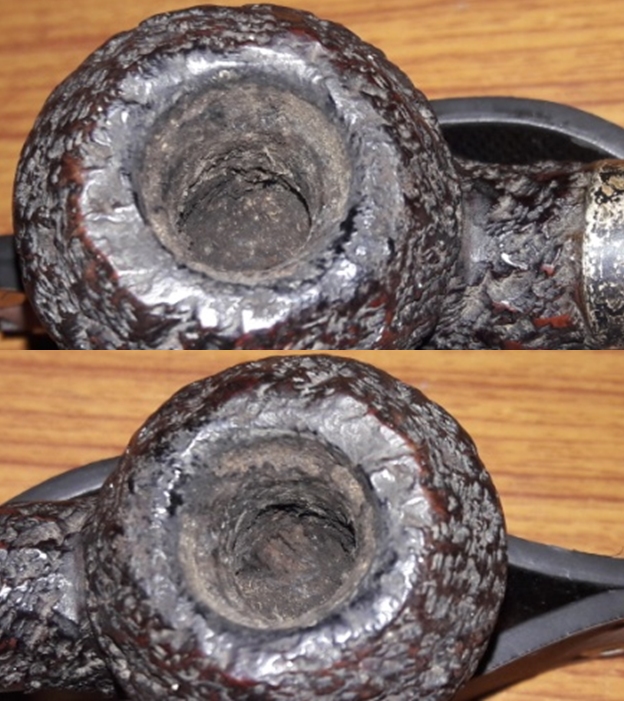
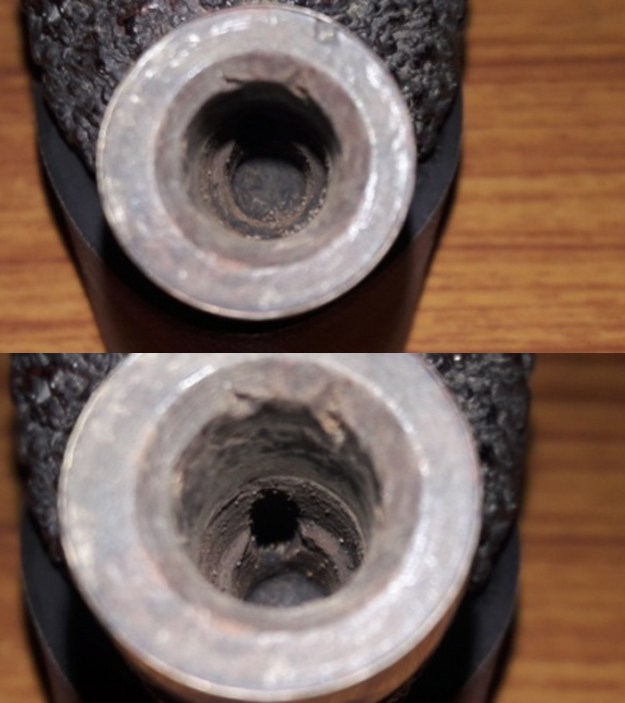
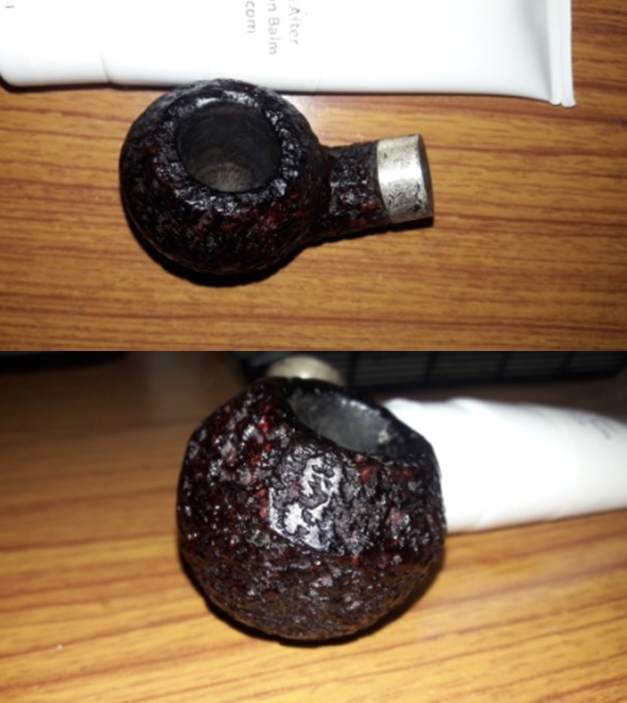
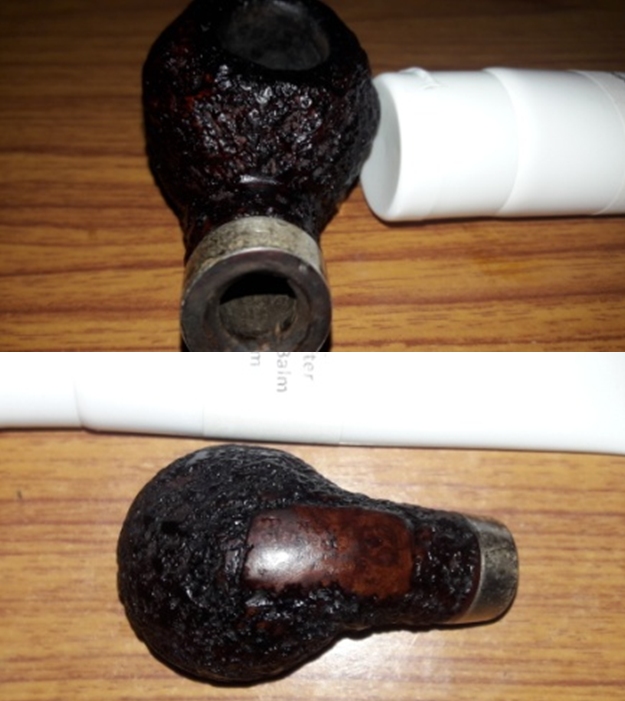
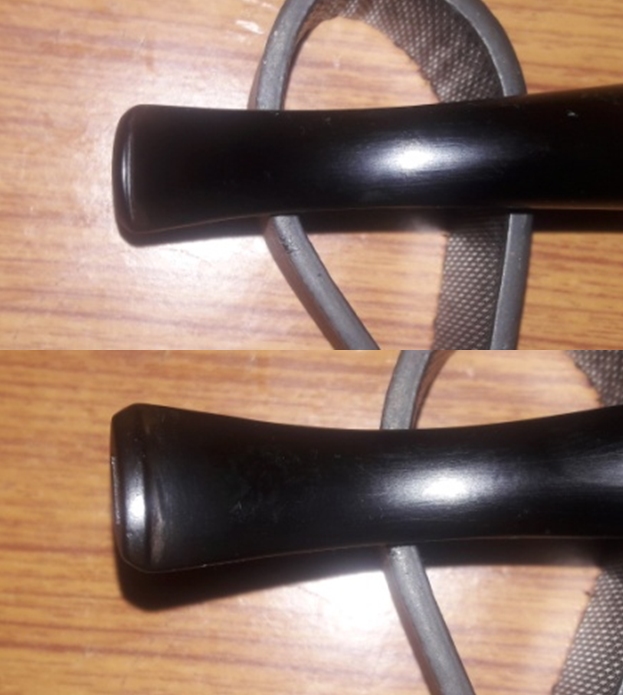
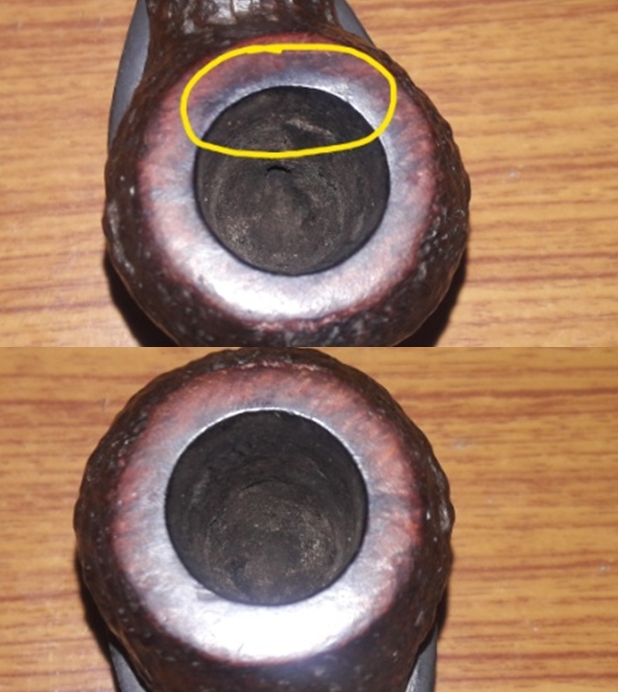
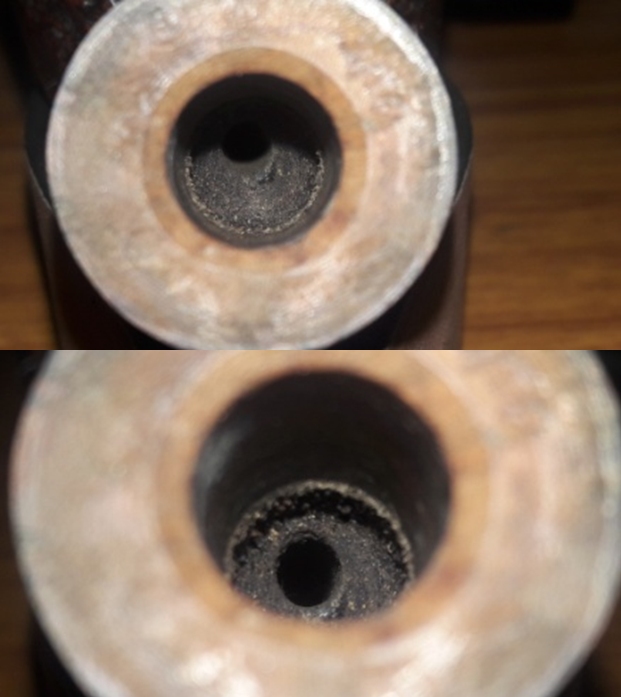
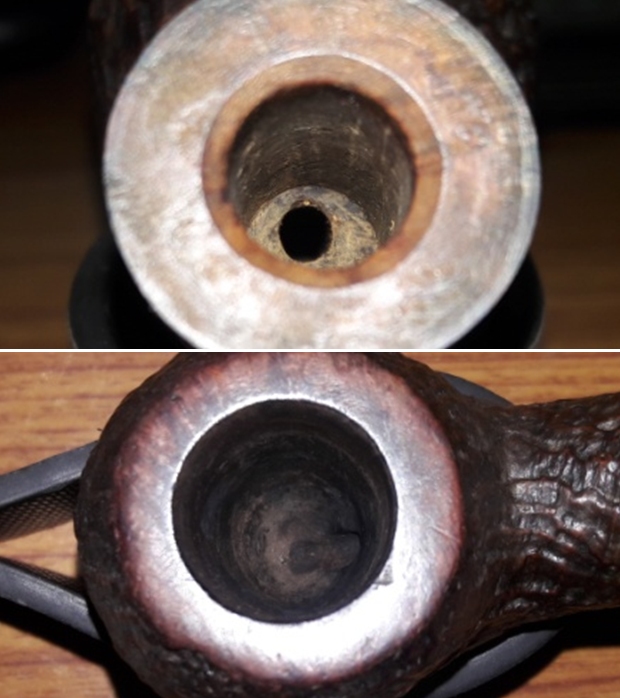
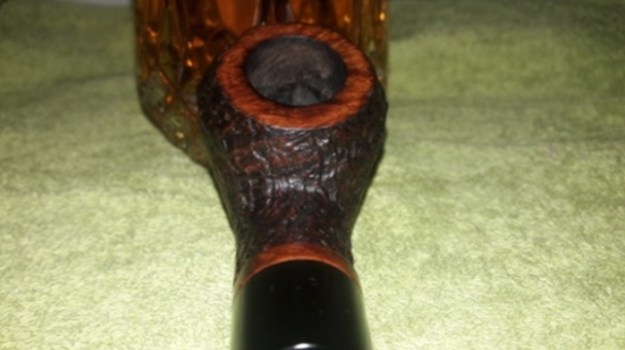
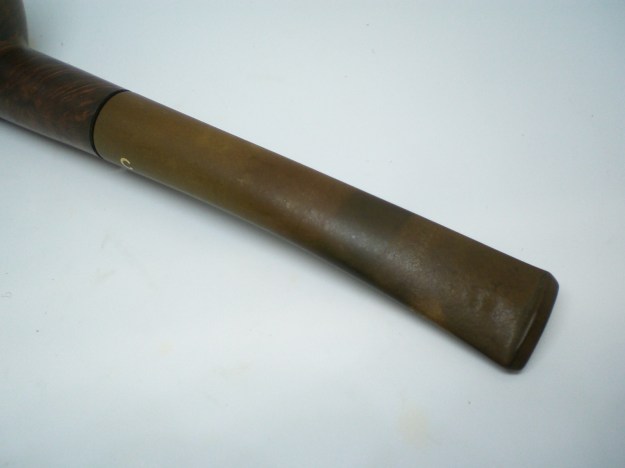
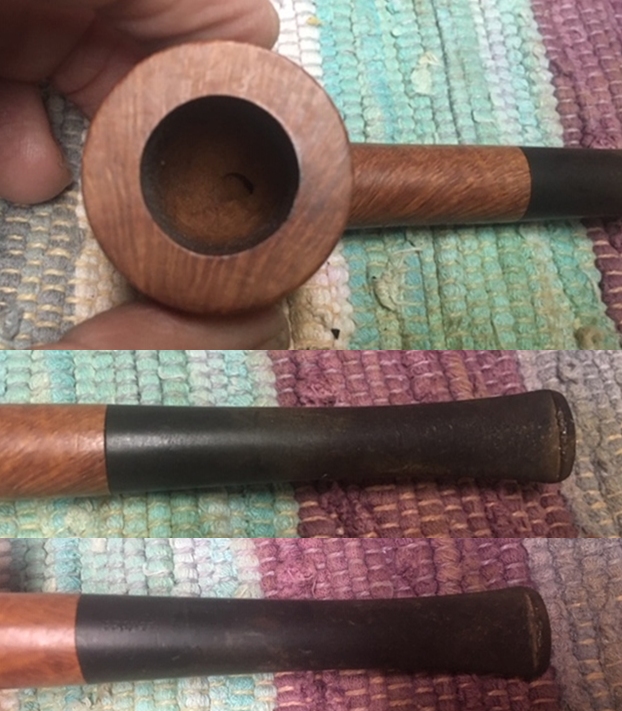
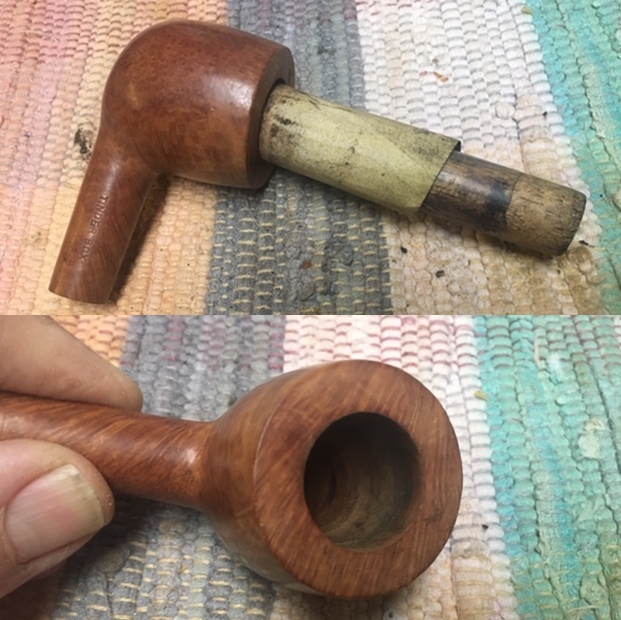
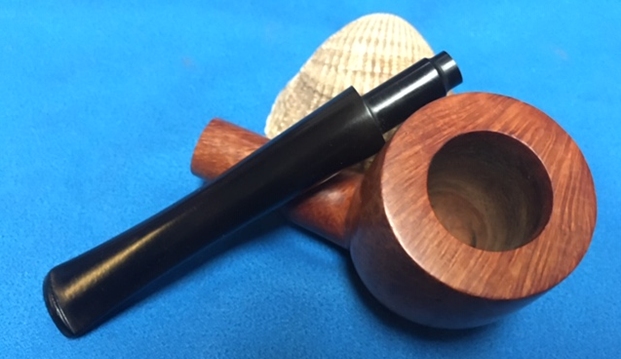
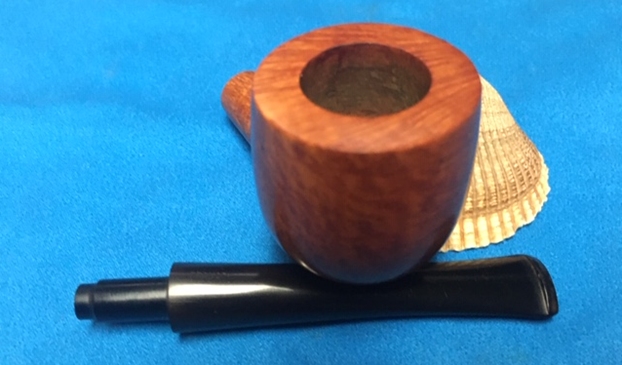
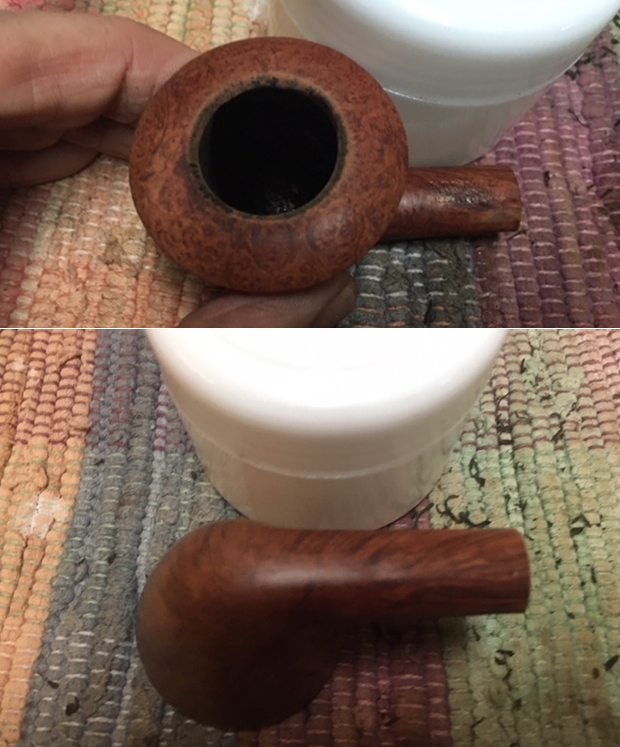
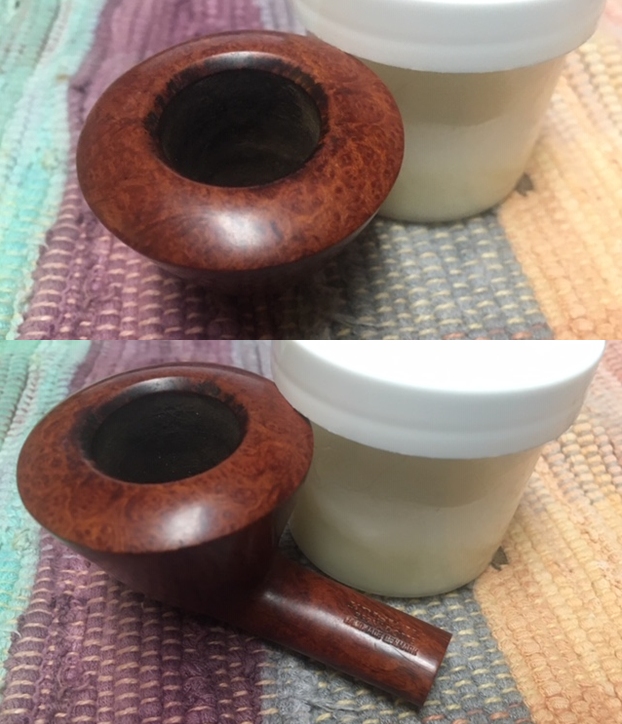
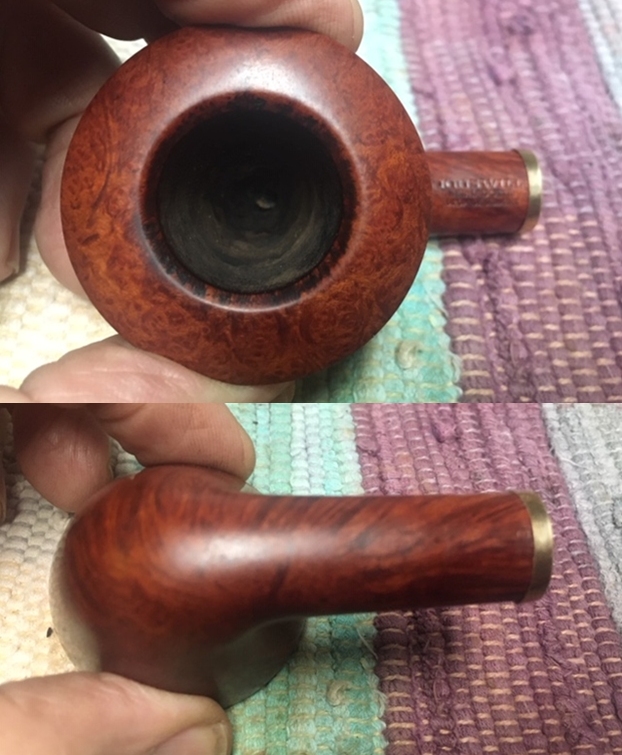
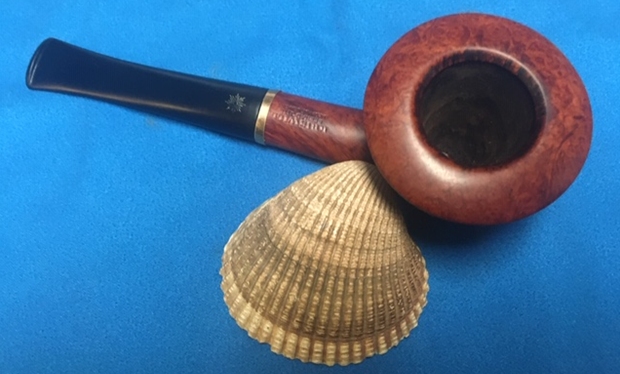
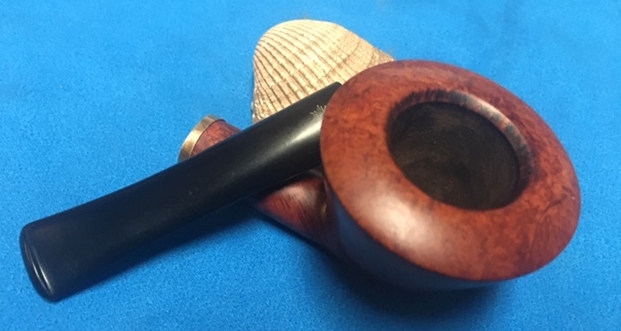
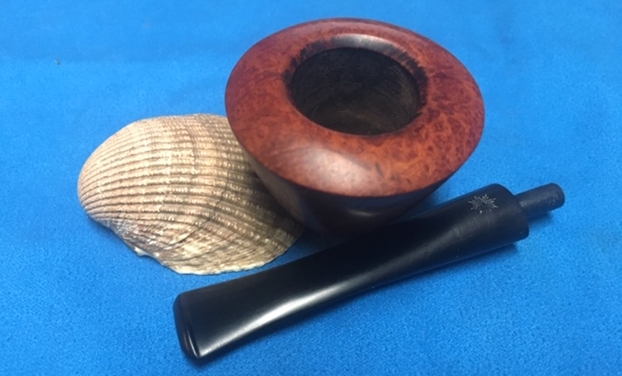
 I took close up photos of the rim top and the stem. The photos confirm the condition of the pipe that I described in the paragraphs above. You can see the darkening on the inner edge of the rim top. There were also scratches and nicks all around the rim top. The stem is also lightly oxidized and has some deep tooth marks on the top and underside near the button.
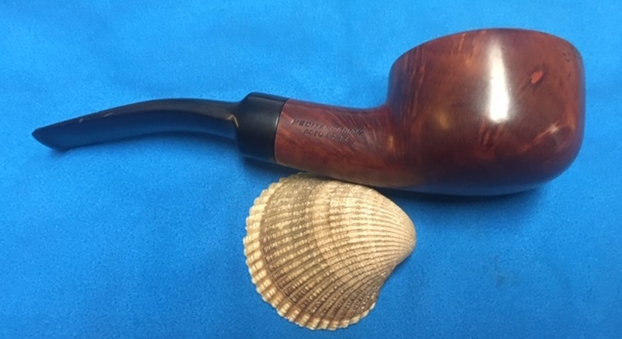
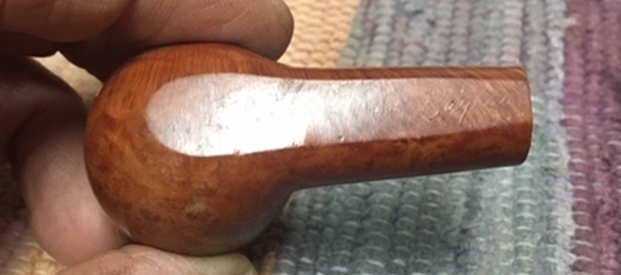
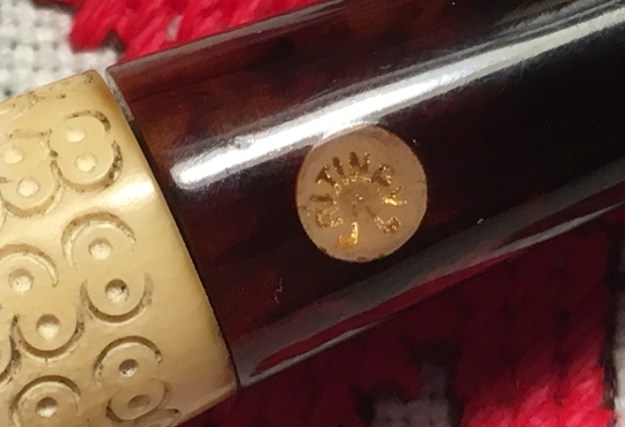
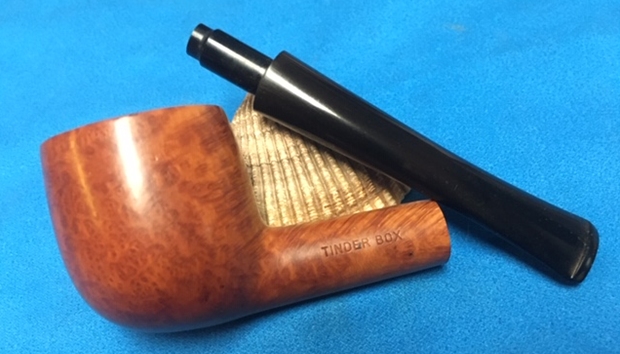
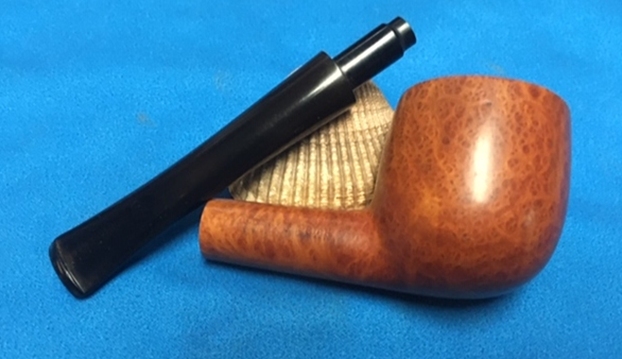
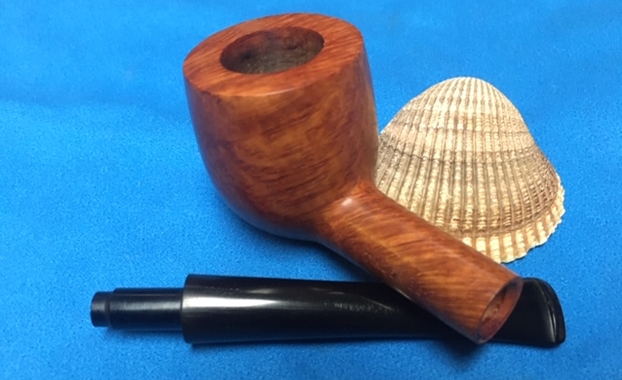
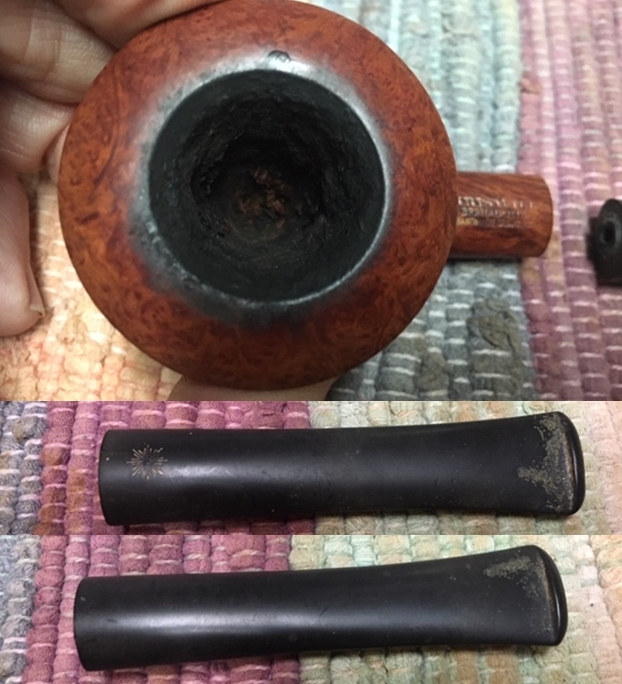
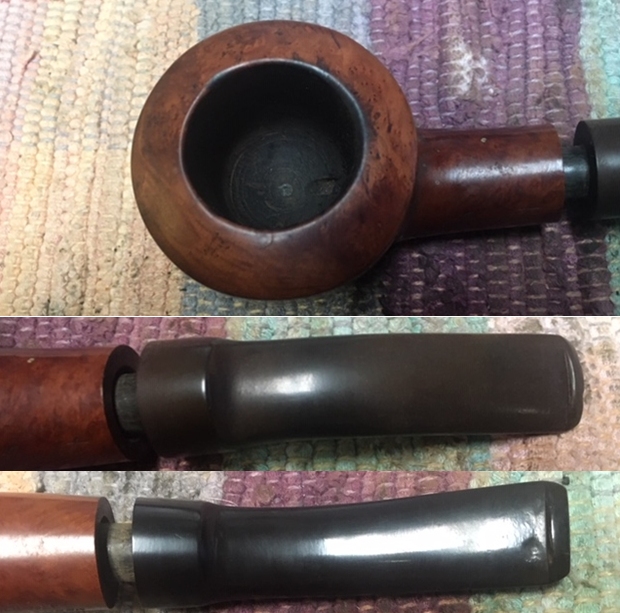 I took a photo of the stamping on the left side of the shank. It is stamped Anscot in script with the leg of the A extended in a swirl under the whole word. On the right side of the shank it is stamped Mediterranean Aged Briar.
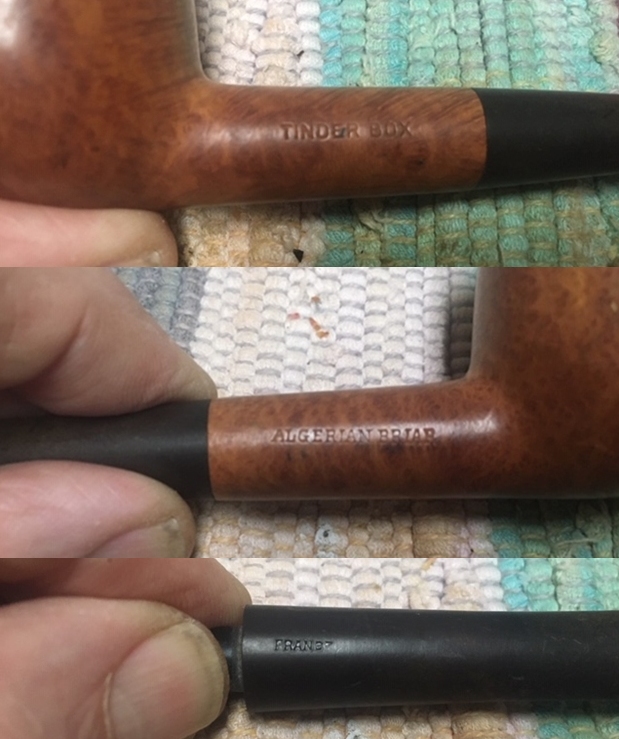
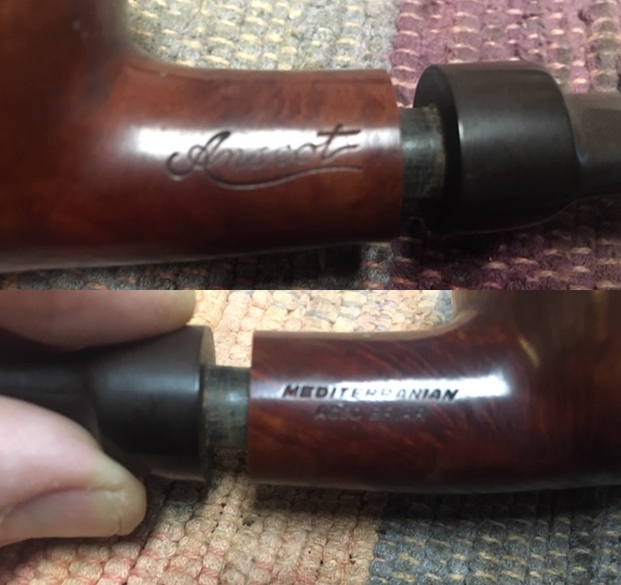 I looked up the brand on Pipephil and found nothing there. I did a search for the brand and found a link to a connection between Abraham & Straus, Inc. to Anscot in Brooklyn, New York.
  There was also a link to picclick (https://picclick.com/Superb-Lh-Stern-anscot-Large-Bull-Moose-Vintage-302658878312.html) where the author linked the brand to LH Stern. That link was tenuous as the photo on the link showed the same stamping that I showed in the photos above.
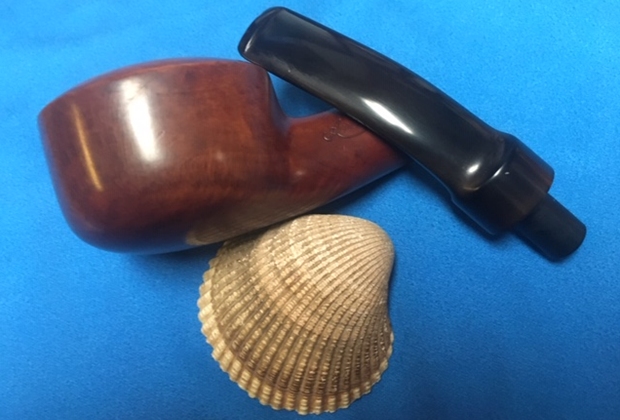
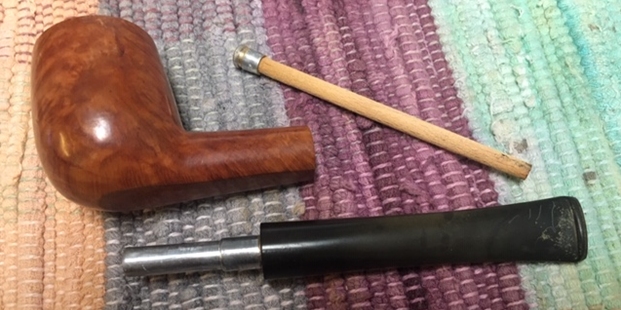
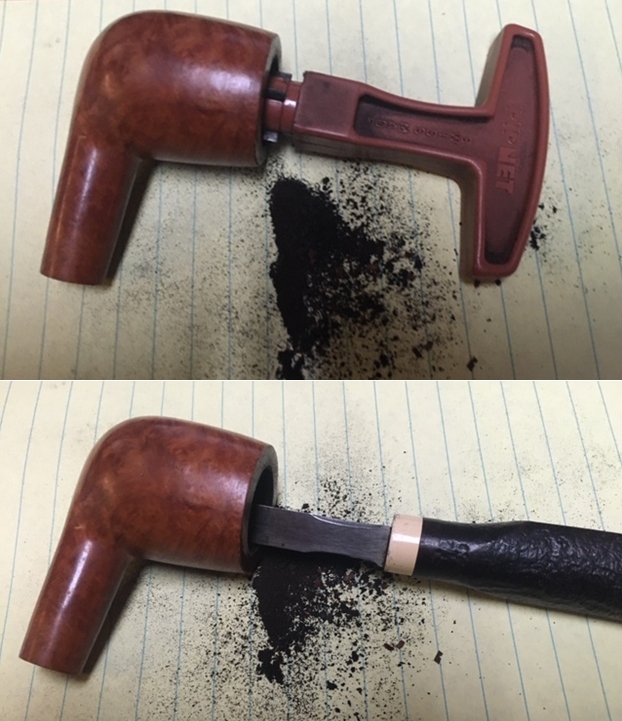
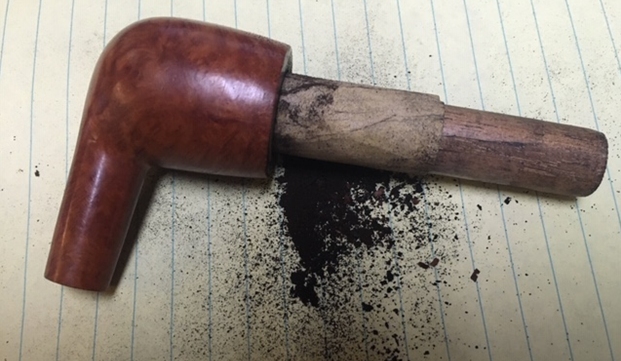
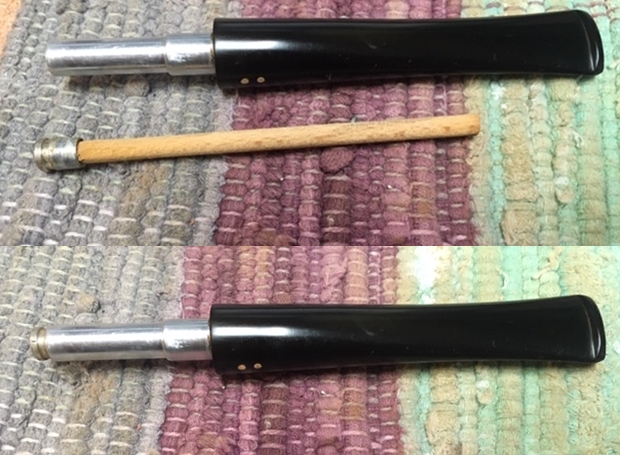
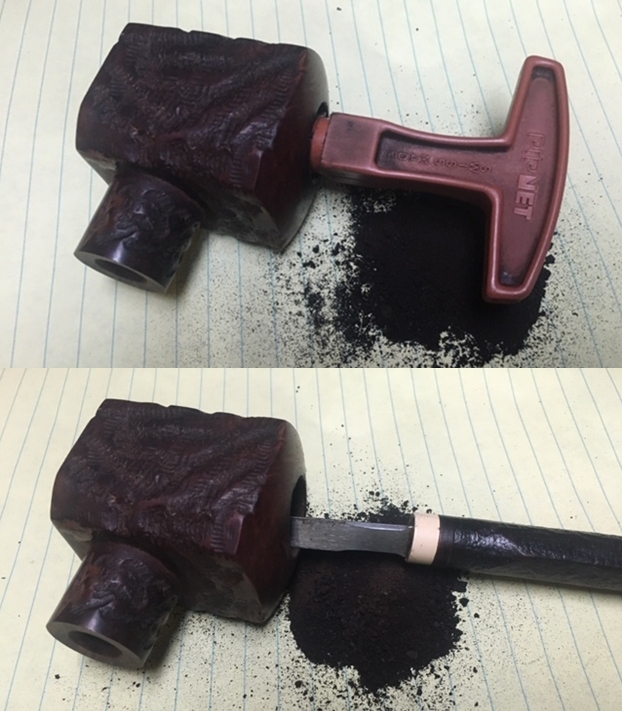
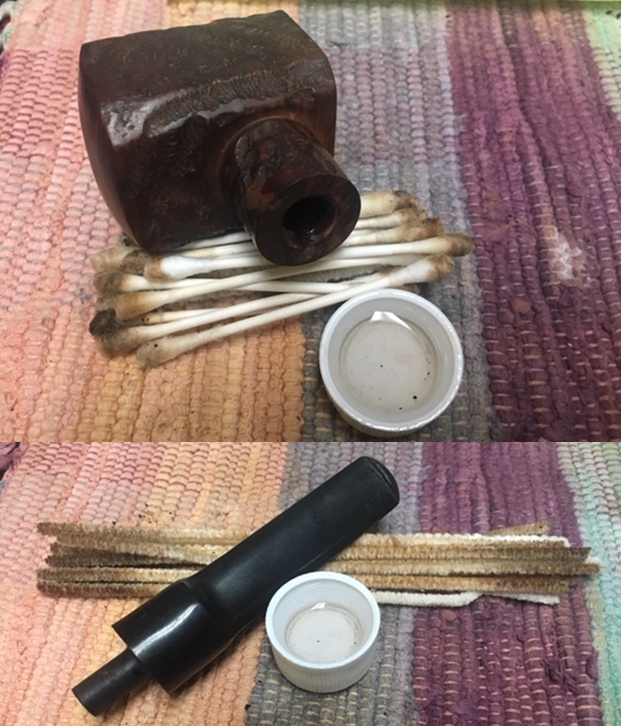
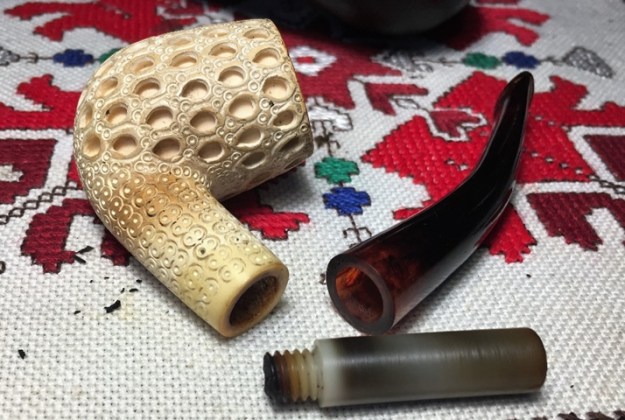
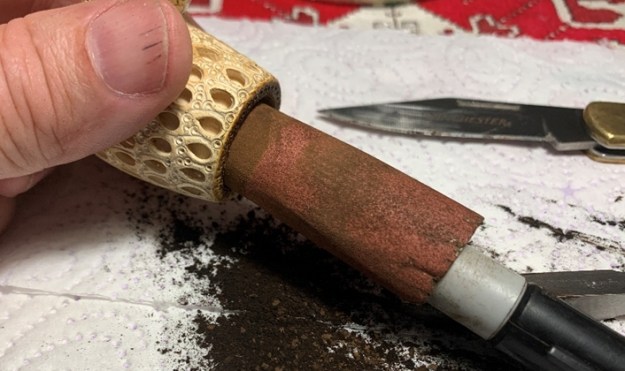
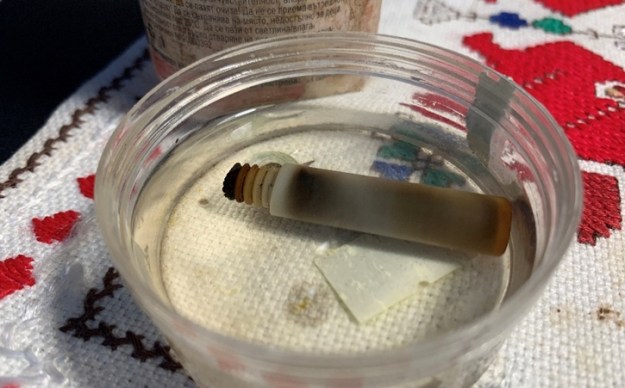
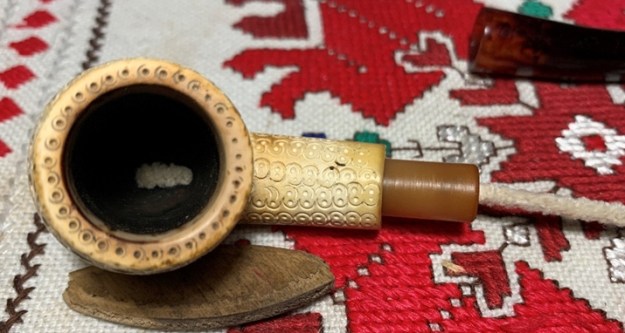
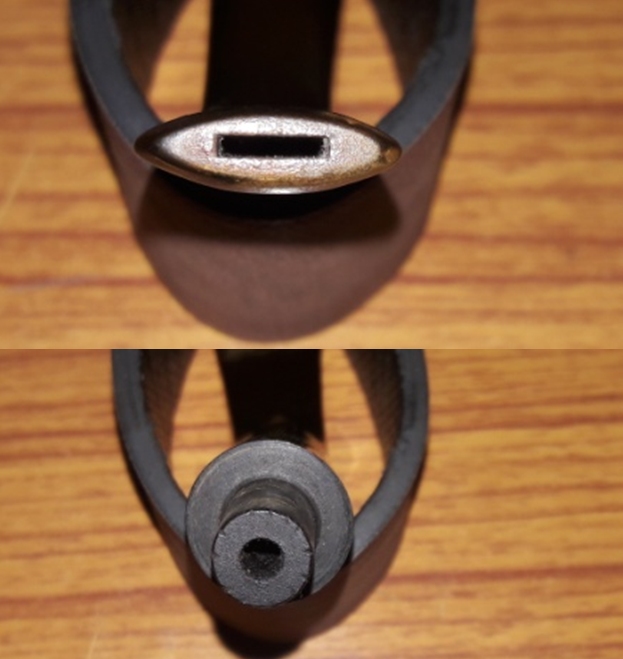
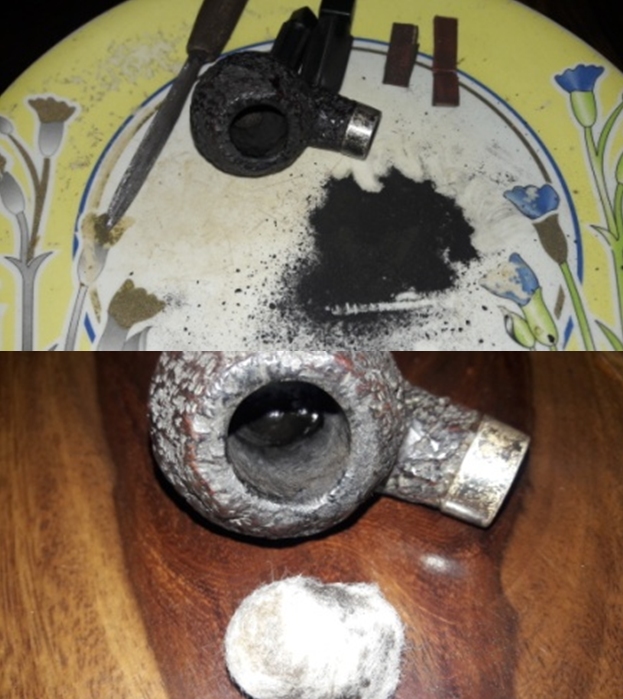
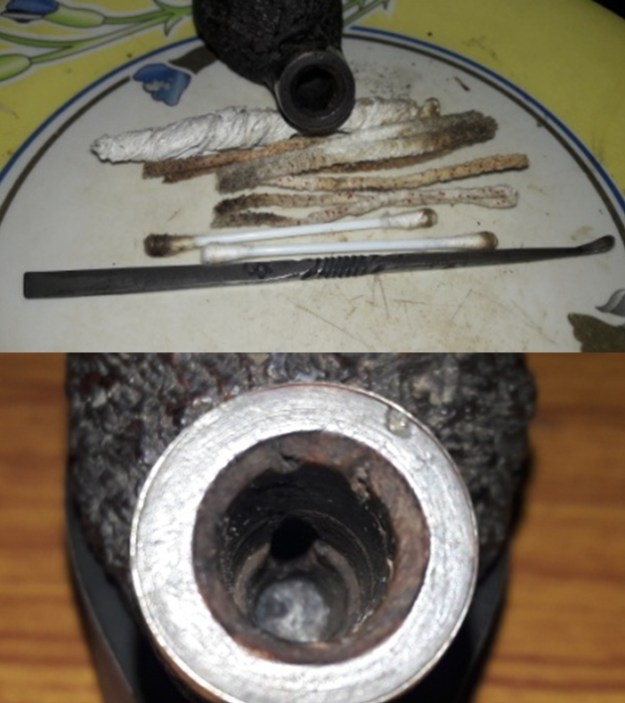
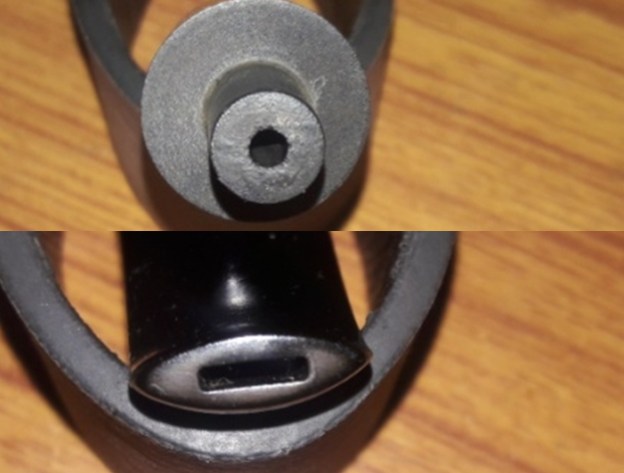
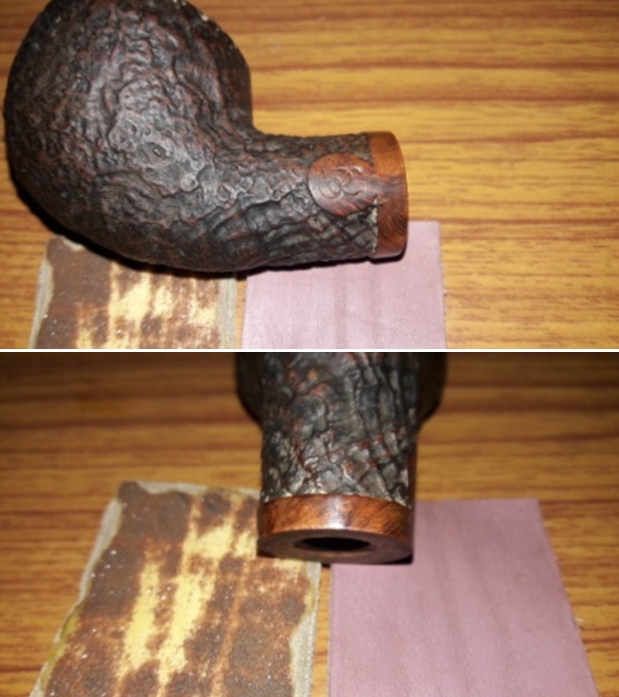
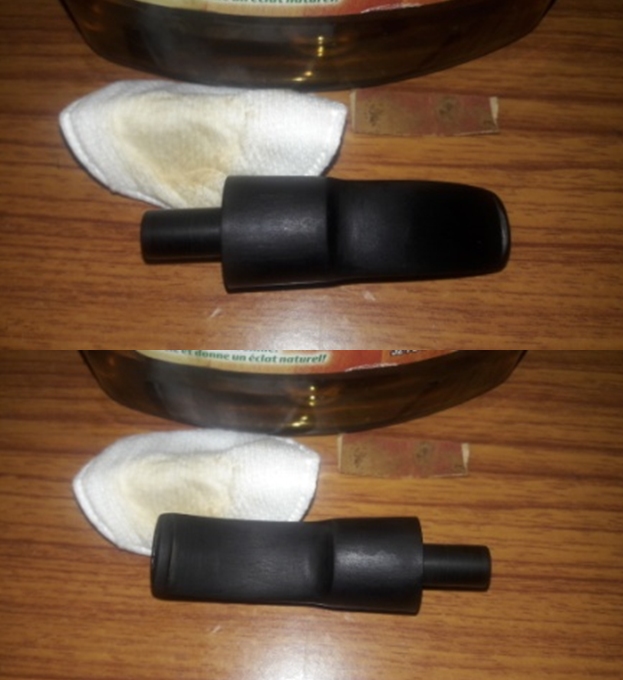
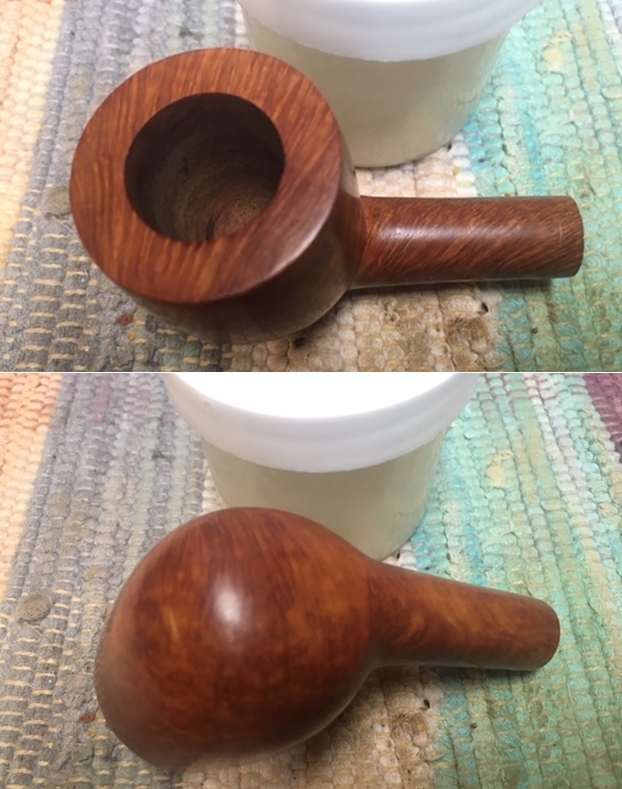
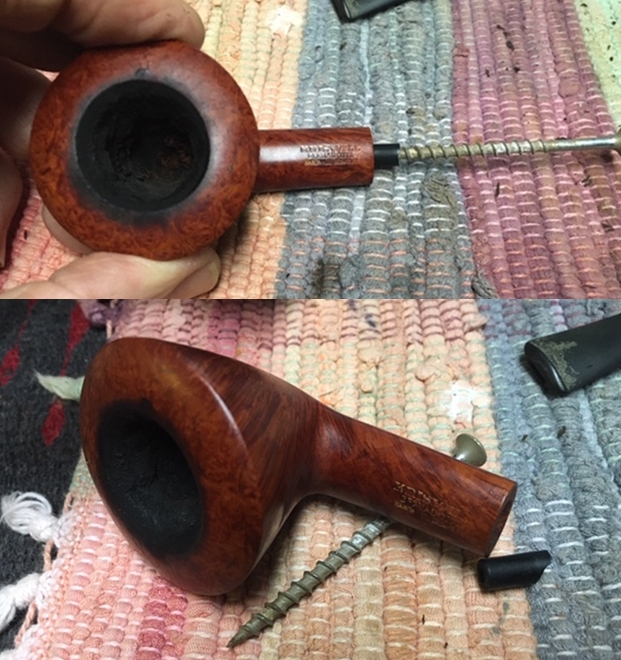
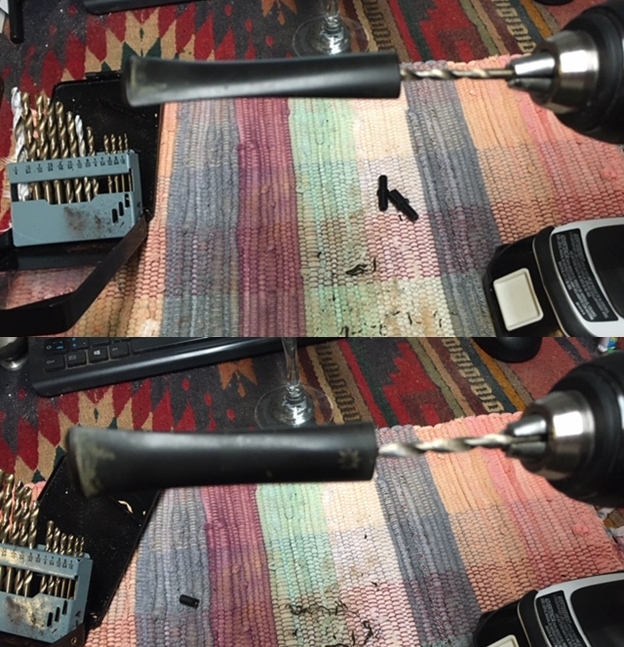
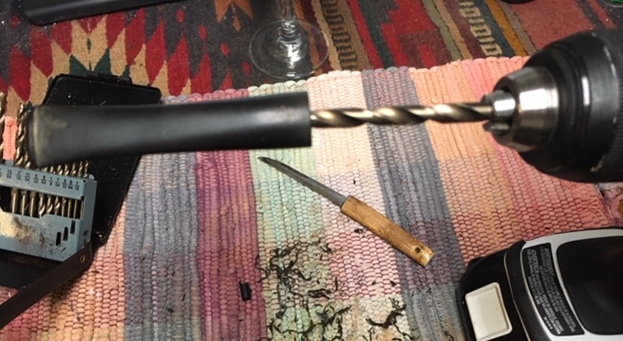
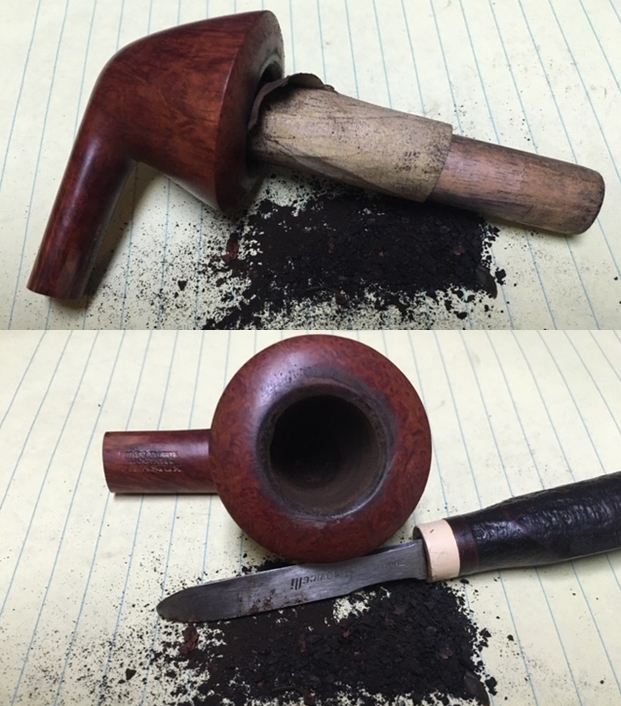
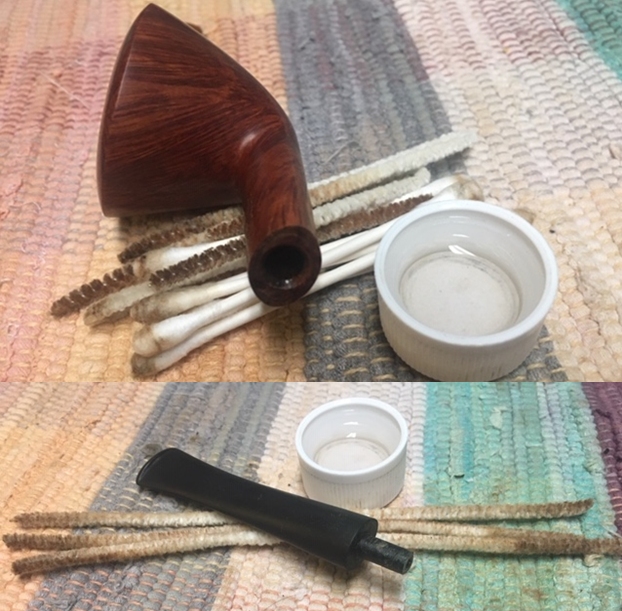
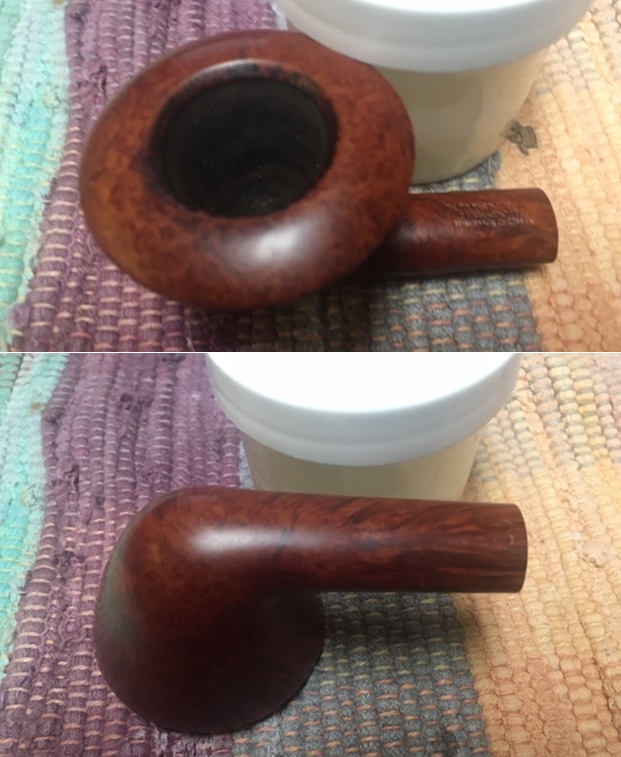
From the search I did the most I could find out was the link to the pipe shop in Brooklyn, New York. The tie to LHS was not reliable as I could not see any link to the LHS Company. I looked up LH Stern on Pipedia and read through that article but there was no link to Anscot. So the mystery remains. Now it was time to clean up the pipe and restore it. I removed the stem from the shank and saw an interesting stinger inserted in the shank. I took a photo of the pipe at this point.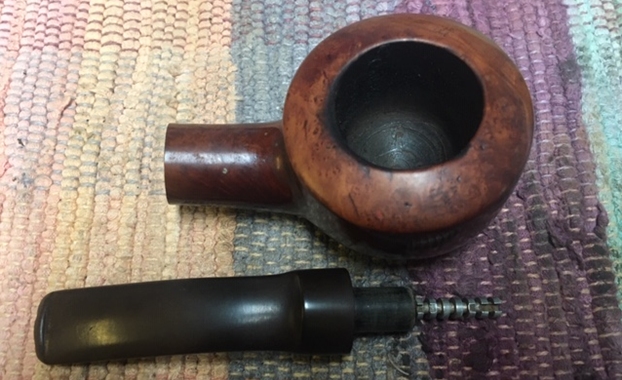 I took the bowl to the work table and reamed it. I used a Savinelli Fitsall Pipe Knife to clean up the light cake in the bowl.
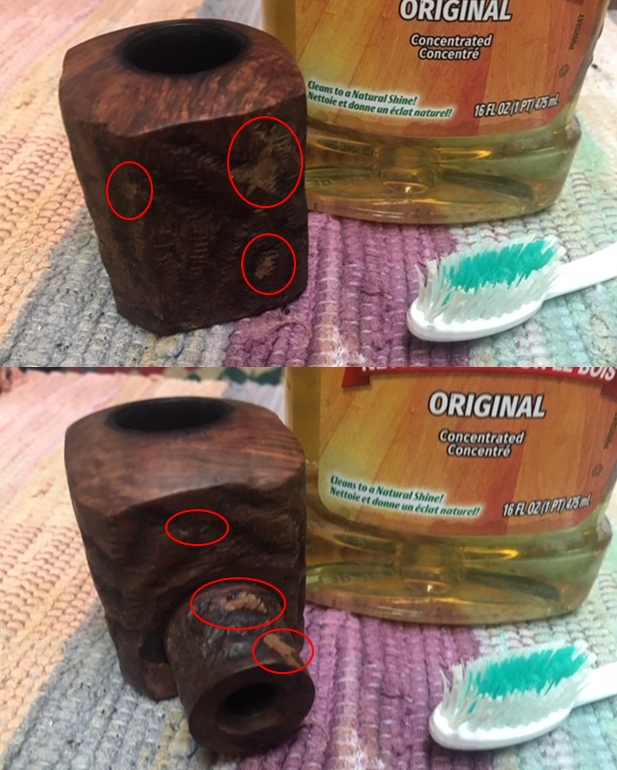
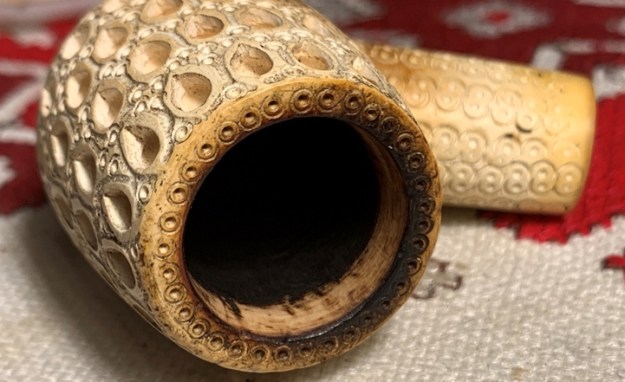
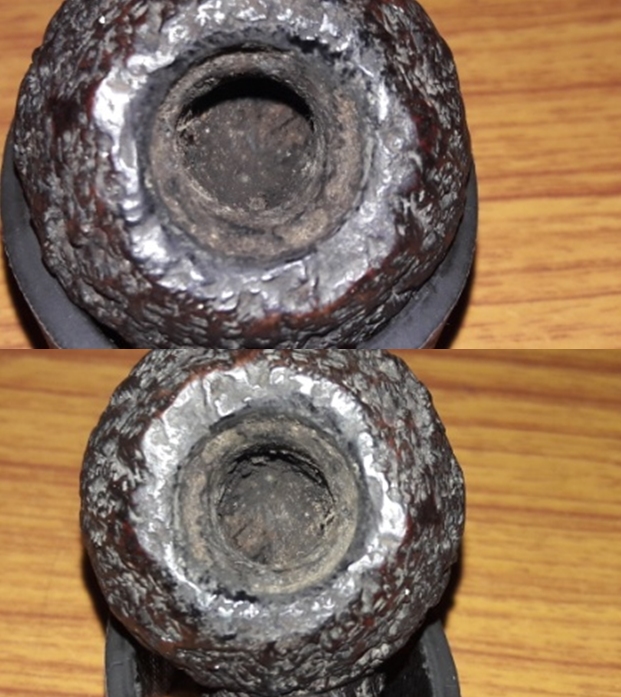
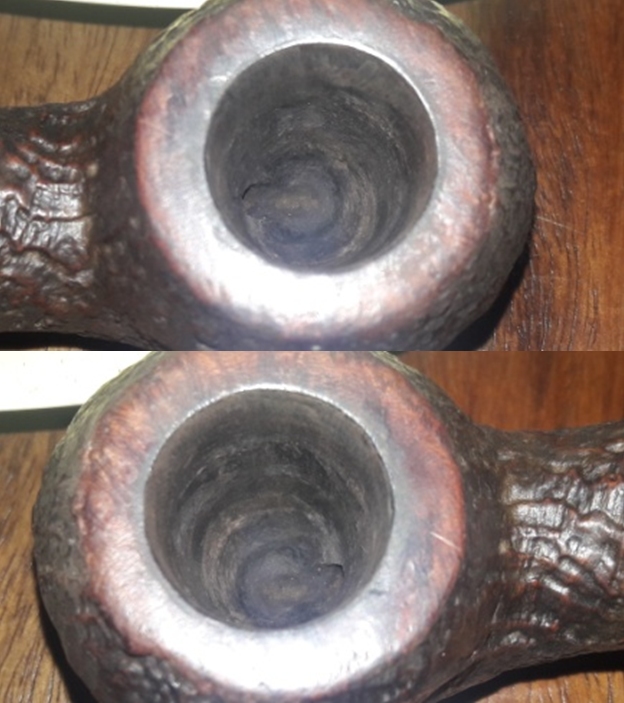
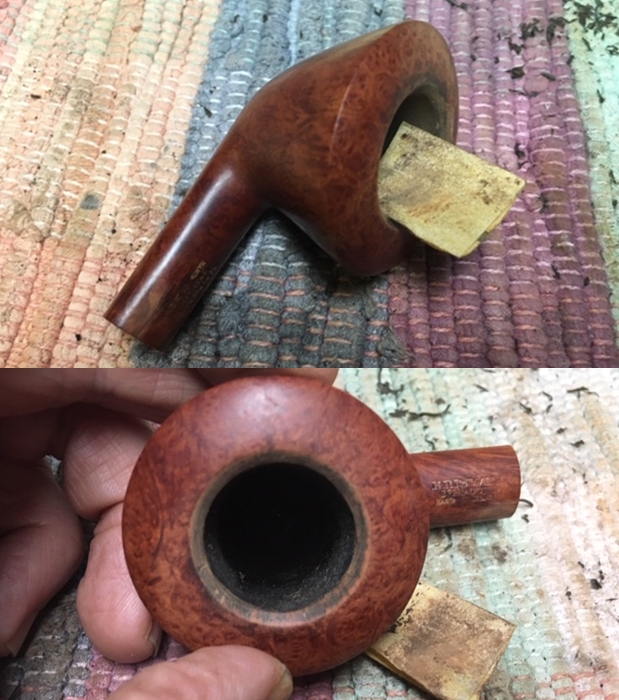
 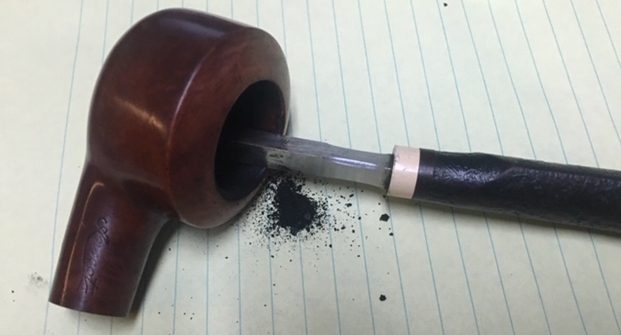 I cleaned up the inner edge of the rim with a folded piece of 220 grit sandpaper. I was able to remove the damage to the inner edge and the top of the bowl.
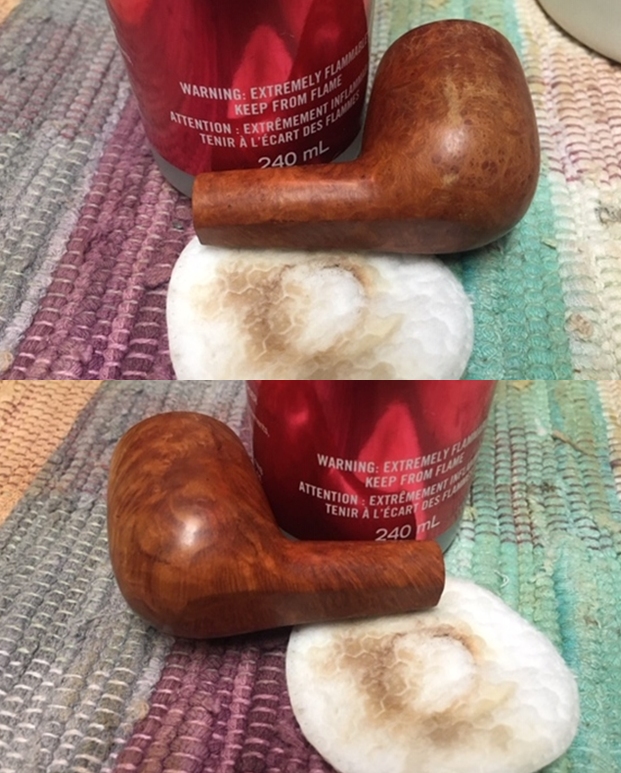
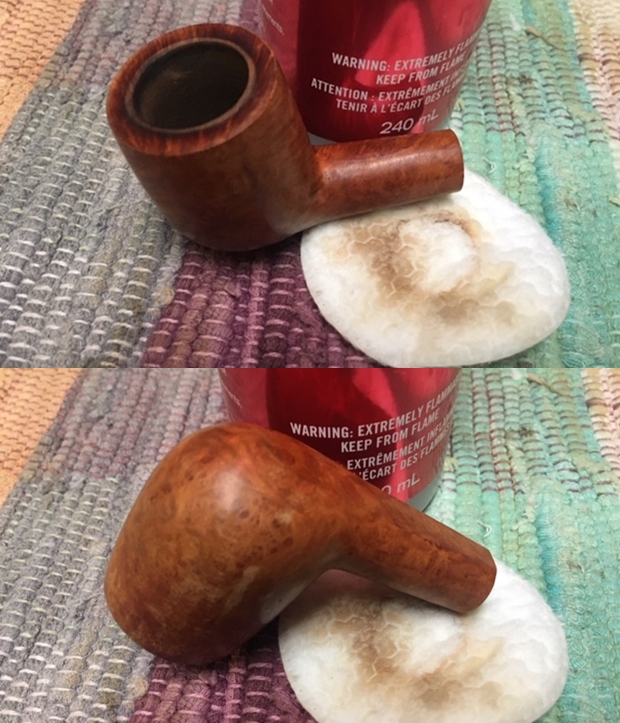
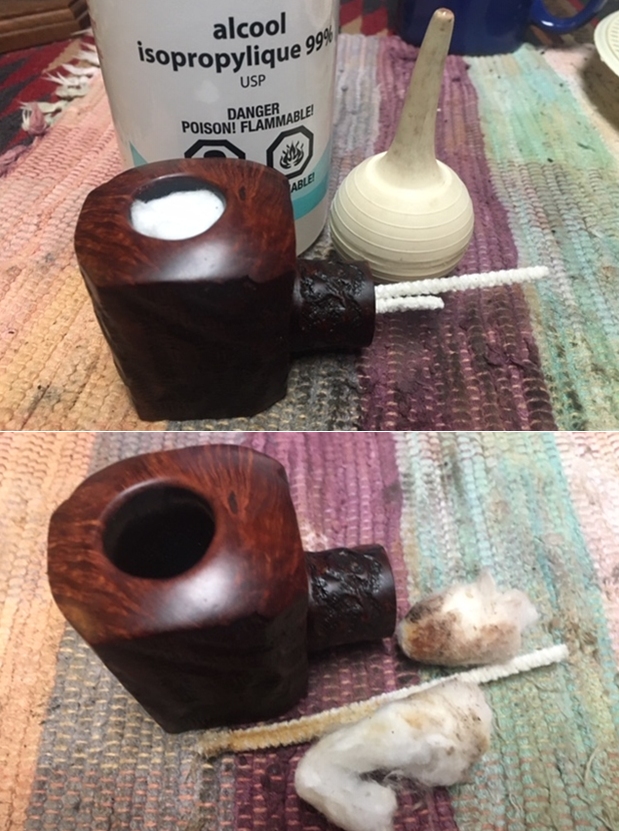
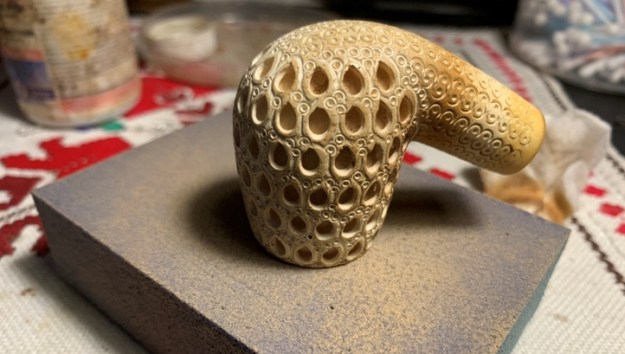
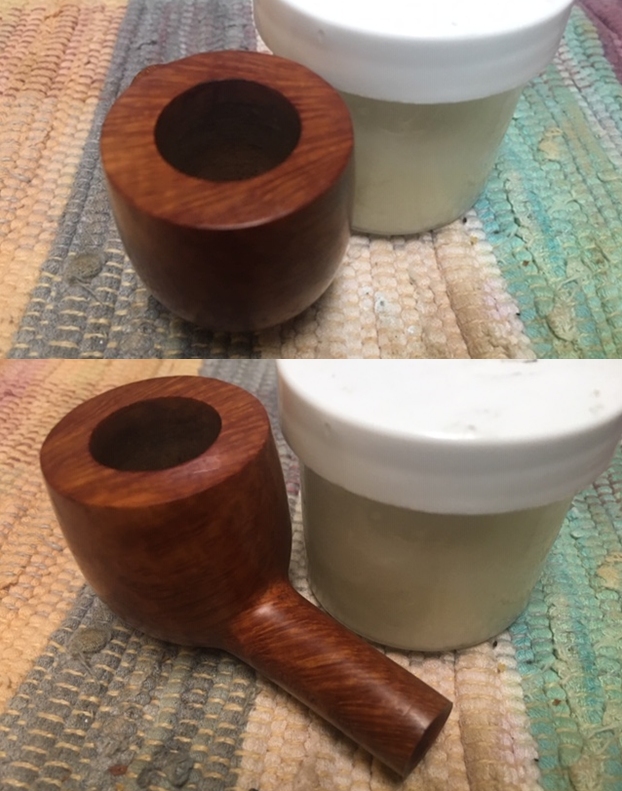
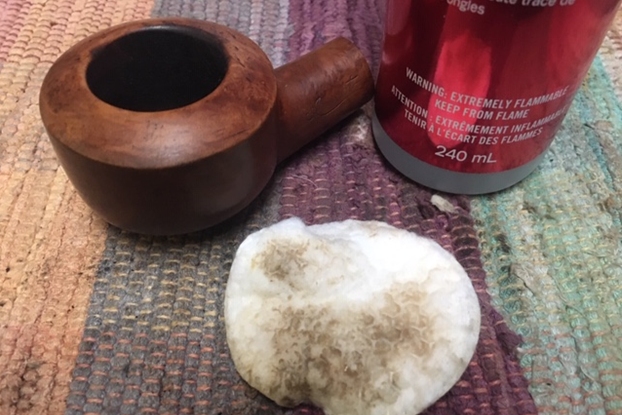
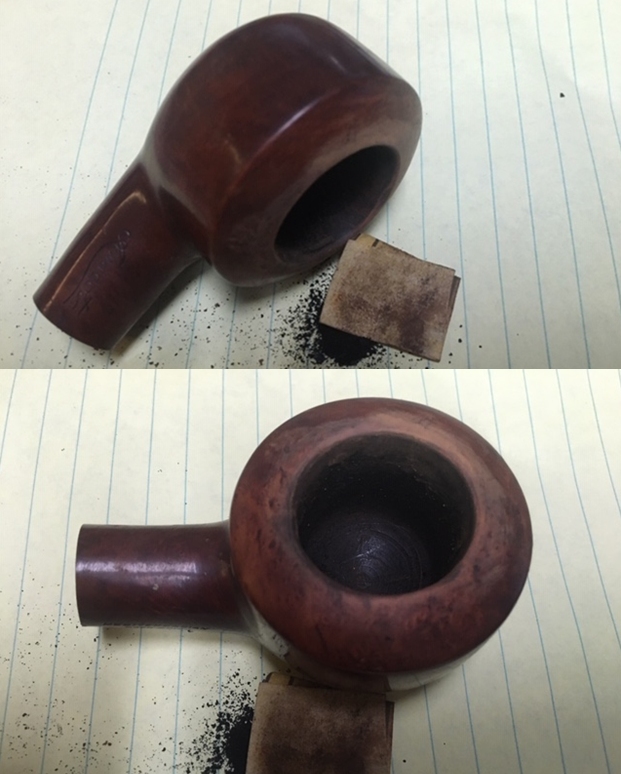 I wiped the bowl down with acetone on a cotton pad to break through the thick varnish coat on the bowl. It took a bit of scrubbing but it looked far better.
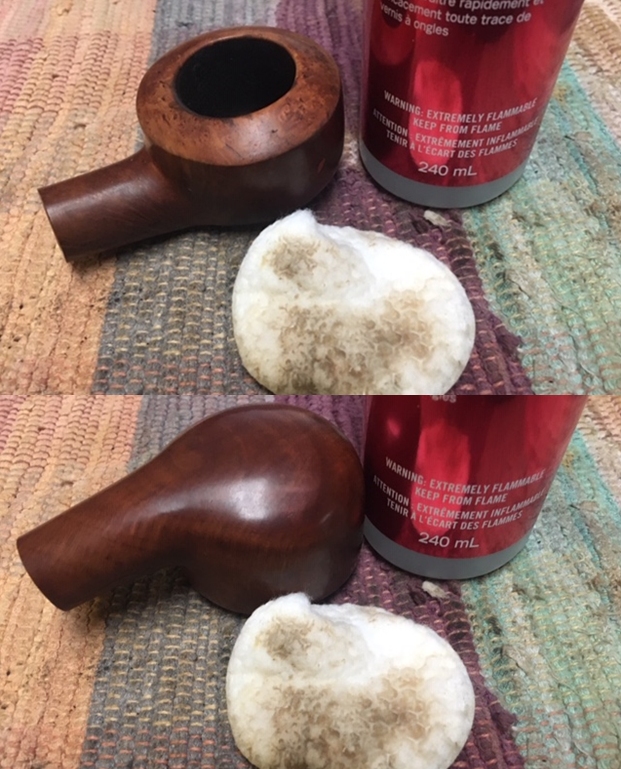
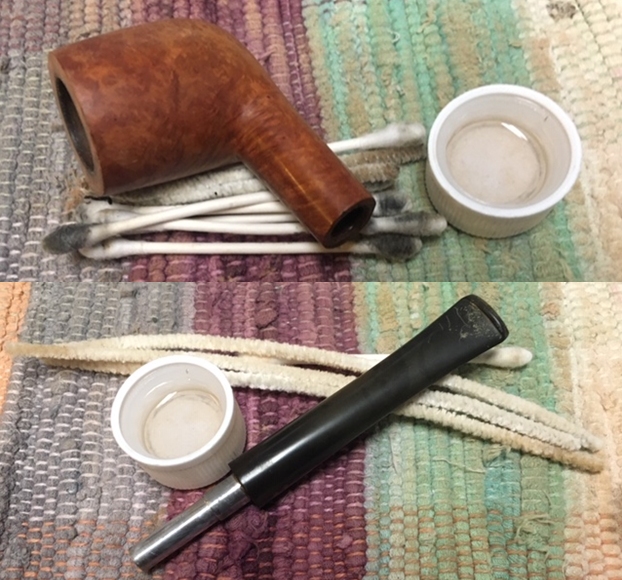
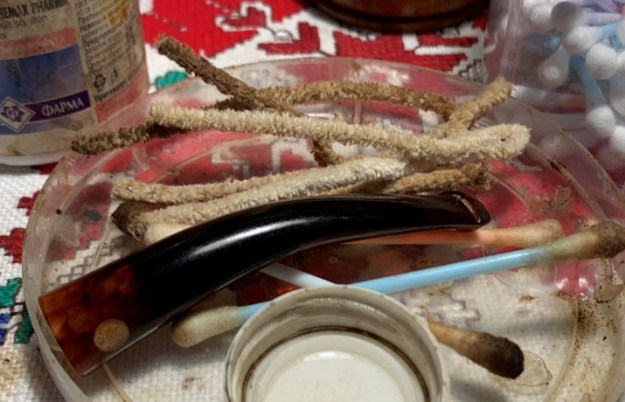
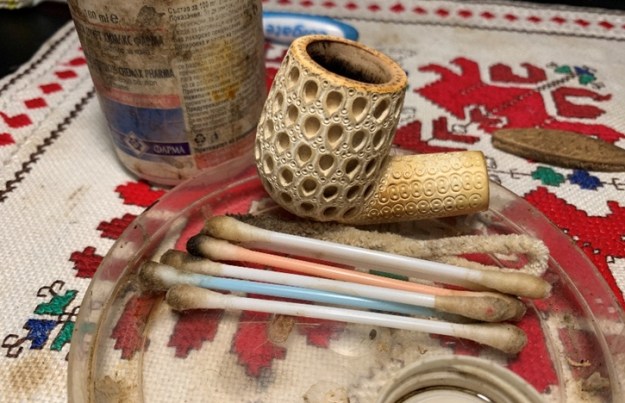
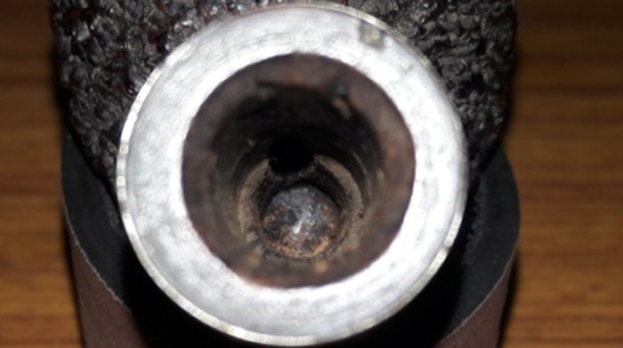
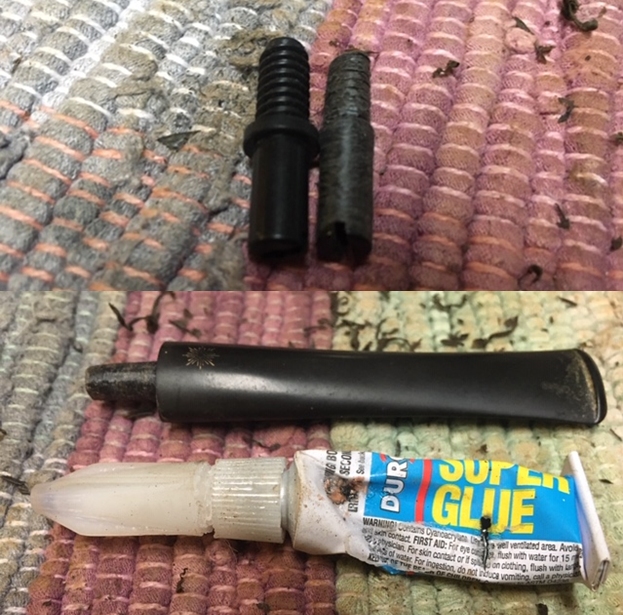
 I cleaned the interior of the shank/mortise and the airway in the shank and the stem with pipe cleaners, cotton swabs and alcohol. I removed the stinger from the tenon so that I could clean the airway in the stem. The airway in both and the mortise were dirty and after I had scoured them the pipe was clean and smelled better.
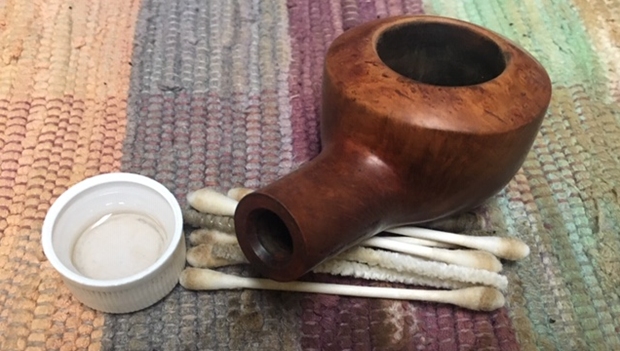
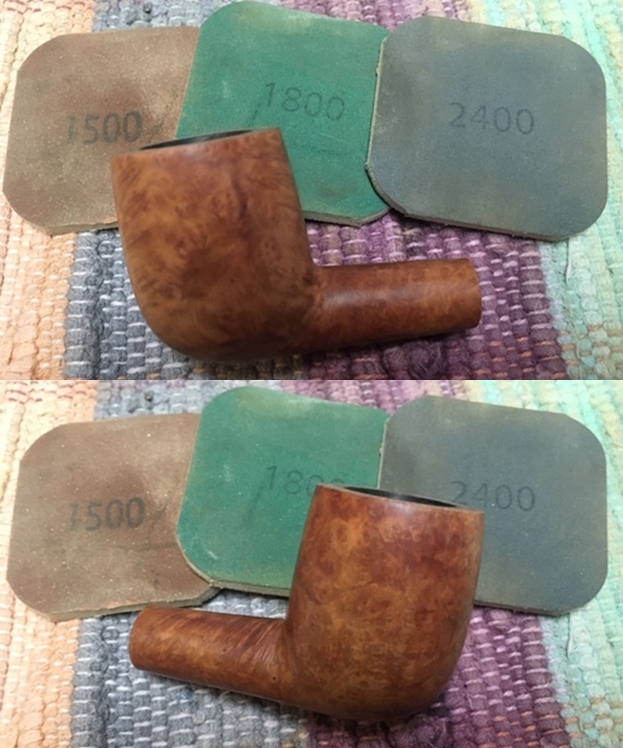
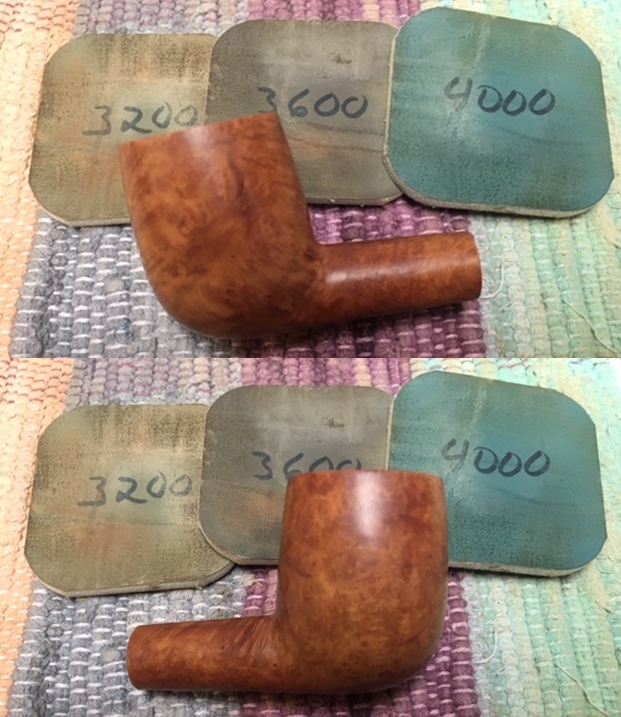
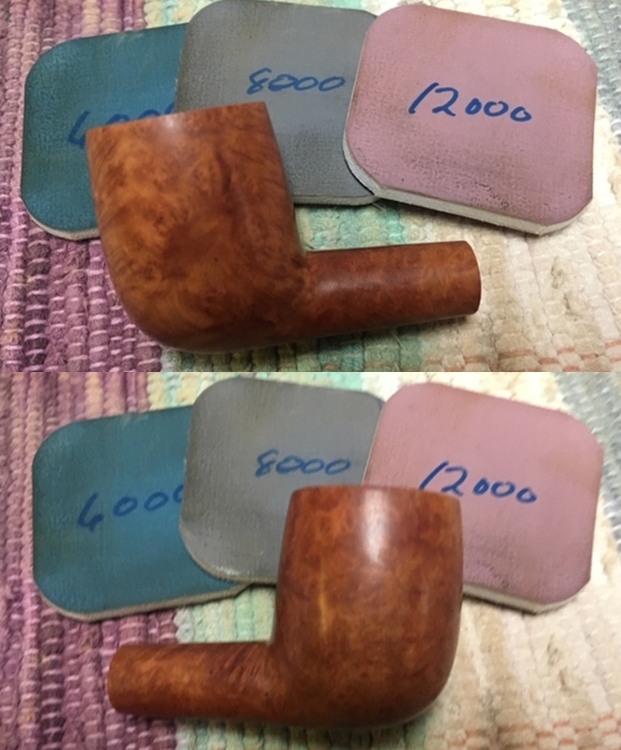
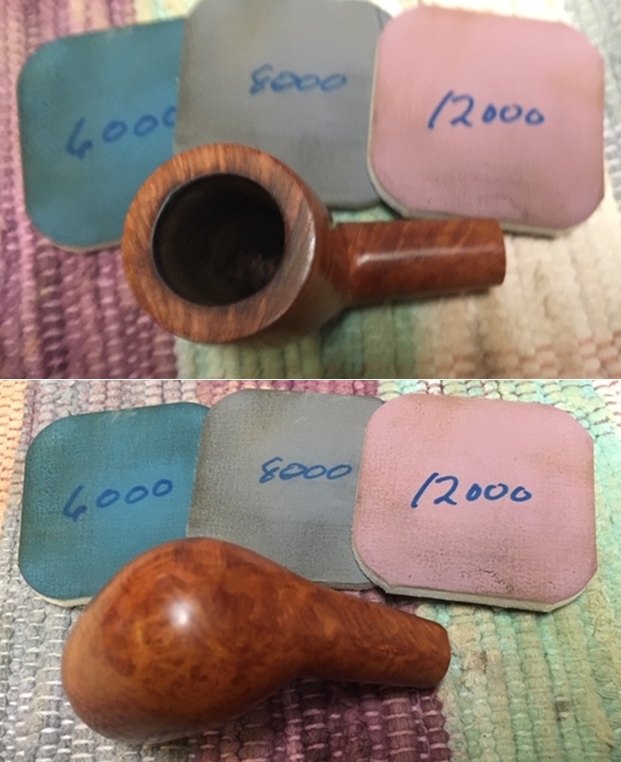
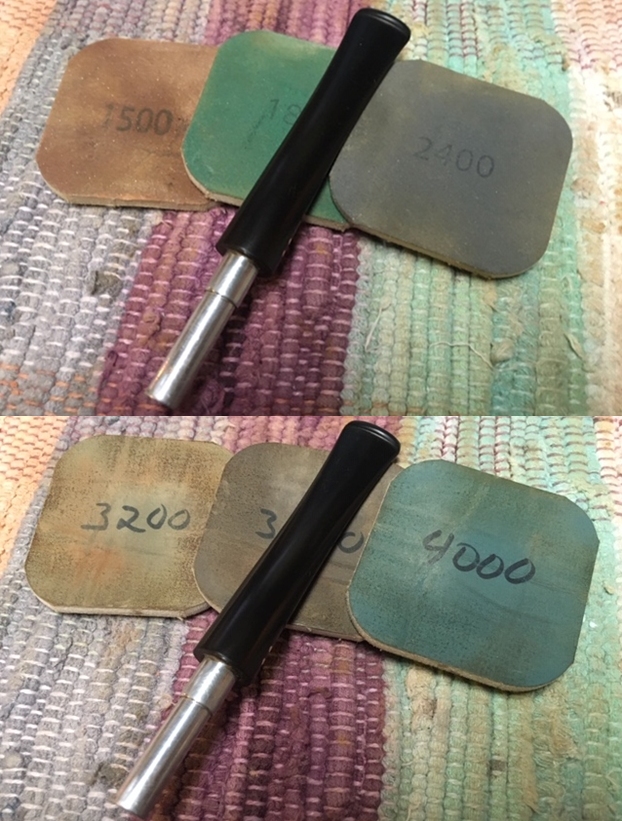
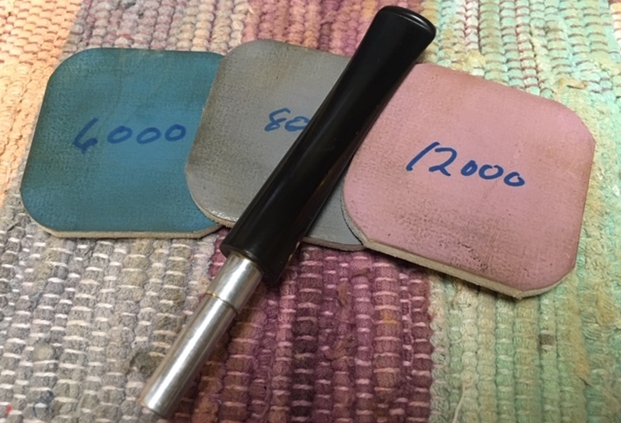
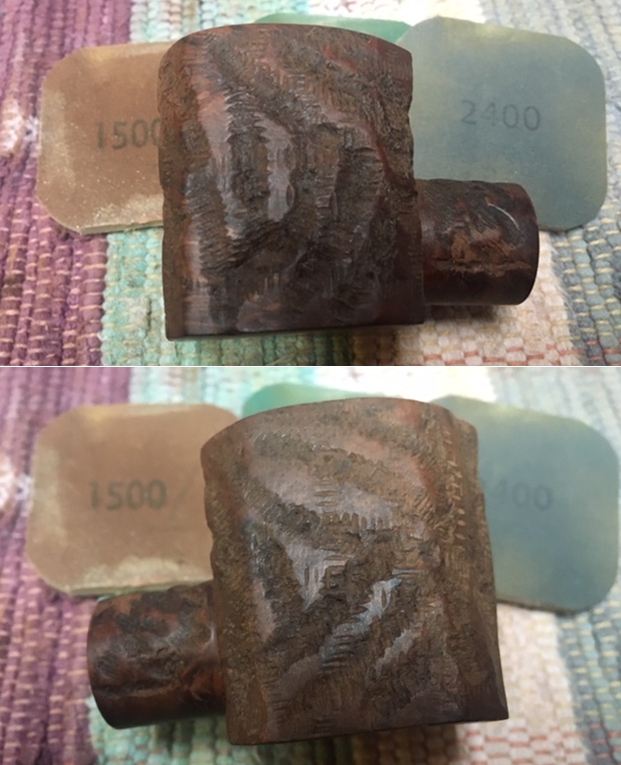
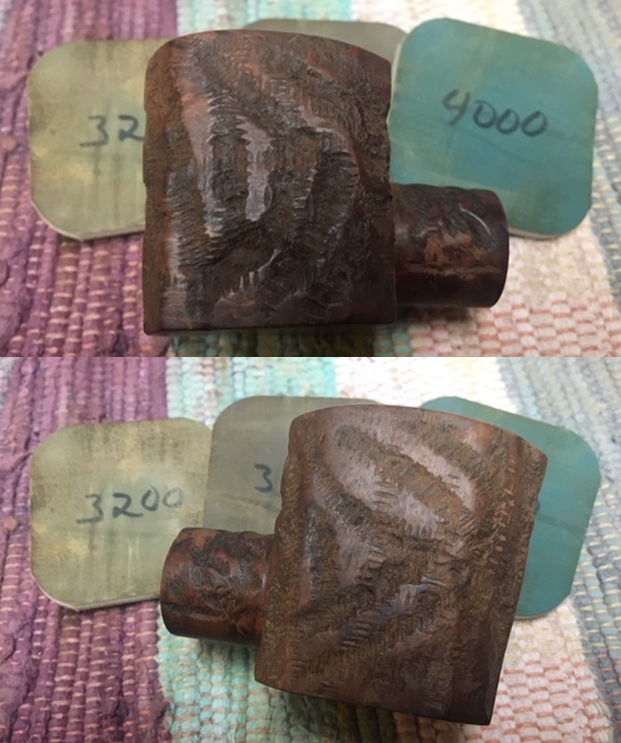
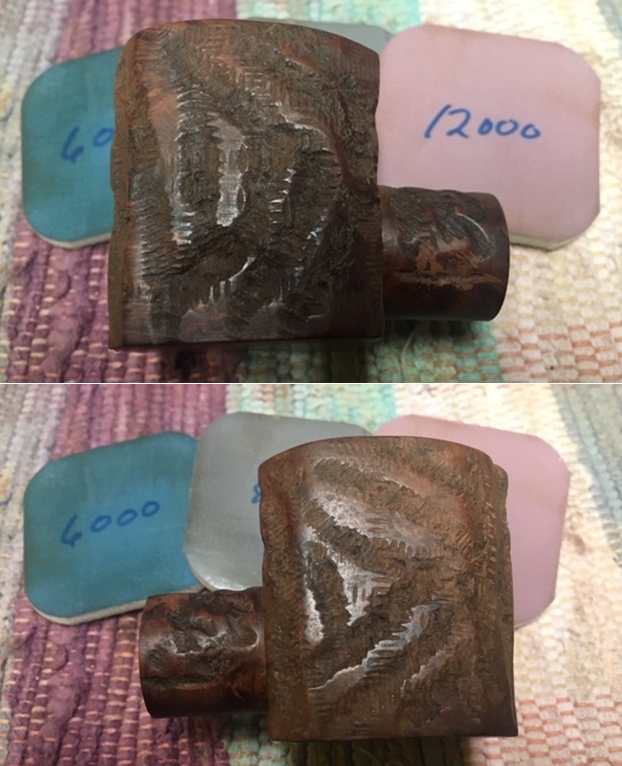
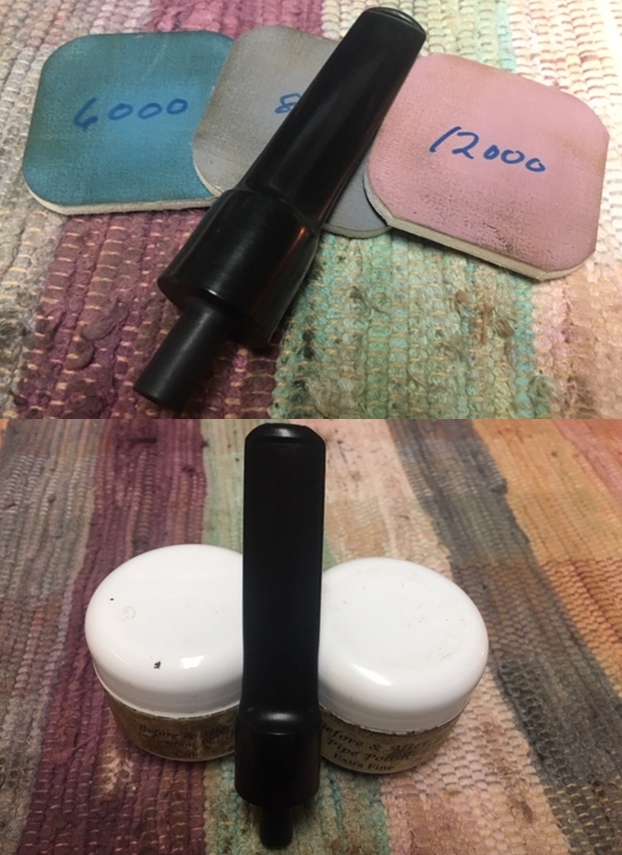
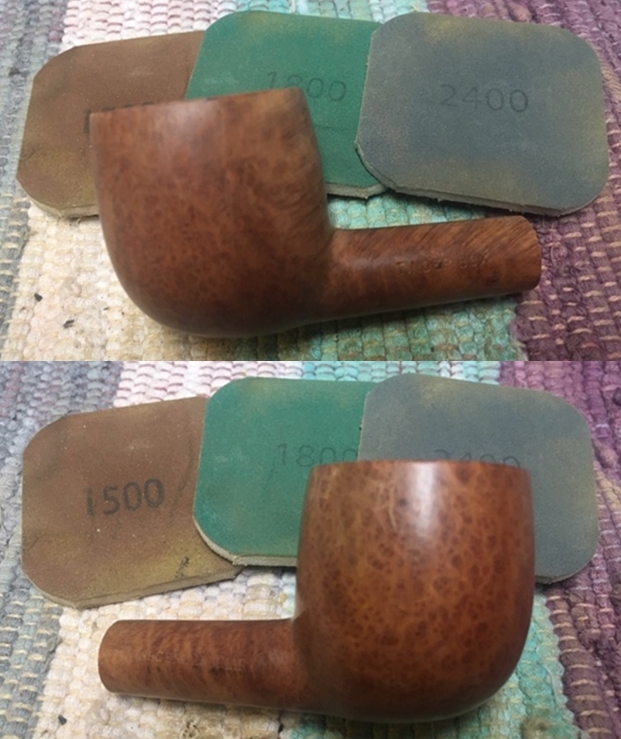
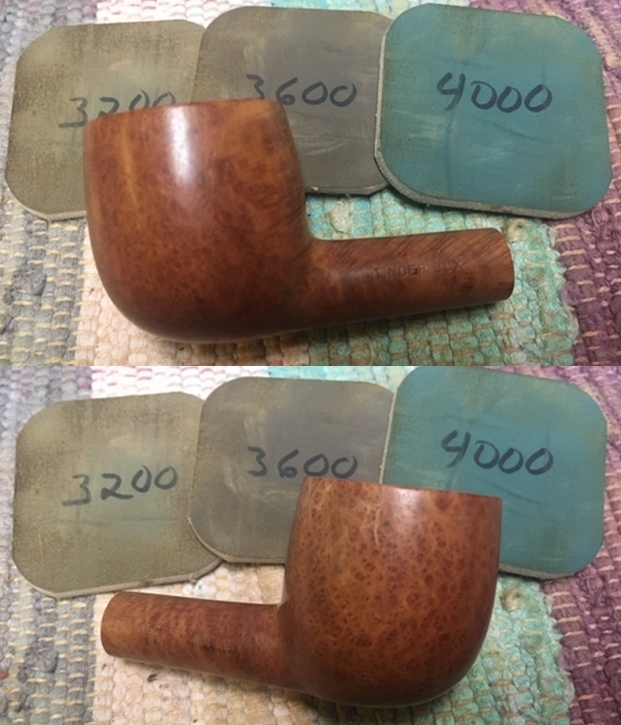
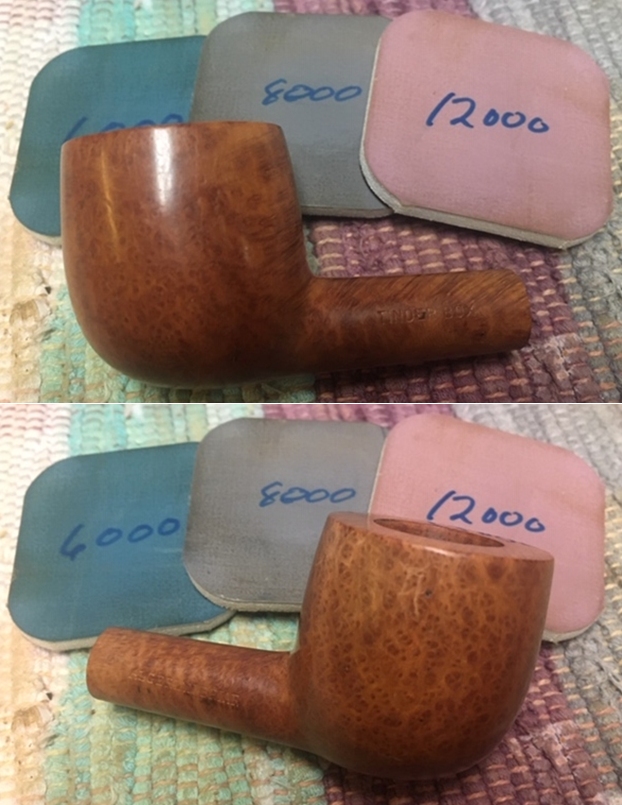
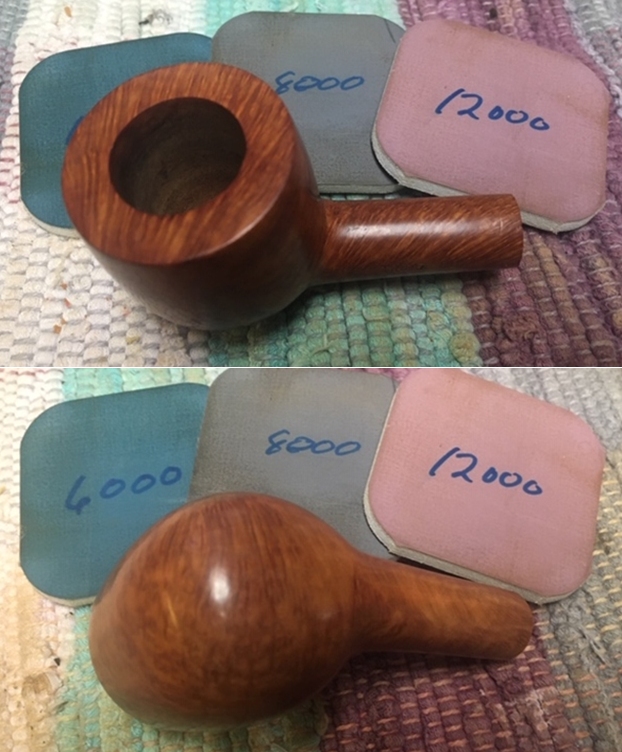
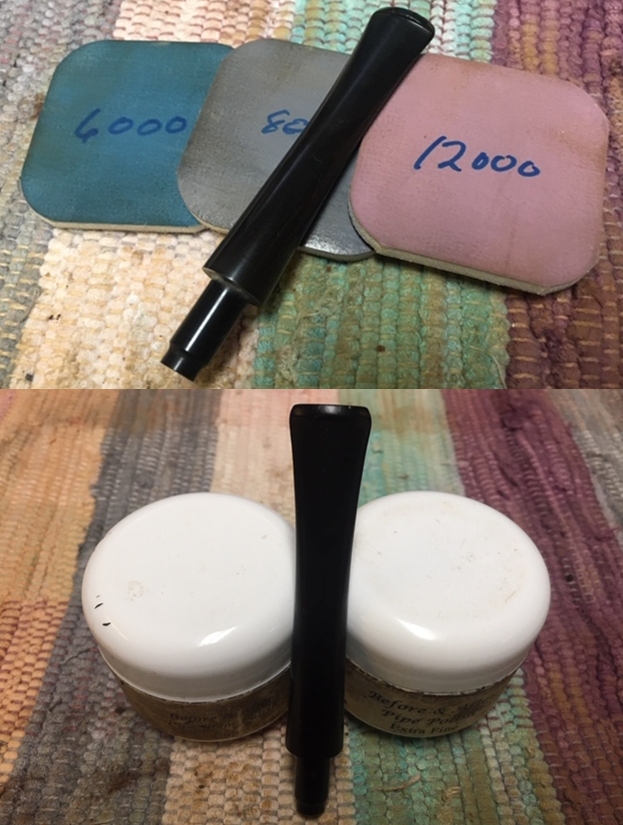
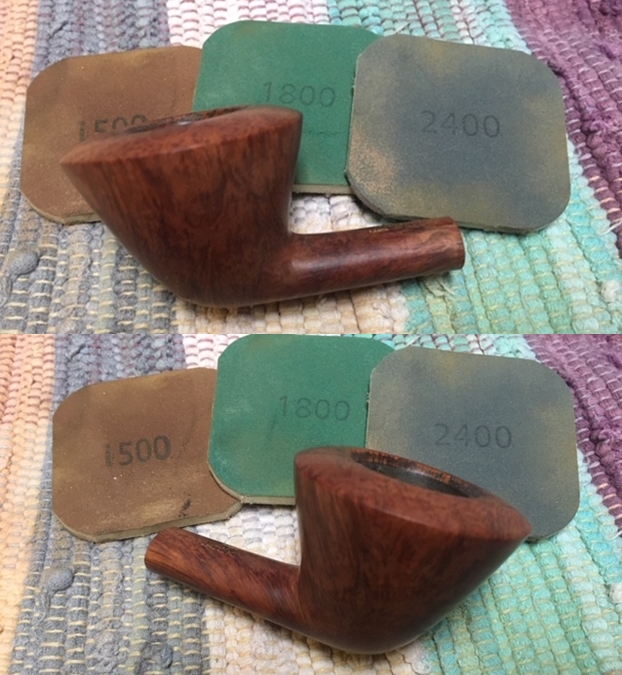
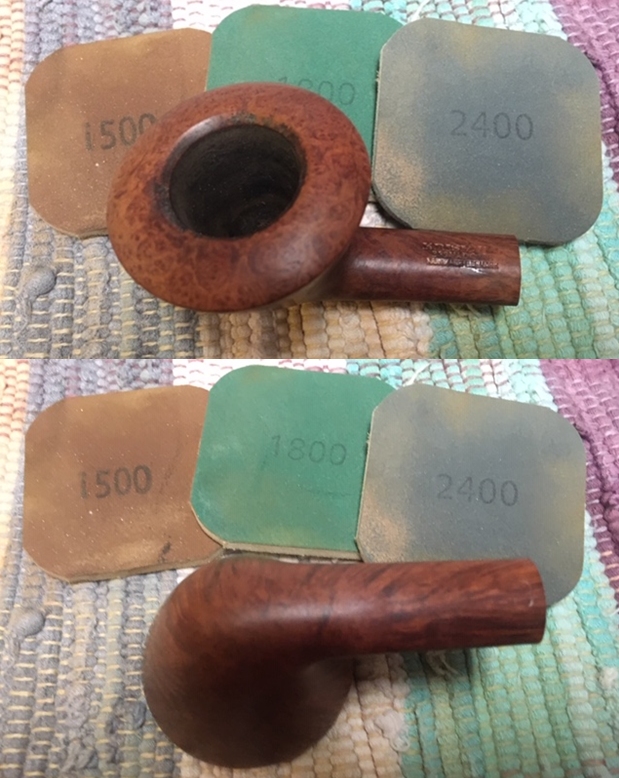
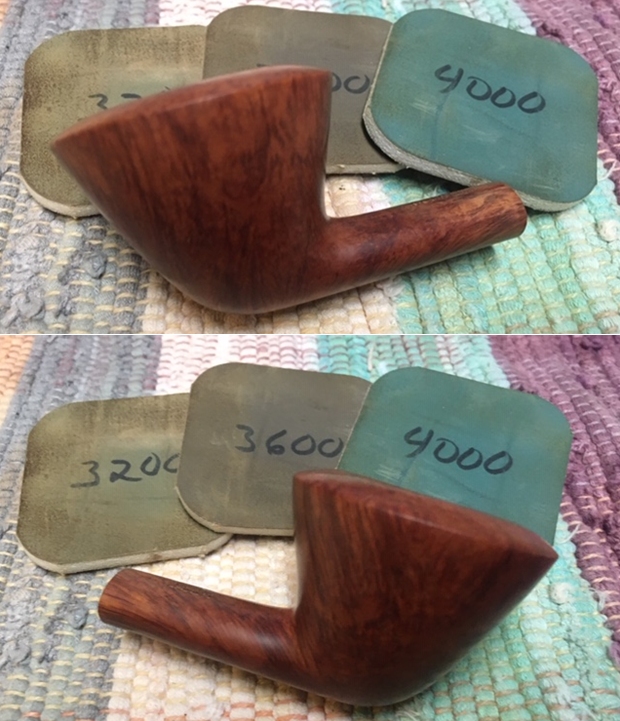
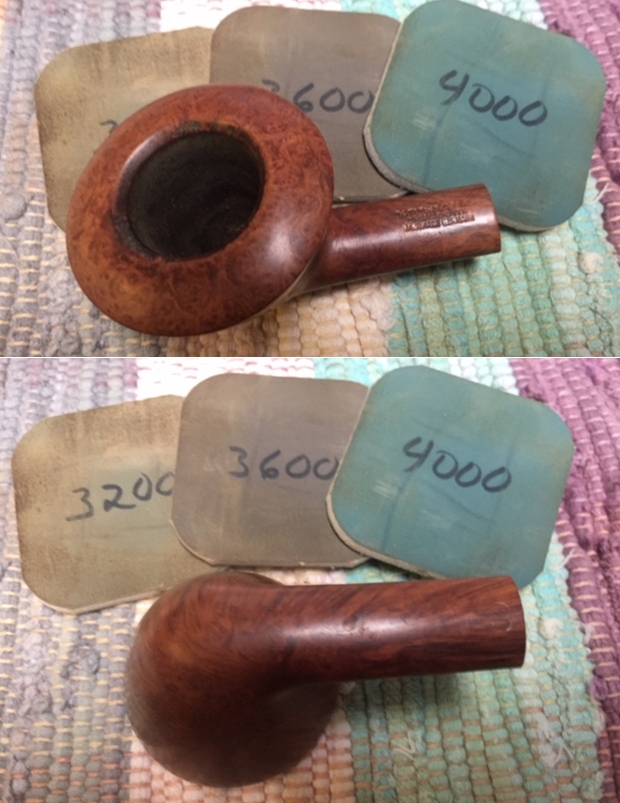
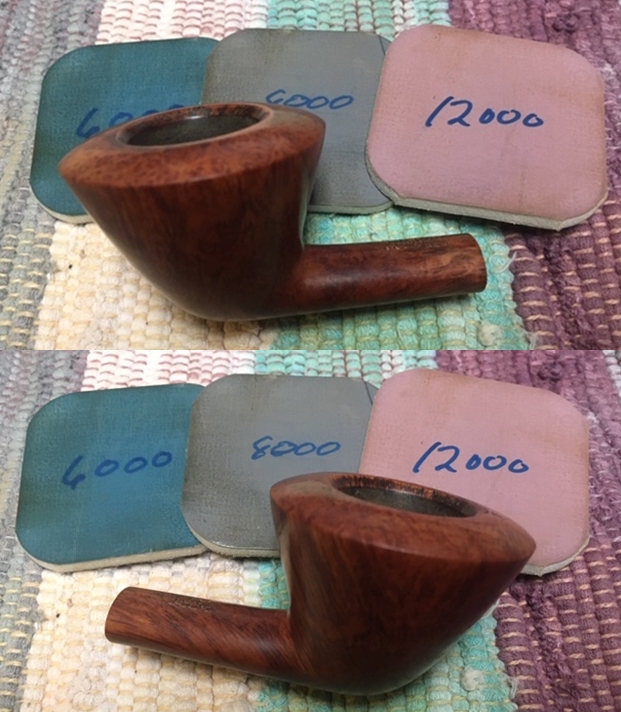
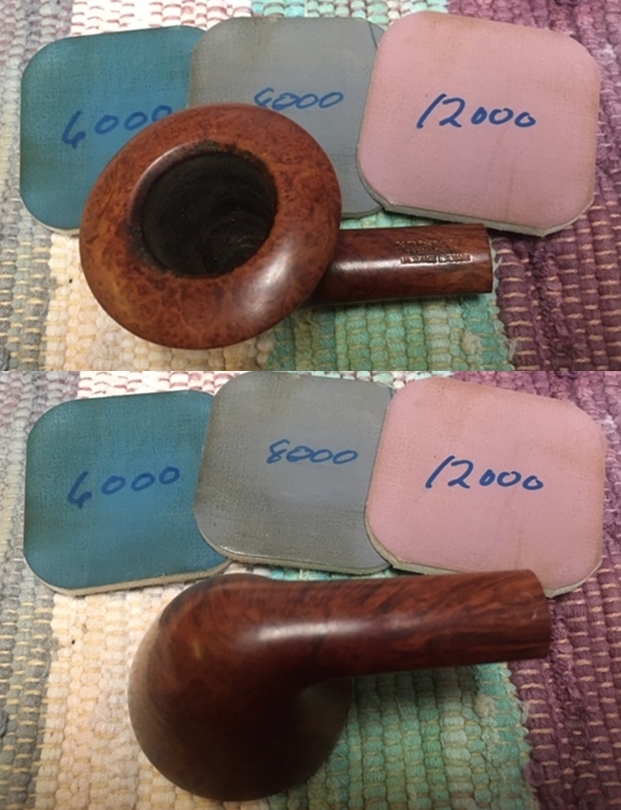
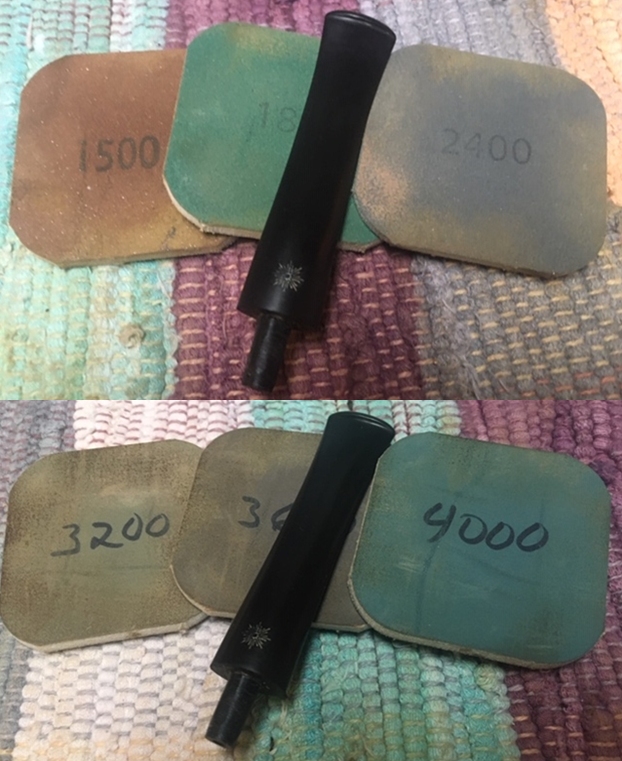
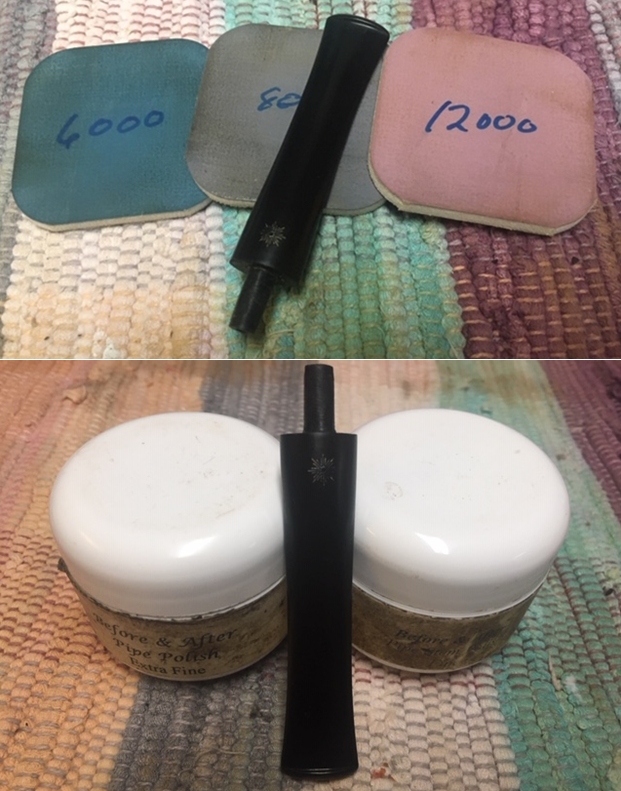
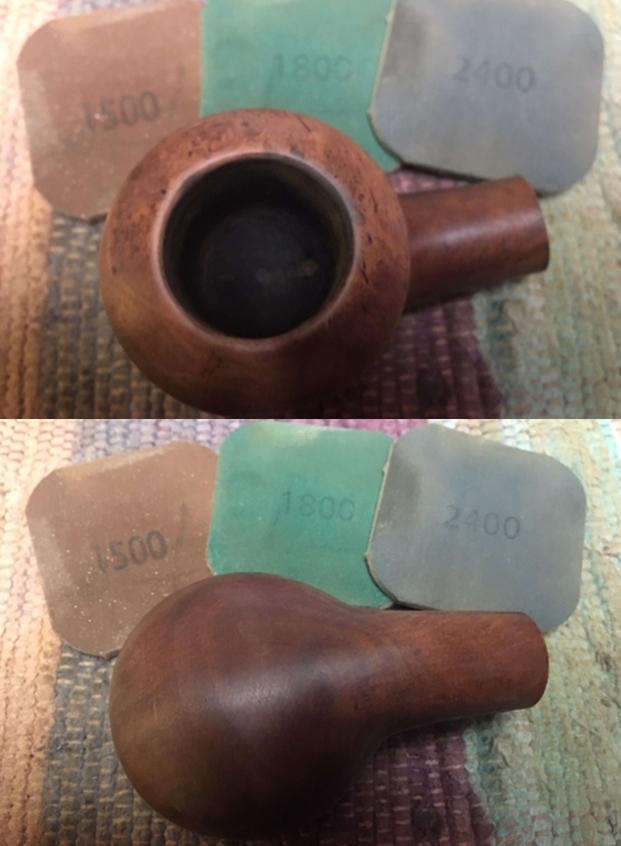
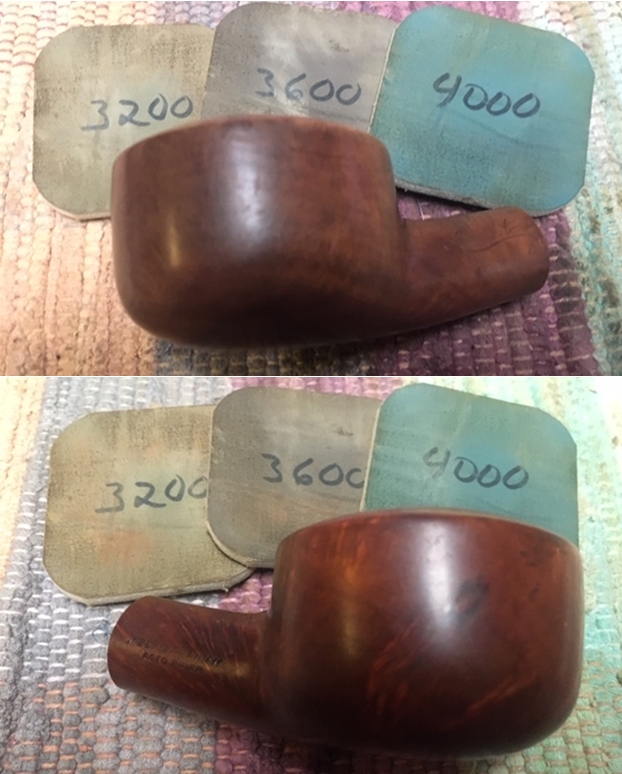
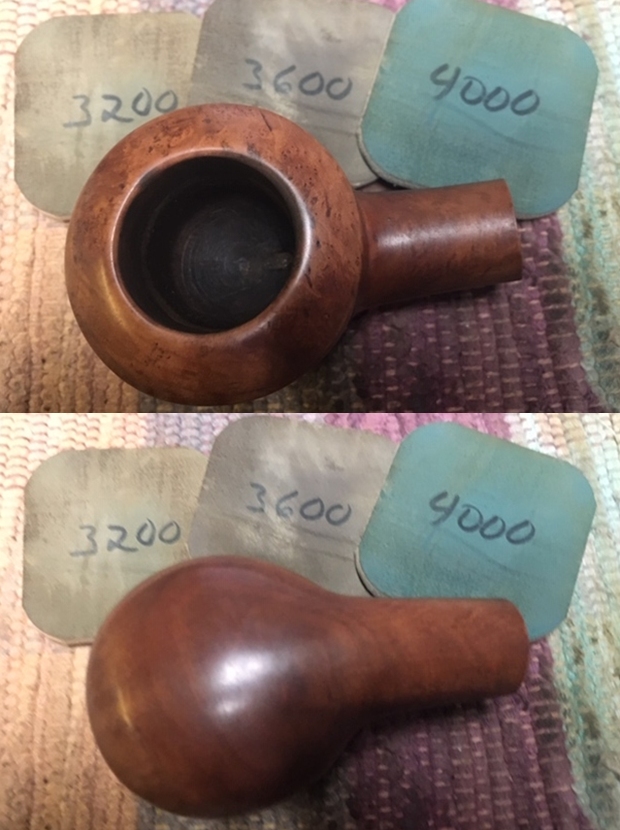
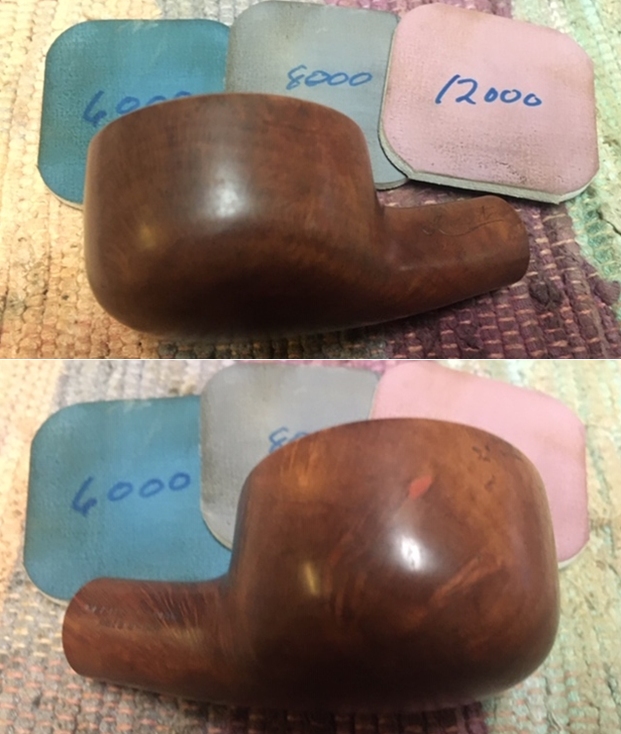
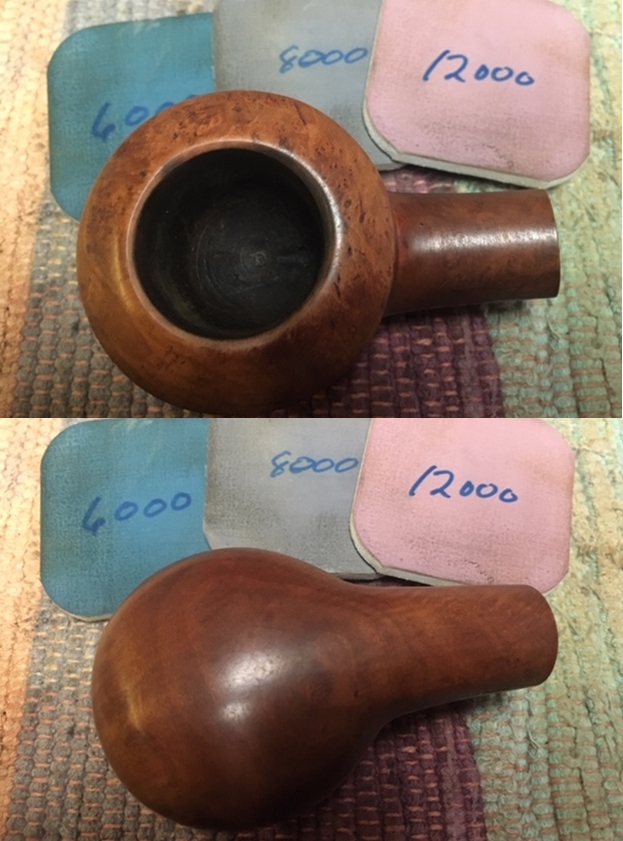
 With that finished I moved on the polishing the bowl and the rim top with micromesh sanding pads. I polished them with 1500-12000 grit sanding pads and wiped the bowl down with damp cloth to remove the sanding dust.
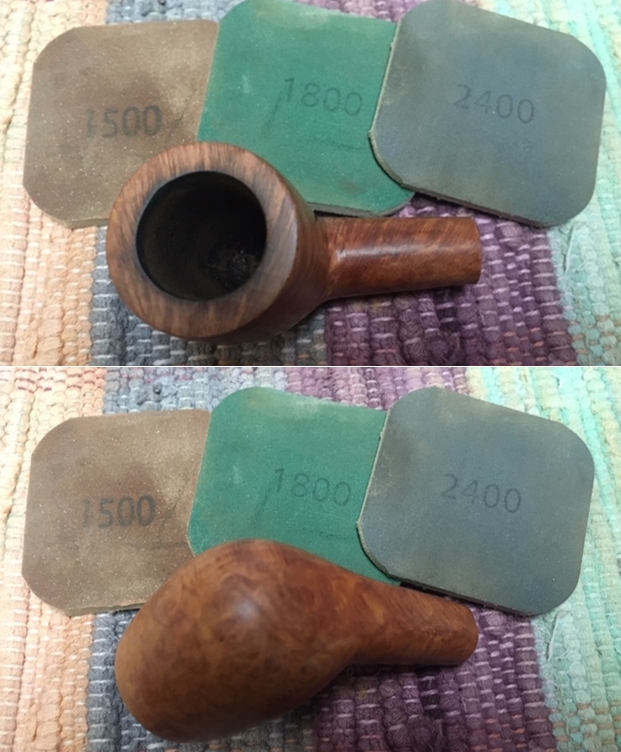
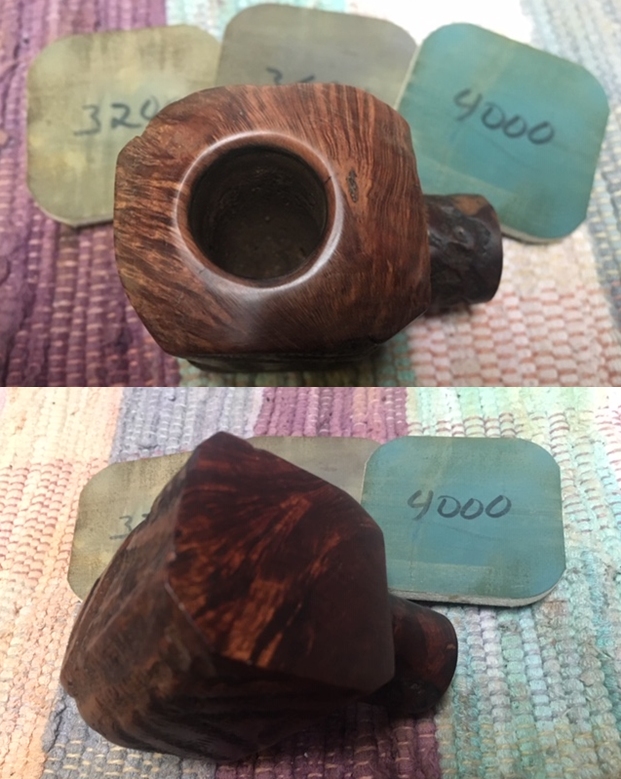
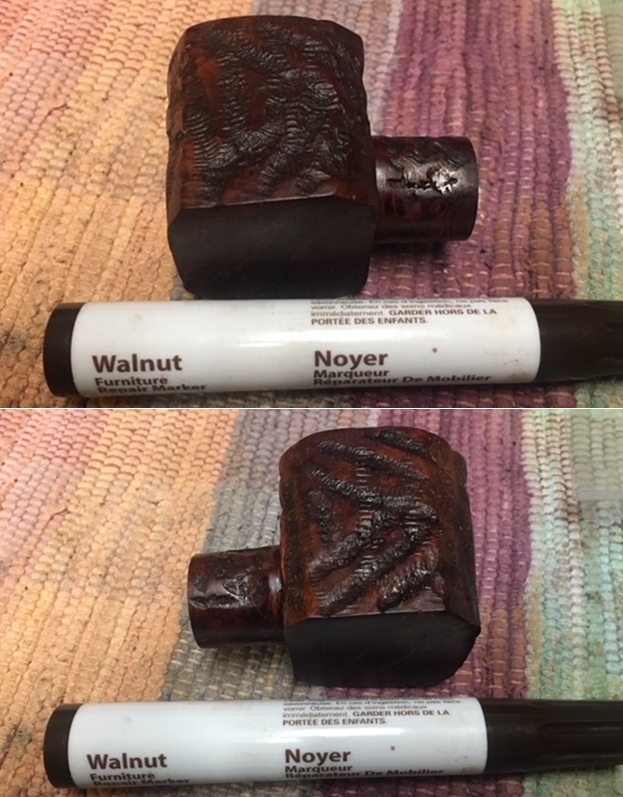
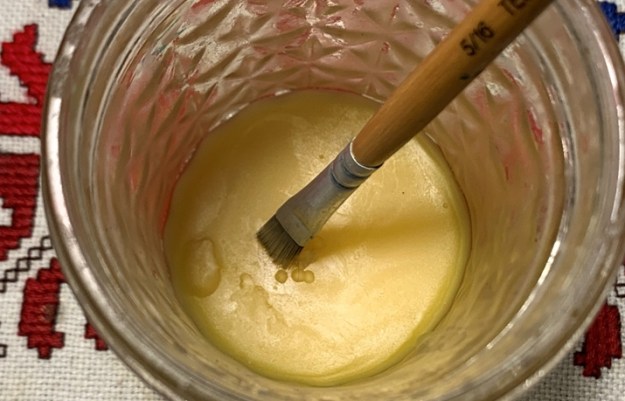
 I used a Maple stain pen to touch up the sanded rim top and edges.
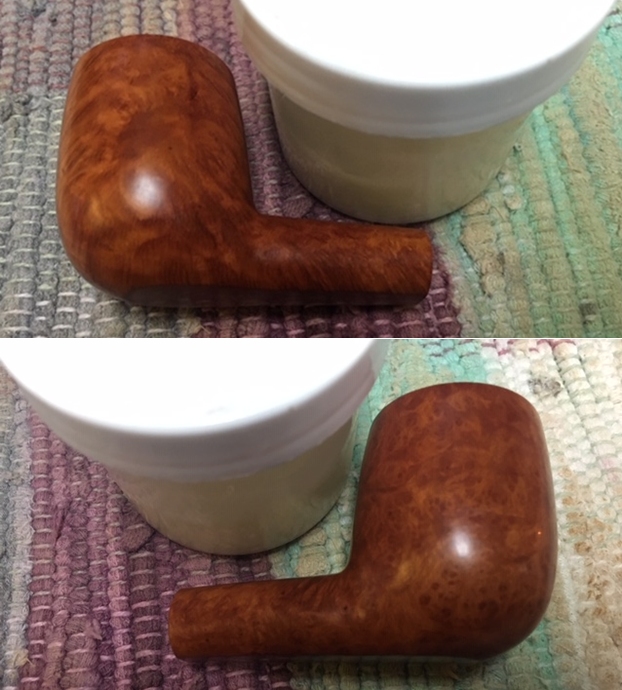
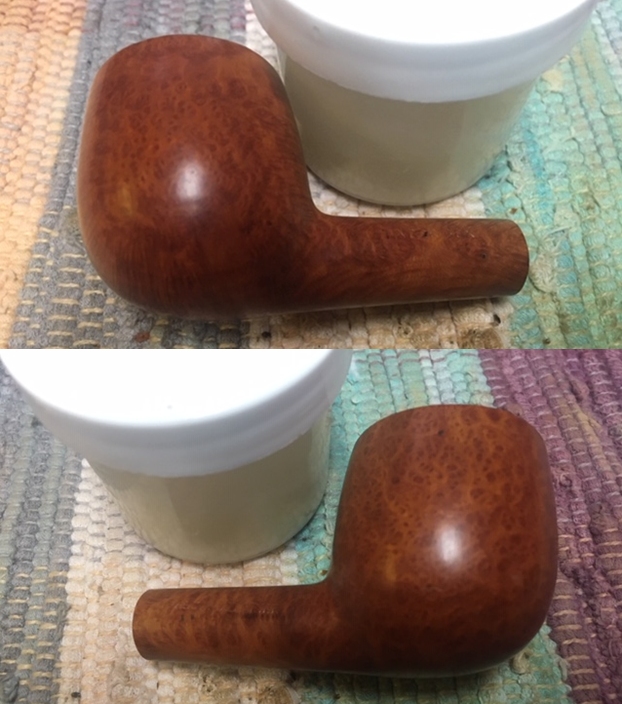
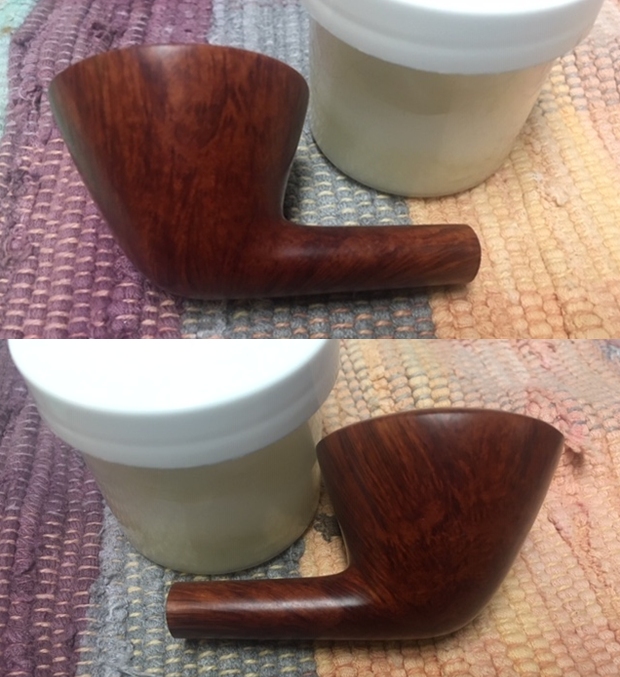
 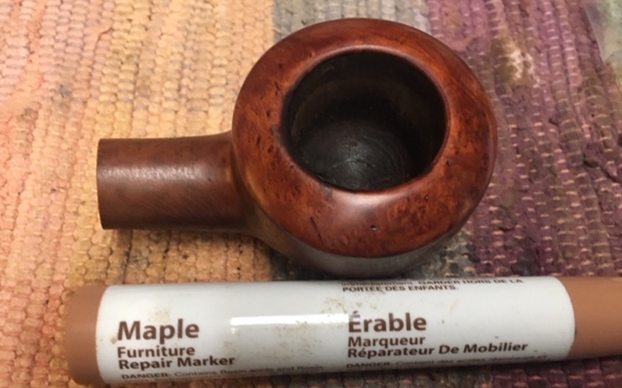 Once the stain had dried I polished the rim top with micromesh sanding pads to blend it into the rest of the bowl. I rubbed the bowl down with Before & After Restoration Balm. I worked it into the finish with my fingertips. I set it aside to absorb into the briar for ten minutes. Once it had been sitting I polished the bowl surface with a soft cotton cloth. At this point in the process the briar is looking very good.
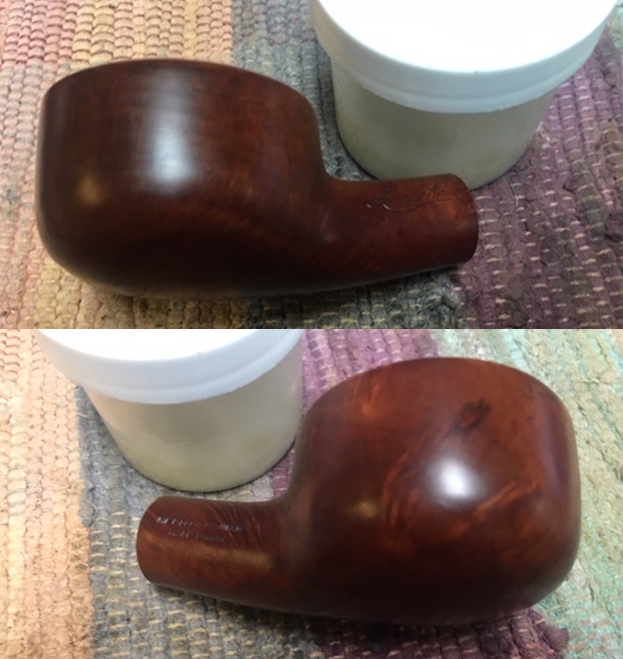
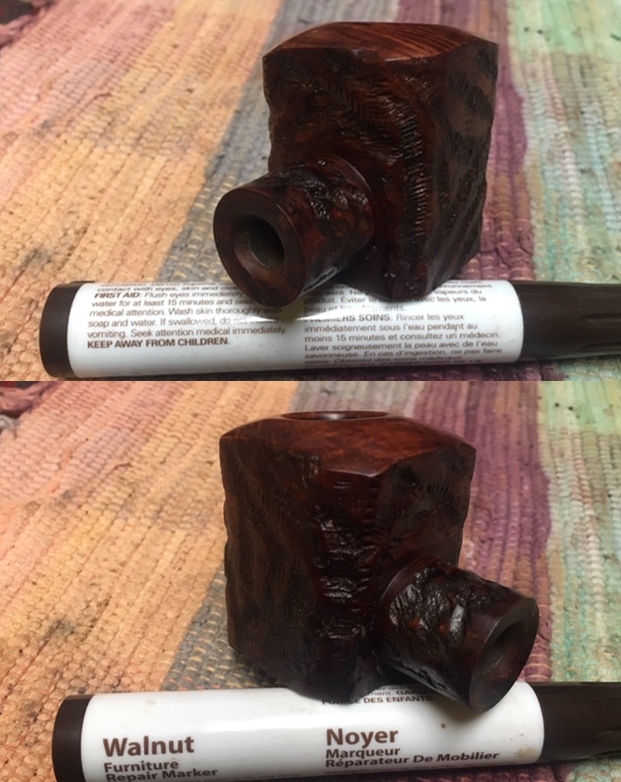
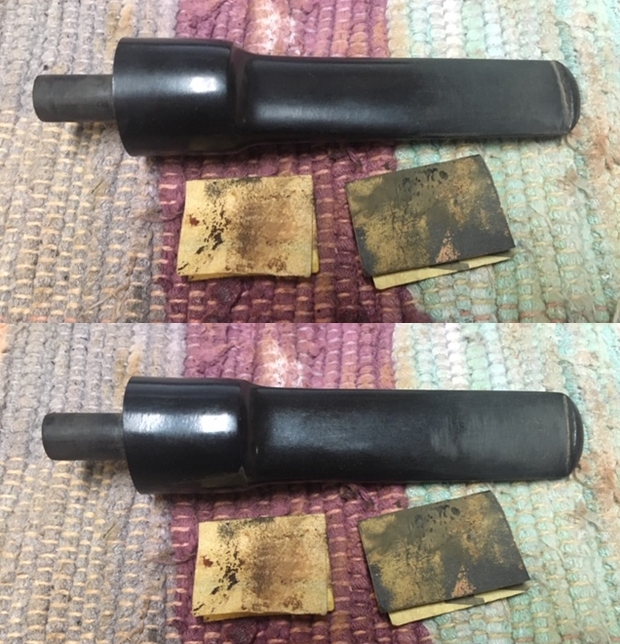
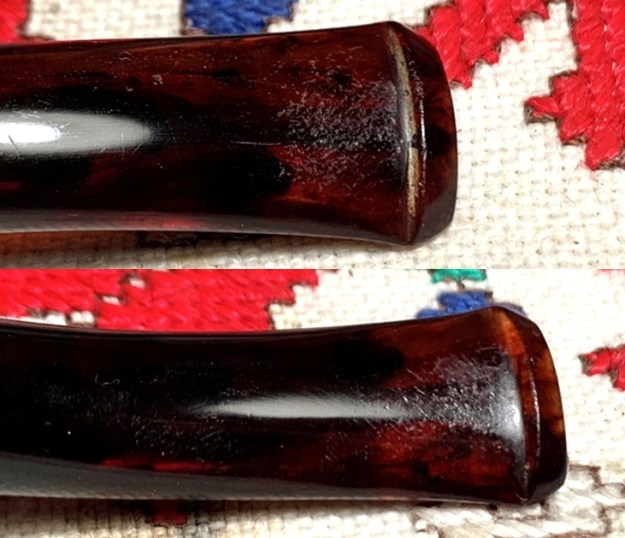
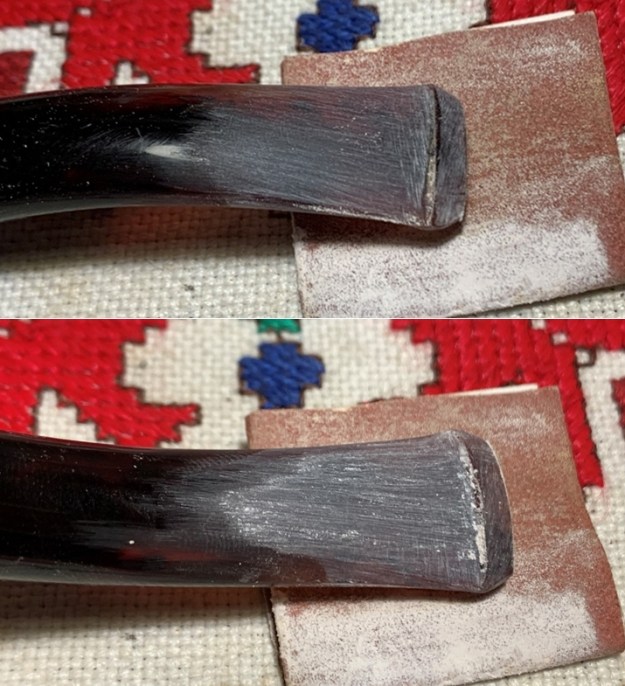
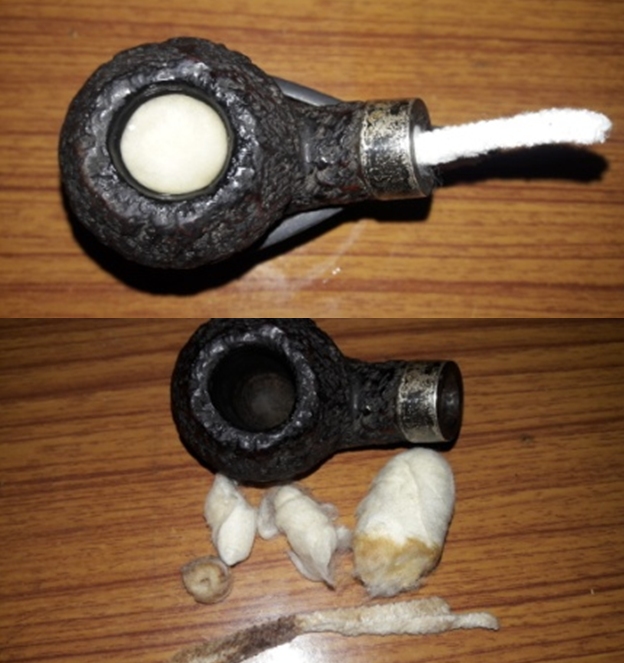
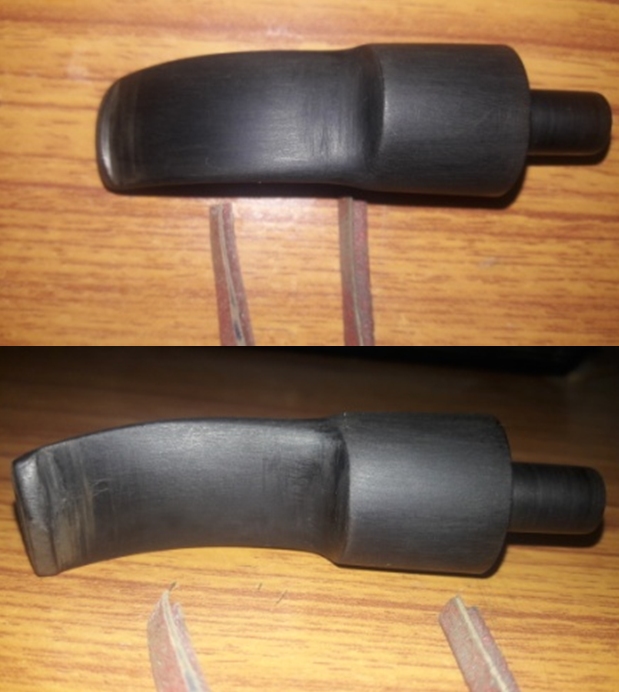
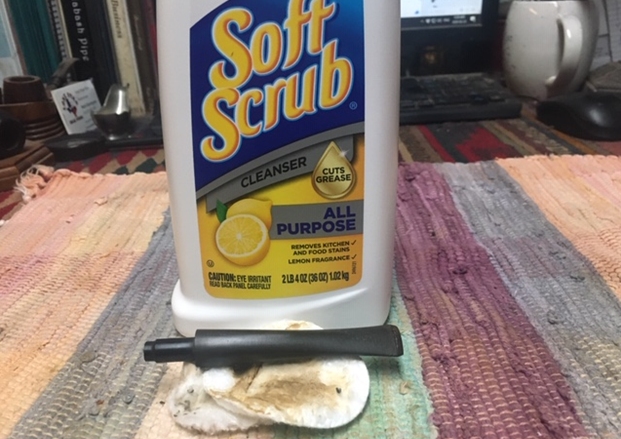
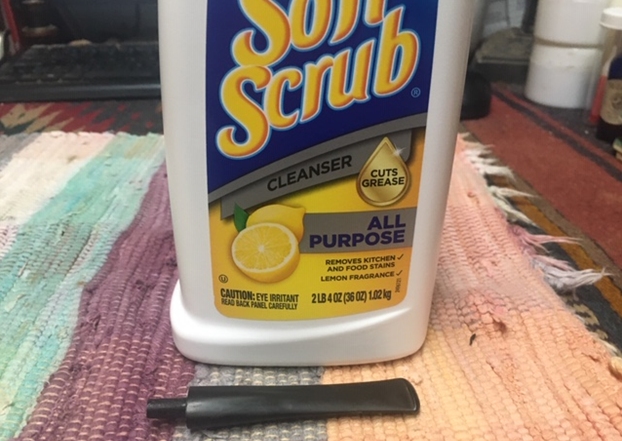
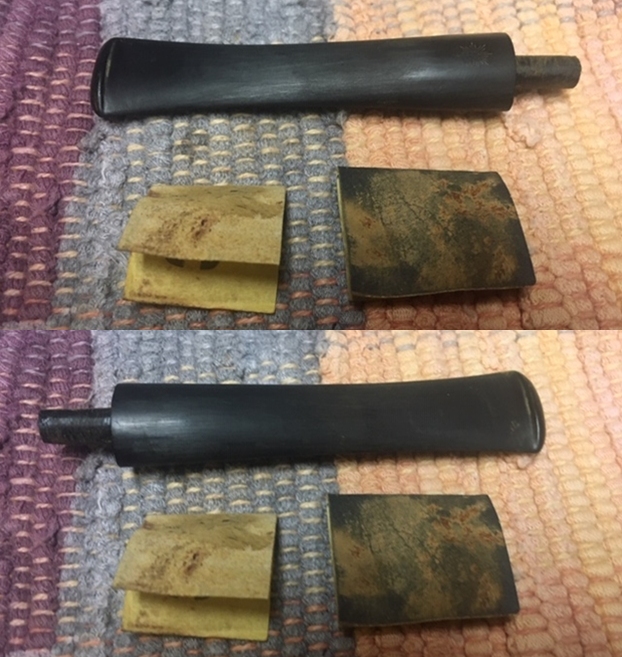
 I set the bowl and I turned my attention to the stem. I scrubbed the stem with Soft Scrub and a cotton pad to remove the oxidation and debris on the stem surface. The tooth marks were clearer and the chatter was ready to be polished out.
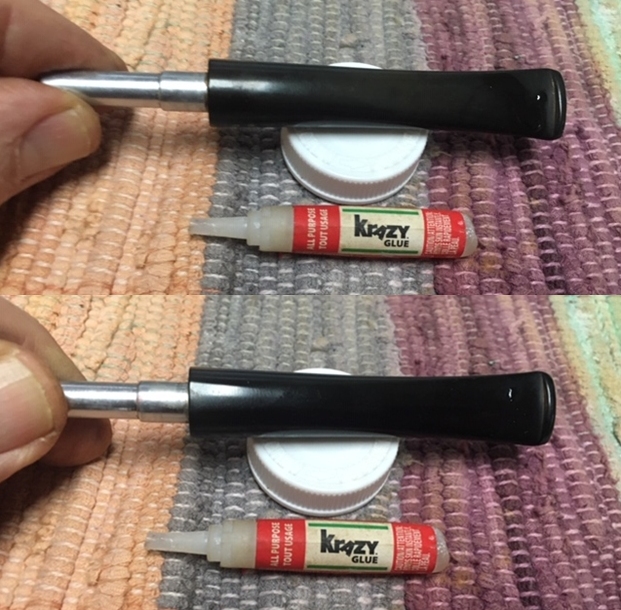
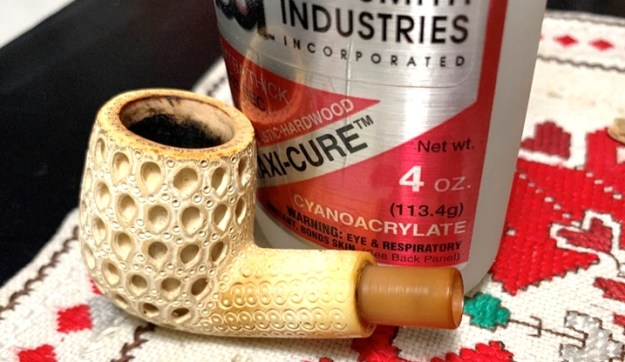
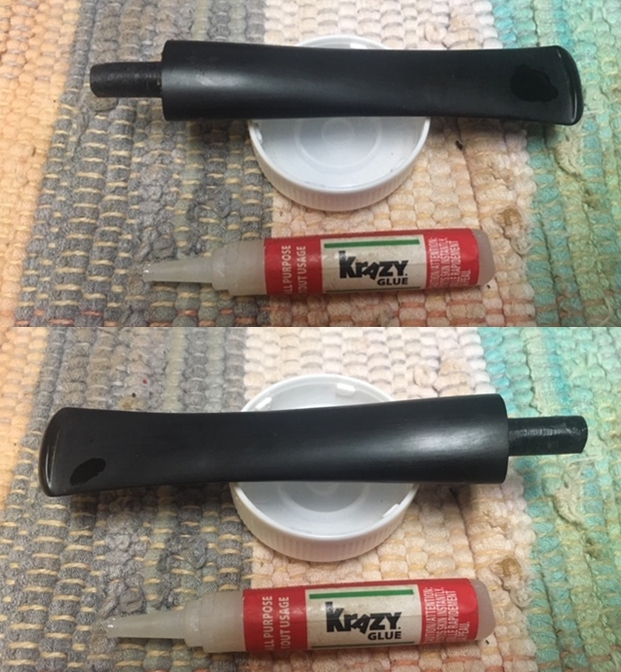
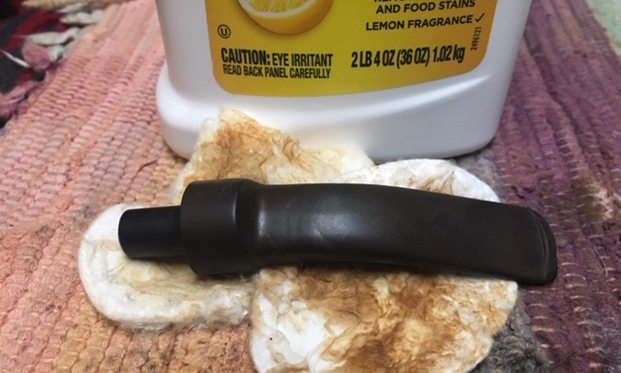 The tooth marks on the top were light and would sand out later. There was one deep tooth mark on the underside of the stem. I cleaned it out with alcohol and a cotton swab. I filled it in with black super glue and let it cure.
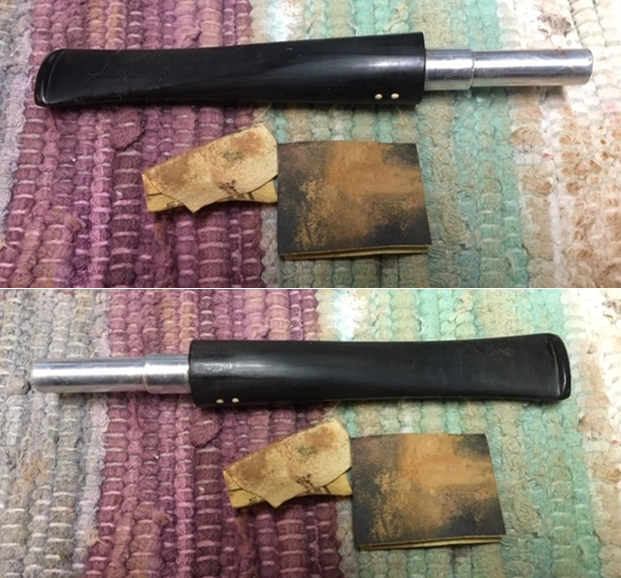
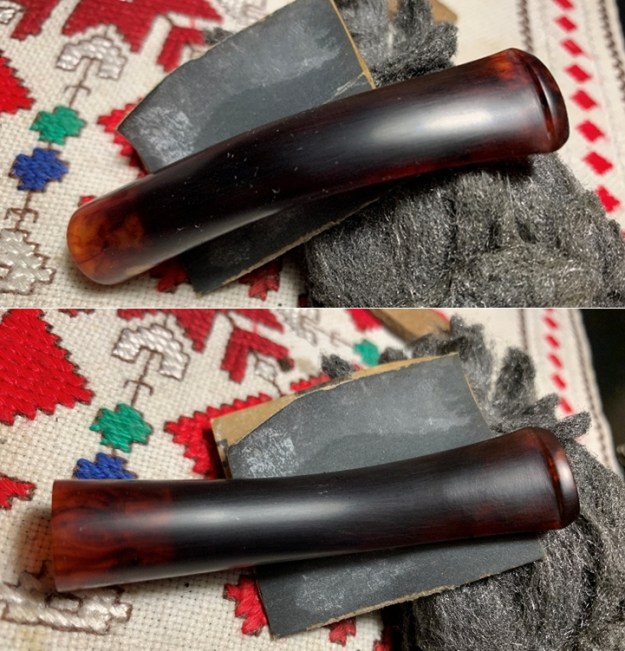
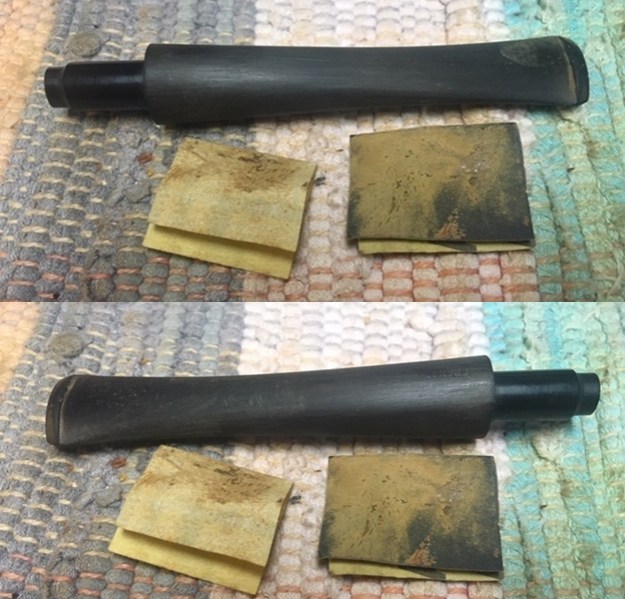
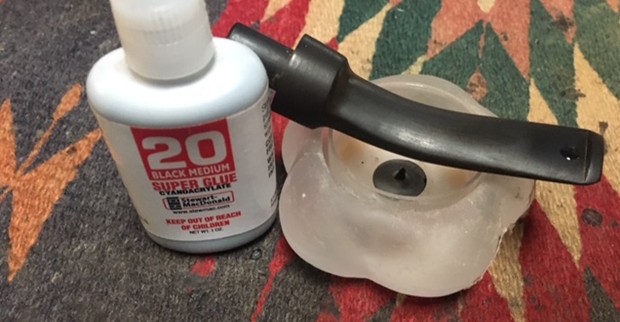 Once the glue repair cured I sanded it with 220 grit sandpaper to blend it into the surface of the vulcanite. I sanded out the tooth chatter and marks on both sides with 220 grit sandpaper and 400 grit wet dry sandpaper.
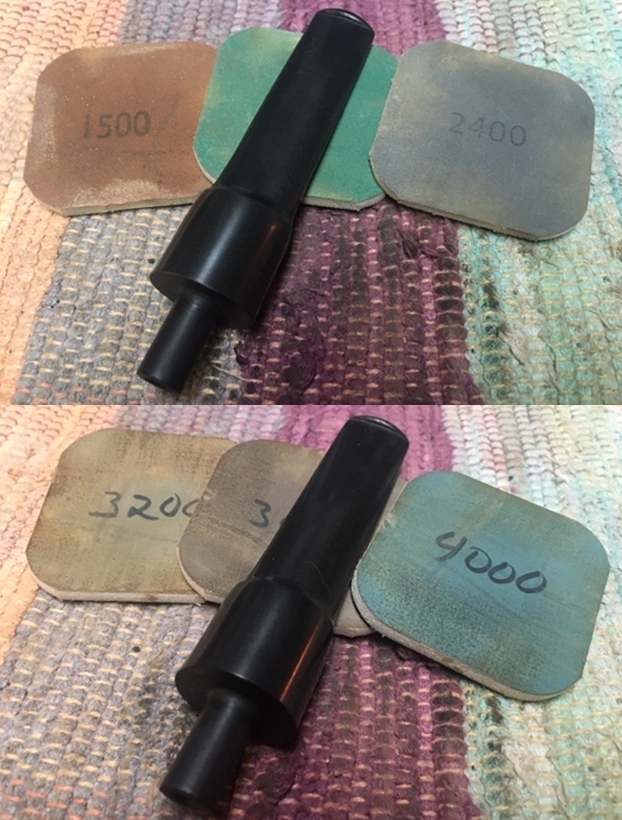
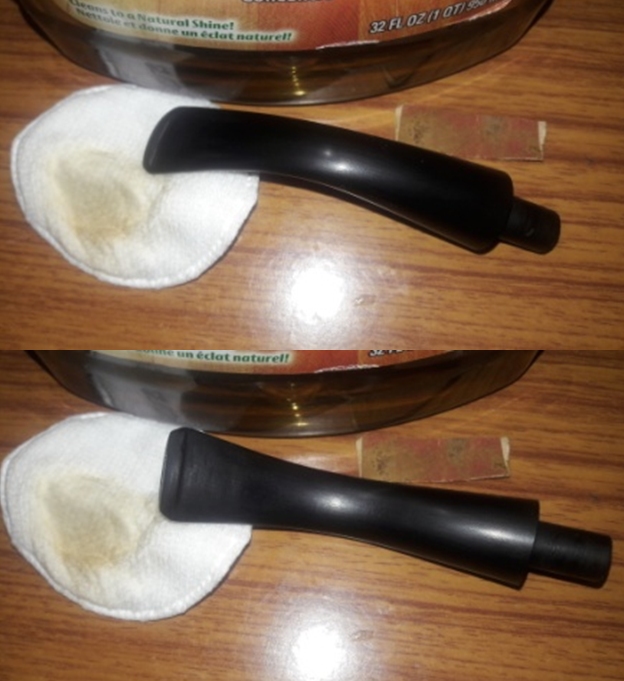
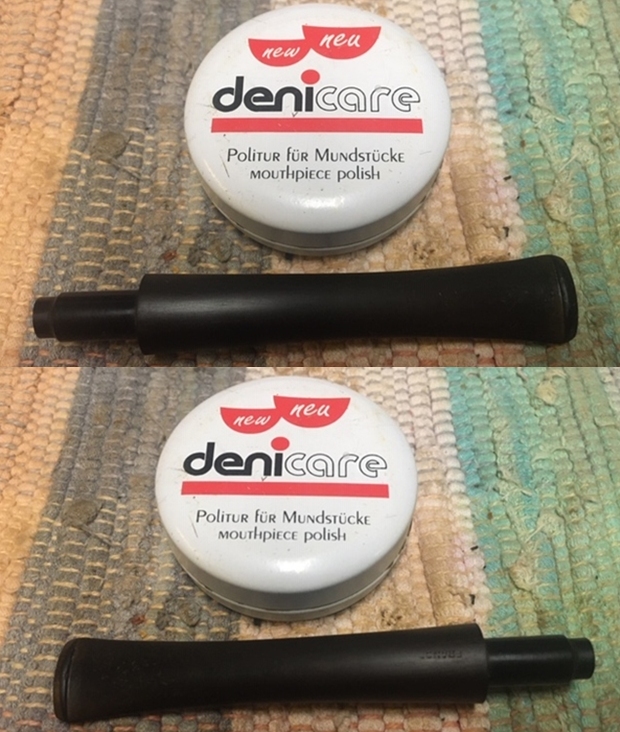
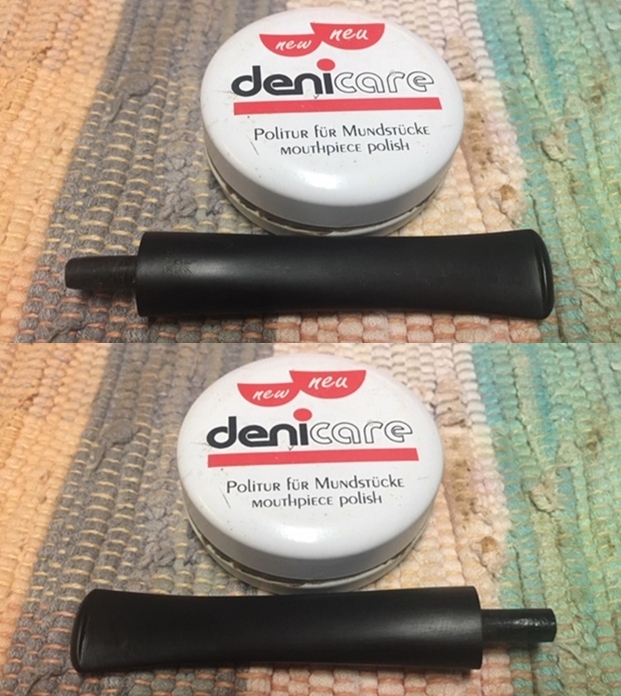
 I polished the stem with Denicare Mouthpiece Polish to remove the light scratching and the light oxidation on the stem surface. The product is a red paste that is gritty and when rubbed with a cotton pad it removes many of the scratches and remaining oxidation.
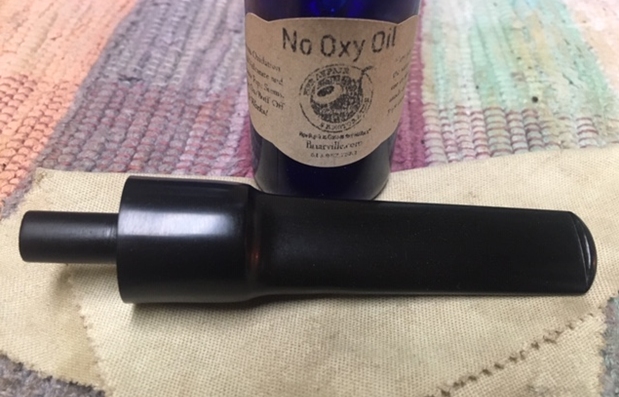
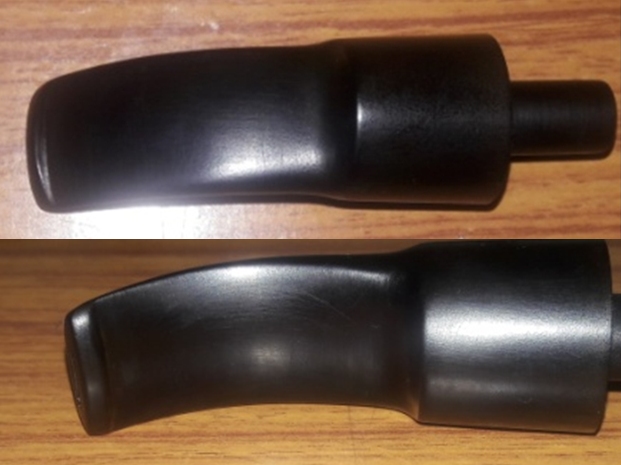
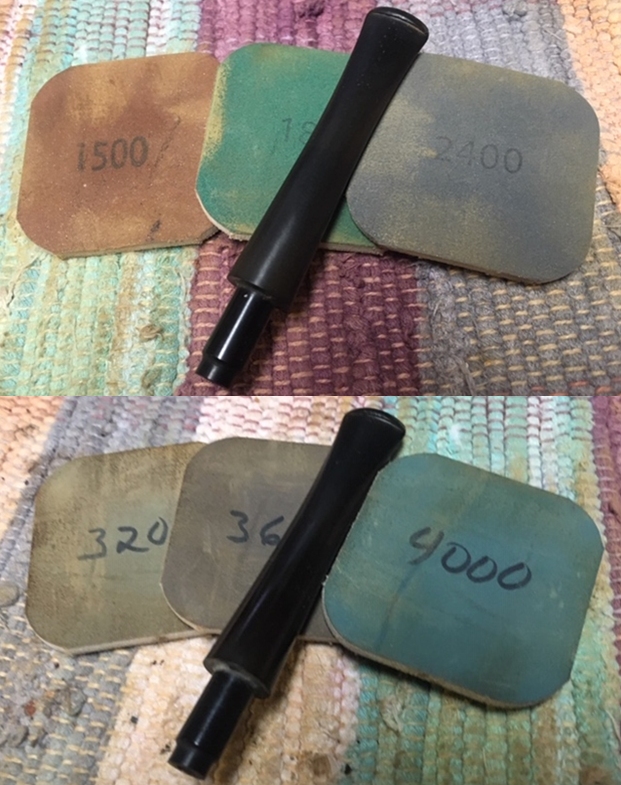
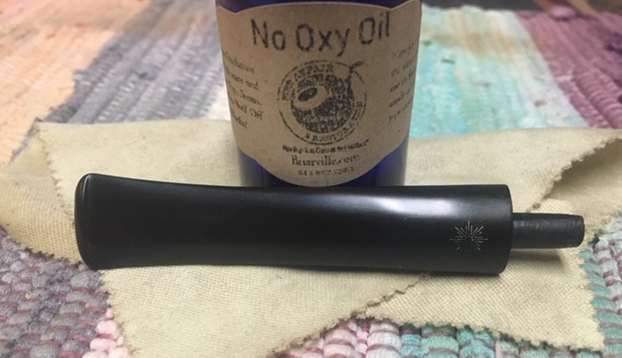
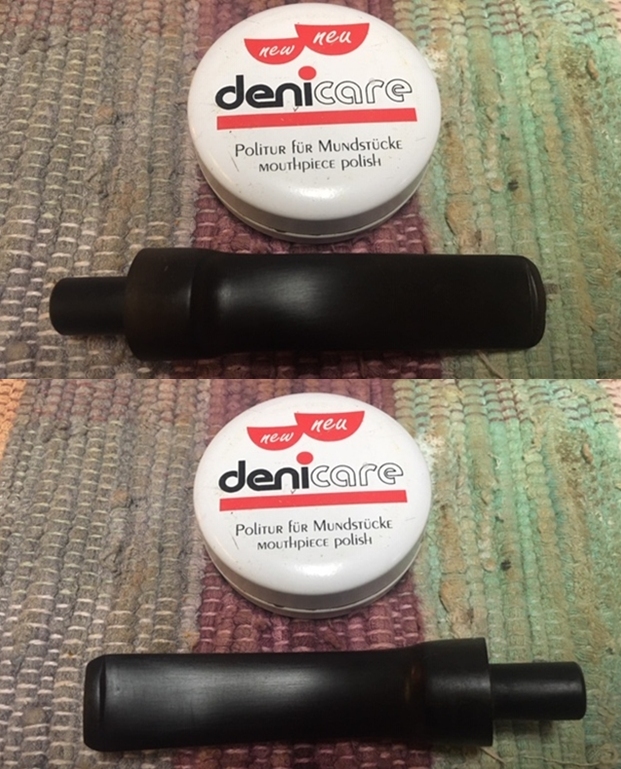 I polished the stem with micromesh sanding pads – polishing it with 1500-12000 grit micromesh sanding pads. I wiped it down with cloth between each sanding pad. I polished it with Before & After Pipe Stem Polish – both Fine and Extra Fine. I gave it a rub down with Briarville’s No Oxy Oil to protect the stem from oxidizing. It was looking very good at this point.
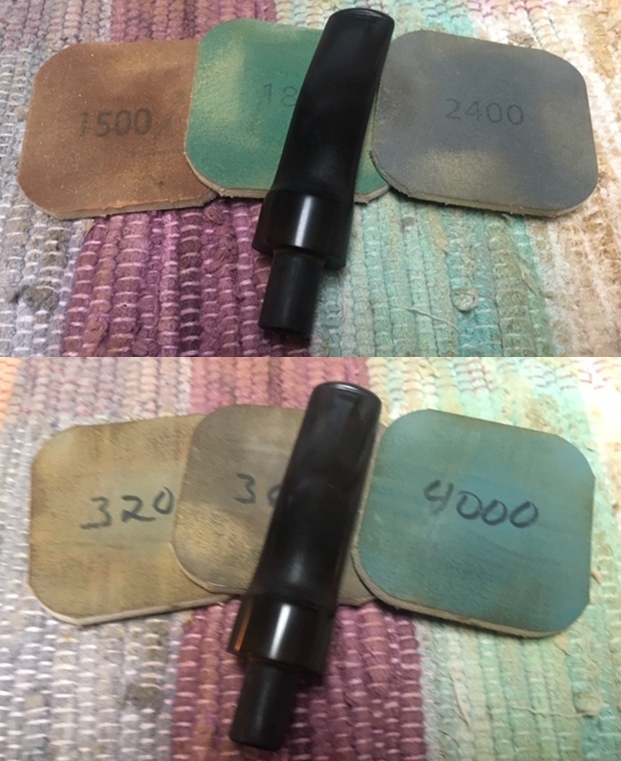

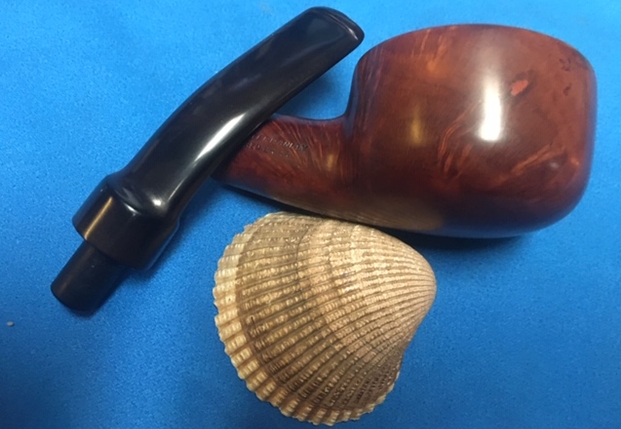
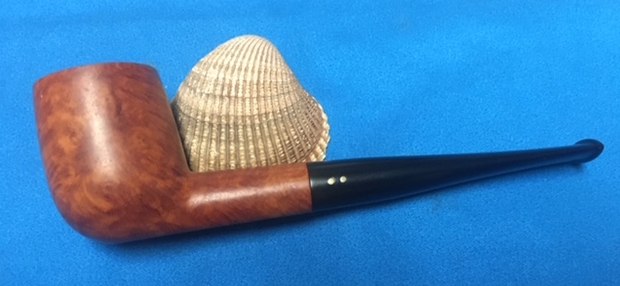
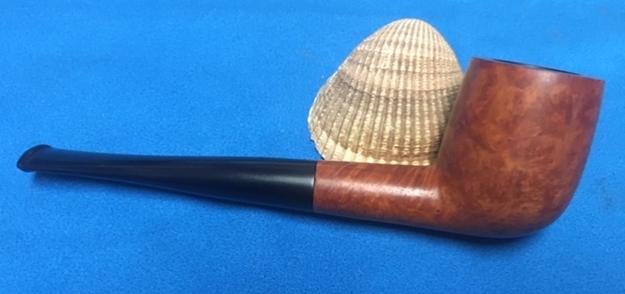
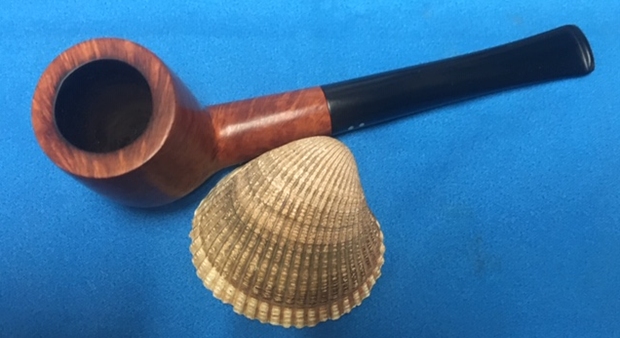
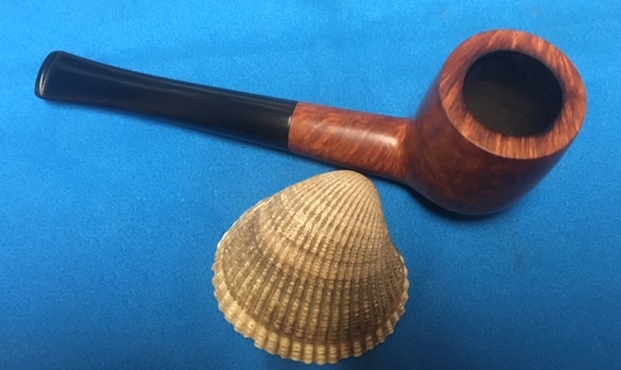
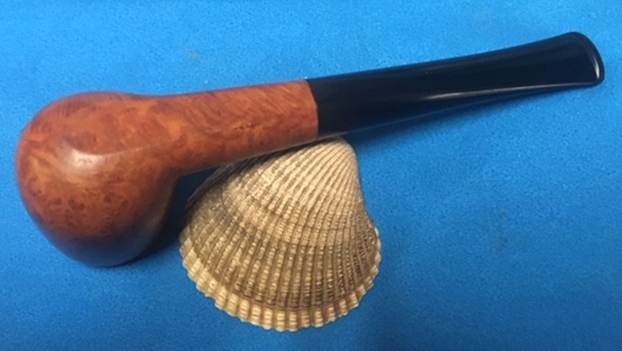
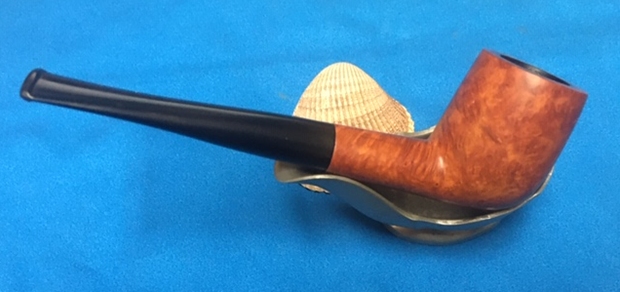
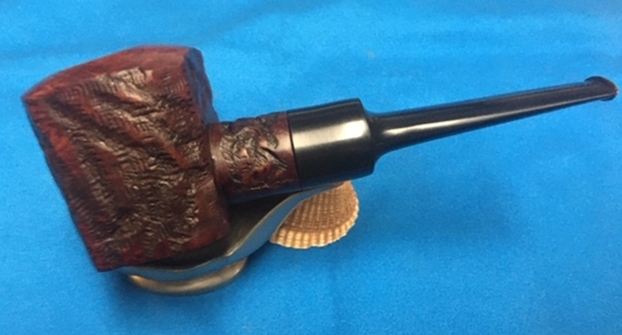
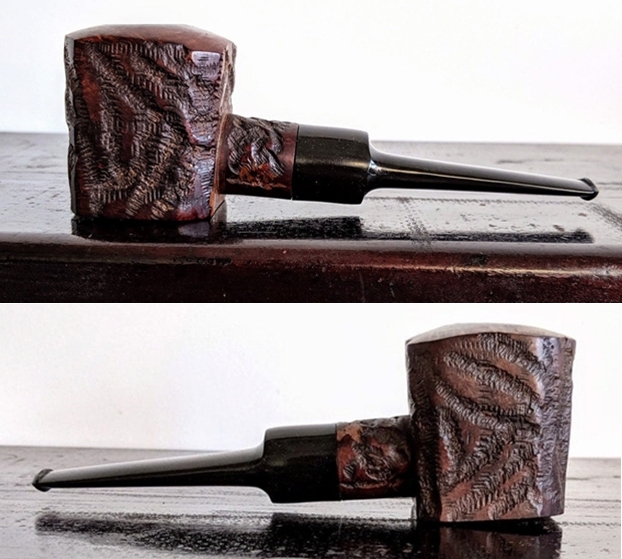
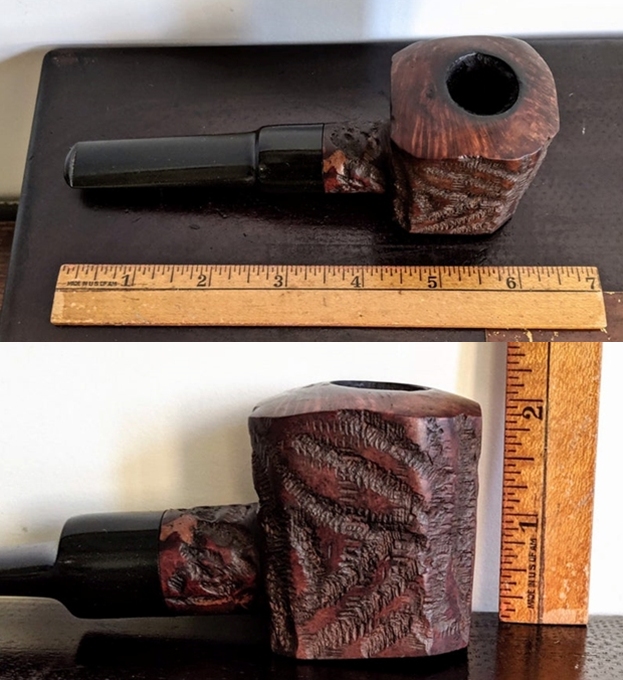
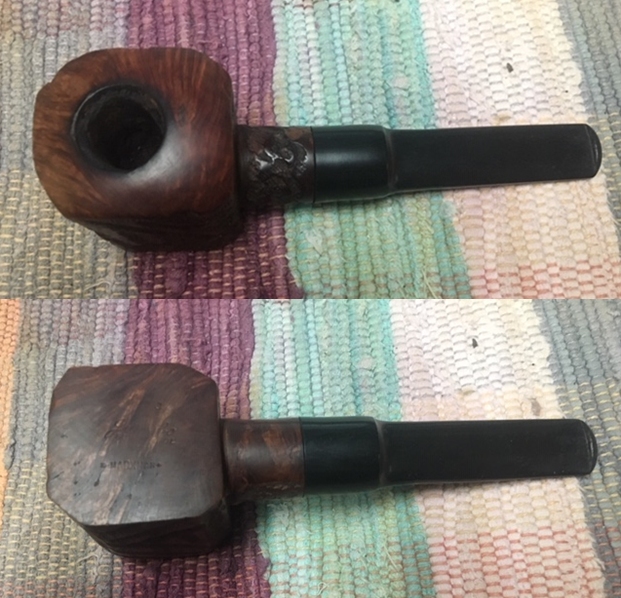
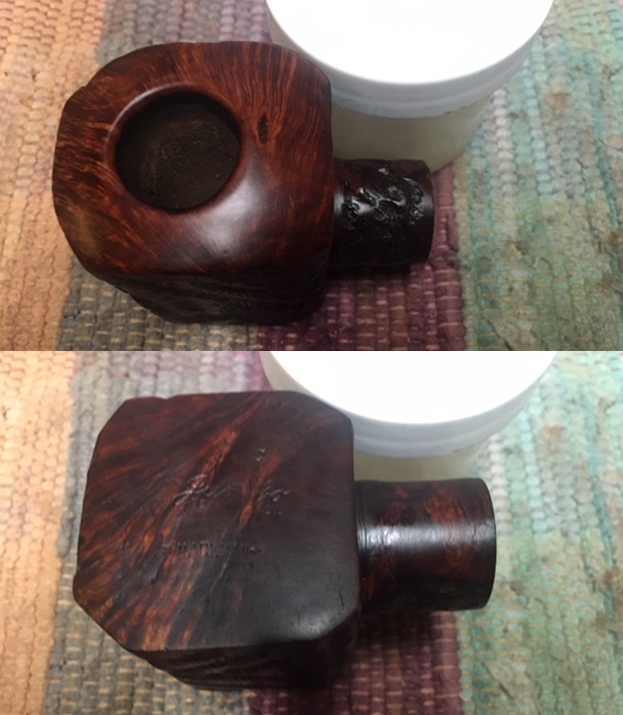
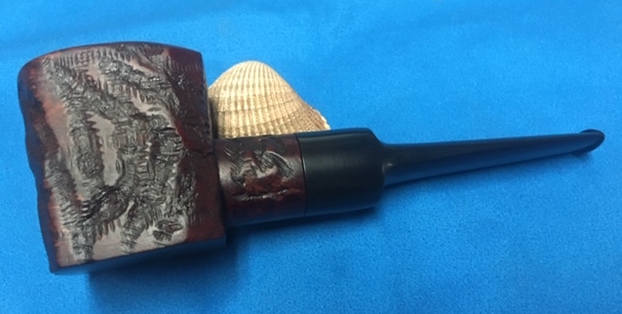
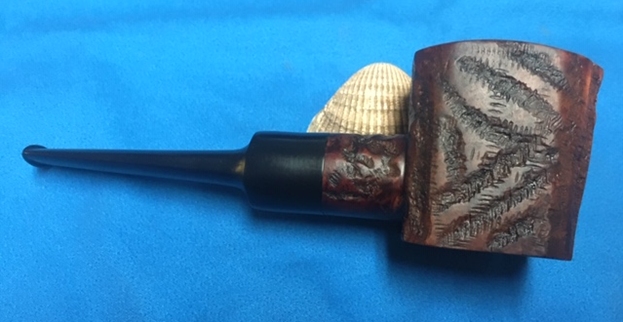
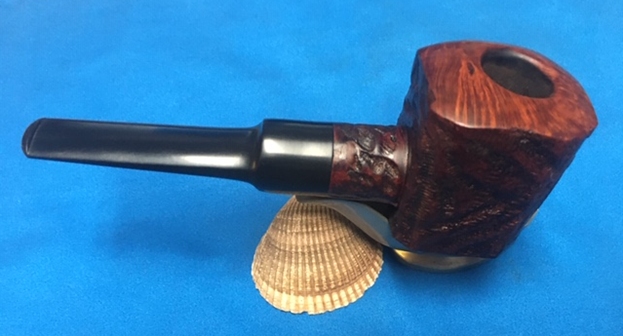
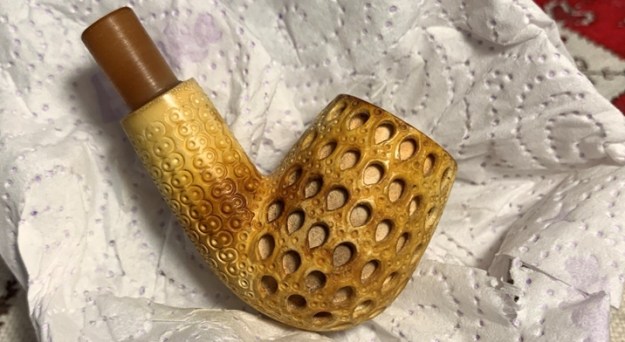
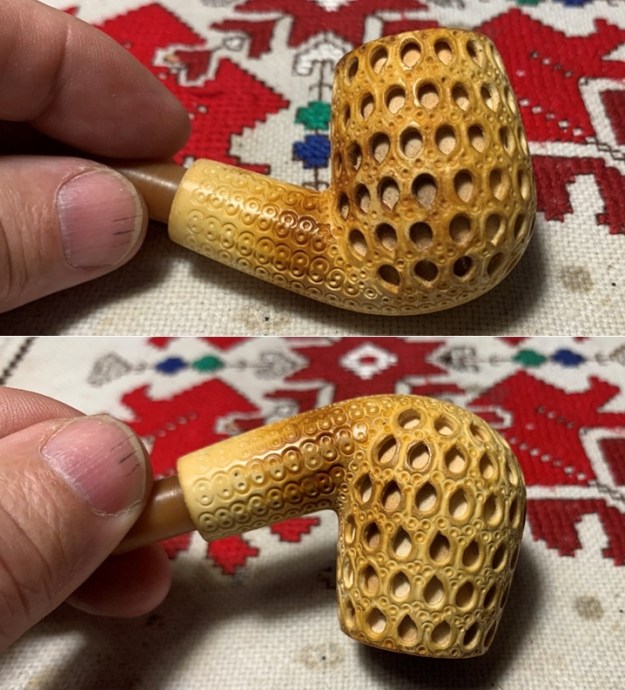
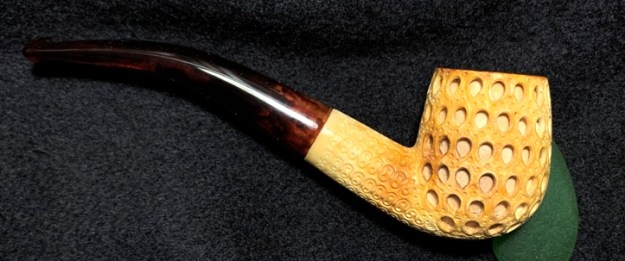
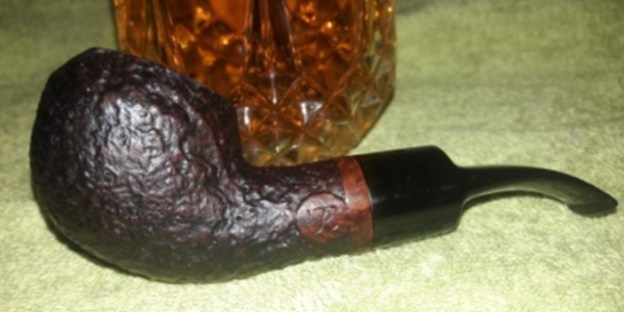
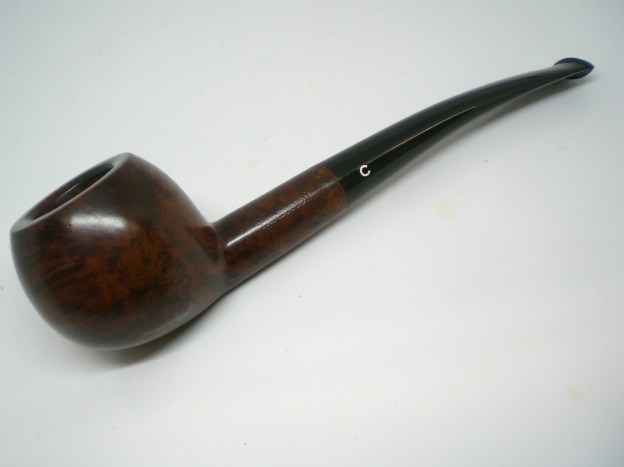
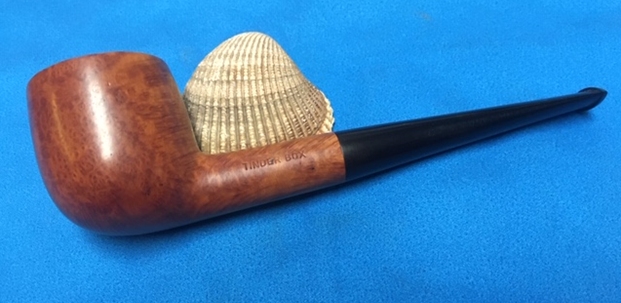
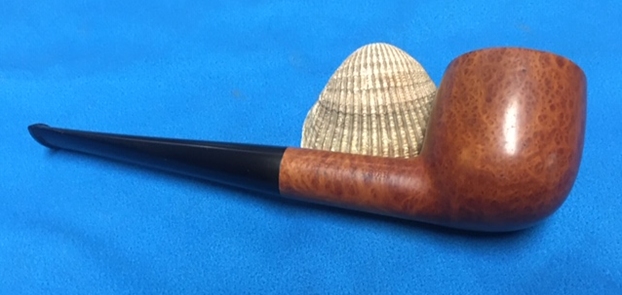
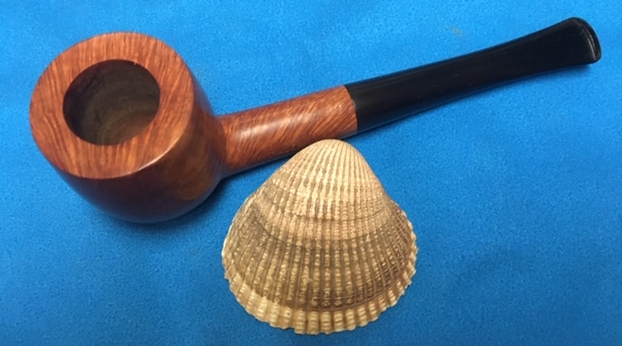
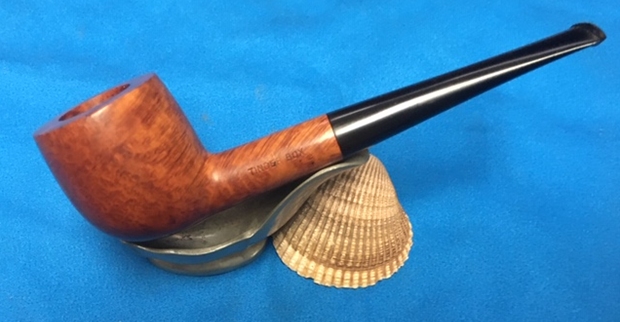
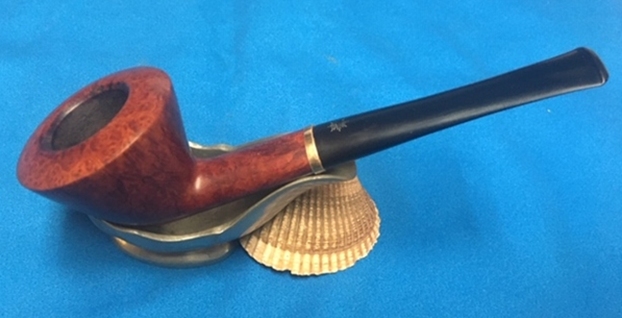
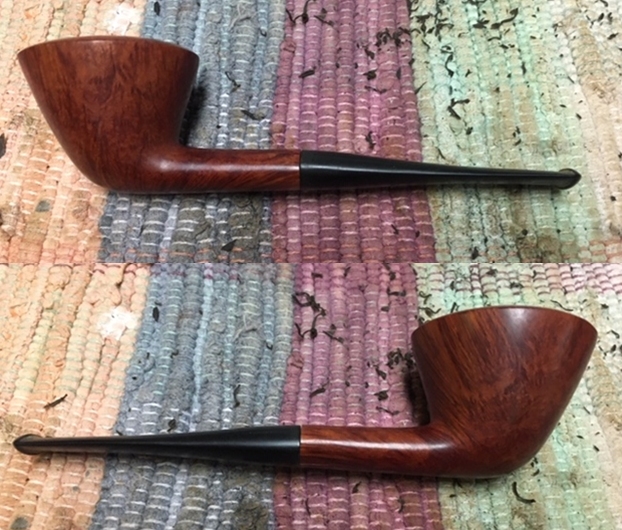
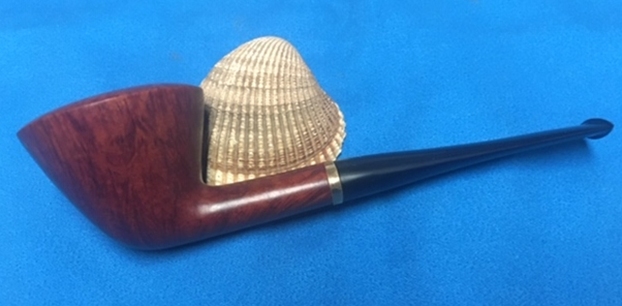
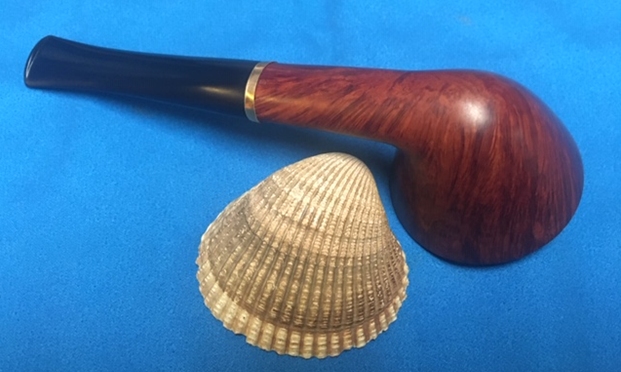
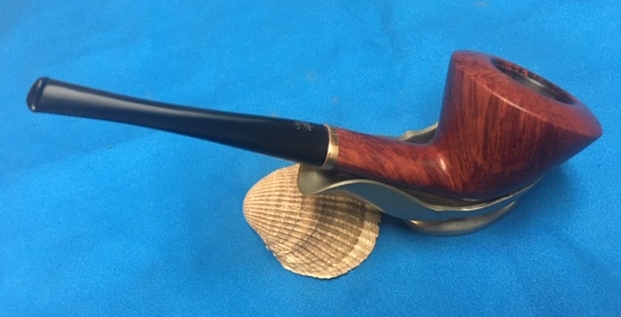
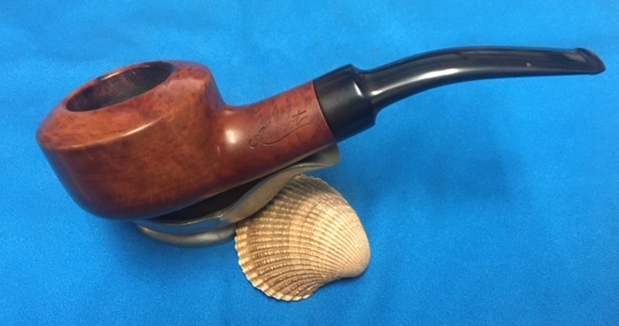
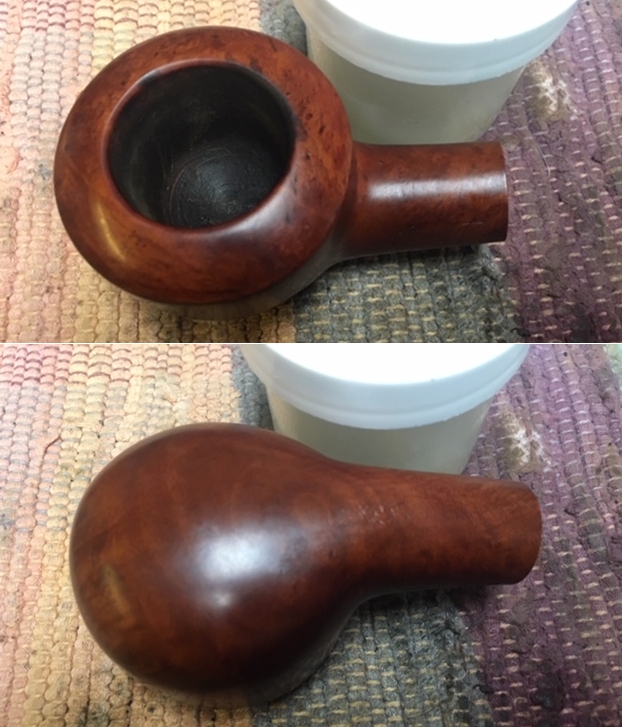
 I was looking forward to this part of the restoration when all the pieces are put back together so I can send a photo back to the fellow in Quebec. I put the pipe back together and buffed it with Blue Diamond on the buffing wheel. I gave the bowl and the stem multiple coats of carnauba wax. I hand buffed the pipe with a clean buffing pad to raise the shine. It is fun to see what the polished bowl looks like with the polished black vulcanite stem. This Anscot Mediterranean Aged Briar Bullmoose looks far better than it did when I started. The fill on the right side is present but has blended in very well. The rim top looks much better than when I began. The stem fits well in the shank. The pipe is nice looking and feels great in my hand. The pipe is a sitter so that it can be laid down on a desk top while the pipeman is working on something else. Have a look at it with the photos below. The dimensions are Length: 6 inches, Height: 1 ½ inches, Outside diameter of the bowl: 2 inches, Chamber diameter: 1 1/8 inches. This old Anscot is a beauty and I look forward to what the pipeman buys it thinks of it. Thanks to each of you who are reading this blog. Remember we are not pipe owners; we are pipemen and women who hold our pipes in trust until they pass on into the trust of the next pipeman or woman.