Blog by Al Jones

See the June 2017 Updates at the bottom of this page
I get a lot of requests about my buffing station, so I thought an entry here on the blog would be handy to use as a point of reference. I do my pipe work in my garage which is well-lit. I have a small Coleman propane heater to warm up the space during the winter months.
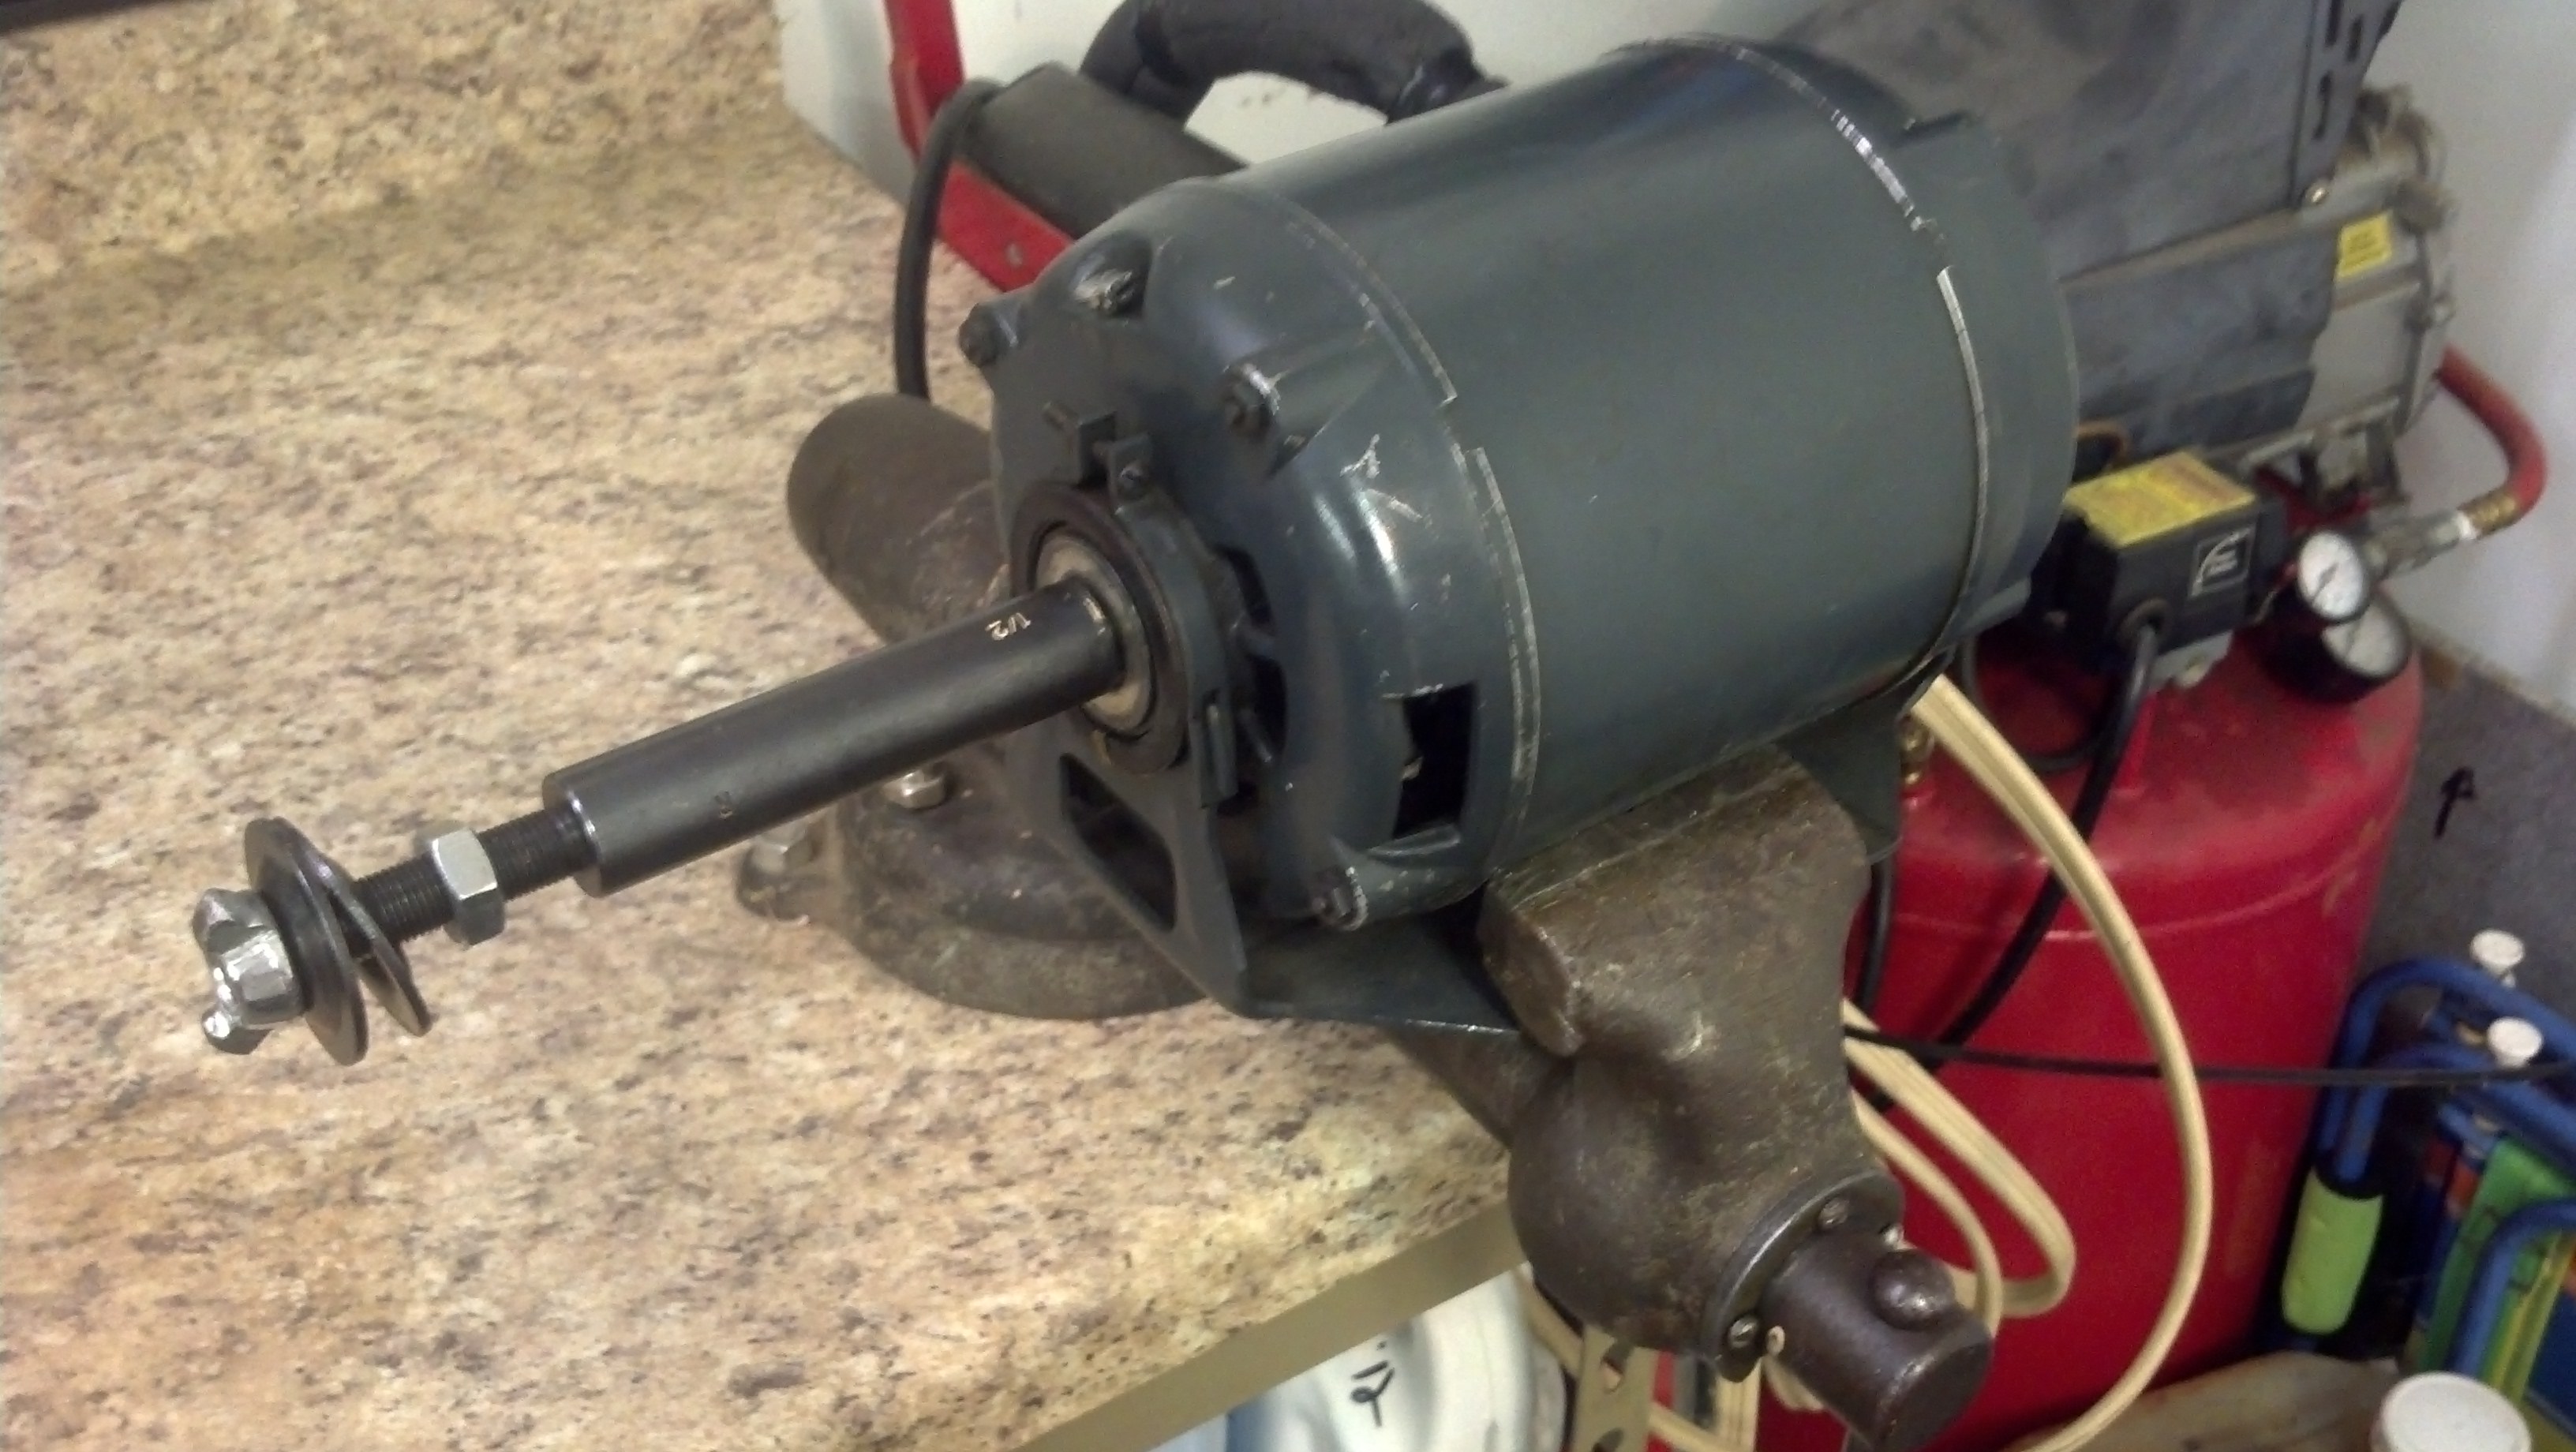
For a buffing motor, I use an old Century brand motor that I found in my parent’s basement. I believe it was used on their old furnace motor or a back-up. It is a 1725 rpm, 1/4 hp motor. I wired an old appliance cord for power. It does not have a capacitor start, which would be nice. It does have two oil ports, which apparently aren’t used on modern motors.


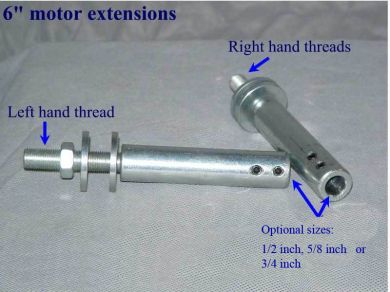
I bought a 1/2″ arbor extension from Jestco Products. This bolts to the motor shaft and allowed for a buffing pad to be mounted. I also use Jestco for my buffing pads. I use 6″ wide pads. They make left or right thread arbors. A dual shaft motor would be a nice upgrade, in order to keep two pads mounted. A nut holds the pad in the arbor, I replaced it with a wing-nut to allow for easy hand changes. The pad only needs to be held snugly in place. I ground the wing-nut down a bit to make sure it wouldn’t inadvertently hit the pipe or stem.
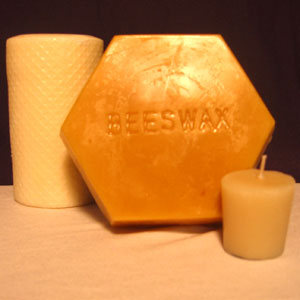
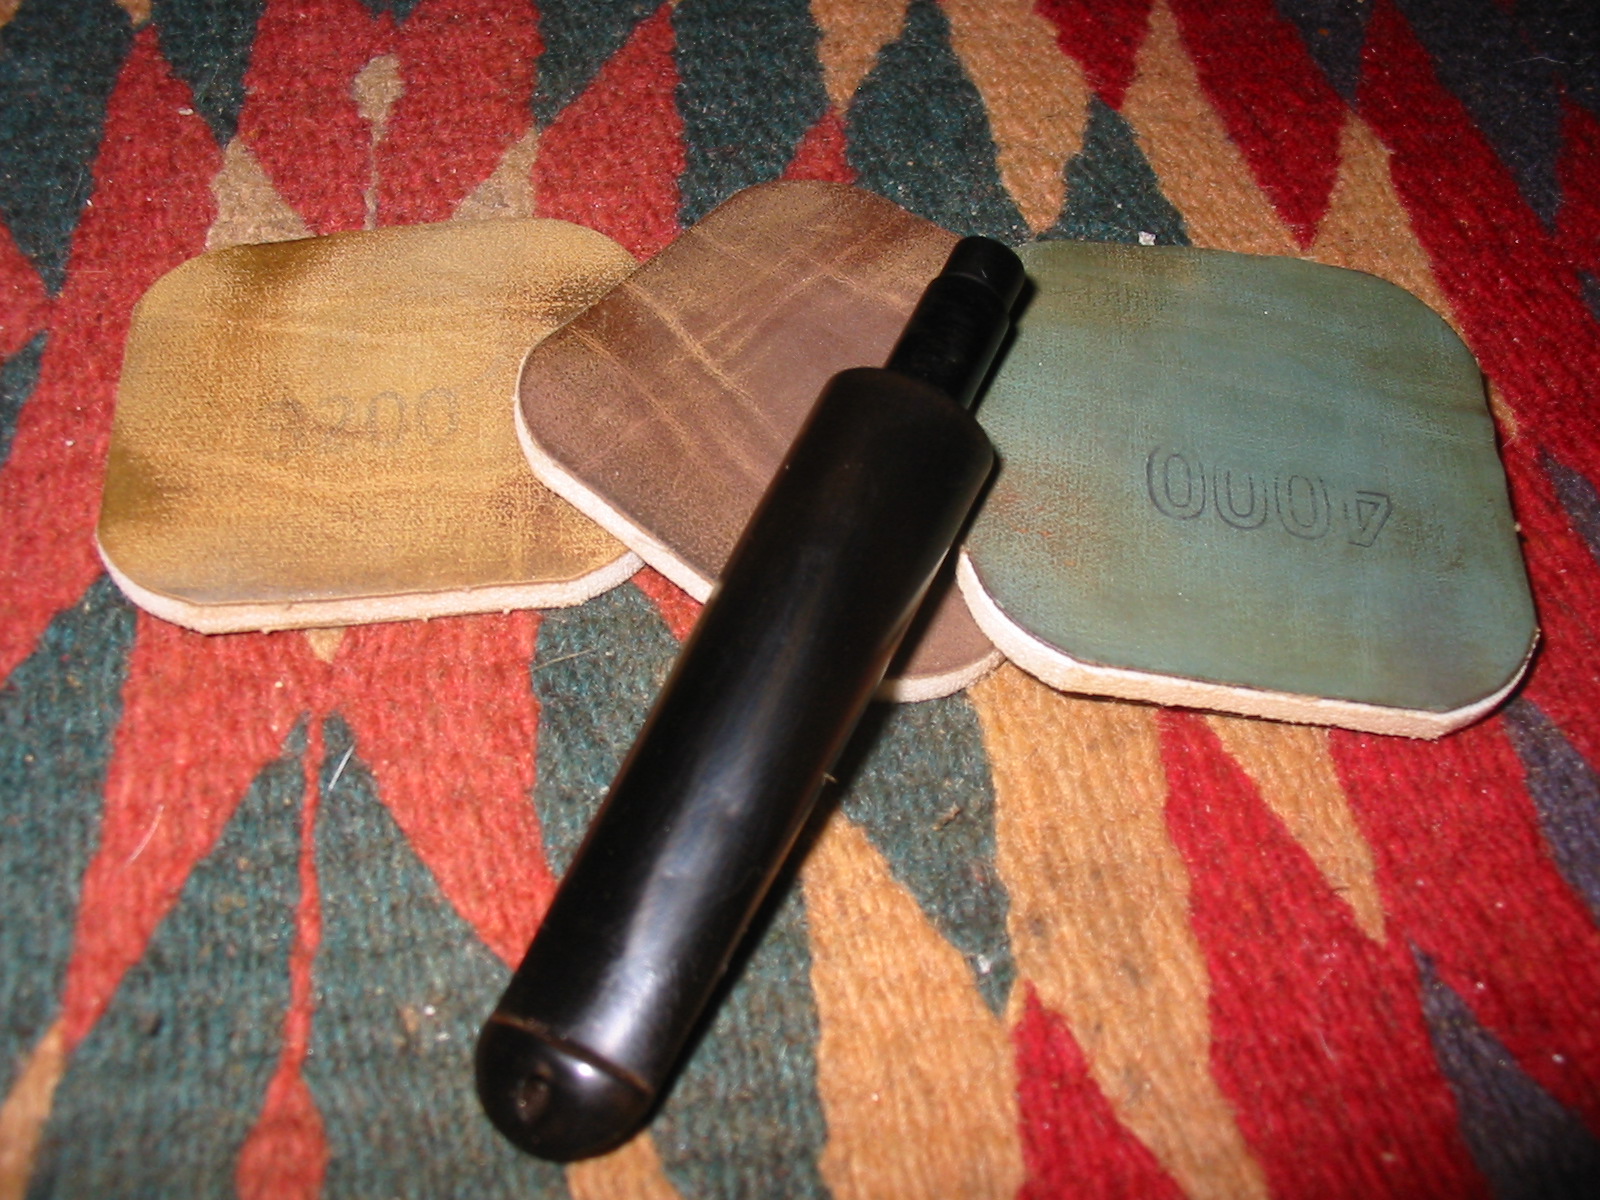
Jestco is also a good source for bars of rouge. I get carnuba bars from my local Woodcraft store. The bars pictured below have been in use for three years and would seemingly last many more years.
I mount the buffer in my bench mounted vise. When not needed, I can easily pull it off and store it under my bench. Below is the link for Jestco Products.
http://www.jestcoproducts.com/index.php?act=viewProd&productId=40


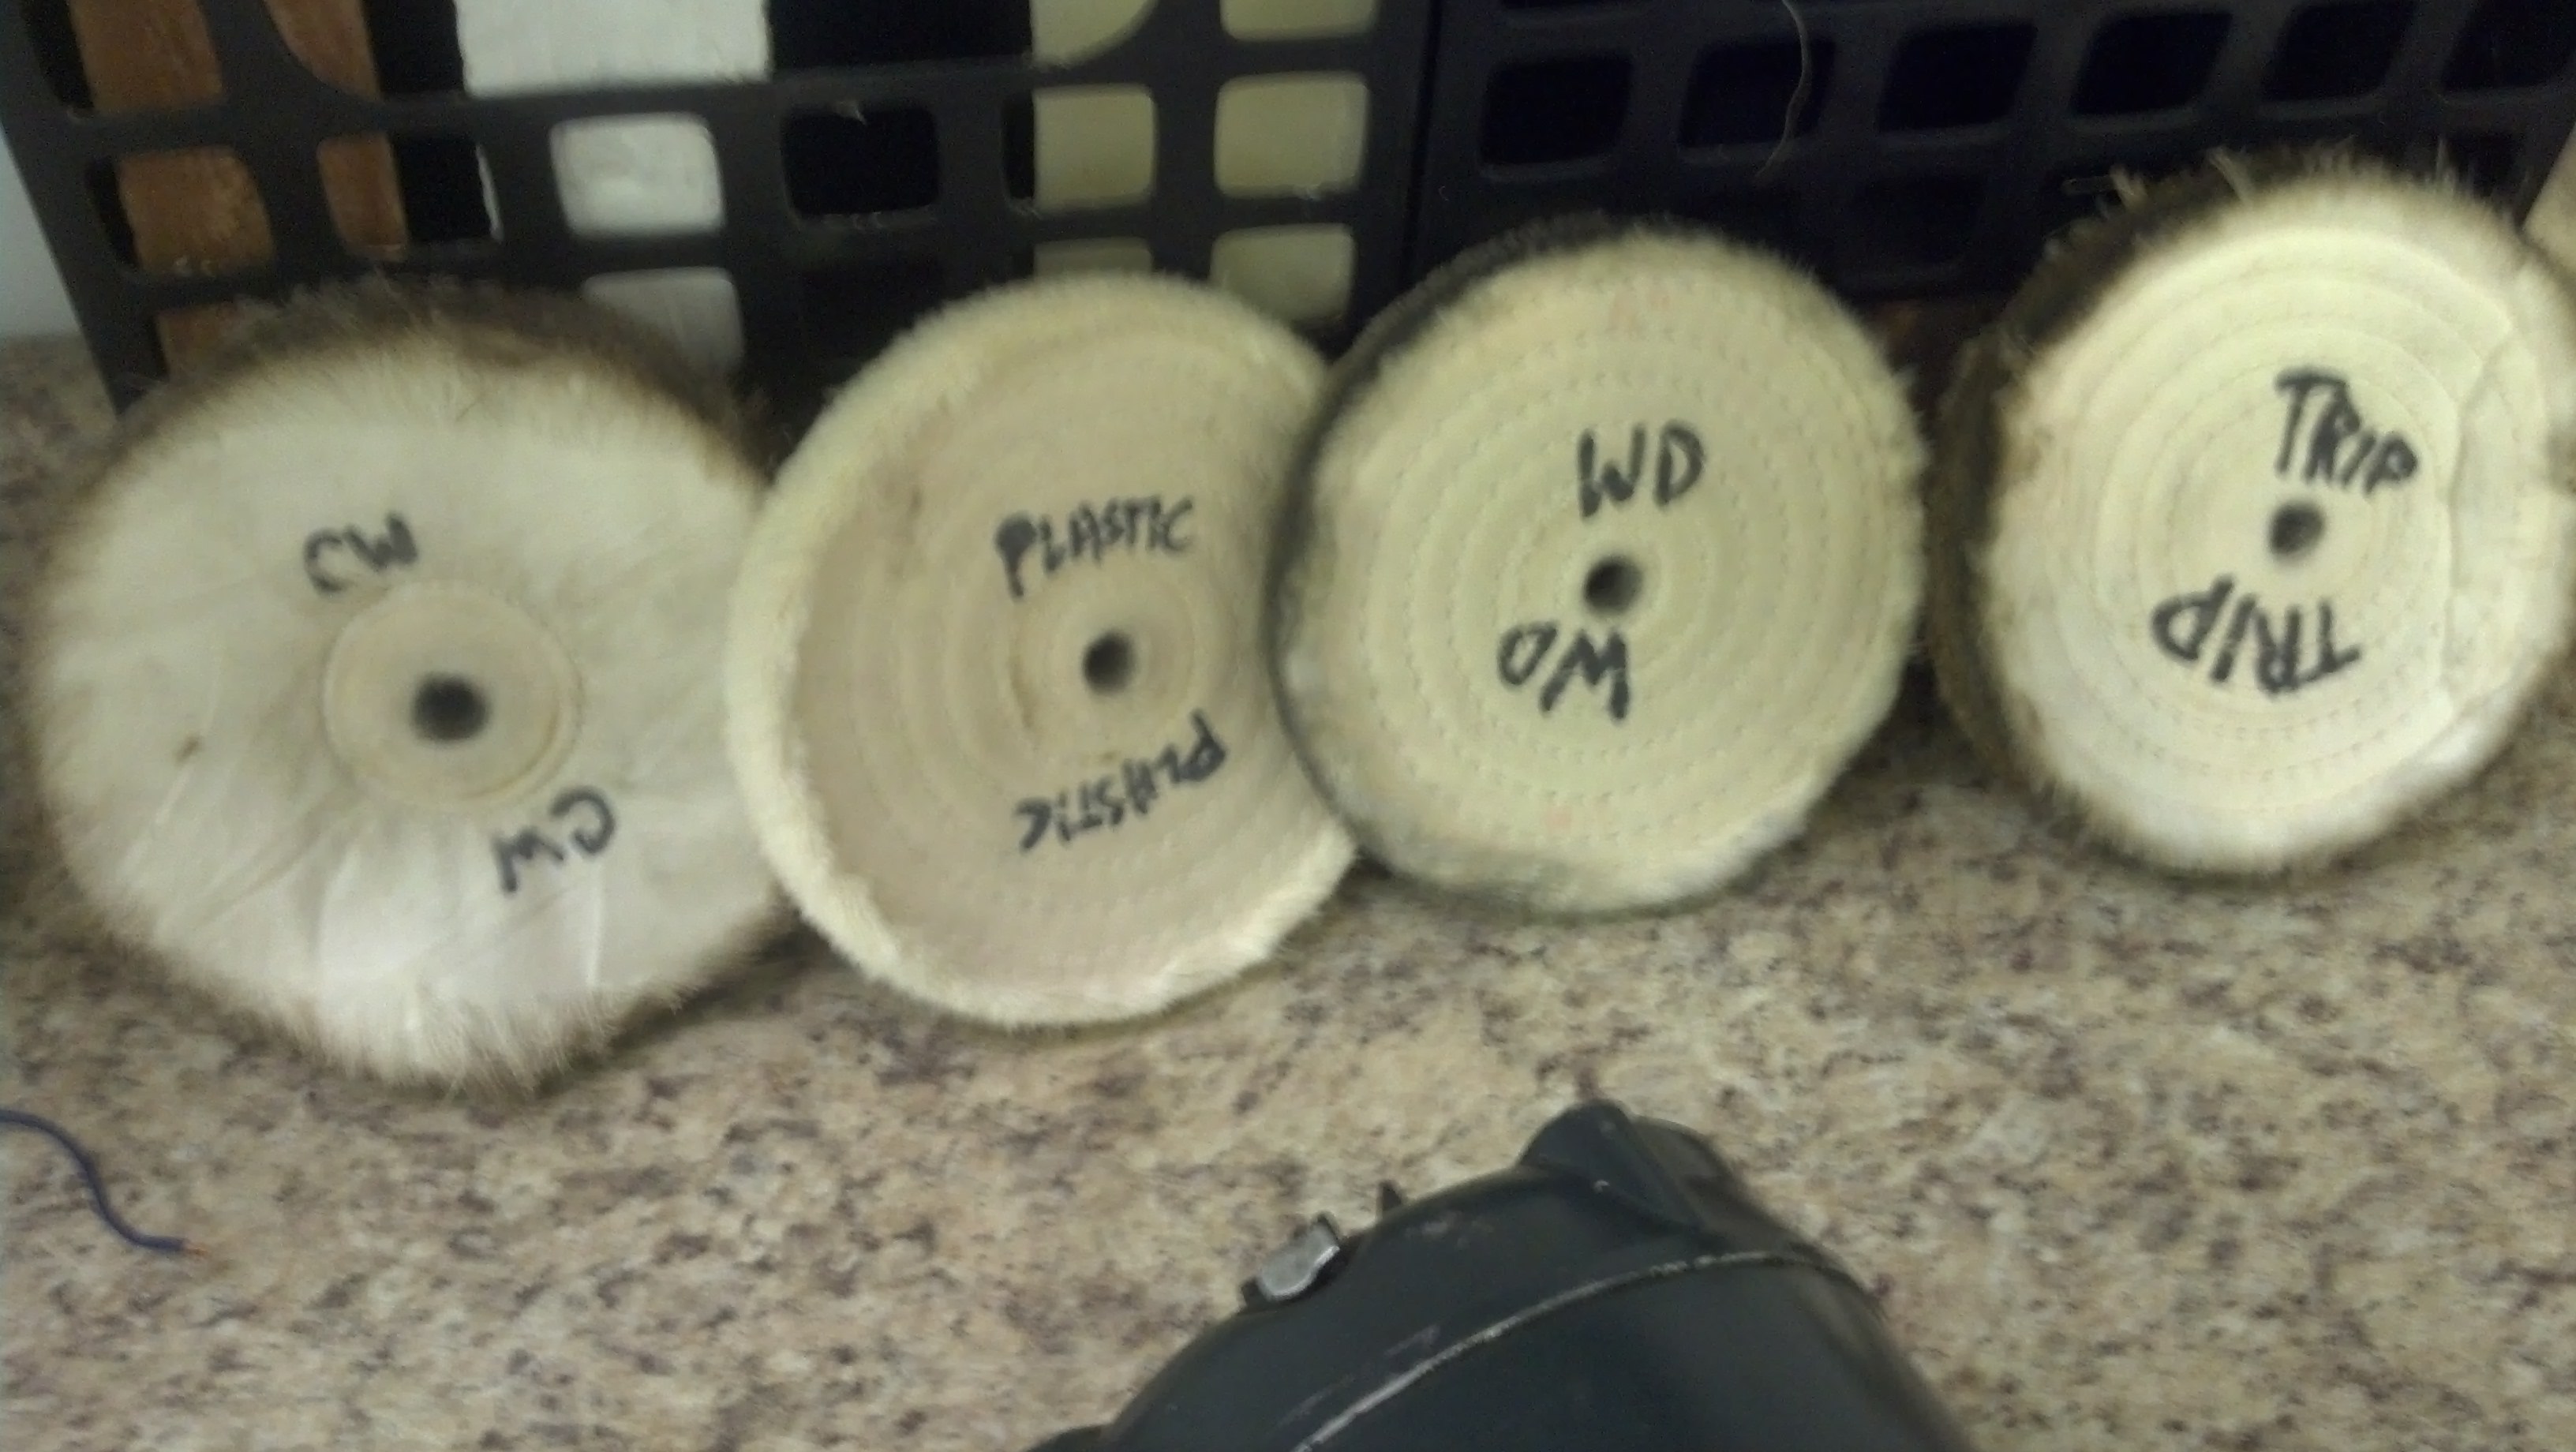
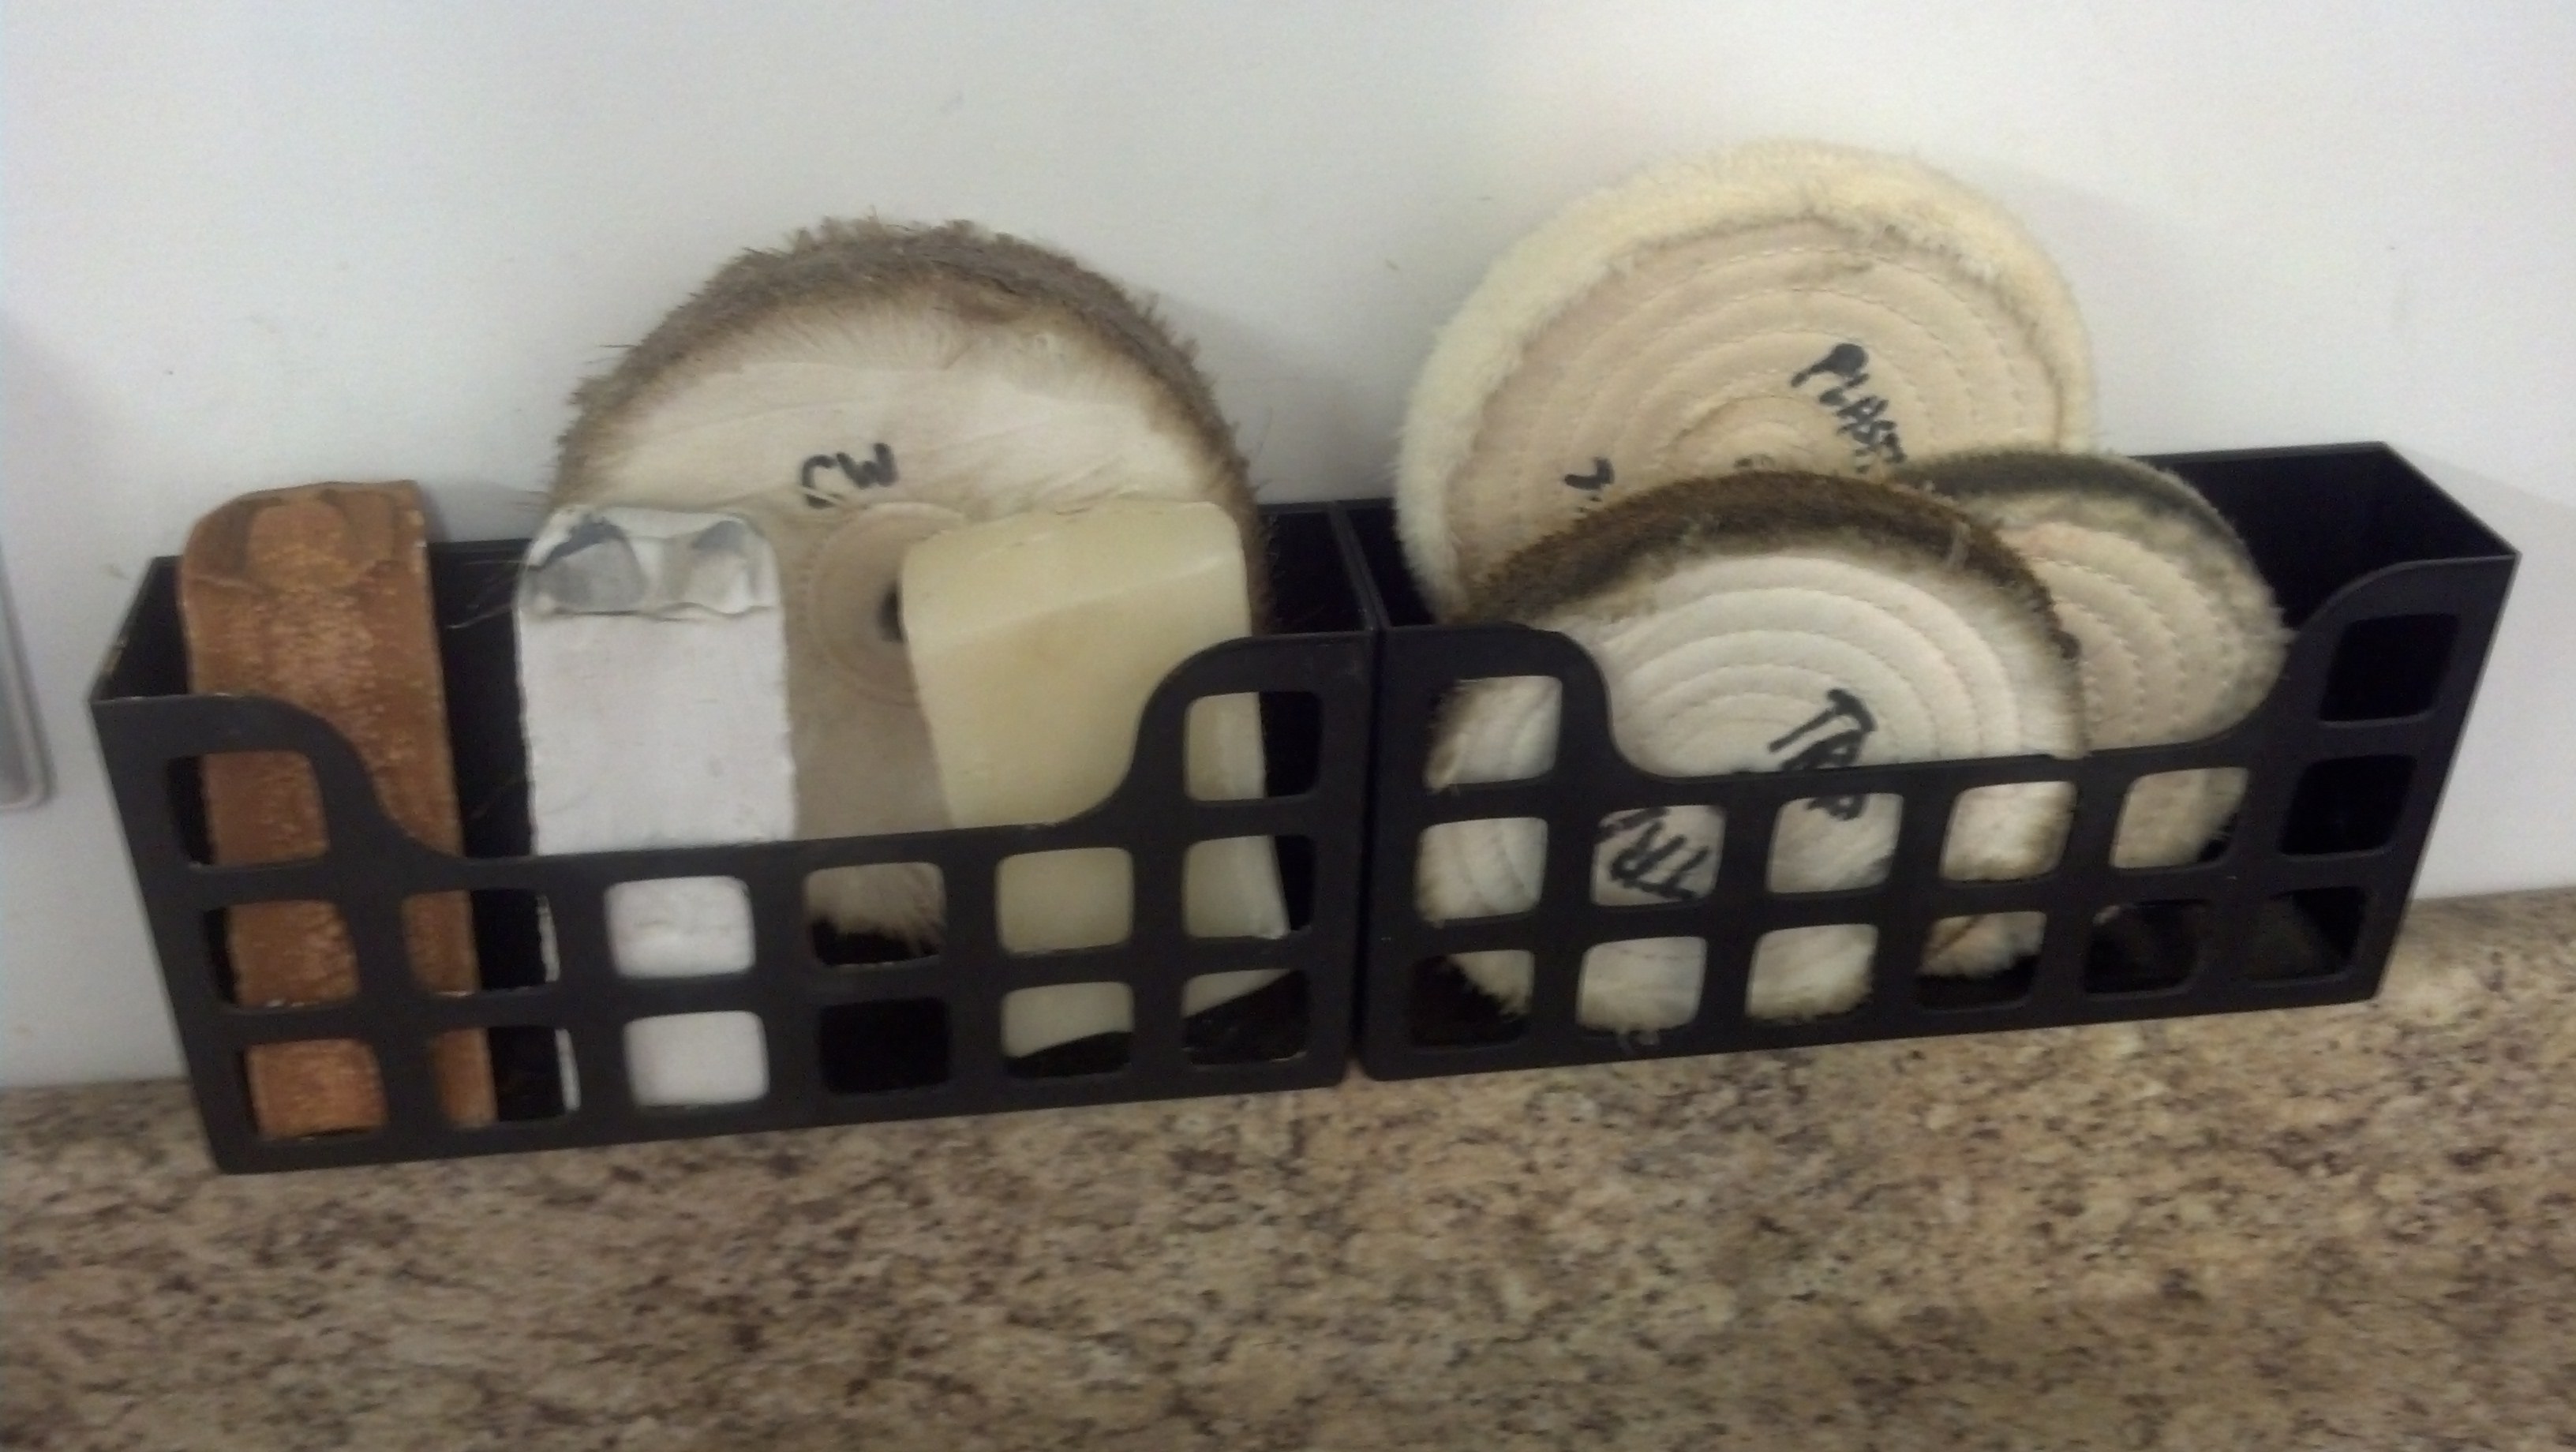
I keep my bars of rouge and pads in plastic holders above the bench. There are pads for Carnuba wax (loose cotton), Tripoli, White Diamond and Plastic Polish (sewn cotton buffs)


I have a small, plastic, three drawer cabinet under my work bench for my reamers, needle files, etc. I also keep my supply of micromesh paper there along with my retort.

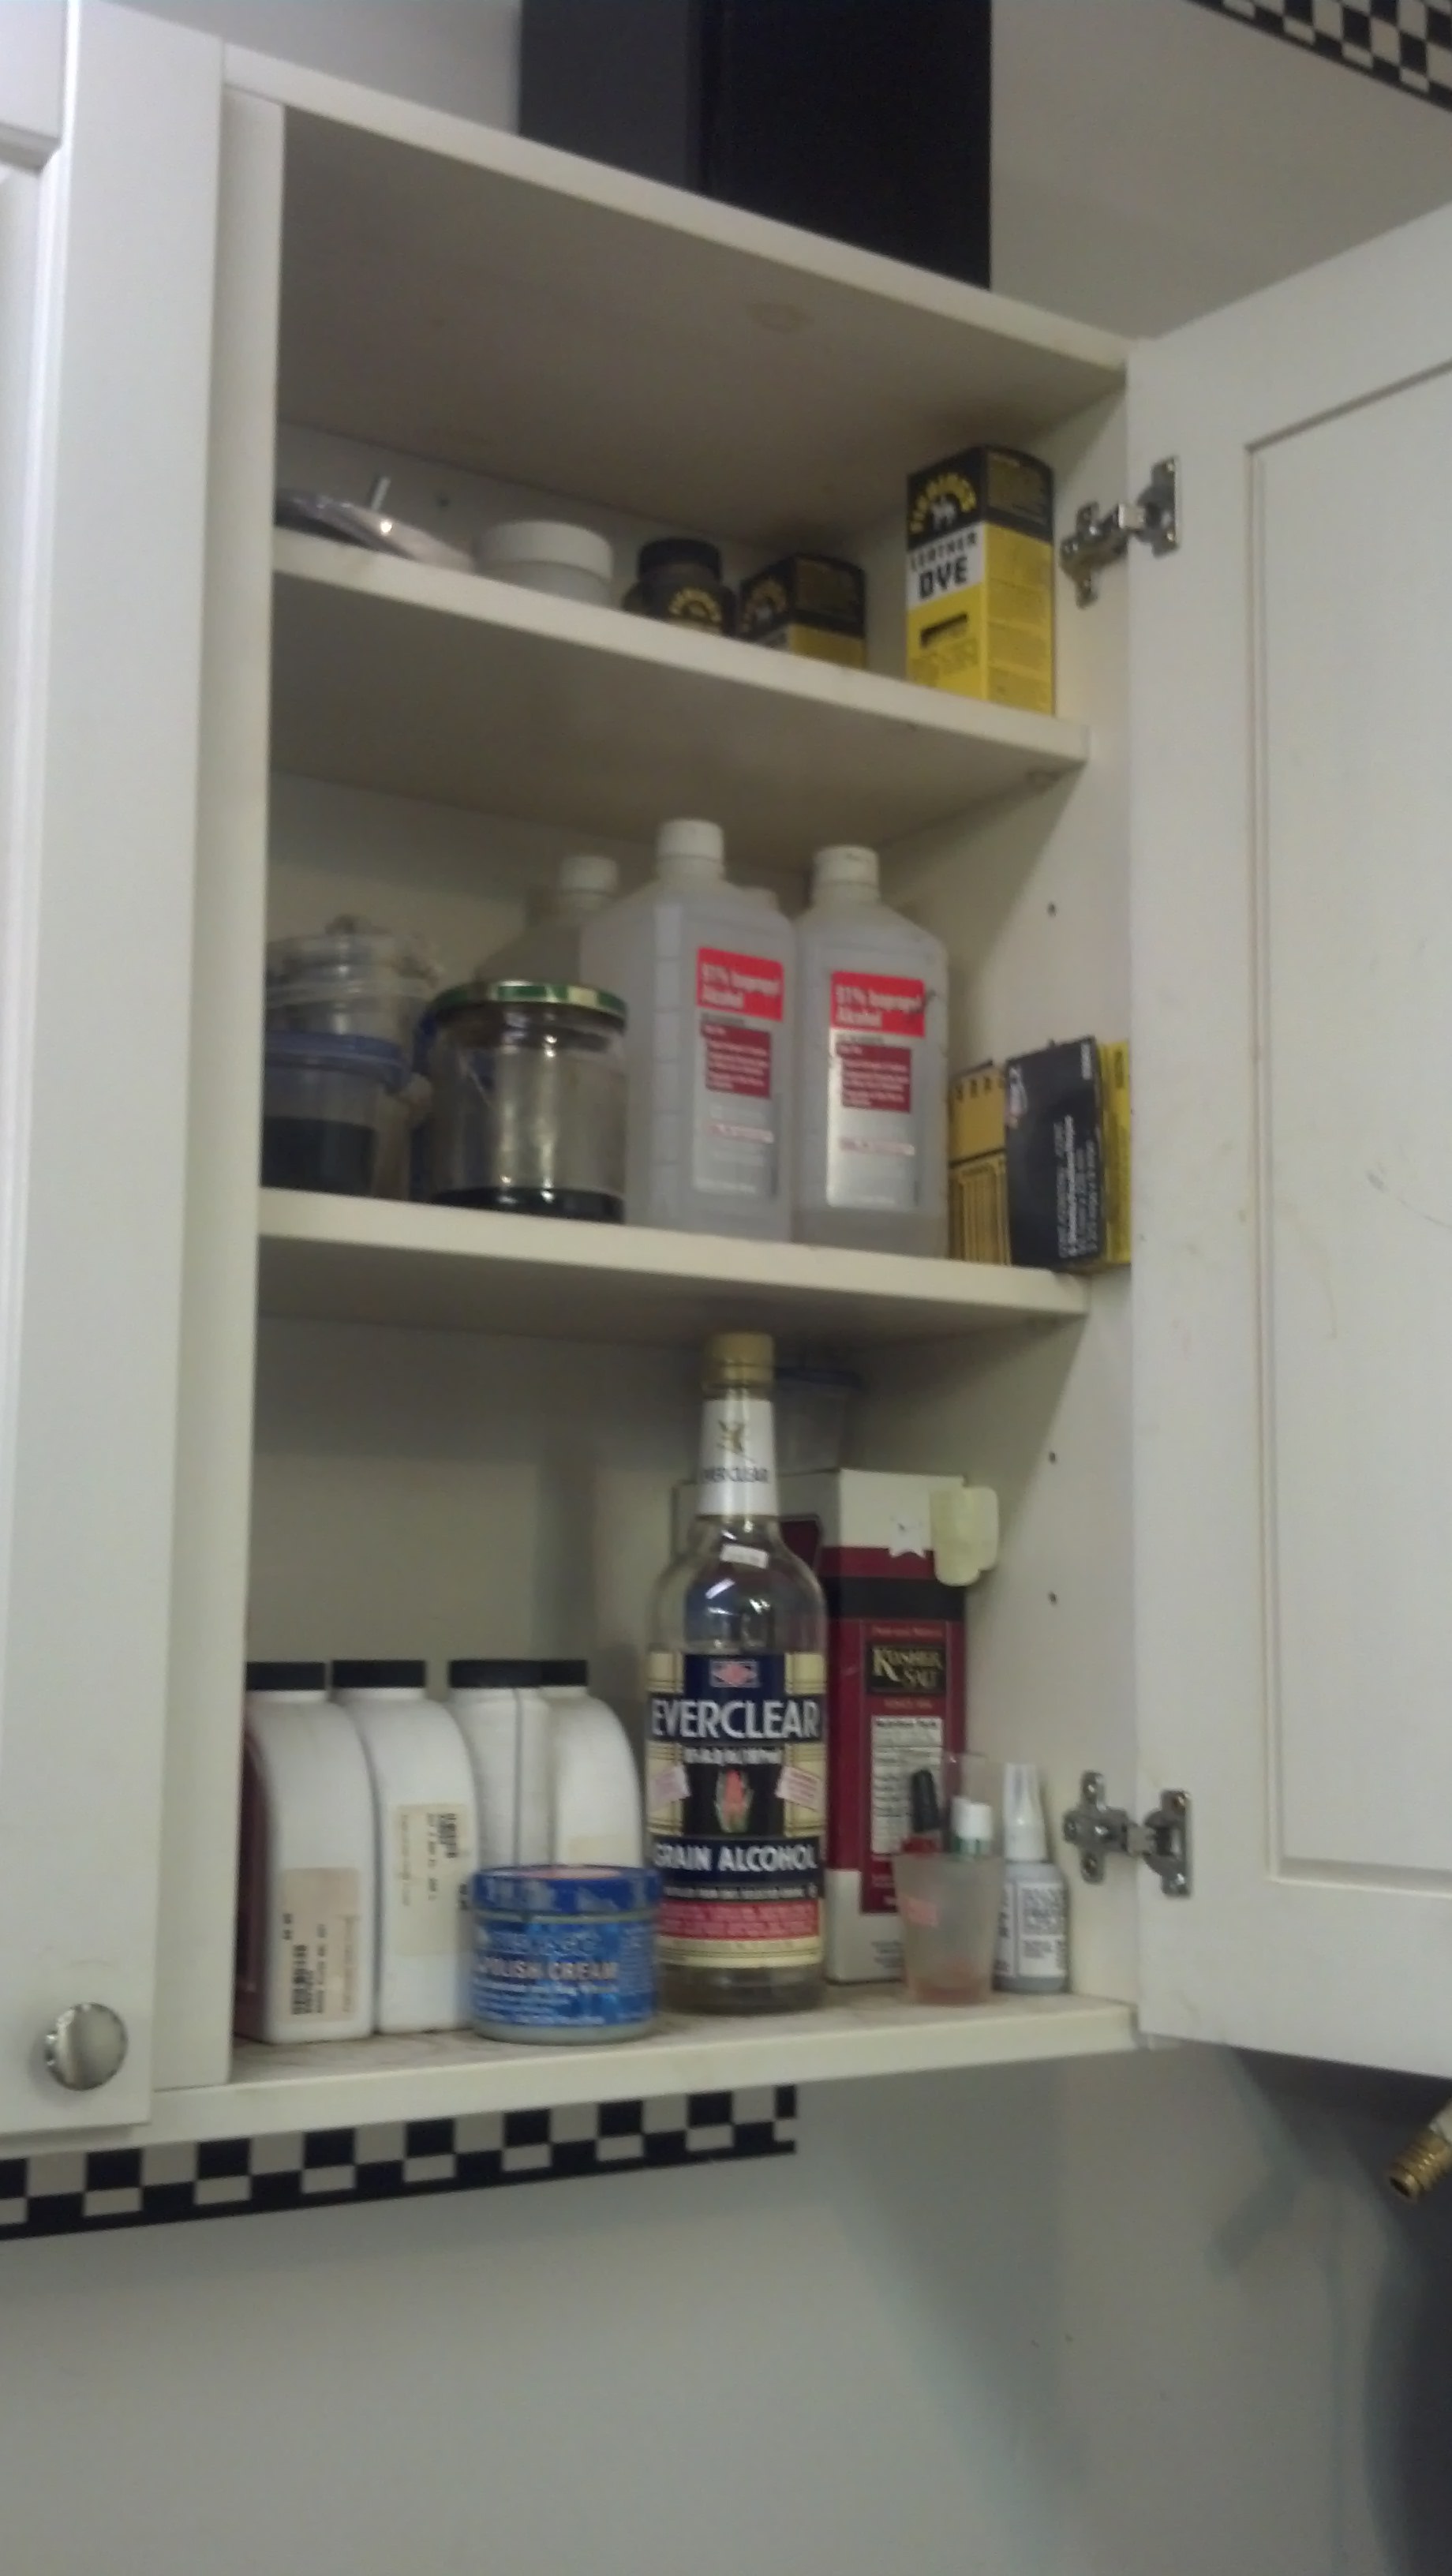
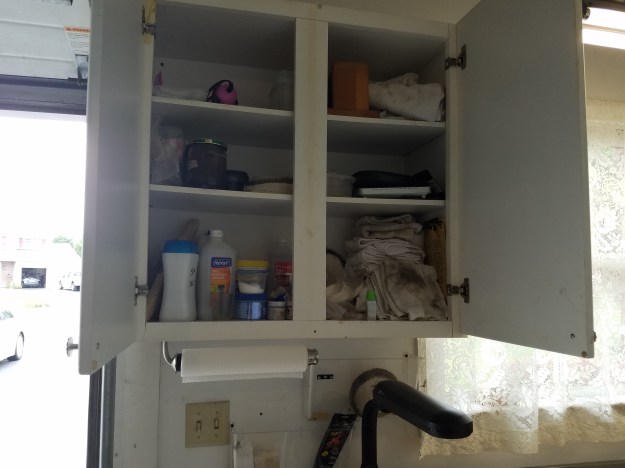
Other supplies are kept in a cabinet above the work bench, alcohol, stain, etc.

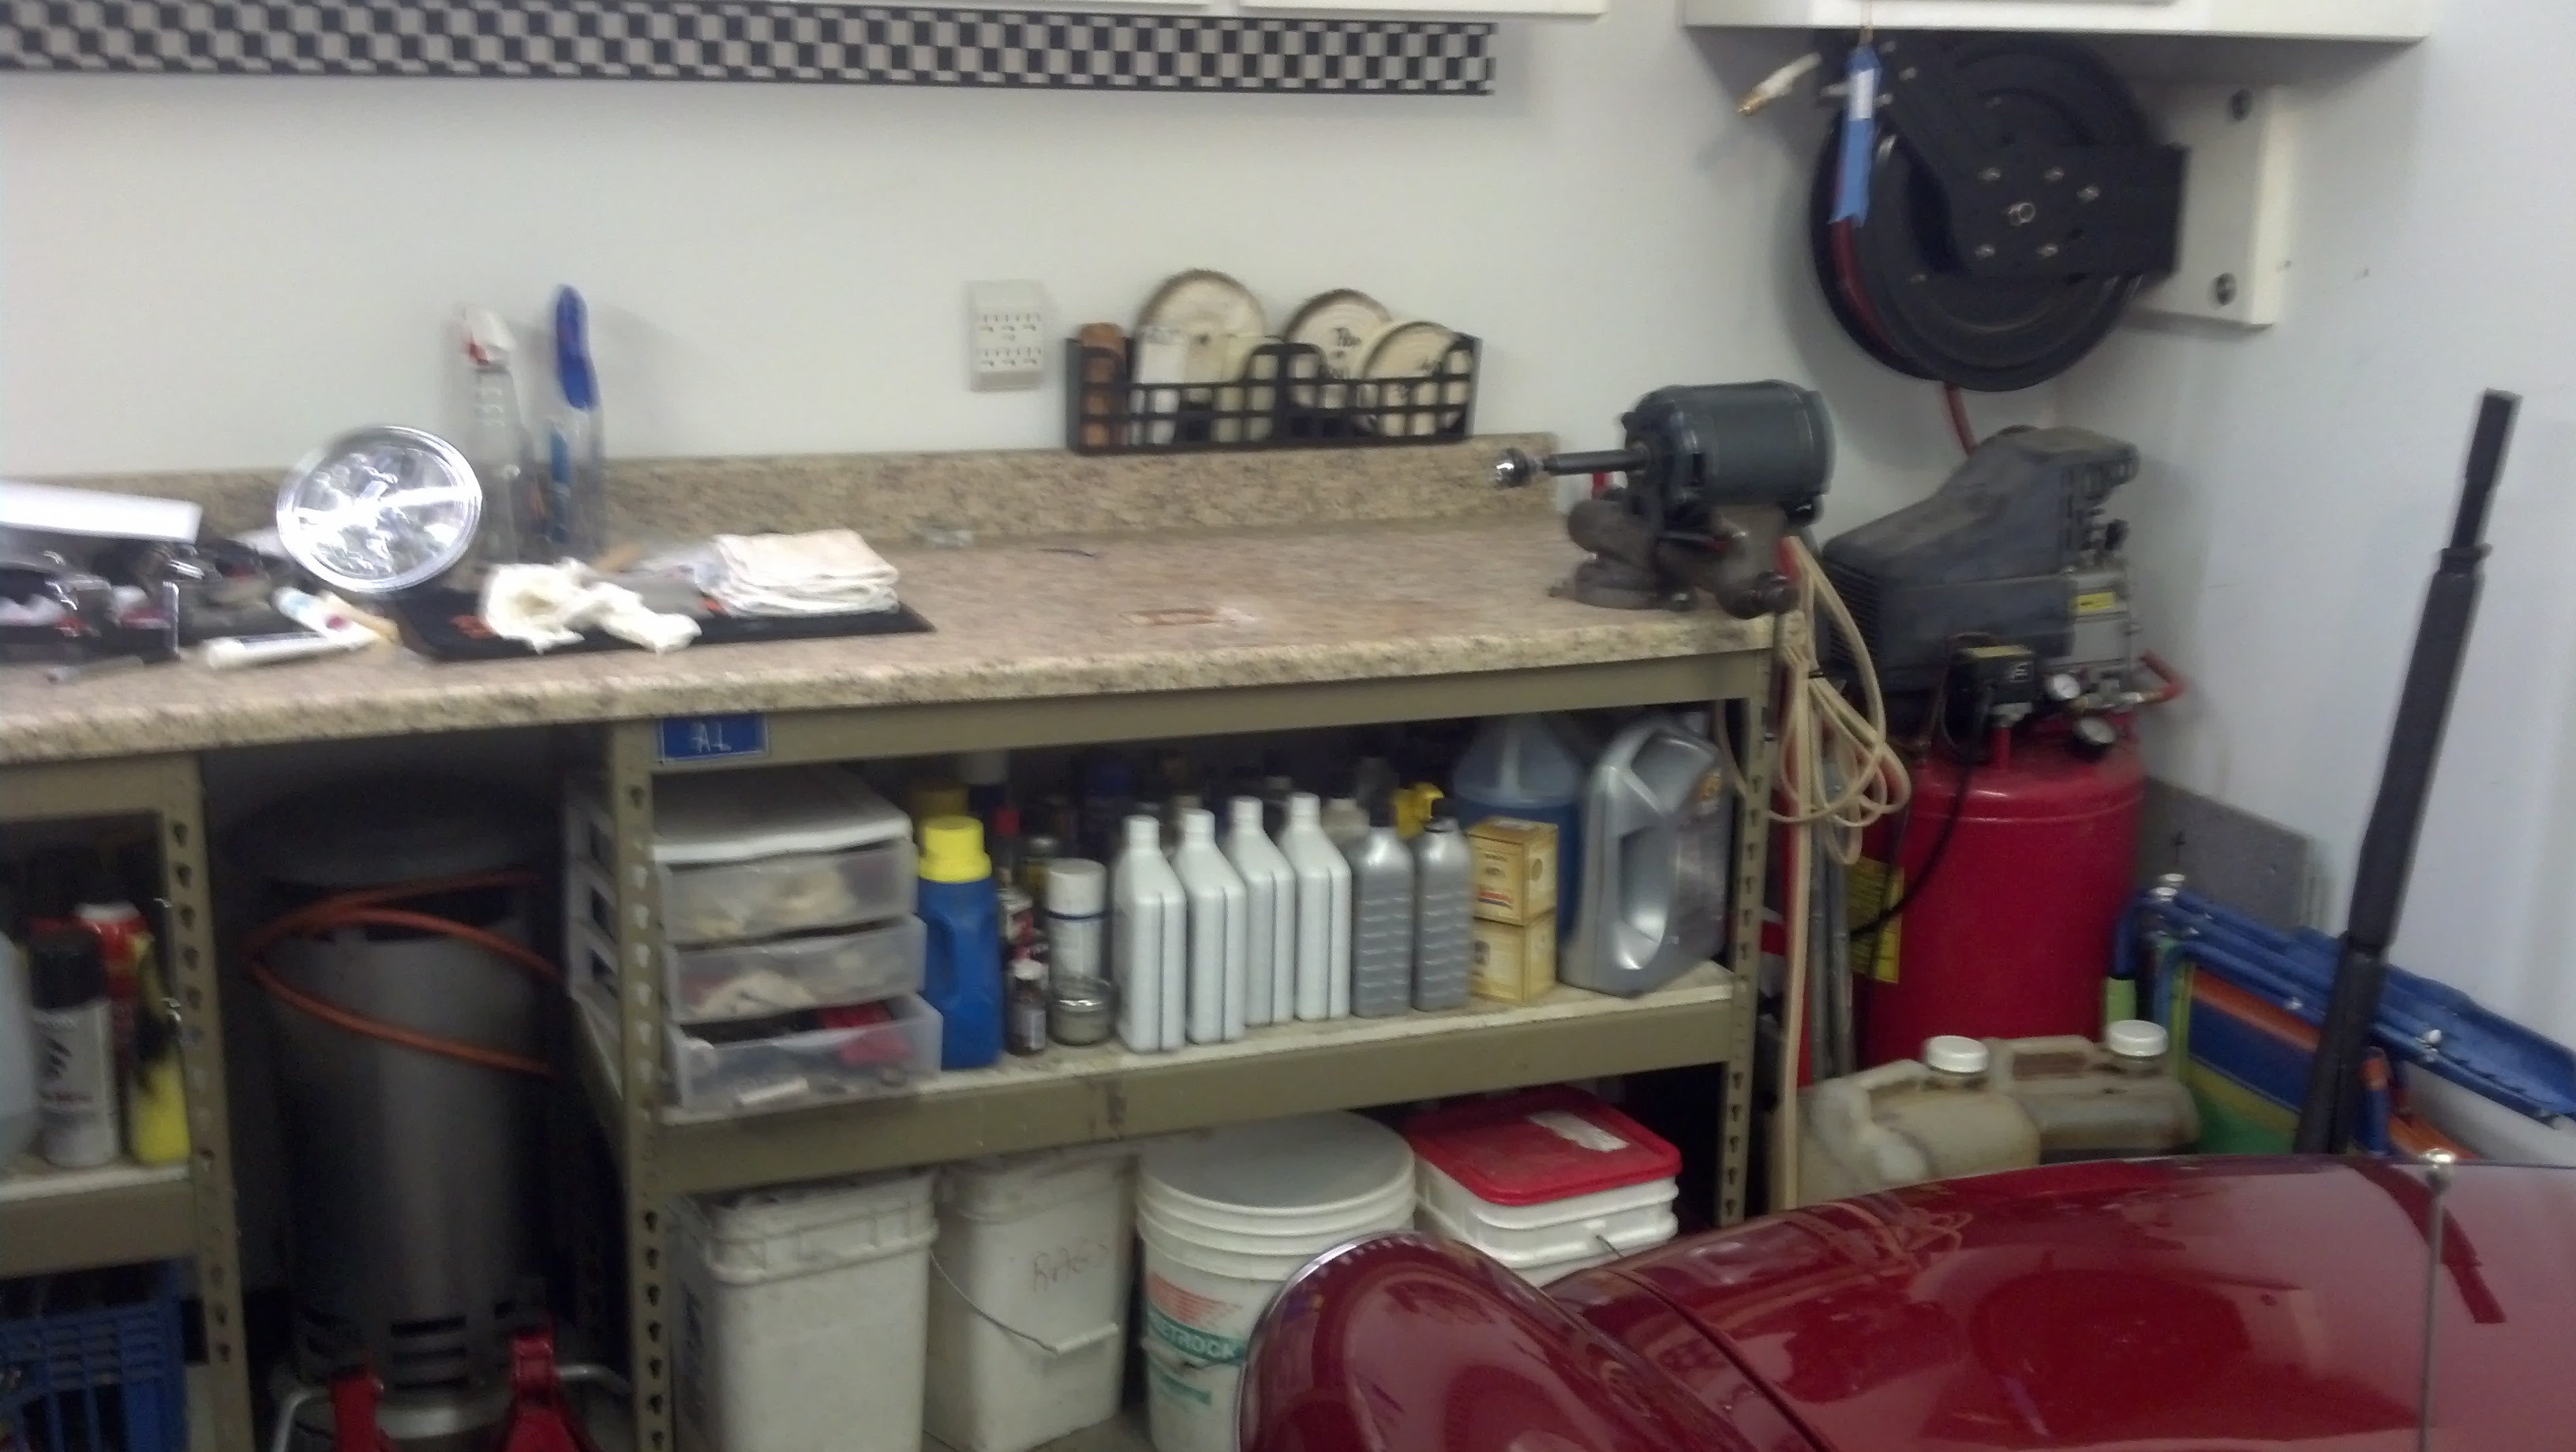
Below is the entire work area. I share the work space for my car and motorcycle mechanical work but my pipe supplies don’t take up much space. Everything is easily stored off the work bench, when it is needed for big mechanical jobs.

Updated – June 2017
I’ve made a number of changes to my pipe restoration station since writing this blog entry on 2013. I’ve been doing enough pipe work that my shared car, pipe and general work bench was getting cramped. I sold my motorcycles, but kept the MGB. That freed up a generous area of the shop that I could dedicate to my pipe work station and a winter smoking area.
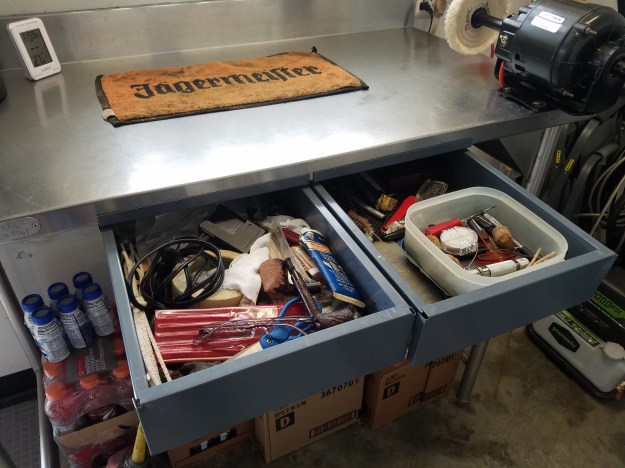
in 2016, During a restaurant remodel, I happened across a small, stainless steel work table that was going to be discarded. It had a 39″ height, which was perfect for pipe work (no need to stoop too low). I found a pair of inexpensive drawers from a hardware company, which was perfect for small tool storage, files, sandpaper, etc. The table is positioned under the only window in the garage, which is nice for some additional light.
I bolted my single arbor, 1725 rpm-1/4 hp motor to the work bench and installed some pockets to hold the pads and rouge/wax sticks. A cabinet mounted above allowed for plenty of storage for the other items. I added a two-bulb fluorescent light above the bench.
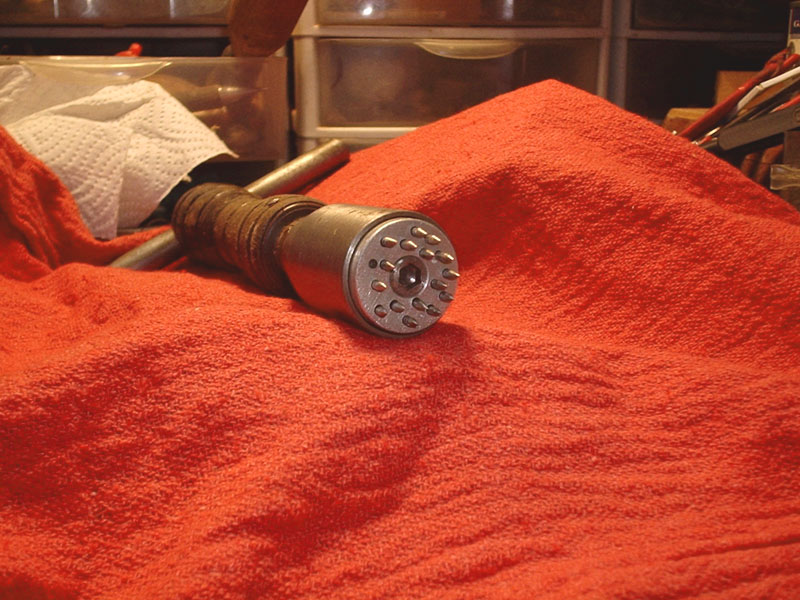
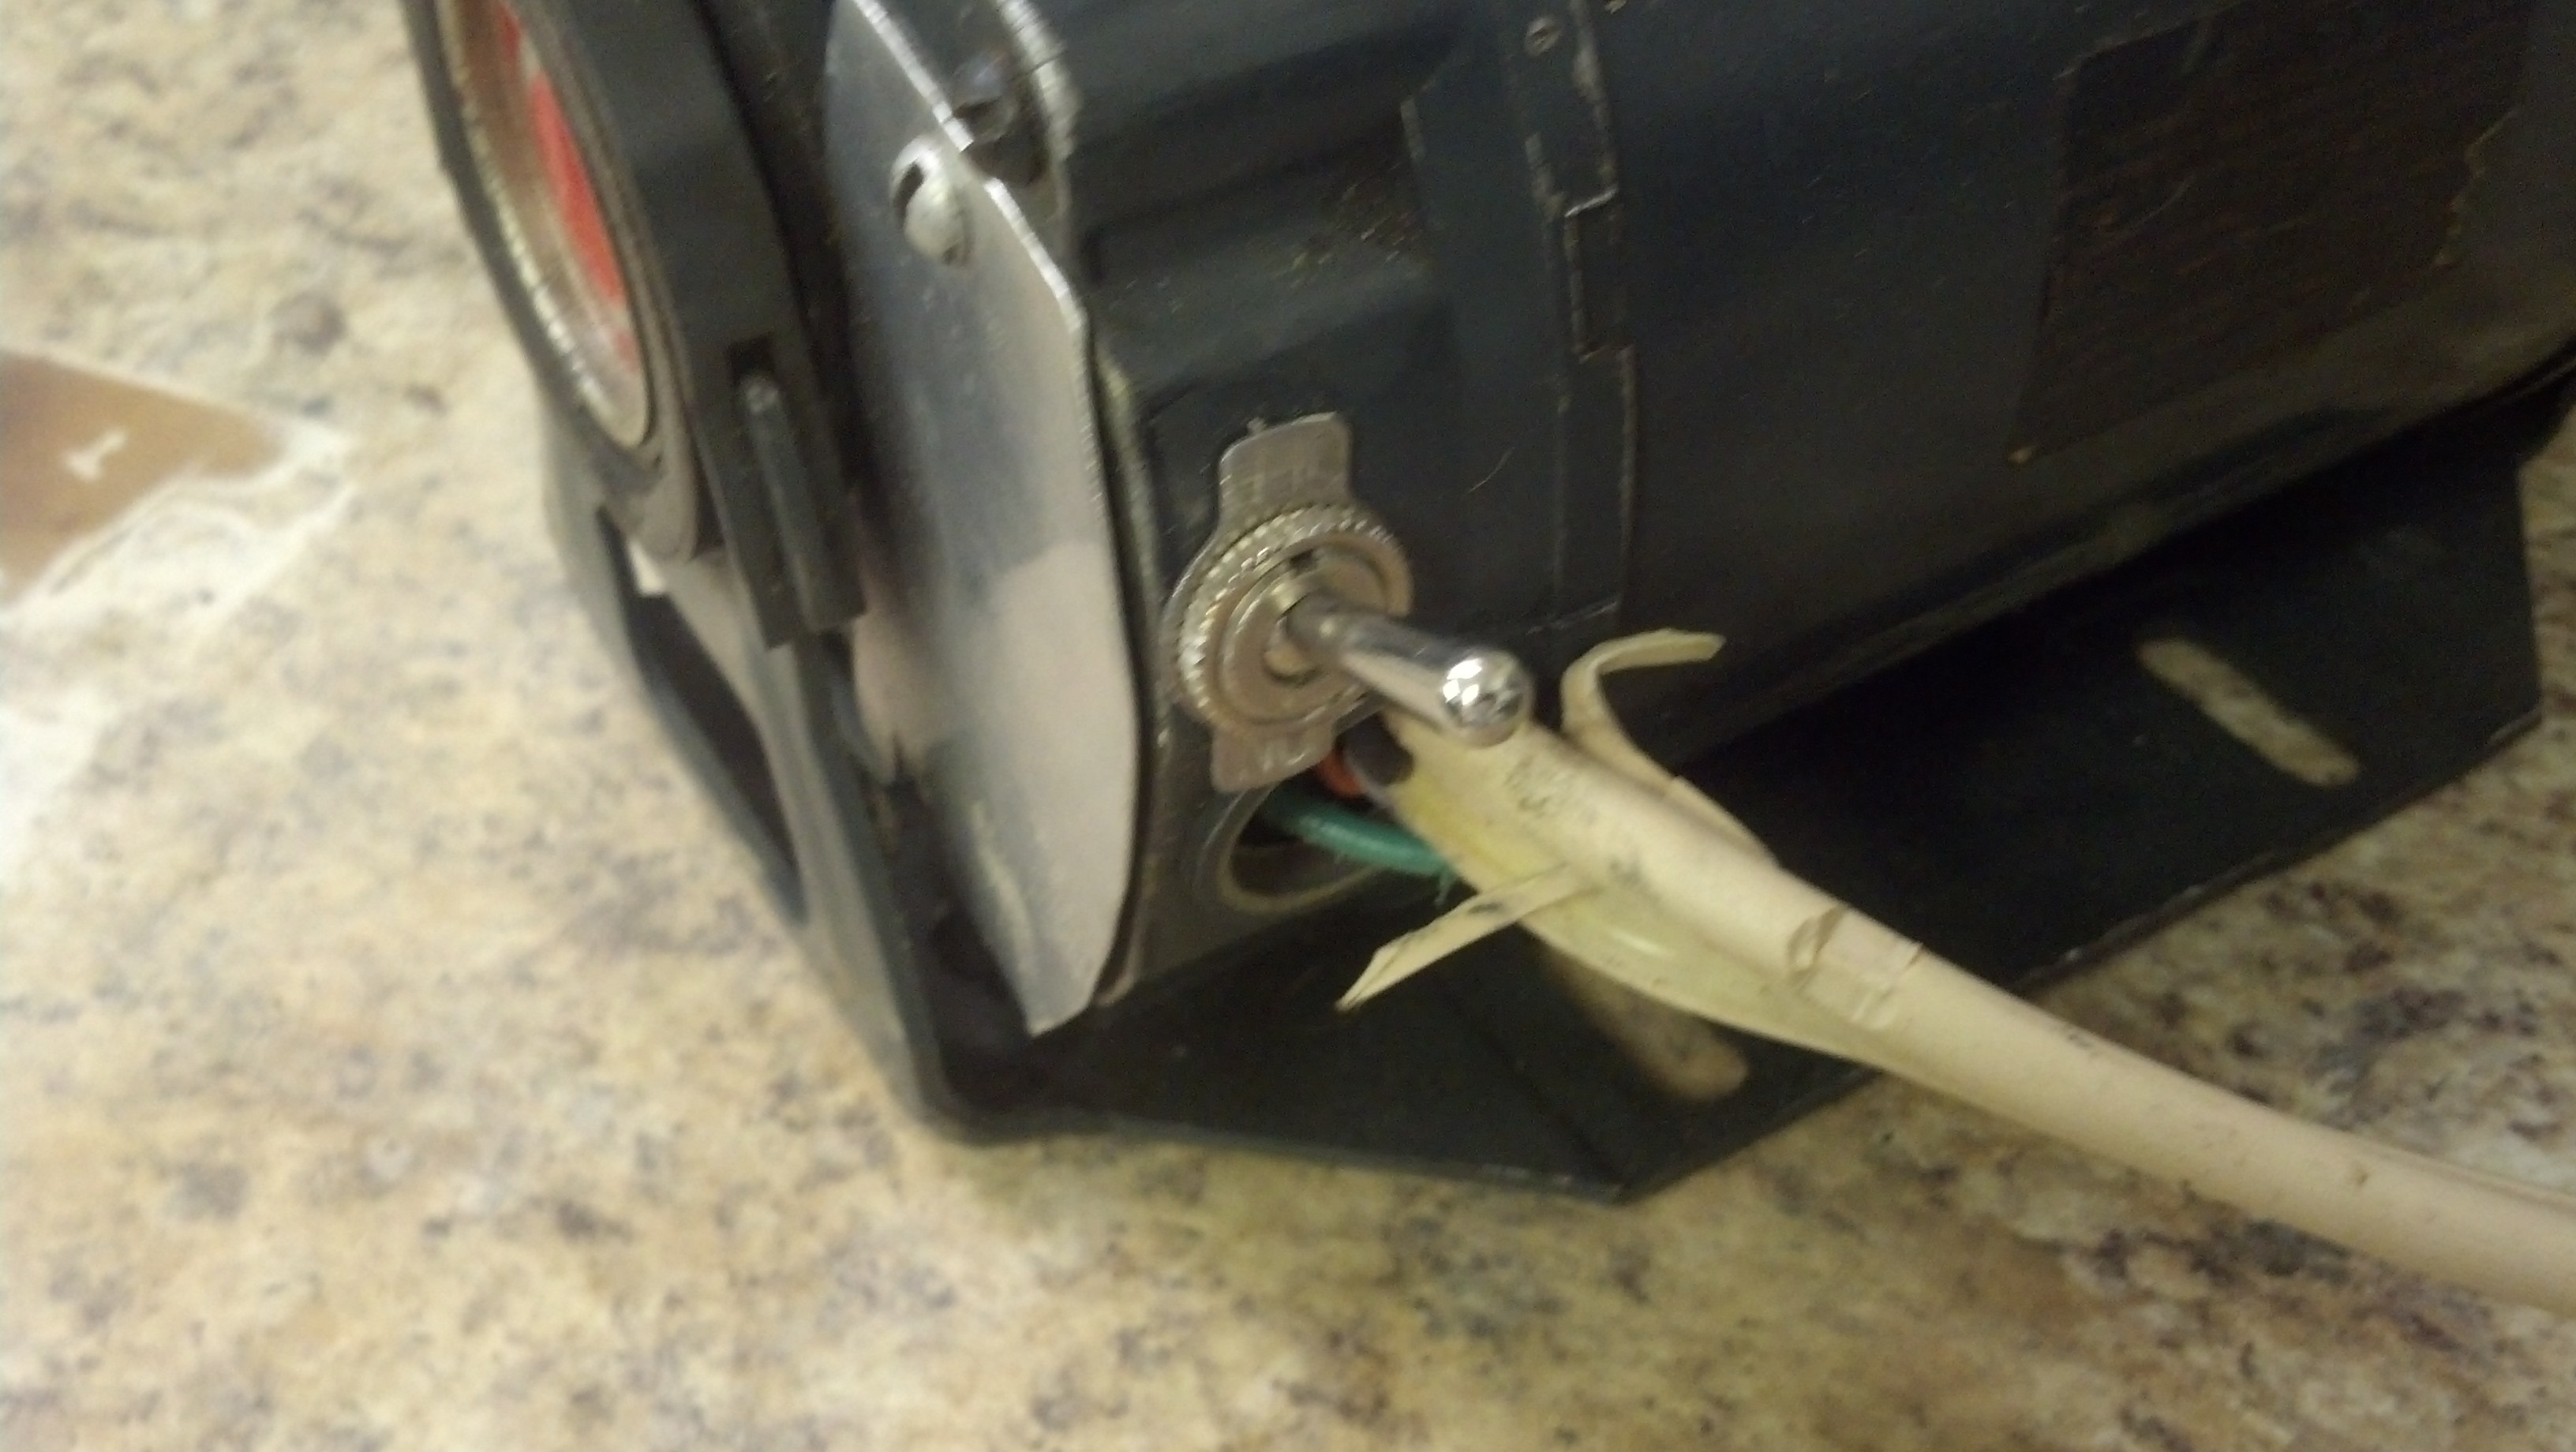
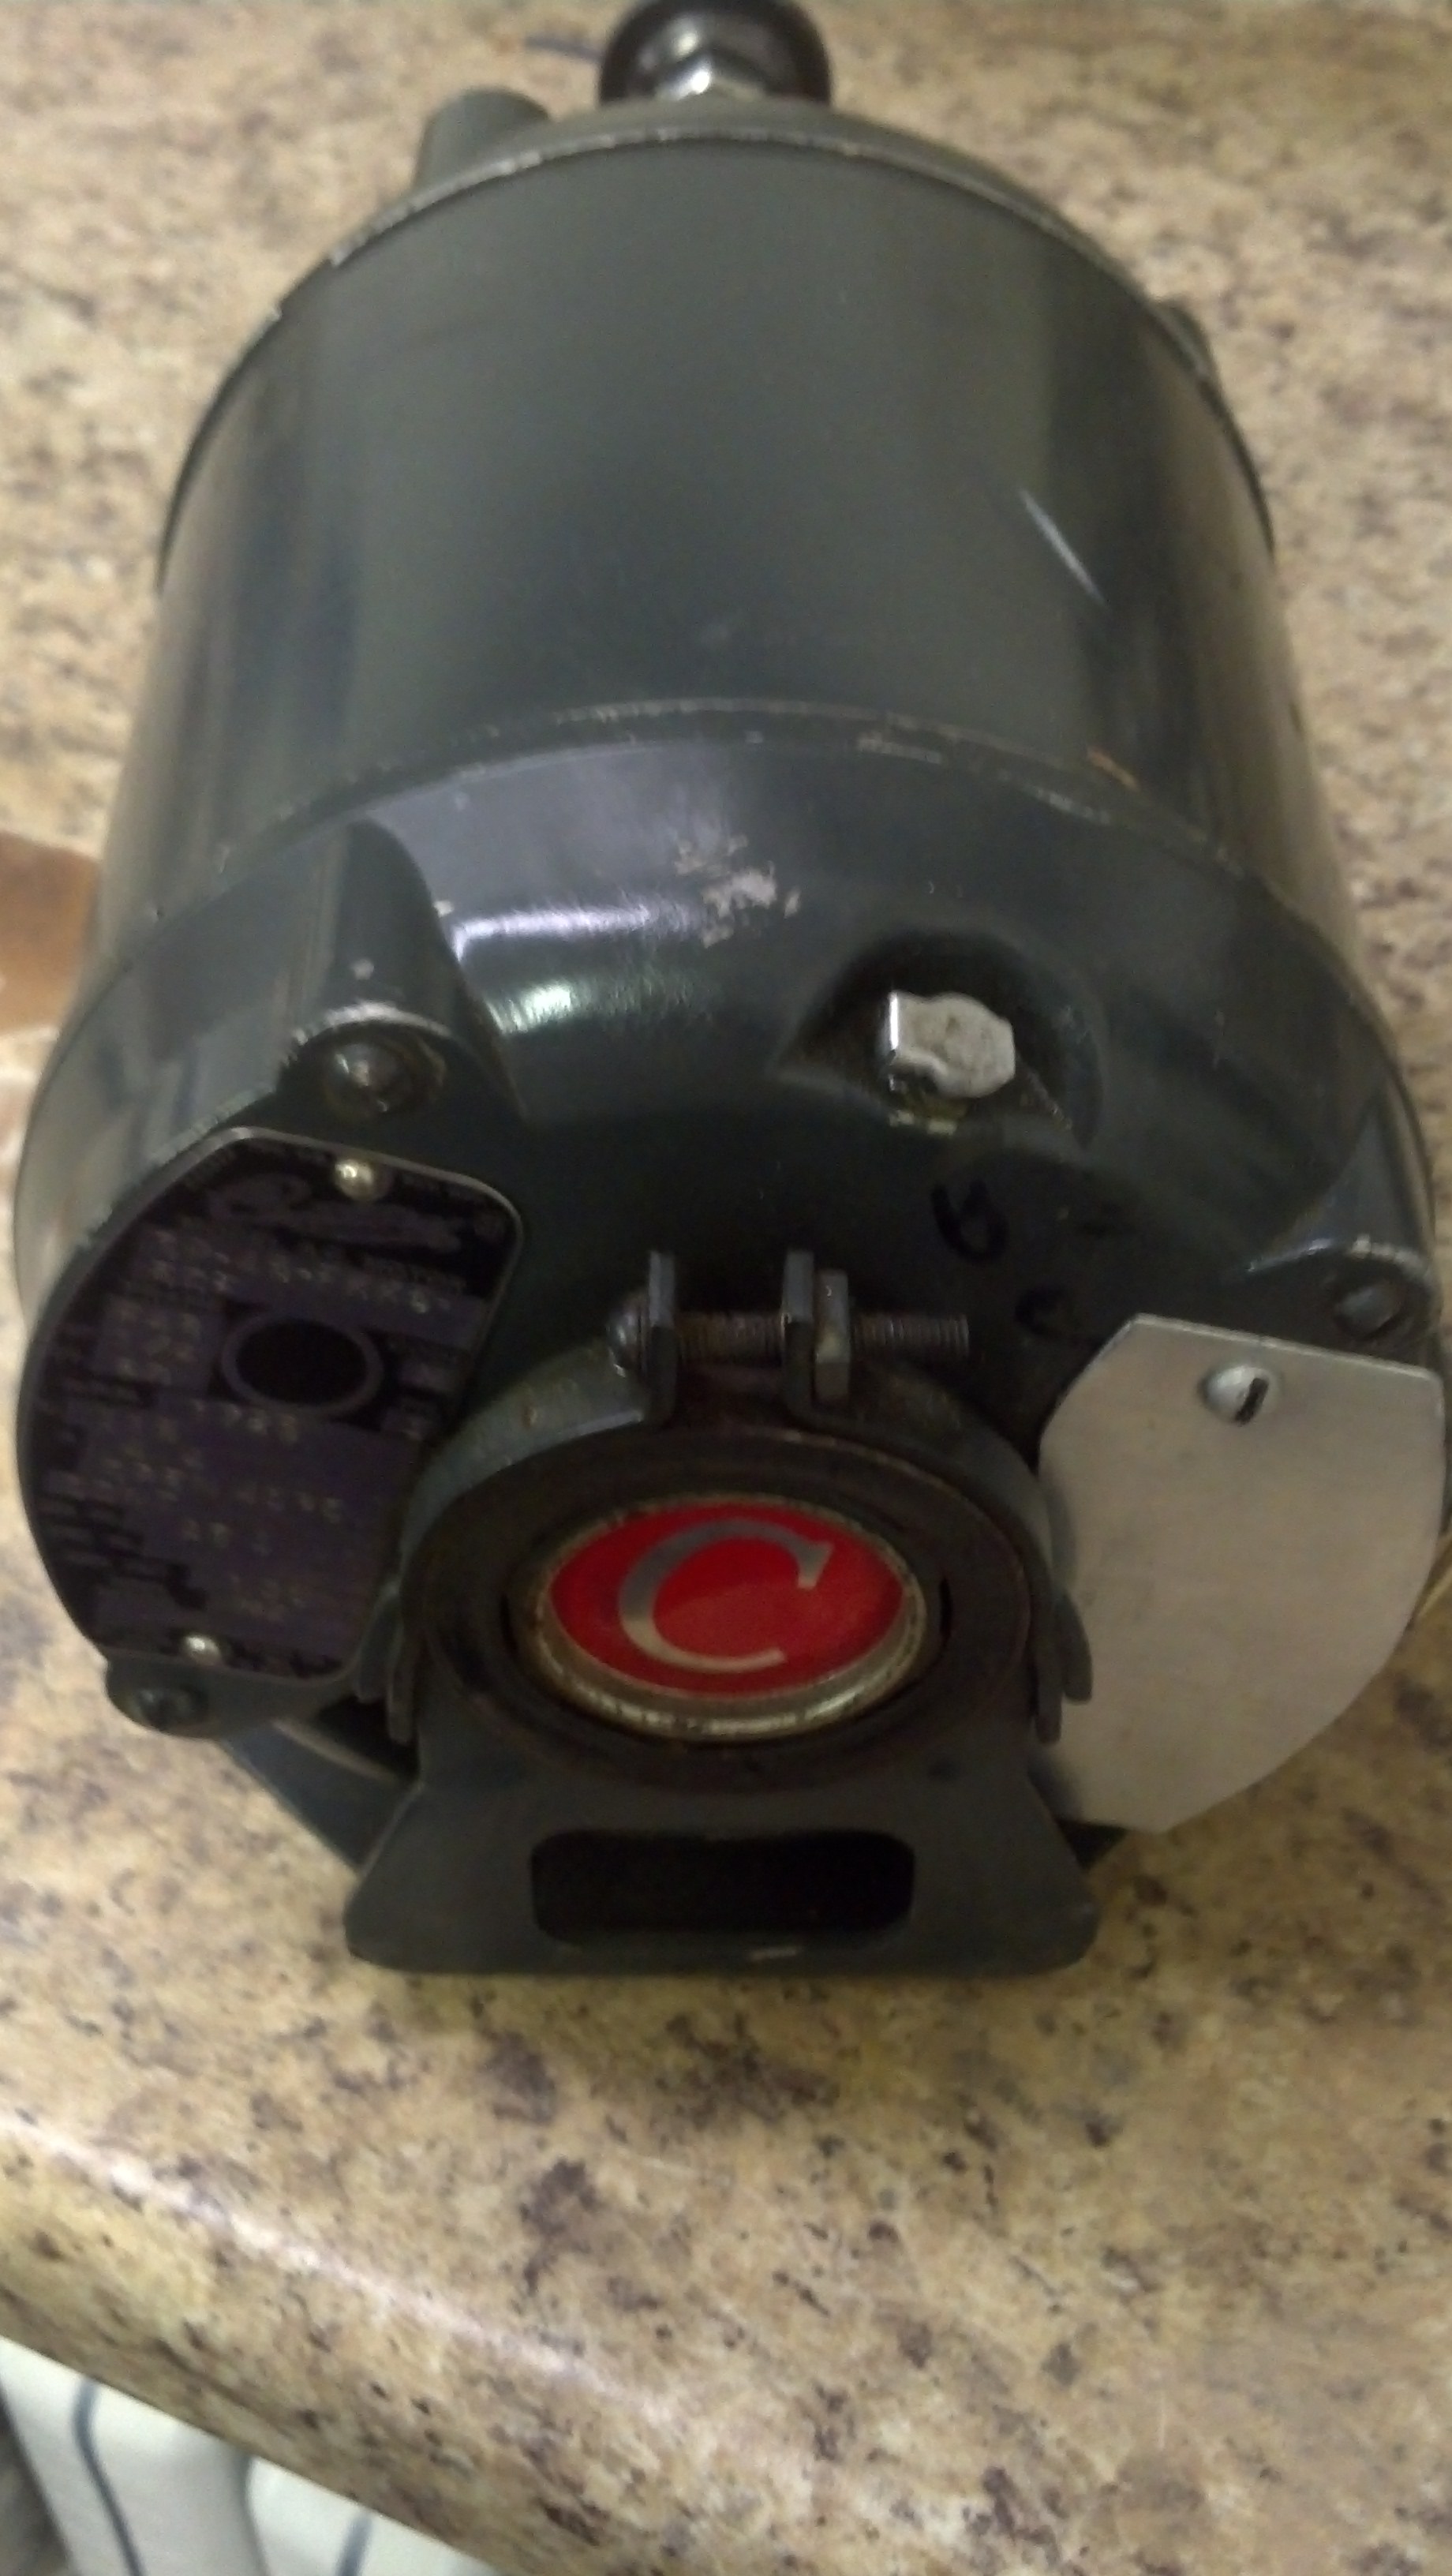
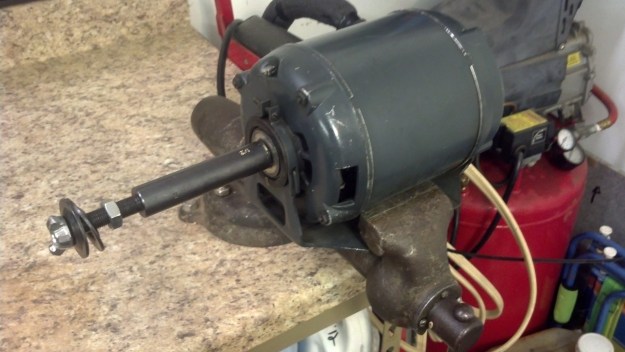
This setup served me well but I always wished for a dual-arbor motor to reduce the pad changes (my three most commonly used pads: Carnuba wax, White Diamond, Plastic Polish). In June 2017, on Facebook of all places, I found a local man selling out an old workshop. He had what appeared to be an old motor for sale. I inquired about the specs, which turned out to be perfect: 1725 rpm and 1/2 horse-power. The motor was an old Craftsman, and had two oil ports. Modern motors have eliminated the oil ports for supposedly “lifetime bearings”. I prefer the oil port motors. Here is the motor as received, with short arbors and an exterior mount power switch.
Like my other motor, this one did not have a capacitor start, and a cheap, plastic switch mounted on the exterior. I sourced a heavy-duty, double-insulated metal switch from Lowes, which is also on the other motor.
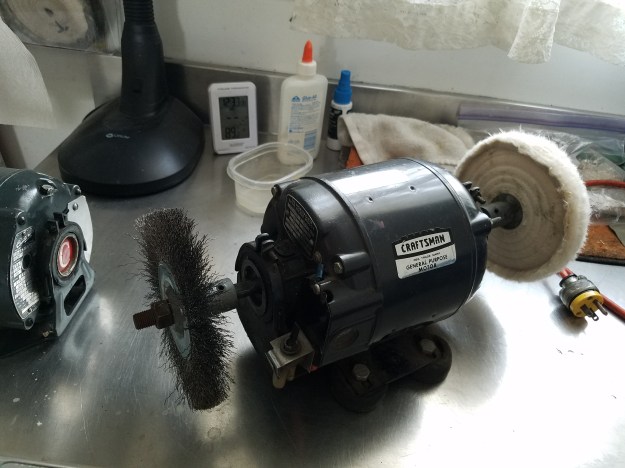
Once again, I sourced extended arbor mounts from Jestco Supply. They are the only ones to make 6″ extensions that I have found. This motor had 1/2″ and 5/8″ arbors, which Jestco sold in right and left hand options. The webpage for Jestco is below, I highly recommend this vendor for all of your buffing supplies, service and quality is first rate.
Jestco Supply – Buffing Accessories
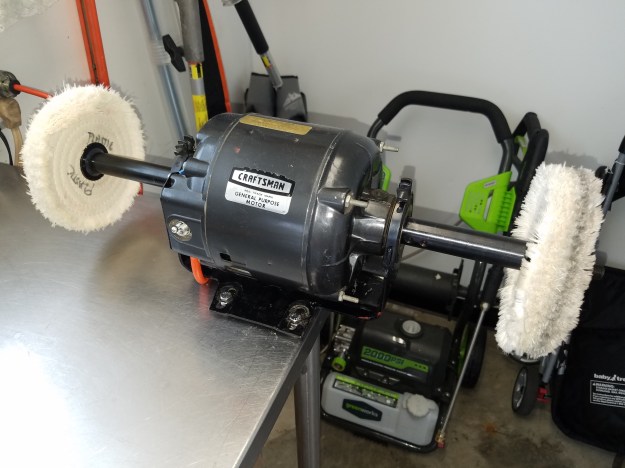
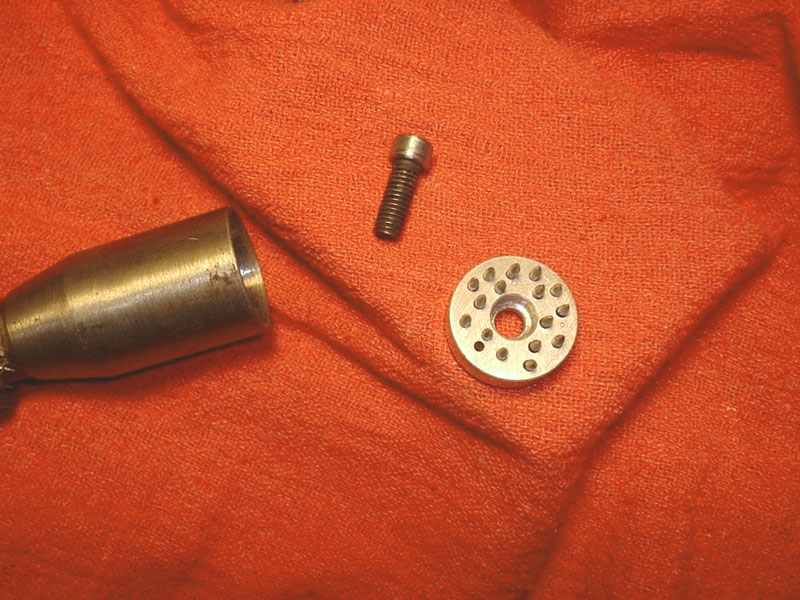
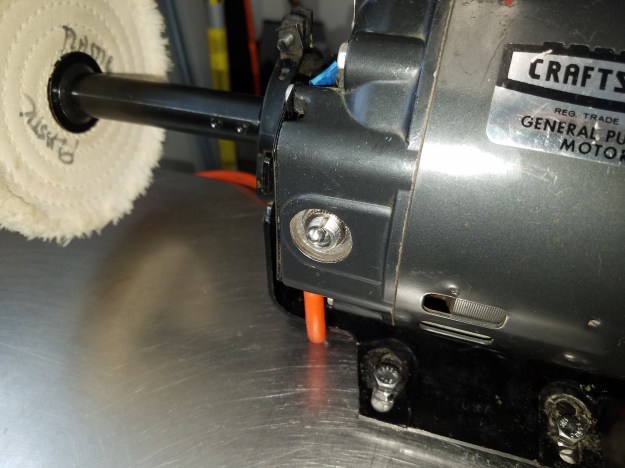
My next decision was how to mount the motor. I like having the pad off the table surface to give me plenty of working room. The motor spins clock-wise, away from the operator and I usually have the pipe or stem around the 7 o’clock position. With two arbors, I decided to remove the rubber feet, install four bolts and then drill four matching holes in the table. The buffer simply sets down in the four holes and I can rotate the buffer 180 degrees to use the other pad.
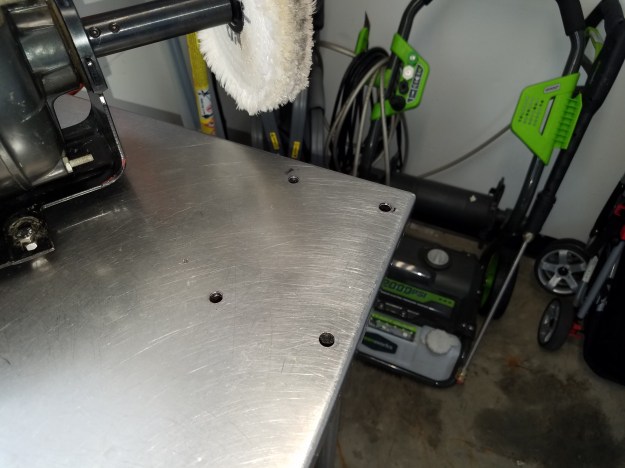
Drilling stainless isn’t easy. I used a small, good bit for the pilot hole, with some WD40 on the bit and table surface to keep the bit from burning up. You need to drill at a relatively slow speed. I used a “step bit” to enlarge the holes, which was done quite fast (also with lubrication).
Below is my cabinet with extra supplies.
Below is the finished station. I mounted a paper-towel holder under the shelf. I use a lot of paper towels during the stem standing process, to keep the water from damaging the stain of the briar. I may upgrade the light to a four-tube fixture for the winter, when the garage is closed up and a bit darker.

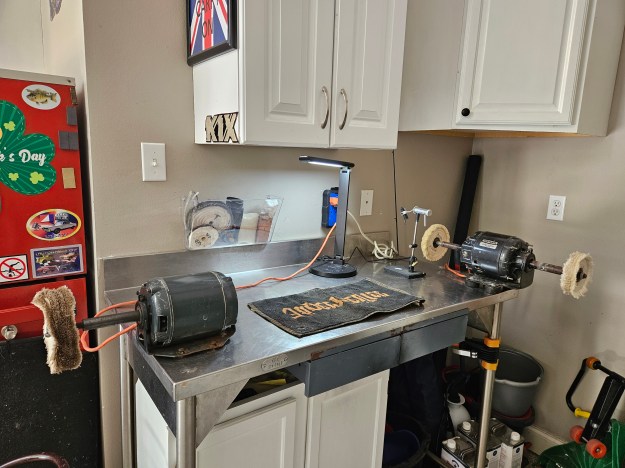
Update – May 2025
We moved from Maryland to Louisiana in August of 2024. I brought my shop table down and basically set it up the same way down here. I purchased some used cabinets and was lucky to find a garage that had a similar work area and a laundry tub sink.
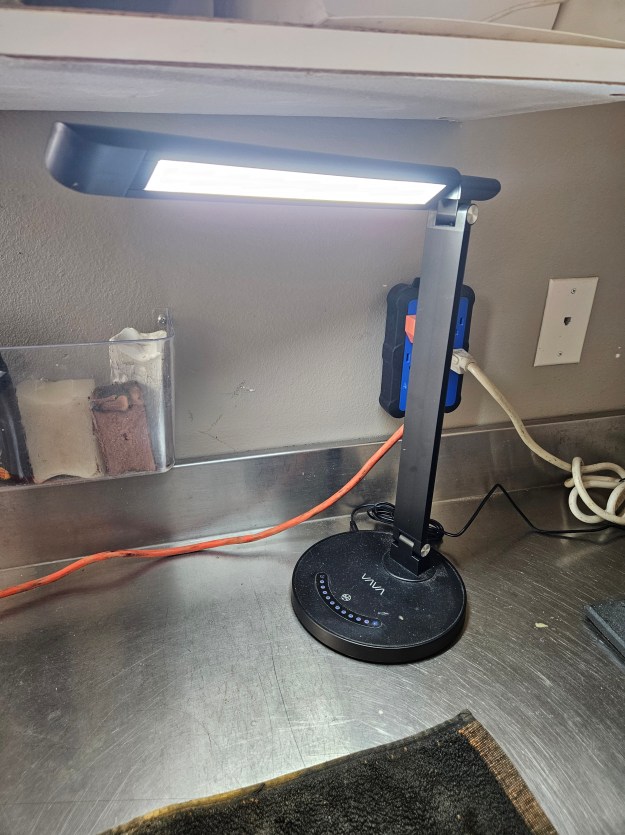
I started fly-fishing down here (after a 25 year hiatus). So the work table does dual duty for pipes and fly-tying. I added a nice bright LED lamp.
The white box in the bottom right of the cabinet is my photo light-box.