Blog by Dal Stanton
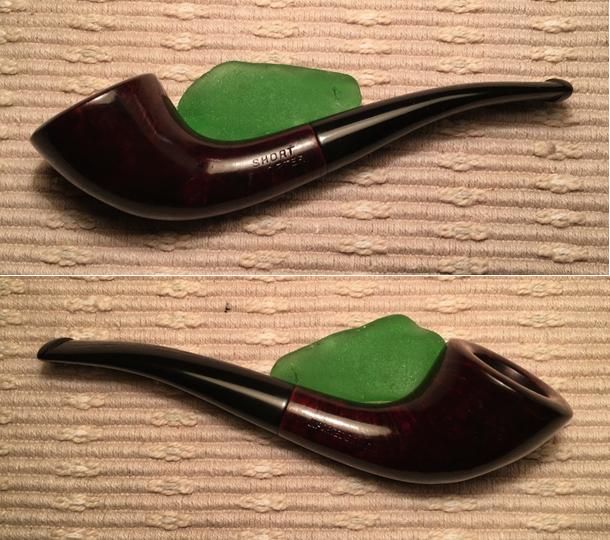
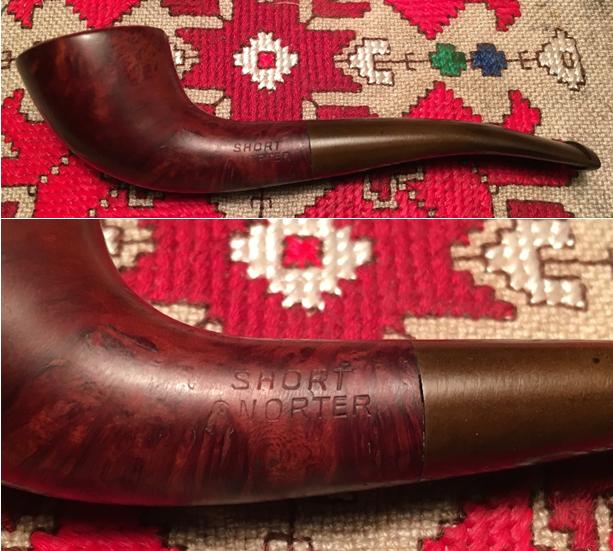
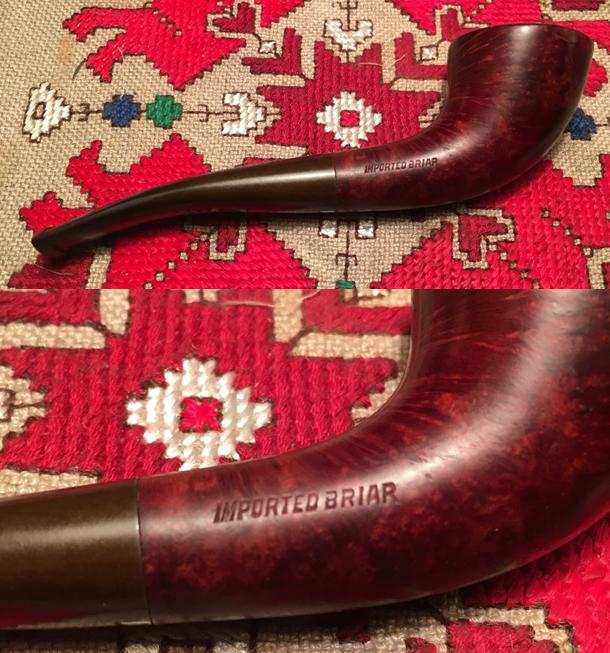
When I landed this little pipe last March, I rolled together 3 other pipes from the same seller, reducing postage costs – I’m always happy when I can save! The eBay seller listed the pipe as a ‘Short Norter’ stamped on the left side of the shank. The right side was stamped, Imported Briar. The pipe’s petite size listed was 5 1/4″ long 1 1/4″ tall and 3/4″ bowl opening. Even though she was so small, the shape was what drew me in. This is what I saw.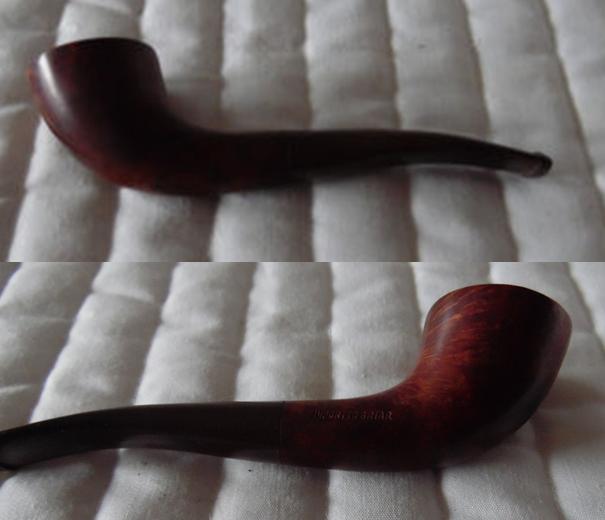
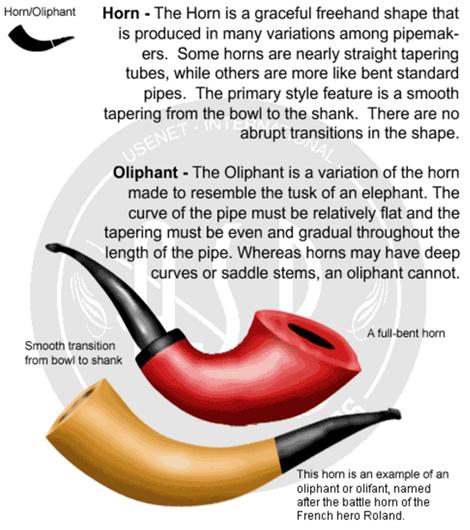
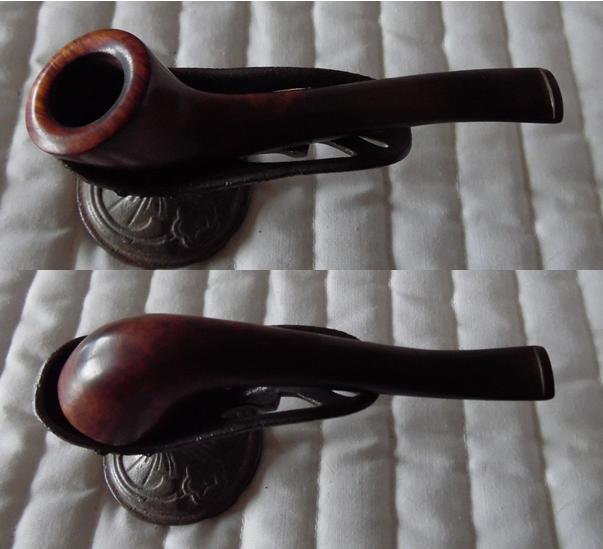 Poor quality of photography notwithstanding, all the potential was there – the unique shape that I had yet to identify or collect, the rich briar grain peeking out here and there and the petite demeanor – perhaps this is a ladies’ pipe? But then, the name? Short Norter – the eBay nomenclature. Despite the less than feminine name, I liked the pipe. With a quick trip to Pipedia’s shape chart, I found what I believed matched the Short Norter – the Horn shape.
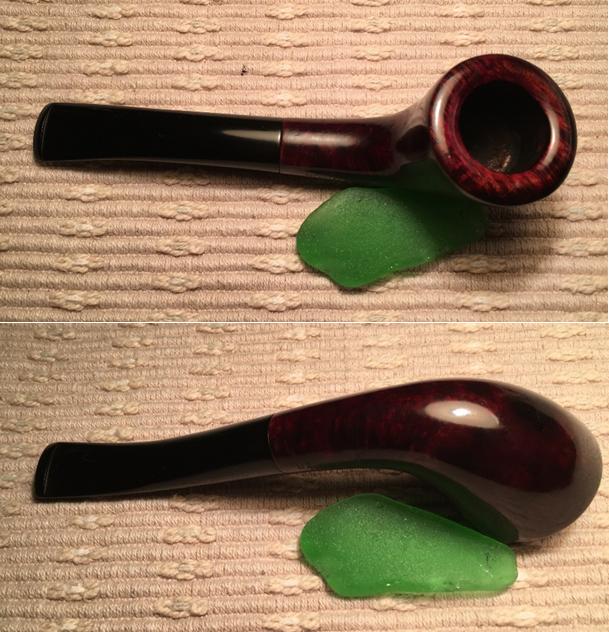
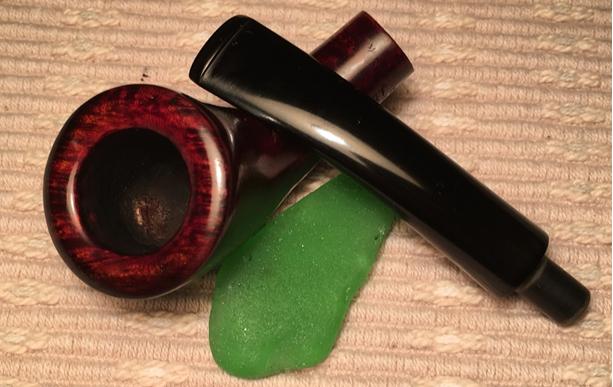
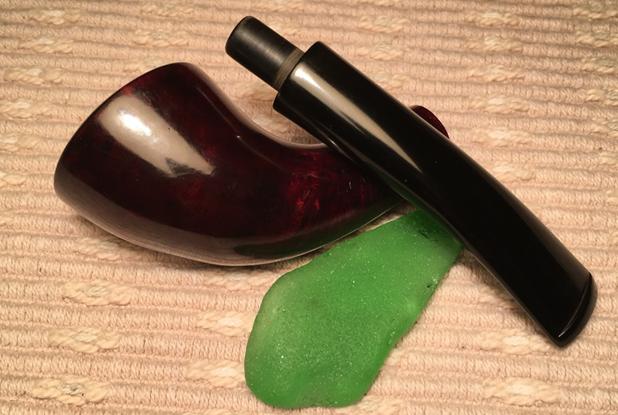
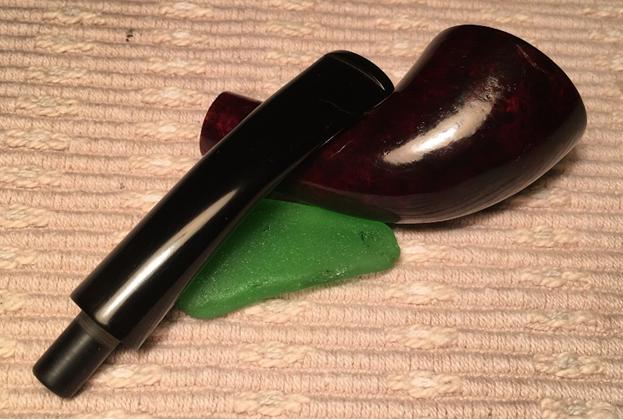
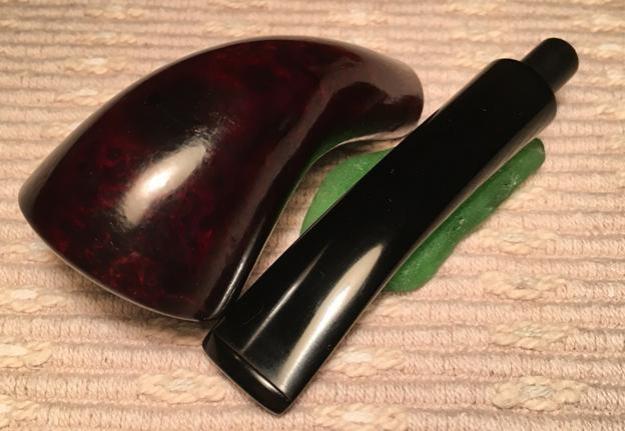
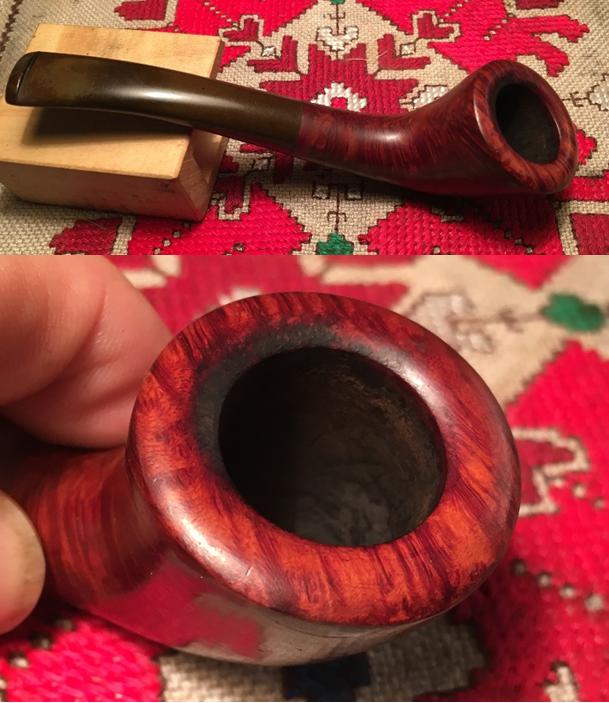
 When I took the Short ‘Norter’ Imported Briar out of the ‘Help me!’ basket now months later, I am still struck by the size and I really like the sleek contour of this Horn shape. When I started research on the pipe in preparation for her restoring, I ran into a brick wall trying to find Short ‘Norter’ in all the usual places, but I did run across other references which were close. One was, ‘Short Snorter’ and it was a pipe. After taking another close look at the stamping, I discovered that the ‘S’ was almost totally obliterated by a divot in the briar. Only a small peek remained of the top of the ‘S’. Finally, my beautifully shaped Horn ladies’ pipe is officially christened, Short Snorter – a pipe any high classed pipe woman would covet, or it would seem! Here are pictures filling in the gaps from my work table here in Sofia, Bulgaria.
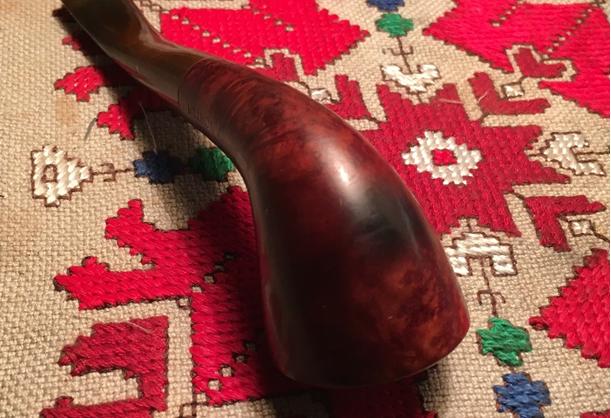
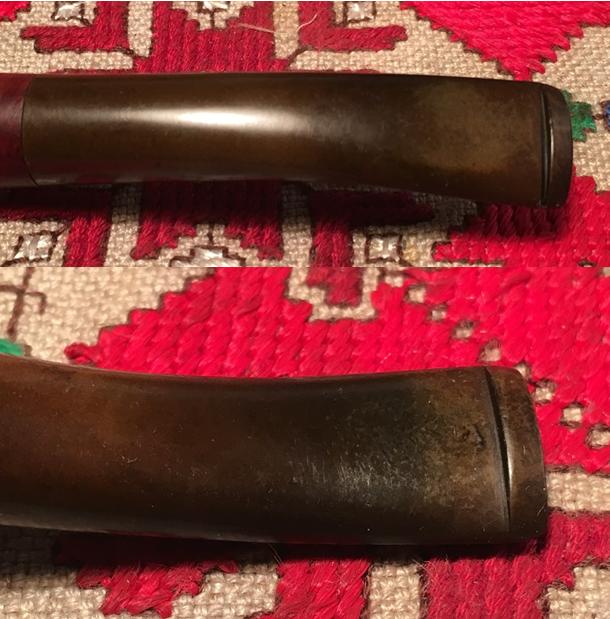
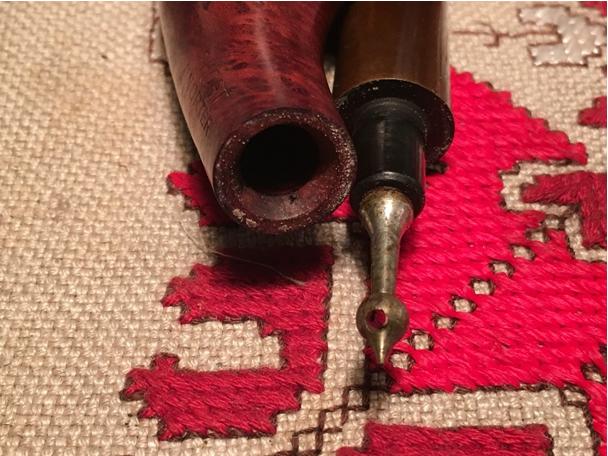 In the little I found on the internet about the Short Snorter, it is described as a nose burner or as a pocket pipe, but most often with other shapes than the horn. Steve looked up the Short Snorter in the book, Who Made That Pipe, and it indicates that it was made by Weber or Wally Frank. With that information, I looked at old Wally Frank catalogues, but did not see the Short Snorter. I suppose the name is apropos, but I think a lady pipe smoker would give this pipe a look see.
The stummel surface is generally in very good shape and the briar grain has much appeal for a smaller pipe. The rim has an attractive oval bevel but a moderate burn area covers a portion where I presume the flame was drawn over the briar in lighting the tobacco. The one troubling spot is the burn mark on the front of the bowl. The last steward appears to have been a heavy puffer heating up the briar enough to cause the burn. I’ll need to check the internal front fire chamber area to detect possible thinness and potential for a burn through. To remove the scorched area the old finish needs to come off. The stem is heavily oxidized but there is not much tooth chatter to speak of on the bit. The button appears to be in good condition.
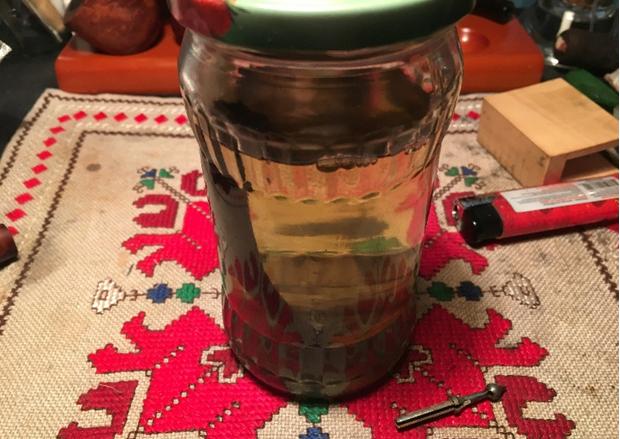
The first order of business in the rebirth of this Short Snorter Imported Briar Horn is to plop the stem into a bath of Oxiclean to begin the process of raising the oxidation out of the vulcanite. Before I do this I try to remove the stinger, resembling the cupola of a Russian Orthodox Church. I don’t much like stingers in general, but I’m not able to coax a pipe cleaner through it to help retrieve the stem from the Oxiclean bath. I try pulling on the stinger but it doesn’t budge. After a few failed attempts, I light a candle and warm the stinger which expands the stingy vulcanite holding it in place. Whoa! When I finally extract the stinger, it’s the longest stinger I’ve seen to date – especially in such a small pipe! I’m not sure why it’s so long but I wonder if it has anything to do with the small design and the intent to restrict the airflow? Perhaps, the burn was a result of poor movement of air and the steward had to puff harder therefore more heat??? Speculation, but the stem is now in the bath working on the oxidation and the stinger is official retired to the stinger bottle.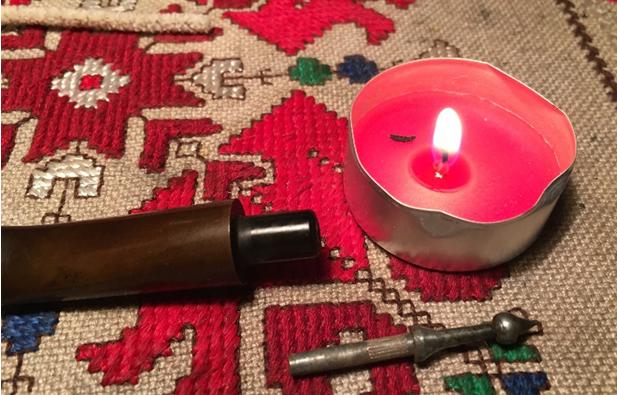
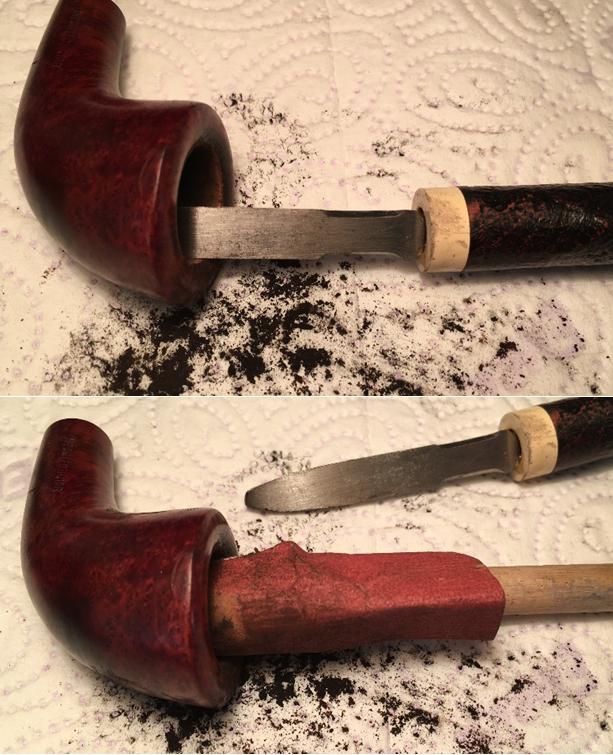
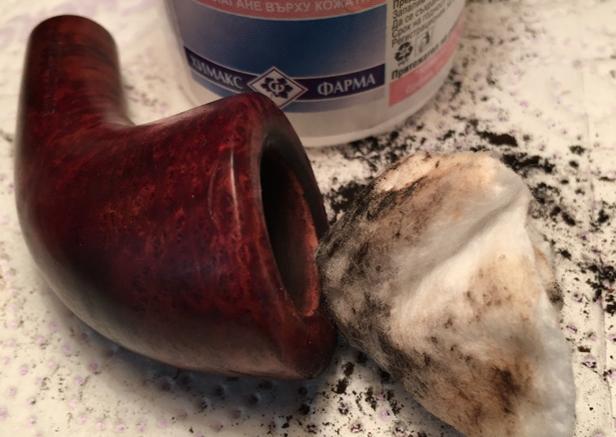
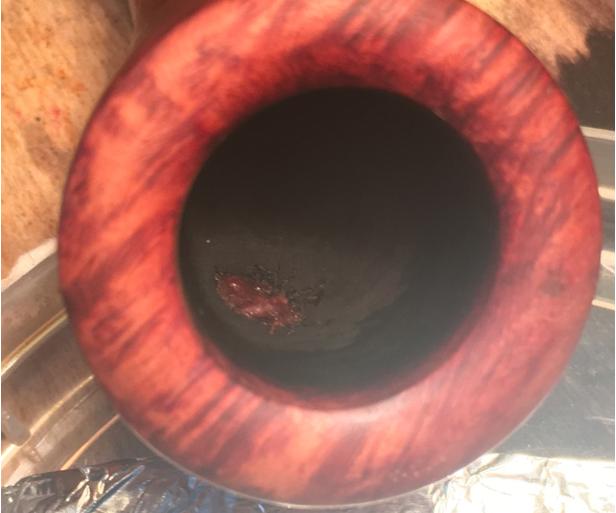
 With the stem in the bath, I want to ream the fire chamber to bring it down to the briar for a fresh start but also to examine the front of the chamber corresponding to the external burn area. Since there was almost no cake build up on the wall, I use the Savinelli Pipe Knife to clean what remains. I then take 240 grit sanding paper rolled around a dowel rod to sand the fire chamber wall and to clean the remaining residue. I finished with a quick wipe of the cotton pad with a bit of alcohol on it to remove the carbon dust. The pictures show the progress.
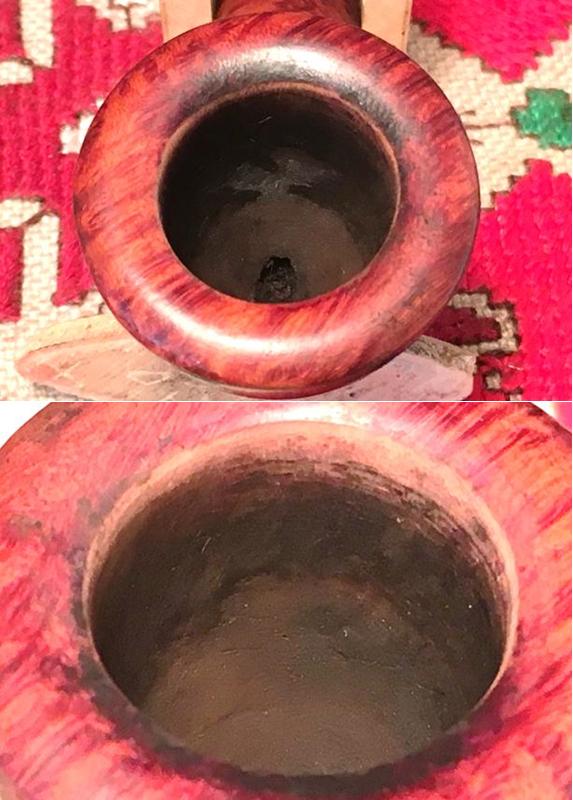
 With the fire chamber cleaned I take a few close-ups looking specifically at the integrity of the wall. The second picture below is oriented to the front where the burn would be. Using my pinky finger, I feel the texture of the wall and I don’t detect any internal burns or soft spots but there is a bit of a rounded area toward the external burn area – thinning wall? The natural ‘horn’ curvature could potentially lean toward a thinning of the front of the stummel if the fire chamber expands – burns or excessive reaming? I will need to add a protective layer with either Pipe Mud or a Sour Cream/Yogurt Charcoal mix to coat the fire chamber wall – especially in the front area. This will be necessary if this little pipe tends to overheat.
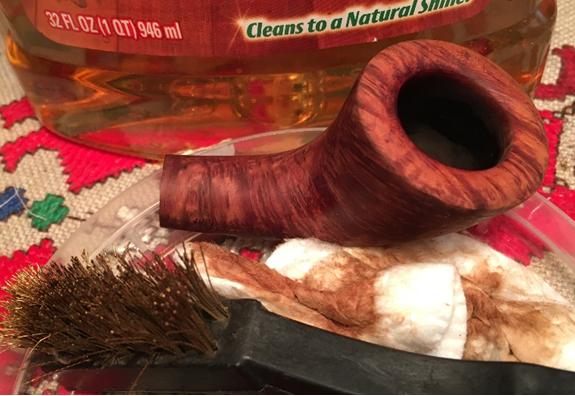
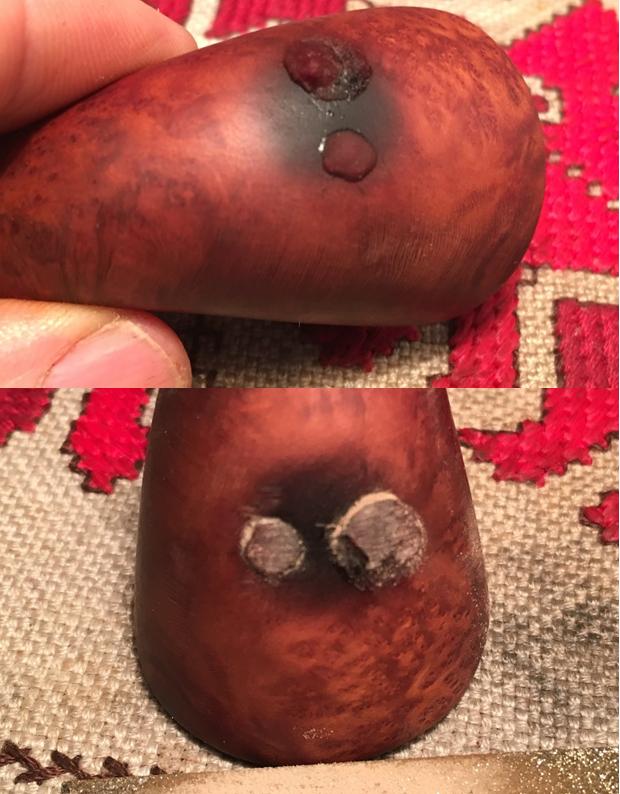
  Cleaning the stummel’s external surface, I take a cotton pad with Murphy’s Oil Soap undiluted and scrub the stem surface. I also employ a brass brush to work on the tar deposit on the backside of the rim. Following the scrub, I rinse the stummel with warm tap water, careful to not allow water in the enter the stummel. The rim cleans up very nicely. To address the burn blotch on the front of the stummel and I use a medium grade sanding sponge to remove the dark area. After a time of working on the burn spot, a troubling question starts to dog me: Does this burn spot go through to the fire chamber? Or is it only on the external… If it goes all the way through, then all I’m doing is further thinning an already thin patch of briar with sanding. Steve confirmed that I was indeed making things worse. The last picture in the set below I sent to Steve and it was he who identifies in that photo the crack crossing laterally in the middle of the burn spot. Ugh.

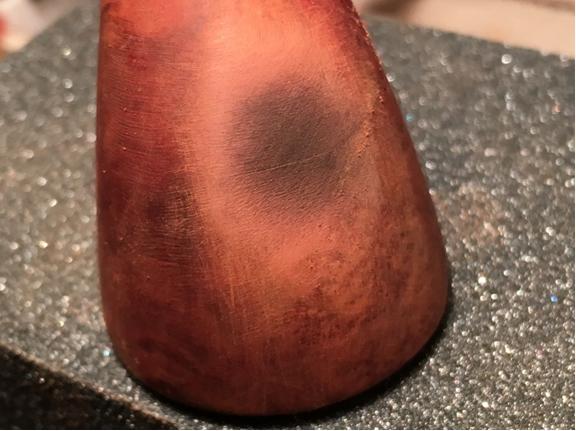 Another opportunity to hone in on the various skills necessary in restoring pipes! I had the opportunity to fix a crack previously and it is necessary to drill holes on the far ends of the crack to stop the crack creep. Armed with a magnifying glass to see the crack clearly, I use the sharp dental probe to mark the ends of the crack hopefully to provide a guide for the drill. I use a 1.5mm bit in the Dremel and I need to drill the holes without going through into the fire chamber. Well, it was going so well, until it wasn’t. I suppose it was the combination of the texture of the briar being more crusty feeling, drilling free-hand, or the thin wall that I already suspected – one or any combination of all three…. The first hole is successful, but the second finds day-light. The briar is much thinner than I had guessed. The question now is the extent of the burn impact. Is this Short Snorter’s life about to be cut shorter than we all thought! I use the dental probe to scratch around the holes and pressing to find soft charred briar to reveal more weakness. I do not find anything other than the hole that I created.
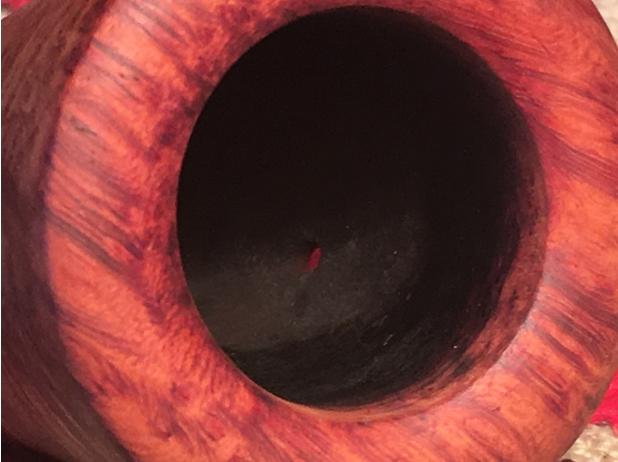 So, the worst that can happen is that this beautiful little Short Snorter becomes a ‘technique pipe’. I decide to proceed with filling the drill holes with a mixture of briar dust and super glue. For the external surface, I’ll need to sand down the hole patch areas during the finishing process, then dark staining the stummel to blend and mask the burned area. For the internal wall, I will mix a batch of the Charcoal and Sour Cream lining paste and apply it to the firewall. Hopefully, this will provide enough additional heat buffer to protect the thin condition of the briar in the front. The protective coating will also provide a basis for a protective cake to develop.
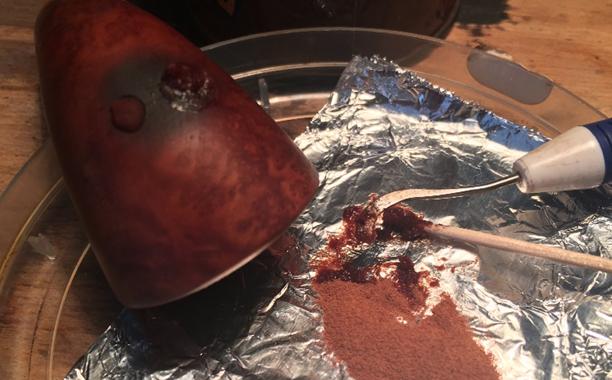
With the stummel on the mat, I need a change of scenery to think things through. I retrieve the stem from the Oxiclean bath and take 600 grit paper, wet sanding the stem to remove the raised oxidation on the vulcanite stem. I follow this with 0000 steel wool preparing the surface for moving to the micromesh polishing later. Then I take pipe cleaners dipped in isopropyl 95% and clean the internal airway of the stem. It was not very dirty. Ok, back to the stummel. I use a cotton pad with isopropyl 95% to clean both the external surface as well as the fire chamber. I take briar dust and mix it with super glue to form a putty. I use a dental spatula and tooth pick to scoop some of the putty and apply it to the holes. I’m not concerned that the putty goes through to the internal wall – I want to build a little protective mound of hardened briar putty. Later it will be covered by the Charcoal/Sour Cream layer of insulation. The pictures show the progress with the regress!
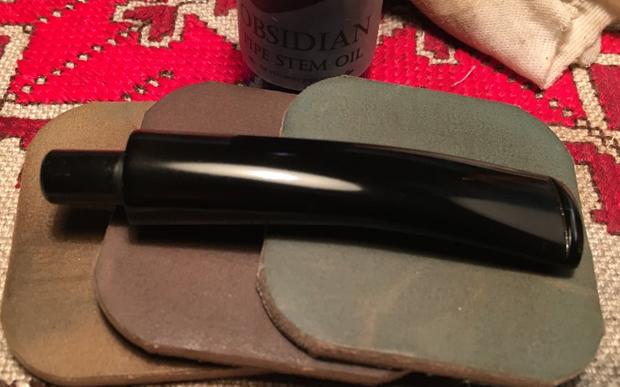
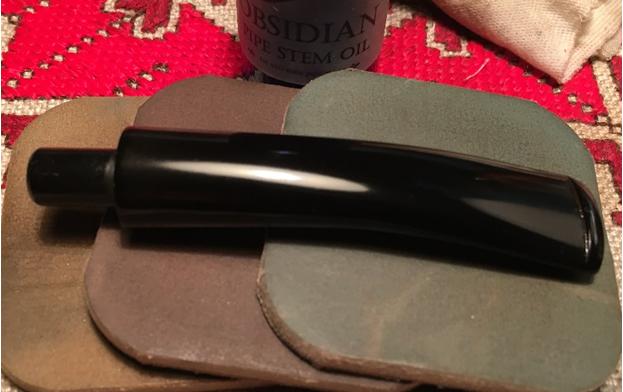
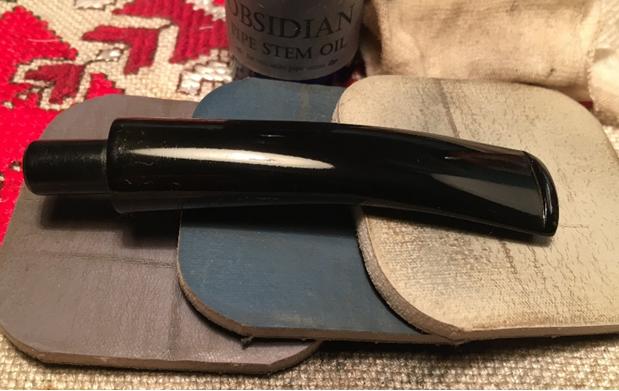
 With the briar dust putty curing, I take up the stem and begin the micromesh process first by wet sanding the stem with pads 1500 to 2400. When complete I apply a coat of Obsidian Oil to the stem to rejuvenate the vulcanite. I follow this dry sanding with pads 3200 to 4000 and then 6000 to 12000 and I follow each set with an additional application of Obsidian Oil. I put the stem aside to dry. I never tire witnessing the shiny pop of vulcanite after the micromesh process. The pictures show the progress.
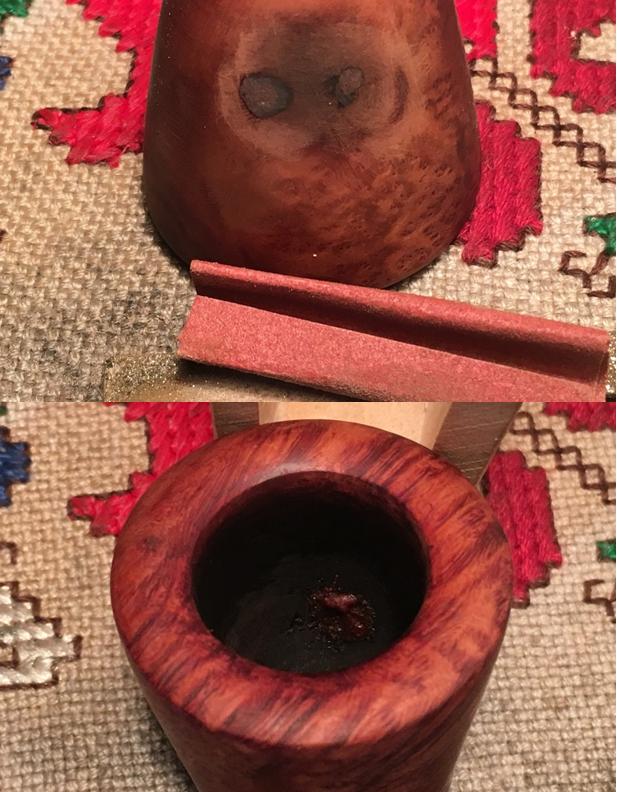
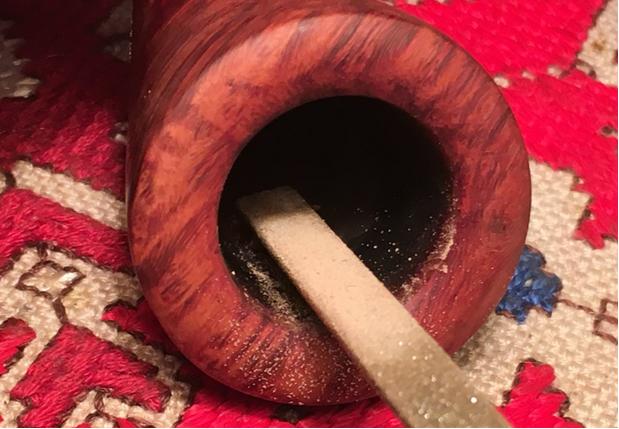
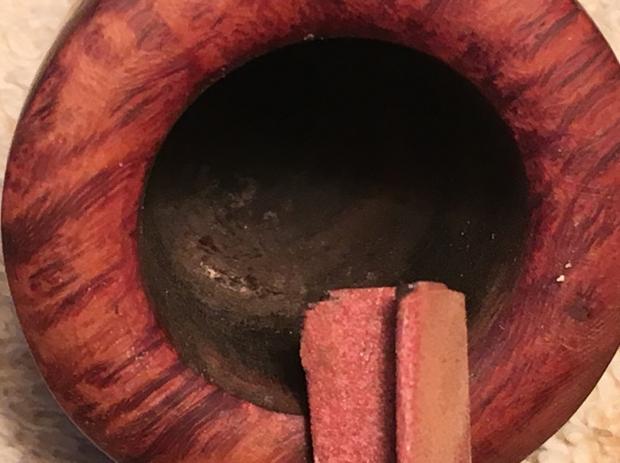
 With the briar dust superglue cured after a full 24 hours, I take another close-up of the work areas and then take a flat needle file and file strategically the fills in the two crack holes that were drilled – one well, the other one breaking through the firewall. After bringing both fills almost to the briar surface level, I use 240 grit paper, rolling it into a very tight tube, I remove all the excess fill bringing the patch to the surface. Then, turning to the Briar dust putty in the fire chamber, I use the flat needle file and reach into the bowl and take off most the overflow. Then, with the 240 grit paper I smooth the patch but I leave a small briar dust patch over the internal wall breach. I hope this adds protection underneath the insulation layer that I will do later. The pictures tell the story.
 With all the attention with the crack repair, I realize I have yet to clean the internals of the stummel. I do that with Q-tips and pipe cleaners dipped in isopropyl 95%. Thankfully, there was very little work to do.
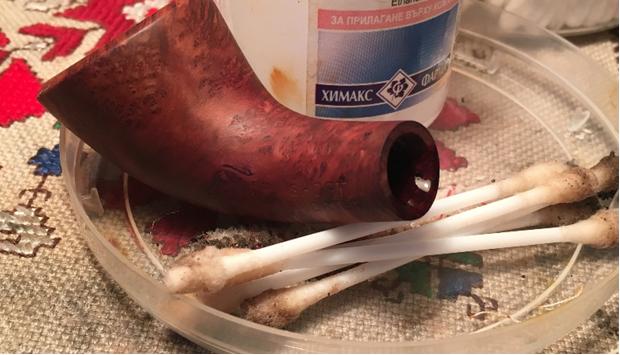 At this point the question that presents itself is, do I proceed with mixing up a charcoal and sour cream (or yogurt) insulation paste and coat the chamber or do I proceed with working on the external briar of the Short Snorter. Since I will need to have a thumb and cork in fire chamber for all the external briar projects, I need to wait to do the fire chamber work near the end – probably before the final polishing phases.
I take a close look at the stummel surface and detect some shiny spots revealing the presence of the old finish. I want to remove all the old finish left behind by the Murphy Oil Soap cleaning. Using the light sponge sand I sand down the surface followed by wet sanding with micromesh pads 1500 to 2400, then 3200 to 4000 and finishing with pads 6000 to 12000. The pictures show the progress.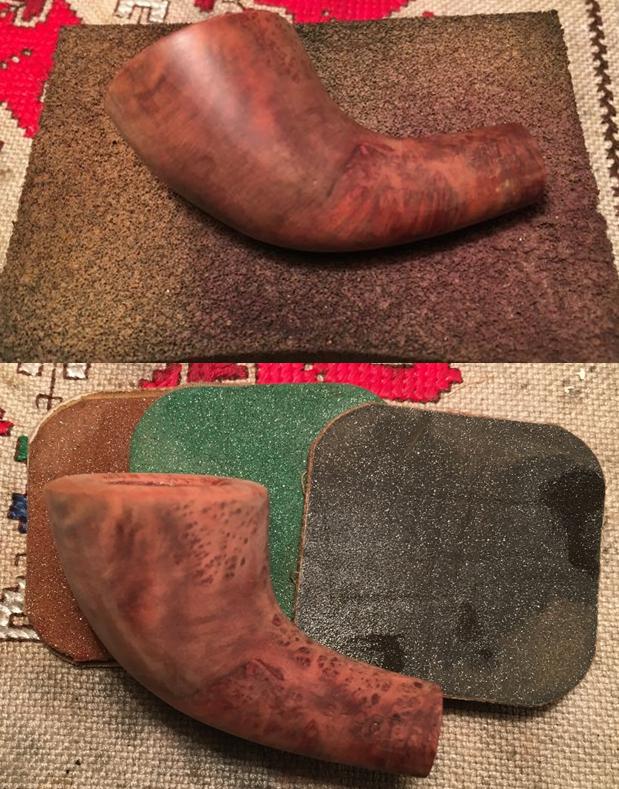
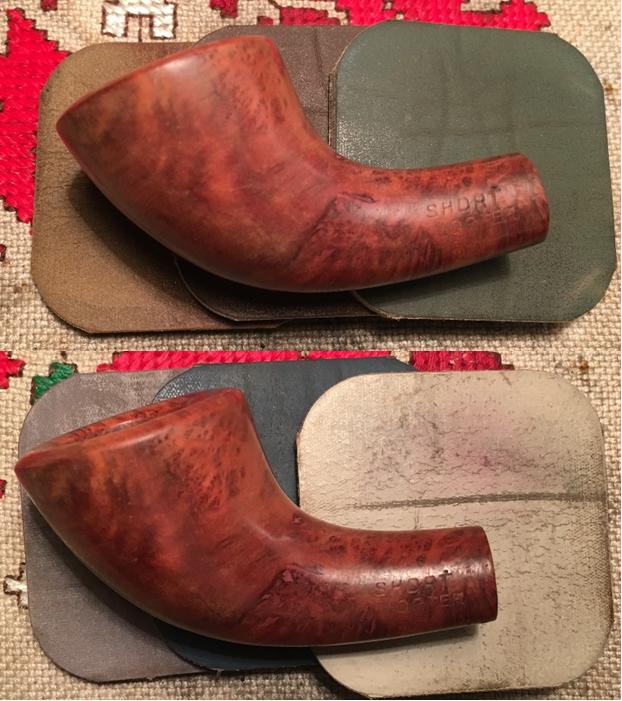 To mask and blend the burn spot on the front of the stummel, I use aniline-based Dark Brown Leather Dye hopefully to accomplish this. With a cork stuck snuggly in the fire chamber to serve as a handle to rotate the stummel, using a bent non-bristled pipe cleaner, I apply the dye liberally around the stummel, rotating it to be sure the dye reaches the inverted rim. After the application, I flame it using a lit candle waiting for that purpose. The alcohol in the dye burns off quickly setting the hue in the grain. When cooled, I apply a second coat of dye to the stummel surface and again I flame it. I let the dye set overnight. The picture shows the flamed crusted state.
 The next morning, anxious to see the ‘unwrapped’ stummel and the results of Fiebing’s Dark Brown Leather Dye, I take the Dremel and mount the hand-held extender with a felt wheel and apply Tripoli to the stummel surface to remove the dye crust. The dark stain did well in blending the burn spot on the stummel. That is looking good. Two problem areas emerge – the rim showed a gap in the coverage of the dye on the inner rim. It must have been the overhang of the cork I was using…. An easy patch worked well as I use a dark walnut stain stick and paint the rim.
 After the Tripoli buff with the Dremel felt wheel, I also detect pits in the briar surface in the upper left joint of the shank and stummel – not sure how I missed these but I see them now and I don’t like seeing them now. Of course, it would have been easier addressing these during an earlier stage of restoration, but I’ll make a go at a patch now. I take Hot Stuff Special ‘T’ CA Glue, a bit thicker than regular CA glue, and apply a dribble on the end of a toothpick then I dab a bit of the glue from the toothpick strategically on a pit. The thicker glue beads up nicely on the pit and doesn’t run over the surface. Using the toothpick, instead of applying glue straight from the bottle spout, allows a better control of the amount of glue in play. I put the stummel aside to let the ‘T’ CA Glue cure and then later I’ll strategically sand these patches – hopefully keeping the patch area to a minimum. I didn’t do anything with the crevice obliterating the ‘S’NORTER’. The pictures show the progress.
 After the ‘T’ CA Glue cures, I use 240 grit paper to sand tightly on the glue mounds – trying to keep the patch area to a minimum. After the 240 I use 600 grit paper on the area and then a very quick run through the complete set of 9 micromesh pads, 1500 to 12000. I then apply Dark Walnut with a stain stick to the sanded areas. After drying a bit, I use a cotton pad with isopropyl 95% to wipe down the stummel to blend the stain of the entire surface along with the patch area. This helps but I’m wishing I would have done this earlier and not missed them!!! The pictures show the progress.

 I want to apply one final coat of stain to the stummel to blend further the patches but also to tweak the hue toward the red ranges. I mix Fiebing’s Dark Brown Leather Dye 1 part to 2 parts of Fiebing’s Oxblood. As before, I apply the dye mixture with a folded pipe cleaner to the surface liberally and flame it. After the surface is cool to the touch, I apply a second coat of Dark Brown Oxblood and flame it. I set the stummel aside for the night and the next day clear the flamed crust with the Dremel felt wheel using Tripoli compound. To blend the stained surface and give an even effect, I lightly wipe down the surface with a cotton pad with isopropyl 95%. I’m pleased with the hue that is emerging. The pictures show the progress!
 Rejoining stummel and stem I use the Dremel with a felt wheel to buff them with Blue Diamond compound. Following this, I mount the cotton wheel on the Dremel and increase the speed of the Dremel from the slowest RPM for the felt wheels and compounds, to the next higher speed. I apply carnauba wax over stem and stummel several times to build up a shine as well as a protective layer. I’m pleased with the transformation of this pipe.
After consulting with Steve, I decided that this Short Snorter’s one last challenge would be better addressed in the US. The front fire chamber wall needs a better solution than what I can provide here in Bulgaria. Steve recommended I consider the solution that Charles Lemon, of DadsPipes.com, has used with good success – applying JB Weld to the area in need of greater reinforcement. Since JB Weld is not on the shelves here (yet!) and I can’t find a satisfactory alternative, this little pipe is going for a long ride in about a week to Denver, where my wife and I will be celebrating Christmas with our family! I’ll add a Christmas Addendum later!
When I look at this Short Snorter Imported Briar Horn before me, I still think this is a beautiful ladies’ pipe! Of course, with a name like ‘Short Snorter’, the pipe lady smoking this elegant, petite horn shaped pipe, packed with her preferred aromatic blend, will undoubtedly have a bit of attitude and spunk! Or, at least as it would seem to me. Thank you for joining me!