Blog by Steve Laug
Before I write a review of a product I commit myself to use it for at least a month on a variety of pipes that have the issues that it was designed to address. I figure that during this time I will either have good reason to reject it as not helpful or to be sold on it enough to add it to my normal pipe cleaning and restoration routine. I clean and refurbish quite a few pipes each month so a product that says it will do such and such a job better deliver or it goes into the waste can. I don’t have time for products that do what I already can do at least as well with what I have.
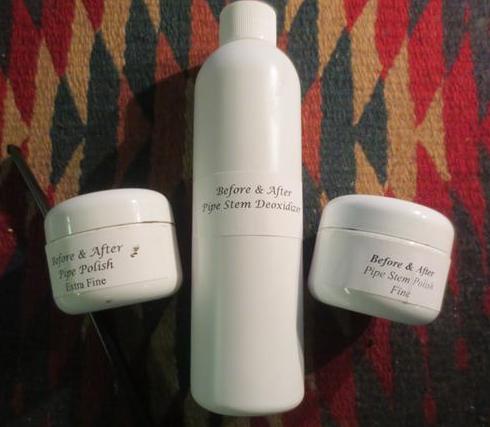
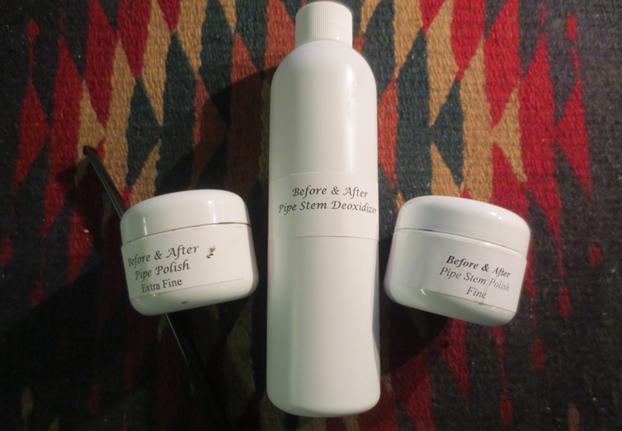
So committed to giving the product a solid trial, I purchased a small bottle of the Pipe Stem Deoxidizer and a jar of each of the Polishes. I have to admit up front, that I purchased this product with low expectations. I fully expected it to fit the “I already have products that work this well” category or that it would not deliver at all. I have tried a lot of stem polishes and deoxidizers over the years and they sit in the drawer wasting away with neglect. I was dubious from the start with this one, but I was committed to varying my routine and trying it out.
I begin the review with a little background information on the product, the cost and a few added instructions. I include the latter category because I missed it the first time around and it almost caused me to miss out on using a product that works well.
Background
I became acquainted with the Before & After Pipe Stem Deoxidizer and Polishes from posts on Facebook. For several months, I followed the work of Mark Hoover on the Gentlemen’s Pipe Smoking Society group on Facebook. He posted some of the most oxidized stems and then posted what they looked like after he used a product that he developed originally for working on pens. I kept reading and looking and just did not bite. I have used many different people’s concoctions for removing oxidation from stems and really none of them actually did it any better than a lot of elbow grease and time. But there was something about the work he posted that caught my eye and kept me looking. I think the thing that hooked me was that he did a stem and his product cleaned up the stem and left the logo stamp intact. It did no harm the paint in the stamp and it did not need any protection on the stamp before the product was used.
Product and Cost
I wrote Mark using Facebook Messenger and asked him about the product and its availability in Canada. He wrote back almost immediately and said that he had shipped quite a few bottles to Canada and had no difficulties with it. He had some available in two different sizes – 8 ounces and 16 ounces. He said that each bottle had slightly more than the label said as he overfilled them. He said that each bottle would do quite a few stems depending on the level of oxidation. He figures that an 8 ounce bottle will do at least 15-20 stems heavily oxidized stems. The less oxidation on the stems the greater the number of stems that can be done.
The cost of the product was $20 USD for an 8 ounce bottle and $40 USD for a 16 ounce bottle. He also sold a Fine and an Extra Fine Pipe Stem Polish. The price of each jar of the polish was $12 USD. He said that a jar of polish can take care of between 40 and 50 stems. He said that it was available on his pen website, http://www.lbepen.com/ and that there were instructions for using it on the home page of the pen site. The product is label as Hard Rubber Deoxidizer on the site but it is the same thing. We wrote a few messages back and forth and we struck a deal. I quickly made a payment via PayPal and the product was on its way to Vancouver.
Added Instructions
Once I made the order Mark wrote and suggested I pick up a few items to have on hand when the product arrived.
1. Mineral oil, as it is what he used to clean the stem after using the product. He also added that I not use water as it is not good for rubber (that is already a given for me). He used medical grade mineral oil as all the impurities have been removed.
2. Old T-shirts to use as rags for cleaning the stems.
3. An airtight container for the product as it will dry out if left open. Use the product as it is when it arrives, just pour it into the container.
He added some additional notes that I also found helpful.
1. The product is reusable and can be left in the airtight container. He did say that eventually the product will not work as well of course and should be replaced.
2. He suggested that I could soak around 10-15 at a time as it will save on the product that I need to use.
3. If the stems are very oxidized put them in for about 45 minutes, pull them out and rub them down then put them back in.
4. For very minor oxidation they might only need to soak for 15 minutes.
Learning to use the Deoxidizer – or before using, read the directions.
I received the package from Mark quite quickly considering it had to cross the Canadian/US border and clear customs. When it arrived, I tried using it by painting it onto lightly oxidized stems and found that it made no significant difference to my work load. Using it the way I was merely added one more step to my process of dealing with oxidation. I used this method for almost a month. I applied the deoxidizer to the stems with a cotton pad and scrubbed the stems repeatedly trying to remove the oxidation. I was less than impressed with the product at this point and laid it aside for a month. It sat on the corner of my work table irritating me for the month. After a month of misfires due to my lack of reading the instructions, I was ready to pitch the product in the can and call it a bust. It just was not delivering what I saw in Mark’s posts. Even on the lightly oxidized stems, it did not deliver. However, because I had spent the money and had the product in hand I decided to contact Mark. I am after a cheap skate and I had spent money on this stuff. I wrote and asked him some follow-up questions regarding how he used the product. I figured that I had nothing to lose.
Mark was gracious and highlighted what he had written to me before. He reminded me that the instructions were on his website. I ashamedly acknowledged that I had not read the instructions – something my wife and daughters will tell you is a common malady of mine. I immediately went back and reread his instructions. I printed a copy off his website so I had a hard copy. I found an airtight container and poured the Deoxidizer solution into it. I read that Mark said to maximize the solution by putting in multiple stems at a time to soak. I thought I would push it and put in a whopping five stems. 😉
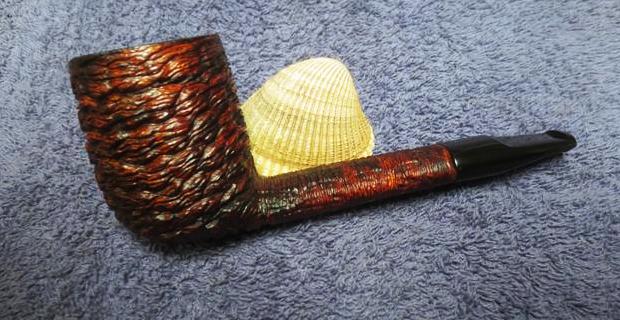
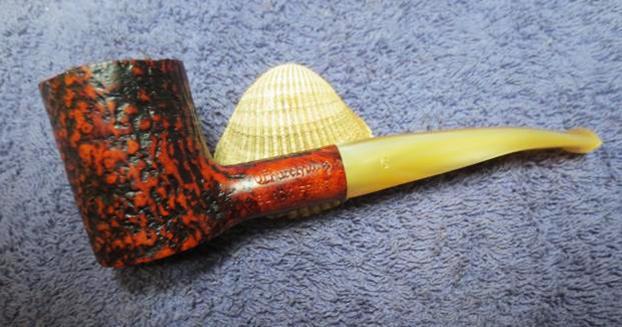
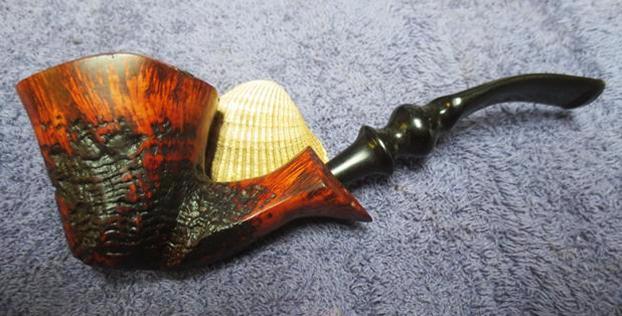
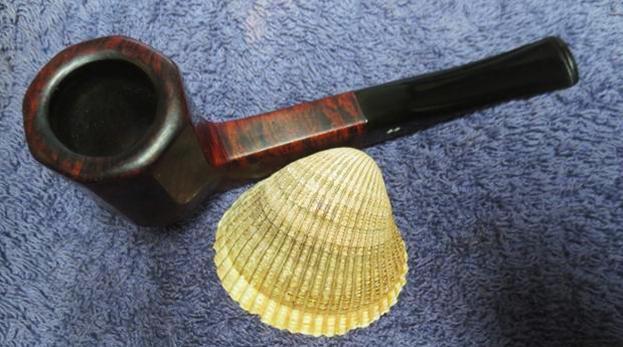
I followed the instructions religiously this time so as not to repeat the earlier fiasco. He said to leave them in the solution for 45 minutes so I did just that. After 45 minutes, I removed them from the bath. I wiped them down with an old cloth and ran pipe cleaners through the airway to clean them. I had no mineral oil so I used some 99% isopropyl alcohol and it worked really well to remove the sticky solution from the stem. I rubbed the stem quite vigorously to remove the solution from the surface and found that it did a great job of removing the oxidation. The lighter the oxidation the more quickly it came off and left the stem clean of oxidation.
I did a bit of experimenting with the product, took five of my more heavily oxidized stems, and left them in the container of solution overnight. I come from the school of “if one pill is enough then more is better, right”. In the morning, I did not quite know what to expect. I opened the air tight container and peered inside. I was not sure if I would see my stems dissolved into blobs of rubber or worse yet still horribly oxidized. I fished them out of bath and was surprised at how black they looked and at how brown the solution in the container was. I rubbed them down with a cloth and if you were there, you would have heard my exclamation of surprise. The oxidation was gone and the stems were black. They were a little dull but they were black. The ugly oxidation was gone. Even more interesting was that several of them had embossed logo stamping on the stem side. The product did not damage the stamping at all and when I wiped the stems down the embossed stamp remained unscathed.
Okay, at this point I was beginning to get the picture. I could have saved a lot of frustration if I had read Mark’s instructions. This product worked like a champ. It removed the oxidation with little effort on my part other than wiping down the stems and rubbing them dry. I cleaned them before I put them in the solution as part of my routine. After discovering that the product worked that well I started putting in 5-7 stems at a time. At this point I have soaked close to 30 stems in the solution. It is beginning to turn brown but it still works very well. I intend to push it to the limit and see exactly how many stems I can run through the solution before it begins to fail.
After putting the Deoxidizer through a workout for the past two months I am pleased with the product. I recommend the product with no reservations. It works better than any of the other products I have used. It is non-toxic and does not damage the stamping or logos on the stems. It has saved me quite a bit of time and while the stems soak, I can restore the bowls. It is worth the investment I made in it. I intend on ordering a larger jar of the Deoxidizer so I have it on hand when the current batch fails.
Before & After Pipe Polish – Fine and Extra Fine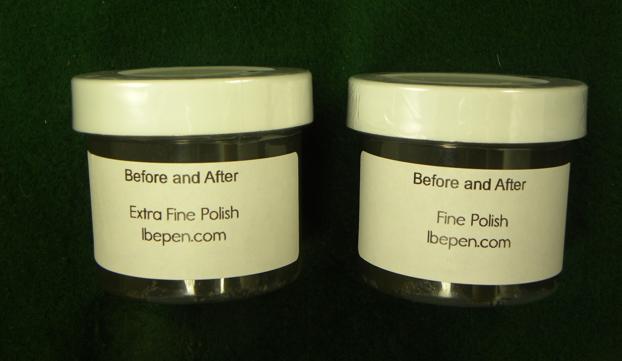 I ordered a jar of the Fine and Extra Fine Pipe Polish at the same time I ordered the Deoxidizer. I decided to use them as Mark intended them to be used. On his website he describes the polishes. I begin this review of the polishes with his own description (on the website he speaks of using the polish on pens but the same polish is used for stems as they were designed for use on rubber).
Though these polishes are specifically designed for hard rubber and celluloid they do work well on other types of pen plastics. All of our polishes are made using the highest quality products. These products are designed to not only recondition your pen but also to provide a layer of protection. All of the products used in these polishes are non-toxic and environmentally friendly. There are two different polishes. Fine and Extra Fine. We recommend both as some pens will show more wear then others. Often one will work on a pen using the Fine polish and finish with the Extra Fine. The polishes are be sold in 2 ounce jars. The cost is 12.00 per jar. The number of pens one can restore will of course vary depending on the wear that each pen shows. I have restored from 75-150 pens per jar.
I have been using the polishes to polish the stems that come out of the Deoxidizer bath. They work very well and because they are not heavily gritty they do not scratch vulcanite or acrylic stems. They also dissolve quite quickly leaving a light oil on the surface of the stem which can be rubbed in with a cotton pad or cloth. I use the Fine Polish first and apply it to the stem with a finger and then scrub the stem with a cotton pad to polish it. I wiped it down and remove the oil on the surface. I use the Extra Fine Polish next and repeat the process.
I have found that the two polishes each remove residual oxidation from the stem that the Deoxidizer leaves behind. Often this oxidation cannot even be seen with casual observation. It shows up when I look at the cotton pads I am using. The pads always come out with the residue of the dark, grey-black polish and a lot of brown oxidation around the edges. The polish goes a lot further than the Deoxidizer. As Mark said on his website regarding pens, I can affirm regarding stems. I have used the product on over 60 stems so far and I have a lot of polishing compound left in each jar.
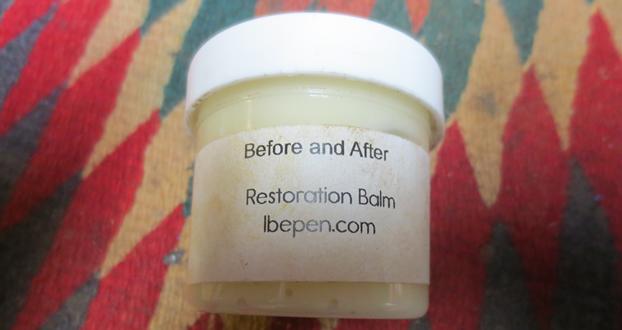
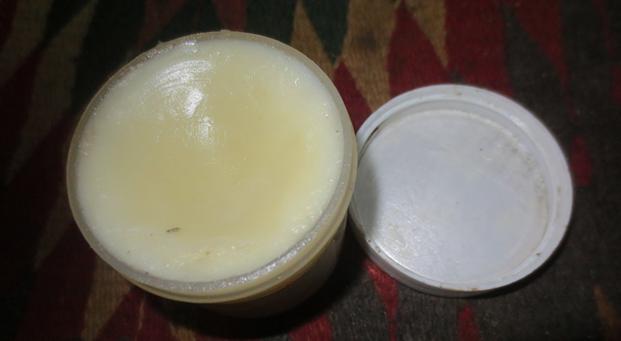
Mark also has a Hard Rubber Balm that I have not tried. I think it will be in my next order to get a feel for how that product works on the pipe stems. Over all I am very pleased with Mark’s products – the Deoxidizer and the Fine and Extra Fine Polishes. They deliver what he promised they would deliver and in doing so have made my work on stems a lot easier. They are a significant contribution to the pipe refurbishing tool box. You should really try some out and see for yourself. Thanks Mark.
His website is www.lbepen.com and the product can be ordered from the site or you can send him a message on Facebook to Mark Hoover.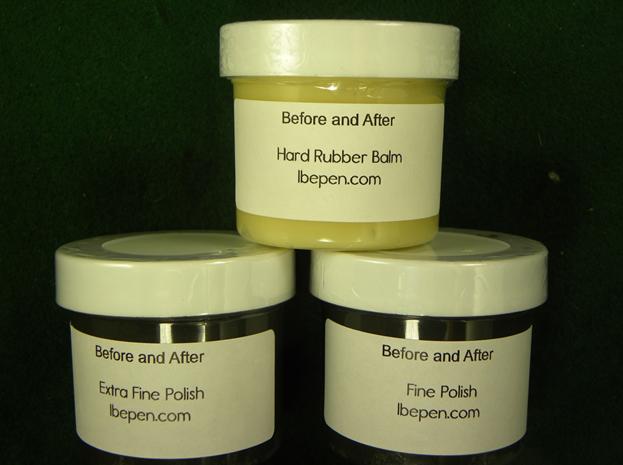
 I want to acknowledge that many sympathetic correspondents were correct in saying that this mixture bears little resemblance to the original Frog Morton. This has no bearing on whether the tobacco is enjoyable or not, but it’s worth noting that someone must have very odd tastebuds to think that Frog Morton and Ghost of Frog Morton were alike!
 Ghost of Frog Morton is a decent blend for those wanting a hybrid between English and aromatic tobaccos. I don’t claim any great expertise in either tasting or blending, but this is a bit too aromatic for me. I’m glad I tried it, but it is not really my thing. I like the idea of having a slightly hybrid tobacco on occasion, but I would lean towards something even less aromatic than this. If I tried this again, I would alter the Stokkebye/Lane ratio from 1:1 to 3:1 or even 4:1. For those who enjoy hybrids, I would recommend trying this blend. The base tobaccos are quite inexpensive and it is easy to produce.