Guest Blog by Robert M. Boughton
Member, North American Society of Pipe Collectors
http://www.naspc.org
http://www.roadrunnerpipes.com
http://about.me/boughtonrobert
Photos © the Author
Boy: Do not try and bend the spoon. That’s impossible. Instead only try to realize the truth.
Neo: What truth?
Boy: There is no spoon.
Neo: There is no spoon?
Boy: Then you’ll see that it is not the spoon that bends, it is only yourself.
― From “The Matrix” (1999), starring Keanu Reeves, with Owan Witt as Spoon Boy
INTRODUCTION
Whatever some might think of me, I’m not so far off the deep end to space that when it comes to bending a pipe bit, there is, of course, the bit. The real truth behind this essay – how easy it is to accomplish the task, without tricks or special effects – bends the mind. I had dreaded and postponed the basic exercise in pipe restoration as something fearsome, once even passing the task to my mentor, Chuck Richards, when the rare opportunity to improve upon my first genuine renewal, of a Chinese Chicken Wing Wood churchwarden, presented itself a while back. Although I did the second makeover of the bowl and shank of that unusual specimen of wood and craftsmanship myself, using standard waxing techniques not available to me when I began learning this artful craft, and even polished the bit, I could just as well have bent the long piece of vulcanite had I known then that which I only just learned one morning this past weekend by perusing the web. More importantly, in so doing, I would have been done with the unpleasant feeling that comes with parting out work on a project.
However, the necessity of facing the dreaded deed finally presenting itself to me, and I at last concluding enough was enough with the shirking of responsibility, I resorted to browsing the Internet (“Read the instructions,” my dad would tell me) in search of a feasible method to achieve my goal without a high-powered torch. And where did I reach the end of my quest but here at Reborn Pipes, in a three-year-old blog by our host, which can be read at https://rebornpipes.com/2012/07/15/bending-vulcanite-stems/.
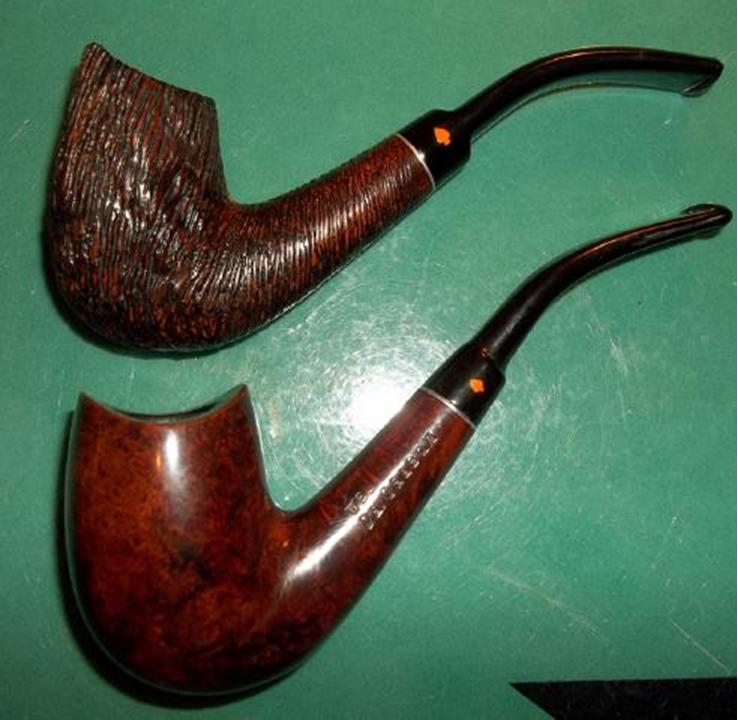
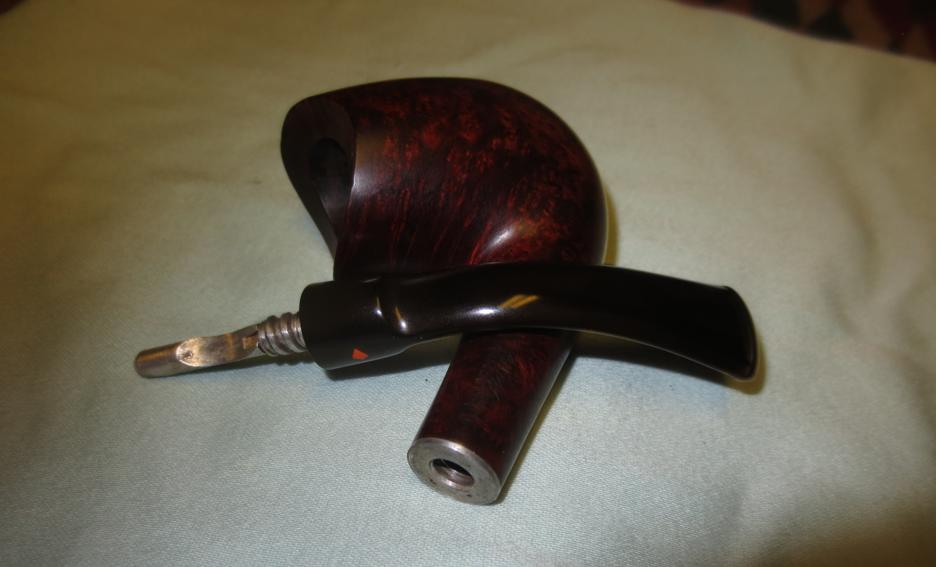
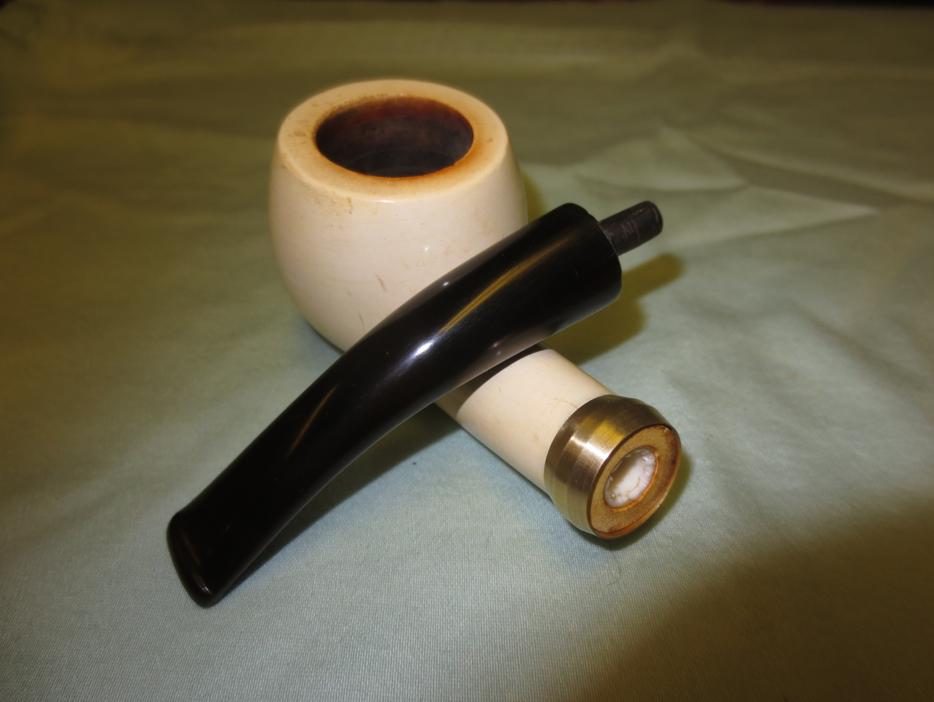
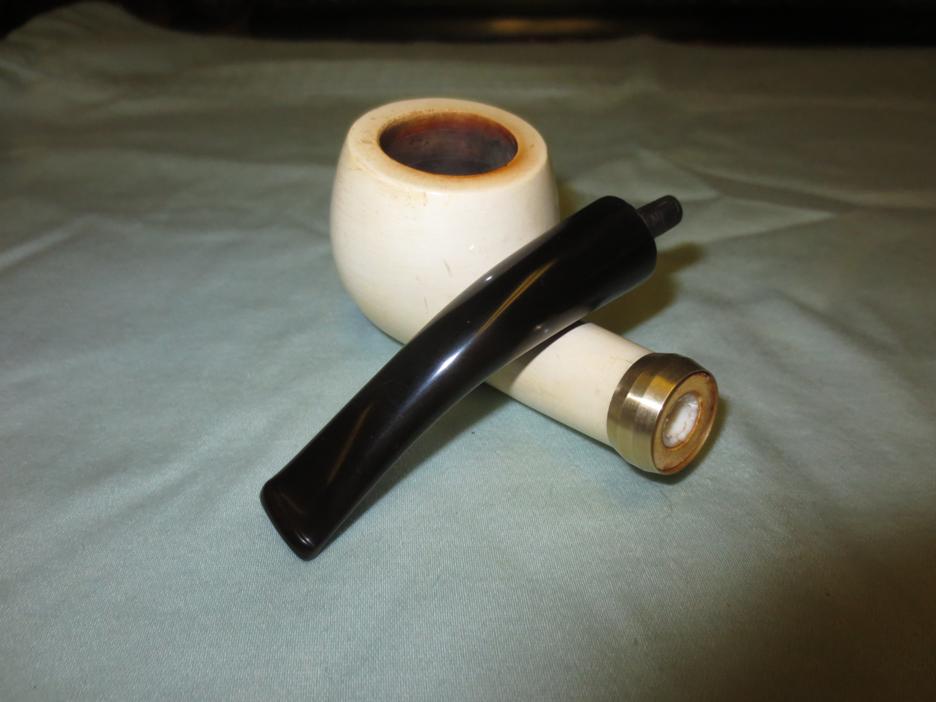
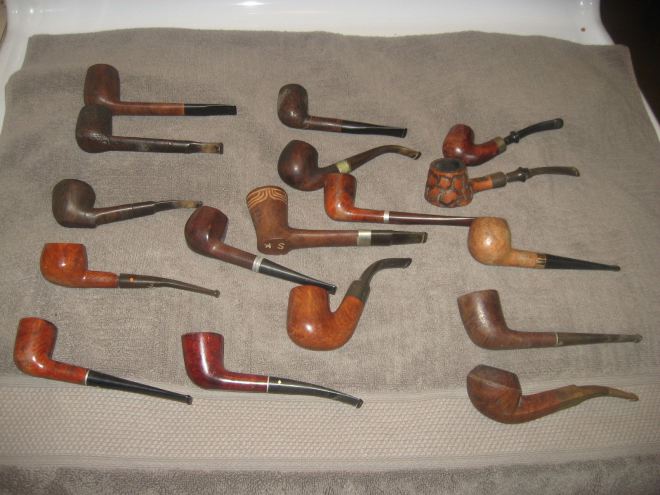
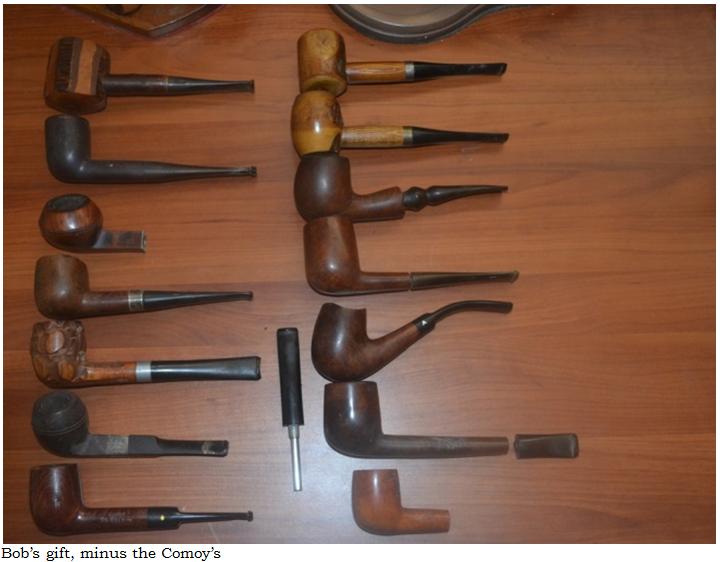
I should note that my surrender to the essential instruction in and practice of bending a pipe bit was not as easy as I make it seem above. Several weeks ago, at our Friday night pipe club get-together, a good friend and fellow restorer named Bob Kasenchak surprised me with the gift of a box of assorted pipes that needed various degrees of work, all leaning toward the critical side. There are 15 in all, including a Ropp Deluxe #809 natural cherry wood with a pronounced crack in the bottom of the bowl; an old Ehrlich Frankenstein billiard; a Kaywoodie Supergrain bulldog with a wicked Harry Potterish lightning crack in the bowl and the bit maybe incinerated; an interesting old Wellington Storm De Luxe sterling band pot with a bad gash on the rim, and a Trapwell Patented rusticated billiard. There is also something that appears to be a once fine, handsome Ehrlich sterling bulldog (at least judging from the style of the E on the bit) that will make a nice shop pipe someday, and which plays an important role in this narrative.
Most of these pipes have missing, broken or mangled stems, and only a few are free of fatal flaws, and Bob just doesn’t want to mess with them. Who can blame him? If I had Bob’s outrageously hectic schedule, I might not keep them, even for parts, either. But I don’t, and I’m a little touched when it comes to hording parts.
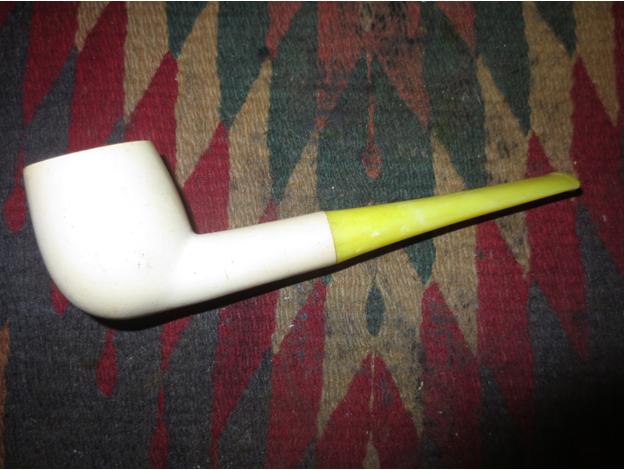
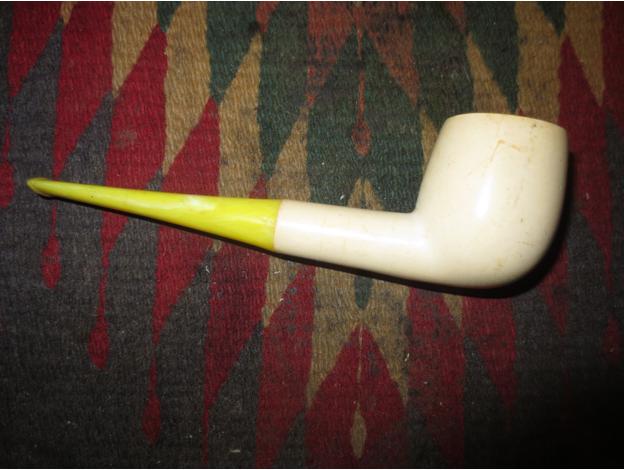
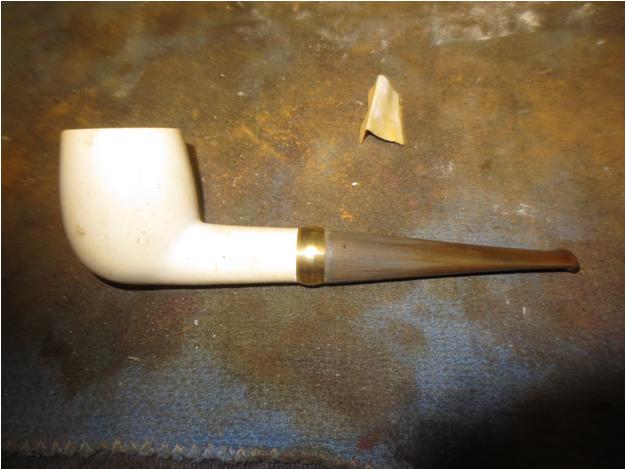
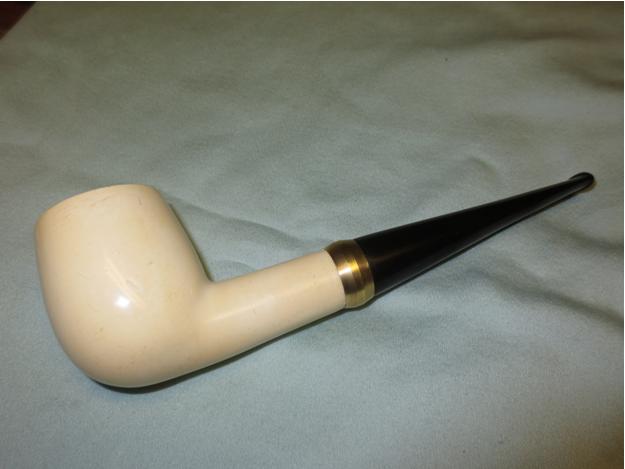
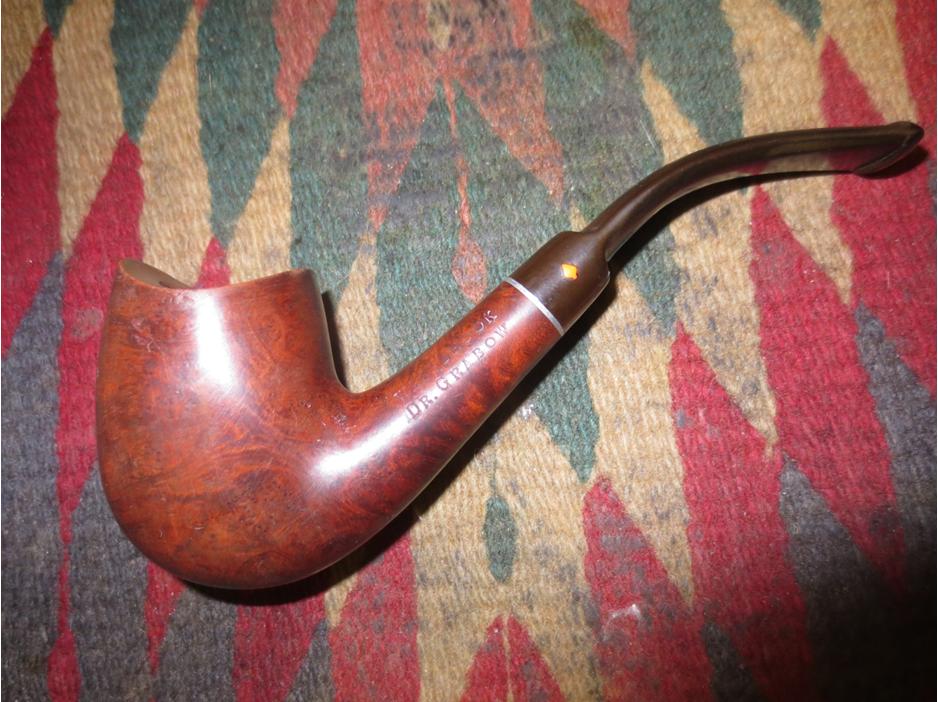
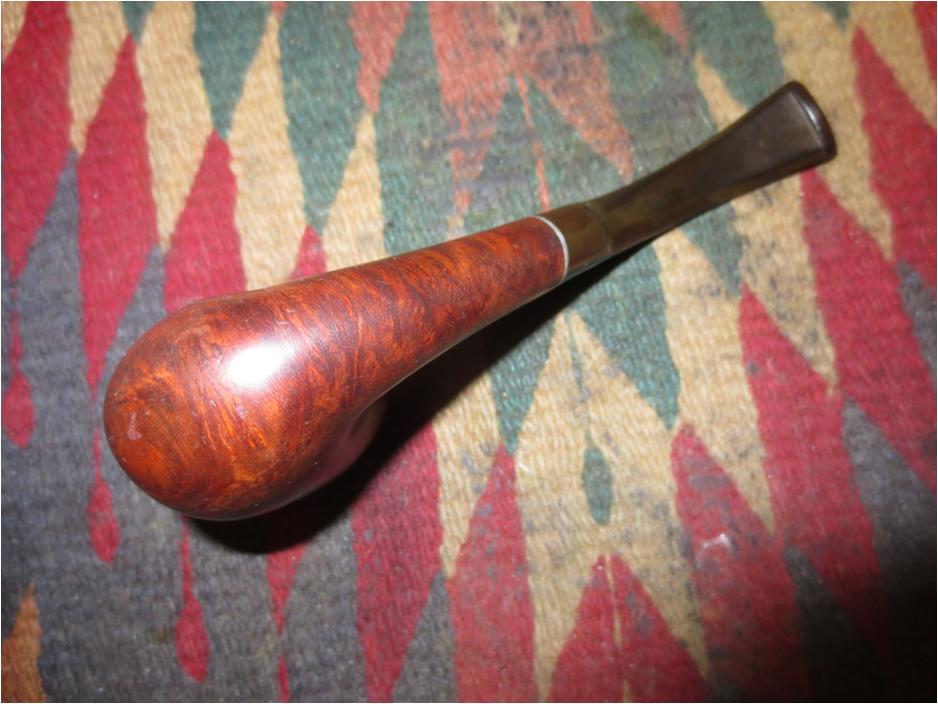
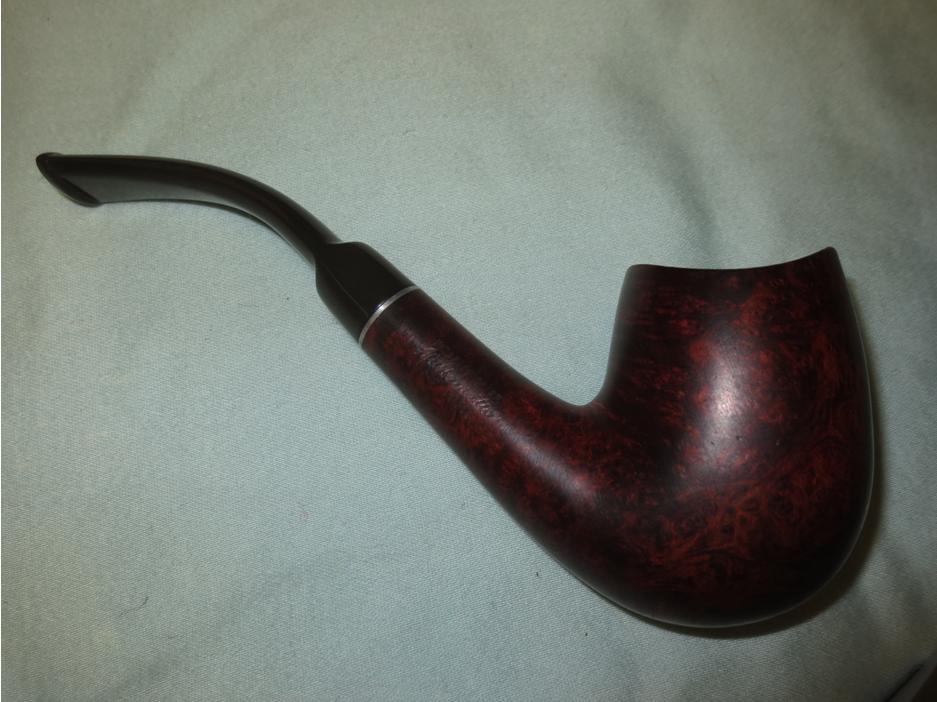
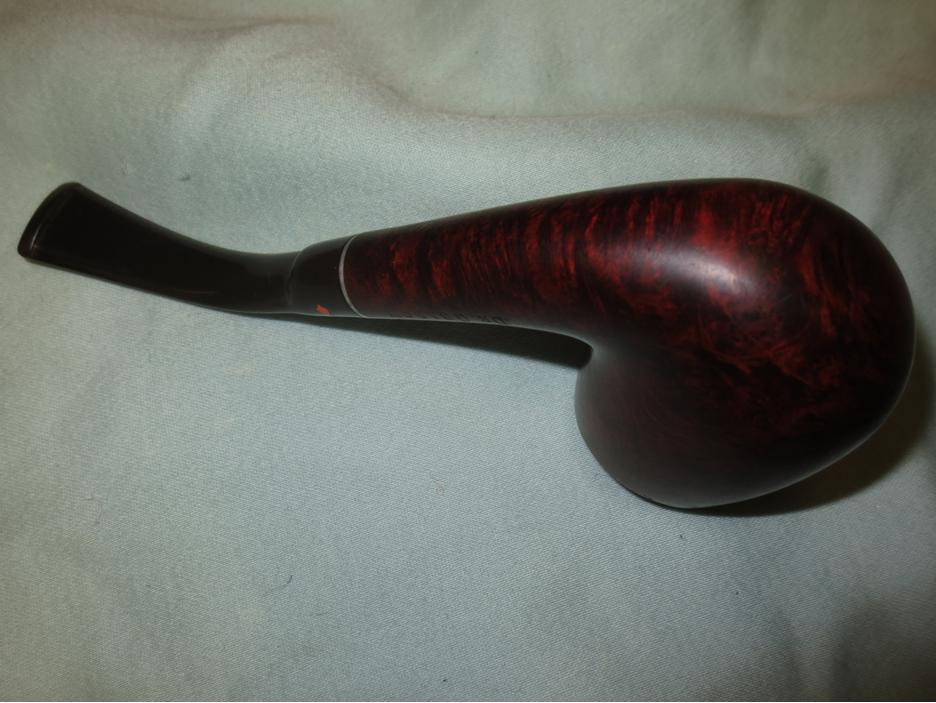
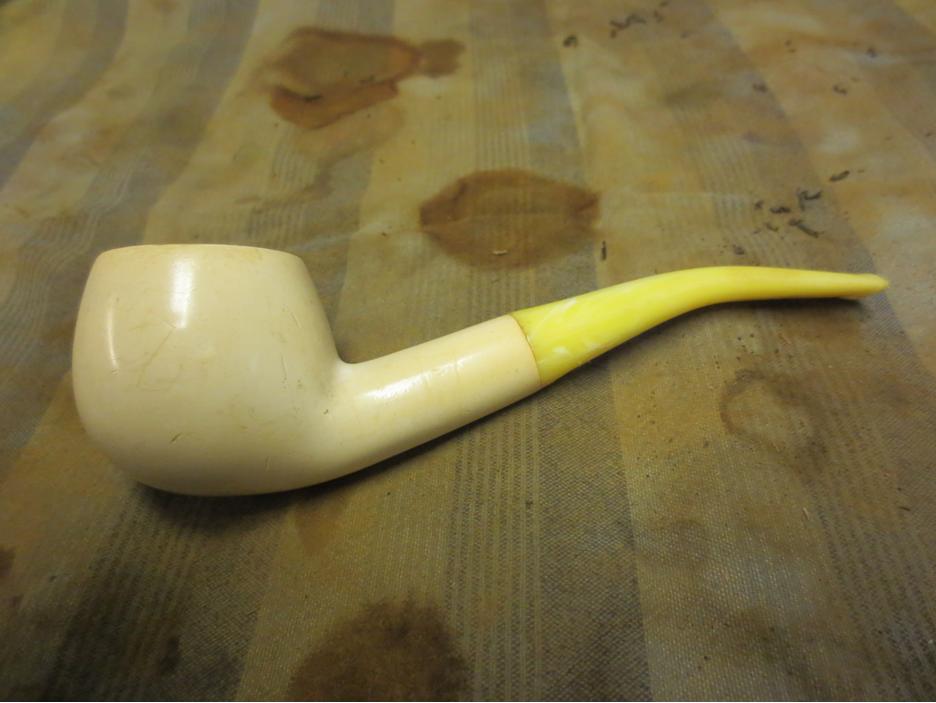
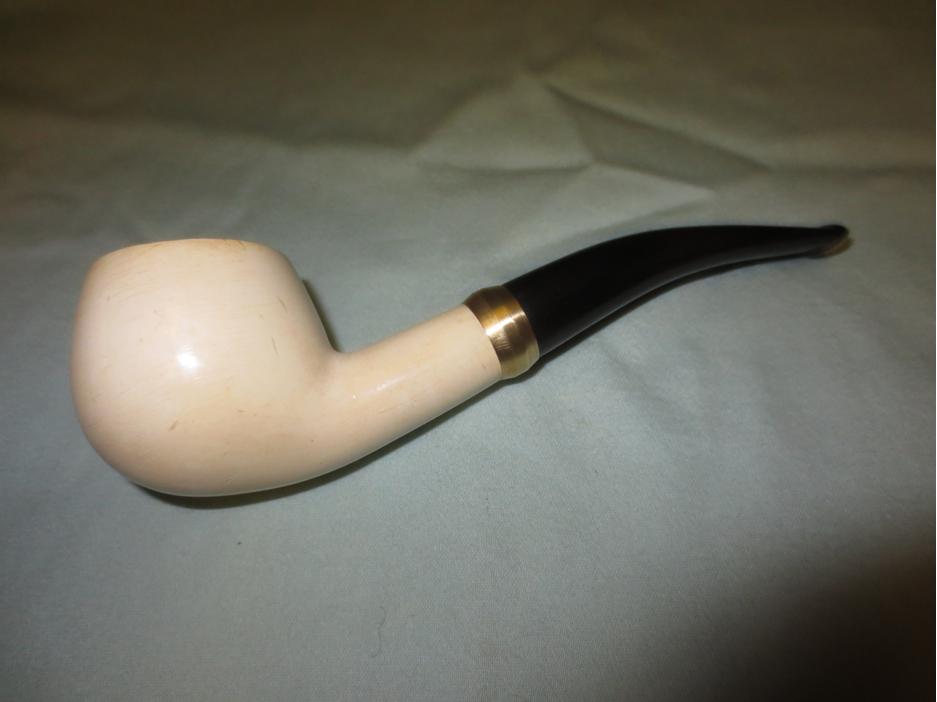
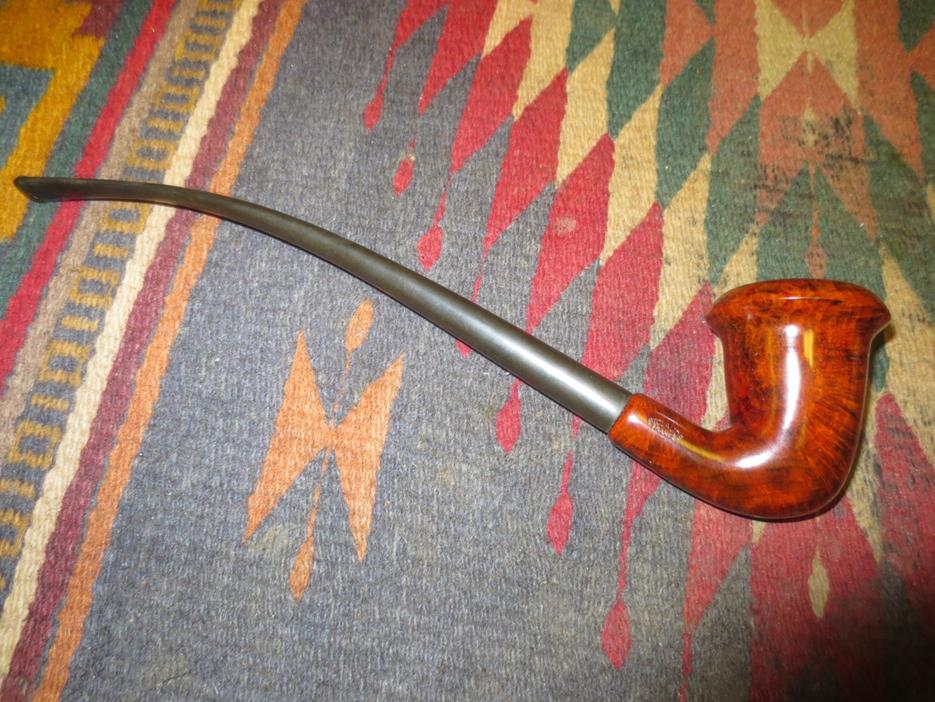
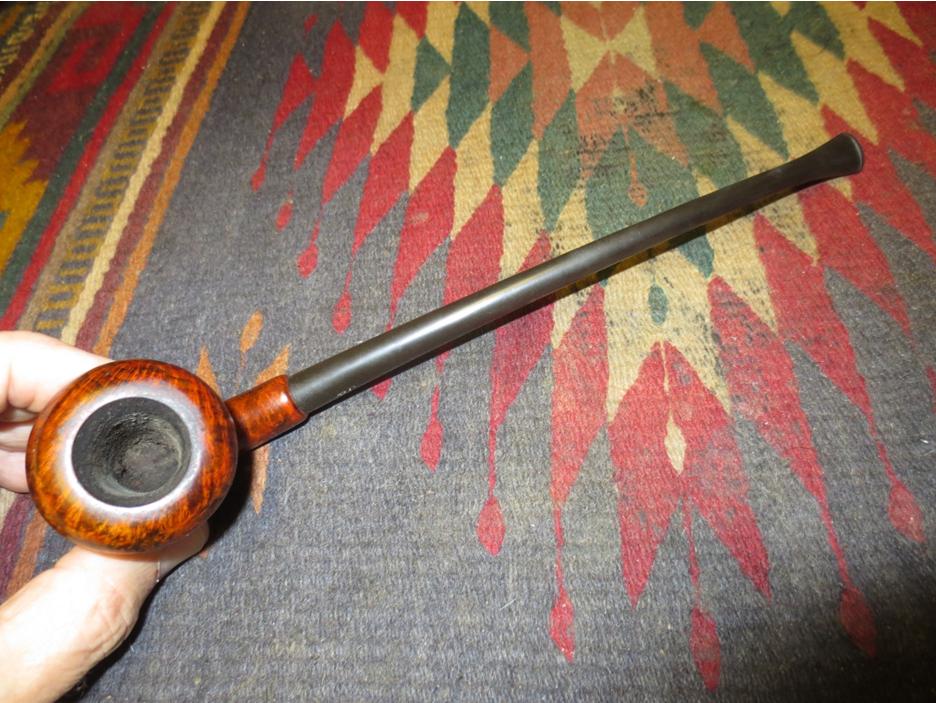
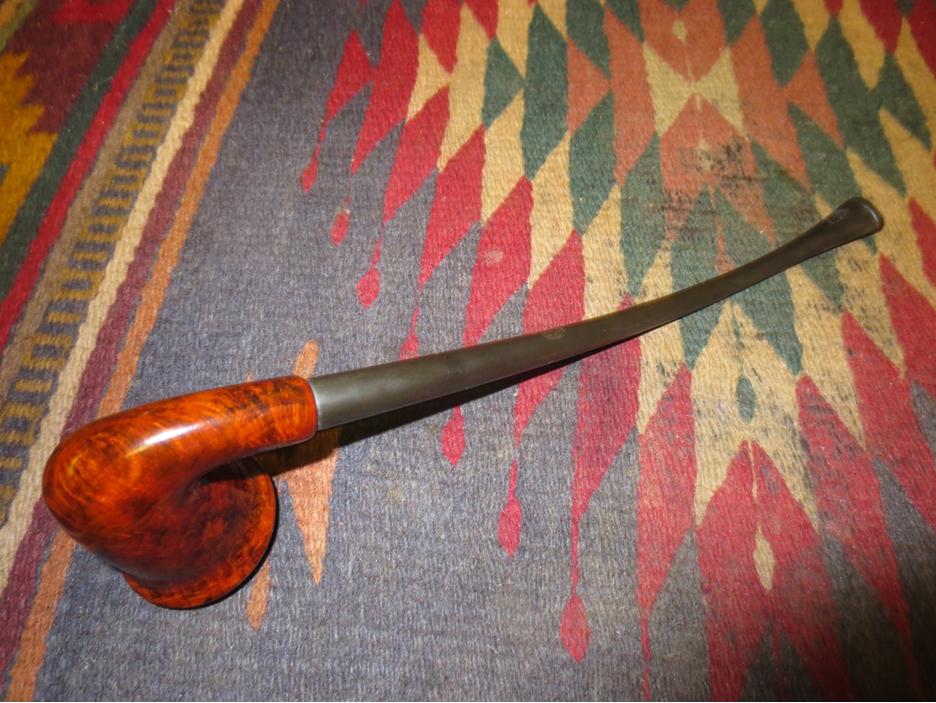
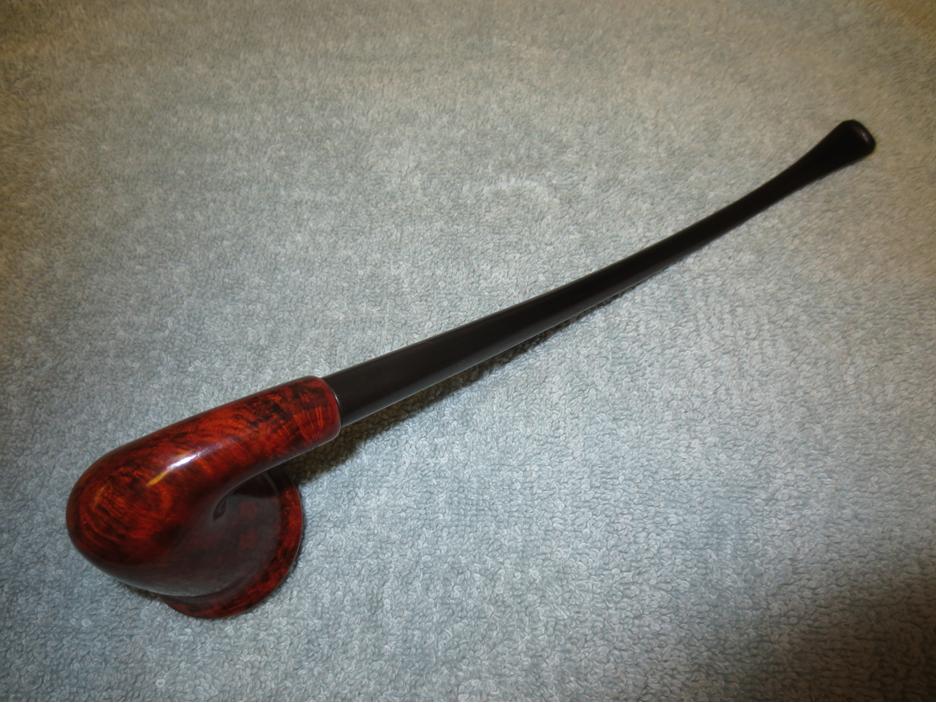
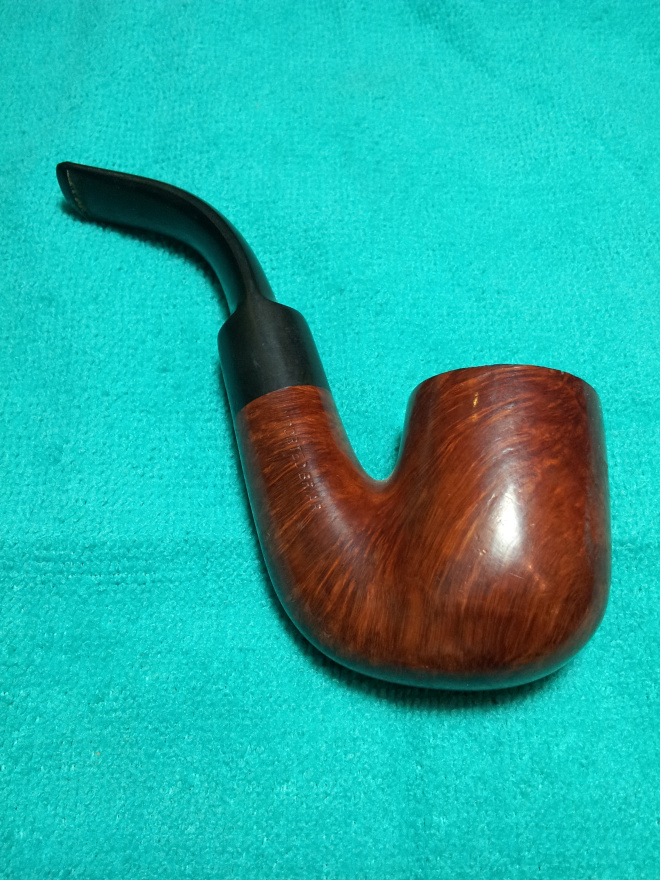
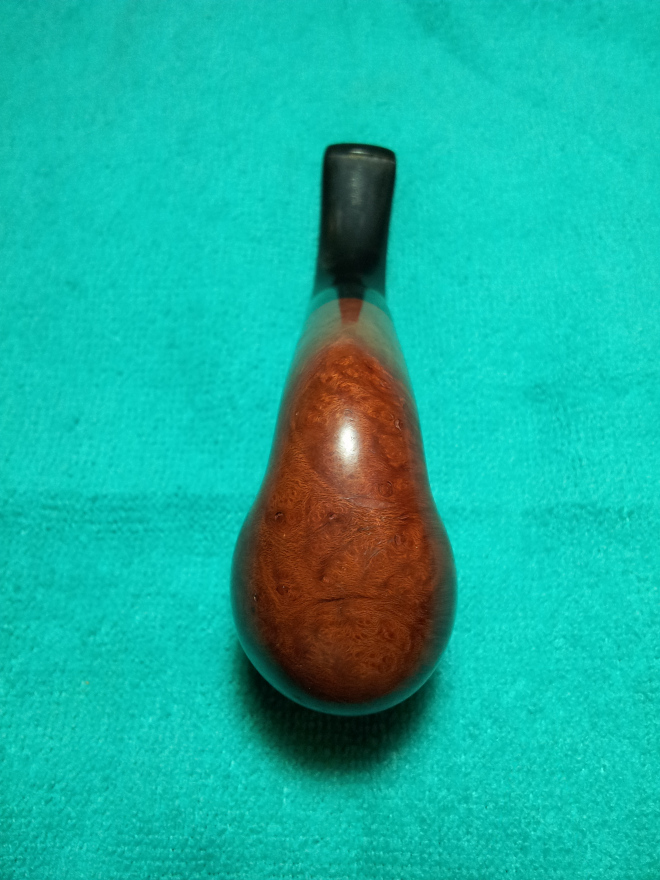
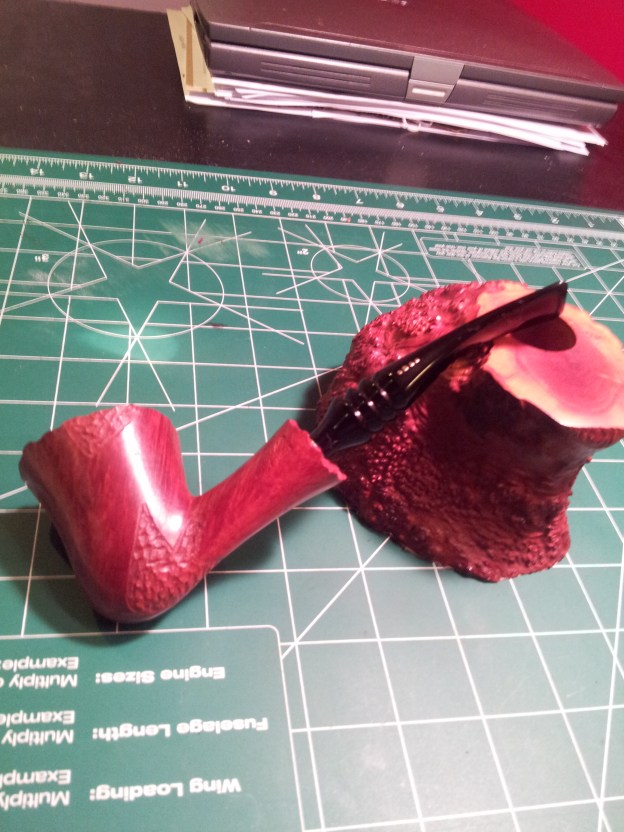
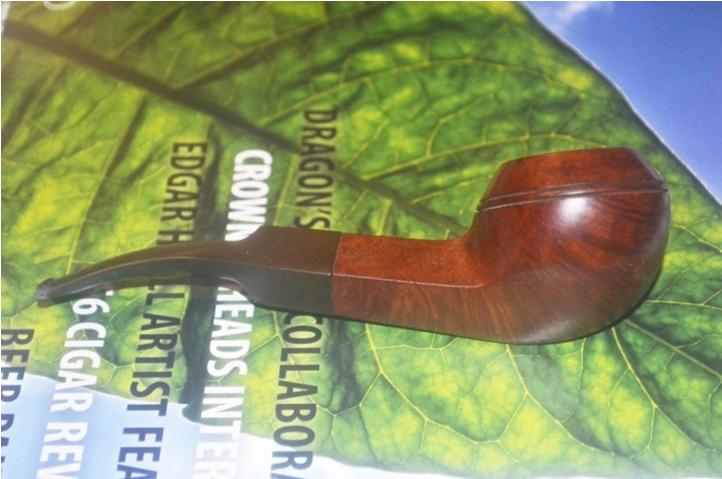
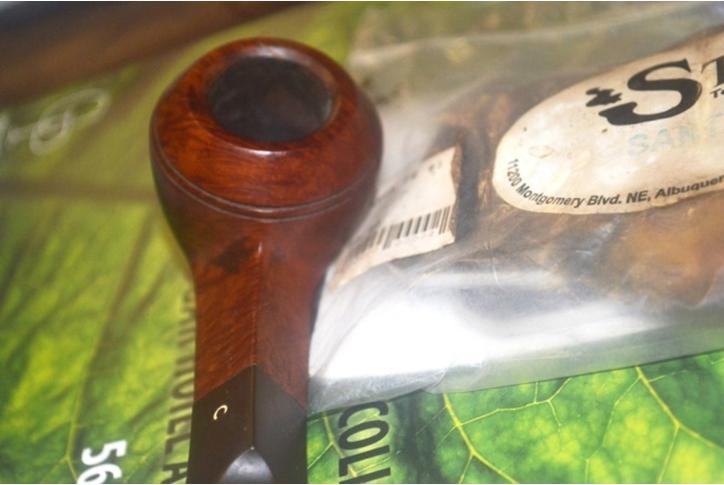
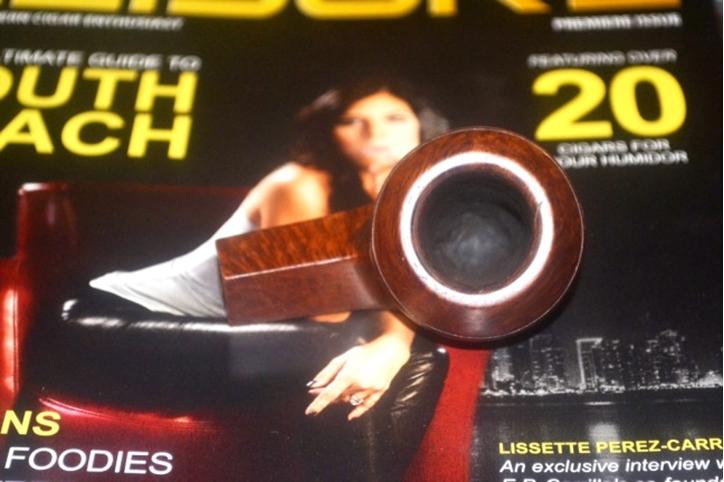
Then a funny thing happened on the way from the meeting to the shop, or my apartment. In fact, it occurred during the meeting, but it sounds better the other way. The clear jewel of the pipes Bob gave me, which I delayed mentioning, is a Comoy’s Christmas 1983 smooth bulldog.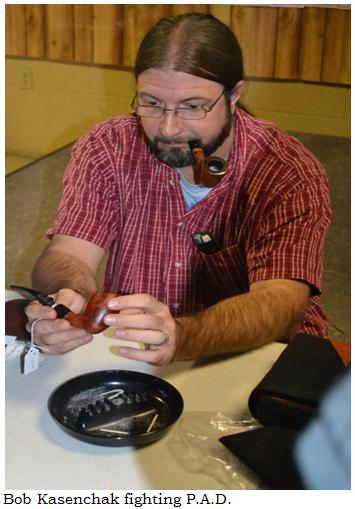
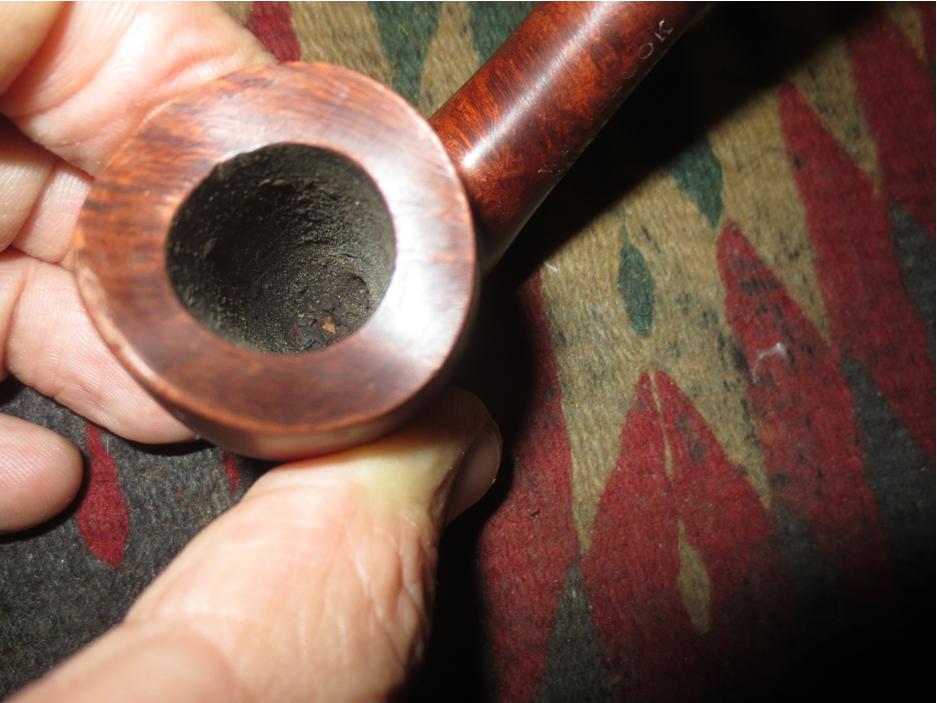
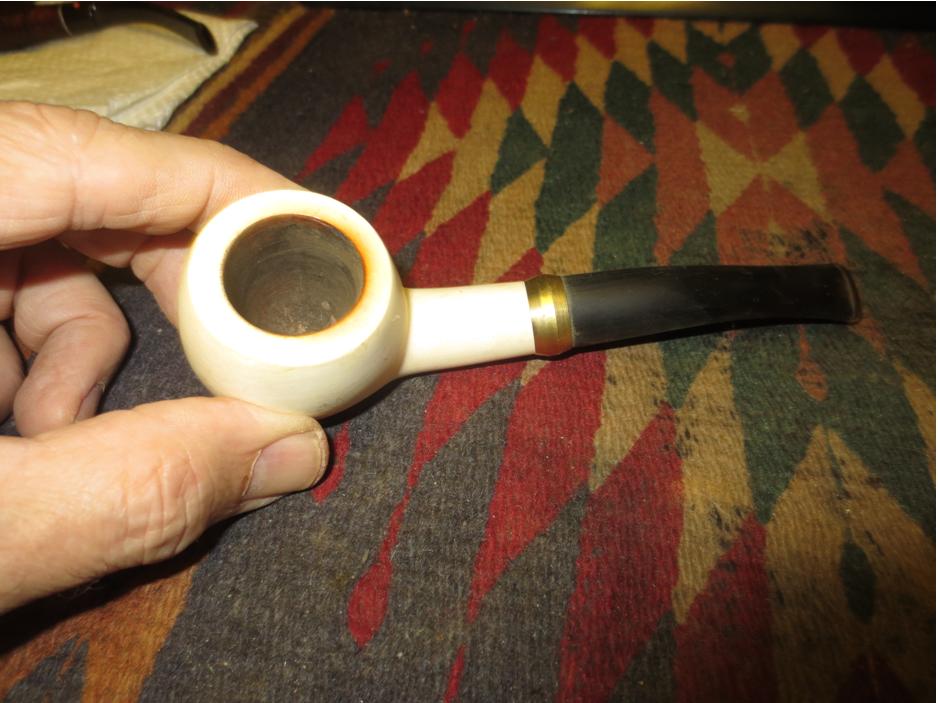
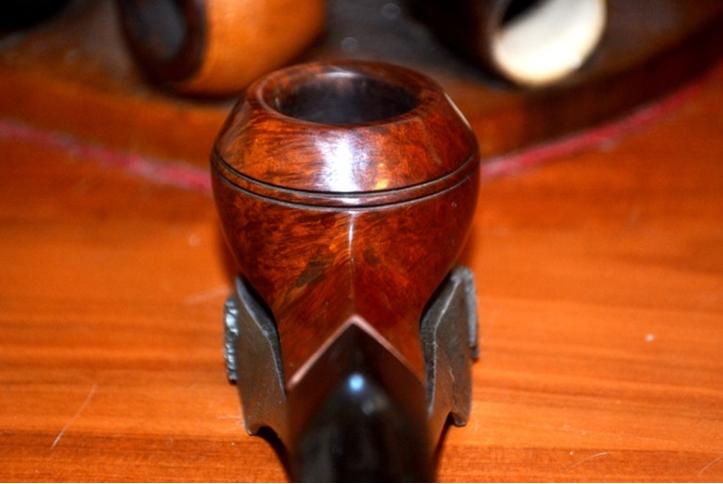
 I already had my heart set on keeping the Comoy’s to add to my budding Christmas Pipe collection, but a fellow piper in my club, who has a keen eye for sharp pipes and has bought two meerschaums from me, took an immediate shine to the bulldog’s sleek contours and exceptional subtlety of the bit curve, and offered to buy it when I was finished. We still haven’t discussed a price. At a glance, the Christmas Pipe was a beauty right out of the “scrap” box. The reddish brown briar was very pleasant, the chamber appeared to be well-kept and Bob told me he had started to clean it, the rim was in perfect, shiny shape that I also attribute to Bob, and there was only one small scratch on a side of the triangular shank. Then there was the bit. How can I best describe it? The vulcanite below the lip, on the bottom, appeared to have been chomped by the steel-toothed “Jaws” character (Richard Kiel, 1939-2003) of the James Bond movie series fame.
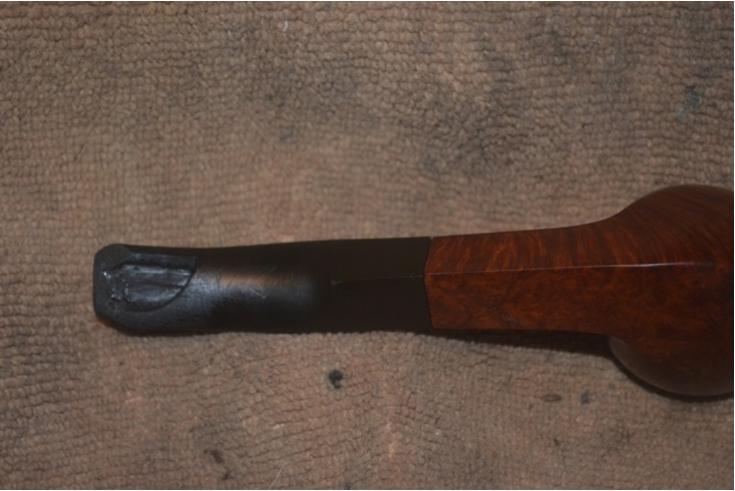 The reason I note a continued difficulty in regard to learning about bending a stem is my dual desire to become more proficient in repairing those that are damaged, of which this, no one would disagree, is a worthy challenge, and doing the job right. And so I set upon a course of action I will neither illustrate nor chronicle here except to say with all honesty the project was going, well – well – but it was just taking too frigging long. And yes, I admit, I somehow took a bad hole and made it worse. Due to the fact that I already had a buyer waiting, time was of the essence; I couldn’t afford to satisfy my own aesthetic sense of propriety in hoping to preserve the original bit when the buyer wasn’t concerned. Besides, I’m sure the right Comoy’s will happen along in good time.
RESTORATION 
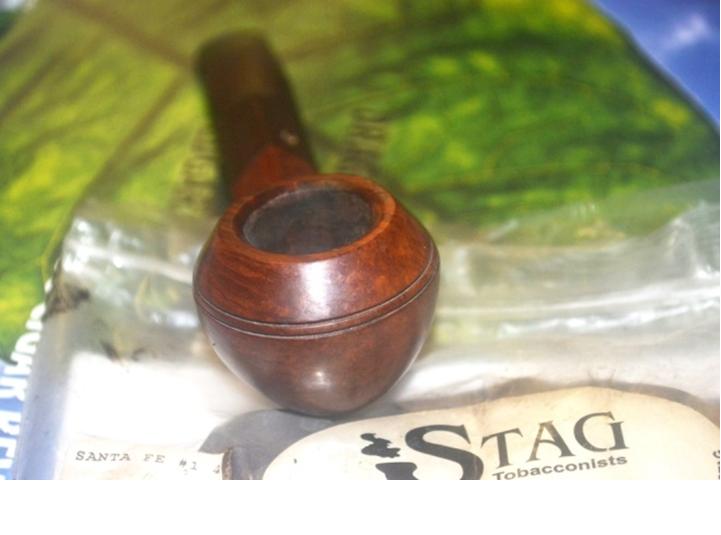
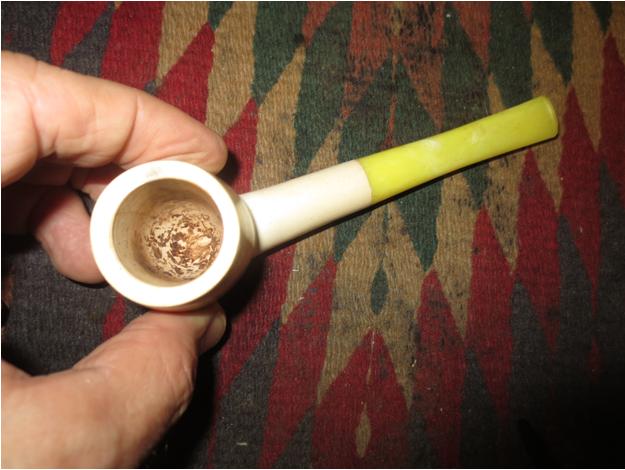
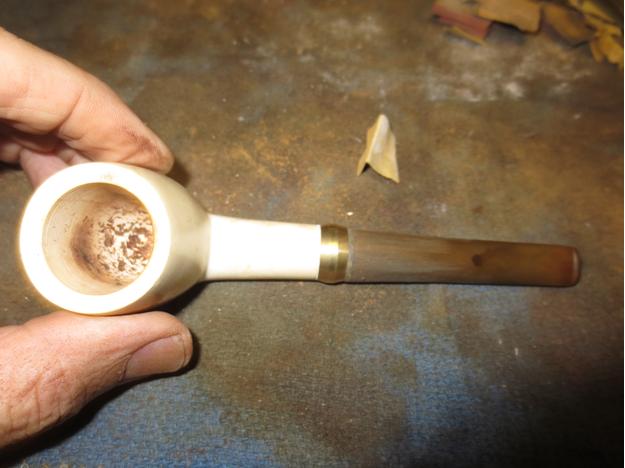
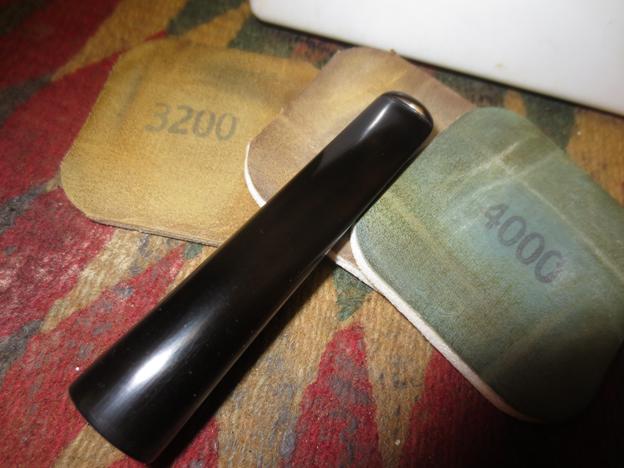
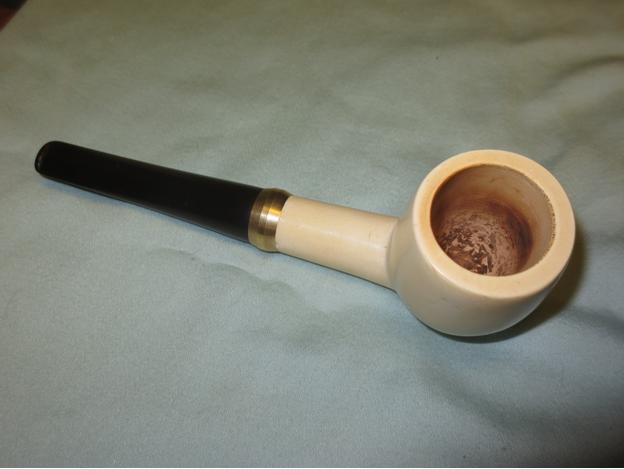
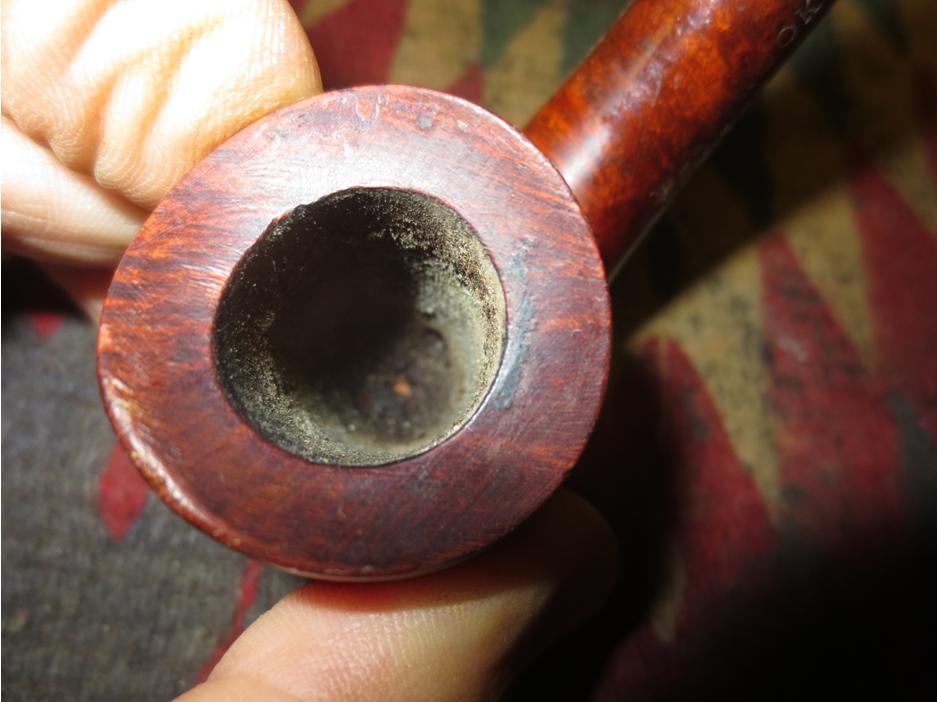
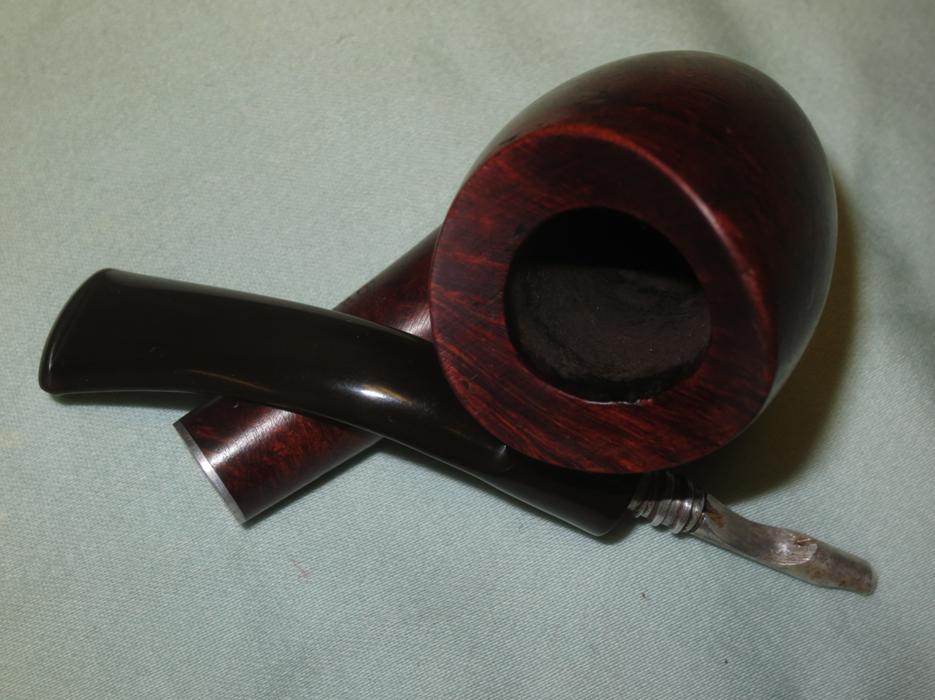
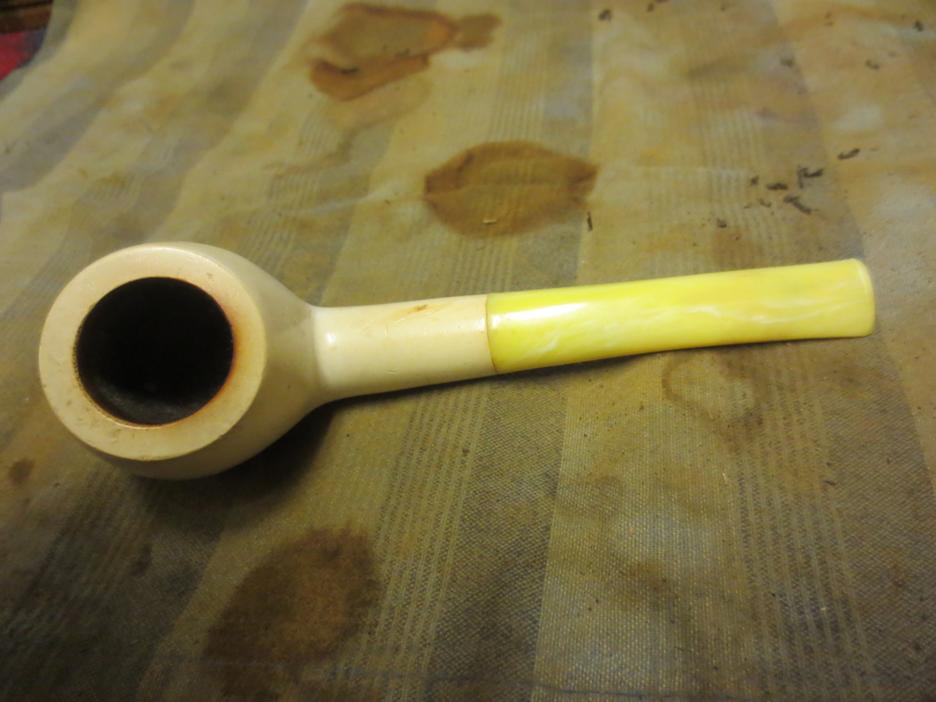
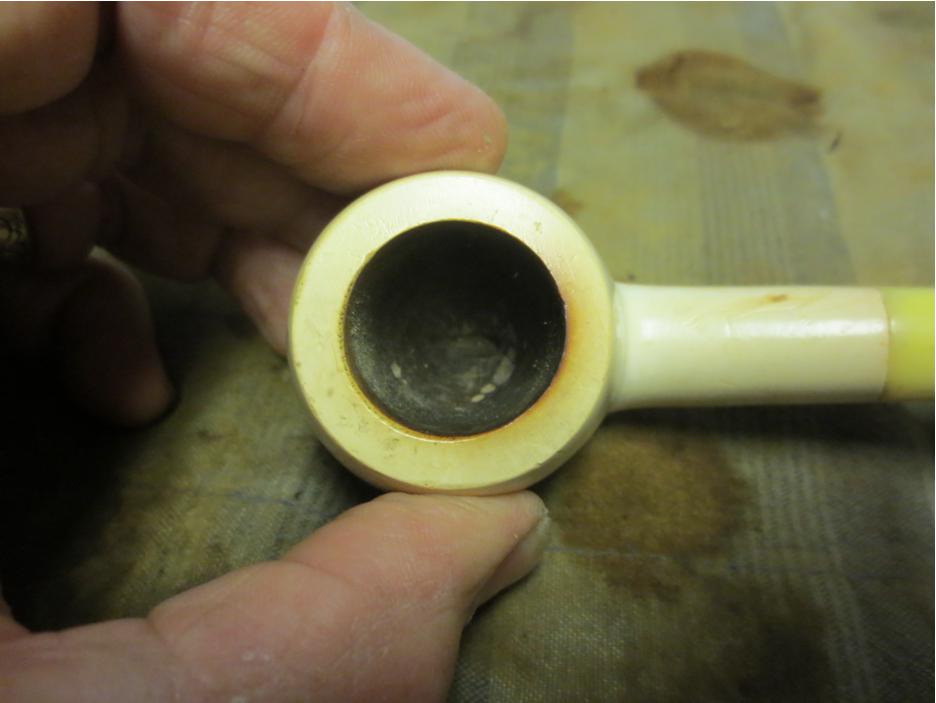
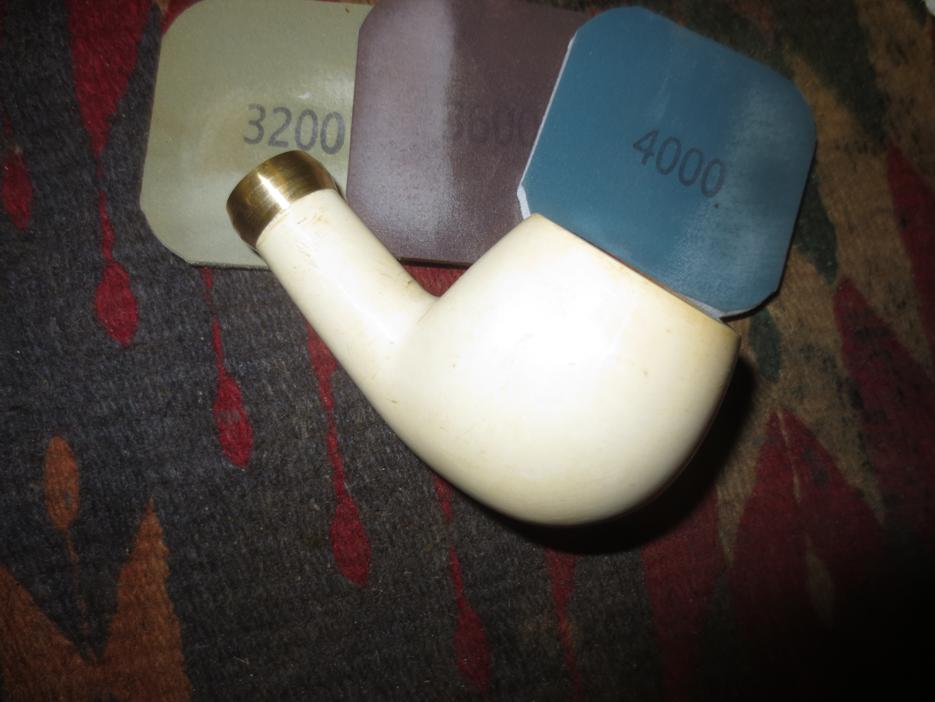
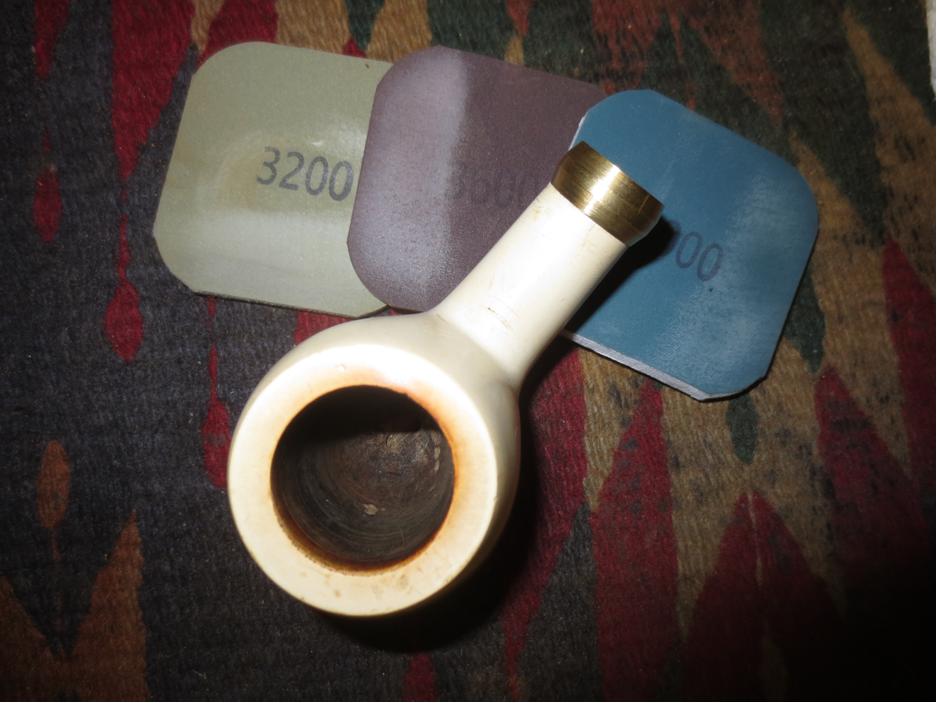
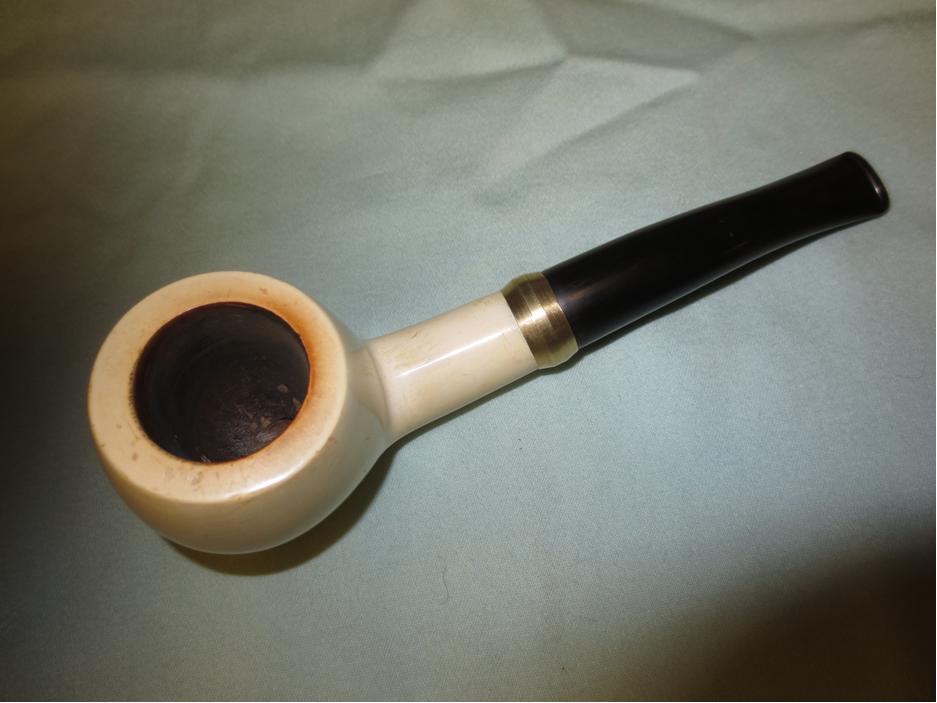
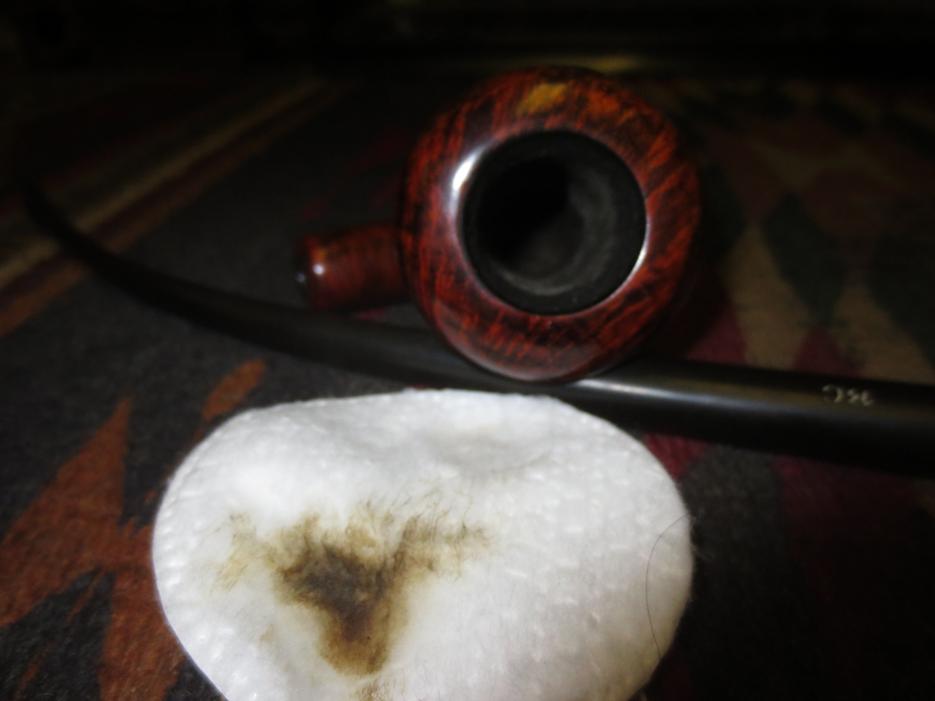
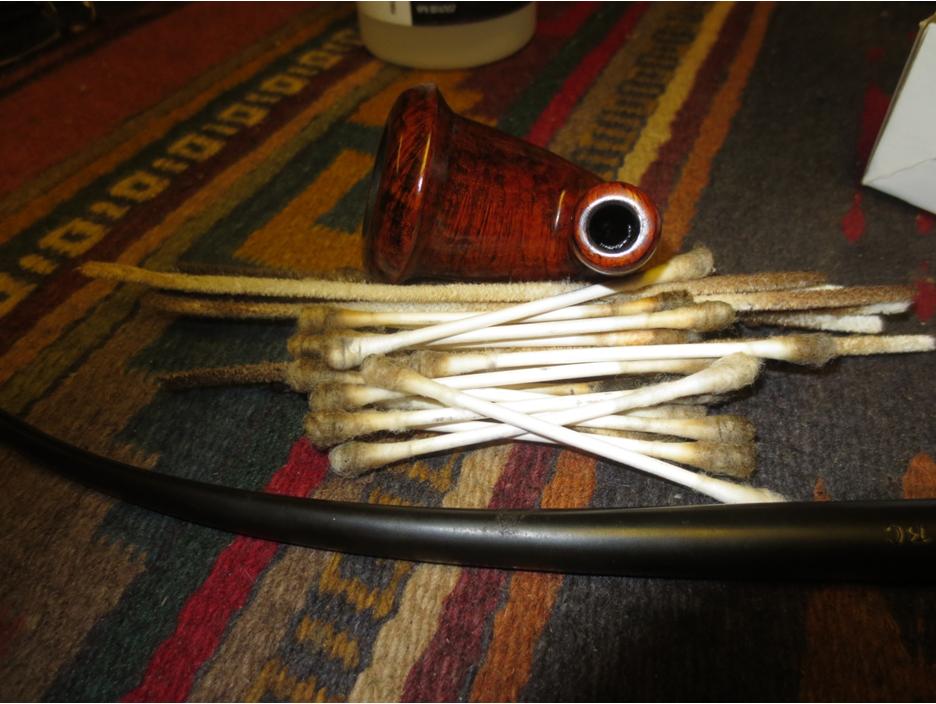
 As I mentioned before, Bob started the process of reaming the chamber. To my initial touch it felt smoother than almost any pipe I had ever started restoring. Still, there was some cake in it, and a few bumps, all of which came clean with minimal additional turns of a reamer and sanding with 150- and 320- grit paper. Not having to touch the rim was a rare treat, although I have to add I always enjoy removing the burns.
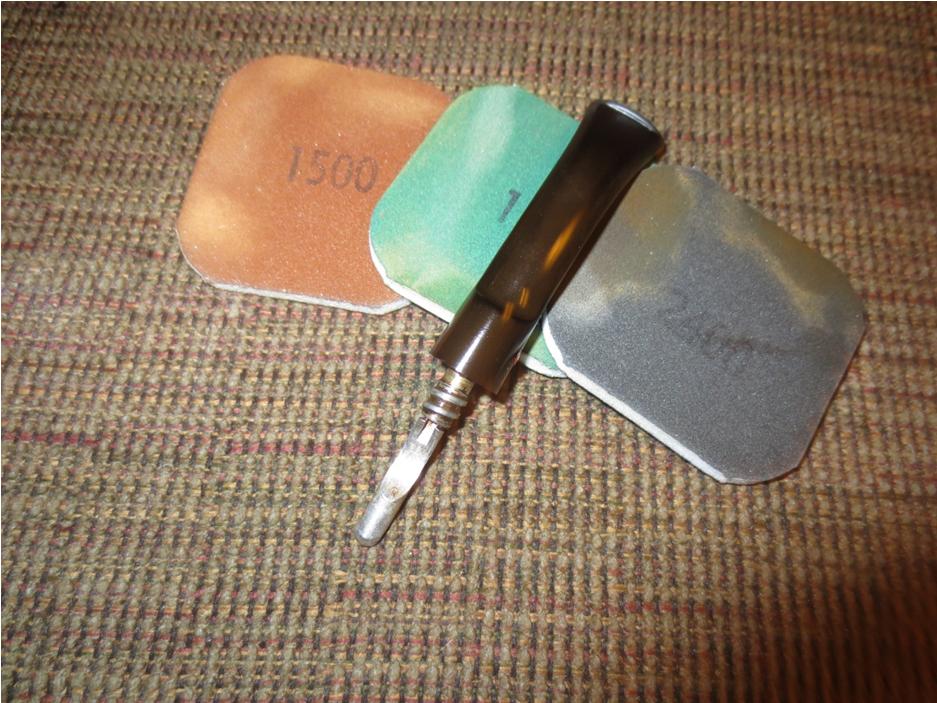
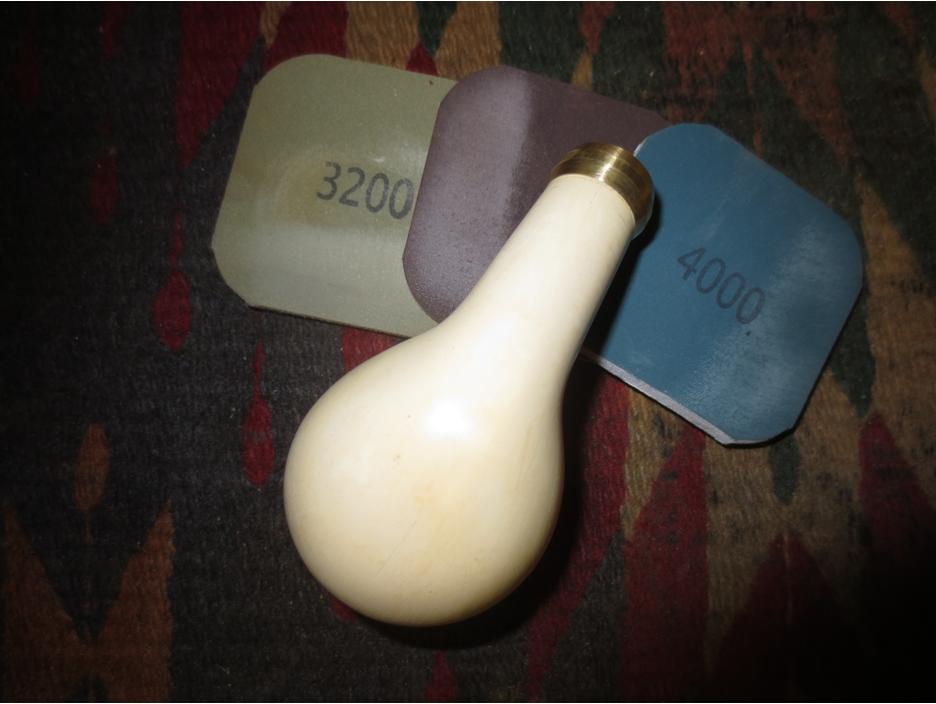
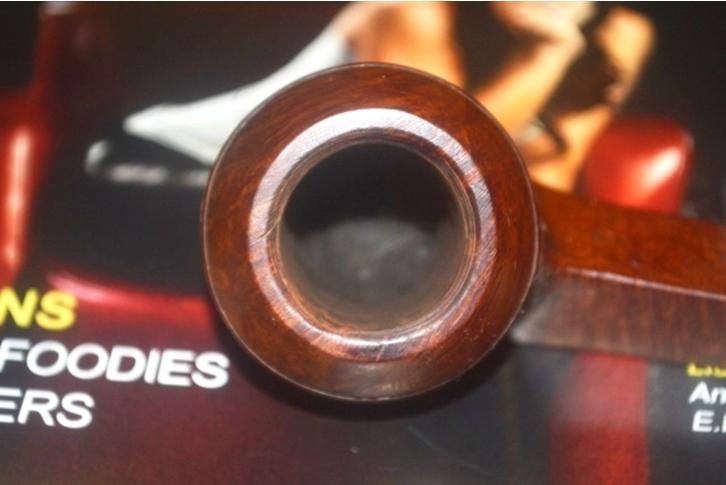 I used micromesh on the wood from 1500-4000 and cleaned up the shank opening with super fine steel wool.
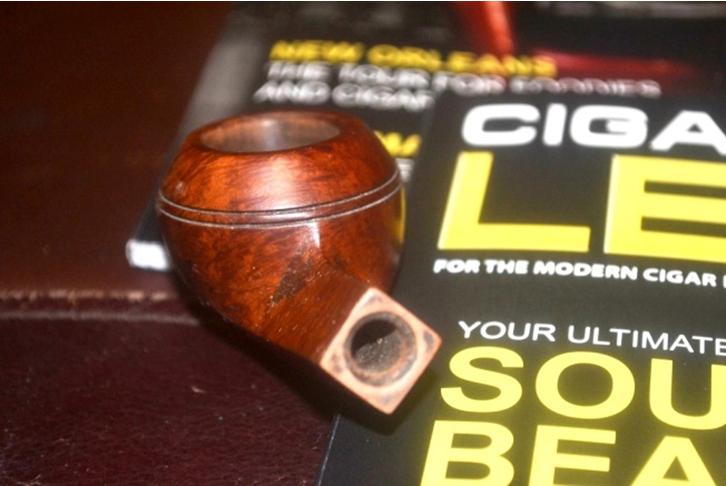


 By then I was ready for the retort. Six test tubes later, full of Everclear boiled up through a temporary saddle bit with the right sized push tenon – a personal record – I was finished.
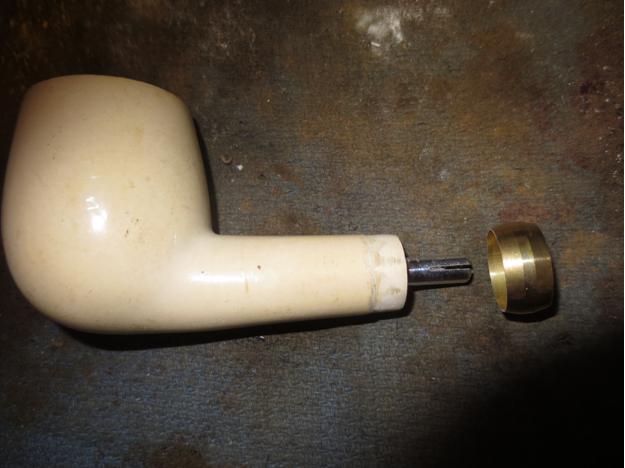
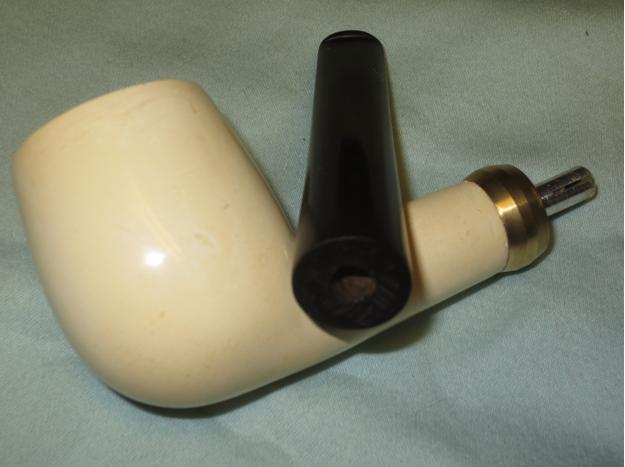
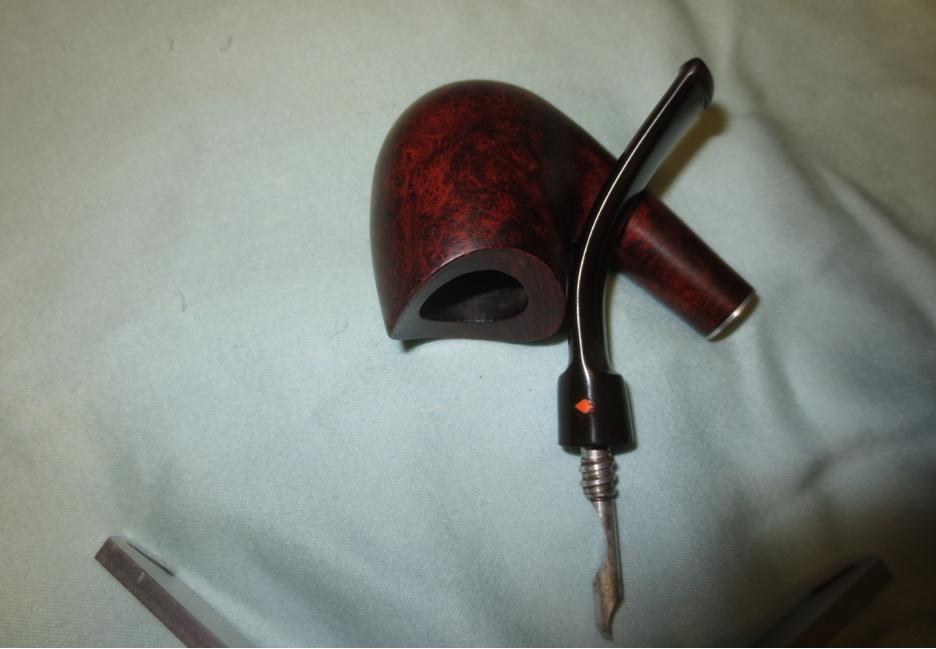
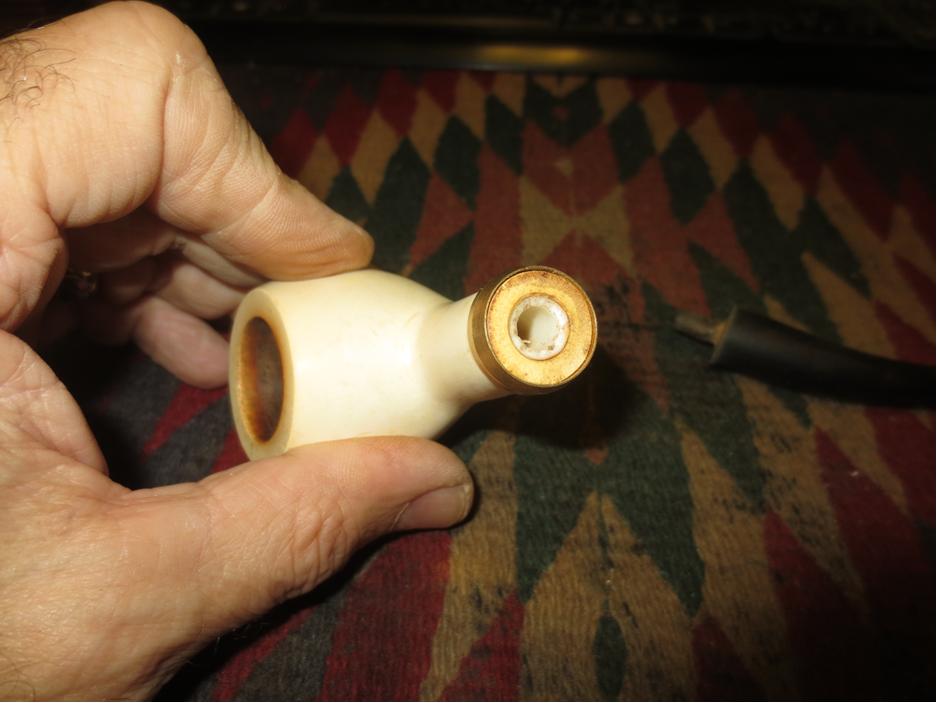
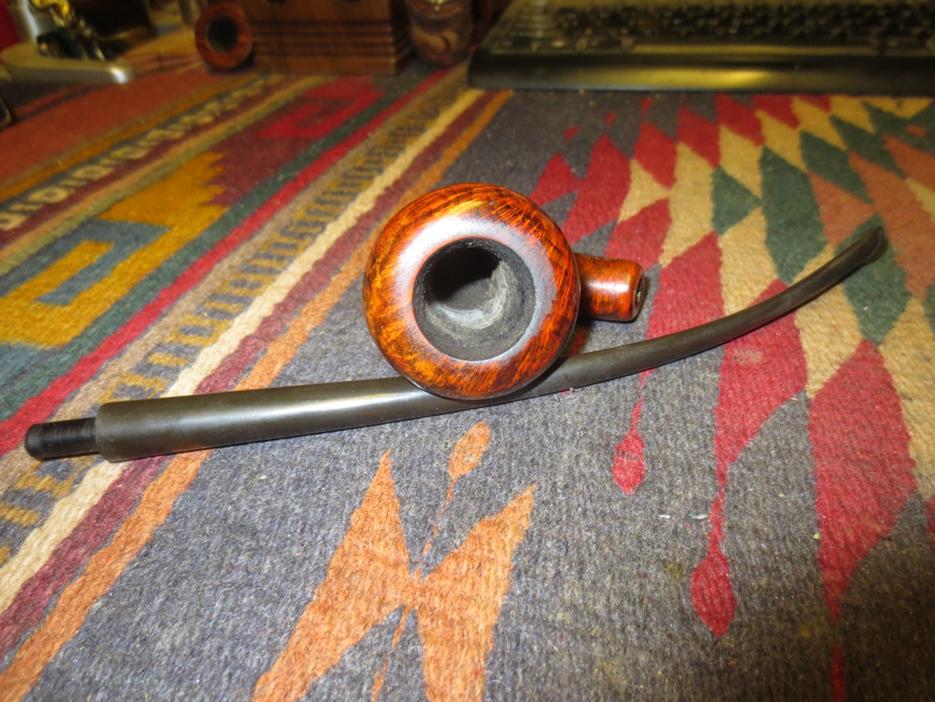
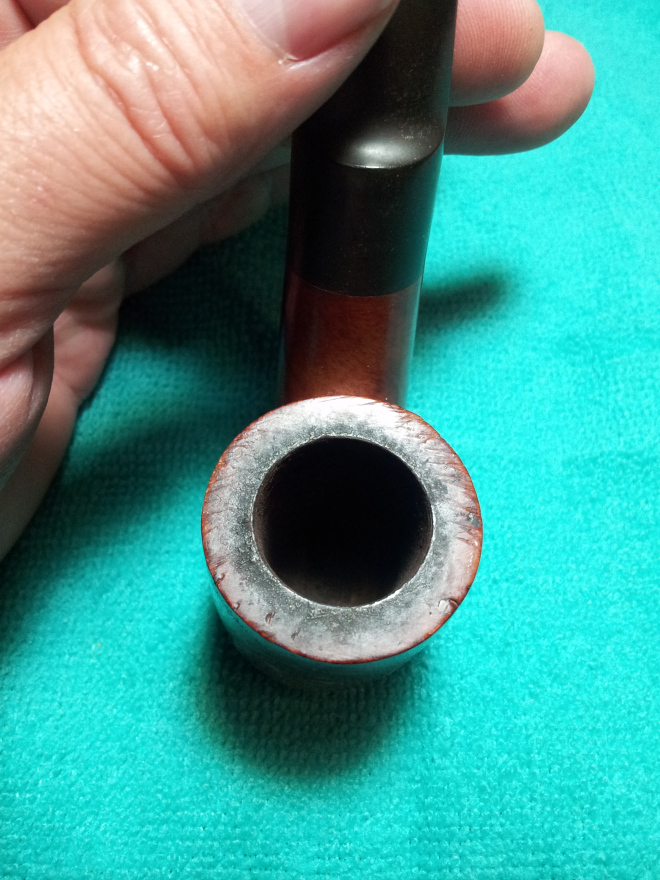
I needed to find a replacement bit. Searching with a hot glow of intense zeal through the dozens of old pipes awaiting restorations, I began to think I would never find one that had a push-in tenon, was straight, the right length and with the appropriate bulldog triangle size (5/8″; the length was 2-7/8″). Suddenly, there it was: a Bertram Bulldog #50, with a double stamp, and no mark on the straight bit. I actually had imminent plans for that great pipe, but they could wait.
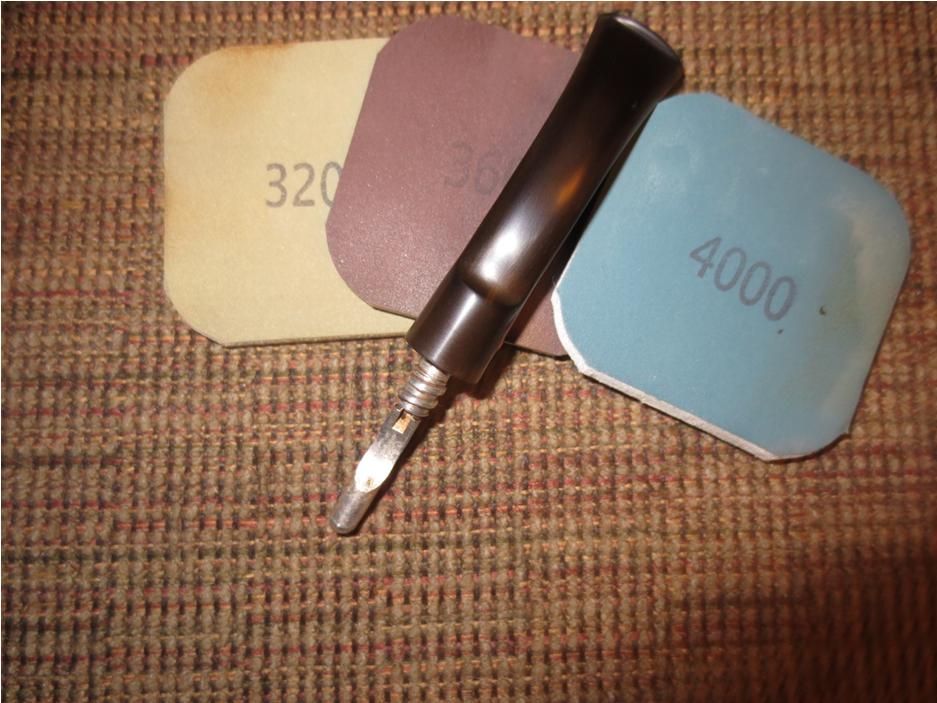
 The tenon was just a tad too big, so I took about a sixteenth of an inch off of it with 150-grit sandpaper and sanitized and cleared out the old grime in the air hole with bristly cleaners soaked in Everclear. I still need to invest in a tenon cutter, as will become apparent. Once the tenon fit and I thought it was “finished,” the bit pushed all the way into the shank, but was canted upward. I tried to adjust this by filing the flat edge of the bit around the tenon, and after considerable work, my efforts seemed to have paid off. I gave the bit an OxiClean wash, rinsed it and micro-meshed from 1500-4000.
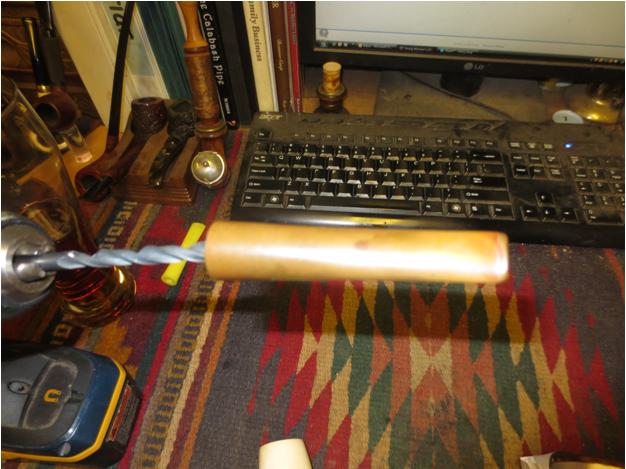
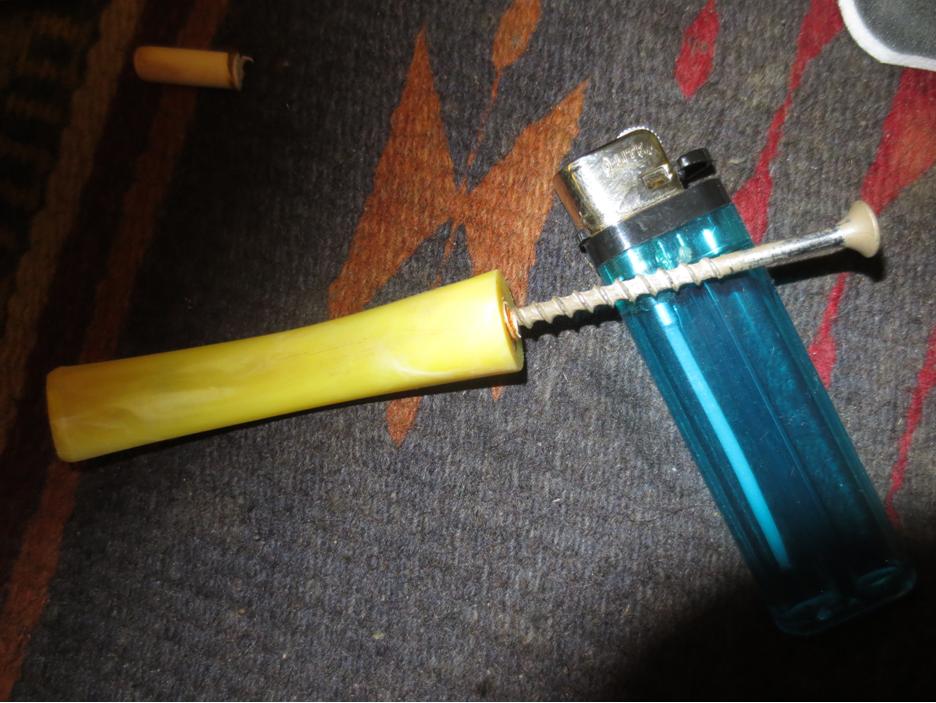
 Following the instructions for the oven method of shaping in the blog mentioned earlier, I pre-heated gas stove to the low end of 200-220 degrees and assembled what I would need as suggested, except that all of it was improvised other than the oven: aluminum foil instead of a baking pan, a small jar of wood putty rather than a spice jar, two wash cloths in place of cooking mitts and of course the bit. As it turned out, I spaced that I had a few spices in my sparse cabinet, but the round putty glass did fine.
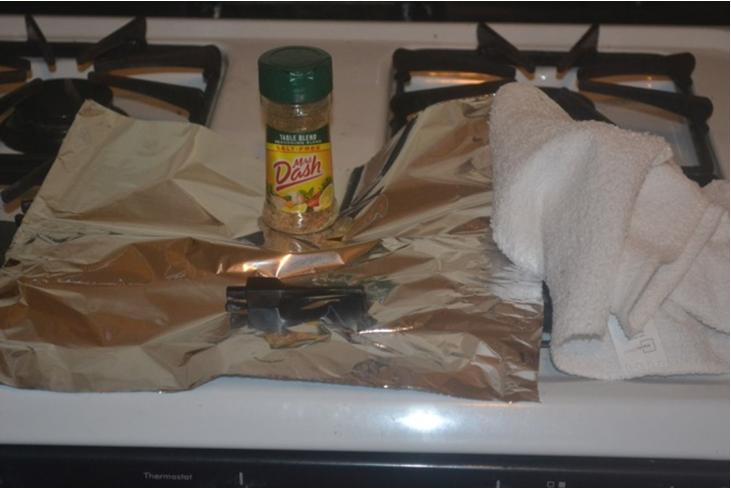 Inserting a soft cleaner through the airway before heating to prevent collapse, I had the distinct sensation of butterflies in my stomach as I placed the foil and bit on the center rack of the hot even, closed the door and…waited. Five minutes. Not good enough. Another five. To my amazement, holding the bit carefully with the wash cloths at both ends over the rounded edge of the putty jar and pressing down with all the gentleness my rough hands could handle, I in fact saw the vulcanite bend! I’m here to tell you, I have never been so surprised and full of trepidation at the same time in my entire life!
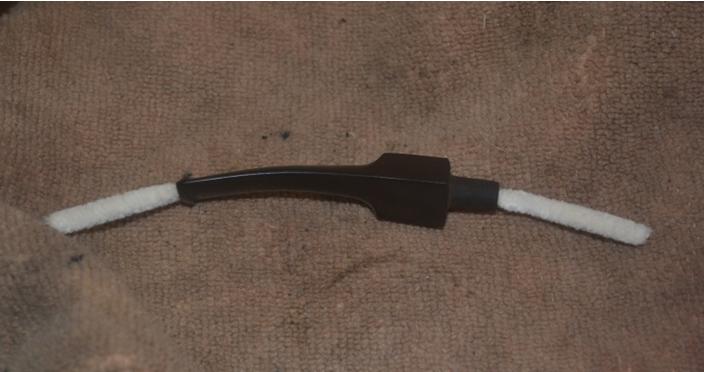 In a minute, the job was done, and I removed the cleaner and rinsed the bit with cold tap water.
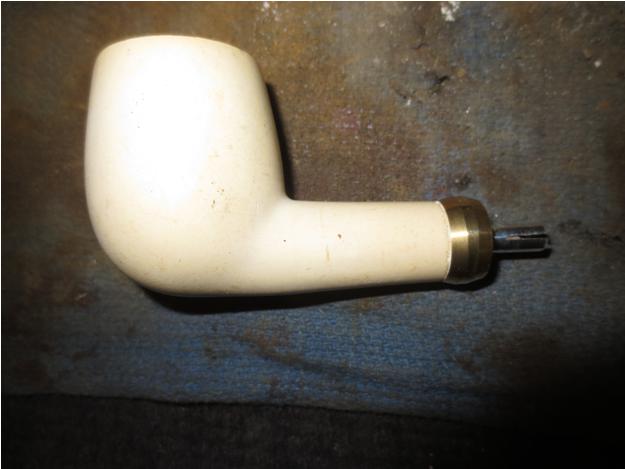
And so, other than the facts that I had already blown it again by sanding the base of the tenon so far that the whole thing could snap at the least provocation, and upon closer inspection the bit did not, in fact, line up seamlessly with the shank, the entire exercise produced a wonderful looking bit (in and of itself) and was an excellent though time-intensive and frustrating lesson about the intricacies of replacing a bit – and one I’ll never forget.
As a good friend from junior high through high school used to say at such moments (or their school day equivalents), and often with a yawn, well, hell. Then again, he was always much less uptight than I. My true reaction was frustration verging on despair. But that’s where my mind like a steel trap always springs shut and saves me. And my skull is so thick it can take running headlong into a concrete utility post and being pistol-whipped. I’m not kidding. The first happened to me as a young boy fooling around during summer vacation, and the second seven years ago during an armed home invasion after I beat one of the three intruders unconscious with a club – and he had pretty well messed me up with my own baseball bat – and one of his buddies hit me from the side with the butt of his 9mm. I’ll never forget the look in his eyes through the stupid monster mask when I turned on him and he took a step back.
Once again, as is my habit, I digress. I was illustrating how my stubbornness and downright thick-headedness has often saved me. The way this process worked last Wednesday, while I sat and collected my wits at my tobacconist where Chuck gave me the bad news about the tenon, was by telling me to go online and order a replacement. I crossed the Internet from Albuquerque to Phoenix in an instant and found Pipe Makers Emporium. I have placed several orders there, but only once before for a vulcanite churchwarden stem that was $3.99 because I didn’t understand why smaller stems, such as the one I needed for the bulldog, were priced so much more – in this case, $17.50. Even when the package arrived swiftly yesterday and weighed a pound, according to my estimation and confirmation on the label, I still didn’t get it until I peeled open the envelope and found a pack of 20. Duh! The churchwardens are sold individually because they’re not needed as often. Sometimes the thickness of my head can get in the way.
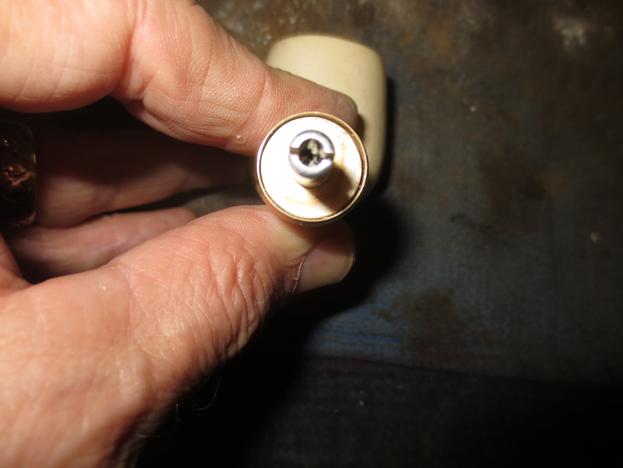
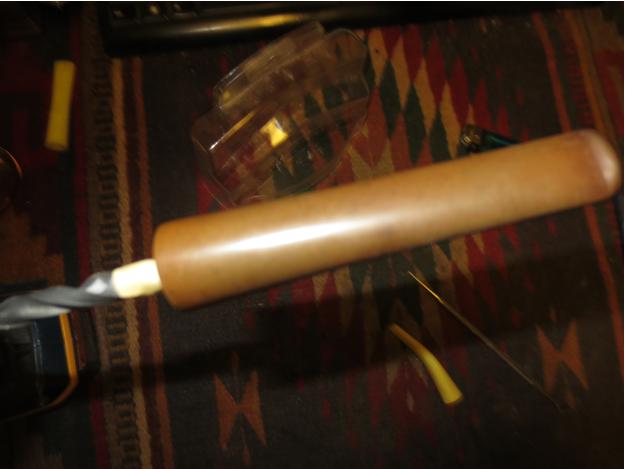
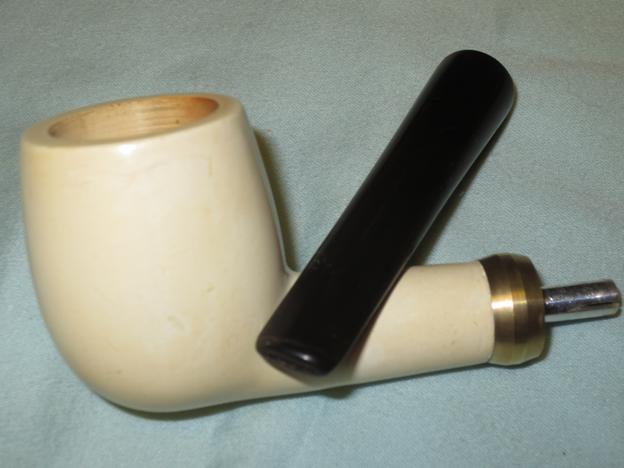
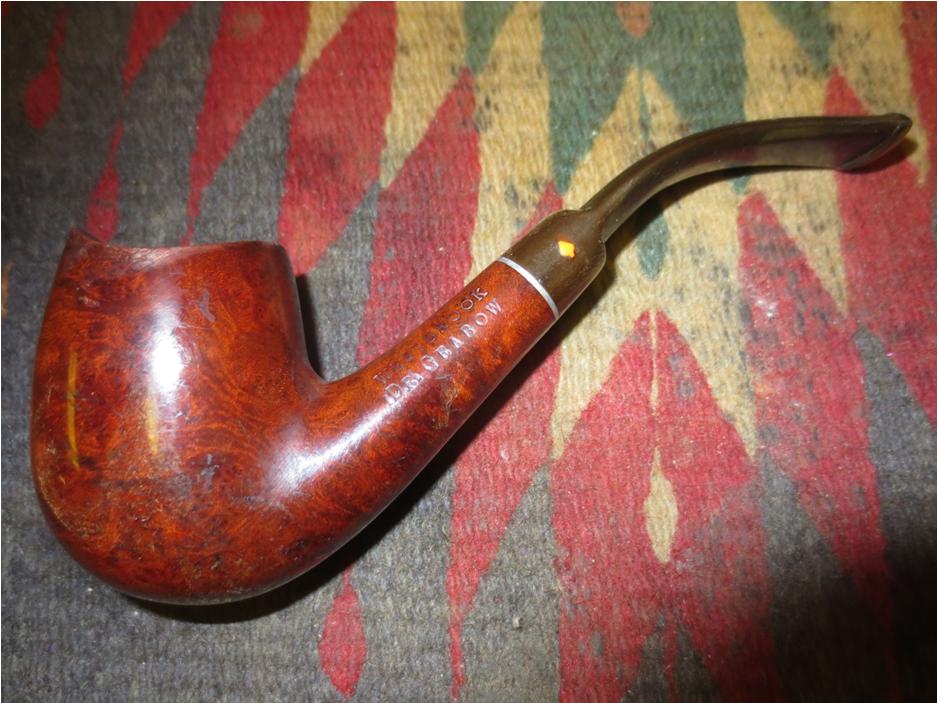
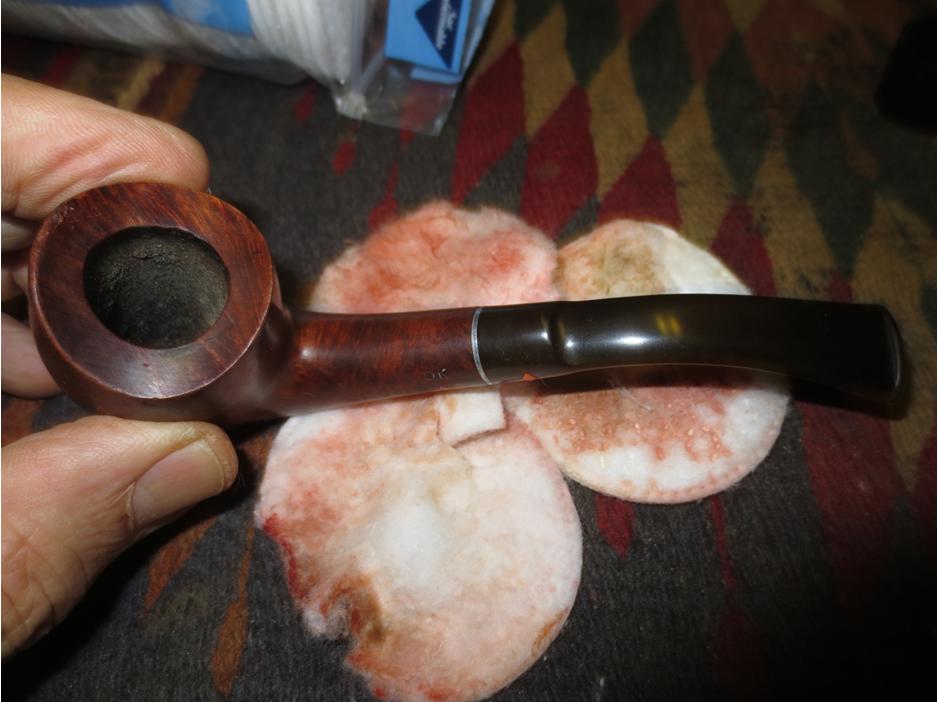
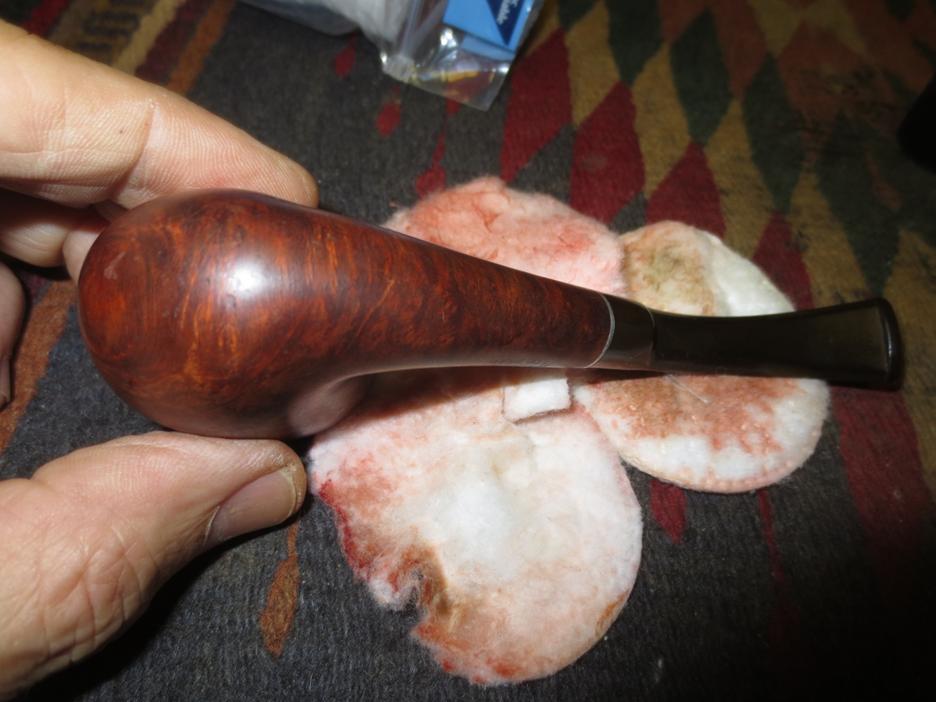
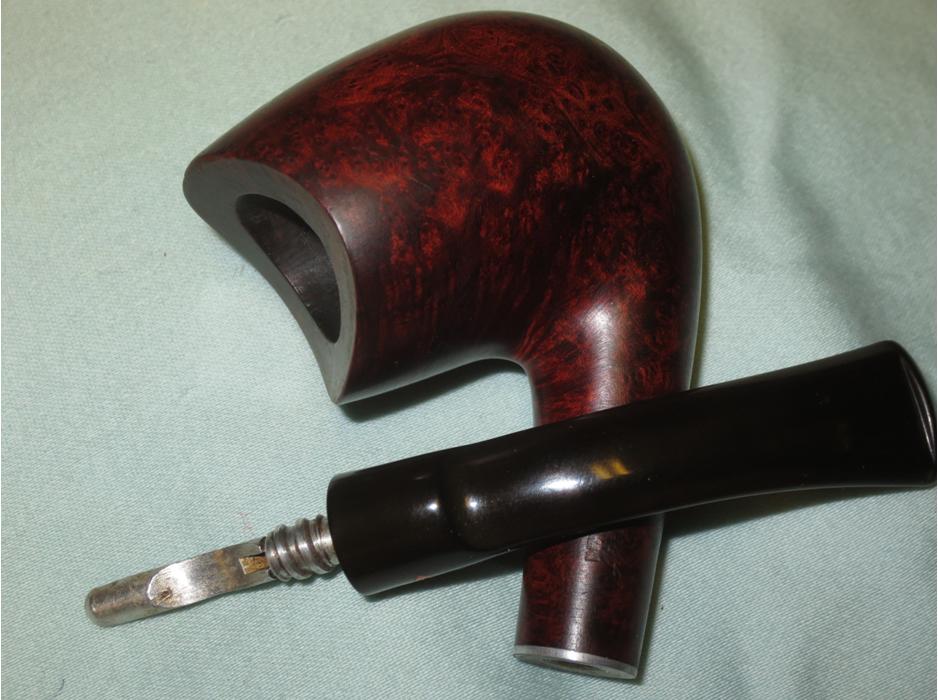
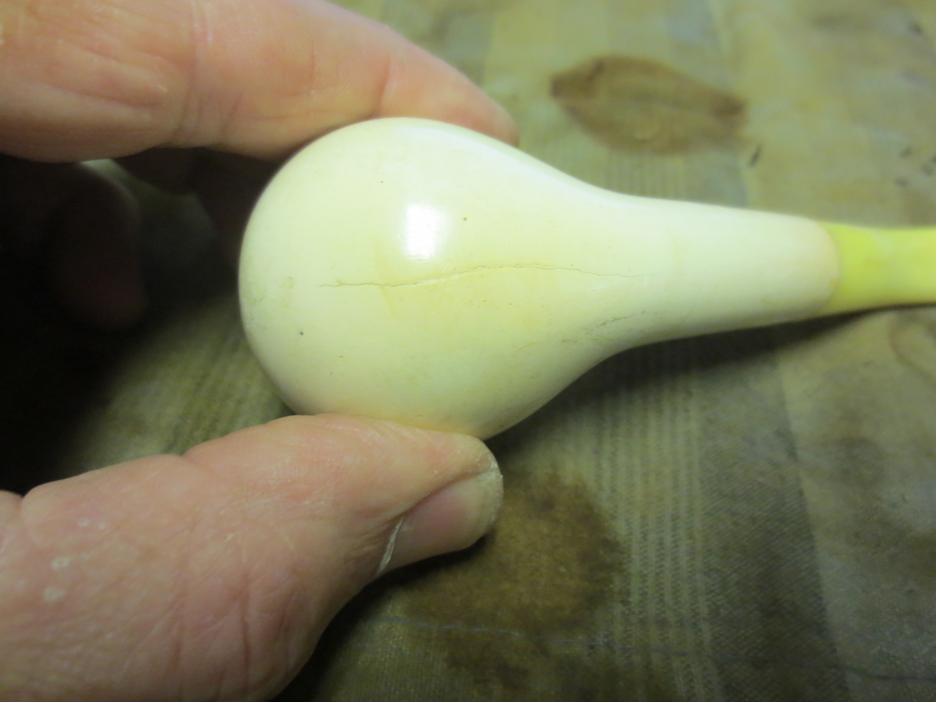
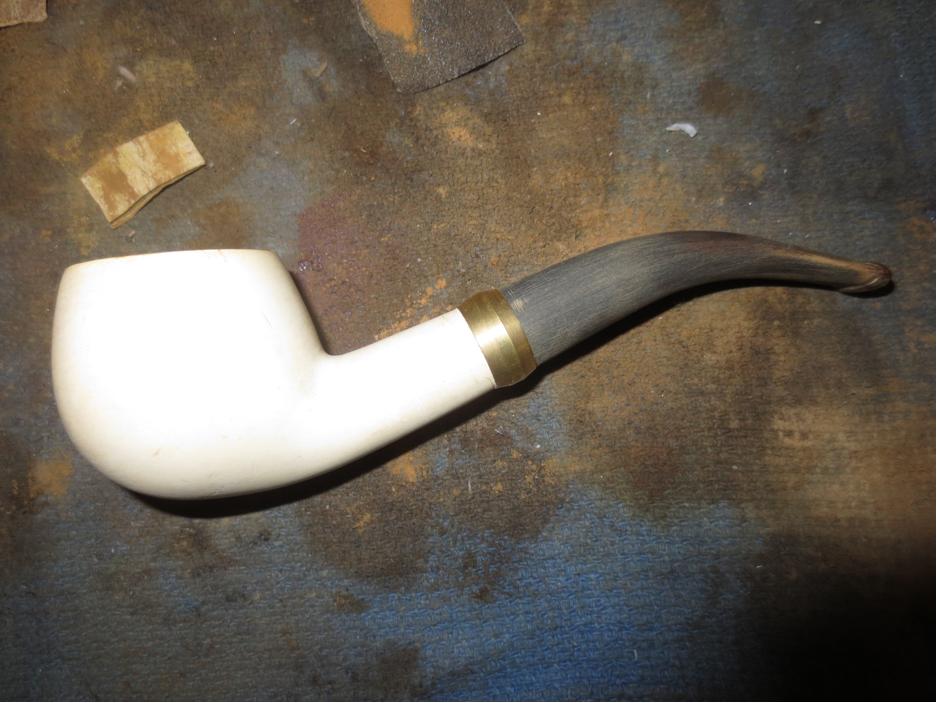
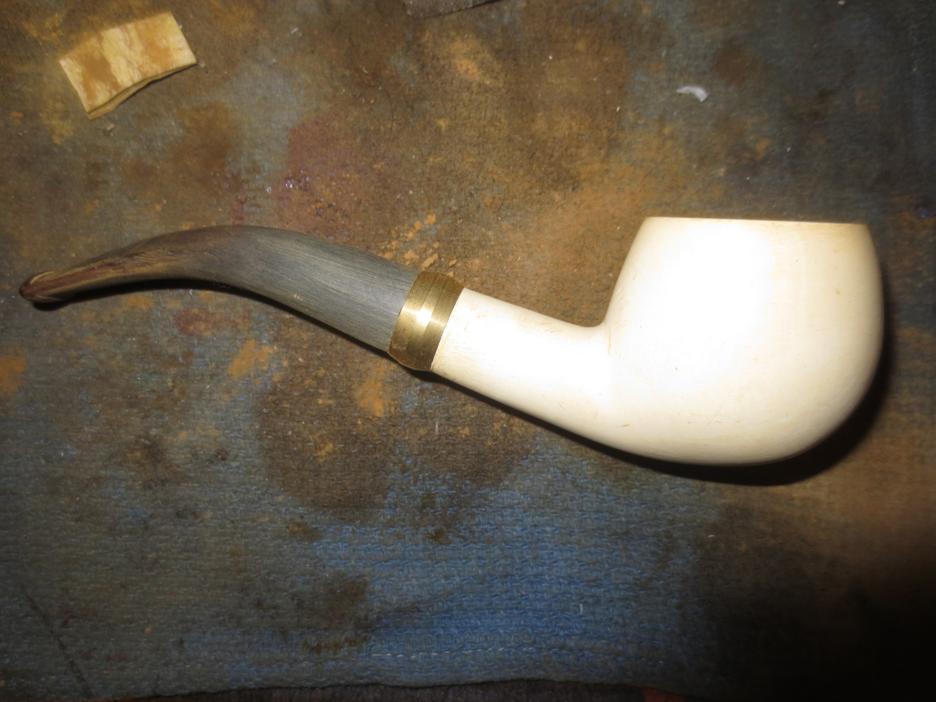
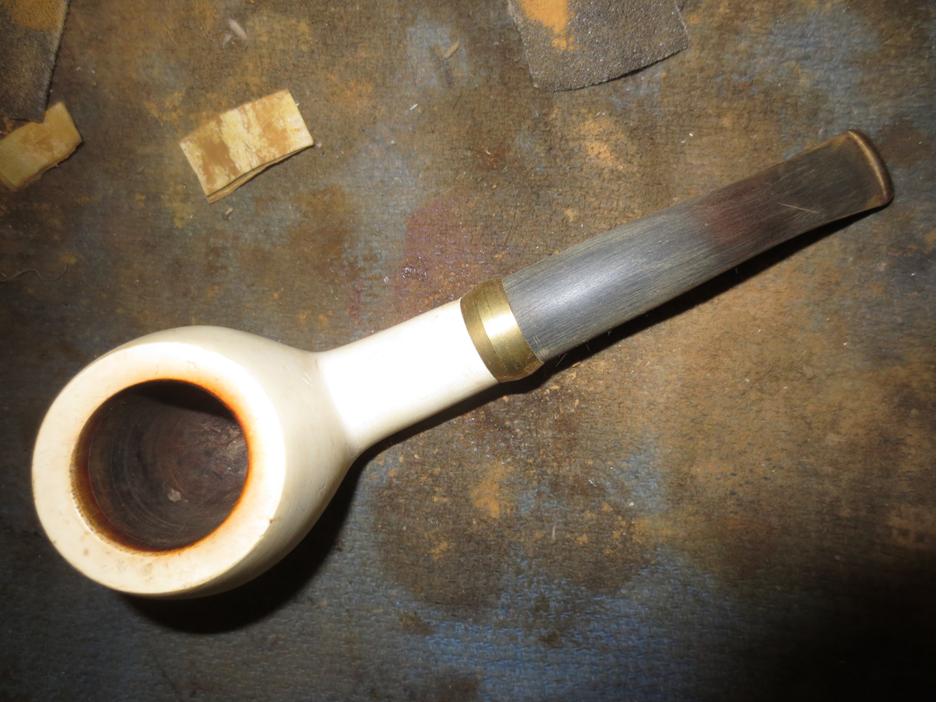
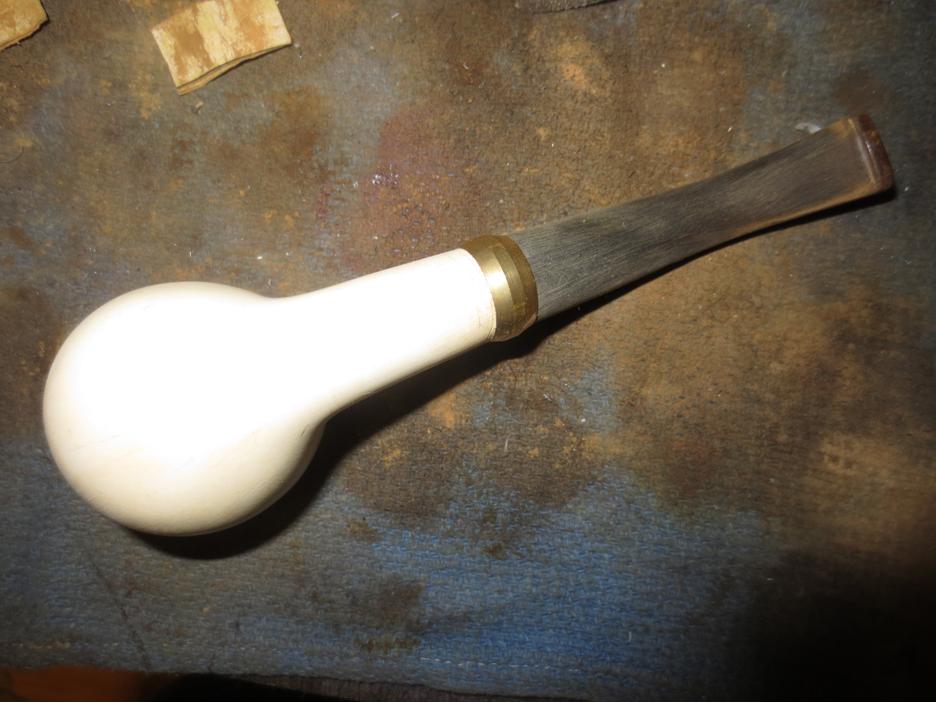
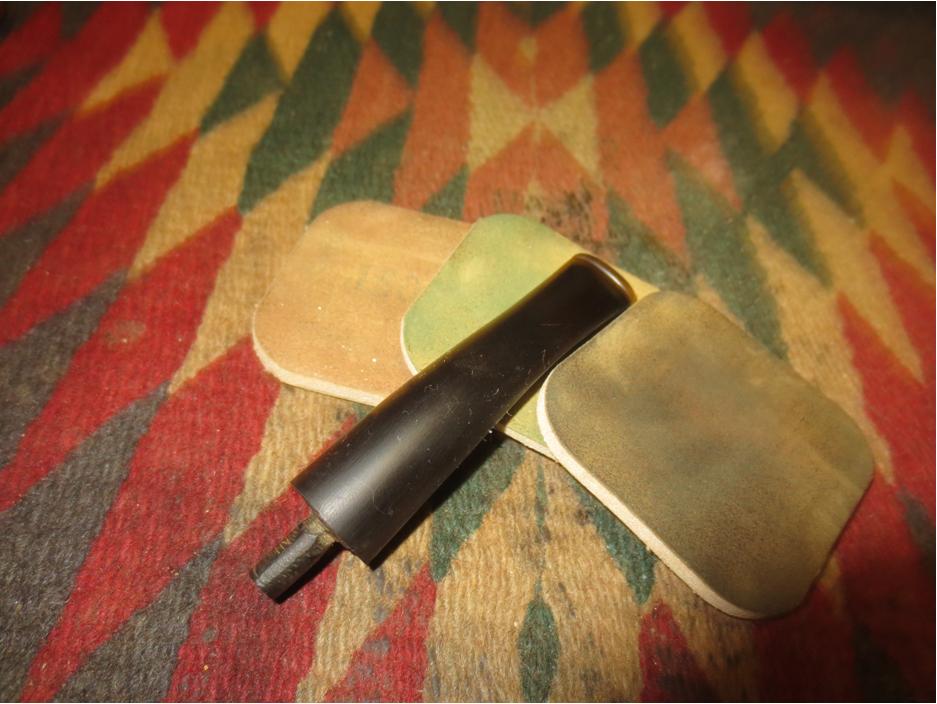
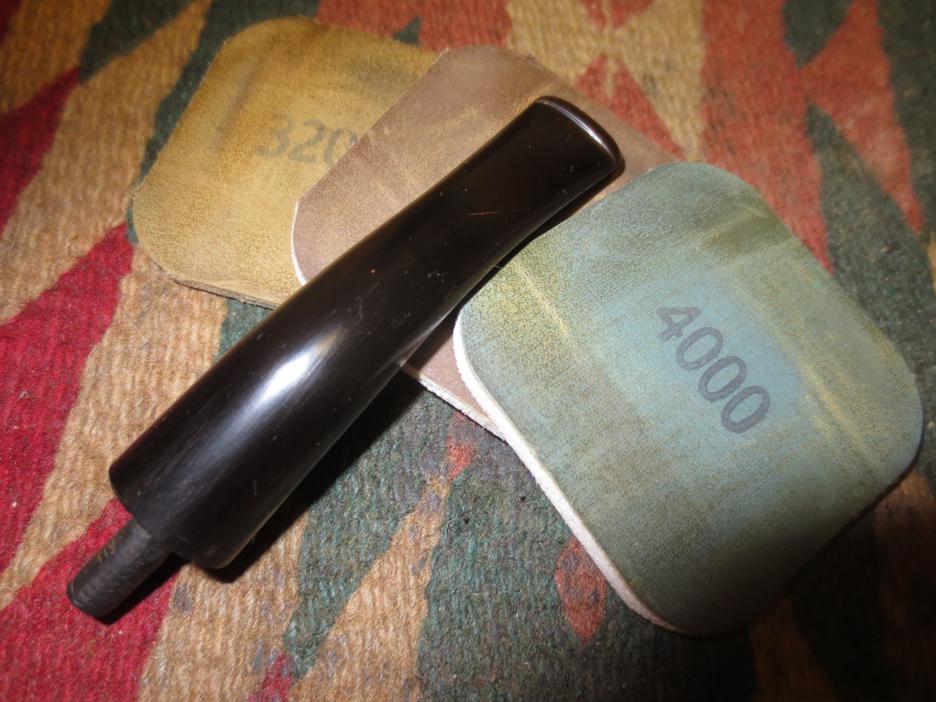
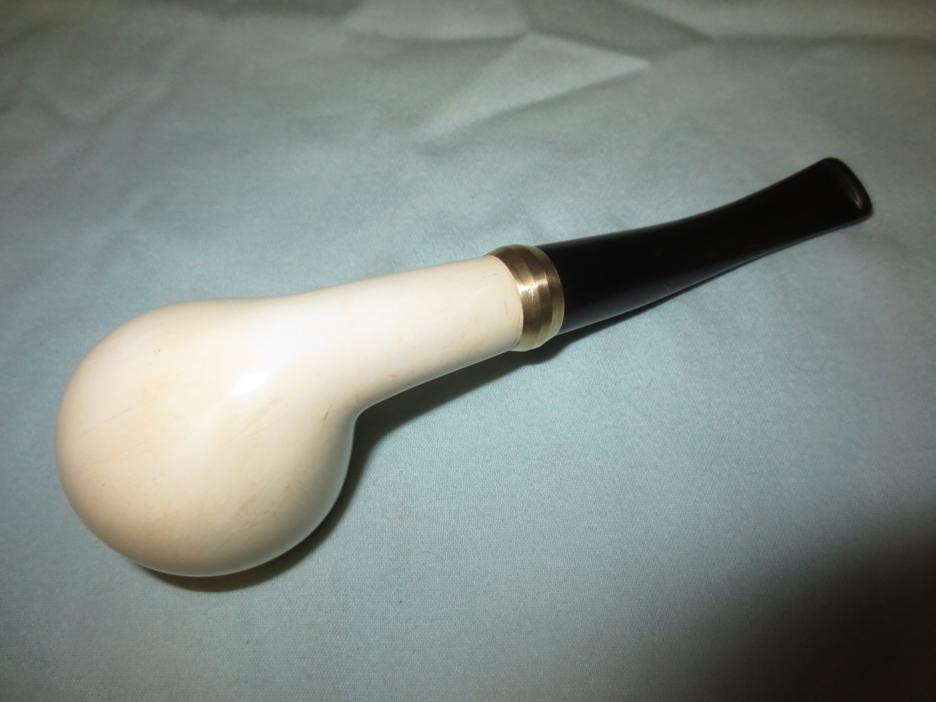
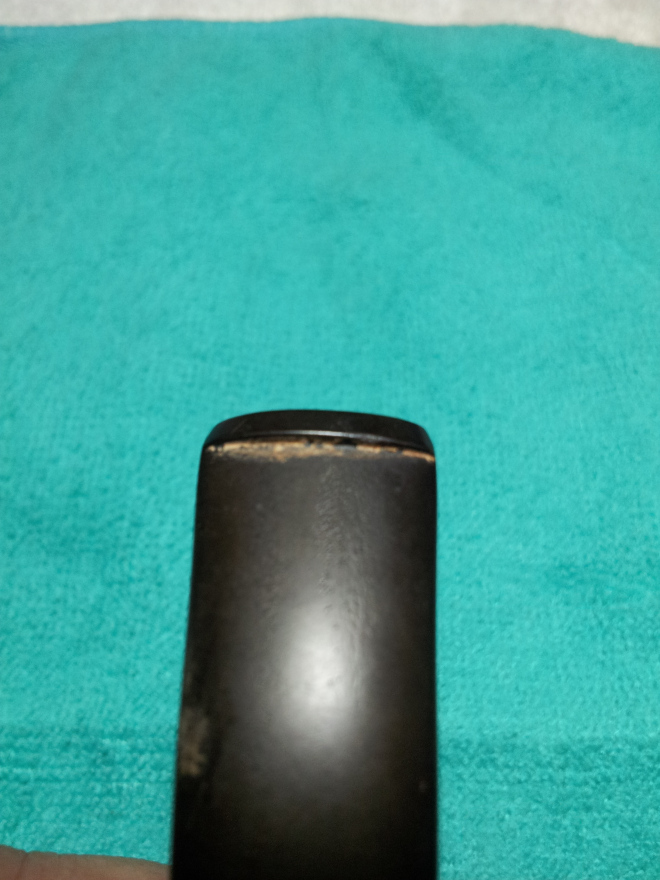
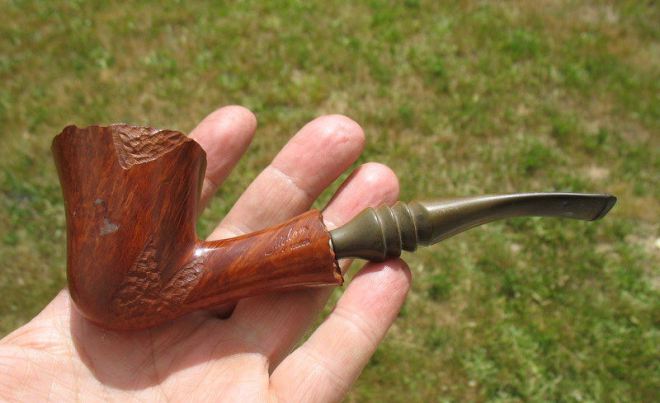
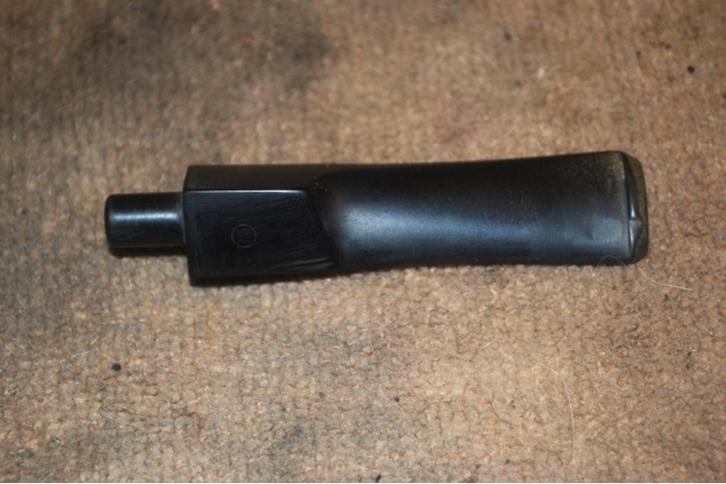
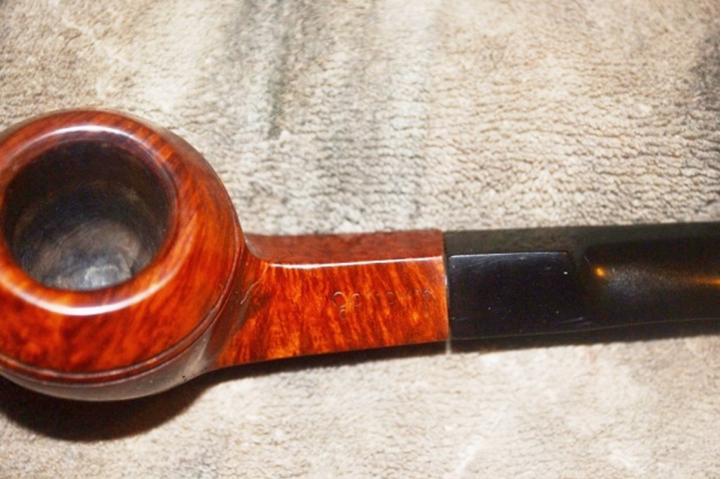
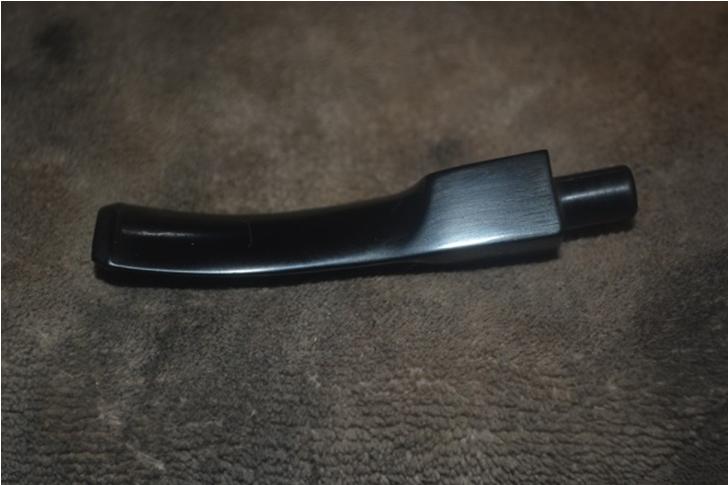
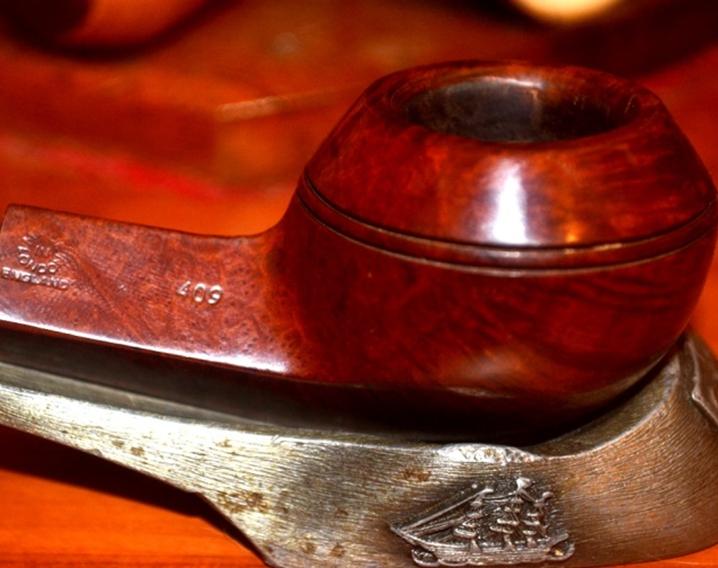
Now, back to the Ehrlich sterling bulldog with the E on the bit that came with Bob’s generous gift. Remember that? I tried to make apparent how important it would become to this restoration, and it’s lucky I recalled it before the new bits came, both because I was eager to continue work on the Comoy’s and the uncut tenons on the 20 bits that came in the mail are about a half-inch wide. In this photo, I had already sanded the E off the bit and given it an OxiClean bath.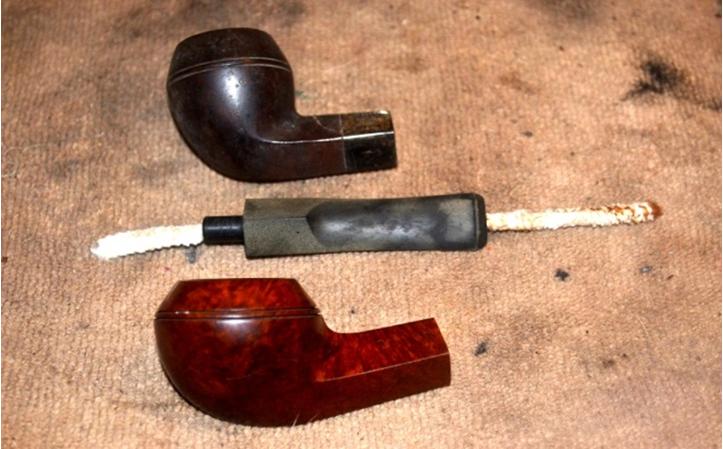 By the way, when I showed Chuck my progress on the Christmas pipe with the re-worked Ehrlich stem as of yesterday, he said it was looking good. Then I let him have a gander at one of the new bits, and he gave me his best, widest grin.
“This is why you need to get yourself a cutter,” he said, turning serious and with emphasis on need.
“I know,” I replied. “My God! Look at that tenon! It would take me a month of sanding to get it down to fit this pipe!”
We both enjoyed a good laugh, and we needed one, for our separate reasons.
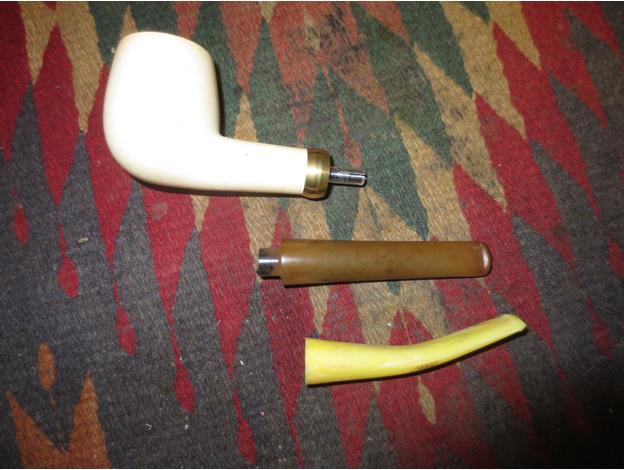
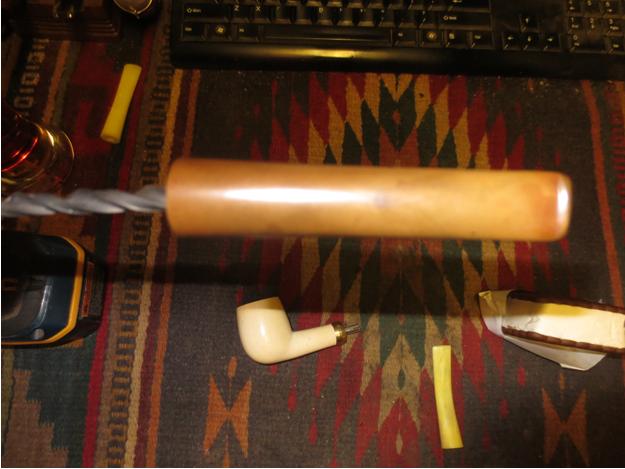
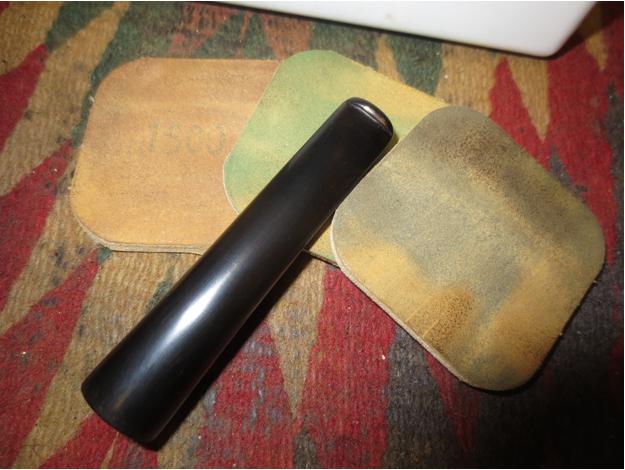
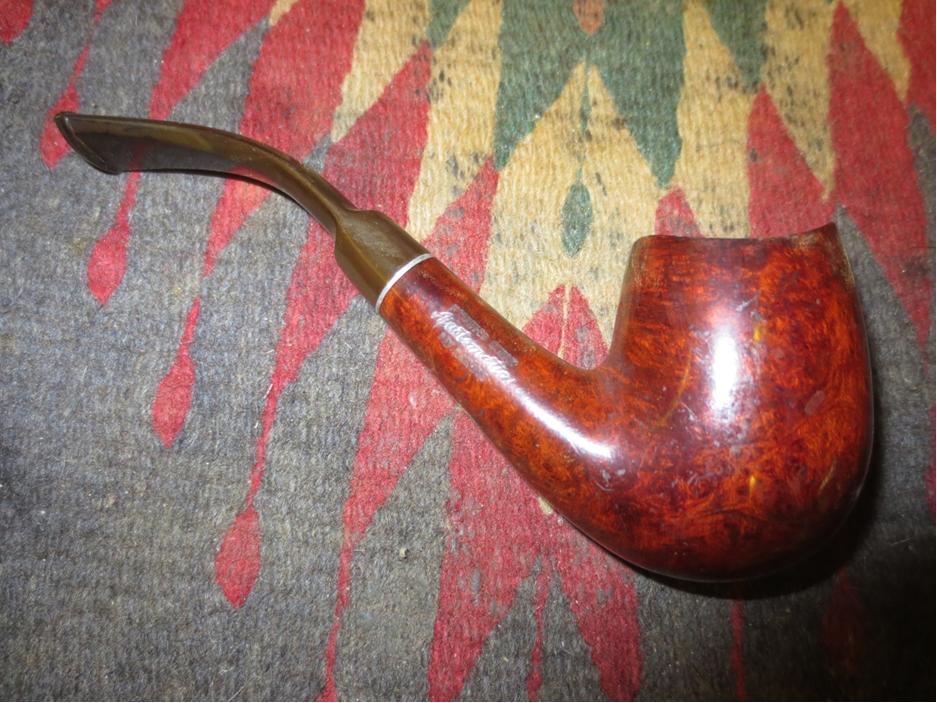
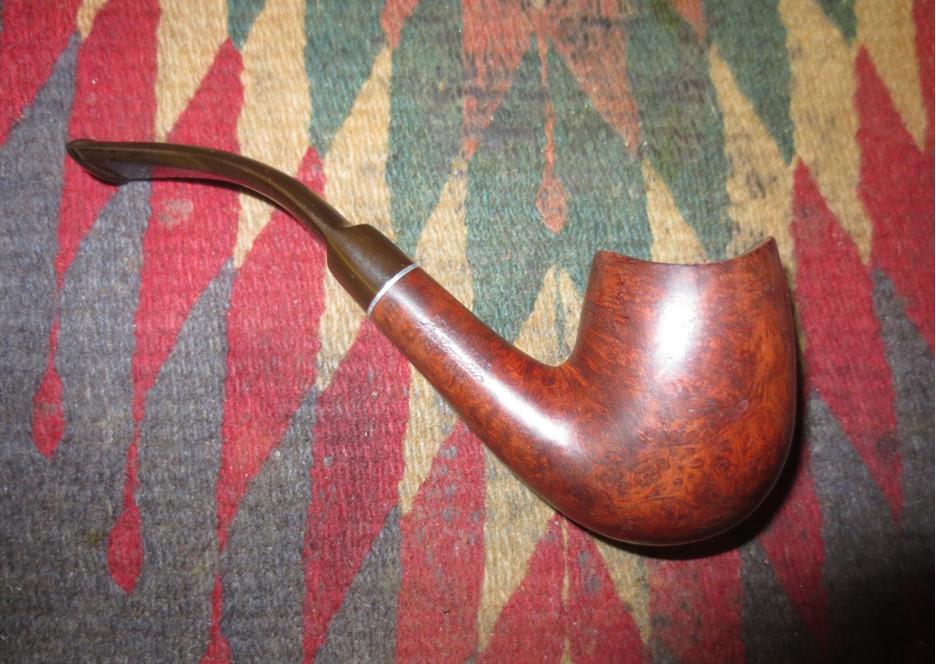
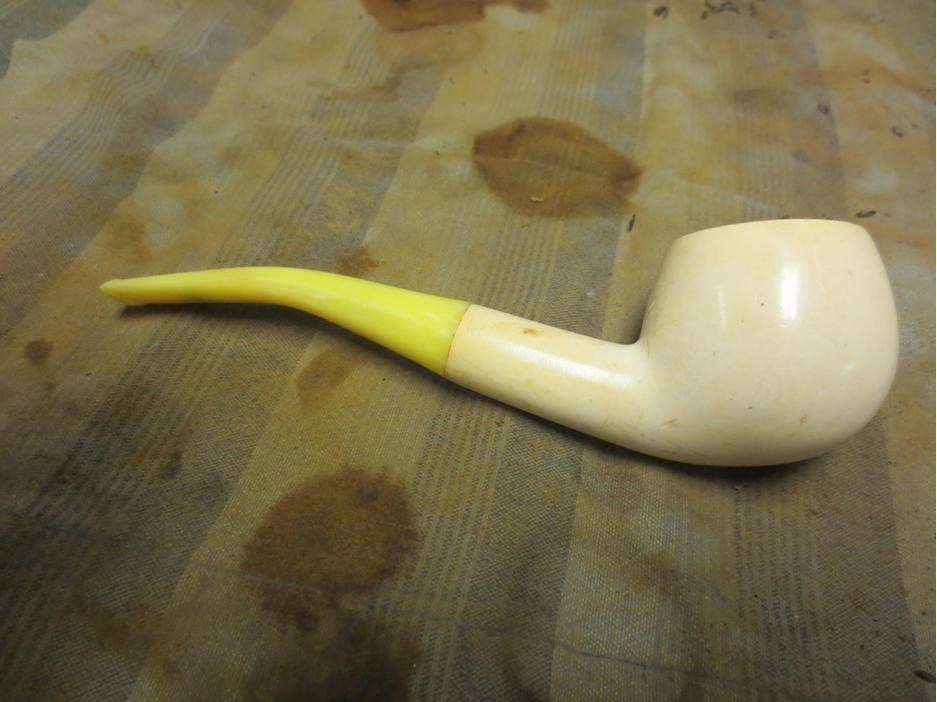
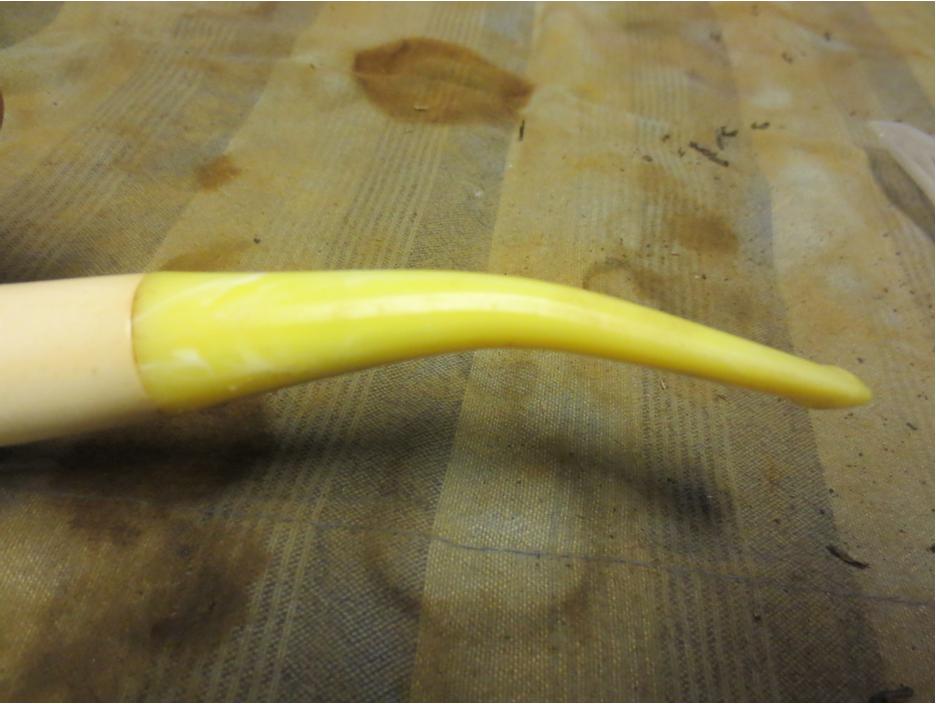
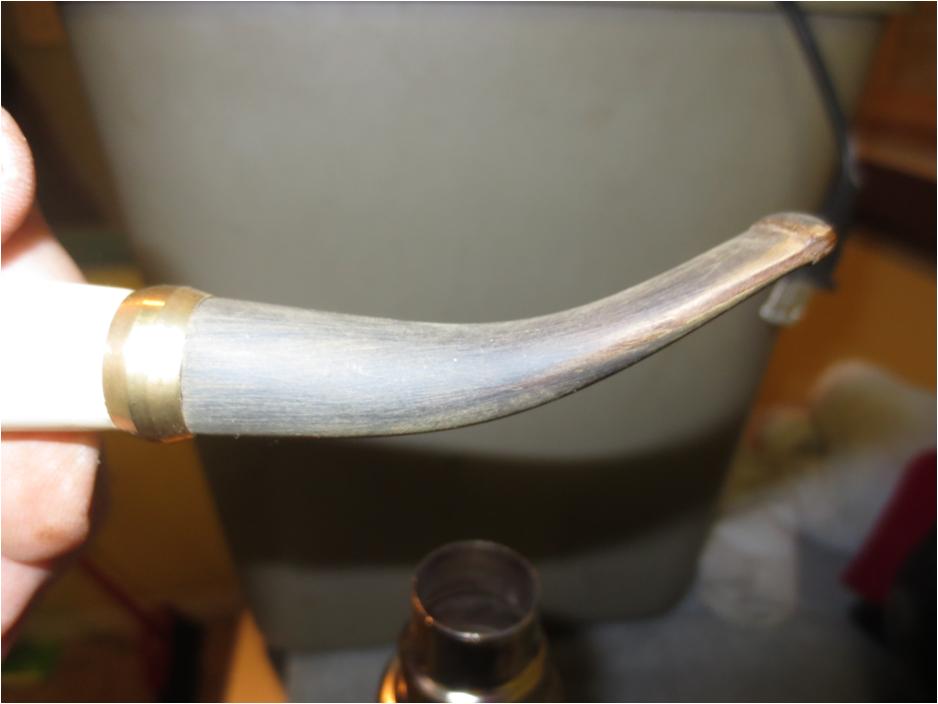
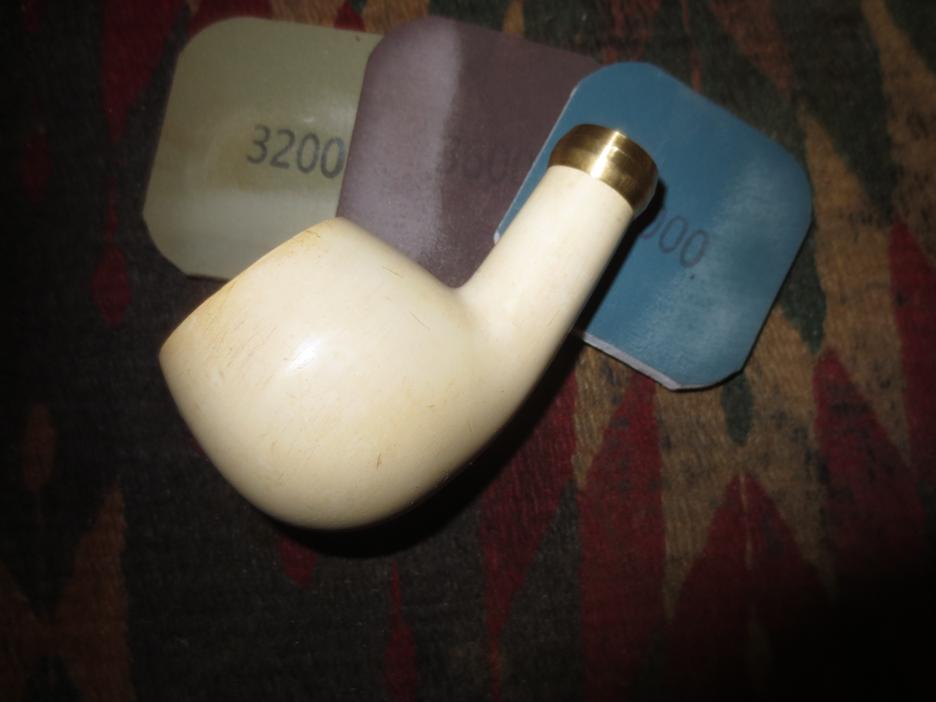
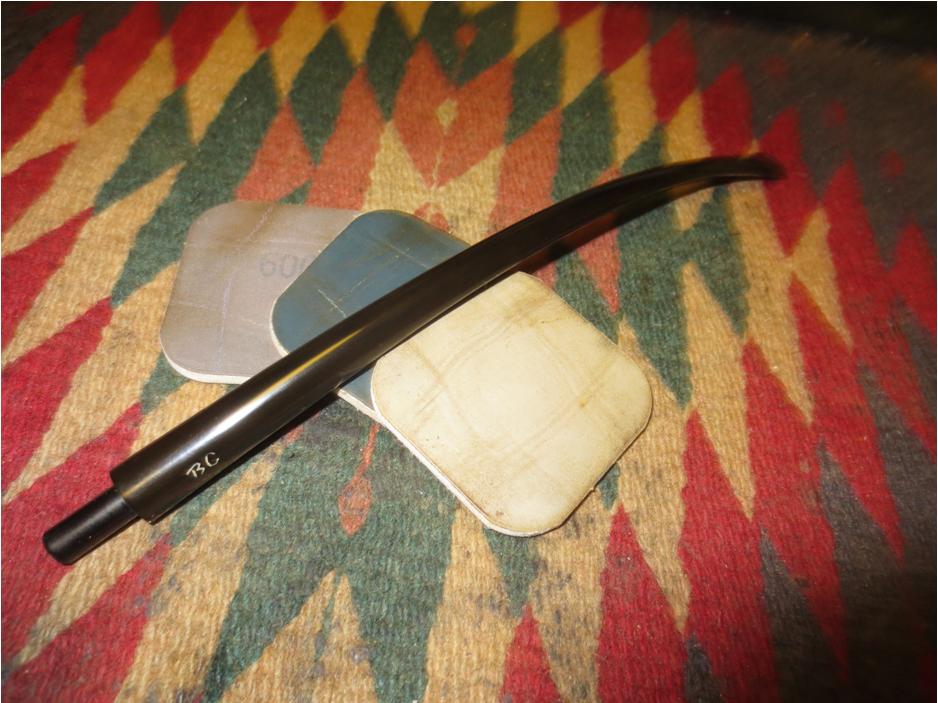
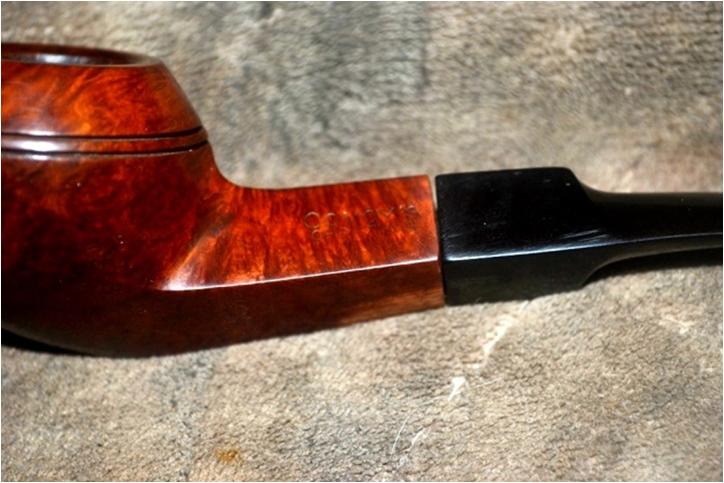
Here is the Ehrlich bit as it originally presented, minus the E, and after sanding and micro-meshing from 1500-4000.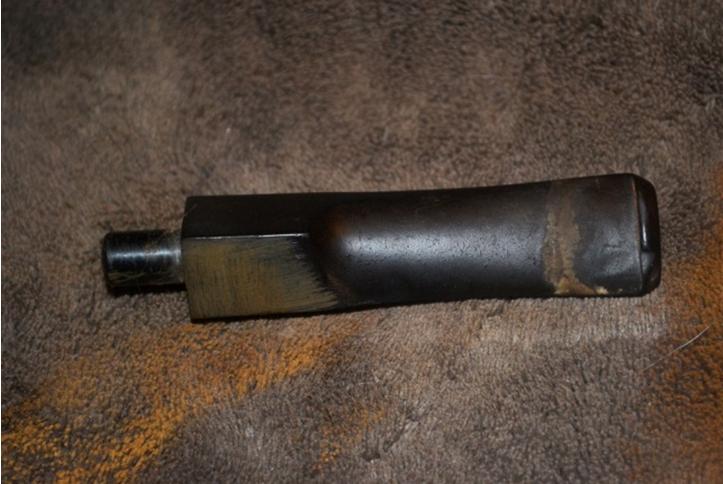
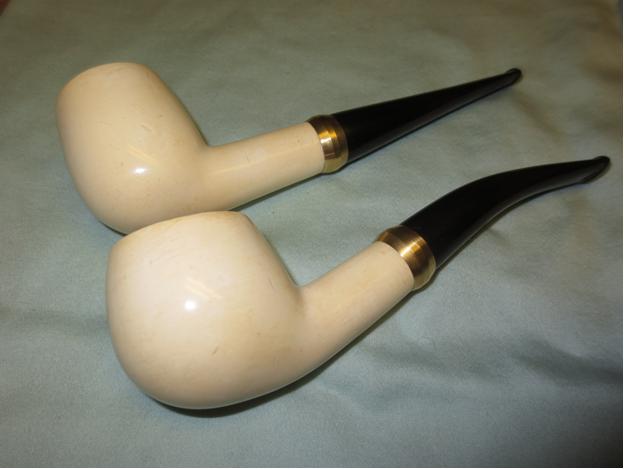
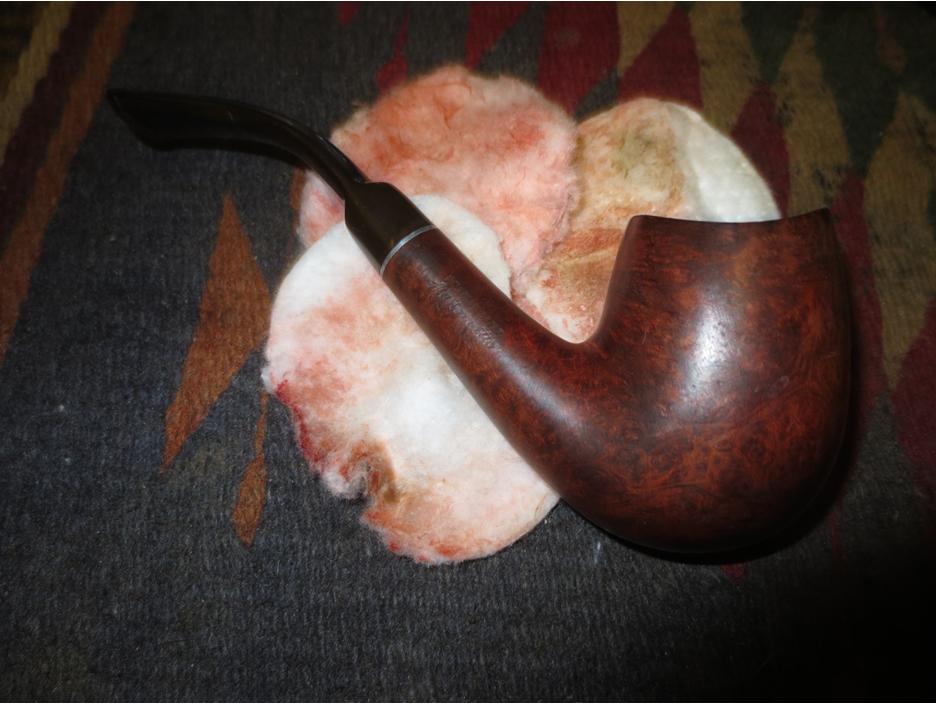
 Thinking I was done with most of the restoration of the pipe – and at a glance it did look good – I buffed the stem on the wheels with red and white Tripoli, as usual. I had, after the first hour of this job, already buffed the wood with white Tripoli as well as White Diamond and carnauba.
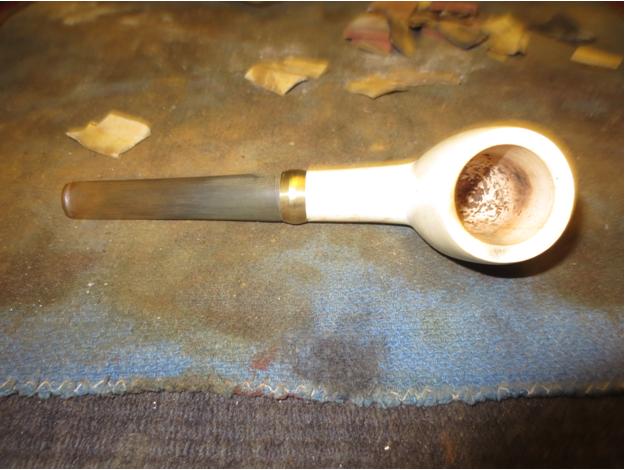
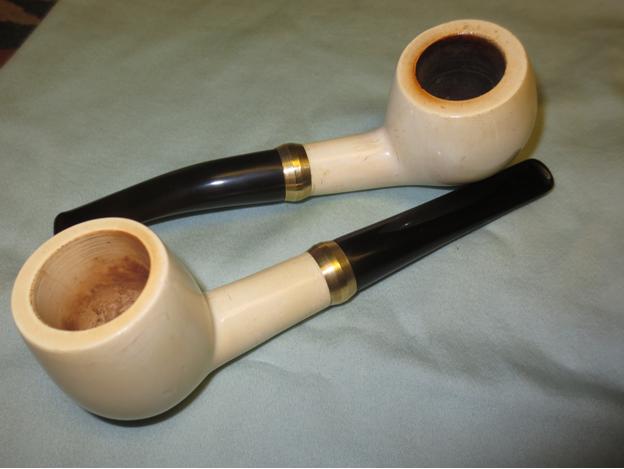
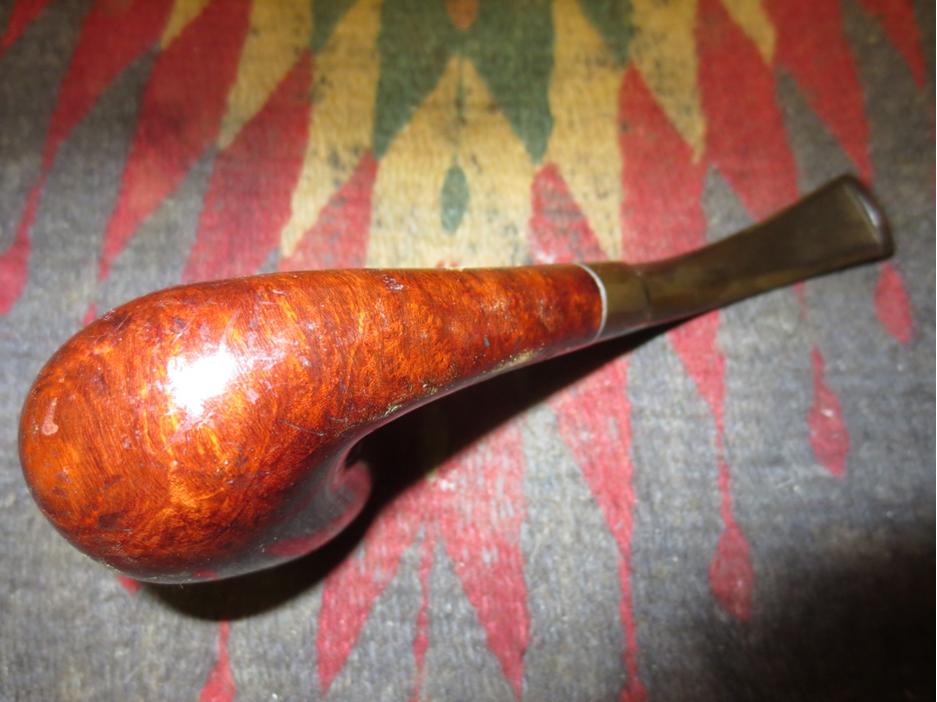
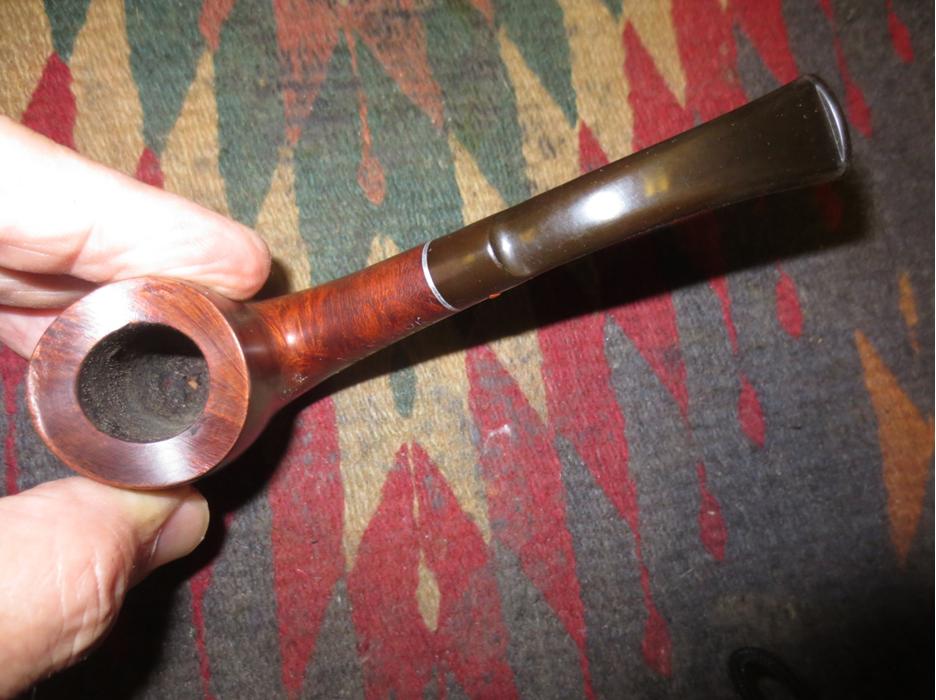
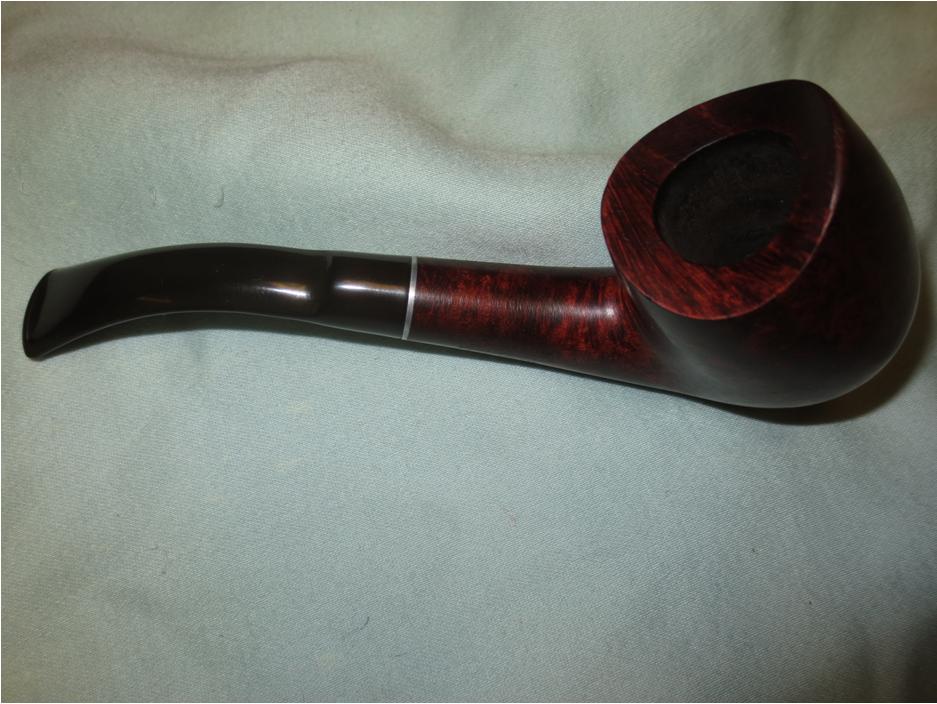
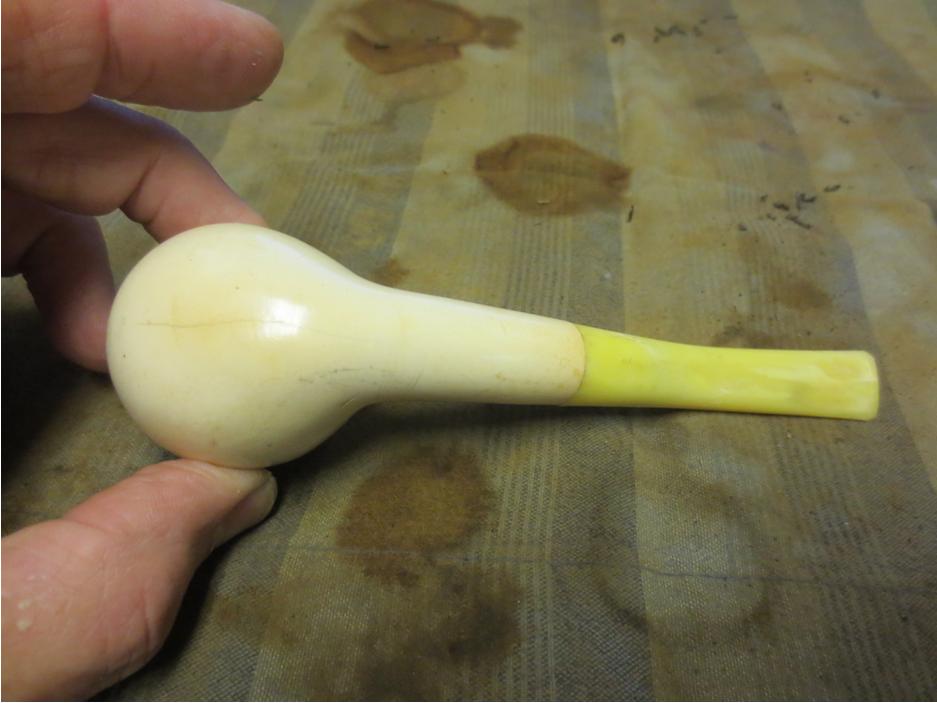
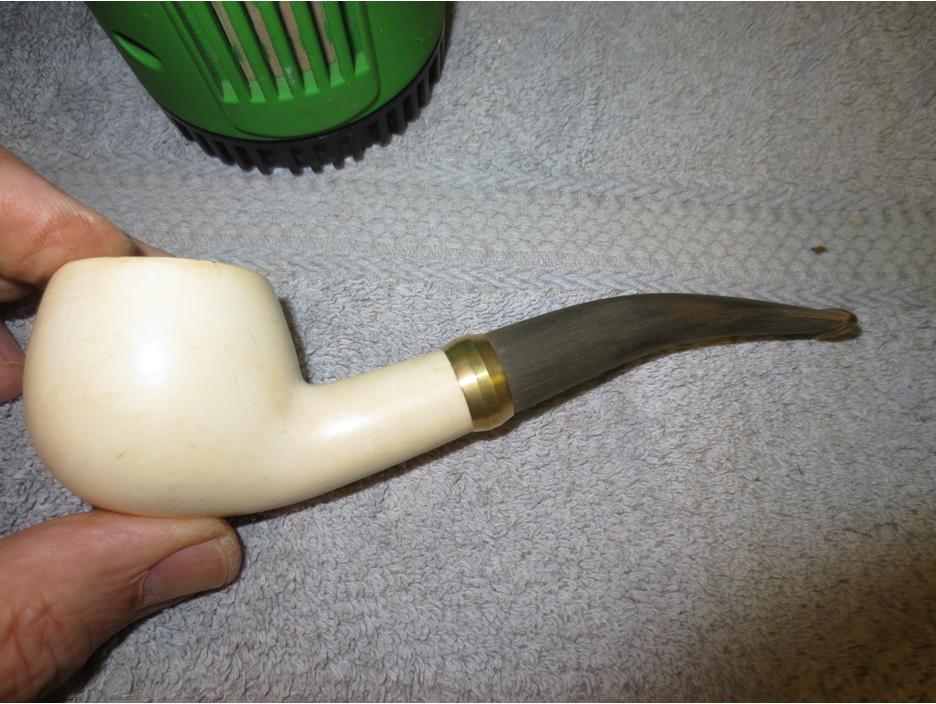
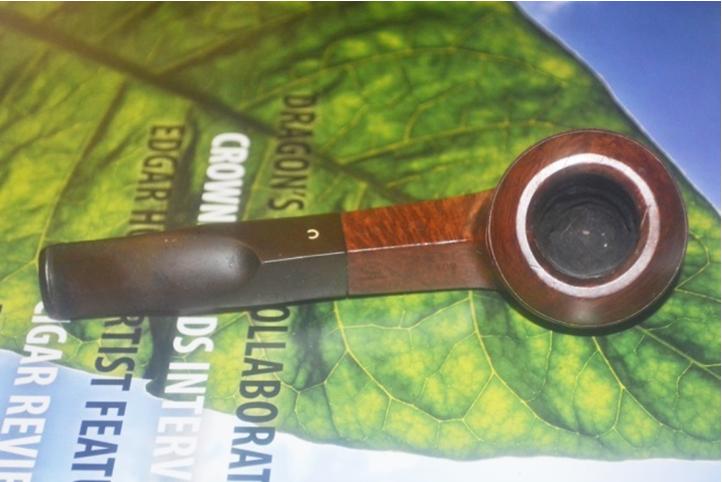
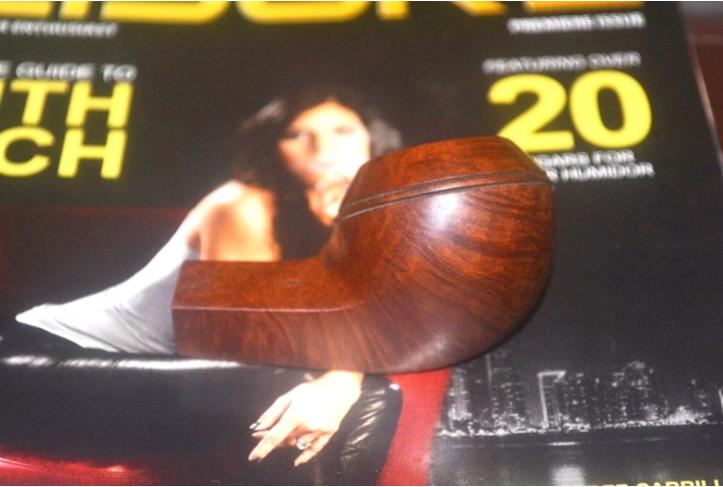
But then I took the “final” photos and saw at once that the bit did not line up with the shank when the top lines of each were even, in particular gaps all around and misalignment of the bottom line of the triangle. Well, hell.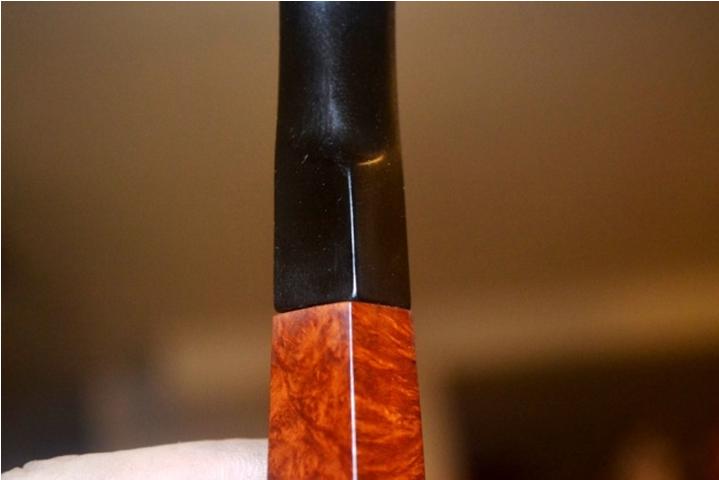
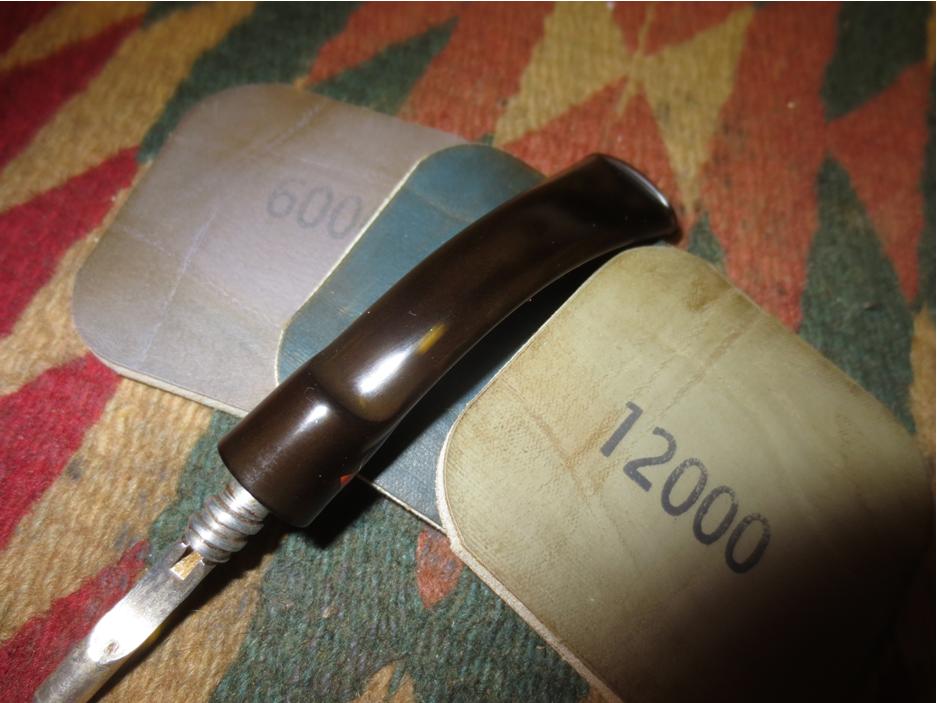
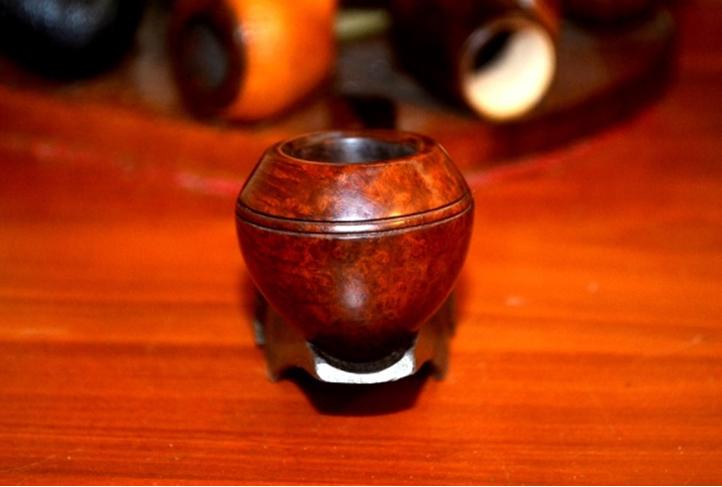
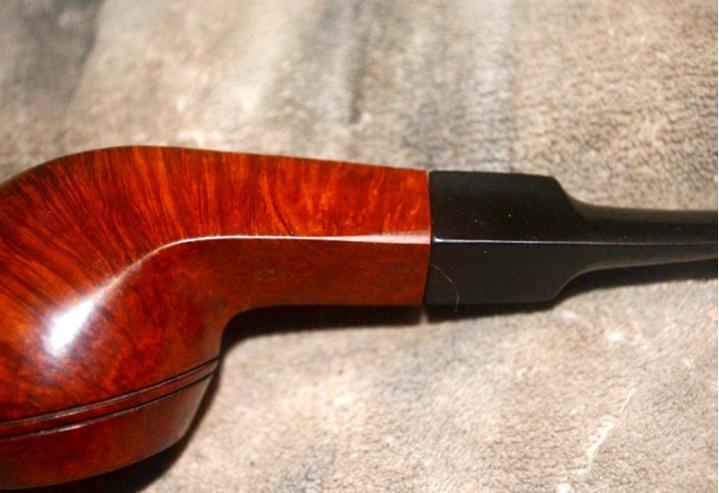 And so I got into the kind of detail work I had never done with any pipe. I filed the edge of the bit where the tenon connects. I started a lengthy process of gently sanding away and re-micro-meshing areas of wood around the shank opening. As shown in the last photo above, the only part of the problem that could only be solved with serious sanding of the shank was along the top left line leading into the bit (as shown in this view). Then I used micromesh on the one heavily sanded area of the shank and bit all the way from 1500 to 12000.
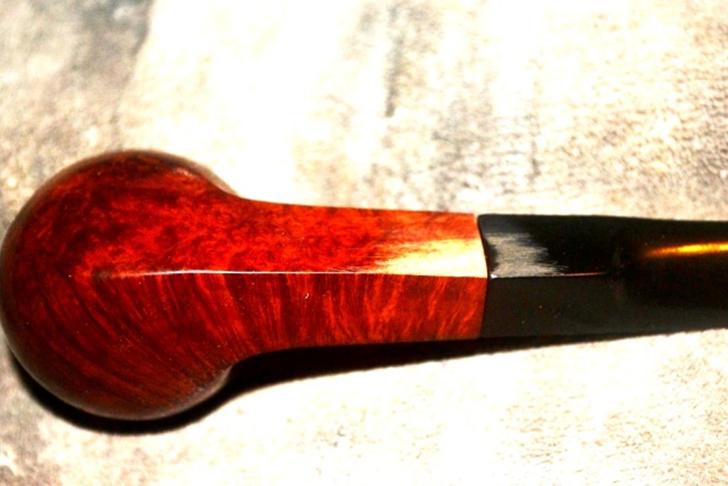

 I stained the small area of the shank still a bit lighter than before with Lincoln Medium Brown and flamed it before micro-meshing with 4000 and 6000. At this point, after about three weeks of work on the pipe, the lines of the bit matched those of the shank, but there was still a gap between the two – and although it was in fact bigger, it was perfect in terms of uniformity. I broke out the file one more time and with the utmost care took a layer off the edge of the bit around the tenon.
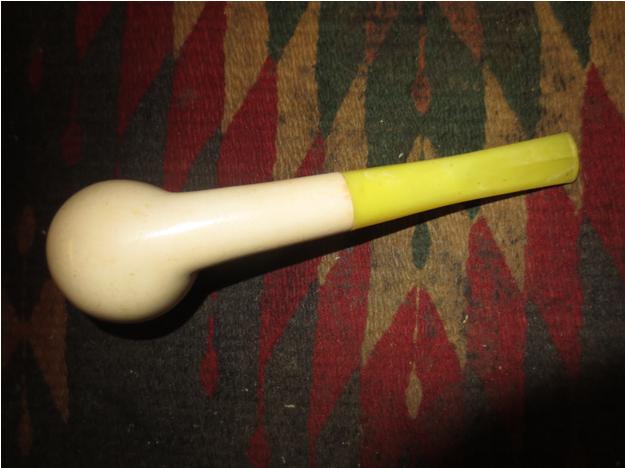
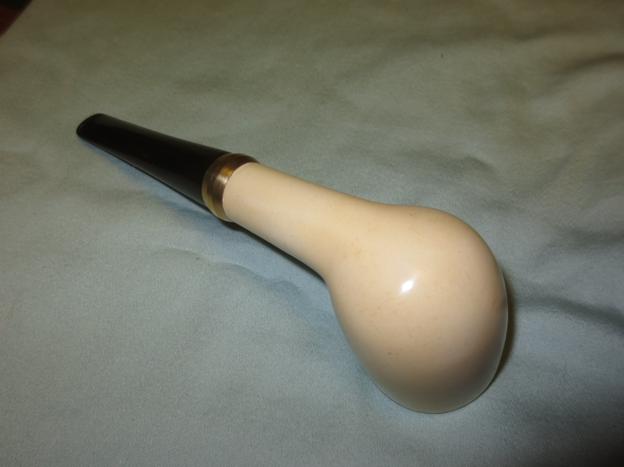
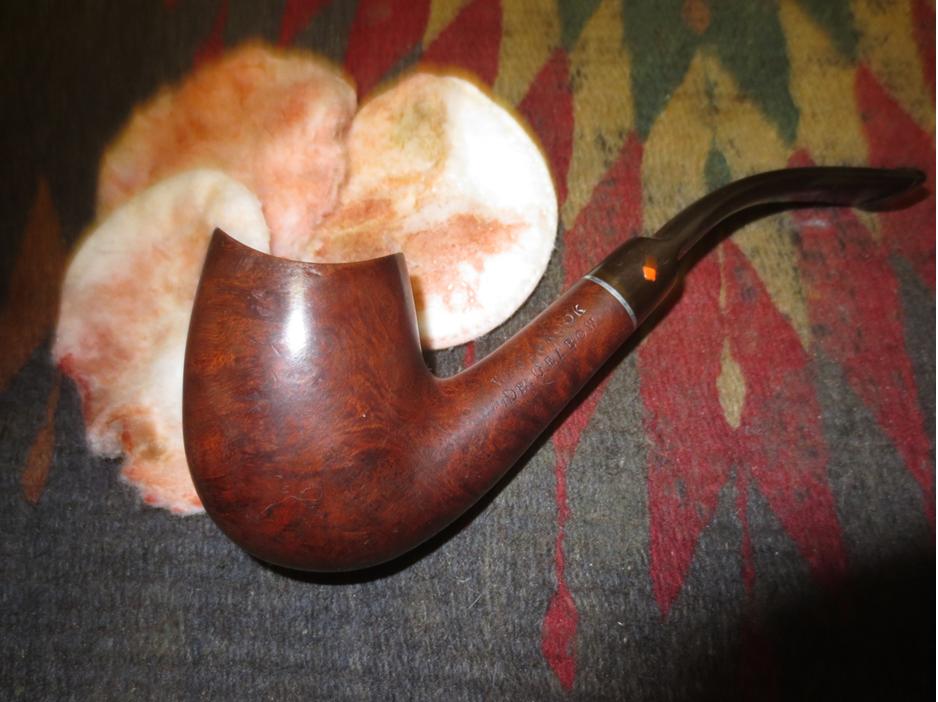
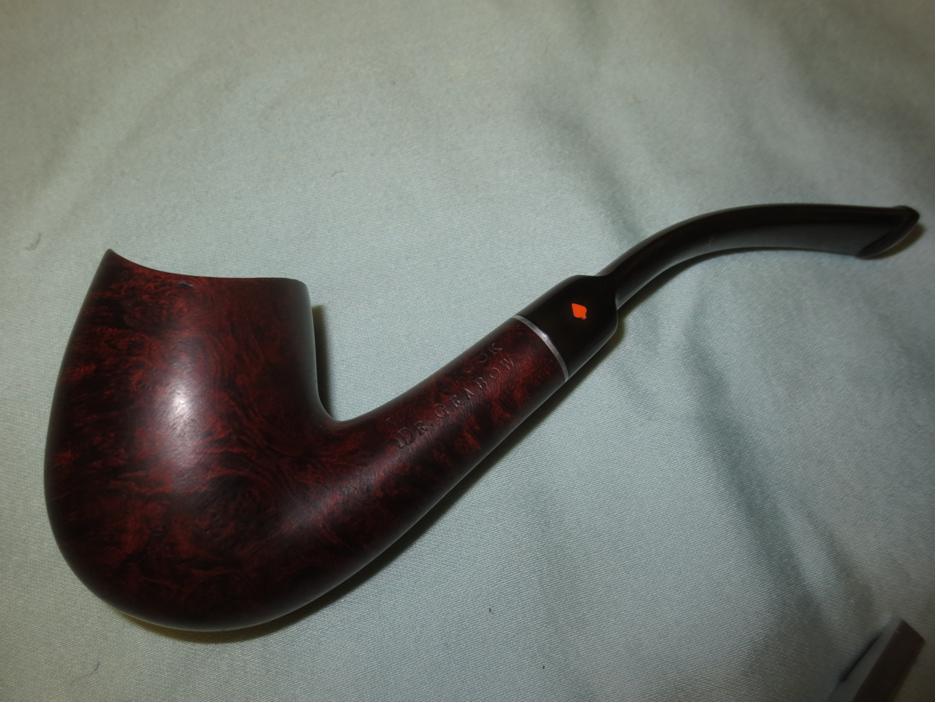
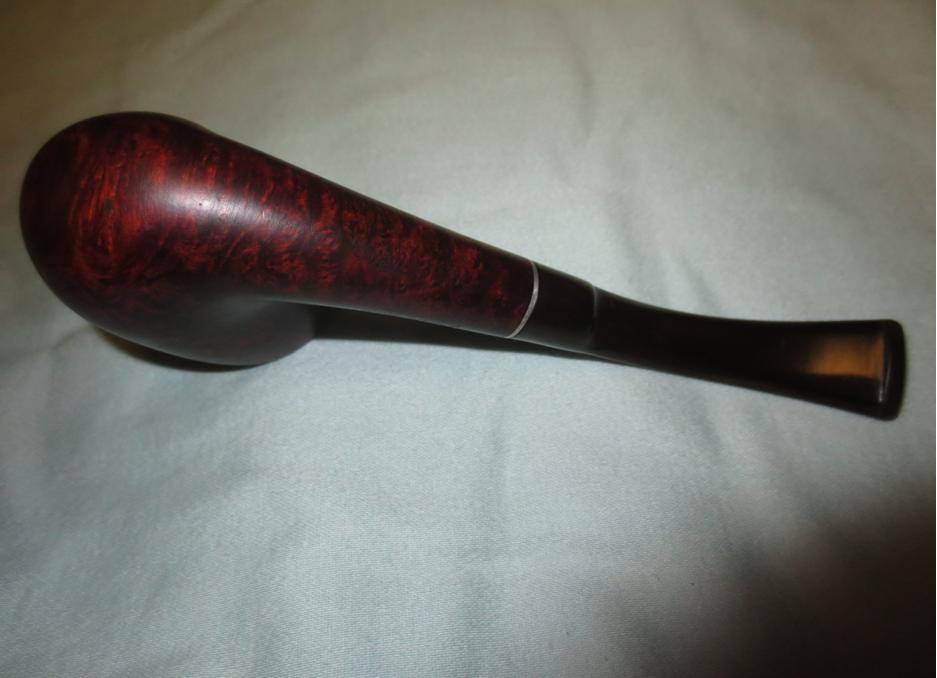
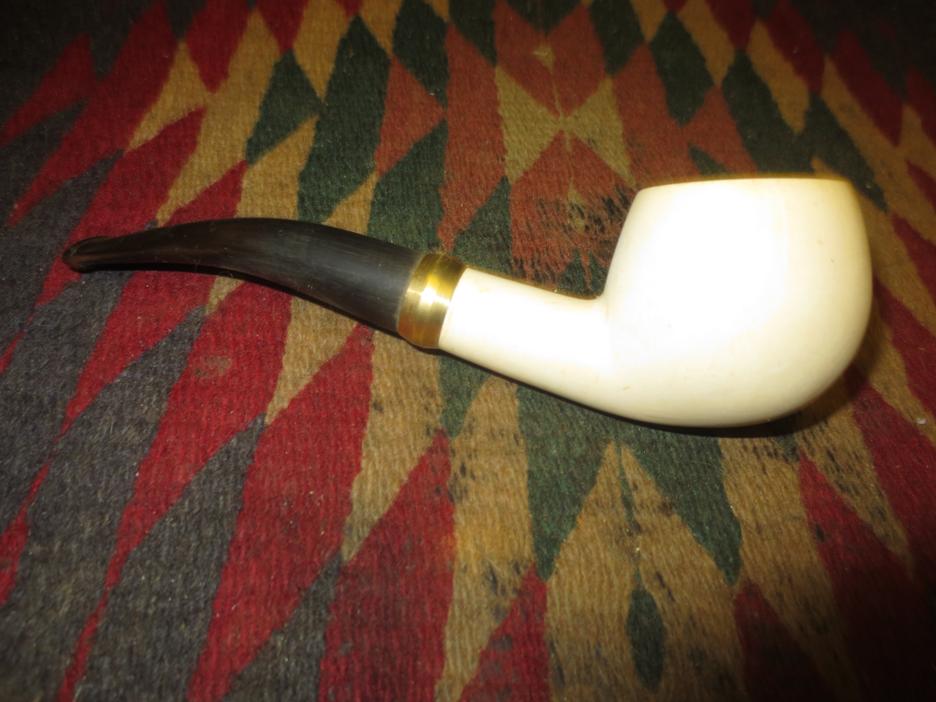
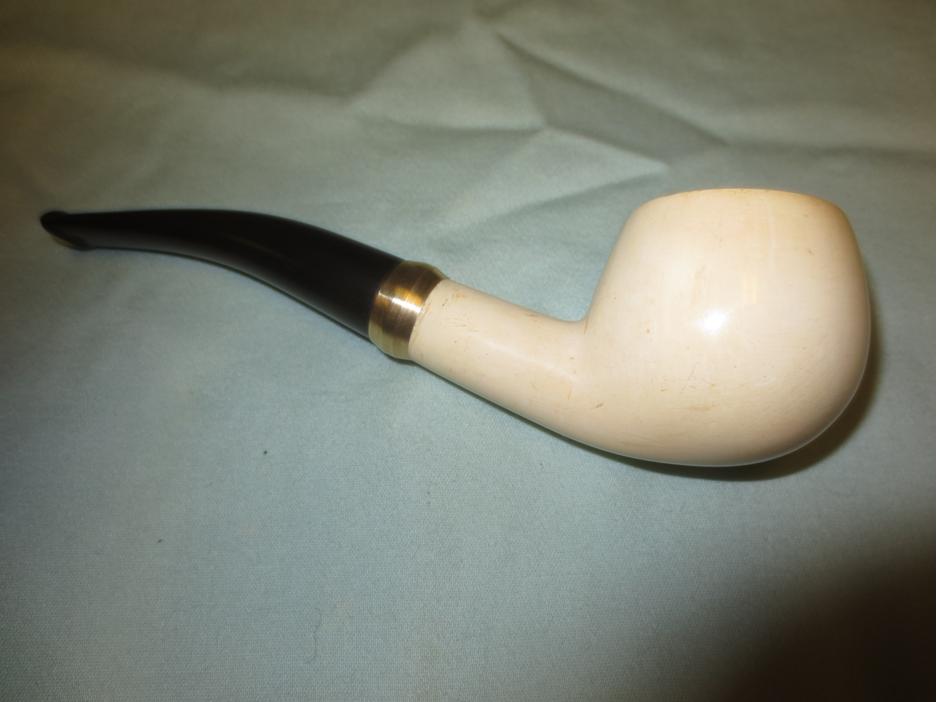
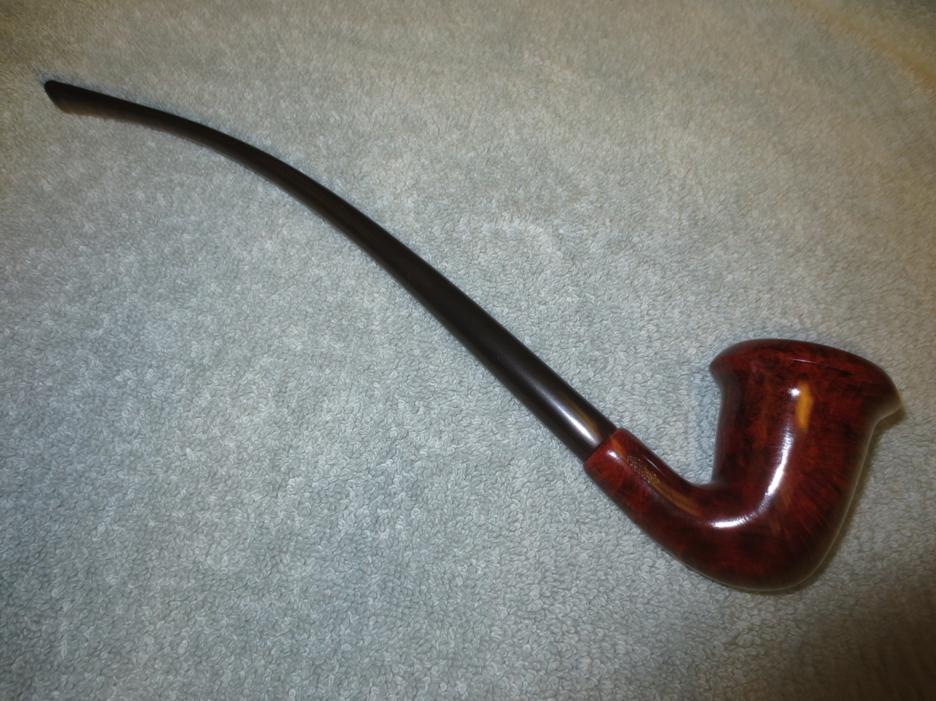
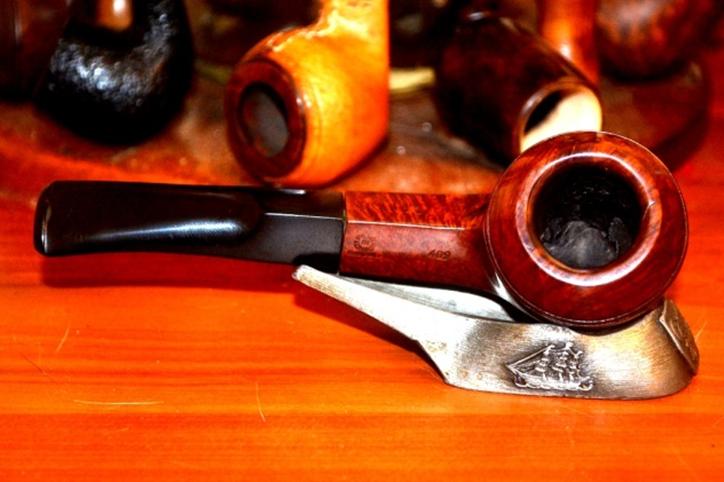
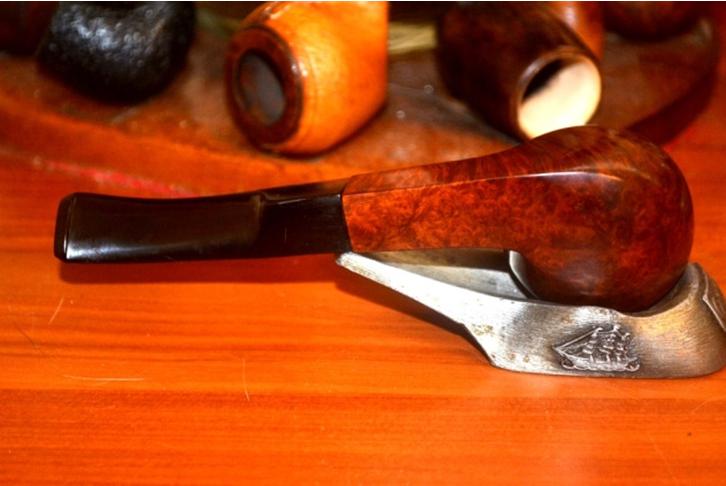
At last, a nice, flush match. I touched up the waxing with another coat of carnauba.


 CONCLUSION
Well…first of all, I can report, without doubt, that I have never been happier to be done with a restoration. This one was as full of a restore as I have ever had occasion to do, and I am full of it (not in the sense that I think I did it perfectly, because if anything, it taught me how much more I really do have to learn, and the equipment and supplies needed). But I do find nowadays that many times when I ask one of my trusted guides a question, it is to confirm that which I already more or less suspect, as in an email I sent late last night to Steve about a saddle bit with two holes in the lip that I wished I could somehow remove the space between them to make the draw hole a typical slit opening and therefore easier to clean for whomever buys the pipe I chose for it. I had already bent the tenon to fit the mortise using the oven method described in this blog, and so knew two cleaners were required to fill the airway before heating, and that something must be up with that, but Steve promptly replied that the design is meant to be a twin-bore “bite-proof” bit. Then I recalled Chuck once telling me something along the same lines. And when I showed Chuck the Comoy’s Christmas 1983 bulldog with the initial Bertram’s bit I wasted on it, I knew in my heart that the analysis he would have for me, though unpleasant, was necessary to confirm.
This essay, therefore, was not meant so much to be the usual restoration or refurbish piece as it was, rather, a horror story of the calamities that can befall anyone who engages in the art of taking a damaged pipe and making it better with the myriad processes that might present themselves toward that end. I am, perhaps somewhat wickedly, always pleased to hear the anecdotes of masters such as Steve and Chuck, and countless contributors to this forum, who have shared some of their own truly Gothic tales of the grotesque in their encounters with real Frankenstein pipes. By good fortune, my account herein was only one of a bowl and shank in excellent shape that merely needed a single appendage added, with a relative minimum of minor surgery to realize it.
Now I can hardly contain my excitement at being able to attack all the bodiless heads and headless bodies, to use a metaphor, that have waited patiently (I guess that’s personification) for my late but kind attention.