Blog by Steve Laug
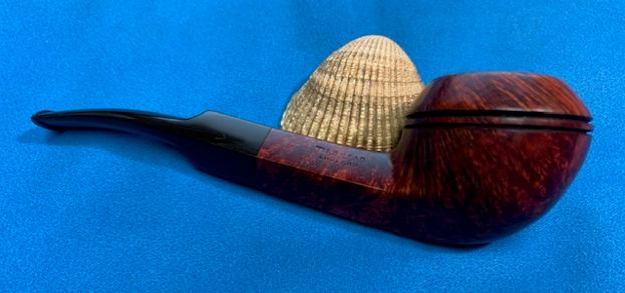
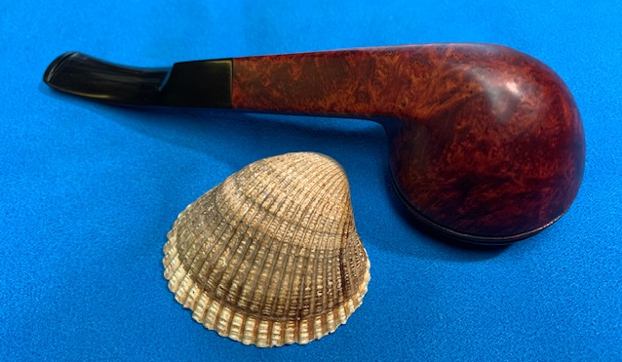
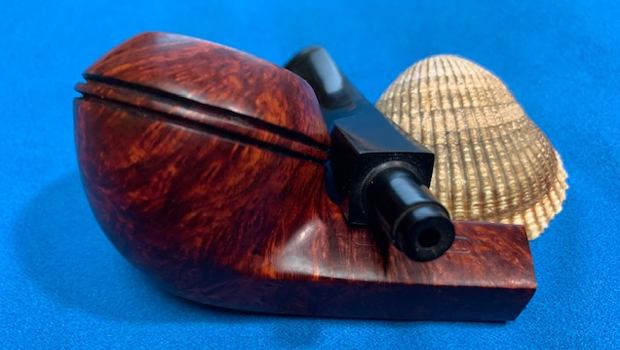
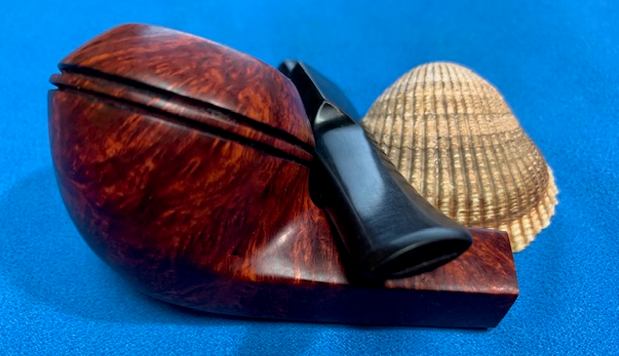
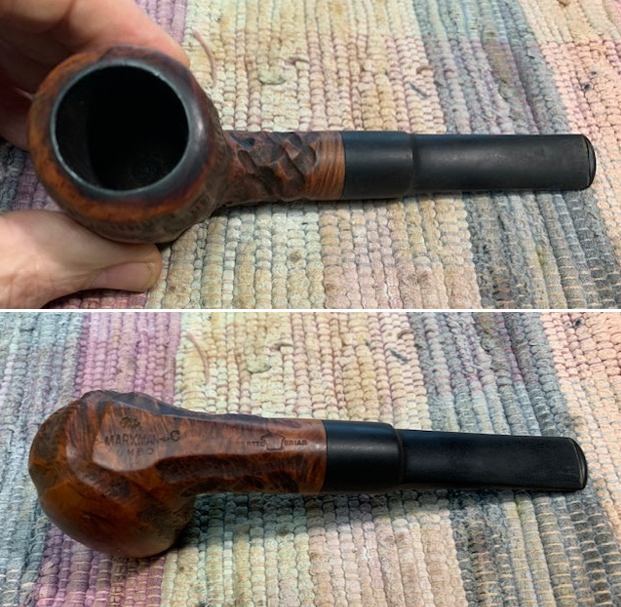
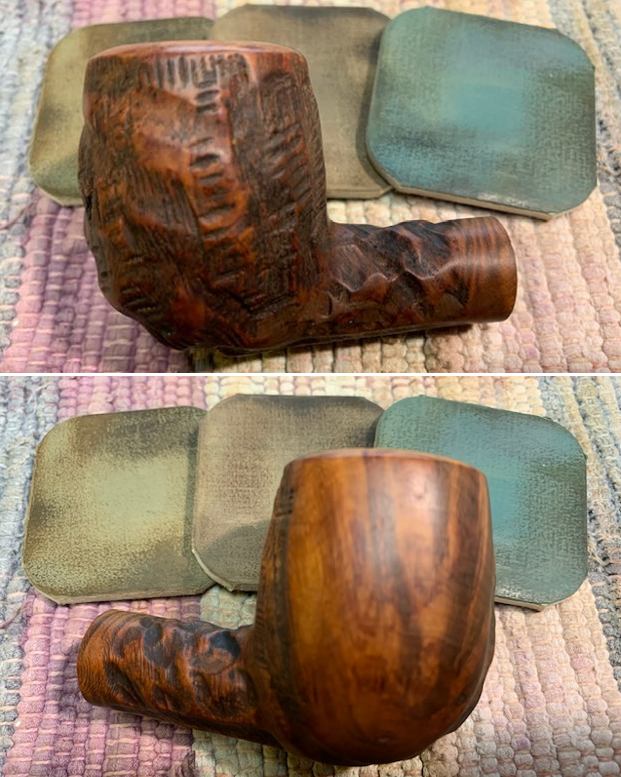
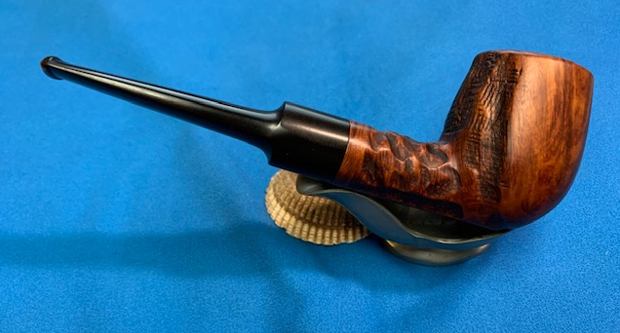
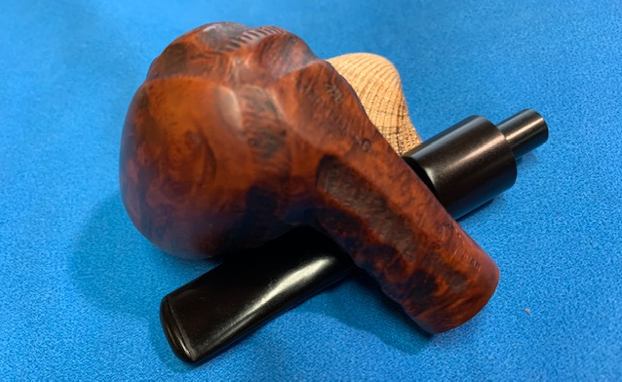
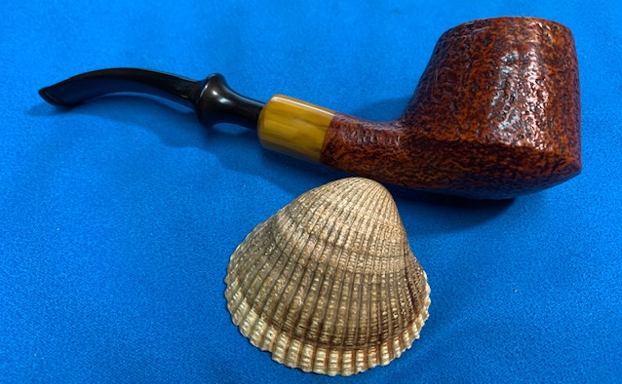
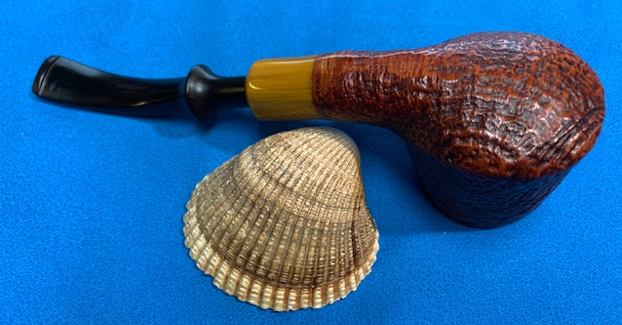
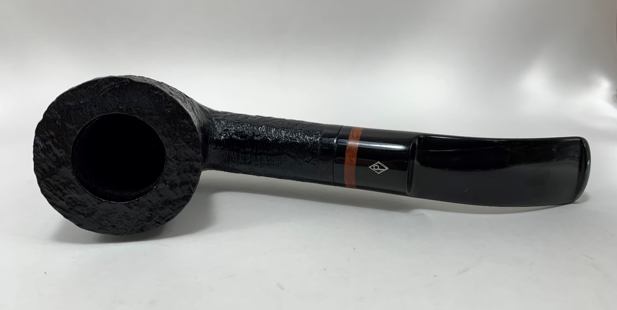
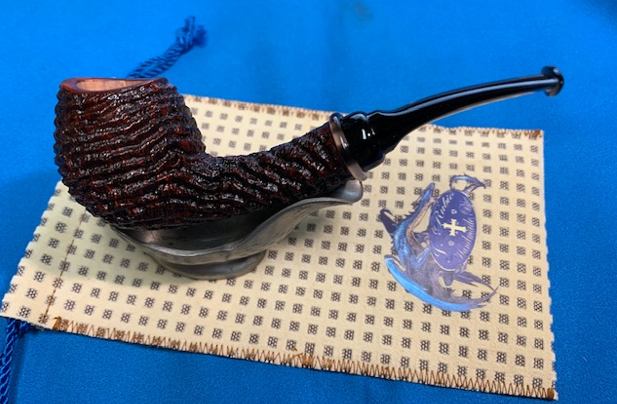
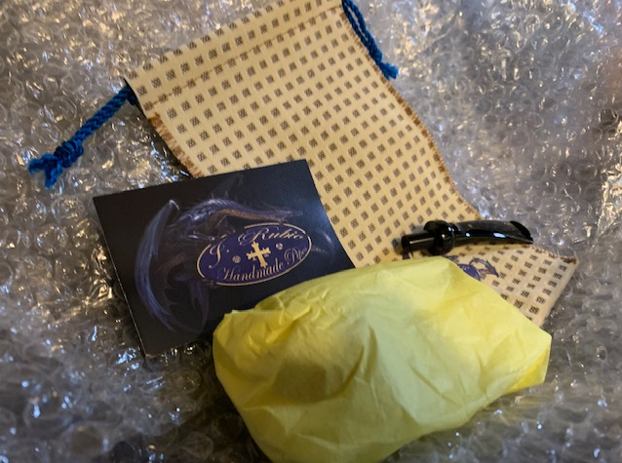
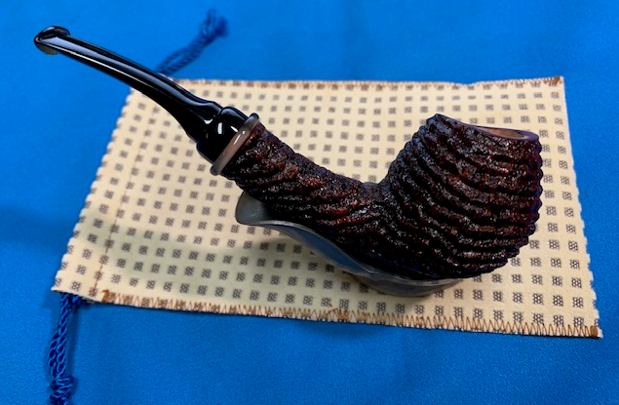
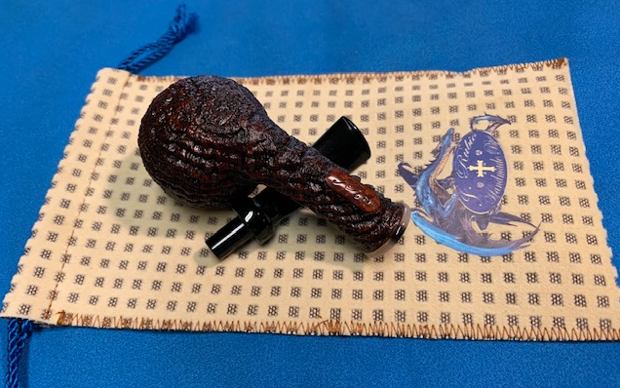
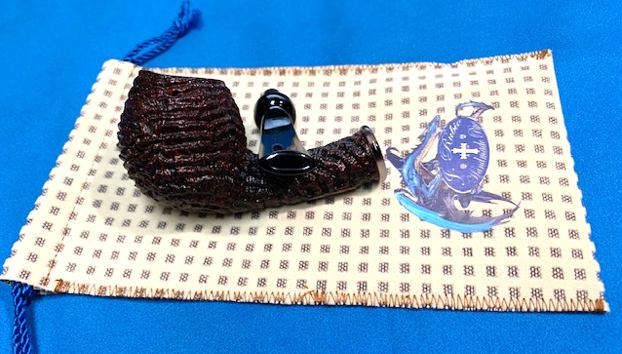
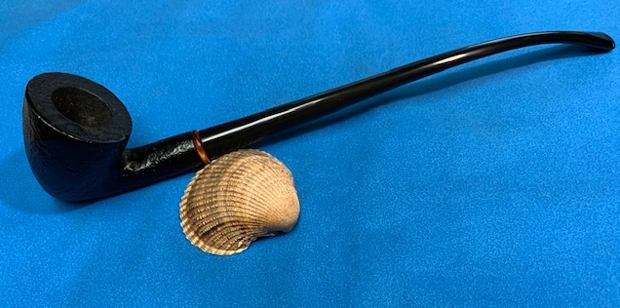
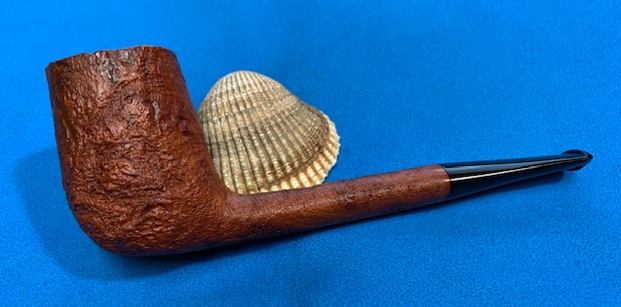
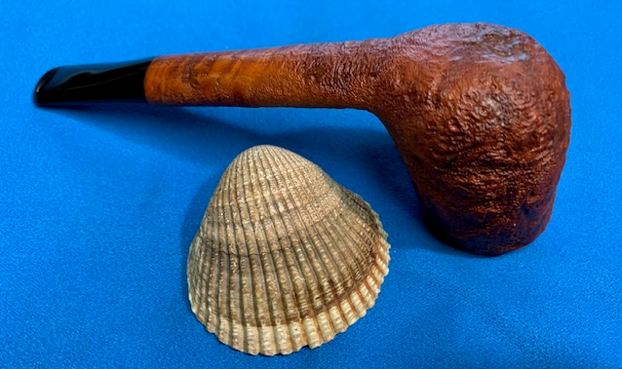
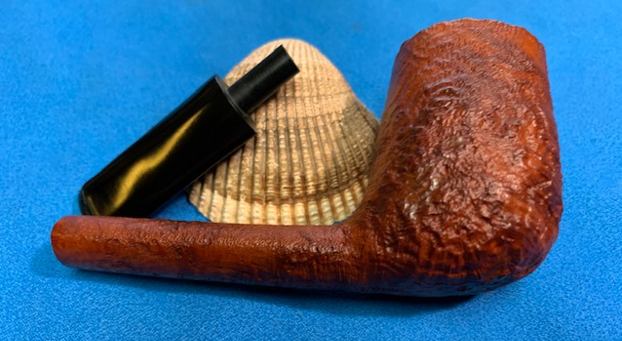
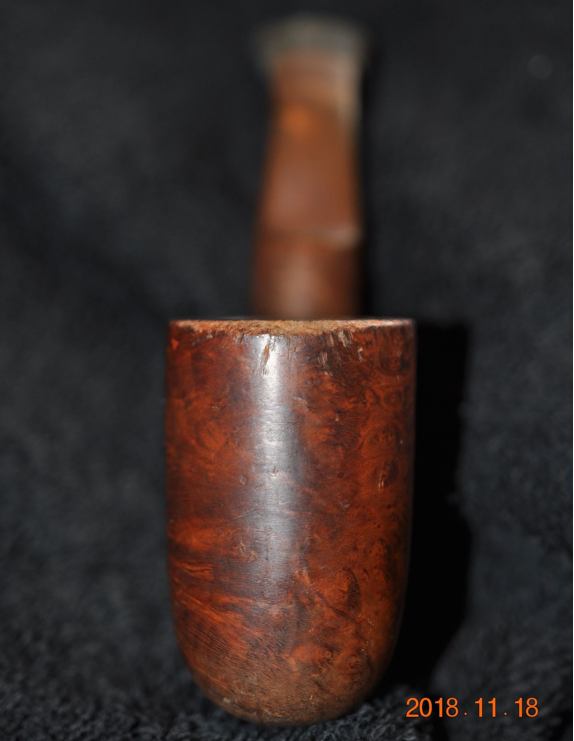
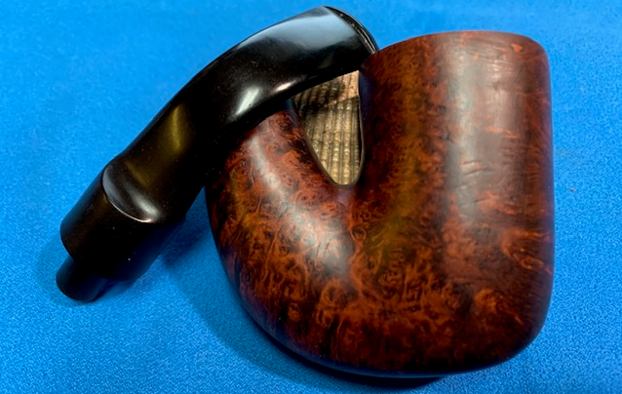
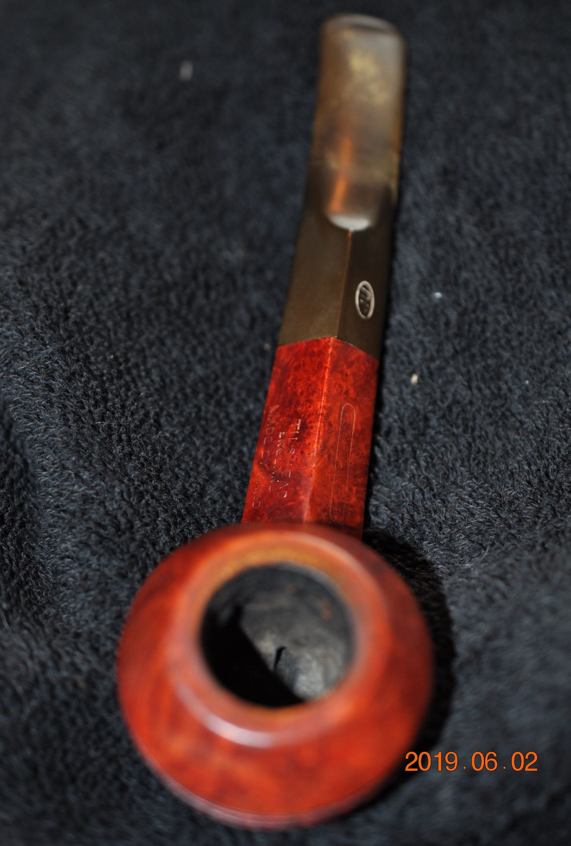
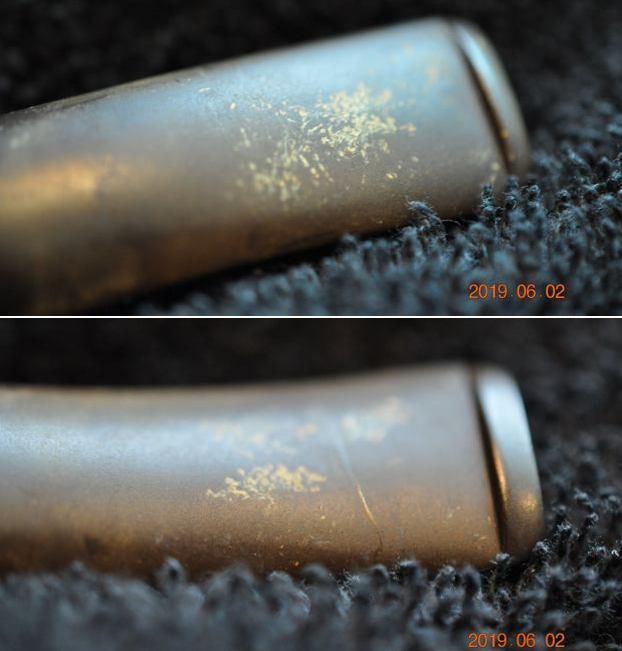
This past May, 2019 I received an email from John in Iowa City, Iowa inquiring whether I would be interested in purchasing four Upshall pipes that he was selling. He sent photos and we chatted back and forth via email and a deal was struck. I had him ship the pipes to Jeff’s place in Idaho. They were generally well cared for pipes but they were dirty. This is another pipe from that foursome that I have chosen to work on. The shape and design caught my eye as I was going through the pipes in the queue. The shape is what I would call a Bent Bulldog. There is not a Grade stamp that I can see but it is a smooth, Mahogany Red finished pipe. The finish is very dirty with dust and grime. The bowl has a thick cake but the rim top is quite clean. The rim top has some darkening and perhaps some damage around the inner edge. The inner edge appears to be slightly out of round toward the front. The stem is oxidized, calcified and has light tooth chatter and marks on both sides near the button. The surface of the button looks very good on both sides. Jeff took photos of the pipe before he started his cleanup work. The conditions noted above are evident in the photos.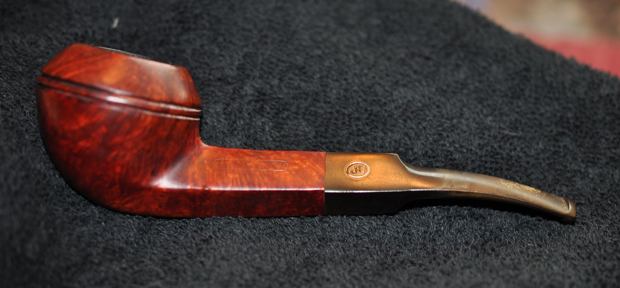
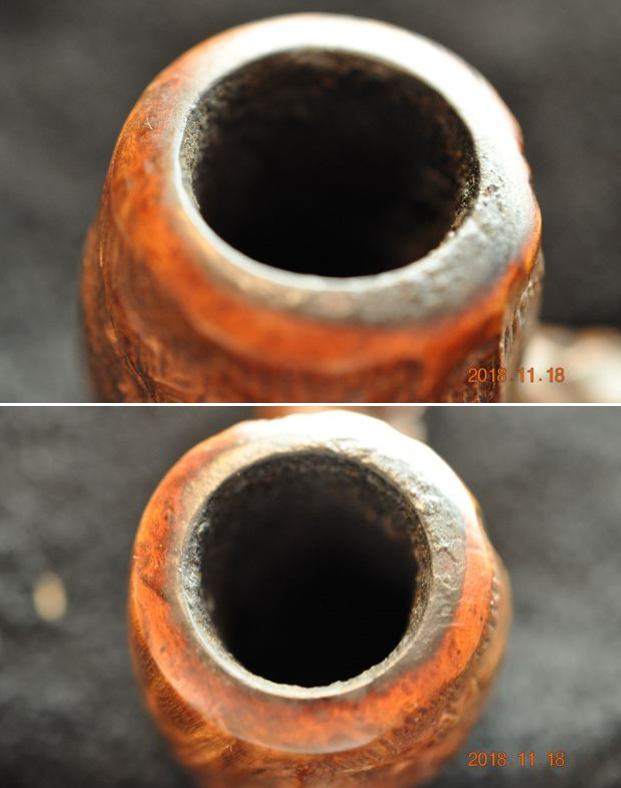
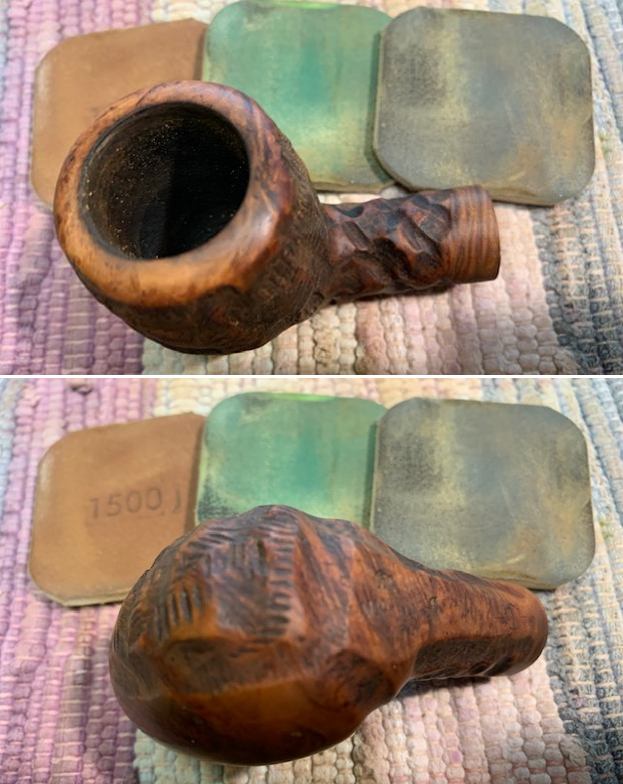
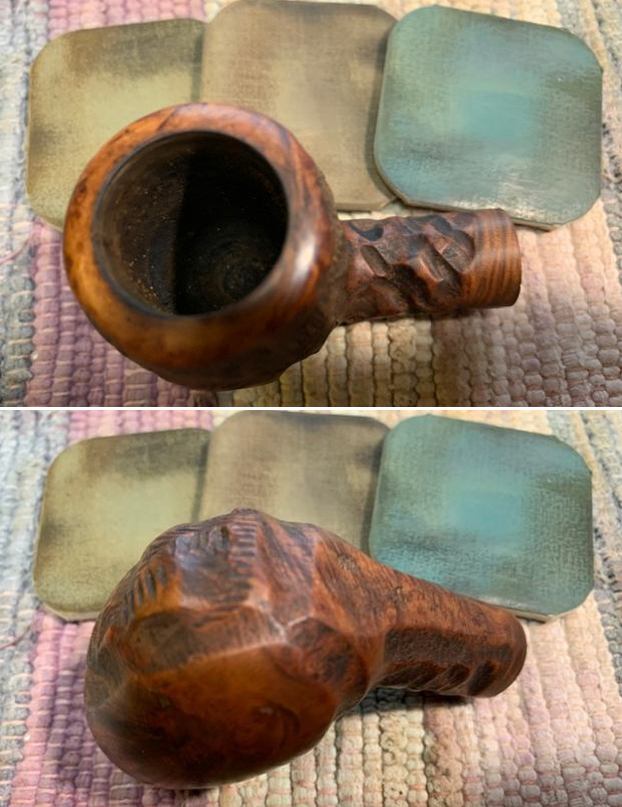
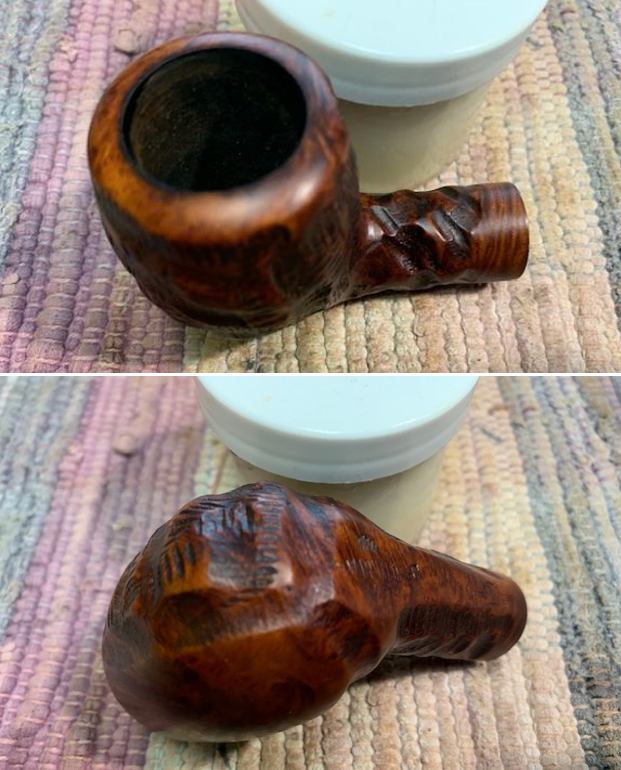
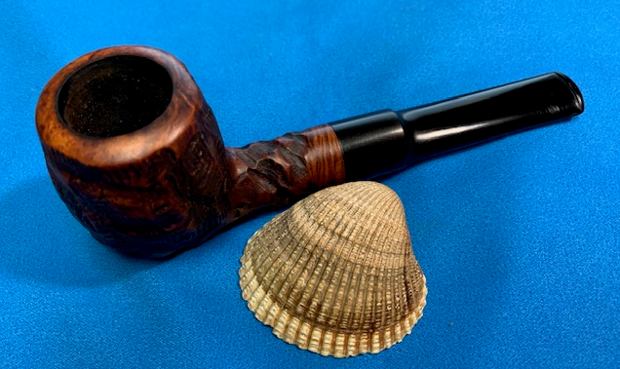
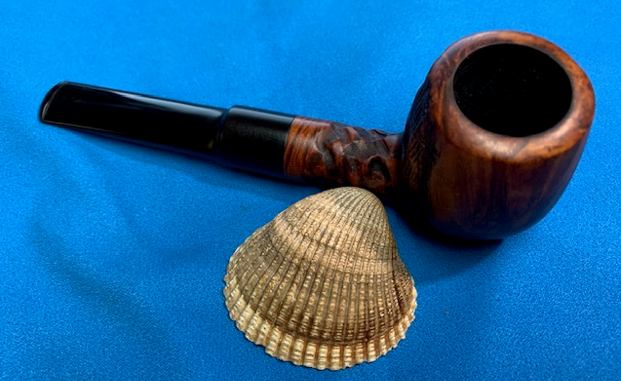
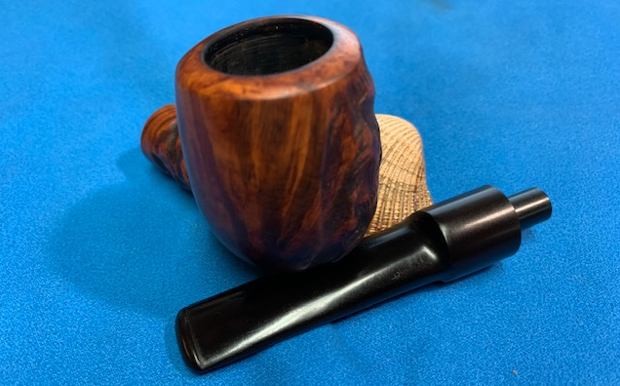
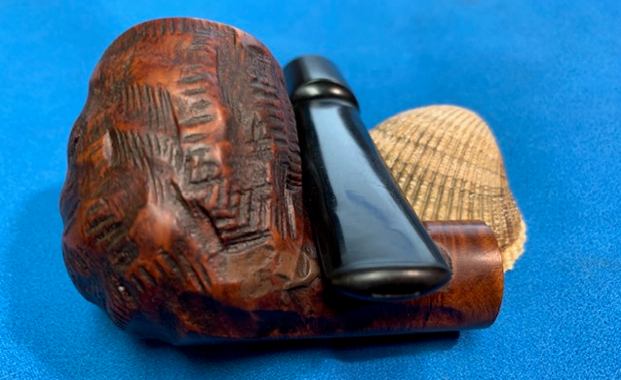
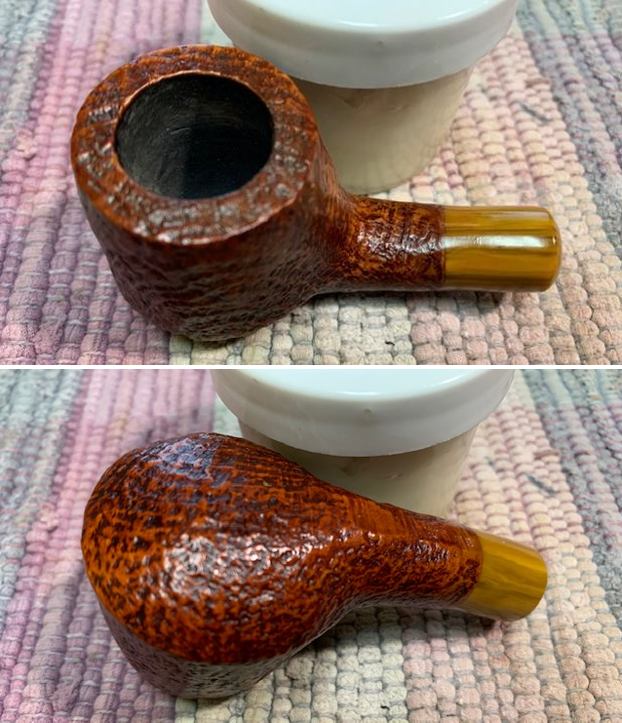
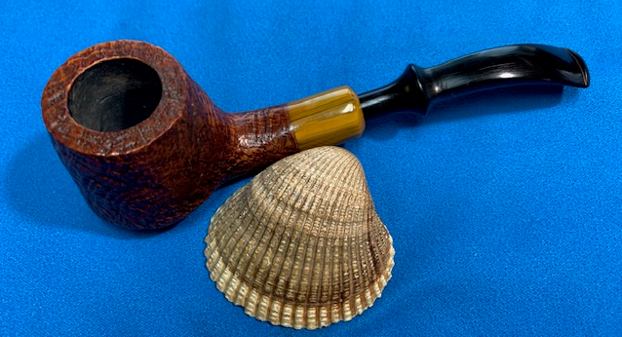
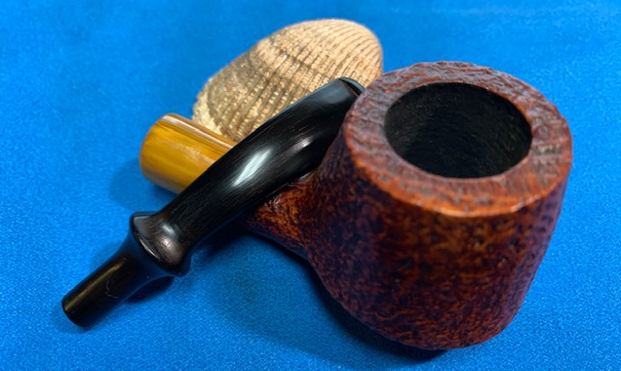
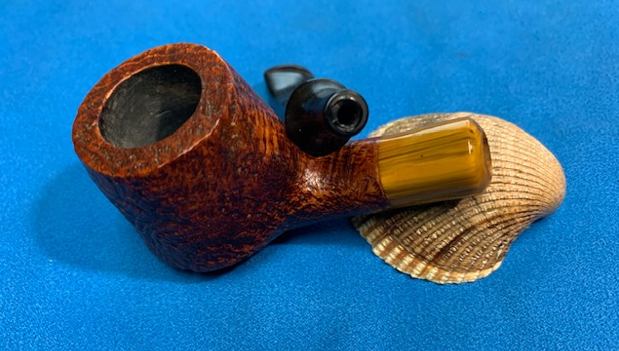
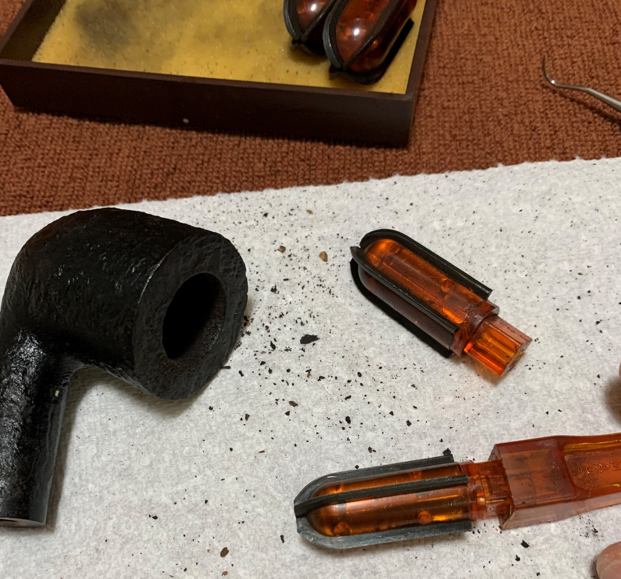
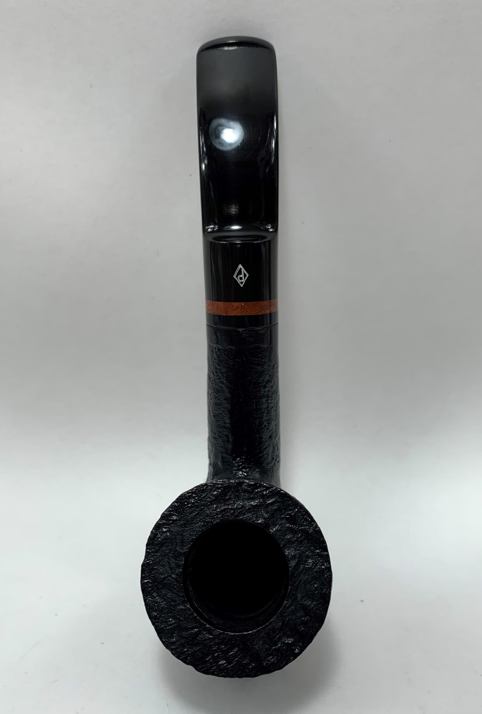
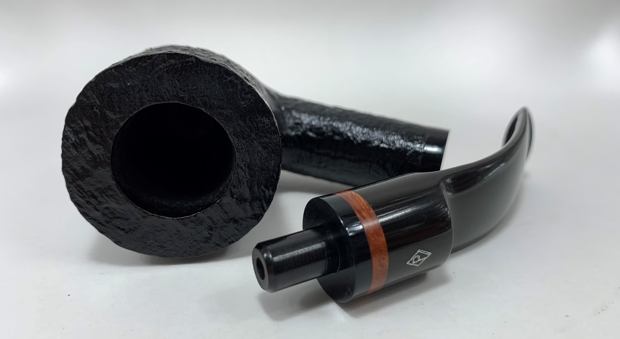
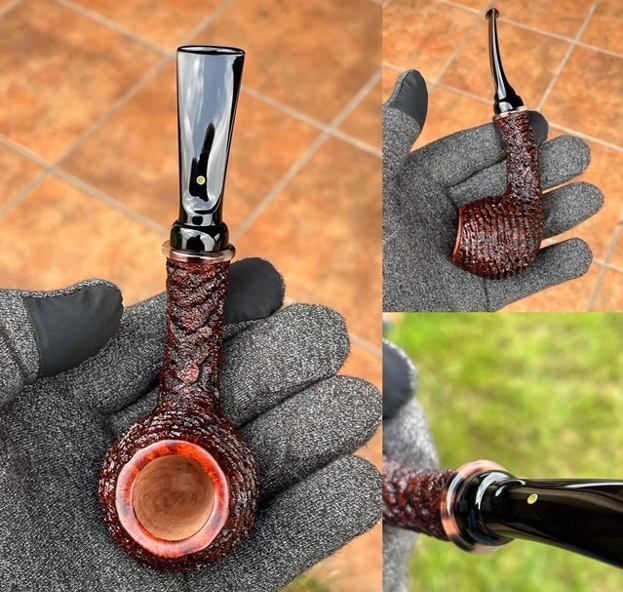
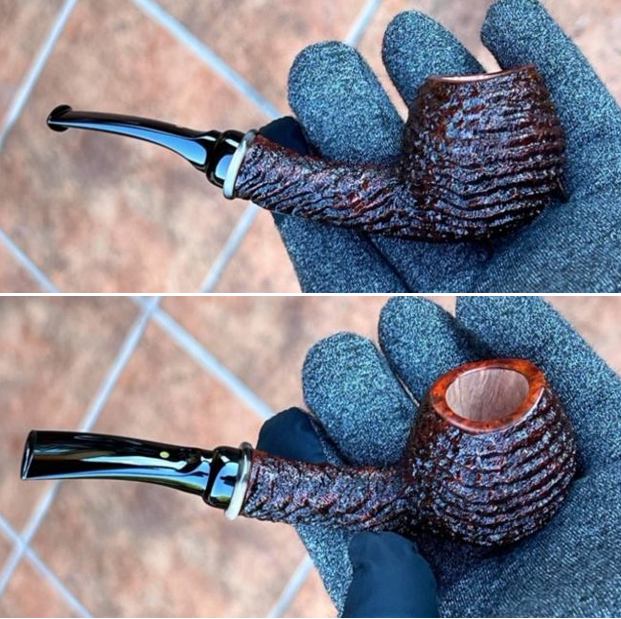
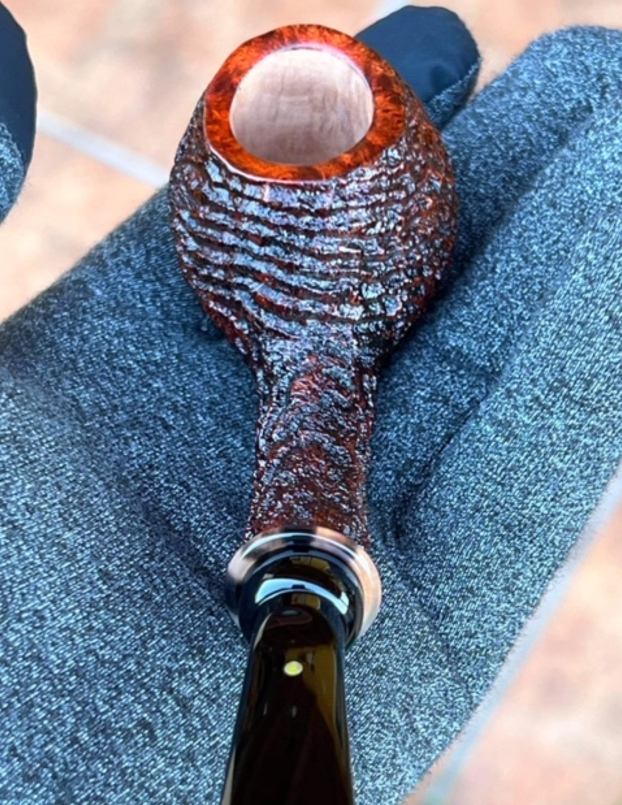
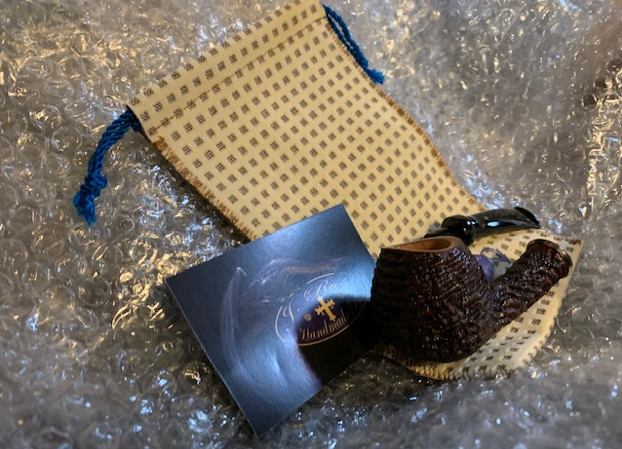
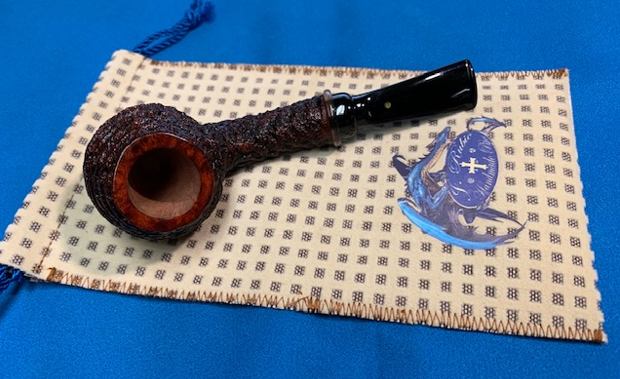
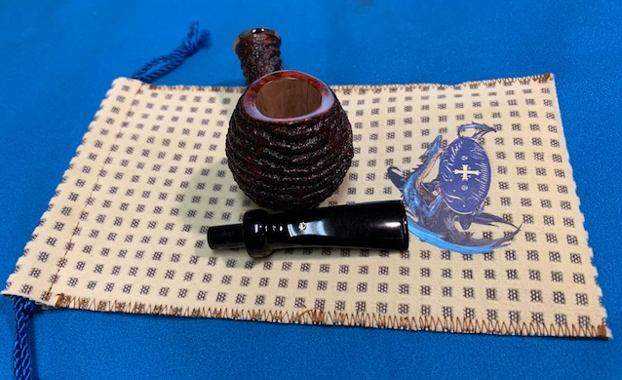
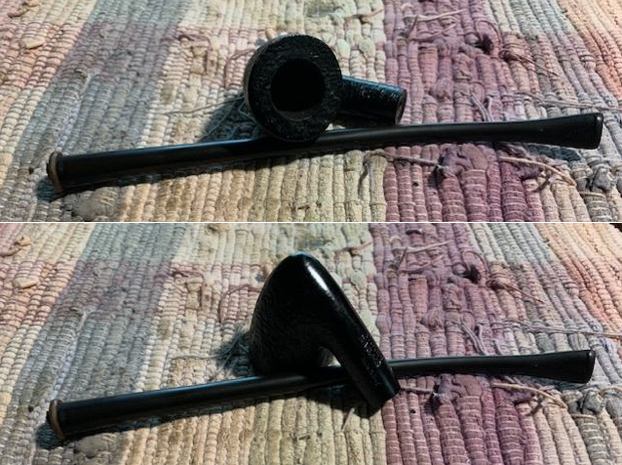
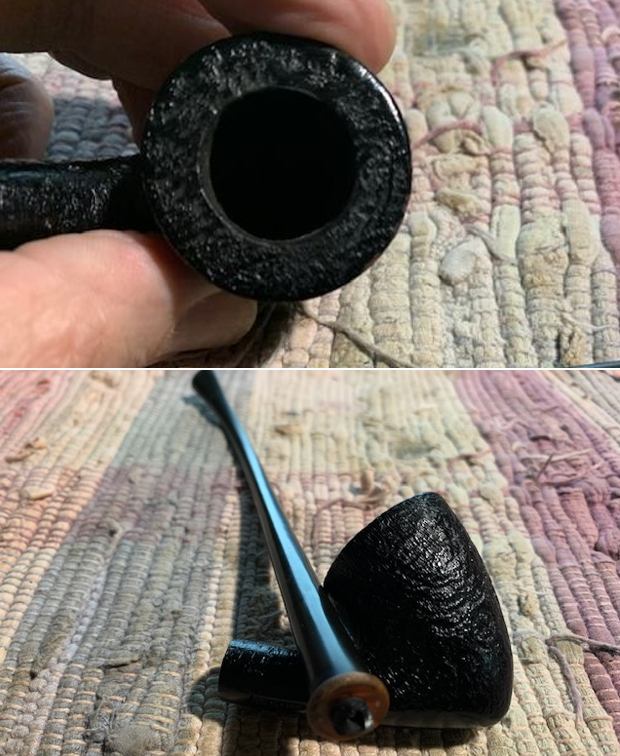
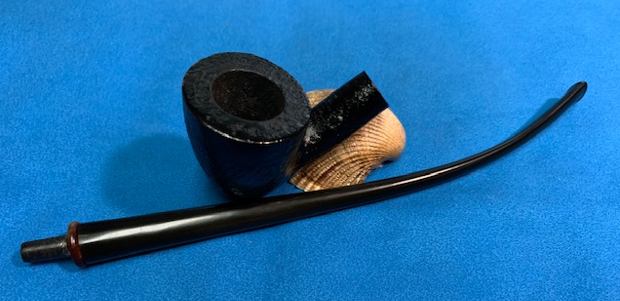
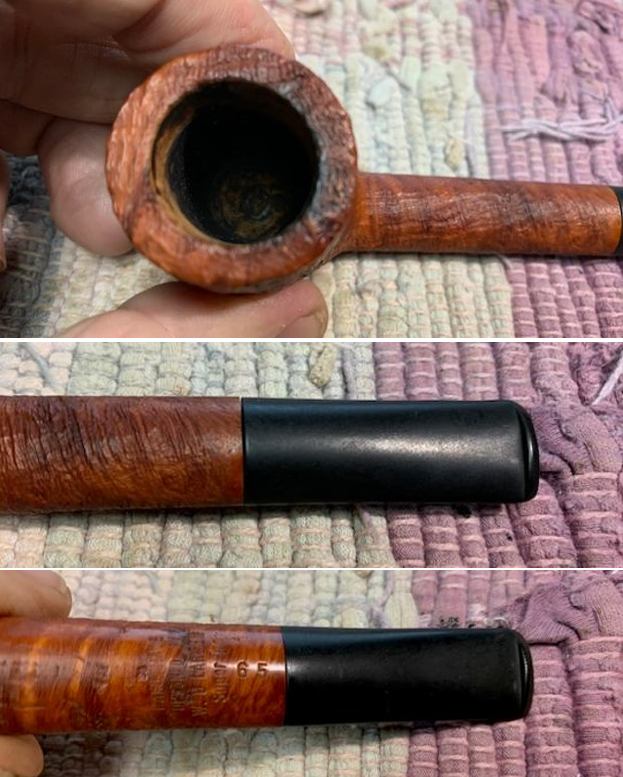
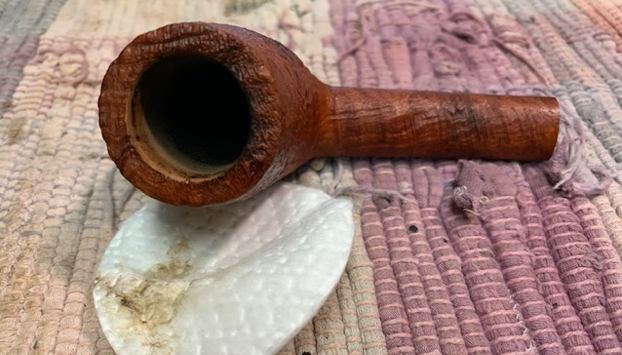
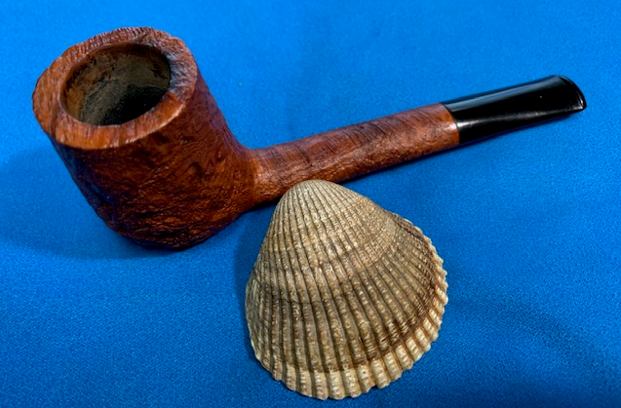
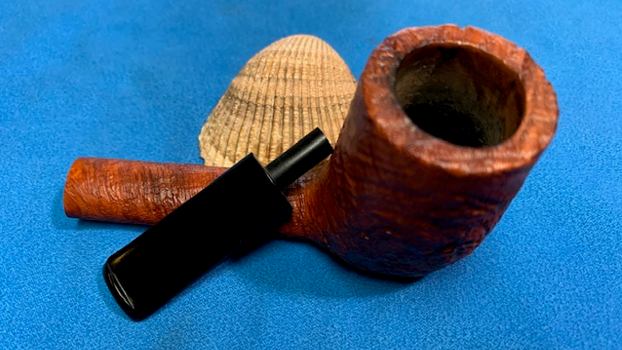
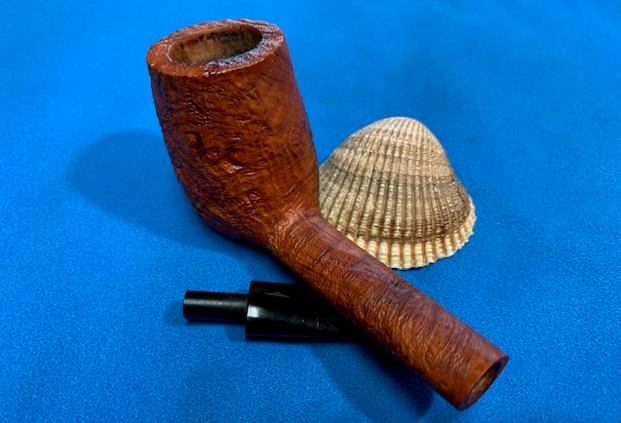
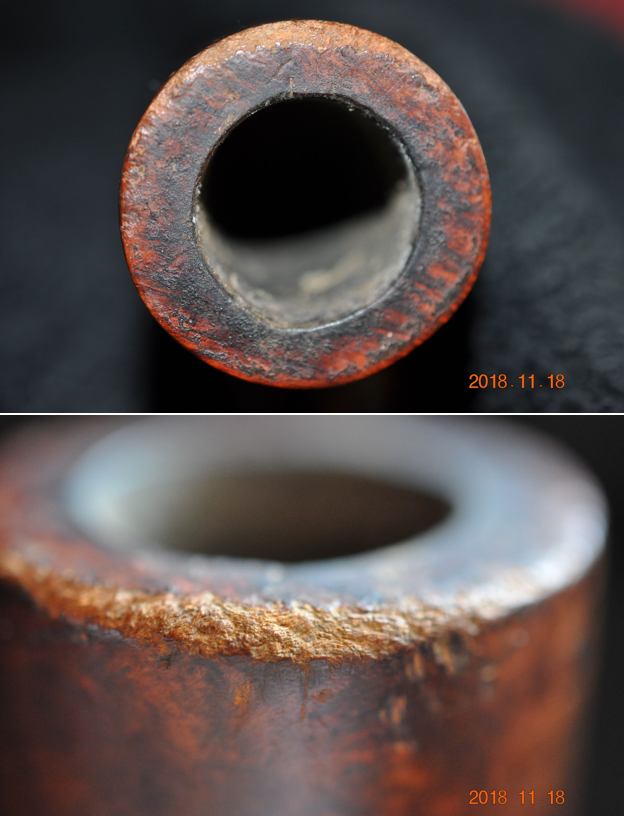
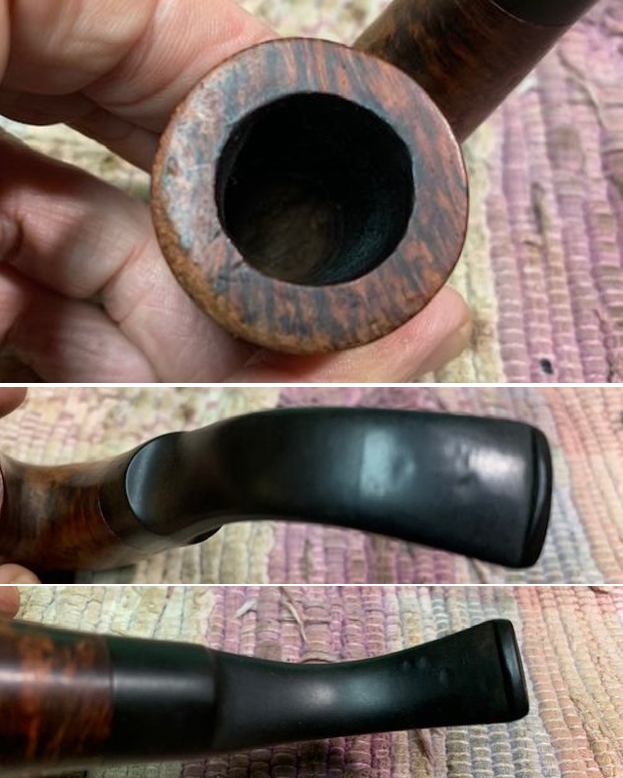
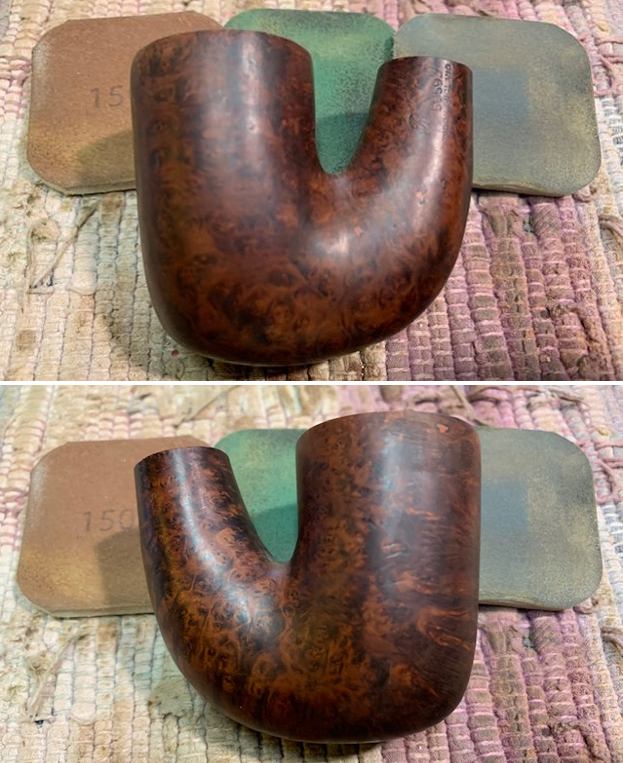
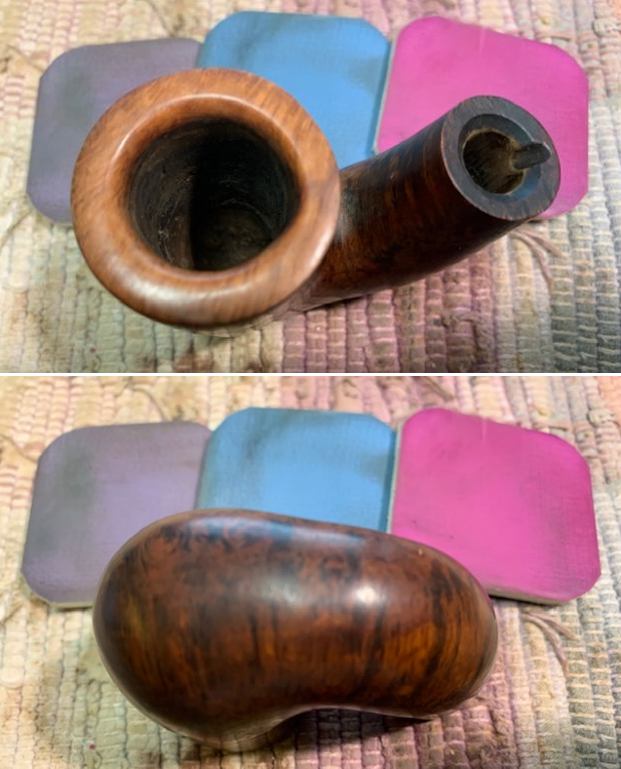
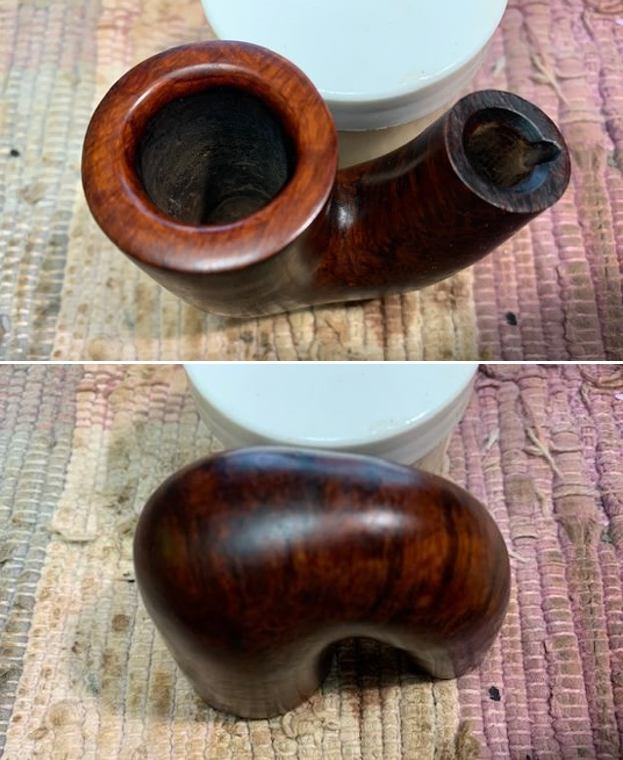
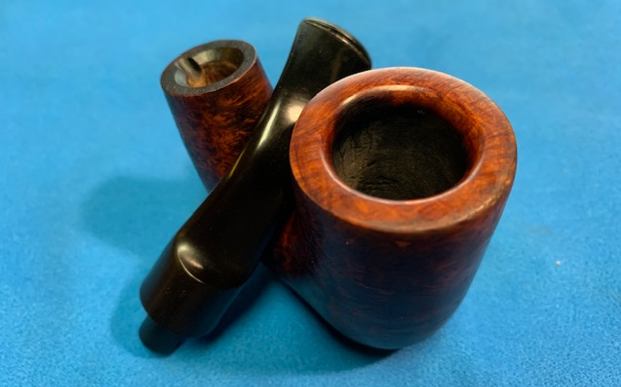
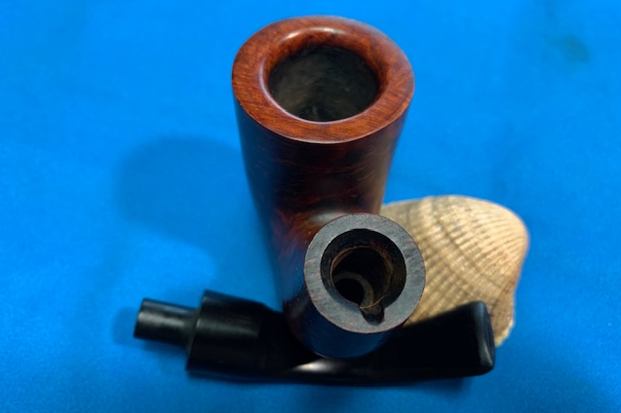
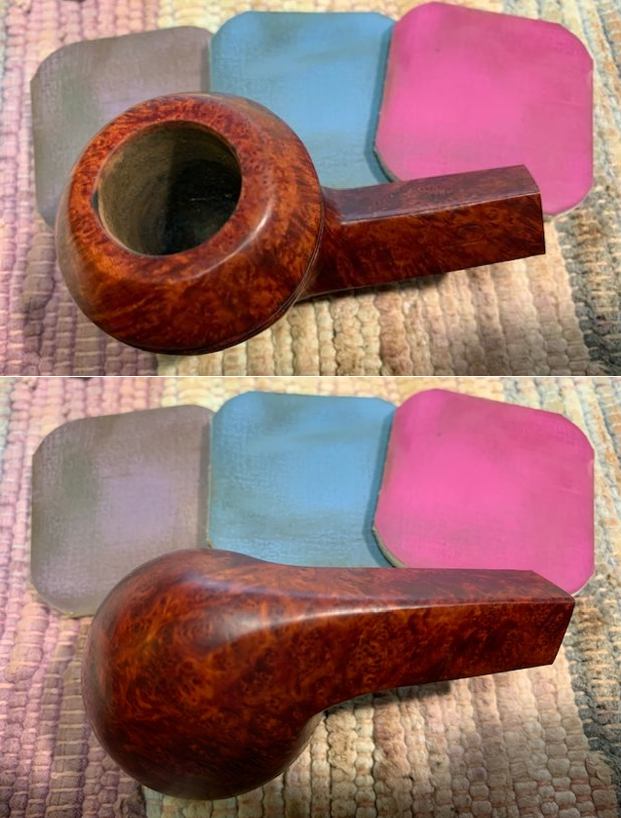
 Jeff took close up photos of the rim top from various angles to show the general condition of the bowl and rim. The first photo shows the thickness of the cake in the bowl and the lava build up on the back inner edge. The edges look like they have been protected by the thick cake so they will probably be fine once the bowl is reamed. There appears to be a little damage on the front inner edge. The photos give a clear picture of the bowl sides and rim edges.
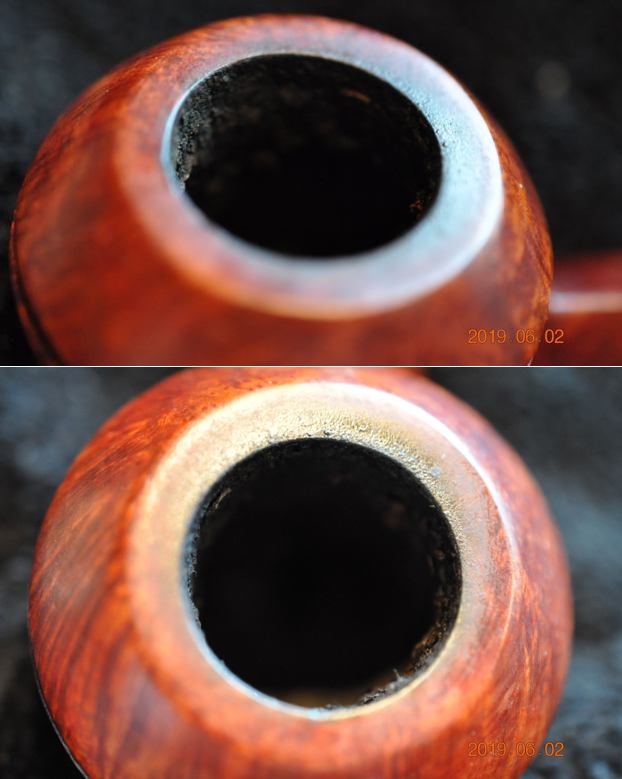
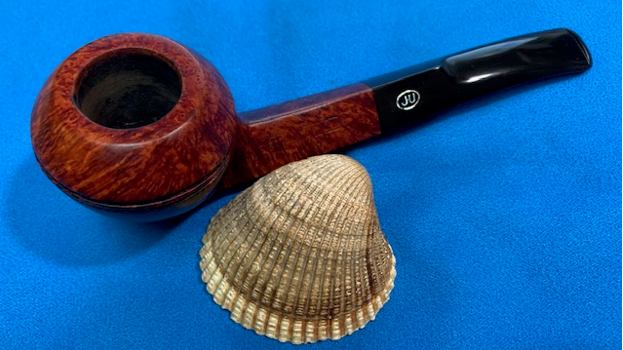
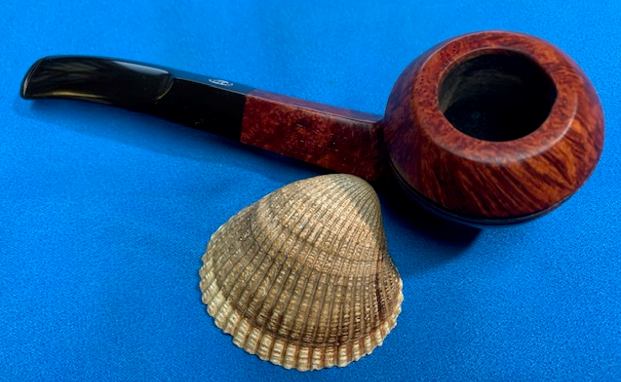
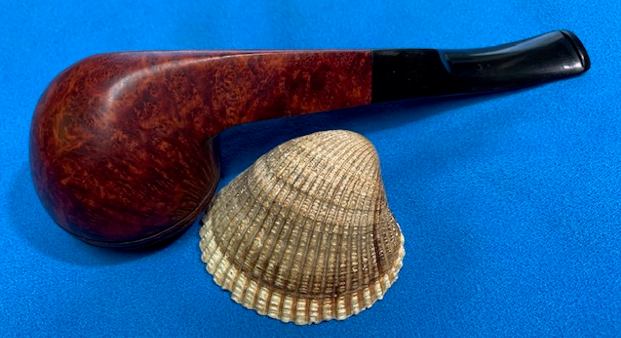
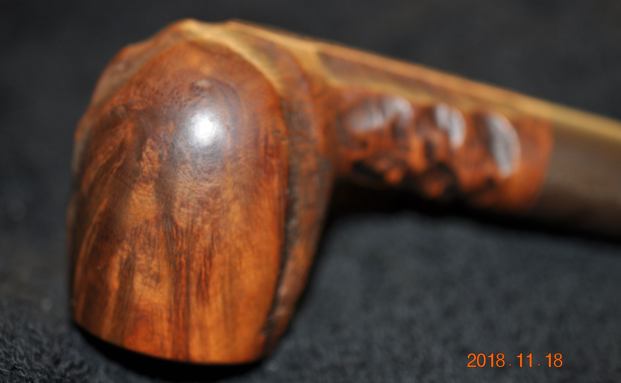
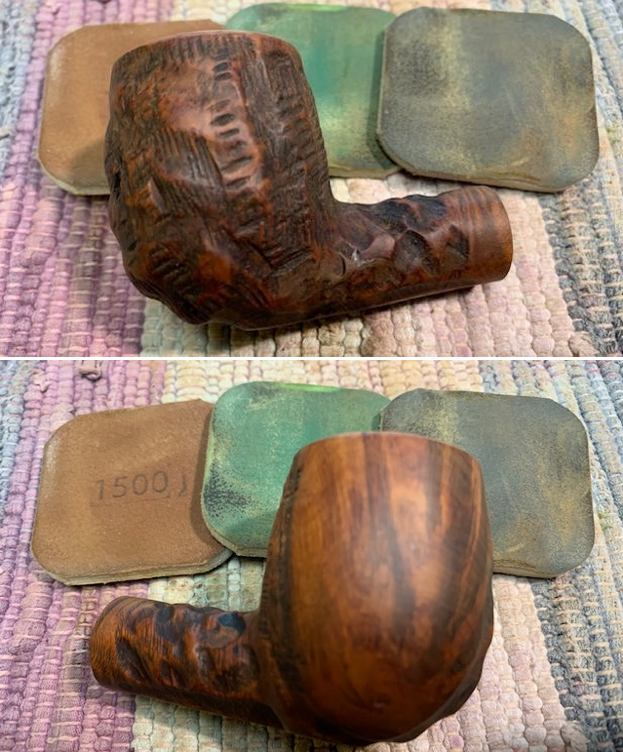
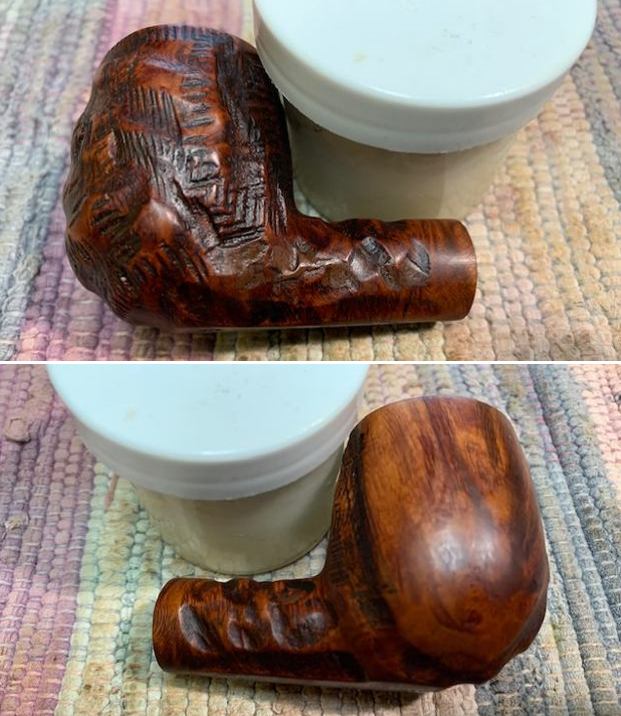
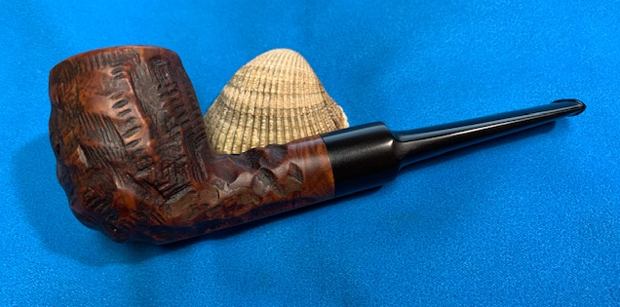
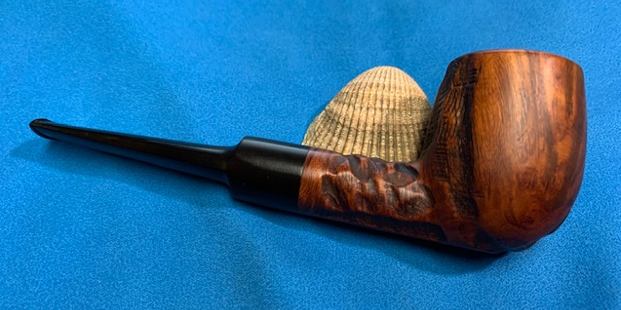
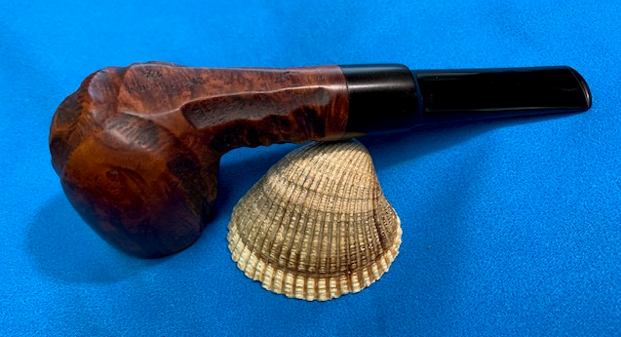
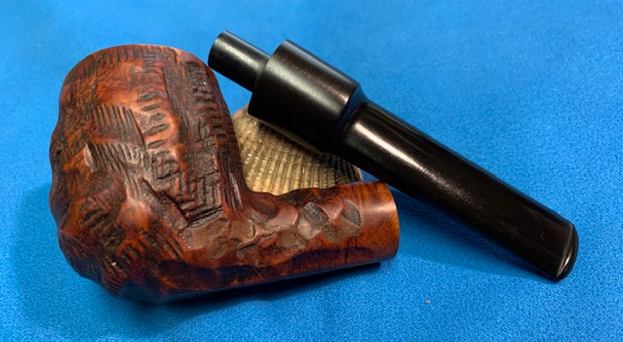
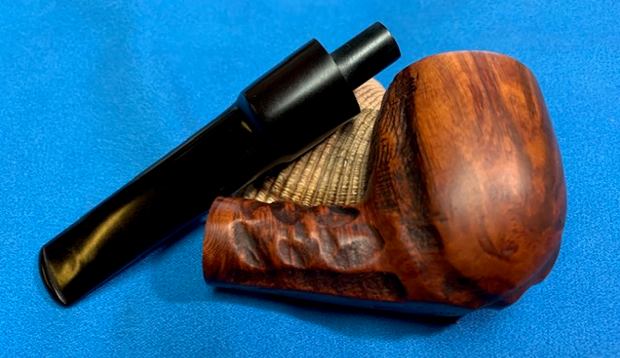
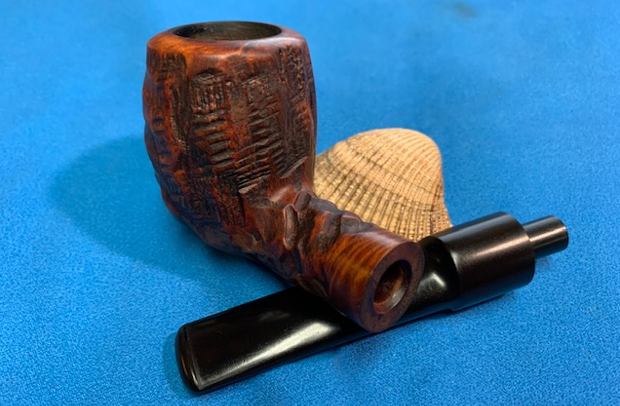
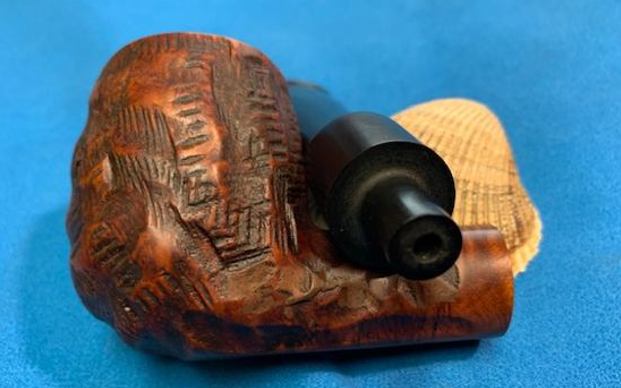
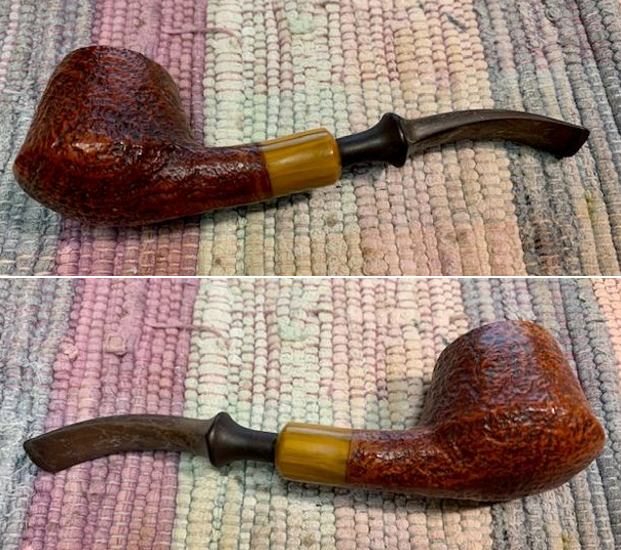
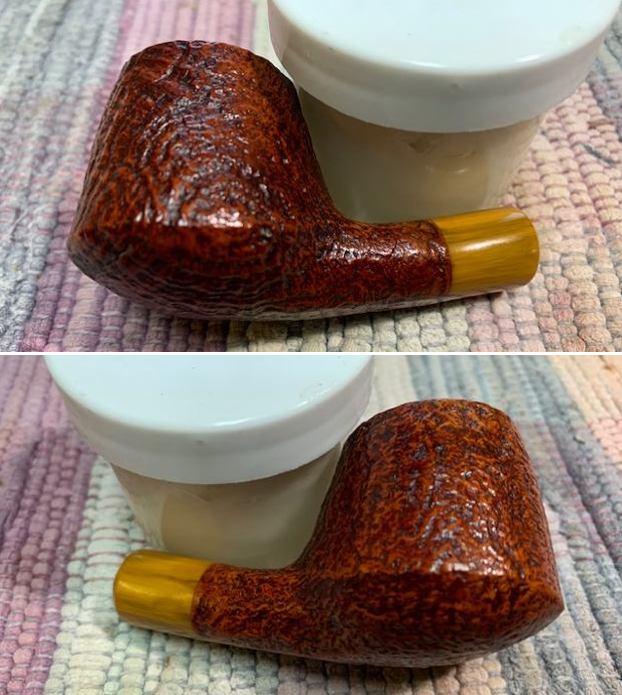
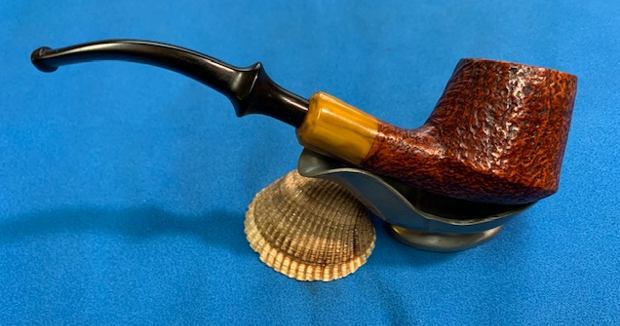
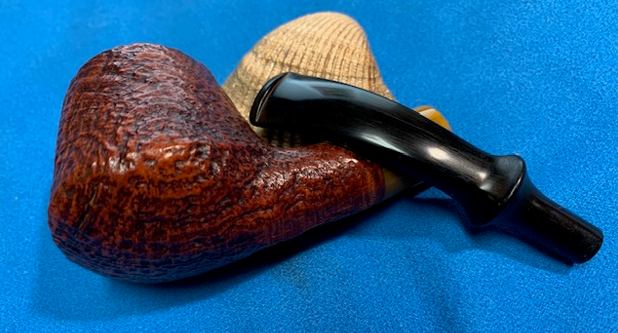
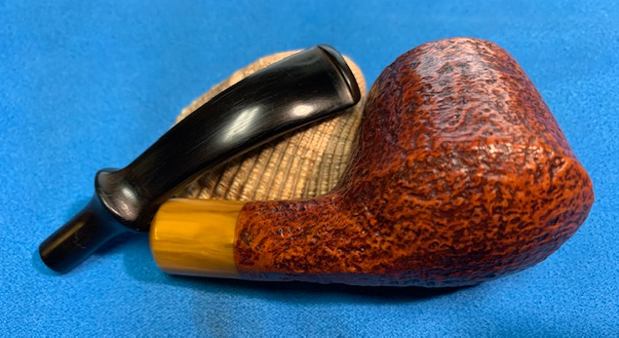
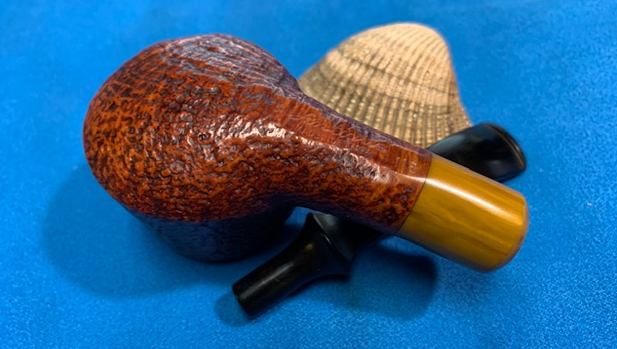
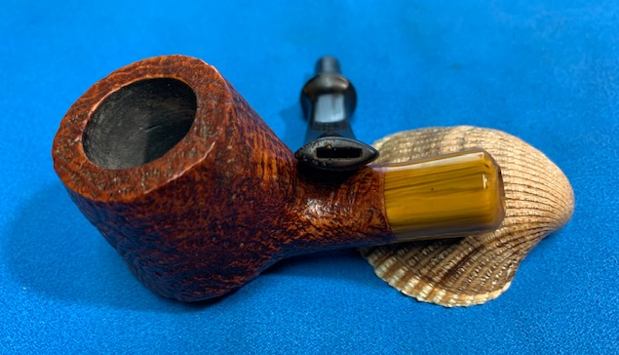
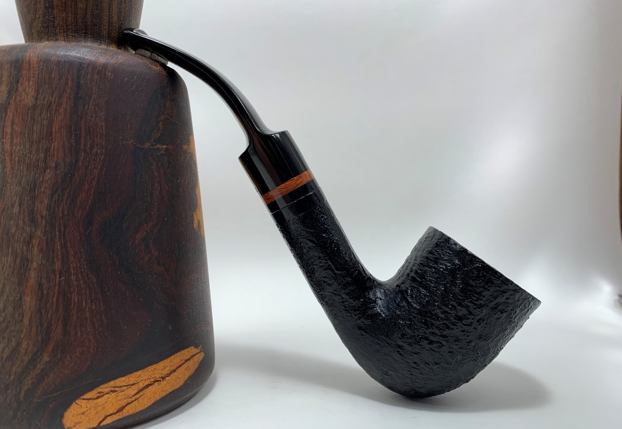
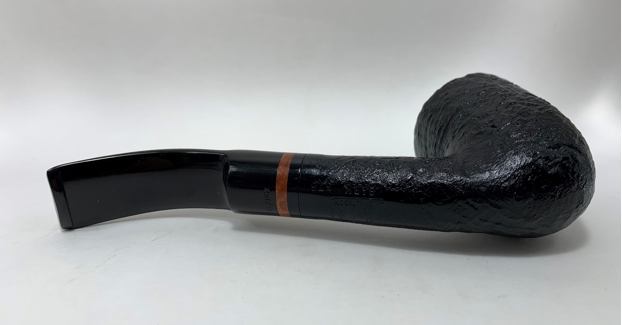
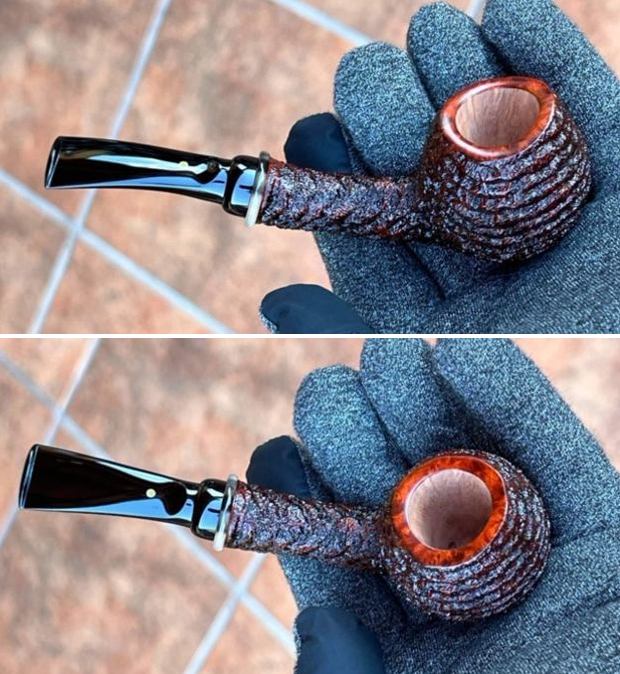
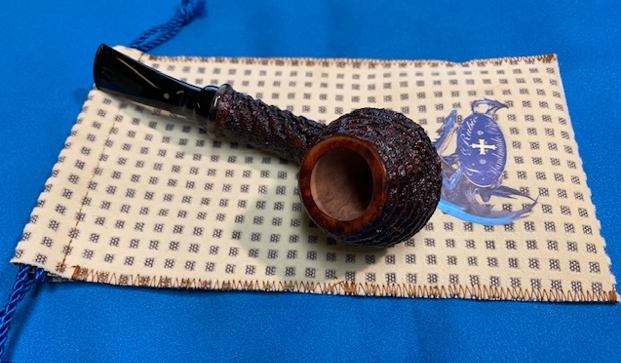
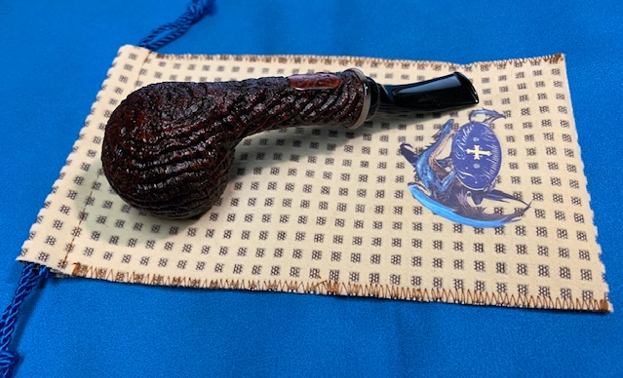
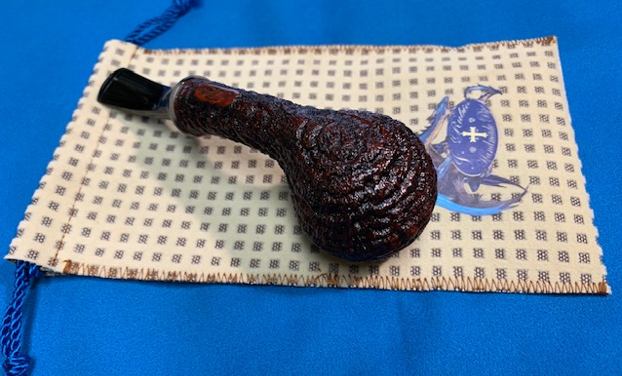
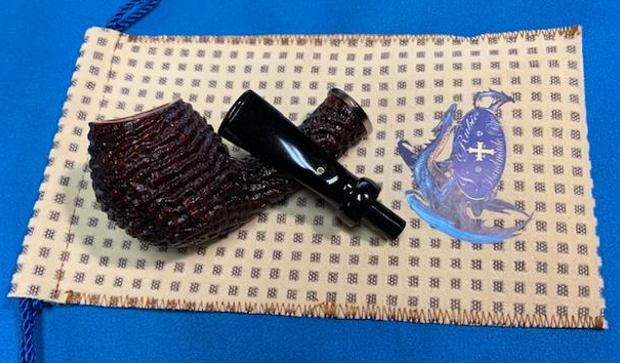
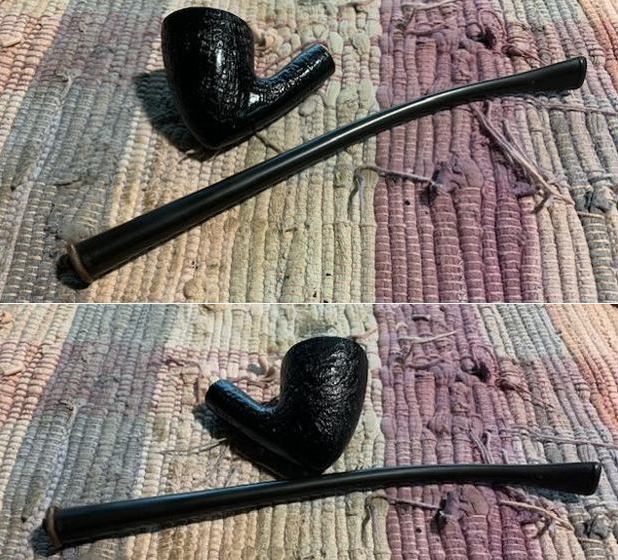
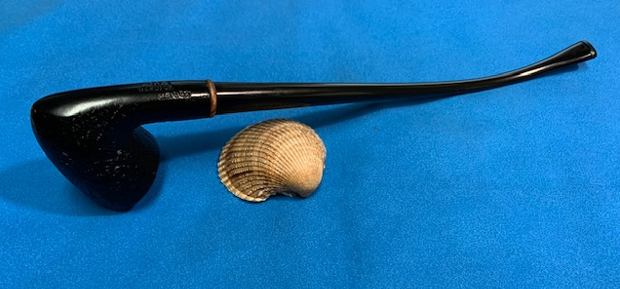
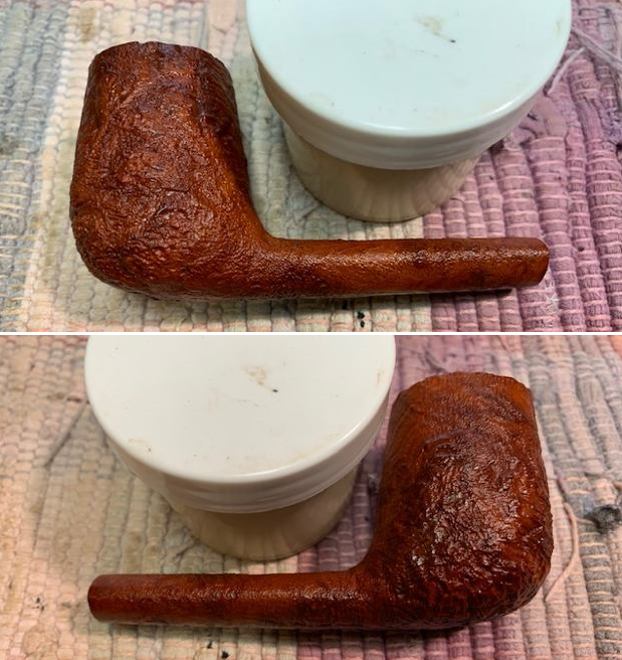
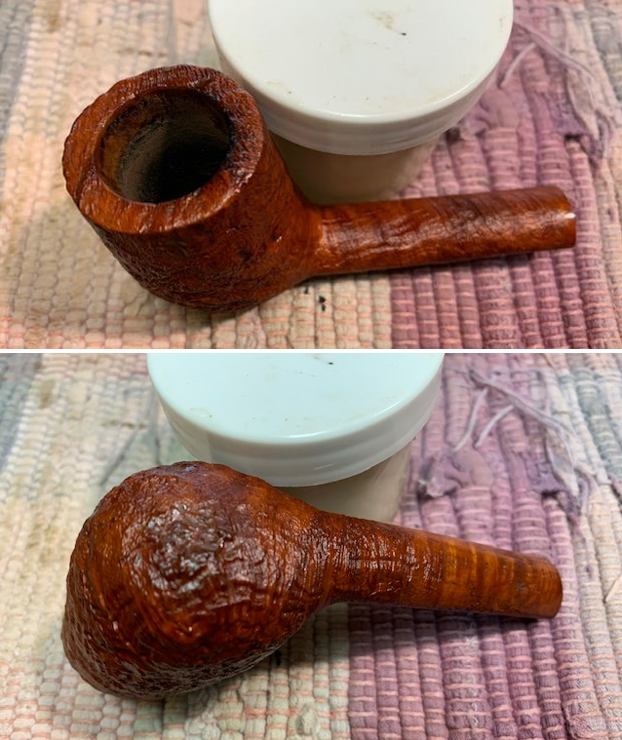
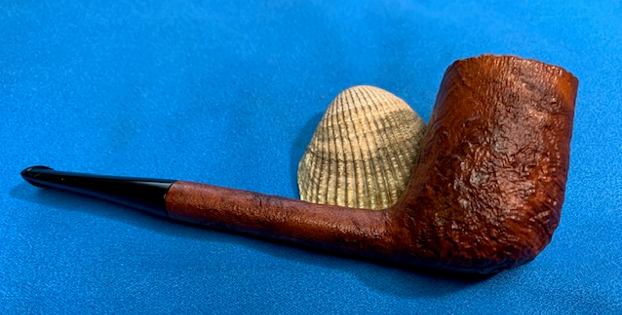
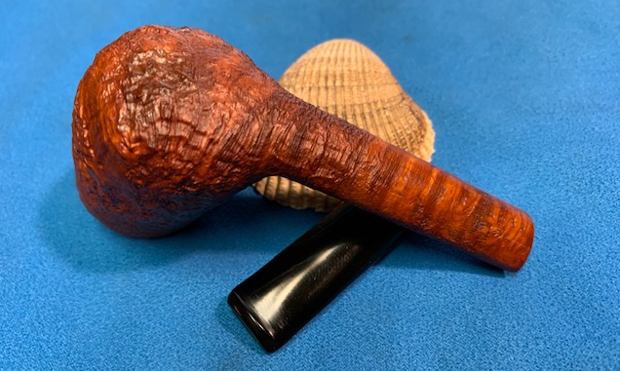
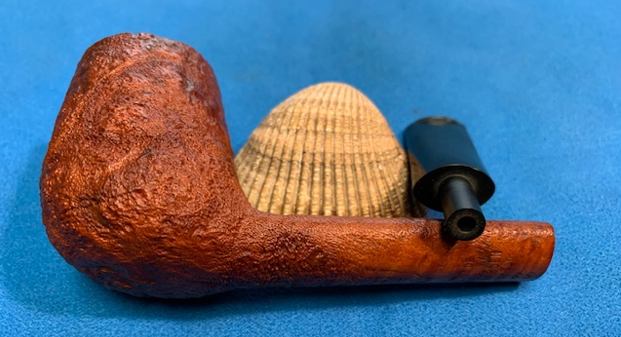
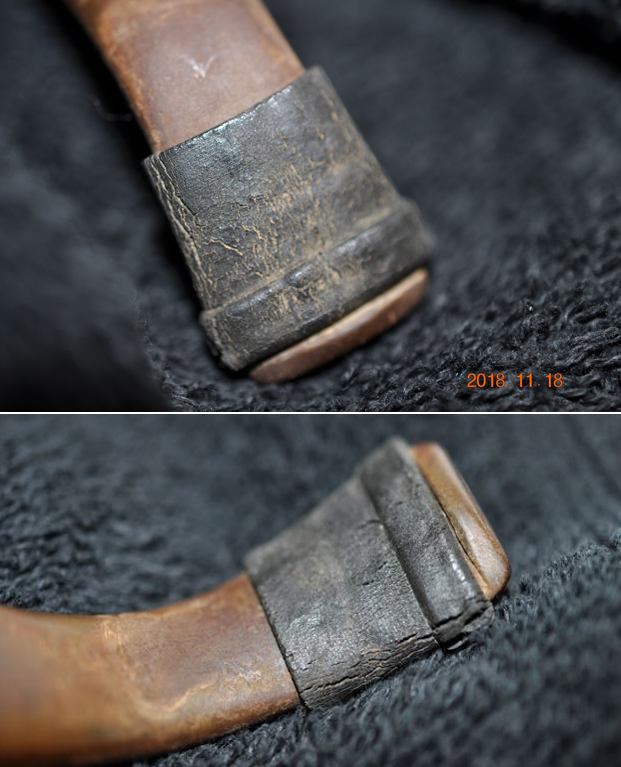
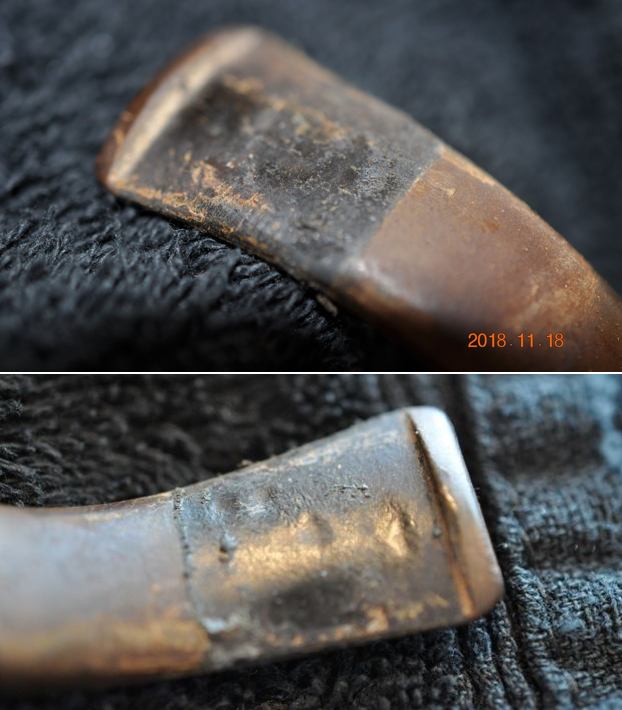
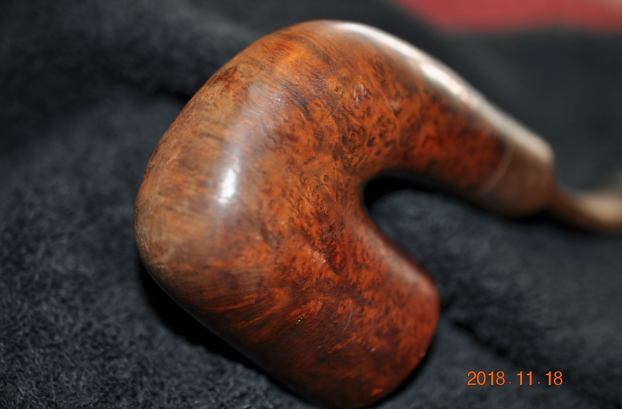
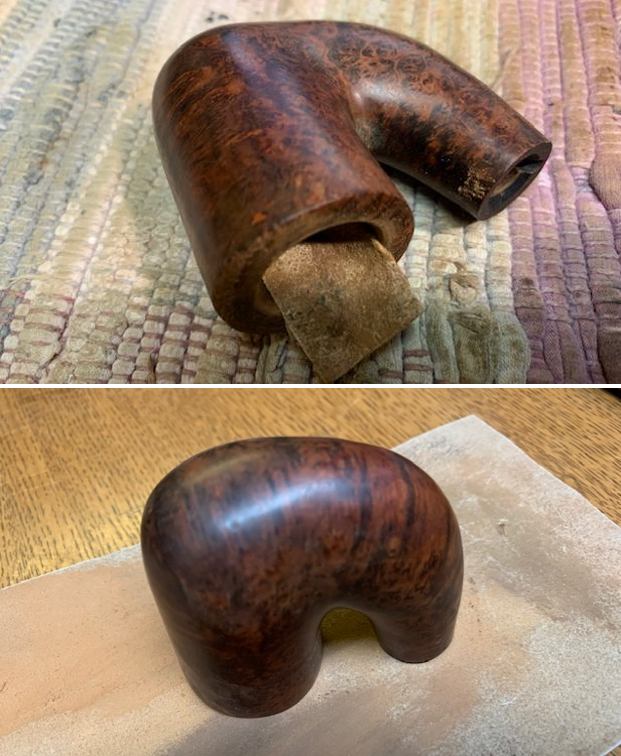
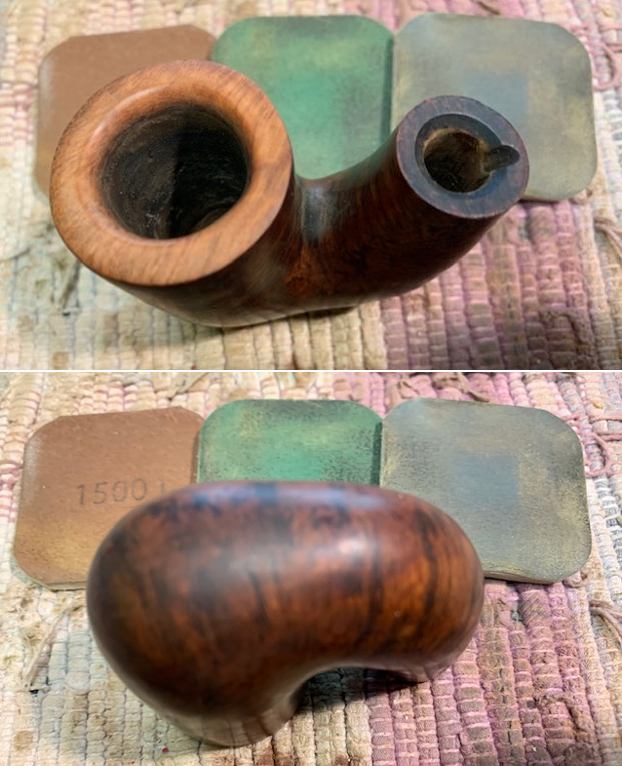
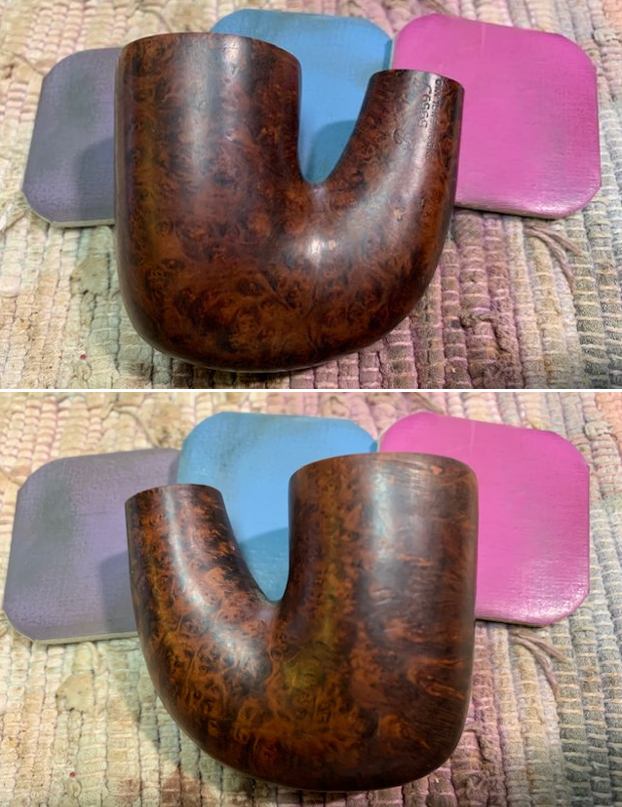
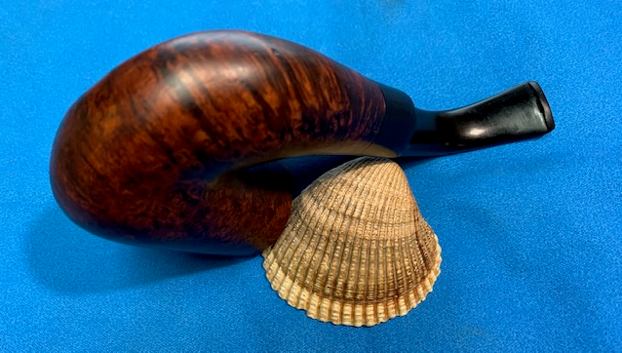
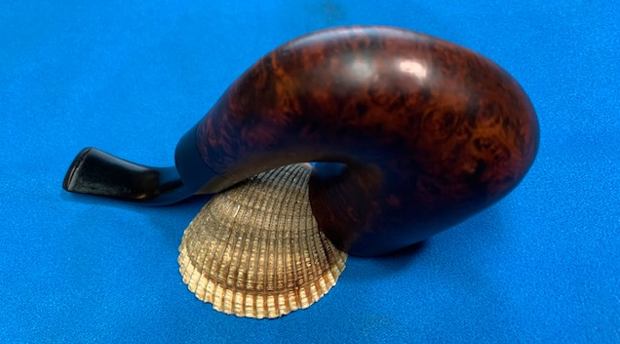
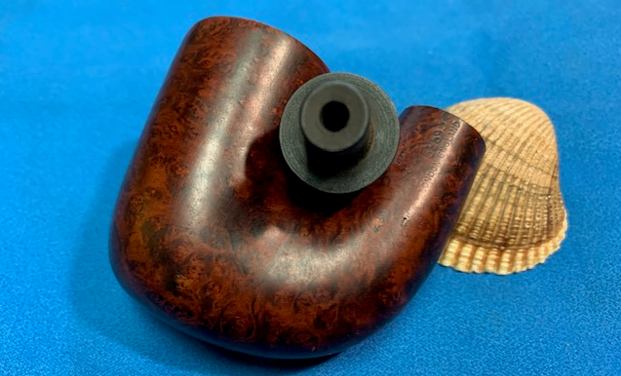
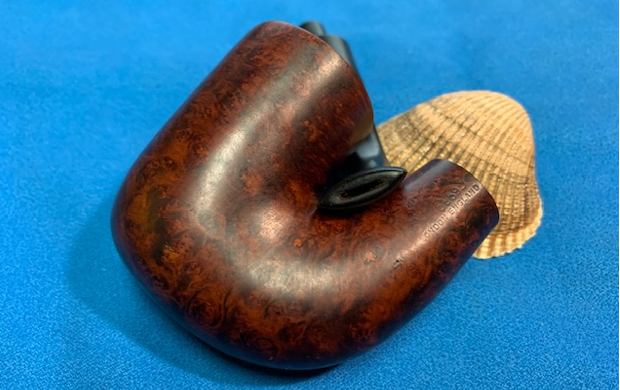
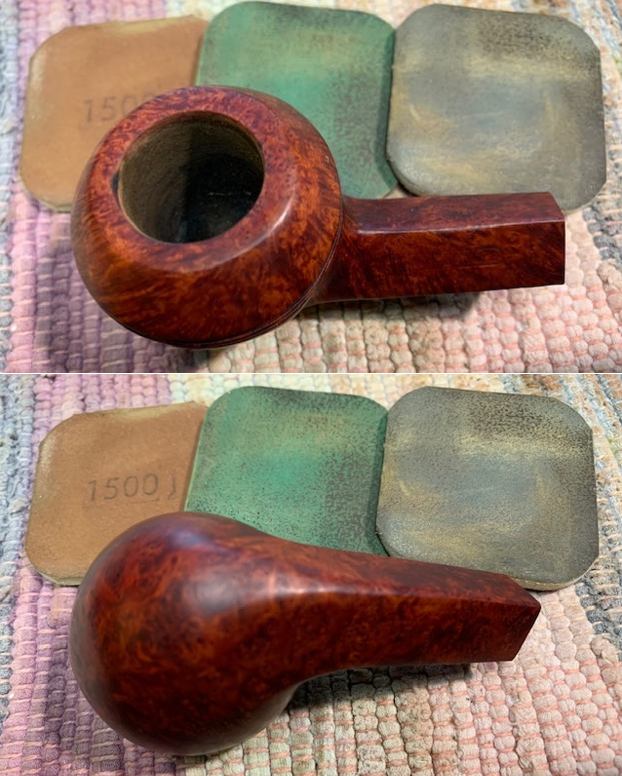
 Jeff took photos of the sides and heel of the bowl to give an idea of the beauty of the grain and the condition of the bowl.
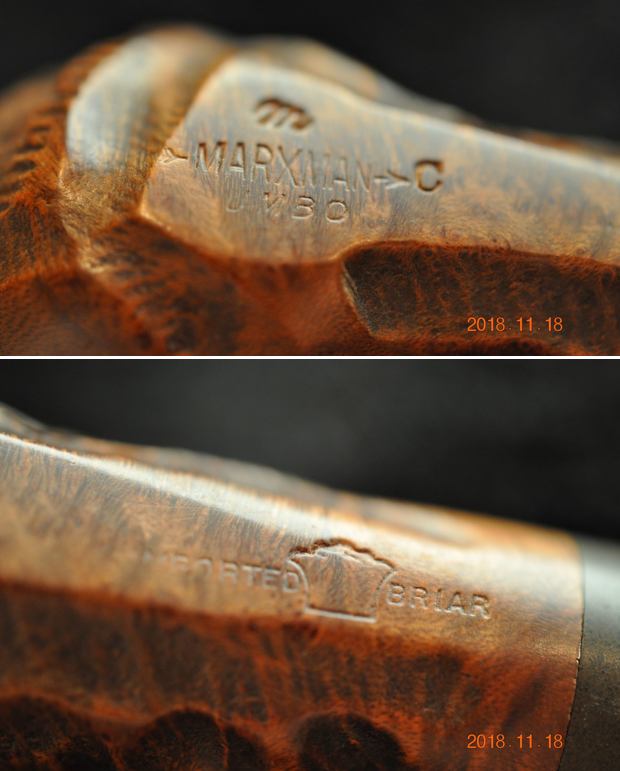
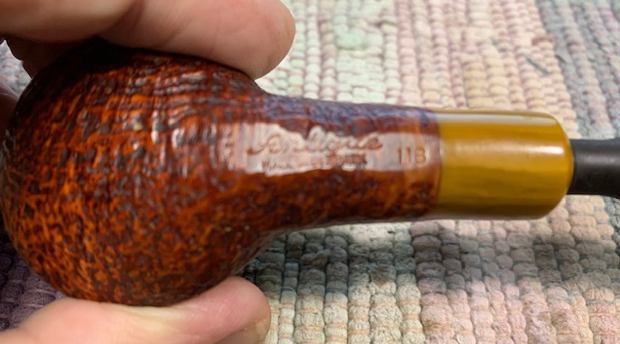
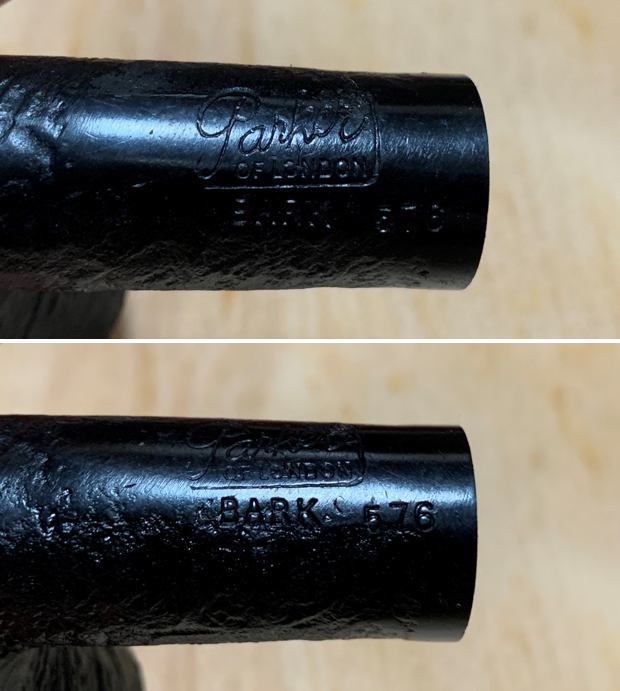
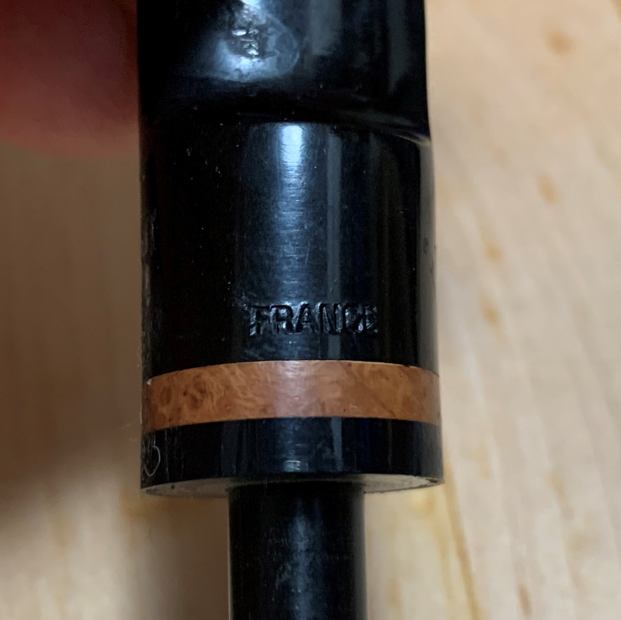
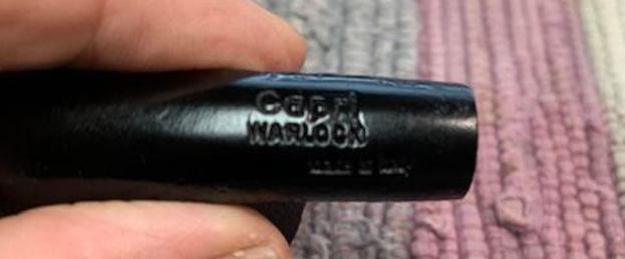
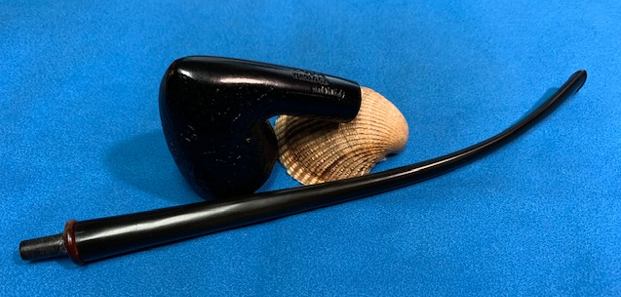
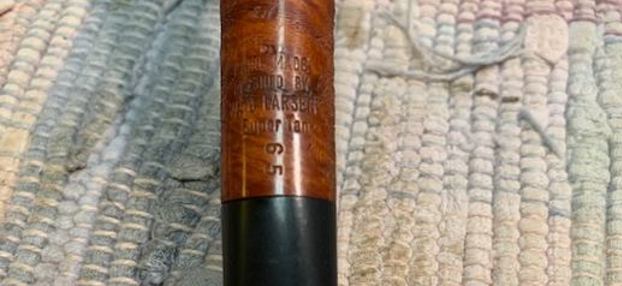
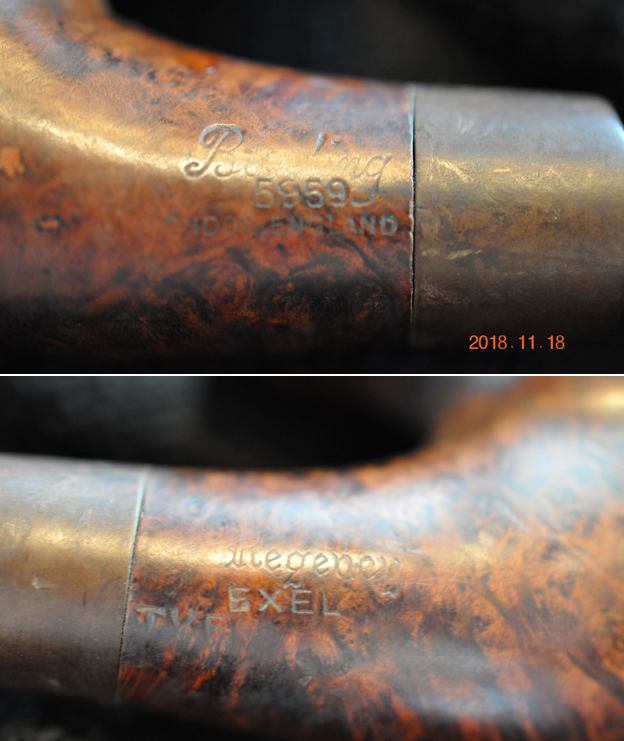
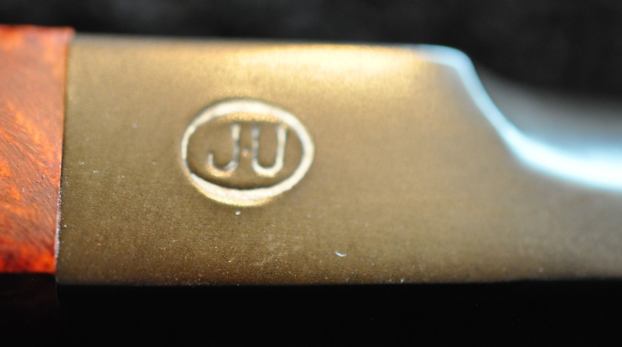
 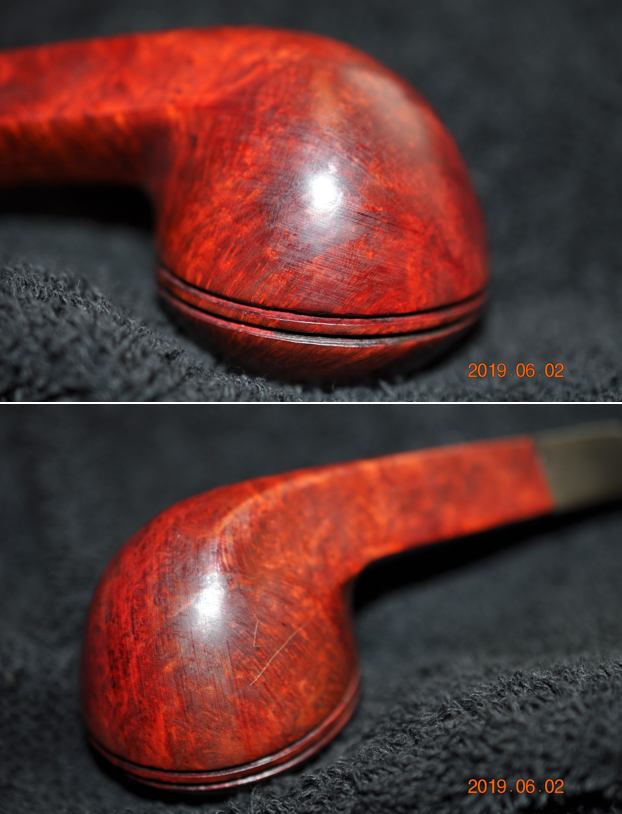 The left side of the shank is stamped James Upshall in an oval logo stamp. The stamping on the right side of the shank reads Tilshead over England over Made by Hand. It is very readable. The JU stamp on the left side of the stem is clear as well.
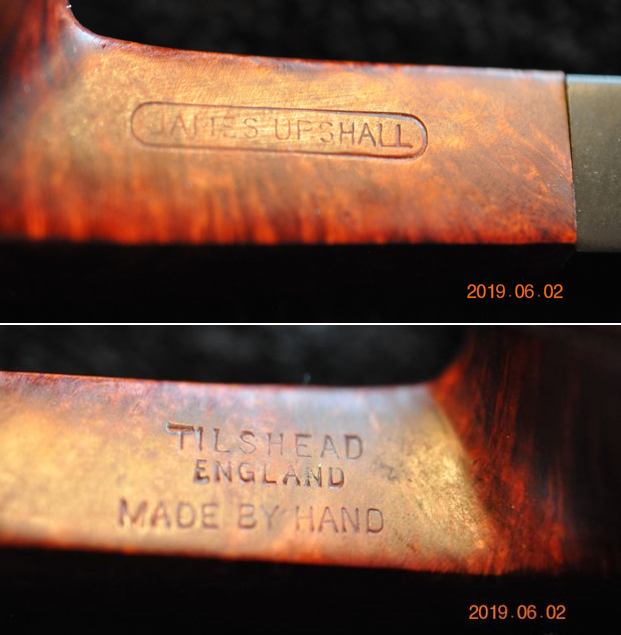
 I looked up the Upshall listing in Pipedia to remind myself of the background on the brand (https://pipedia.org/wiki/James_Upshall). I read through the article and found the section on Grading & Sizing Information really helpful. I have included that below. I have highlighted the pertinent text in red below.
James Upshall pipes are graded by various finishes, i.e. bark, sandblast, black dress and smooth etc. Then by cross grain, flame grain, straight grain and, last but not least, the perfect high grade, which consists of dense straight grain to the bowl and shank. The latter being extremely rare. In addition, the price varies according to group size, i.e. from 3-4-5-6 cm high approximately Extra Large. We also have the Empire Series which are basically the giant size, individually hand crafted pipes which come in all finishes and categories of grain. All our pipes are individually hand carved from the highest quality, naturally dried Greek briar. In order to simplify our grading system, let me divide our pipes into 4 basic categories.
- It begins with the Tilshead pipe, which smokes every bit as good as the James Upshall but has a slight imperfection in the briar. In the same category price wise you will find the James Upshall Bark and Sandblast finish pipes, which fill and smoke as well as the high grades.
- In this category we have the best “root quality” which means that the grain is either cross, flame or straight, which is very much apparent through the transparent differing color finishes. This group will qualify as the “S”- Mahogany Red, “A” – Chestnut Tan and “P” – Walnut. The latter having the straighter grain.
- Here you have only straight grain, high grade pipes, which run from the “B”, “G”, “E”, “X” and “XX”. The latter will be the supreme high grade. Considering the straightness of the grain the latter category is also the rarest. Usually no more than 1% of the production will qualify.
- Lastly, we have the Empire Series. These are basically Limited Edition gigantic individually hand crafted pieces, which again are extremely rare due to the scarcity of large, superior briar blocks.
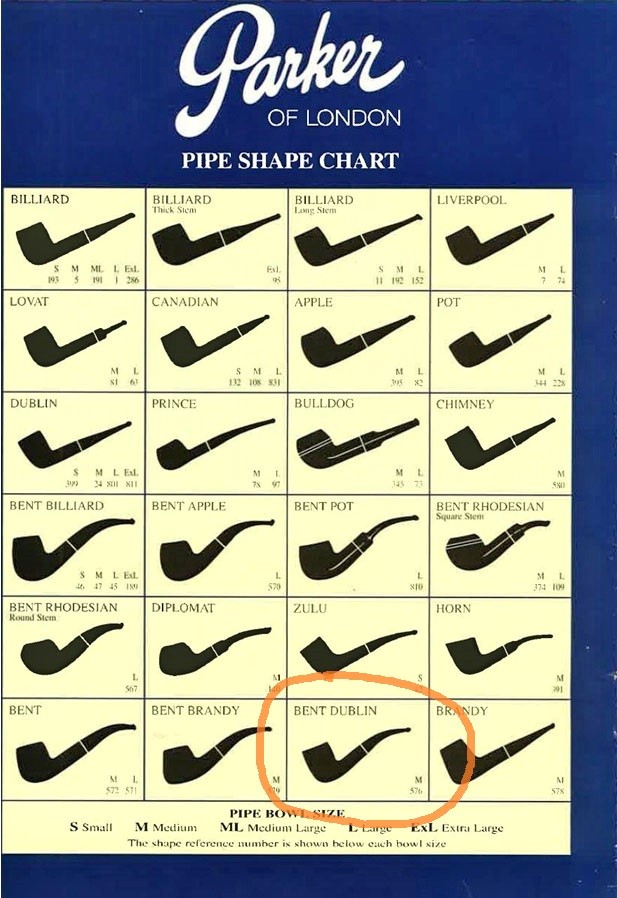
I have marked #2 above noting that the pipe I am working on probably a S Grade Mahogany Red. At the bottom of the Pipedia article there was a copy of a catalogue. Pages 5 and 6 have this information on the S Grade pipe. I believe that I am working on a S Grade Bulldog.
Appears to be mostly S Grade pipes, including one silver spigot and one silver band. I’ve only seen S grade pipes with red stain, that must have come later. I turned to the James Upshall of England website and looked up the guarantee on their pipes. I have included it below because of the commitment to quality that is spoken of in the description (http://www.upshallusa.com/products.htm).
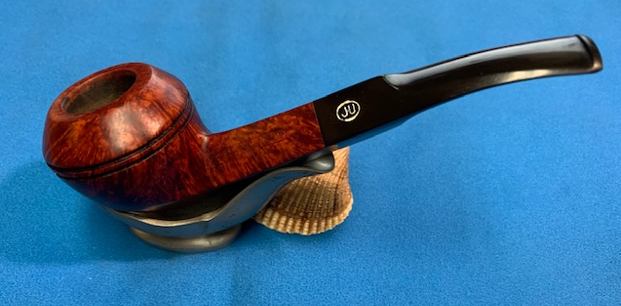
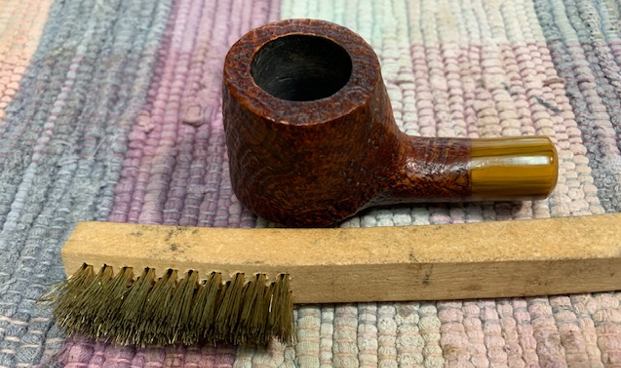
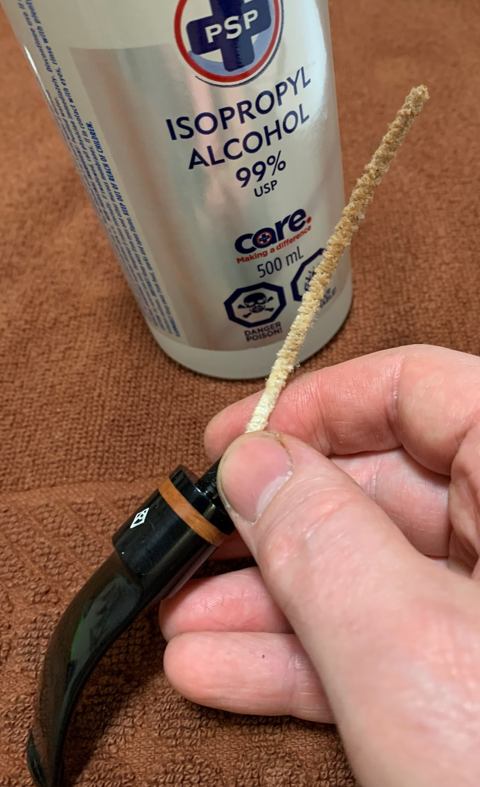
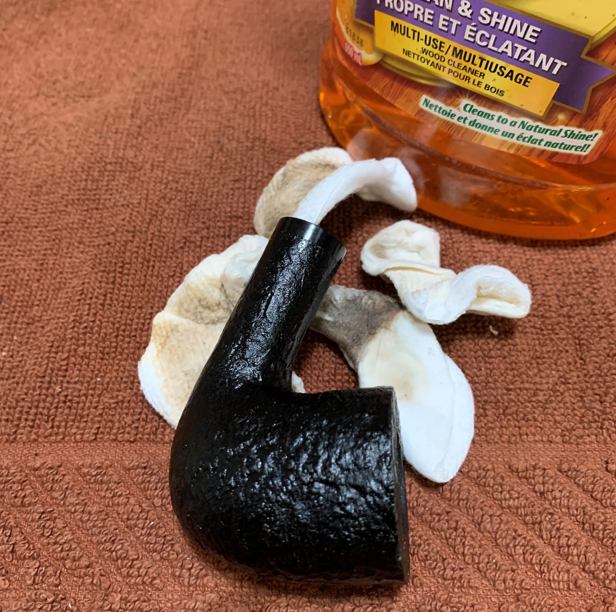
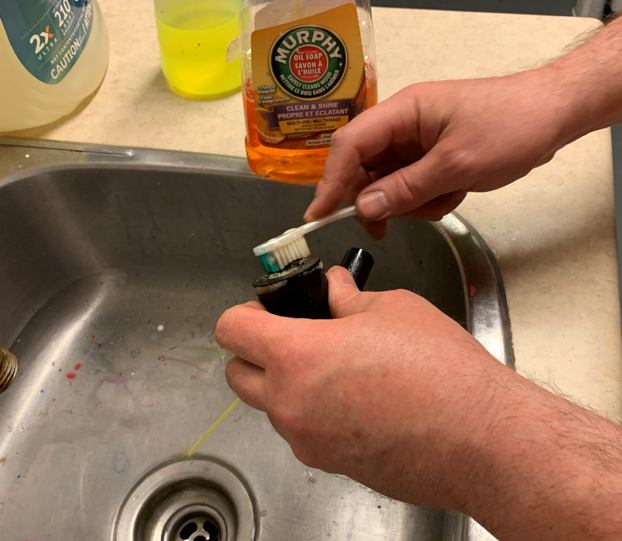
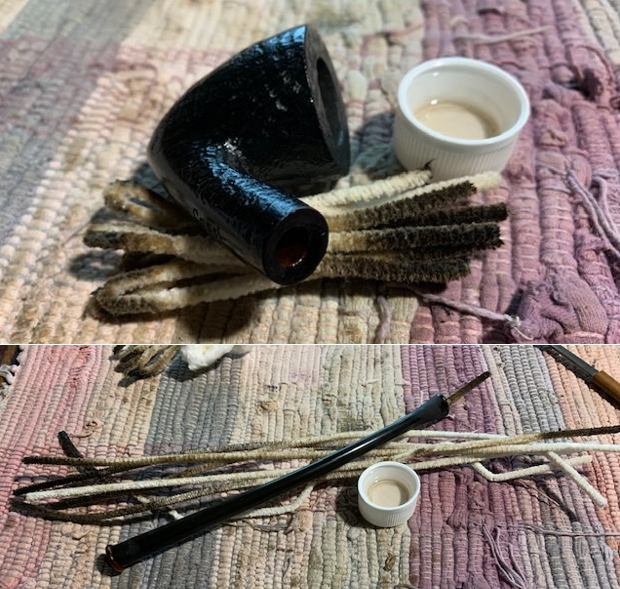
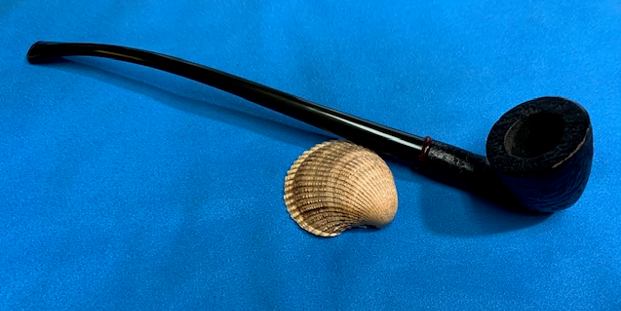
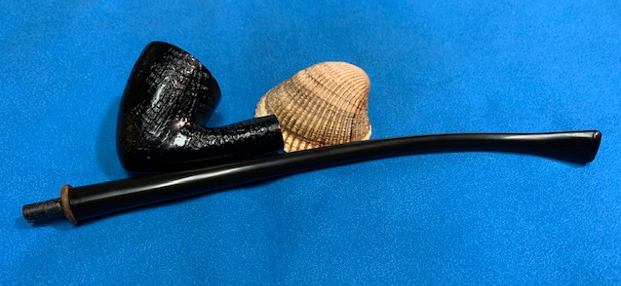
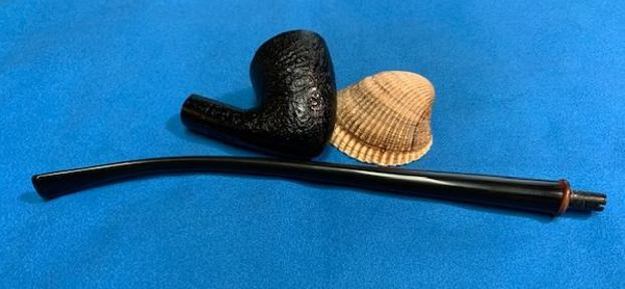
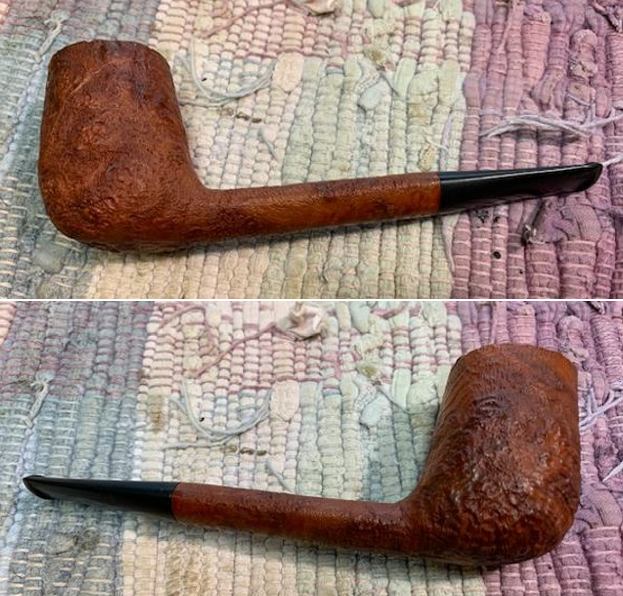
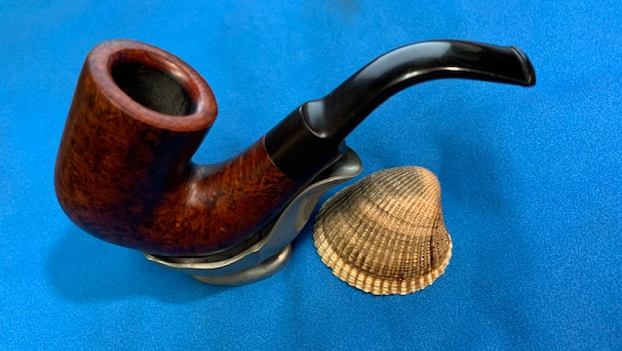
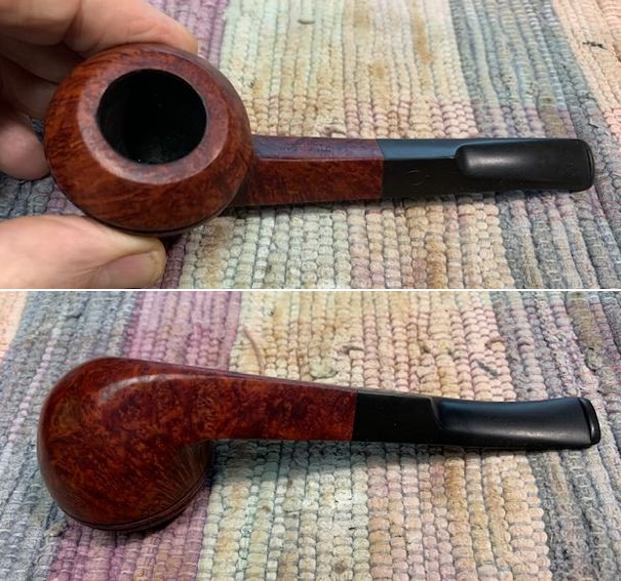
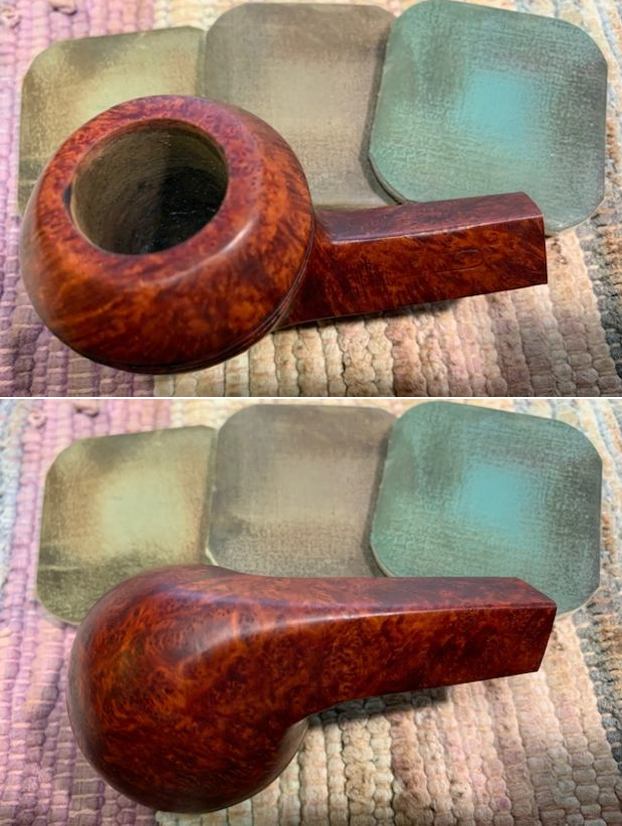
  Armed with that information I turned my attention to the pipe itself. Jeff had cleaned the pipe with his usual thoroughness that I really appreciate. He reamed it with a PipNet pipe reamer and cleaned up the reaming with a Savinelli Fitsall Pipe Knife. He scrubbed out the internals with alcohol, pipe cleaners and cotton swabs until the pipe was clean. He scrubbed the exterior of the bowl with Murphy’s Oil Soap and a tooth brush to remove the grime and grit on the briar and the lava on the rim top. The finish looks very good with good looking grain around the bowl and shank. Jeff soaked the stem in Before & After Deoxidizer to remove the oxidation on the rubber. When the pipe arrived here in Vancouver for the second stop of its restoration tour it looked very good. I took photos before I started my part of the work.
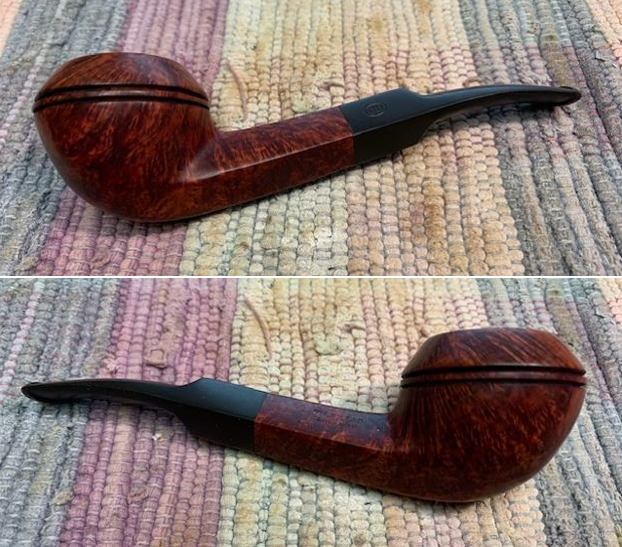
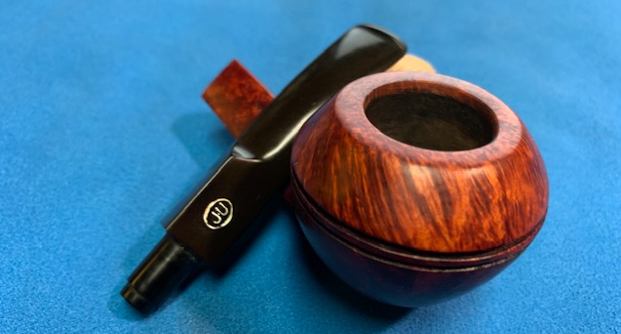
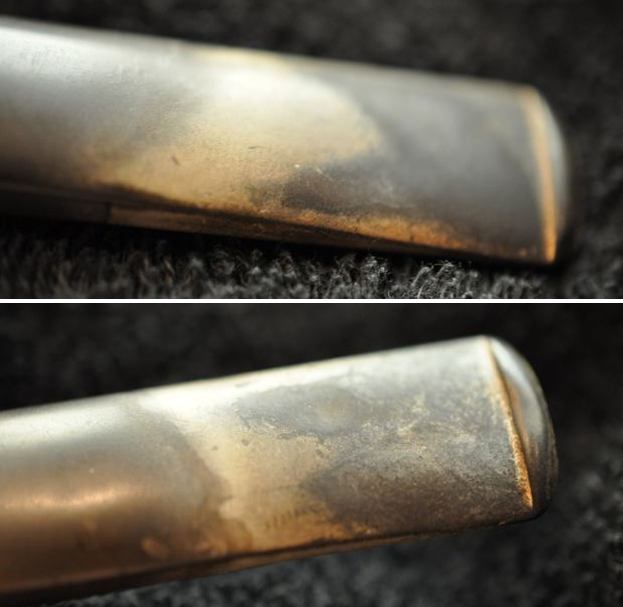
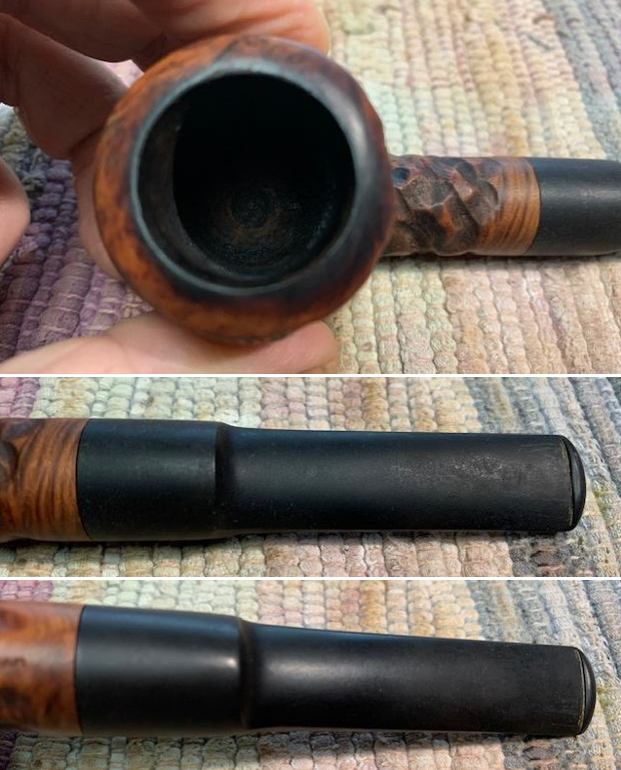
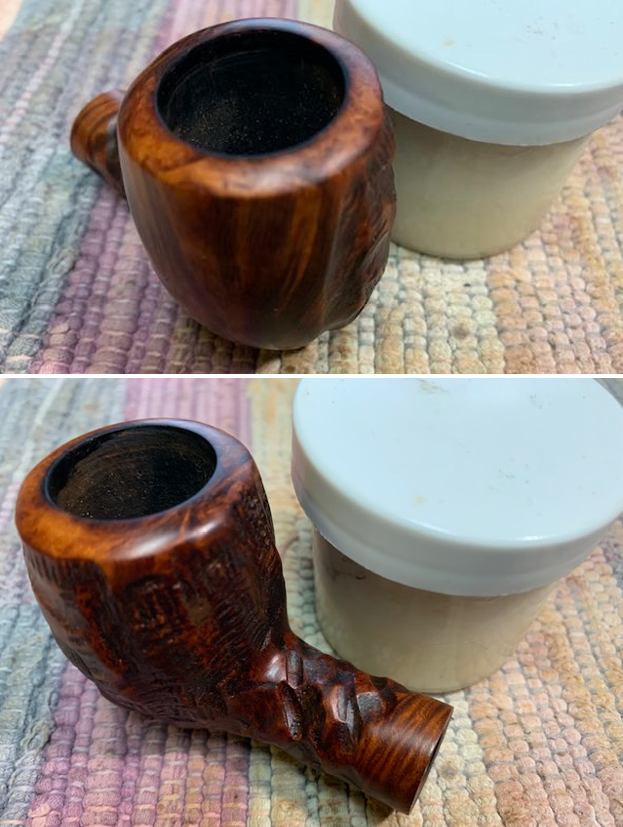
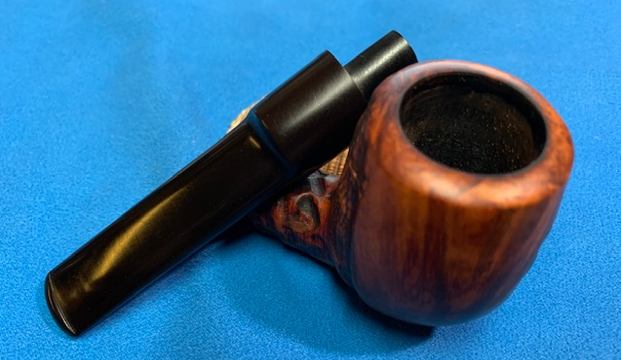
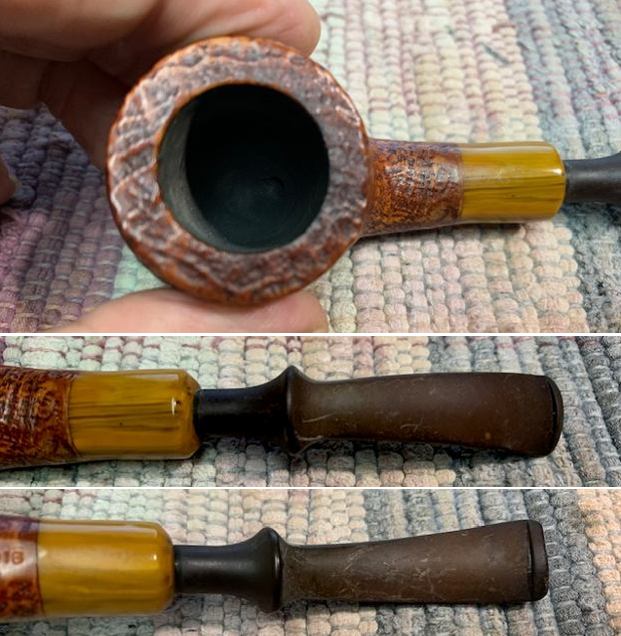
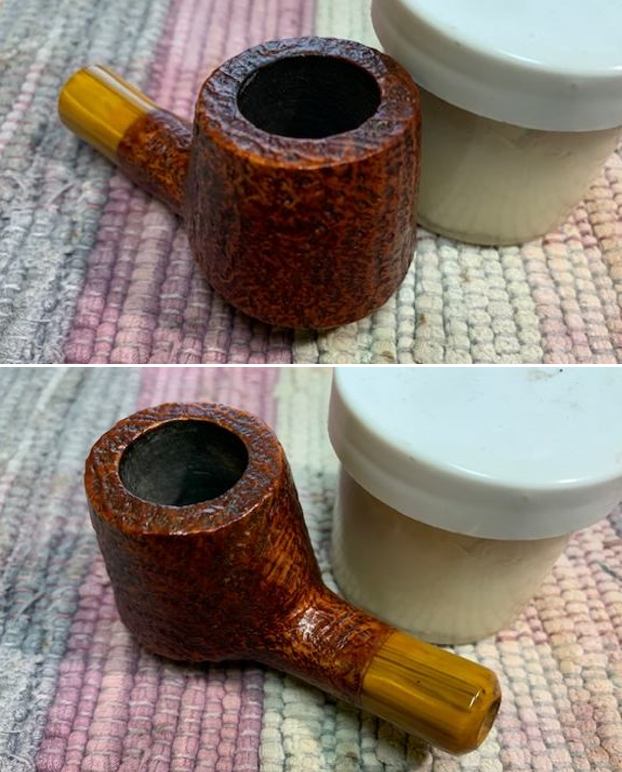
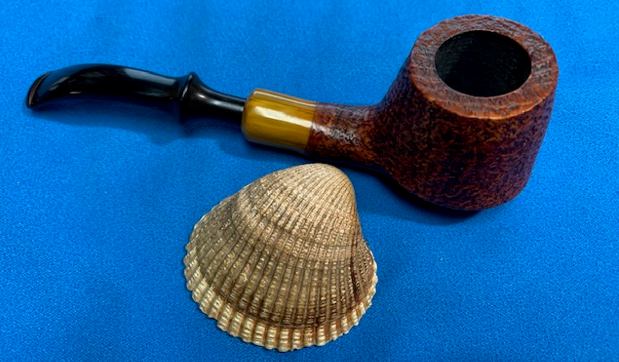
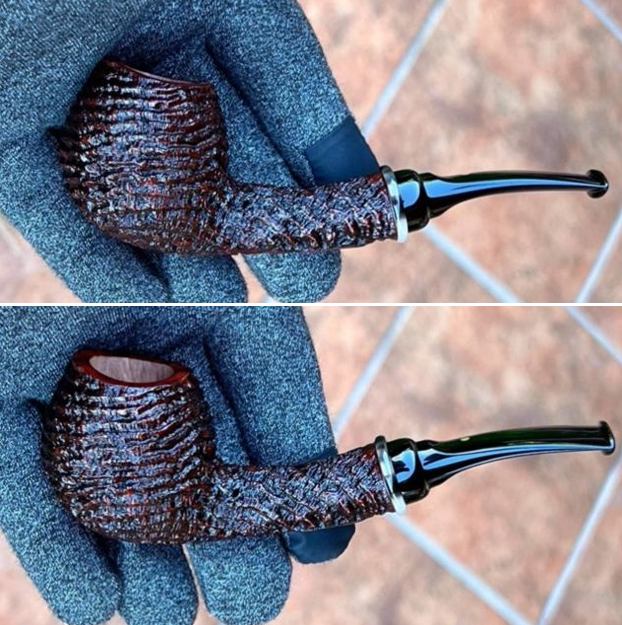
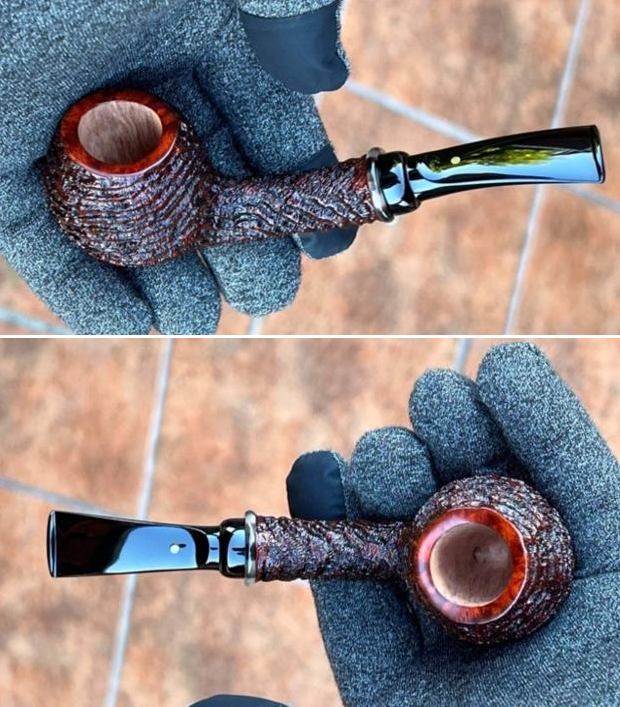
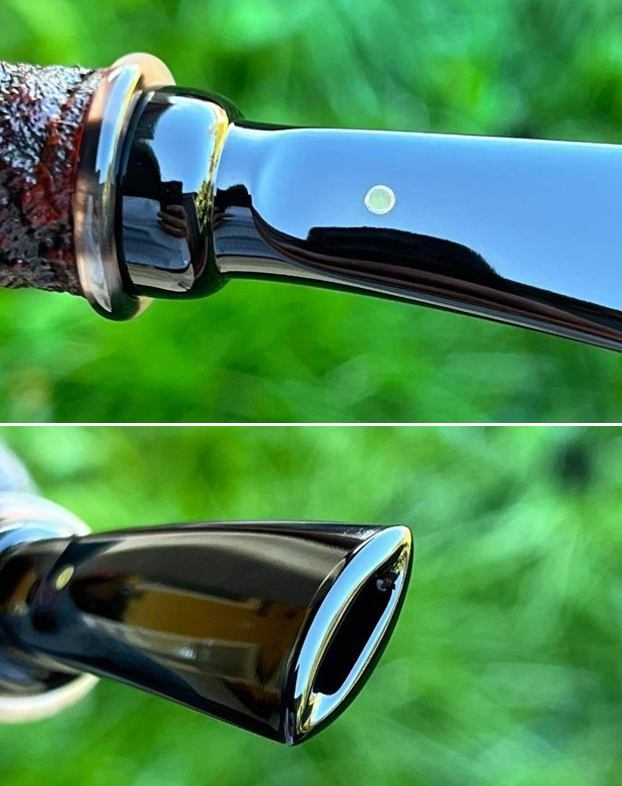
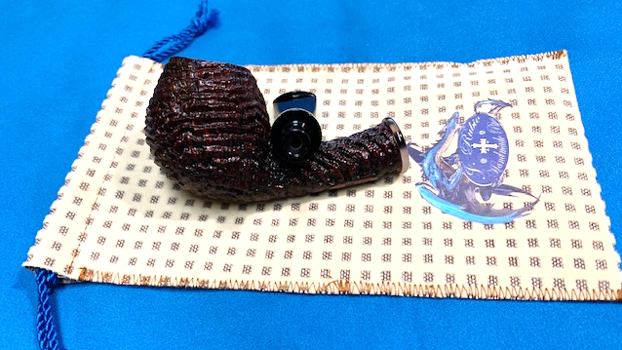
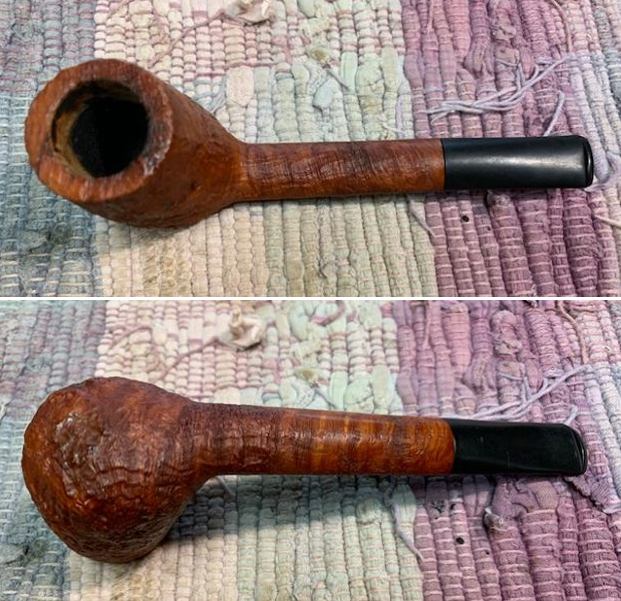
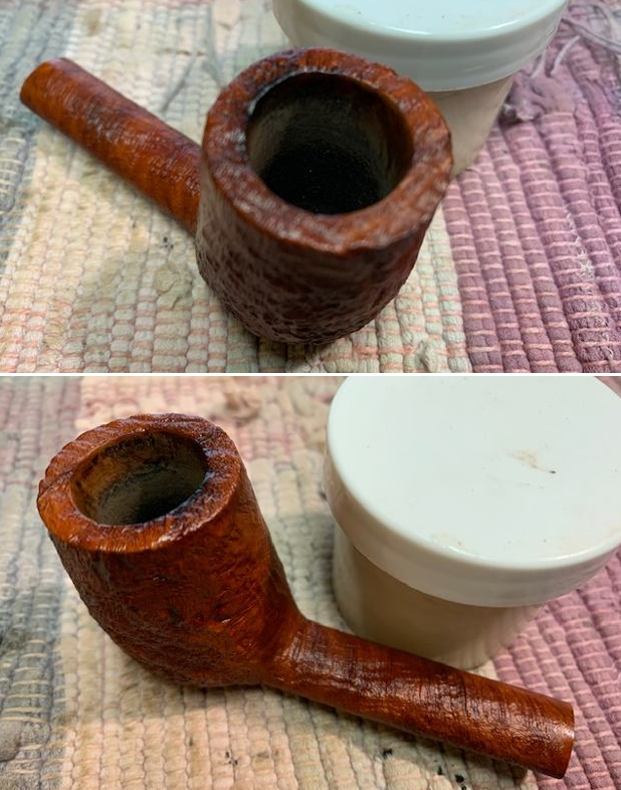
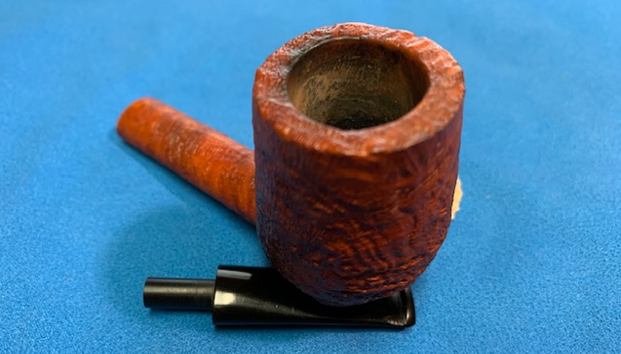
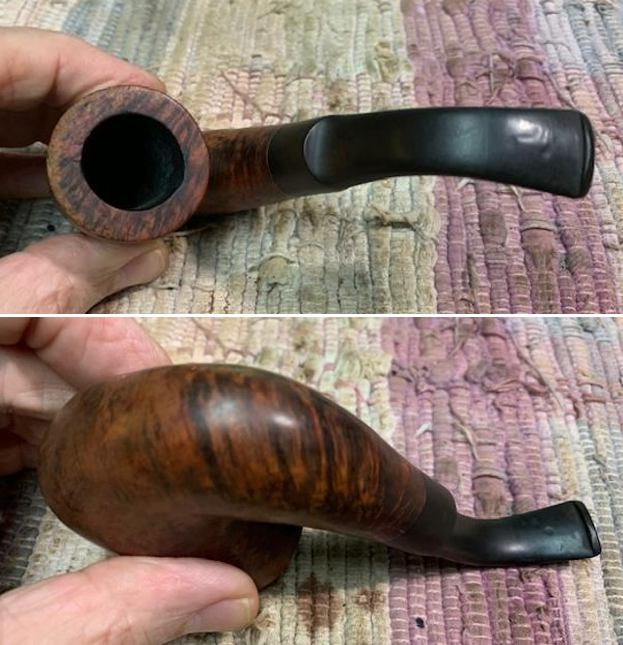
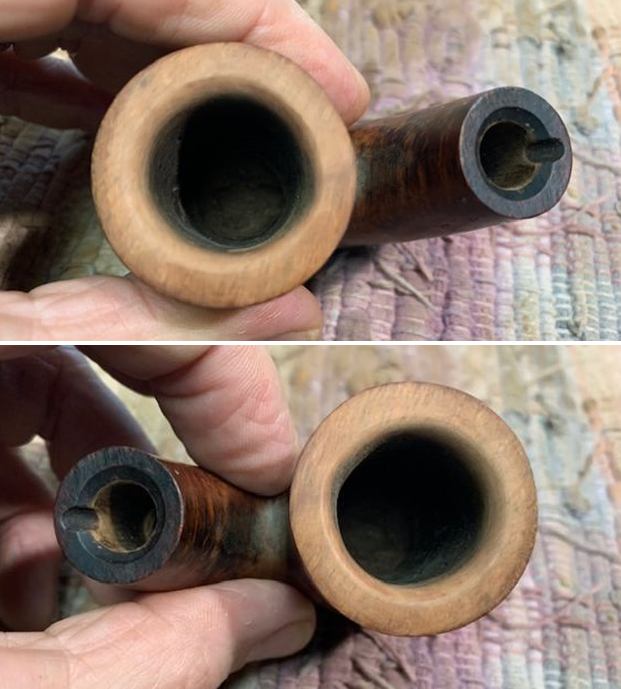
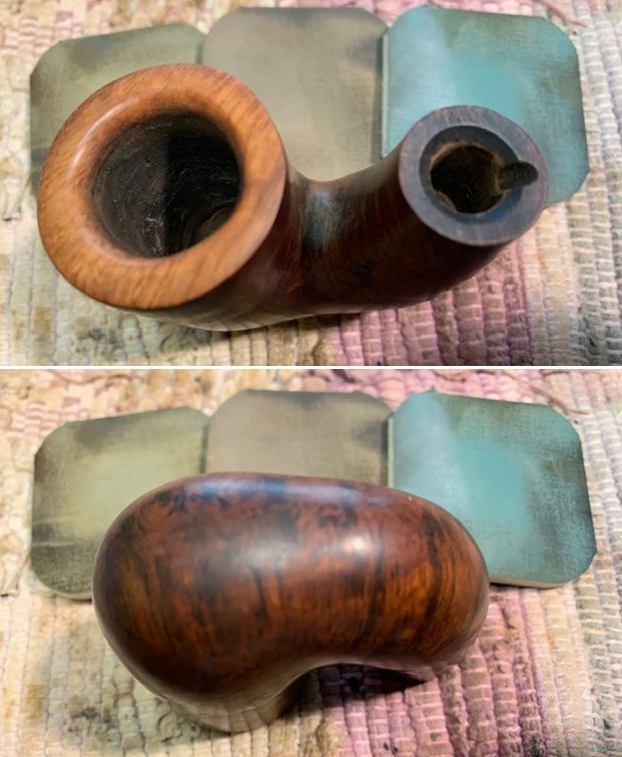
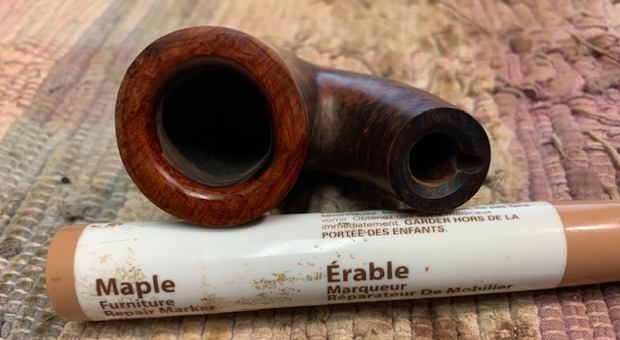
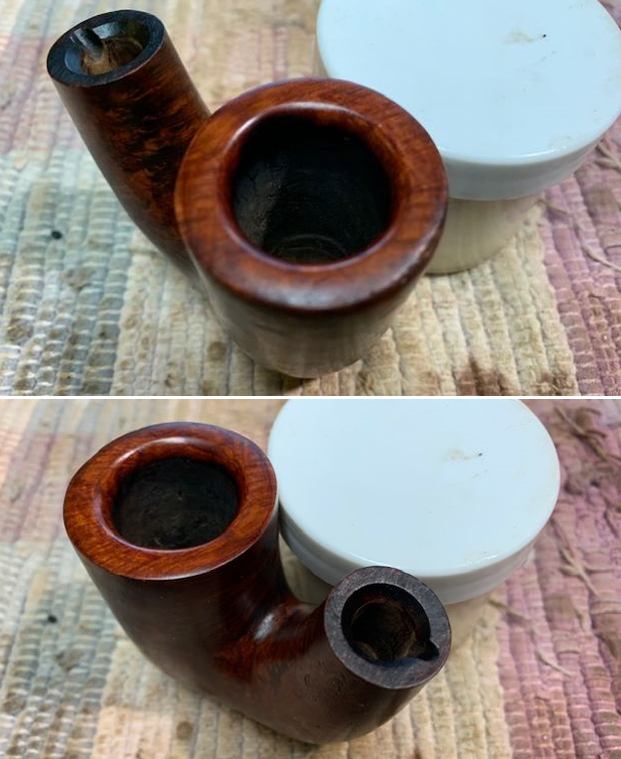
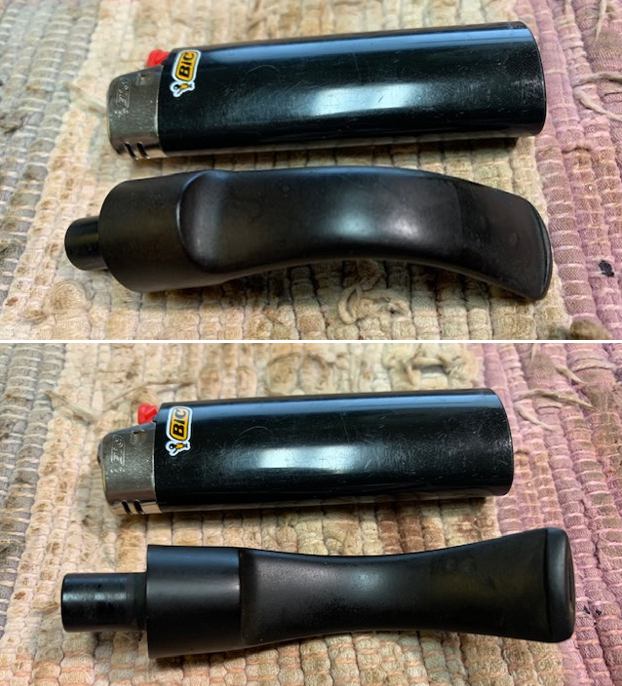
 I took some close up photos of the rim top and also of the stem surface. The bowl and the rim top look good. The inner edge of the rim was slightly out of round on the front side. There were some nicks in the edge. I also took close up photos of the stem to show how clean the stem was. Once it was cleaned up there were no tooth marks or chatter on either side of the stem.
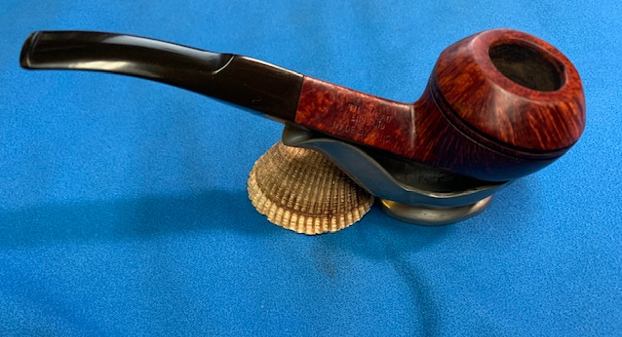
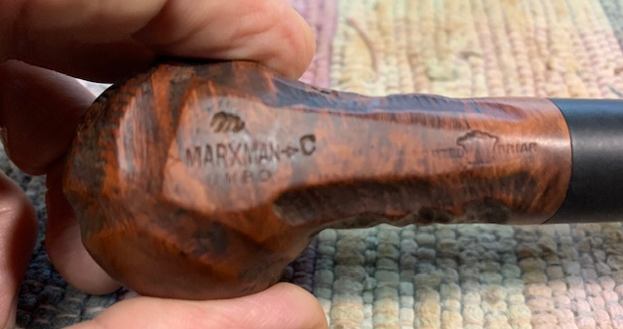
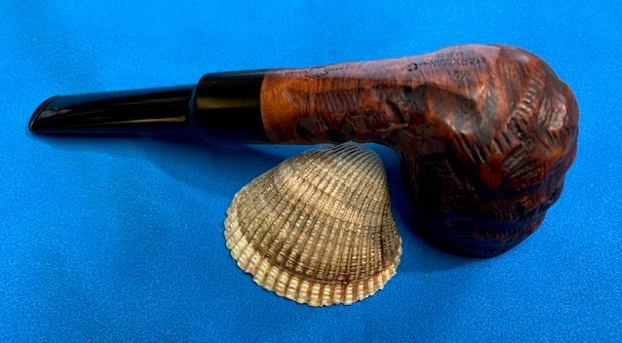
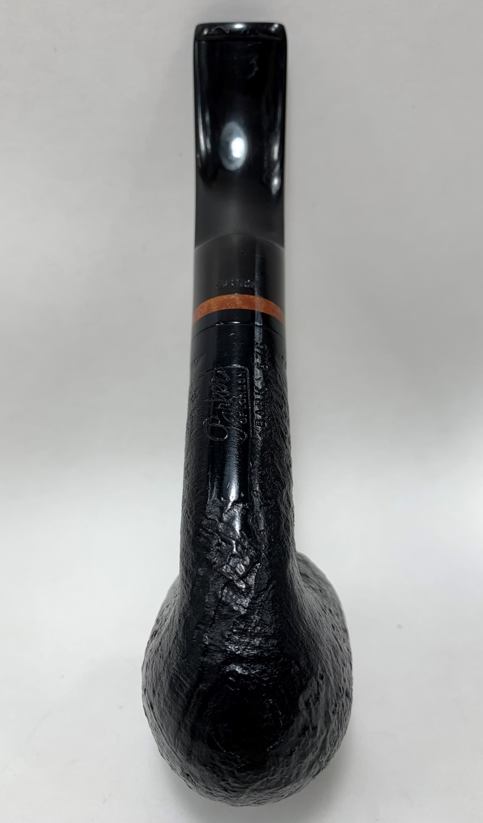
 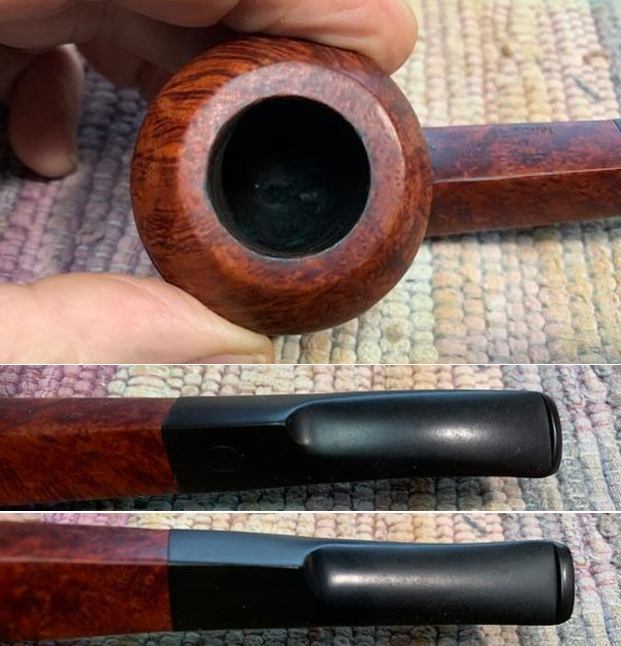 I took photos of the stamping on the shank. On the left side of the shank it reads James Upshall in an oval. There is a JU logo on the left side of the stem. The stamping was very clear. The right side of the shank was stamped Tilshead over England over Made by Hand. The grain on this pipe was highlighted by the shaping of the pipe.
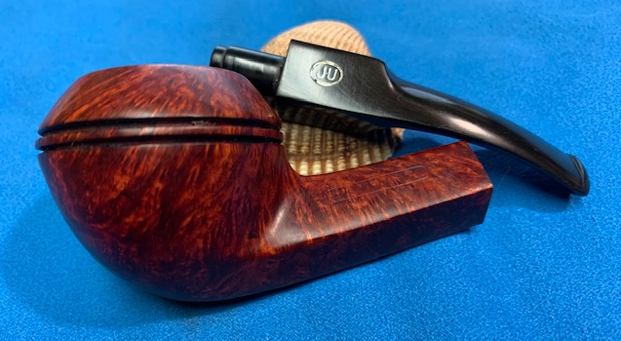
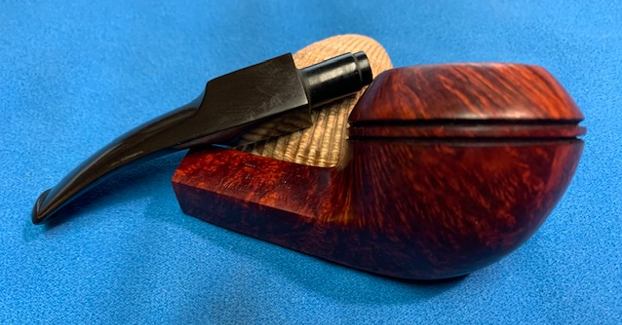
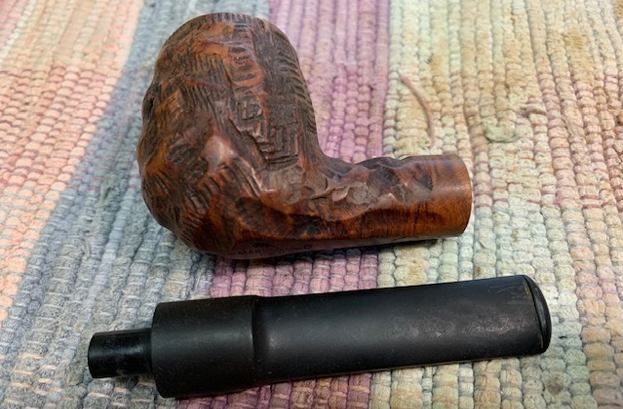
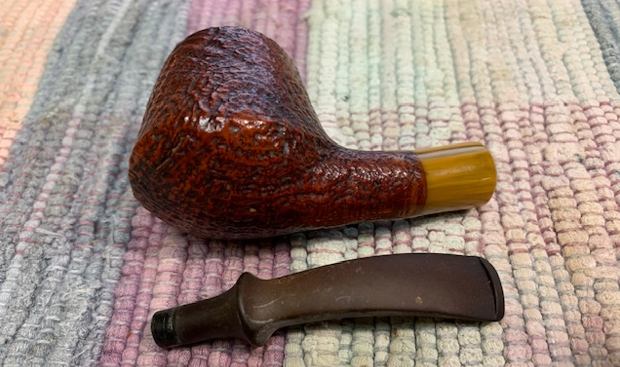
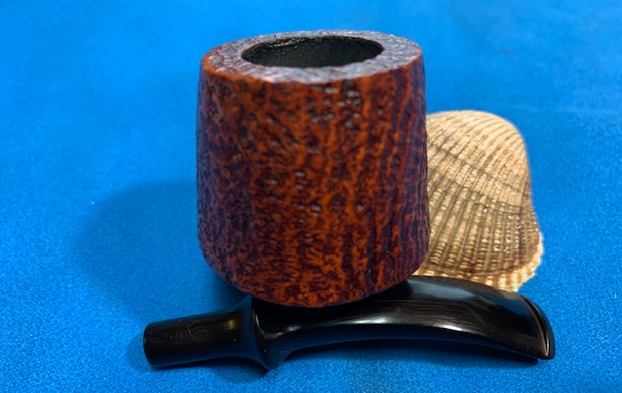
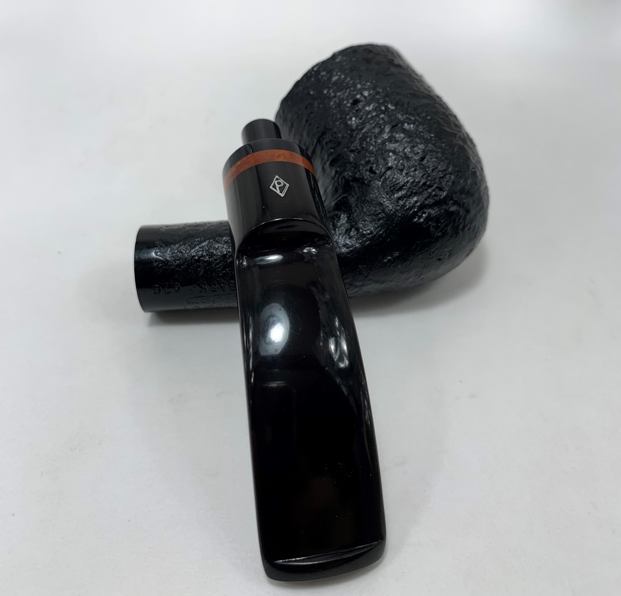
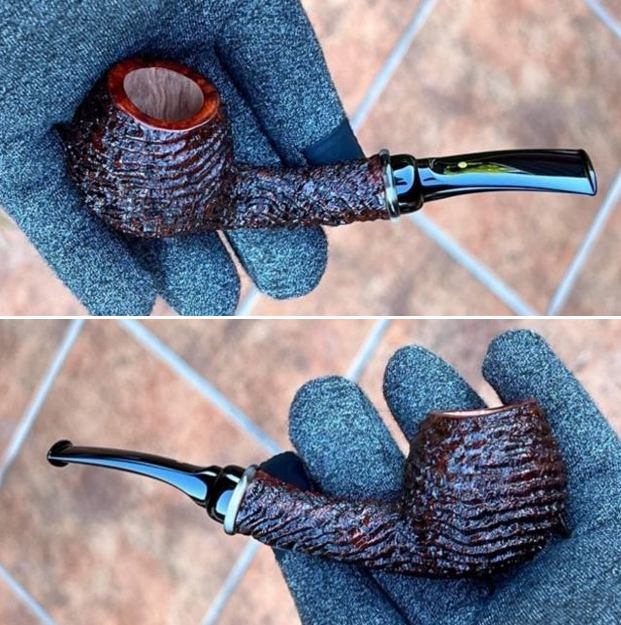
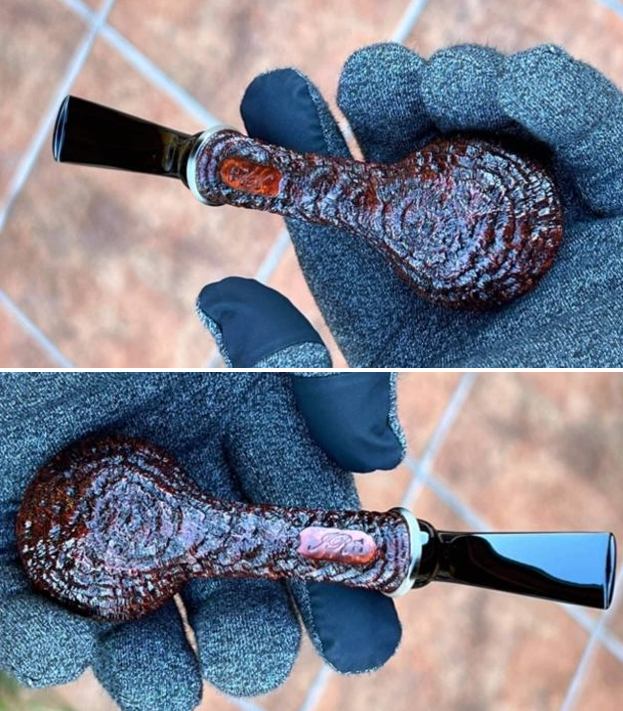
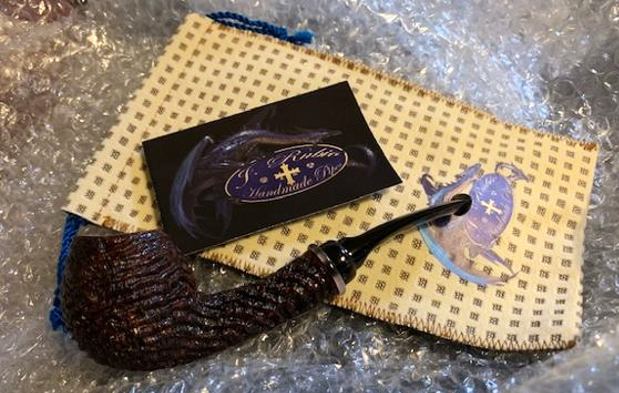
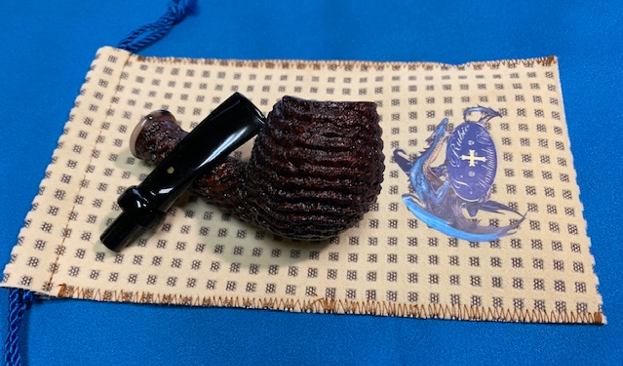
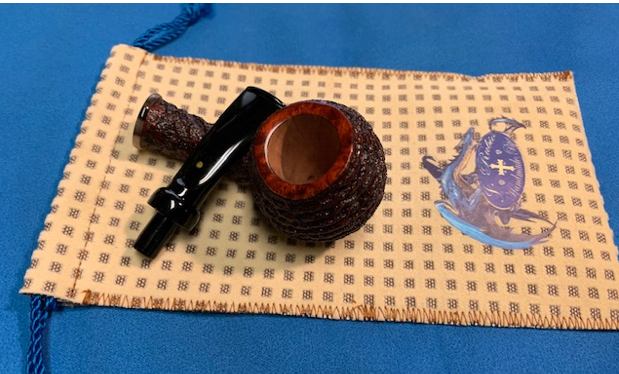
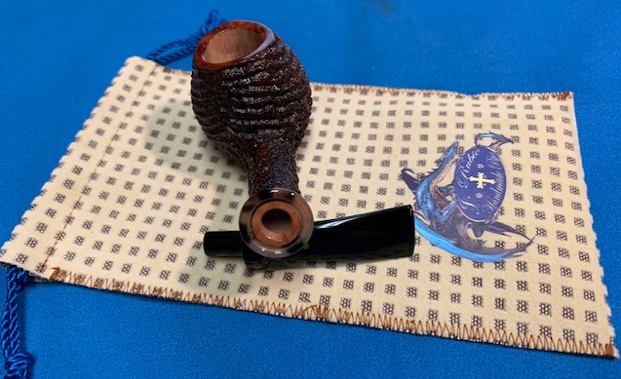
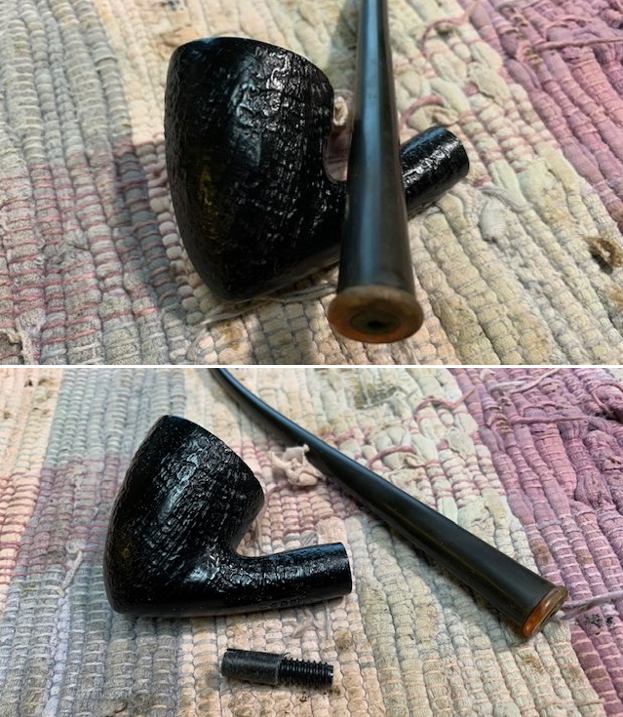
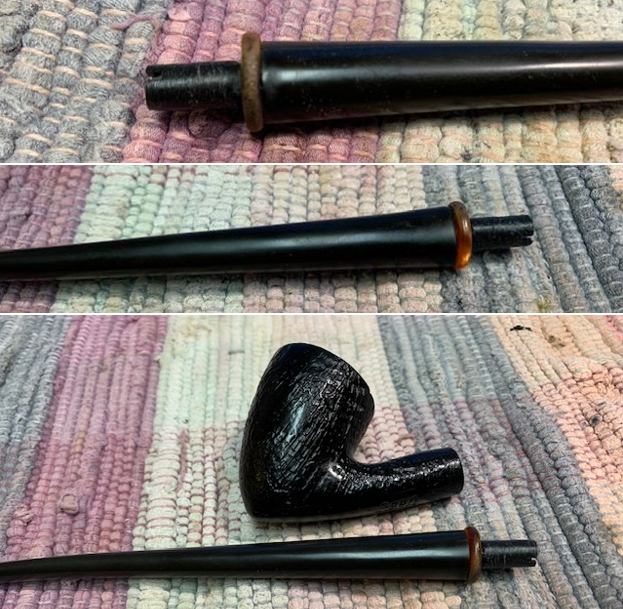
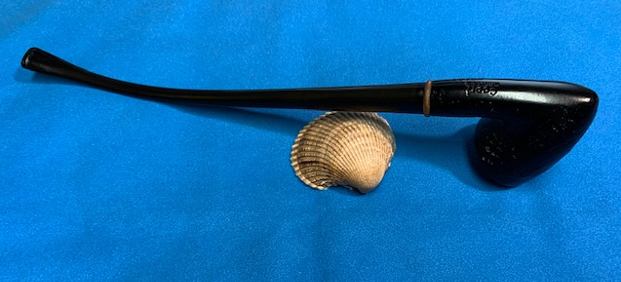
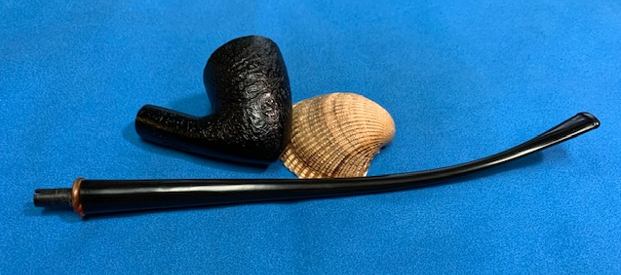
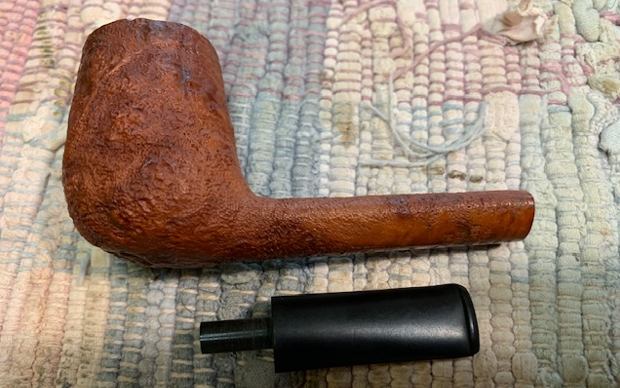
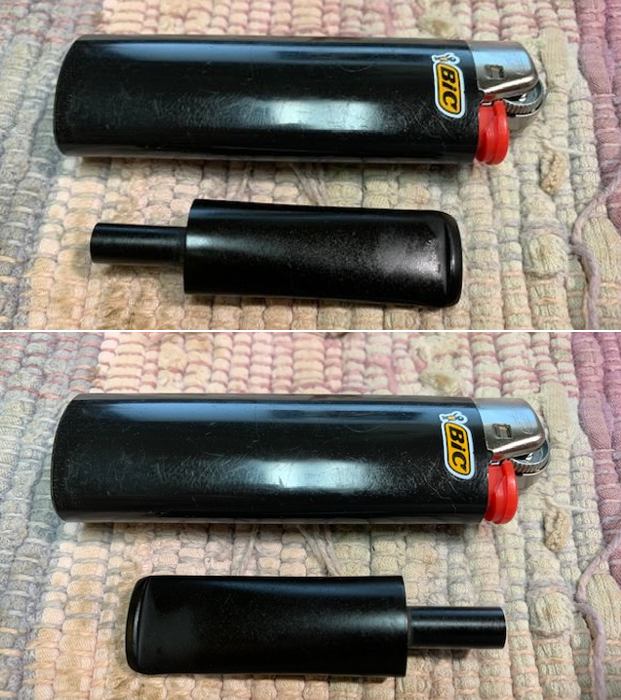
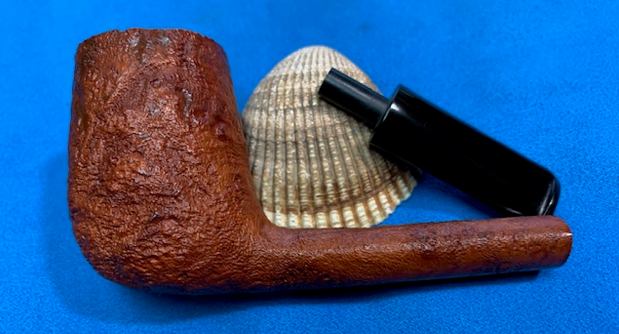
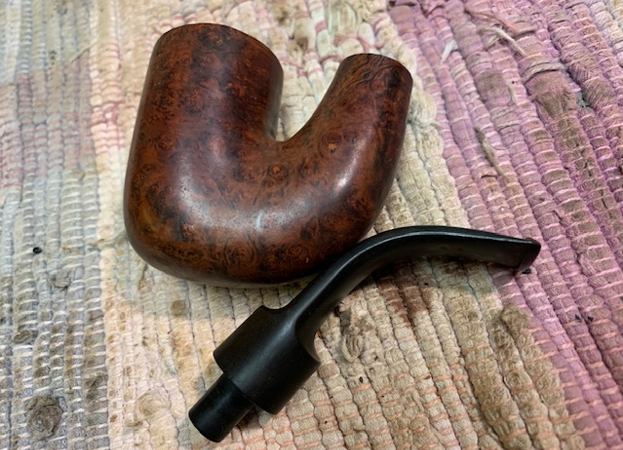
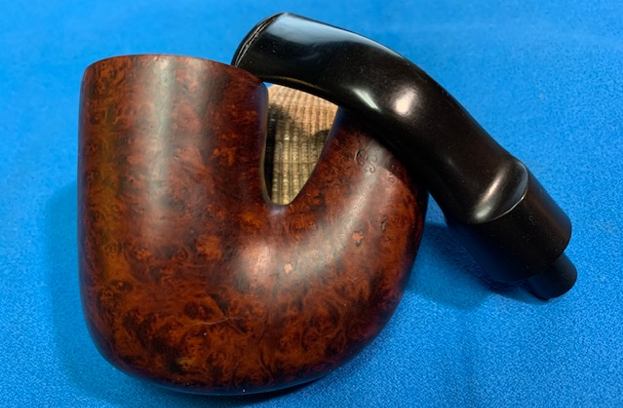
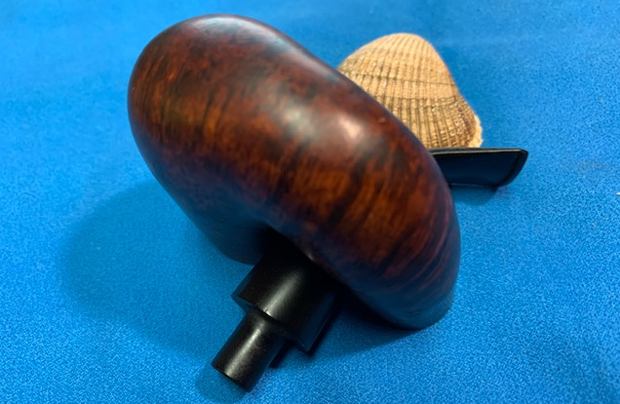
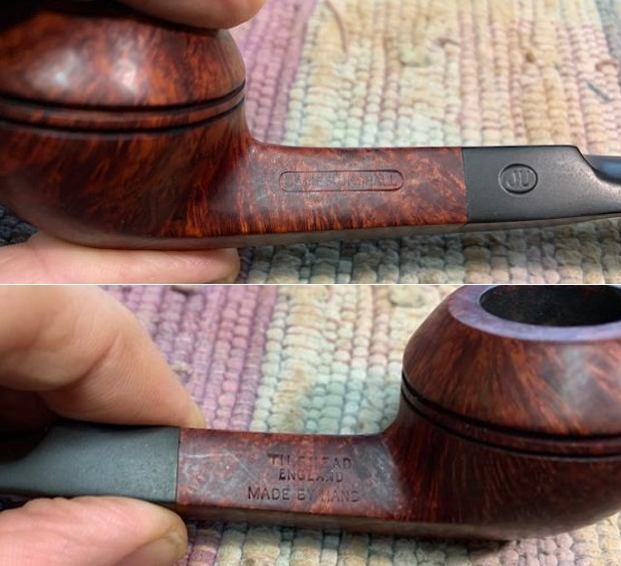 I took the stem off the shank and took a photo of the look of the pipe. It is really a great looking pipe that really follows the briar.
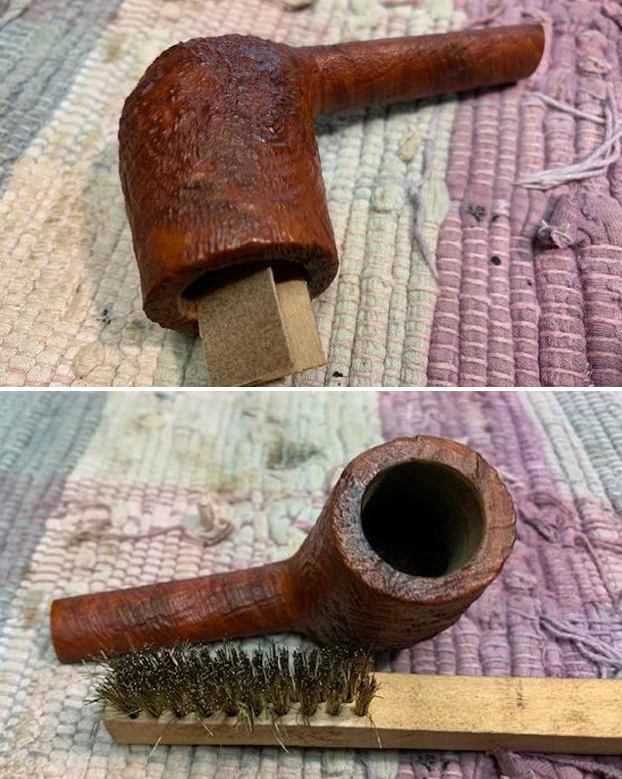
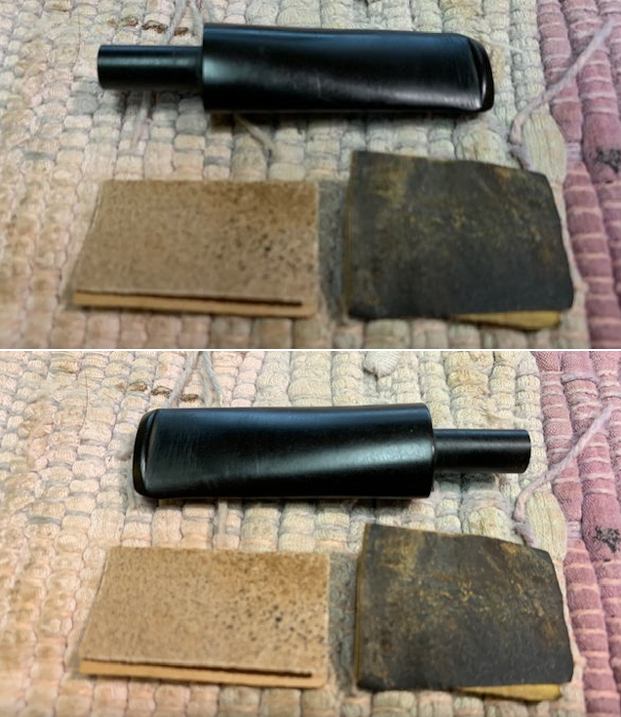
 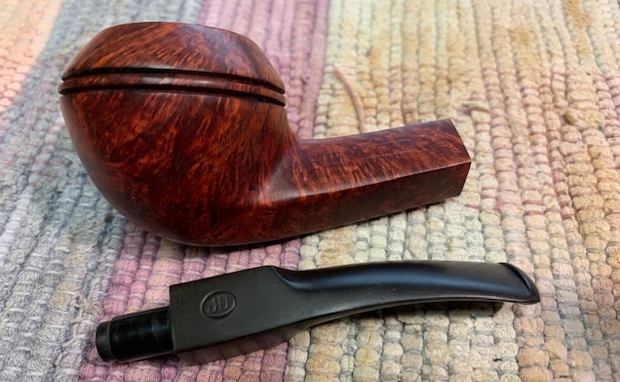 I decided to clean up the inner edge of the bowl and straighten out the damage to the rim edge with a folded piece of 220 grit sandpaper and polished it with 400 grit sandpaper. It did not take too much to give the edge a light bevel and remove the damage.
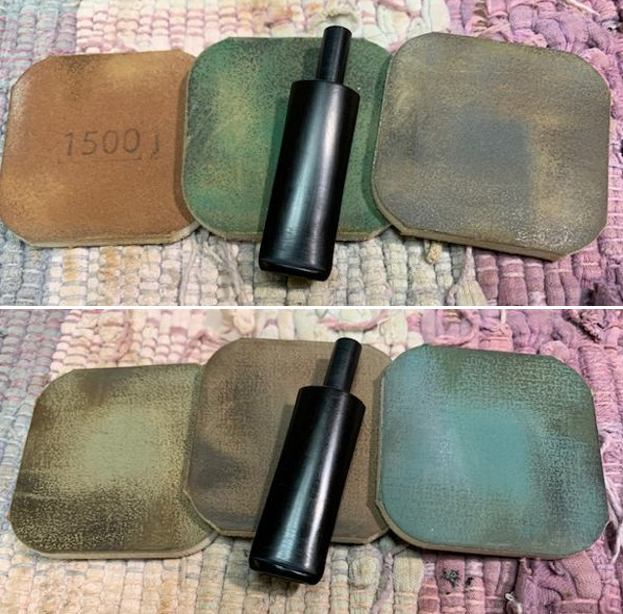
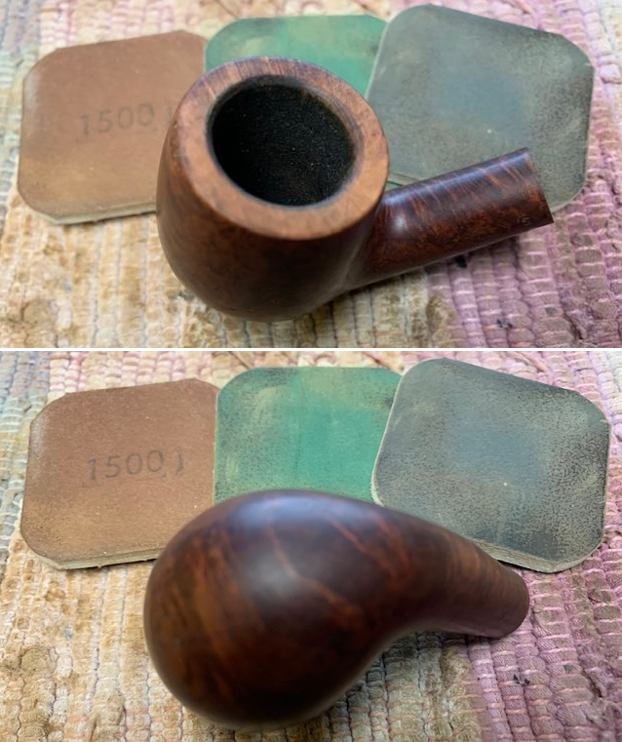
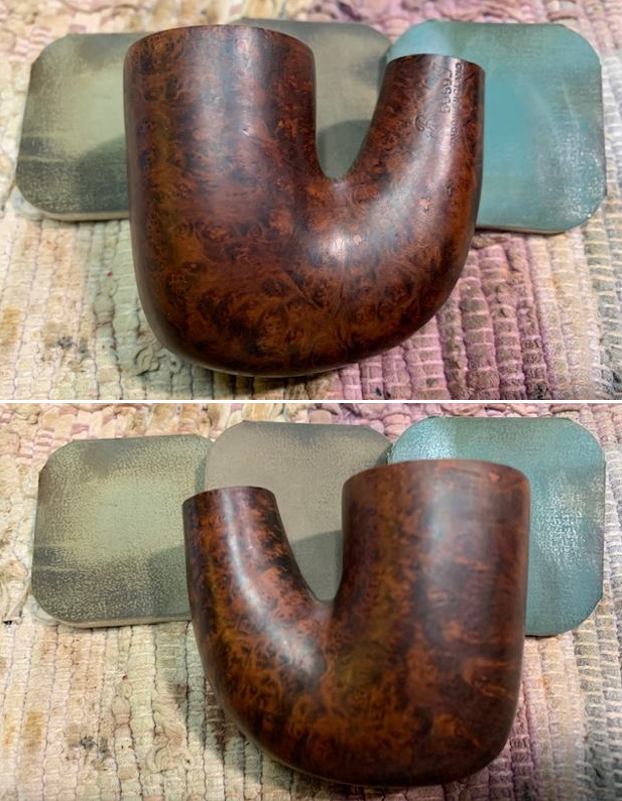
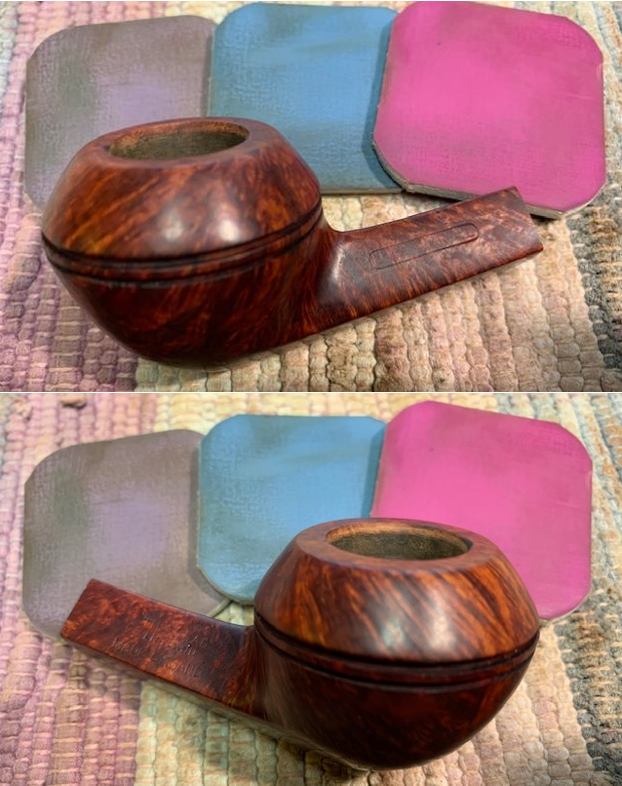
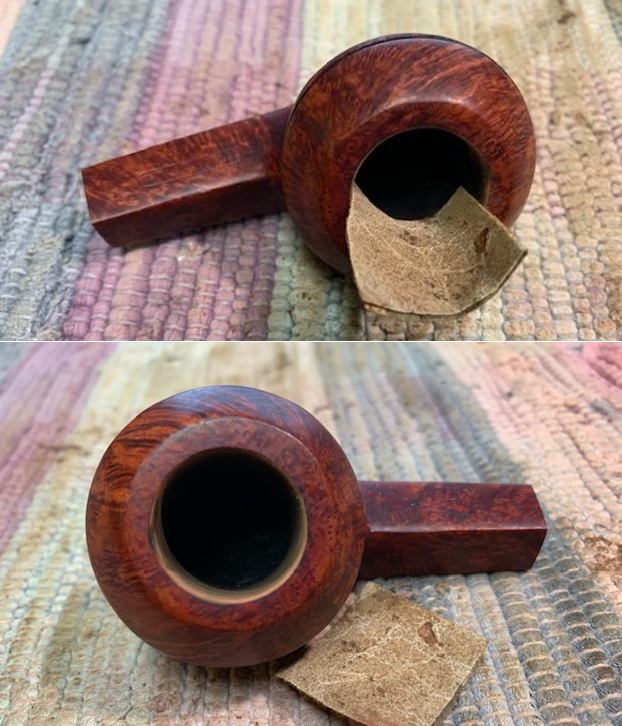 I dry sanded the briar with micromesh sanding pads – 1500-12000 grit sanding pads. I wiped the bowl surface down with a damp cloth after each sanding pad to remove the sanding dust. Once I finished the exterior of the briar was clean and the grain really stood out.
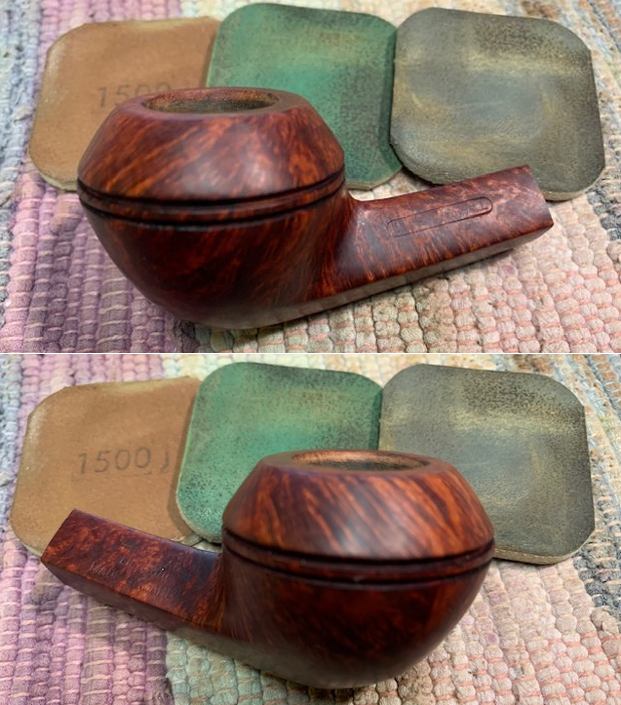

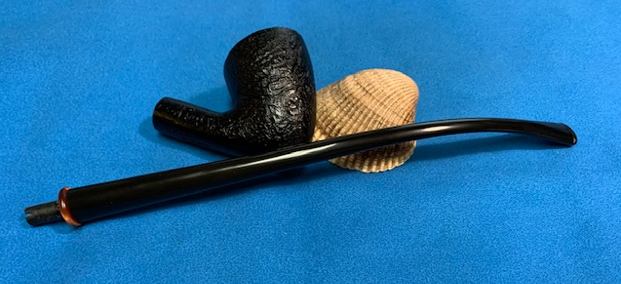
 I rubbed the bowl down with Before & After Restoration Balm. I worked it into the surface of the briar with my fingertips to clean, enliven and protect it. I worked it into the twin rings on the cap with a horsehair shoe brush. I let the balm sit for 10 minutes and then buffed the pipe with a cotton cloth to raise the shine. Mark Hoover’s Balm is a product that I have come to appreciate and one I use on every pipe I have been working on.
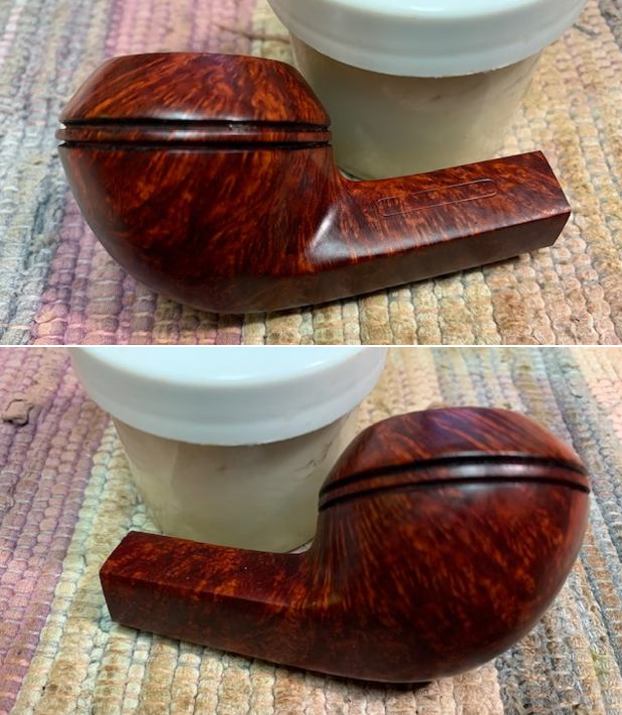
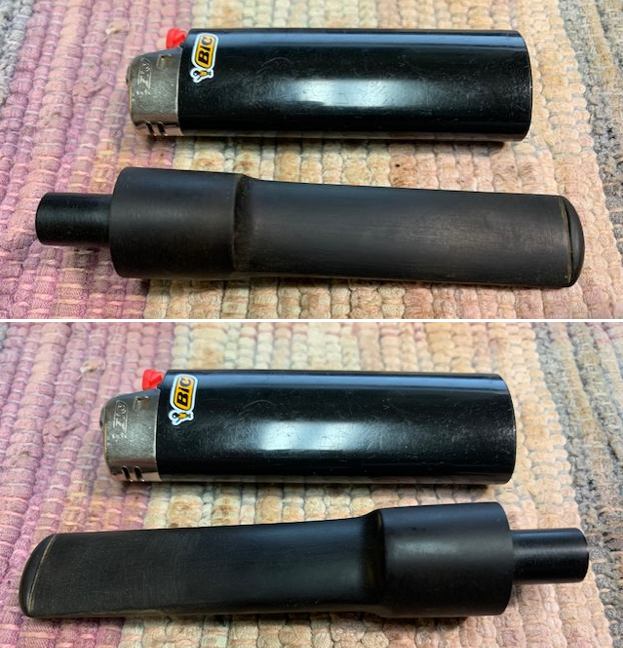
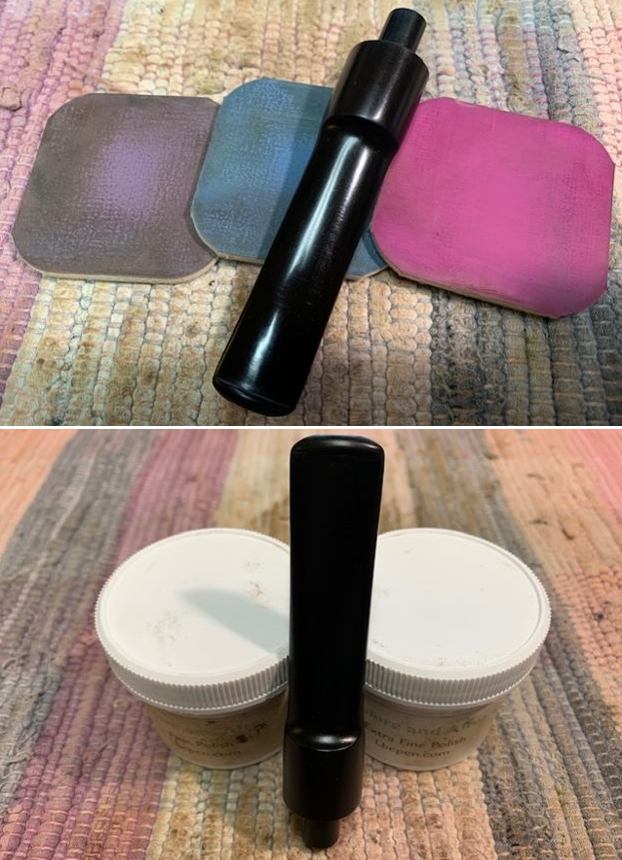
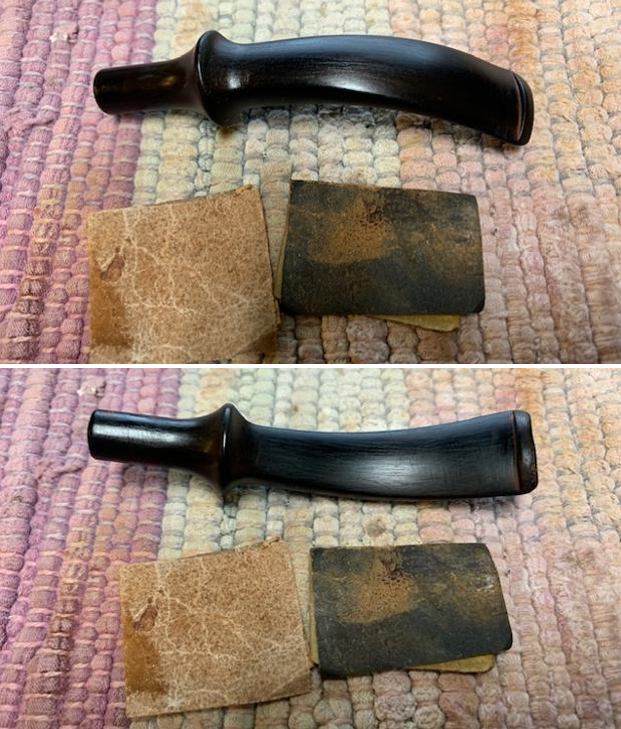
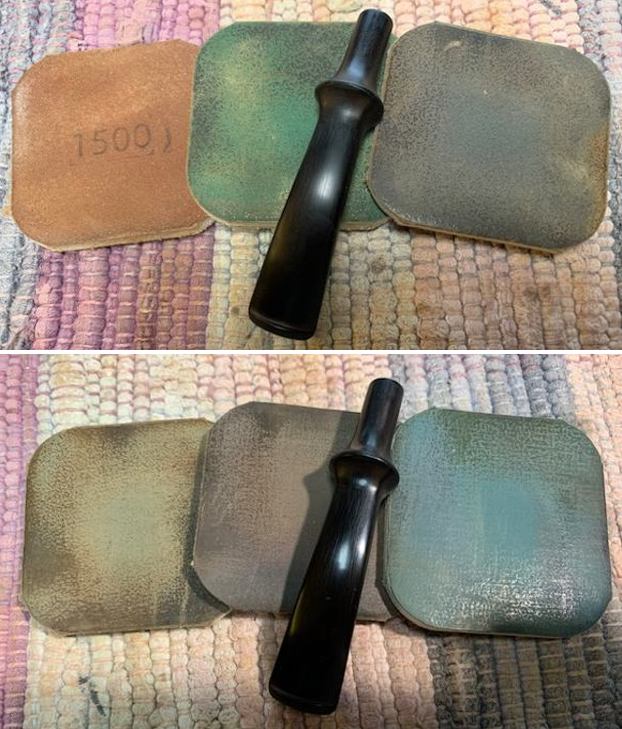
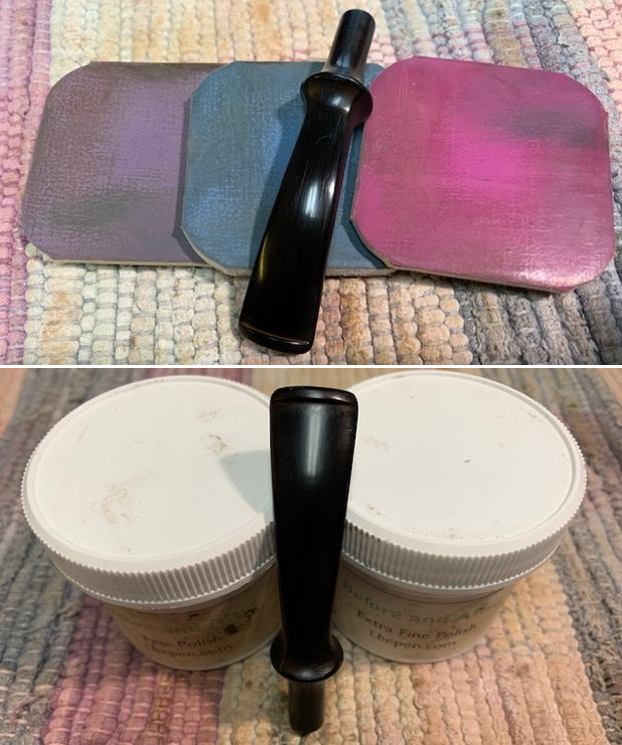
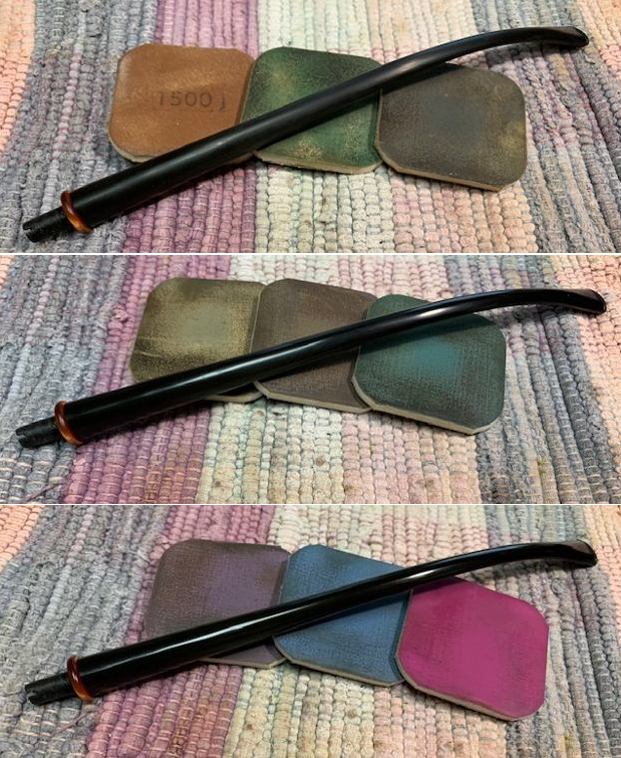
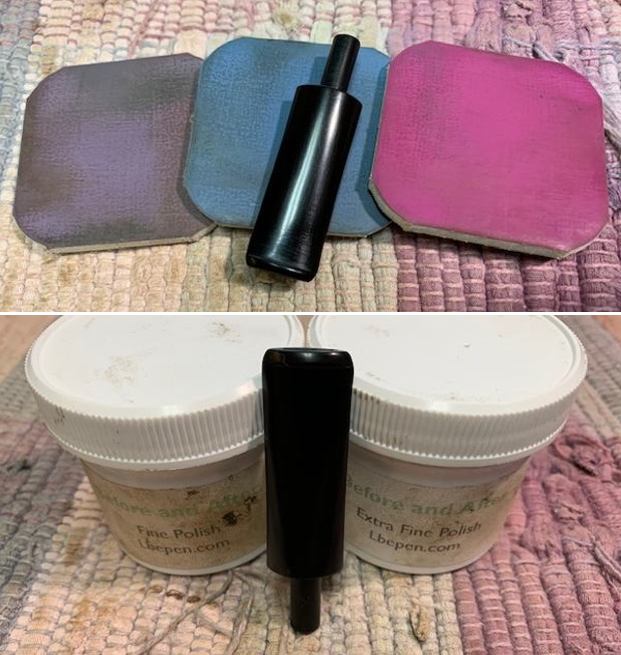
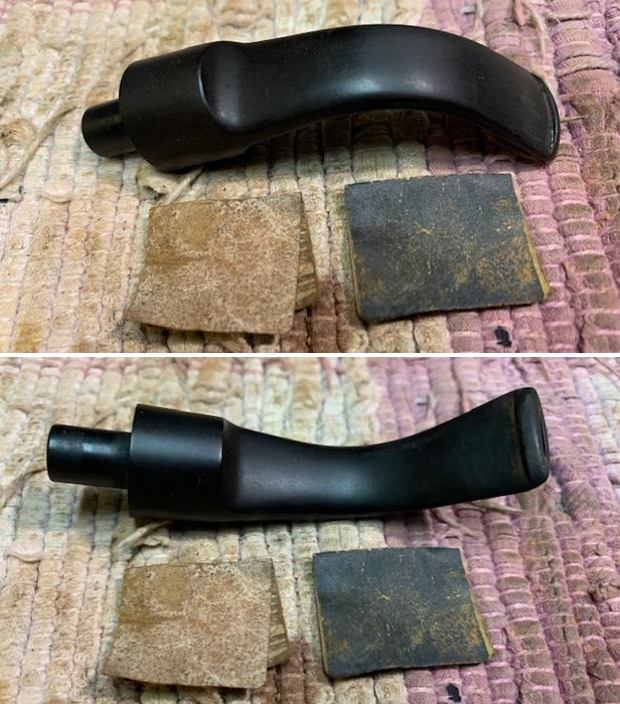
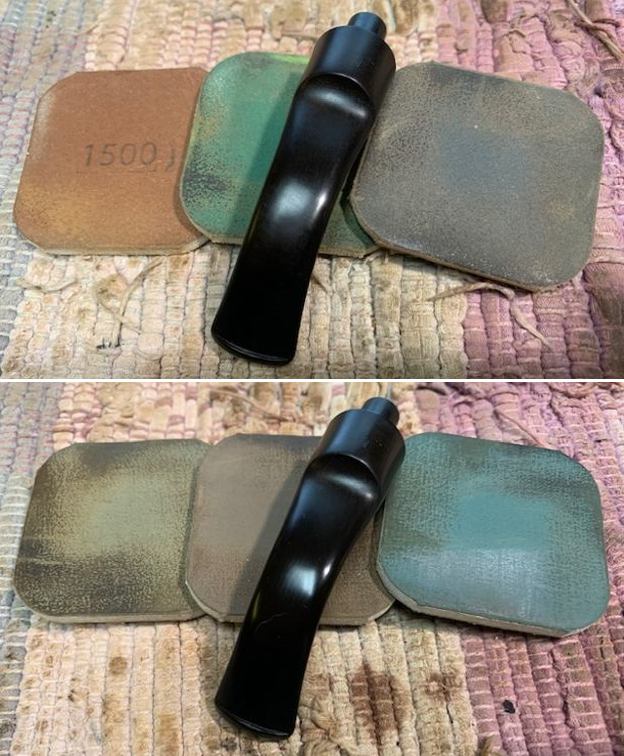
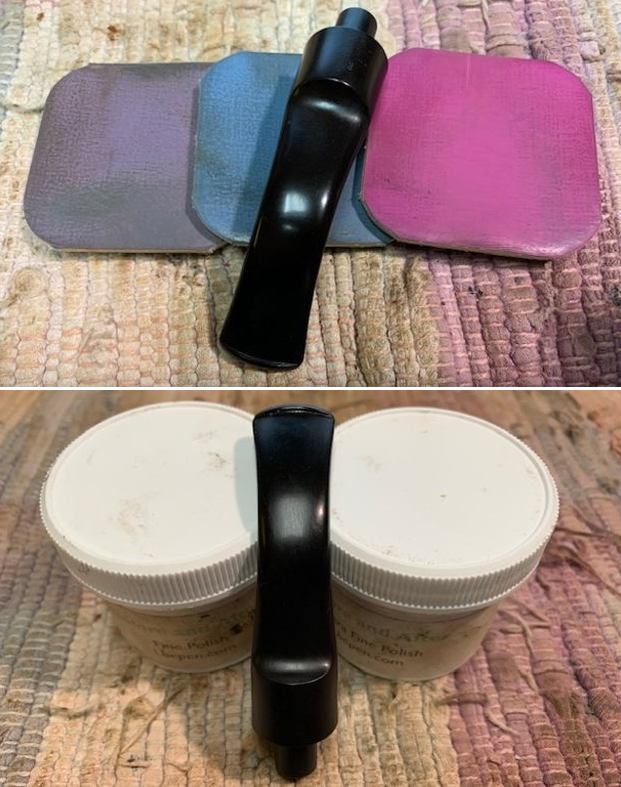
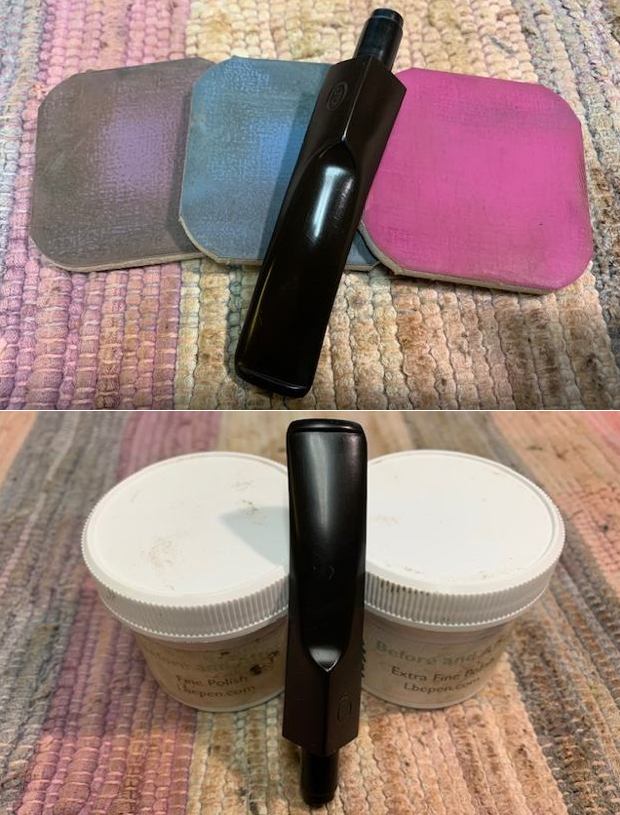
 I polished the stem with micromesh sanding pads – wet sanding with 1500-12000 grit pads. I wiped the stem down after each sanding pad with Obsidian Oil. I polished it with Before & After Pipe Stem Polish – both Fine and Extra Fine. Once I had finished the polishing I gave it final coat of oil and set it aside to dry.
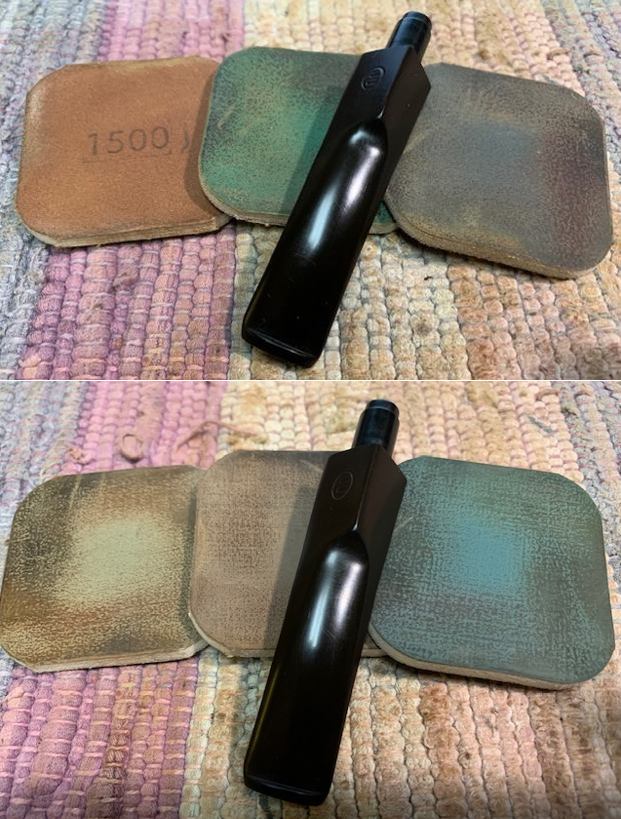
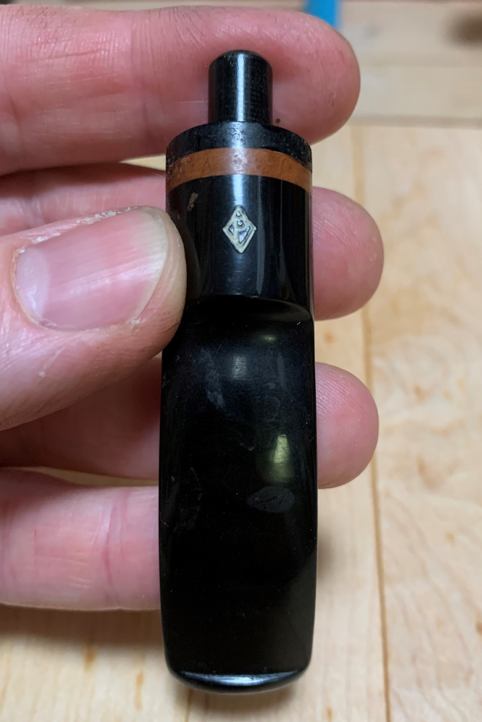
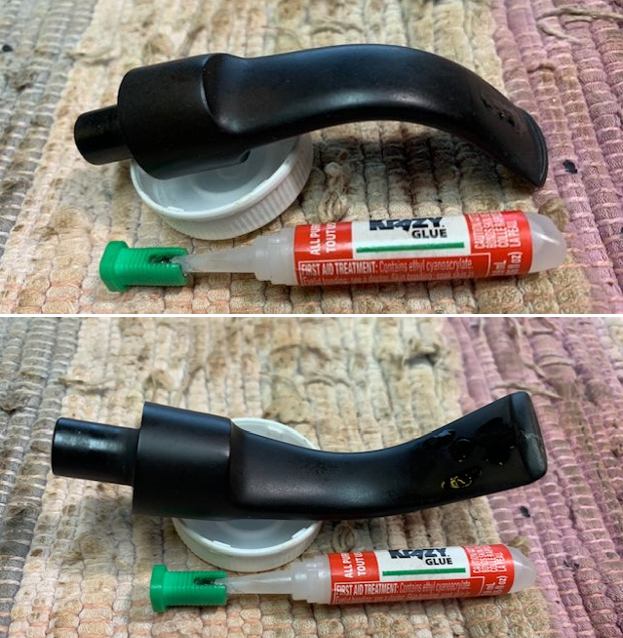
 I touched up the JU stamp on the stem with a white acrylic finger nail polish. I painted it on the stem and worked it into the stamp with a tooth pick. Once it had cured I used a 1500 grit micromesh pad to remove the excess material.
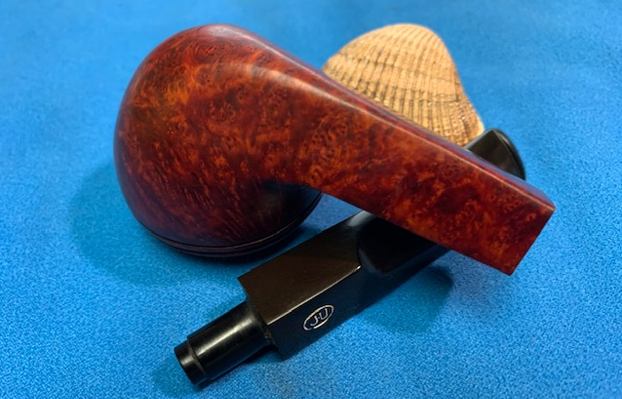
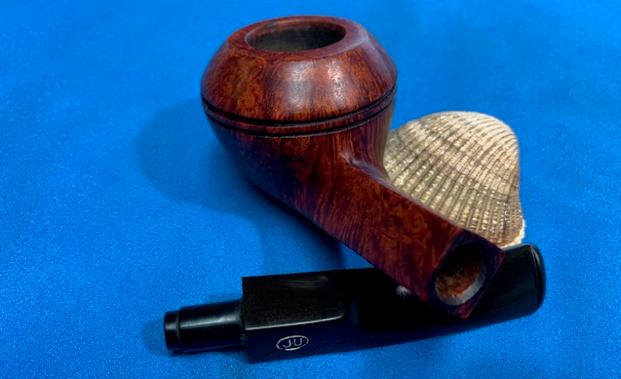
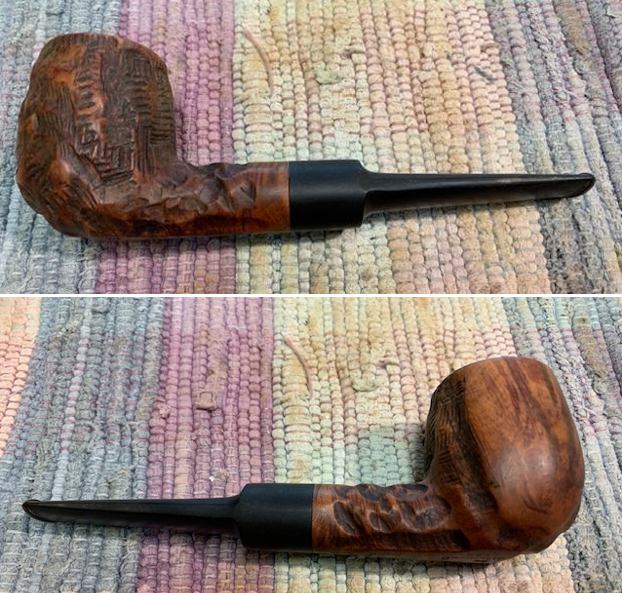
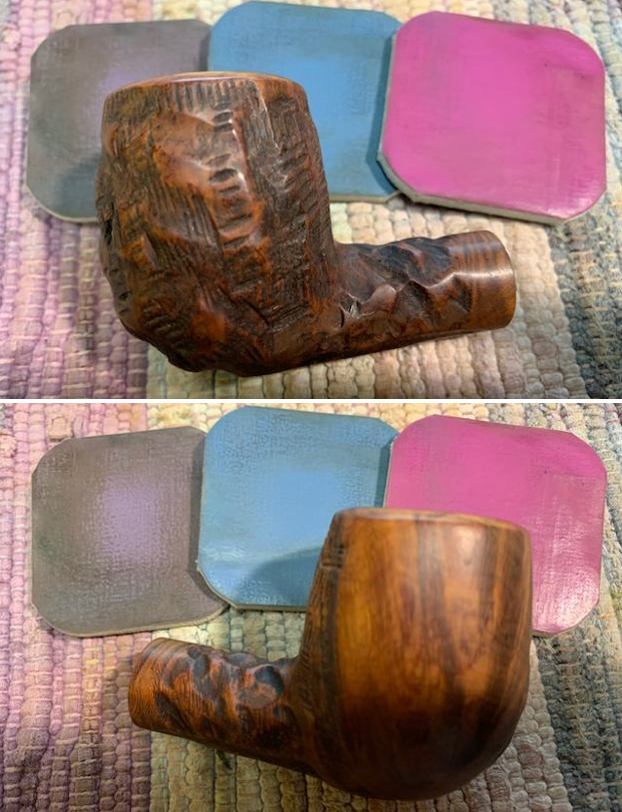
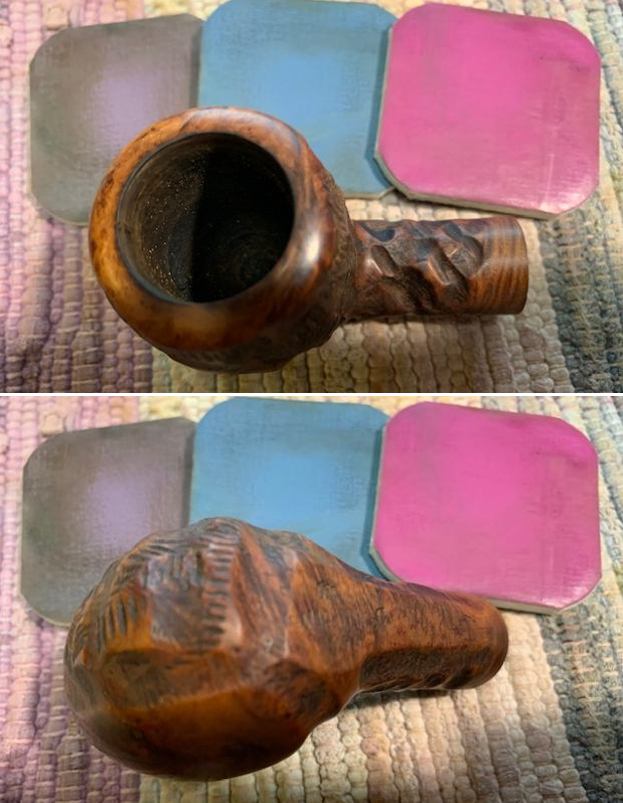
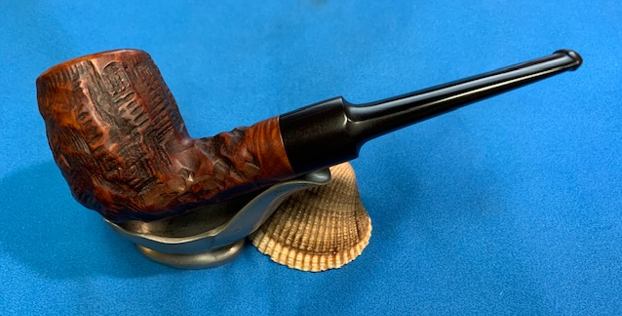
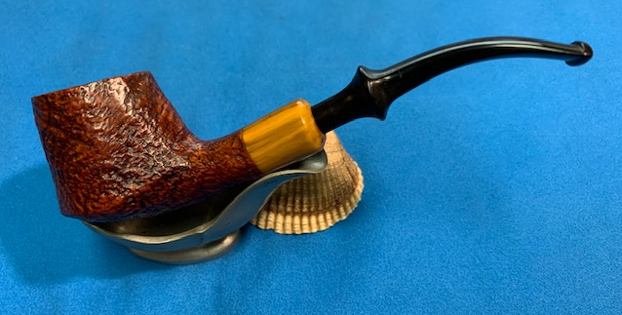
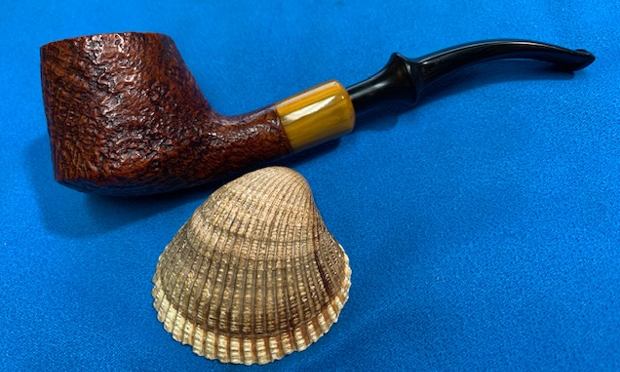
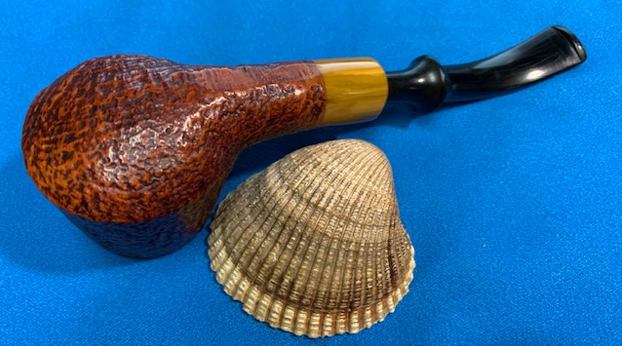
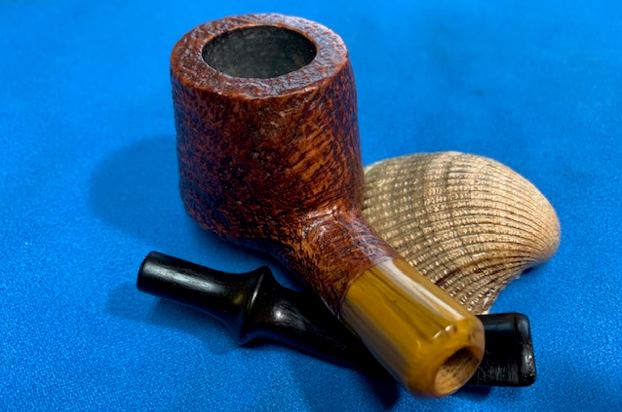
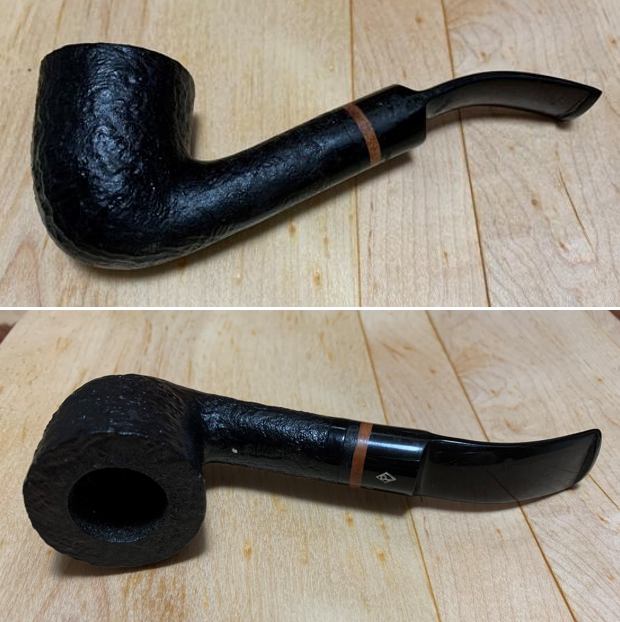
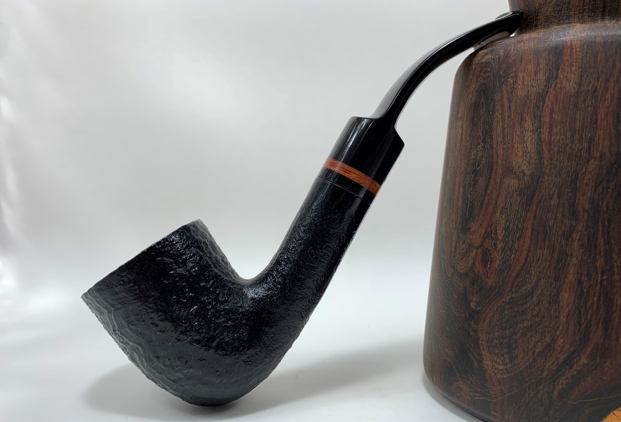
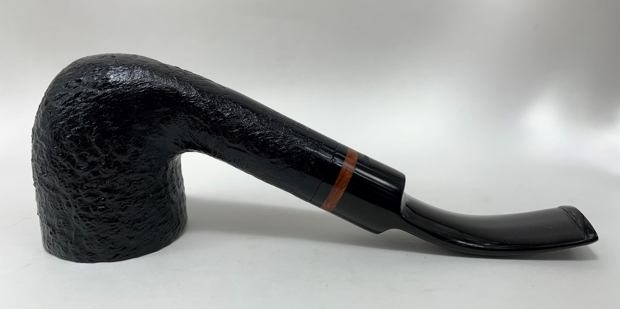
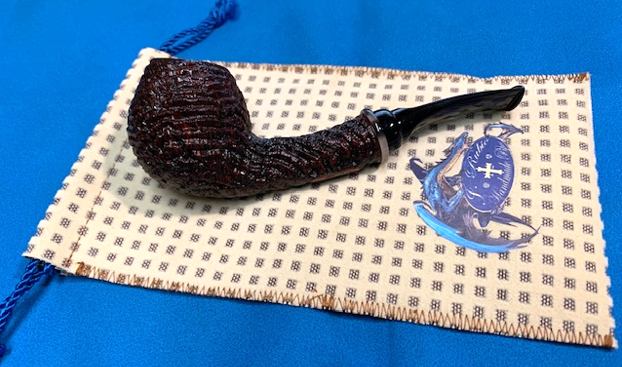
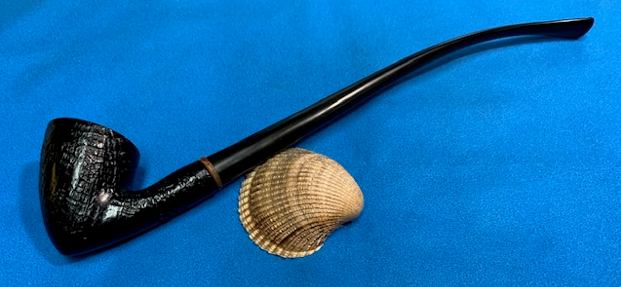
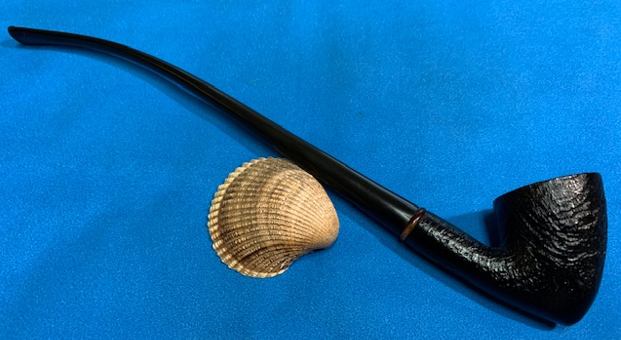
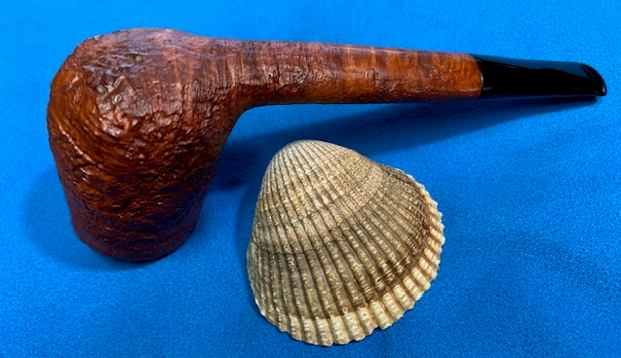
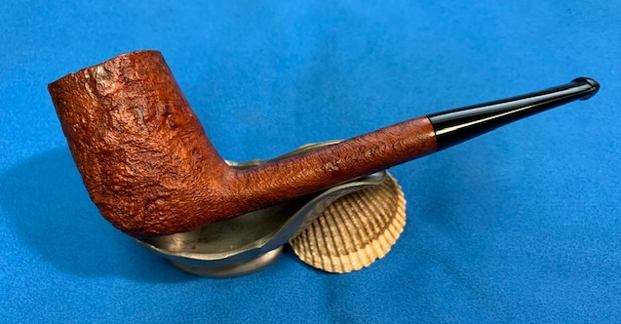
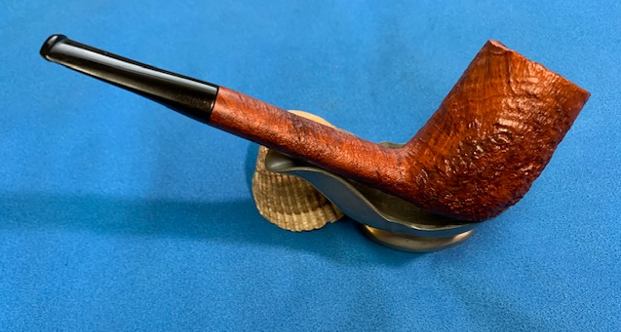
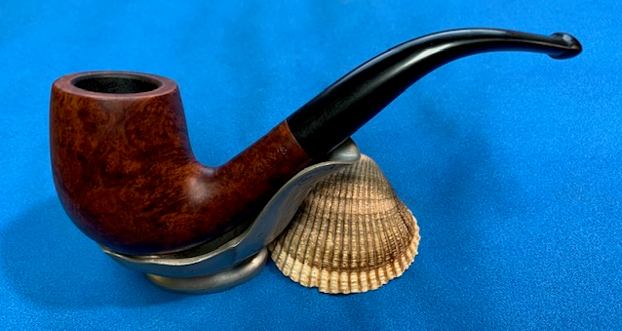
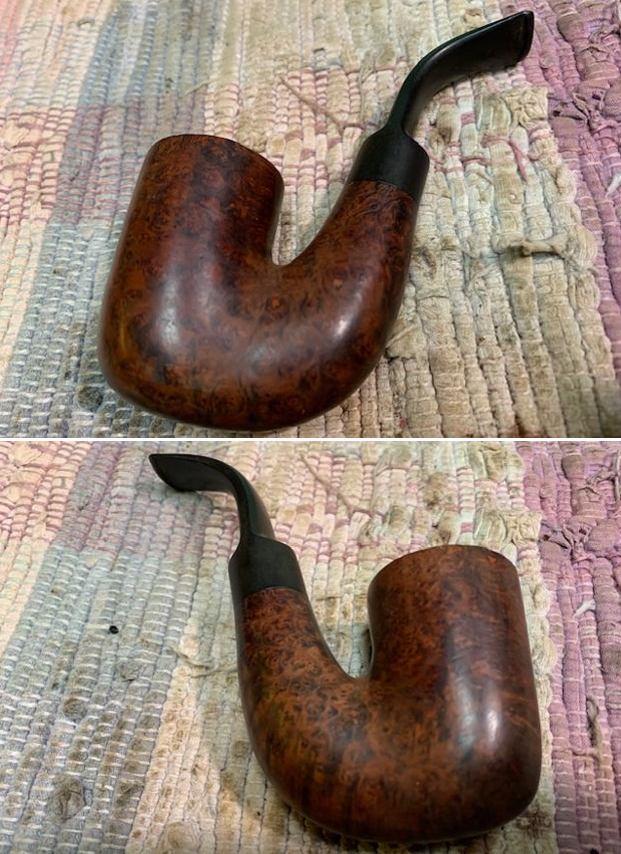
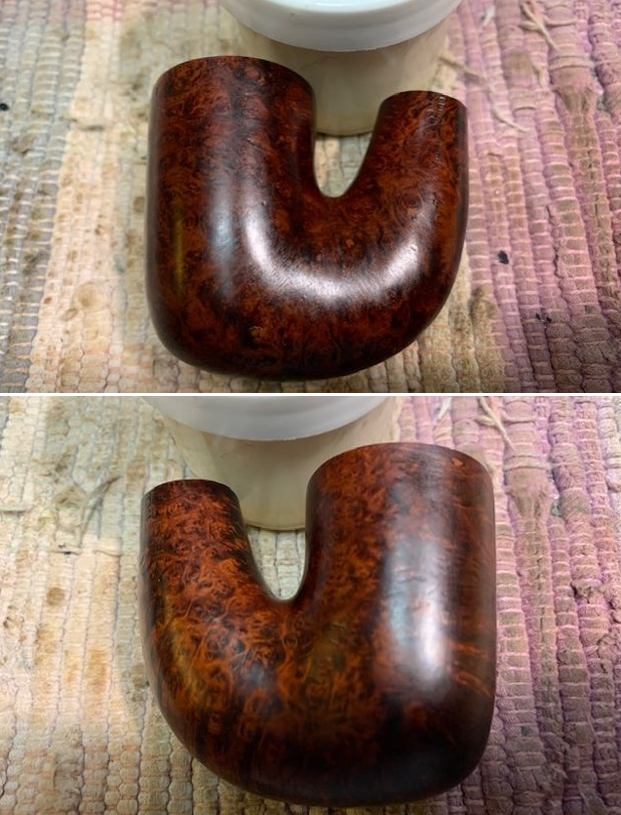
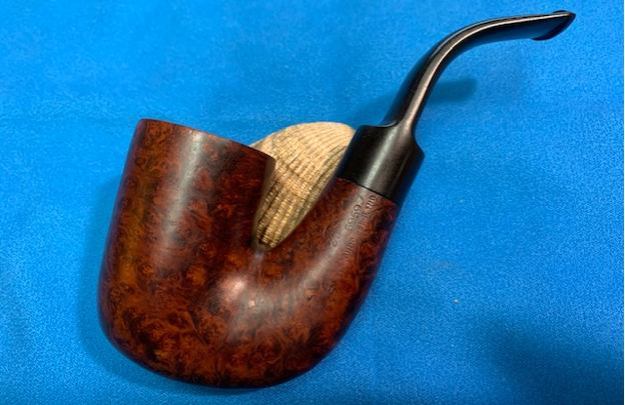
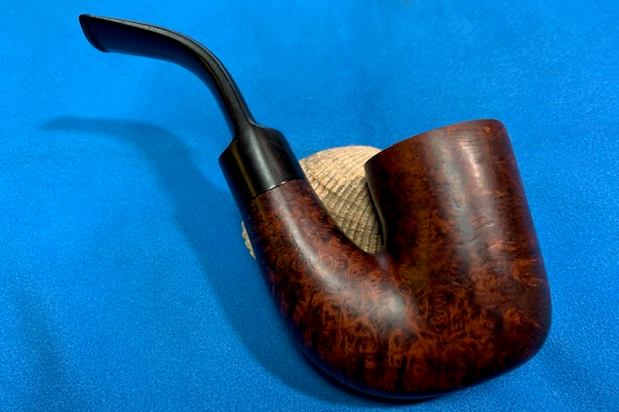
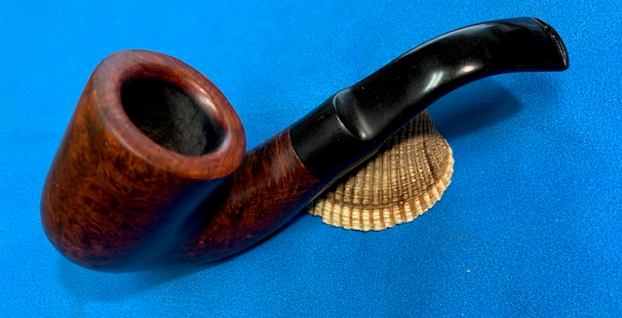
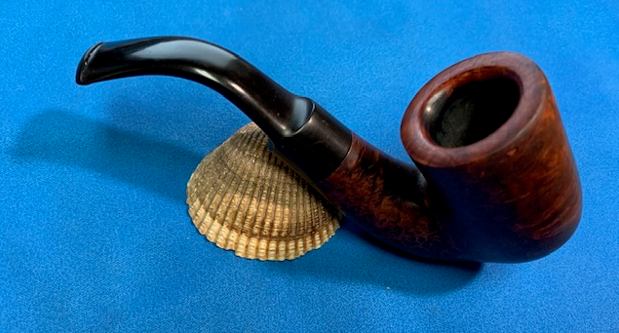
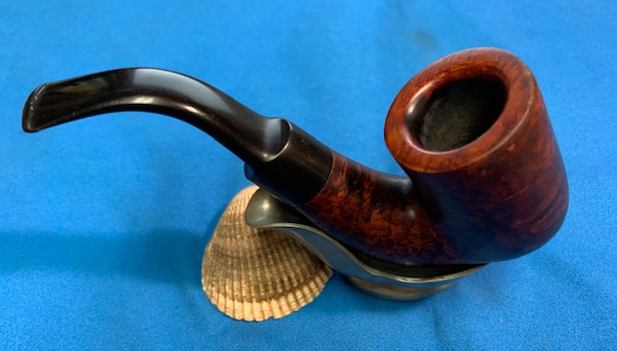
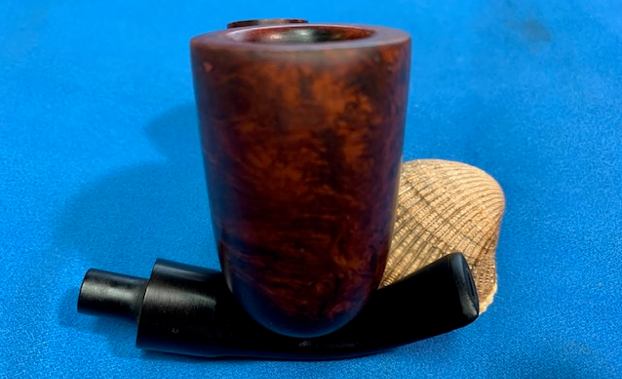
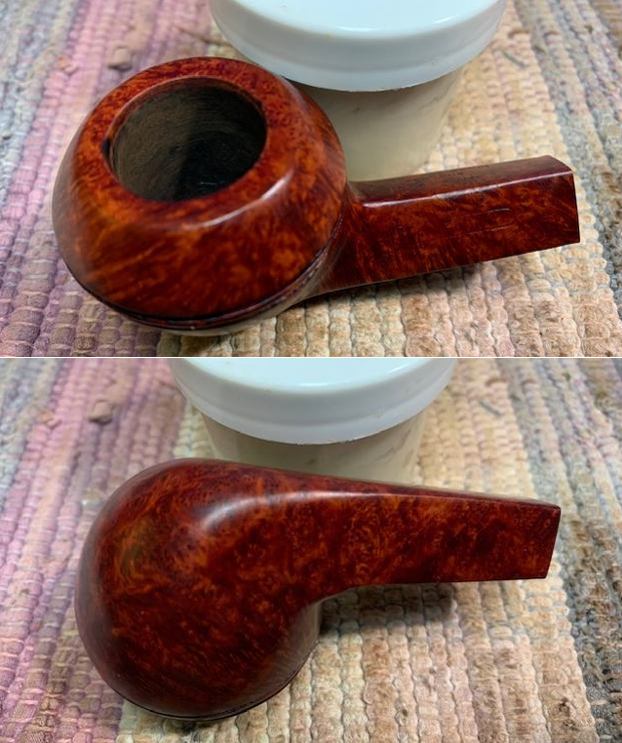
 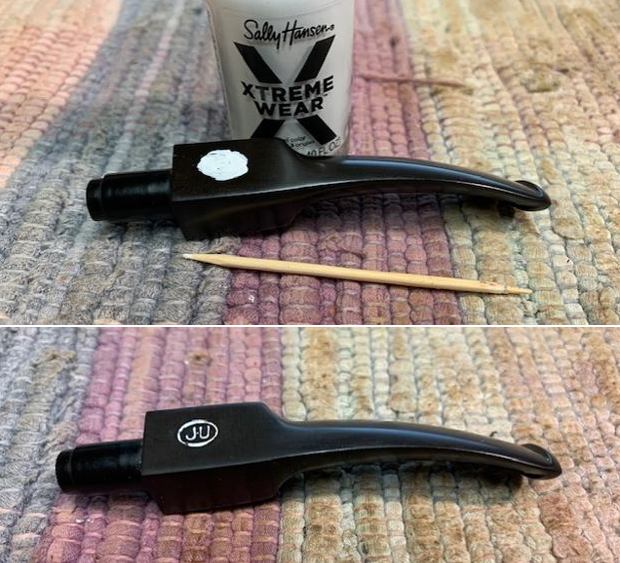 I am excited to be on the homestretch with beautiful James Upshall Grade S Bulldog. This is the part I look forward to when it all comes back together, polished and waxed. I put the bowl and stem back together. I polished the bowl and stem with Blue Diamond to polish out the scratches in the briar and the vulcanite. I gave the bowl and the stem multiple coats of carnauba wax. I buffed the pipe with a clean buffing pad to raise the shine. I hand buffed it with a microfiber cloth to deepen the shine. The pipe polished up pretty nicely. The beautifully grained finish looks really good with the interesting grain patterns standing out on the shape. The grain and the polished black vulcanite went really well together. This James Upshall Bulldog was another fun pipe to work on thanks to Jeff’s cleanup work. It really has that classic English look that catches the eye. The Red Mahogany stain really makes the pipe look attractive. It is another comfortable pipe to hold in the hand. The finished pipe is shown in the photos below. The dimensions of the pipe are Length: 6 inches, Height: 1 ¾ inches, Outside diameter of the bowl: 1 ¾ inches, Chamber diameter: ¾ of an inch. The weight of the pipe is 49 grams/1.73 ounces. This is an Upshall that catches my eye. Thanks for reading this blog and my reflections on the pipe while I worked on it. This is an interesting estate to bring back to life.