Blog by Steve Laug
This is the thirteenth pipe from the box of pipes that I was gifted by a good friend of mine with the instructed purpose of cleaning them up and selling them with all of the proceeds going to the aid of earthquake victims in Nepal. Once again all funds raised will all go to the SA Foundation, and organization that has worked in Nepal for over 15 years helping provide recovery, housing and job training for women who are victims of sexual exploitation and trafficking. The ongoing earthquakes (over 300) that continue to shake Nepal have left much in ruins. The SA Foundation Project there was able to find new housing for the women and help with staff as well. Every dollar raised from the sale of these pipes will go to the work in Nepal.
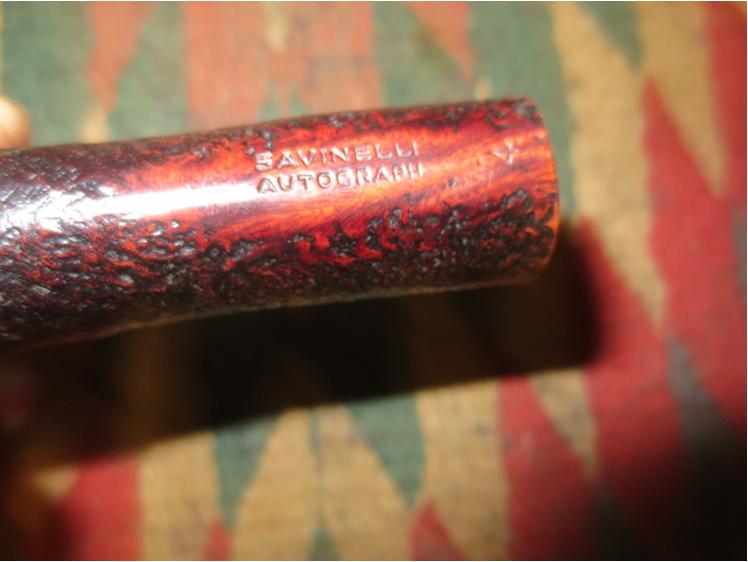
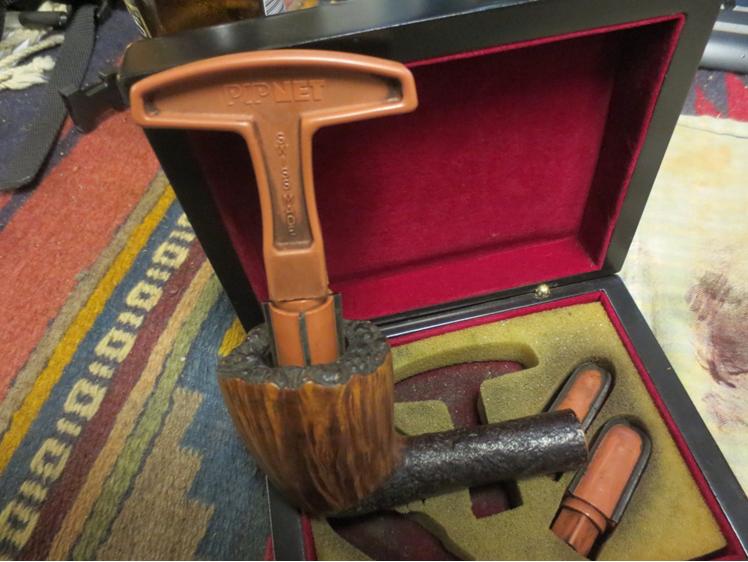
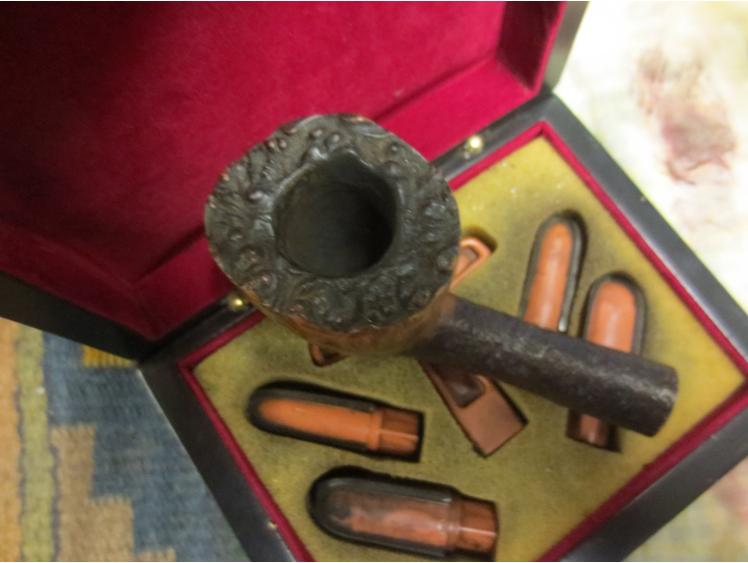
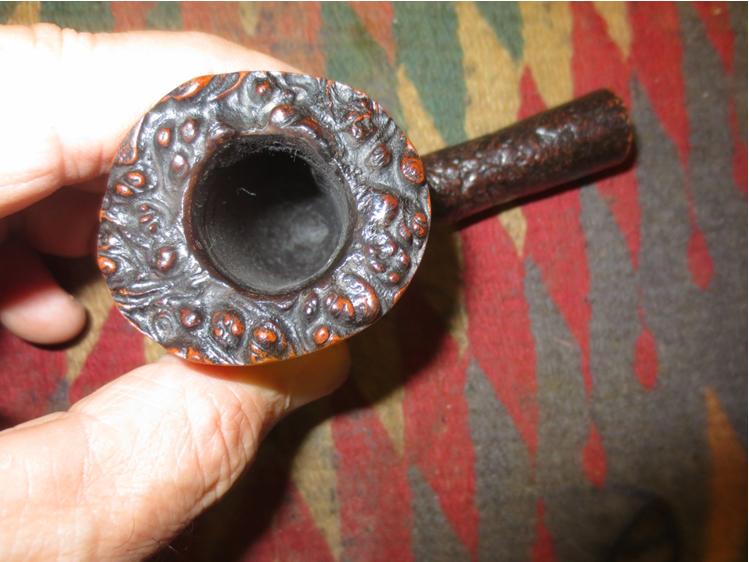
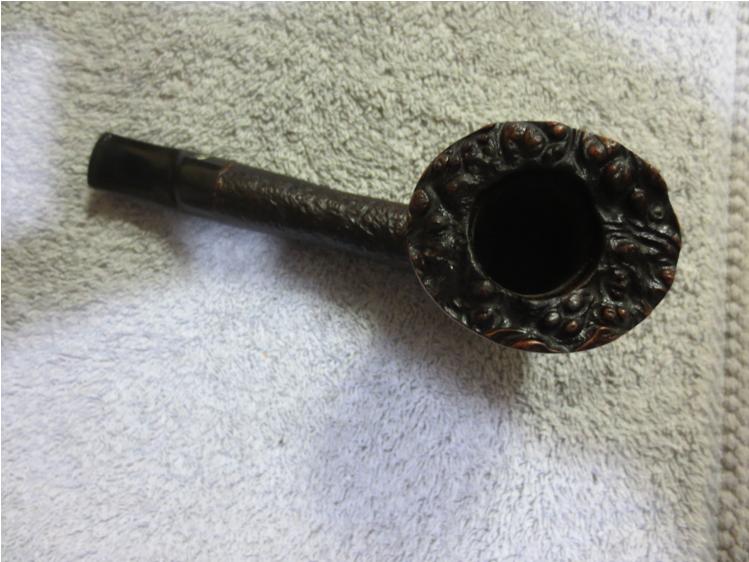
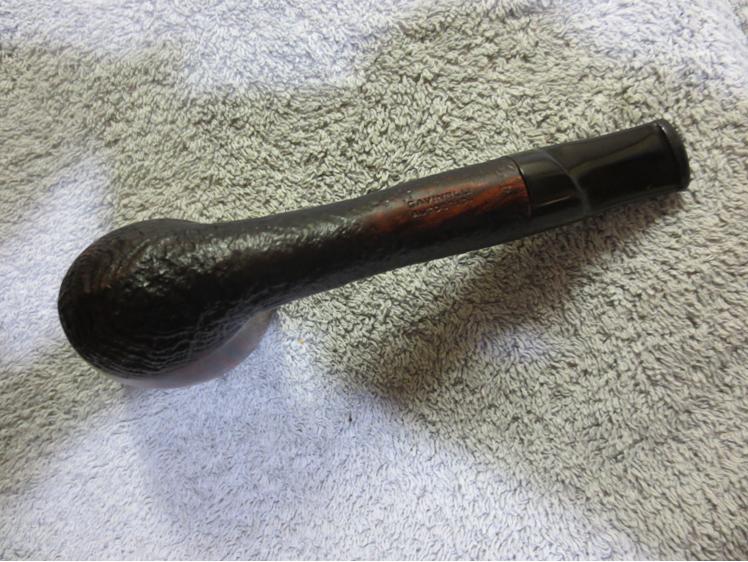
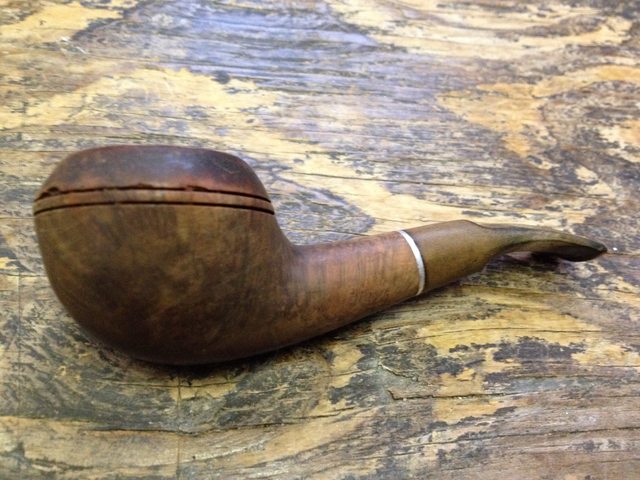
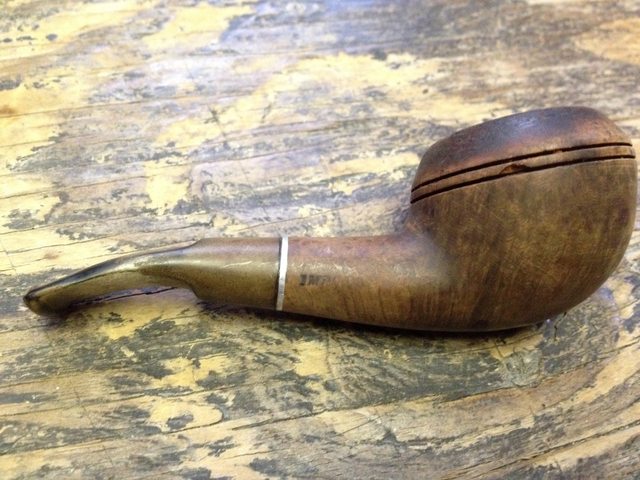
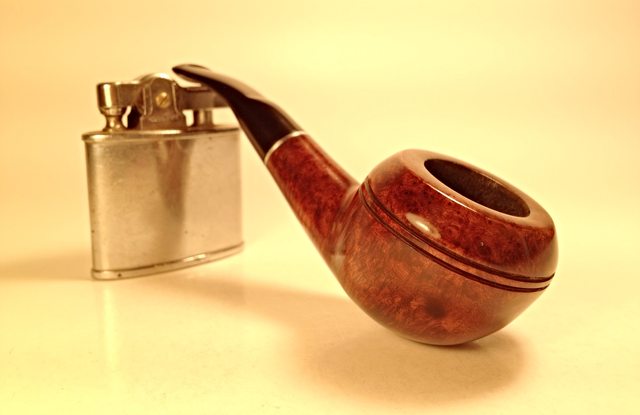
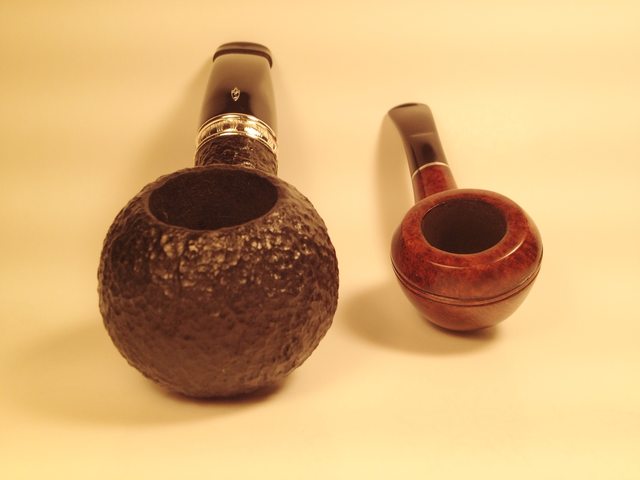
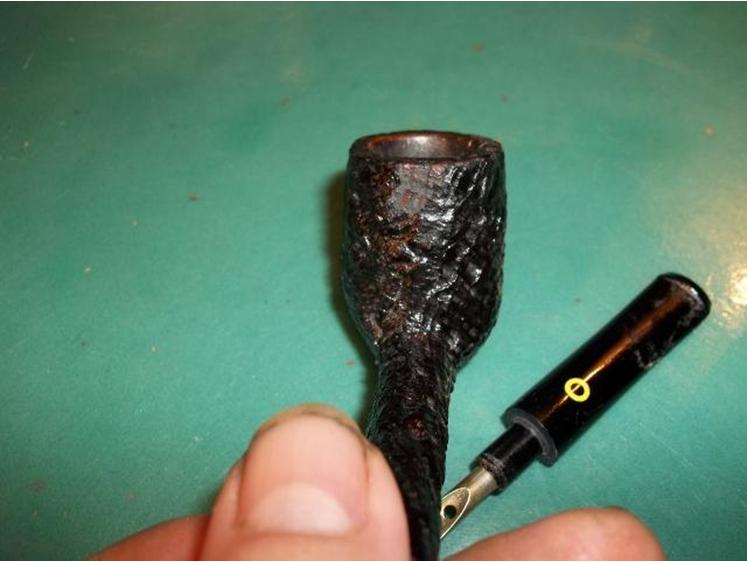
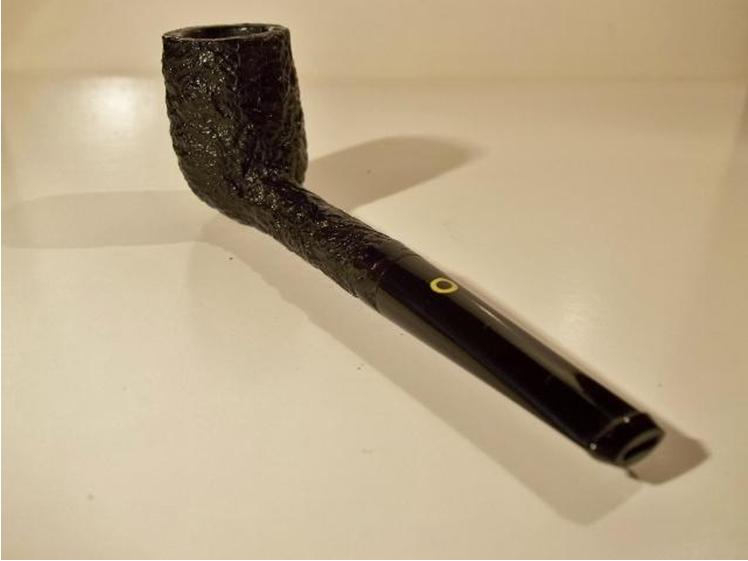
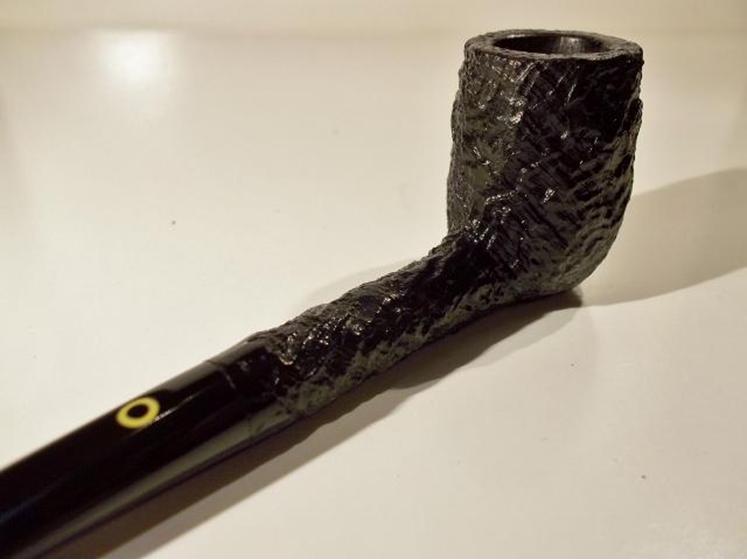
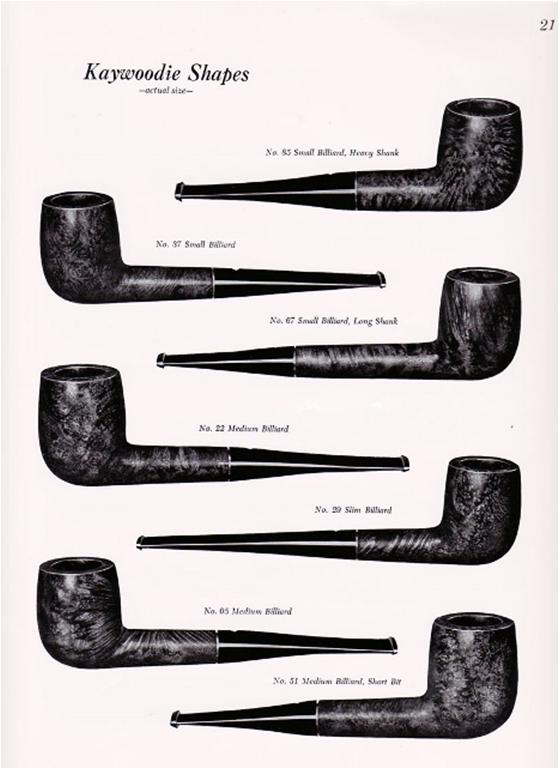
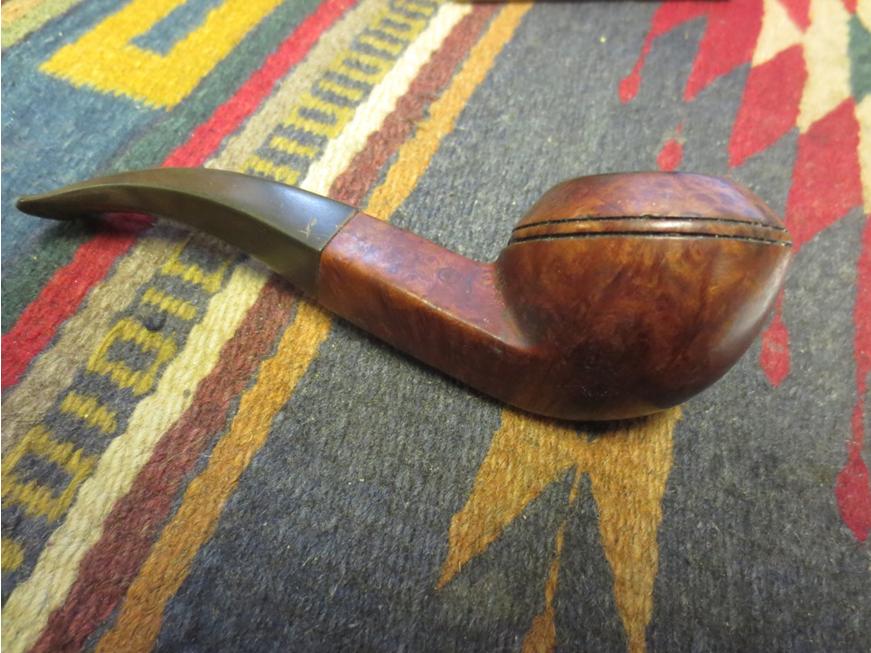
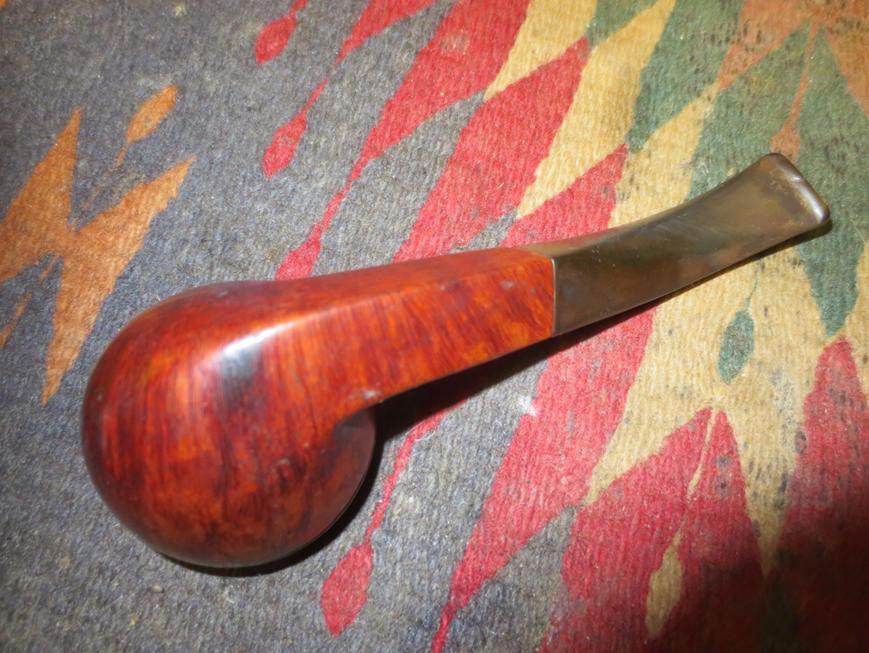
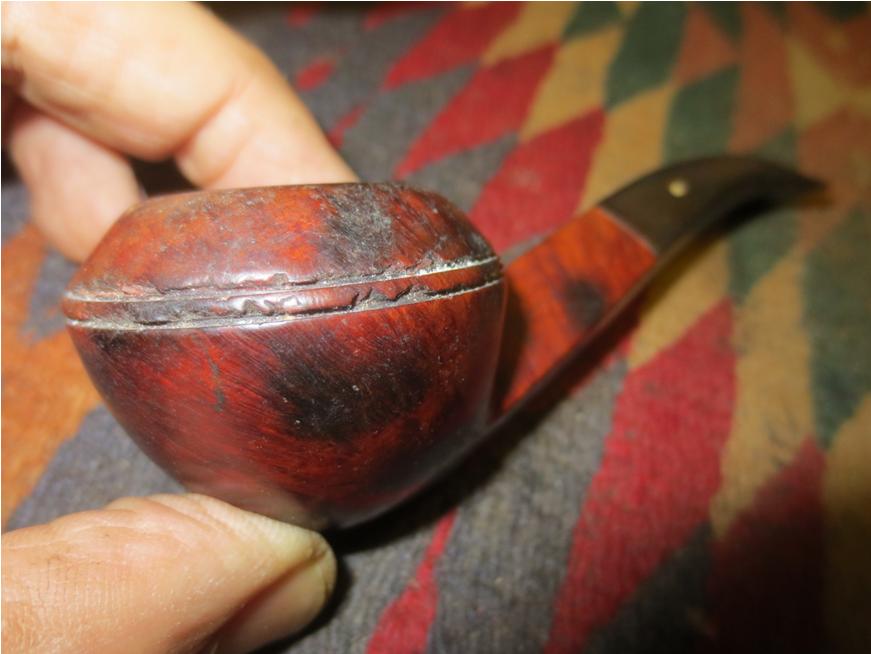
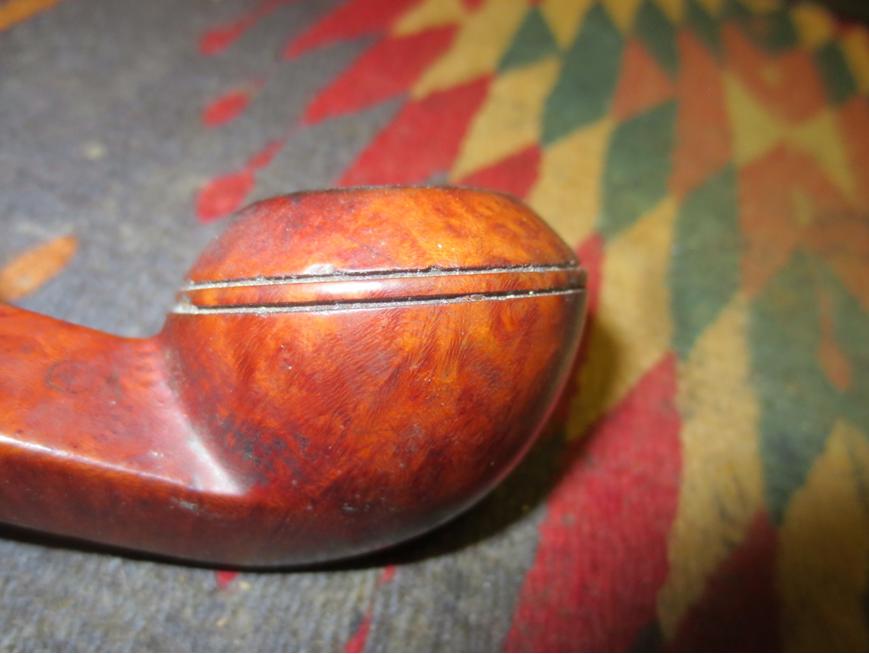
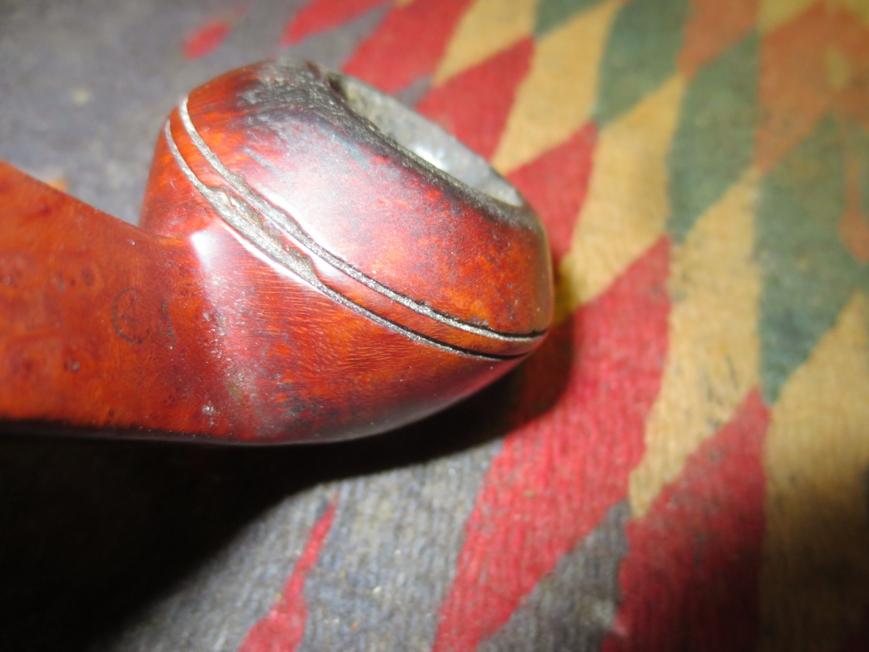
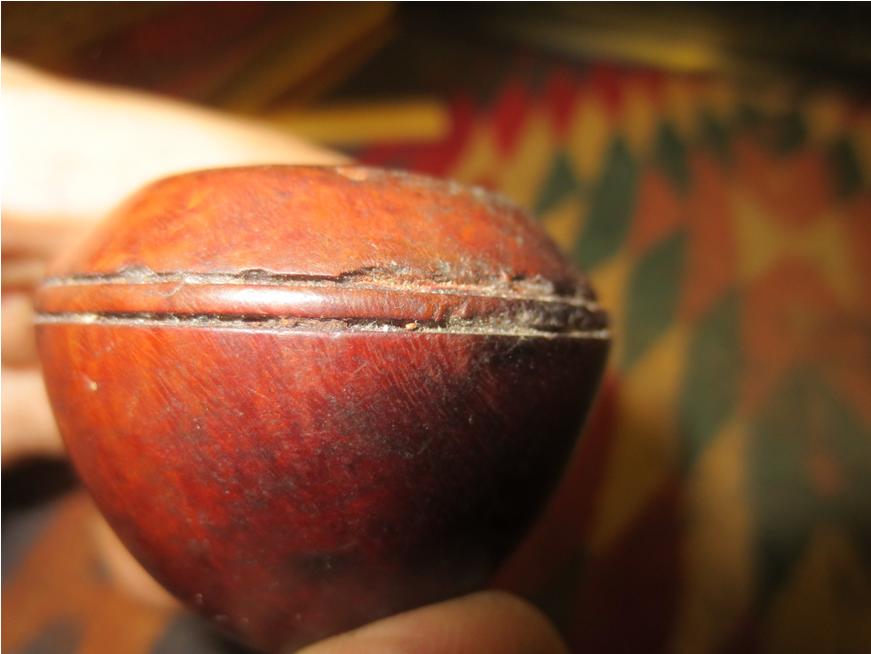
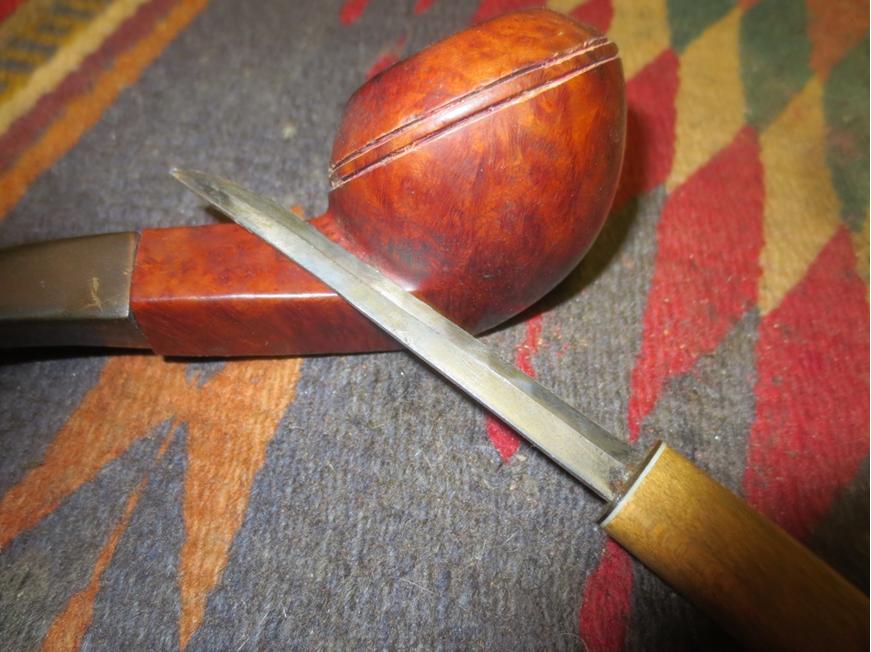
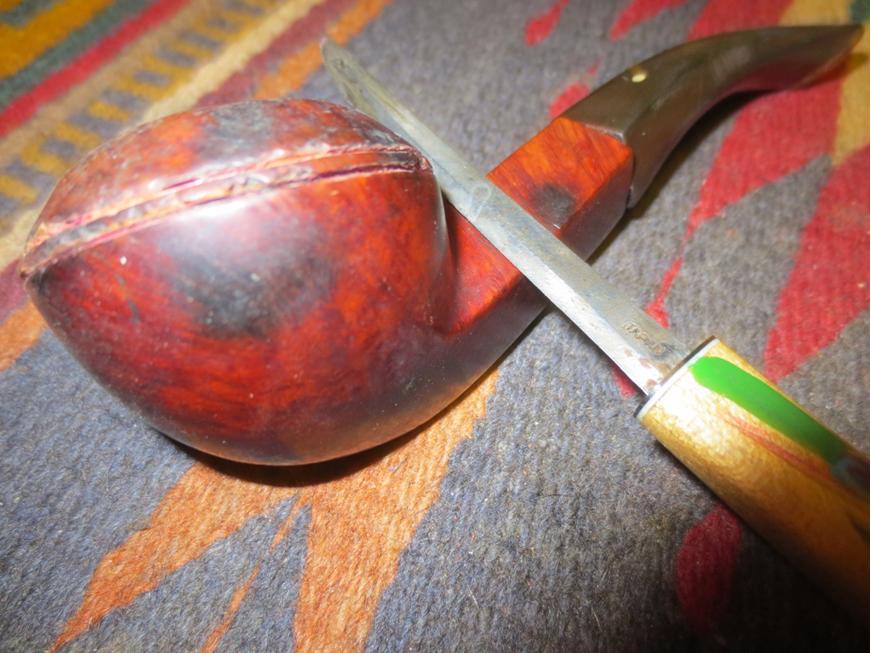
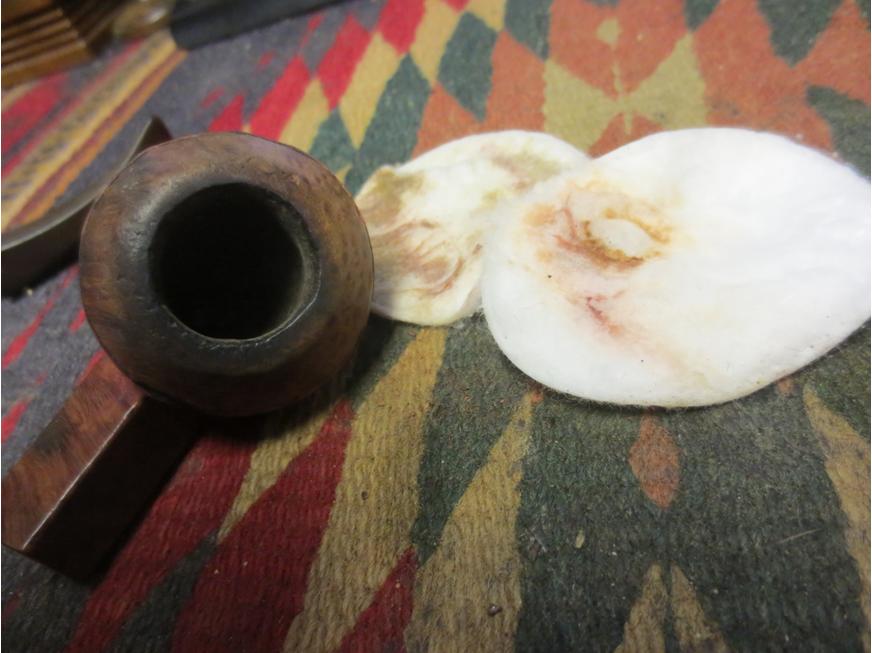
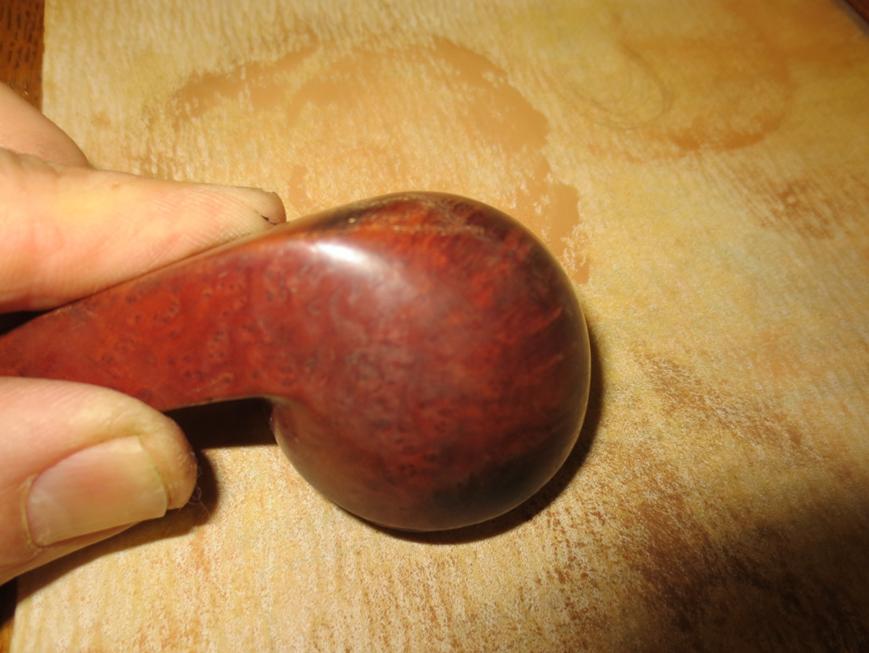
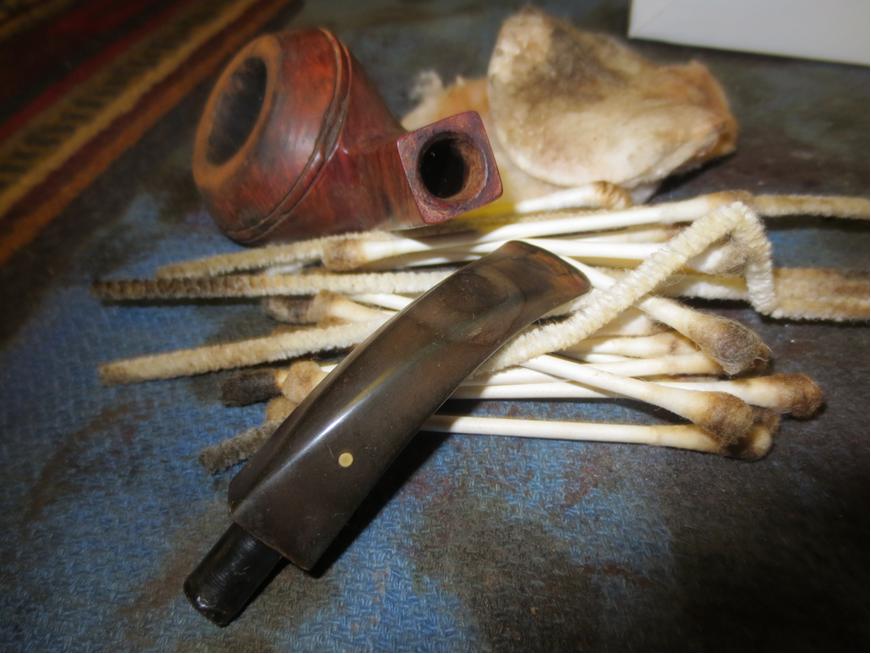
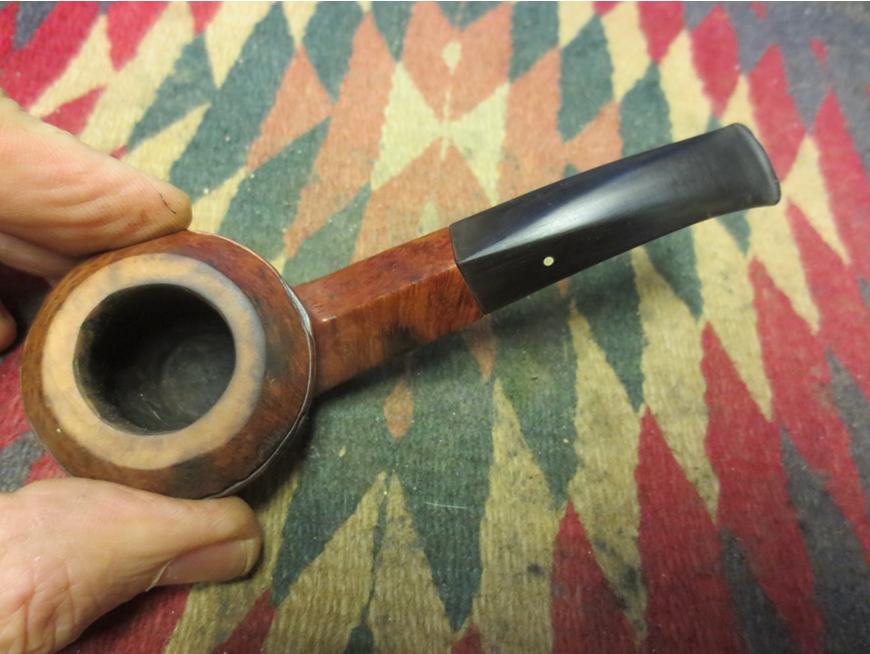
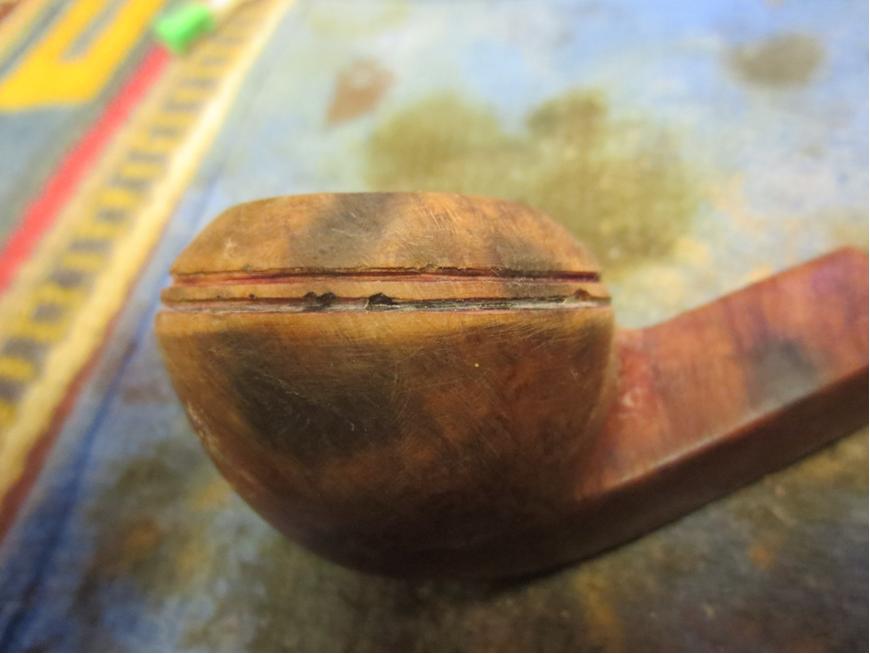
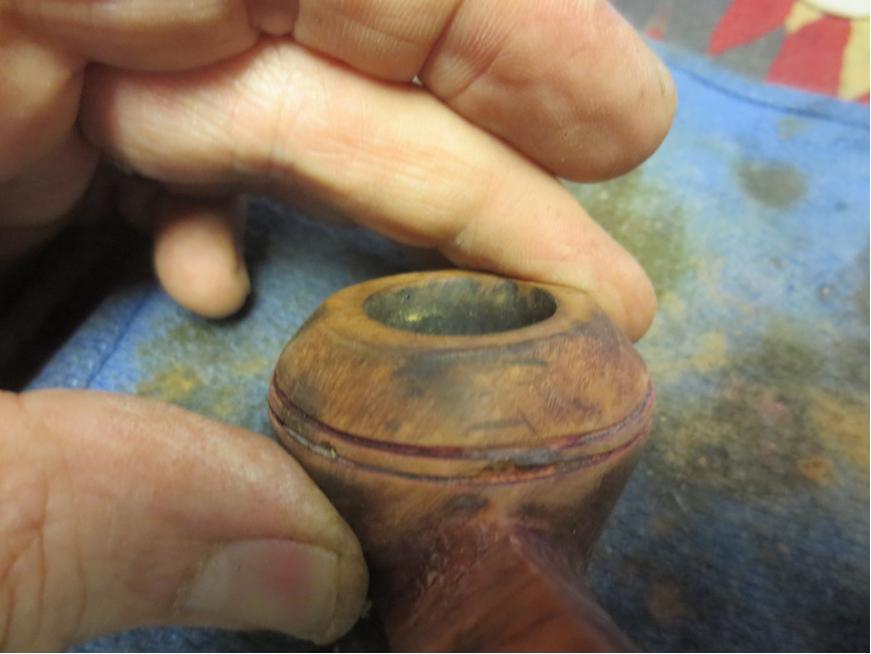
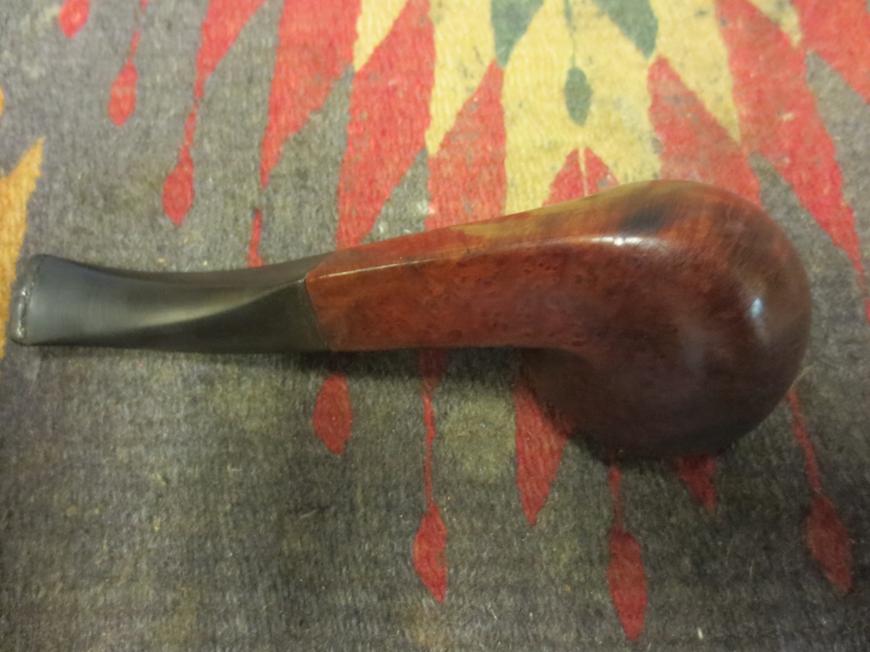
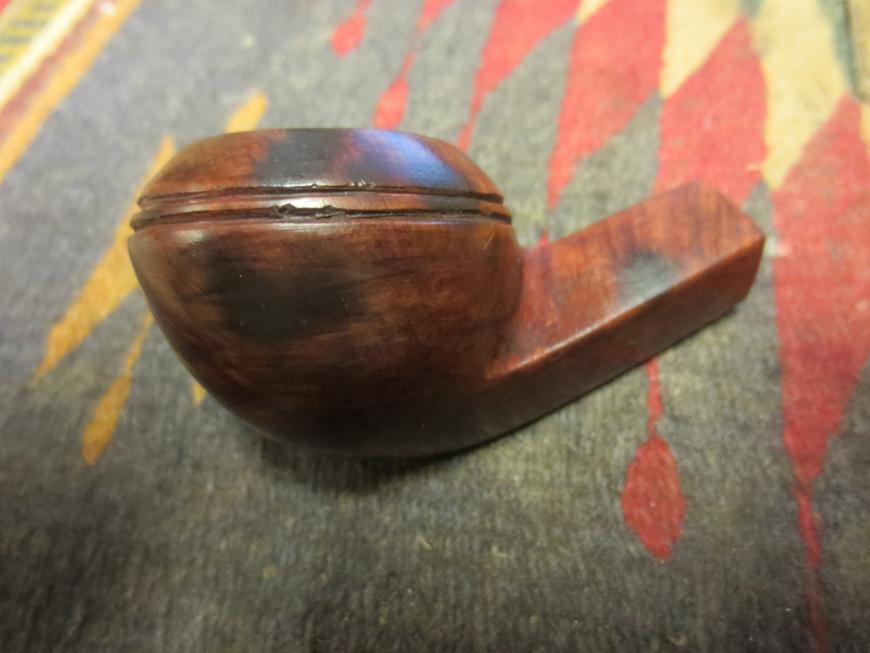
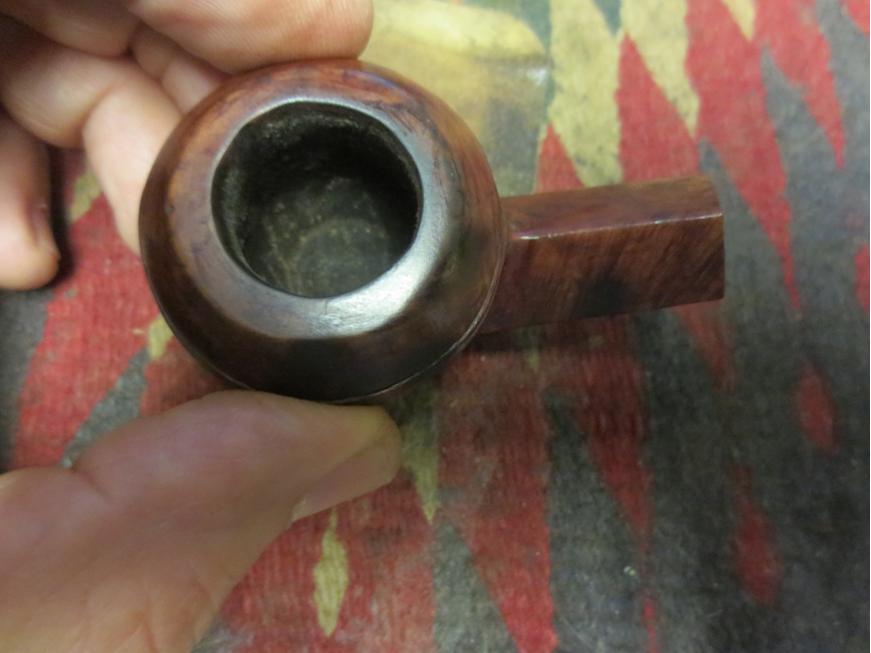
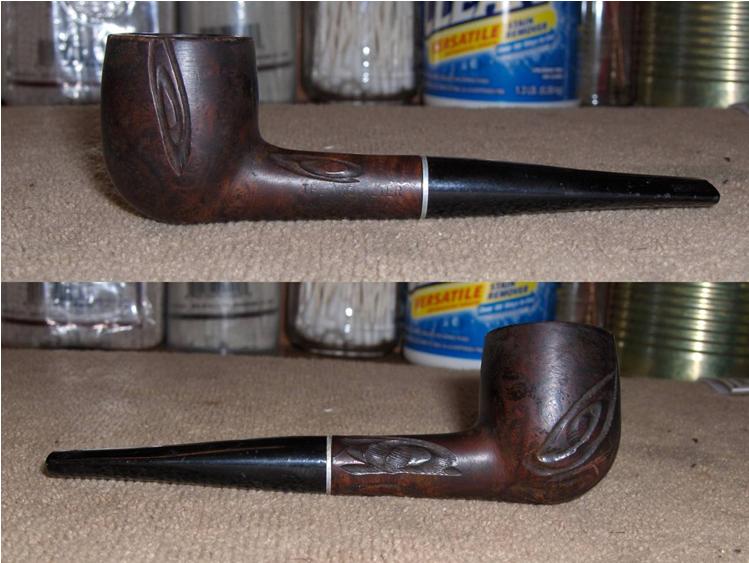
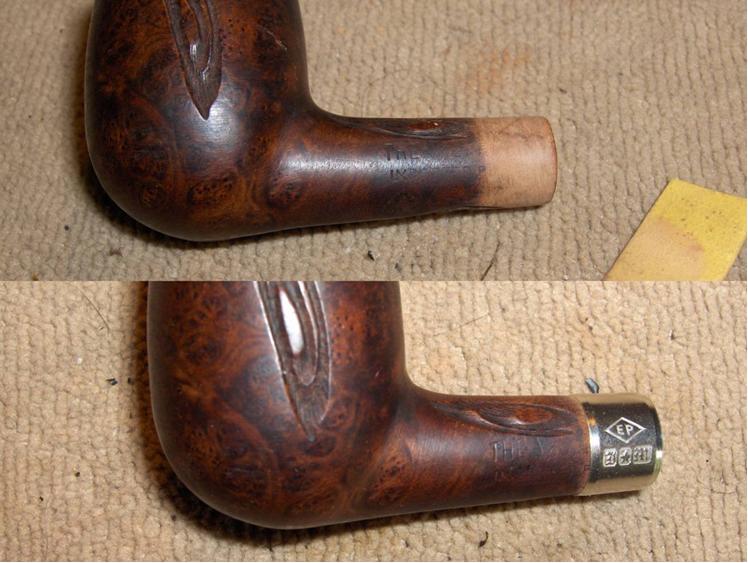
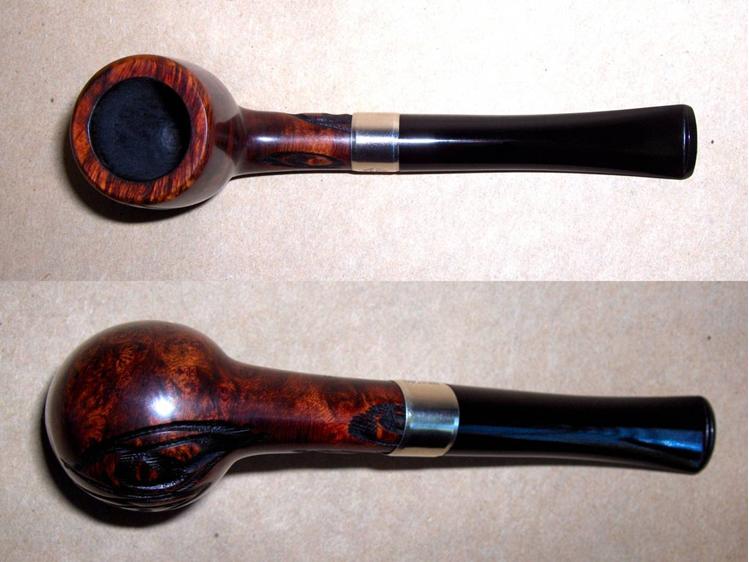
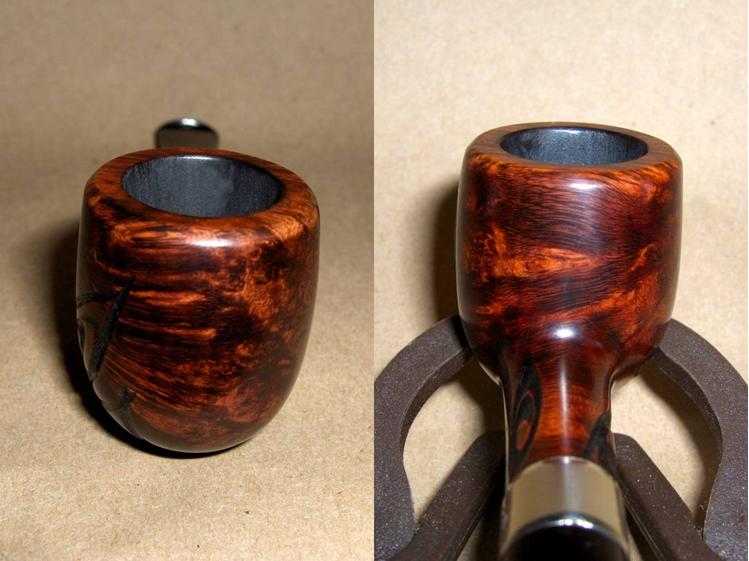
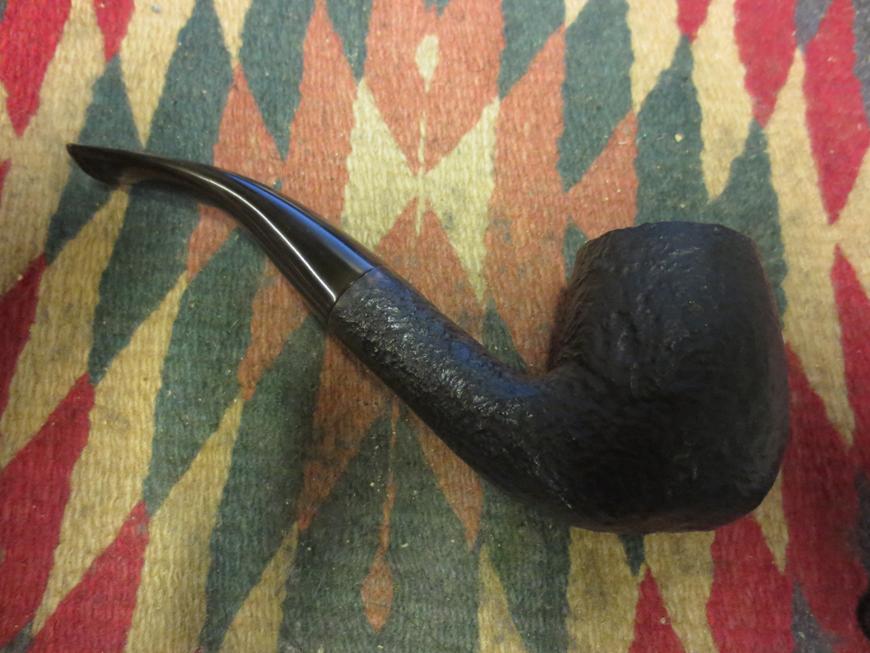
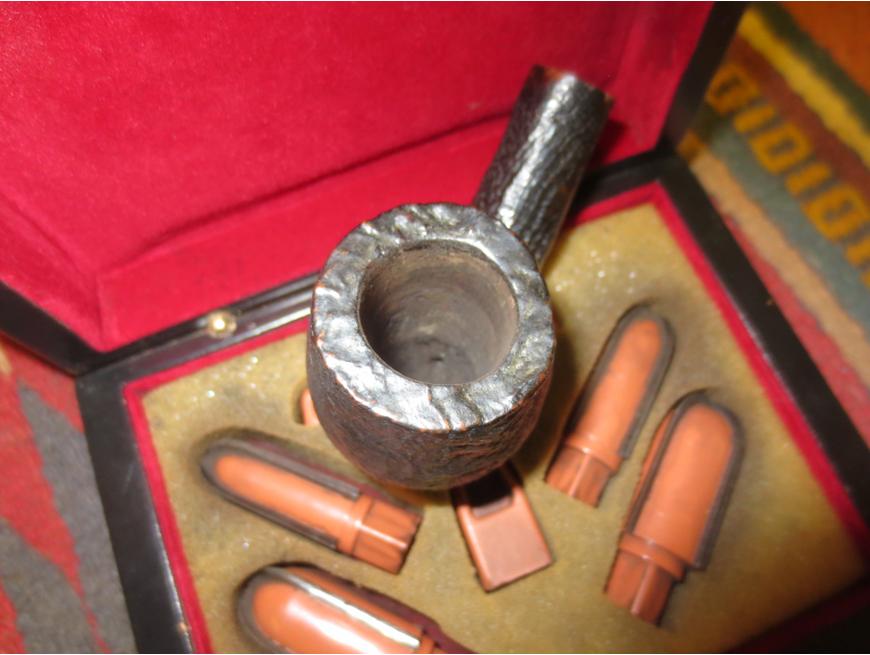
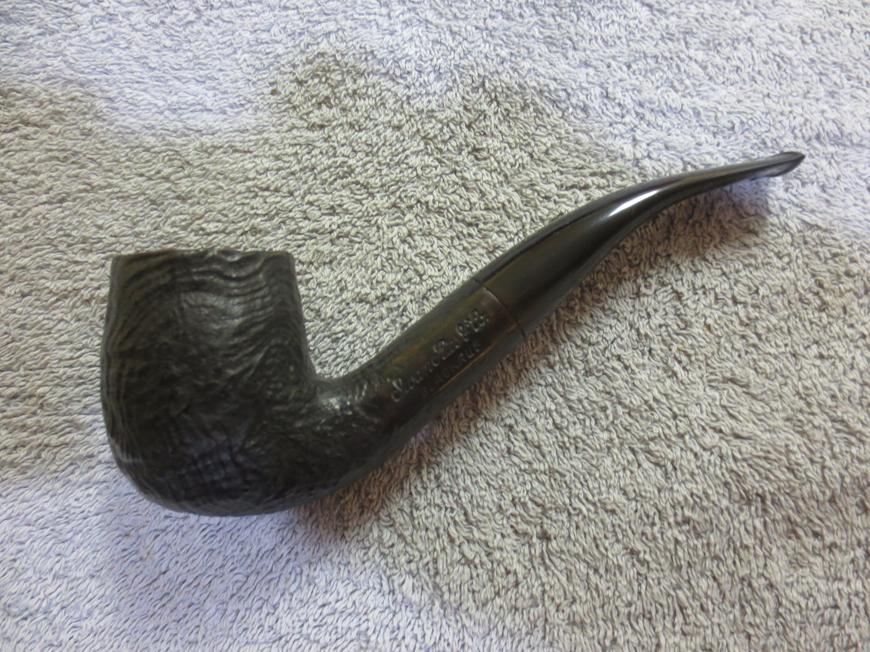
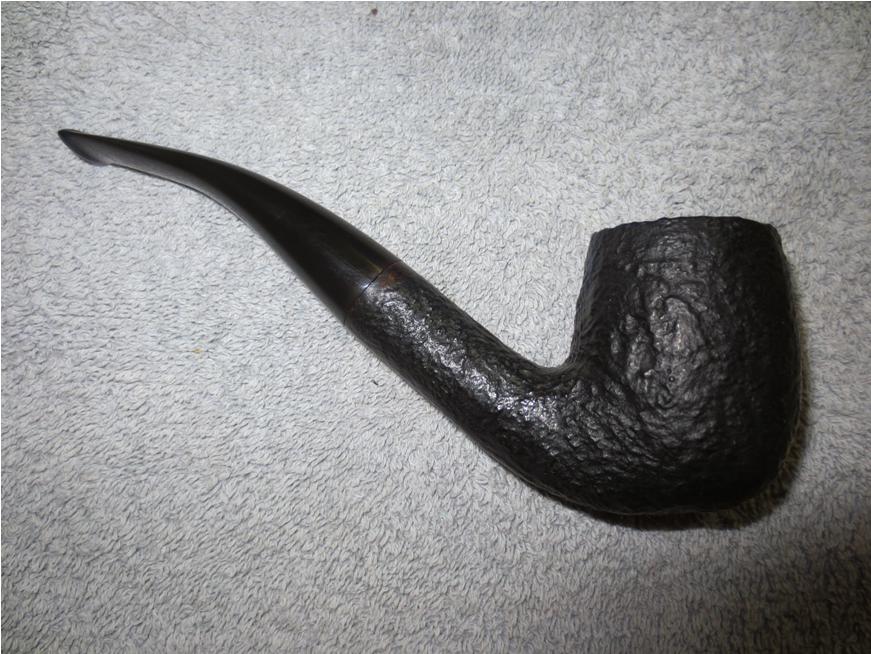
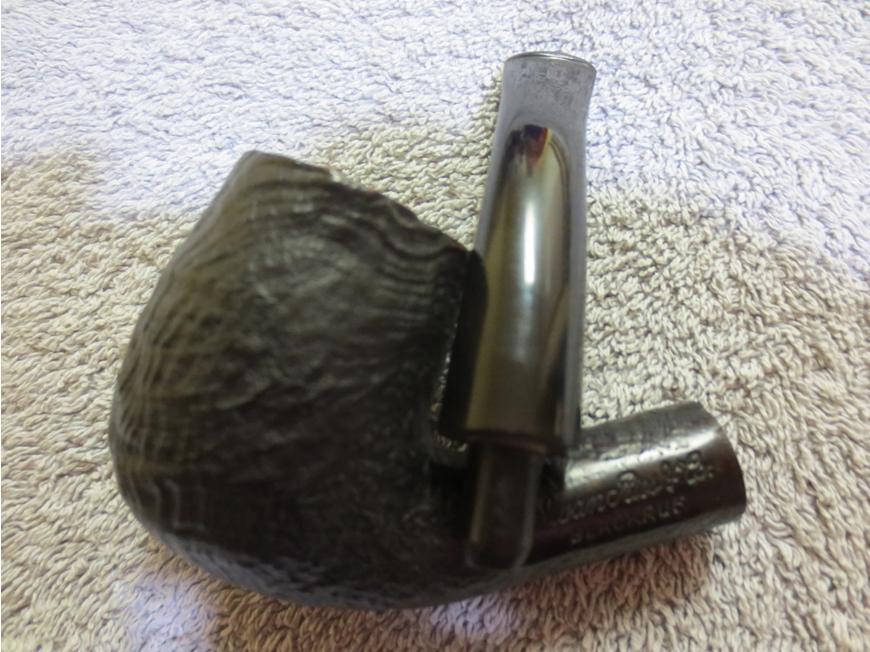
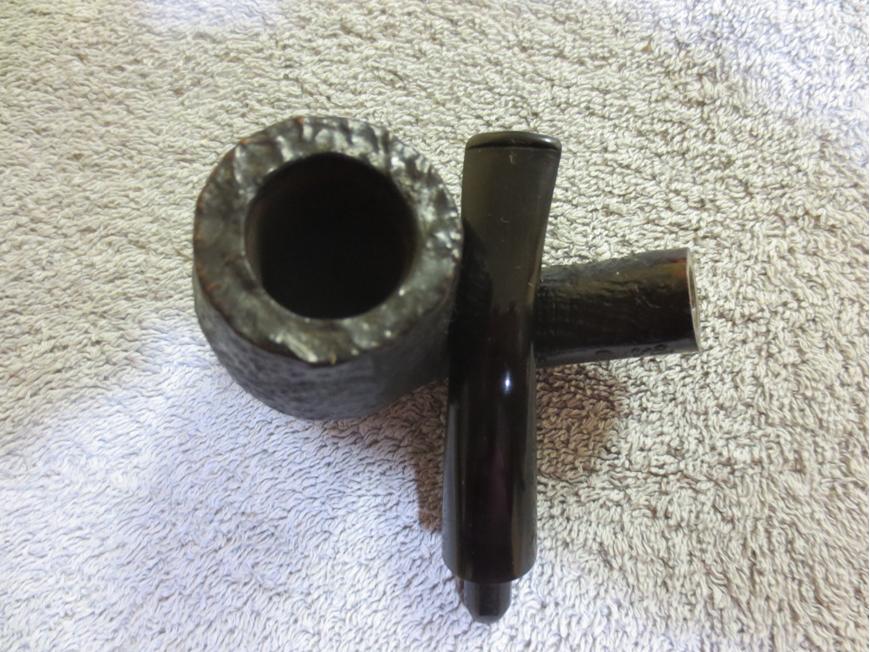
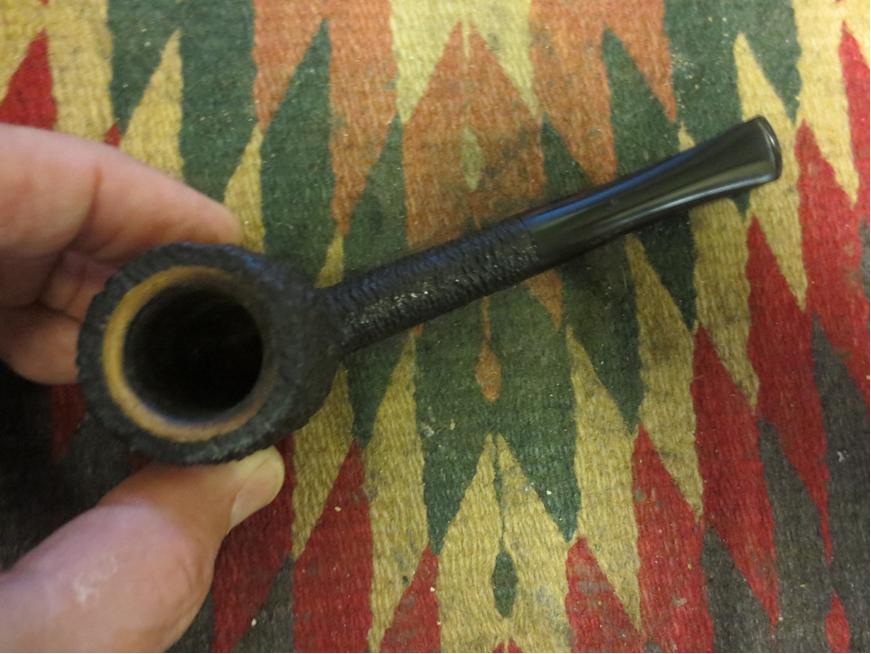
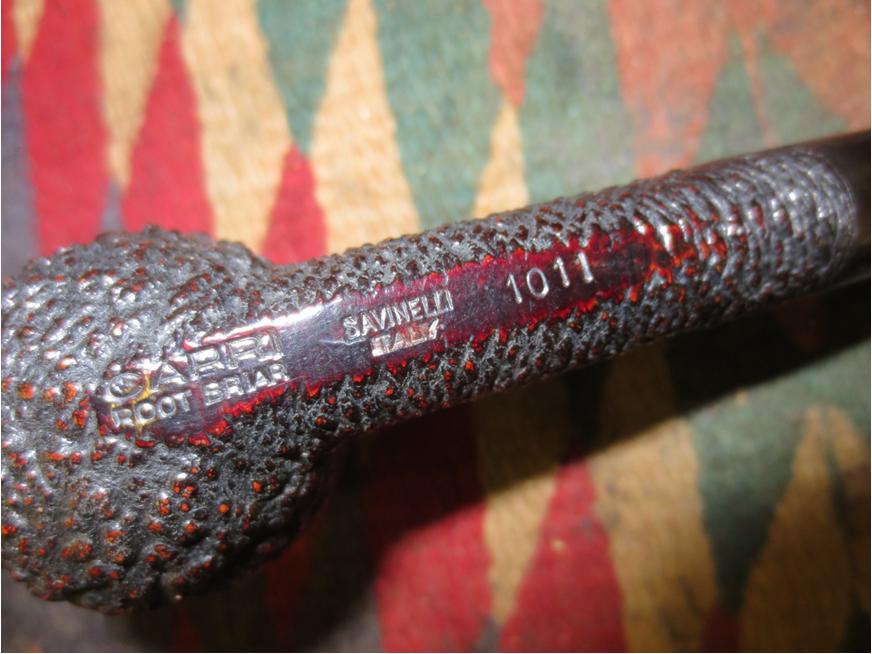
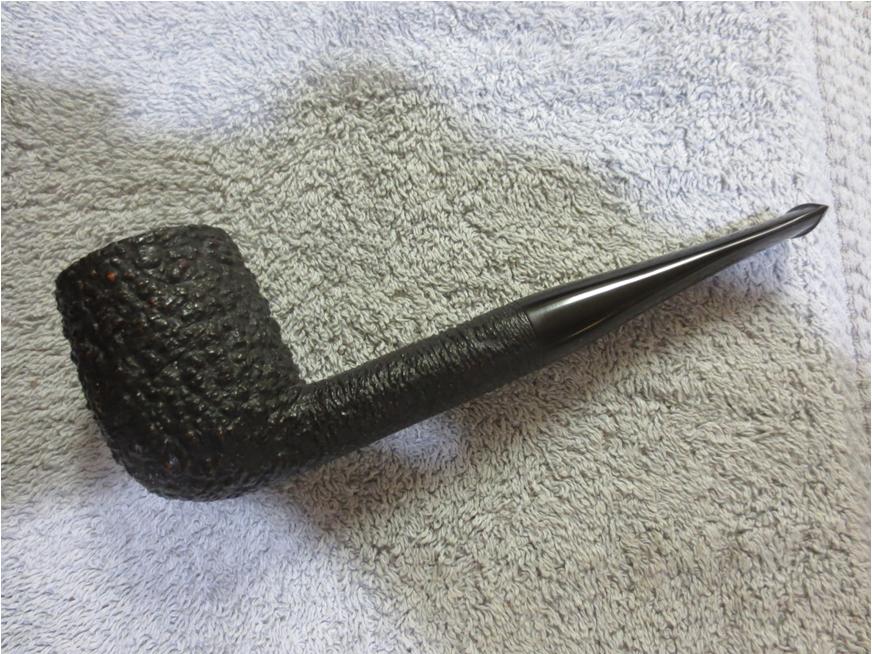
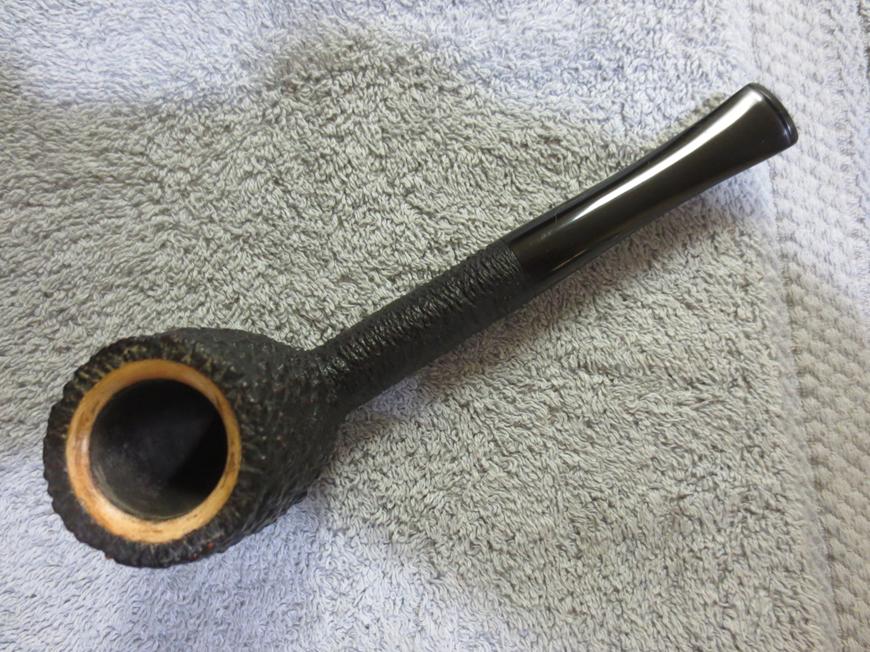
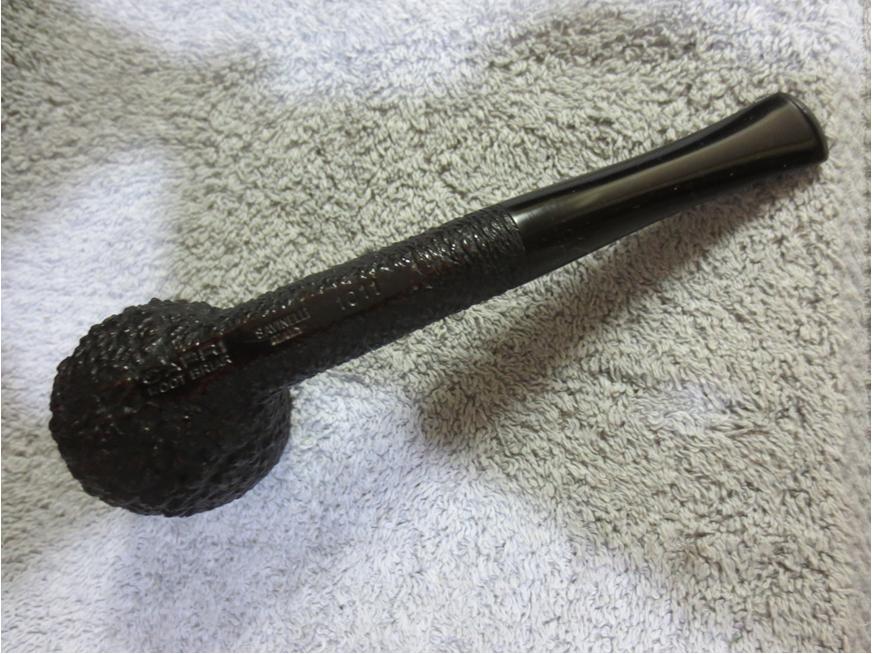
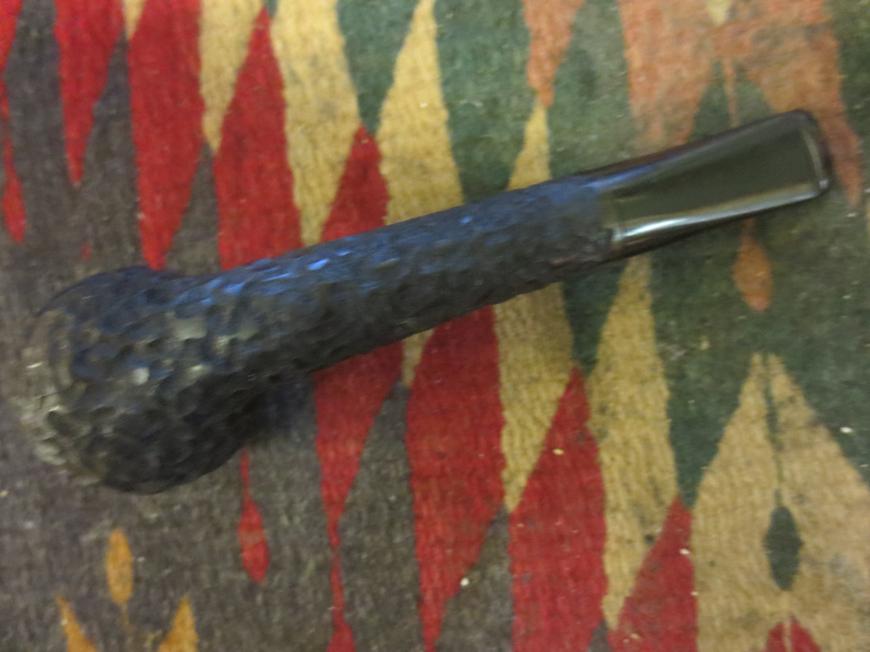
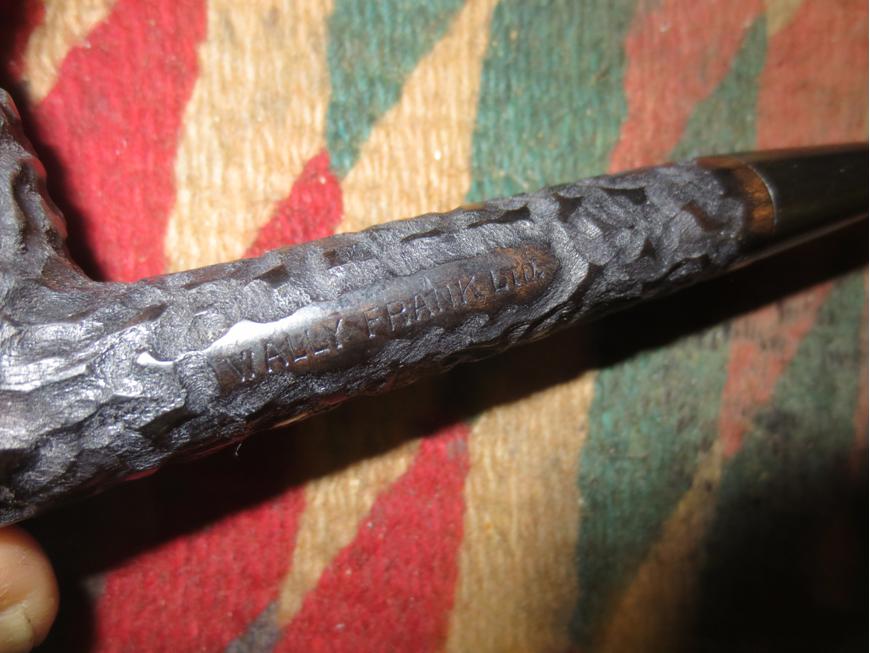
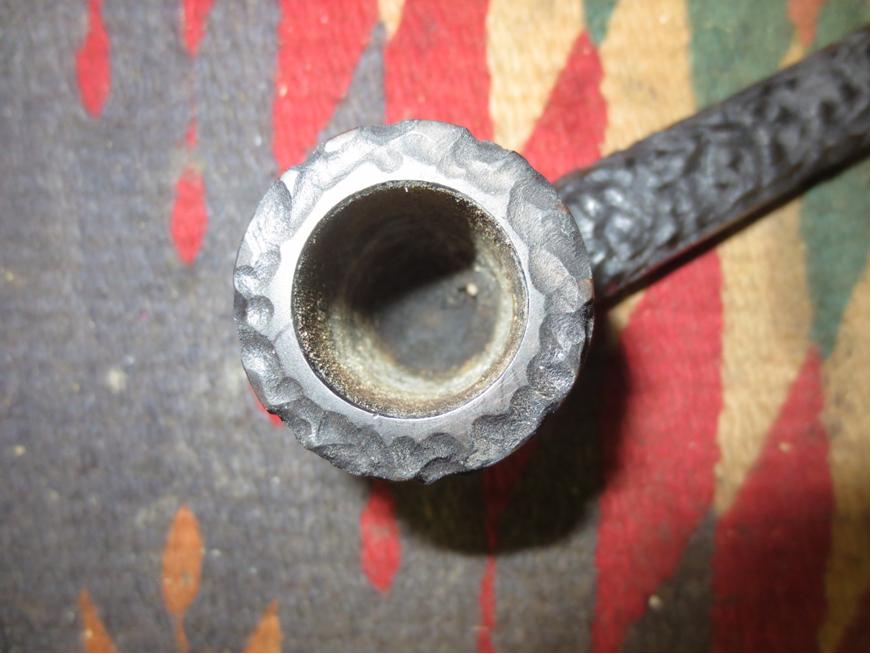
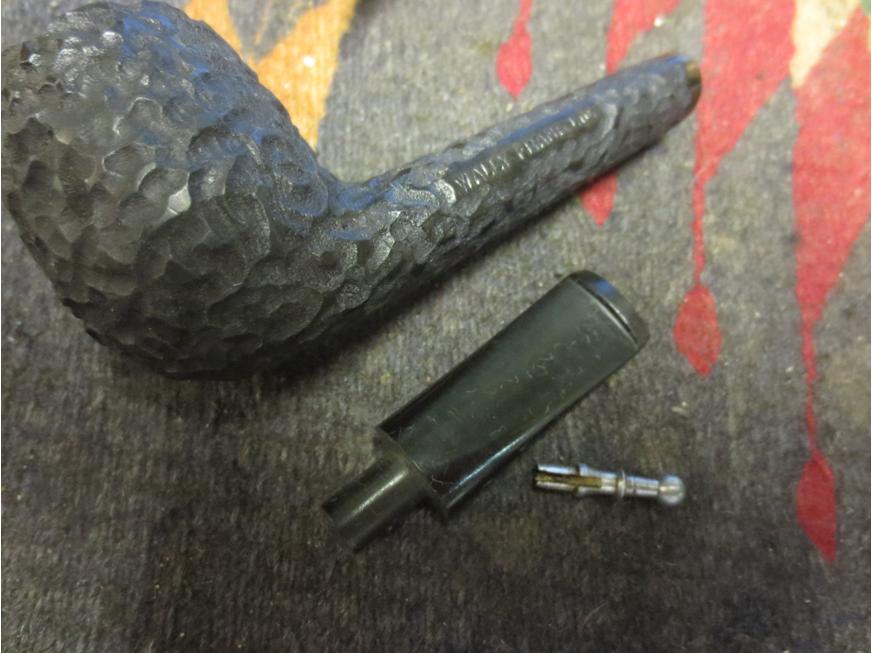
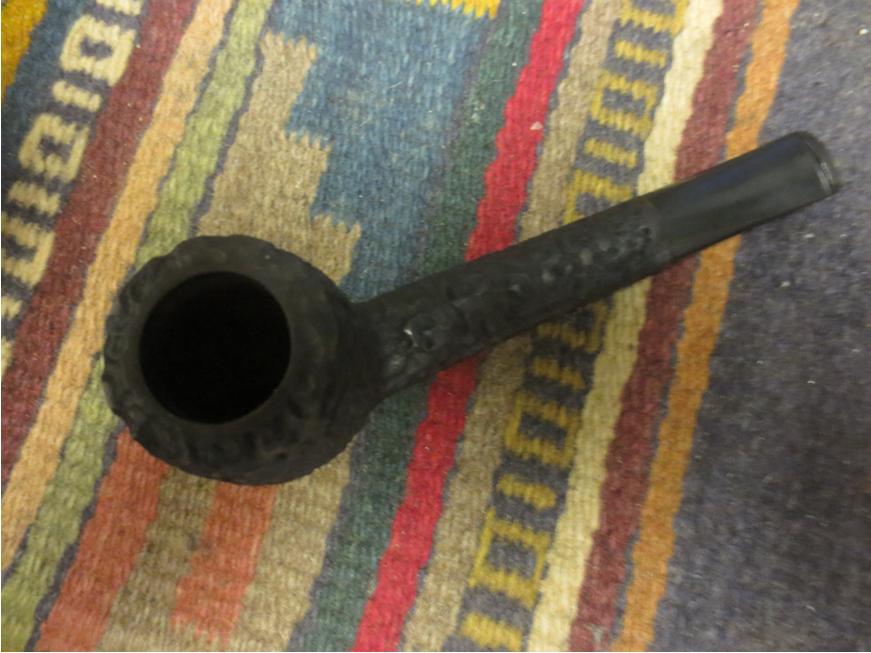
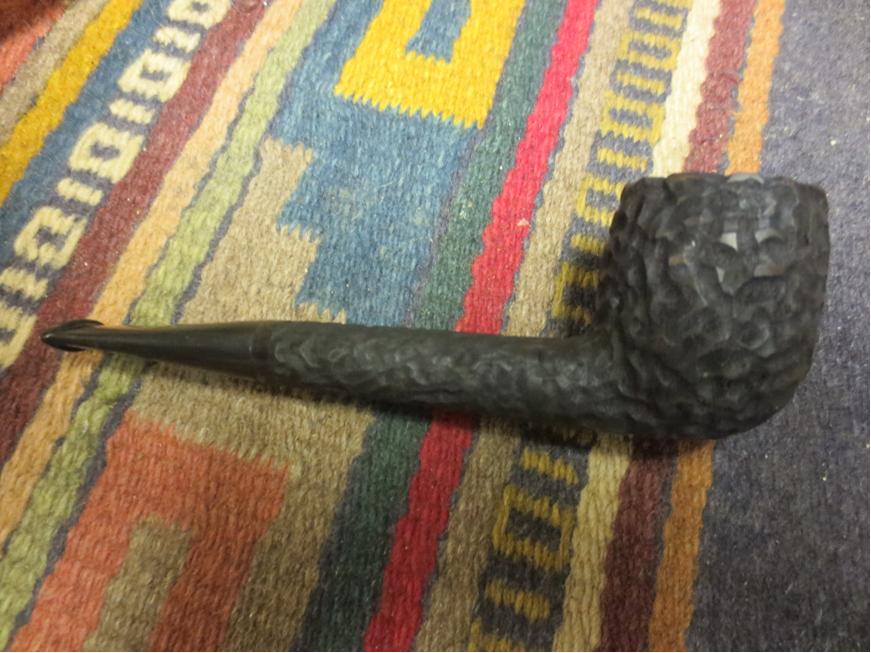
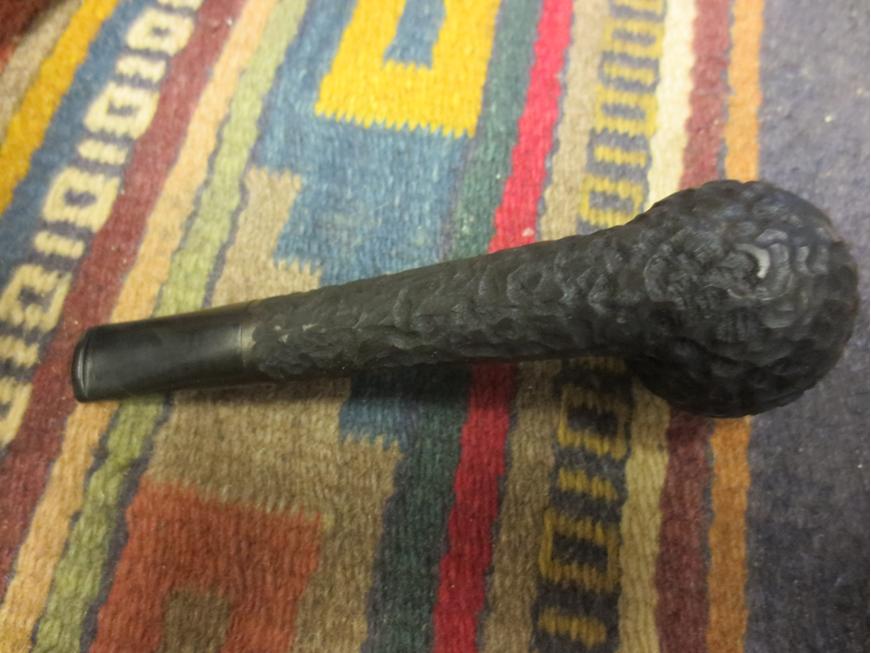
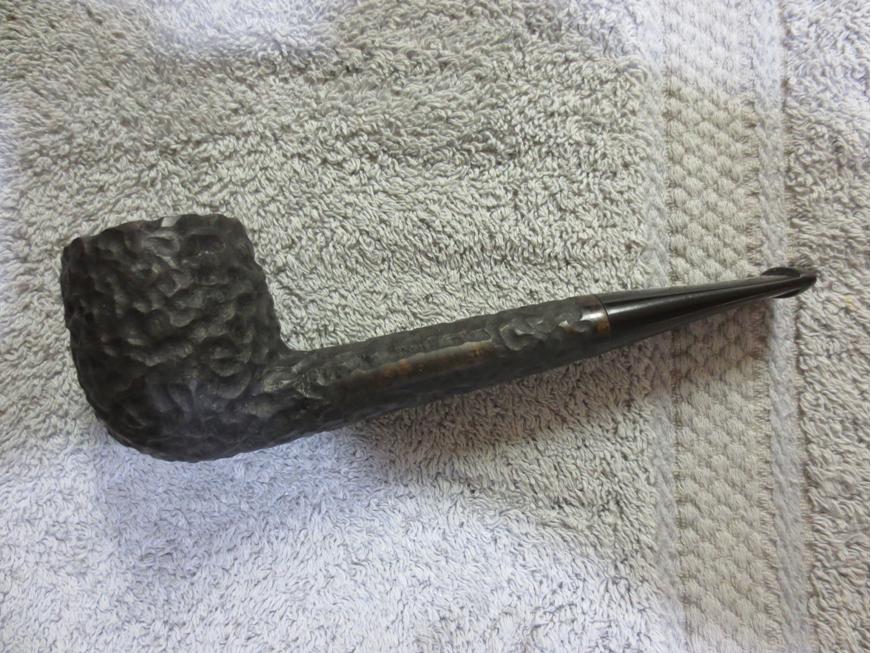
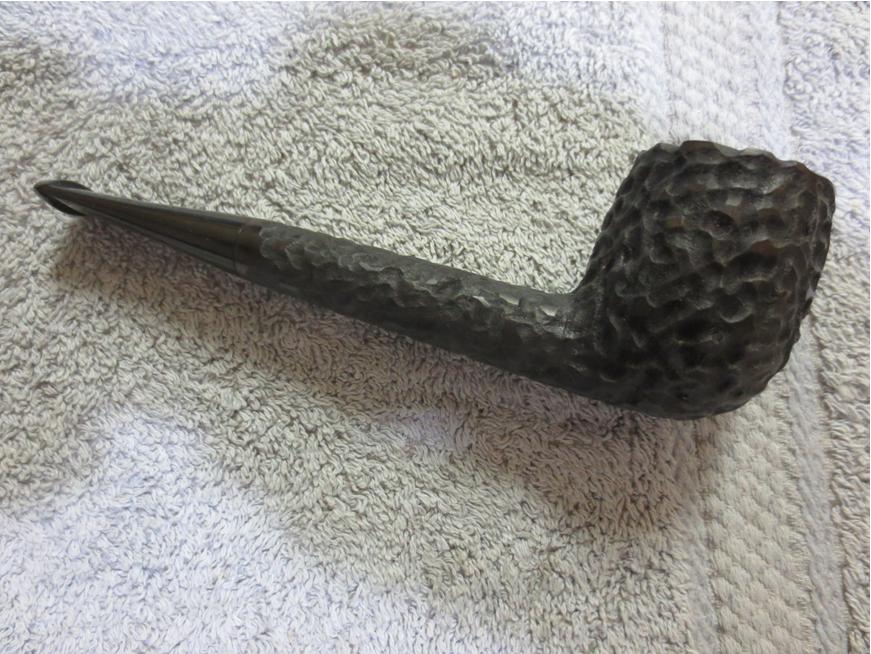
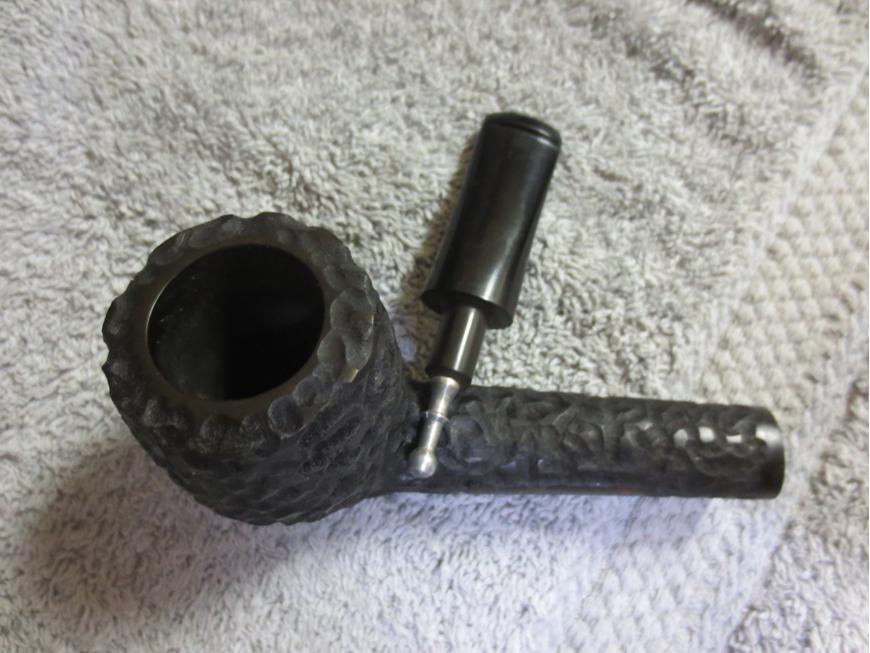
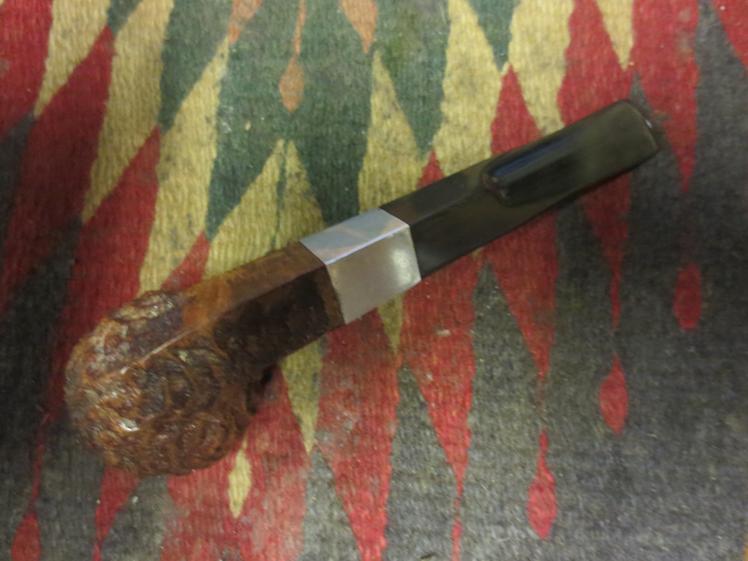
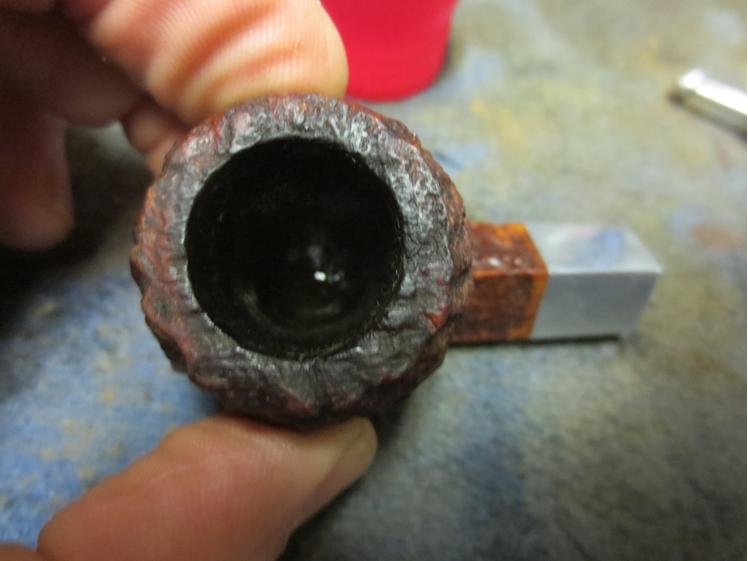
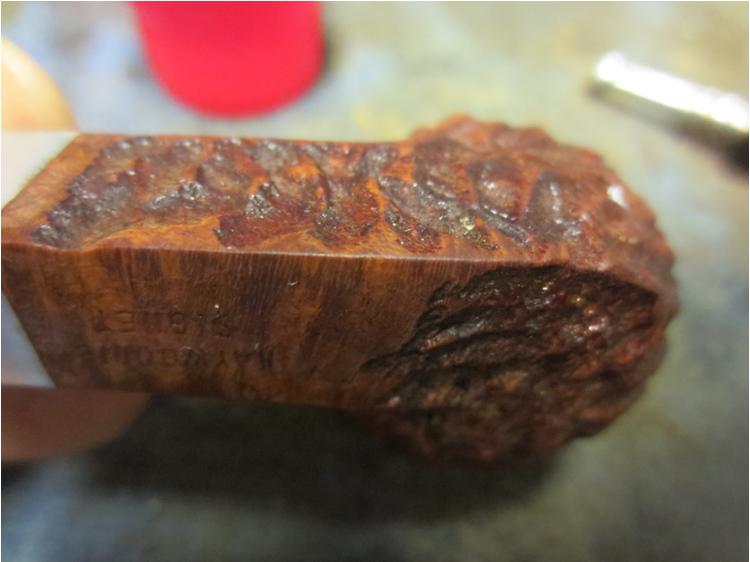
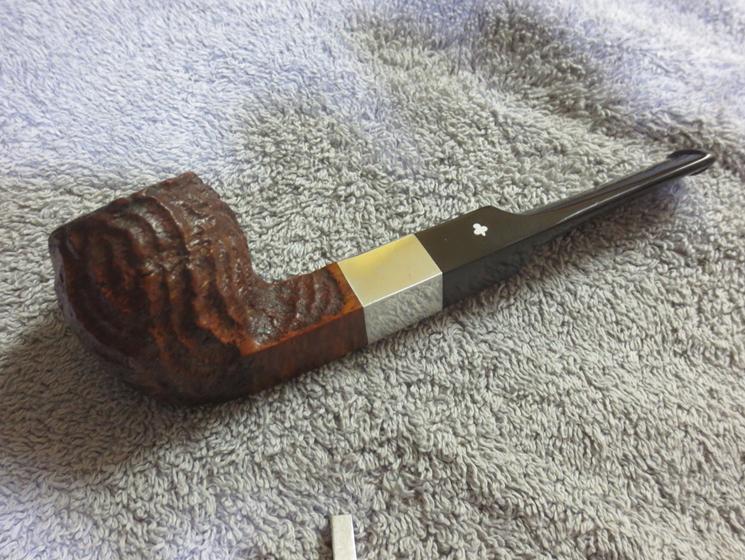
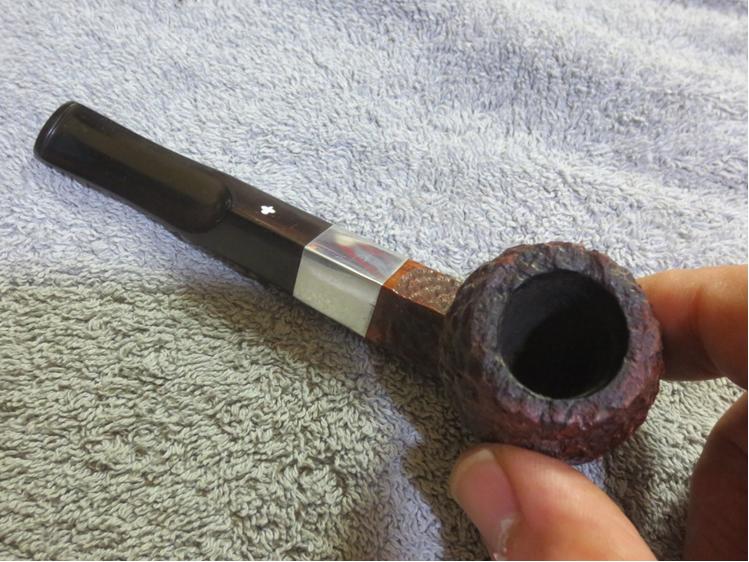
It is a Kaywoodie Signet Bulldog. I did a bit of digging on the web and found out from the Kaywoodie forum that the KW Signet line was made from 1956 to 1972. It is stamped very clearly on the underside of the left side of the diamond shank, Kaywoodie over Signet. There are no other stampings on the pipe. The finish appears to have been rusticated and possibly blasted in a swirling pattern up and around the bowl. The grooves in the briar are deep and the red brown stain gives the swirls a sense of movement as the pipe is rotated in the hands. It almost undulates as it is turned over and the varieties of browns lend themselves to the illusion of movement. That makes it an interesting finish. The exterior of the bowl is a well shaped bulldog sans a bead around the top of the bowl. The bowl was the cleanest of the lot of pipes donated. It did not need reaming but merely a light wipe of a pipe cleaner in the bowl. The finish was dirty but in decent shape.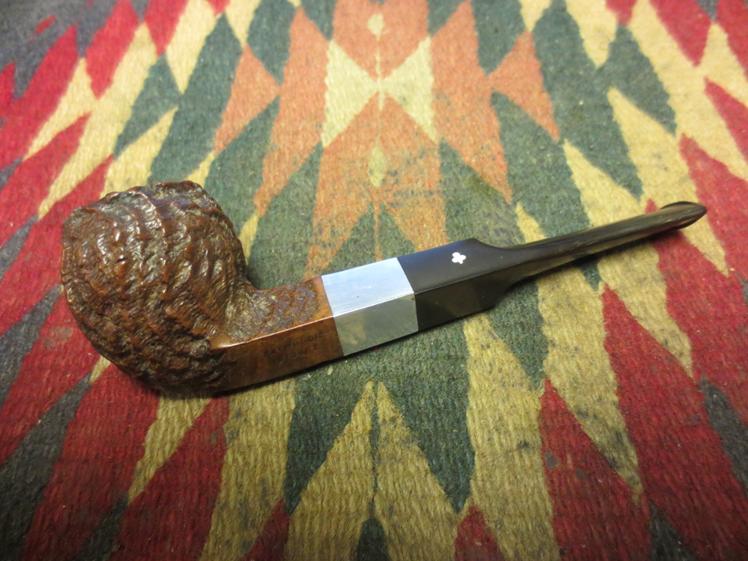

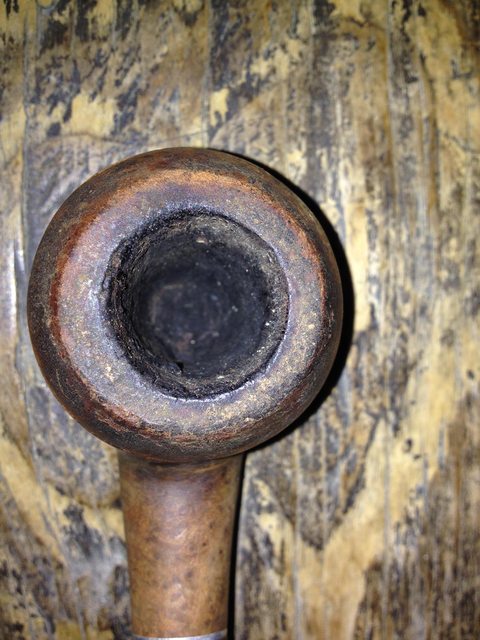
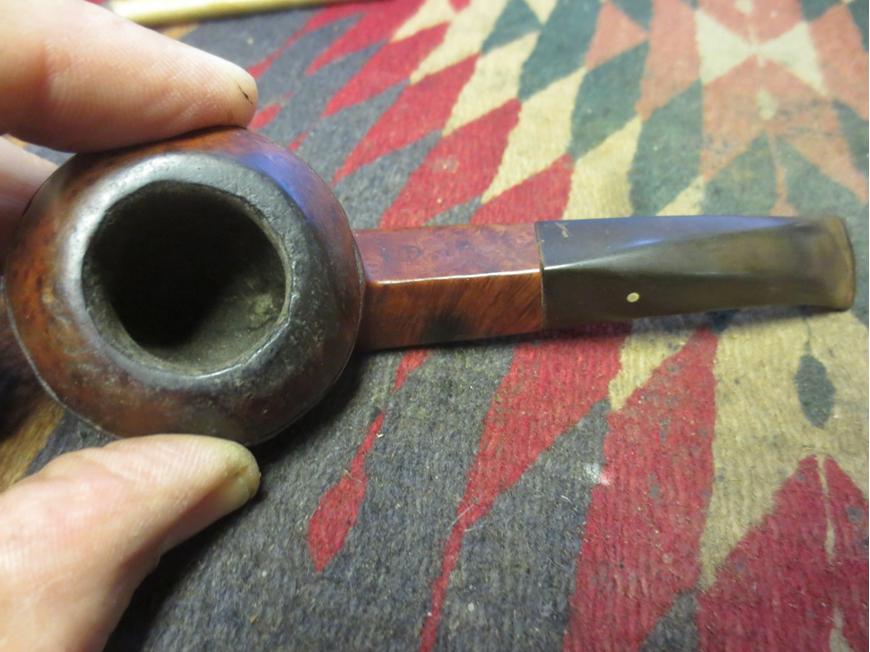
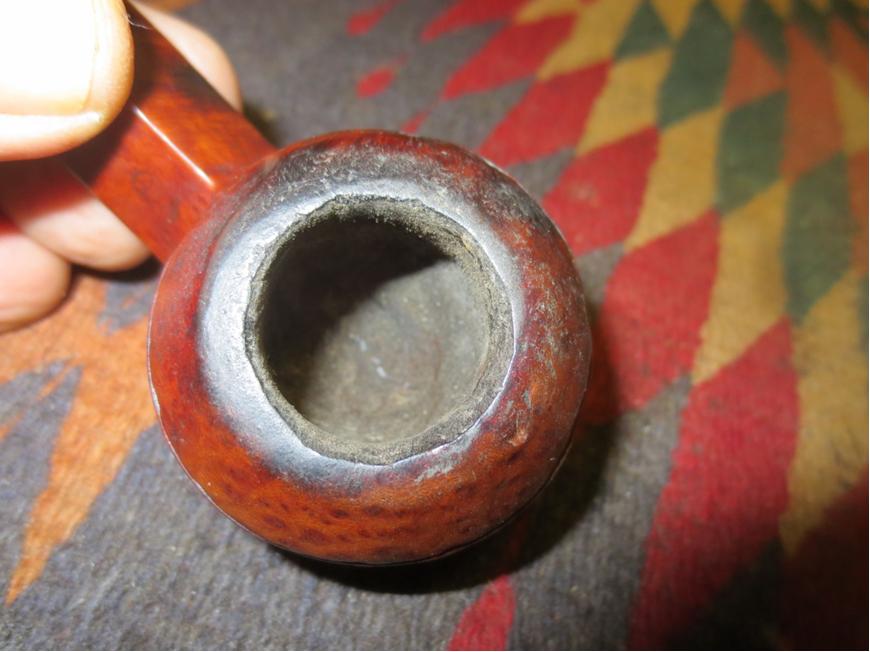
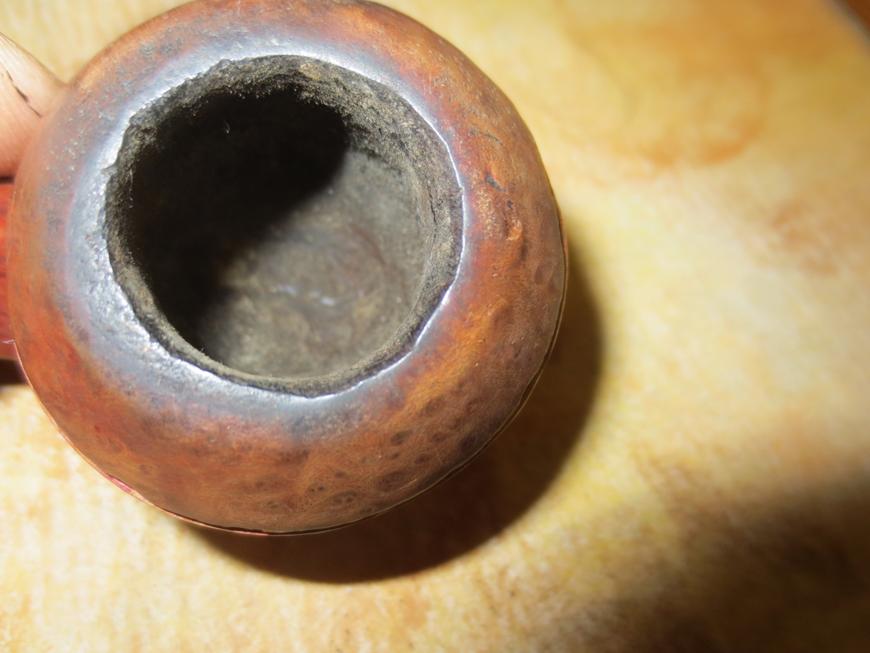
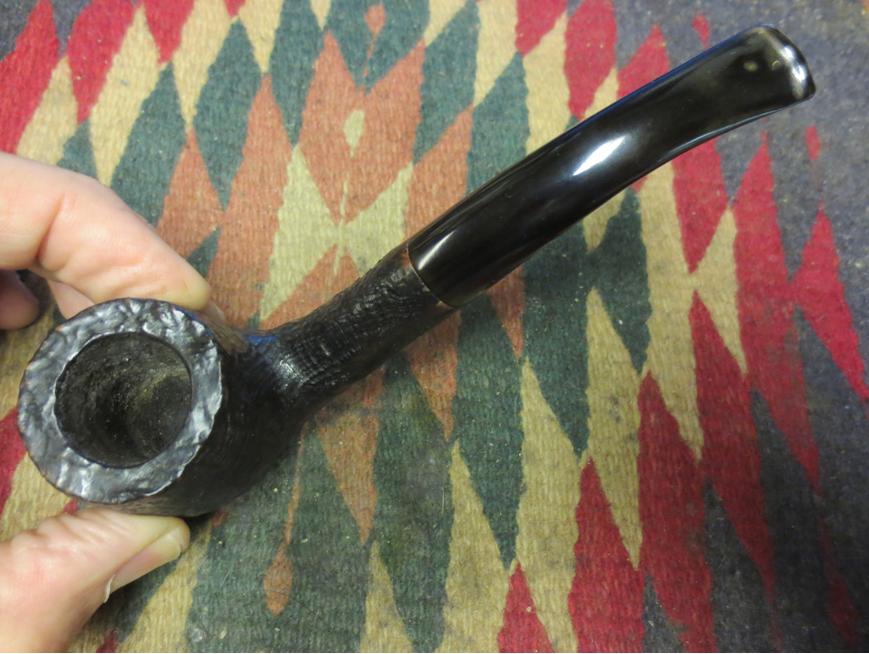
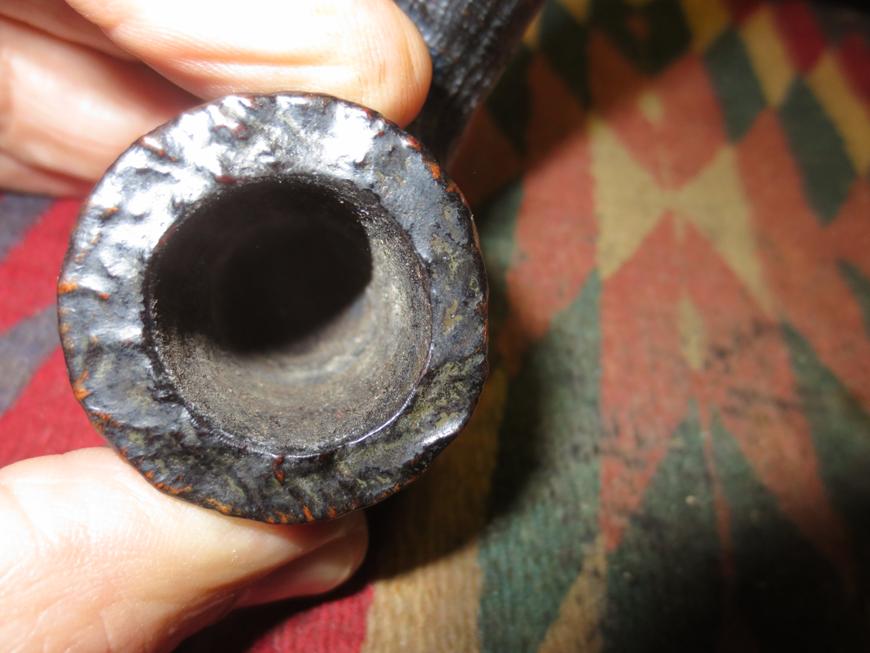
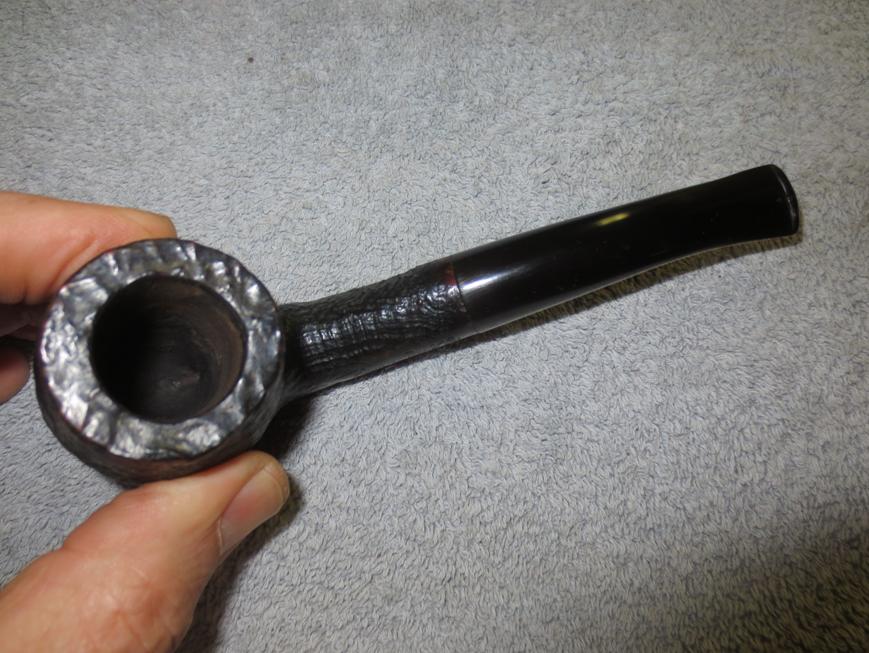
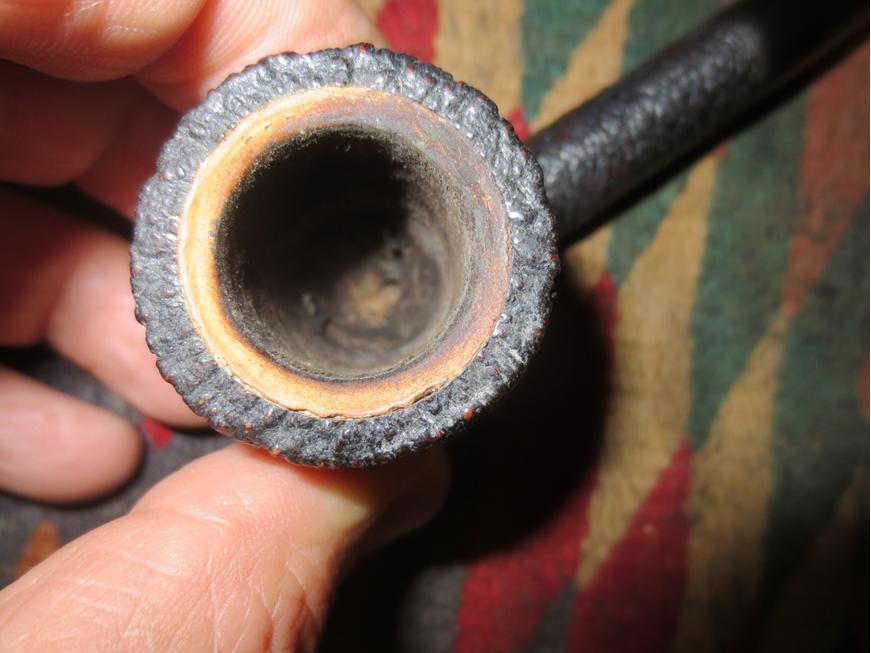
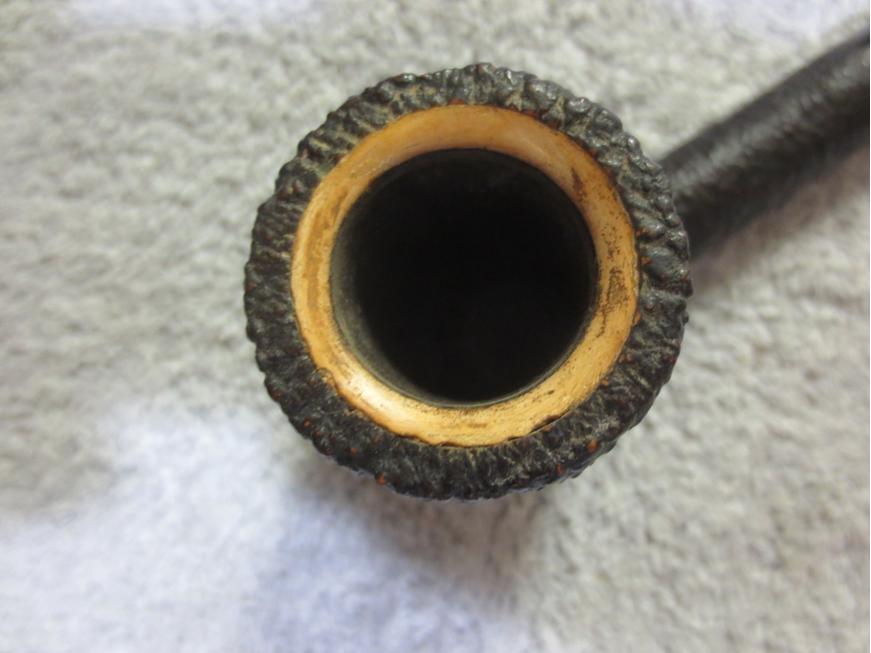
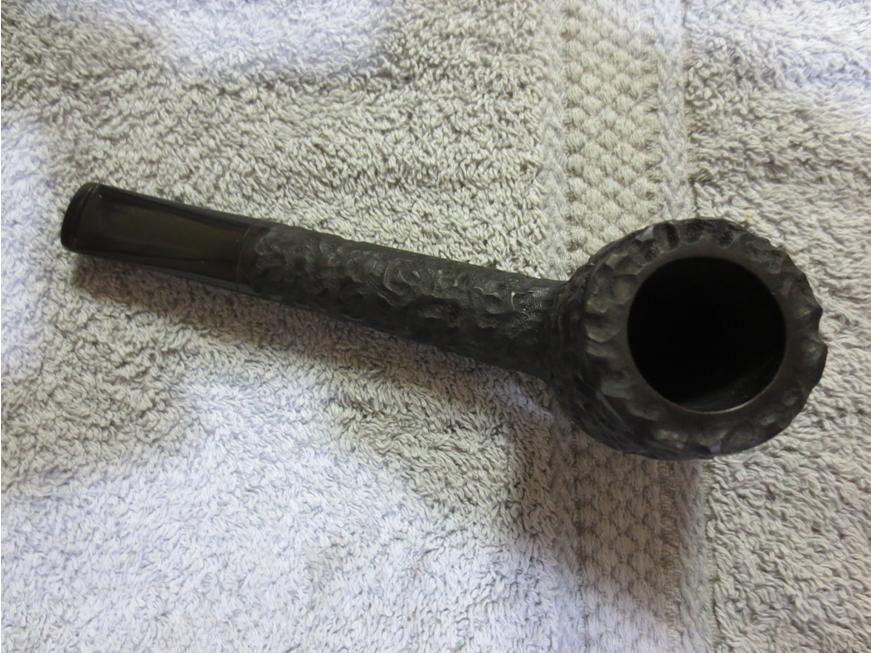
 The rim had some darkening but was not damaged on either the outer or inner edge. It would only need to be scrubbed to clean up the darkening.
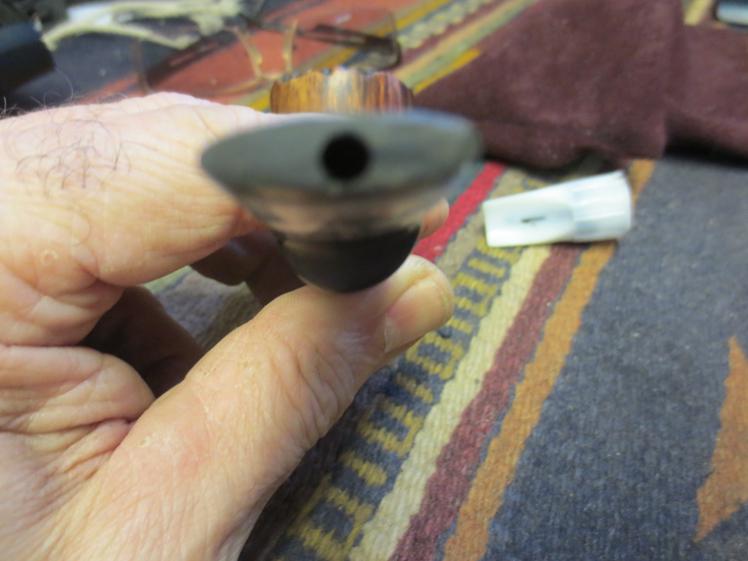
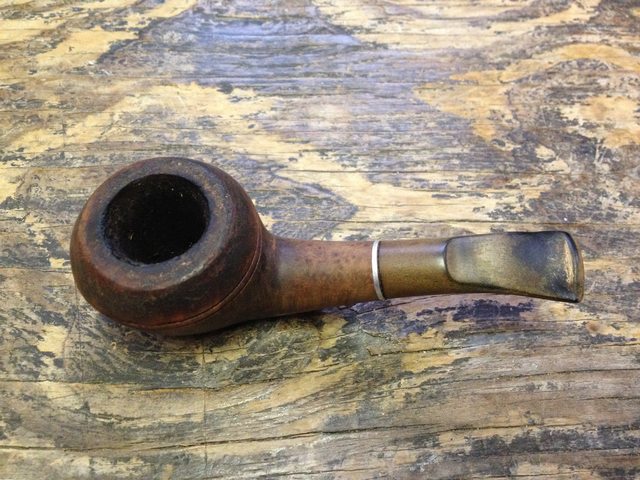
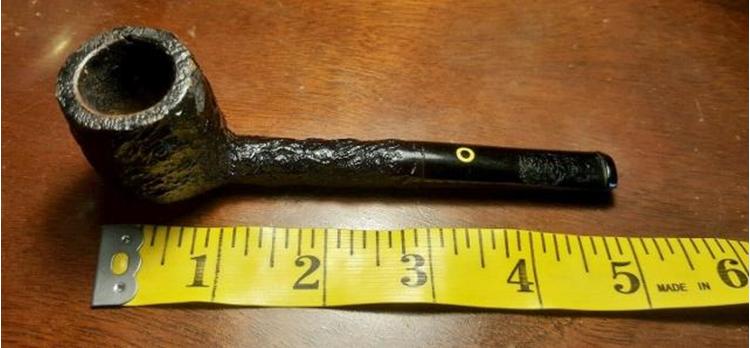
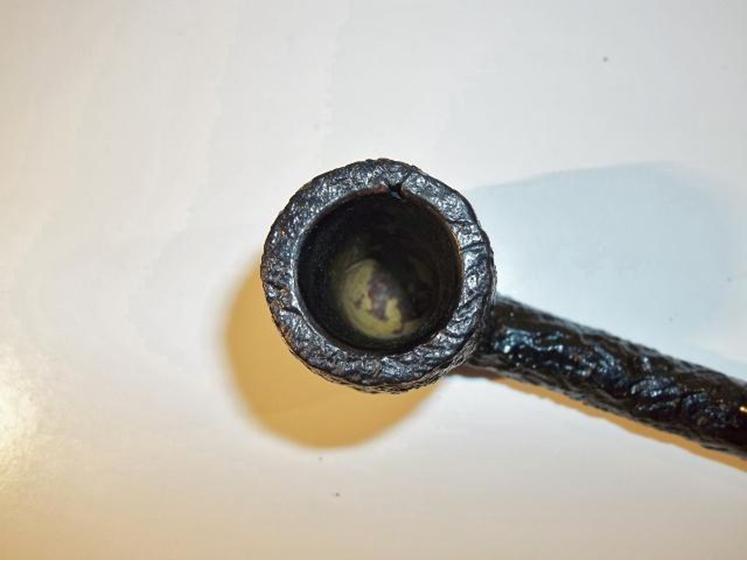
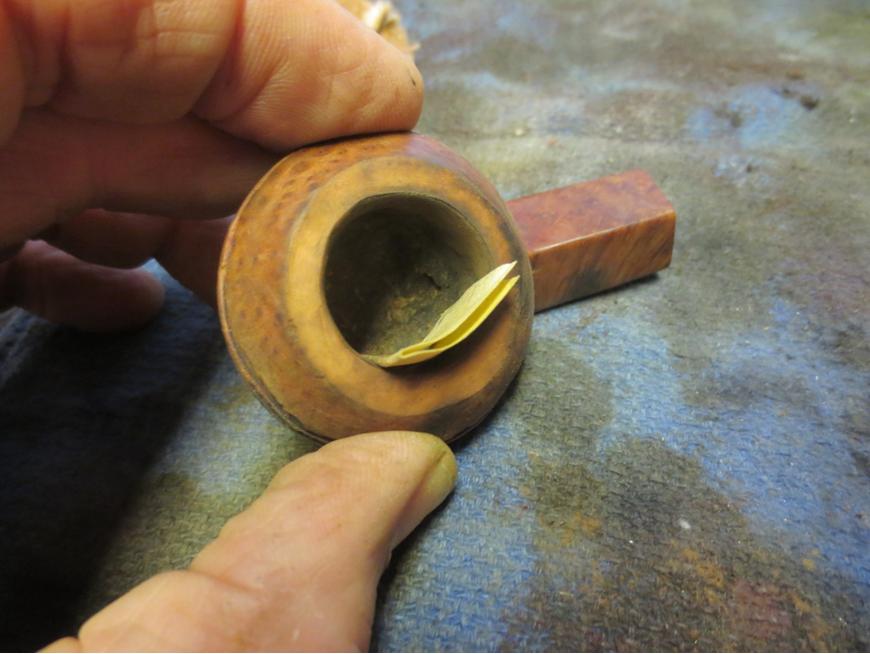
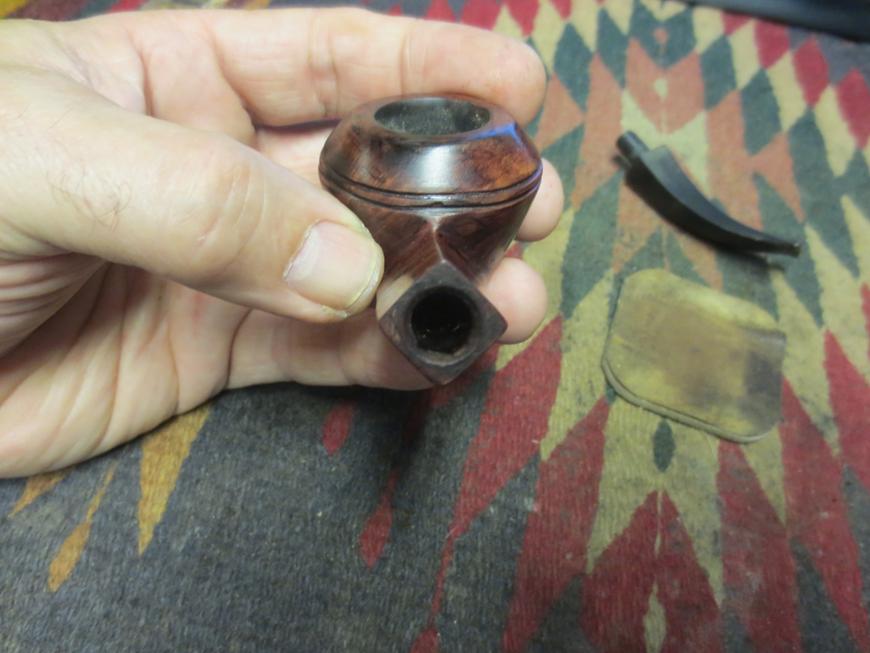
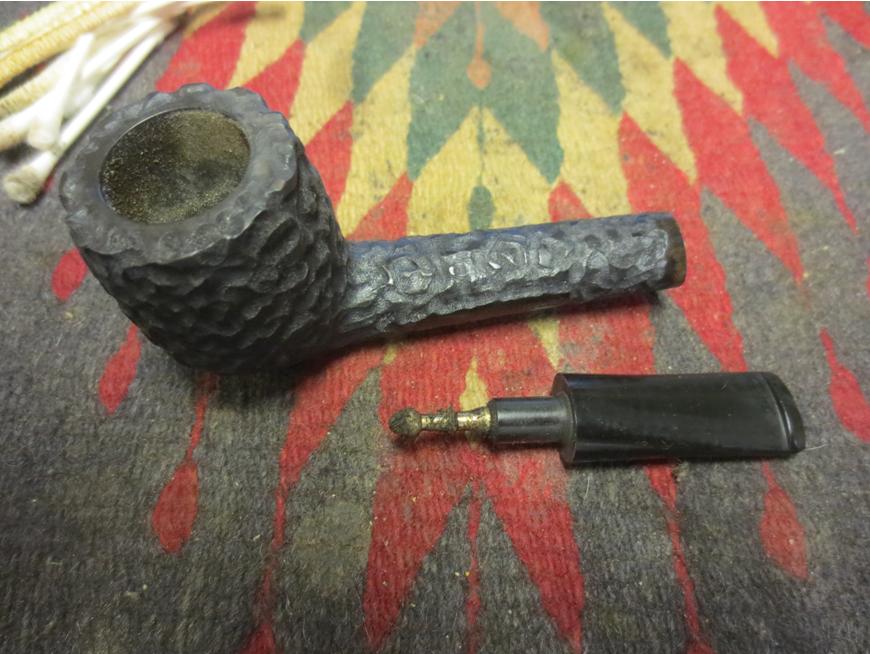
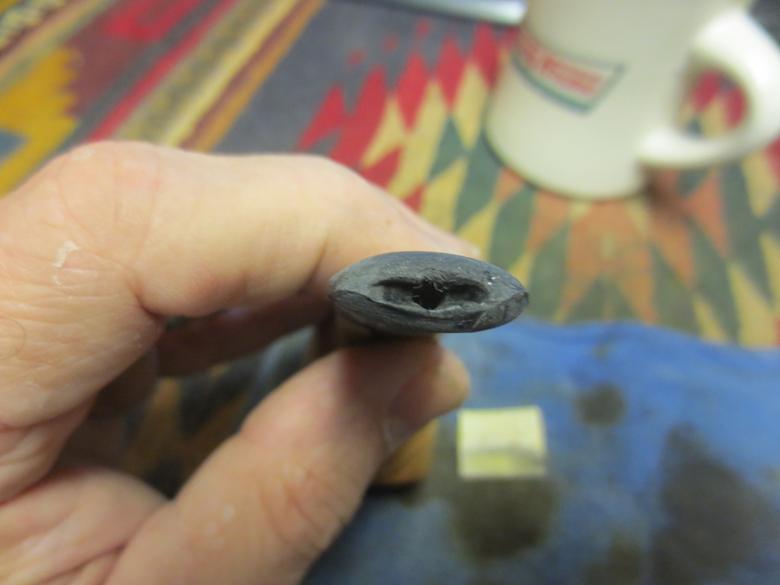
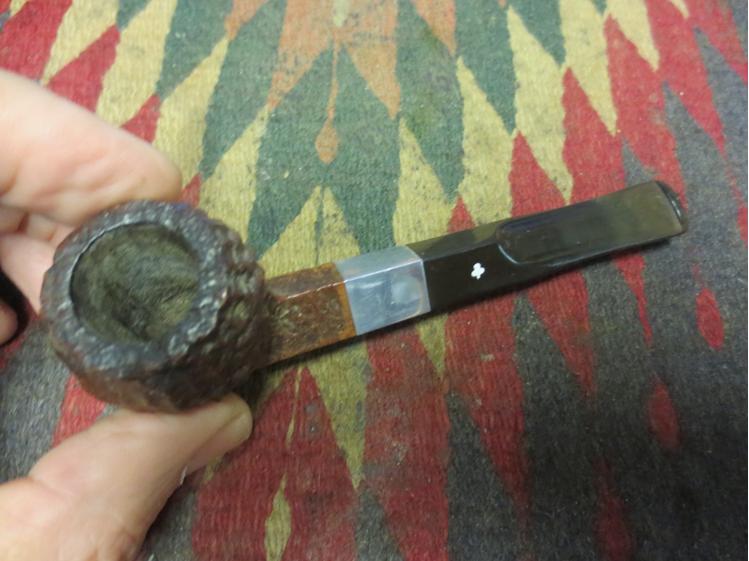
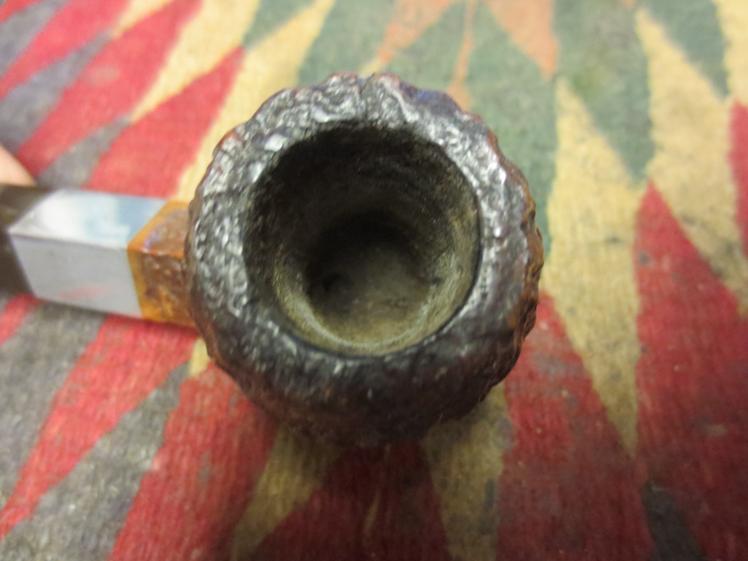 The shank and airway were dirty. As I have often found in a metal mortise pipe, there was a lot of tar and oil built up in the threads of the mortise and behind it in the shank. The aluminum was oxidized and scratched. The stem was a screw mount with a classic KW four hole stinger apparatus and metal tenon. The stinger was not removable but part of the metal tenon. It was dirty and covered in oils.
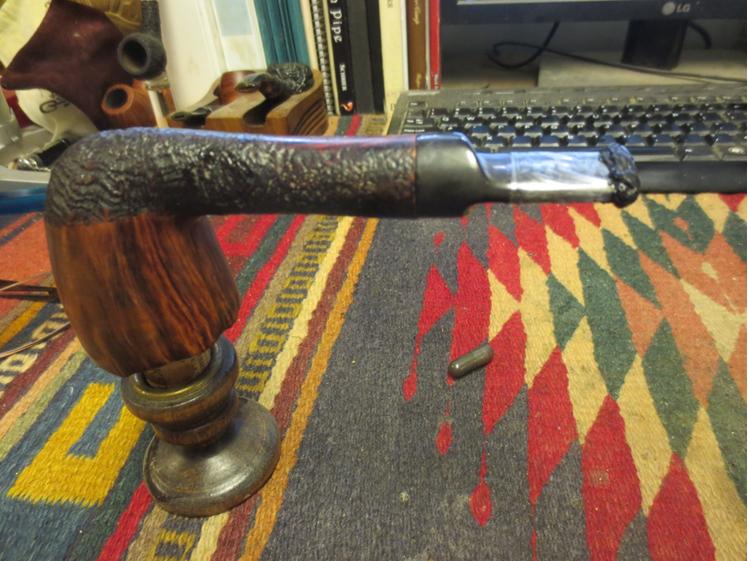
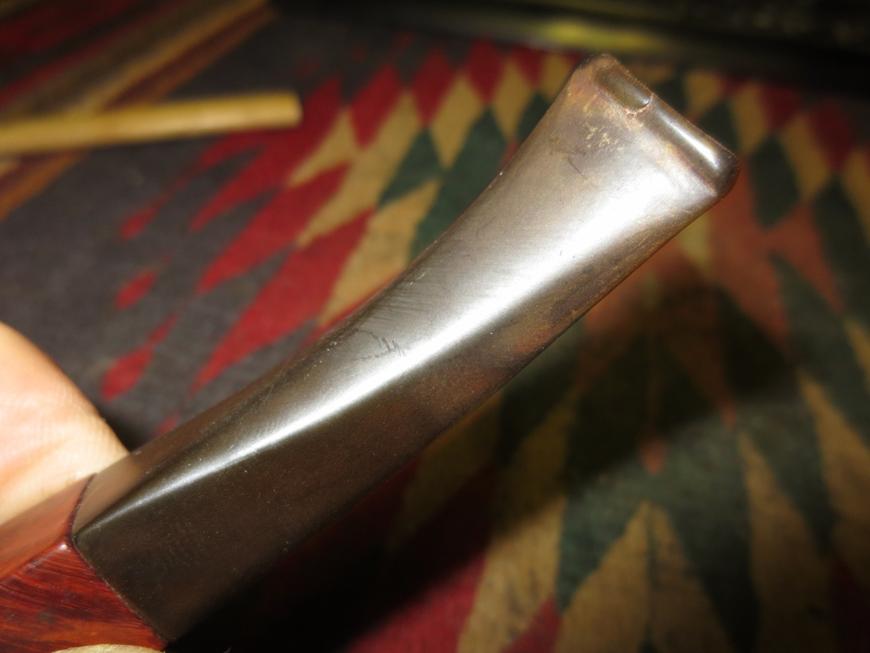
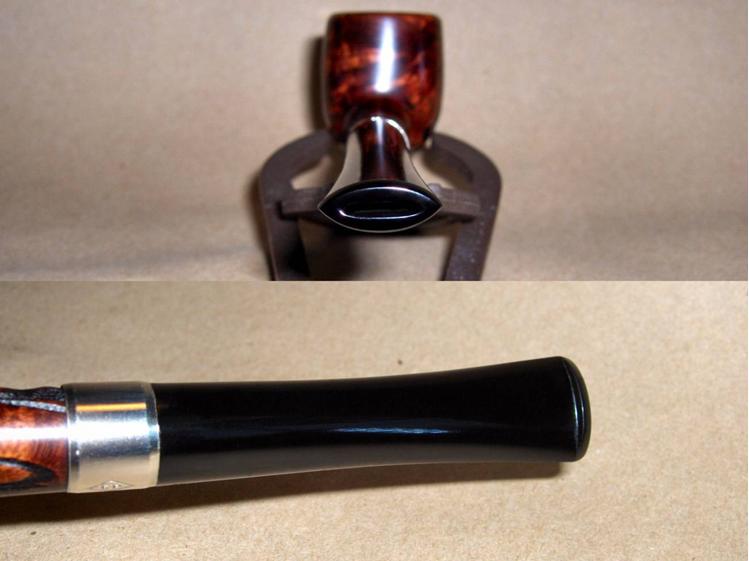
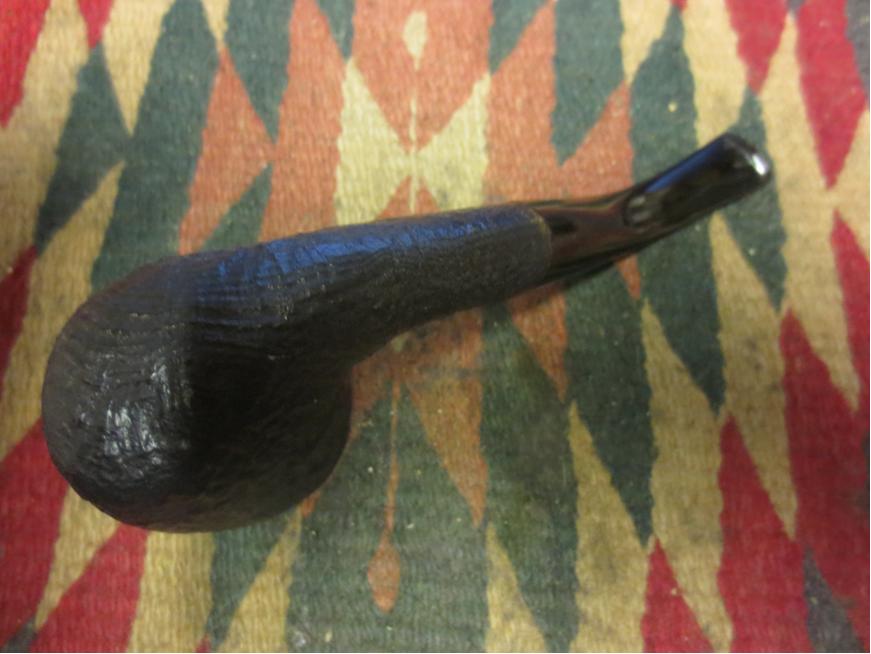
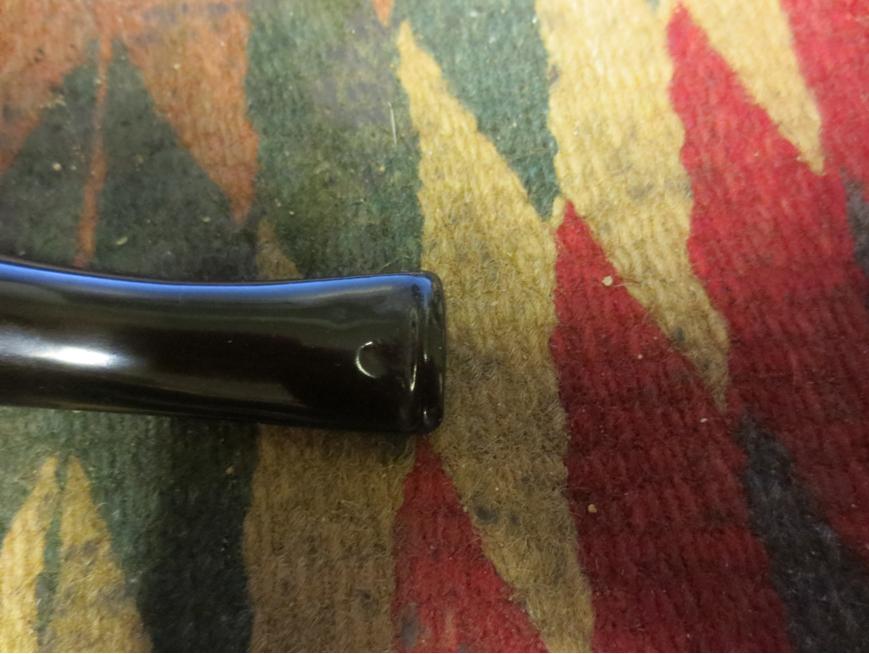
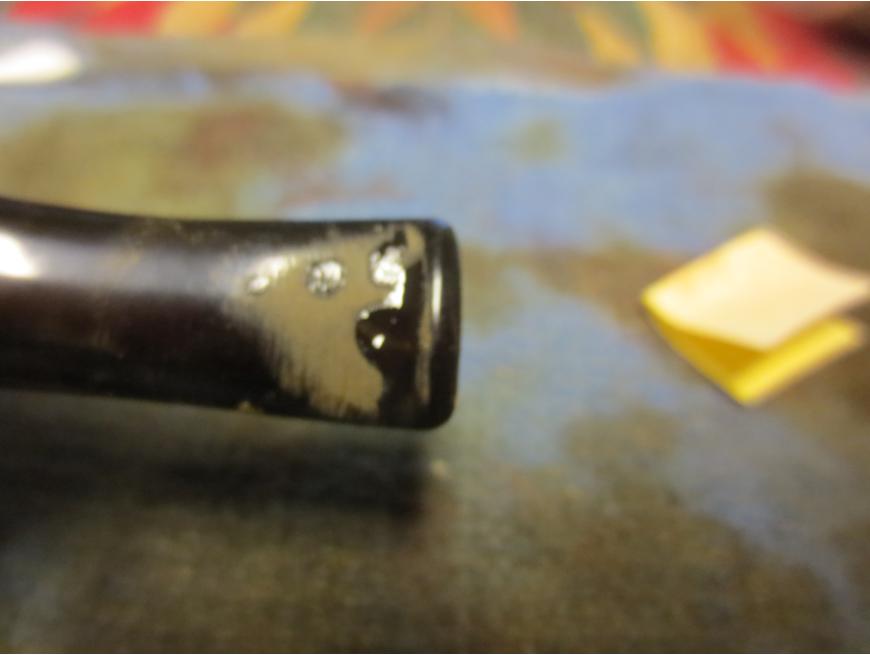
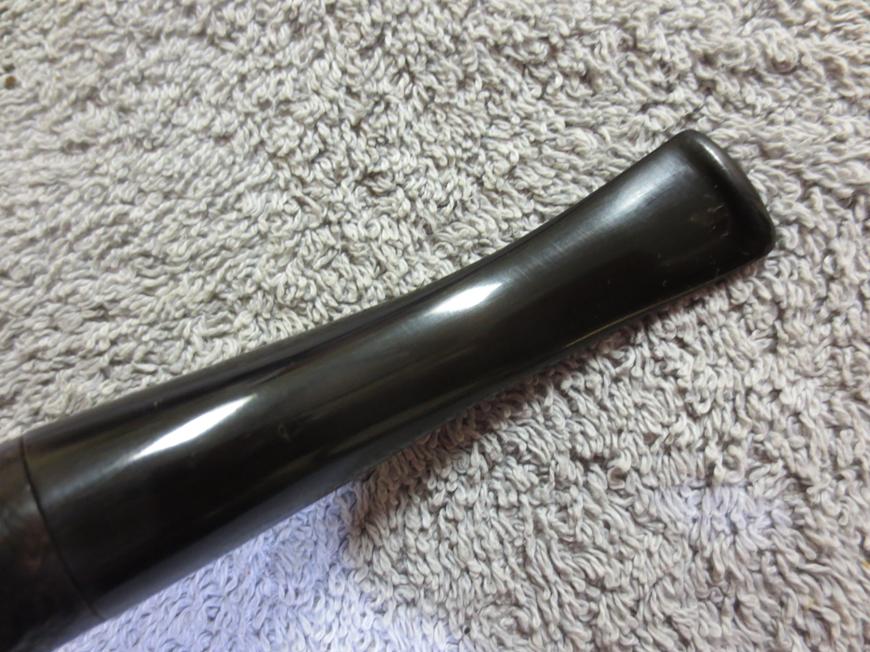
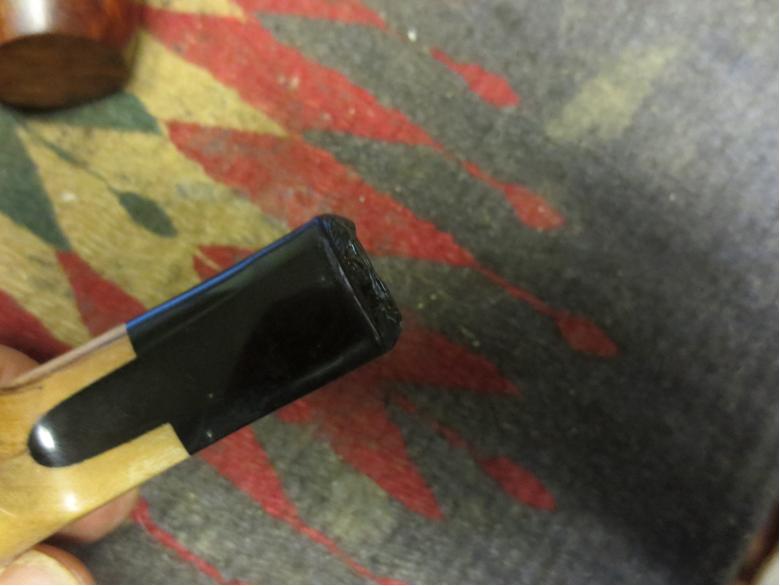
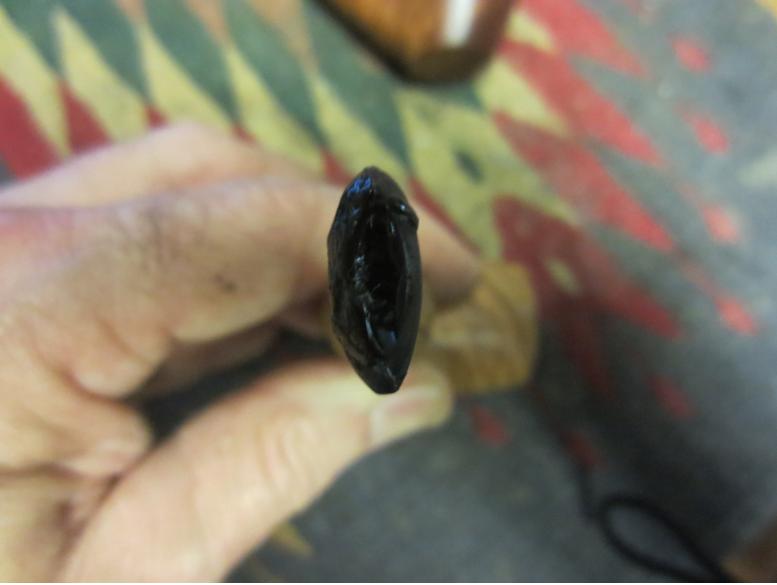
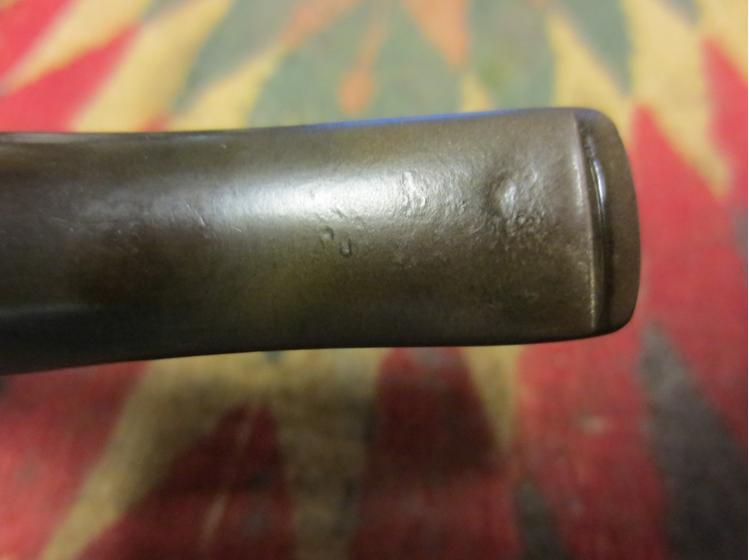
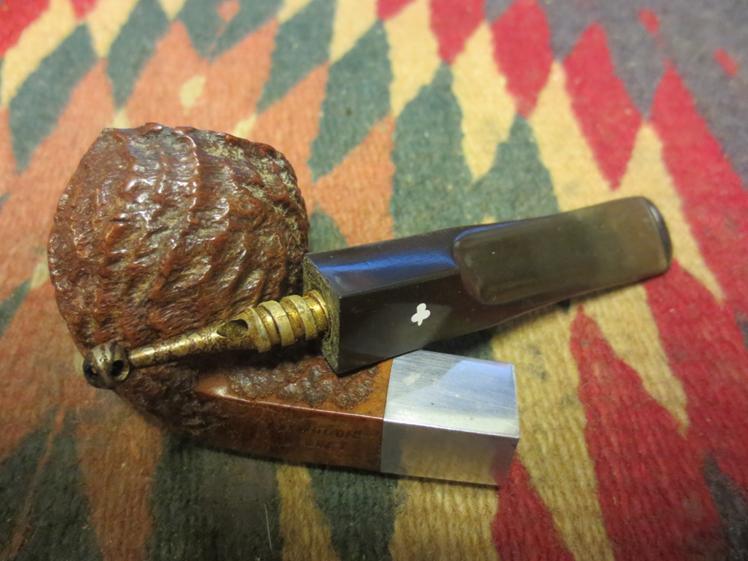 The stem was oxidized and had tooth marks on the top and underside near the button. Most of the oxidation was on both ends of the stem.
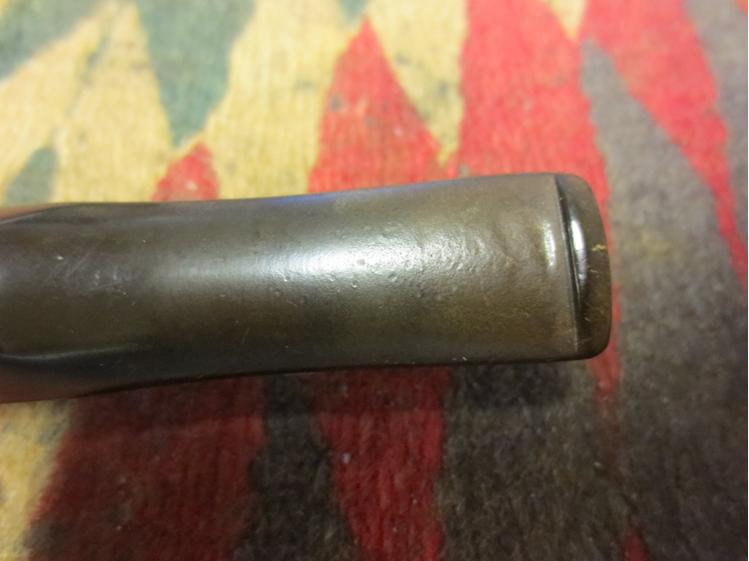
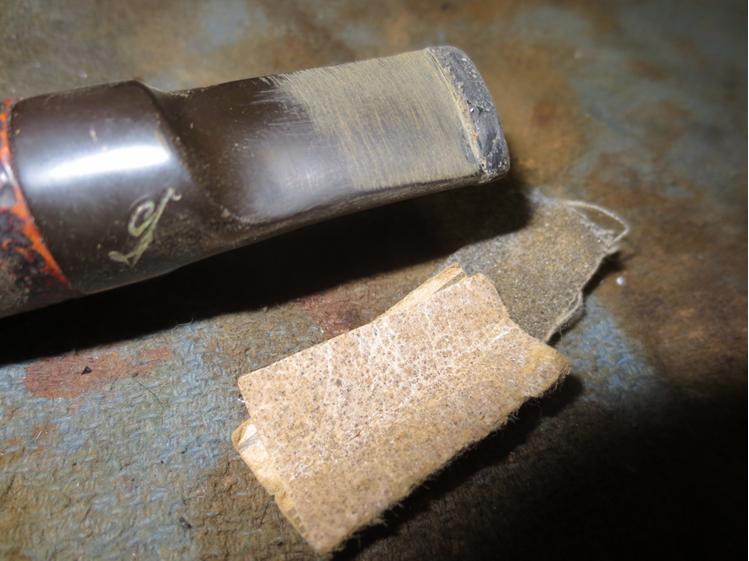
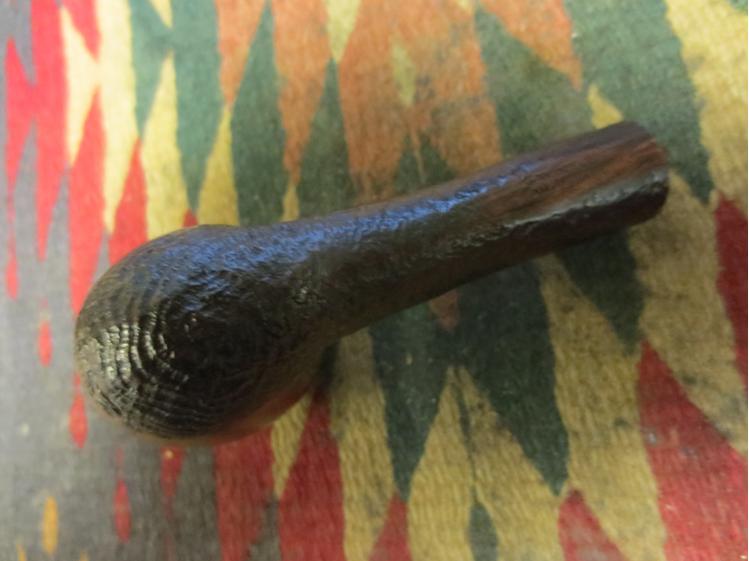
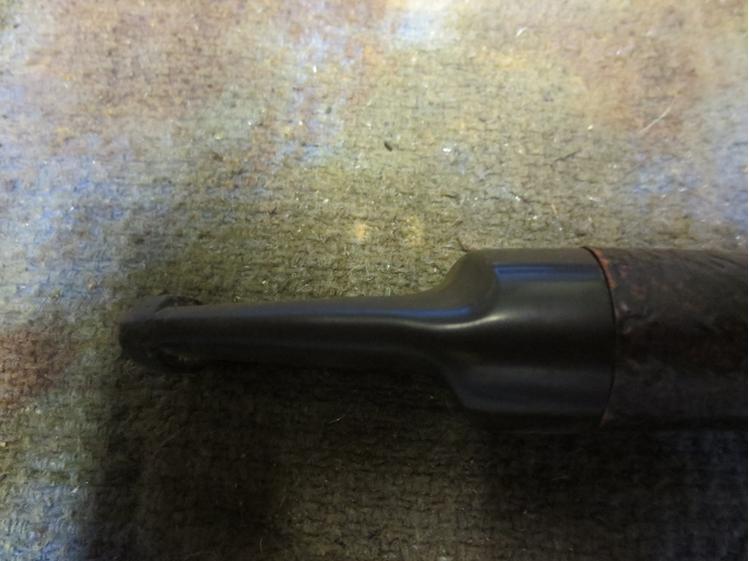
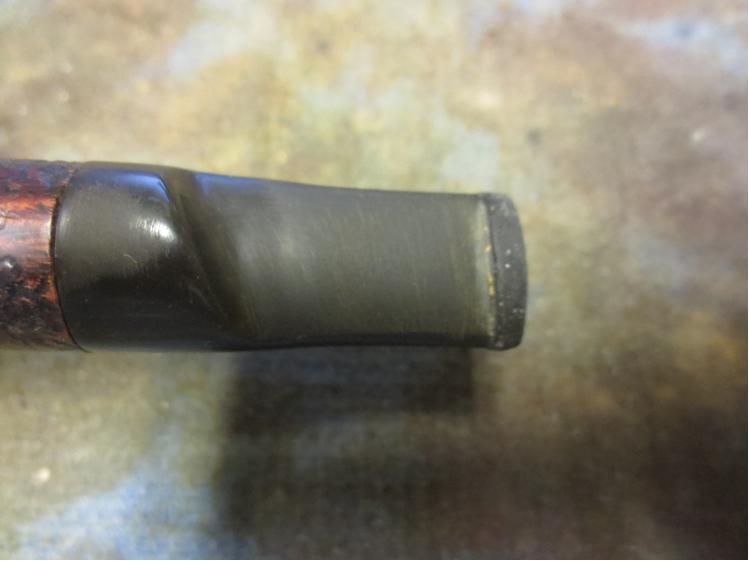
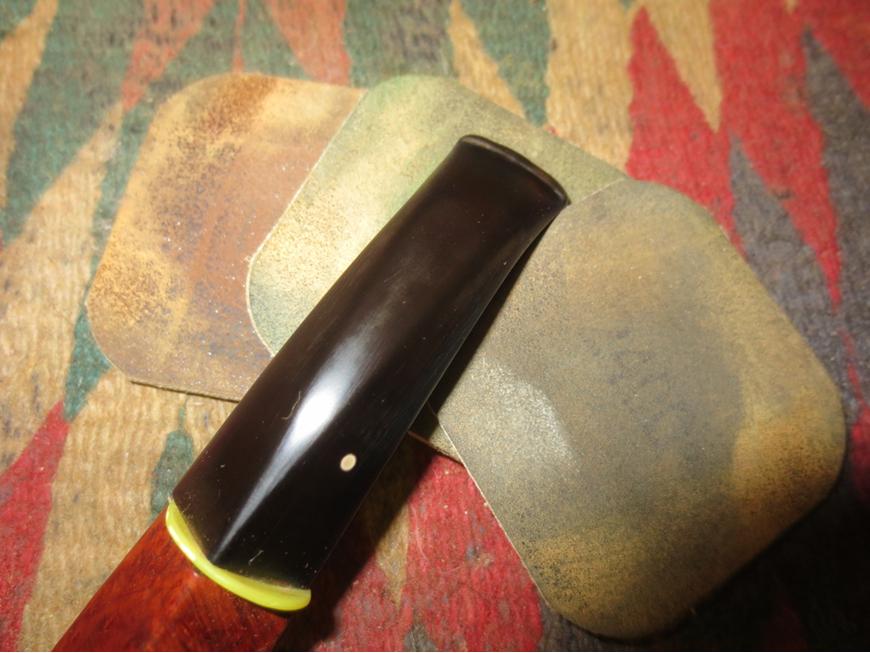
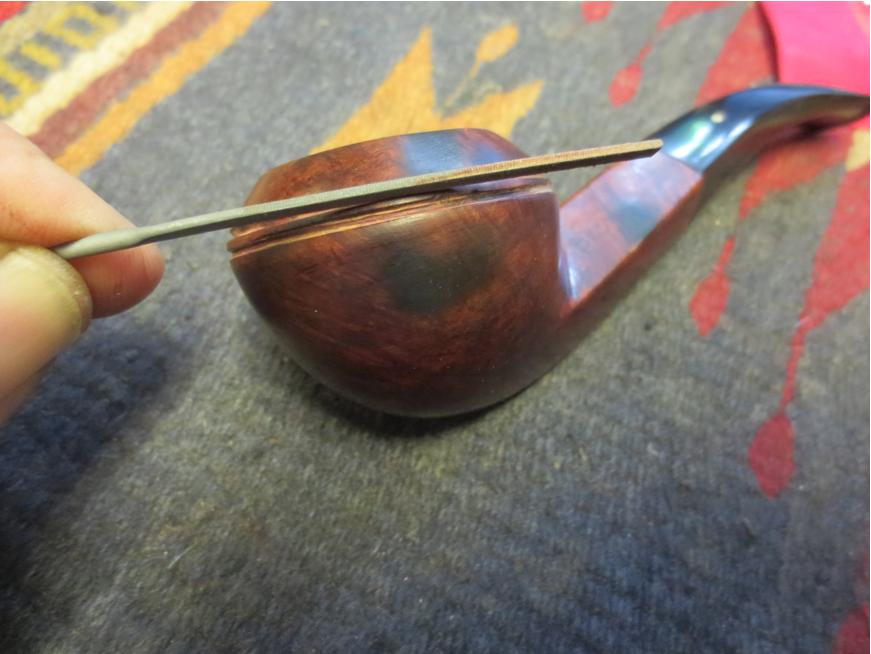
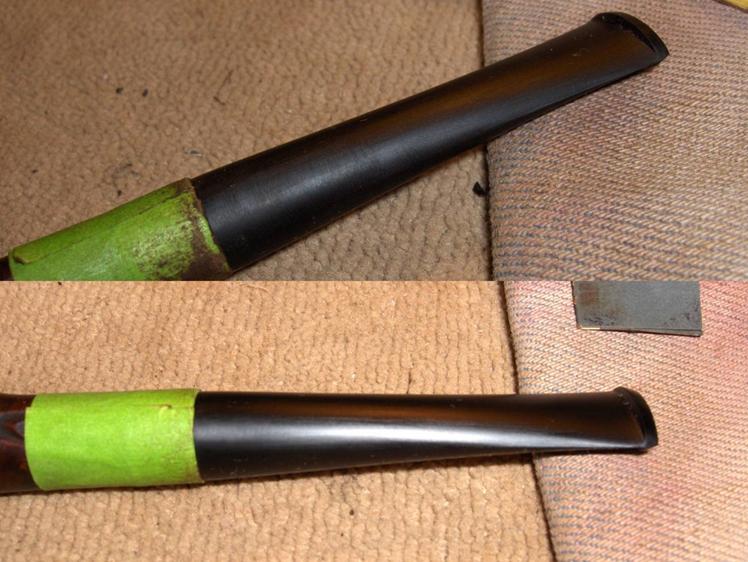
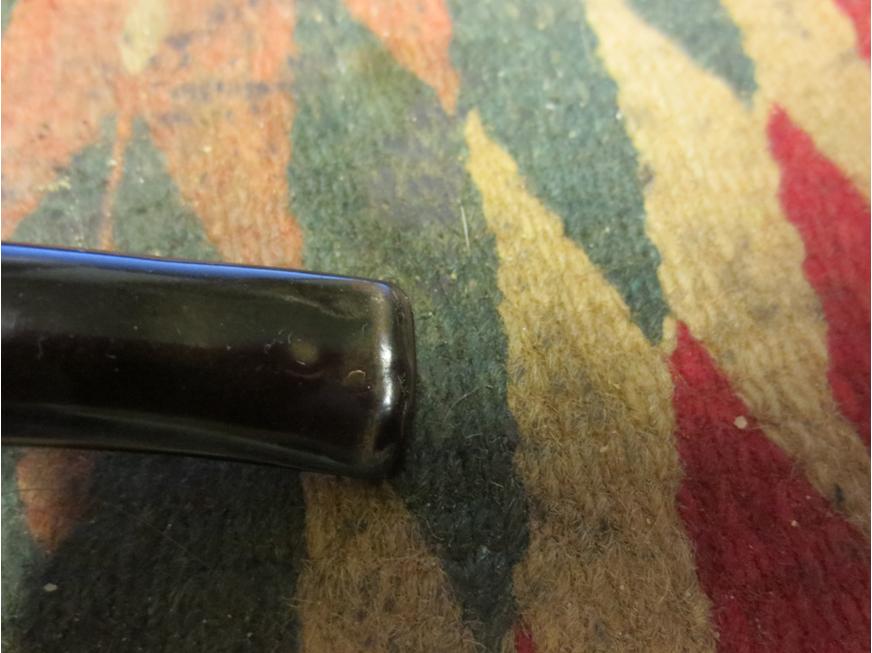
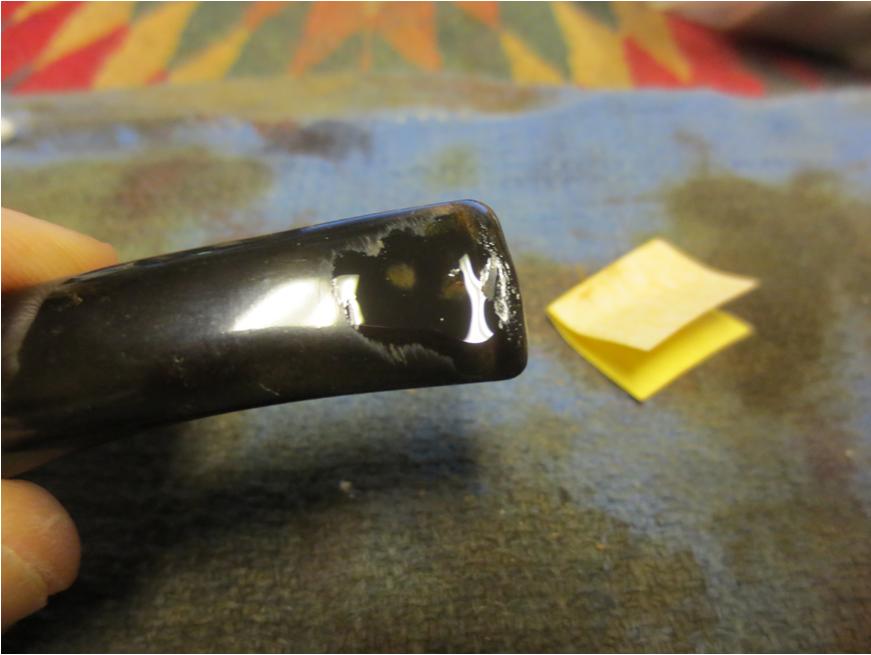
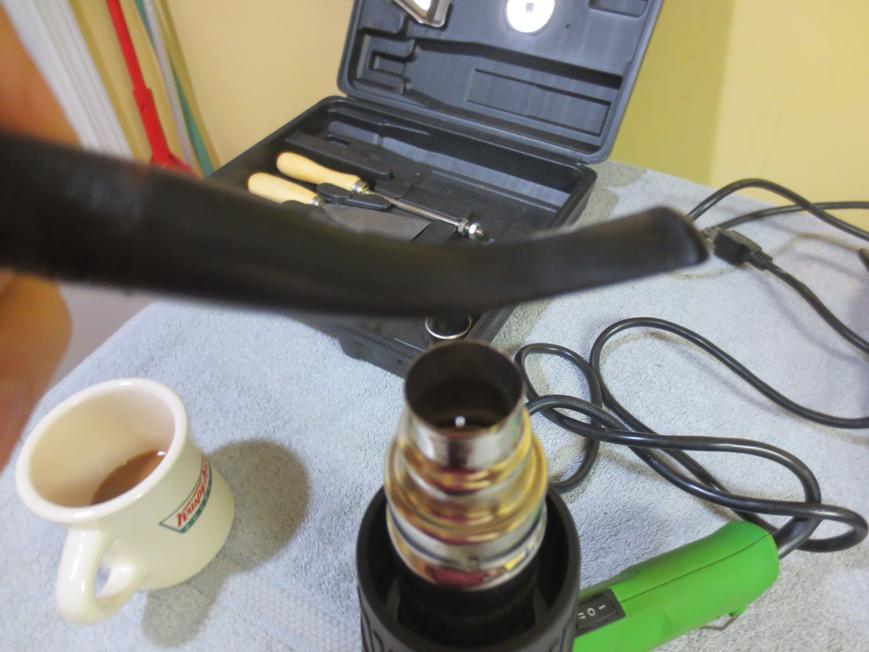
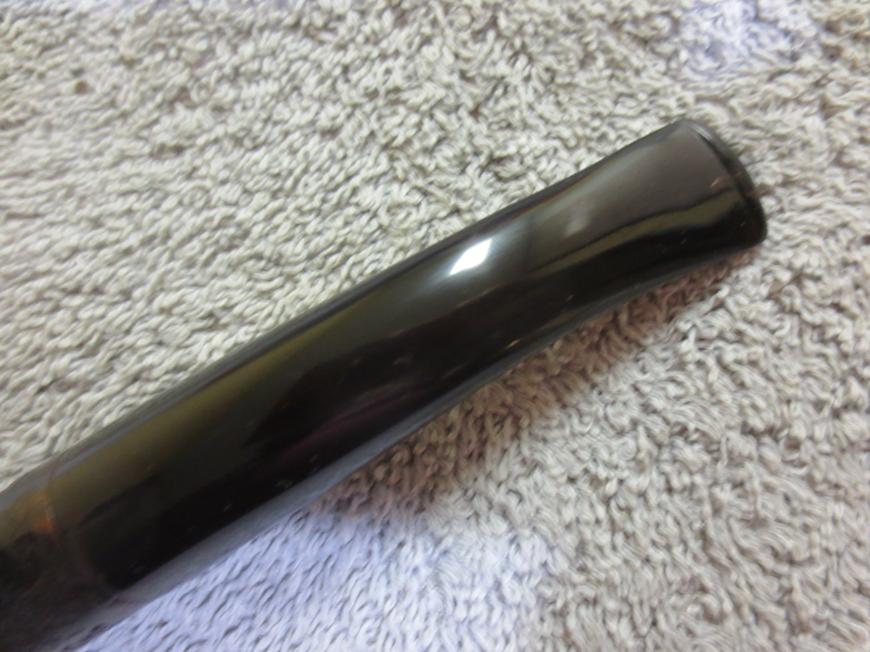
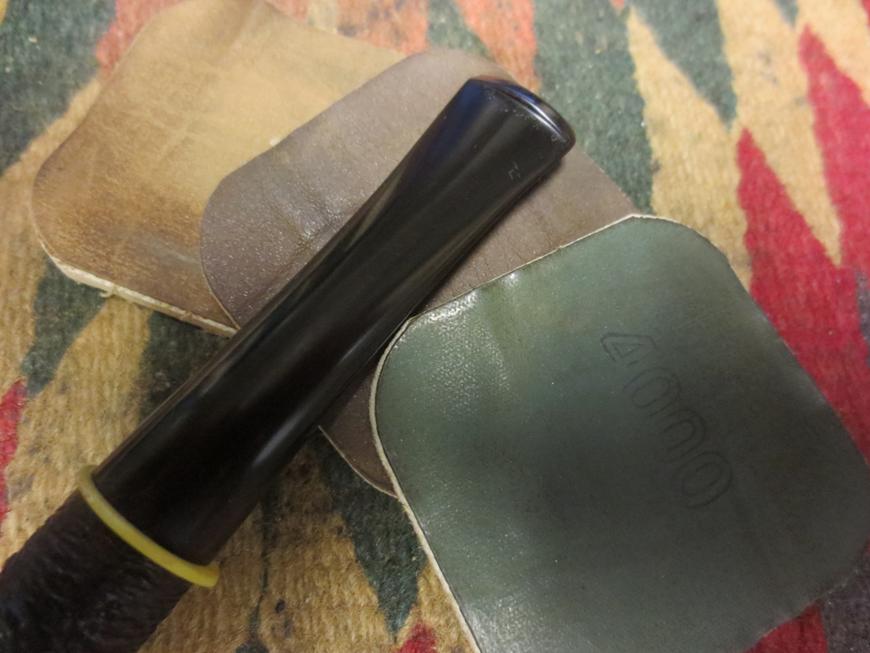
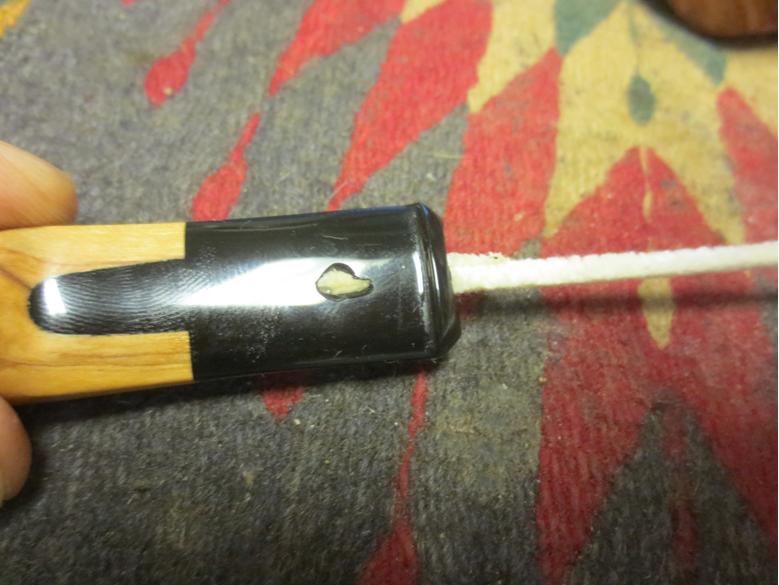
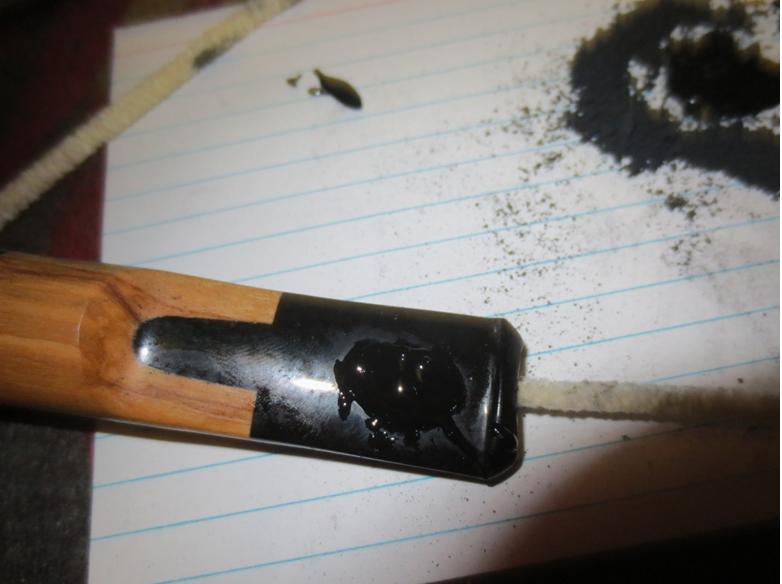
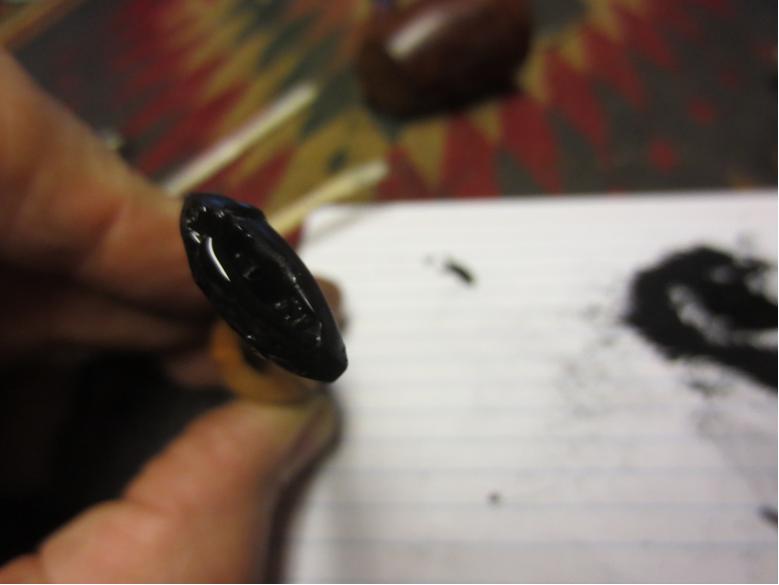
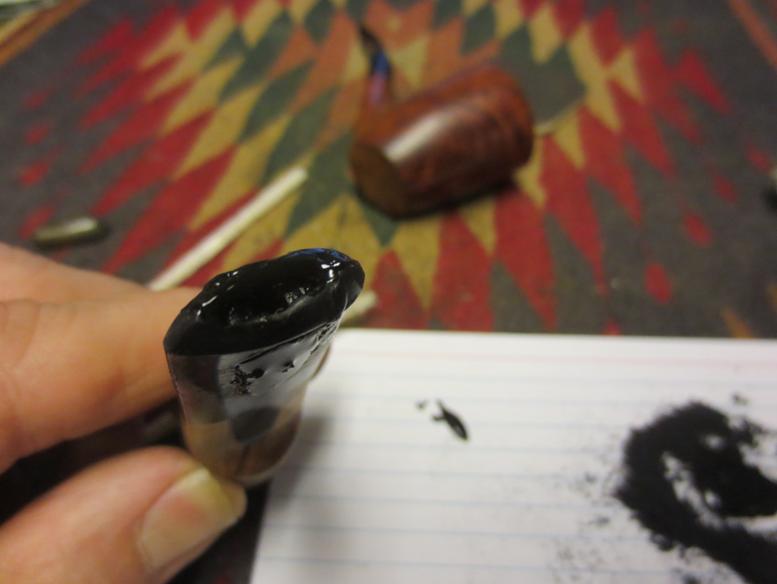
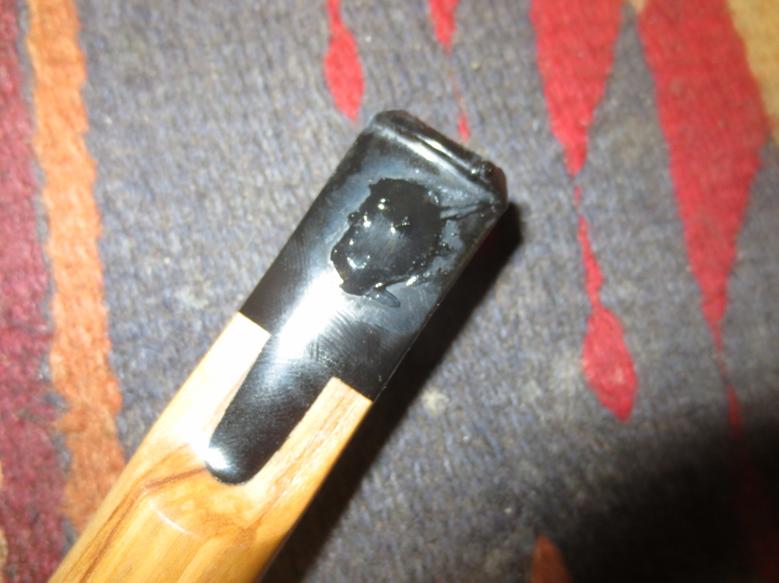
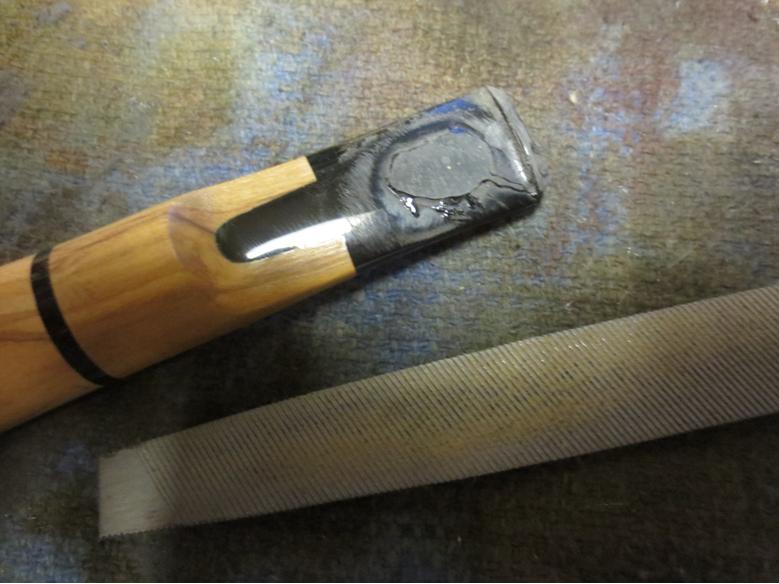
 I used a lighter to heat the bite marks on the stem and raise them to the surface. I paint the surface with the flame, never letting it sit too long in one place. This lifted the bite marks and they would be easily removed with a light sanding. An added benefit to using the lighter is that it also burns off the surface oxidation. The photo below shows the top side of the stem after I “painted” it with the lighter. The bite marks had disappeared the oxidation was less prominent.
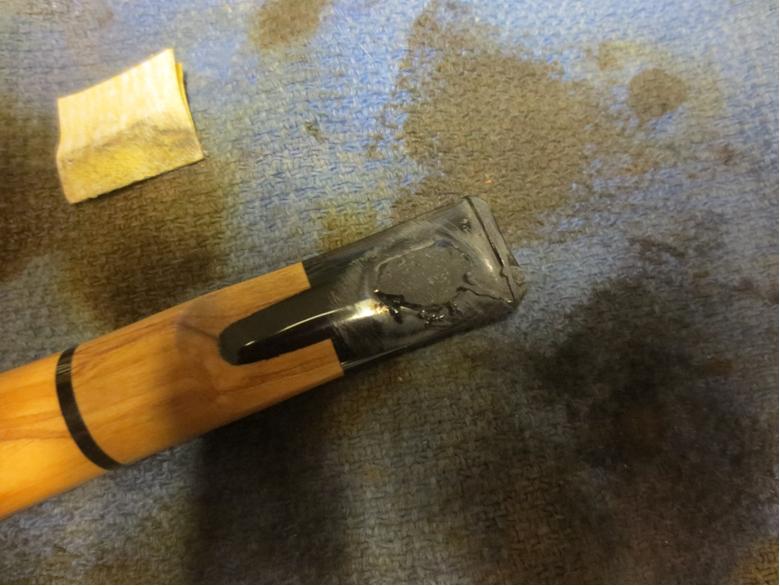
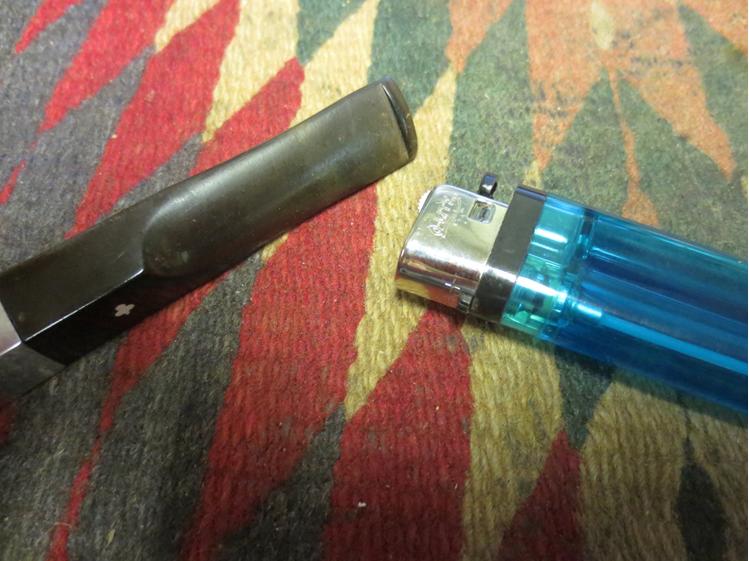 I sanded the stem with 220 grit sandpaper to remove the remaining tooth chatter and light tooth marks.
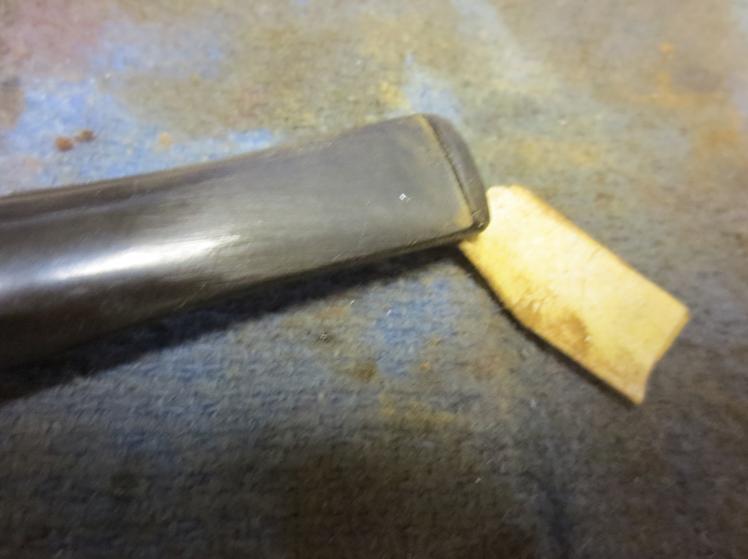
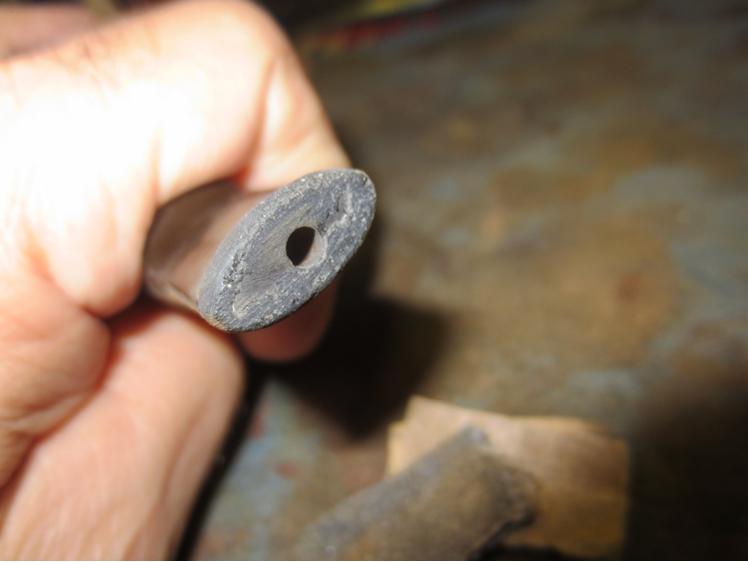
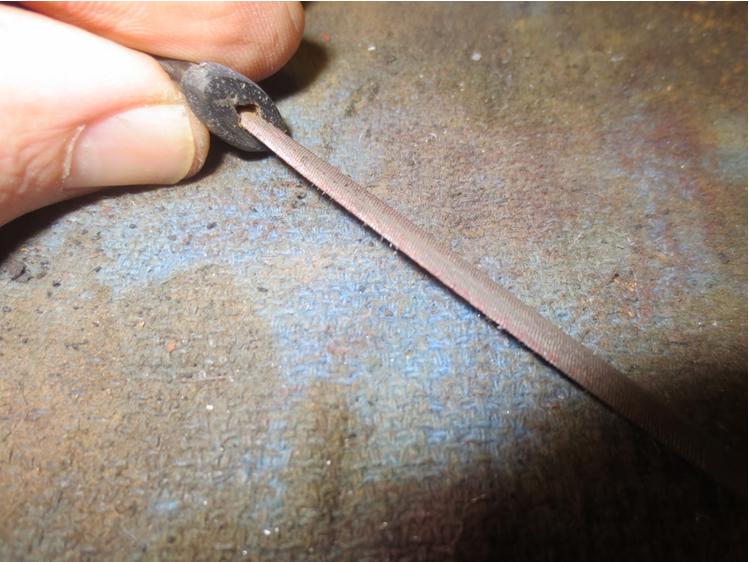
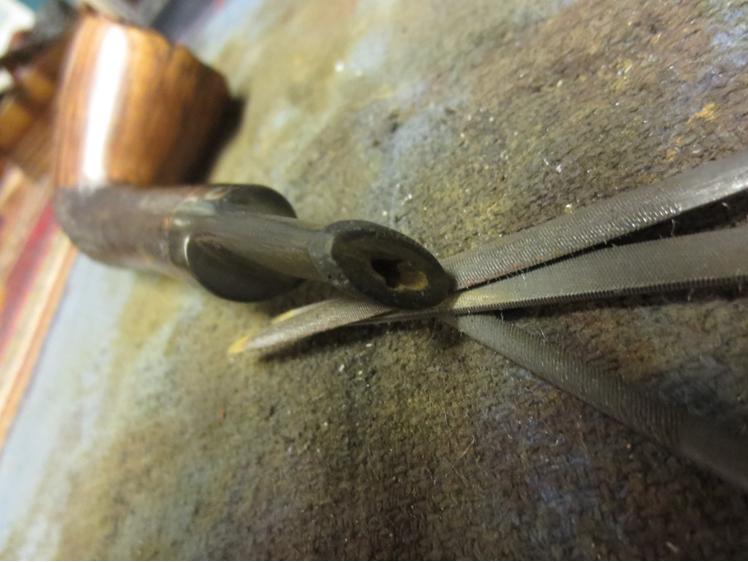
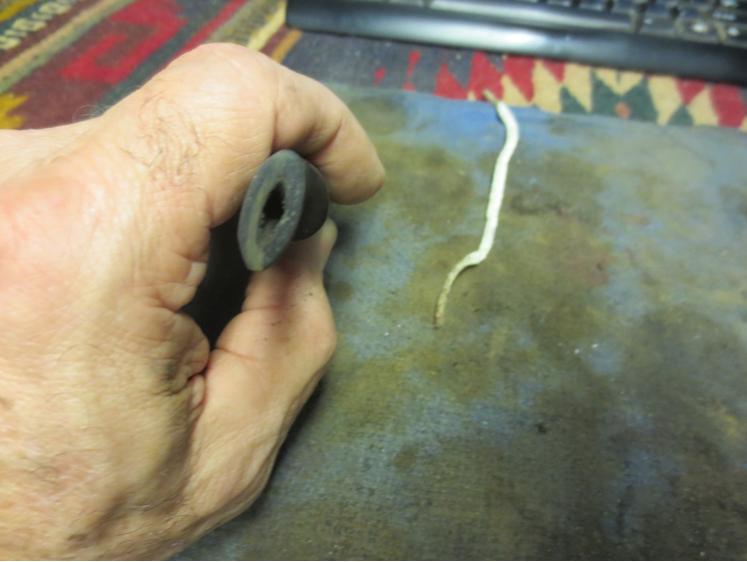
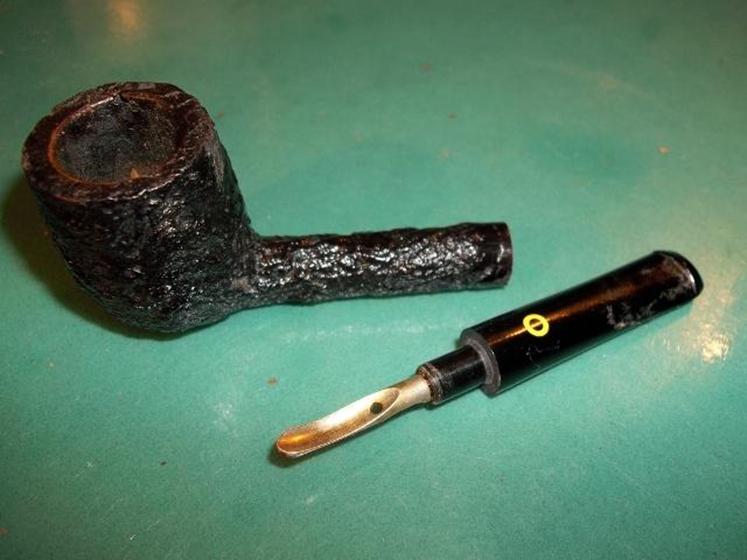
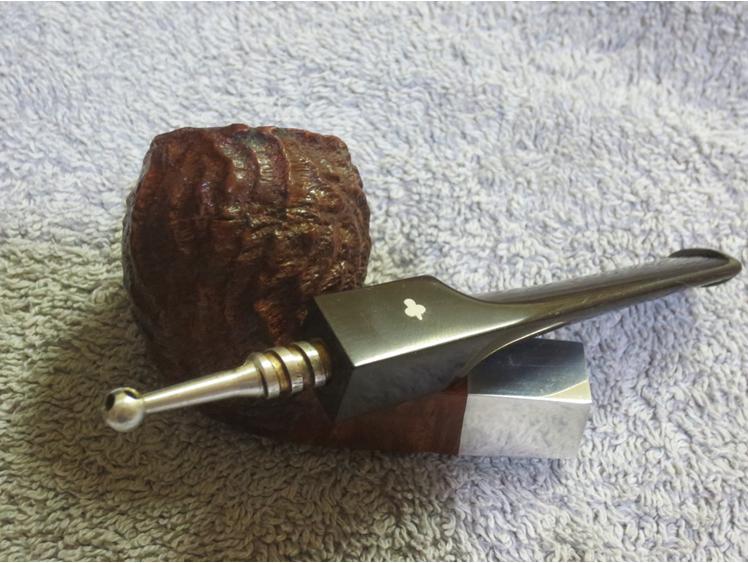
 I scrubbed the stinger and tenon apparatus with 0000 steel wool to remove the buildup of tar and oil that had hardened there.
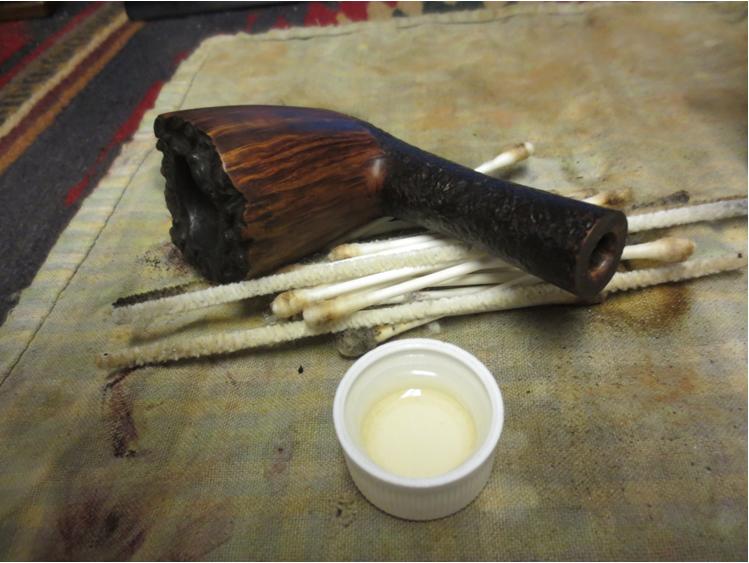
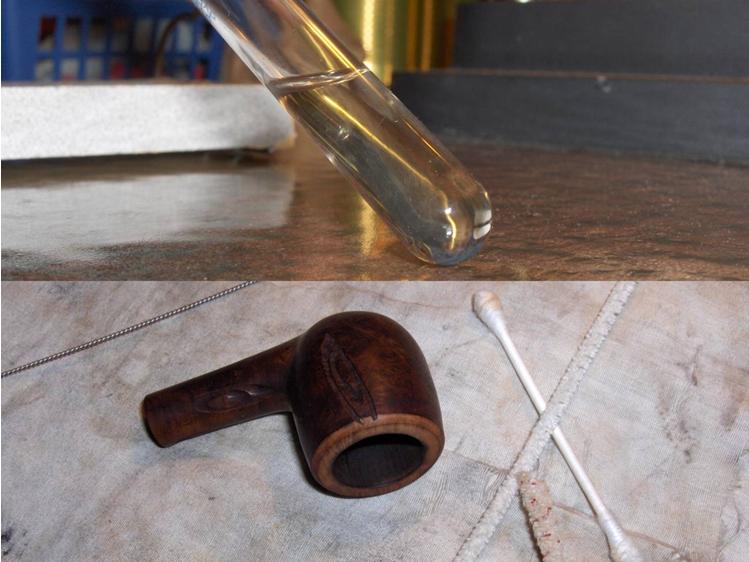
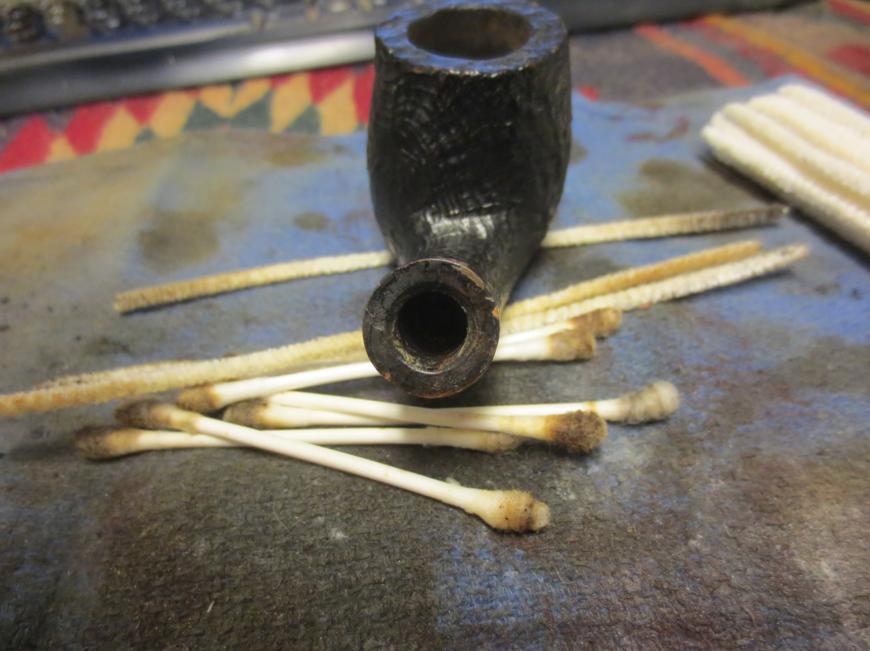
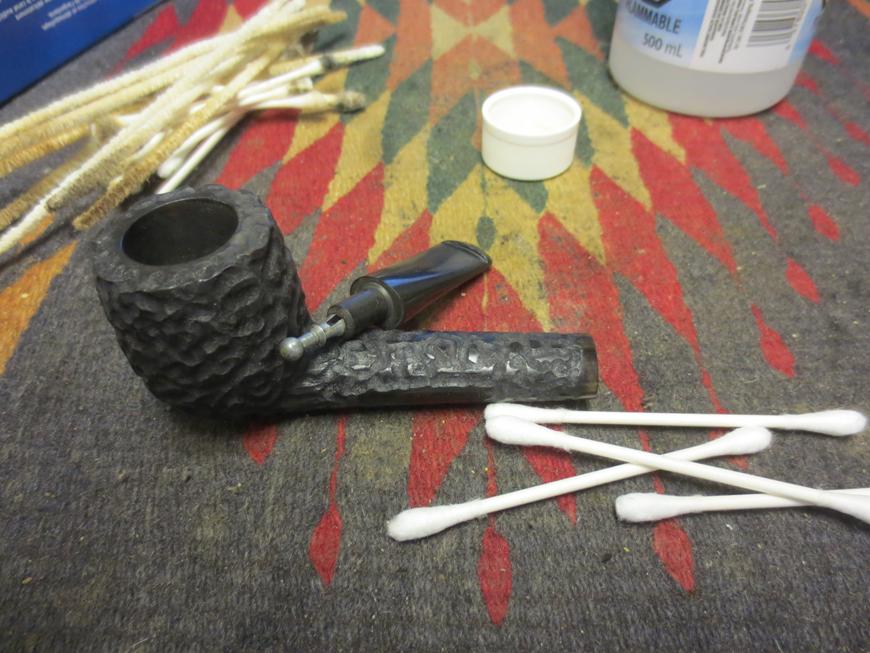
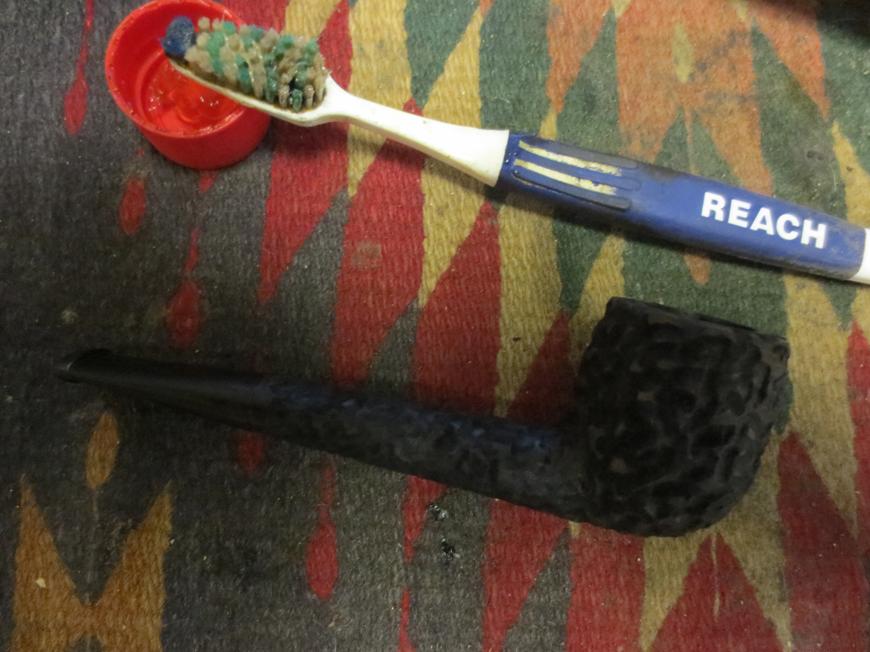
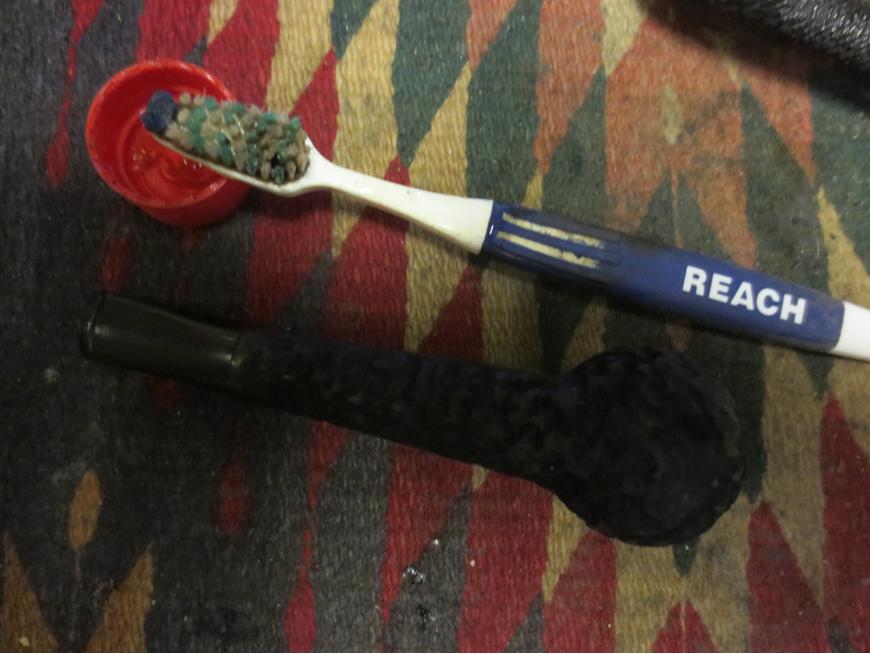
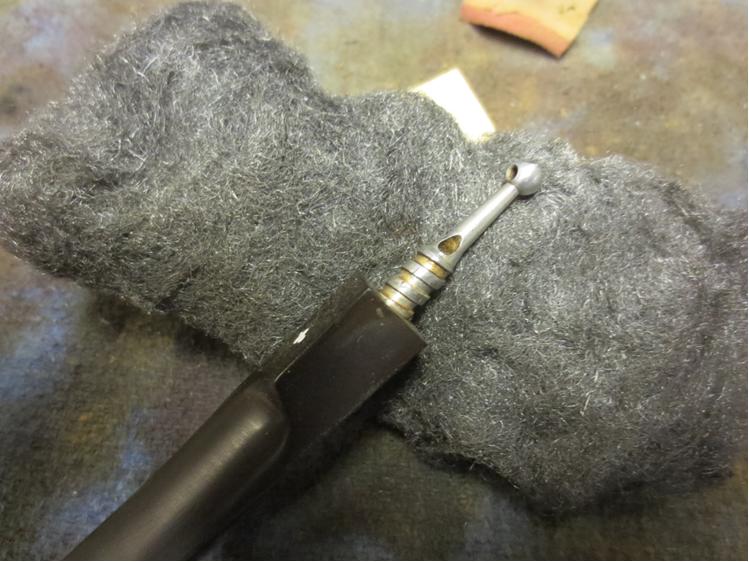 I cleaned out the airway in the stem and shank as well as the threaded mortise with cotton swabs, pipe cleaners, and alcohol to remove all of the residual oils. I finished by scrubbing the threads on the stinger with a tooth brush to remove the last of the oils. I also scrubbed the end of the shank cap.
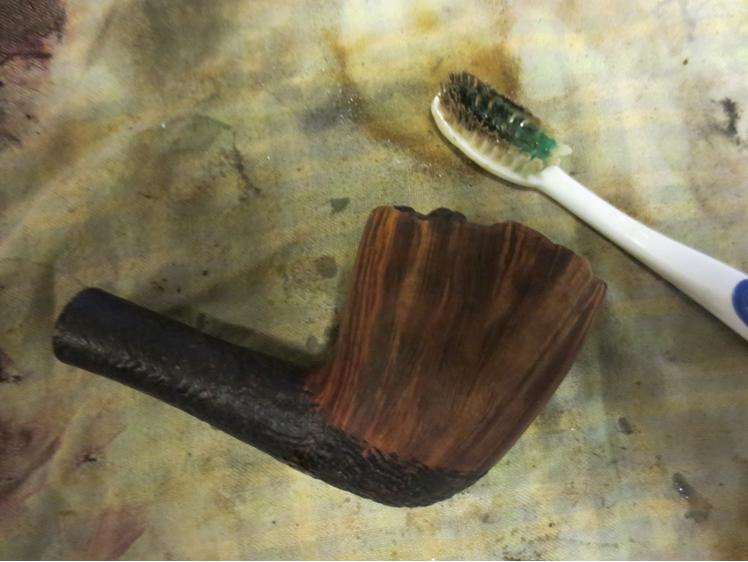
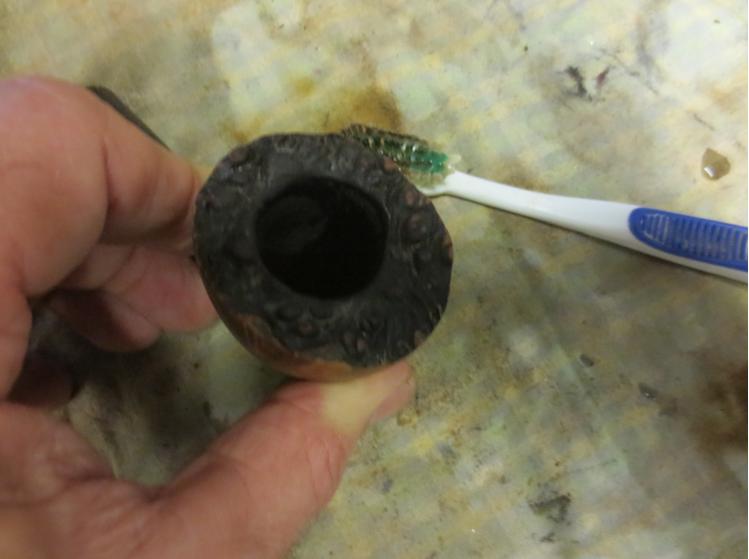
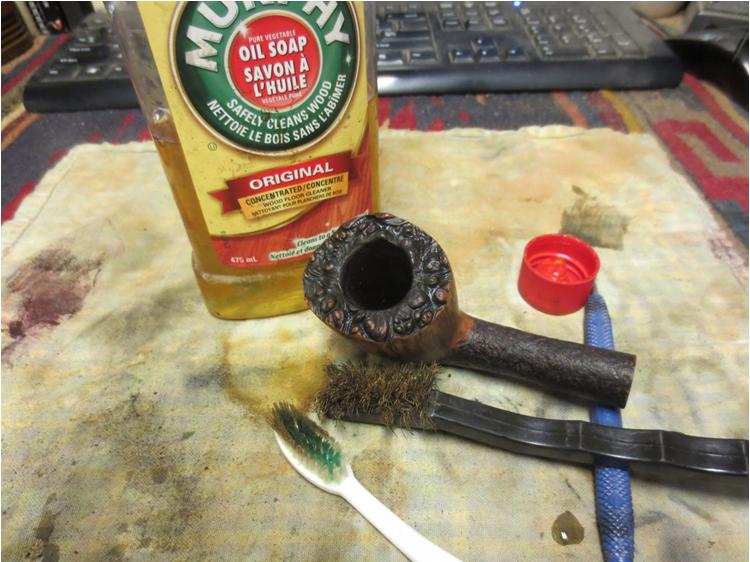
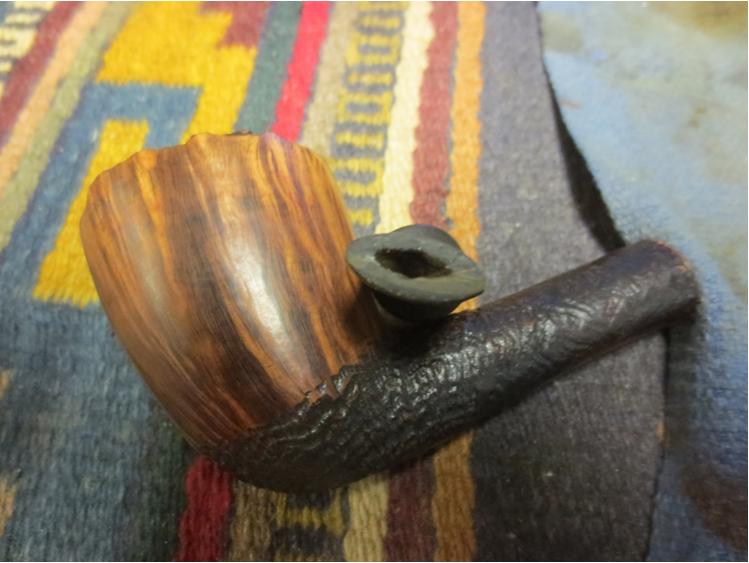
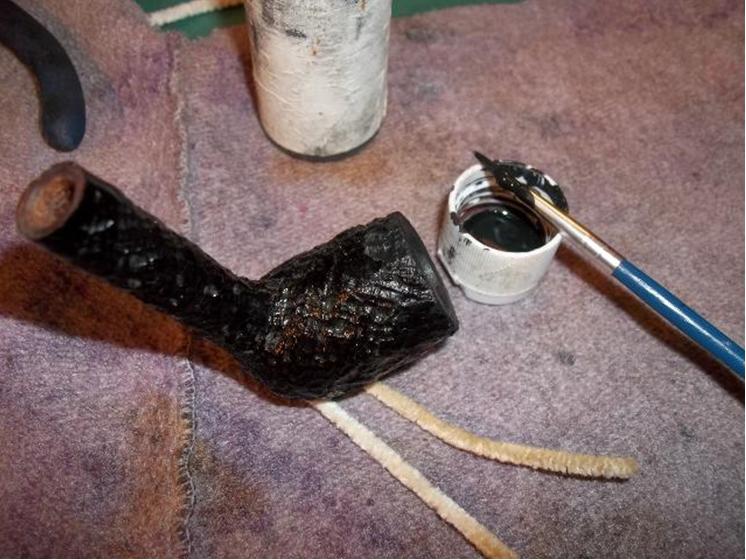
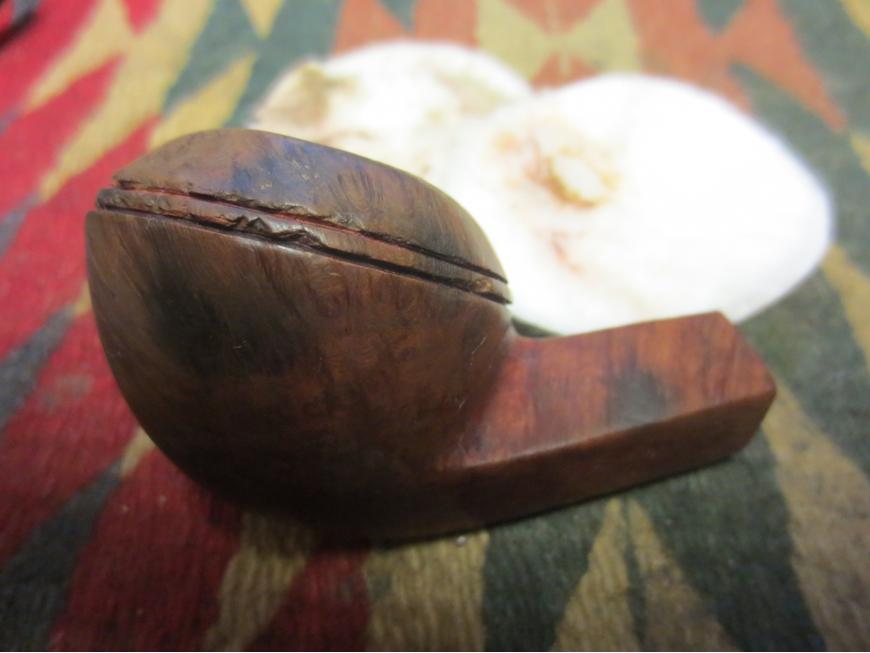
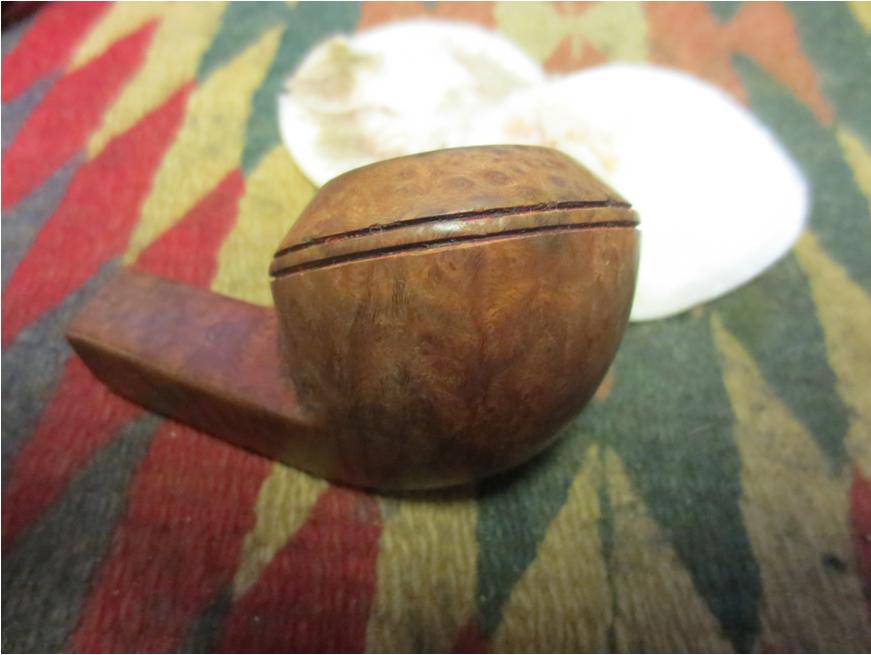
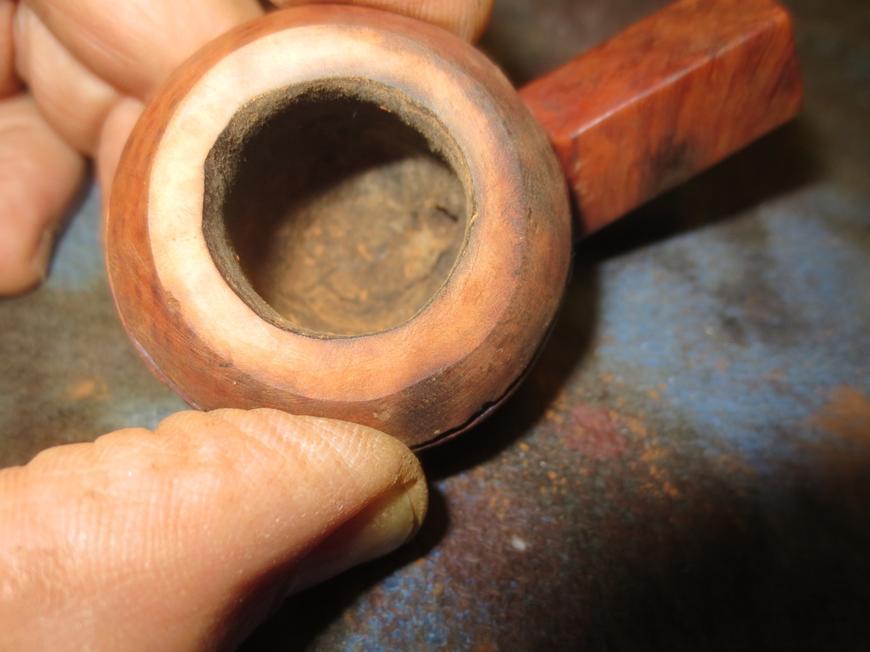
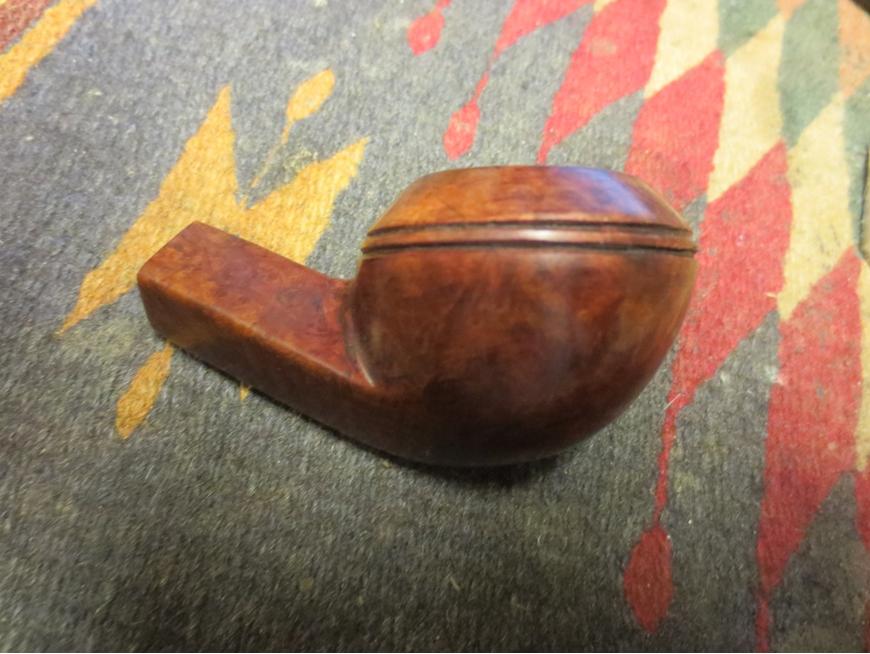
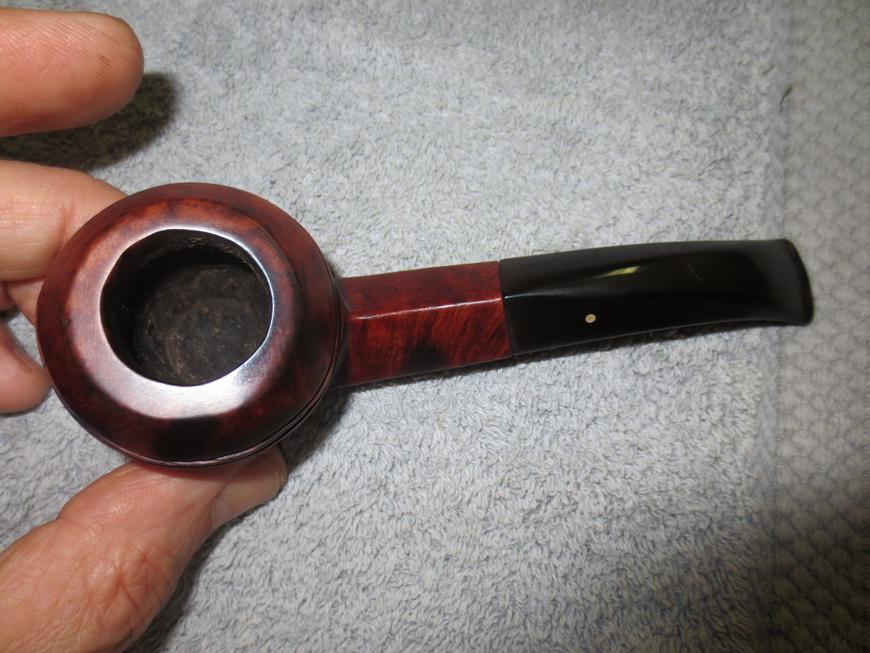
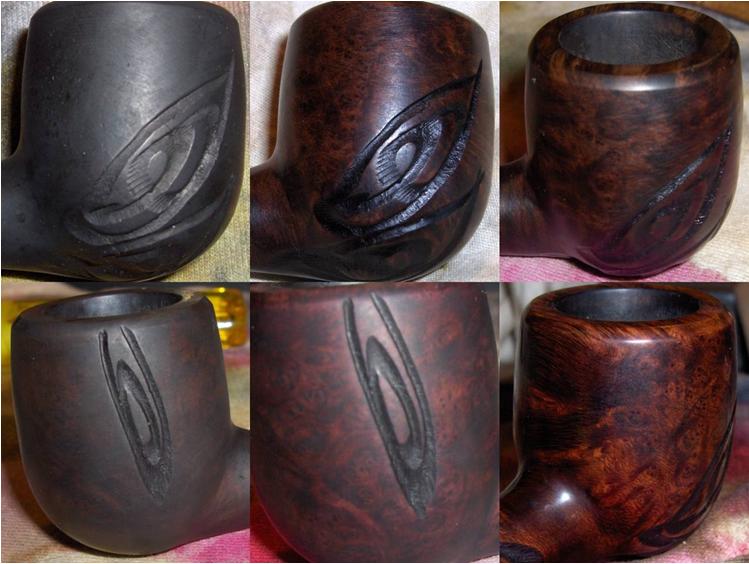
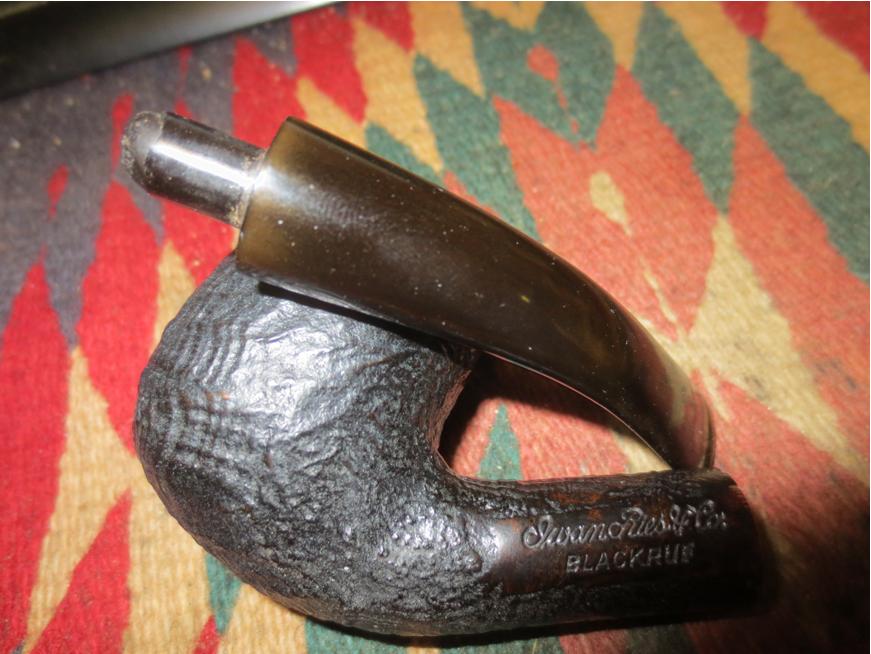
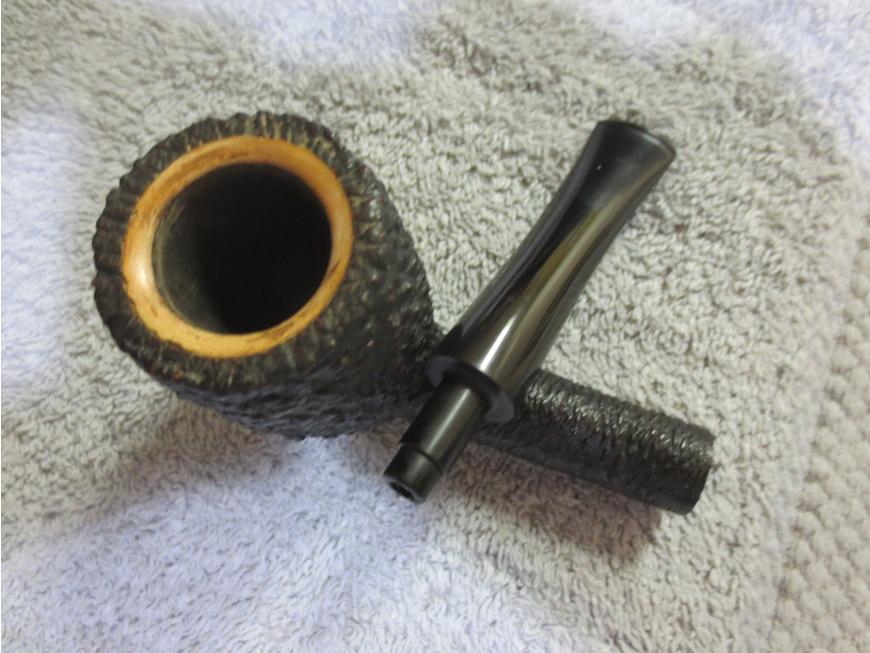
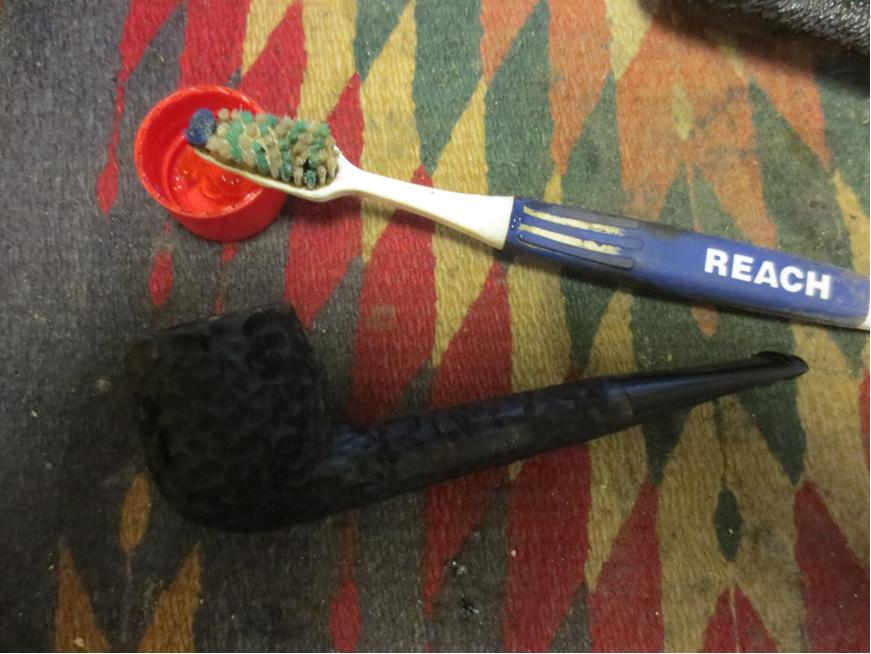
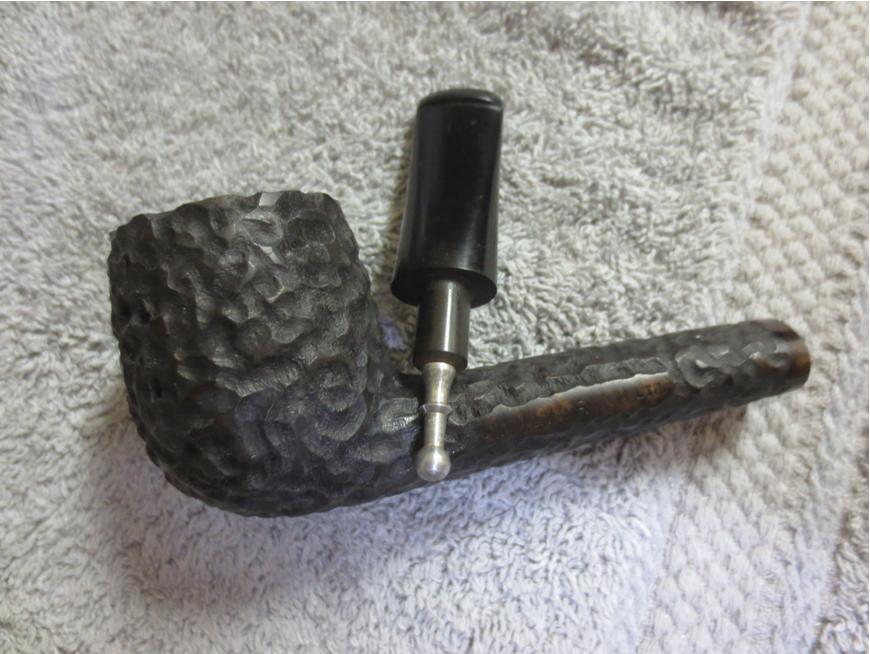
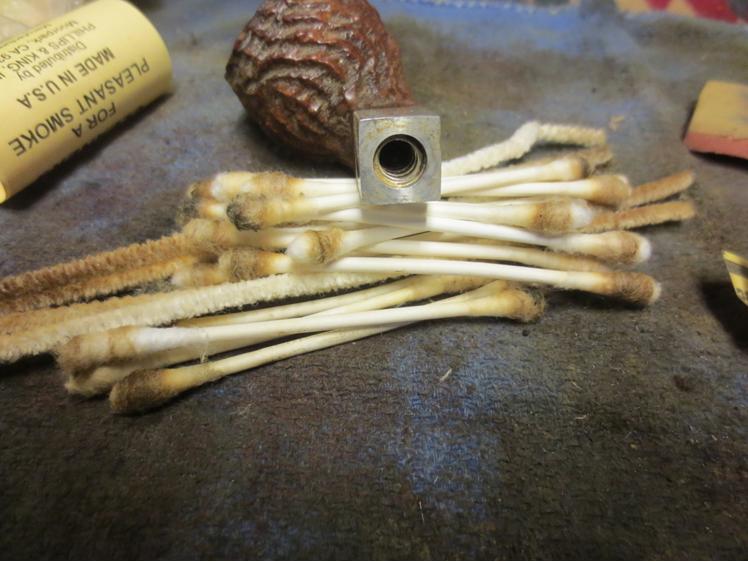 I scrubbed the briar with a tooth brush and Murphy’s Oil Soap and then rinsed it under running water to remove the soap. I dried it off with a cotton towel and took some photos of the cleaned finish.
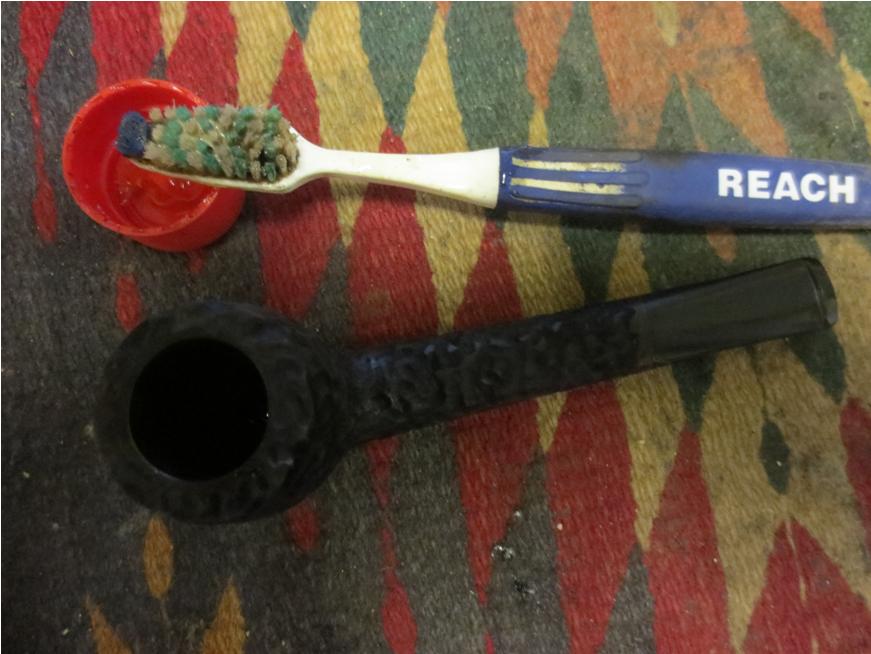
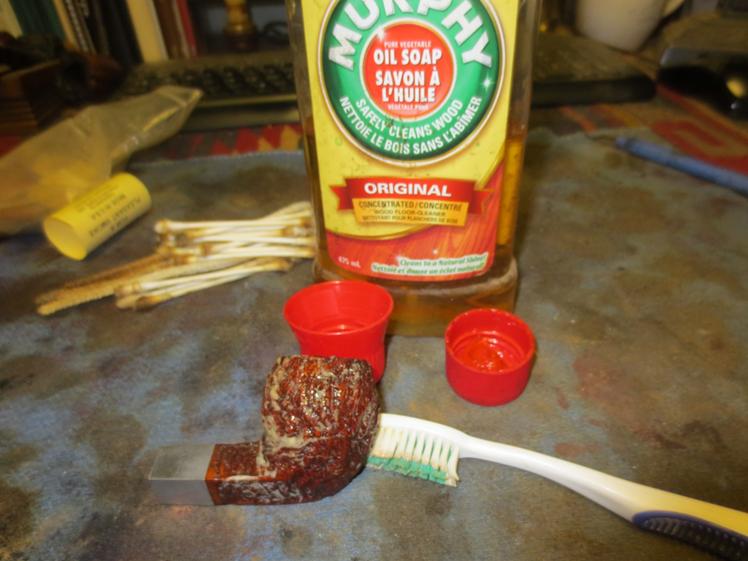
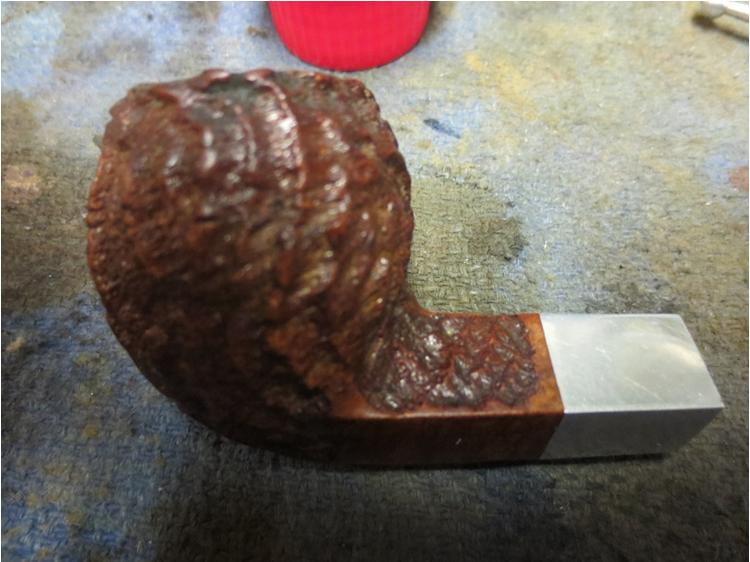

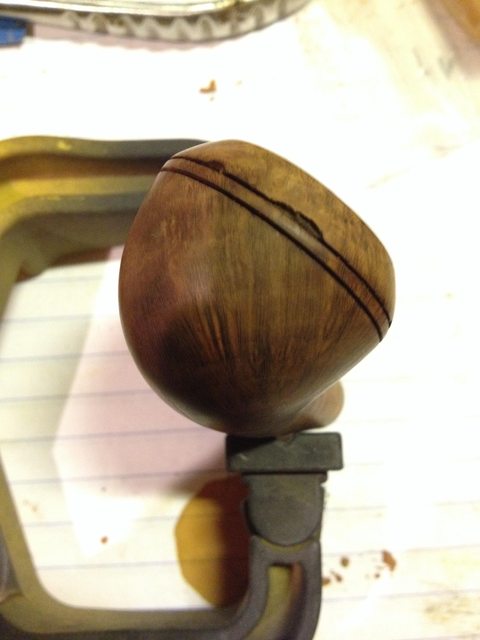
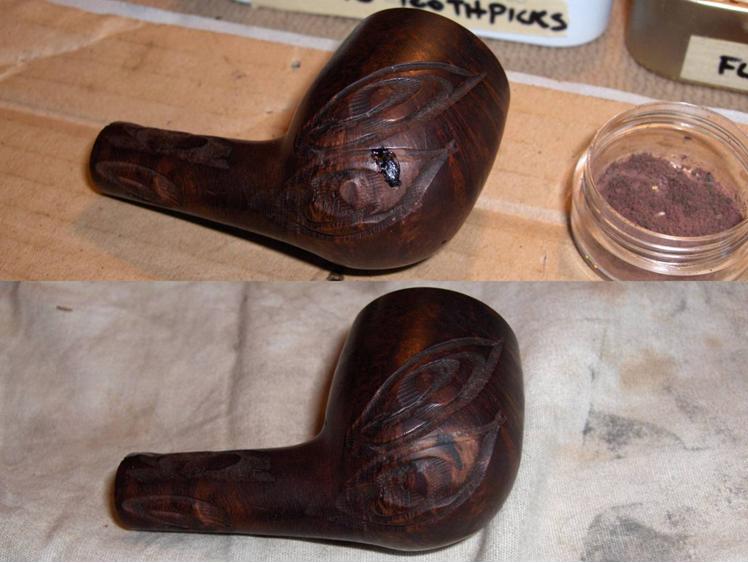
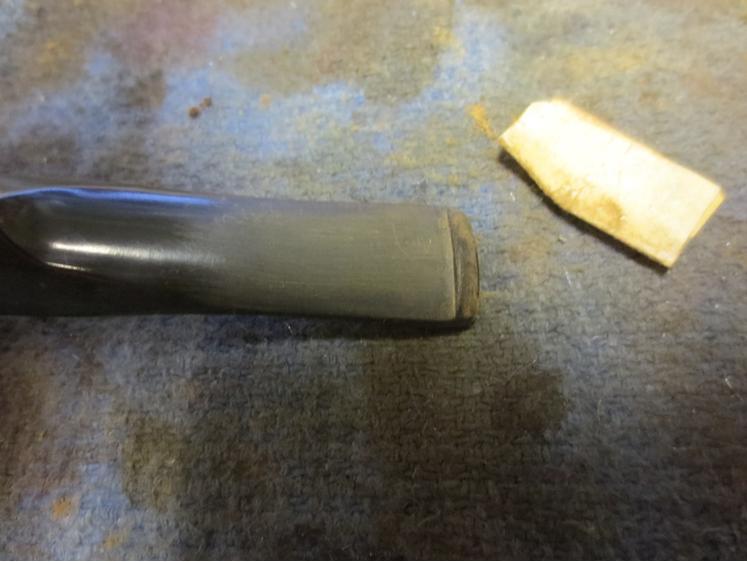
 The smooth area on the underside of the left side of the shank where the stamping was had some peeling varnish or clear coat on it.
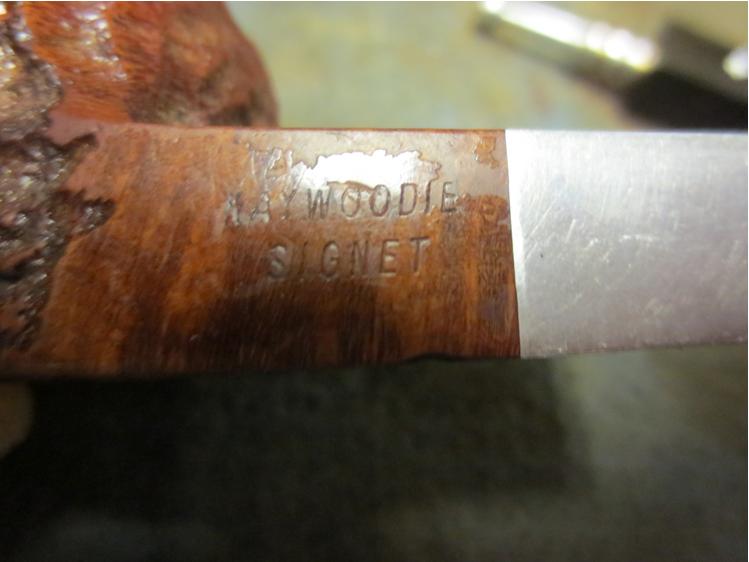 I wiped down the shank with acetone on a cotton pad to remove the peeling finish on that portion of the shank. IT came off quite easily which leads me think it was a varnish rather than a lacquer or plastic coat.
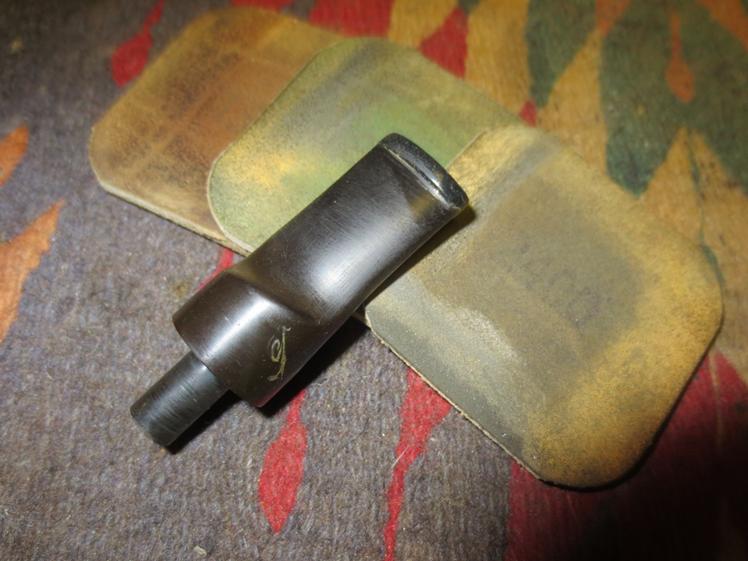
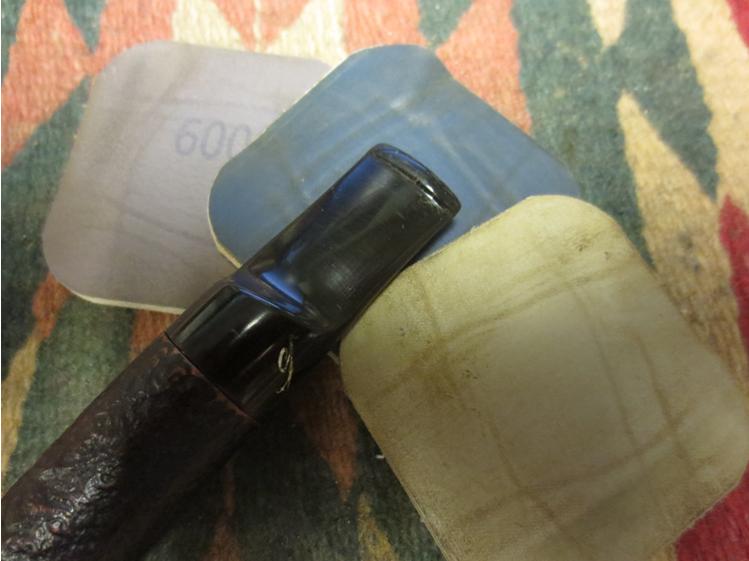
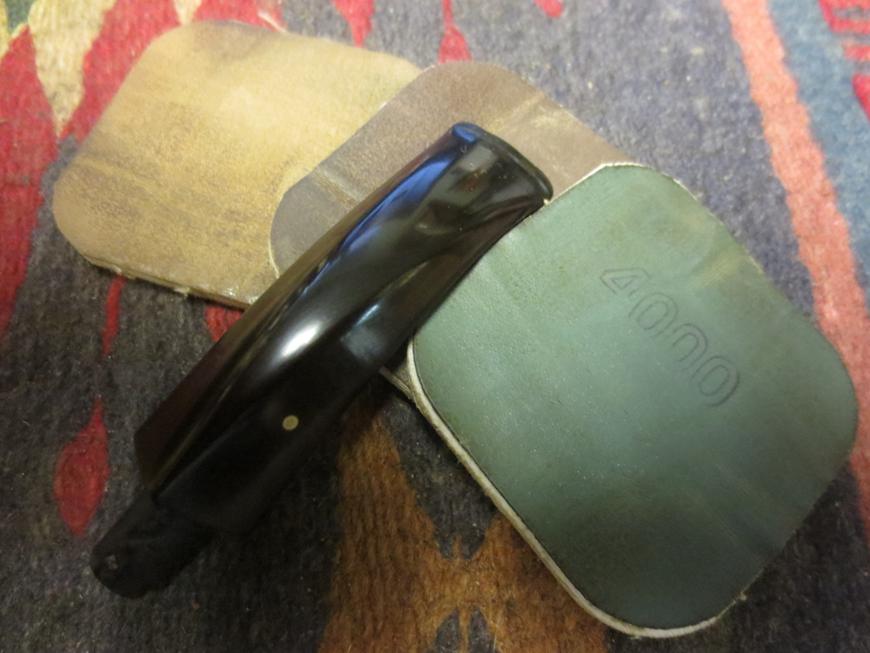
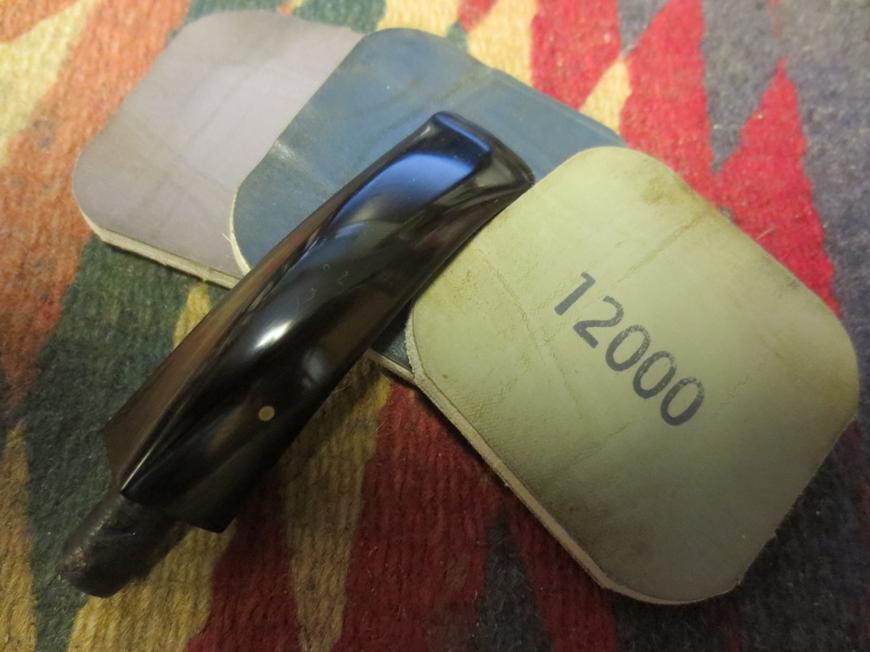
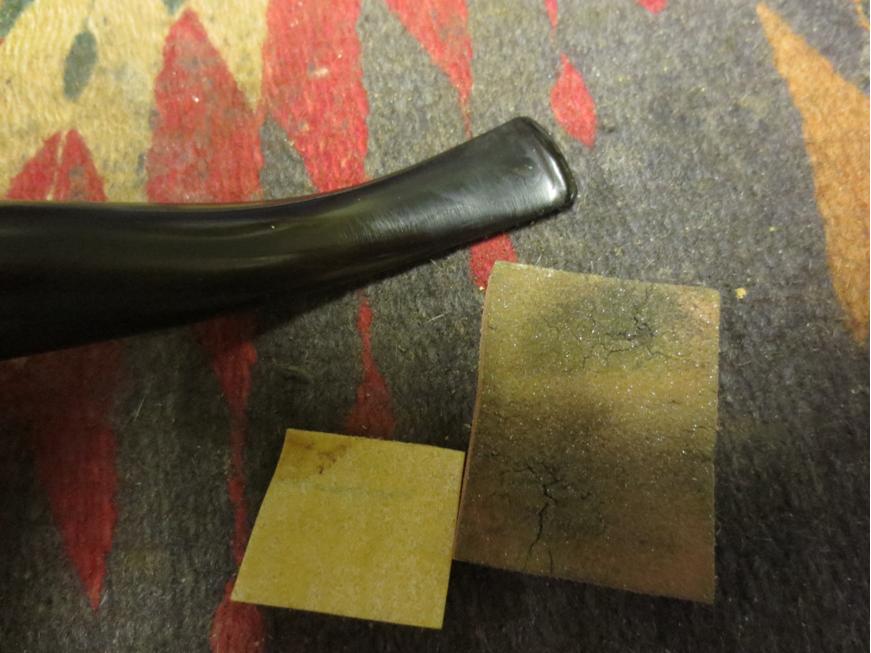
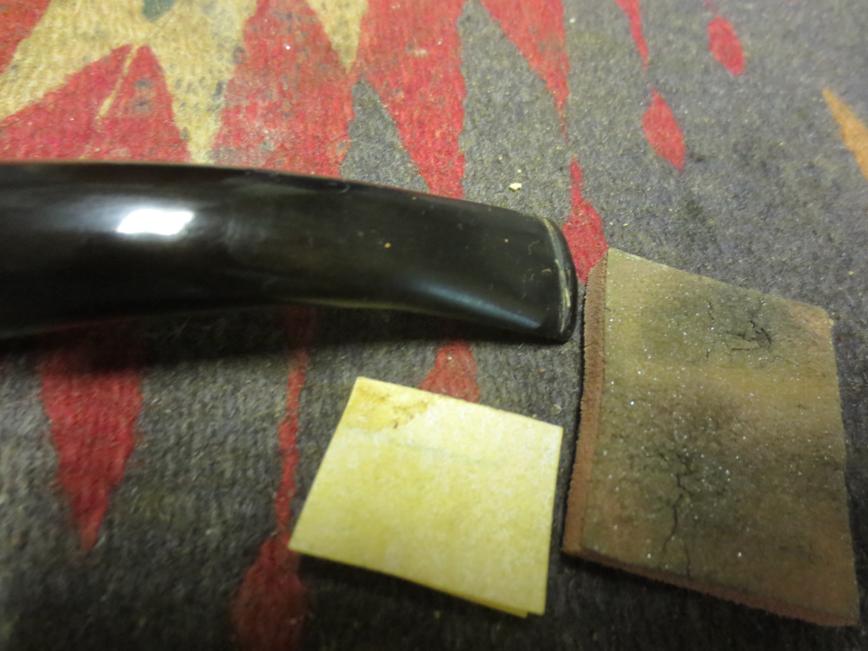
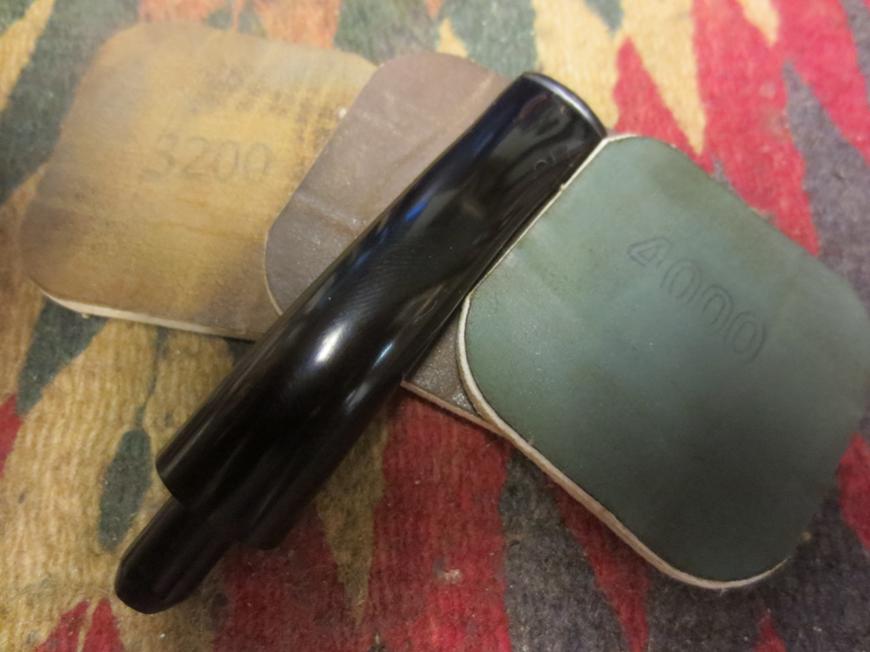
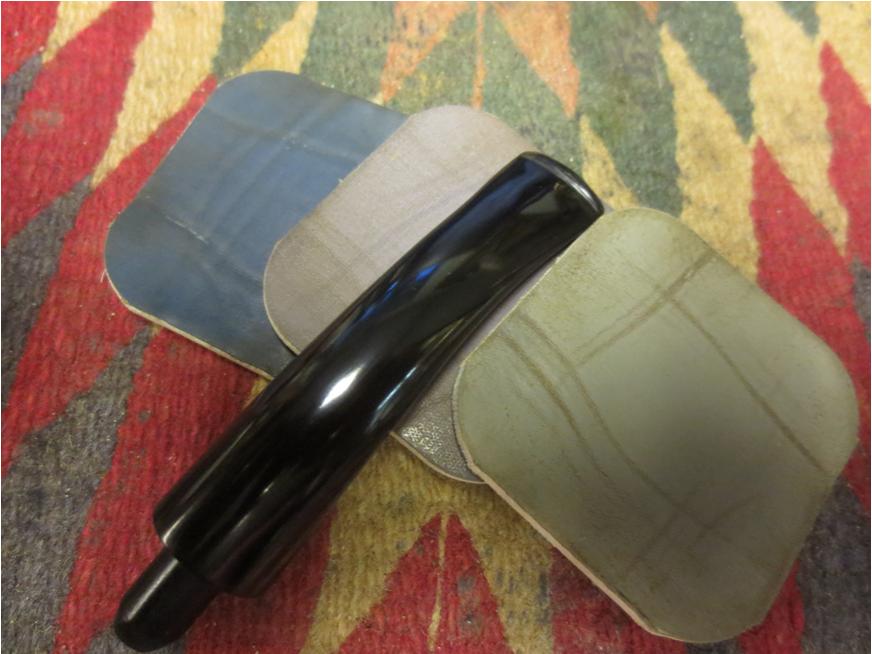
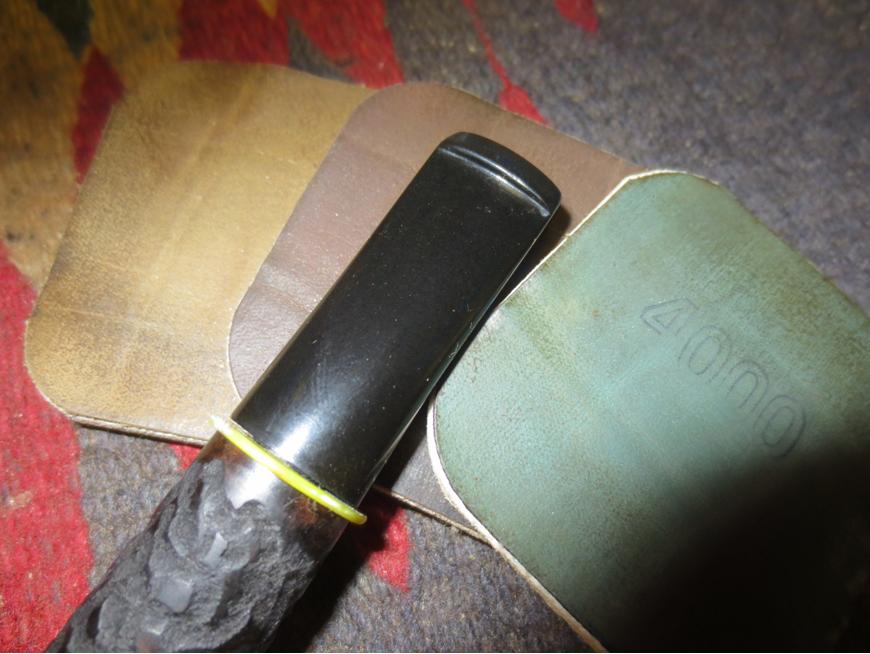
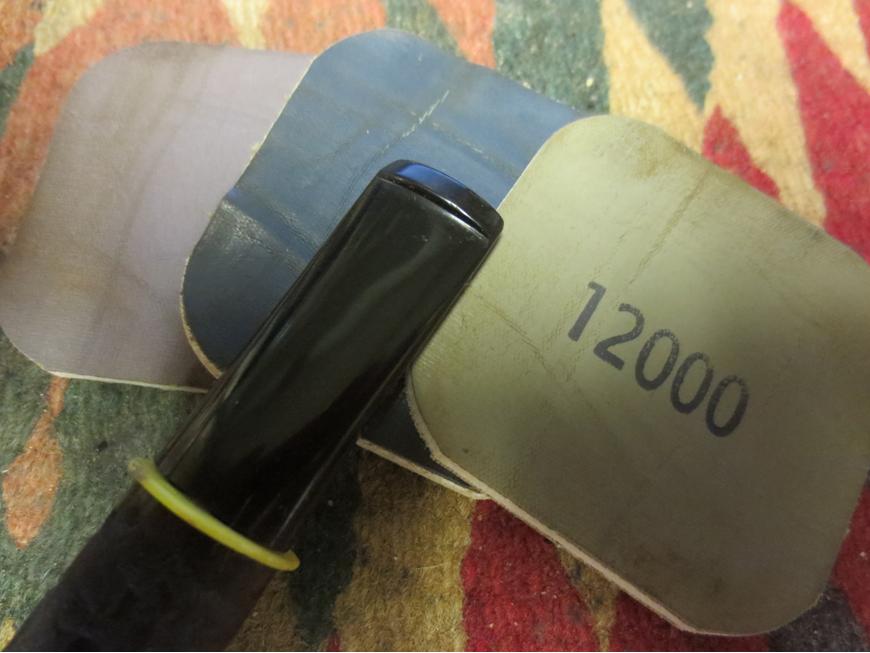
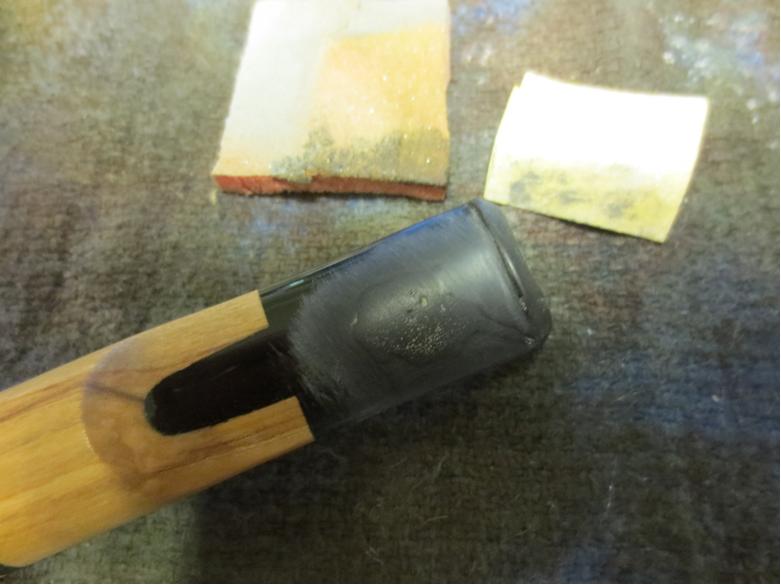
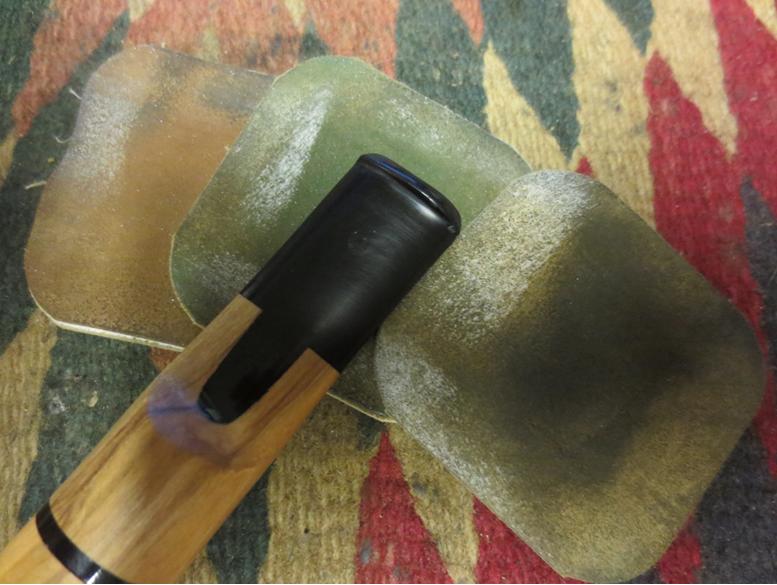
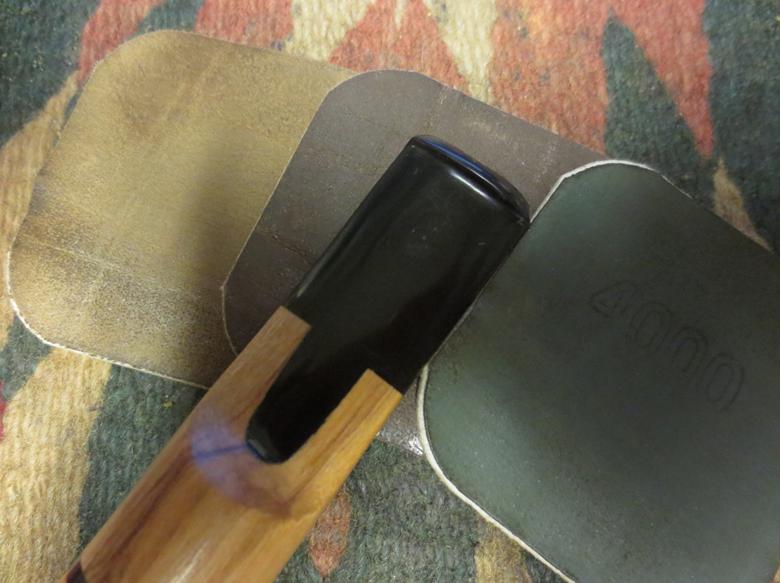
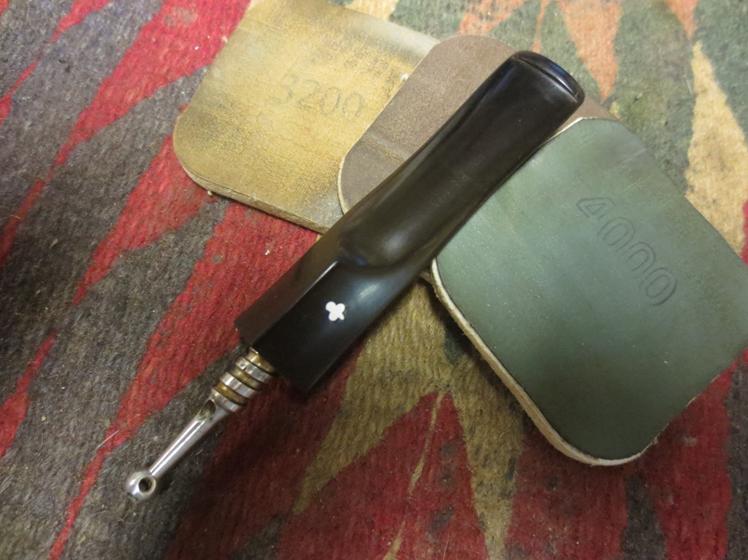
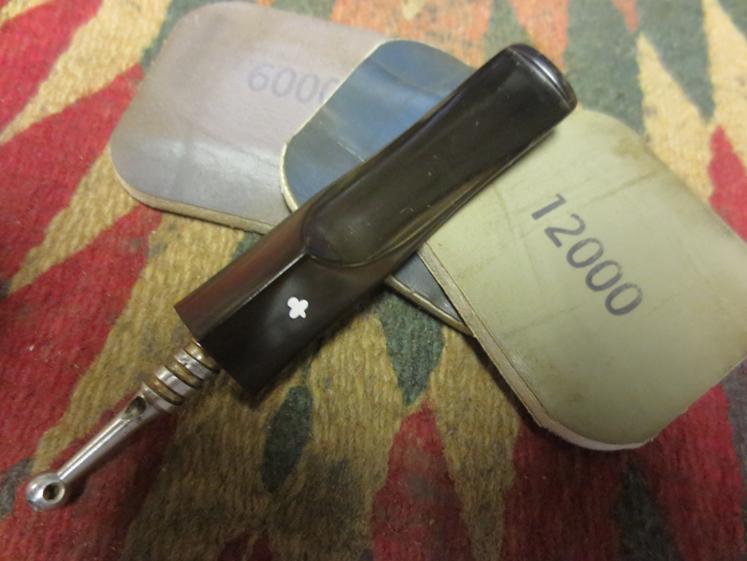
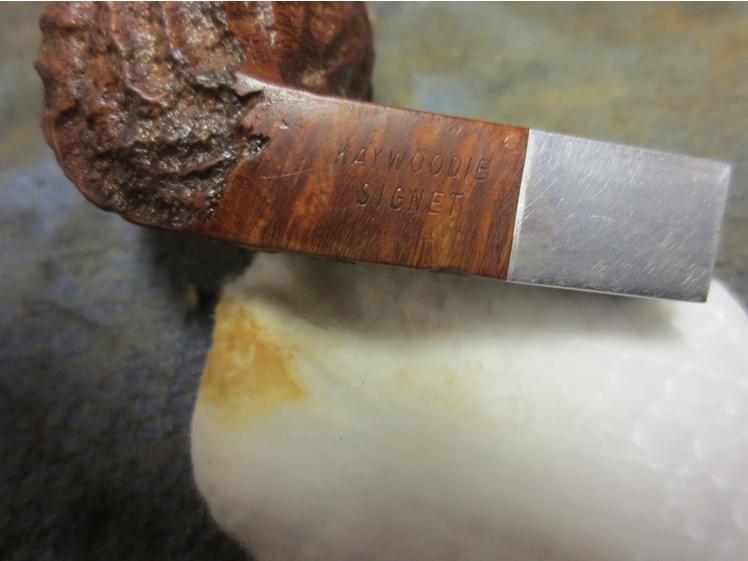 With the bowl cleaned and finished it was time to work on the stem. I sanded it with a medium and a fine grit sanding sponge to remove the oxidation and scratches. I sanded it with micromesh sanding pads – wet sanding with 1500-2400 grit pads and dry sanding with 3200-12,000 grit pads. I rubbed down the stem with Obsidian Oil between each set of three pads and then a final time after the sanding with the 12,000 grit pad.
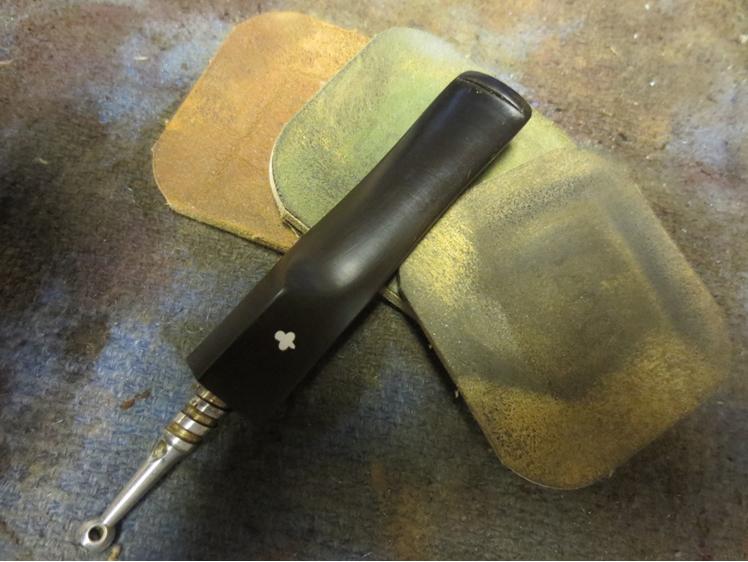
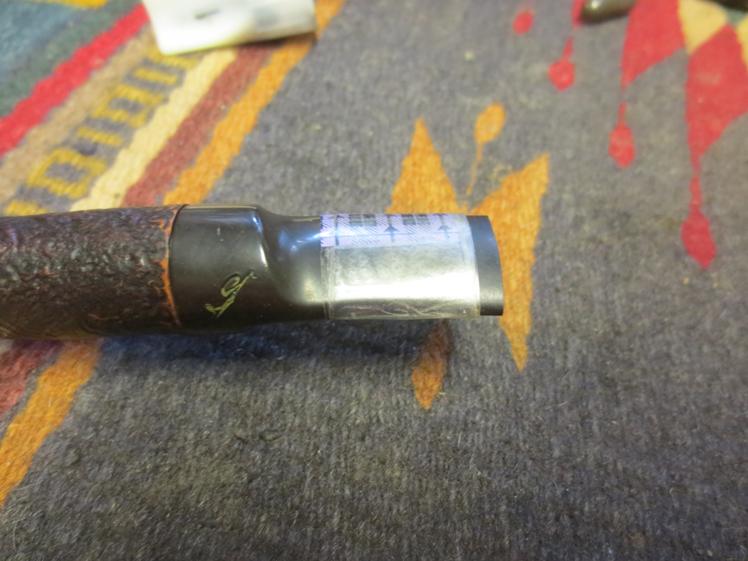
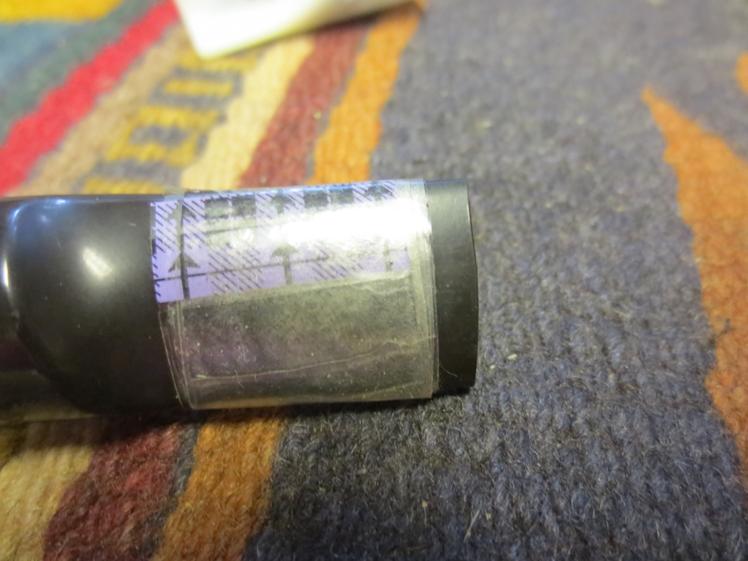
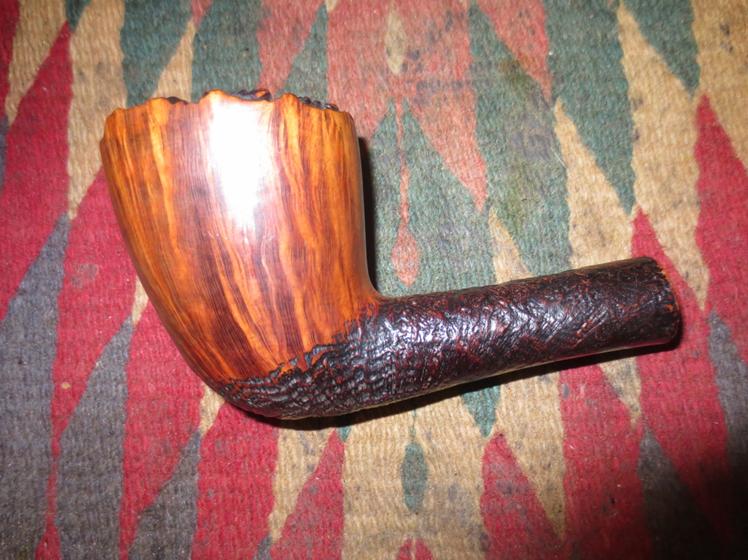
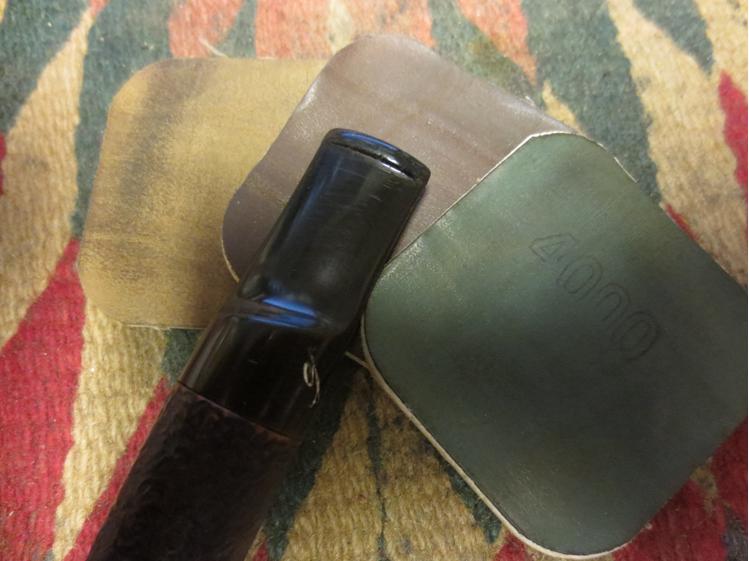
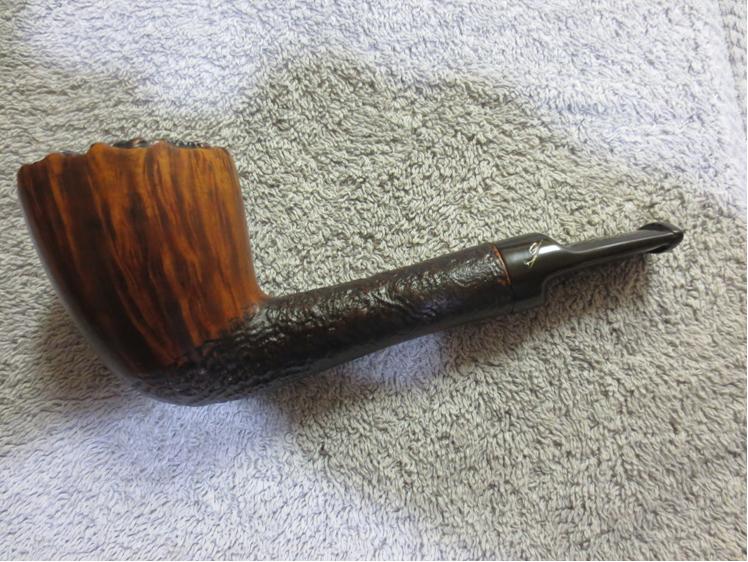
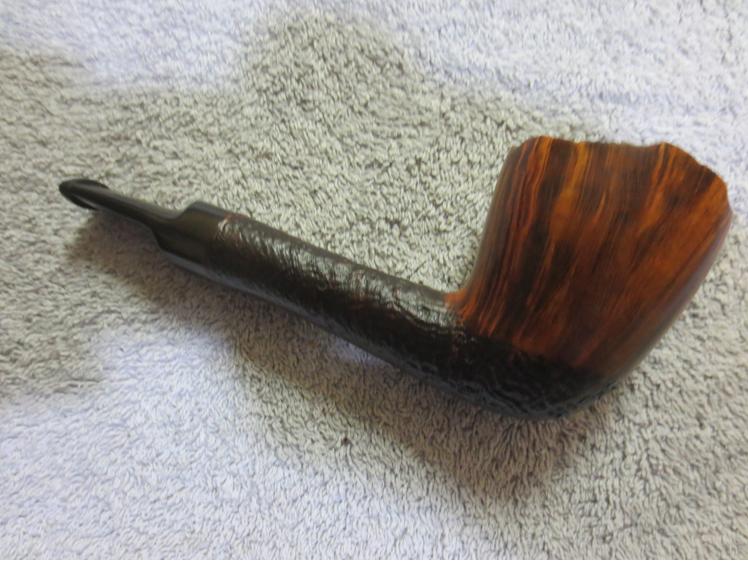
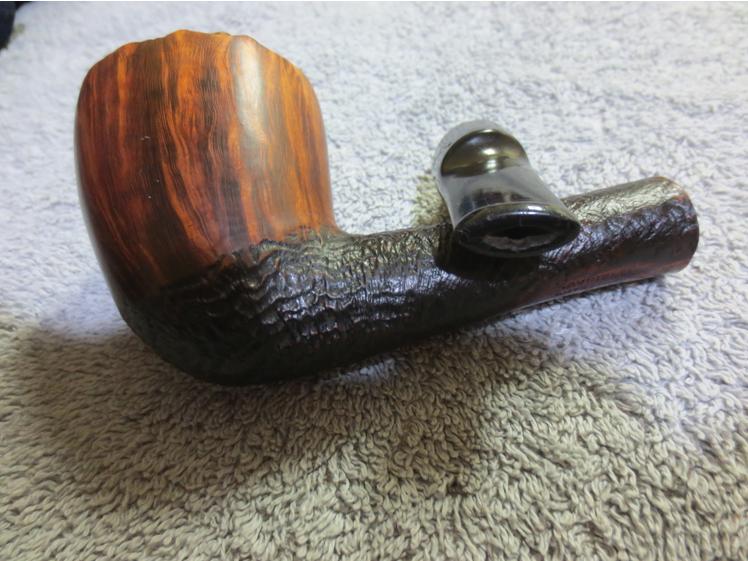
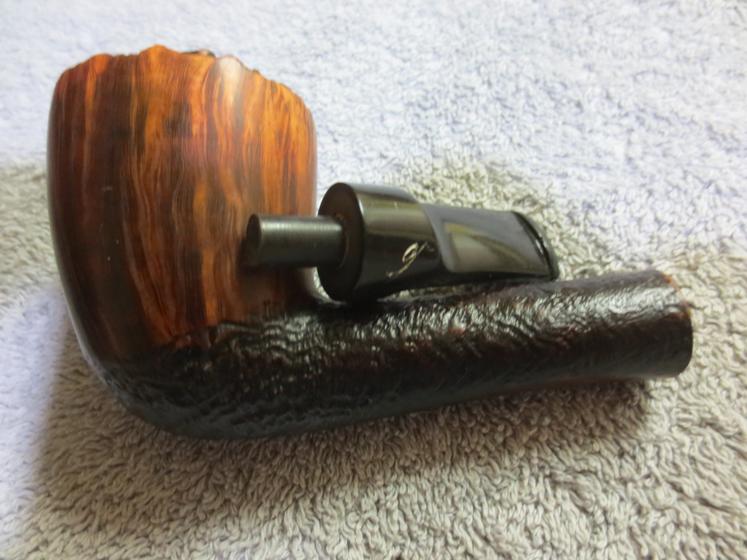
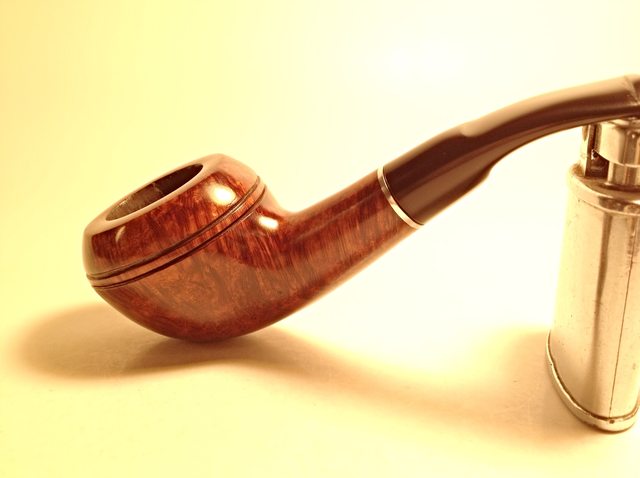
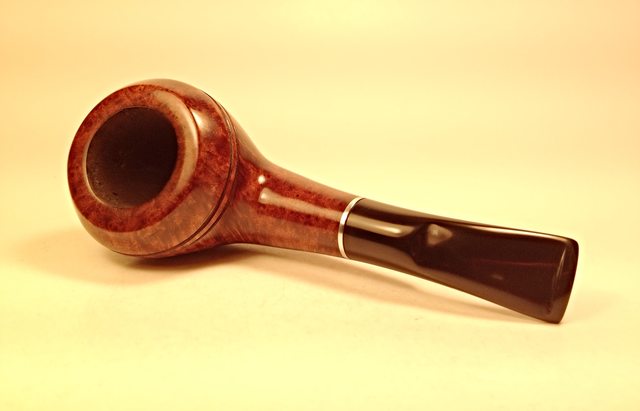
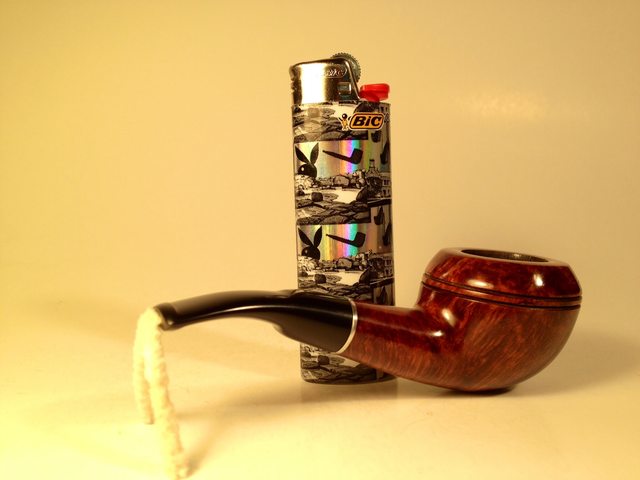
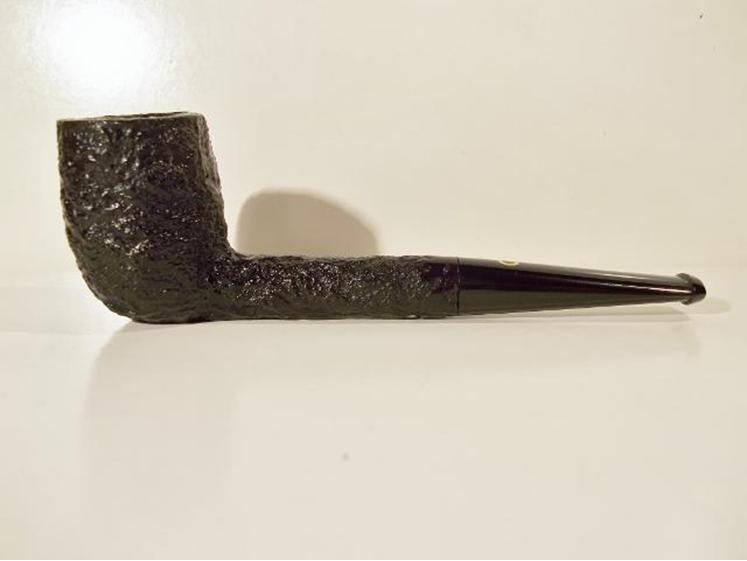
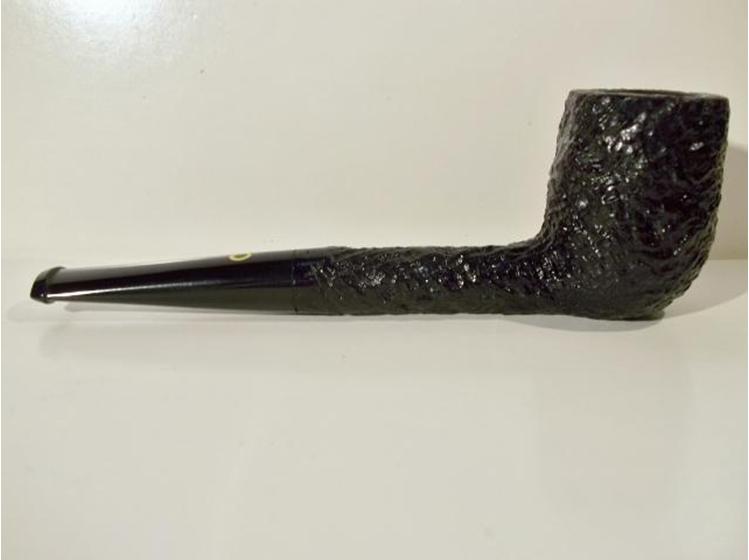
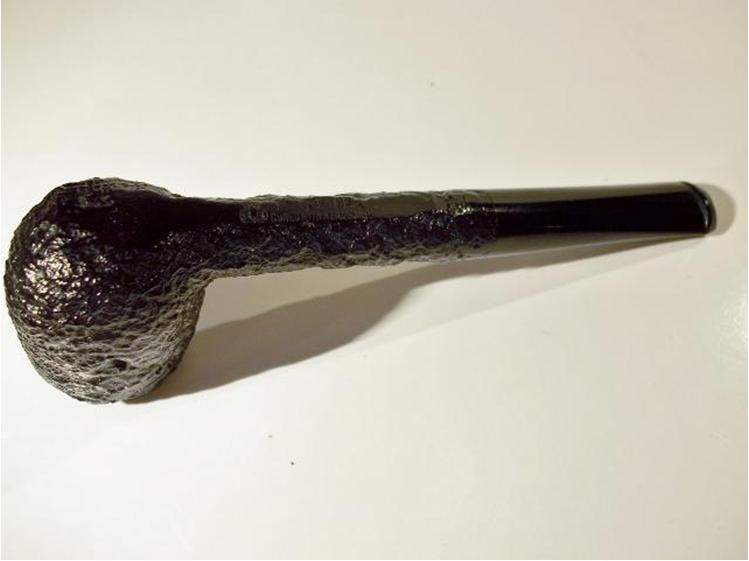
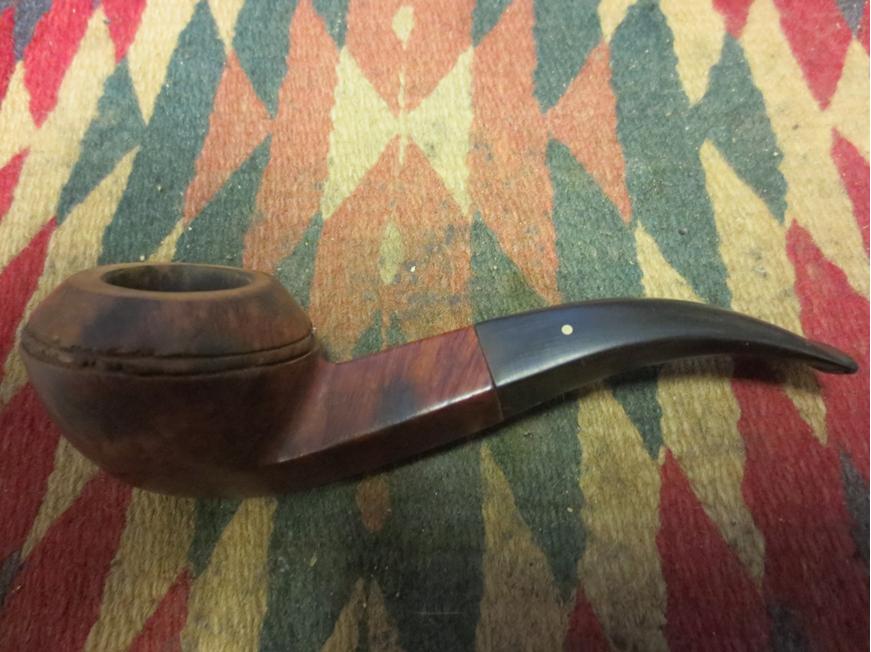
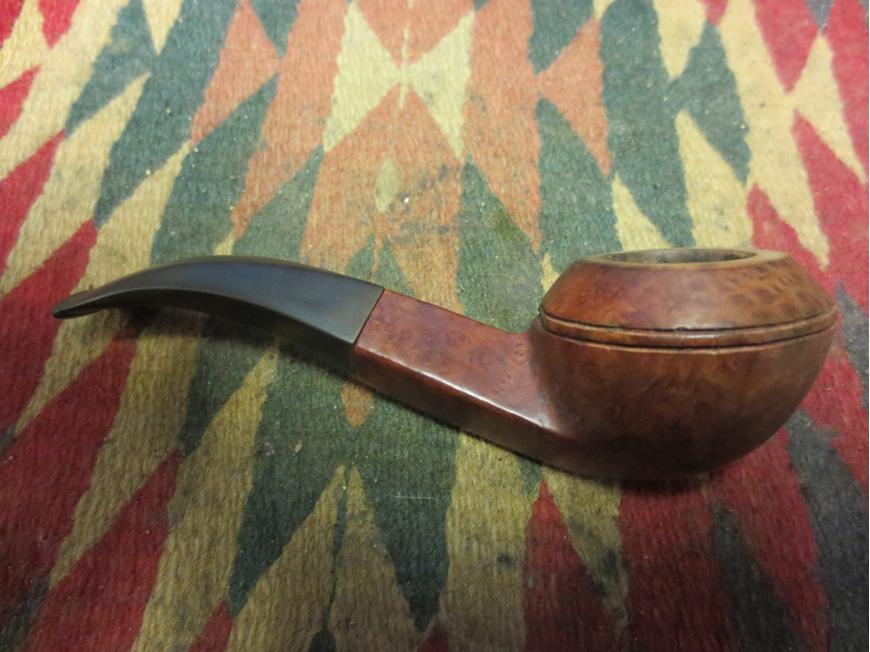
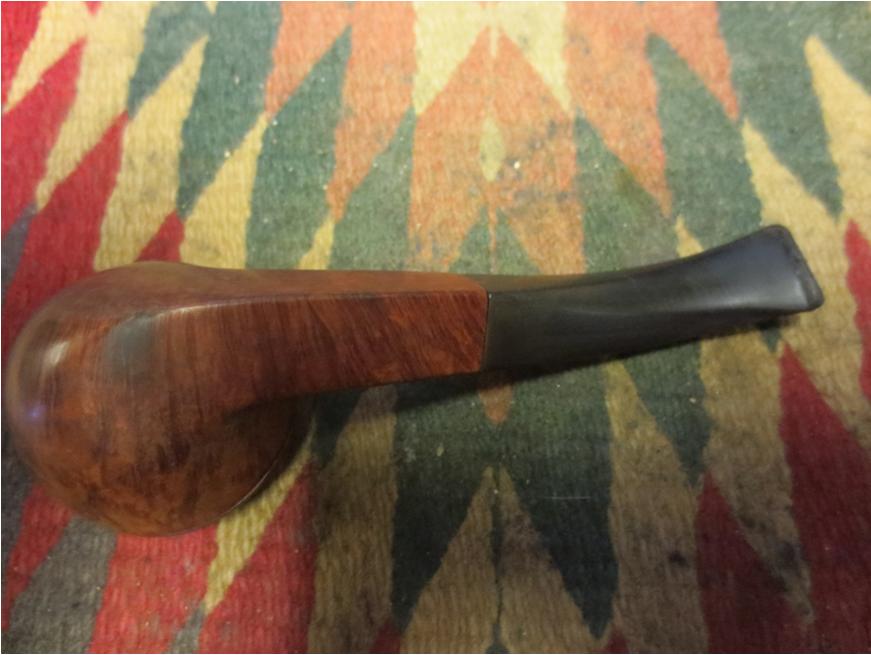
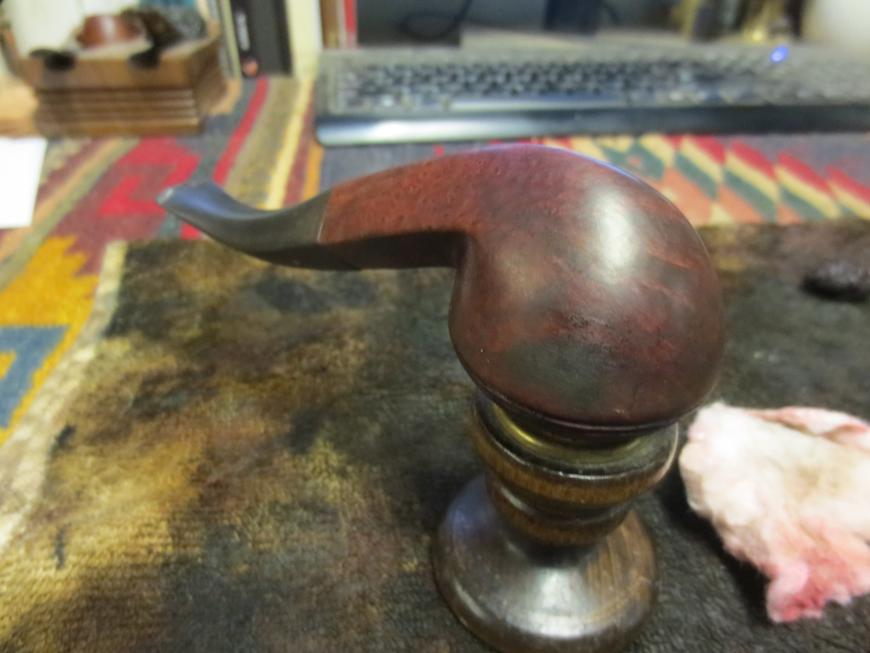
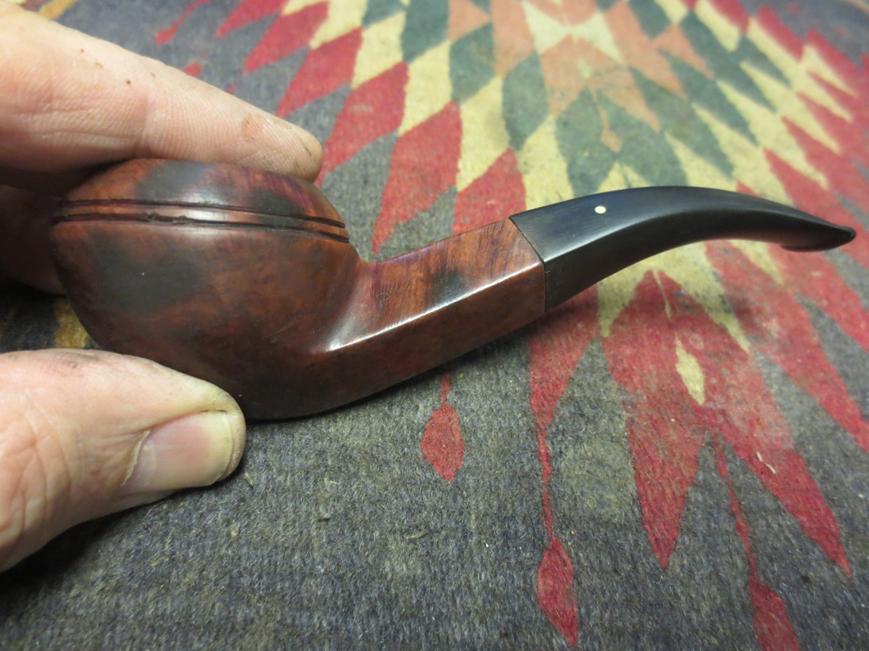
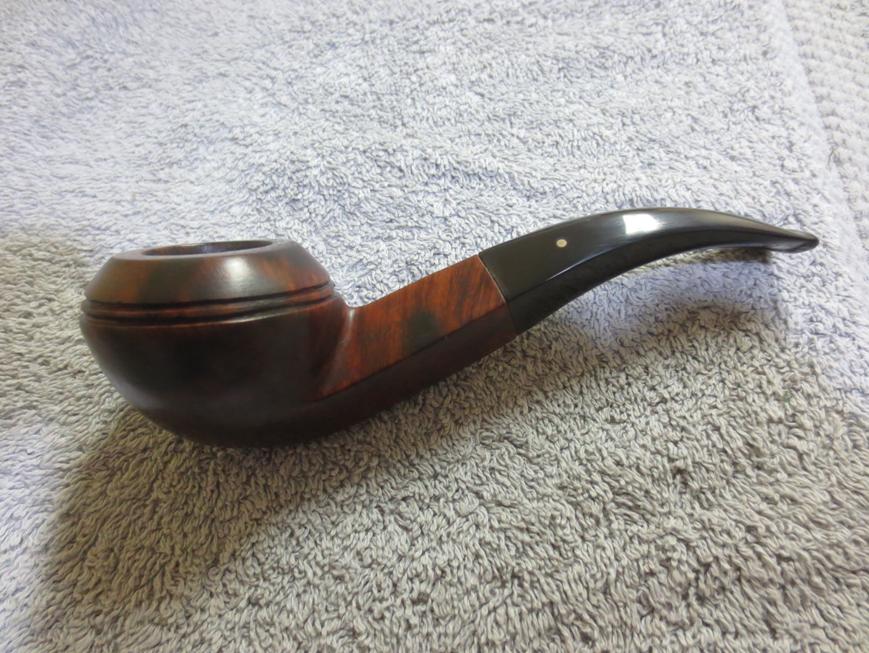
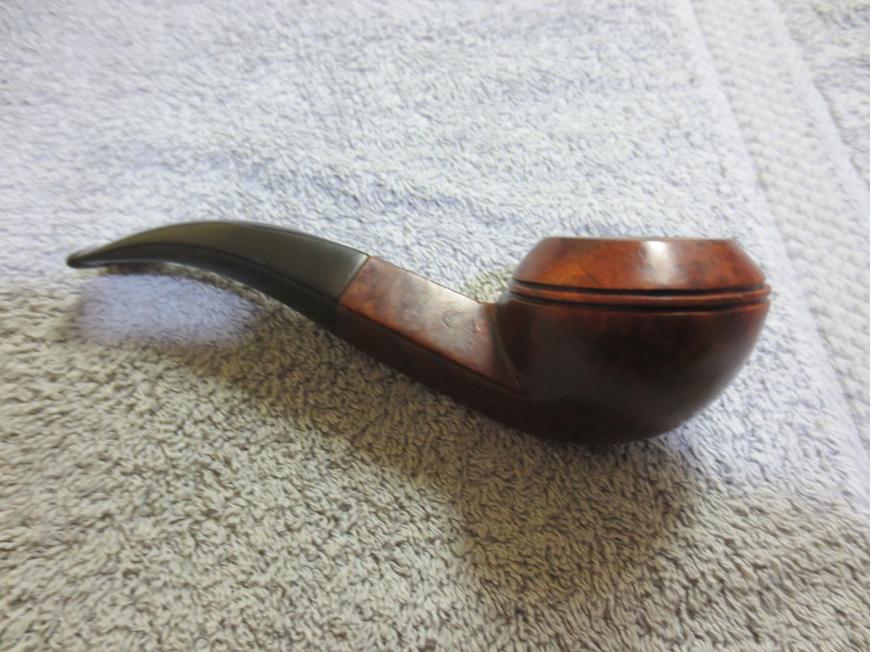
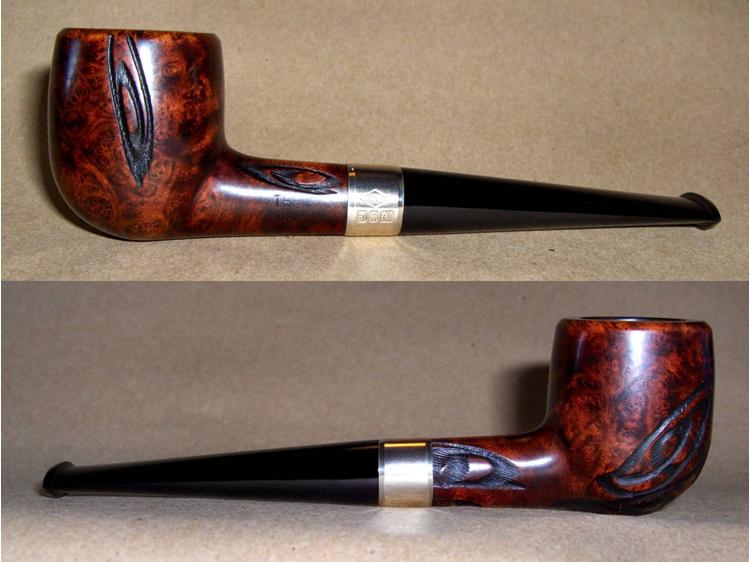
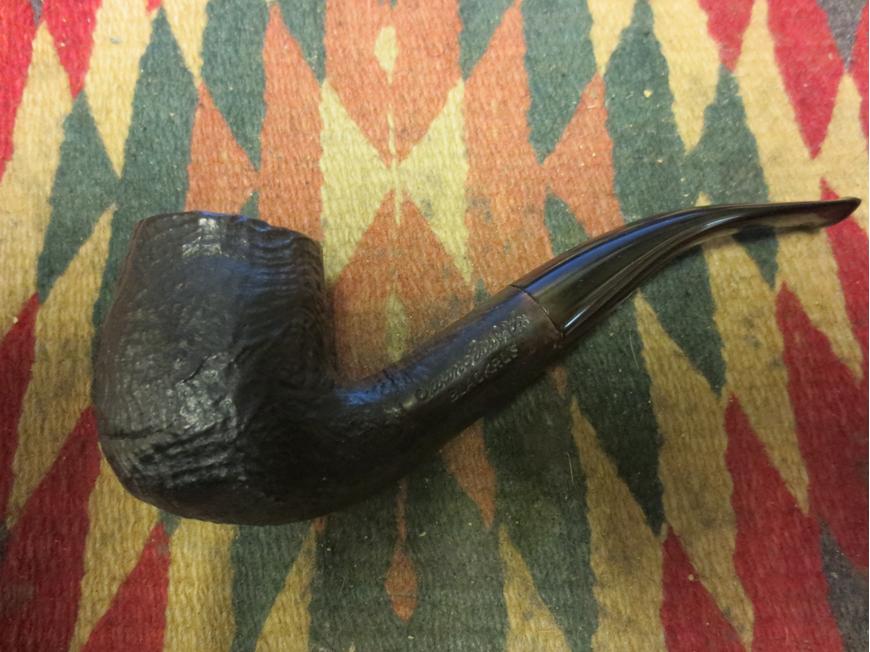
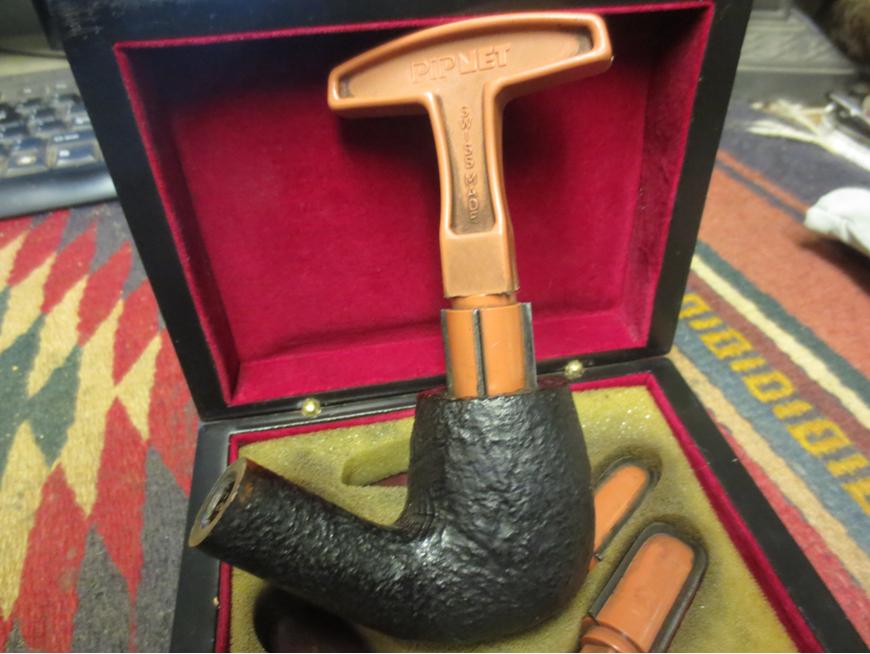
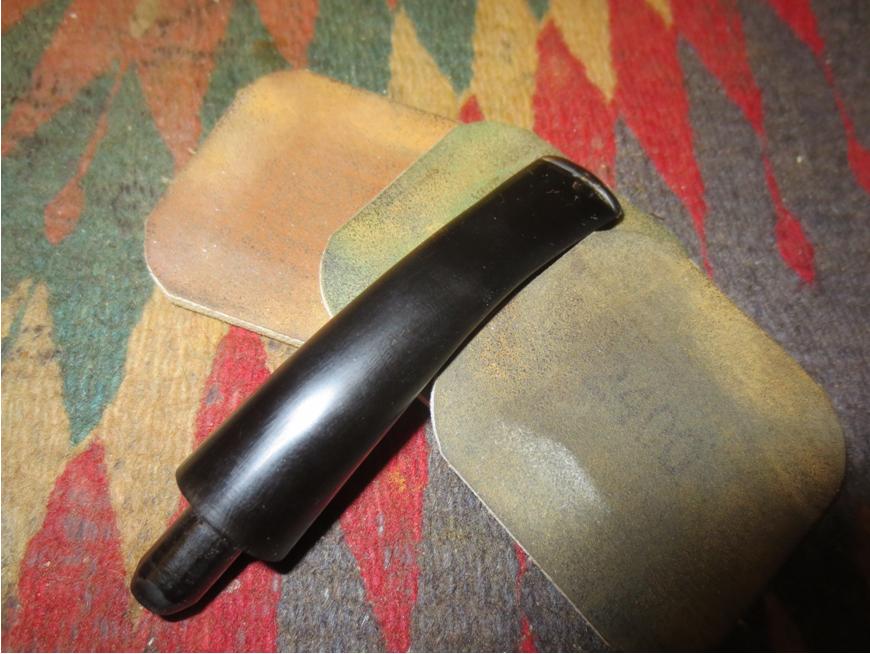
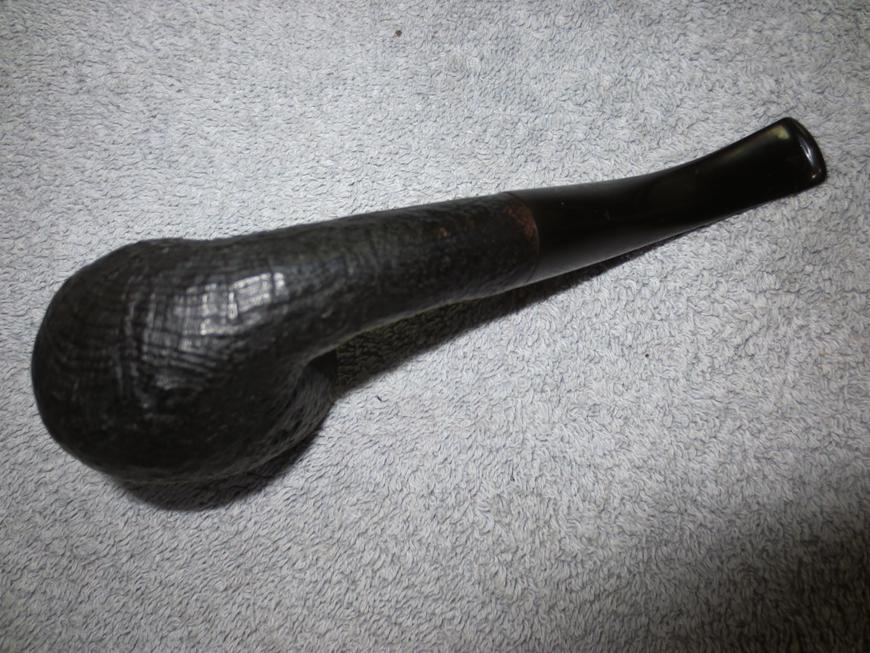
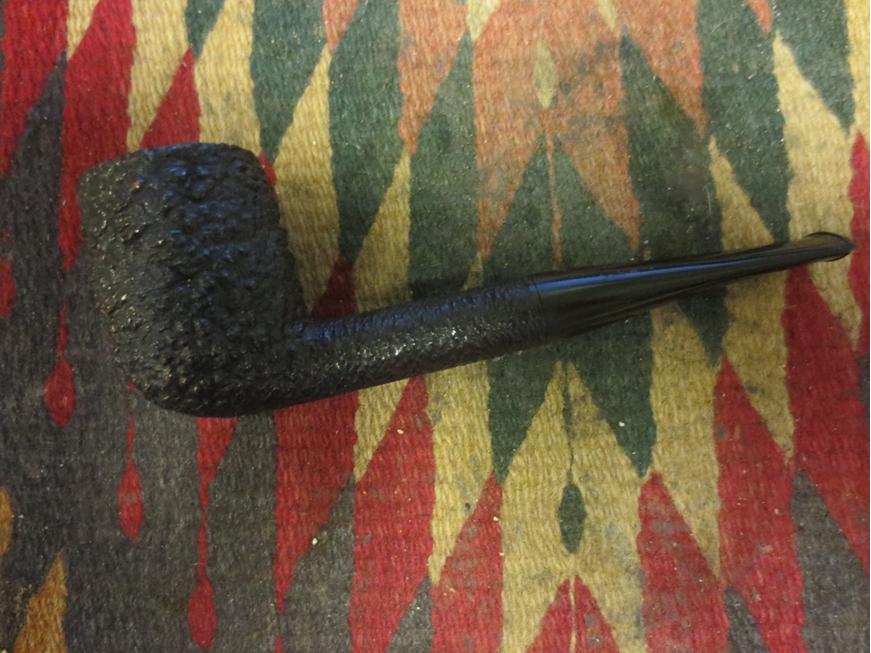
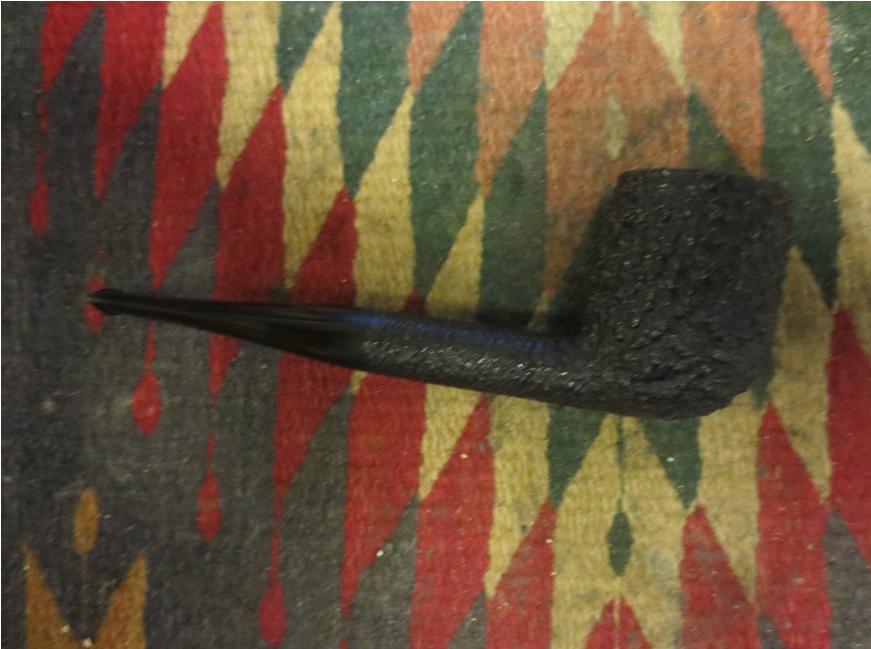
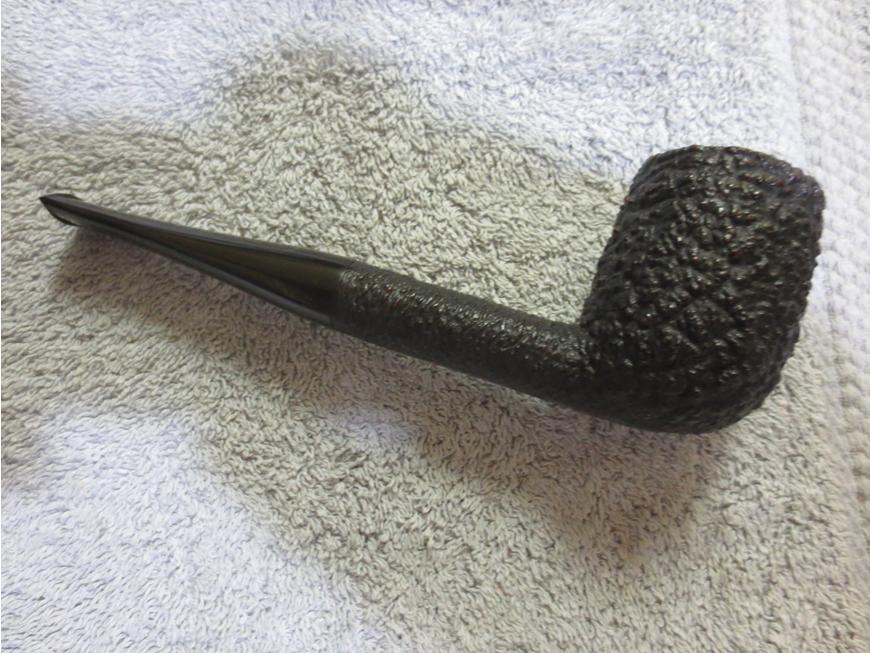
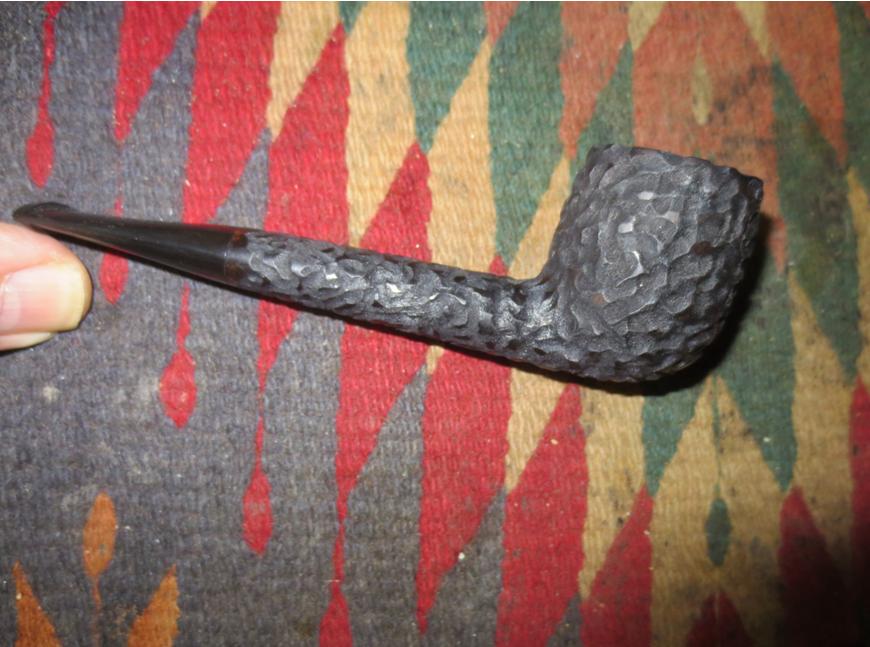
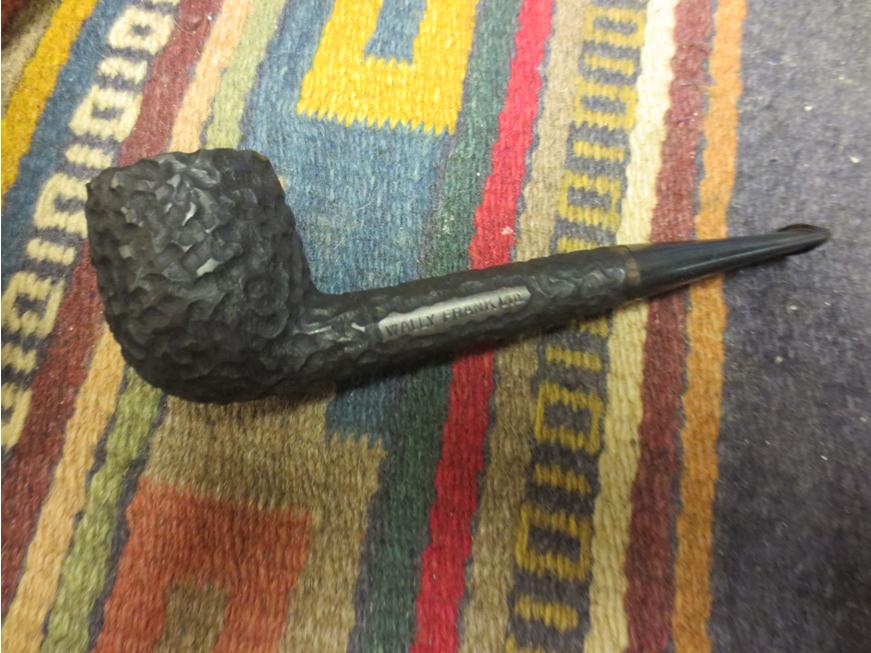
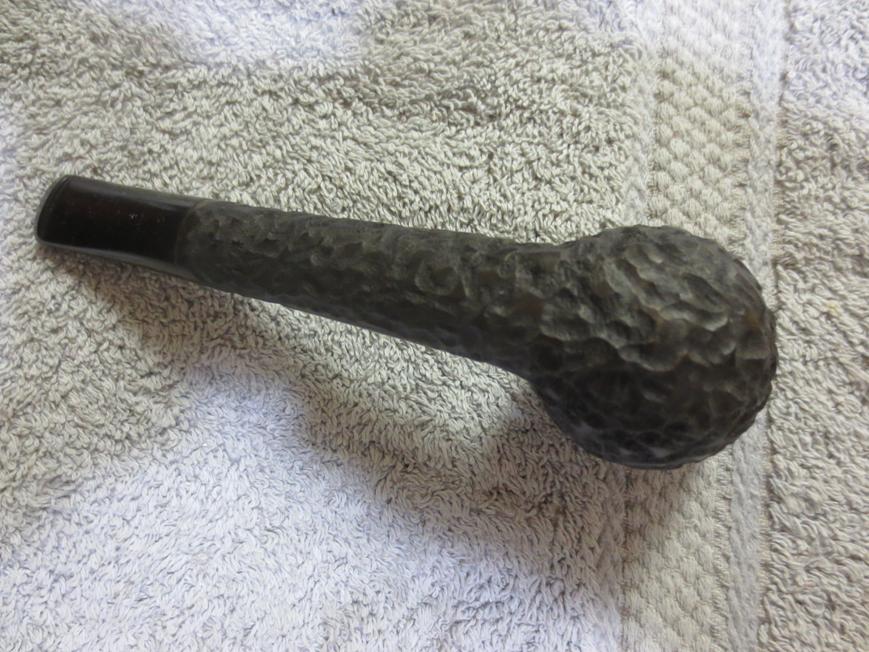
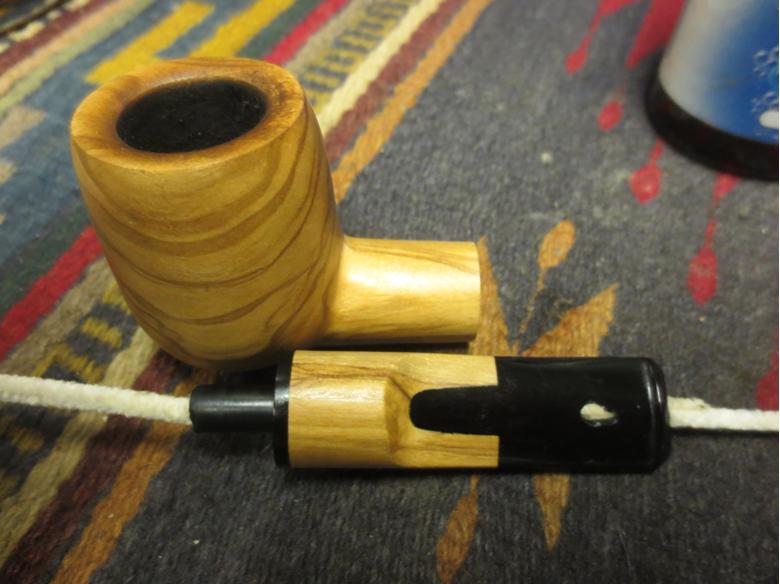
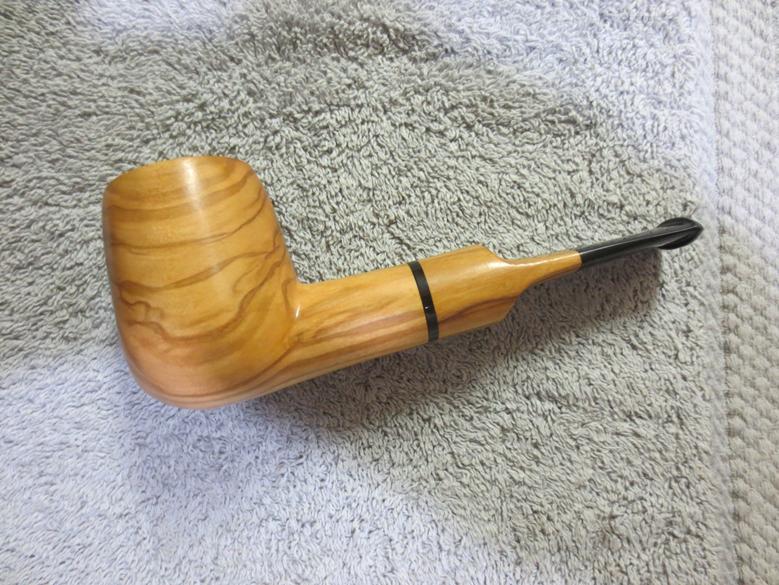
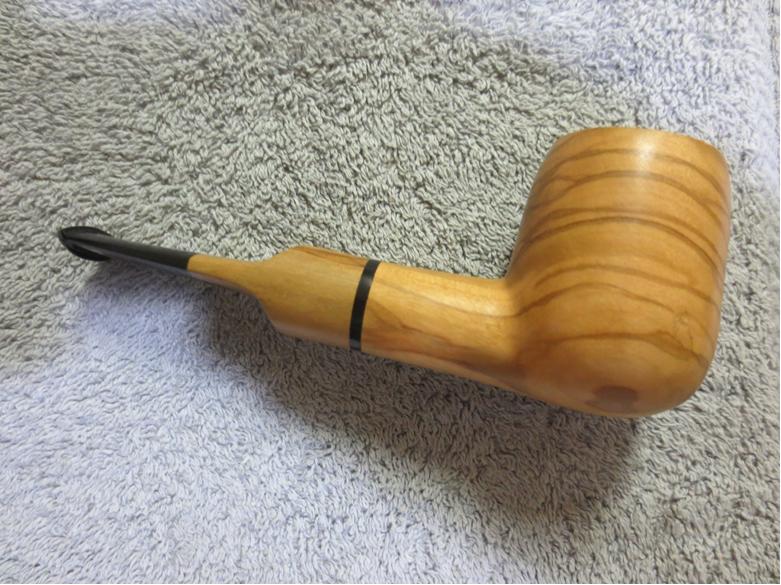
 When the oil had dried I buffed the pipe with Blue Diamond – lightly pressing the bowl into the buffing wheel and normally buffing the stem. I then gave the bowl a light coat of carnauba and the stem multiple coats of carnauba wax. I finished by buffing the pipe with a soft flannel buff to raise the shine. The finished pipe is shown in the photos below.
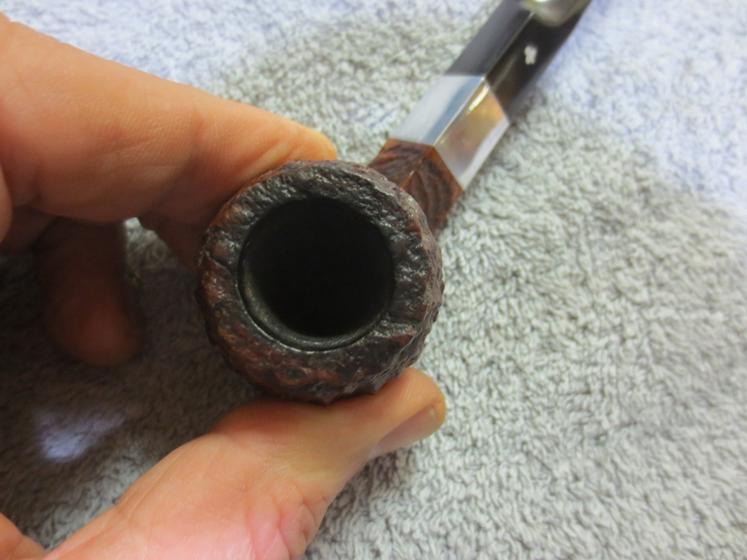
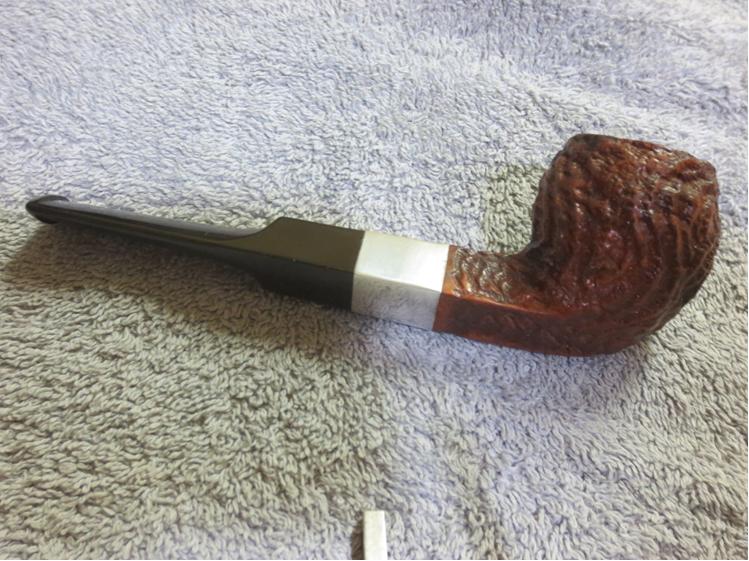

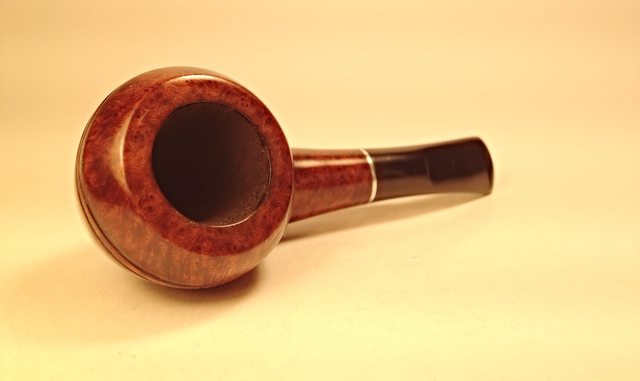
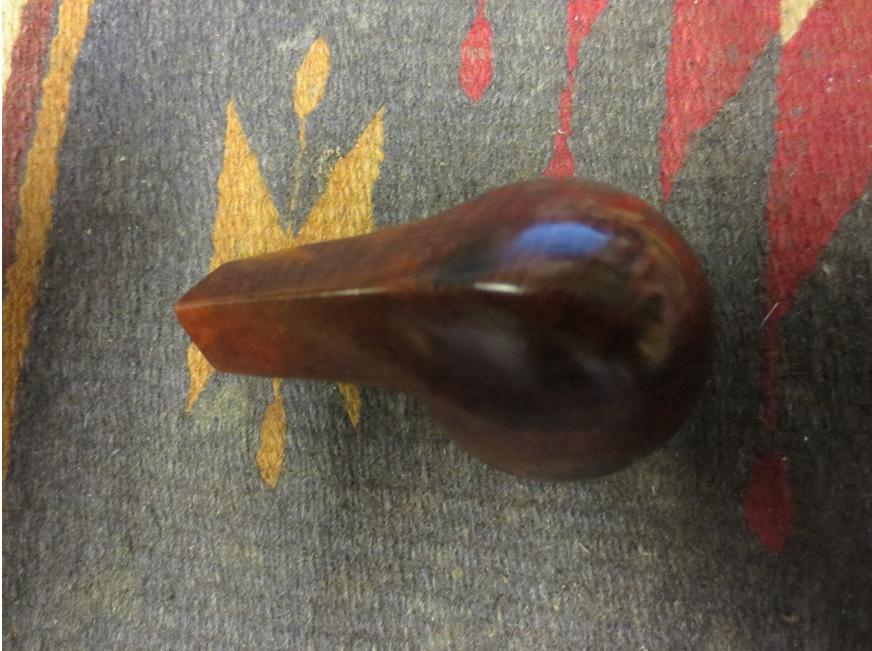
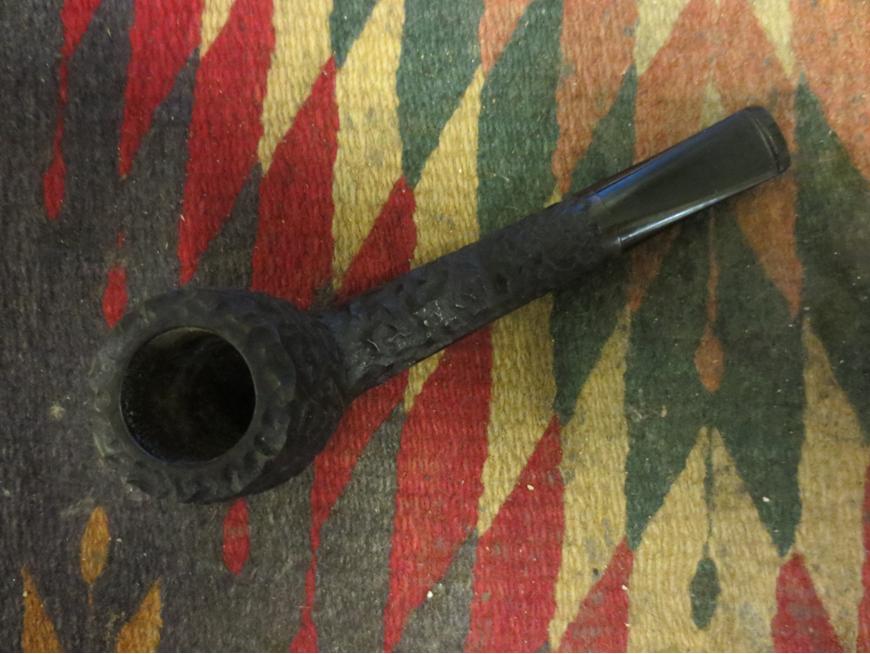
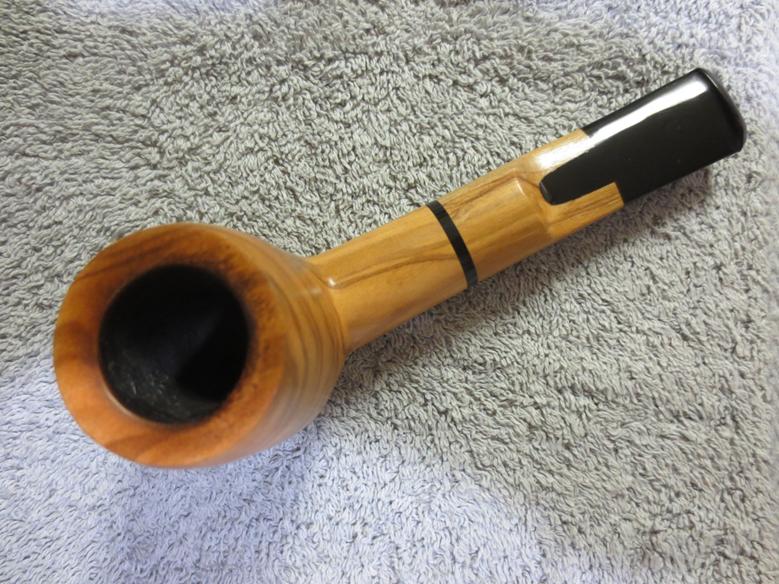
 This Kaywoodie Signet Bulldog a small pipe, roughly a Group 2/3 in Dunhill terms. The pattern of rustication and possibly sandblasting as well give it an interesting to look at and the feel of it in the hand will make it quite tactile when heated up and smoked. The stain is a combination of medium and lighter browns that gives it a subtle look of movement when it is held and turned in the hand. It should make someone a great addition. If you are interested in this pipe email me with an offer at slaug@uniserve.com and we can discuss it. The entirety of the sale price will go to the Nepal project. I will pay the postage so that does not get taken off the proceeds. If you are interested in reading about the SA Foundation you can look at their website at http://www.safoundation.com.
Thanks for looking.