Blog by Steve Laug
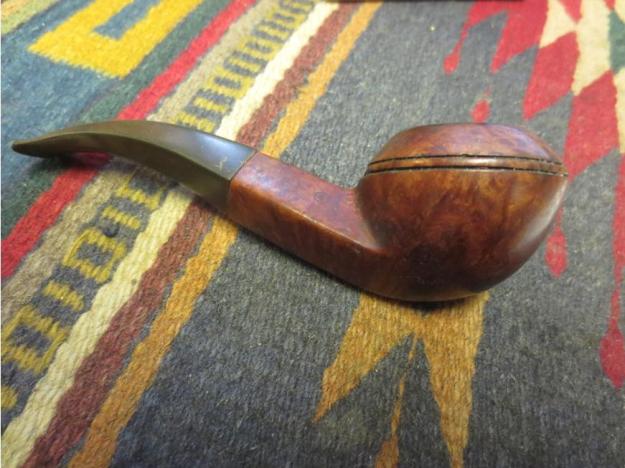
This Dunhill Bruyere was part of the gift lot for sale for Nepal. It was in very rough shape and one that would never be fit enough to grace a collection. The Dunhill stamping is only visible under bright light with a lens. The stamping on the left side of the shank is Dunhill over Bruyere. On the right side it is stamped with 4 in a circle and an A. The rest of the stamping is very faint and reads Made in London England (At least that is what it looks like). The shape number 08 is gone except for the 0. The finish was gone. The double ring around the bowl was virtually ruined and the bowl itself was in very rough shape. The rim was beat up and out of round. There were burn marks on the rim, the left side and bottom of the bowl and on the left side of the shank. To me it looks like the pipe was laid in an ashtray and the cigarette burned the bowl. It was in very rough shape. The stem was badly oxidized and upon examination there was a small split in the button on the underside and the stem was thin and the edges of the button were rounded down.
 I took some close up photos of the bowl to give a better picture of what I had to work with on this one. You can see from the photos the issues that I pointed out above. The ring was badly damaged and rough. The bowl was out of round and the rim was damaged. The finish was spotty and grimy.
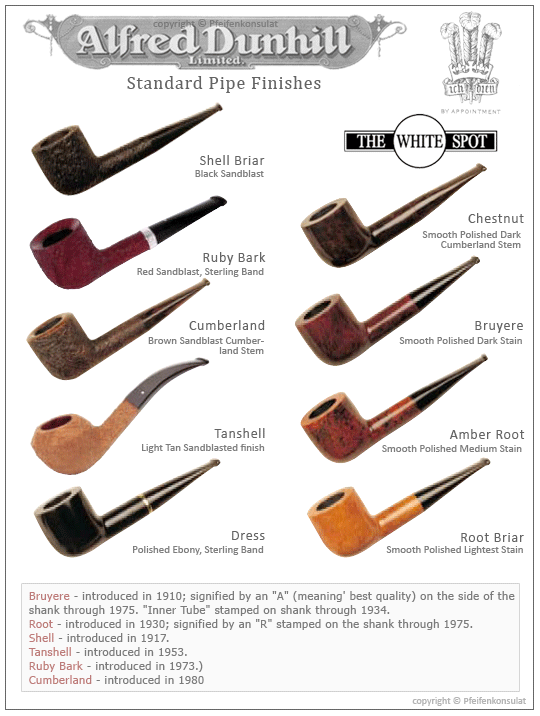
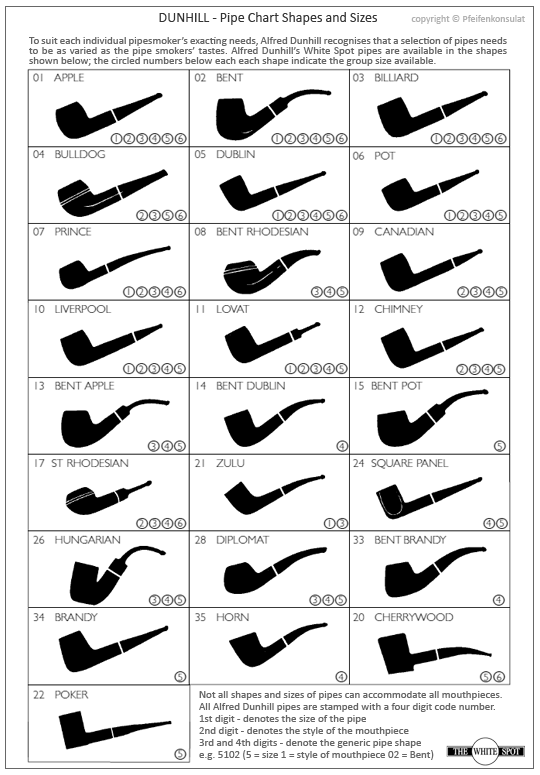
 I have one newer Bruyere in my rack so I kind of knew the colour this pipe should have been and it was not even close any more. I did a bit of searching on the web to see if I could find a finish chart and also one that would confirm the shape number that I was “speculating” on. I have included the next two charts for the information that I gleaned from them. The Bruyere was more dark/reddish coloured than this one was and the faint number was indeed 08 which was called a Bent Rhodesian.
 The next two photos show the stem in some closeup photos. I wanted to show the oxidation and the split in the button on the bottom side of the stem. The fit in the shank was also worn. The tenon was sloppy fitting and could be wobbled side to side and up and down.
 I put off working on this one for a long time, choosing rather to work on pipes that I had some sense of what the finished product would look like. I had no idea if I could restore this one to any semblance of its original state let alone bringing back to “BEST QUALITY” which the Dunhill catalogue above said that Bruyere pipes stamped with the large “A” were supposed to be. This one was a challenge and I really drug my feet and postponed the test as long as possible. After looking at the photos above I hope that I have communicated the state of the pipe I was going to deal with. I have made no mention at all of the state of the inside of the shank and the stem. It was a mess as well – a thick black crud covered the inside of the airway in the stem and the shank and the mortise was almost clogged with the almost petrified tars of years of neglect.
So, yesterday I decided was the day to tackle this pipe. I had mowed the yard and done my weekend chores and needed some down time to relax. I suppose many of you would not call this relaxing but I still am under the illusion that it is restful…. Shhh don’t change my illusion please. I began with cleaning out the rings around the bowl. They were rough but they were also clogged with all kinds of debris. I used a sharp, thin blade pen knife that I have and use for this kind of thing. It works wonders and within a short time I had cleaned out the grime and the original red stain was showing in the bottom of the grooves.
 I scrubbed the bowl with cotton pads and acetone to remove the grime and the damaged finish. I also wanted to see the extent of the burn marks on the bowl, rim and shank. I wanted to see if they went deeper than the surface. Knowing that would help me decided what to do to address them.
 With the grime cleaned off the rim I could see what I had to work with. The bowl was in rough shape. It was out of round but the inner edges did not have any char or burn. The rim had lots of dents and dings from someone using it as a hammer.
 I decided to top the bowl to flatten out the rim and clean up as much of the damage as possible. I would then have to work on sanding the inner edge of the rim to smooth it out. I used the topping board with 220 grit sandpaper.
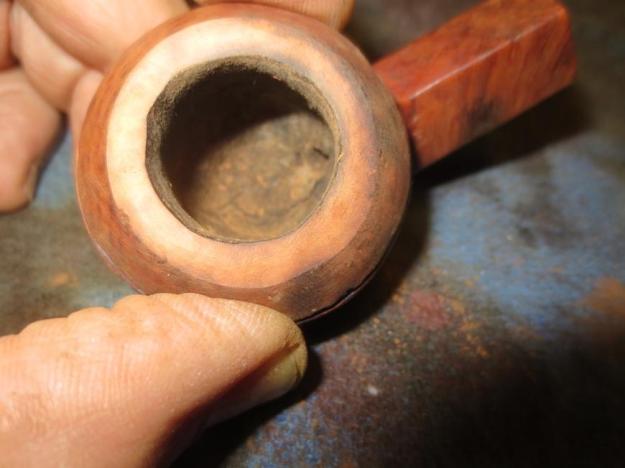 With the rim flattened out once more and the outer edge more evenly set on the bowl top it was time to address the inner edge of the rim. I used a folded piece of 220 grit sandpaper to clean up the edge. I was able to greatly improve the “roundness” of the inner edge. While it was not perfect it was far better than when I started.
 I cleaned out the shank and the airways with alcohol, cotton swabs and pipe cleaners. I scrubbed and scoured and scraped the airways clean of the “fossilized” tars until the pipe cleaners and cotton swabs came back white. Since I was probably going to smoke this one myself I decided to not use the retort at this point. If it smoked rough I could always set up the retort and let it do its magic.
 I sanded the stem with 220 grit sandpaper, repaired the small split in the button on the bottom side and then sanded the stem with a medium and a fine grit sanding sponge. I rubbed it down with some Obsidian Oil and put the pipe back together. I took a few photos of the cleaned up look. If you are getting the idea that I was postponing working on the double ring and the heavy damage there you are correct in your assumption. I was not sure I would be able to work any redemption on that area of the bowl. Time would tell.
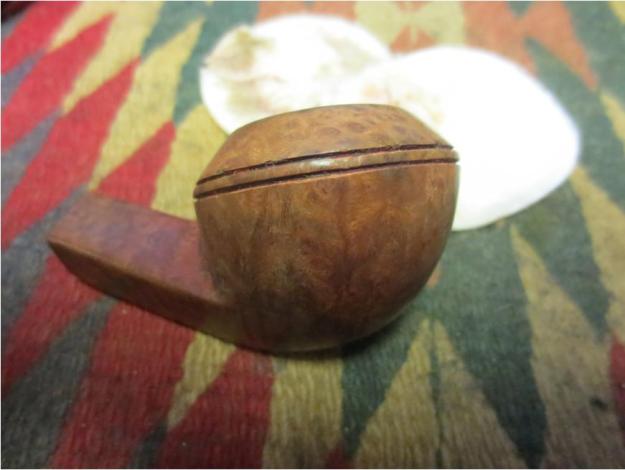
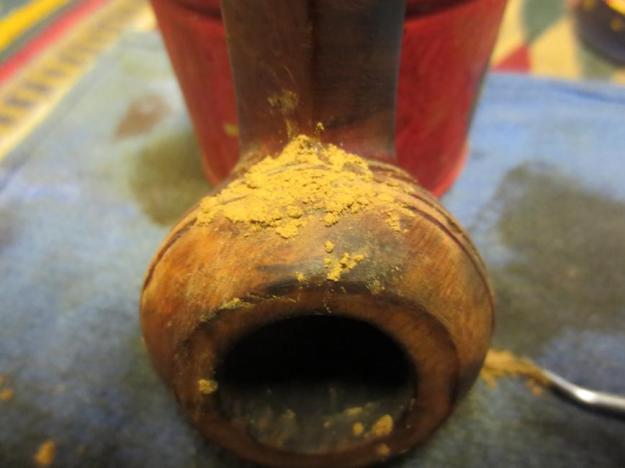
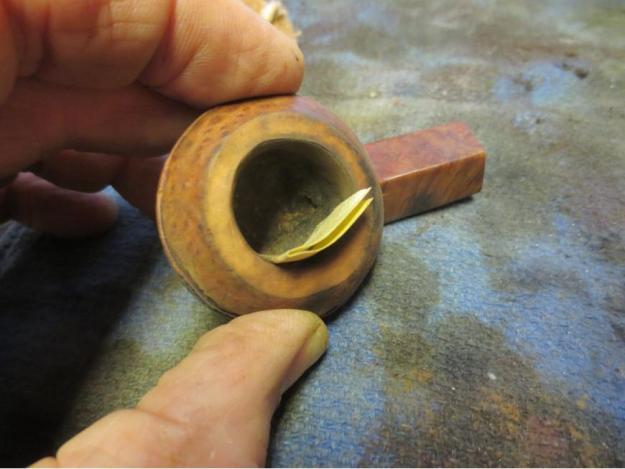
 I could not postpone dealing with the ring damage any longer if I was going to finish the pipe. I had read with interest Mark Domingues write up on restoring the rings on the Peterson 80 that he posted here recently. I spent time looking at how he rebuilt the centre briar ring between the two lines. I was ready to start. I cut a piece of note card the width of the back of the bowl and decided to address that damage first. I pressed briar dust into the damaged area of the ring and tamped it in with dental pick. When it was full I put some drops of clear super glue onto the briar dust. I did the same all around the bowl until I had a real mess on my hands. I was careful not to put the glue or dust on the places where the rings were in good shape. I would use these as guides to recut the lines later.
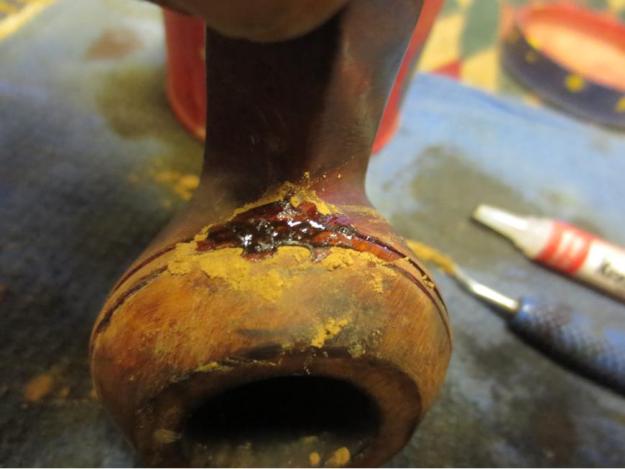 I used a flat, thin blade knife edge needle file to recut the grooves in the bowl. It took a lot of work to slowly and carefully recut them but it worked as the photos below show.
 After the initial cutting of the grooves with the needle file I continued to use it to smooth out the grooves and the edges on the top and bottom. They took a lot of work to smooth things out. I also folded 220 grit sandpaper and ran it through the grooves on the bowl. Once they were smooth and cleaner looking than before it was time to clean off the bowl and then restain it with the first coat of stain. I wiped the bowl down with alcohol on cotton pads to remove the excess briar dust and any remaining glue. I sanded the burn marks on the bowl and rim with a medium and a fine grit sanding sponge to minimize them. I sanded them again with 1500-2400 grit micromesh pads to smooth out the scratches. I then gave it a coat of oxblood aniline stain, flamed it and set it aside to dry.
 The burn marks still showed with this first coat of stain and it was a little too red to my liking. I buffed it with White Diamond and then brought it back to the table to do some more work. I took some photos of the pipe after the buffing. I find that a couple pics help me focus on what needs some more work. In this case I could see that a little dark brown stain would work to tone down the red and also blend the dark spots in a bit more.
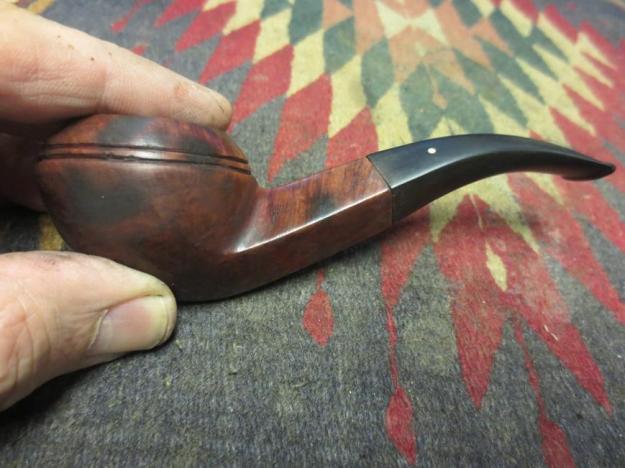
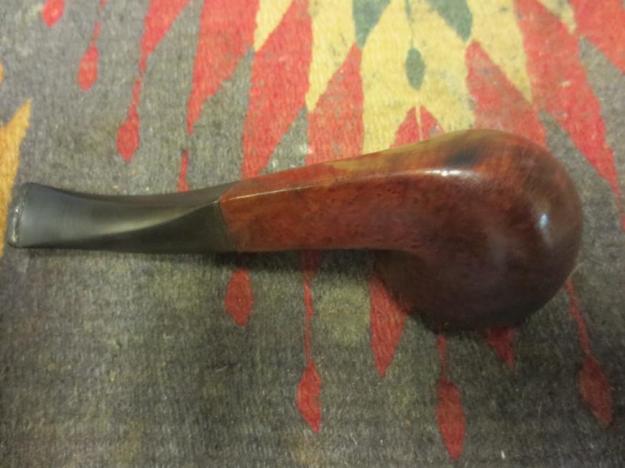 I used a dark brown stain pen to give it a top coat of stain. In the photos it looks streaky but I don’t worry too much about that as a buff once it is dry will take care of that.
 I buffed the bowl with White Diamond and a light touch. It is looking better. The rings on the left side are better but are still a little rough. The rest of the way around the bowl they are looking really good. The dark brown stain did a better job of blending in the dark spots and toning down the red. I liked the colour and it seemed to match the chart photos of the Bruyere that I had found.
 At this point it was time for a break. I put the stem on the bowl and loaded a bowl of Boswell’s North Woods and went to church with my daughters. I smoked a bowl as I walked with them and loaded another bowl on the way home. I sat on the porch and fired up a third bowl filled with Malthouse Reserve 12. This pipe really sang with English tobaccos. Even if it was still a bit ugly it smoked well!
When I finally went back to the shop I worked on polishing the stem. I put the plastic spacer/washer between the shank and the stem and worked on it with micromesh sanding pads. I wet sanded with 1500-2400 grit pads and then rubbed the stem down with Obsidian Oil. I dry sanded with 3200-4000 grit pads and rubbed it down again with the oil. I dry sanded with 6000-12,000 grit pads and then gave it a final coat of Obsidian Oil. I set it aside to dry.
 The stem was looking really good. There was a rich glow to the vulcanite. These older Dunhill pipe stems really shine like glass when they are polished. I set the stem aside and did a bit more work on the bowl. I used a very small oval needle file to work on the rings on the left side and front of the bowl. I wanted to clean up the edges and sharpen the overall look of the rings.
 I followed the oval file with a flat rectangular blade needle file and cleaned up the edges of the rings some more. When I had finished with the flat file the rings looked far better than they were when I started.
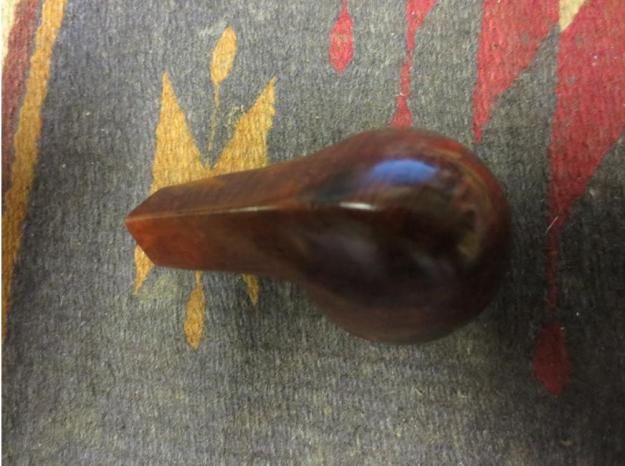
 I gave the bowl another coat of stain with the dark brown stain pen and then buffed the bowl and stem with Blue Diamond Plastic polish. I gave them both multiple coats of carnauba wax. Then I buffed the pipe with a clean flannel buff and polished it. The finished pipe is shown below. I think this one will stay with me as the nomenclature is almost illegible and the dark marks all over the bowl still show. The pipe smokes well so it will be a work horse pipe for me. It was well worth the time to clean up and I learned much in the process of reworking the rings.

