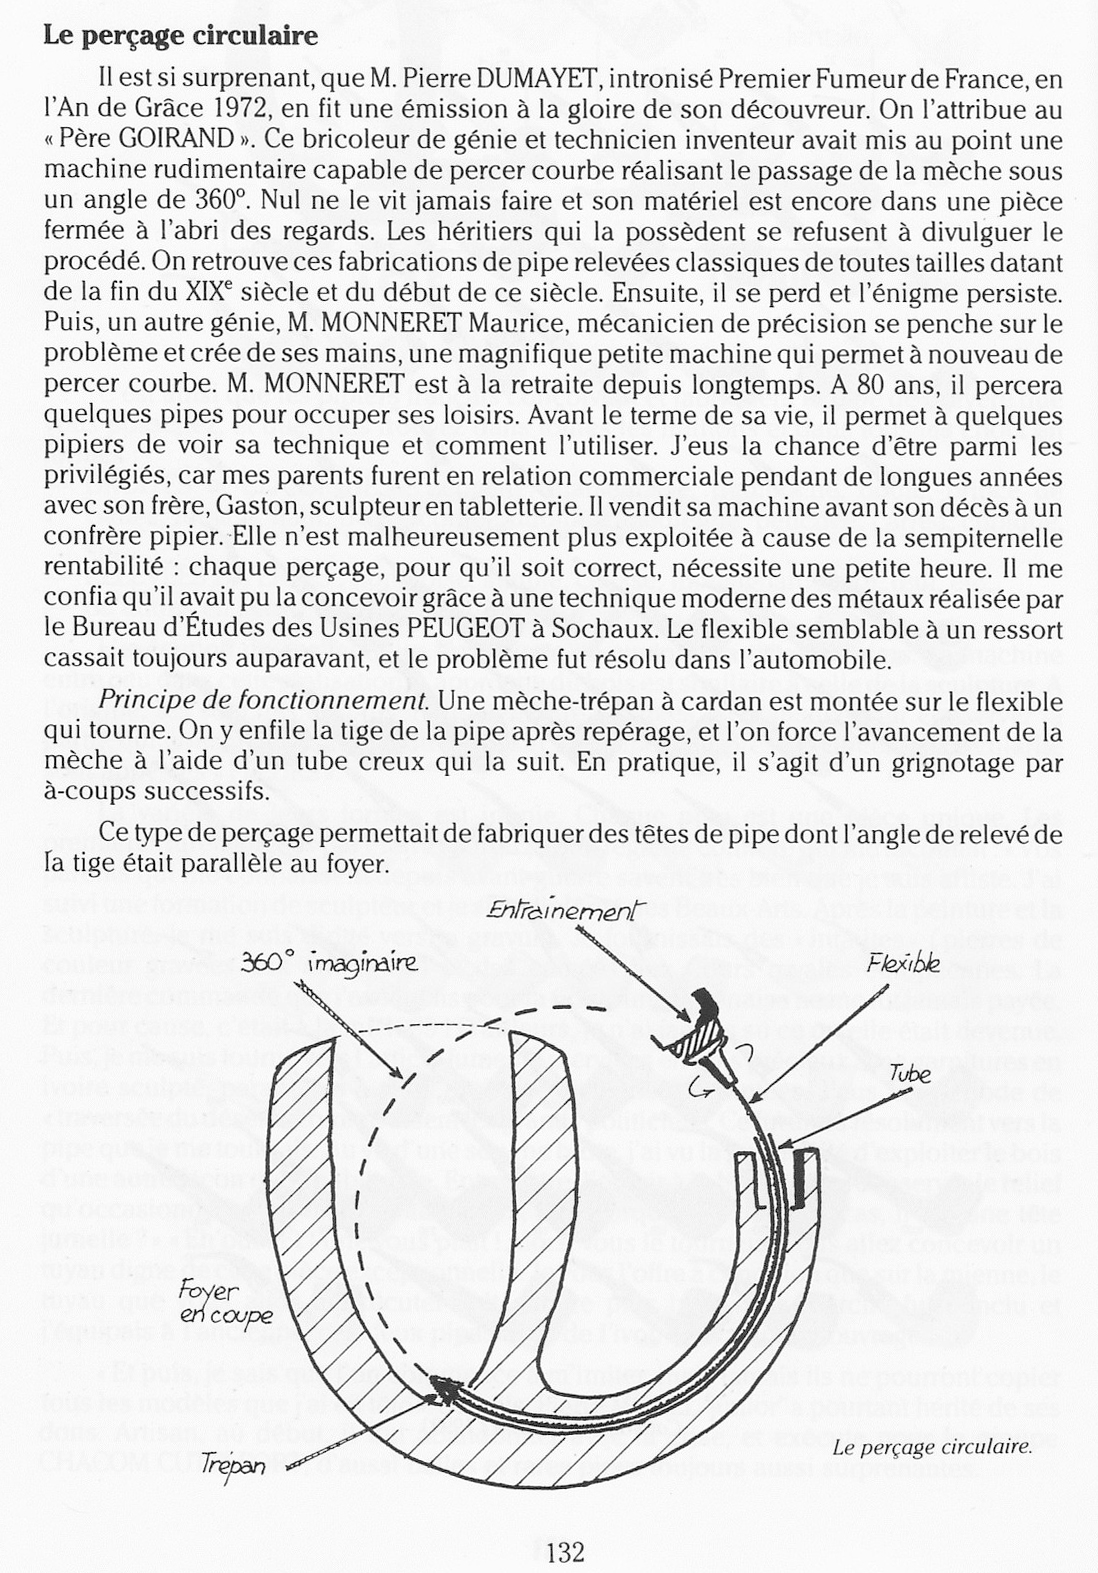
By Al Jones

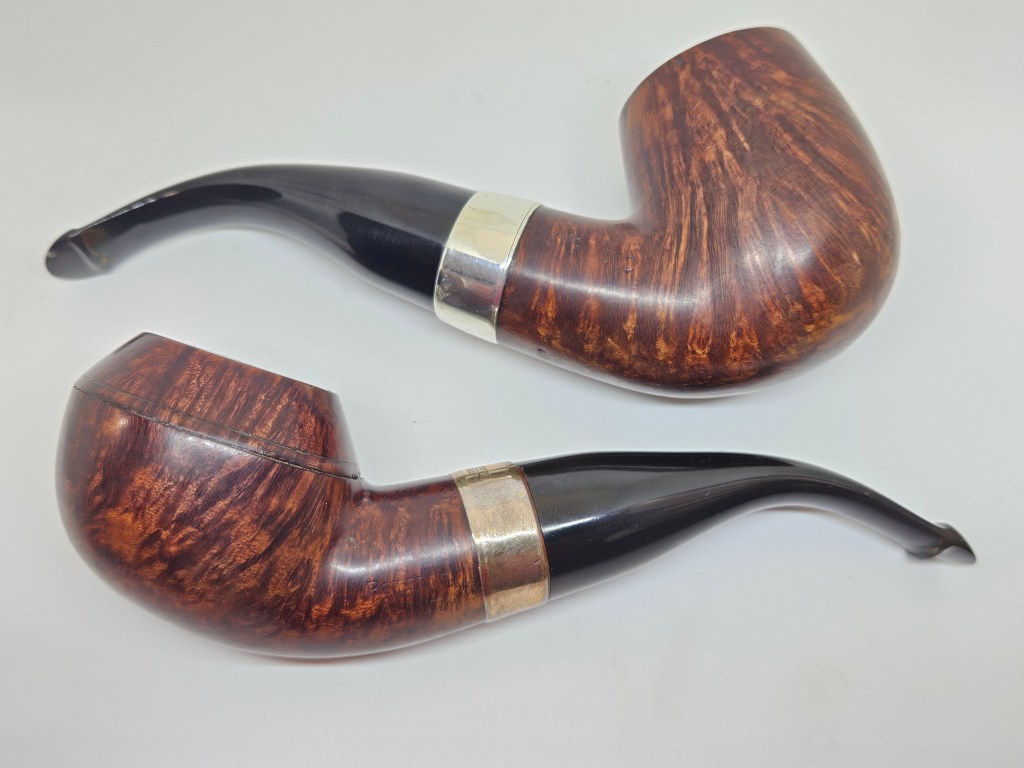
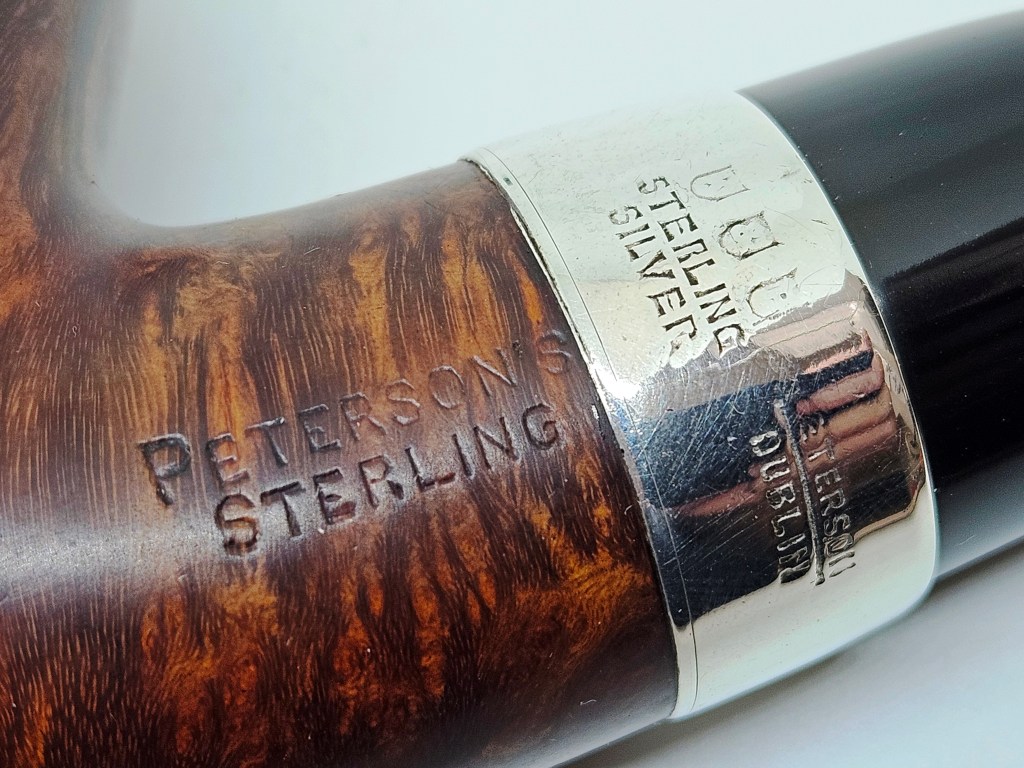
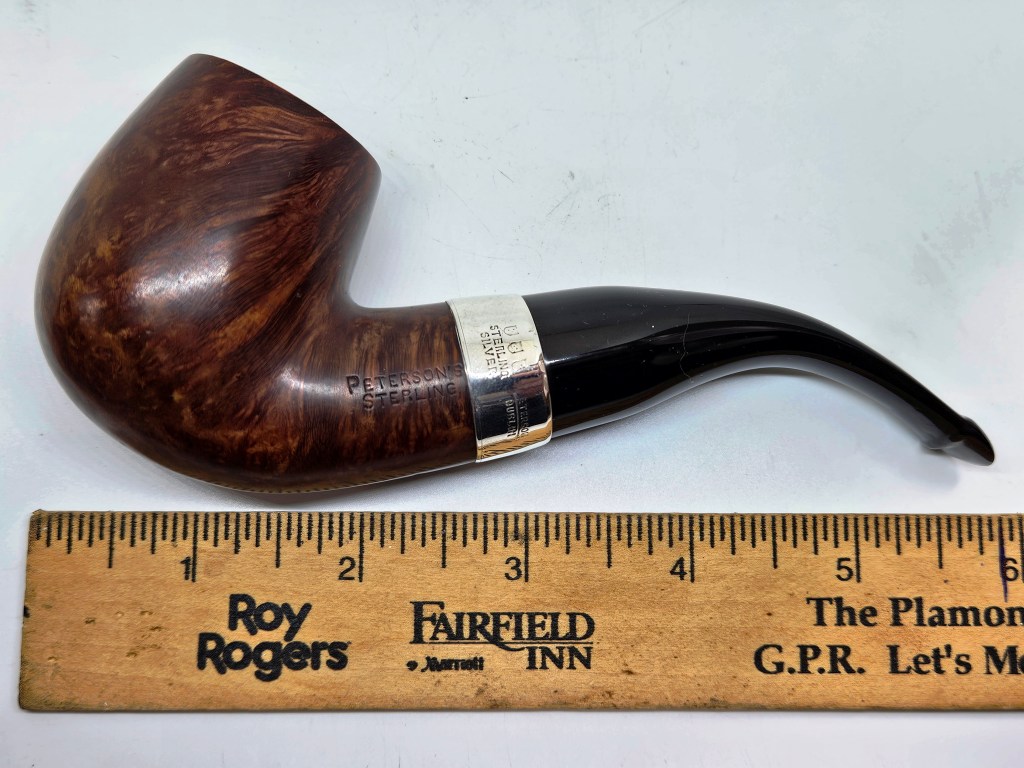
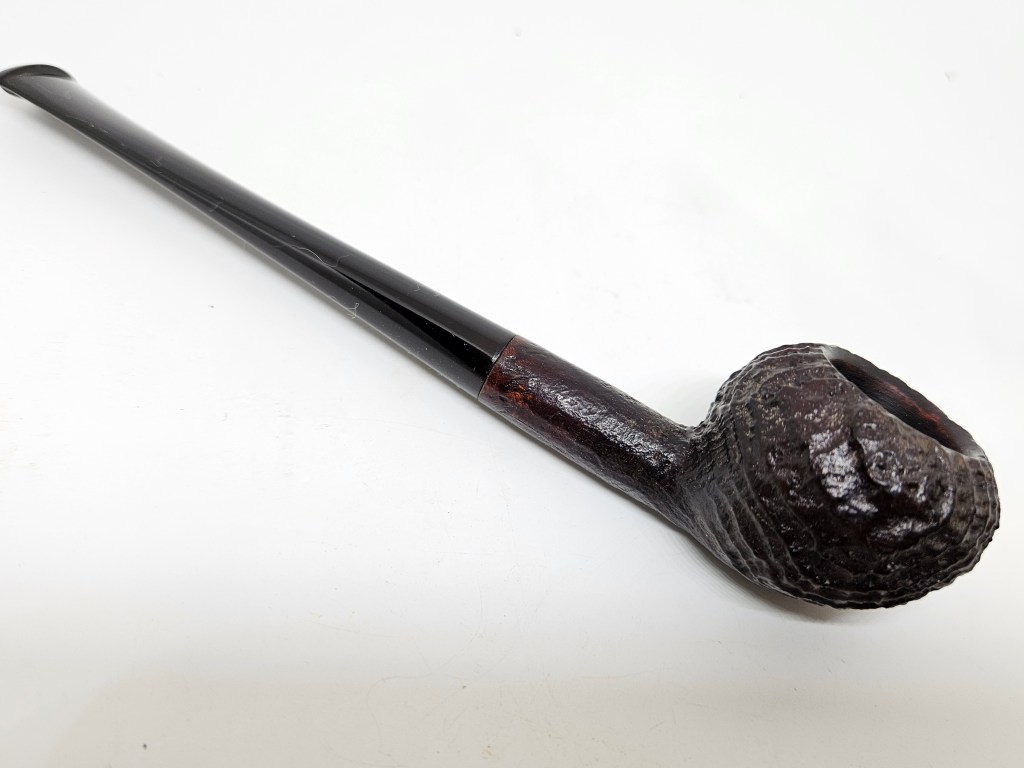
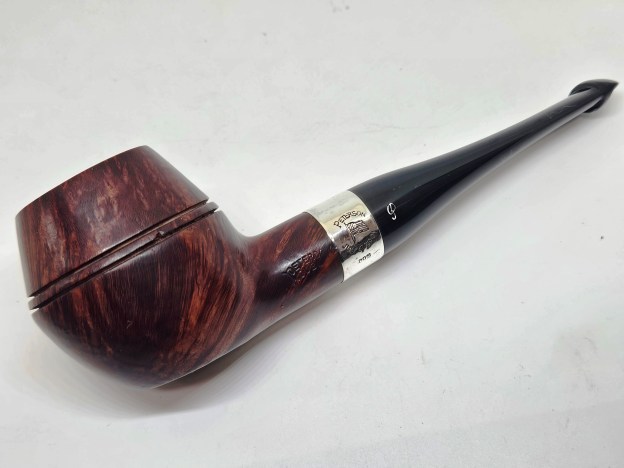
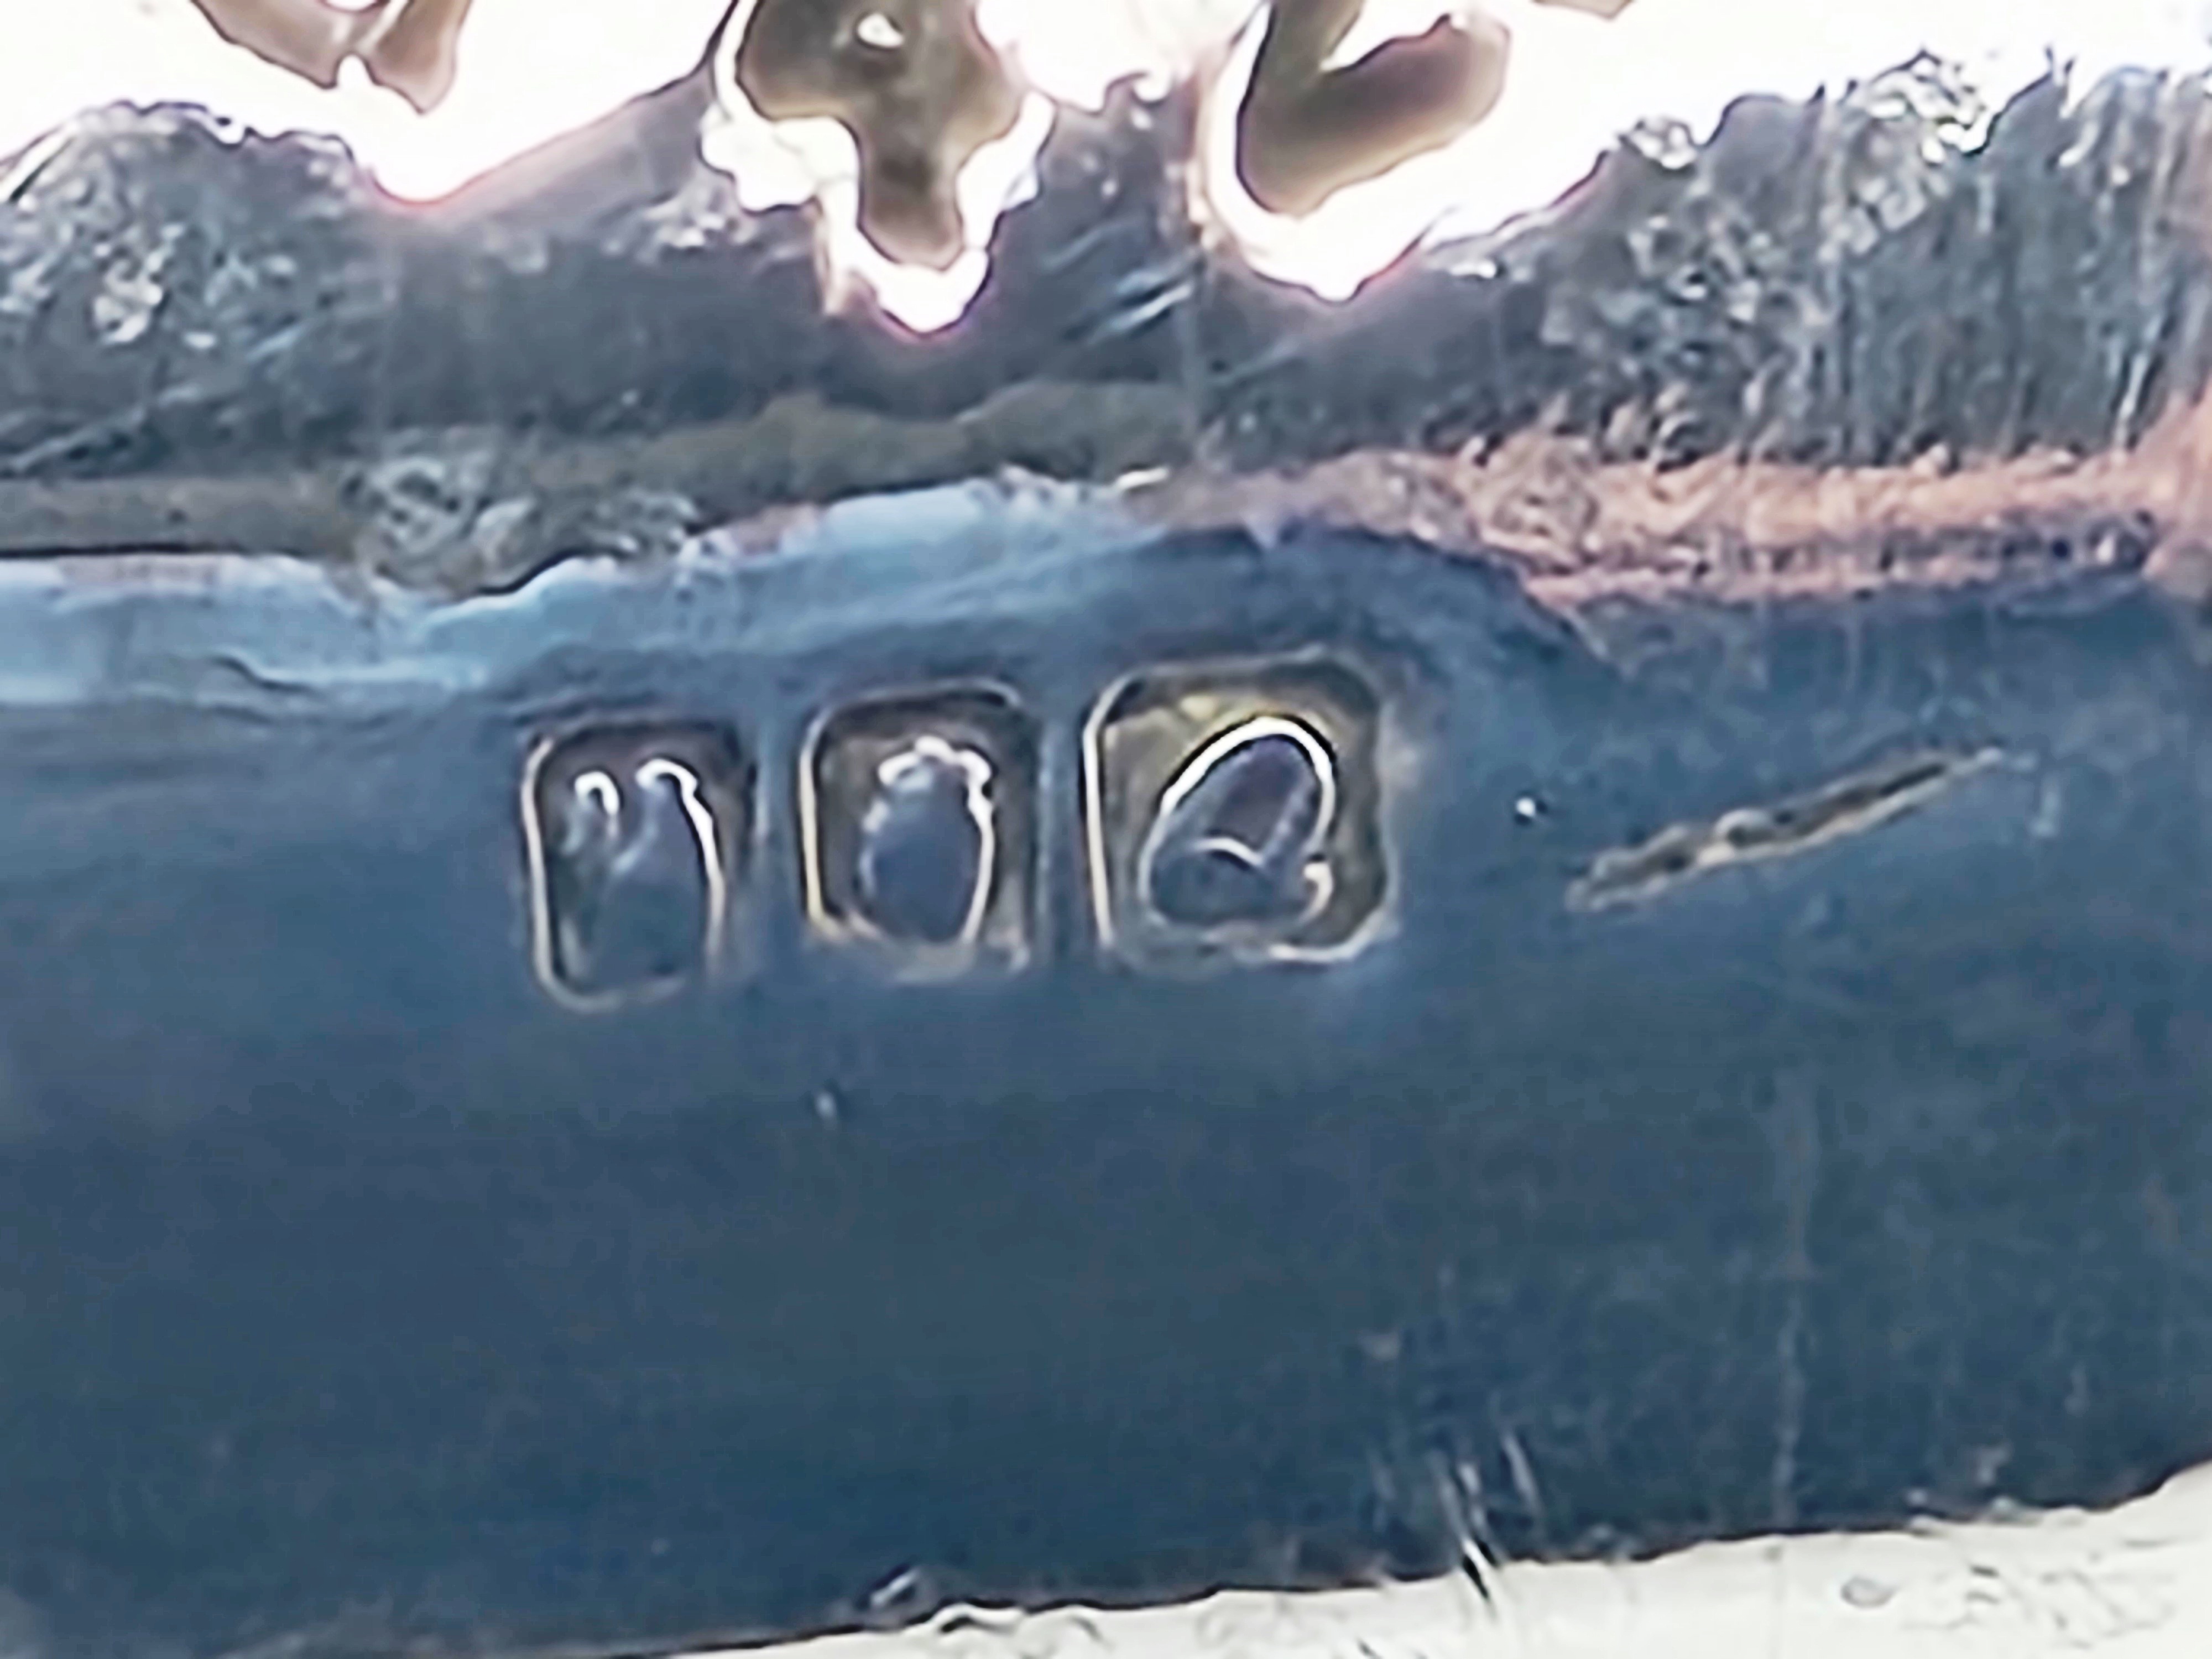
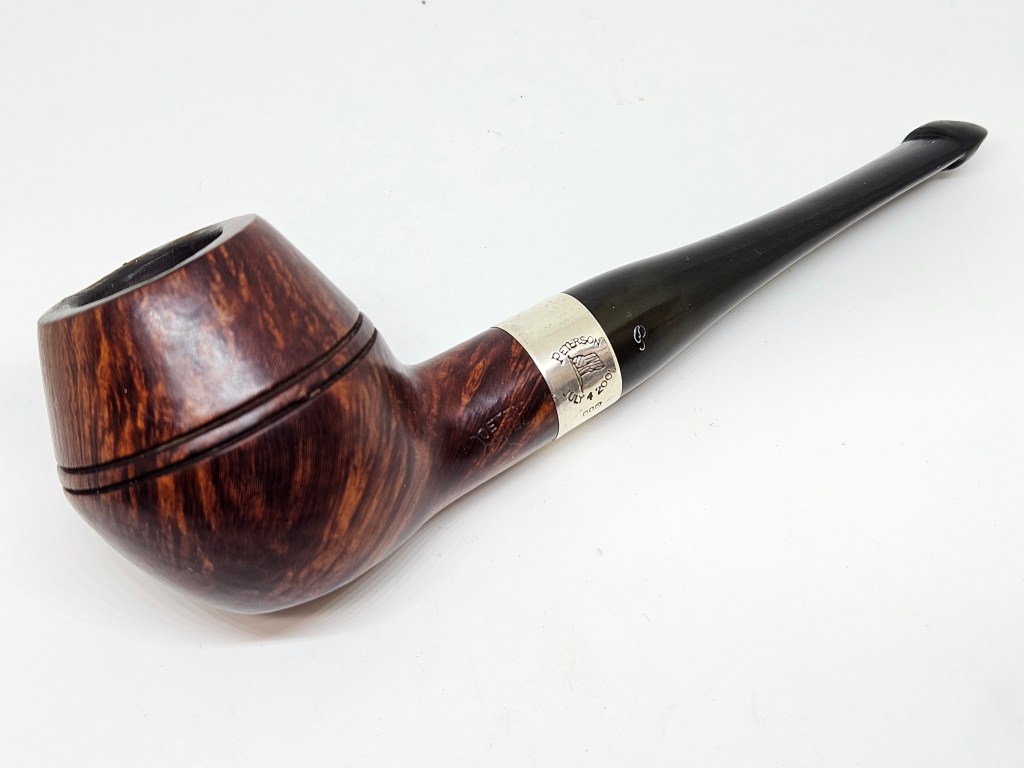
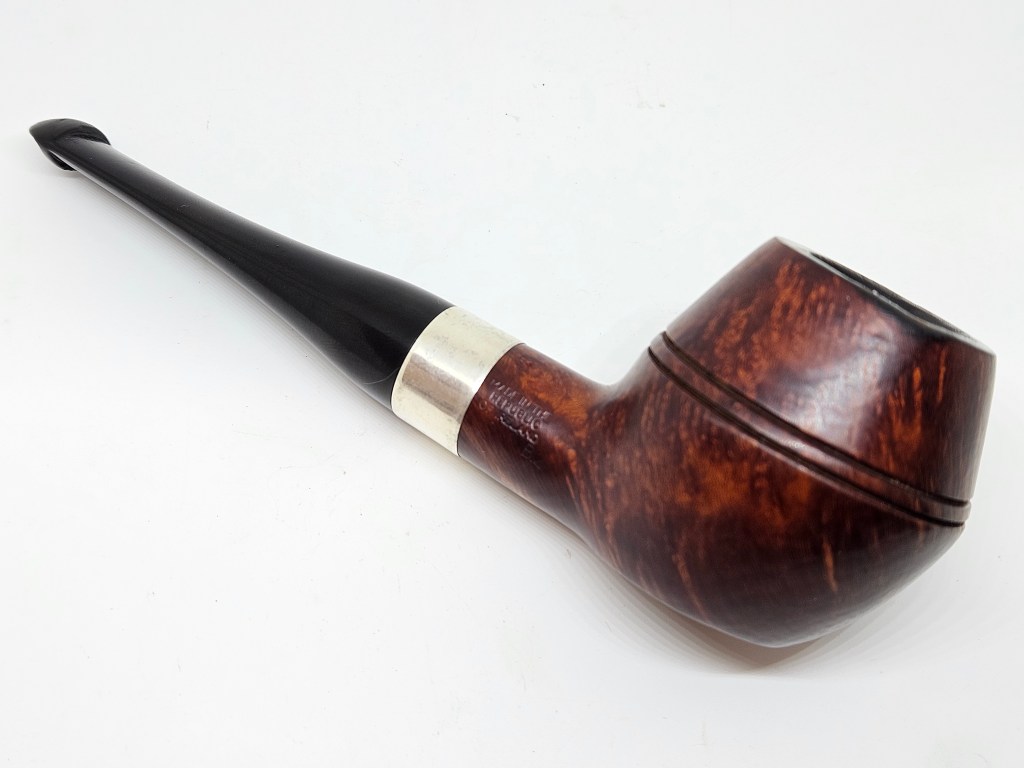
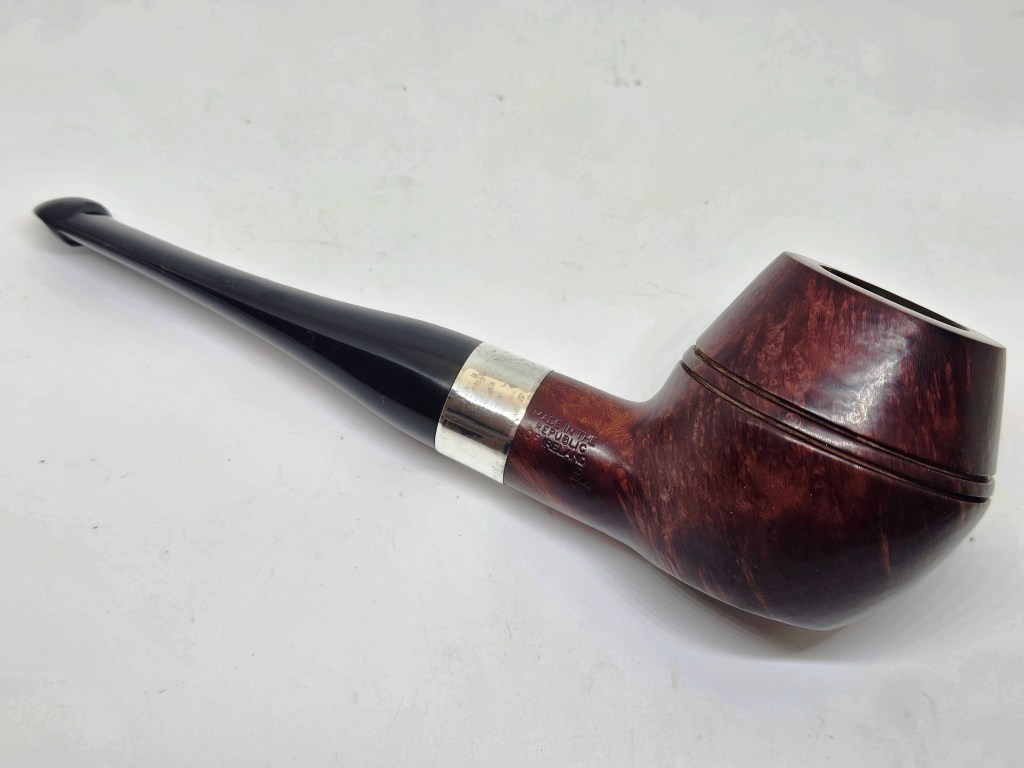
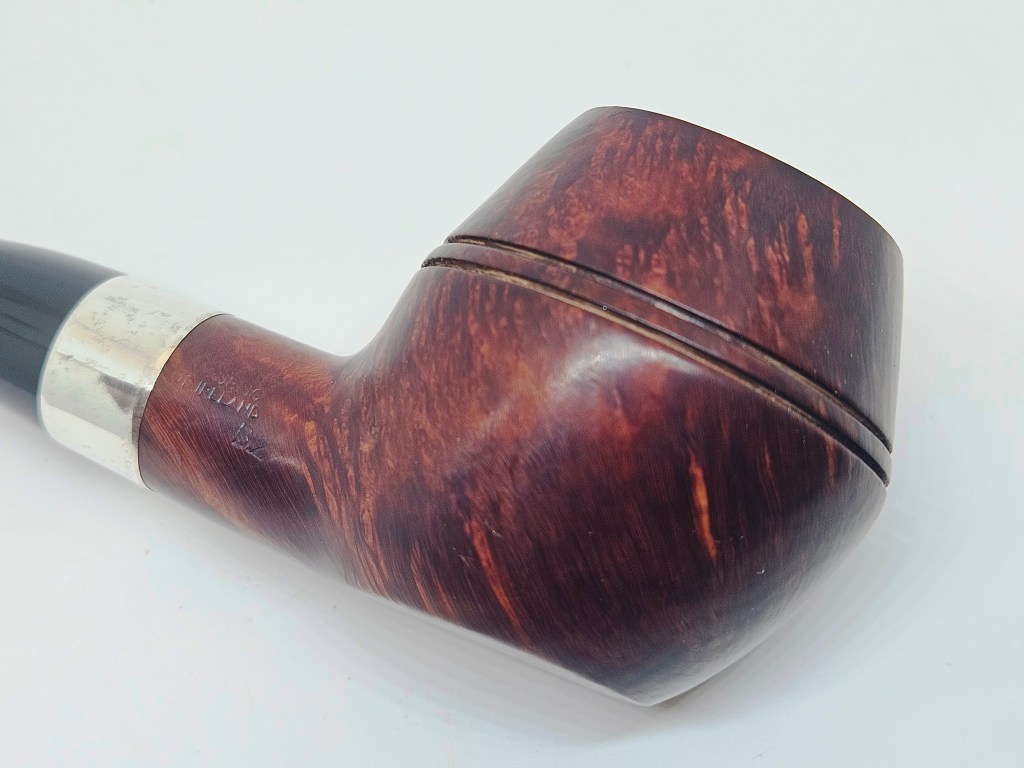
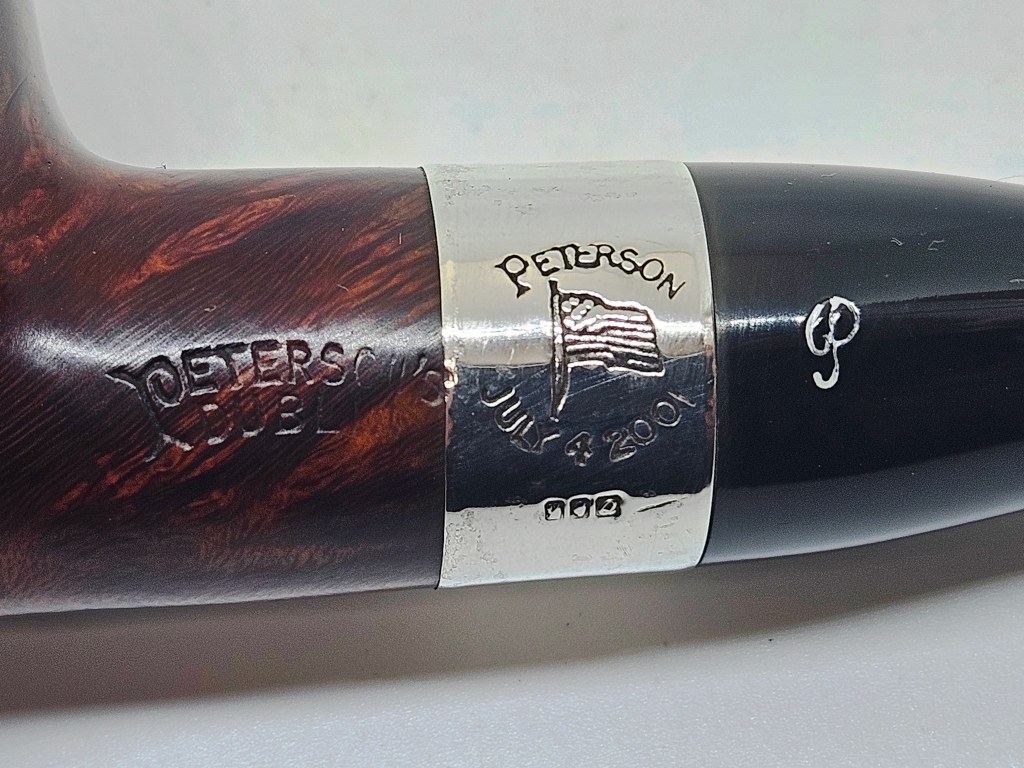
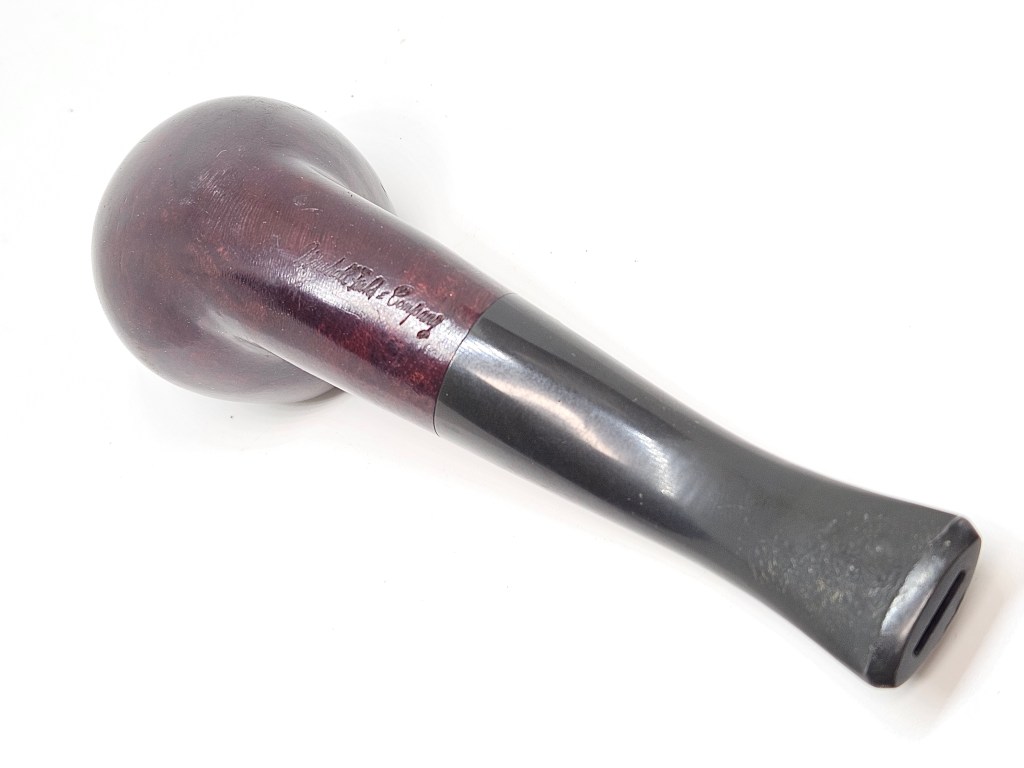
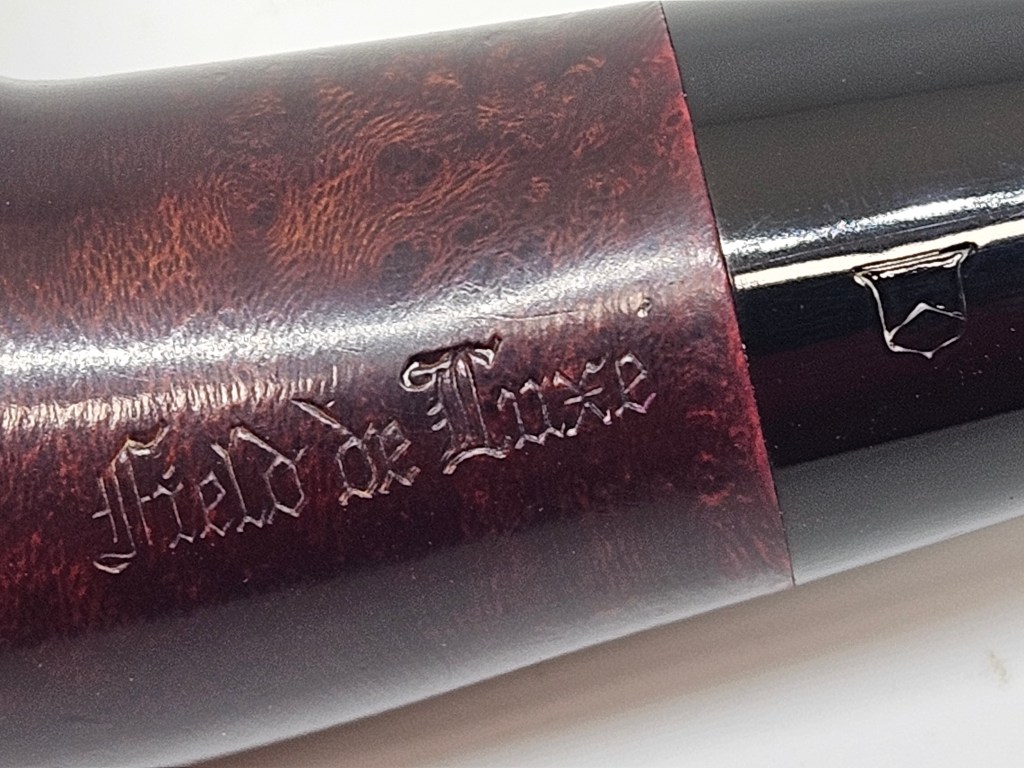
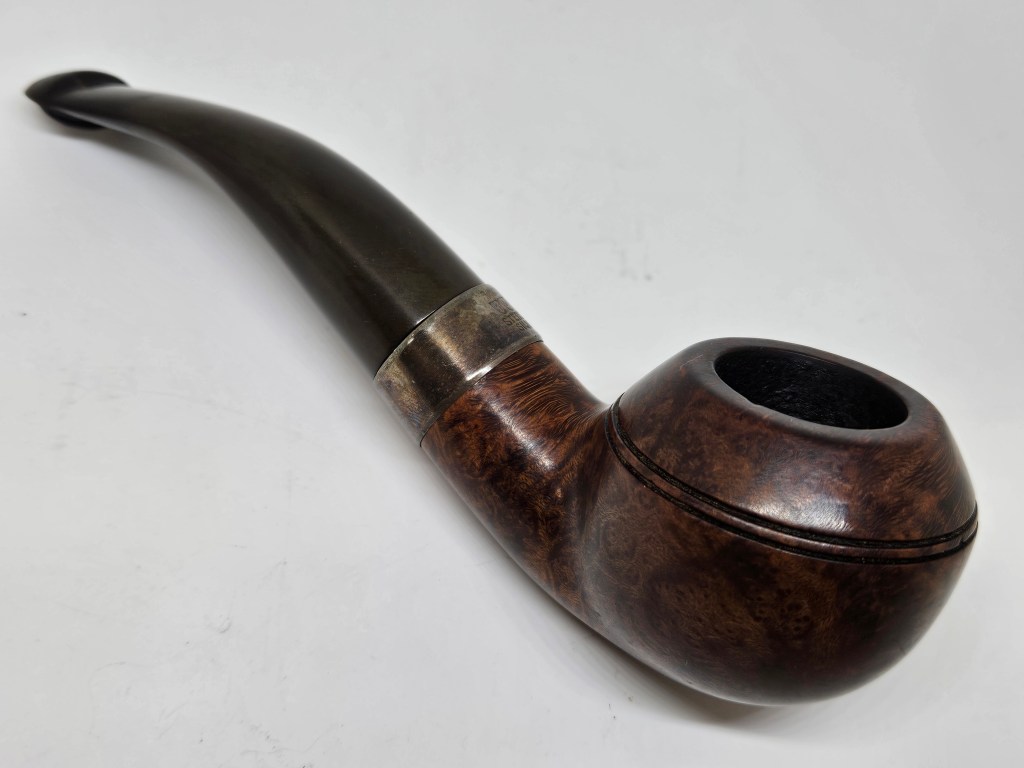
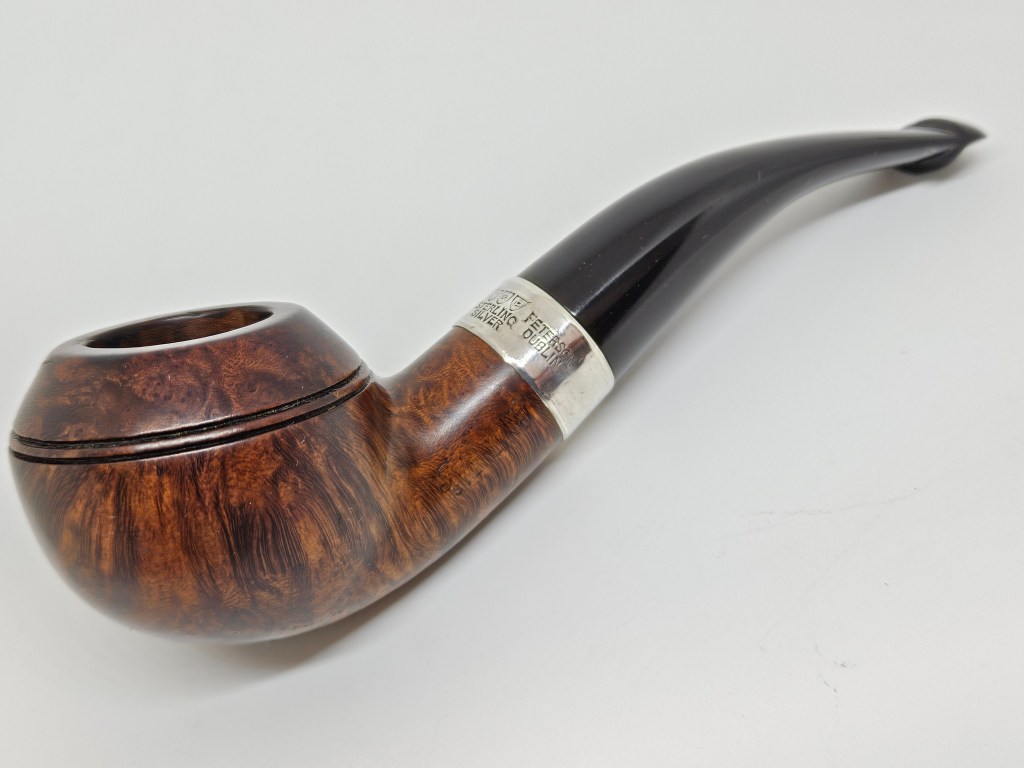
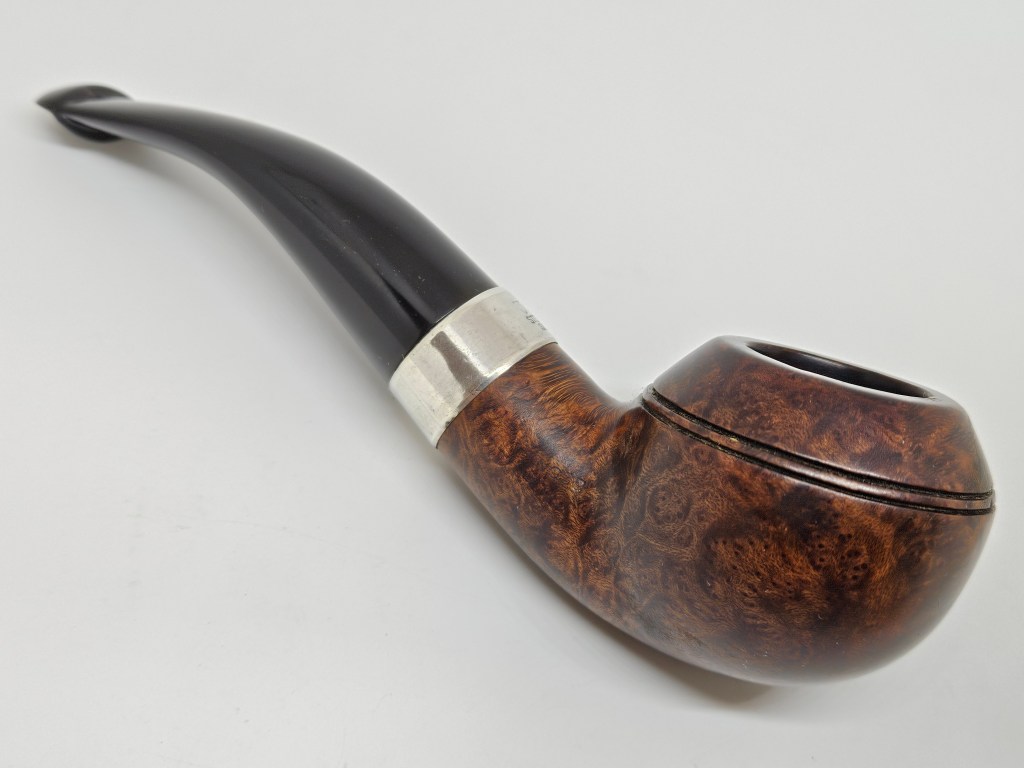
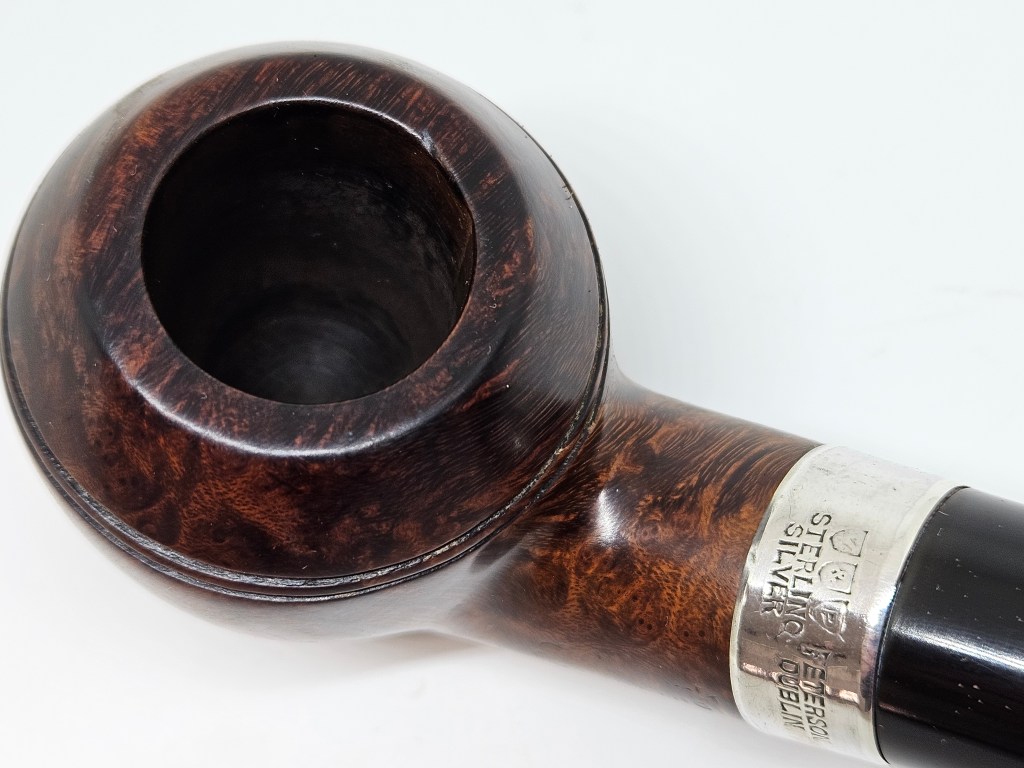
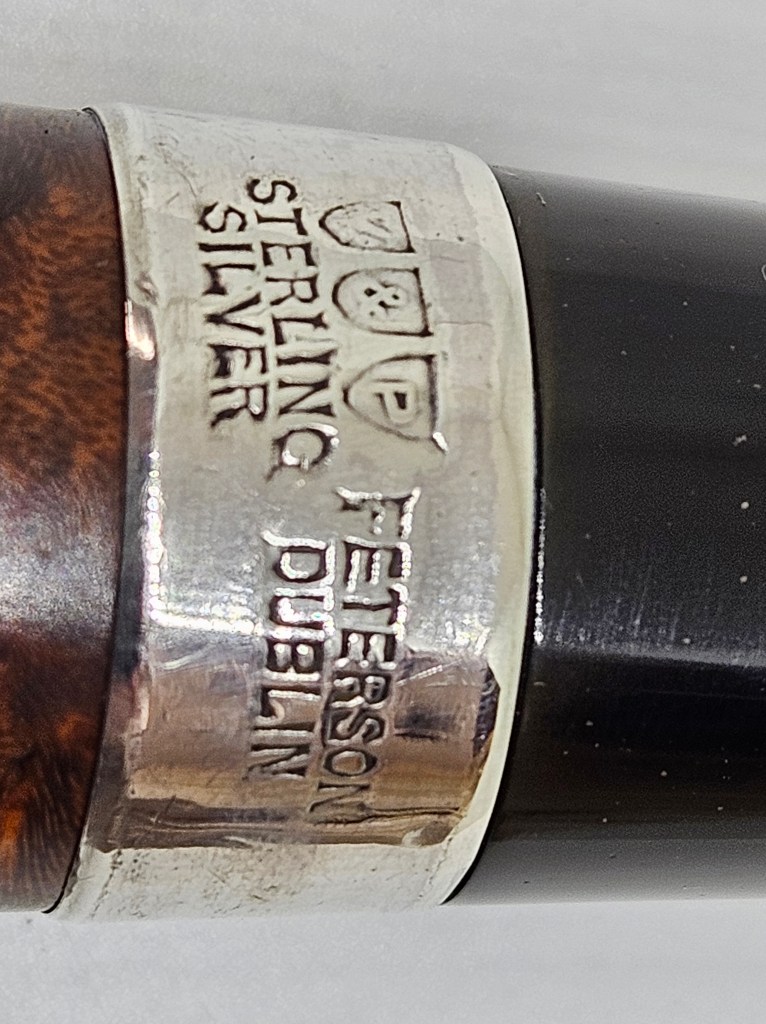
I found this Peterson 9BC Sterling thru a member of the PipesMagazine.com forum. I wasn’t necessarily looking for another 9BC, but it is one of my favorite shapes. The condition and Sterling grade appealed to me and I knew it would make a great mate to my pre-Republic 999 Sterling.
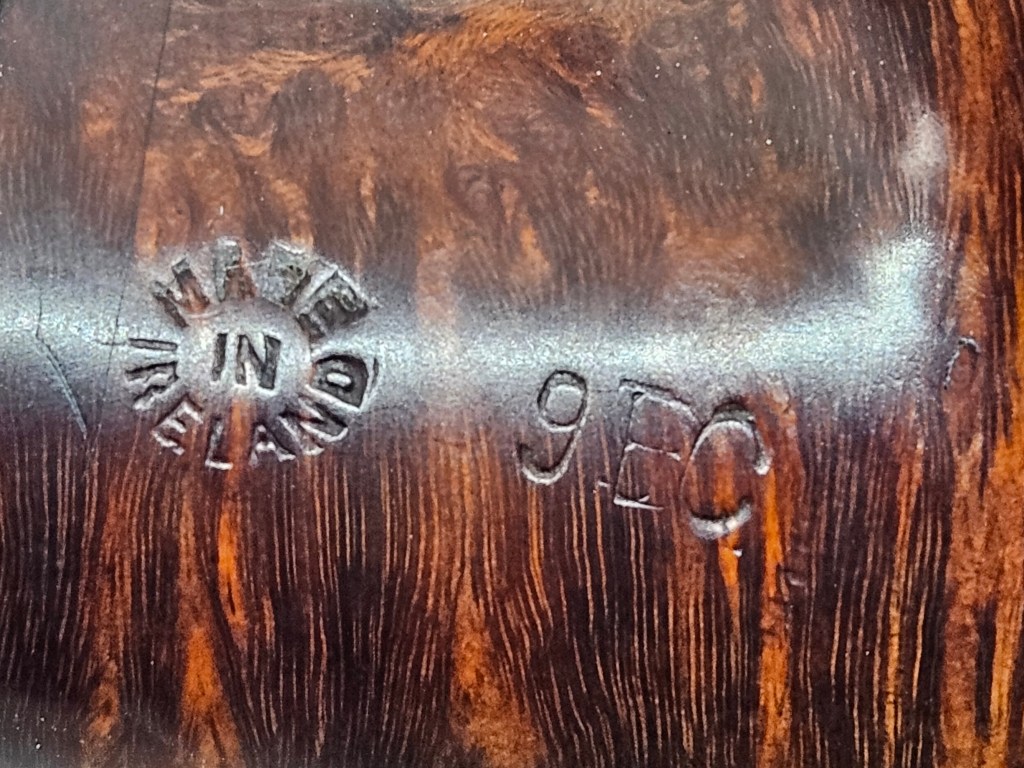
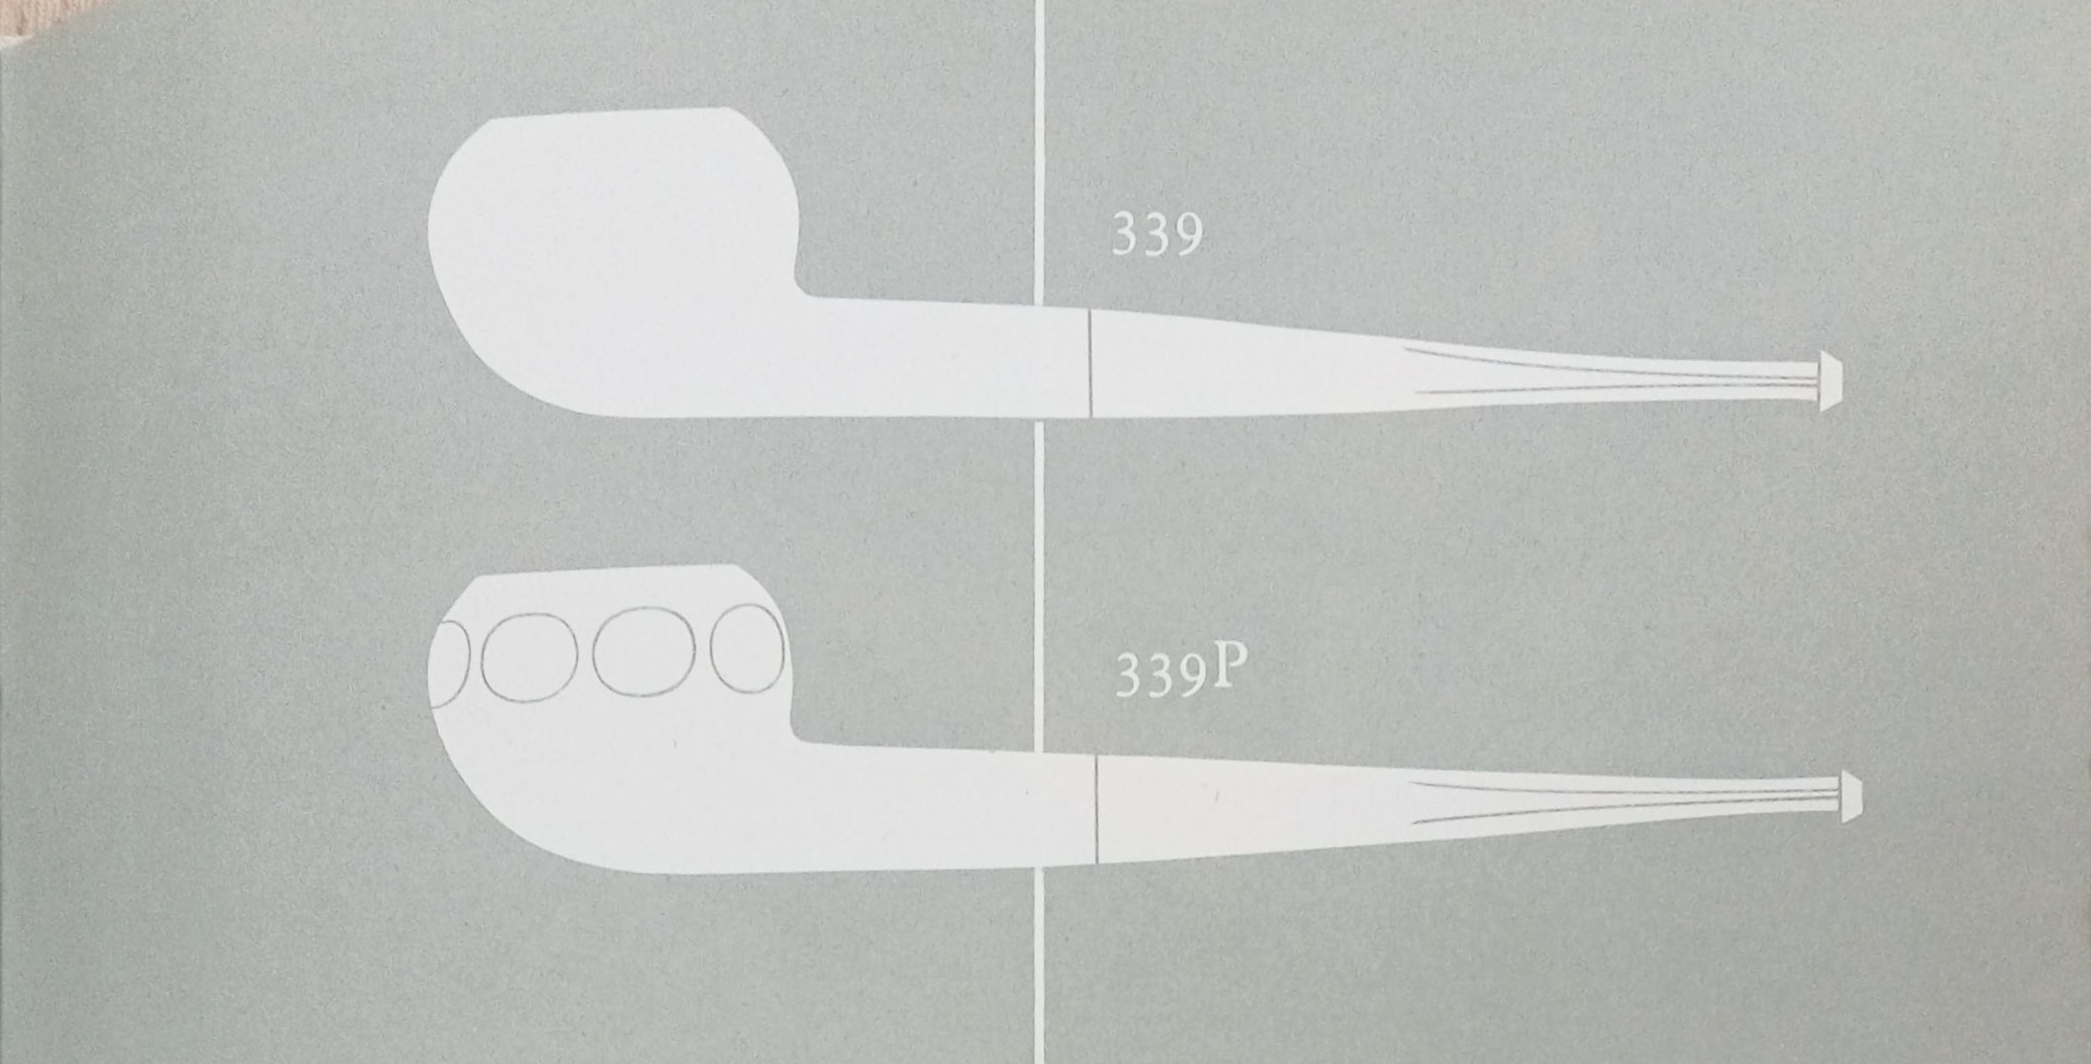
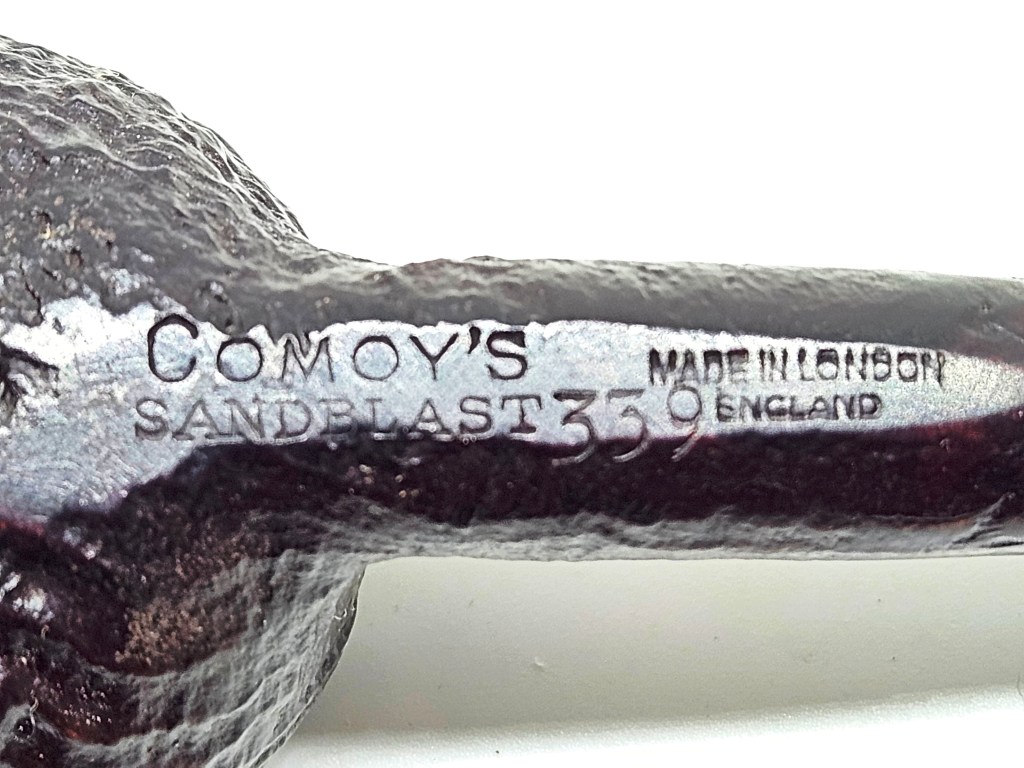
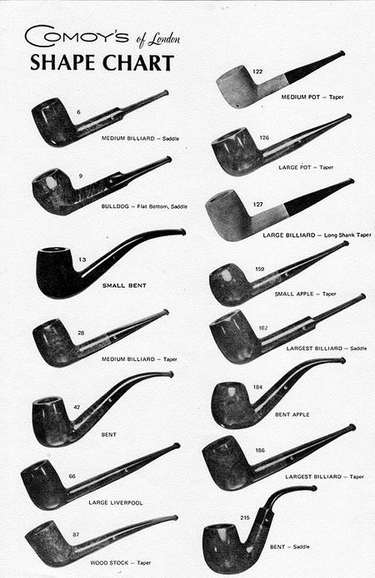
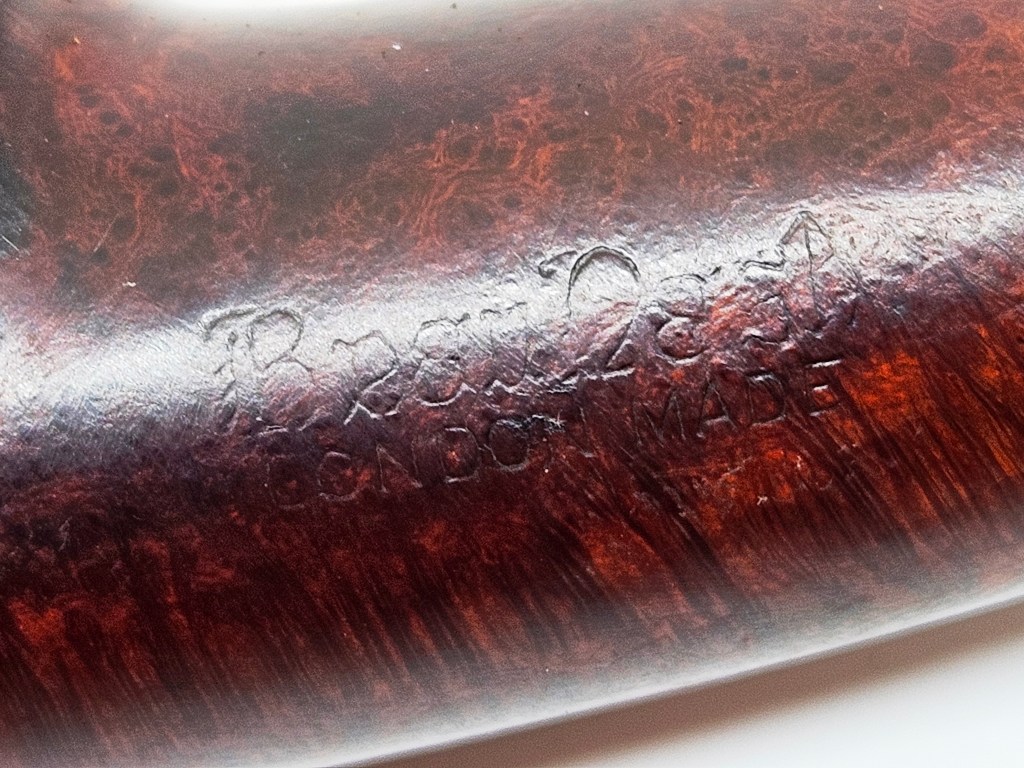
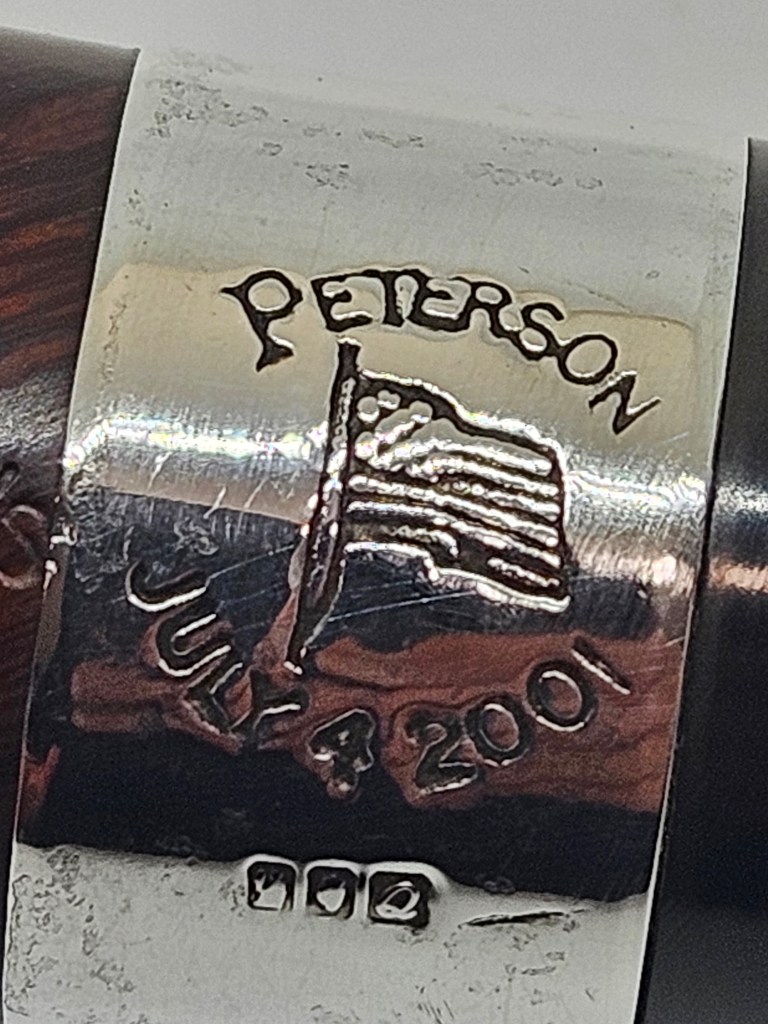
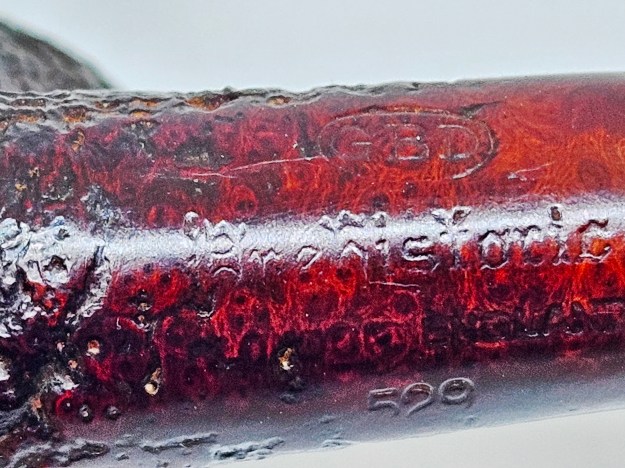
We now know the 9BC shape appeared in US Rogers in 1953. (despite the pre-Republic “Made In Ireland” stamp on most 9BC’s) Mark Irwins “Peterson Pipe Notes” has an excellent review of the shape from this 2015 blog entry:
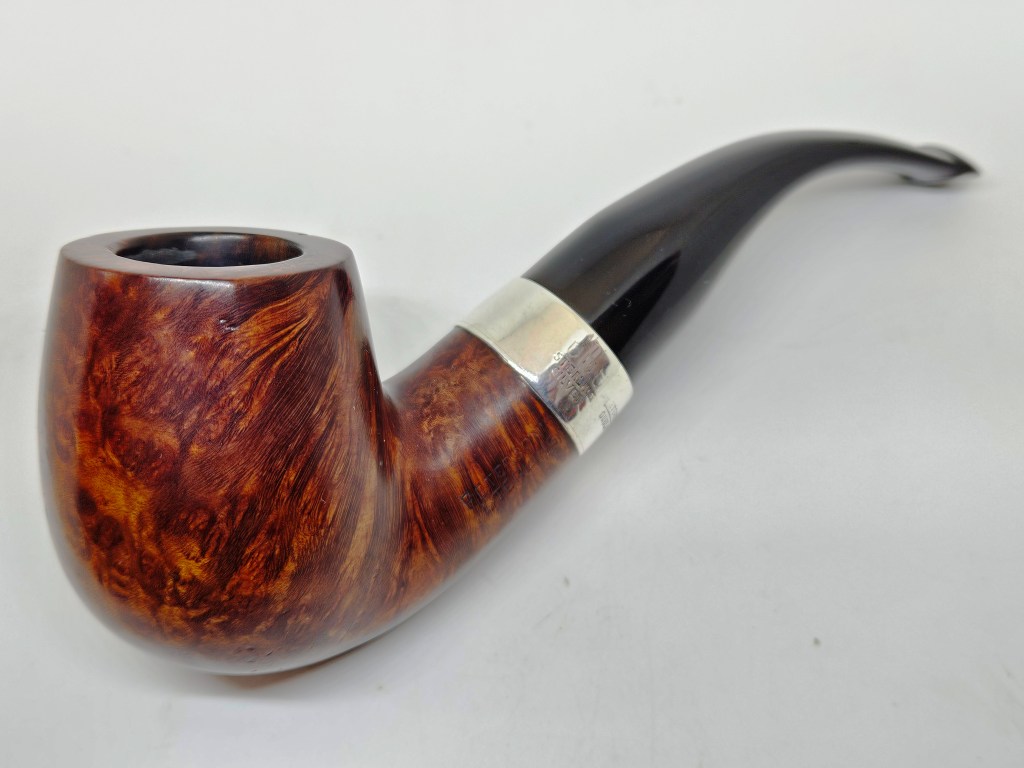
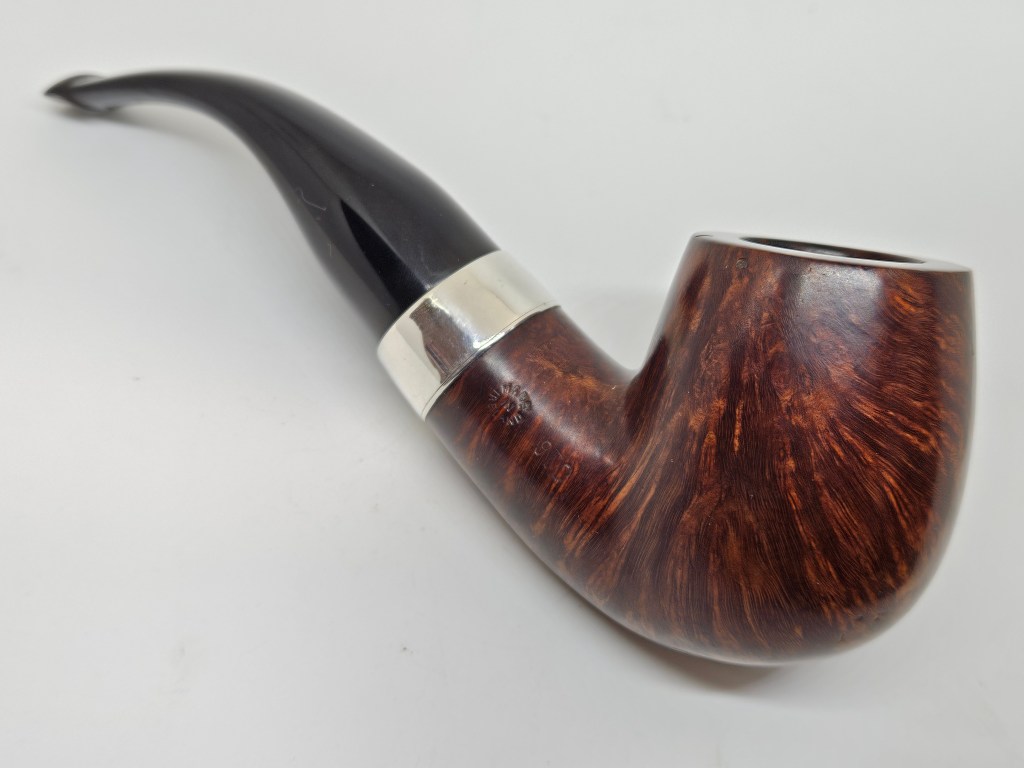
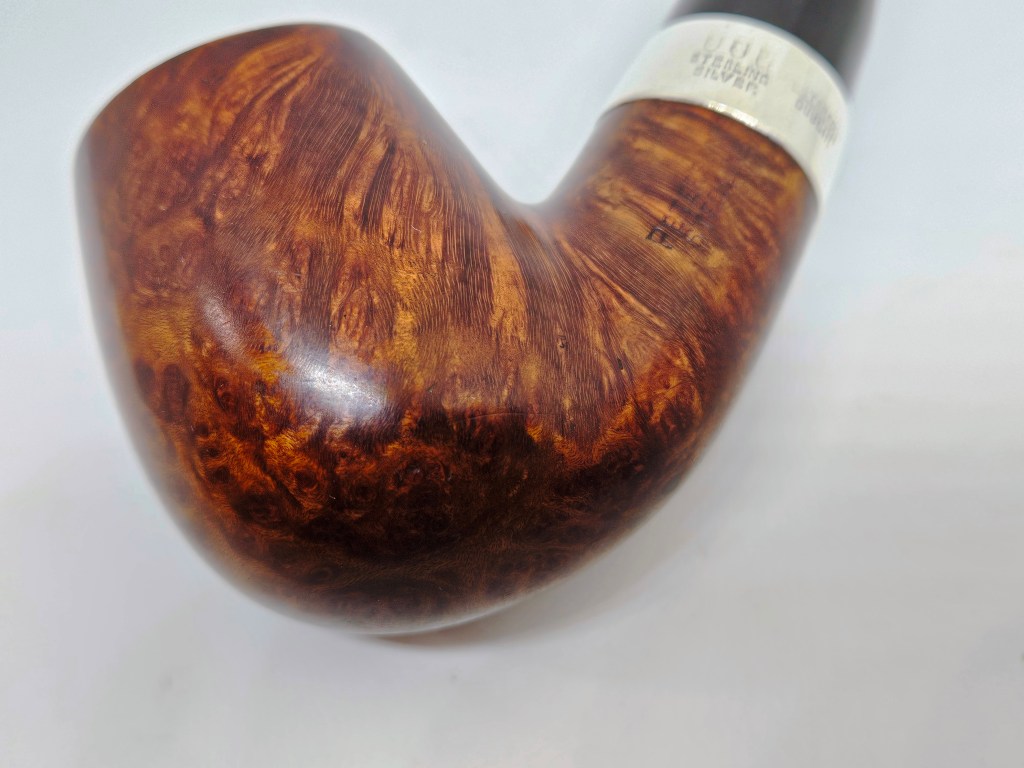
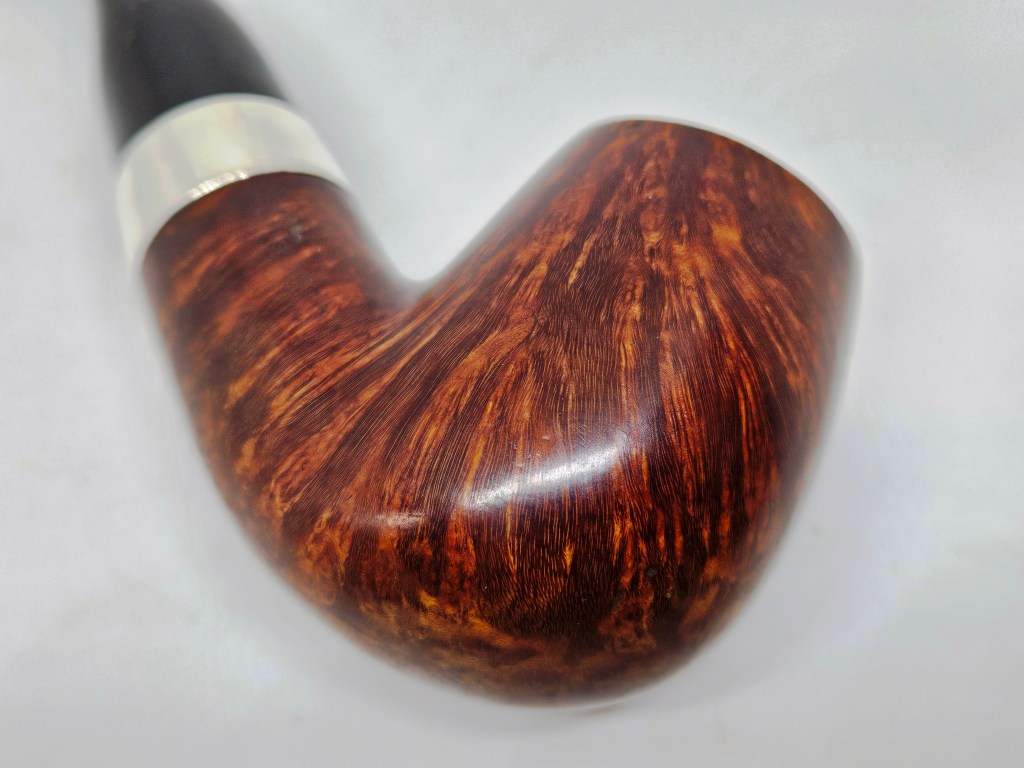
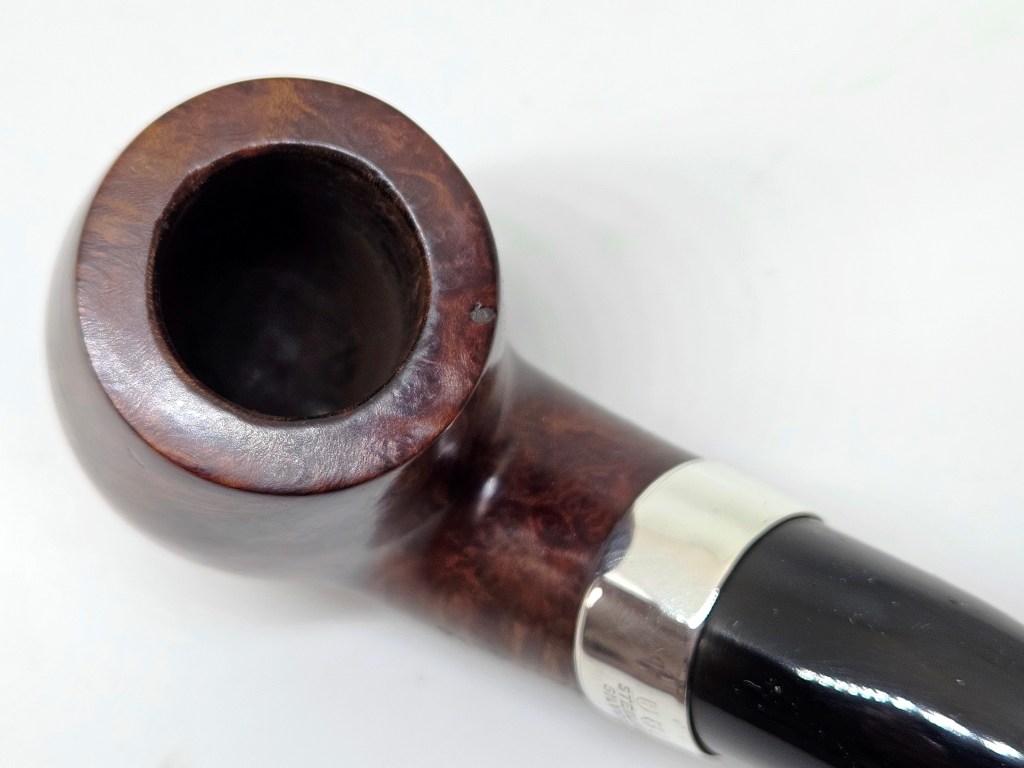
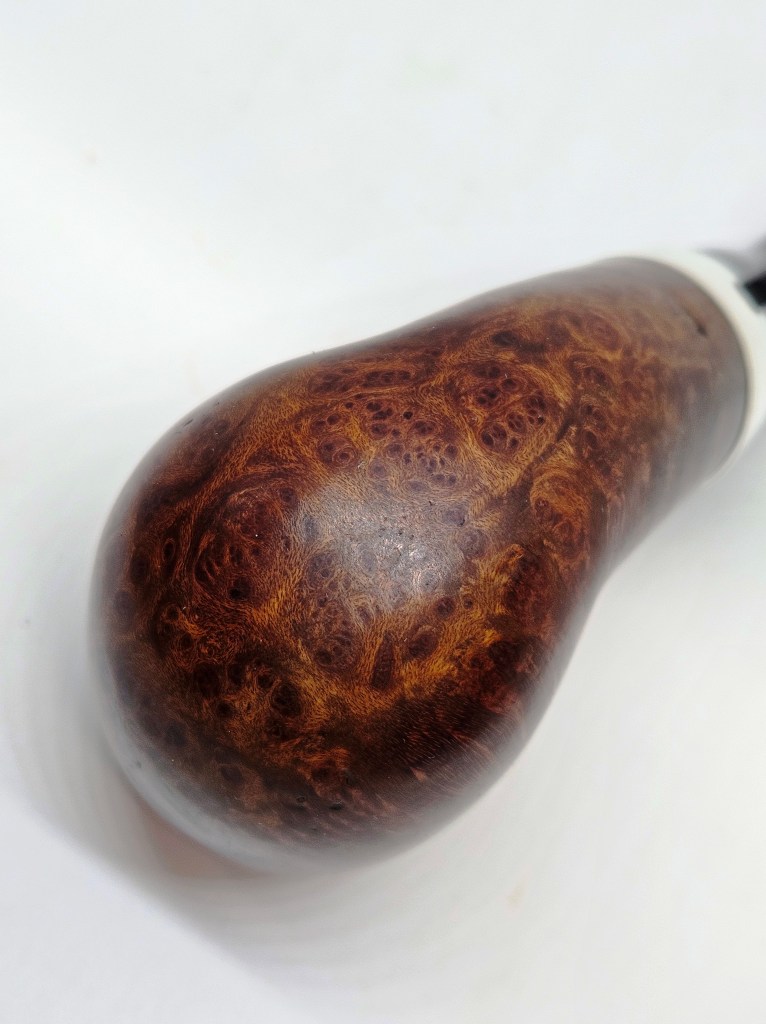
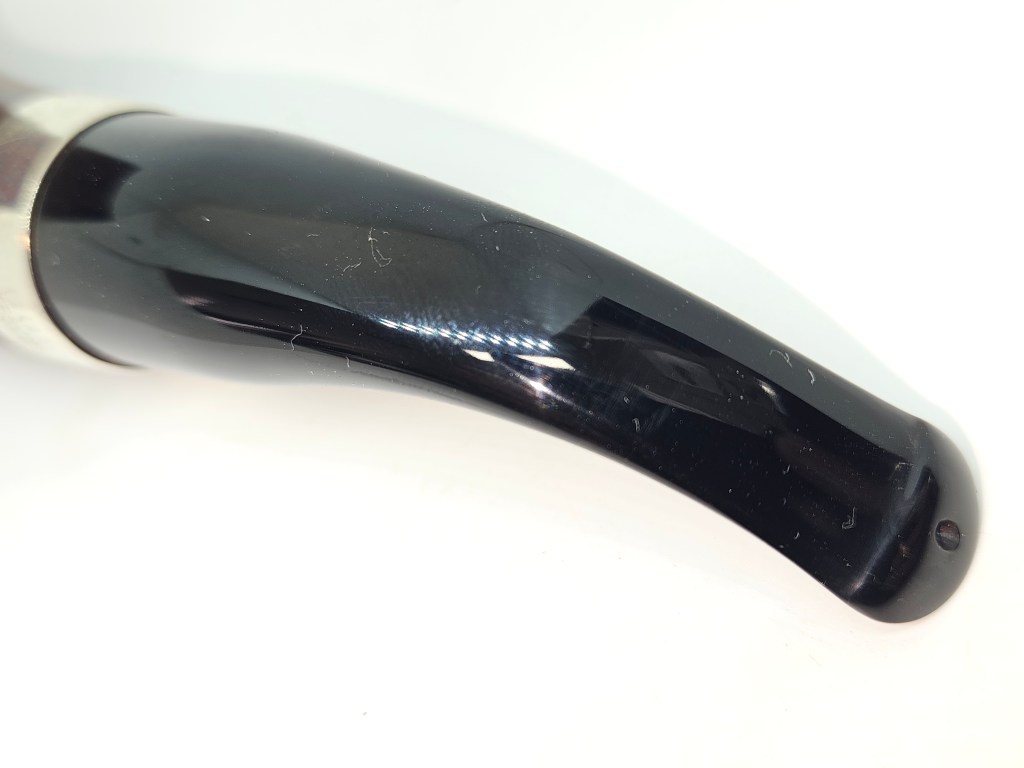
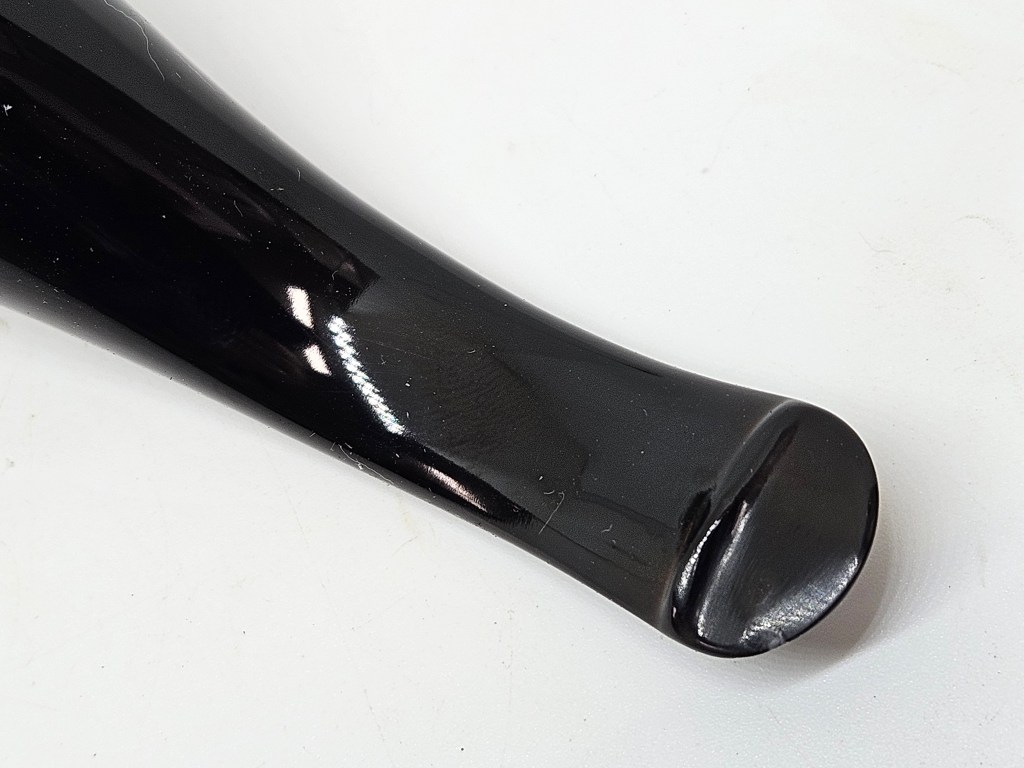
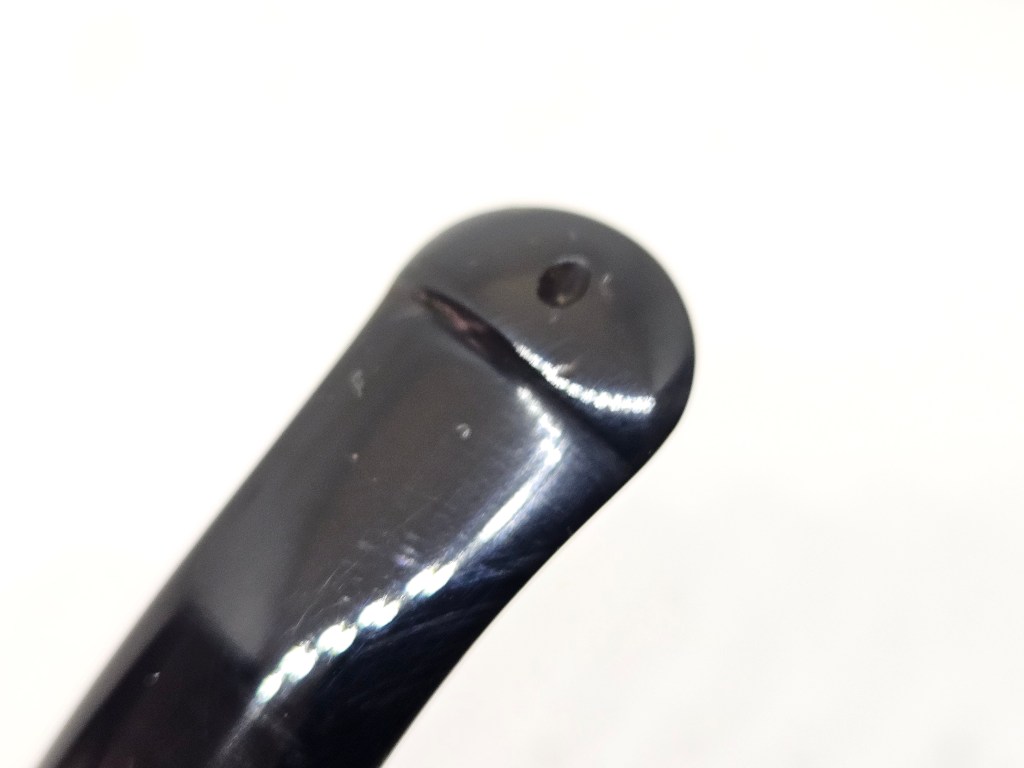
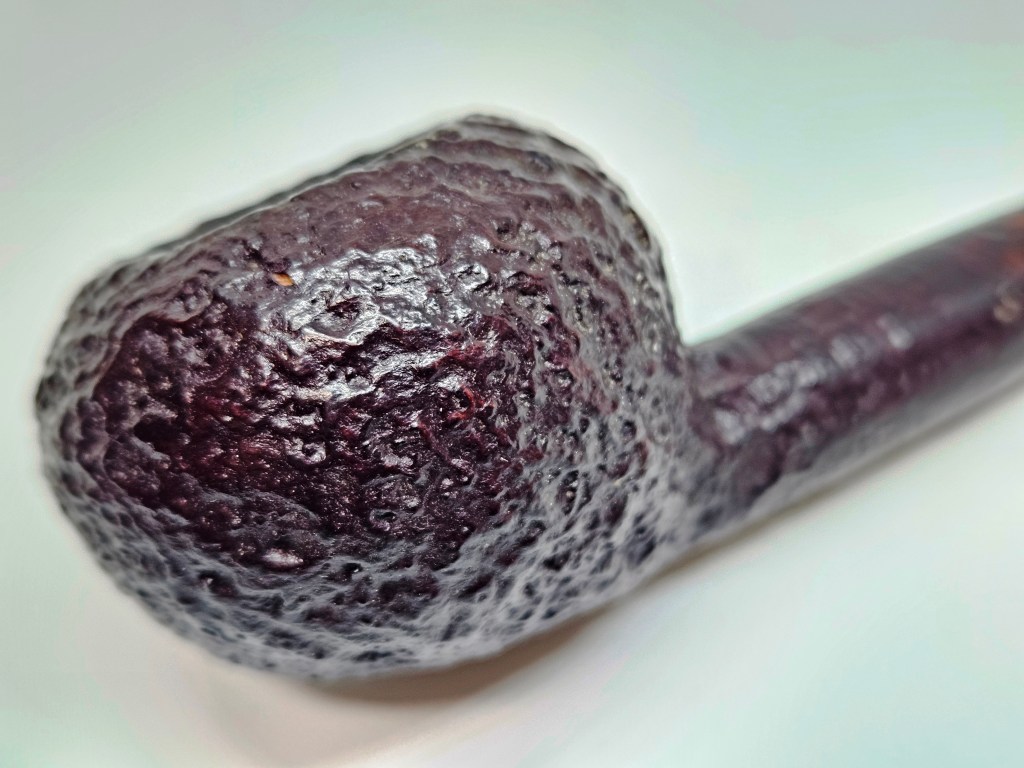
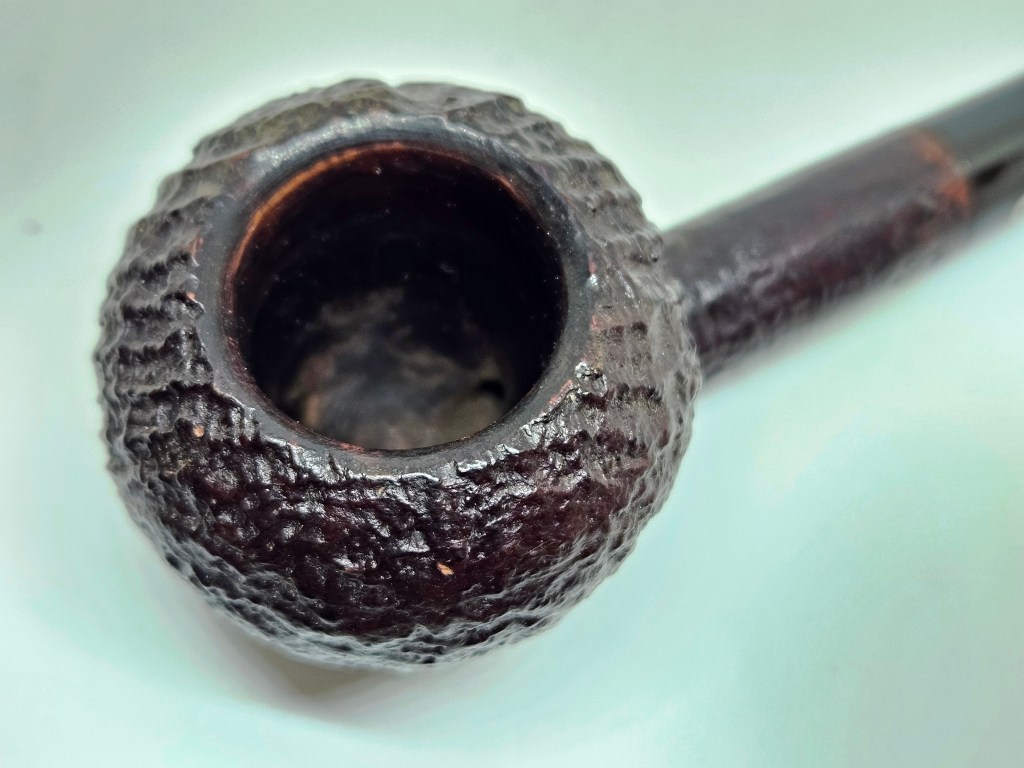
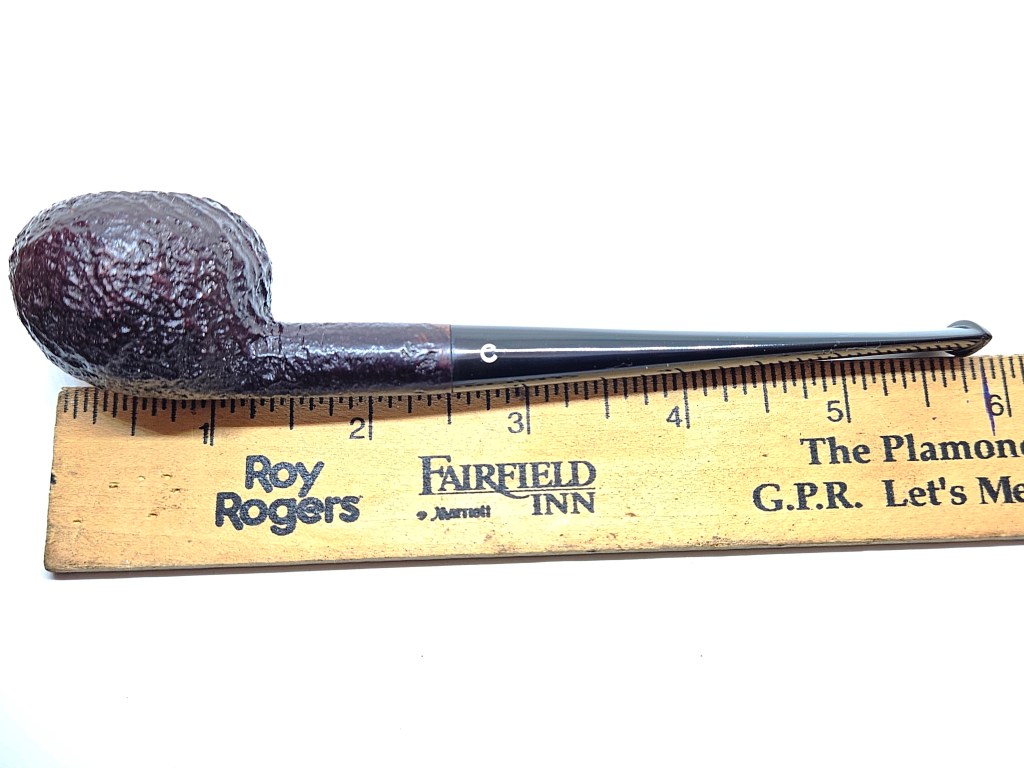
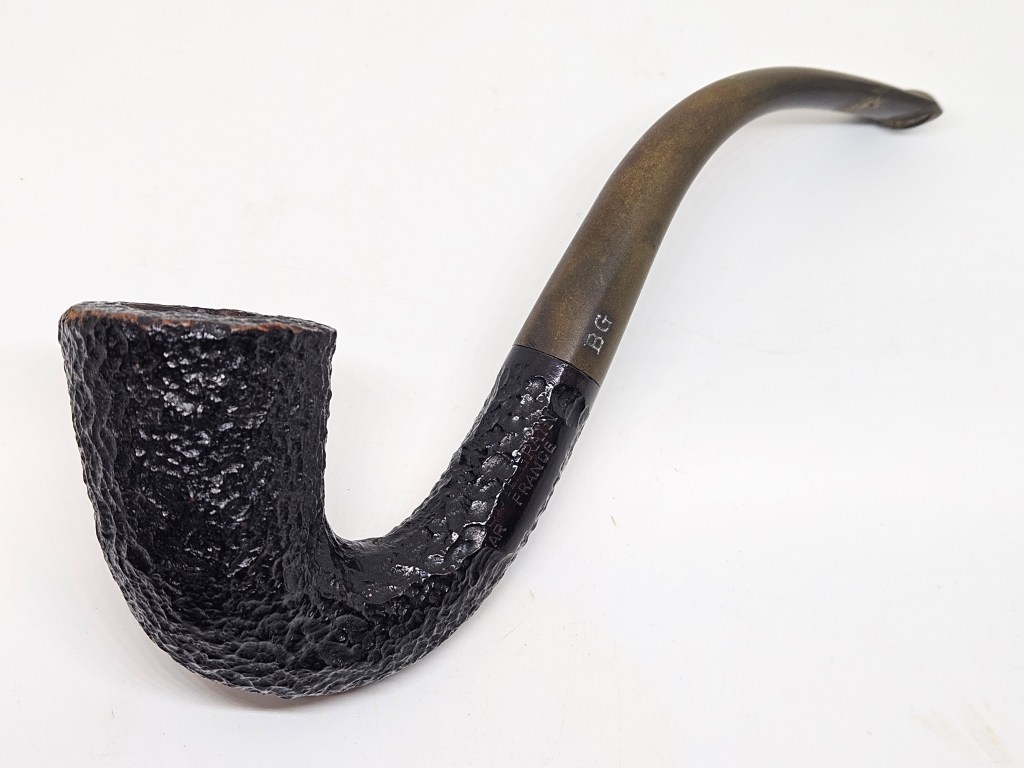
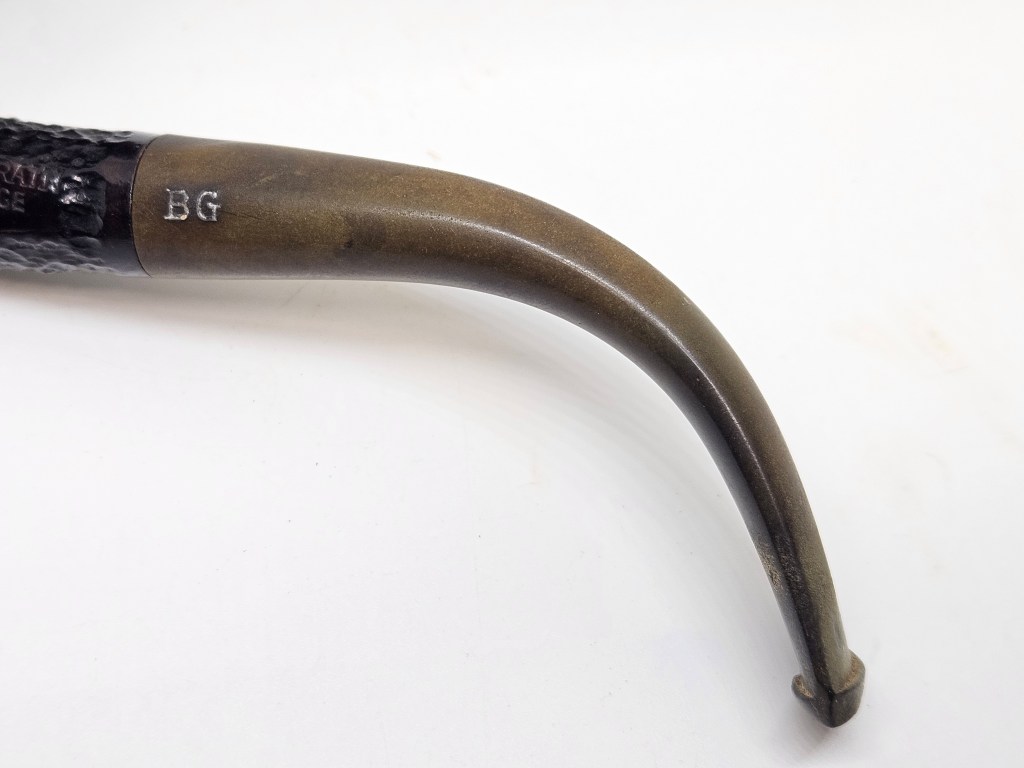
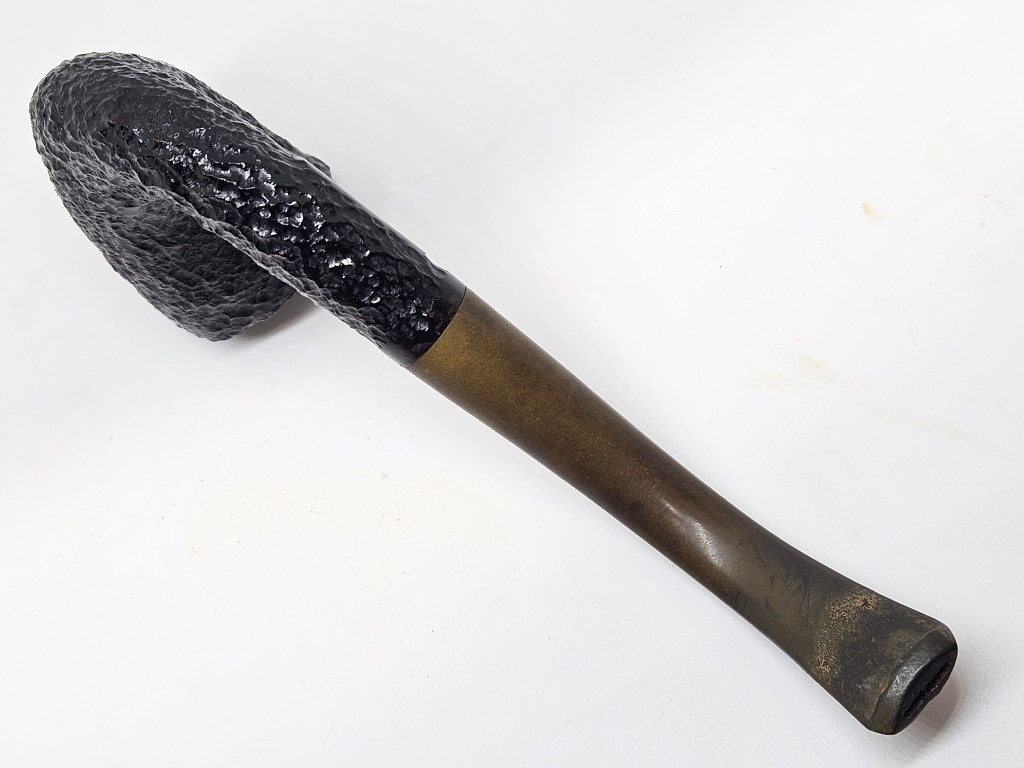
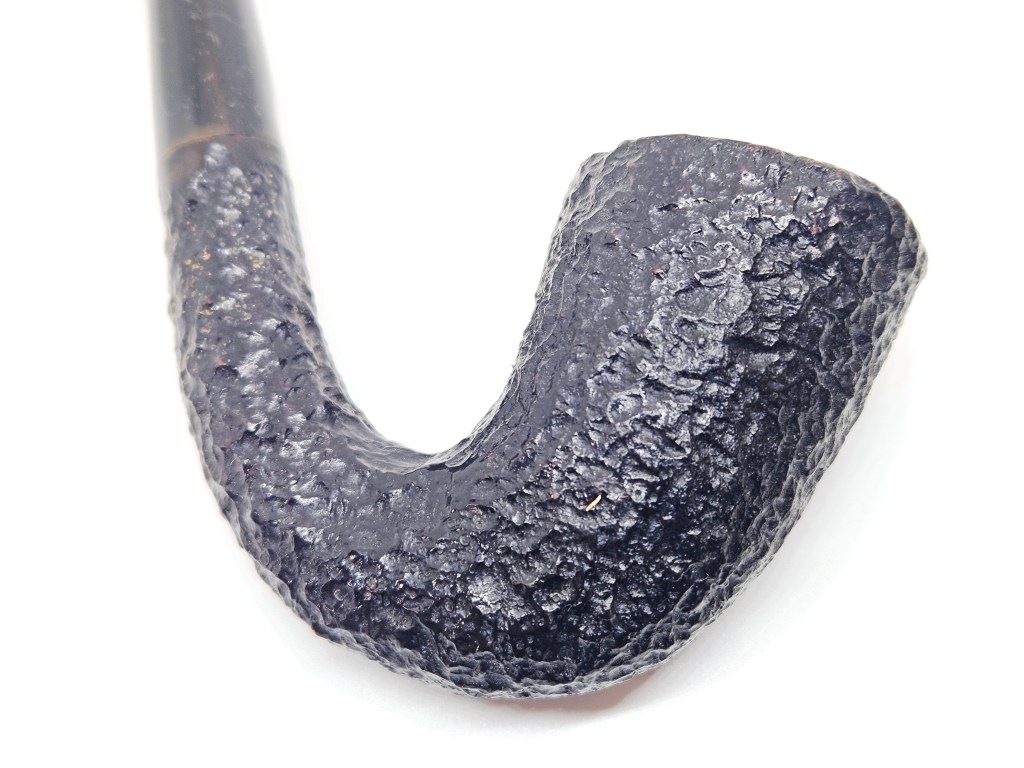
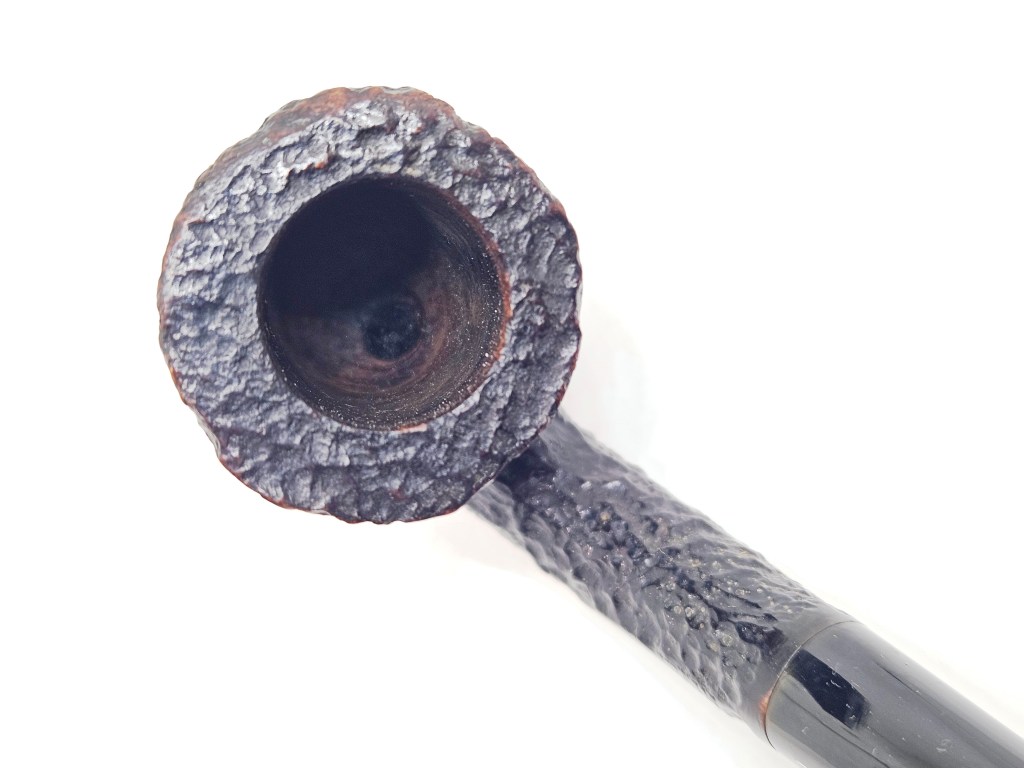
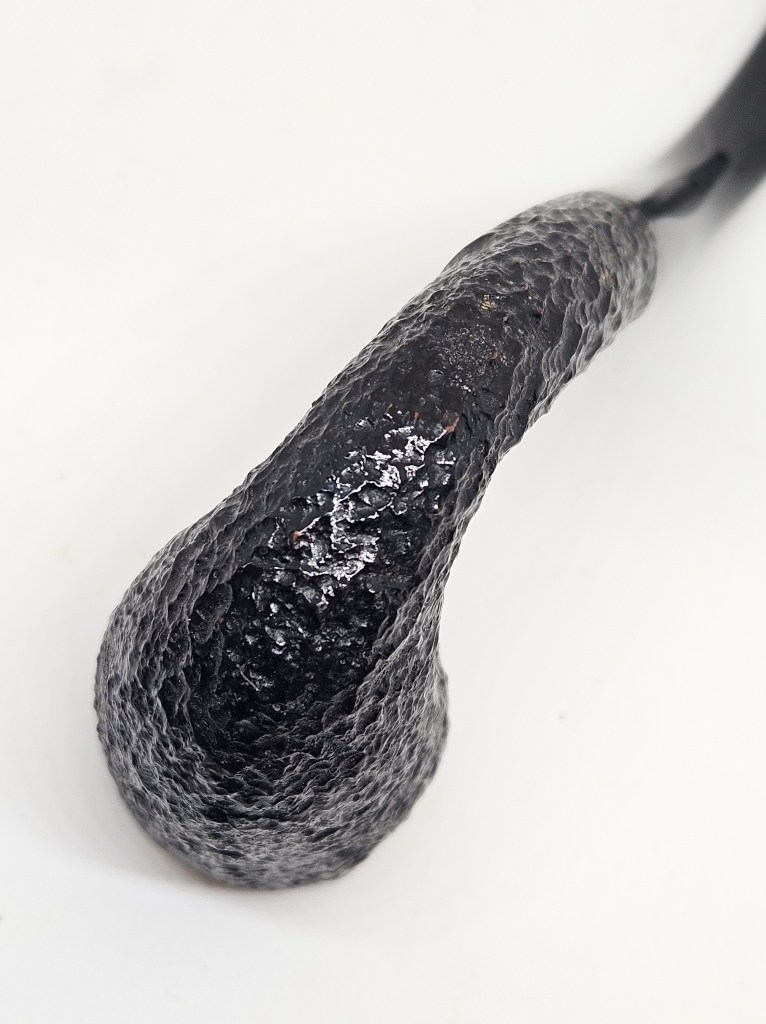
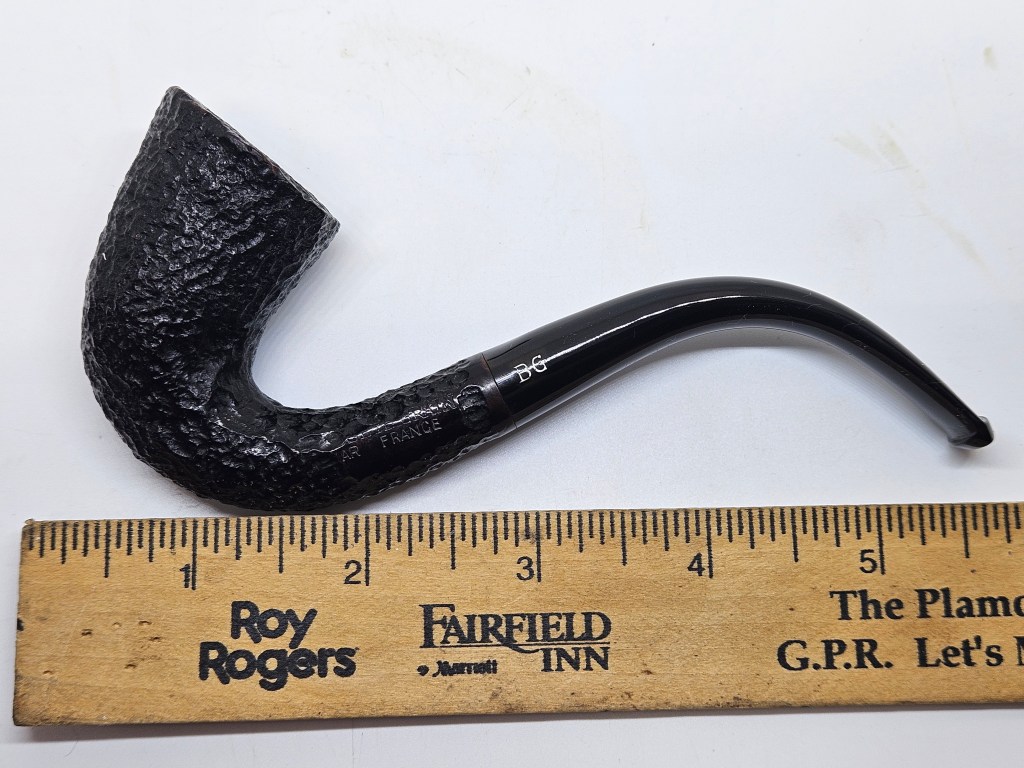
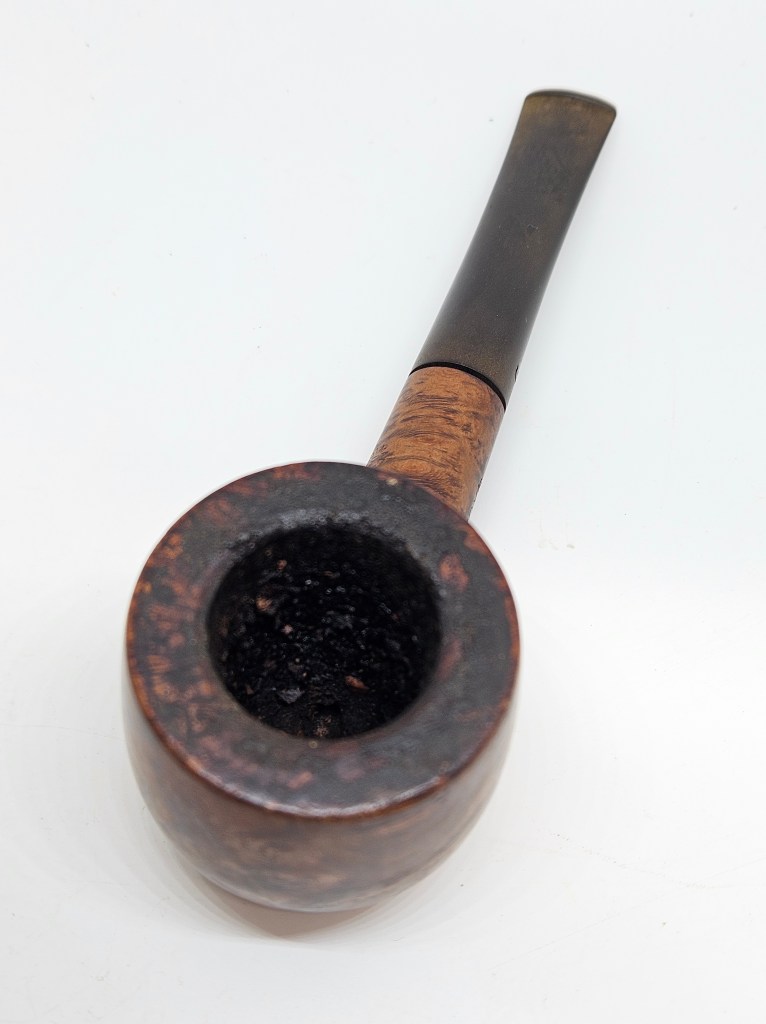
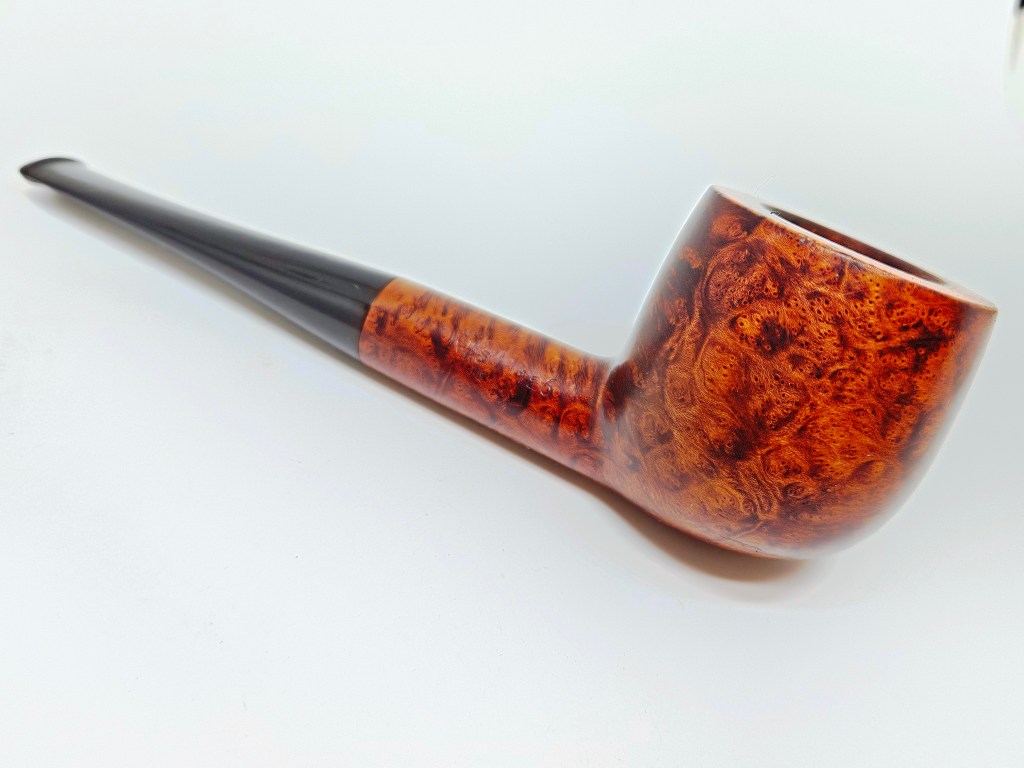
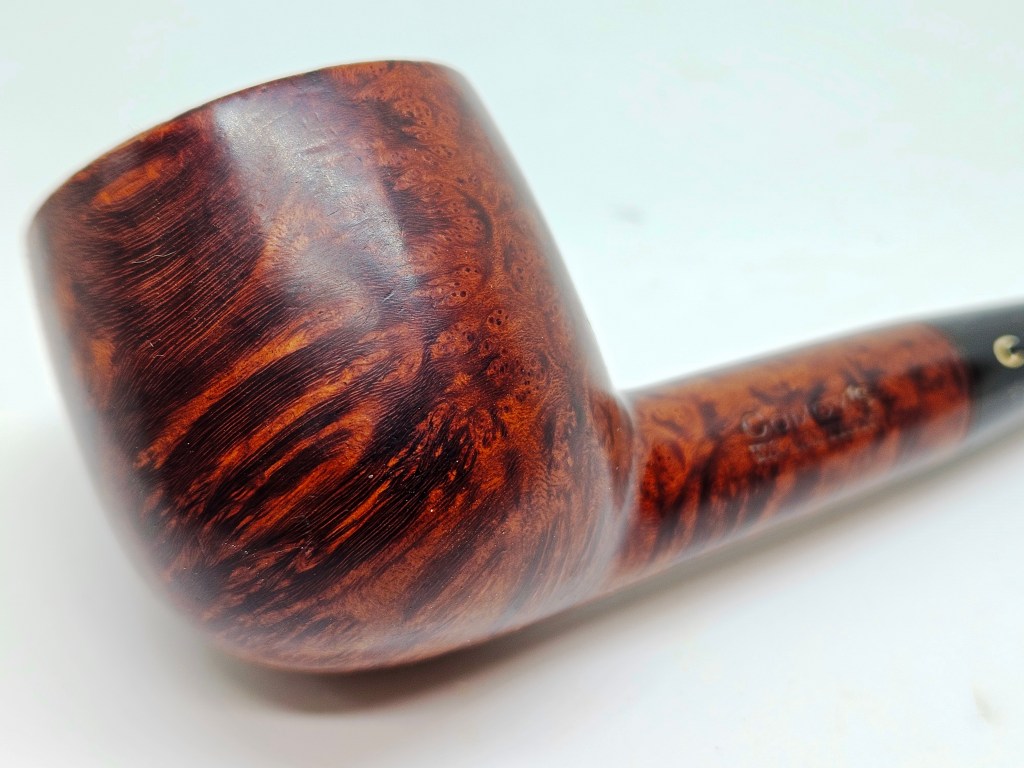
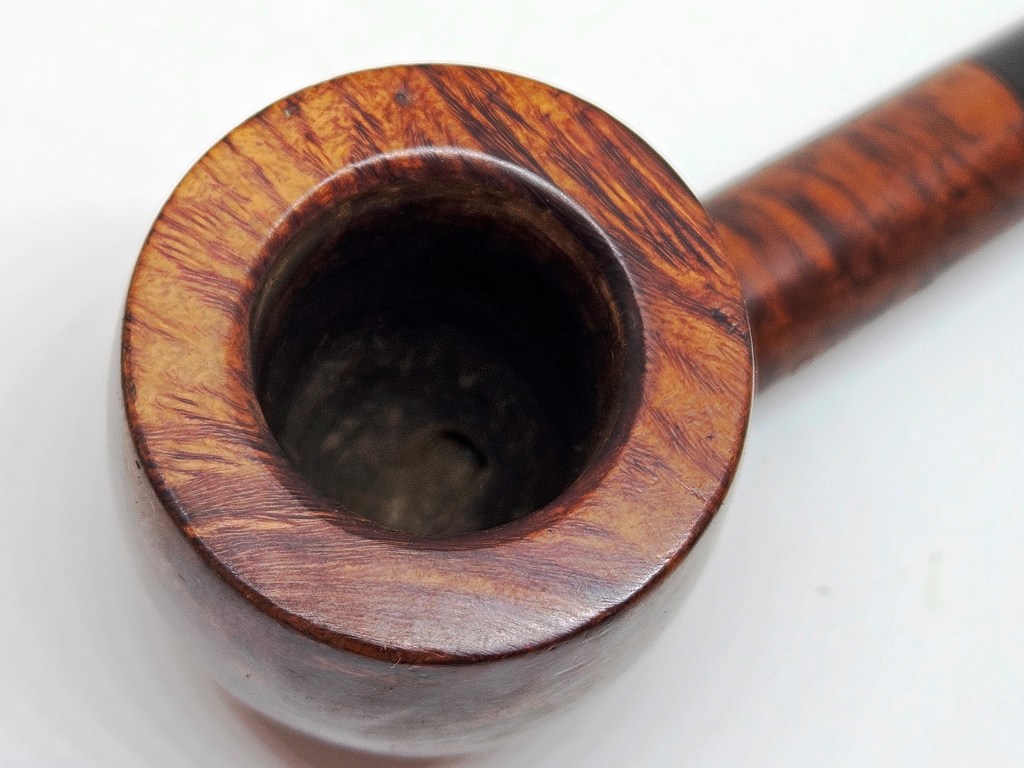
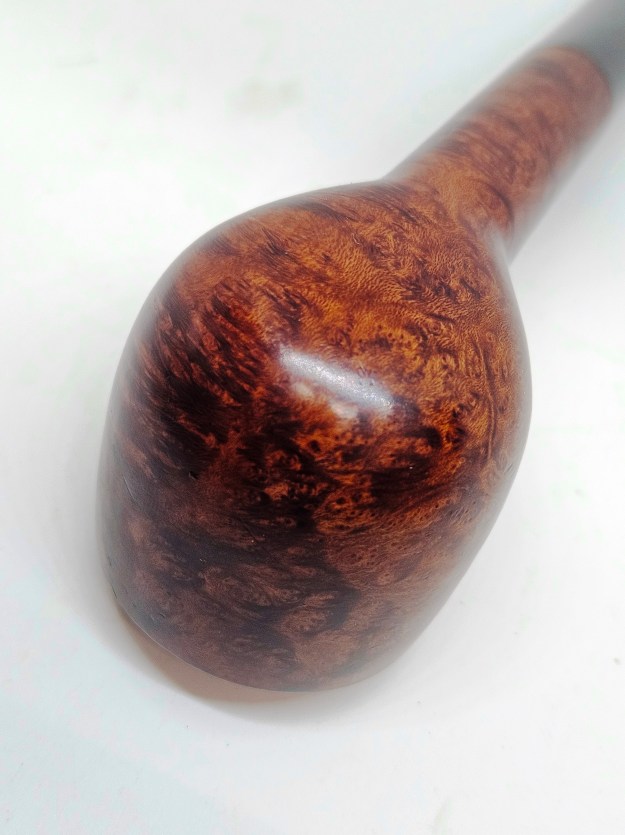
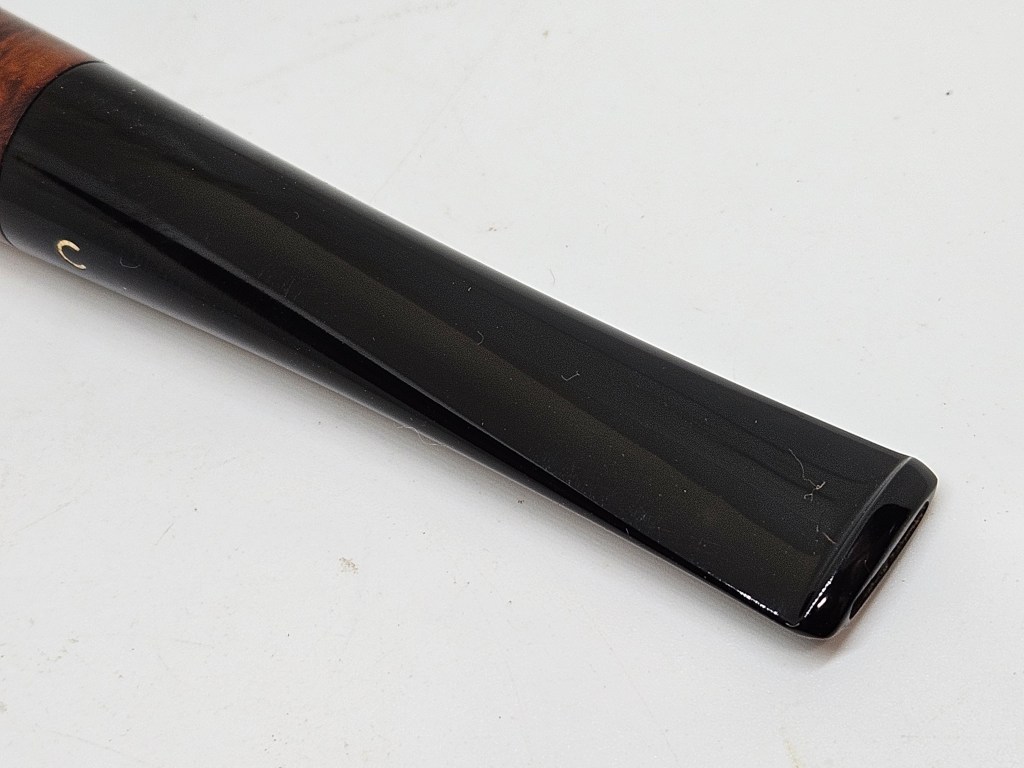
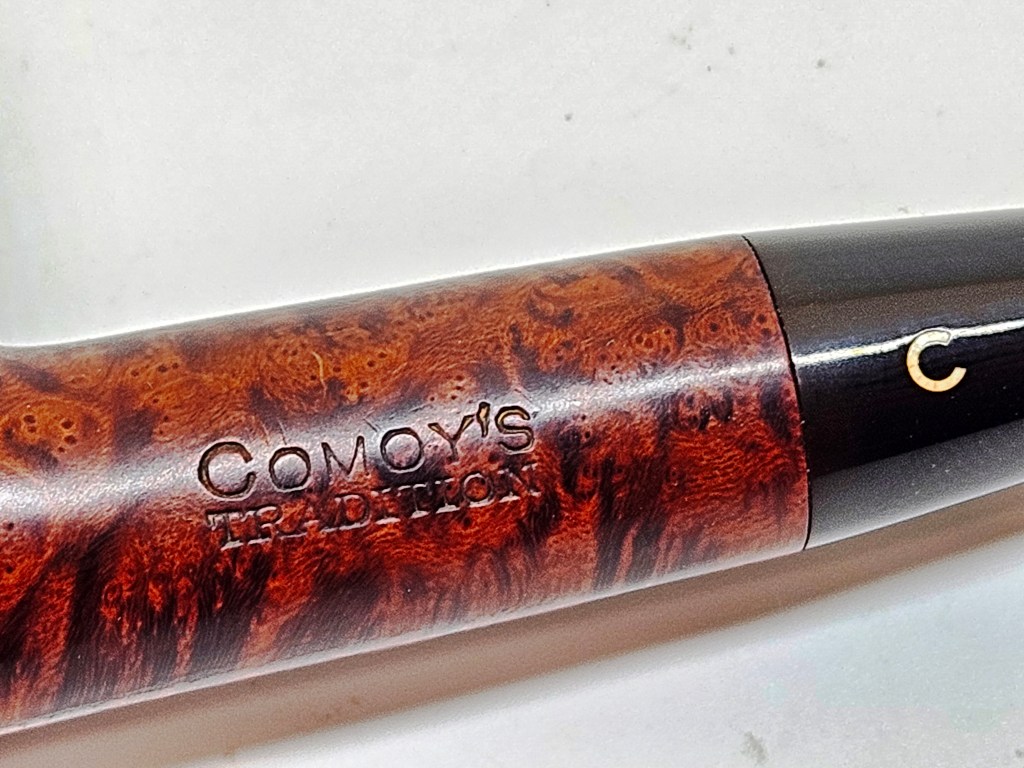
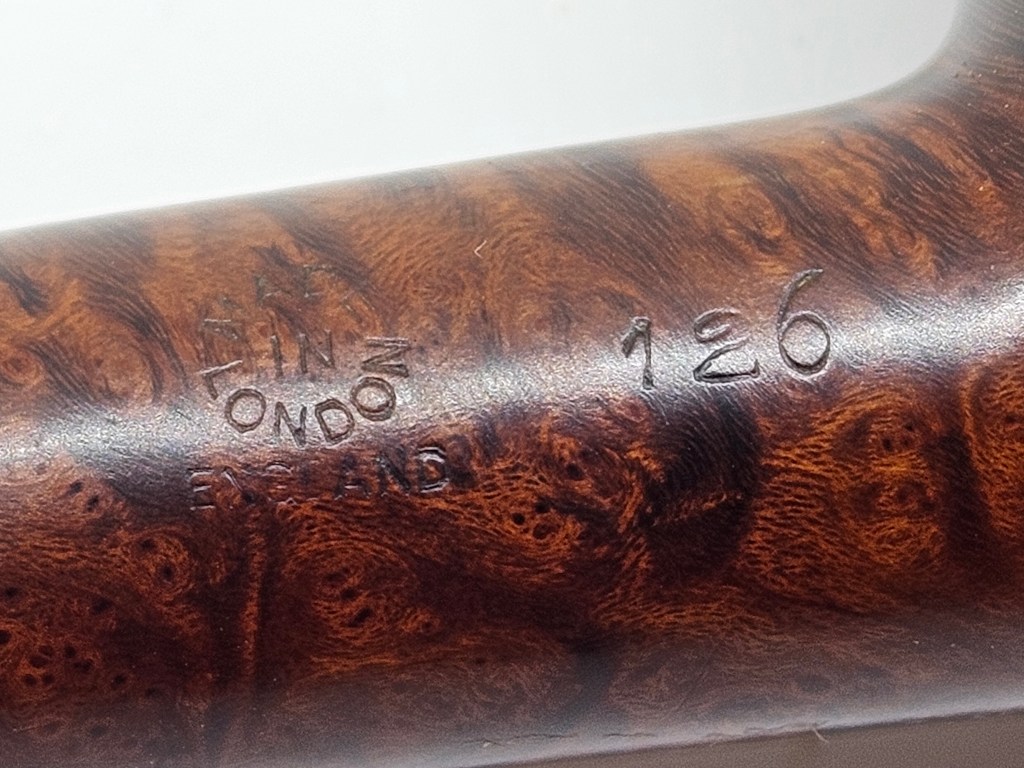
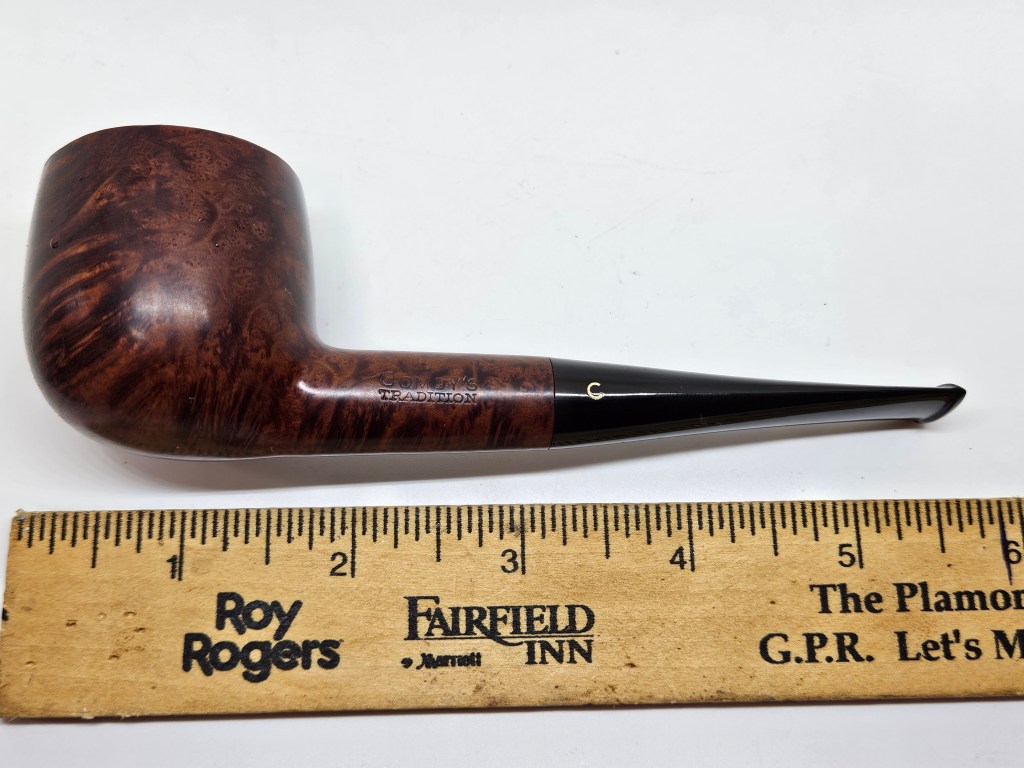
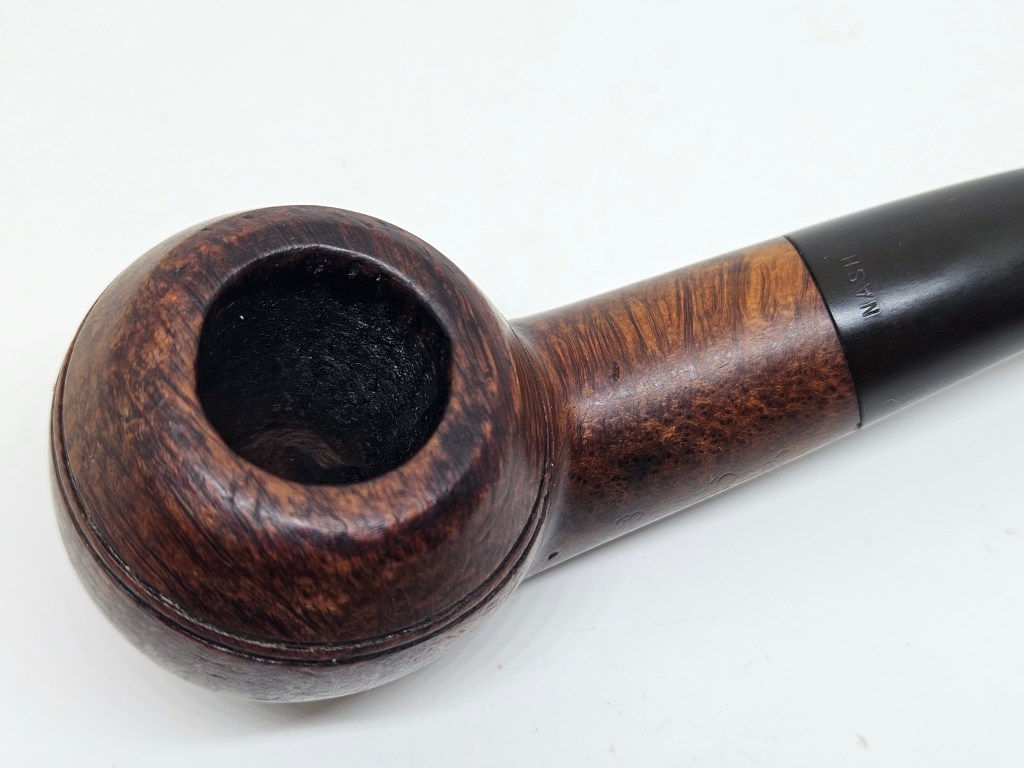
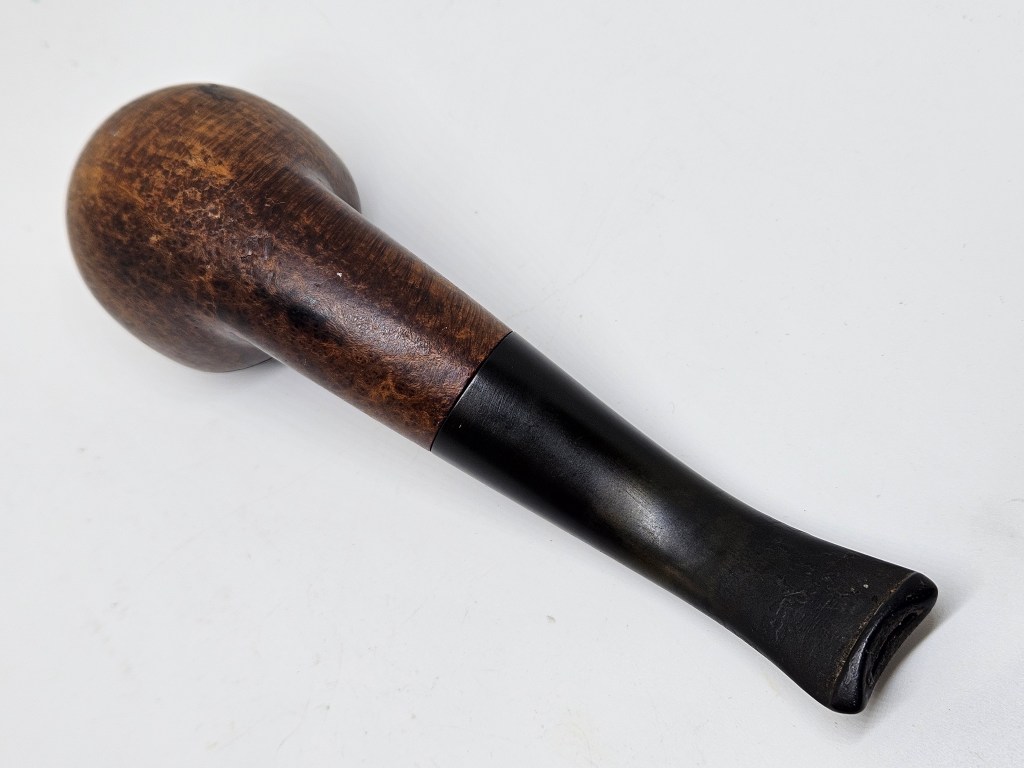
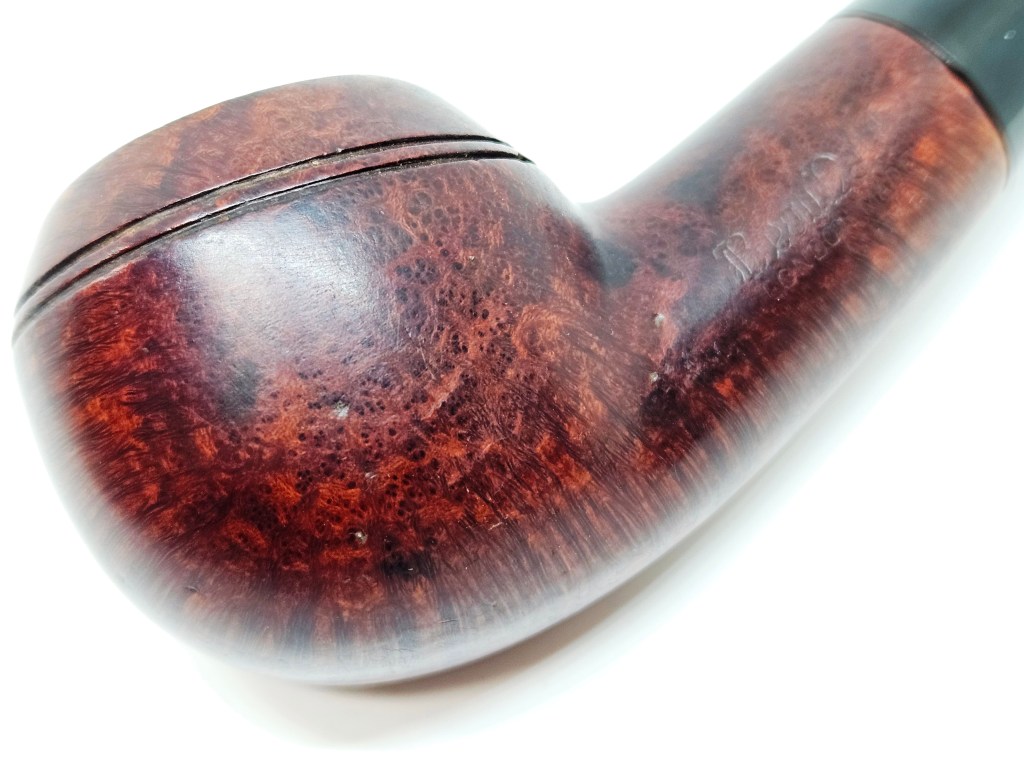
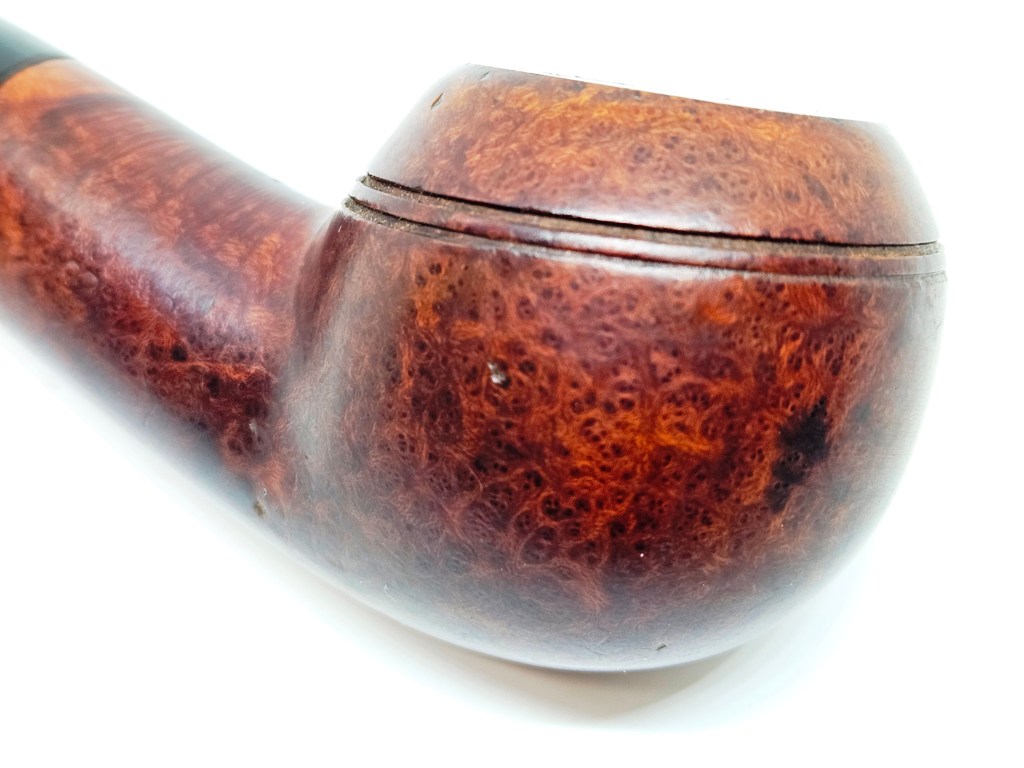
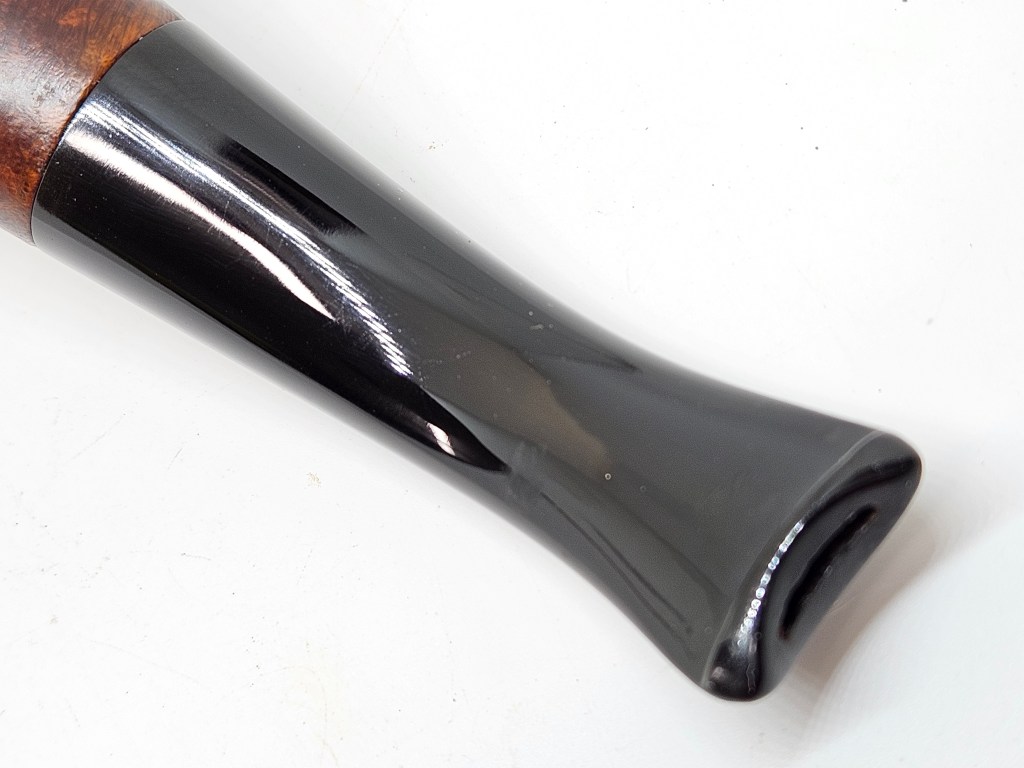
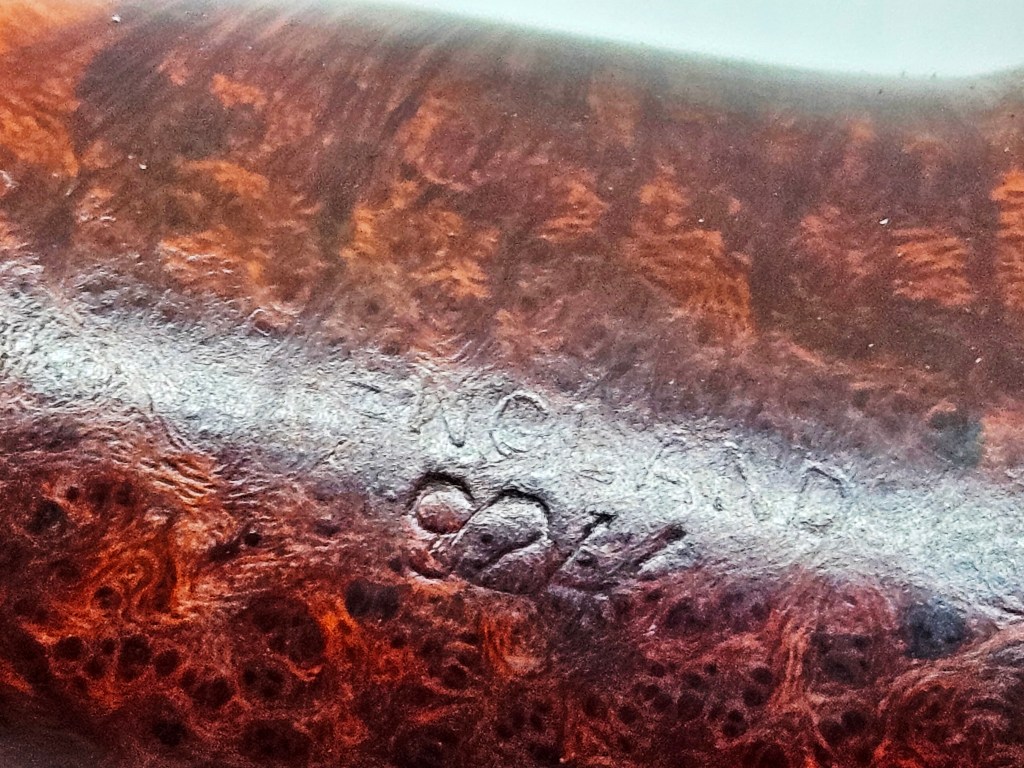
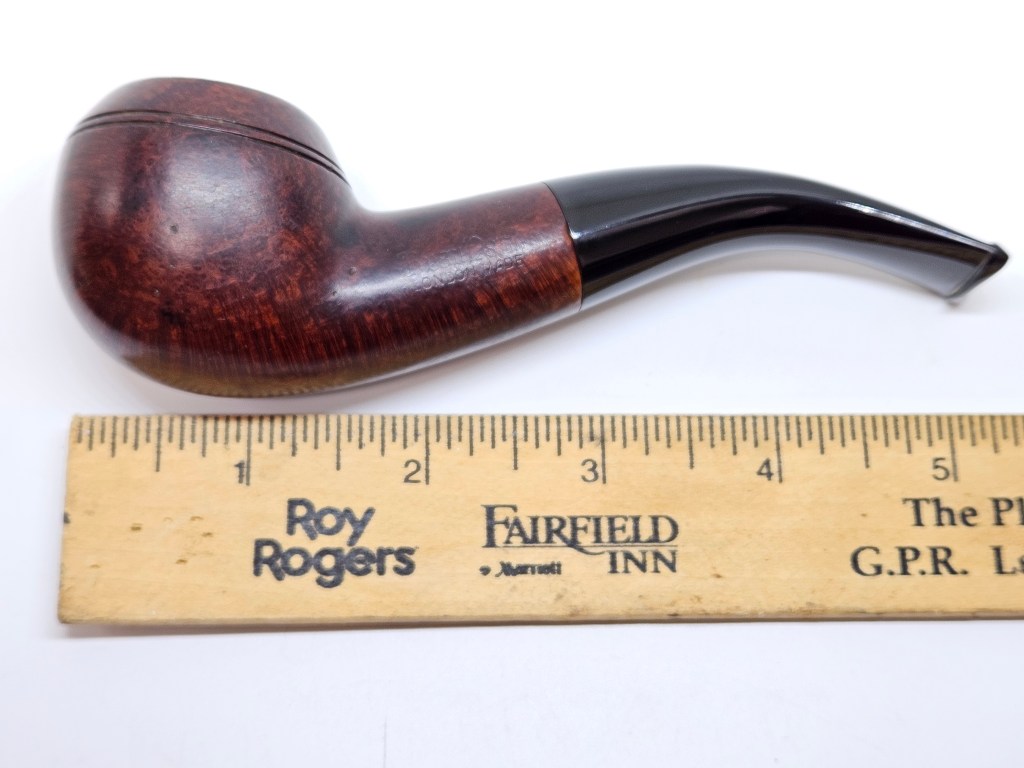
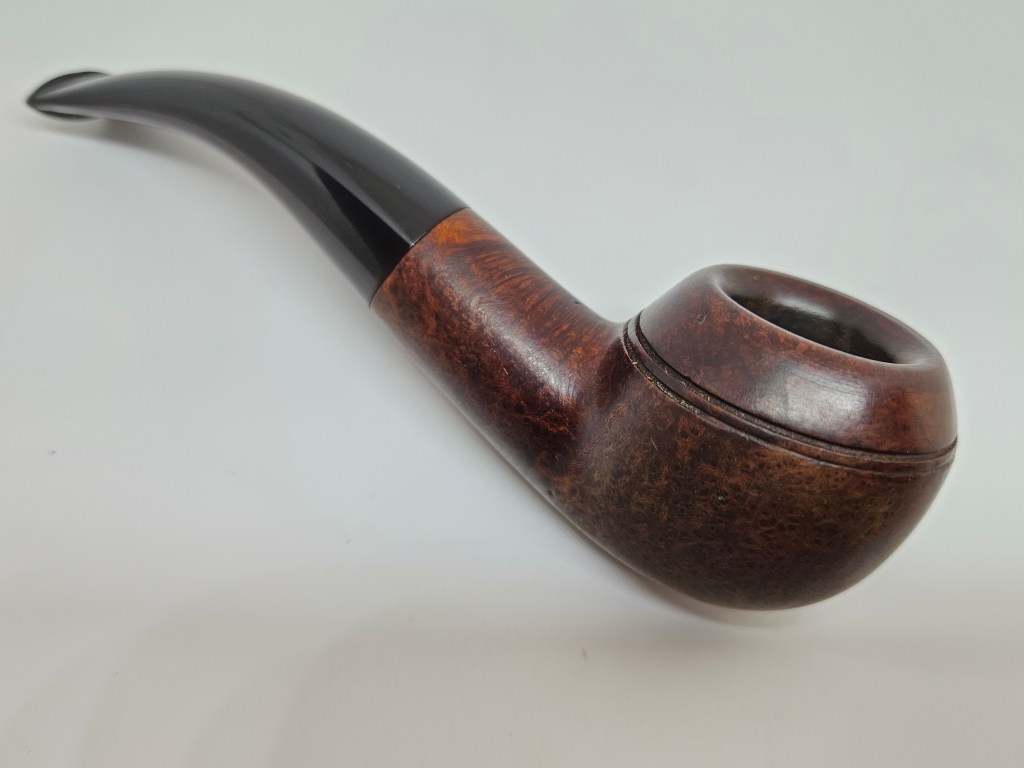
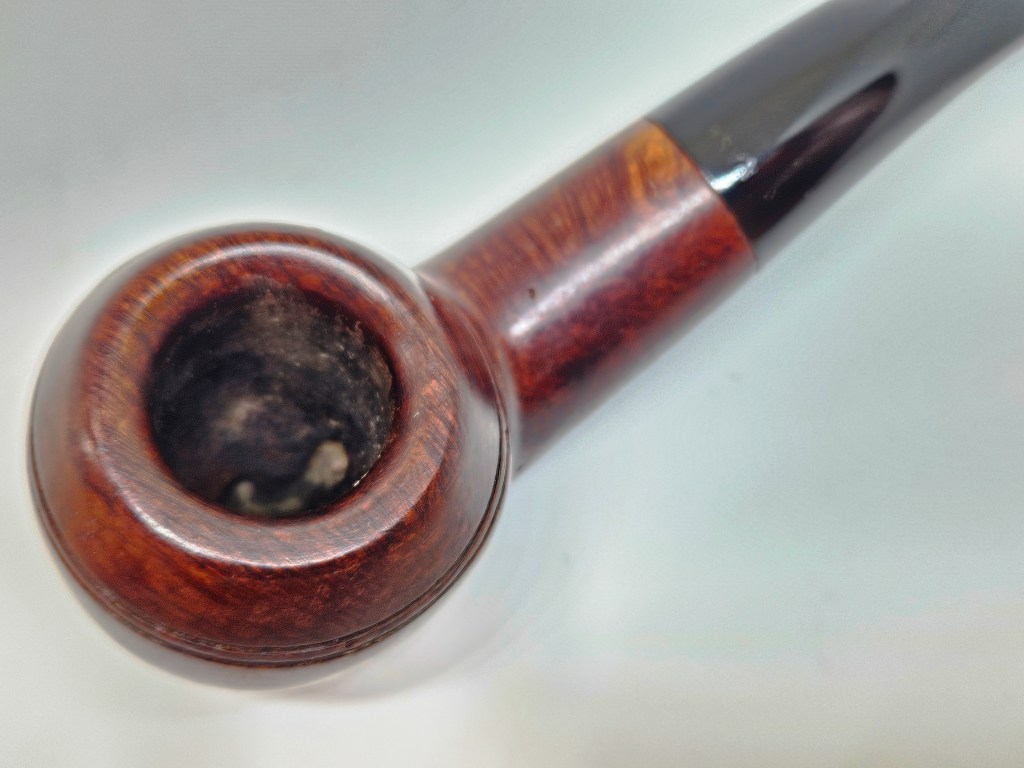
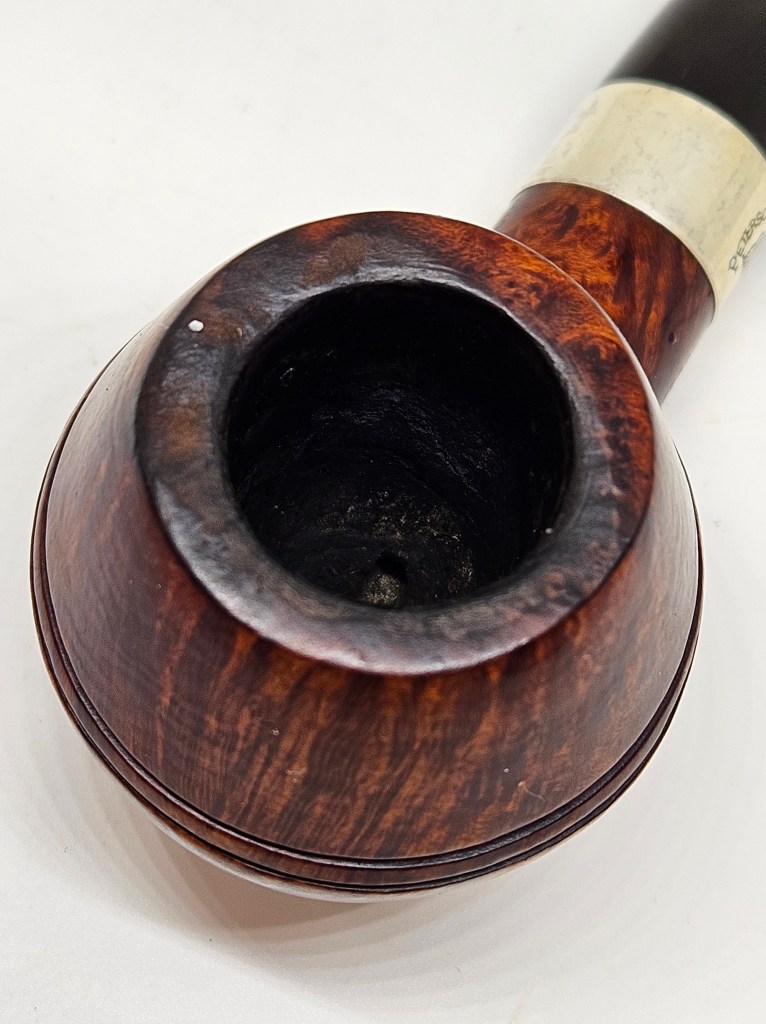
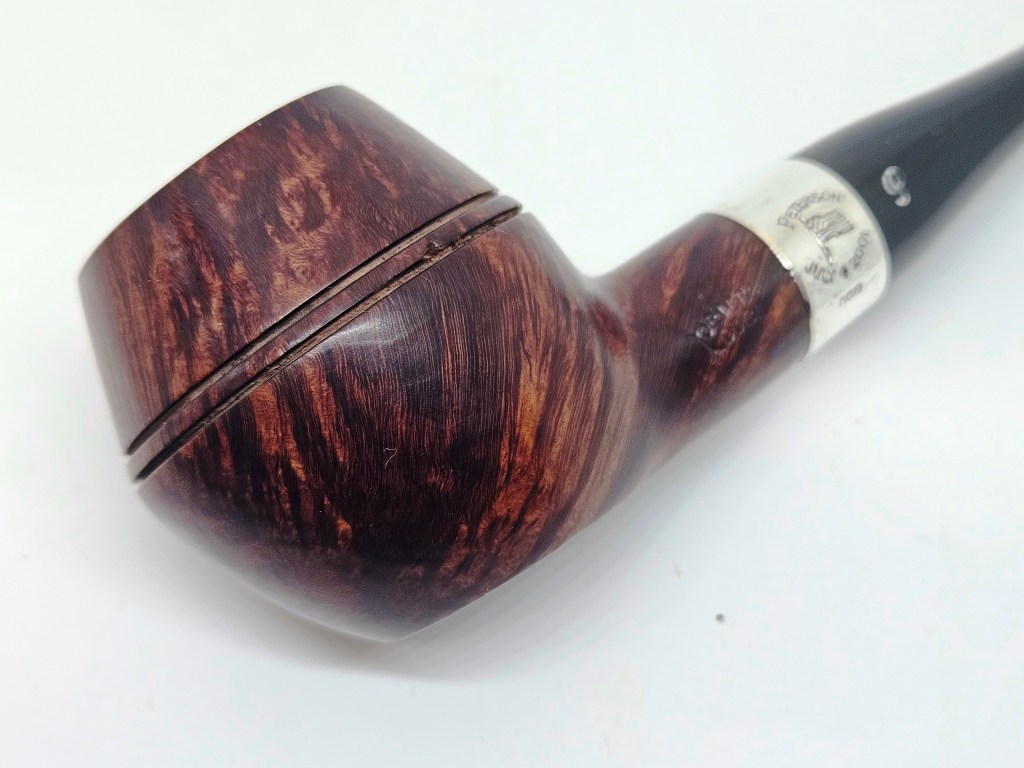
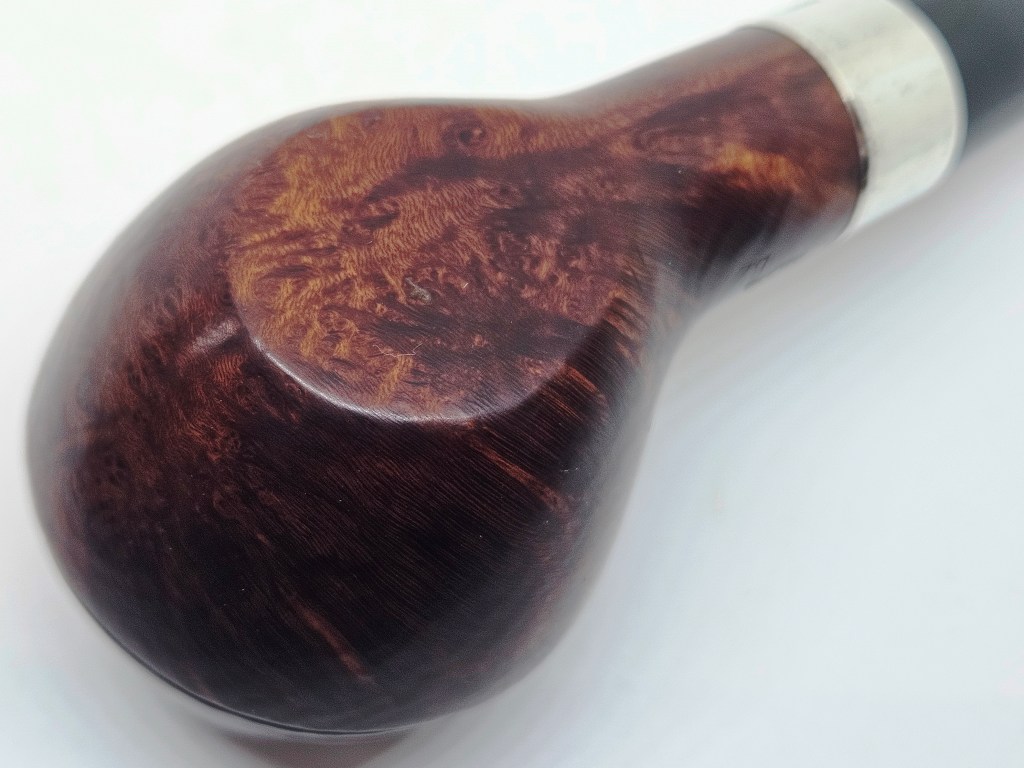
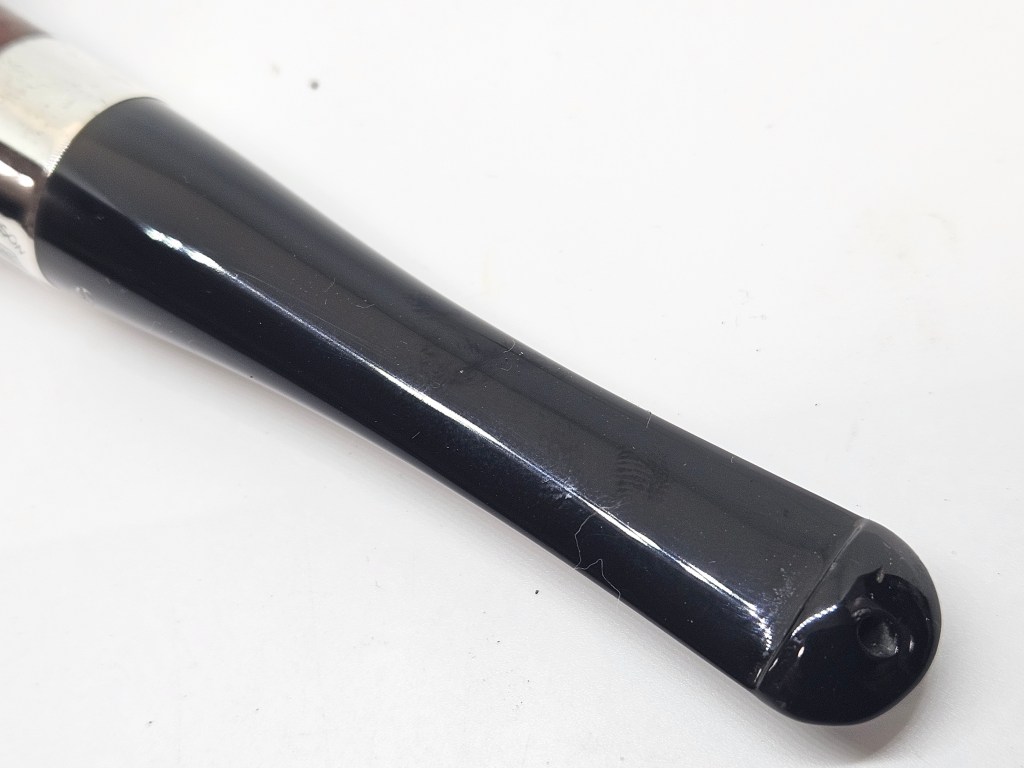
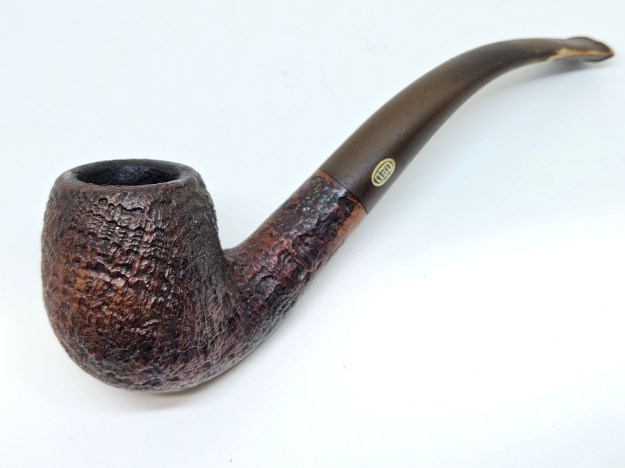
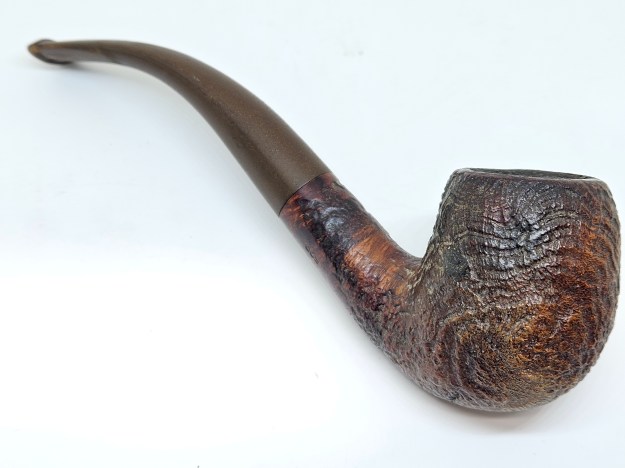
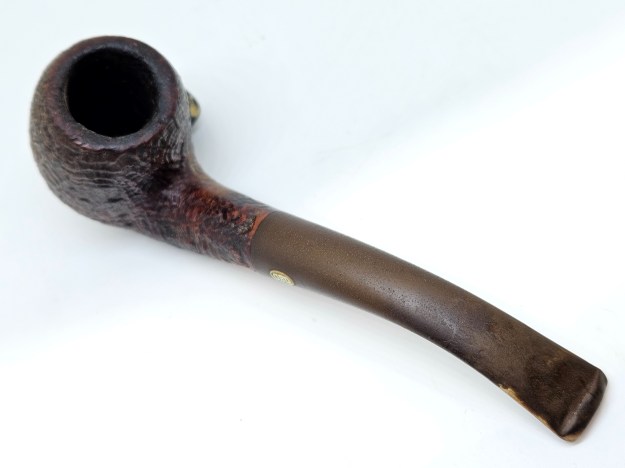
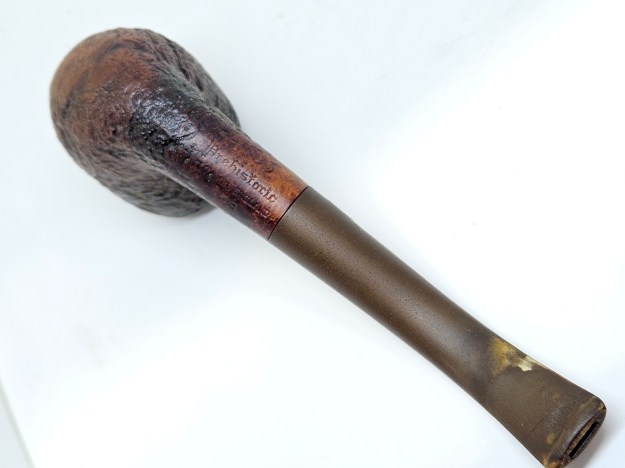
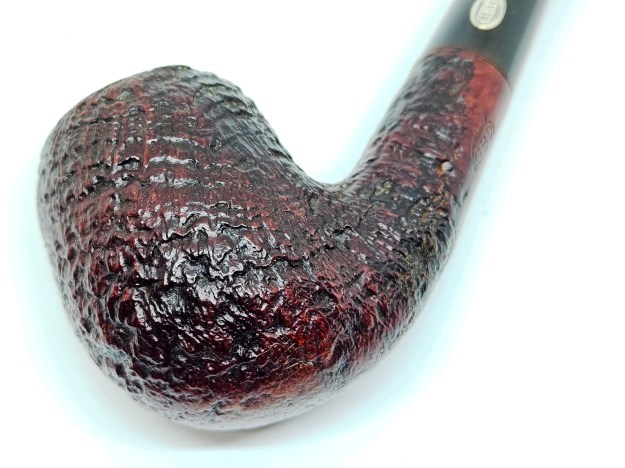
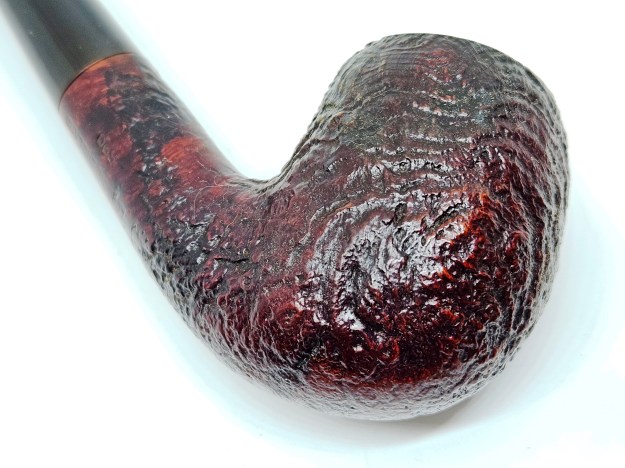
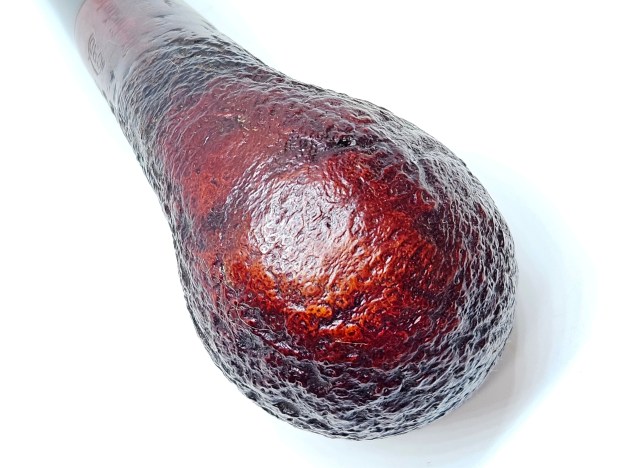
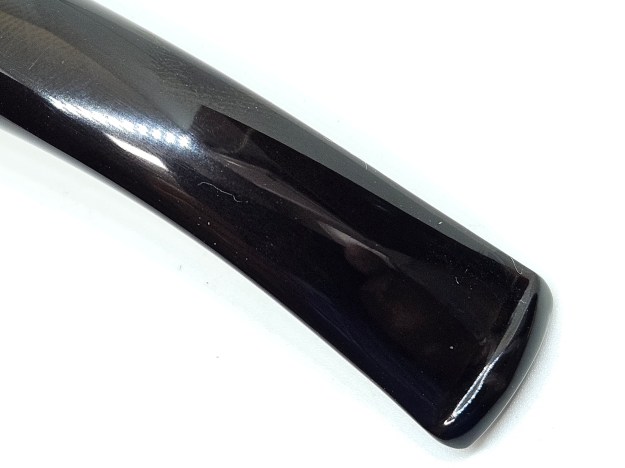
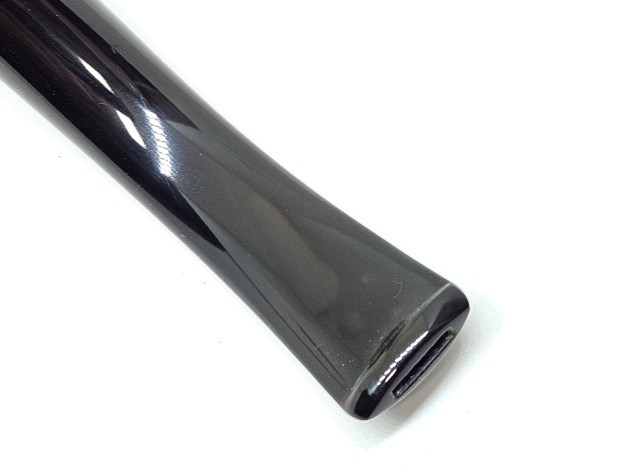
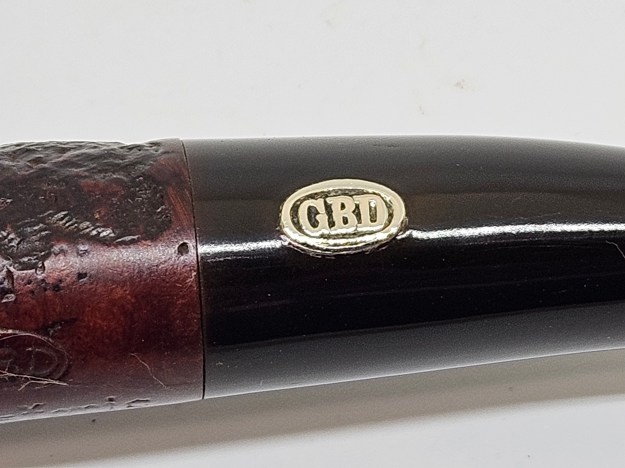
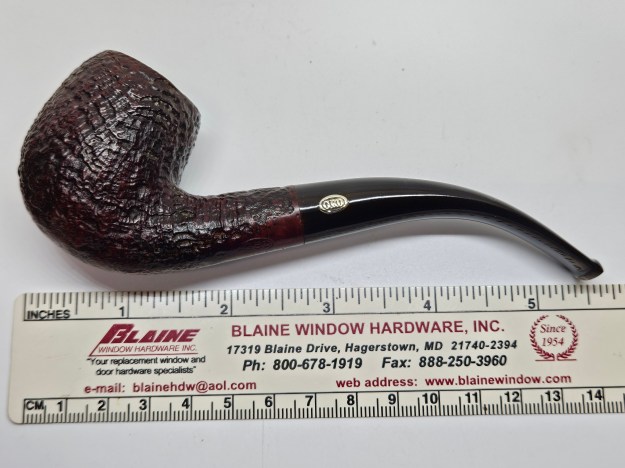
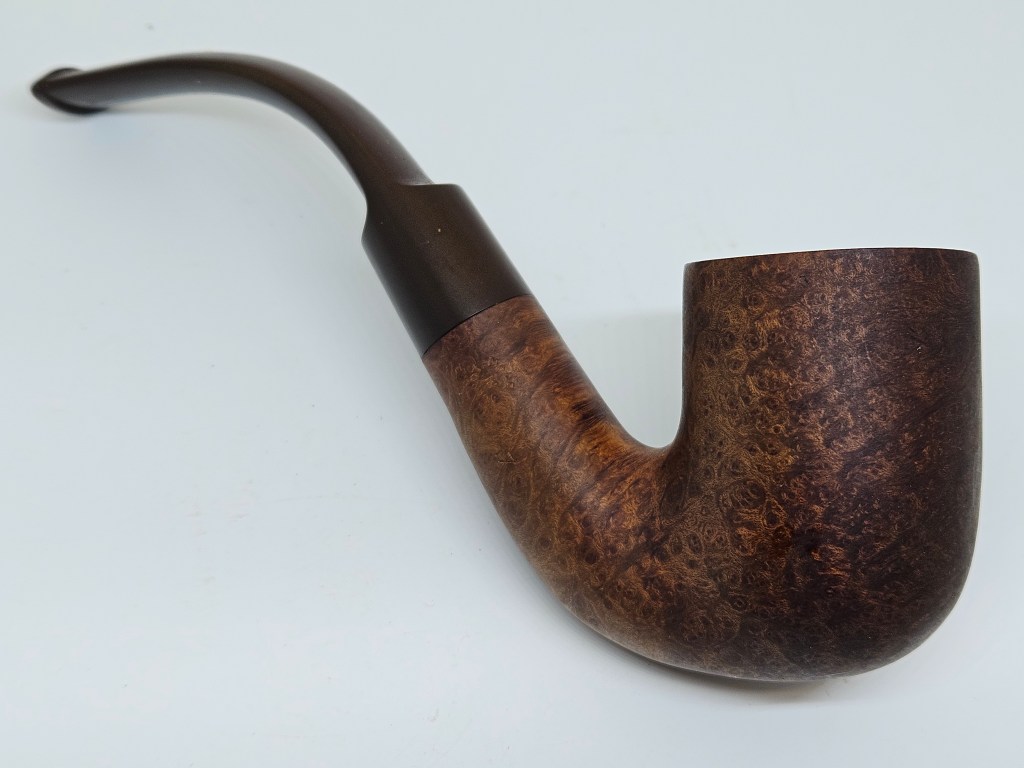
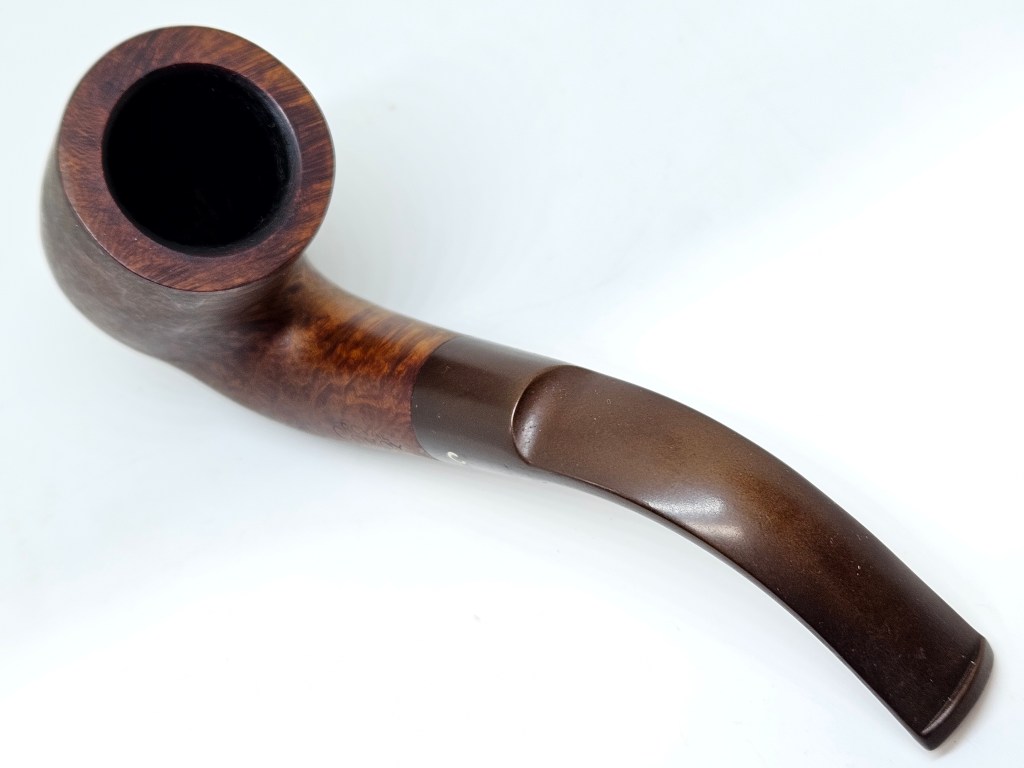
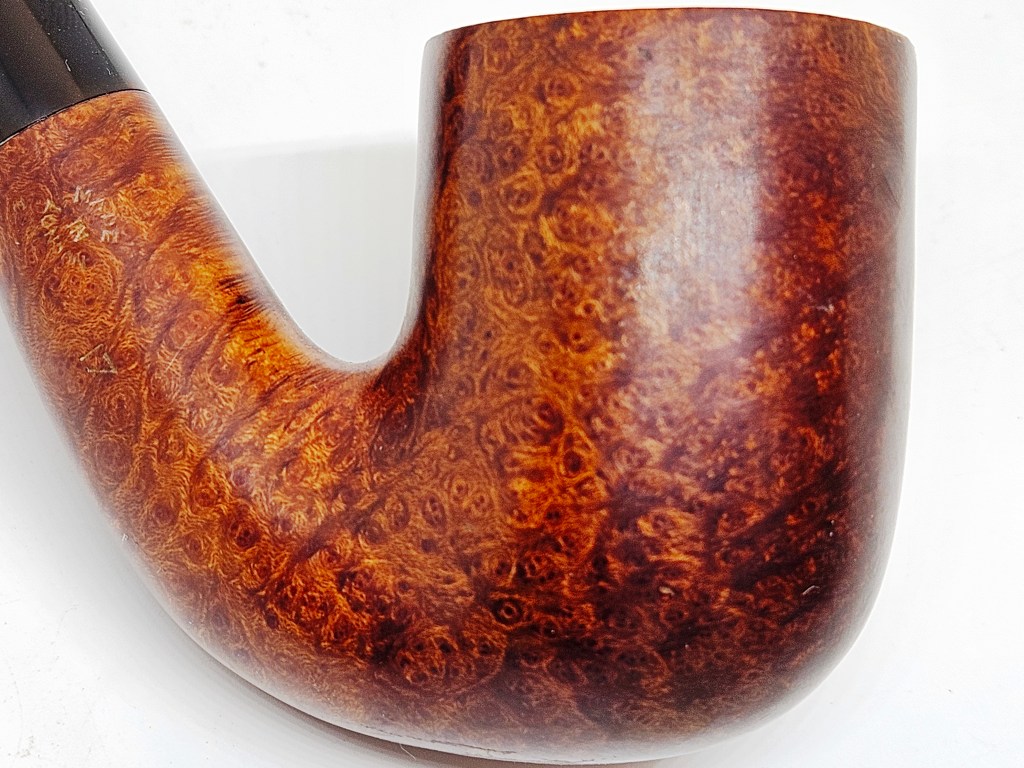
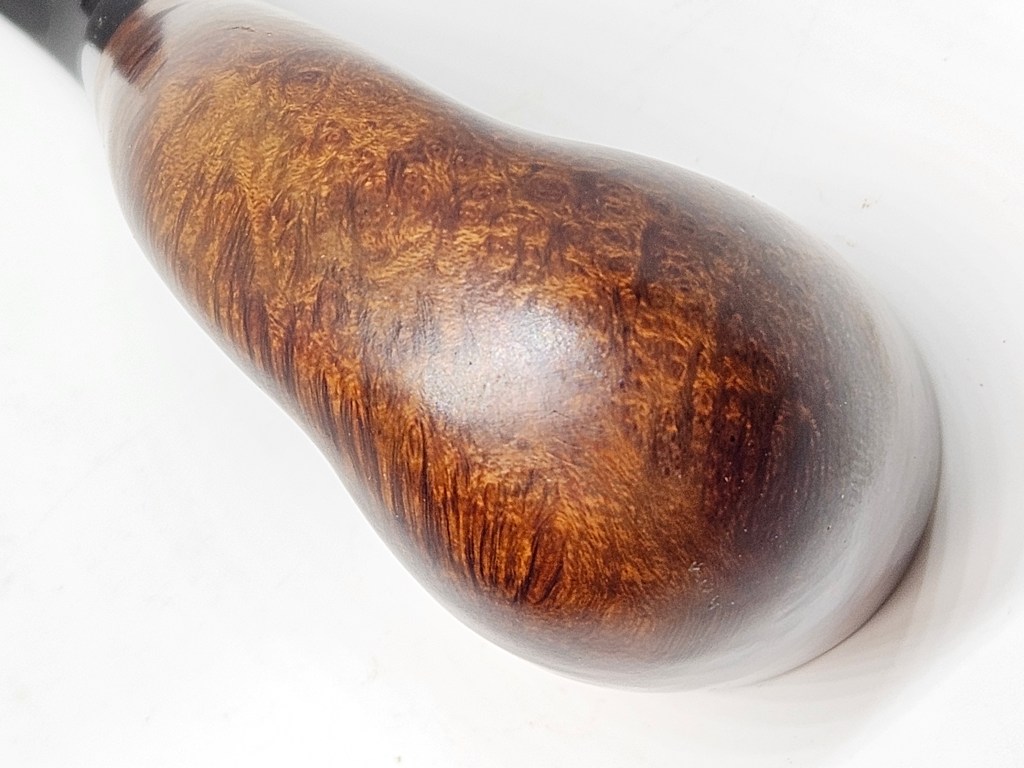
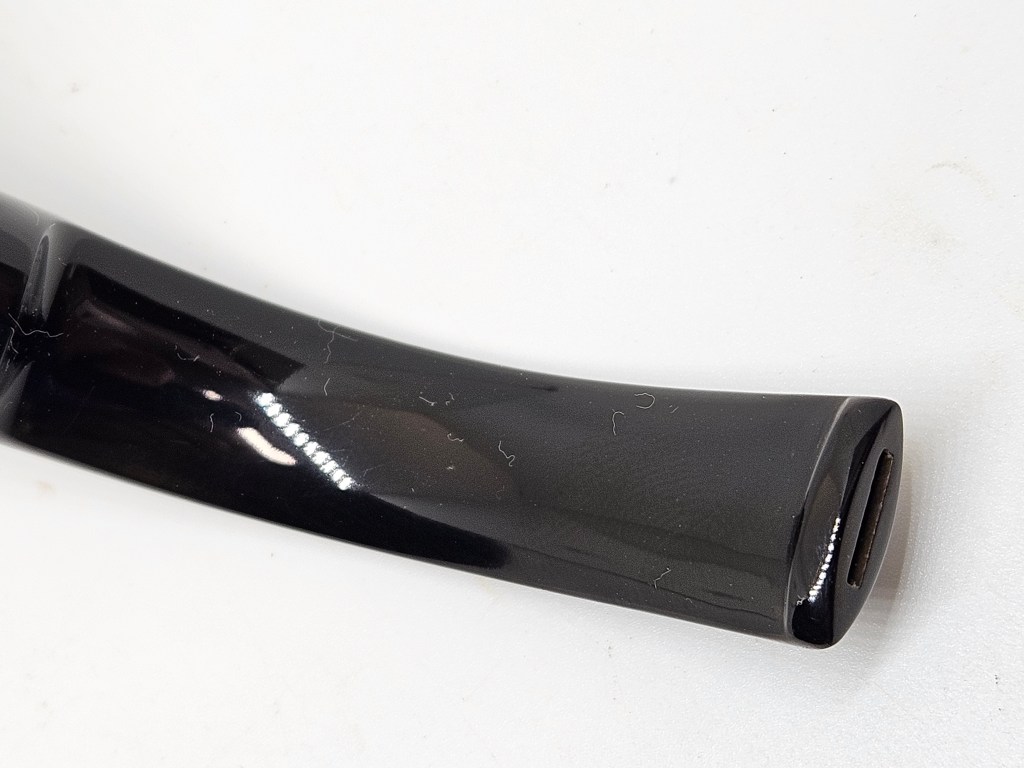
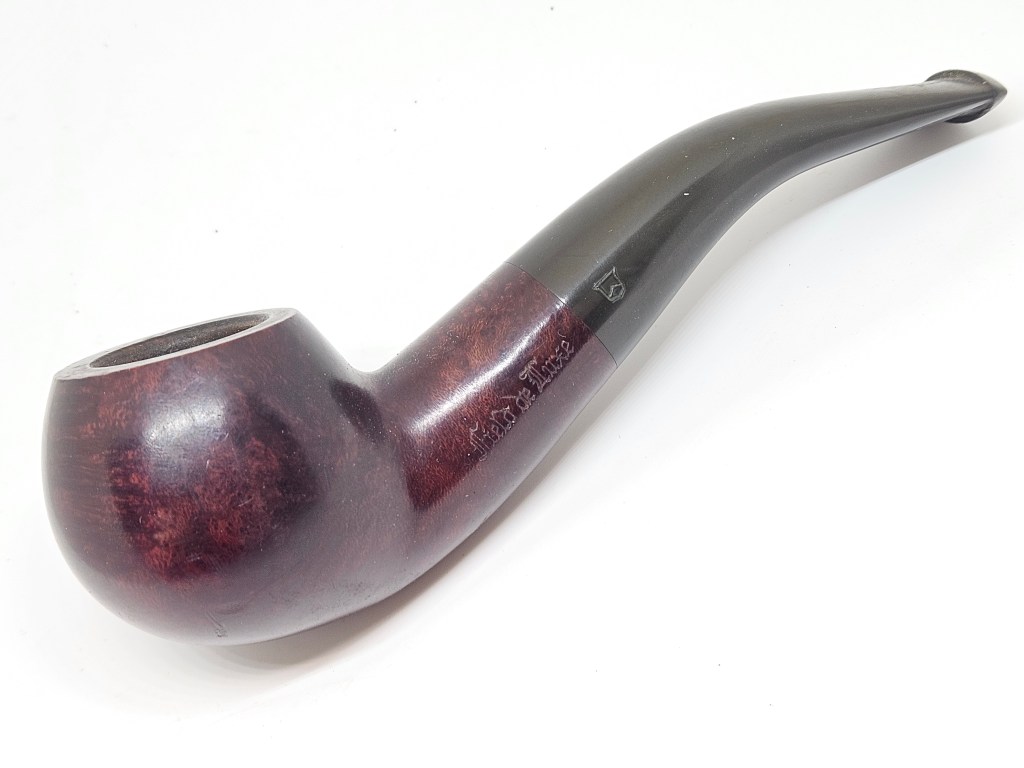
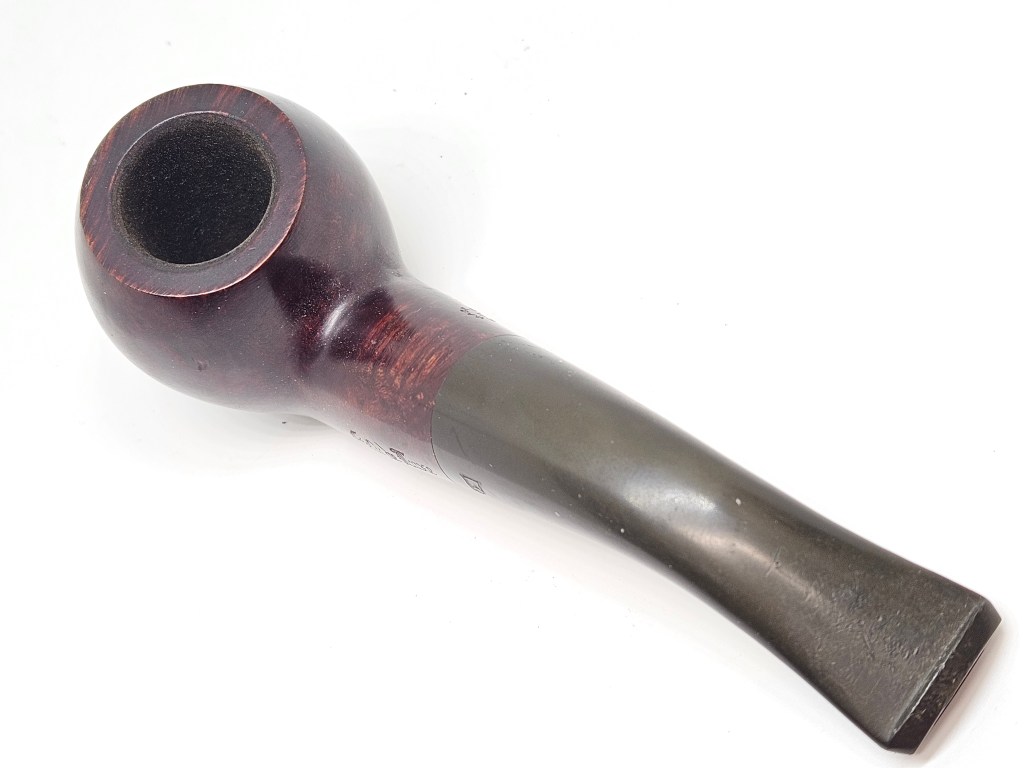
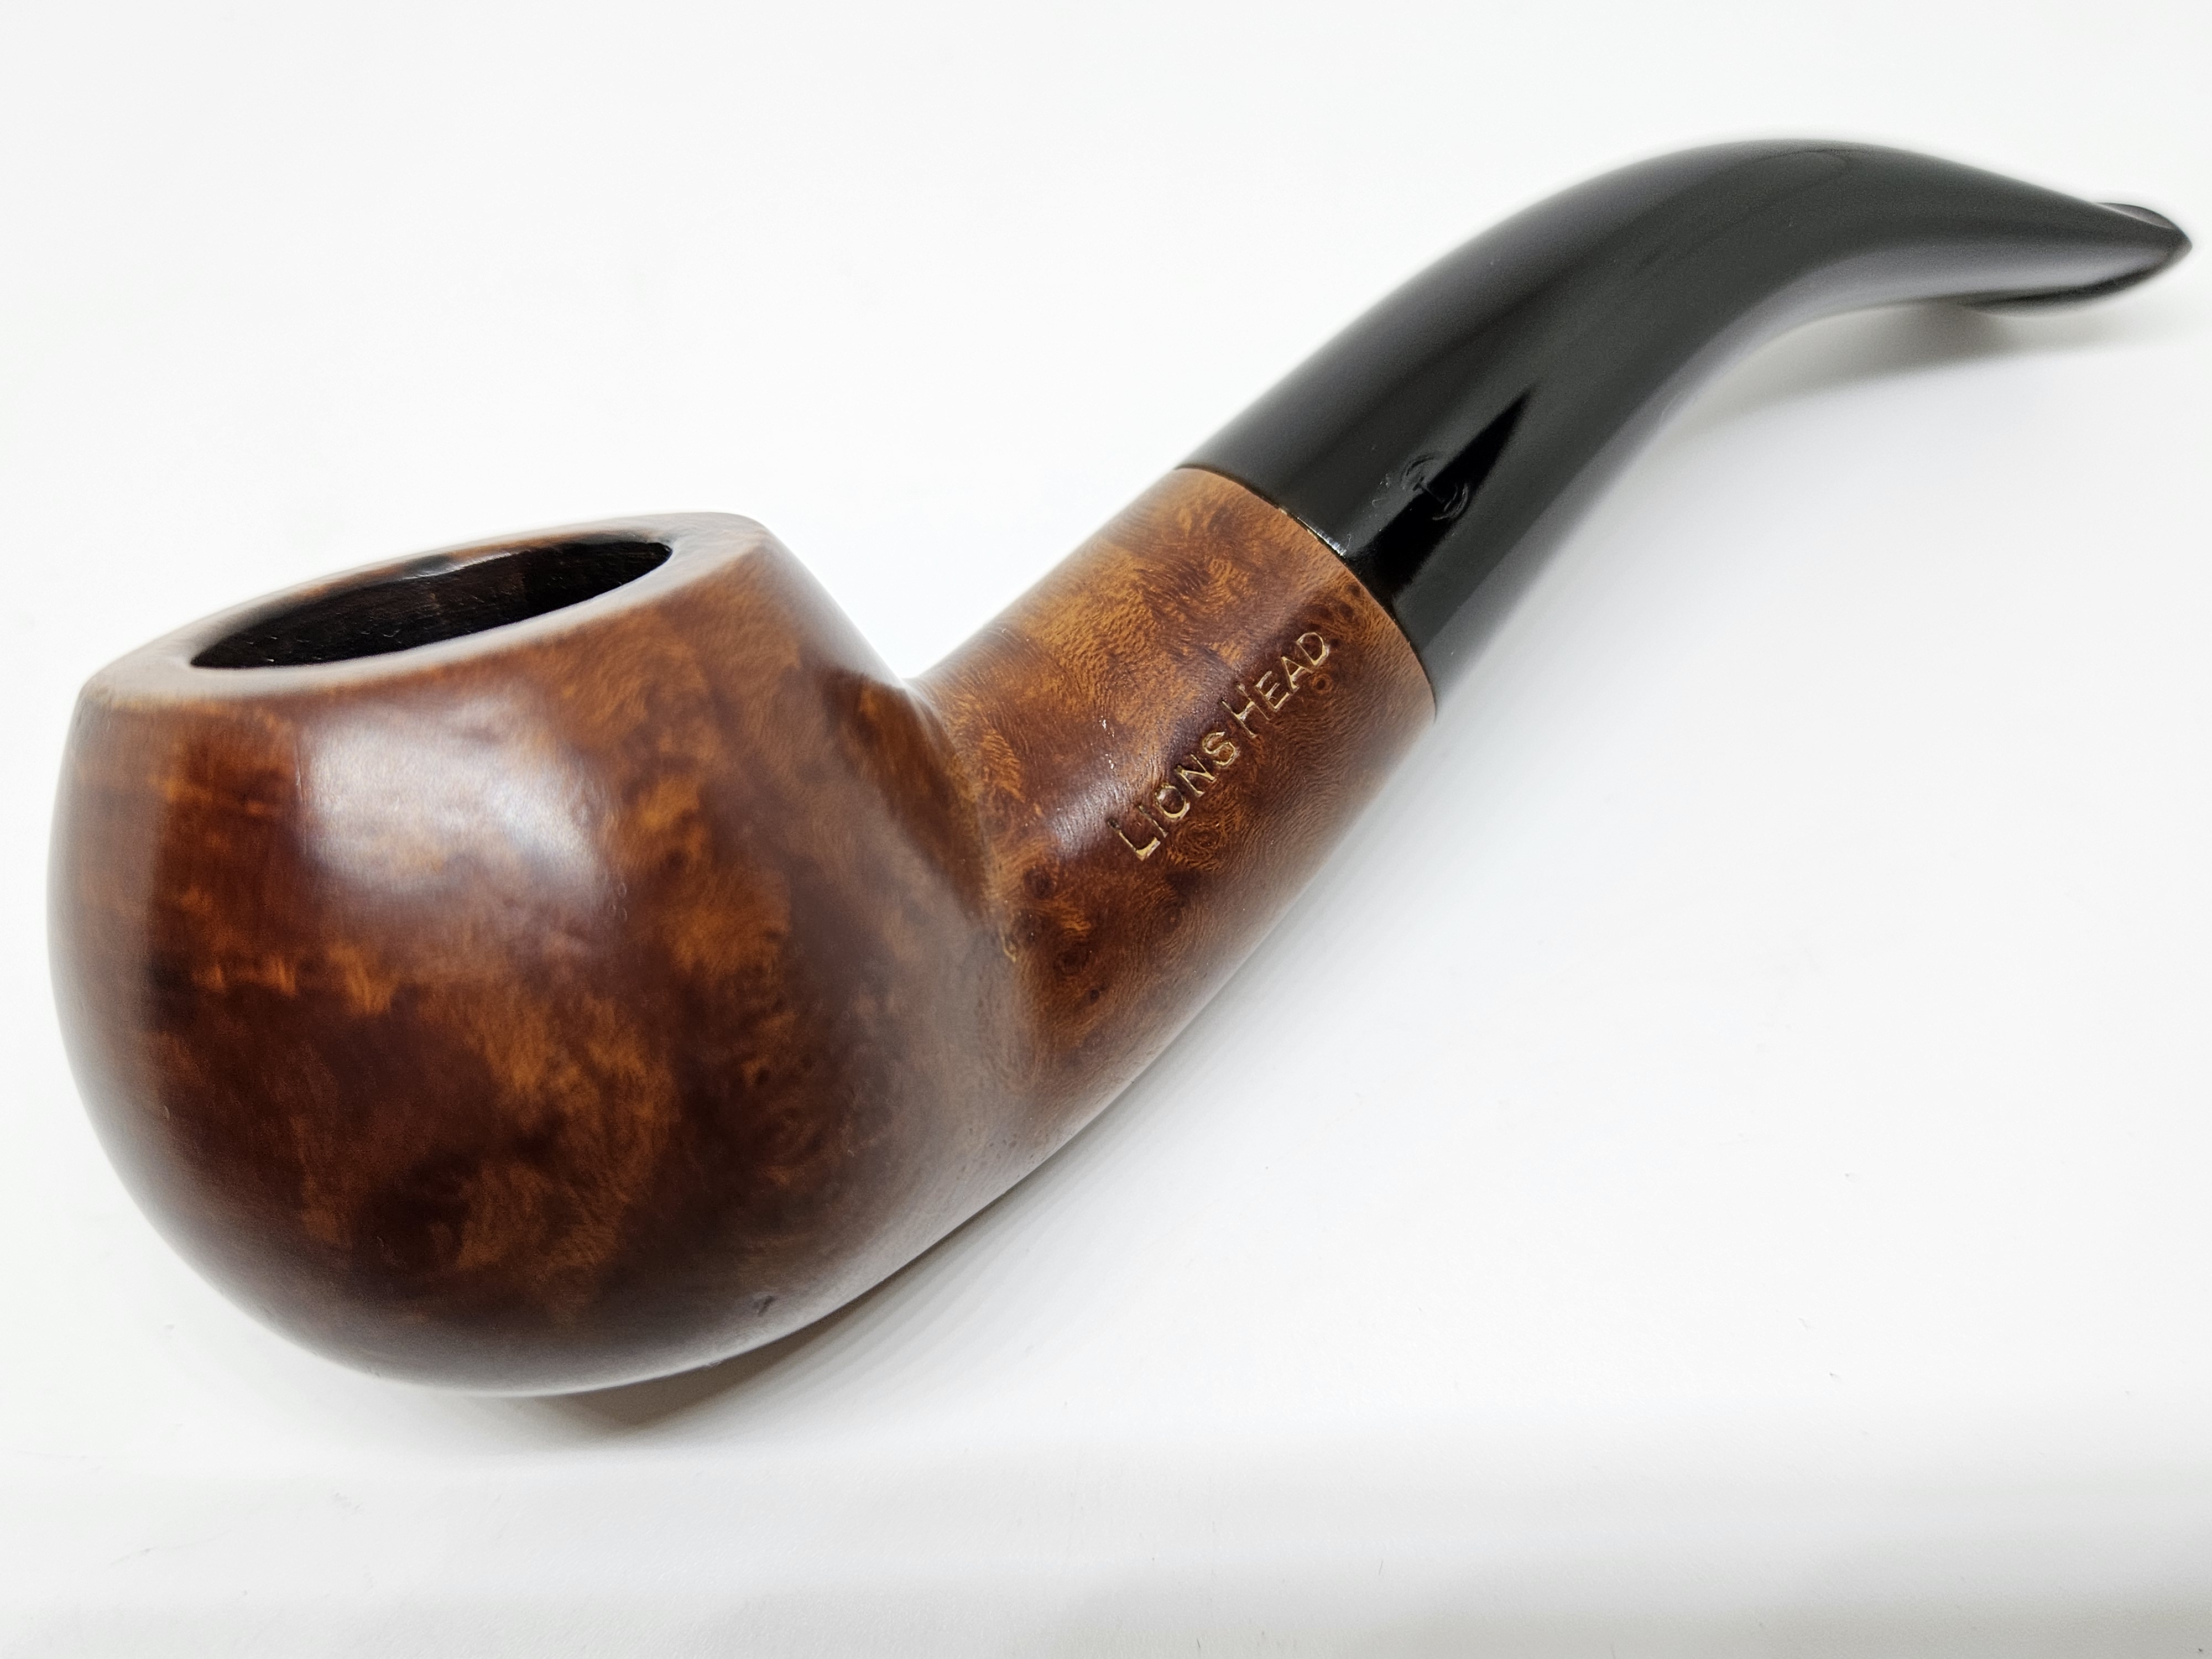
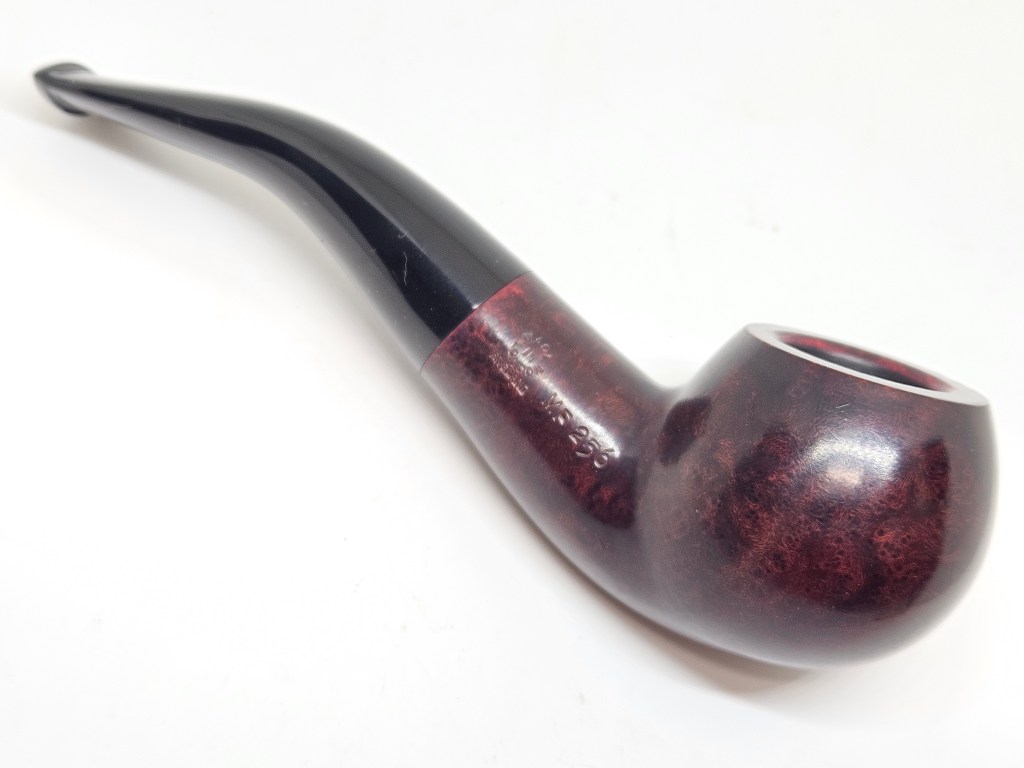
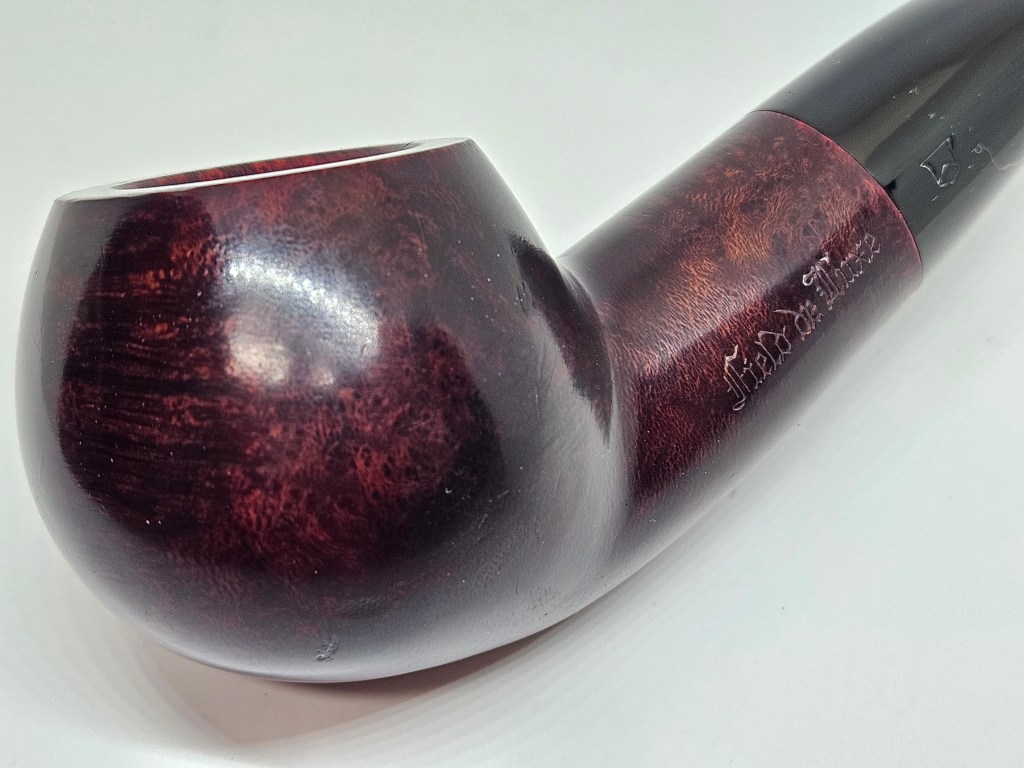
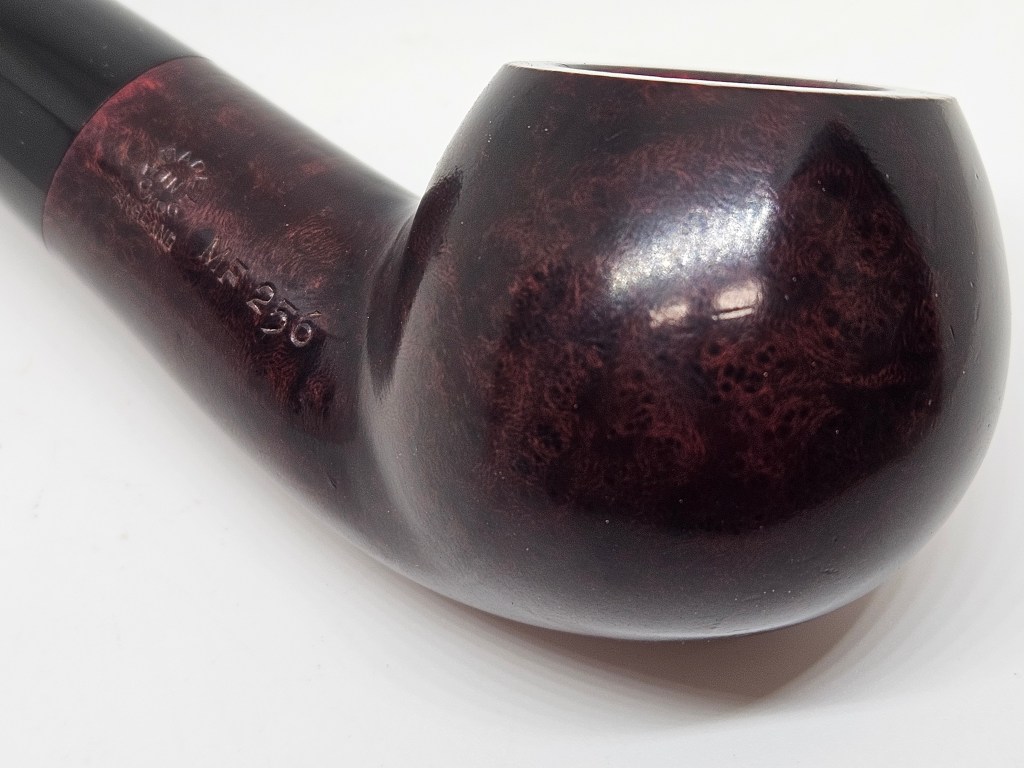
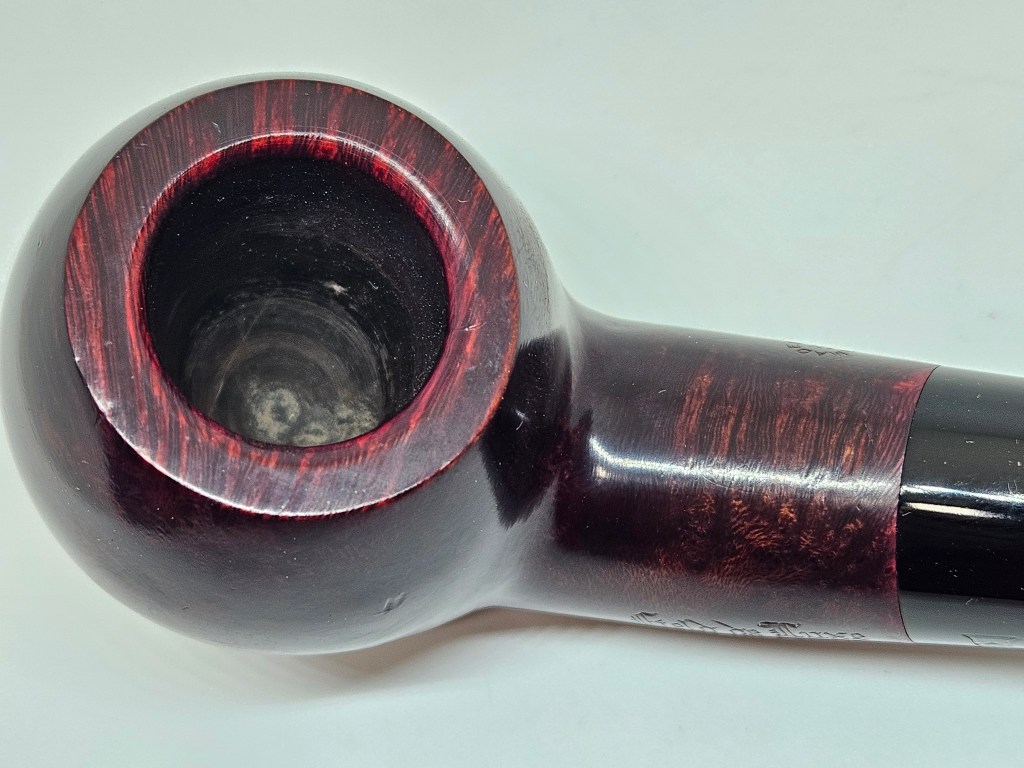
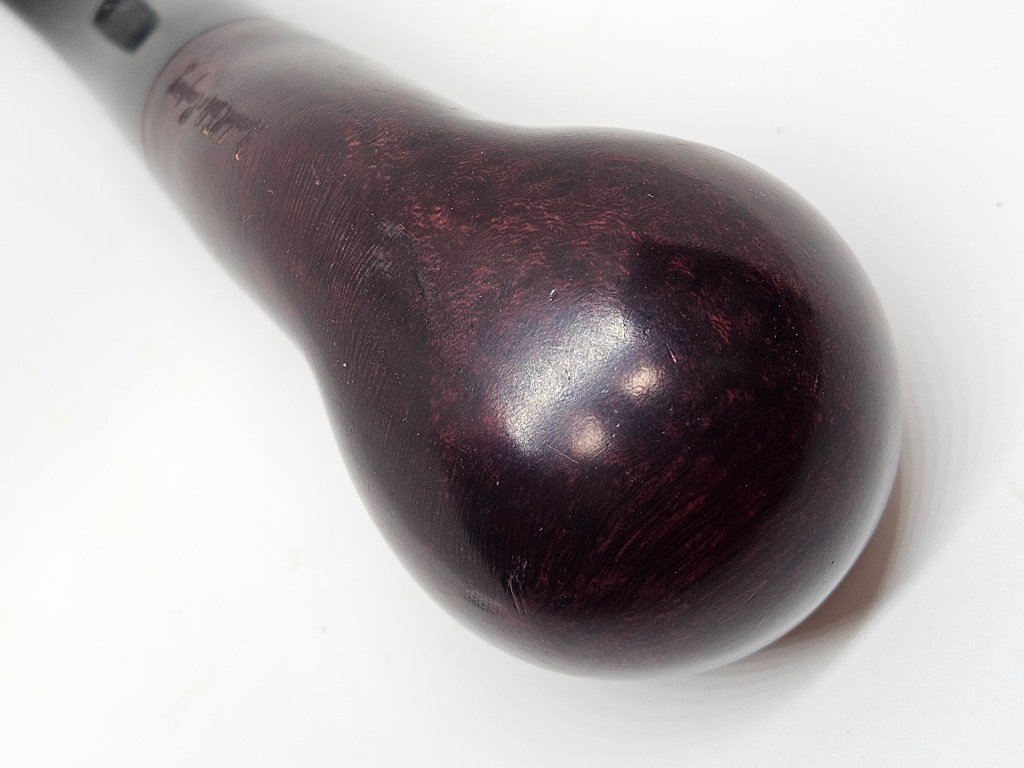
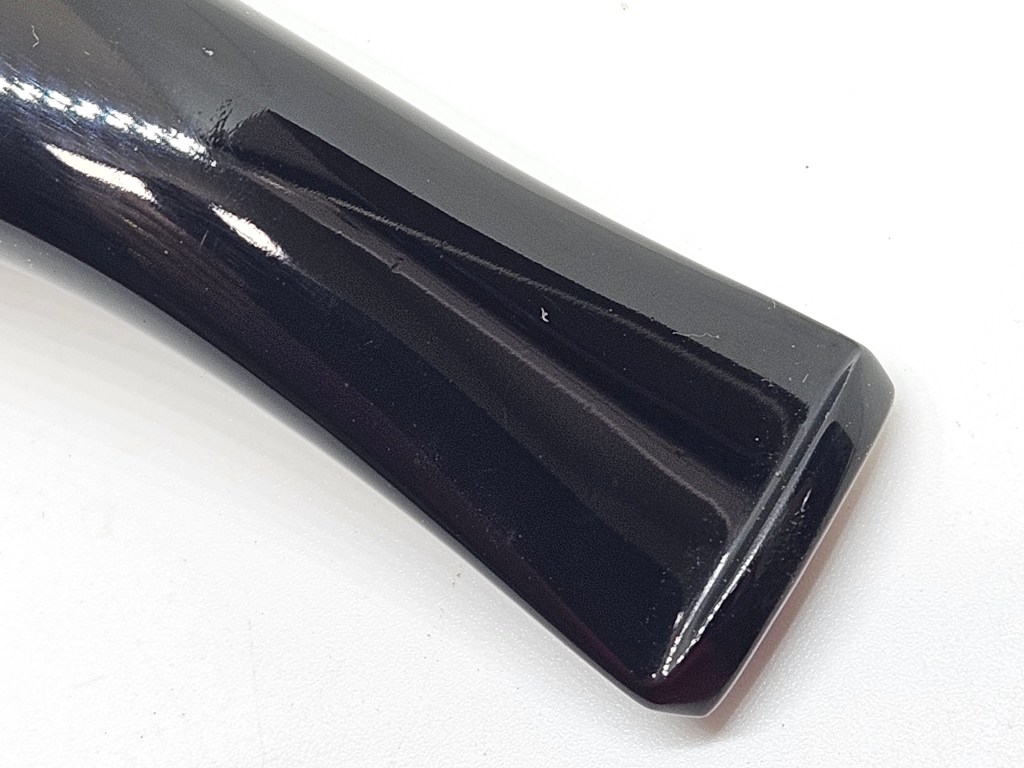
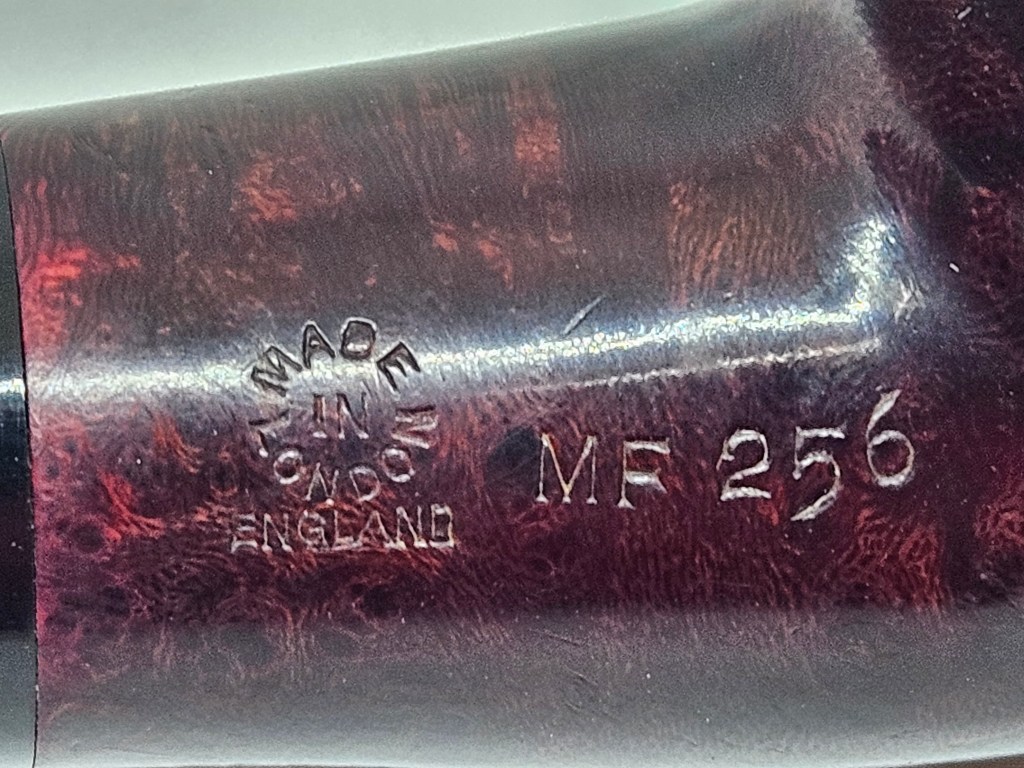
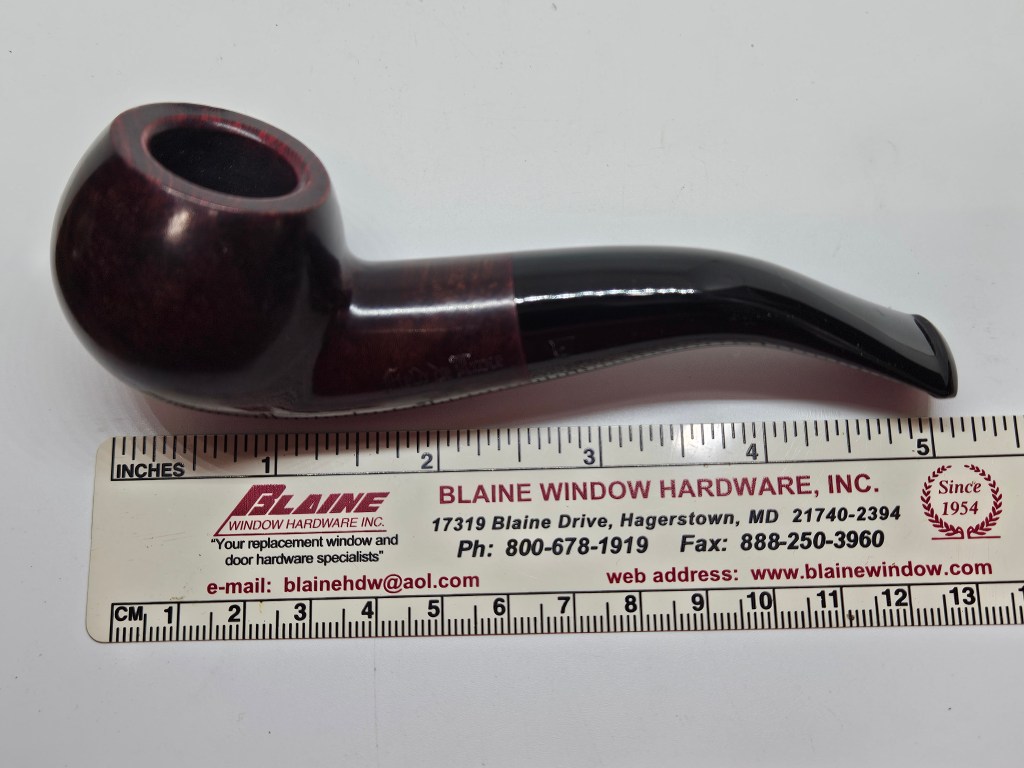
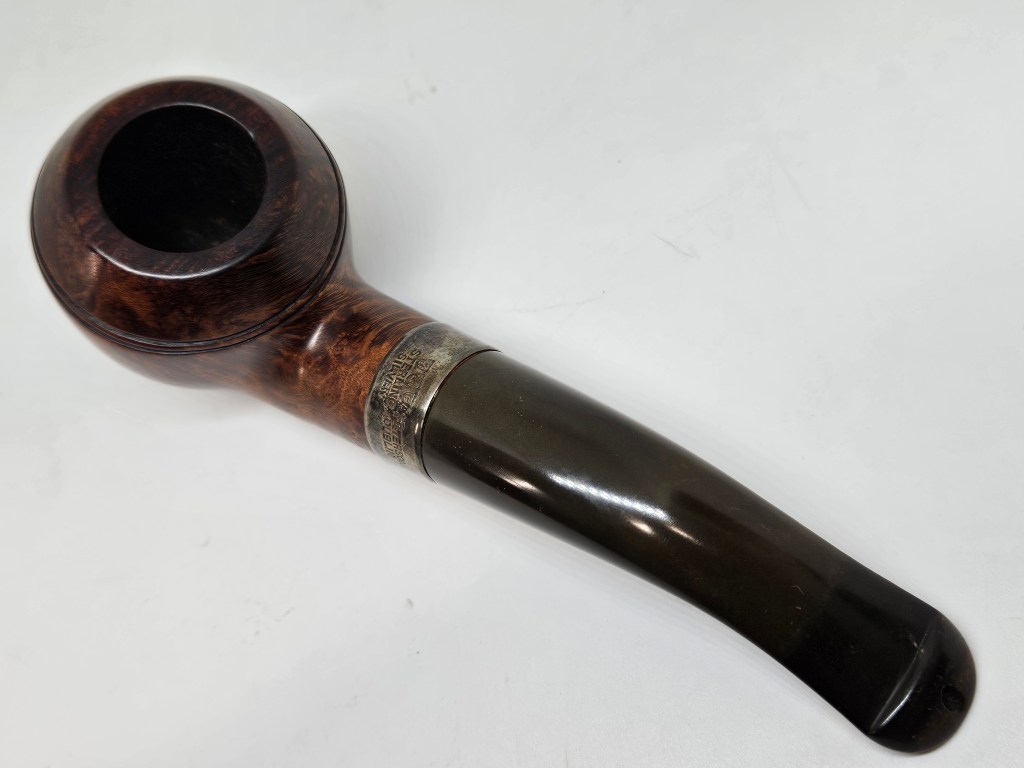
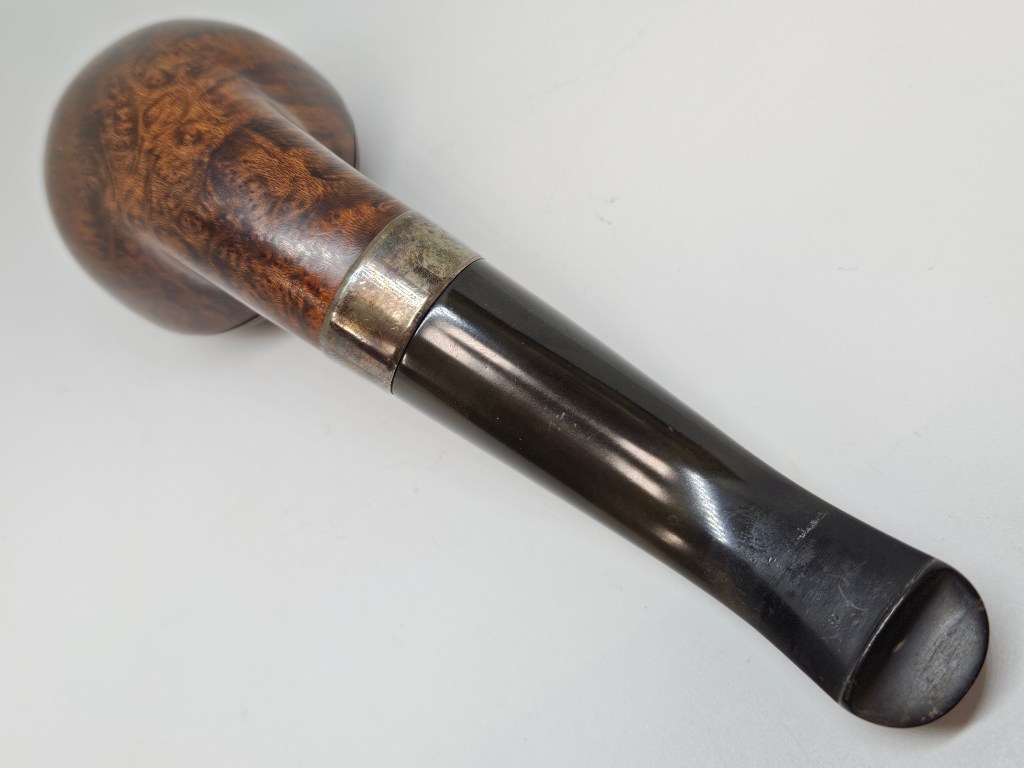
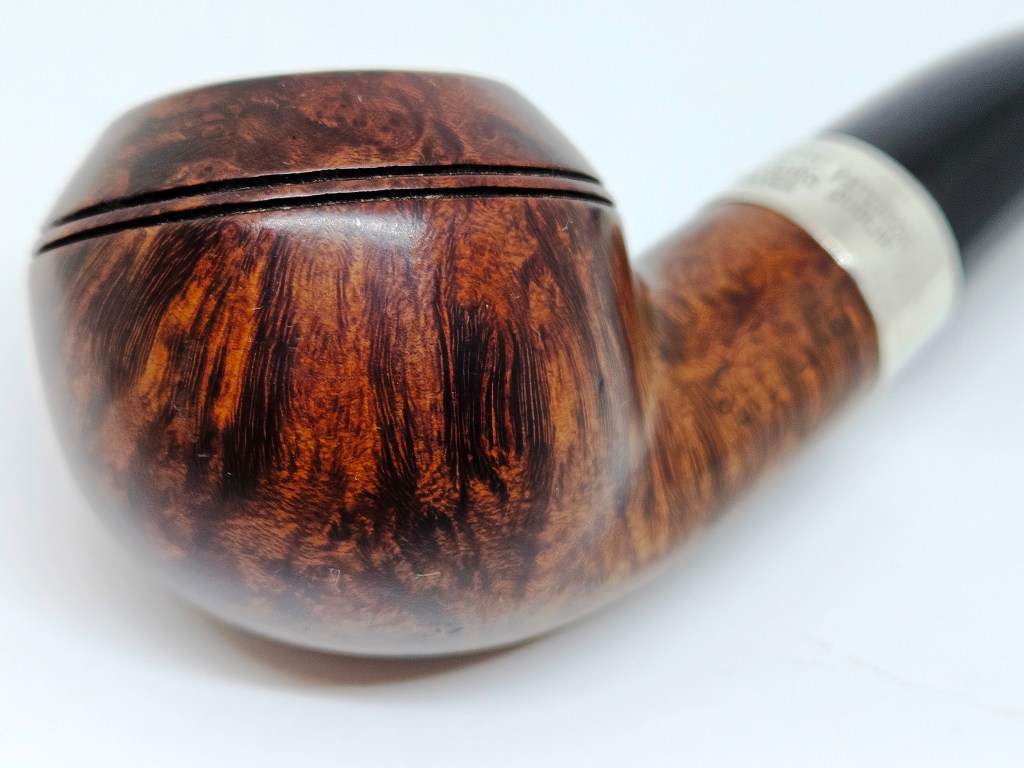
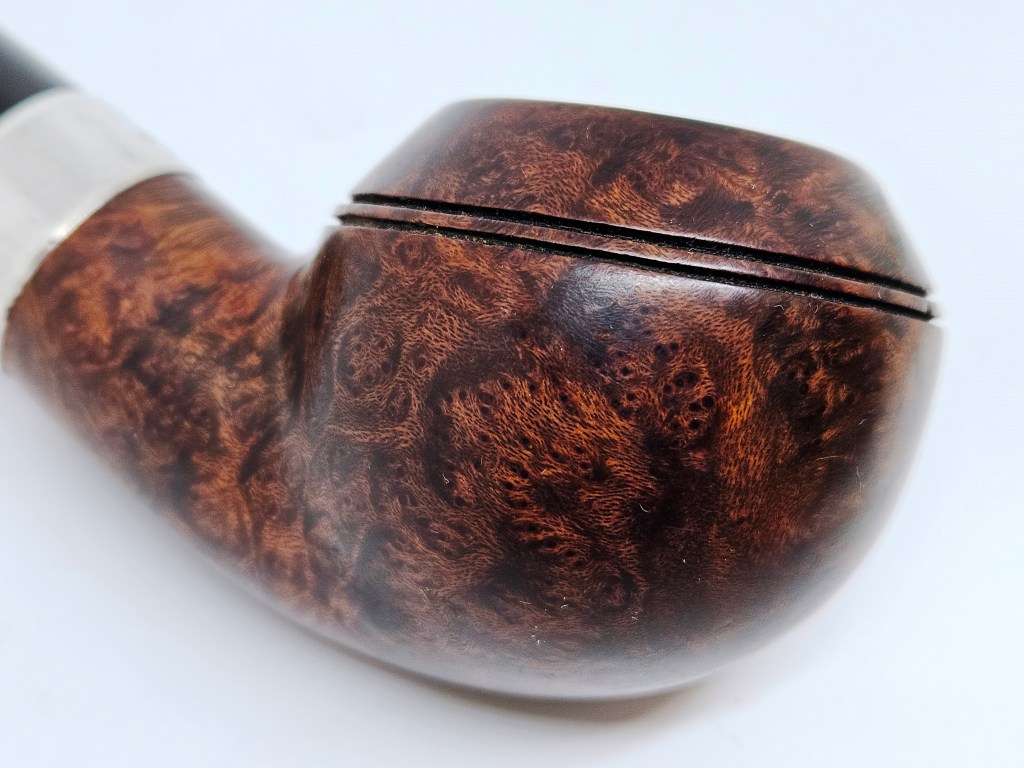
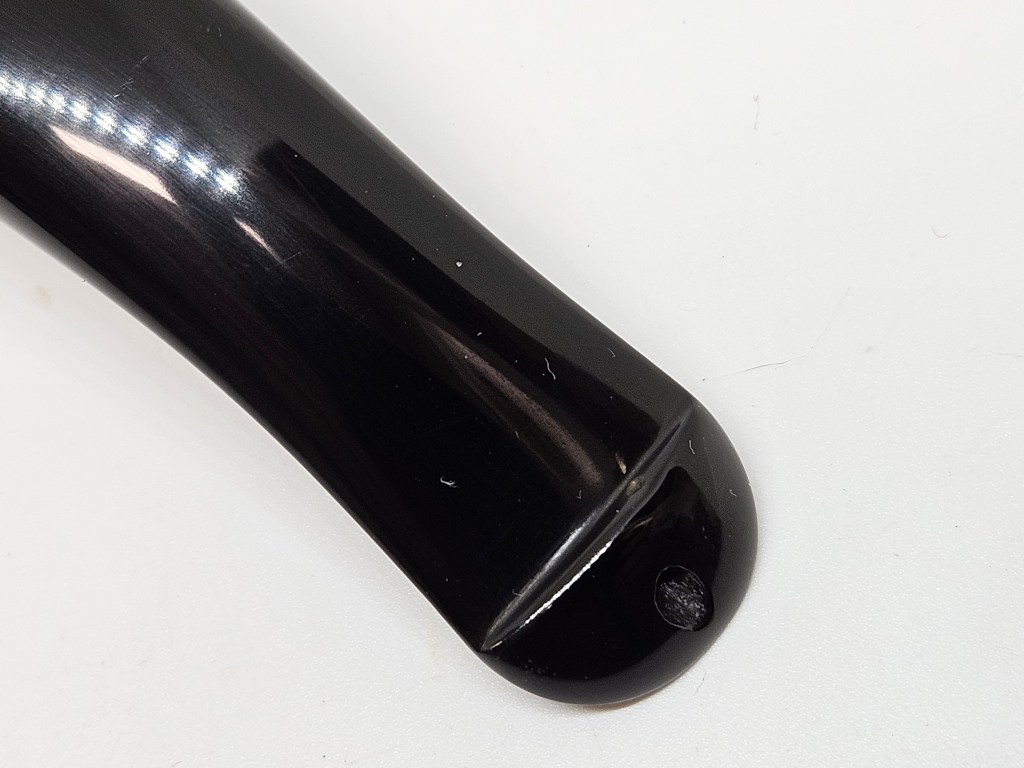
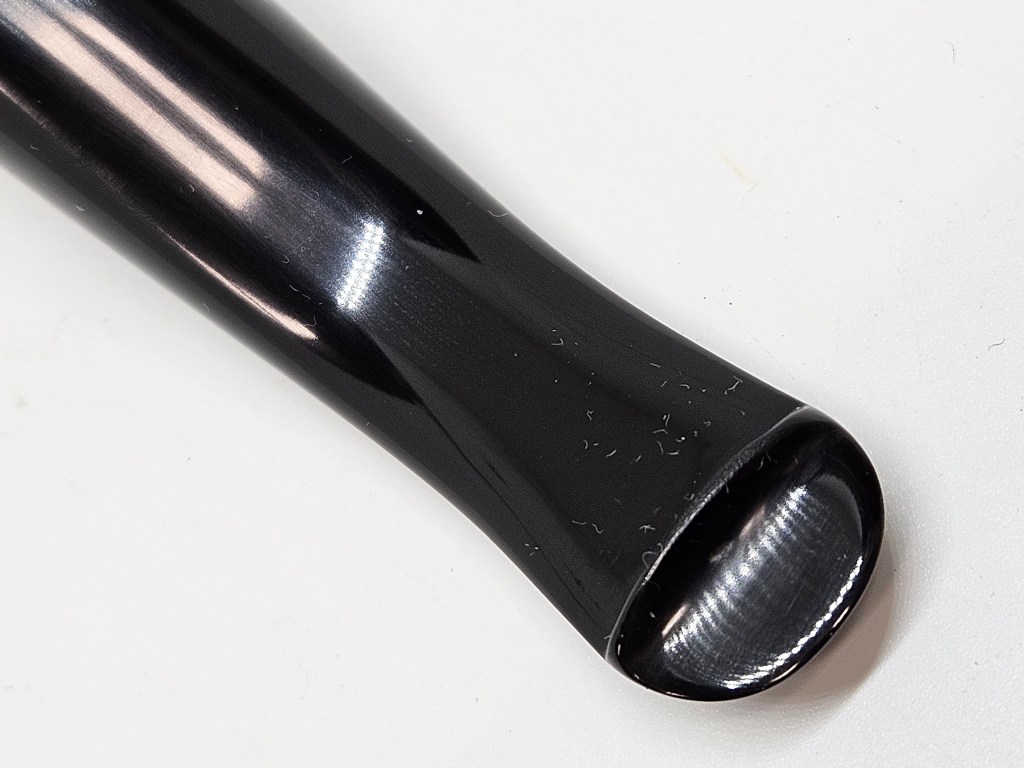
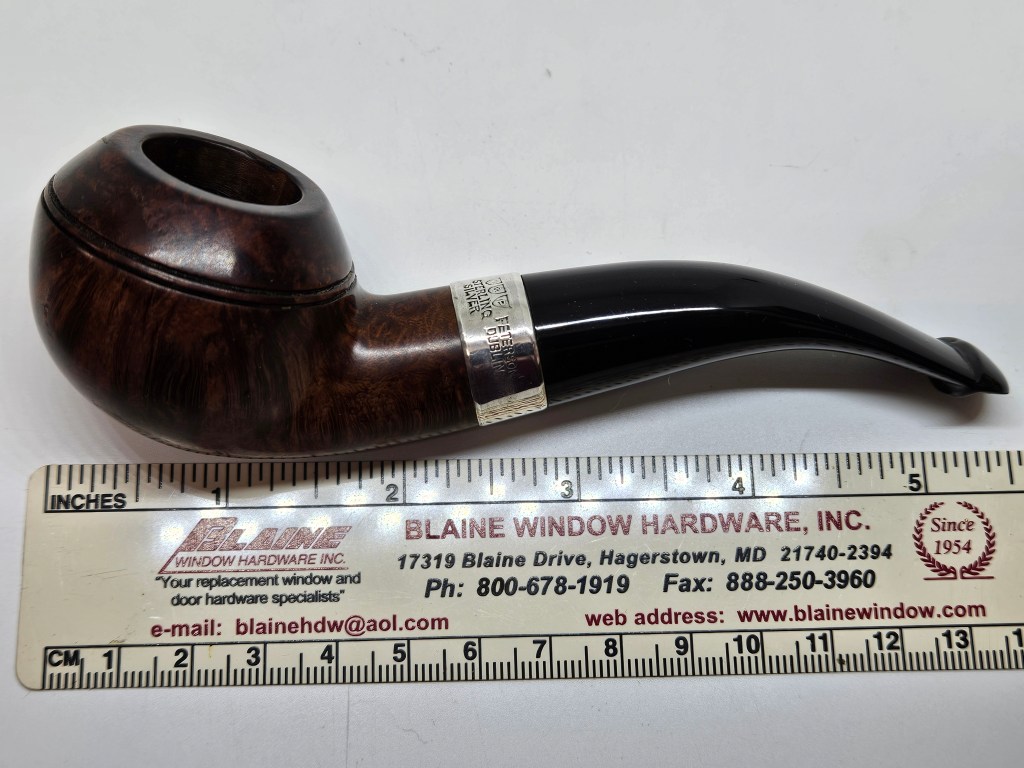
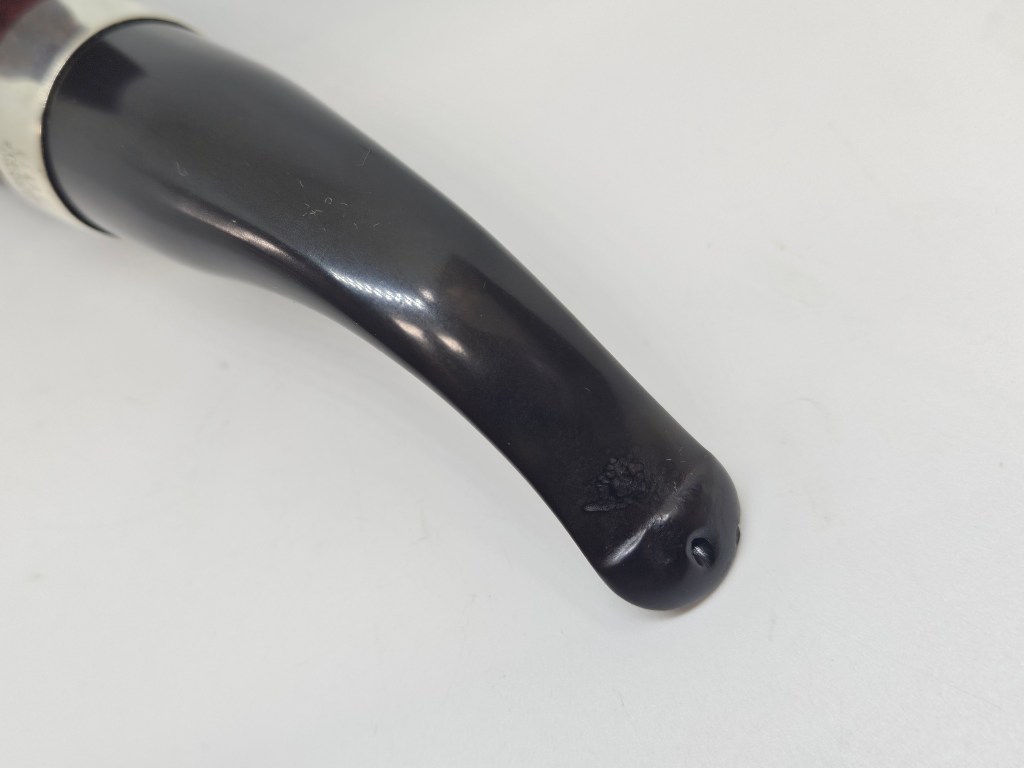
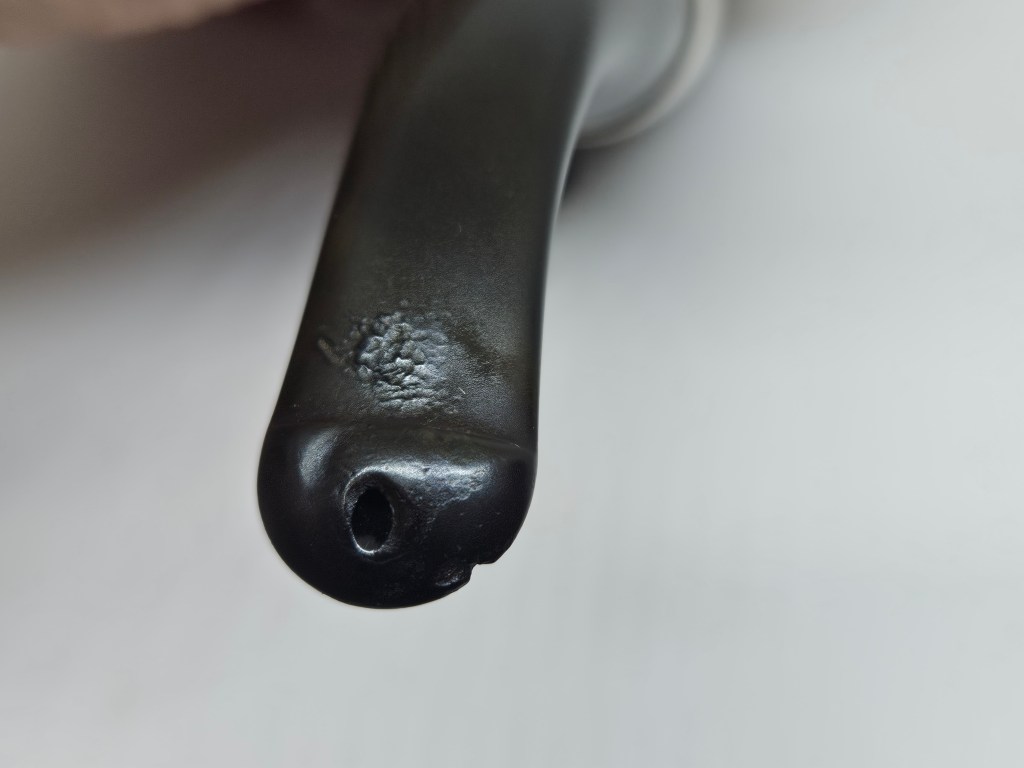
This example had a few dings, the nomenclature had some wear but was completely legible. The stem was lightly oxidized and had some teeth abrasions. There was a chip out of the P-lip button and a slight dent on the top side. Below is the pipe as it was received.
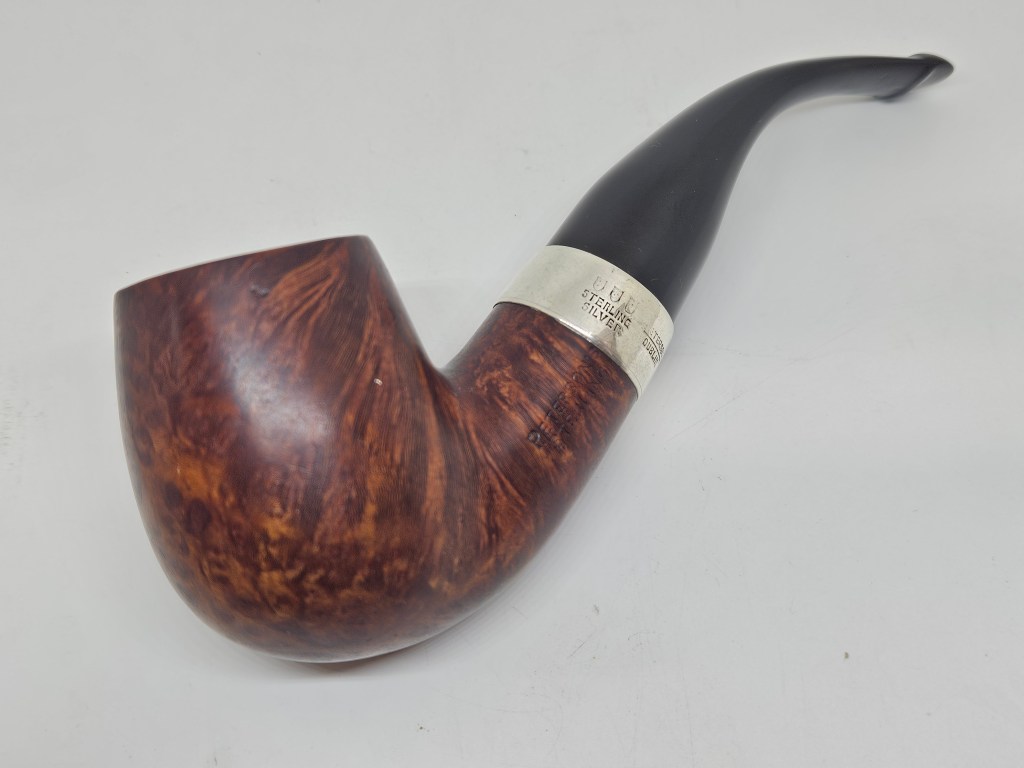
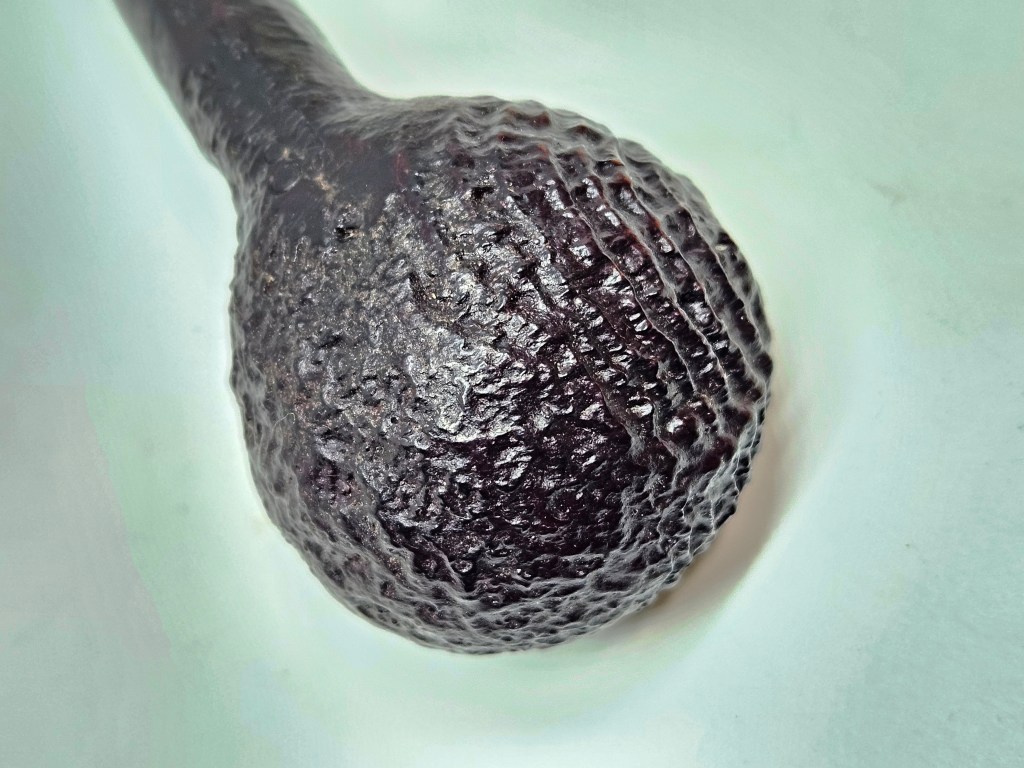
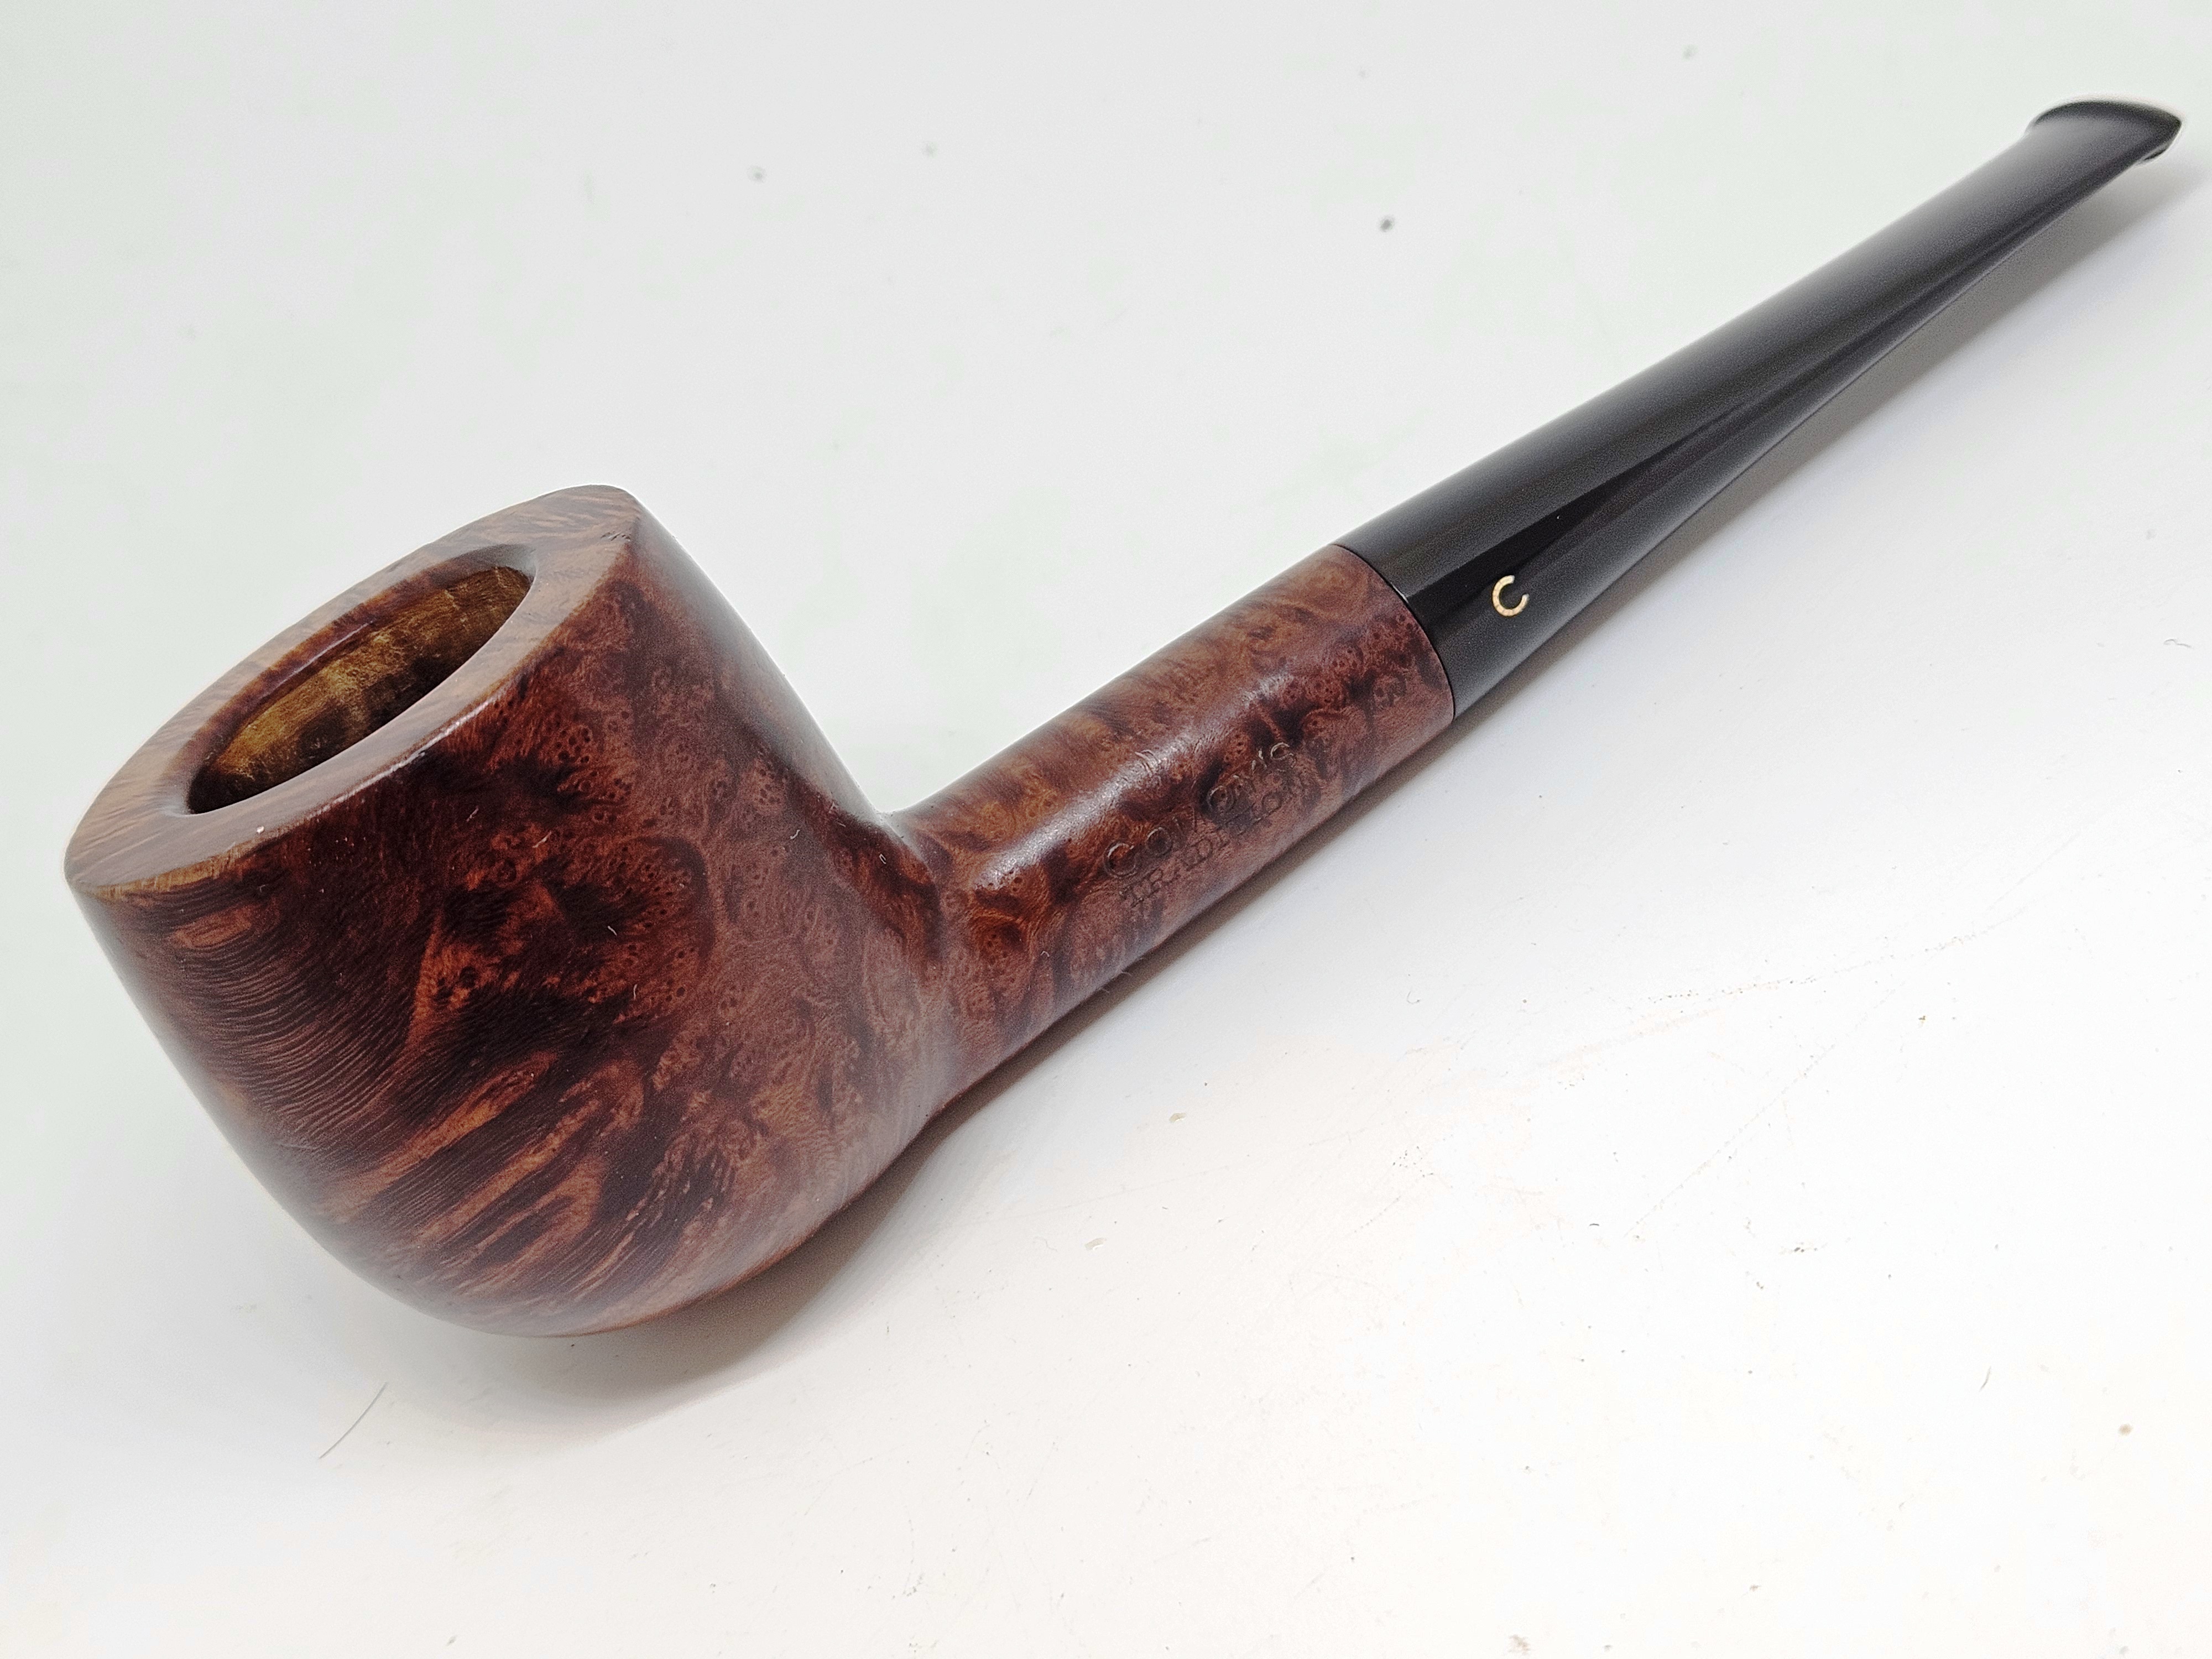
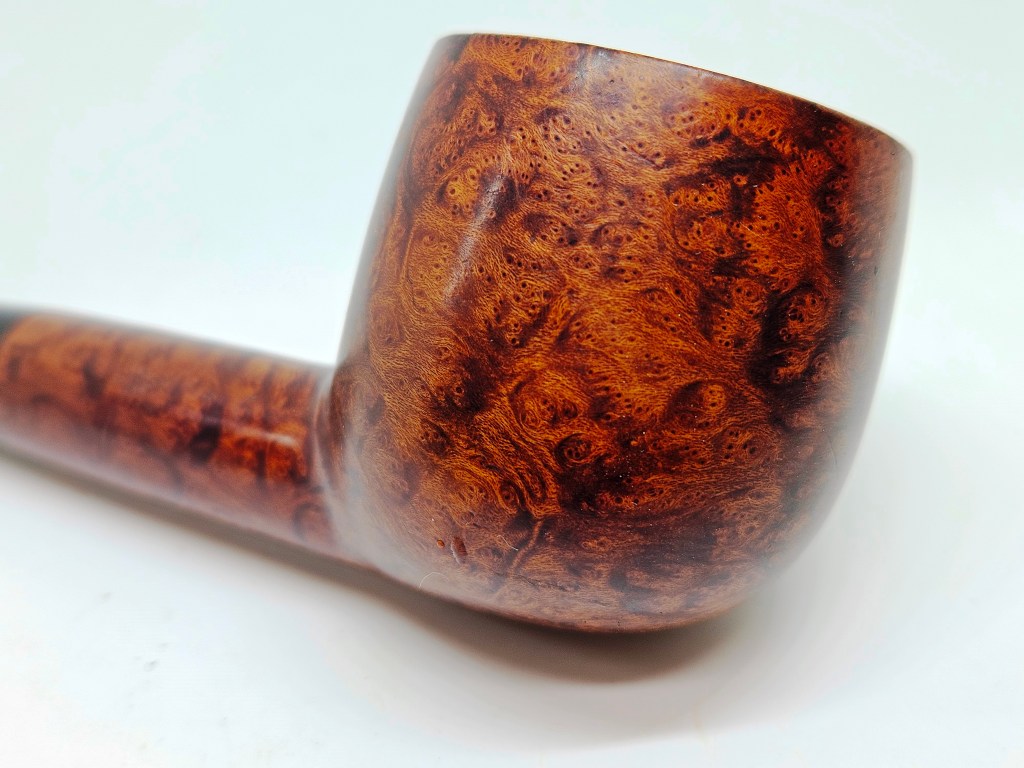
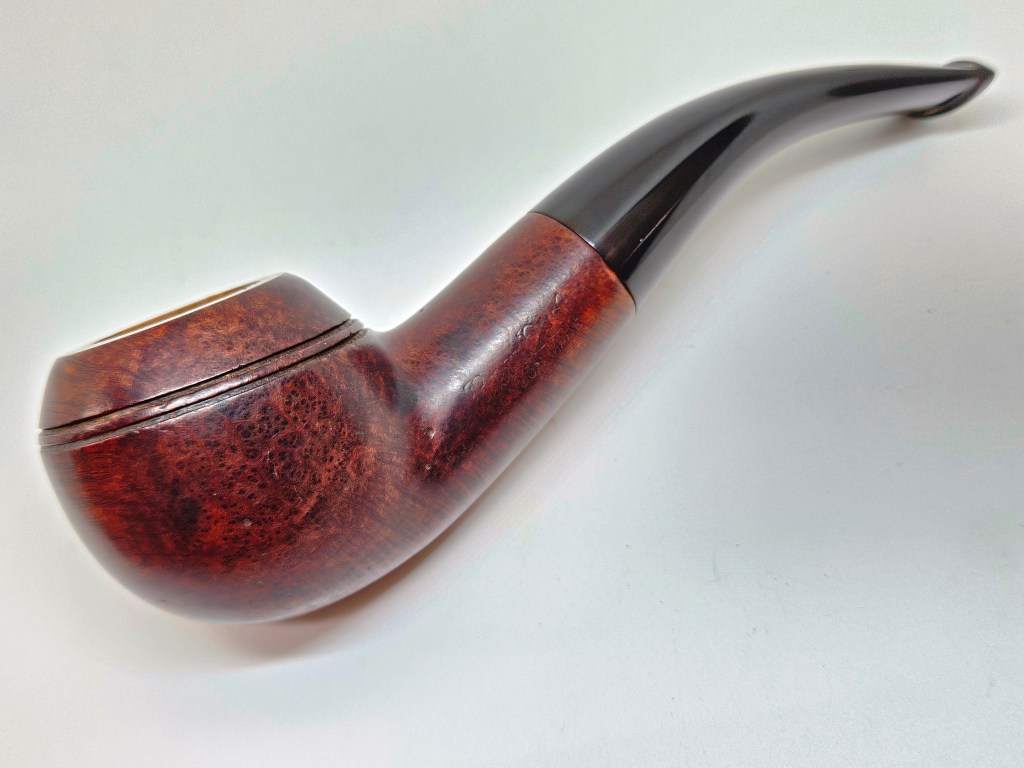
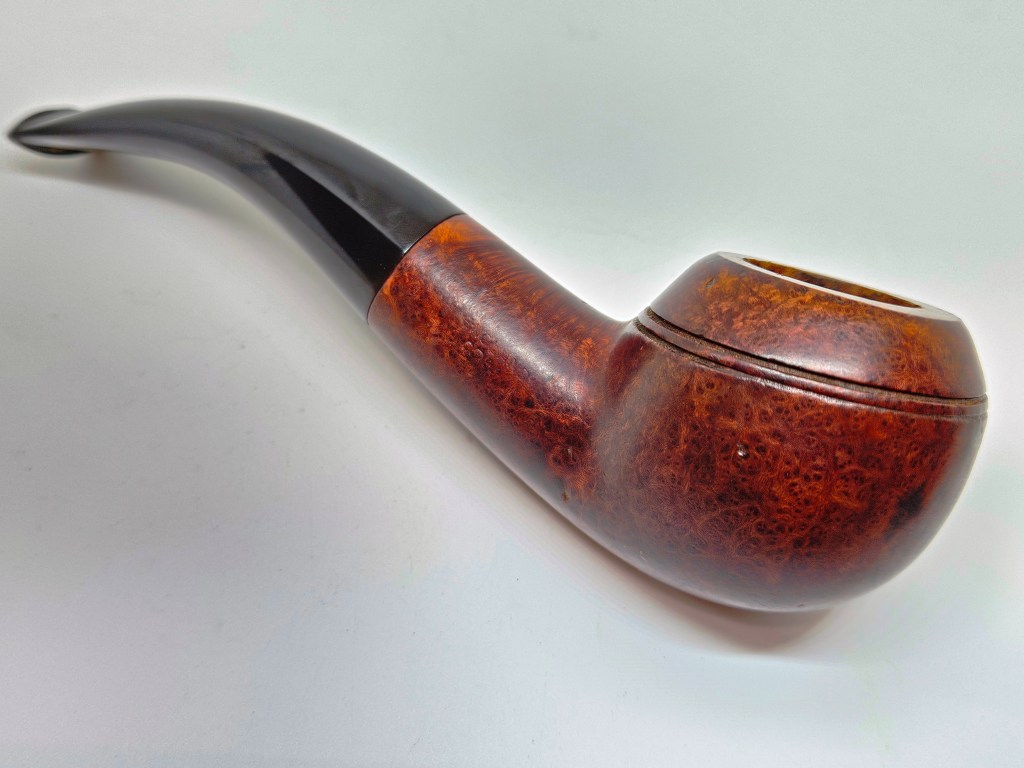
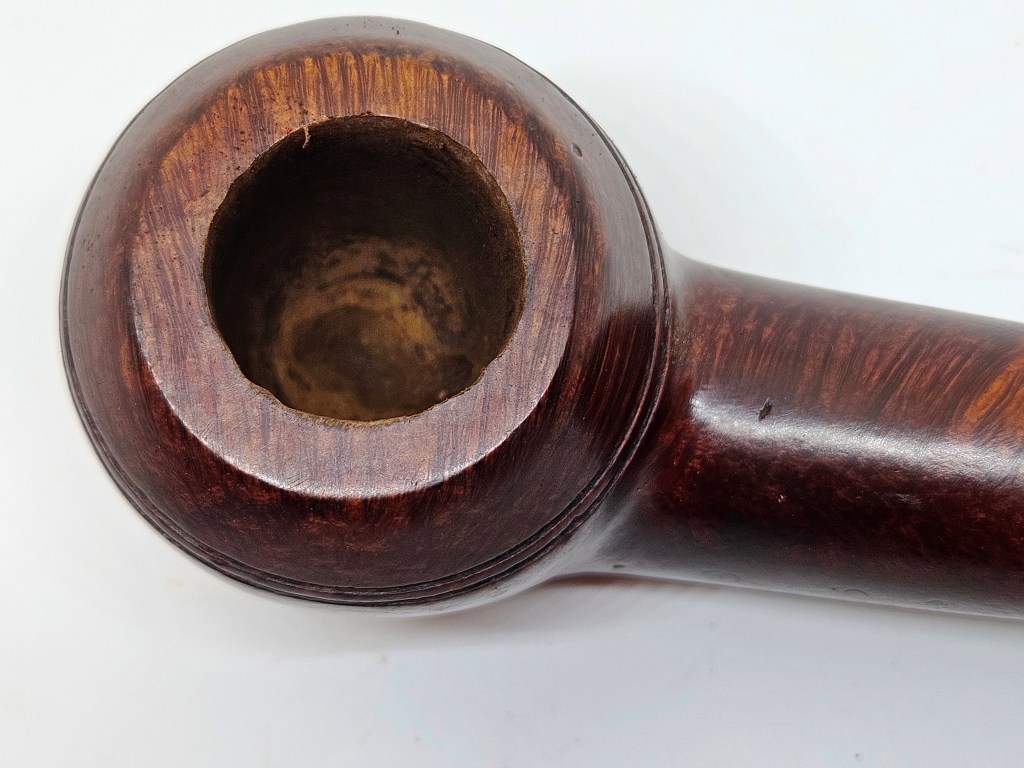
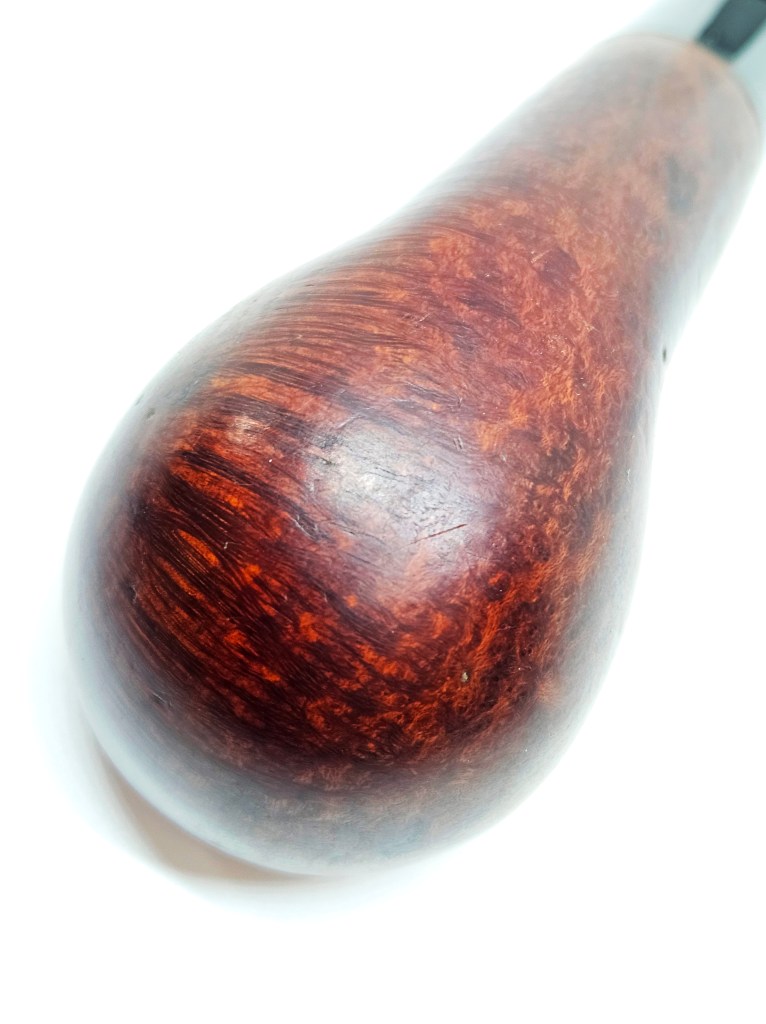
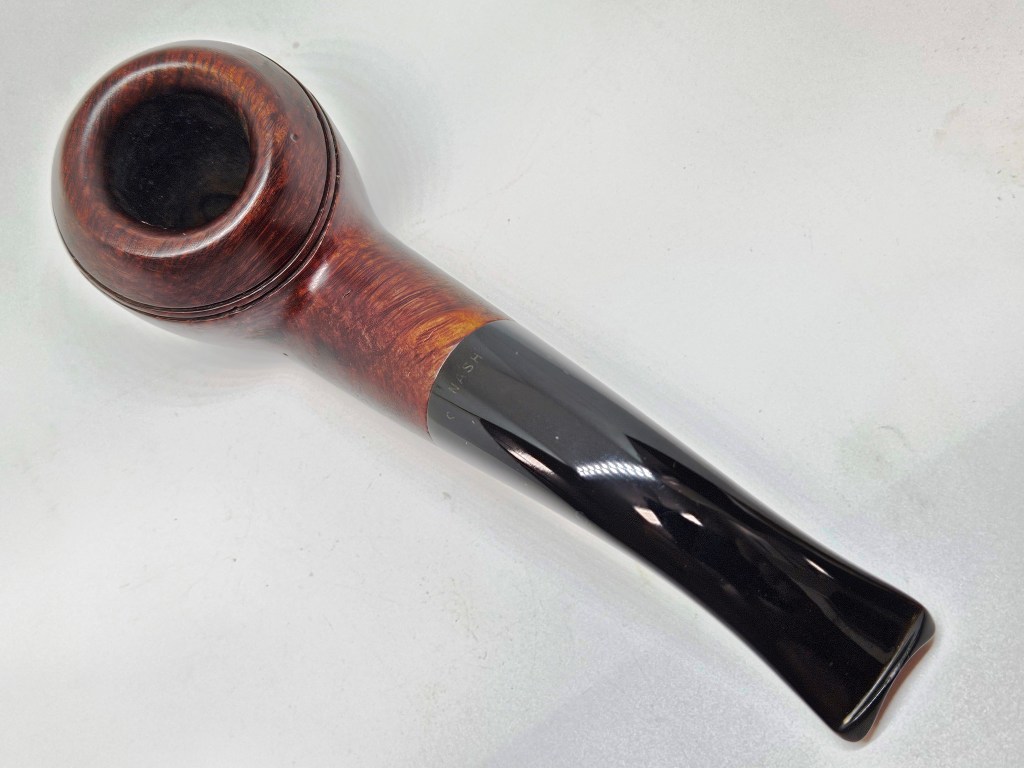
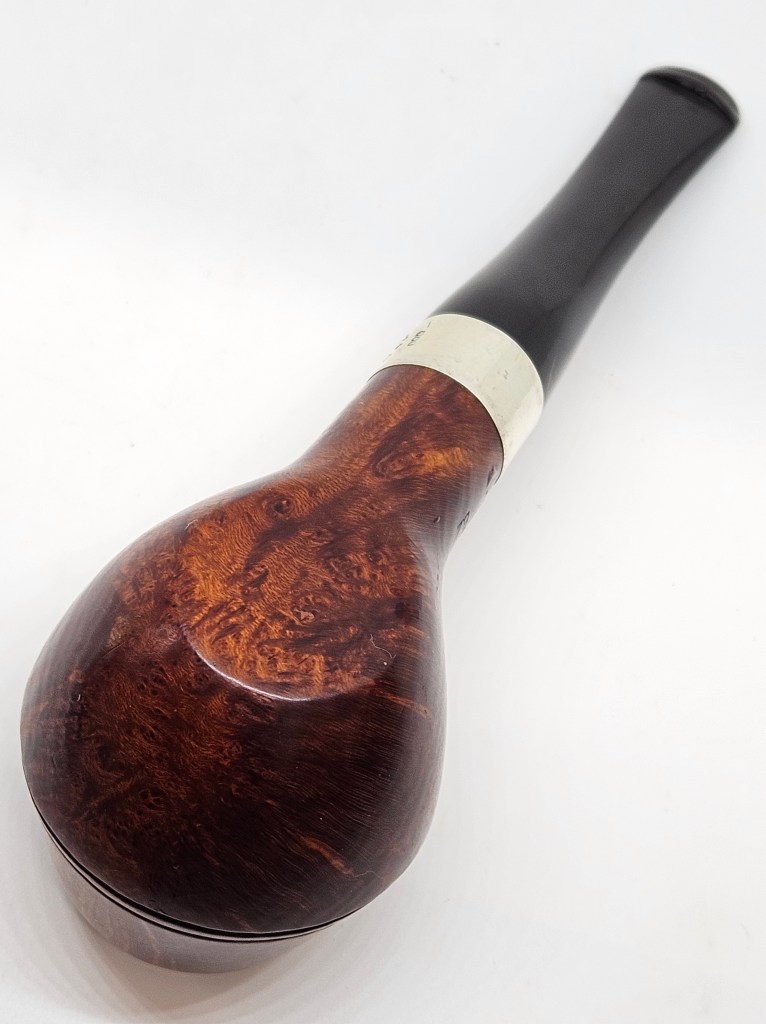
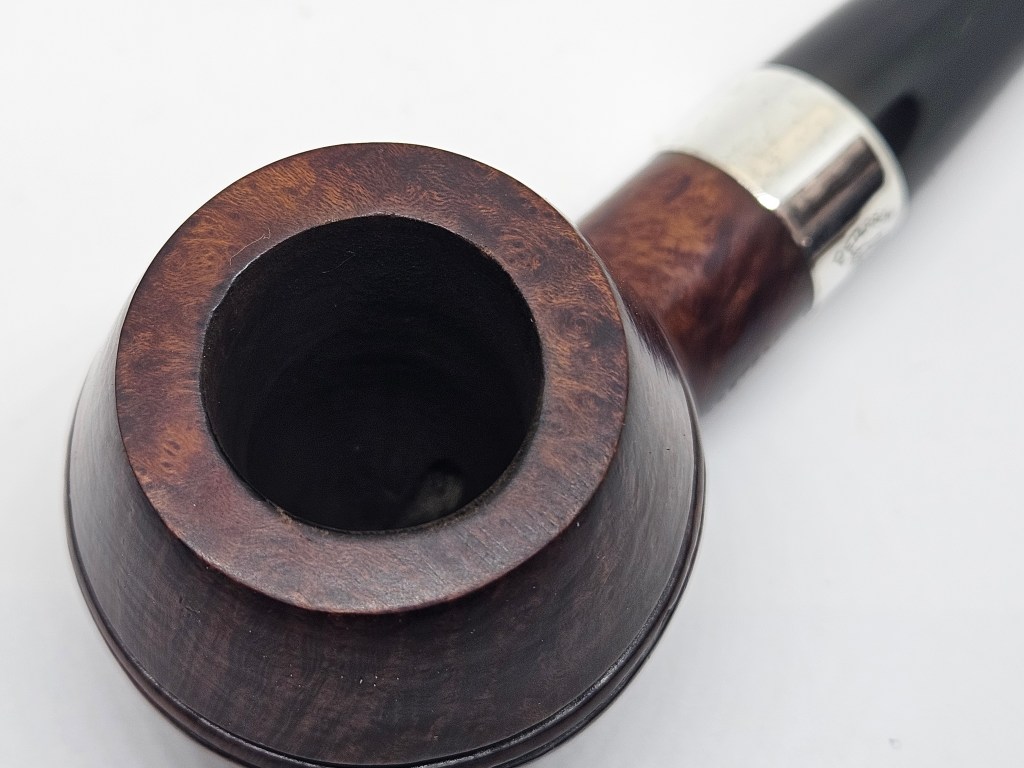
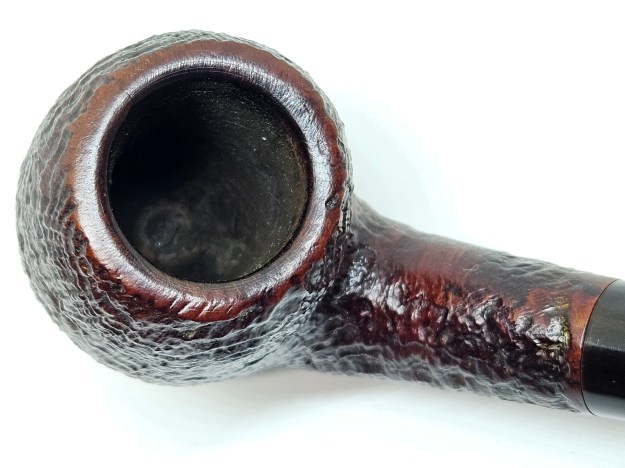
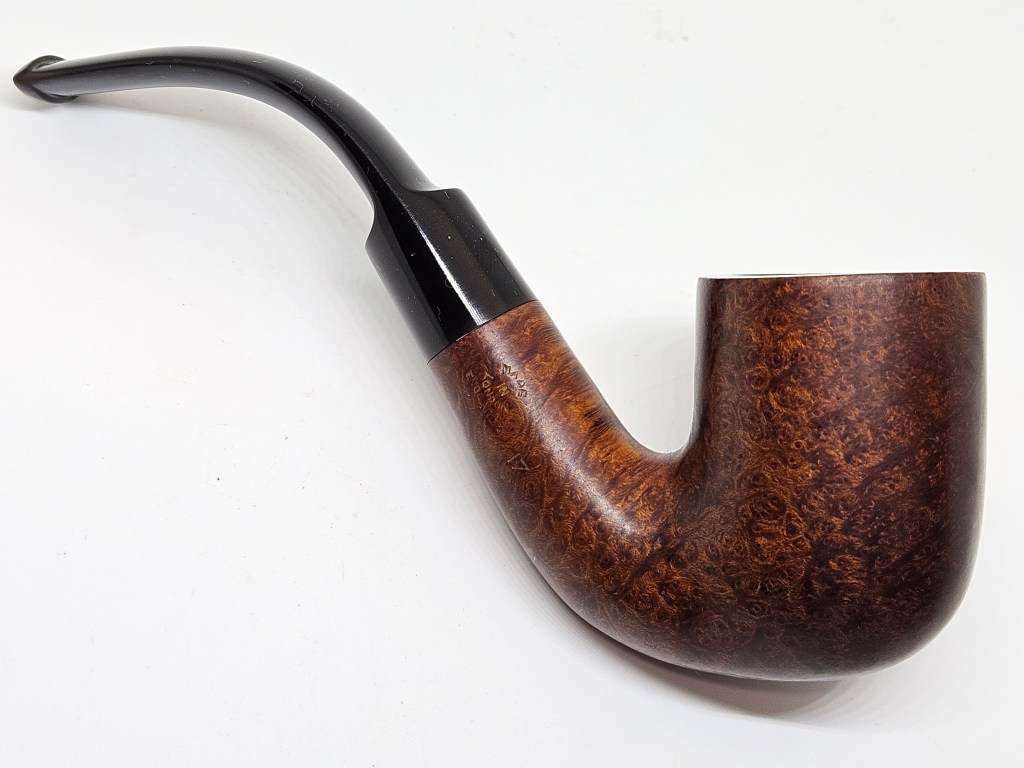
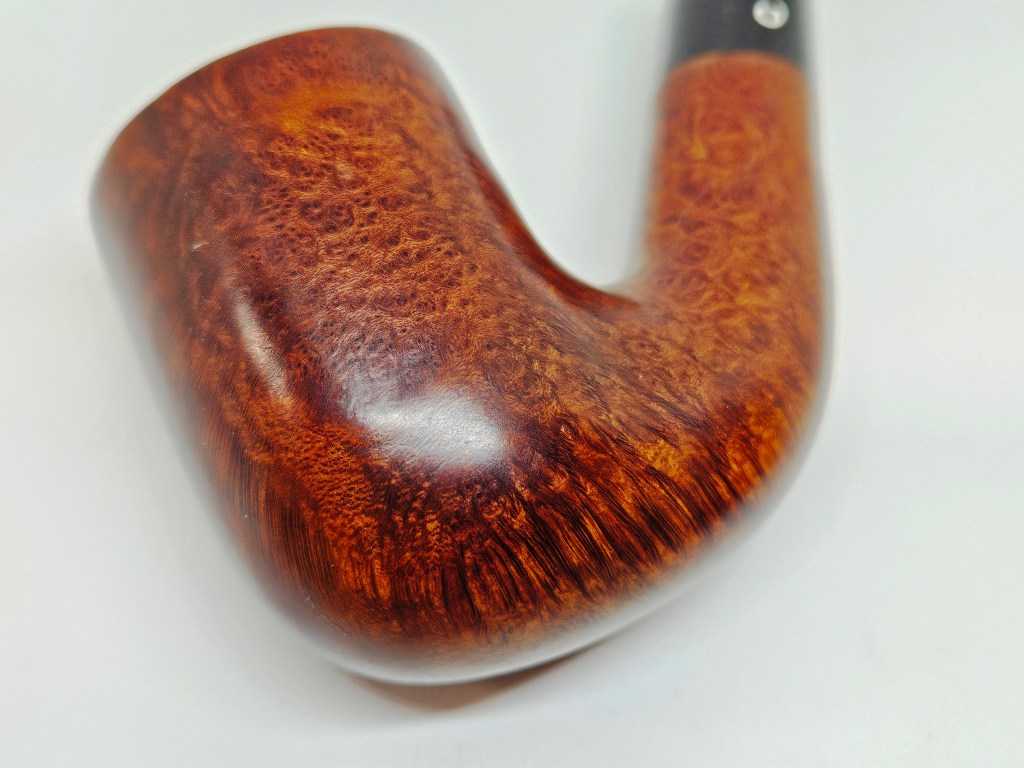
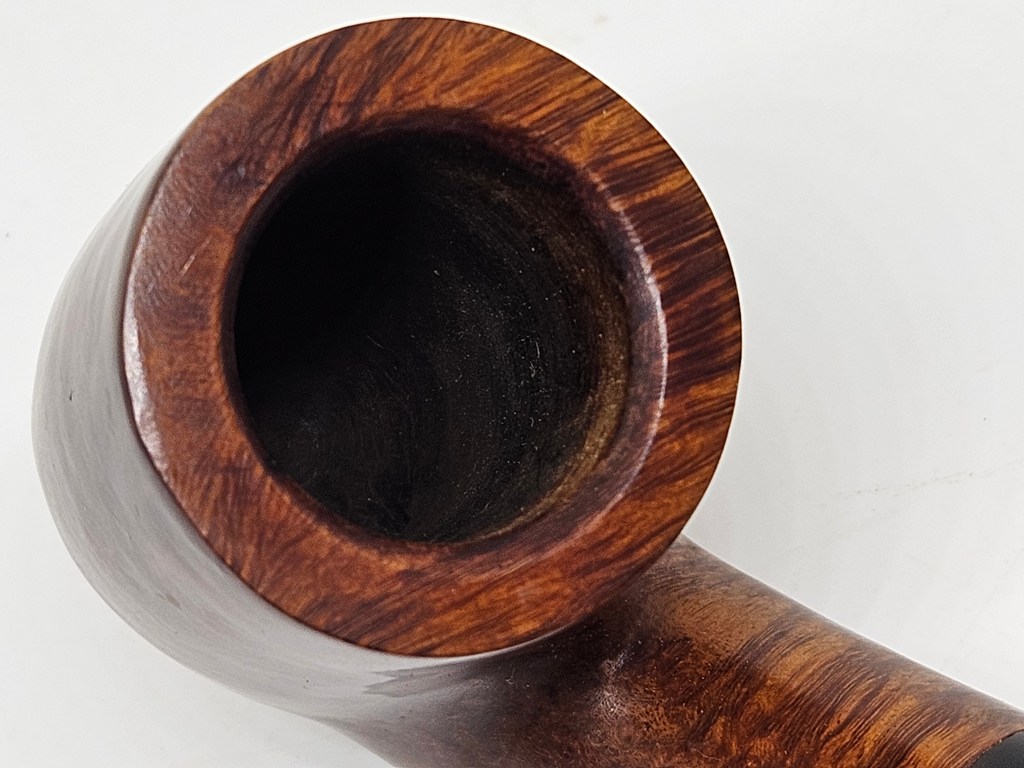
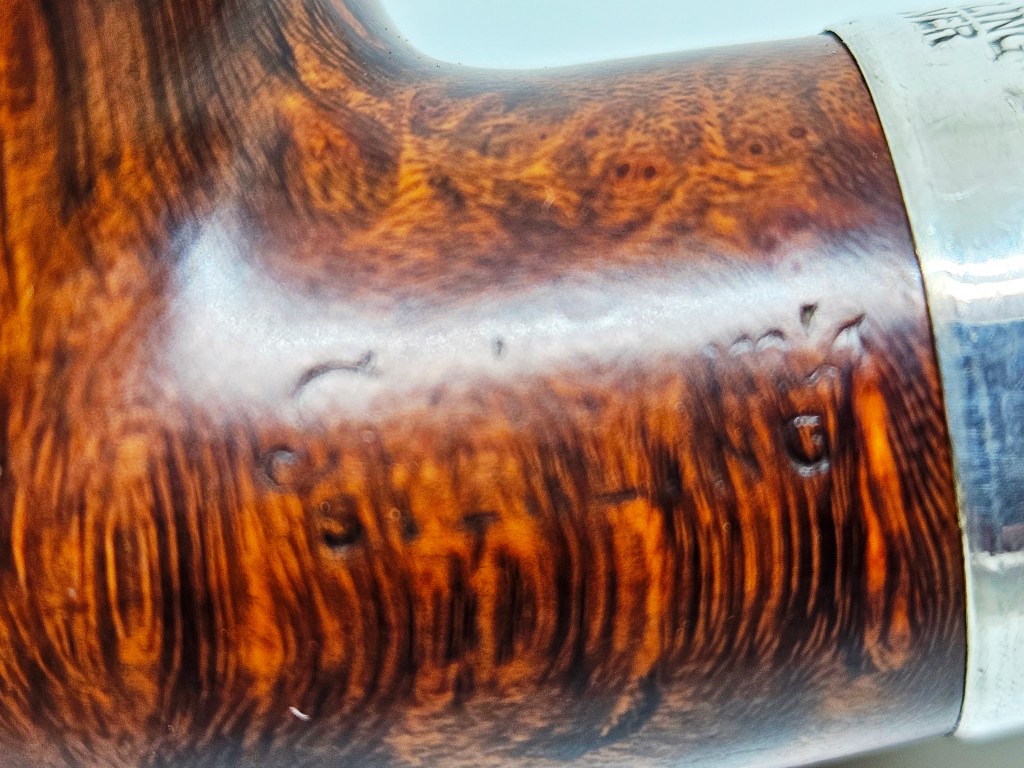
There was a slight cake in the otherwise good tobacco chamber. I reduced some of rim darkening with 1500 and 2000 grade wet sandpaper. I thought about topping it to remove the dings on the top of the bowl, but decided to let them remain. It would match the condition of my 999 Sterling, which is well loved. I buffed the bowl lightly with White Diamond and several coats of carnuba wax. The bowl was soaked with sea salt and alcohol. Following the soak, I gave the shank and sump a good scrubbing with a bristle brush dipped in alcohol and a scrunched up paper towel.
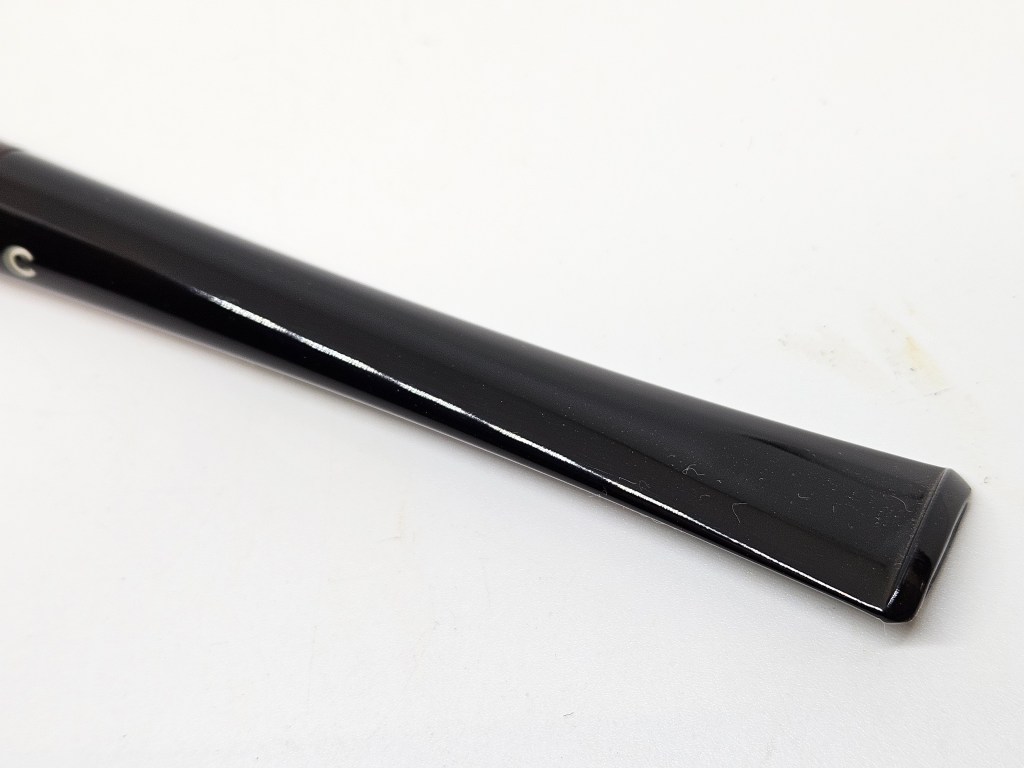
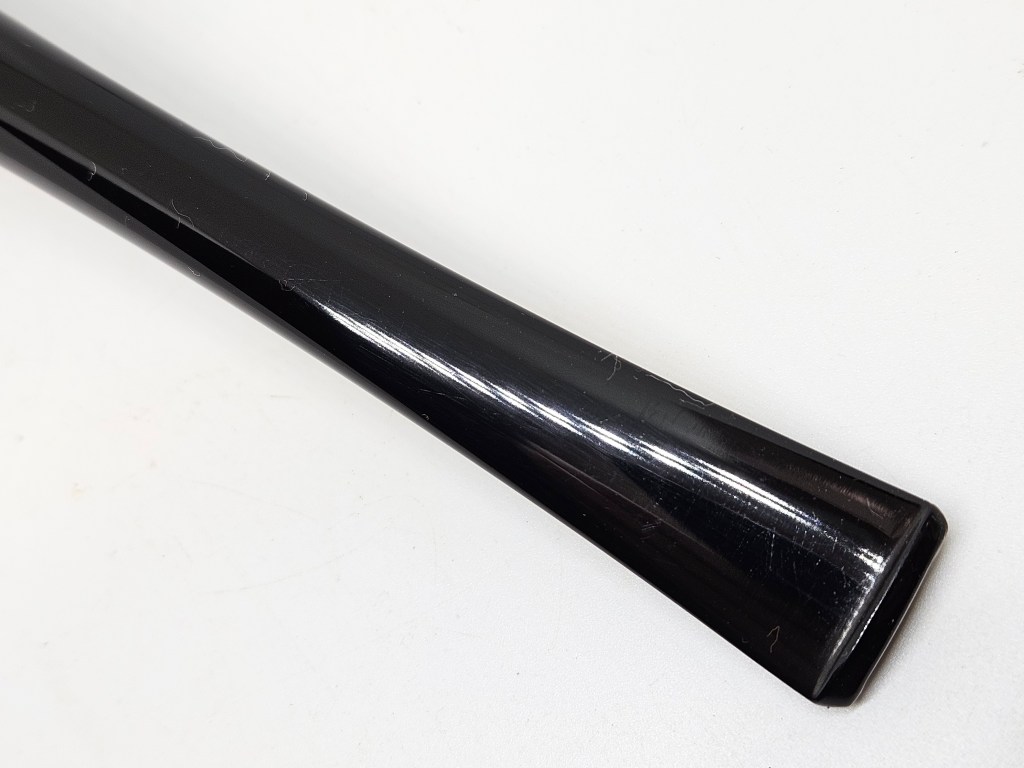
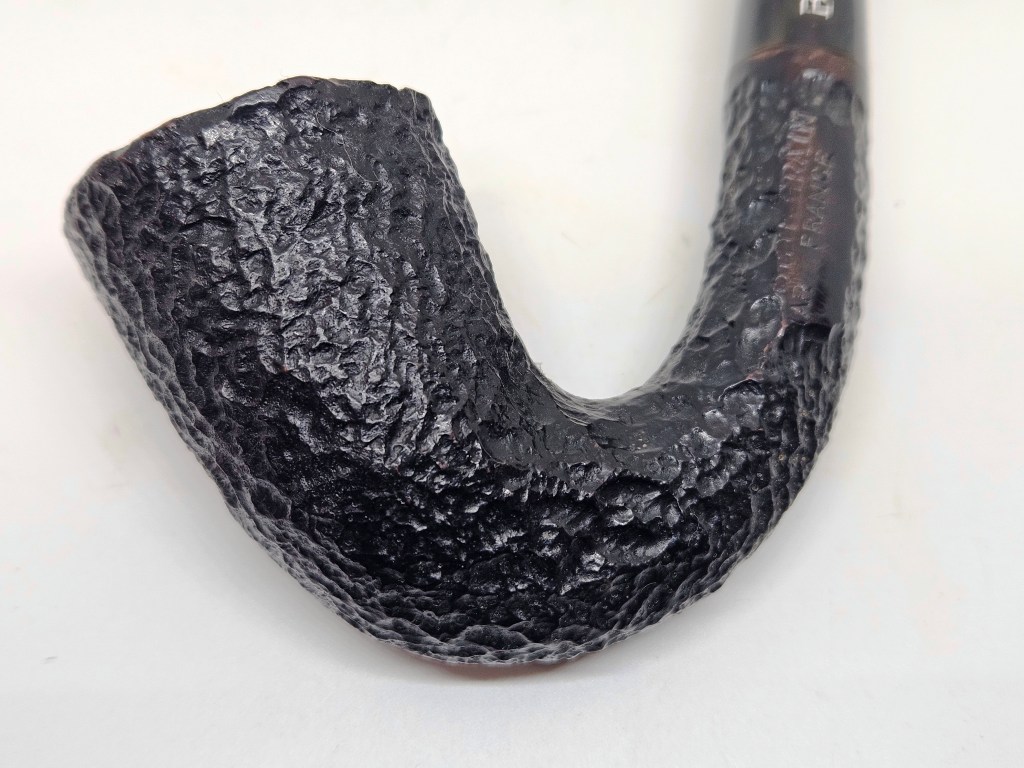
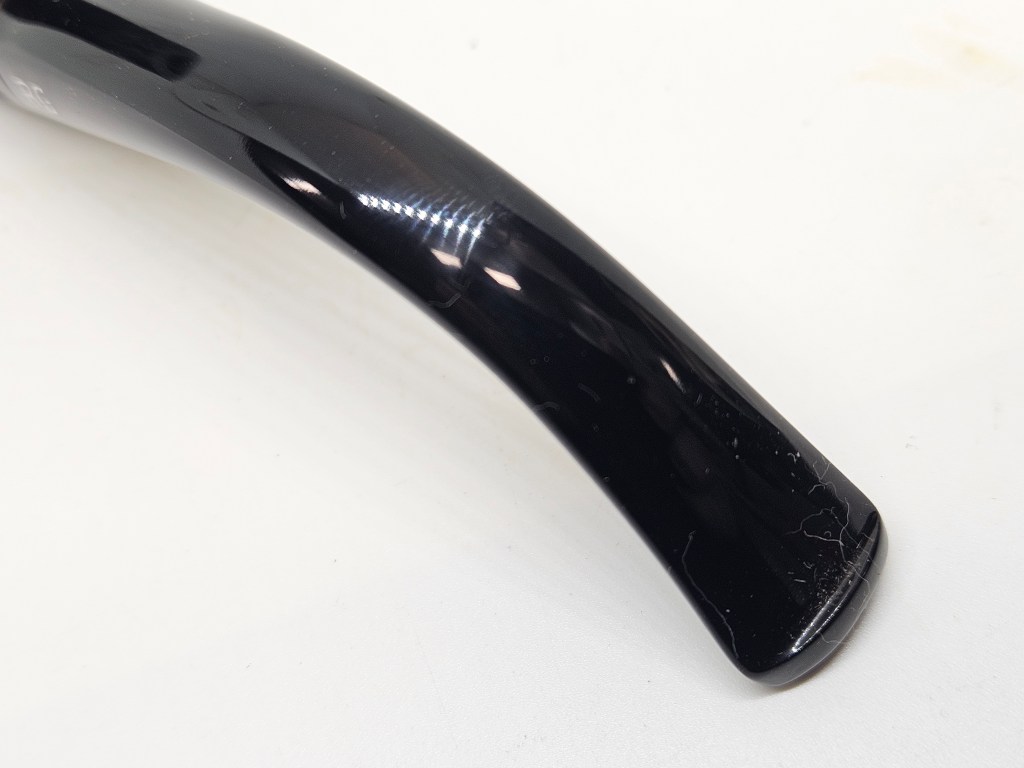
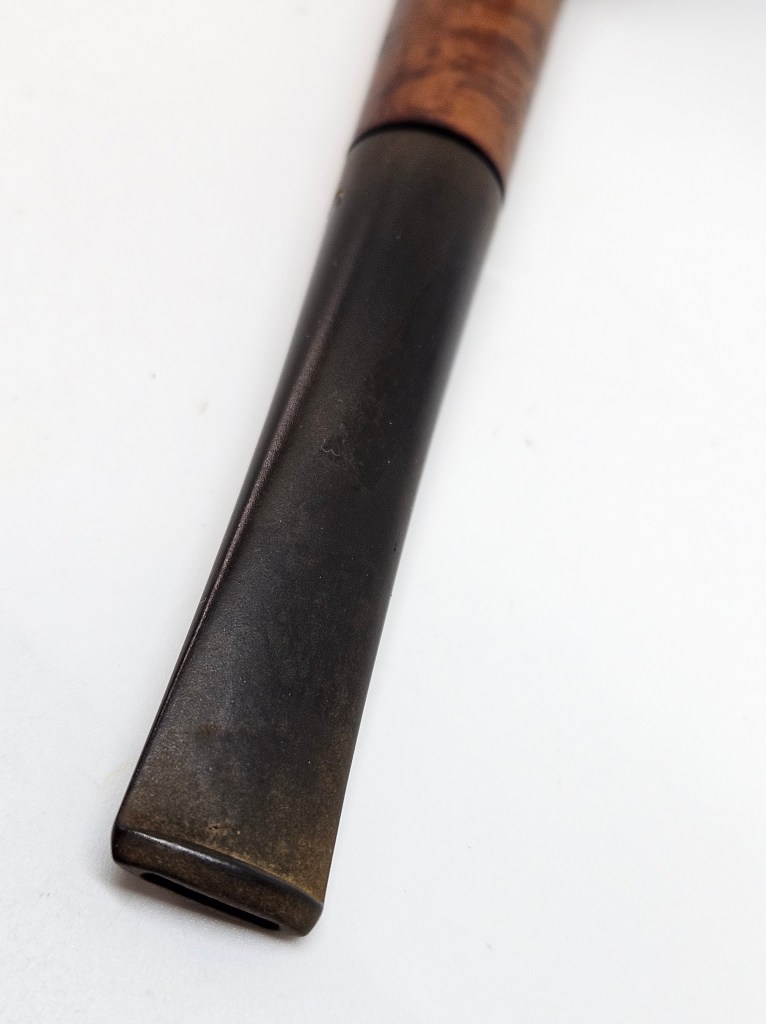
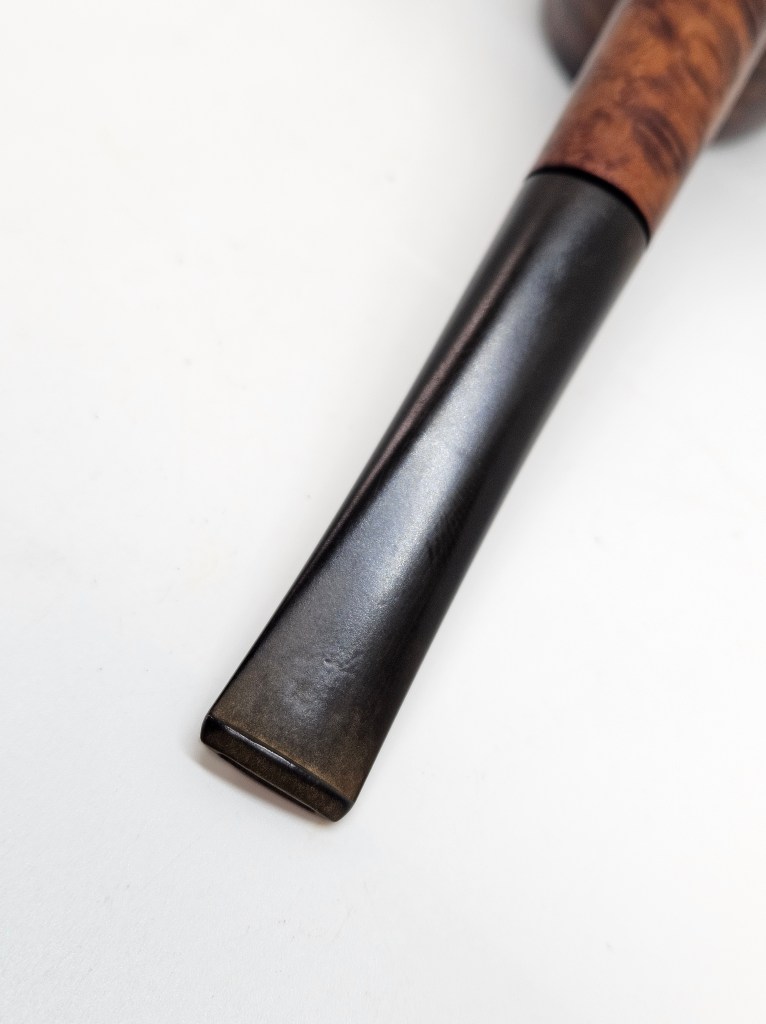
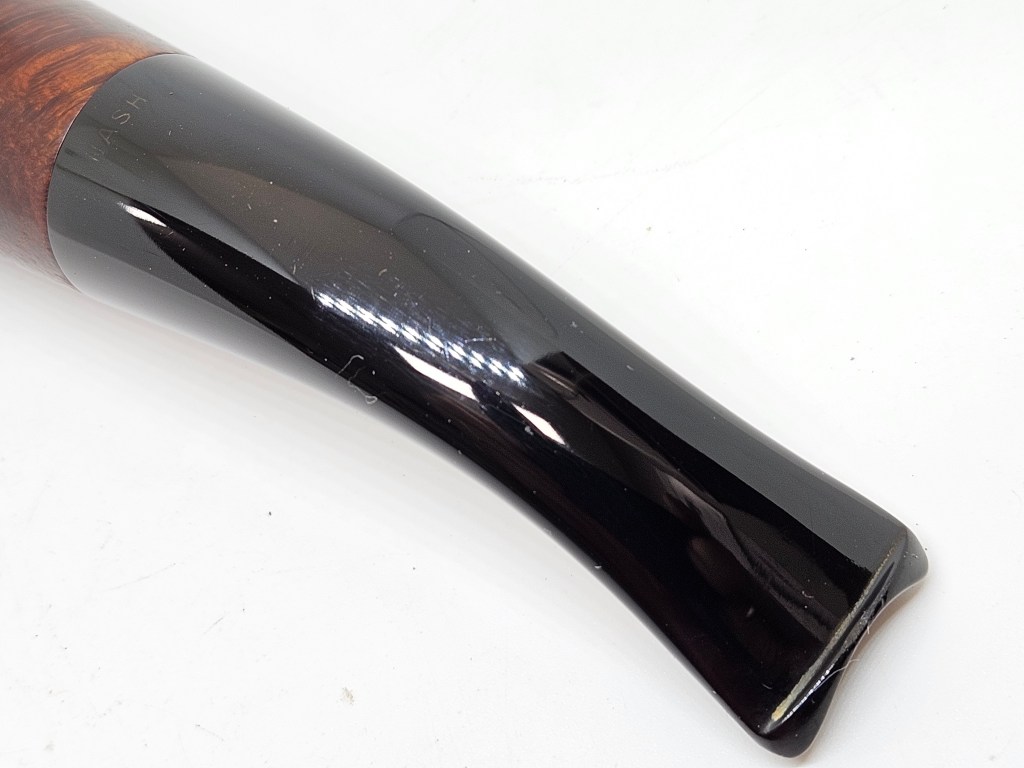
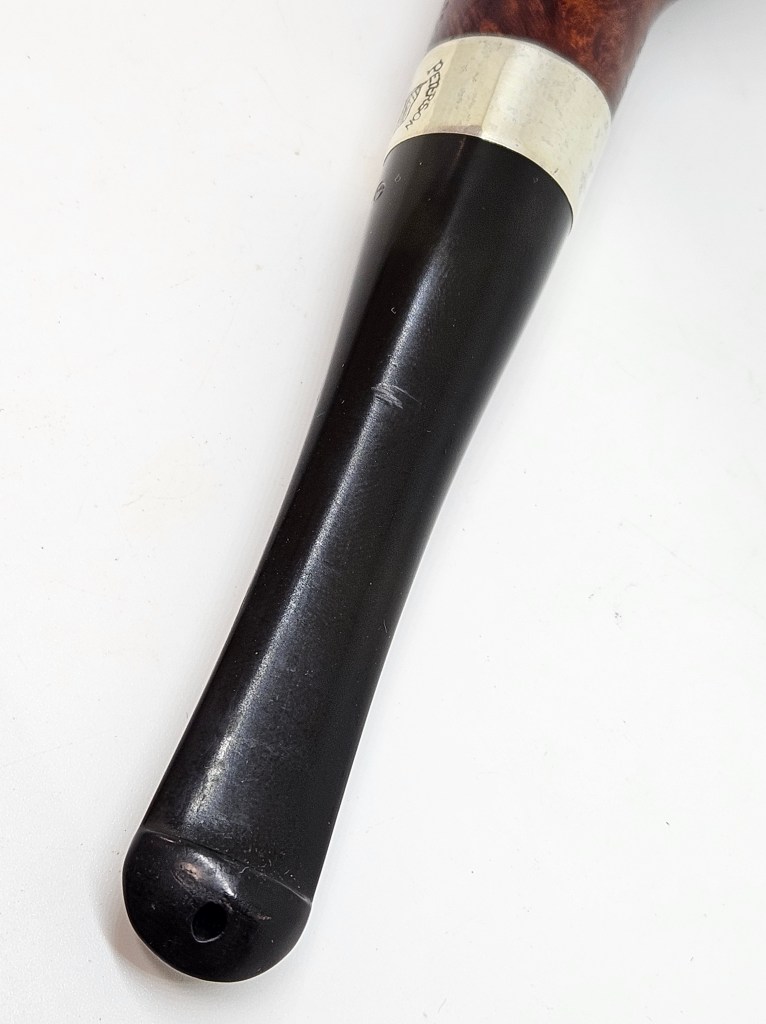
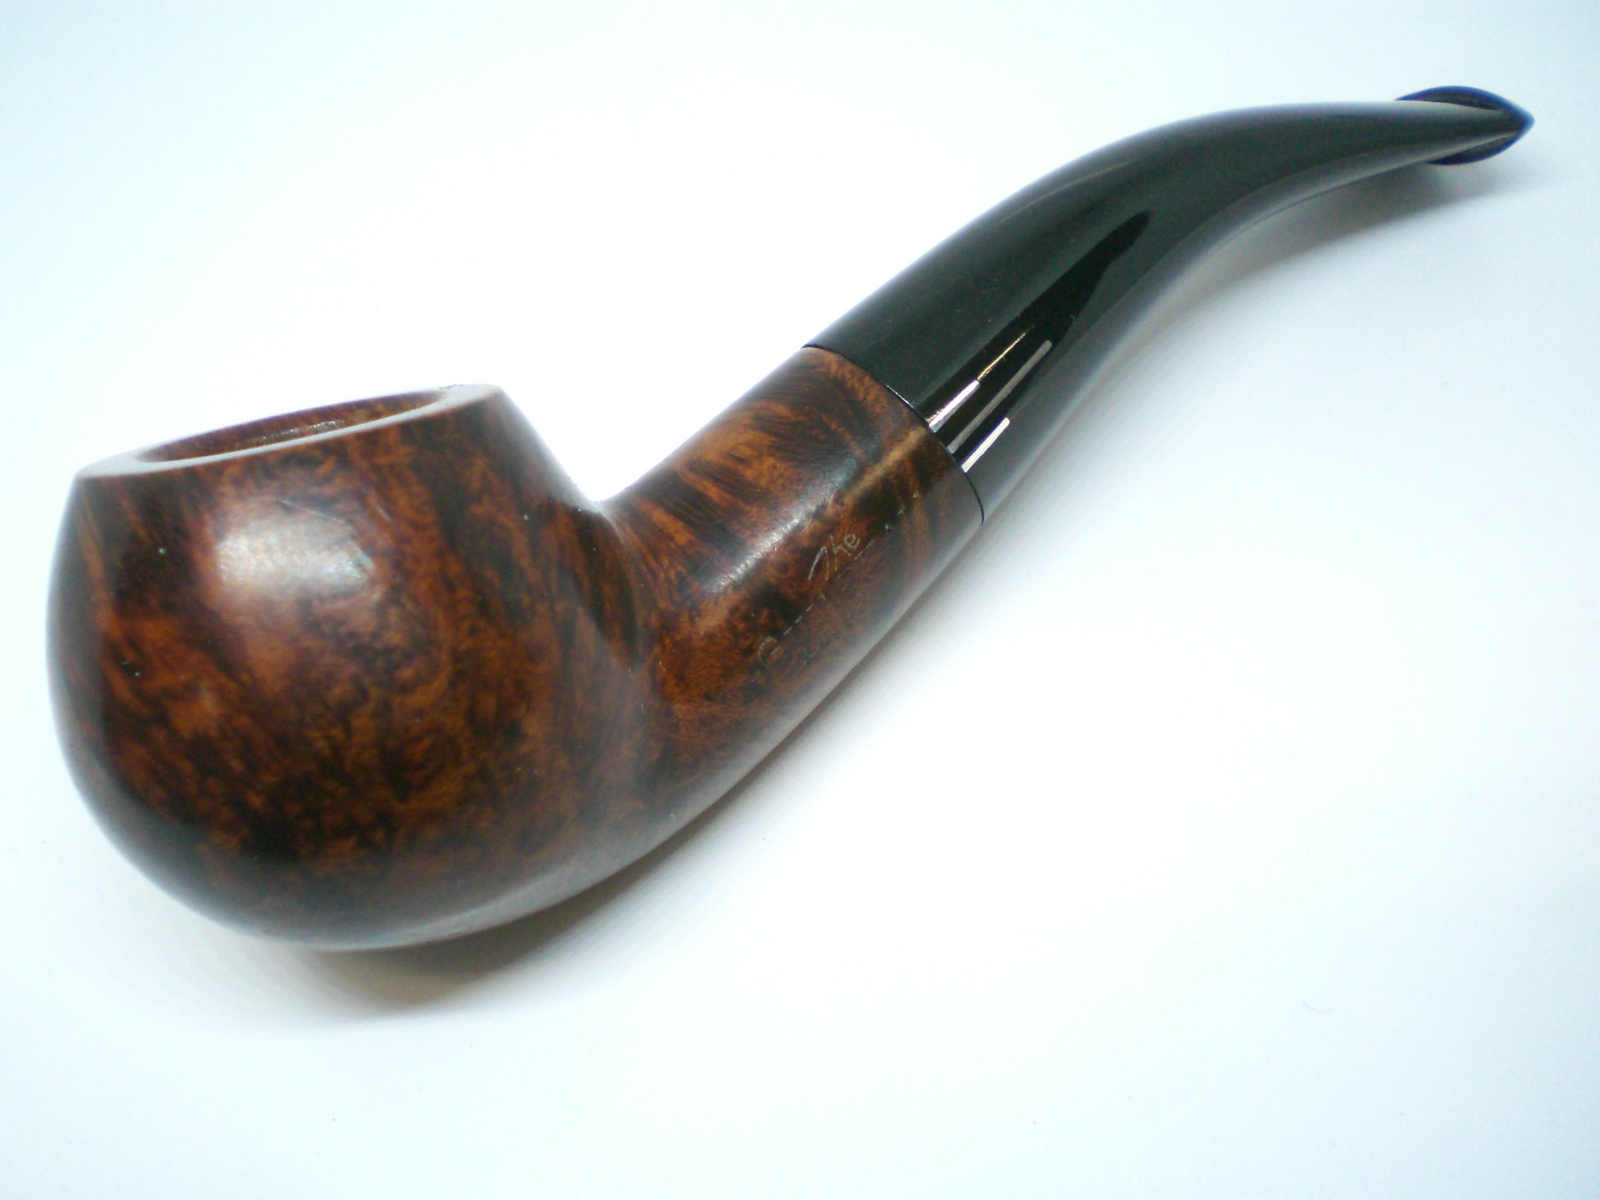
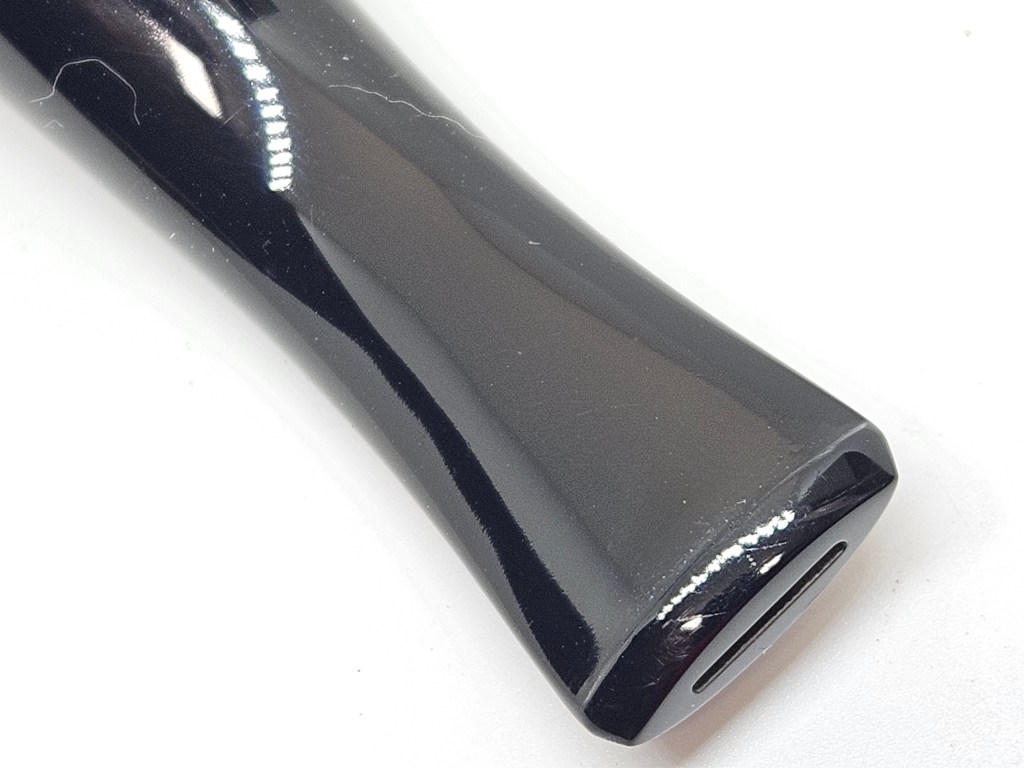
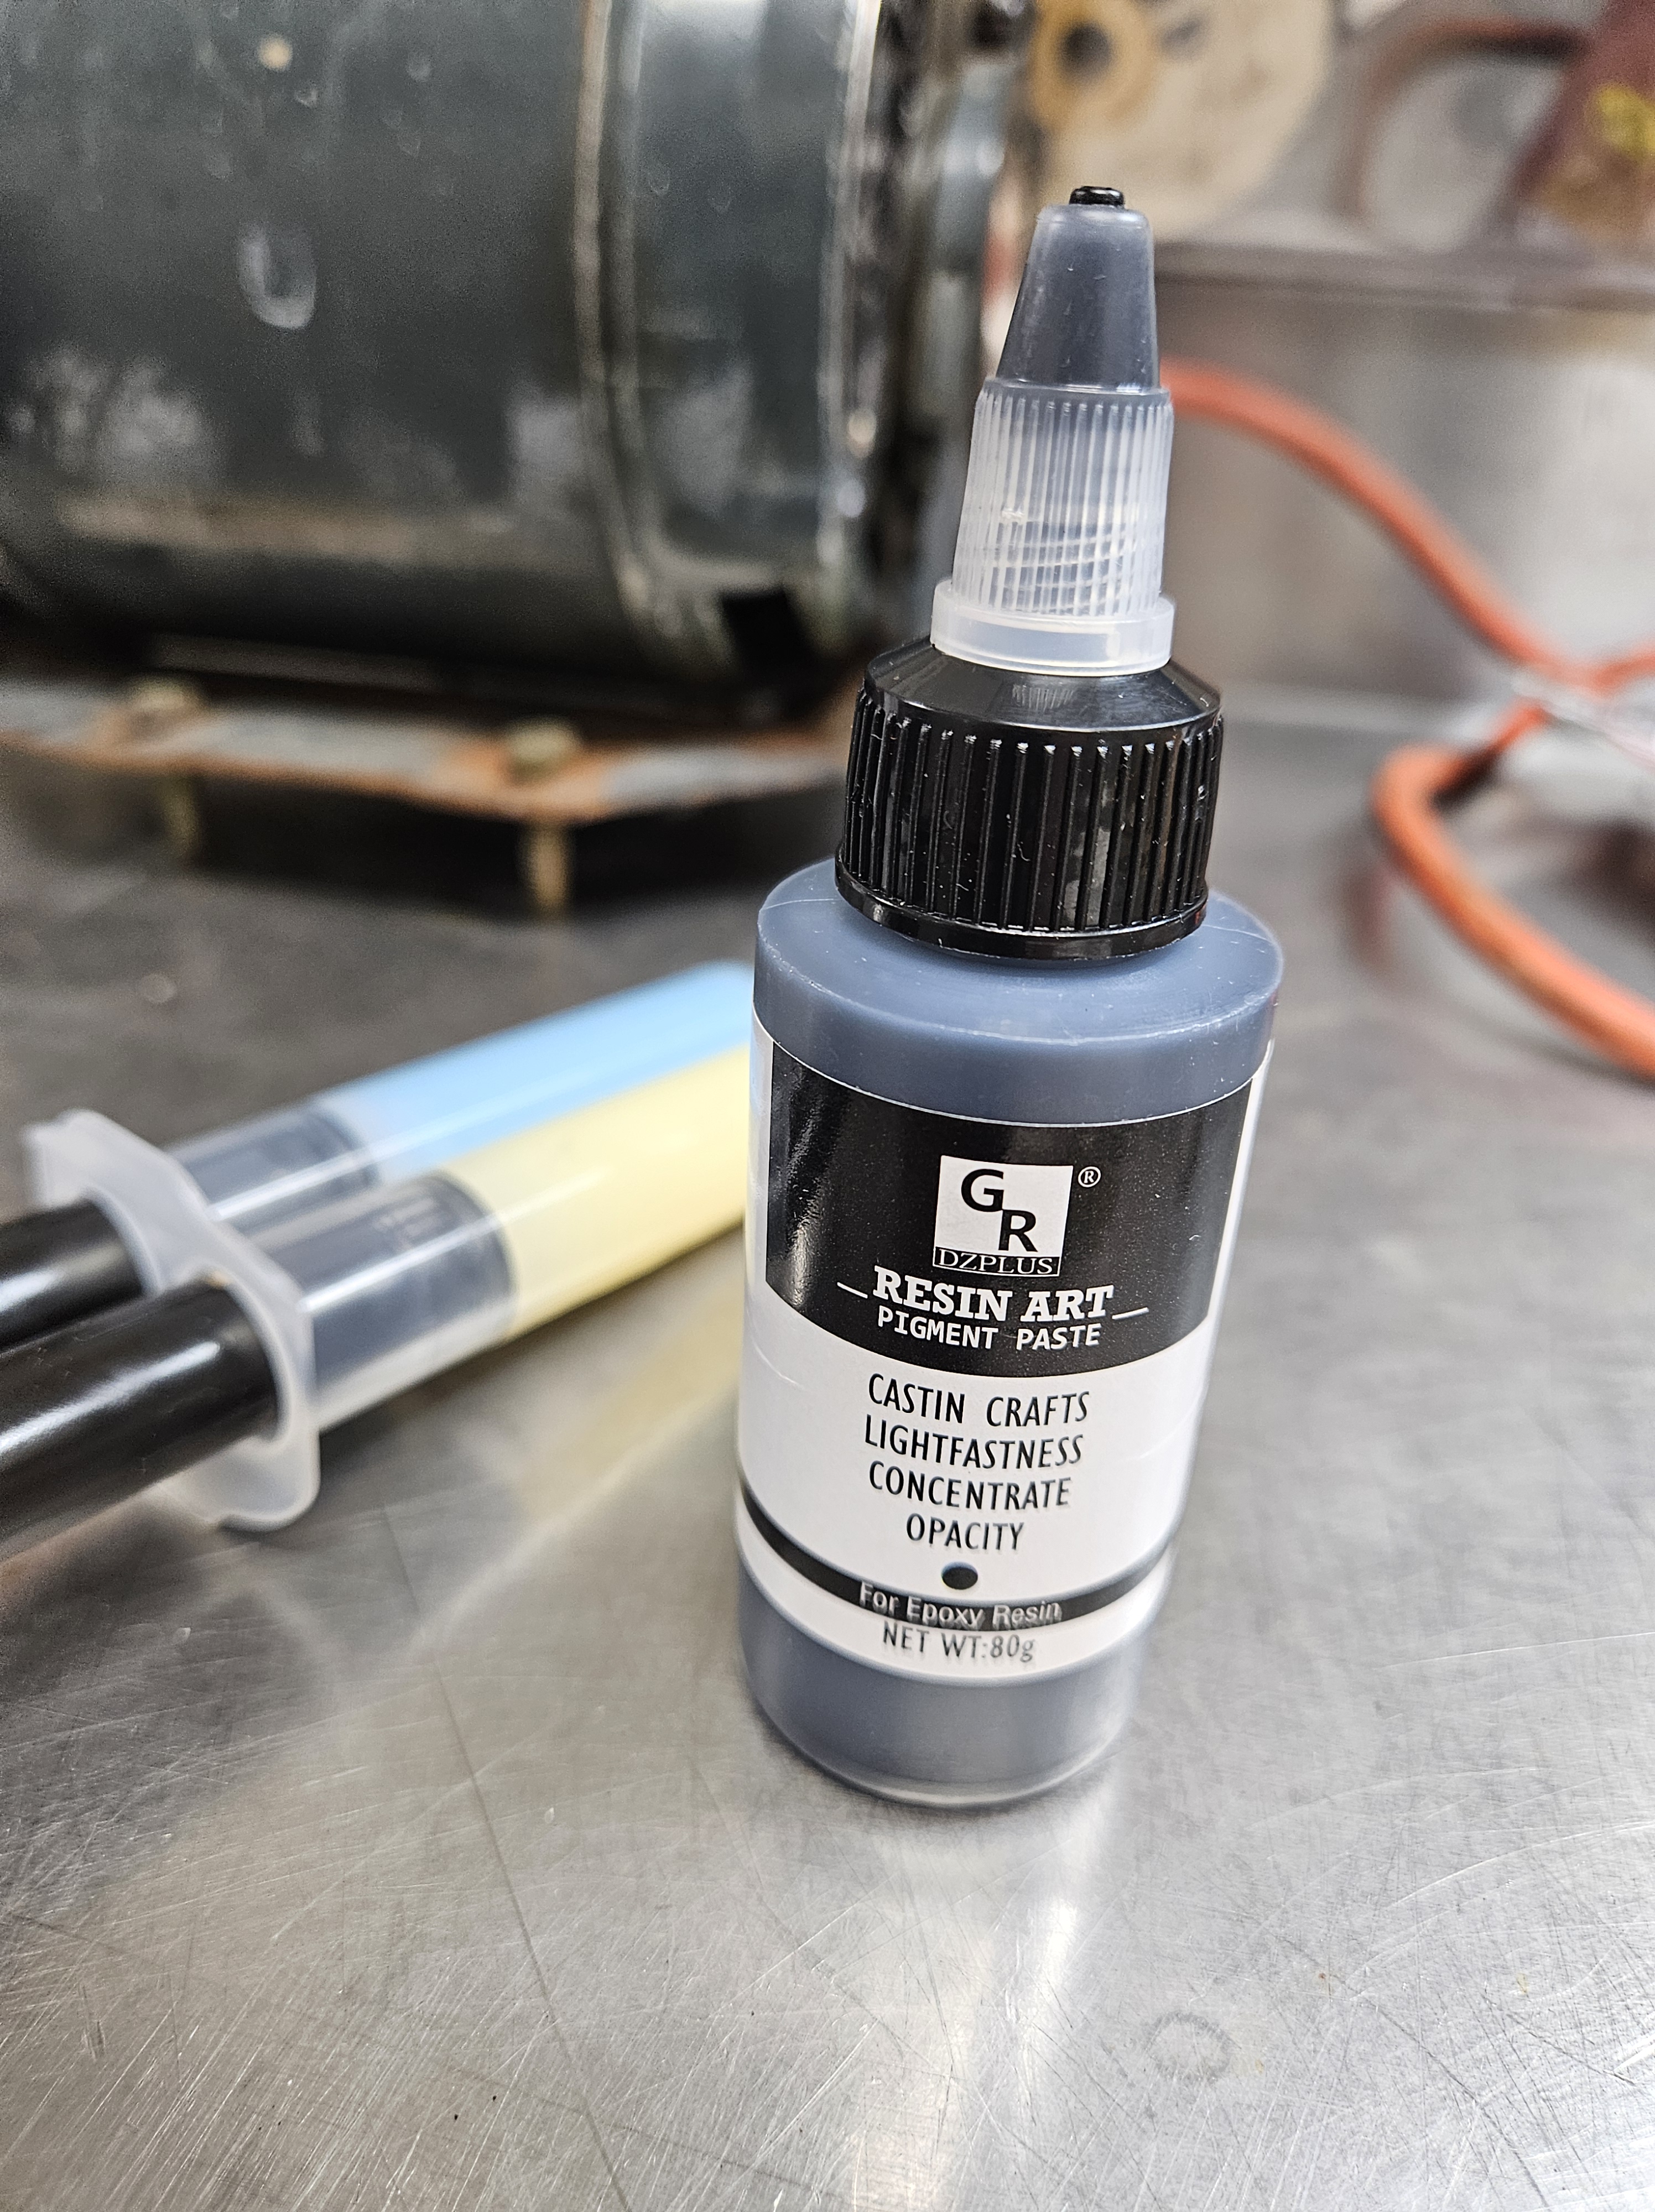
I used heat to soften the teeth abrasions and it slightly lifted the dent on top of the P-lip. The stem was polished with 600, 800, 1,500 and 2,000 grades of wet sandpaper. I tried fixing the chip and remaining dent with the regular Superglue I had on hand. I was not happy with that result, so I ordered some marine expoxy and black pigment.
I mixed the epoxy and added a small amount (about 10%) of the black pigment. The mixture was applied with a toothpick and left to dry overnight.
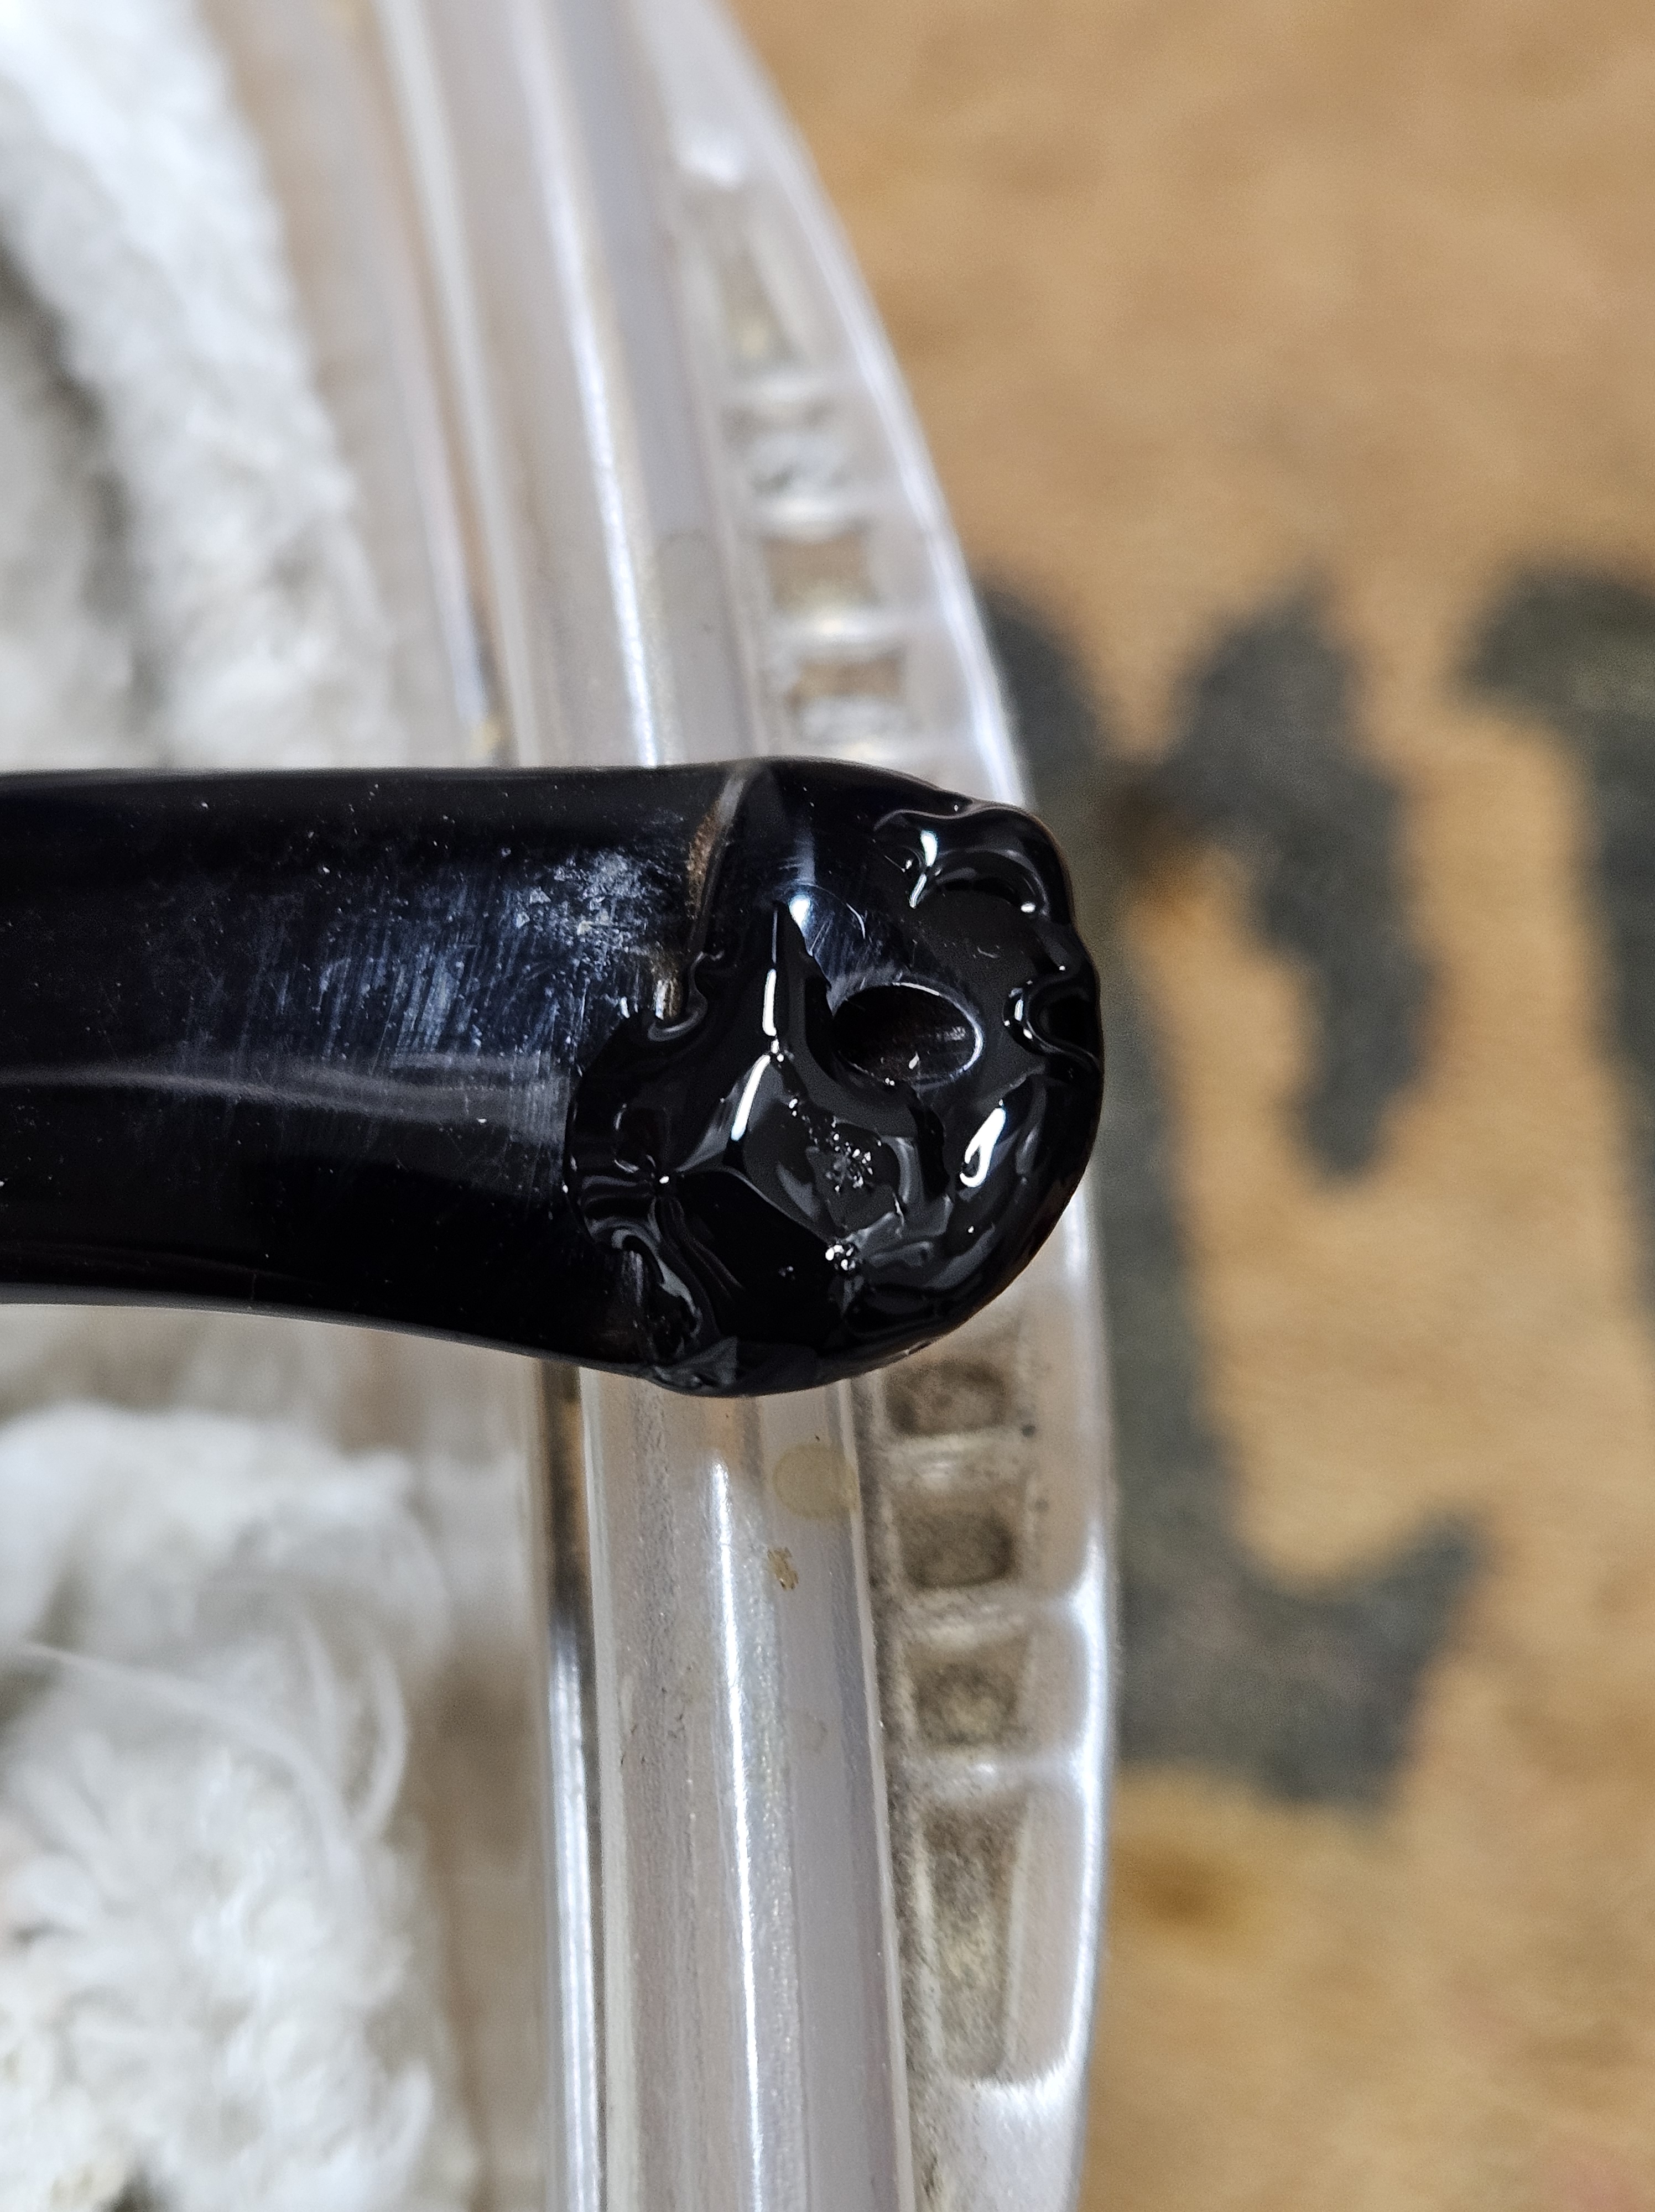
I used 400 grit wet paper to reduce the epoxy then 600, 800, 1,500 and 2,000 grade paper. It’s not perfect, but I’m happy with the result for now. The stem was then buffed with White Diamond and Meguiars Plastic polish.
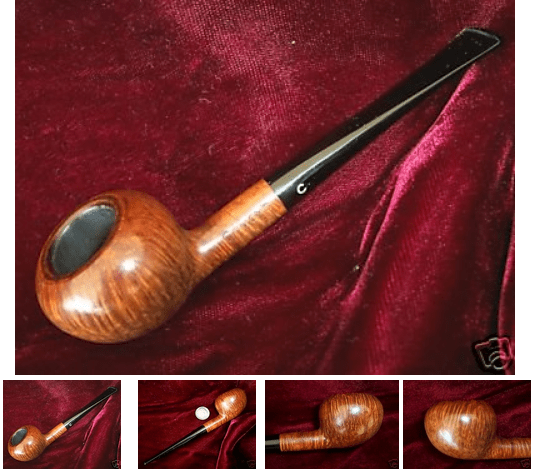
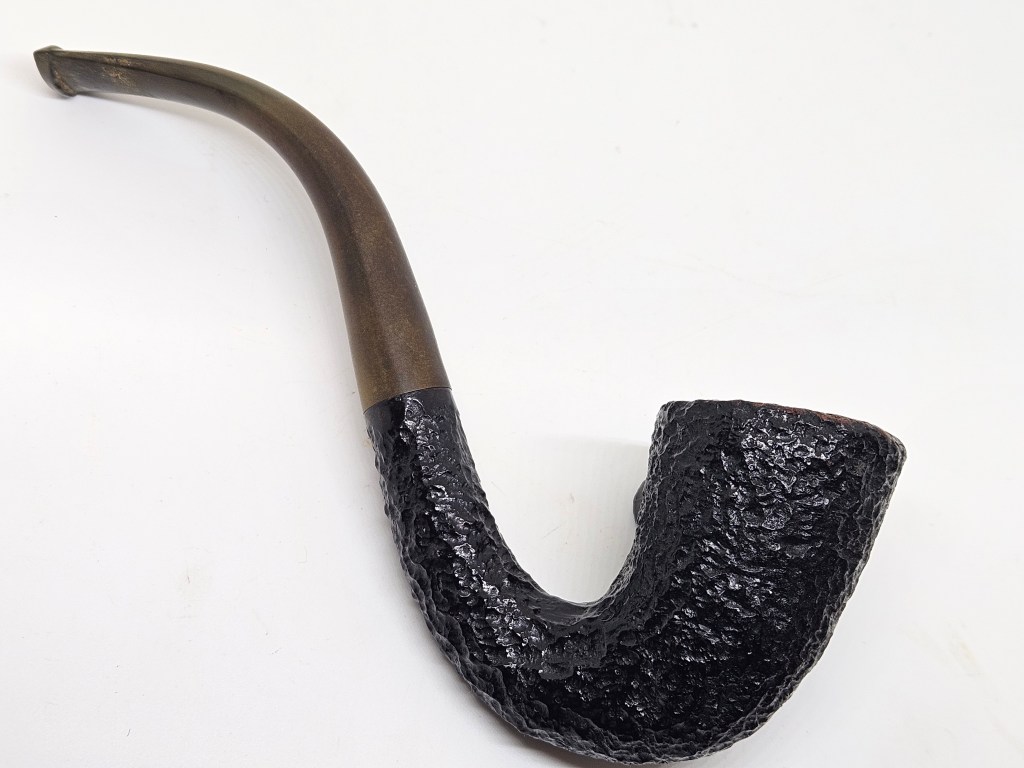
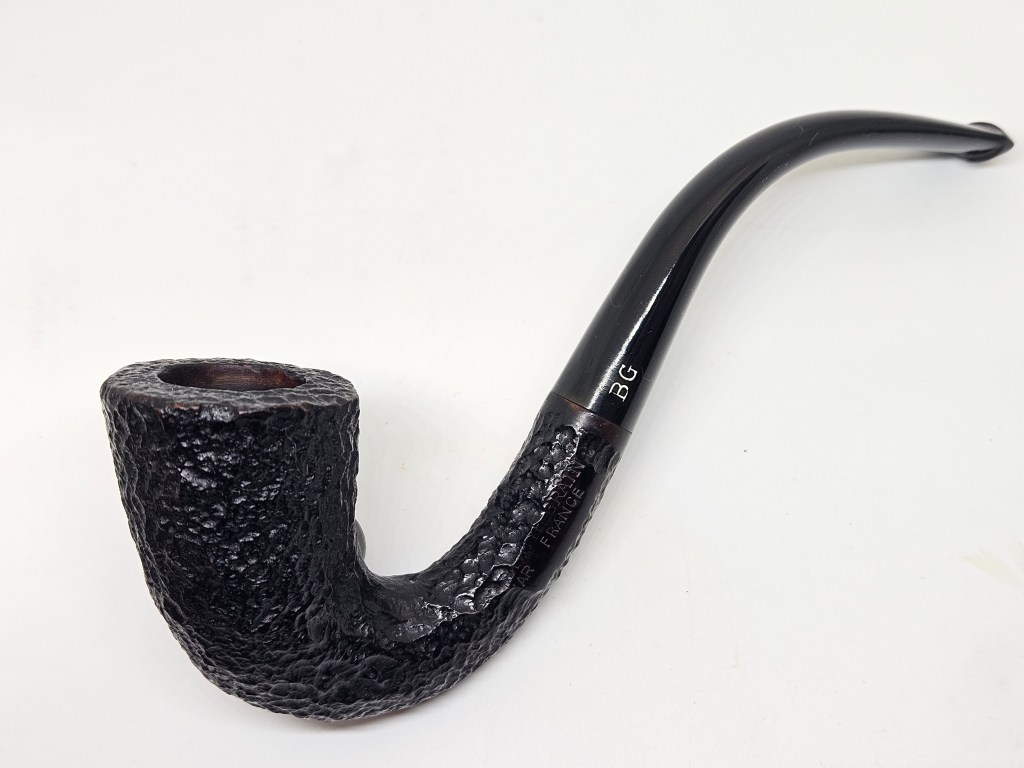
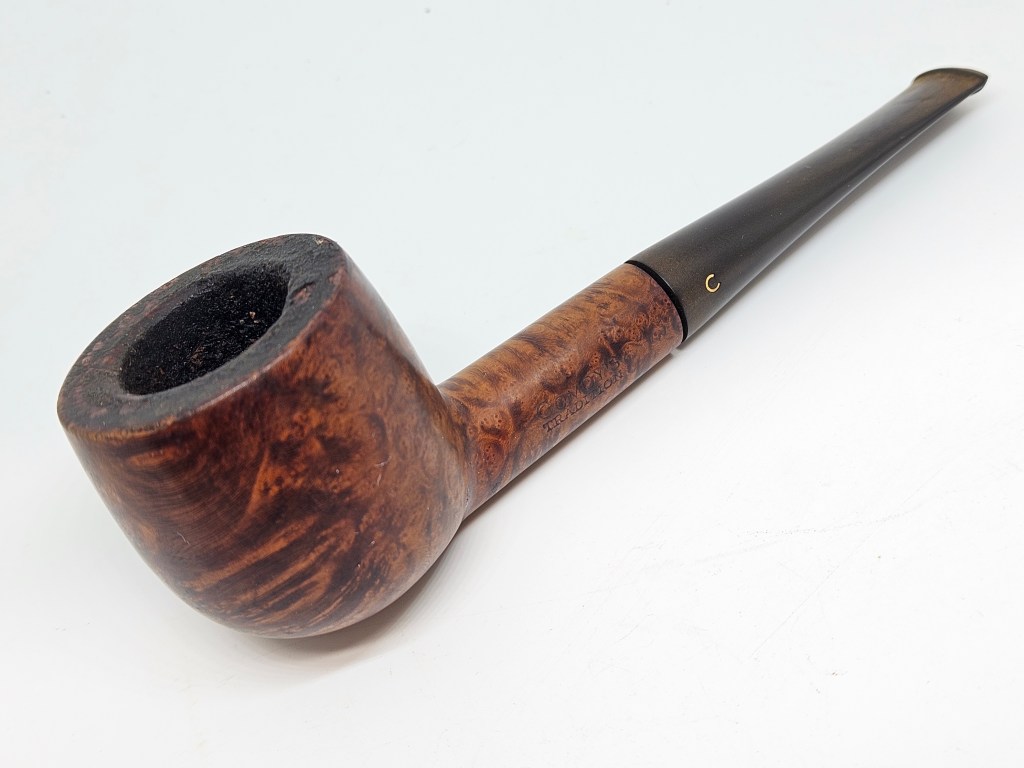
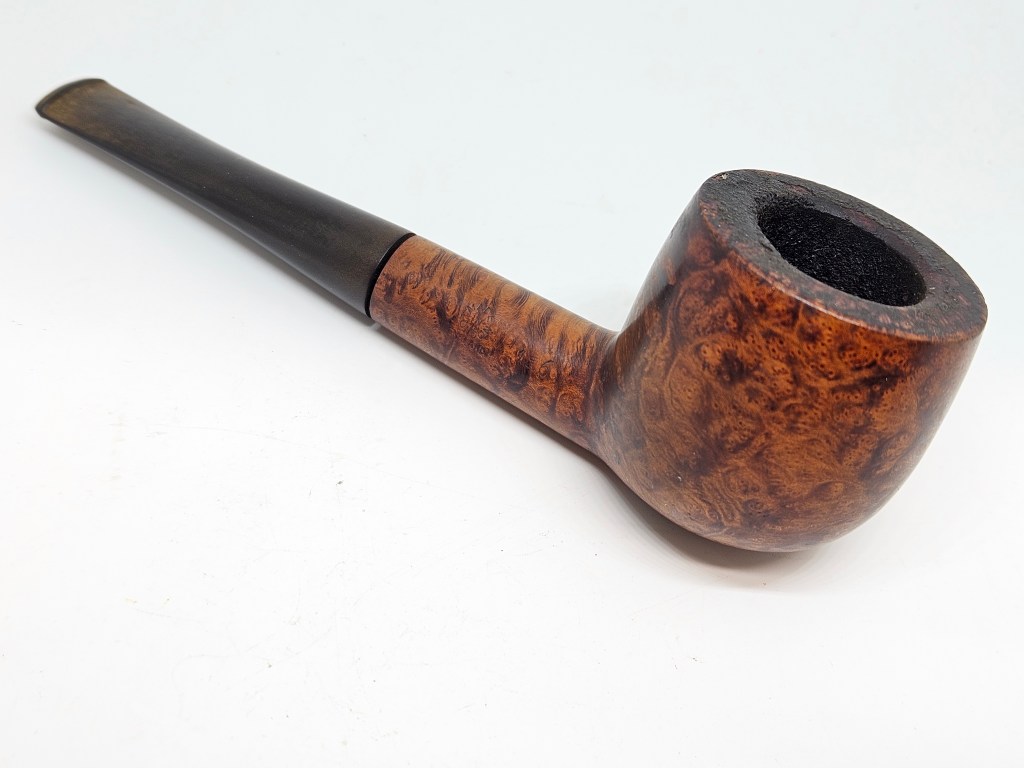
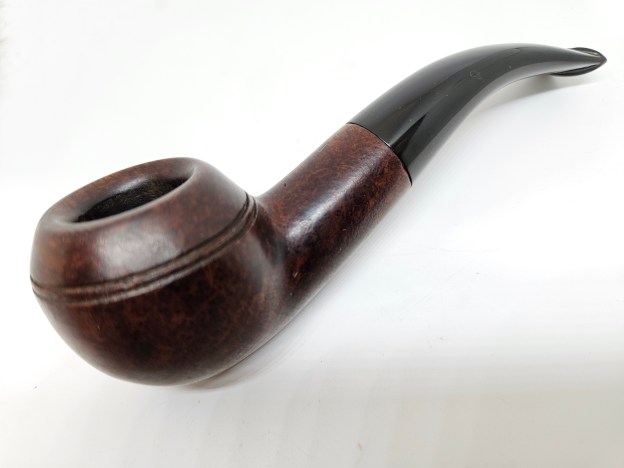
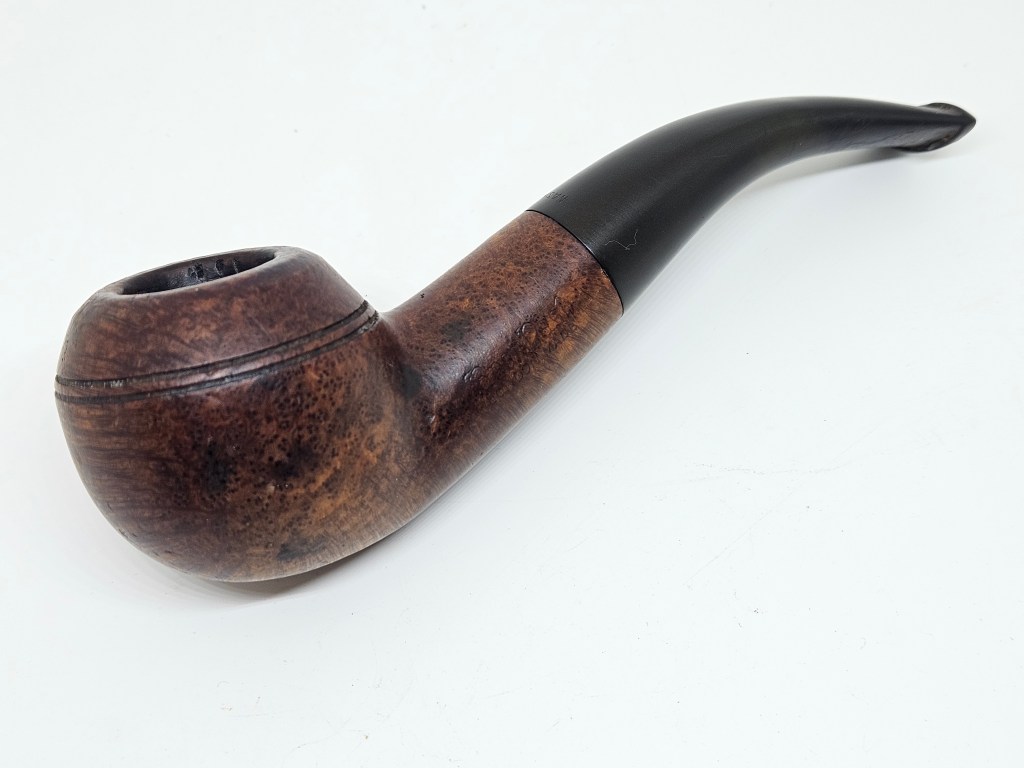
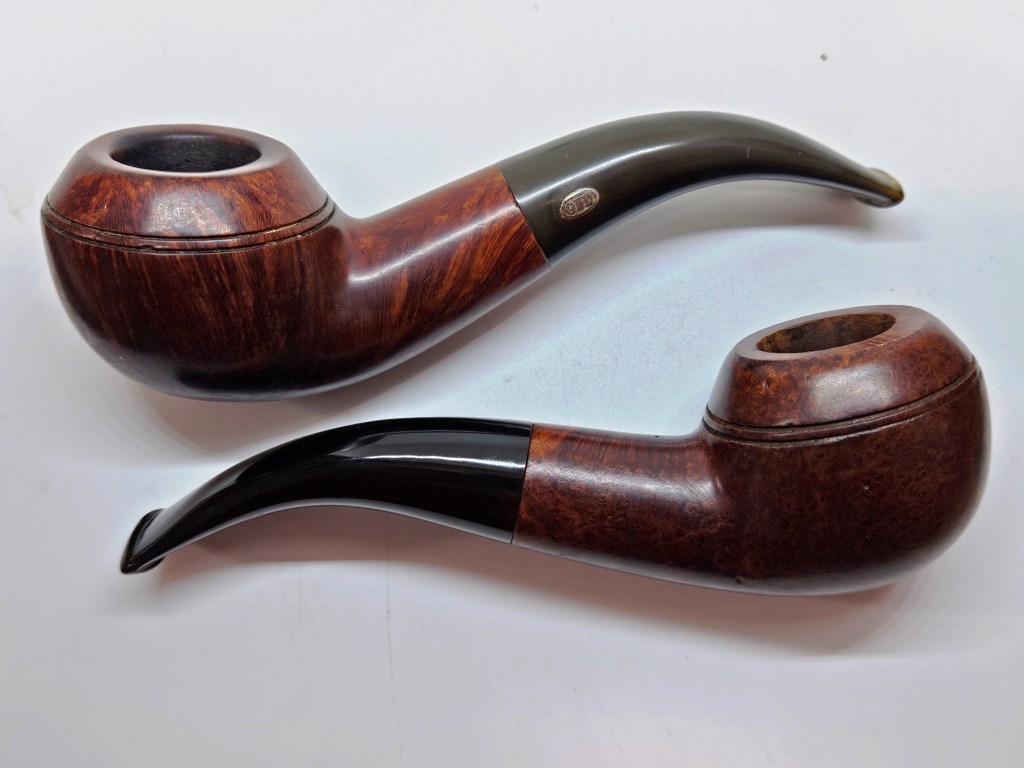
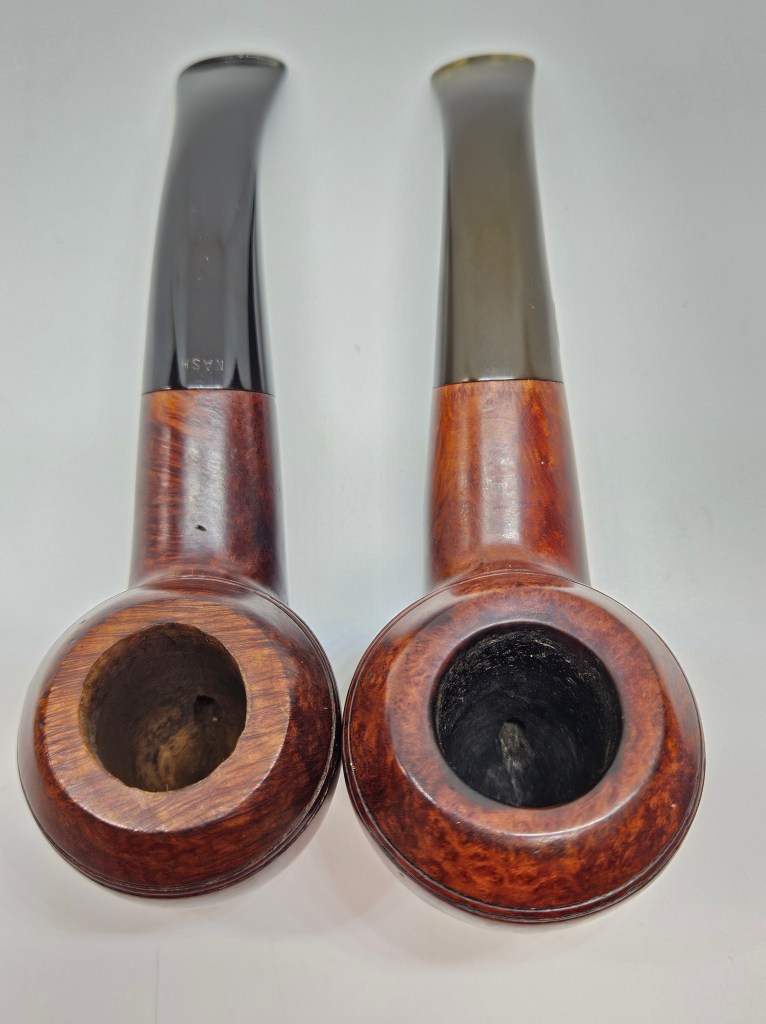
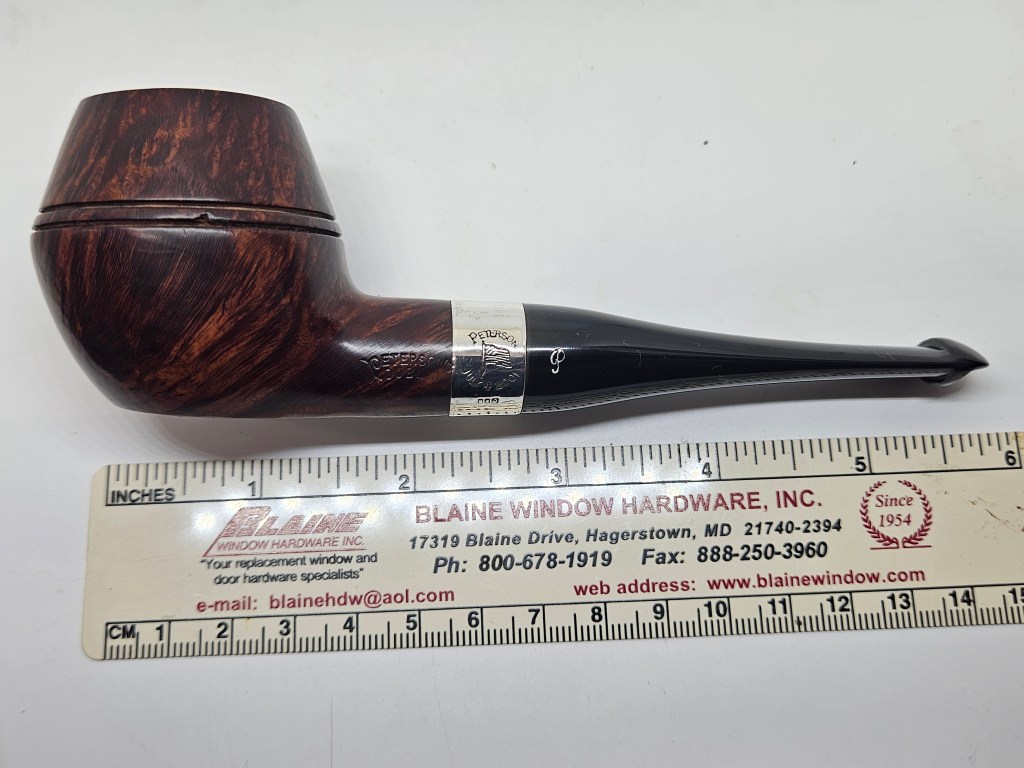
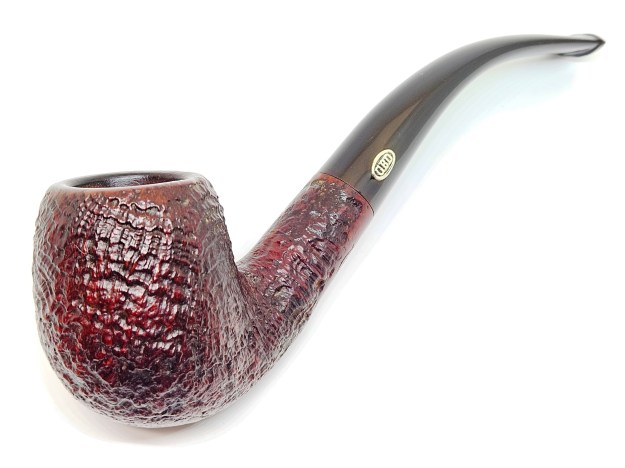
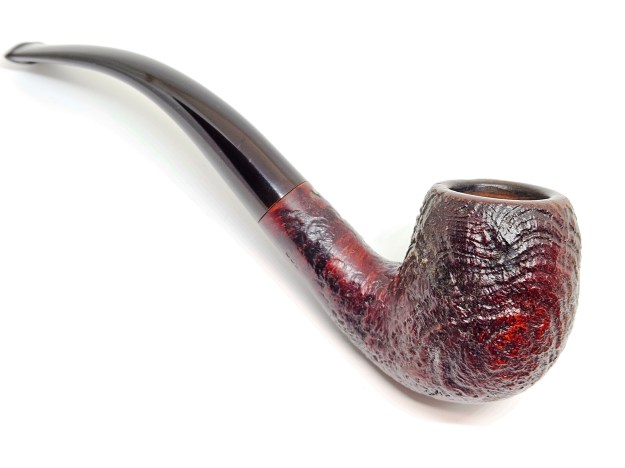
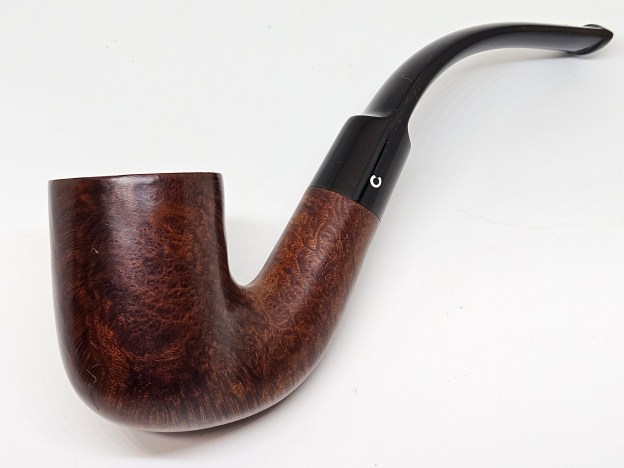
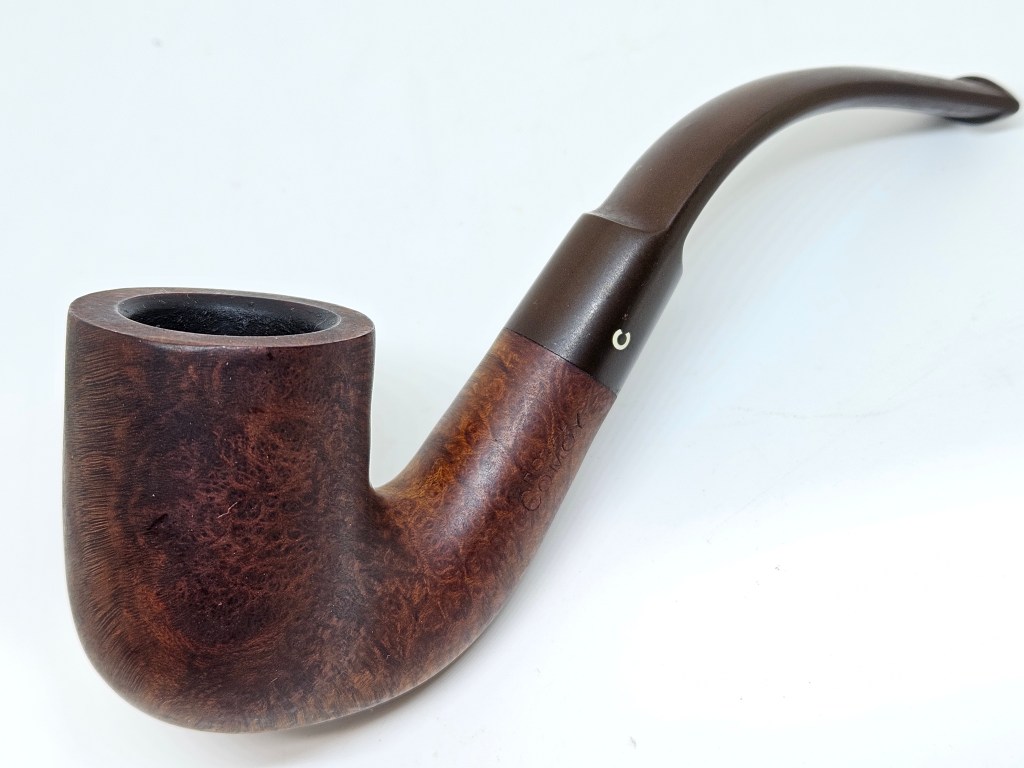
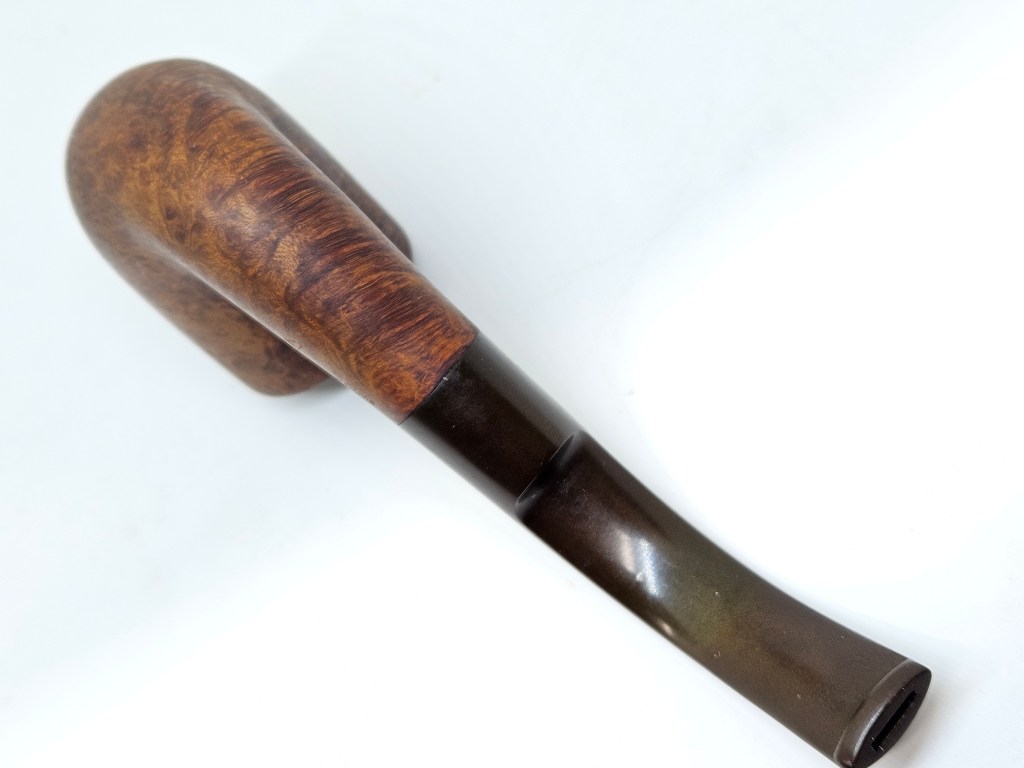
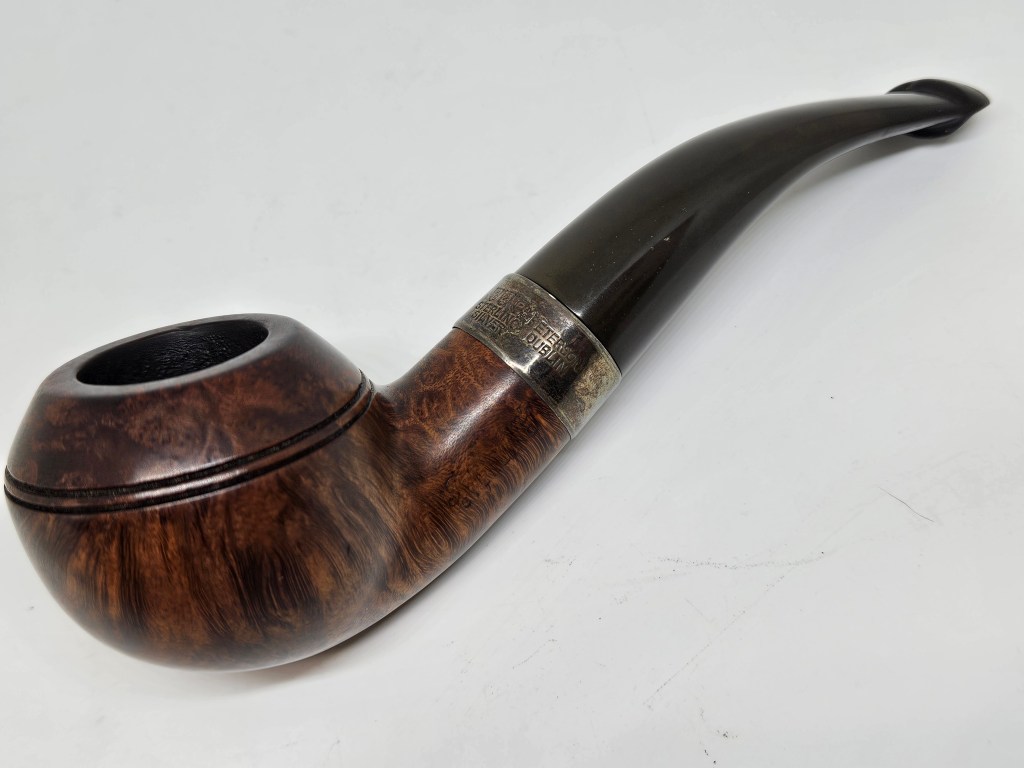
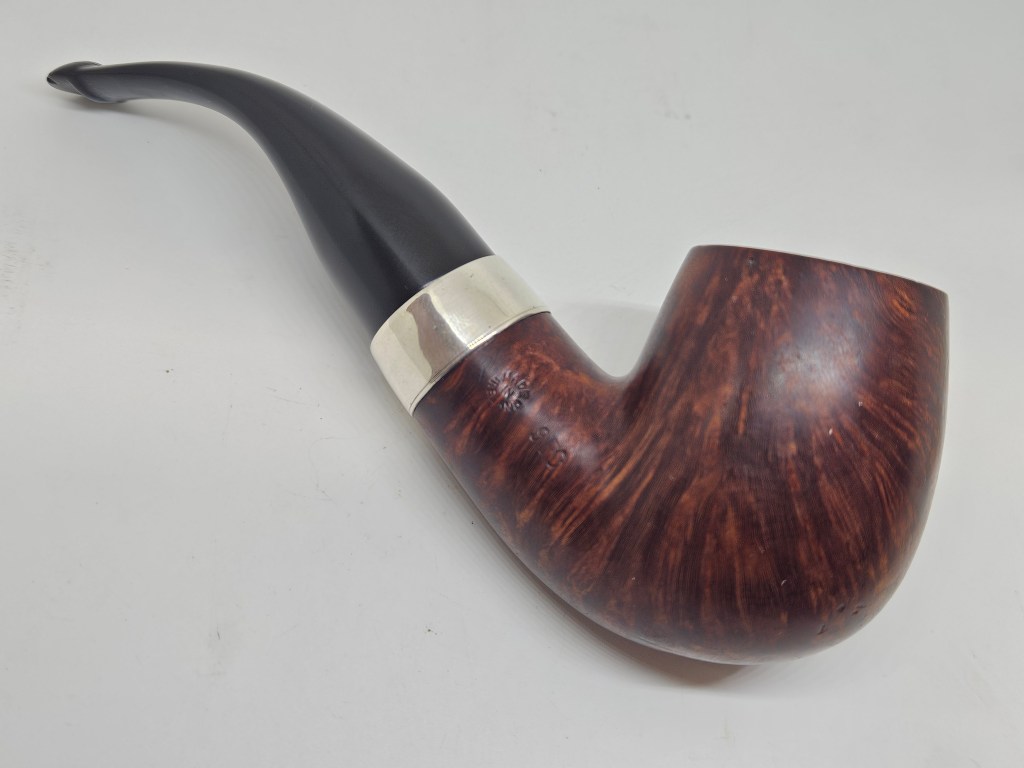
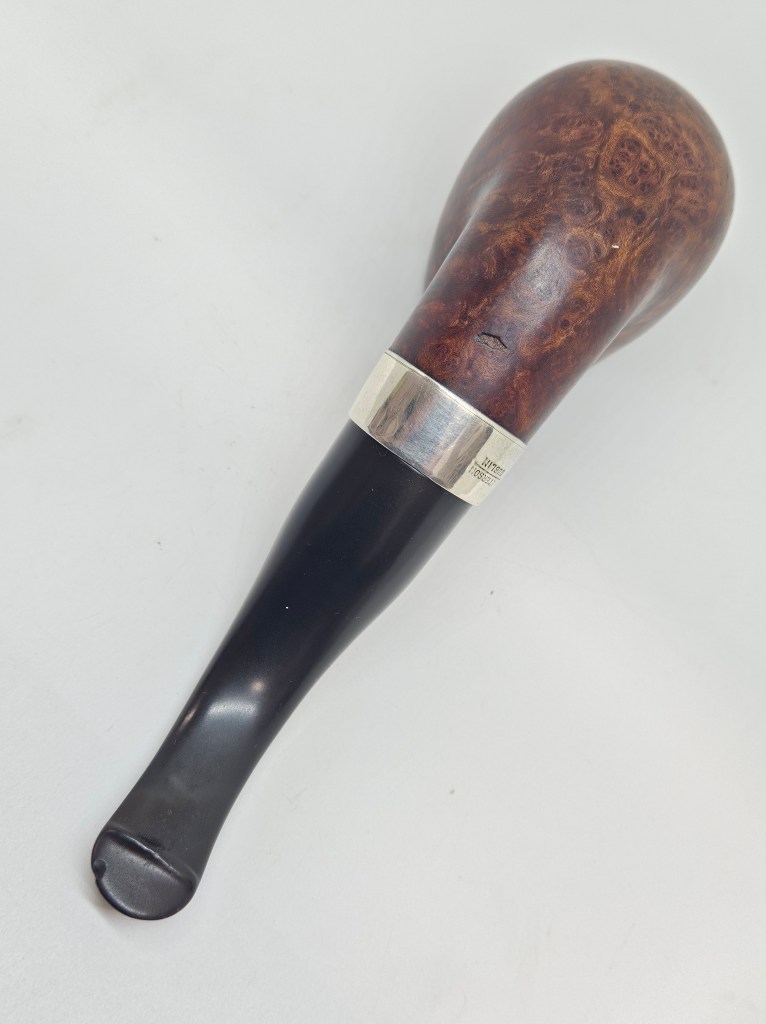
Here are both of my Peterson Sterlings and pictures of the finished 9BC.