Blog by Steve Laug
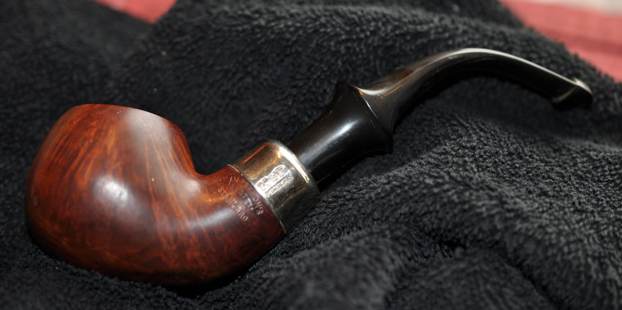
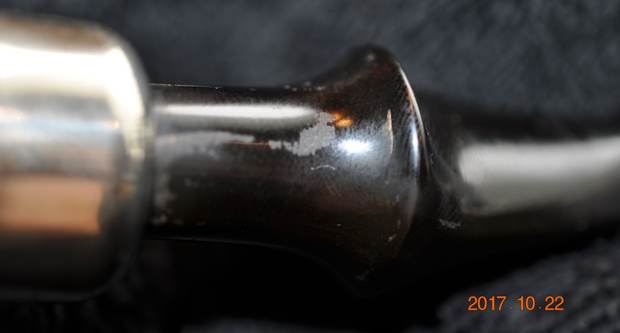
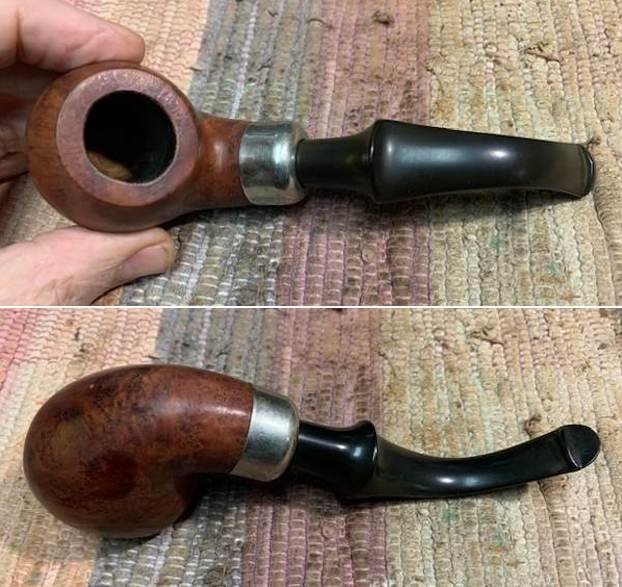
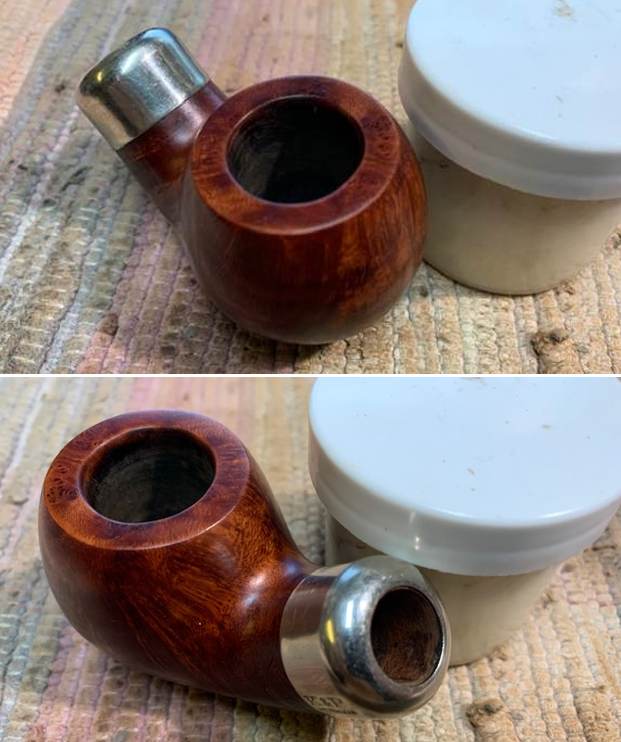
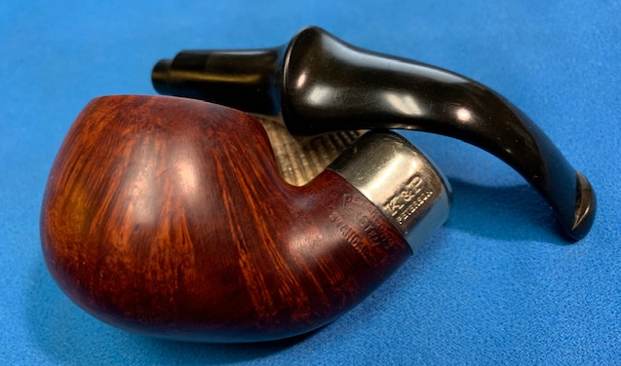
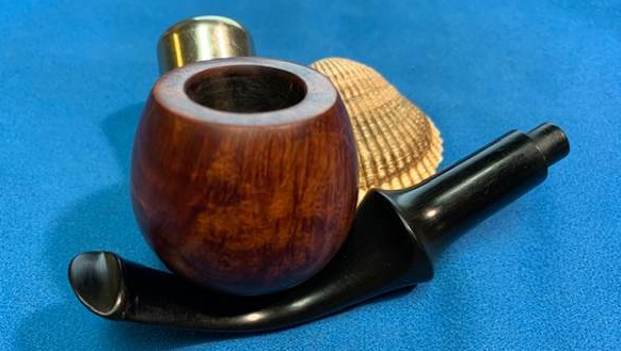
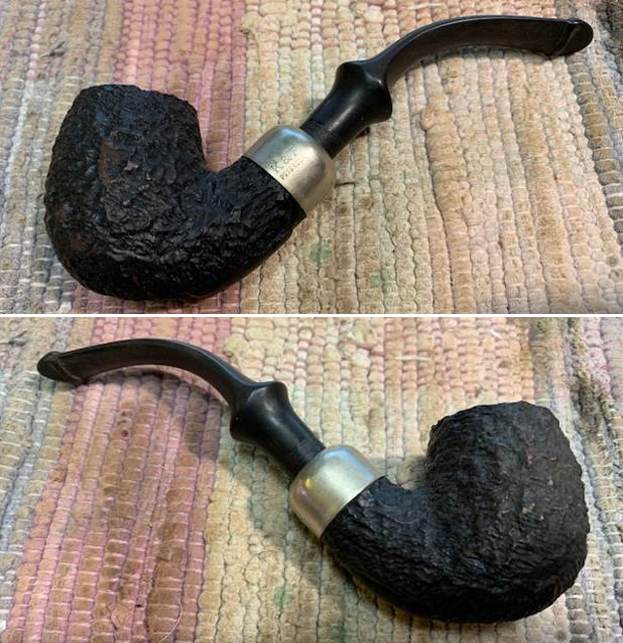
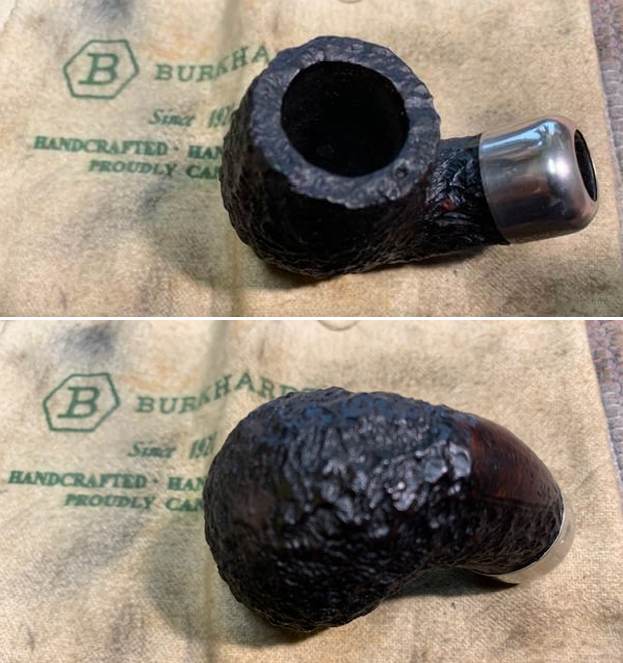
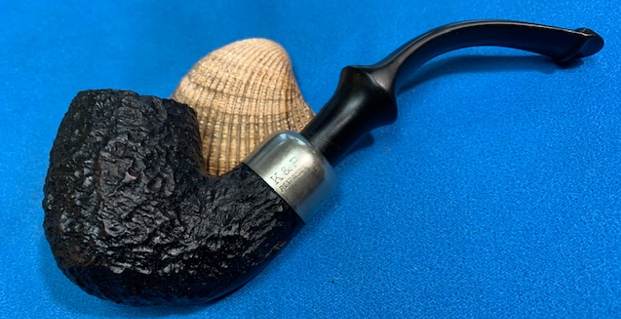
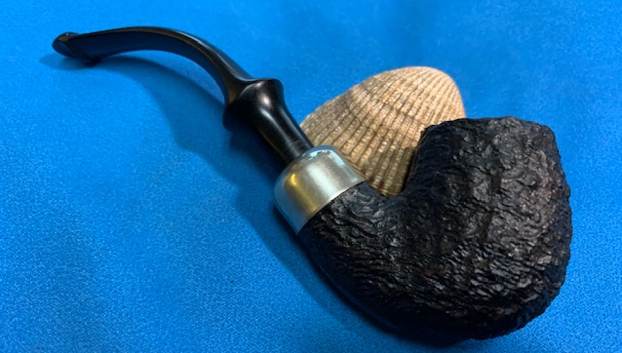
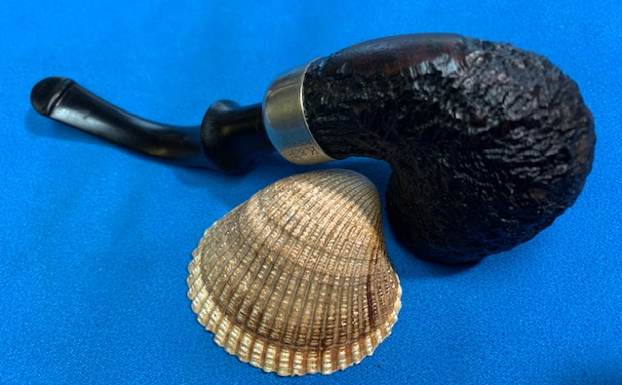
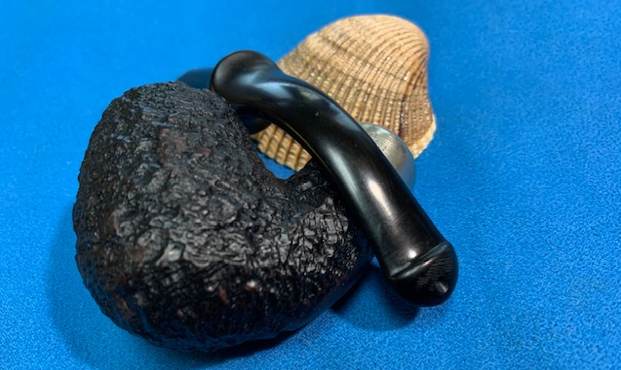
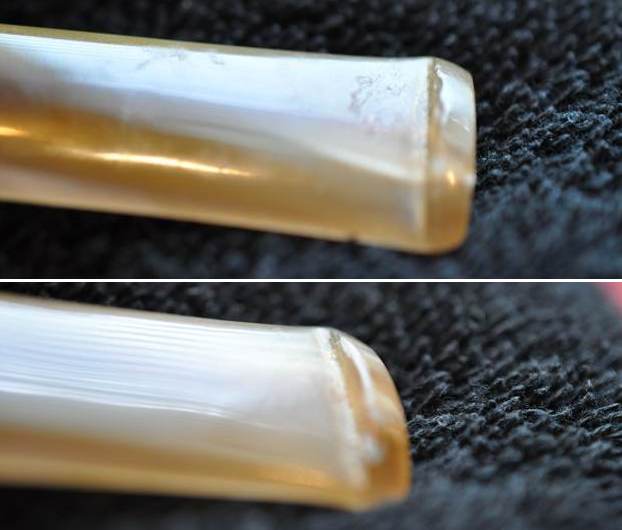
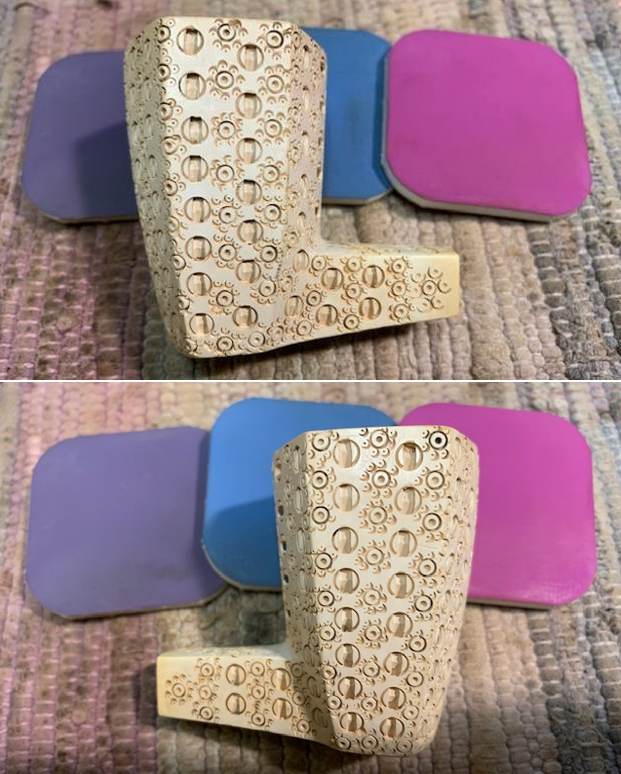
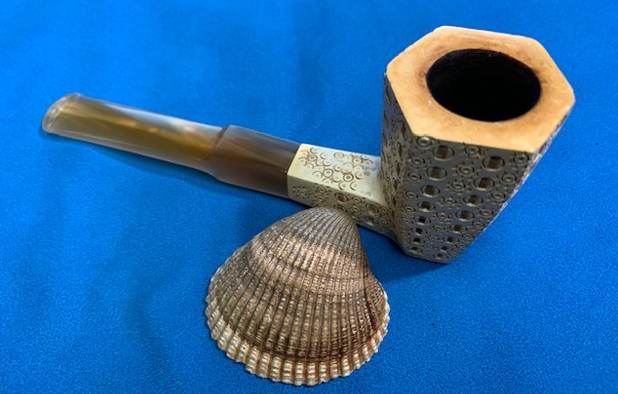
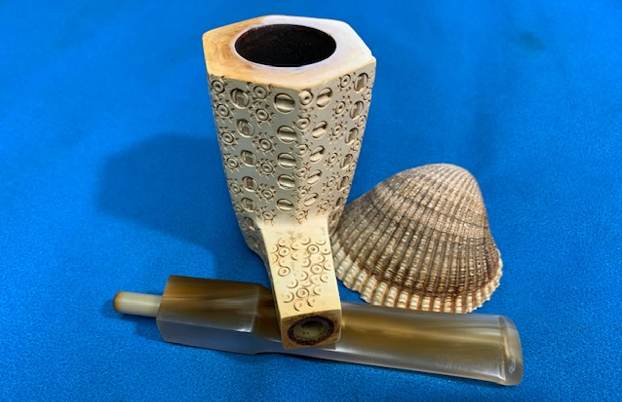
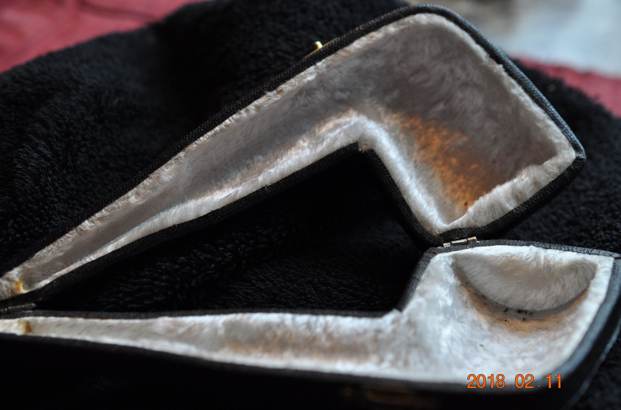
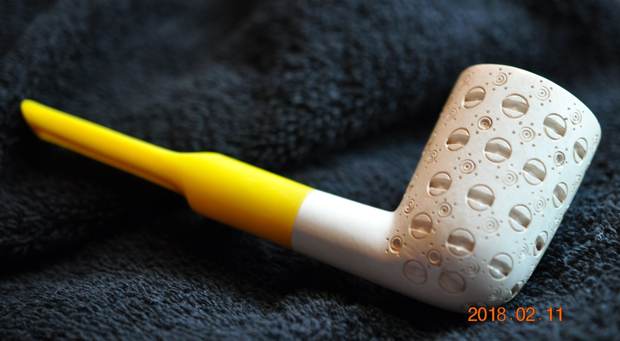
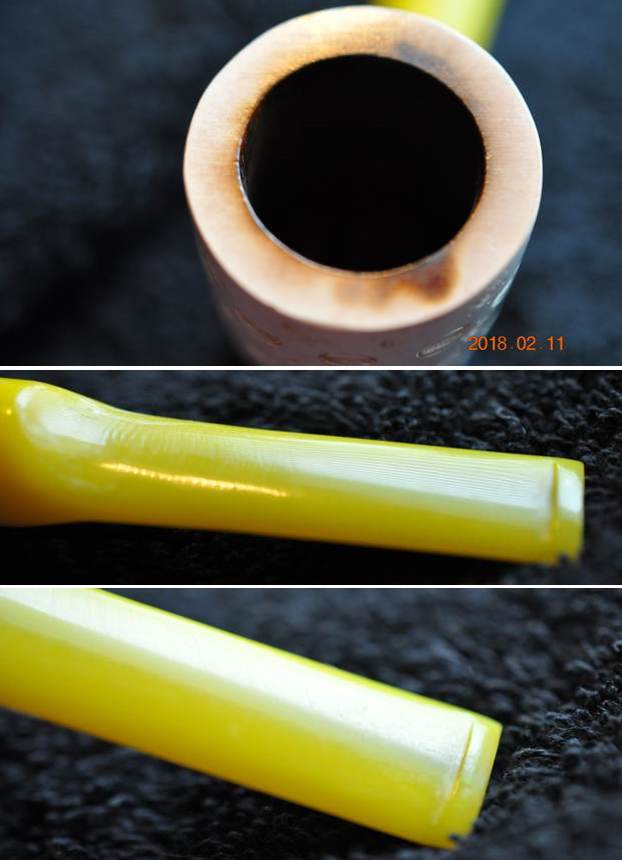
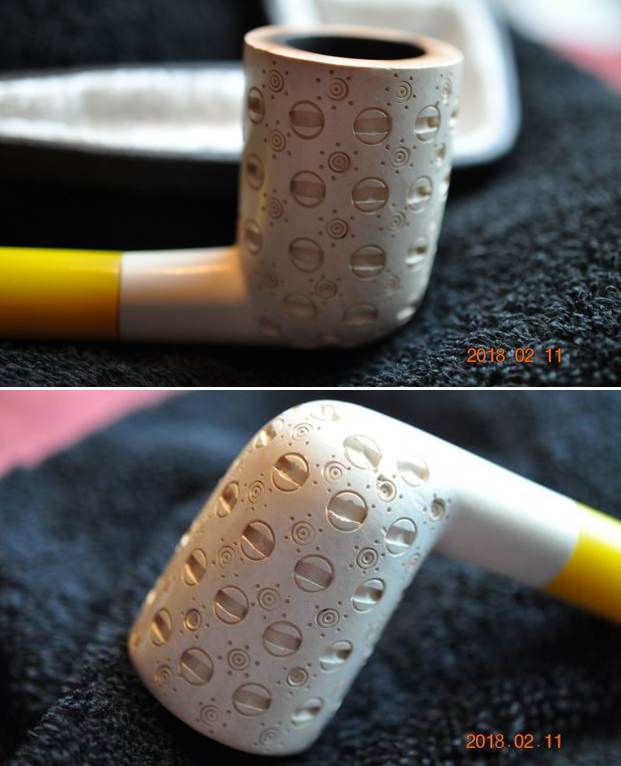
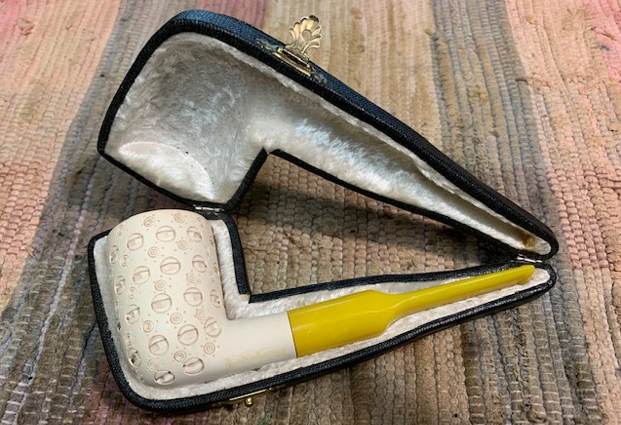
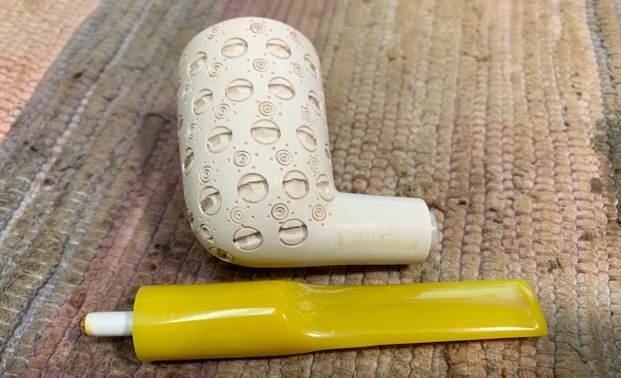
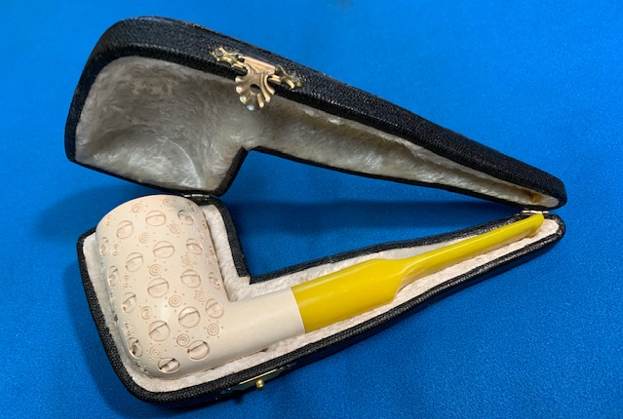
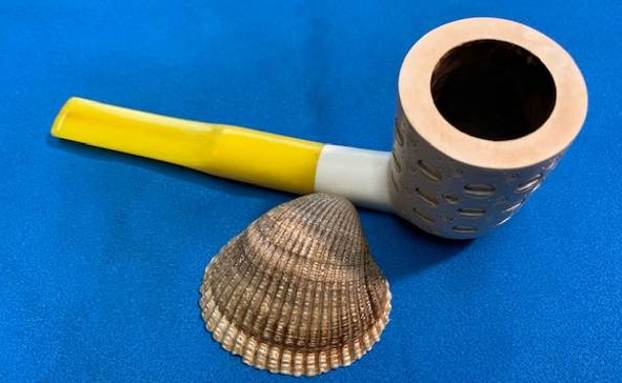
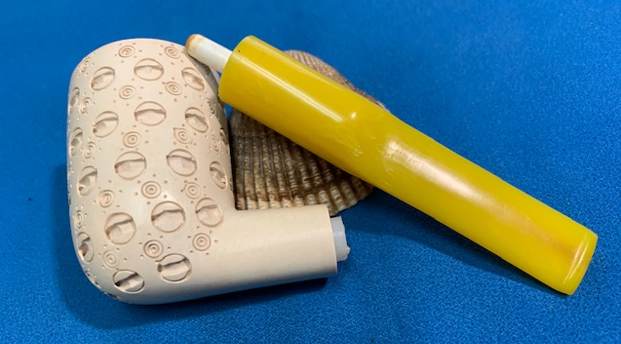
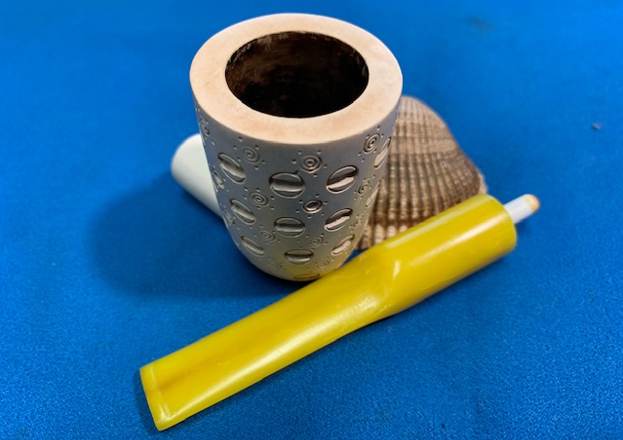
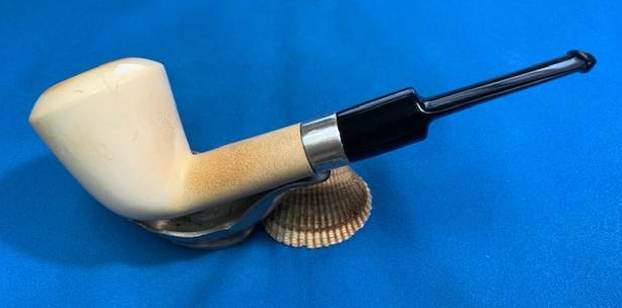
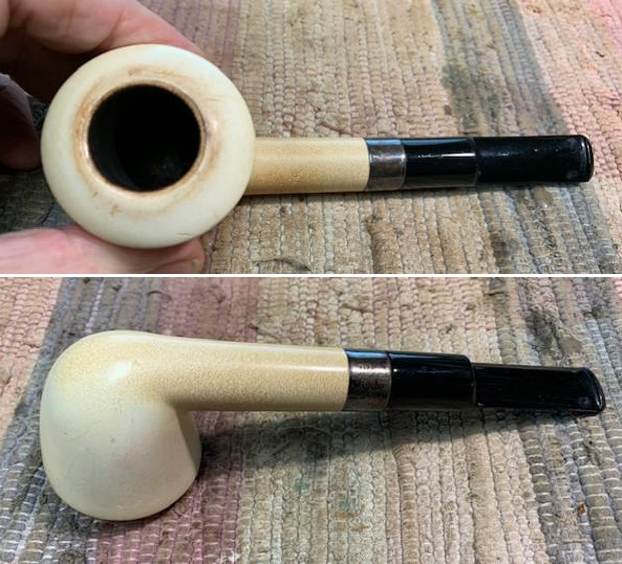
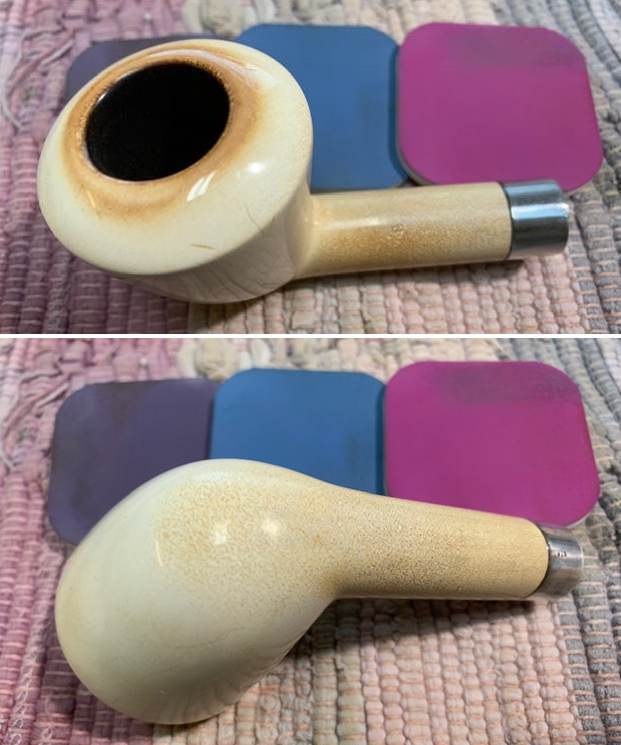
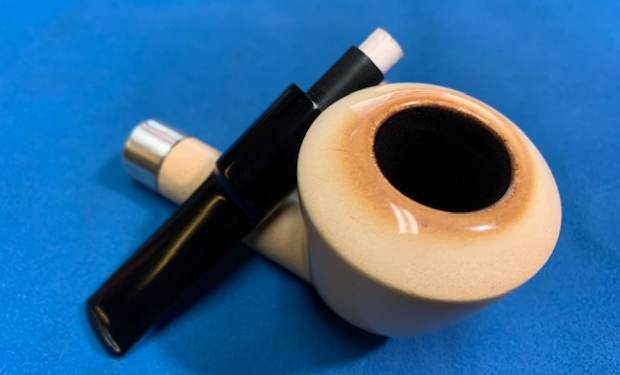
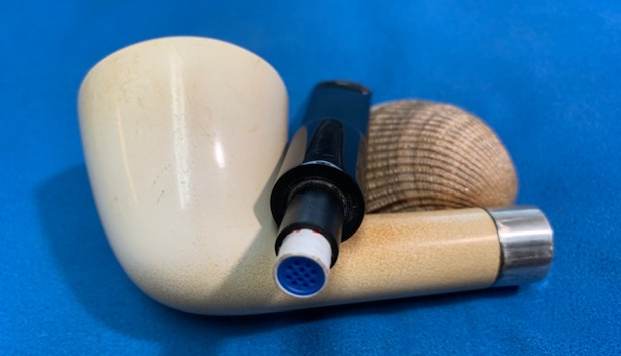
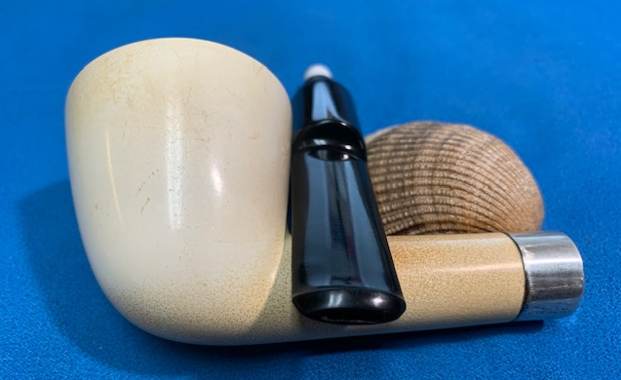
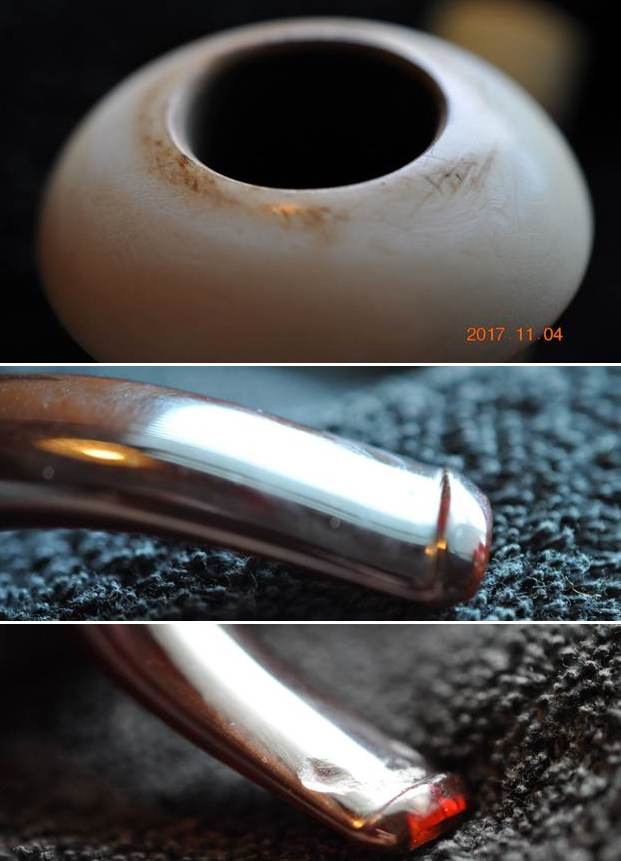
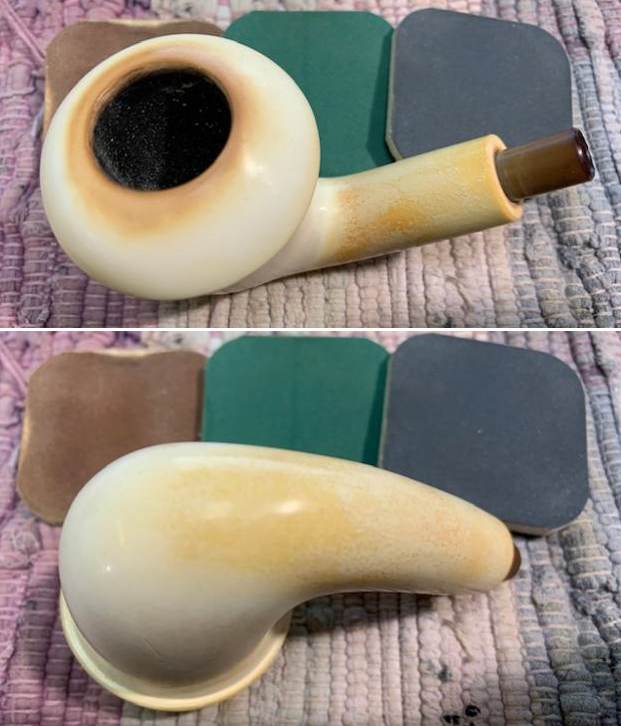
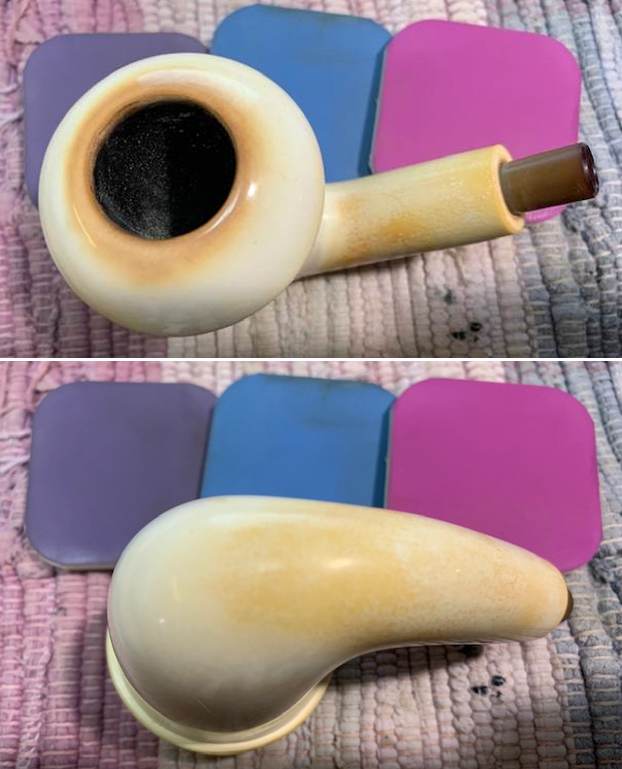
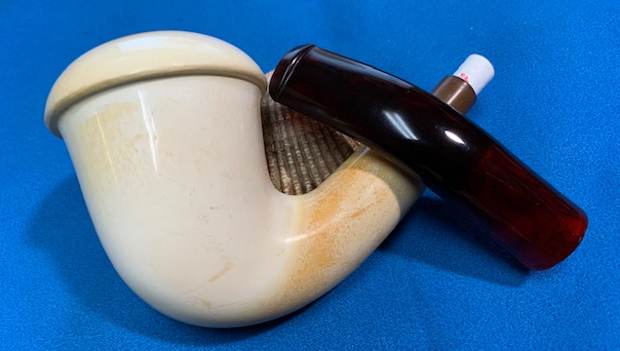
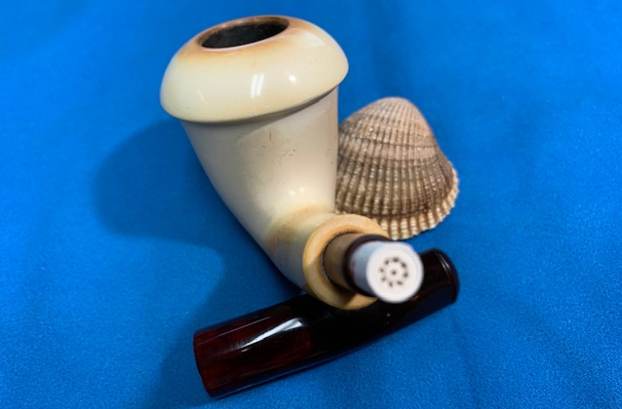
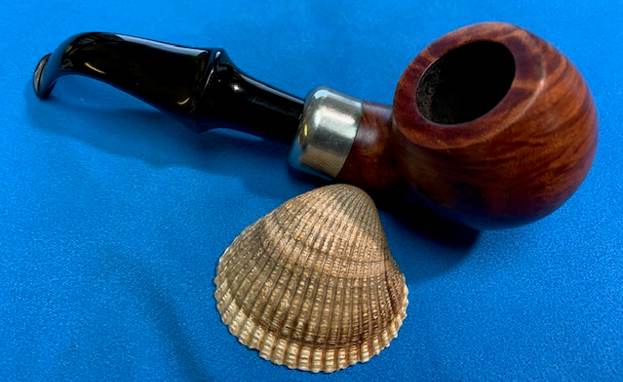
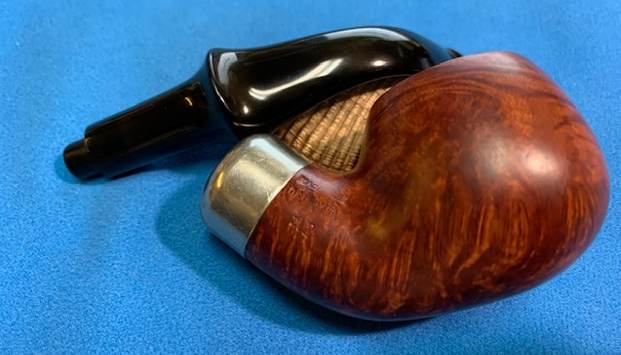
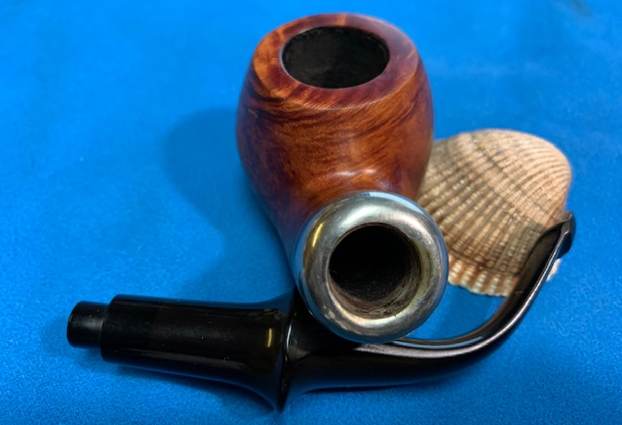
The next pipe I chose to work on is the second meerschaum that came from a trip Jeff and his wife took to Europe in the Fall of 2017. He also picked it up in a bazaar in Frankfurt, Germany. It was a nicely carved smooth Dublin with a black acrylic stem. The finish on the bowl and rim top were scratched and worn looking but still had a lot of charm. Like the other one this bowl and rim top appear to have been quickly cleaned for the sale but there was still a light cake in the bowl and some lava spots on the inner edge and rim top. The meerschaum was beginning to develop a patina on the shank and lightly on the bowl and rim top. There was a silver shank band that was tarnished but gave the pipe a bit of bling. The black acrylic stem had a wide open tenon that was made for a 9mm filter which is not surprising. It gave a good first impression but had deep tooth marks on the top and underside ahead of the button.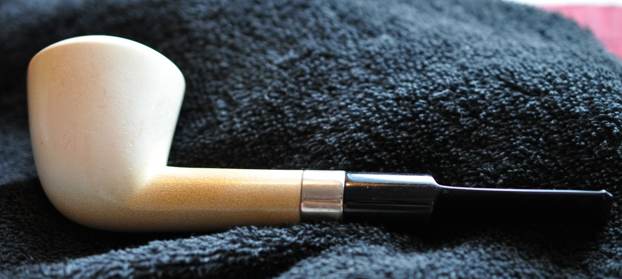
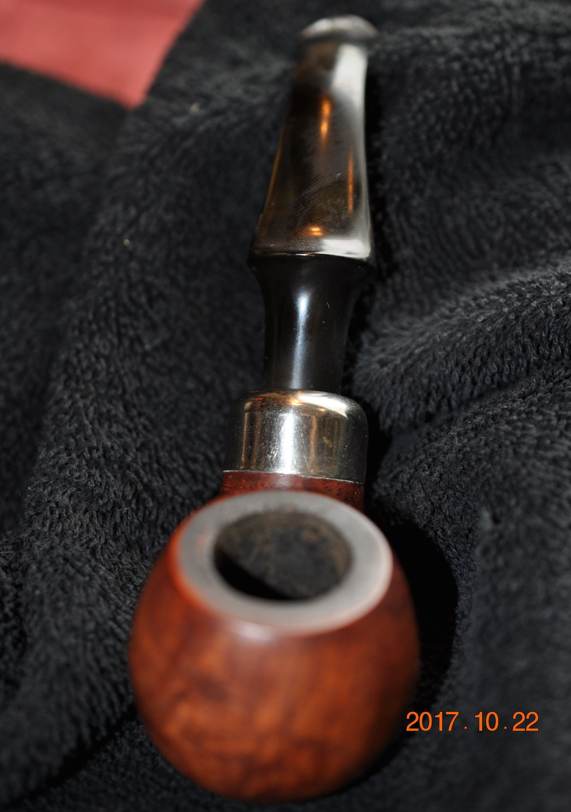
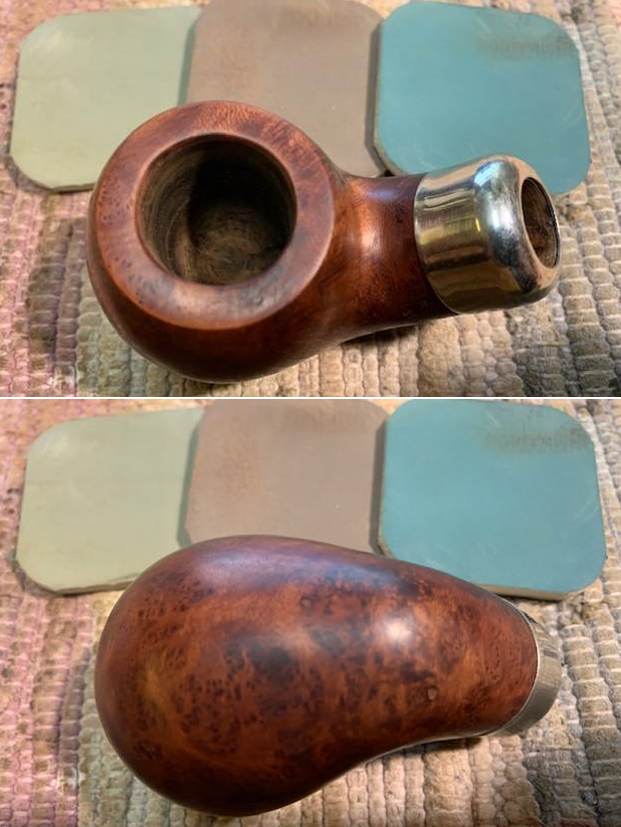
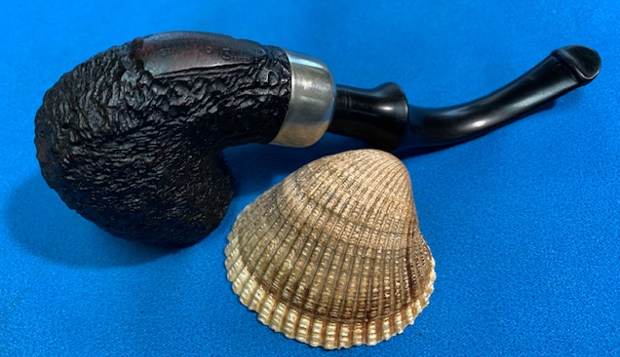
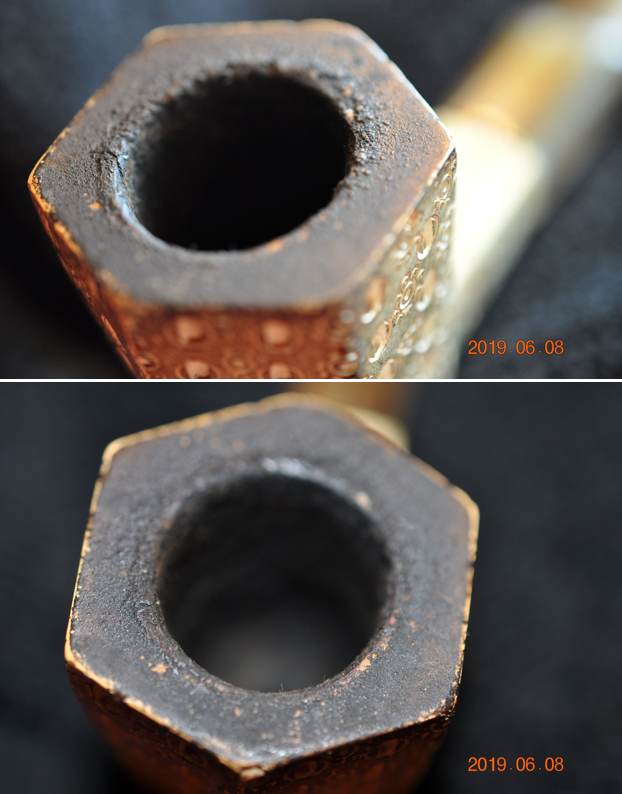
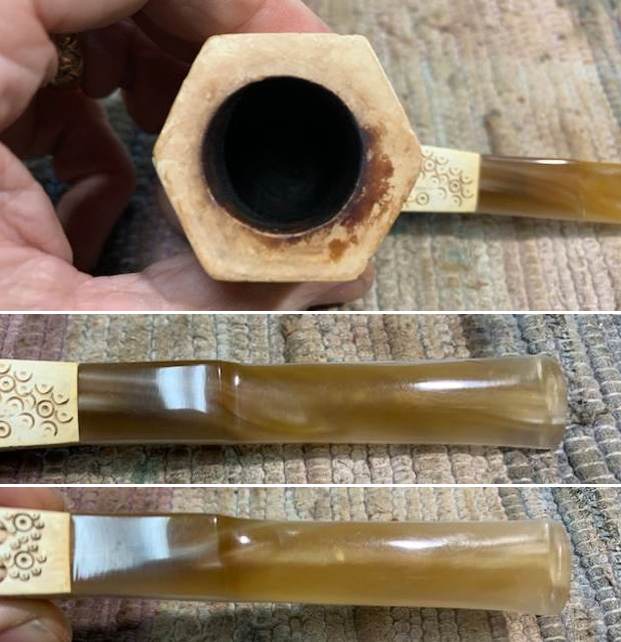
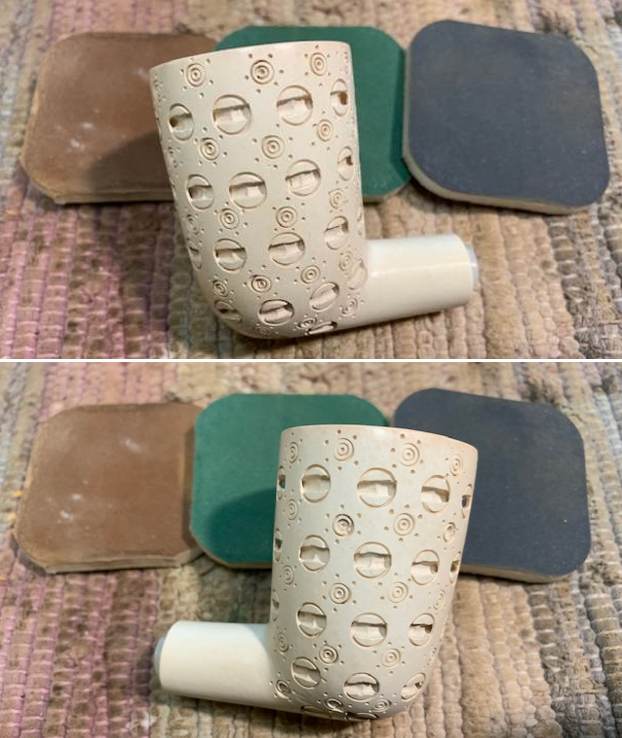
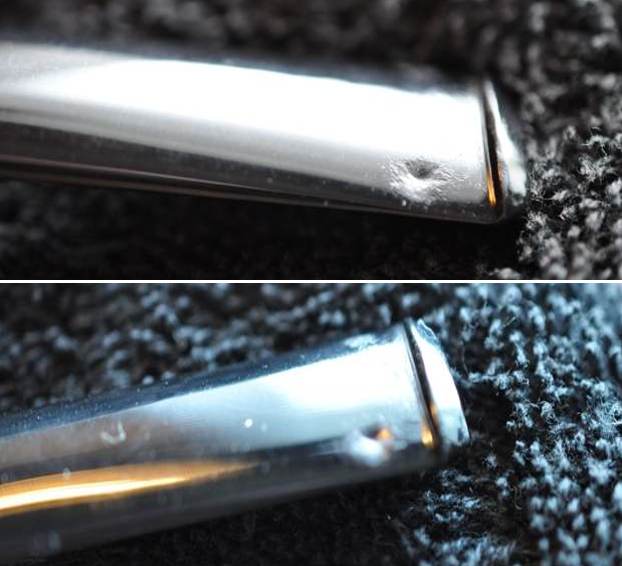
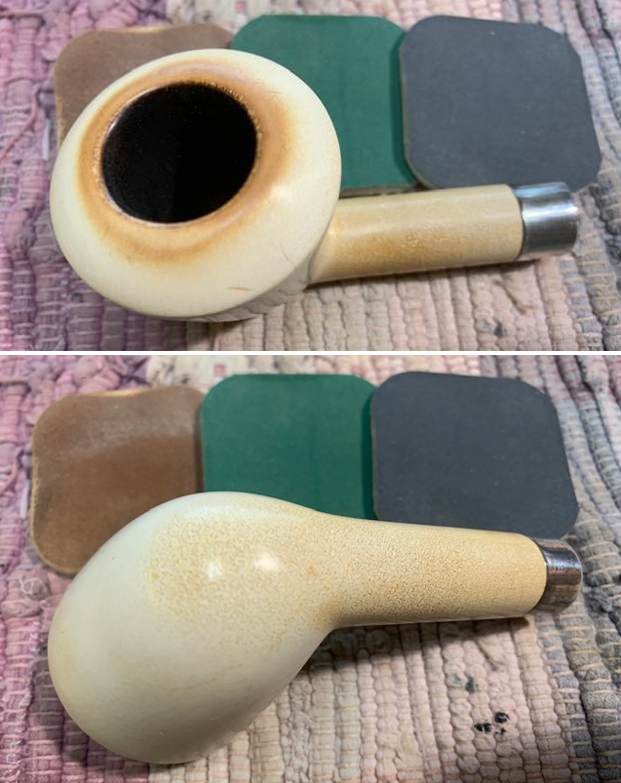
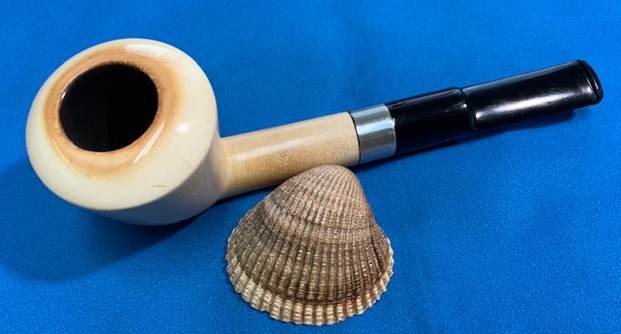
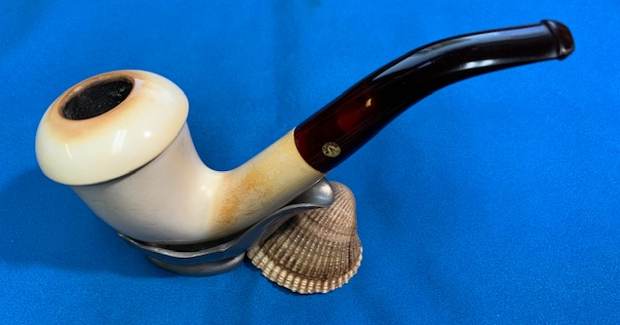
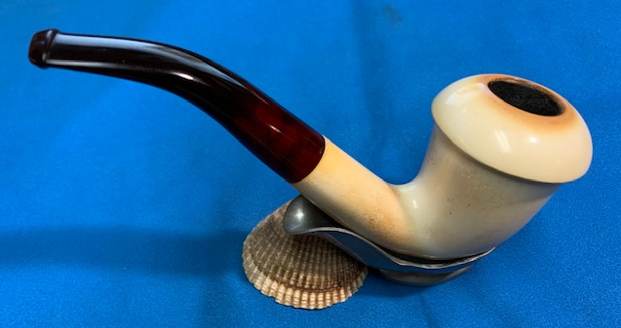
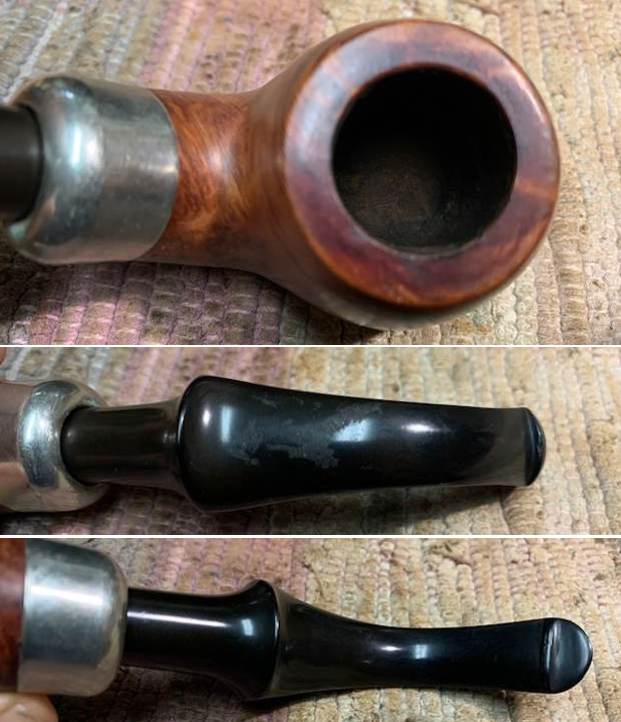
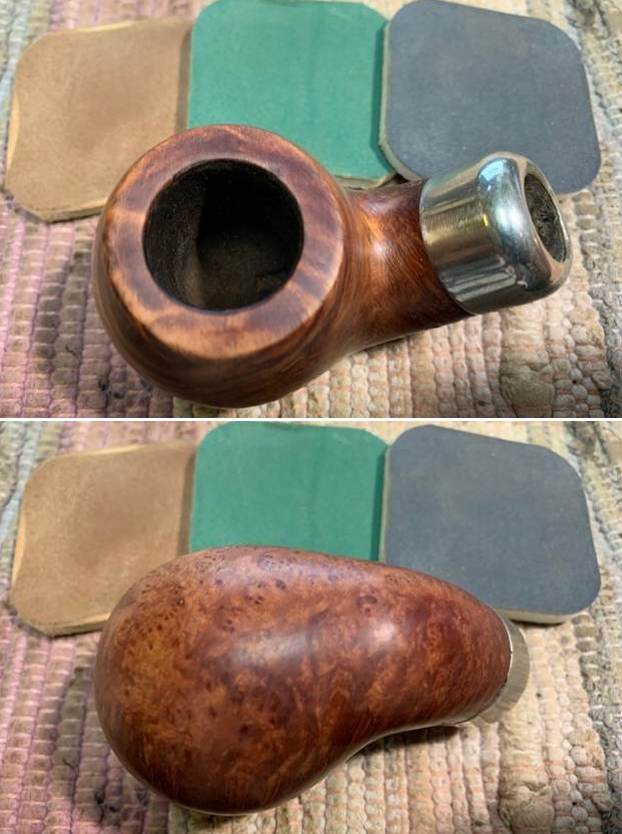
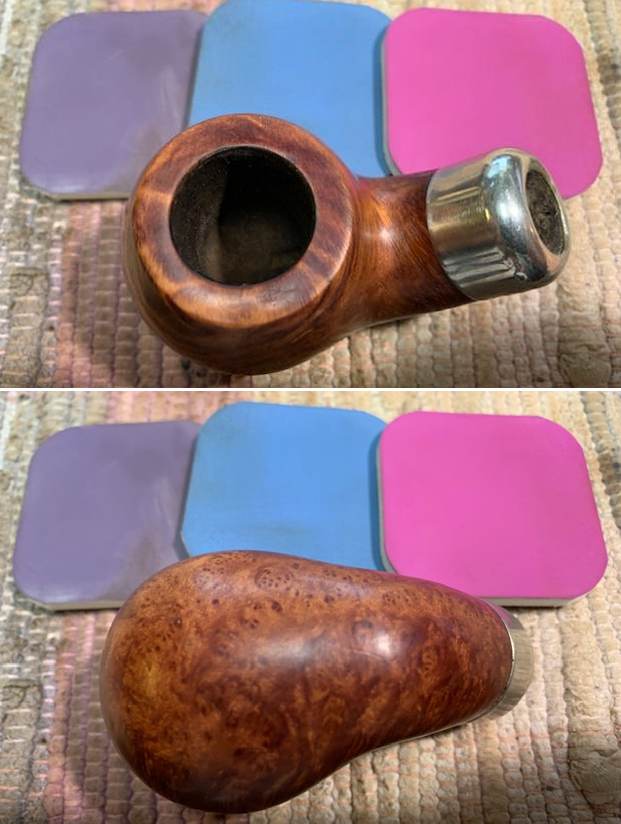
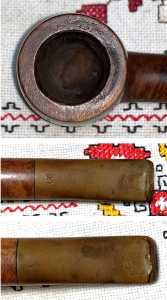
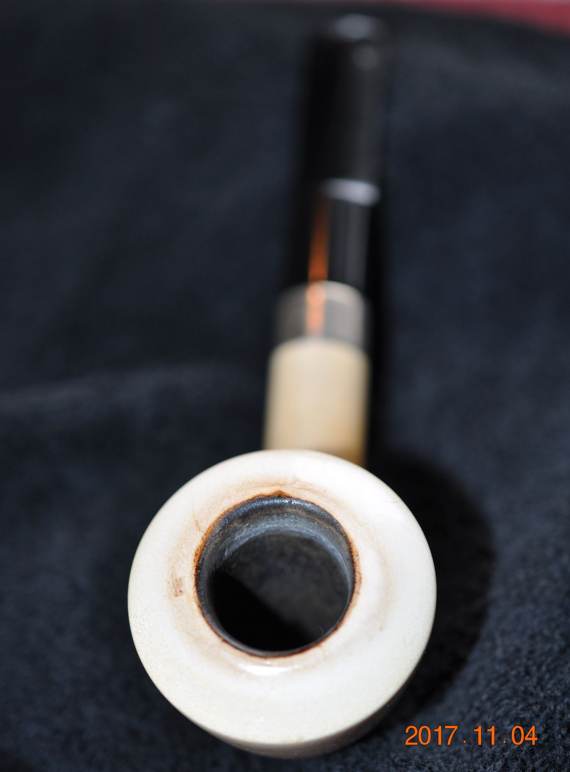 He took photos of the rim top and the stem to show the condition. You can see the issues on the rim top and stem as I noted above. There are also some scratches on the rim top itself that I am hoping will polish out and look much better. You can see the tooth damage on the stem surfaces on both sides ahead of the button.
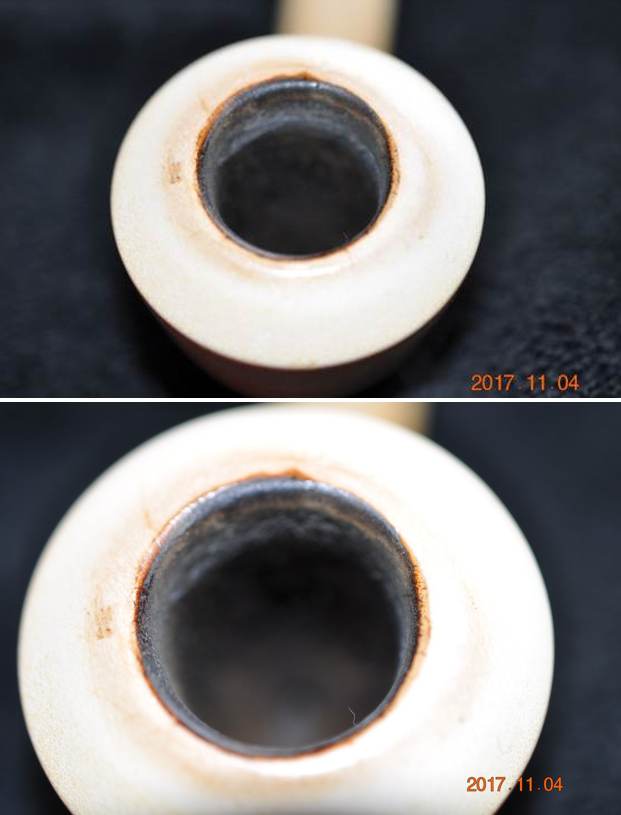
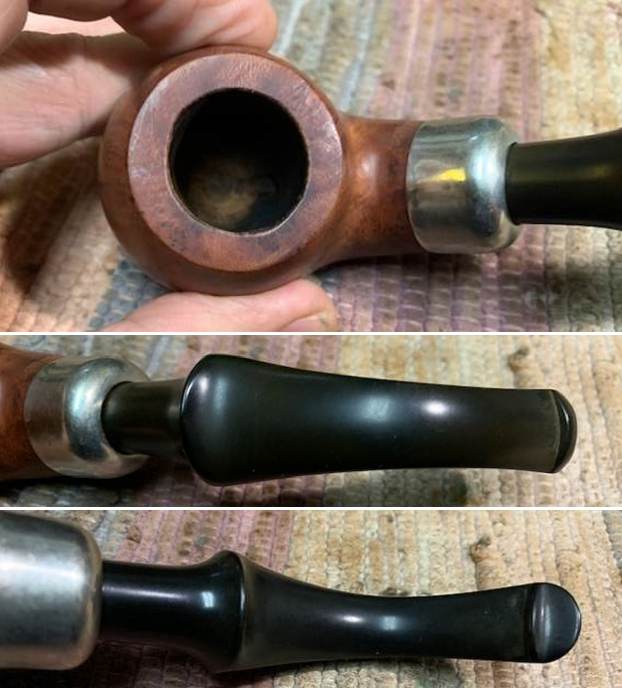
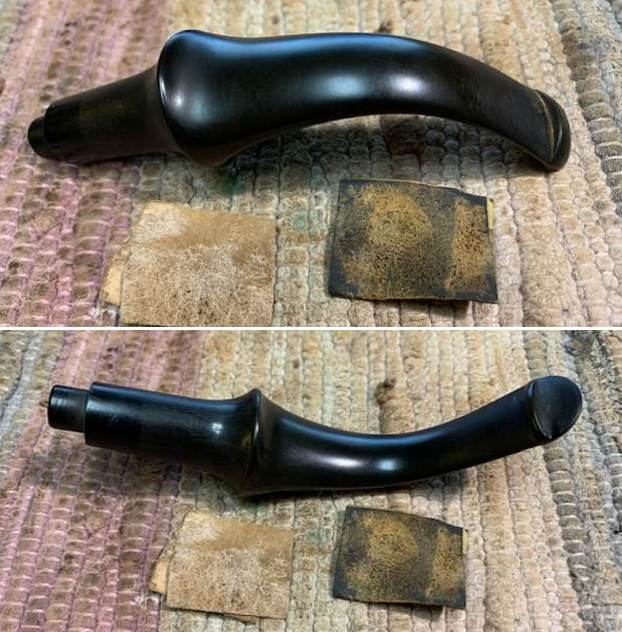
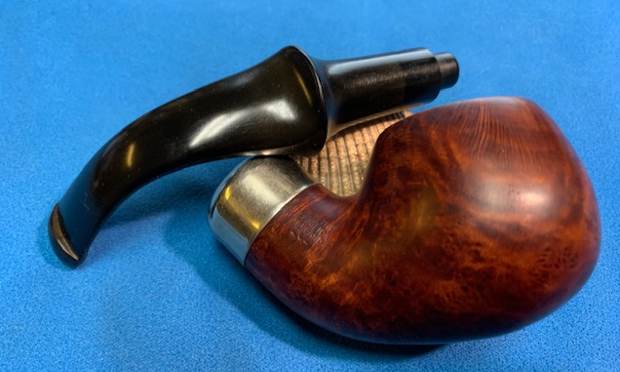
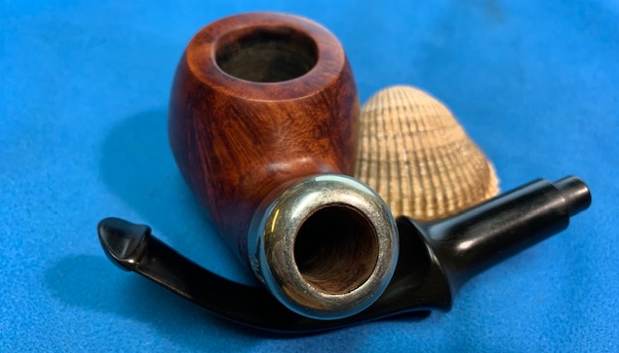
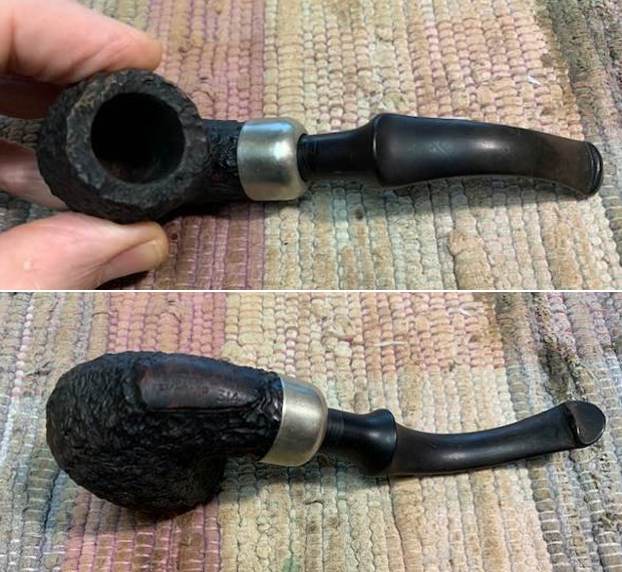
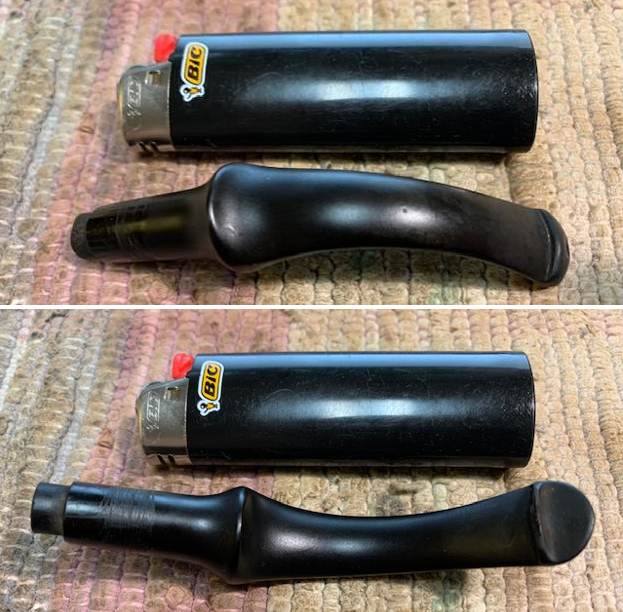
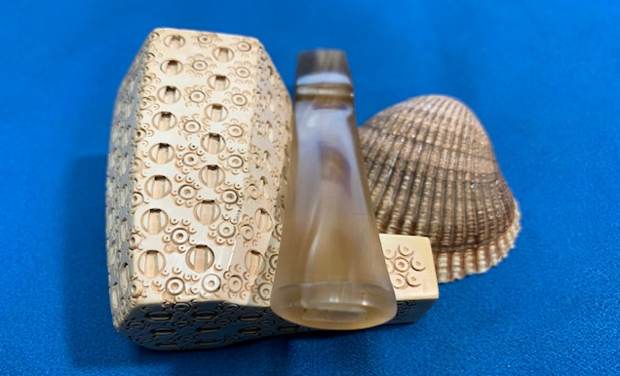
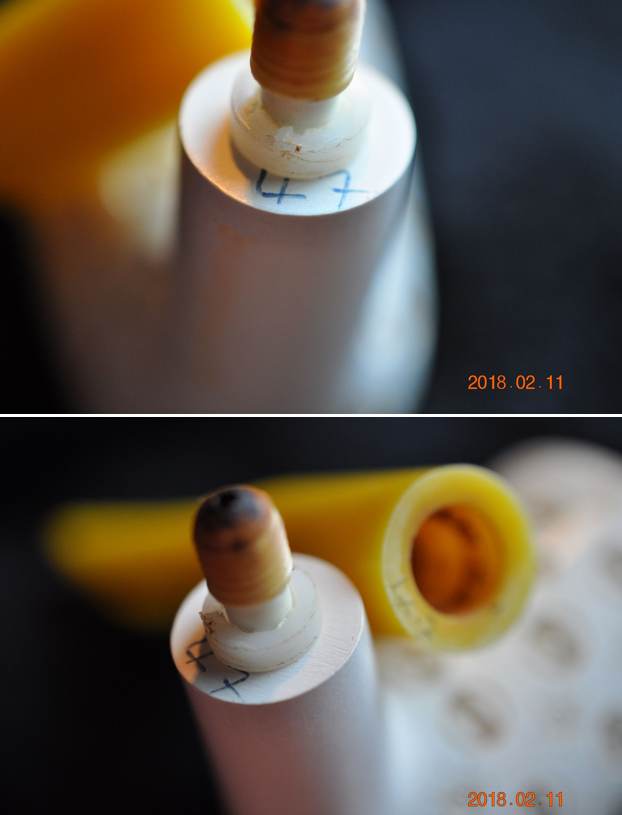
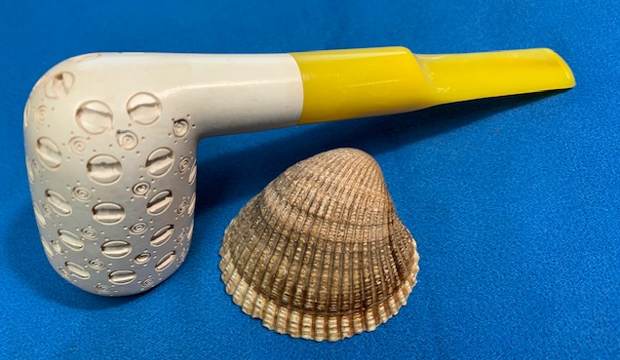
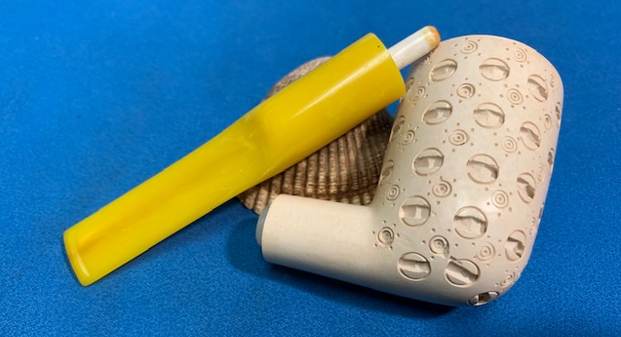
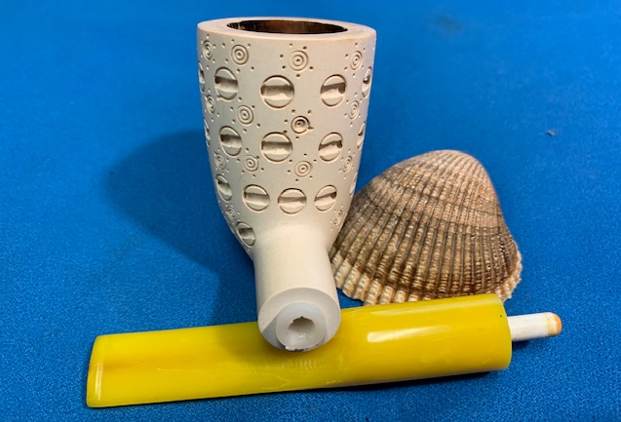
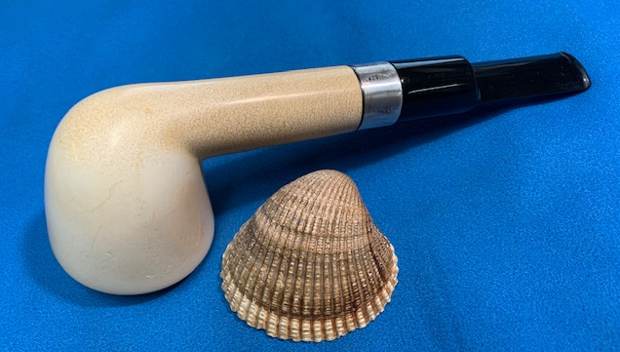
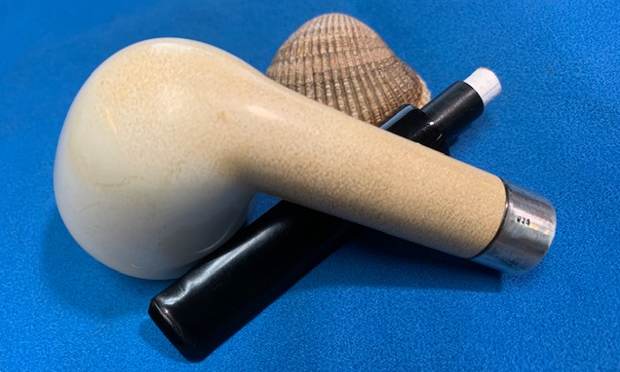
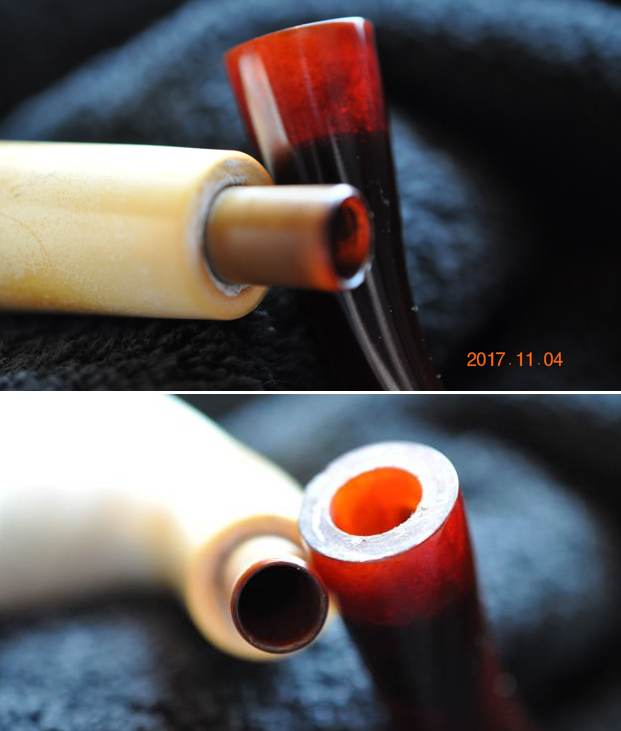
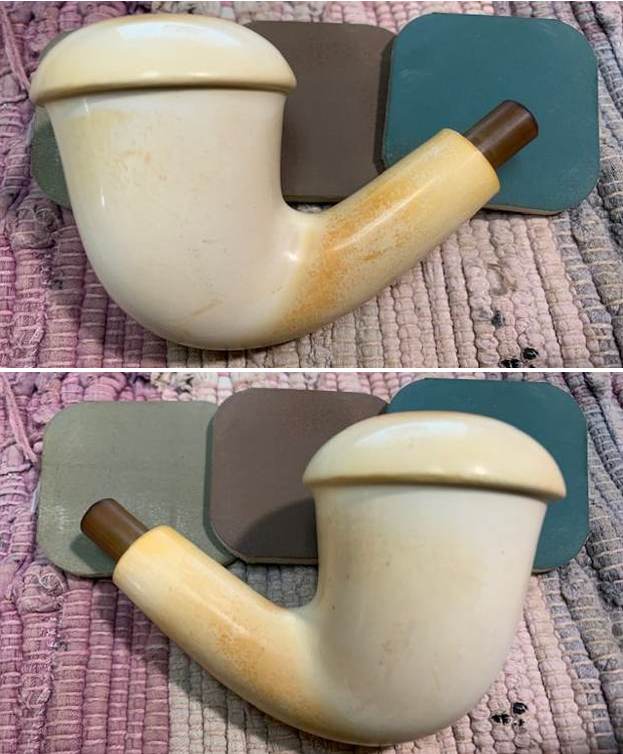
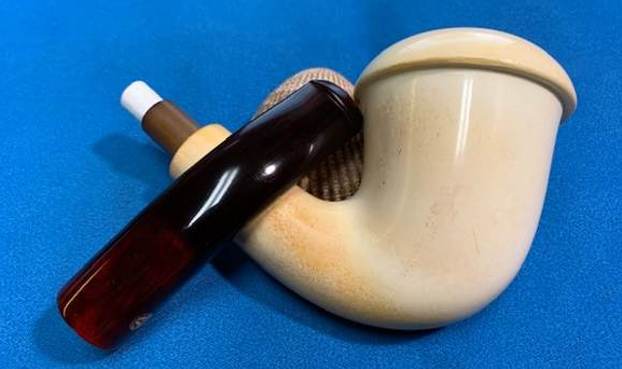
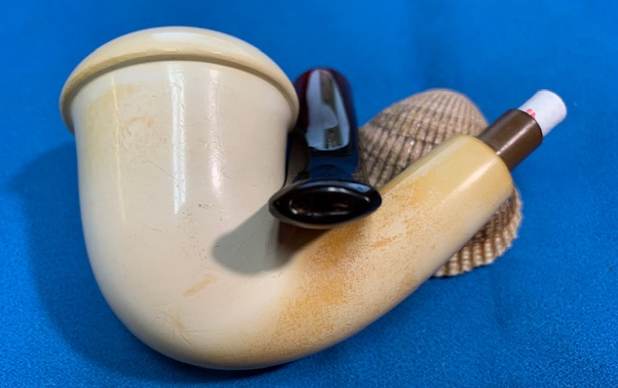
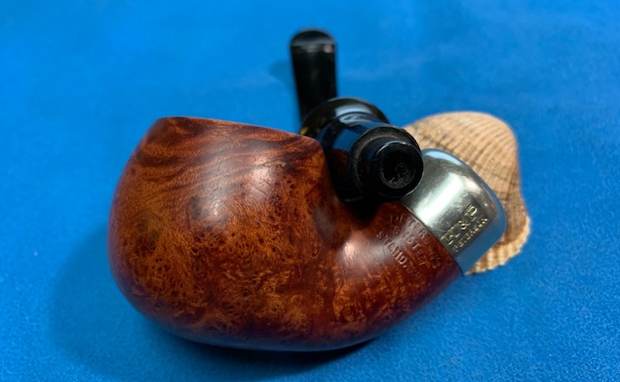
 The mortise on the stem has been fitted with a nylon tenon that holds 9mm filters. The shank has been lined with nylon/Delrin and the tenon fits snug in the shank.
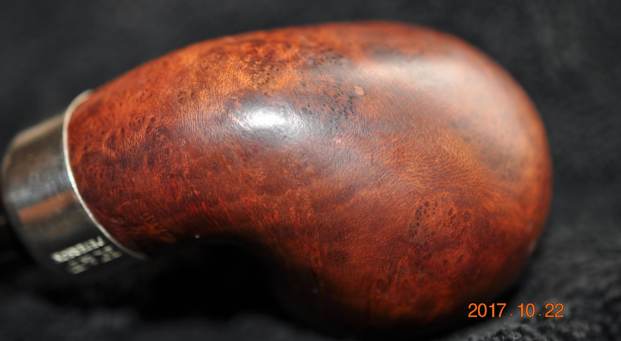
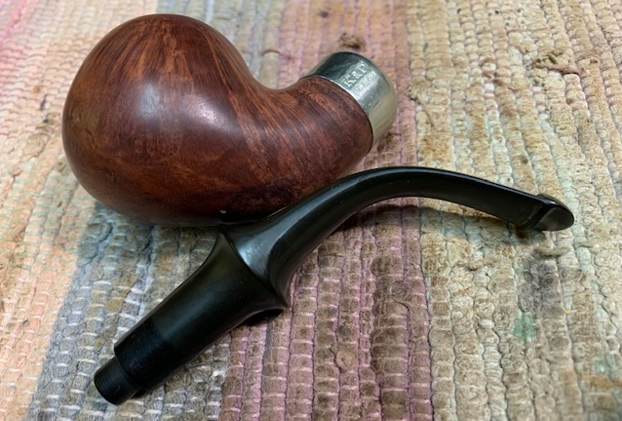
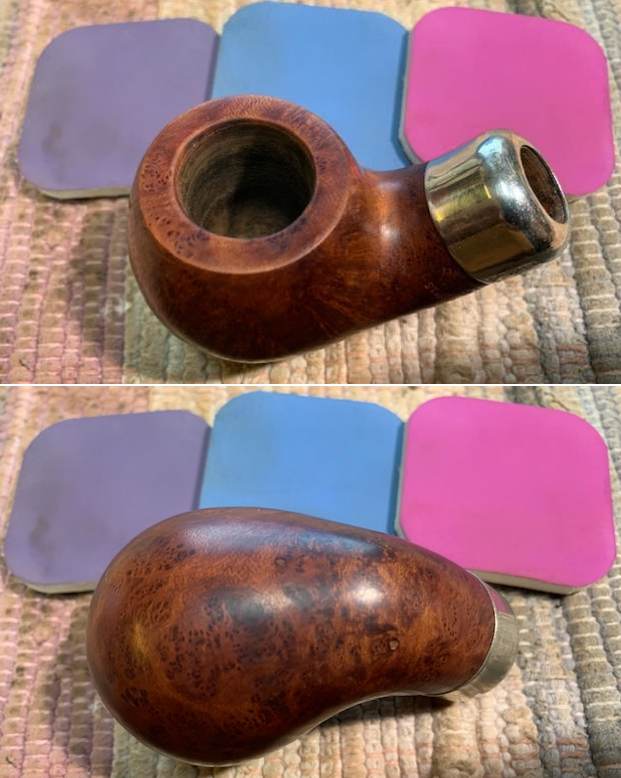
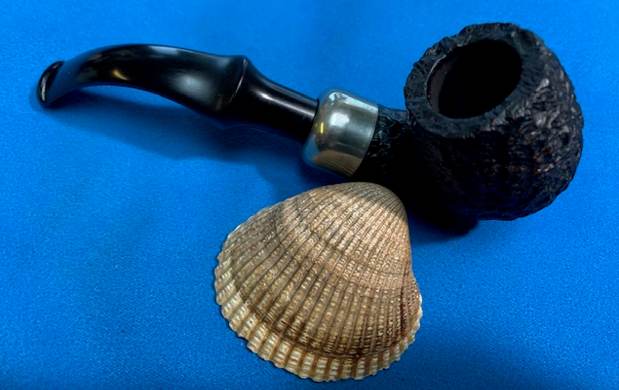
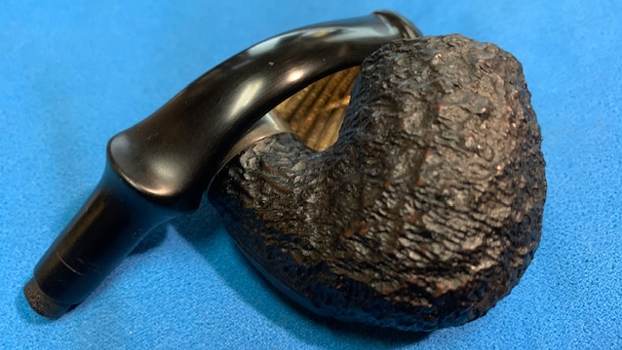
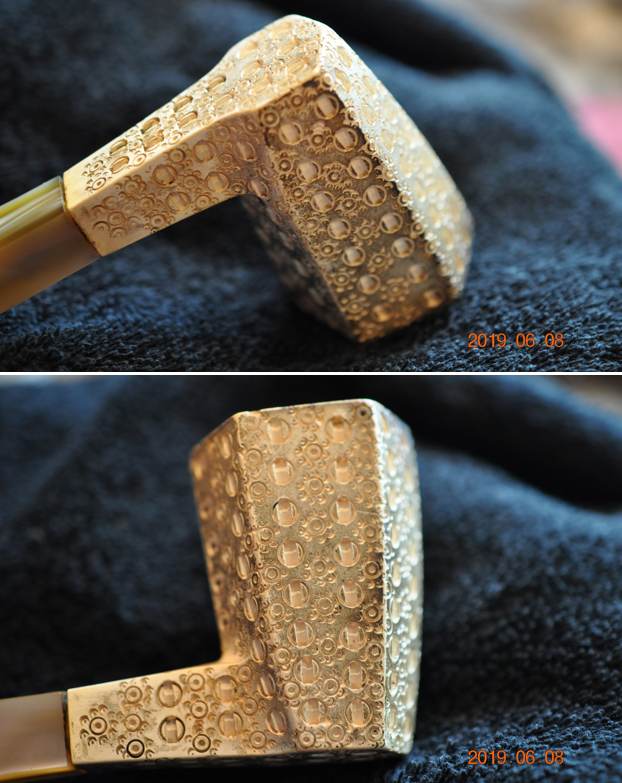
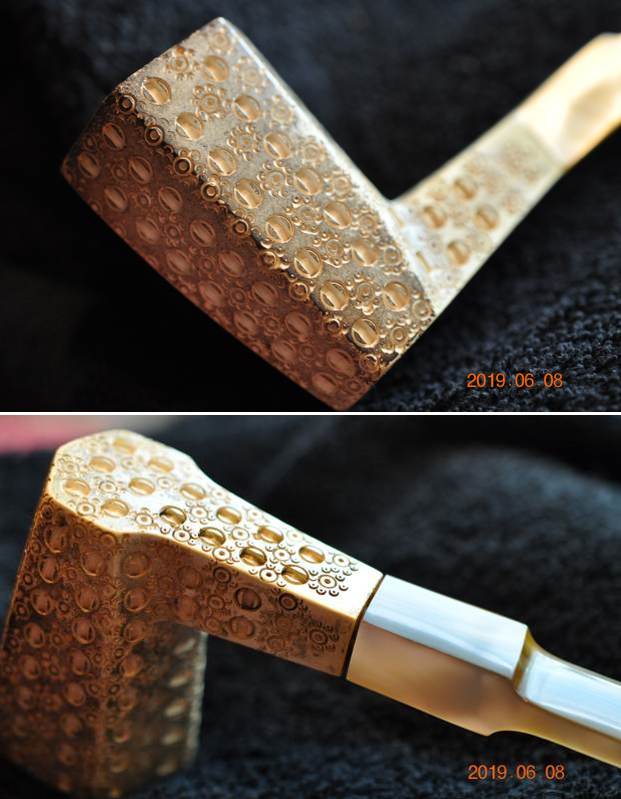
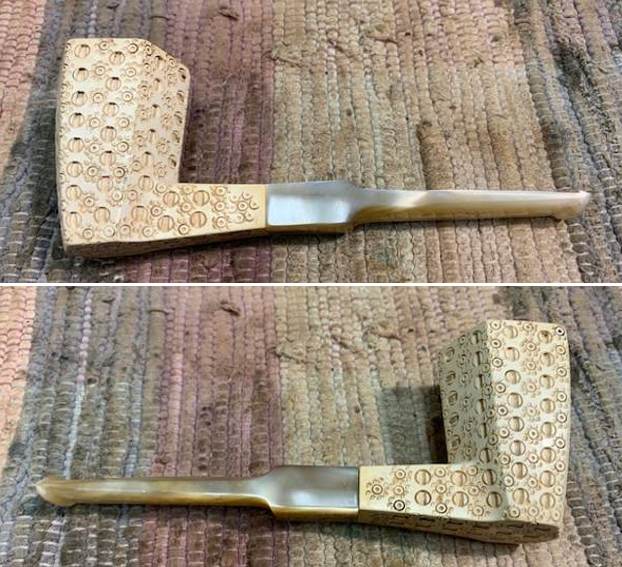
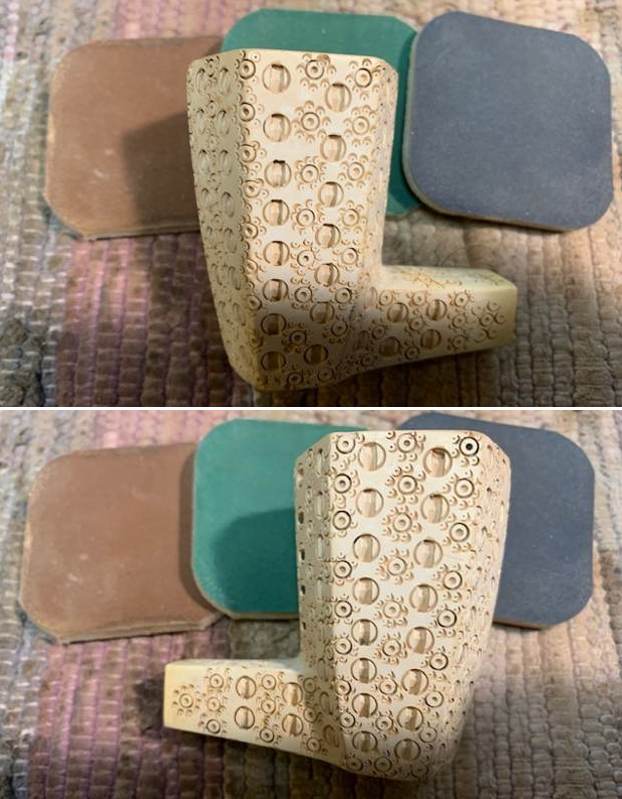
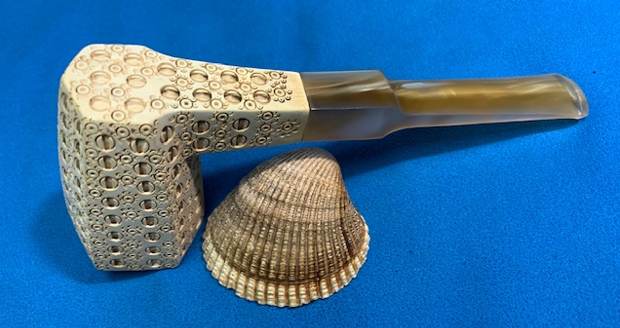
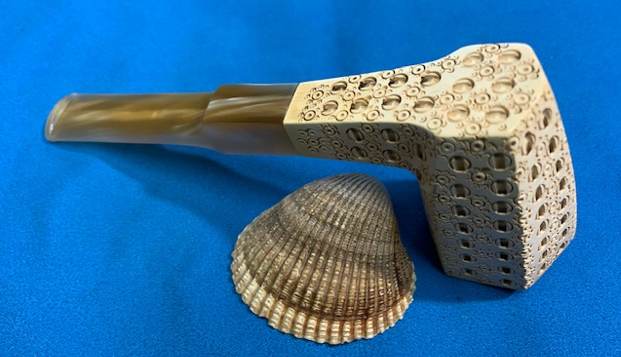
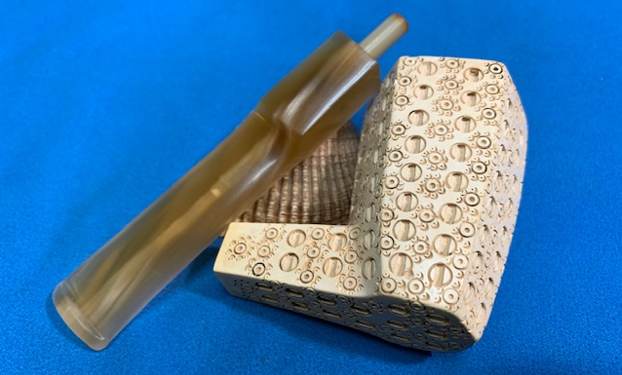
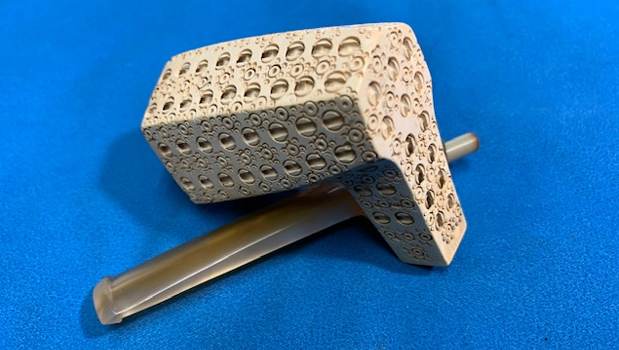
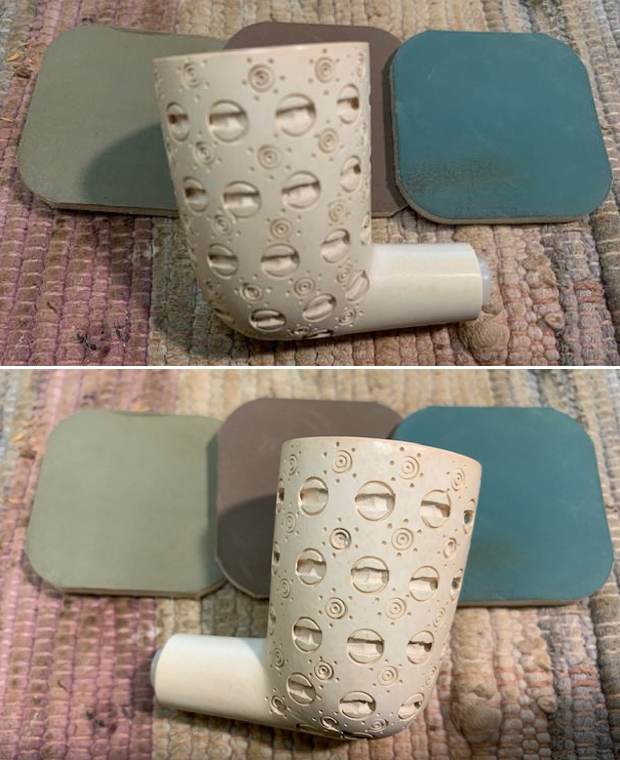
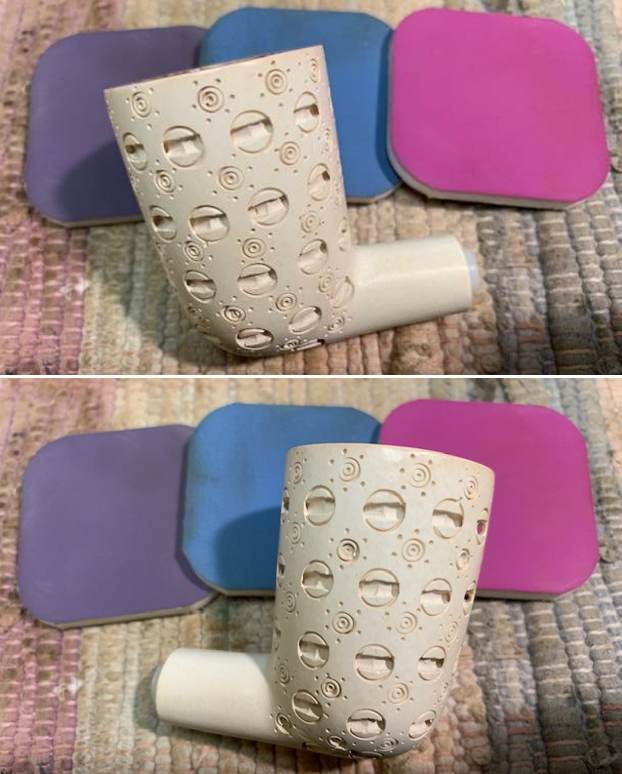
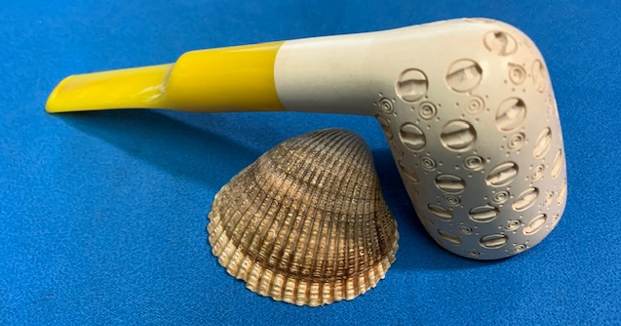
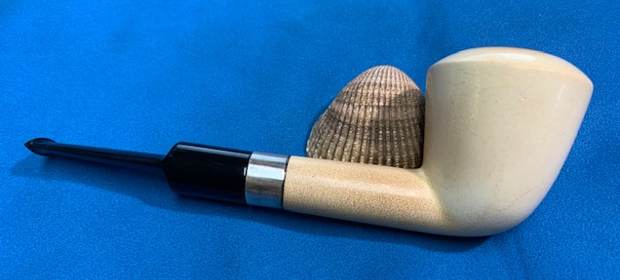
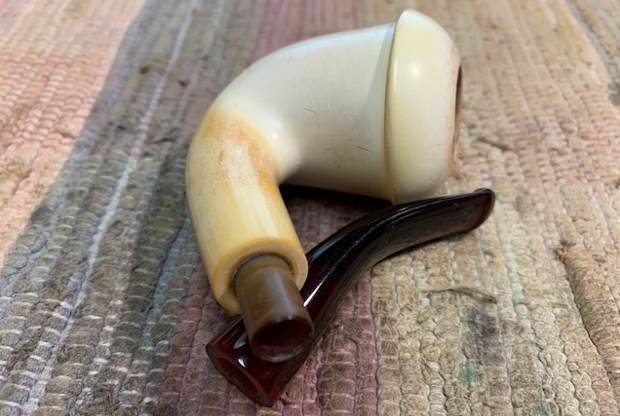
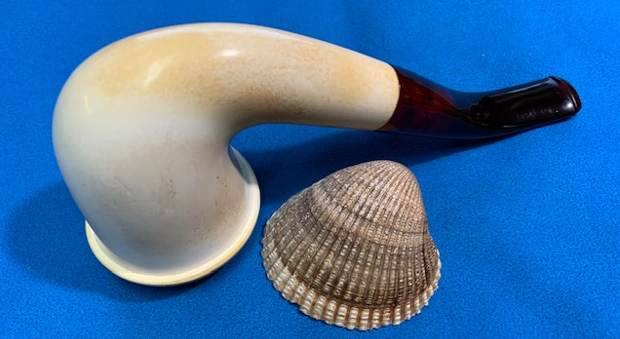
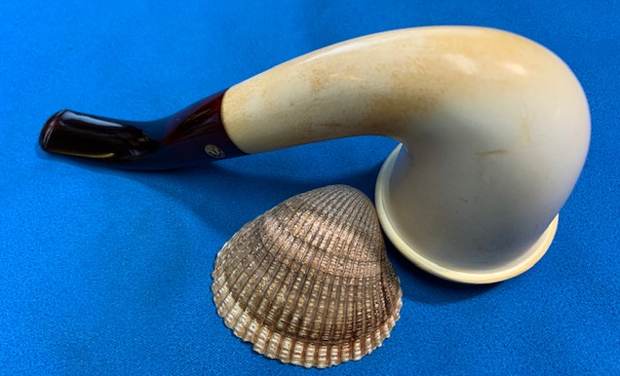
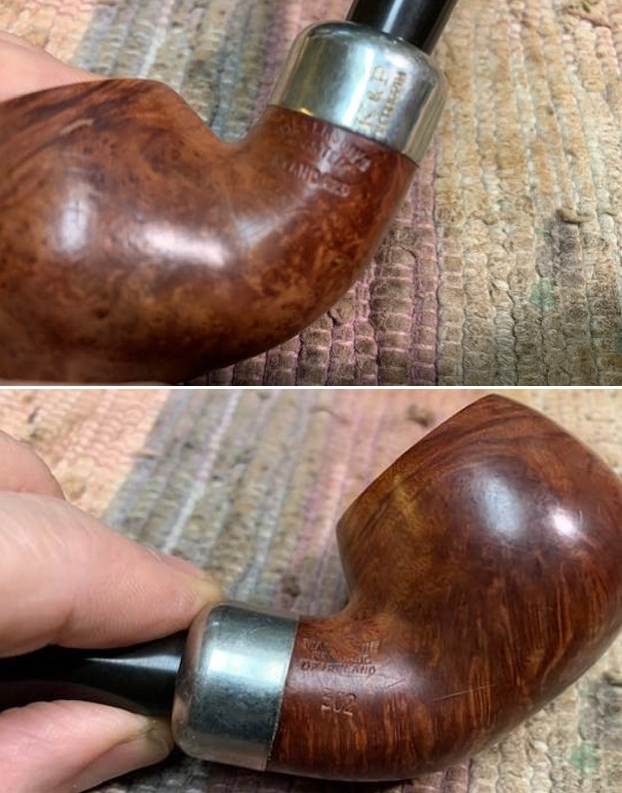
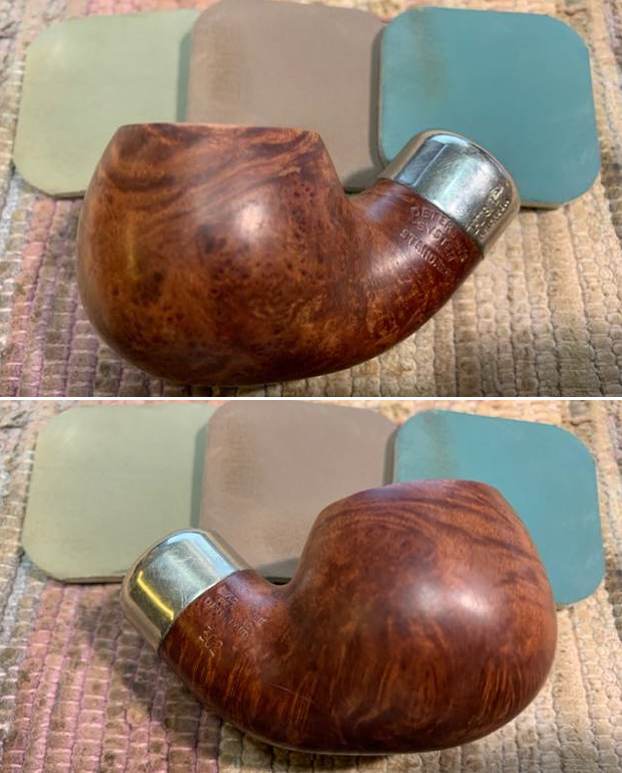
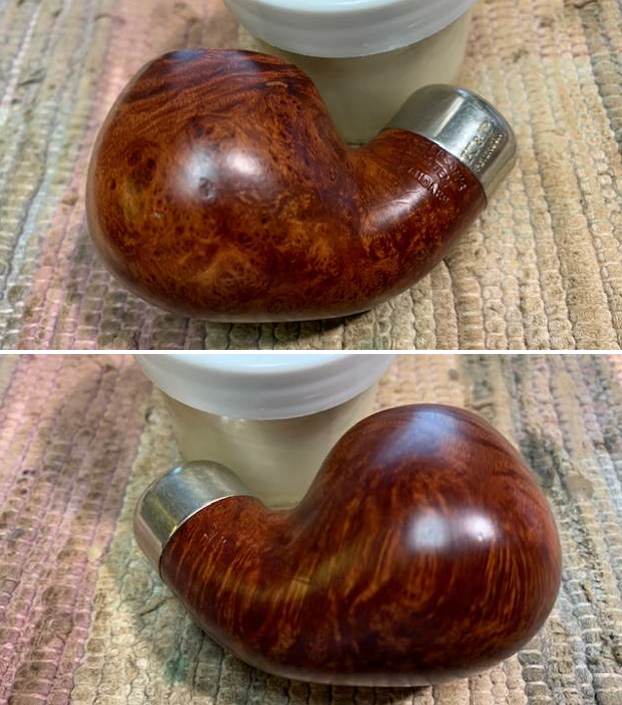
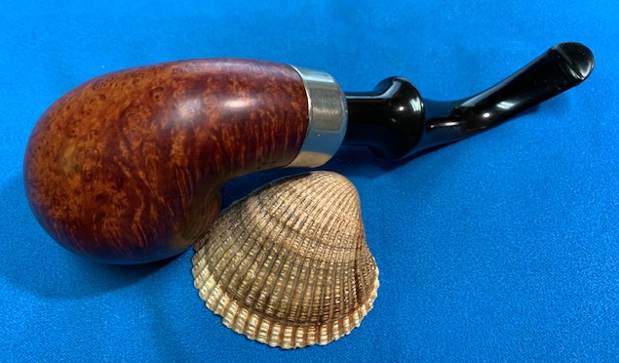
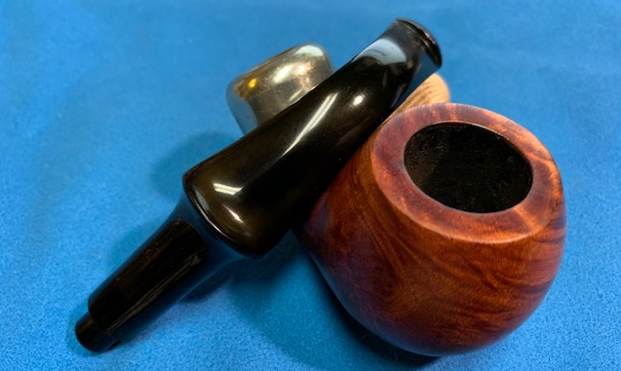
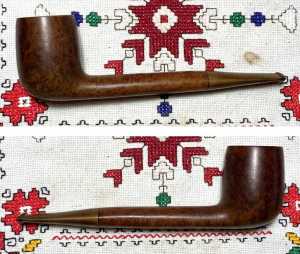
  Jeff took photos of the side and heel of the bowl. You can see the graceful lines and nicely carved bowl of the pipe. It is a lightweight block meerschaum that is well made. There are a lot of light scratches around the sides and top.
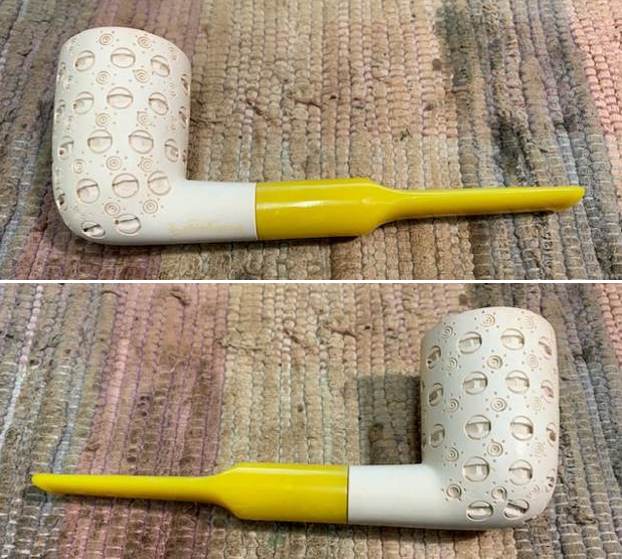
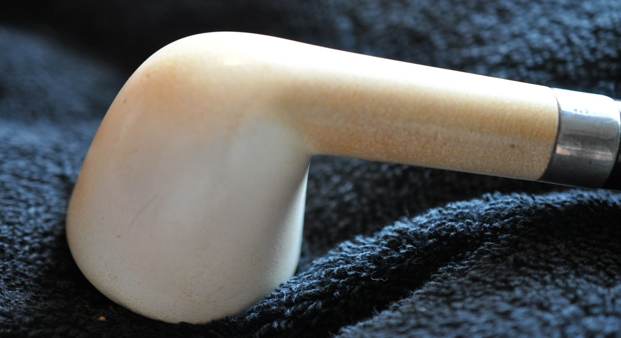
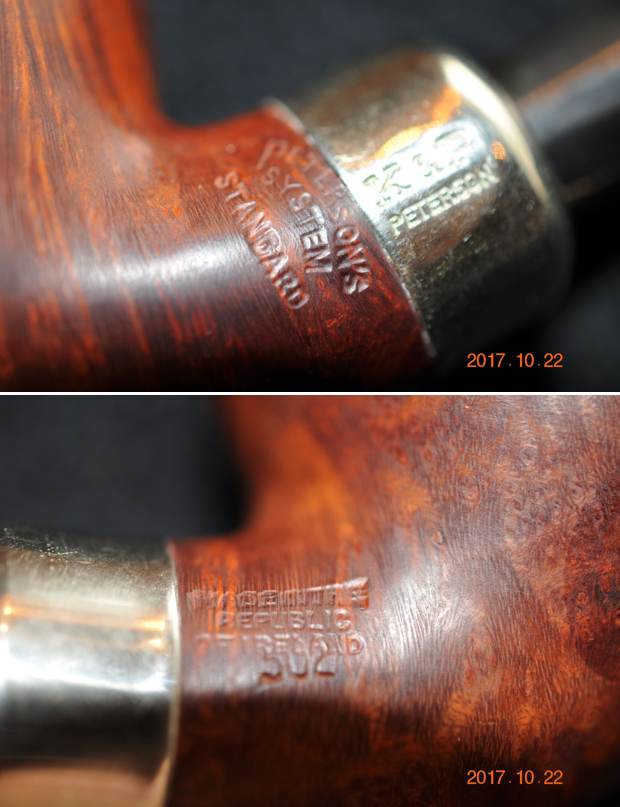
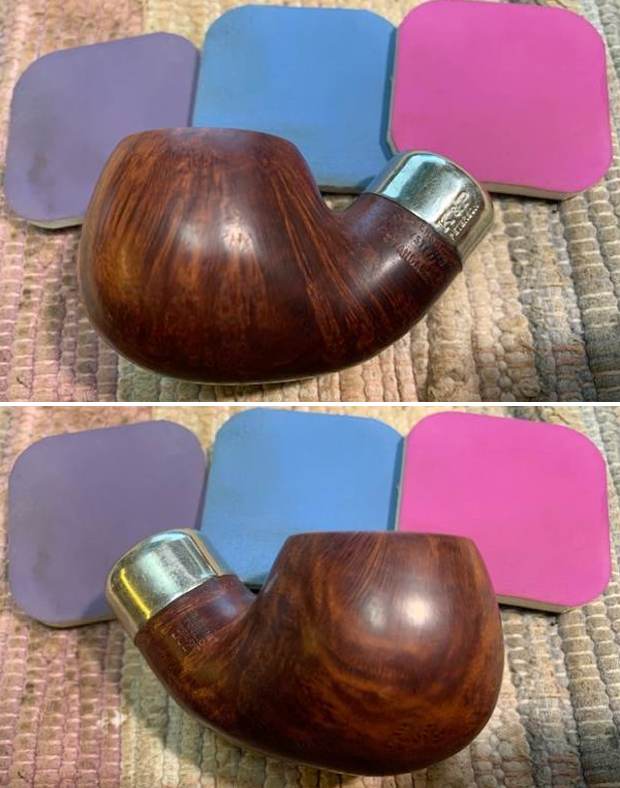
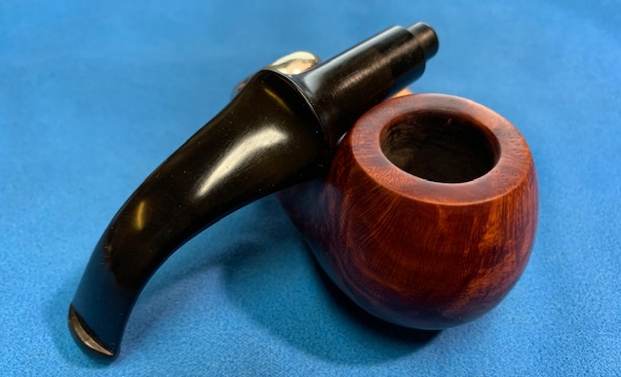
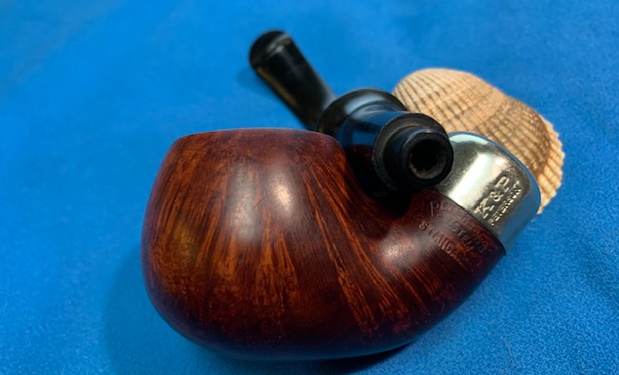
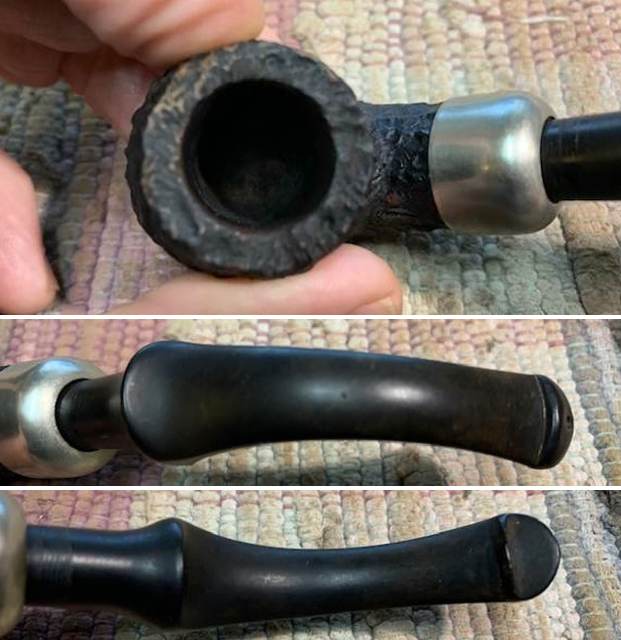
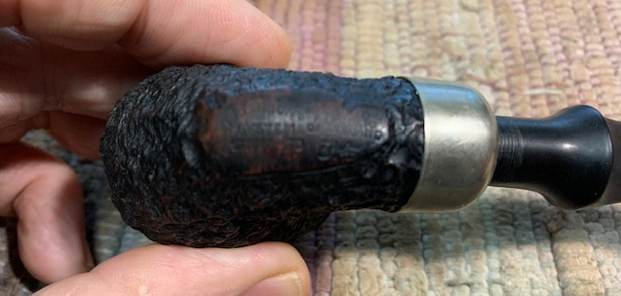
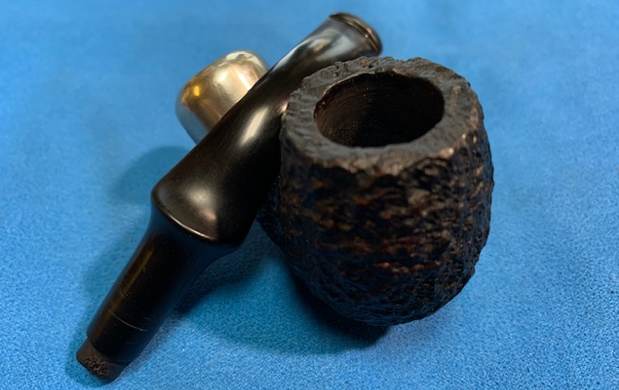
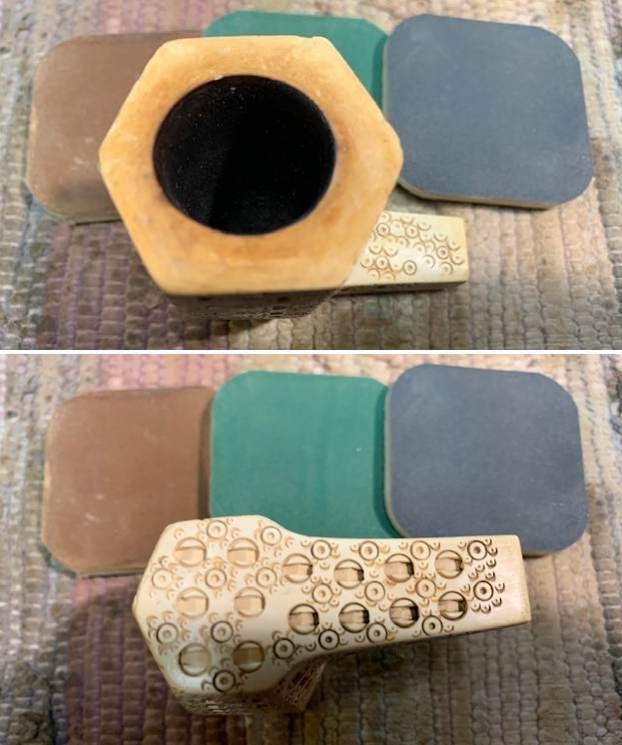
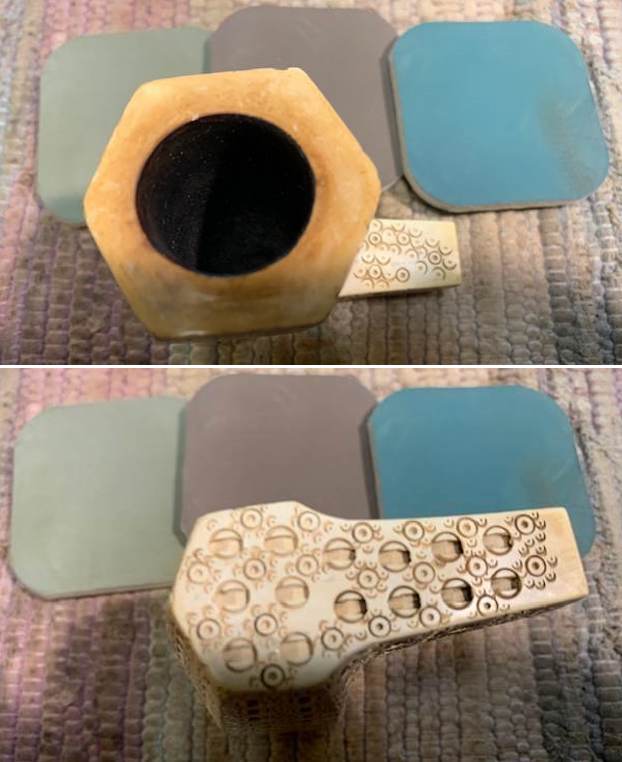
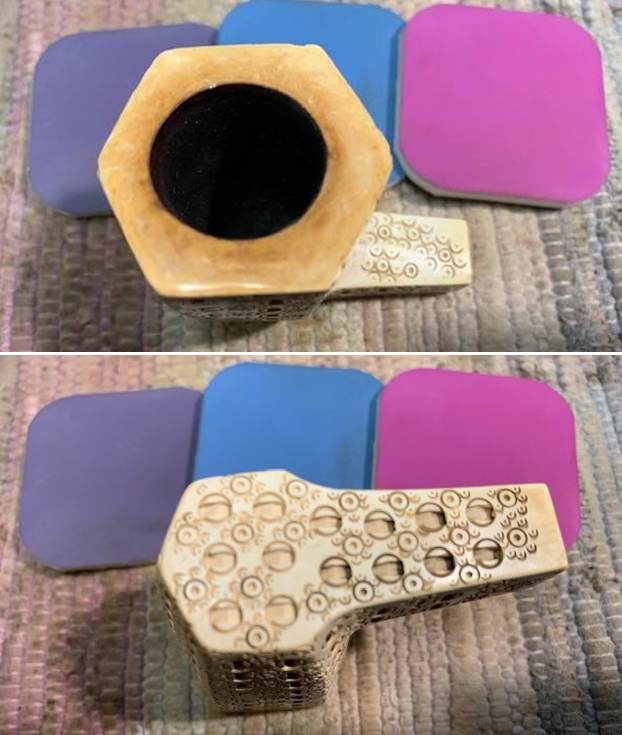
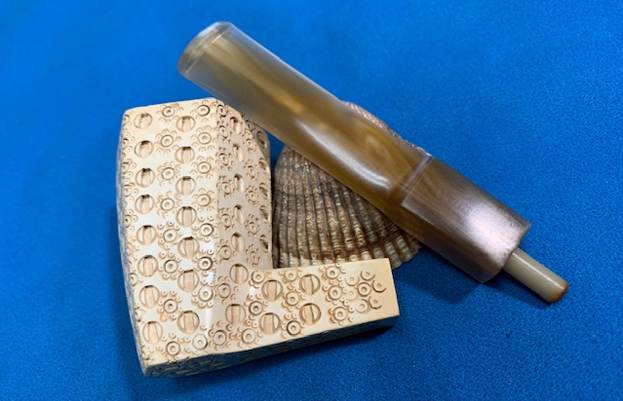
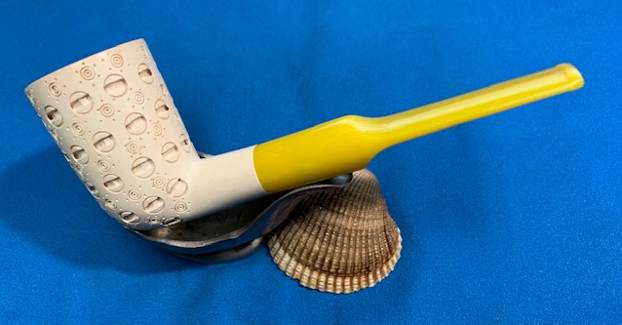
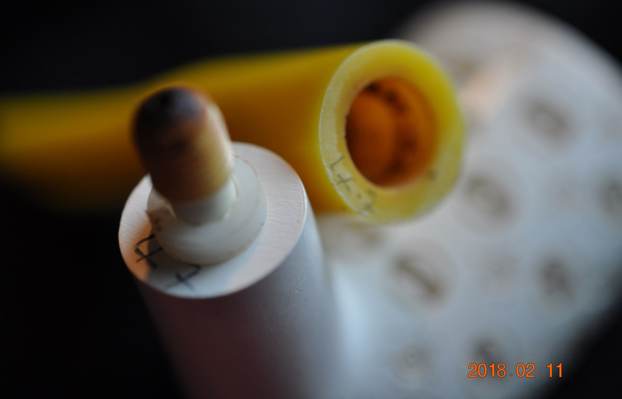
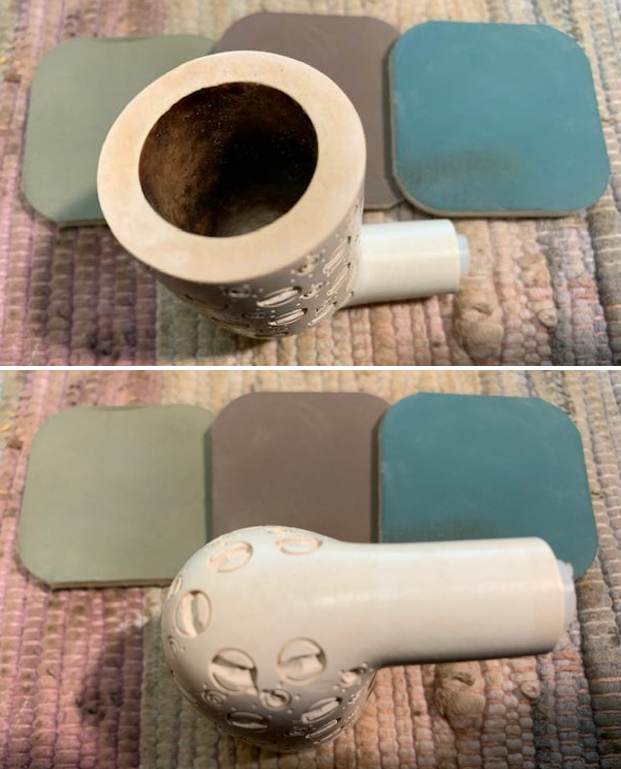
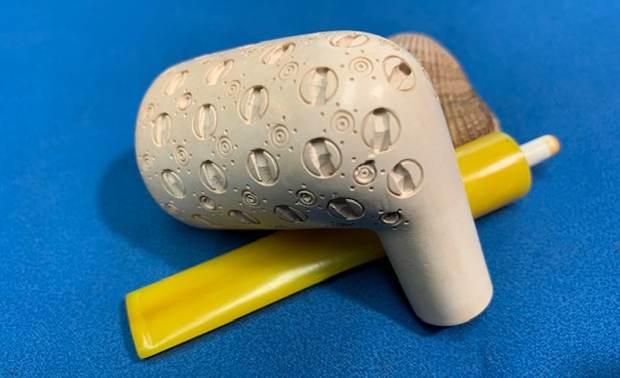
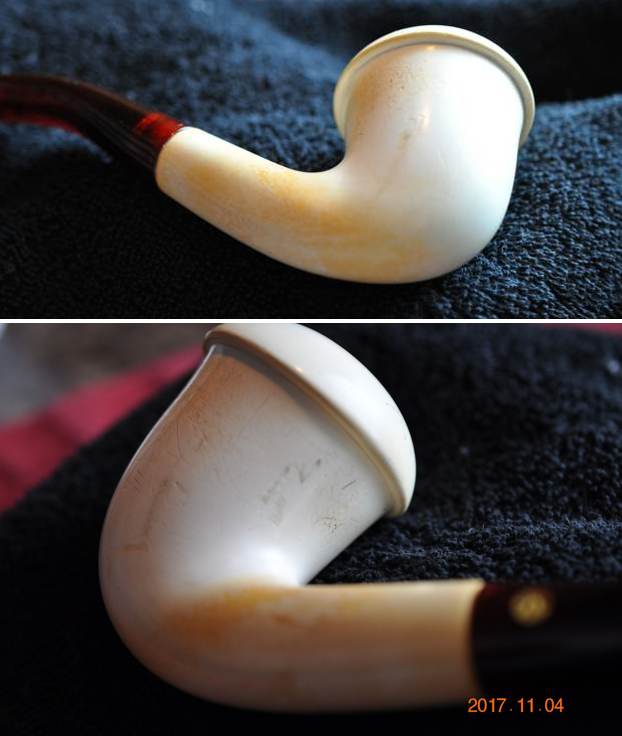
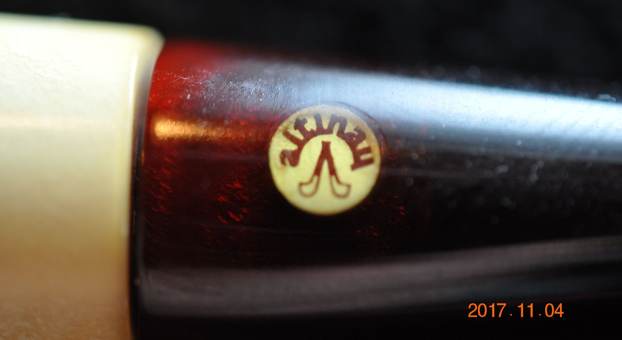
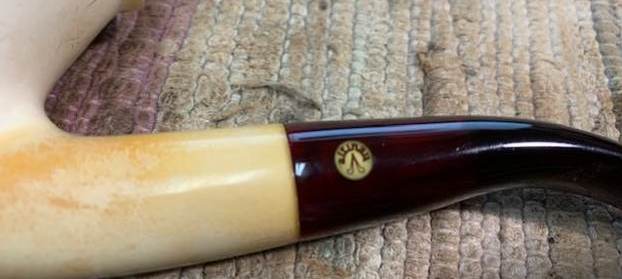
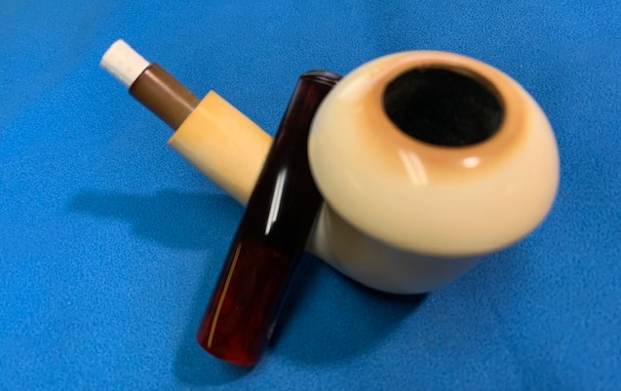
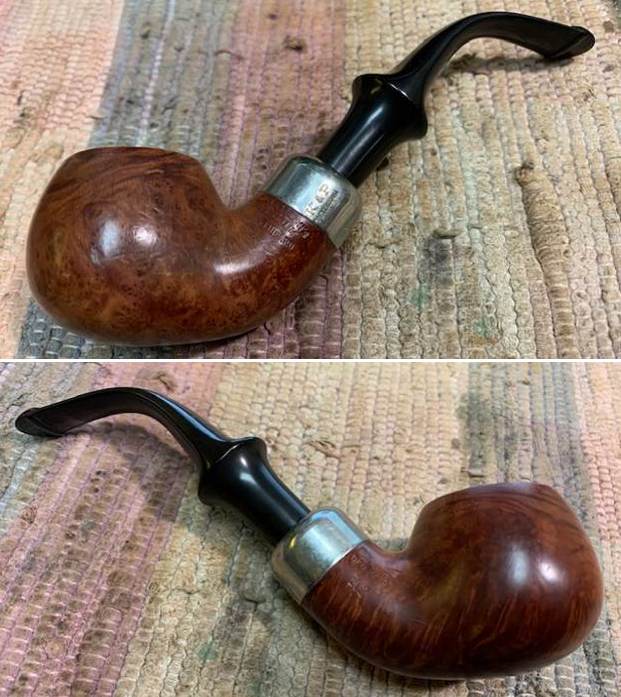
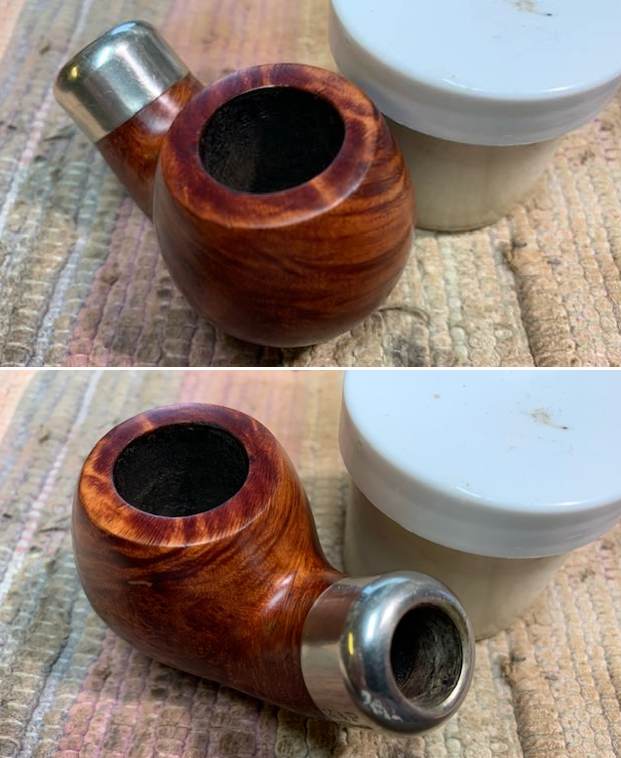
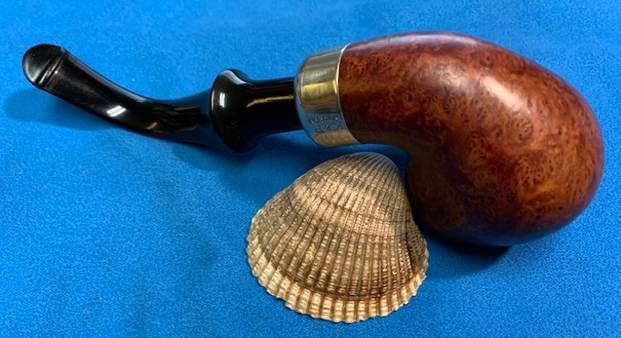
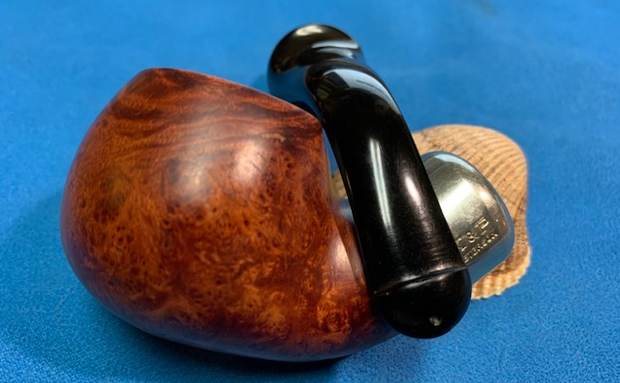
 He took a photo of the stamping on the underside of the silver fitted ferrule. It is stamped 925 which is the silver mark for the piece.
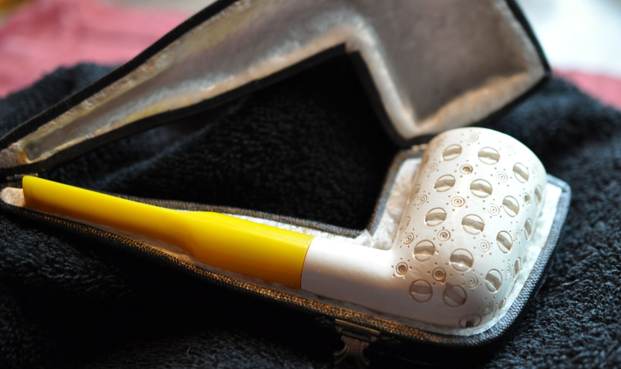
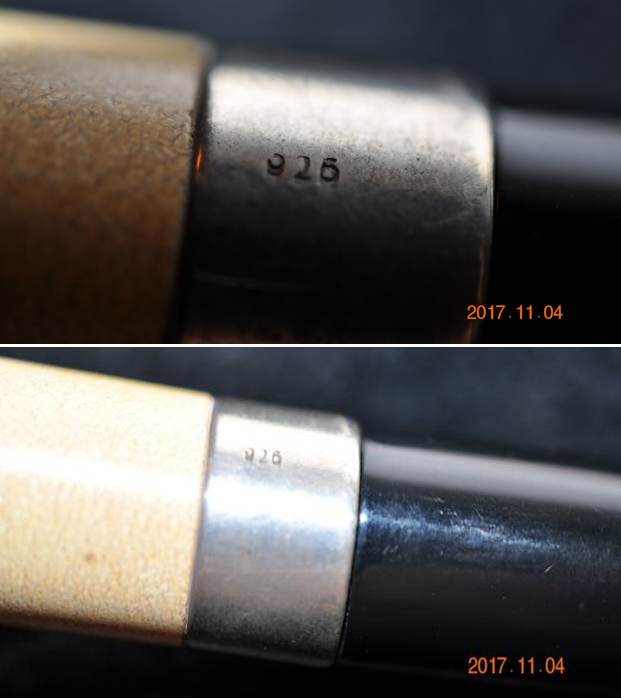 There was no stamping on the shank or pipe that identified the maker. It was clearly a no name pipe but it was quite nice. Jeff had cleaned up the pipe with his usual thoroughness. He carefully reamed the pipe with a Savinelli Fitsall Pipe Knife. He scrubbed the bowl with undiluted Murphy’s Oil Soap with a tooth brush. He rinsed it under running warm water to remove the soap and grime. He cleaned out the inside of the shank and the airway in the stem with alcohol, cotton swabs and pipe cleaners. He cleaned the stem Soft Scrub cleanser and rinsed it off with warm water. I took photos of the pipe 3 years later when I finally got around to working on it.
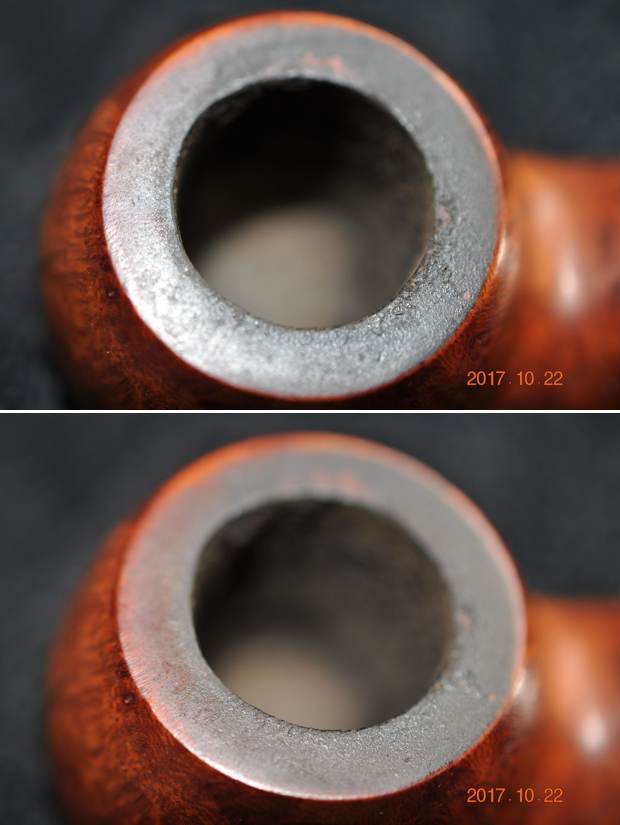
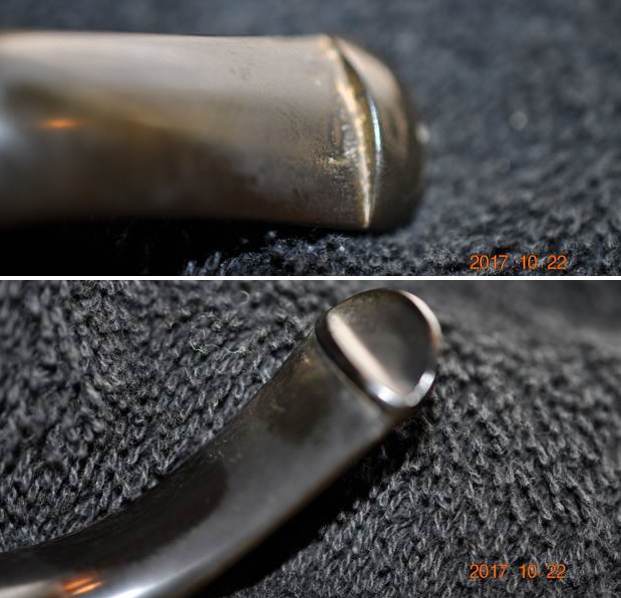
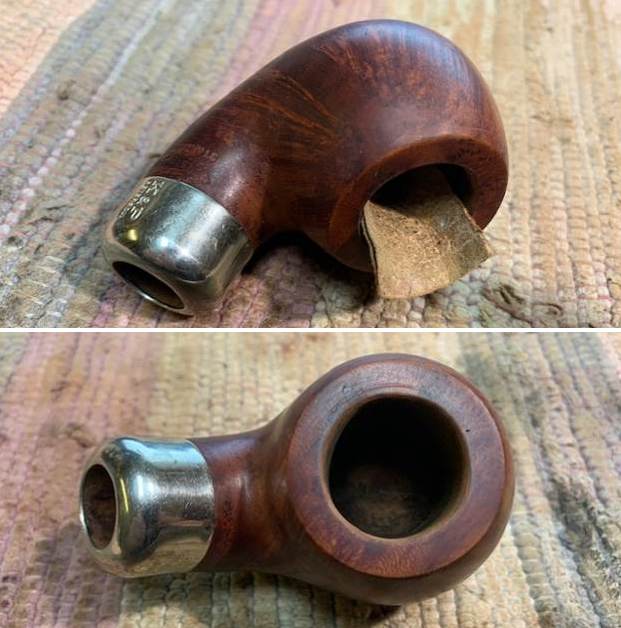
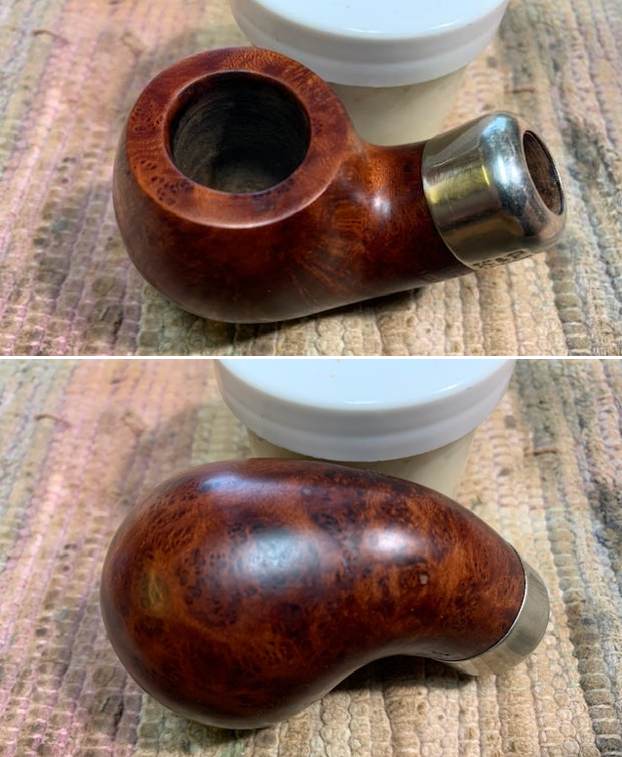
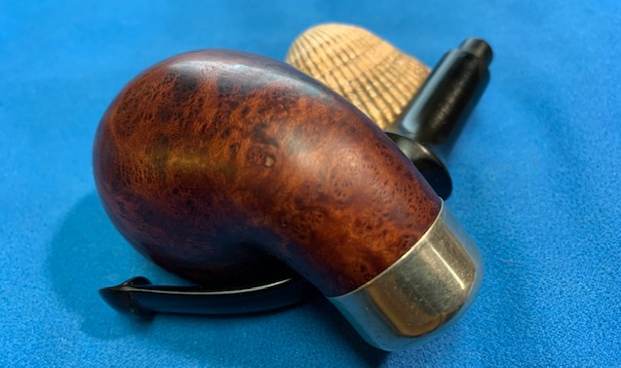
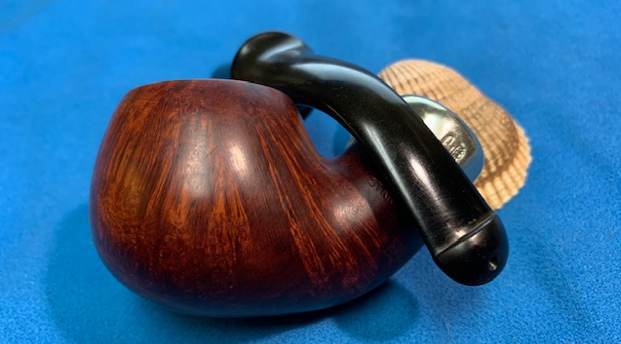
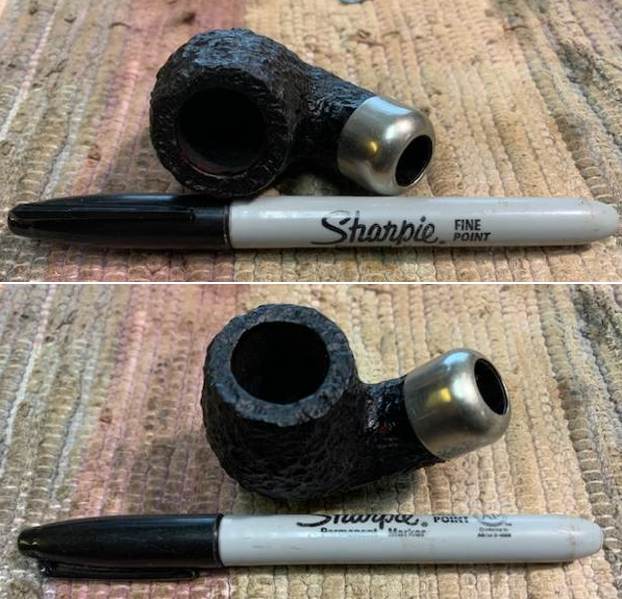
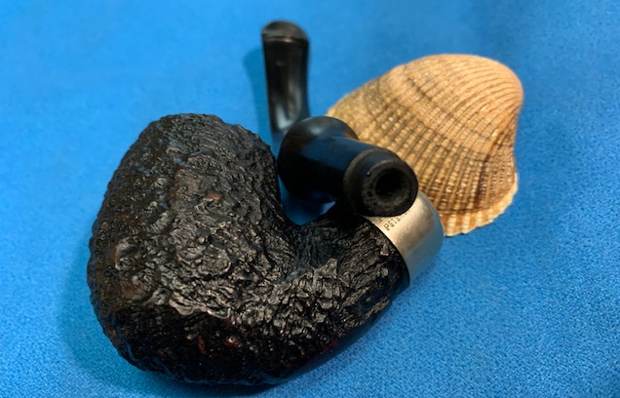
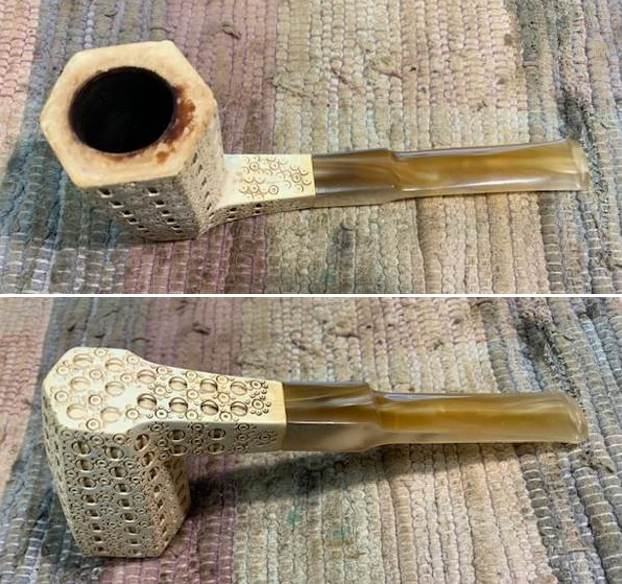
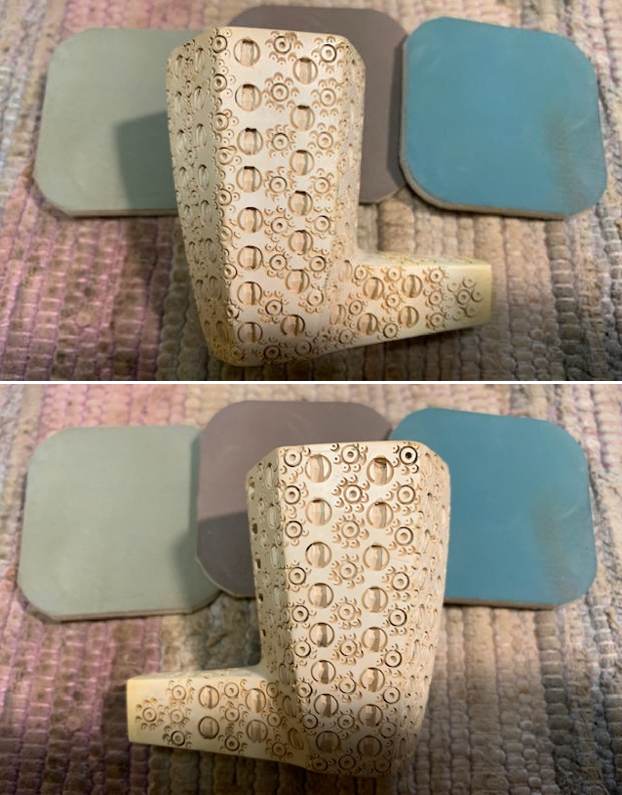
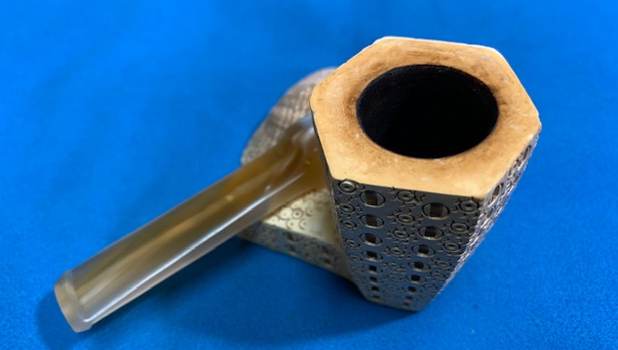
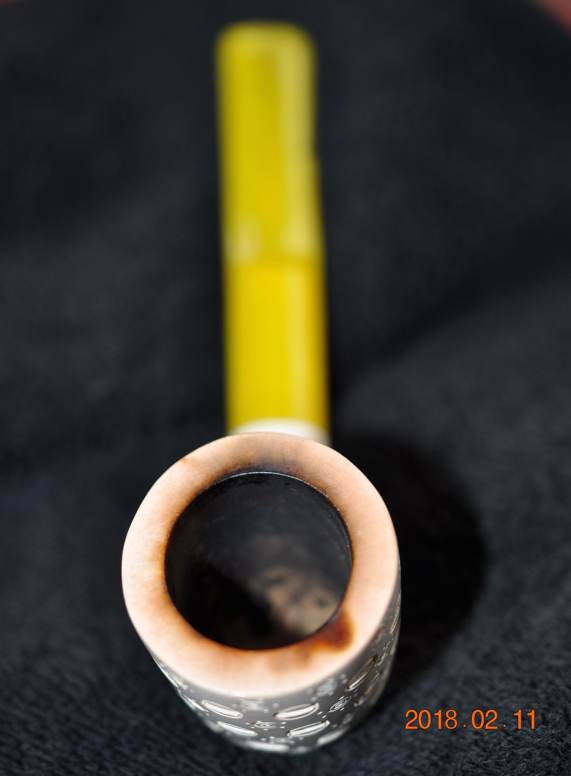
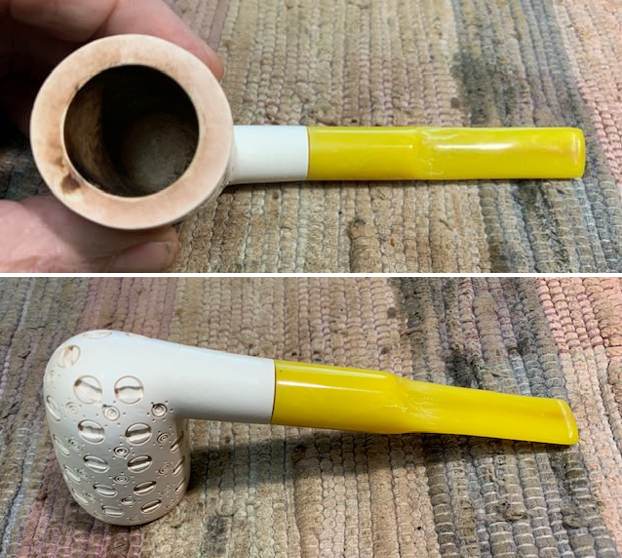
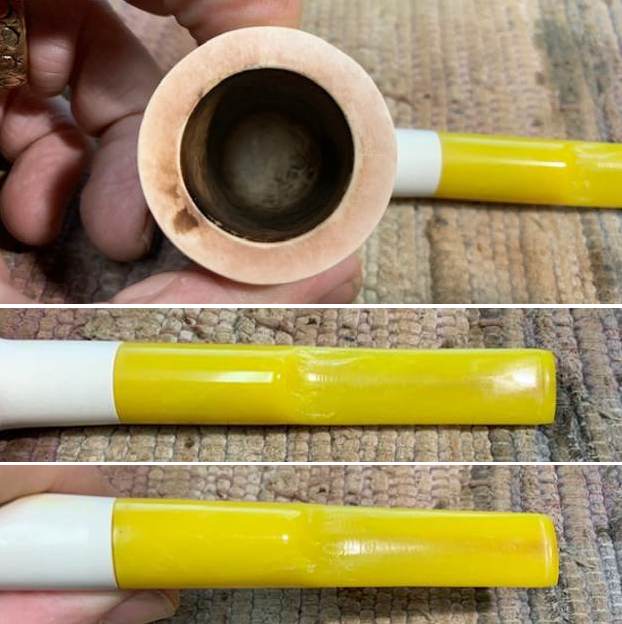
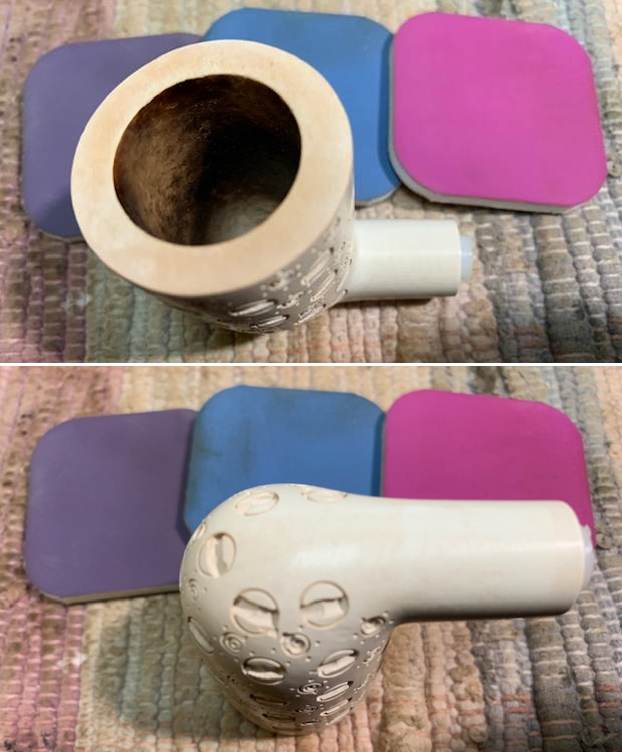
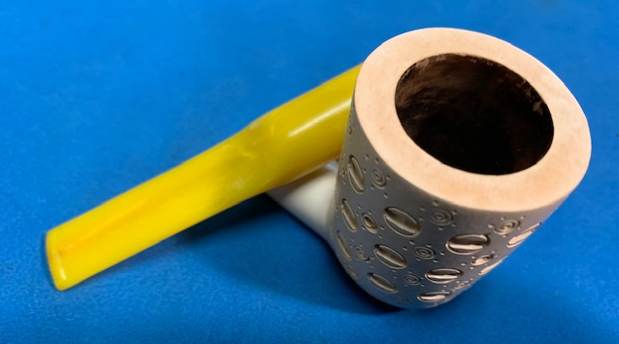
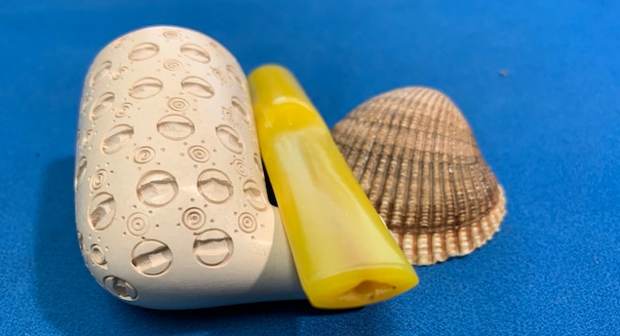
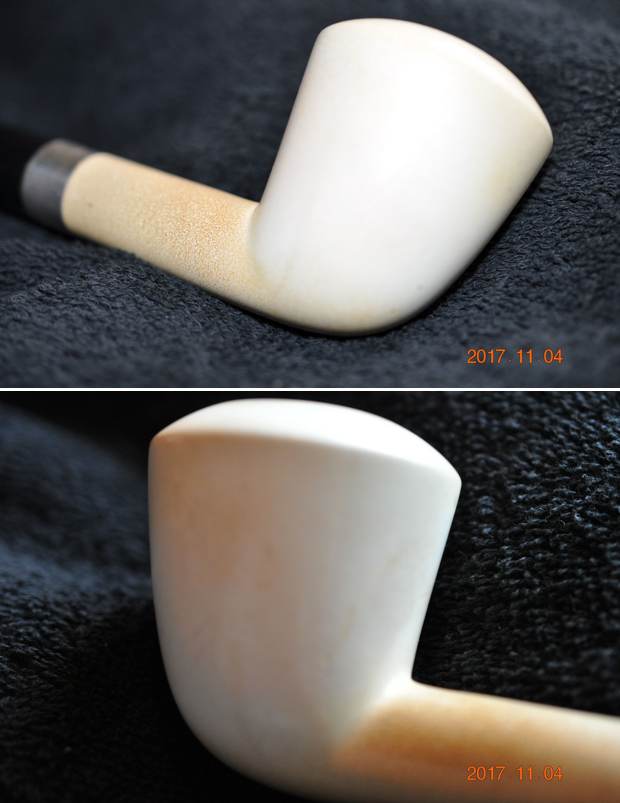
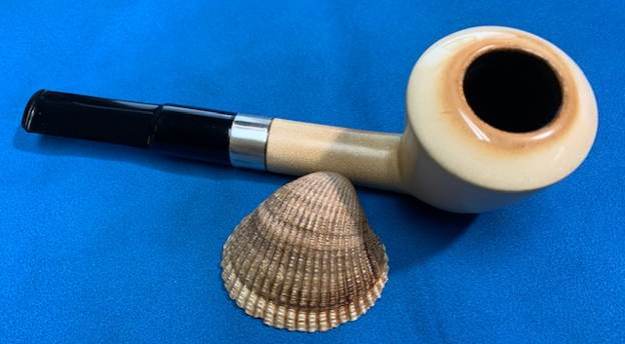
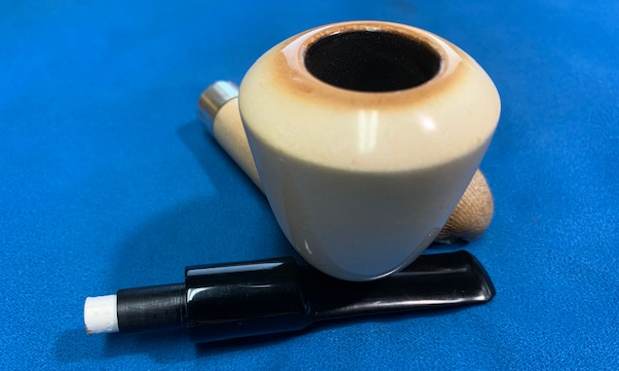
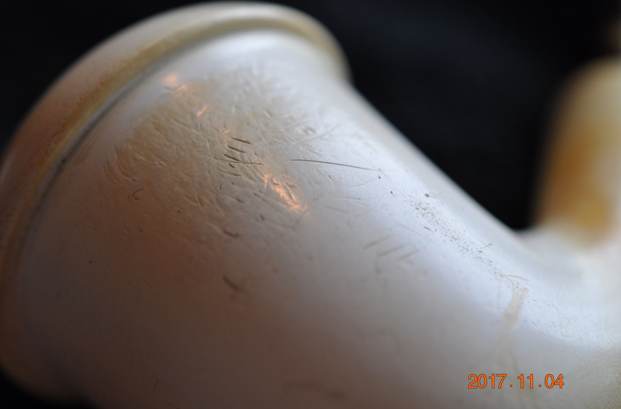
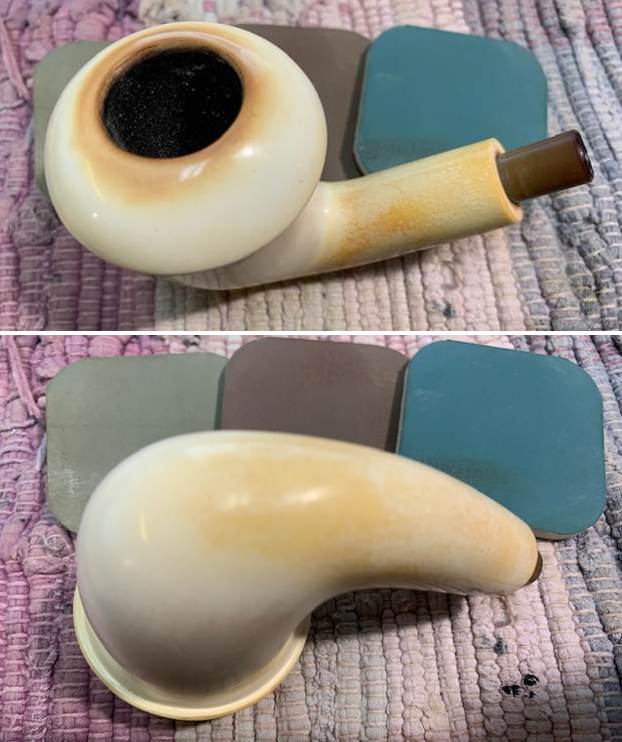
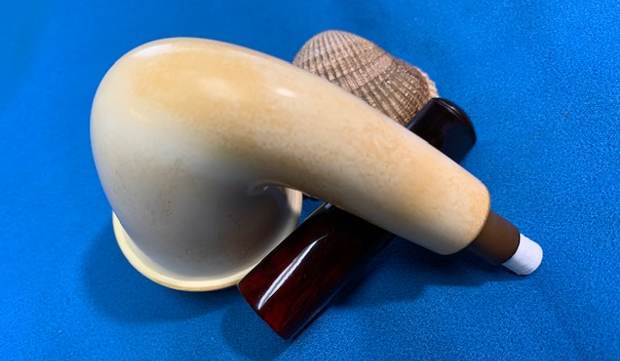
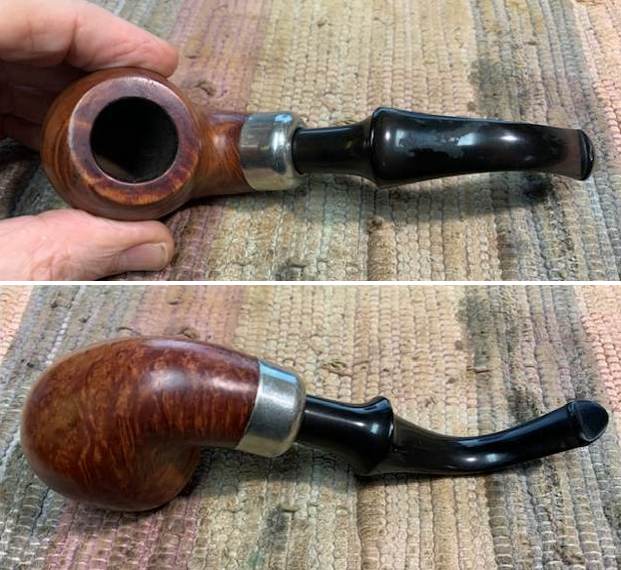
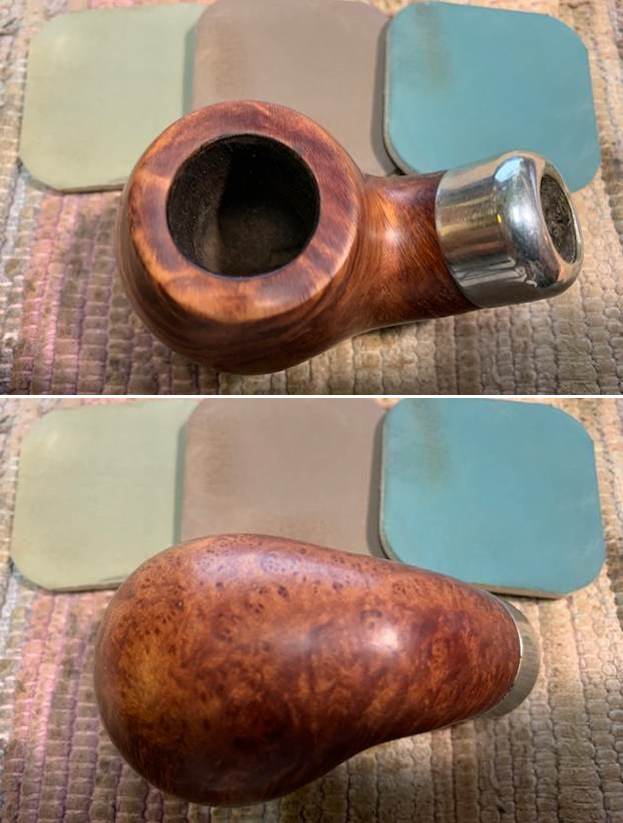
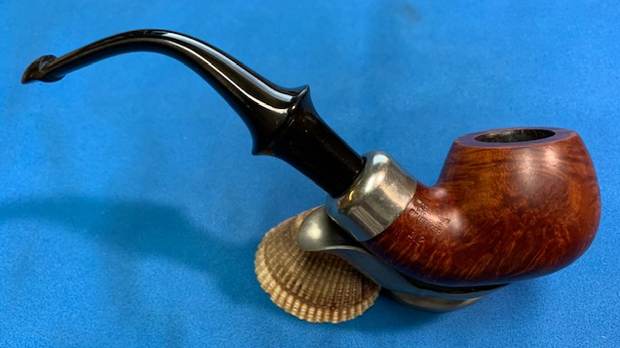
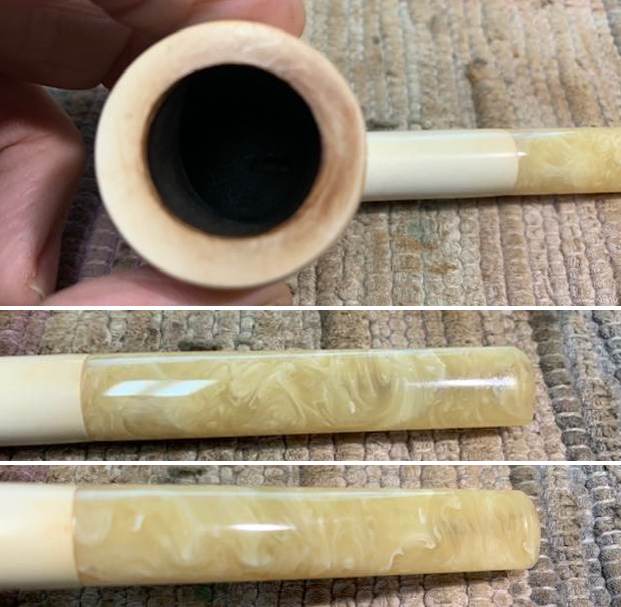
 The rim top and inner edge of the rim looked very good with some slight darkening on the rim top and inner edge. The stem surface looked very good with some deep tooth marks and chatter on both sides near the button.
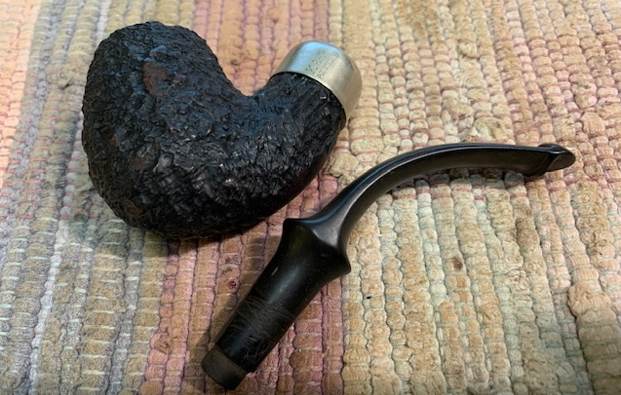
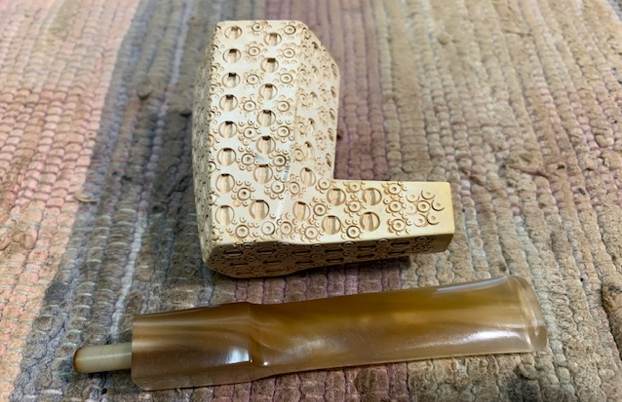
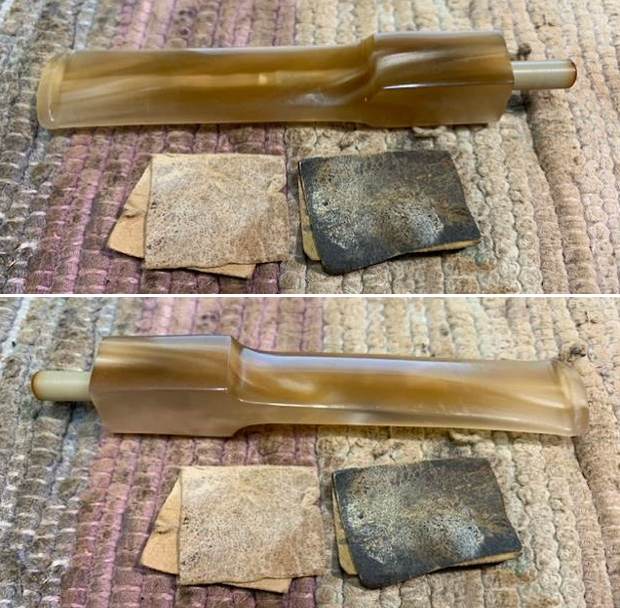
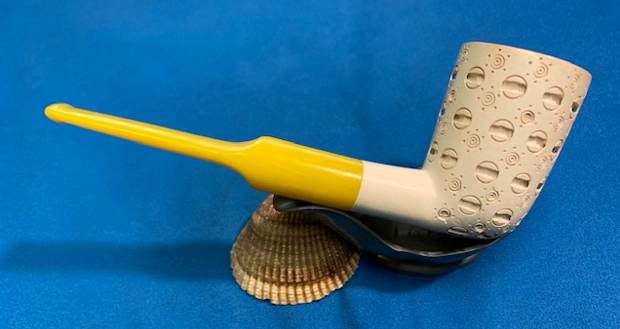
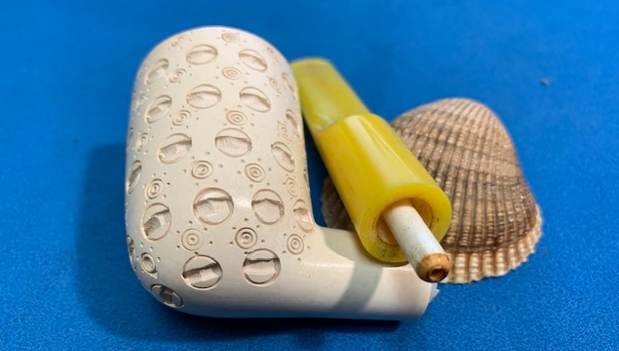
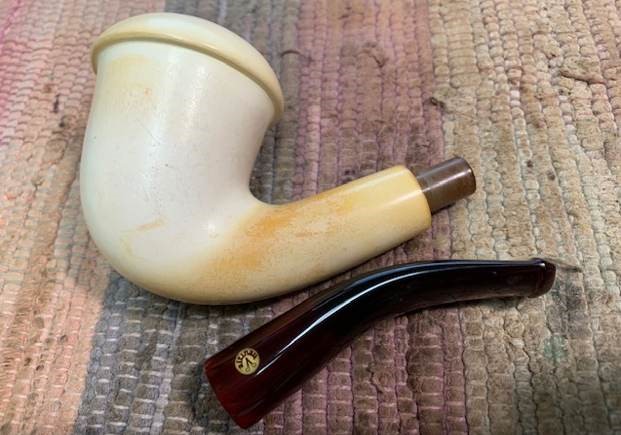
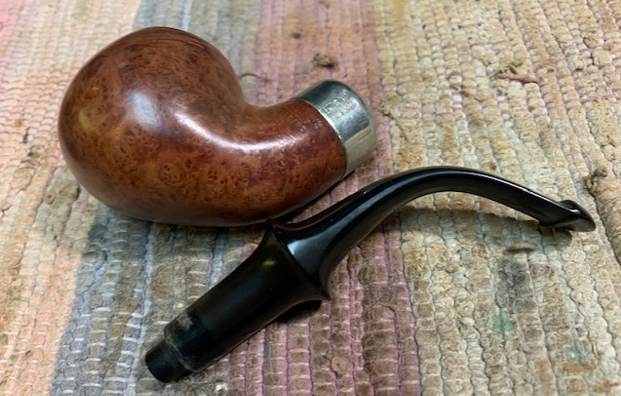
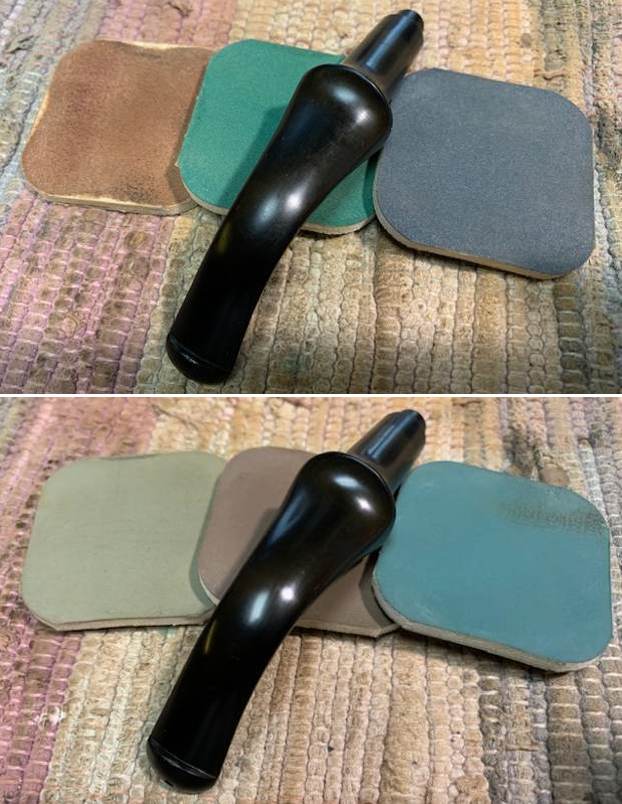
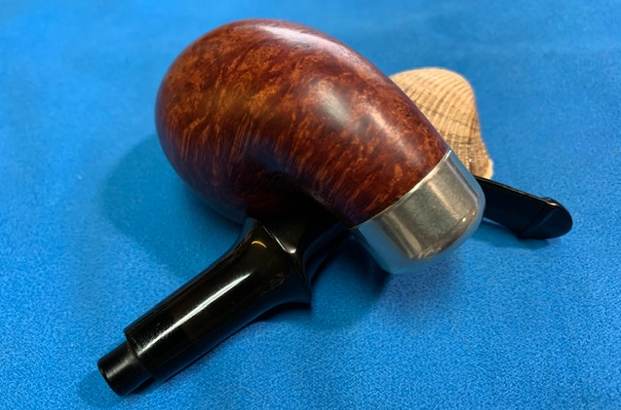
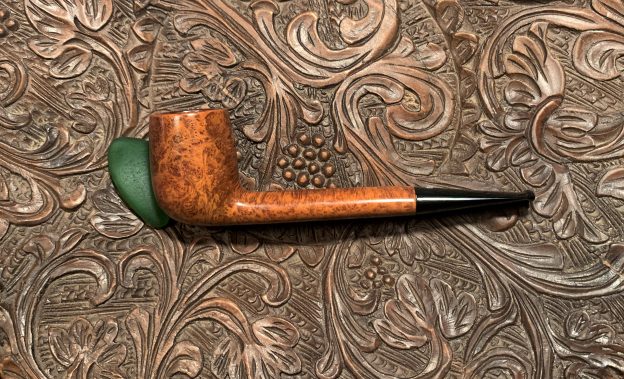
 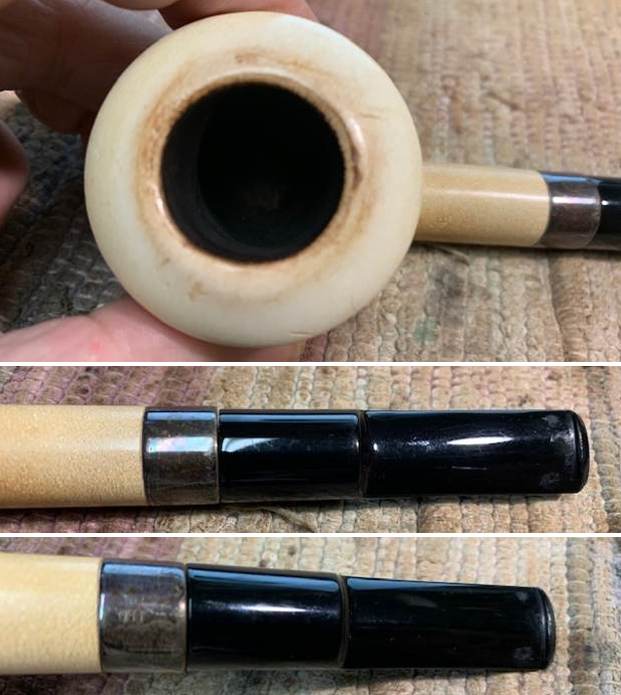 I removed the stem and took a photo of the pipe to give a sense of the whole. The tenon is Delrin and is integrated in the stem. It is drilled to hold a 9mm filter and fits snug in the shank. The stem is a nice looking black saddle acrylic.
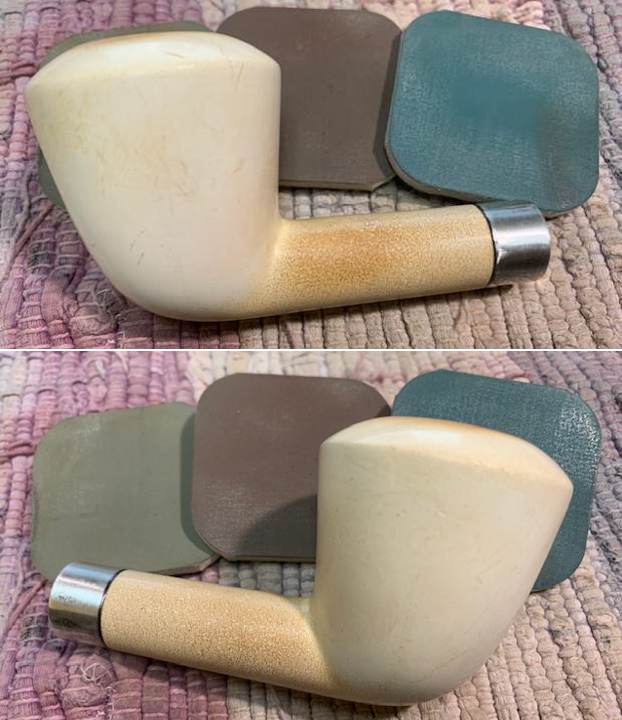
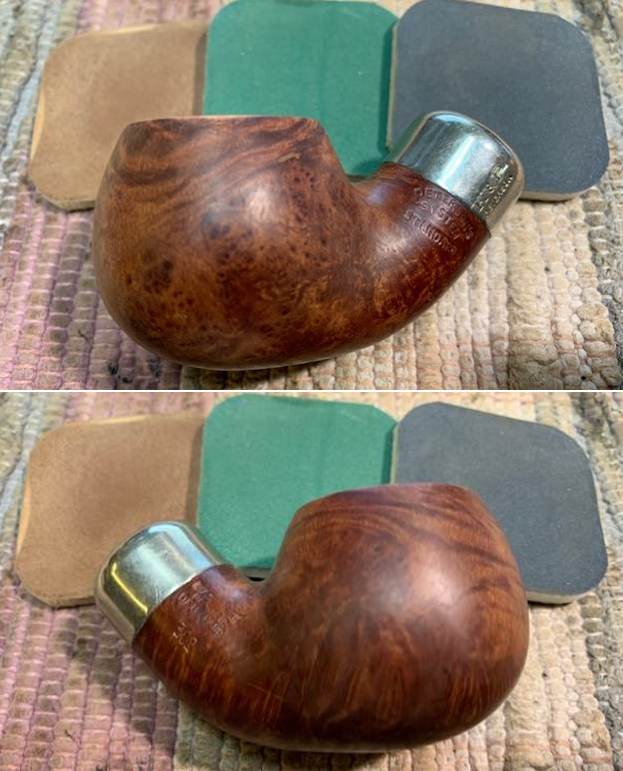
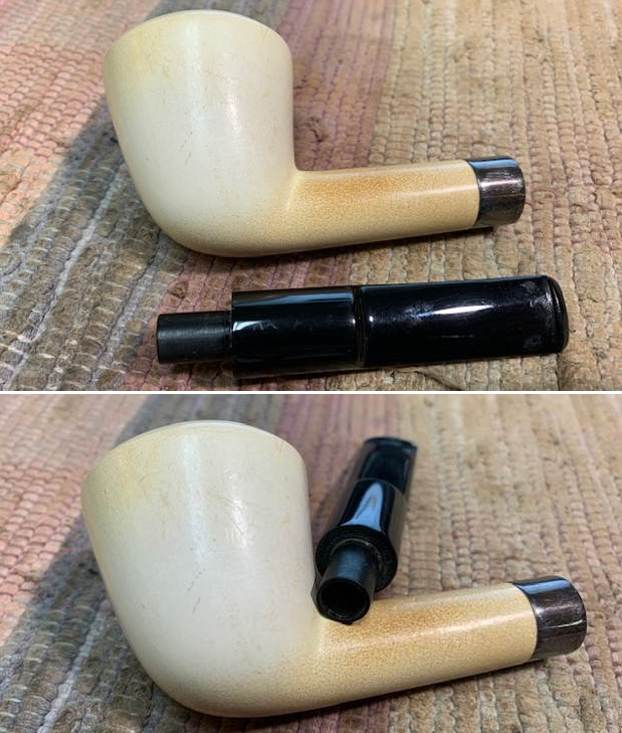 I polished the smooth meerschaum with micromesh sanding pads – dry sanding with 1500-12000 grit pads. I worked on the darkening of the rim top at the same time. I wiped the bowl down after each pad with a damp cloth. The longer I polished it the more the patina came to the surface. The pipe became more beautiful with each grit of polishing pad.
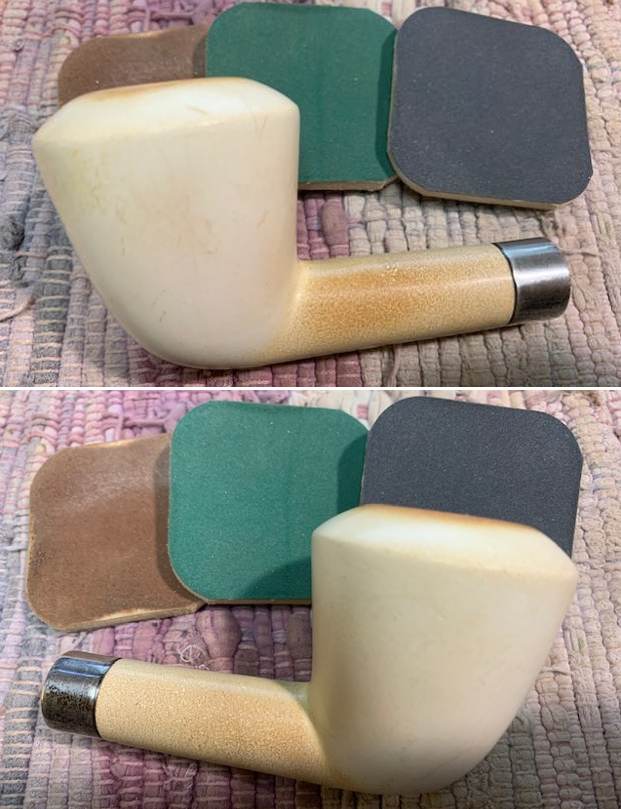

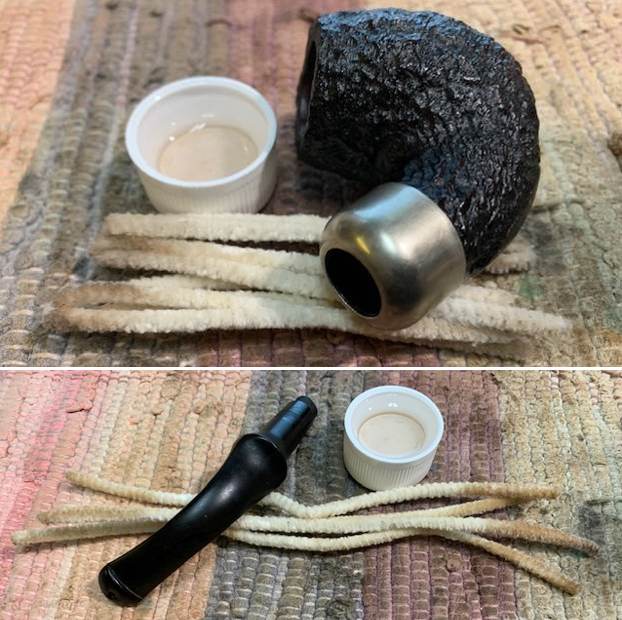
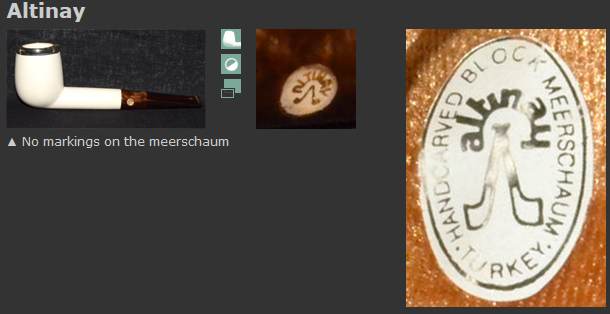
 I took out my Dr. Perl Junior 9mm filters made by Vauen to fit one to the stem of this beauty. It fit in mortise and tenon perfectly and did not inhibit the air flow significantly just like the Altinay I just finished.
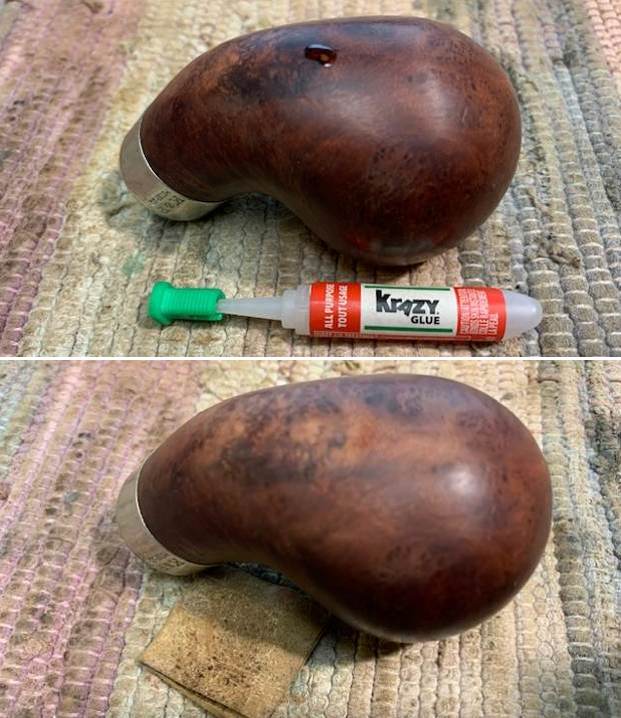
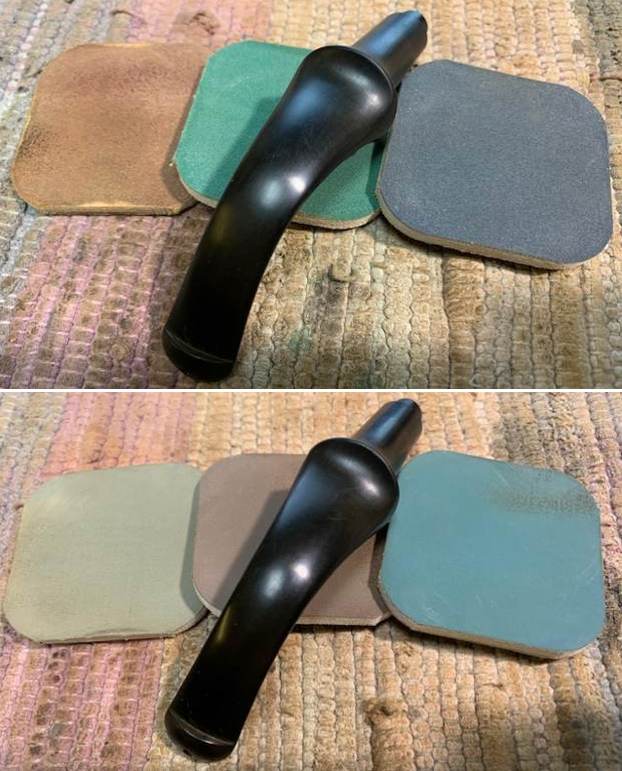
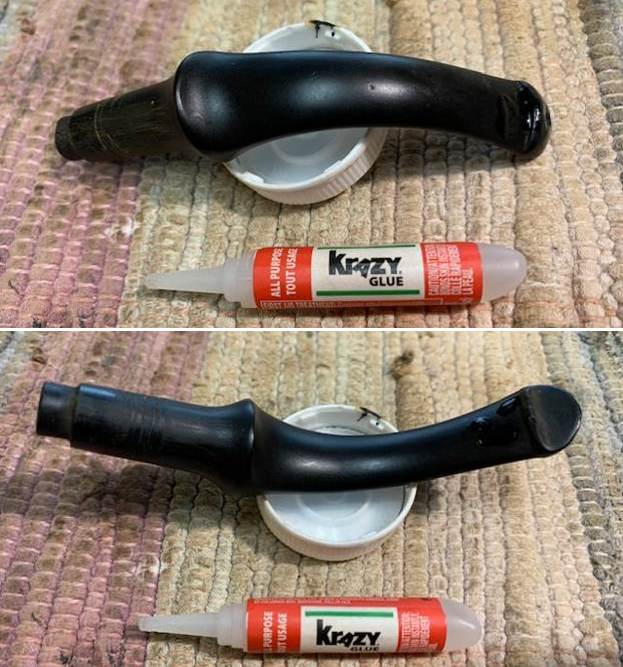
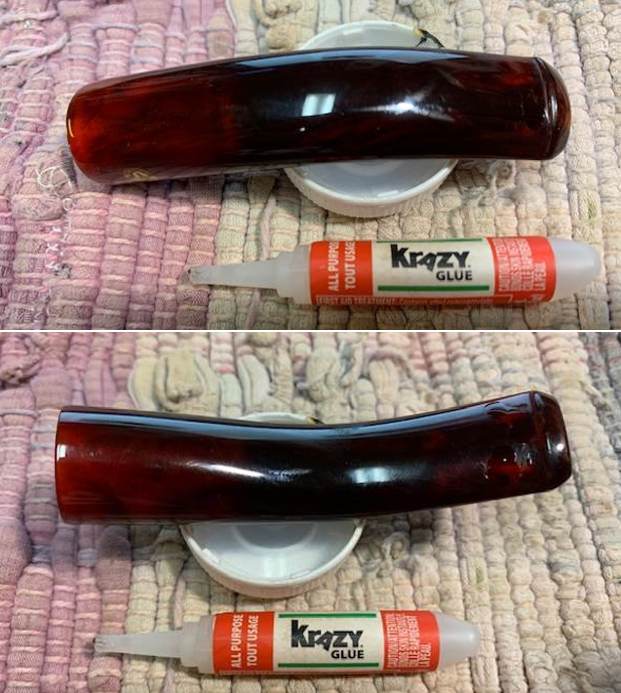
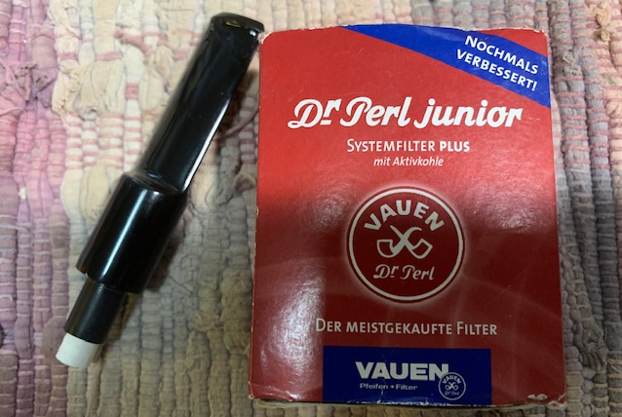 I set the bowl aside and turned my attention to the stem. I filled in the deep tooth marks on the stem surface on both sides with clear CA glue. Once the repairs cured I sanded them smooth with 220 grit sandpaper. I started polishing the stem with 400 grit wet dry sandpaper.
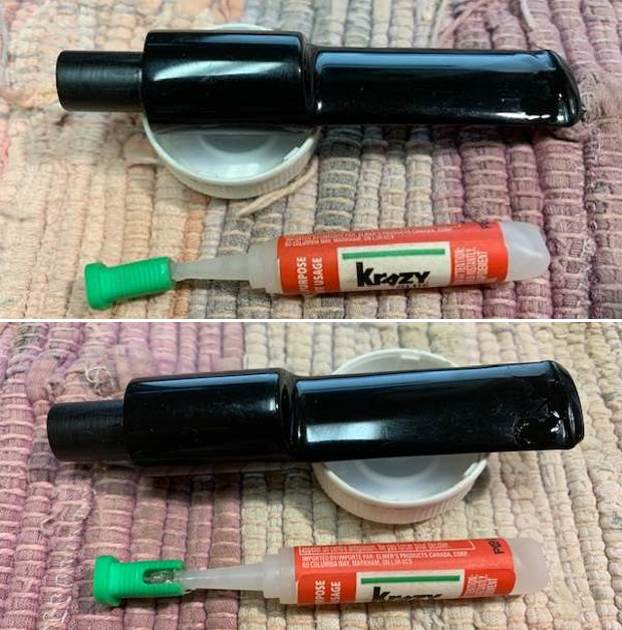
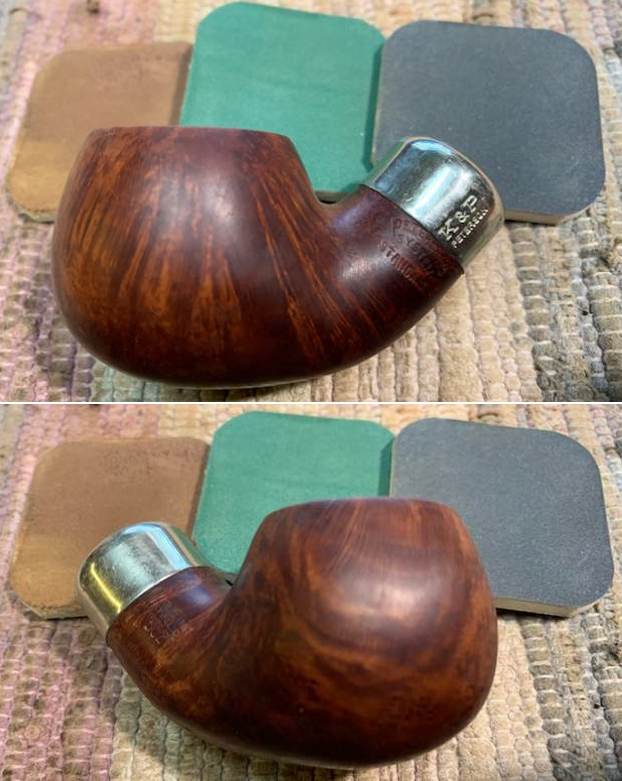
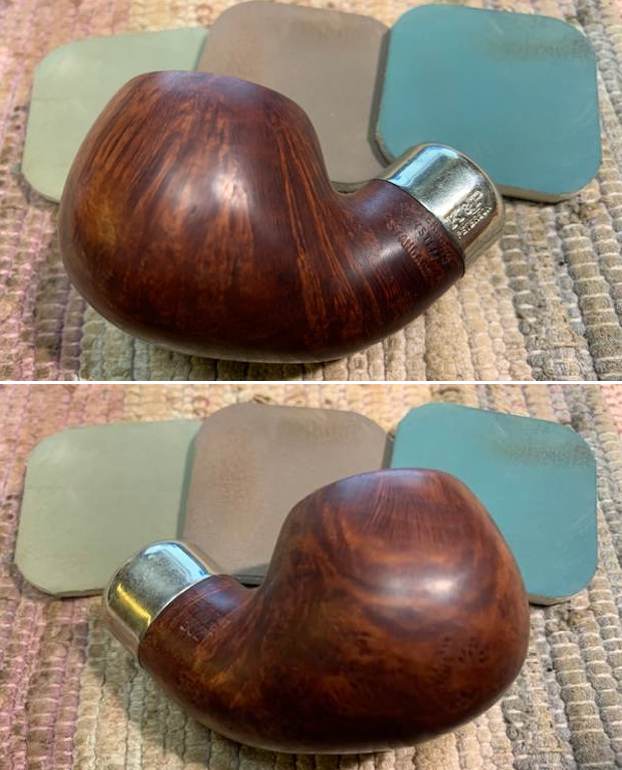
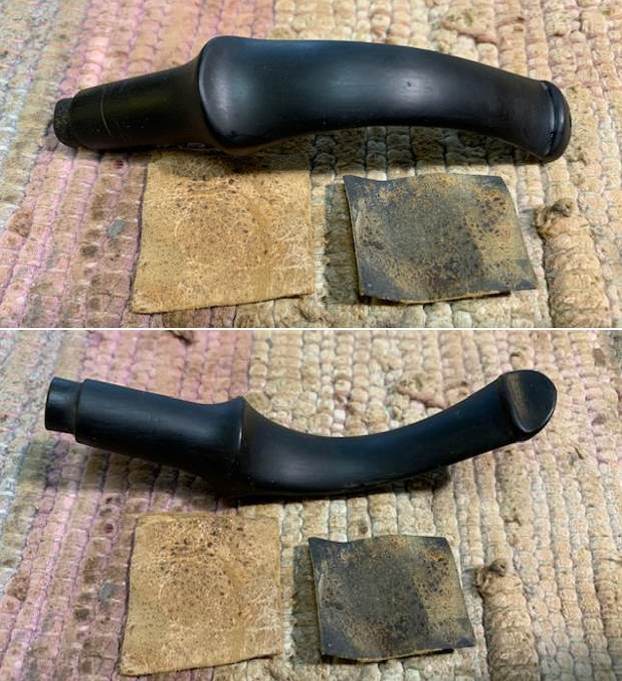
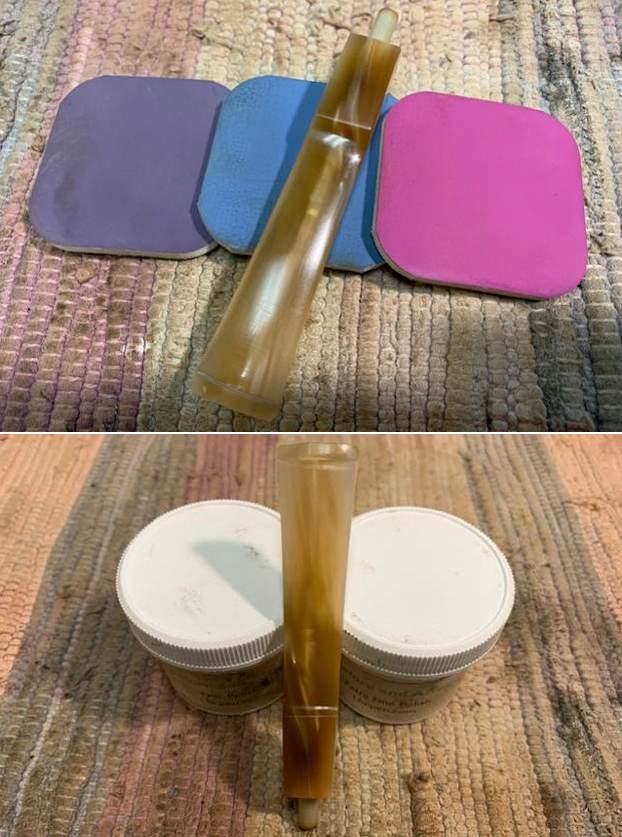
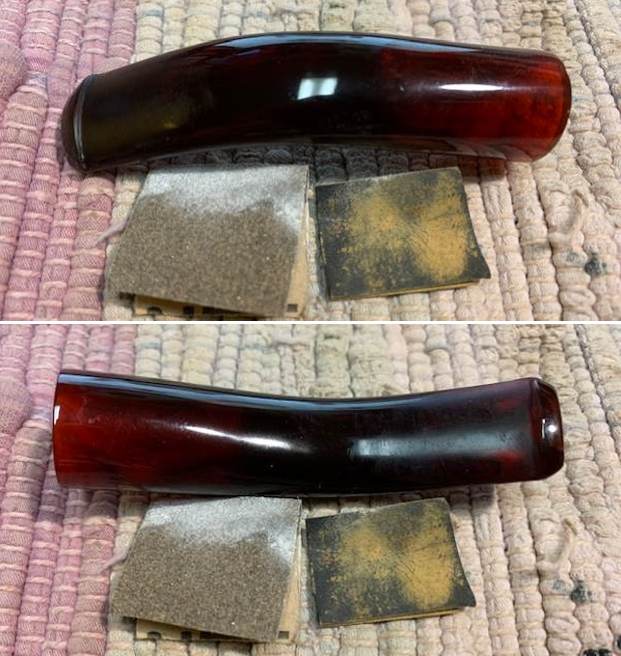
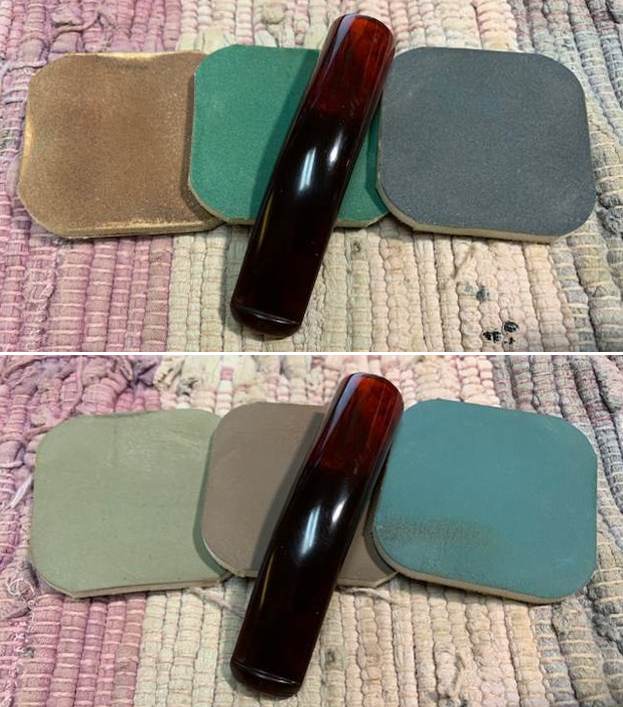
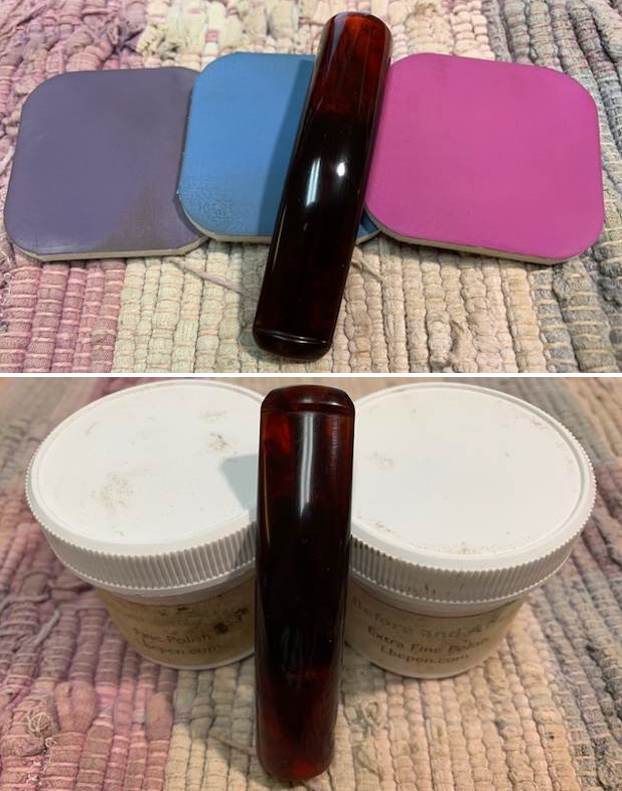
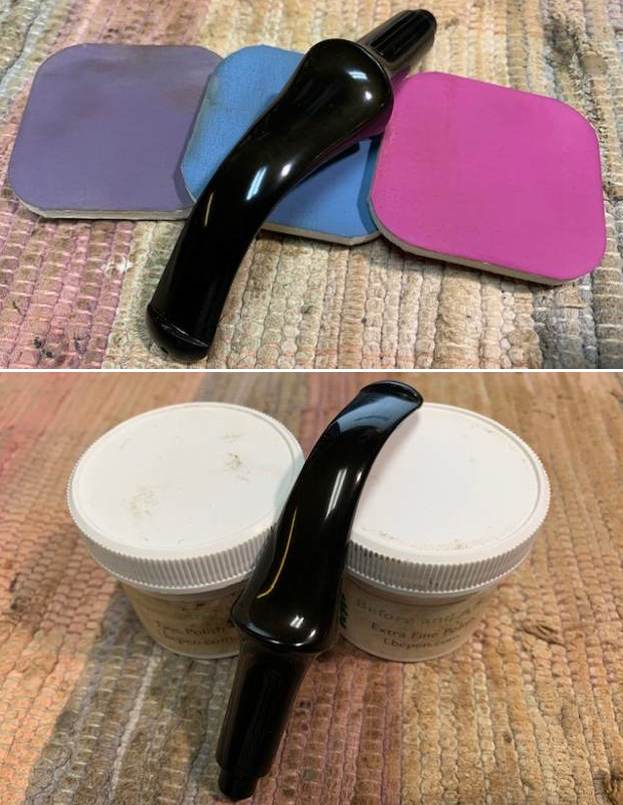
 I polished the stem with micromesh sanding pads. I dry sanded it with 1500-12000 pads and wiped the bowl down after each pad with a cloth and Obsidian Oil. I finished polished it with Before & After Fine and Extra Fine stem polish. I wiped it down with the cloth and Obsidian Oil one final time and set aside to dry.
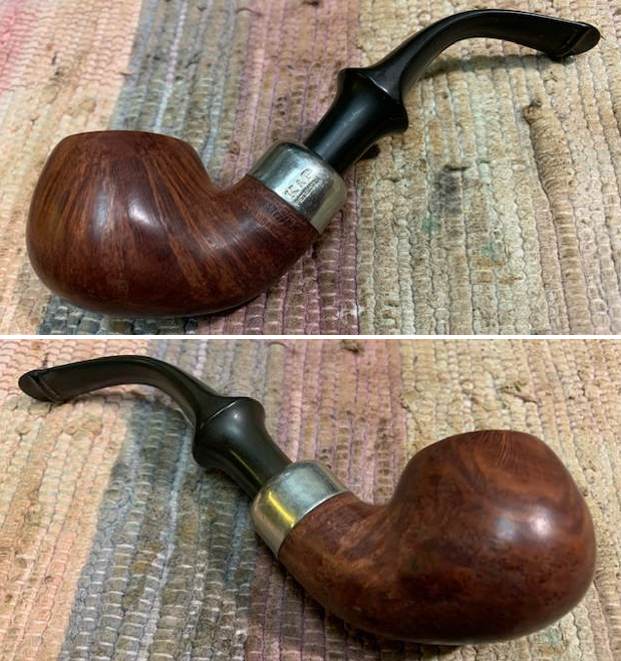
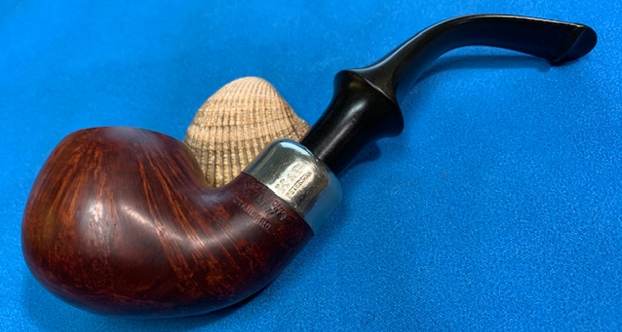
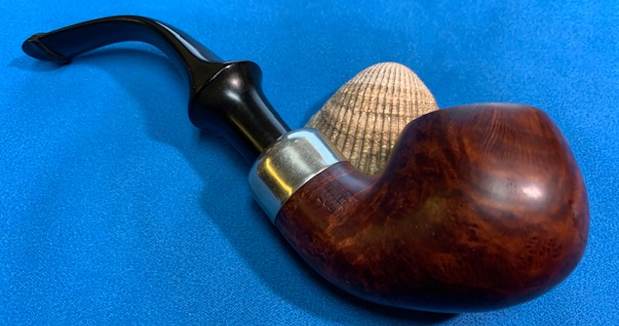
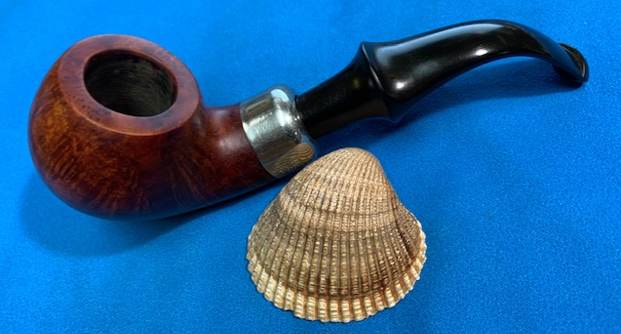
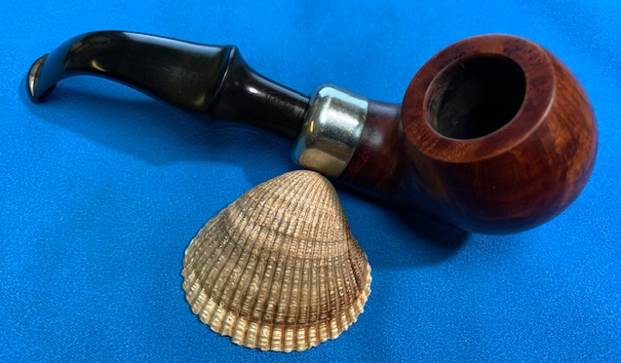
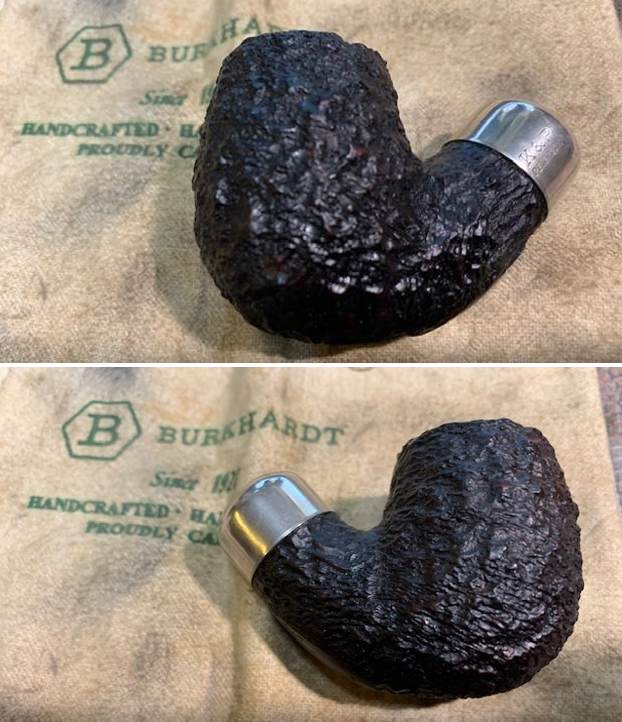
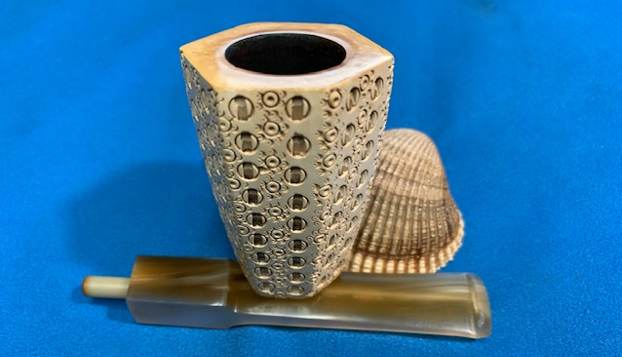
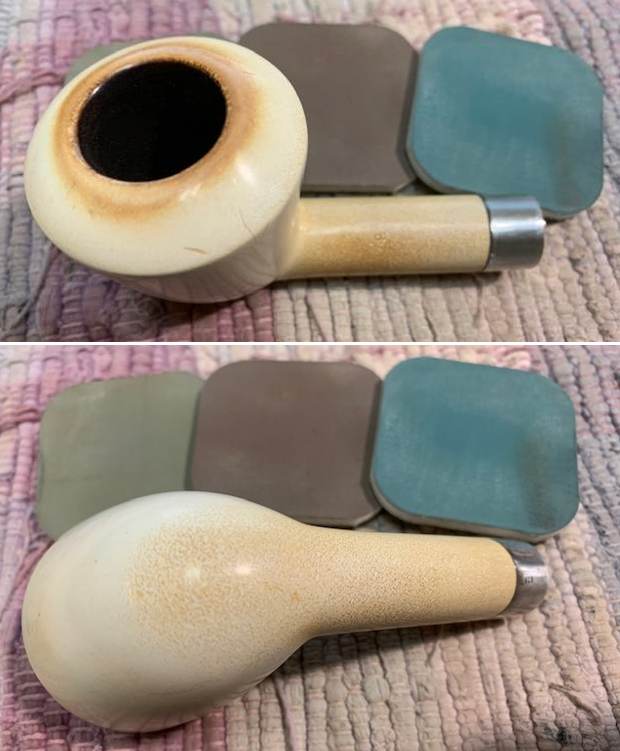
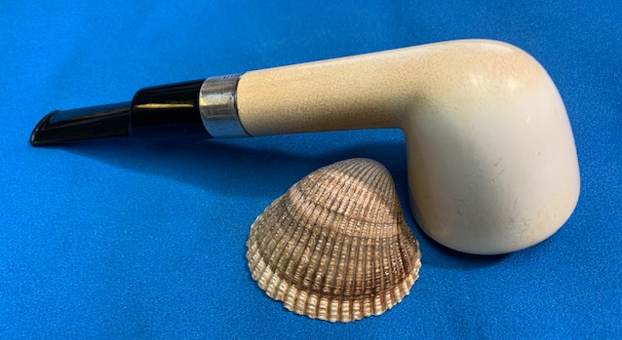
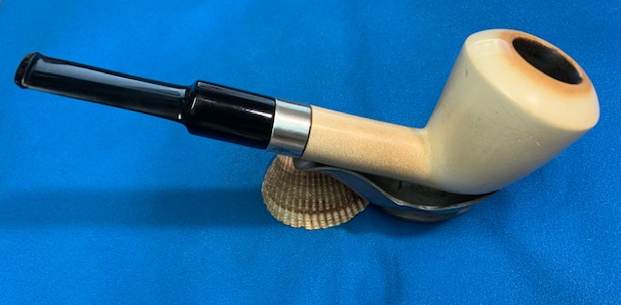
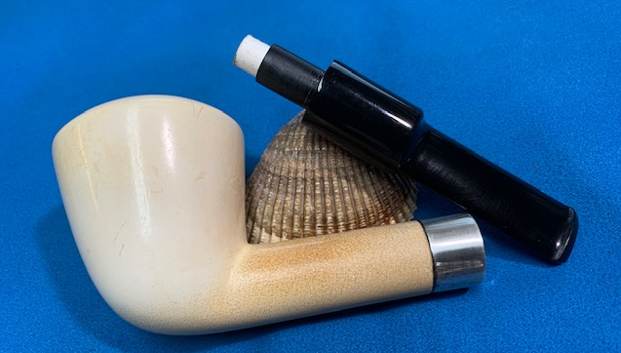
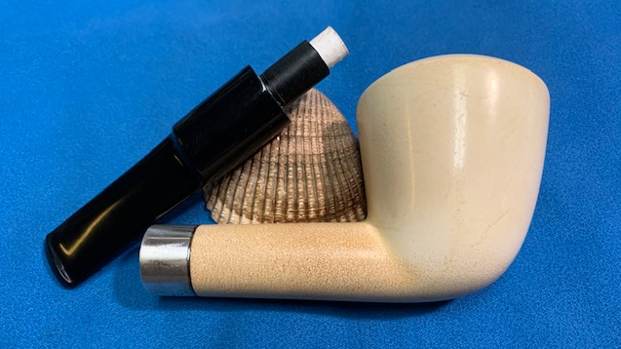
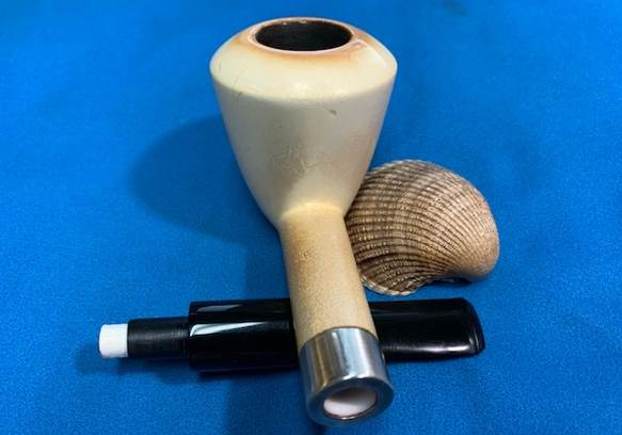
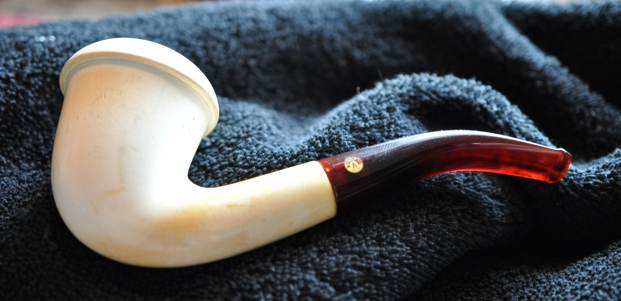
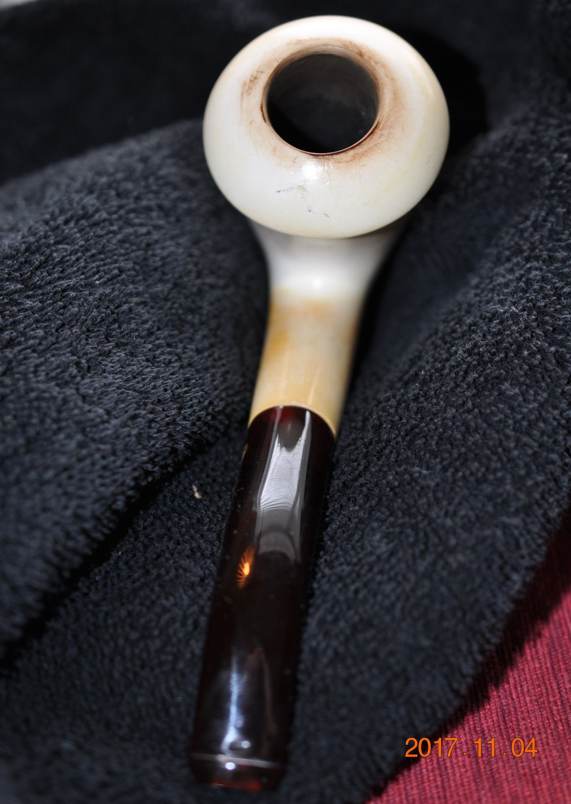
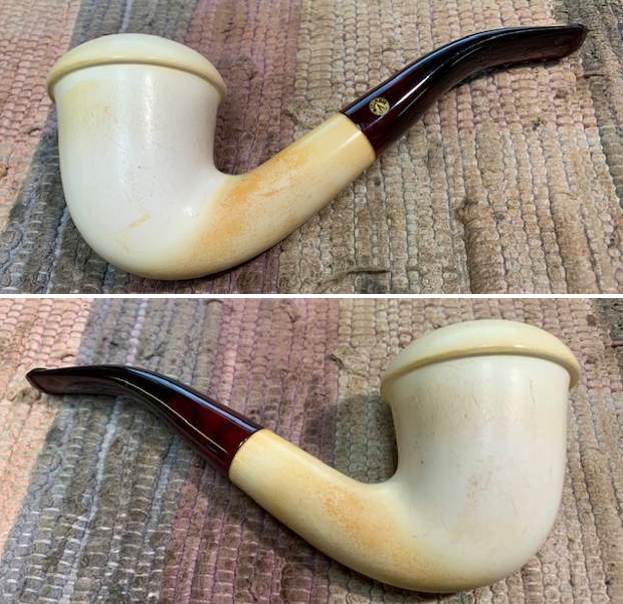
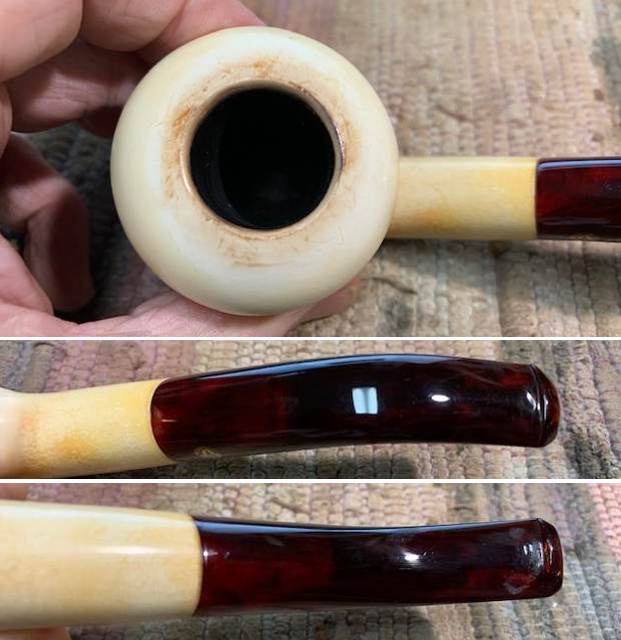
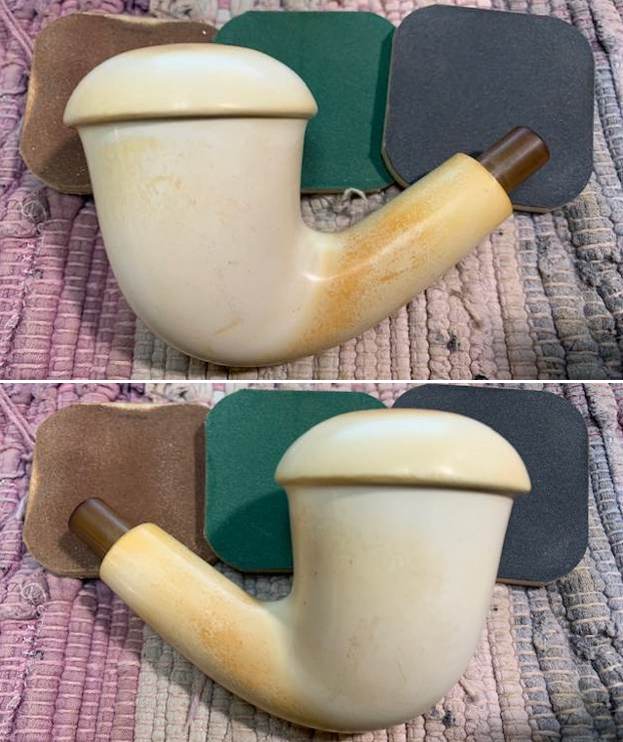
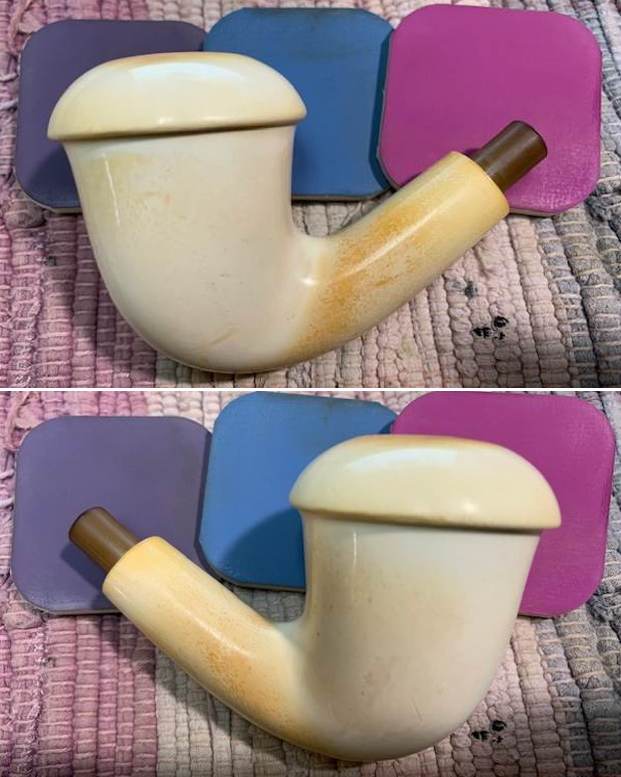
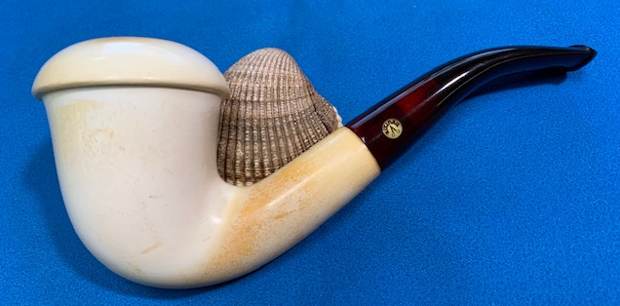
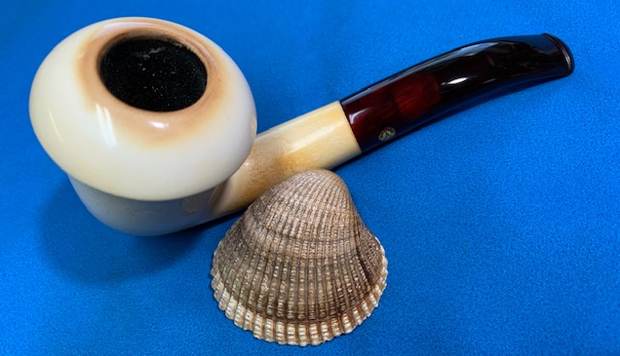
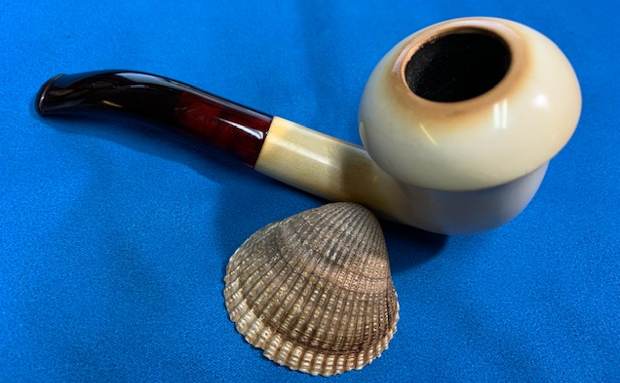
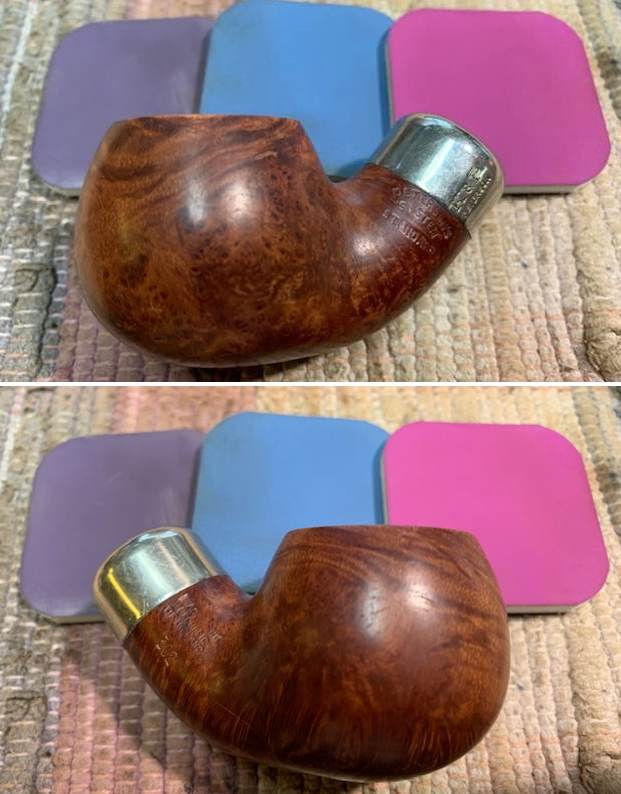
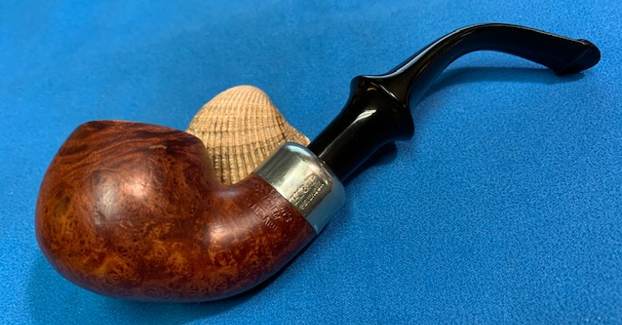
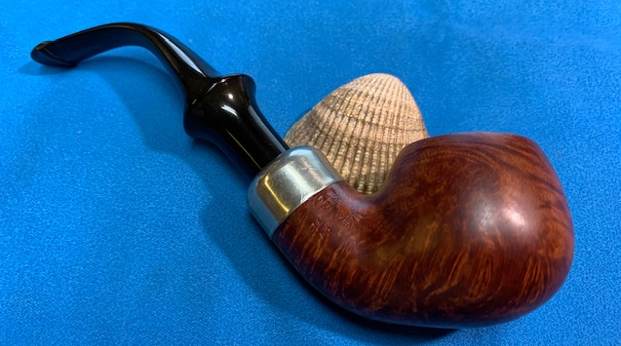
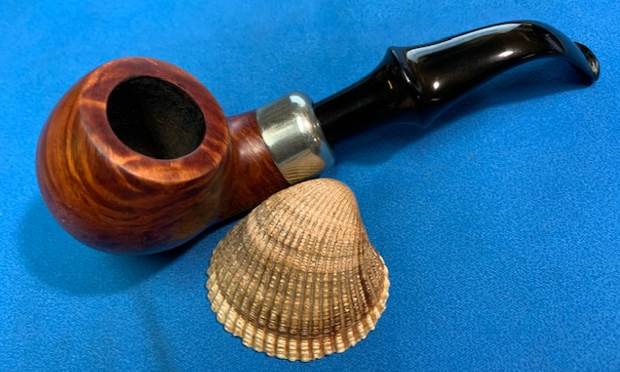
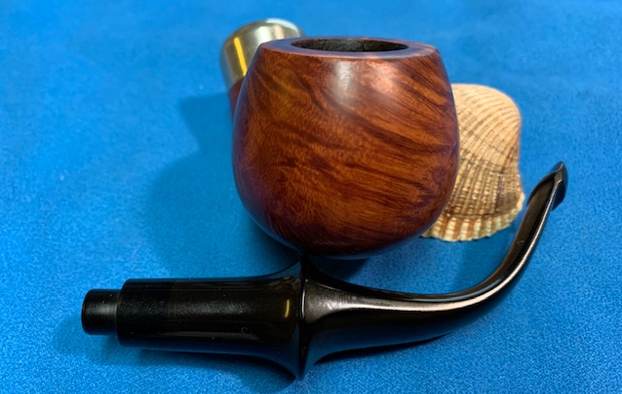
 This No Name Meerschaum Dublin with a black acrylic stem is a beautiful pipe. The polished light weight meerschaum that shines through the polished finish is stunning. I put the stem back on the bowl and carefully buffed the pipe with a clean buffing pad. I hand buffed the pipe with a microfiber cloth to deepen the shine. The finished No Name Meerschaum Dublin is another pipe that fits nicely in the hand and feels great. Give the finished pipe a look in the photos below. The dimensions of the pipe are Length: 6 ½ inches, Height: 2 ¼ inches, Outside diameter of the bowl: 2 inches, Chamber diameter: 7/8 of an inch. The weight of the pipe is 57 grams/ 1.98 oz. This Meerschaum Dublin is a real beauty and the 9mm filter black acrylic stem just highlights the beauty. Jeff made another great find when he picked this up in Frankfurt. Thanks for reading this blog and my reflections on the pipe while I worked on it. There are many more to come!
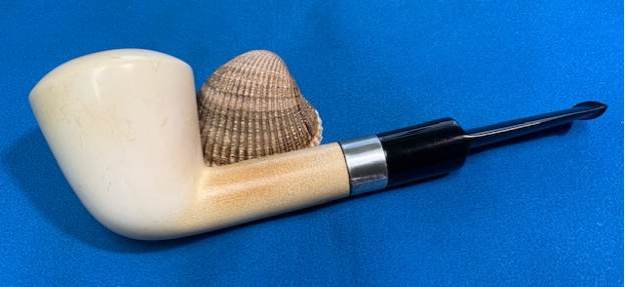


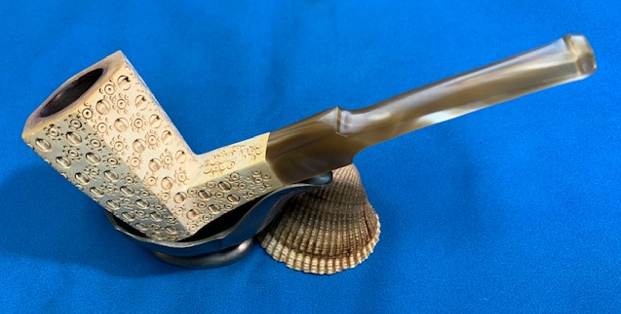
 The nomenclature is stamped on the upper side of the Canadian oval stem. From larger to smaller and larger lettering again is stamped, STANWELL [over] HANDMADE [over] DENMARK, the COM. The…