Blog by Steve Laug
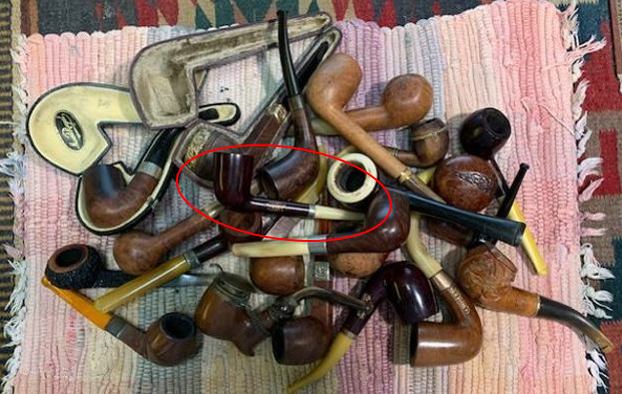
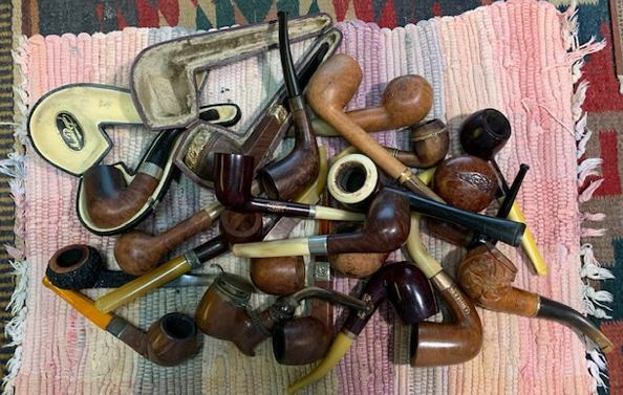
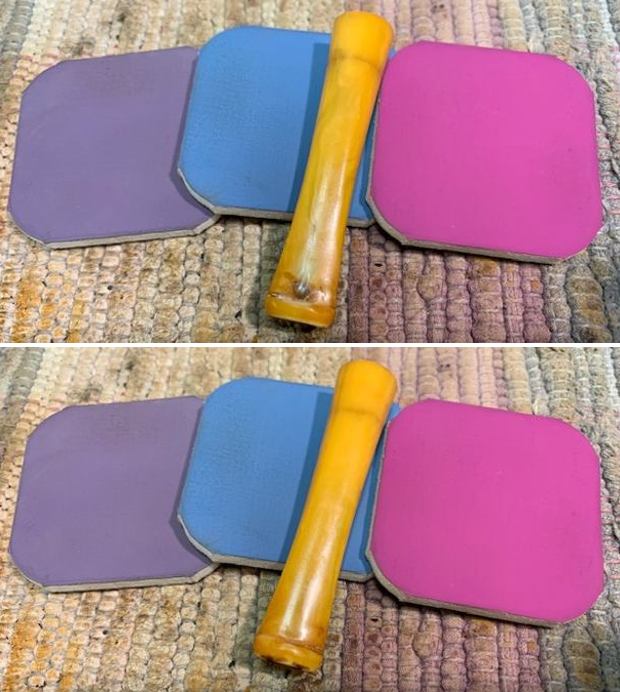
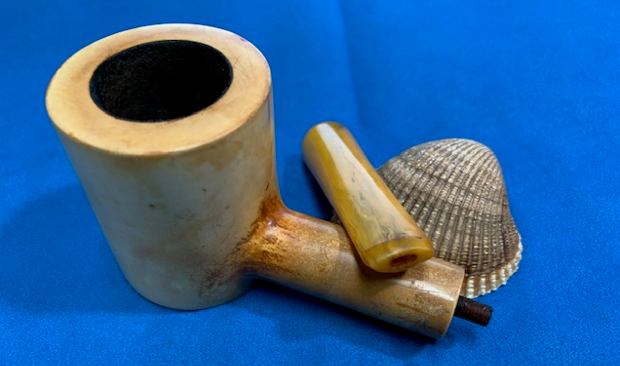
Having finished both an early 1900s KB&B Horn Stemmed Italian Billiard and posted the blog about the work on it (https://rebornpipes.com/2021/08/29/reviving-another-older-horn-stemmed-pipe-my-next-choice/) and the early French made JSN Racine Bruyere Dublin and posted the blog about it (https://rebornpipes.com/2021/08/29/reviving-another-older-horn-stemmed-pipe-from-the-bag-of-old-timers/) it was time to choose another pipe. I decided to keep working on the bag of older NOS/unsmoked and lightly smoked pipes. I chose another horn stemmed pipe from the lot and this I time picked another one from a French Maker. It is buried in the pile in the photo below but it is clear in the second photo. It was a lightly smoked pipe and not in bad condition.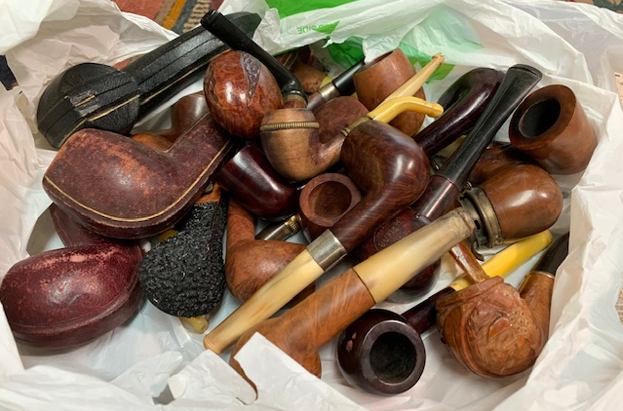 In the photo of the poured out bag on my desk top I have circled the pipe that is next on the table. This was a lightly smoked pipe with a natural finish that really intrigued me so it was next.
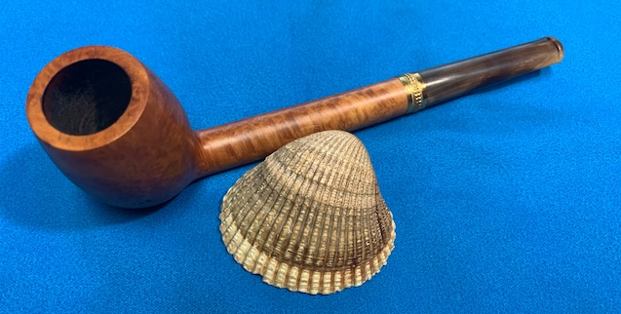
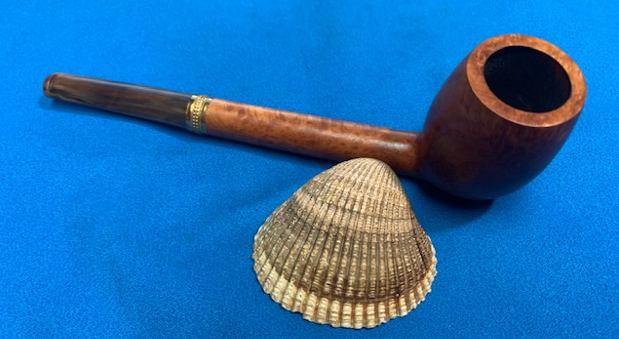
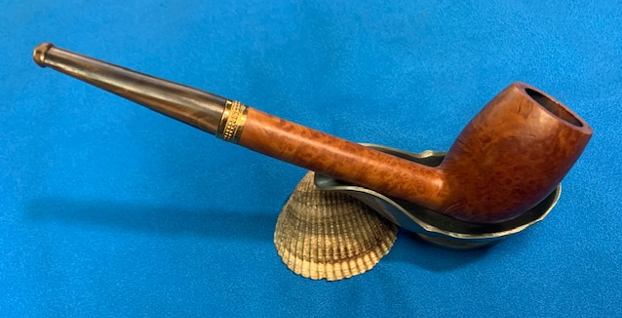
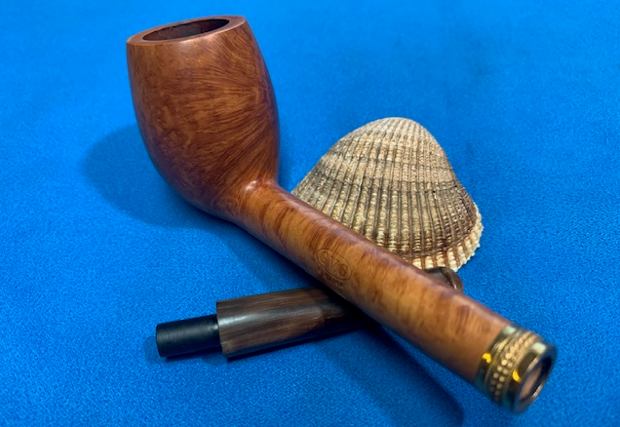
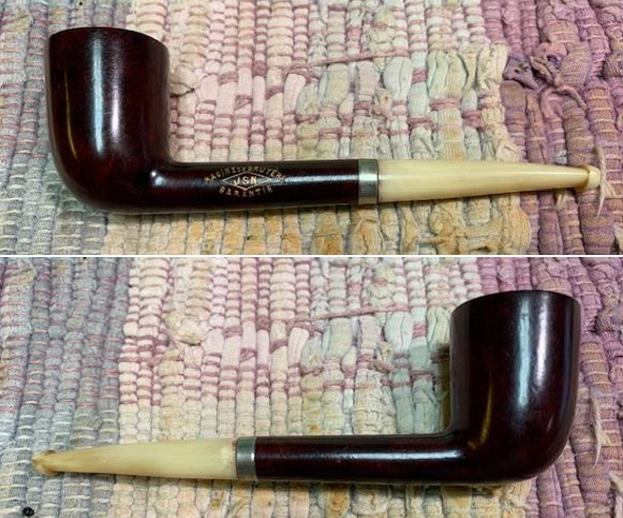
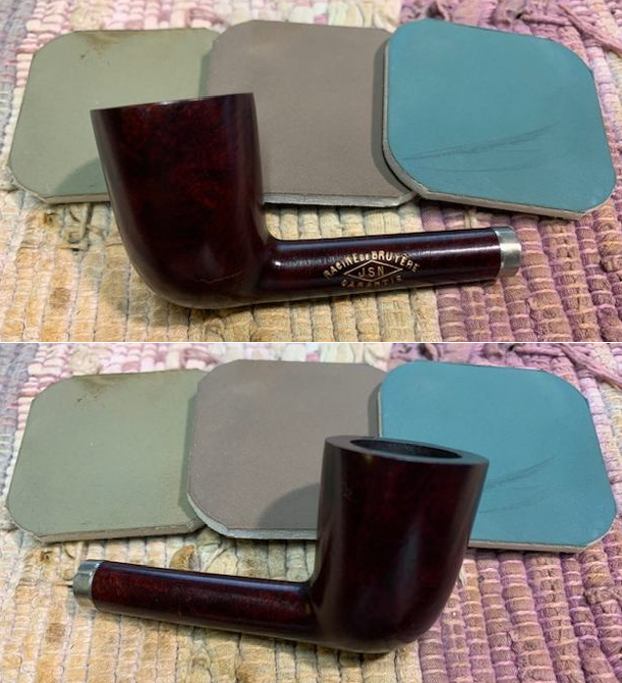
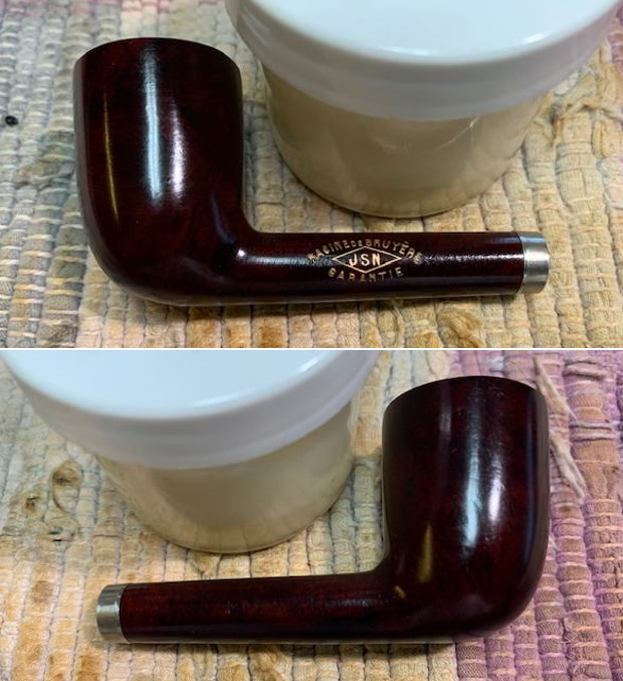
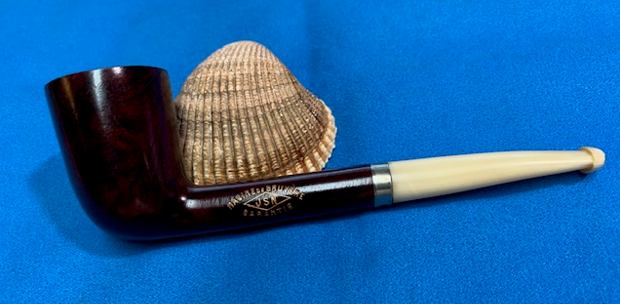
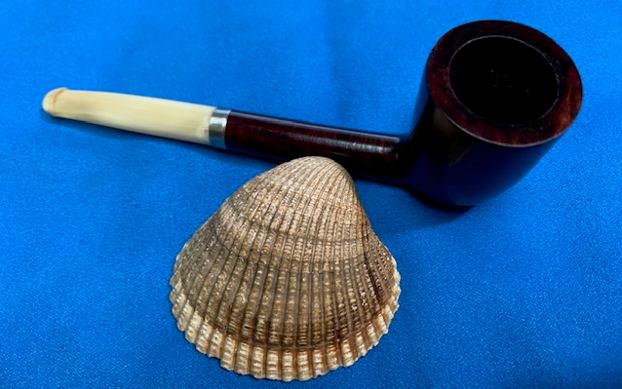
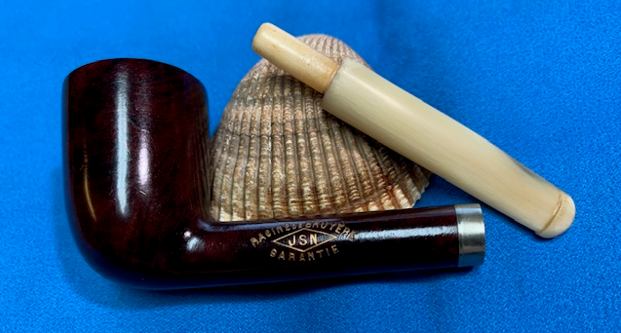
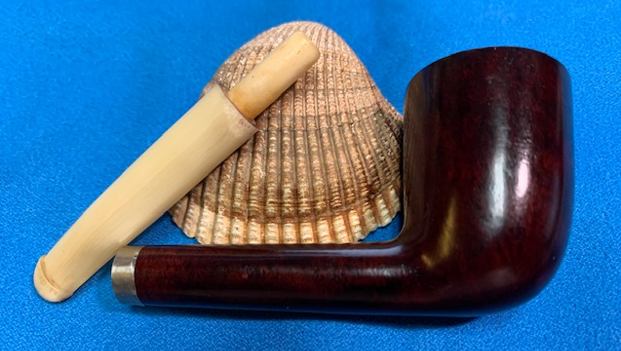
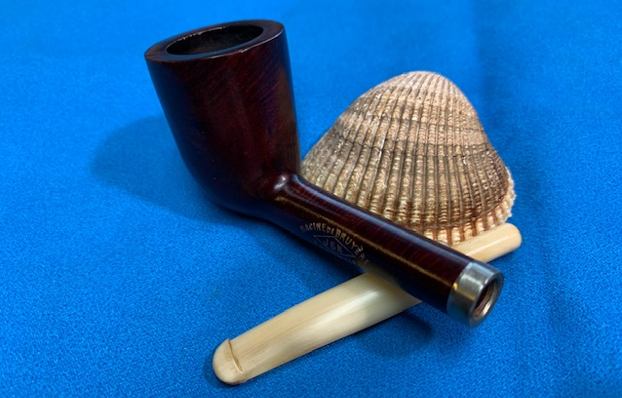
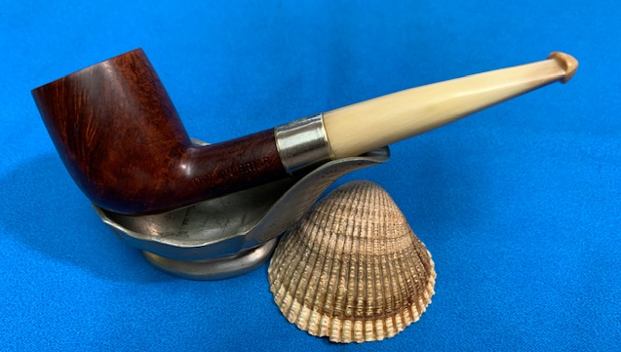
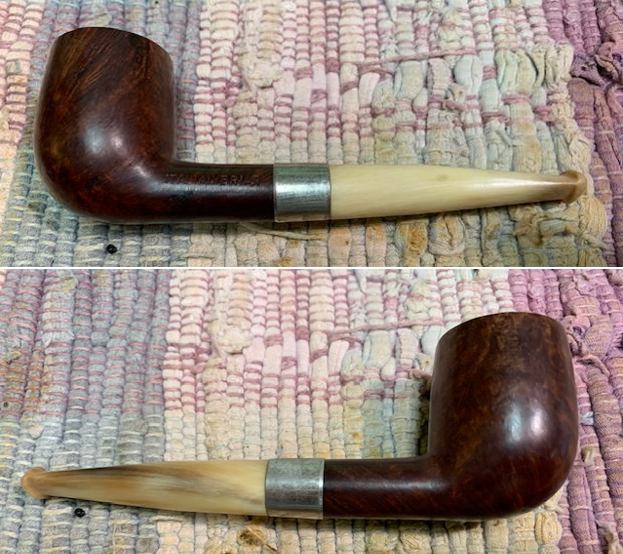
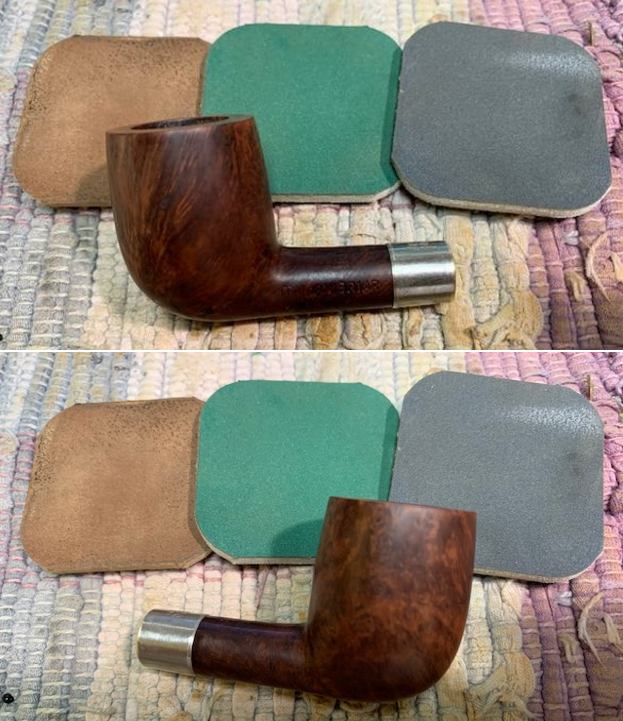
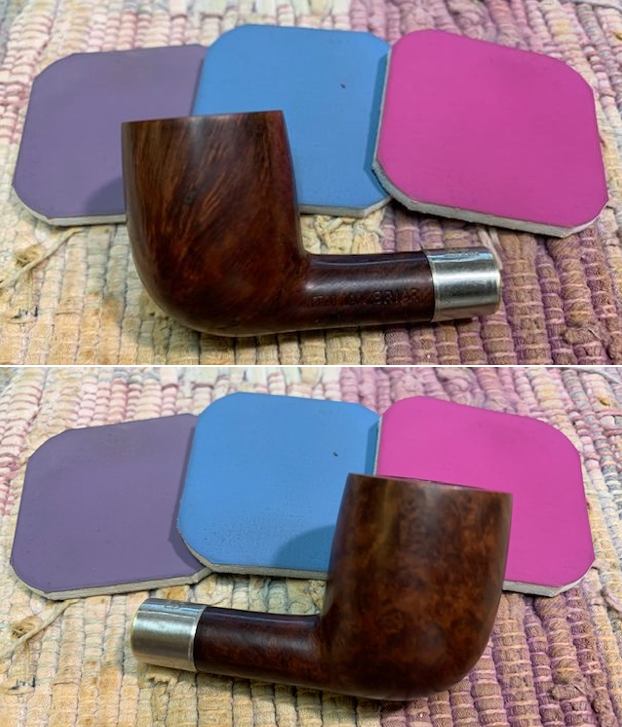
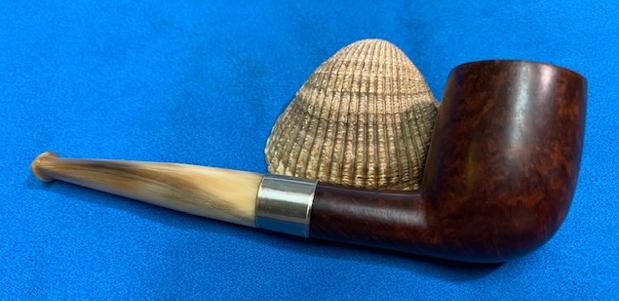
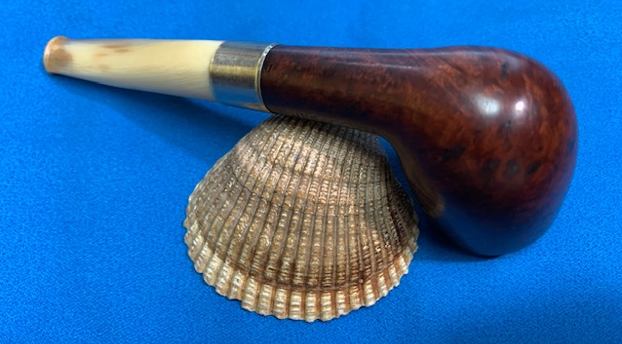
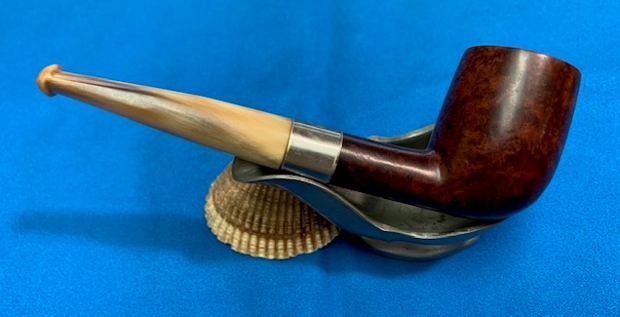
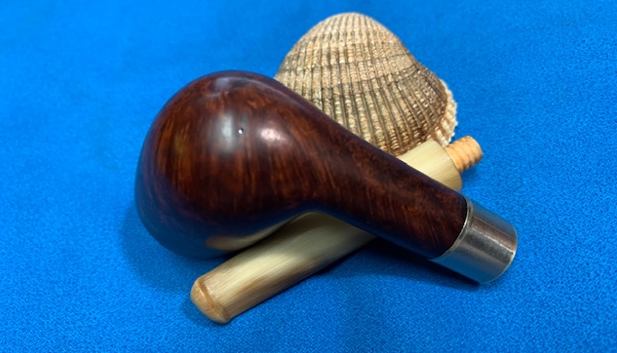
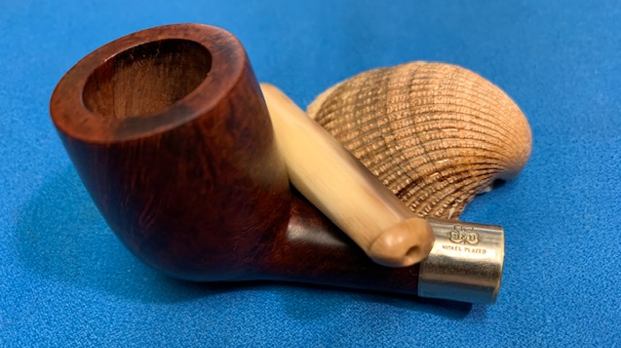
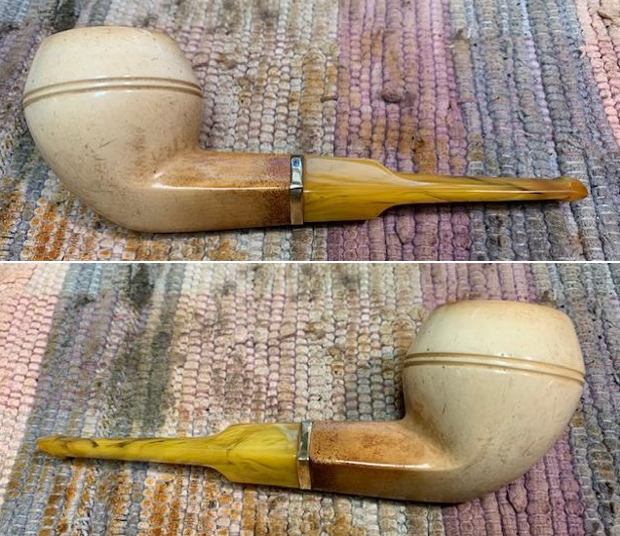
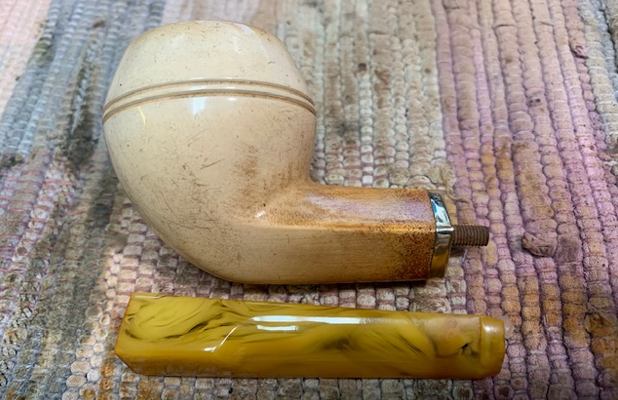
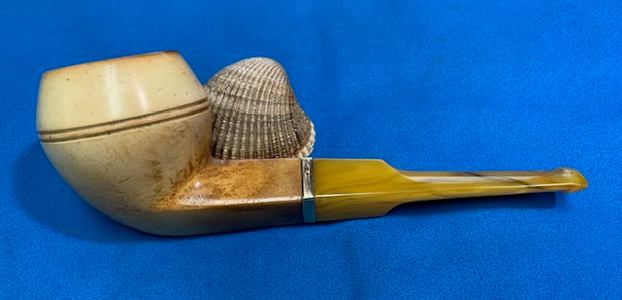
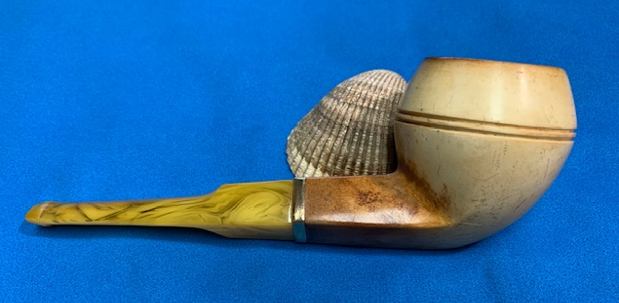
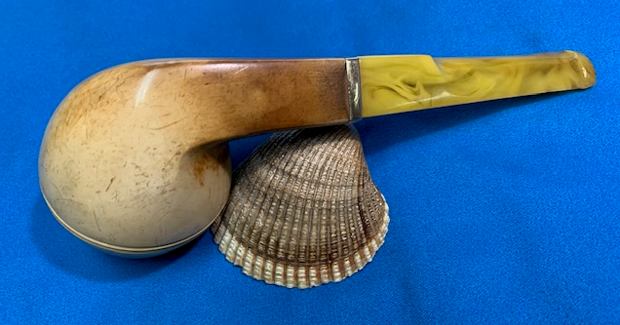
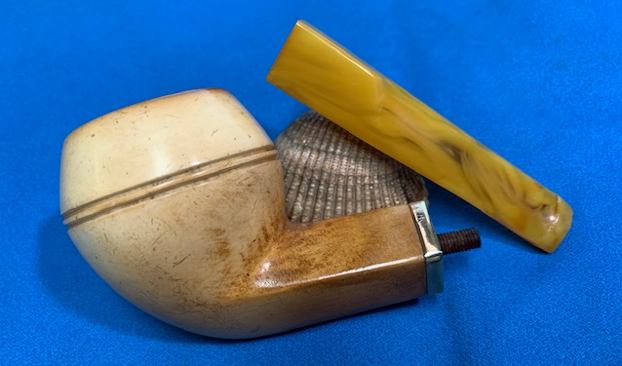
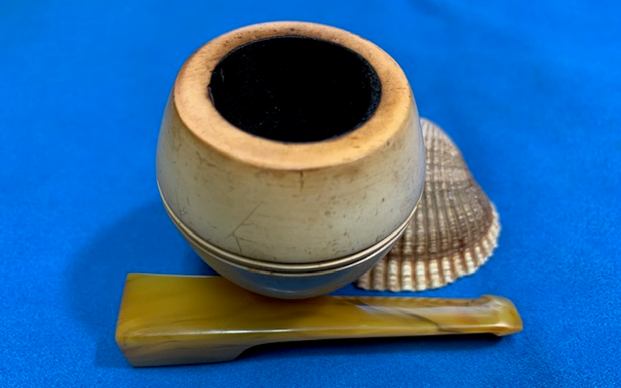
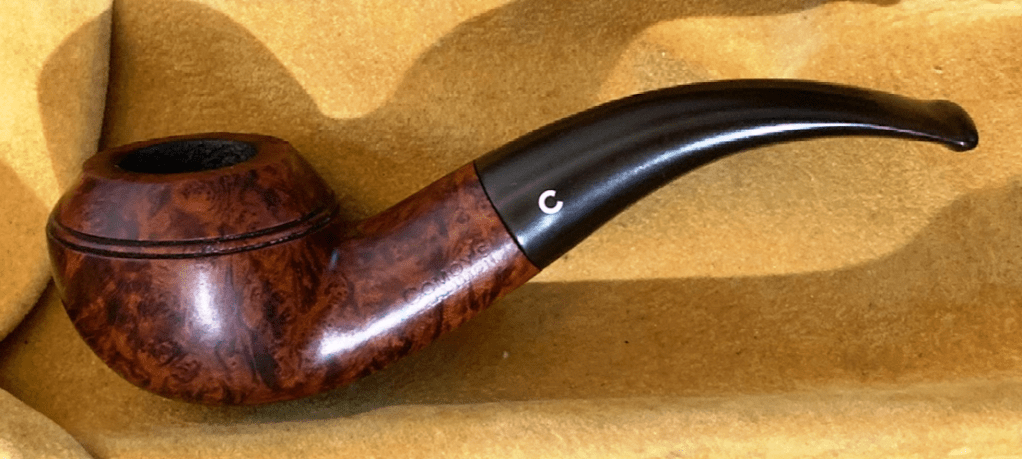
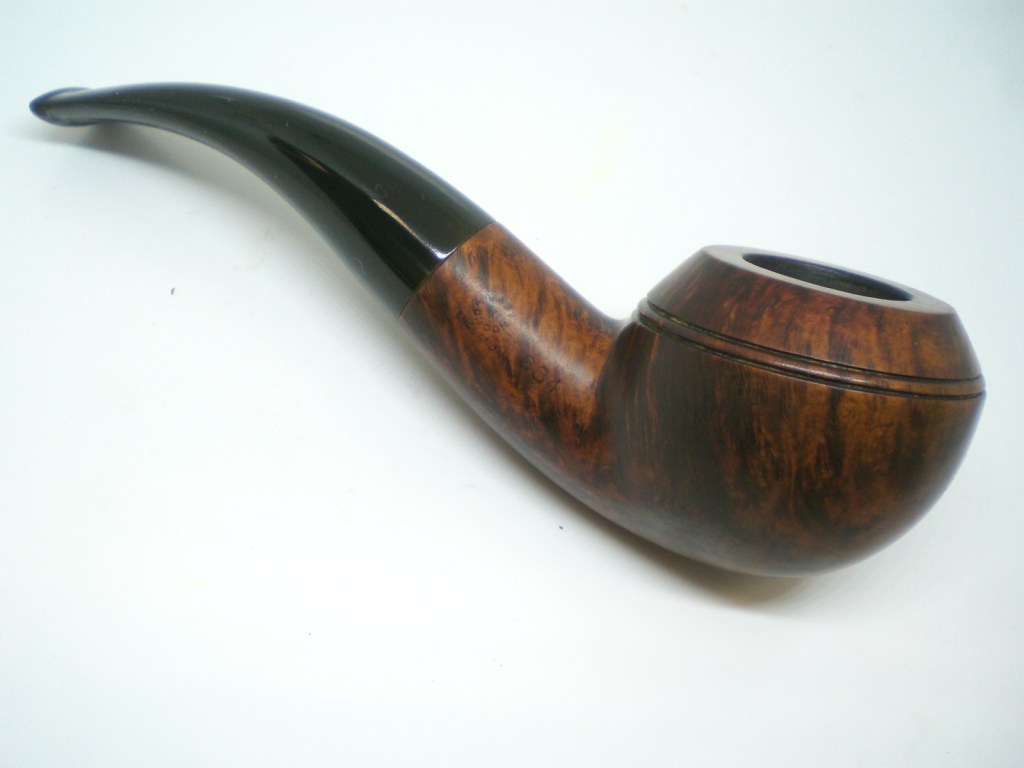
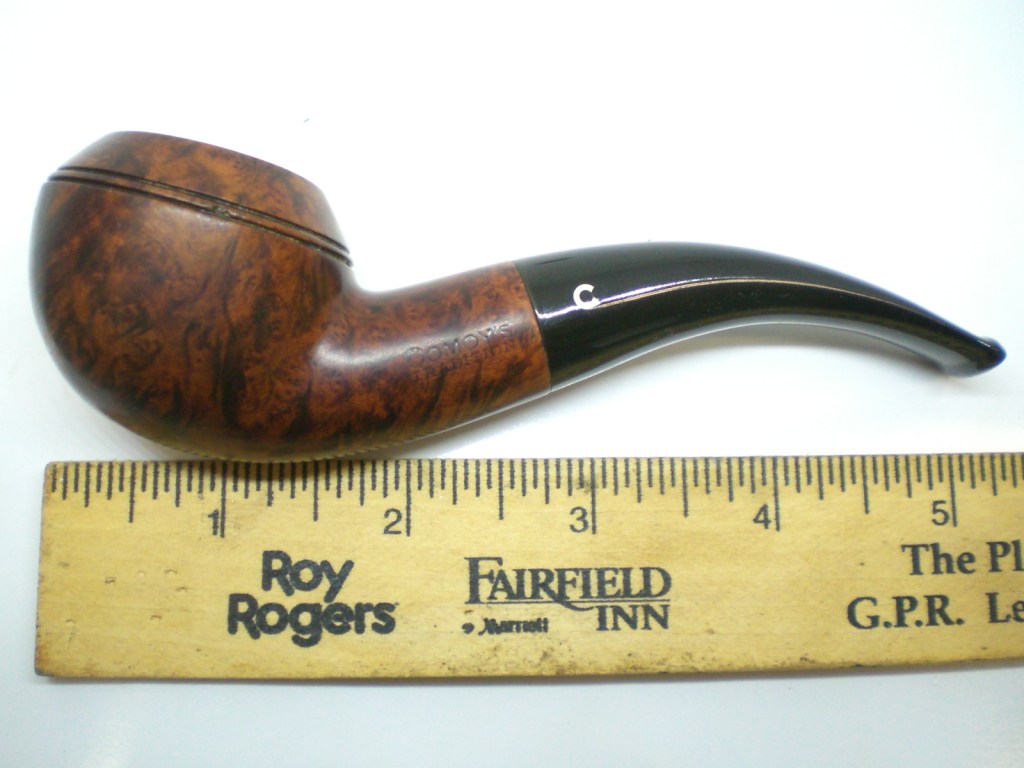
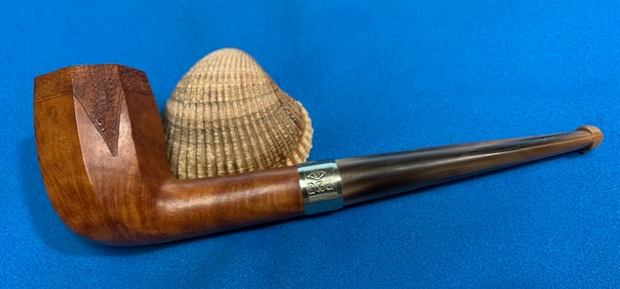
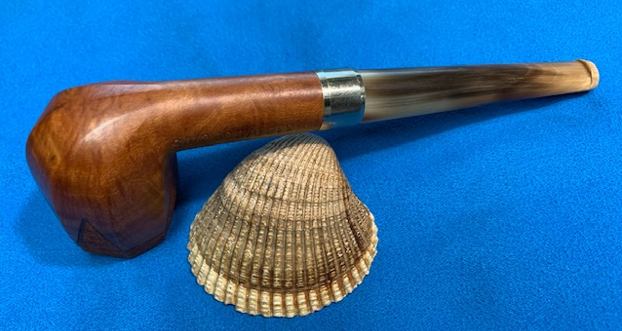
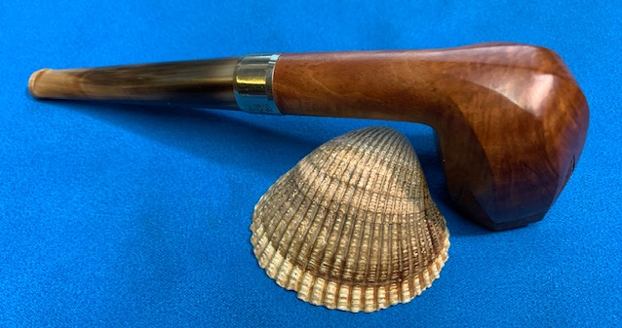
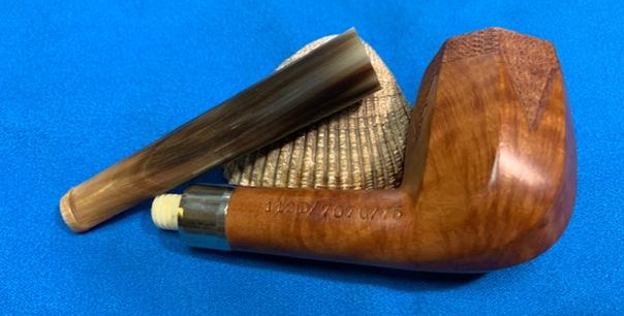
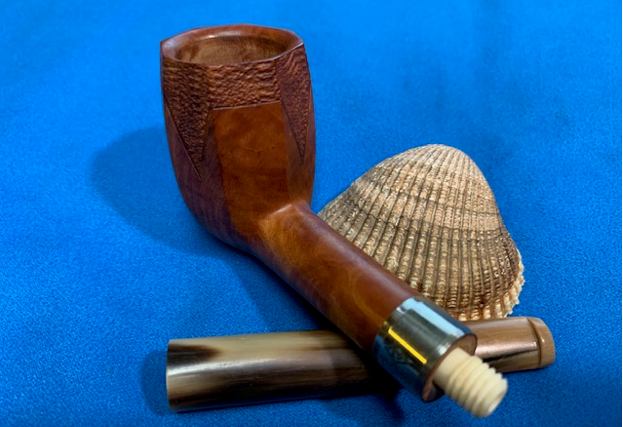
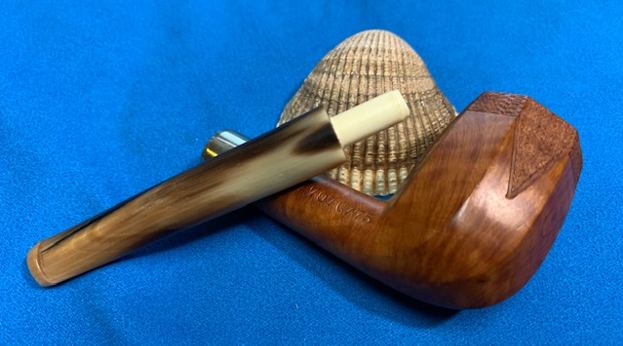
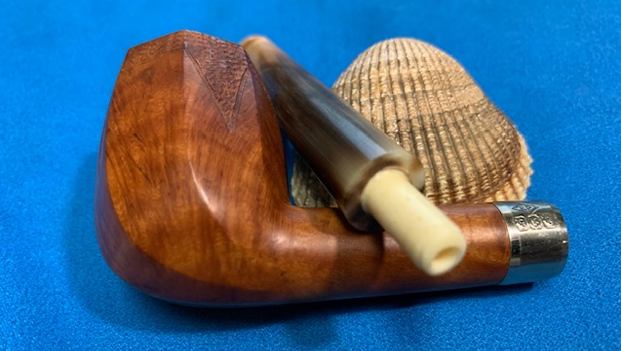
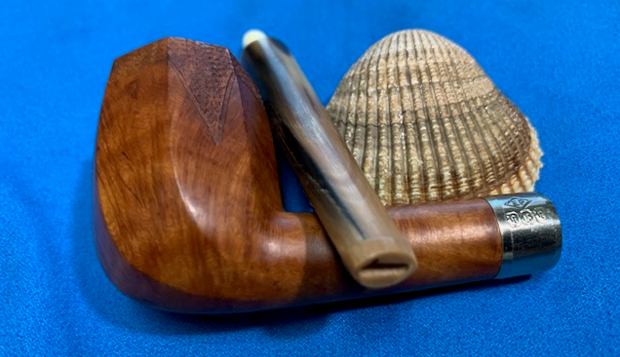
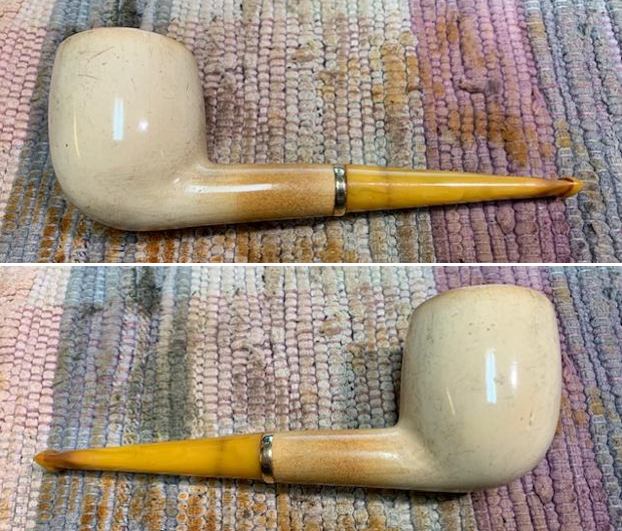
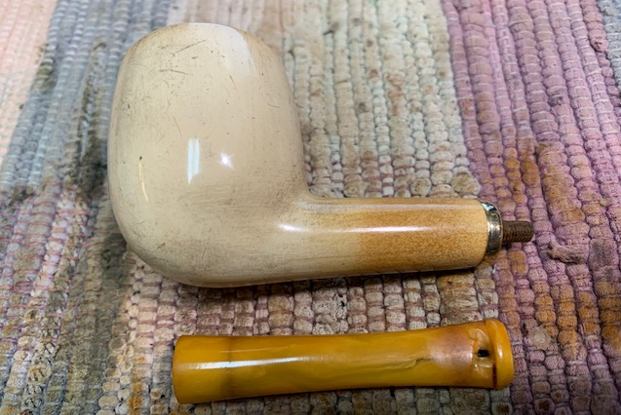
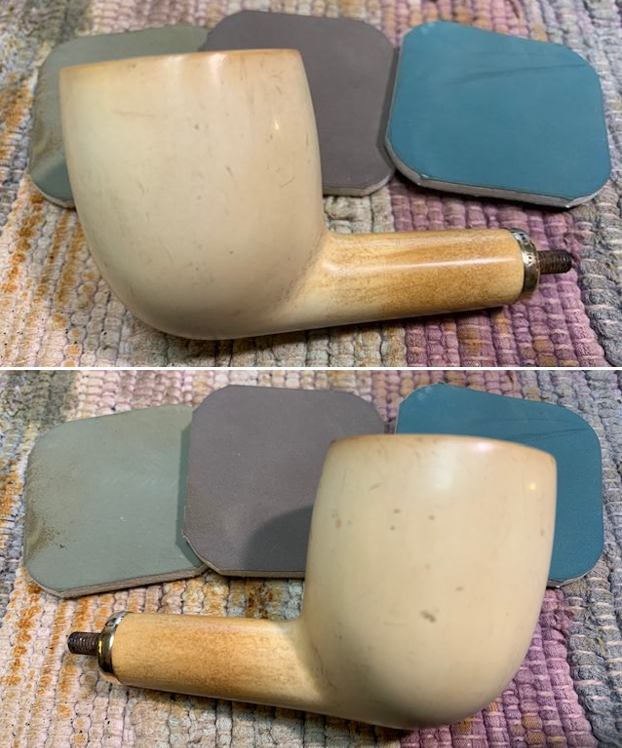
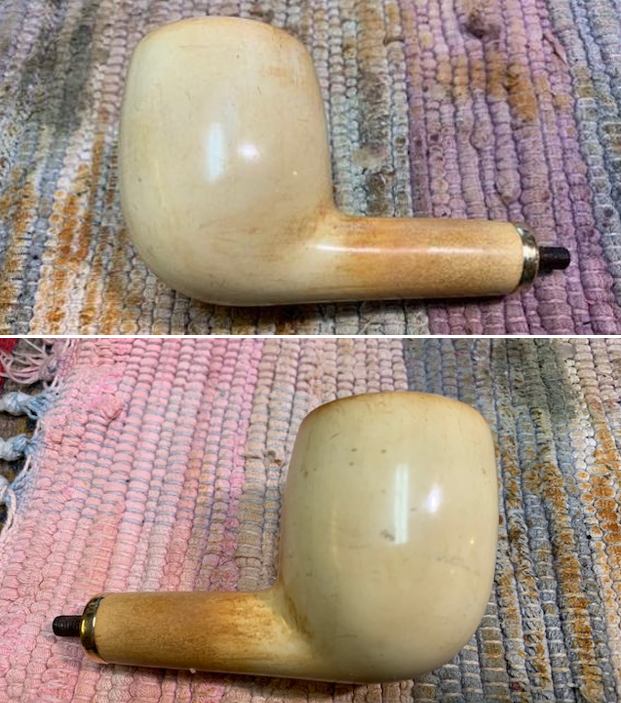
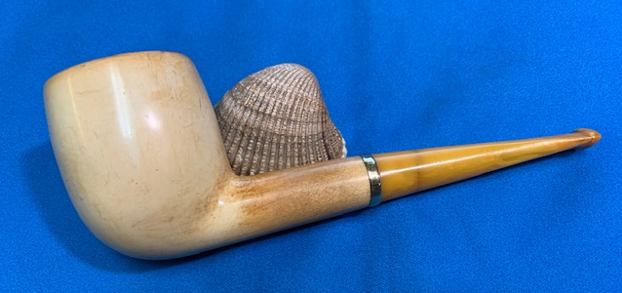
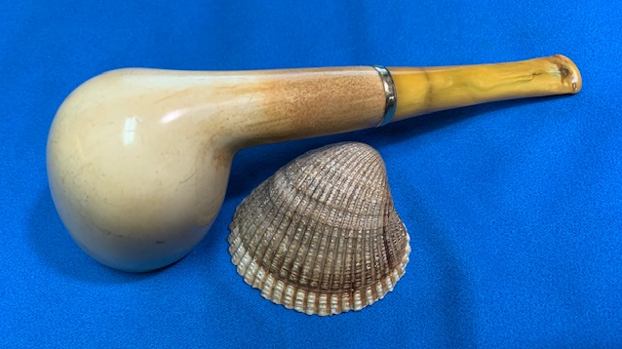
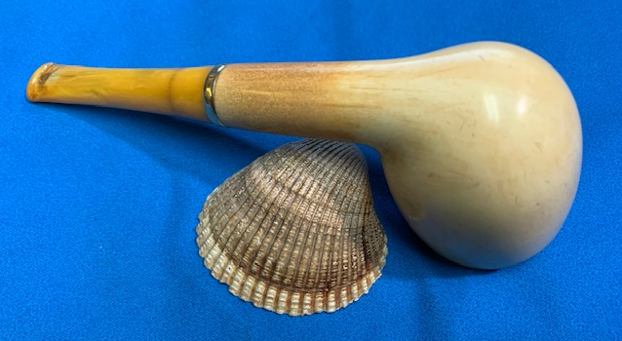
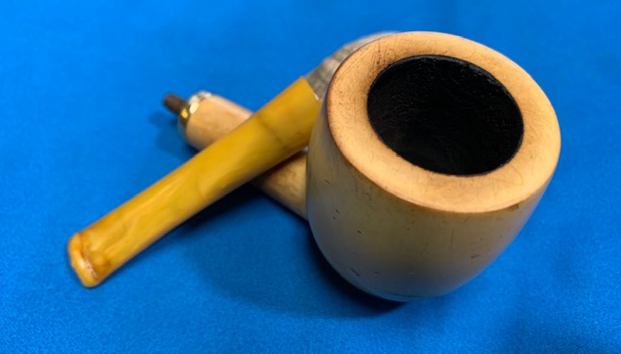
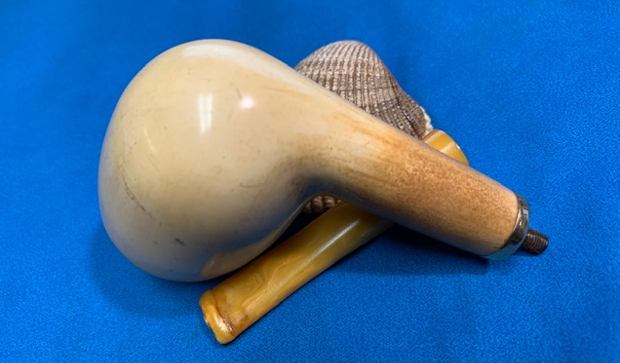
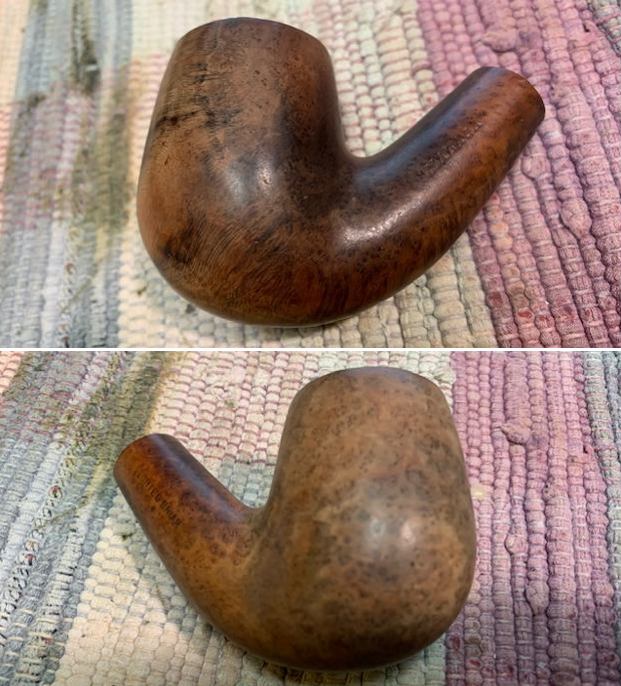
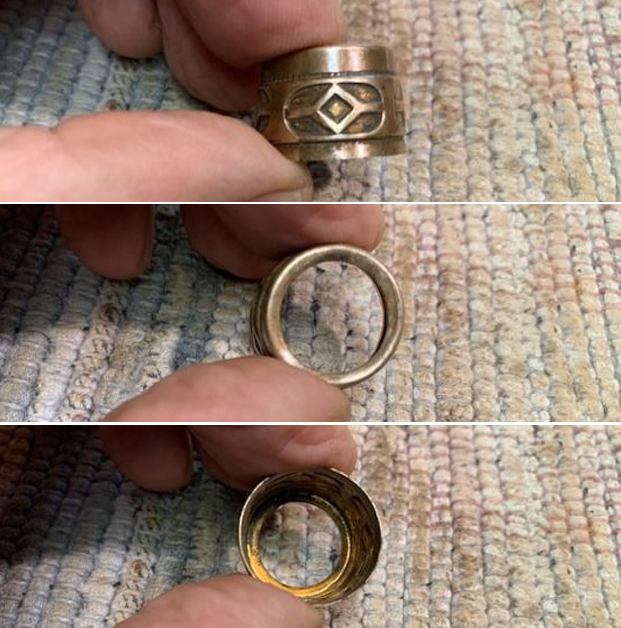
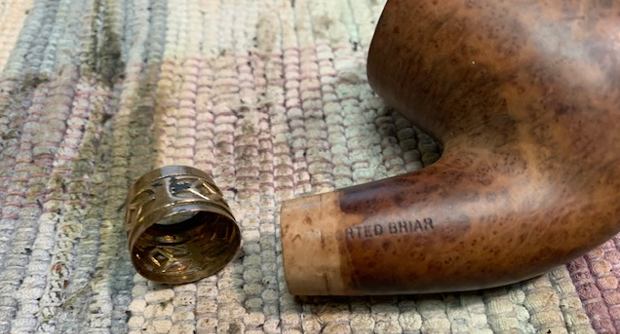
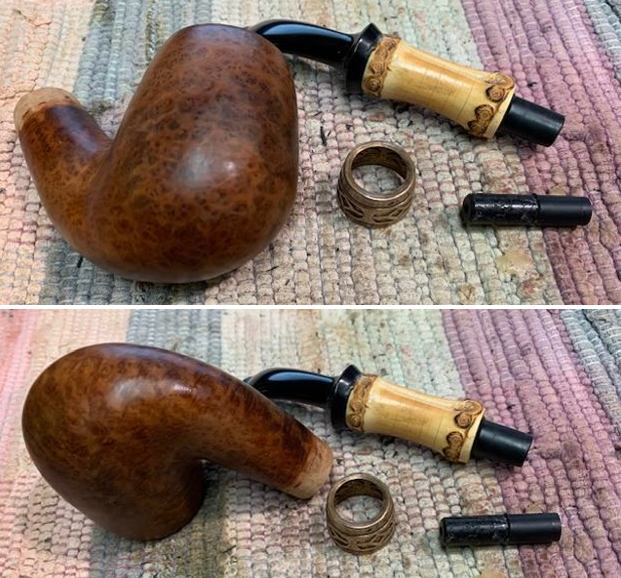
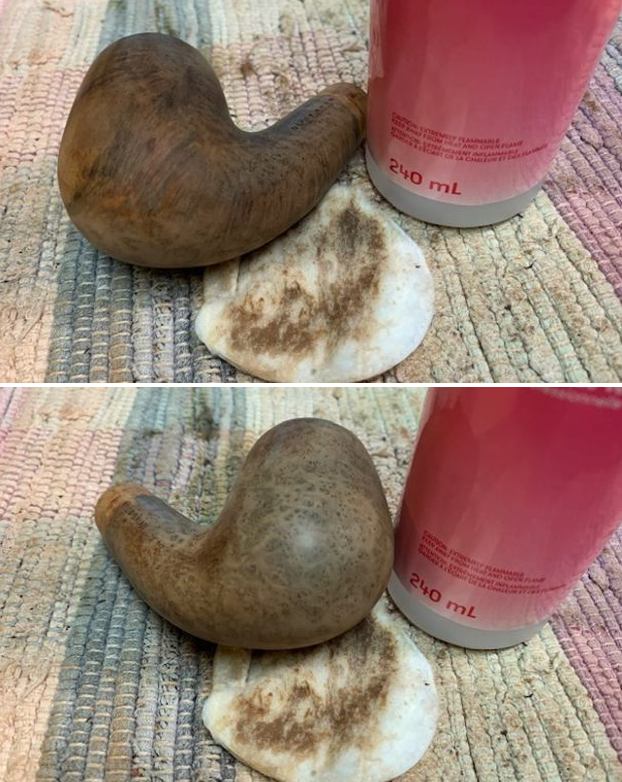
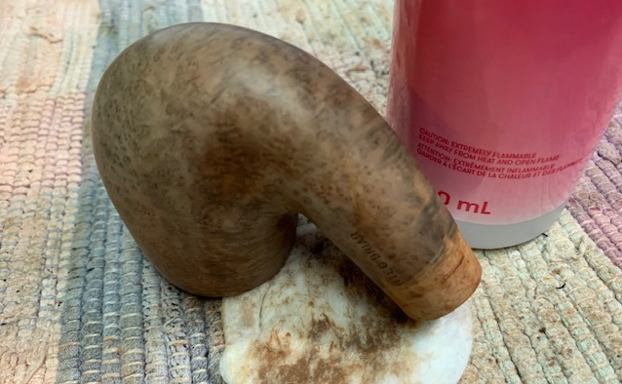
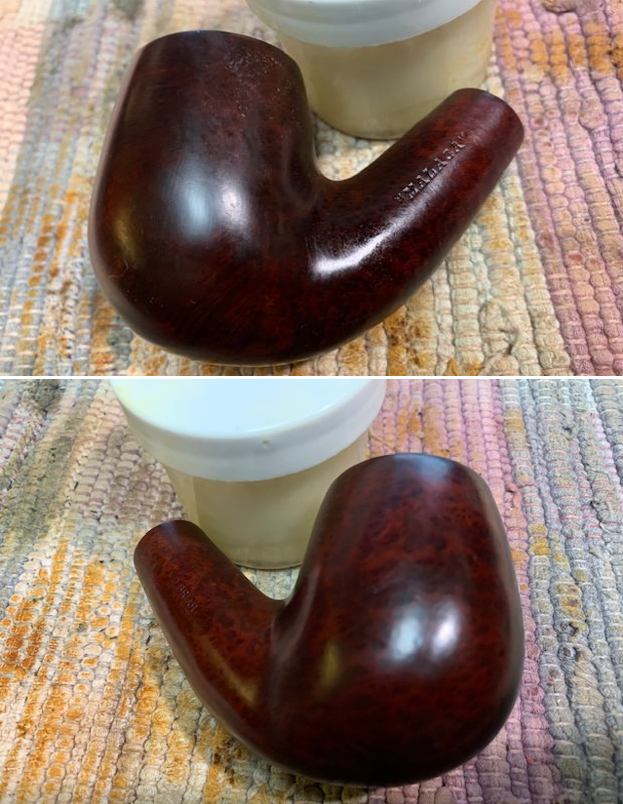
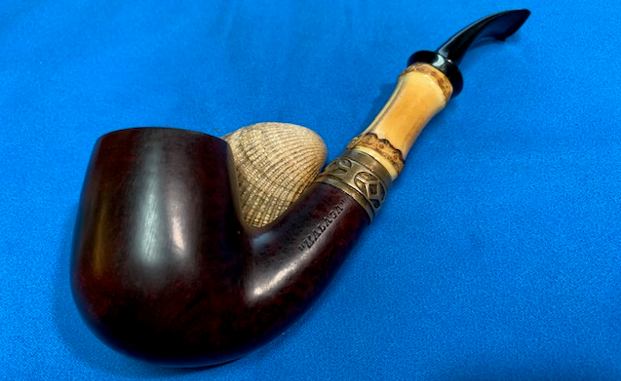
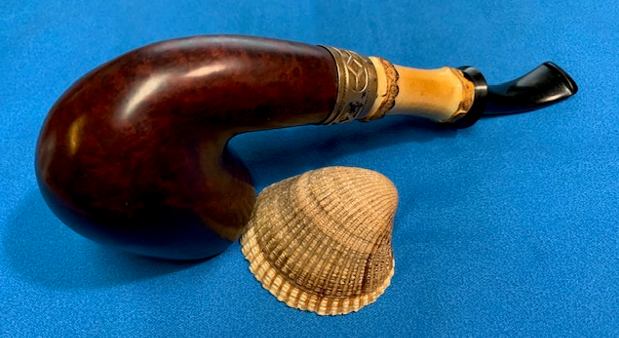
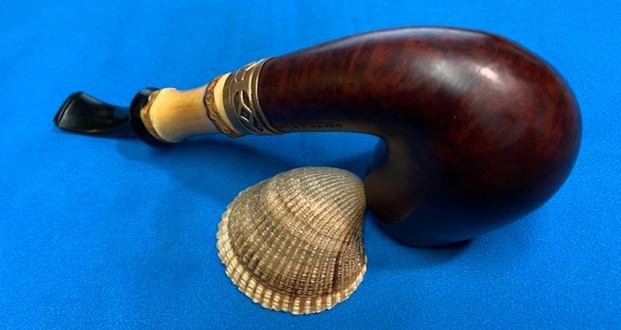
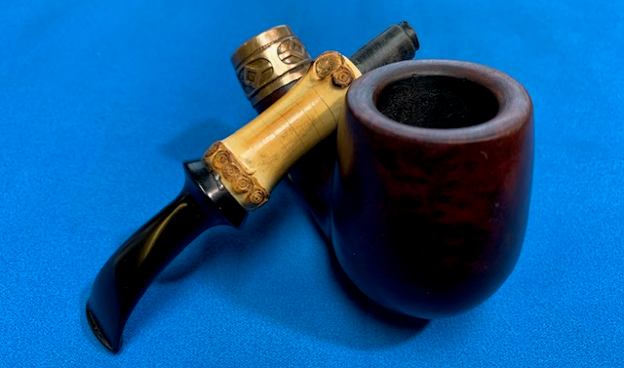
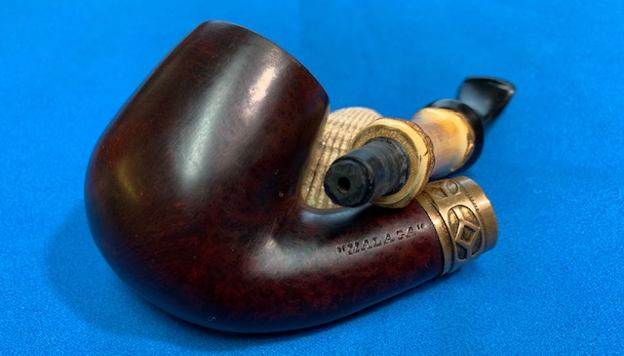
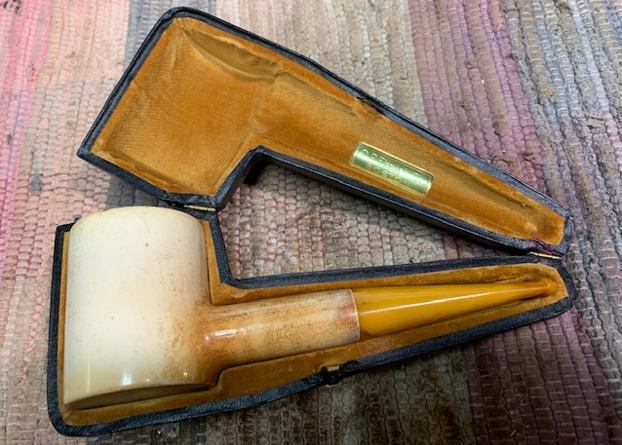
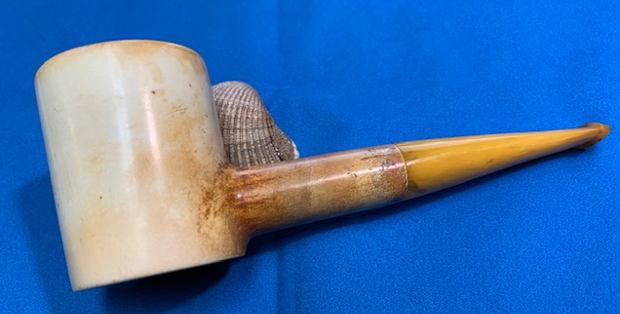
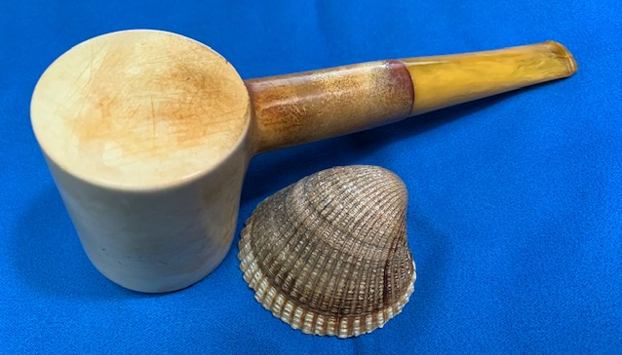
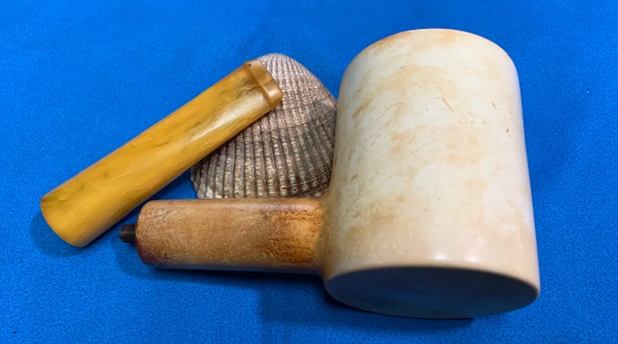
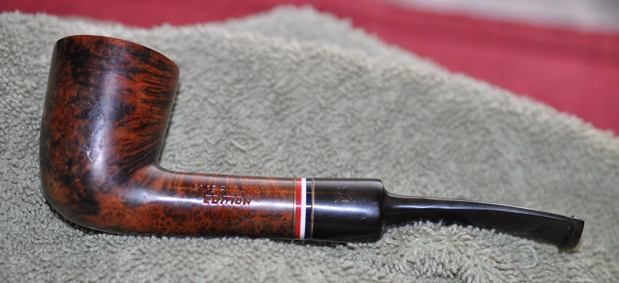
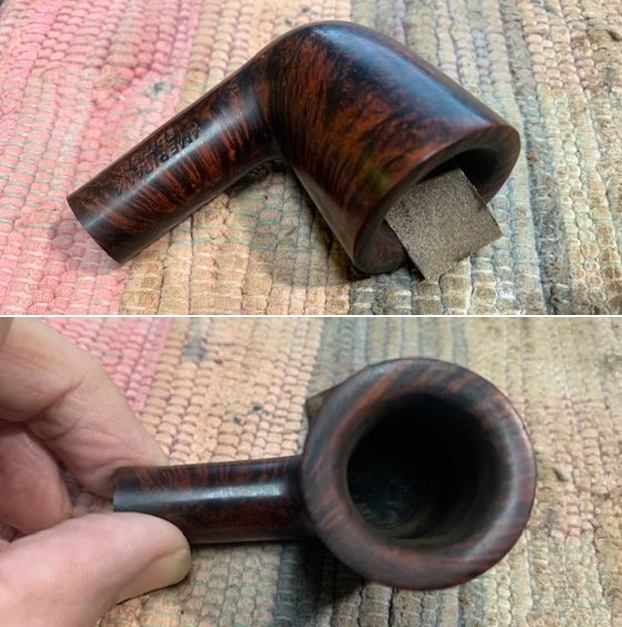
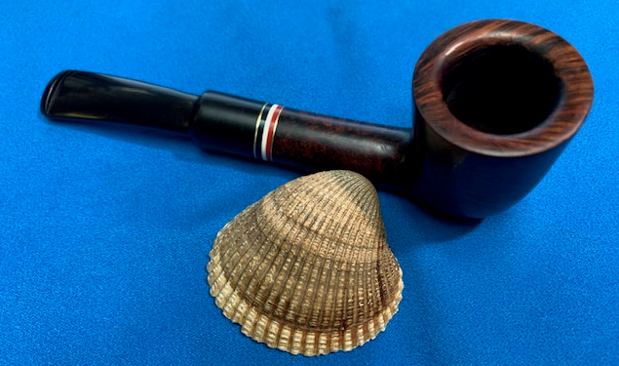
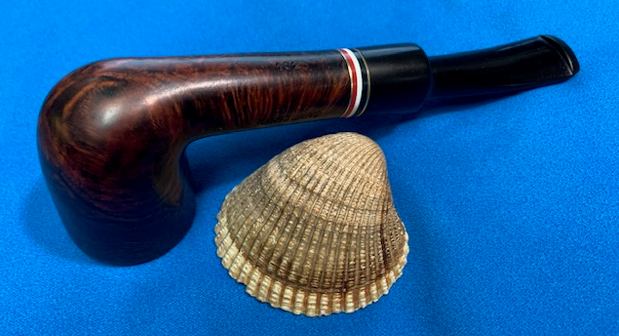
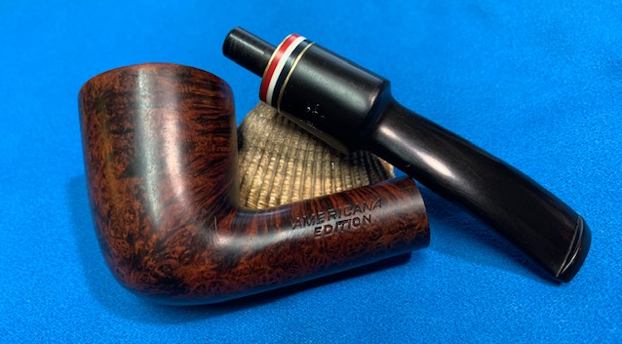
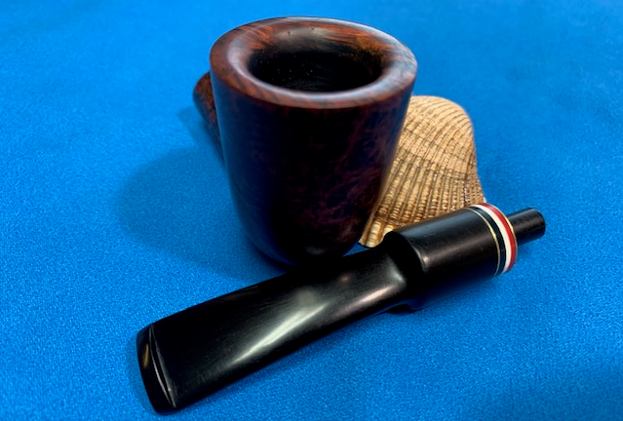
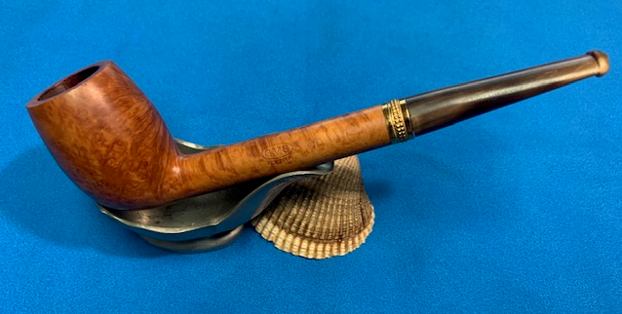
 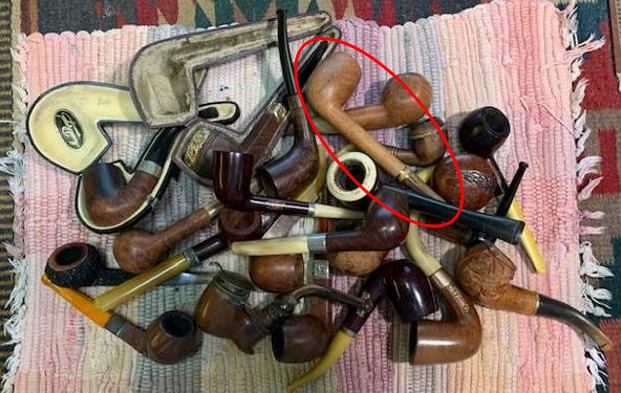 I sat at my desk went over the pipe I had chosen. It is lightly smoked round shank and taper stem that put it in the category of a Liverpool. It is stamped on the left side of the shank and reads GVG in an oval over EXTRA. The shape number 9745 is stamped on the bowl just below the middle on the left side. That is something I have only seen once before and it was a mistake. This one looks purposefully and well stamped. There was fancy rose gold coloured wedding ring band on the shank end that was for decoration as the shank did not have cracks. The finish is natural and with the grain showing through dust of time it was quite stunning. There was some dark spots of dirt on the bowl sides and the rim top had some thin lava on the back top and edge. The stem is horn and it has a push tenon that does not fit my perception of the age of the pipe. It is chamfered Delrin and looks quite new. That was a bit of a mystery for me. The button end is slotted and very clean. It is a beauty that I want to refresh and probably add to my own collection. Here are a few photos of the pipe before I did anything to it.
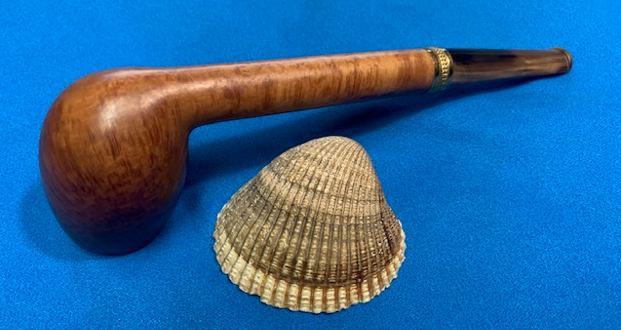
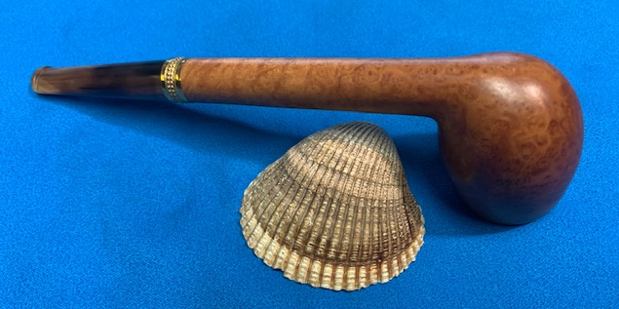
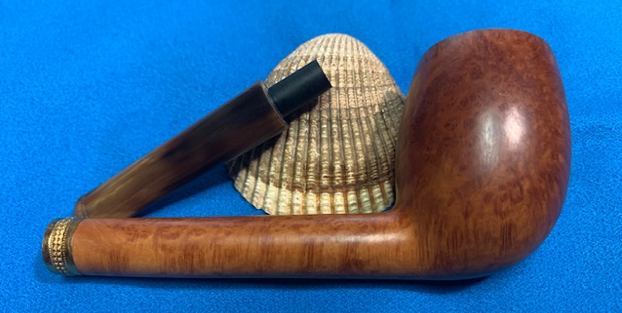
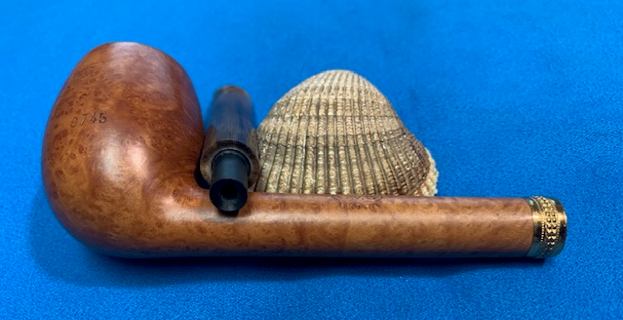
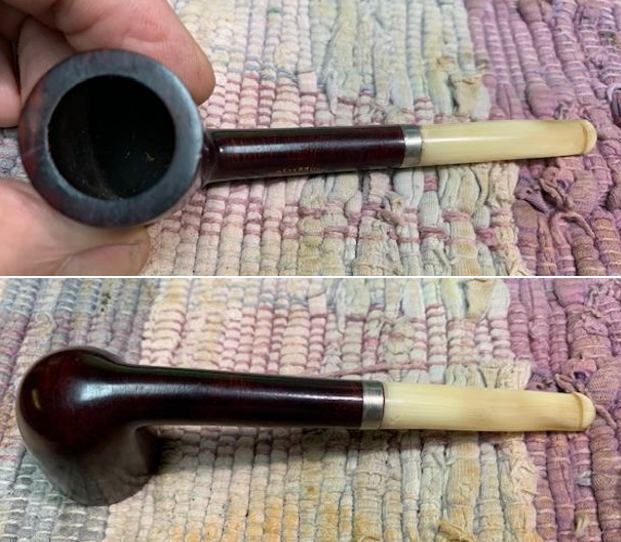
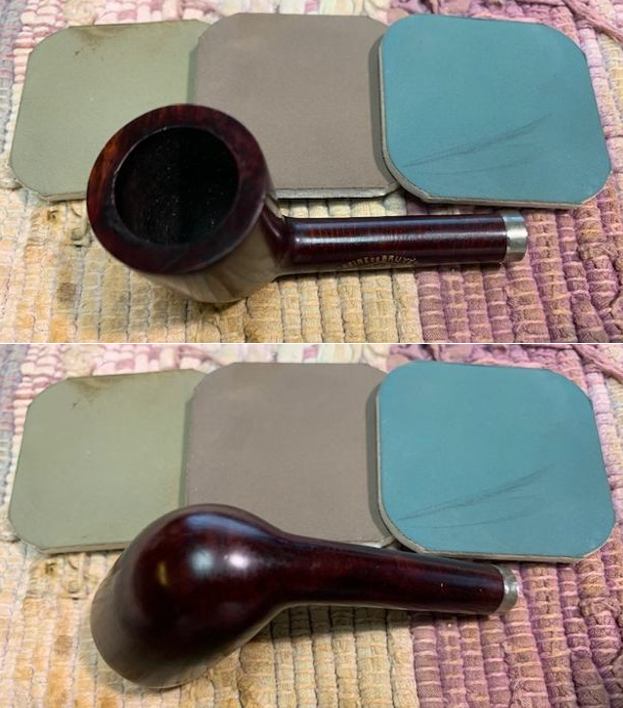
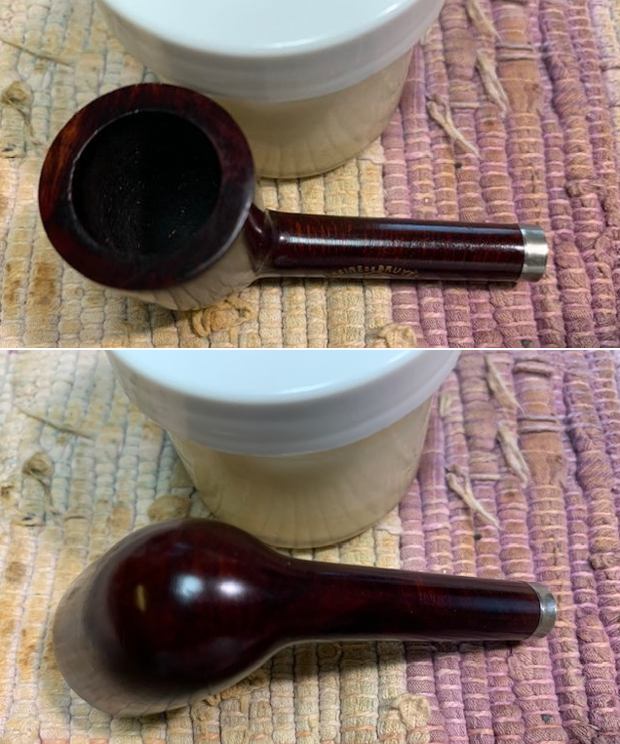
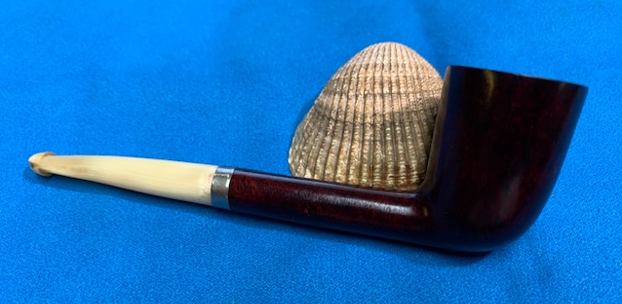
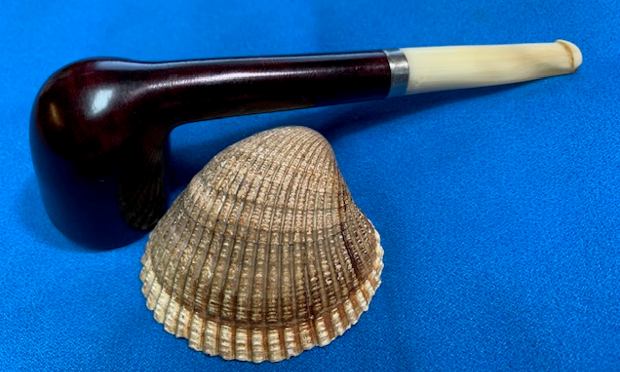
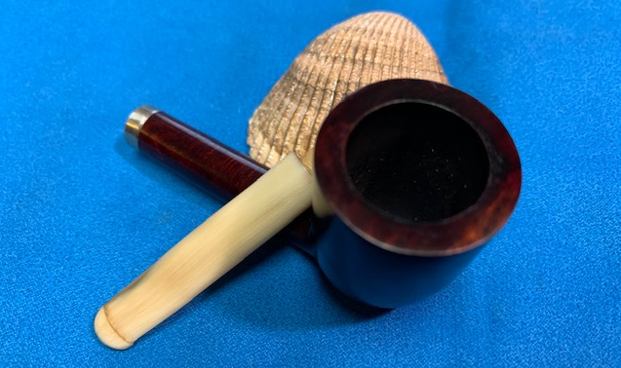
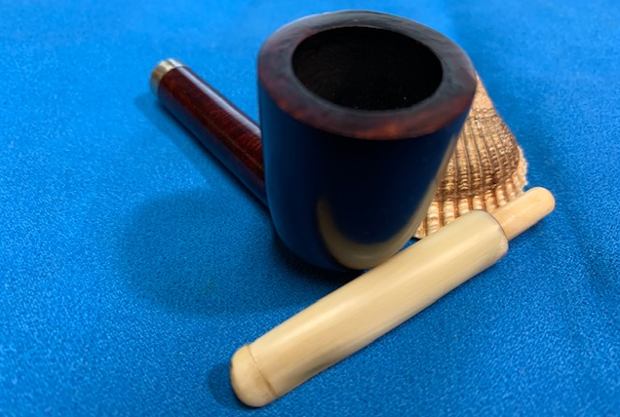
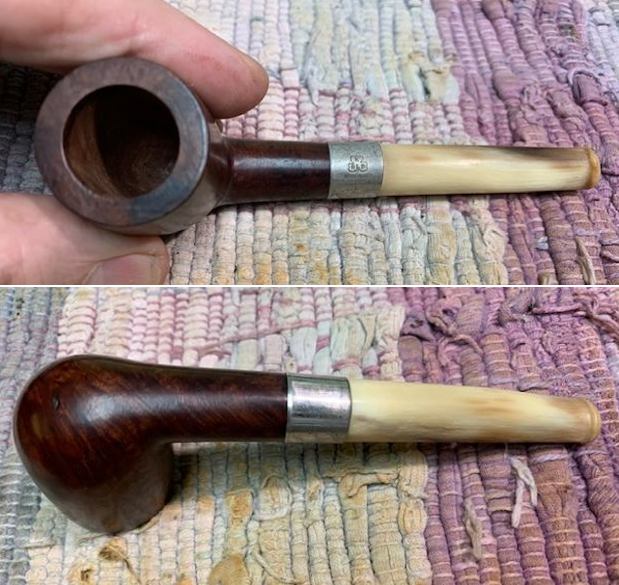
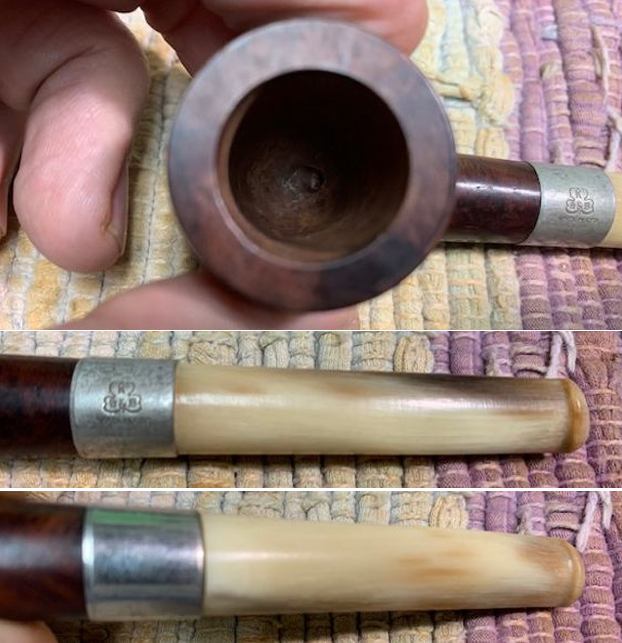
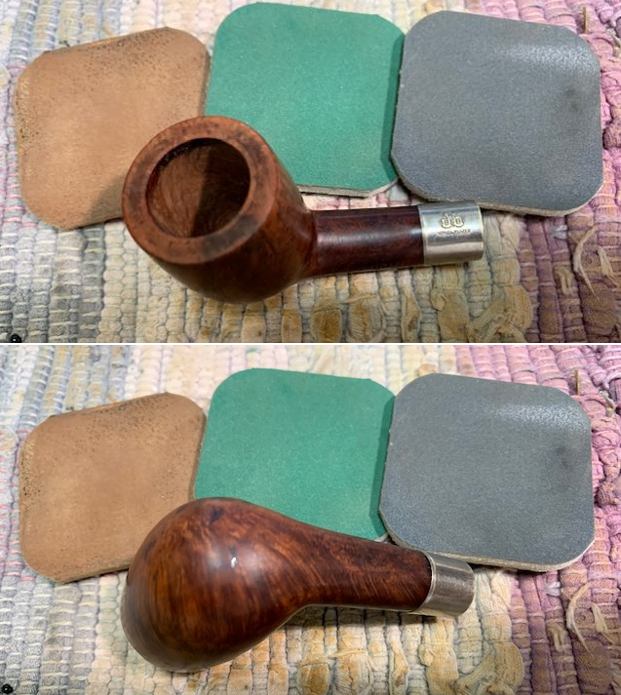
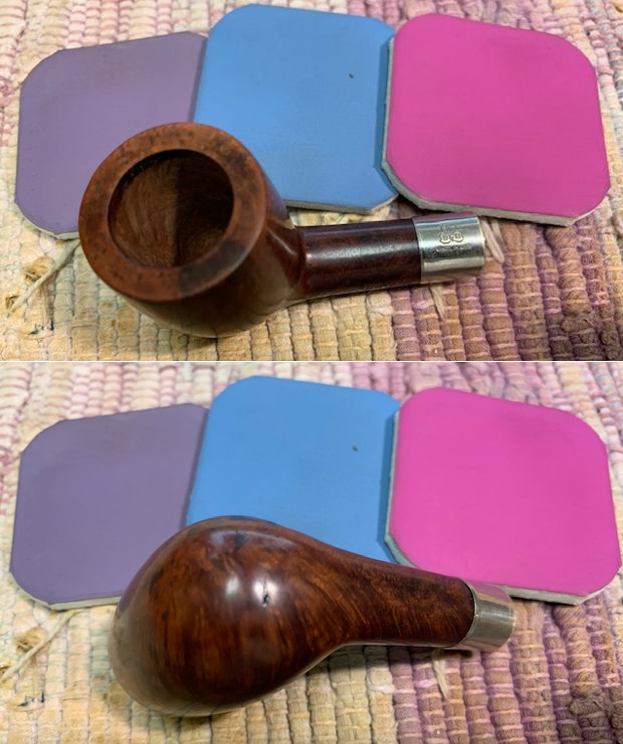
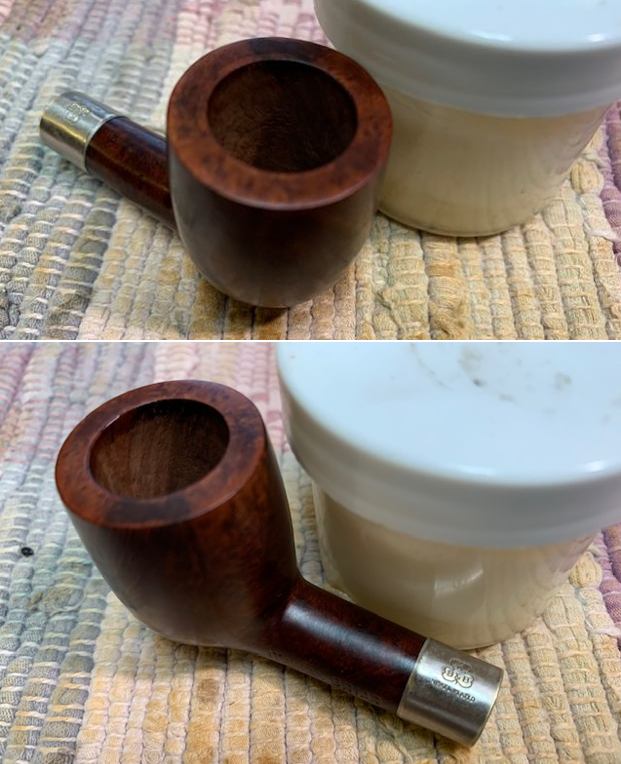
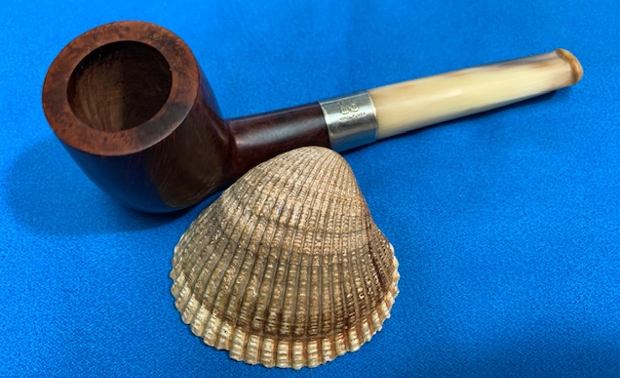
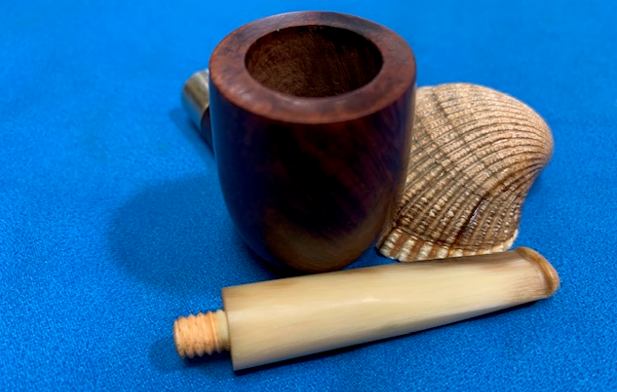
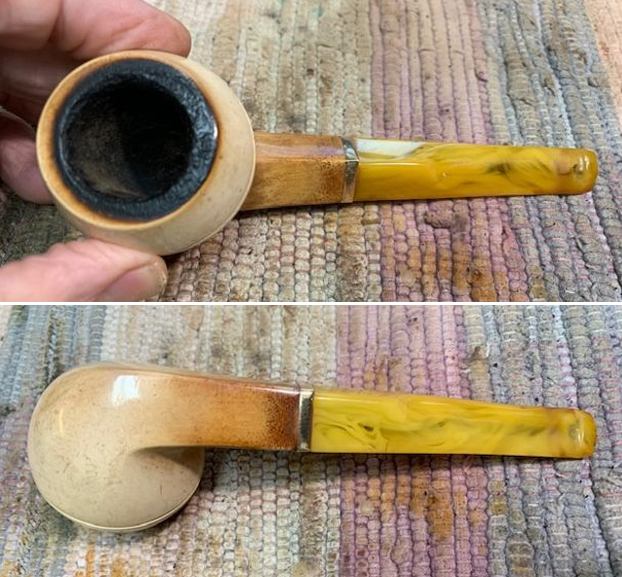
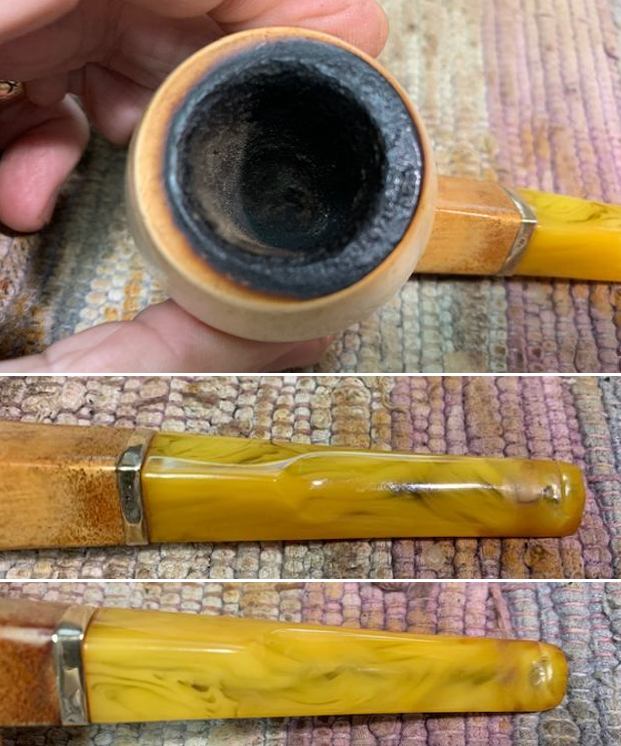
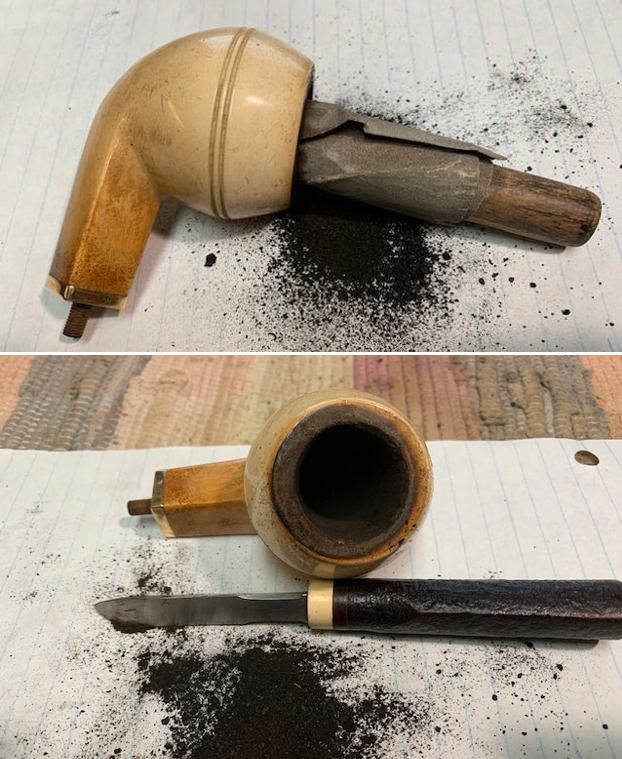
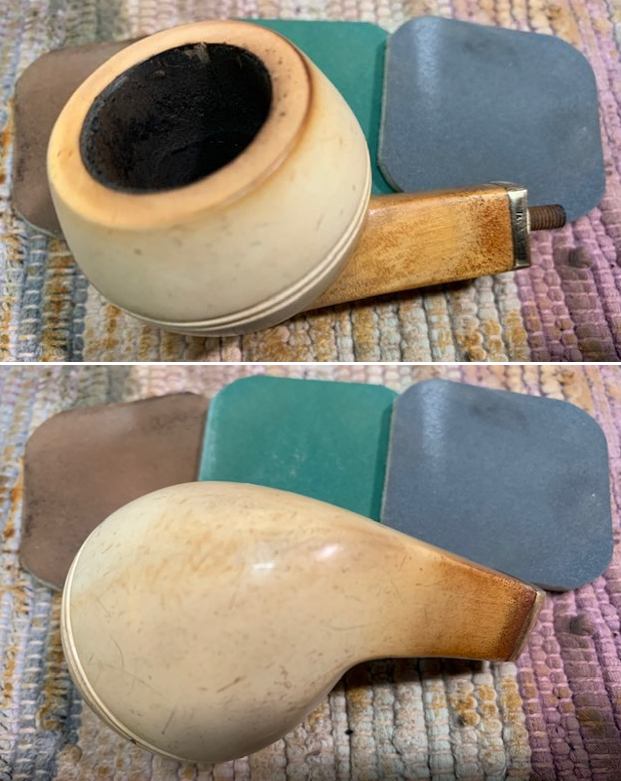
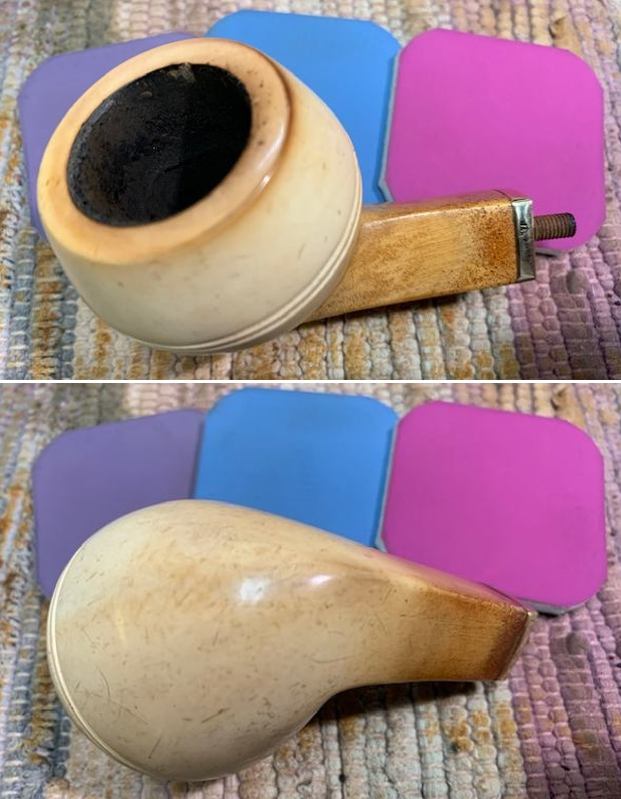
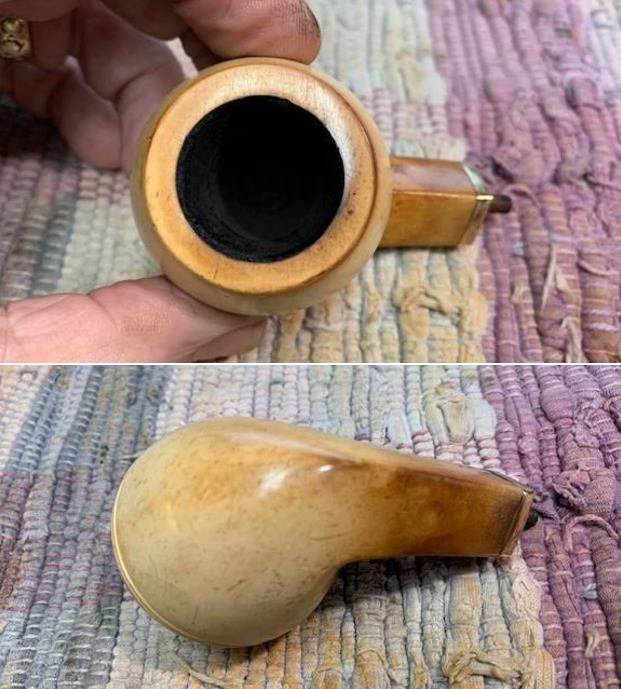
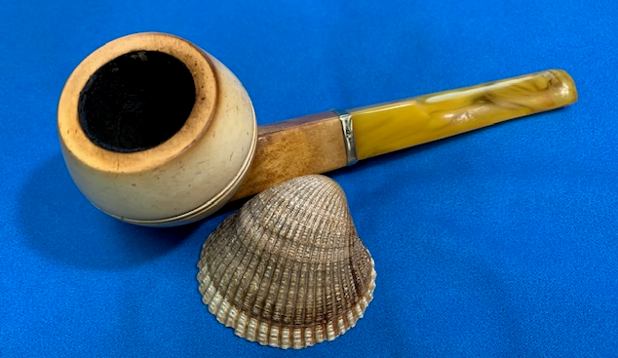
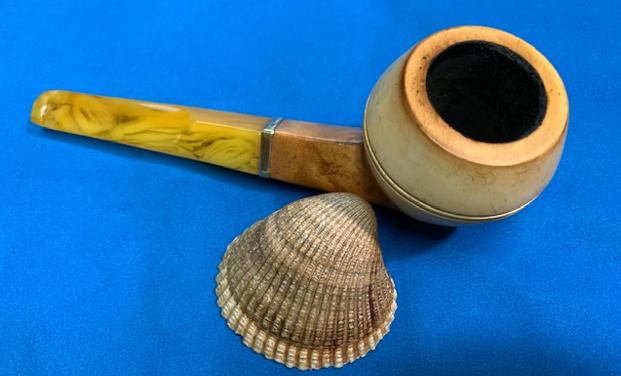
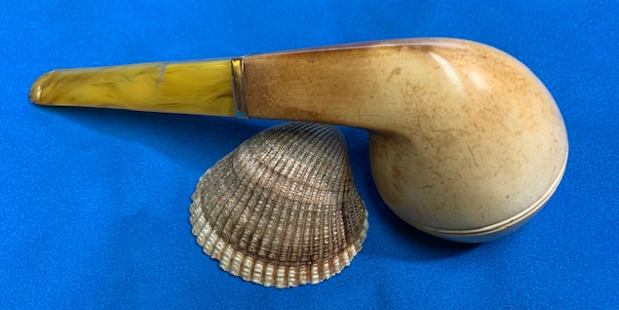
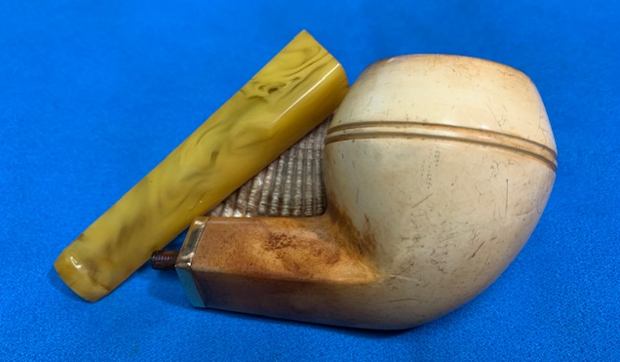
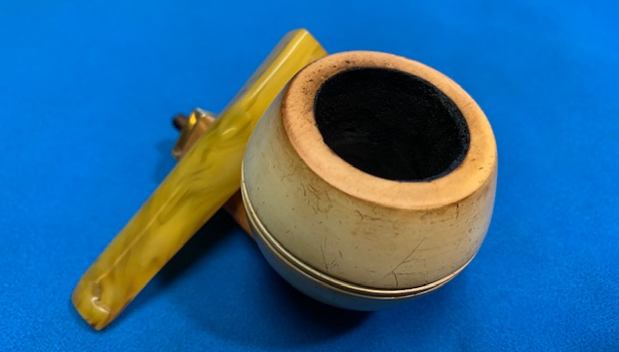
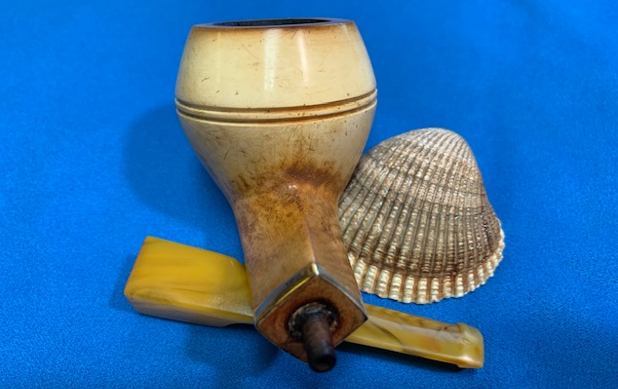
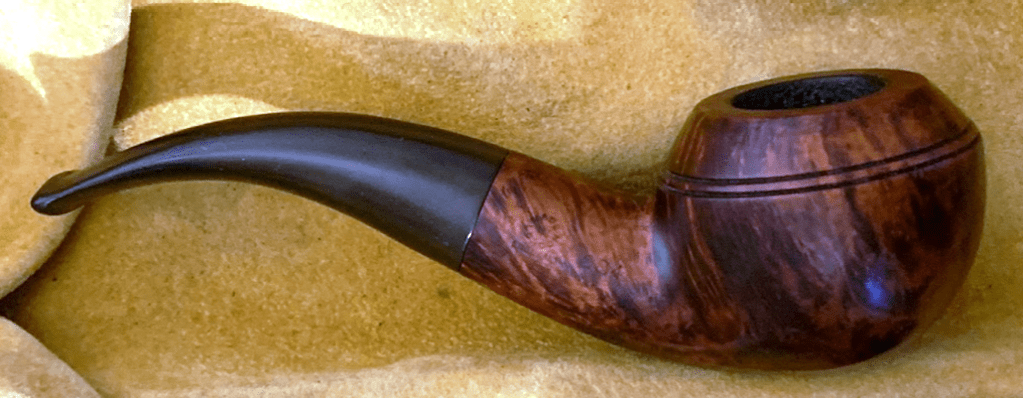
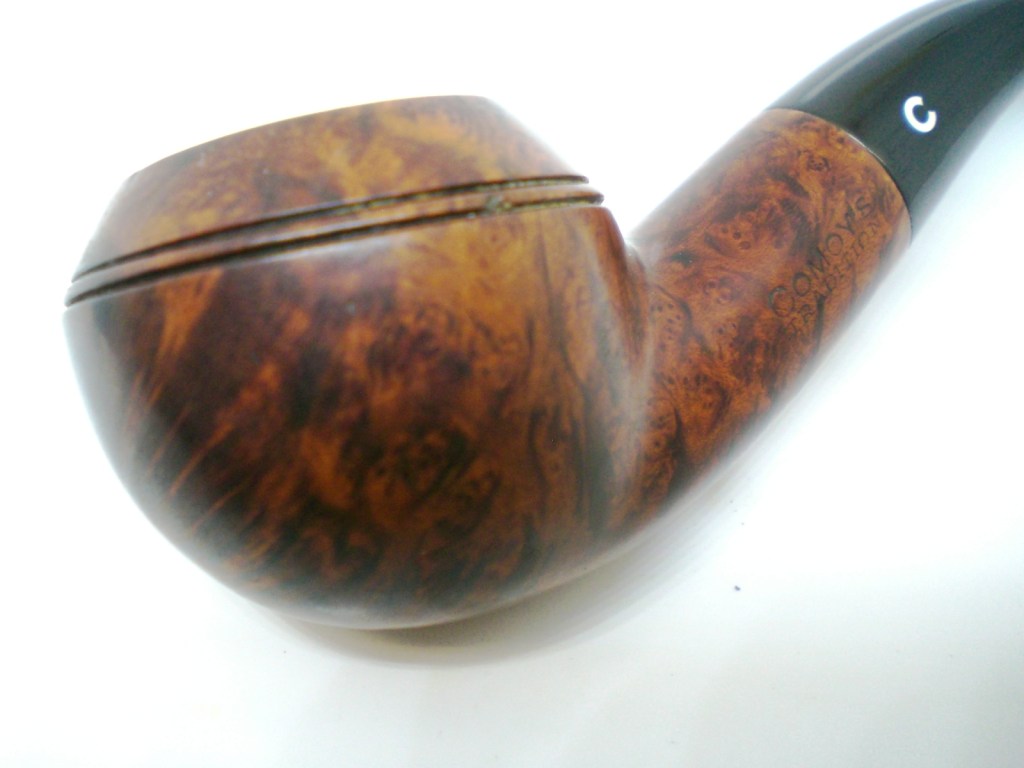
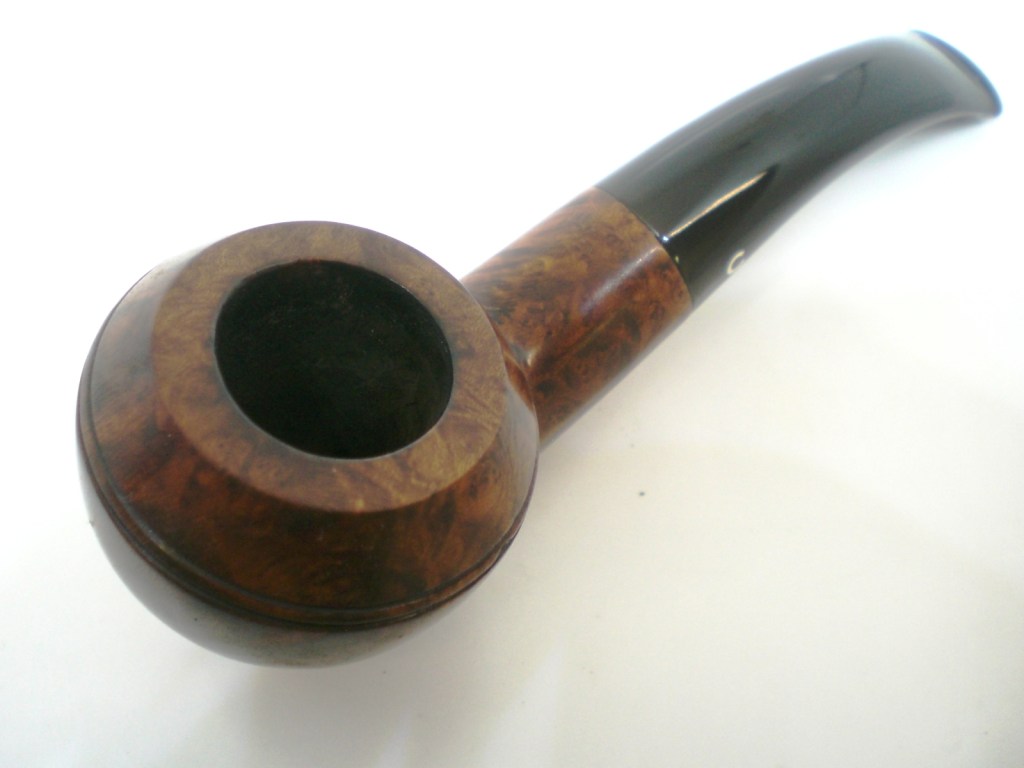
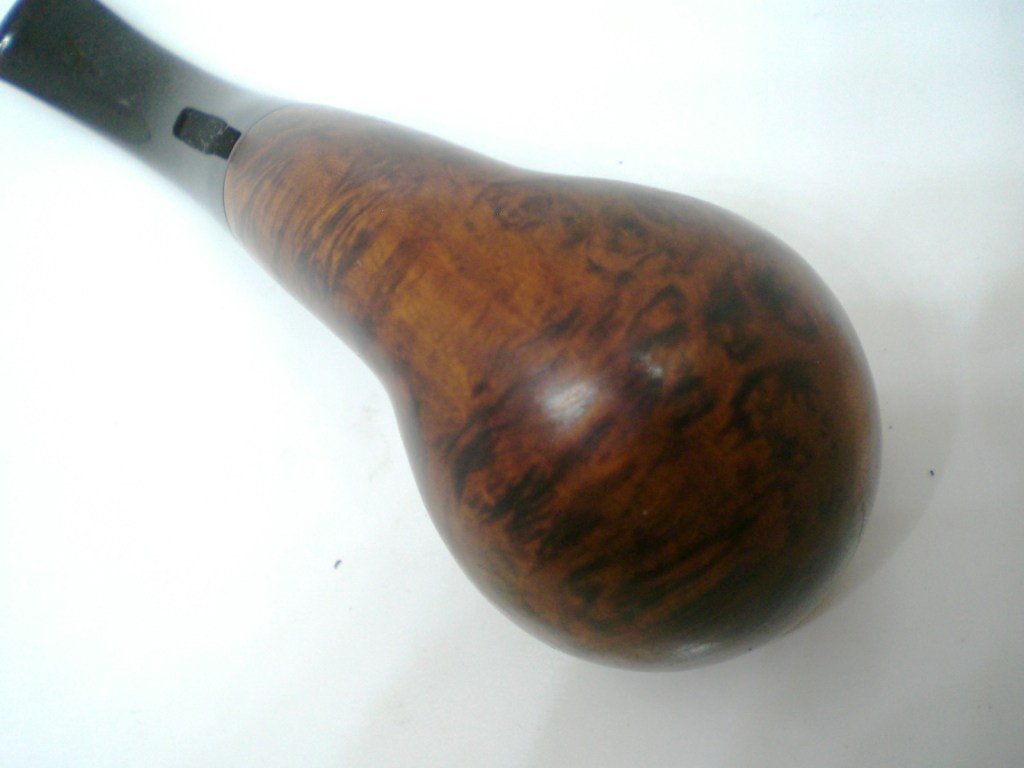
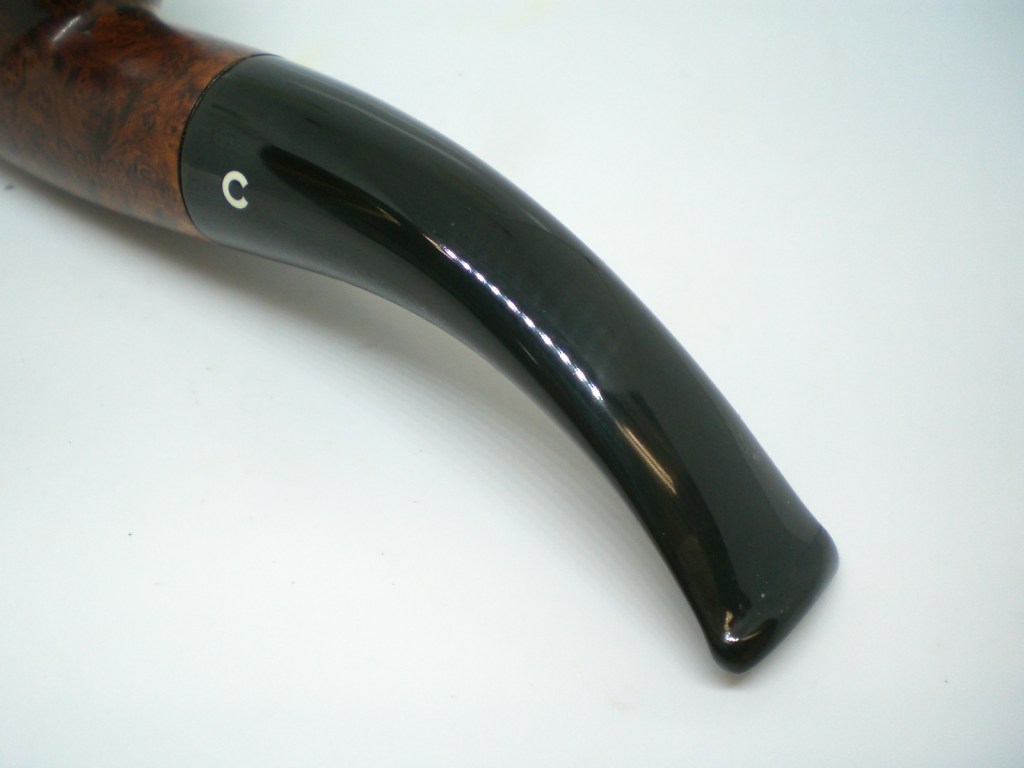
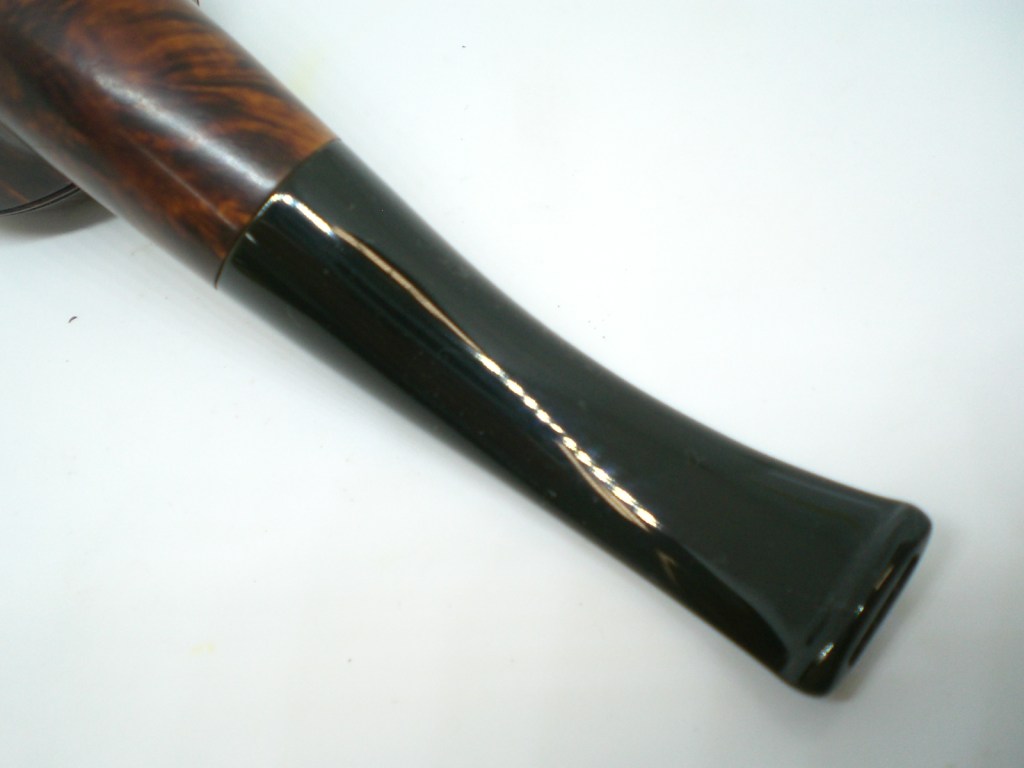
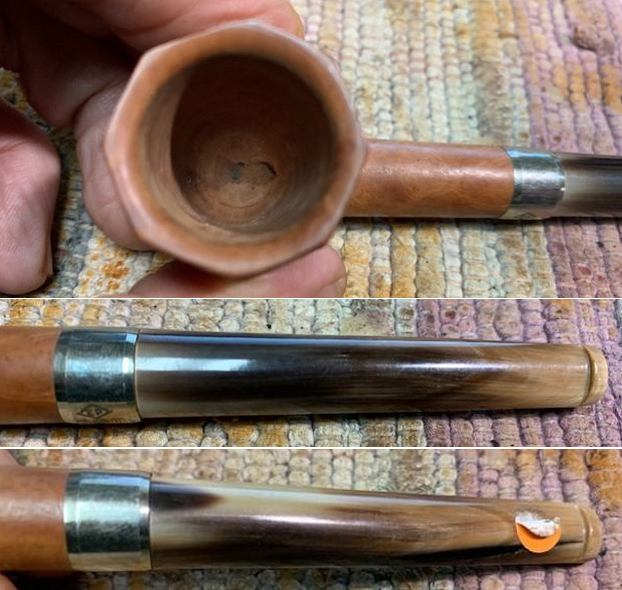
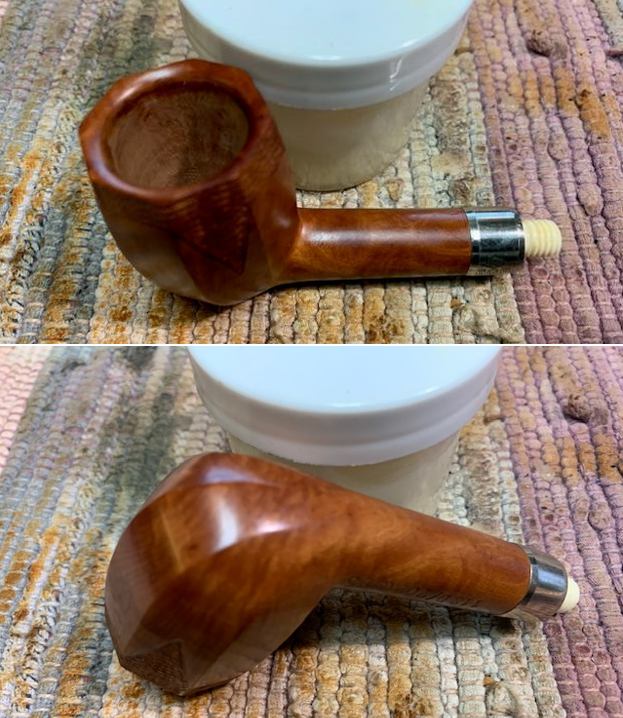
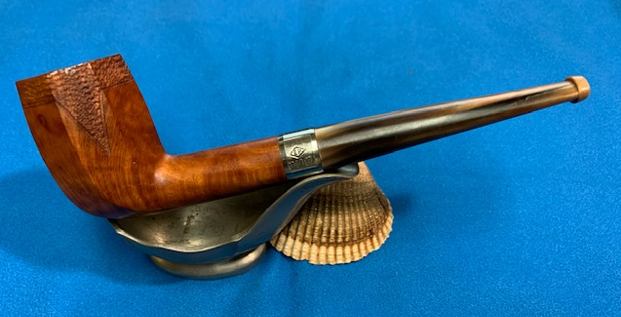
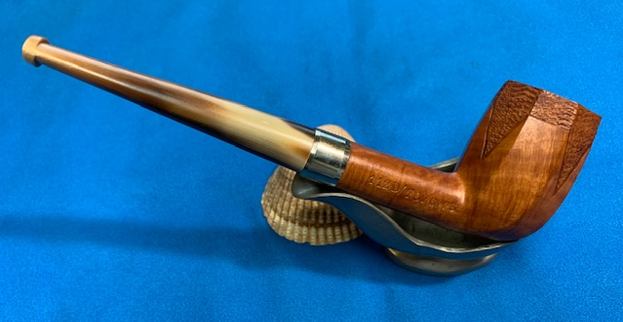
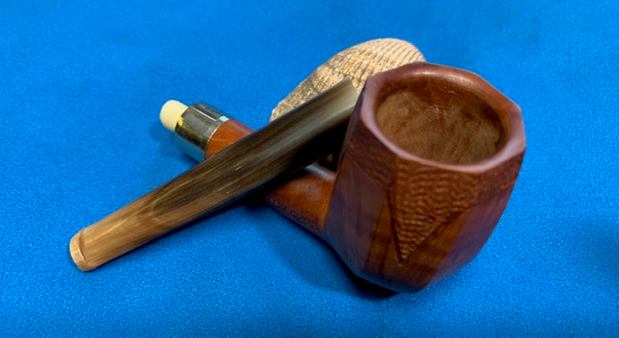
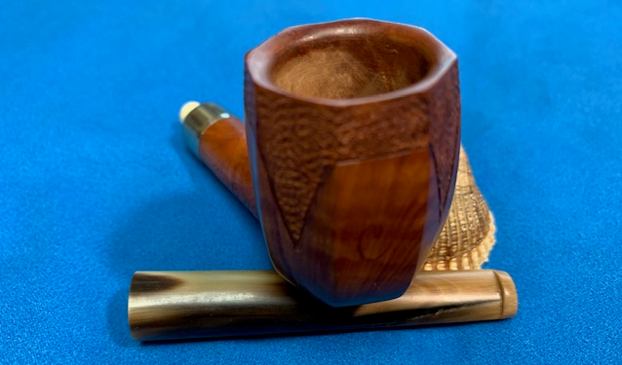
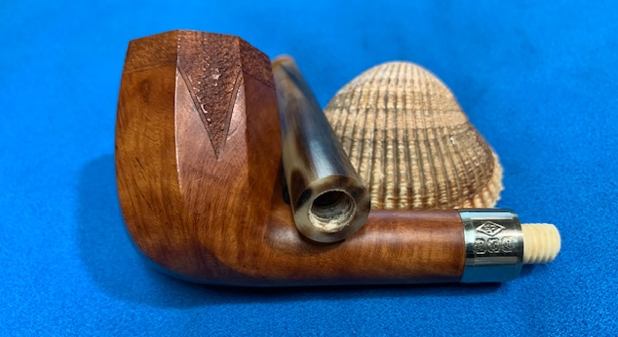
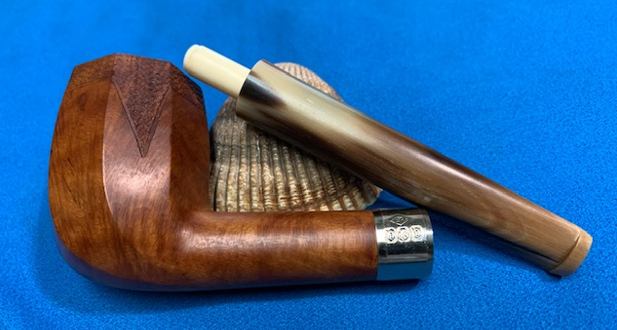
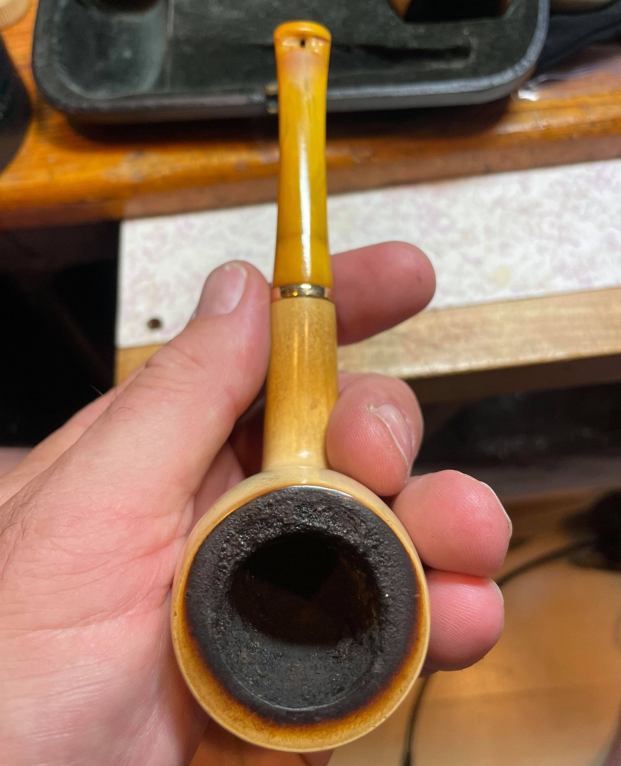
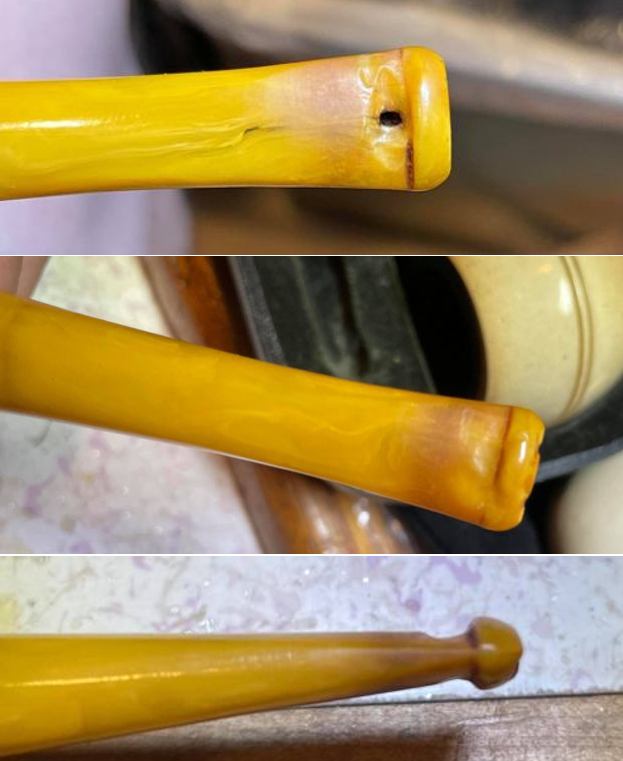
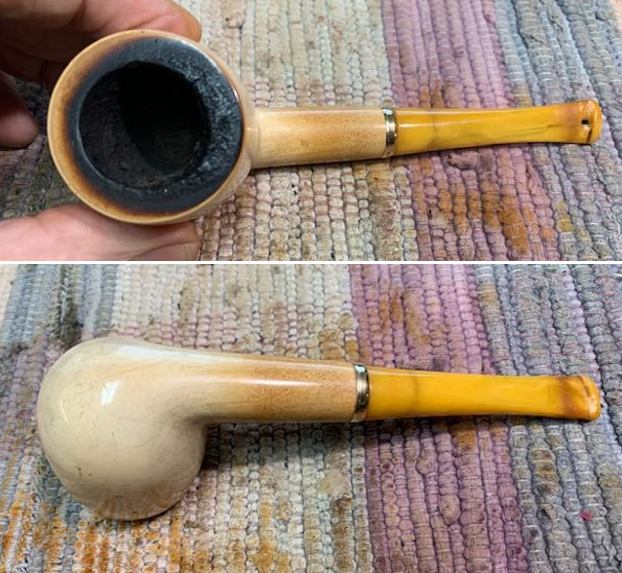
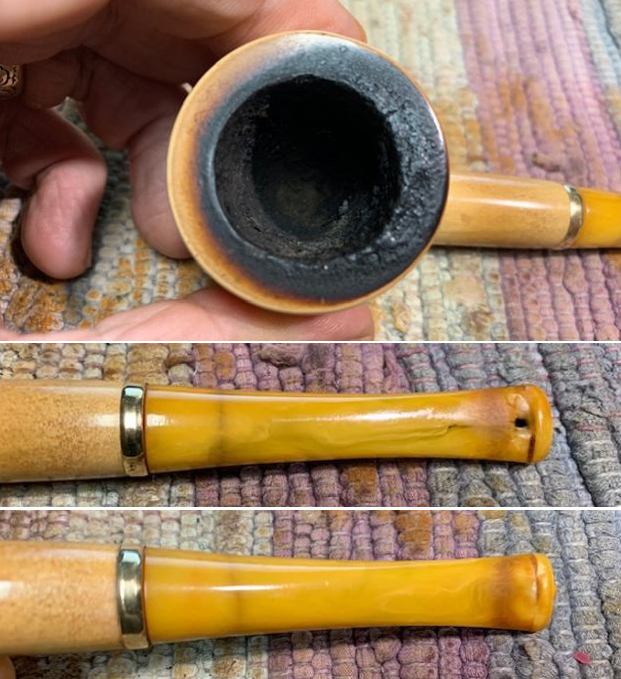
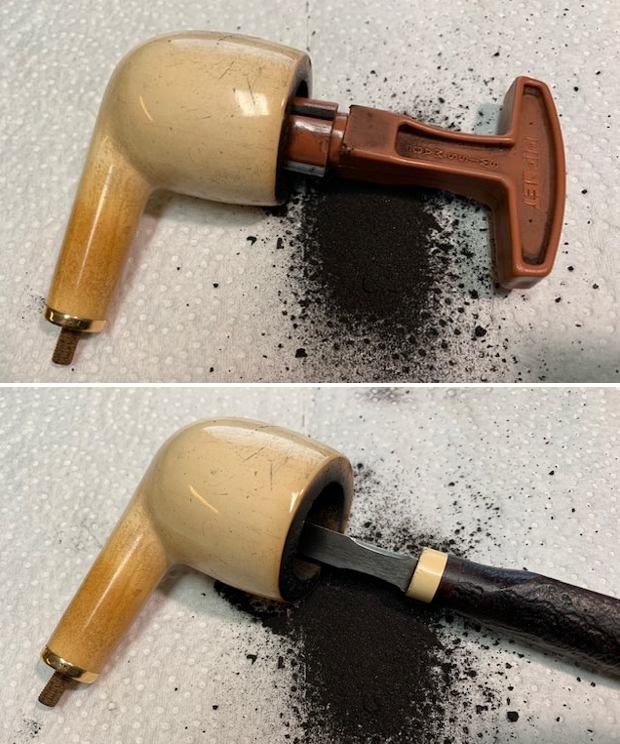
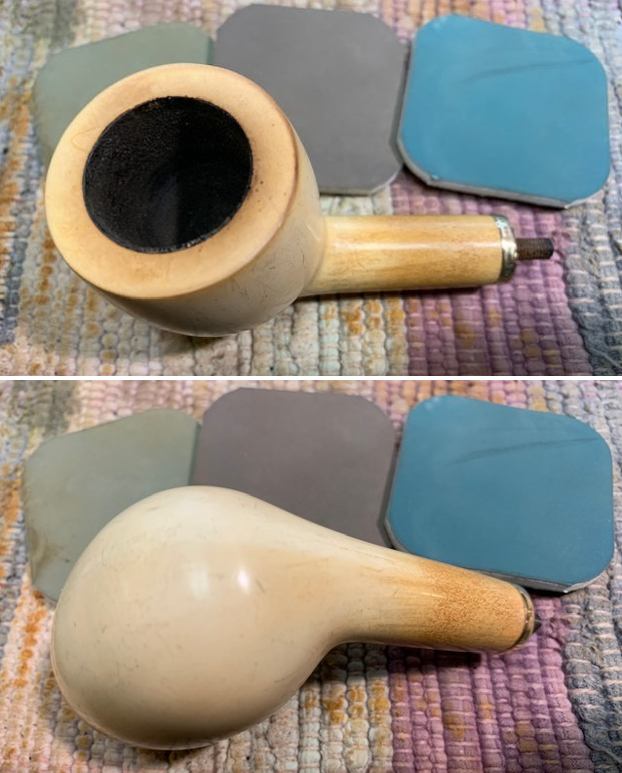
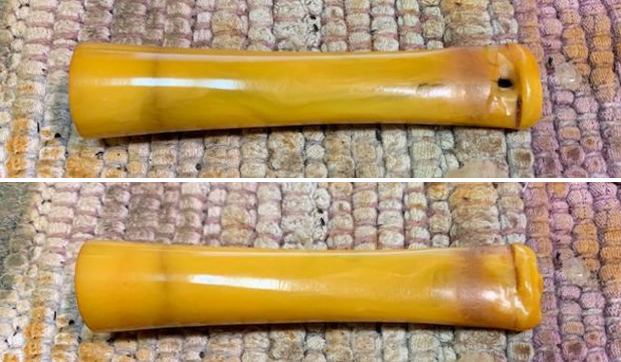
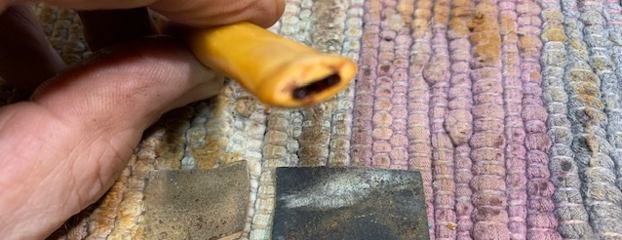
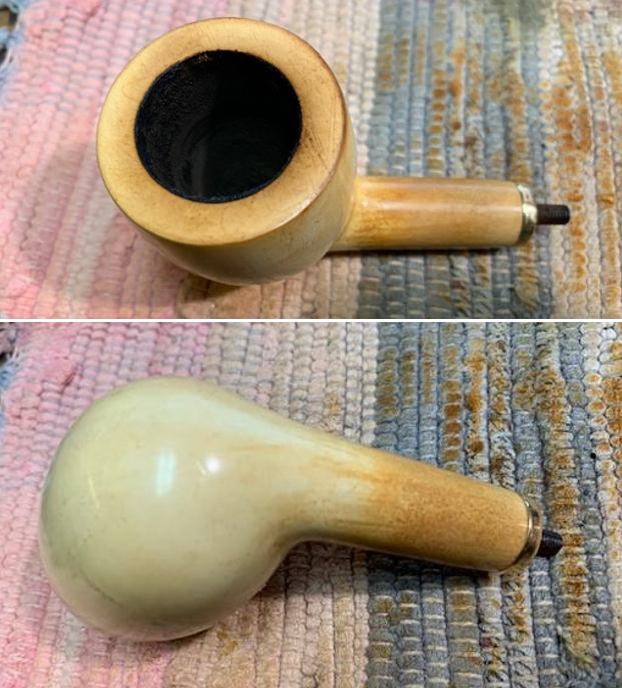
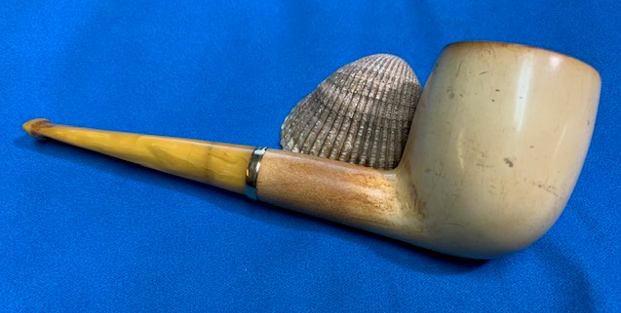
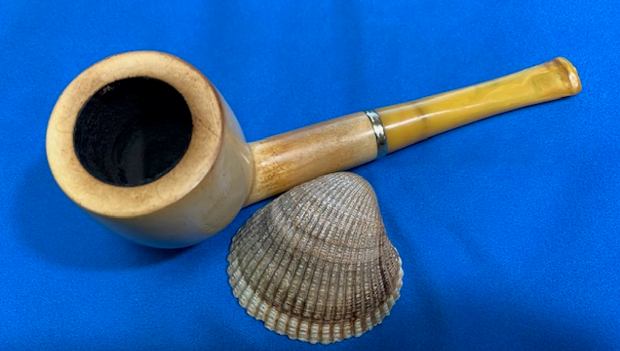
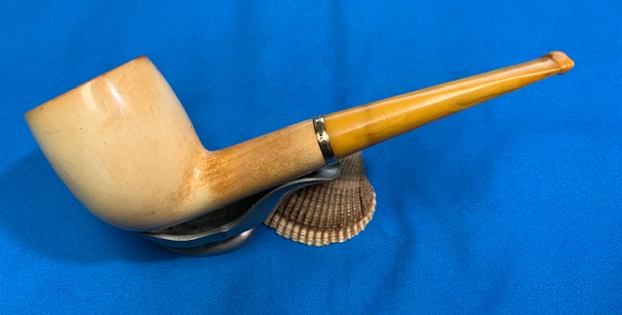
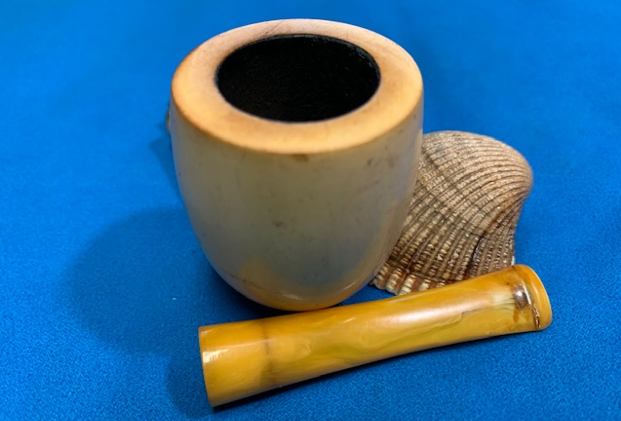
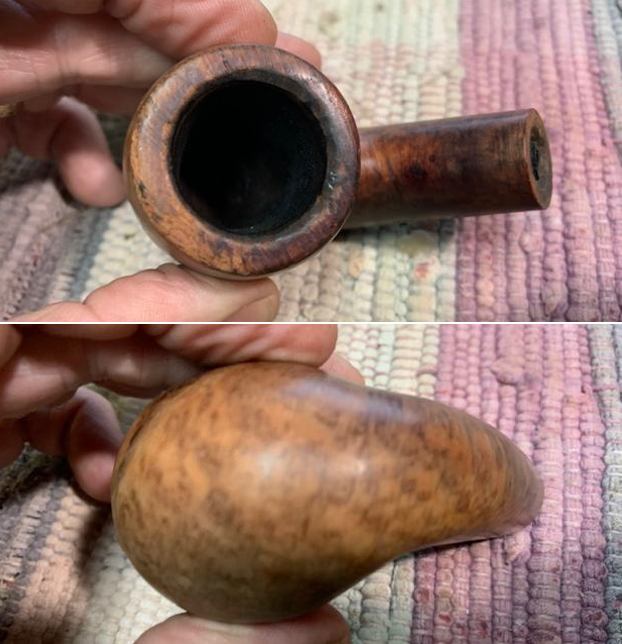
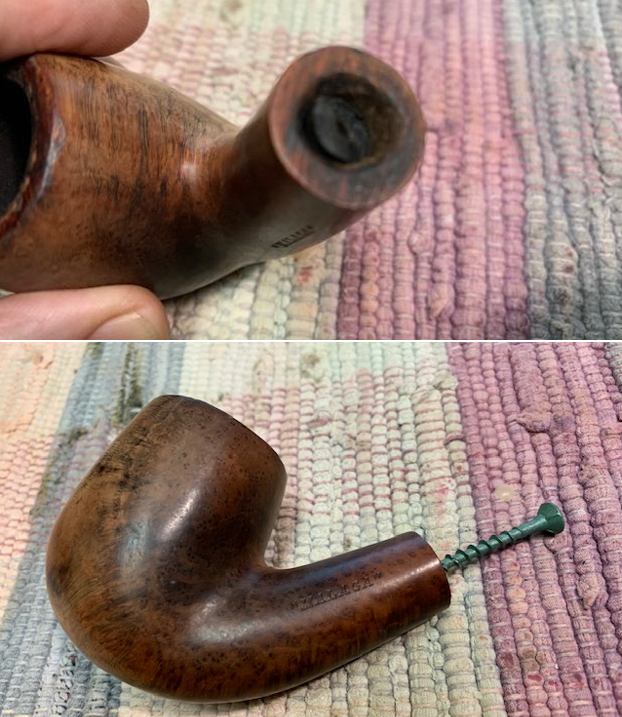
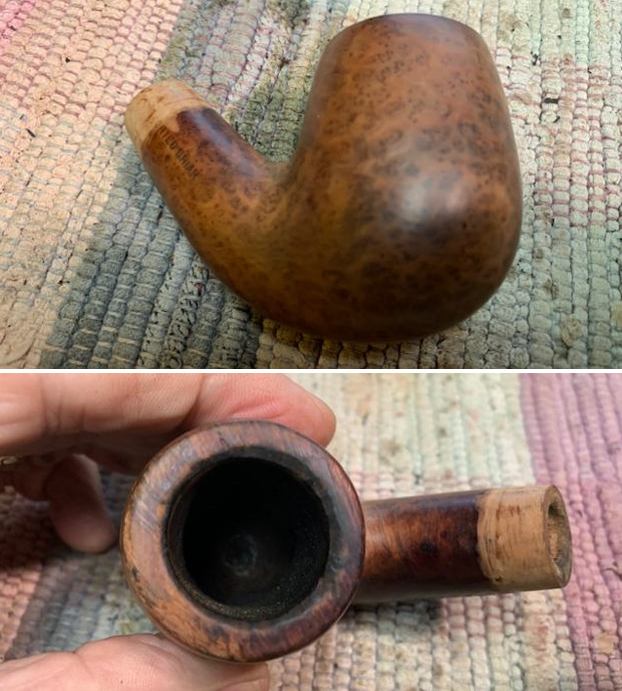
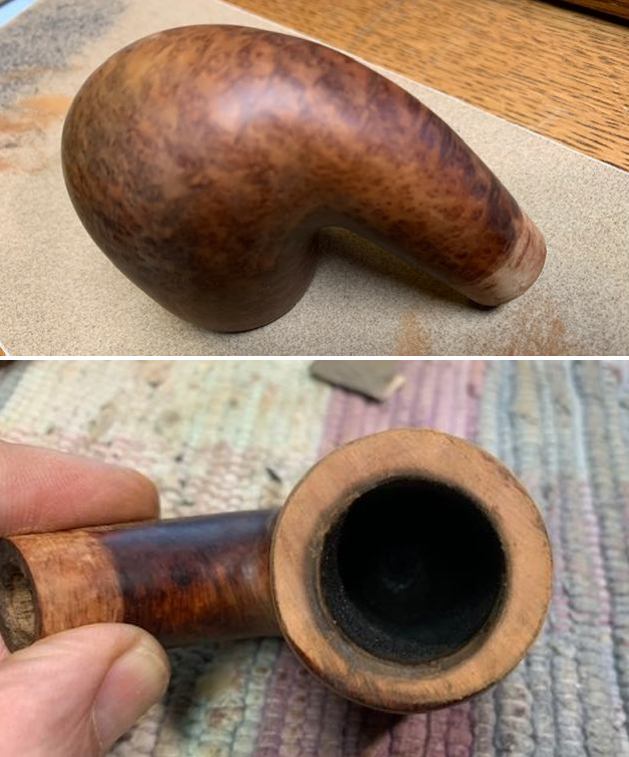
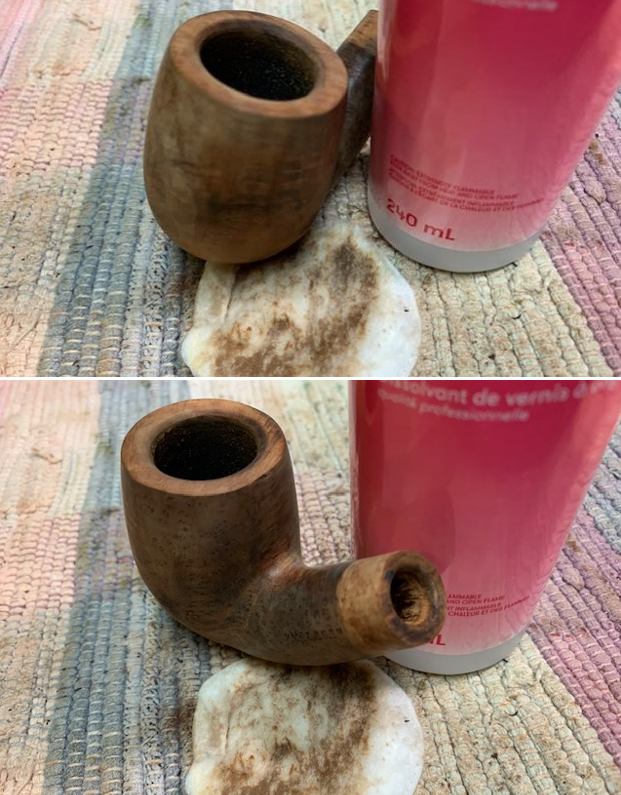
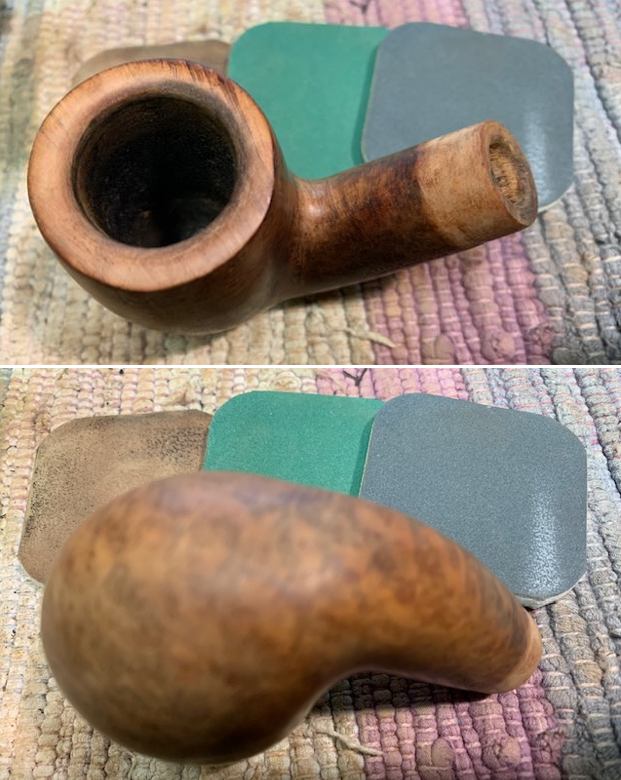
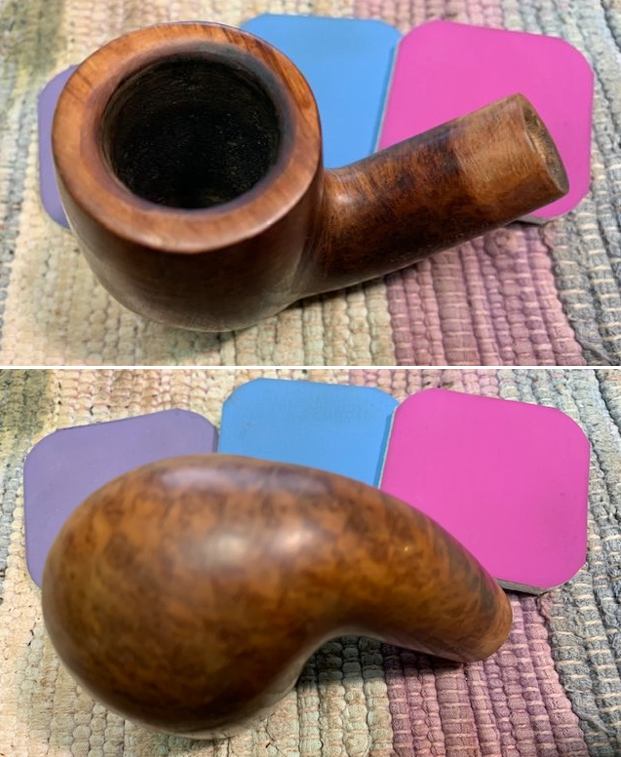
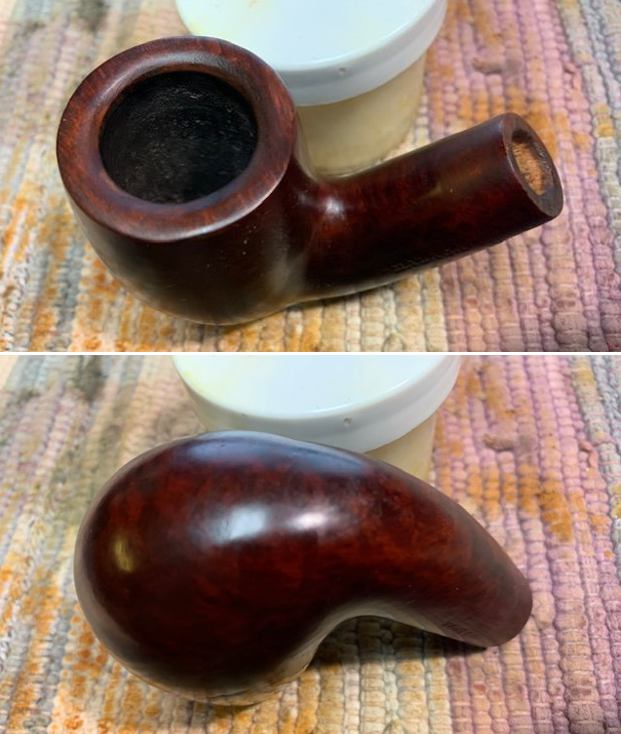
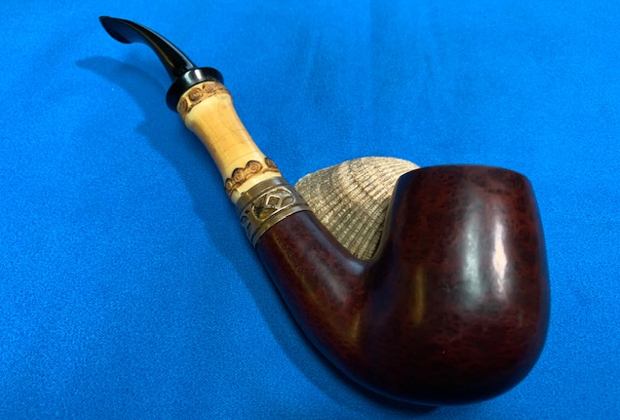
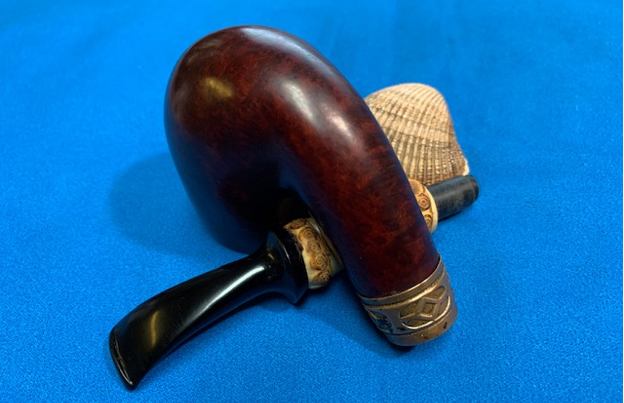
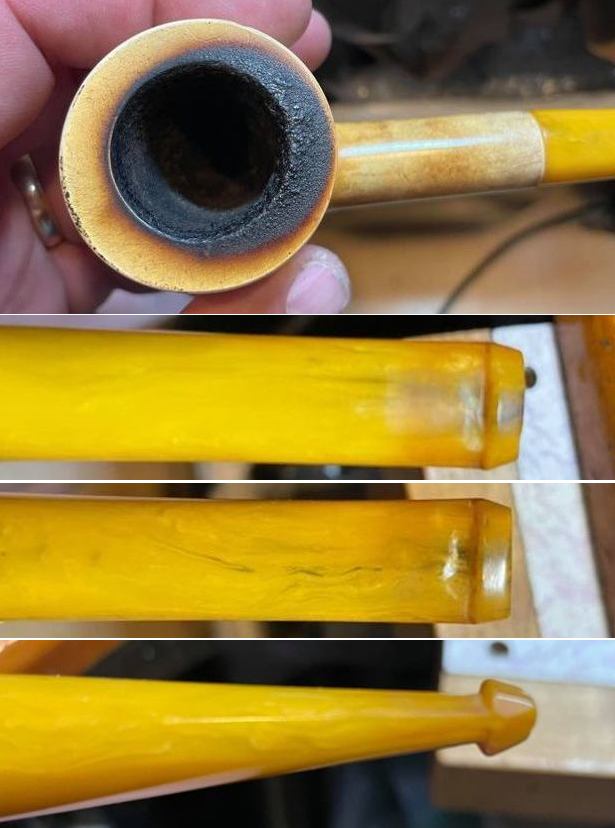
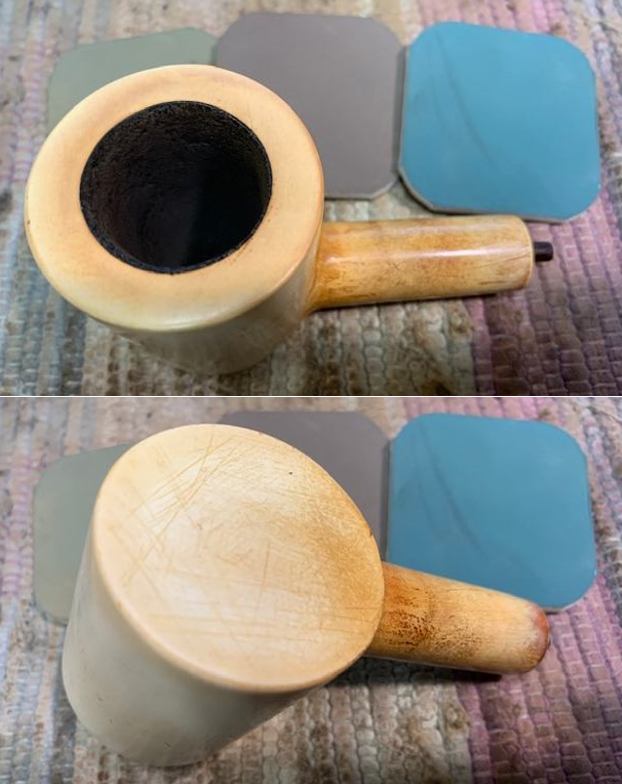
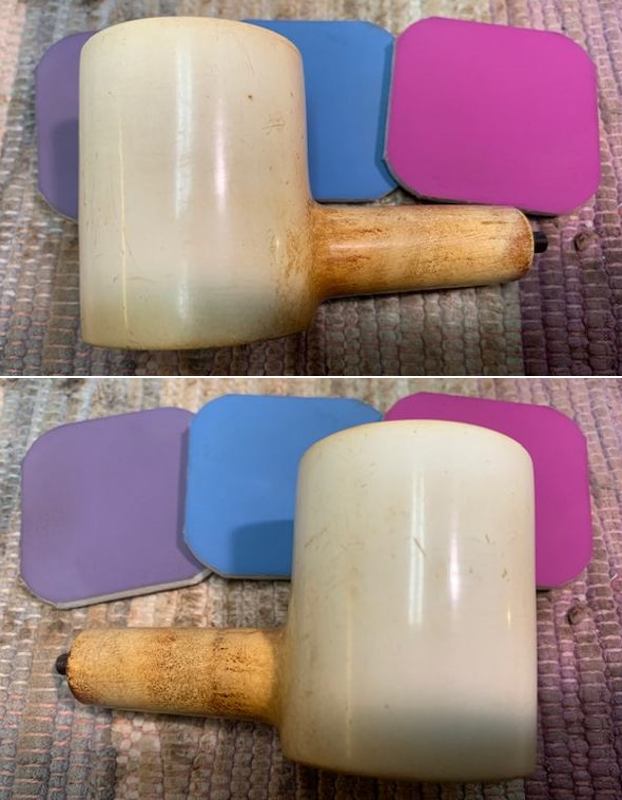
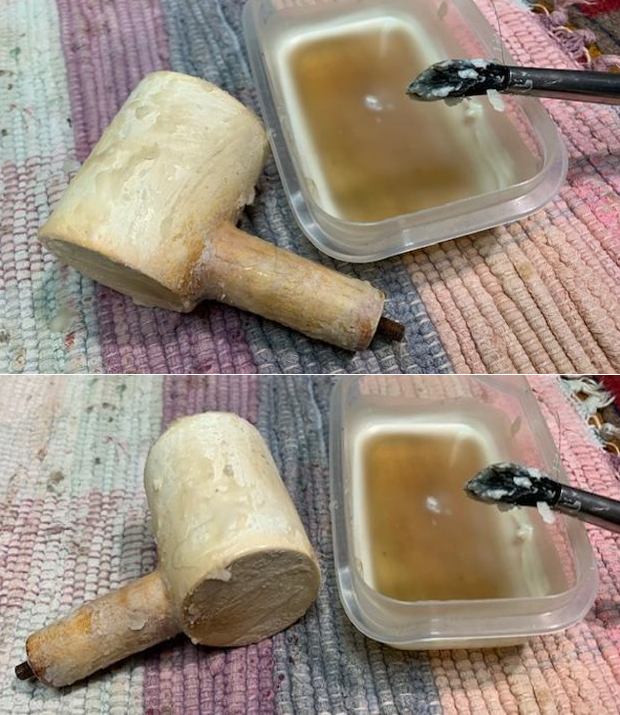
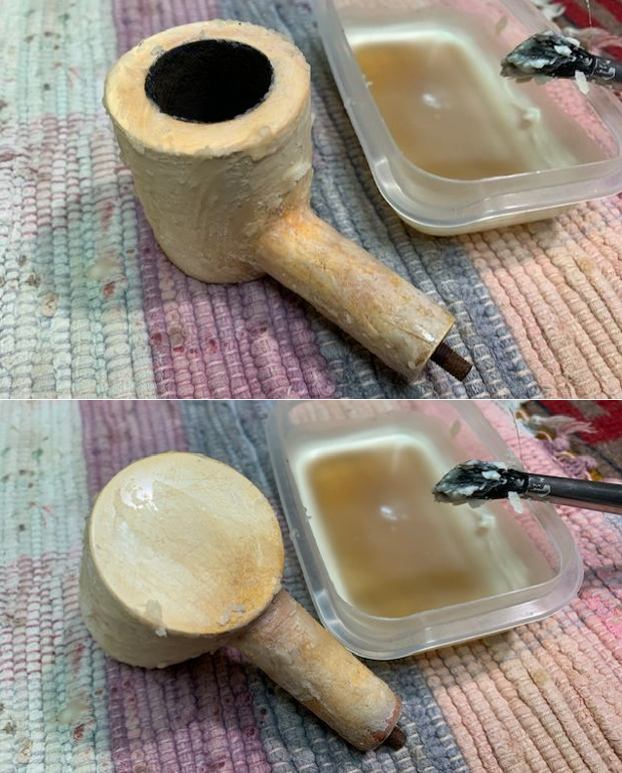
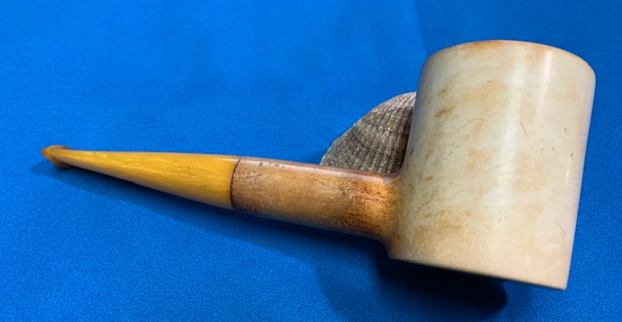
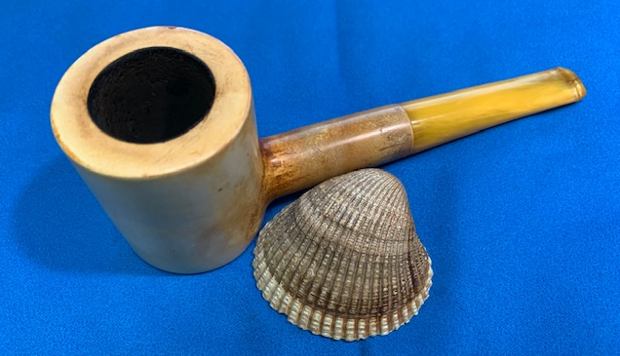
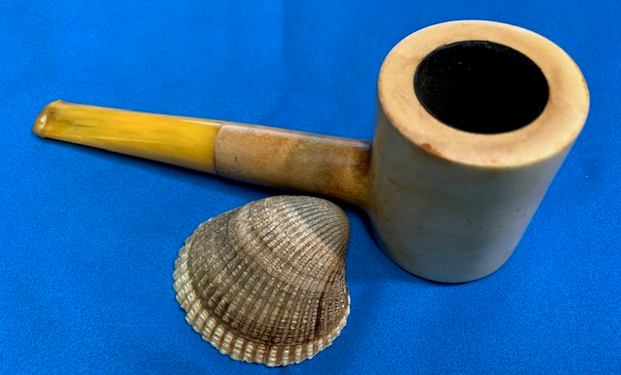
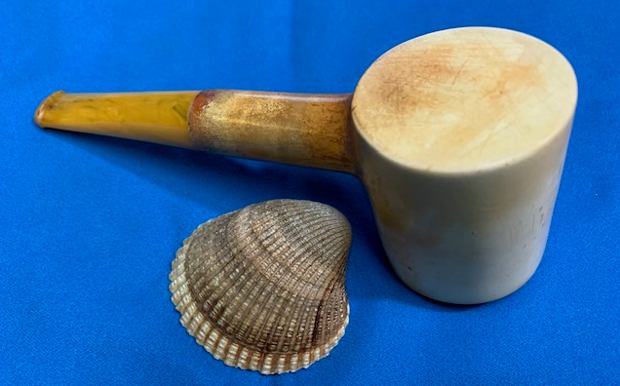
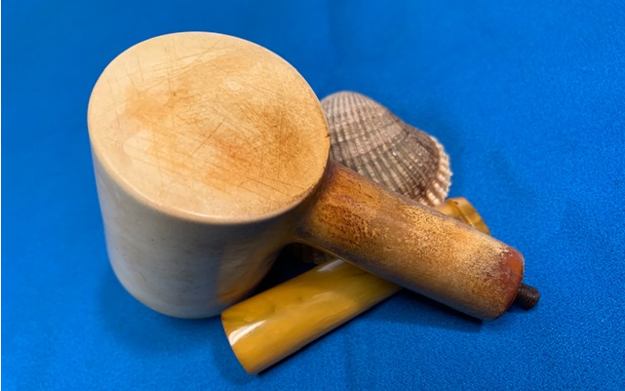
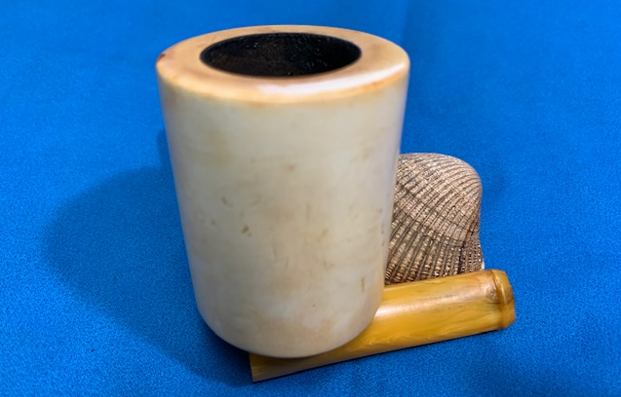
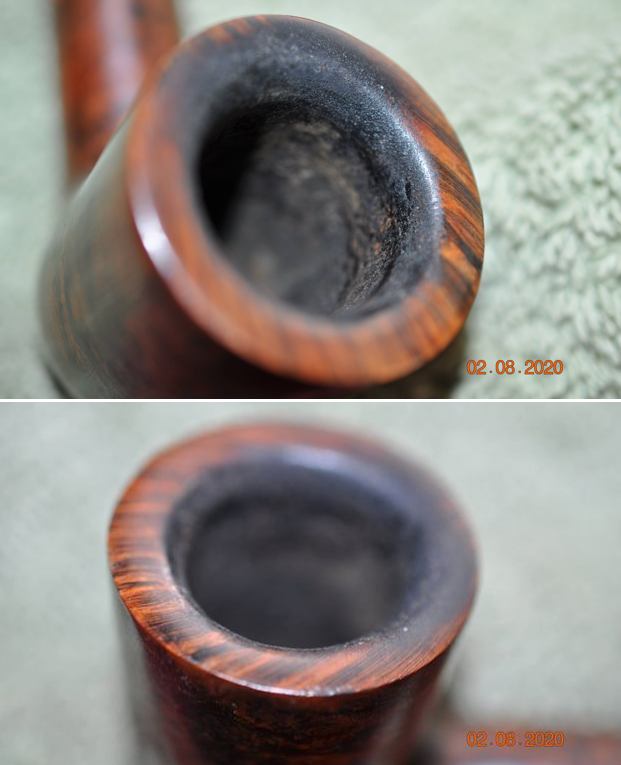
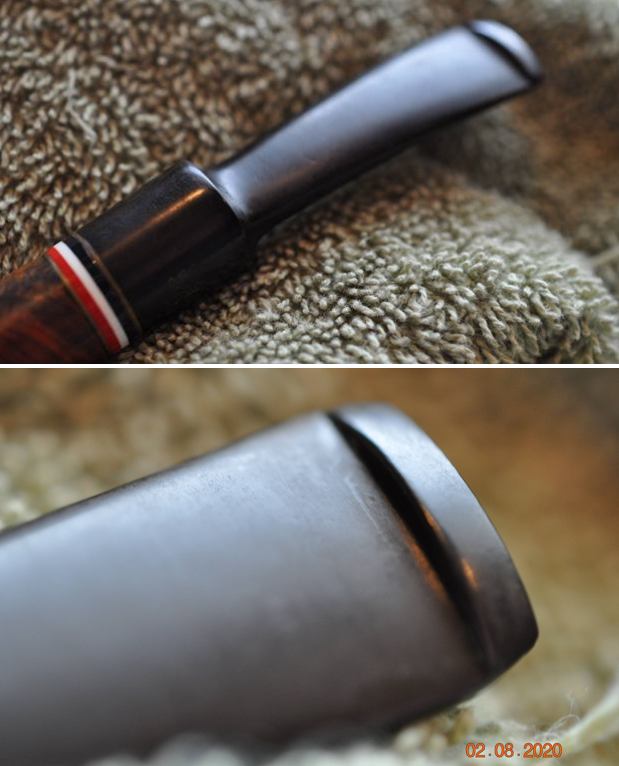
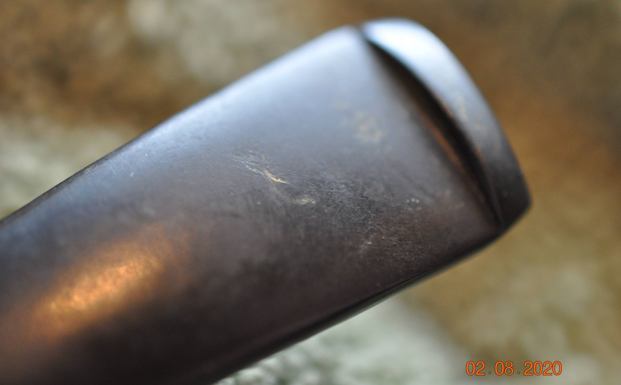
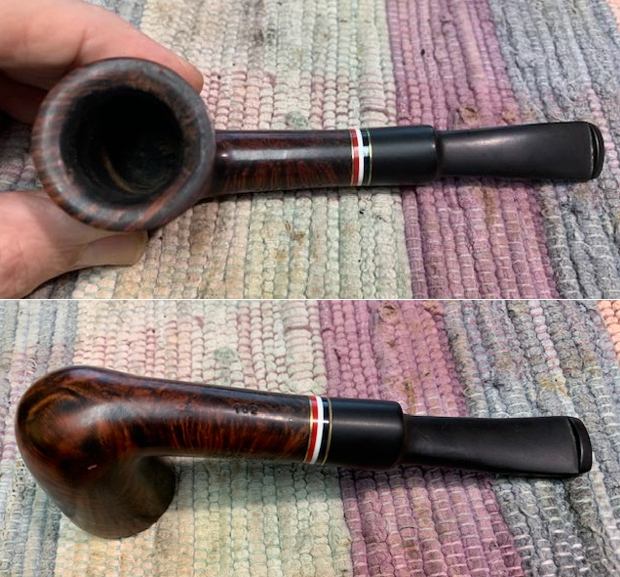
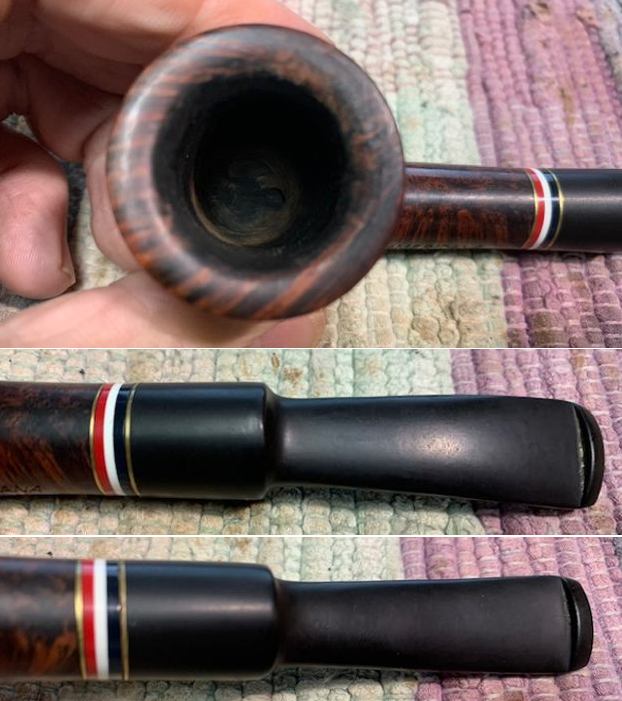
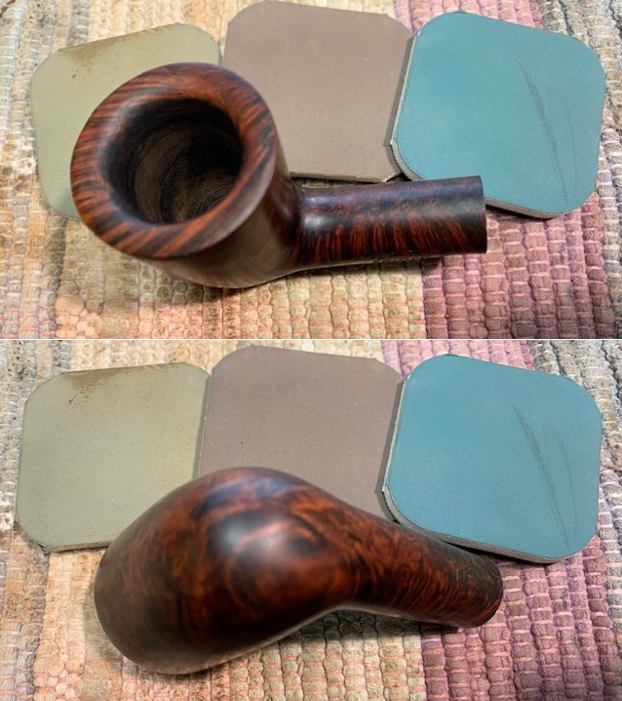
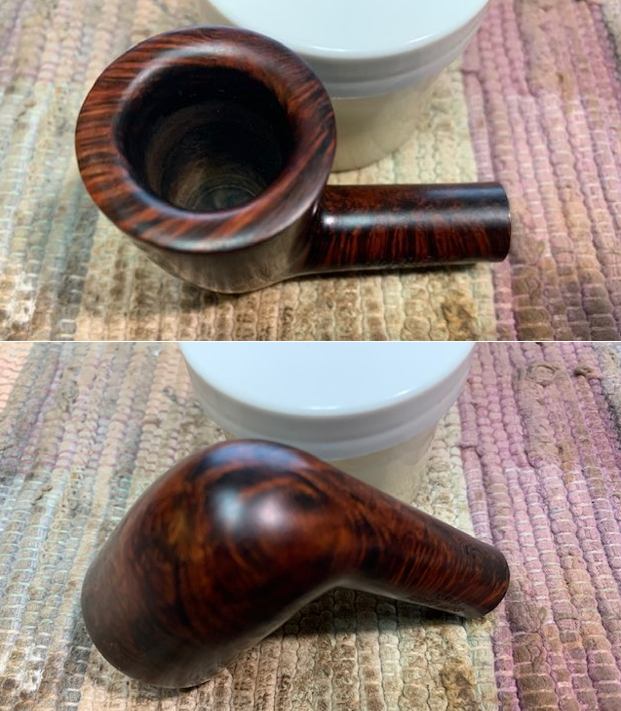
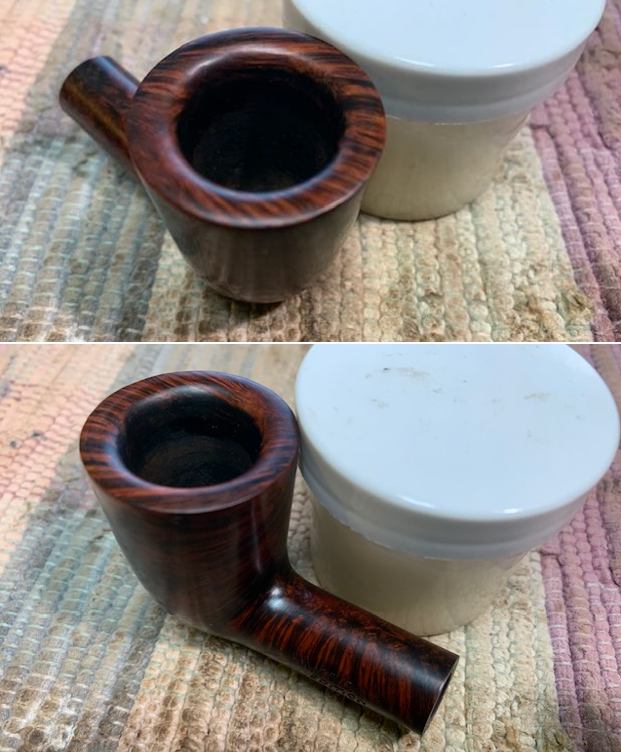
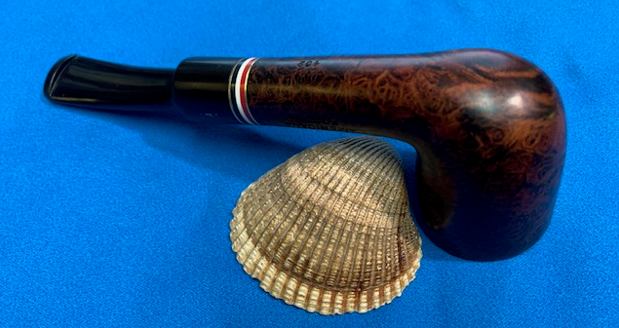
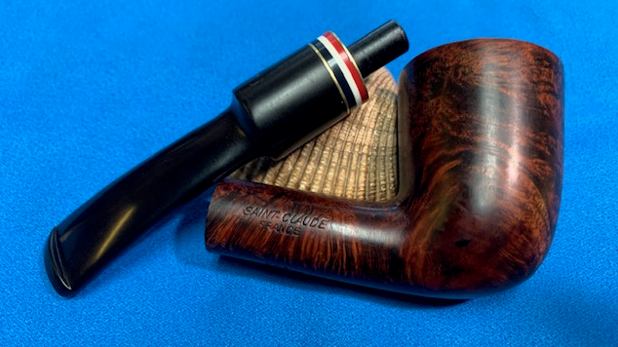
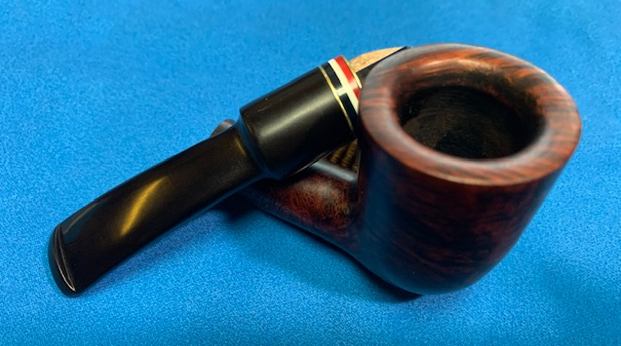
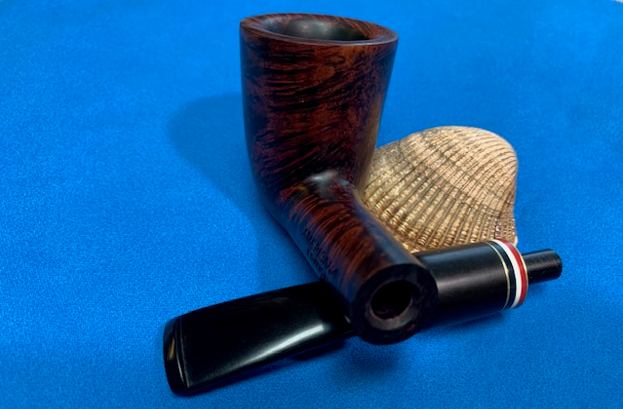
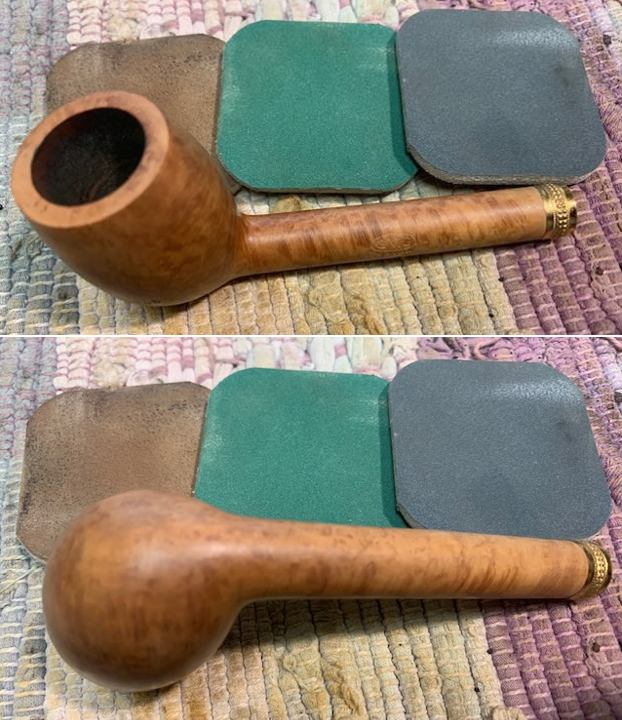
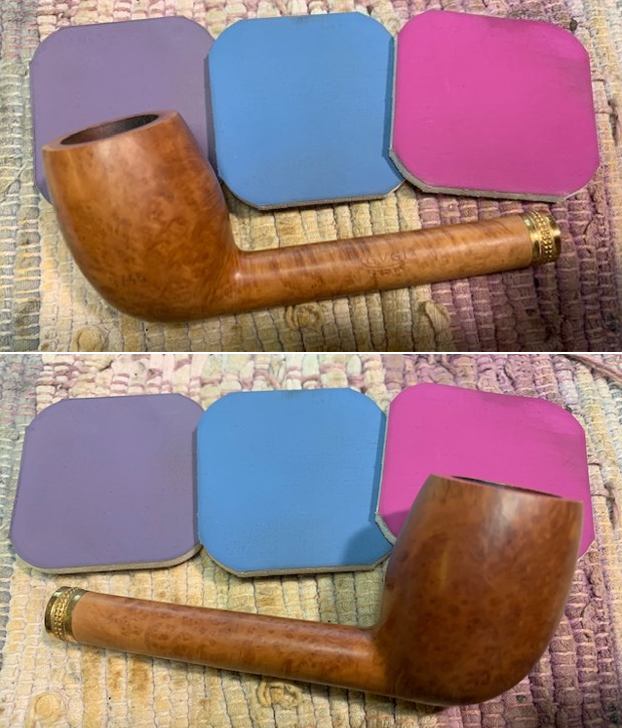
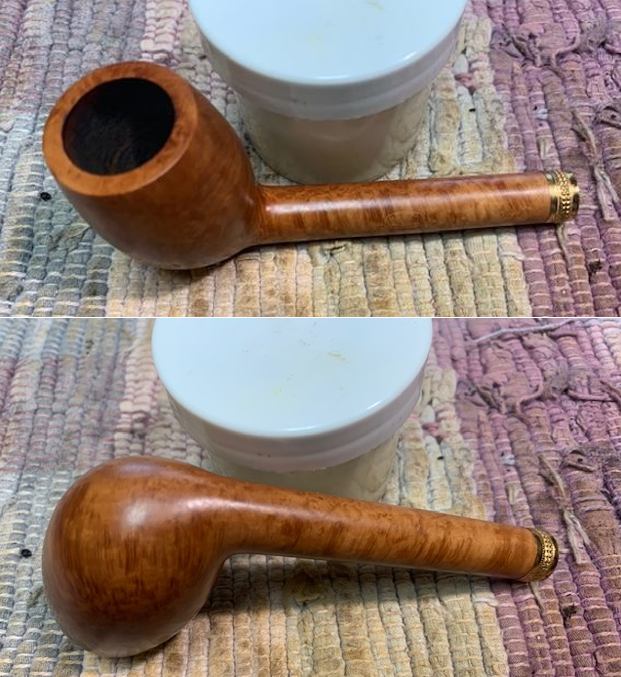
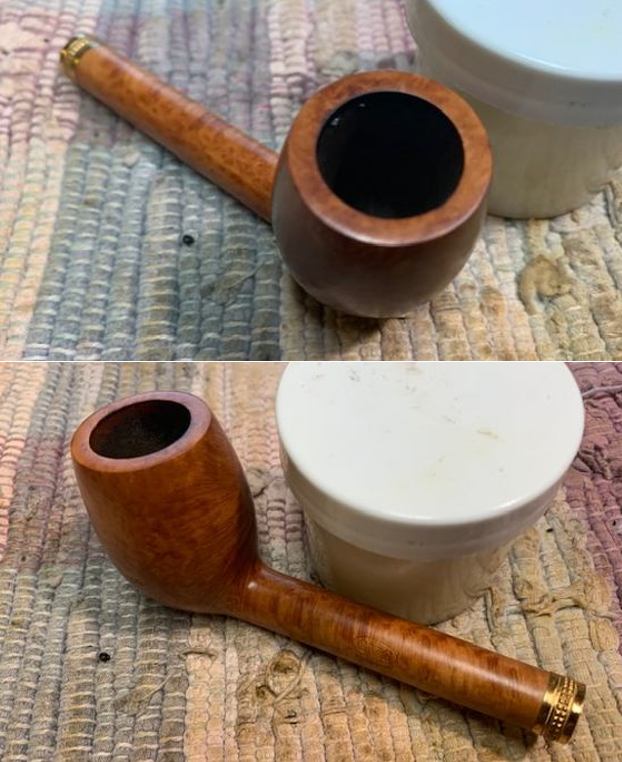
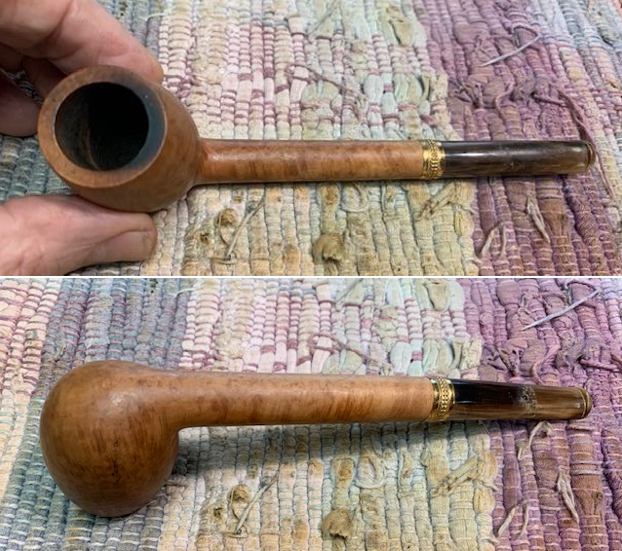 I took photos of the bowl and stem. You can see the condition of the bowl and the rim top and edges. The drilling is centered in the bottom of the bowl. It is a good sized bowl. The interior walls of the pipe are smooth and do not have drilling marks or checks or chips. There was tobacco debris on the bowl walls on the top 1/3 of the bowl and there was some lava on the rim top at the back of the bowl. There is also a fancy band on the shank. The horn stem is in excellent condition and has slotted button. There was some sticky substance on the top and underside mid stem – perhaps the residue of a price tag.
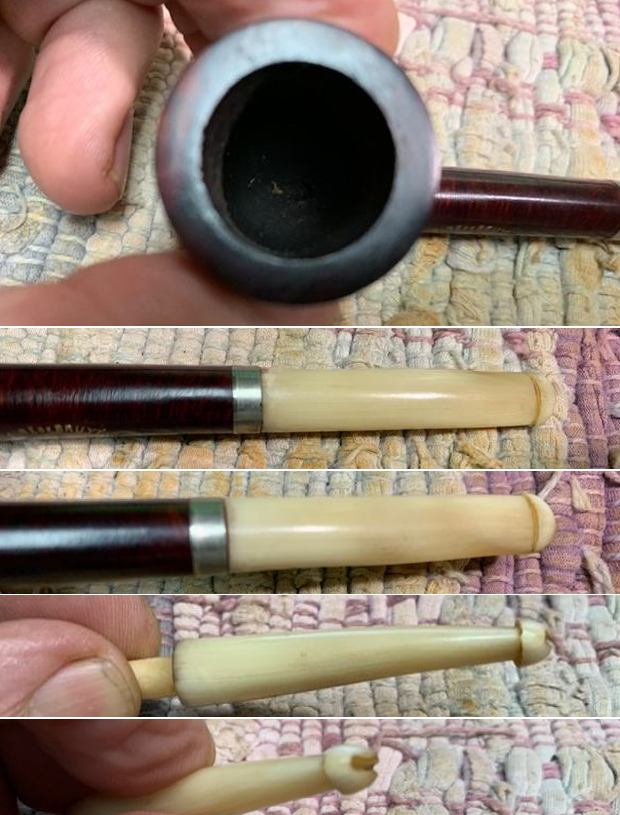
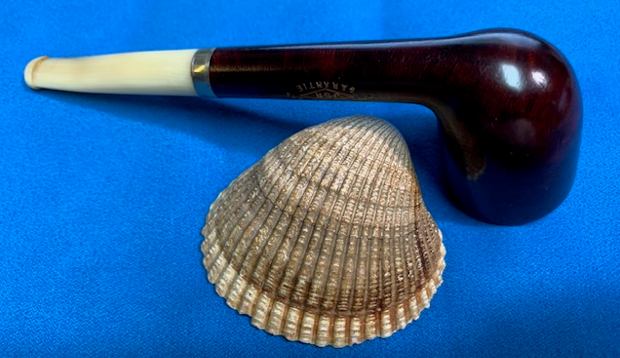
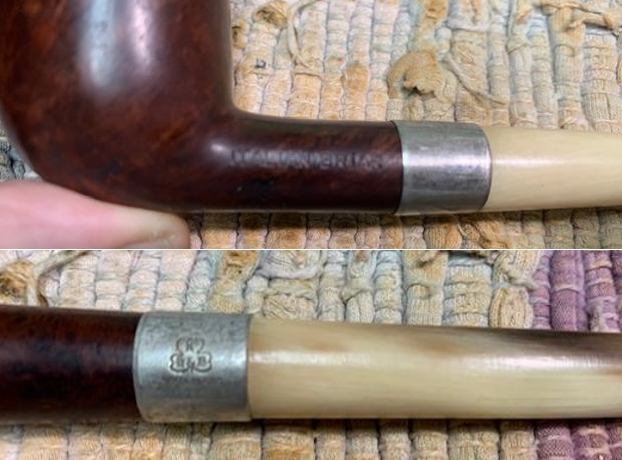
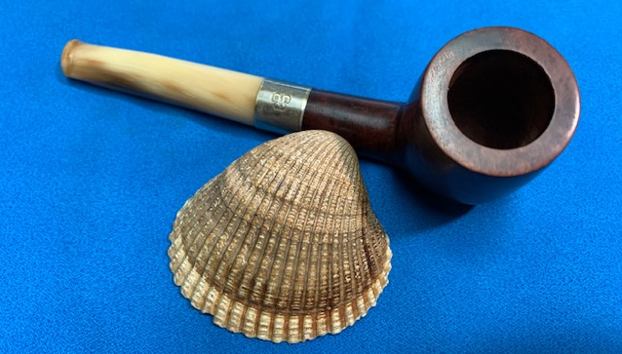
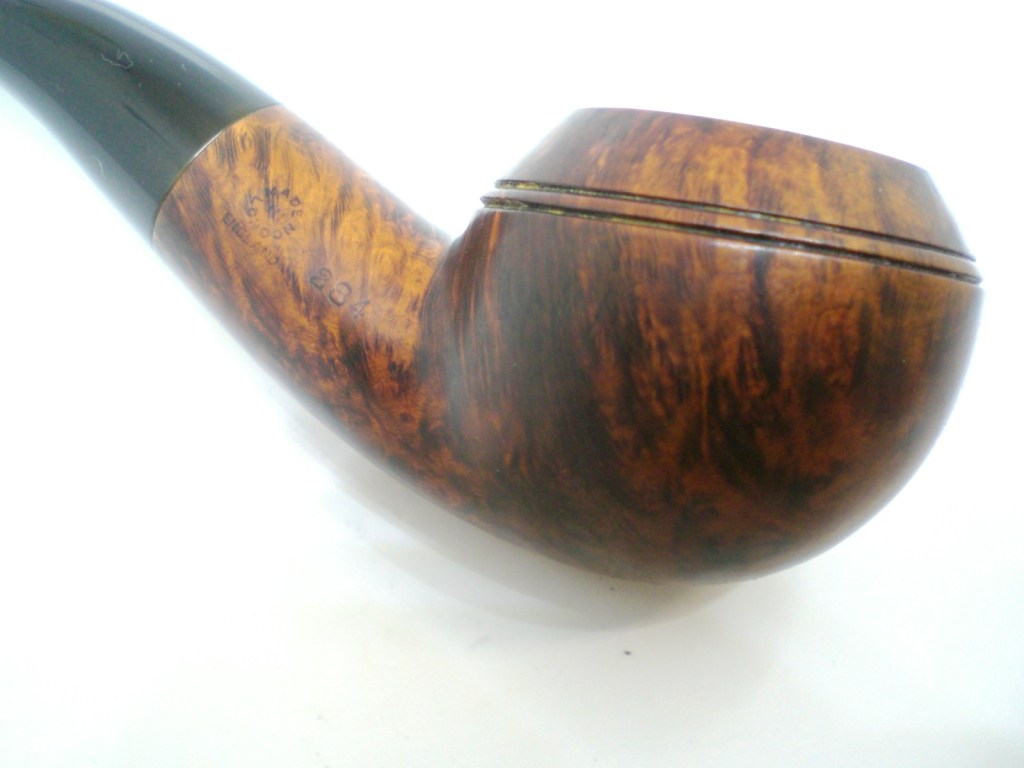
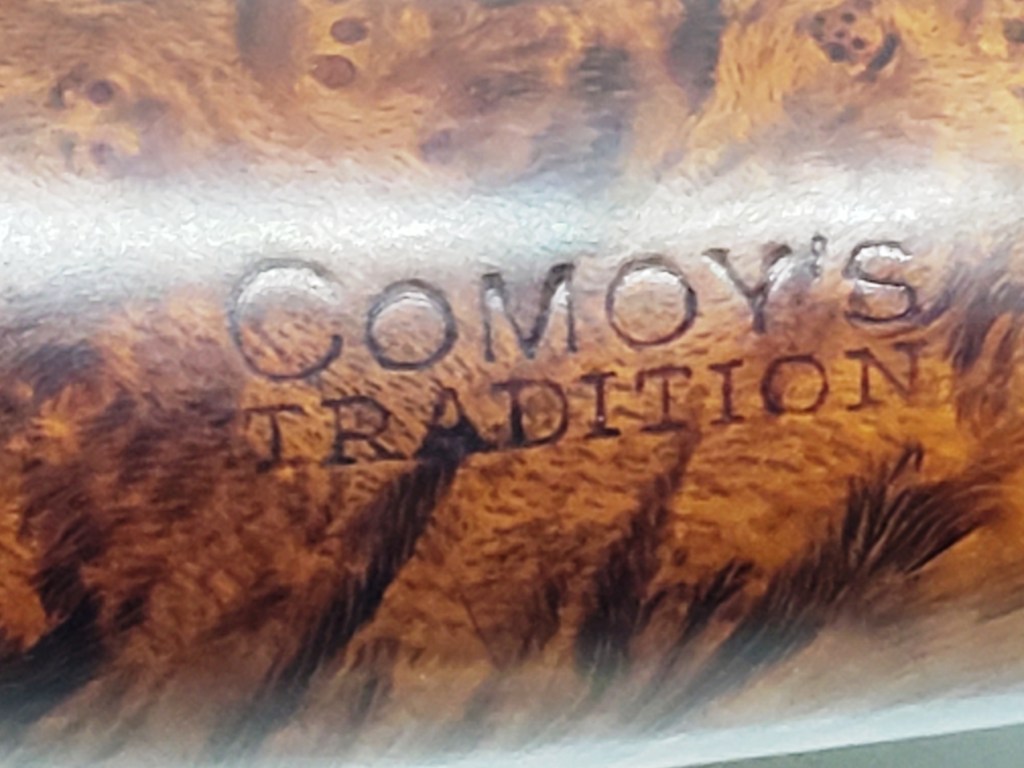
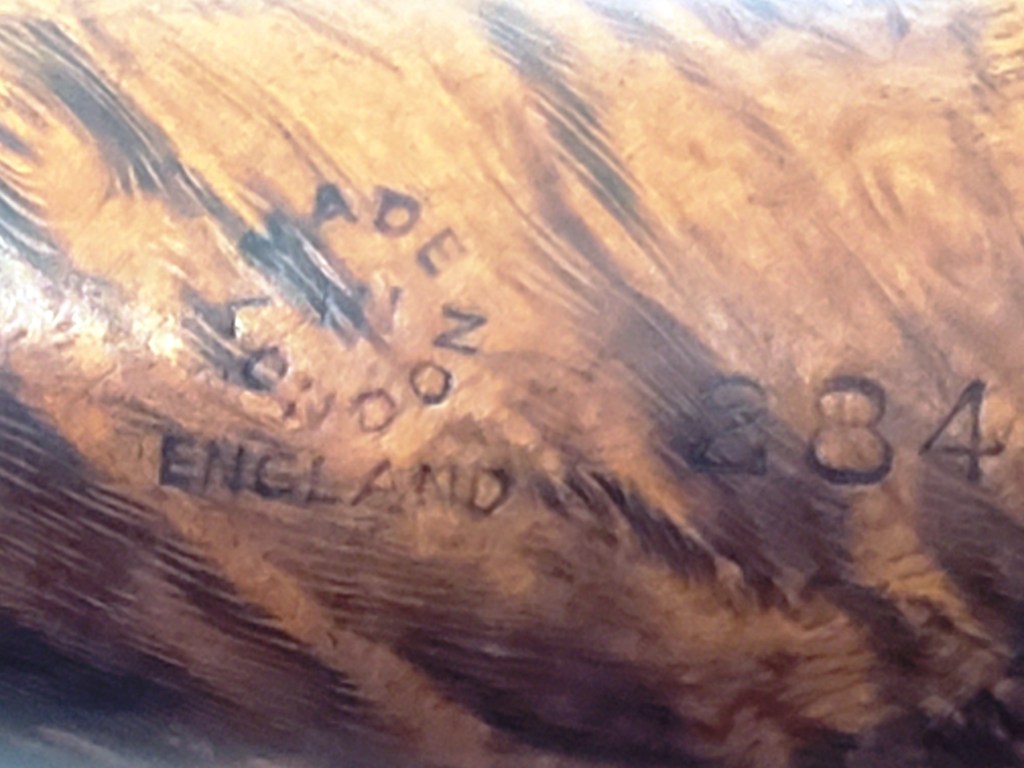
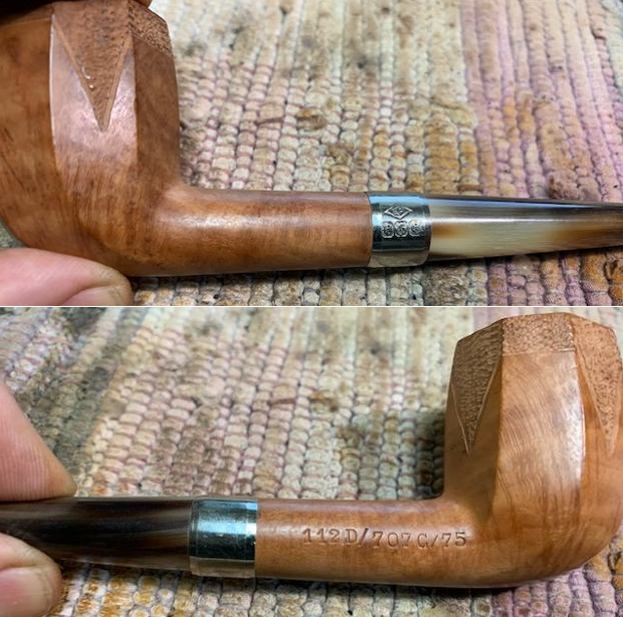
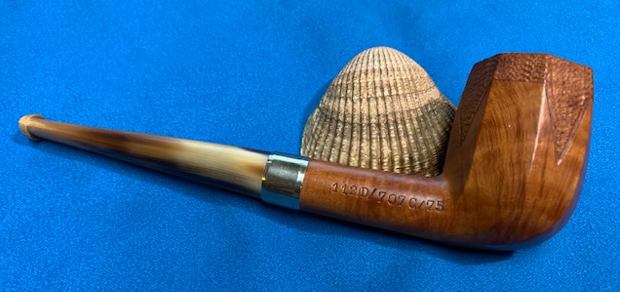
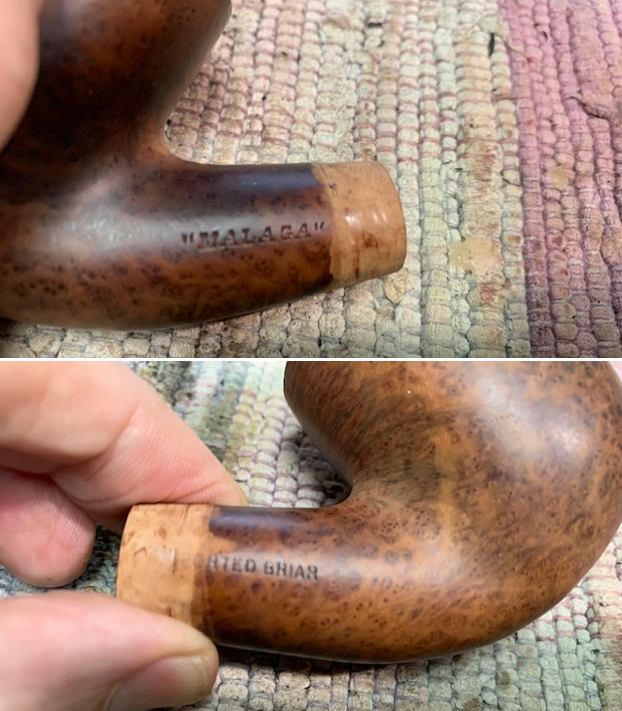
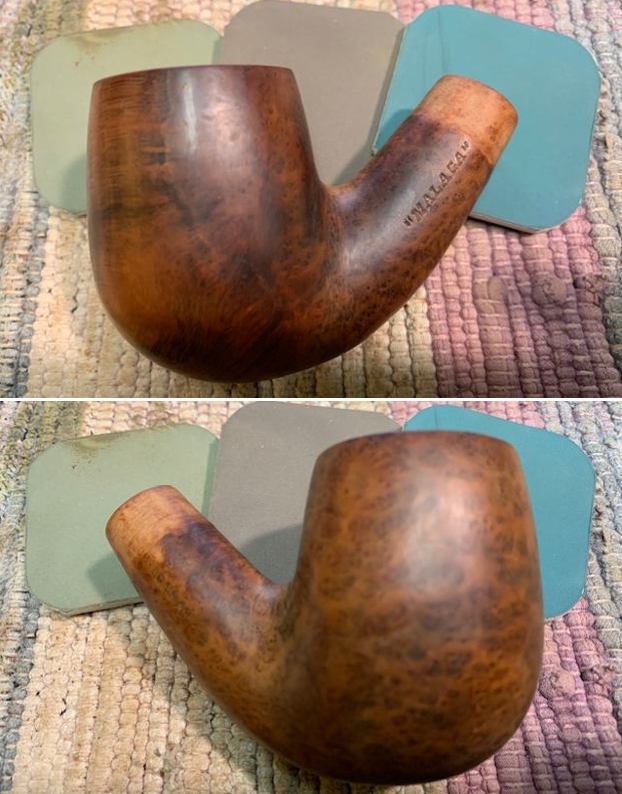
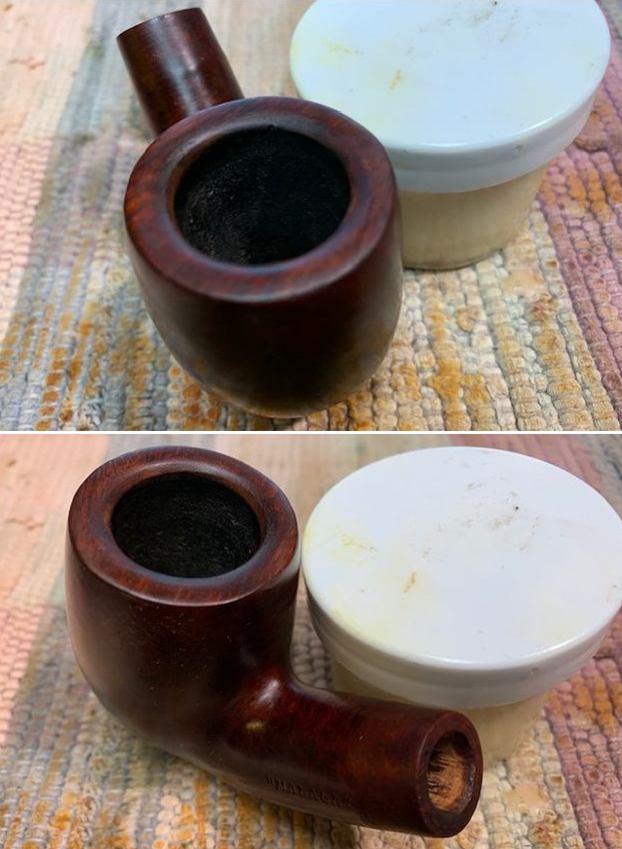
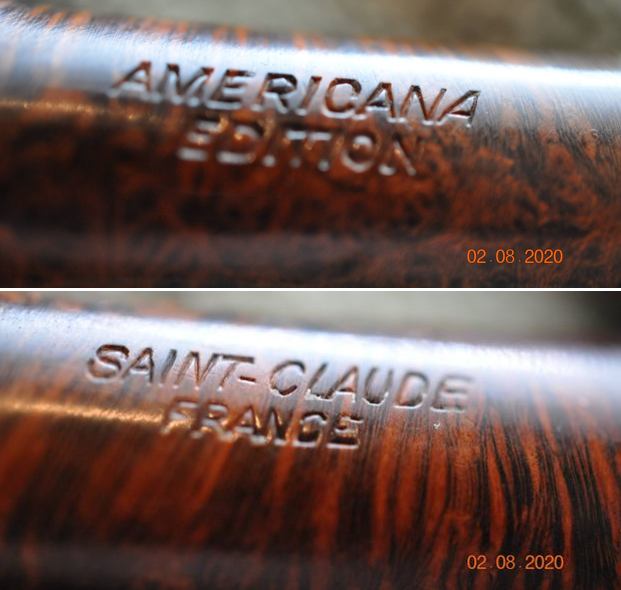
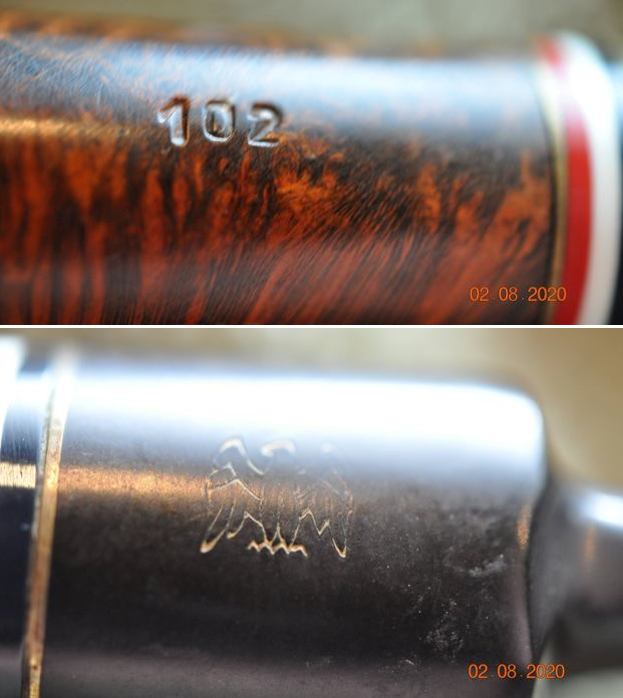
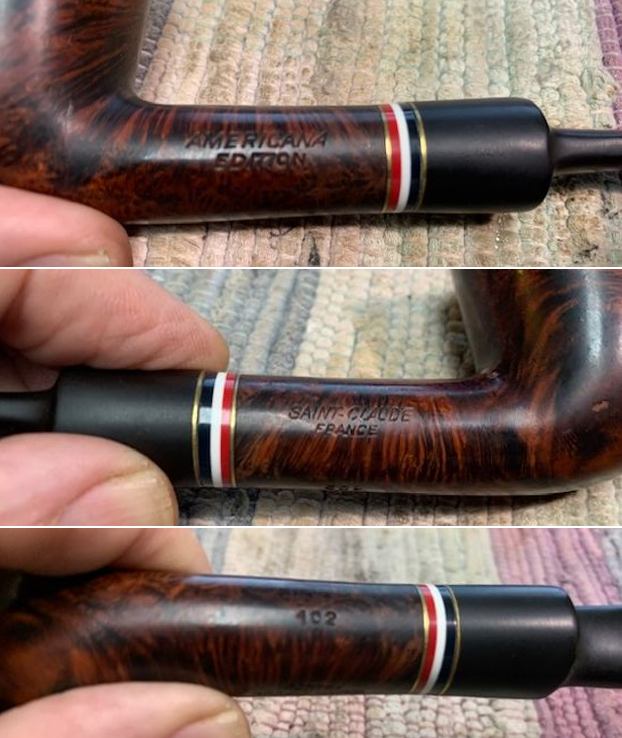
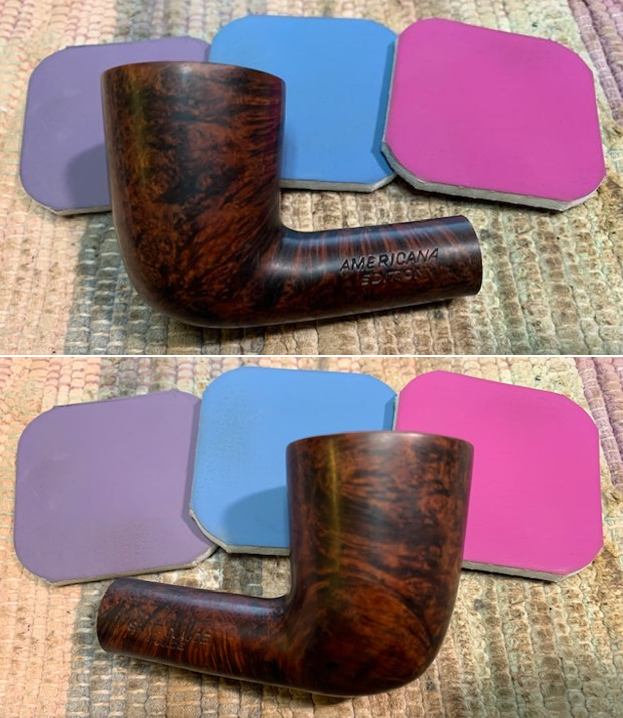
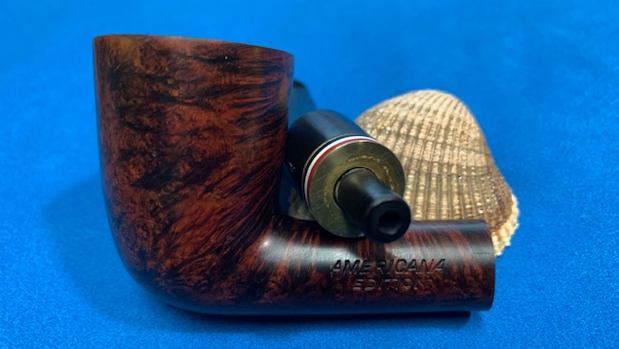
 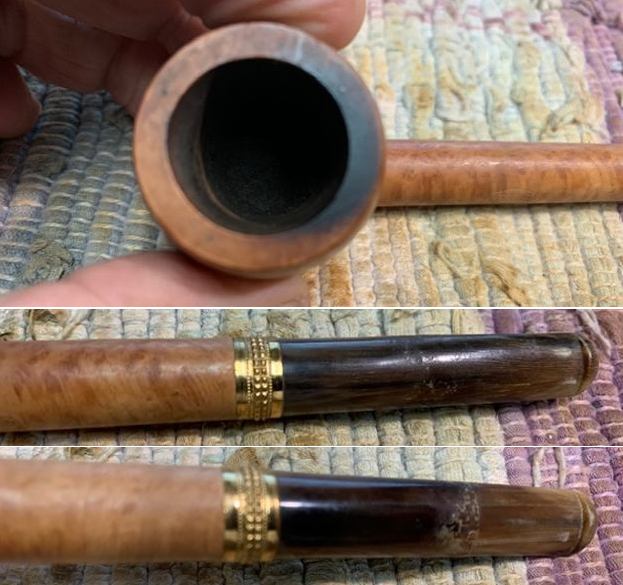 I took a photo of the stamping on the left side of the shank. It reads as noted above. I also took a photo of the stamping on the left side of the bowl that showed the shape number.
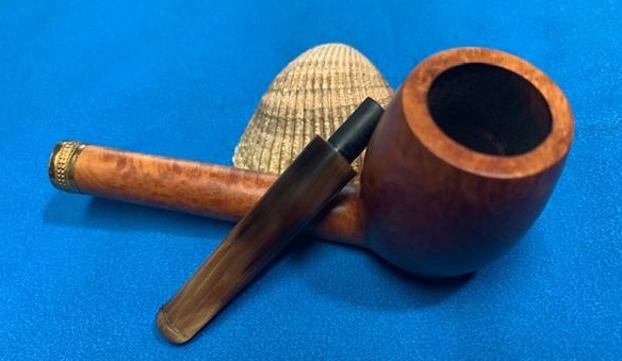
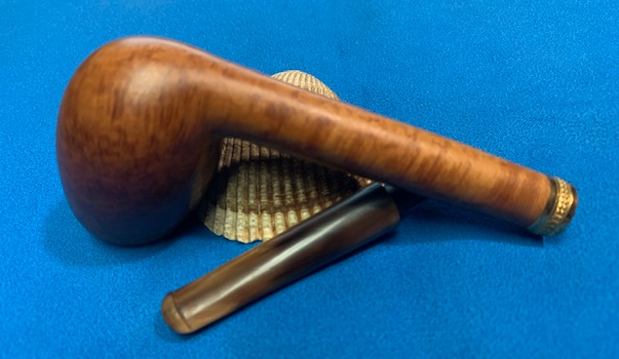
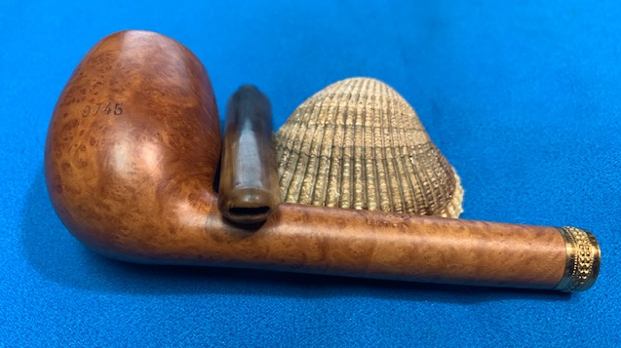
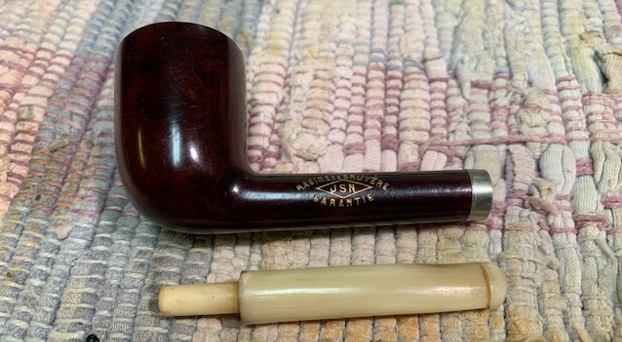
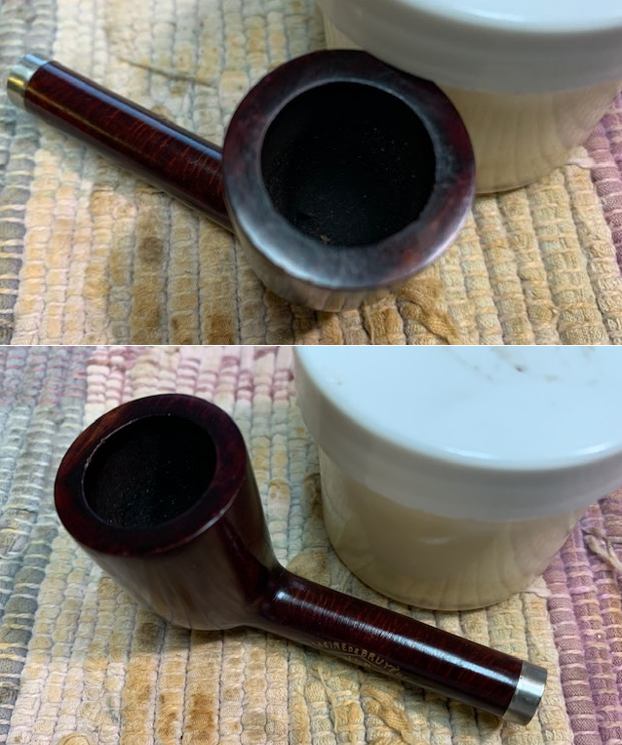
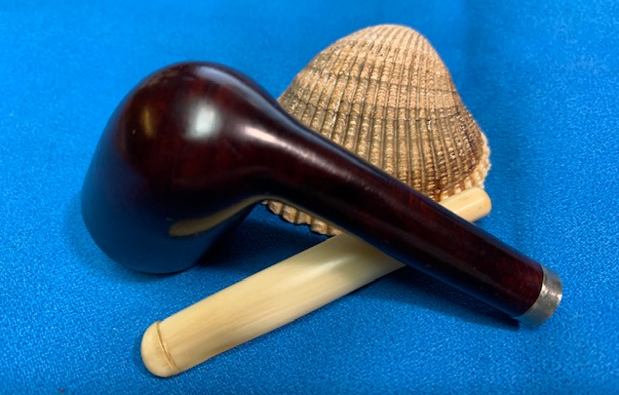
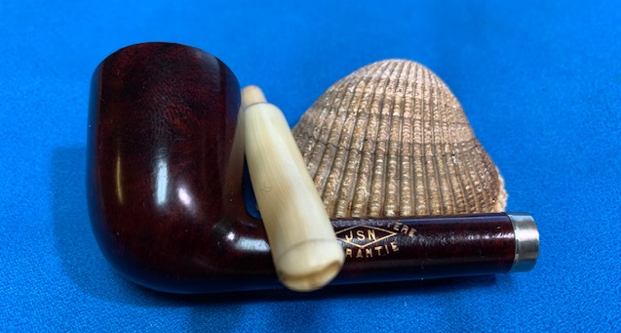
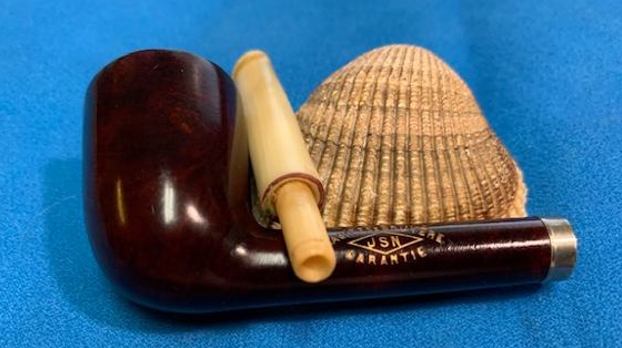
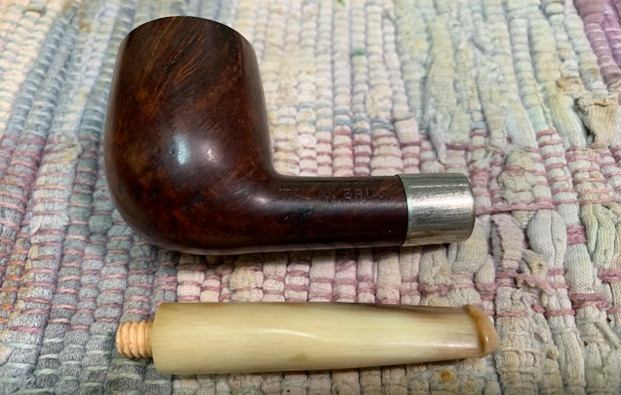
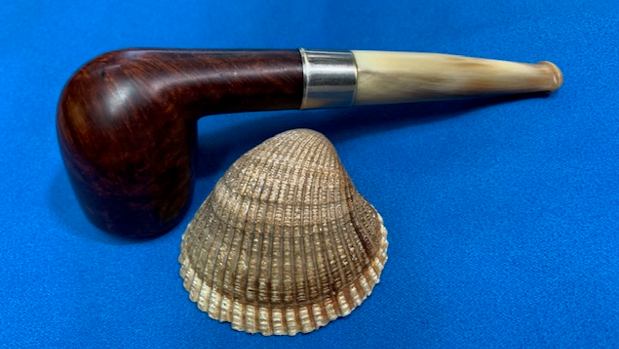
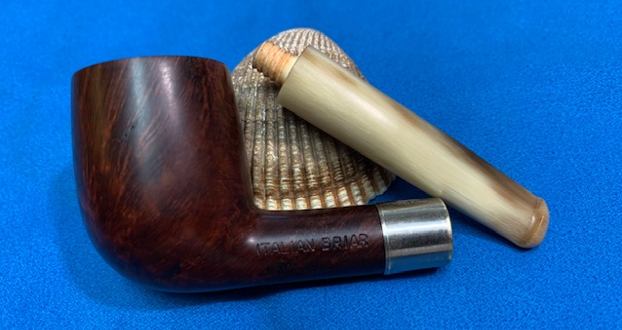
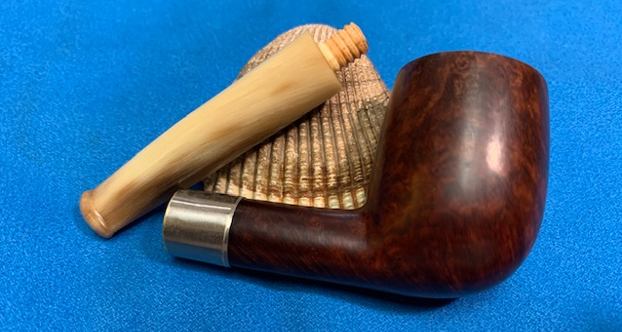
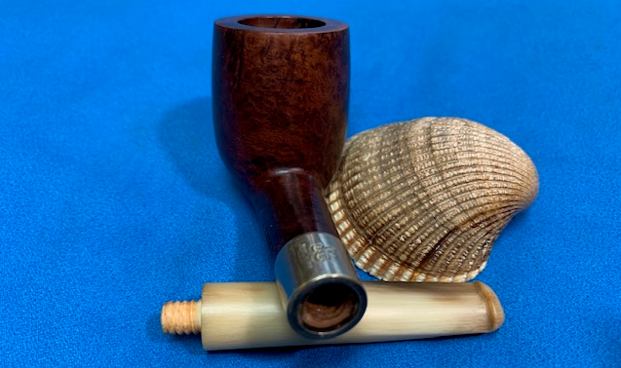
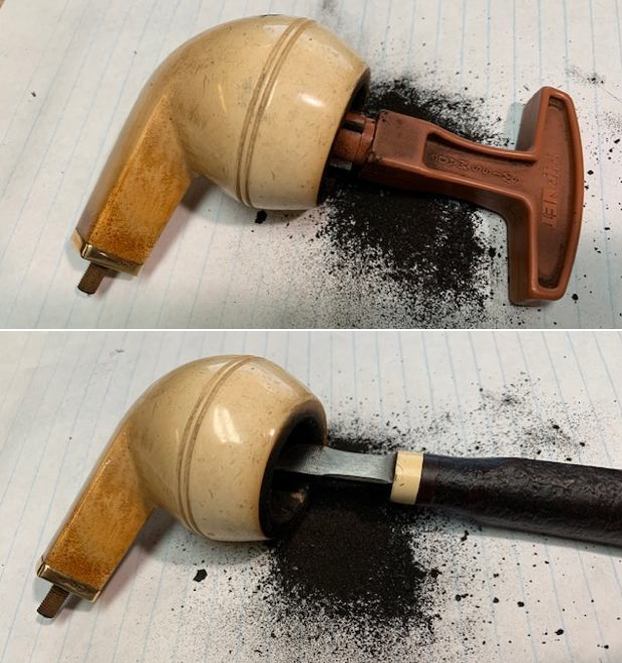
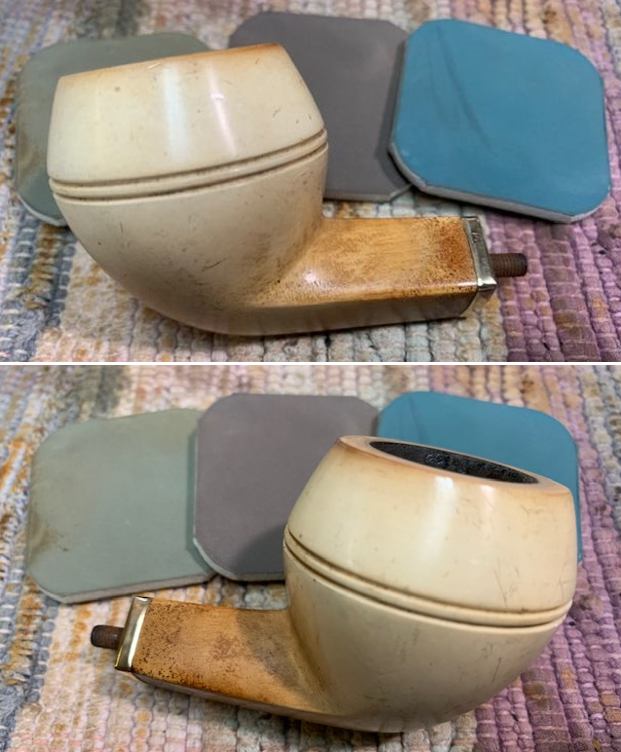
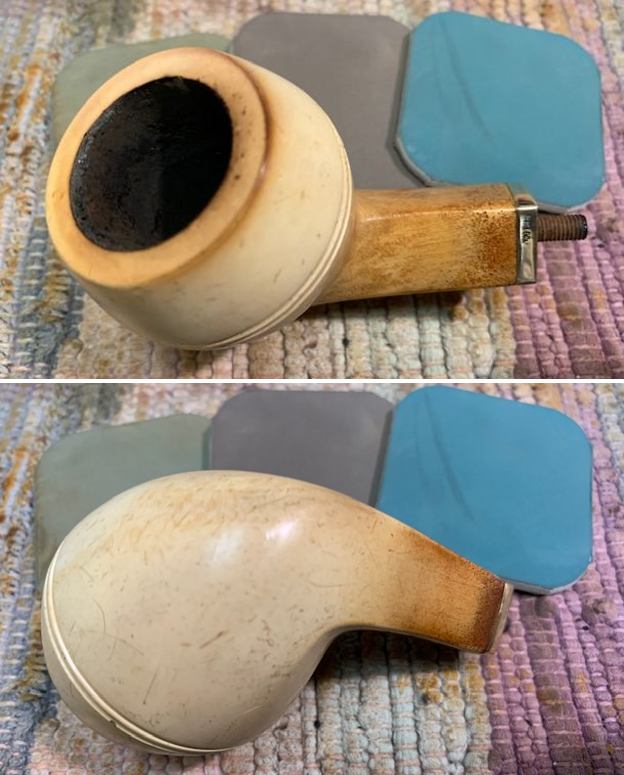
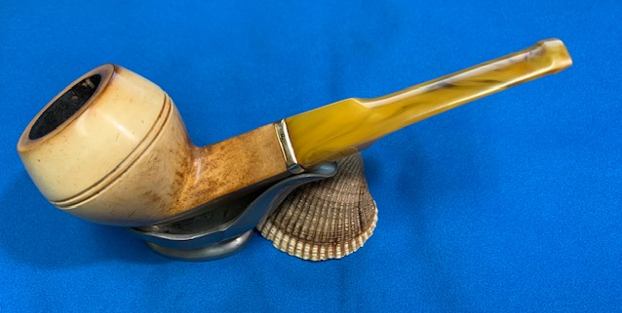
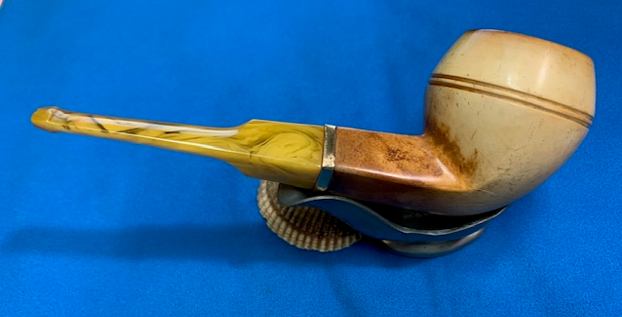
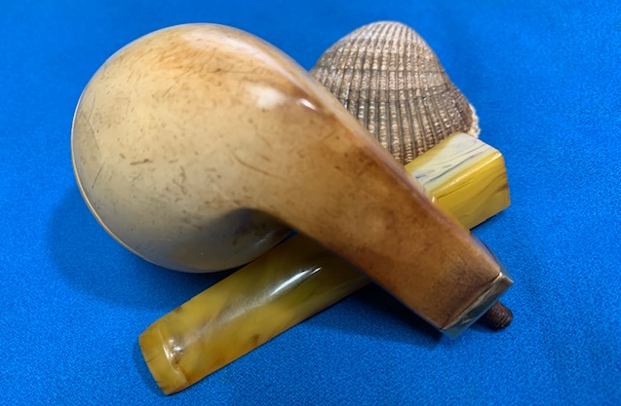
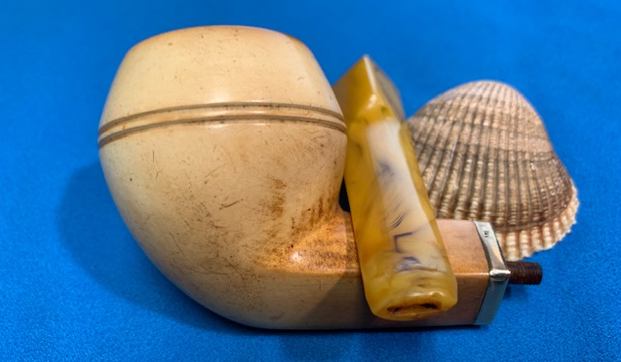
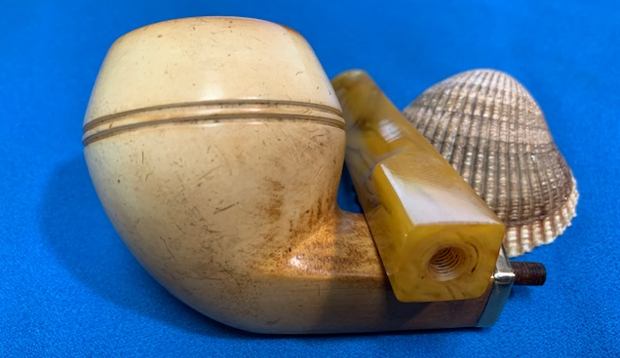
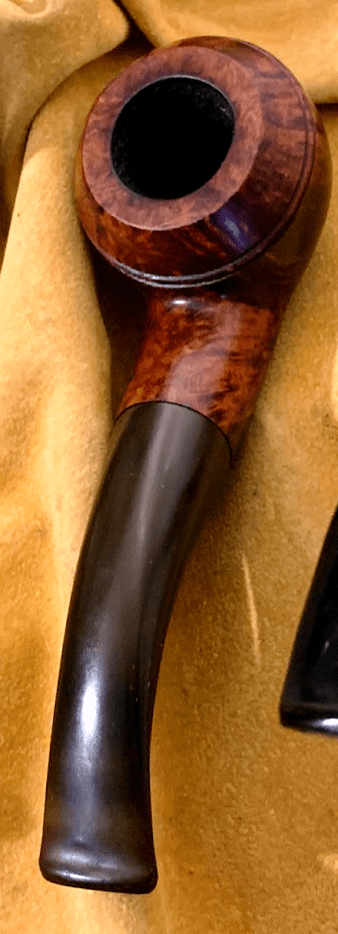
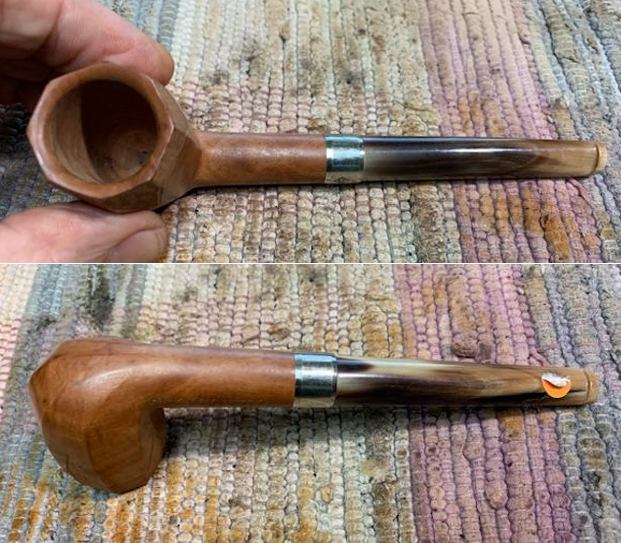
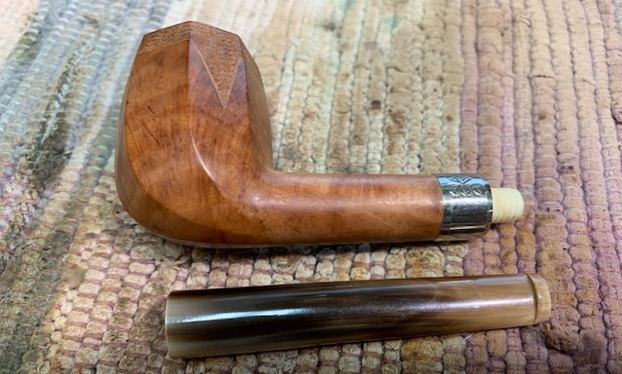
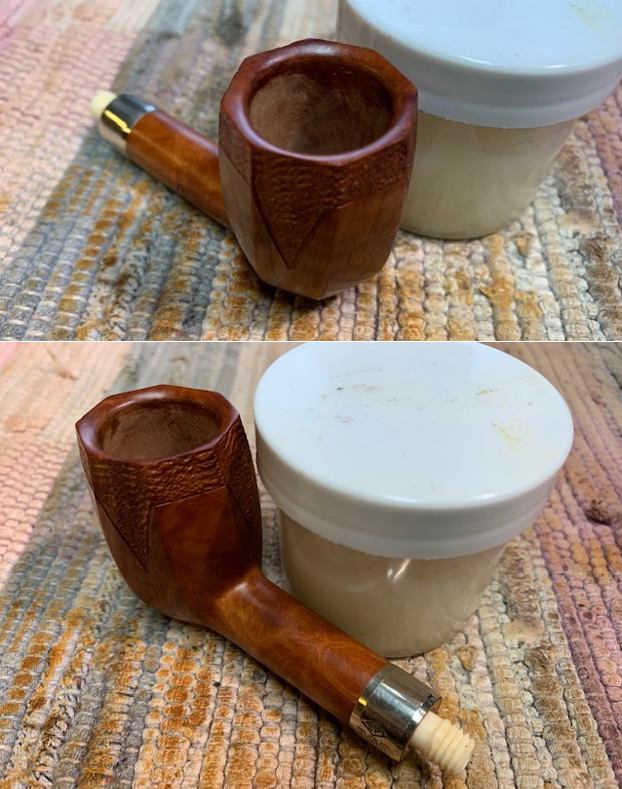
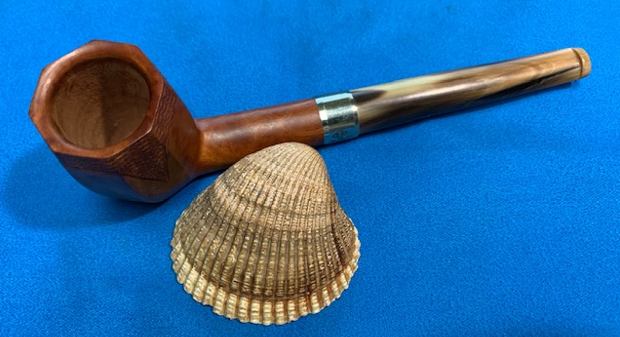
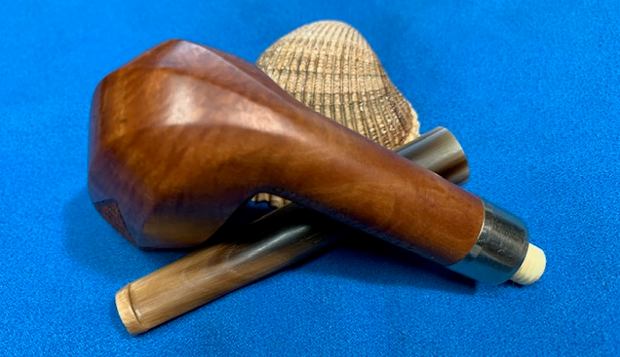
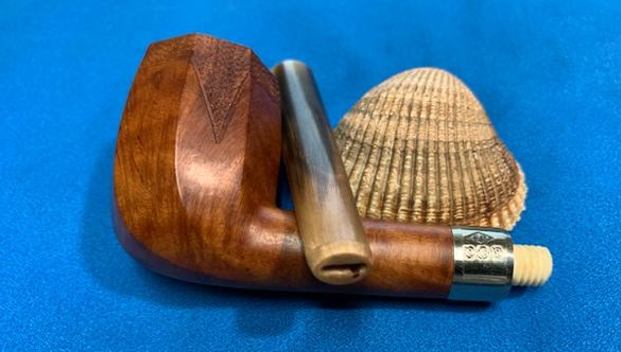
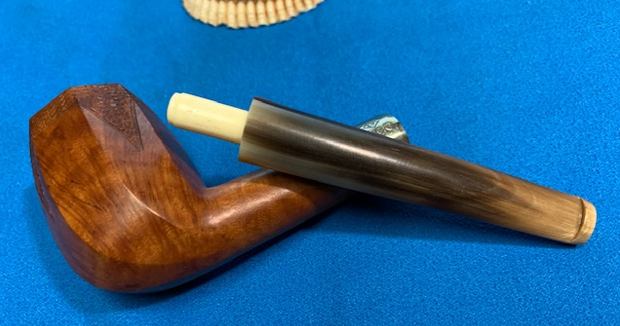
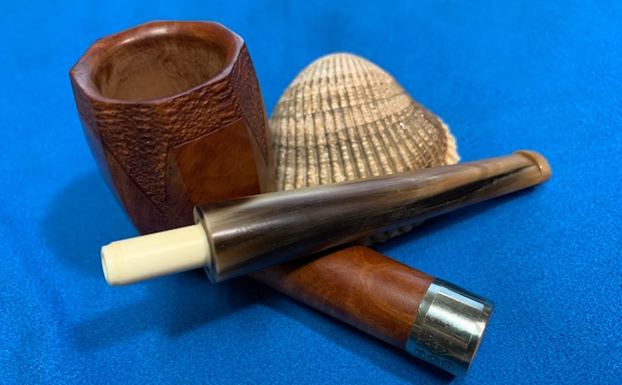
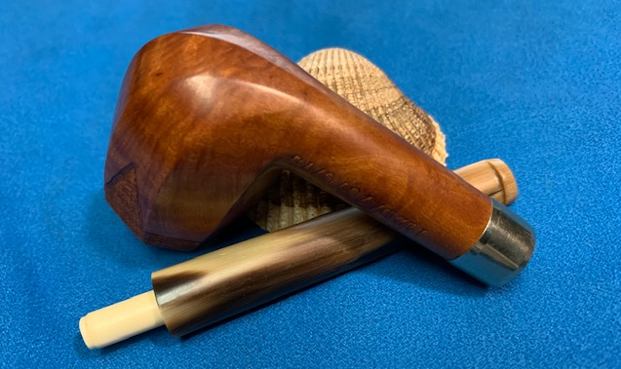
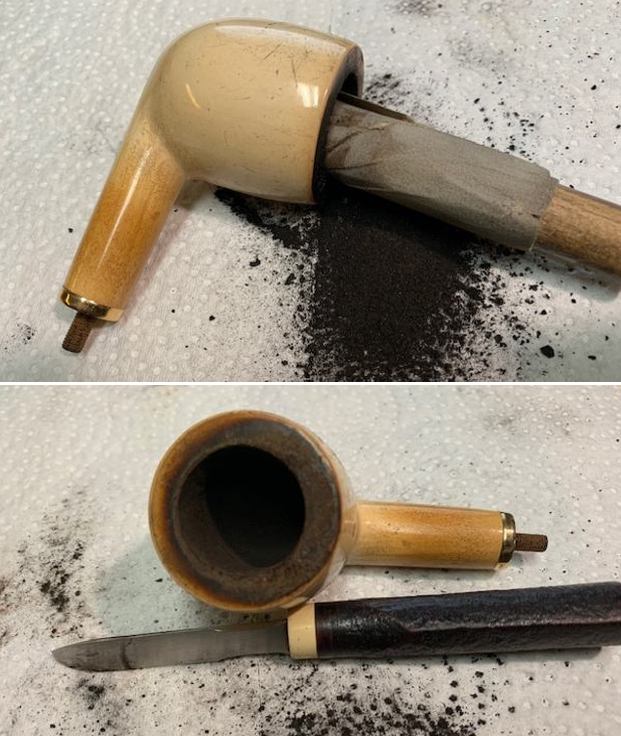
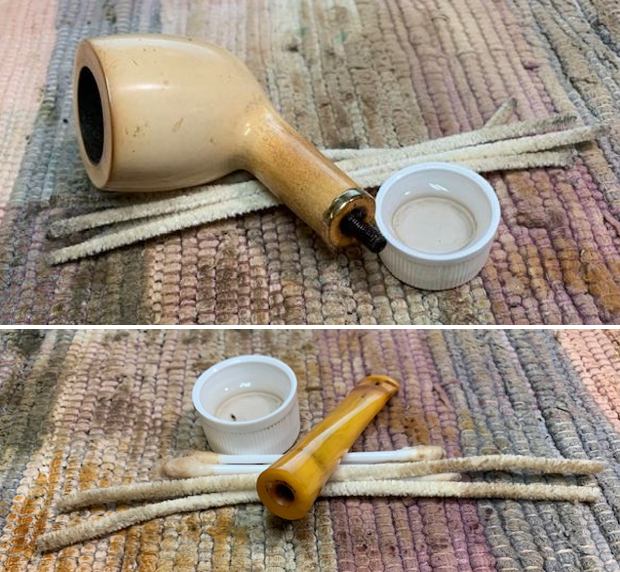
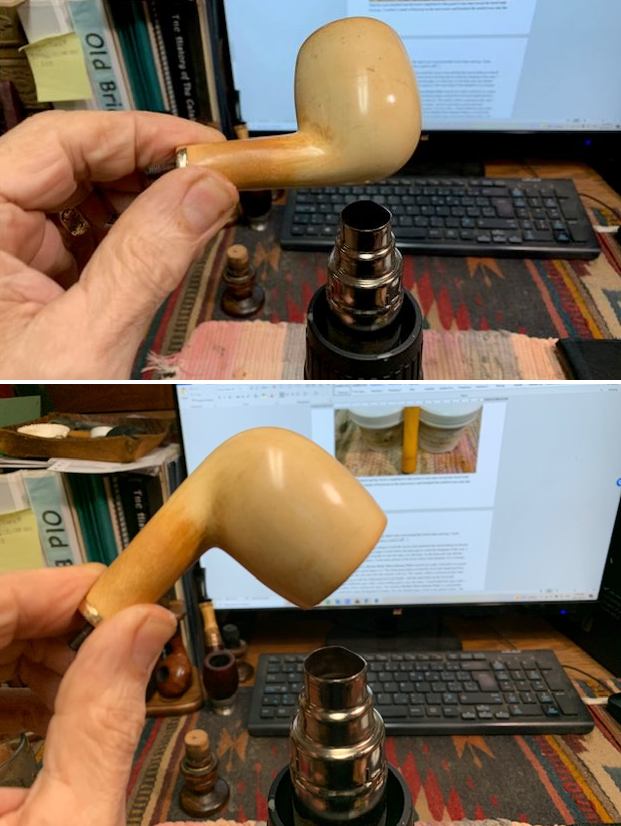
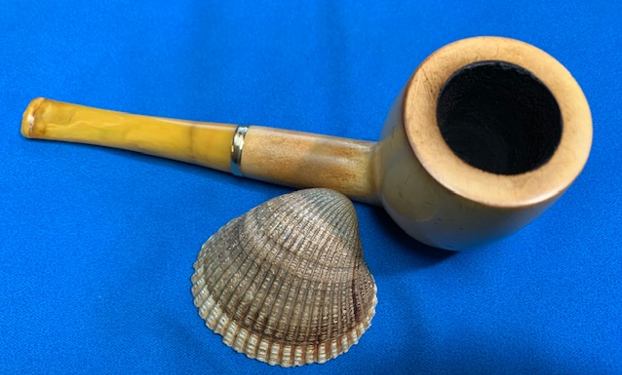
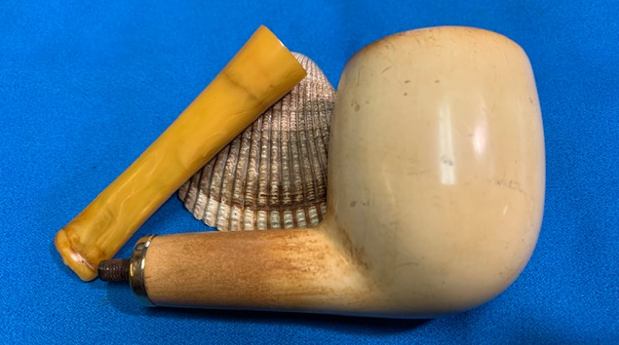
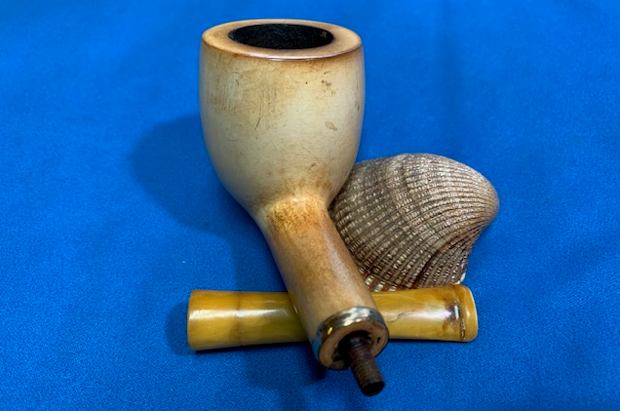
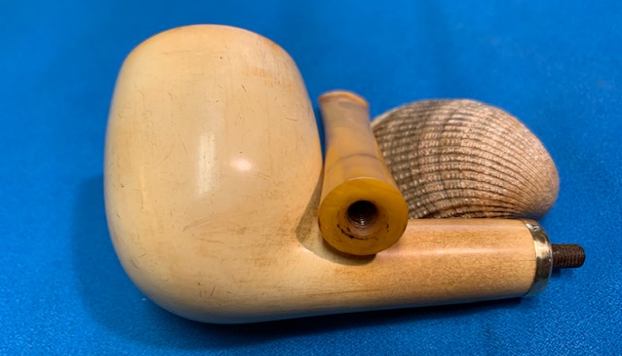
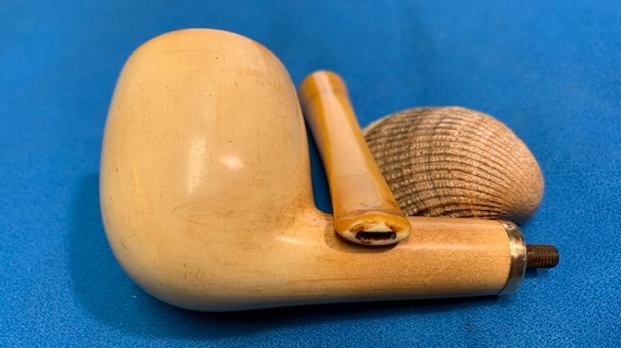
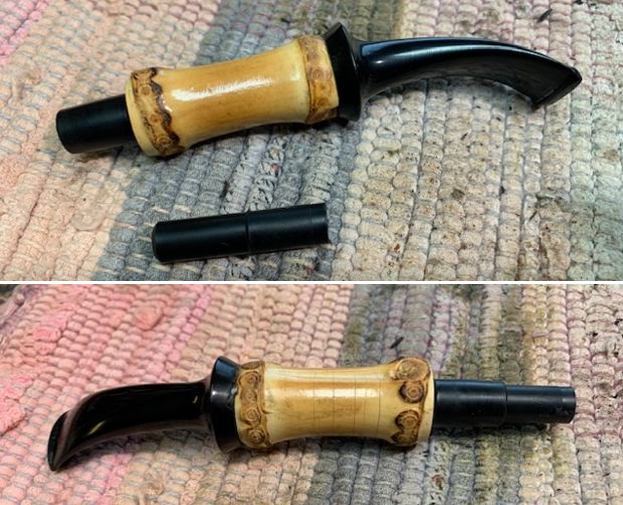
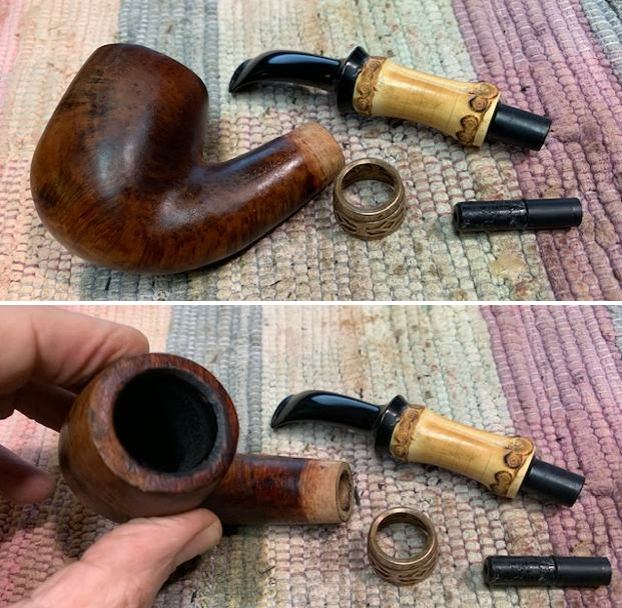
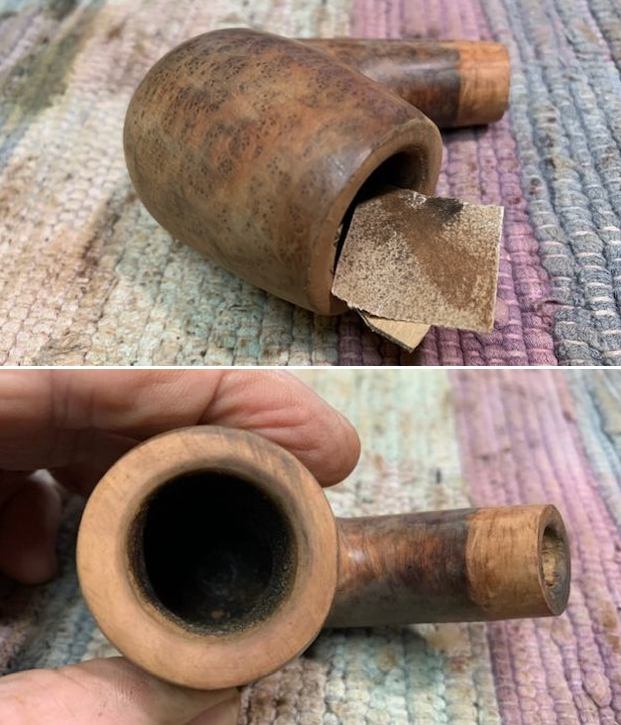
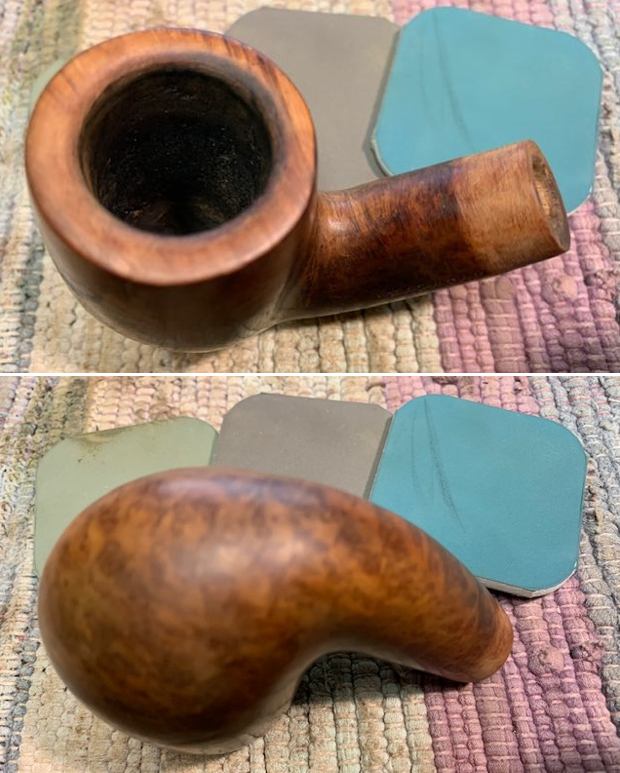
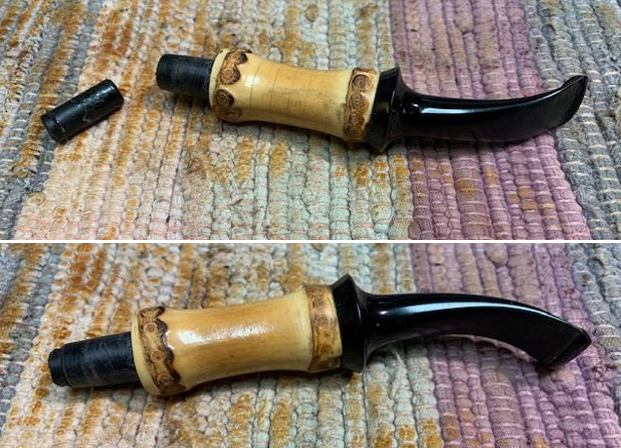
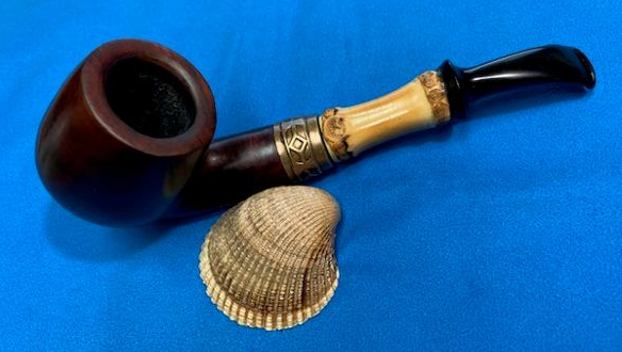
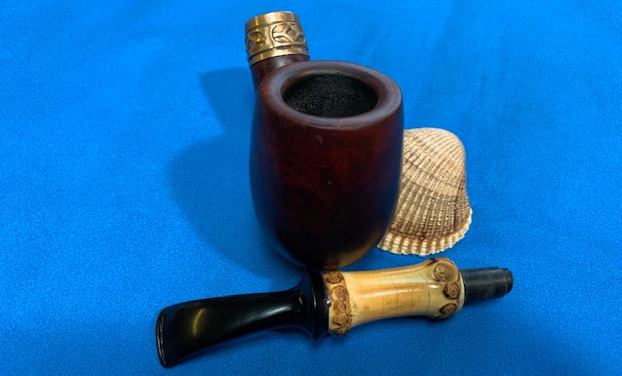
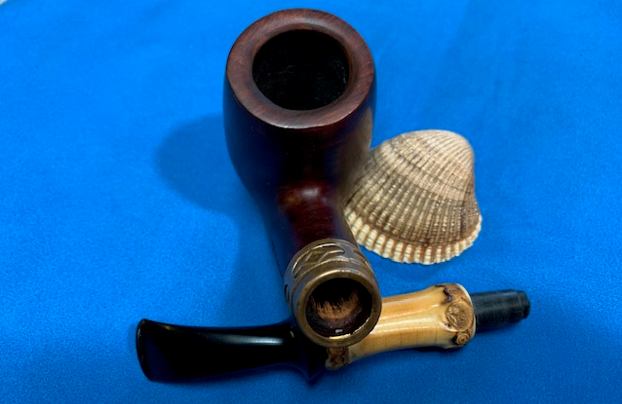
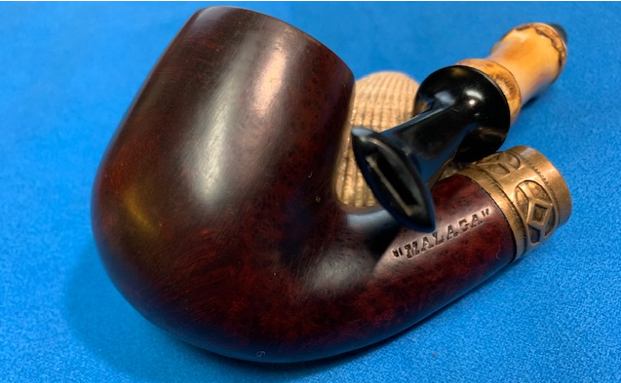
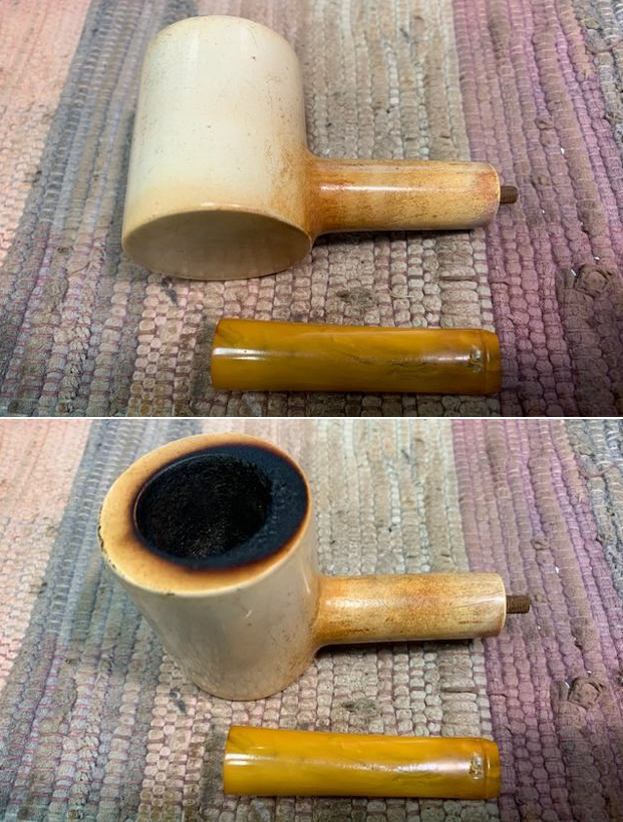
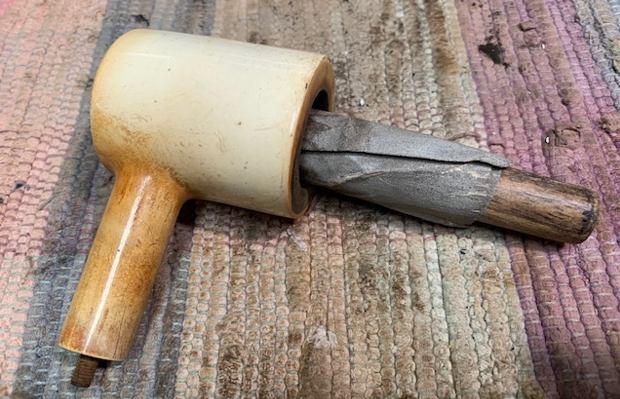
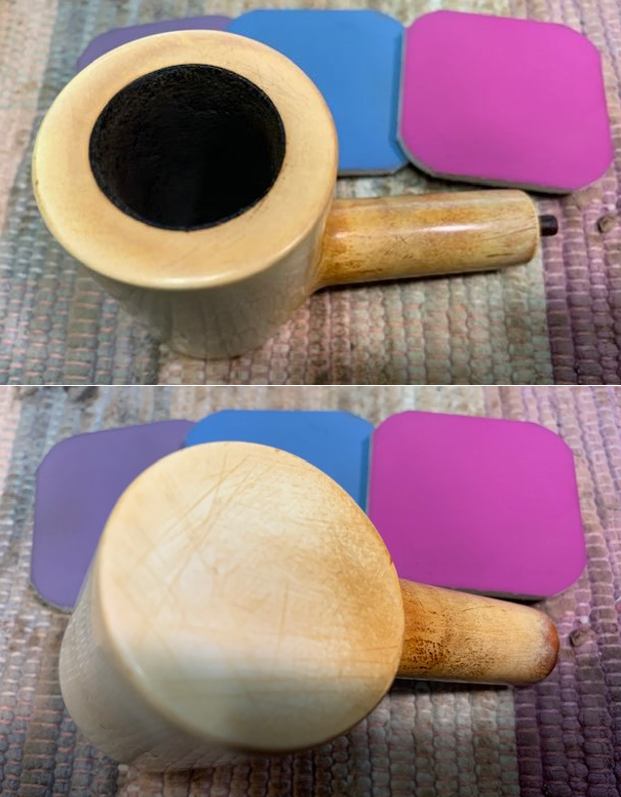
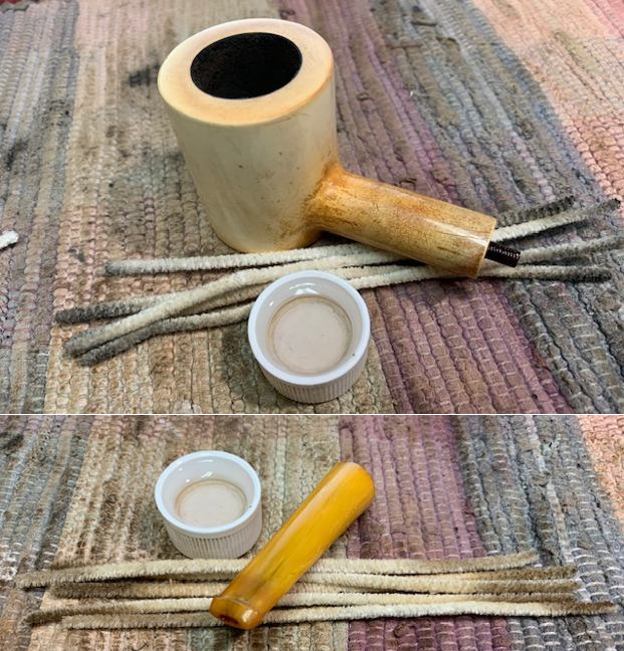
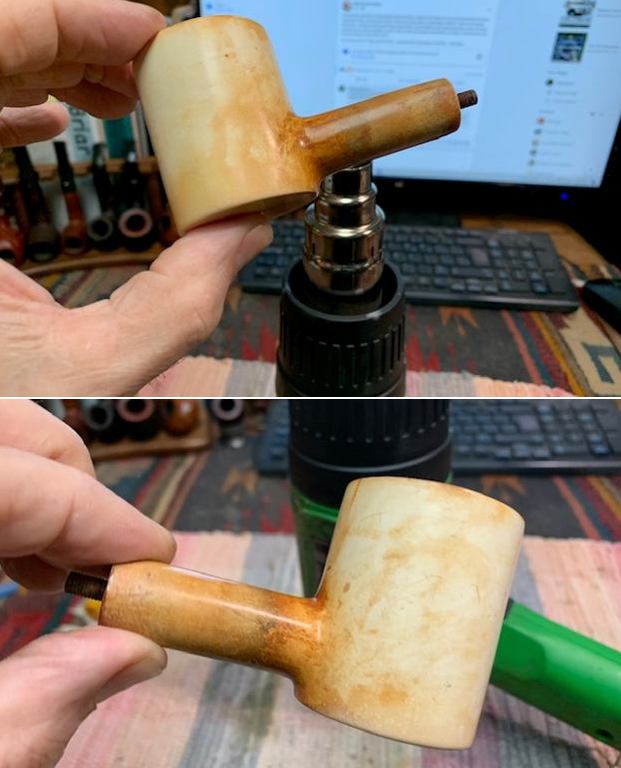
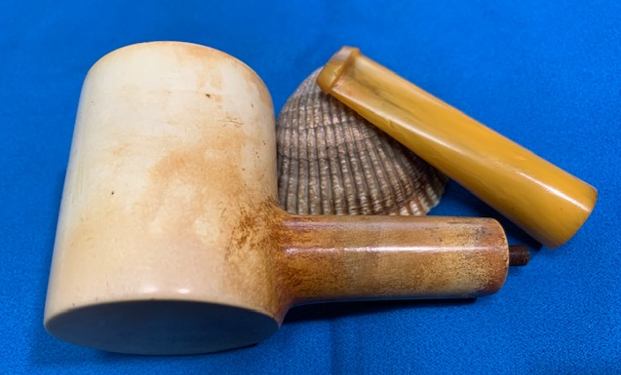
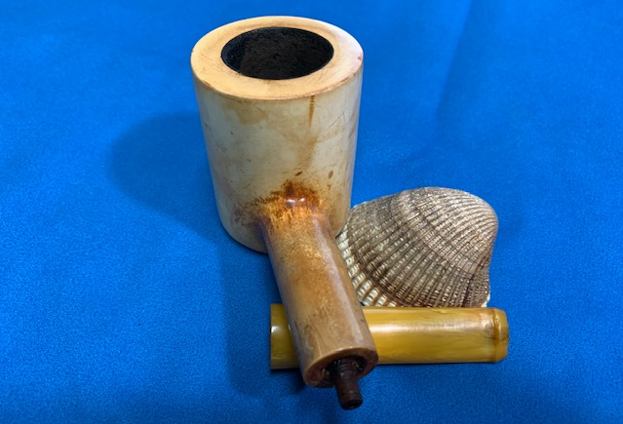
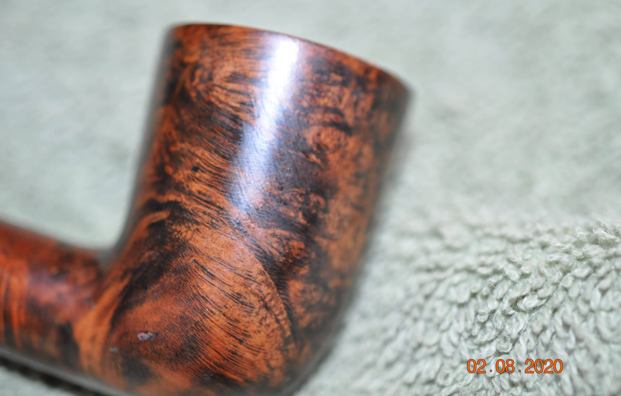
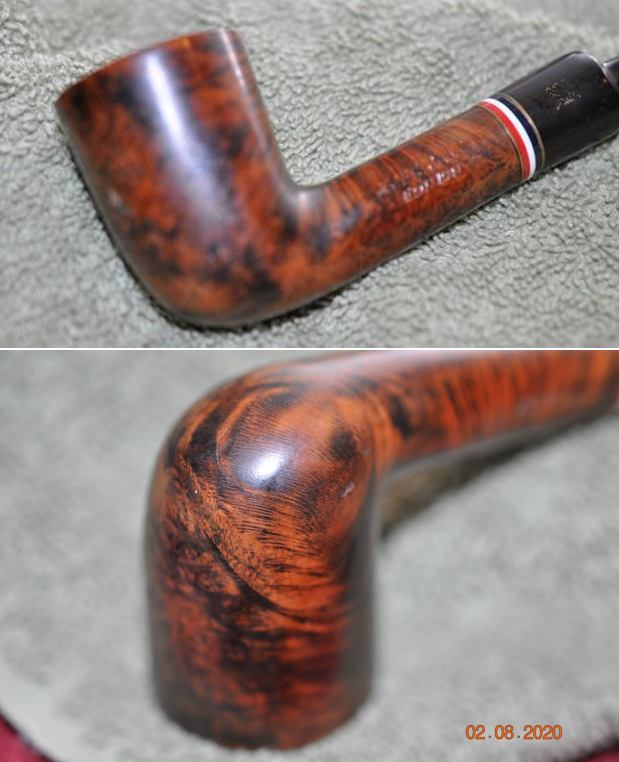
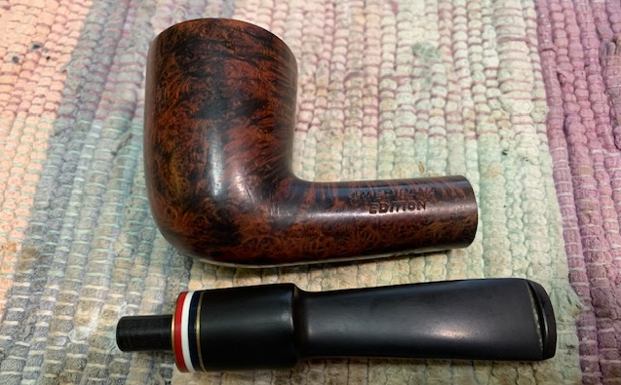
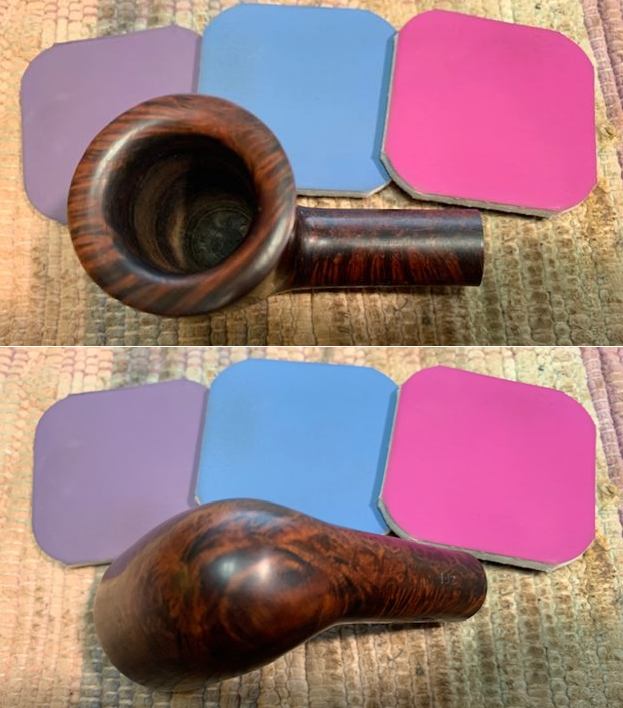
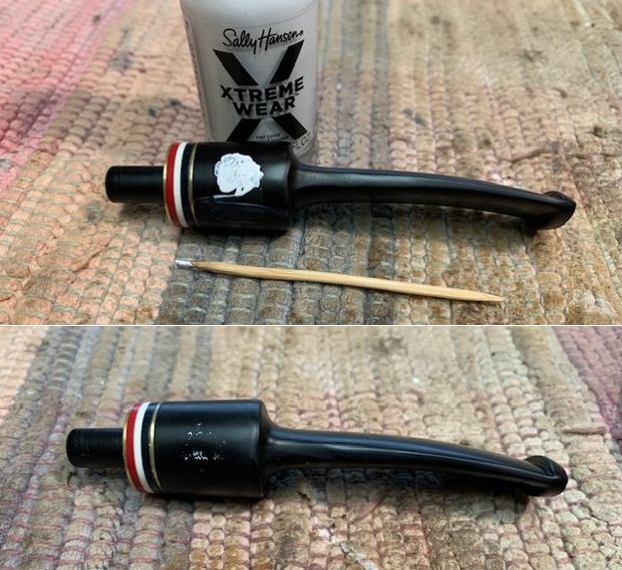
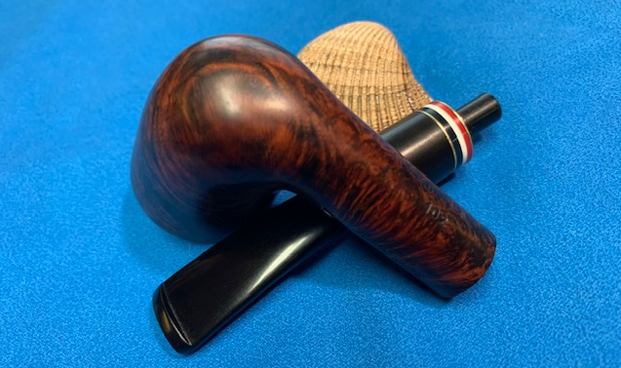
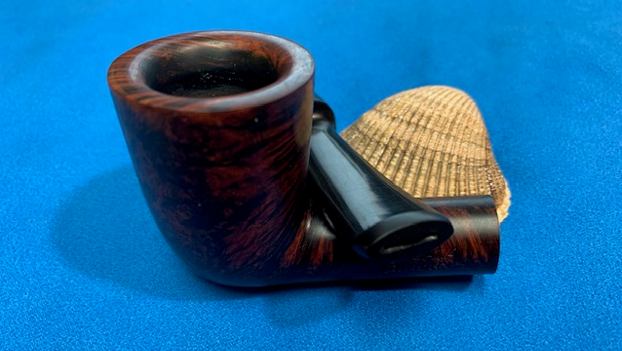
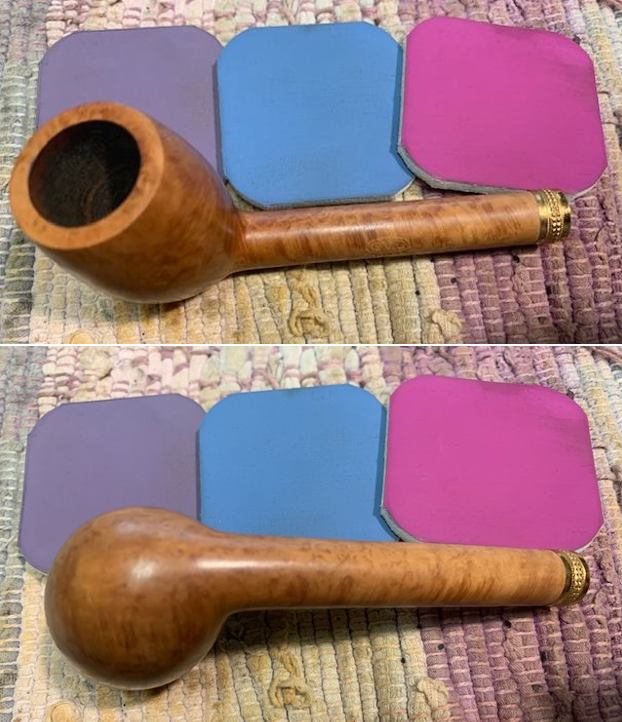
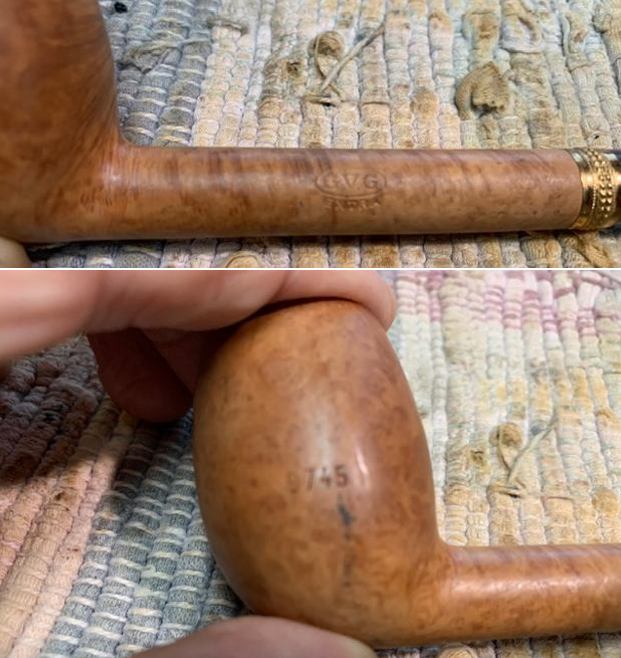 I removed the stem from the shank. You can see the new Delrin tenon in the photo below. The proportions of this pipe are well done. The grain around the bowl is very nice. You can also see the black marks on the side of the bowl in the photo below.
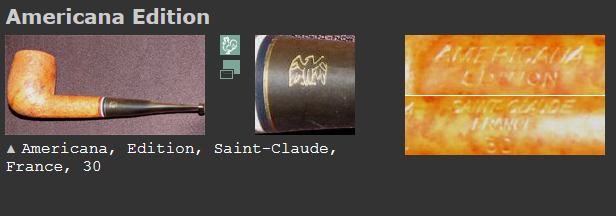
 I turned to Pipedia (https://pipedia.org/wiki/G.V.G.) for a review of the history of the brand and to try and pin down some information for this pipe. The GVG logo took me to Georges Vincent Genod of Genod pipes. I quote below:
G.V.G stands for Georges Vincent Genod, who was the Grand Father of Jacques Craen, the maker of the Genod Pipe for many, many years. The GVG stamp ensures that that stummel is quite old as that stamp was changed when Jacques started making the pipes, likely circa 1960’s. Jacques Craen, the original family owner of Genod pipes, found a number of these G.V.G marked stummels years ago in the “sub-basement” of the Genod factory, what a story that was! These were pre and turn of the century bowls (stummels) that he came upon and which were forgotten about from that time.
So I knew that the pipe was a early Genod pipe carved by Georges Vincent Genod, the grandfather of Jacques Craen of Genod pipes. The stamp means that the stummel is quite old as the stamp changed in the 1960s. The article said that Jacques found a number of these older GVG stummels in a sub-basement of the factory and he finished and stemmed them. This is obviously why this older looking stummel has a Delrin tenon in the horn stem. Now it was time to work on the pipe.
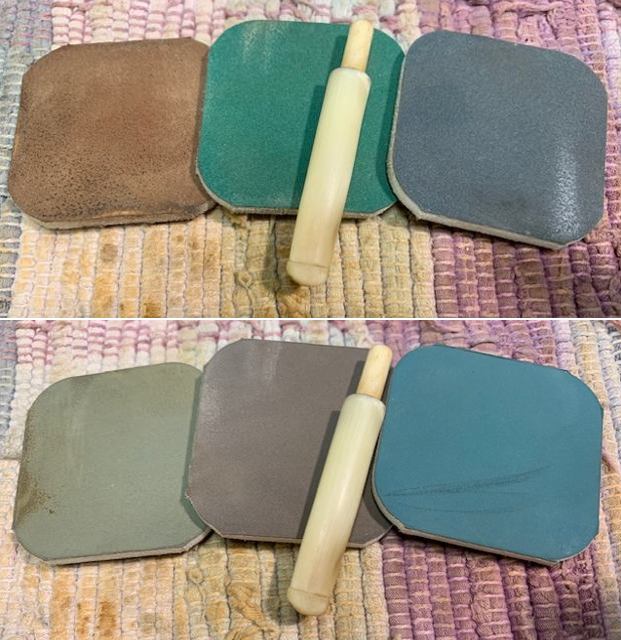
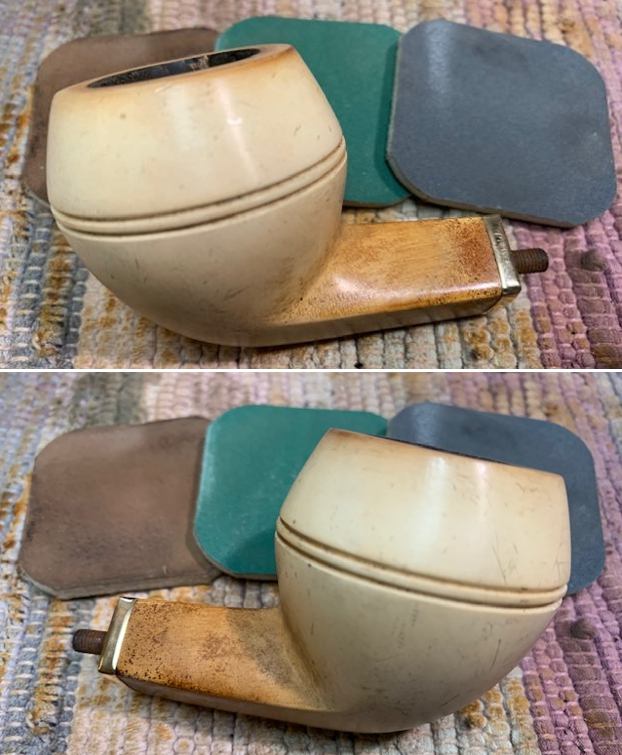
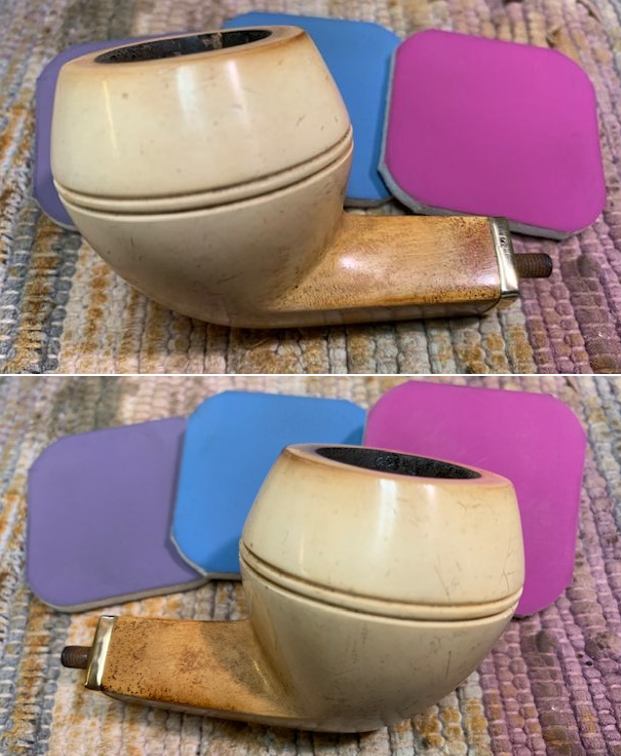
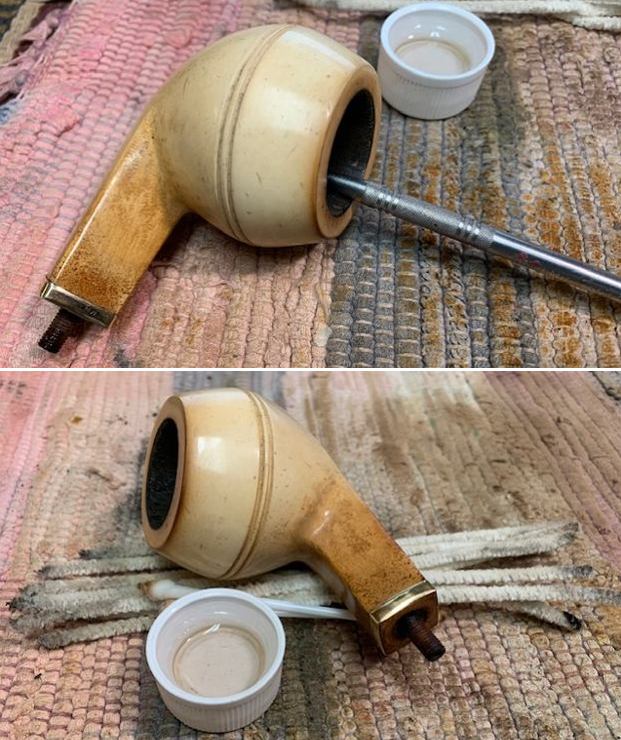
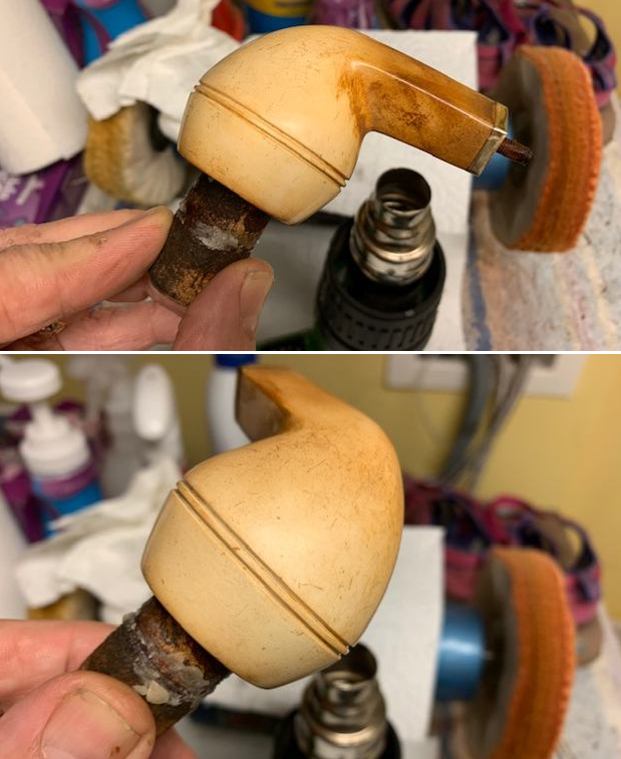
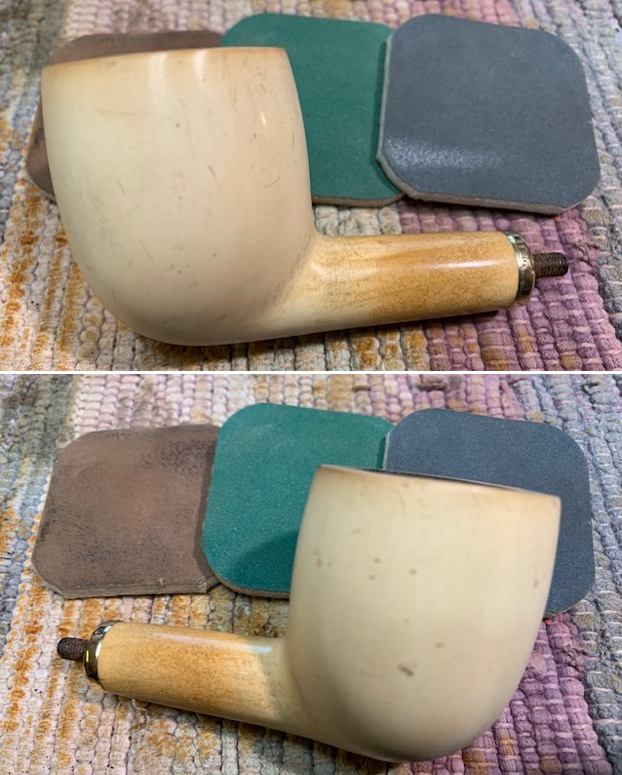
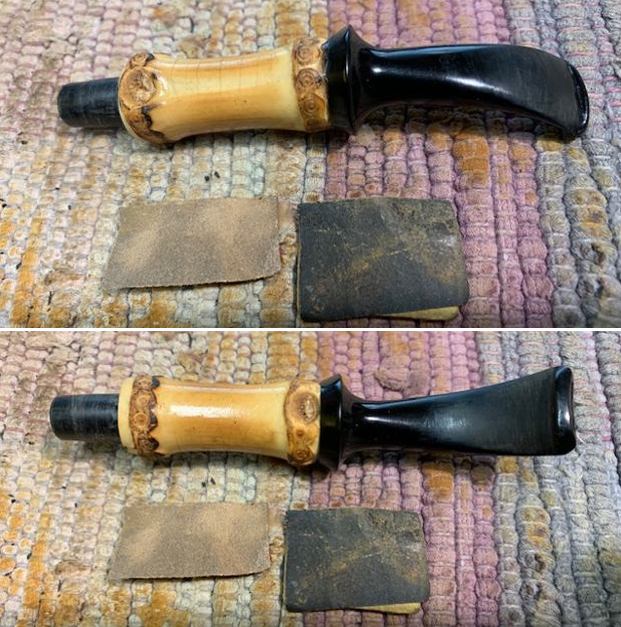
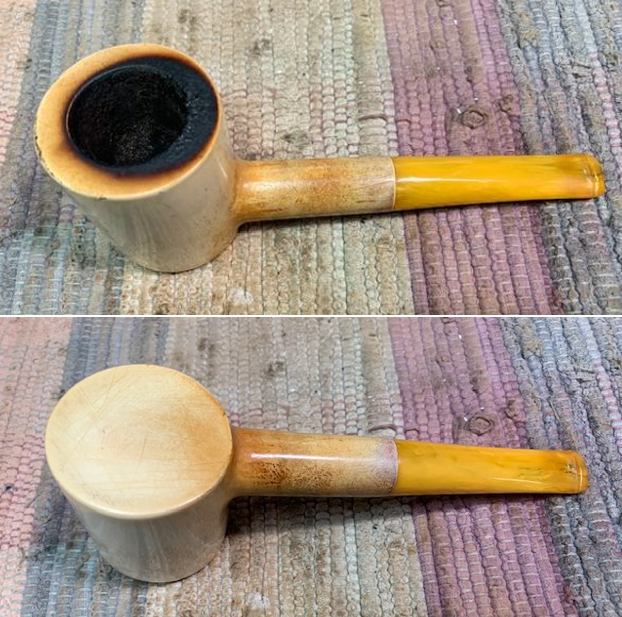
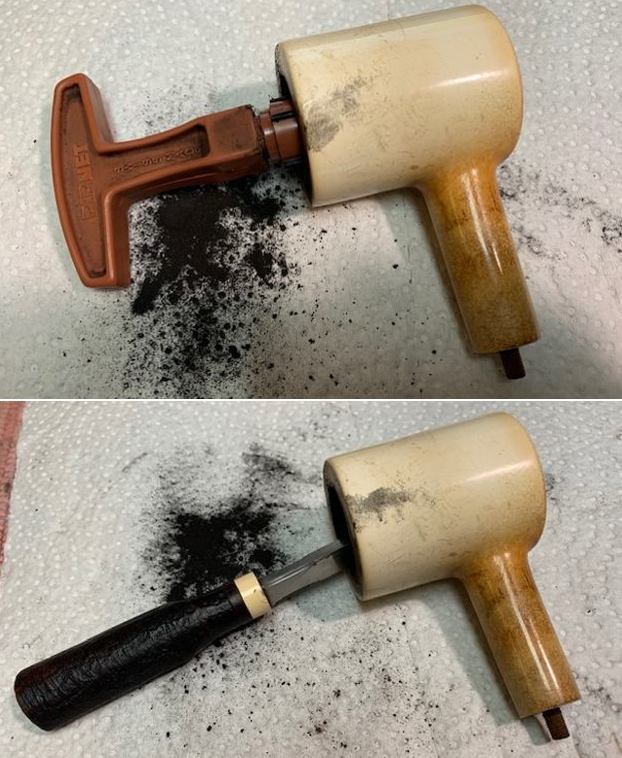
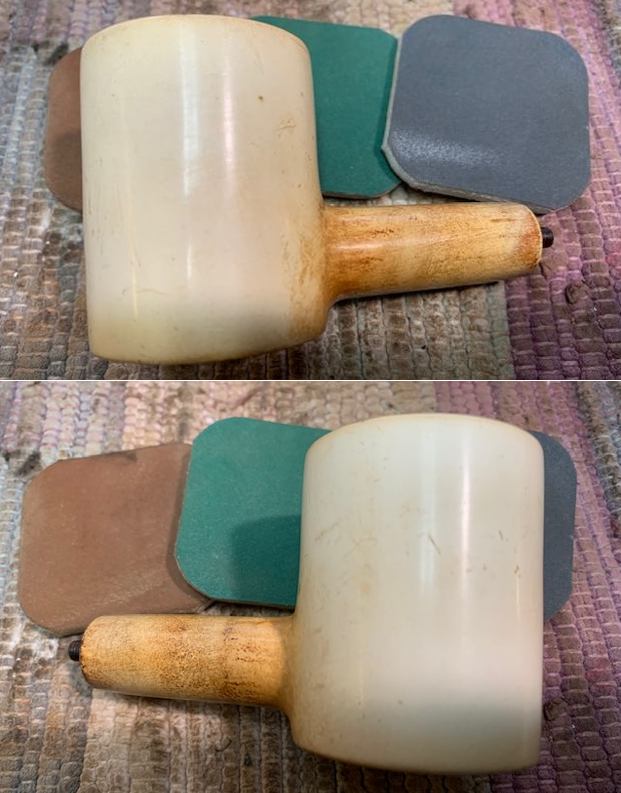
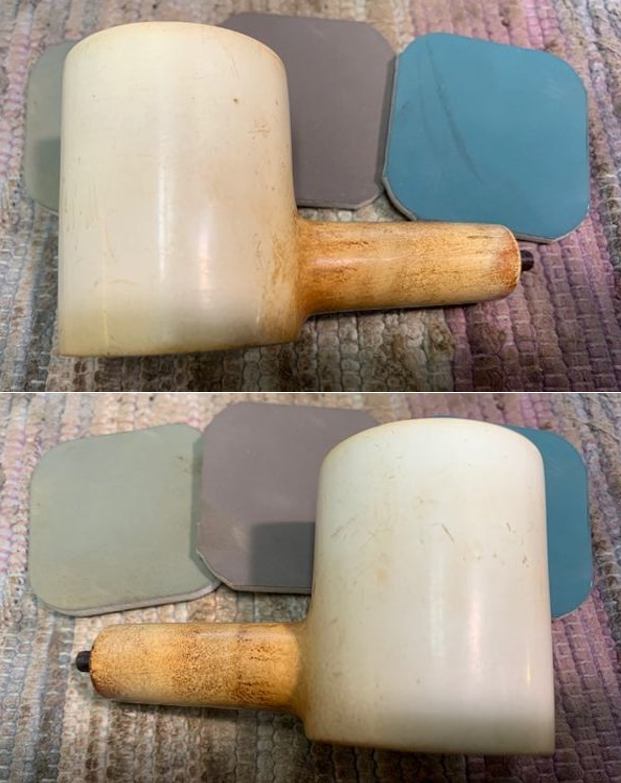
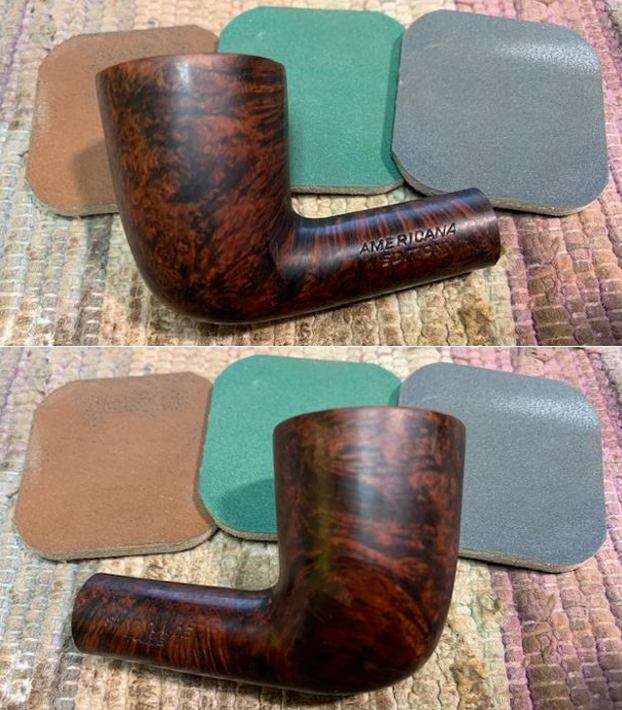
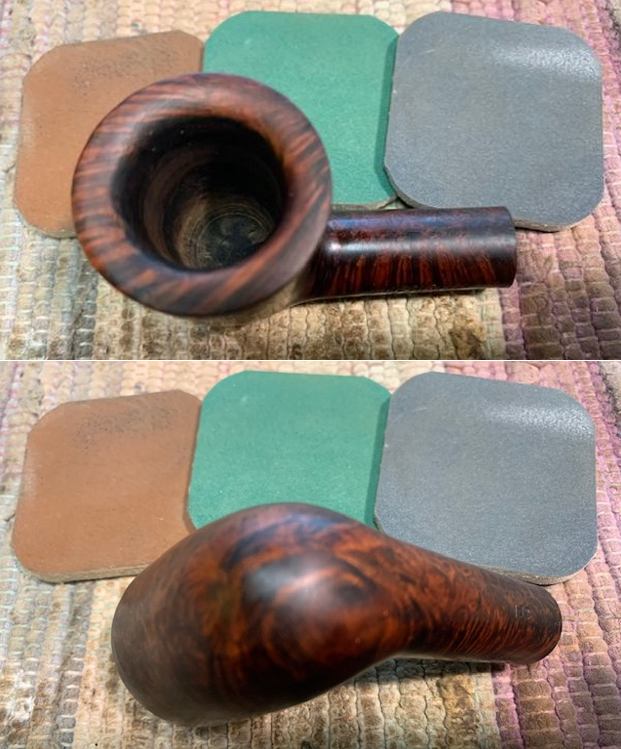
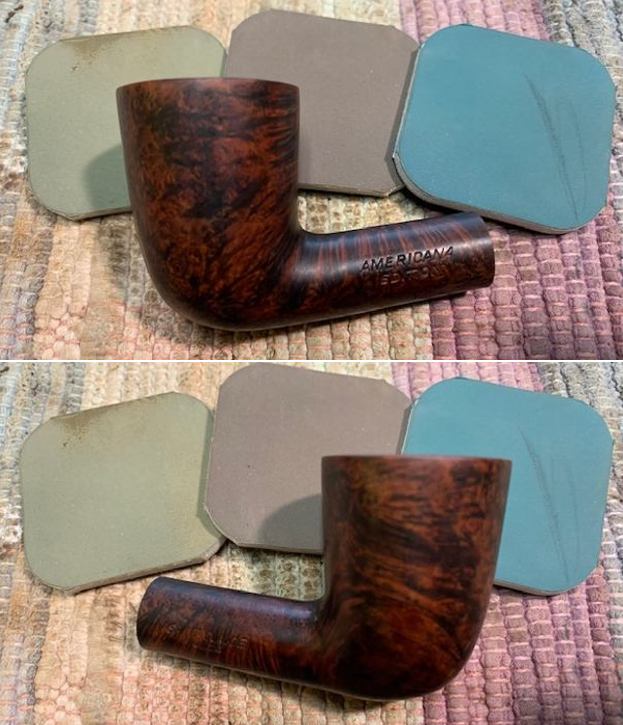
I scraped the bowl to remove the debris from the top half of the bowl. I sanded the darkened/lava crusted rim top to remove the darkening with a folded piece of 220 grit sandpaper. It cleaned up very well.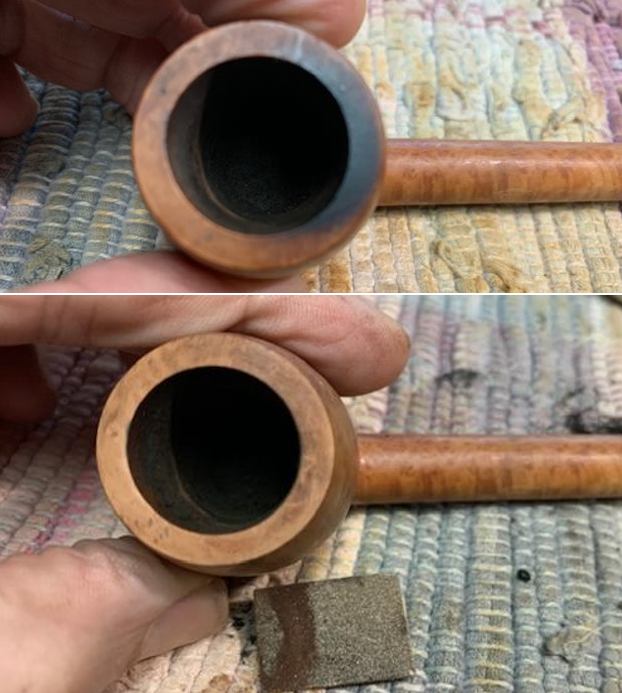 I polished the bowl and shank with micromesh sanding pads. I dry sanded with 1500 -12000 grit pads and wiped the bowl down with a damp cloth after each sanding pad. It began to really come alive.
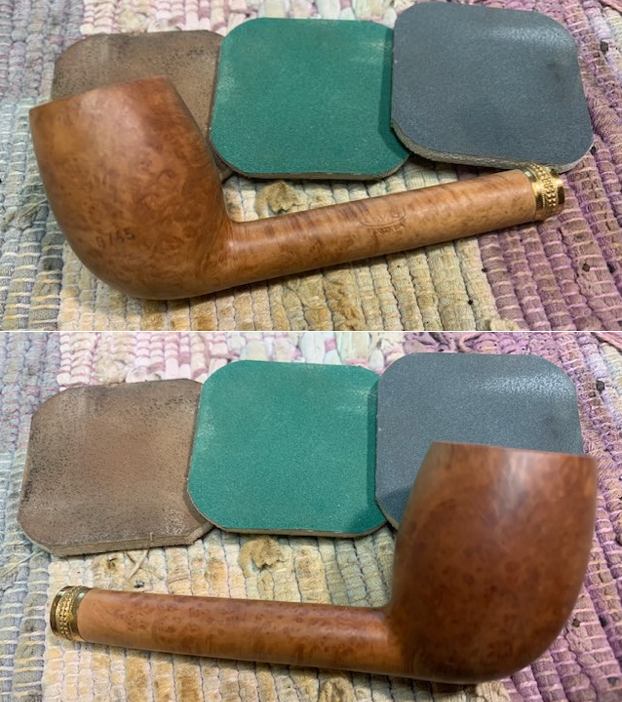


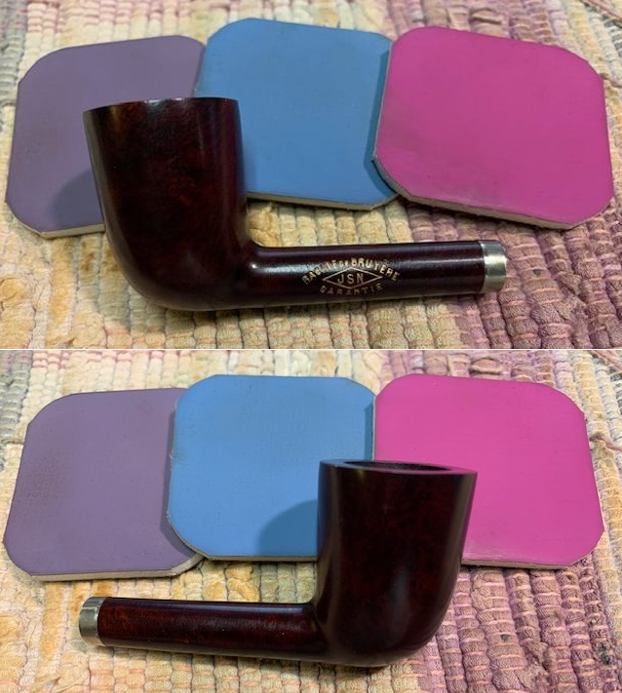
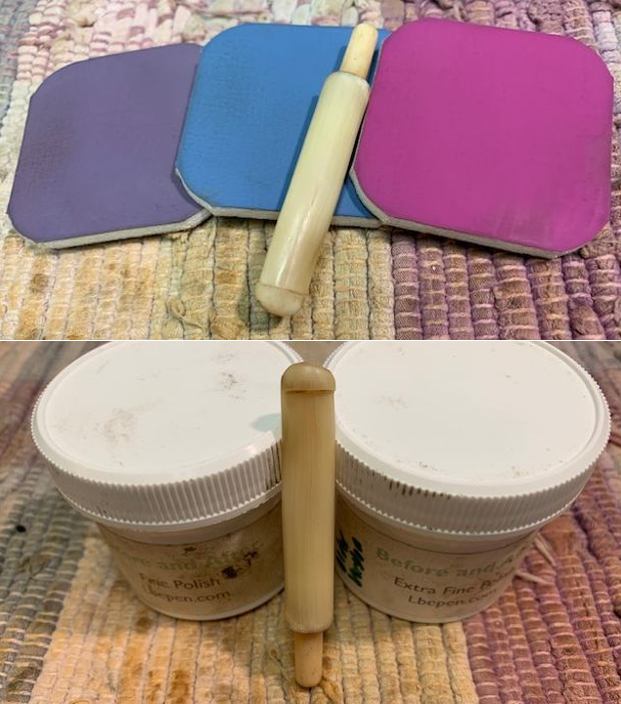
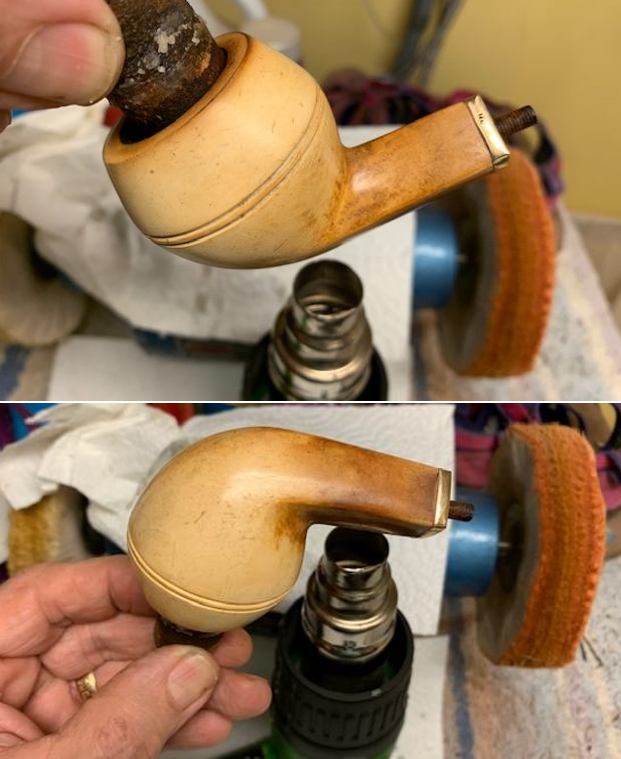
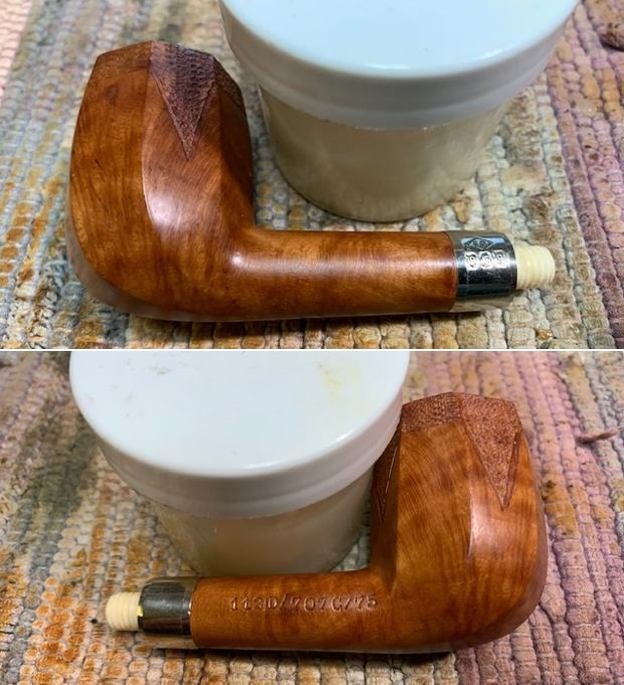
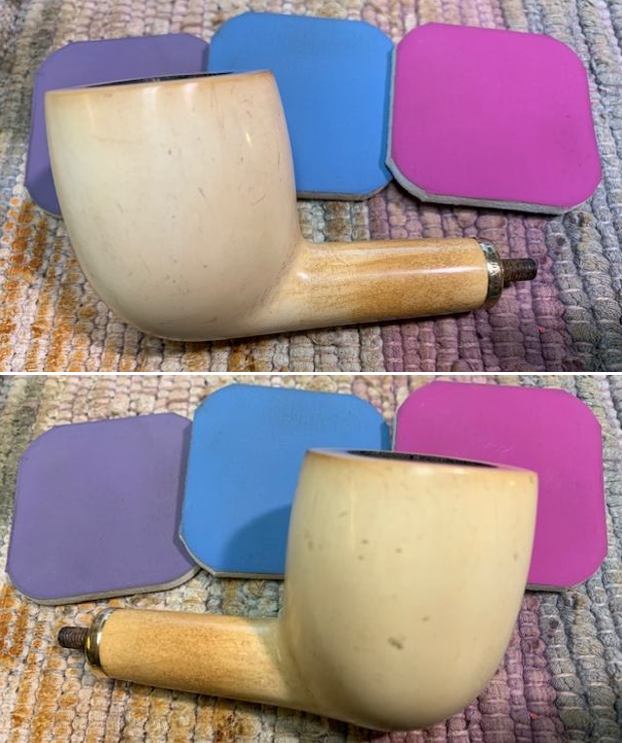
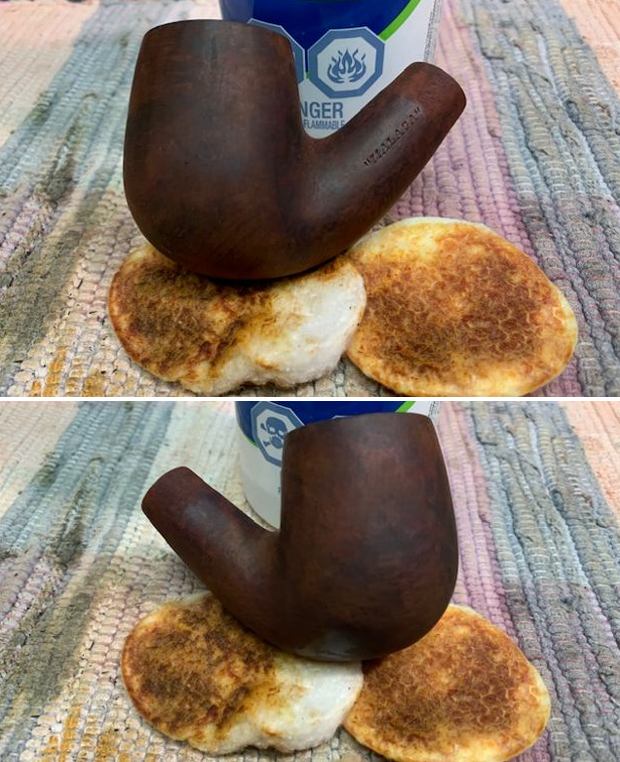
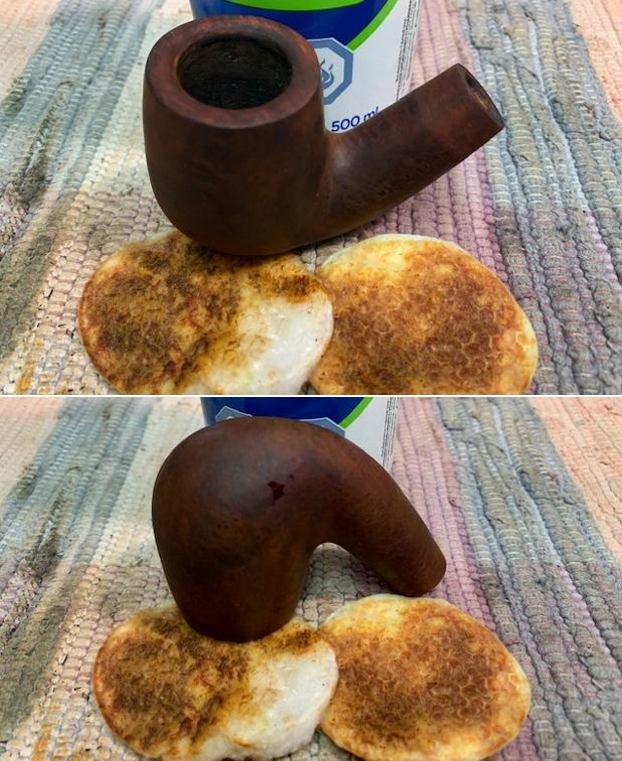
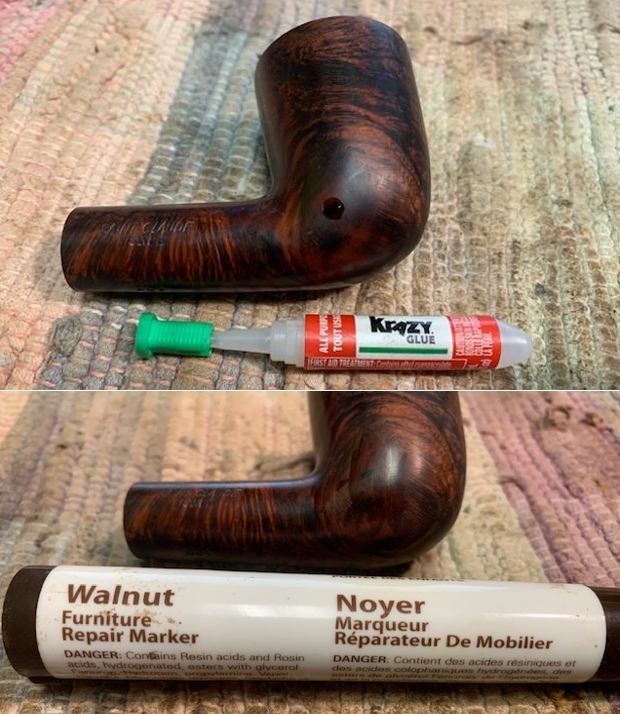
 I rubbed the briar down with Before & After Restoration Balm. I worked it into the finish with my fingertips. The product works to clean, enliven and protect briar finished. I let it sit for 10 minutes then buffed it off with a cotton cloth. The grain on the bowl really came alive with the buffing. It is really a beautiful pipe.
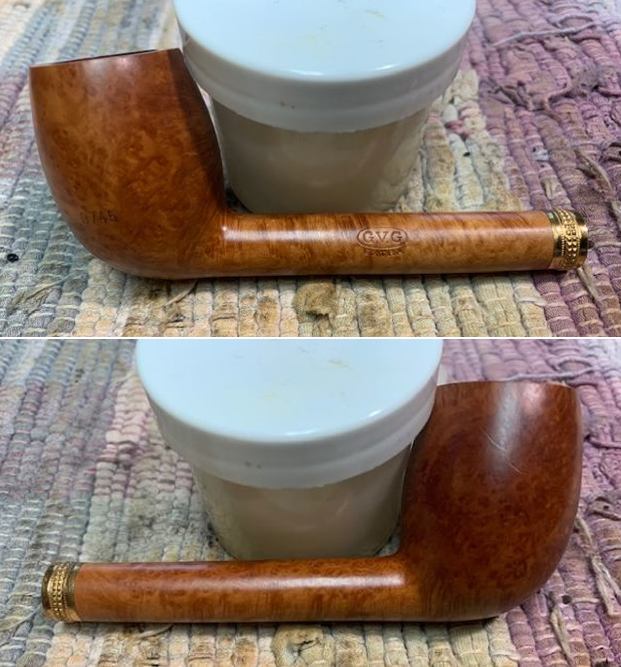
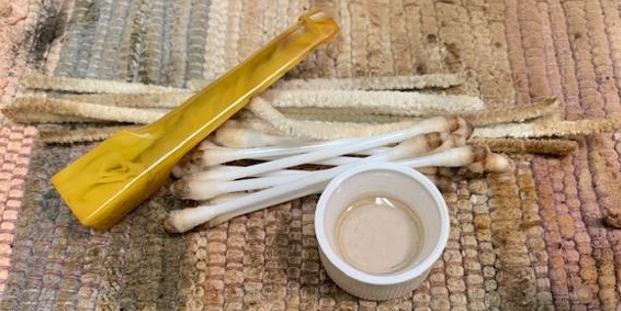
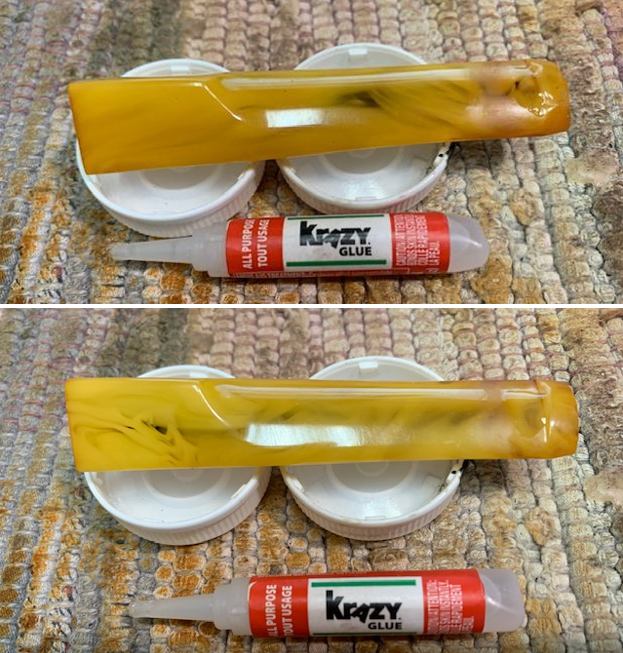
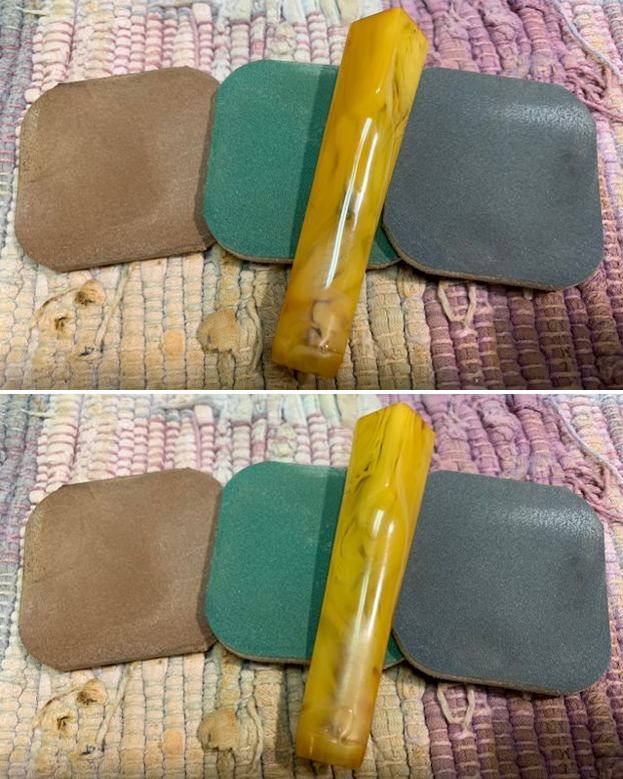
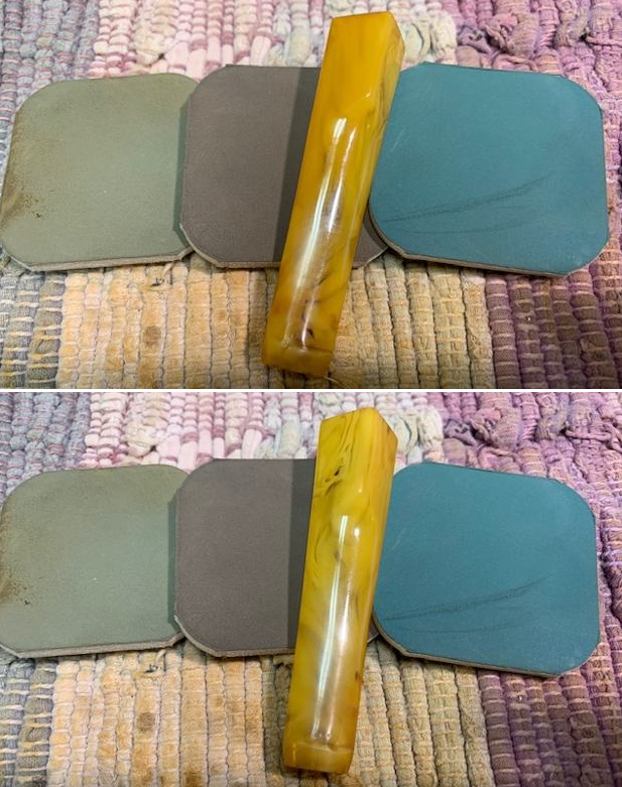
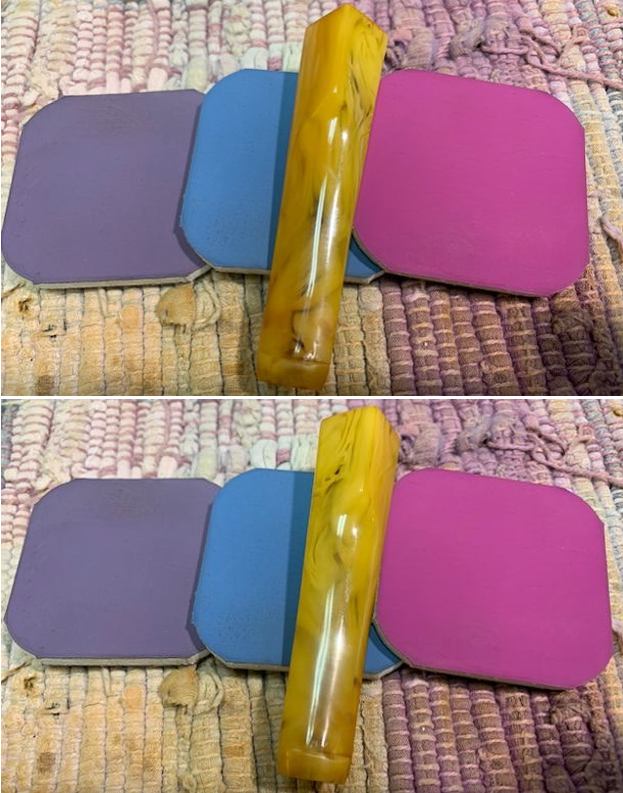
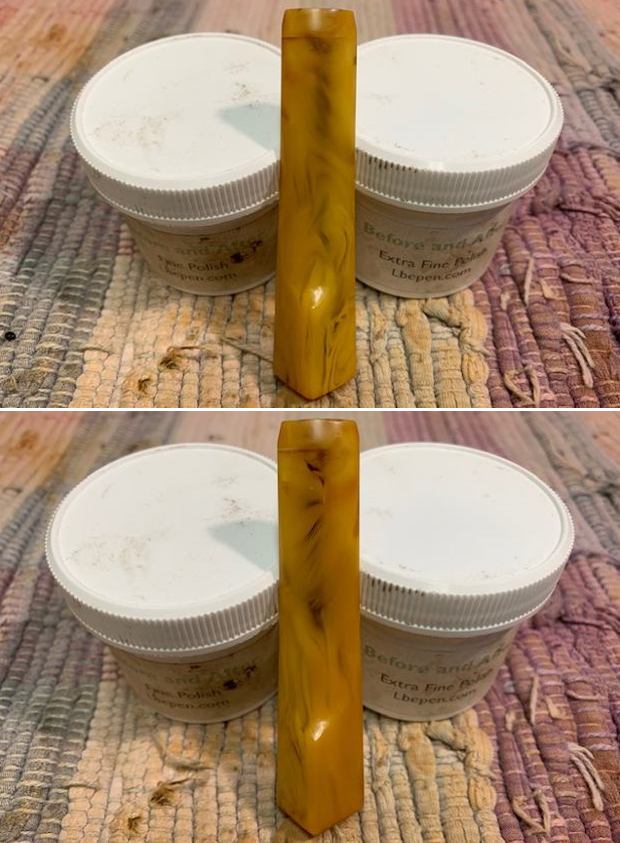
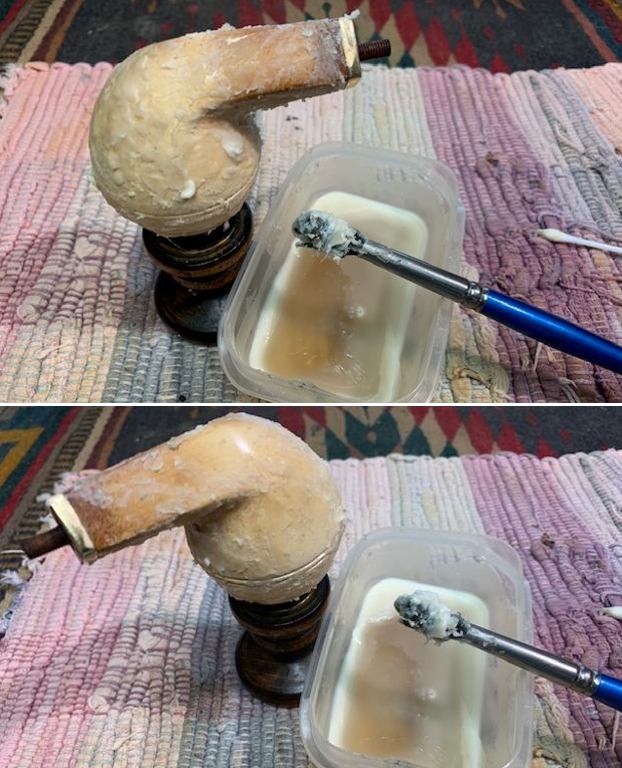
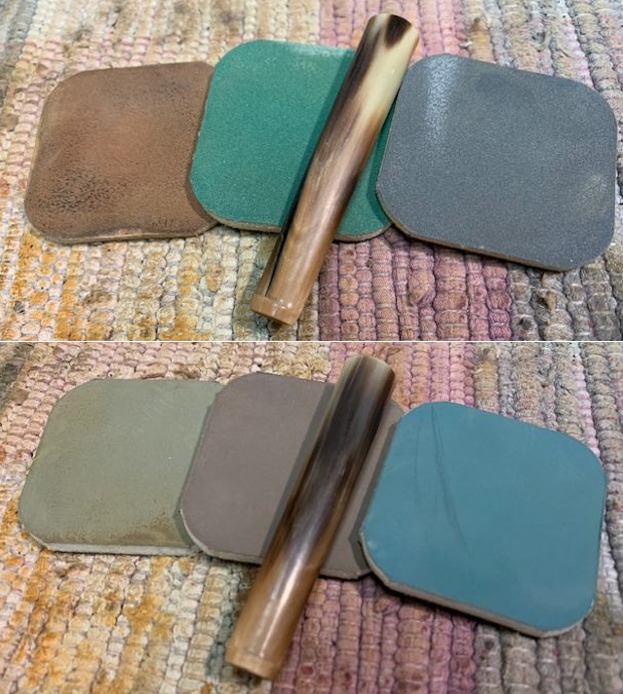
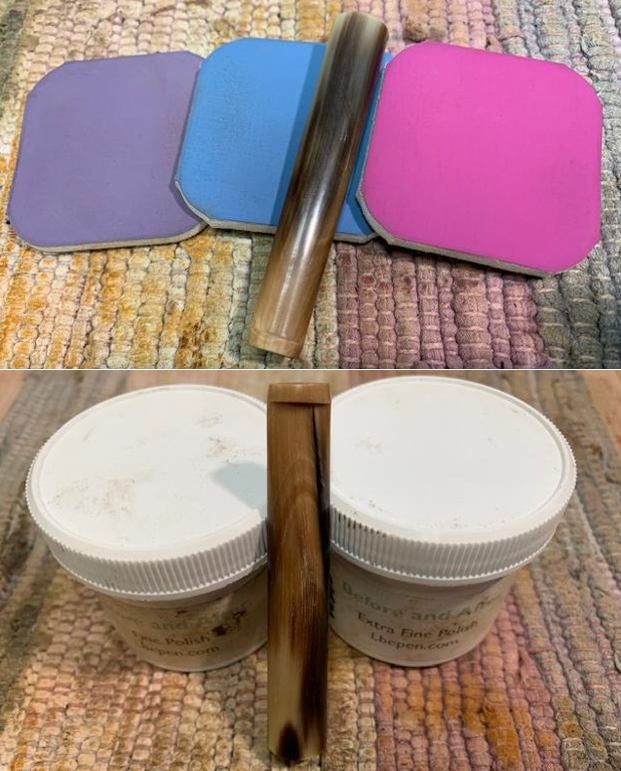
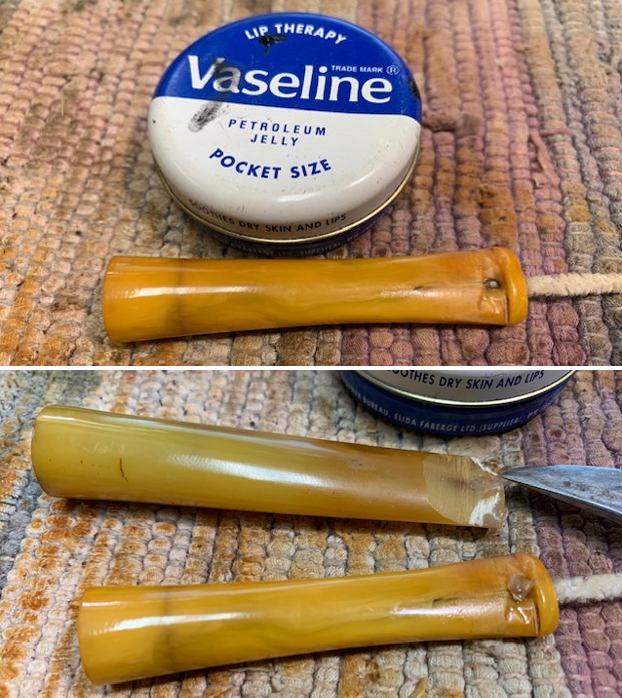
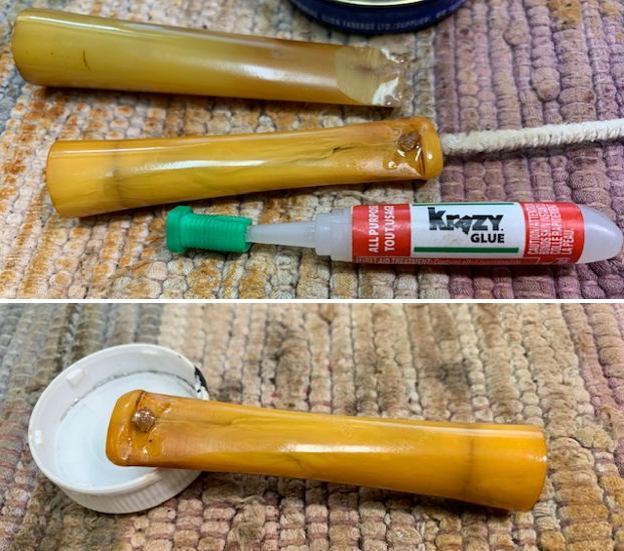
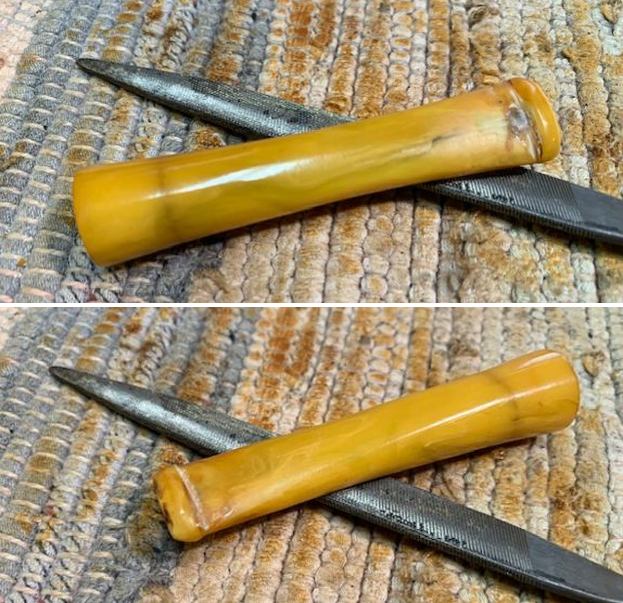
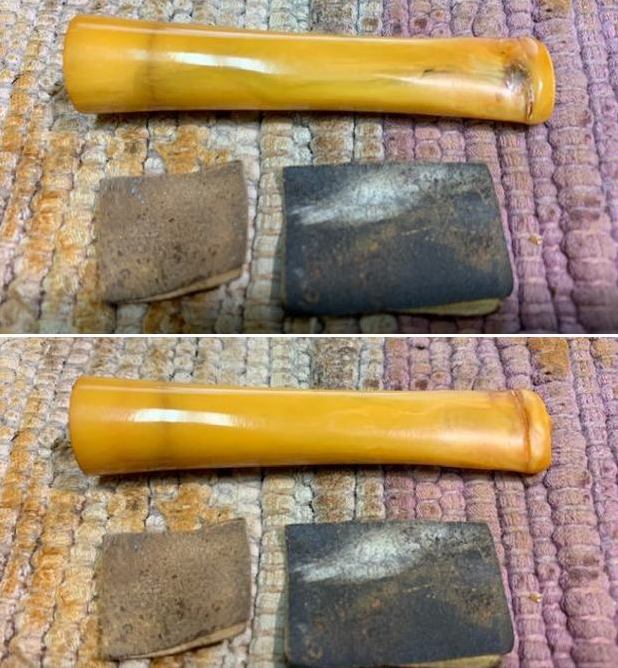
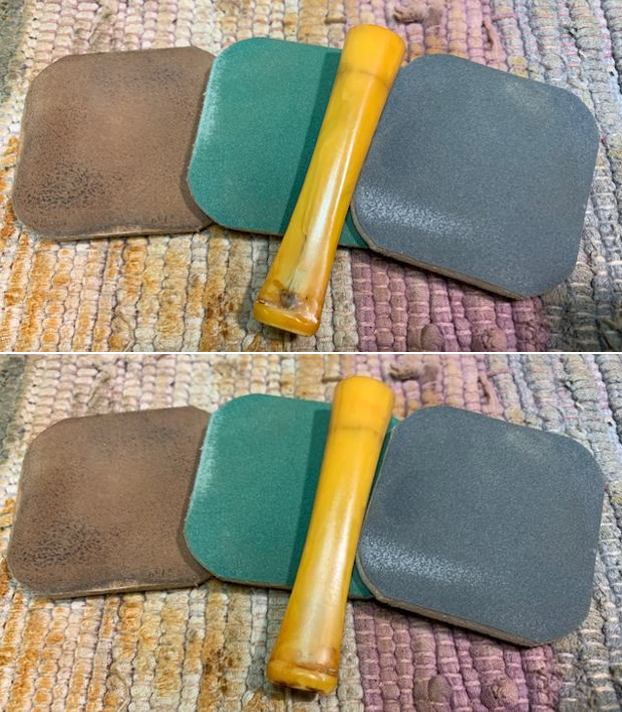
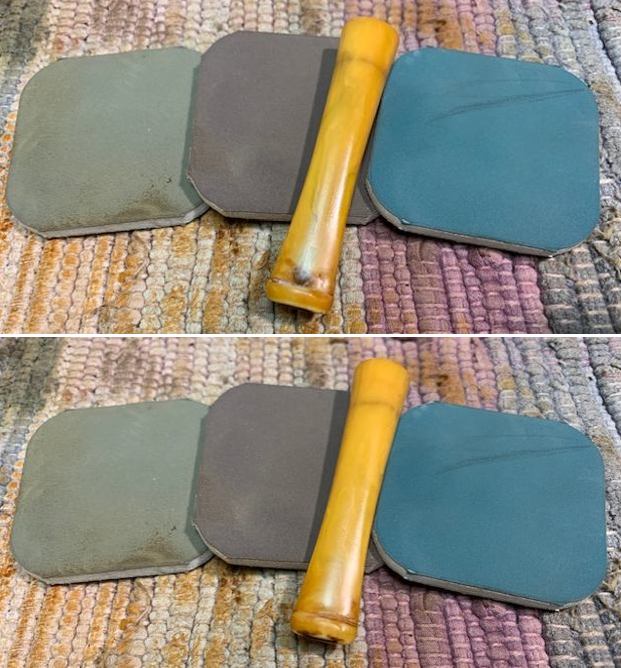
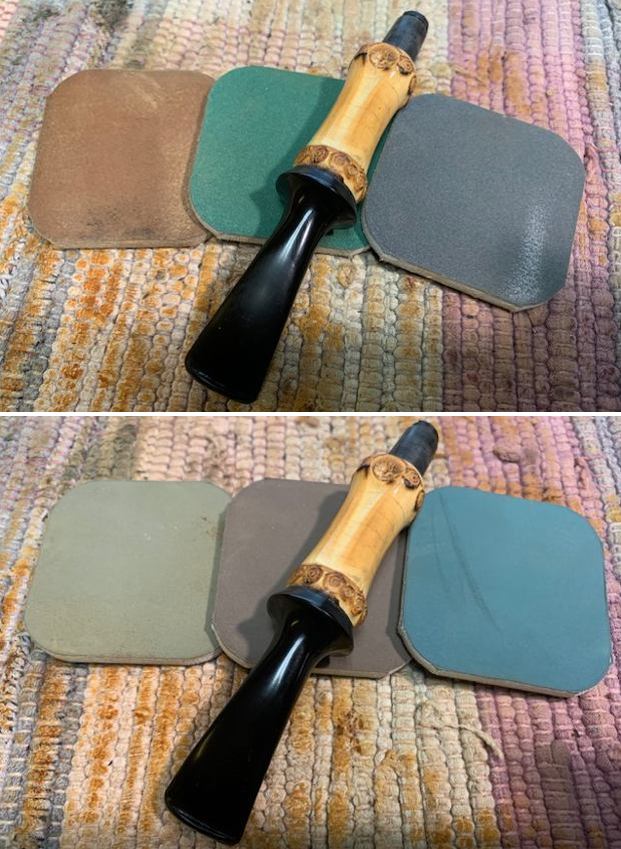
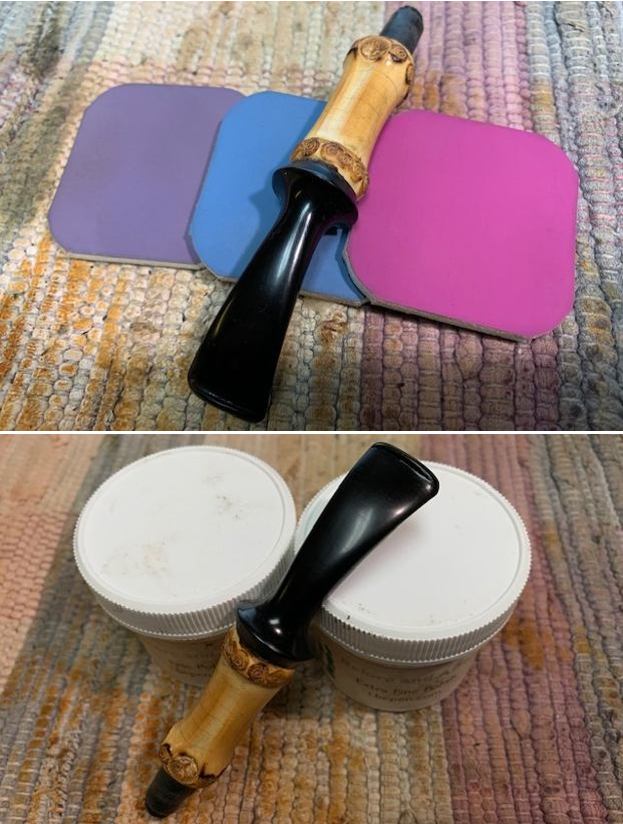
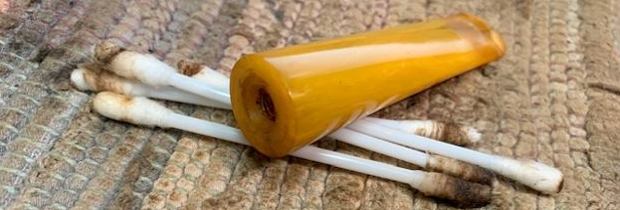
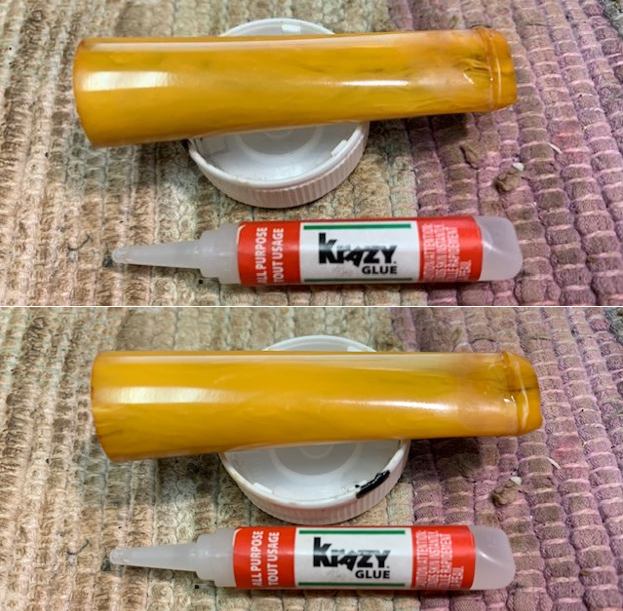
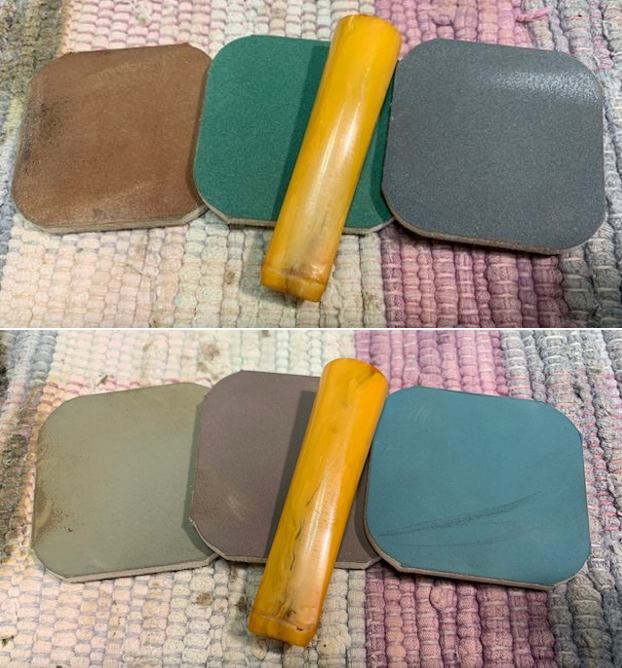
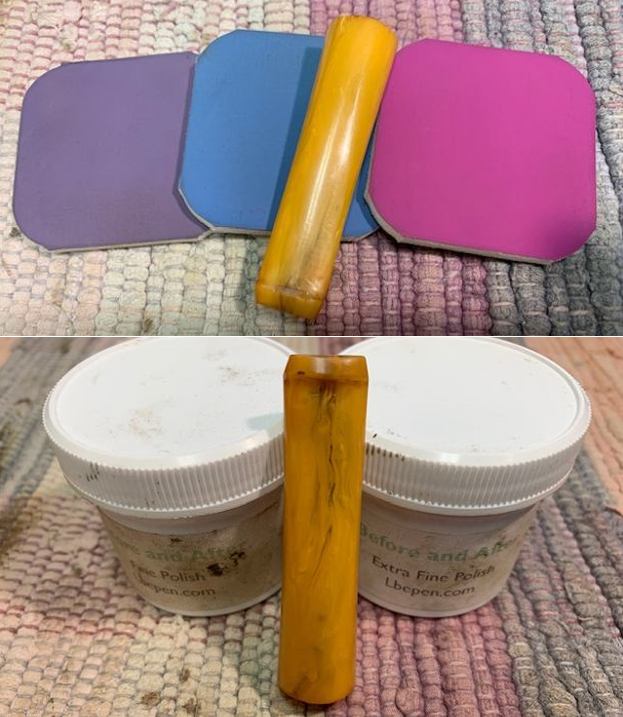
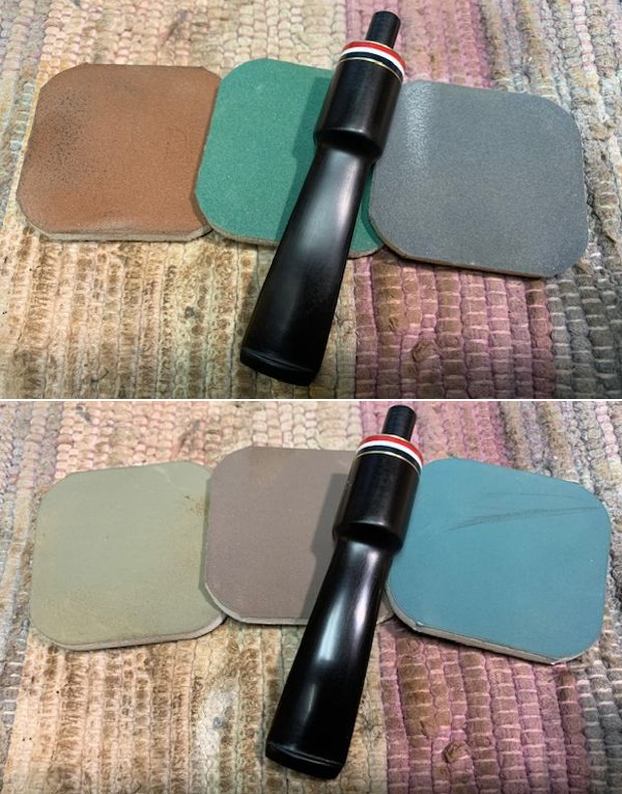
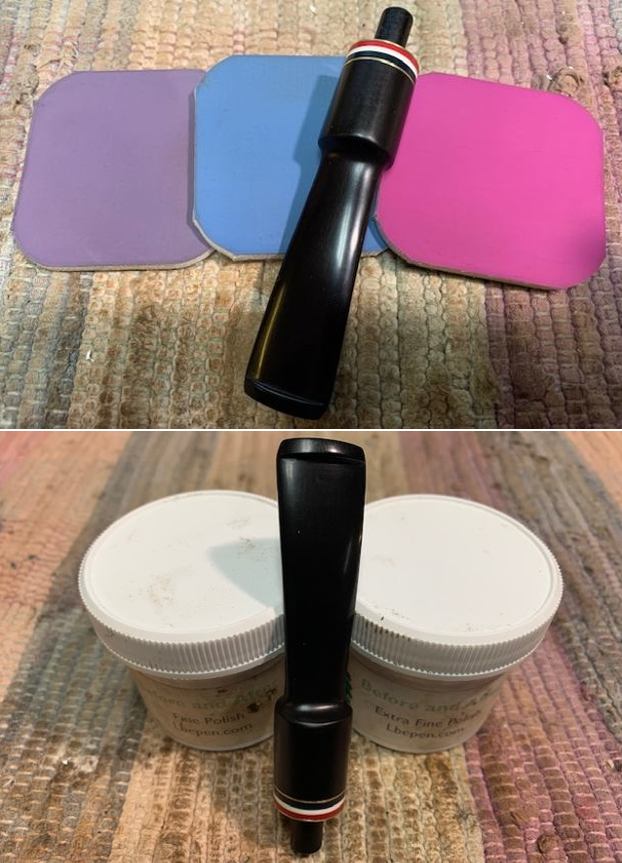
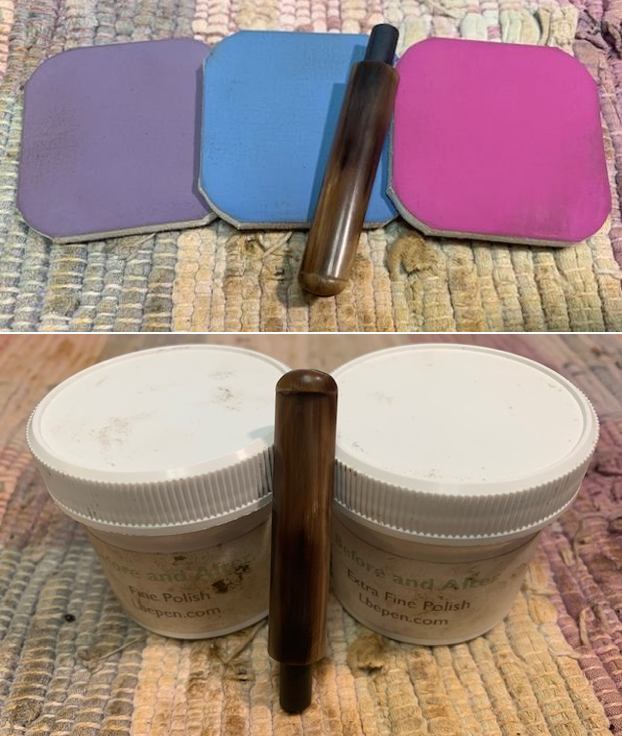
 I did a quick polish on the horn stem with micromesh sanding pads – 1500-12000 grit pads. I wiped the stem down after each pad with Obsidian Oil to protect and enliven the horn. It came out looking very good.
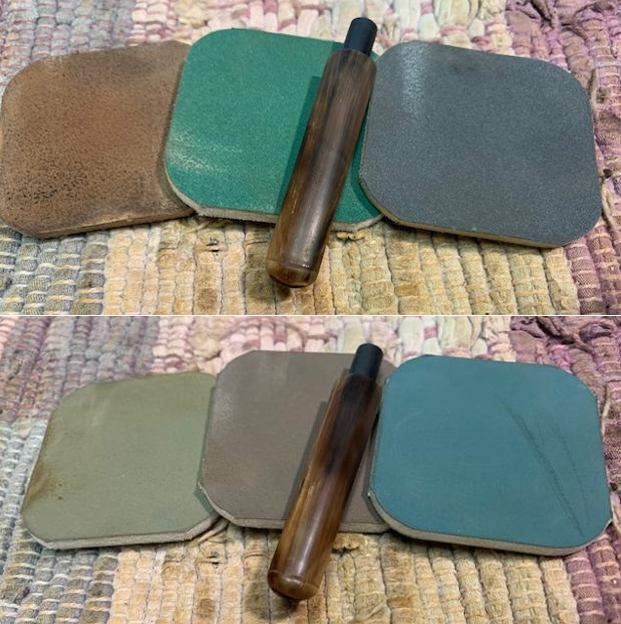
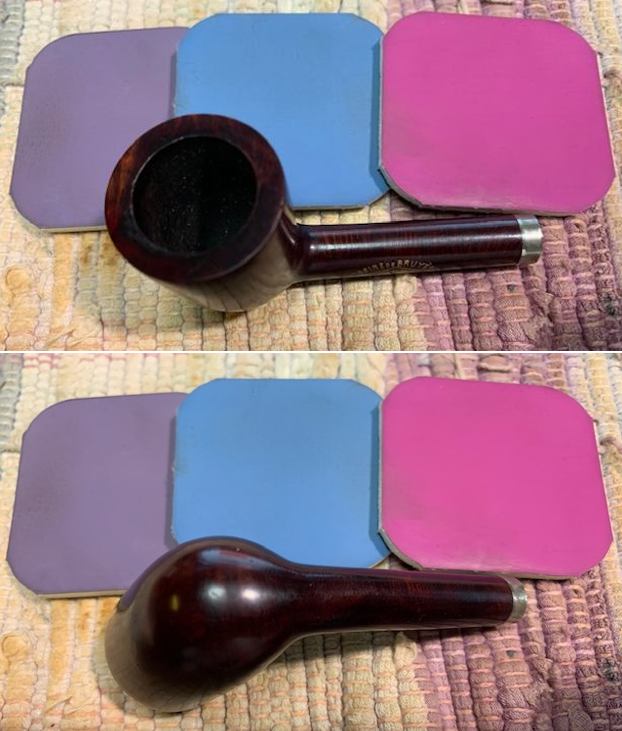
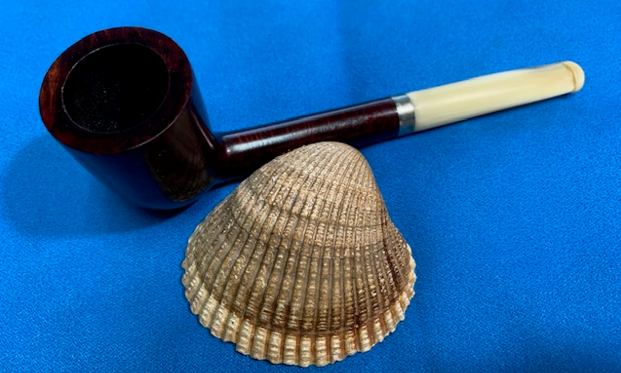
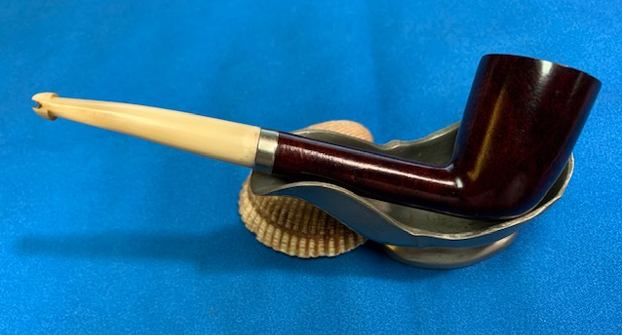
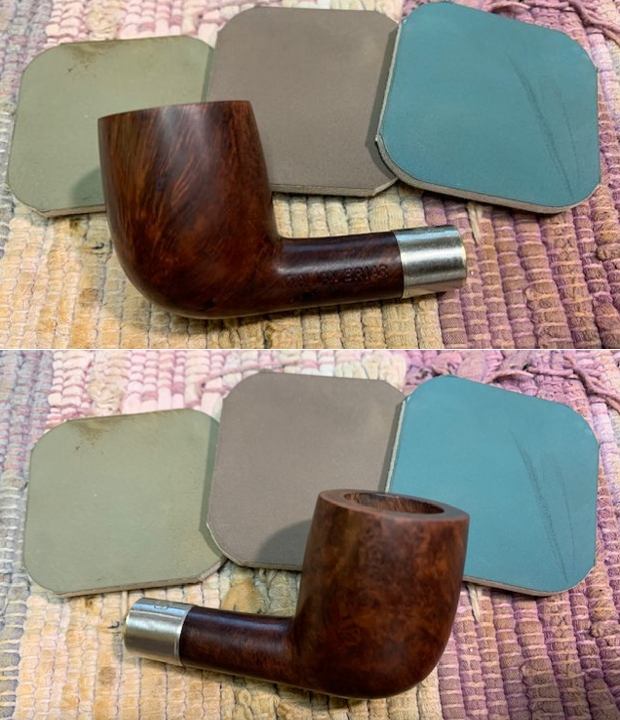
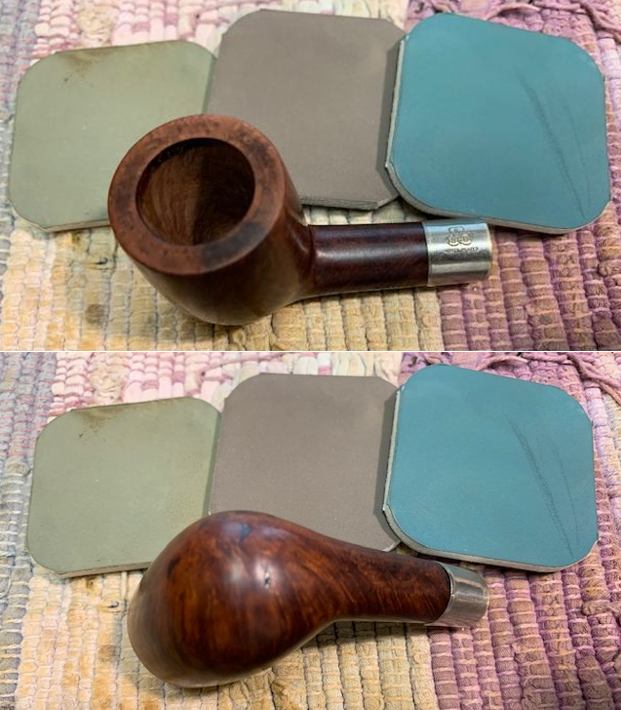
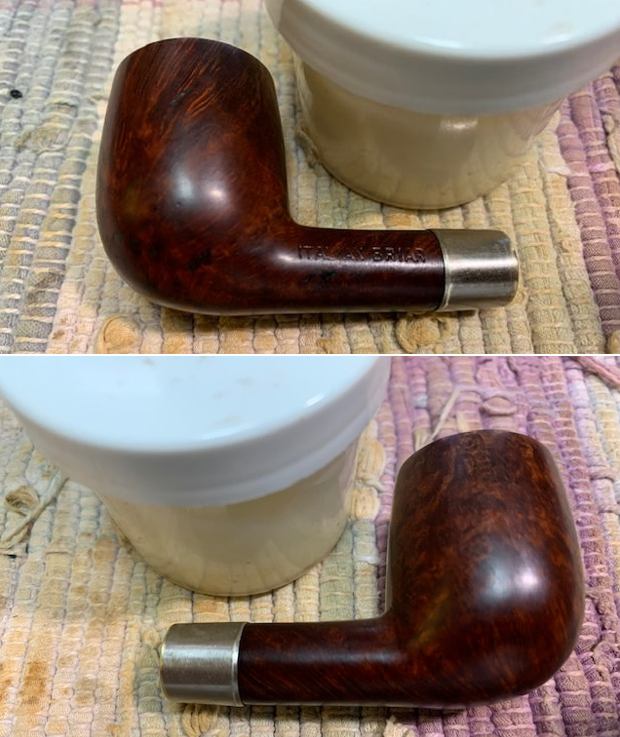
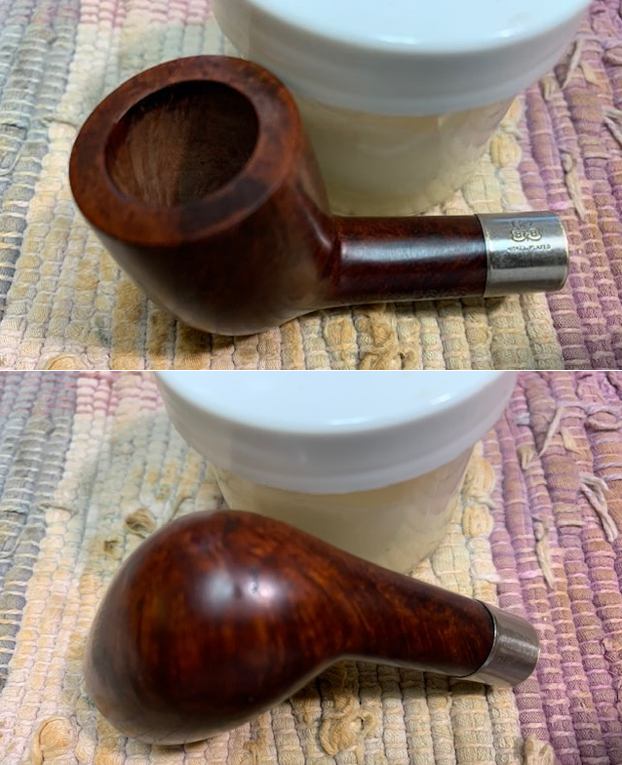
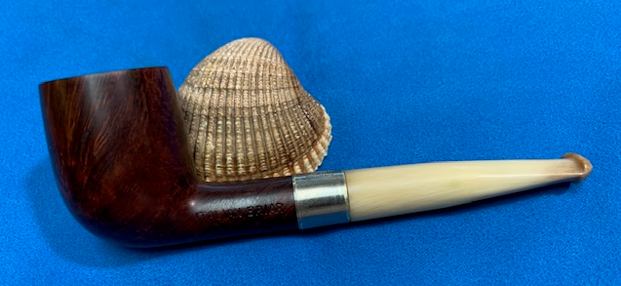
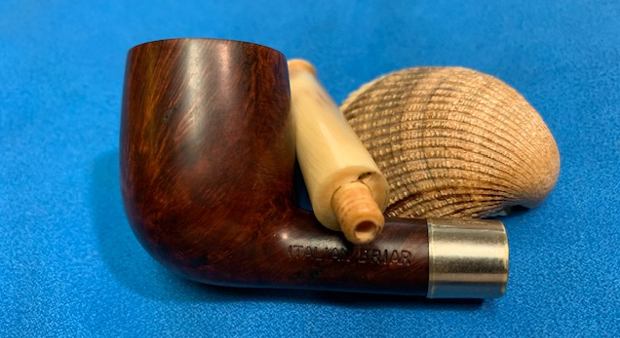
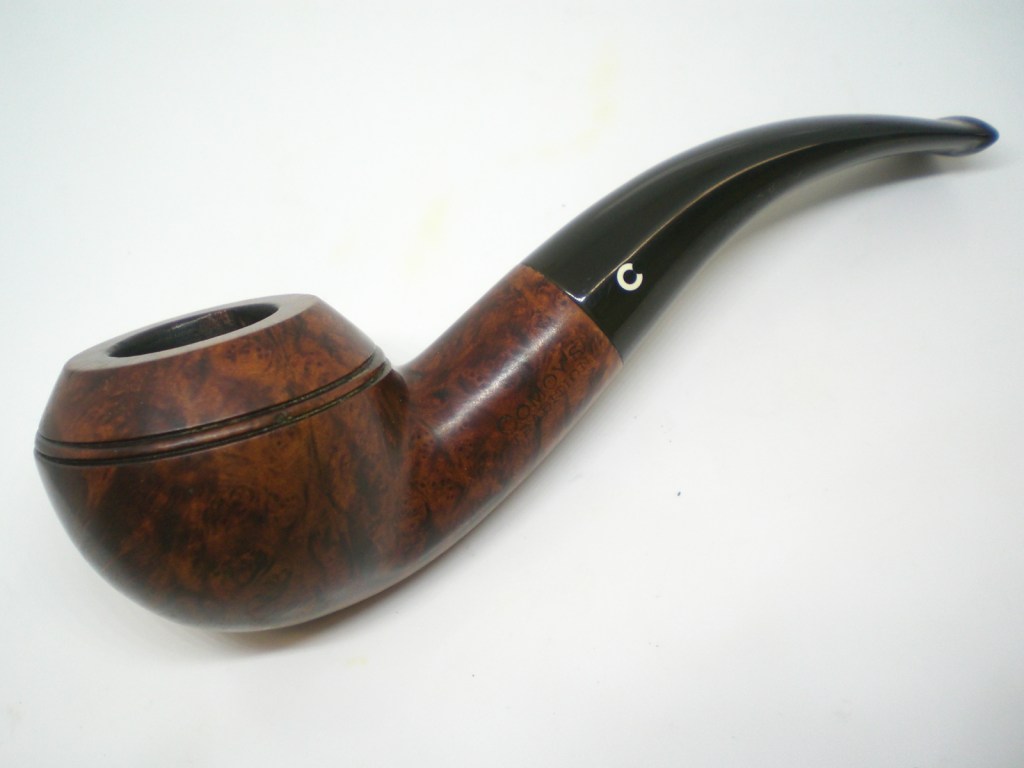
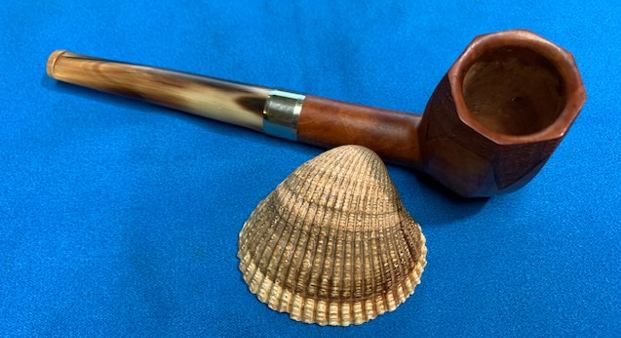
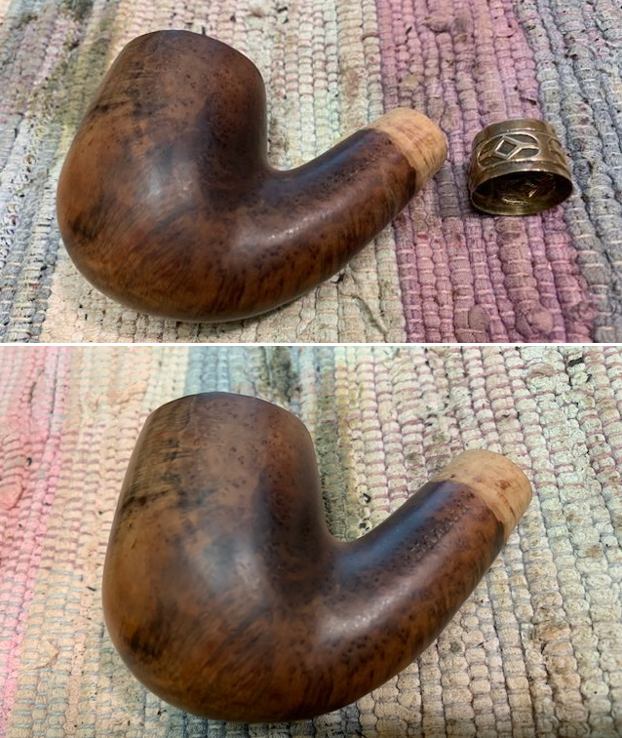
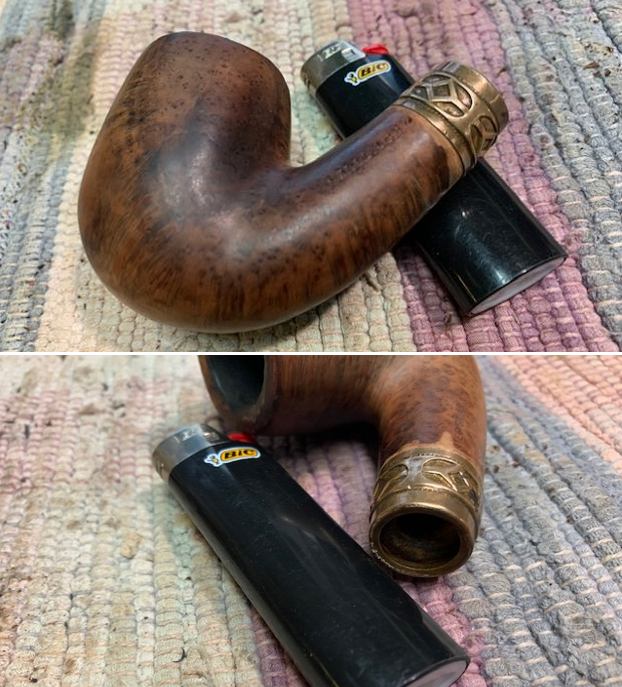
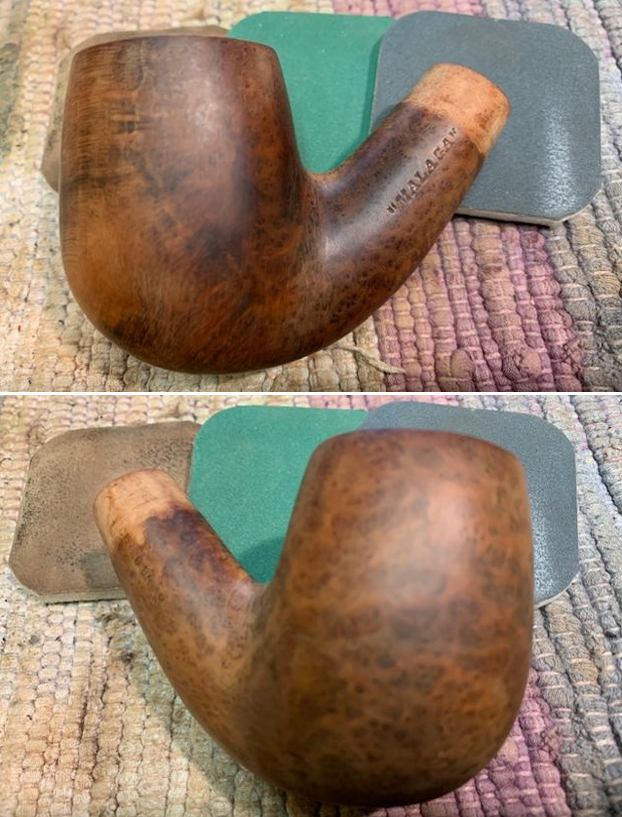
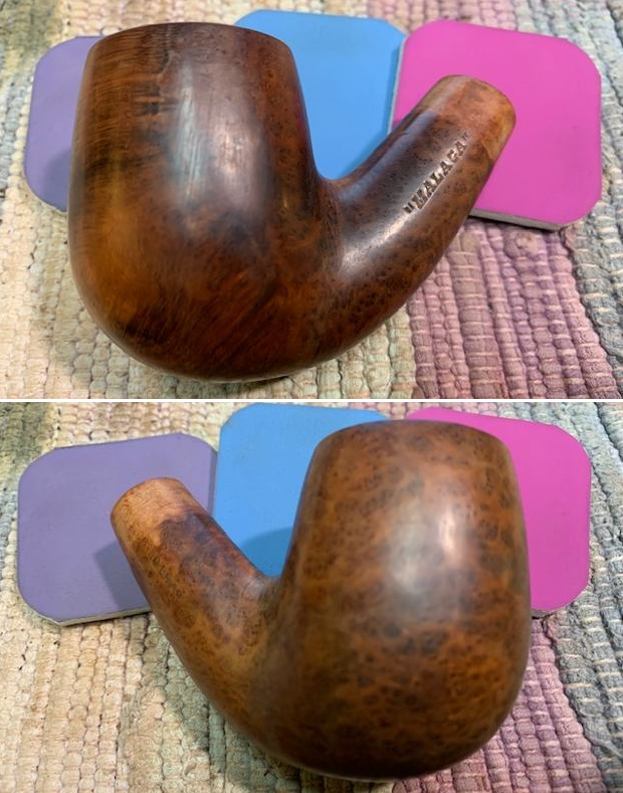
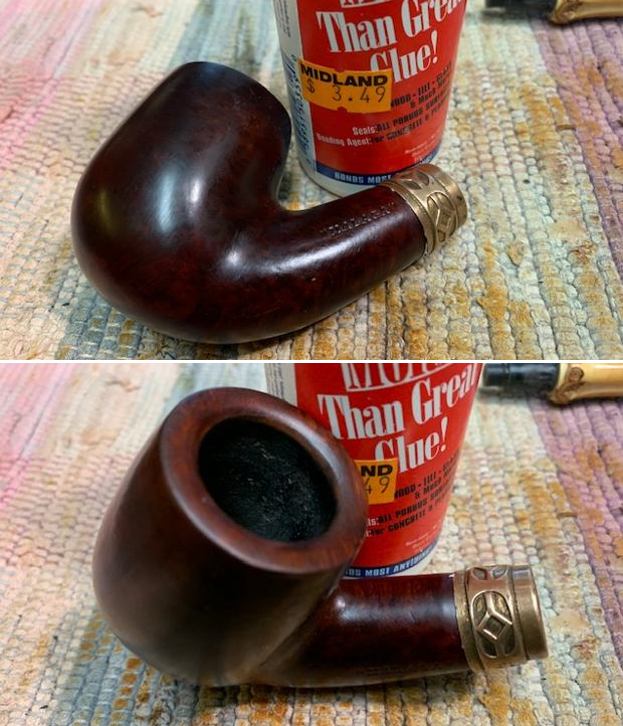
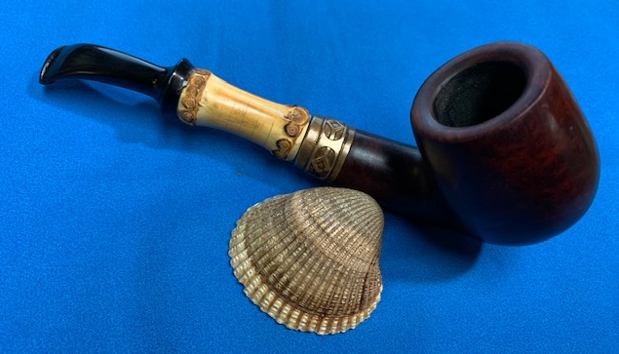
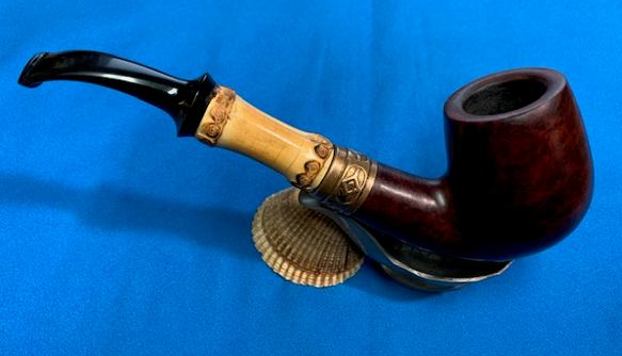
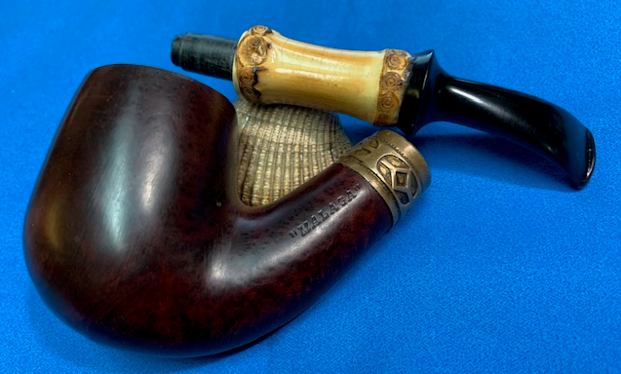
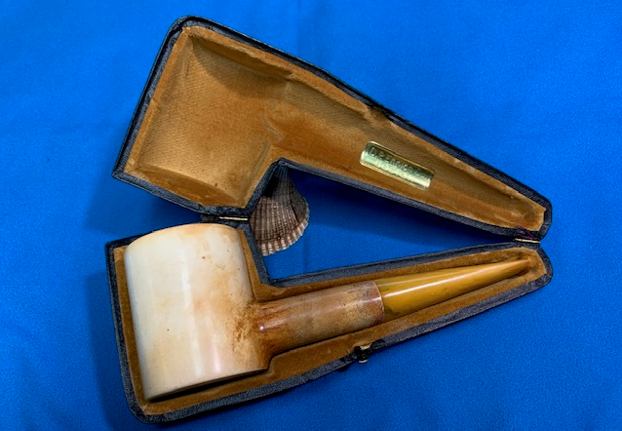
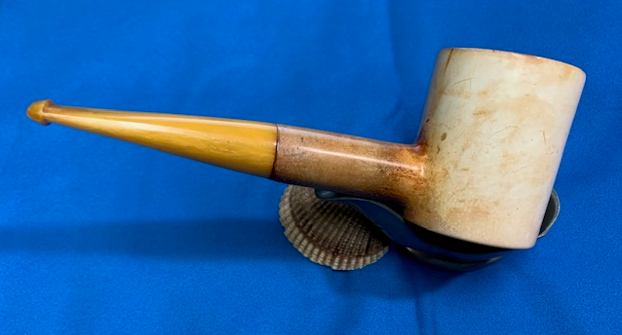
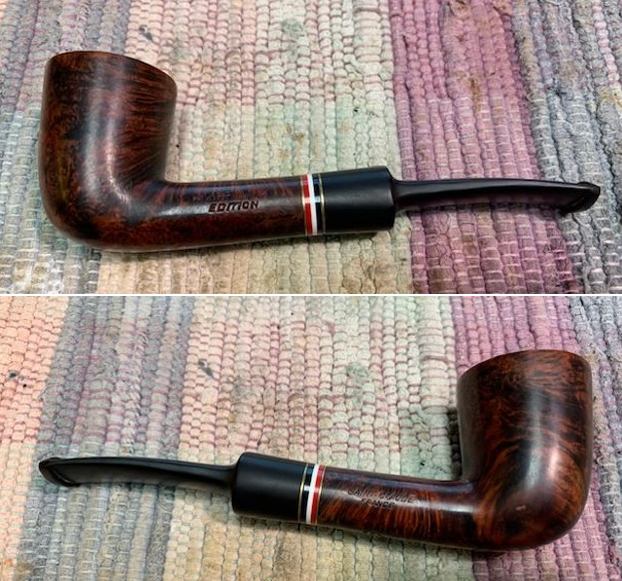
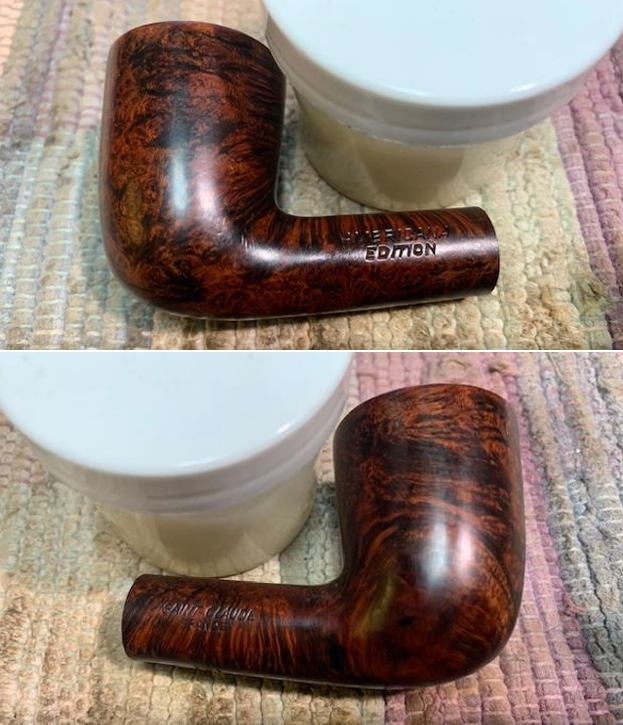
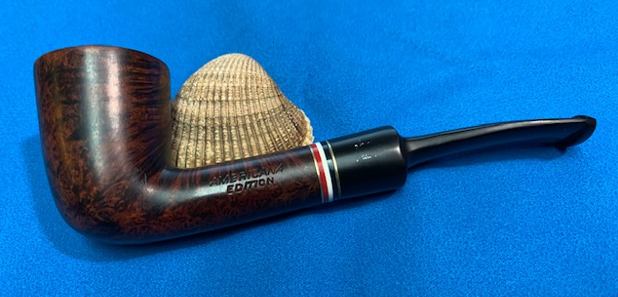
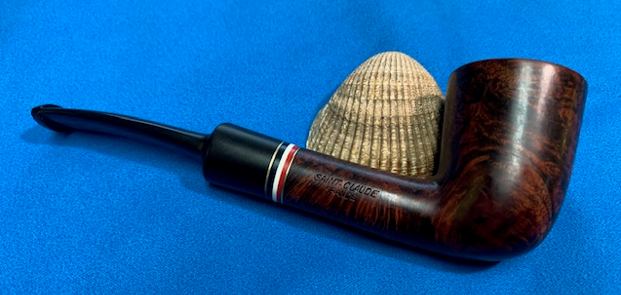
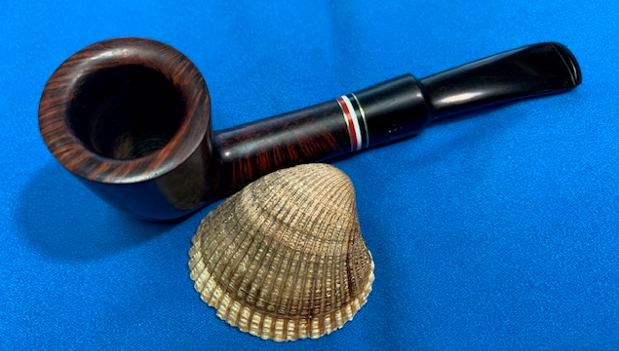
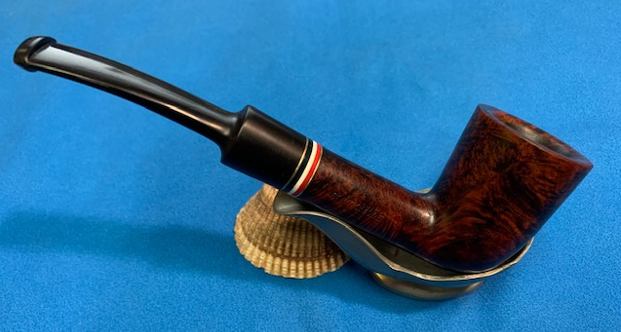
 This interesting GVG EXTRA 9745 Liverpool is an amazing pipe with a bowl turned by Georges Vincent Genod, the grandfather of Jacques Craen of Genod pipes. The stamp means that the stummel is quite old as the stamp changed in the 1960s. Jacques had finished and stemmed the pipe. It turned out really well and it is a great looking pipe with a great shape to it. The grain on the briar and the sheen on the horn stem really popped when the pipe was buffed with blue diamond on the buffing wheel. The golden coloured band also took on a sheen. I gave the bowl and stem multiple coats of carnauba wax and buffed it with a clean buffing pad. I hand buffed the pipe with a microfiber cloth to deepen the shine. The GVG Extra Liverpool is comfortable to hold and is quite distinguished looking. Give the finished pipe a look in the photos below. The dimensions of the pipe are Length: 6 inches, Height: 1 ¾ inches, Outside diameter of the bowl: 1 inch, Chamber diameter: ¾ of an inch. The weight of the pipe is 33 grams/1.16 ounces. This is a beautiful pipe that I am still thinking through what I am going to do with it. Should I sell it or add it to the collection? Not sure yet. Thanks for reading this blog and my reflections on the pipe while I worked on it. Keep an eye out on the blog as I have several other older horn stemmed pipes that will be coming up soon.