Blog by Steve Laug
I have not created a Frankenpipe for a long time. I call them Frankenpipes with a tip of the hat to Mary Shelley’s grand creation Frankenstein. These remind me of her story what with the gathering of parts, “stitching” them together and breathing life into them. It is a thoroughly creative process I enjoy and I suppose there is always the possibility of crafting of a monster. Over the years I have crafted quite a few of these pipes and they tend to stay in my collection. You can search on the blog and see the variety of Frankenpipes that have come together. I find them incredibly enjoyable because they are very different from a restoration. Truly it is looking at a bunch of parts and imagining combining them into something that reflects the parts but as a whole it very different from any of them.
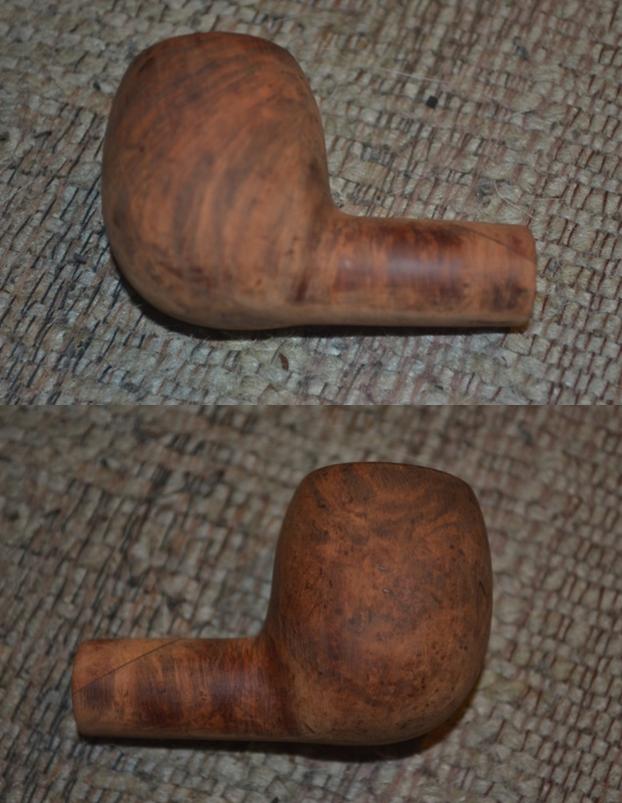
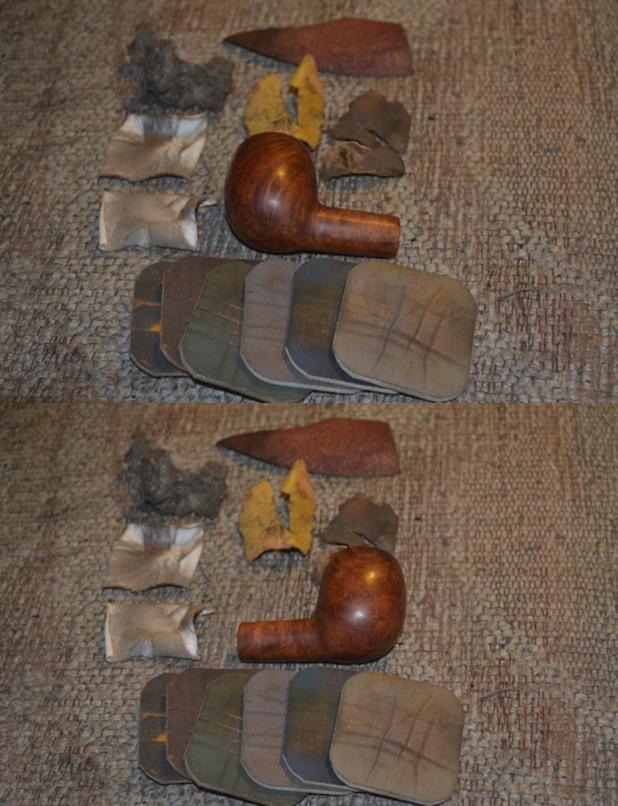
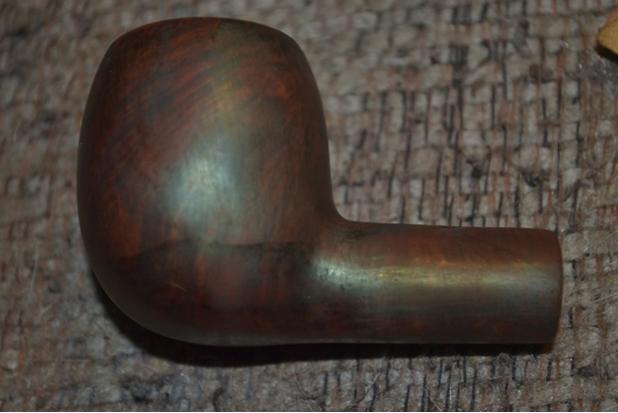
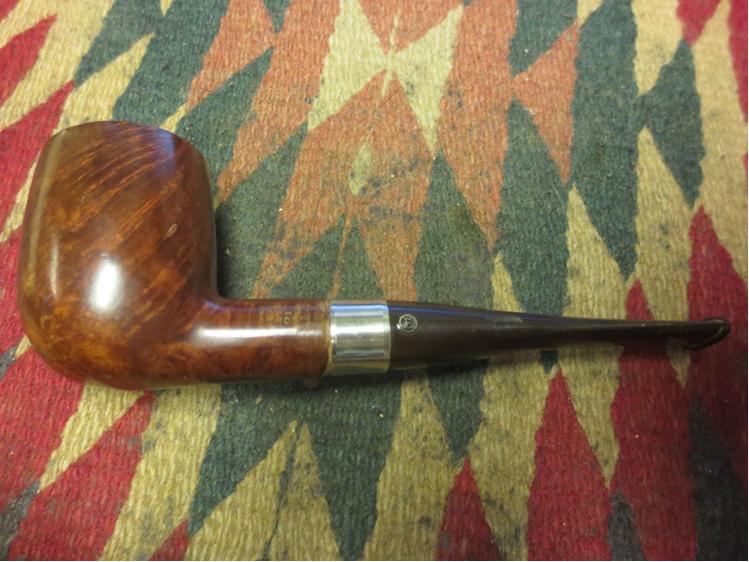
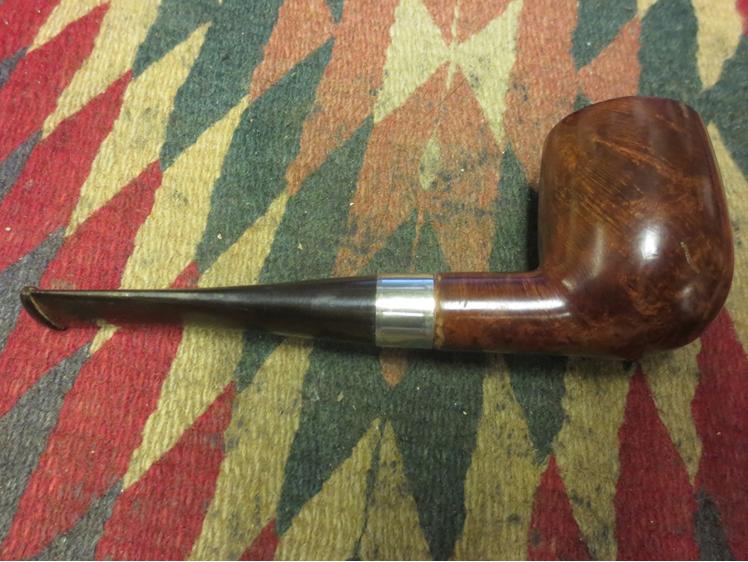
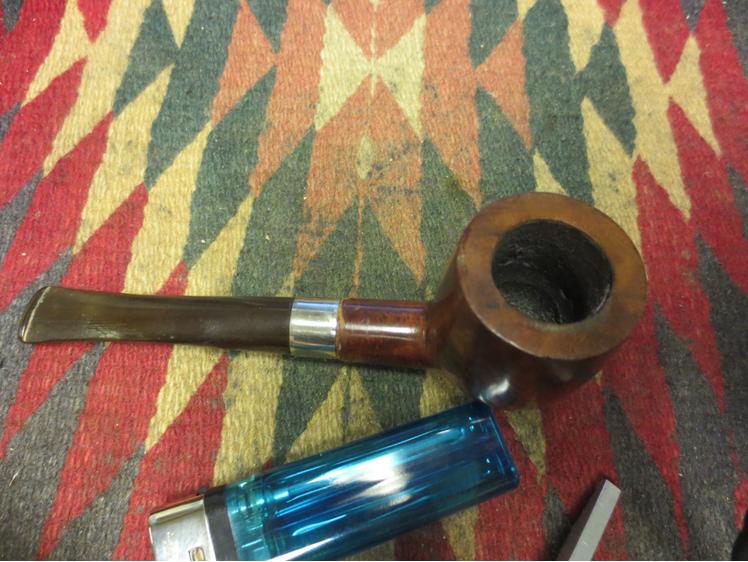
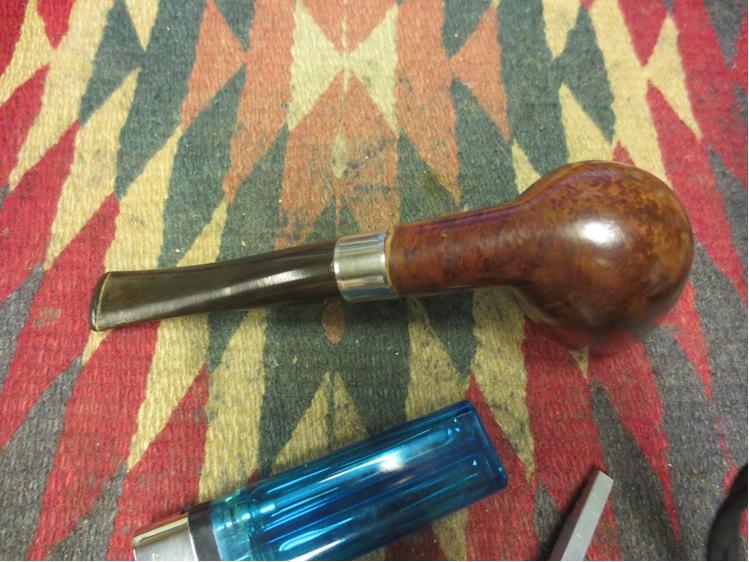
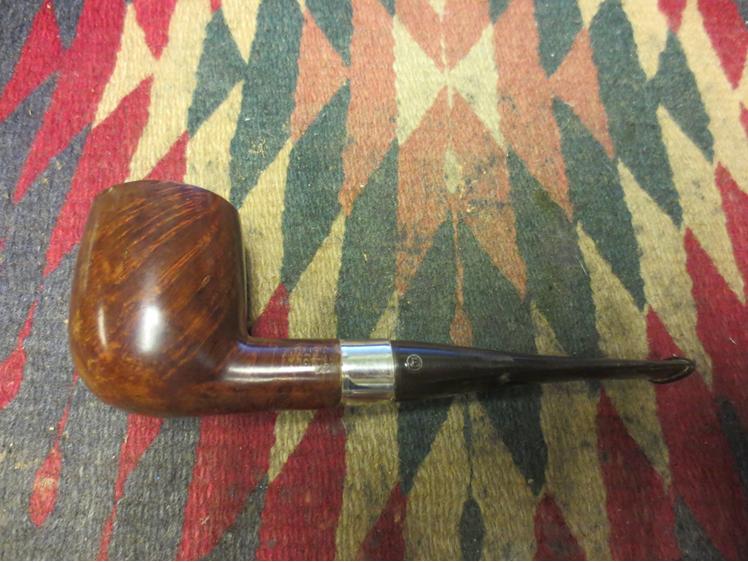
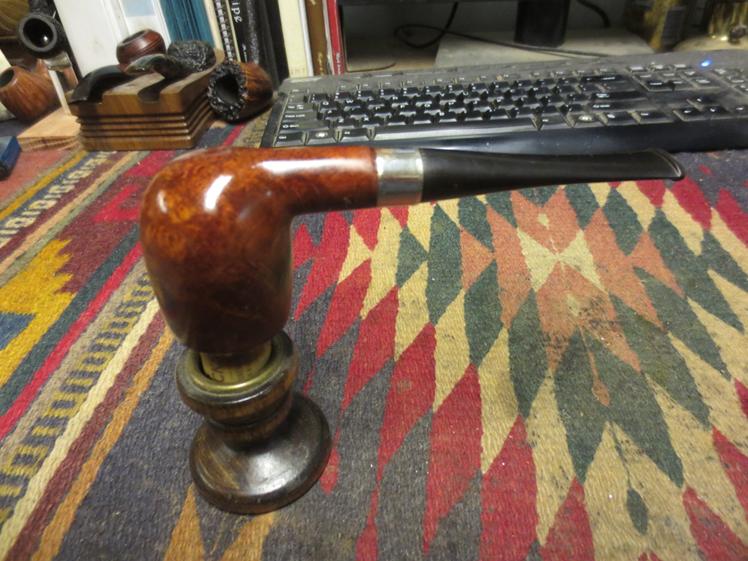
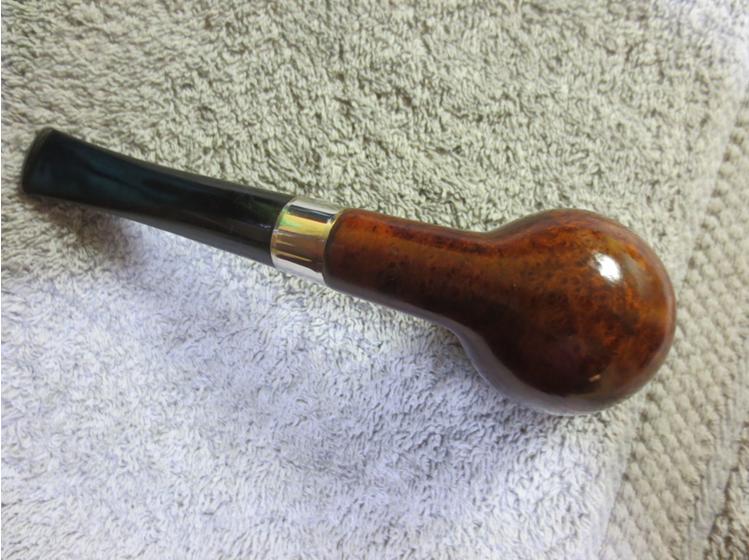
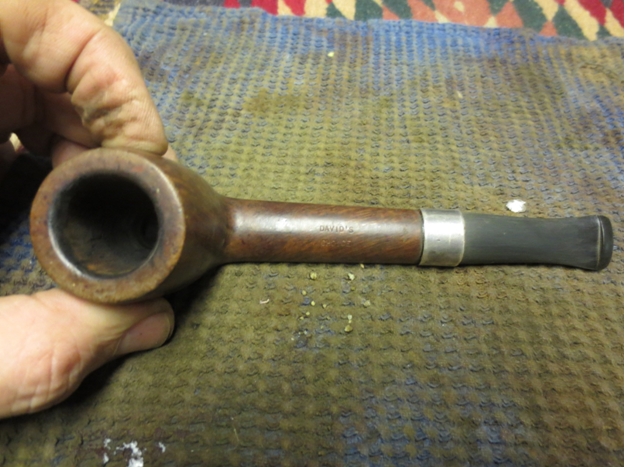
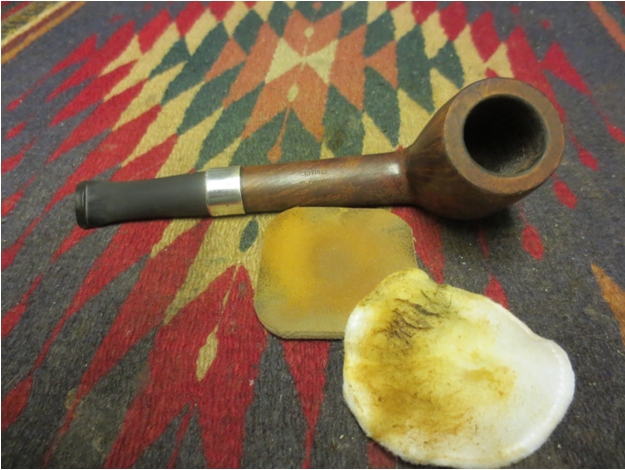
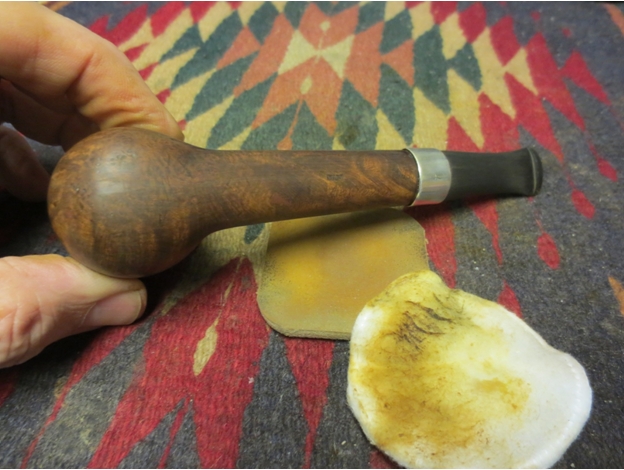
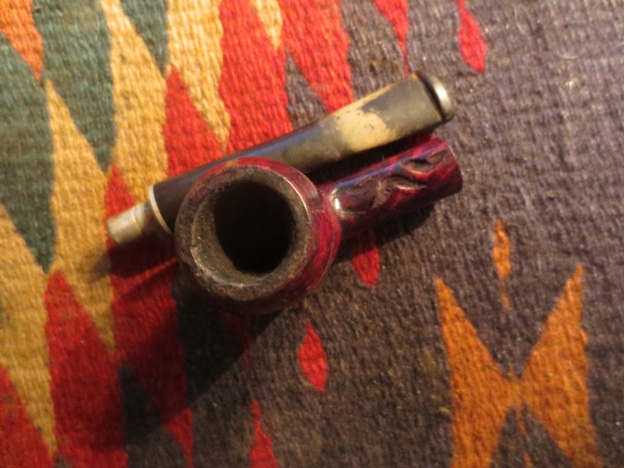
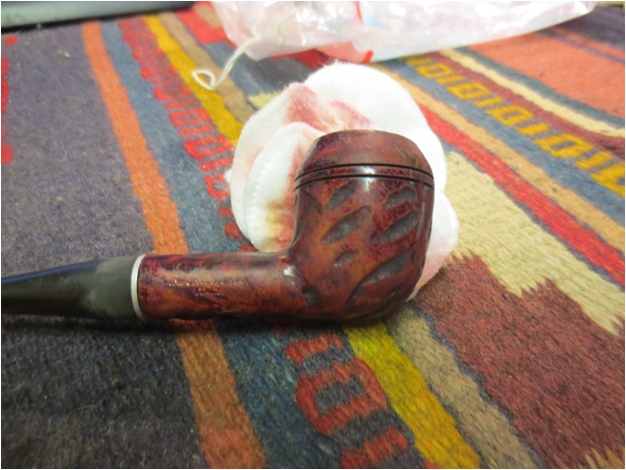
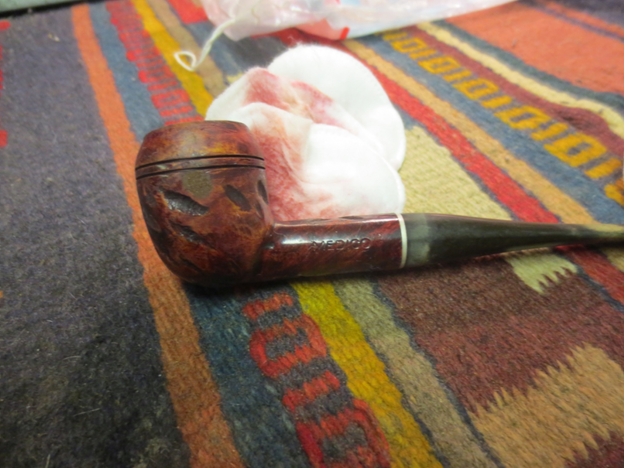
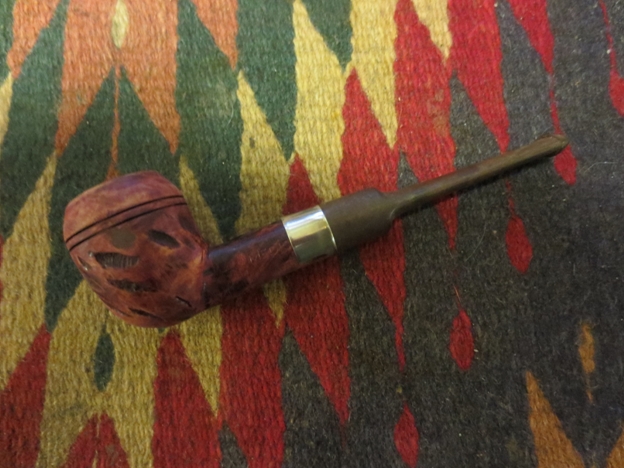
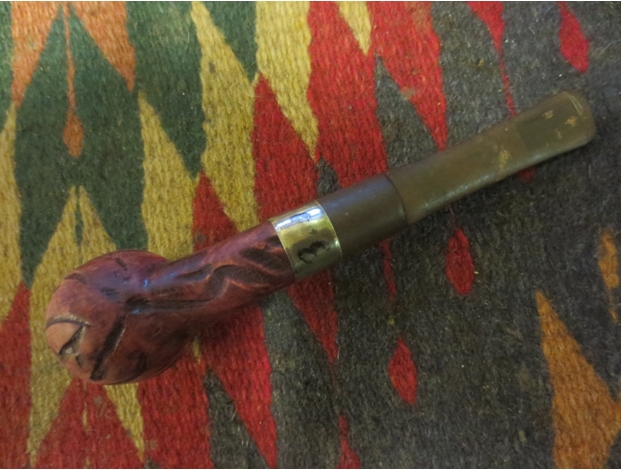
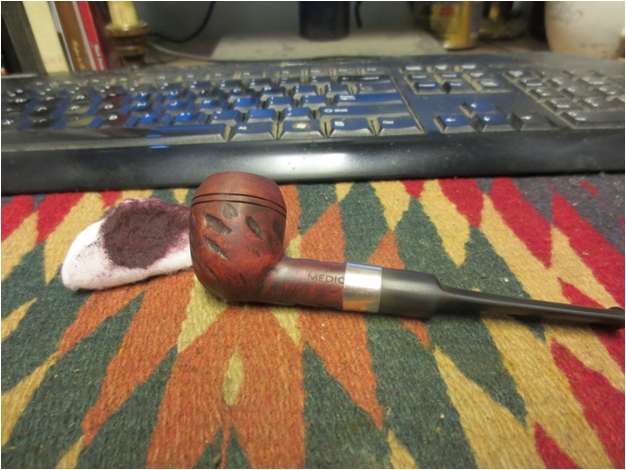
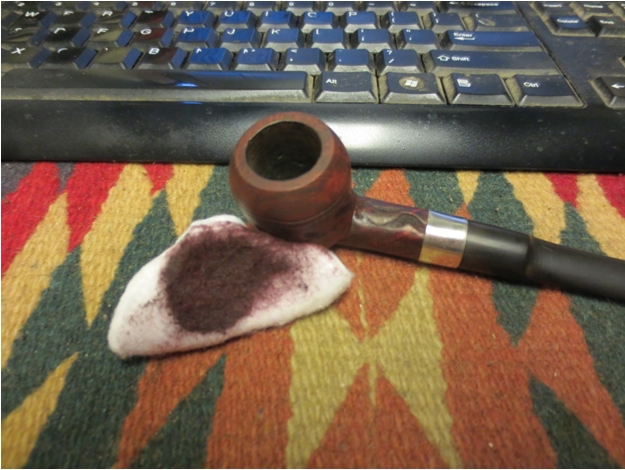
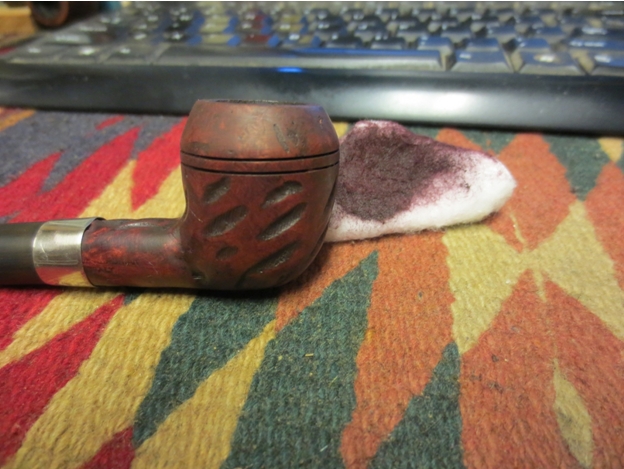
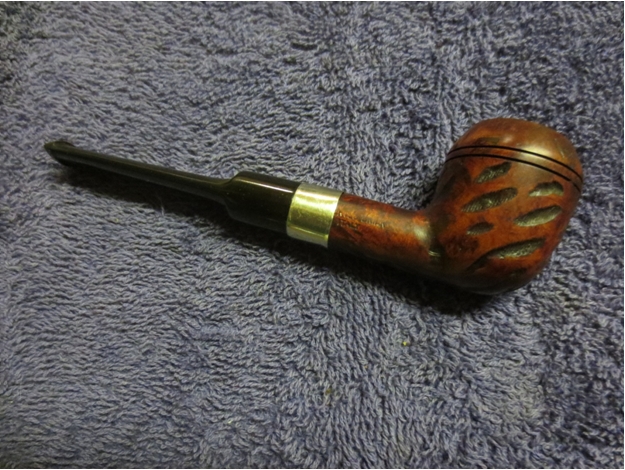
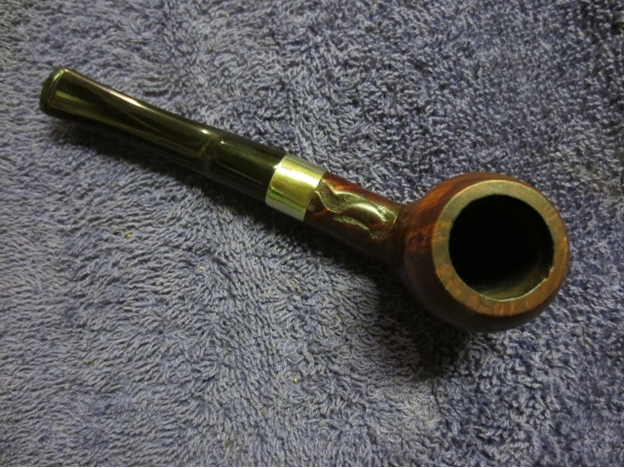
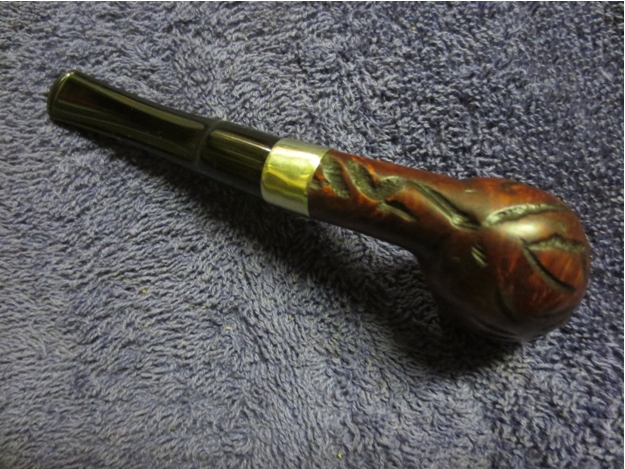
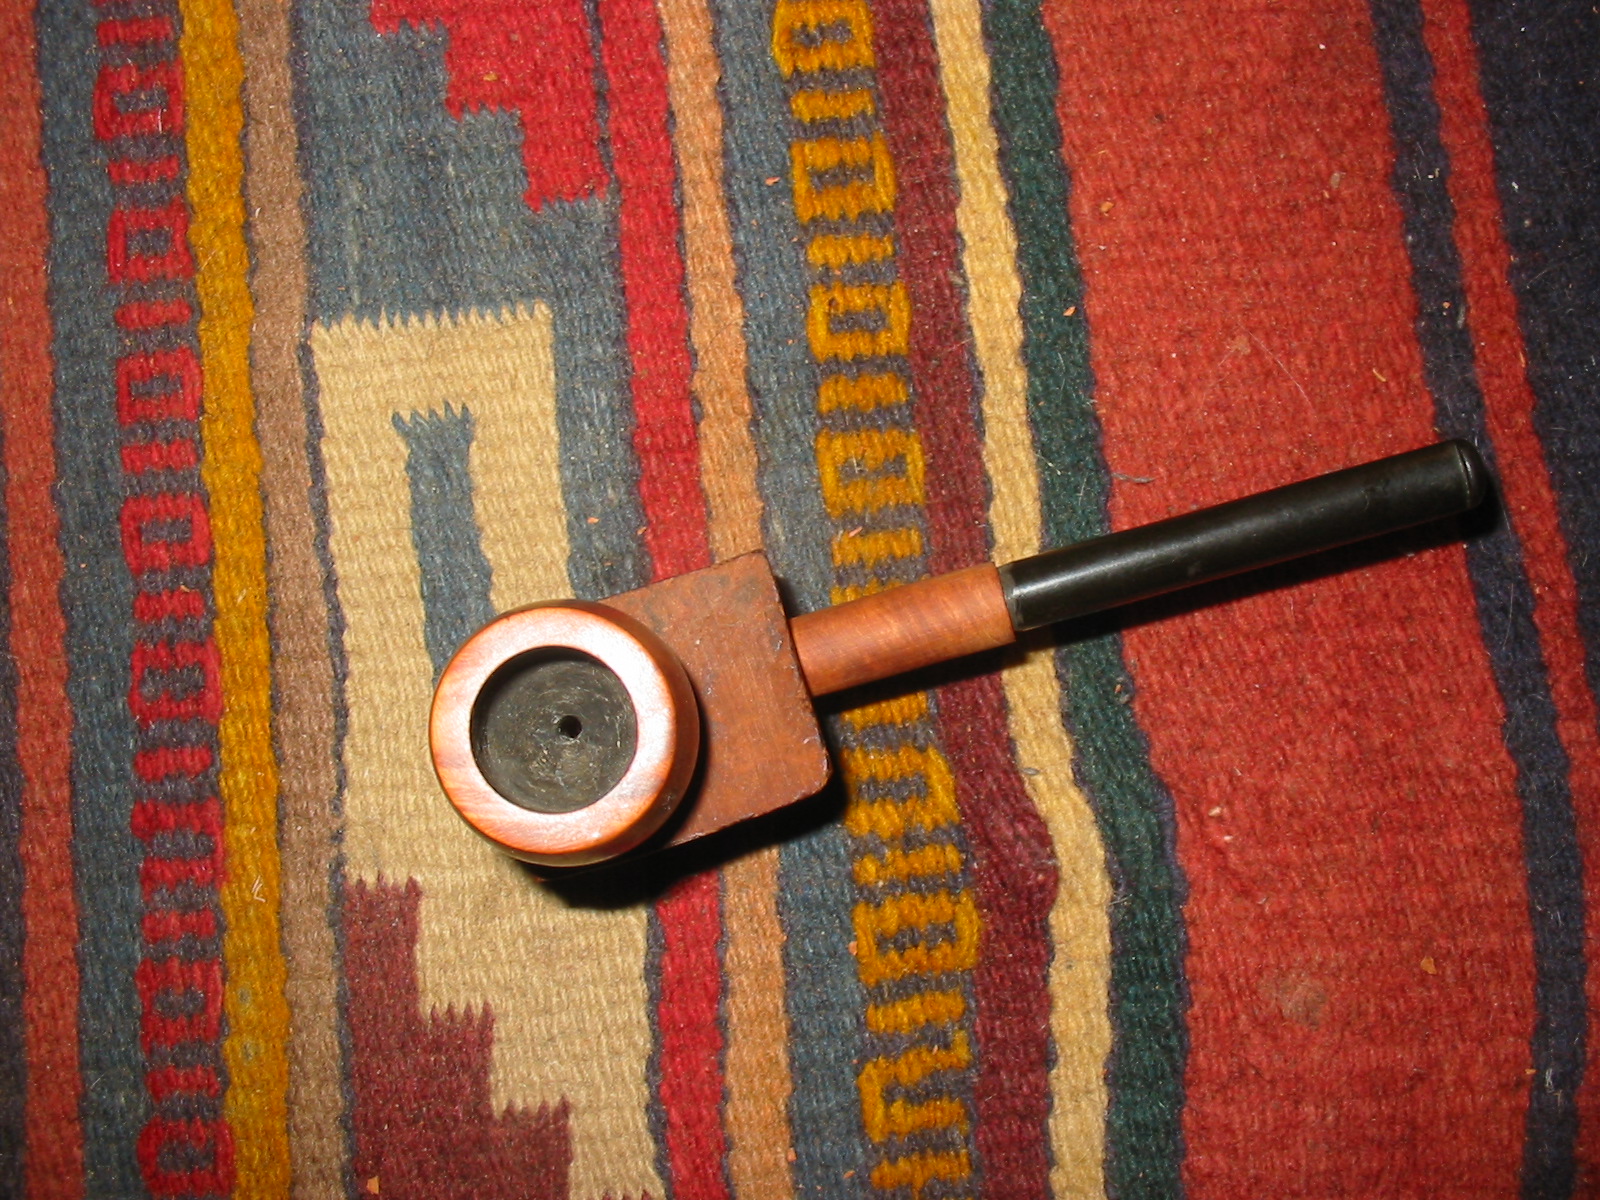
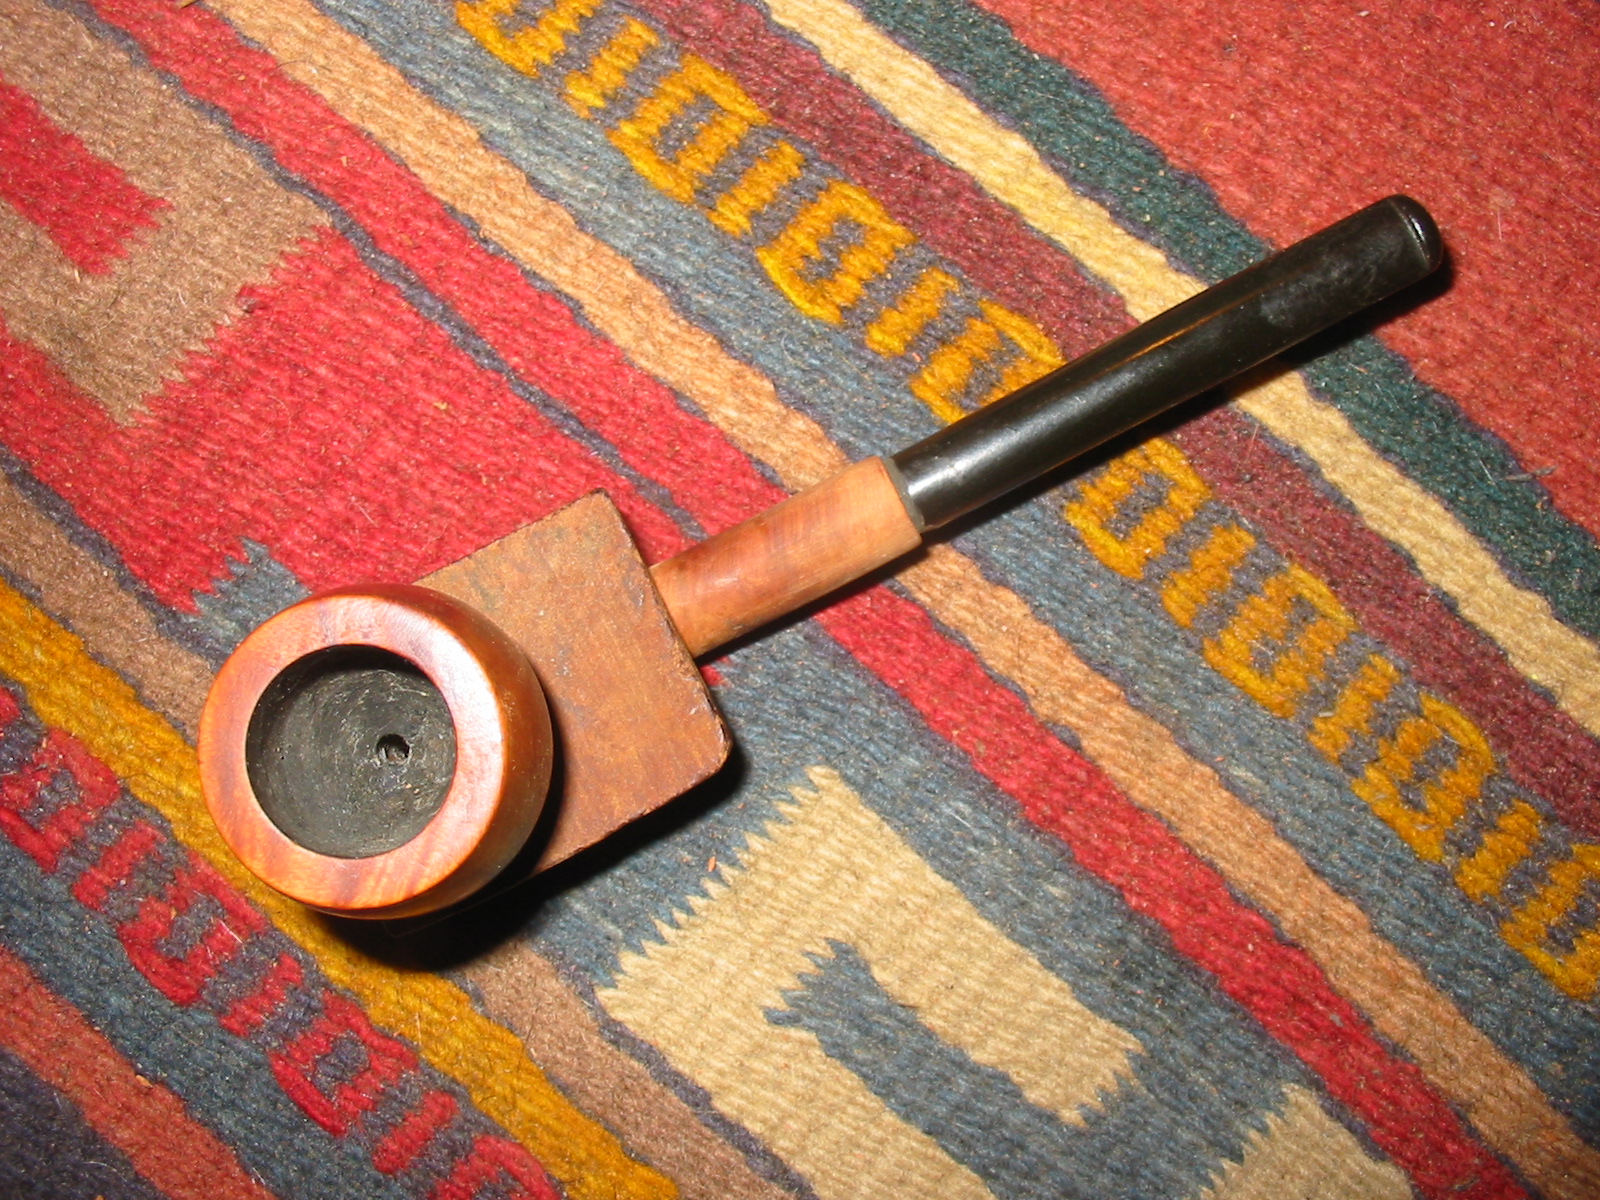
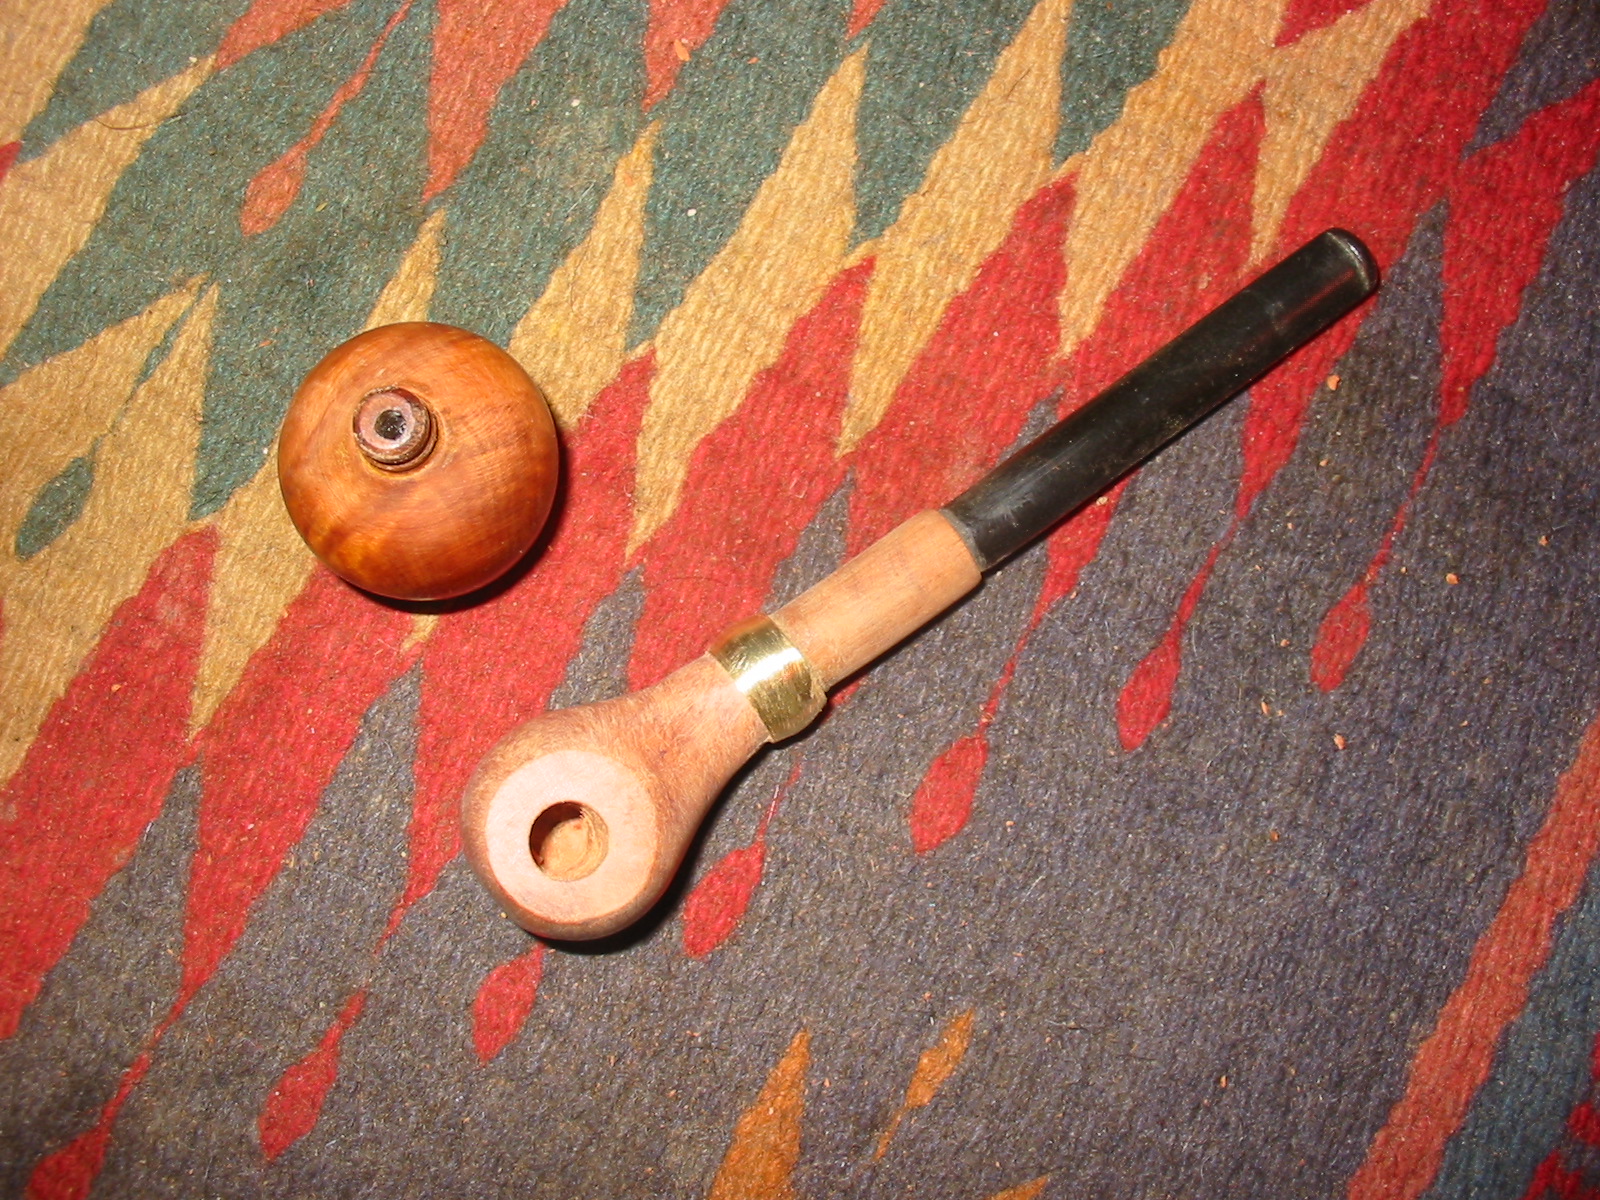
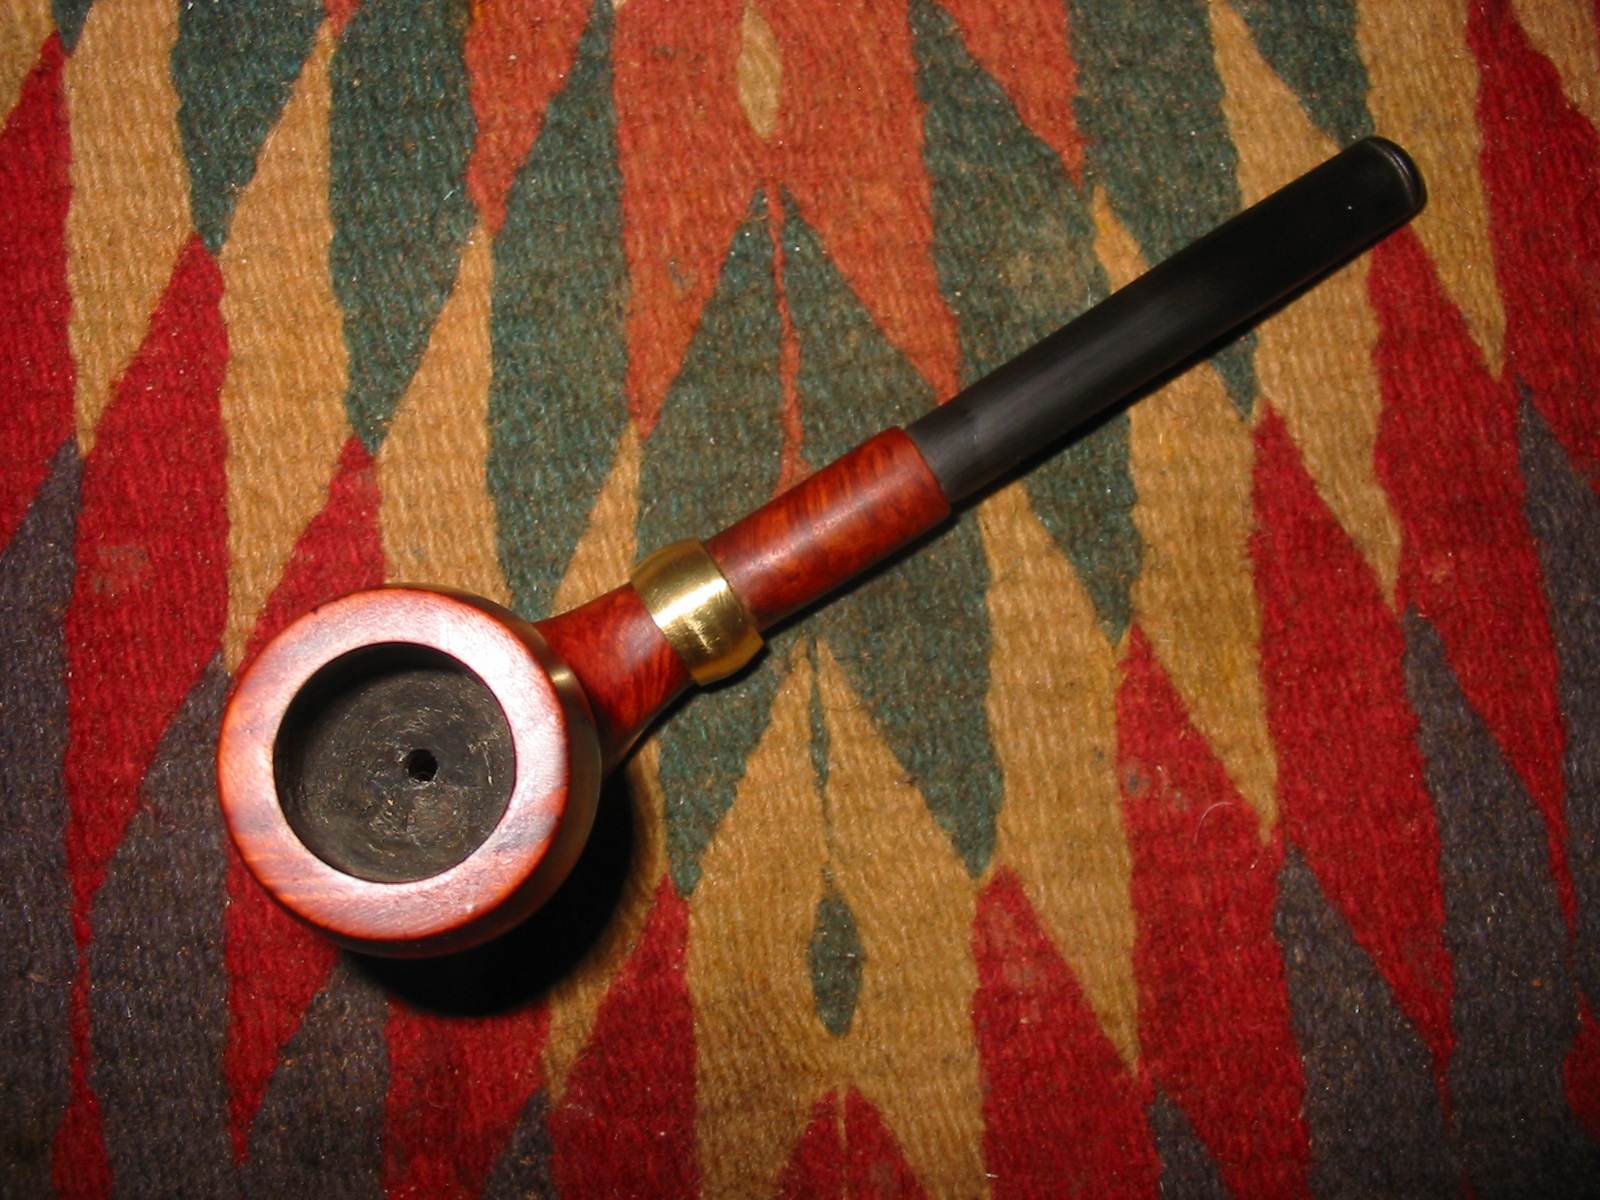
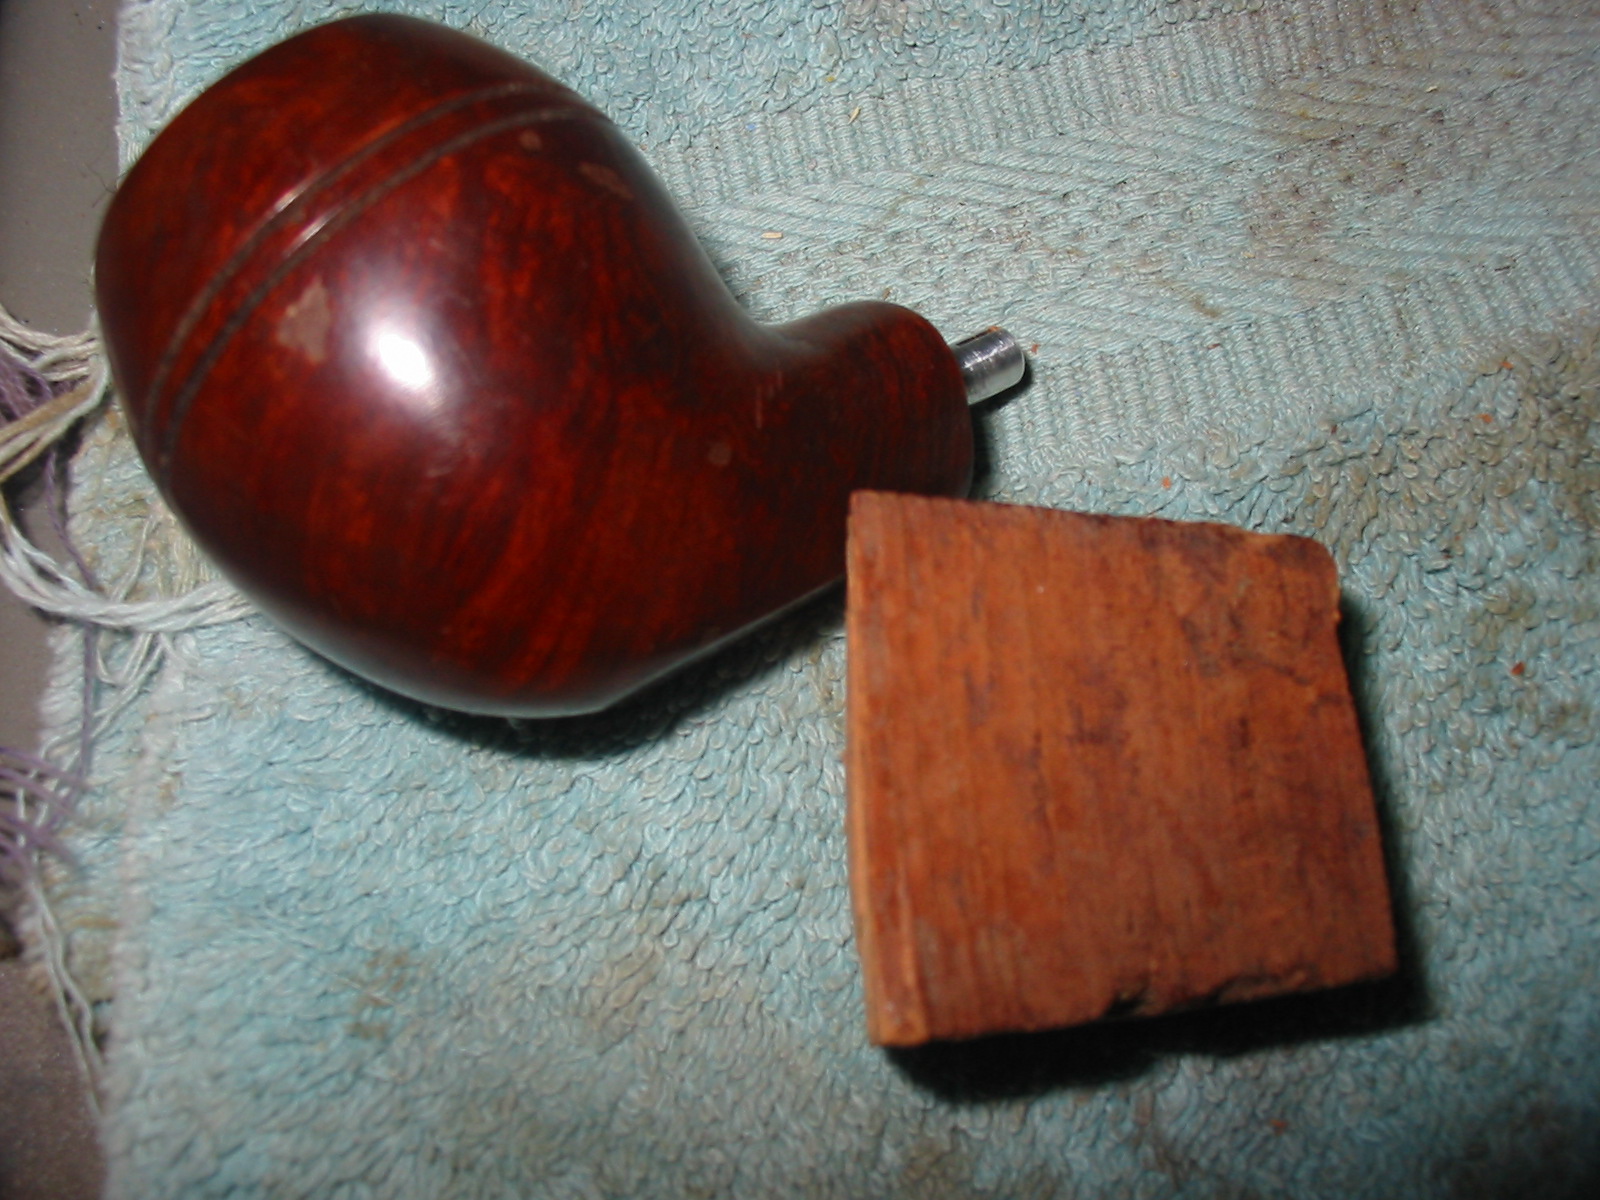
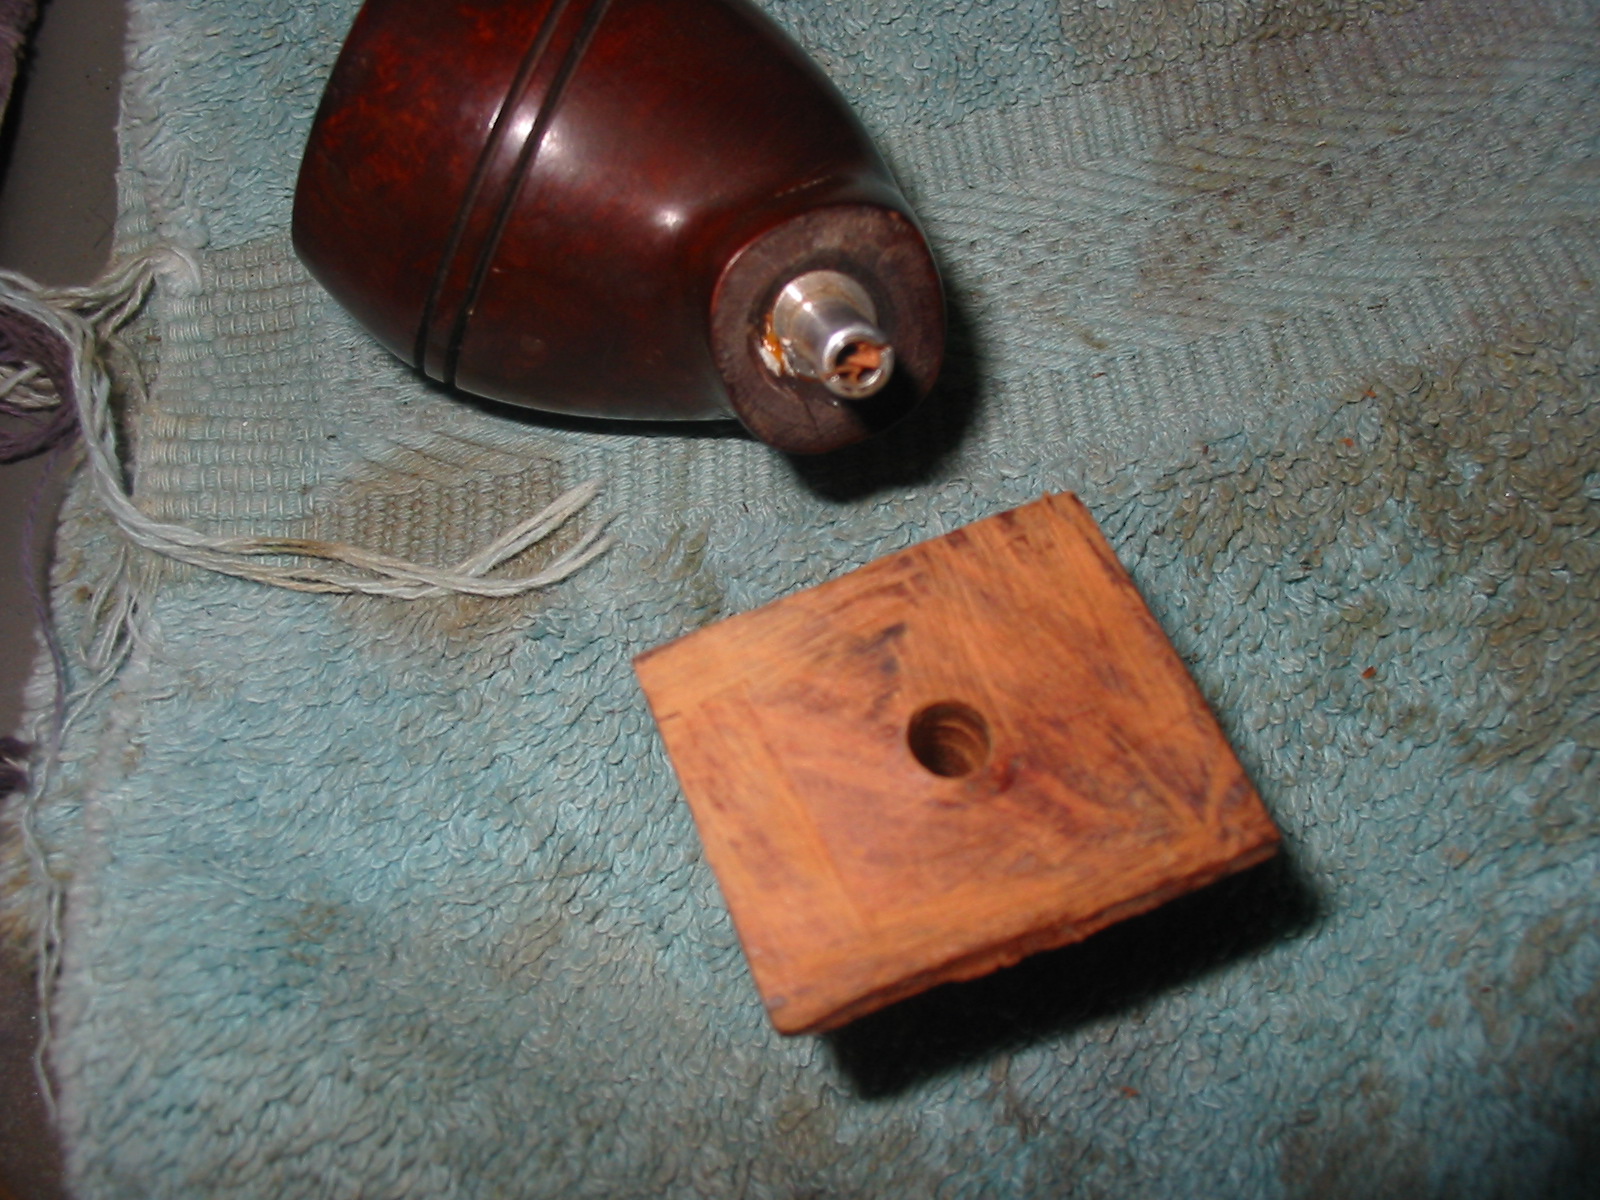
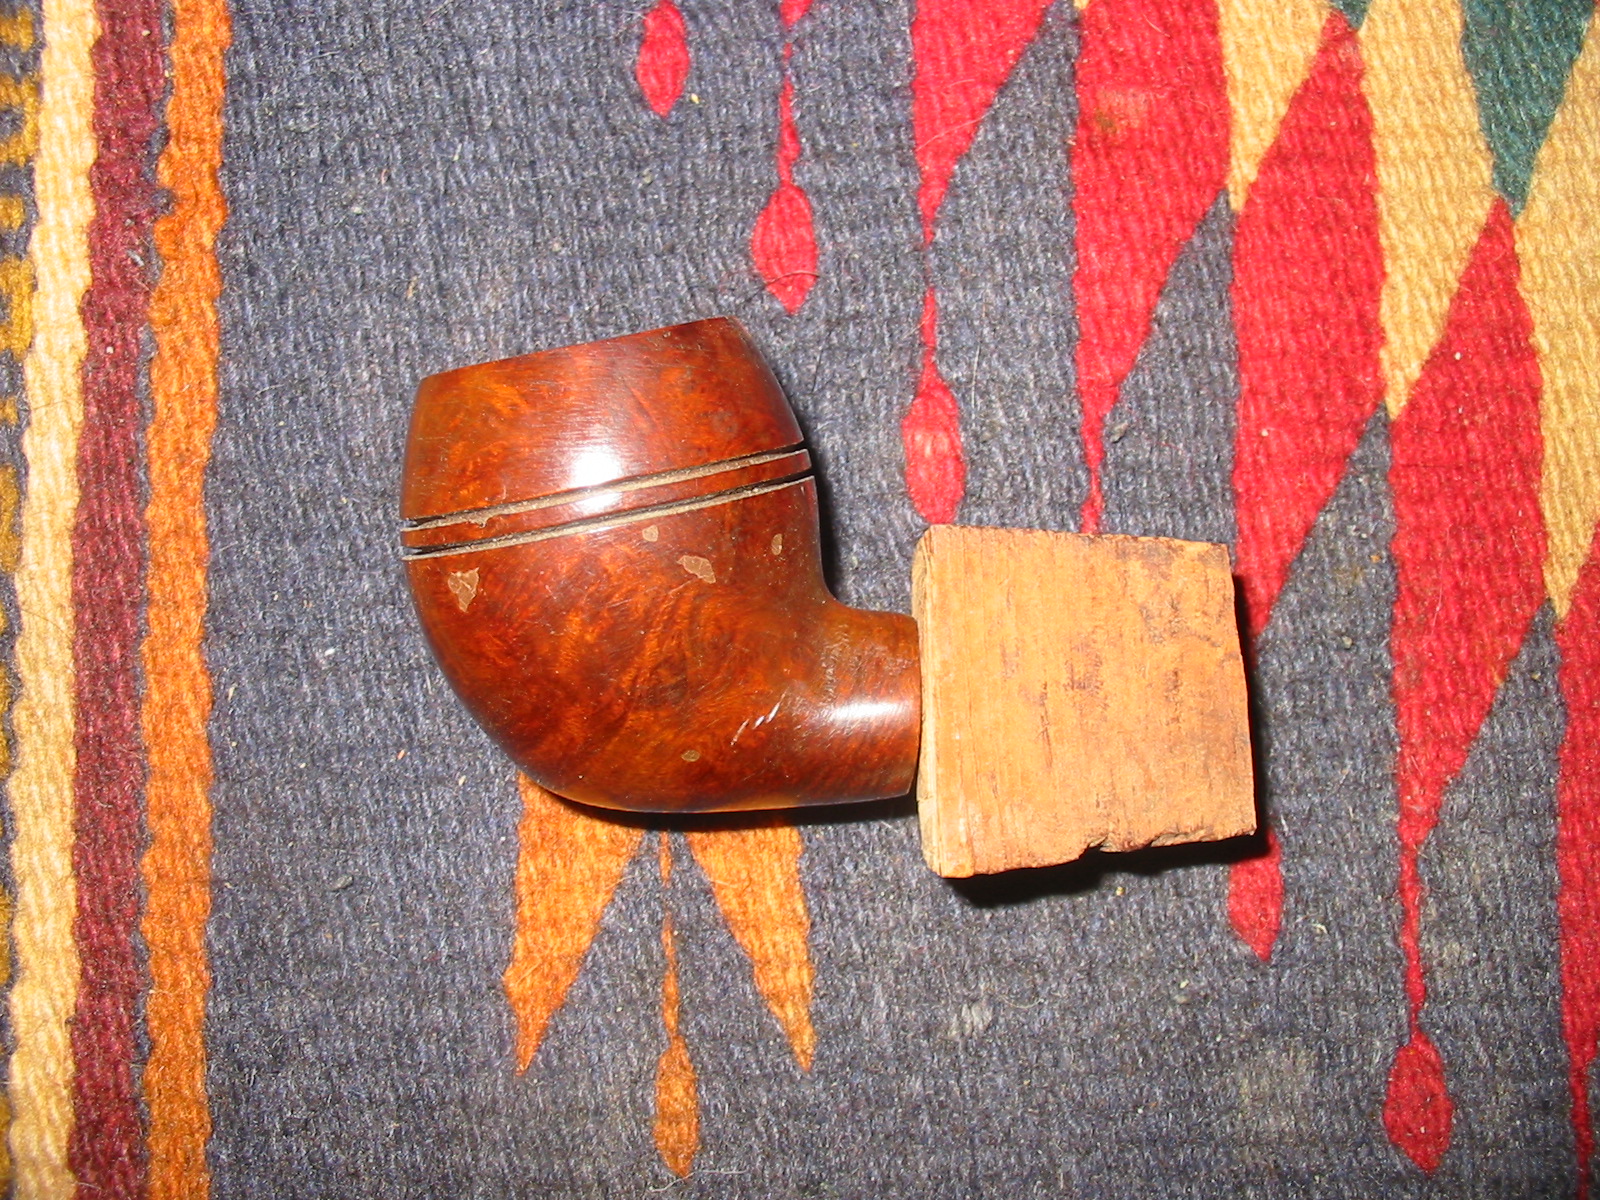
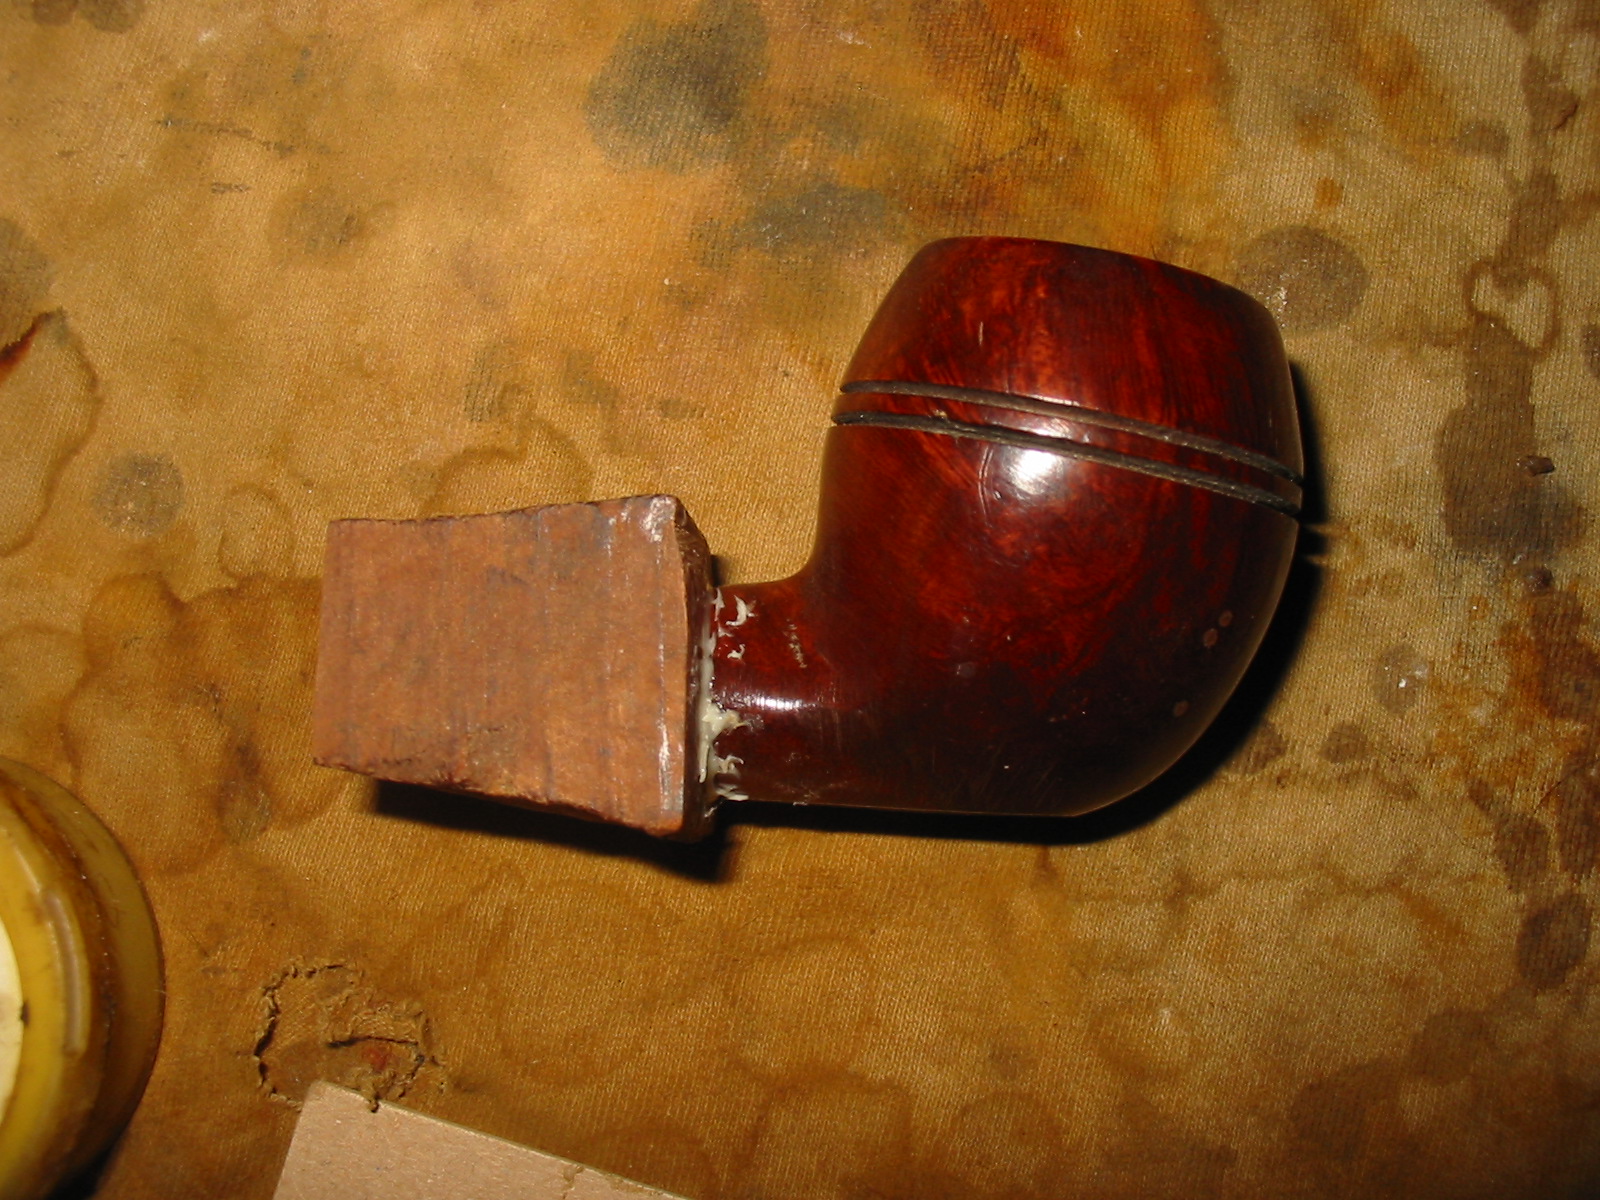
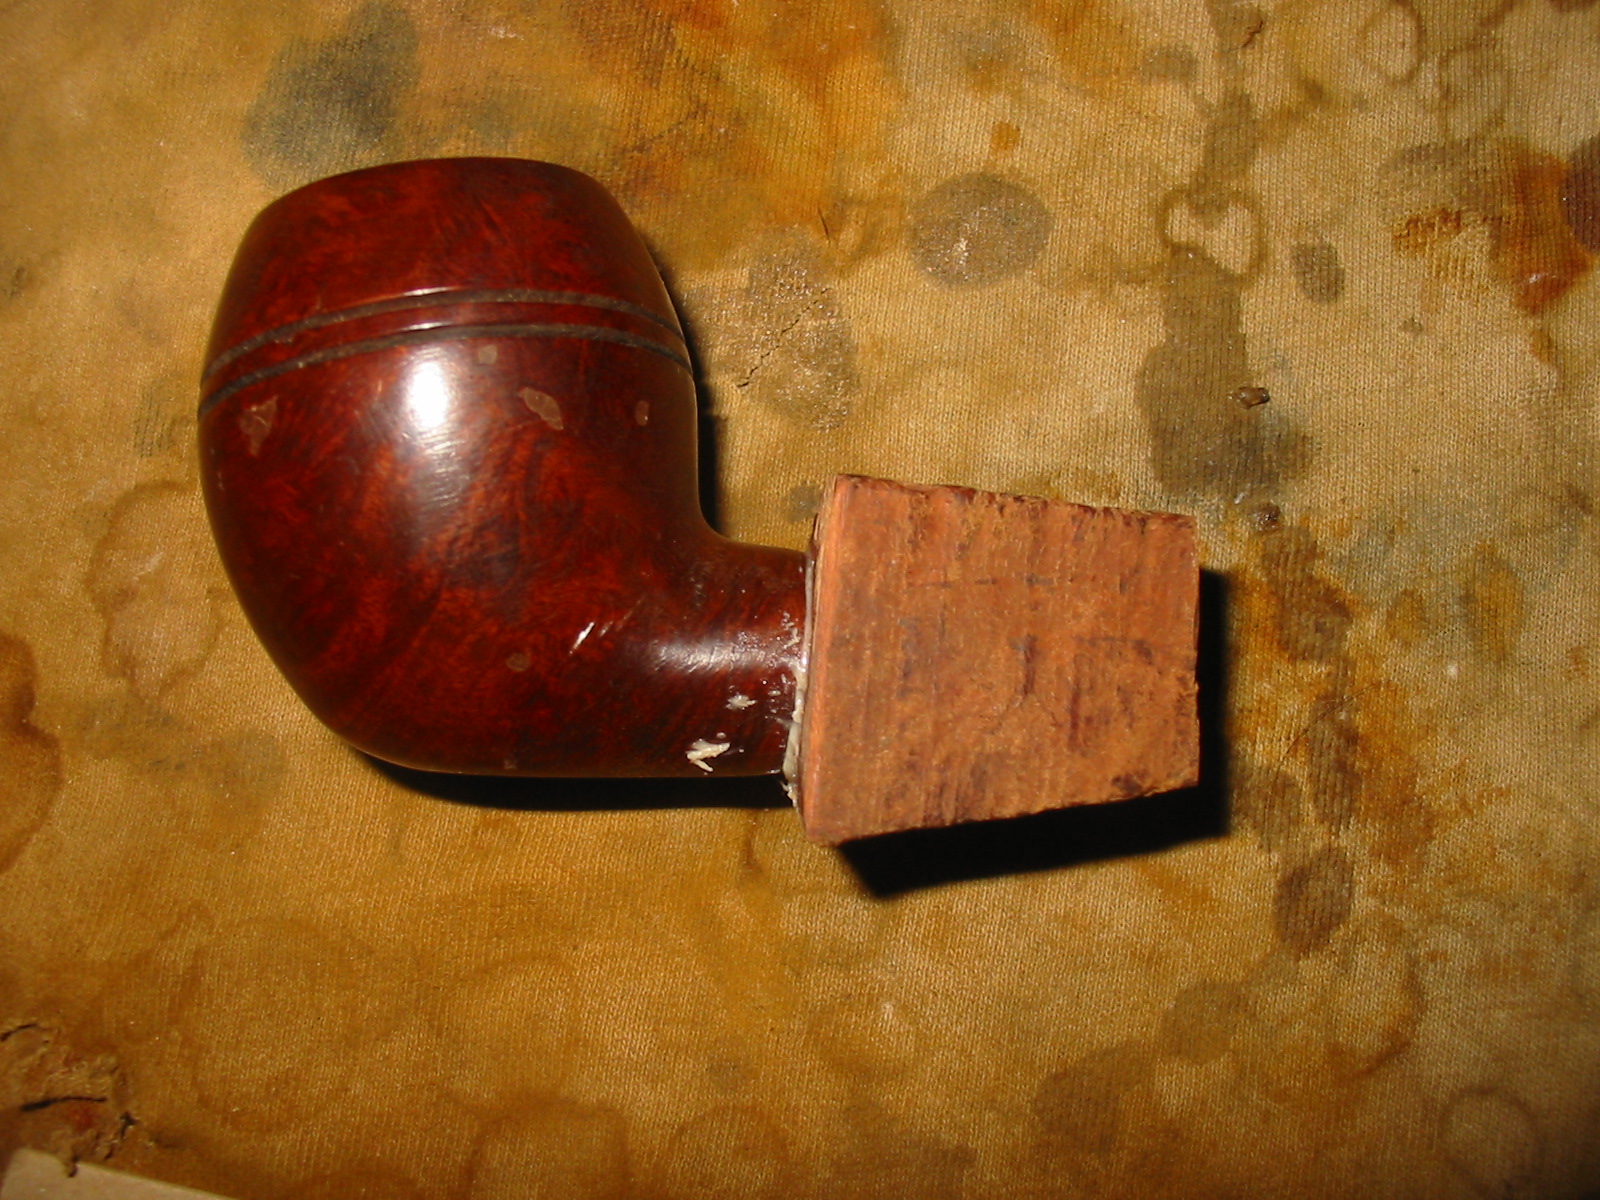
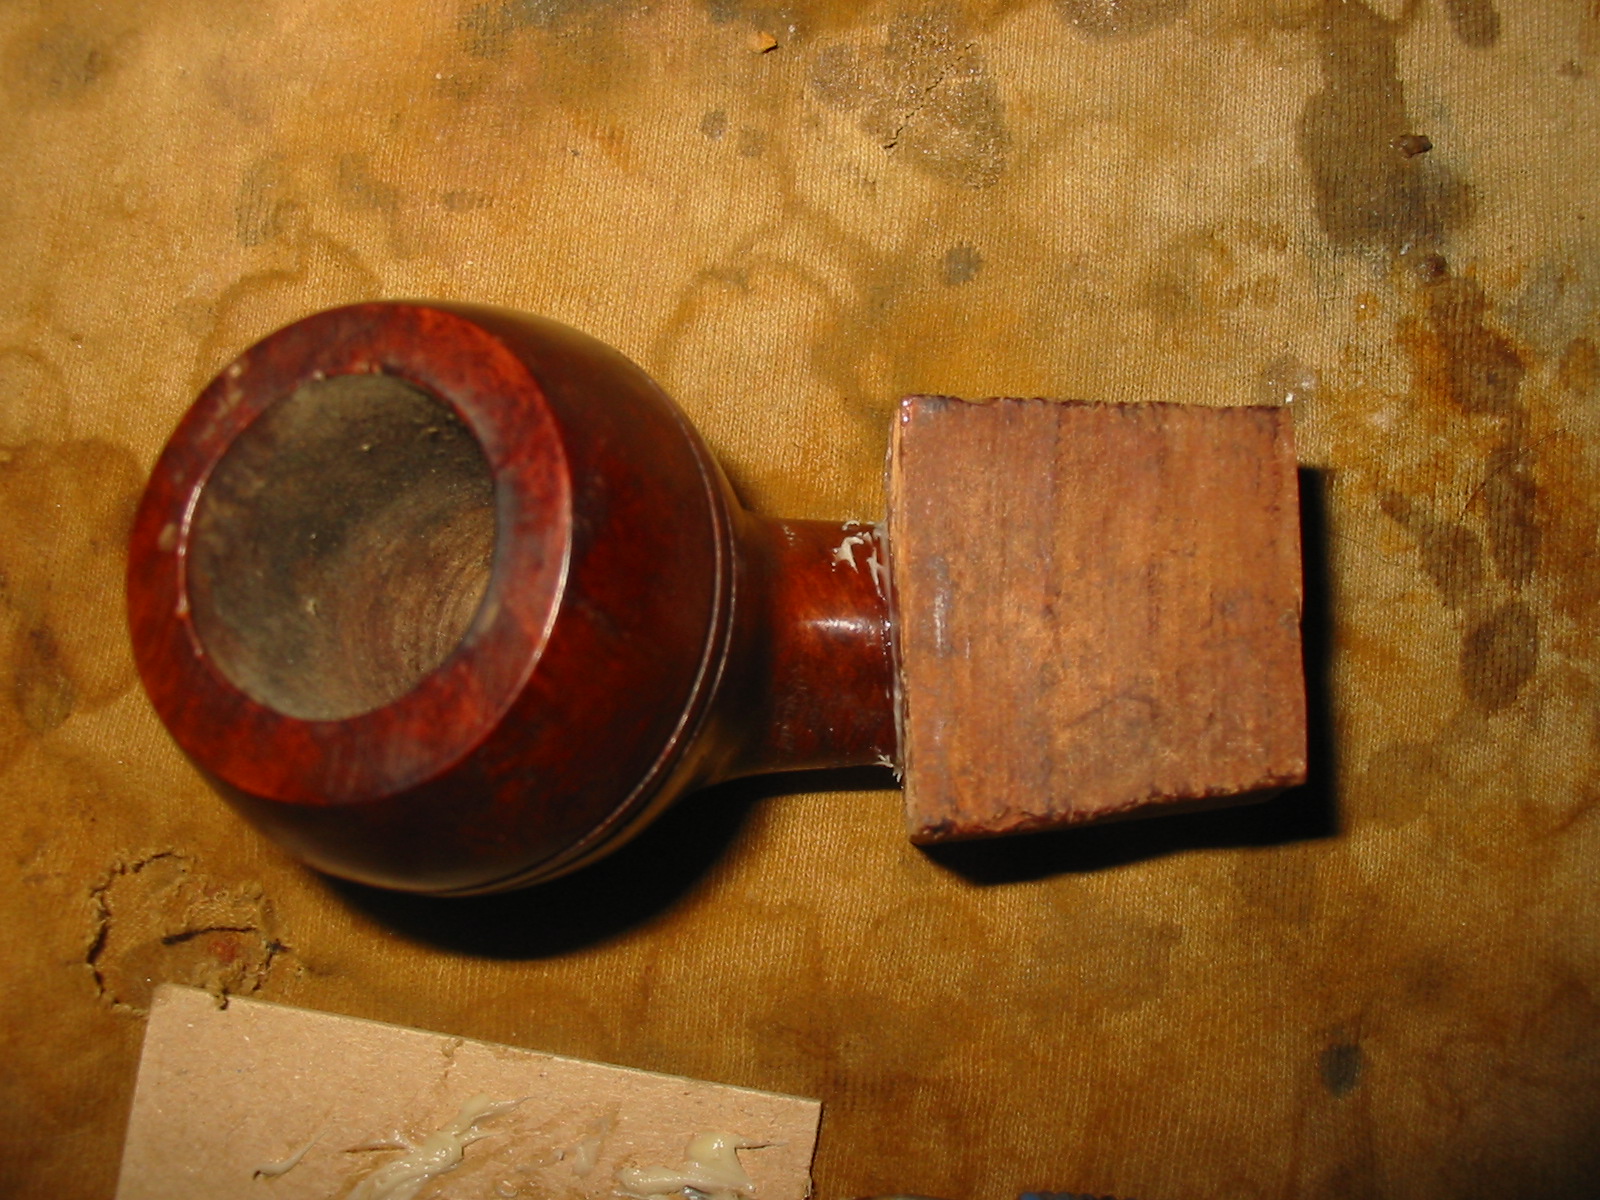
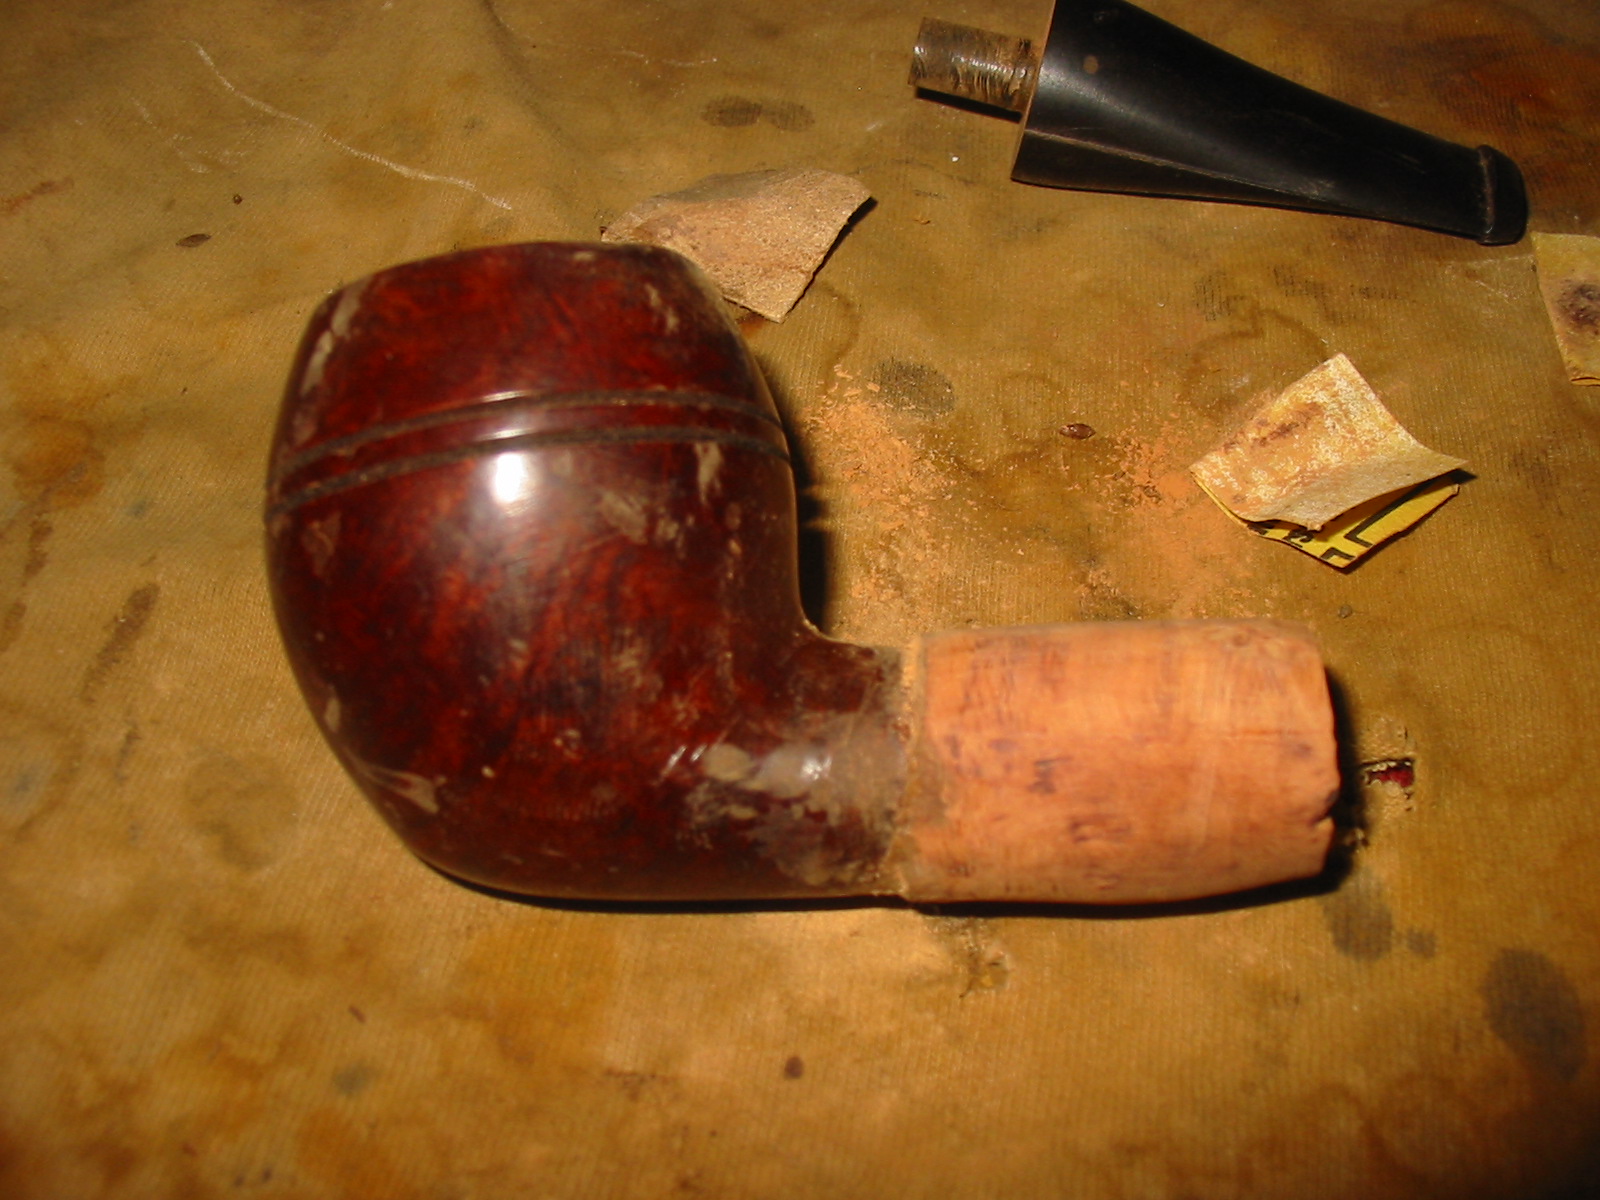
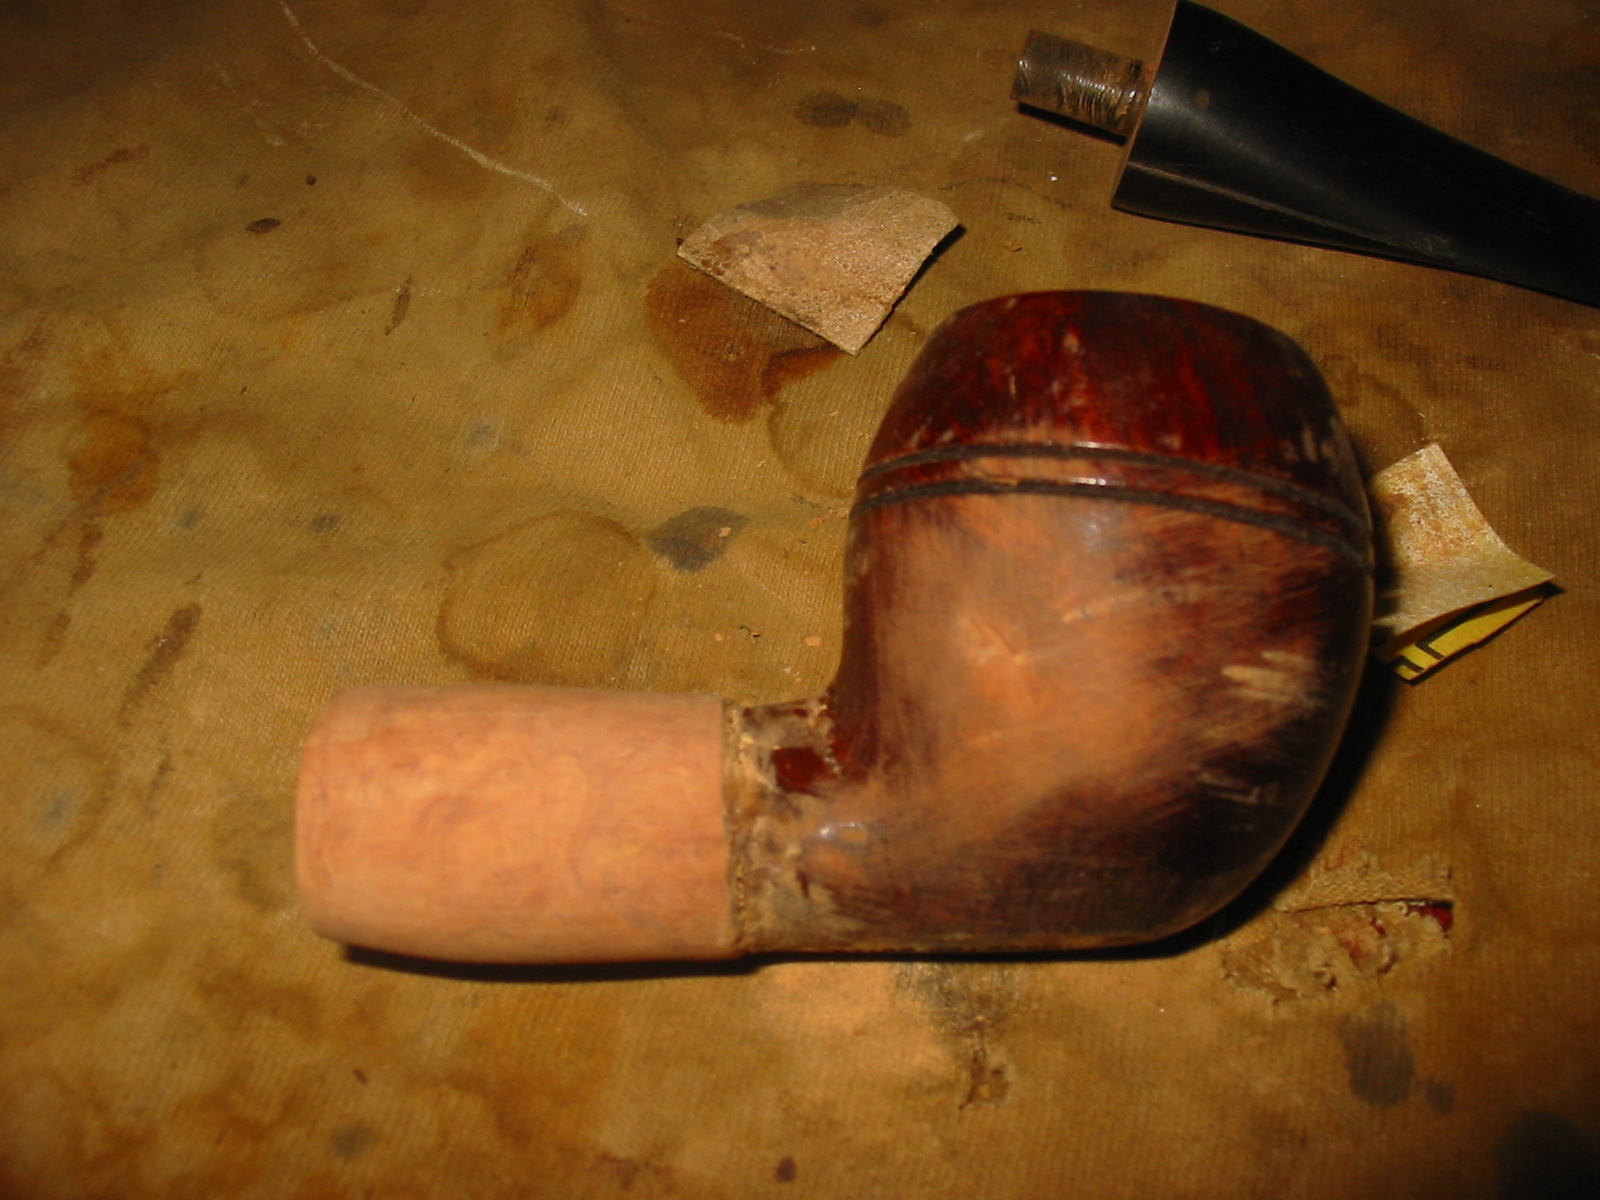
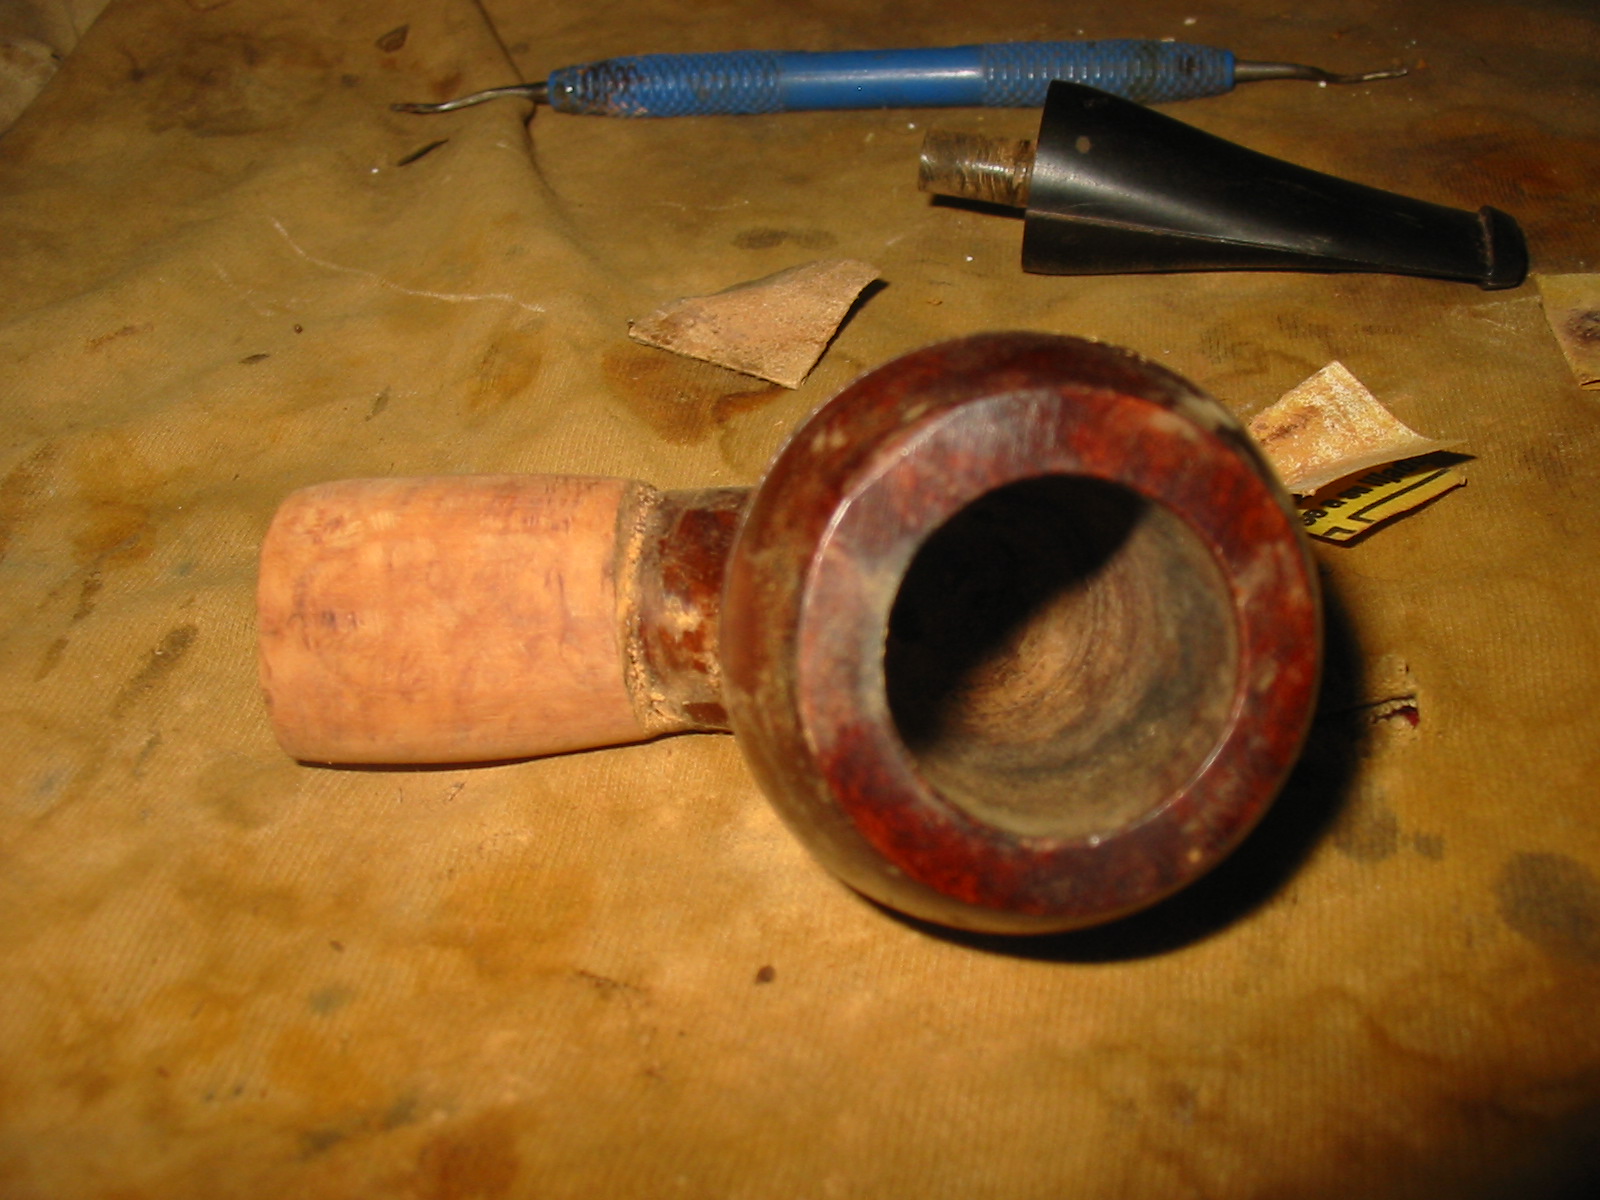
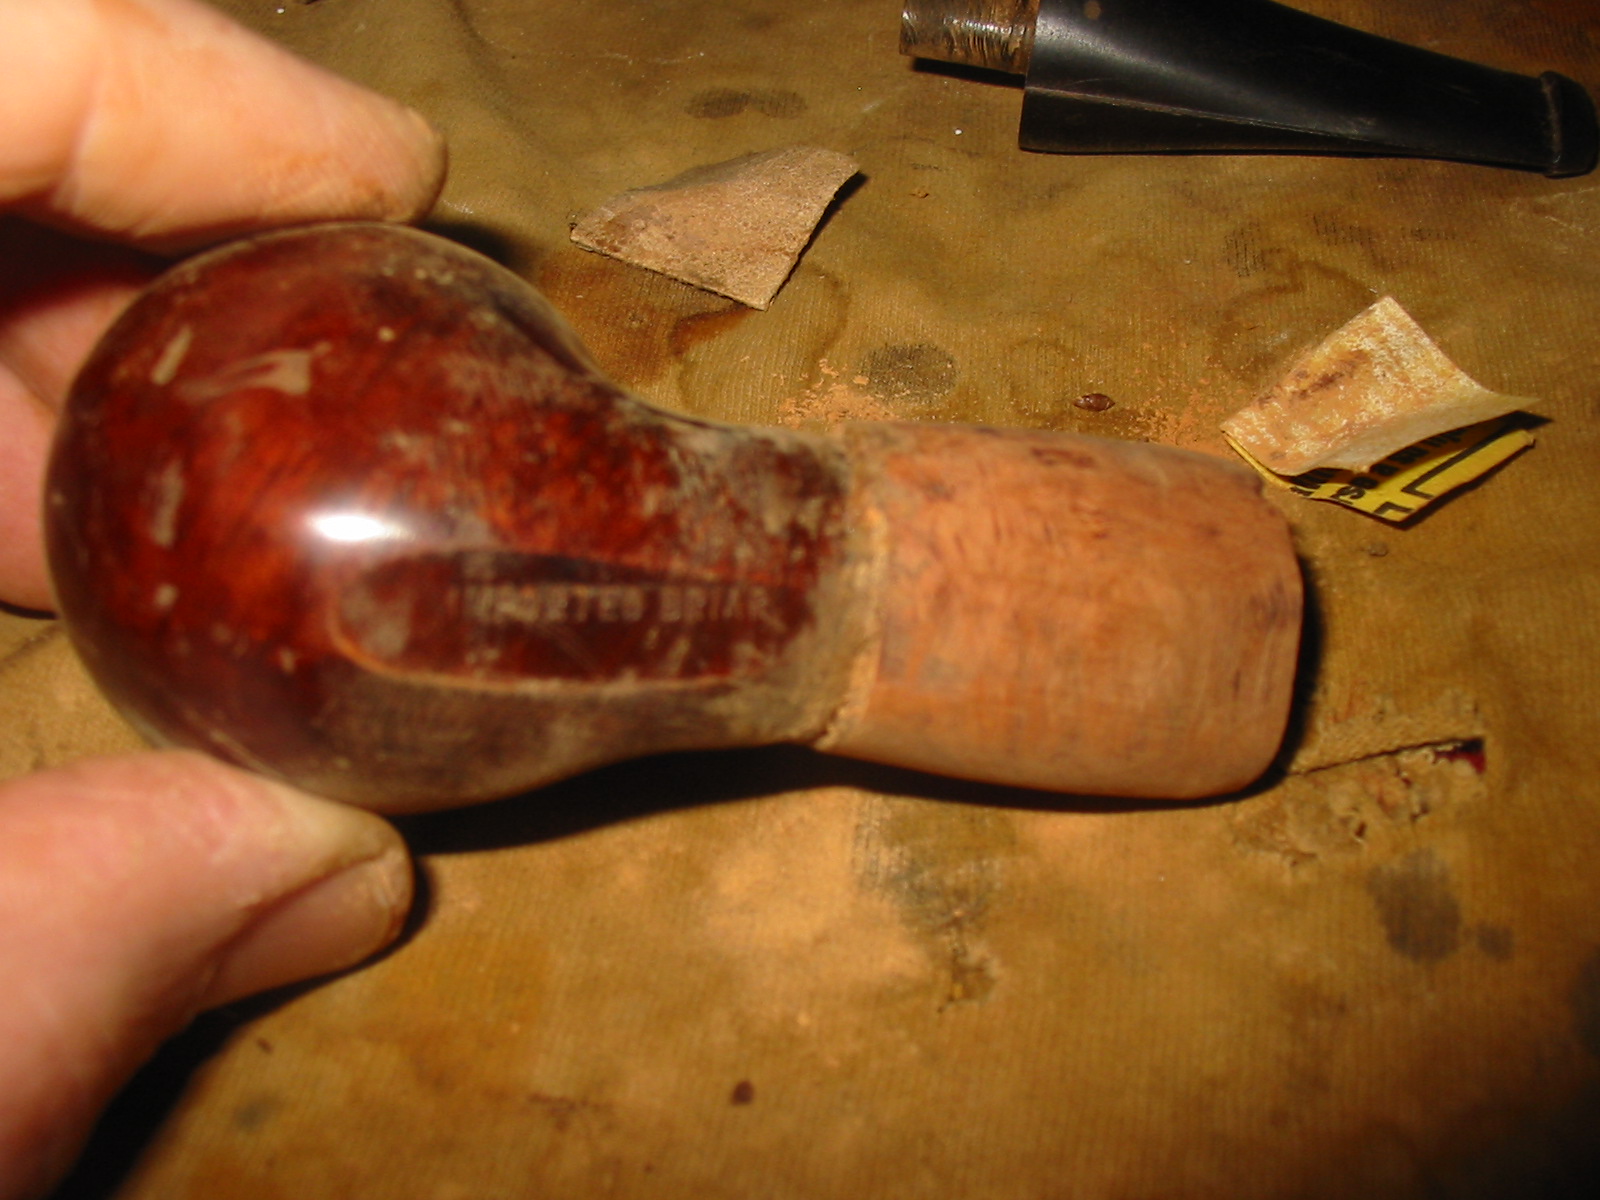
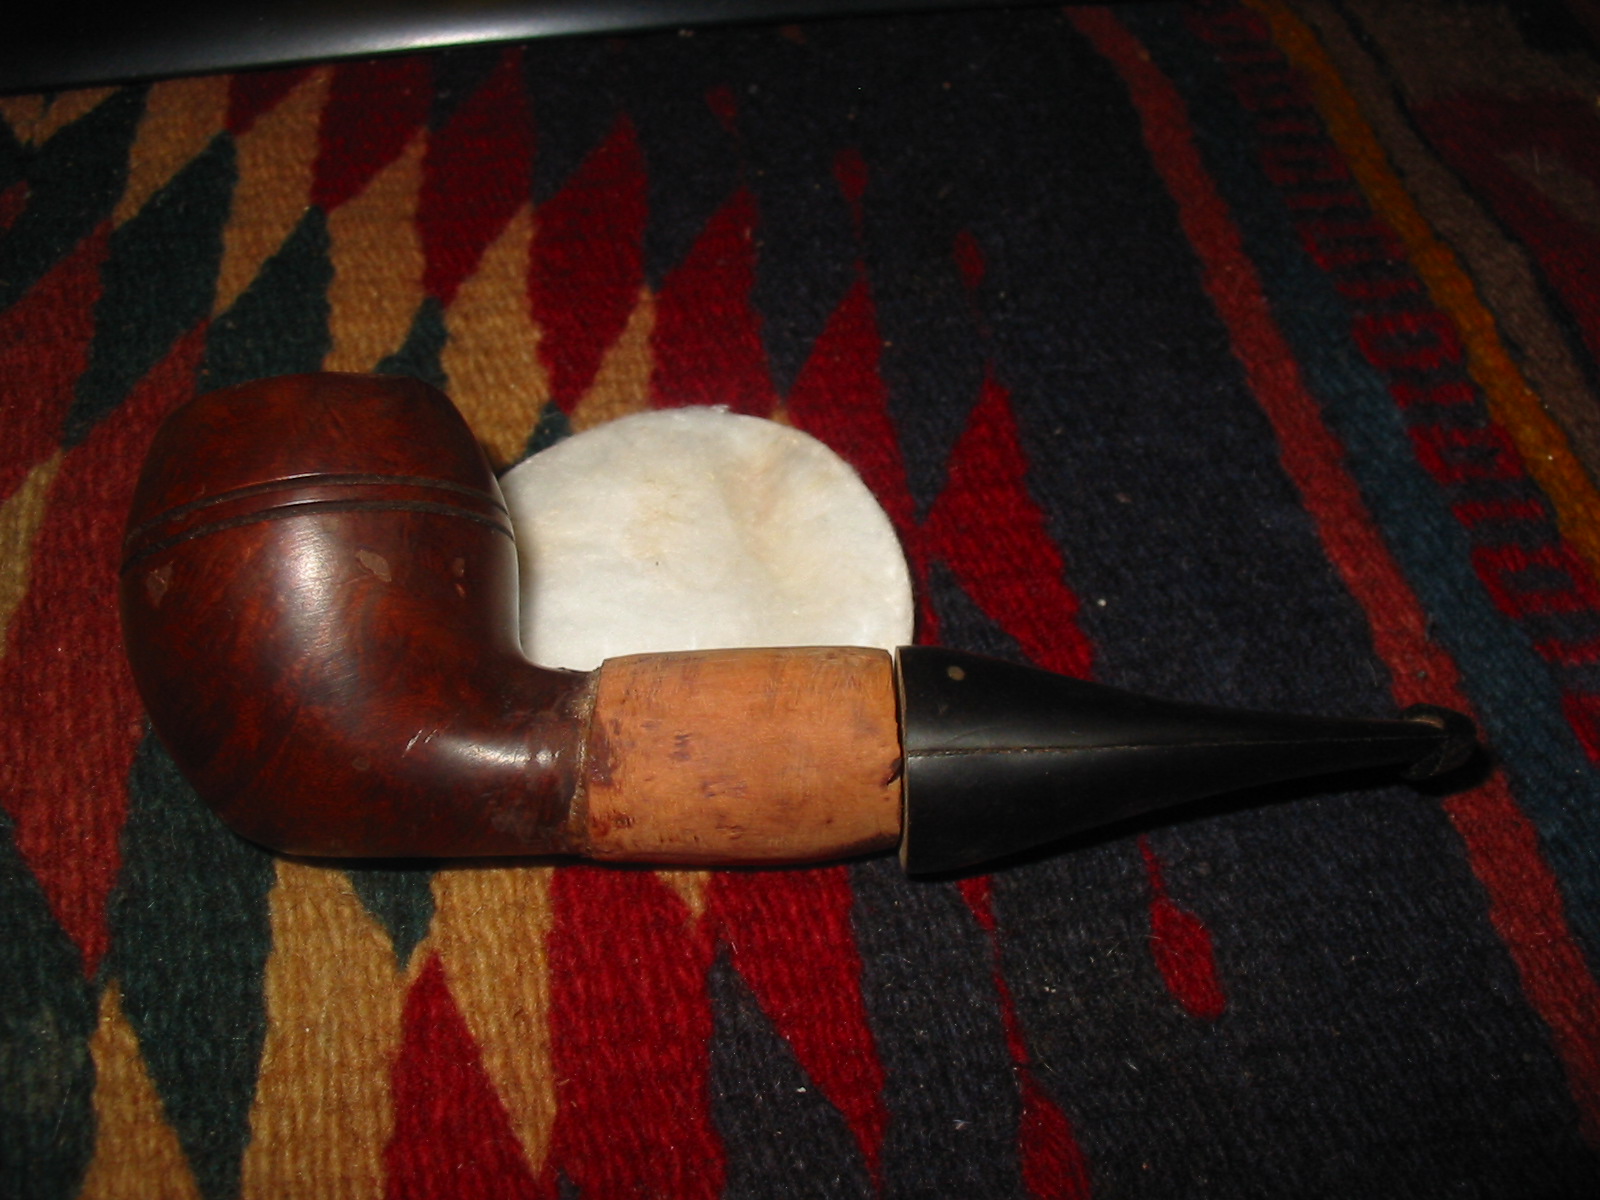
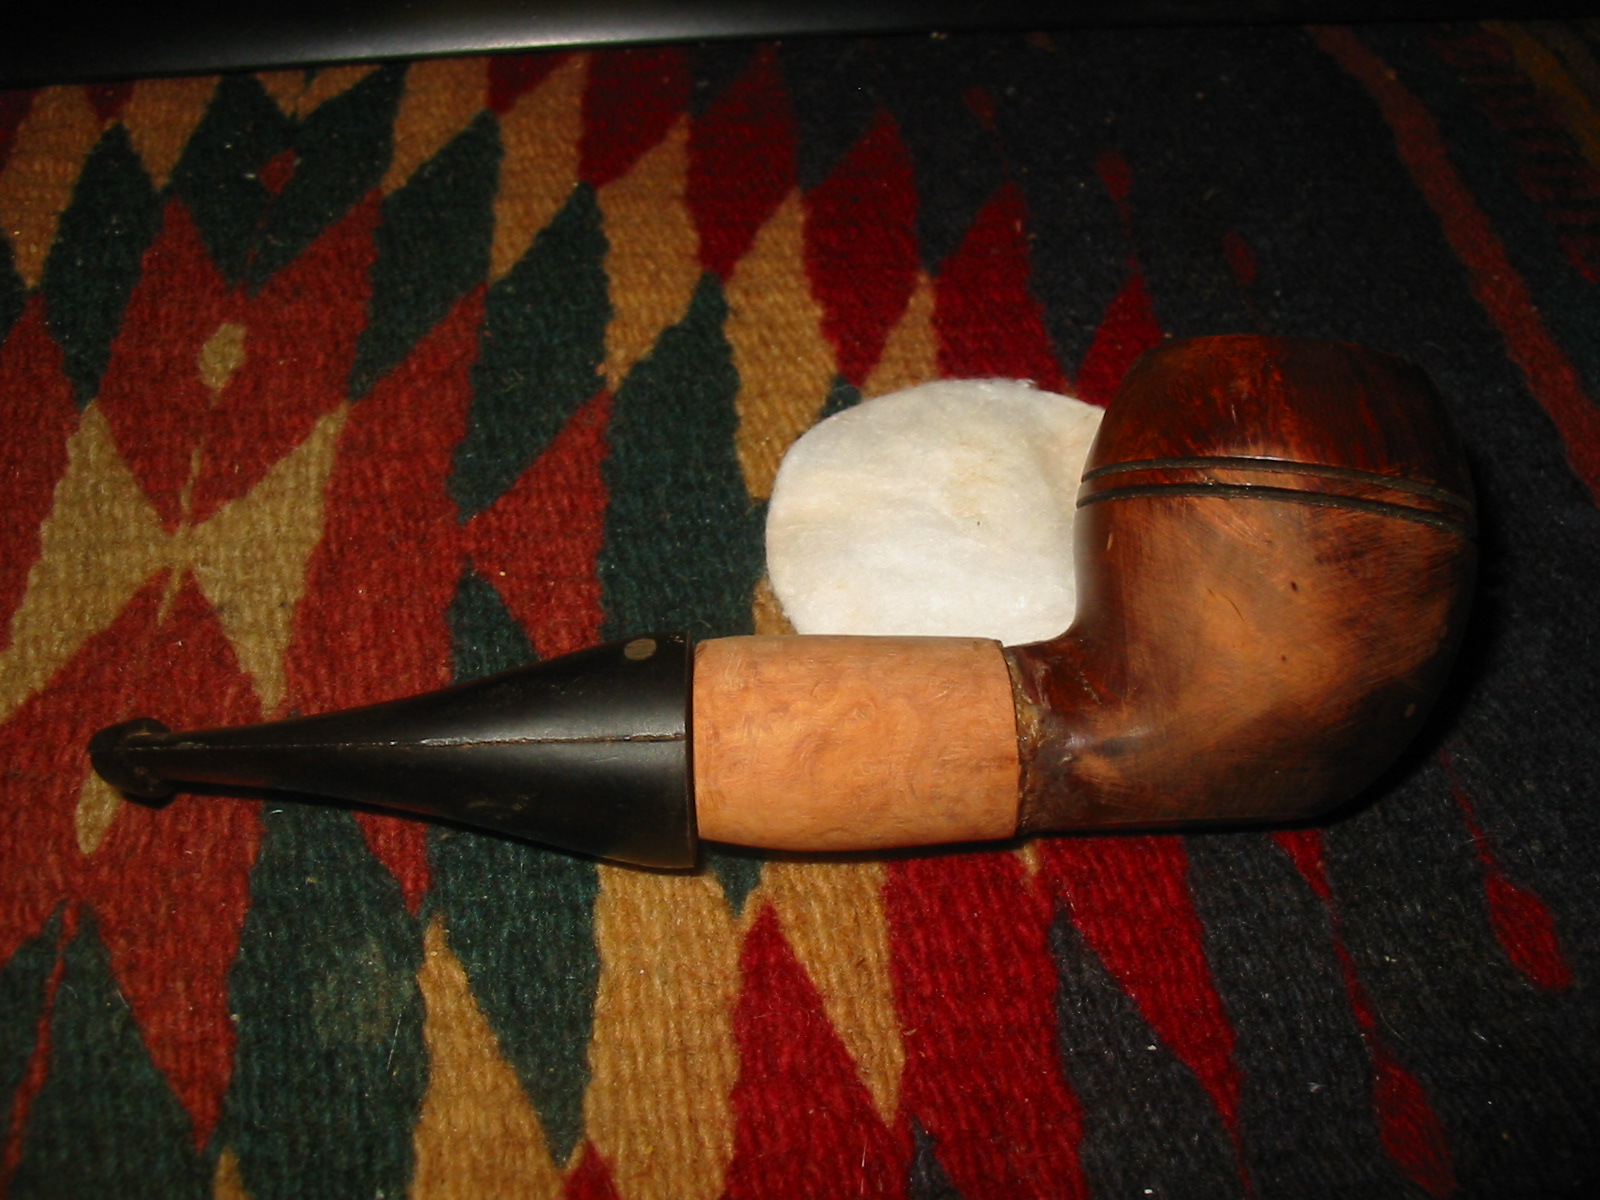
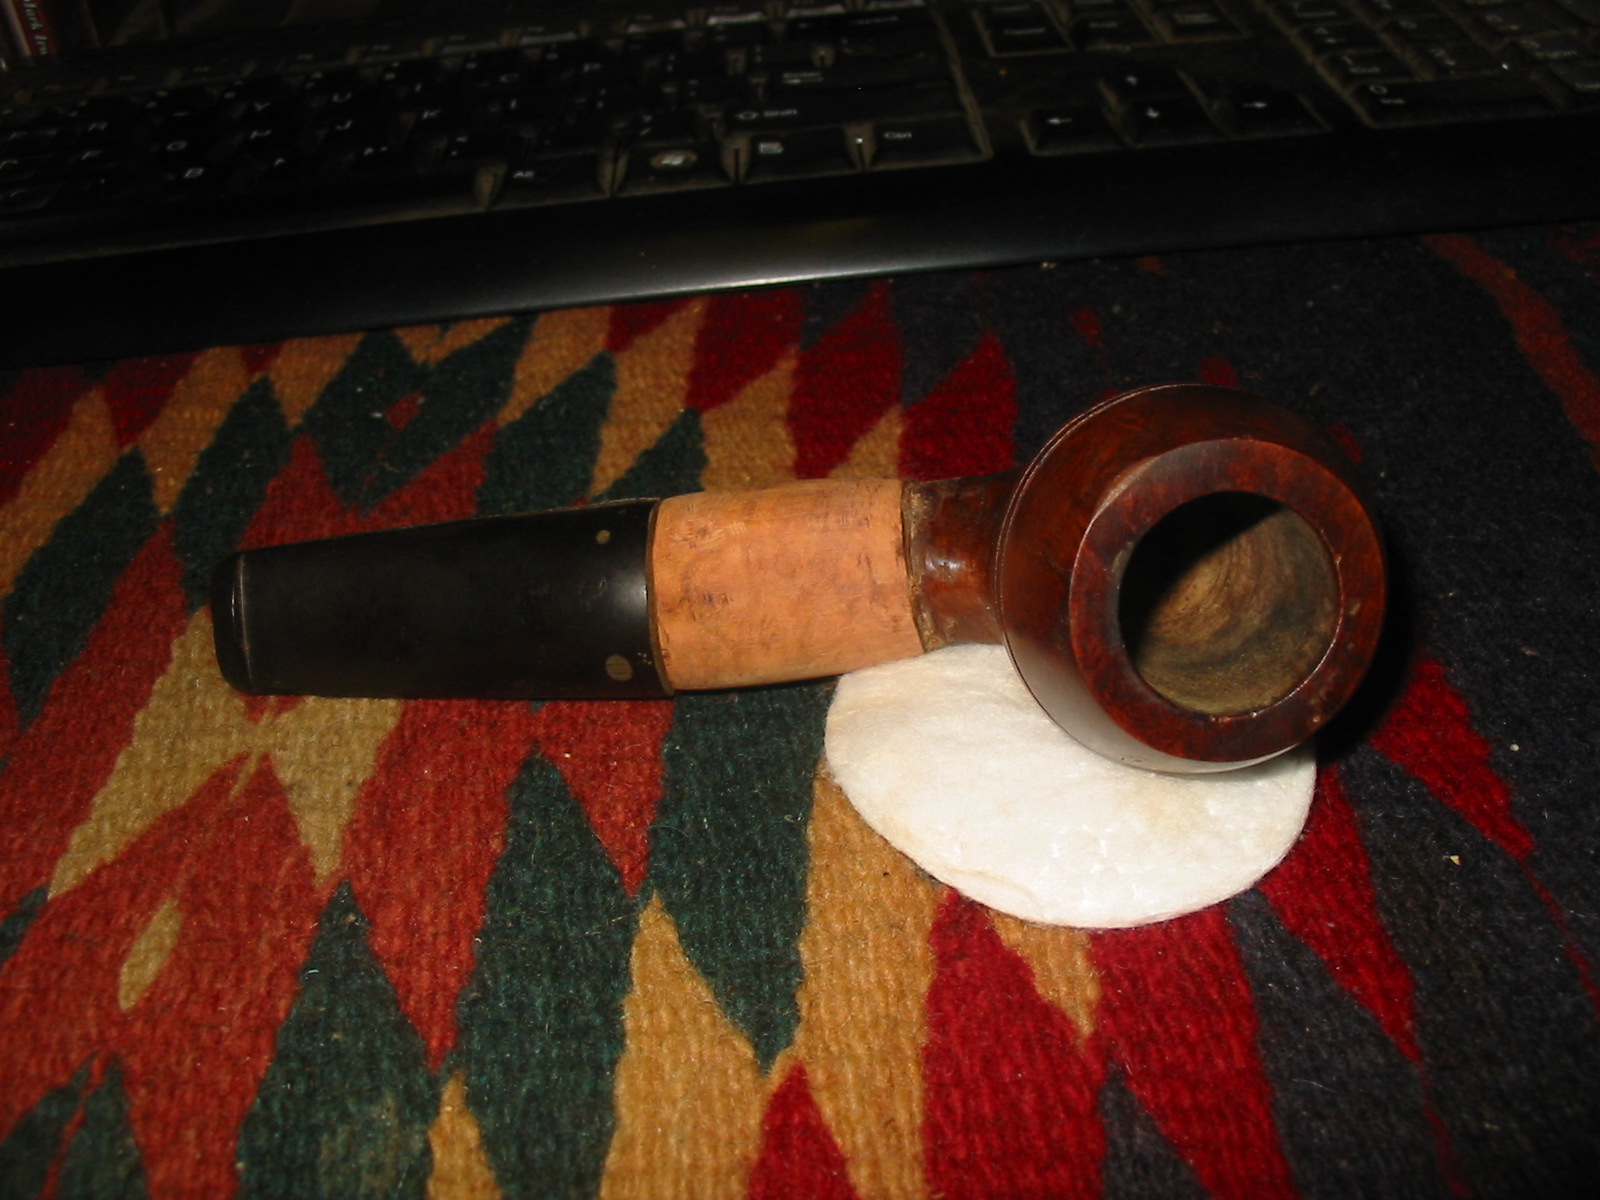
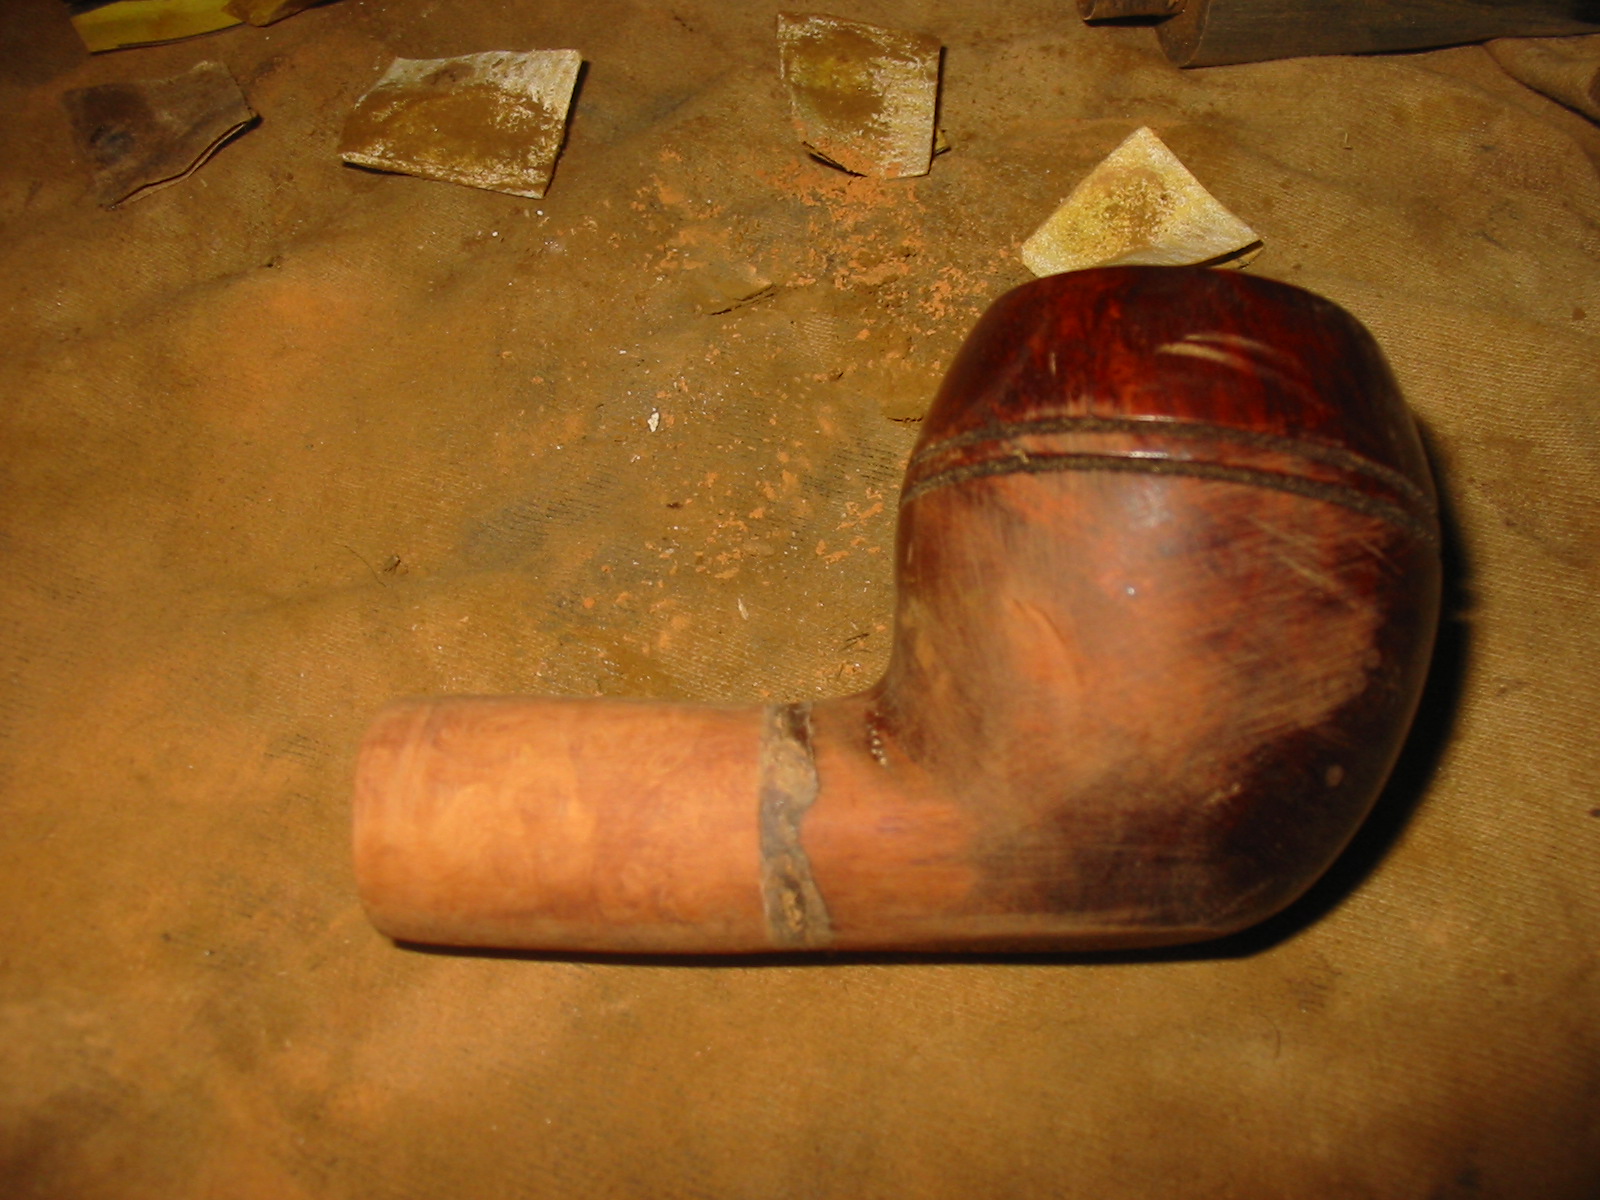
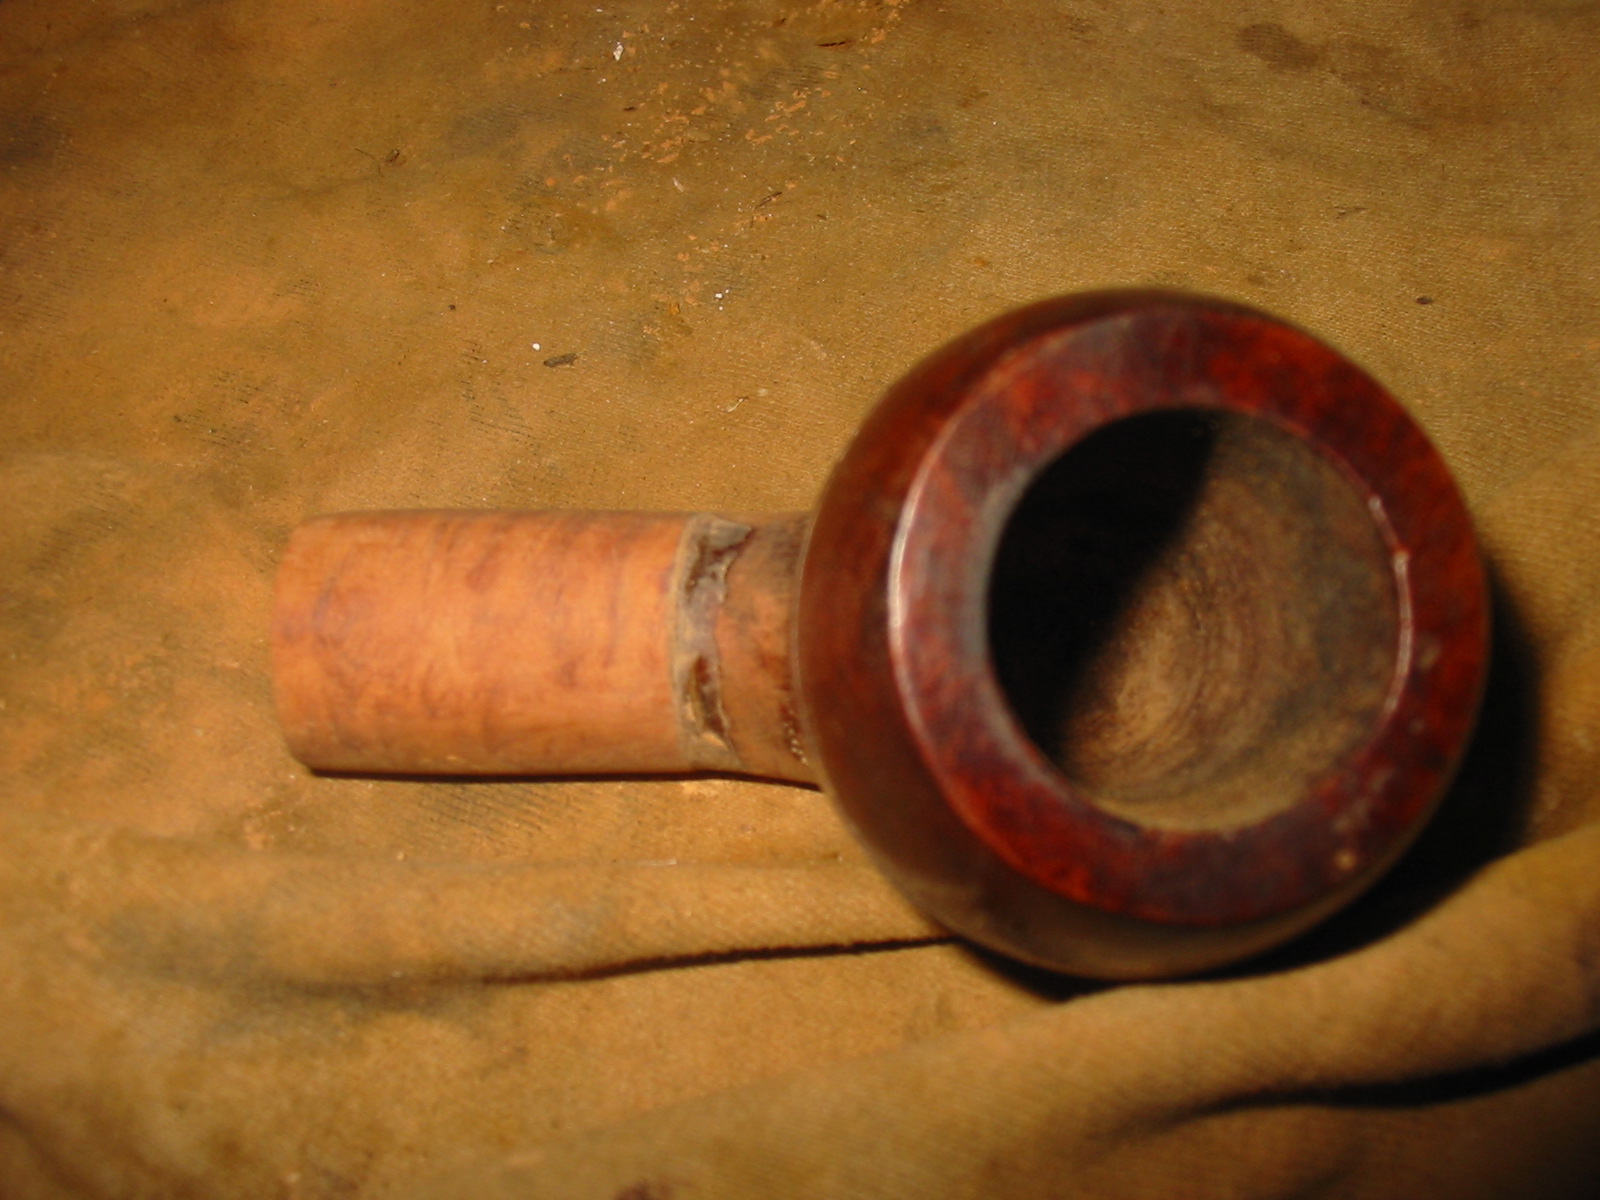
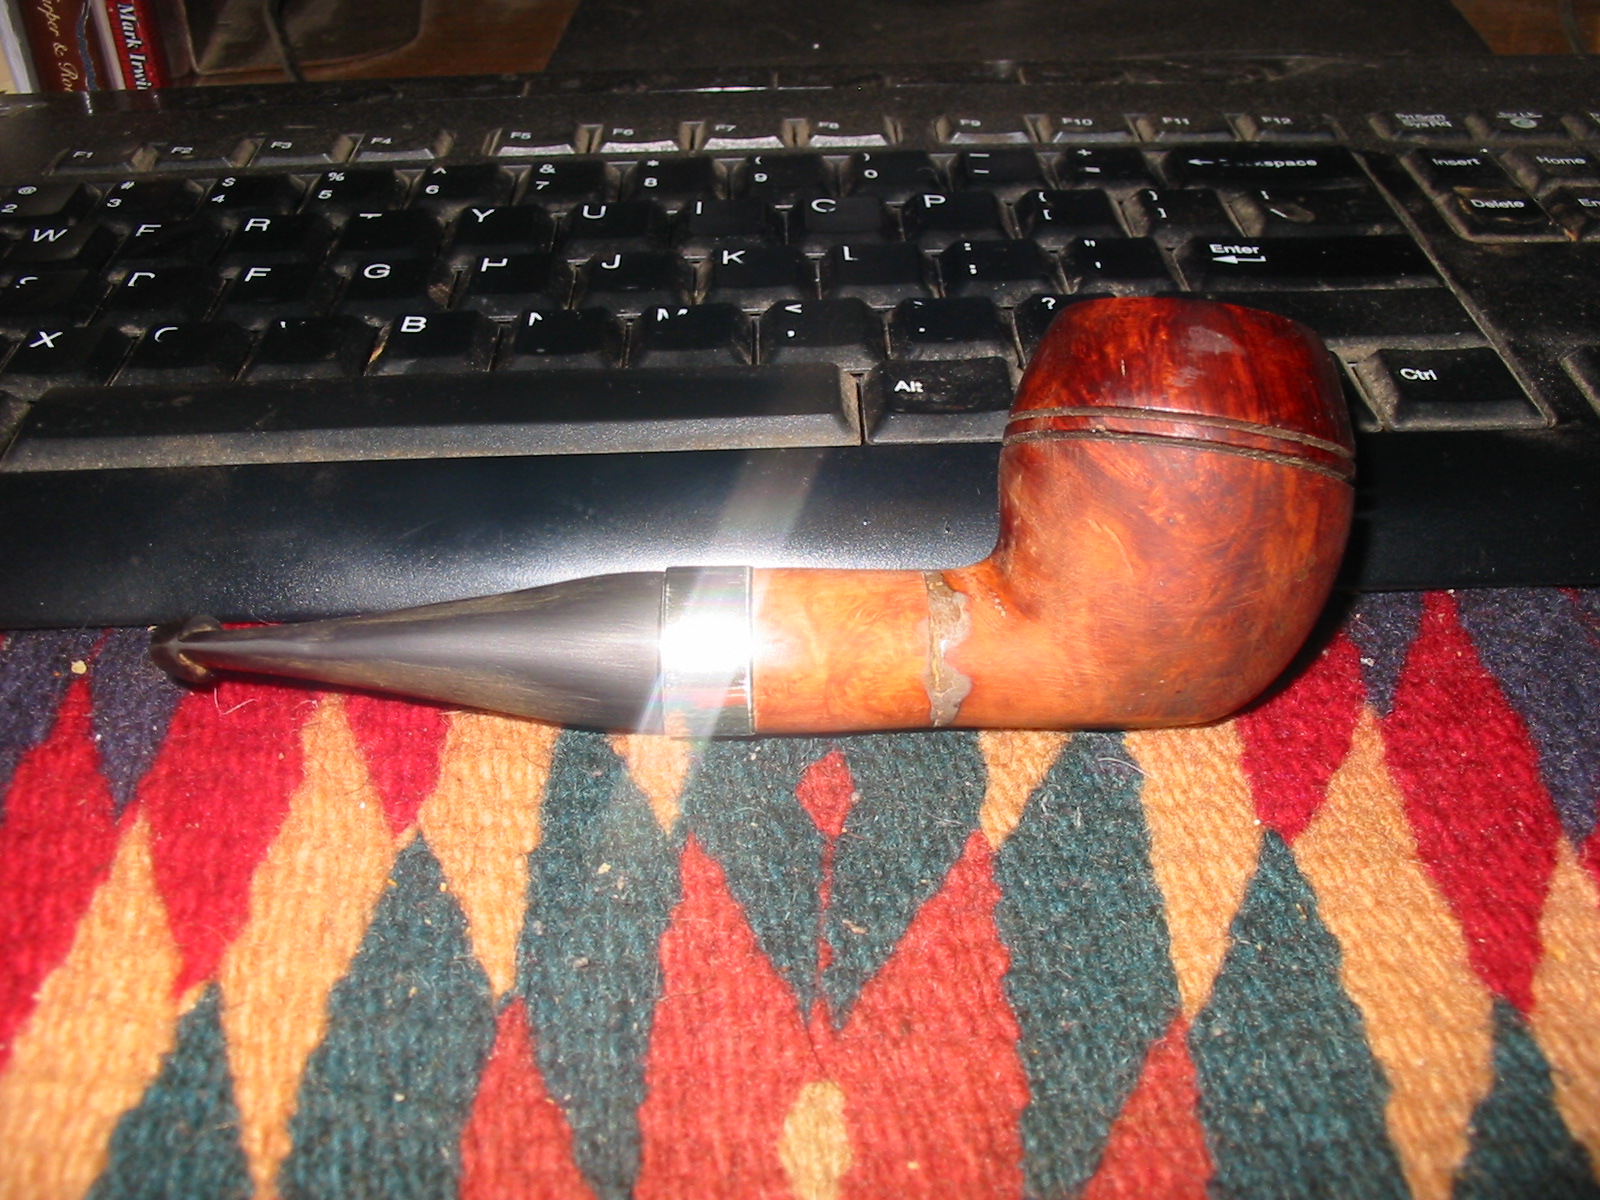
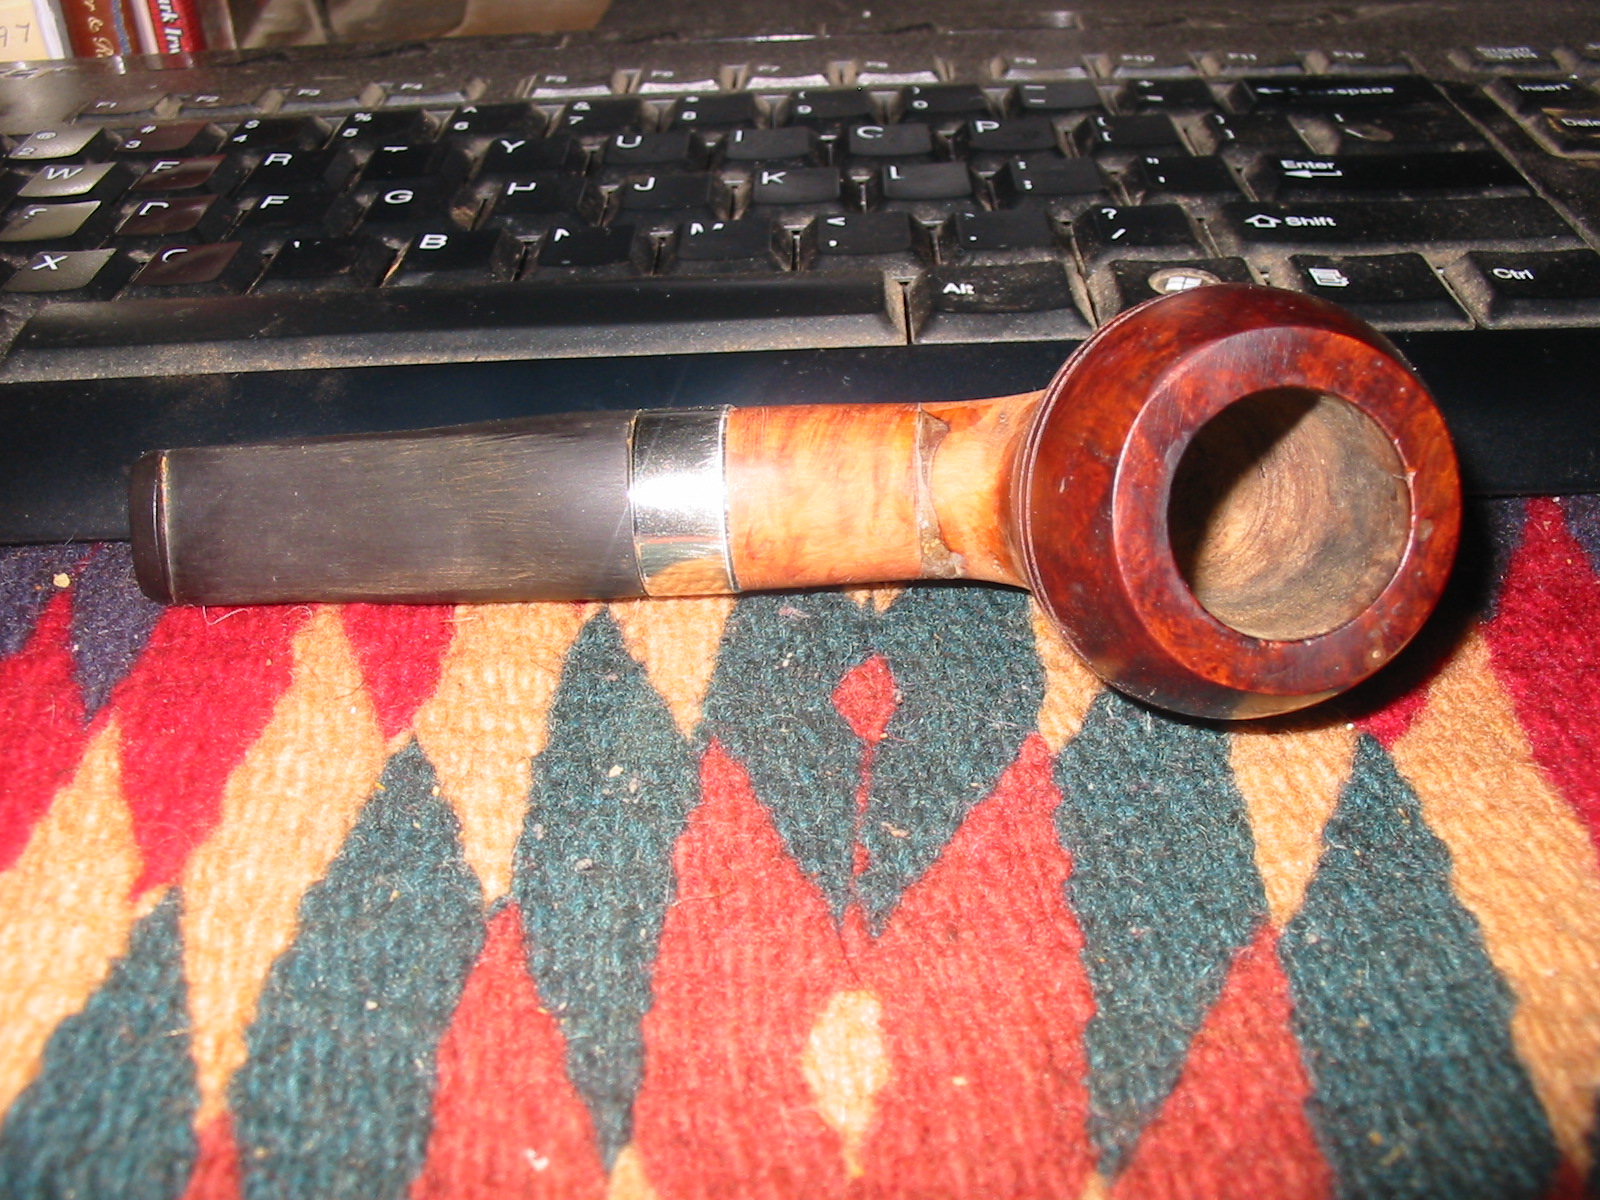
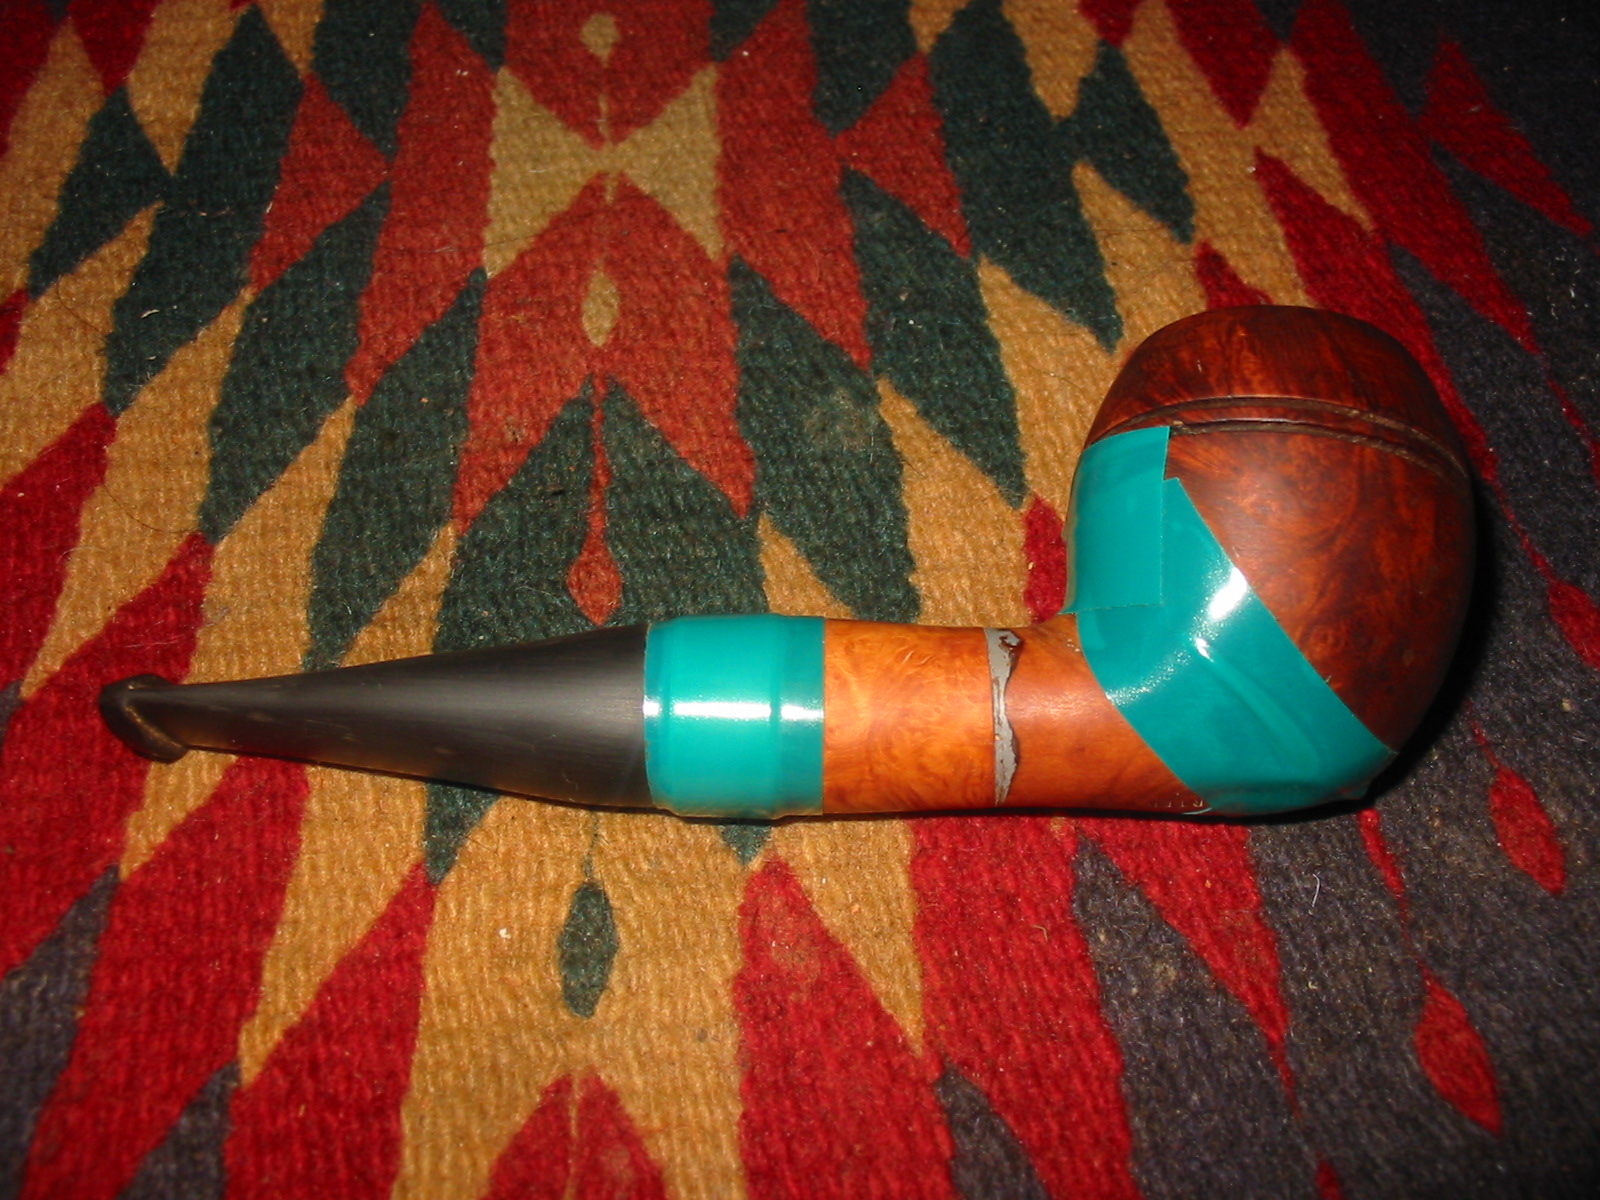
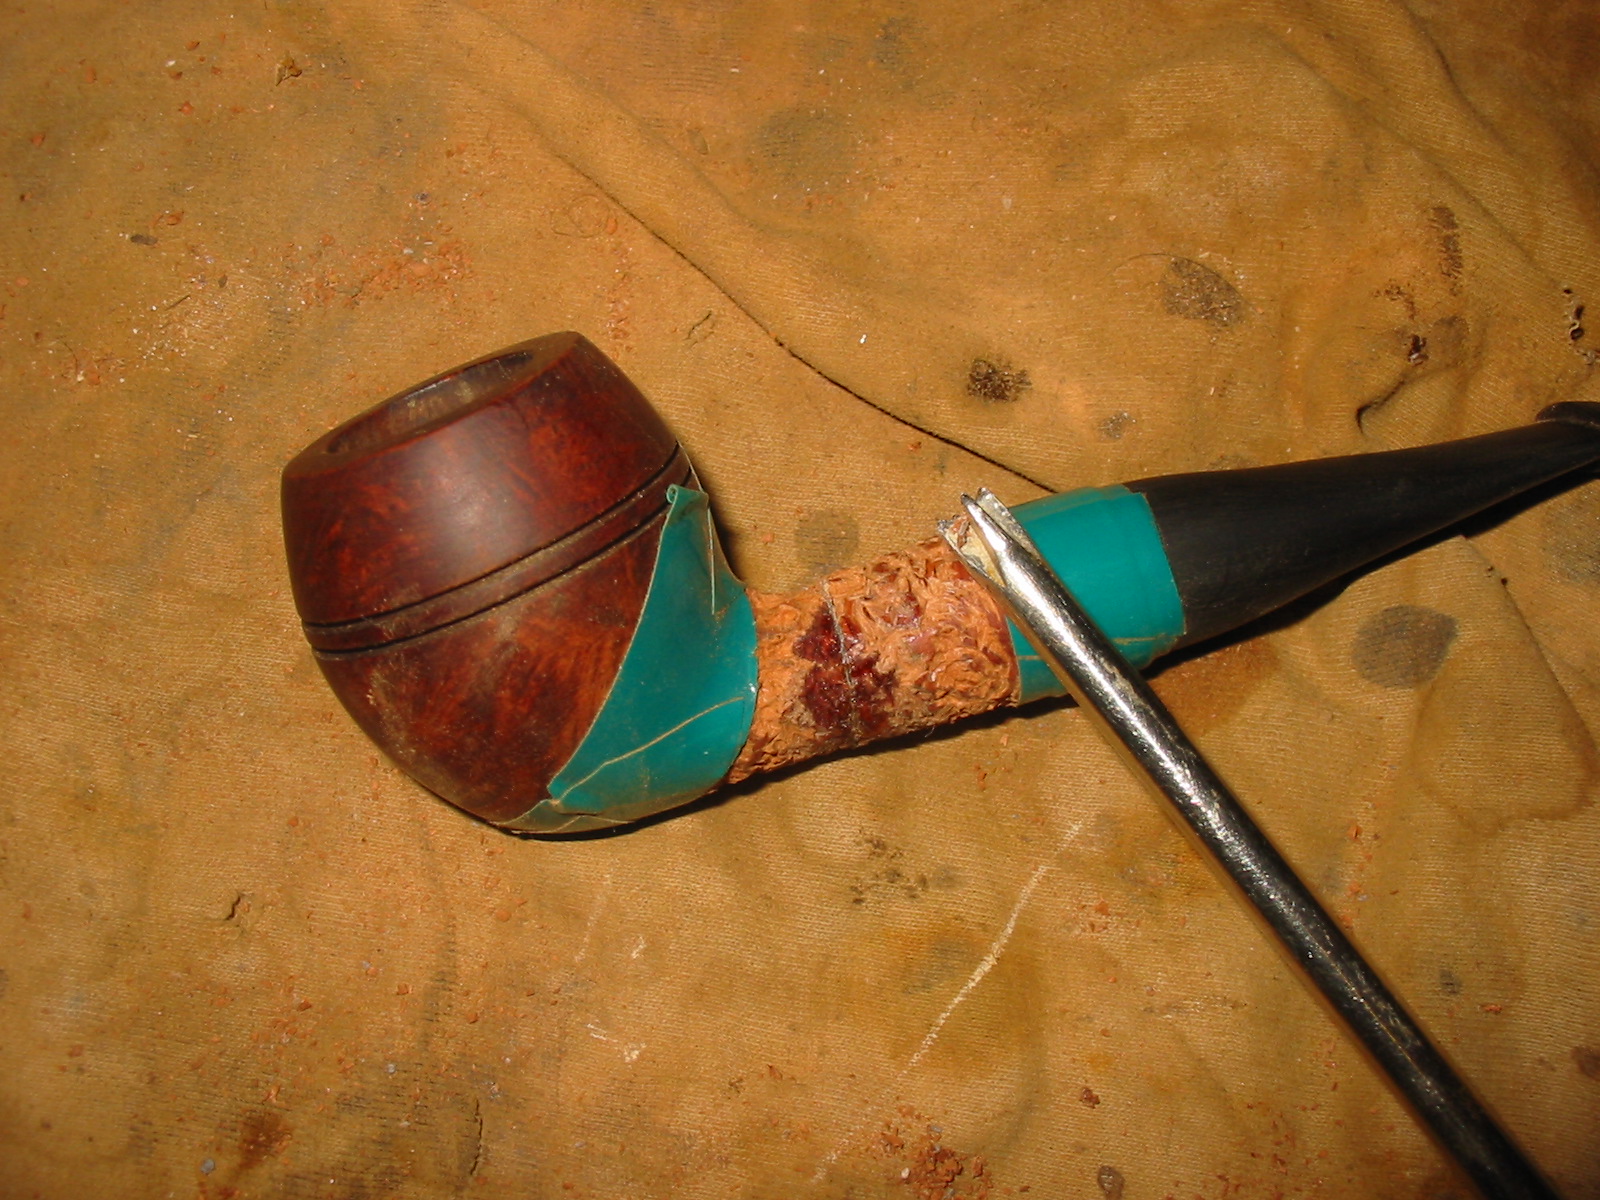
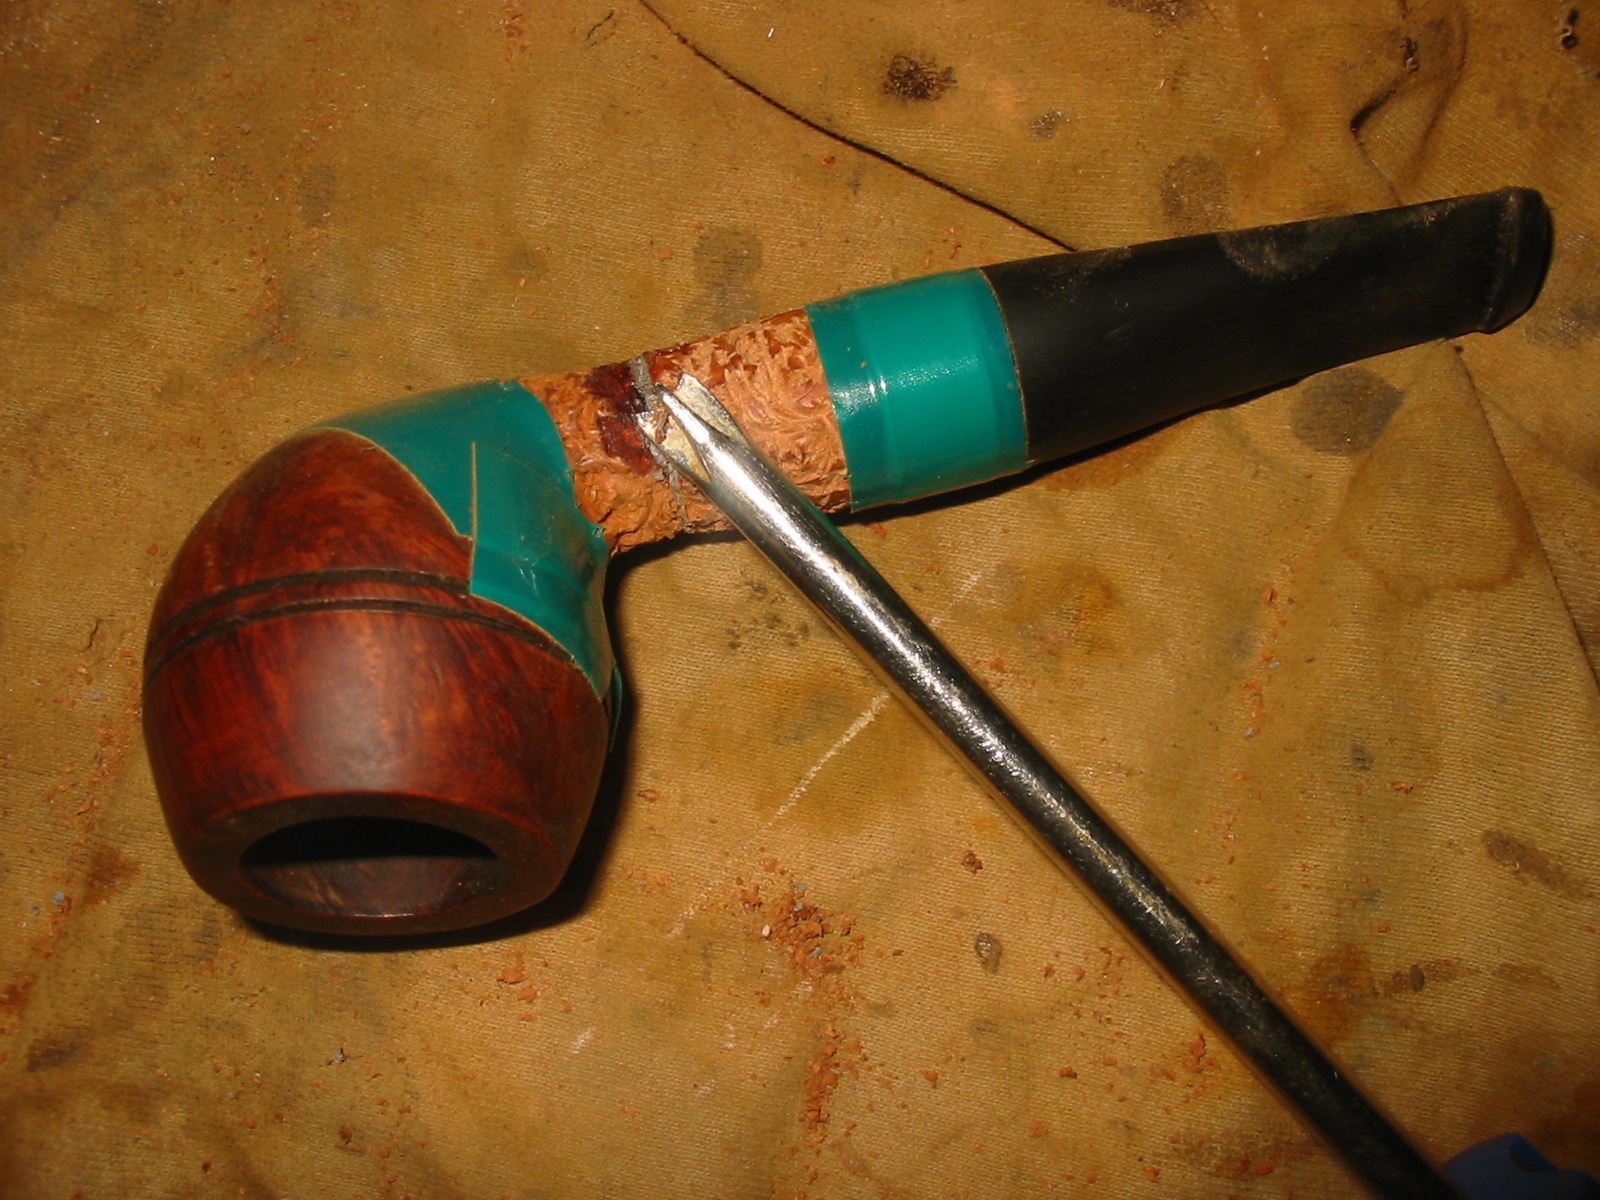
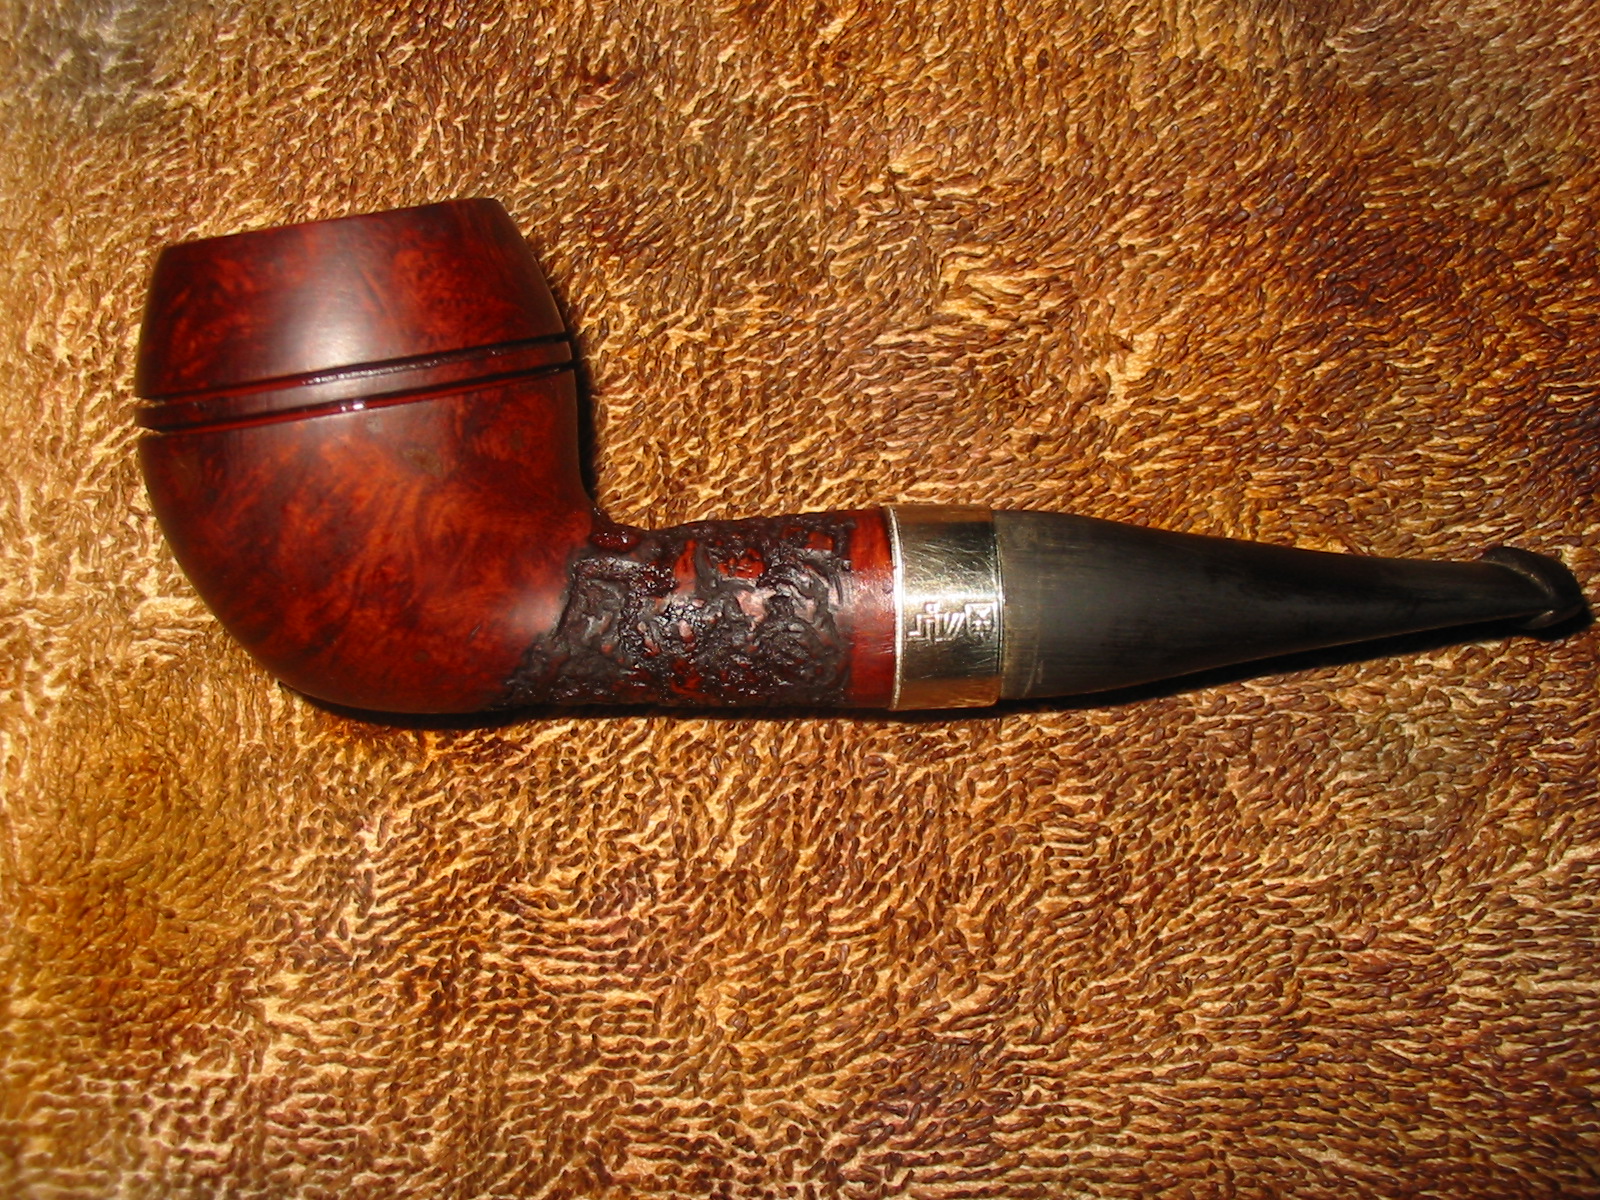
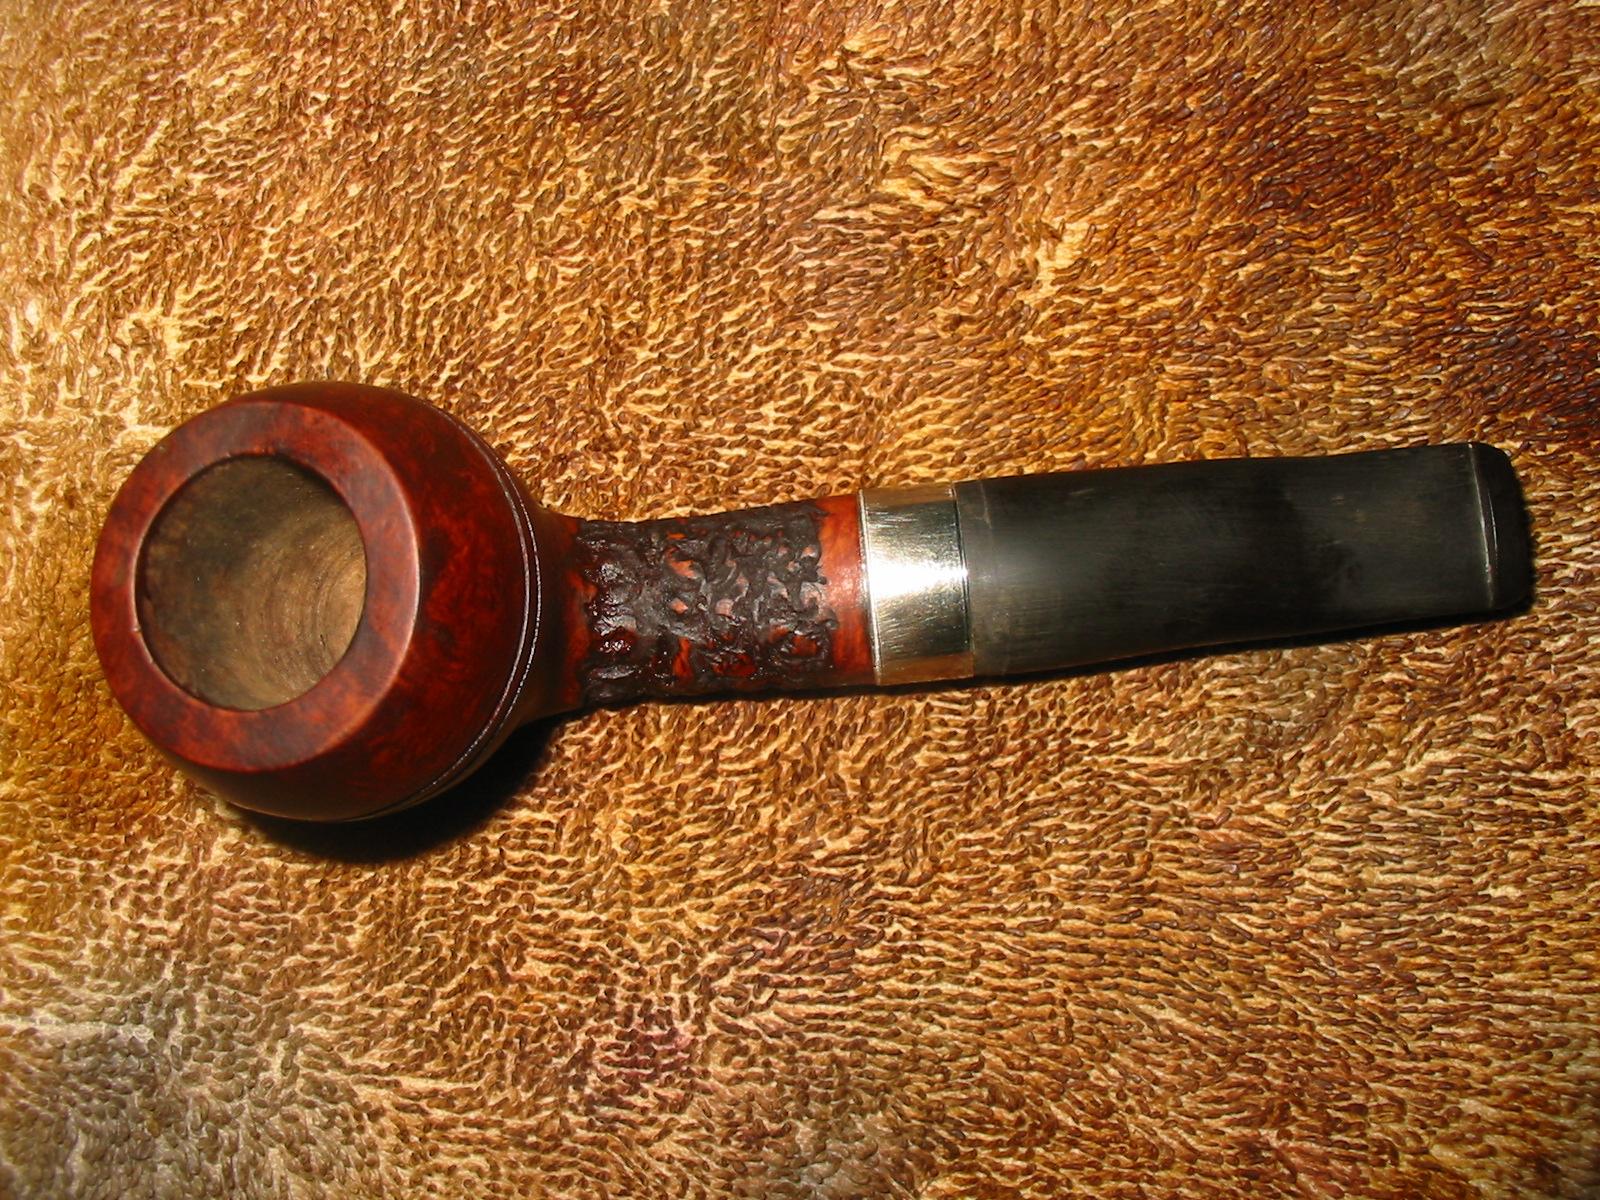
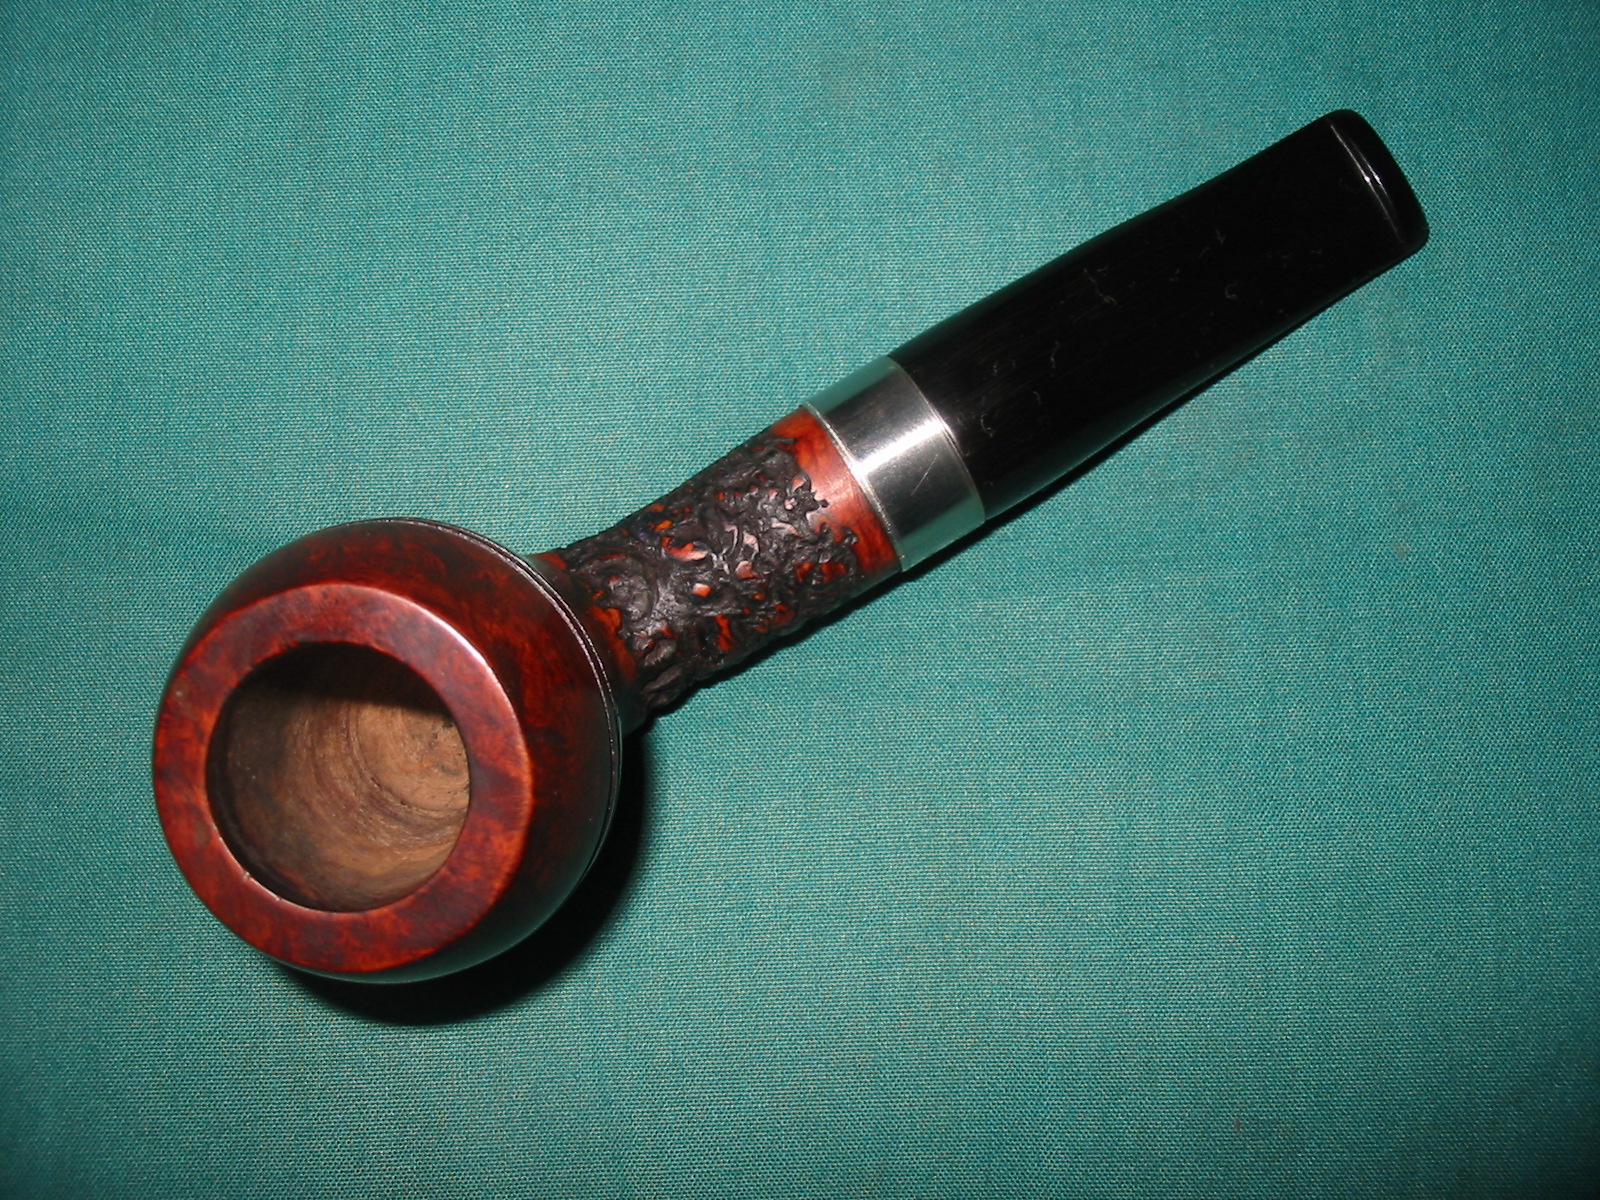
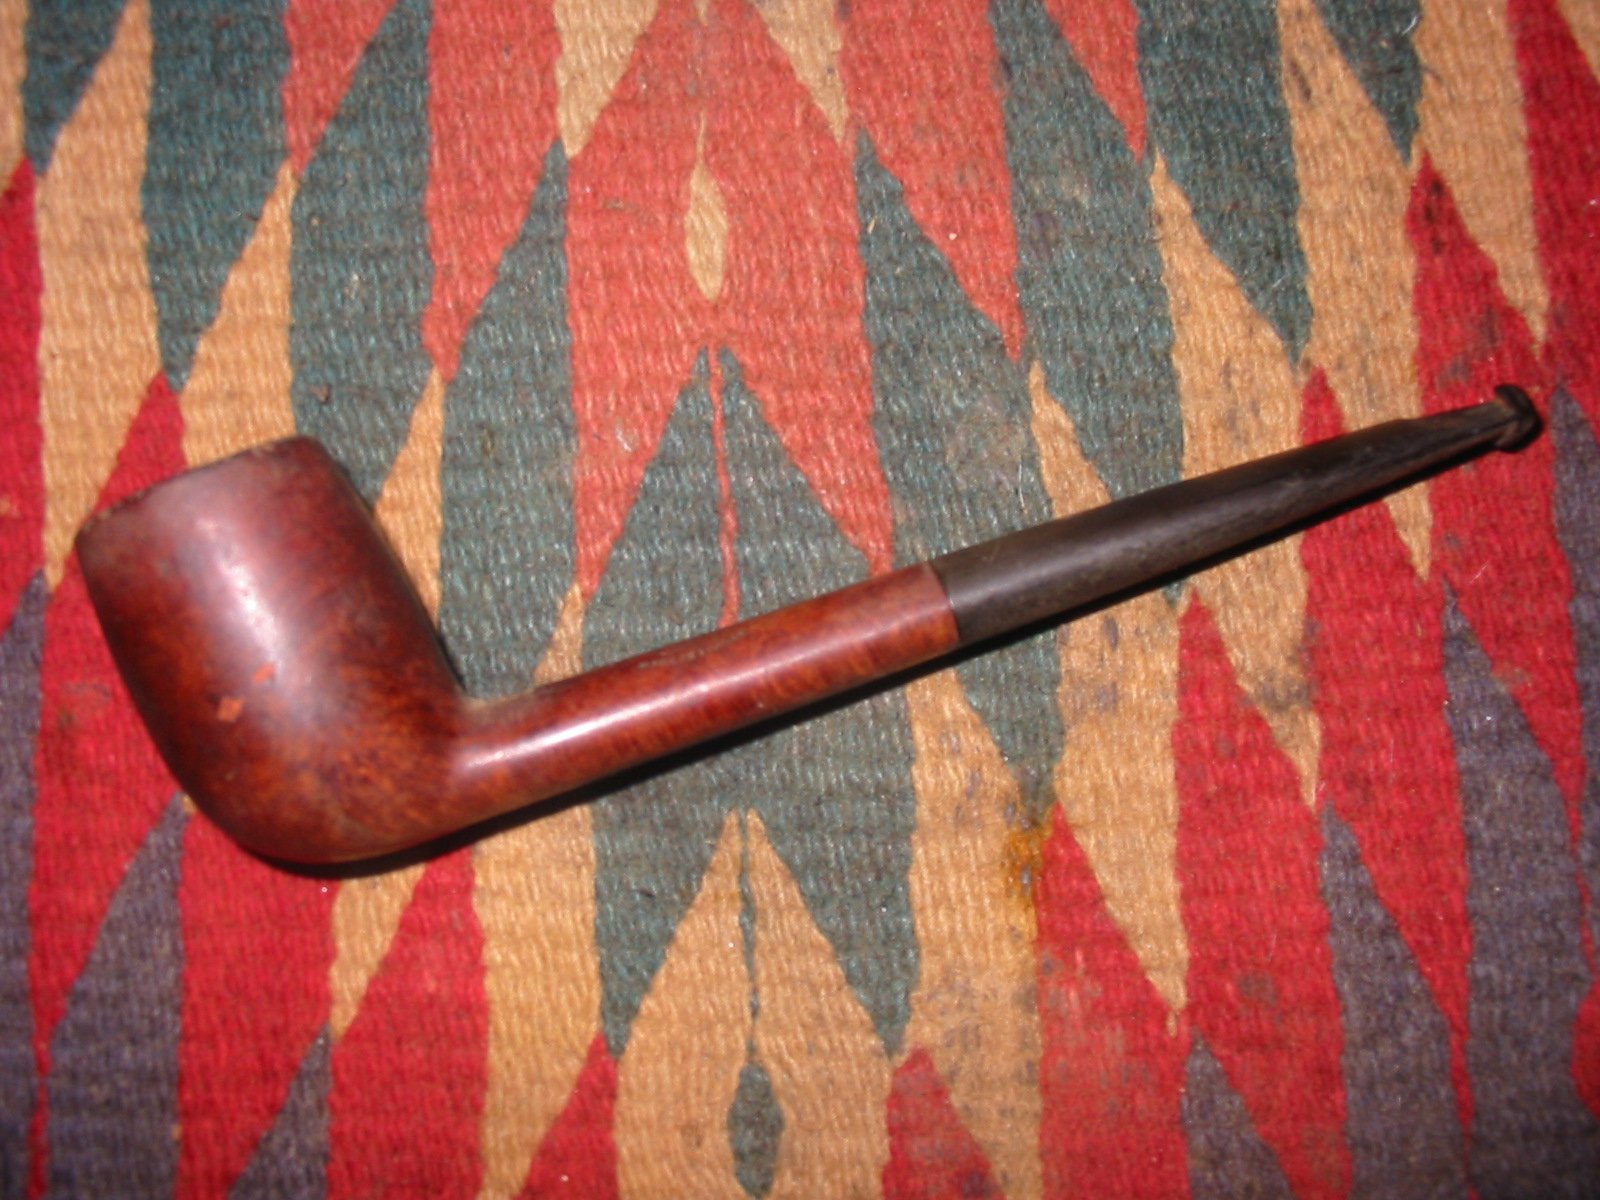
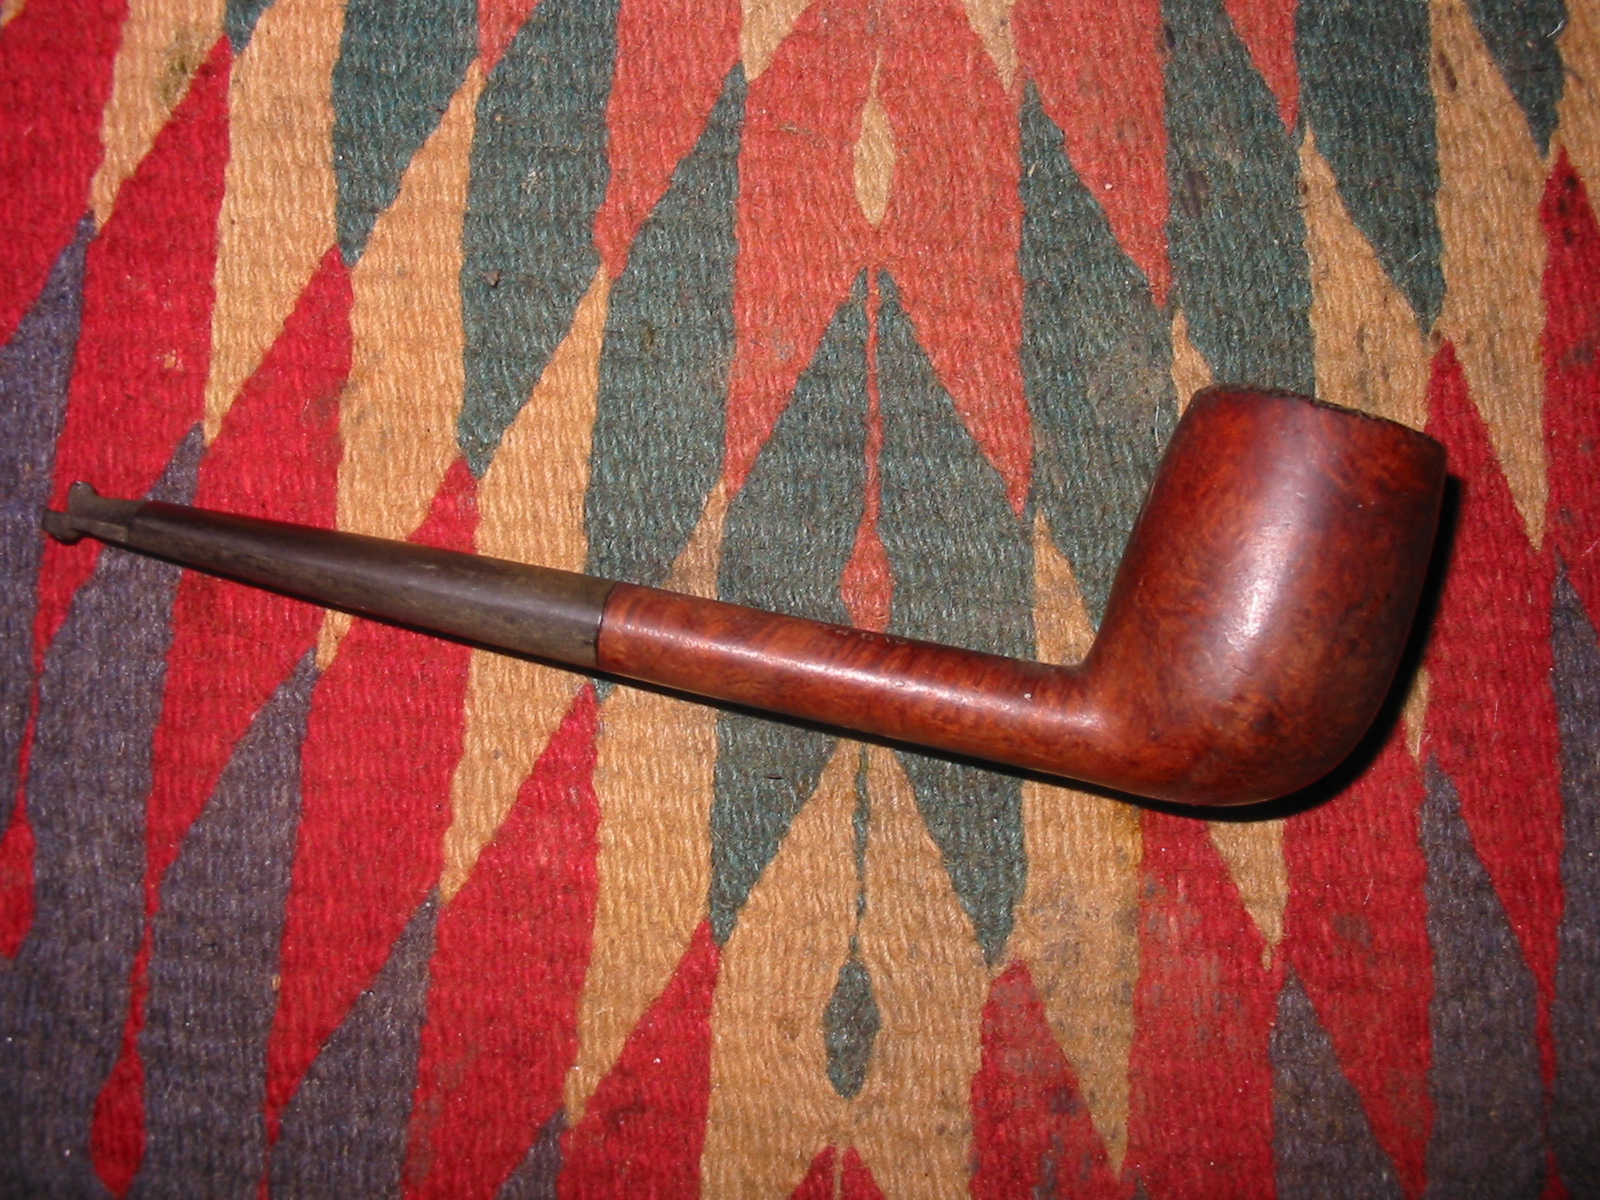
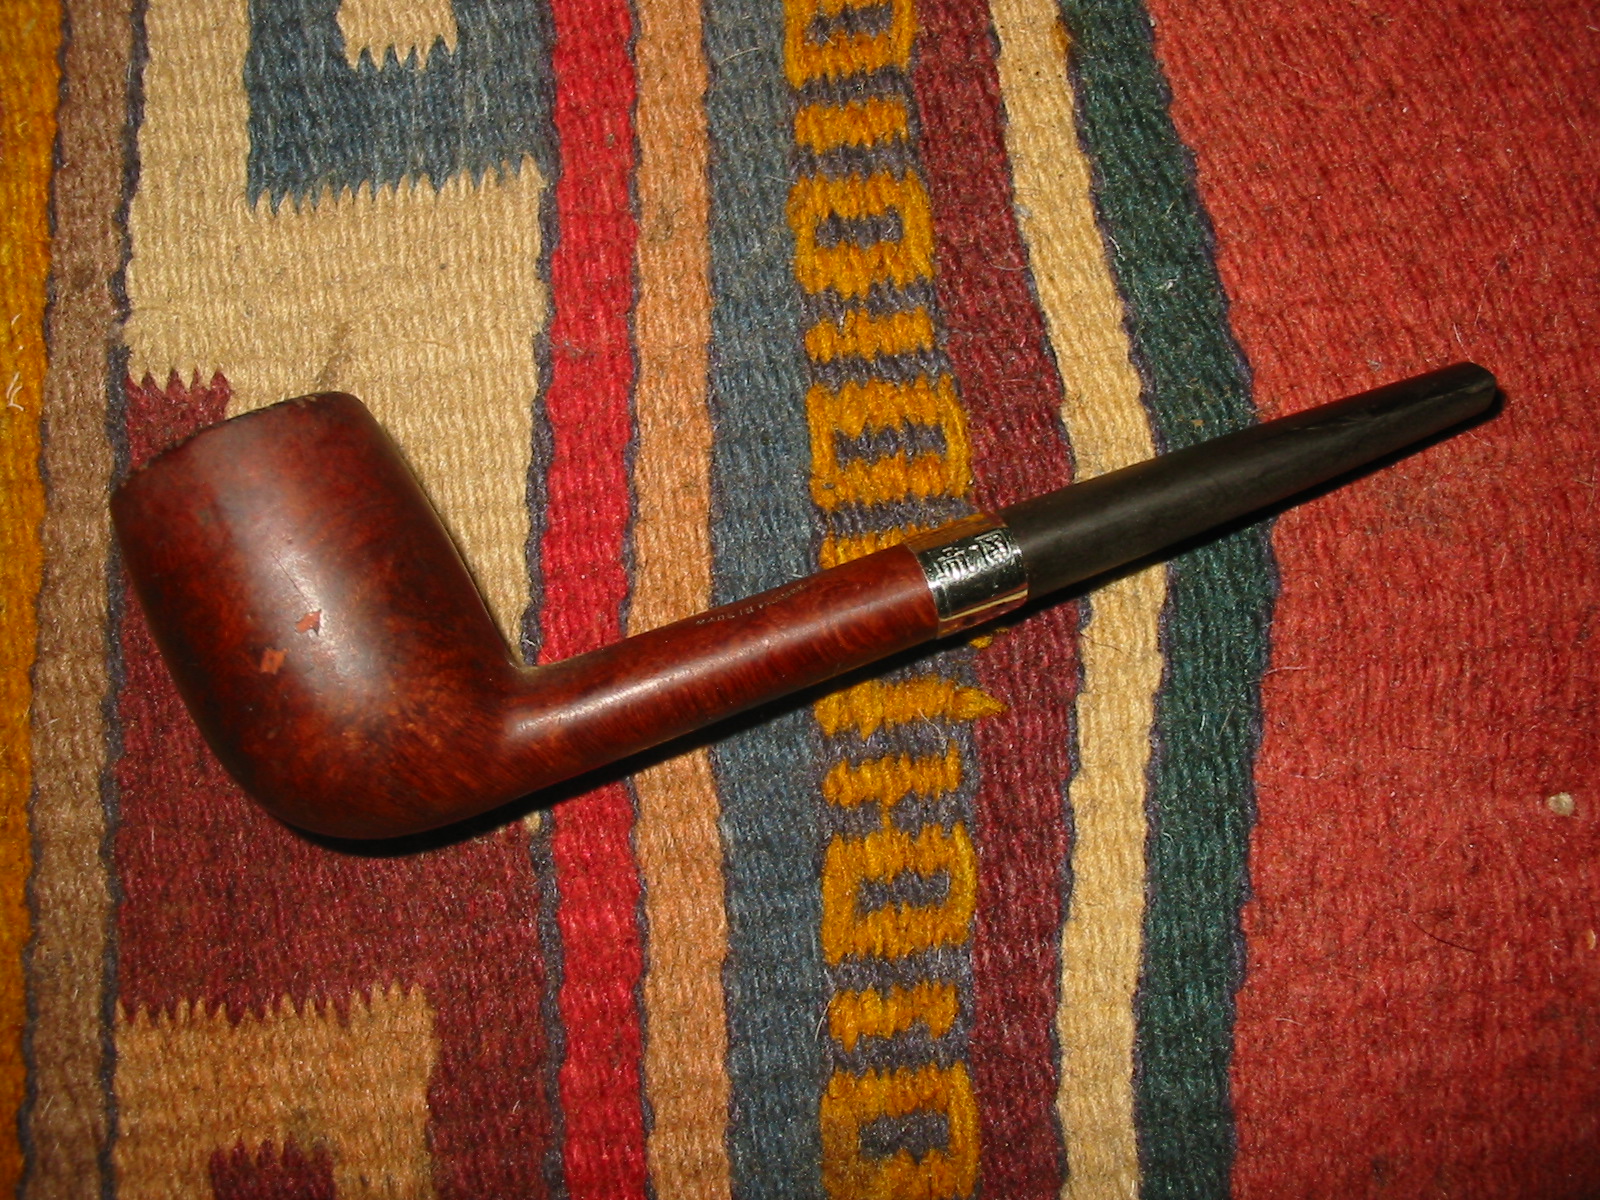
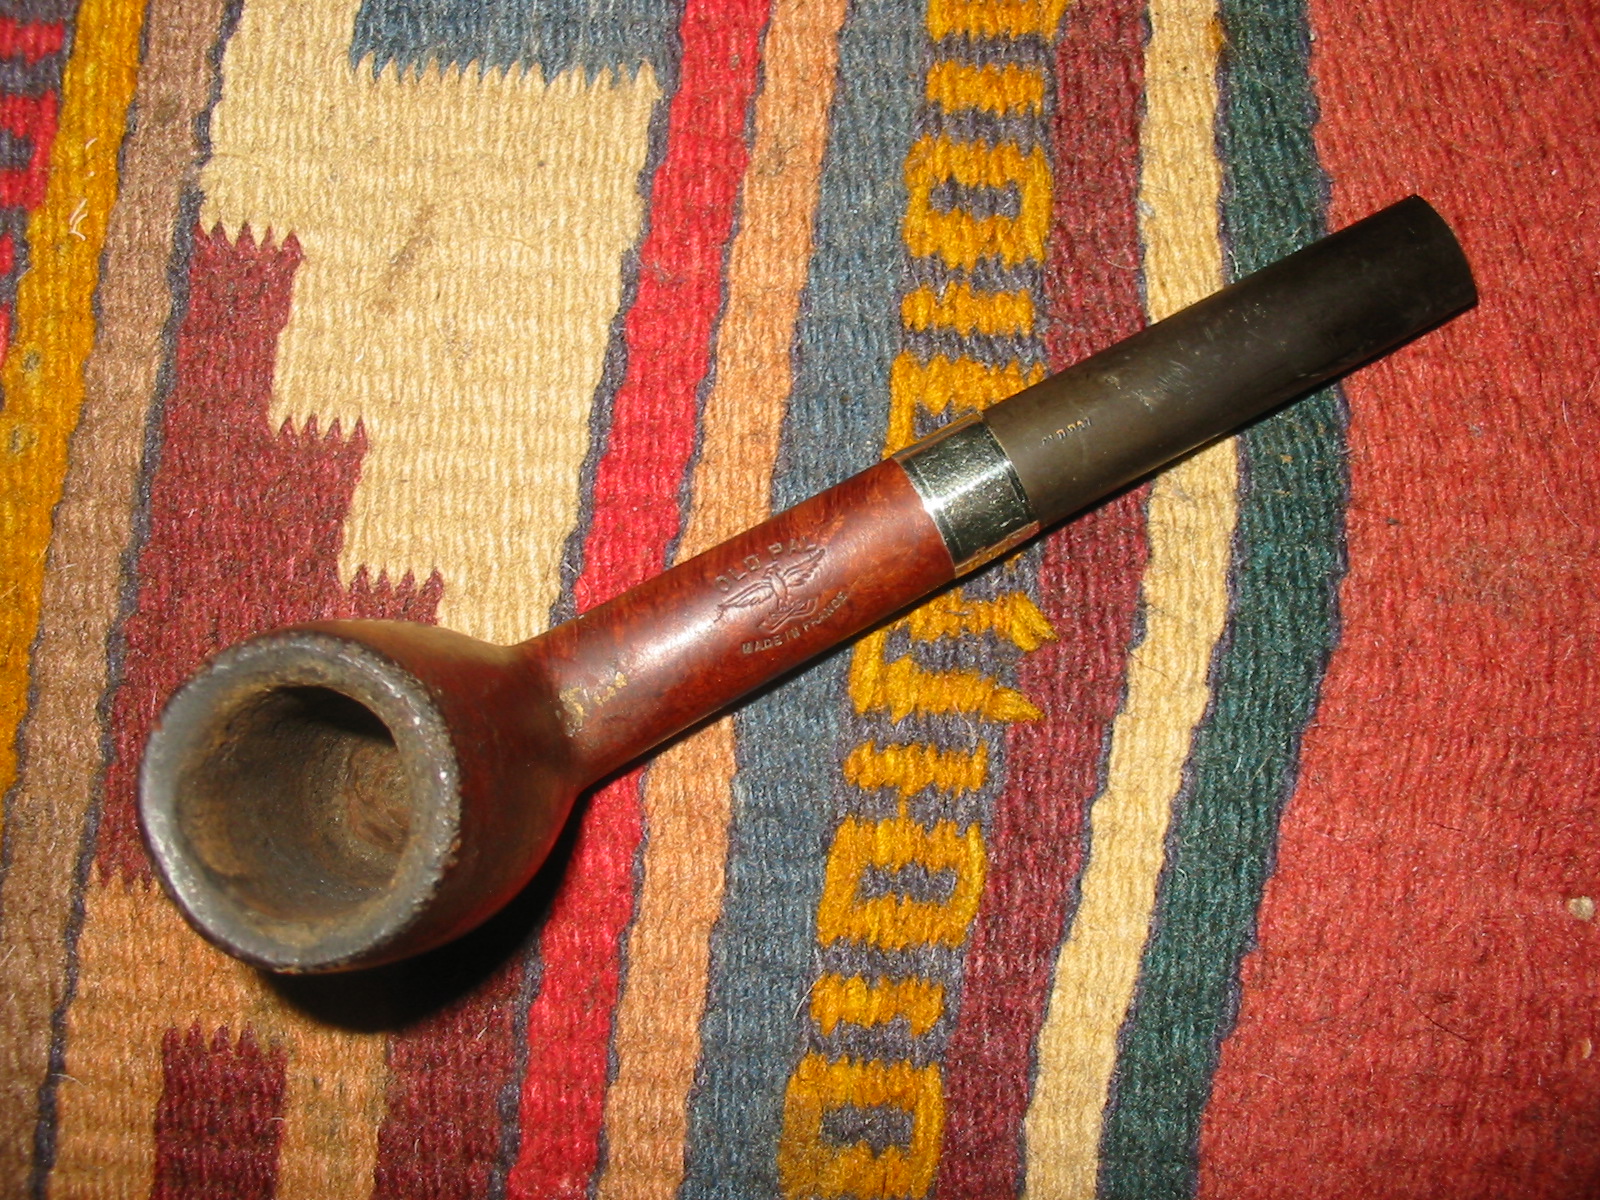
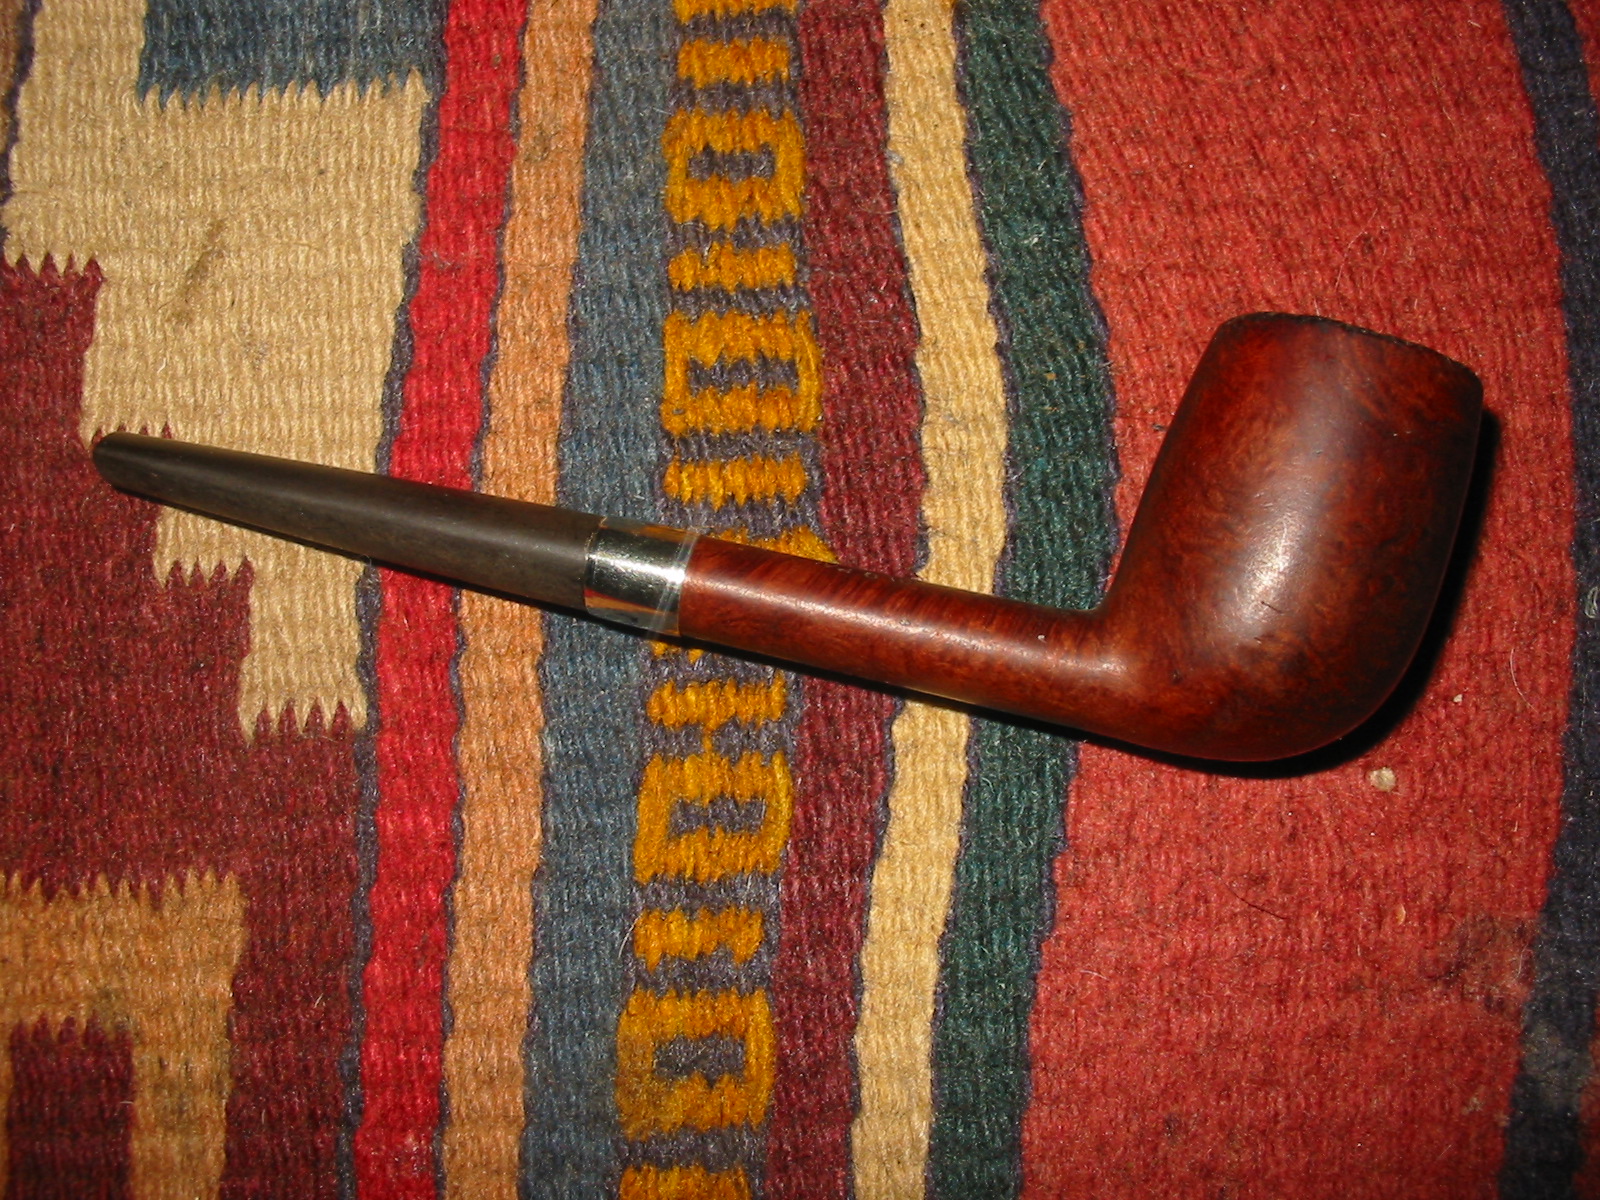
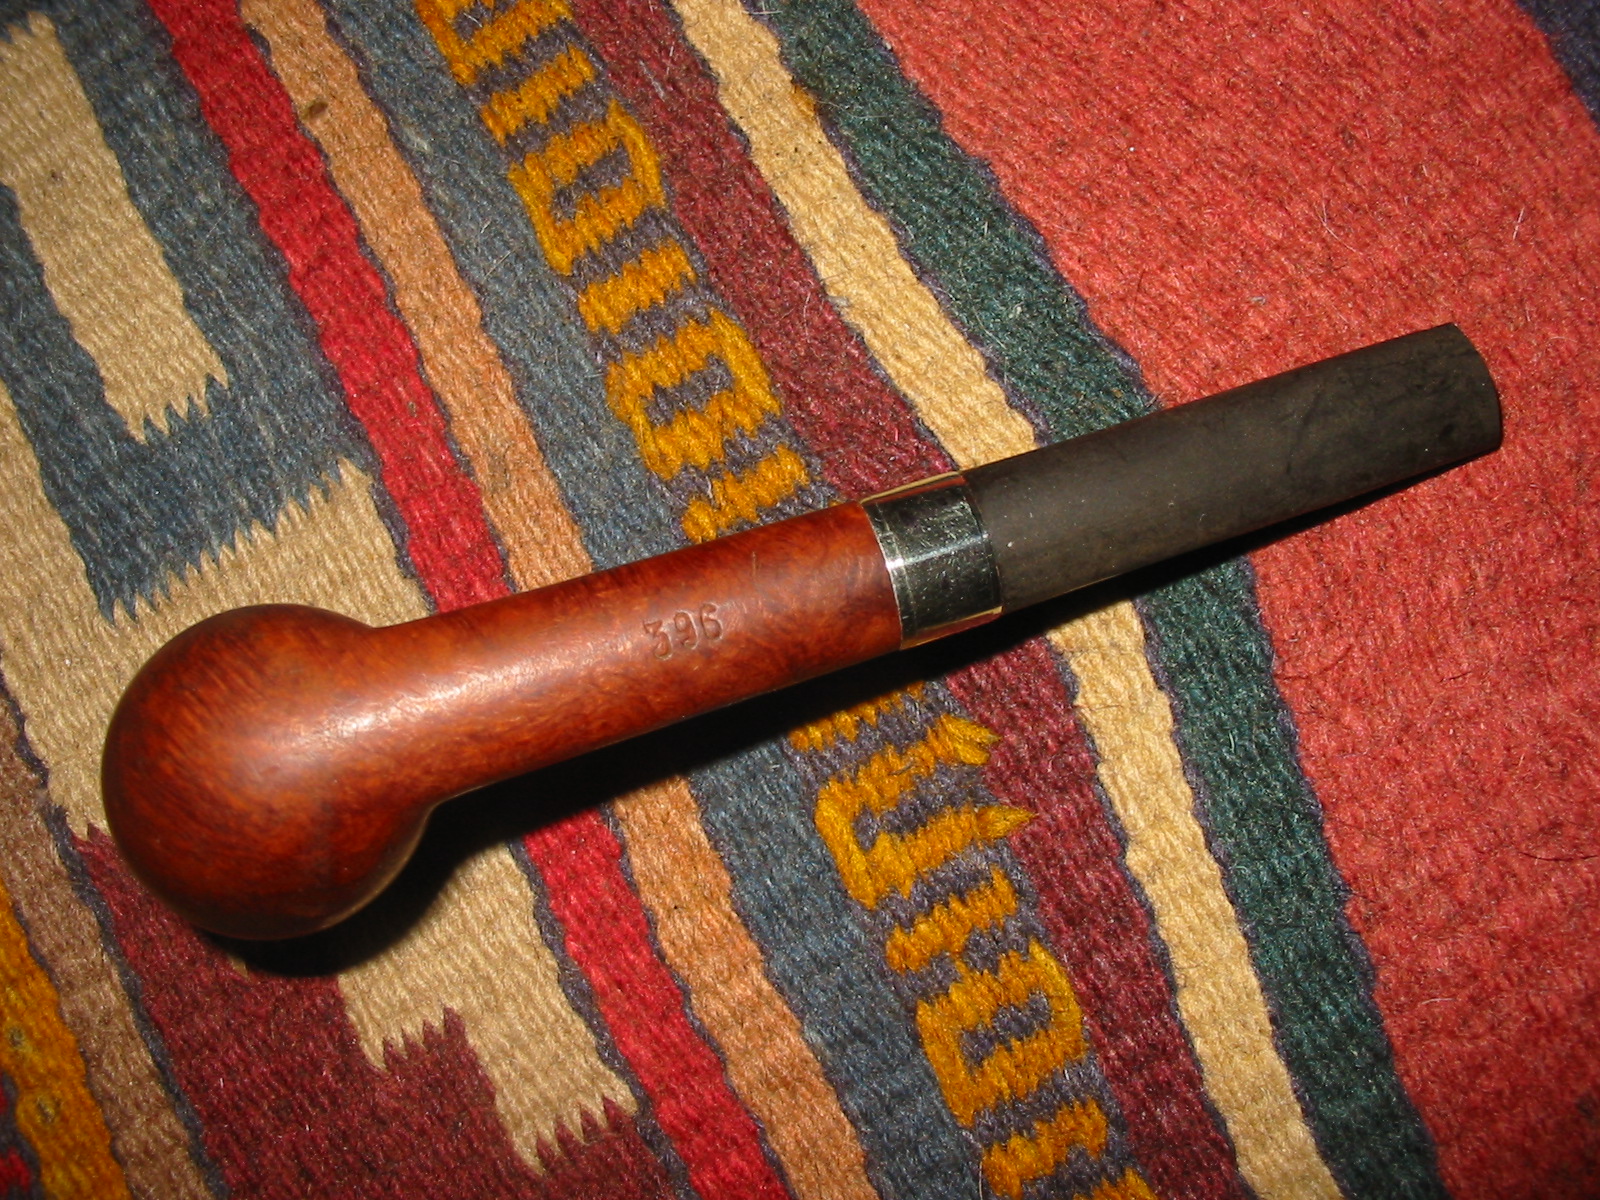
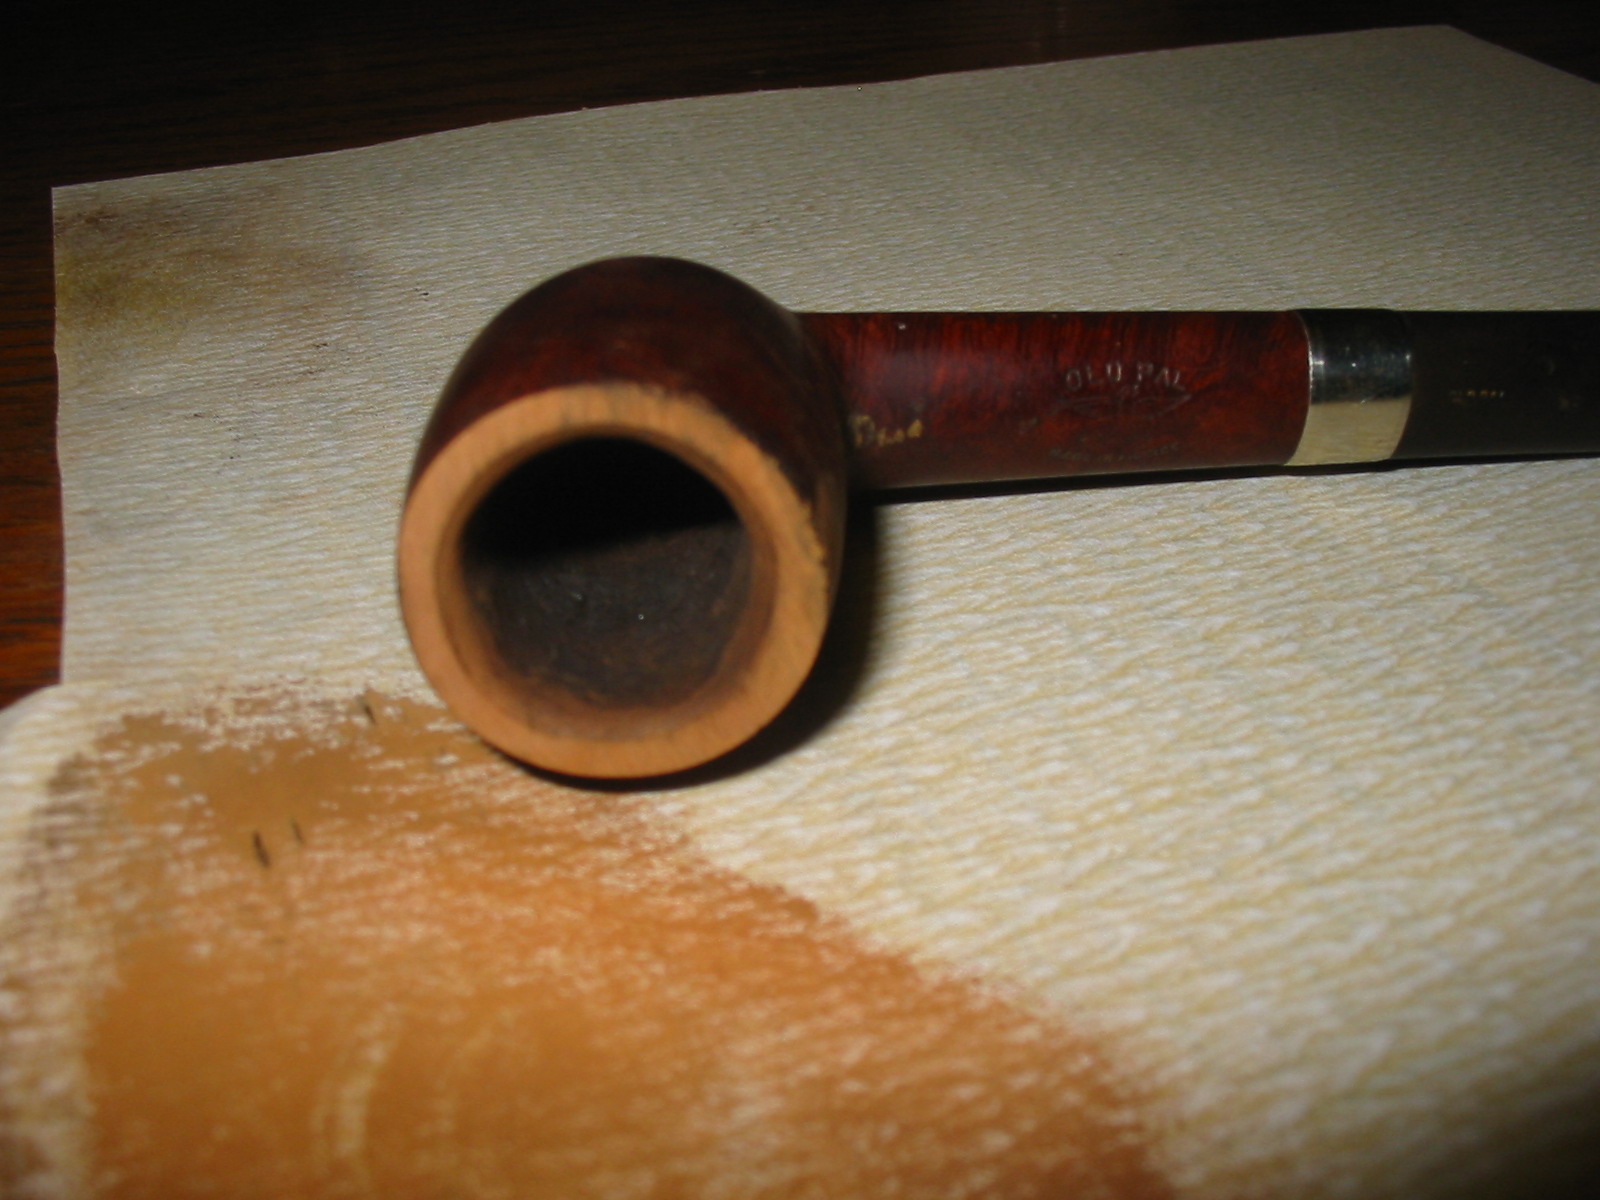
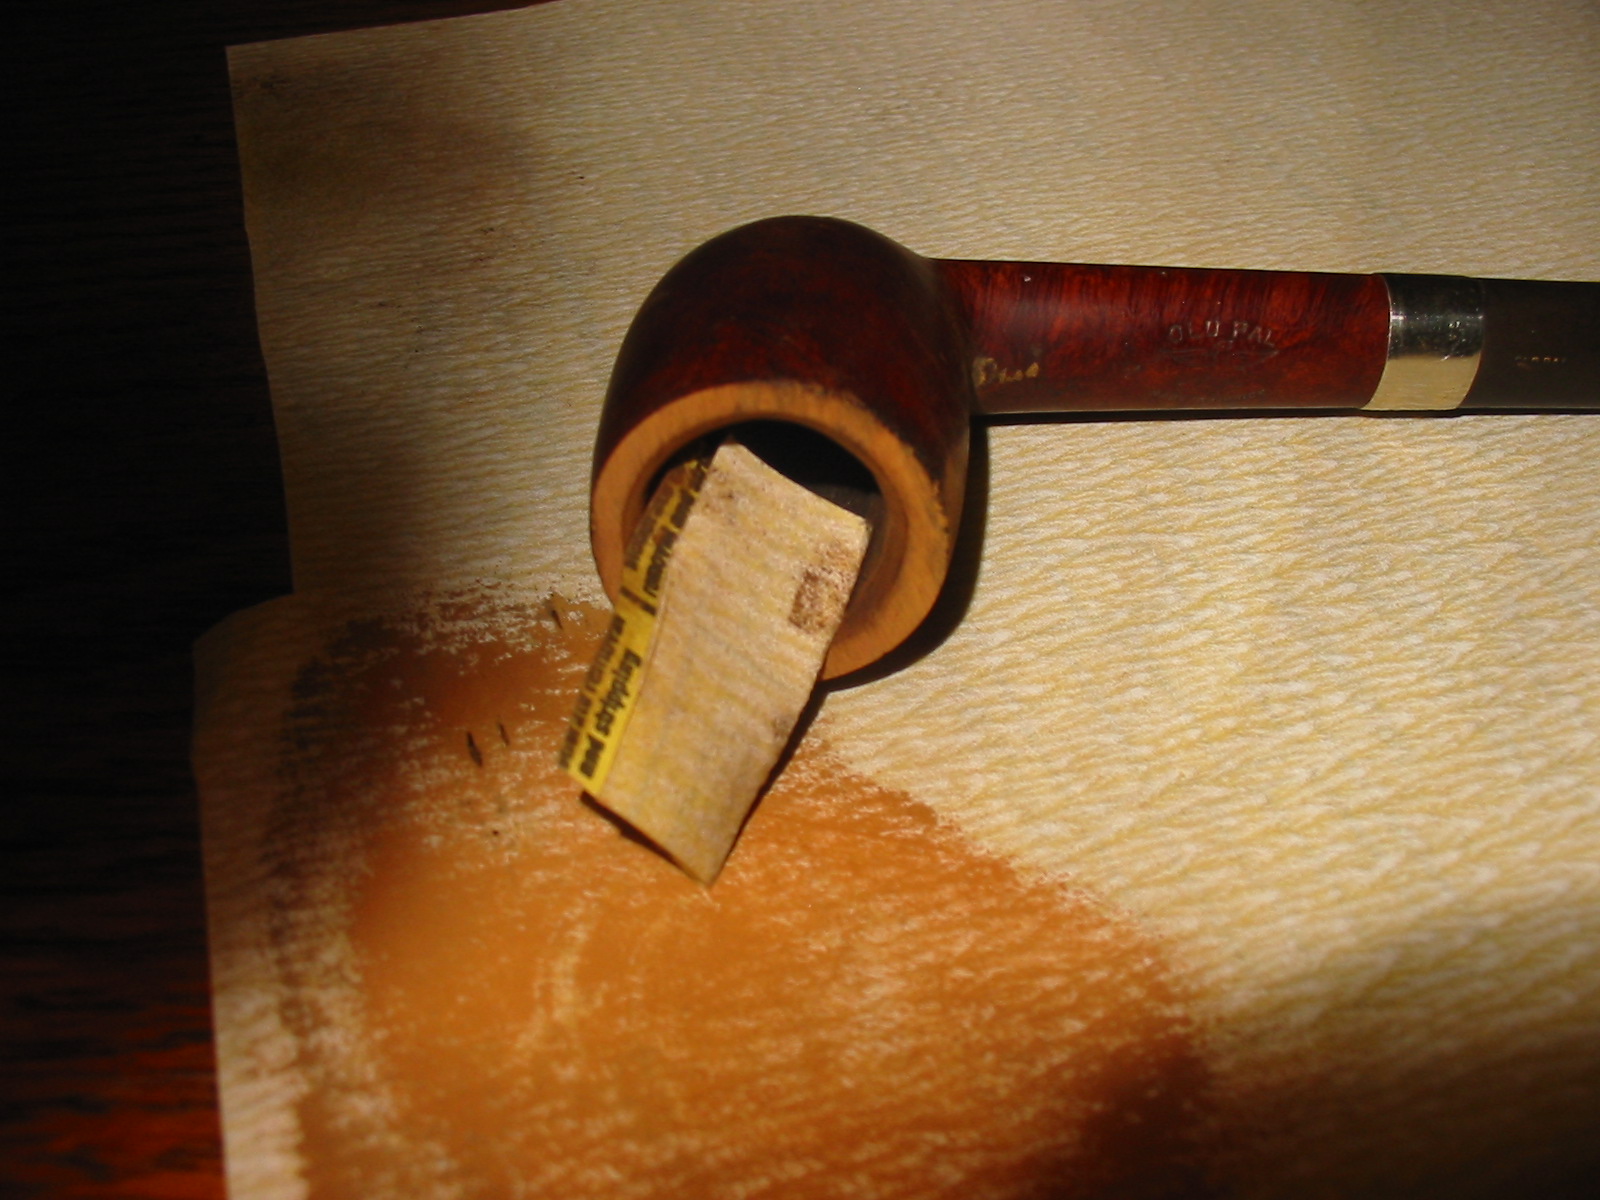
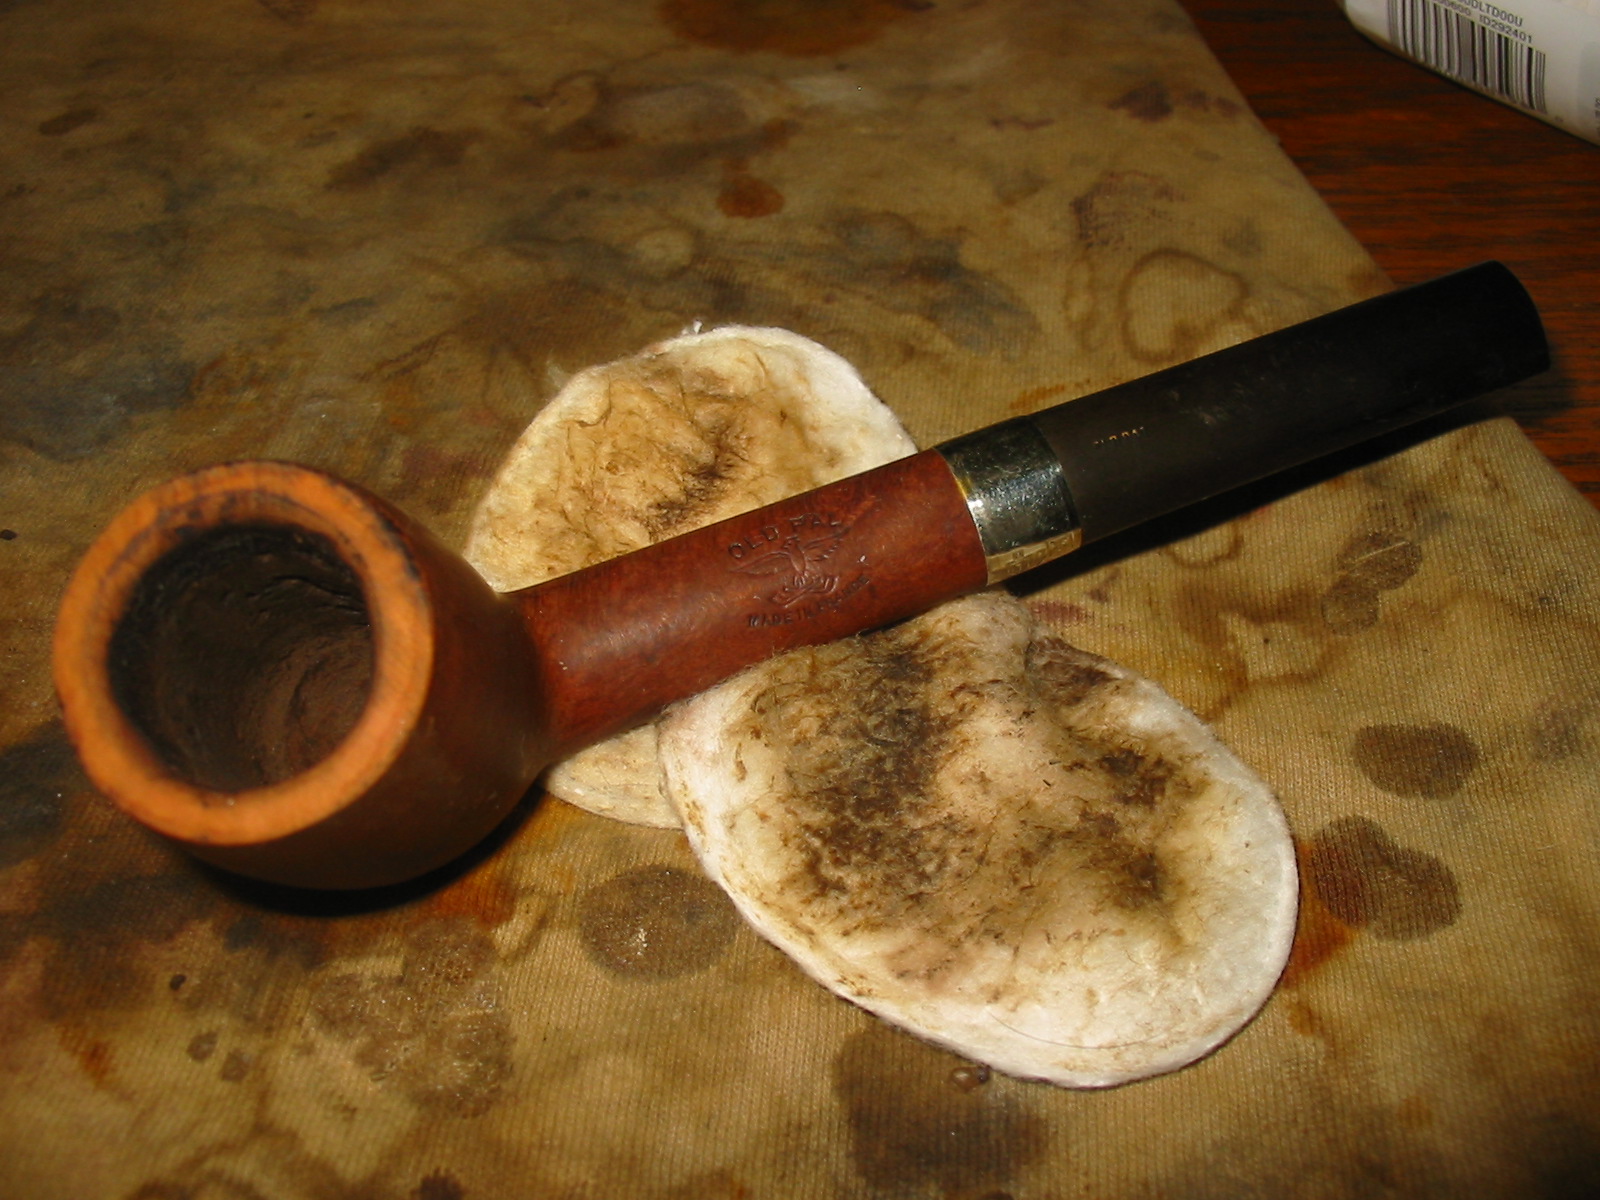
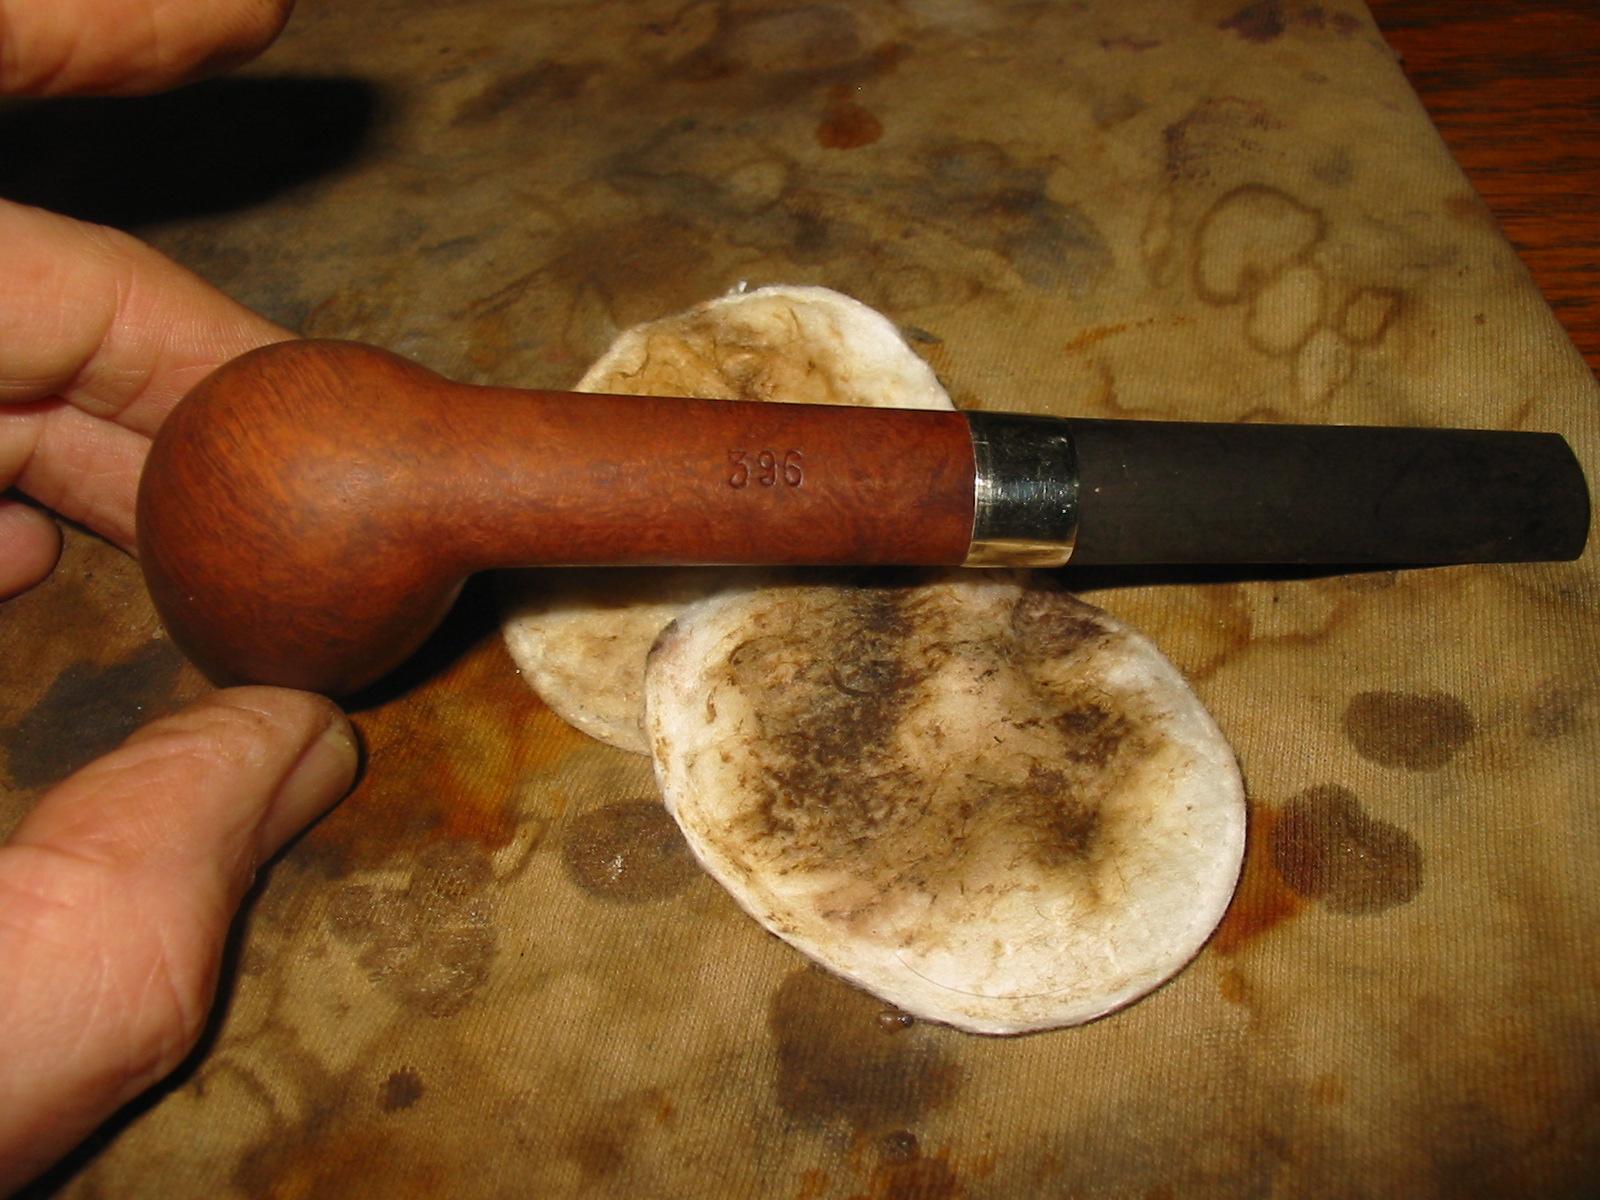
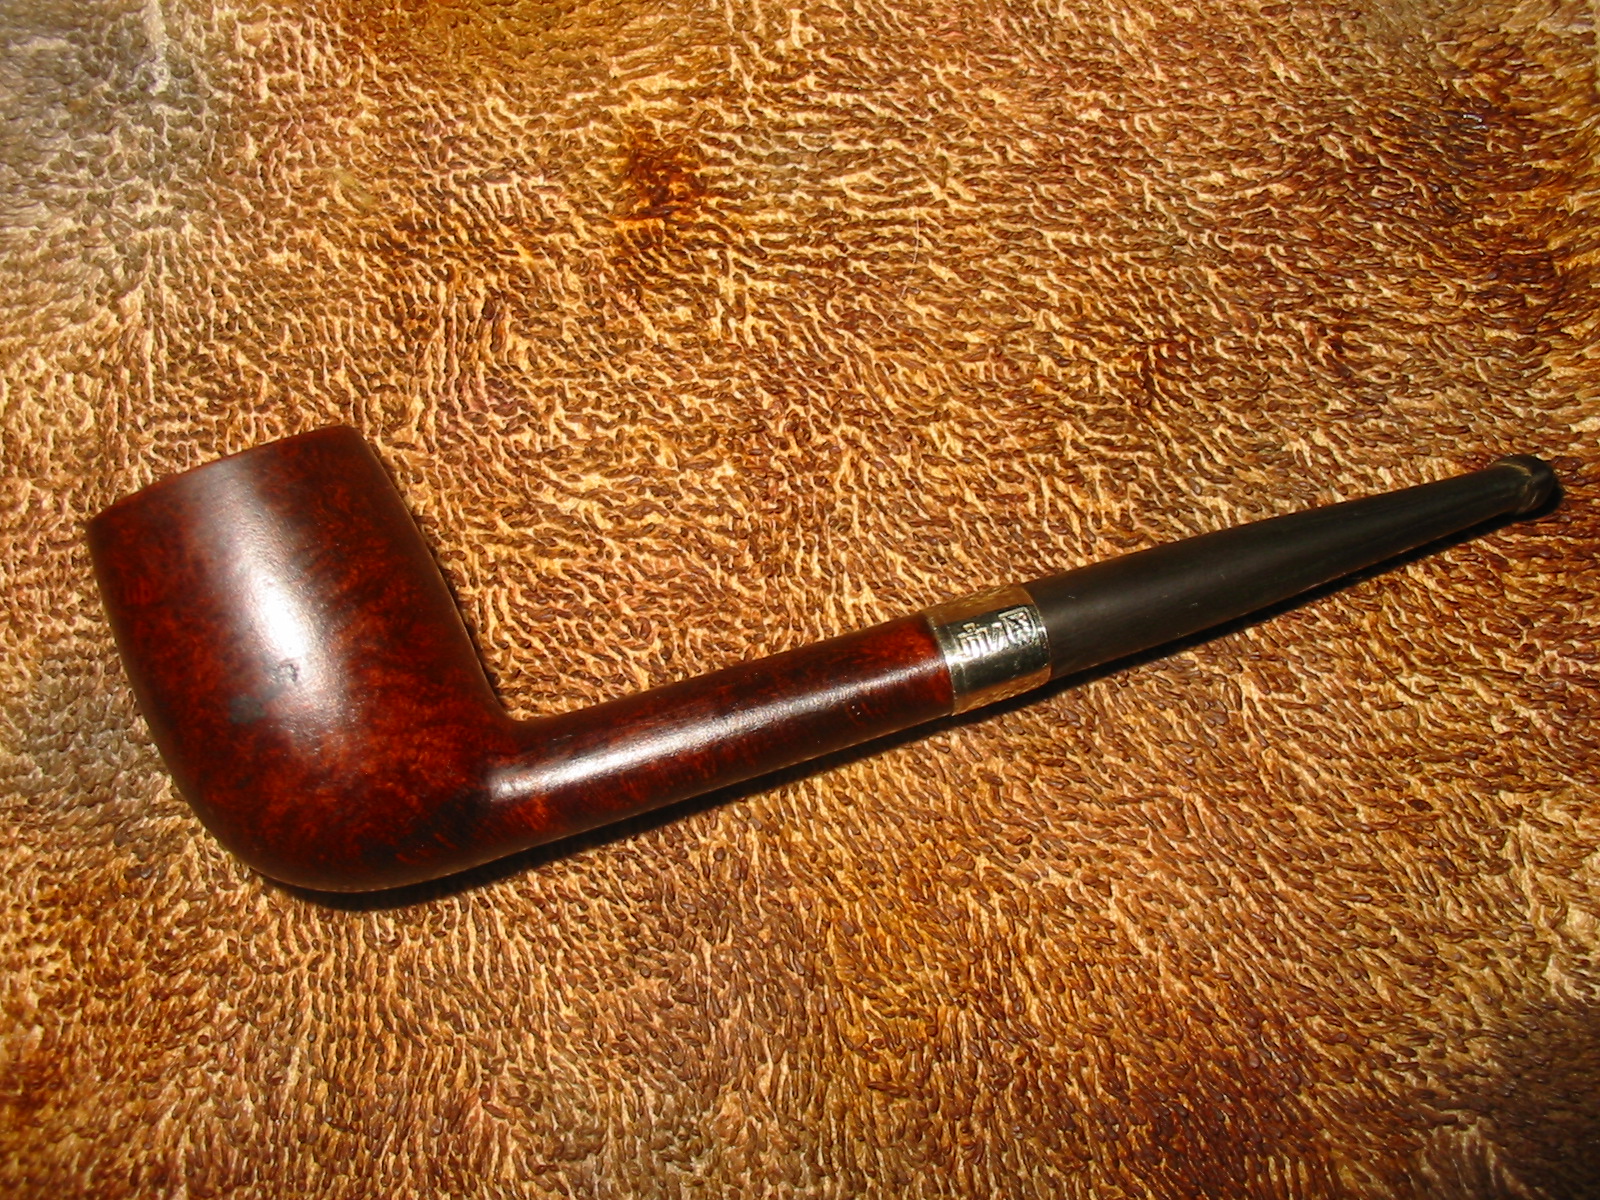
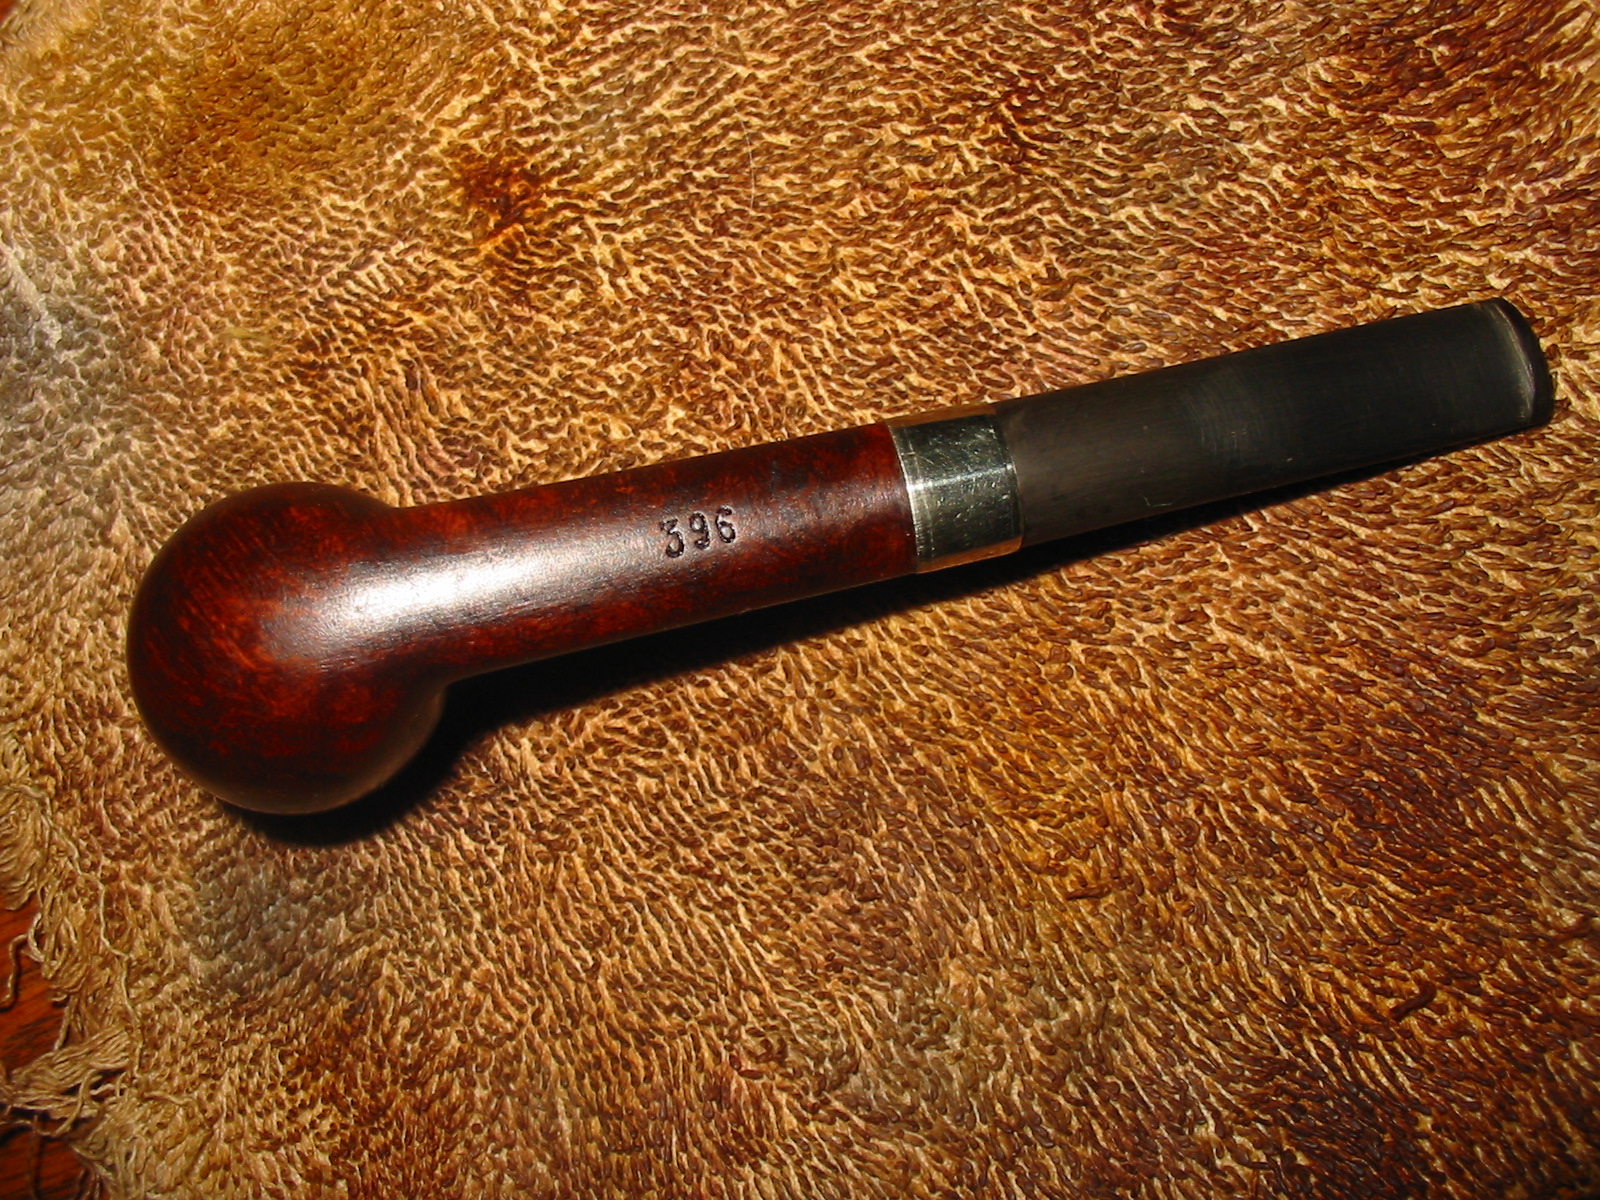
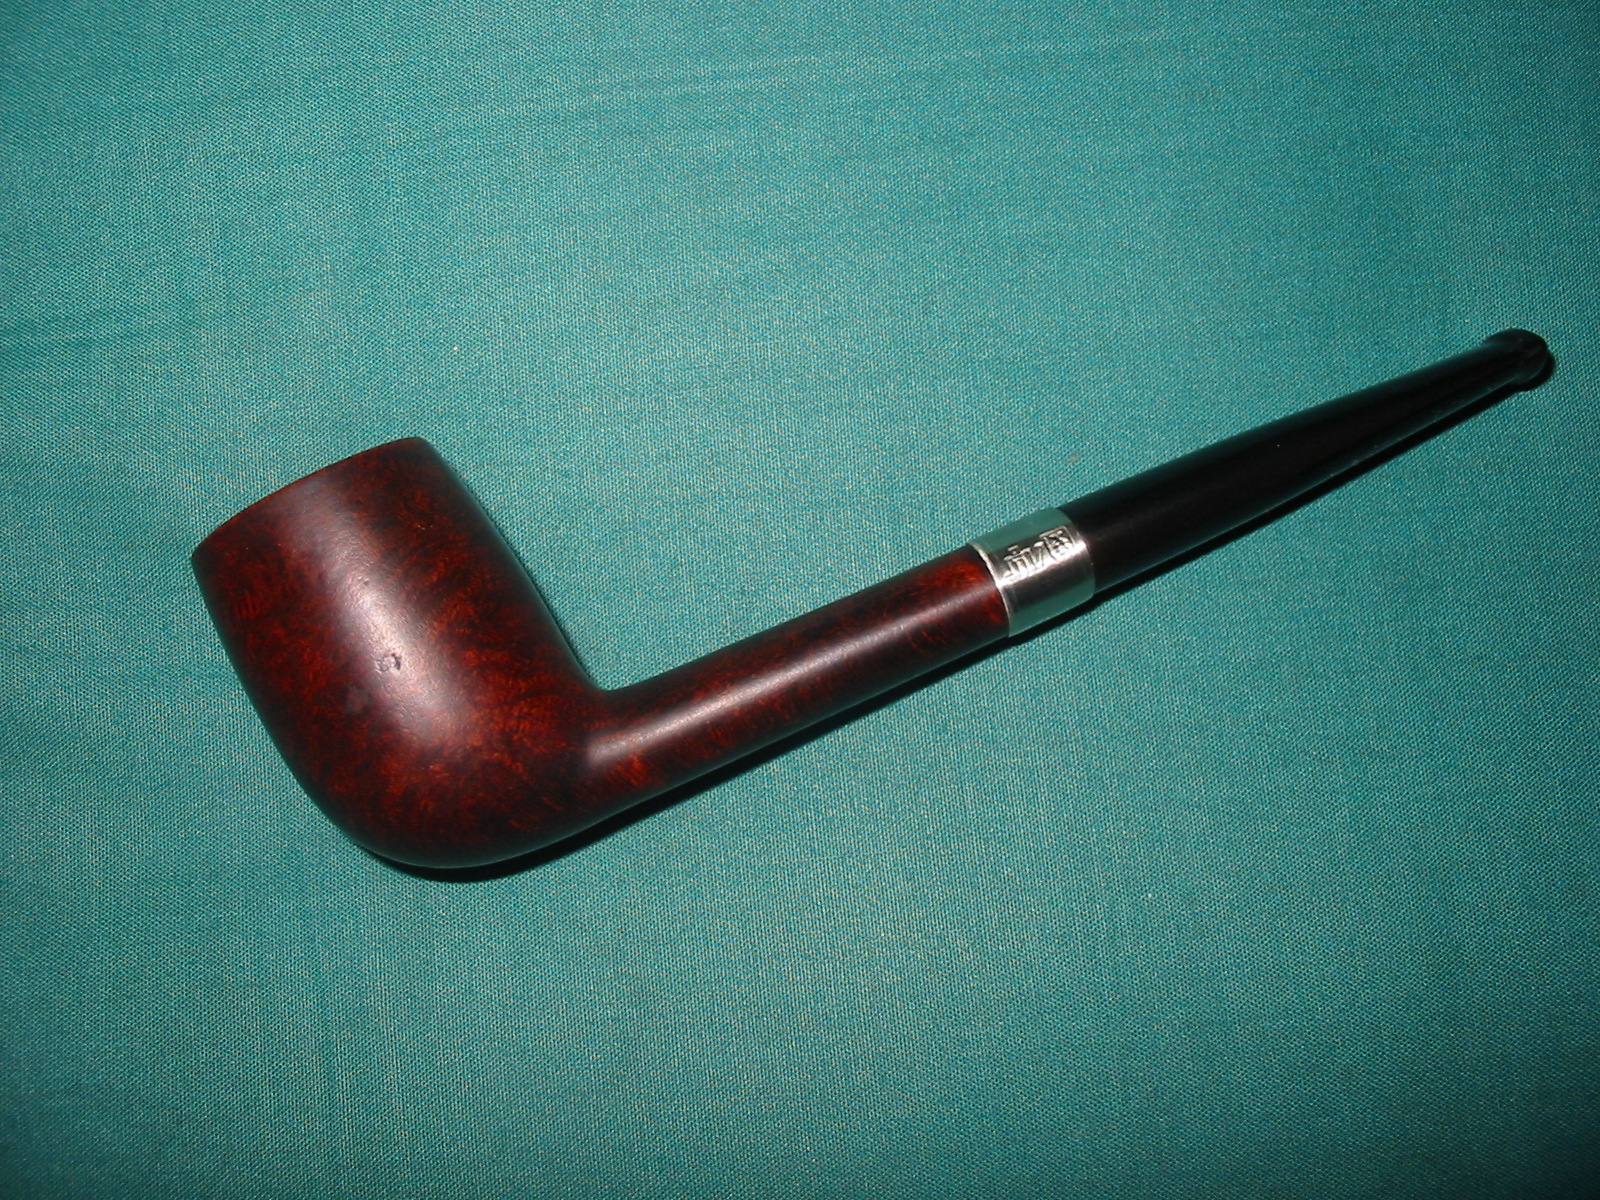
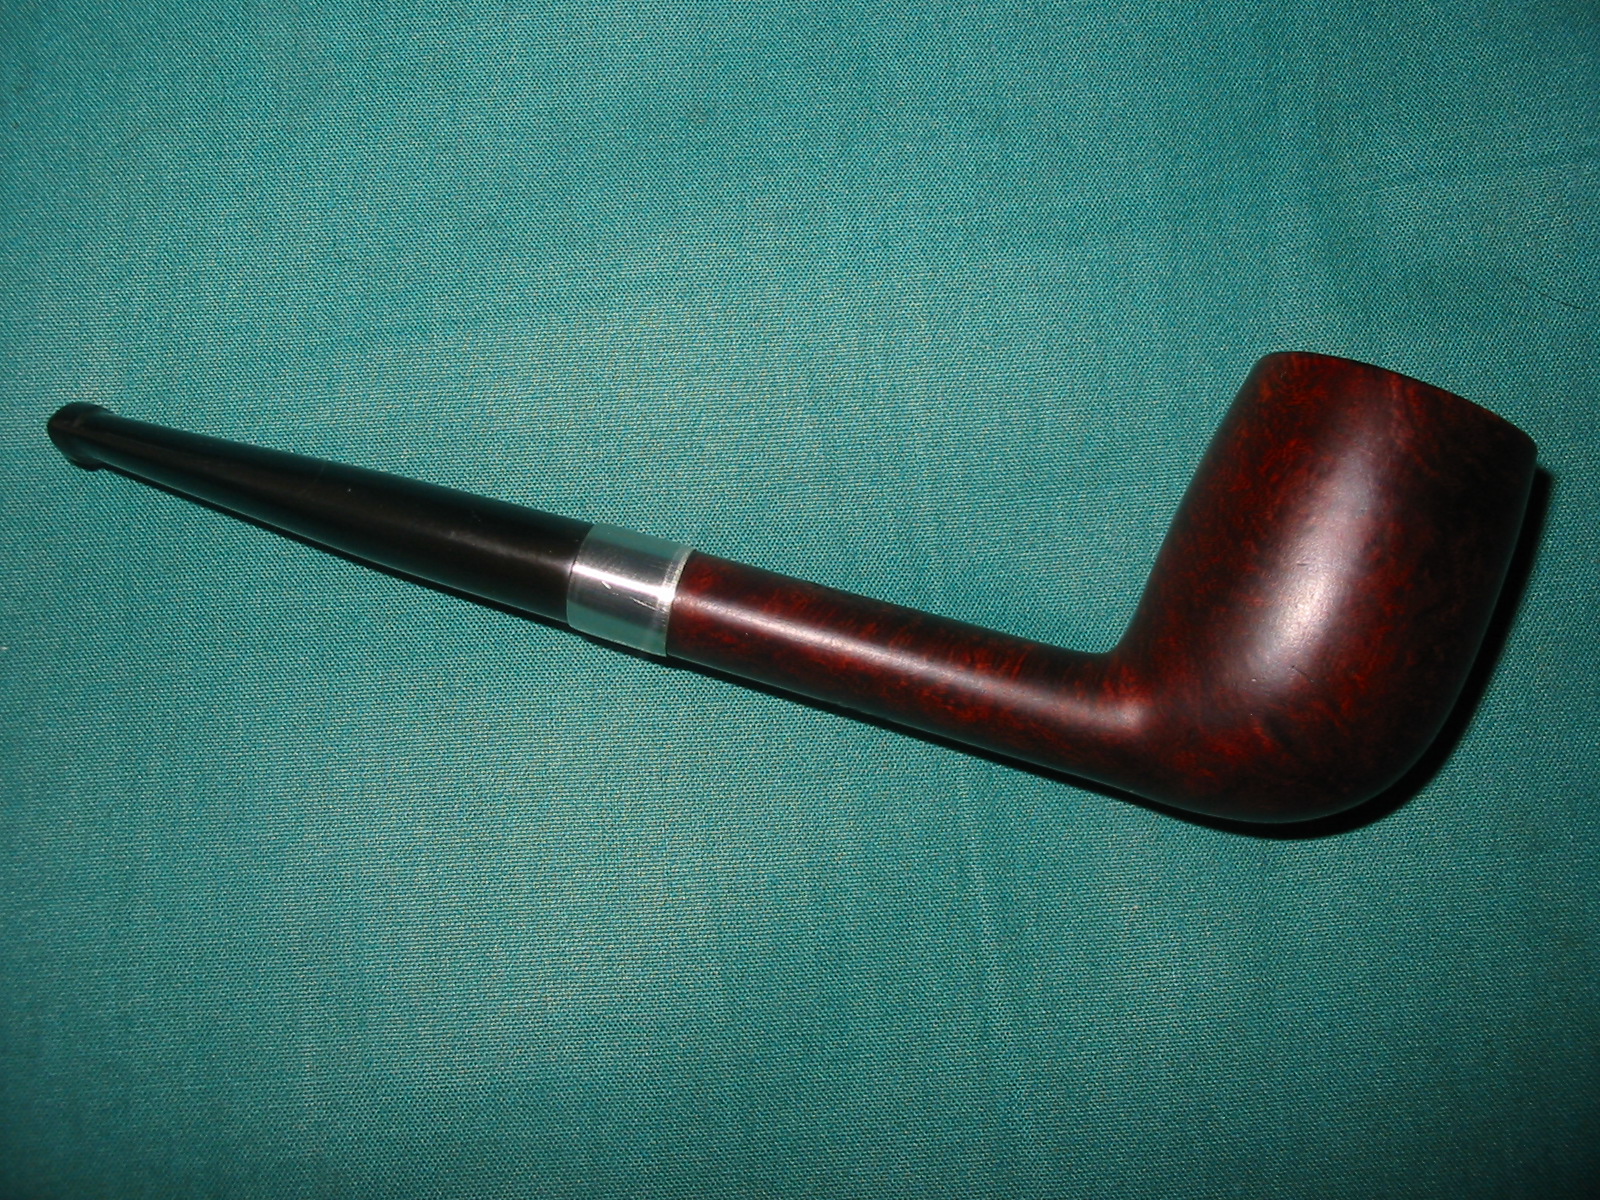
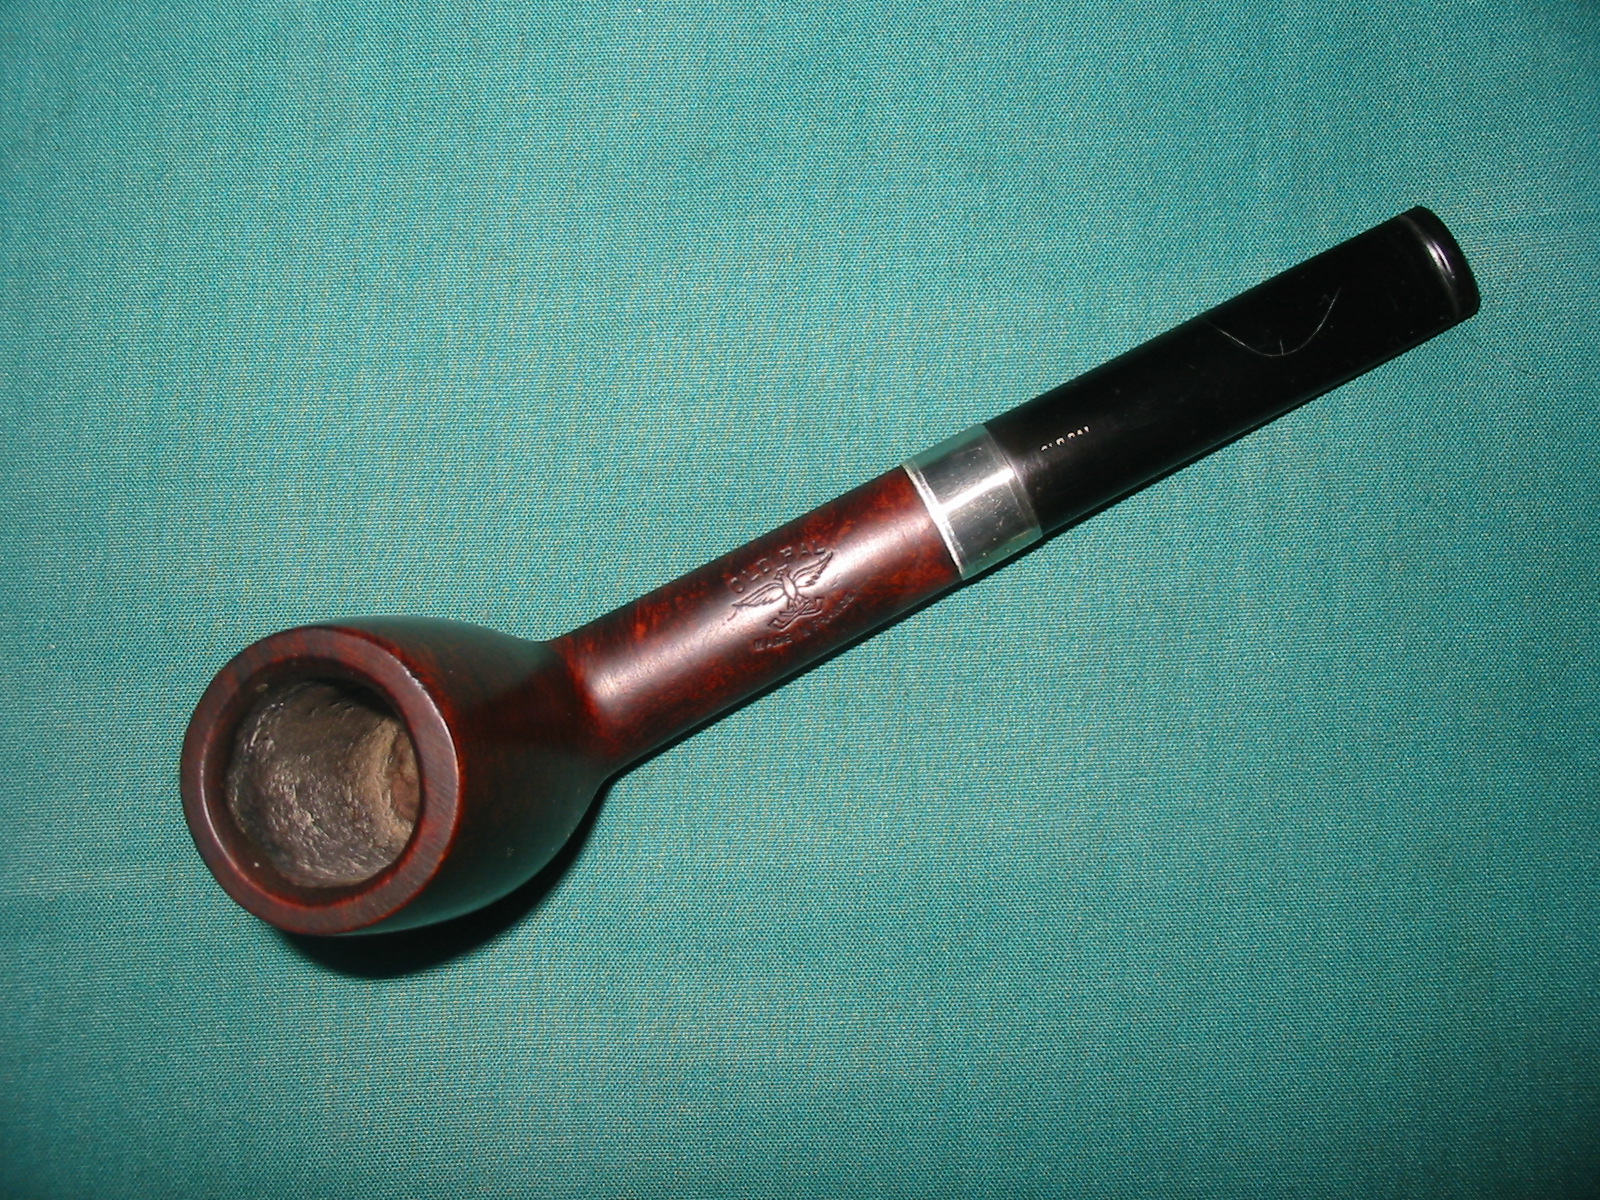
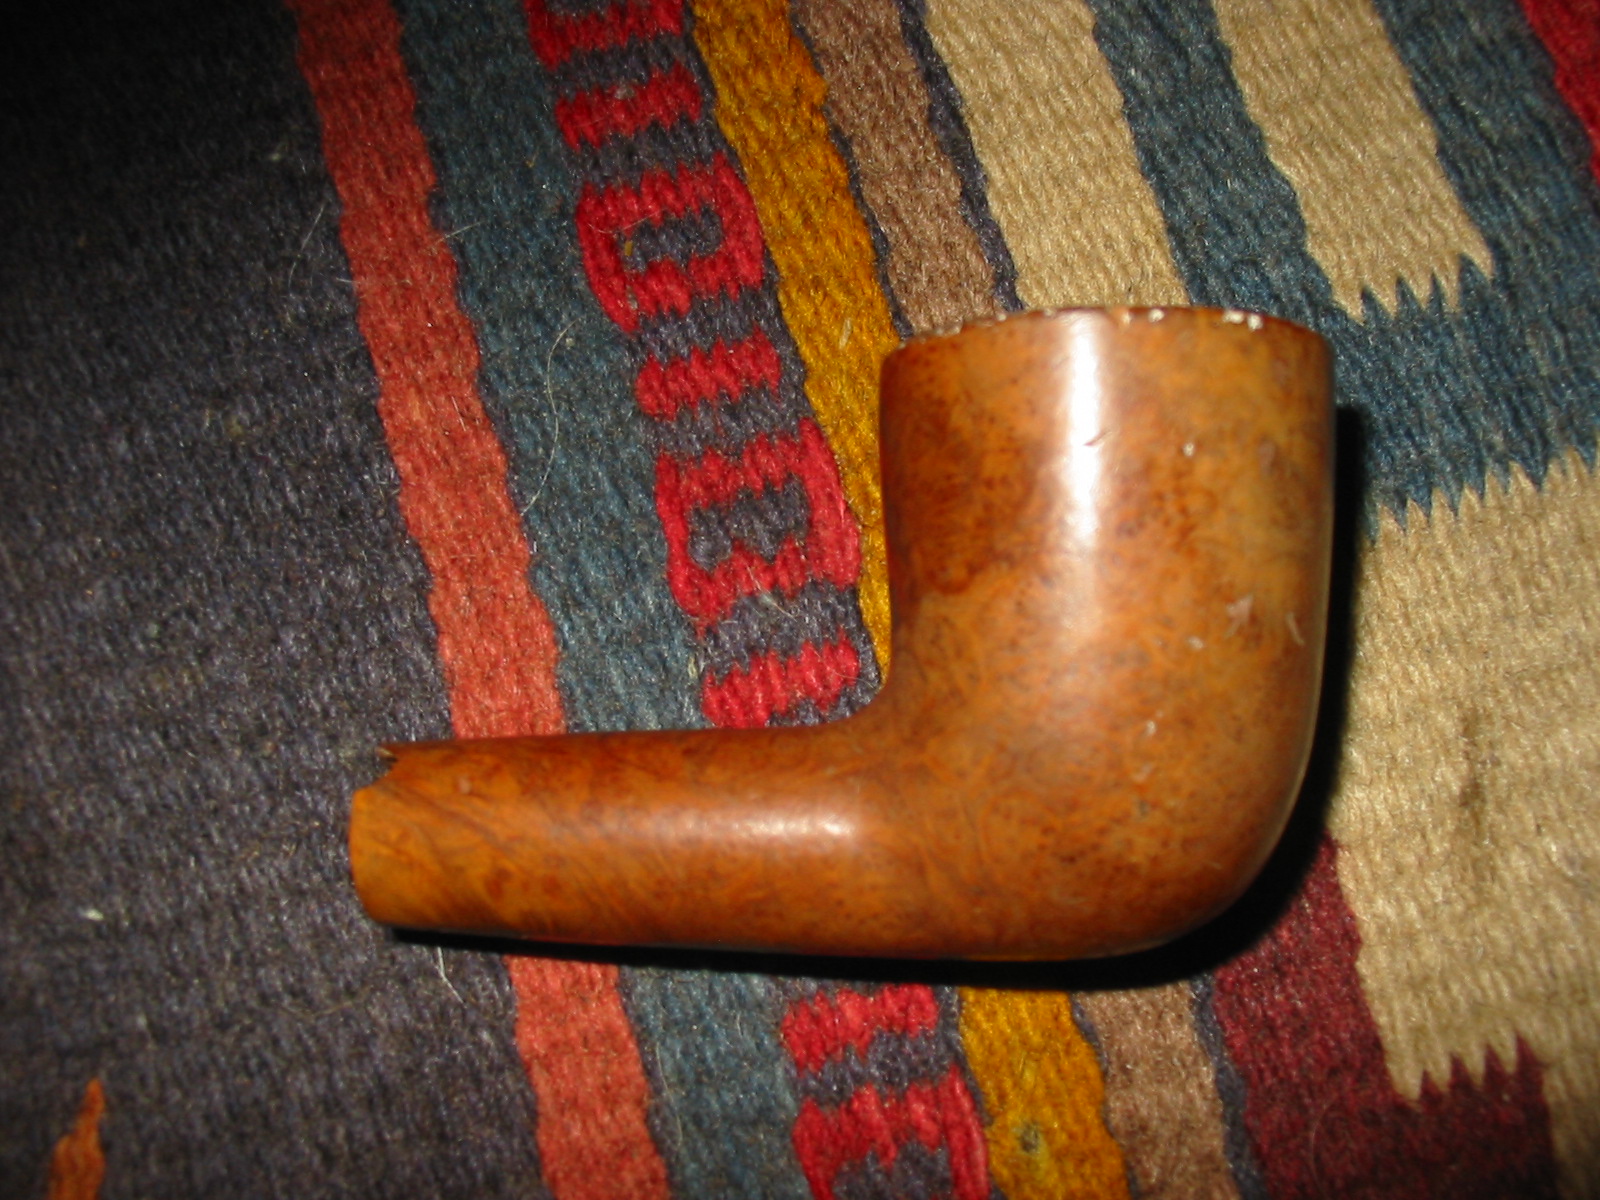
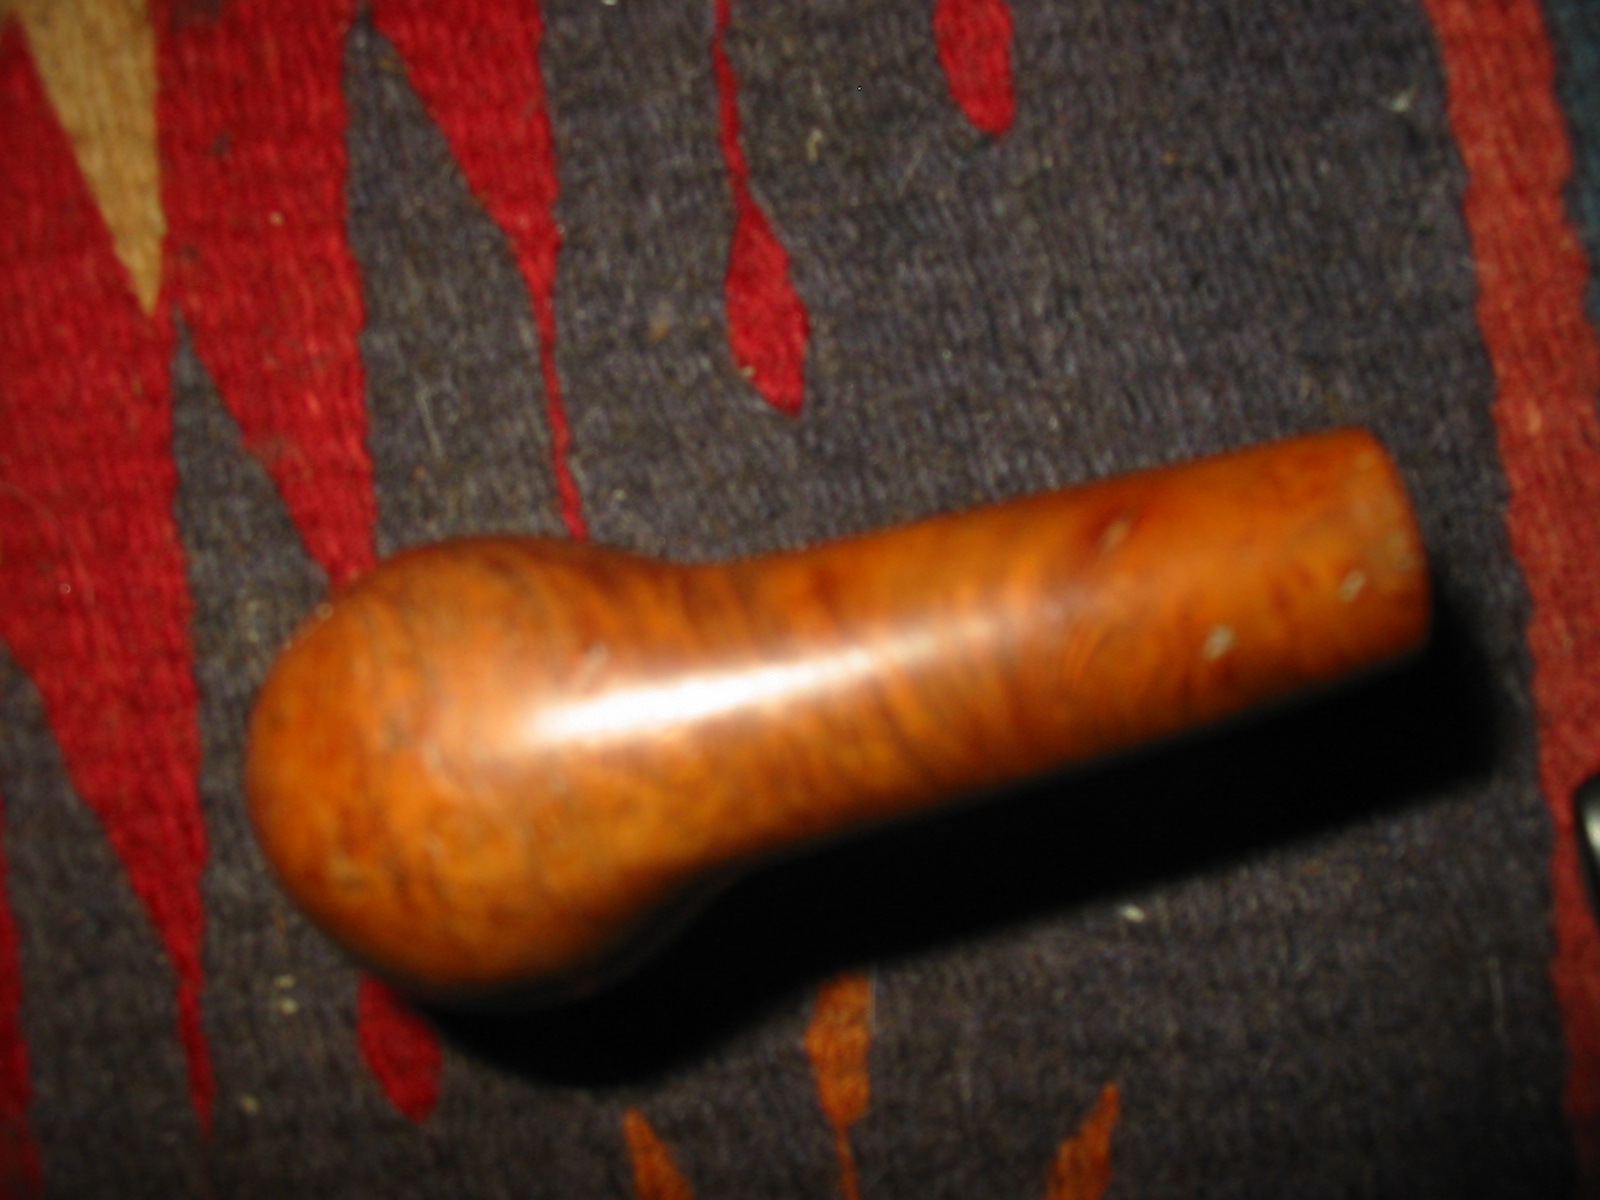
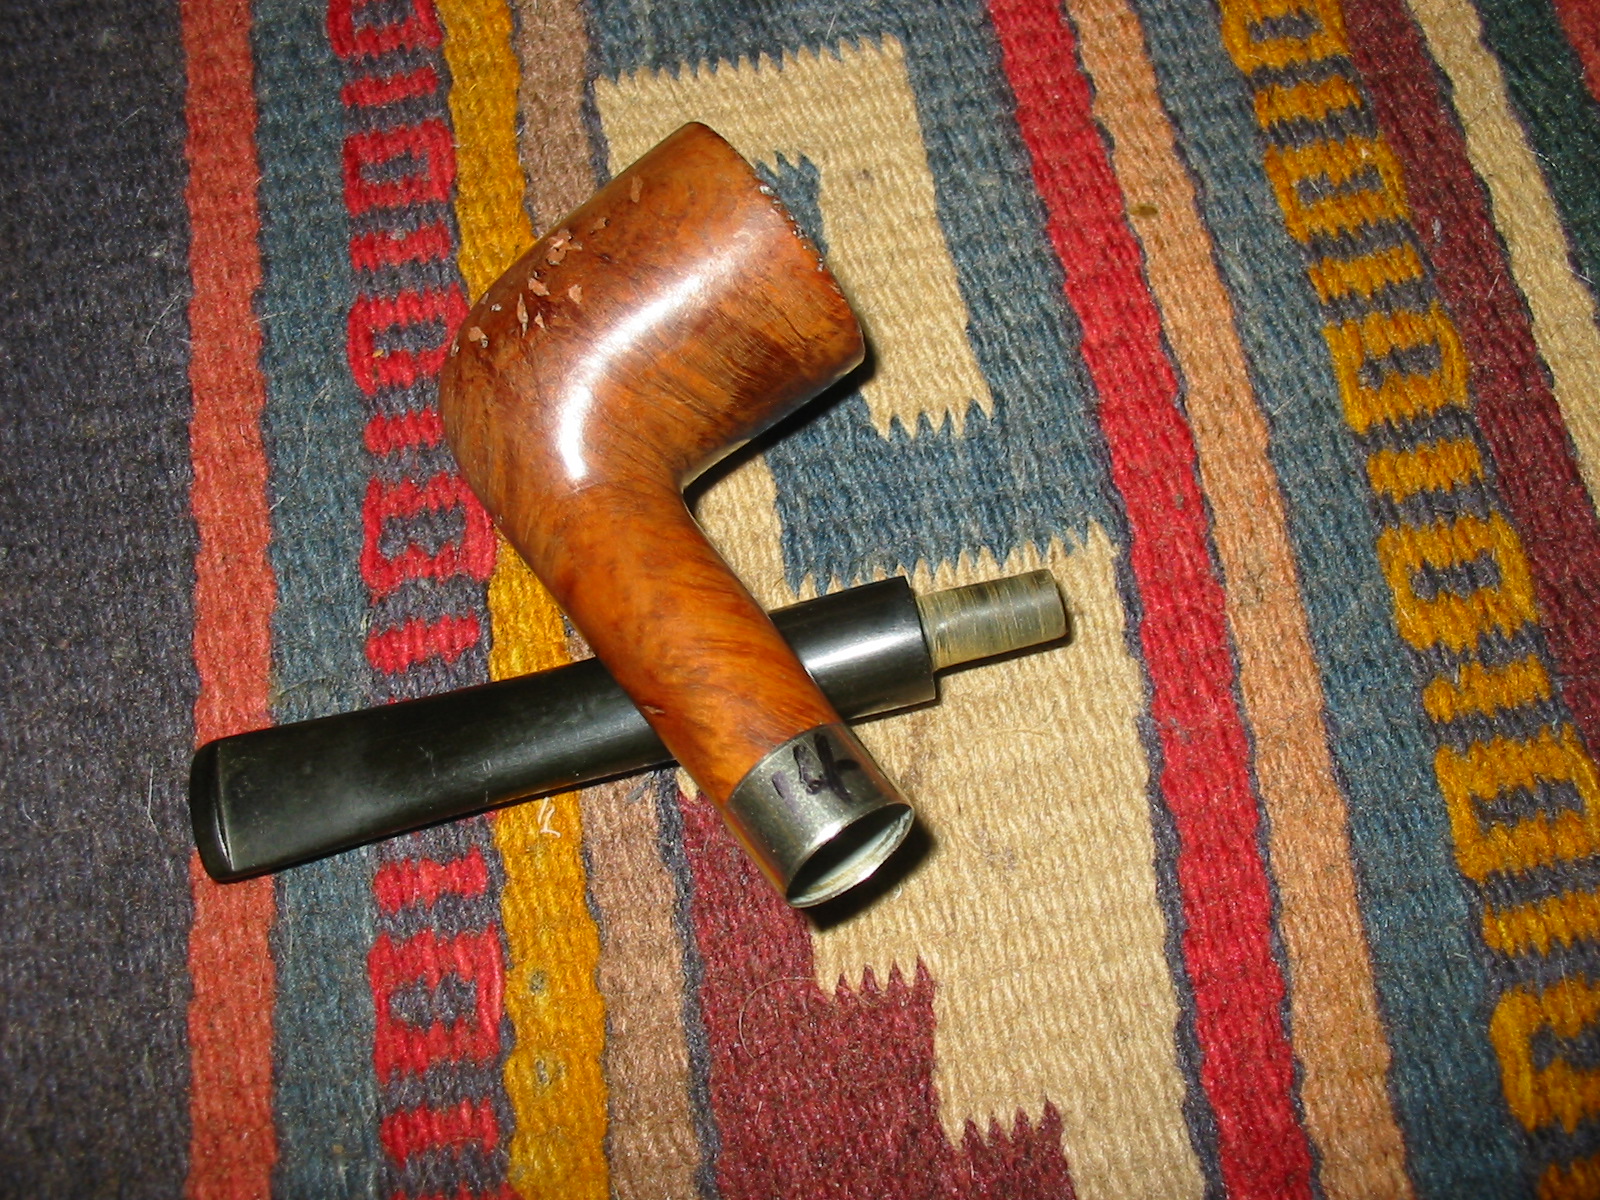
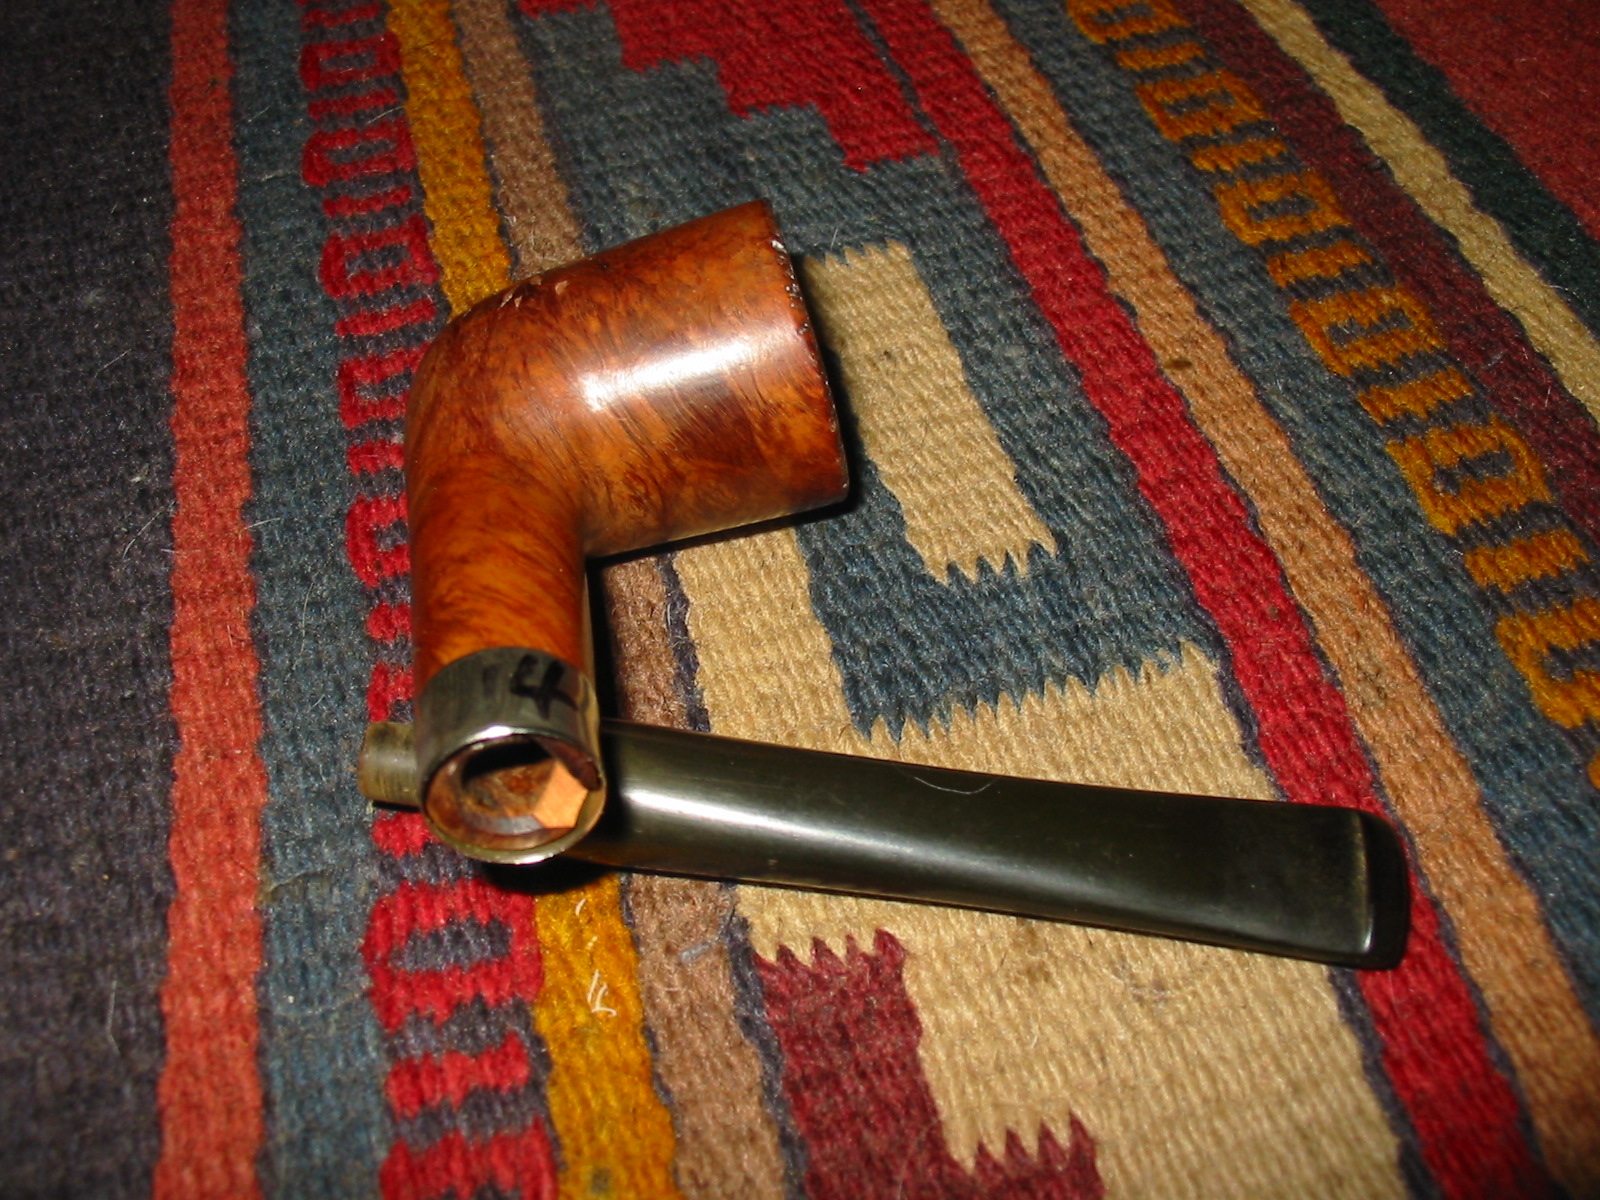
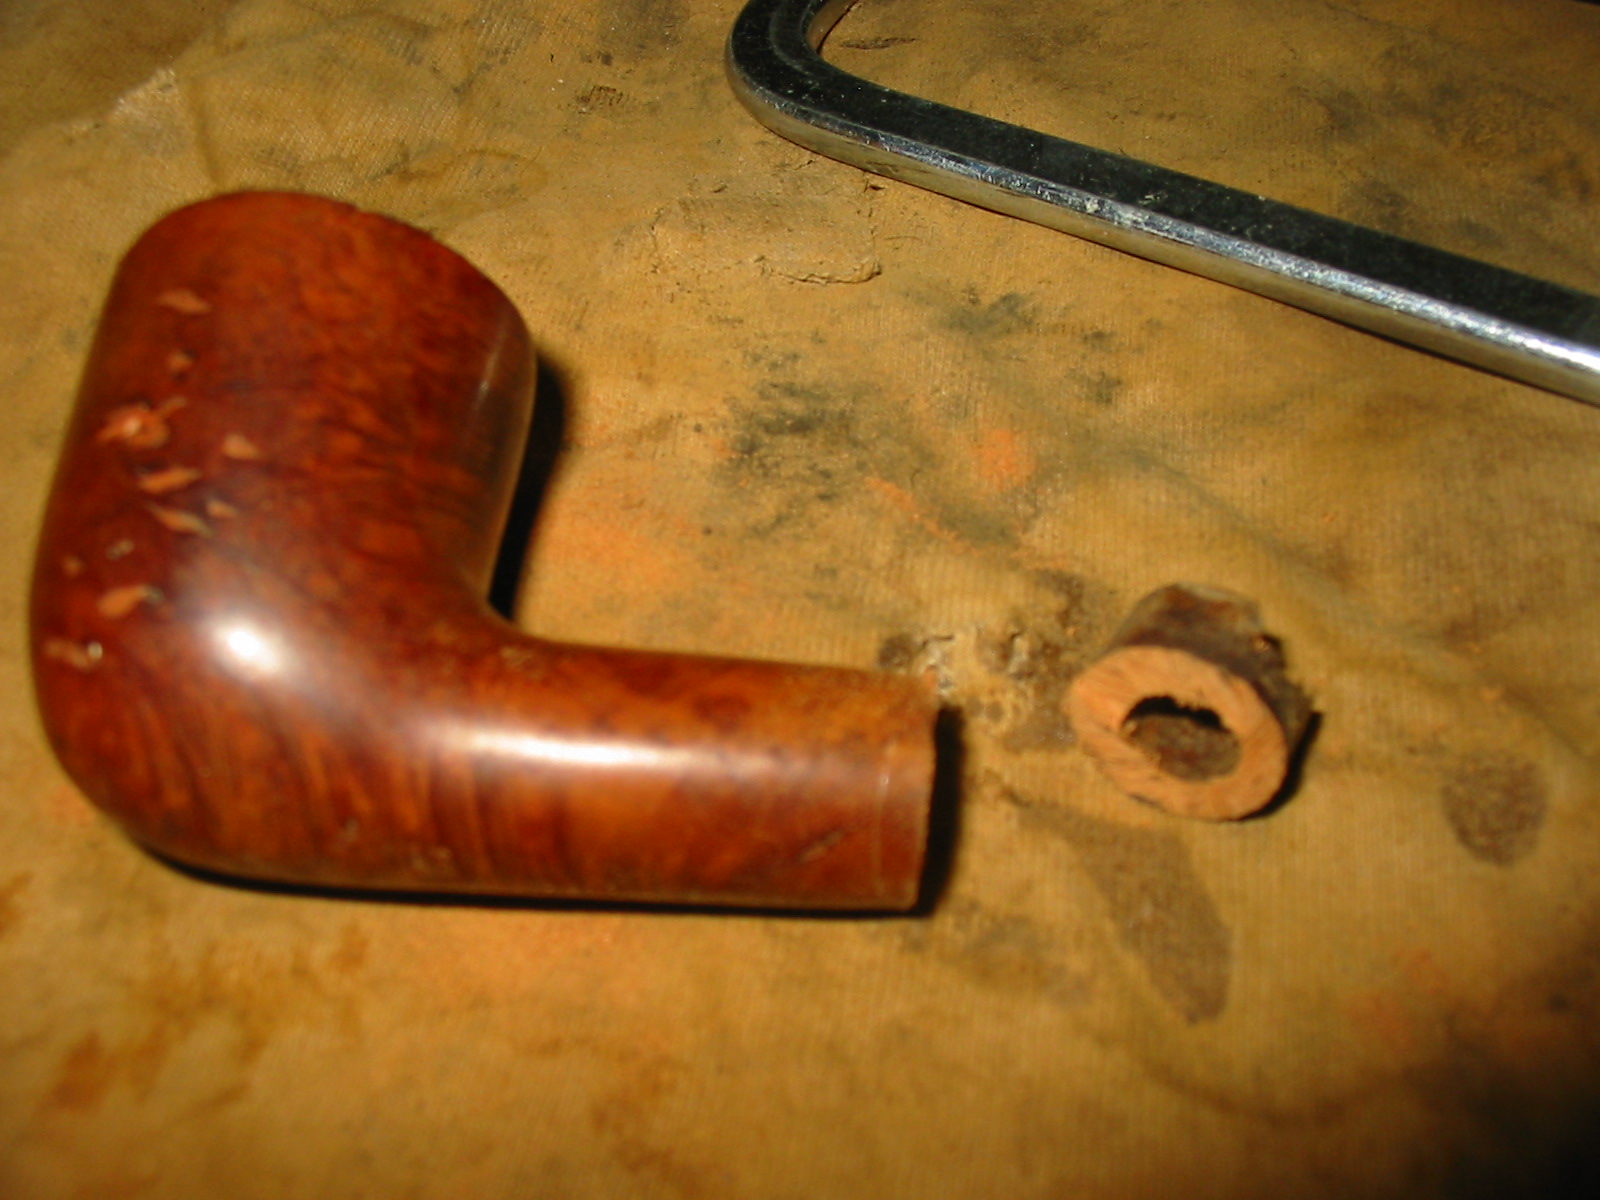
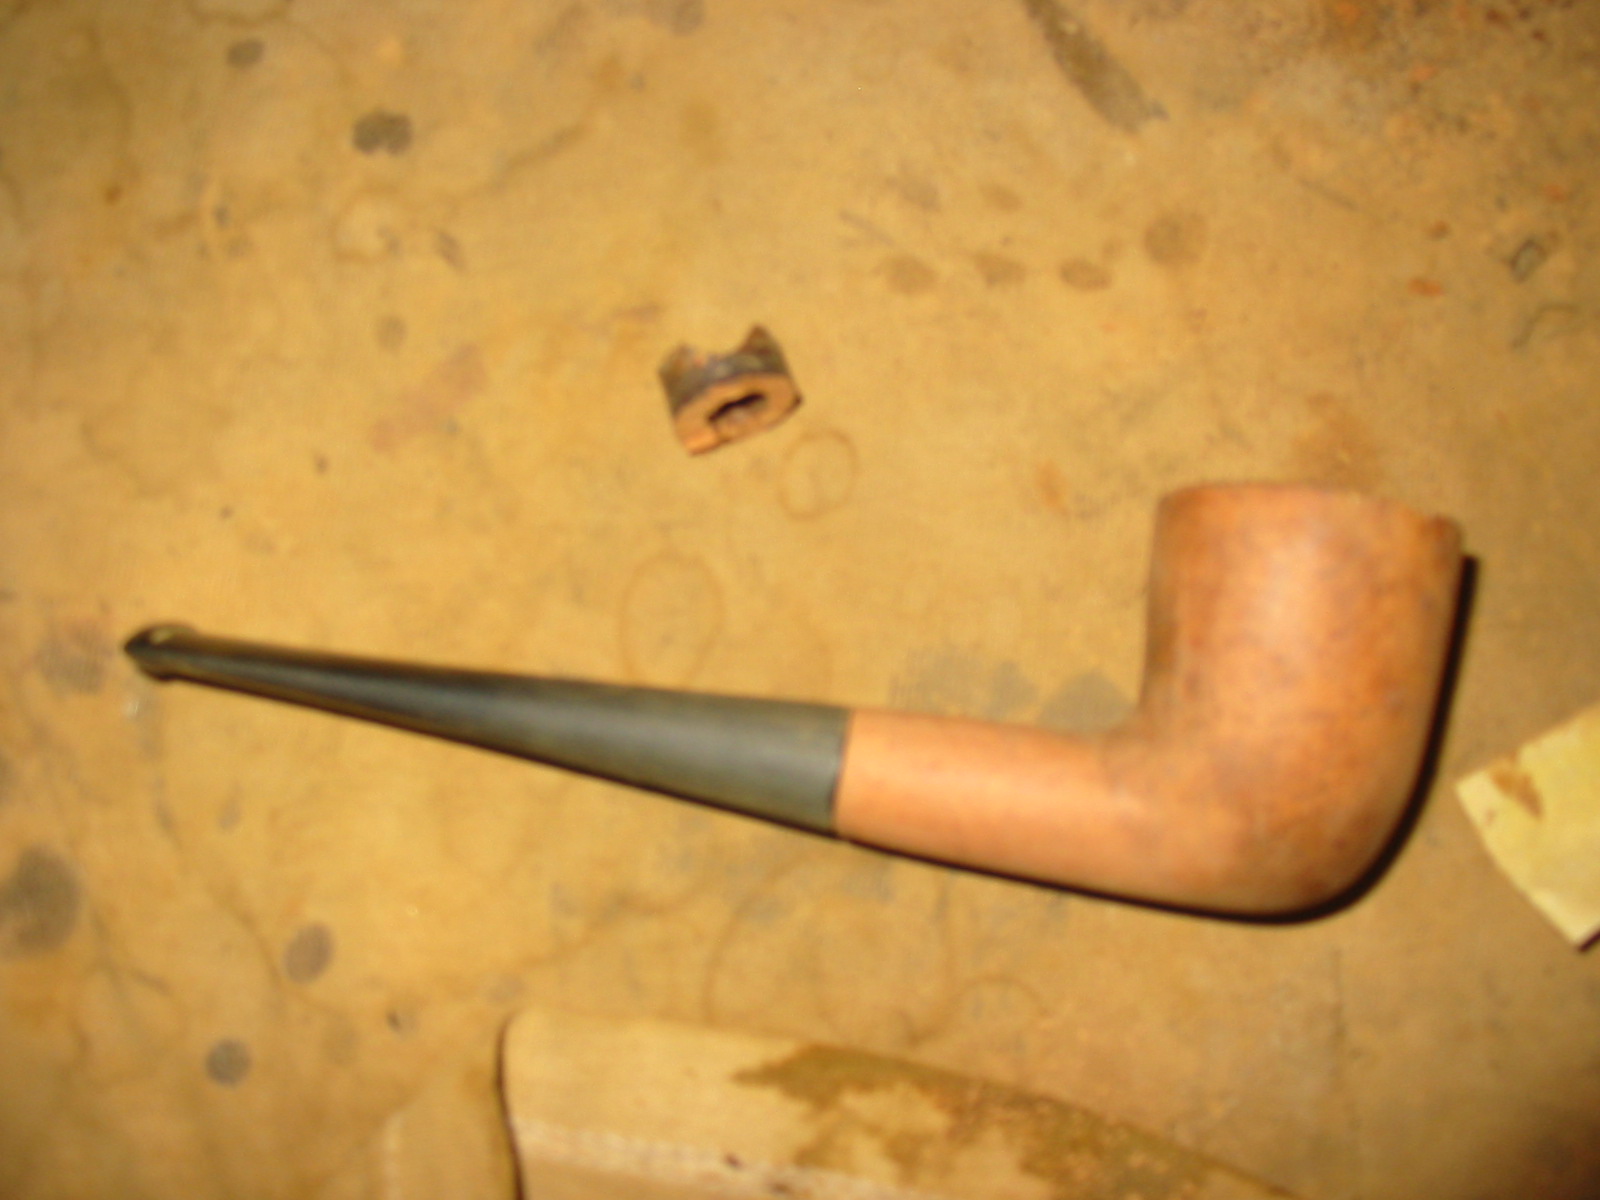
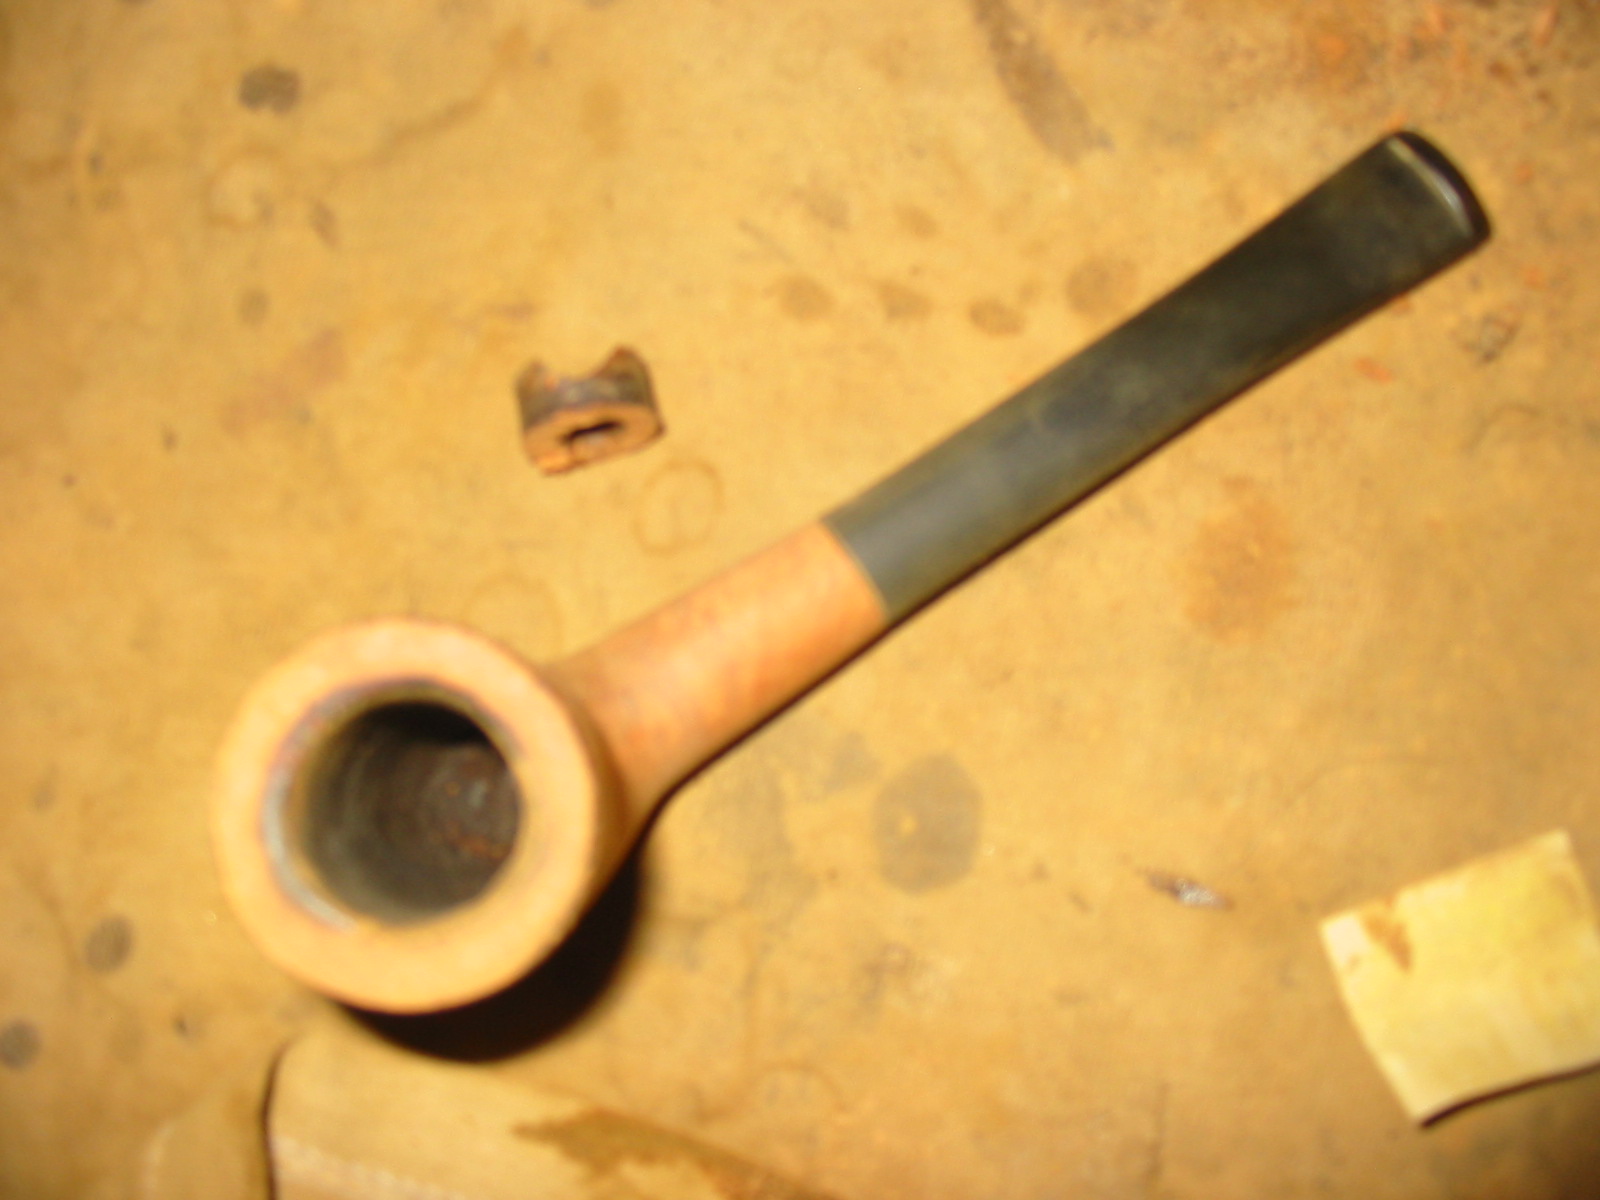
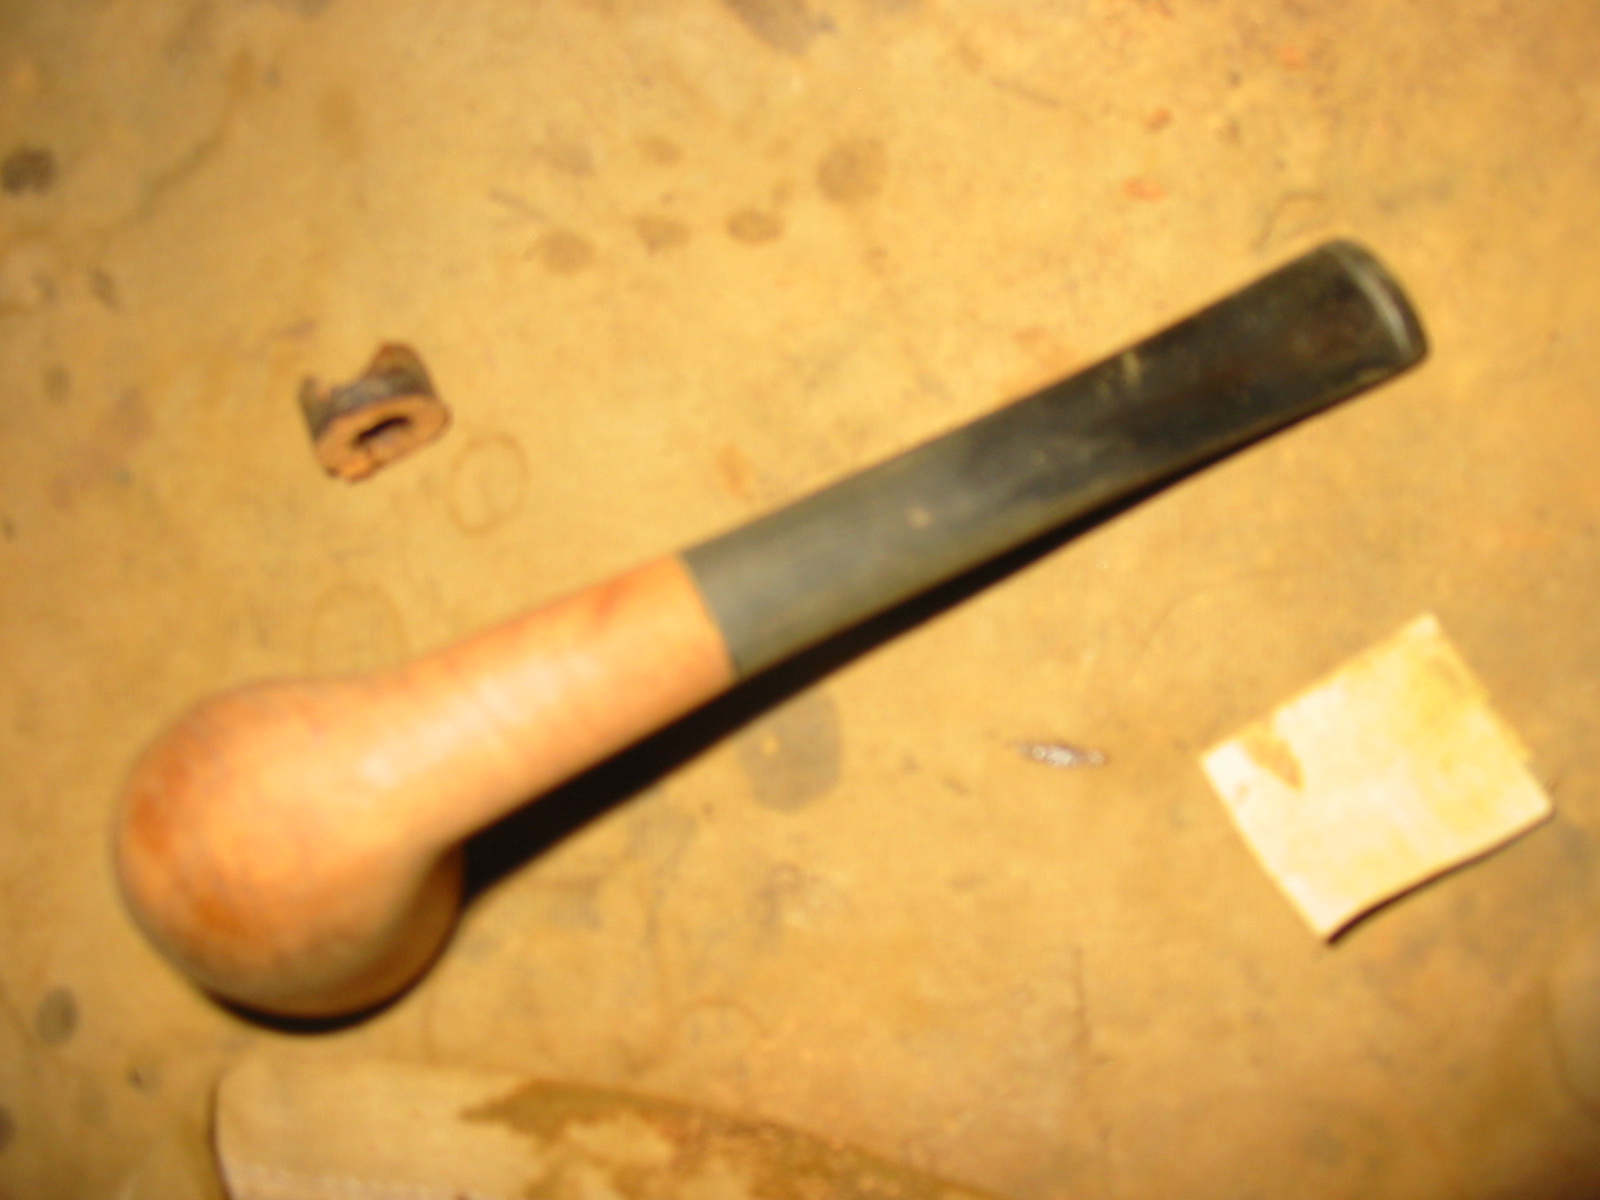
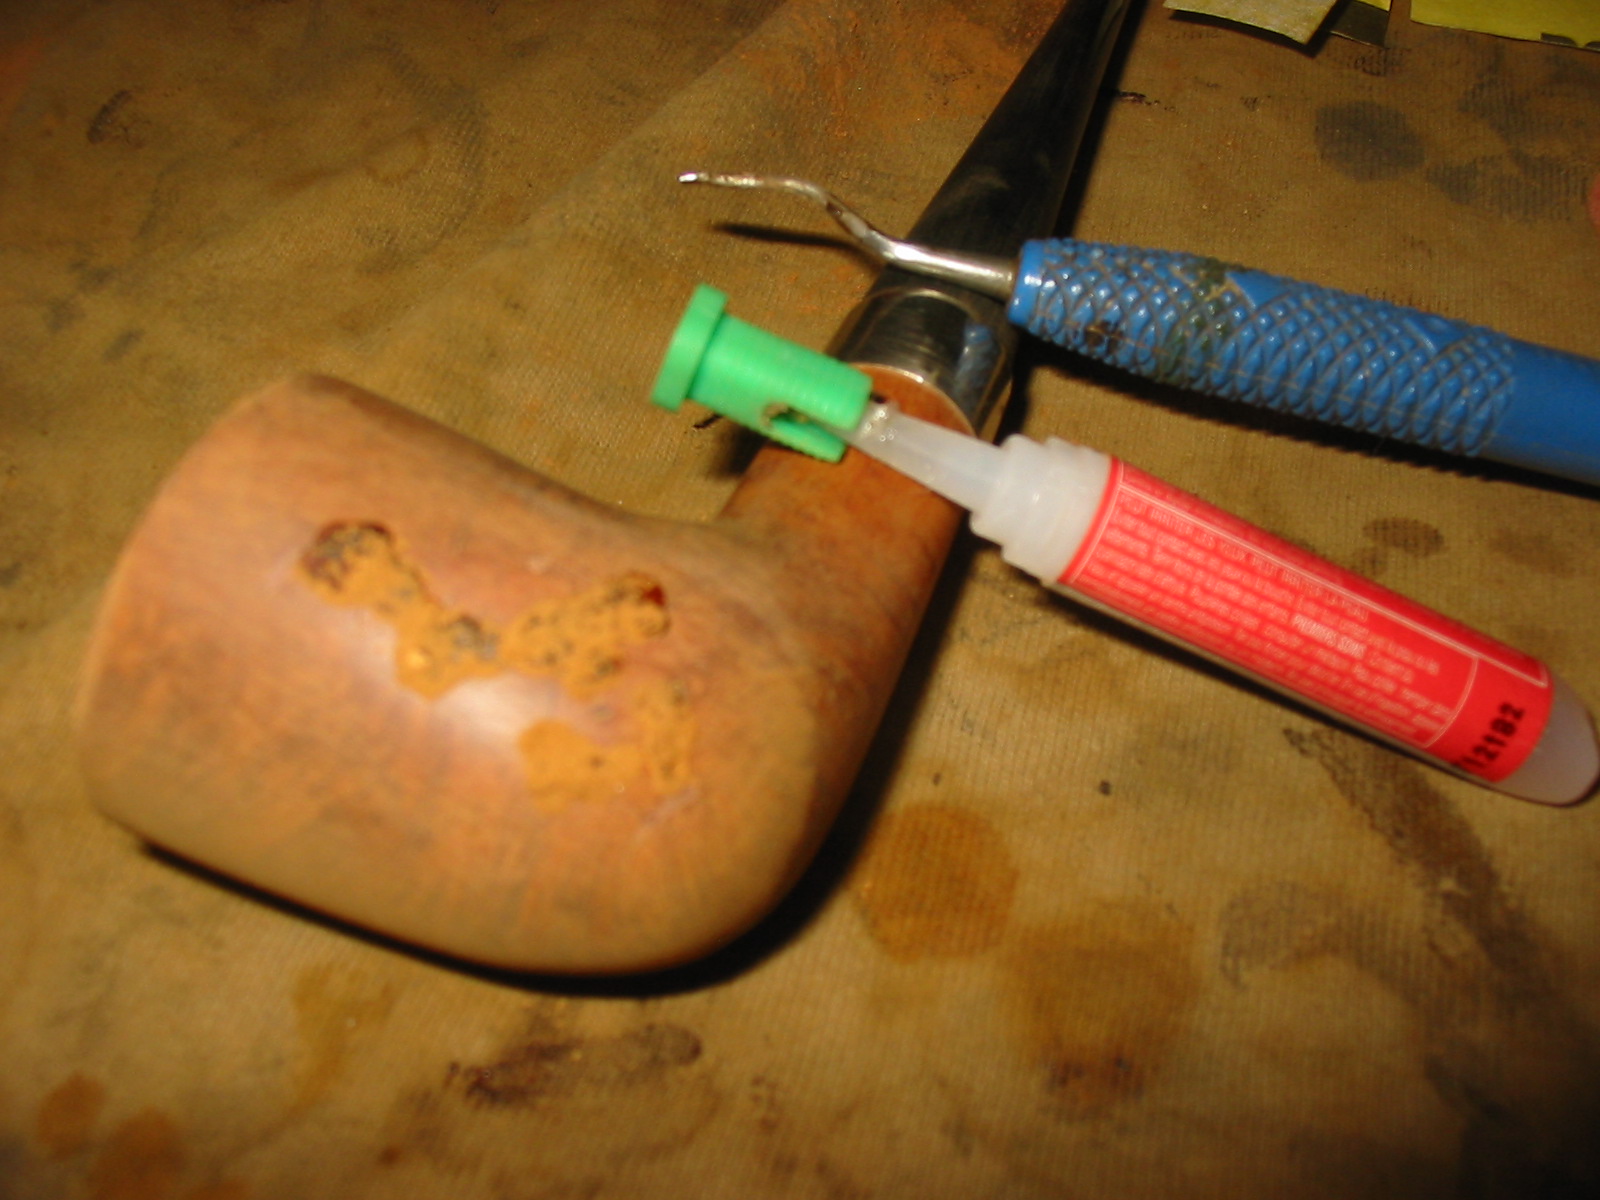
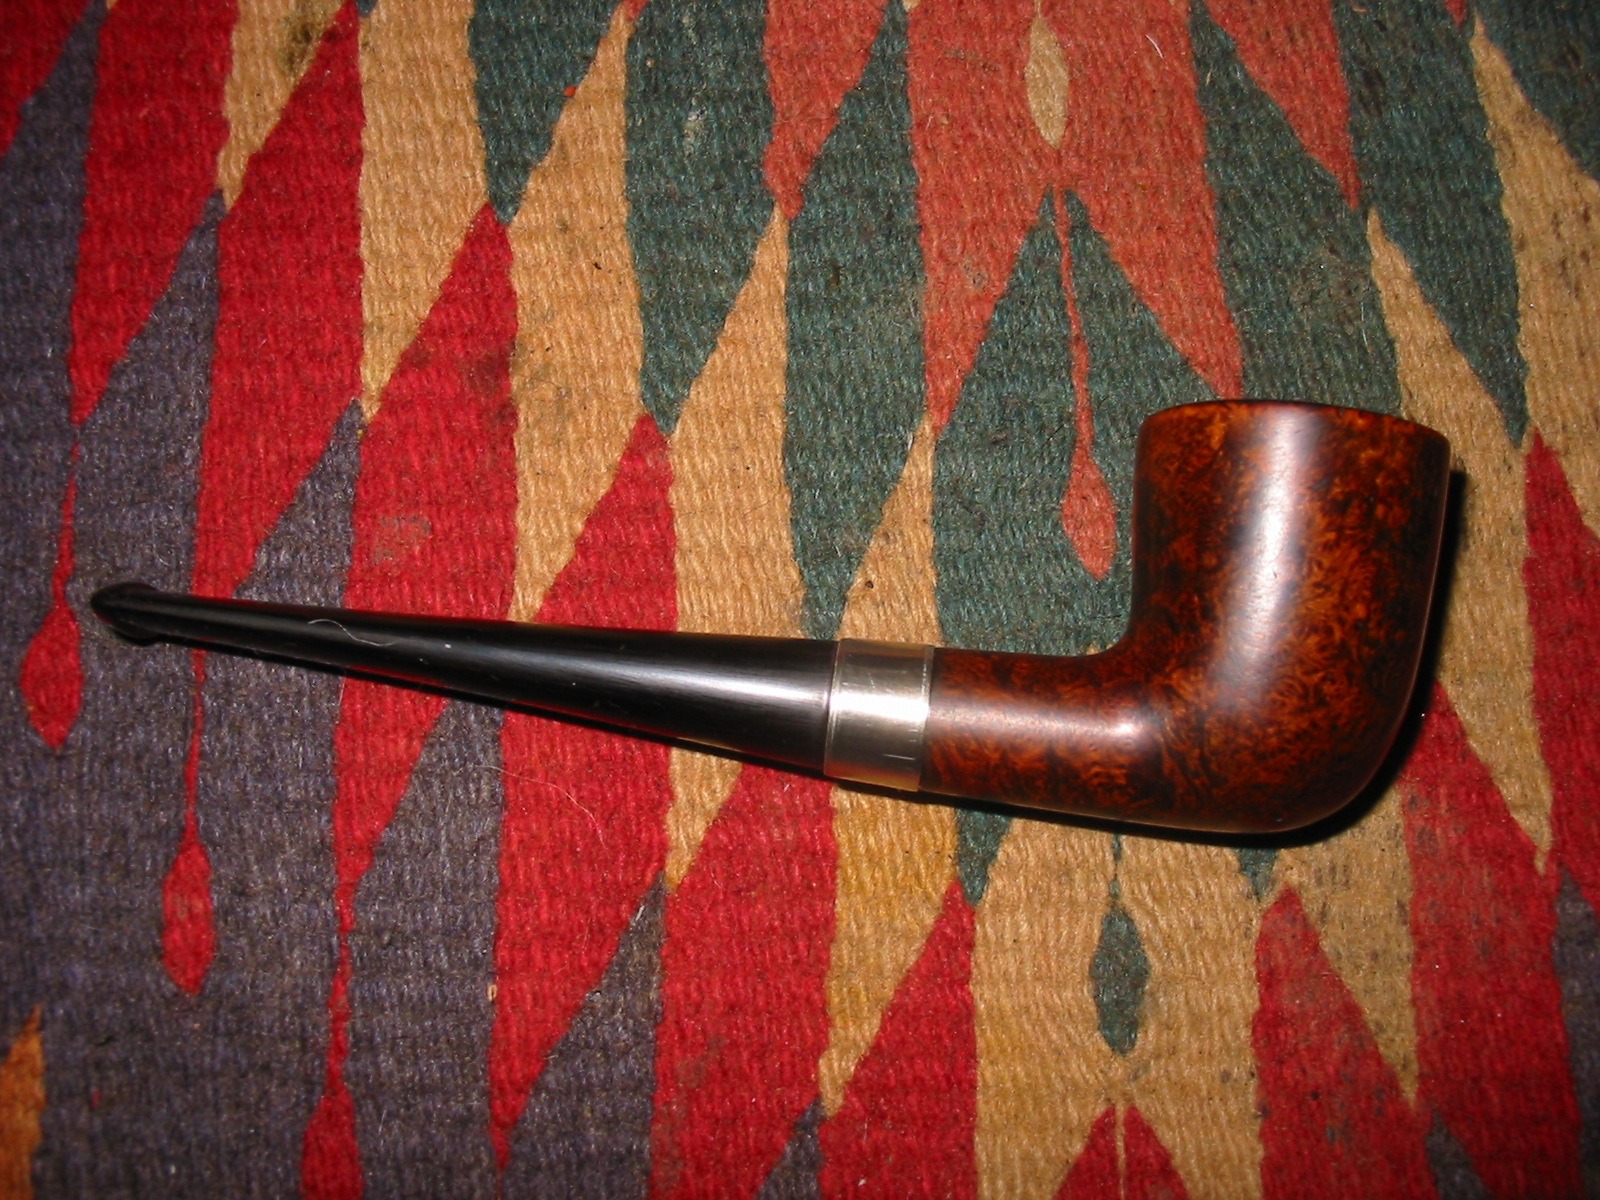
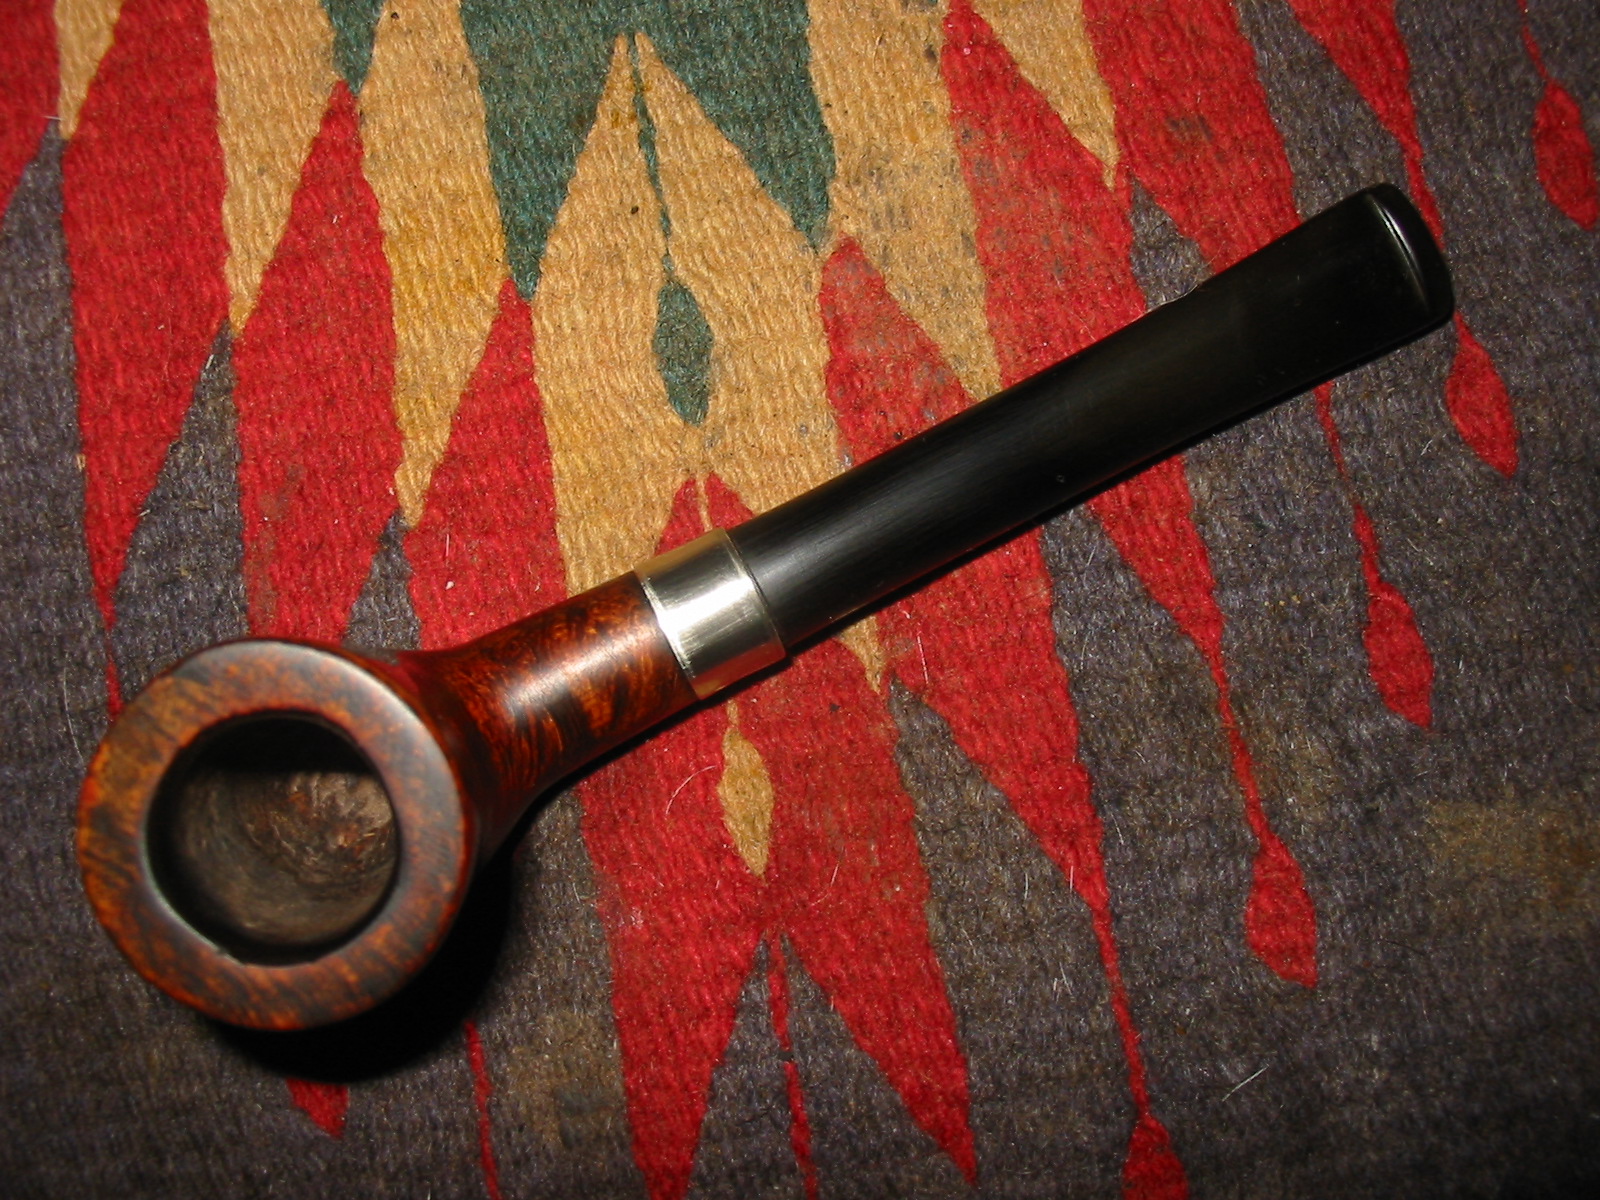
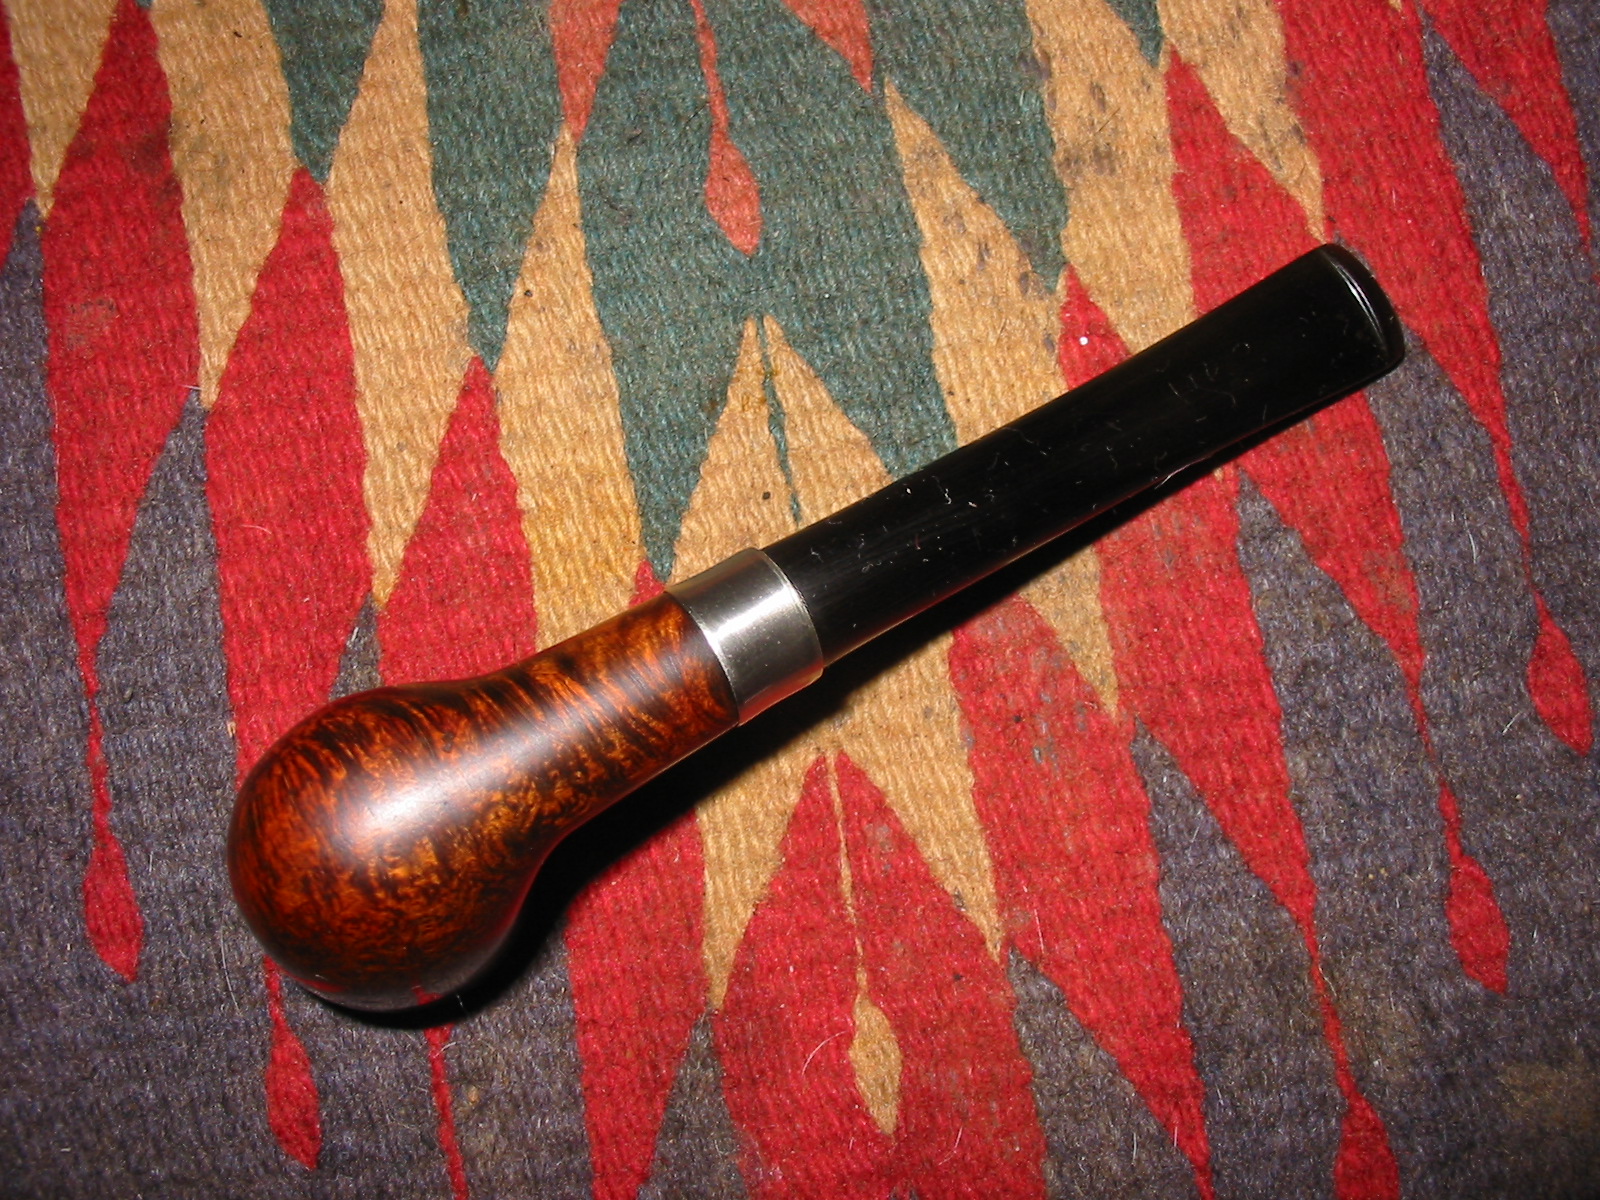
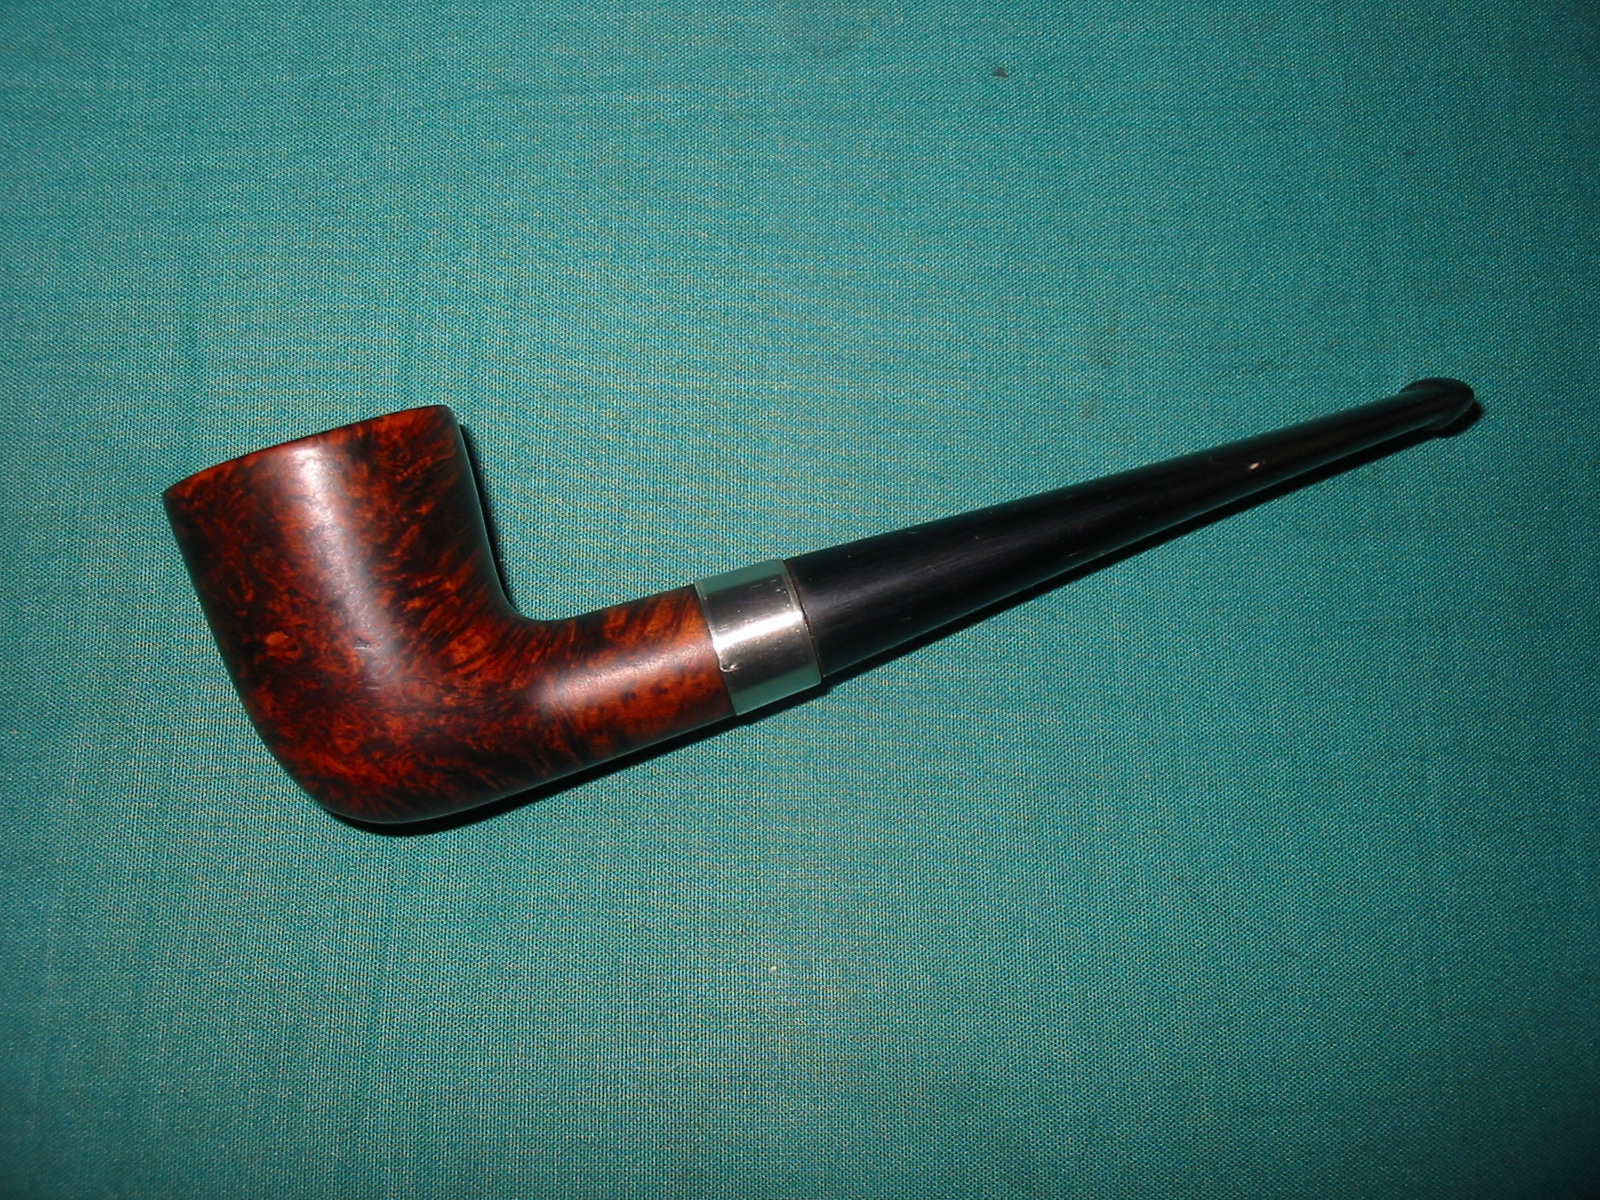
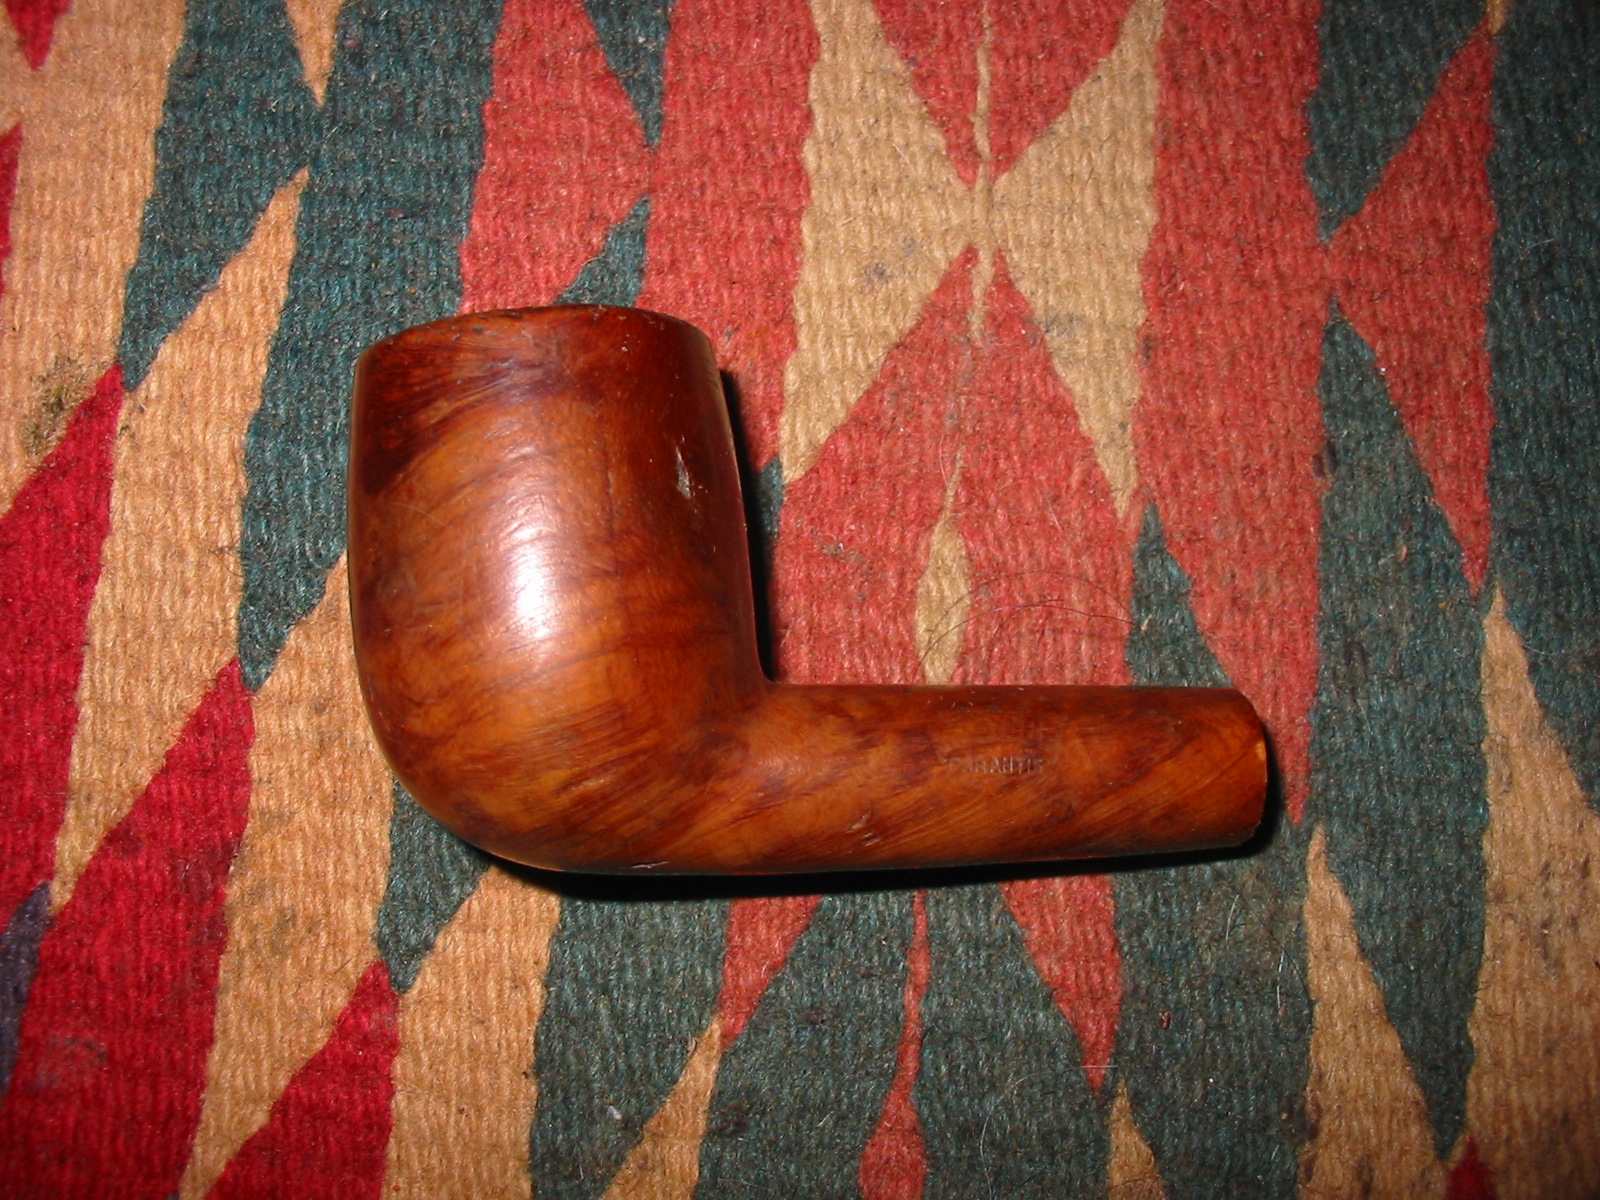
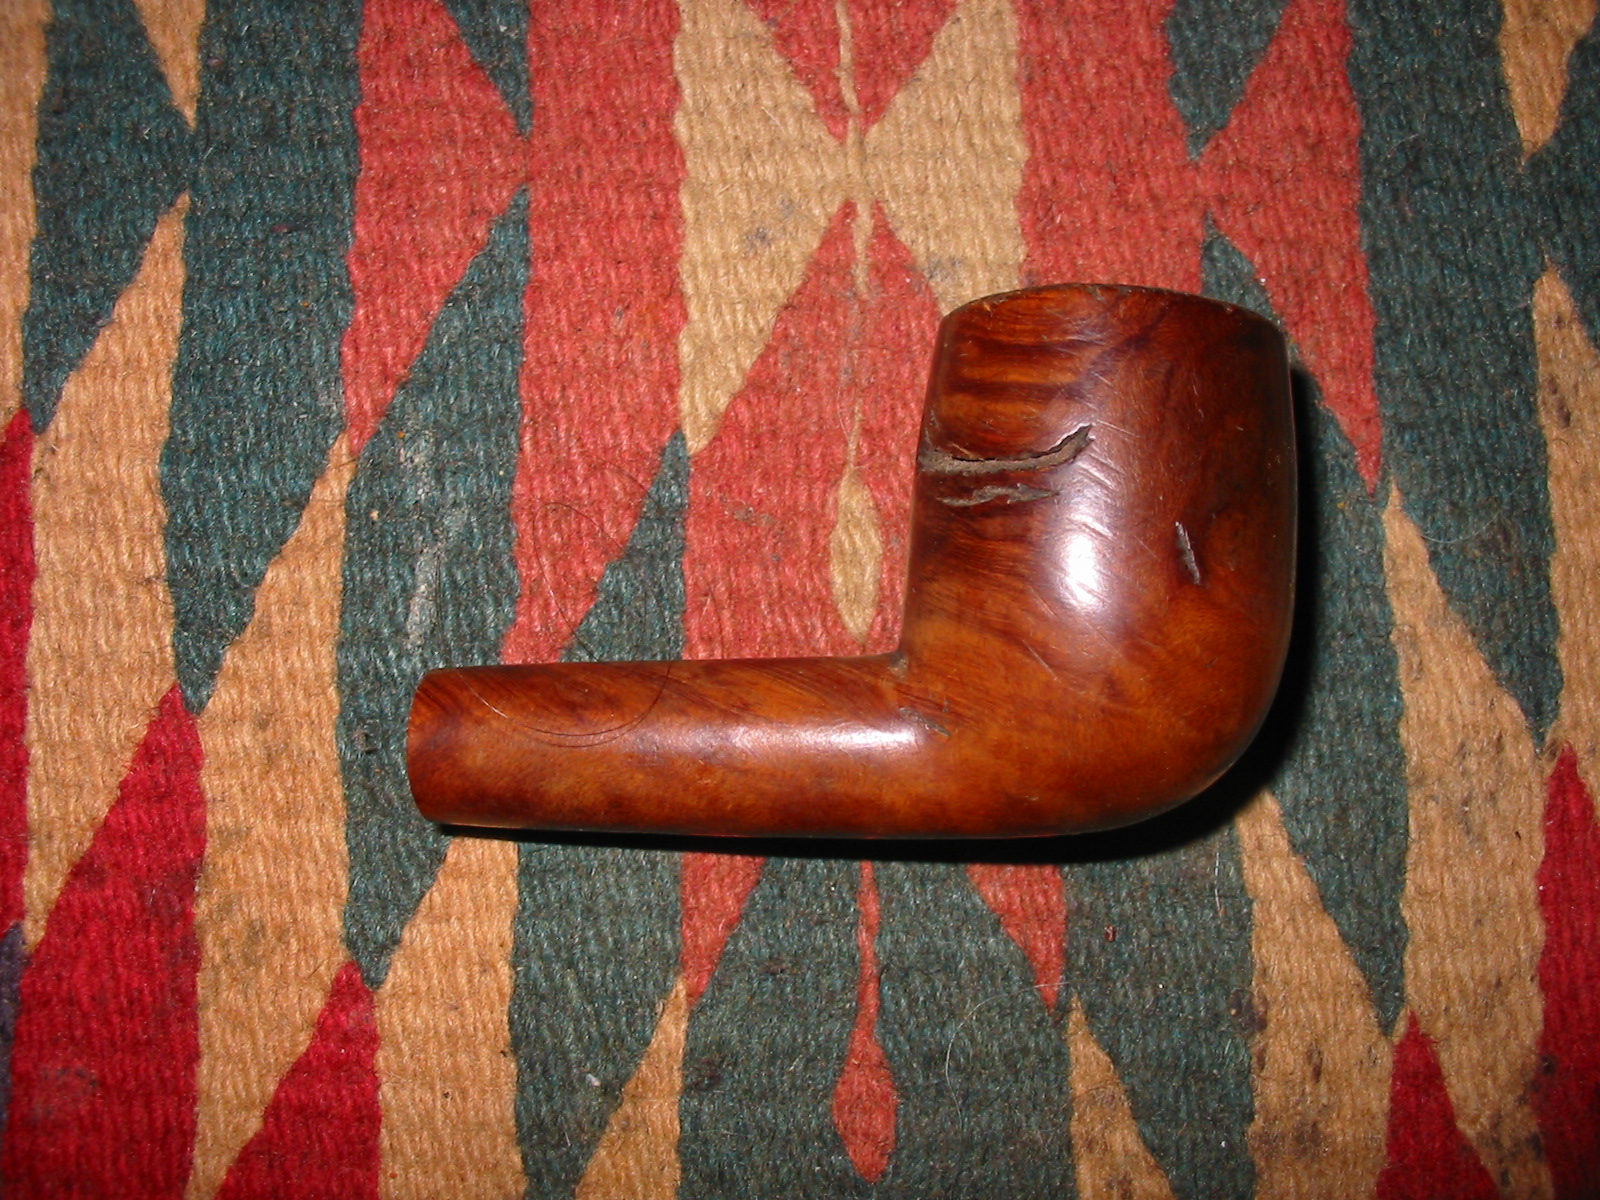
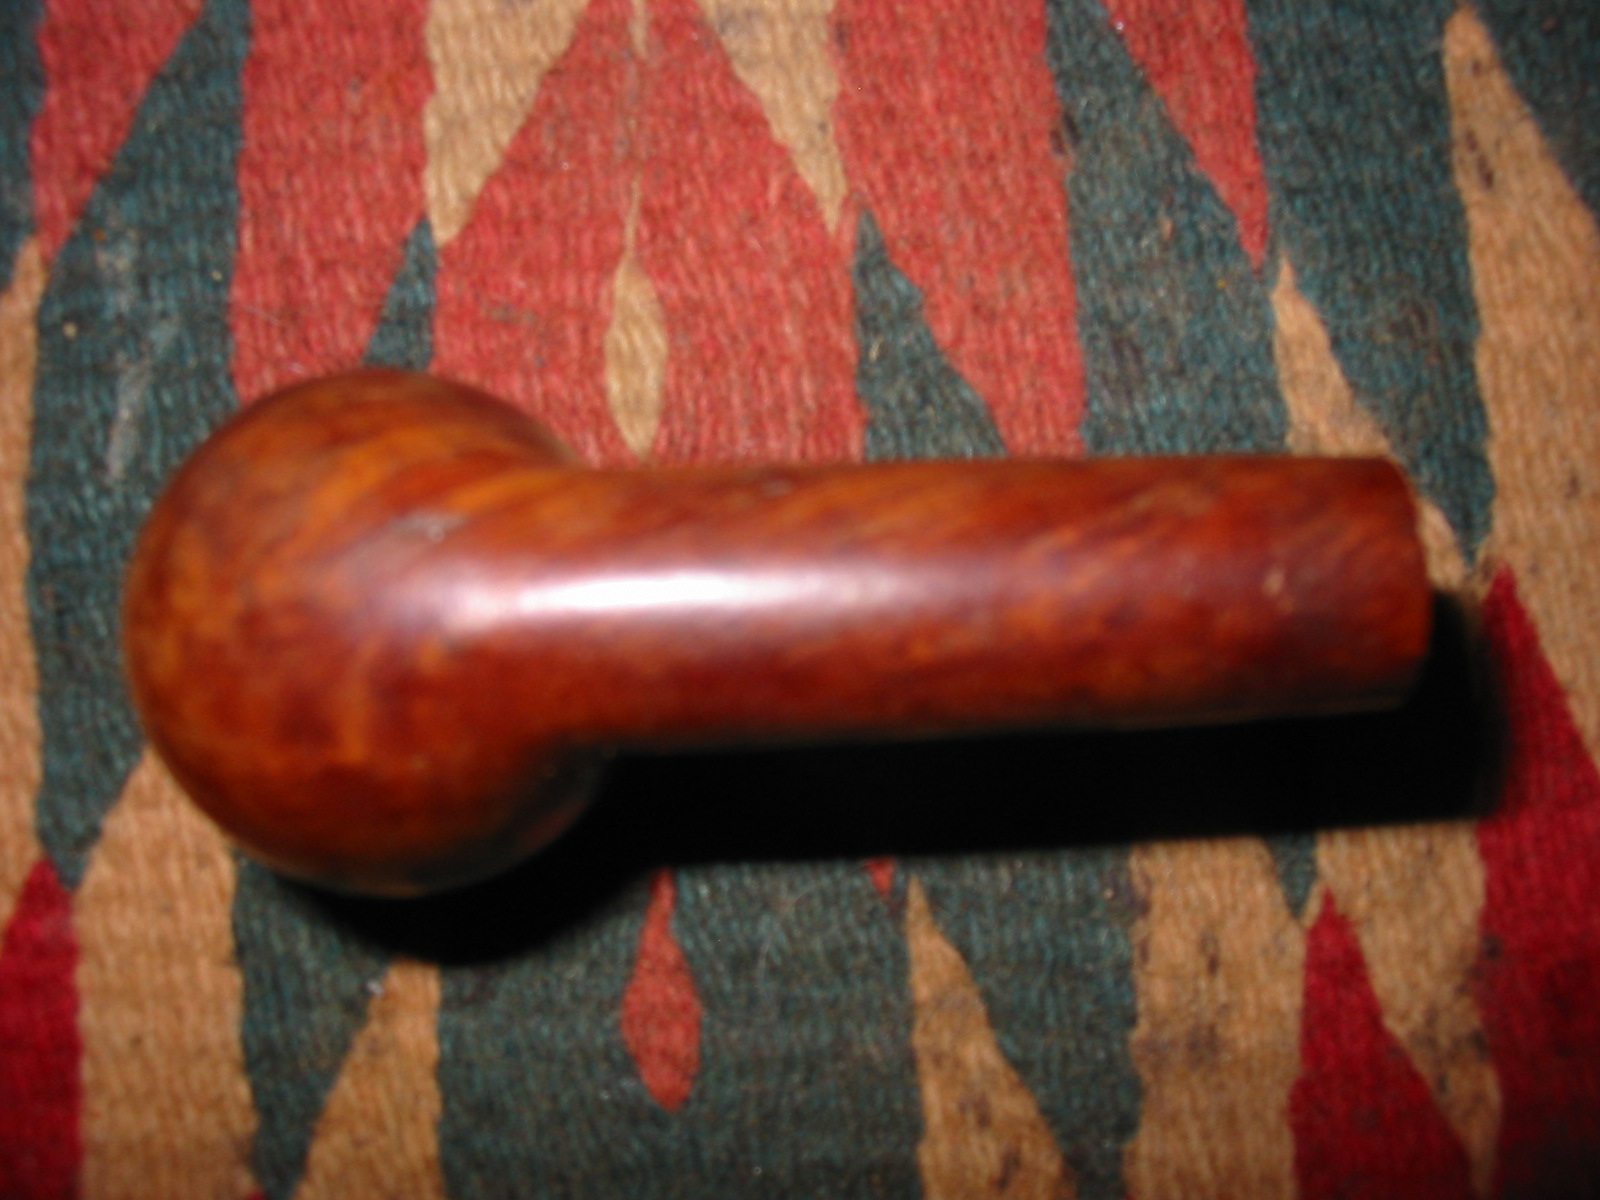
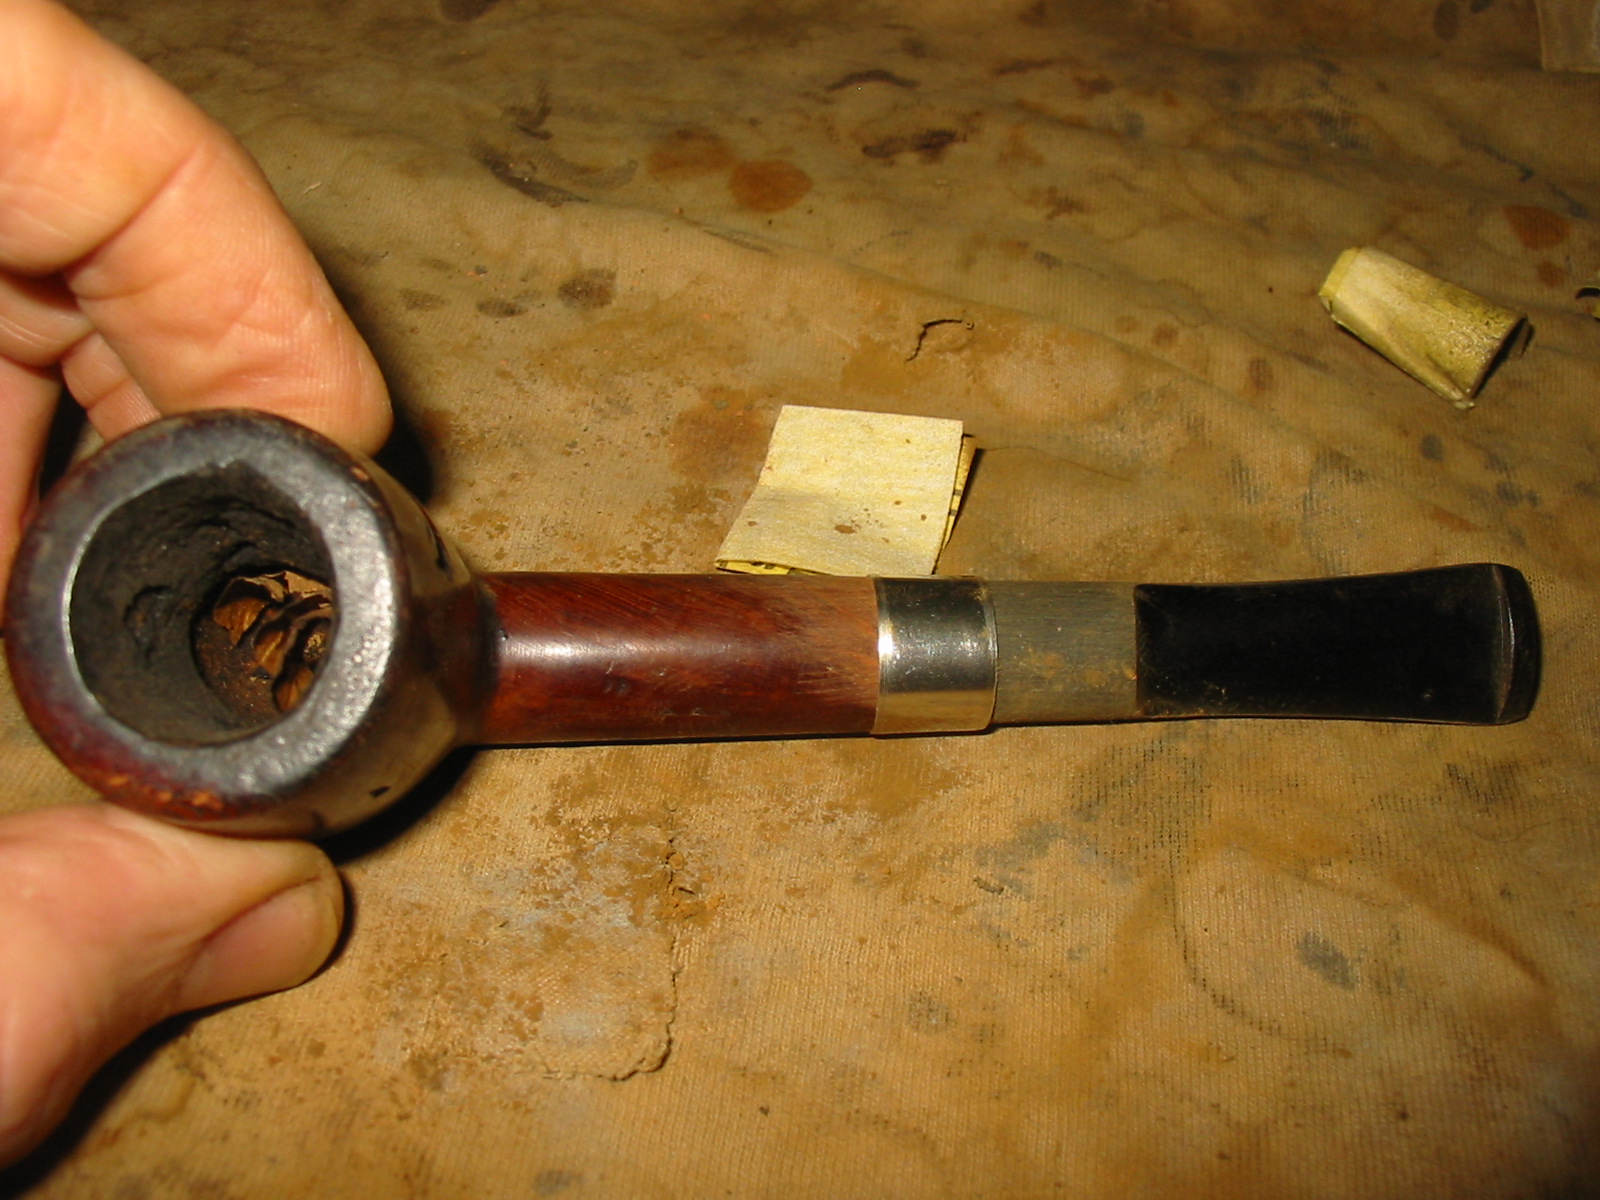
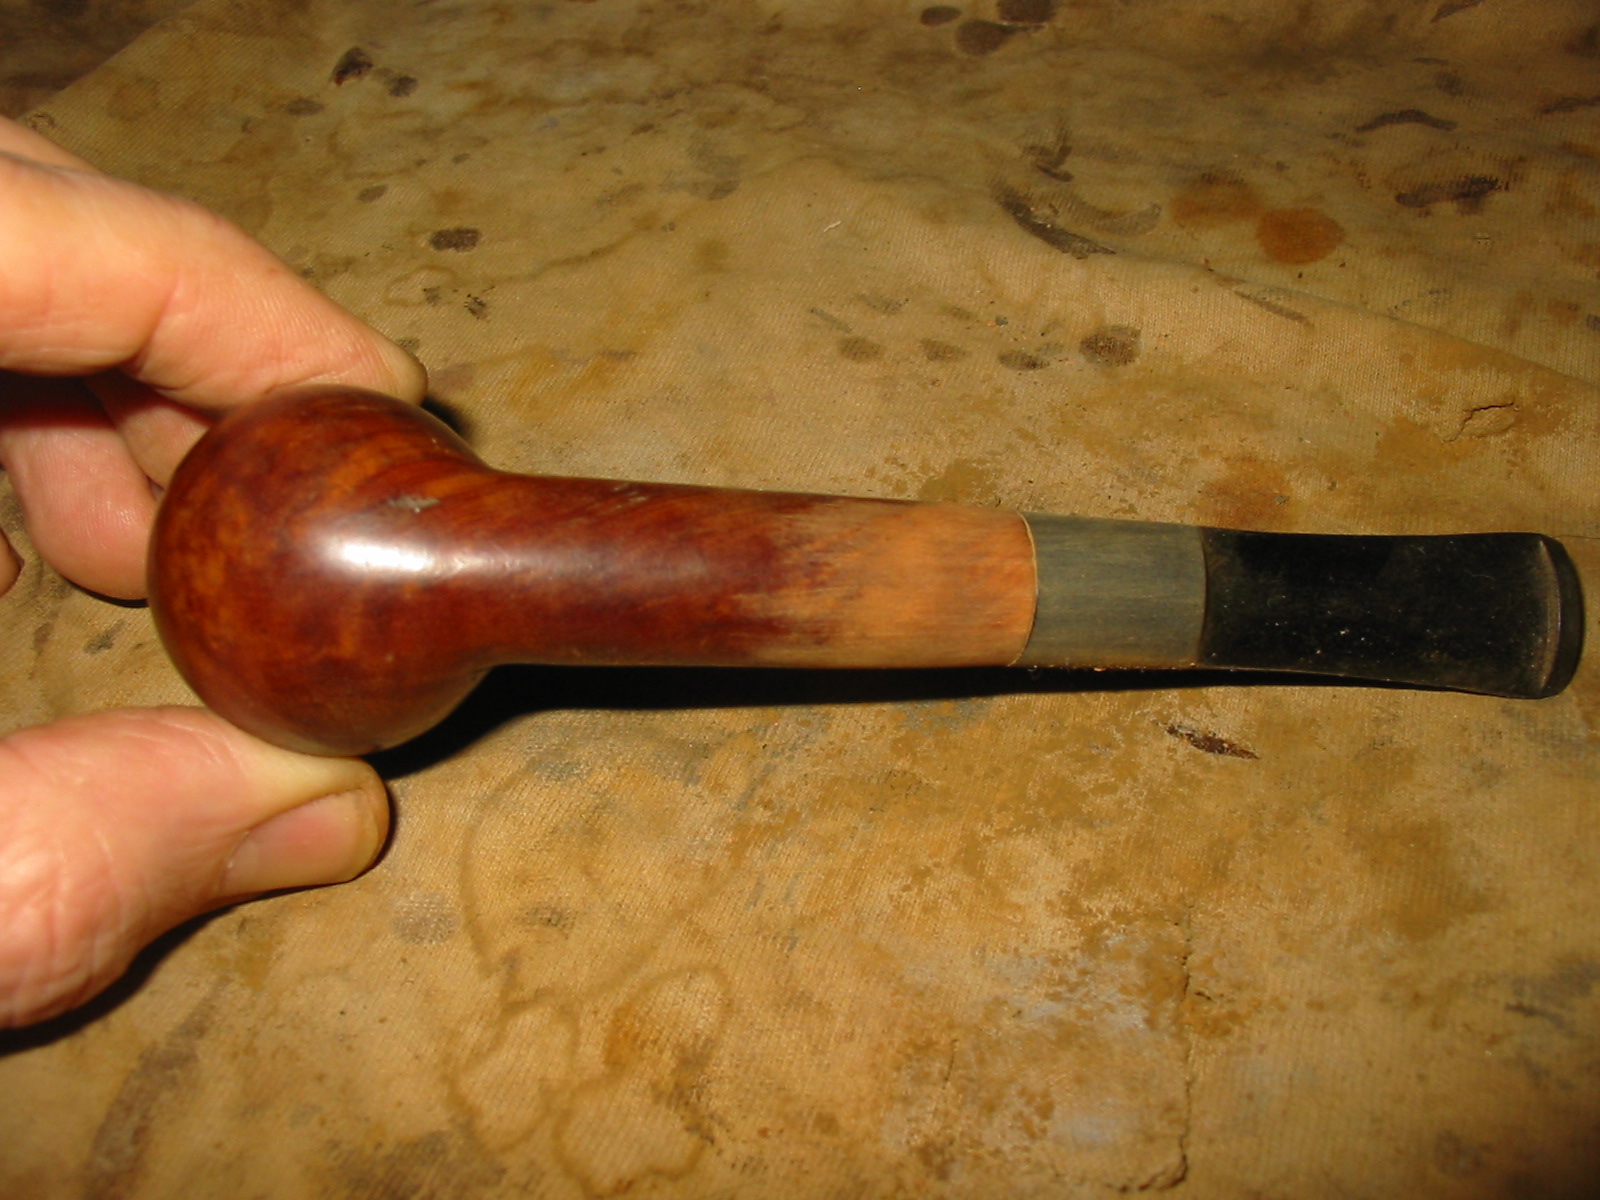
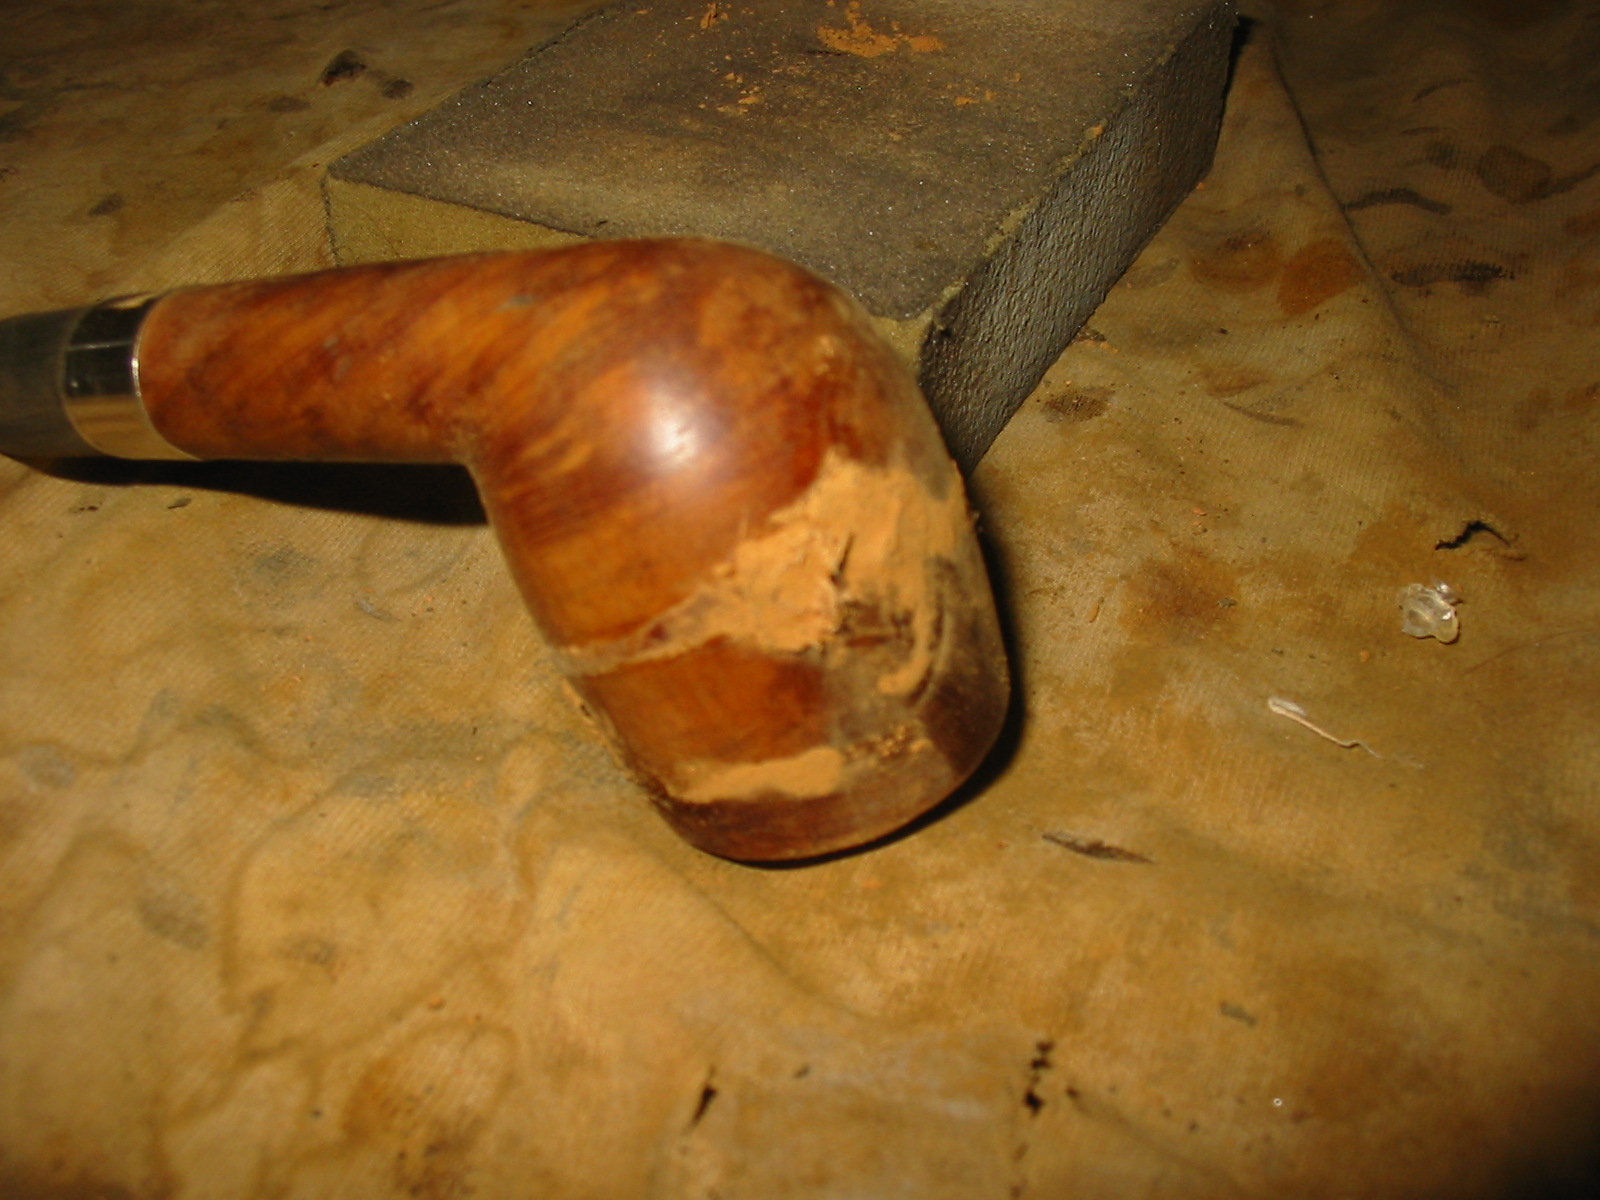
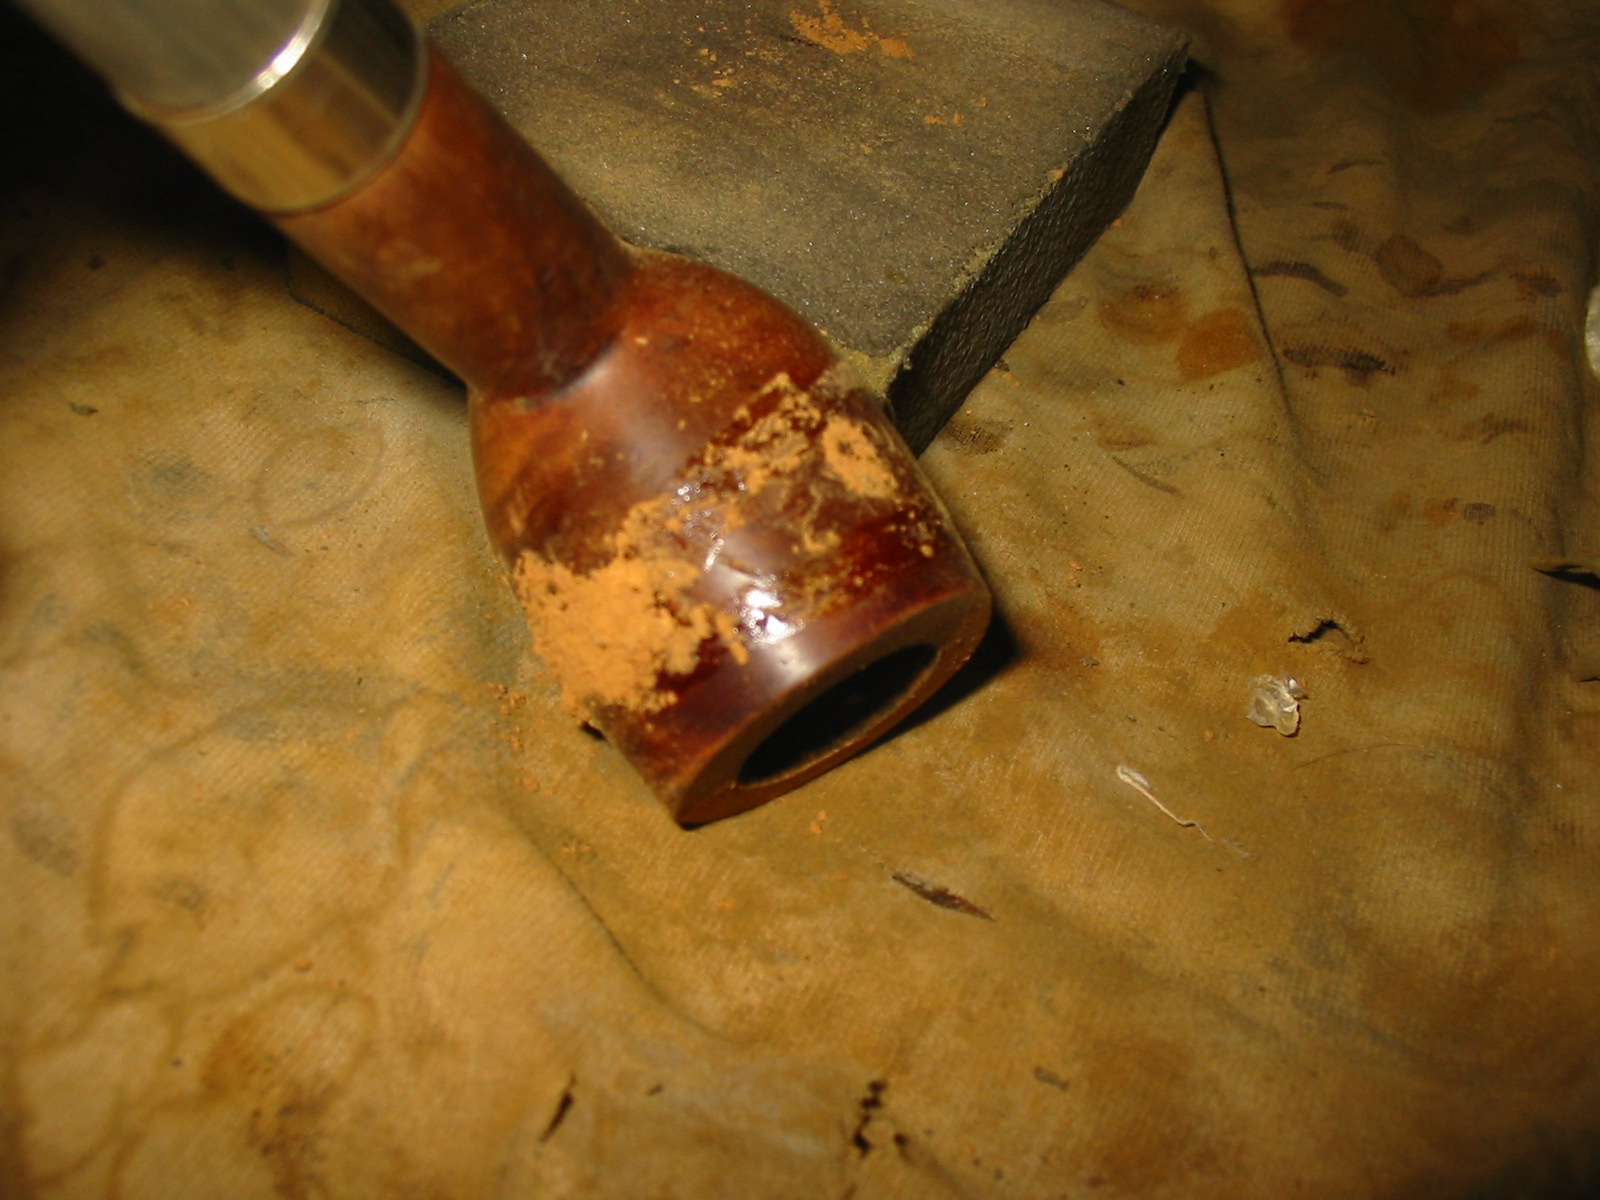
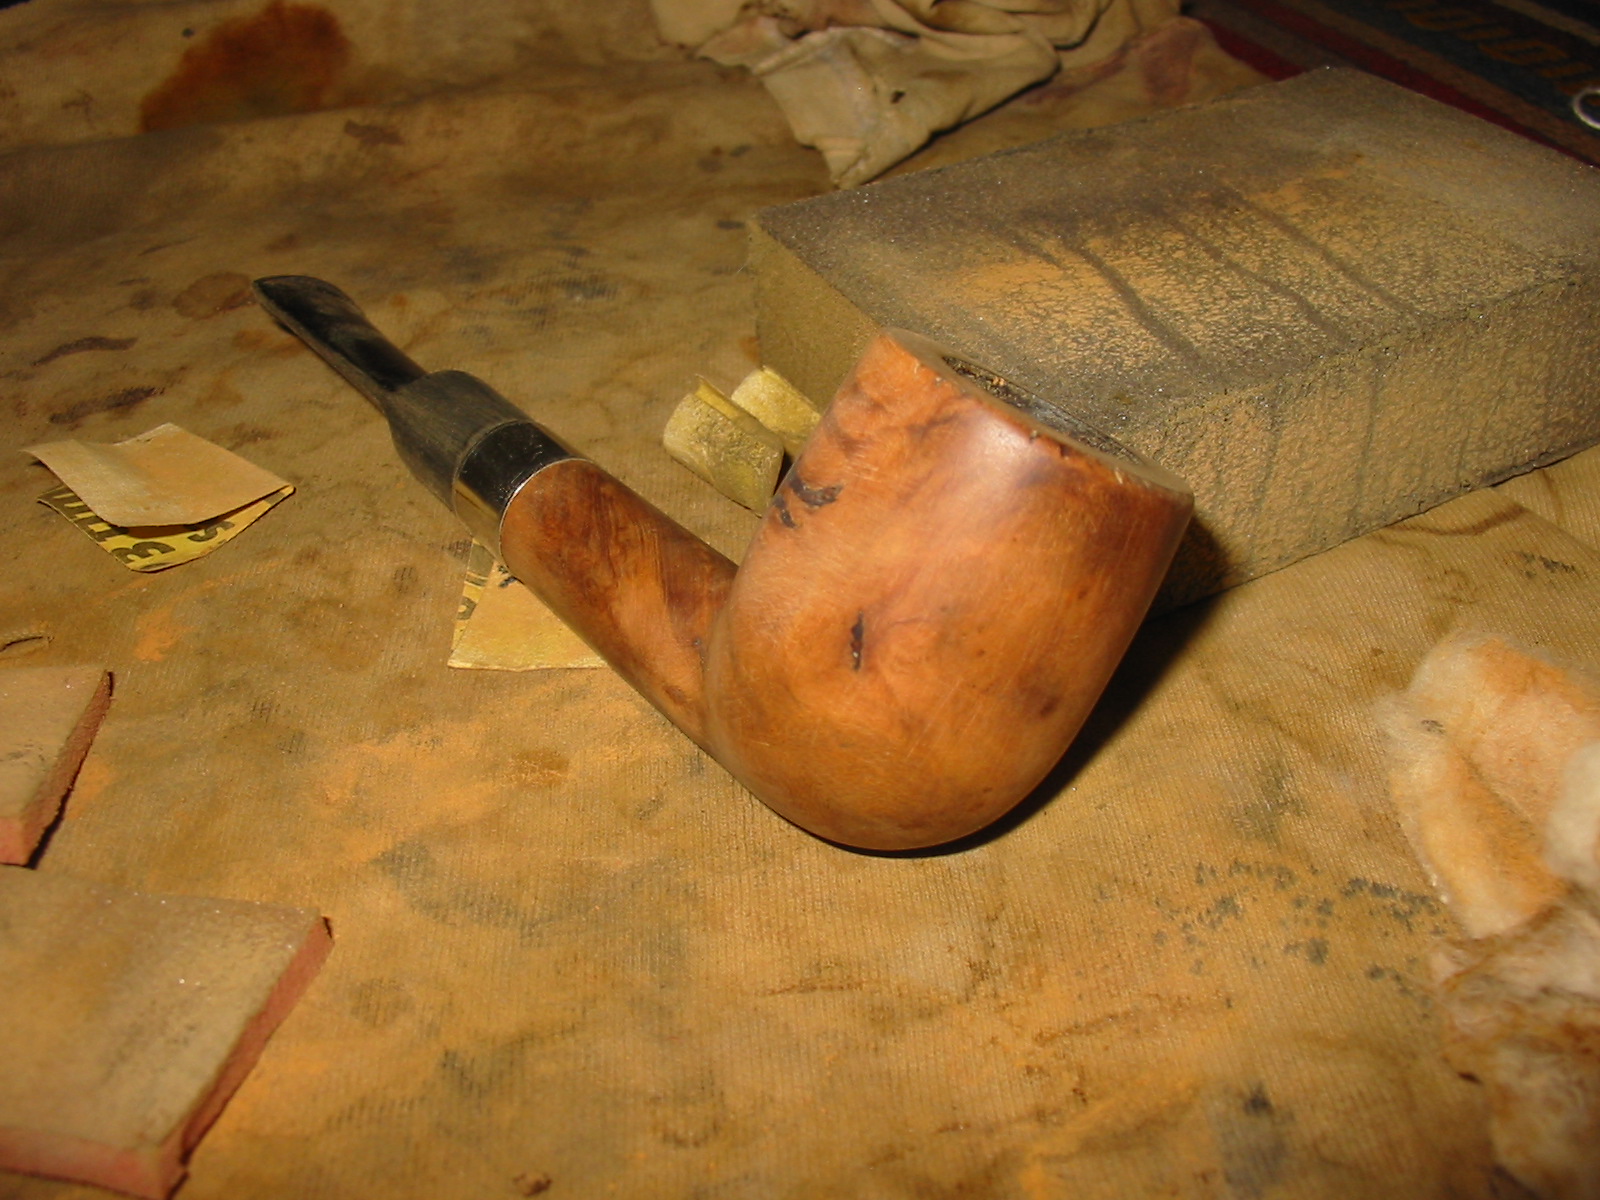
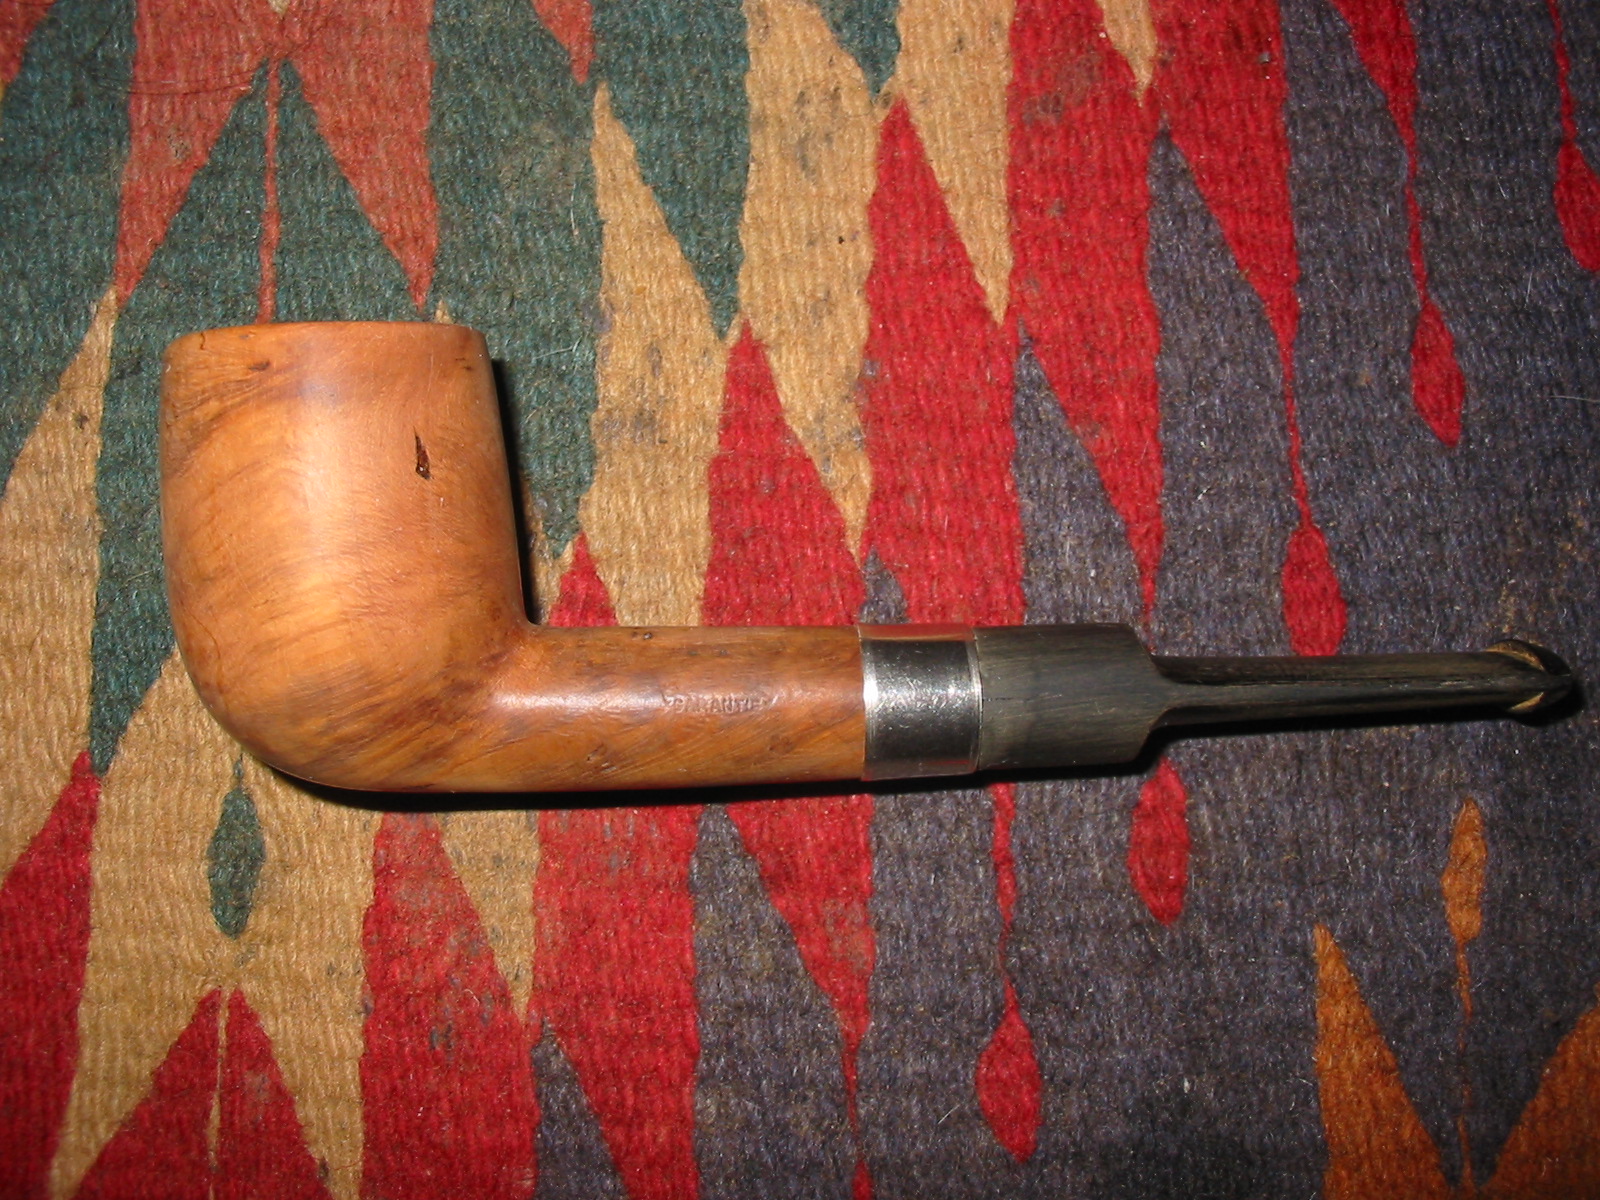
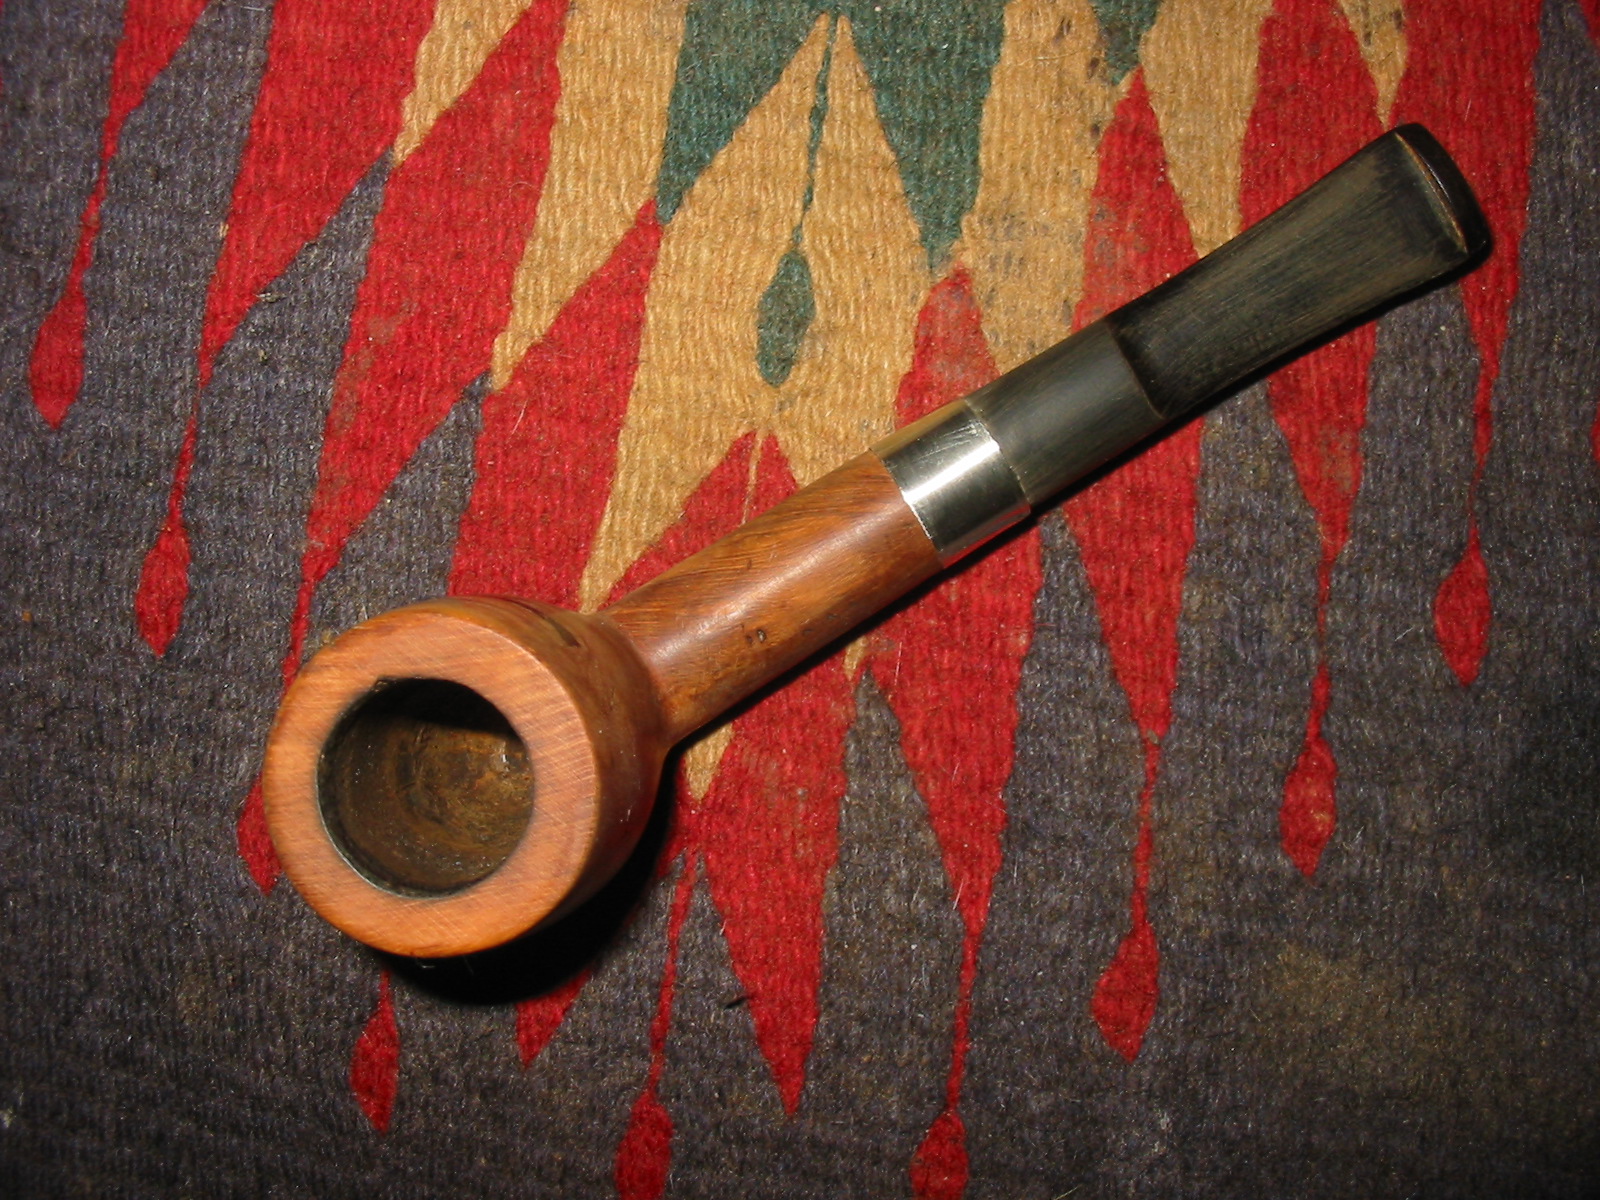
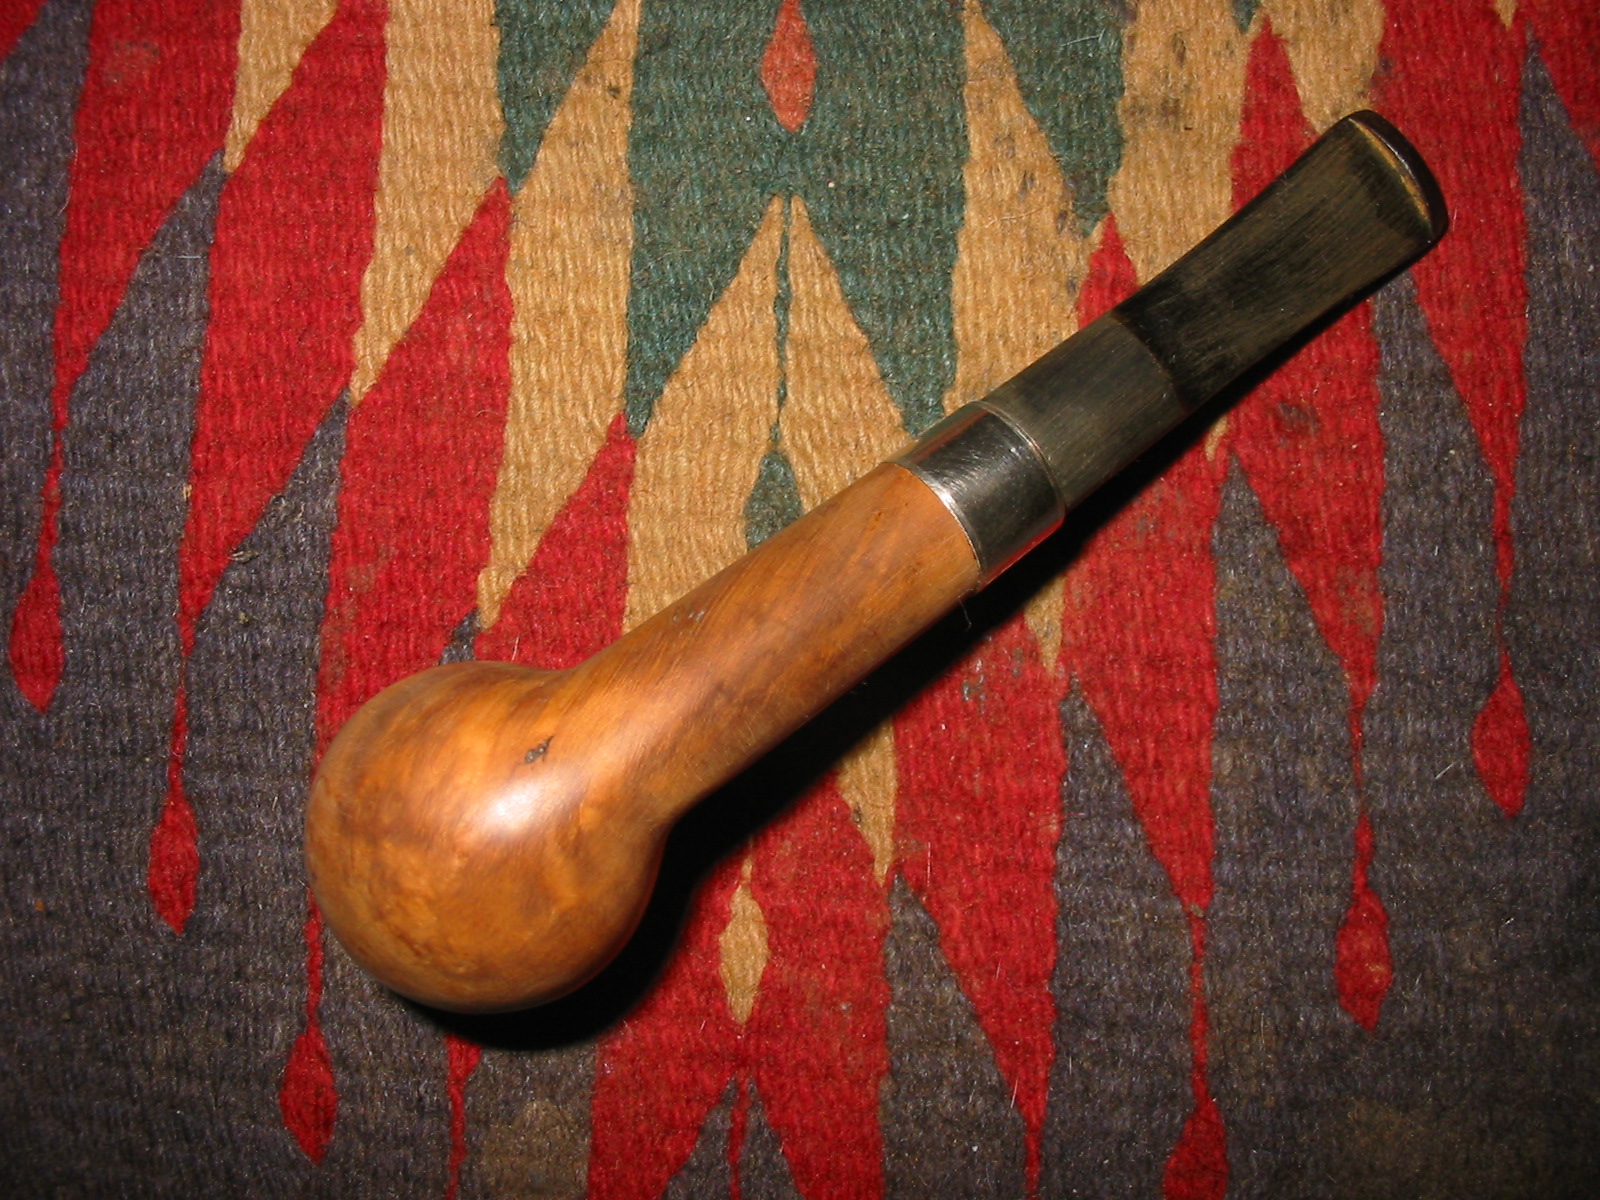
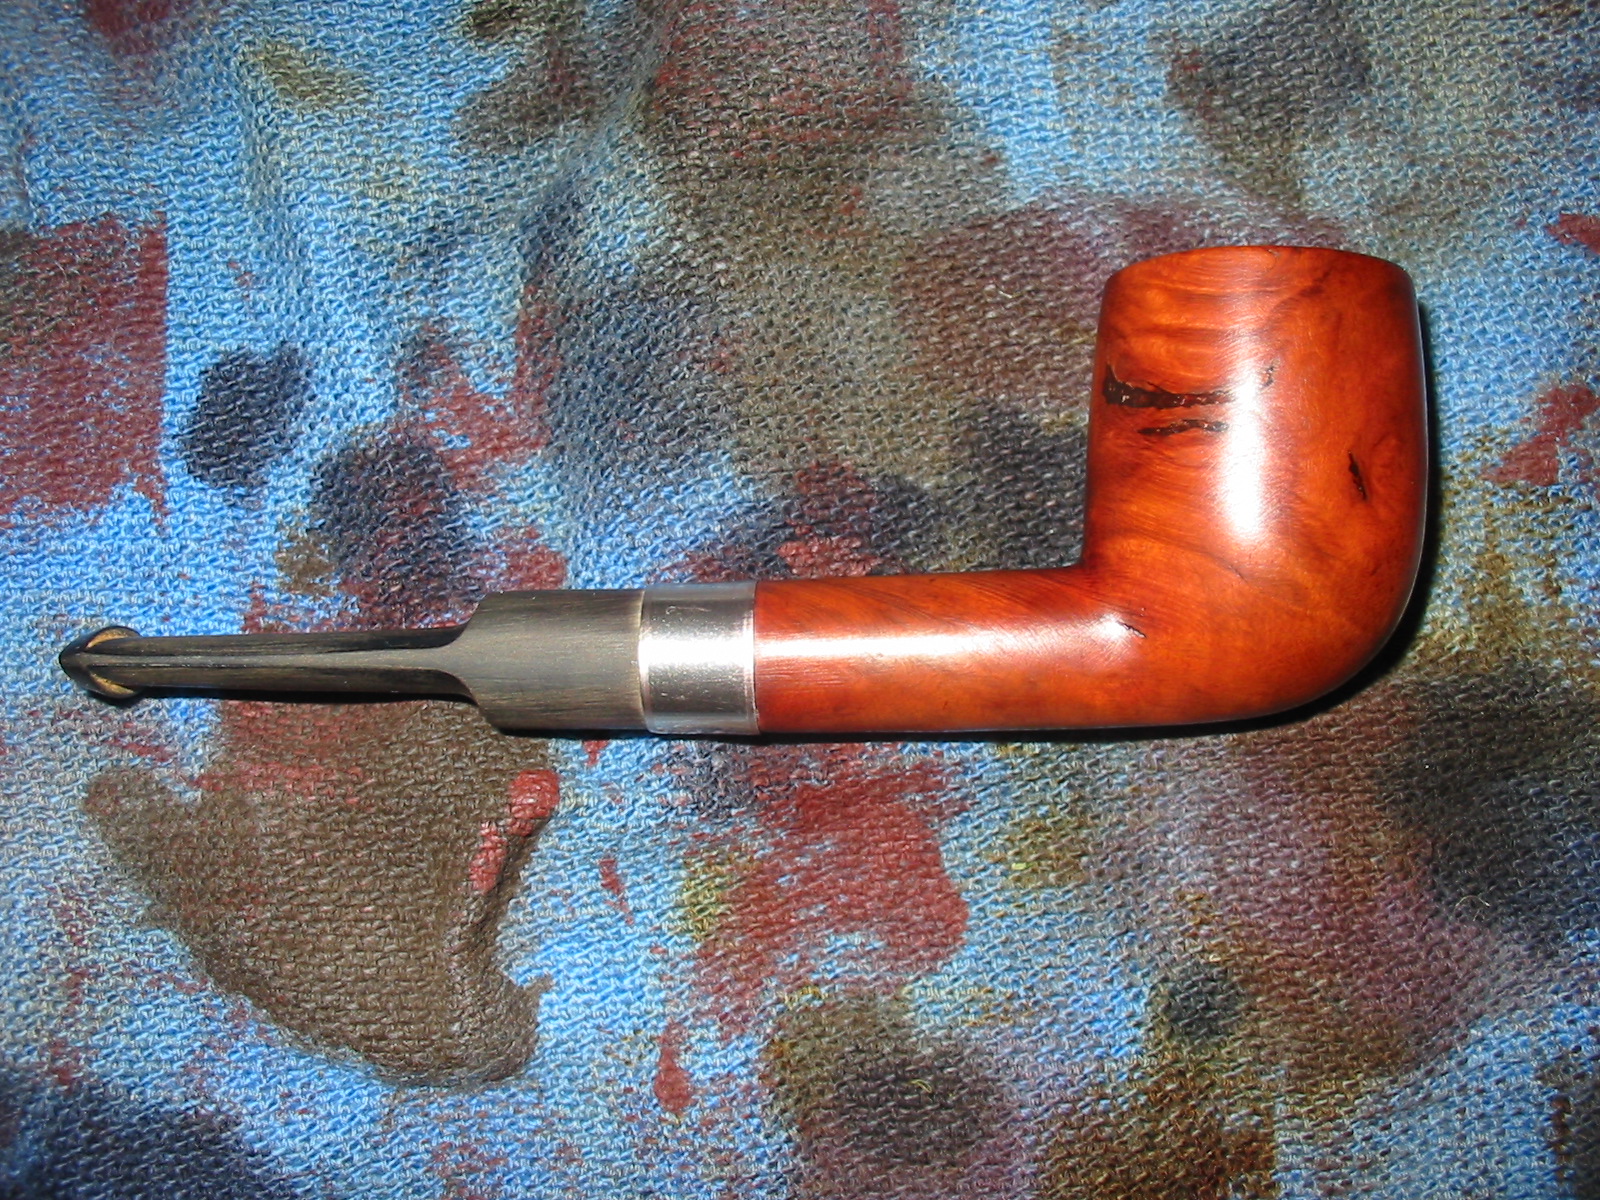
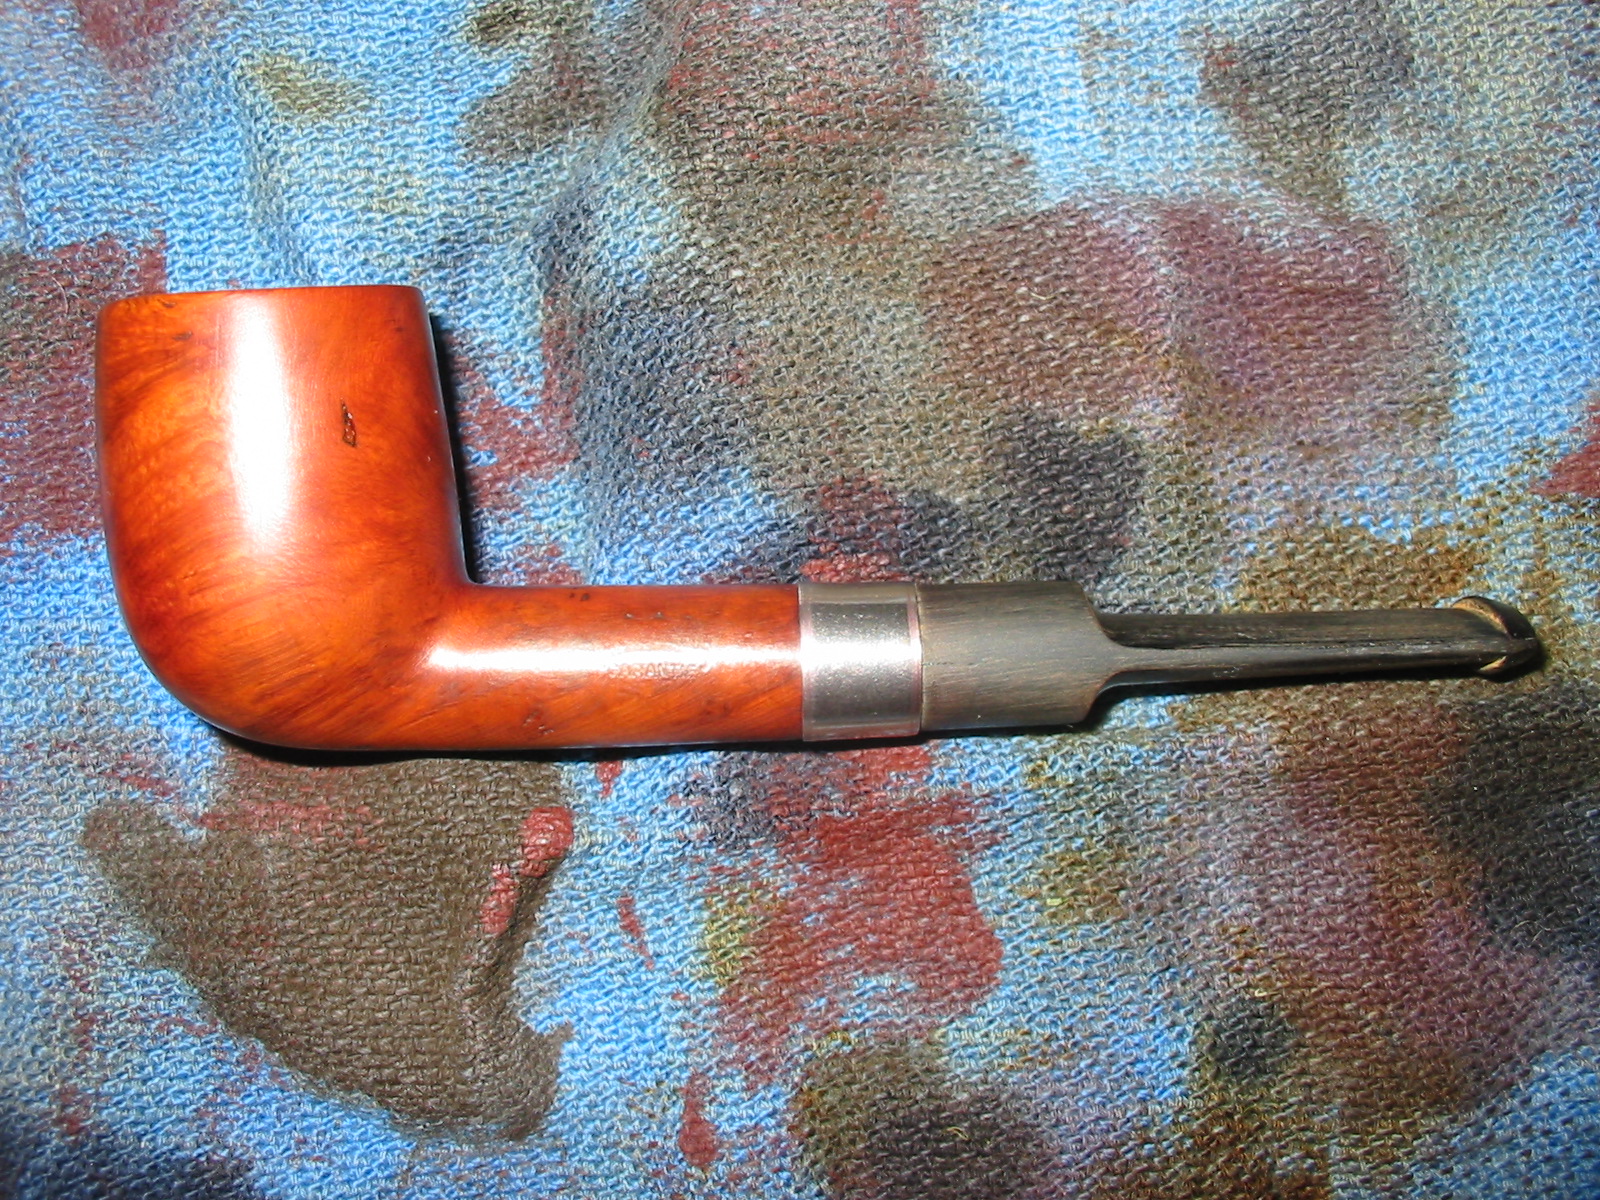
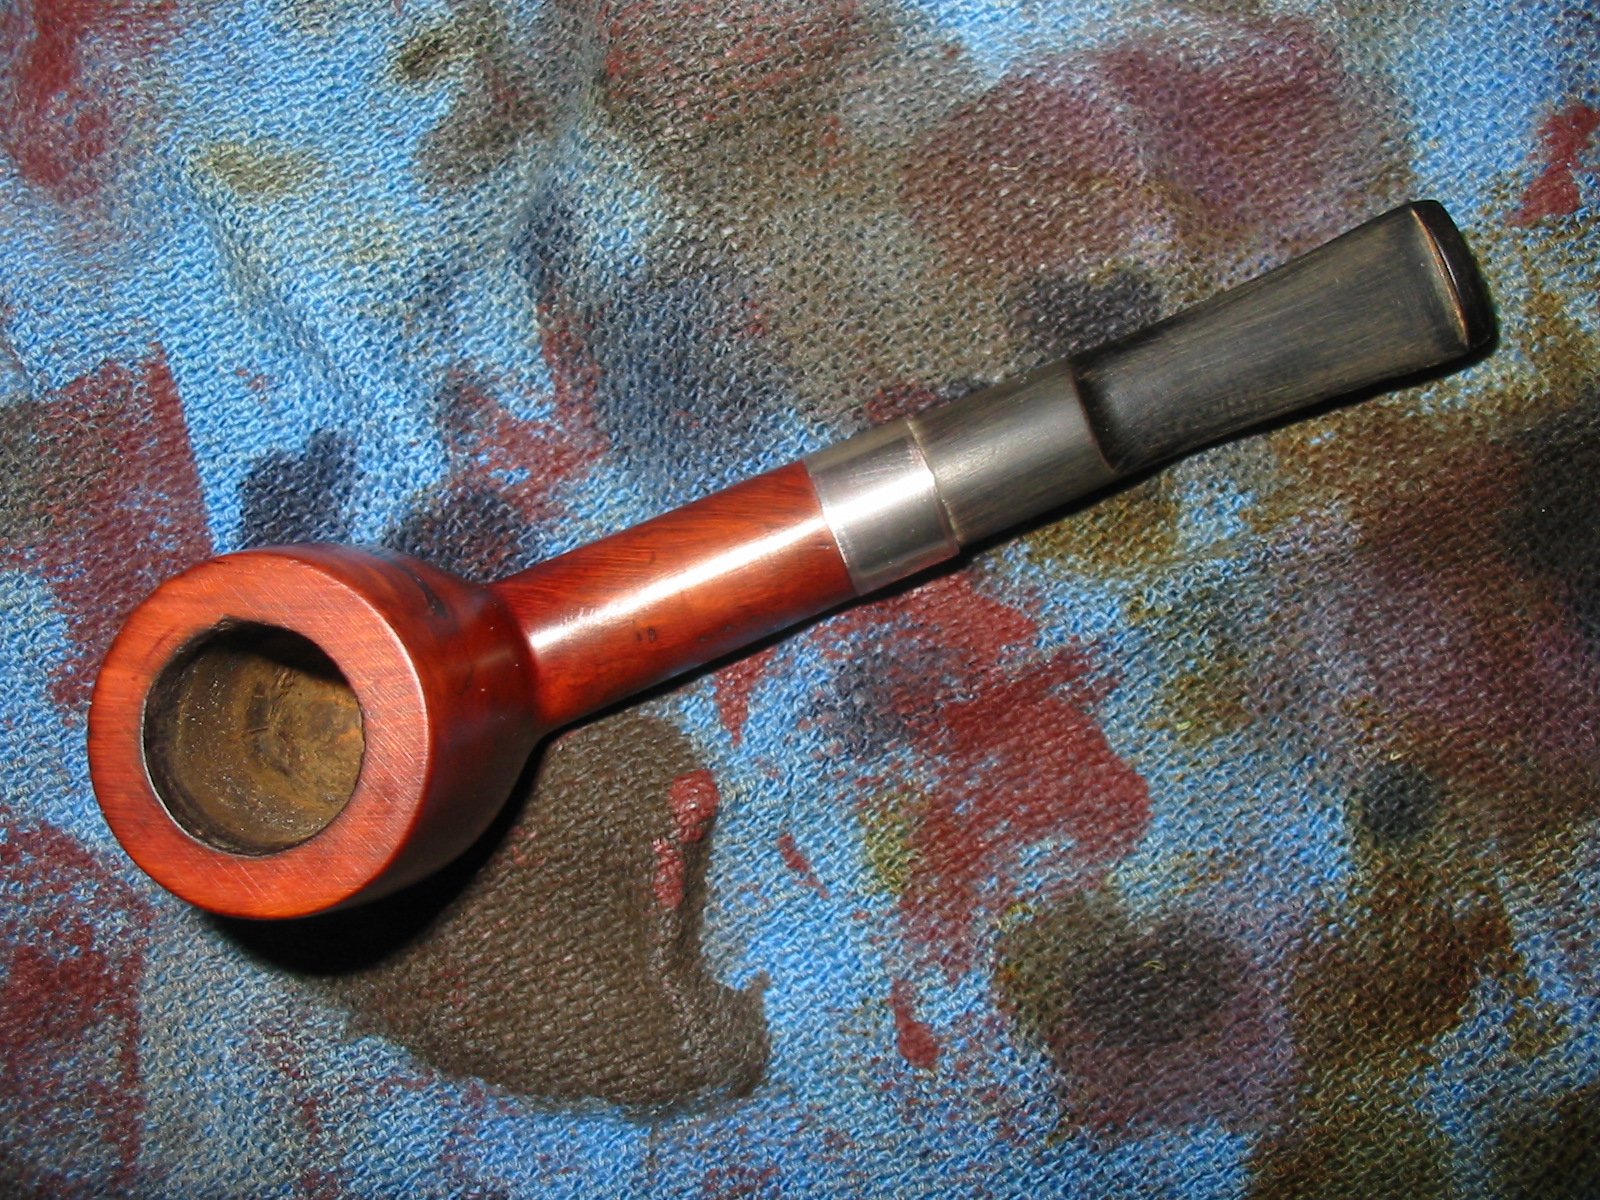
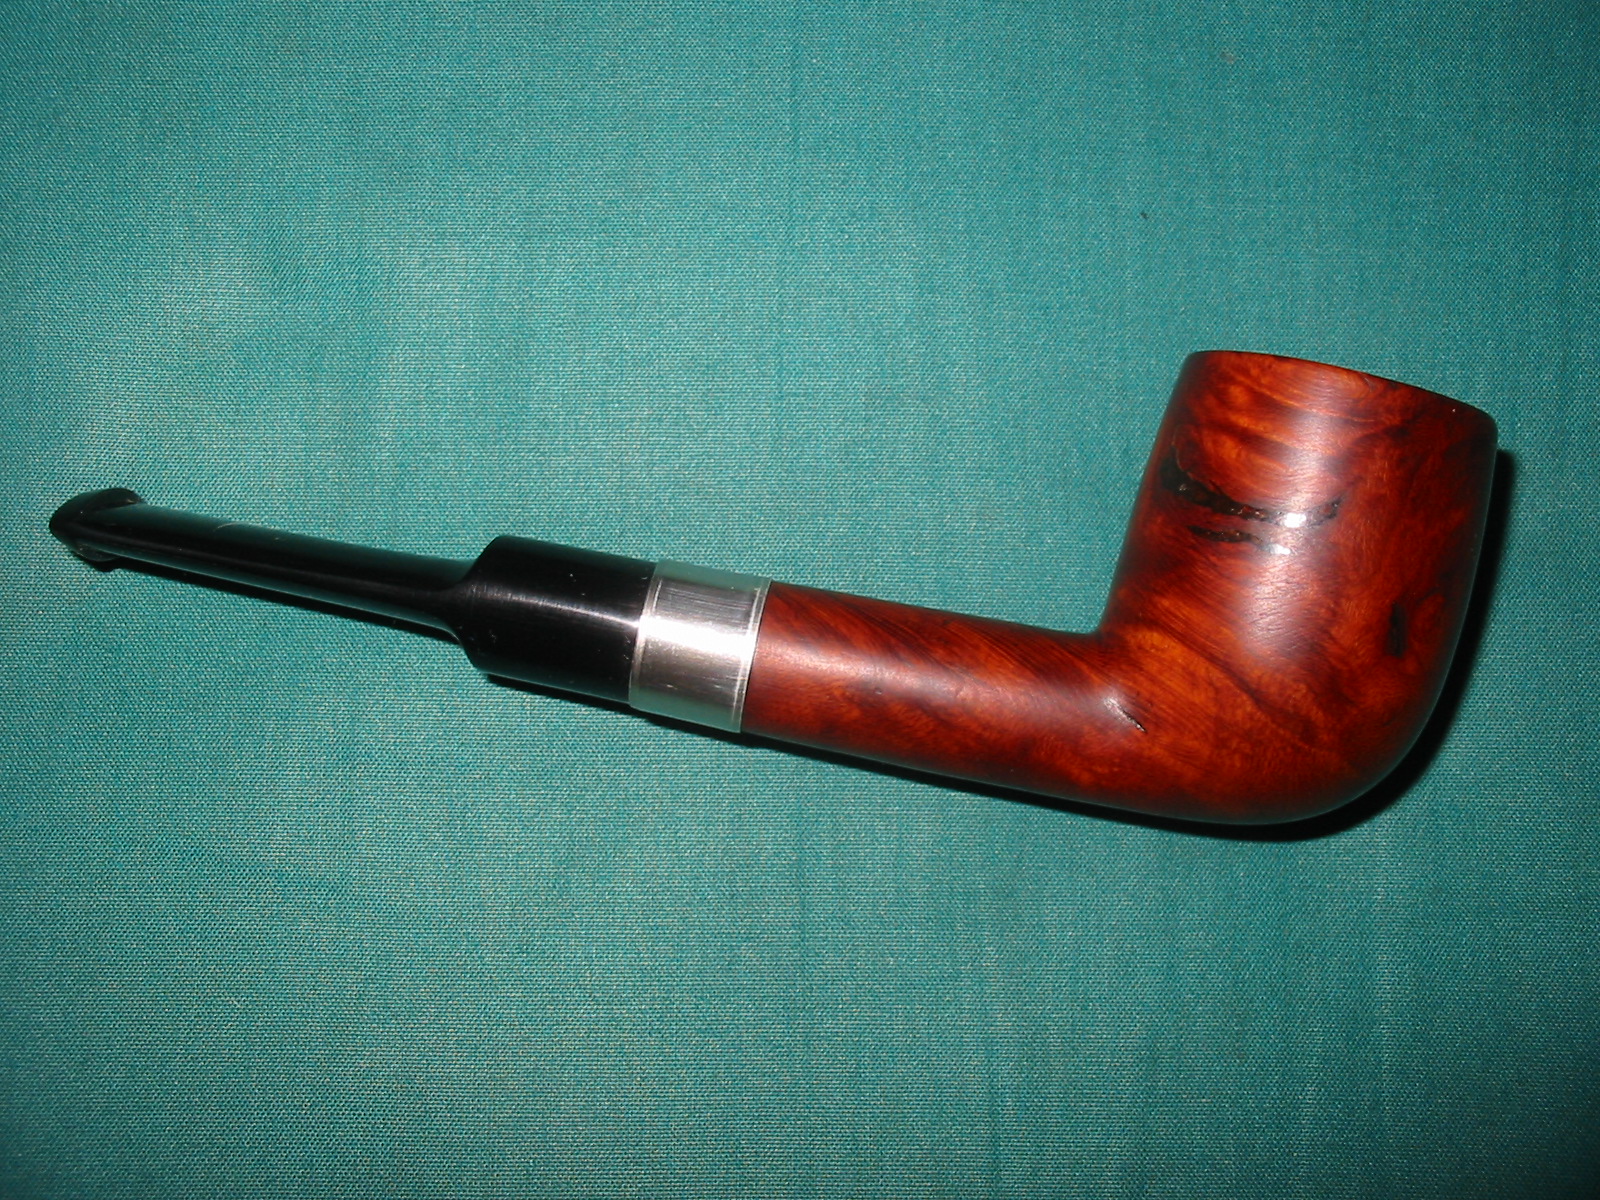
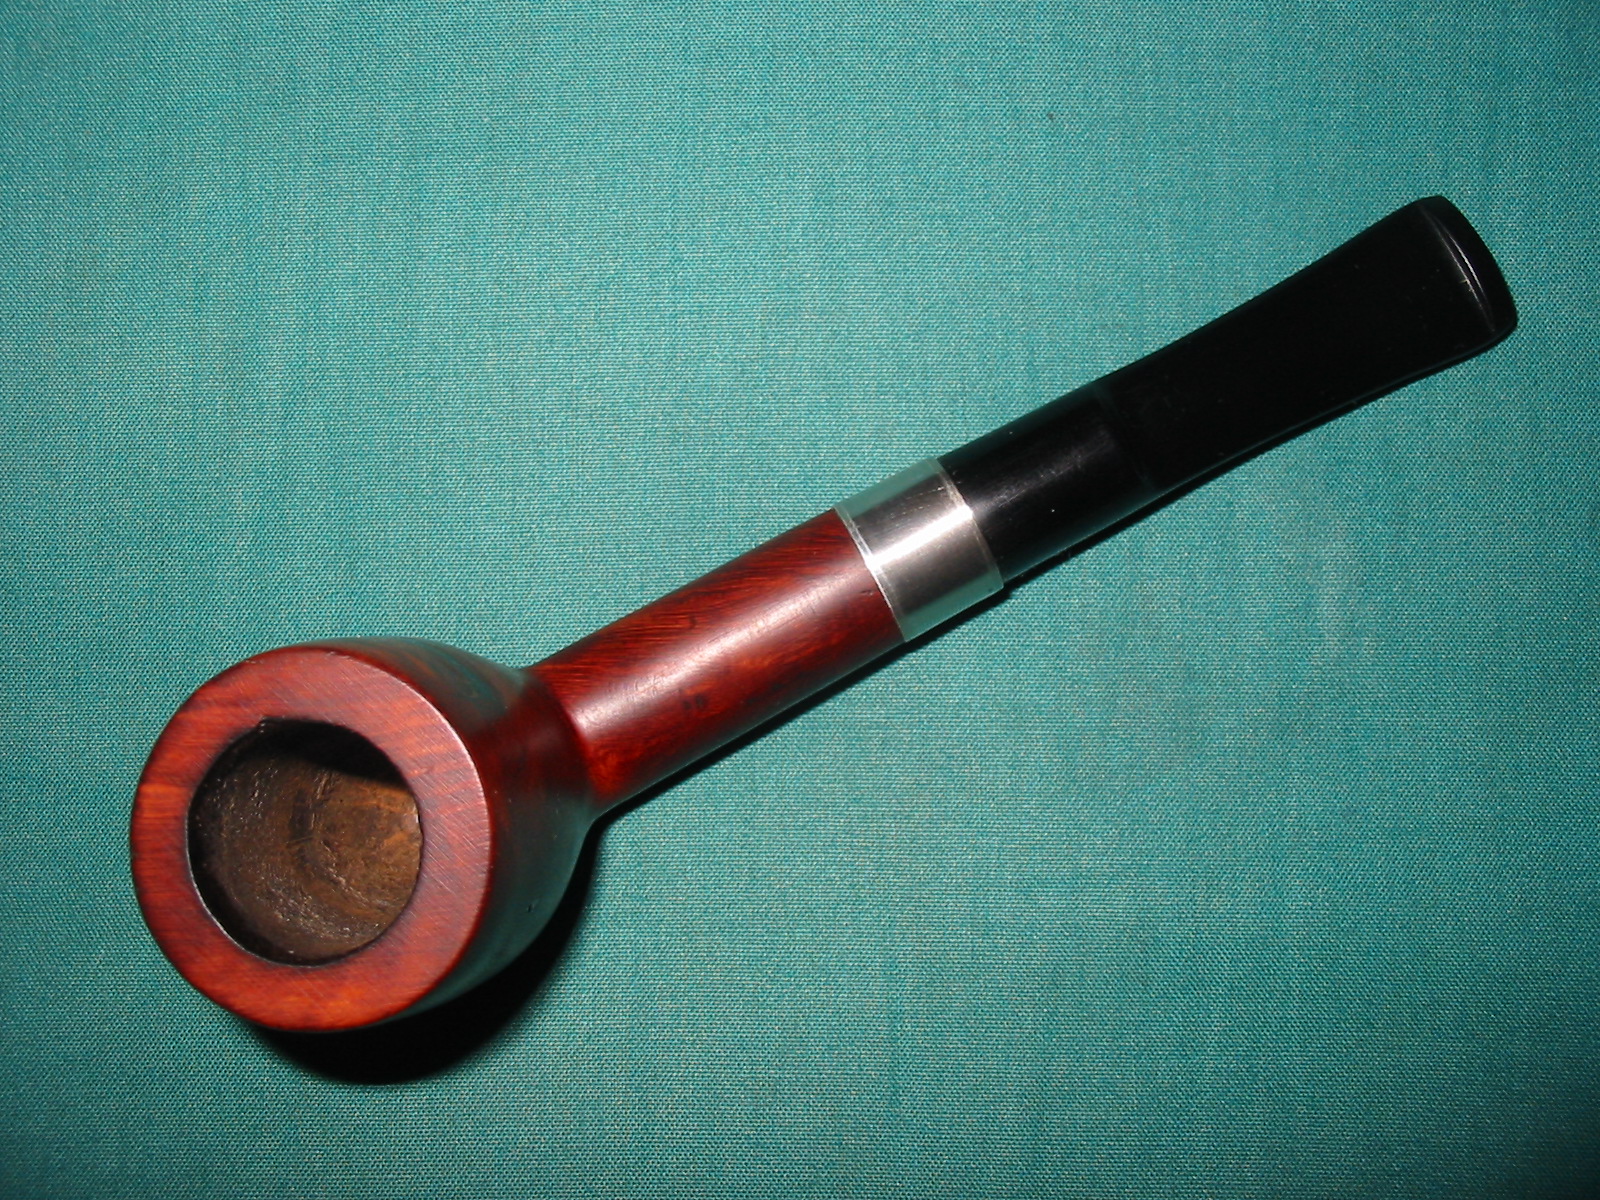
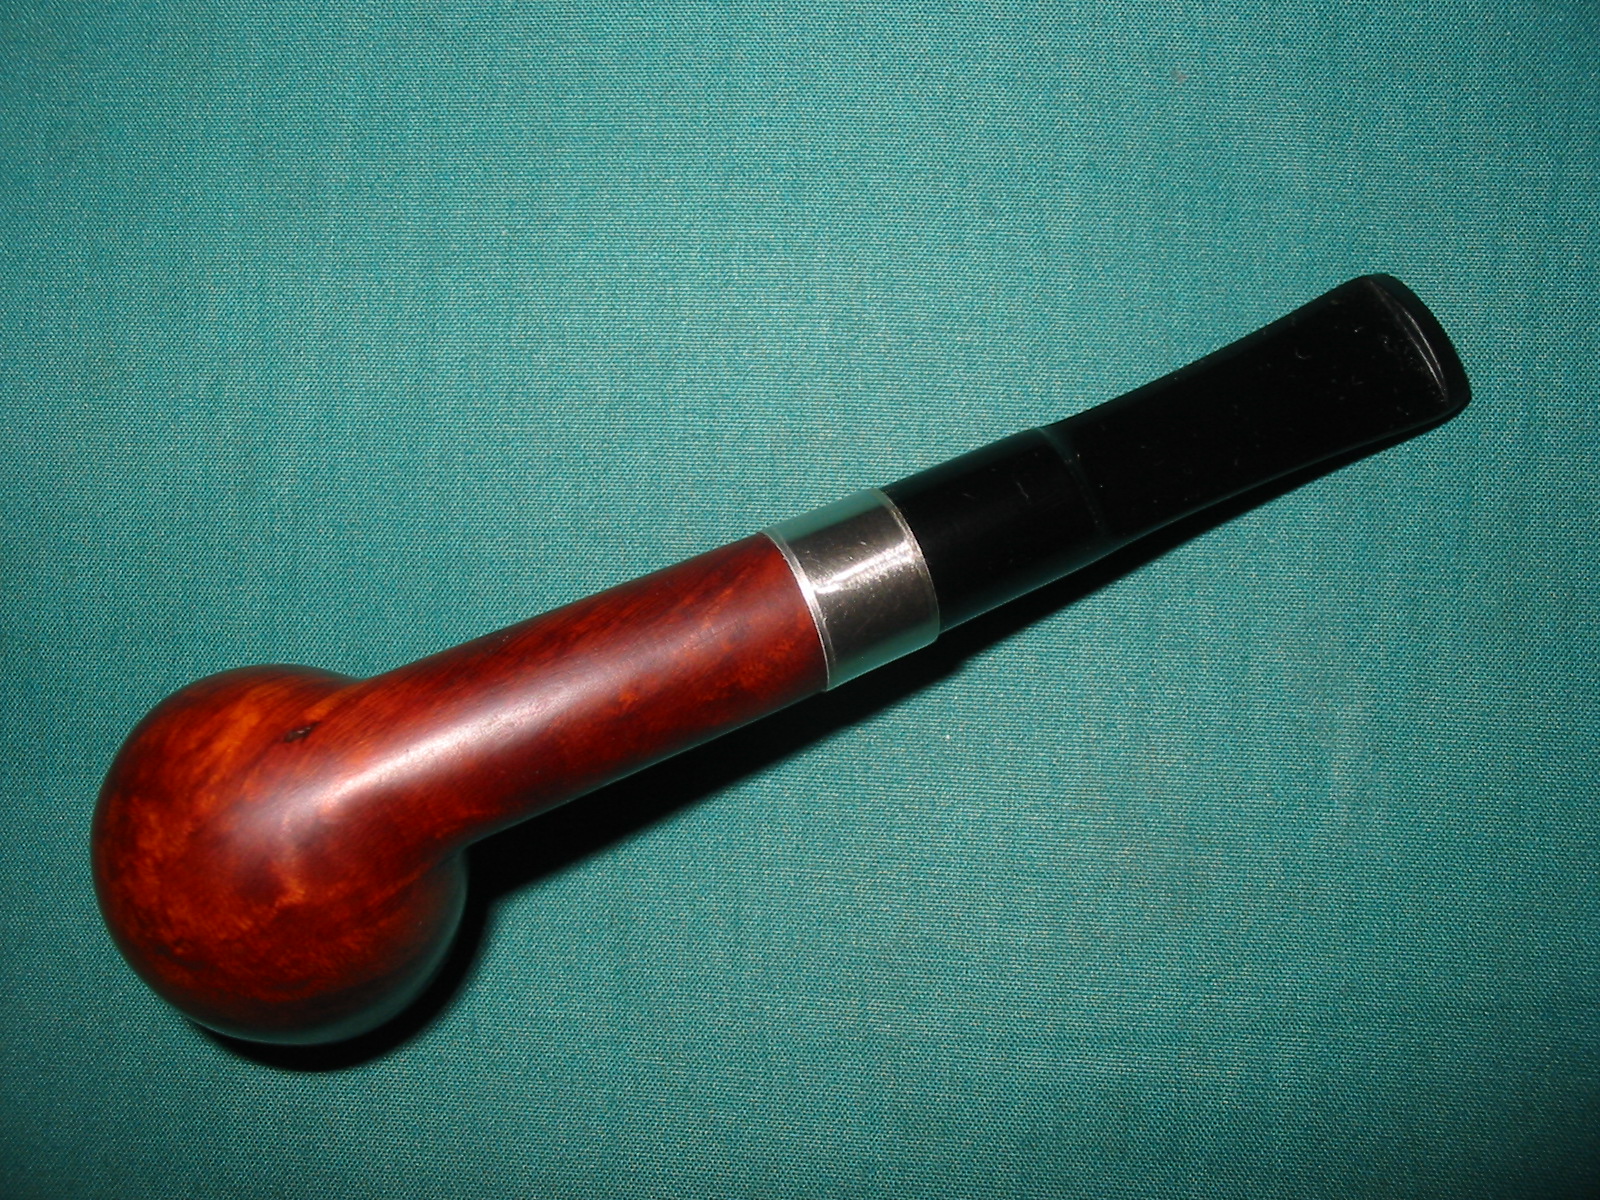
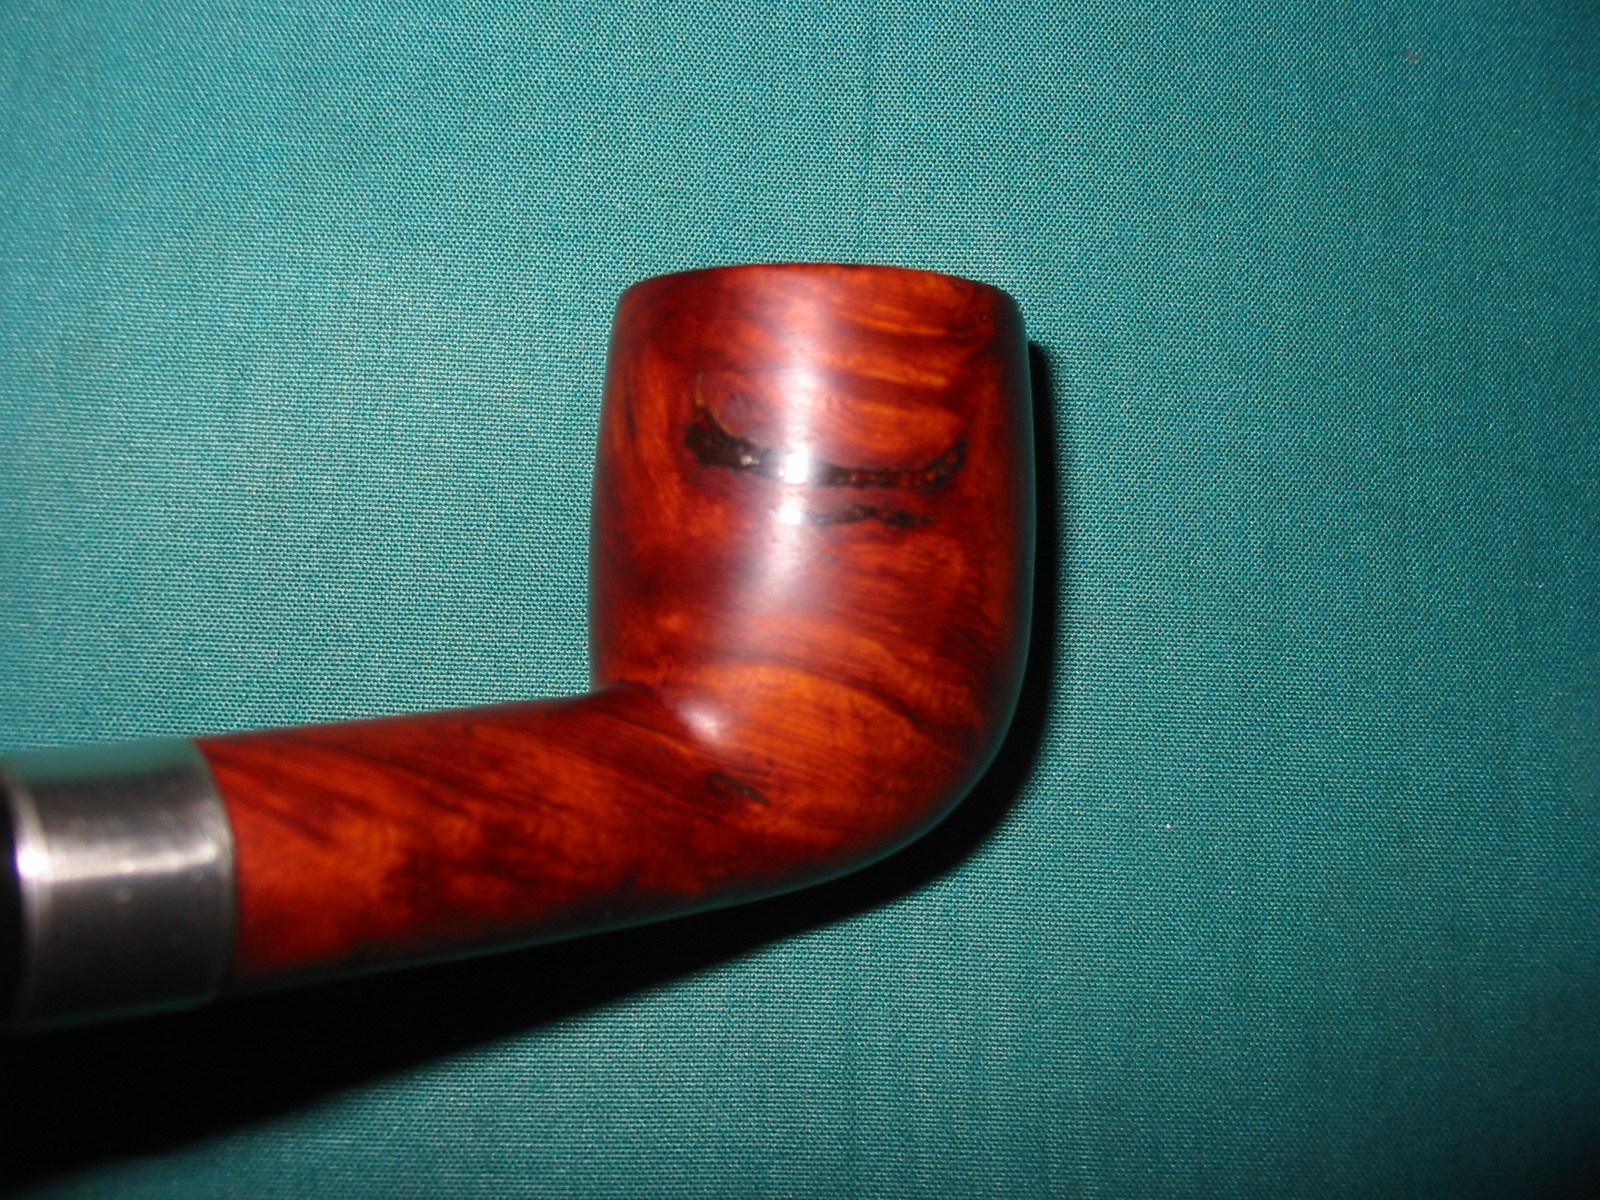
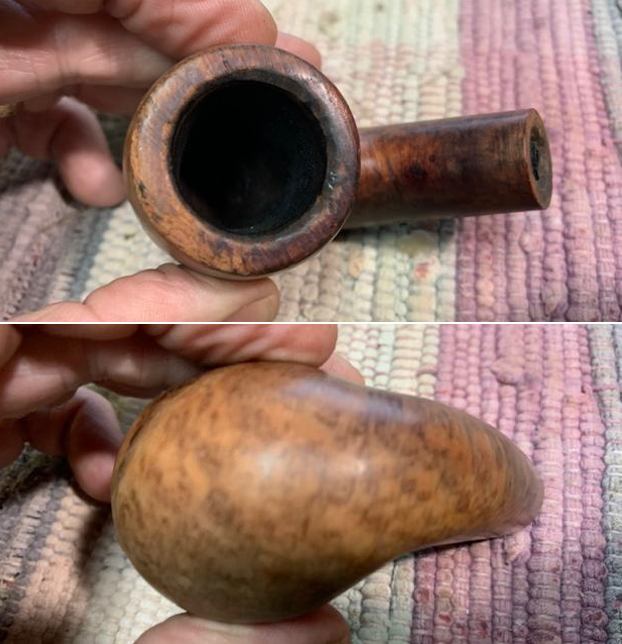
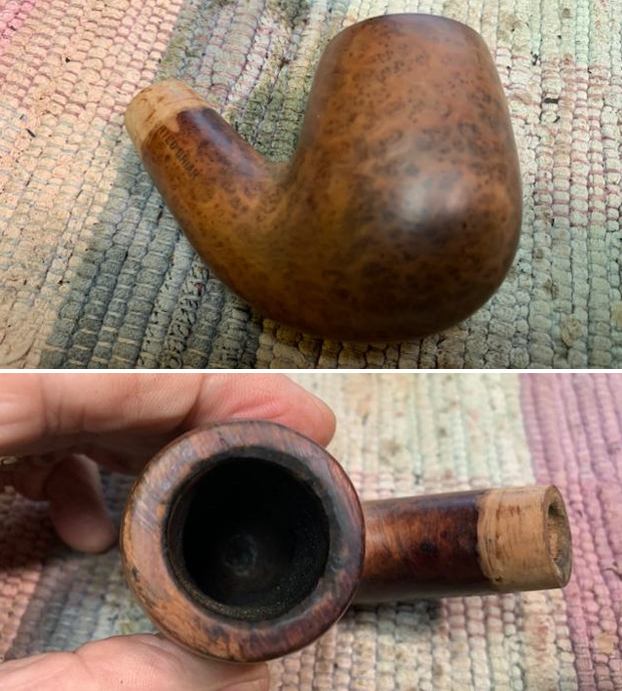
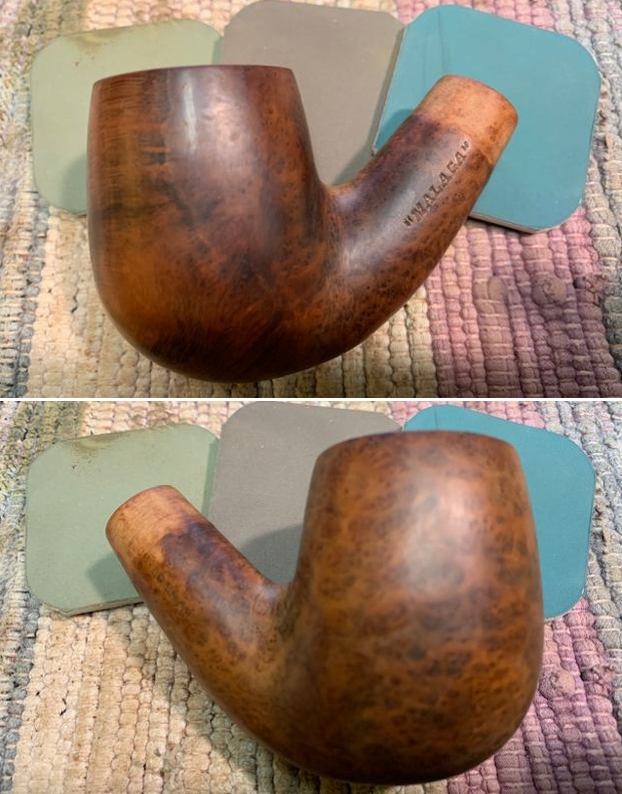
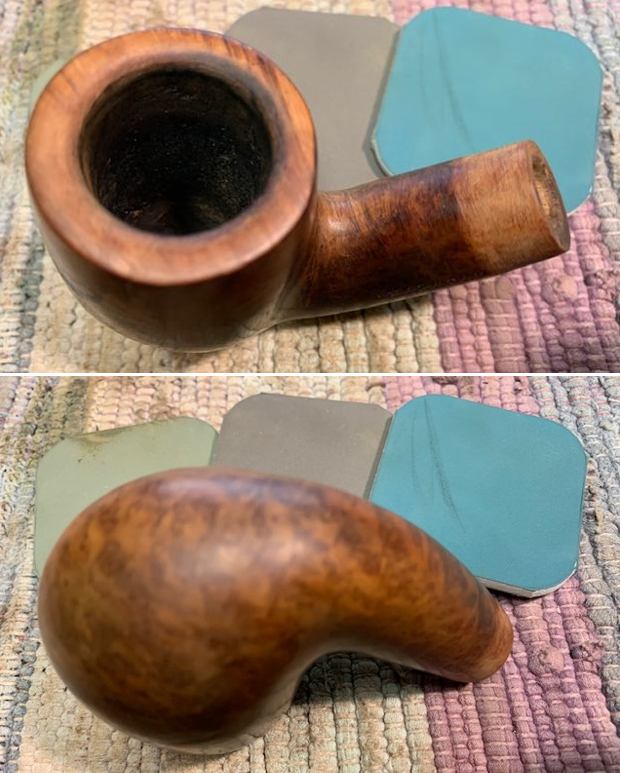
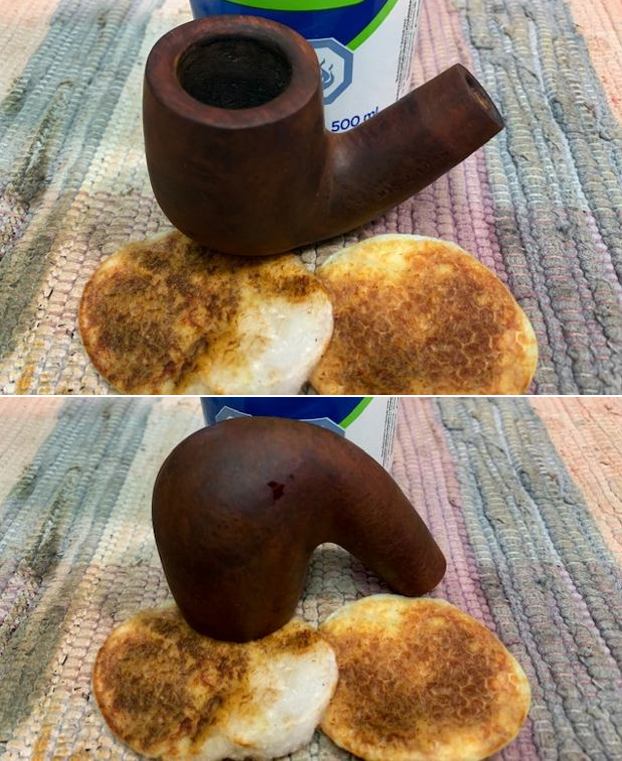
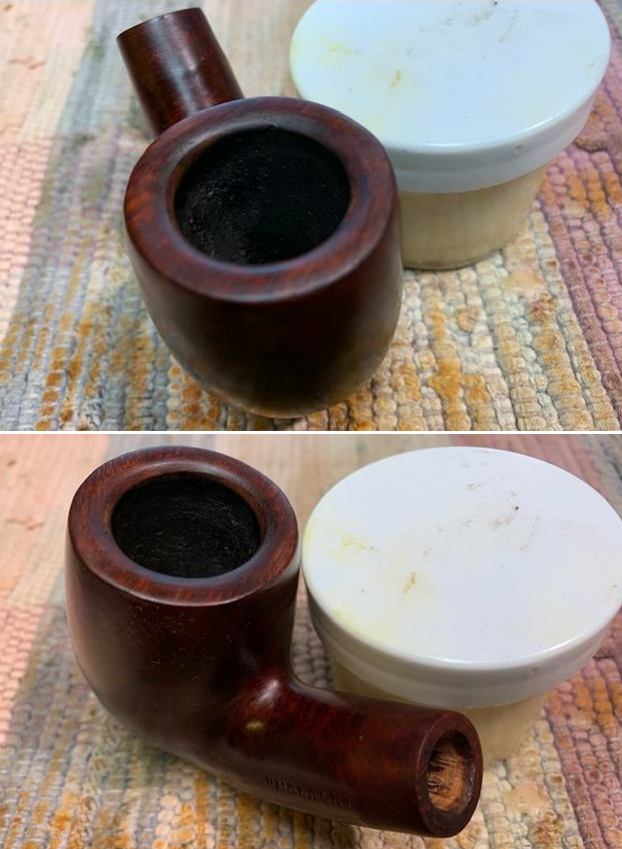
This afternoon I had an urge to make a Frankenpipe so after work I went through my parts. I found some parts that with some imagination could make an interesting looking pipe – at least in my mind’s eye. The parts for this Frankenpipe have all been around for a long time. The bowl is one I have had in a box here that had a snapped tenon in the shank. The stem had disappeared a long time ago and I did not have a stem for it that interested me. It is a large magnum sized “Malaga” bowl. It is far from a perfect piece of briar with a bald spot on the front left of the bowl. The rim top has burn marks and the bowl is out of round – thicker on the front side of the bowl than either side of the back of the bowl. The inner edge had a burned in “bevel” on the back right. The finish was worn and tired with black streaks over the bald spot on the left front of the bowl. It needed some serious TLC to bring life to it. Jeff had done his thorough clean up on the bowl so it was ready to work on. Here is what I saw with the bowl!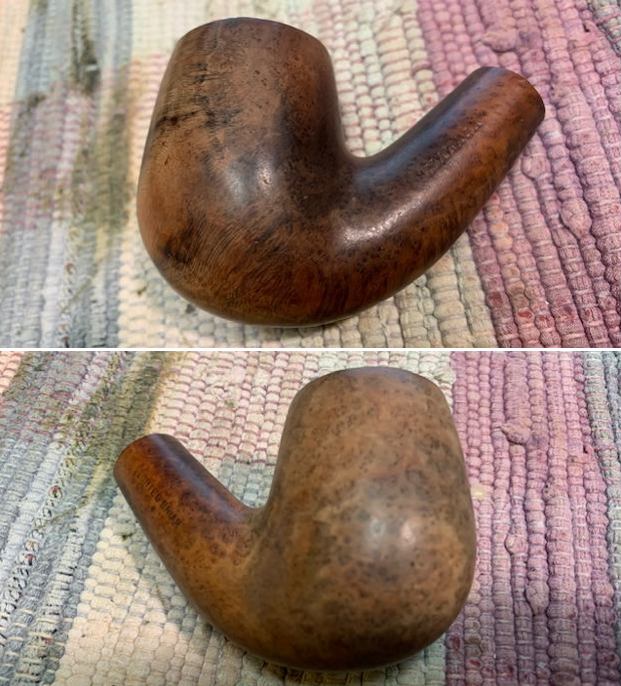
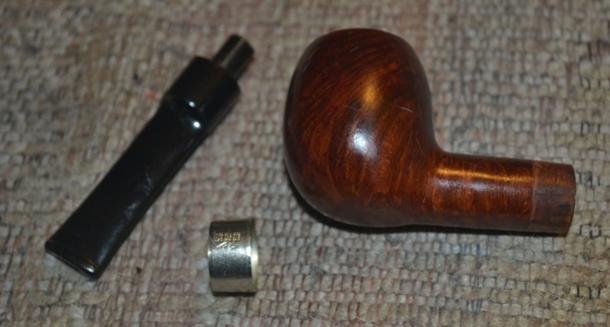
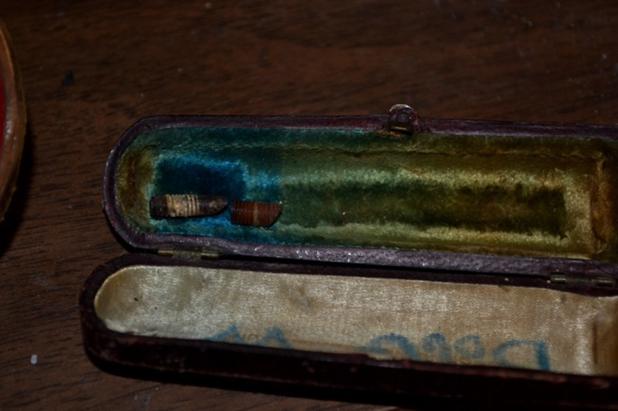
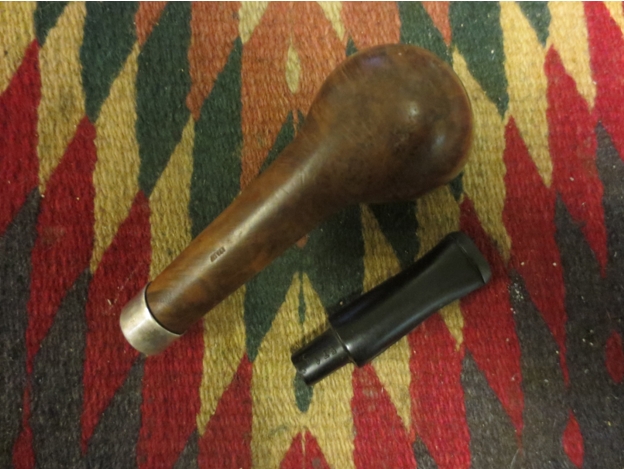
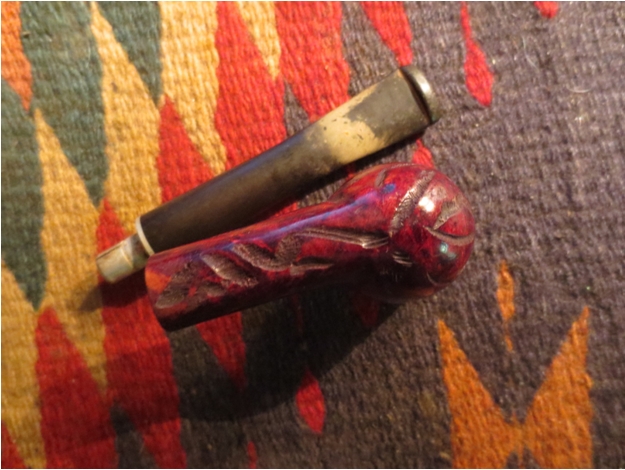
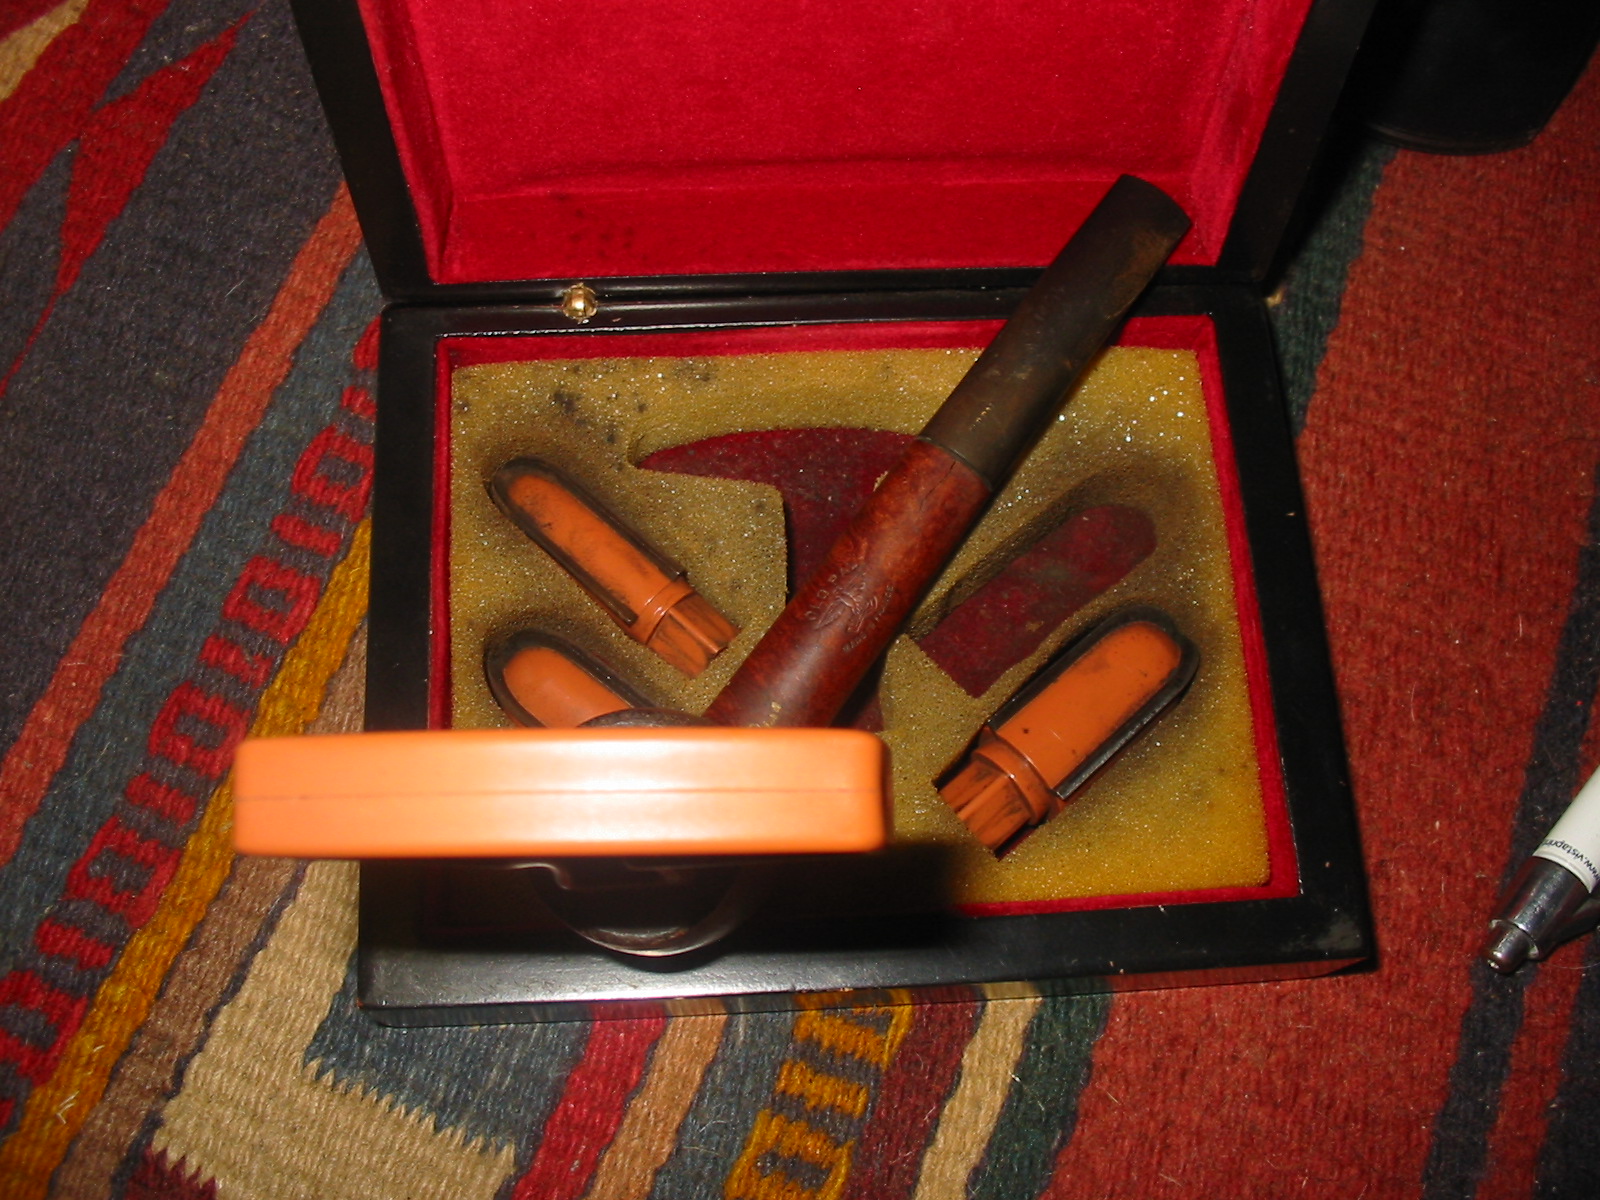
 As I stared at the bowl I thought that a band might look interesting on it. Don’t ask me why because as yet I had not chosen a stem for the bowl. I just thought a band would work. I went through my box of bands and nothing turned my crank or caught my eye. Then I remembered a bag of parts that I have from the mid to late 1800s. In that bag were several unique and original bands. There was one that caught my eye and I really thought it had promise. I took it out of the bag and found that it was in excellent condition and was probably never used. Here are some pictures of the decorative brass band.
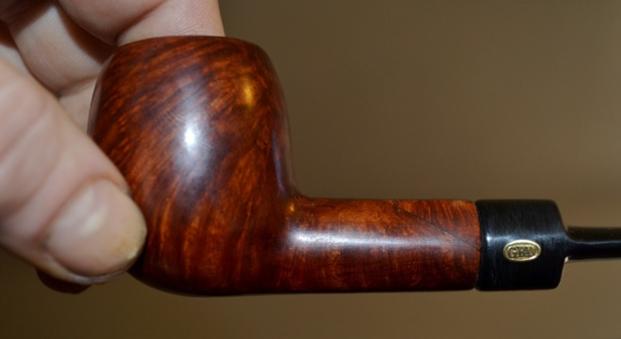
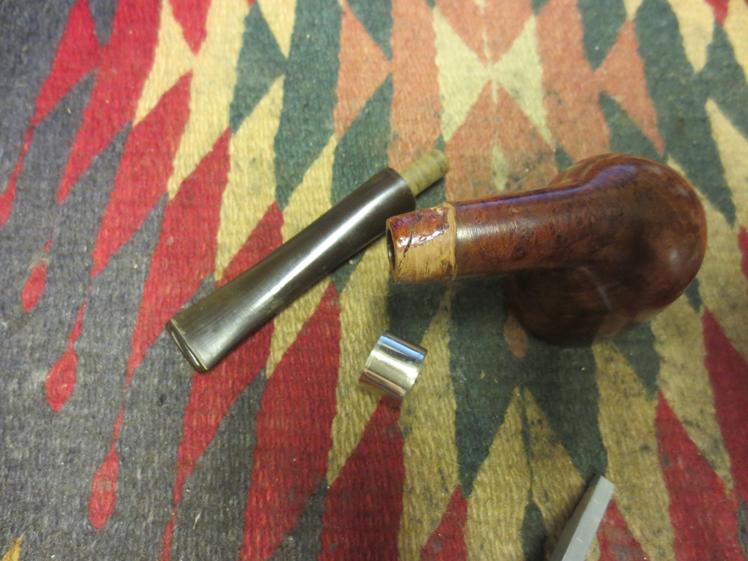
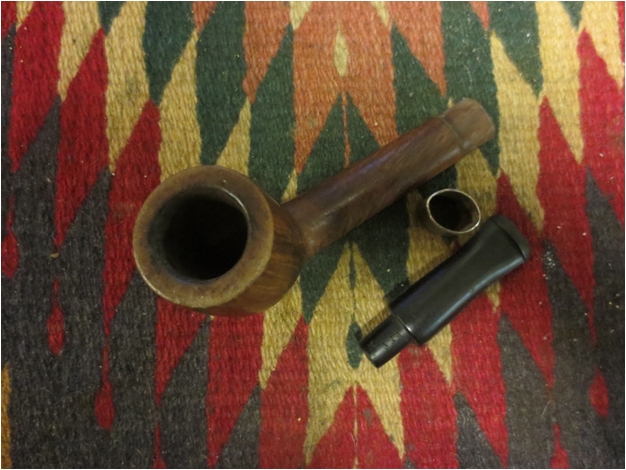
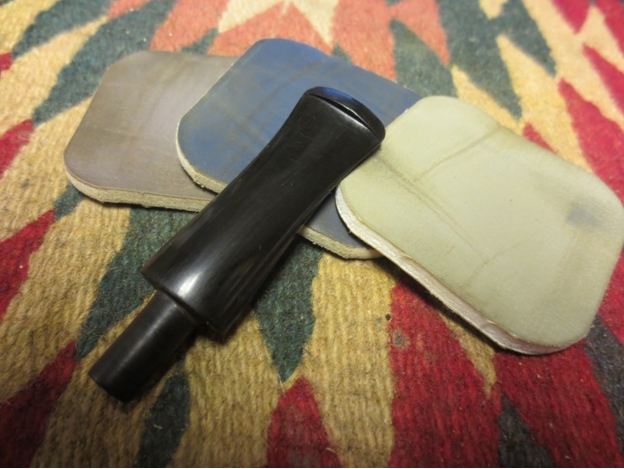
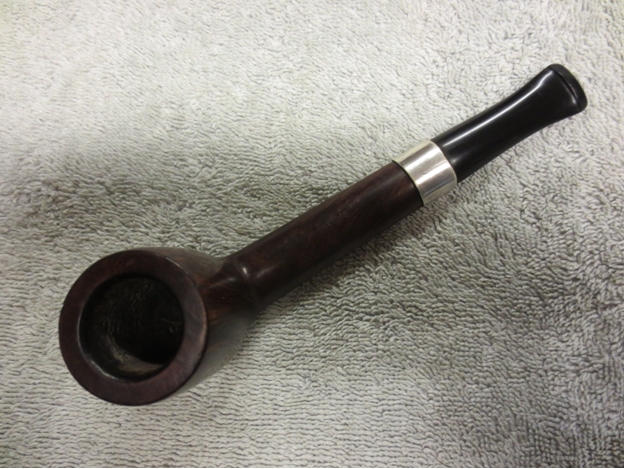
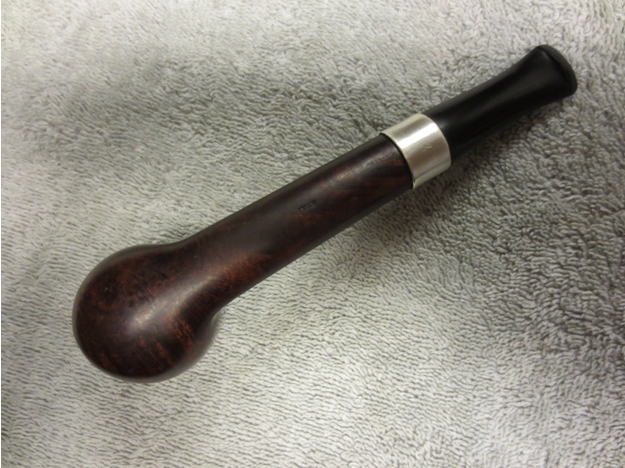
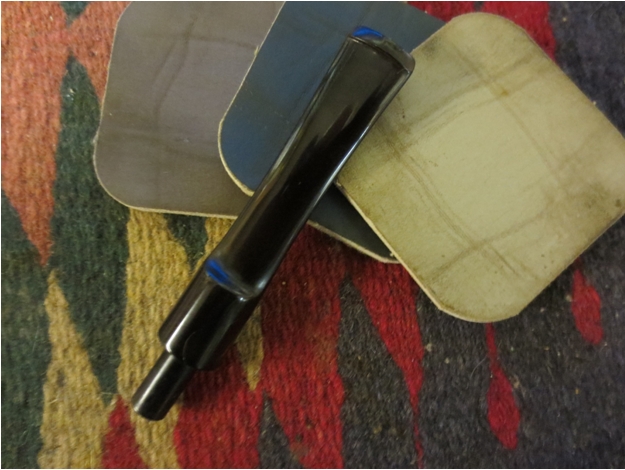
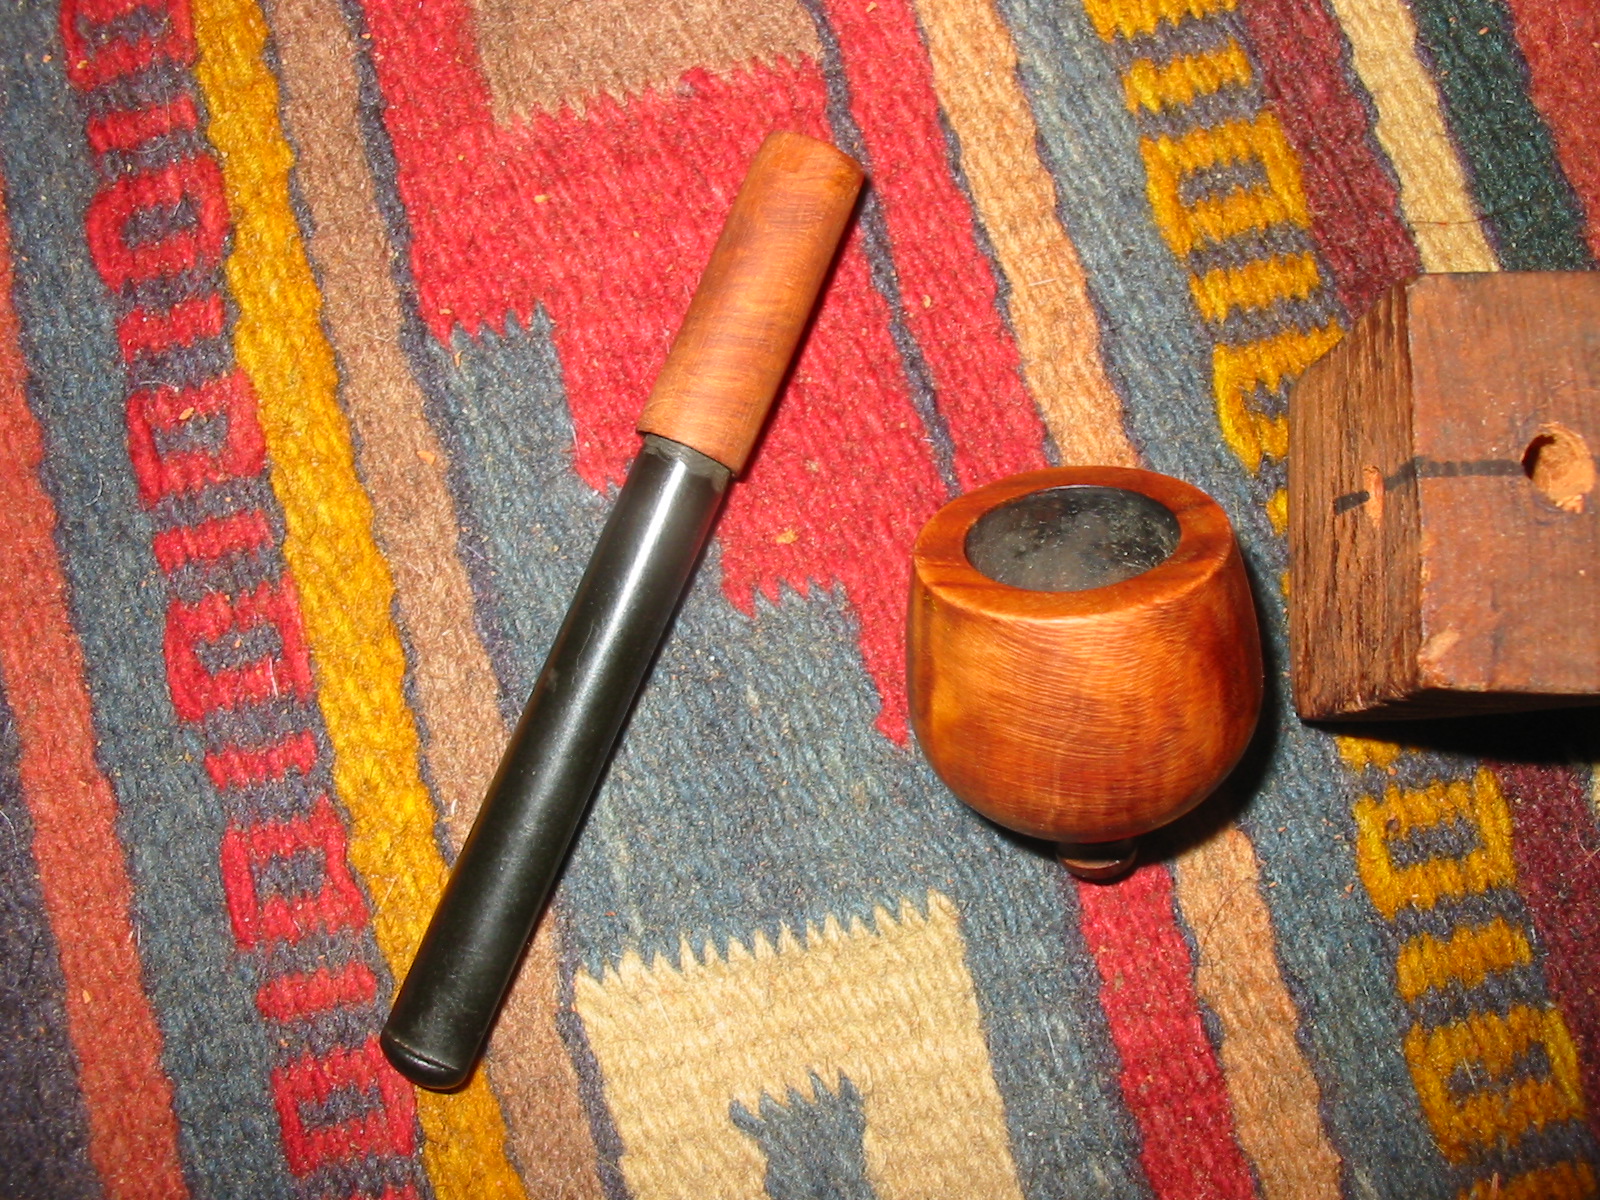
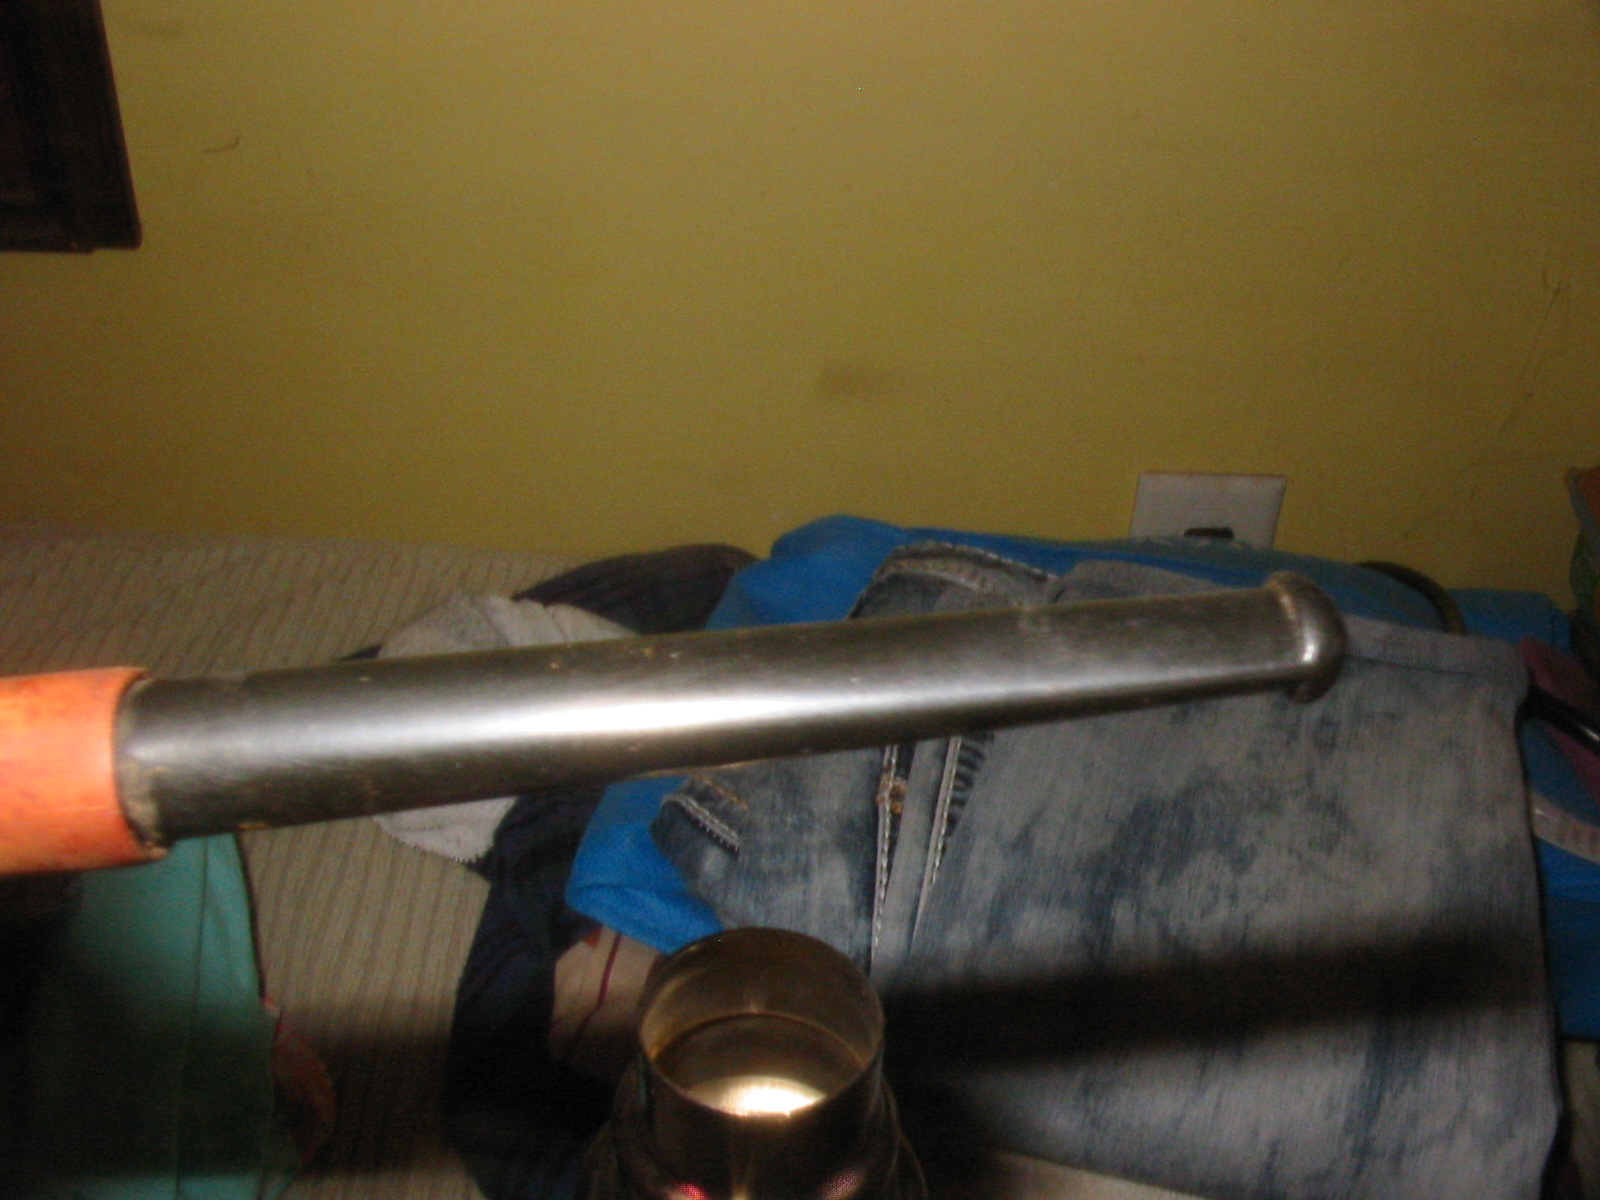
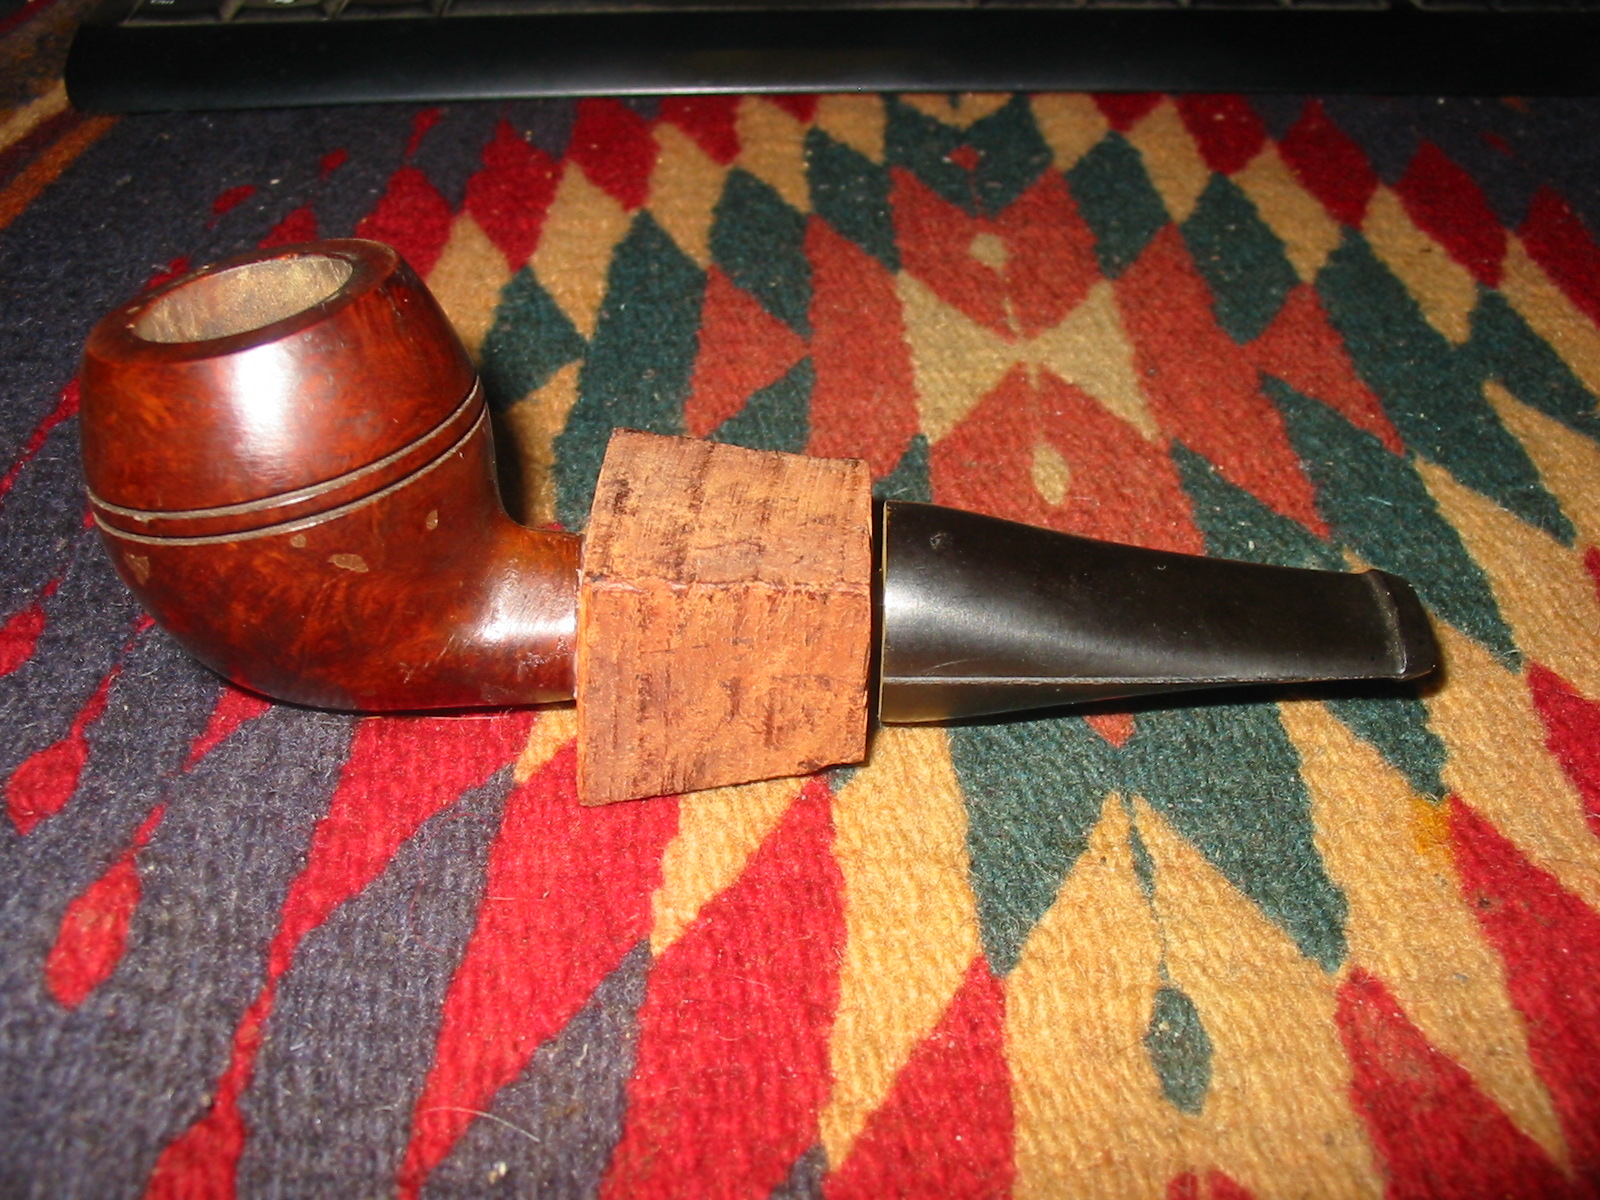
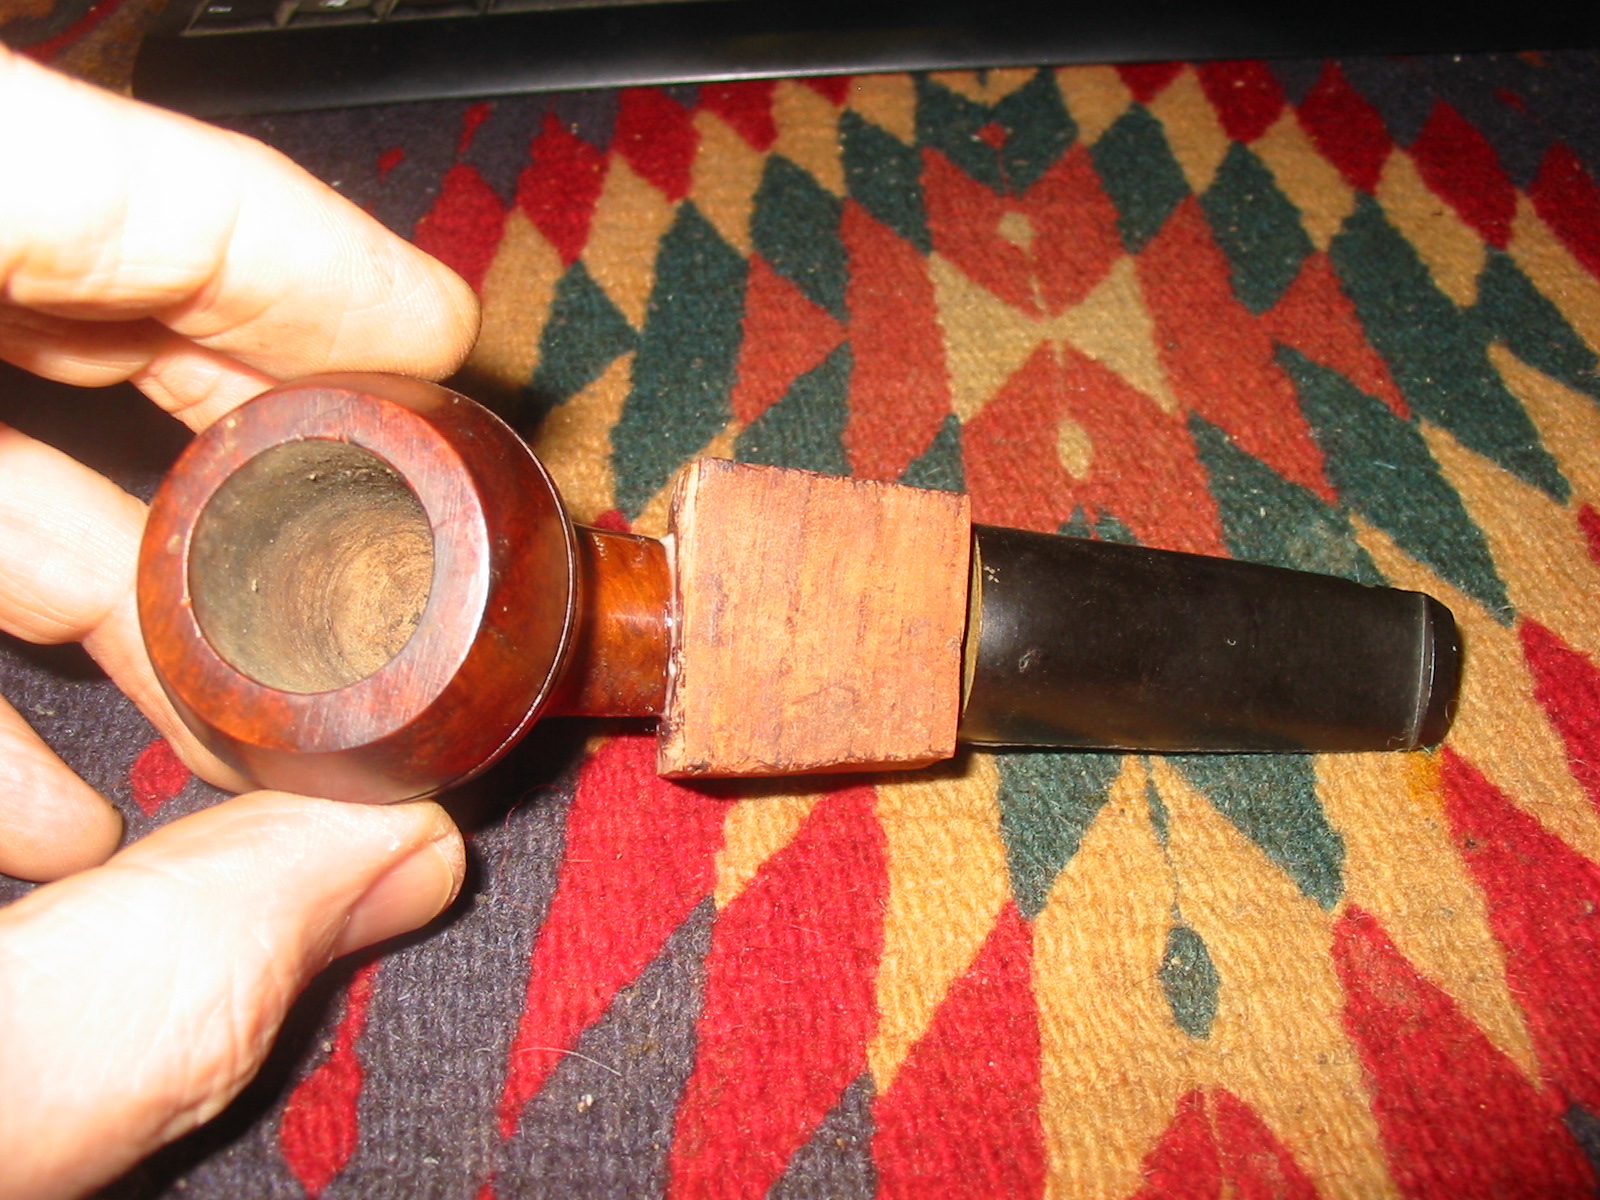
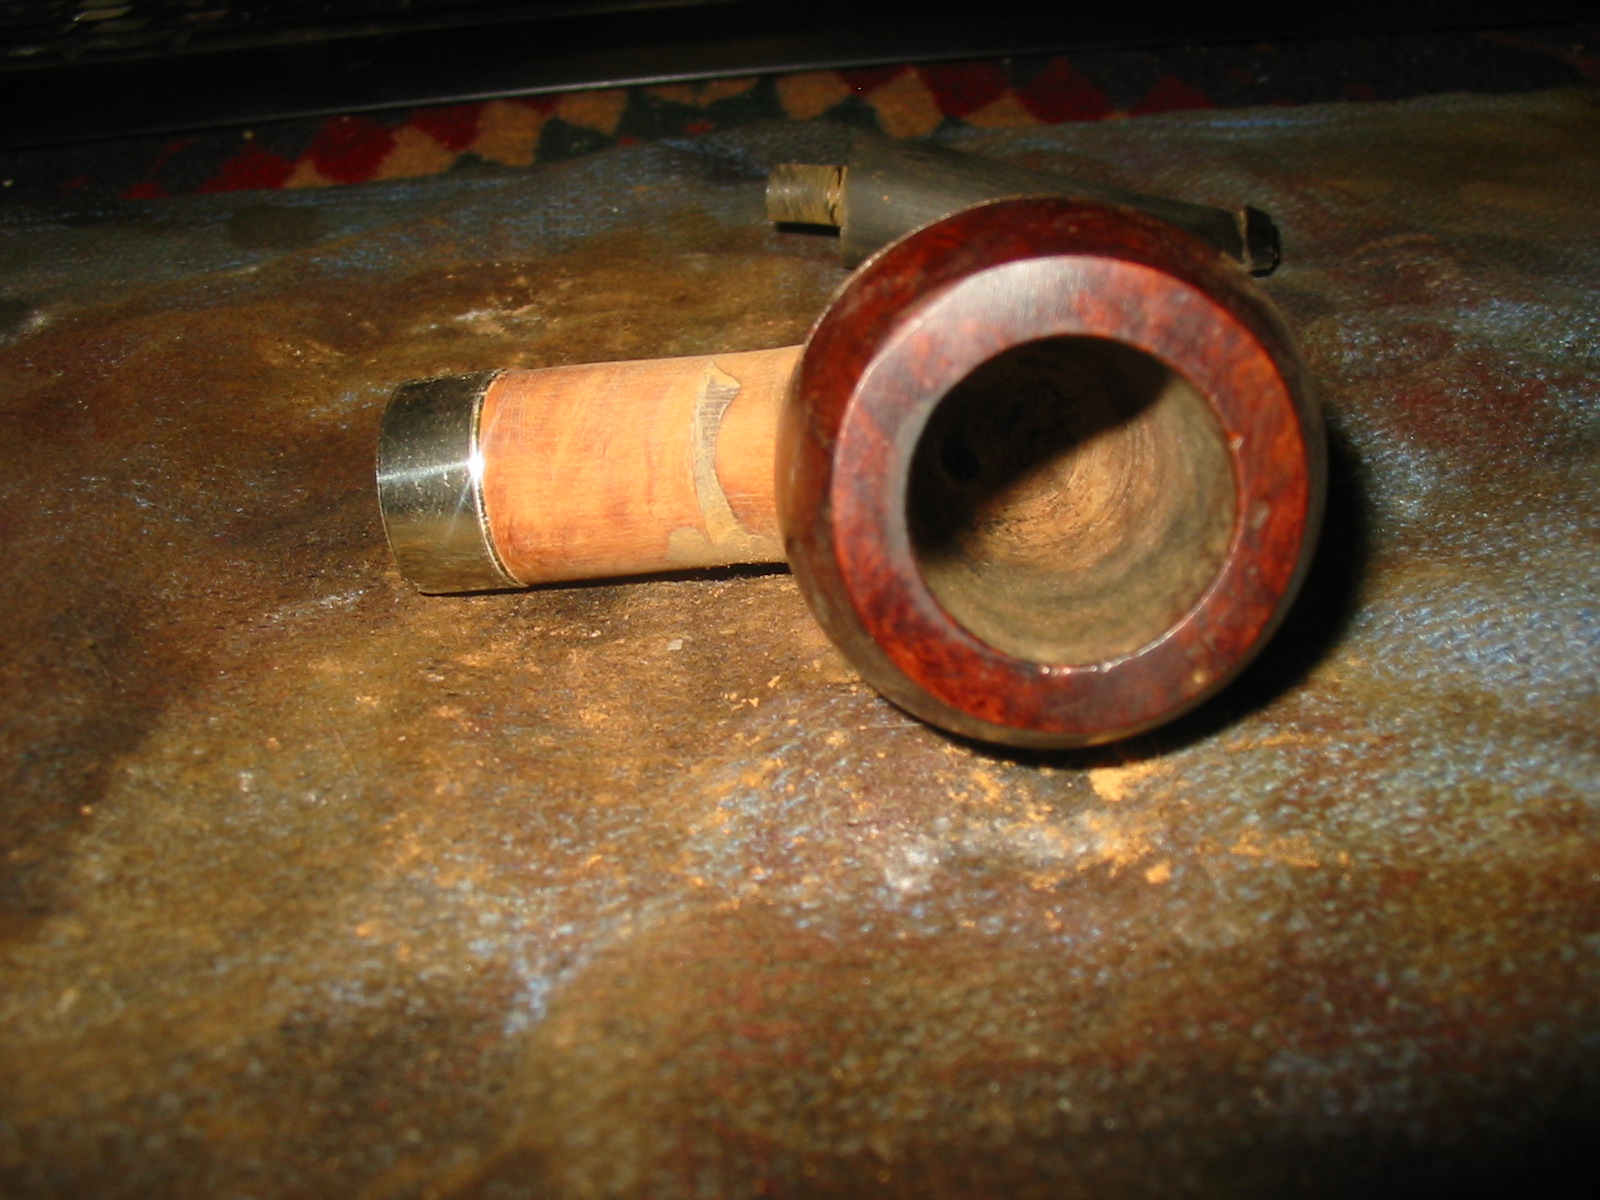
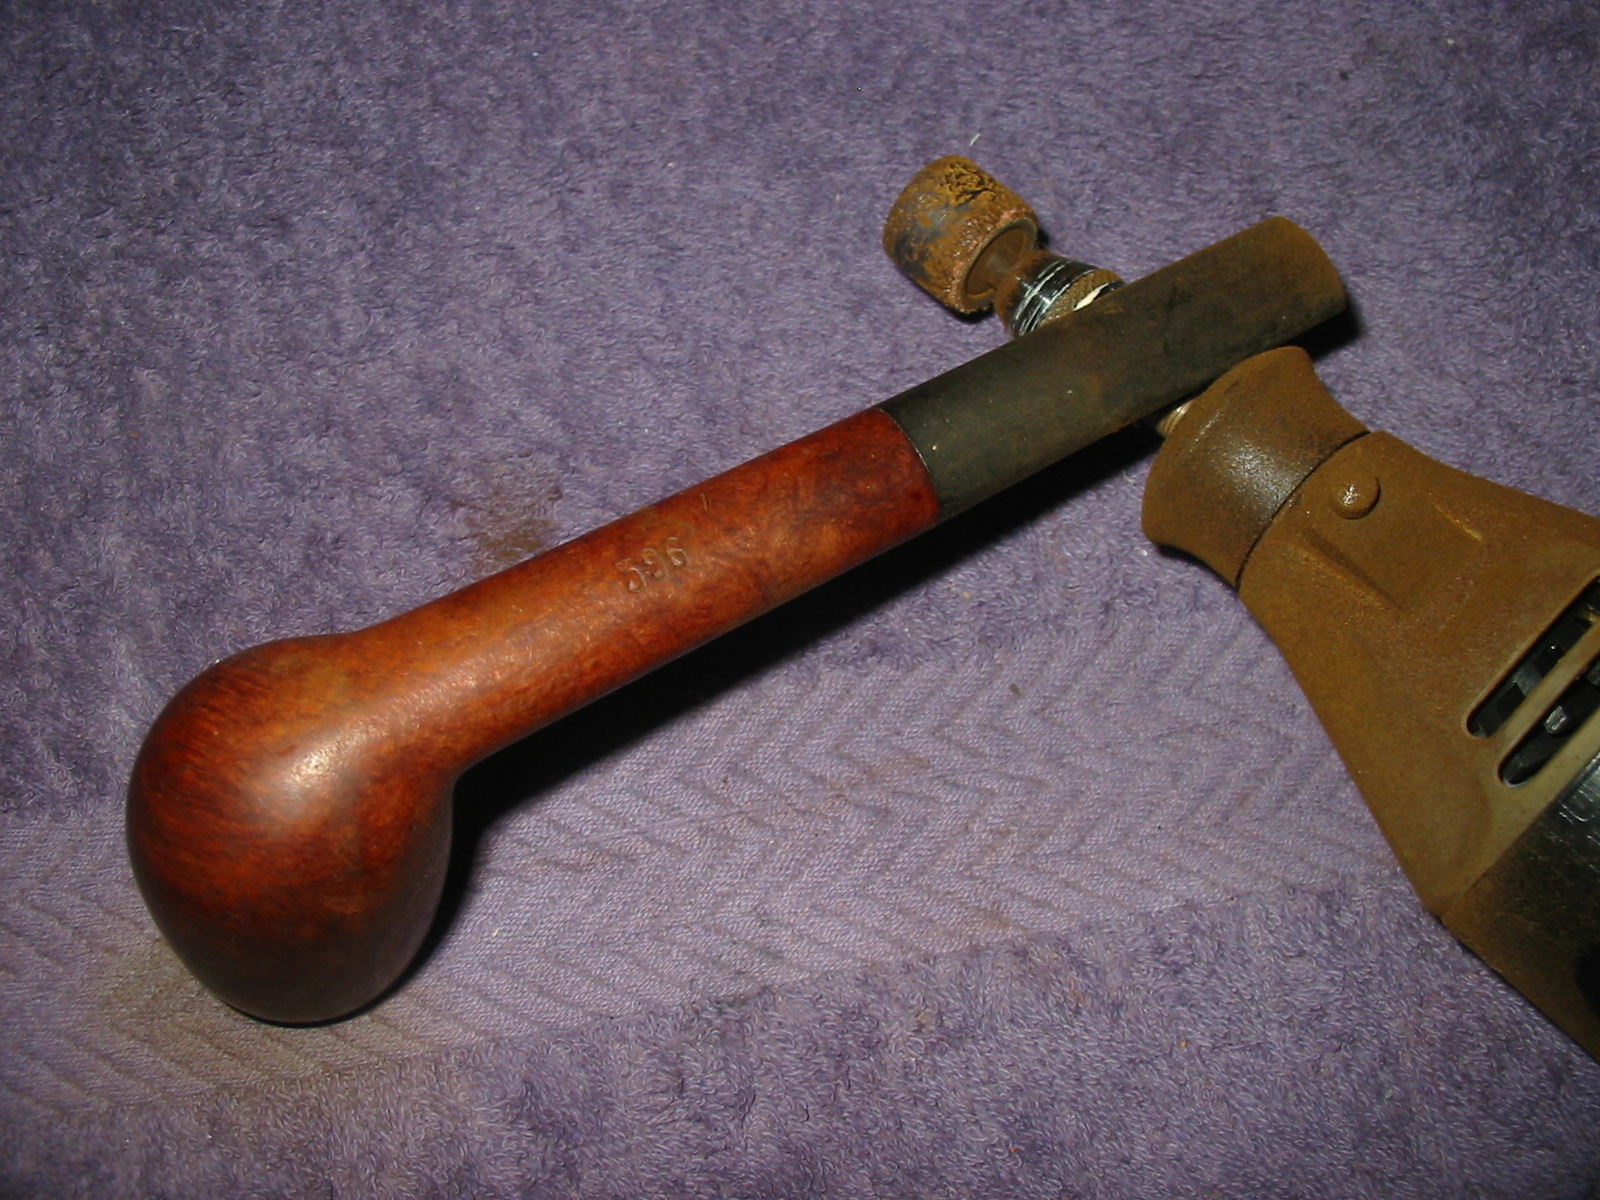
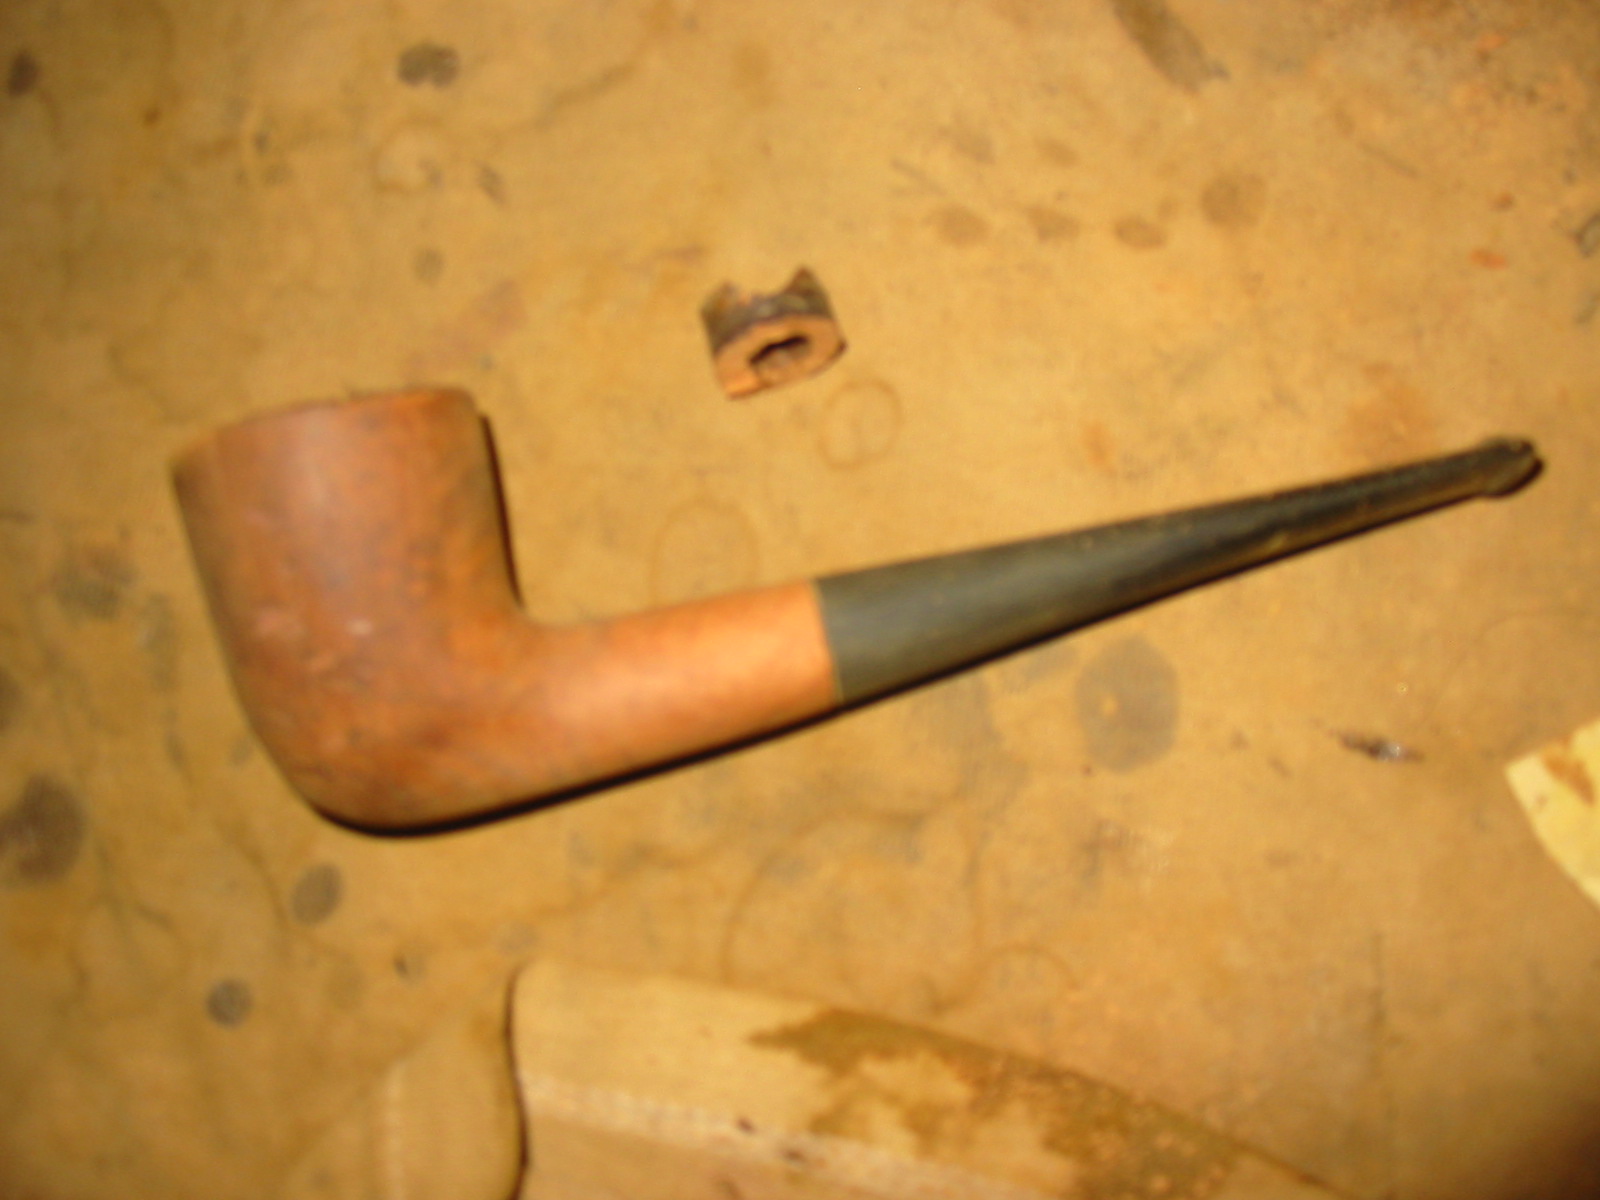
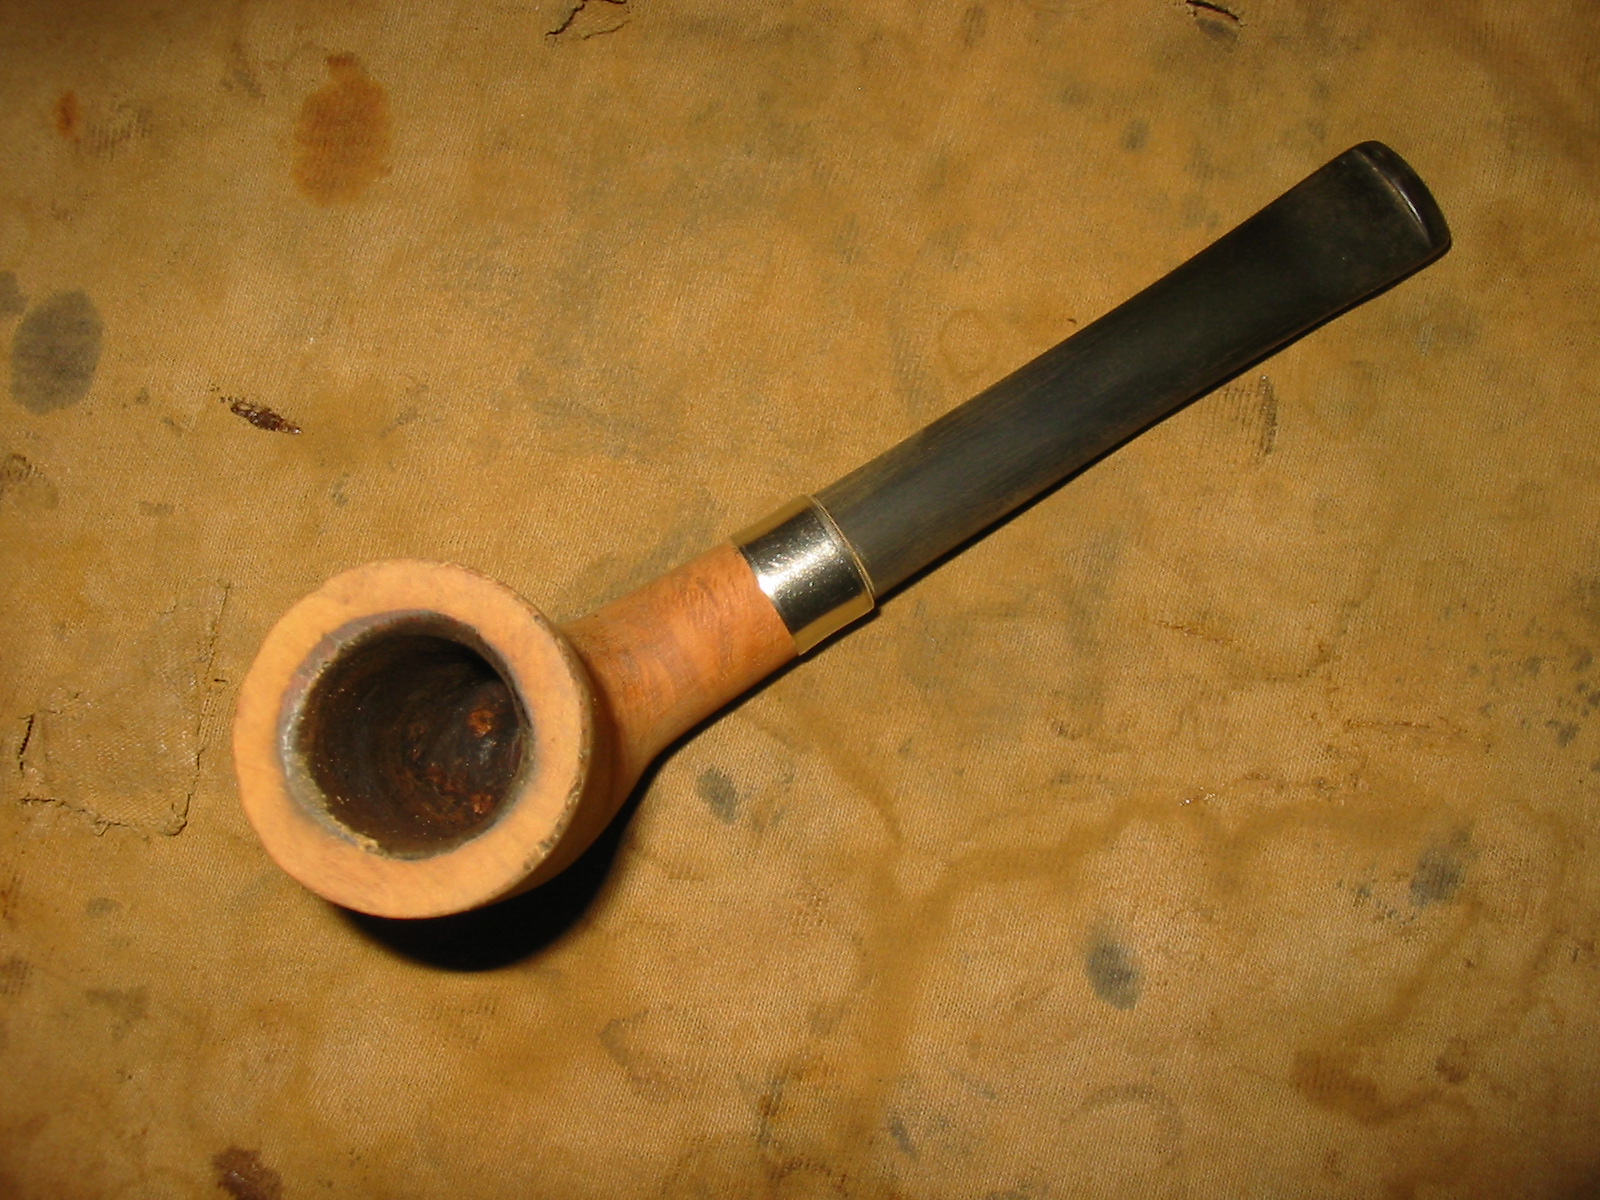
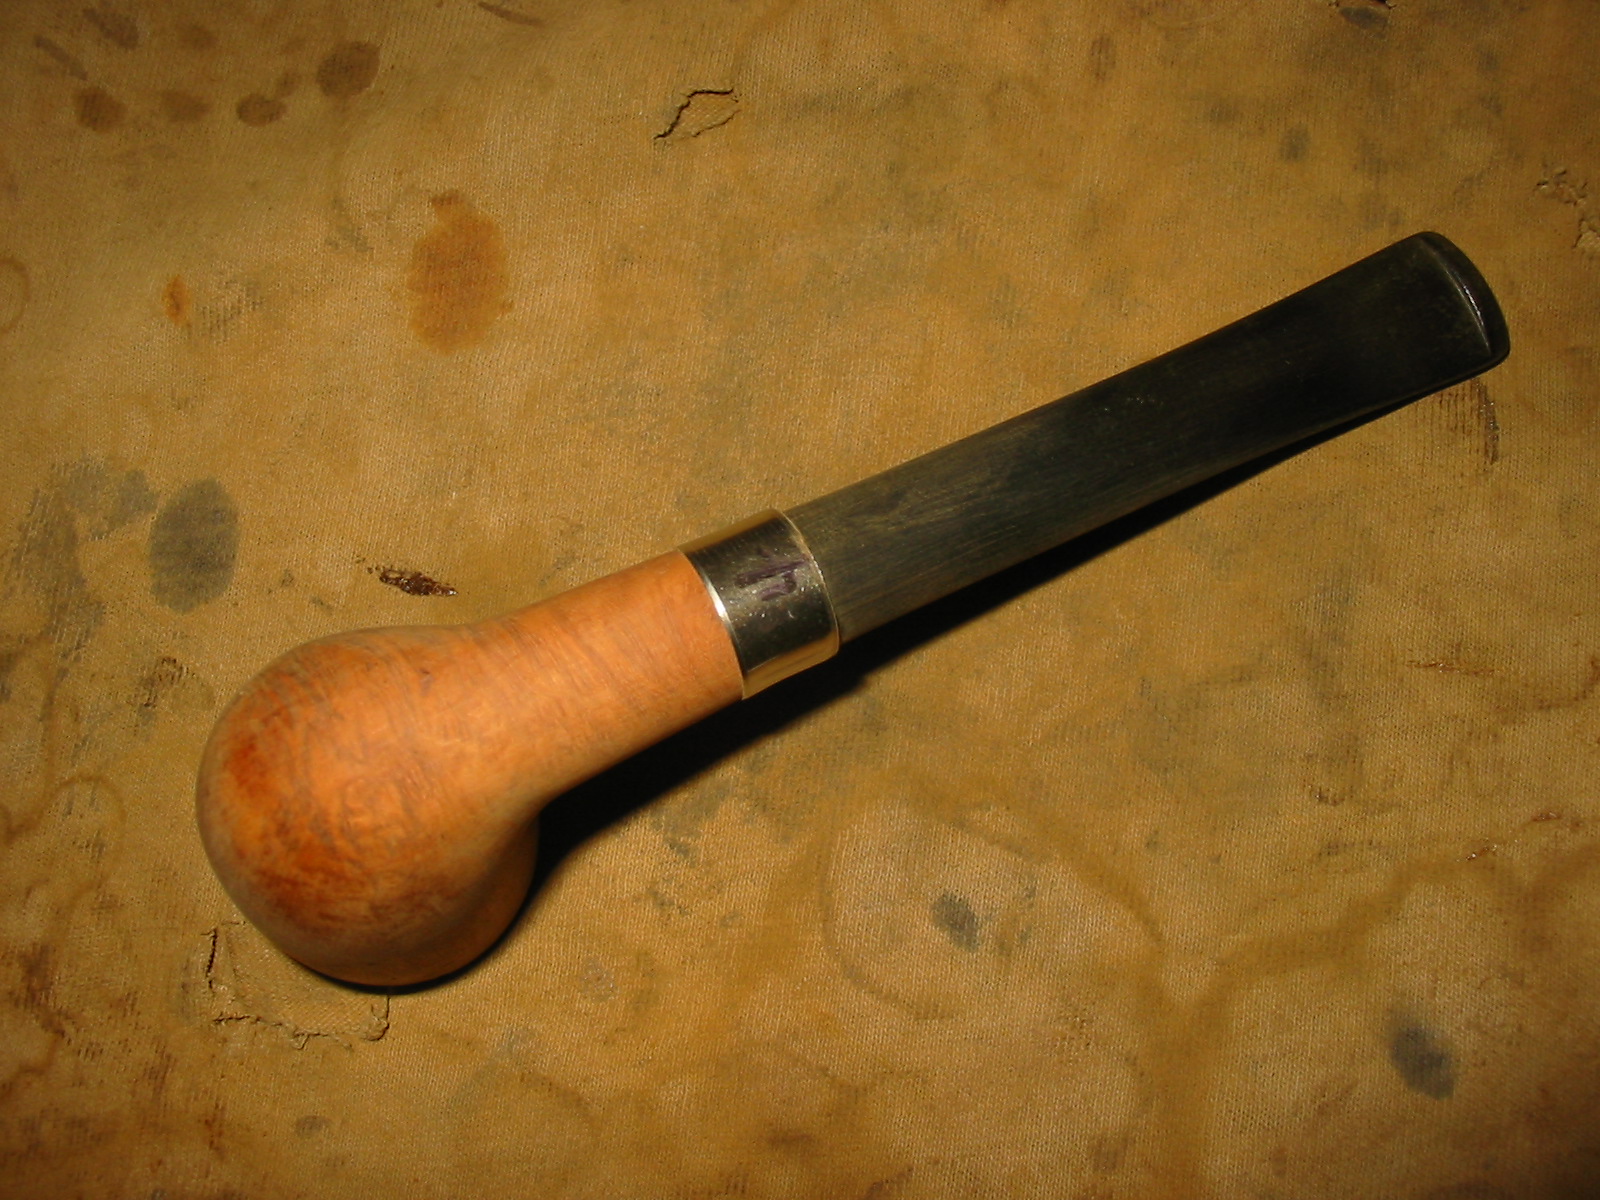
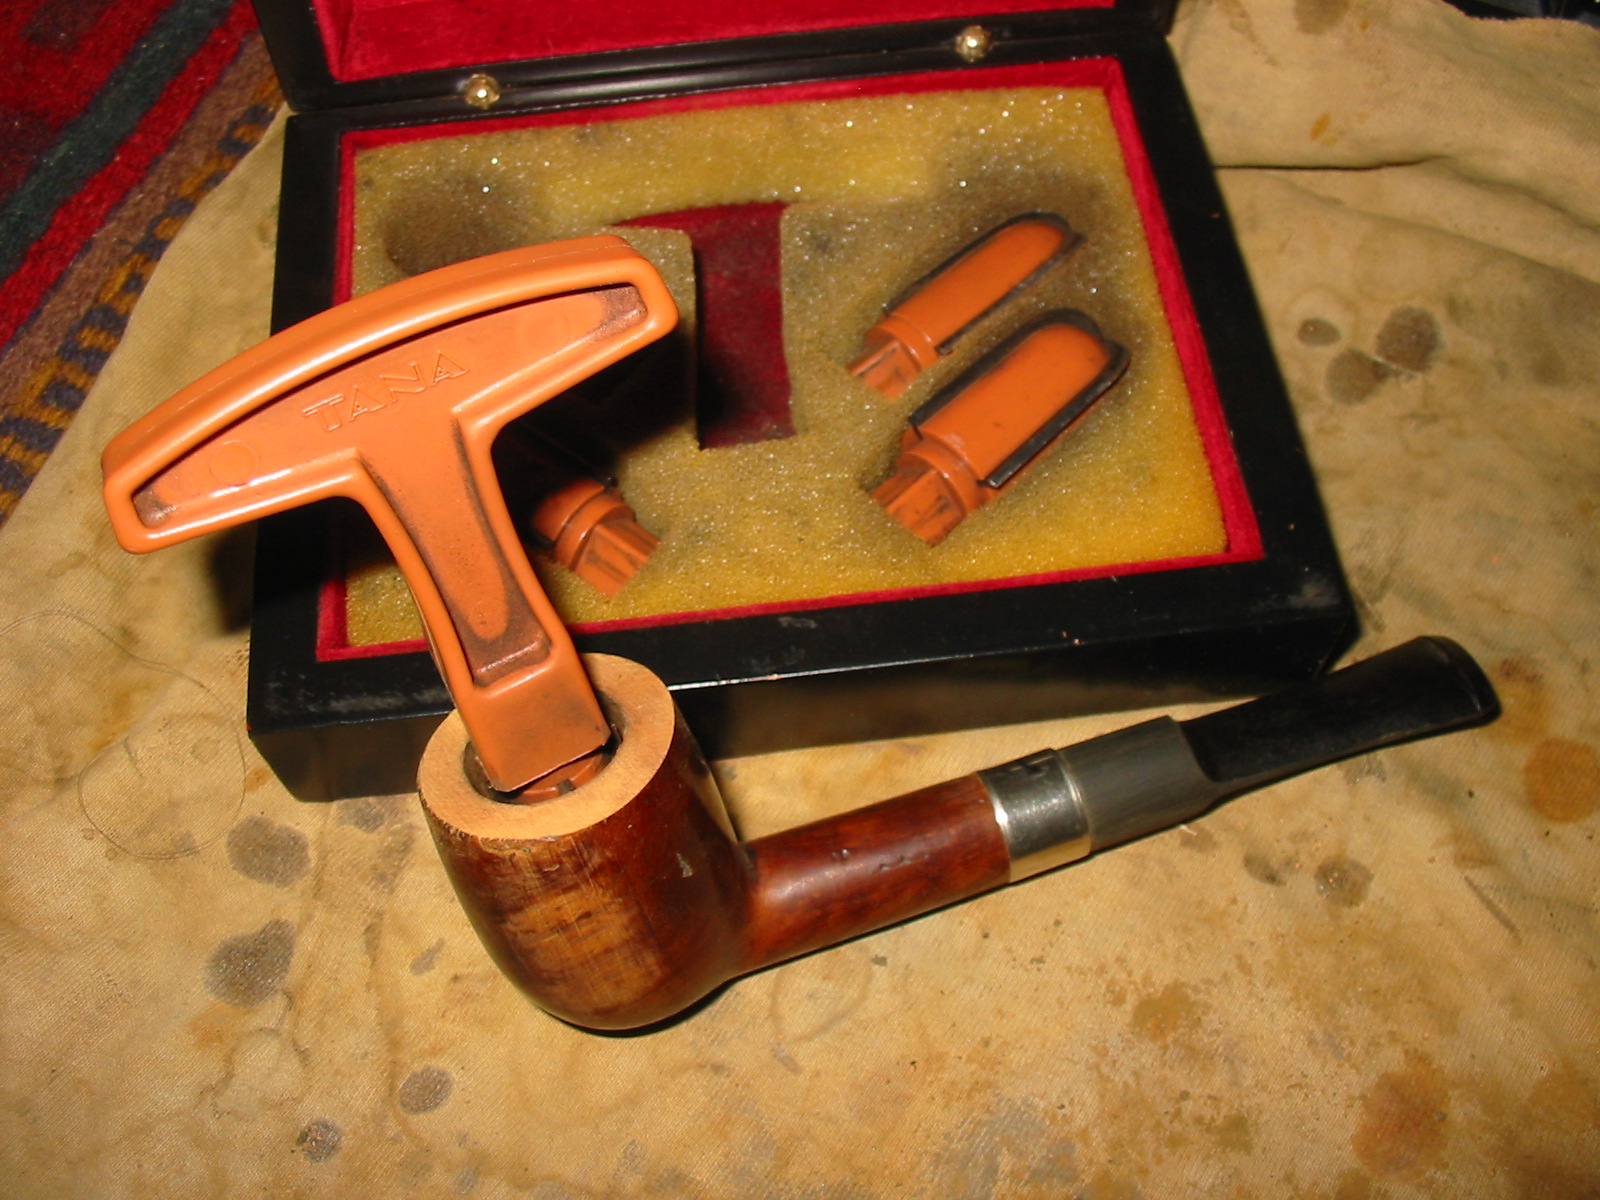
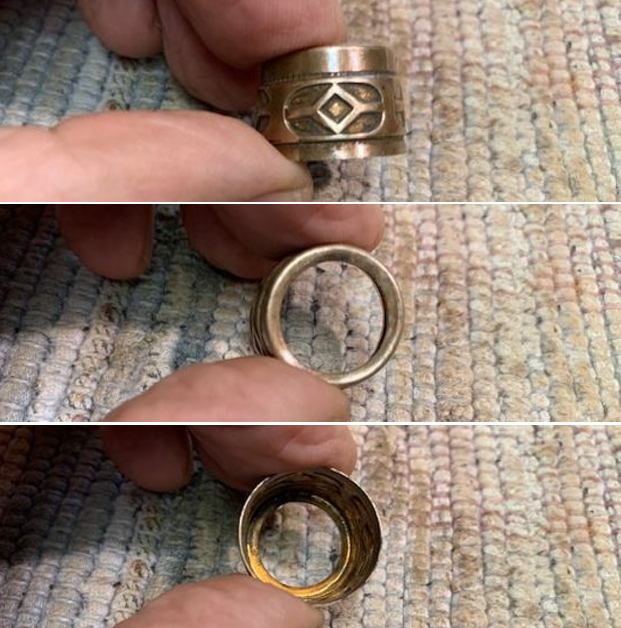 At that point I had an aha moment. I remembered an odd stem that I had in my collection of stems that just might be the thing that I was looking for on this Frankenpipe. It was unique and one that Jeff had picked up and save for me. I had never found a use for it but now I thought I might have. The two knuckle bamboo shank and acrylic stem is a single that has bend bonded together. The stem is thus a unit with the bamboo and the Delrin tenon on the other end is also integrated. It is drilled for a filter so I found a repair tenon that I could craft into an adapter to convert the tenon to a regular pipe sans filter. It would be removable if needed. Here is what it looked like with and without the tenon adapter. (The adapter would need to be shortened but you get the idea.)
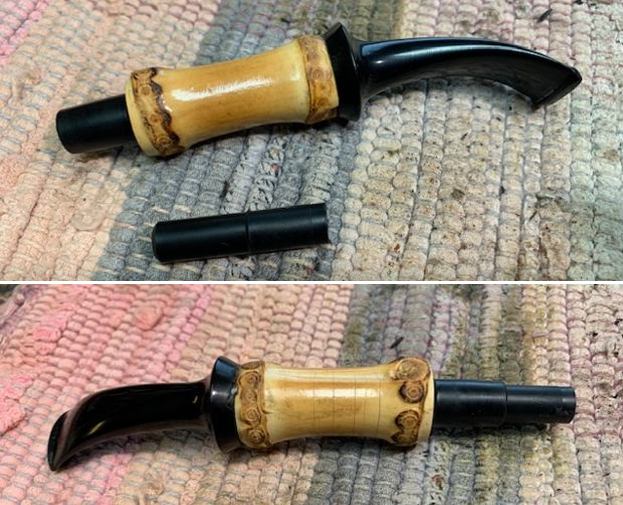 All of the parts have been here for quite a while. All of them give silent testimony to my crazy propensity to collect parts!! And all of them would finally come together to form a new Frankenpipe that was more than the sum of its parts. Read along as I walk through my process.
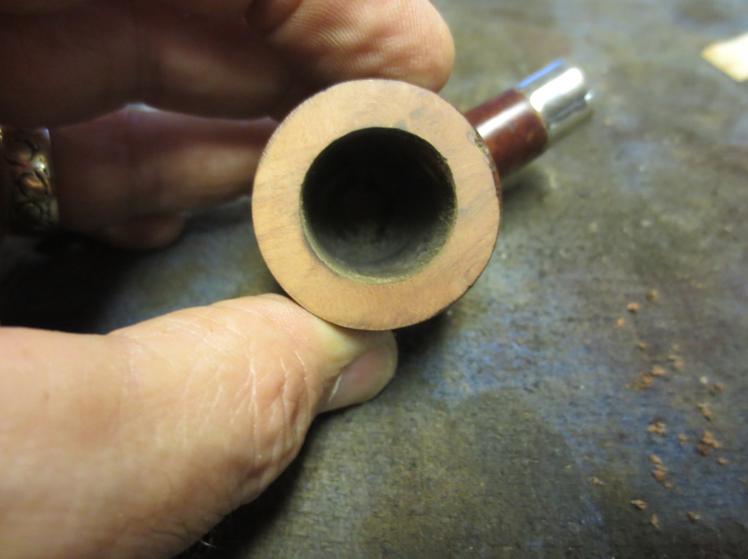
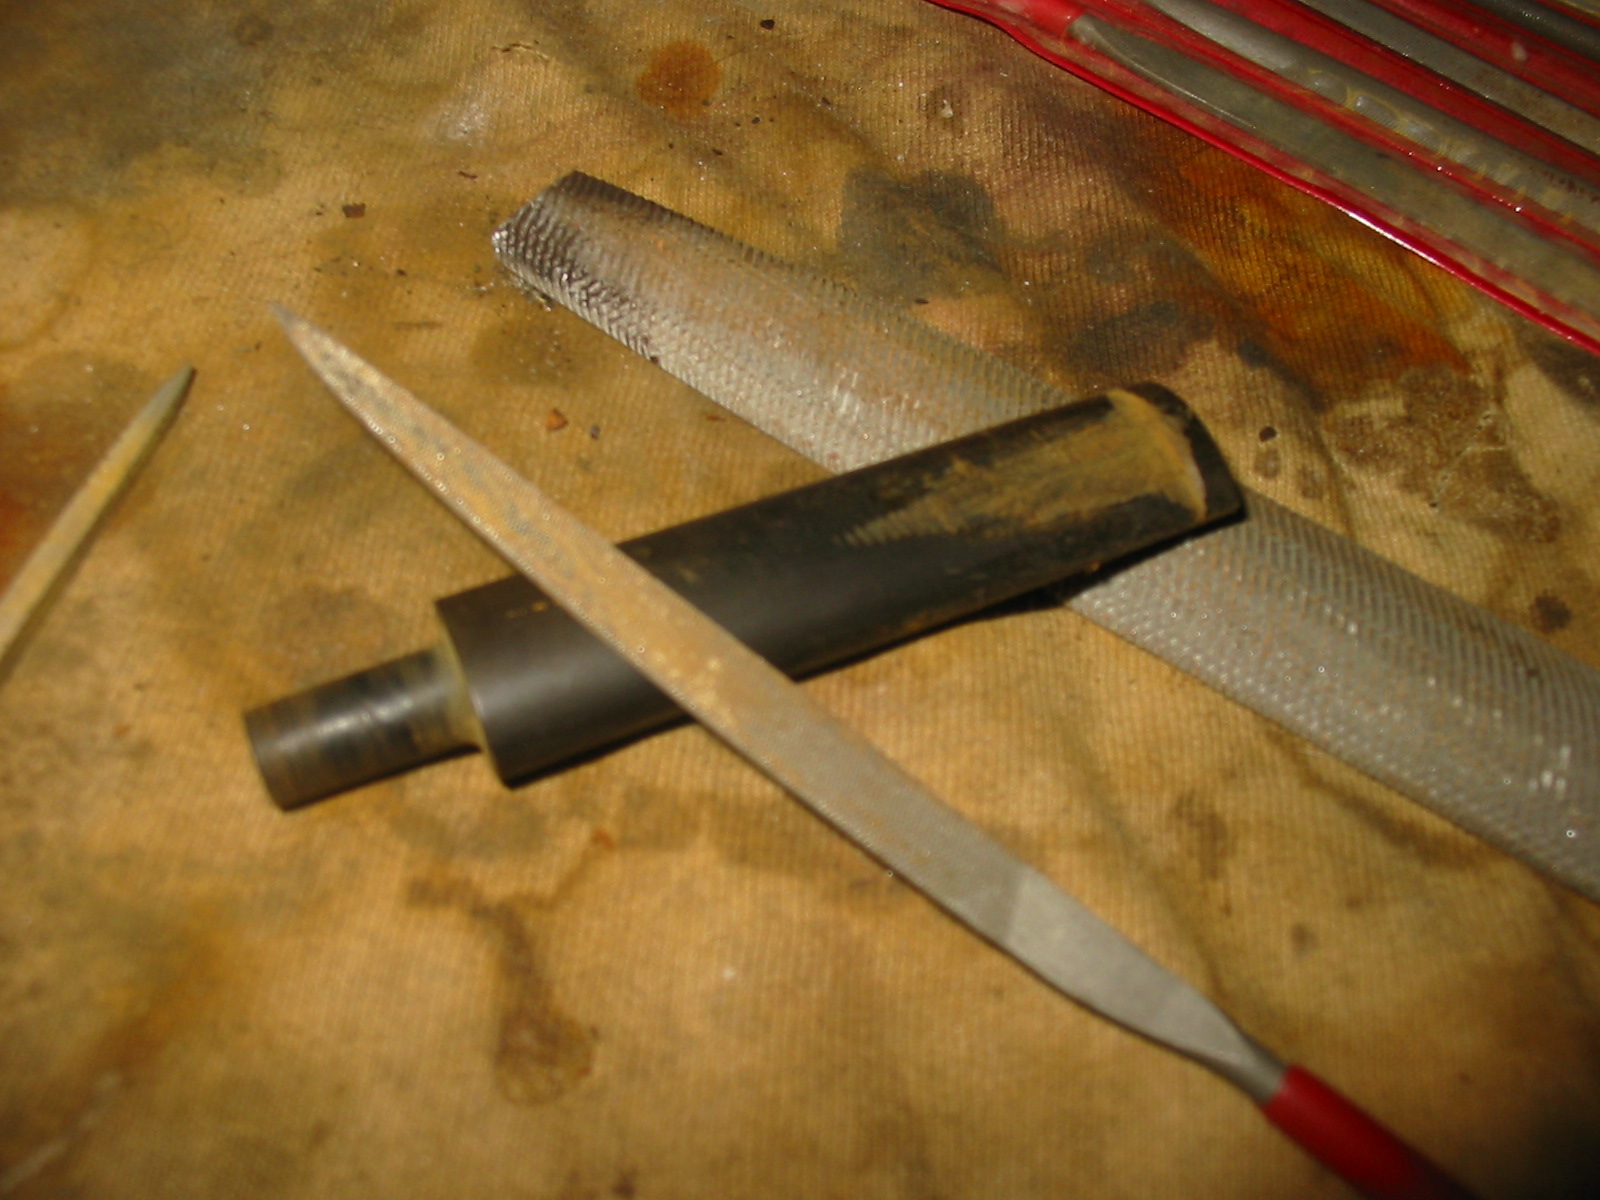
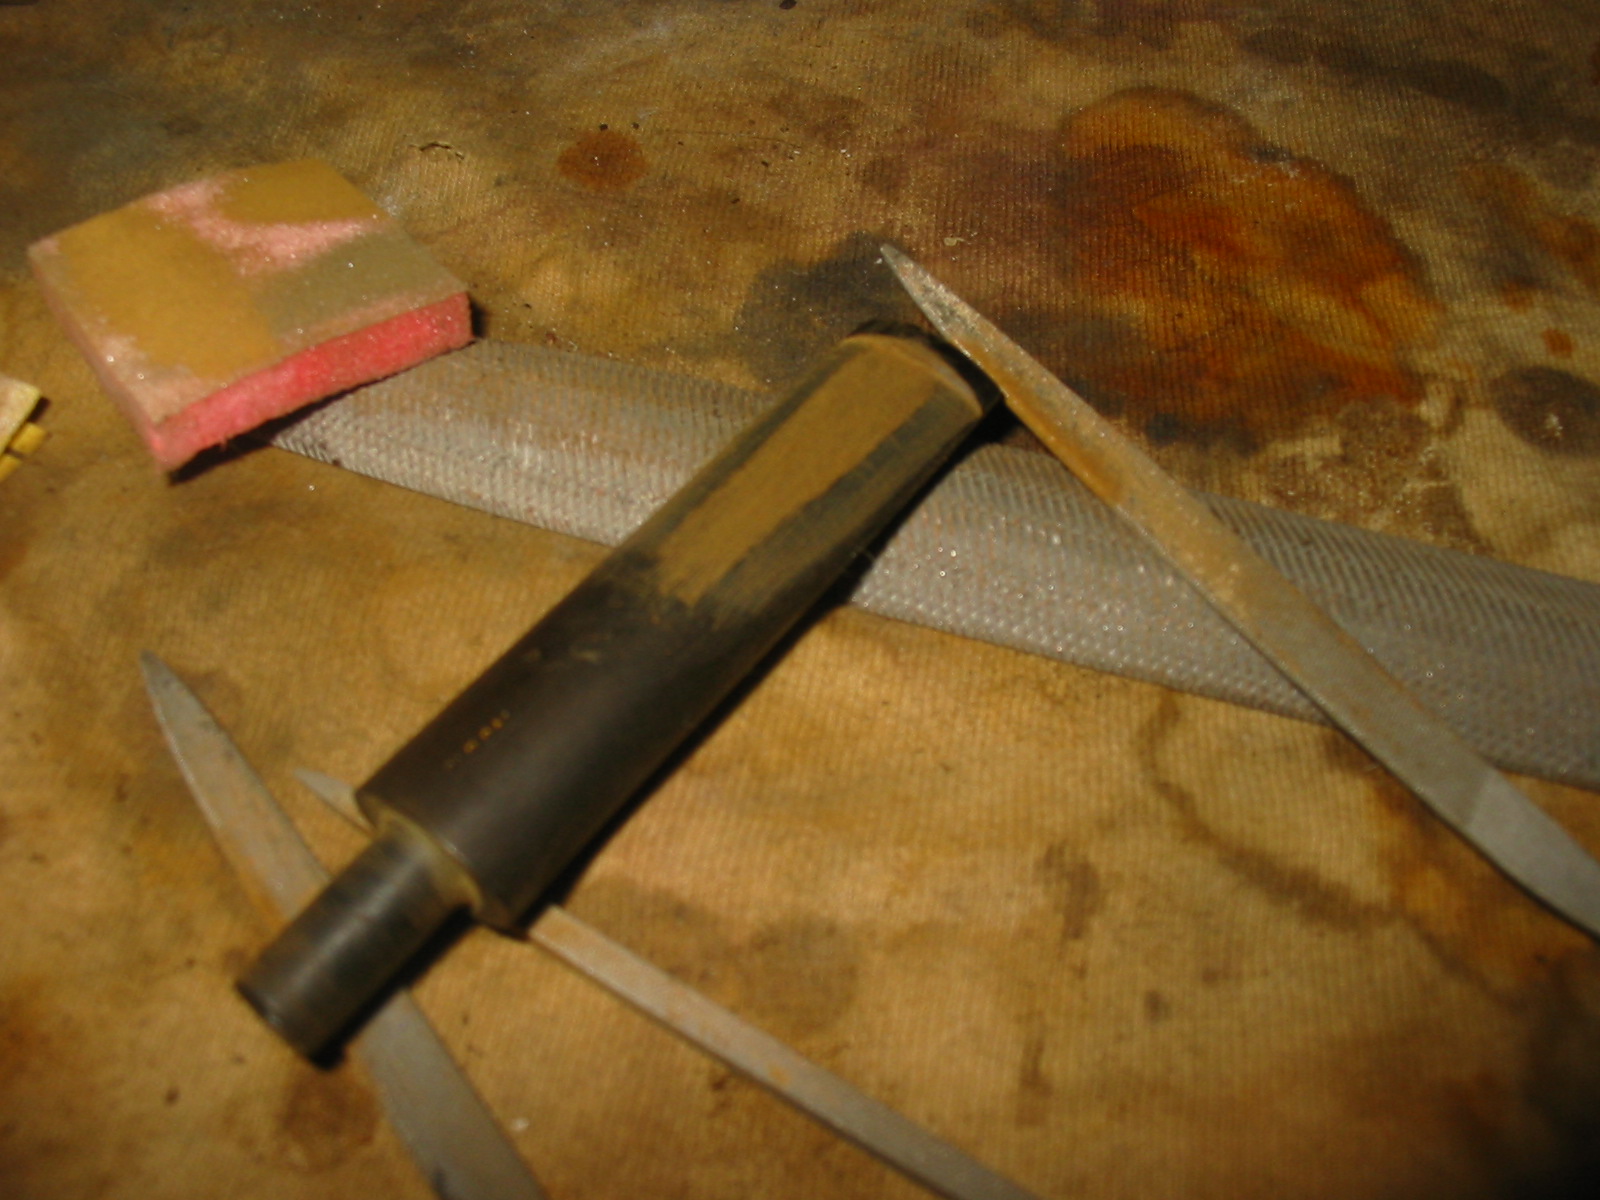
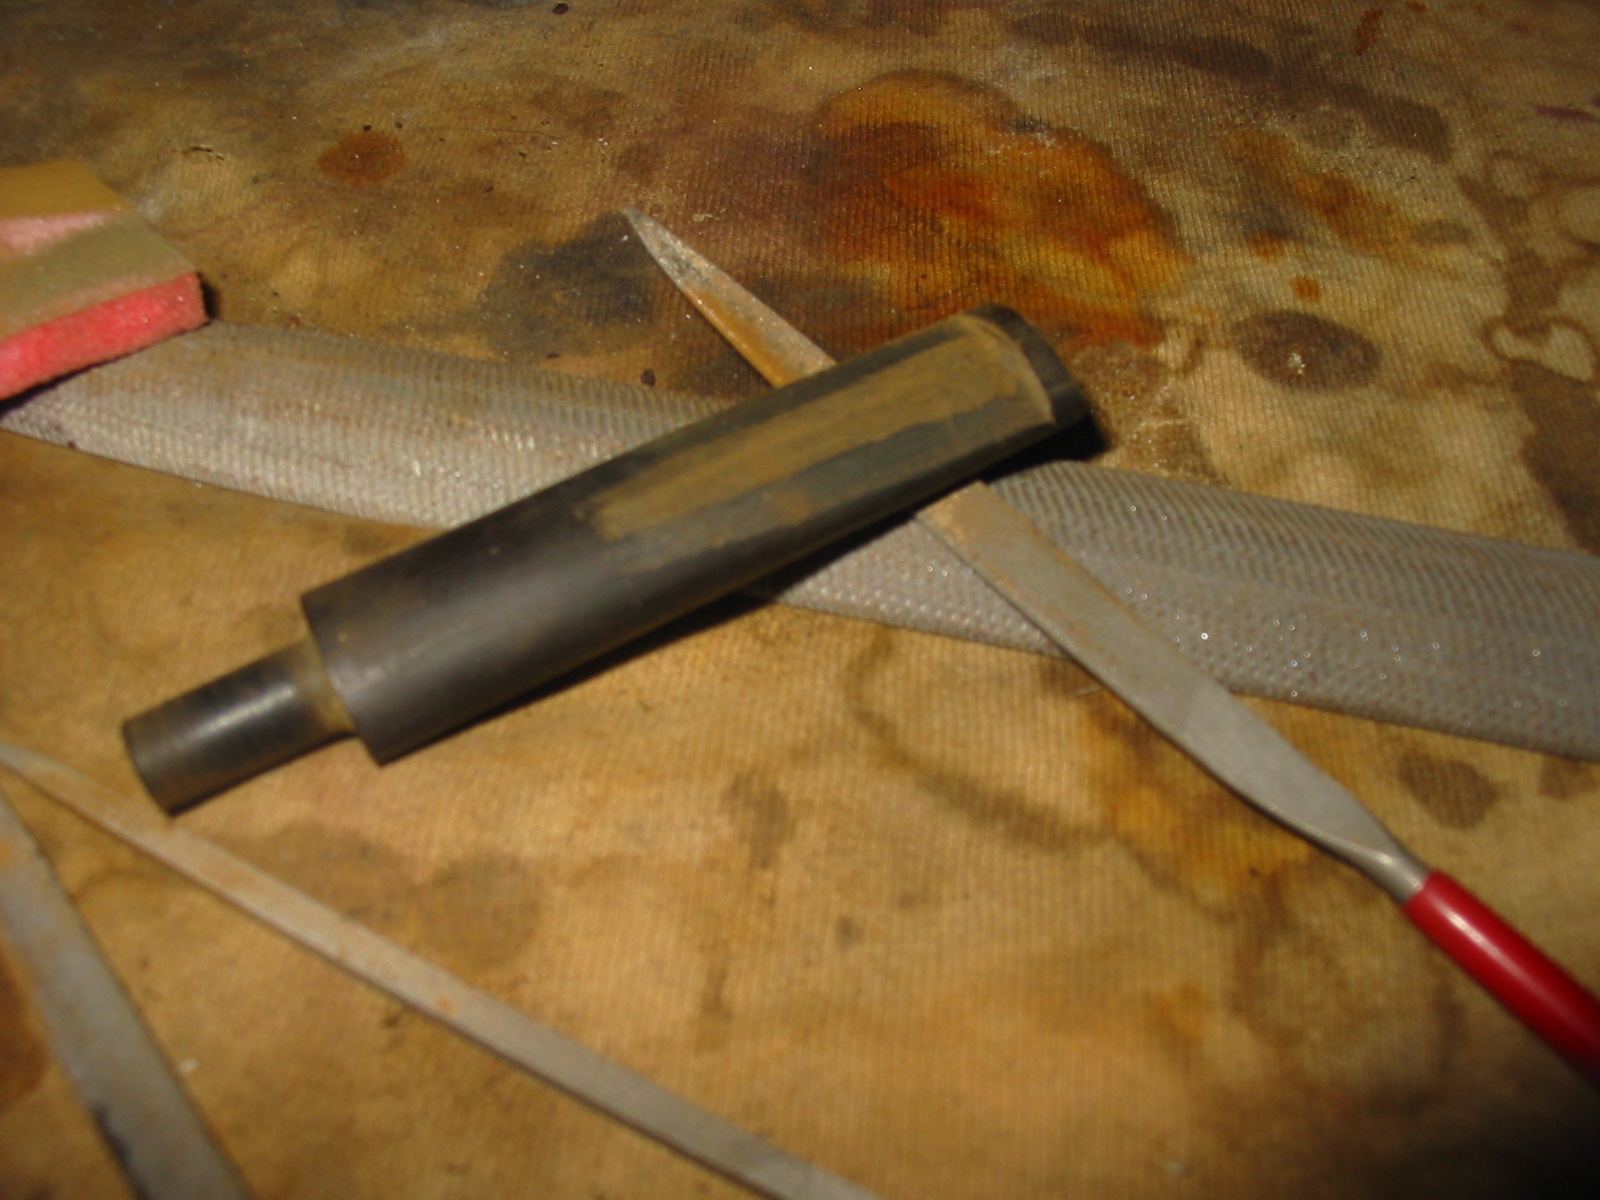
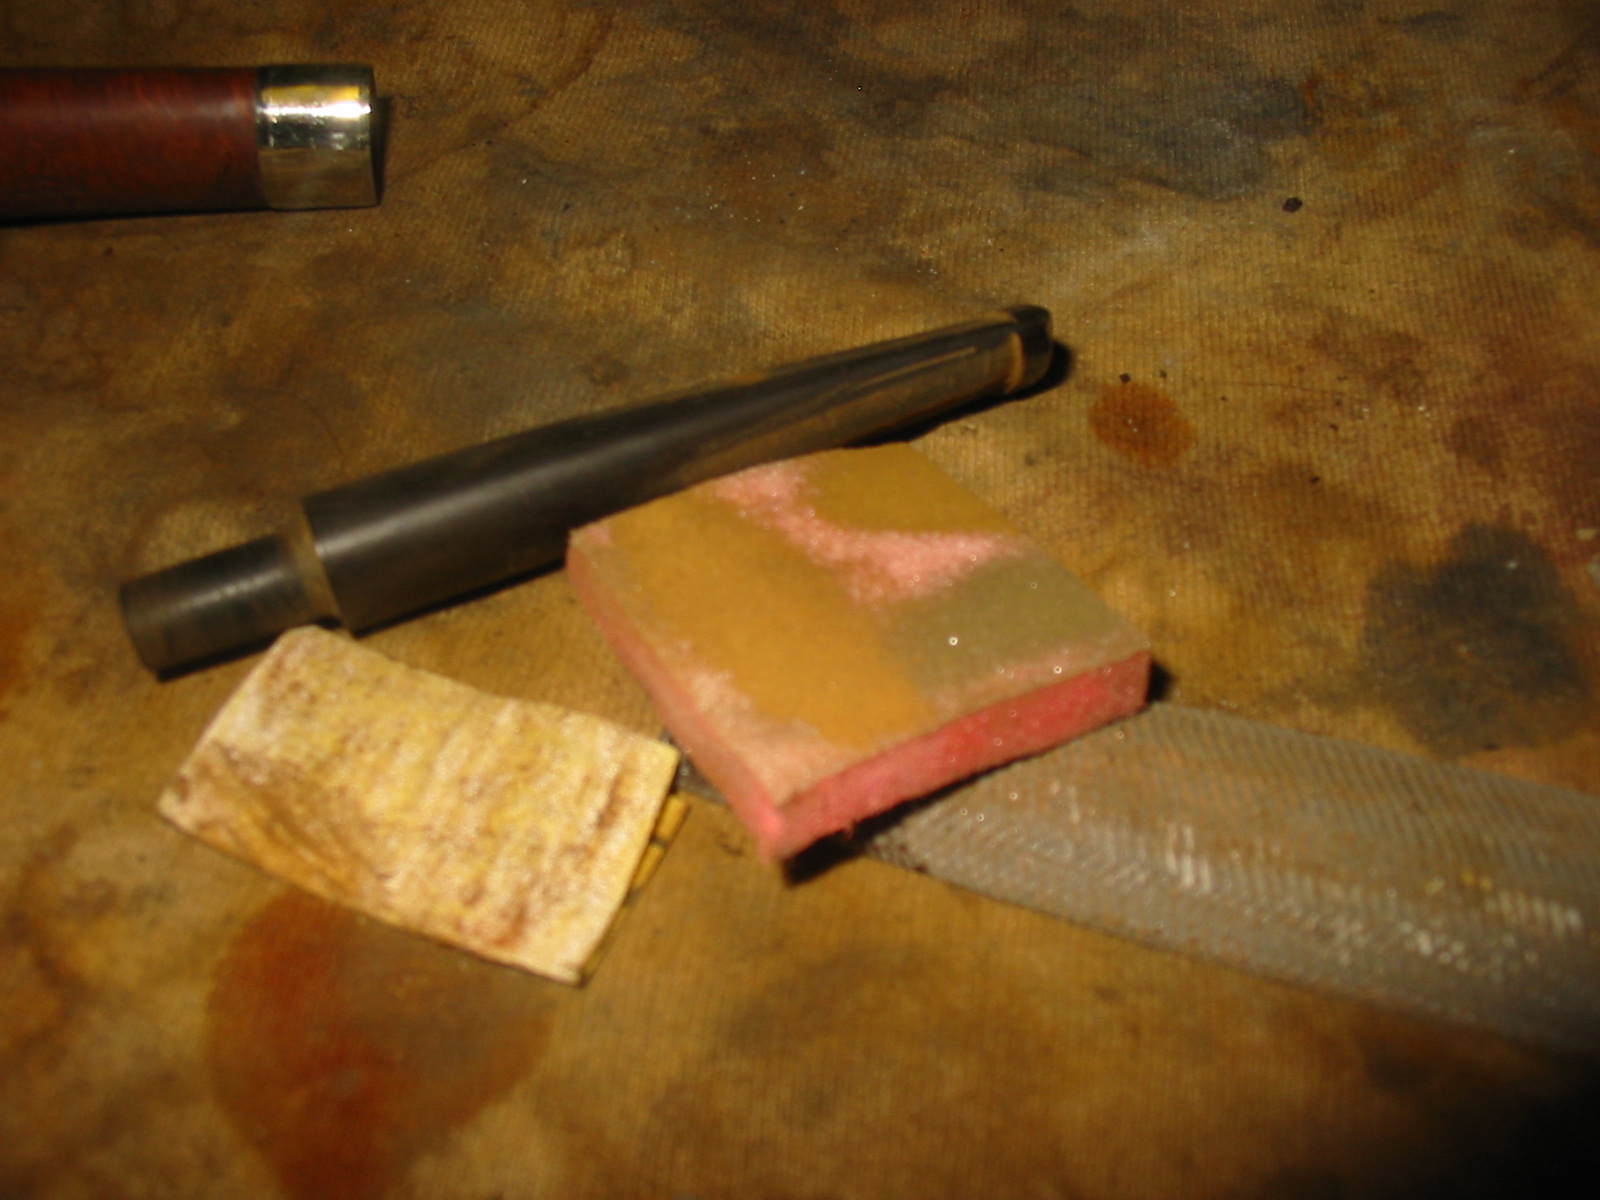
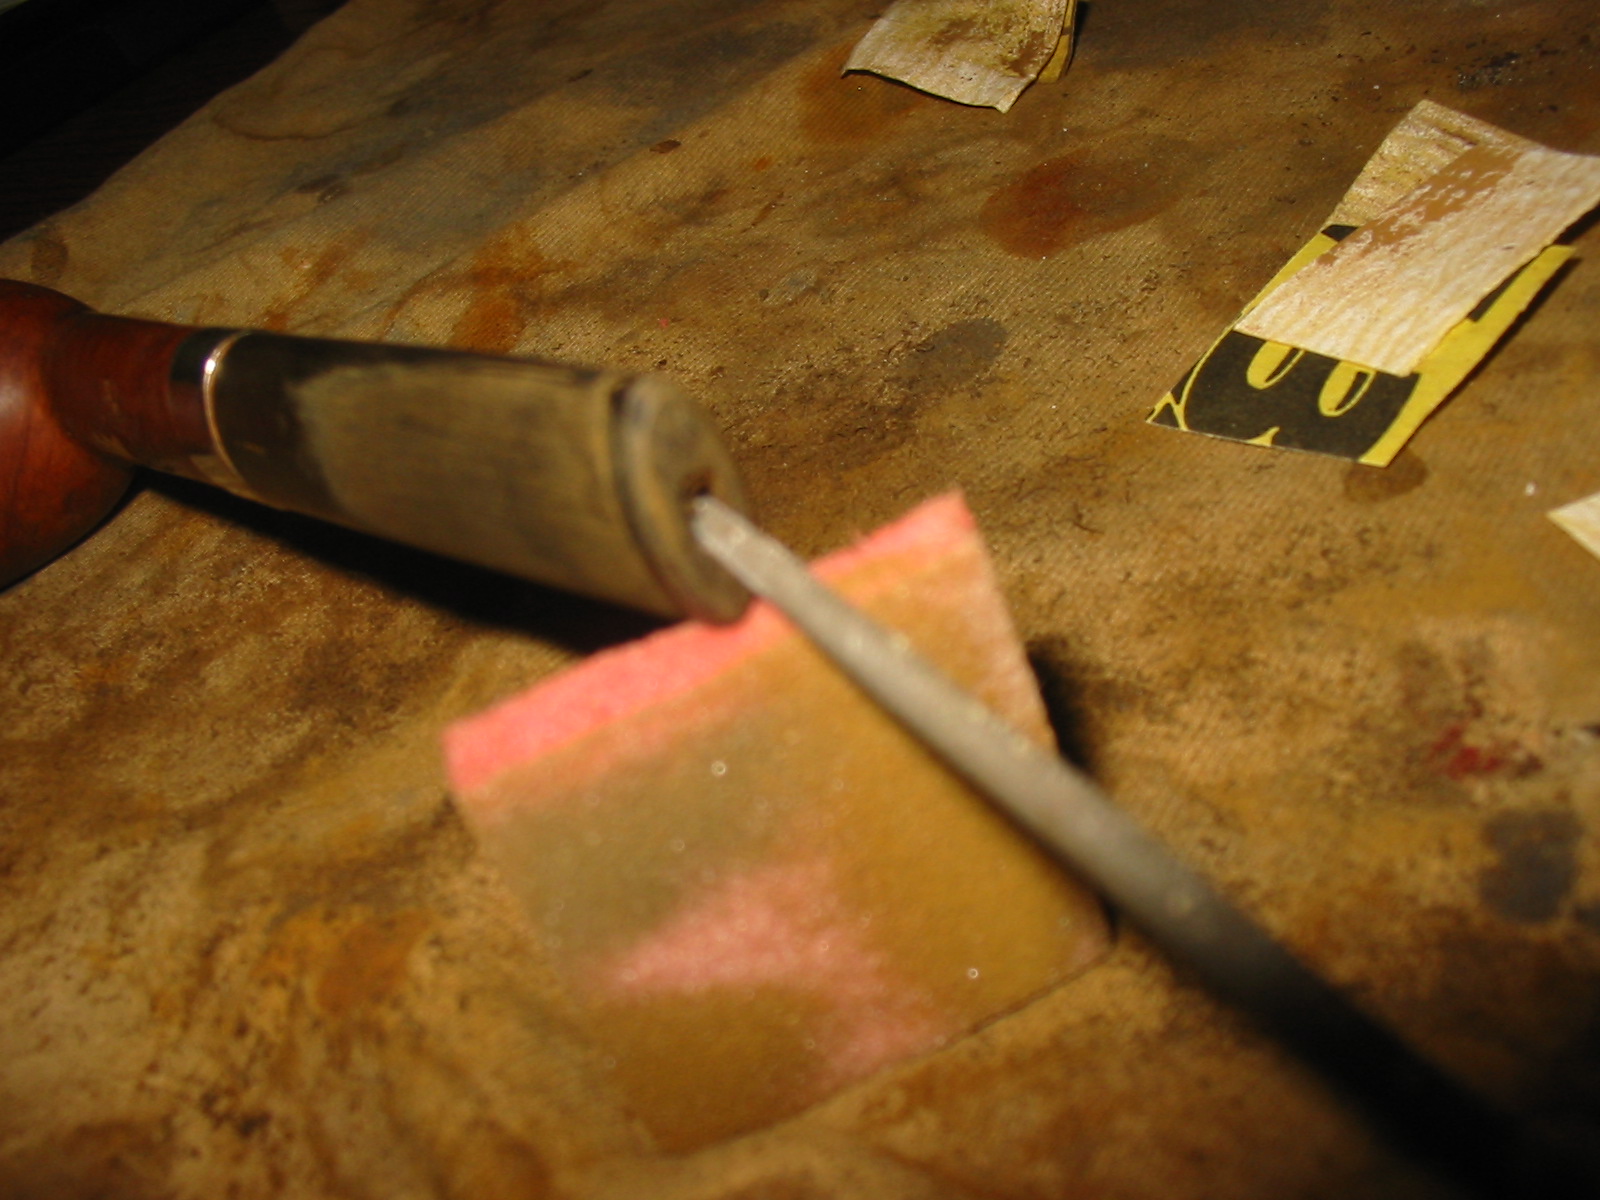
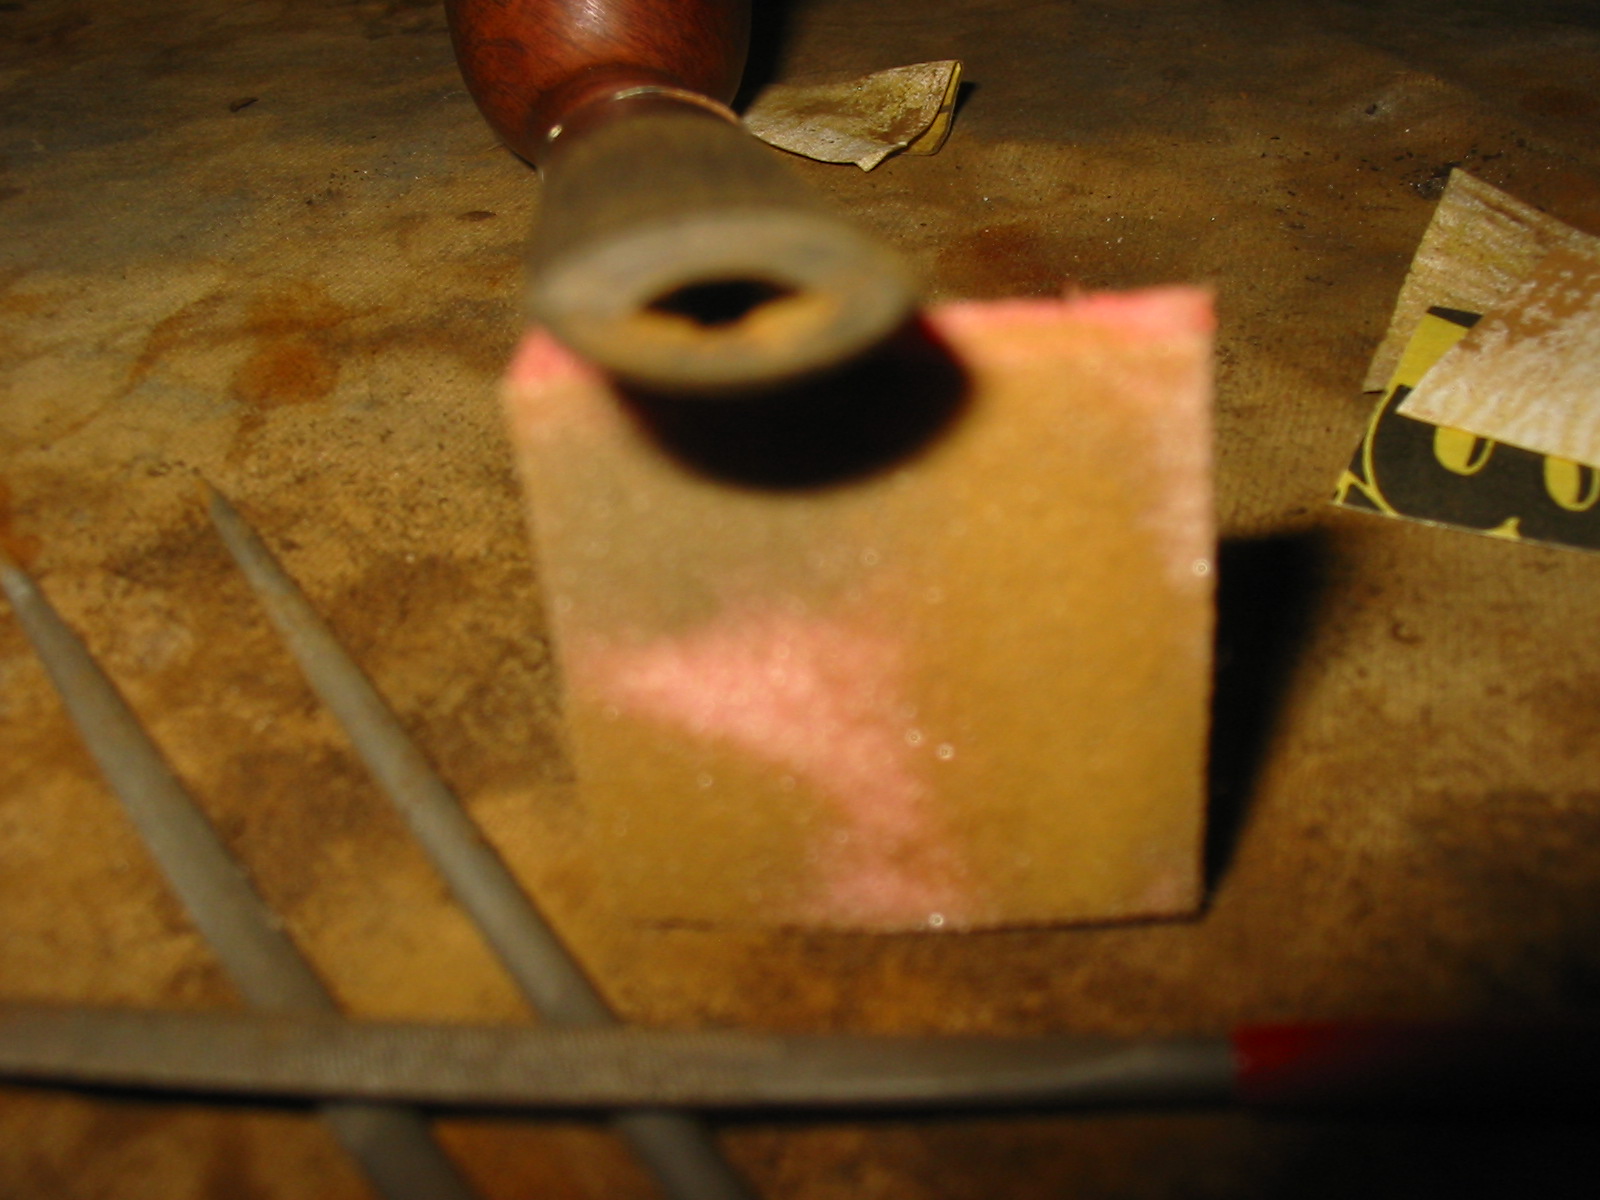
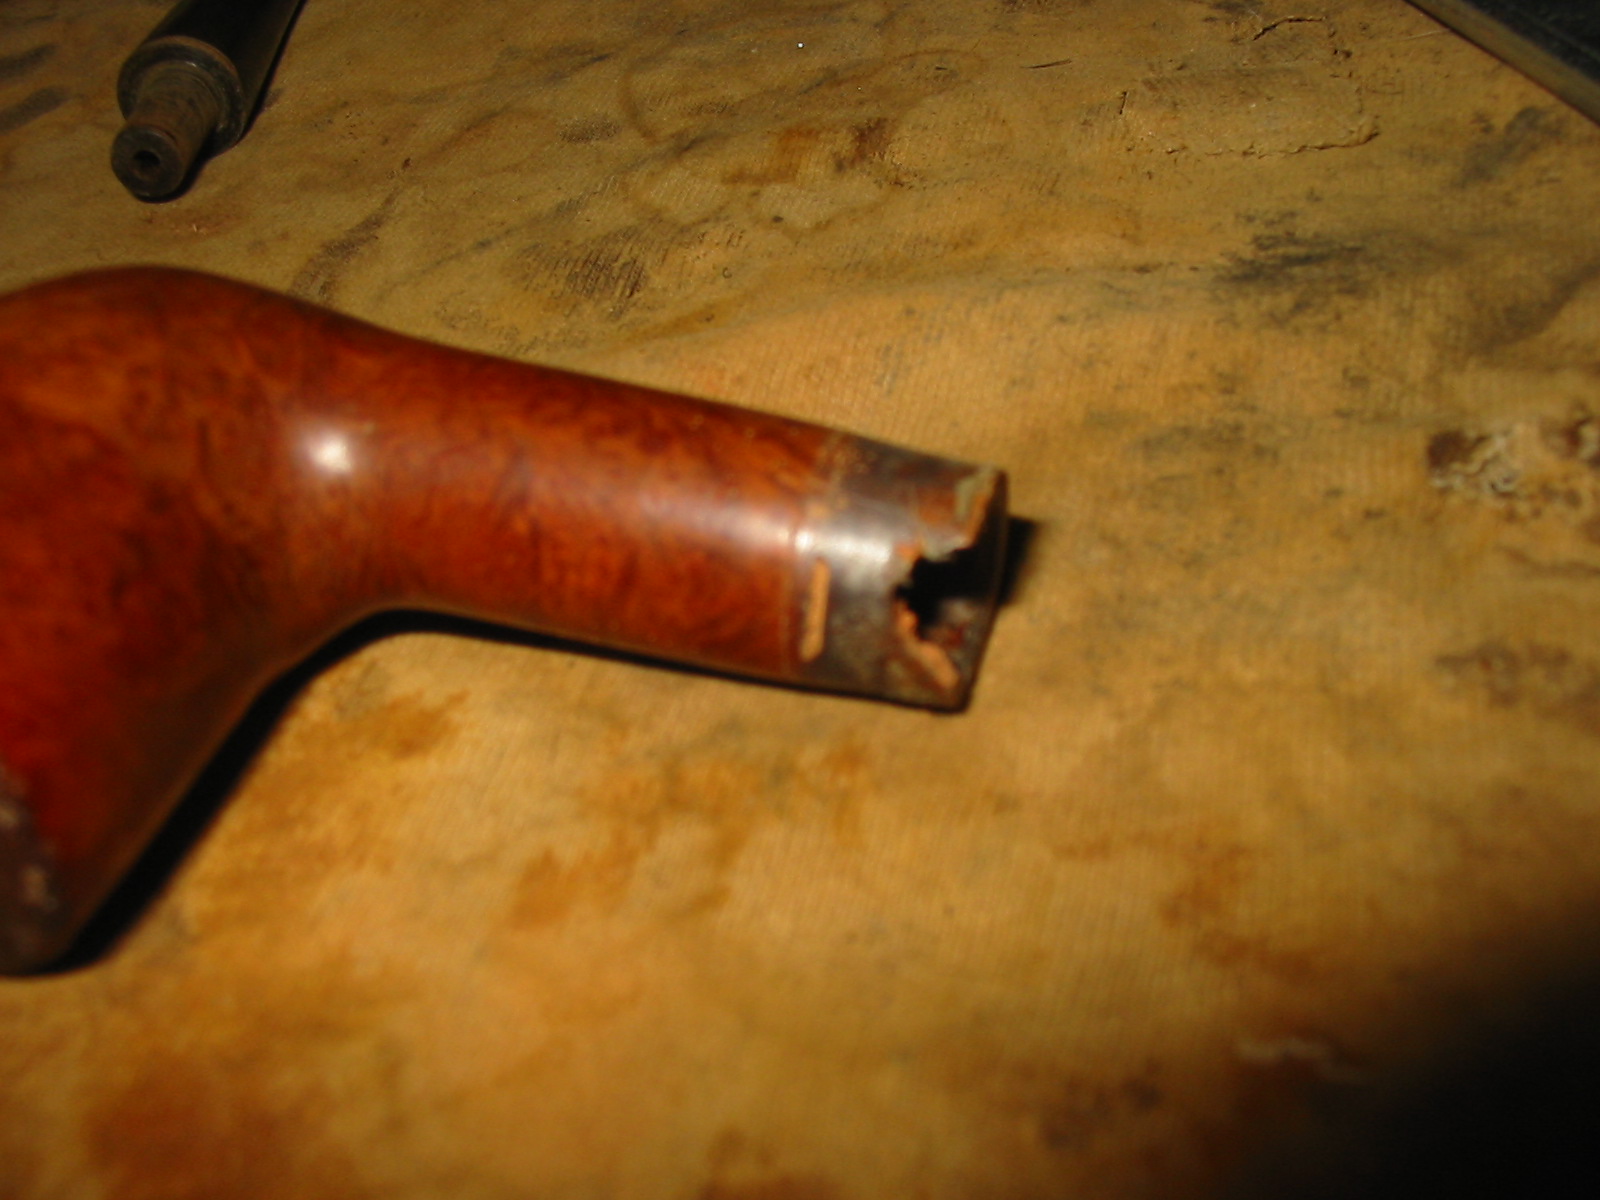
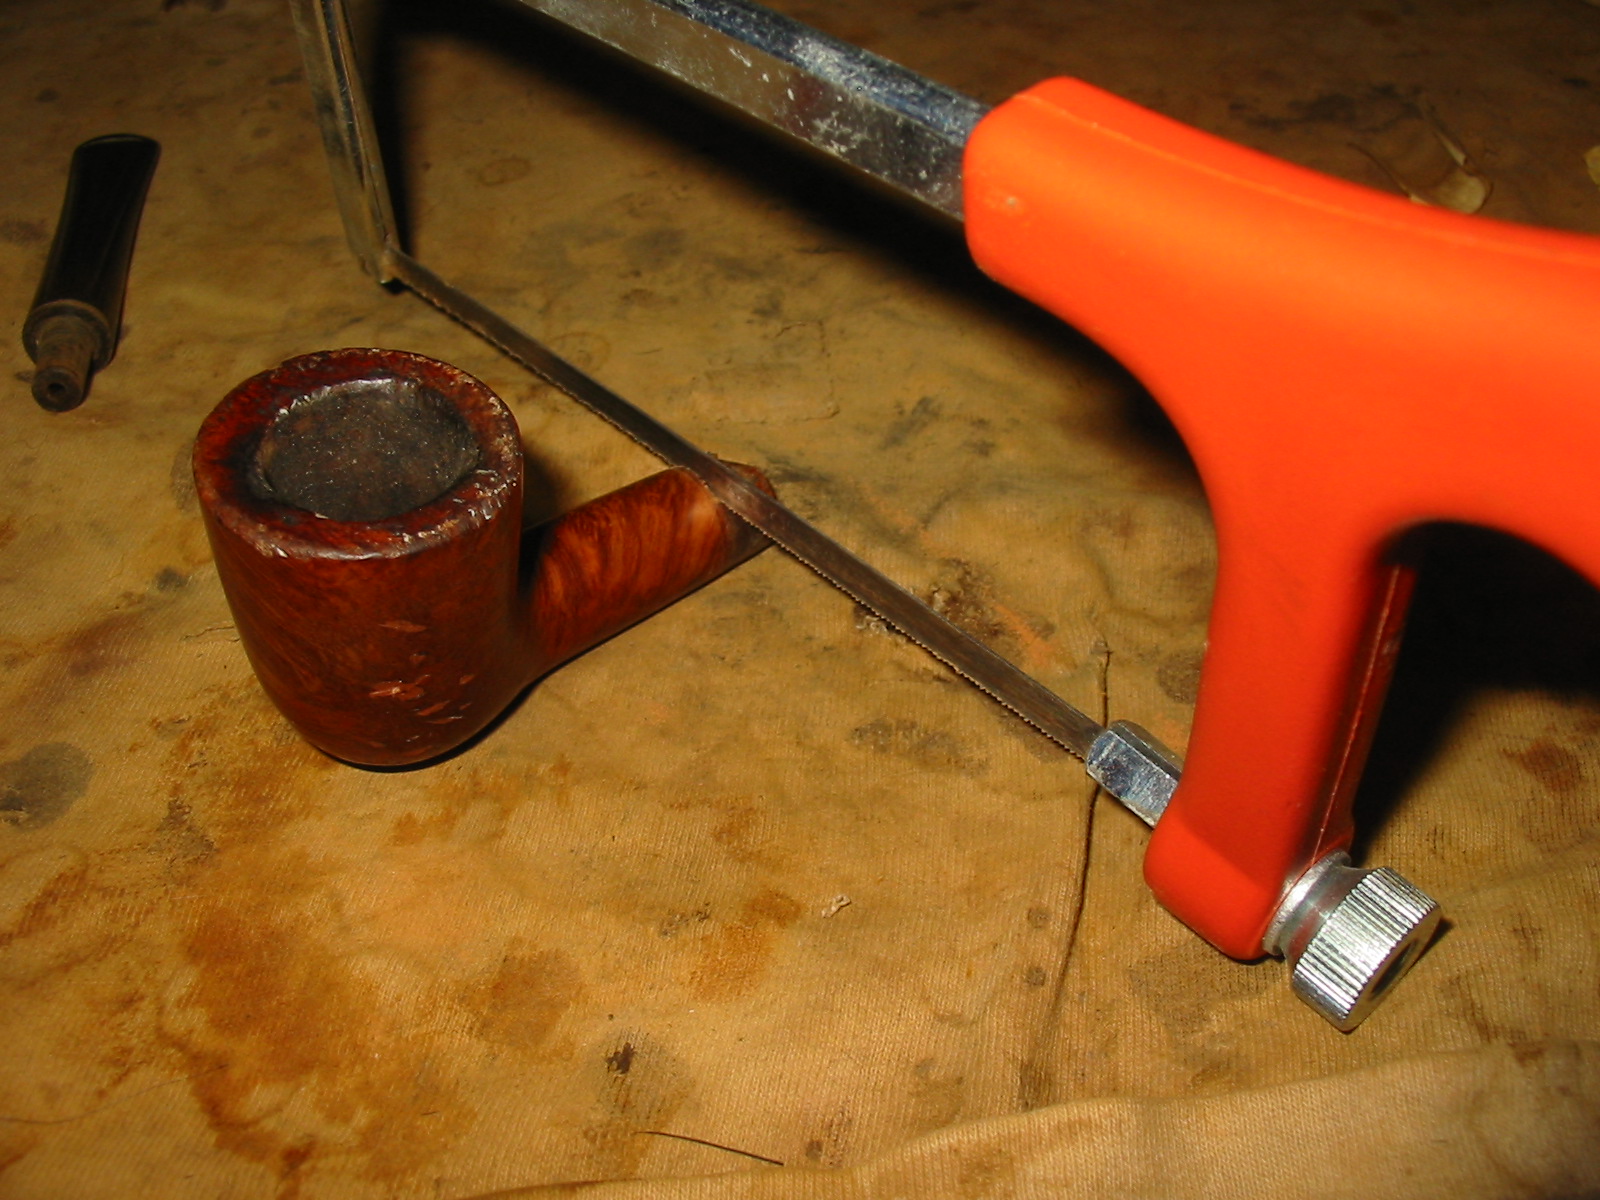
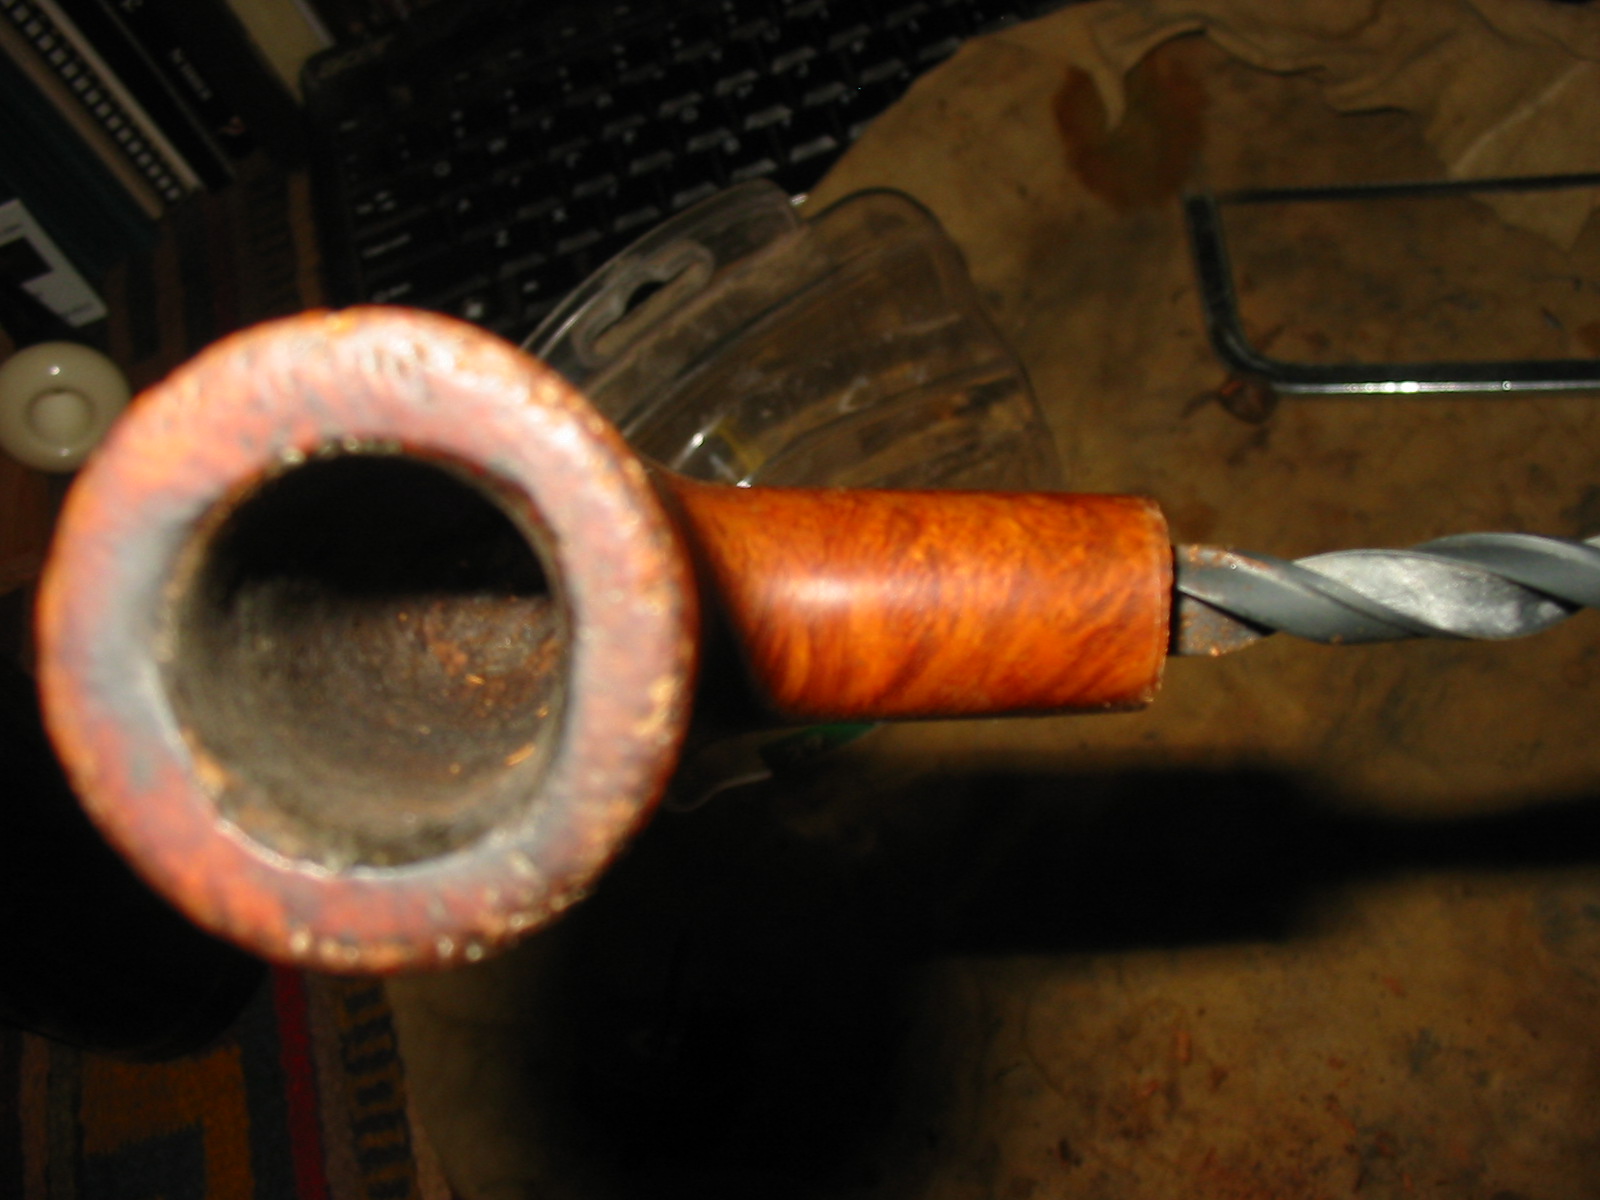
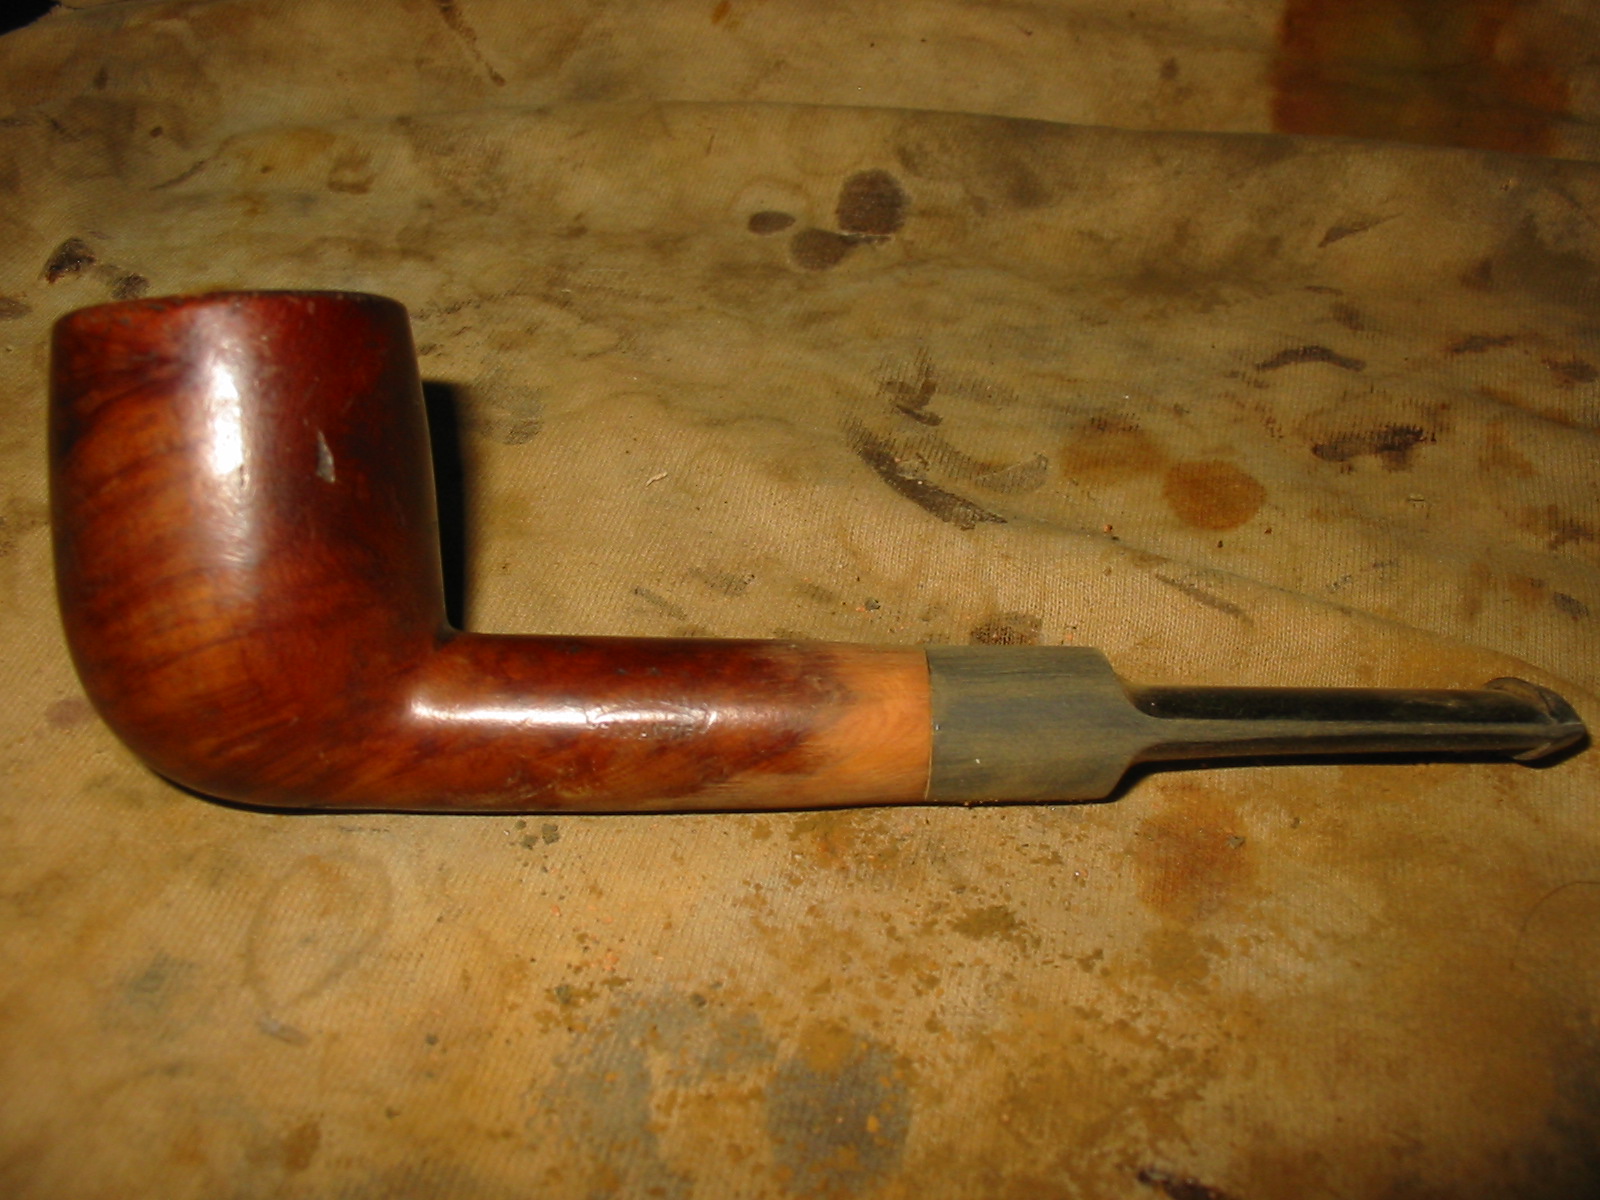
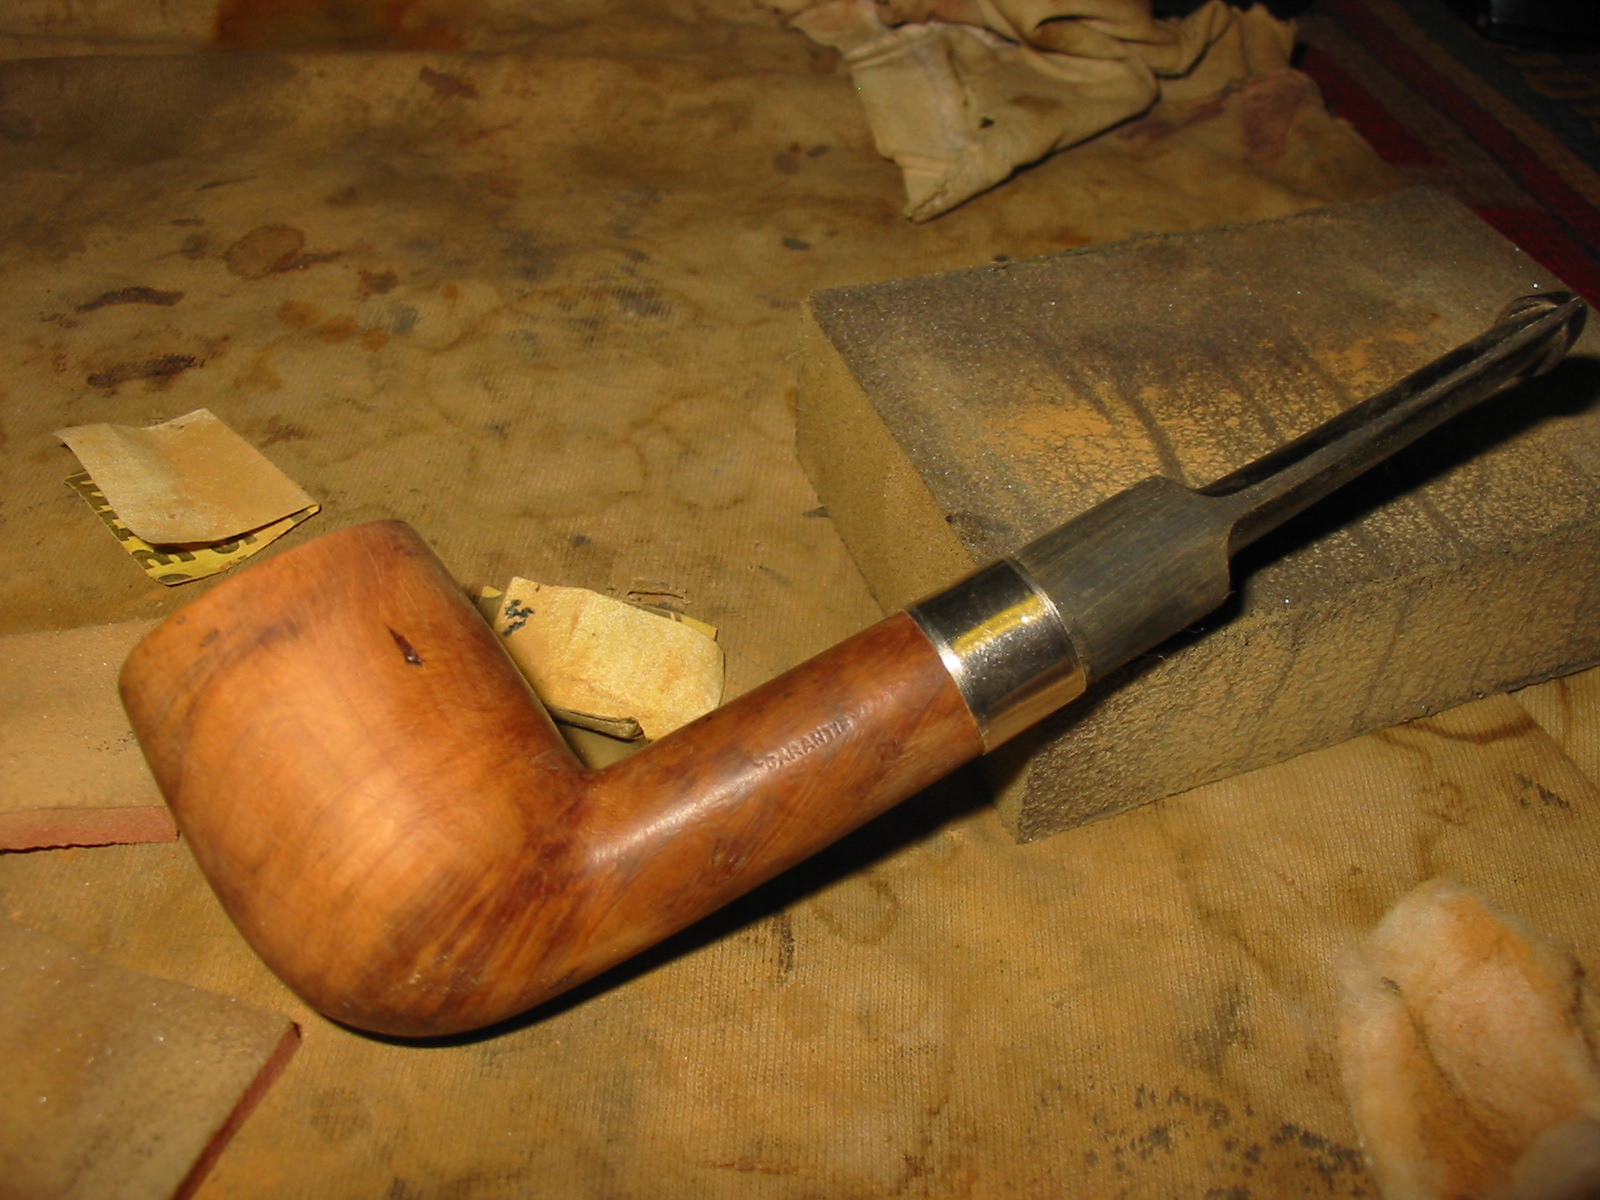
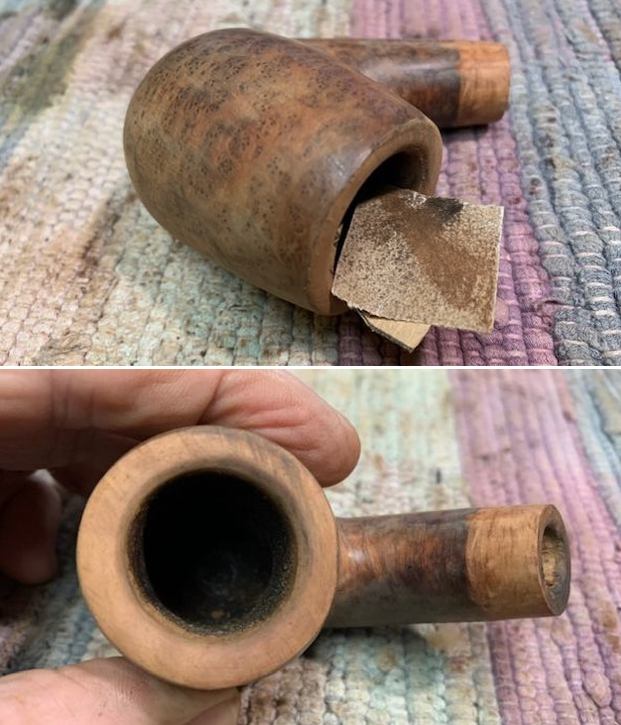
I began the work by addressing the issues with the bowl. I tried to pull the broken tenon with a screw. It was stuck so I put the bowl in the freezer for a little while. After about 10 minutes I tried again and was successful pulling the tenon out of the shank.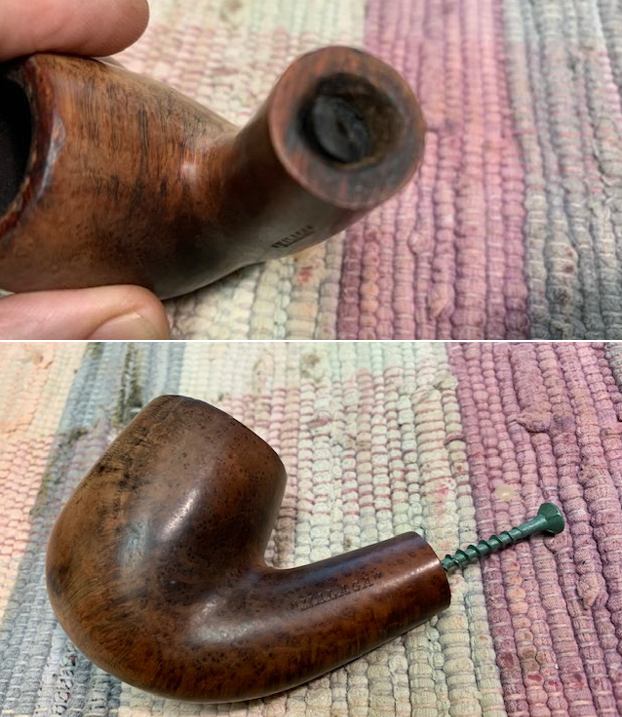 With that finished I need to address the shank of the pipe to fit the conical ferrule/band that I had chosen. In the next photos you can see that I have chosen to shape the shank end to match the flow of the band. I did this with a Dremel and sanding drum and smooth it out with files and sandpaper.
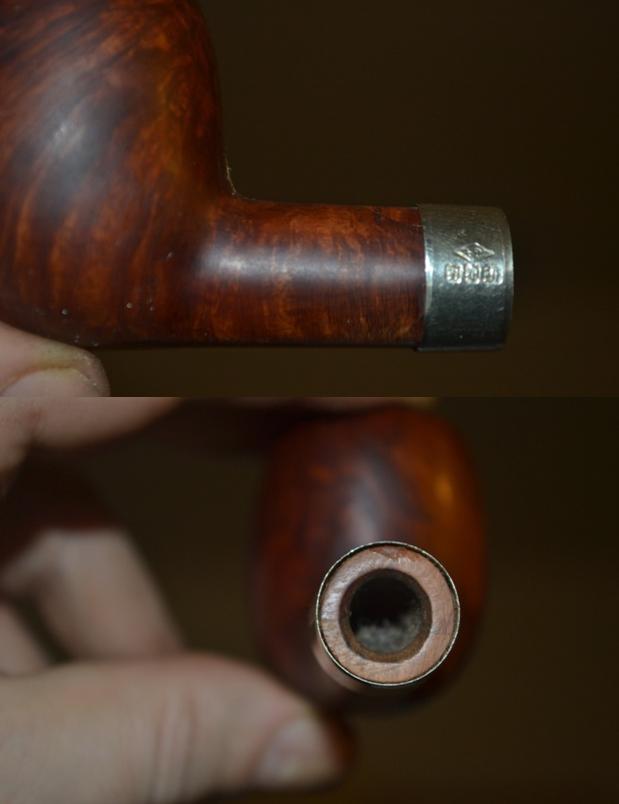
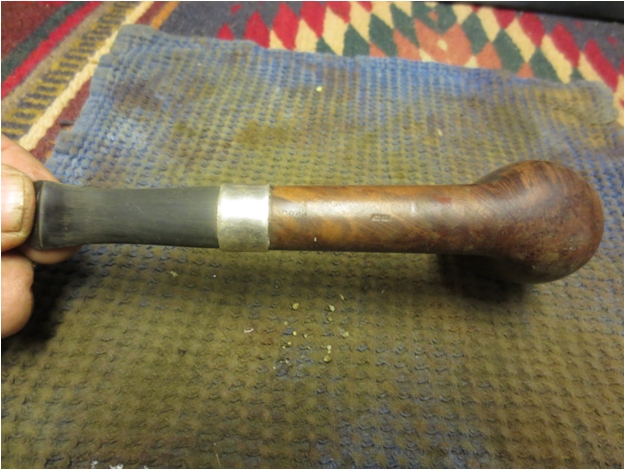
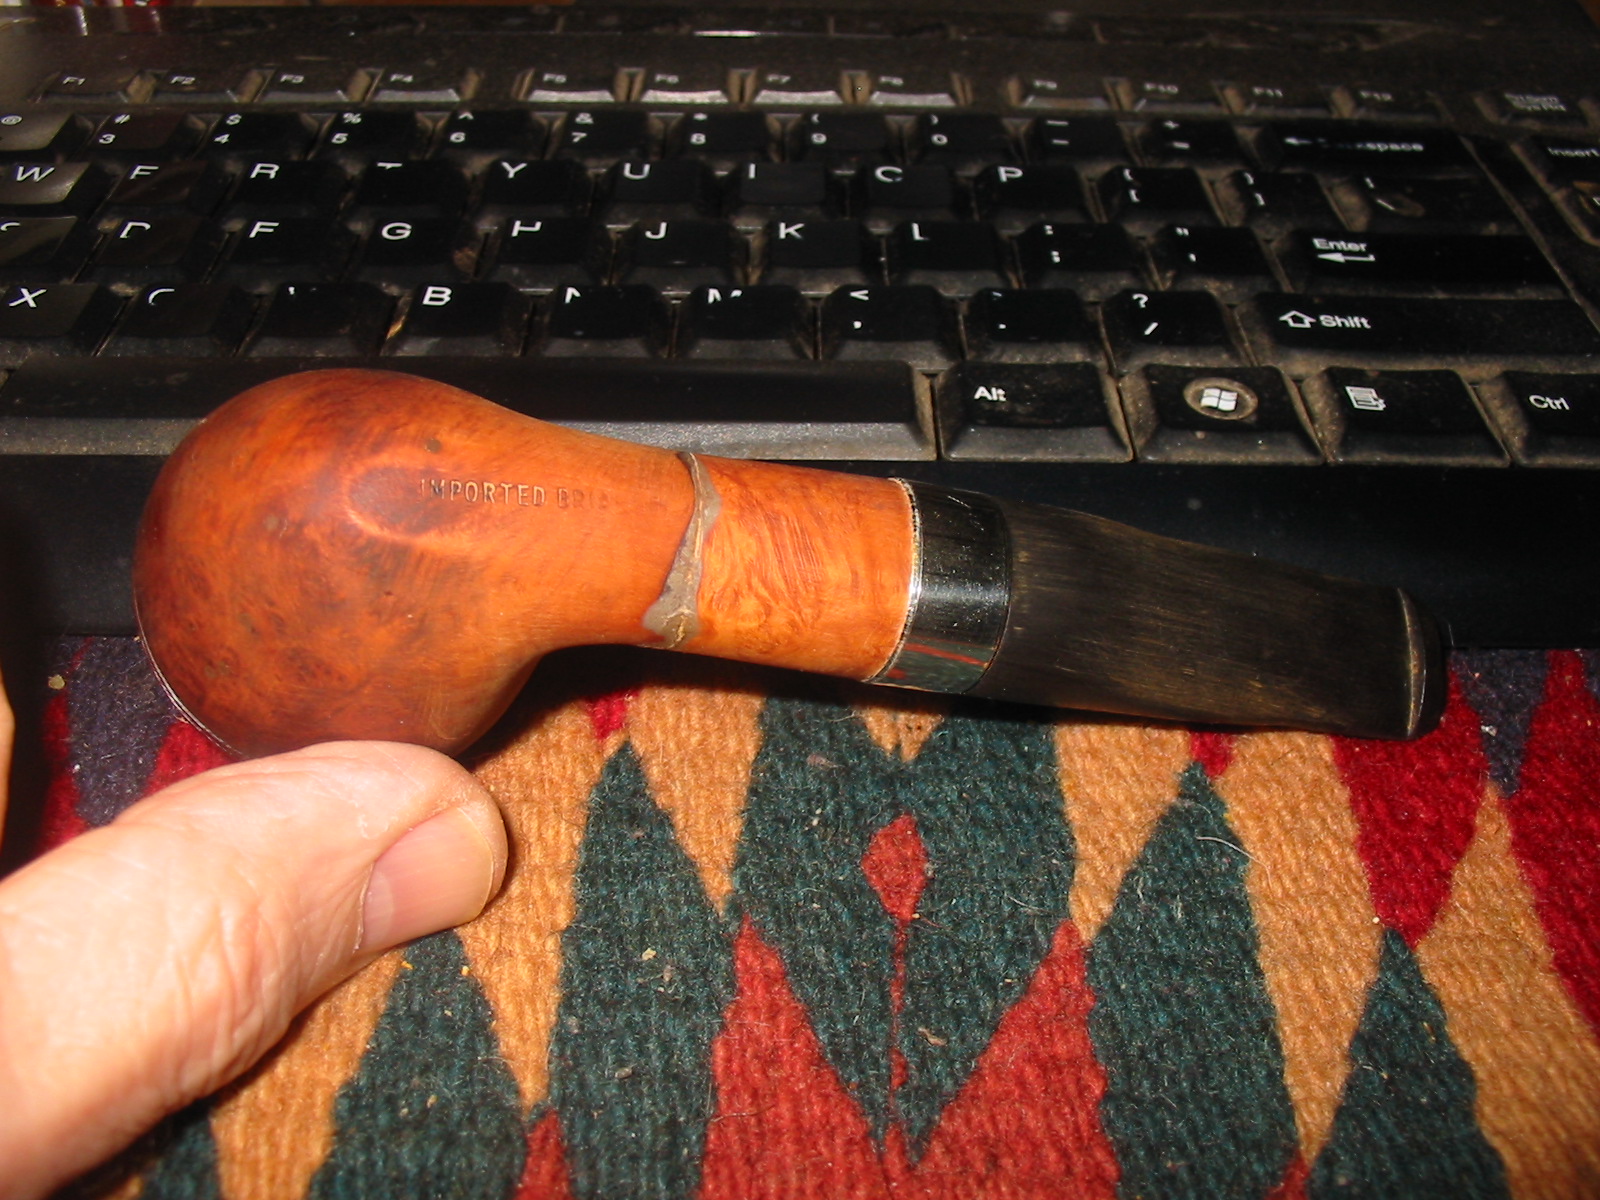
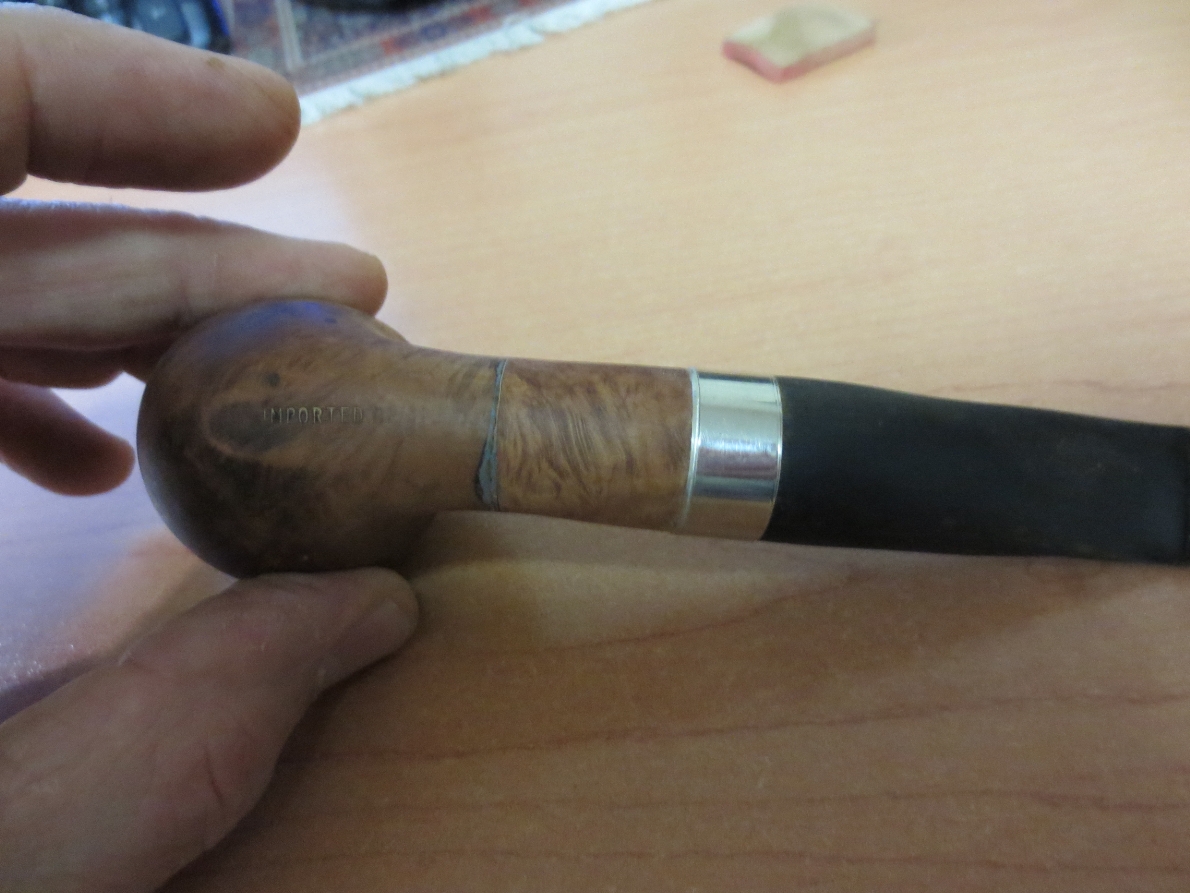
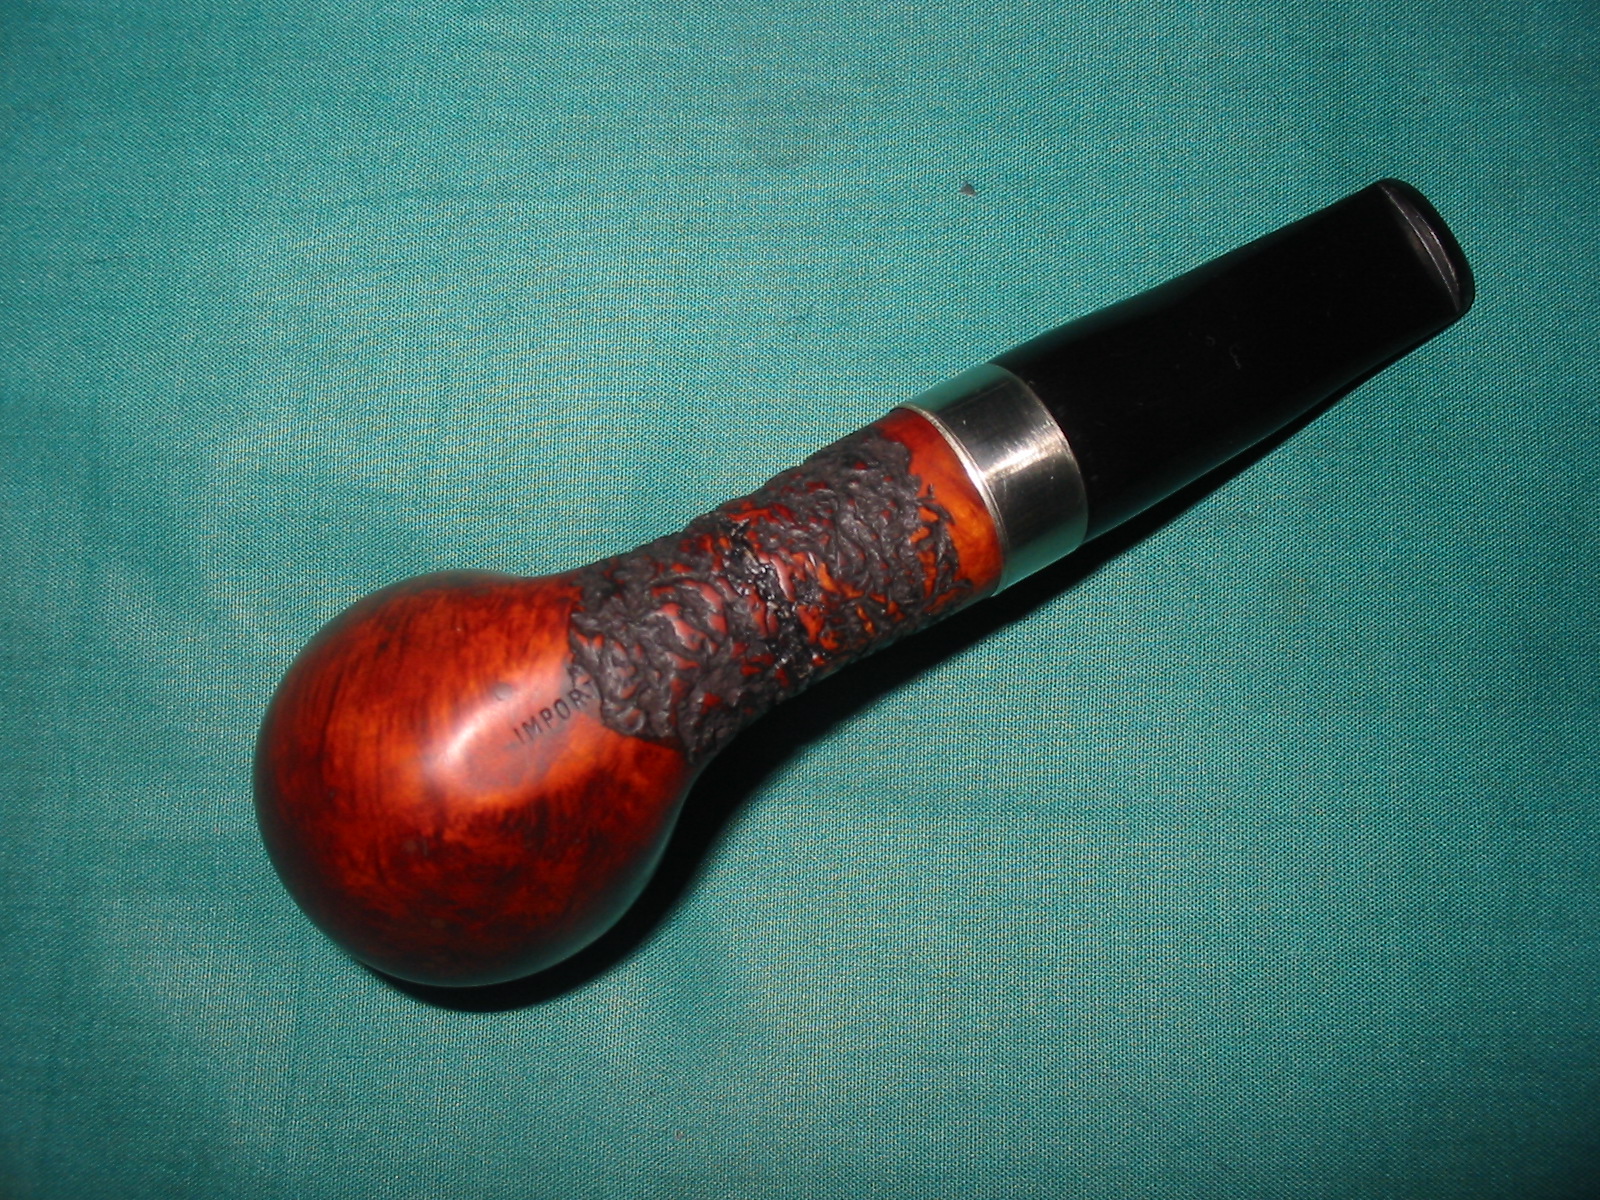
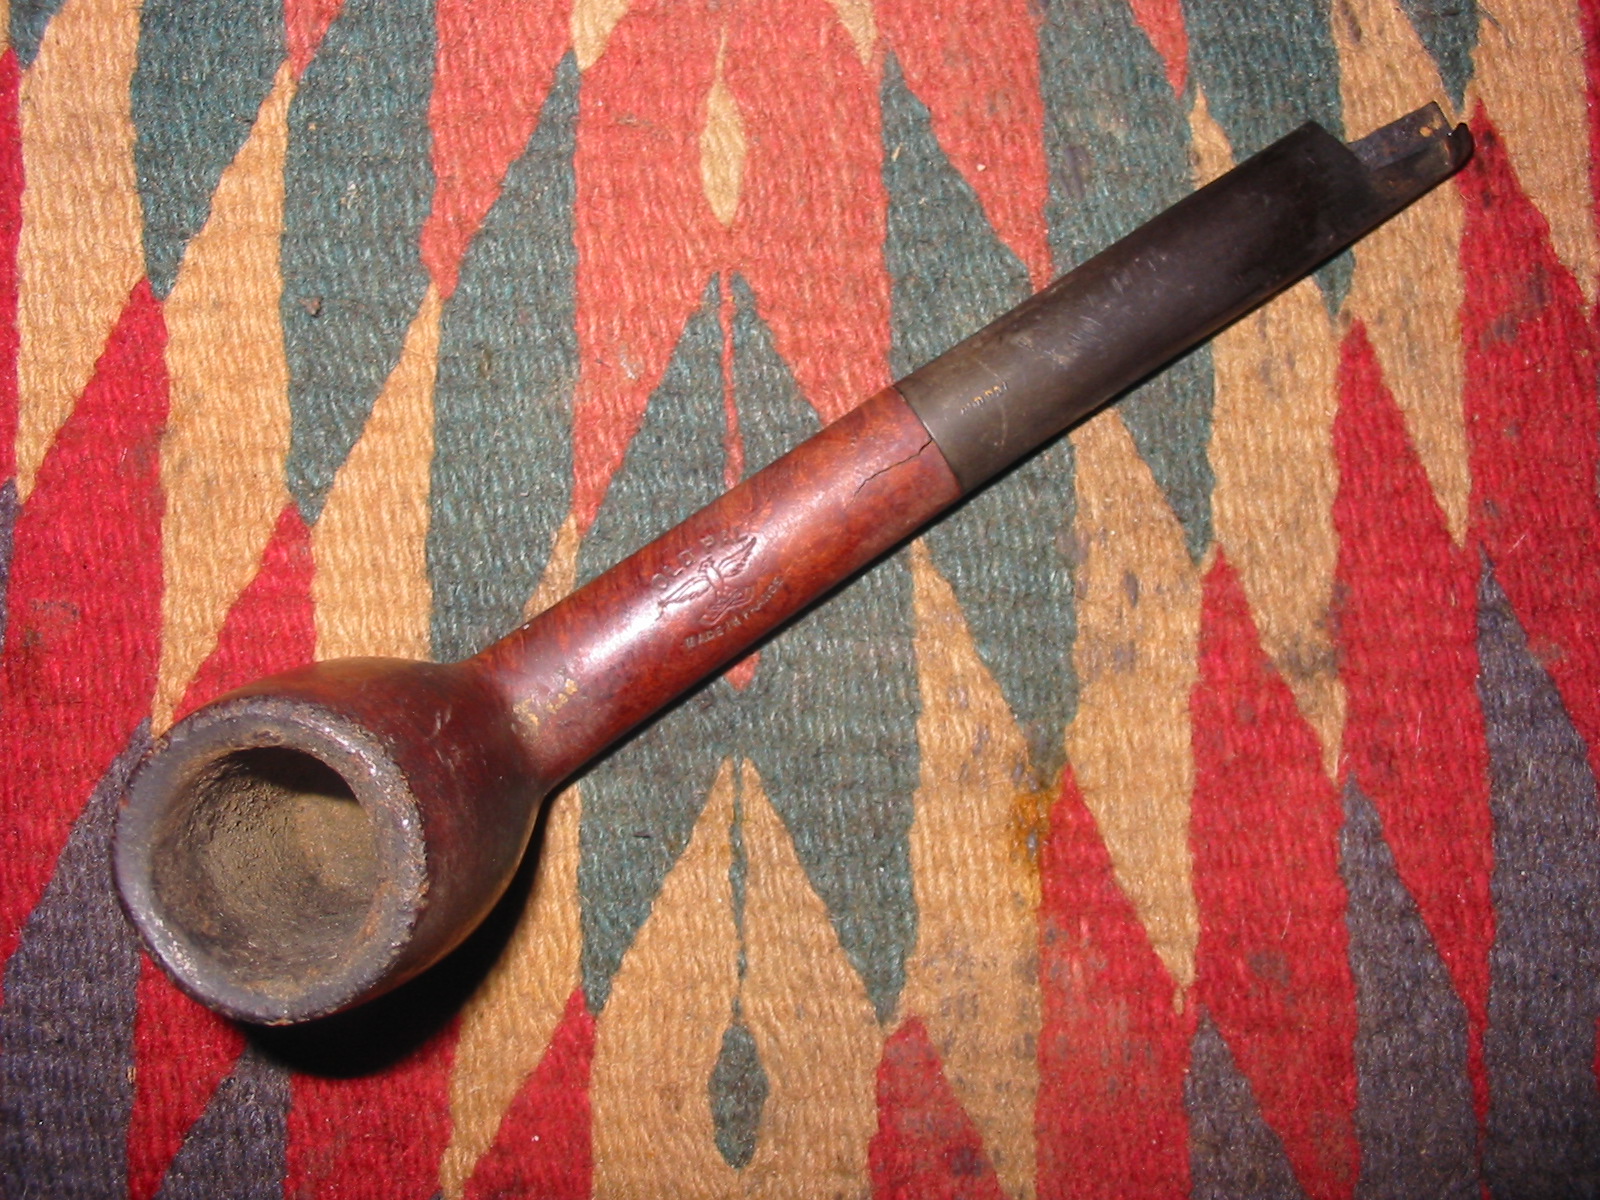
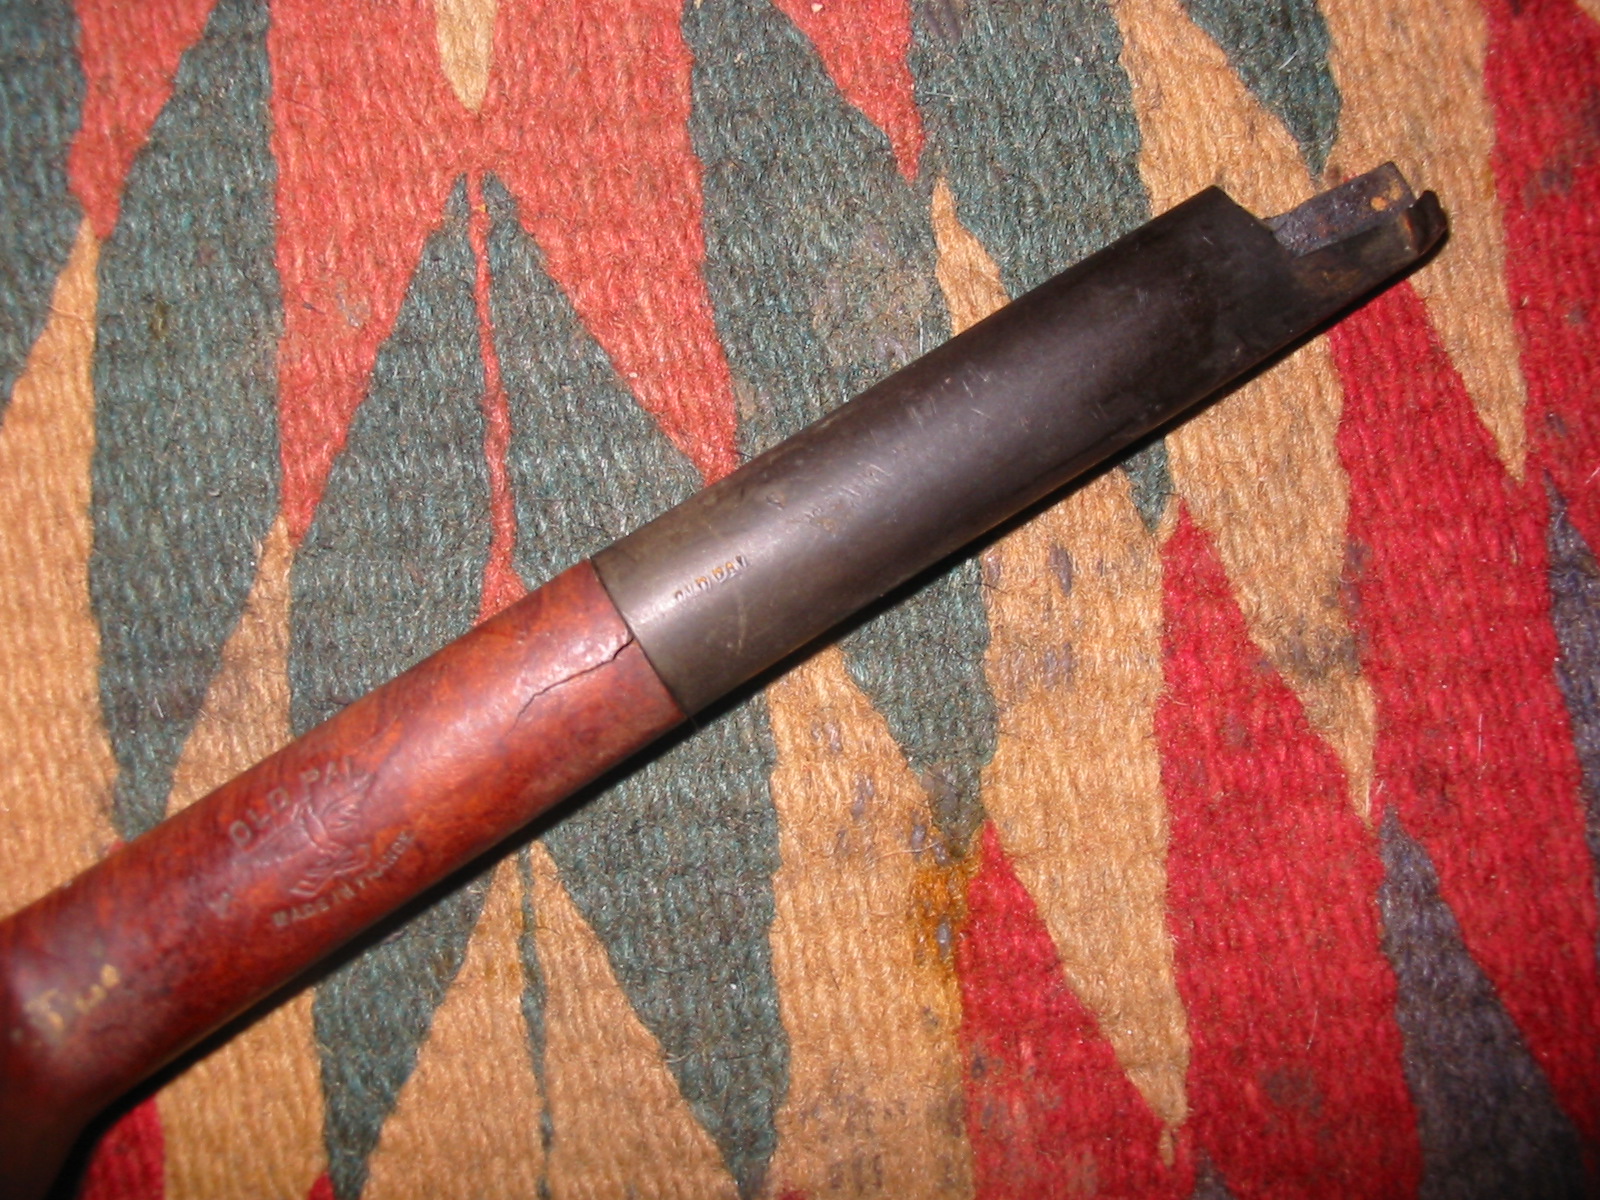
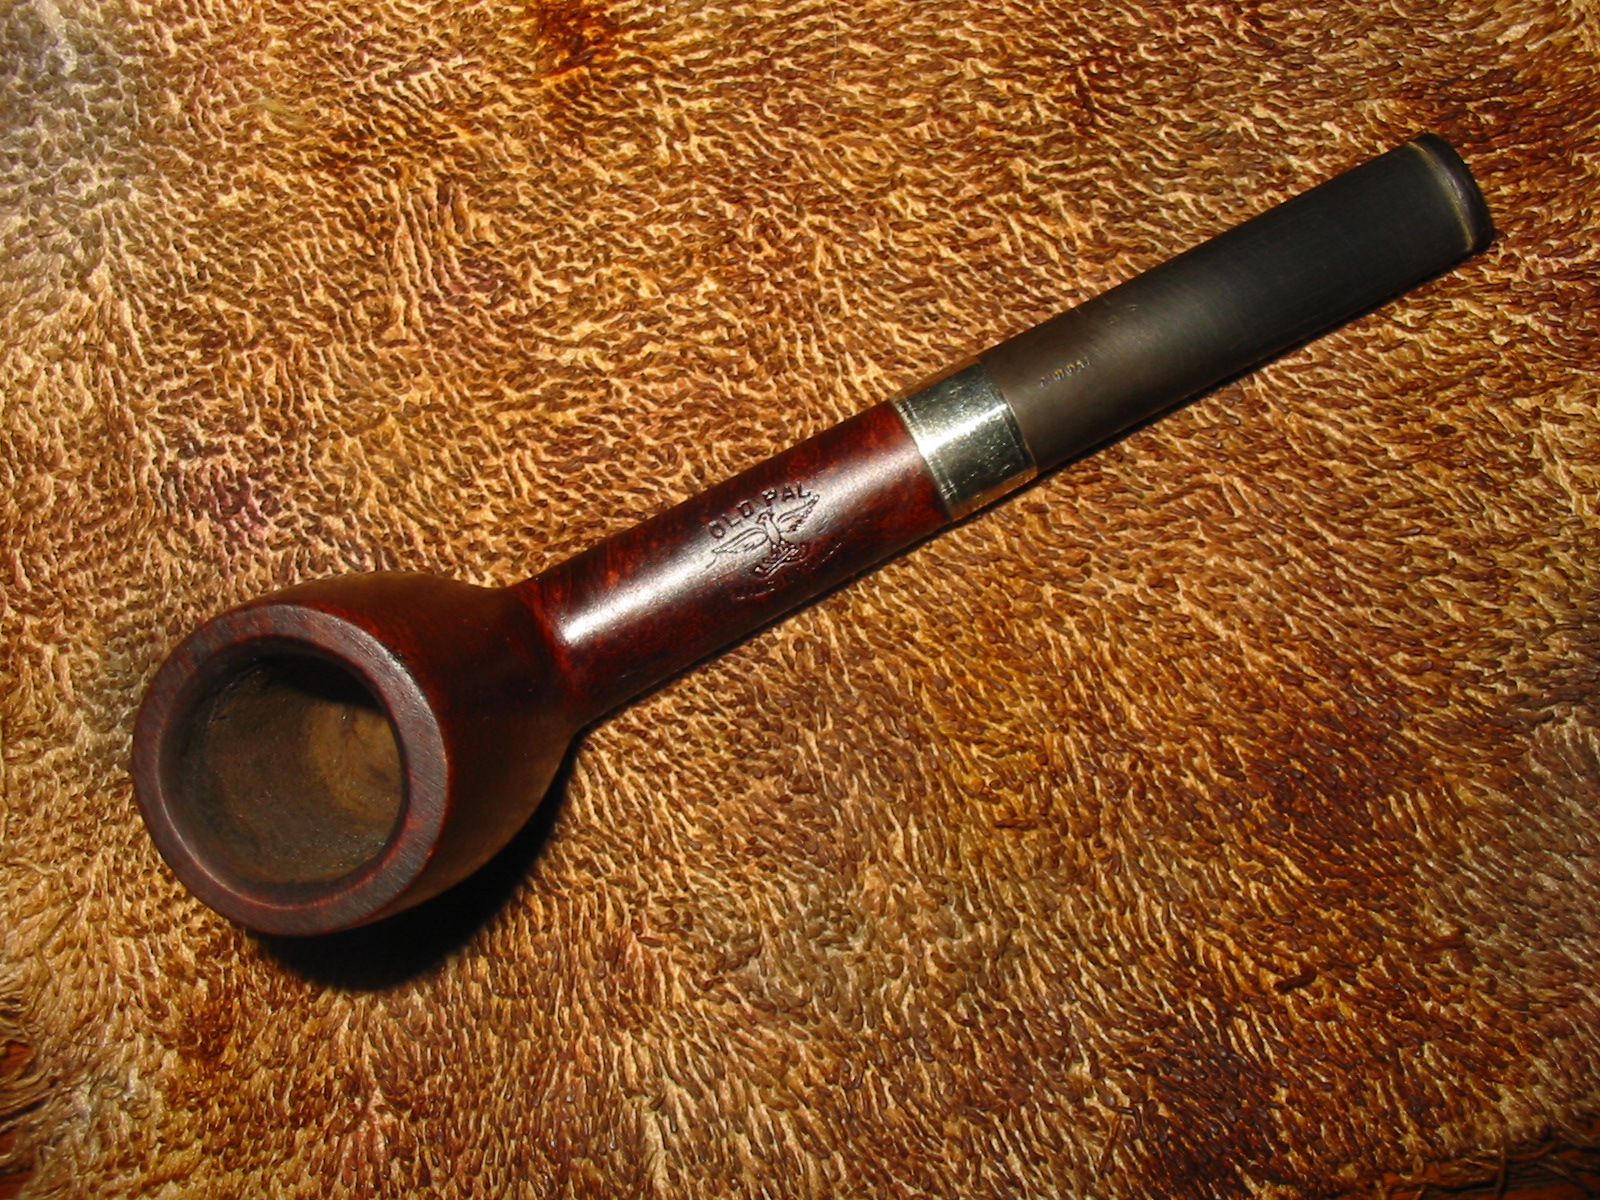
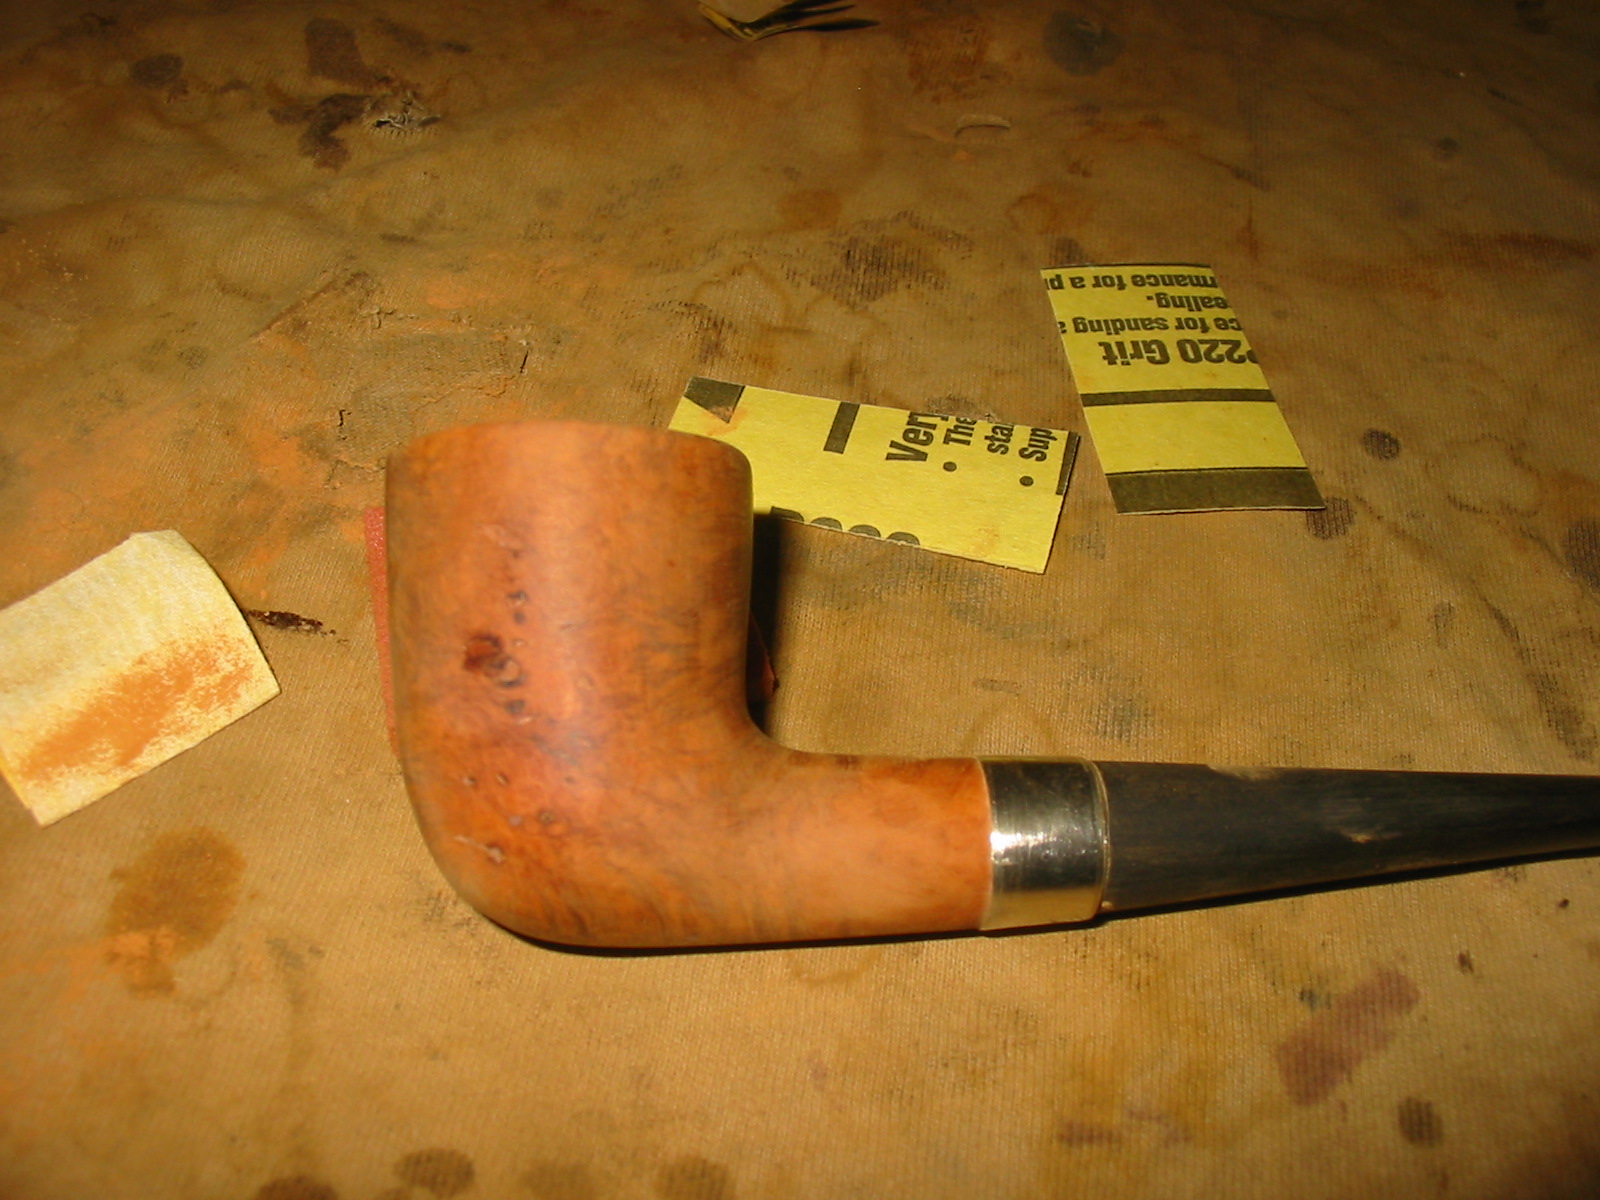
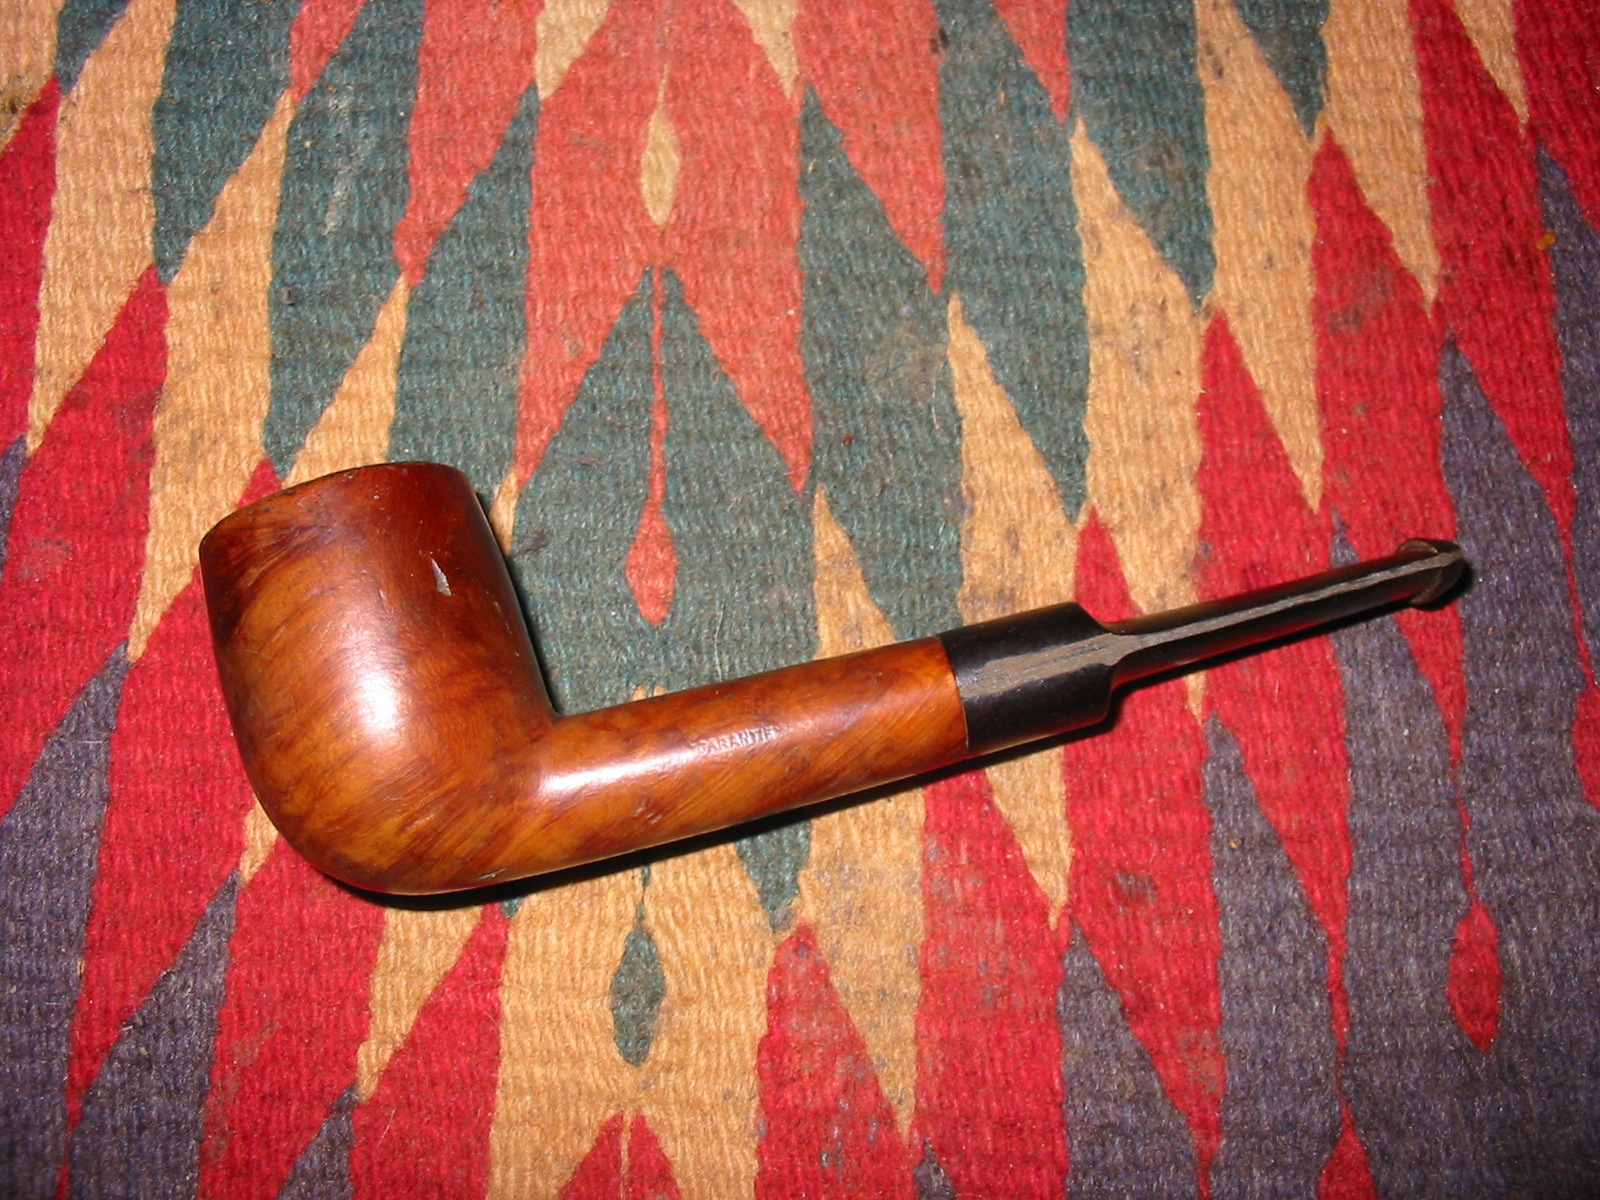
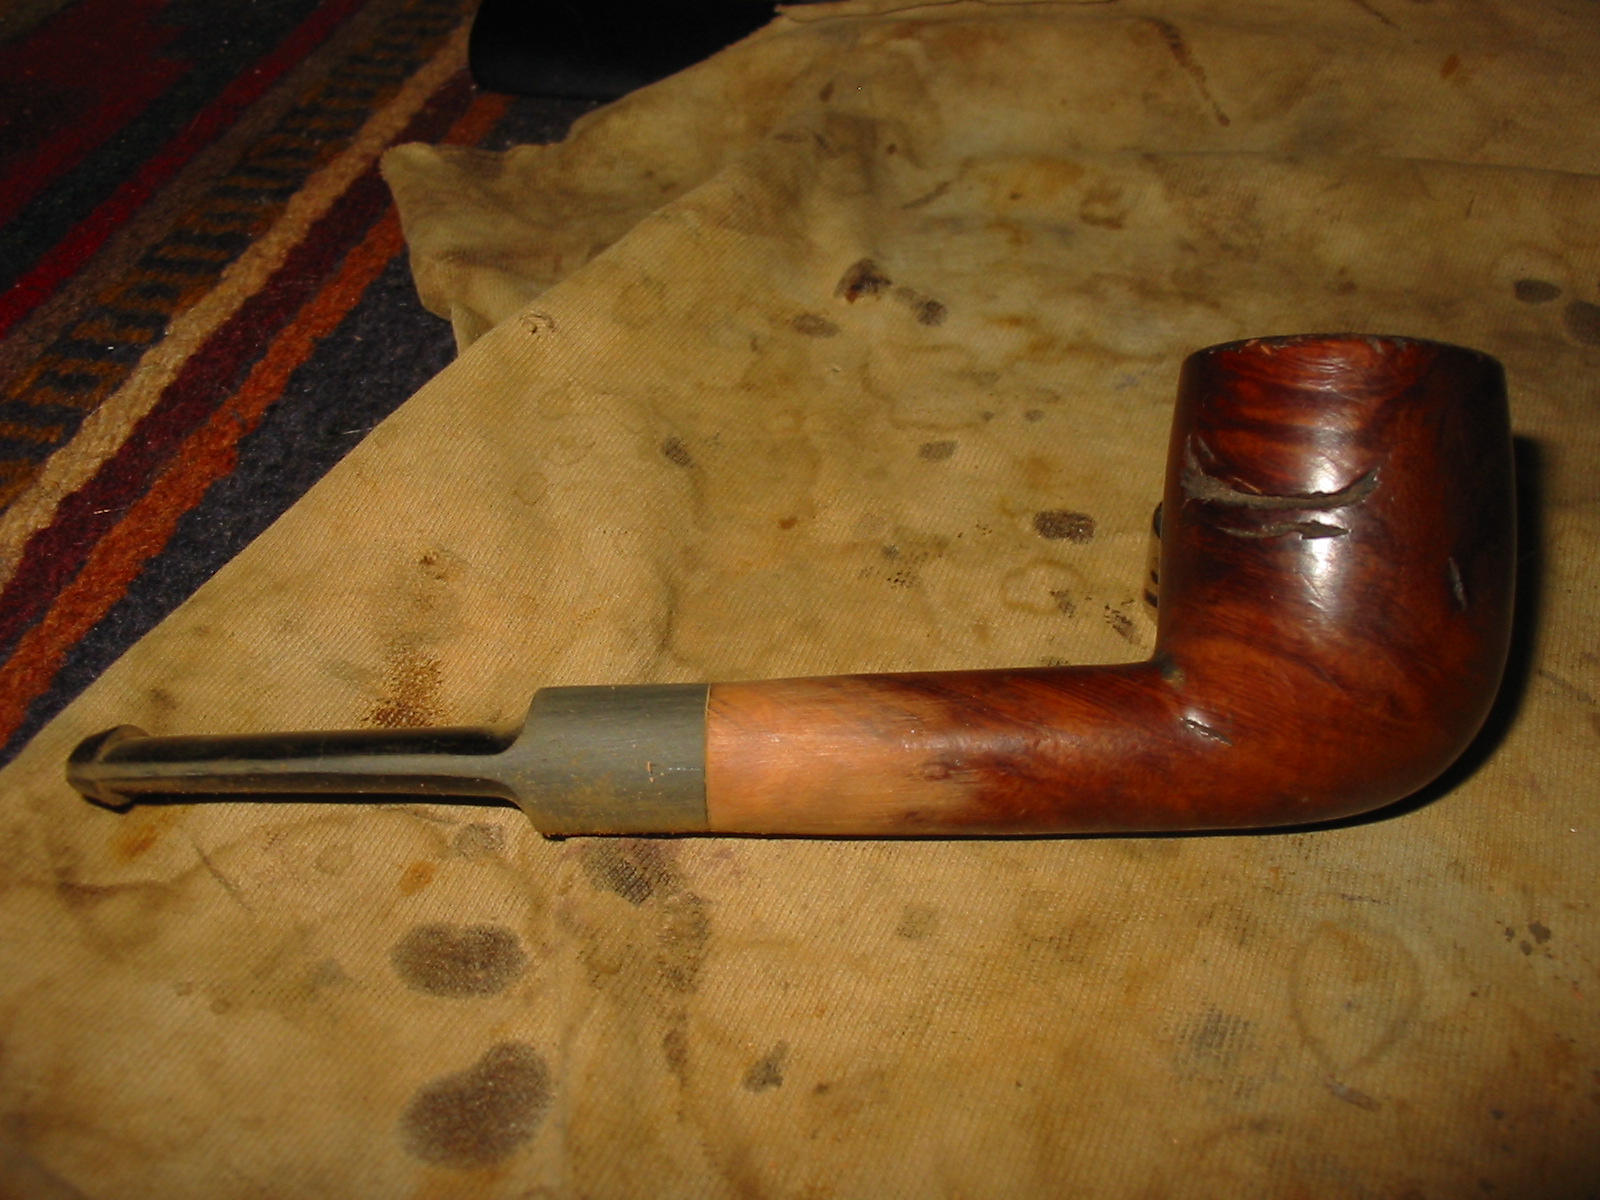
 I was careful to leave the original Malaga stamp intact. I was not as concerned with the Imported Briar stamp on the right side of the shank. Progress is being made.
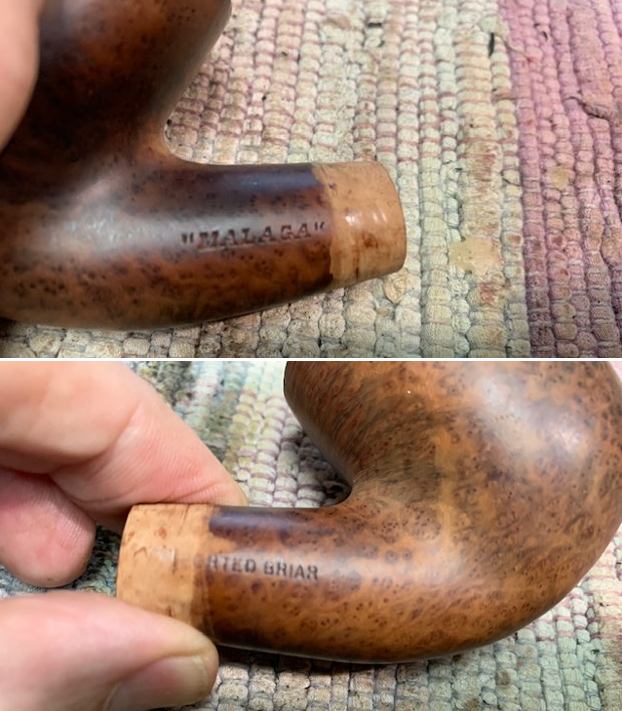 I did a bit more shaping on the shank end. The decorative band now fit it quite well.
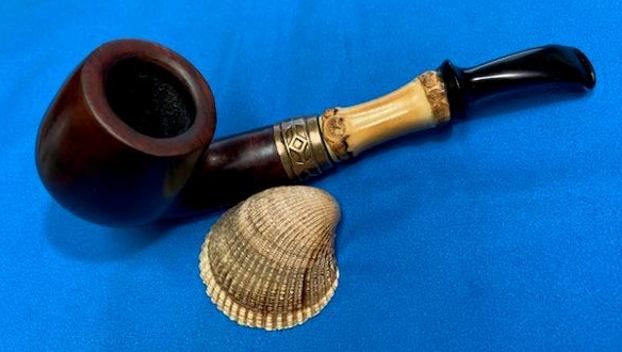
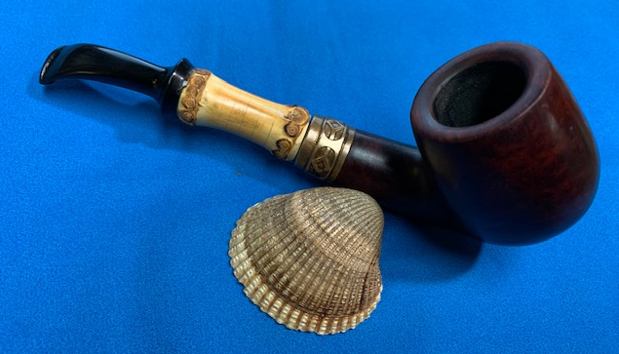
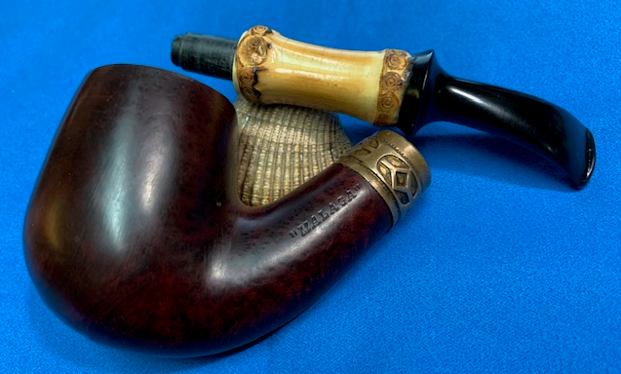
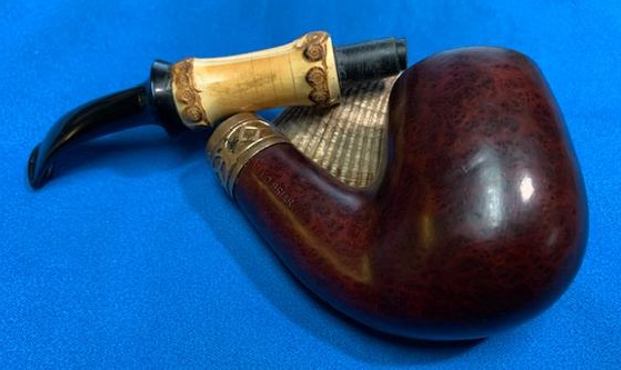
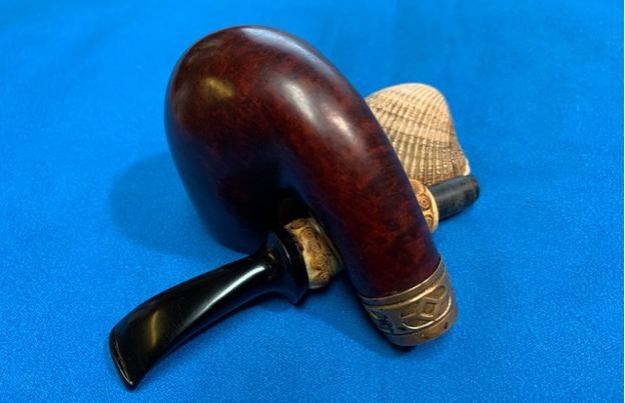
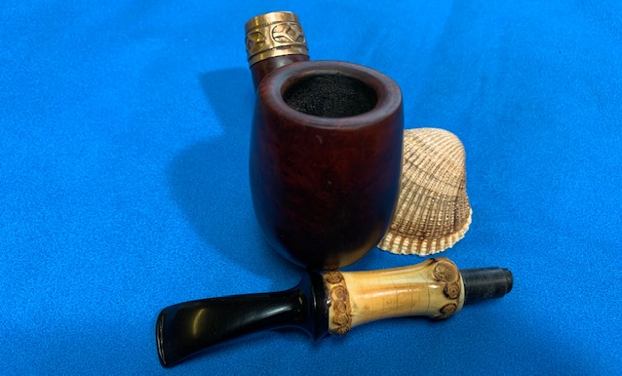
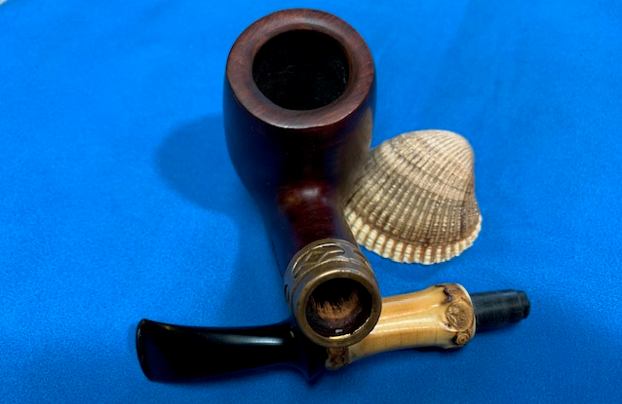
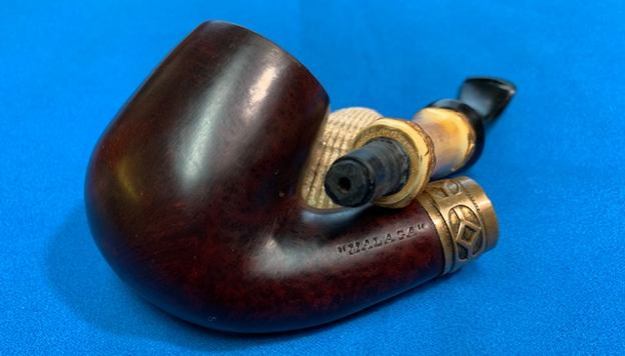
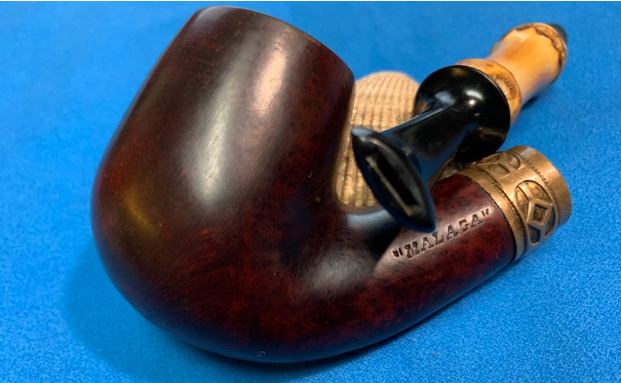
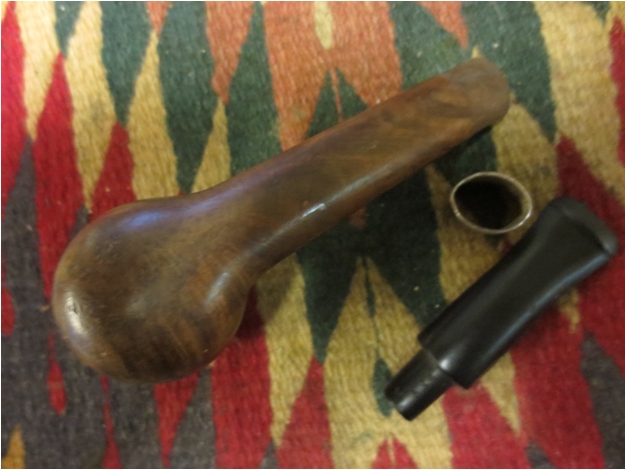
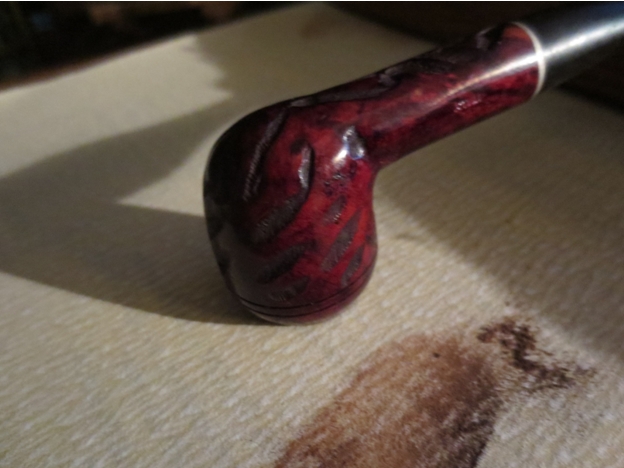
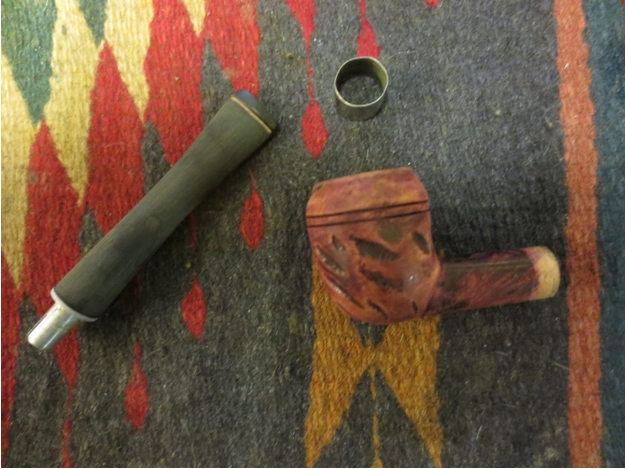
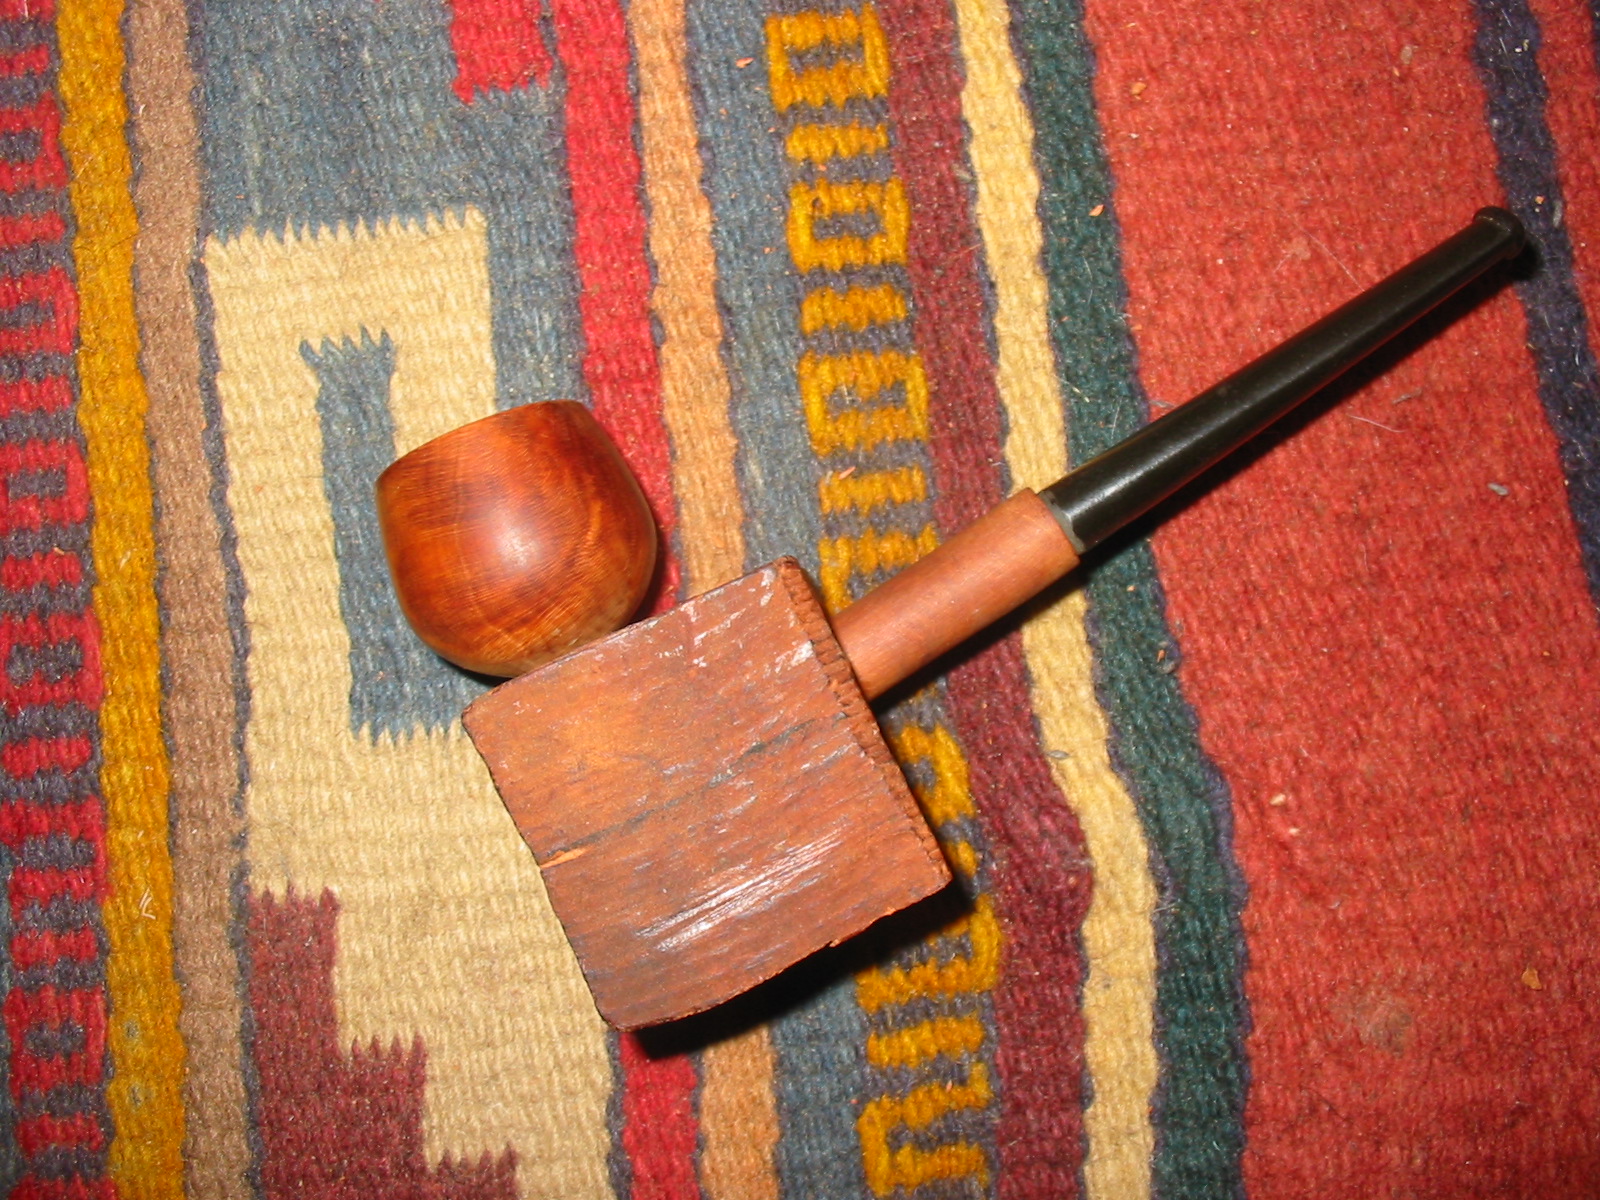
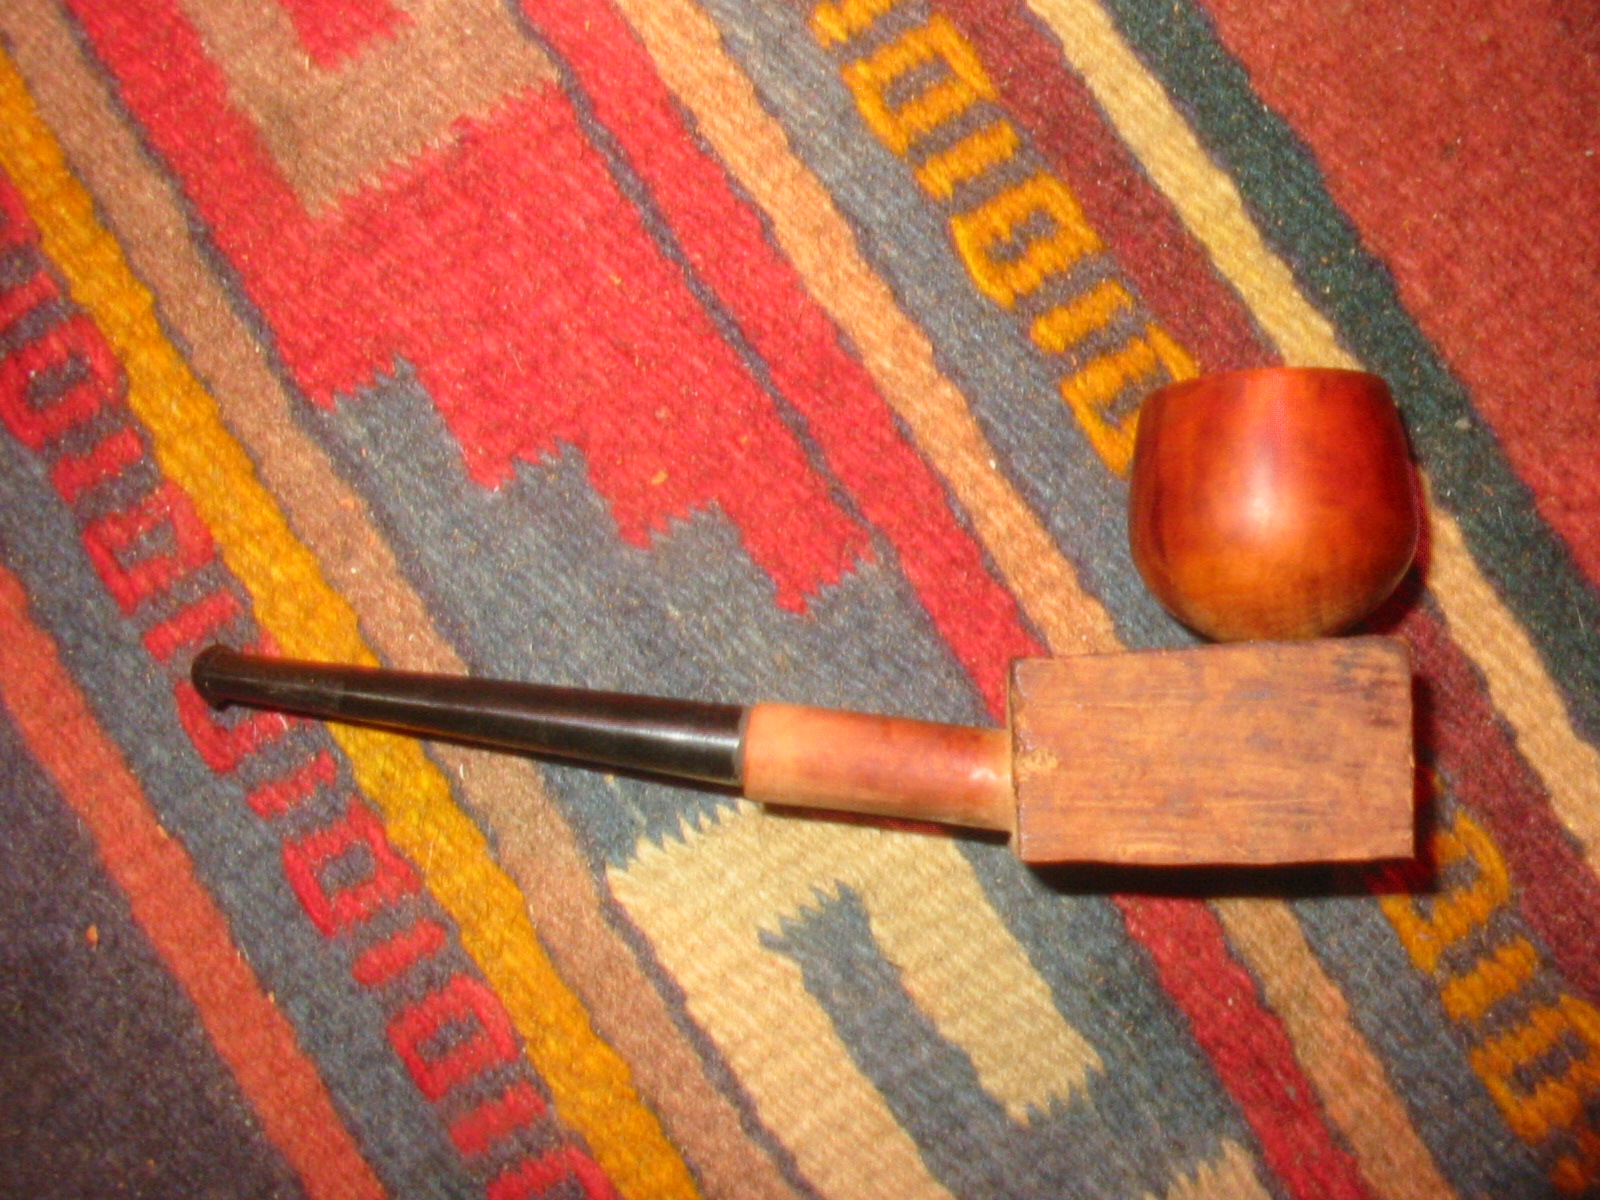
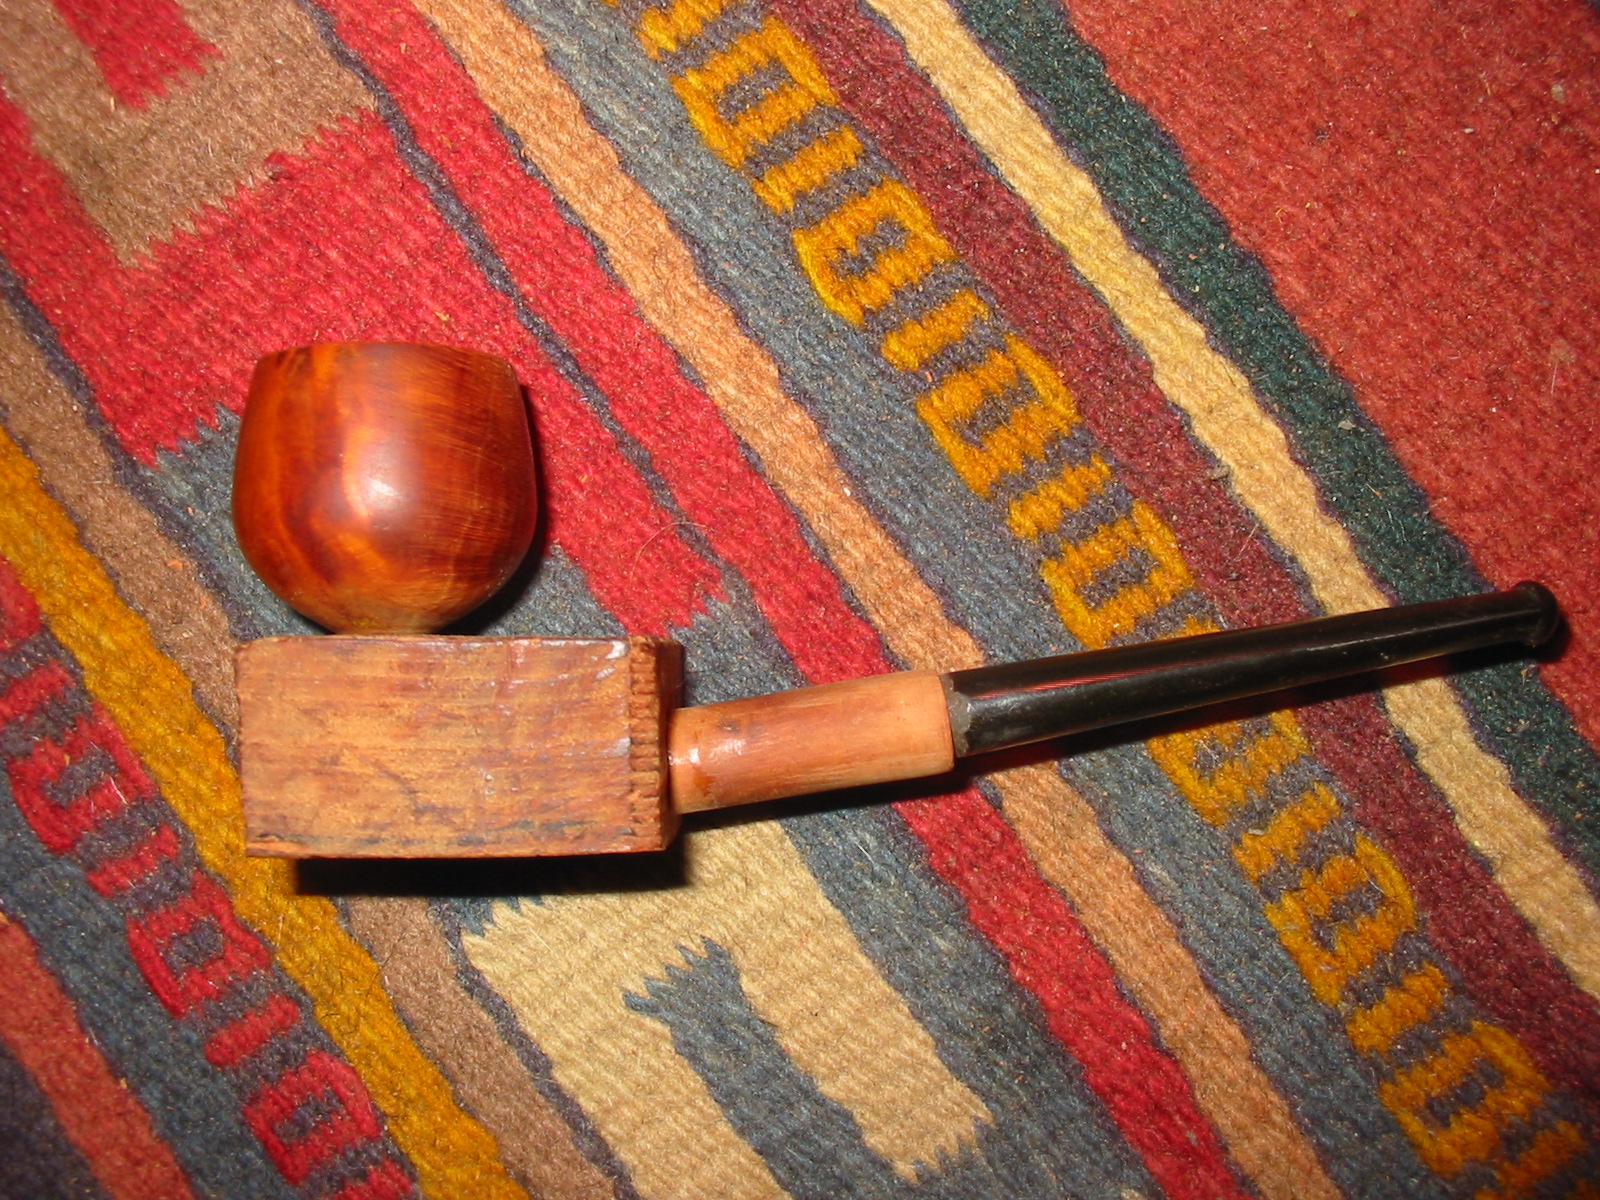
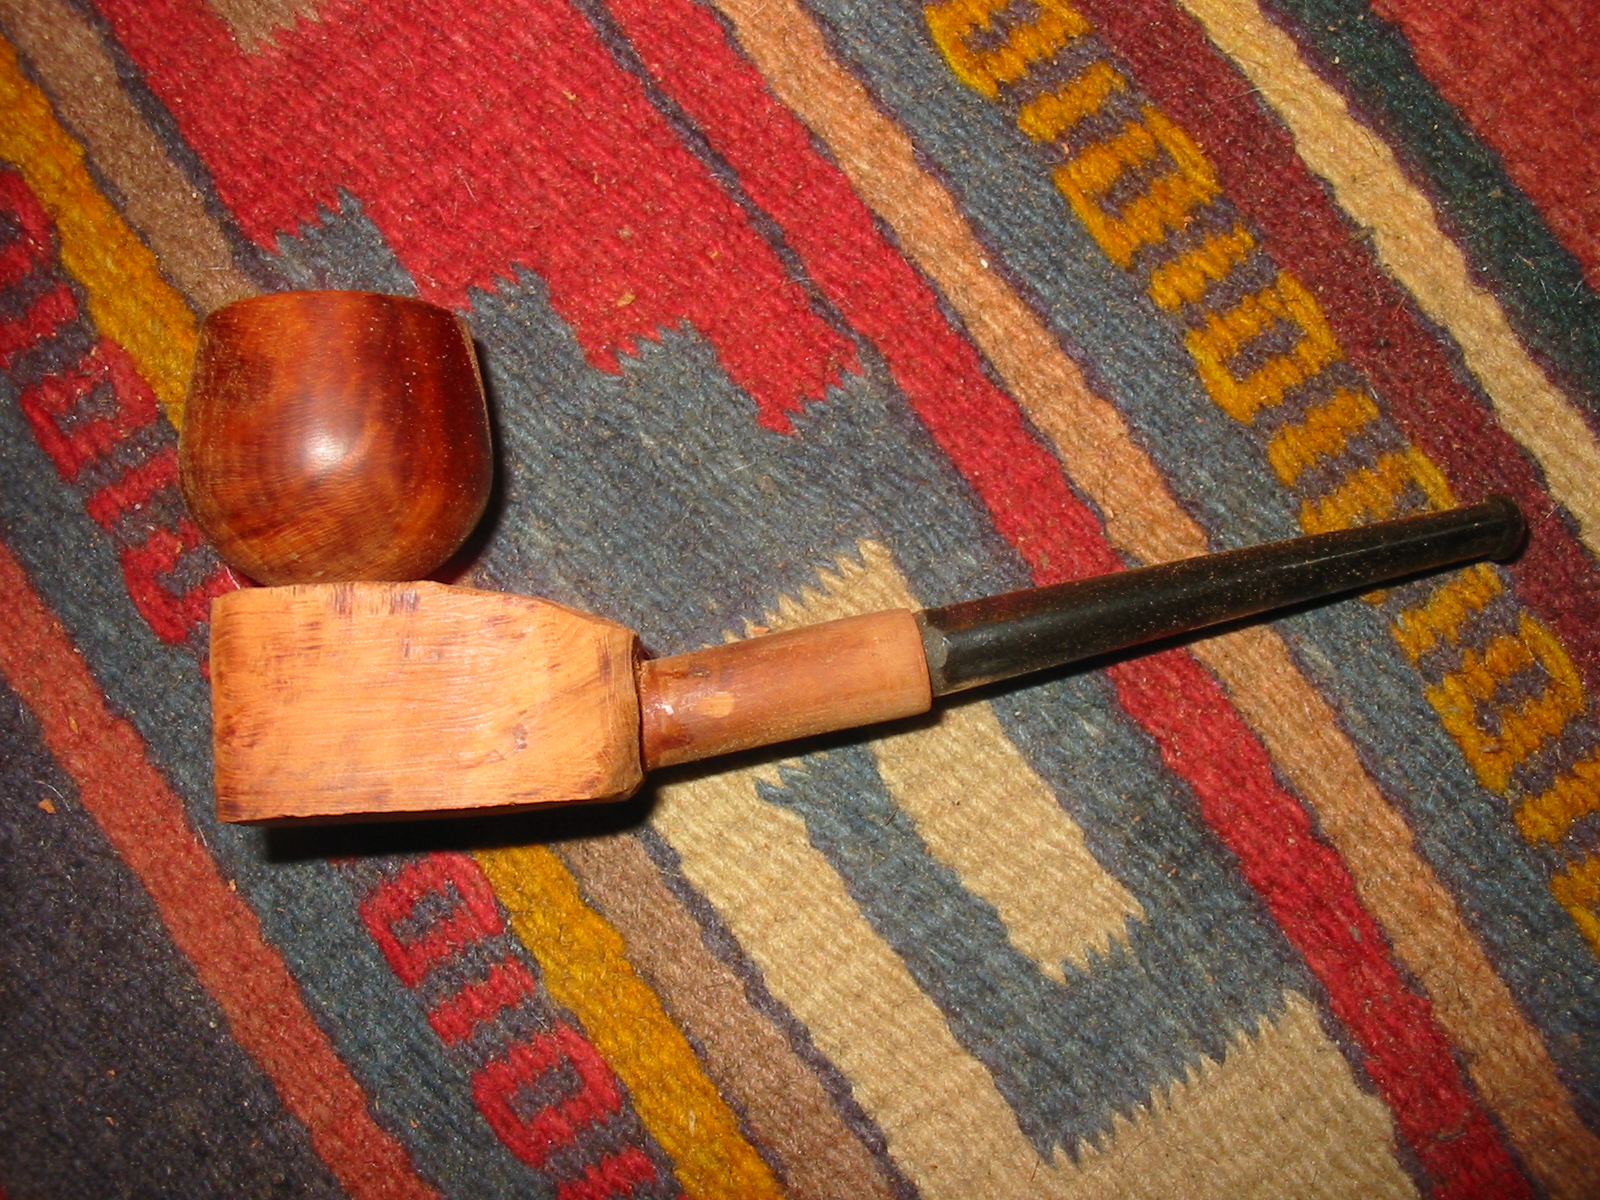
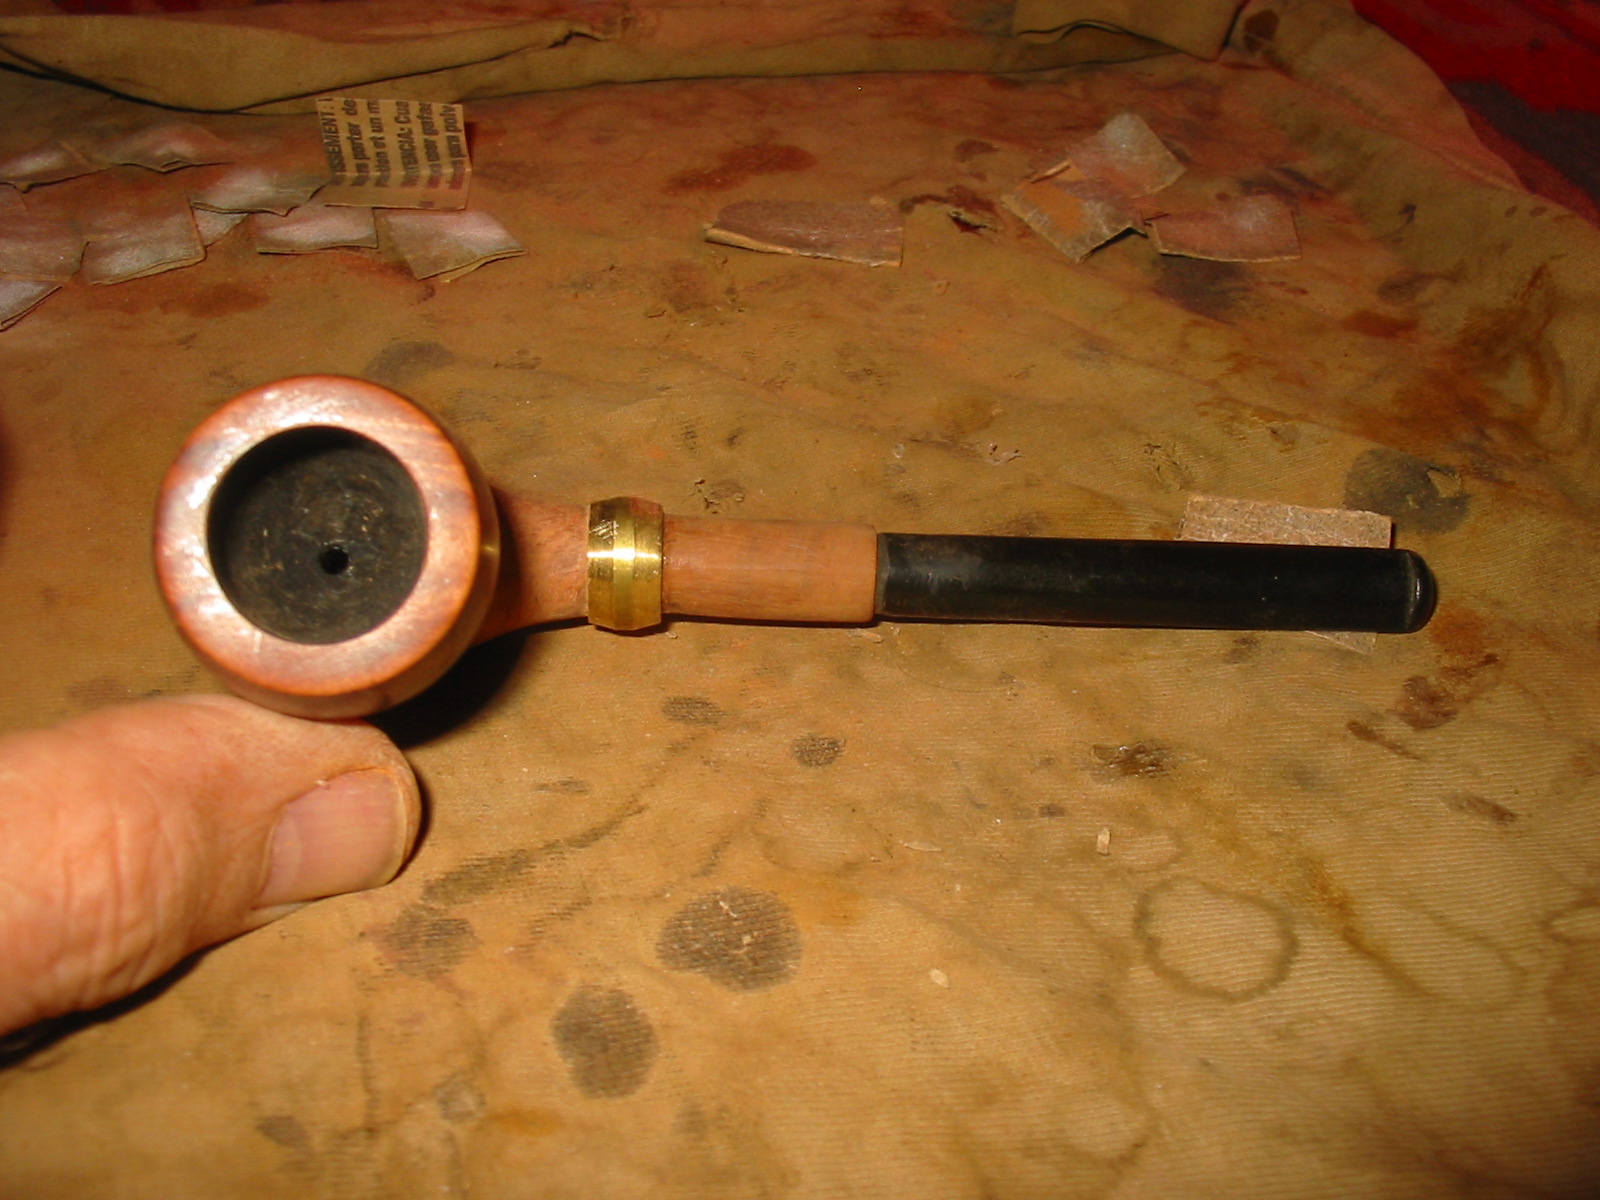
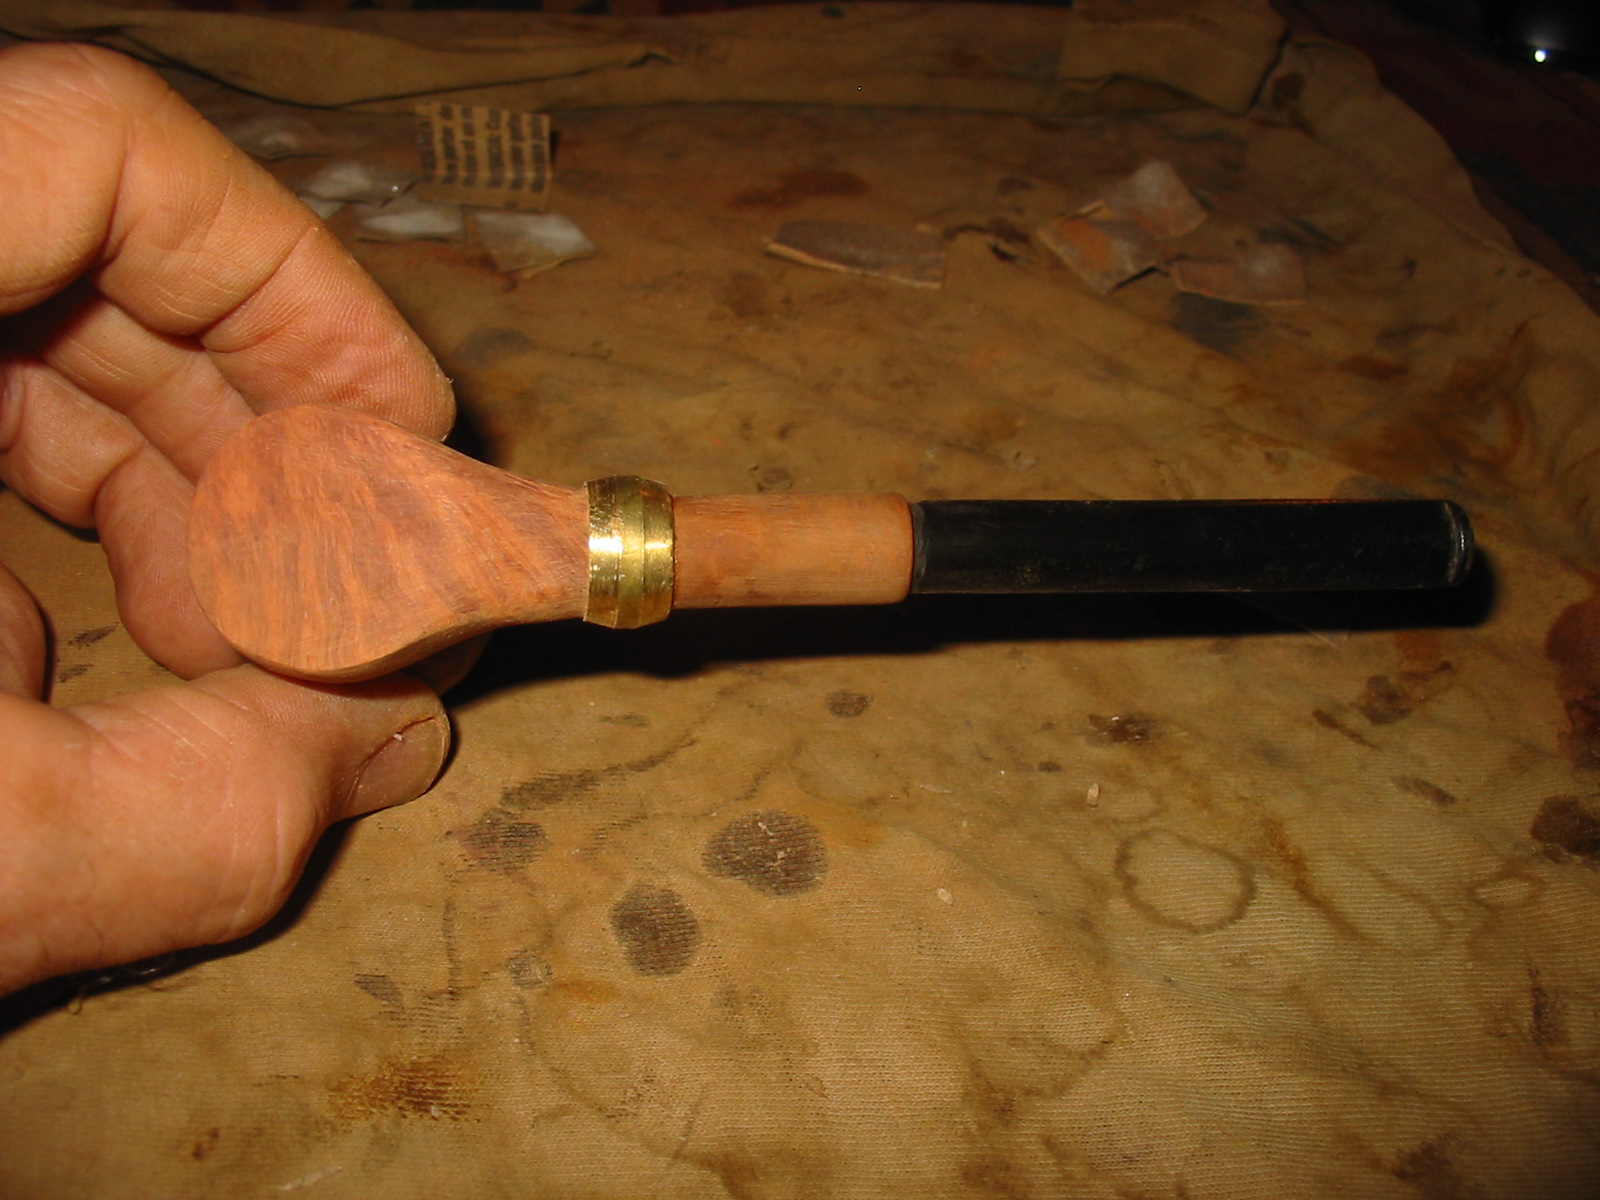
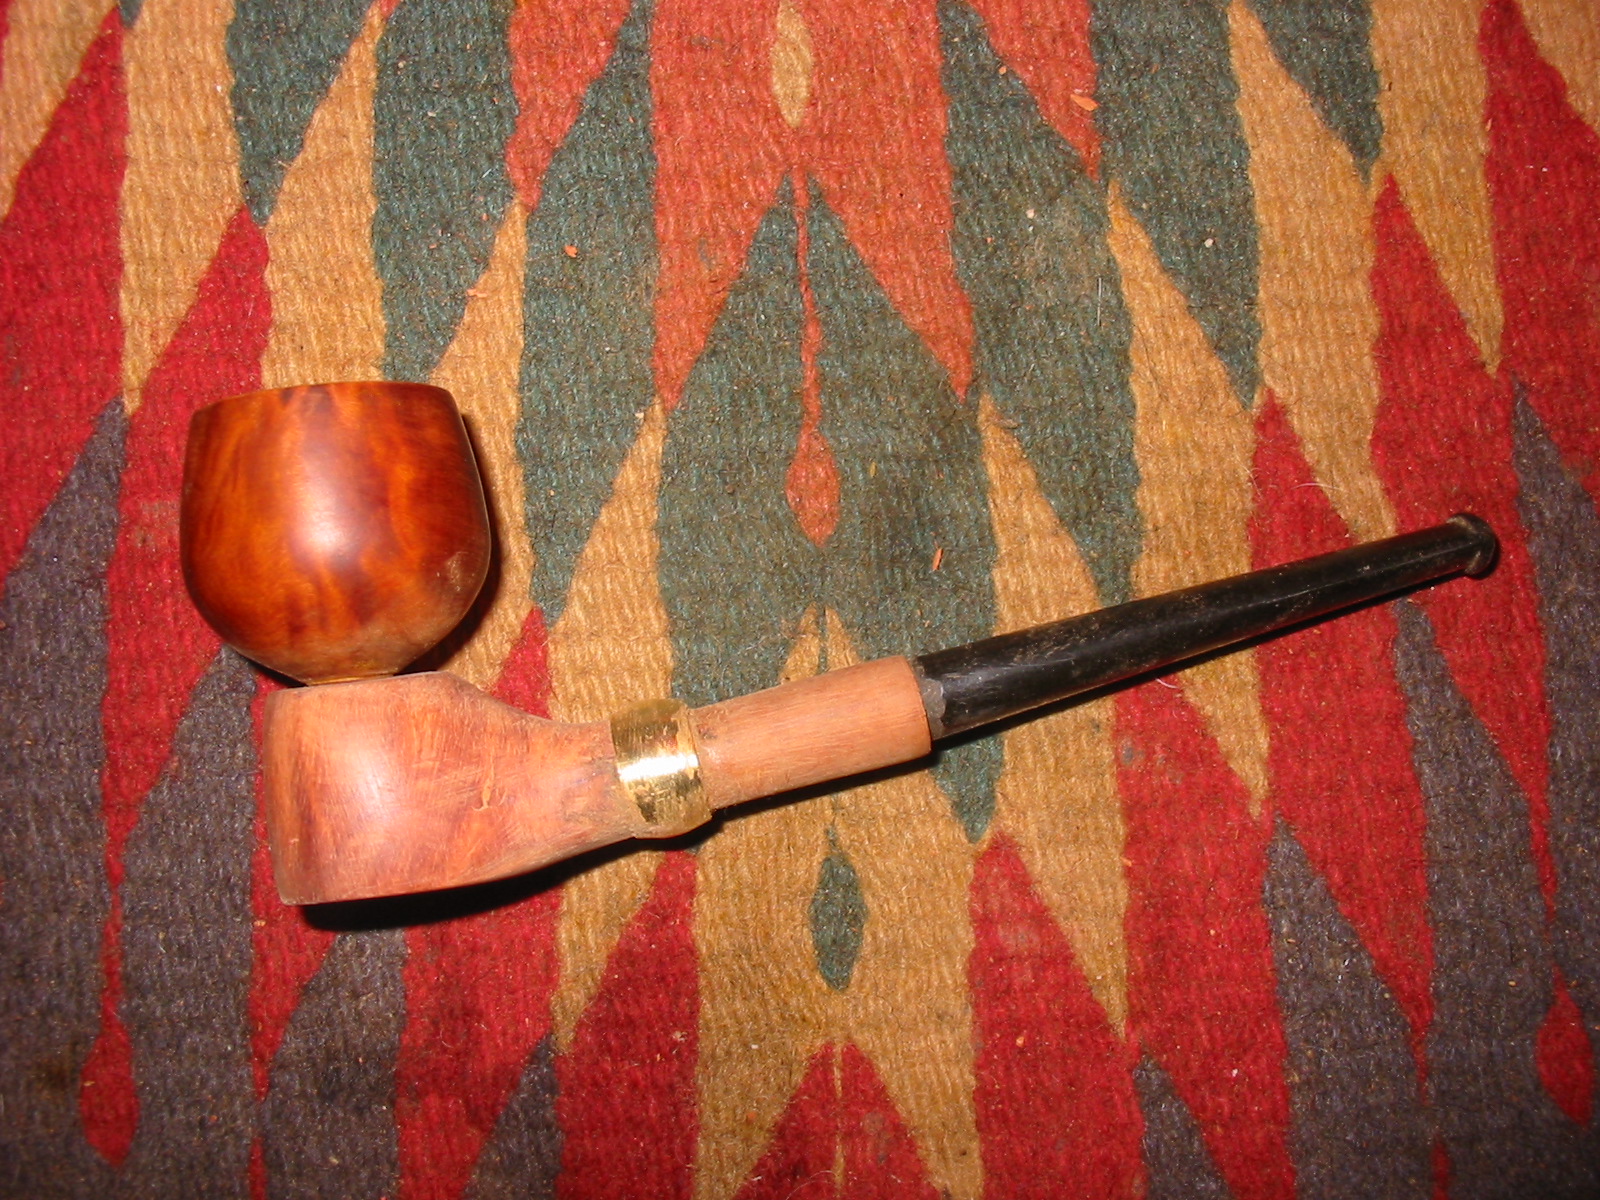
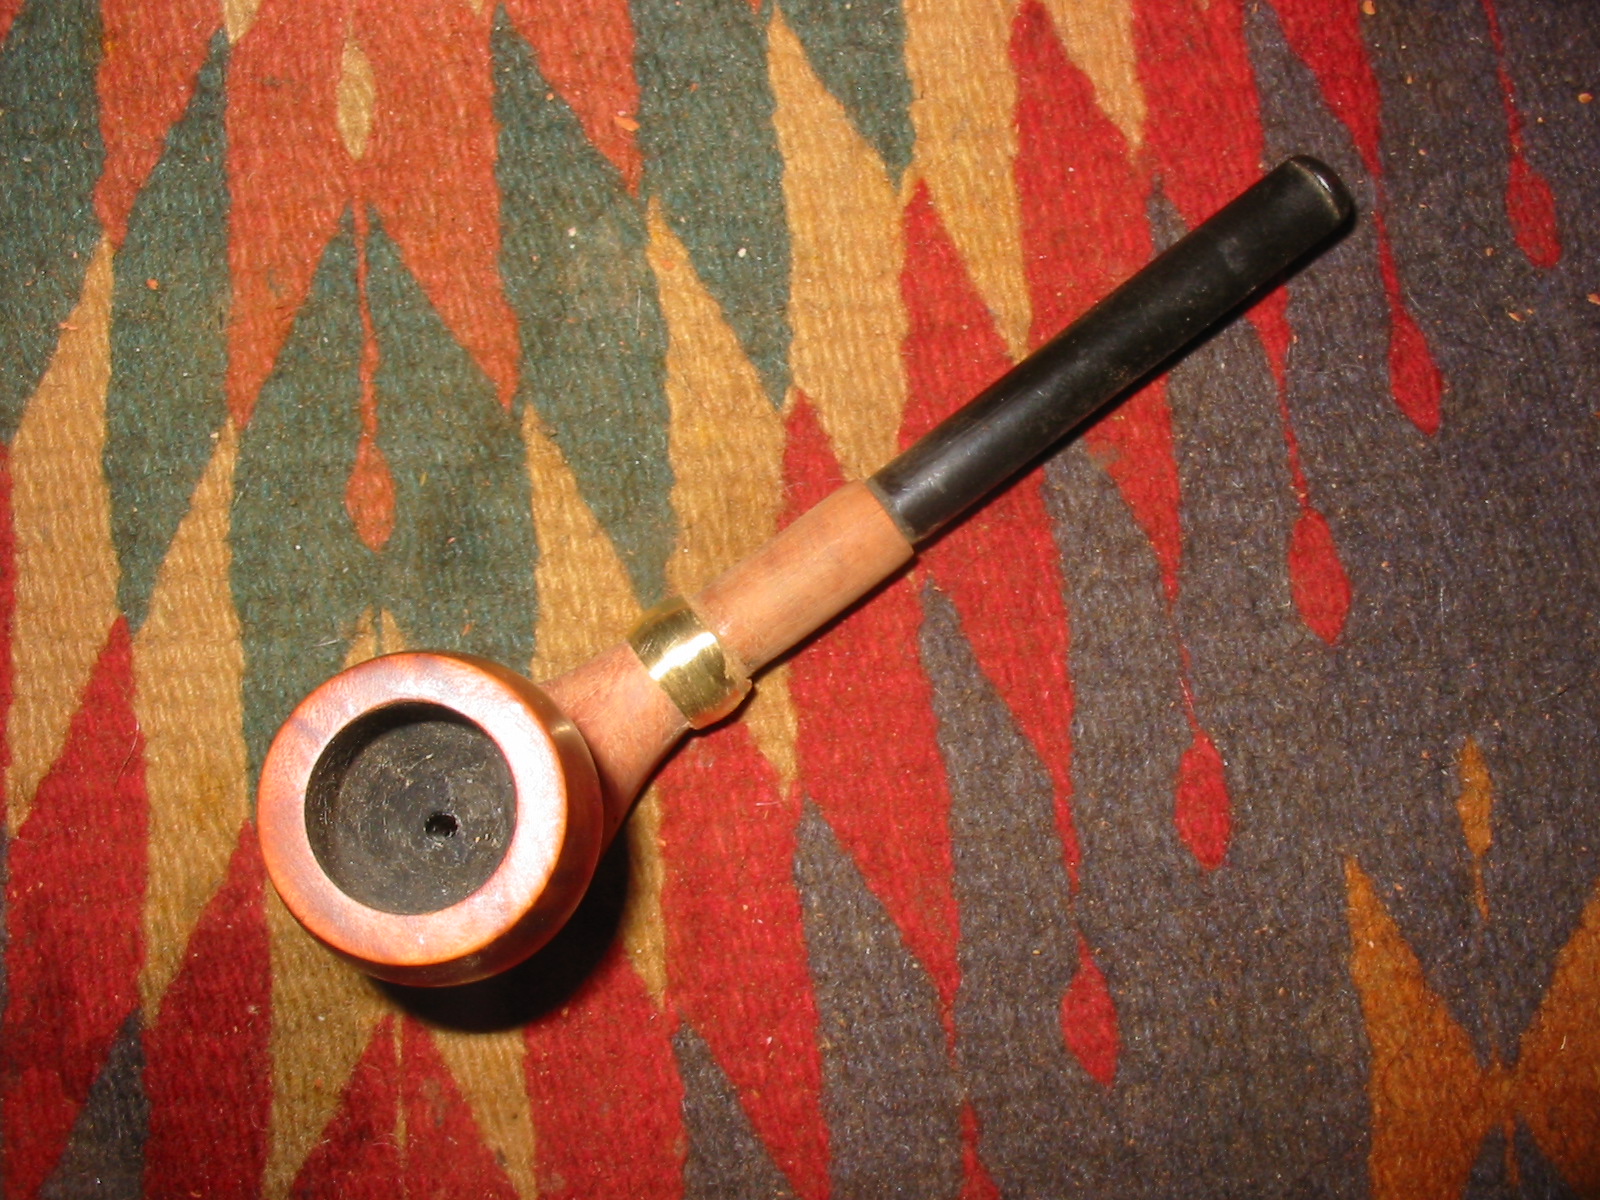
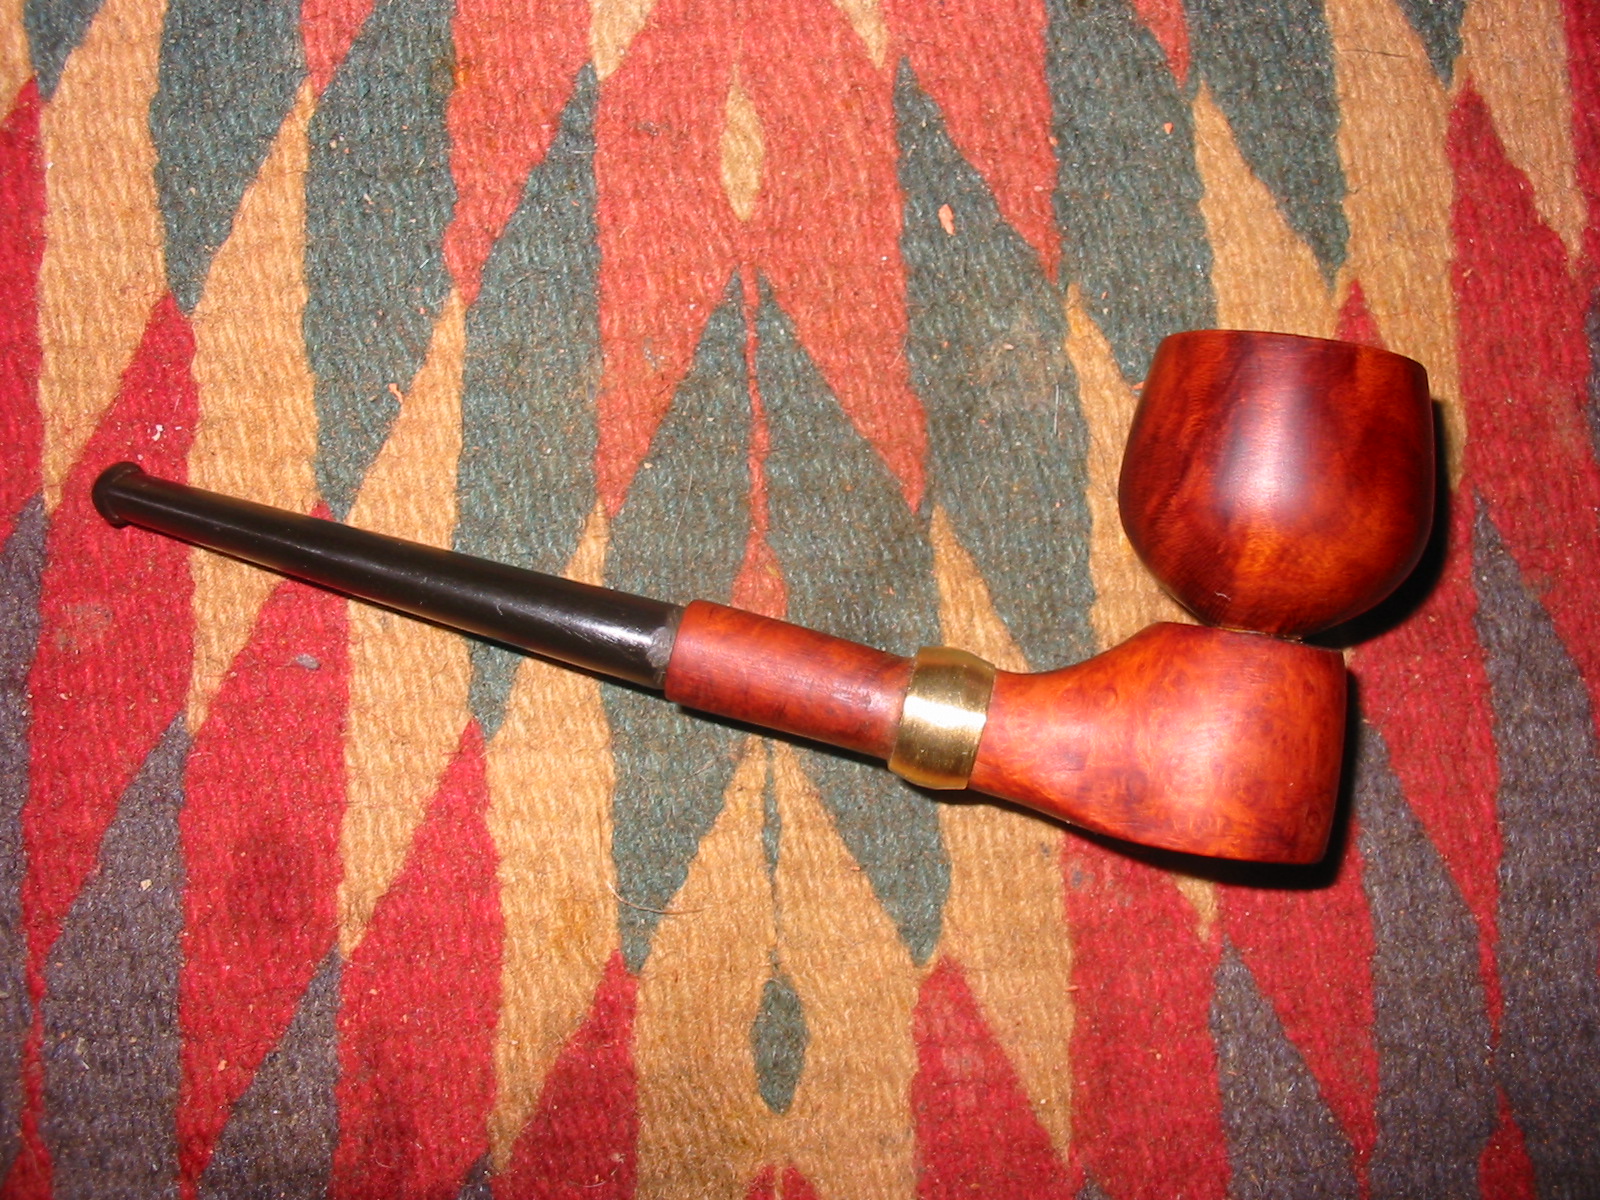
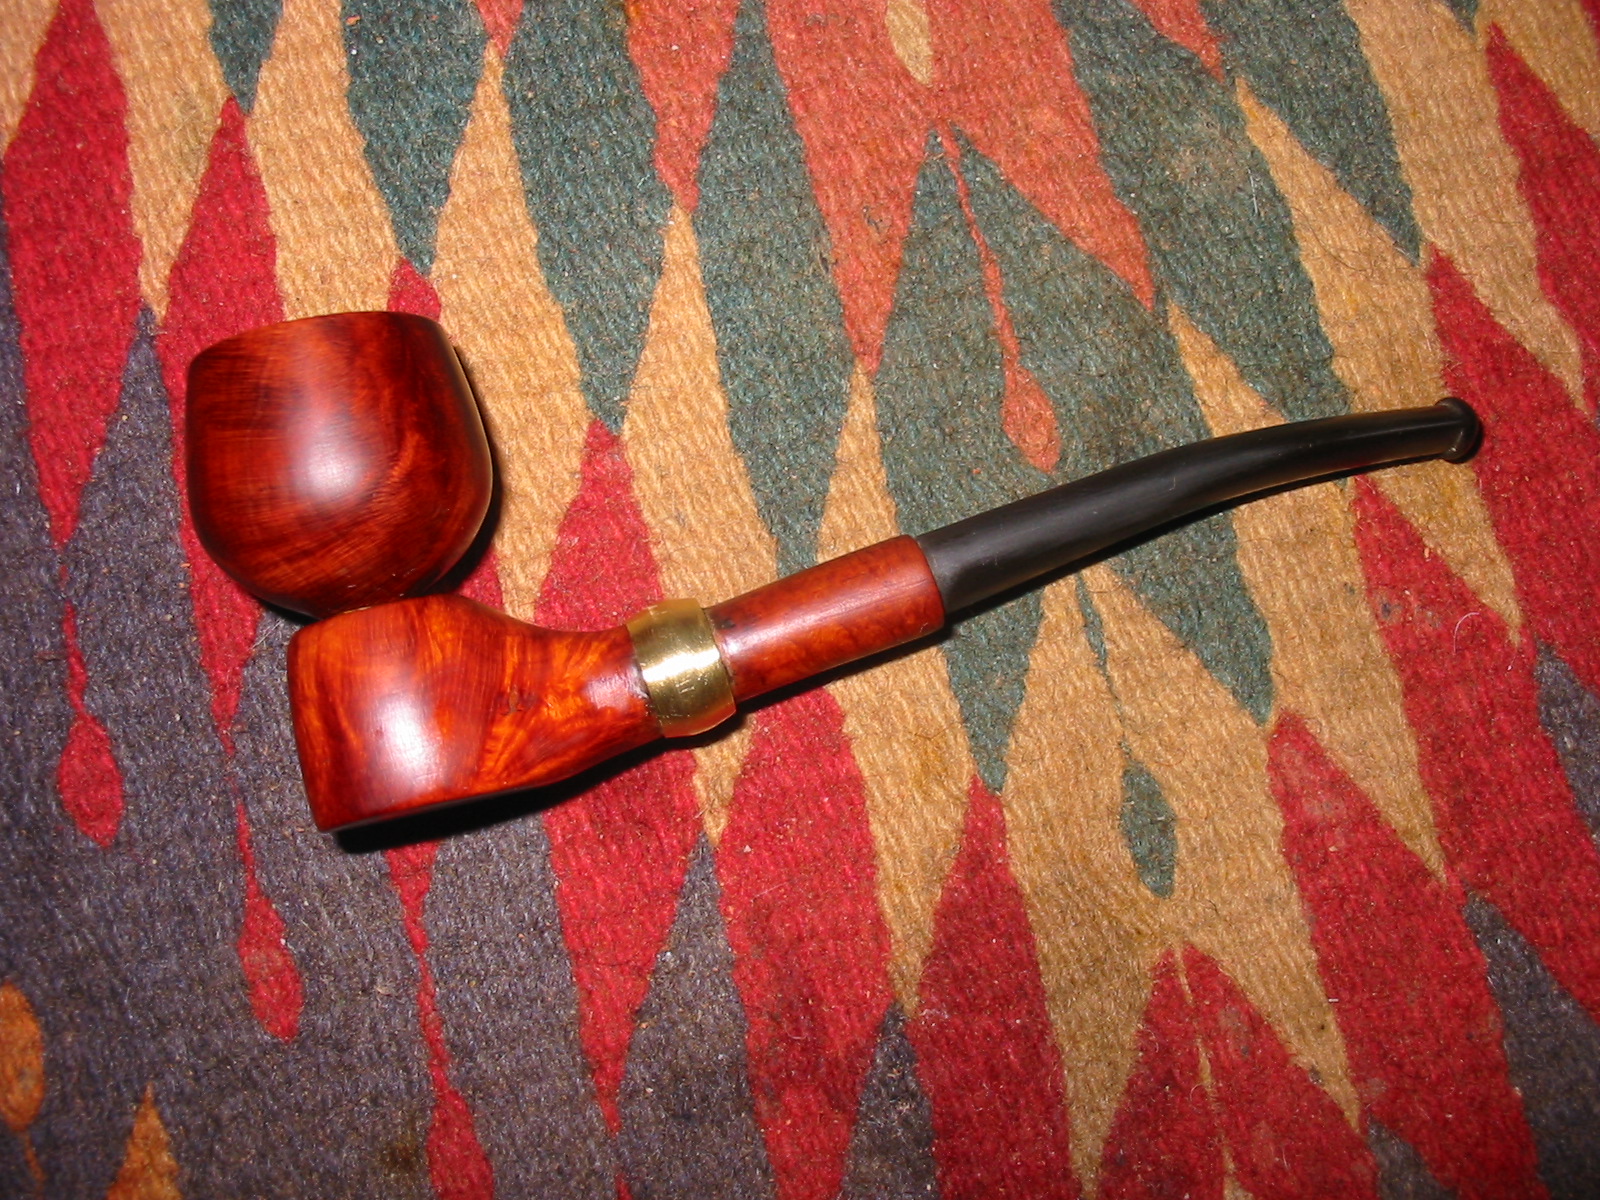
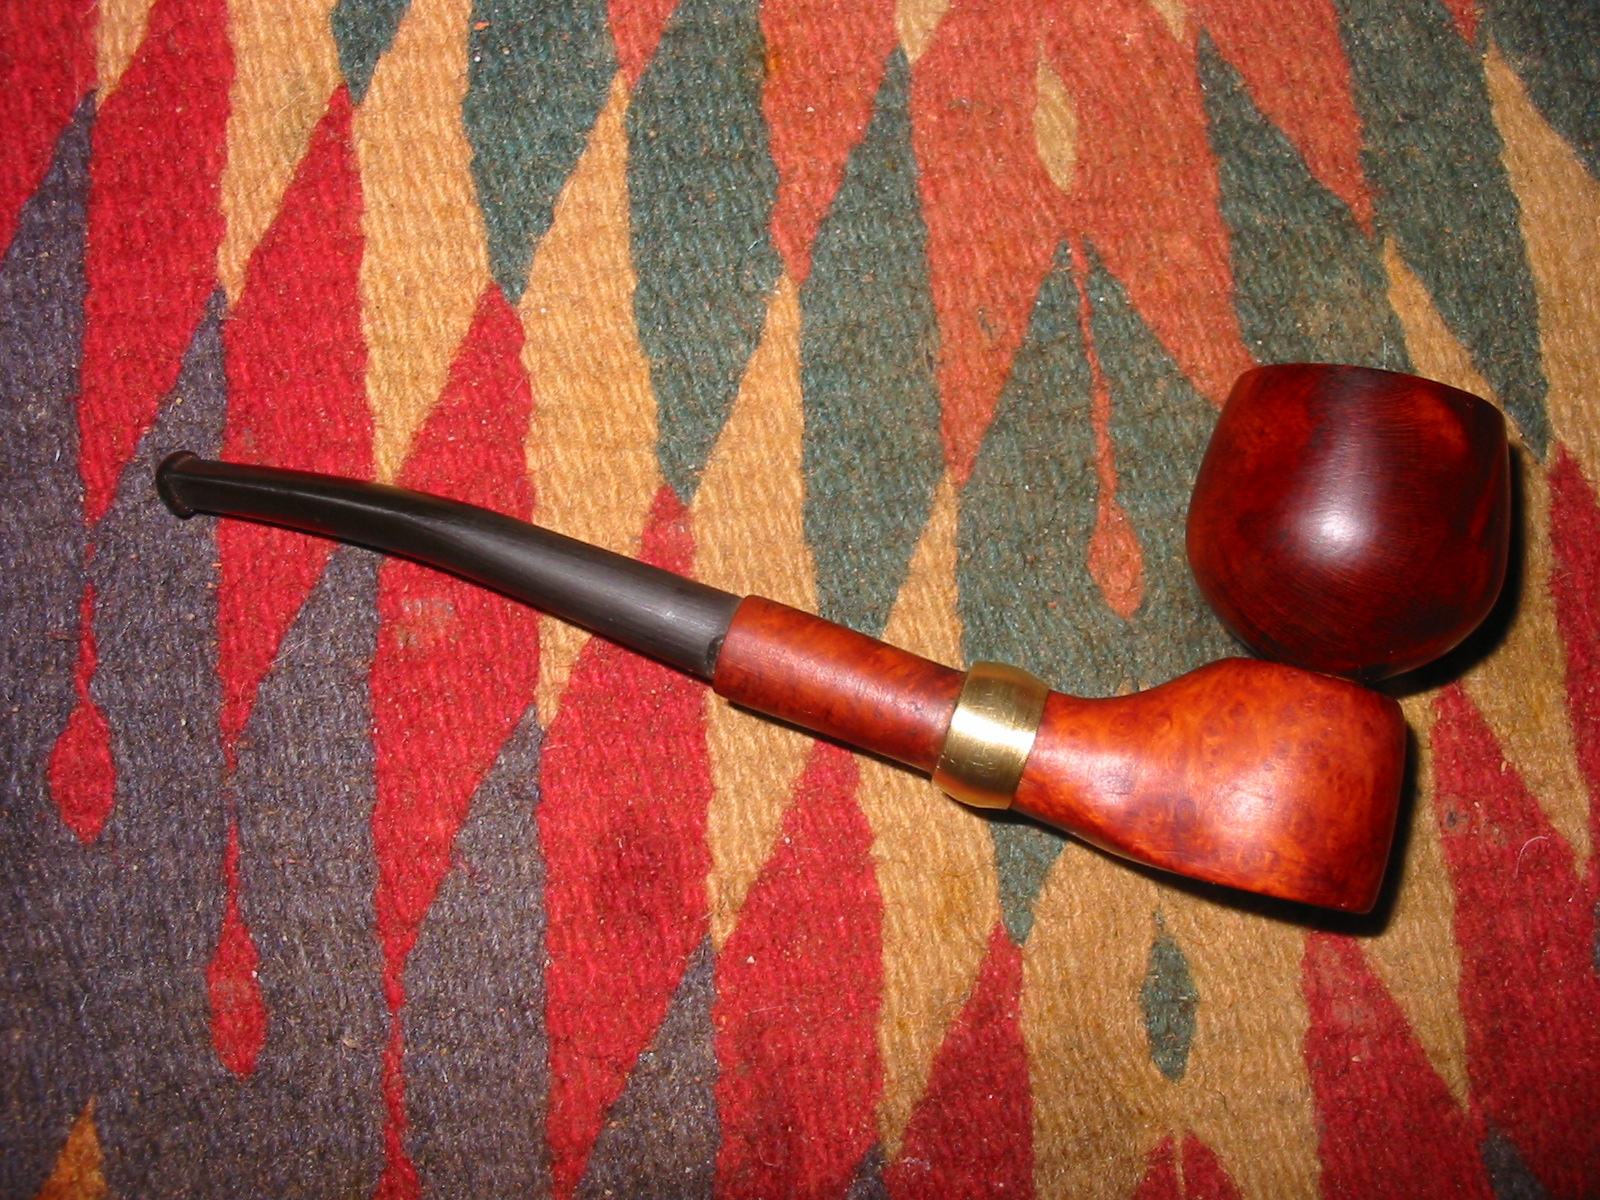
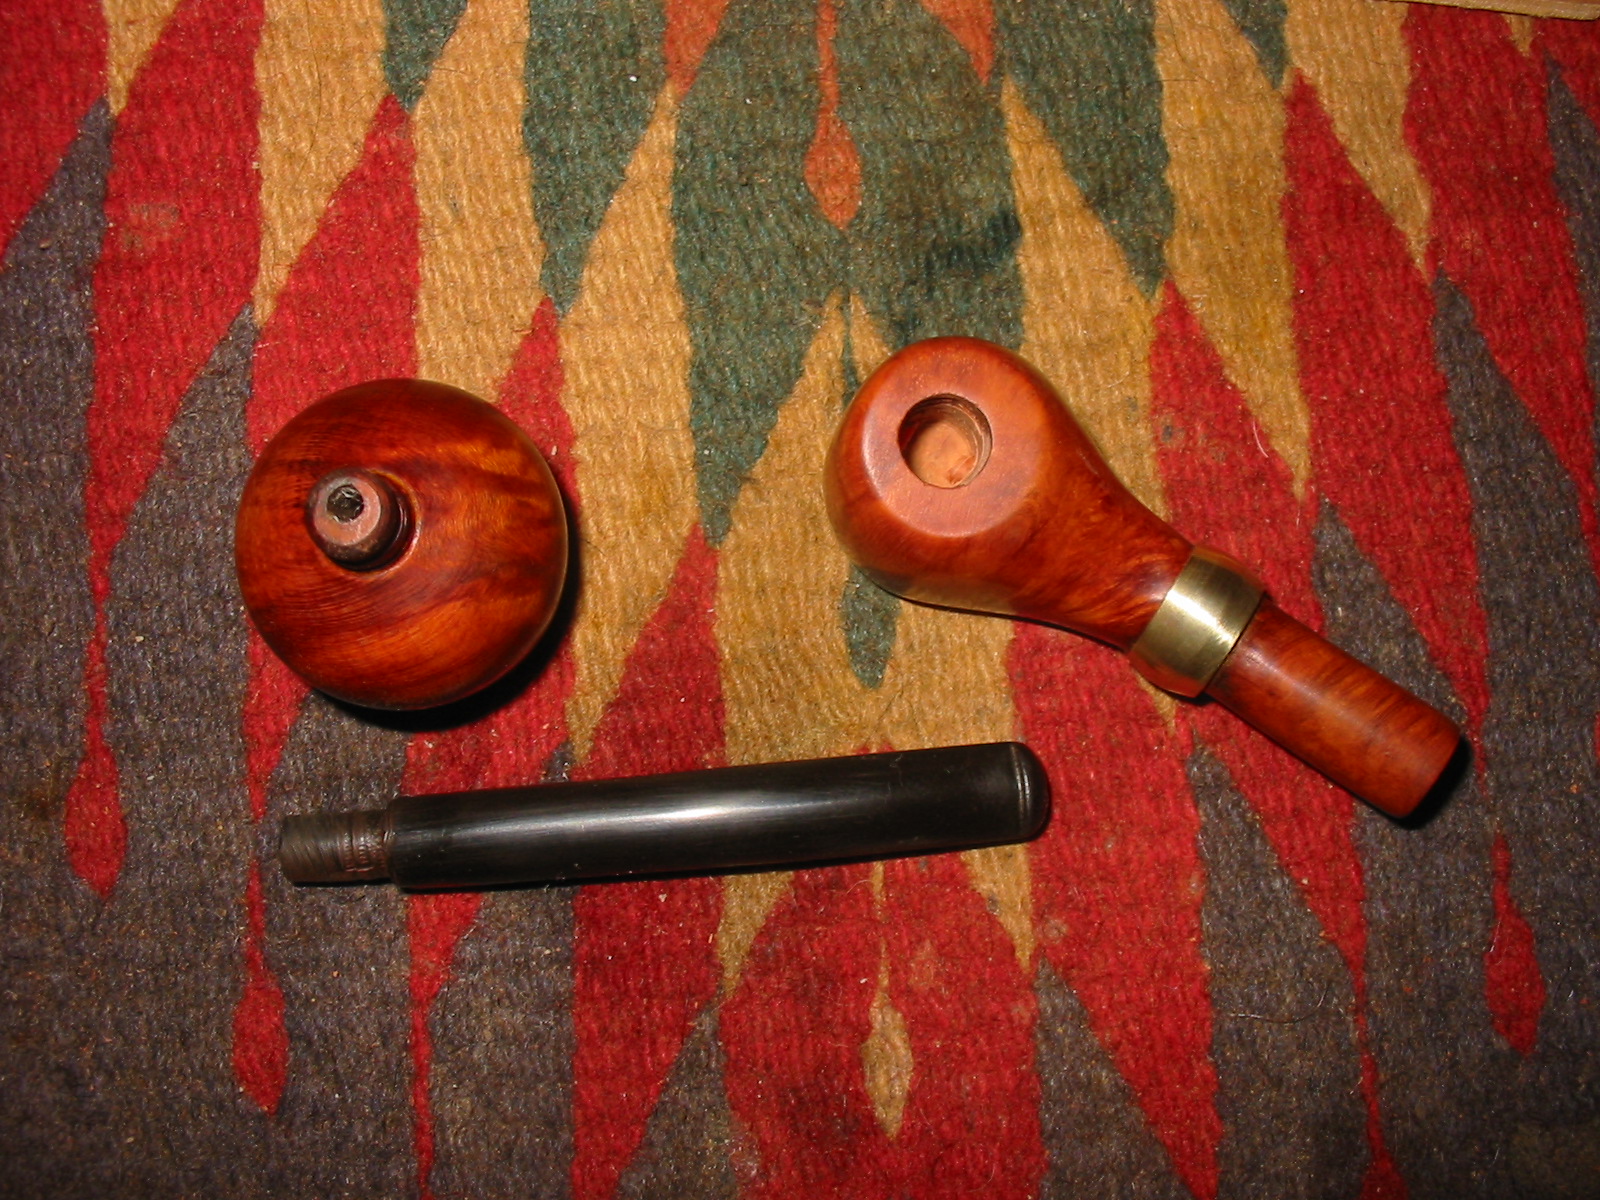
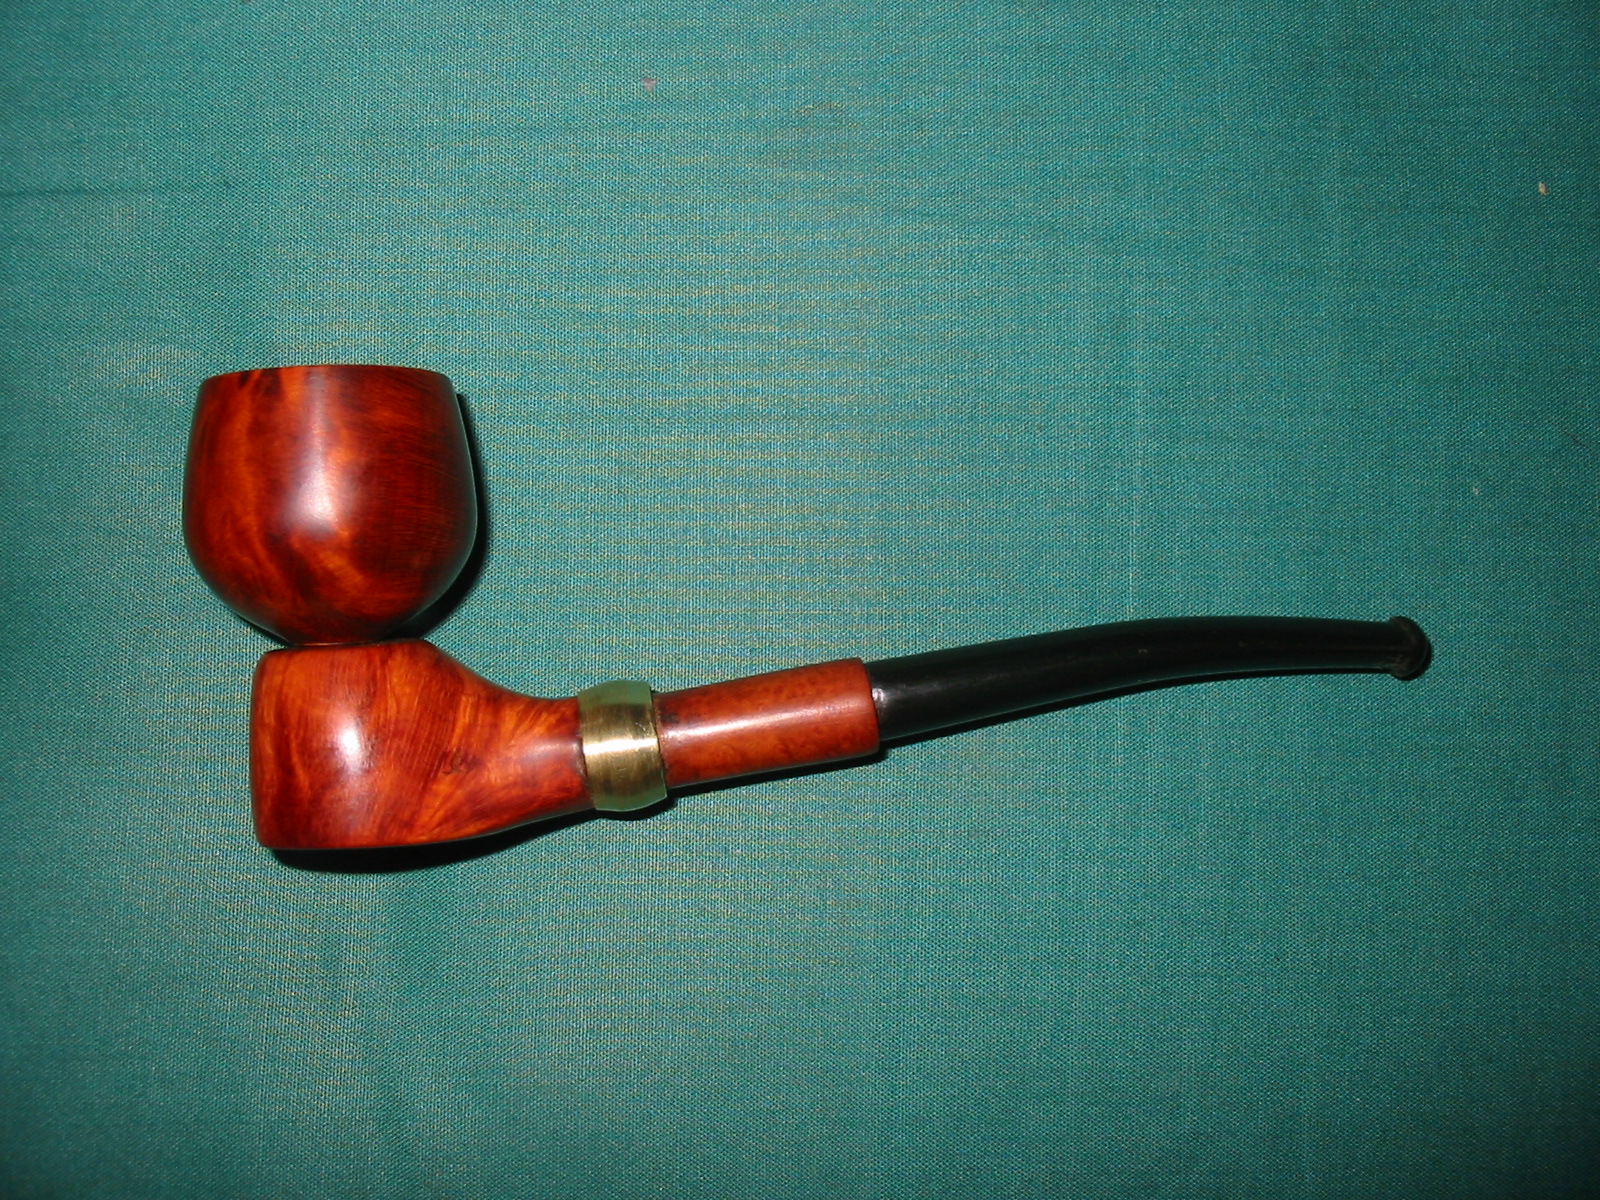
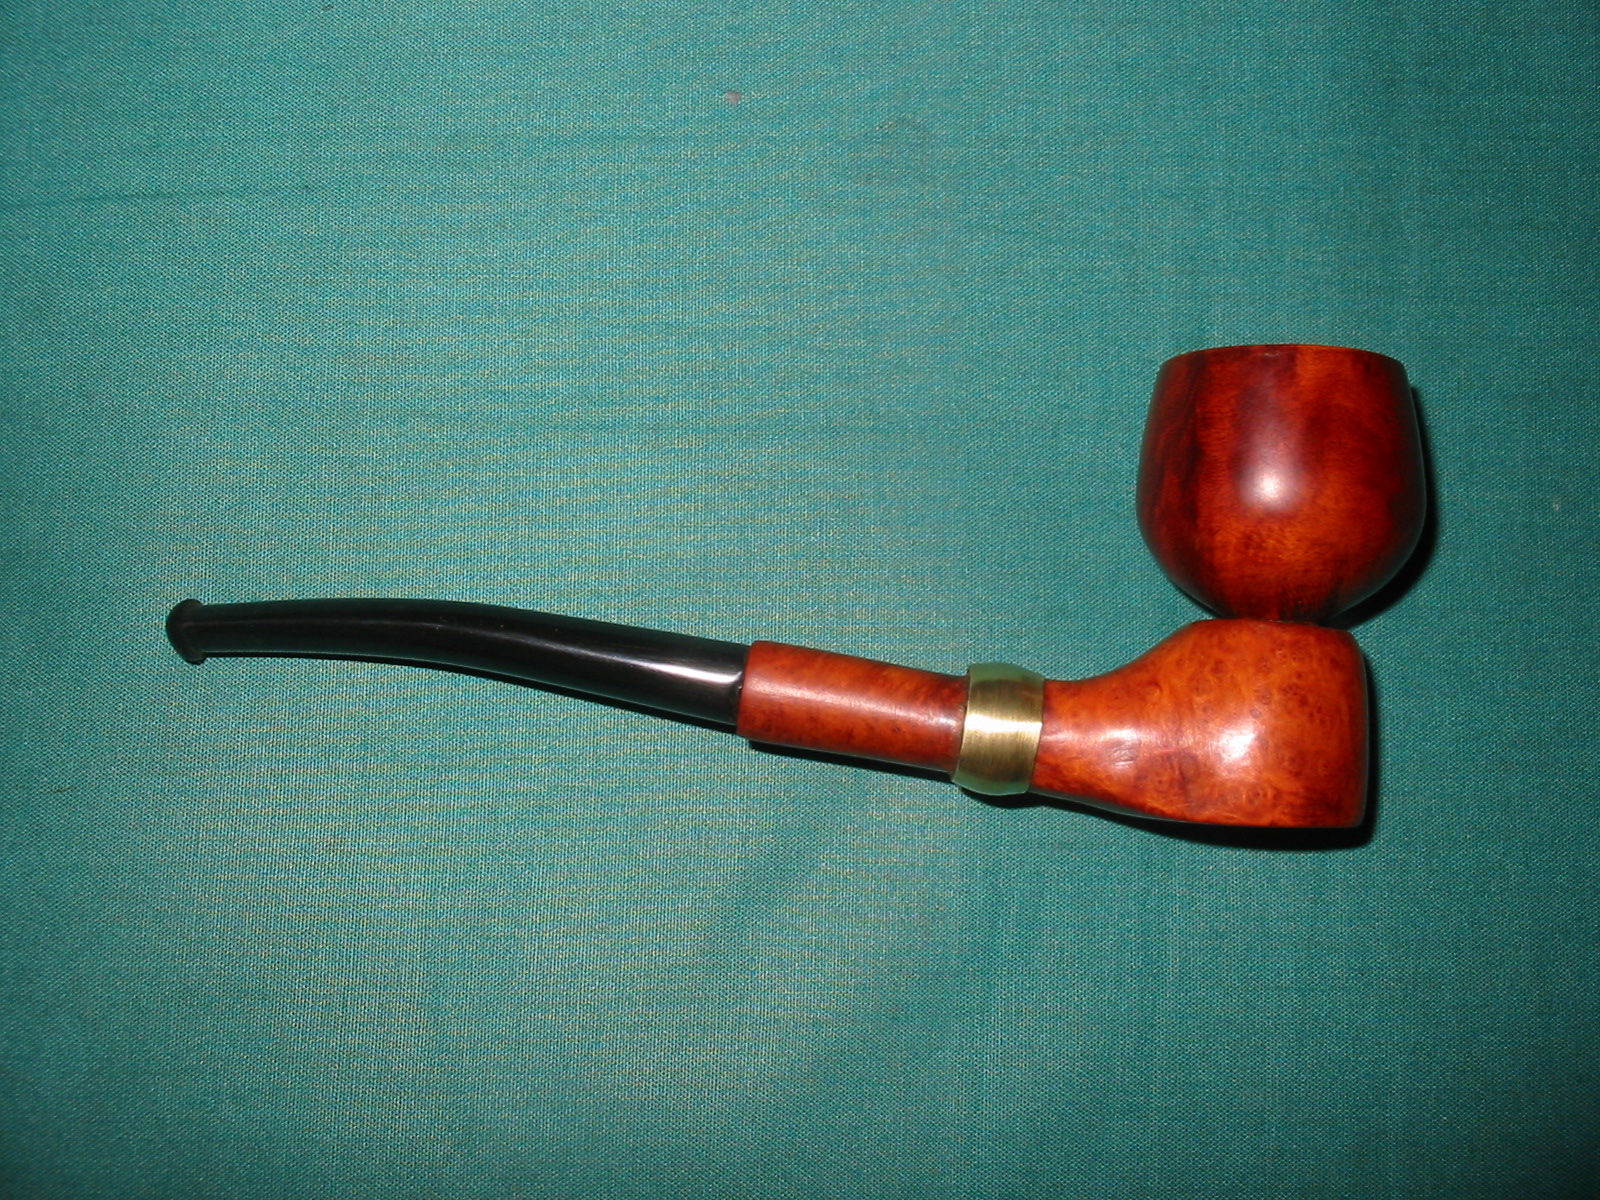
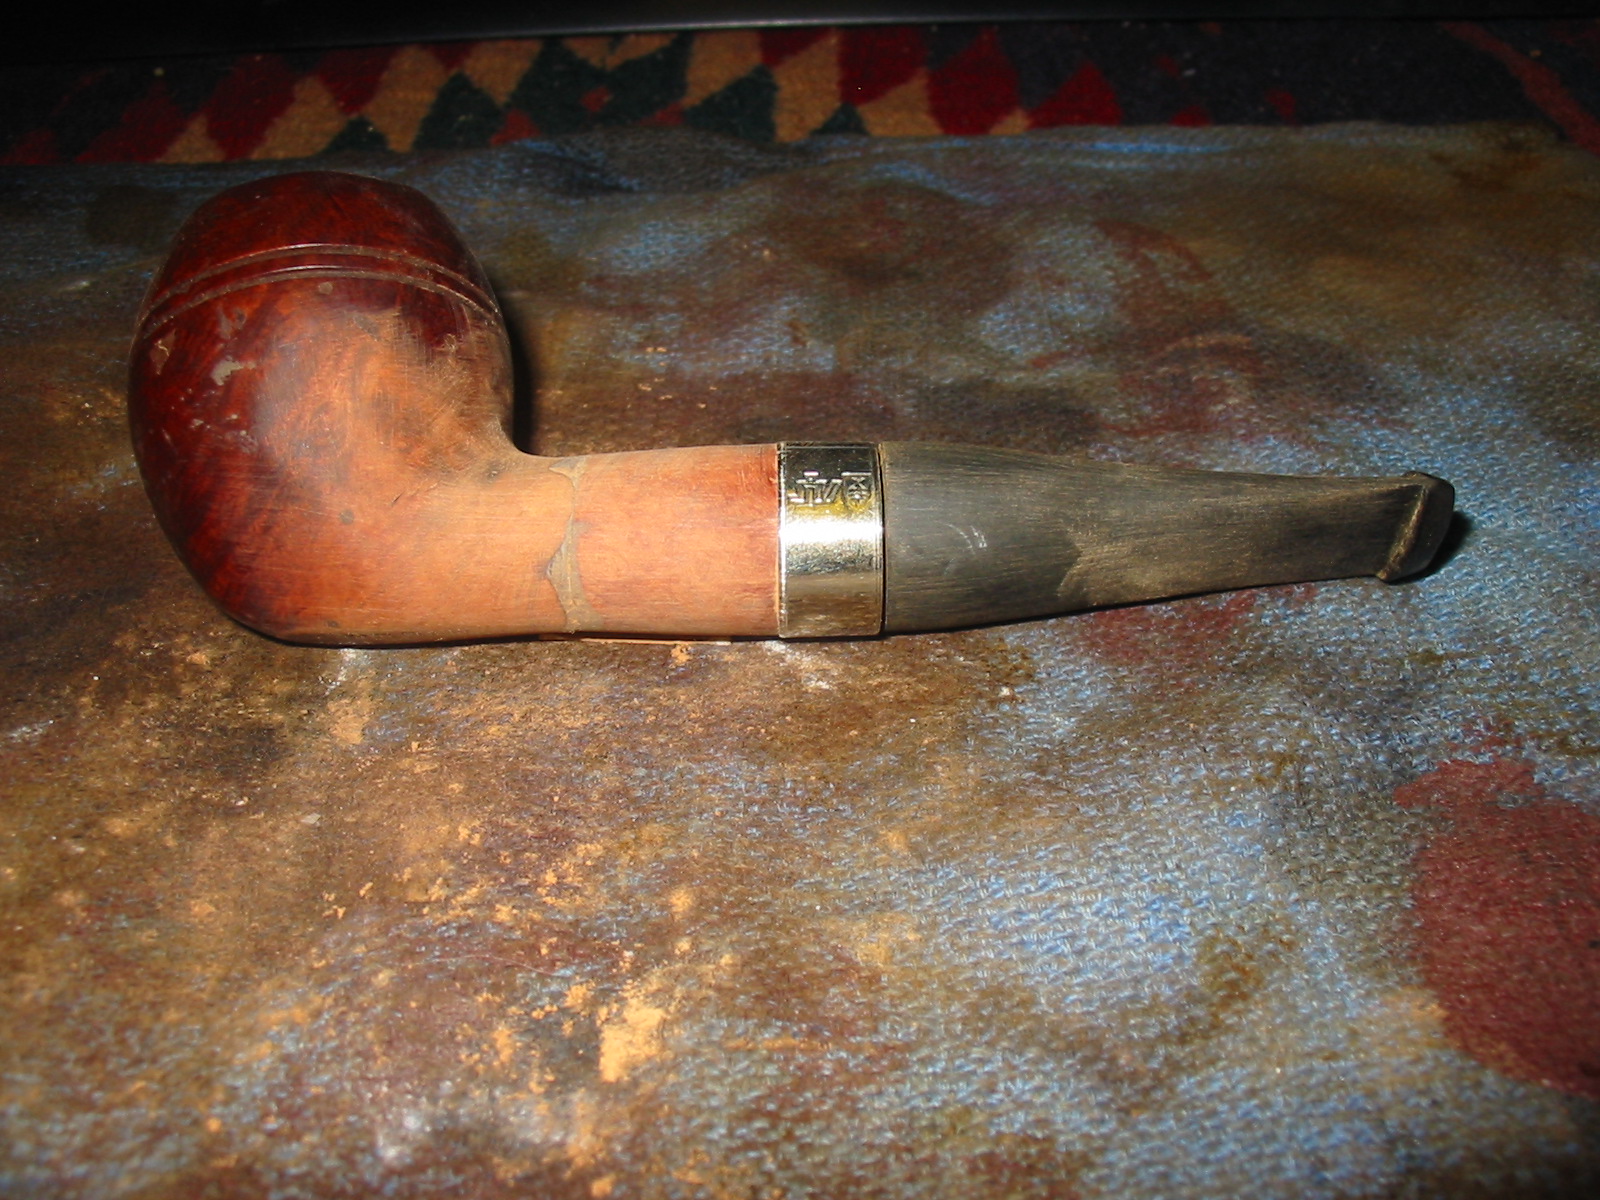
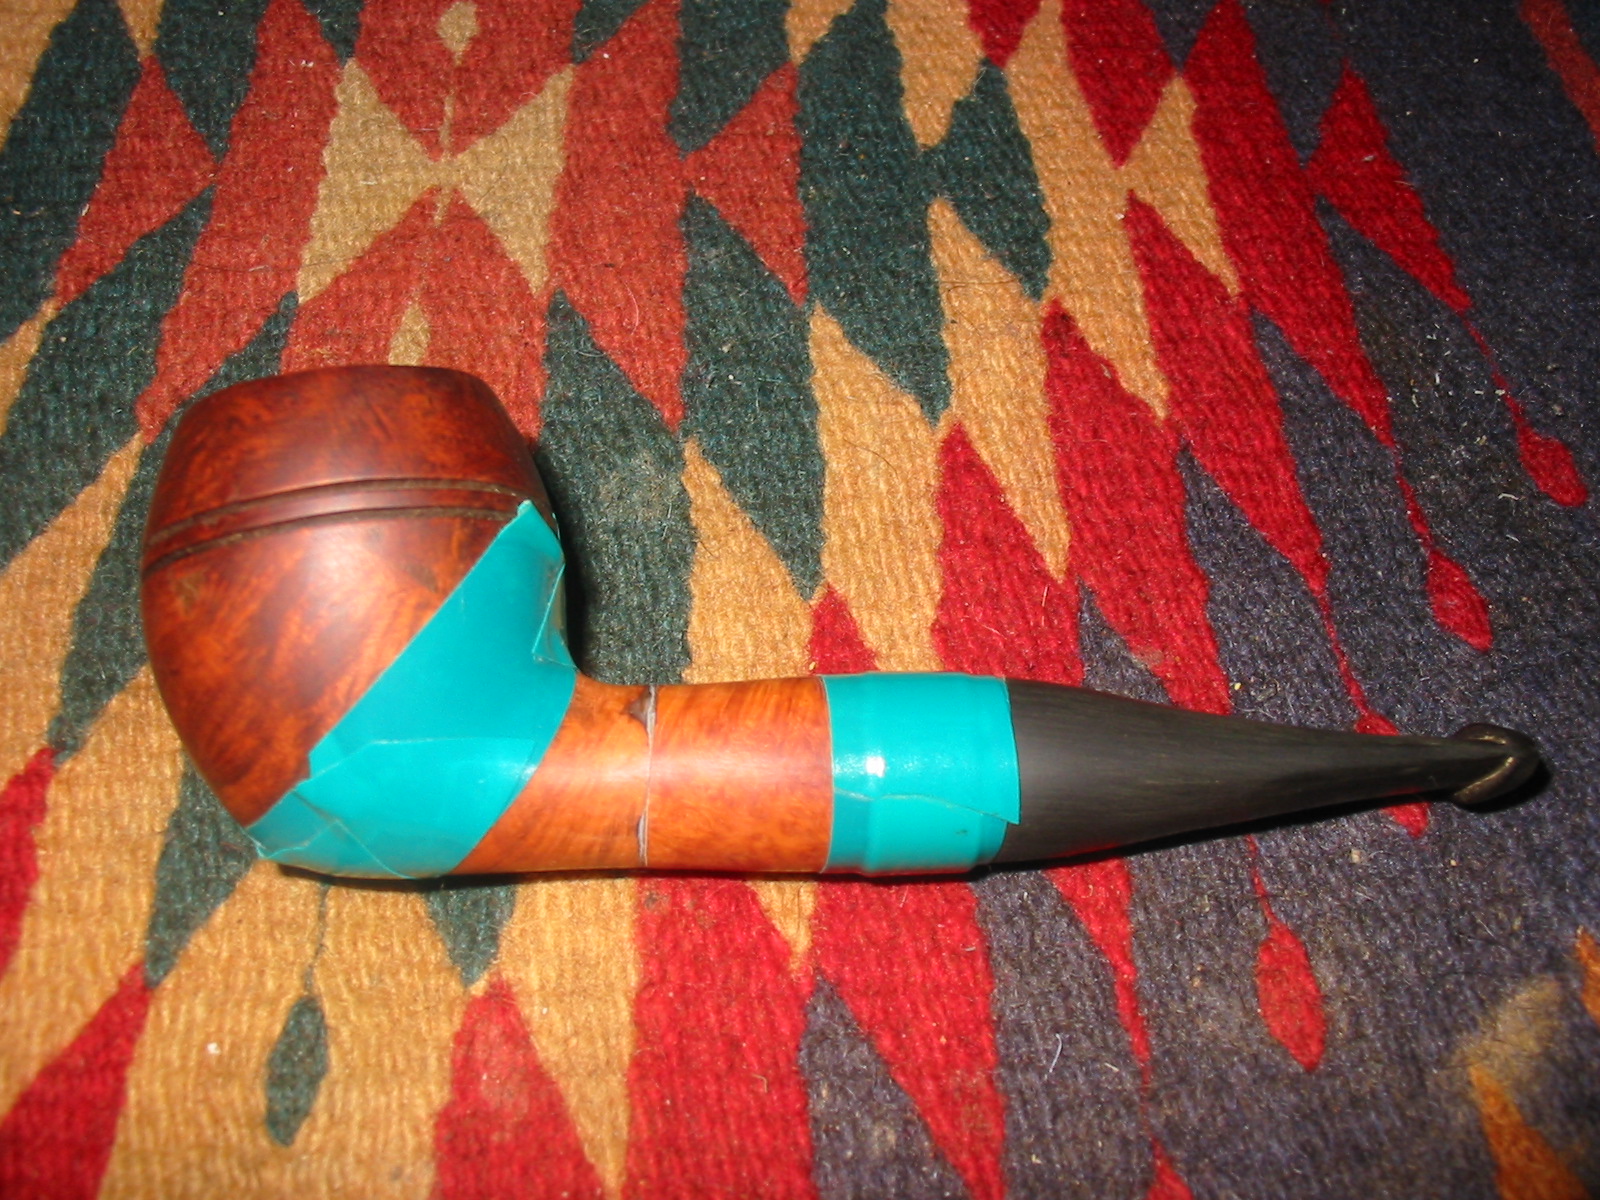
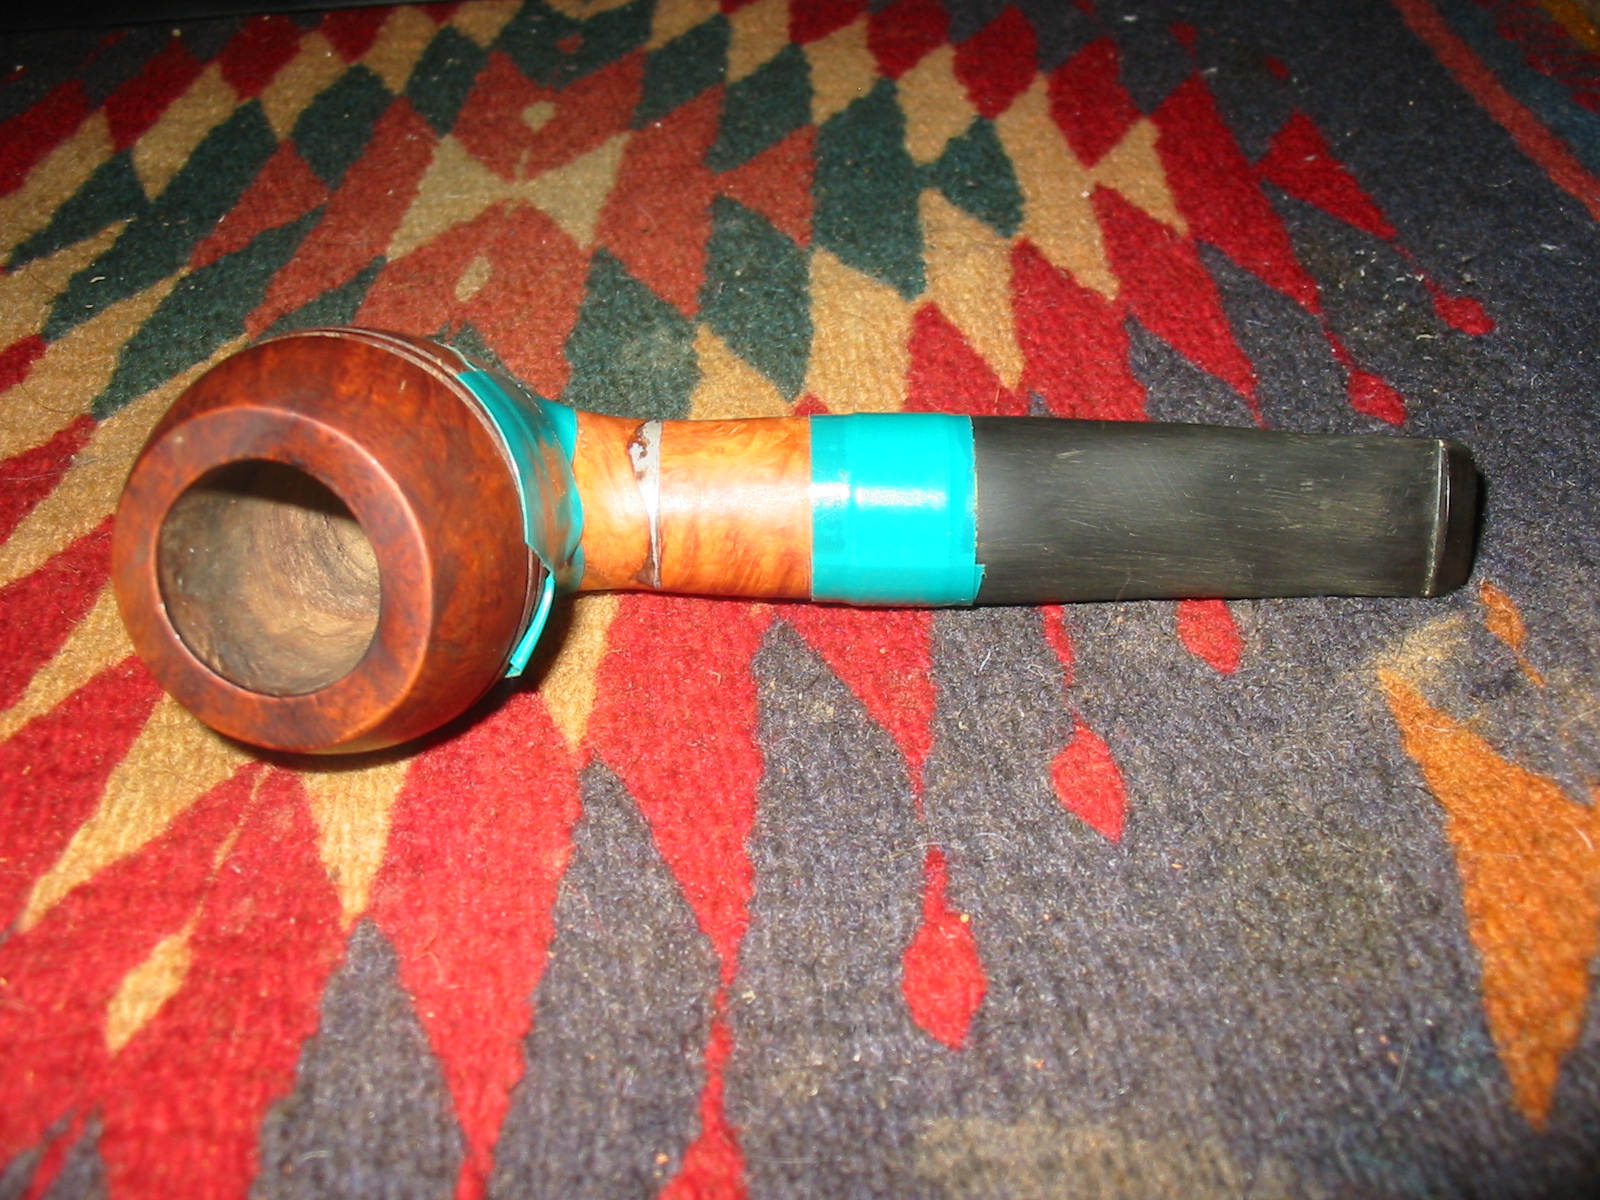
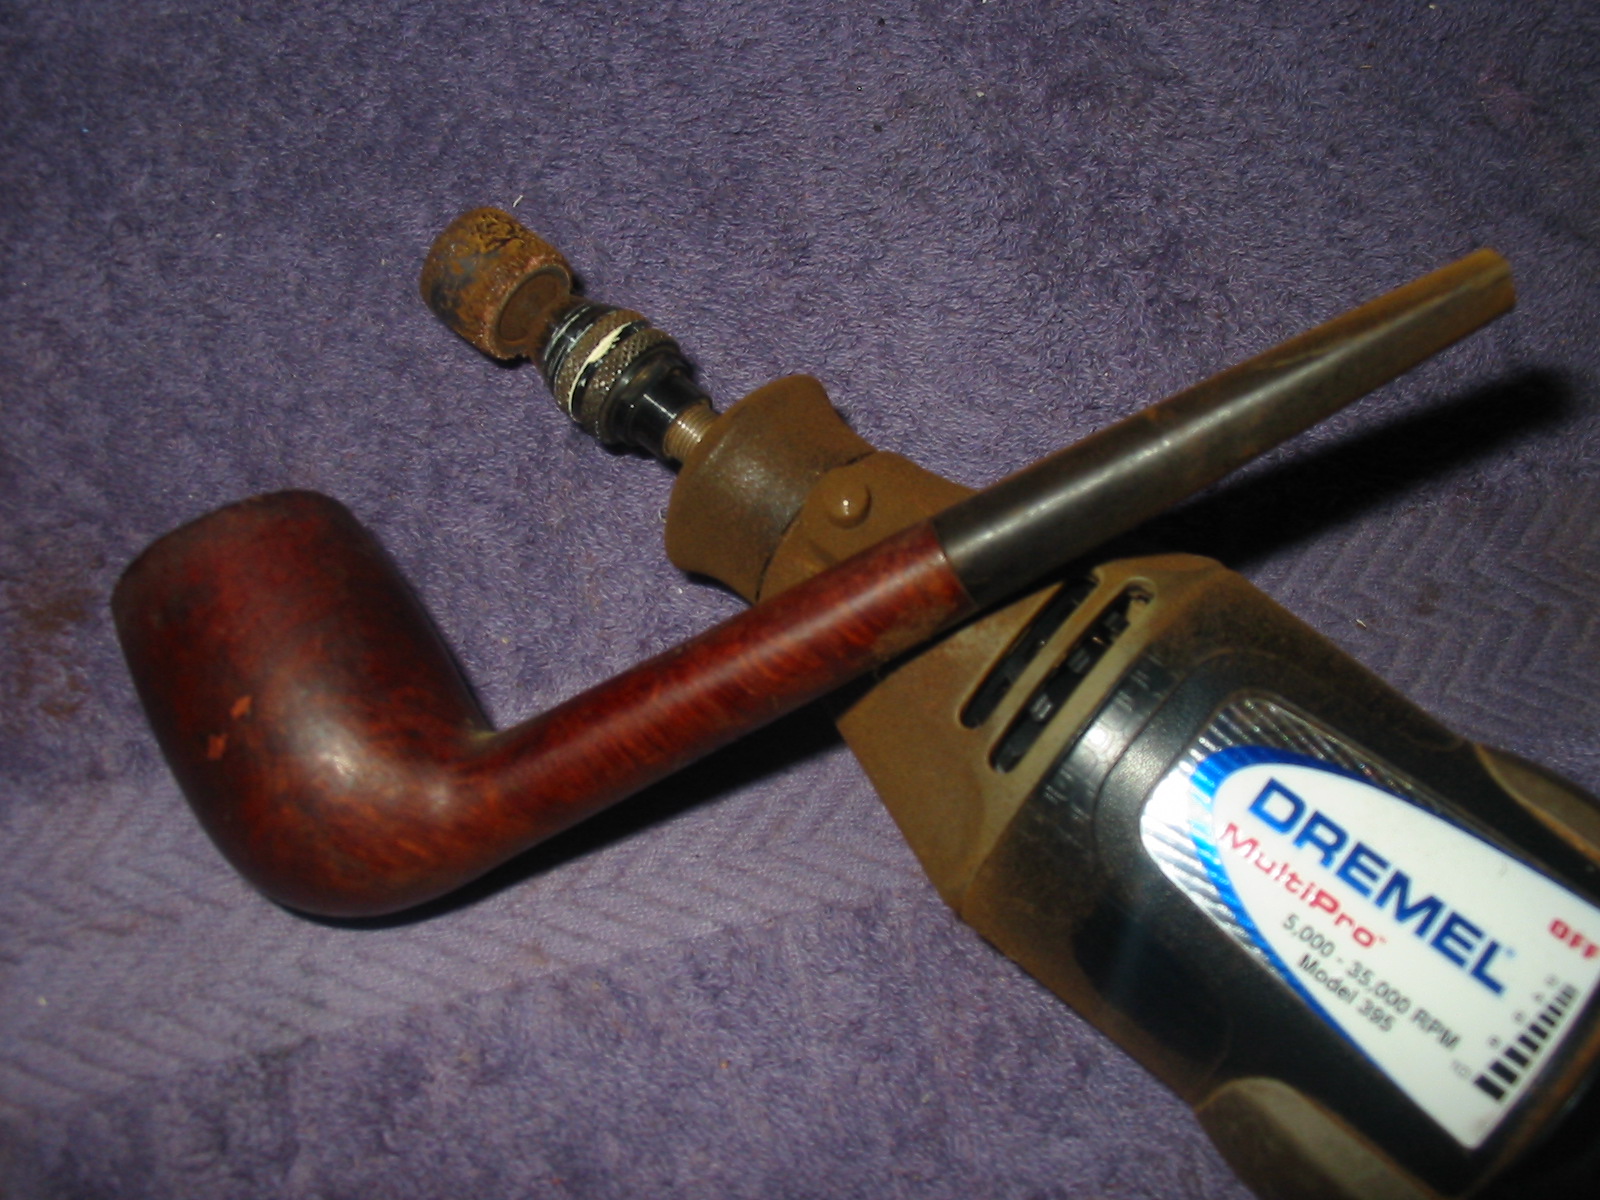
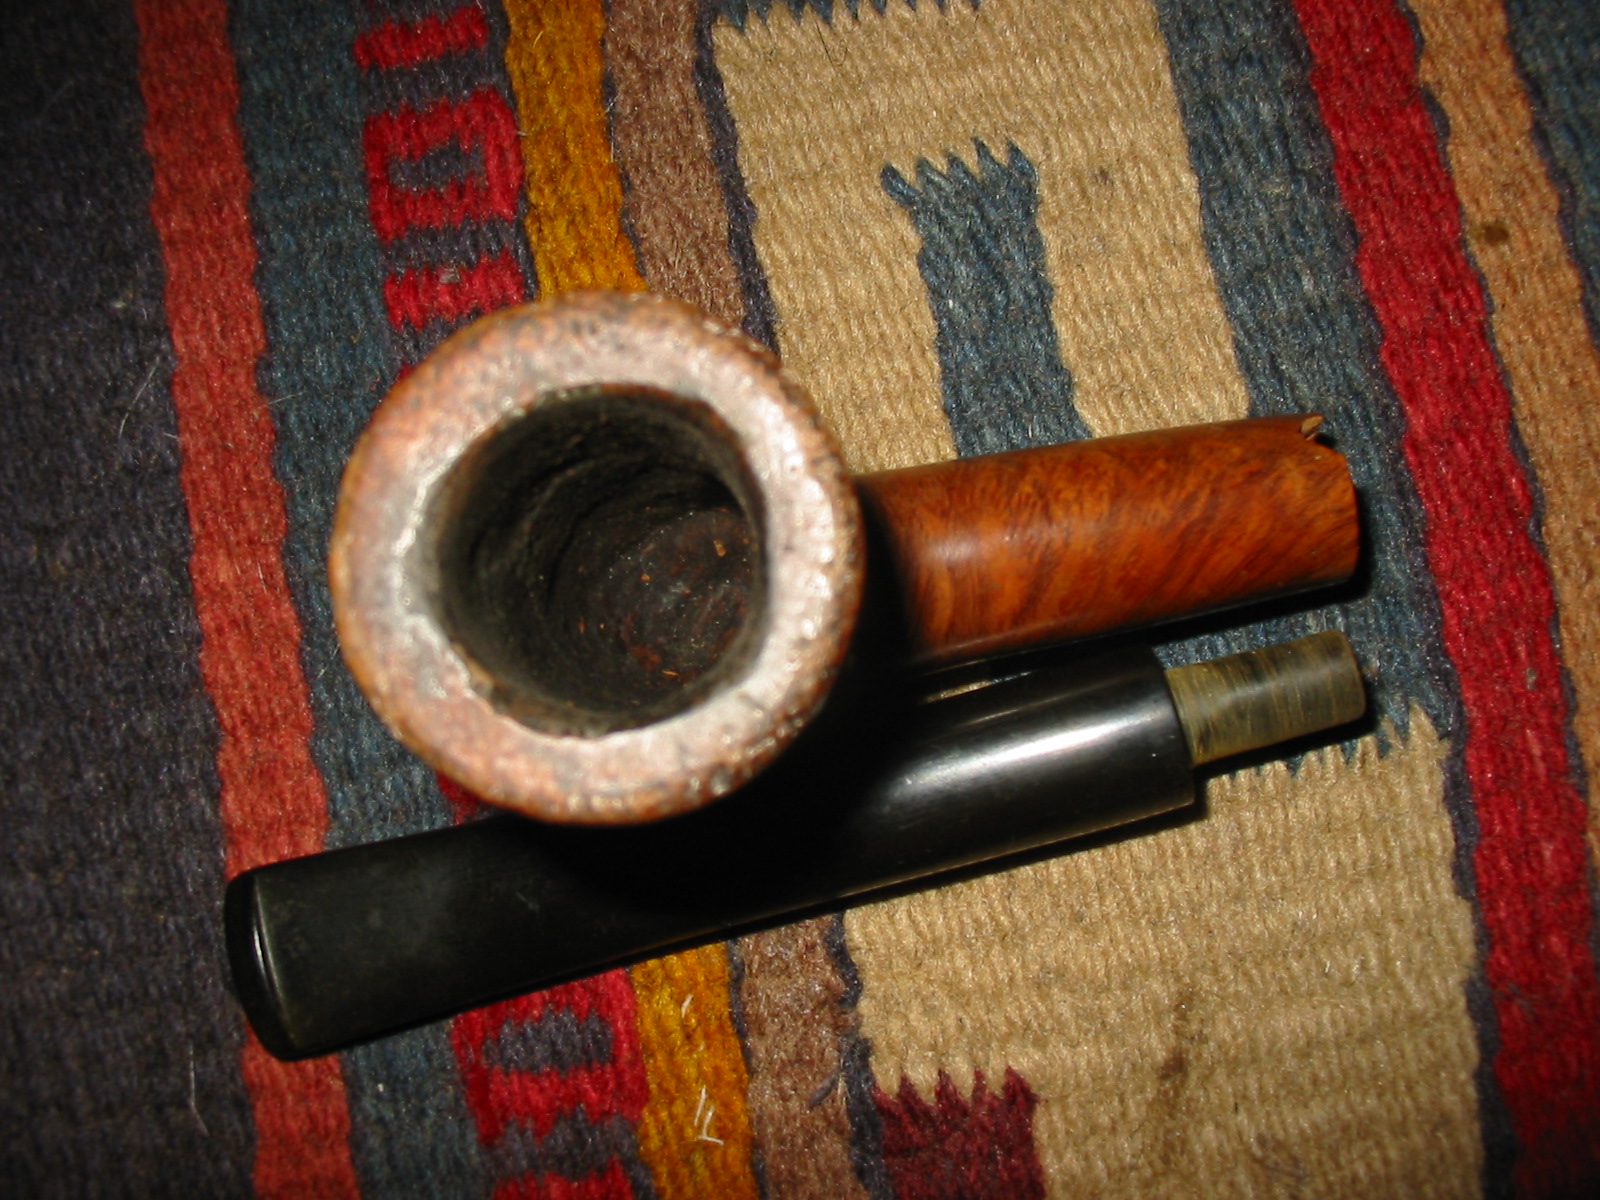
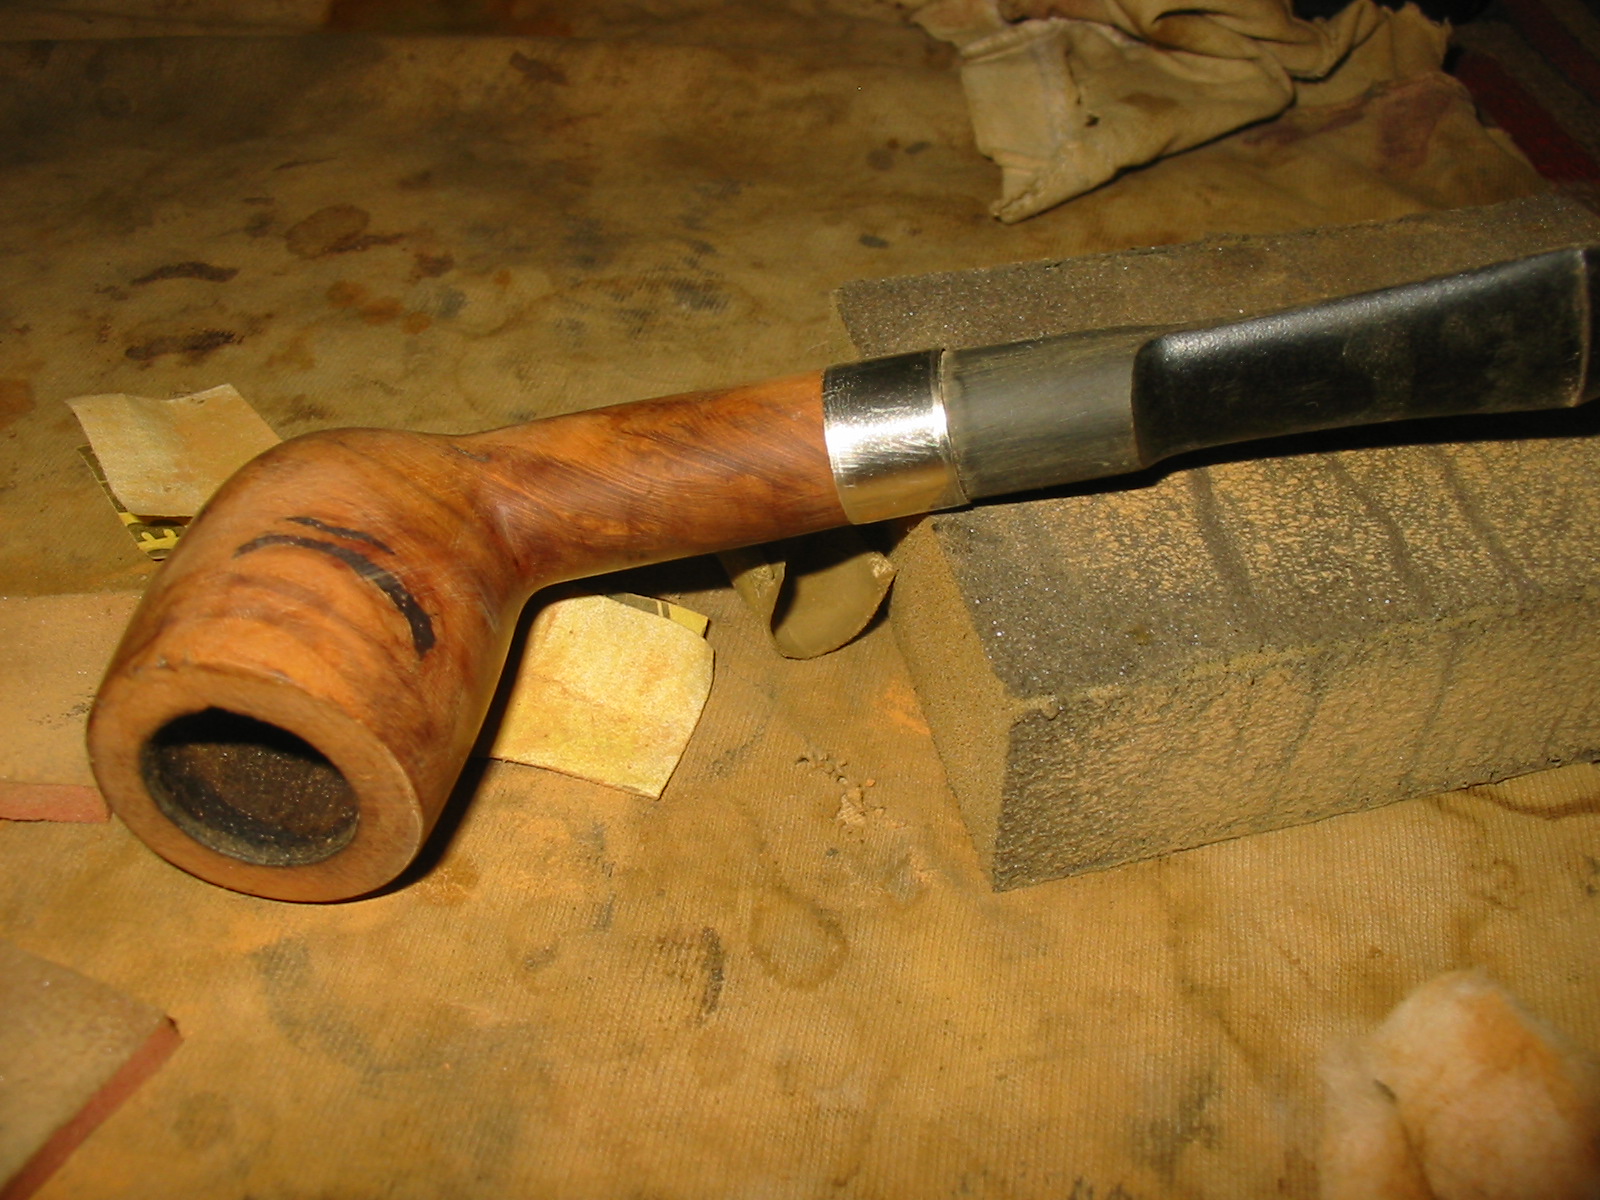
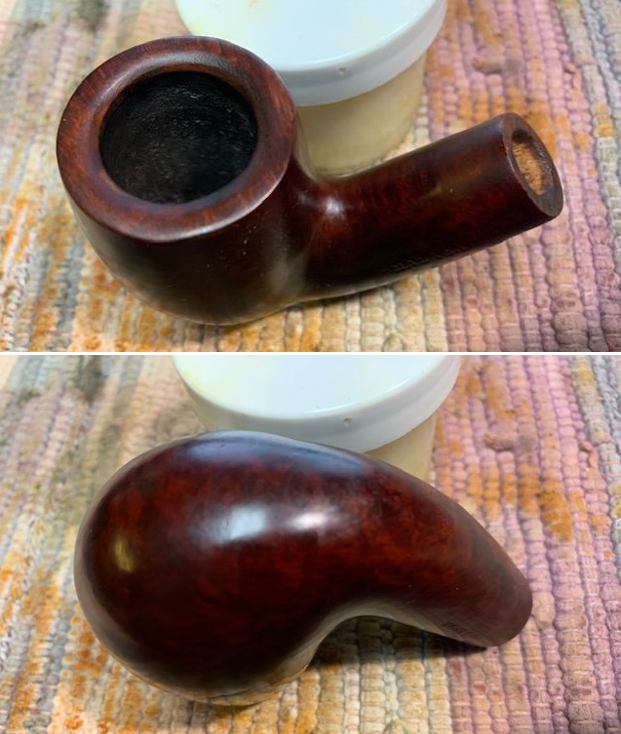
 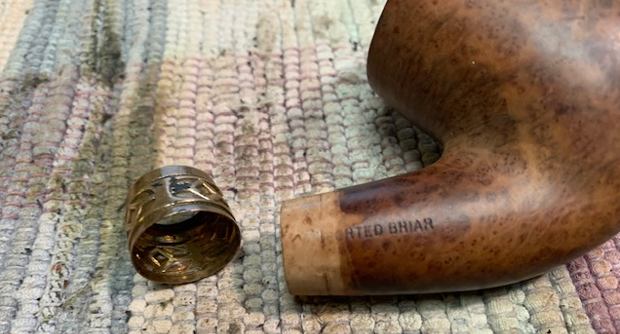 I put the parts side by side and took some photos of the parts of the pipe. I took photos from various angles and sides. Can you begin to see what I am seeing with this pipe? I think it is going to work. Do you?
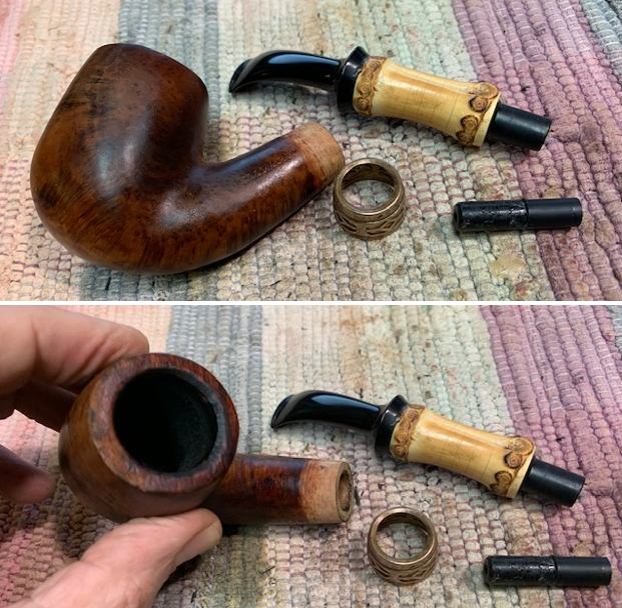
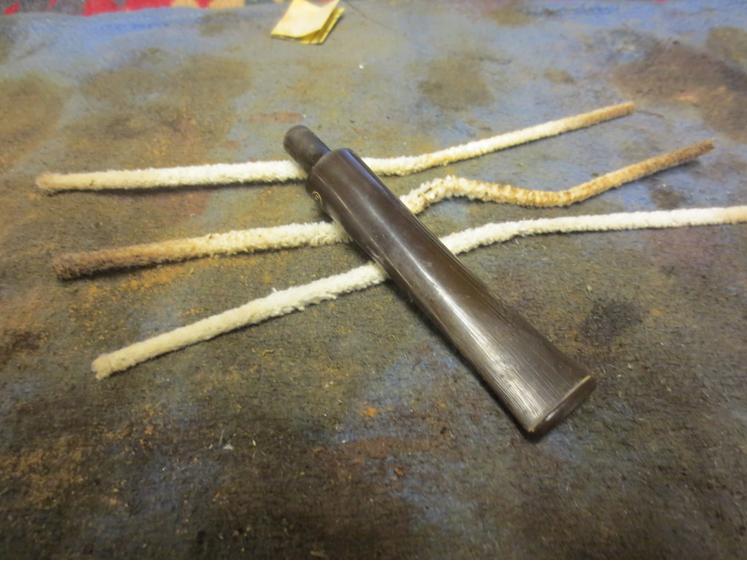
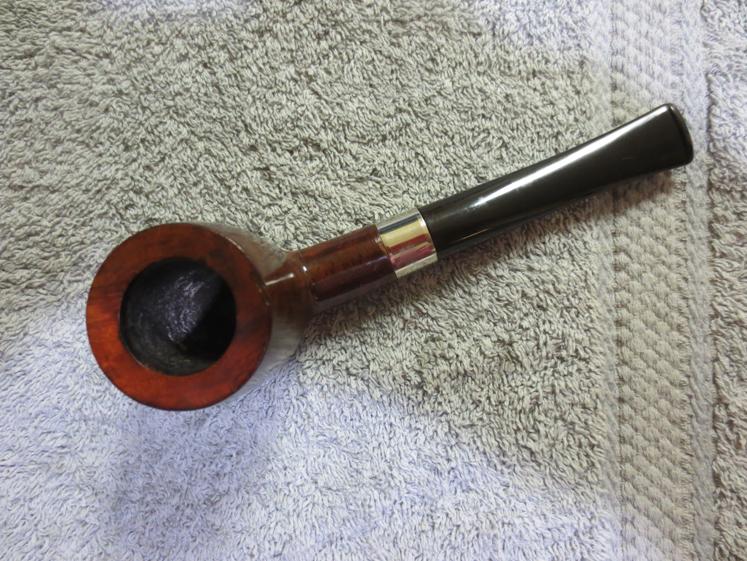
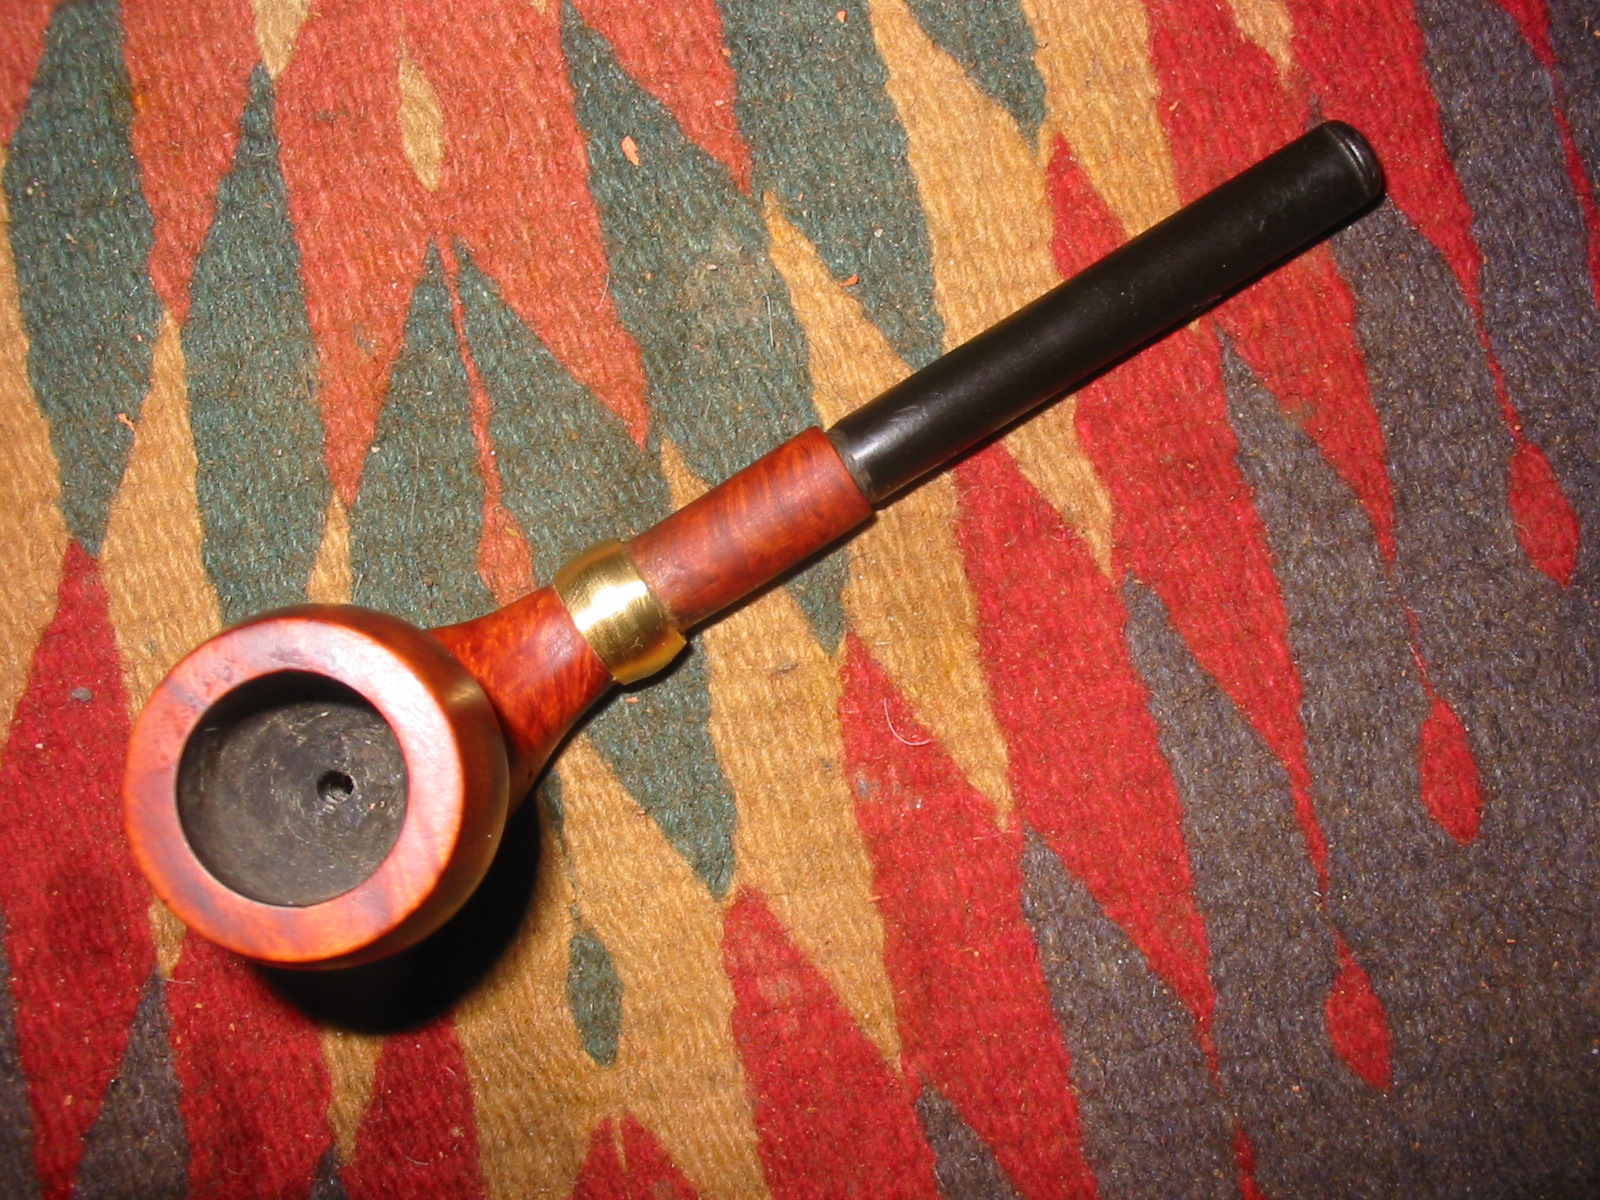
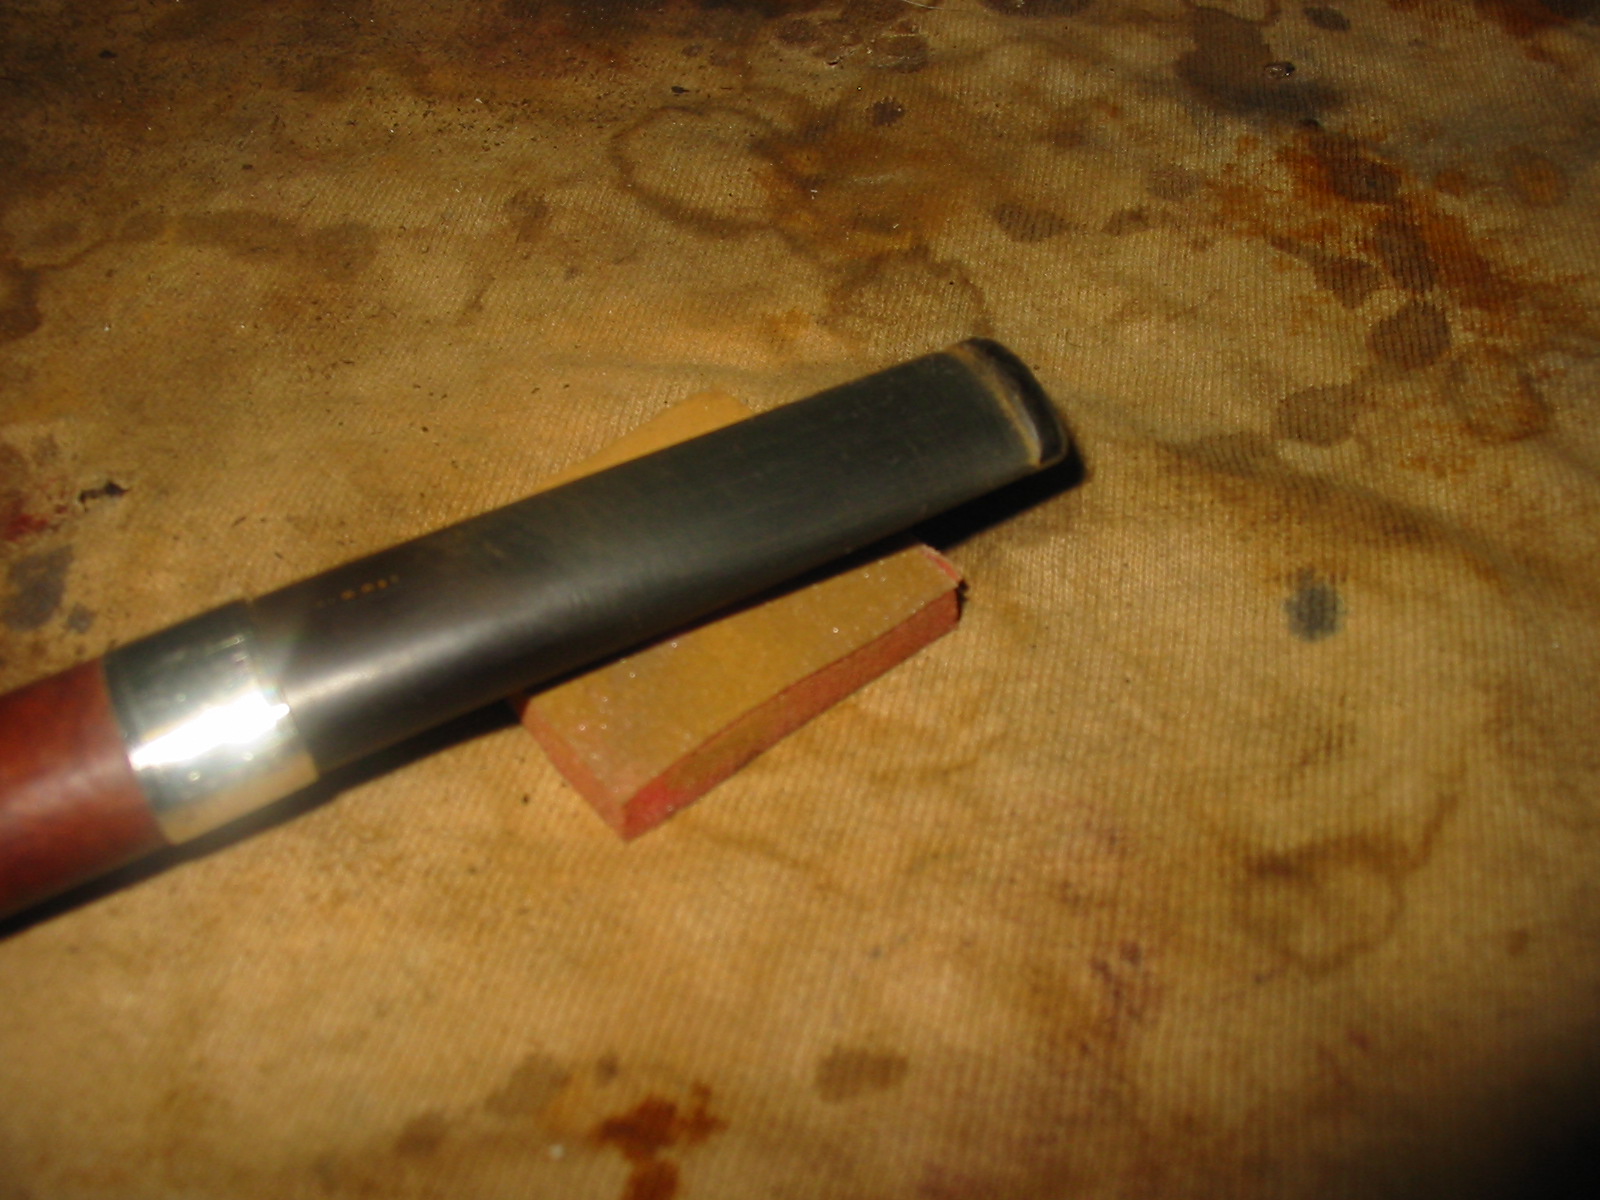
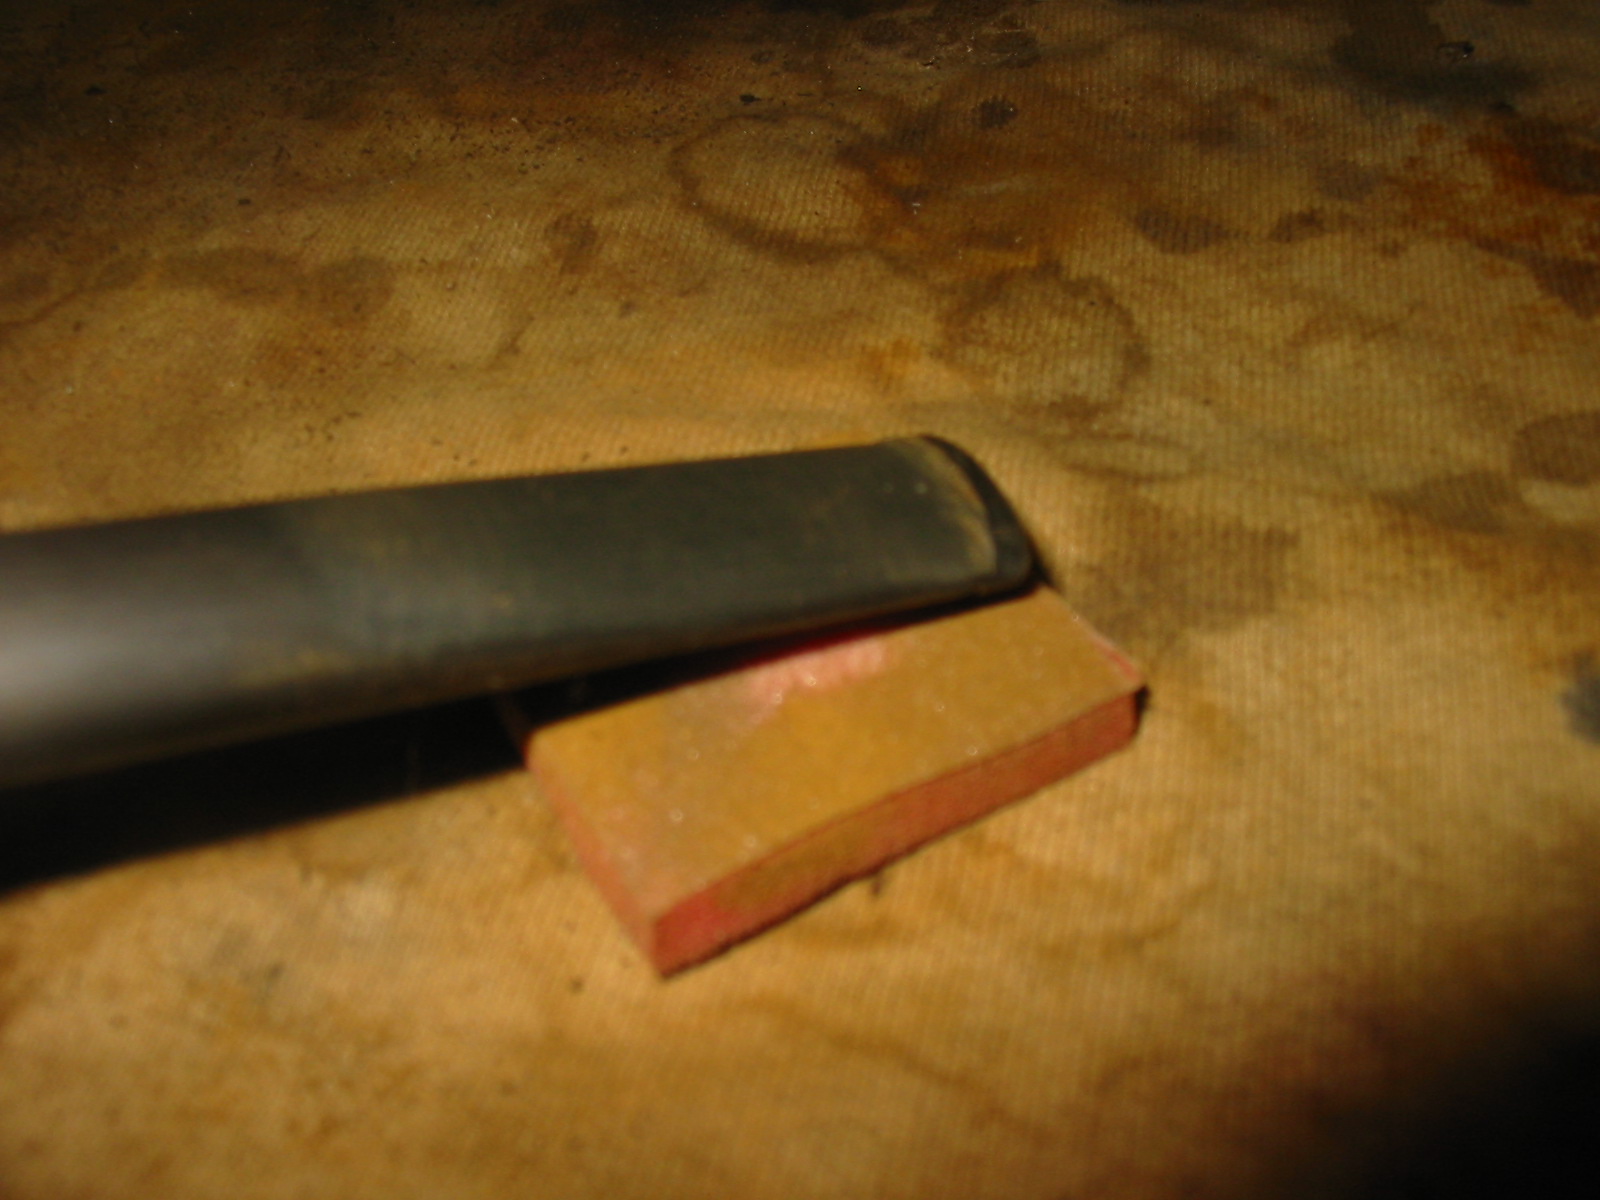
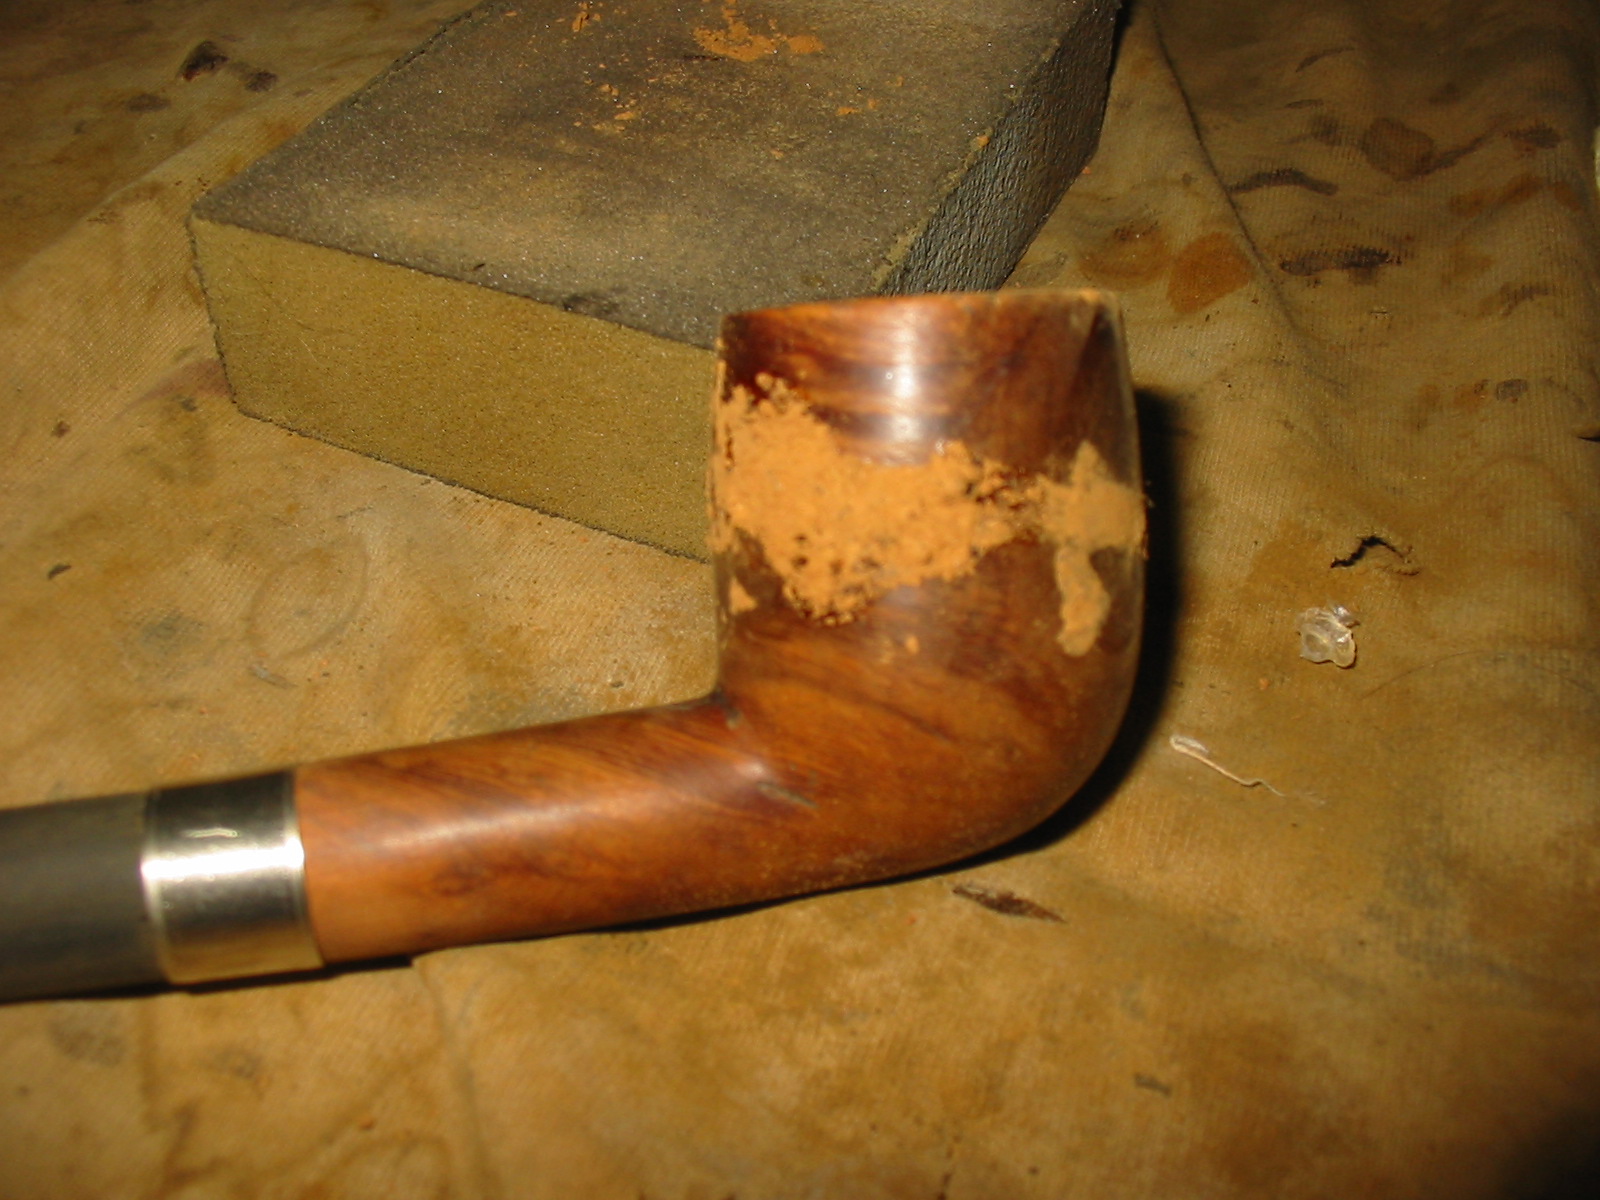
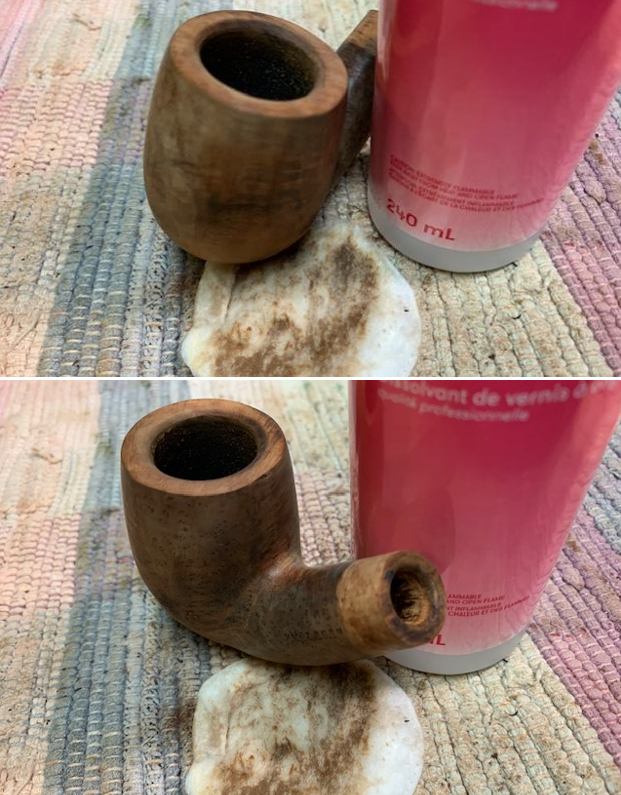
 Now back to work on the bowl! I decided to deal with the rim top damage by topping the bowl. It was in rough shape so I used 150 grit sandpaper on a topping board and remove the damaged parts of the rim top. It looked better. I worked over the inner edge of the rim with a folded piece of 150 sandpaper to give it all a bevel to match the burn damage at the back of the bowl.
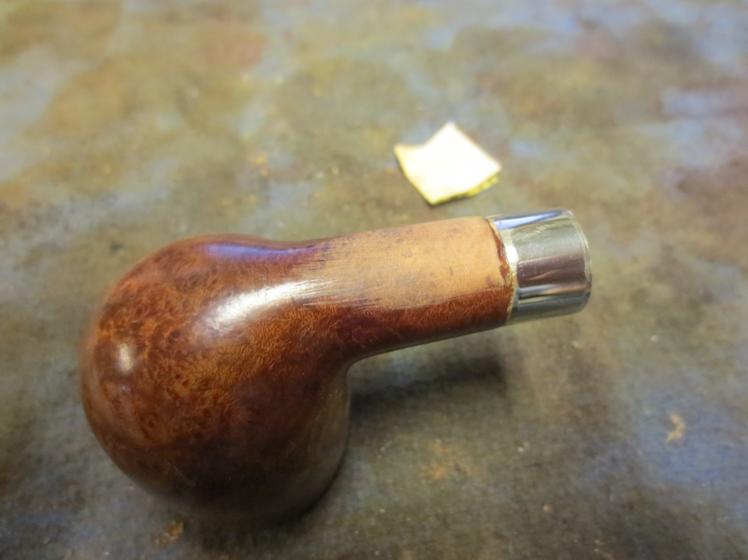
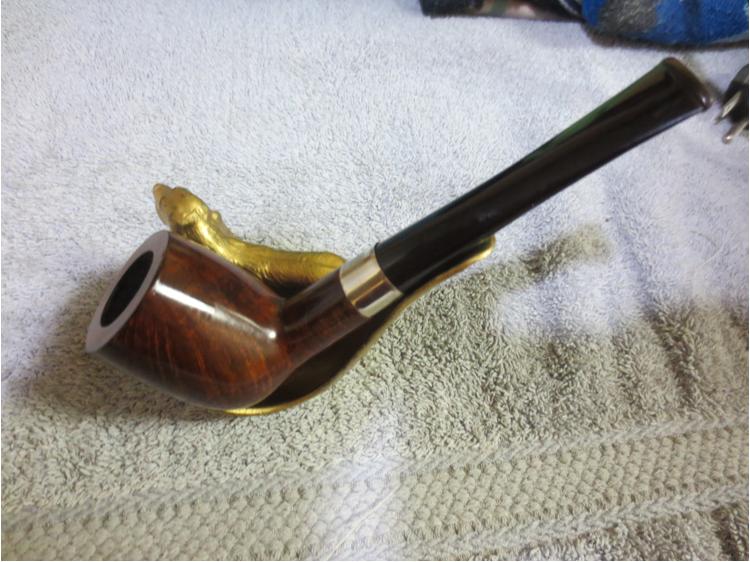
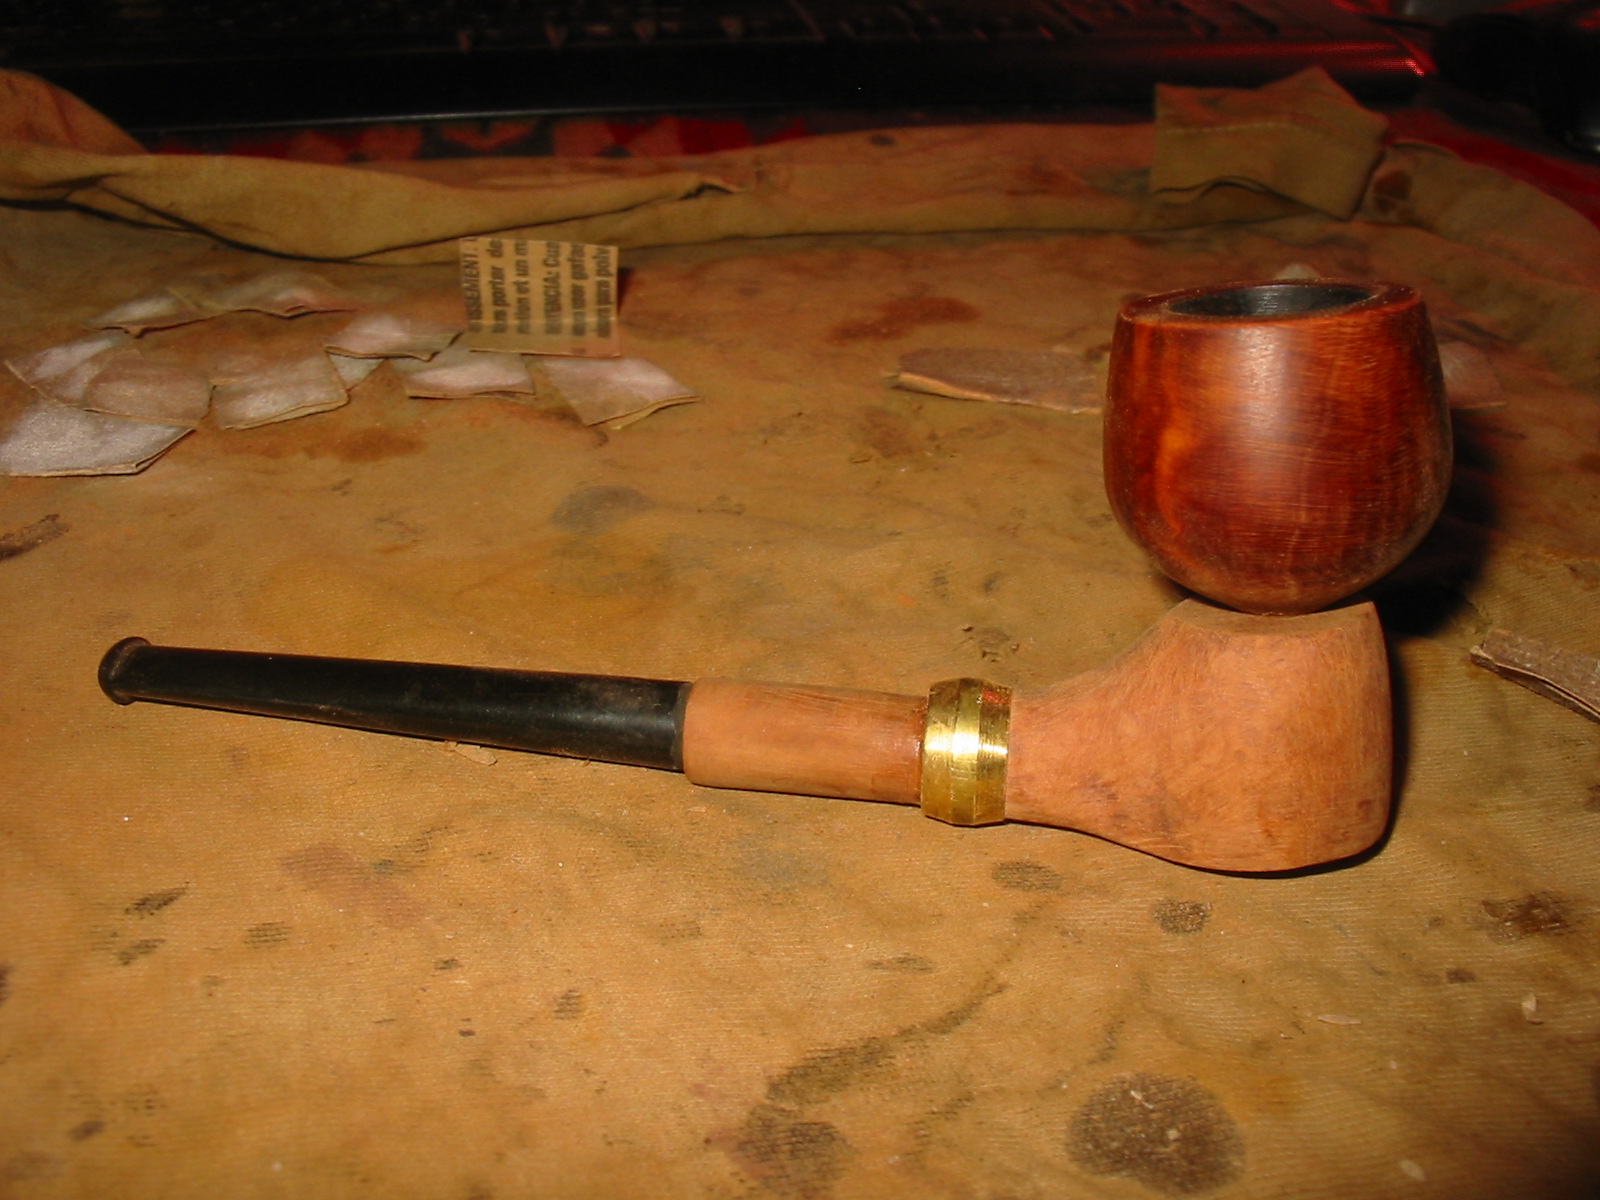
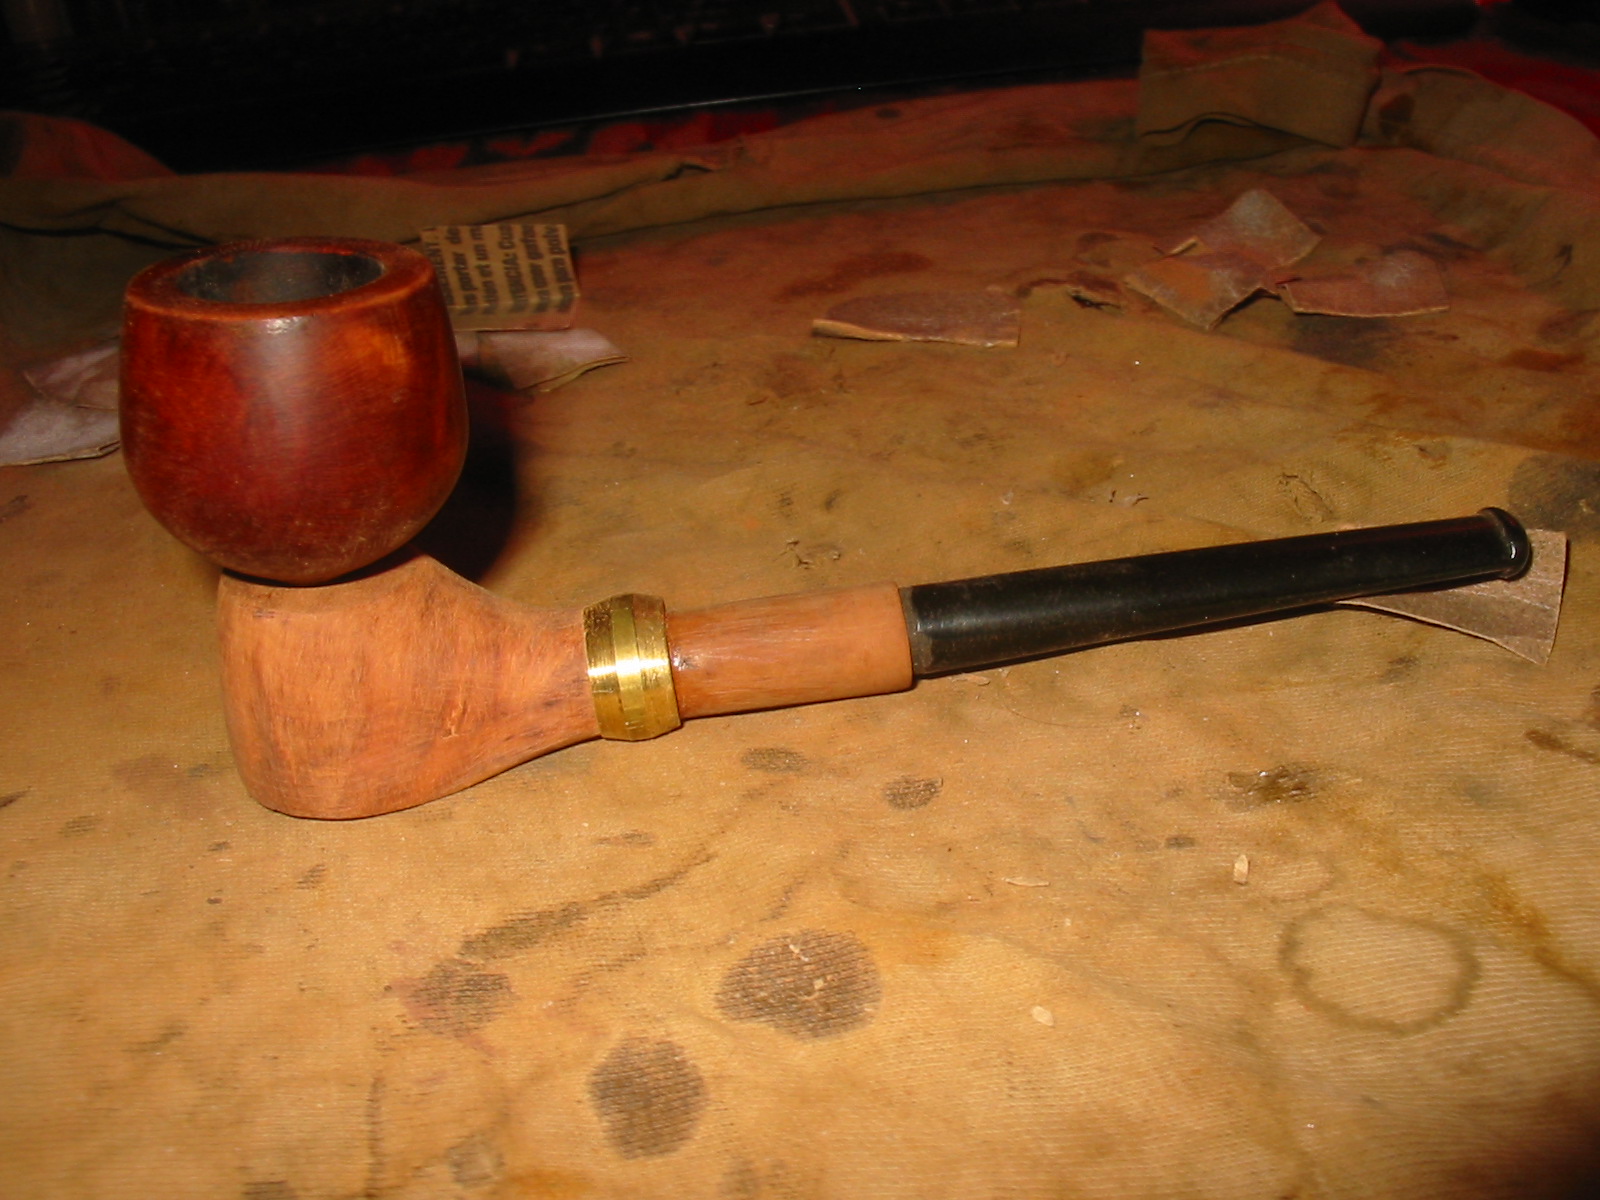
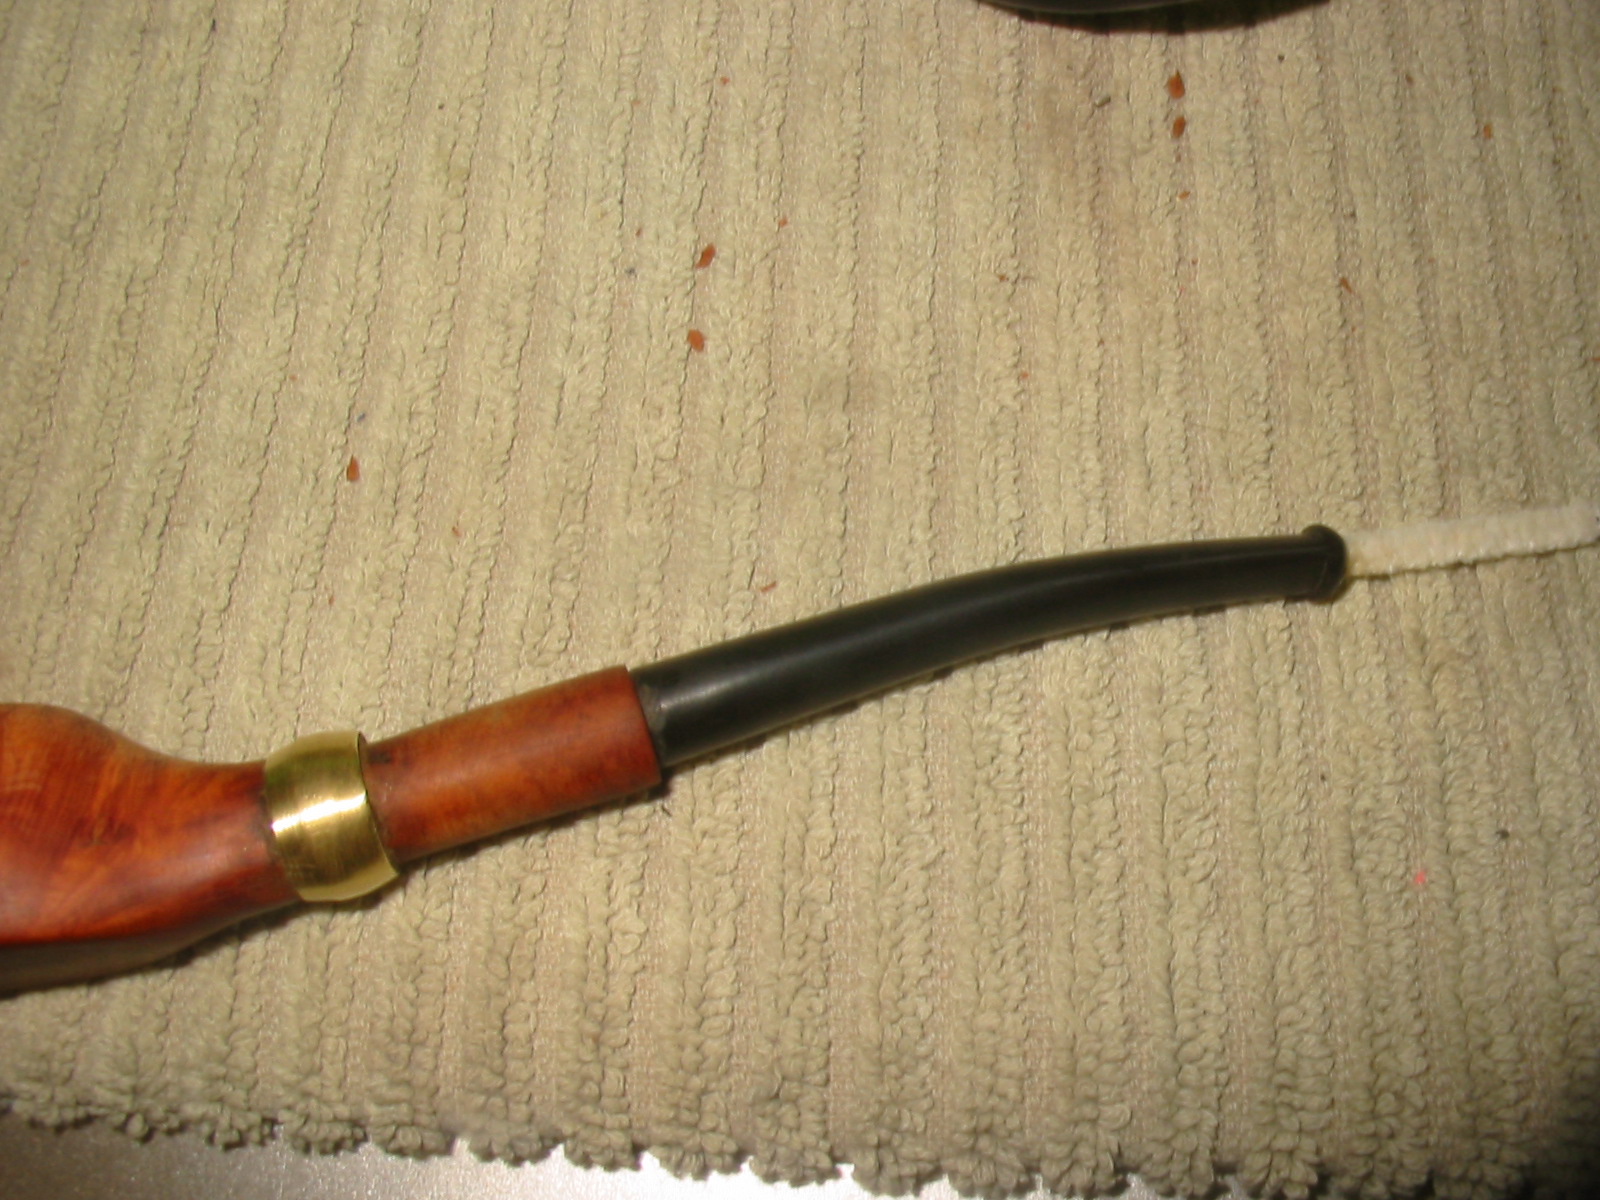
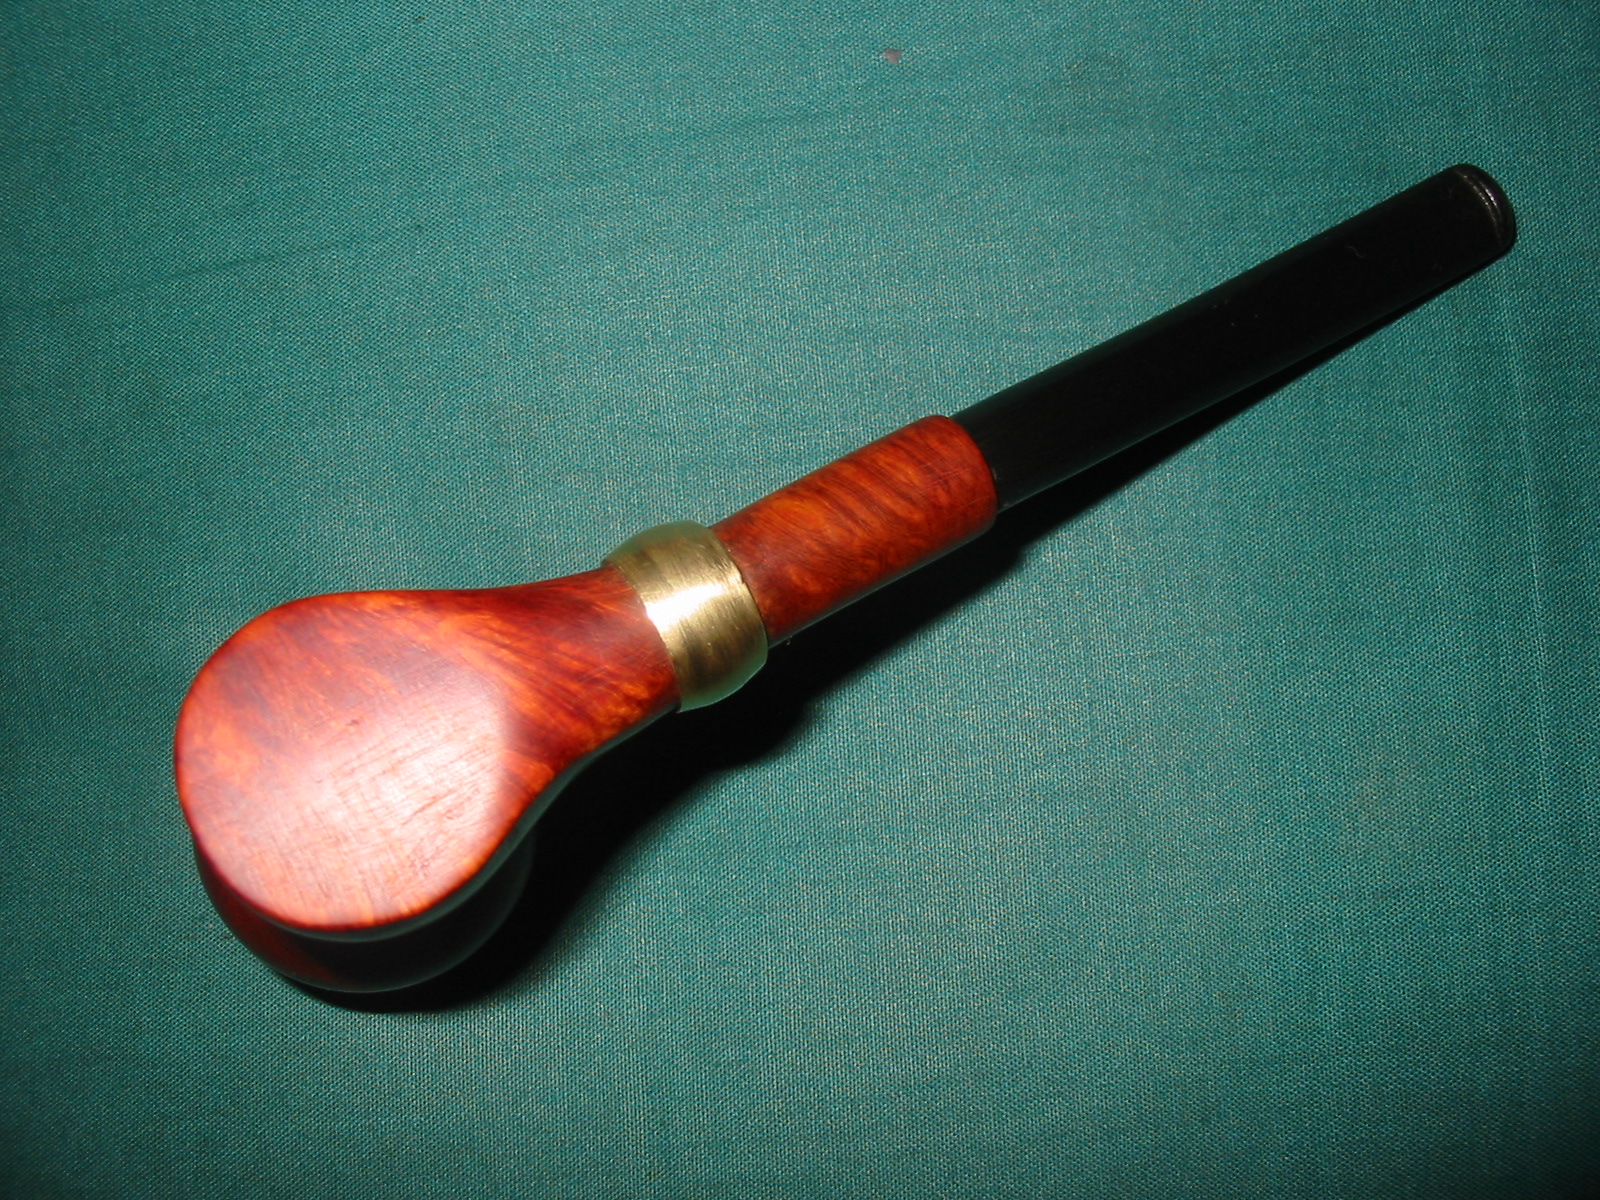
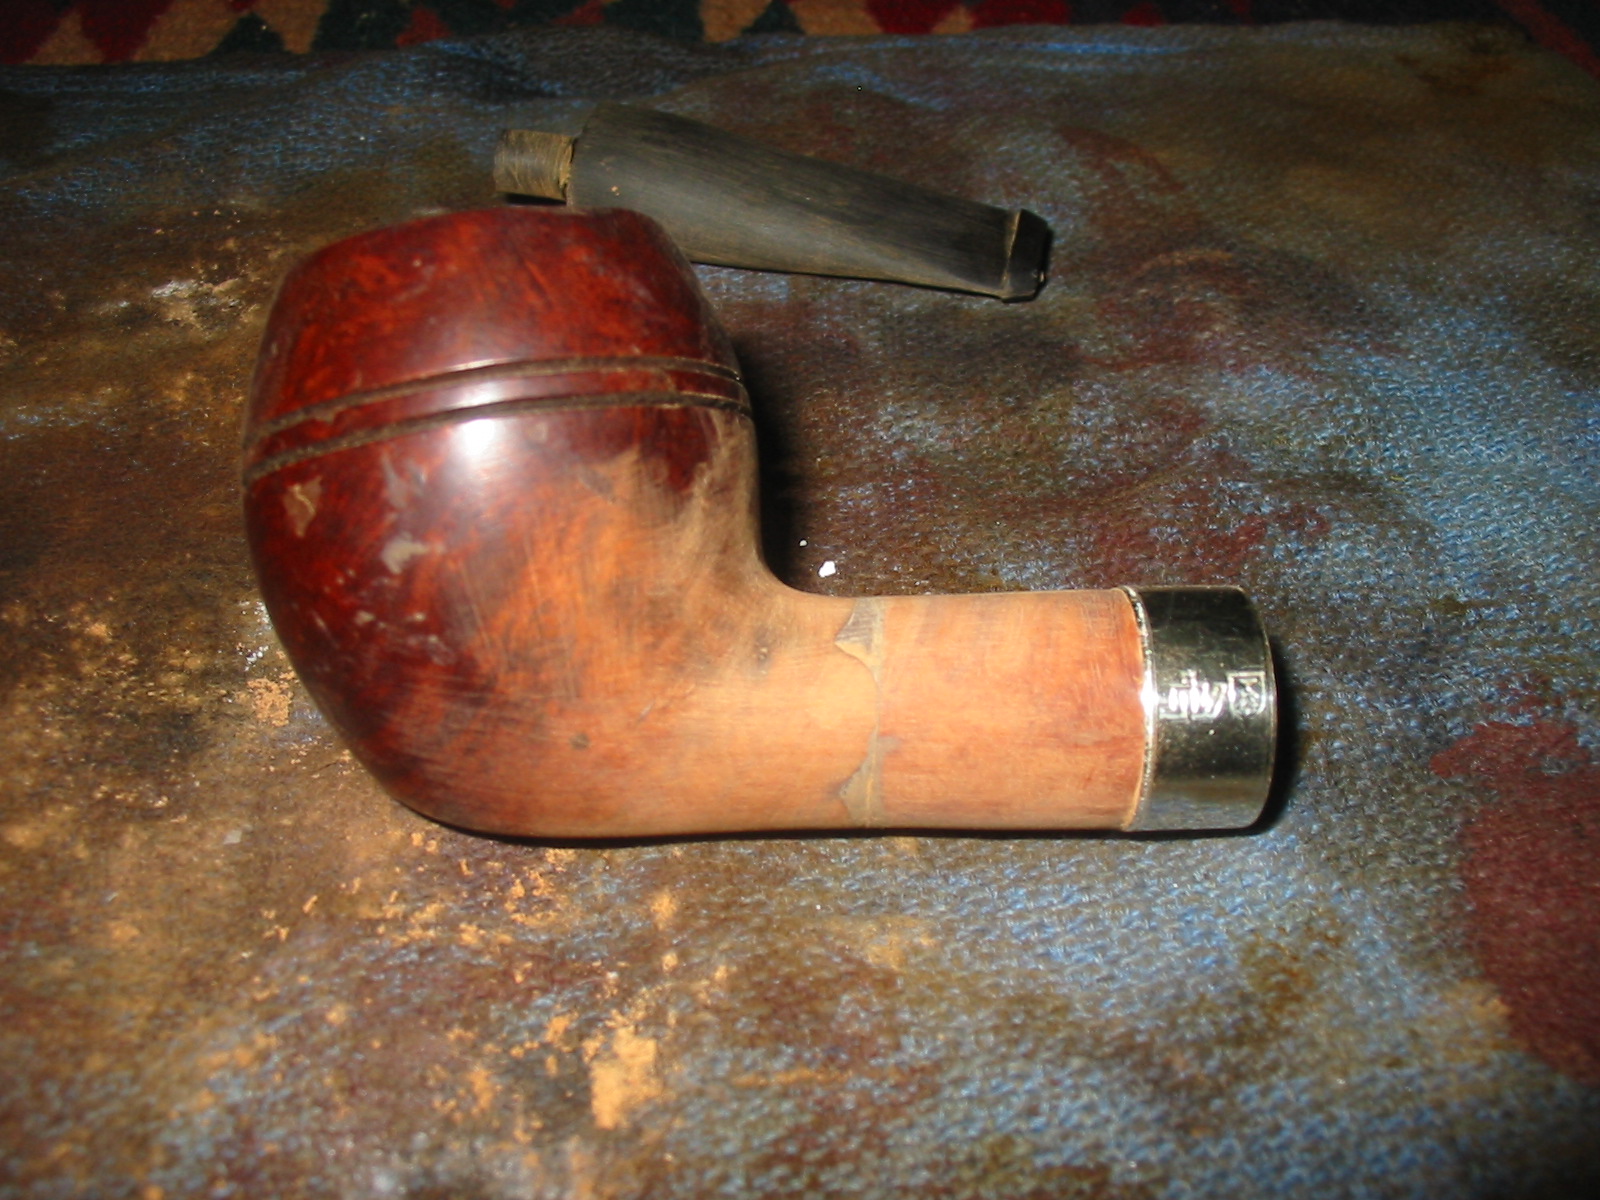
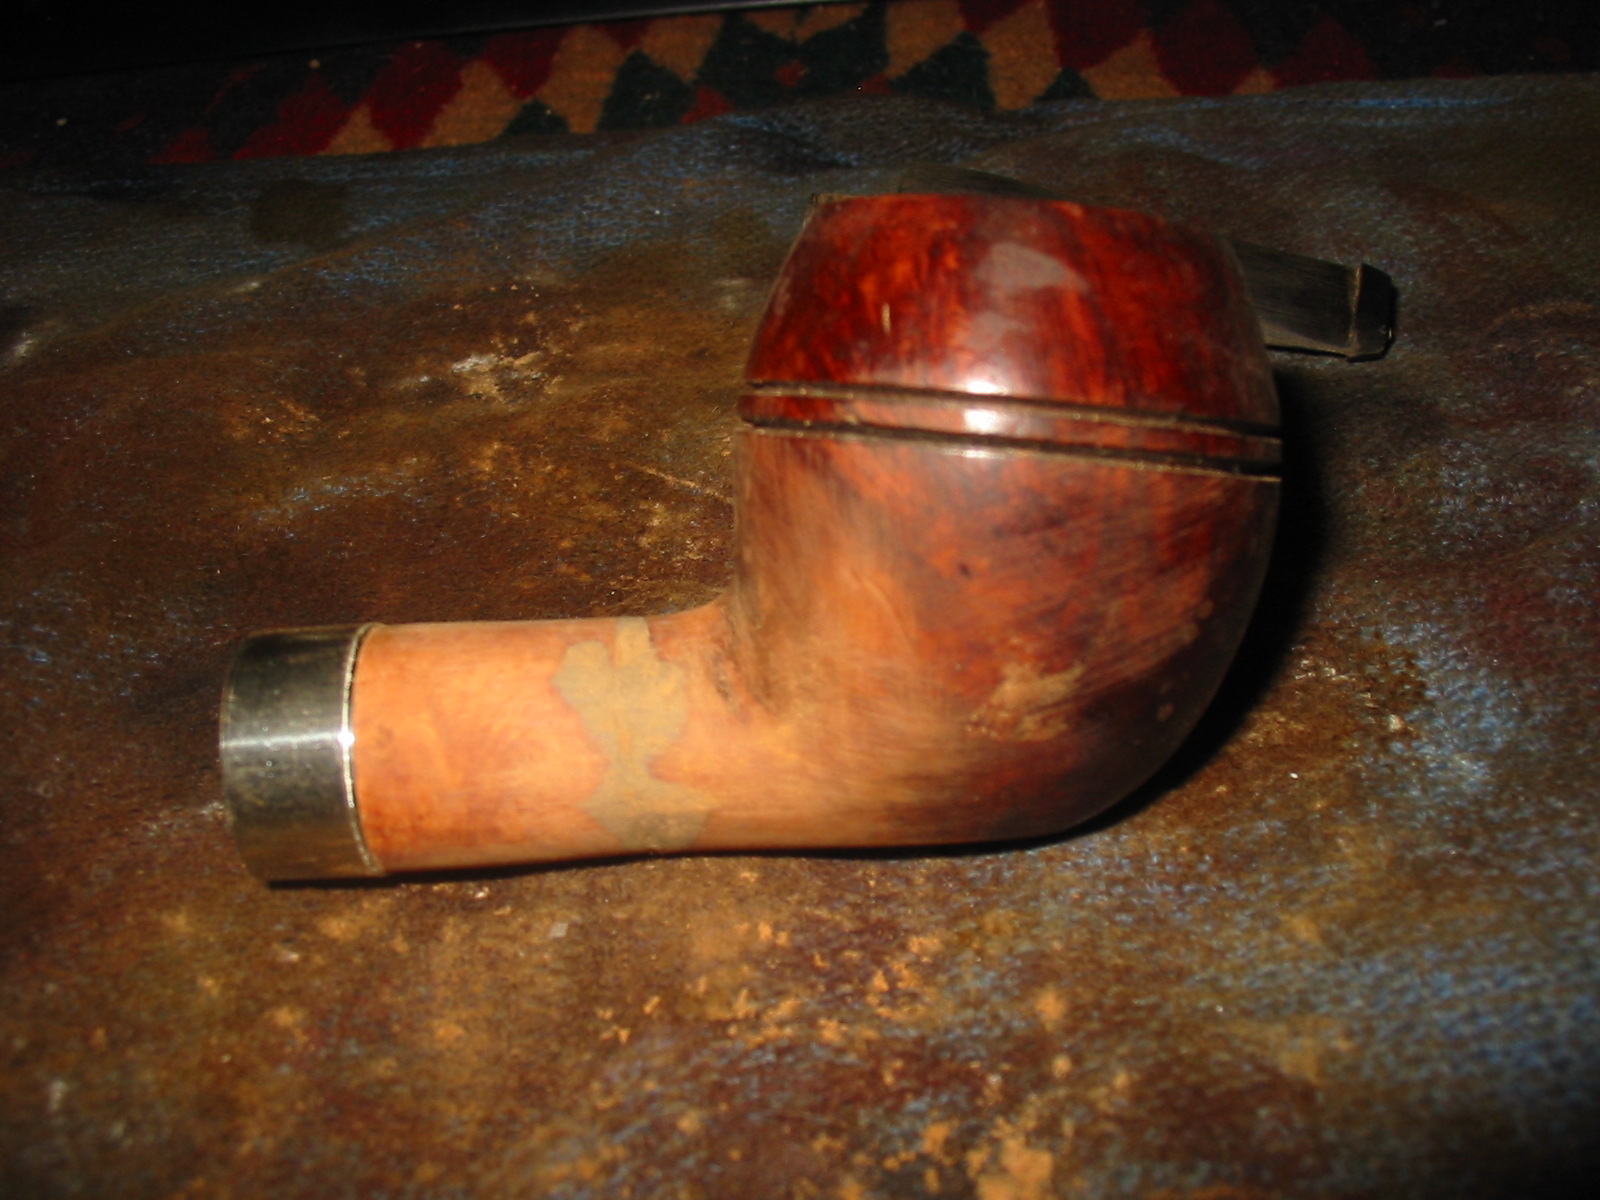
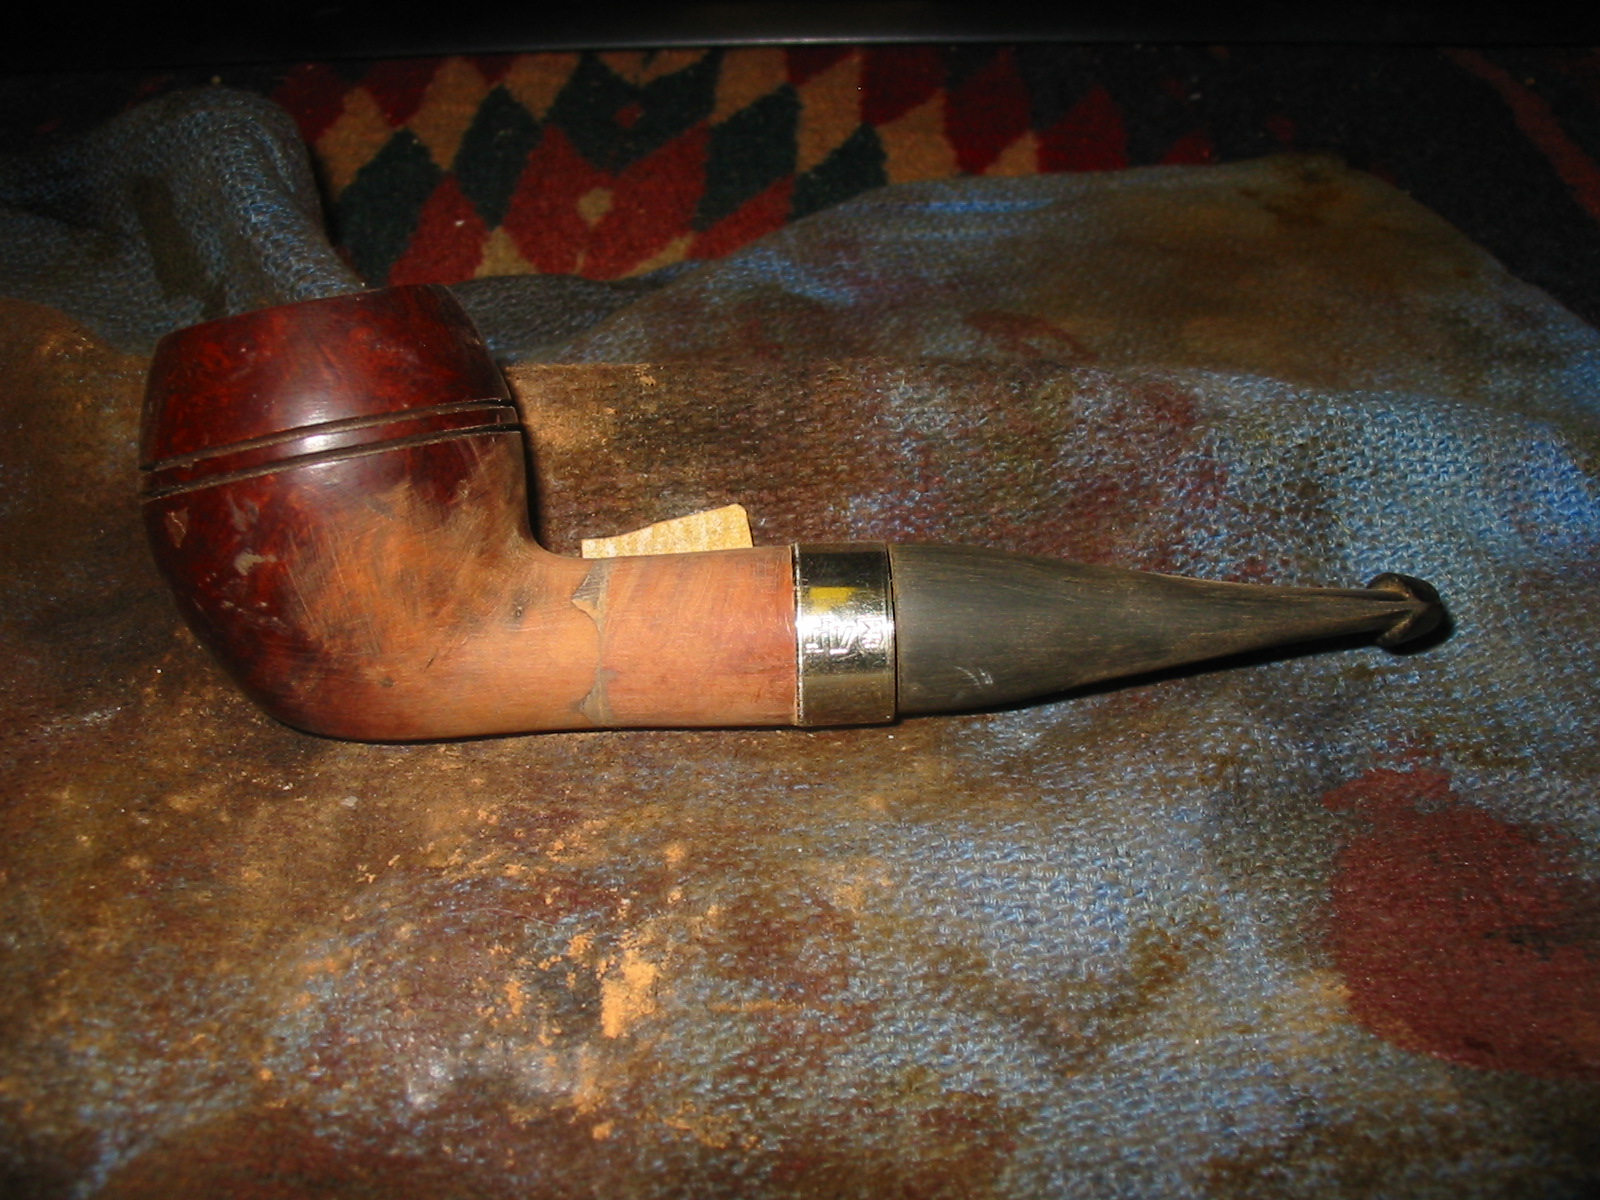
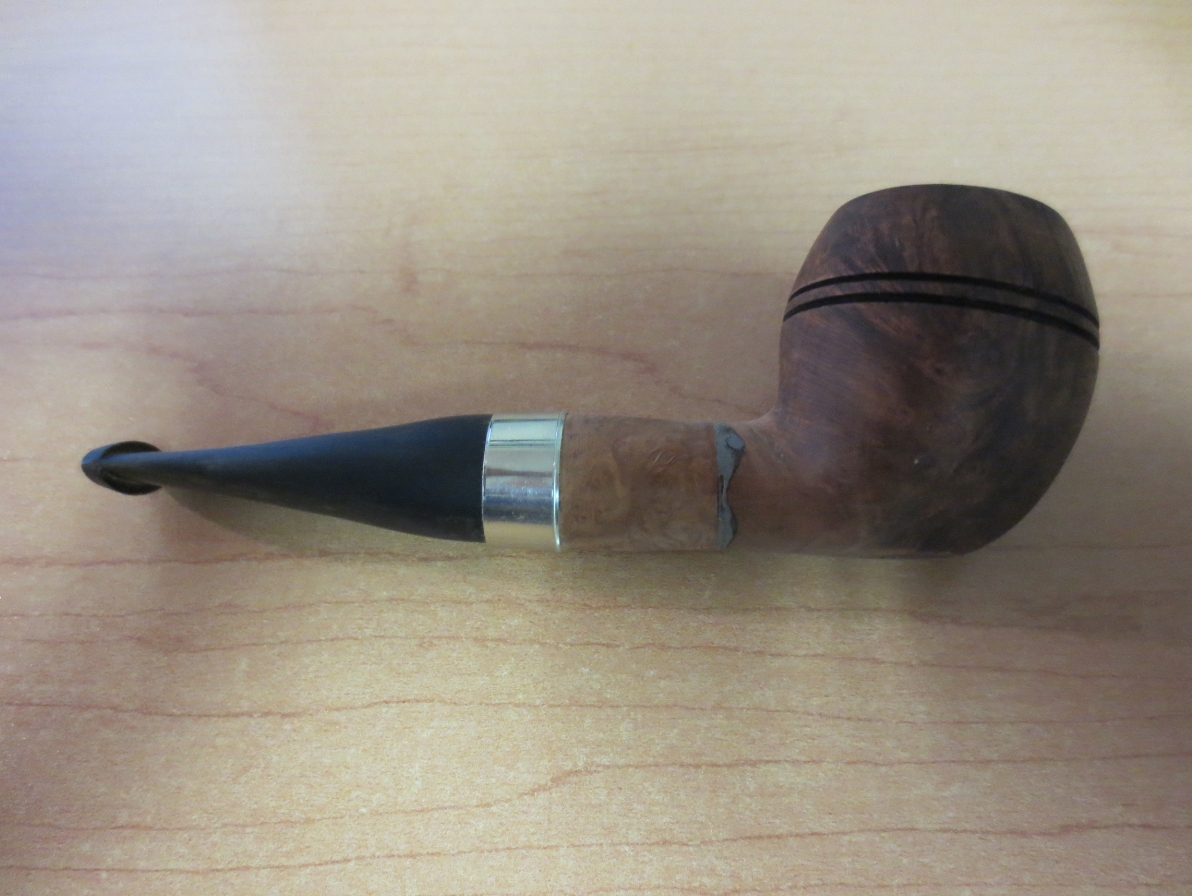
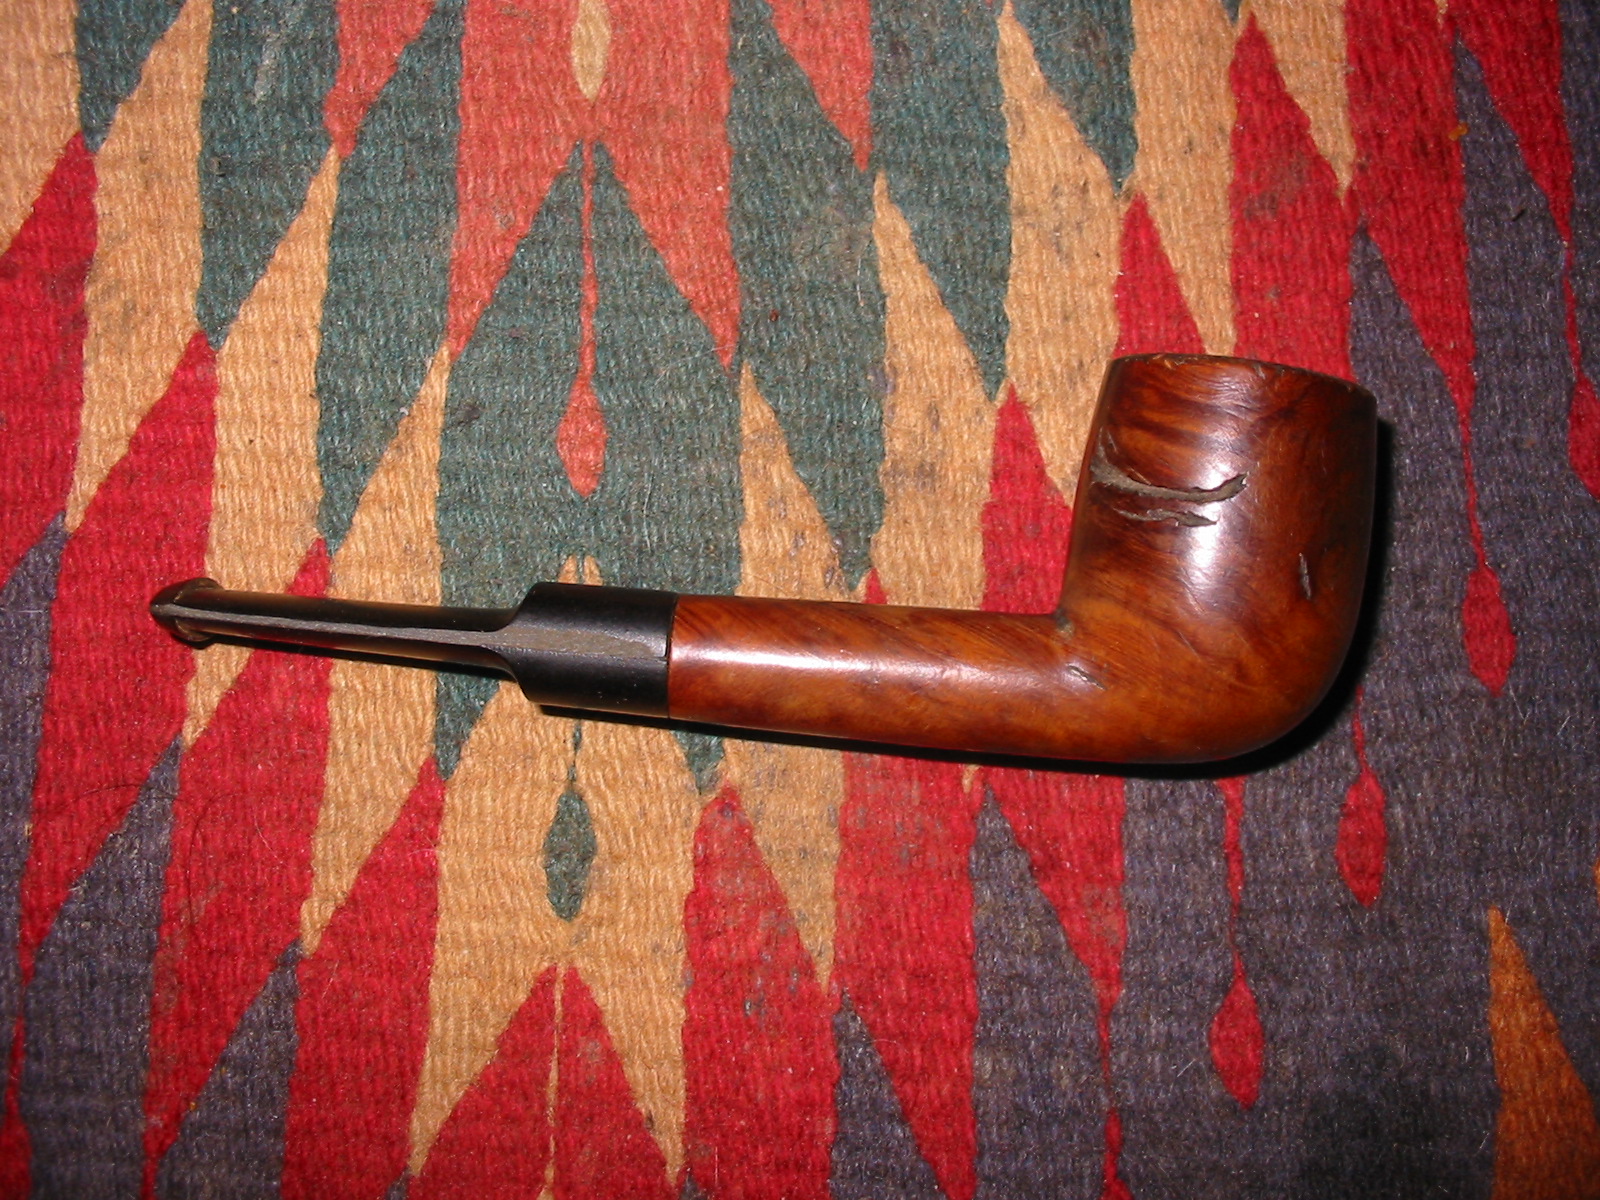
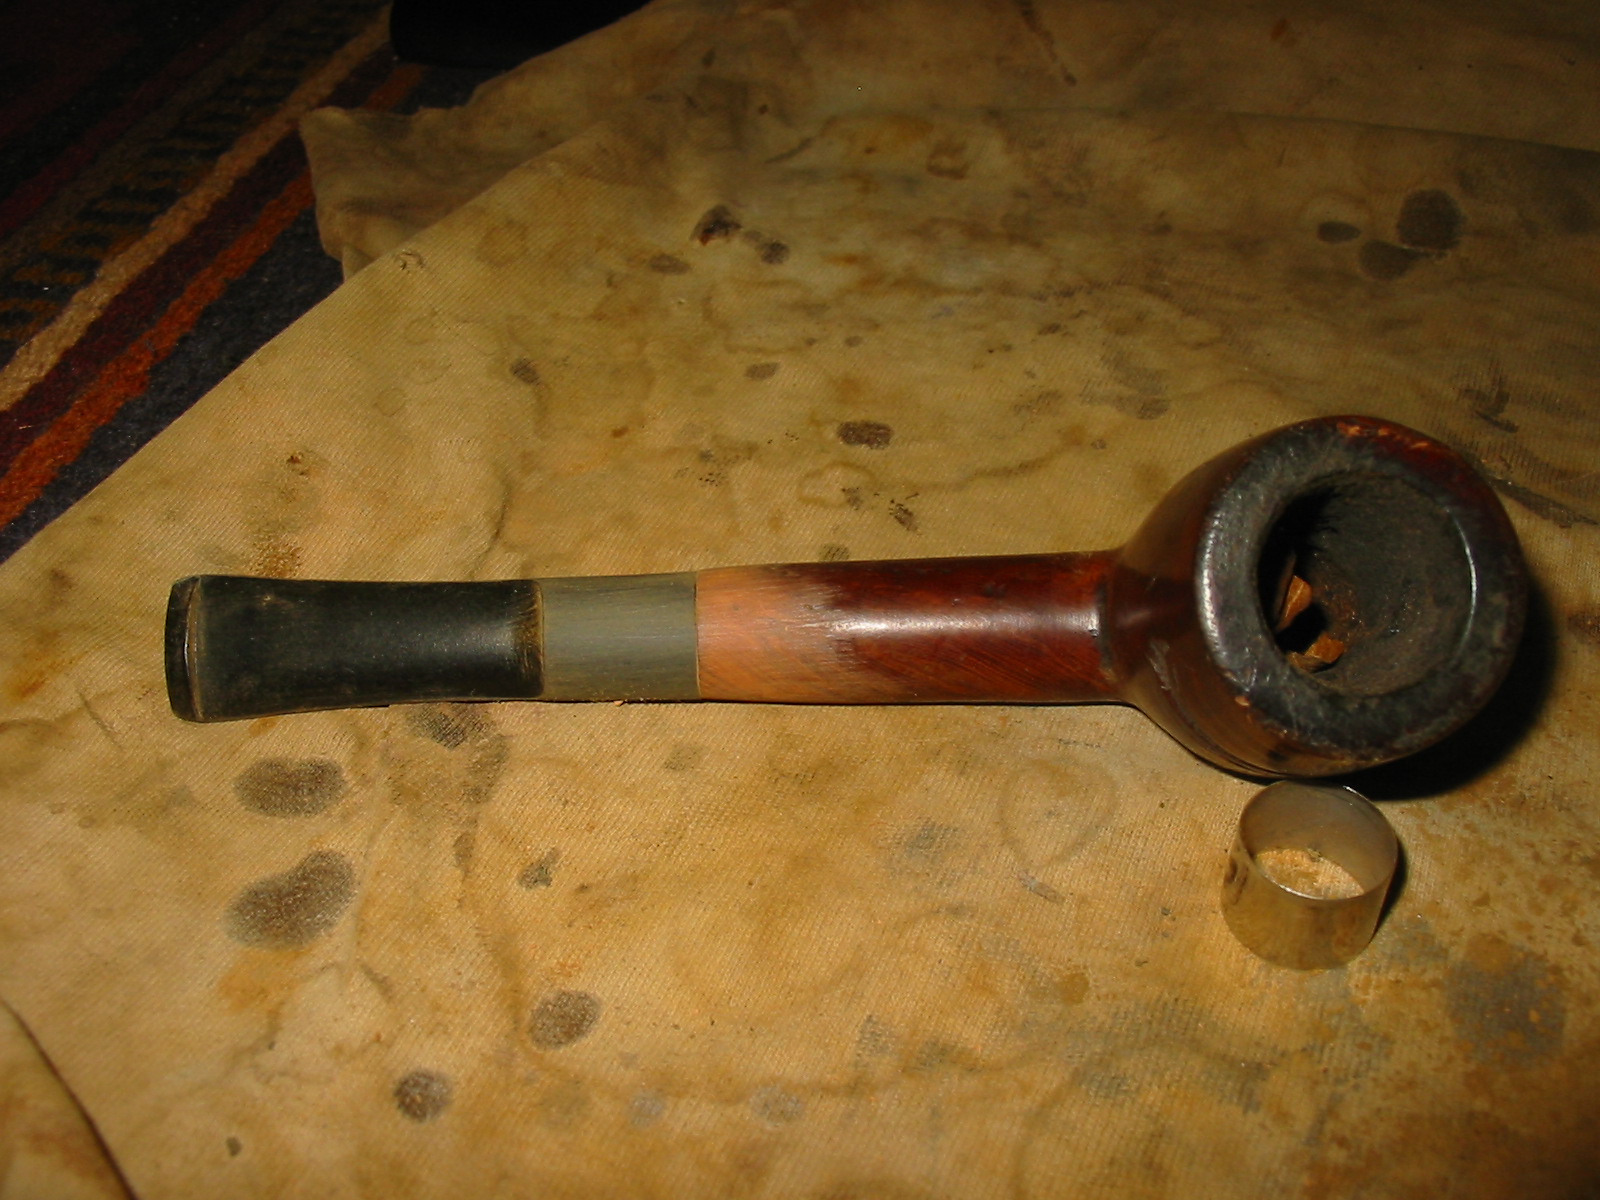
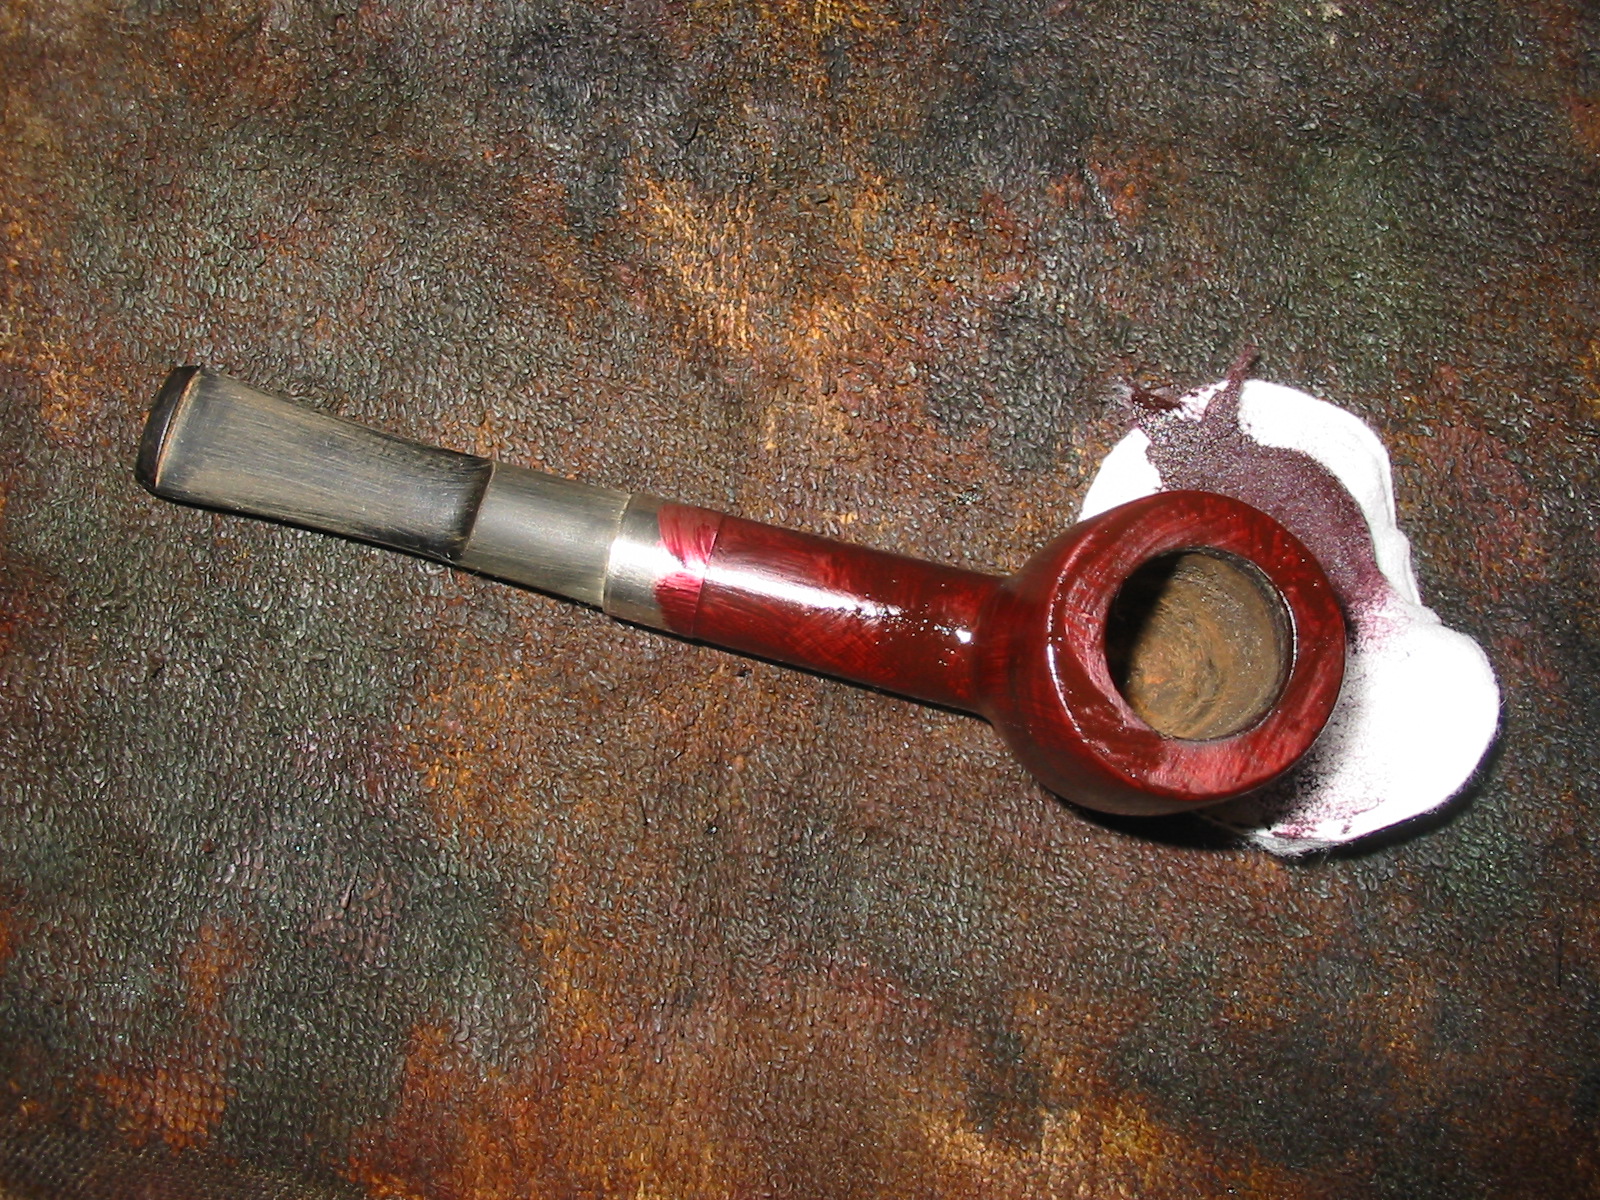
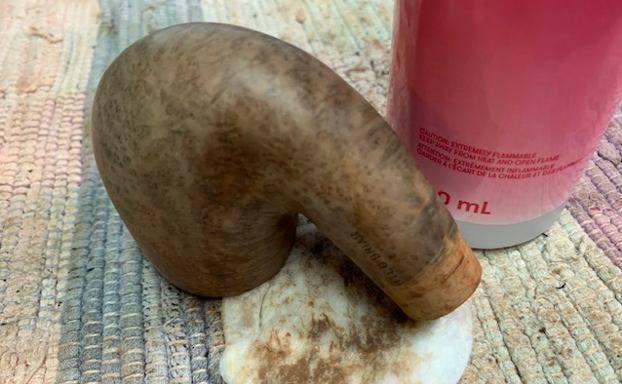
 At this point I wanted to try the fit of the band on the shank. I heated it slightly with a lighter and pressed in place. I like what I am seeing. I removed the band once it cooled and went to work some more on the bowl. It needed to be polished and stained before I set the band in place but I wanted to have a look. Didn’t you?
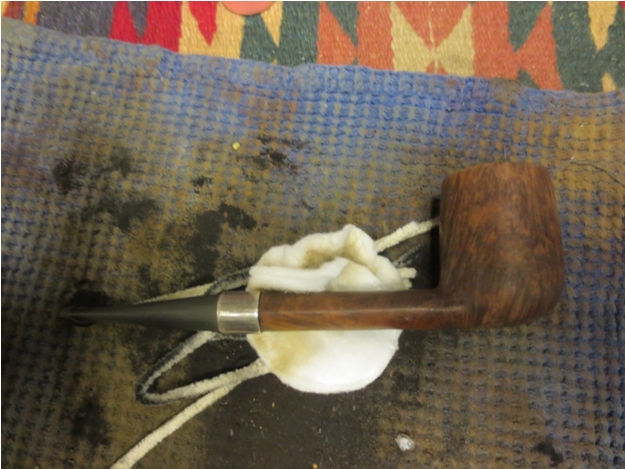
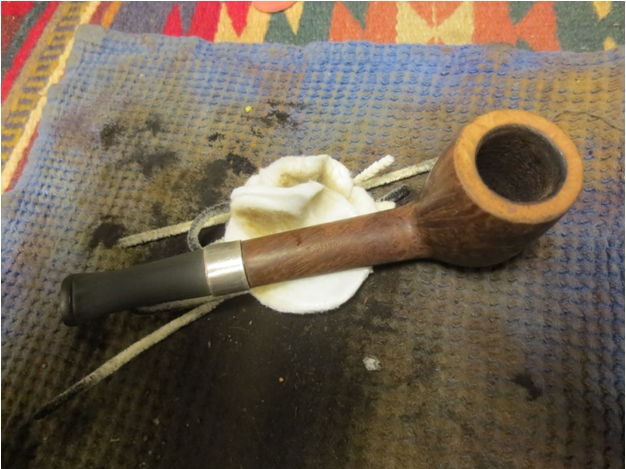
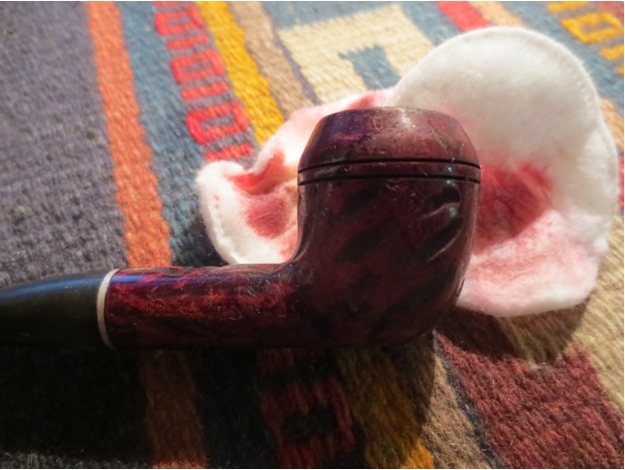
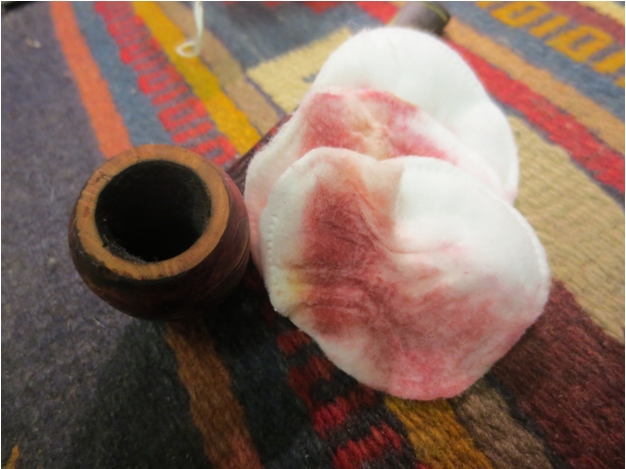
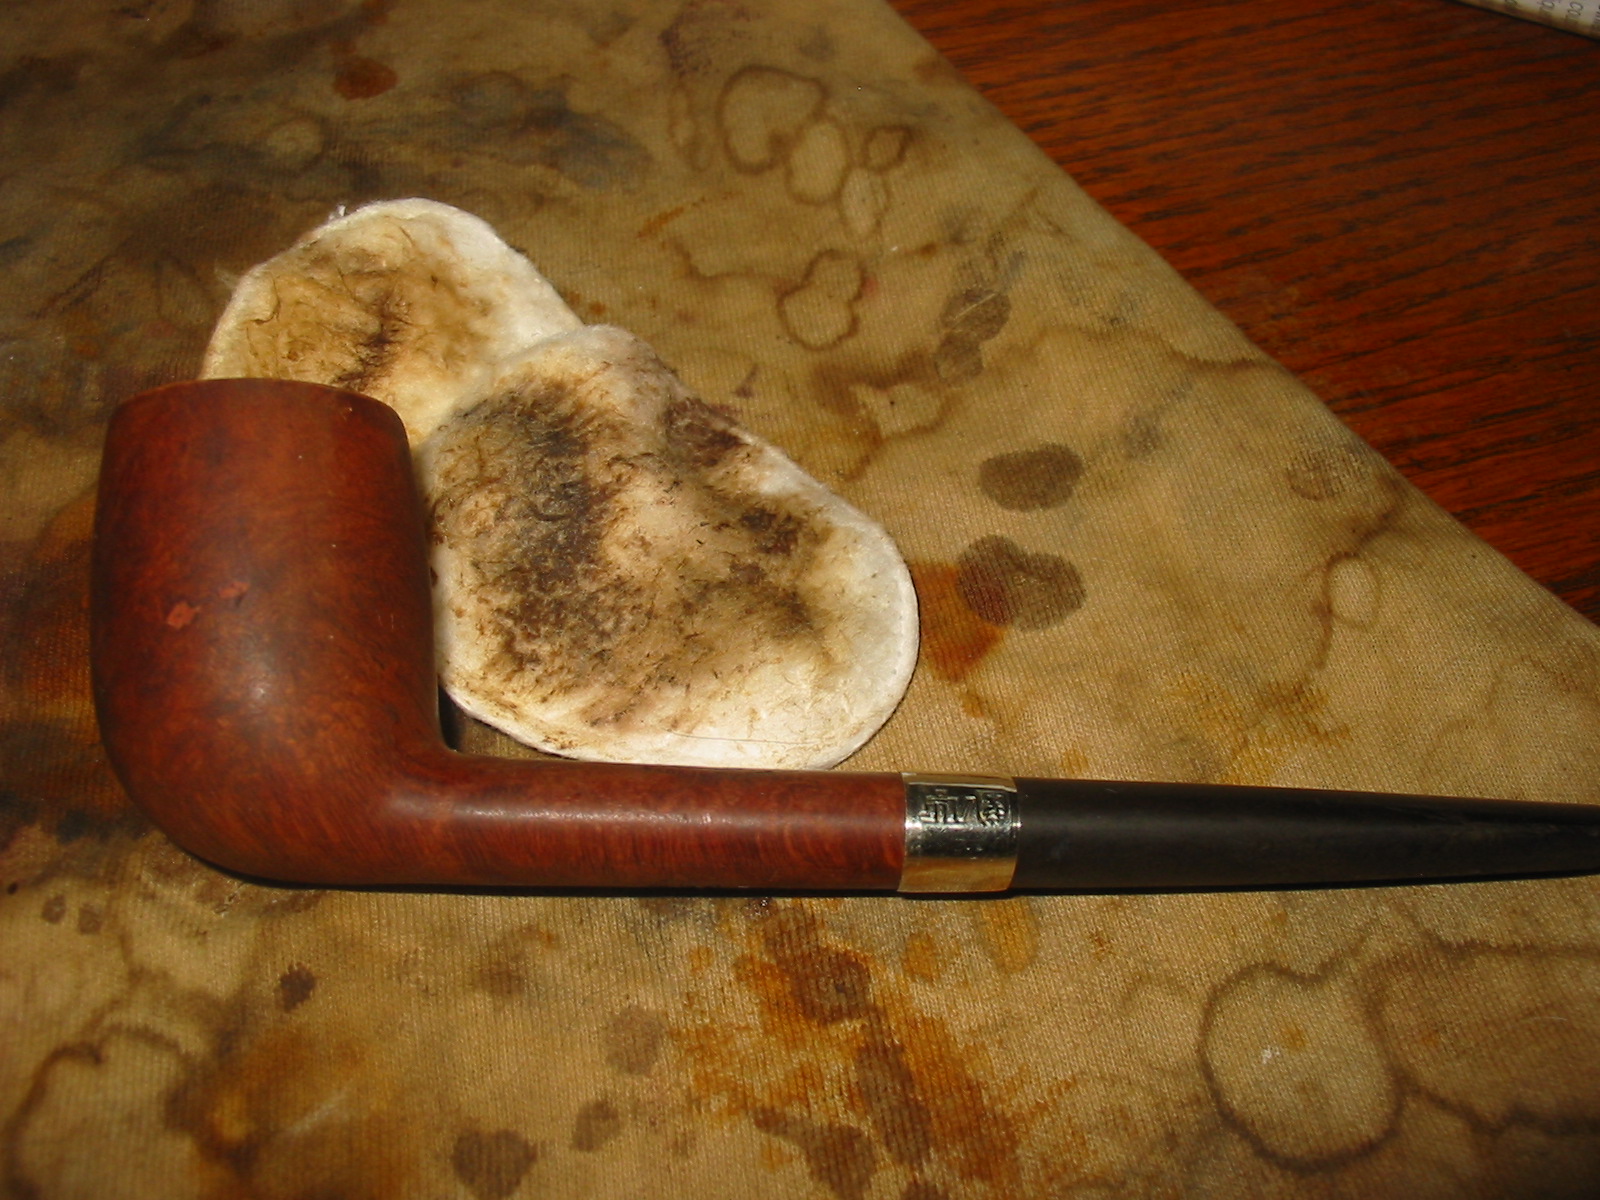
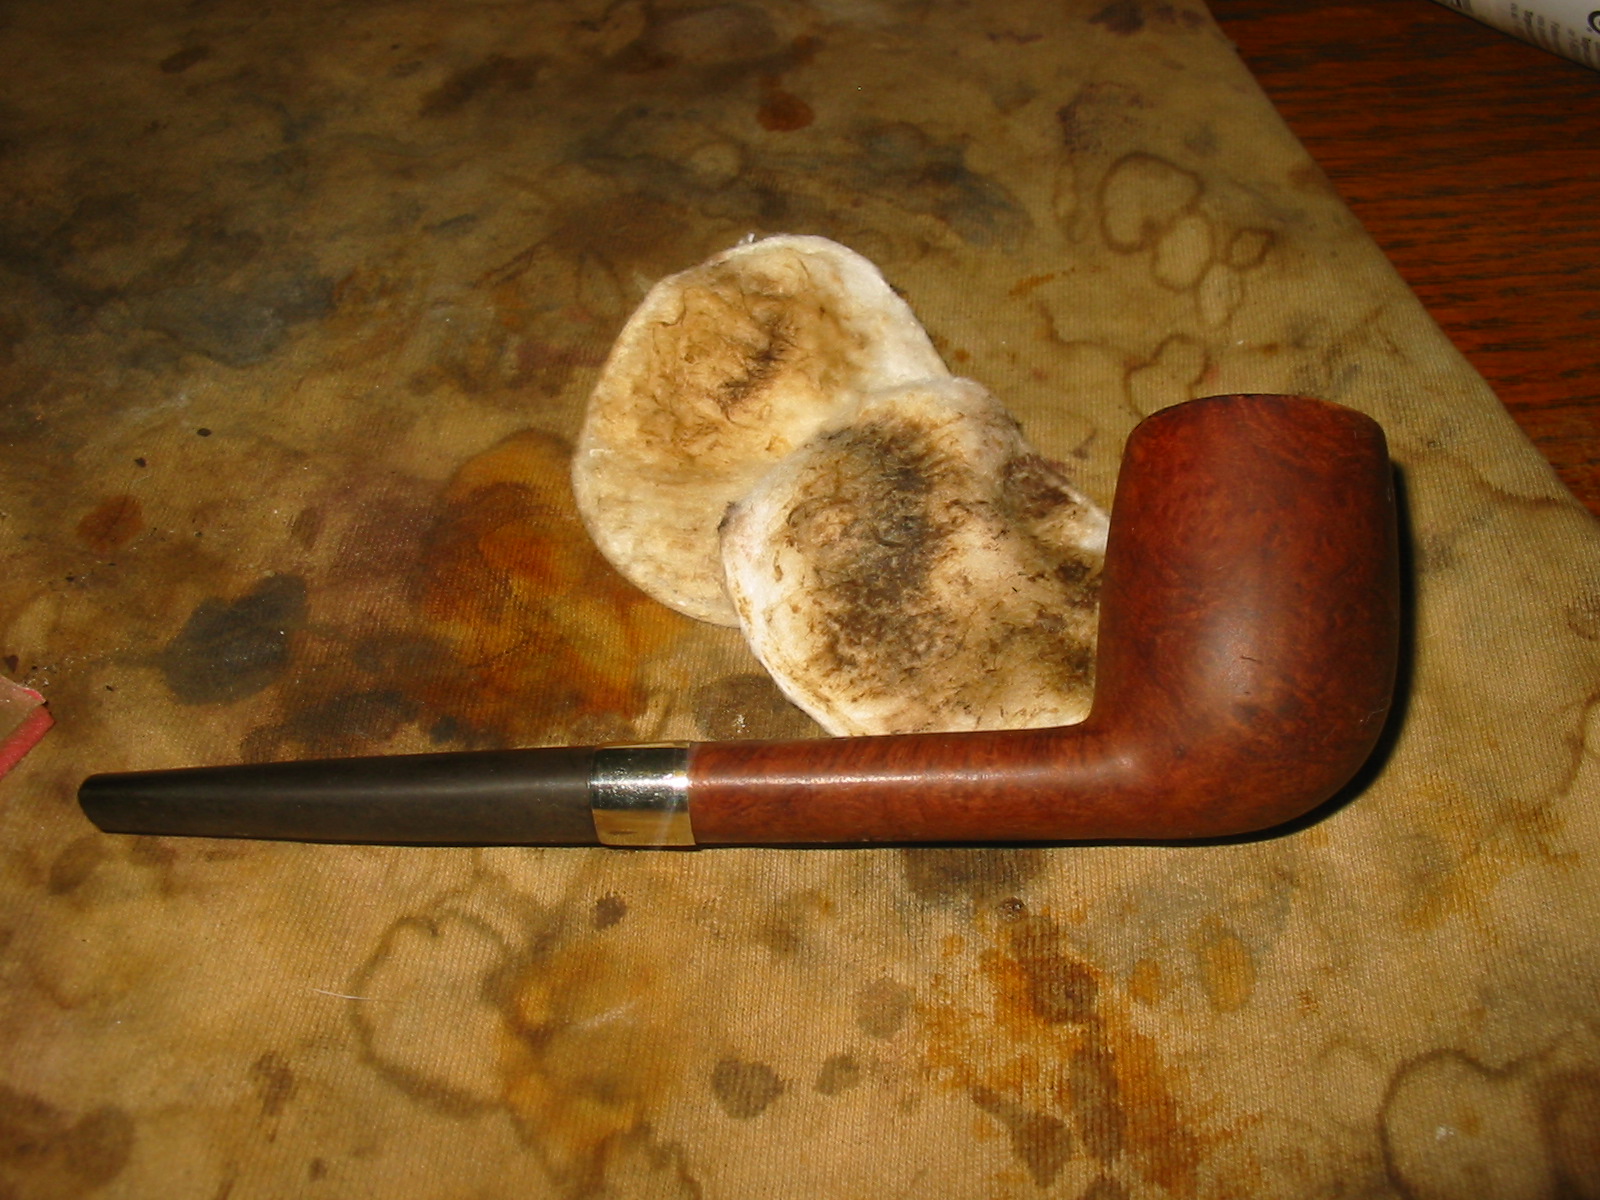
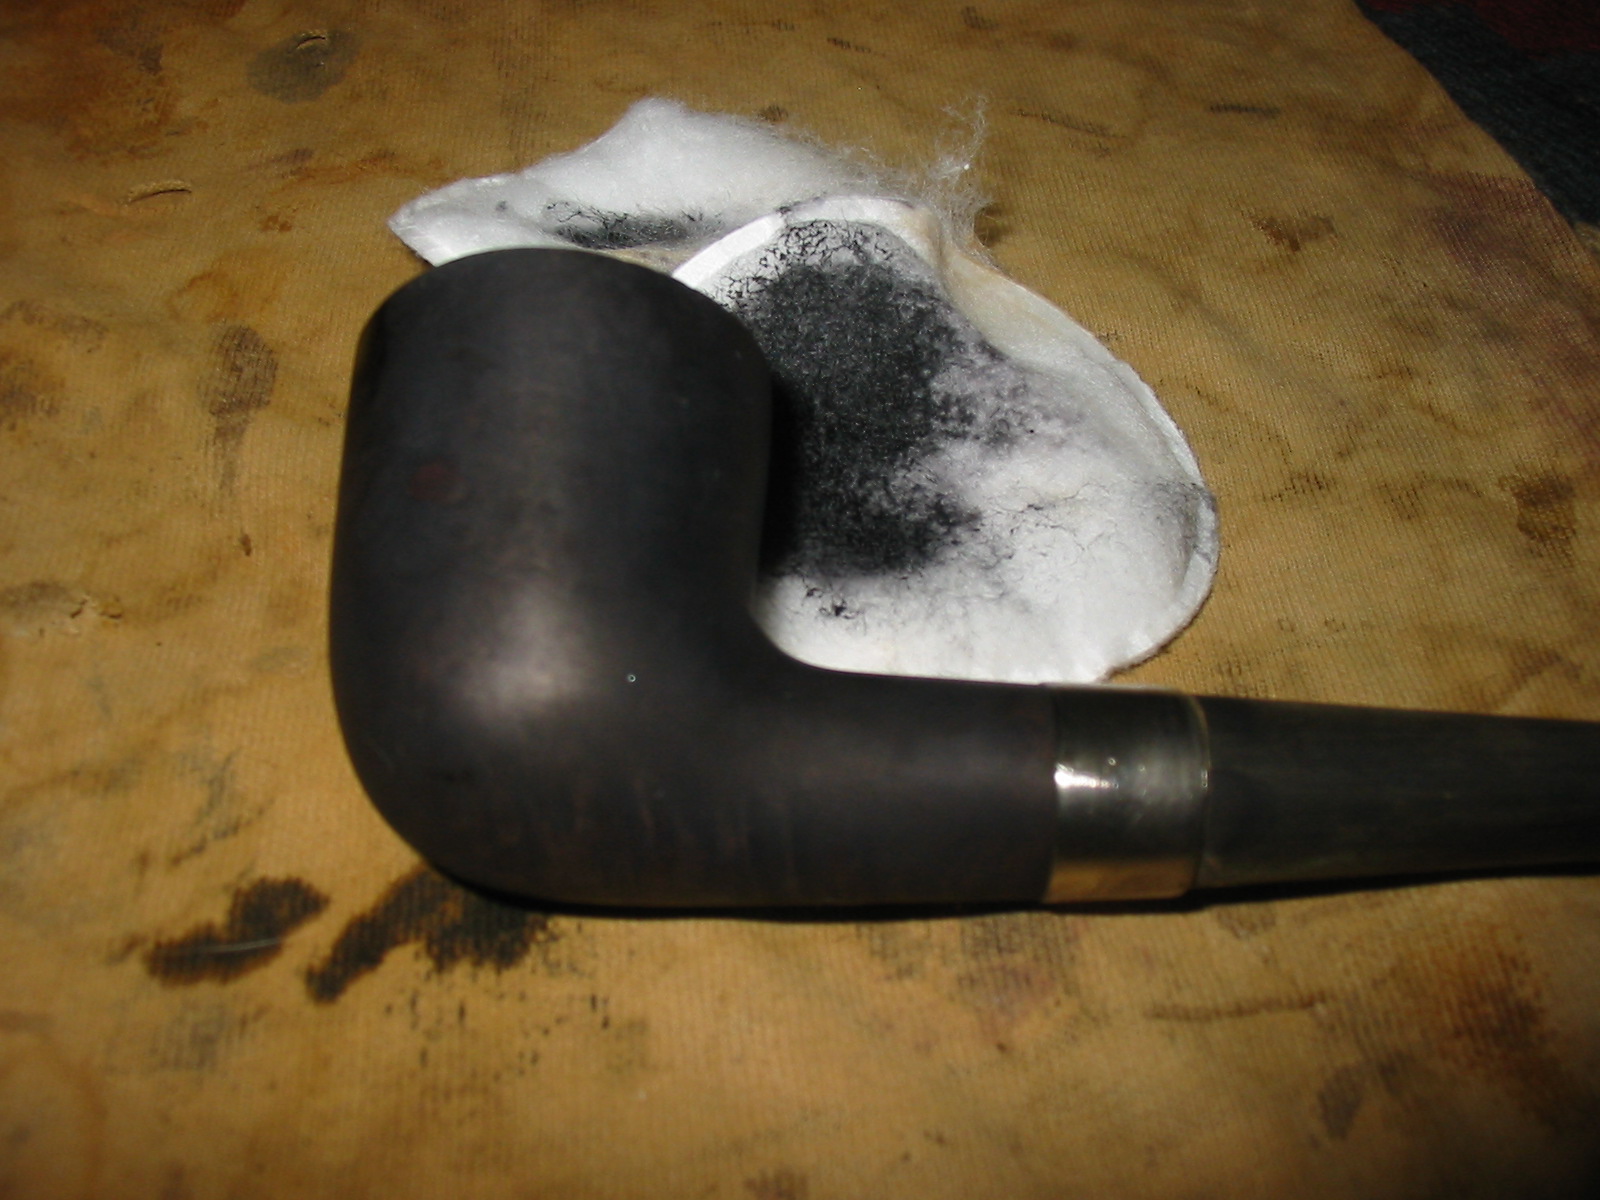
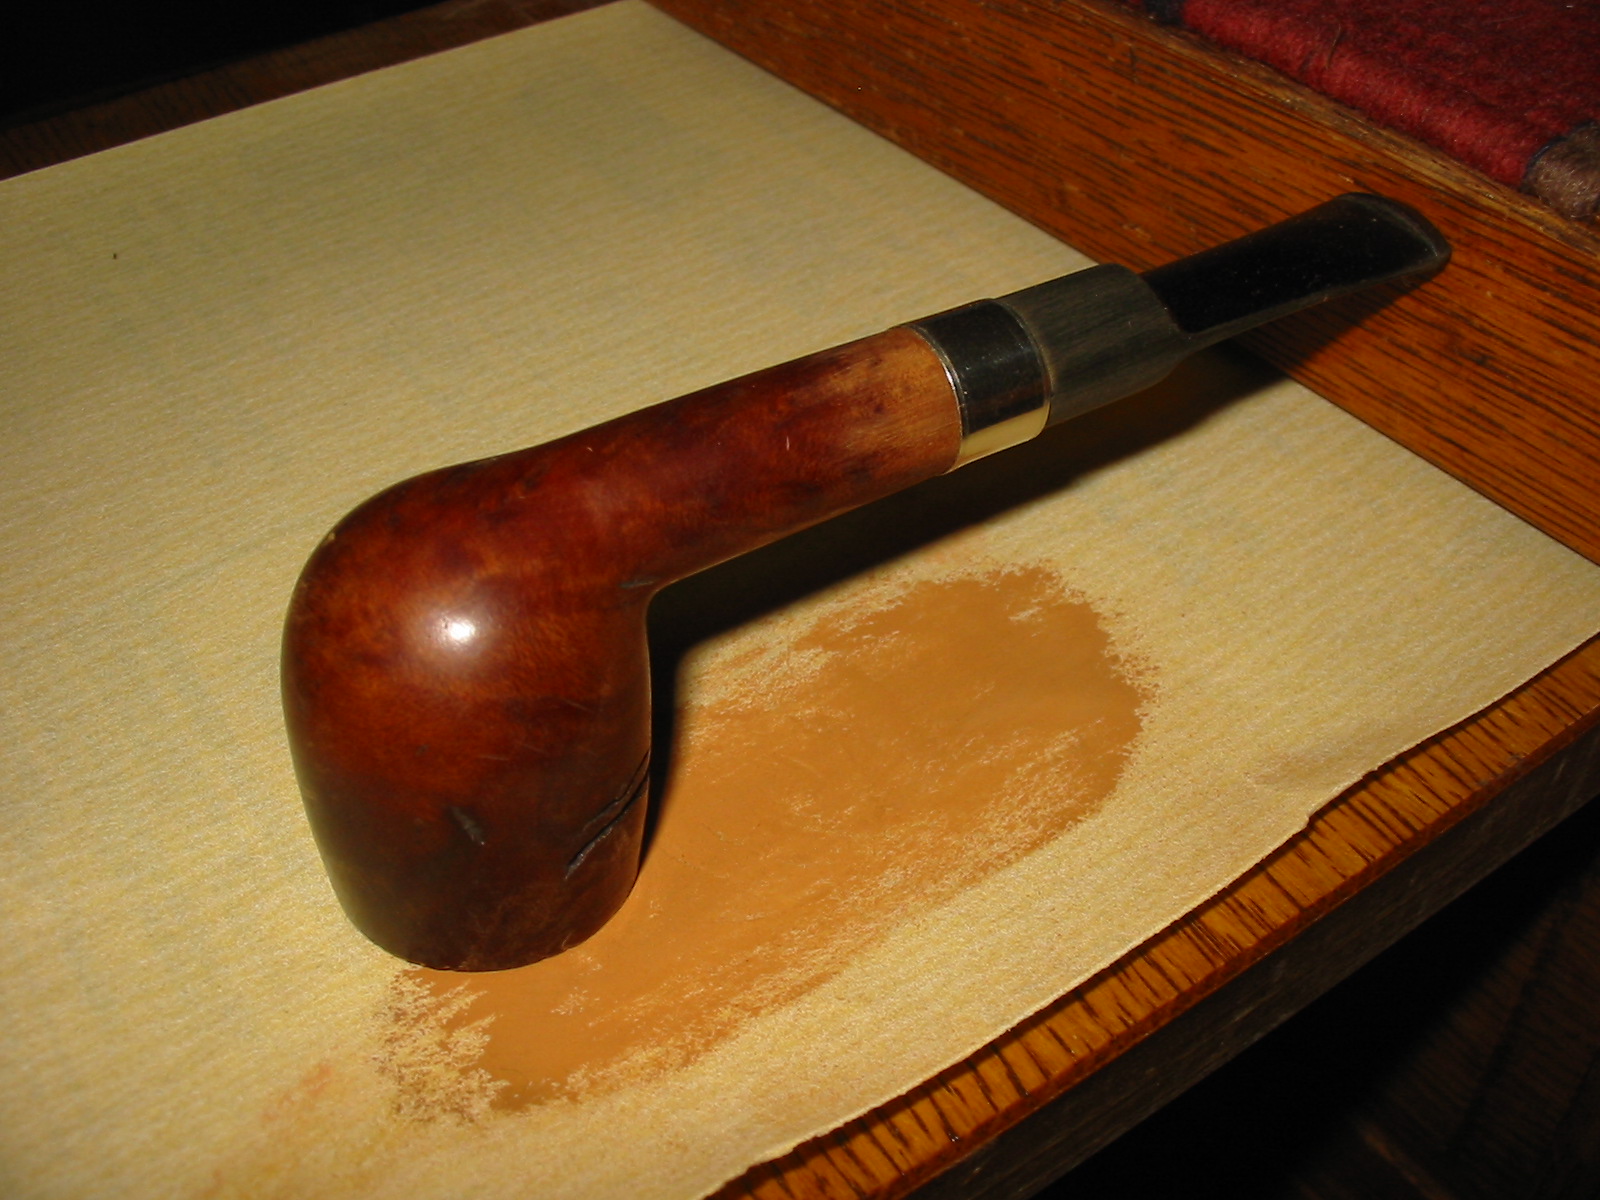
 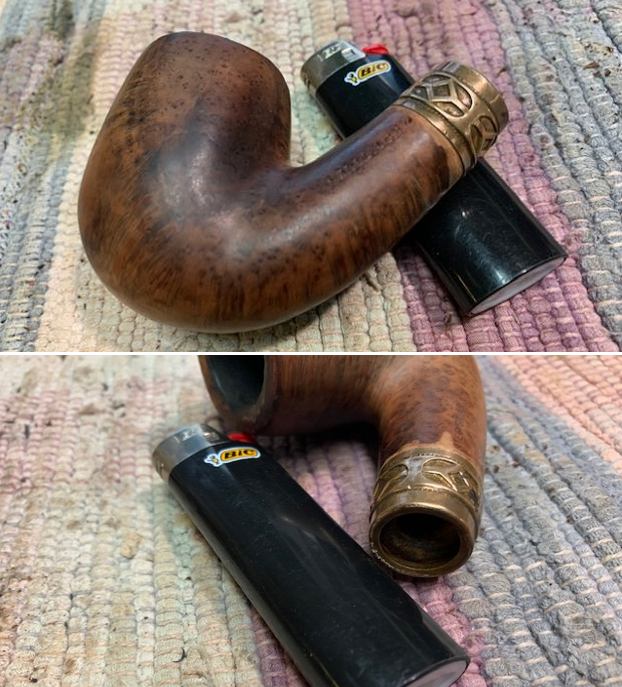 I wiped the bowl and shank down with acetone on a cotton pad to try to remove the dark patches and the remnants of the stain. All of this was in preparation for the future staining of the bowl.
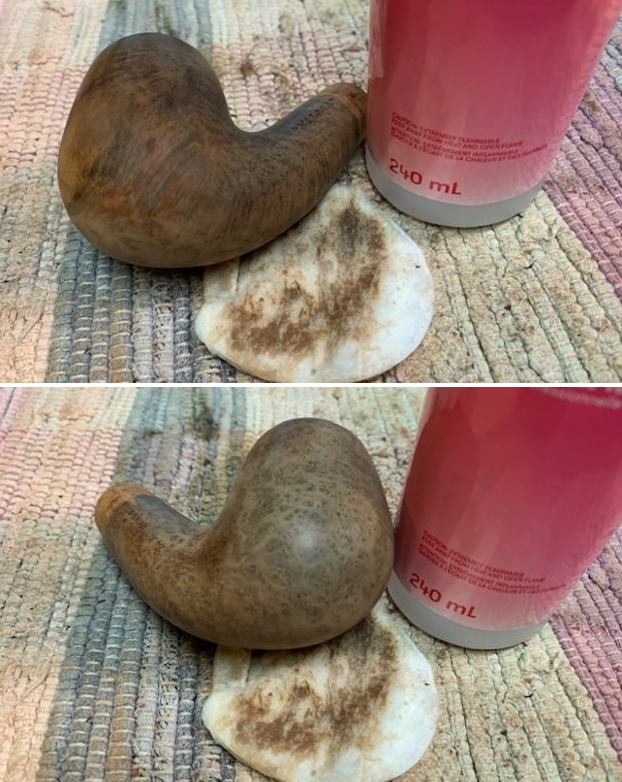
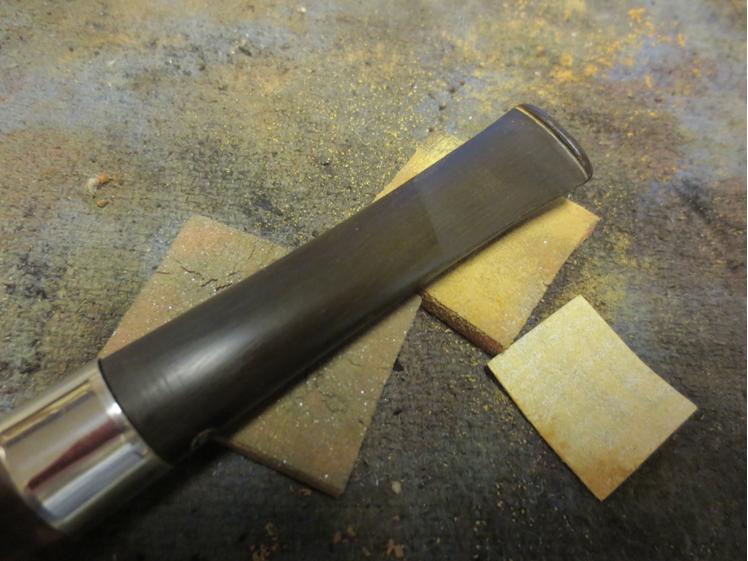
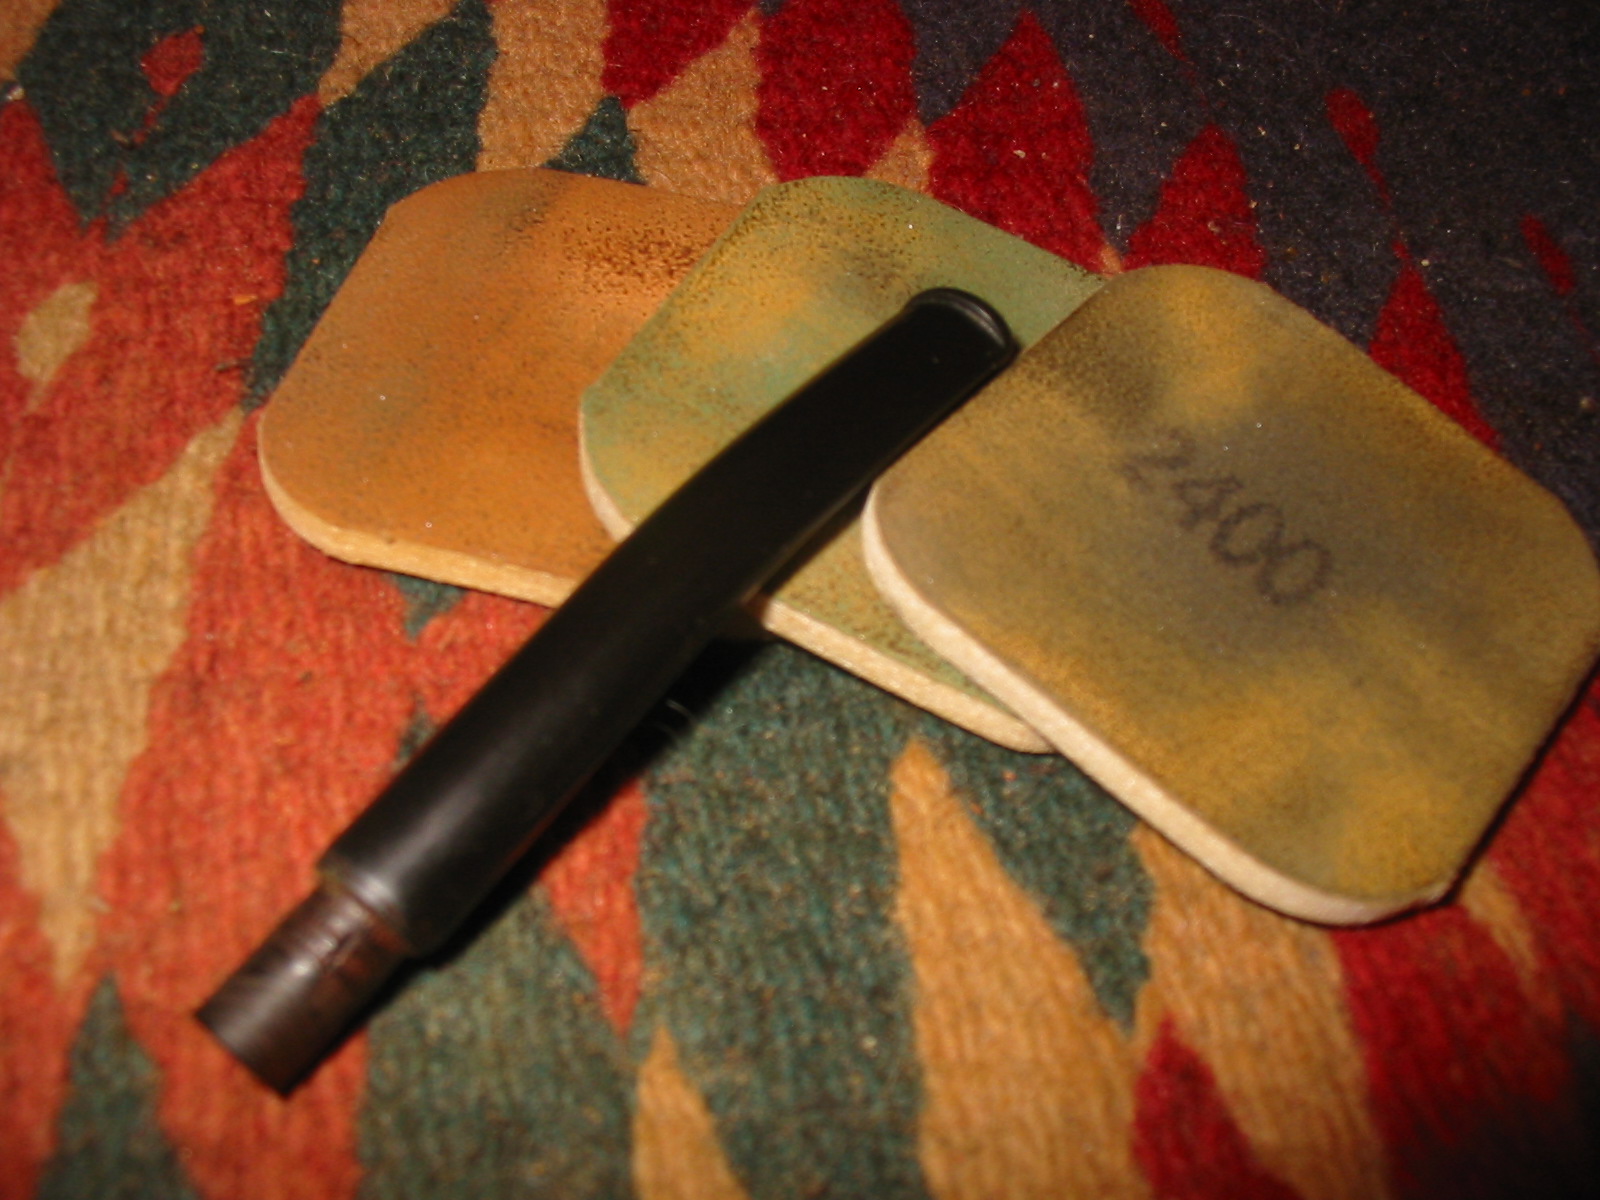
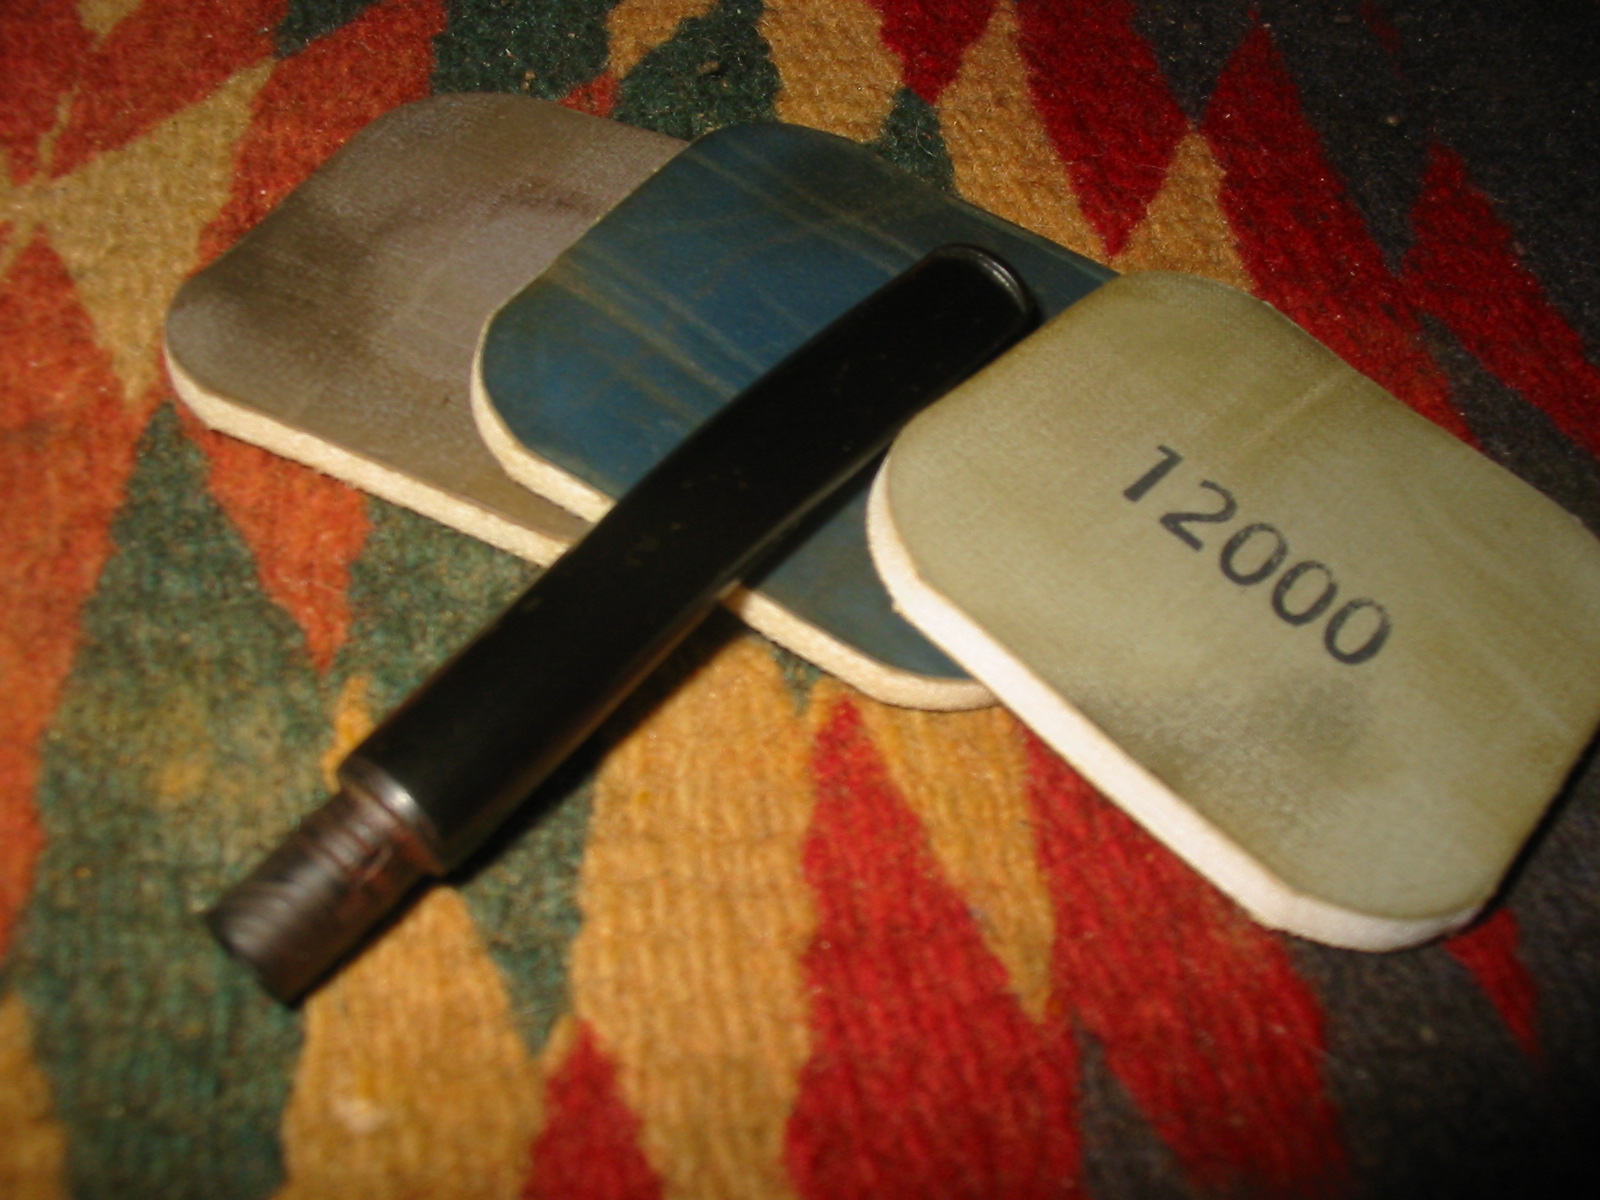
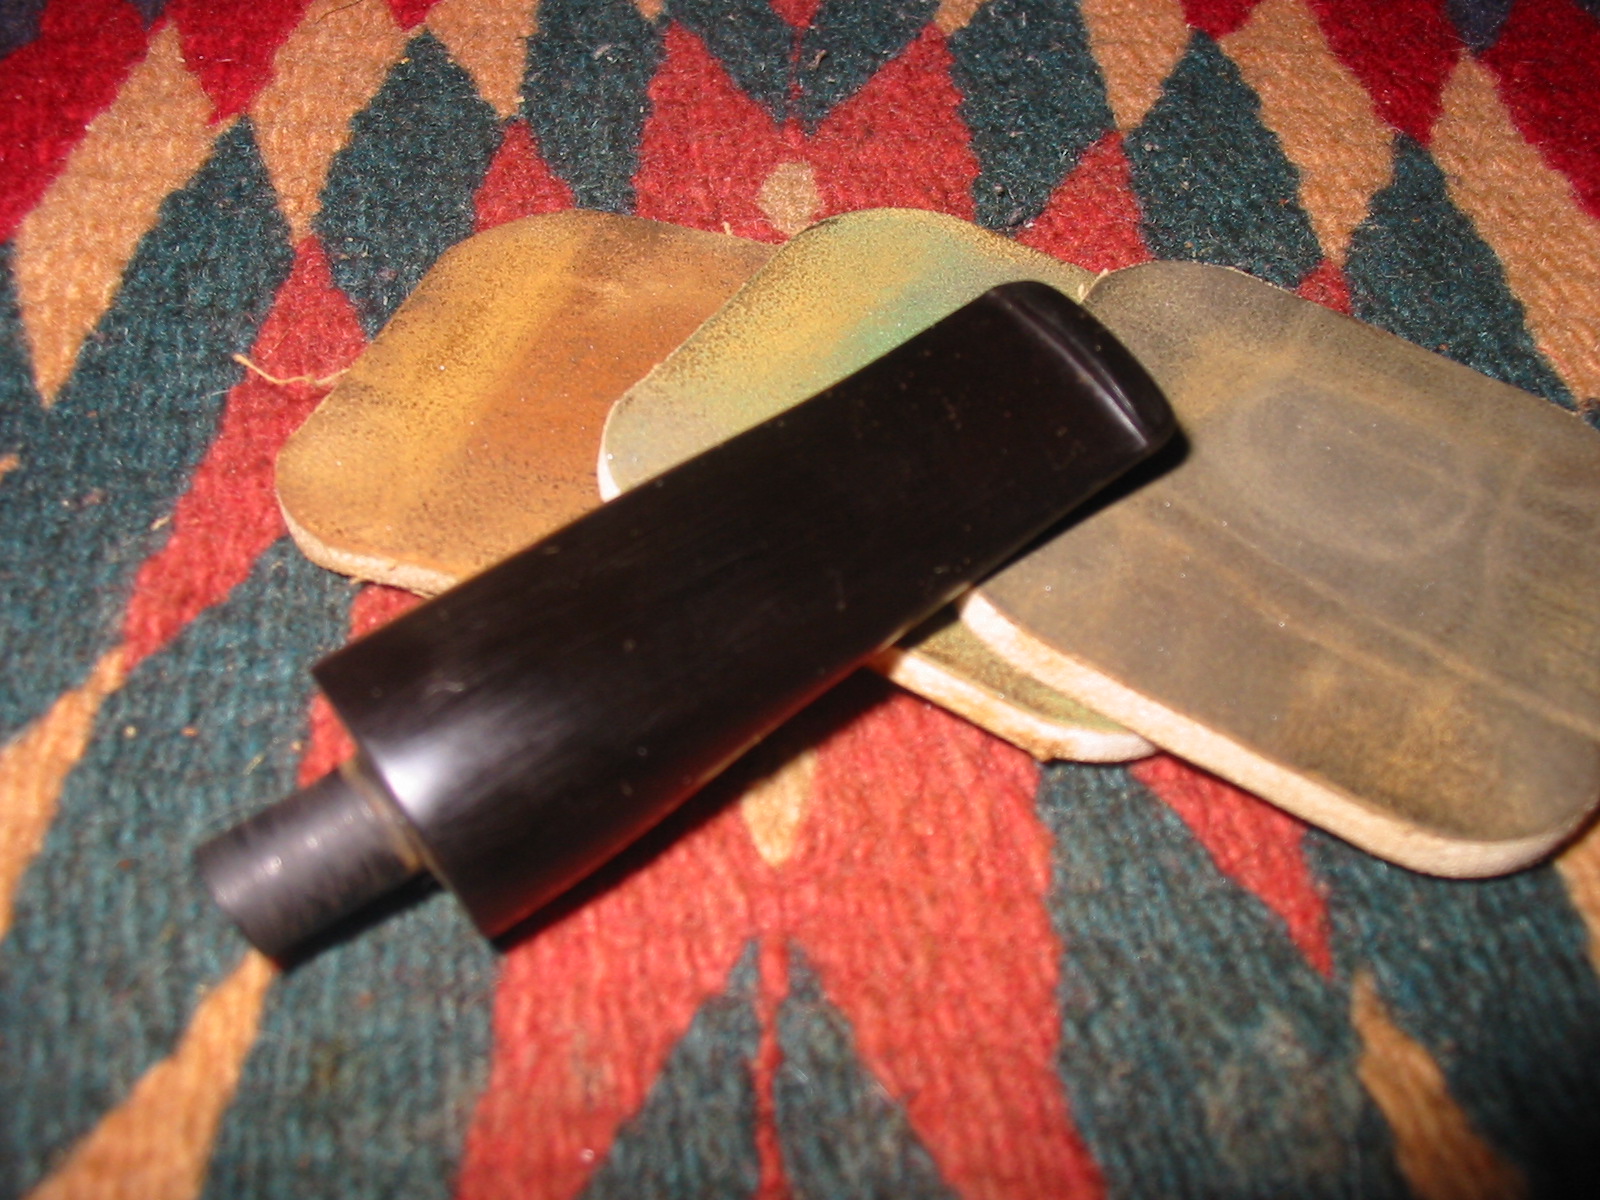
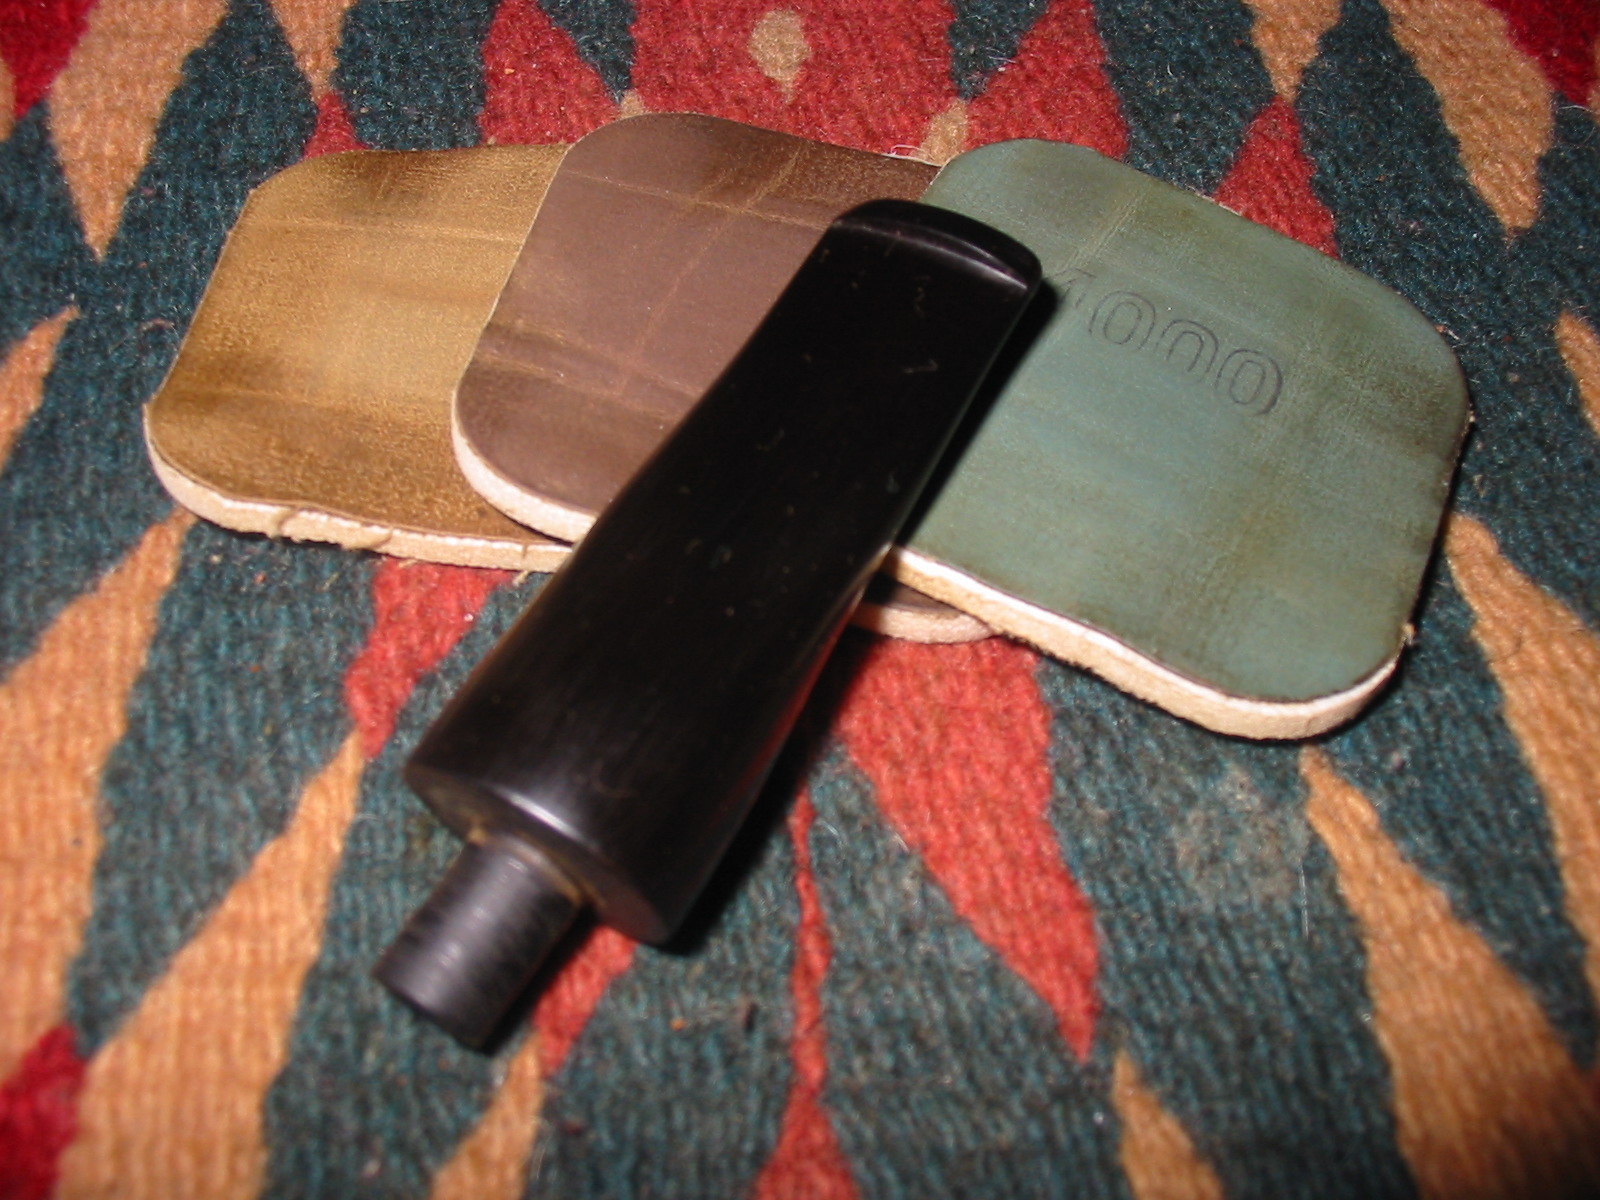
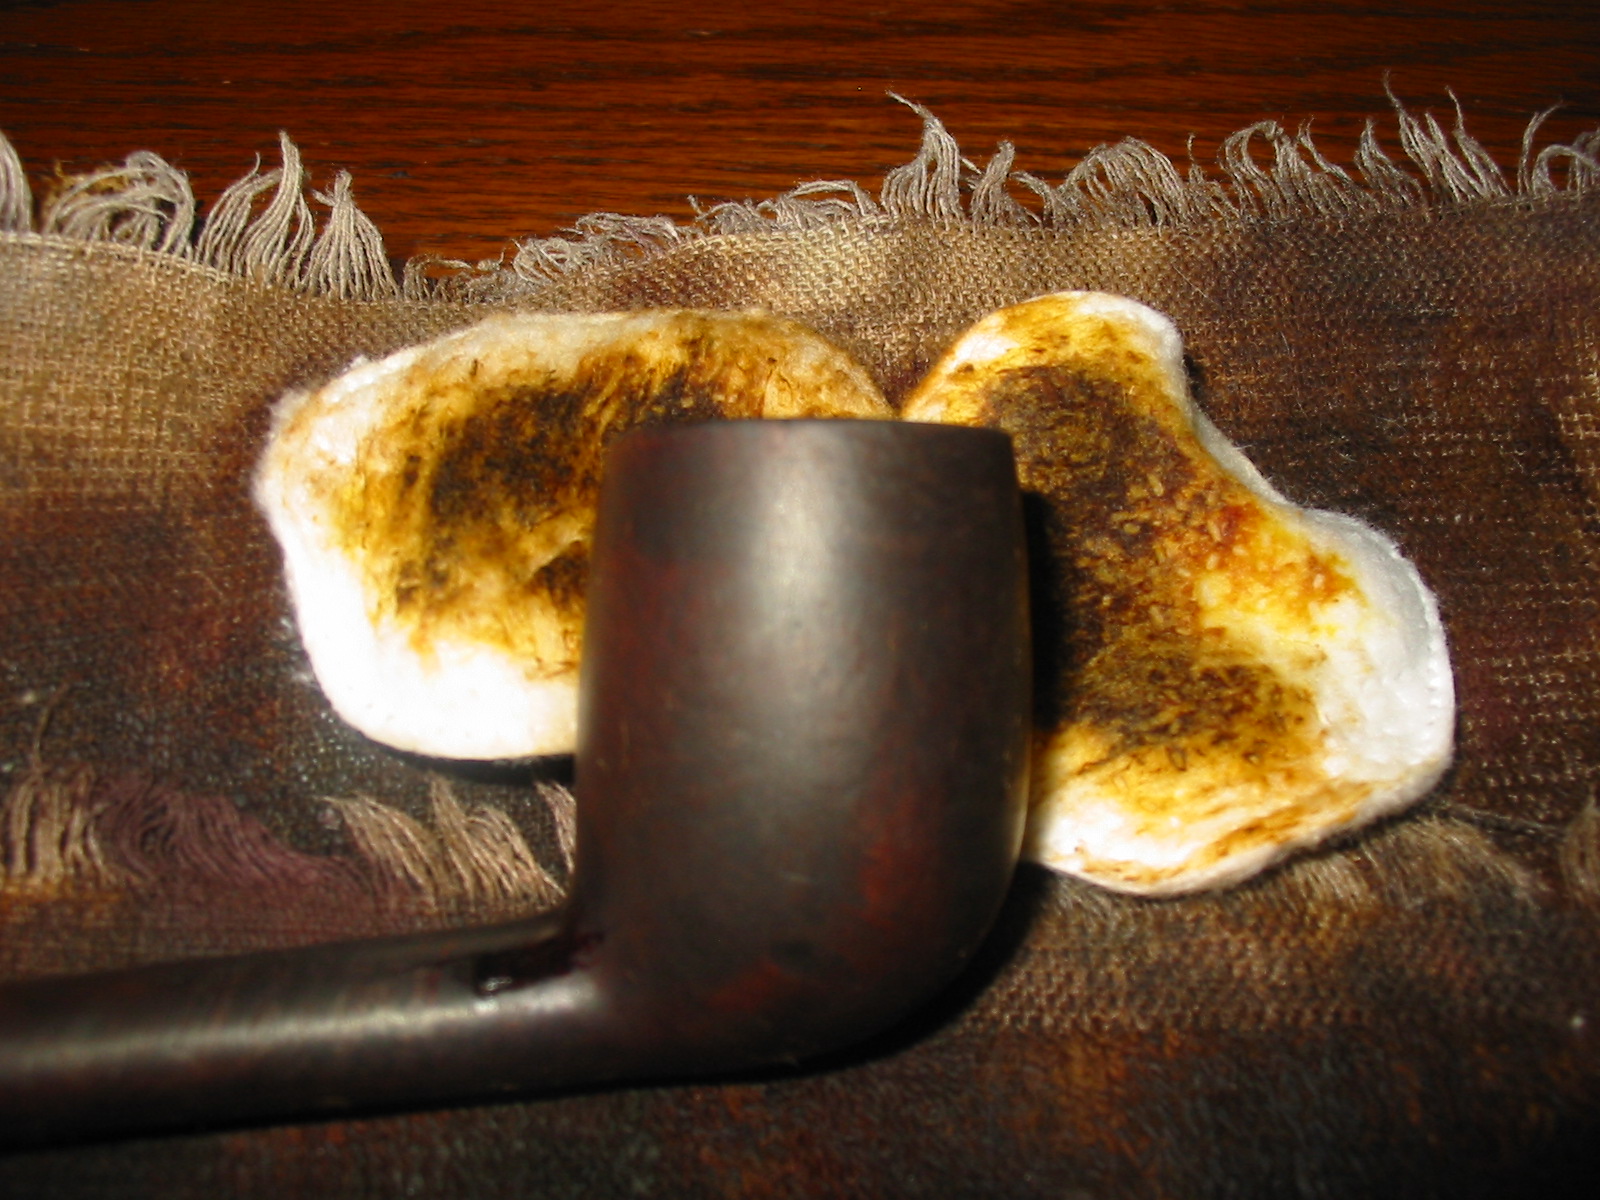
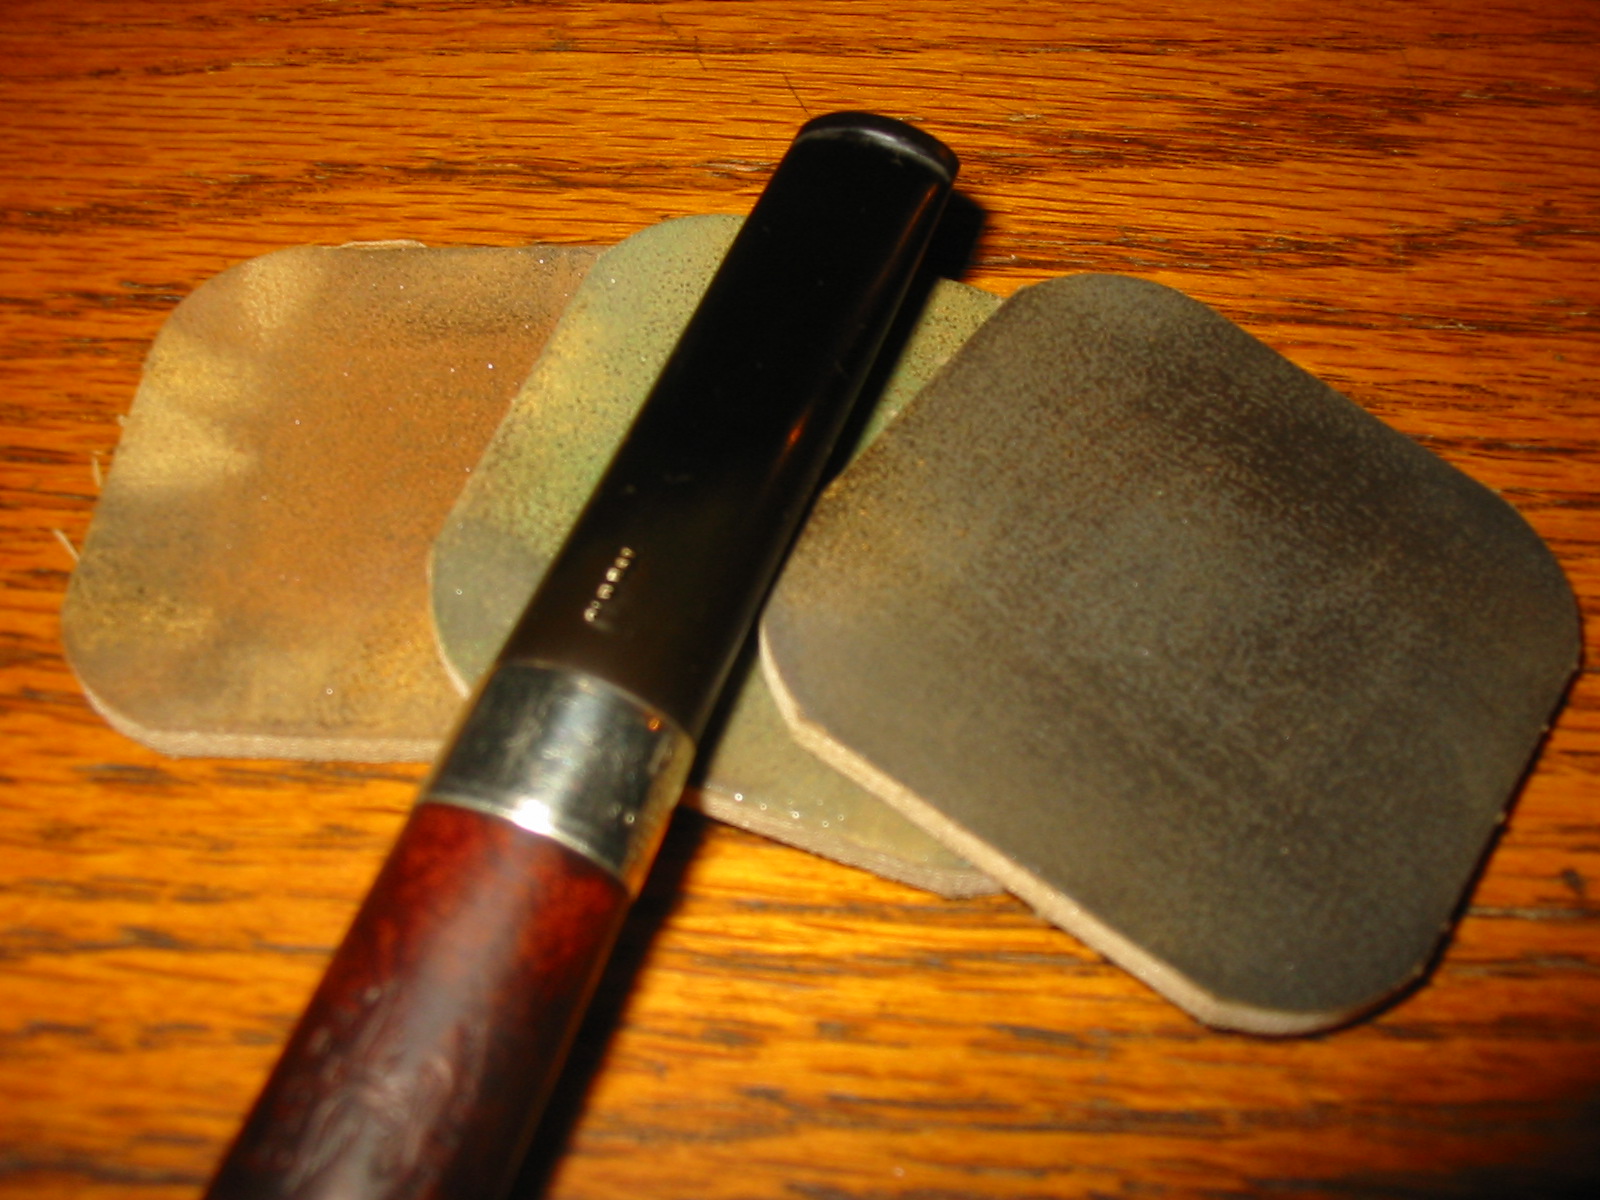
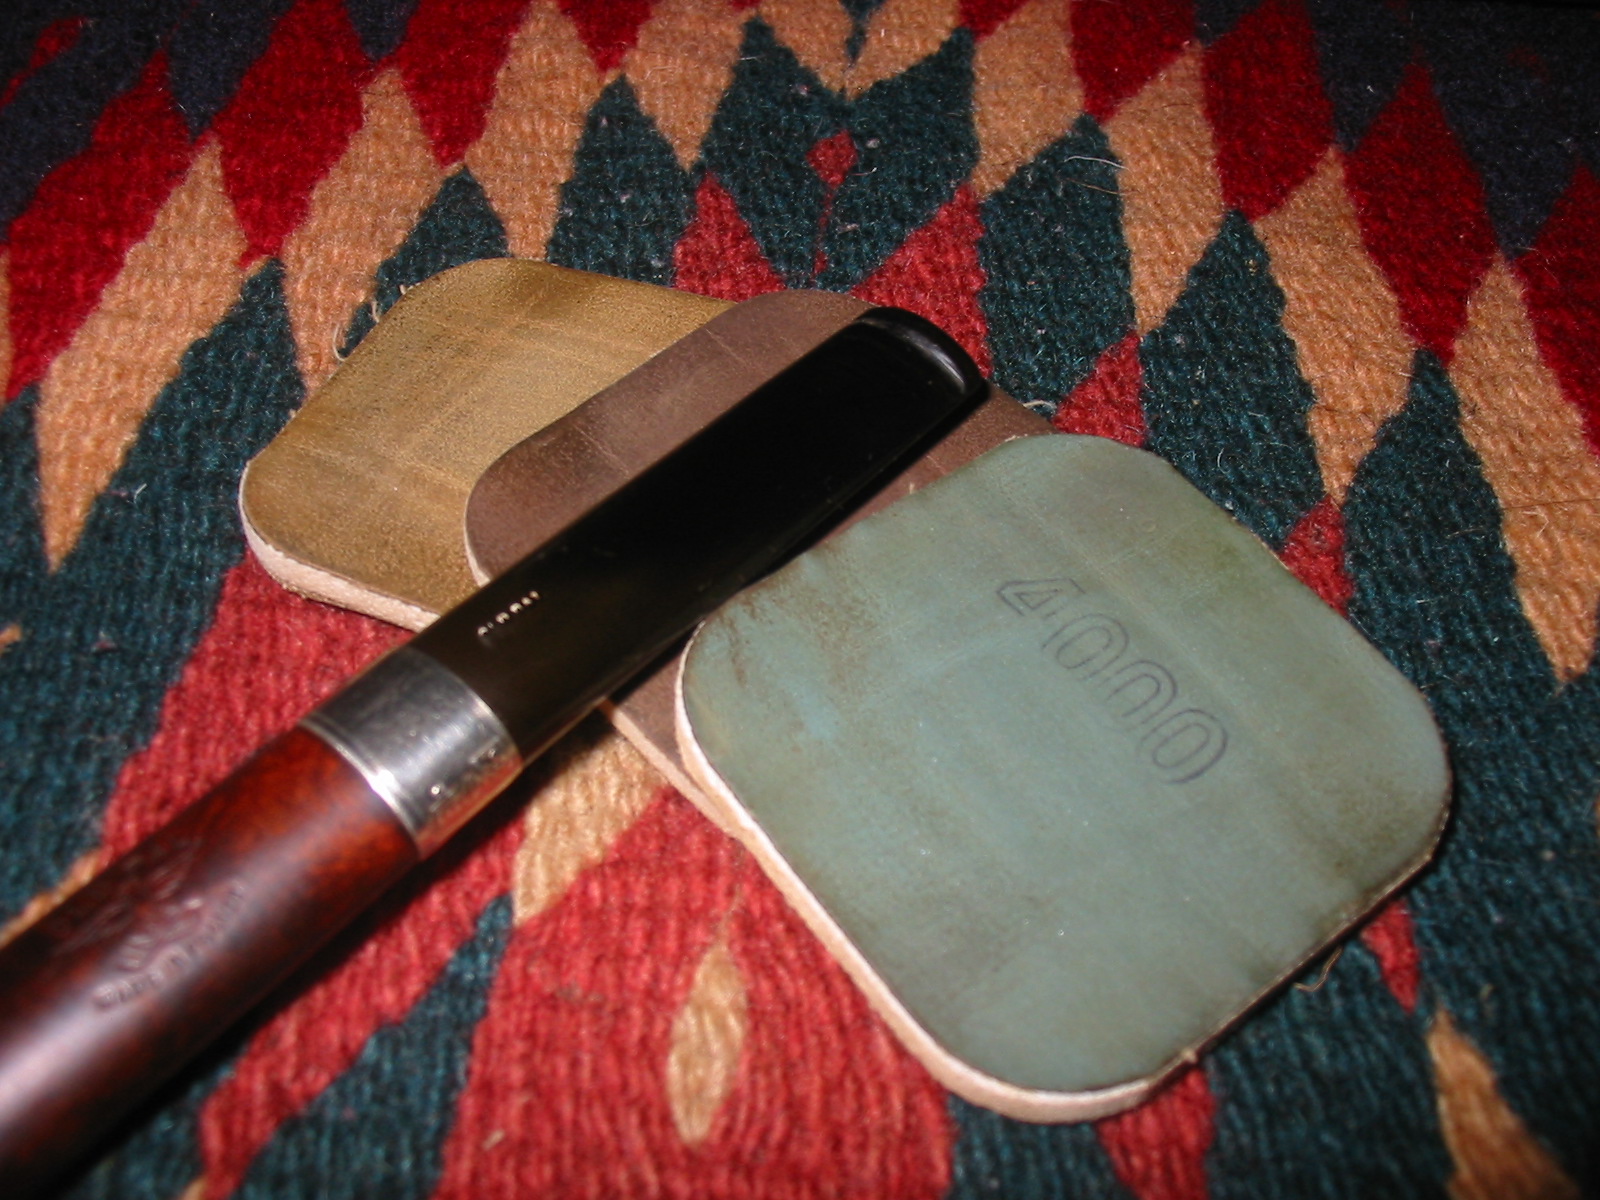
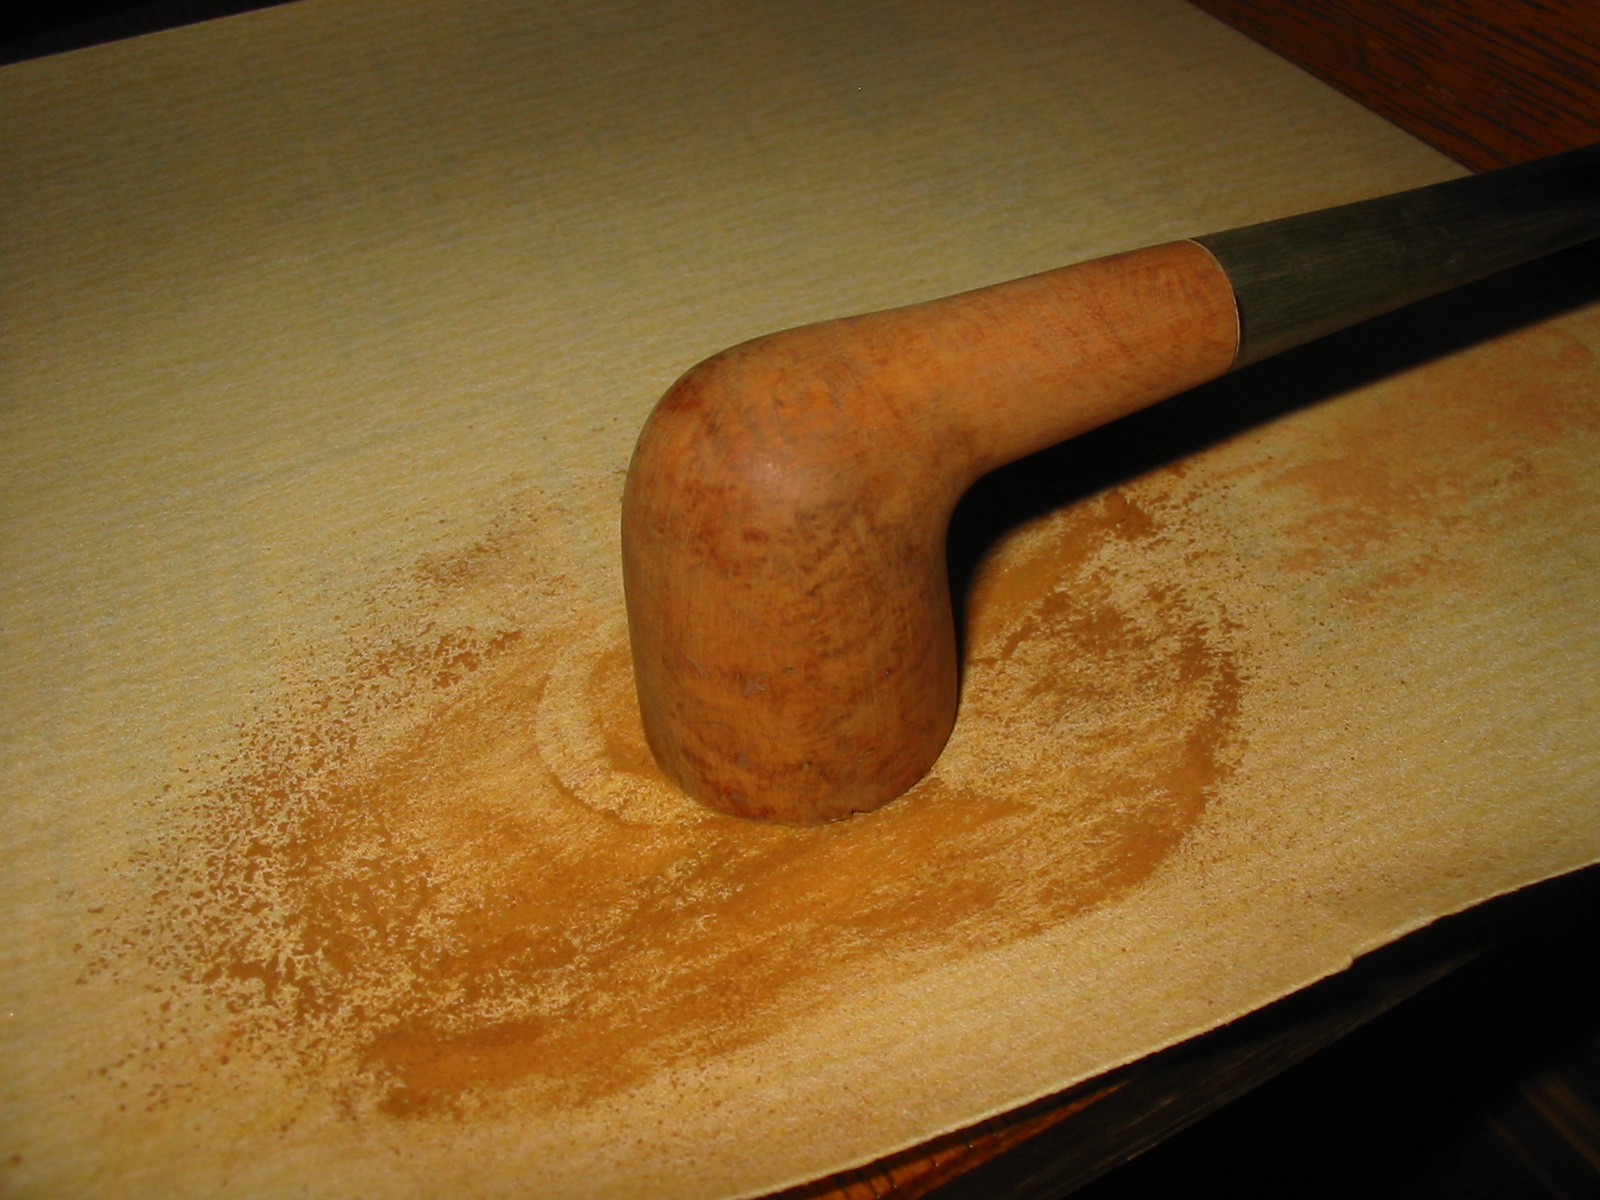
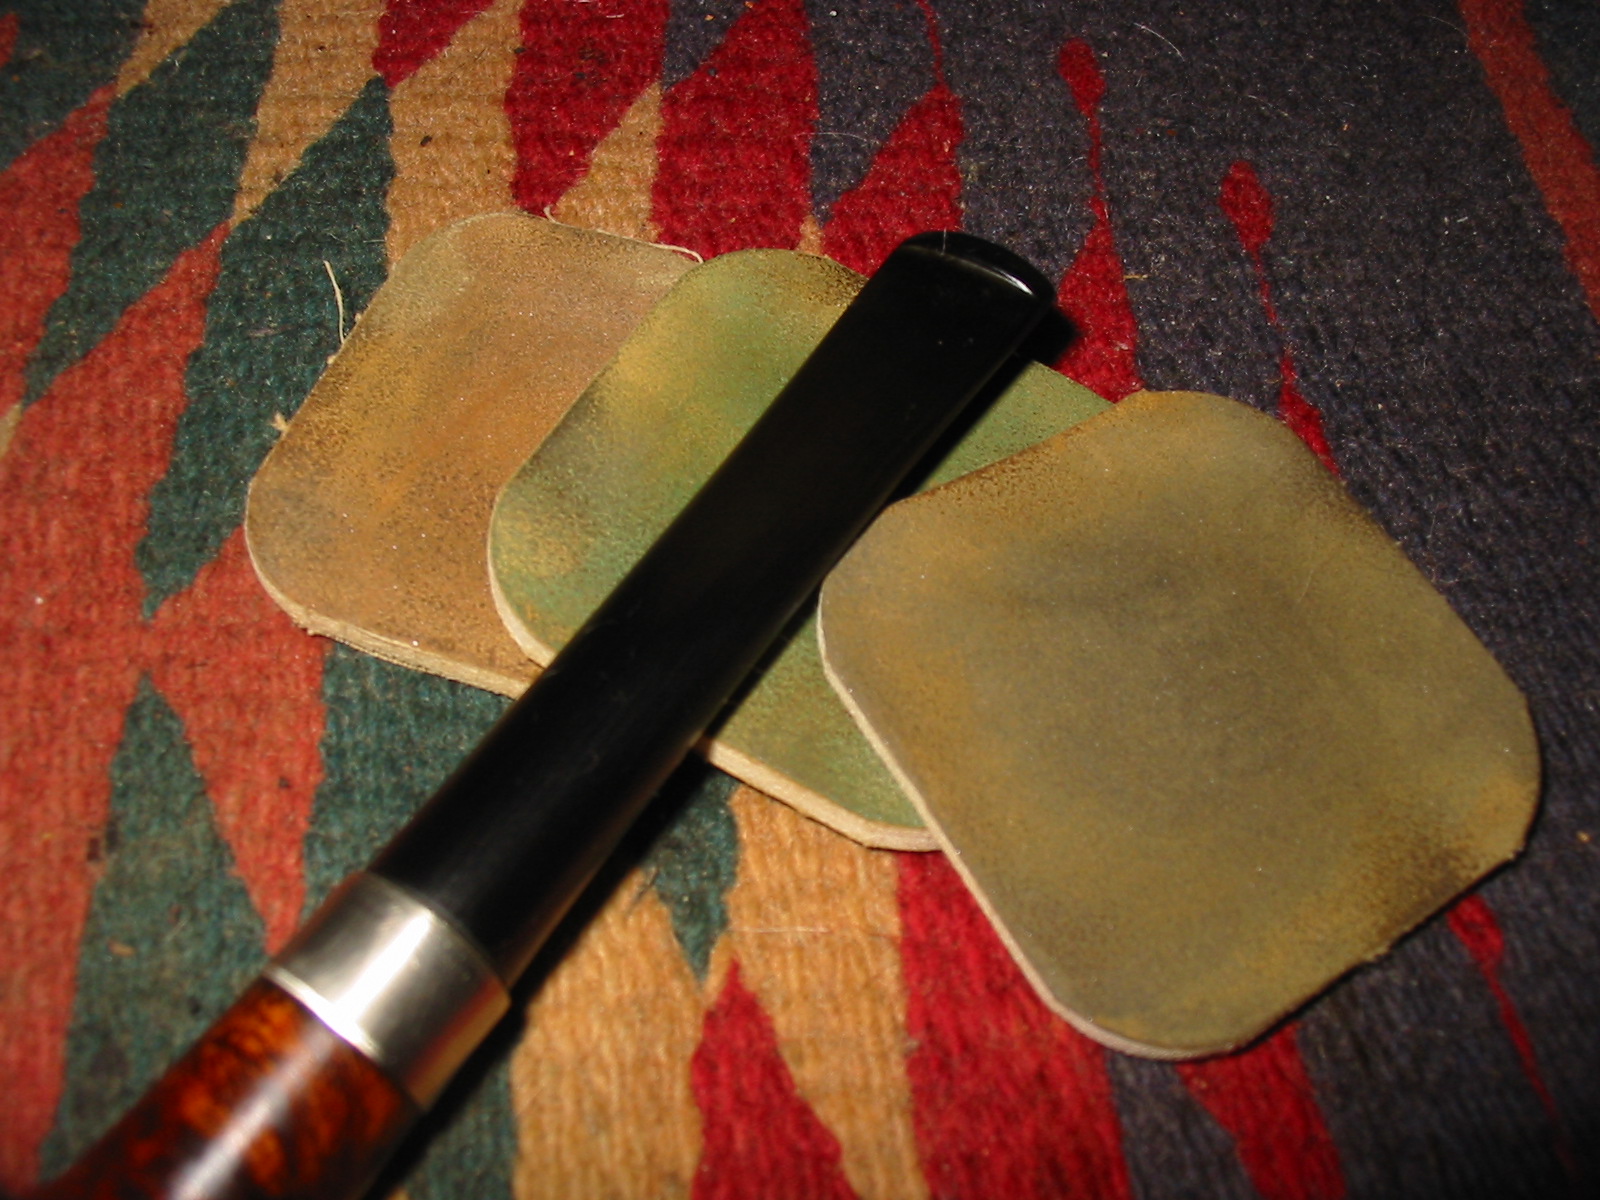
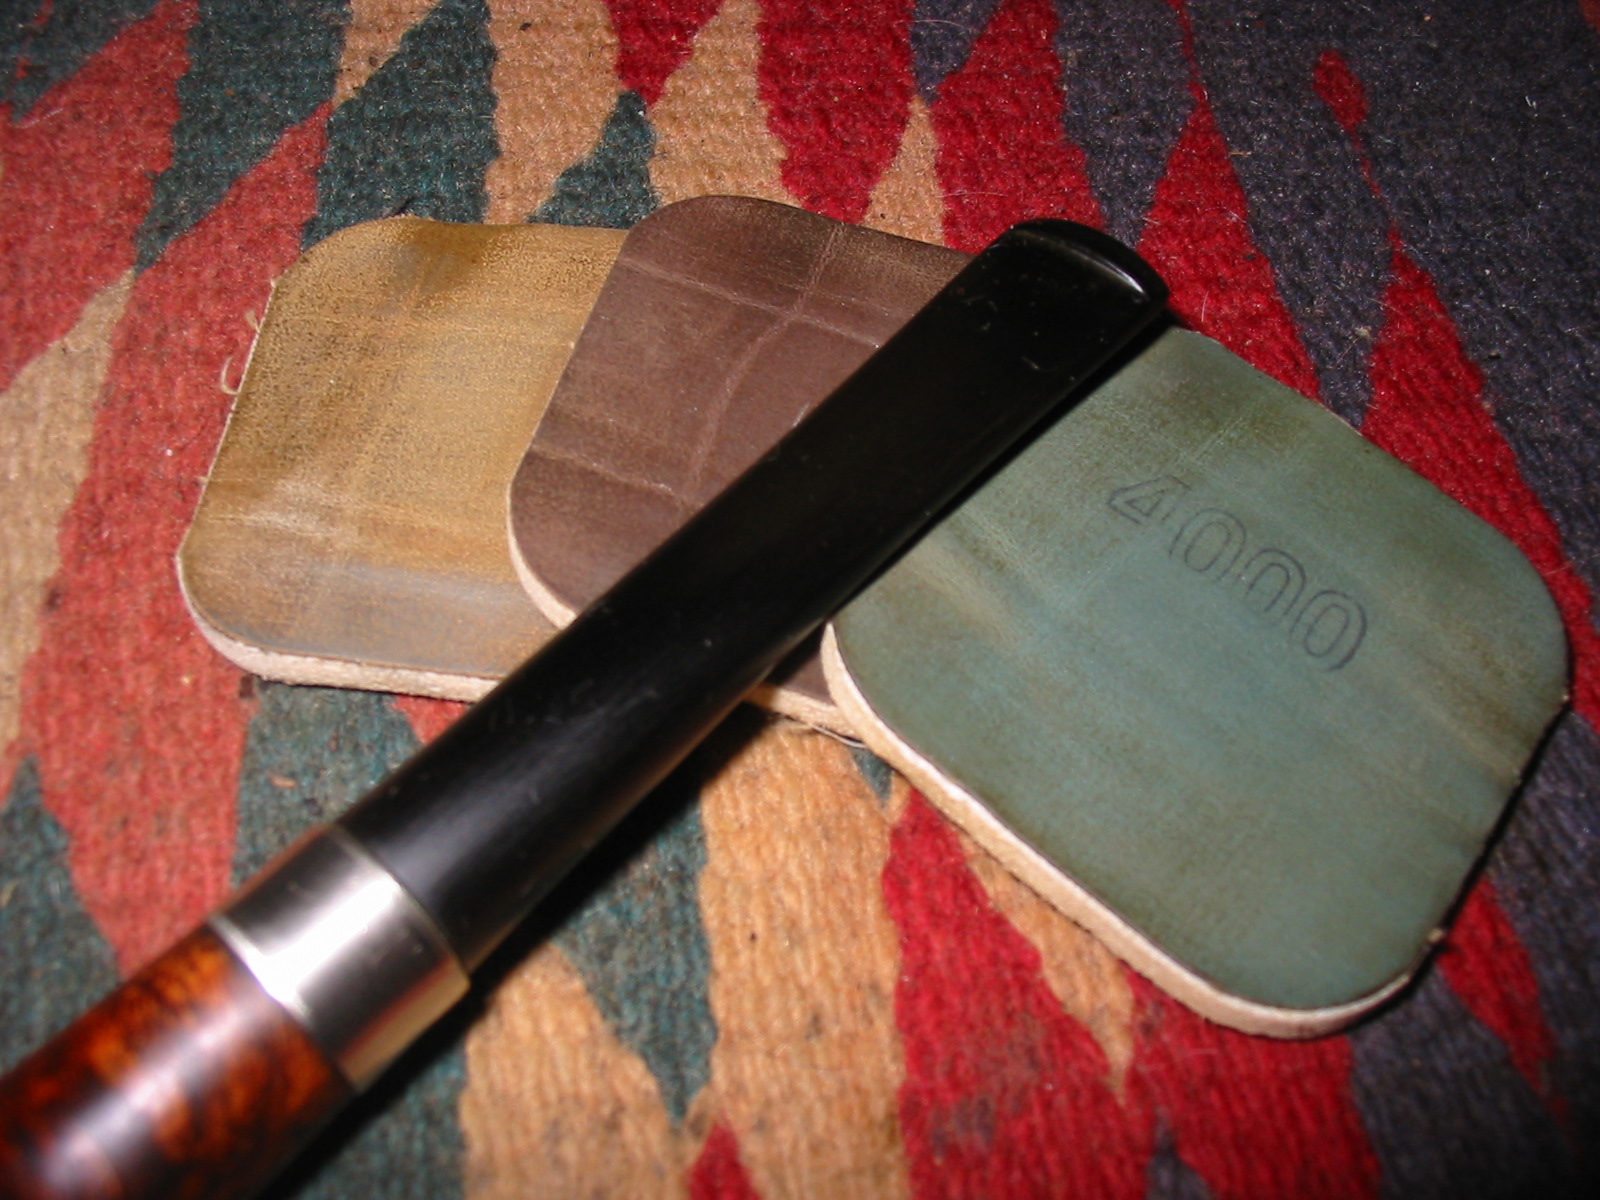
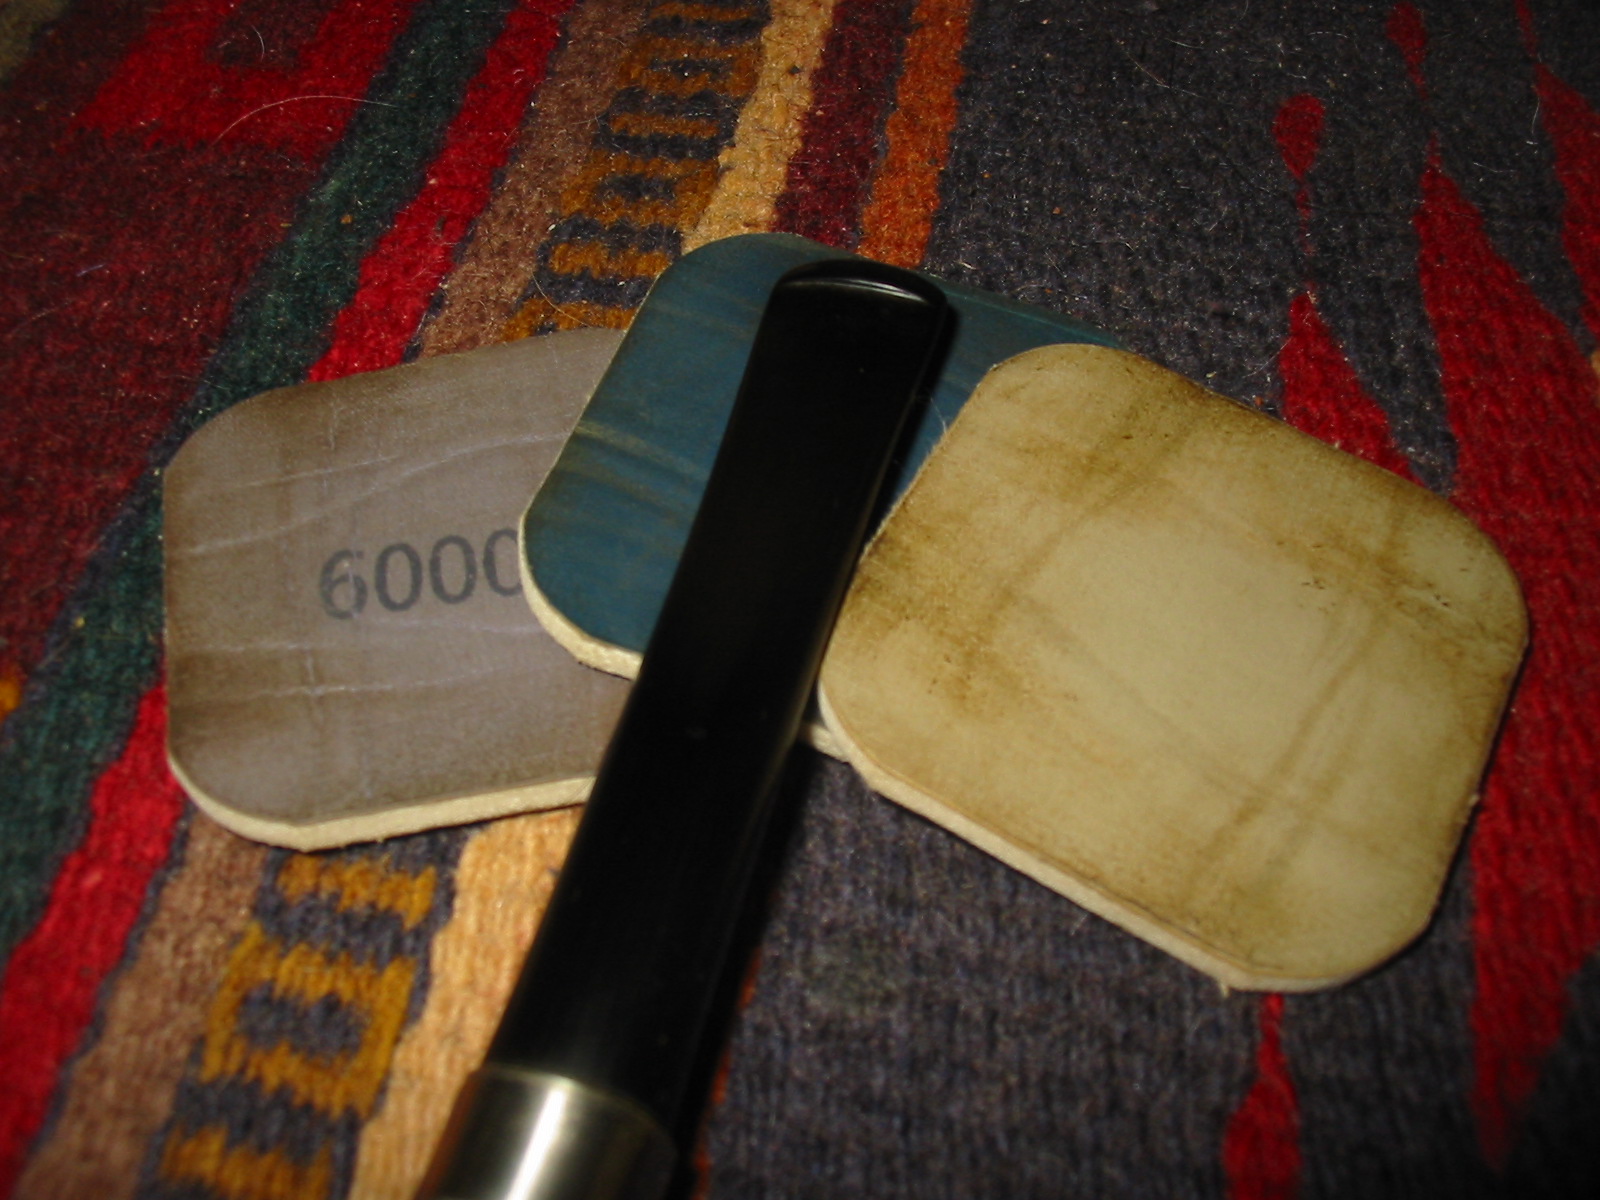
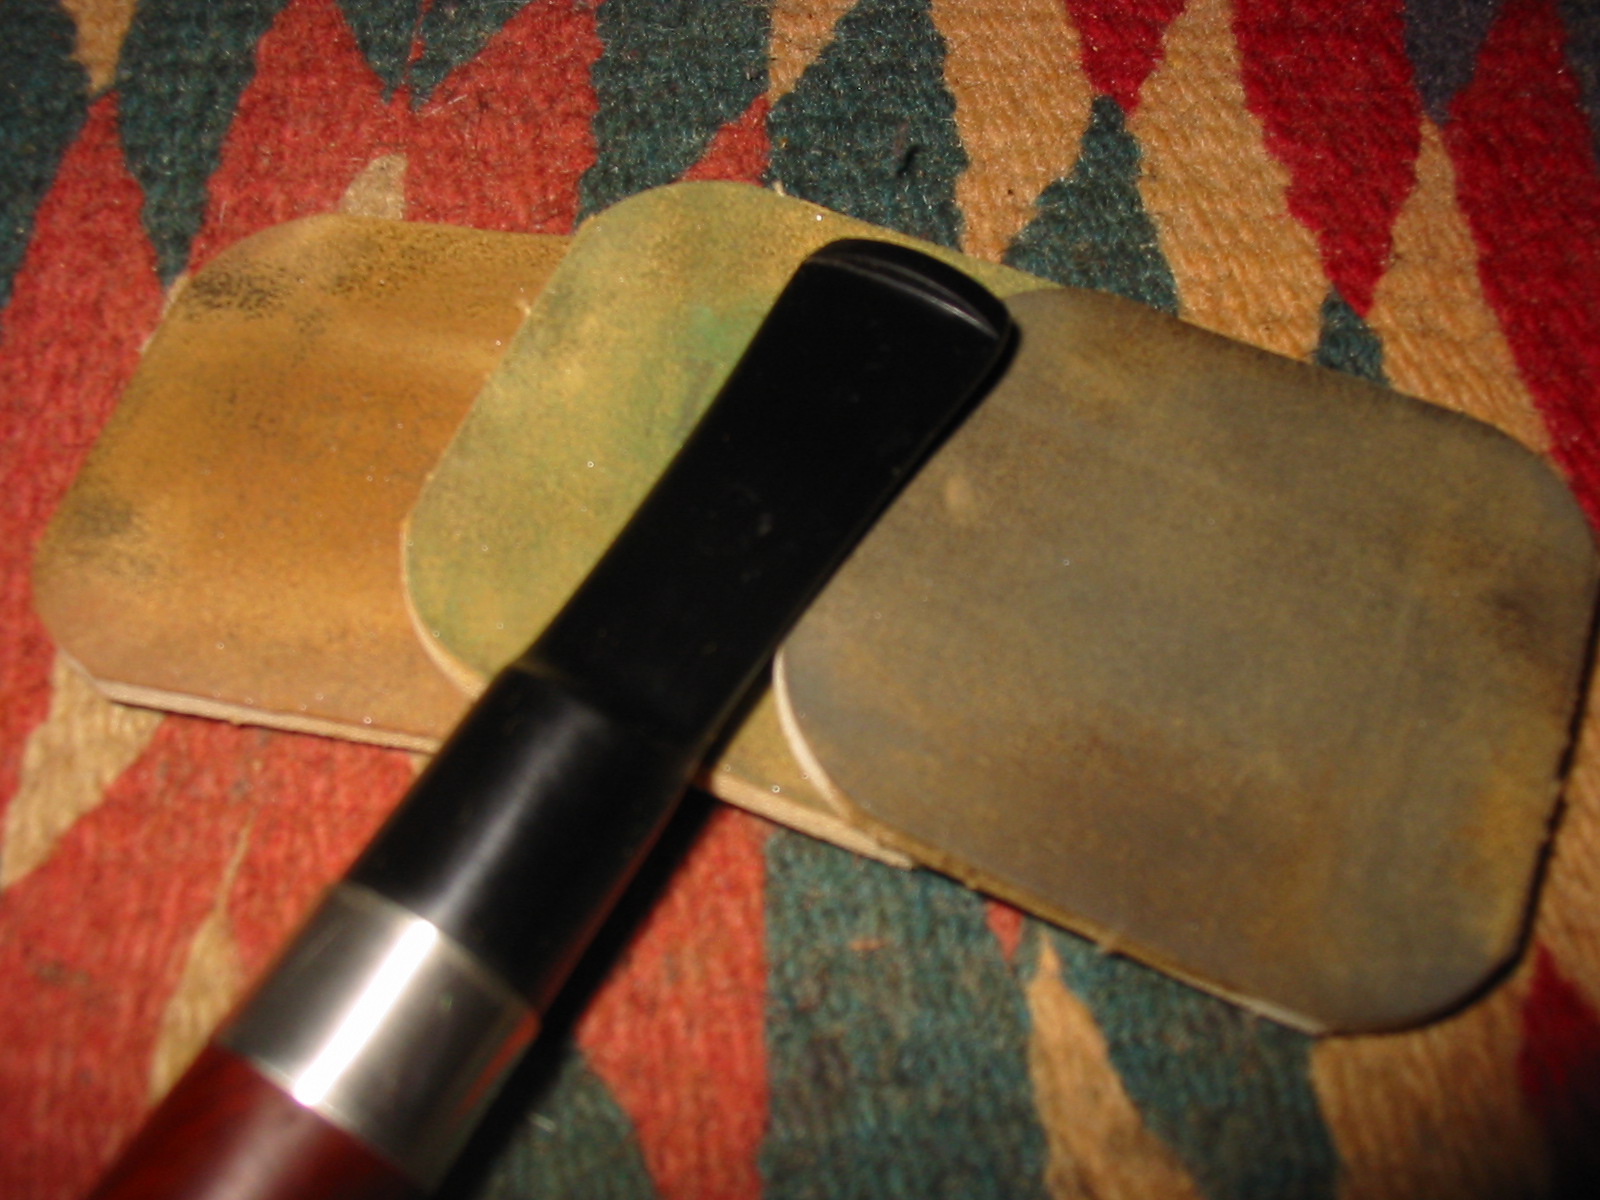
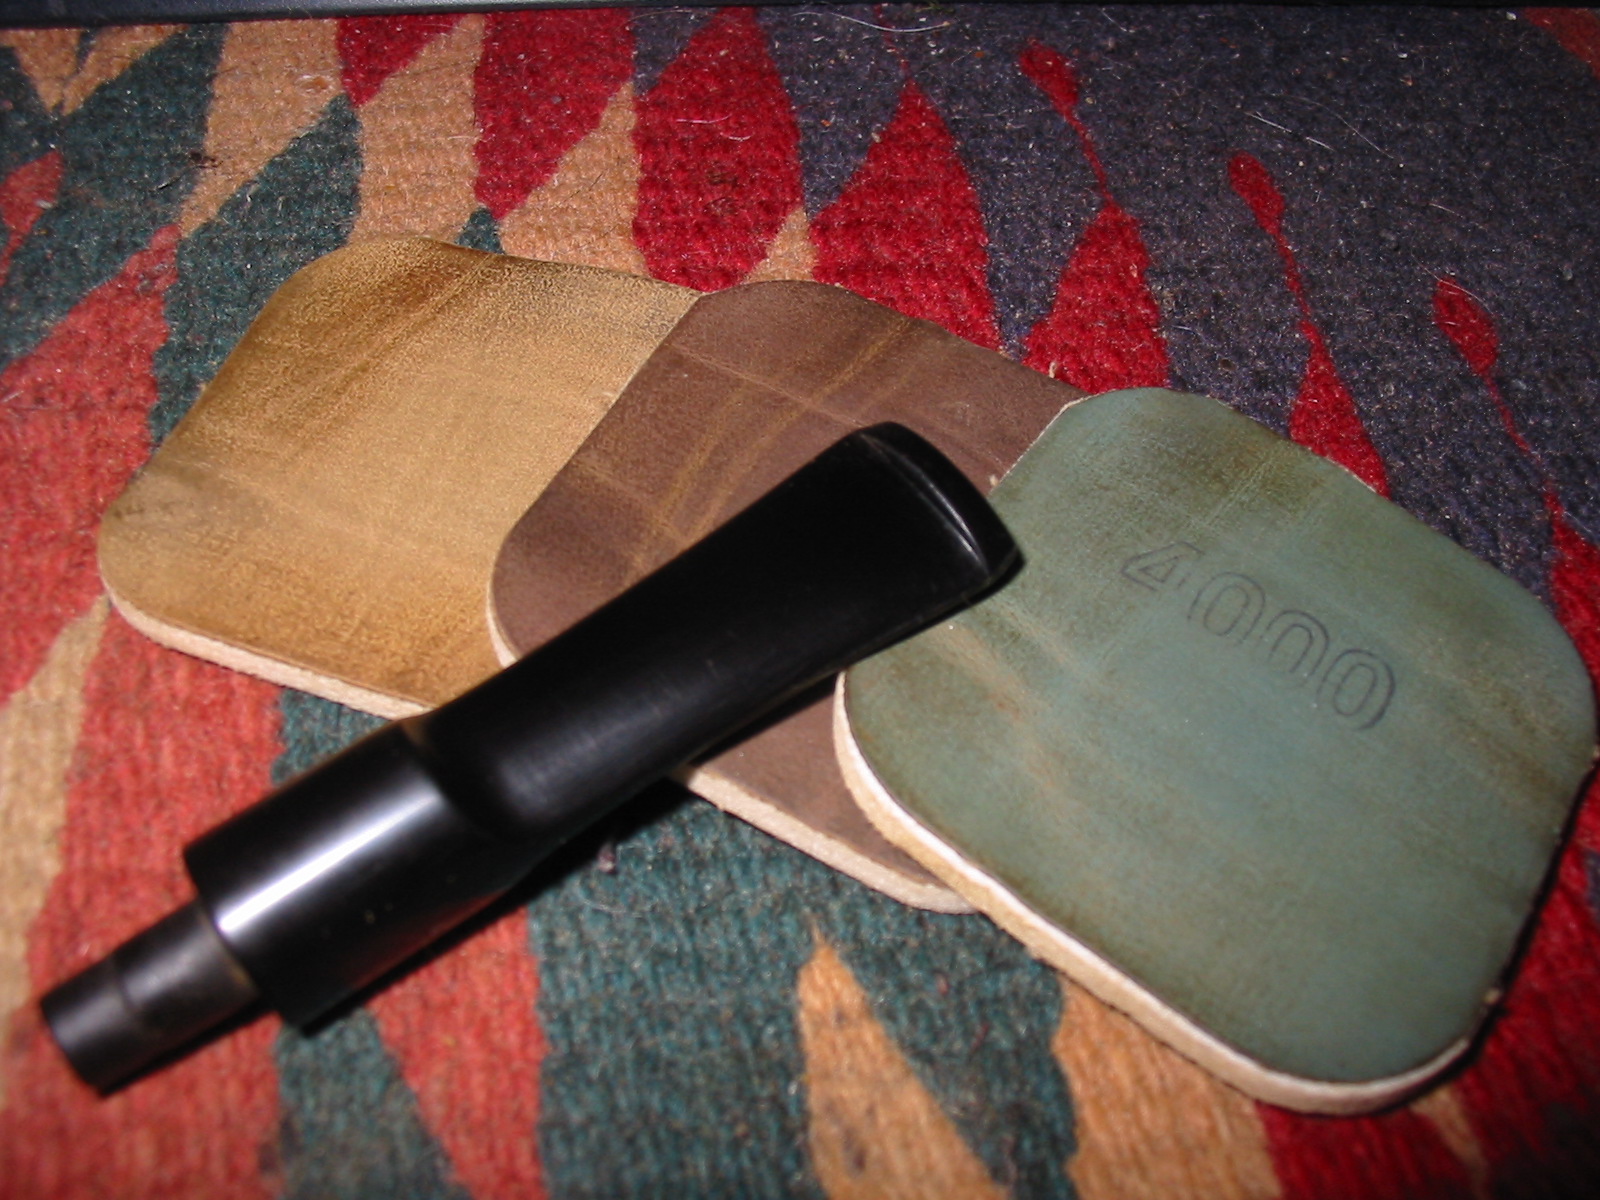
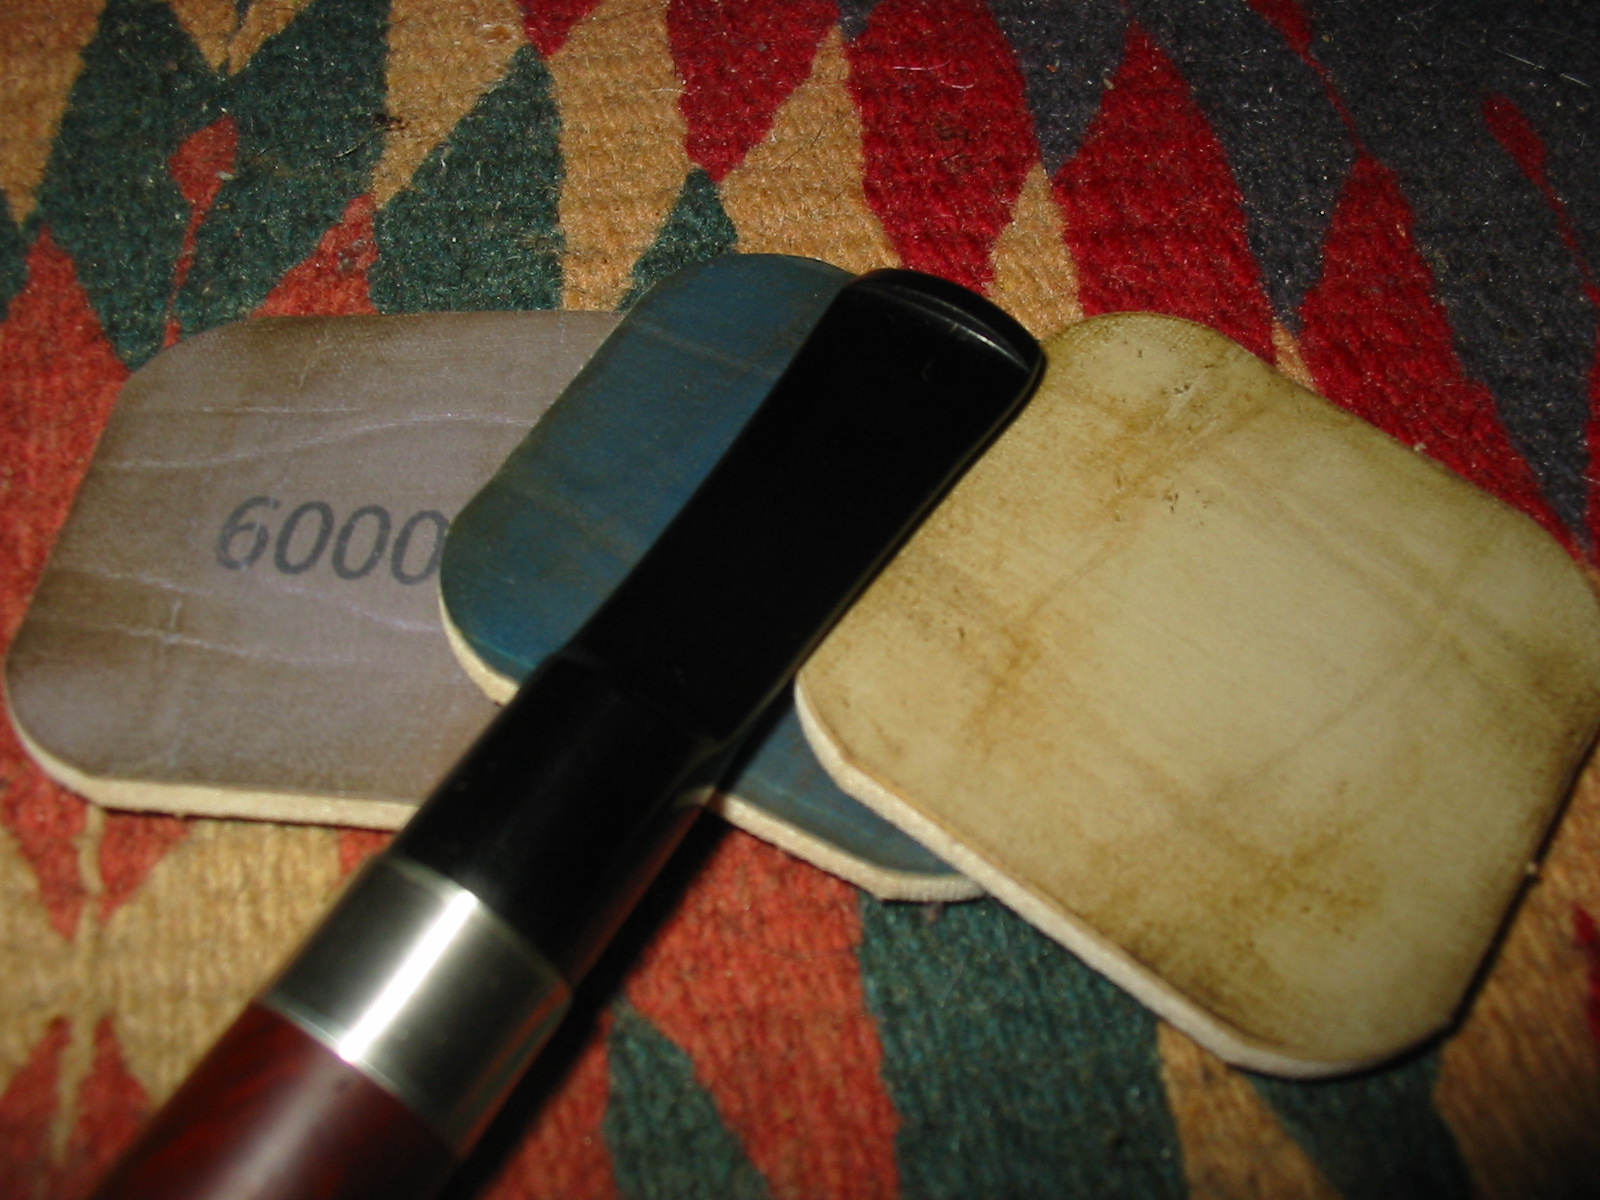
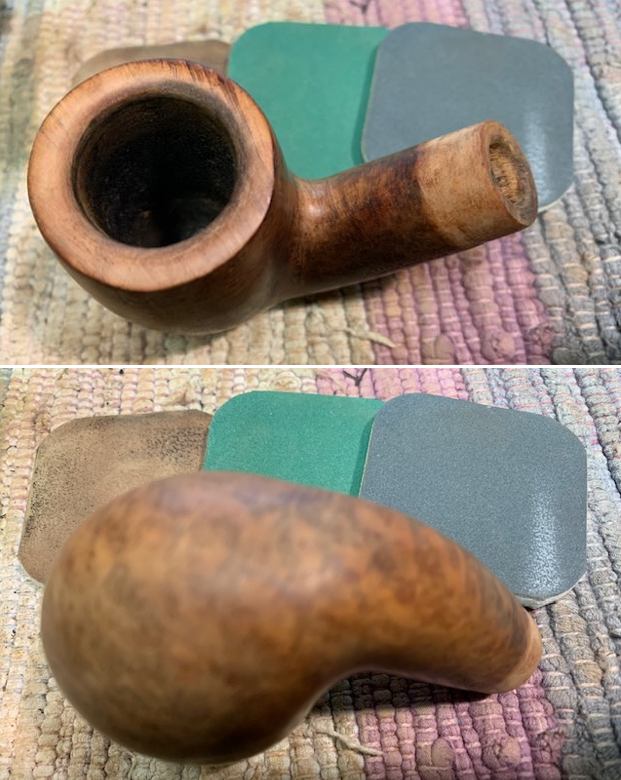
 I polished the bowl with micromesh sanding pads – dry sanding with 1500-12000 grit pads to prepare it for staining. I wiped it down with a damp cloth to remove the debris after each pad.

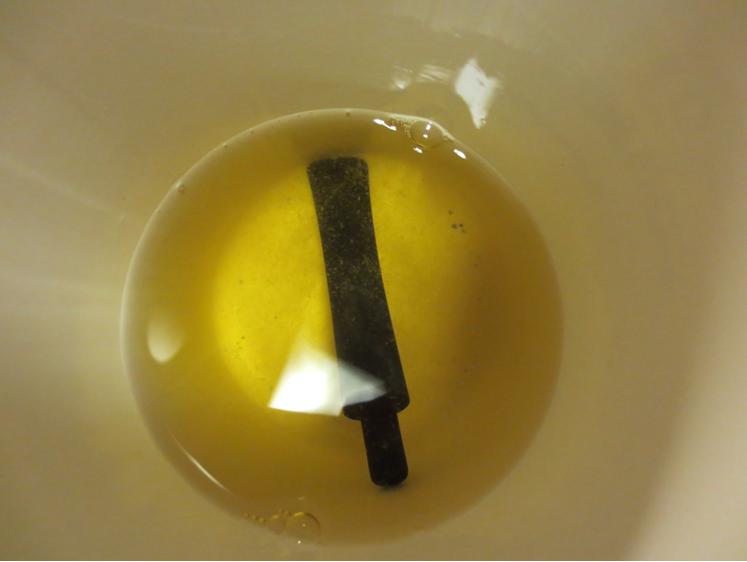
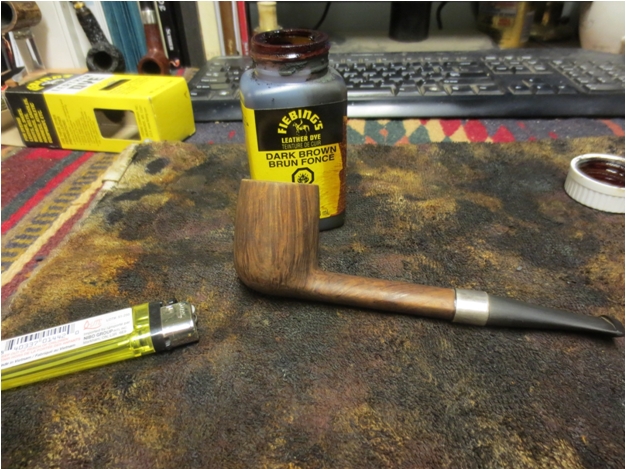
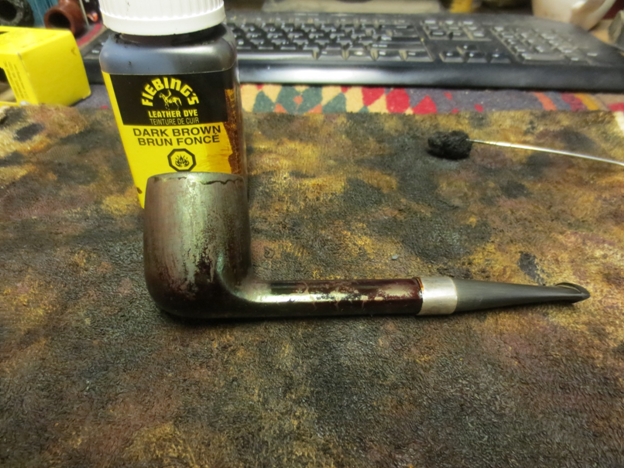
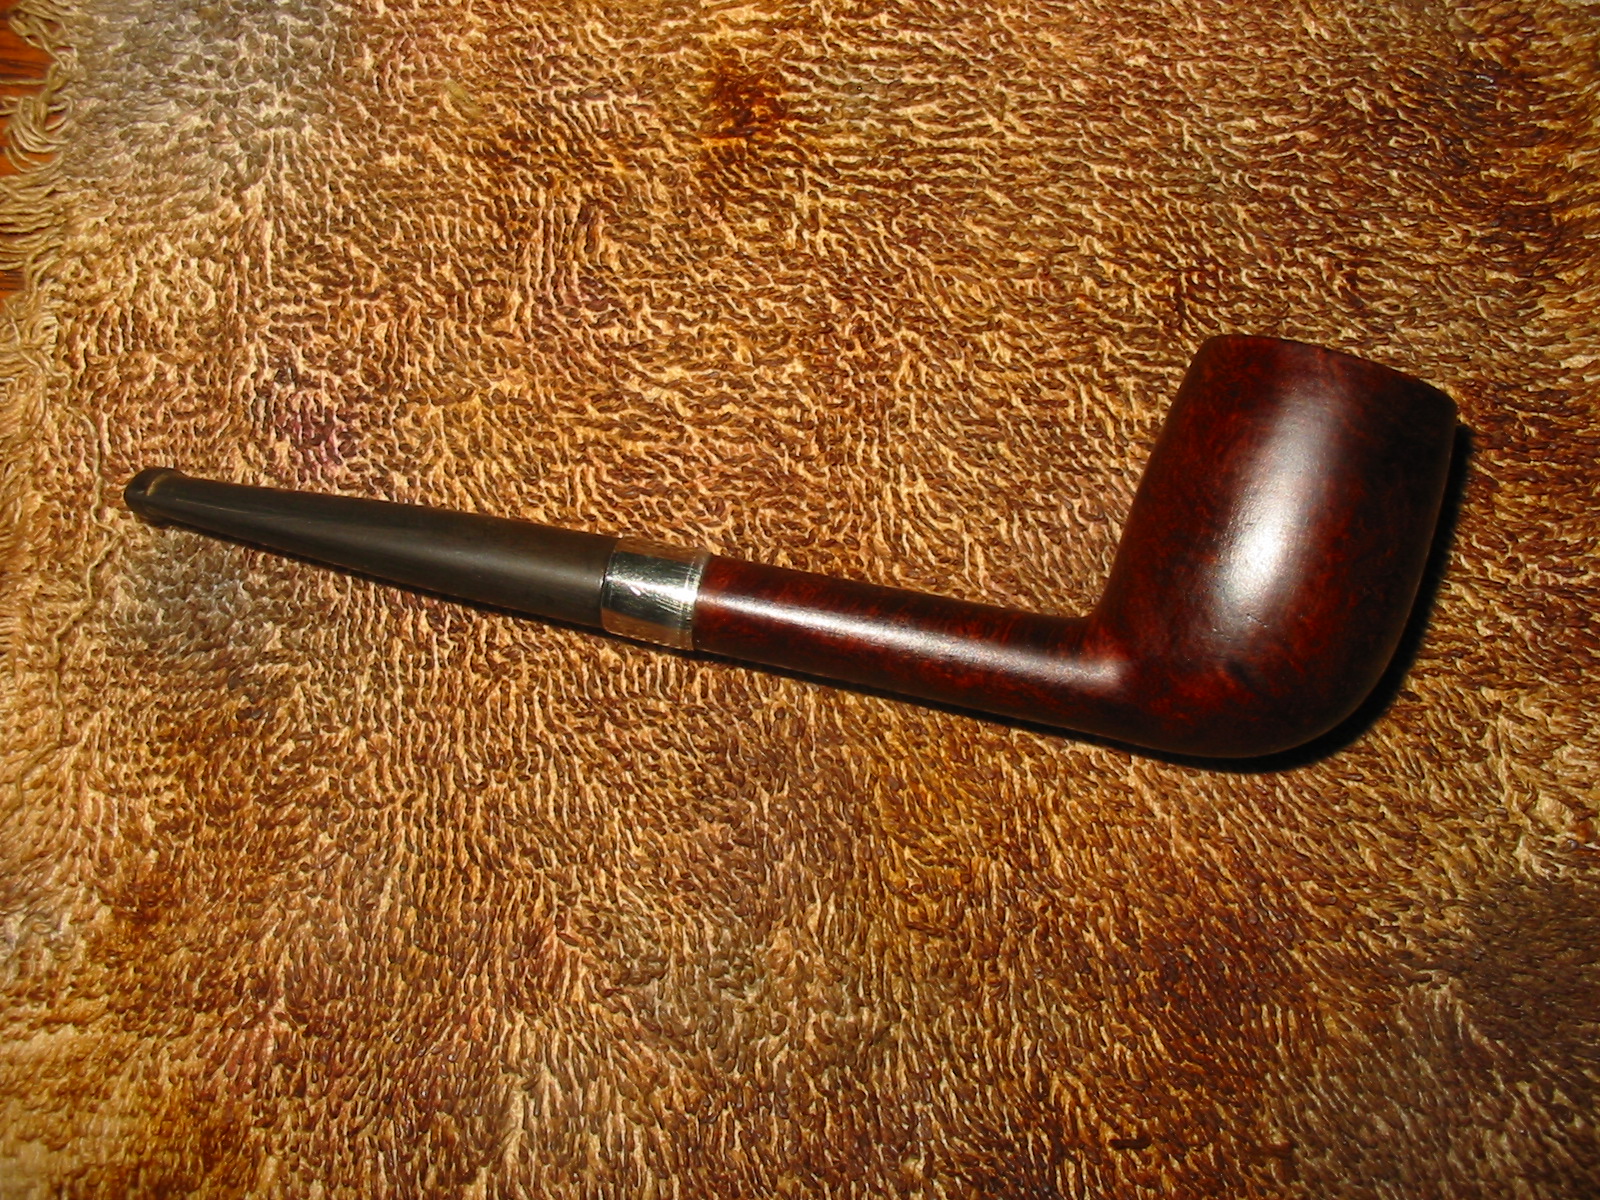
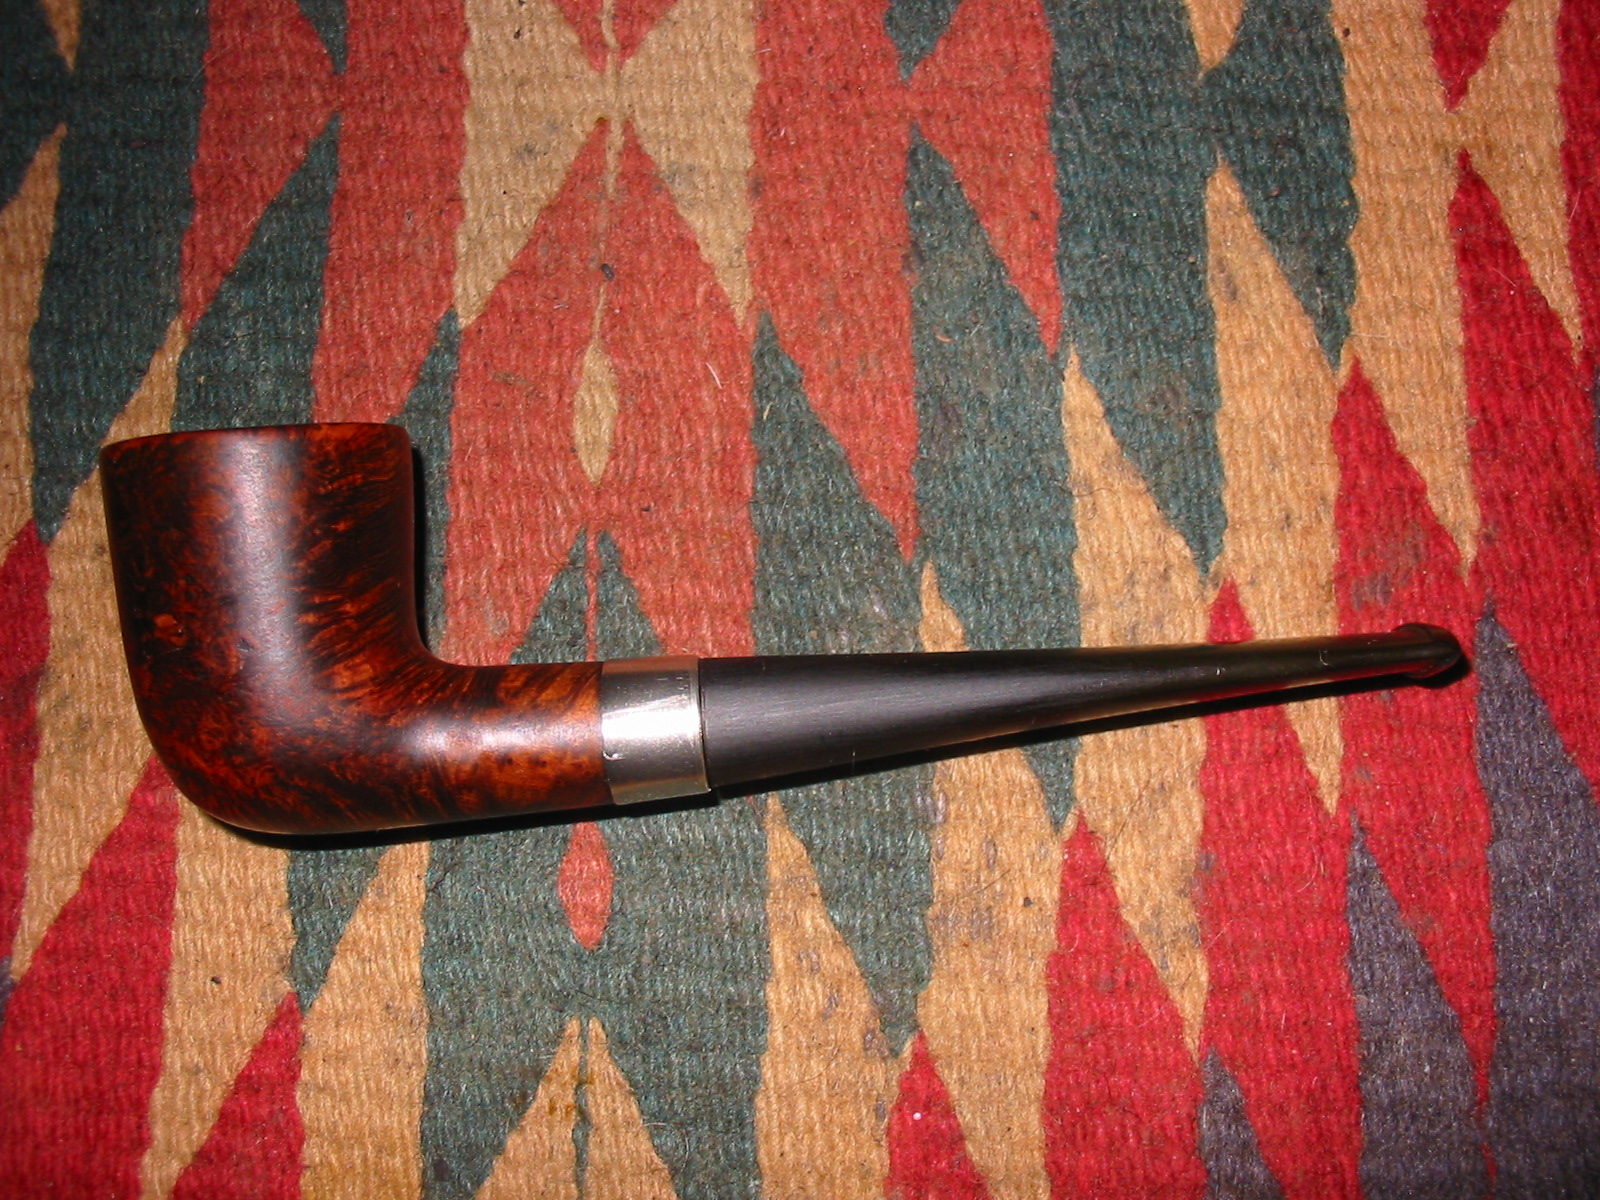
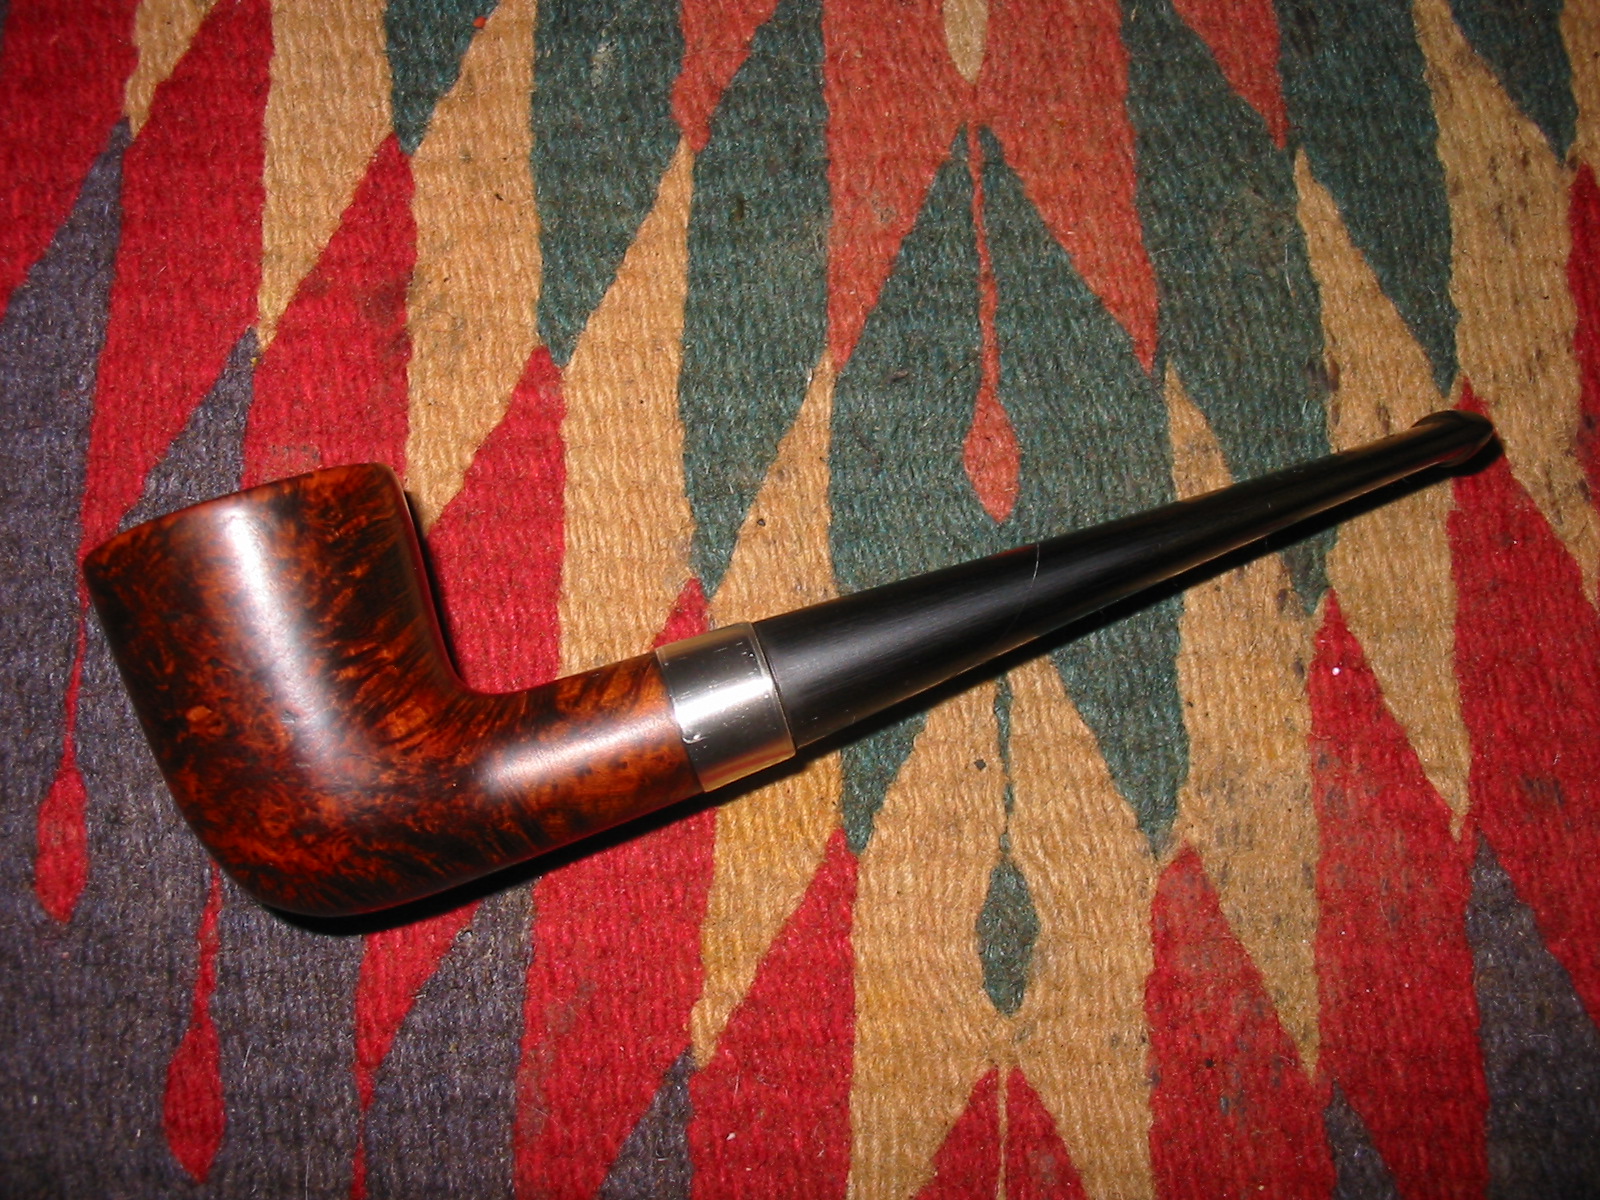
 I stained the polished bowl with Fiebings Light Brown aniline stain. I applied the stain, flamed it and repeated the process until I was happy with the coverage. I set it aside to dry.
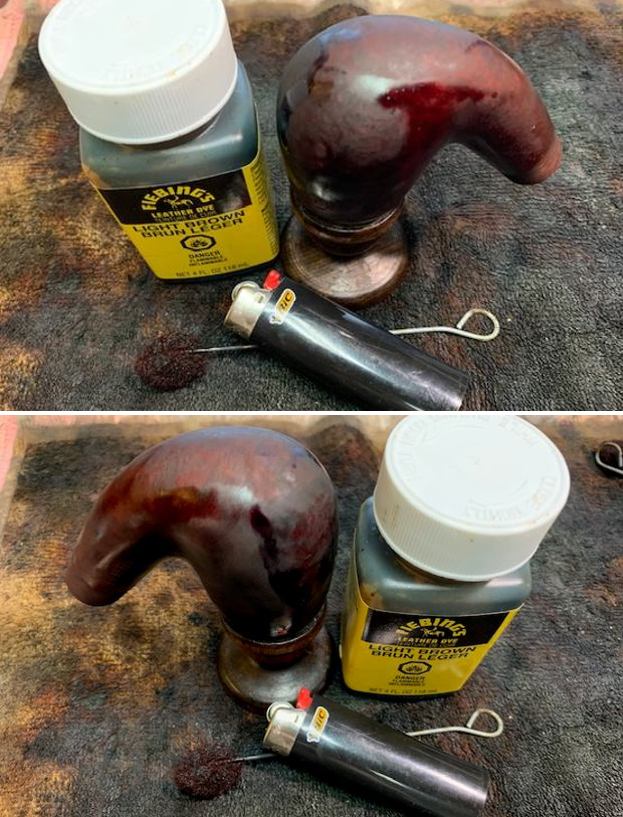 Once the stain dried I wiped the bowl down with alcohol to make the stain more transparent. I buffed the pipe on the buffer with both Red Tripoli and Blue Diamond to further reduce the heaviness of the colour.
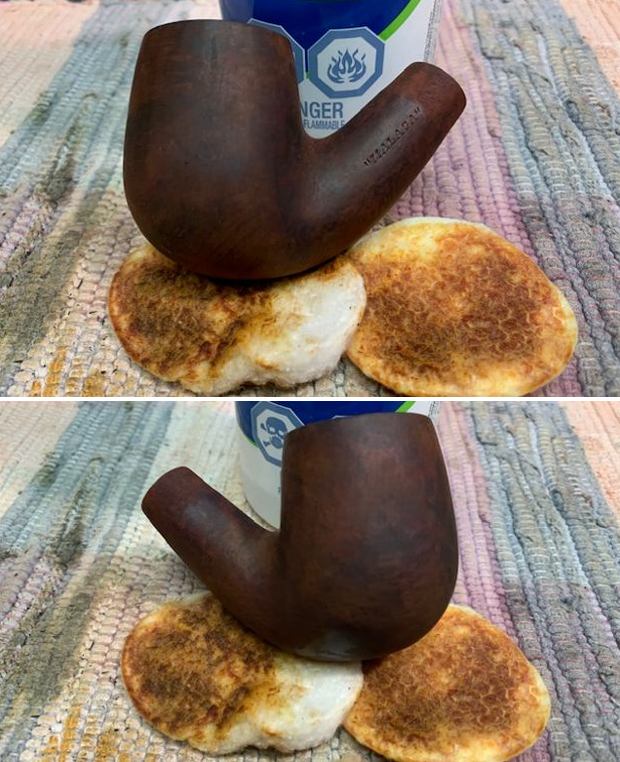
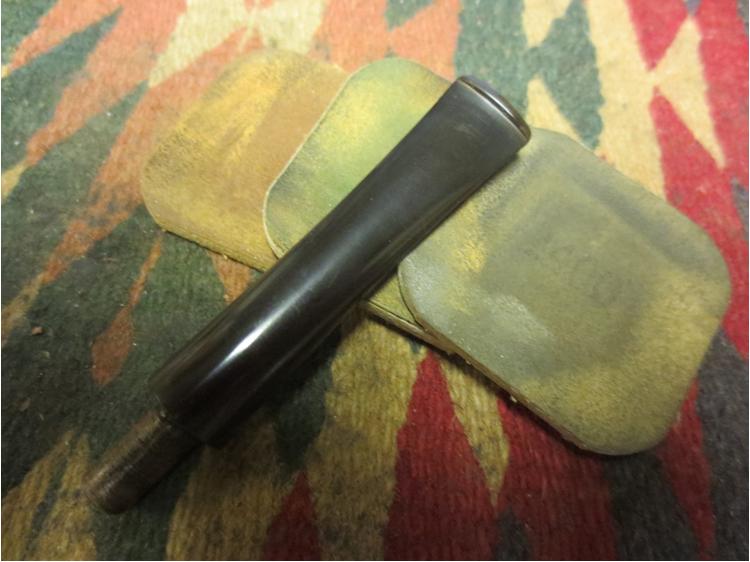
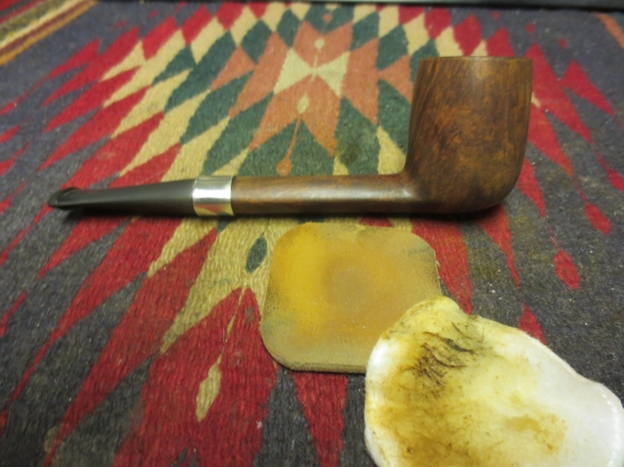
 I worked some Before & After Restoration Balm into the surface of the briar with my finger tips. The product works to clean, enliven and protect the briar. I let it sit on the briar for 10 minutes then buffed it off with a soft cloth.
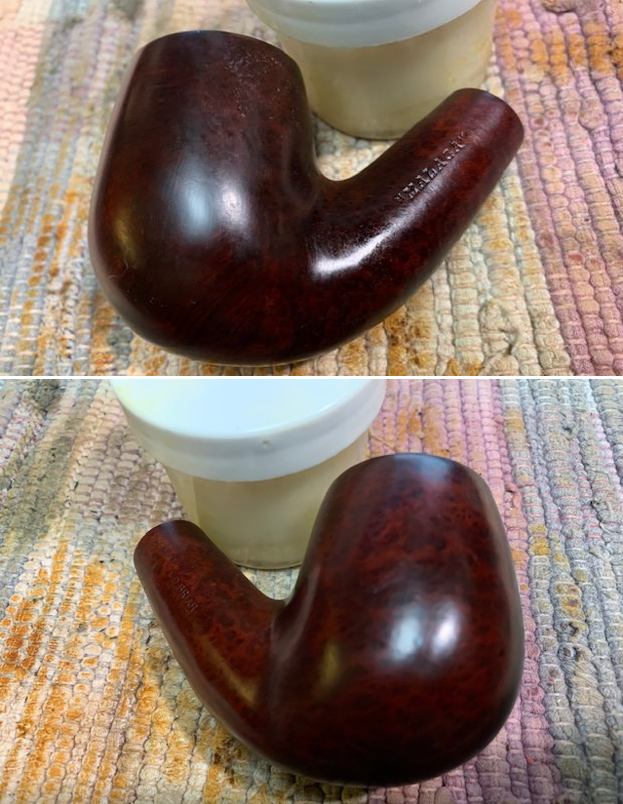
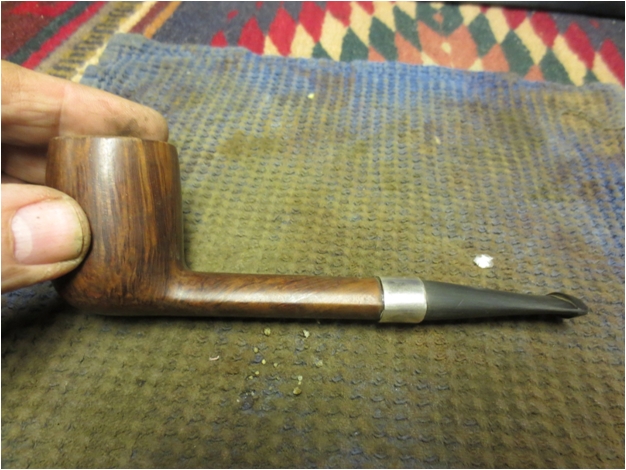
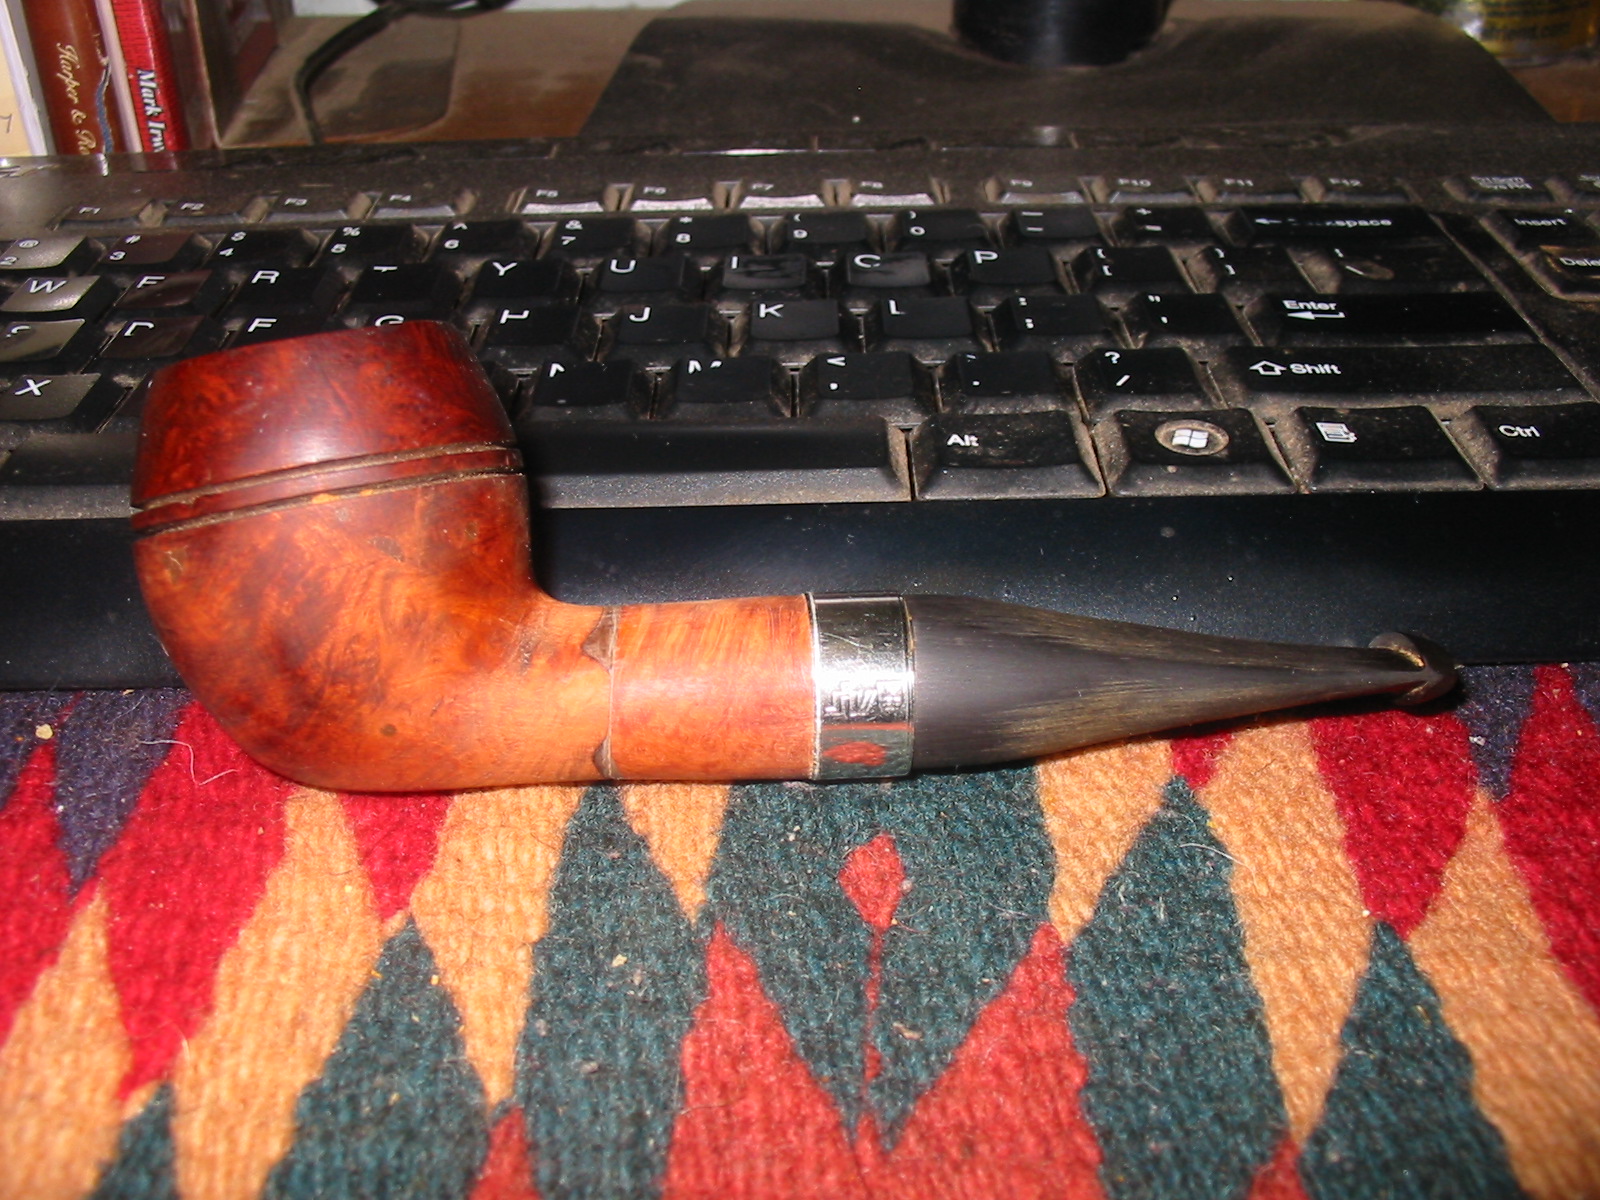
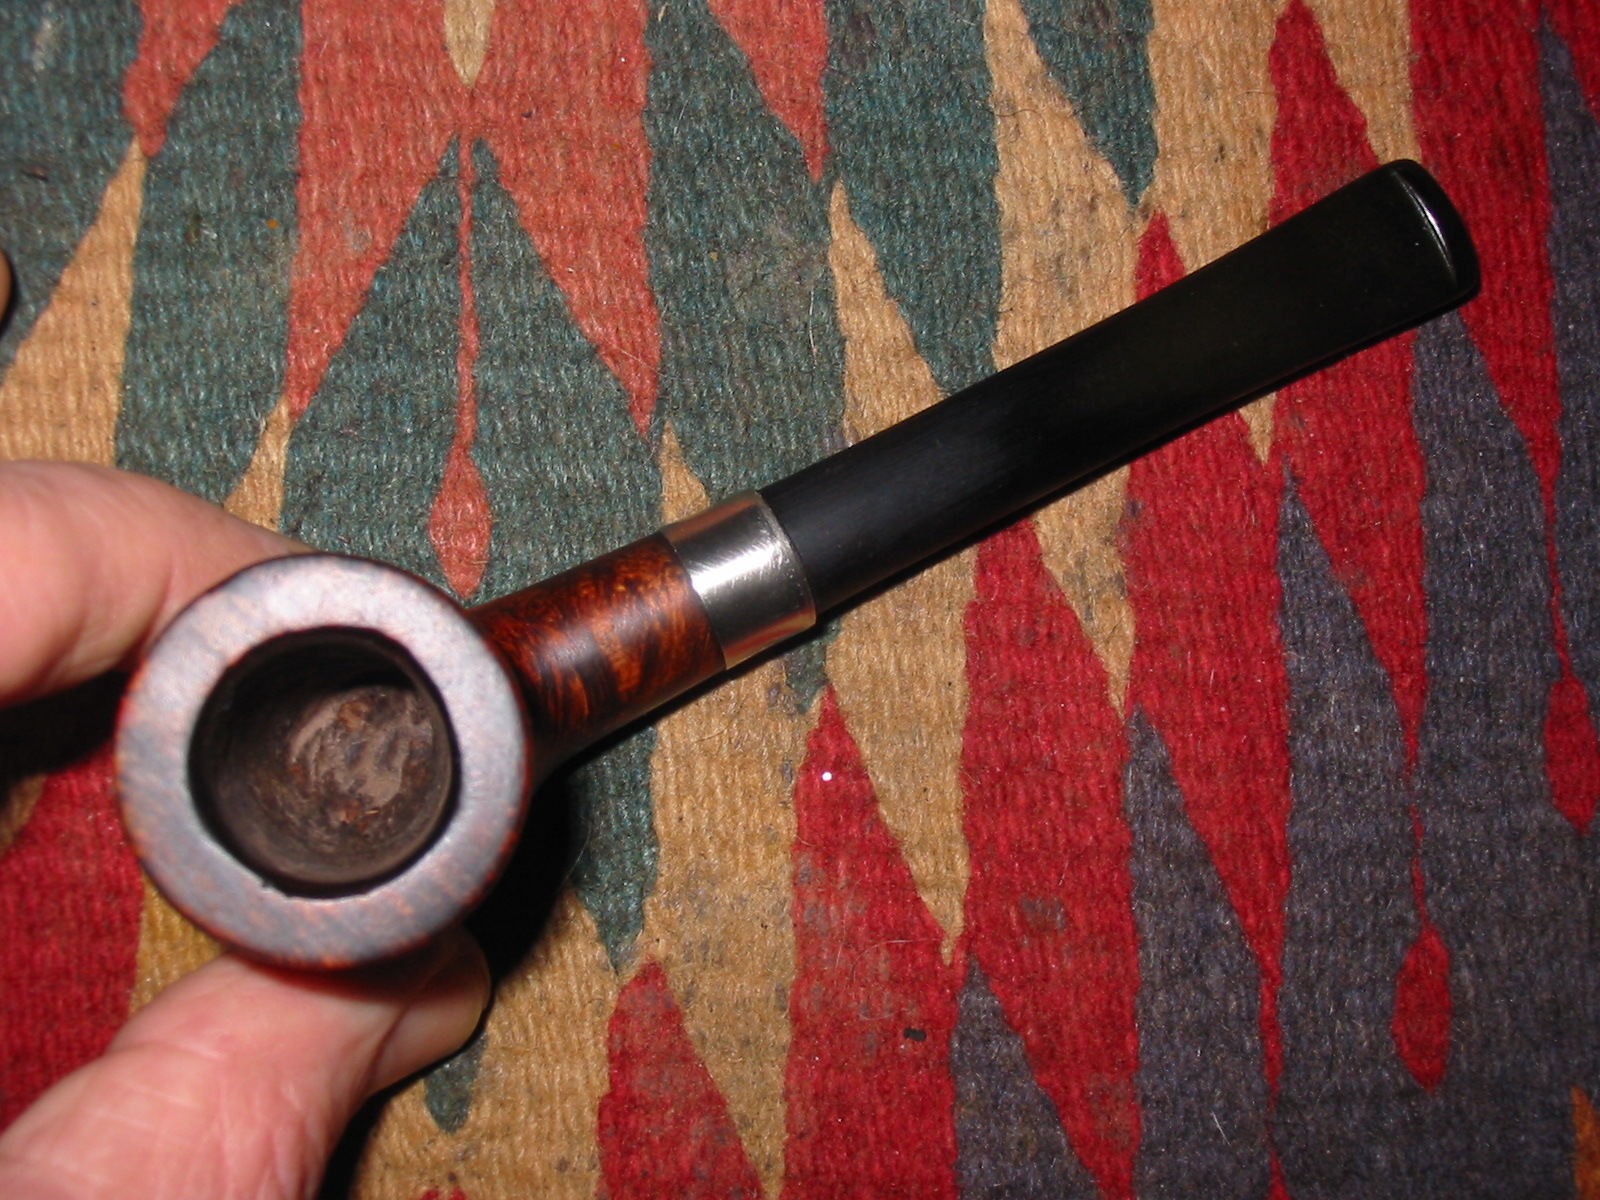
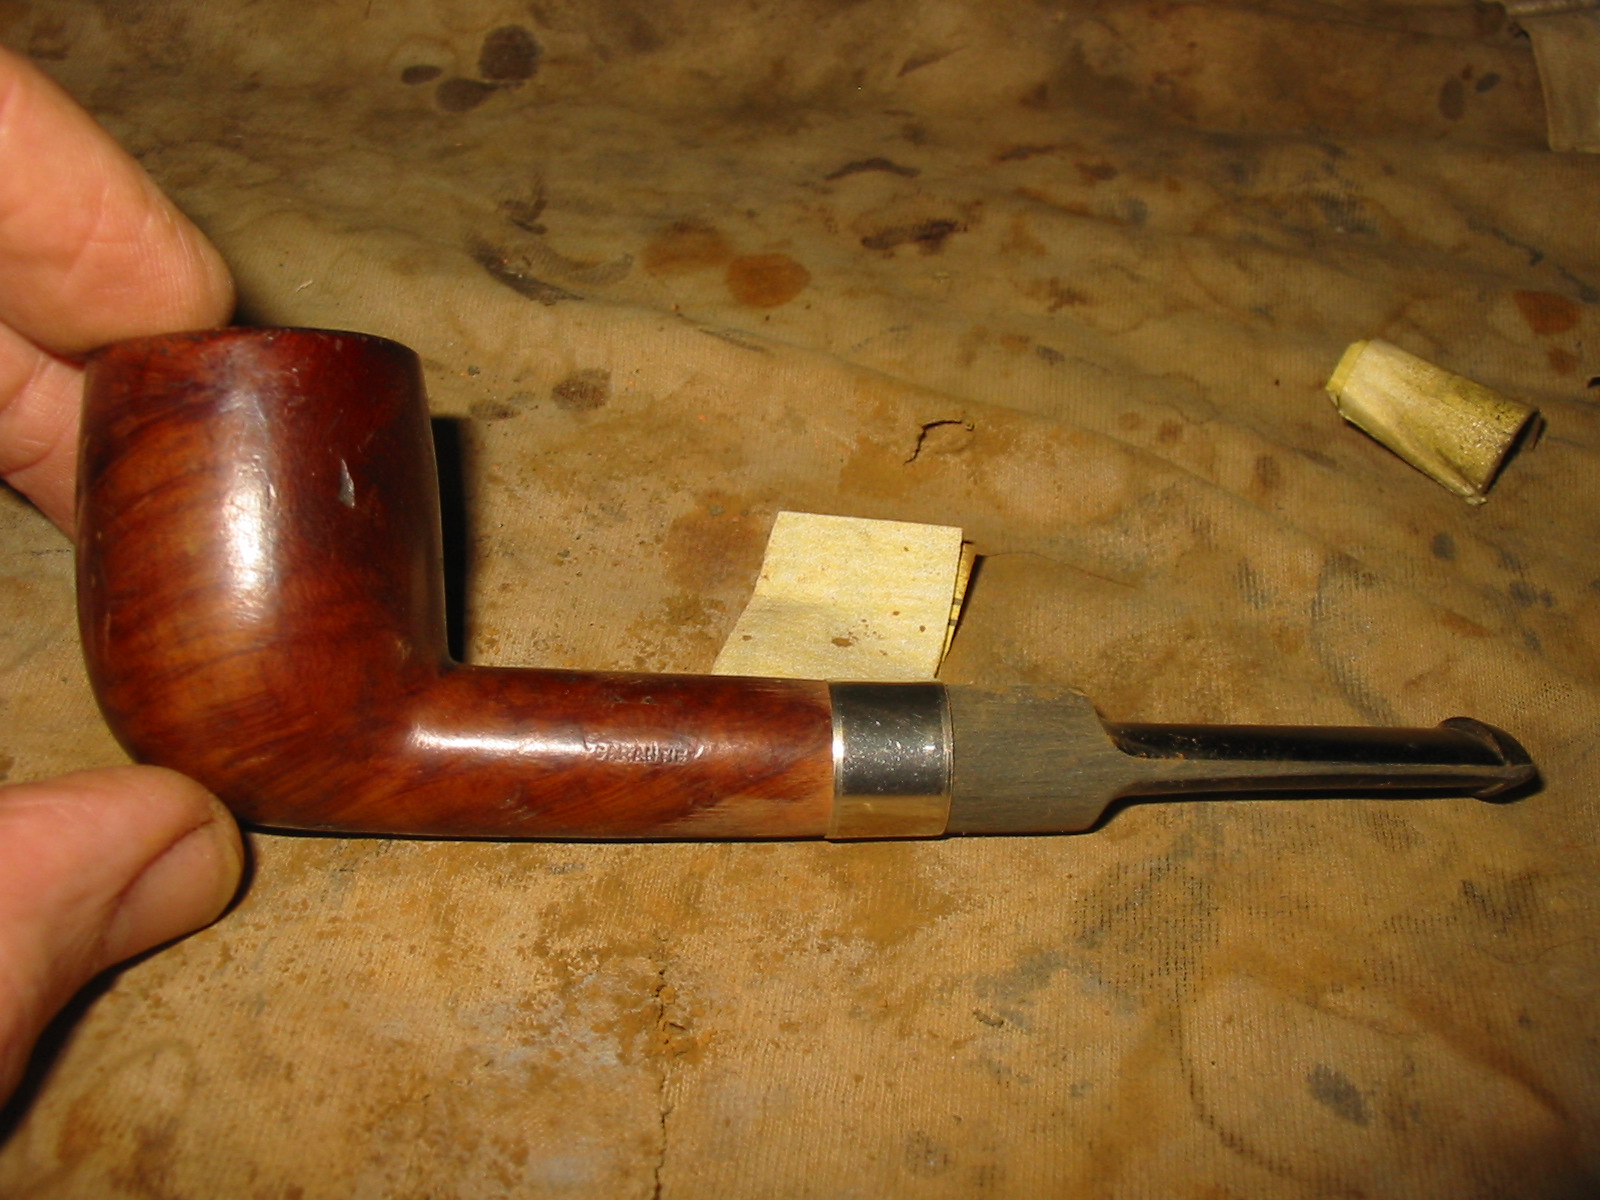
 With the bowl finished and the stain cured it was time to press the band in place. I gave it a thin layer of white all purpose glue on the inside of the band and pressed it onto the shank end. It looks quite fetching to me. I set it aside to let the glue cure but I like it!
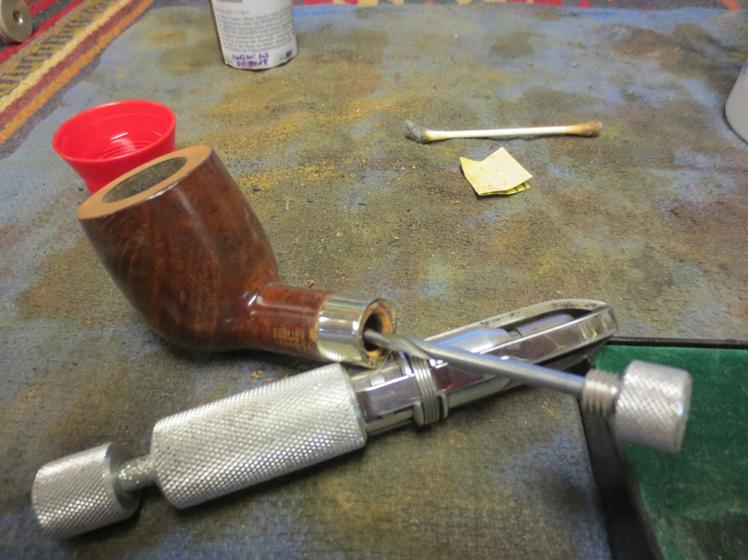
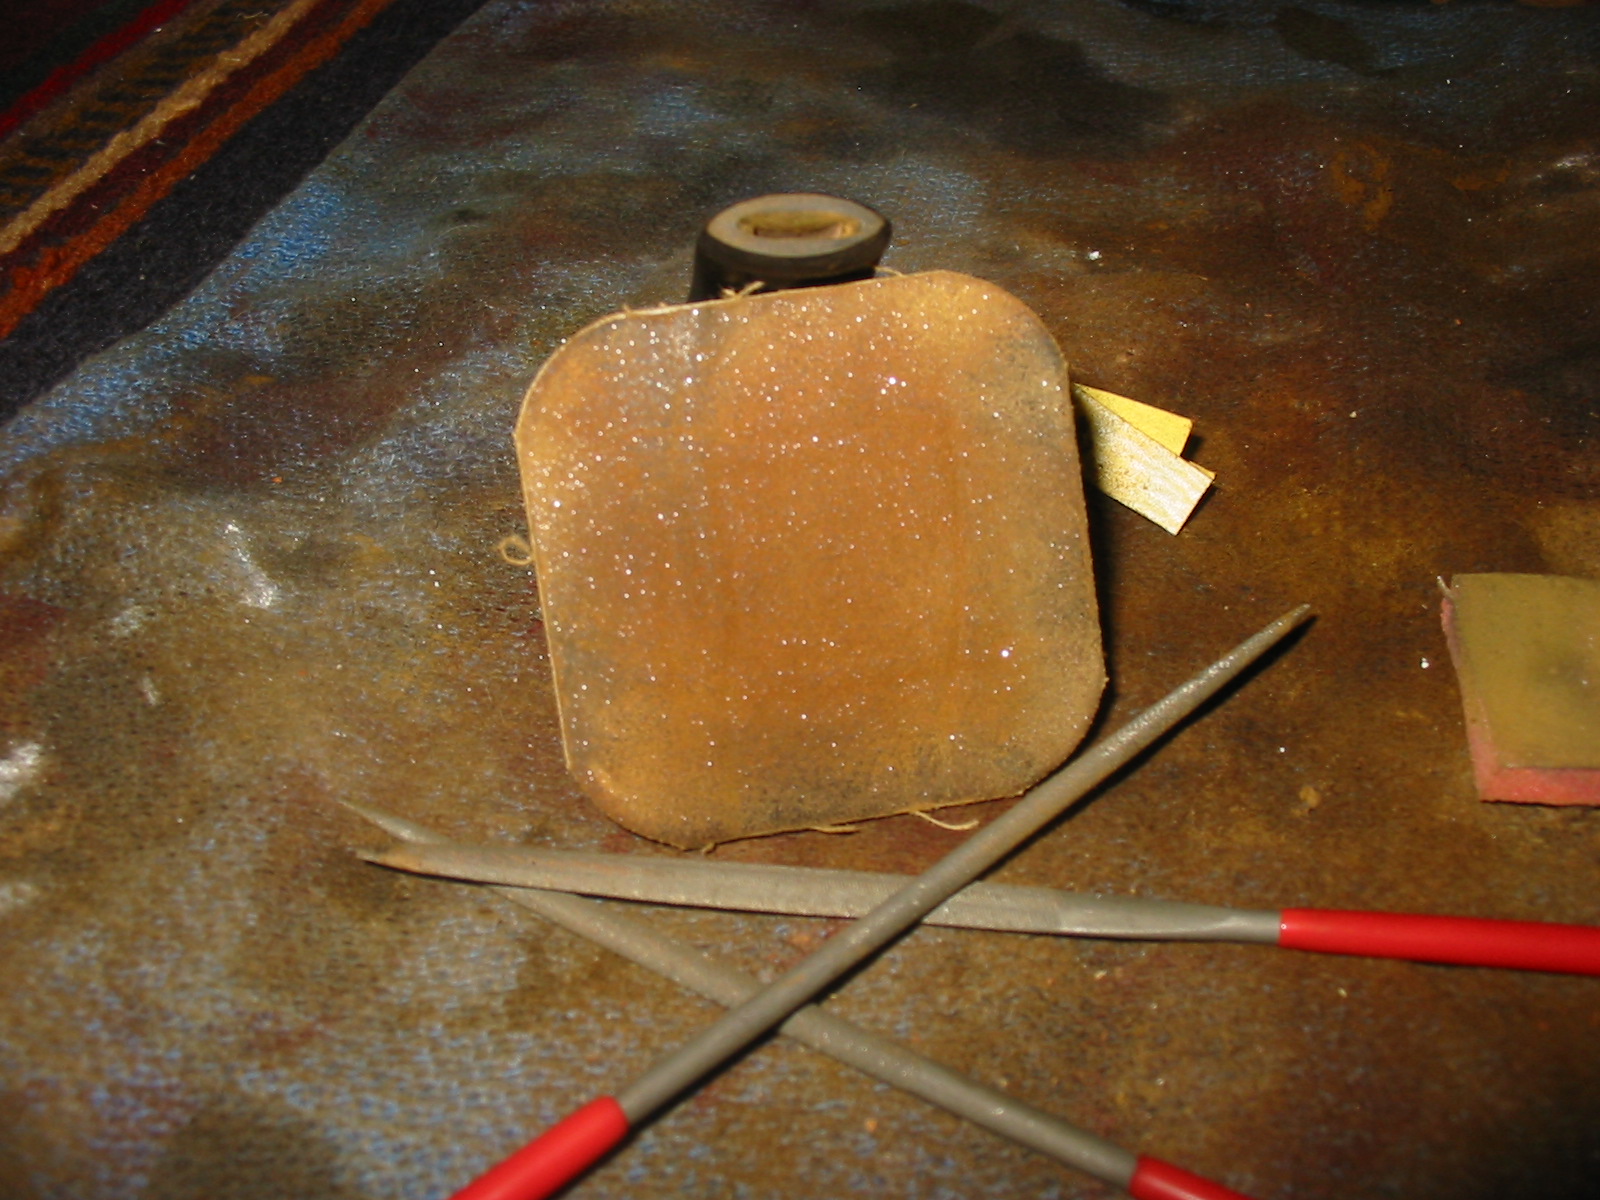
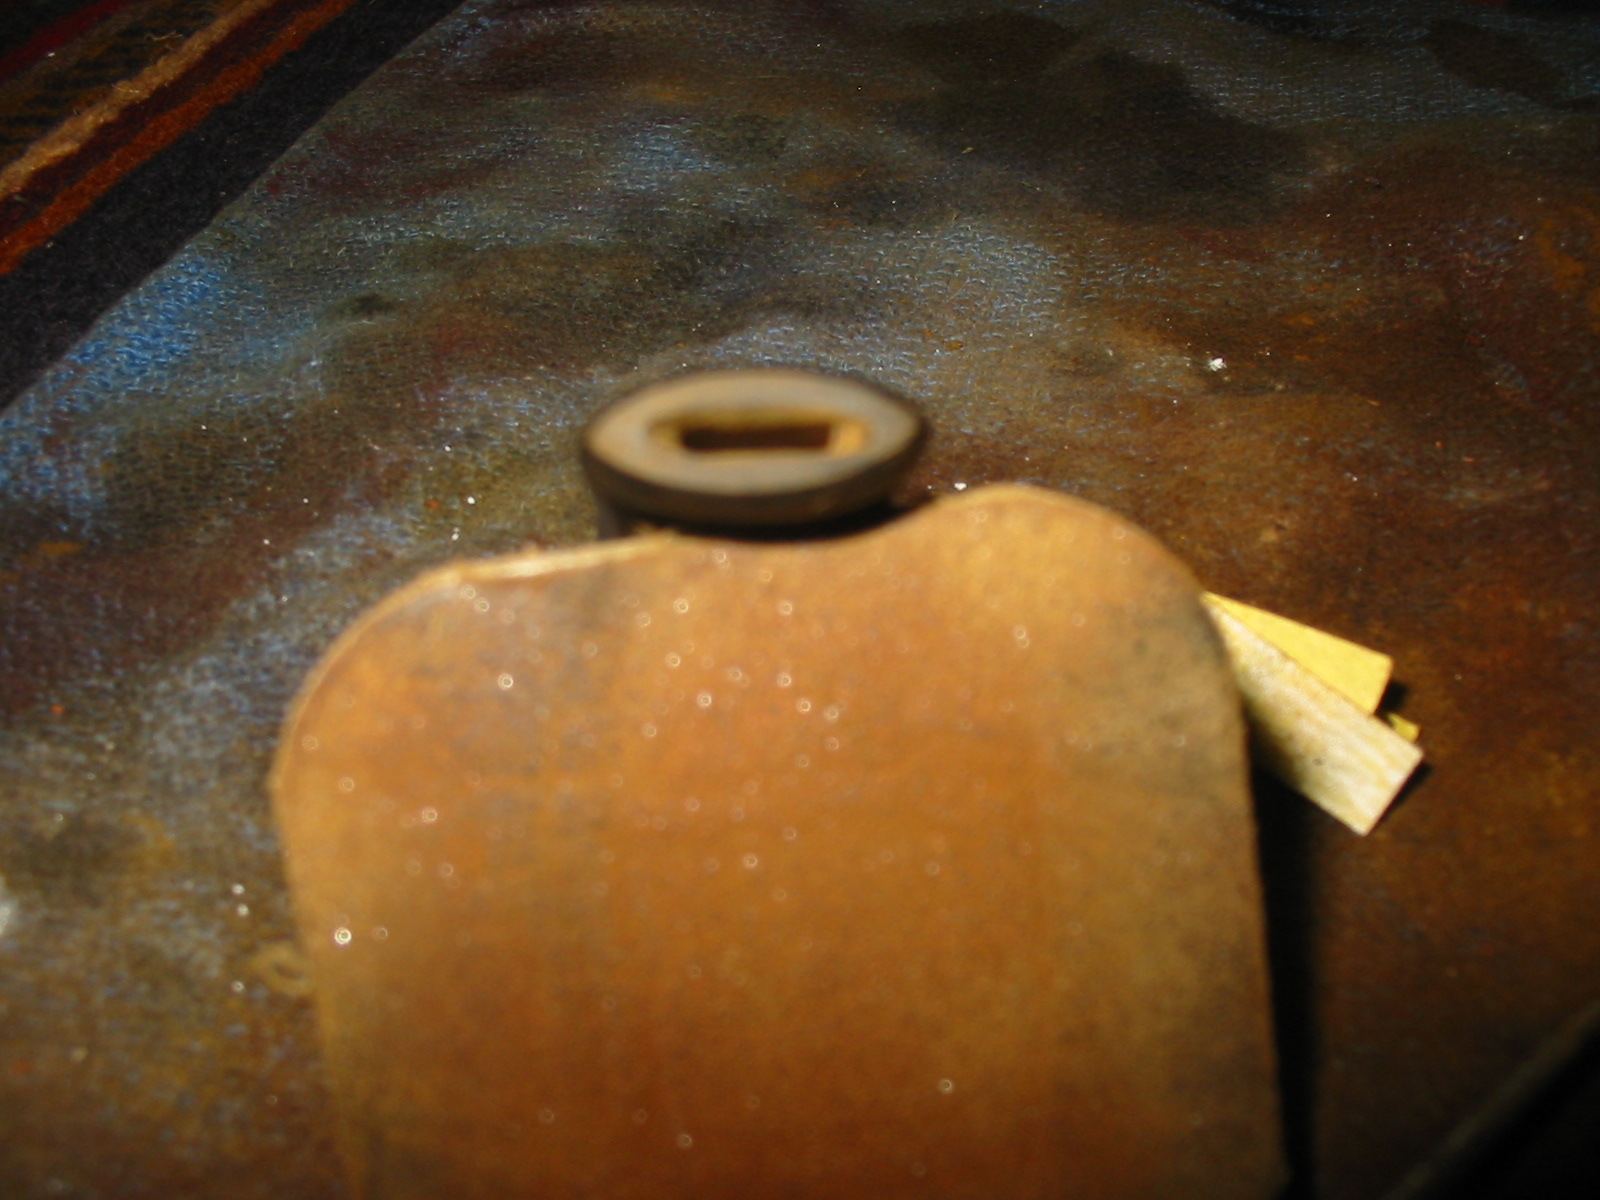
  I set the bowl aside and worked on the tenon adapter and the stem surface. I used the Dremel and sanding drum to shorten the adapter until the fit in the tenon allowed the shank to fit snug against the shank end.
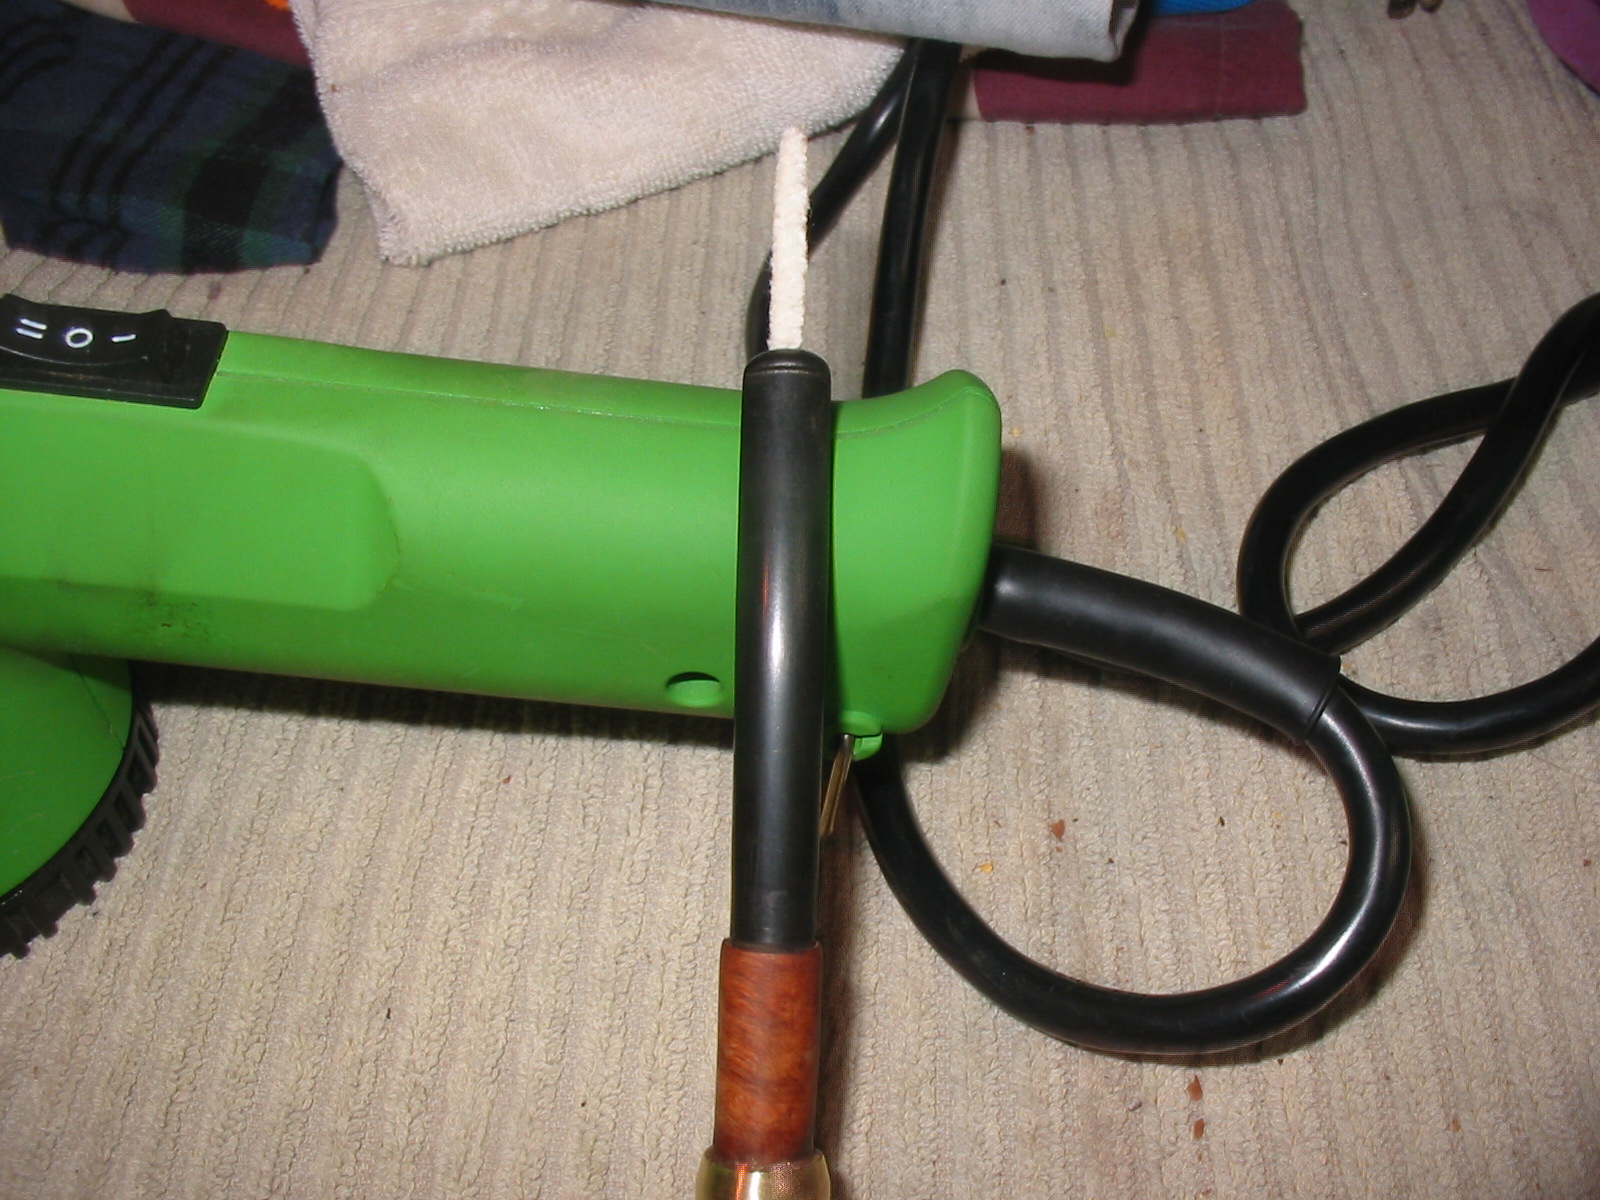
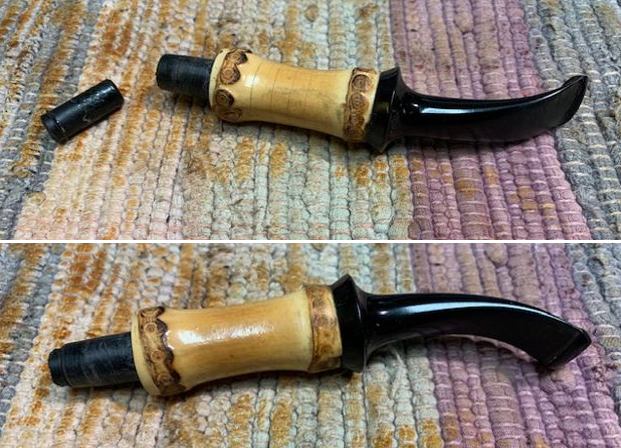 With the internals finished it was time to work on the tooth marks and chatter on the surface of the acrylic stem. I sanded them smooth with a folded piece of 220 grit sandpaper. I started polishing the stem surface with 400 grit wet dry sandpaper.
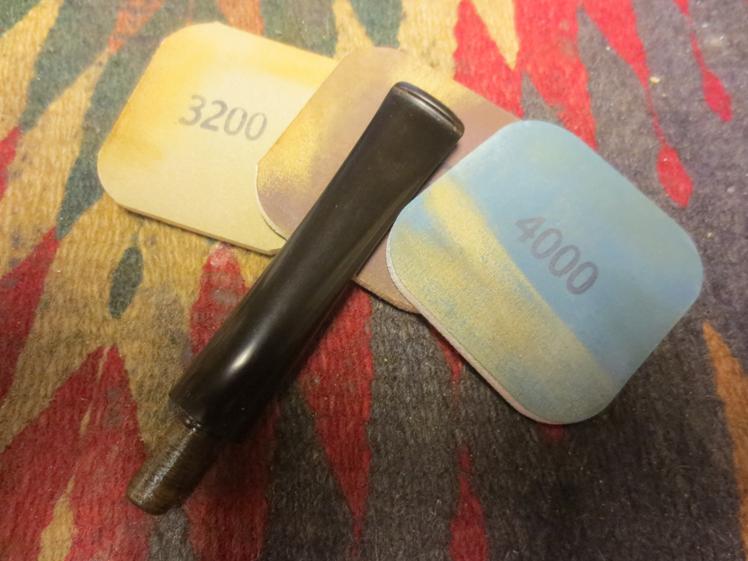
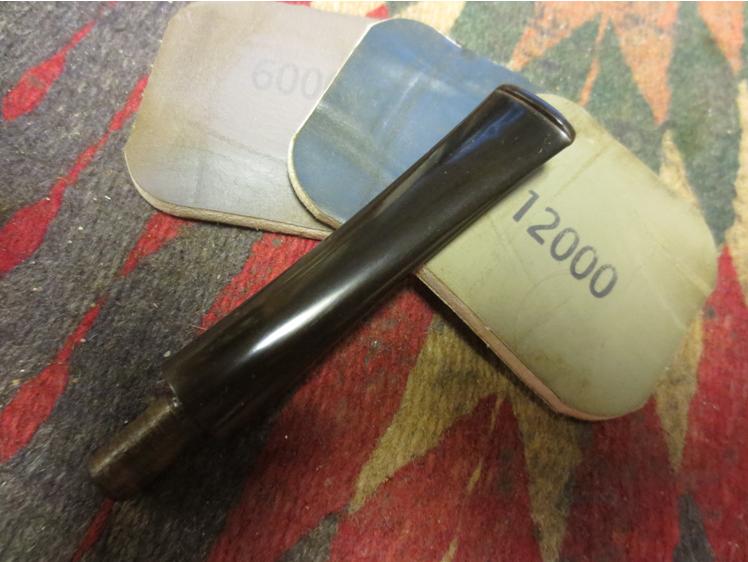
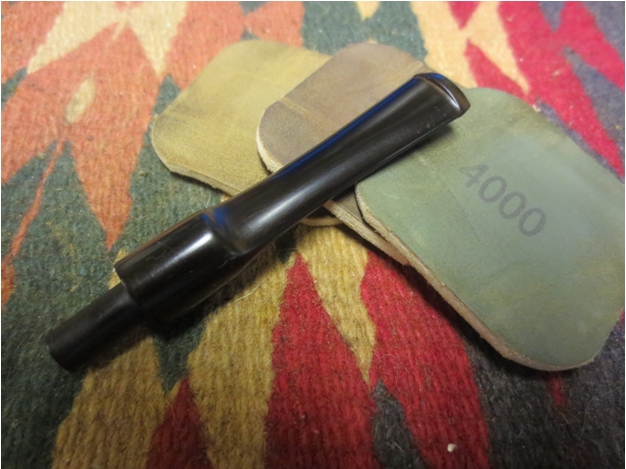
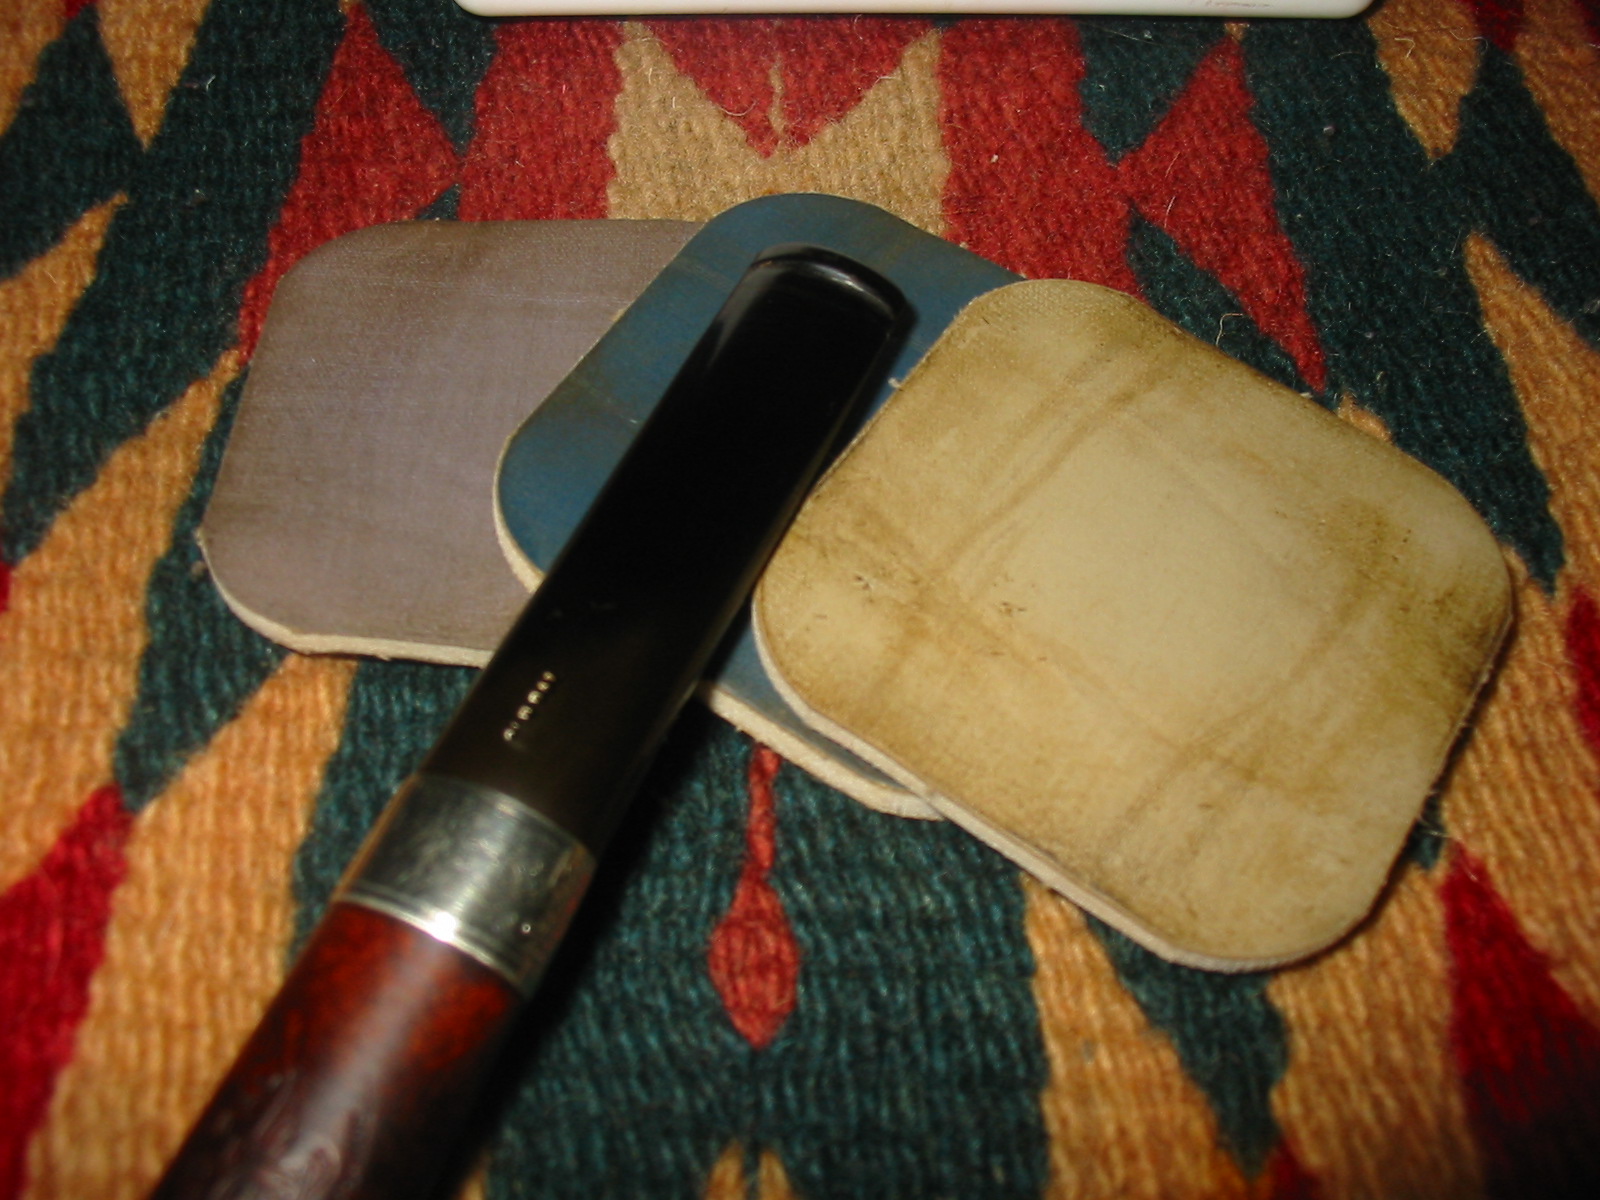
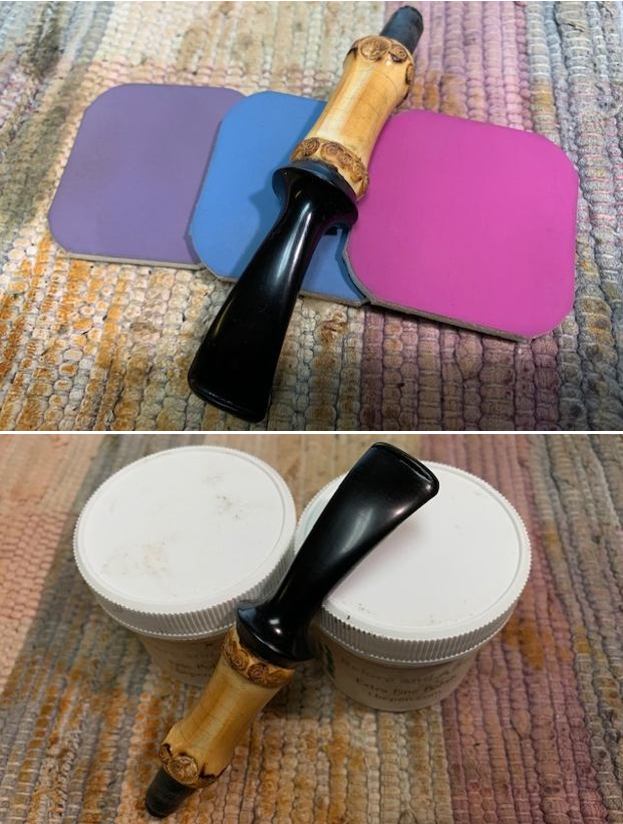
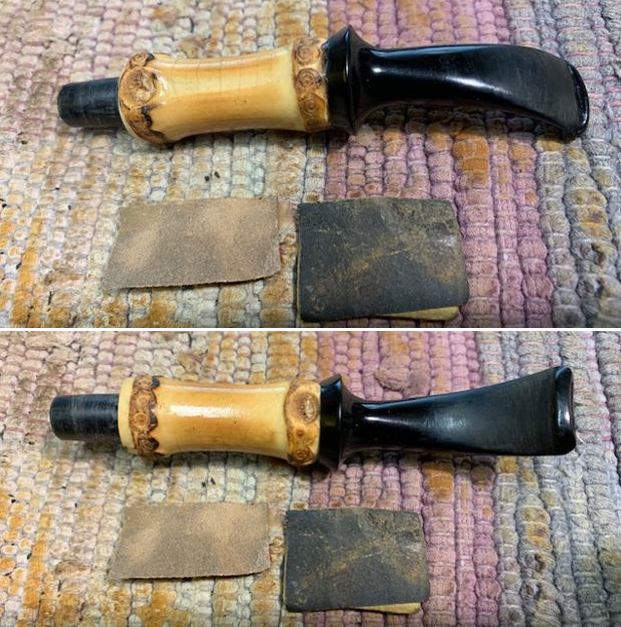 I polished the stem with micromesh sanding pads – 1500-12000 grit pads. I dry sanded the stem with the pads and wiped it down with a damp cloth after each pad. I finished the polishing with Before & After Pipe Stem Polish – both Fine and Extra Fine. I gave it a final buff with a cloth and Obsidian Oil.
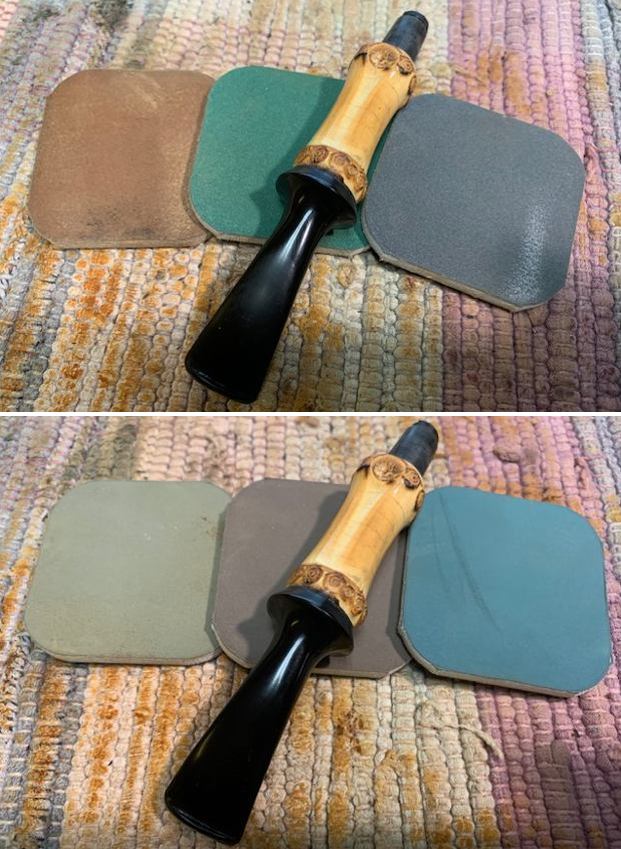
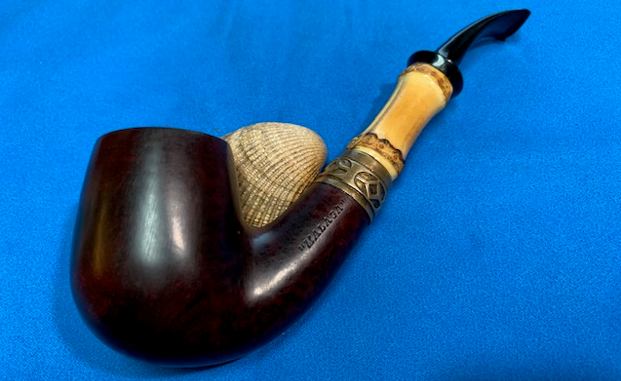
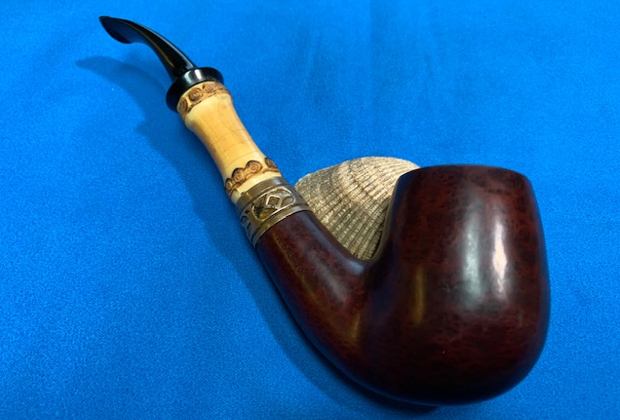
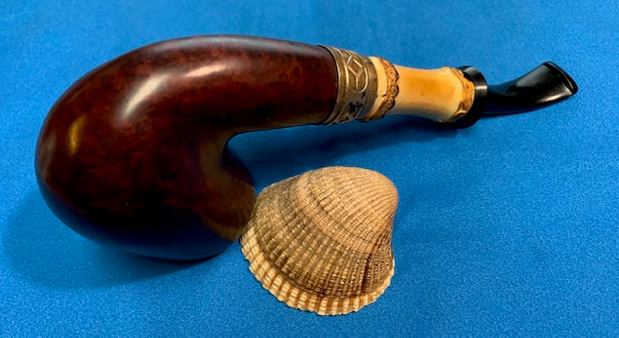
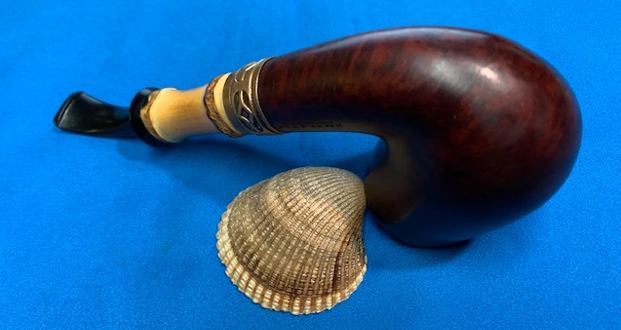
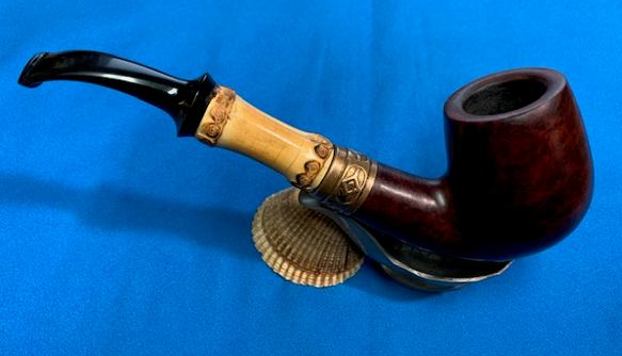
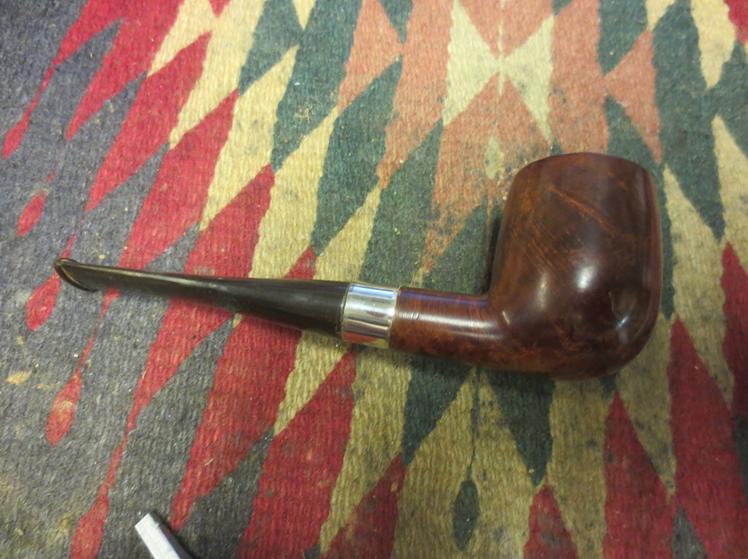
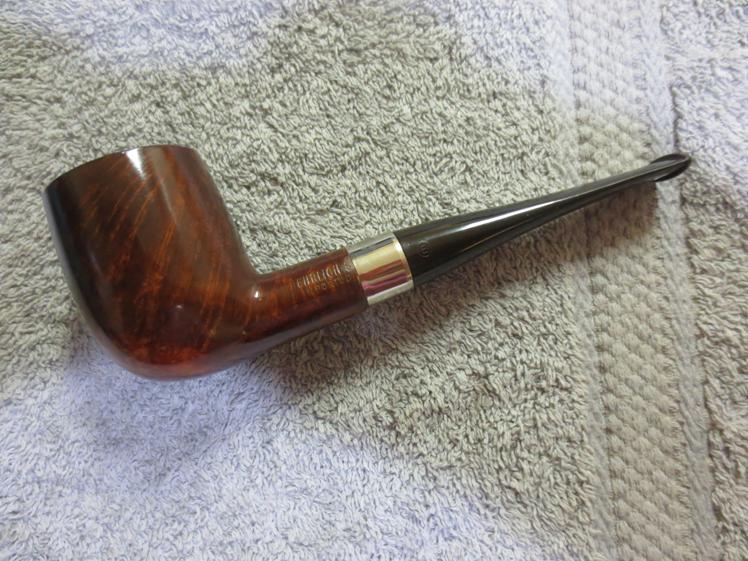
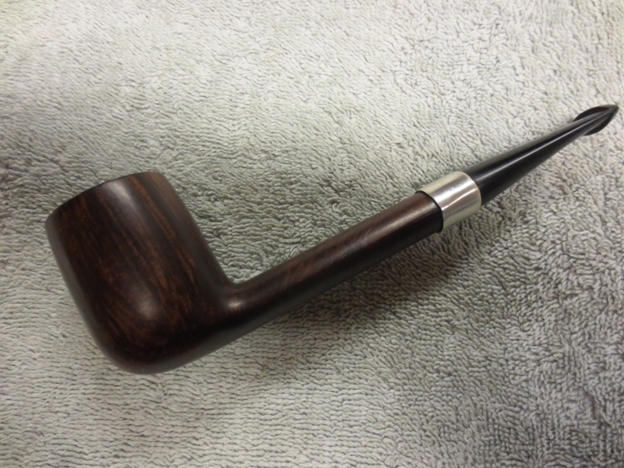
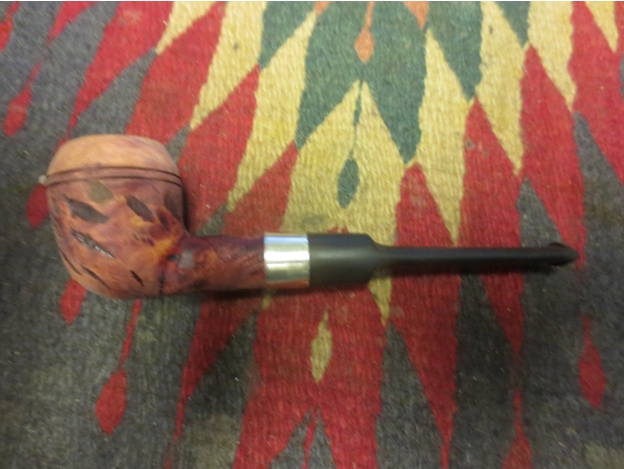
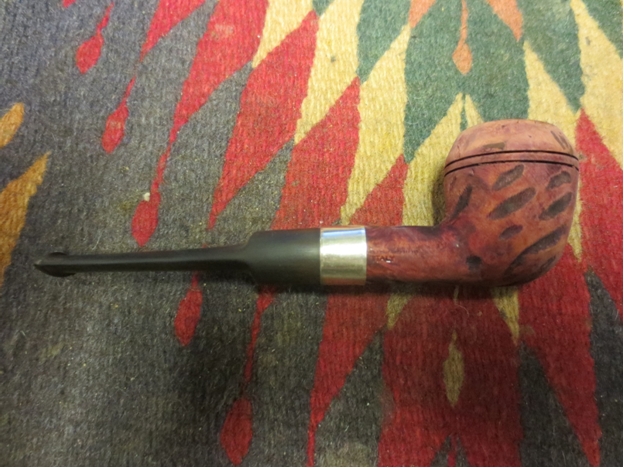
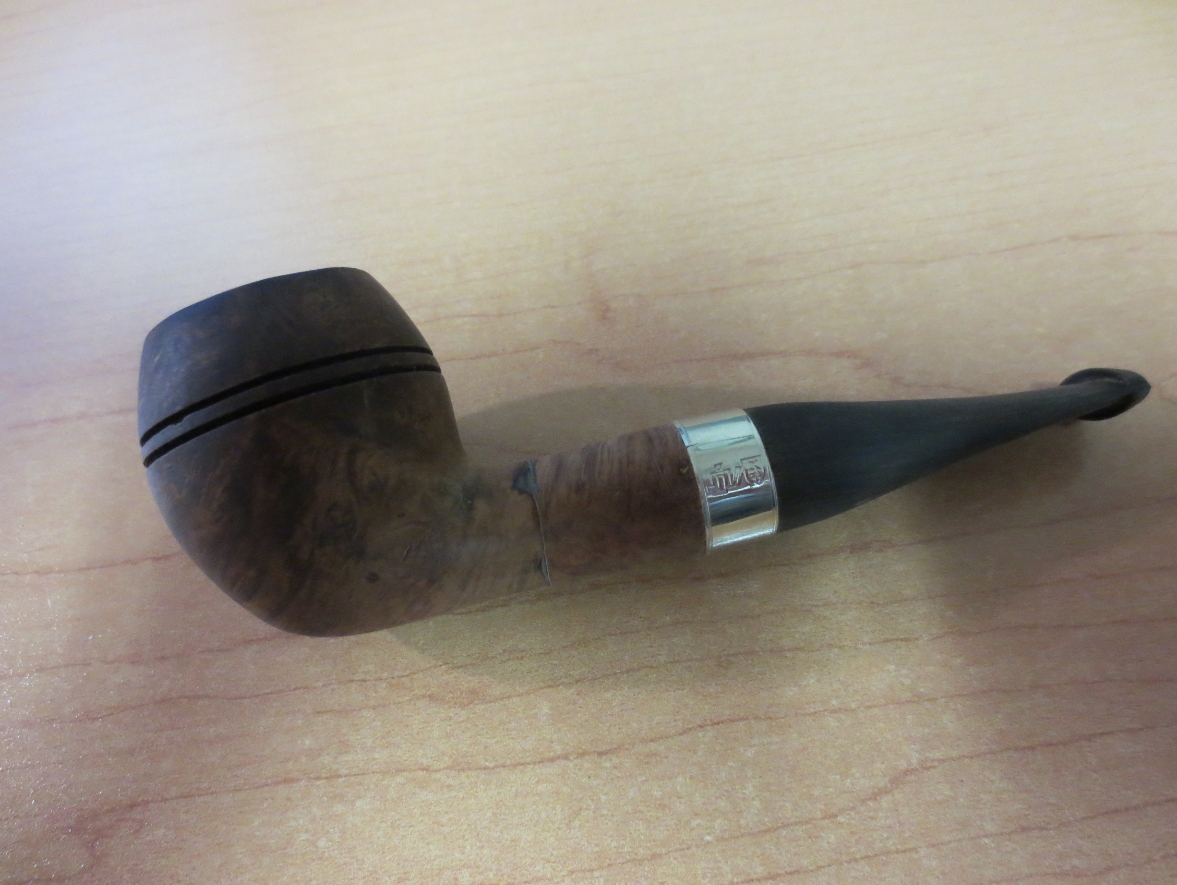
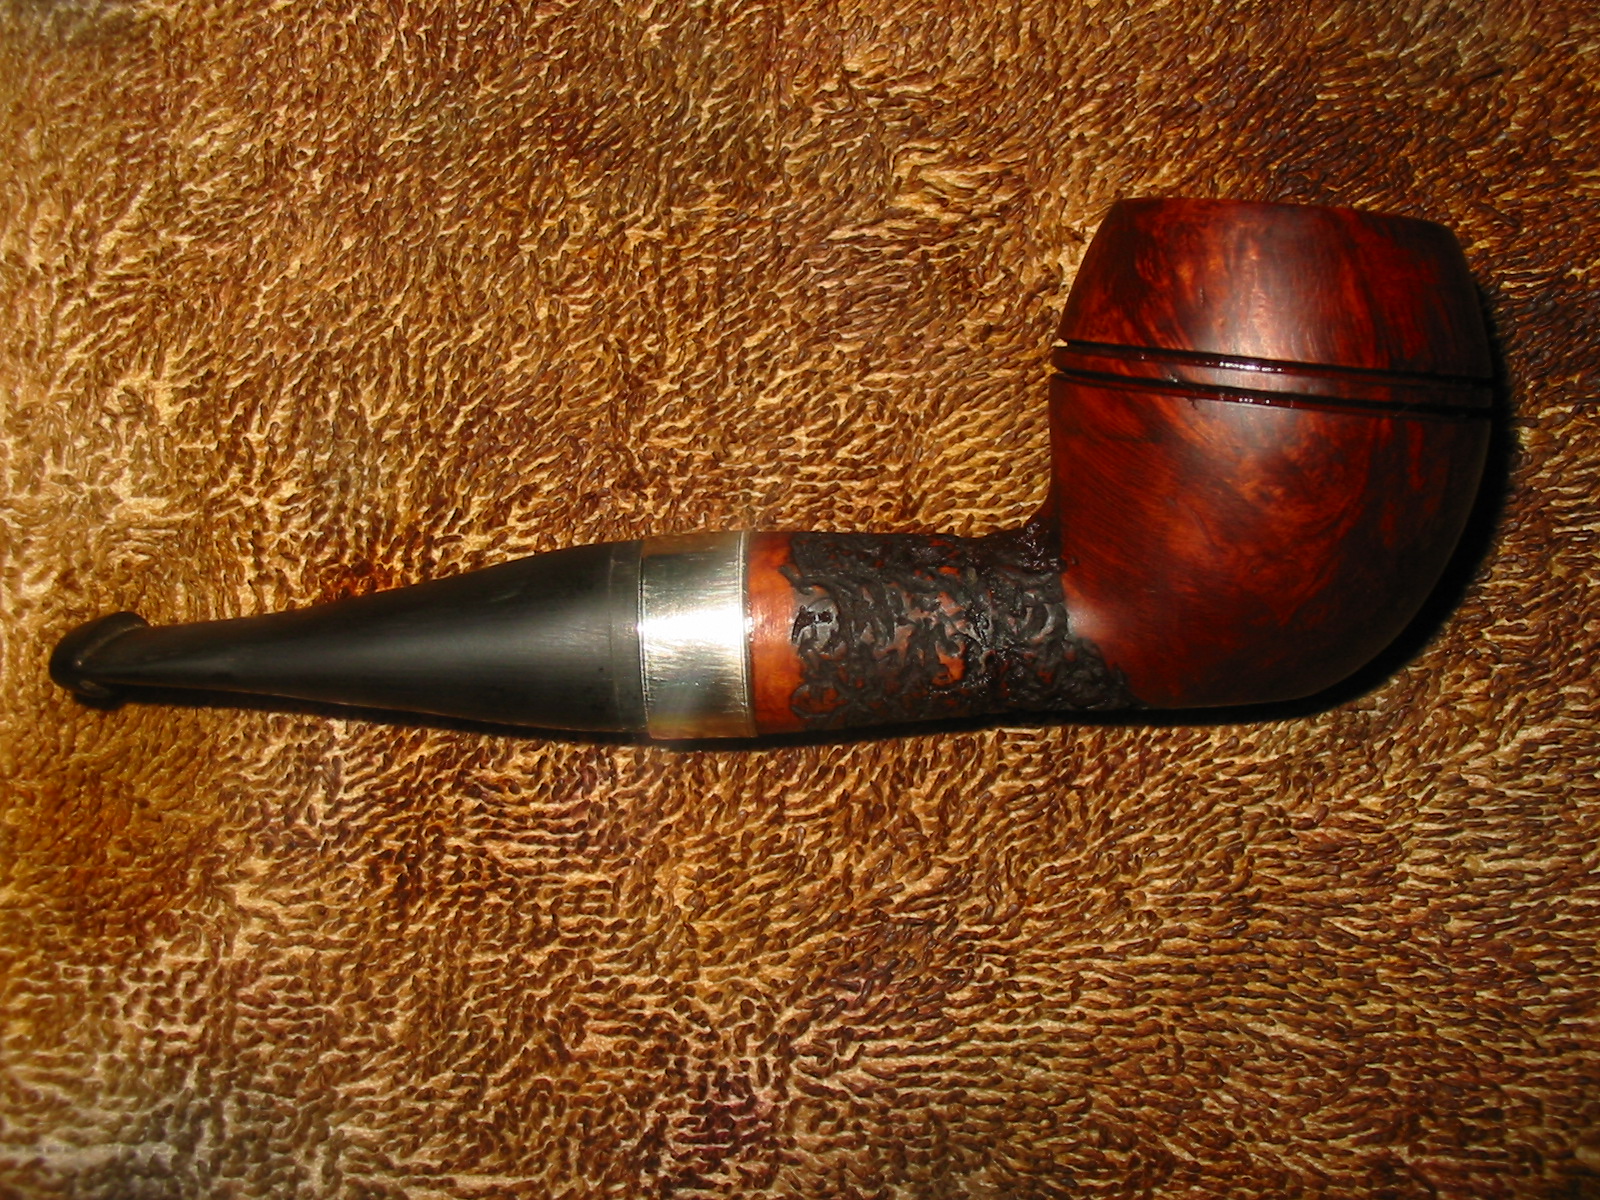
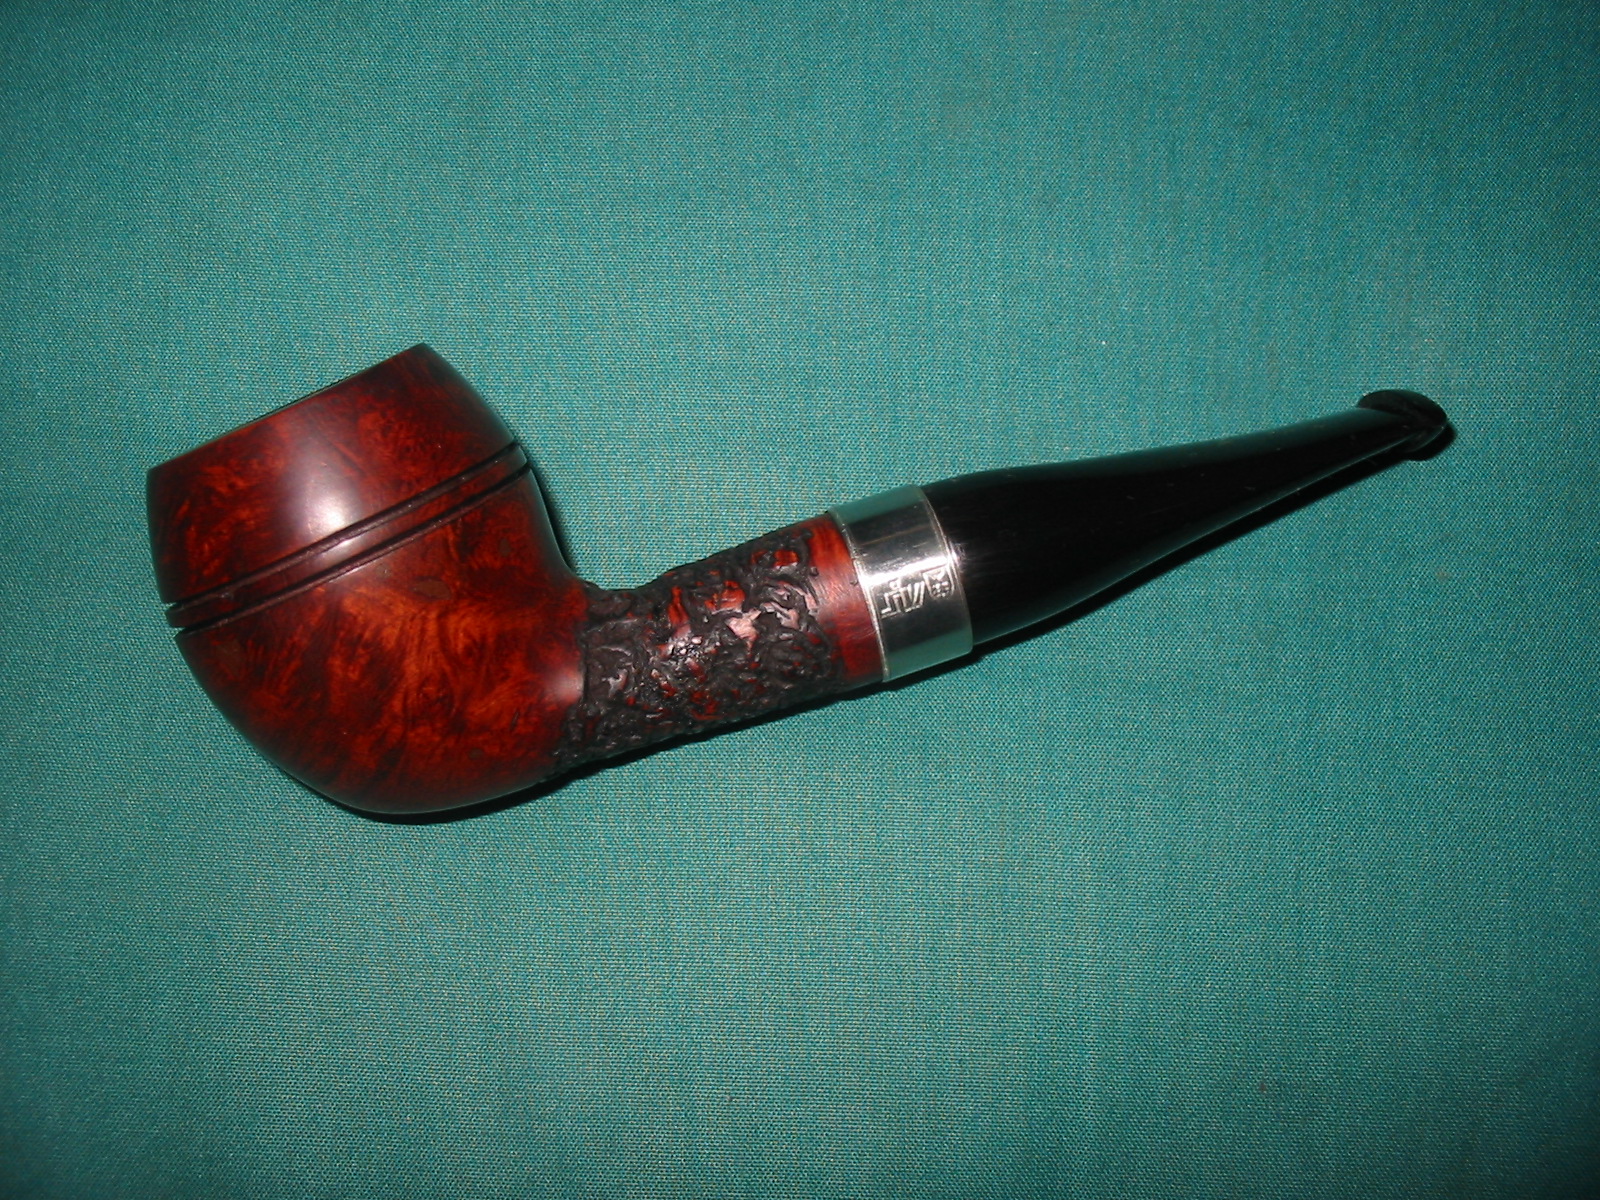
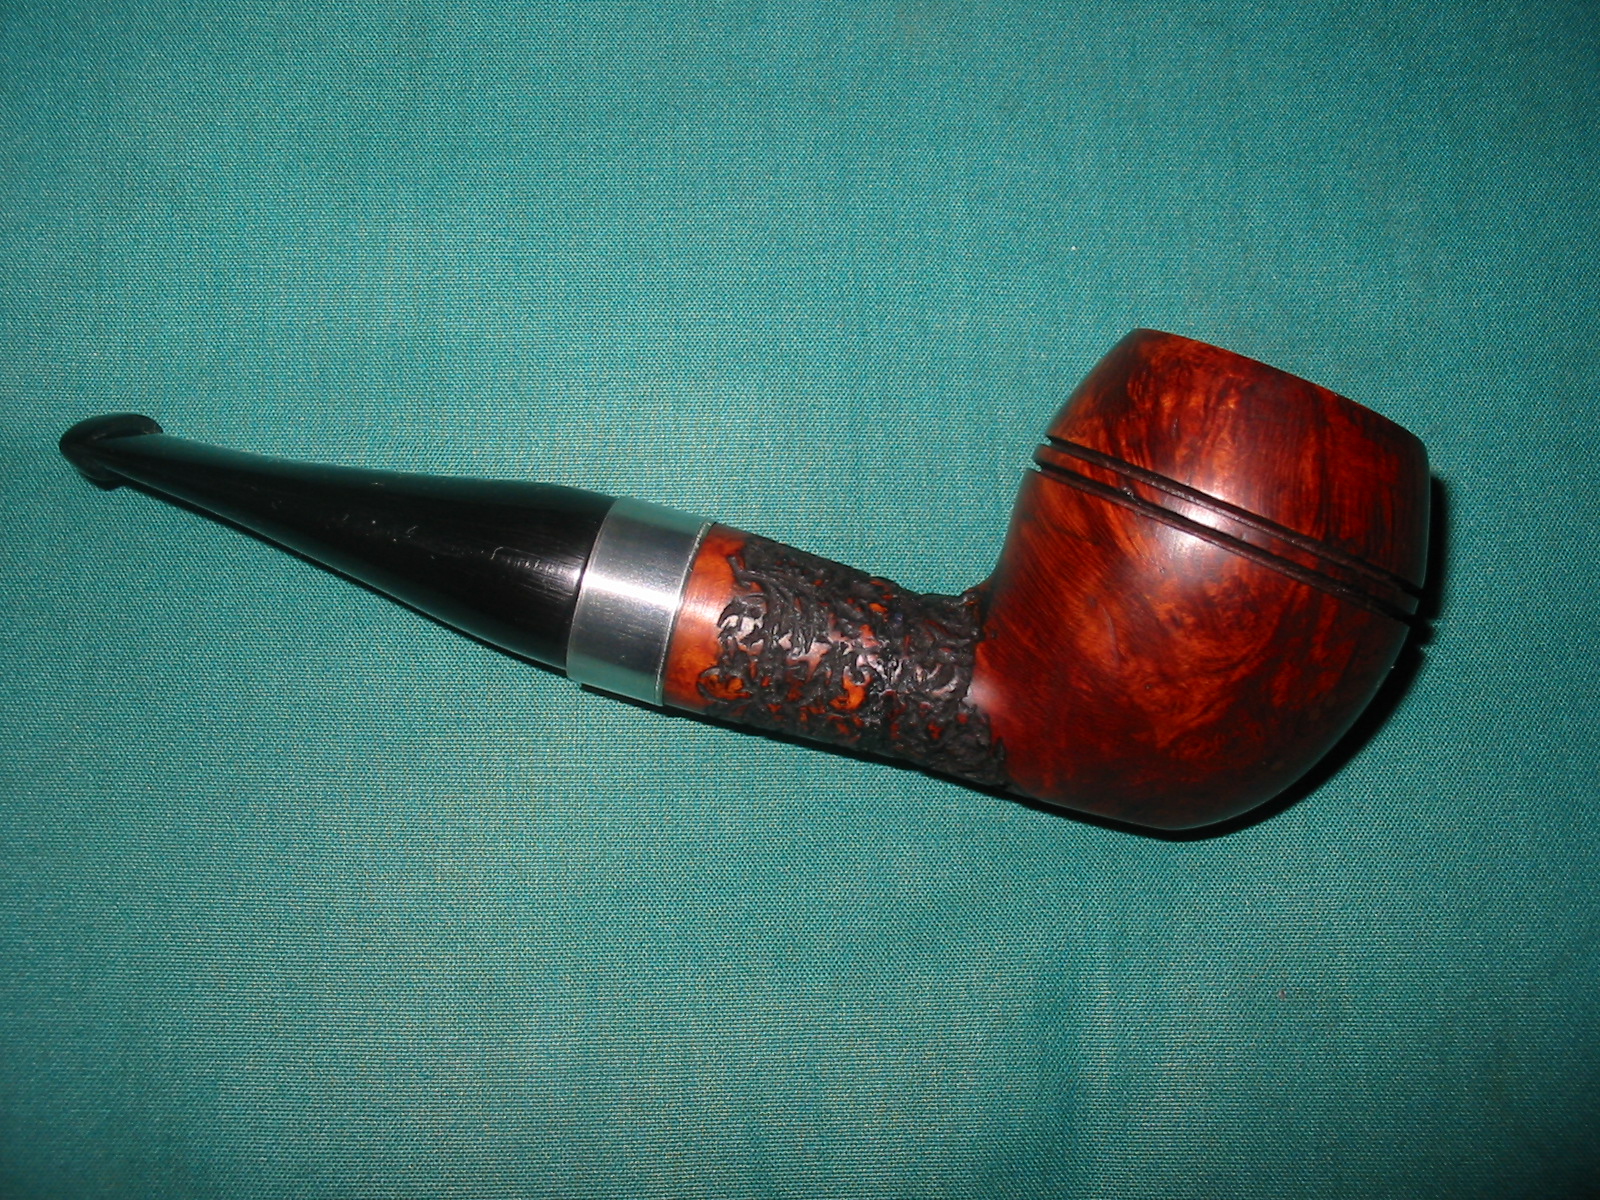
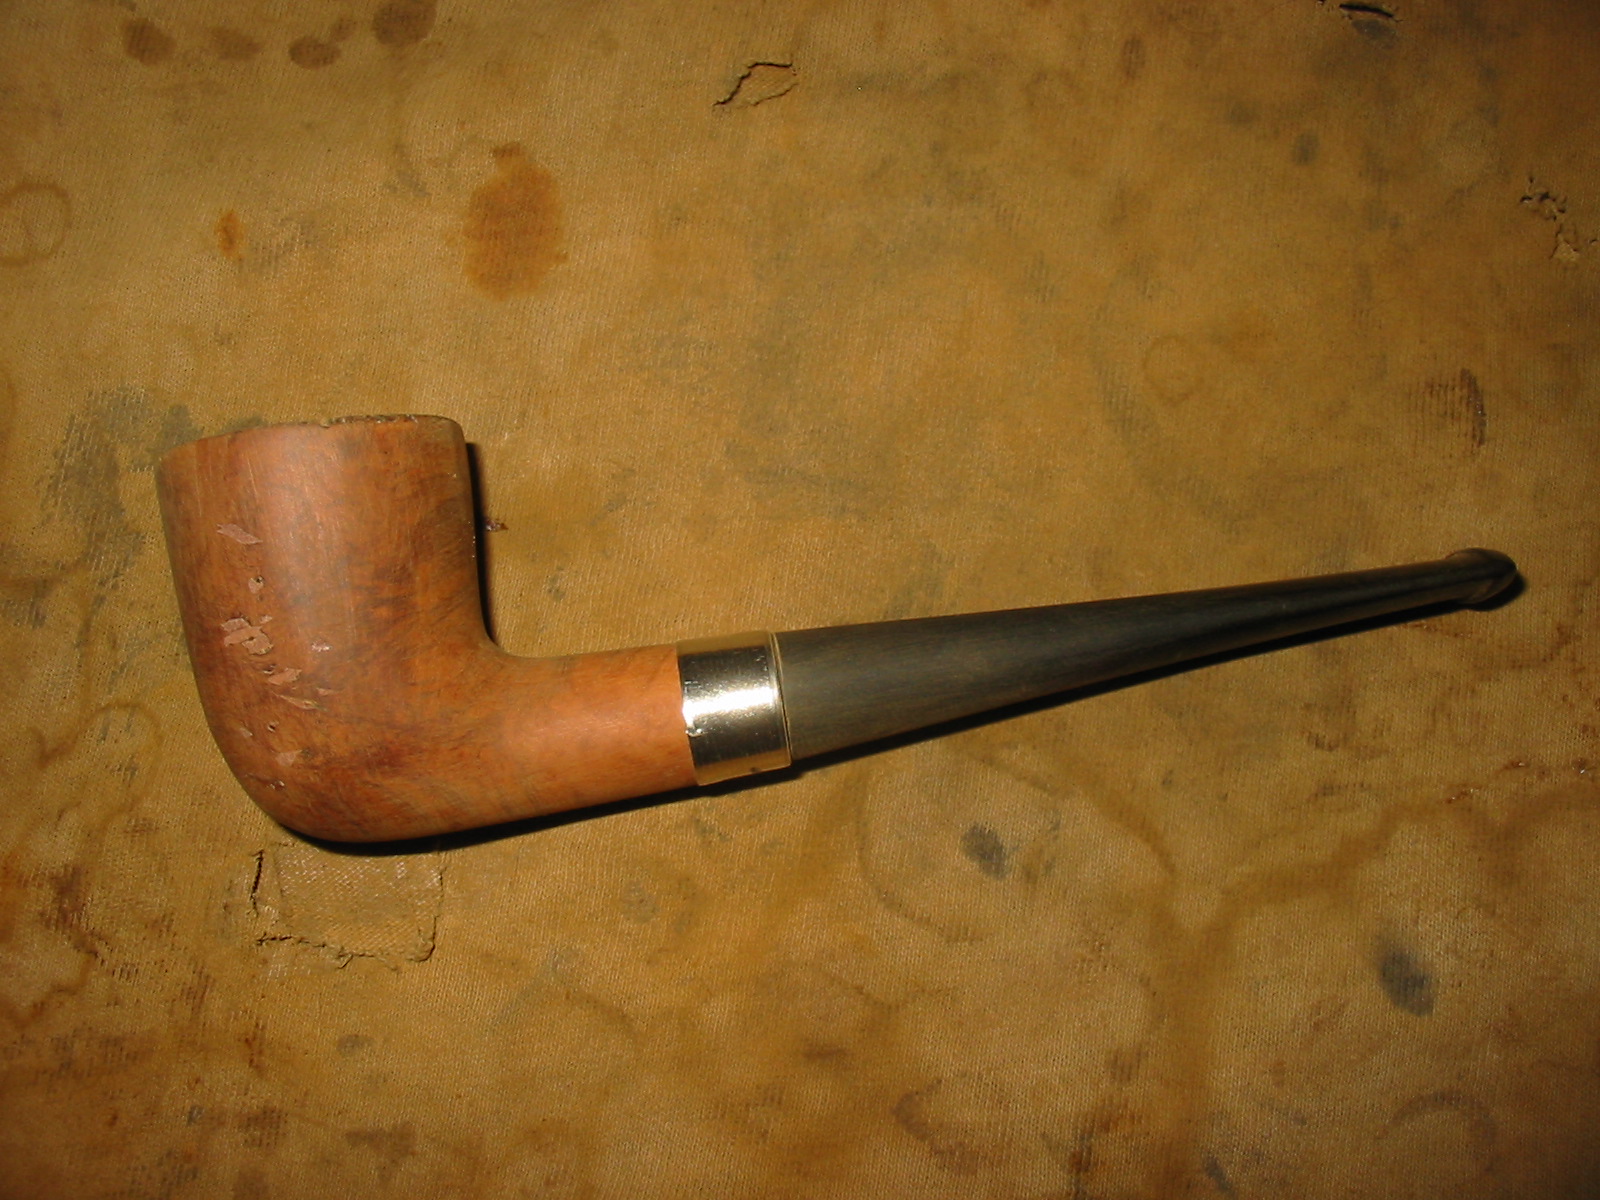
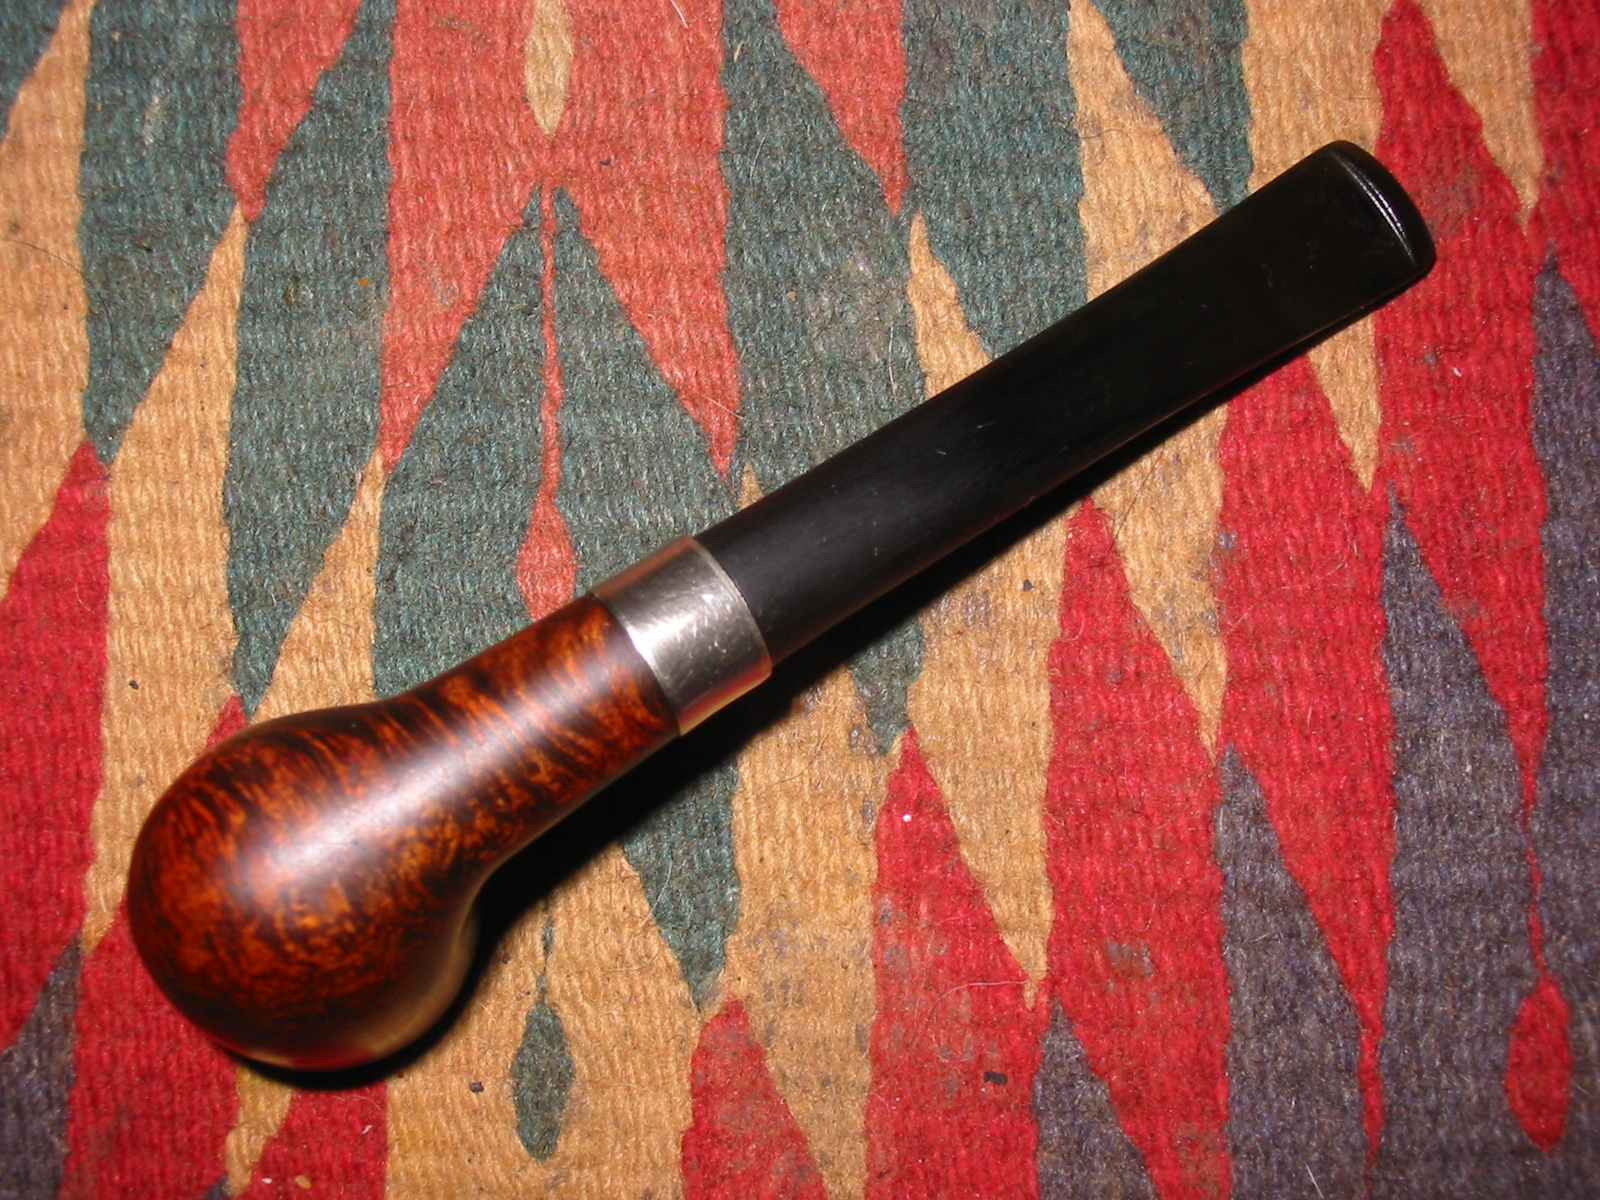
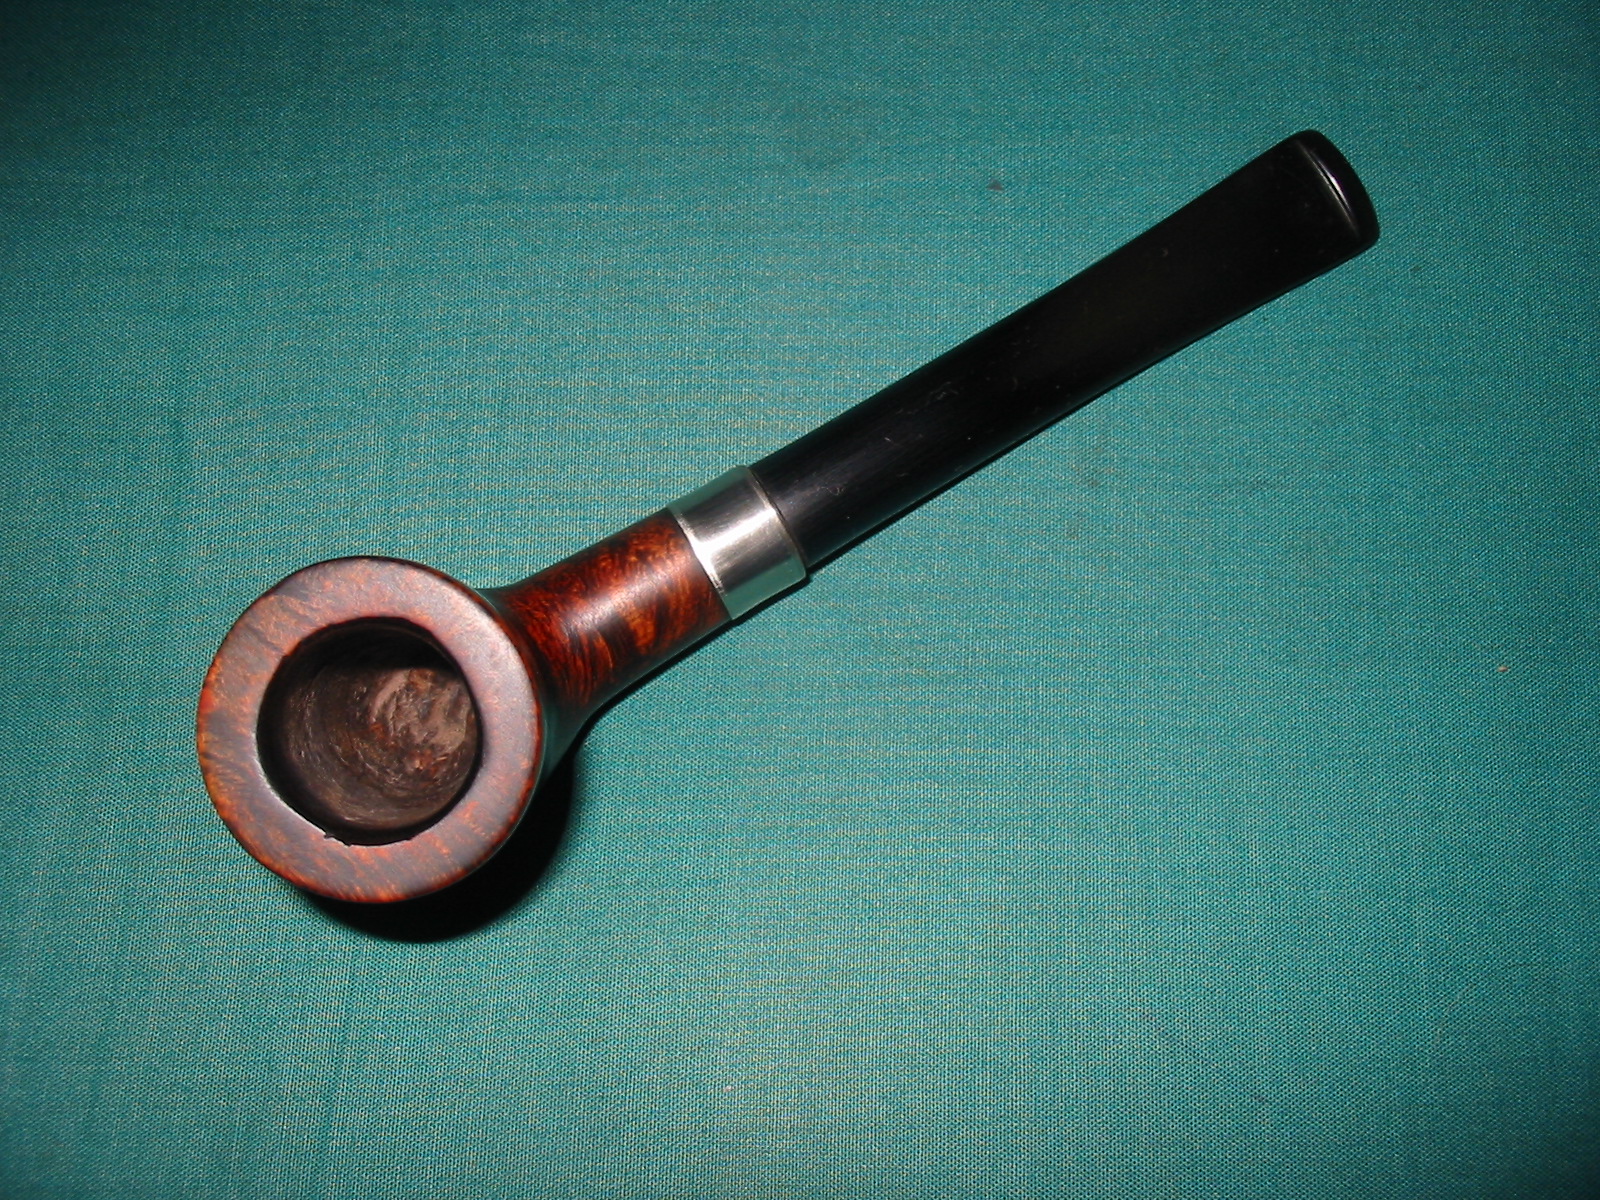
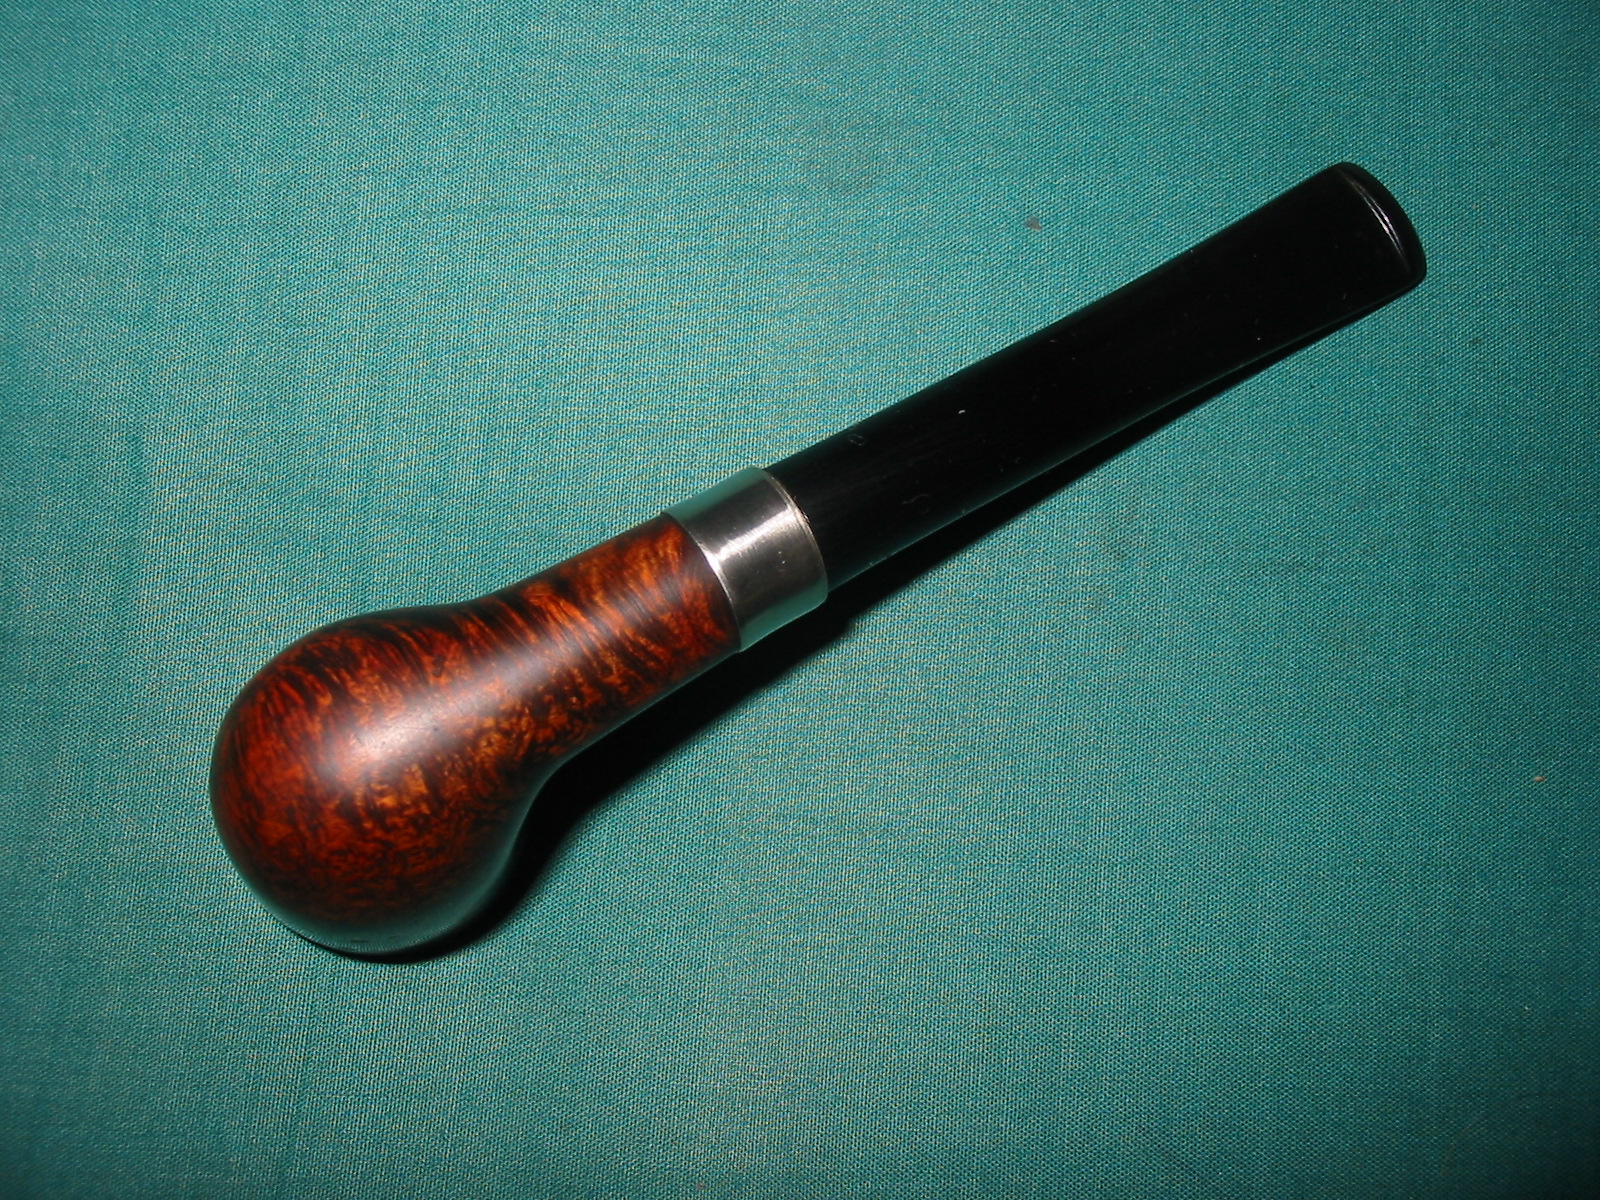
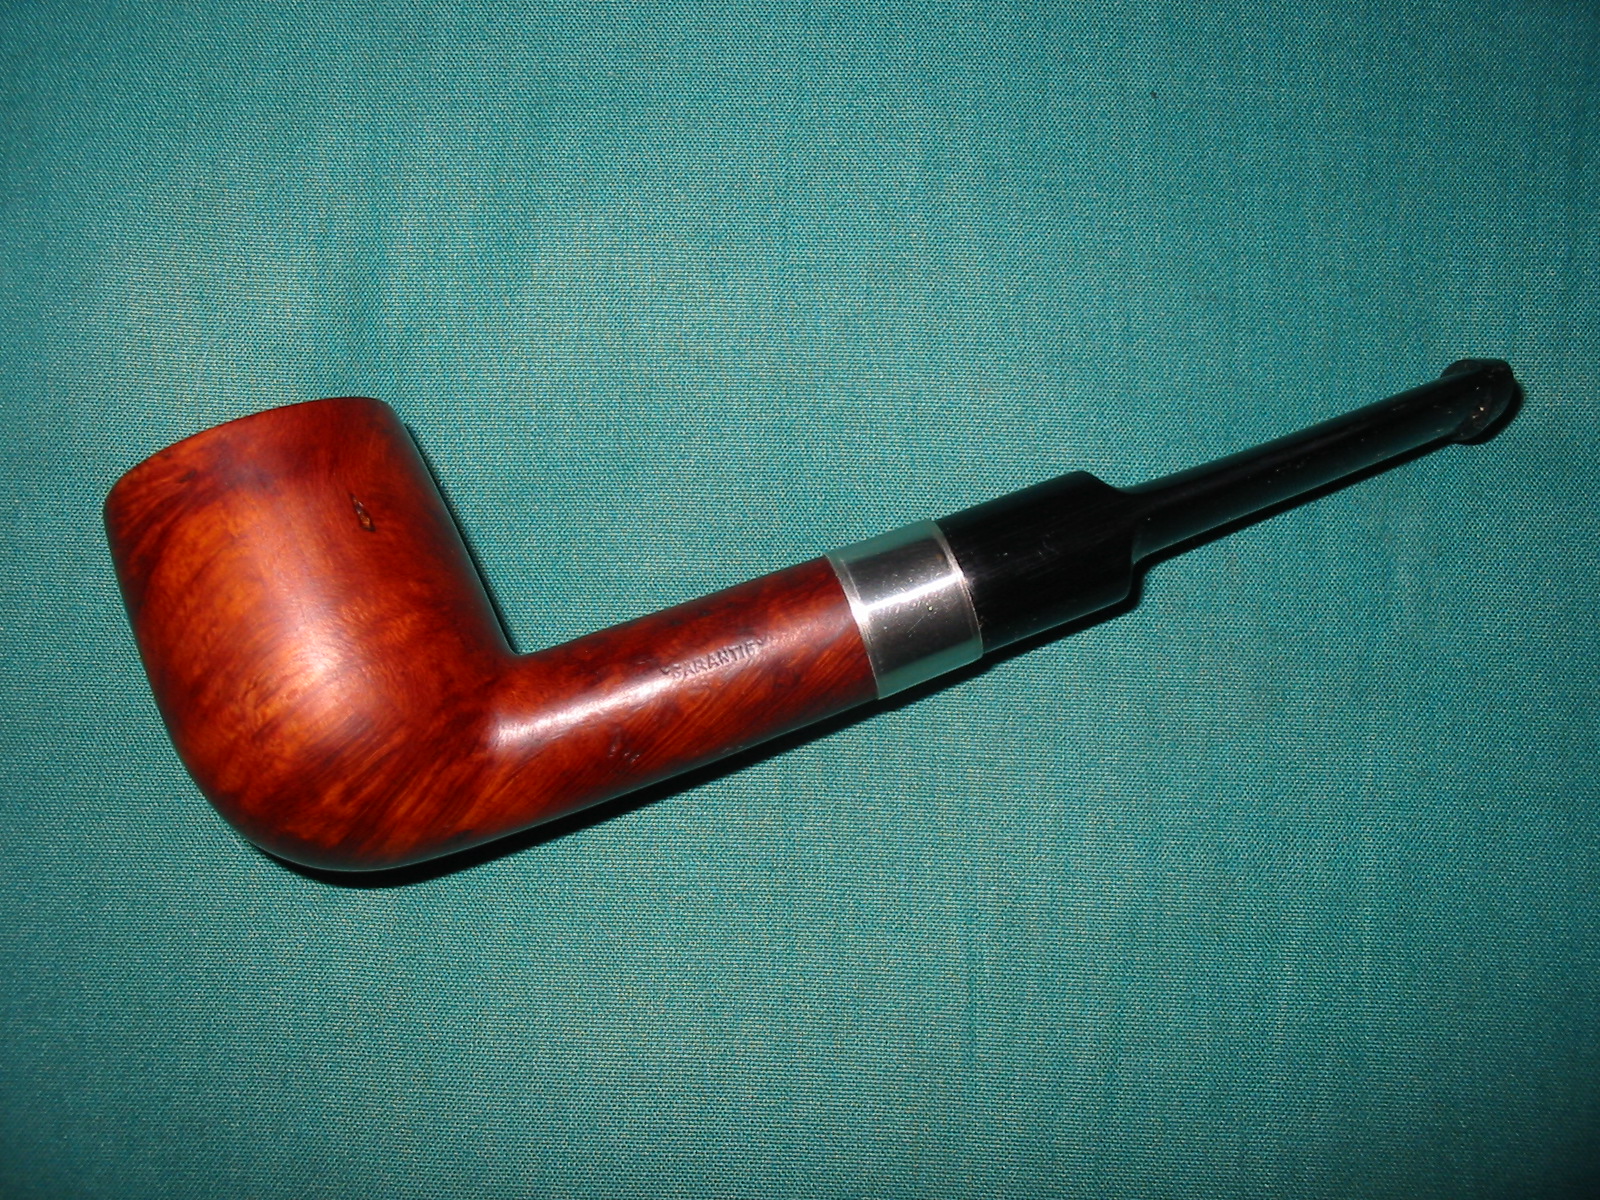
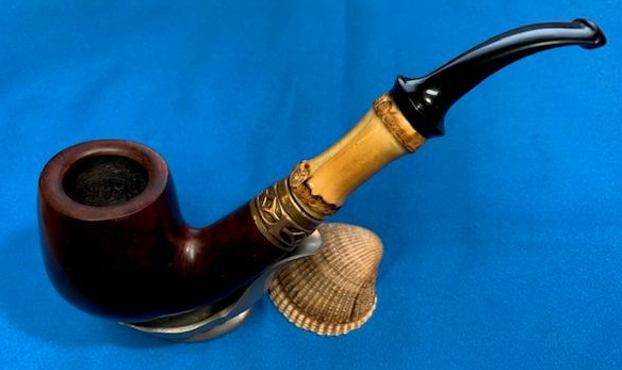
 I put the parts of the Frankenpipe together and took the pipe to the buffer. I buffed it with Blue Diamond and really like the way the brass and bamboo polished up. They looked great after buffing. The bowl and stem also shone but I expected that really. The combination of the darker stain on the bowl, the antique brass band, the 2 knuckle bamboo with developing patina and the black acrylic stem came together even better than expected. I gave the pipe several coats of carnauba wax on the buffing wheel. I buffed it with a clean buffing pad to raise the shine and hand buffed it with a microfibre cloth to deepen the shine. The finished pipe really shone with rich hues. The dimensions of this Frankenpipe are Length: 5 ½ inches from the front of the bowl to tip of the stem, Height: 2 inches, Outer diameter of the bowl: 1 ¾ inches, Chamber diameter: 7/8 of an inch. The weight of the pipe is 69 grams/ 2.47 ounces. It really surprised me as it looks to be a much bigger pipe than it is. I would say it is Dunhill Group 5 pipe at least in terms of bowl size. It really is a beautiful pipe in person and it will be staying with me along with the other Frankenpipes I have crafted. I am looking forward to enjoying a bowl shortly. It was a fun pipe to work on. I hope you enjoyed the process as you read about it. Thank you for taking time to read about it. As Paresh says – Stay safe/Stay healthy.