Blog by Steve Laug
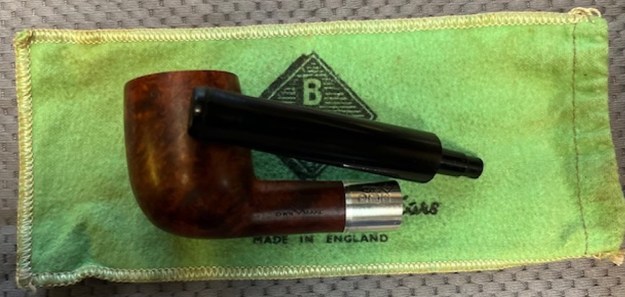
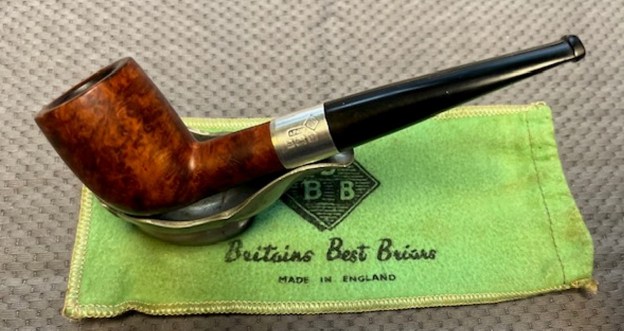
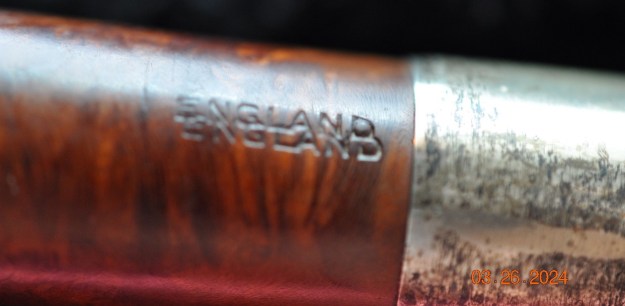
The next pipe that I am working on came from an estate sale in Oregon City, Oregon, USA we purchased on 03/21/24. It was very dirty and was a reddish, brown coloured pipe when it started. The smooth finish around the bowl was dirty and had hand oils ground into the grooves. The bowl had a thick cake a spotty coat of lava on the rim edge and top of the bowl. The outer edge and top of the bowl were battered and damaged with chips and nicks deep in the briar. It was a mess. The stem was oxidized, very dirty and had light tooth marks on both sides ahead of the button. The pipe was stamped on the left side of the shank with the BBB logo in a diamond and underneath and to the side of the point it read Own Make. On the underside of the shank it was stamped England and had been double stamped. The Sterling Silver band on the shank was oxidized but was also stamped with the BBB in a diamond logo and to the left of it was stamped AF&Co in a rectangular stamp [over] three hallmarks – an Anchor, a Rampant Lion and the letter “n”. All were in shield style cartouches. The Anchor is the mark for Birmingham, the Lion is the mark for .925 Silver and the “n” is the date stamp. Jeff took photos of the pipe so I could have a sense of what it looked like before he started his work on it.
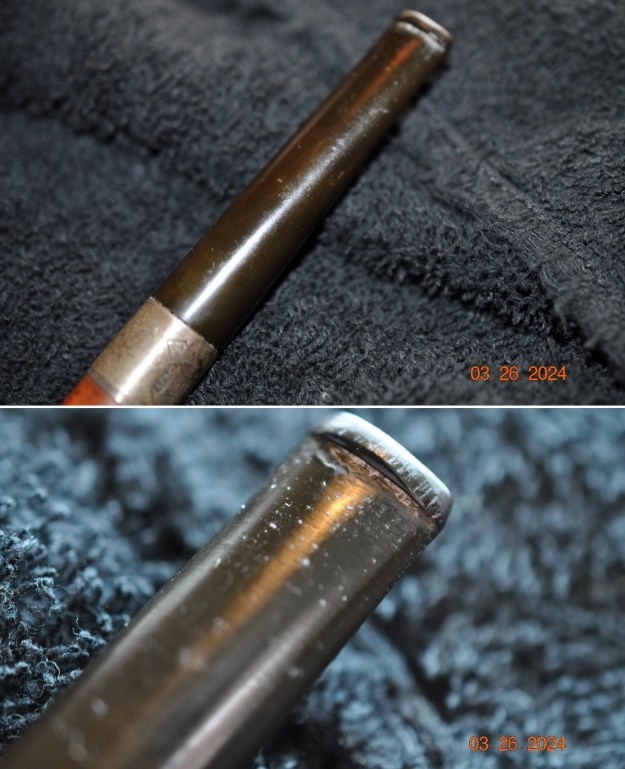
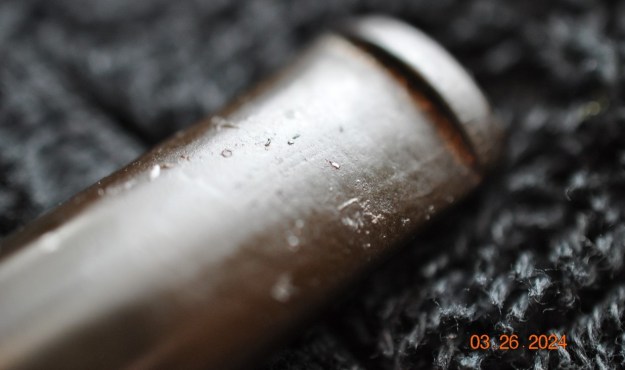
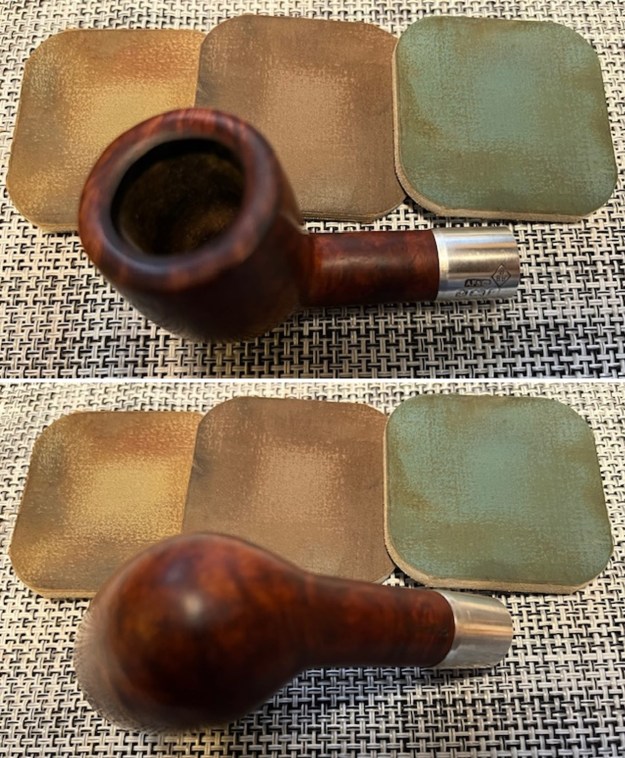
 Jeff took photos of the bowl and rim top to show the condition of the bowl. The rim top is dirty with lava and deep nicks in the surface of the rim. There is a thick cake in the bowl. The silver band on the shank is oxidized and stamped as noted above. The stem is oxidized and is very dirty from the shank to the button. There are light tooth marks and chatter on the stem on both sides ahead of the button.
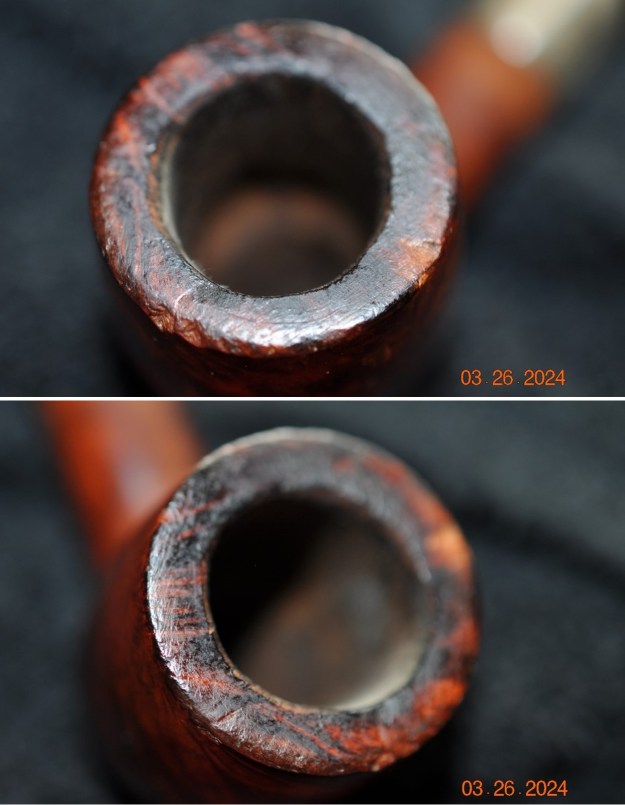
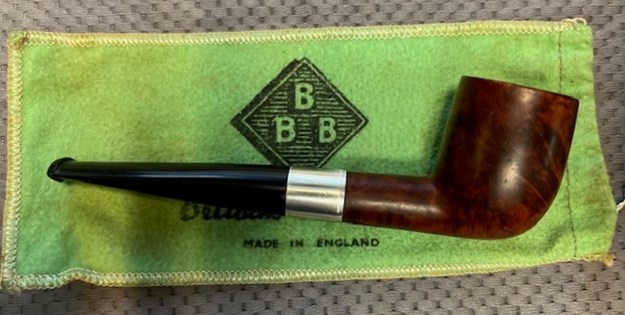
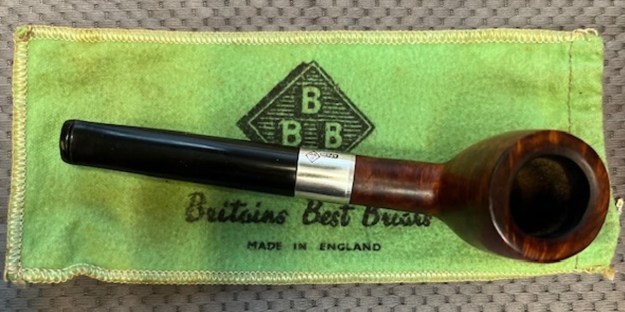
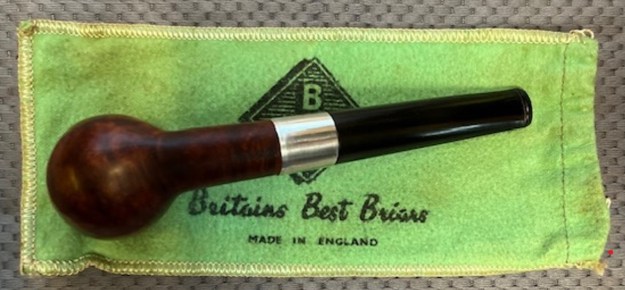
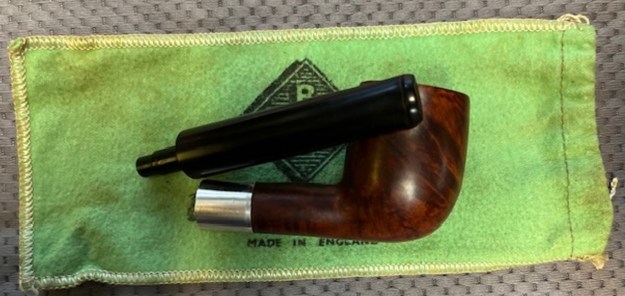
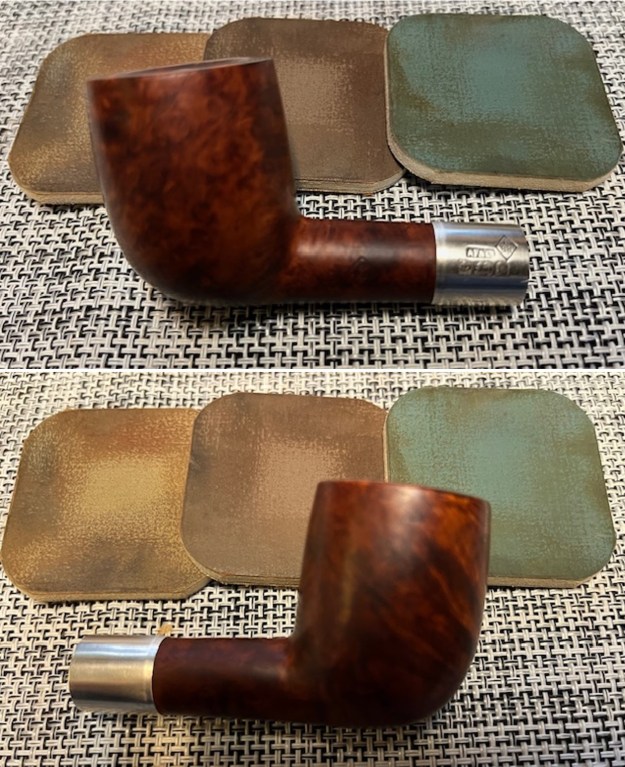
 He took photos of the sides and the heel of the bowl to show the condition of the finish and the grain around the pipe. It has some great grain showing through the grime.
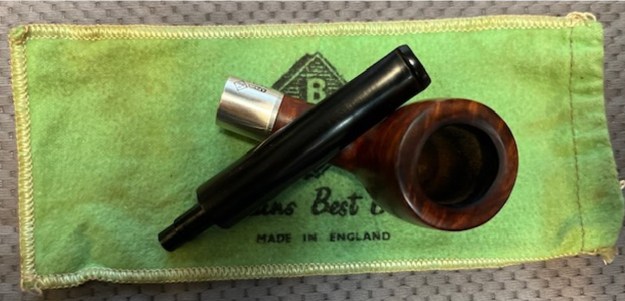
 He took photos of the stamping on the sides of the shank and on the silver band on the shank. It reads as noted above. It is faint in spots but is still very readable.
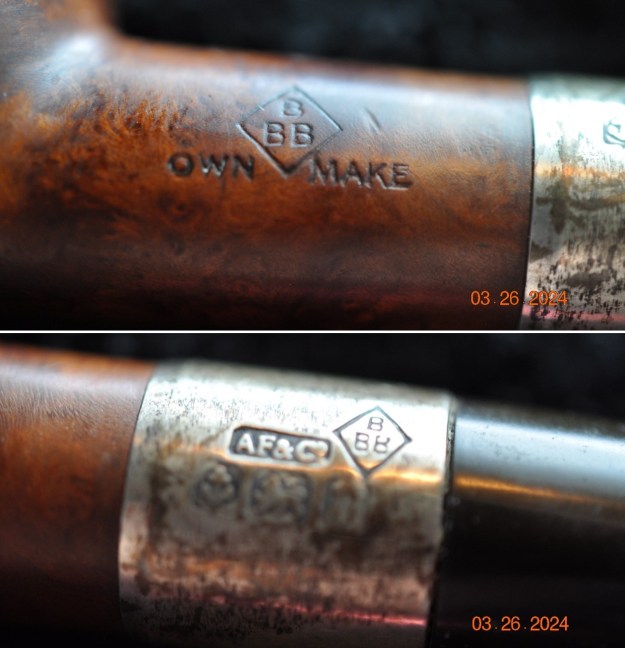
 The Sterling Silver band on the shank was oxidized but was also stamped as noted above. The BBB in a diamond logo identifies the pipe brand of this pipe. The AF&Co in a rectangular stamp to the left of the BBB logo identifies the silversmith as Adolf Frankau and Company who was the owner of the BBB brand. Underneath that stamp there were three hallmarks – an Anchor, a Rampant Lion and the letter “n”. All were in shield style cartouches. The Anchor is the mark for the city of Birmingham where the silver was assayed. The Lion is the mark for the quality of silver used – in this case .925 Silver. The letter “n” is the date stamp. I turned to a link on a British Hallmark site to look for the date code. I found a listing for Birmingham silver dates (https://www.925-1000.com/dlc_birmingham.html). I did a screen capture of the chart and have included it below. The letter “n” is in the same shape cartouche as the section I have marked in the picture below. That identifies the pipe as having been made in 1912.
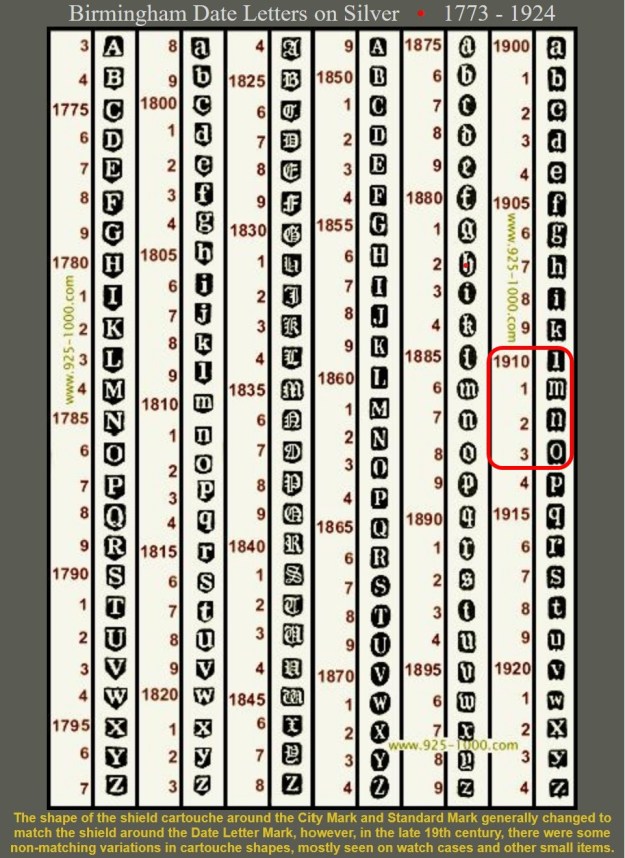 Now it was my turn to work on the pipe. Jeff had done an amazing cleanup of the pipe. He reamed the cake with a PipNet reamer and cleaned up that with a Savinelli Fitsall Pipe Knife. He scrubbed the internals of the bowl and stem with alcohol, cotton swabs and pipe cleaners. He scrubbed the externals with undiluted Murphy’s Oil Soap and rinsed the bowl off with running water. He soaked the stem in Briarville’s Pipe stem Deoxidizer and once it had soaked, rinsed it off with warm water to remove the residual solution. He dried it off and rubbed it down to remove any oxidation that was still on the stem. The pipe looked very good when I received it.
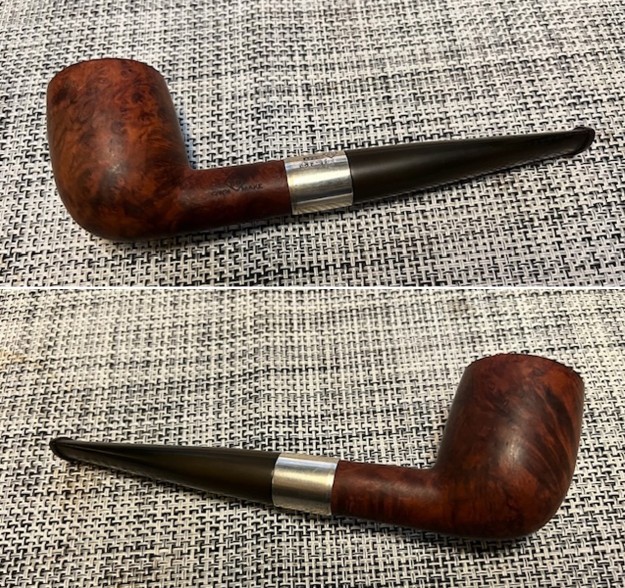
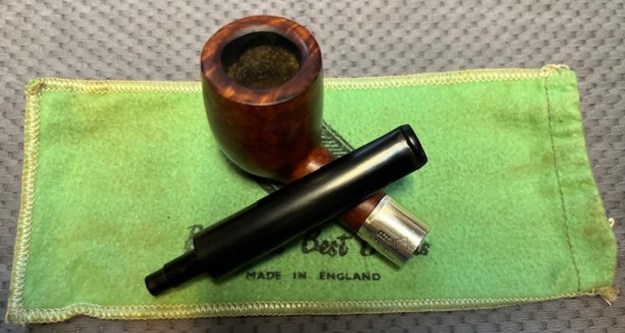
 I took a photo of the rim top to show the condition. You can see the clean bowl. The bowl is in excellent condition and is clean. The rim top and the inner edge showed damage with nicks and scratches on the top and roughness to both the inner and outer edges. The stem came out looking clean. There were some light tooth marks and chatter on both sides ahead of the button.
 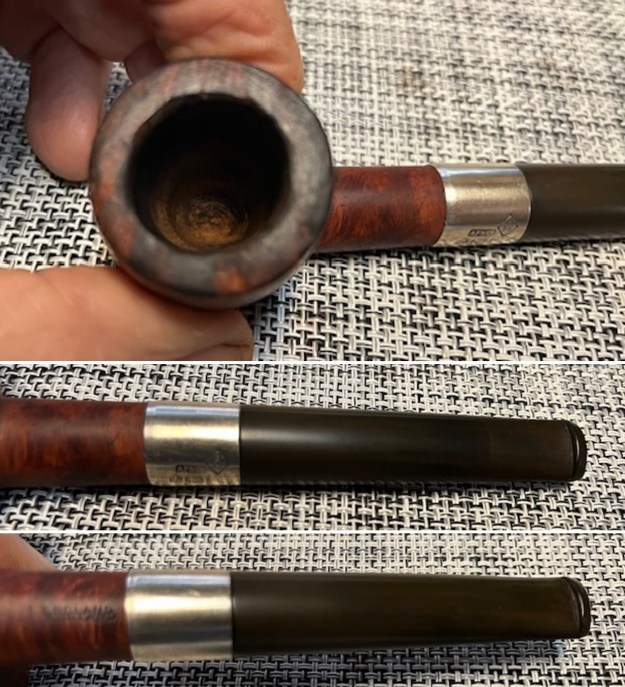 I took photos of the stamping on the shank. It is faint but still very readable. There was also a very faint stamp on the stem but I am still not certain it is the correct stem because of the fit and shape of the stem. I removed the stem from the shank and took a photo of the pipe parts to show what I was working with.
  I began my work on the pipe by addressing the issues with the rim top and the rim edges both inner and outer. I used a folded piece of 220 grit sandpaper to smooth out the inner edge and work to bring it back to round.
 The rim looked much better at this point thought there was still damage at the front of the inner edge of the bowl. I used a piece of 220 grit sandpaper and a wooden ball to give the inner edge and rim top a slight bevel. It looked much better.
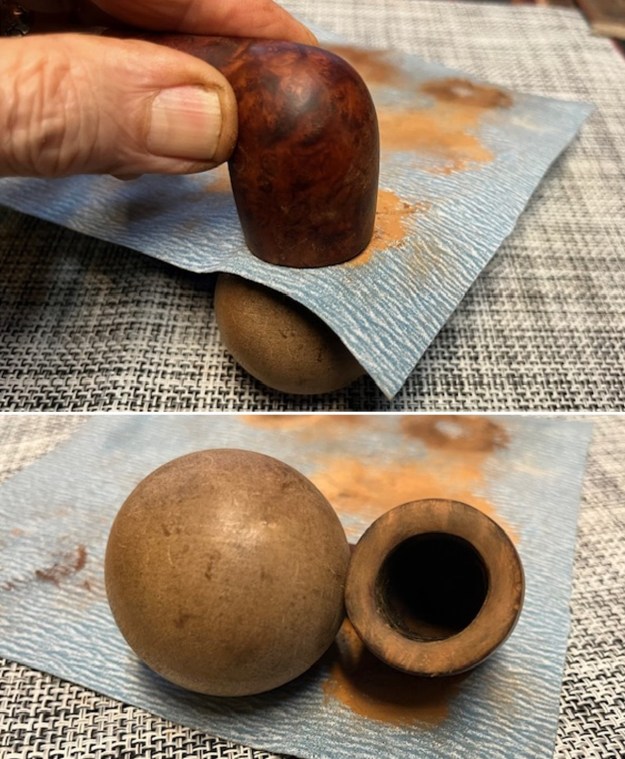 I built up the large chip in the outer edge of the bowl at the front with clear CA glue and briar dust. I put a spot of glue on the area and dipped the bowl into the briar dust. It stuck to the glue and came of the rest of the bowl. Once it dried I sanded it smooth with a 320 grit sanding pad to smooth out the repair on the top and the front of the bowl. It looked very good.
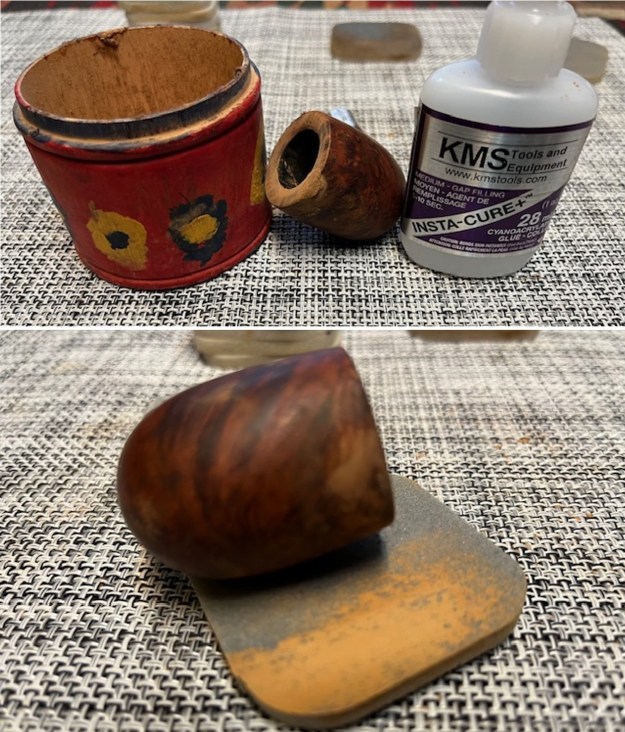
 I used a Cherry stain pen to touch up the repaired areas of the bowl. I stained the rim top with the same pen at the same time. It looked much better.
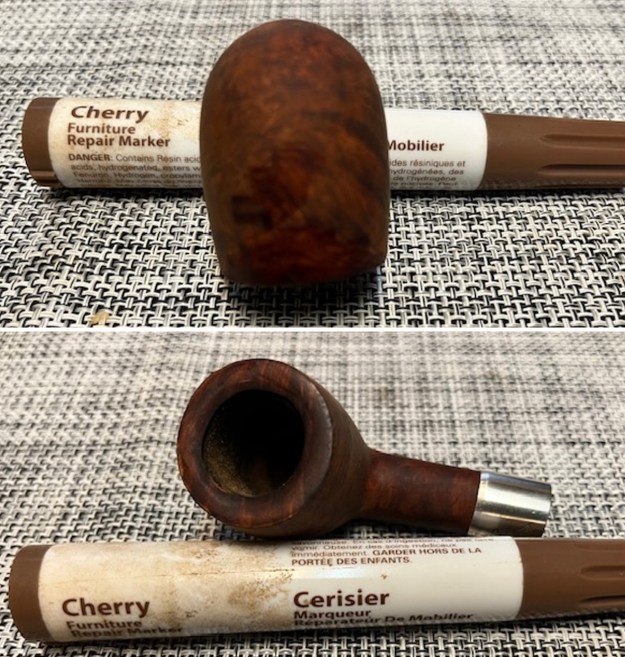 I sanded the briar with 320-3500 grit sanding pads to smooth out the nicks and scratches in the bowl sides, rim and heel of the bowl. I wiped it down after each sanding pad with a damp cloth to remove the sanding dust and debris.
 The pipe had cleaned up so well that I turned to polish the briar with micromesh sanding pads. I dry sanded it with 1500-12000 grit sanding pads and wiped the bowl down after each pad with a damp cloth. By the final pads the briar really had a shine.

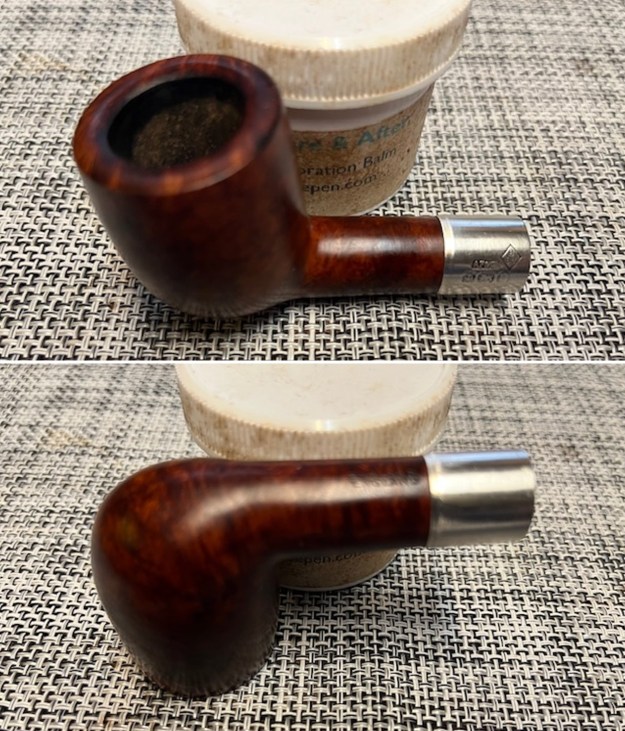
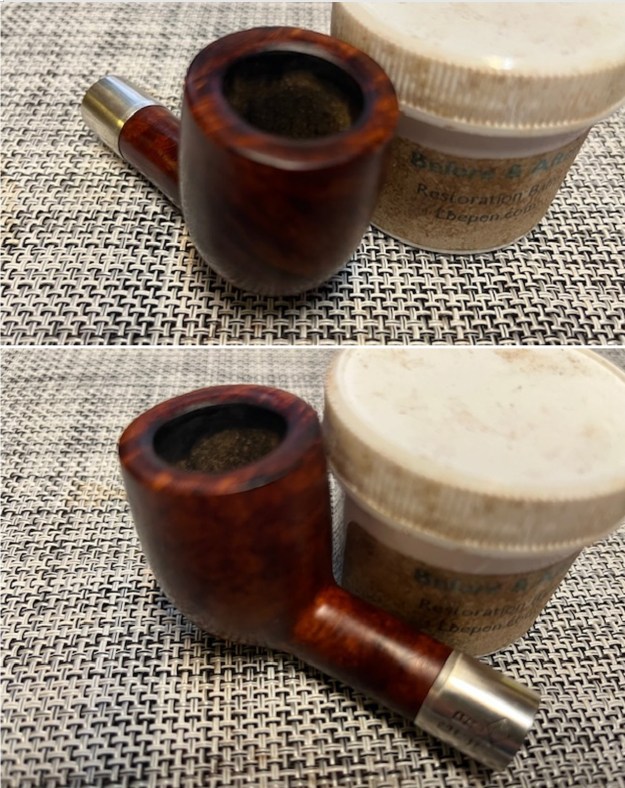
 I rubbed the briar down with Before & After Restoration Balm. I worked it into the briar with my fingertips. The product works to clean, enliven and preserve the briar. I let it sit for 10 minutes then I buffed it with a cotton cloth to deepen the shine. The briar really comes alive with the balm.
 Next, I moved on to further smooth out the surface of the vulcanite. I sanded it with 320-3500 grit sanding pads to further clean up the scratches and file marks on the surface of the stem.
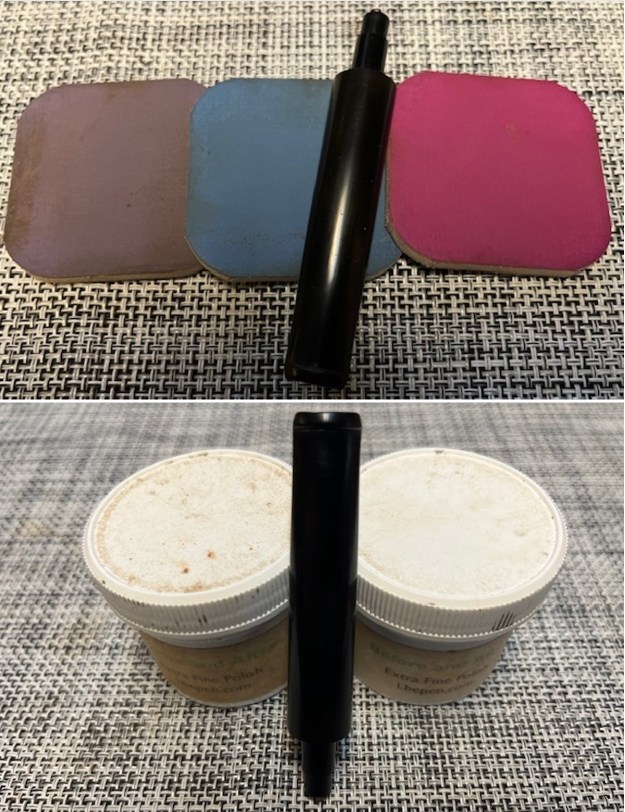
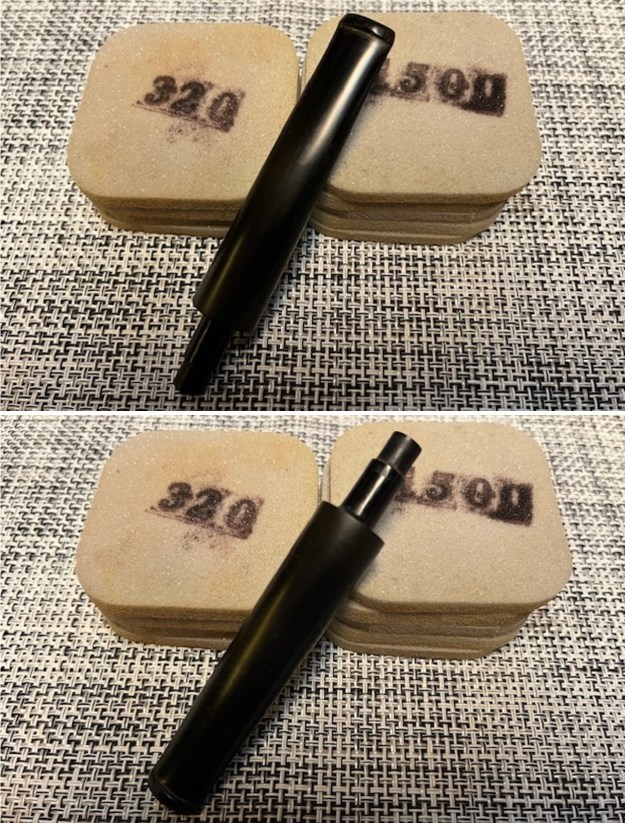 I polished the vulcanite with micromesh sanding pads – 1500-12000 grit pads. I wiped it down with Obsidian Oil after each sanding pad. I used Before & After Pipe Polish – both Fine and Extra Fine to further polish the stem. It really took on a shine and I knew that once it was buffed it would look amazing.
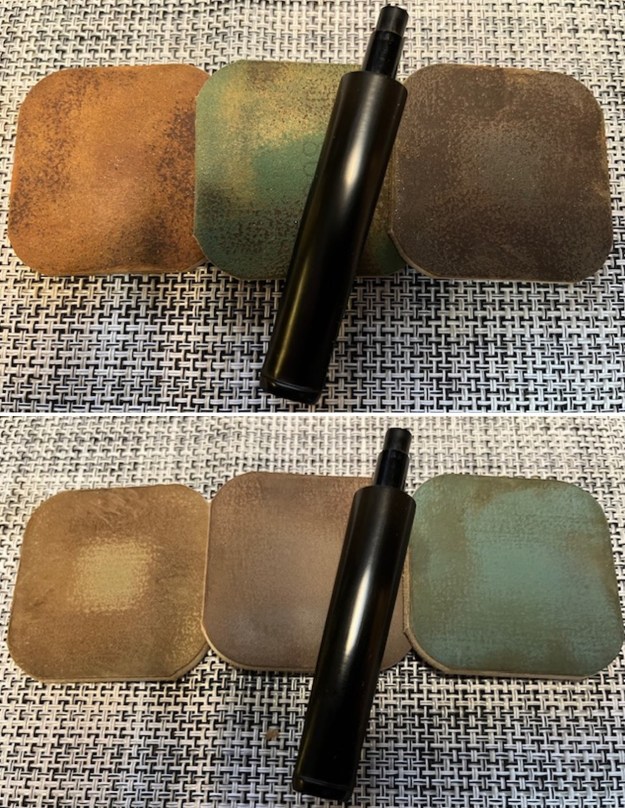
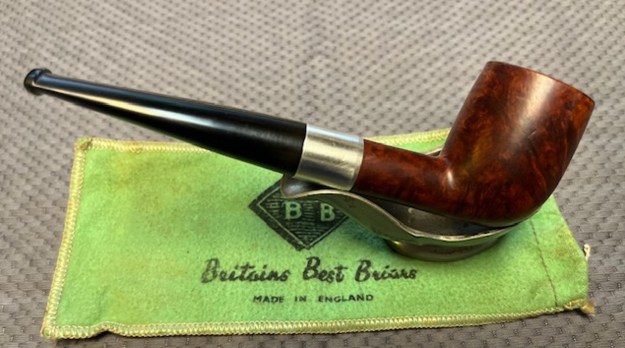
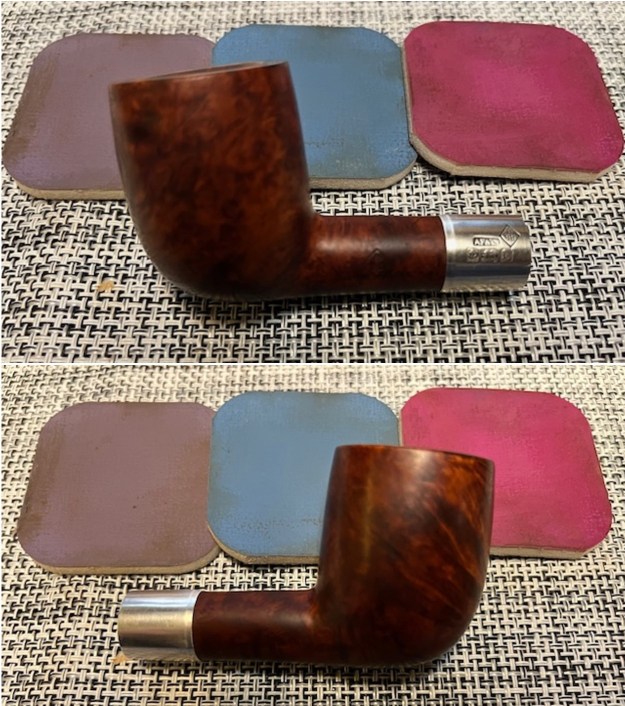
 I put the stem back on the 1912 BBB Own Make Billiard with a Vulcanite Stem and took it to the buffer. I worked it over with Blue Diamond to polish out the remaining small scratches. I gave the bowl and the stem several coats of carnauba wax and buffed the pipe with a clean buffing pad to raise the shine. I hand buffed it with a microfiber cloth to deepen the shine. The pipe polished up really well and the rim top looked good. I was happy with the look of the finished pipe. The photos below show what the pipe looks like after the restoration. The 1912 BBB Own Make Billiard is a beautiful and unique take on a classic shape. The polished, hard rubber taper stem looks really good with the browns of the briar. The dimensions of the pipe are Length: 5 ½ inches, Height: 1 ¾ inches, Outside diameter of the bowl: 1 ¼ inches, Chamber diameter: ¾ of an inch. The weight of the pipe is 1.45 ounces/41 grams. This is another old time BBB pipe that I will be adding to my BBB Collection. I love these old time English Pipes by BBB as they are a real pleasure to smoke. Thanks for walking through the restoration with me.