by Steve Laug
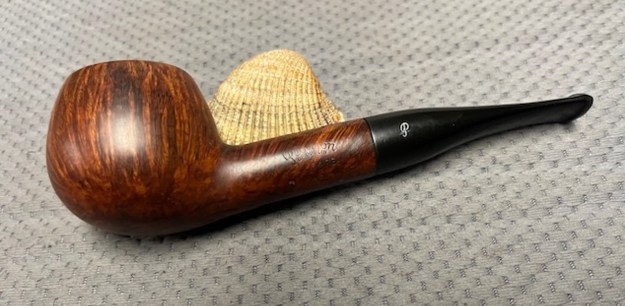
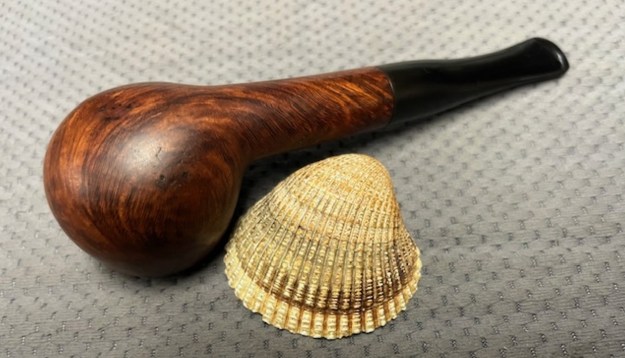
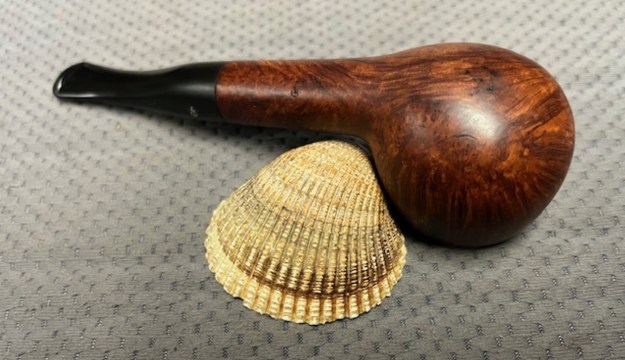
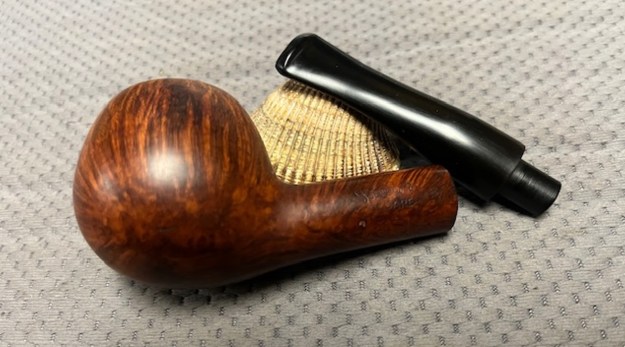
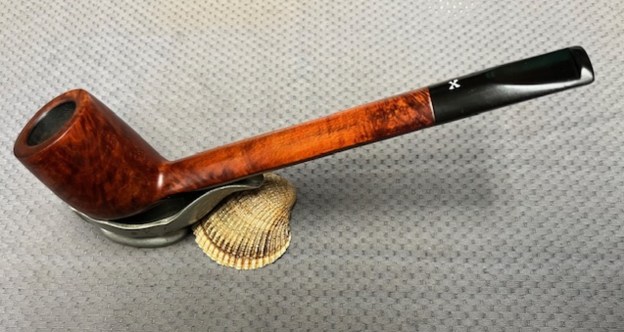
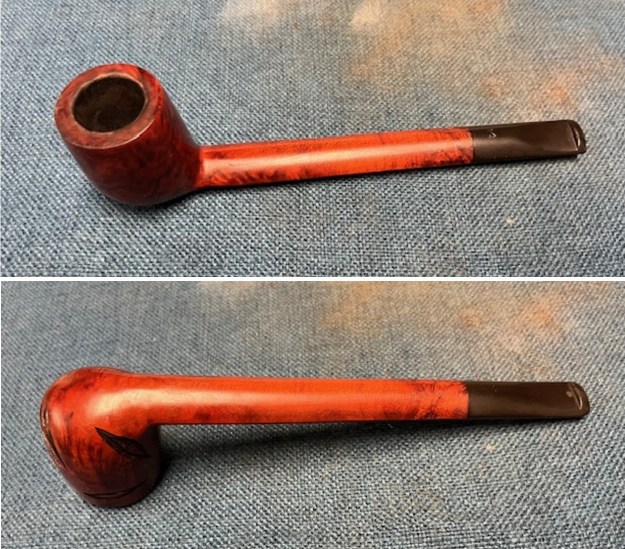
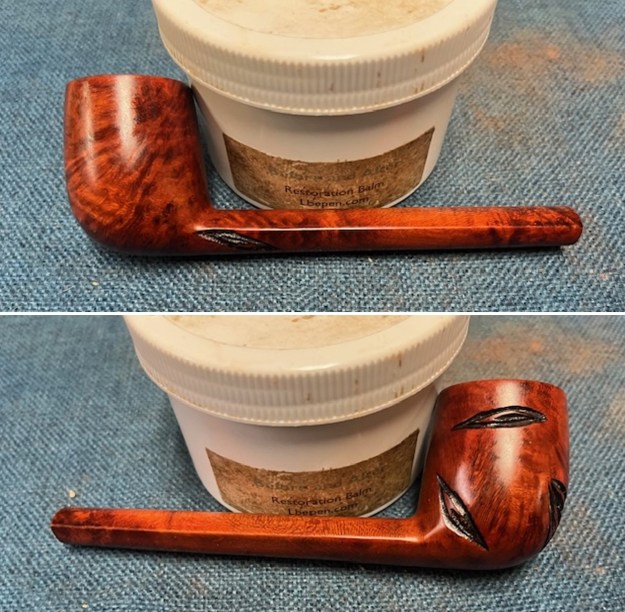
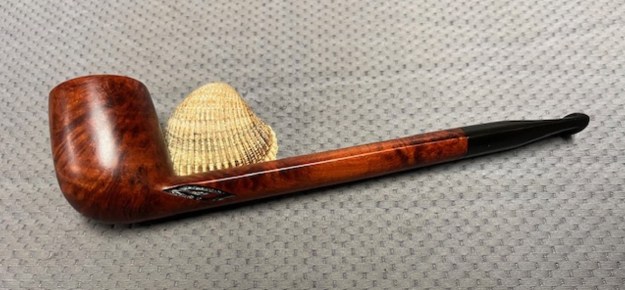
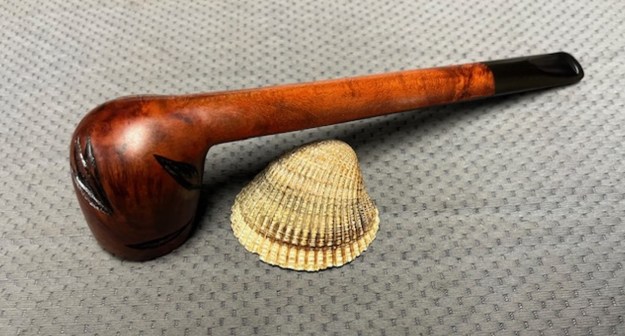
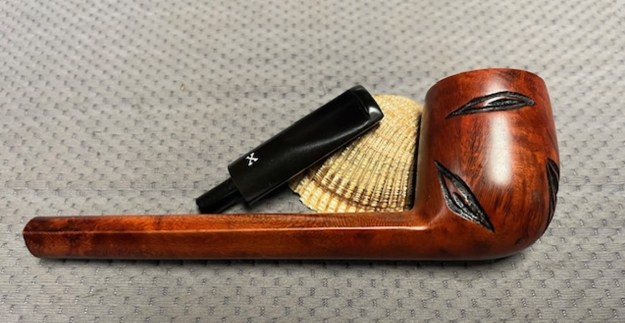
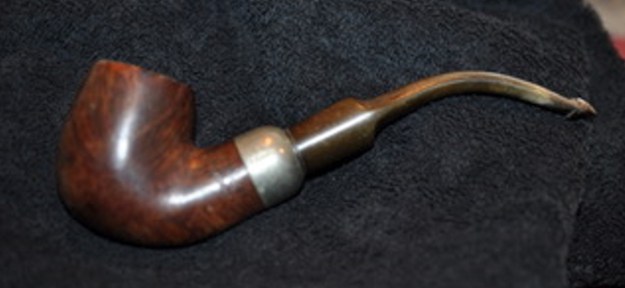
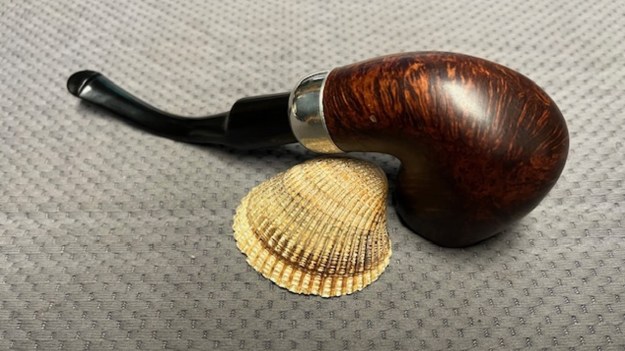
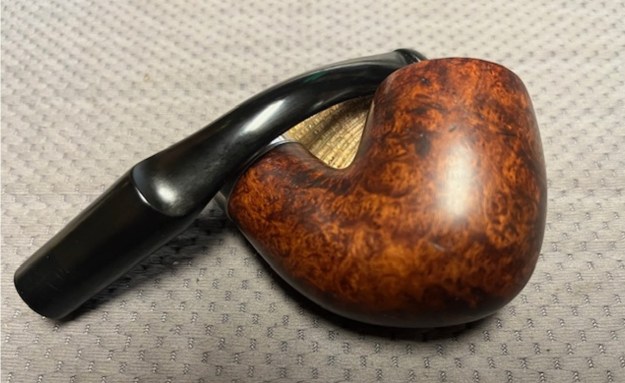
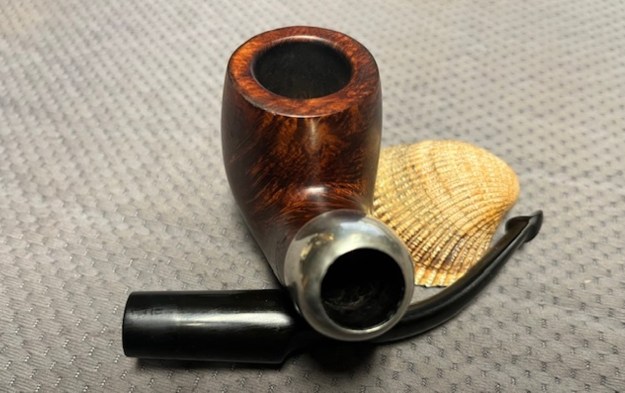
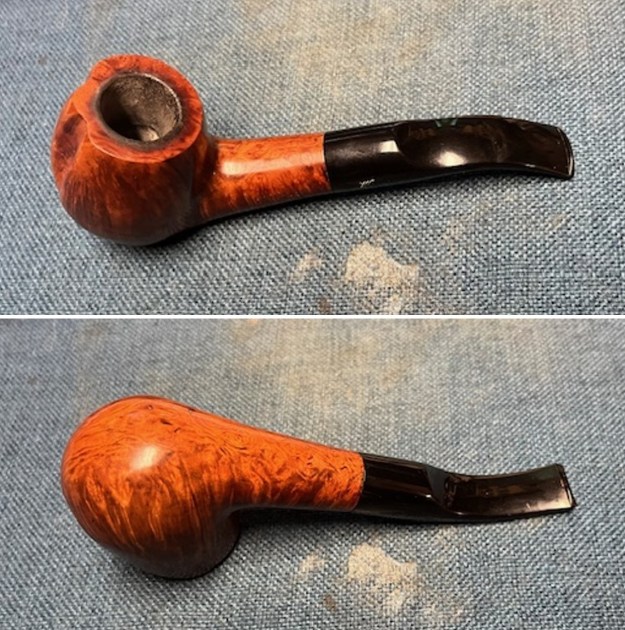
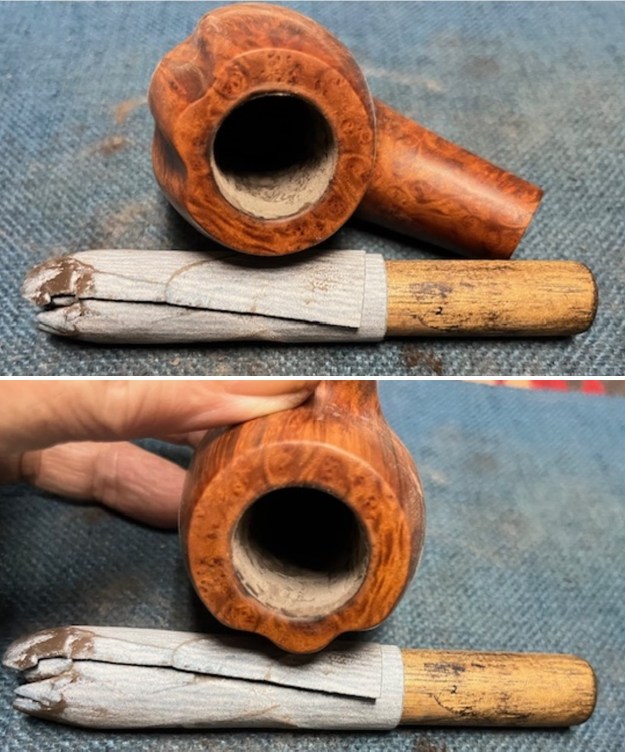
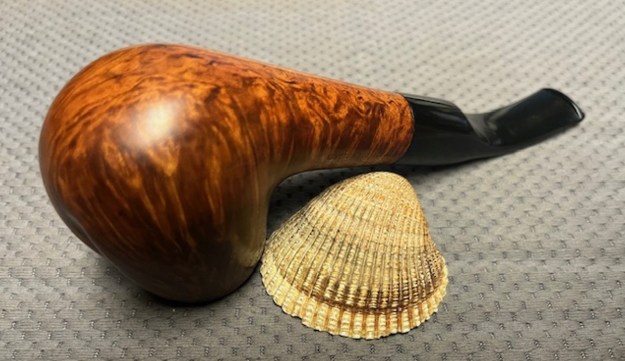
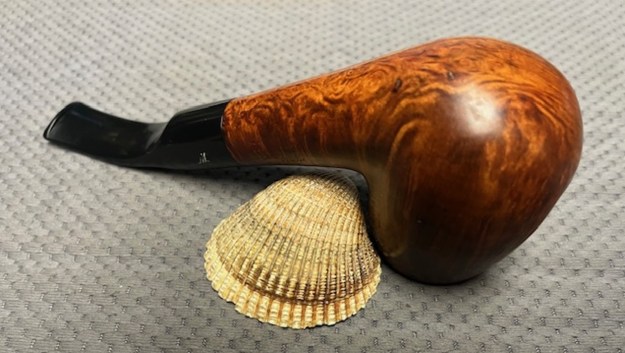
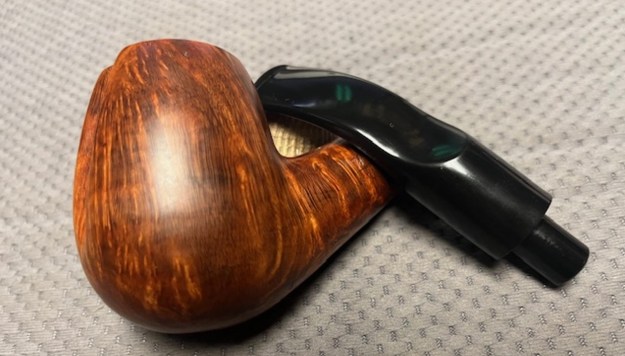
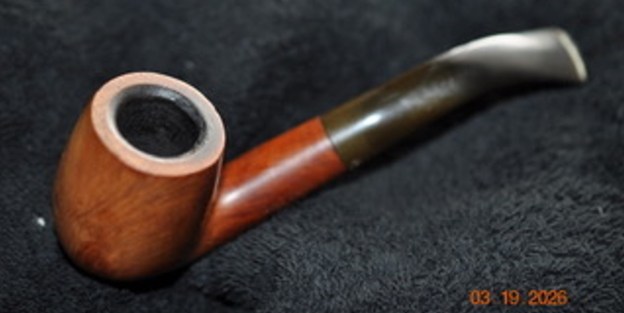
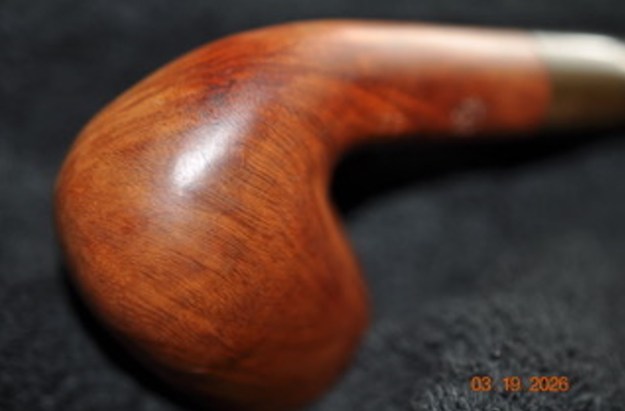
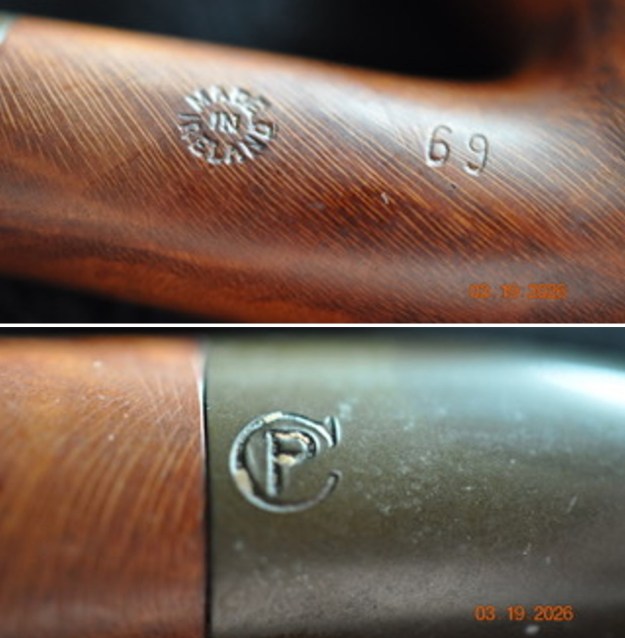
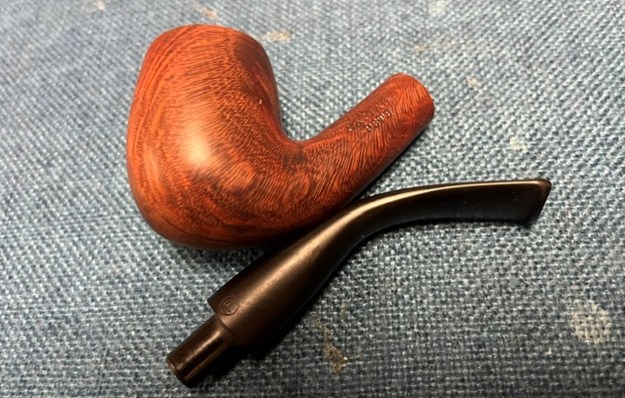
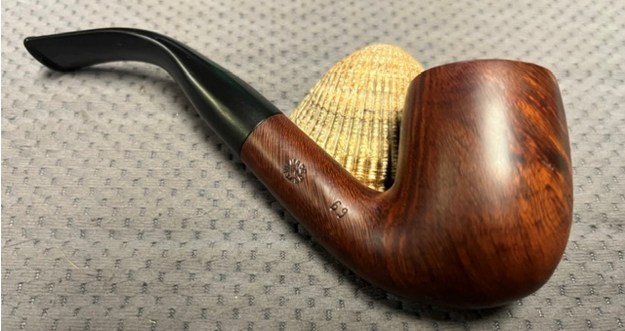
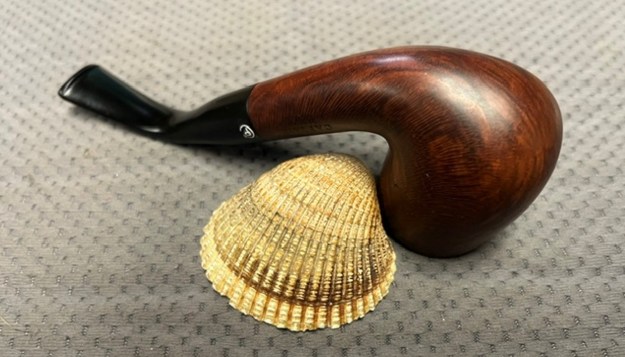
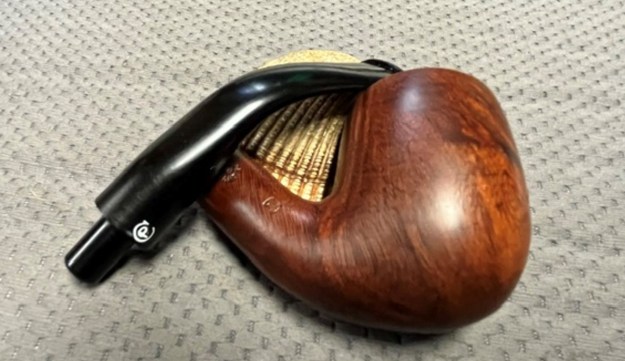
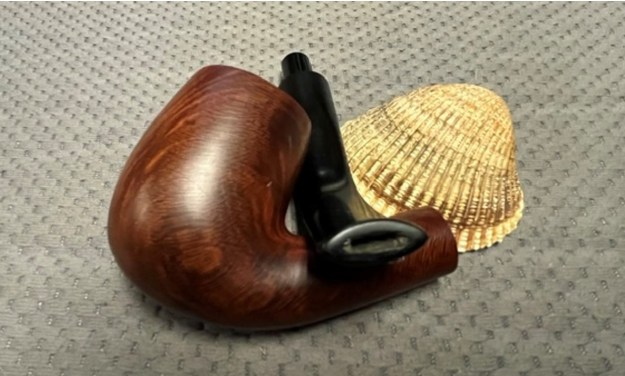
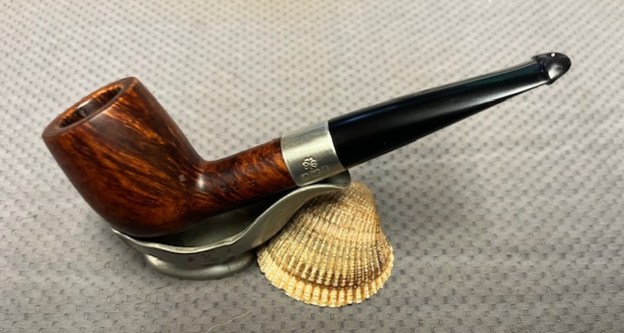
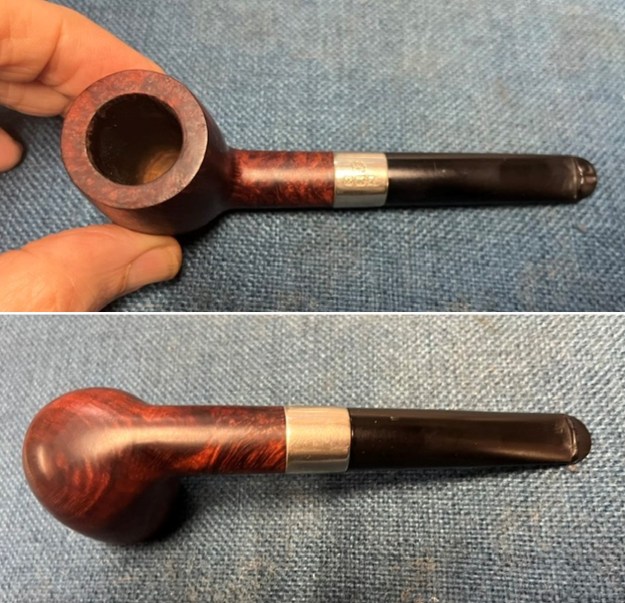
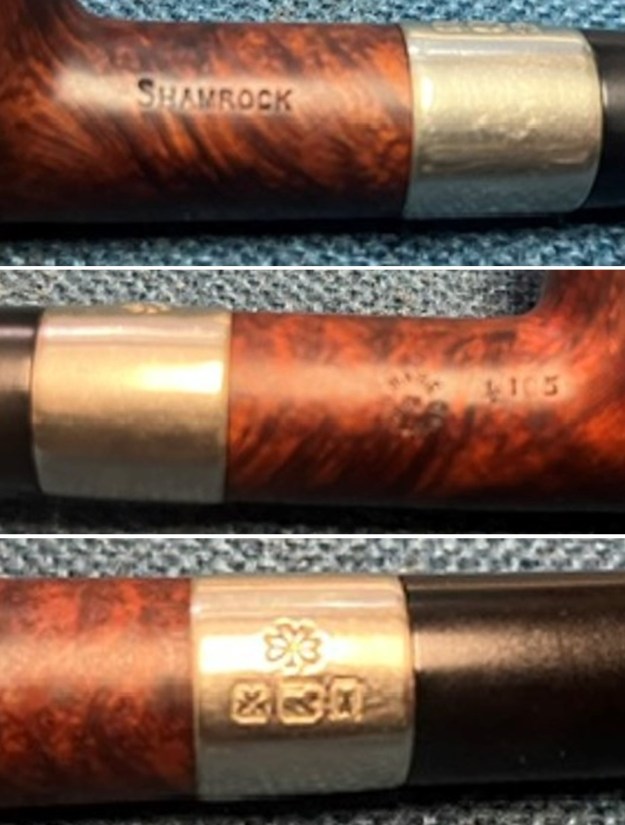
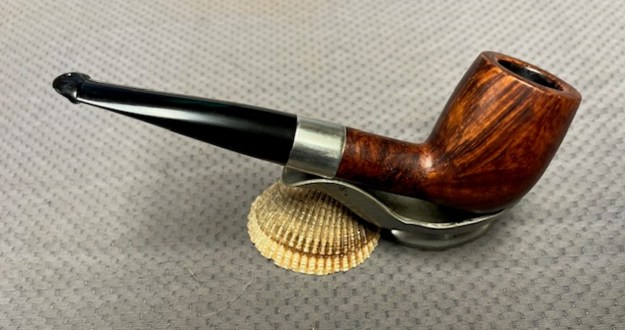
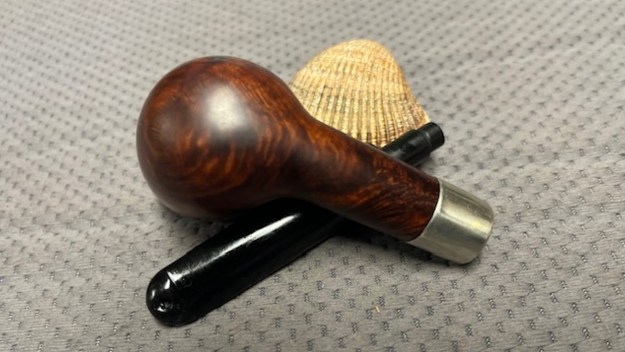
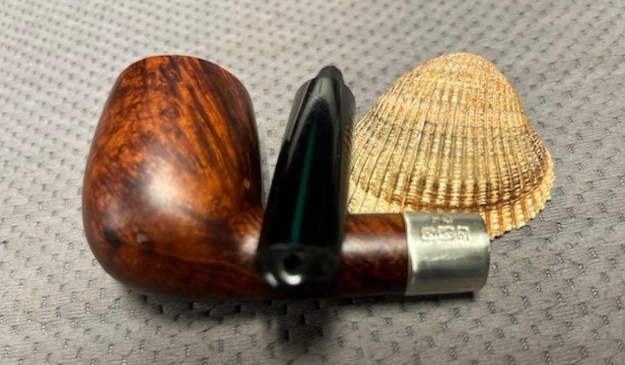
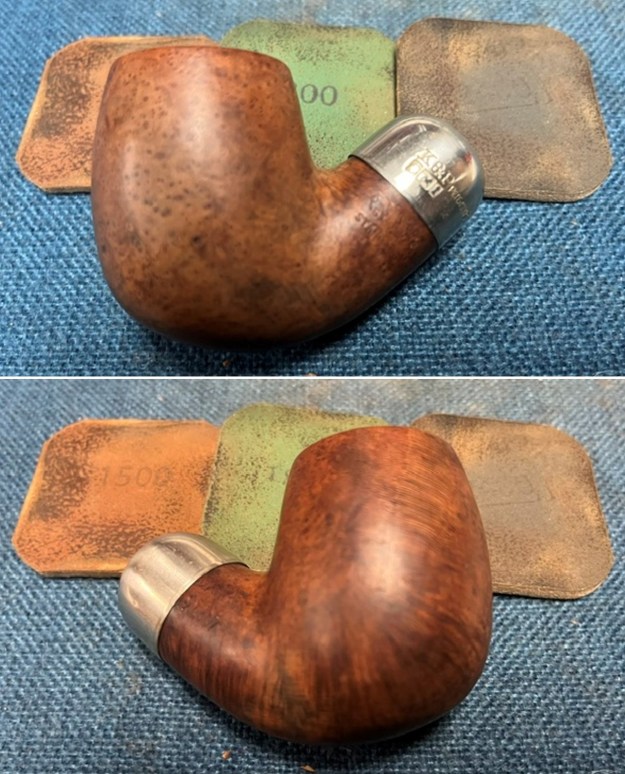
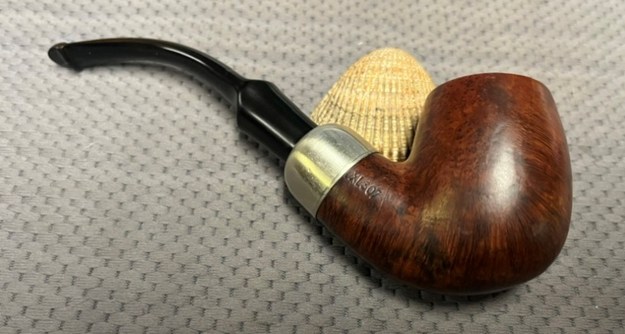
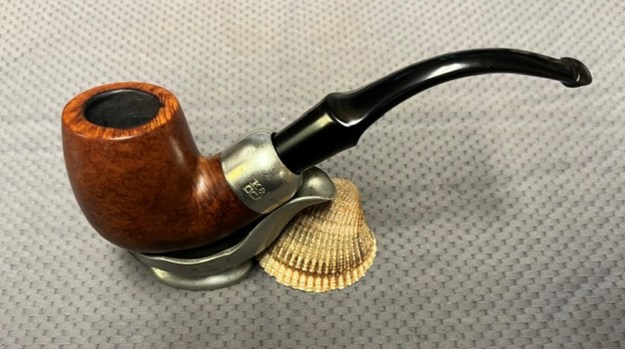
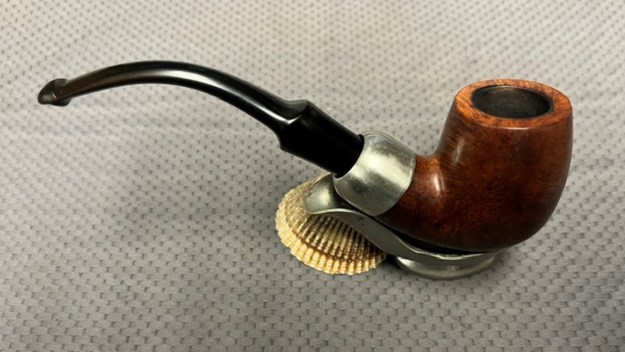
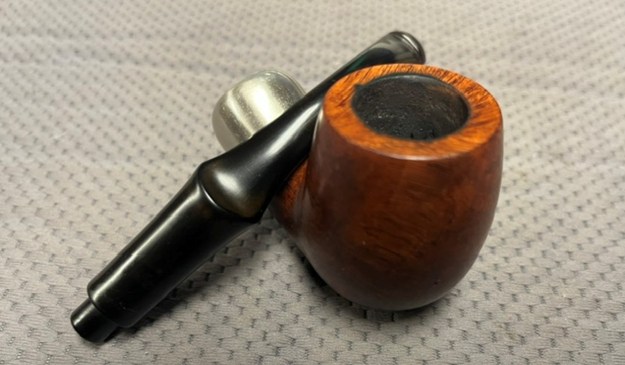
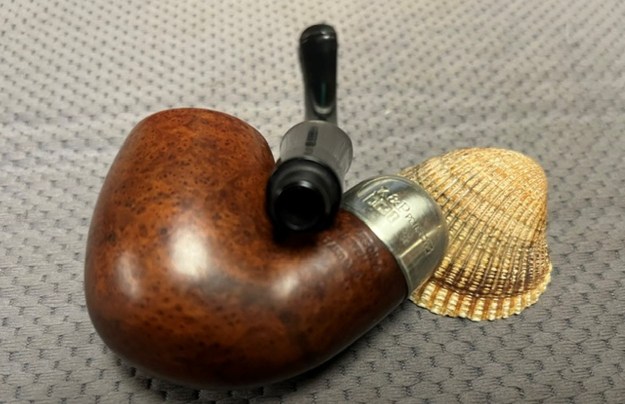
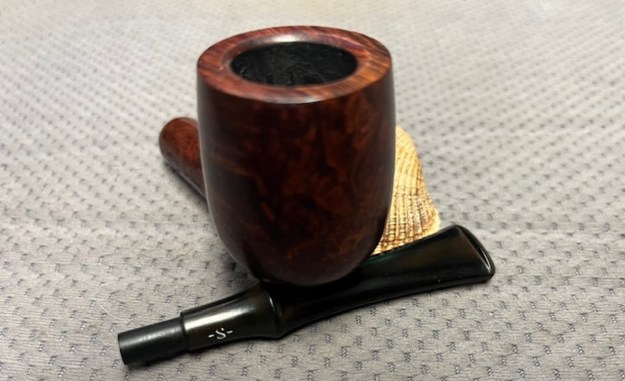
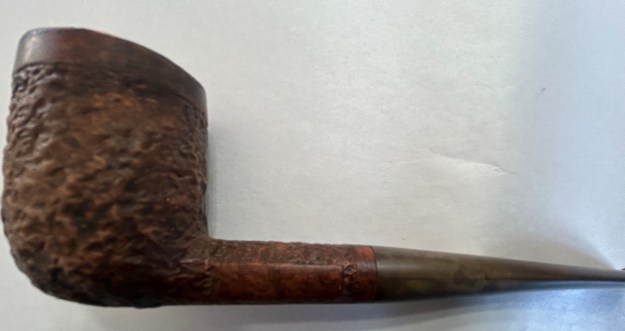
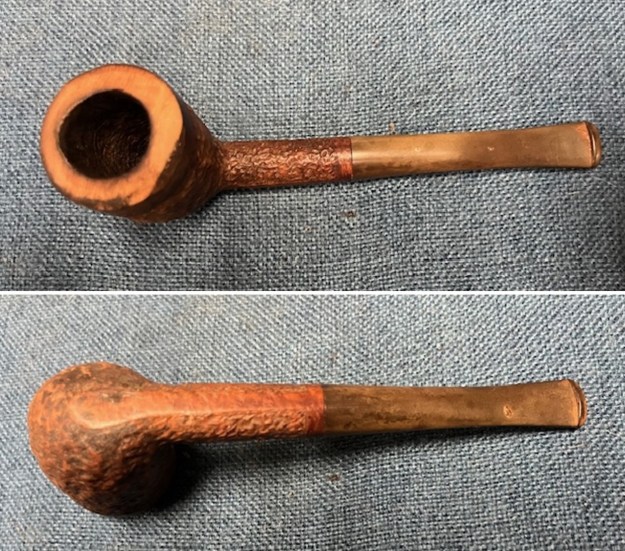
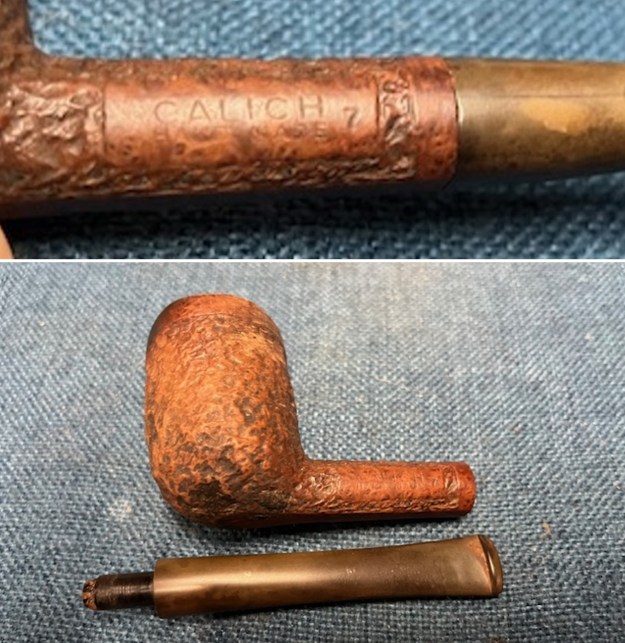
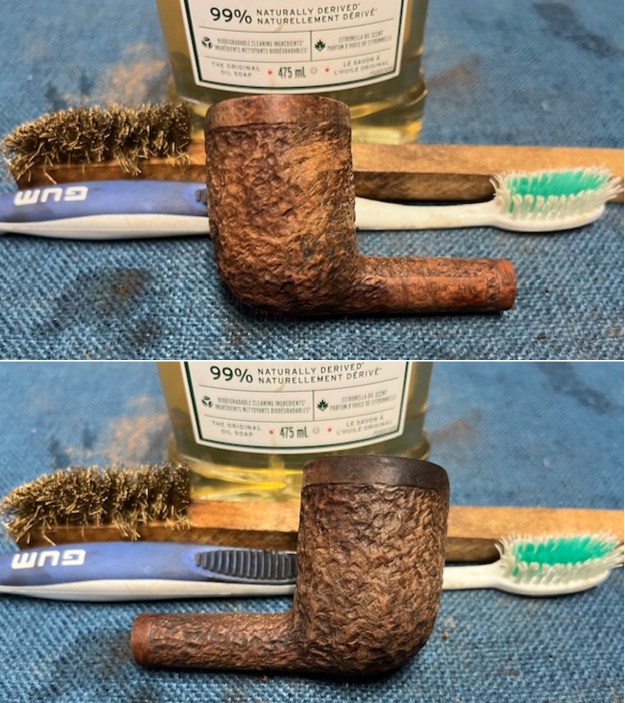
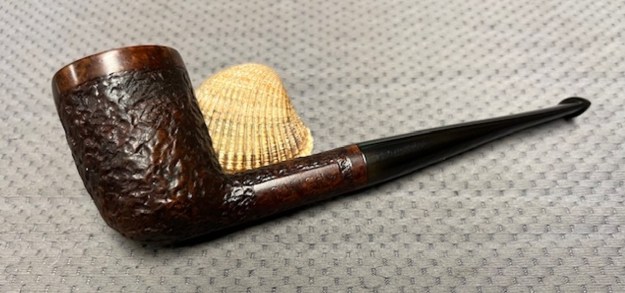
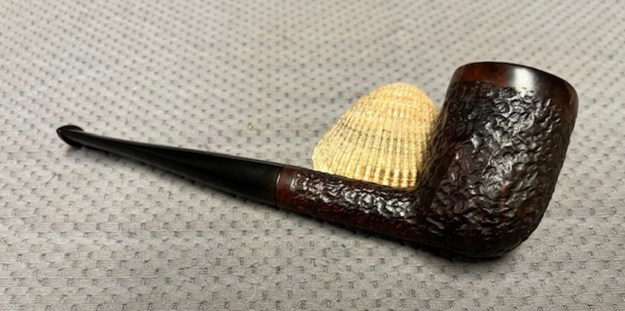
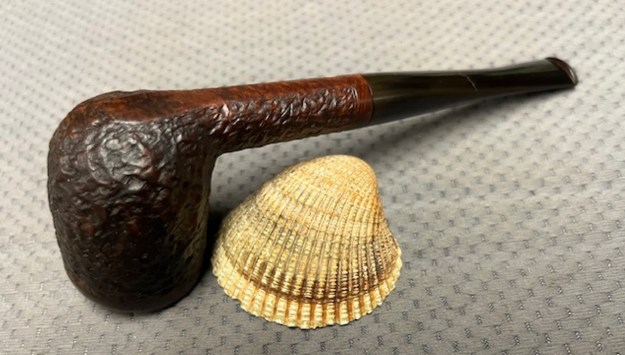
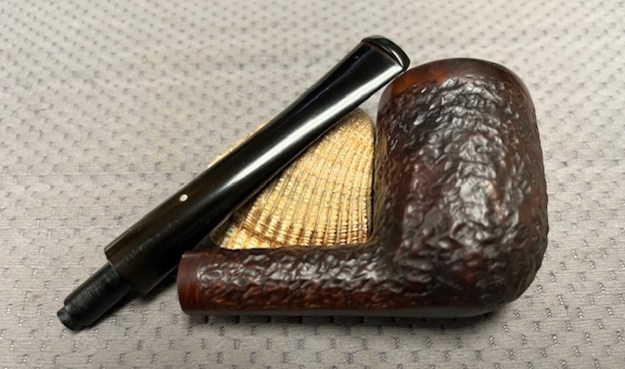
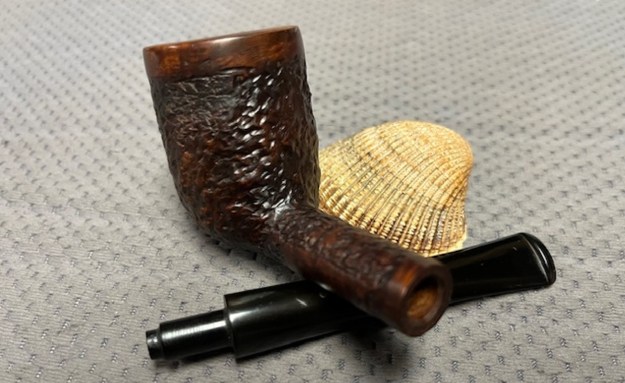
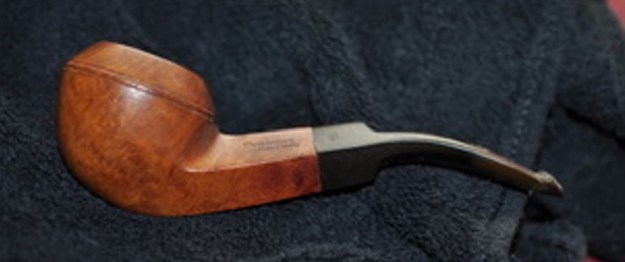
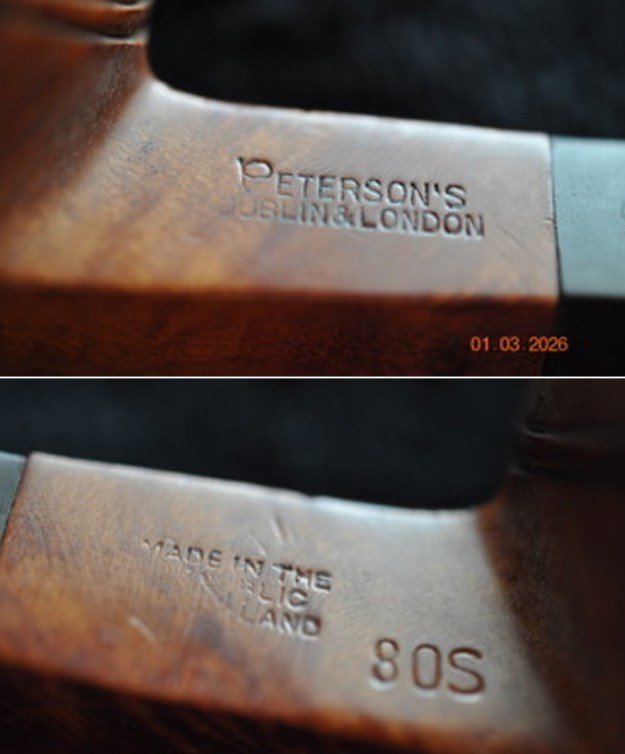
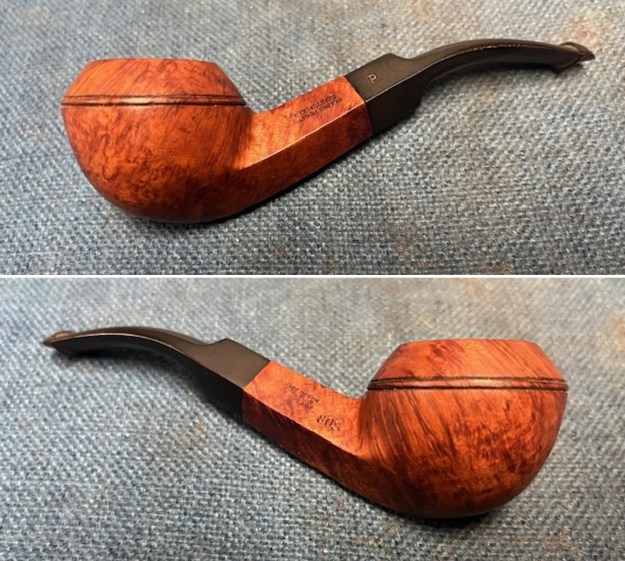
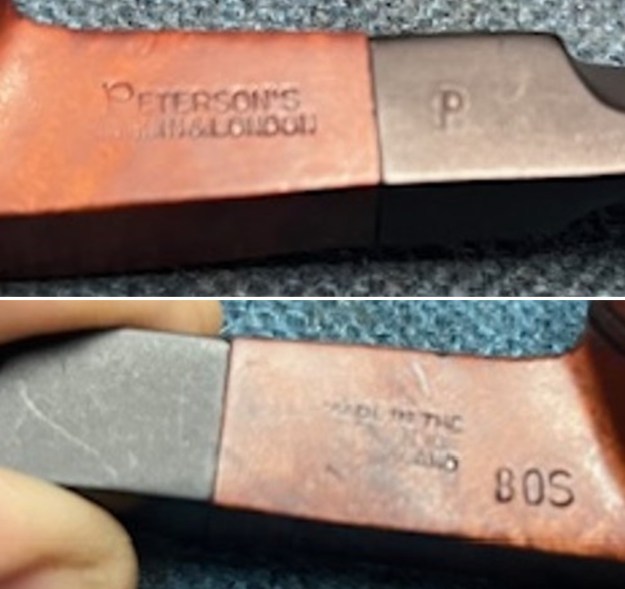
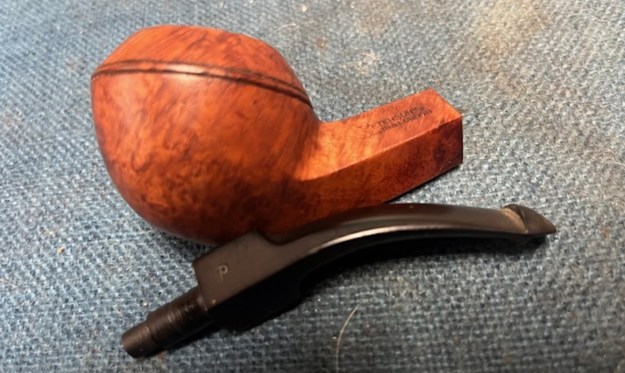
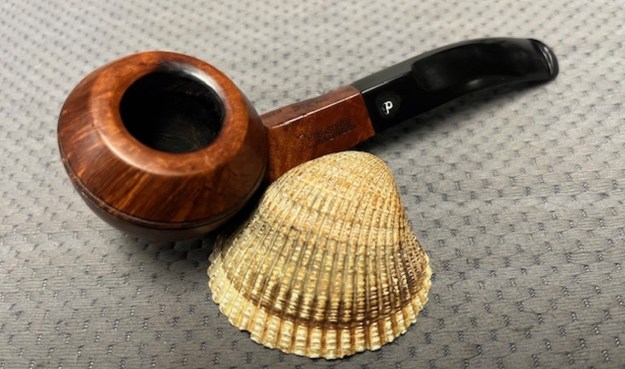
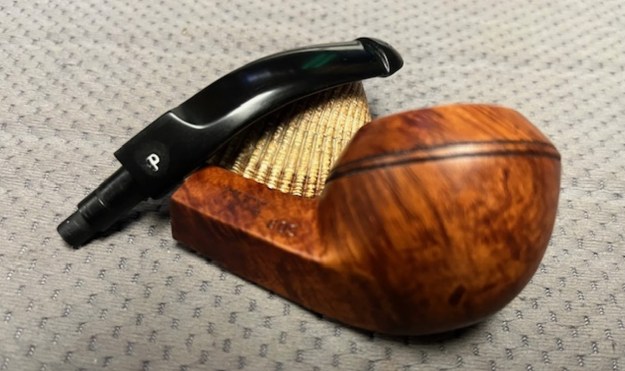
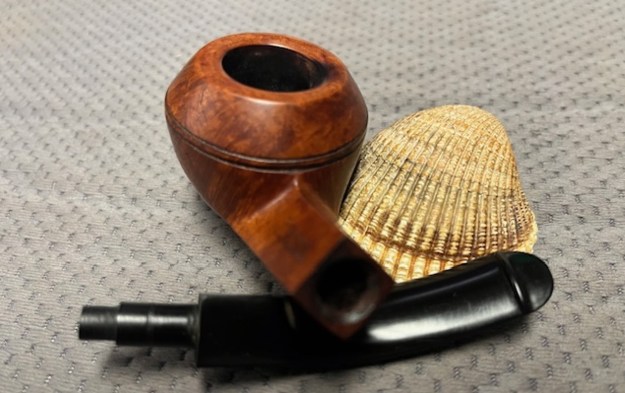
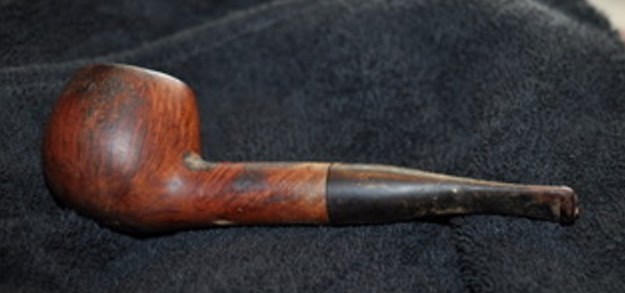
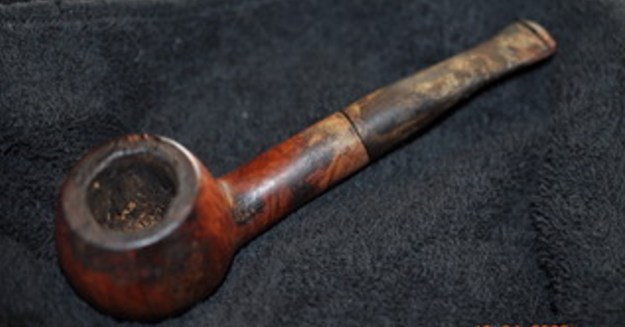
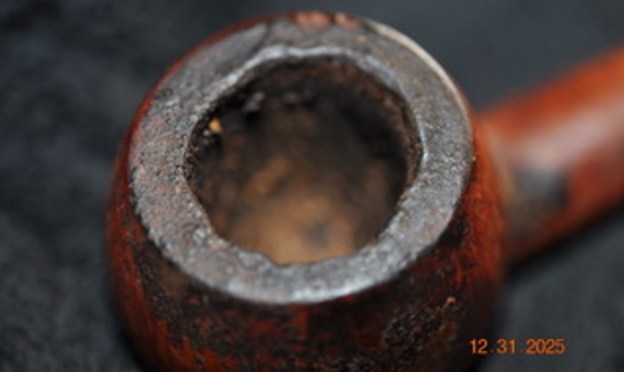
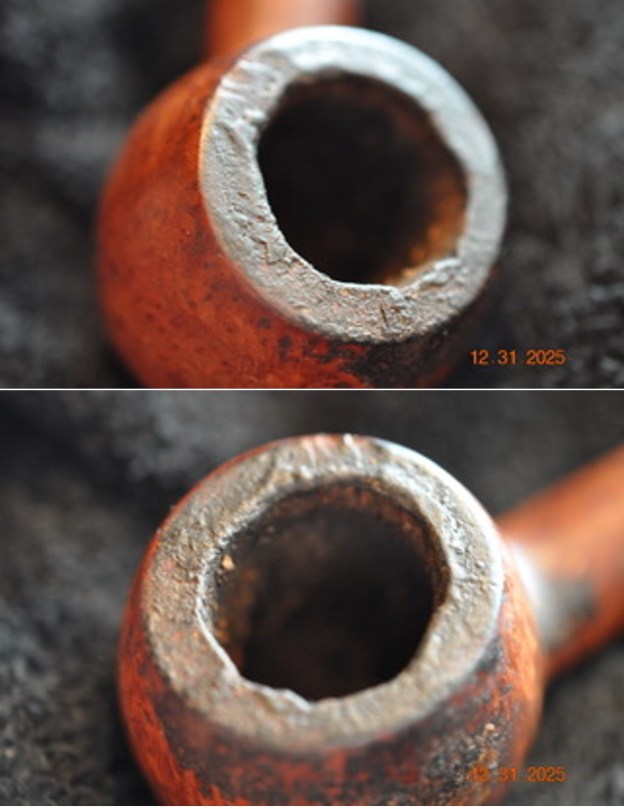
This smooth finish, beautifully grained taper stem was purchased on 01/20/2026 from a Facebook seller in Quaker Town, Pennsylvania, USA. It is a great Bent Billiard with a rich brown smooth finish on the bowl and shank. The stem is a vulcanite taper stem. The bowl is stained with a mix of browns that highlight the grain around the bowl and shank. It is stamped on the left side of the shank and reads Captain [over] Pete. On the right side of the shank it is stamped Made in Ireland in a circle. That is followed by the shape number near the bowl/shank junction and reads 69. The bowl had a thick cake and some tobacco debris on the walls. There was an overflow of lava on the rim top that was heavier toward the back of the bowl. There was grime ground into the finish which left the finish looking quite dull. The vulcanite taper stem has a C circled around a P logo on the left side. There was some light oxidation on the surface and some light tooth marks and chatter on both sides of the stem ahead of the button. Jeff took photos of the pipe before he started his work on it. 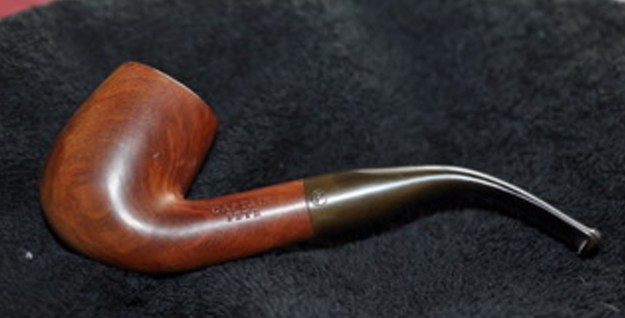
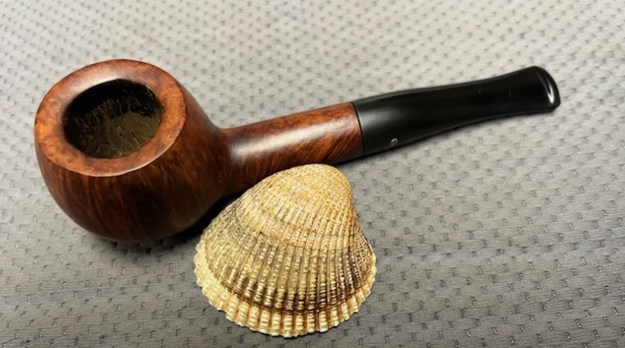
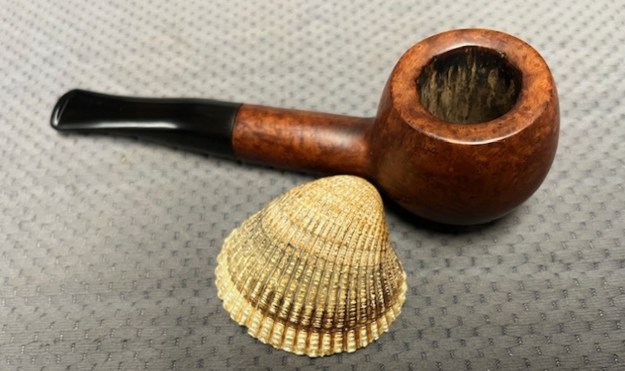
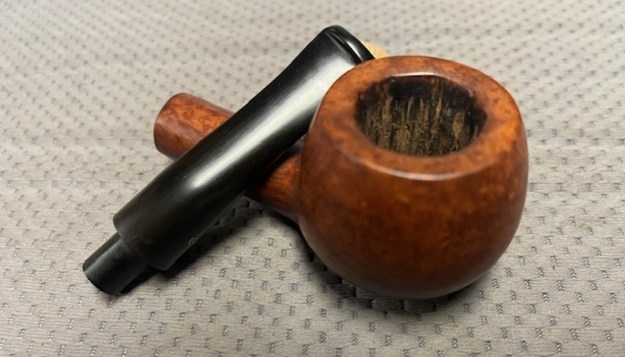
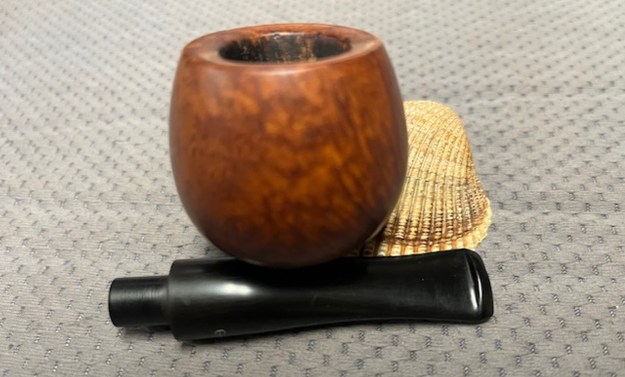
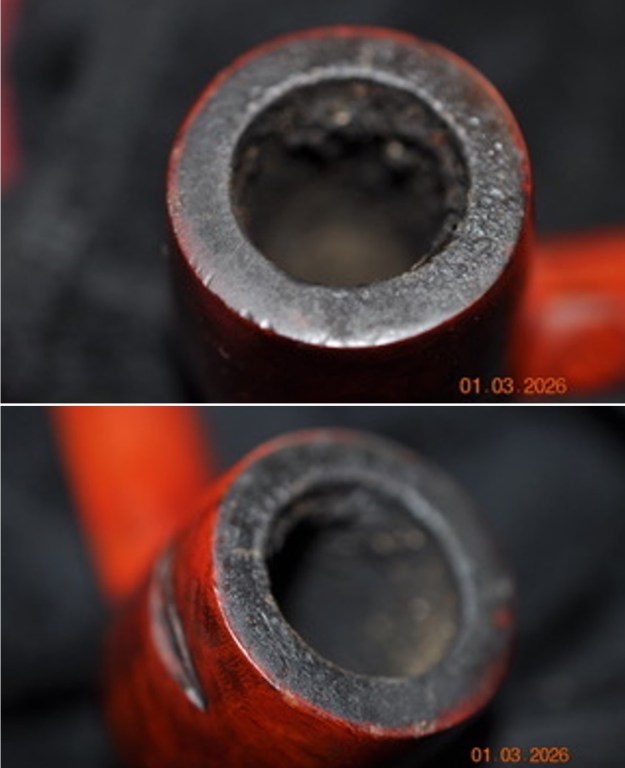
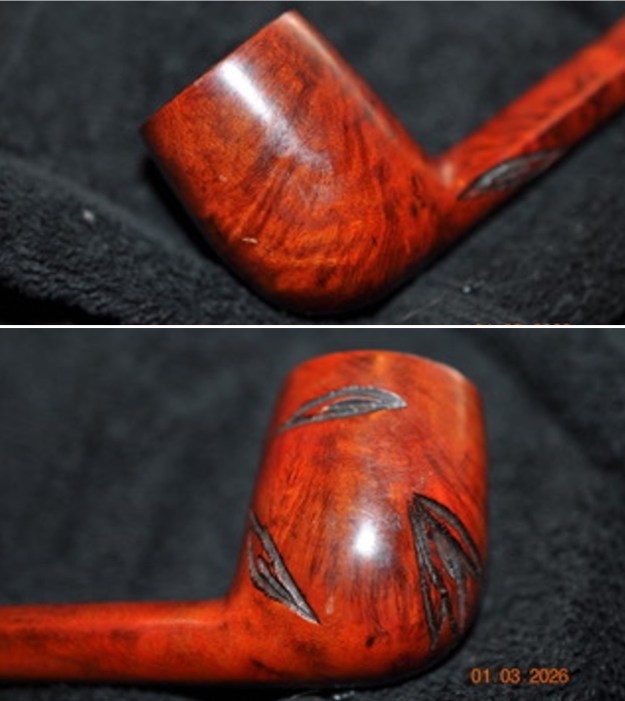
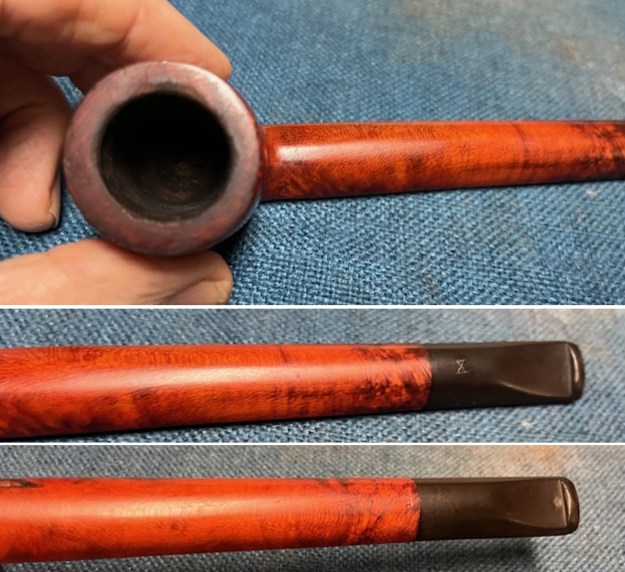
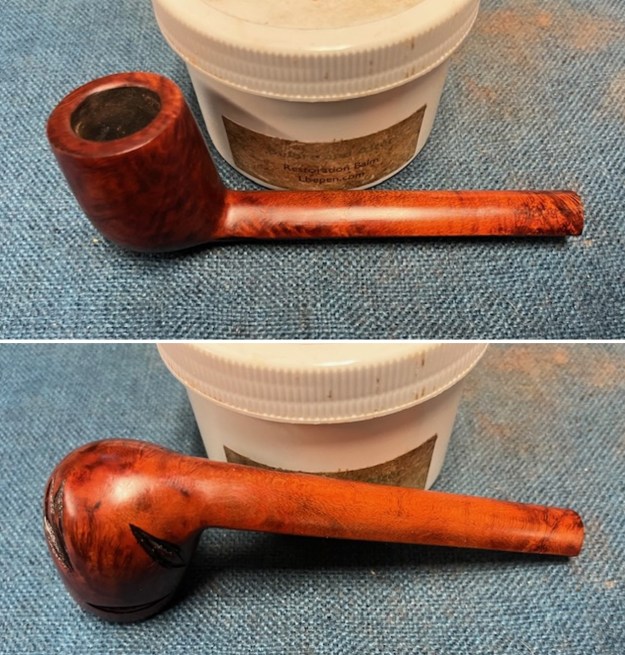
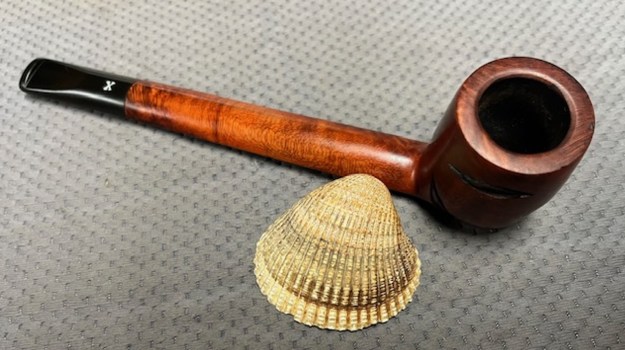
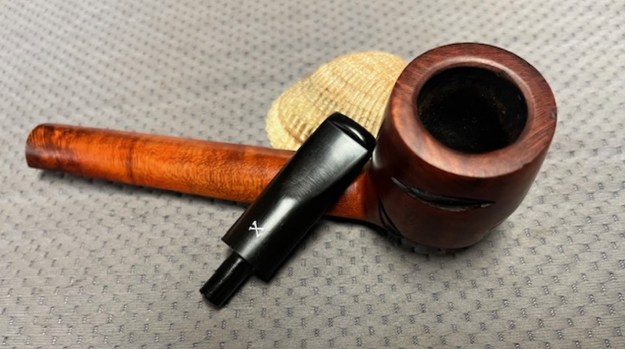
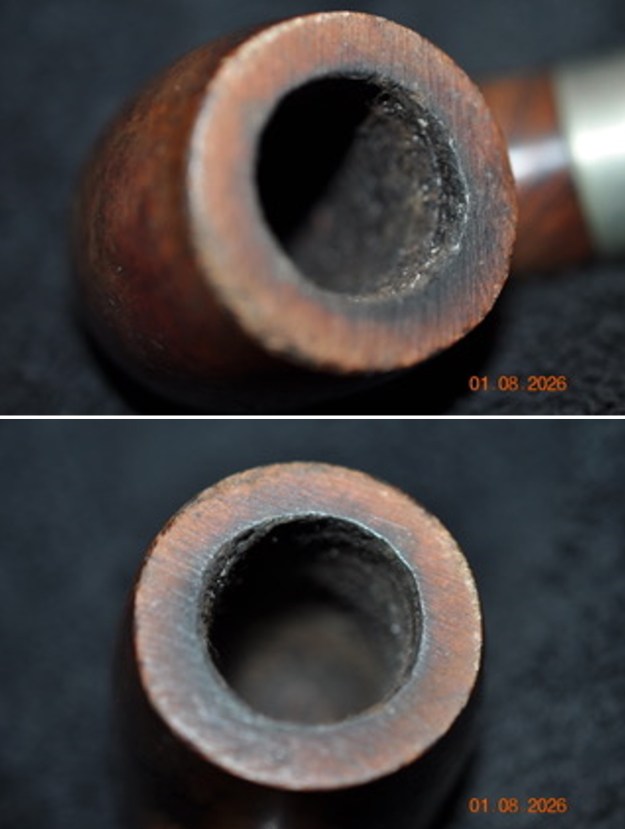
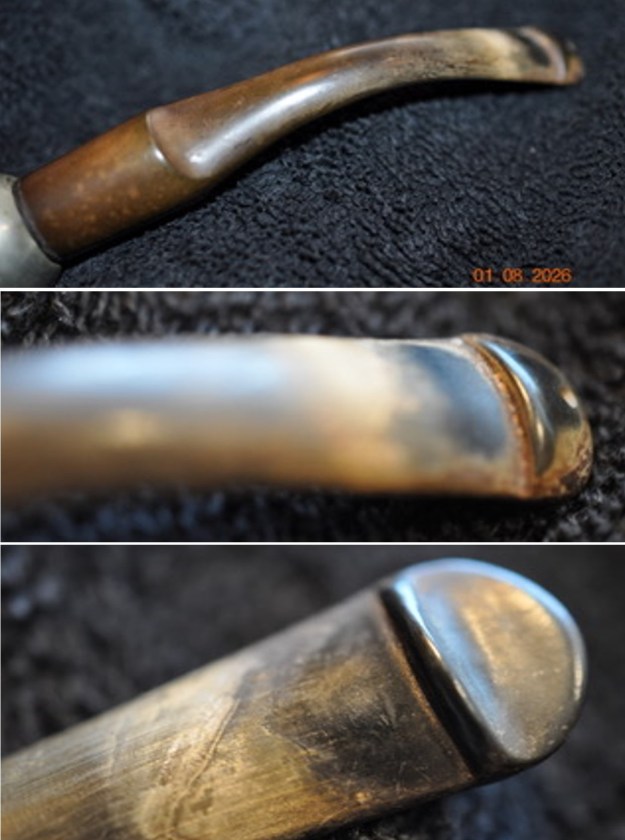
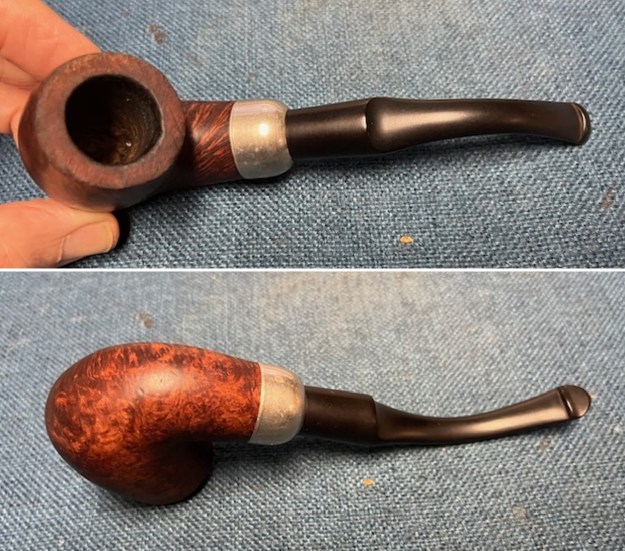
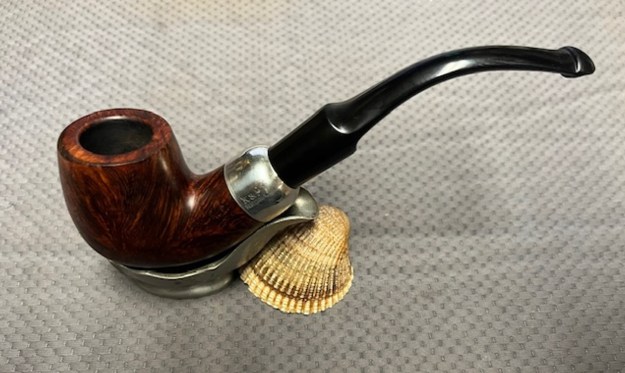
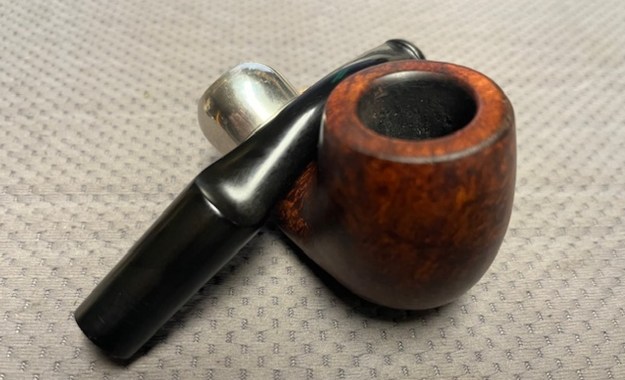
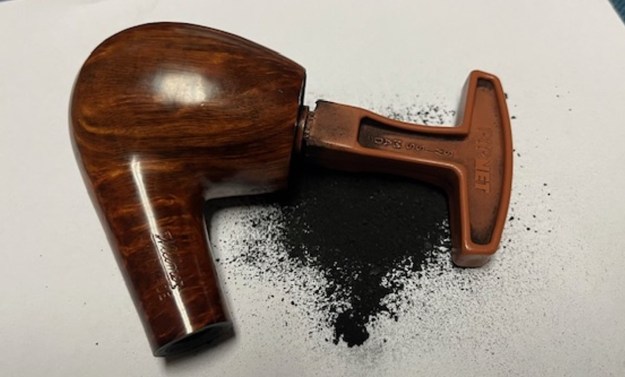
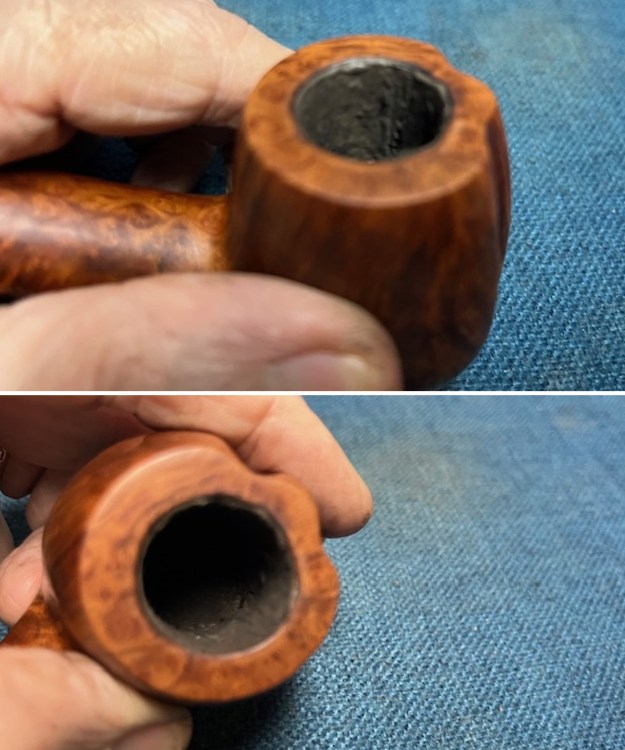
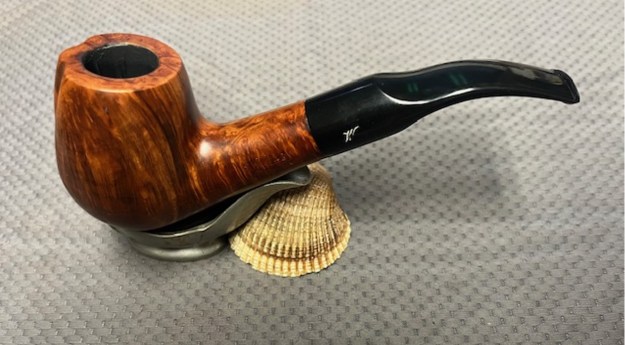
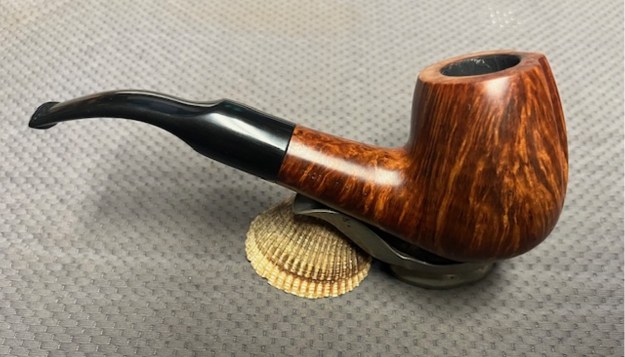
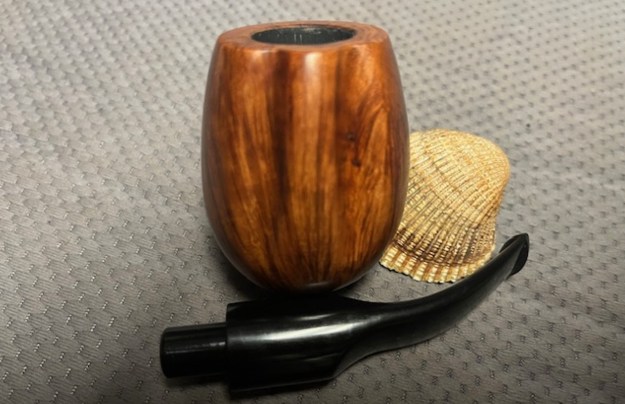
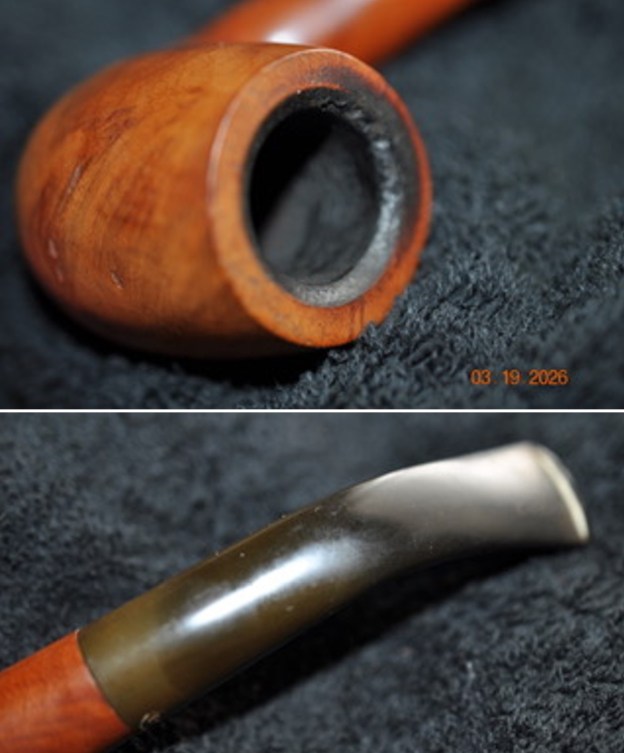
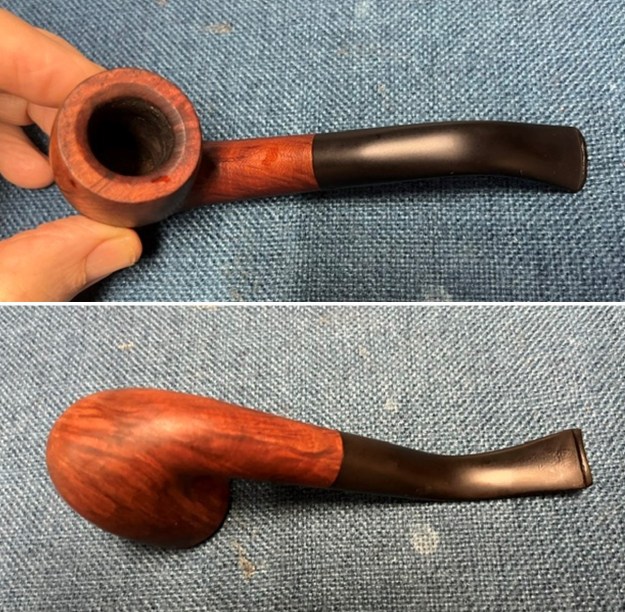
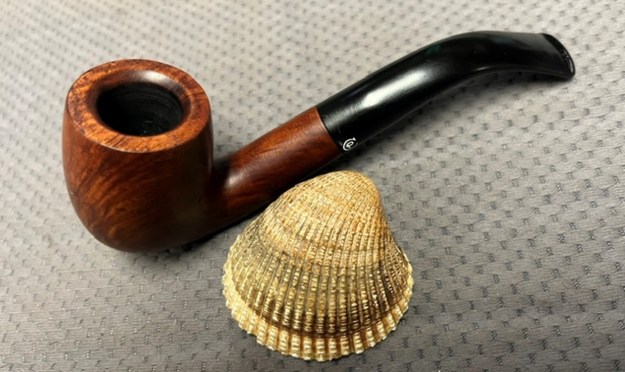
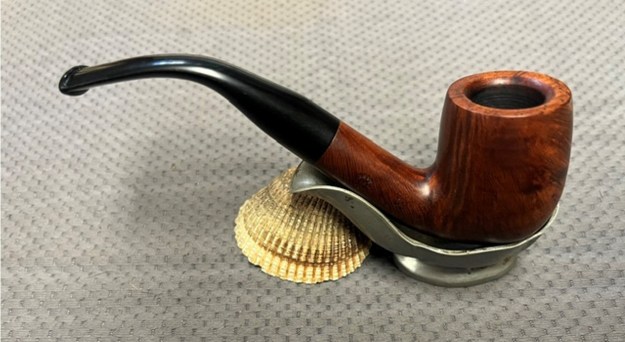
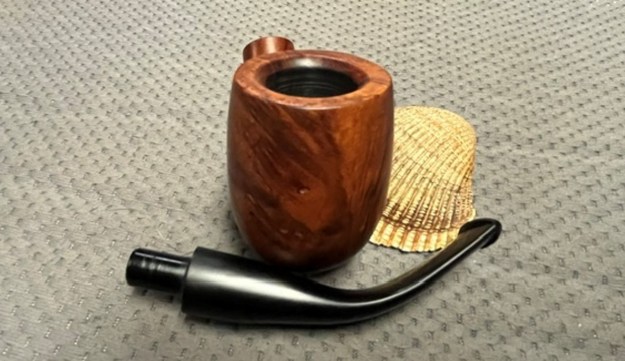
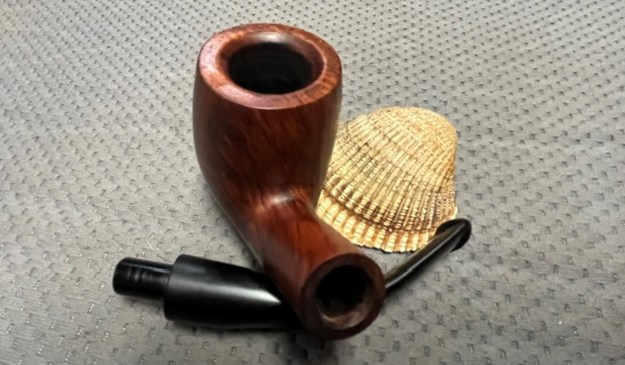
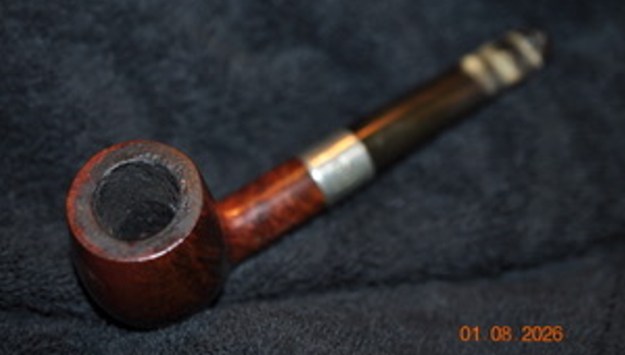
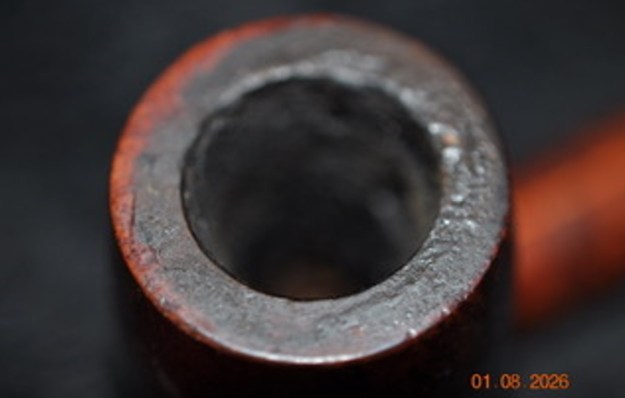
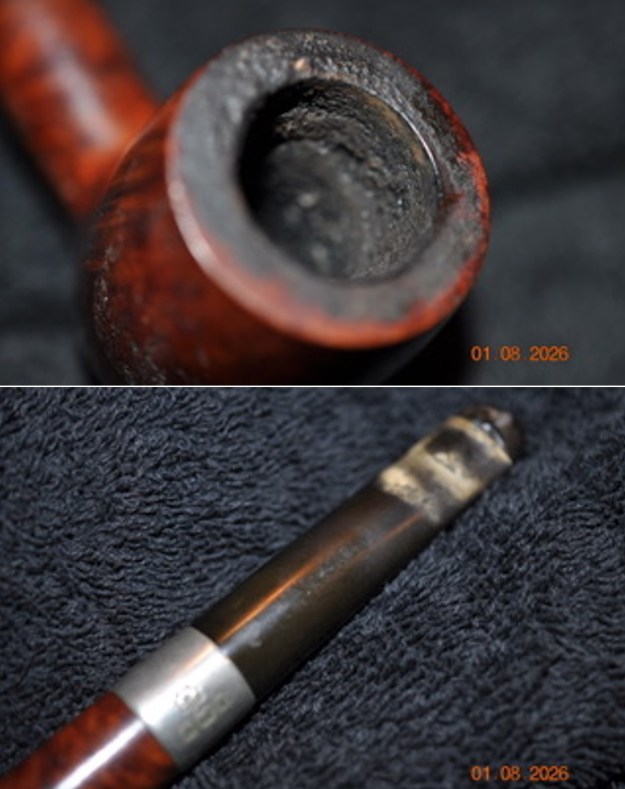
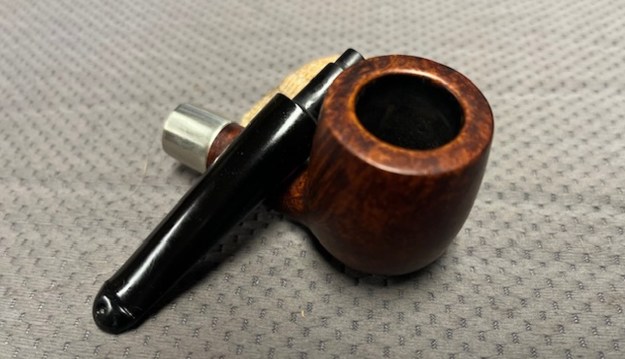
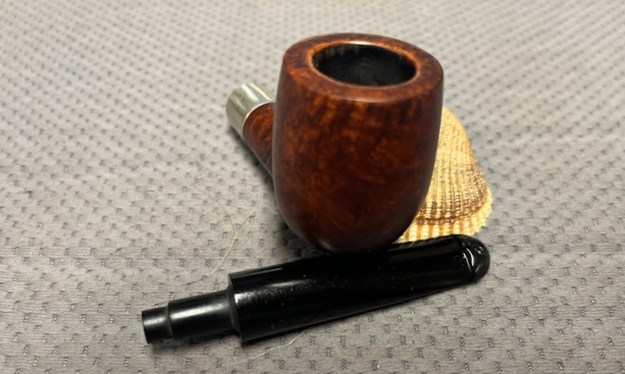
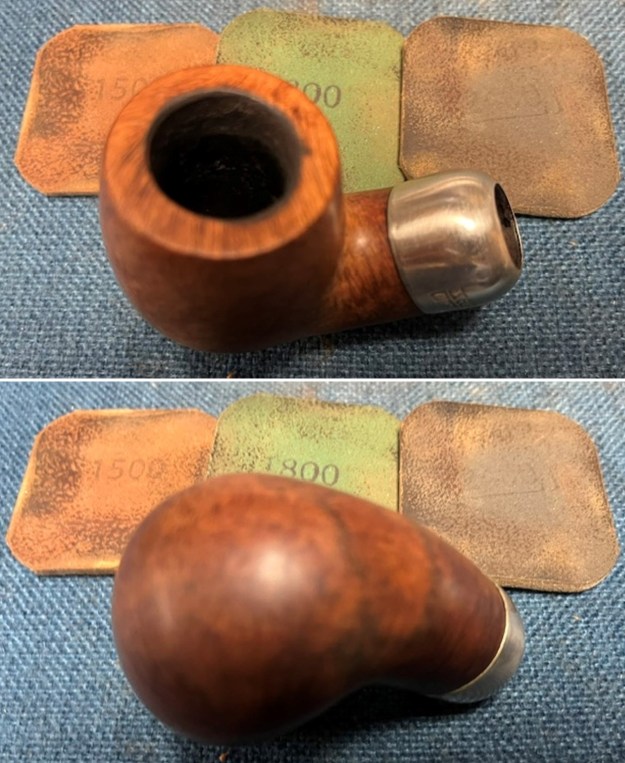
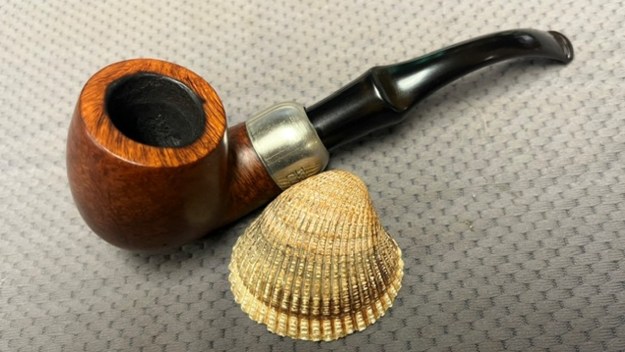
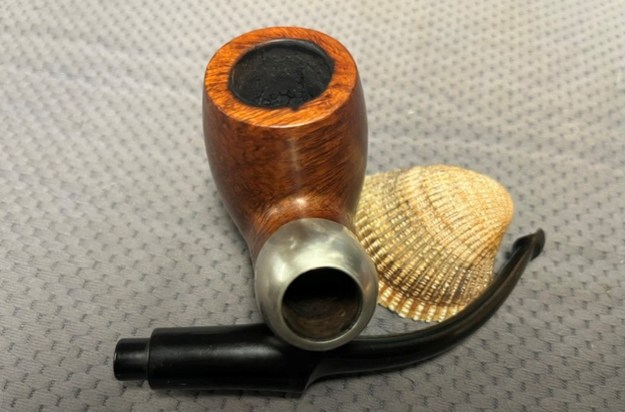
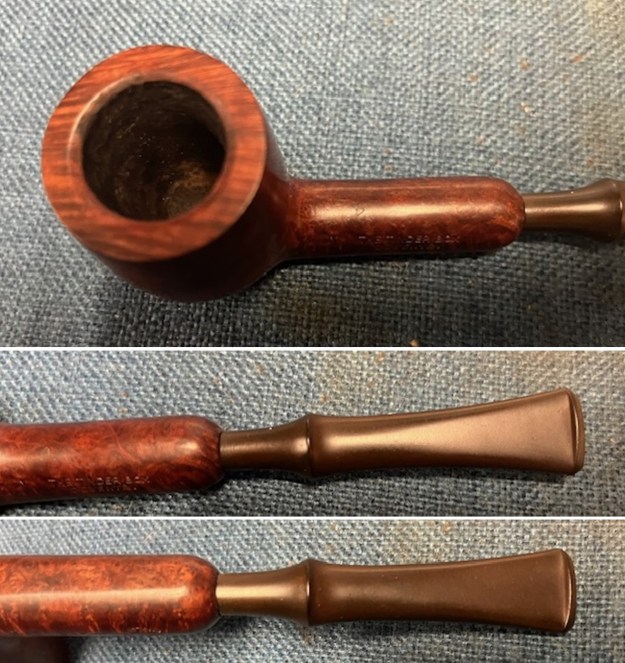
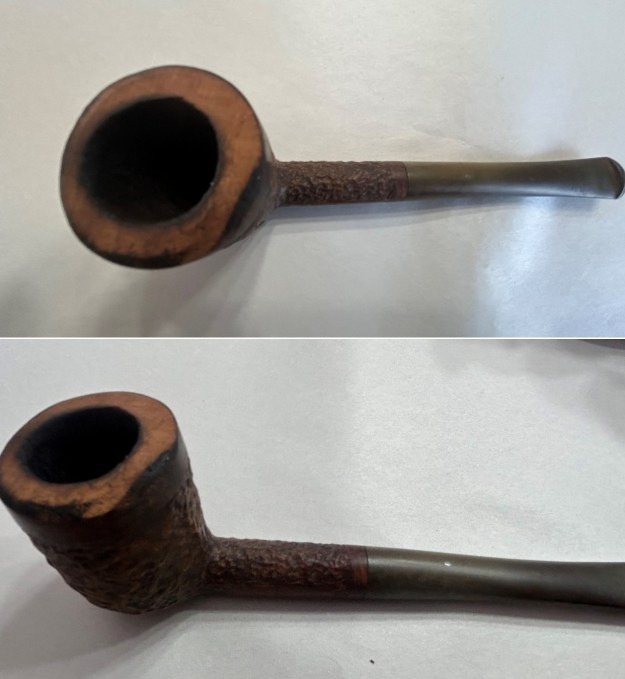
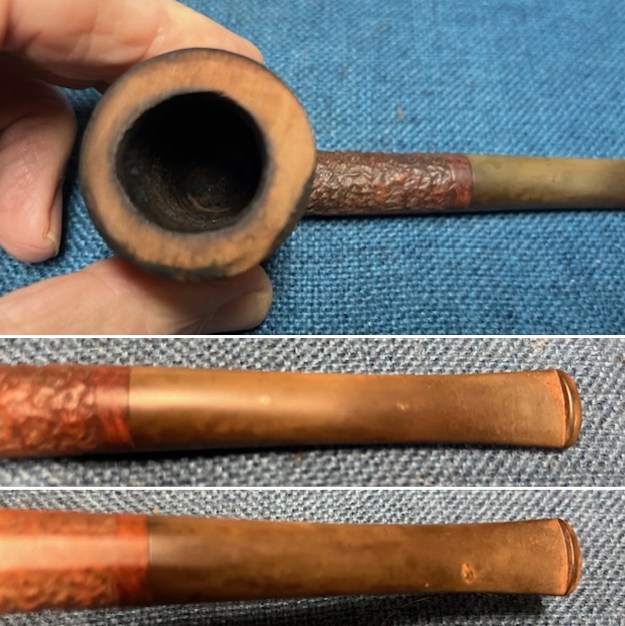
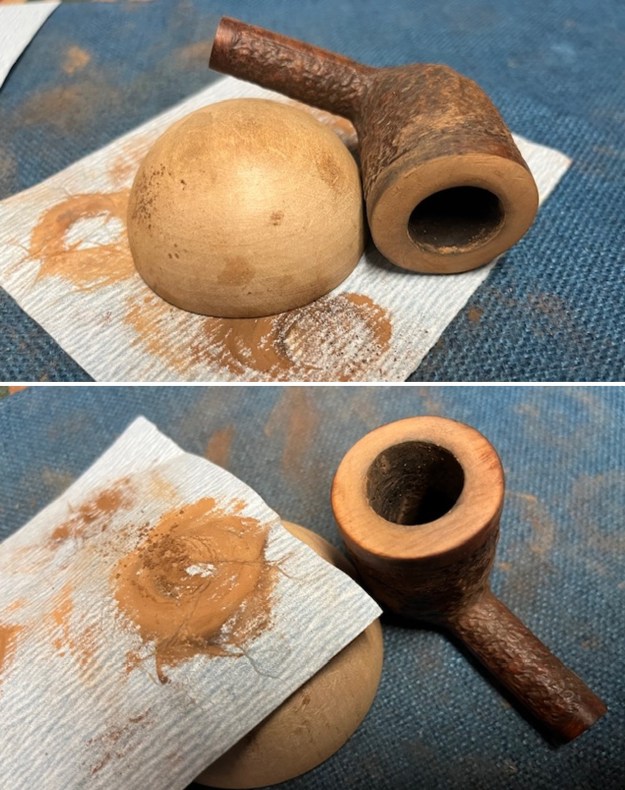
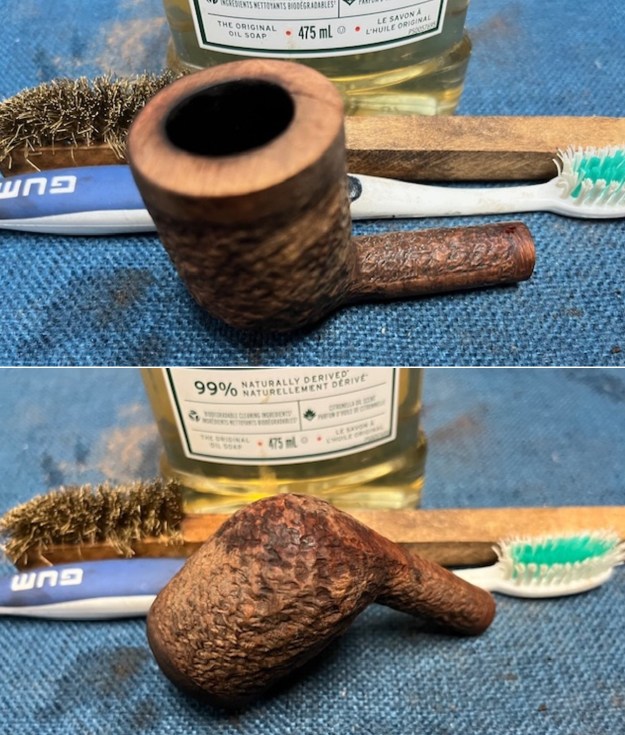
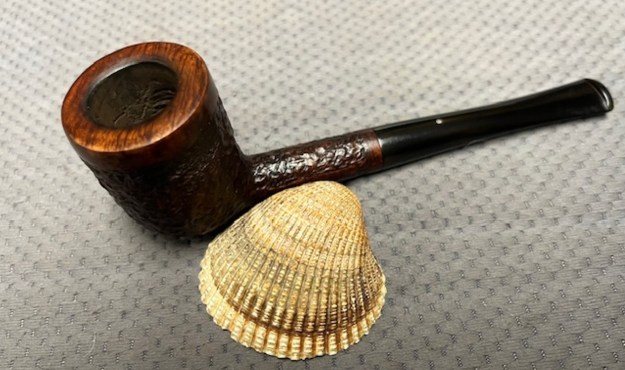
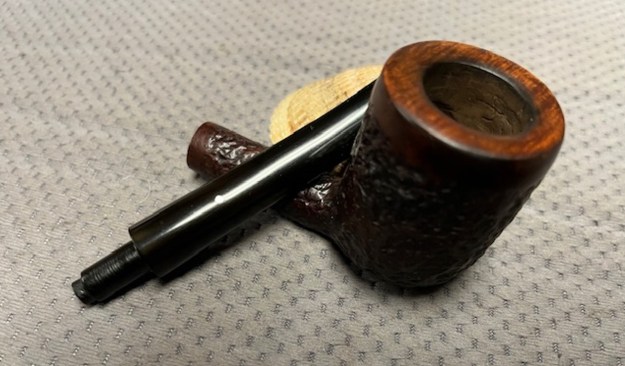
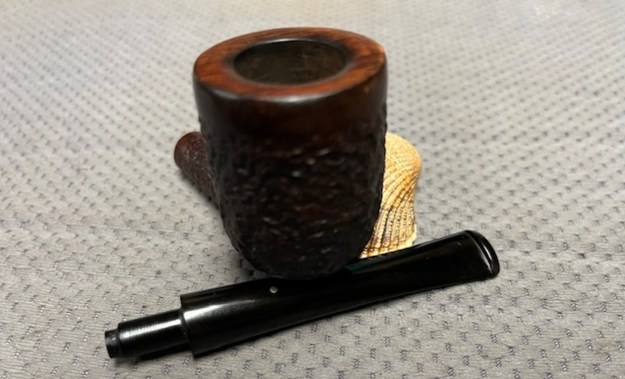
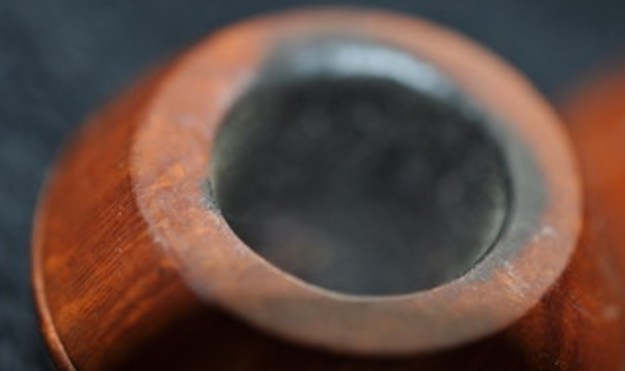
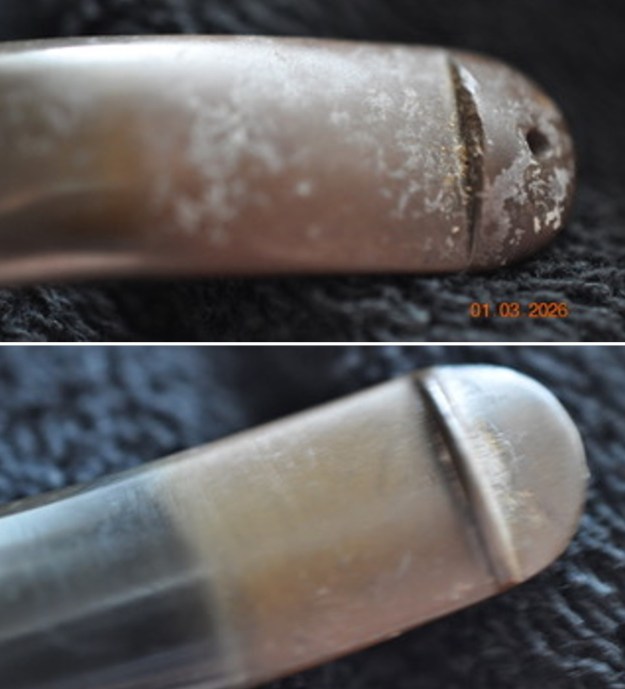
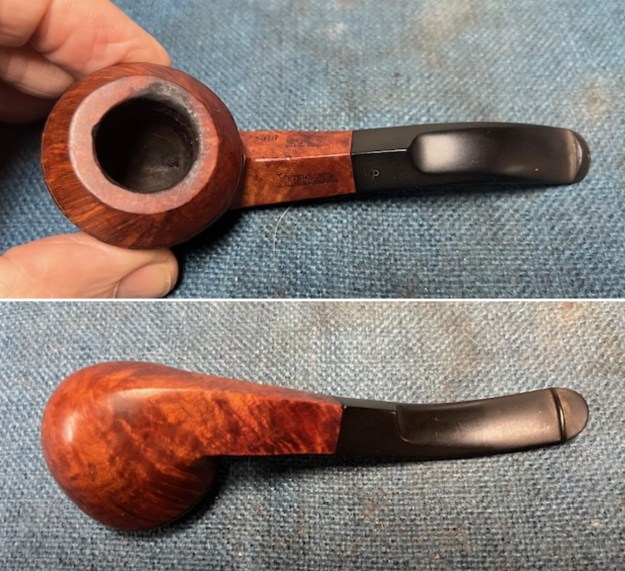
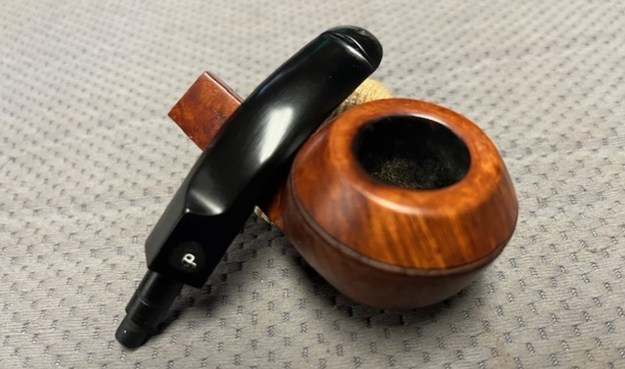
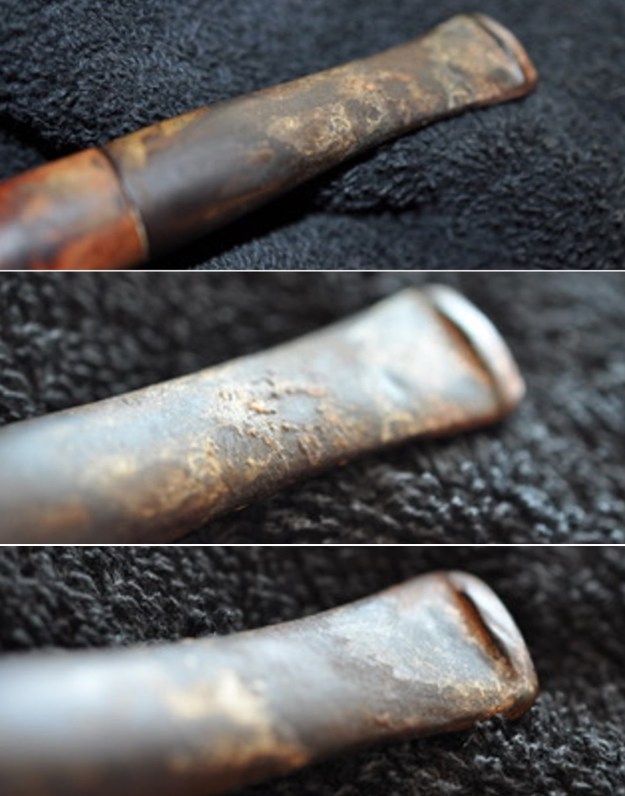
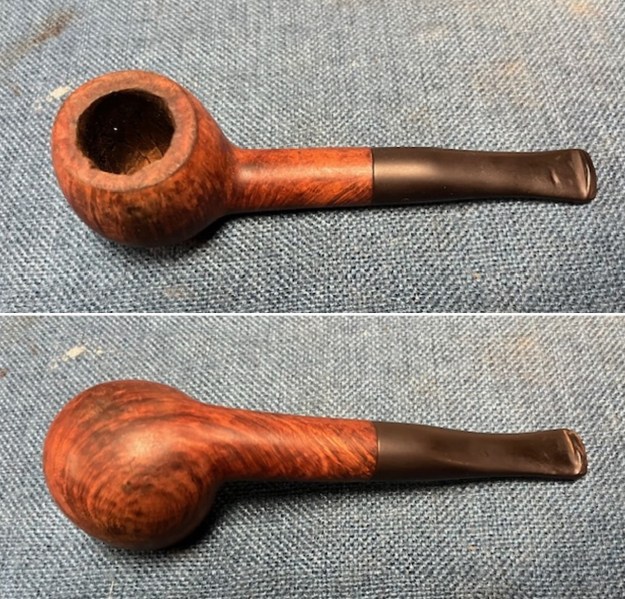
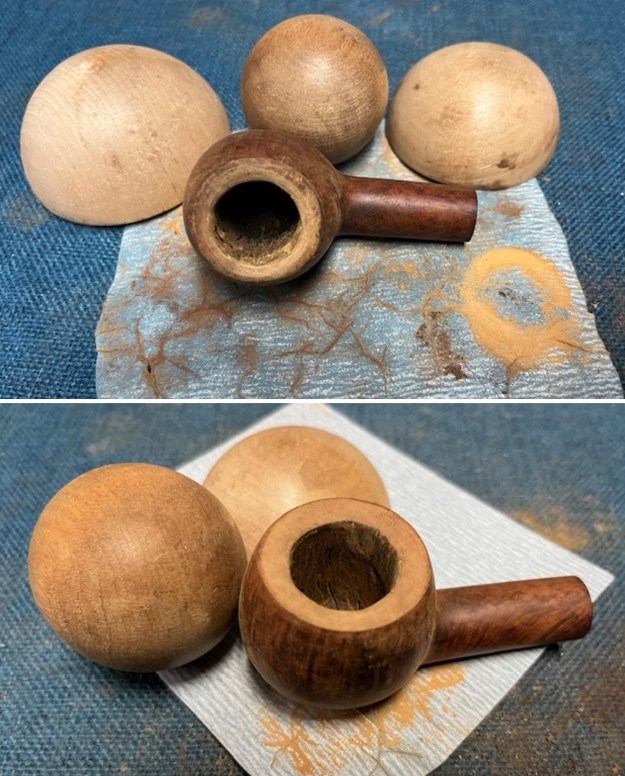
 He took a photo of the rim top and bowl to show the current condition. The bevelled inner edge and the rim top showed darkening and spots of lava as mentioned above. The photos of the bowl show the cake on the walls. The stem photos show the oxidation and light marks on the rim top on both sides.
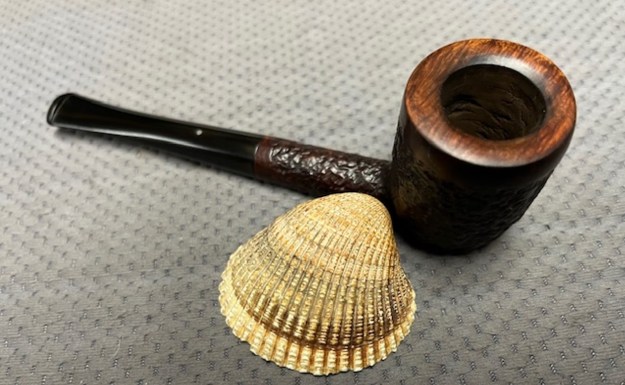
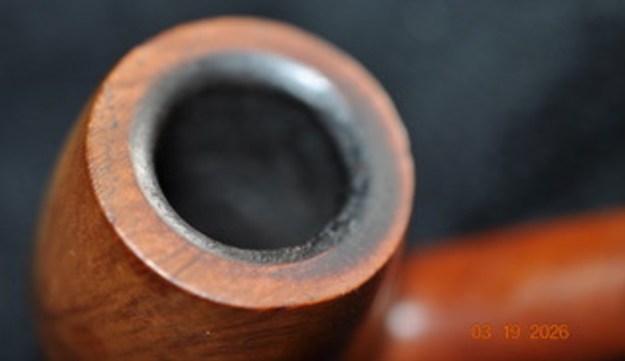
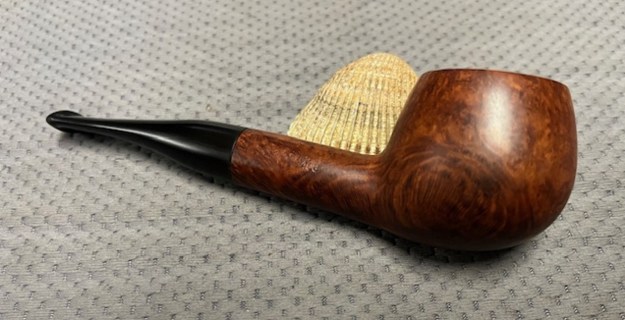
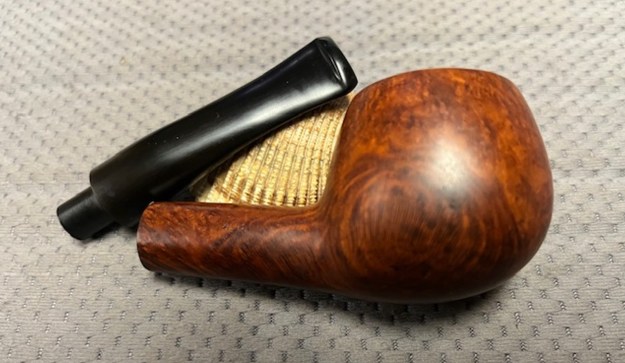
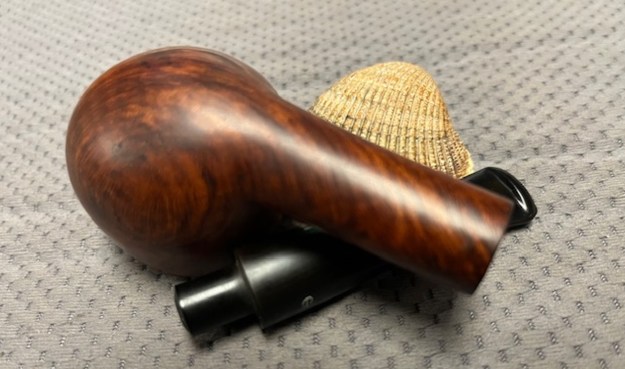
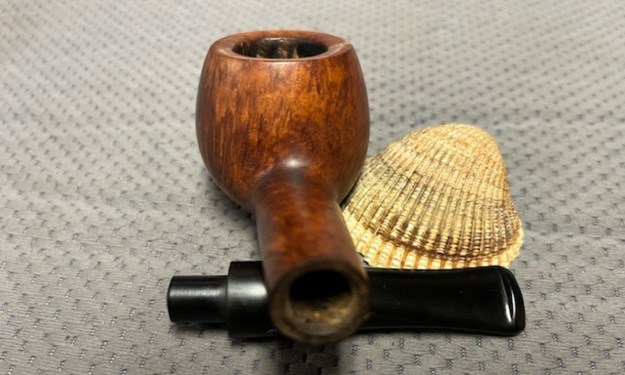
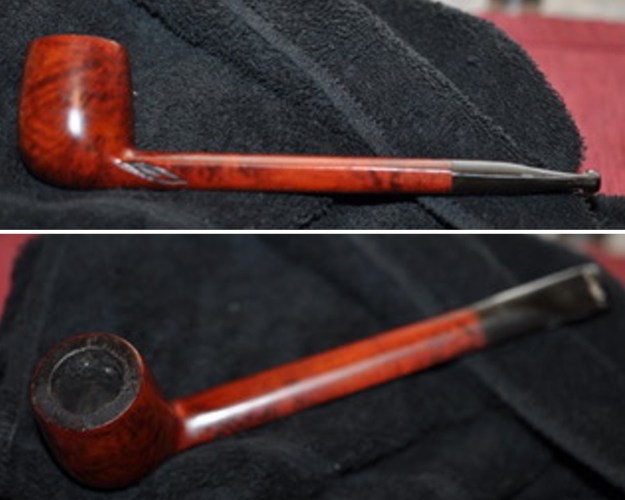
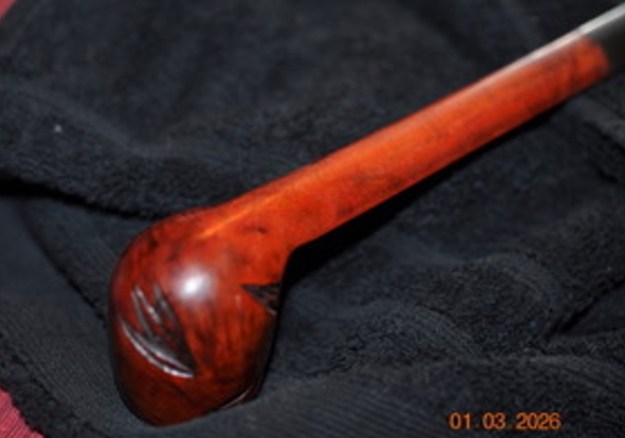
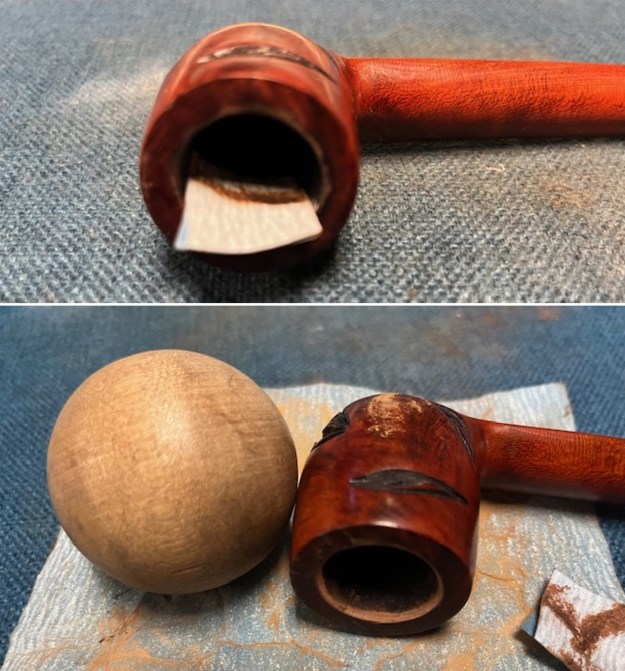
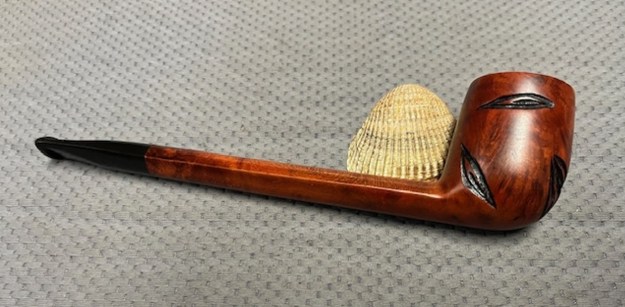
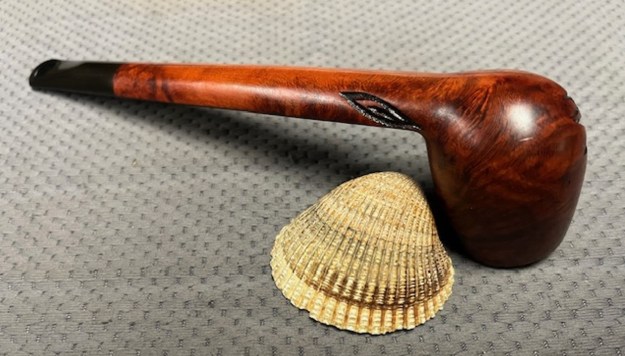
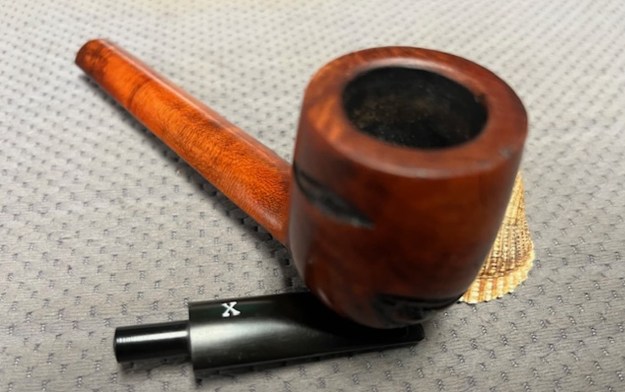
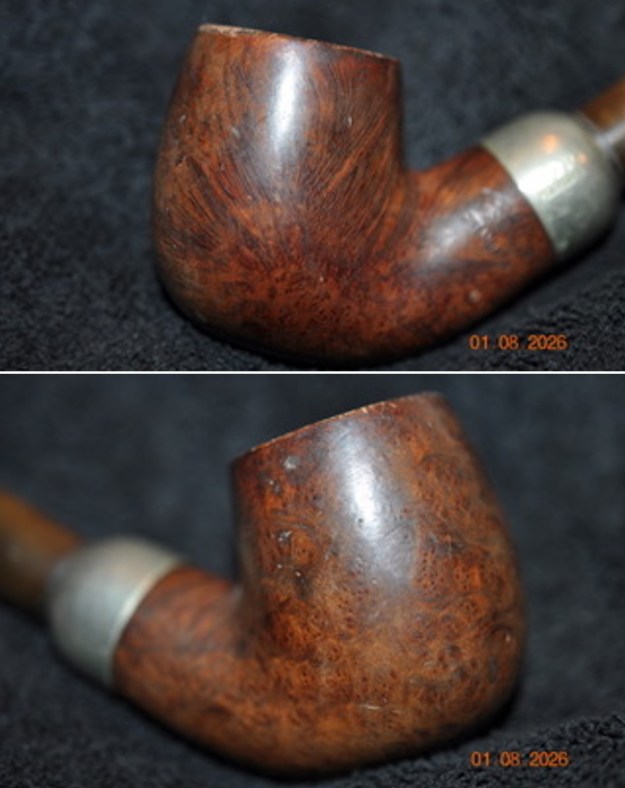
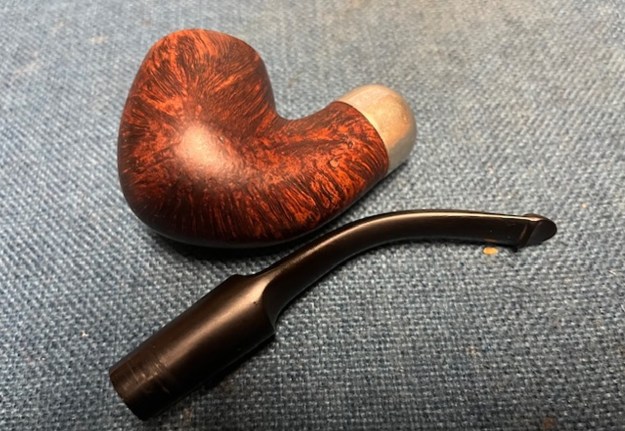
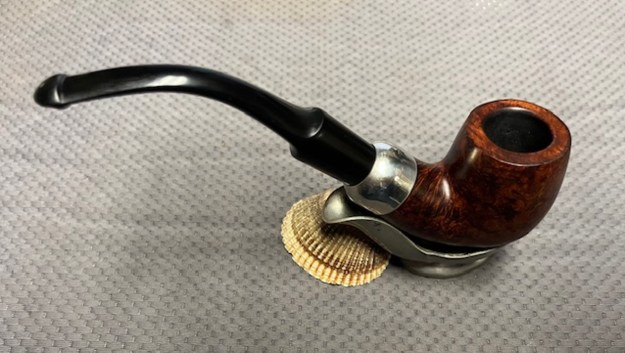
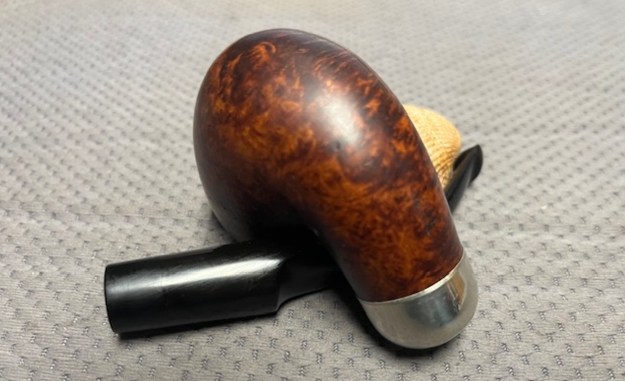
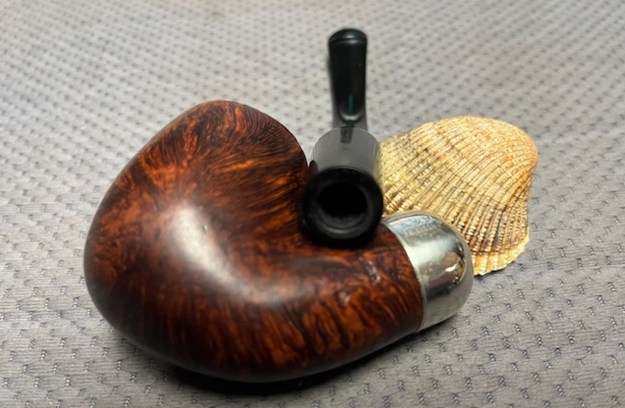
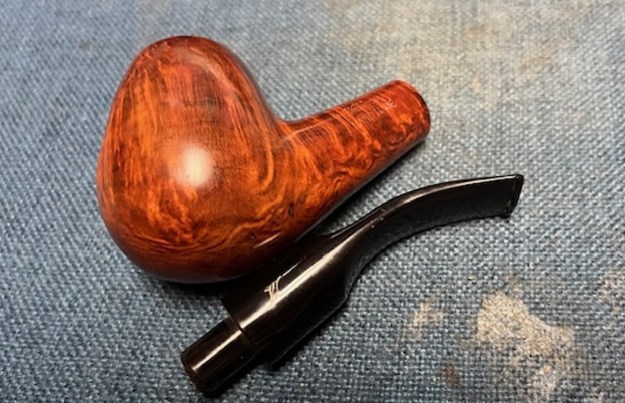
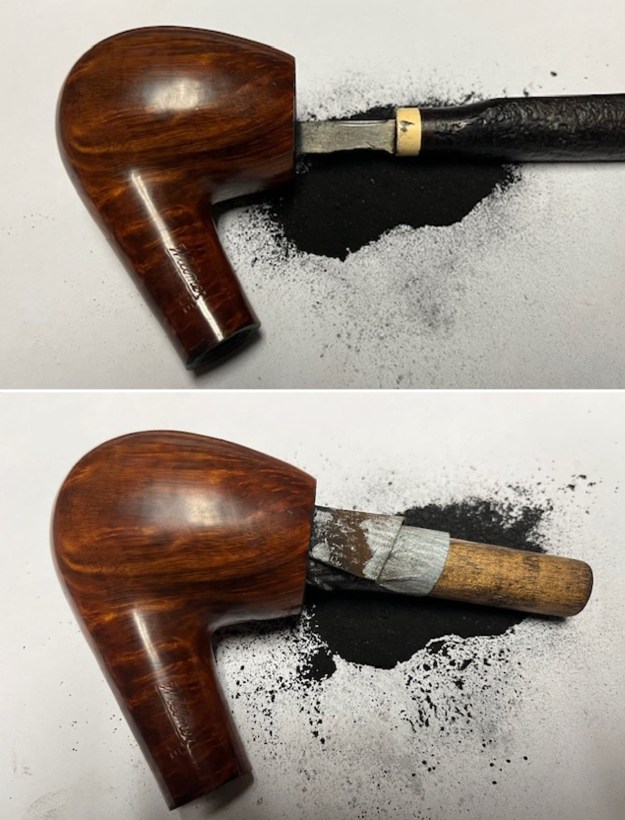
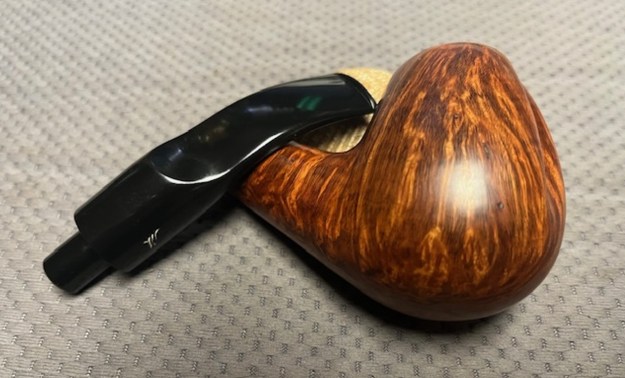
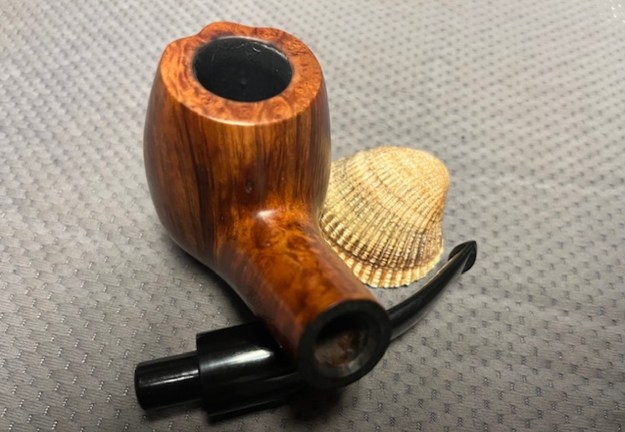
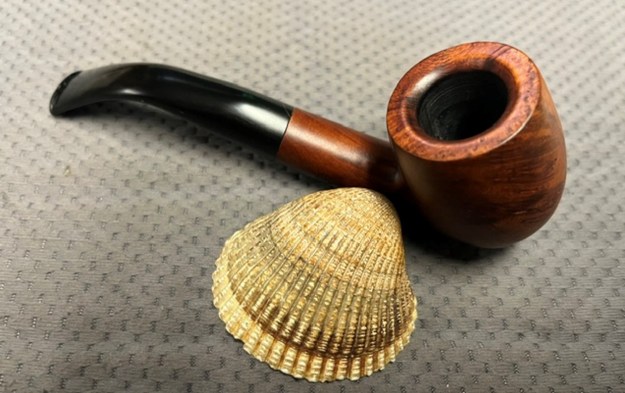
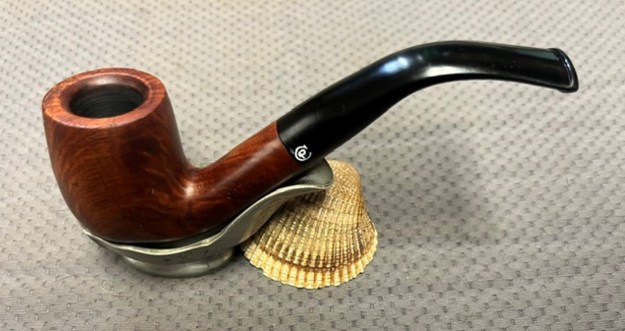
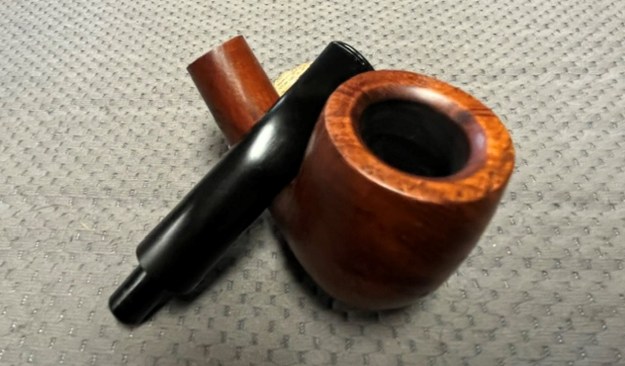
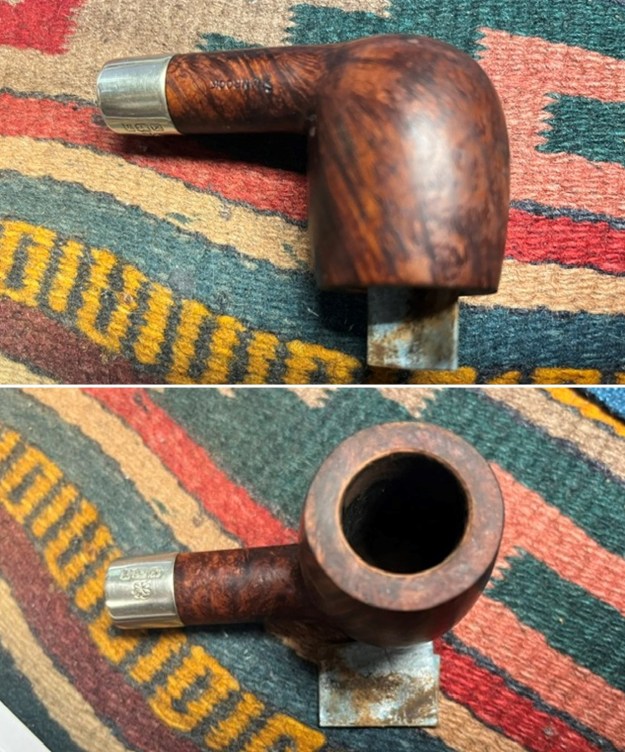
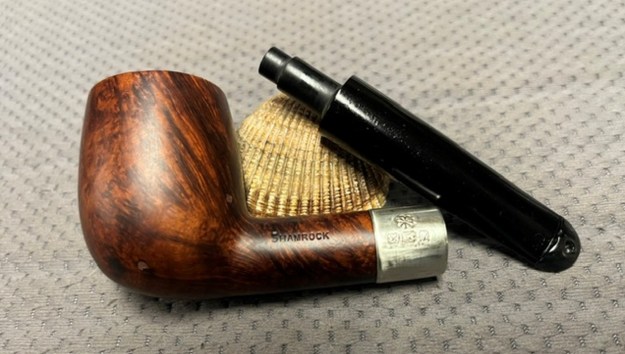
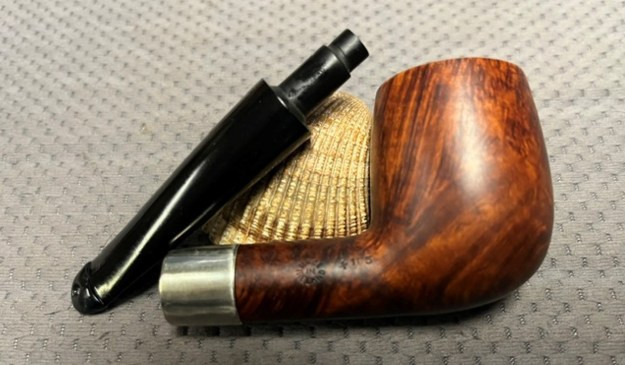
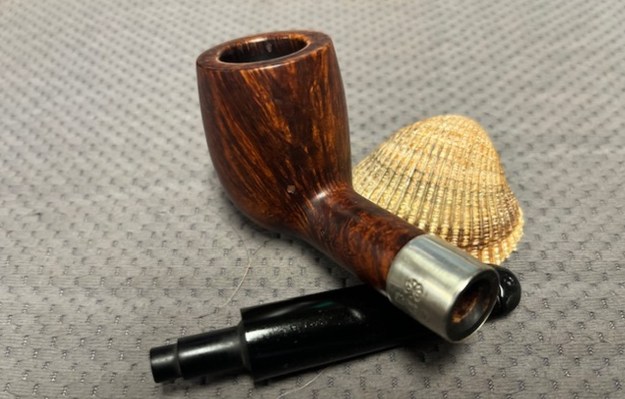
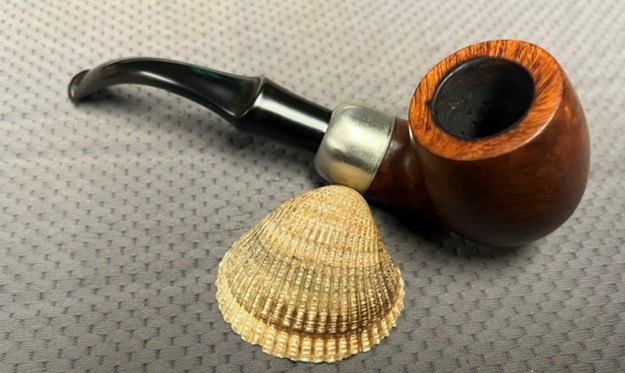
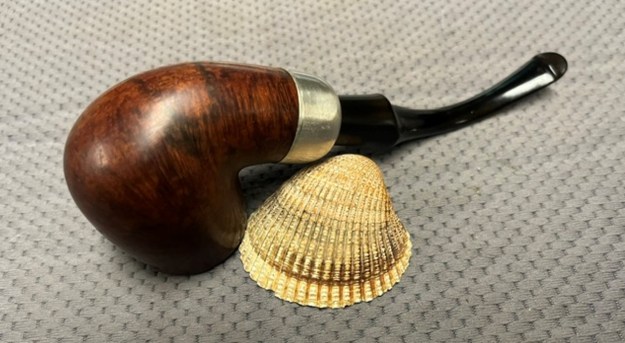
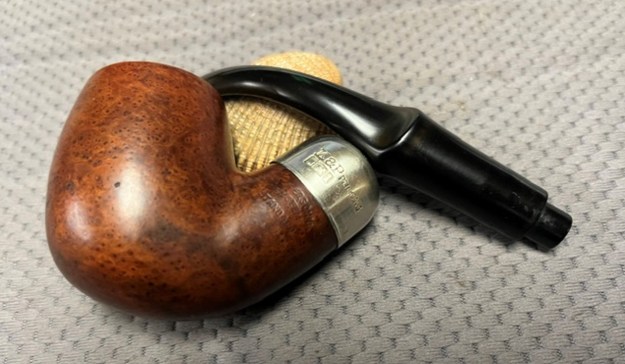
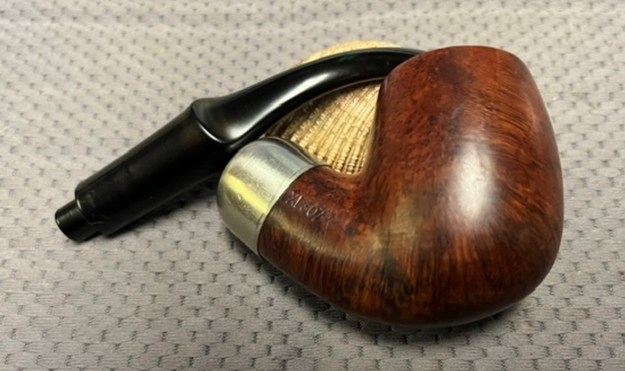
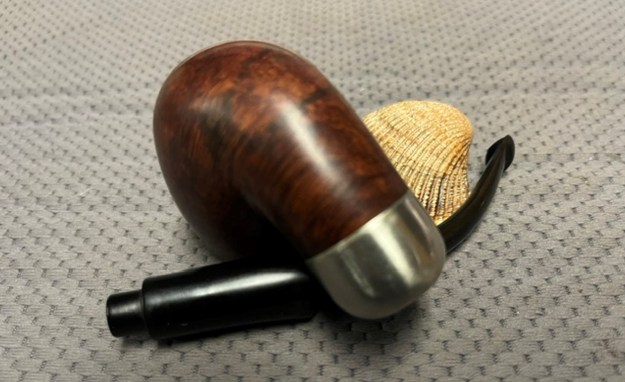
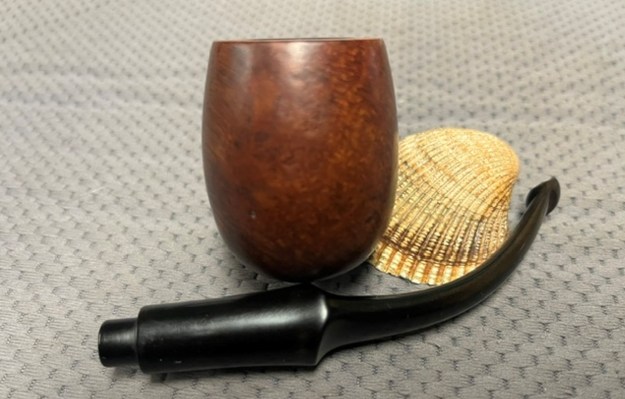
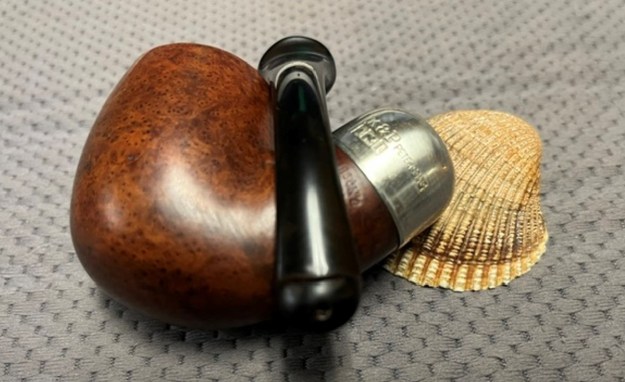
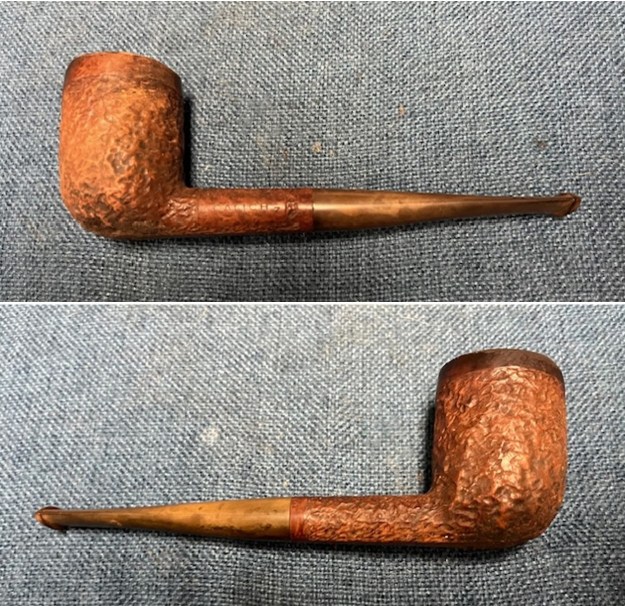
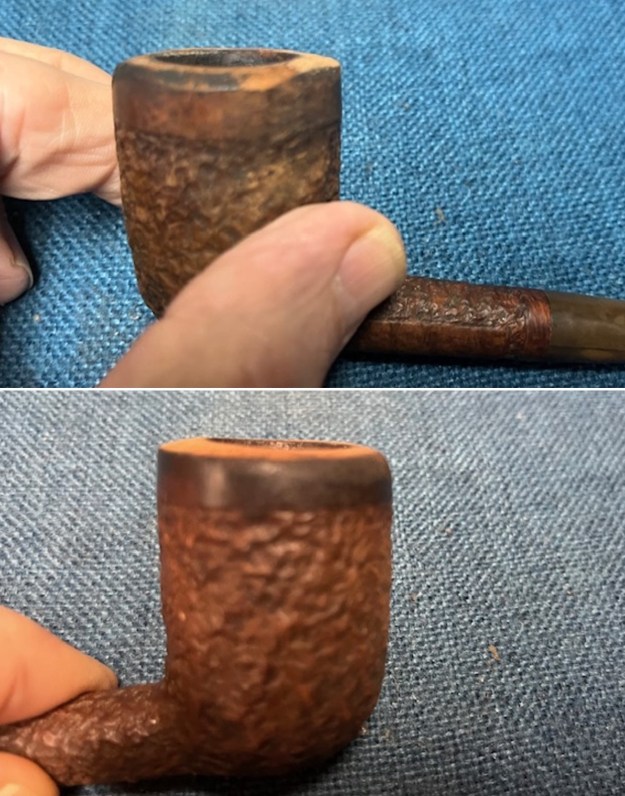
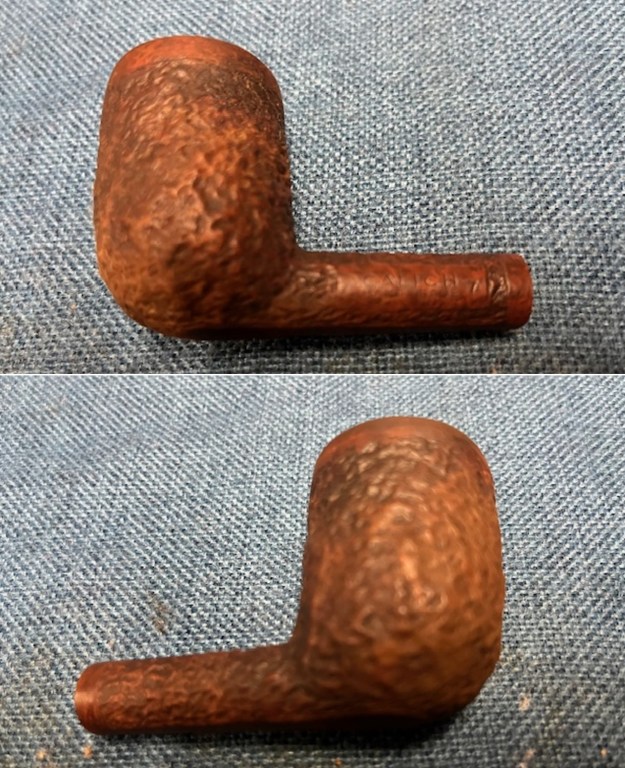
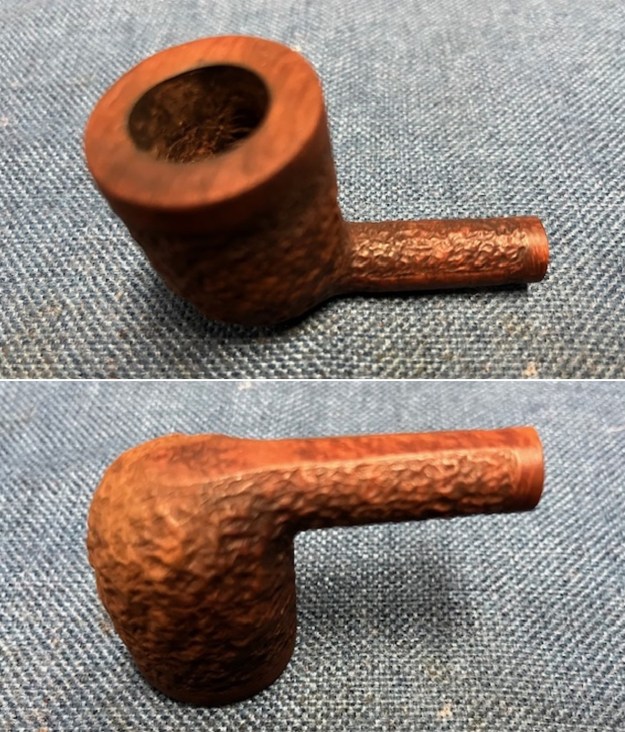
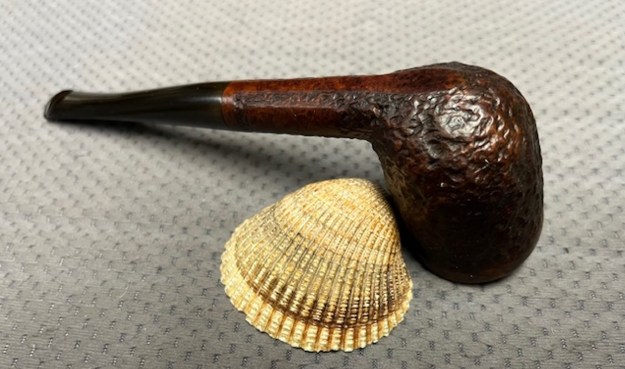
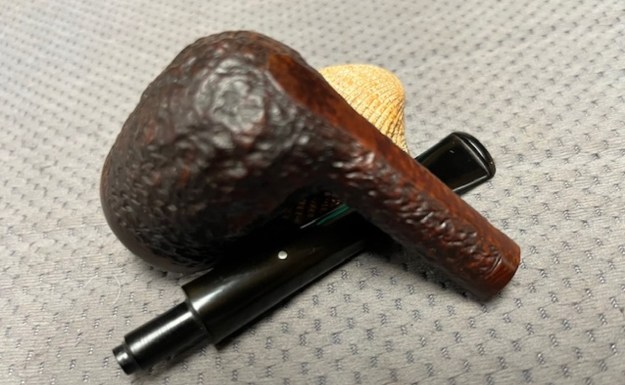
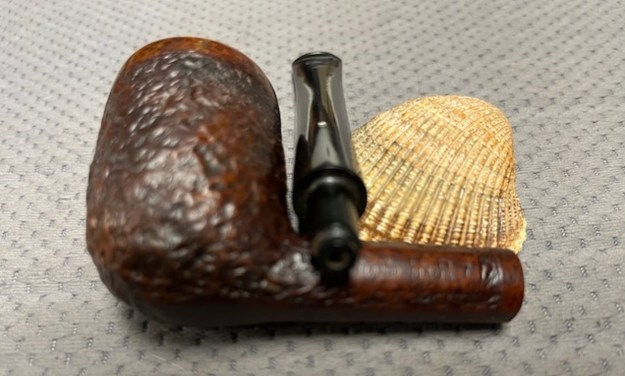
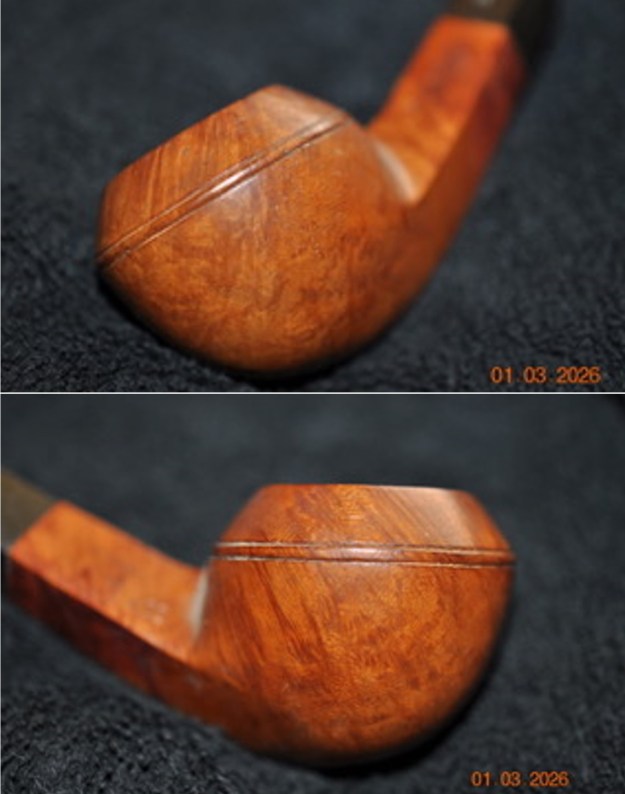
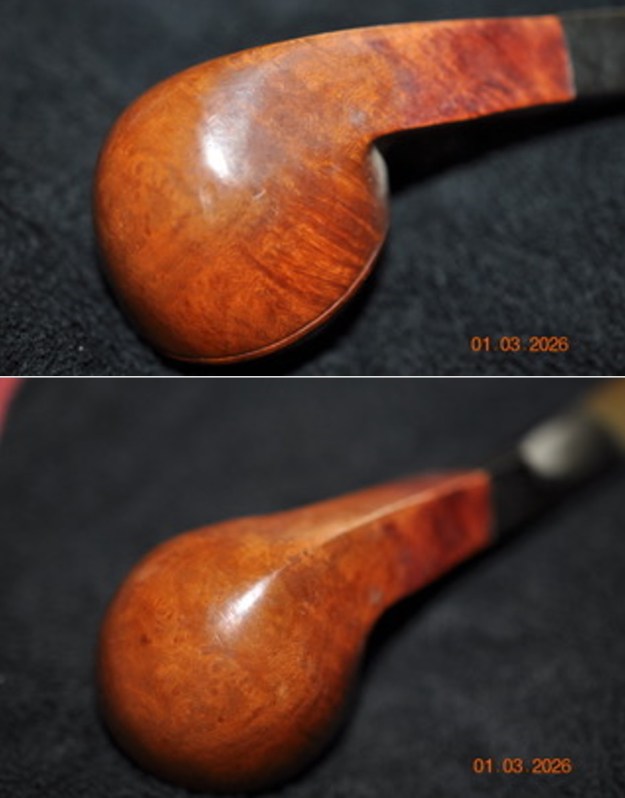
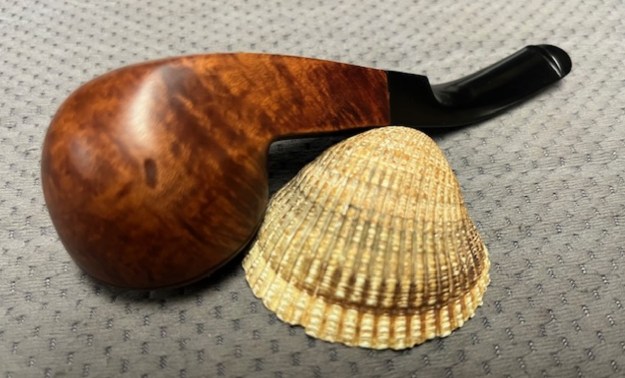
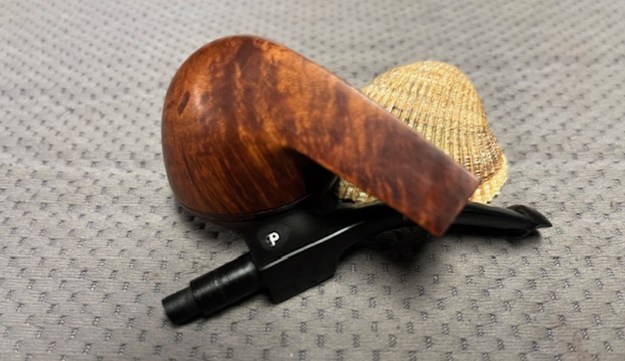
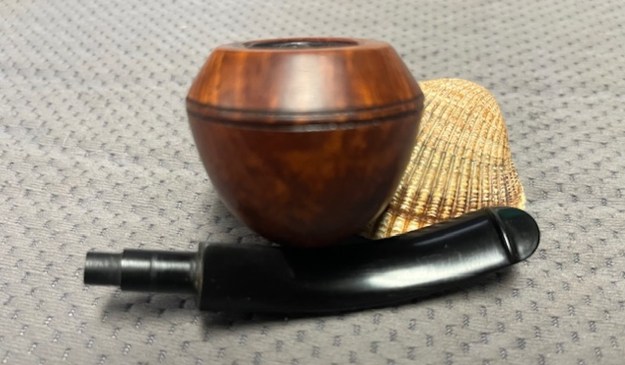
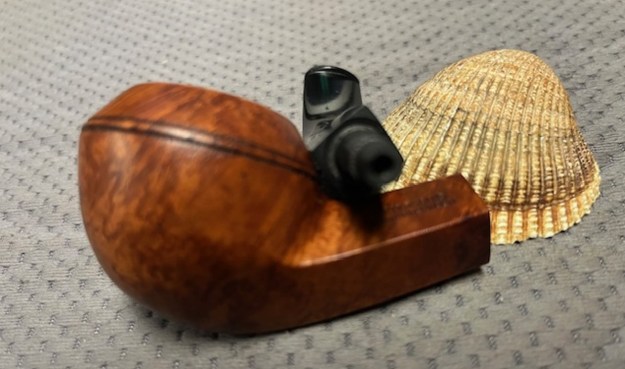
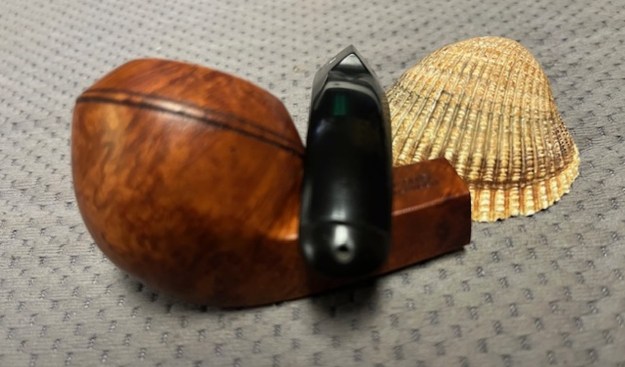
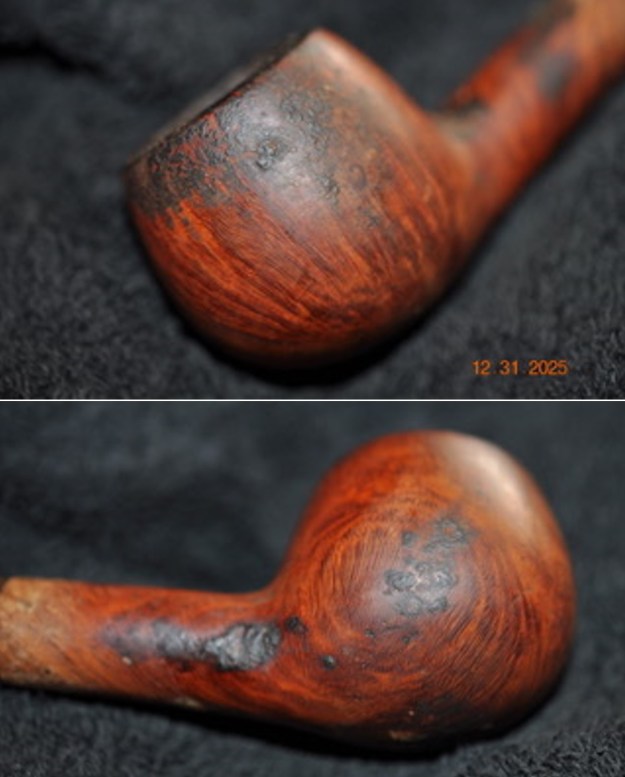
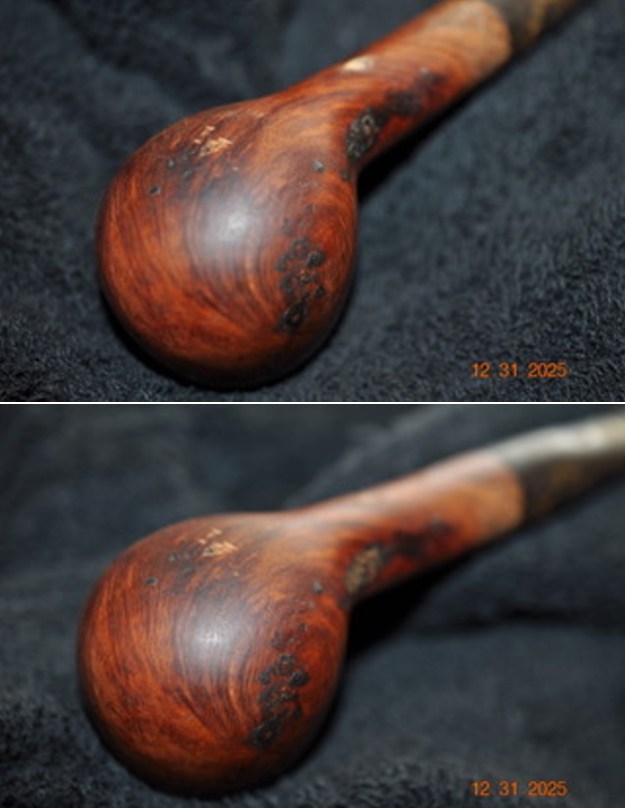
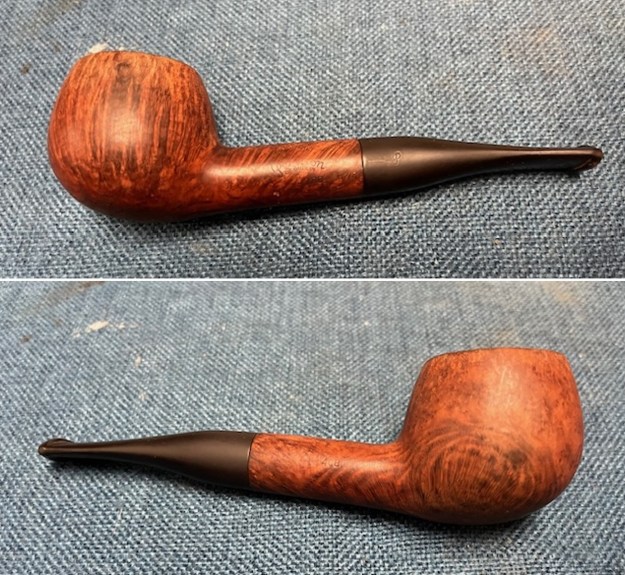
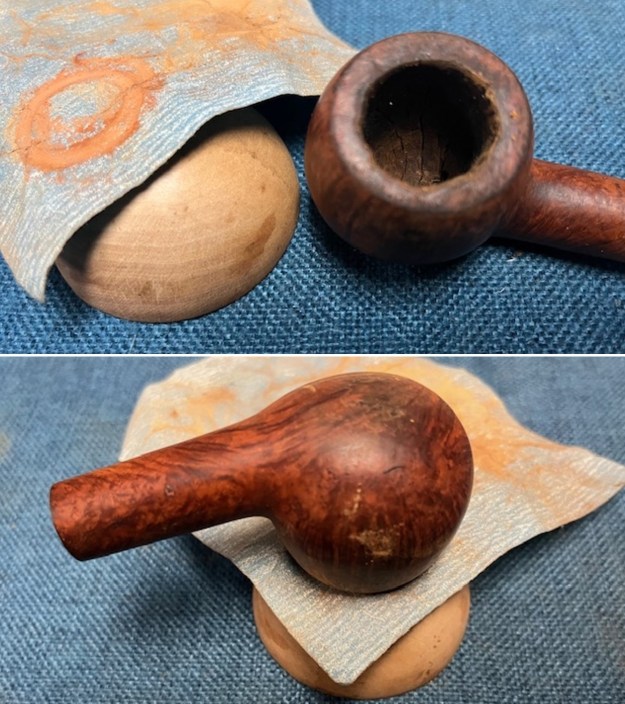
 Jeff took photos of the sides and heel of the bowl to give a sense of the condition of the bowl and the grain around the bowl. The shape 69 is a beautiful Bent Billiard shape.
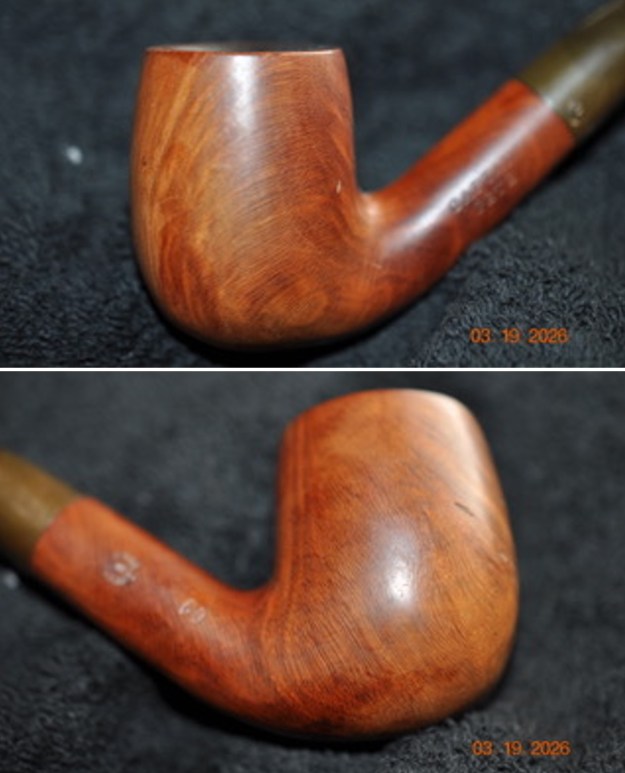
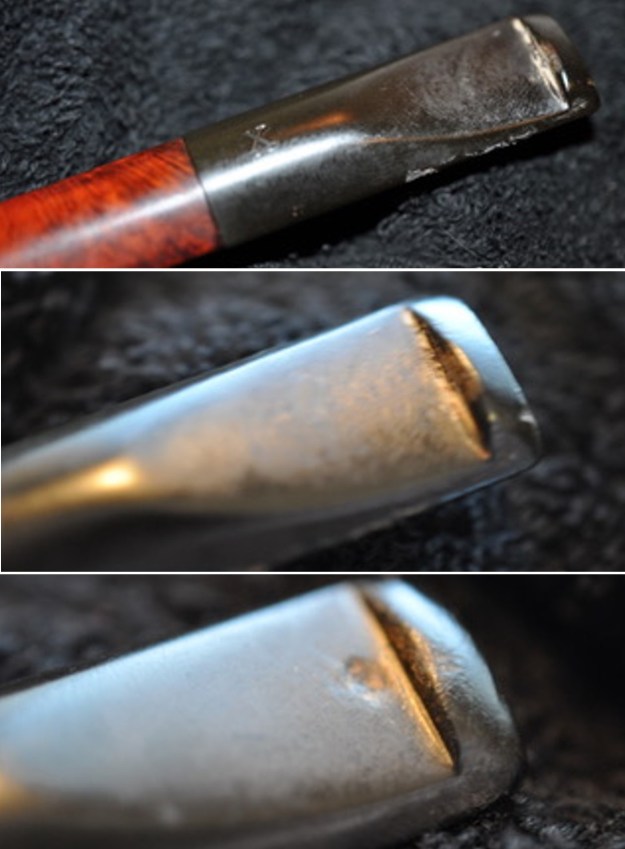
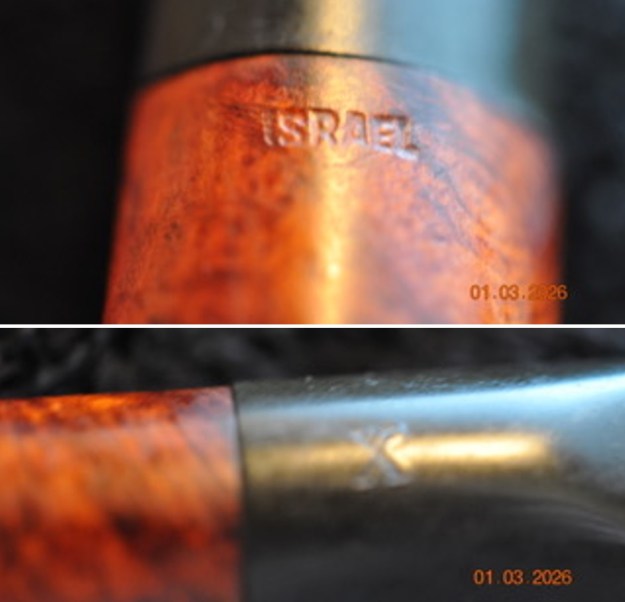
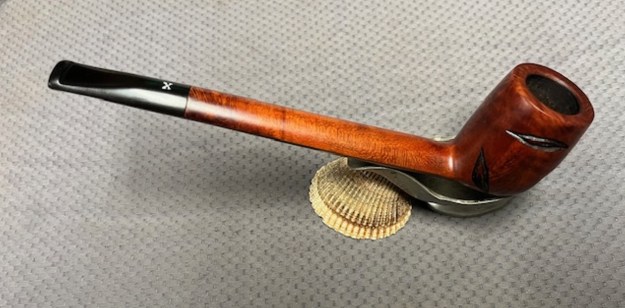
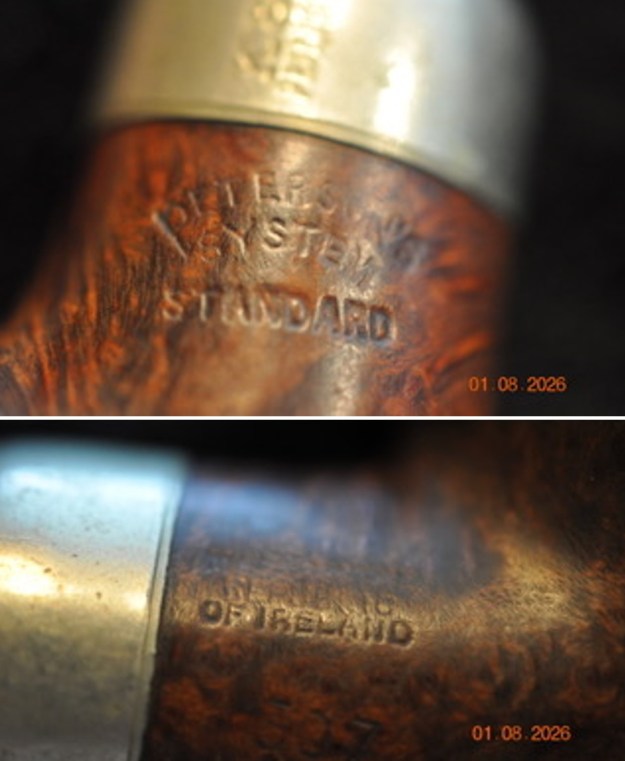
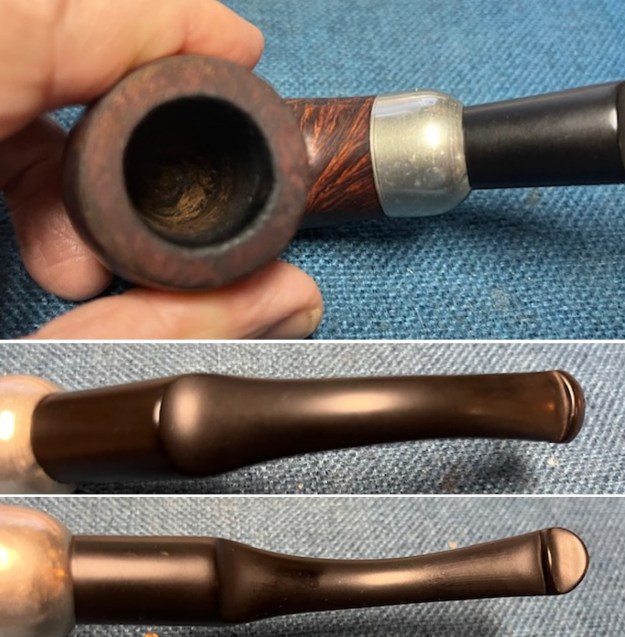
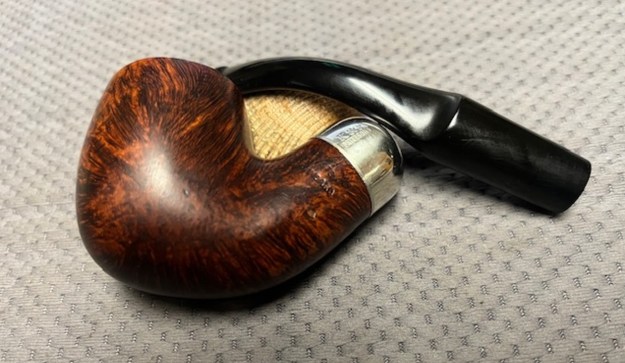
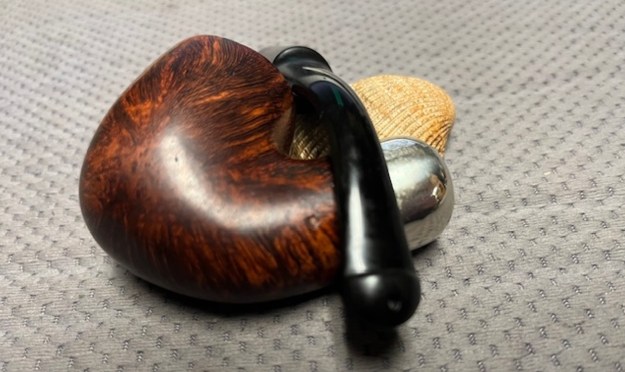
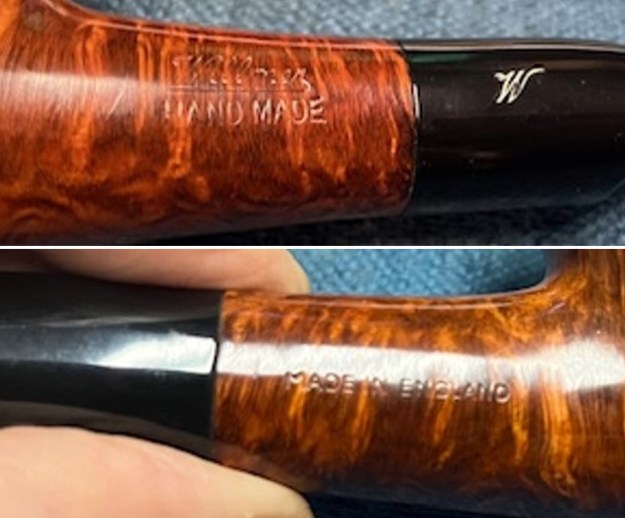
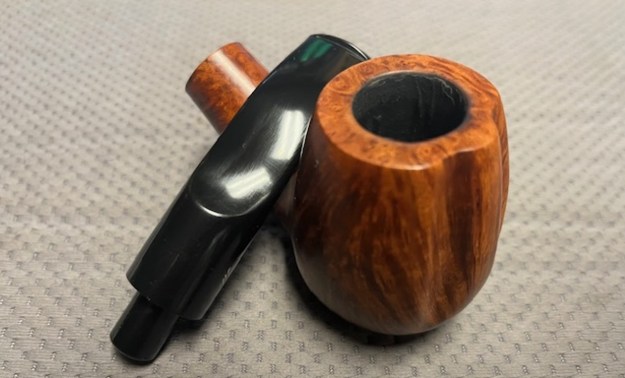
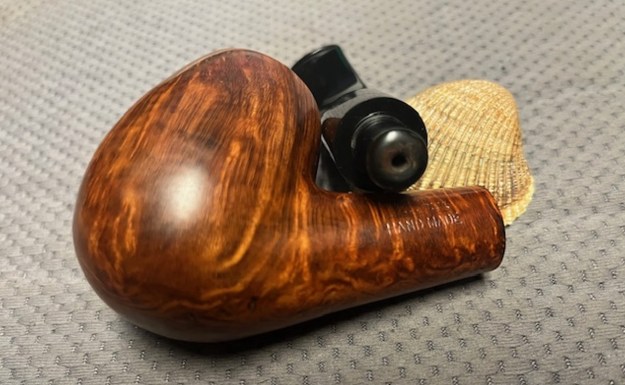
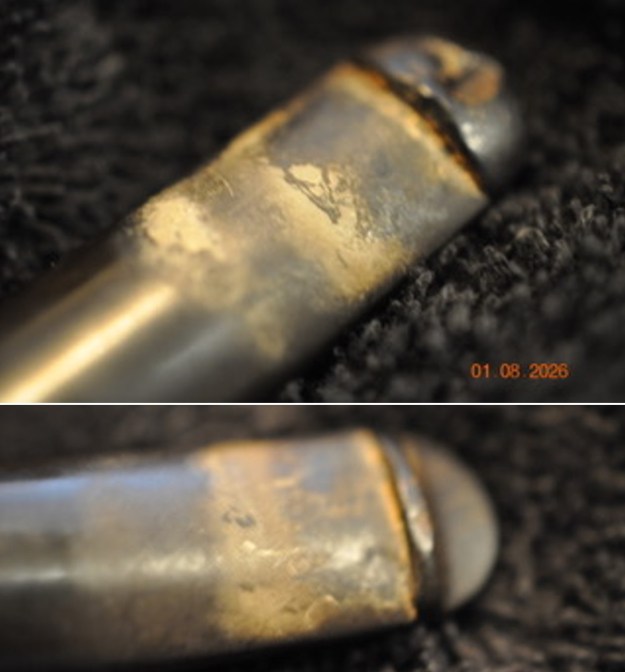
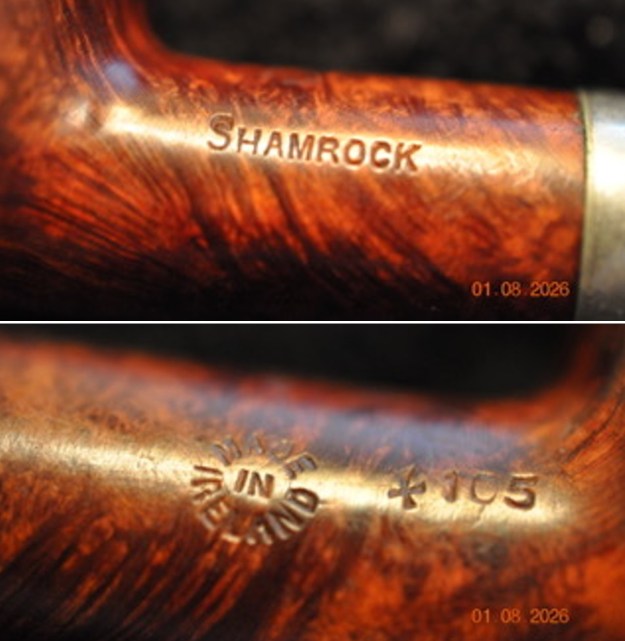
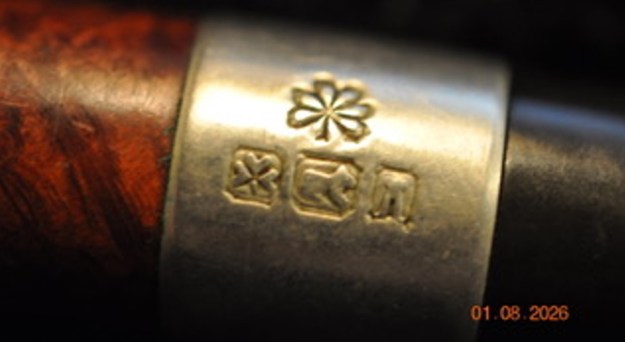
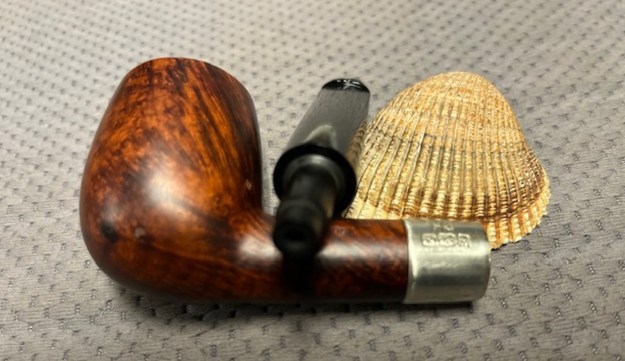
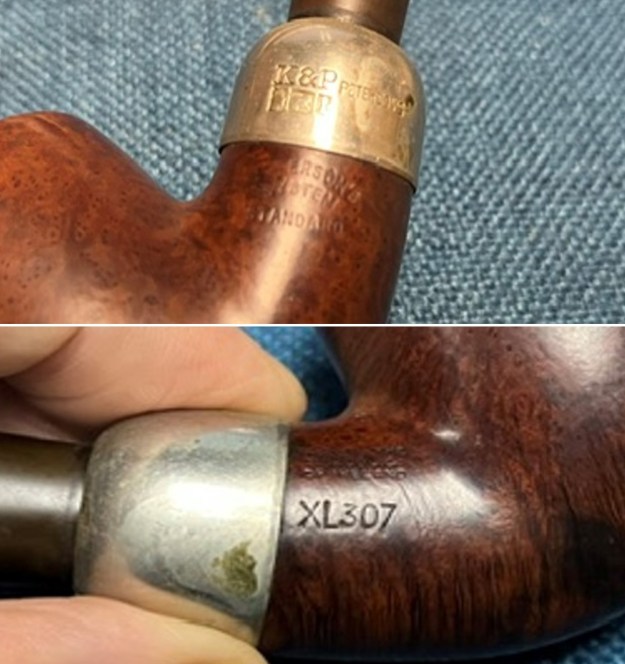
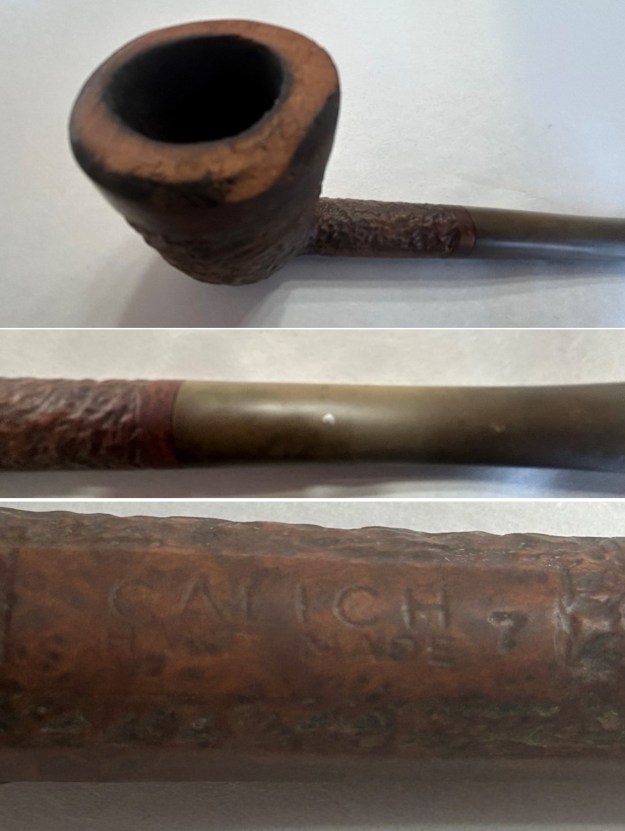
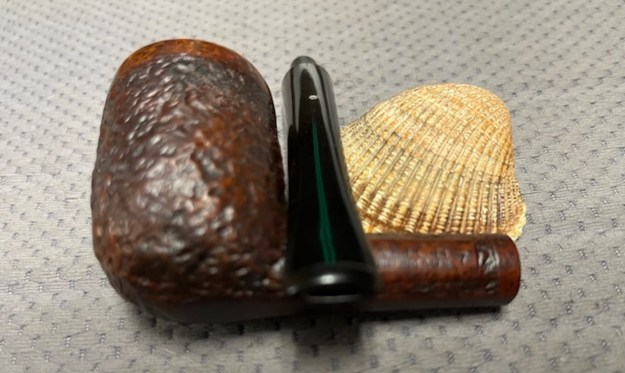
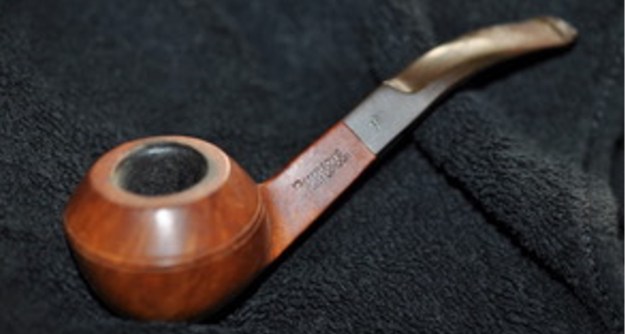
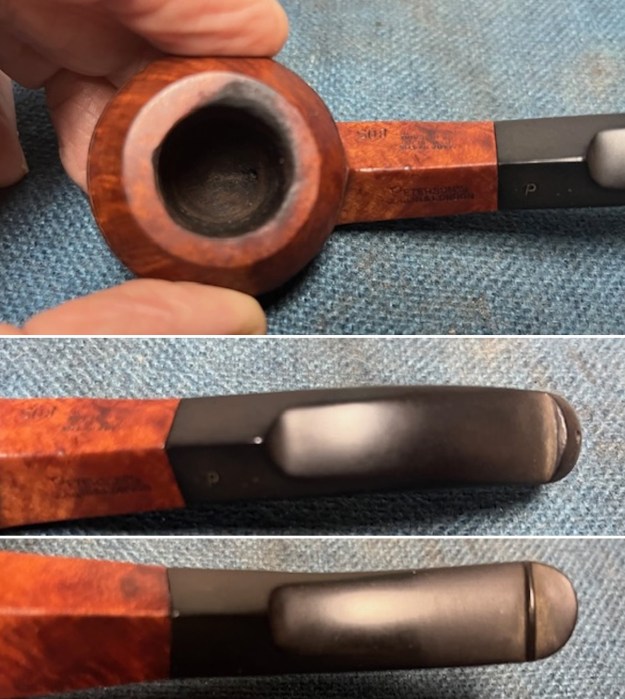
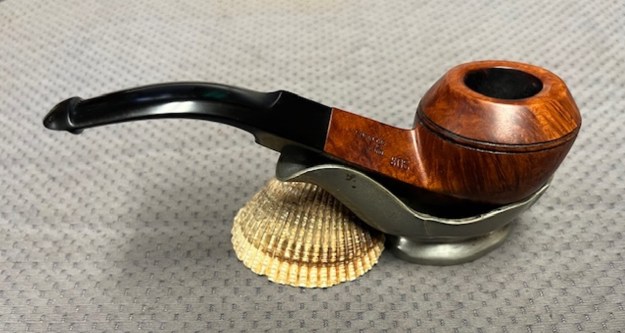
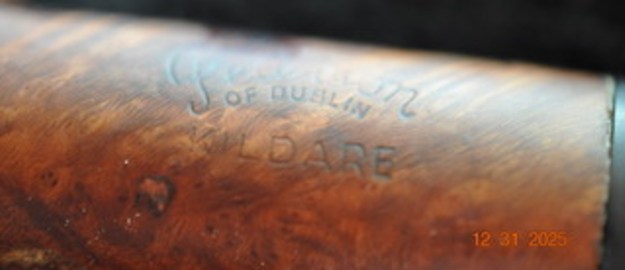
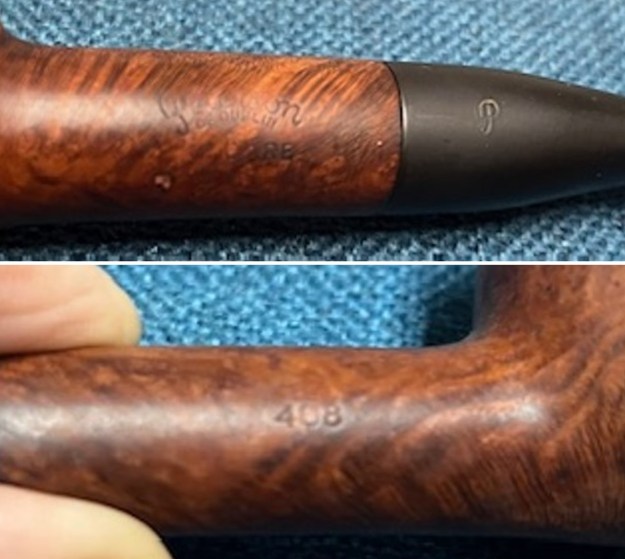
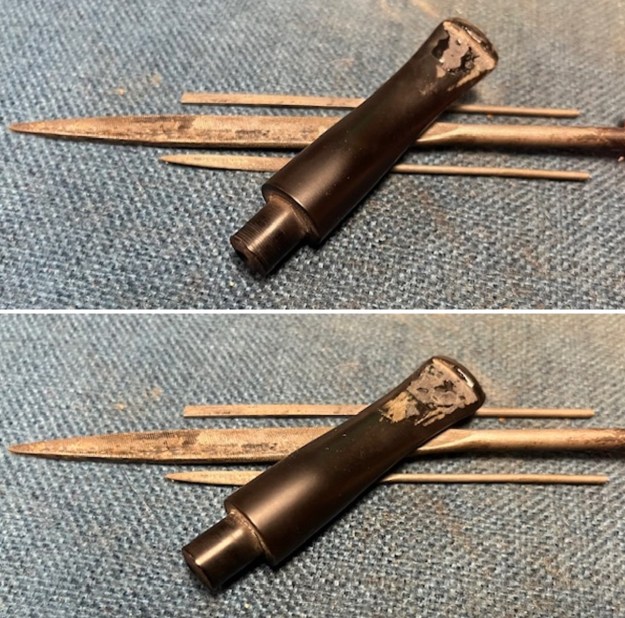
 He took photos of the stamping on the shank sides and the stem to show the condition. They are cleaned readable as noted above. The stamp on the left side of the stem was deep but was lacking in the white colour in the stamp.
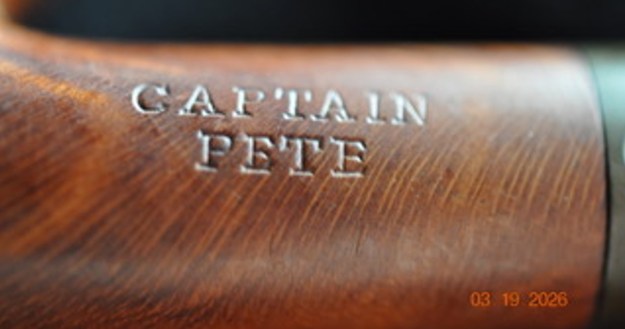
 I have included the information from the previous Captain Peterson restoration. For me this is a part of the restoration. I turned first to Pipephil’s site where I found both Captain Pete and Captain Peterson (http://www.pipephil.eu/logos/en/logo-peterson-rep.html#captainpete). I have included a screen capture of the Captain Pete information and also one of the Captain Peterson information. I also included the sidebar information as well.
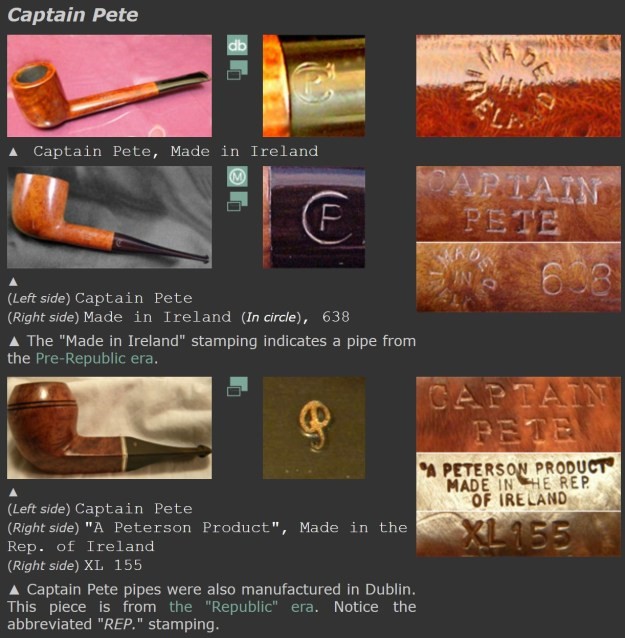 Captain Pete was a brand of Peterson’s English branch (1899-1960). Dublin continued to produce Captain Petes a couple of years after 1960. At the end of the eighties just as the Sherlock Holmes range was being issued, Peterson reintroduced the modern Captain Pete series.
 Captain Peterson was a brand of Peterson’s English branch. This English made pipe was crafted prior to 1960.
From there I turned to the “Peterson Pipe – The Story of Kapp & Peterson” by Mark Irwin and Gary Malmberg, page 295 to see what information I could find there. I quote:
Captain Pete – This line’s name was derived from the nickname of Charles Peterson, known affectionately by friends and employees as “Captain Peterson.” The first issue. C. 1940-62, was in a smooth finish produced for Rogers Imports with a white stamped P inside C or a circled P on the mouthpiece. CAPTAIN over PETE on shank, and MADE IN IRELAND in a circle. English made versions show CAPTAIN over PETE on the shank or “CAPTAIN PETERSON” and a PETERSON’S PRODUCT over MADE IN ENGLAND or LONDON MADE over ENGLAND. The second issue (1998-), features an XL bowl with Sherlock Holmes shapes and compact stems, in rustic or combination of smooth and rustic finish, with a nickel band between two narrow brass bands.
I knew that I was working on a pipe made before 1960 in Ireland. Thus, the pipe was a first issue C. 1940-62. It is a beautiful pipe that will need some work but overall was in very good condition for a pipe made before 1960. It was time to start my work on the pipe.
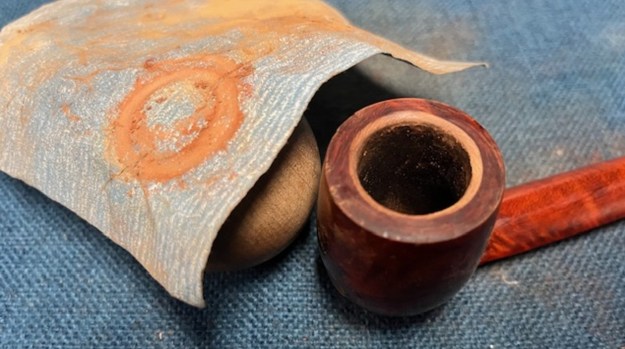
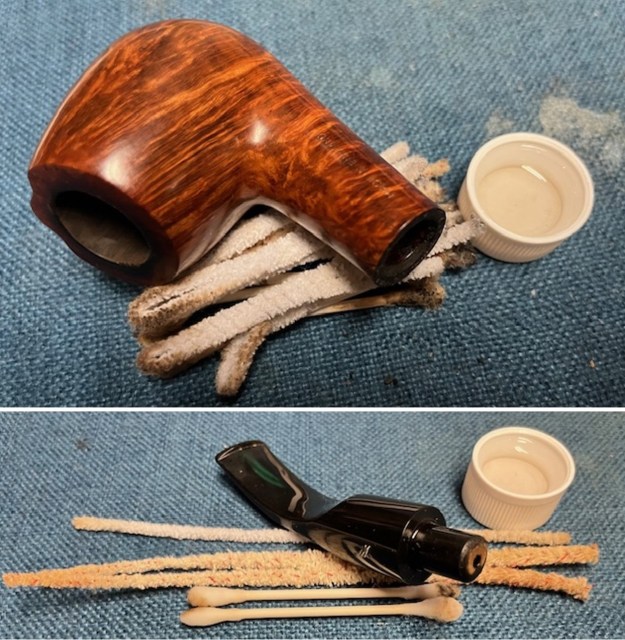
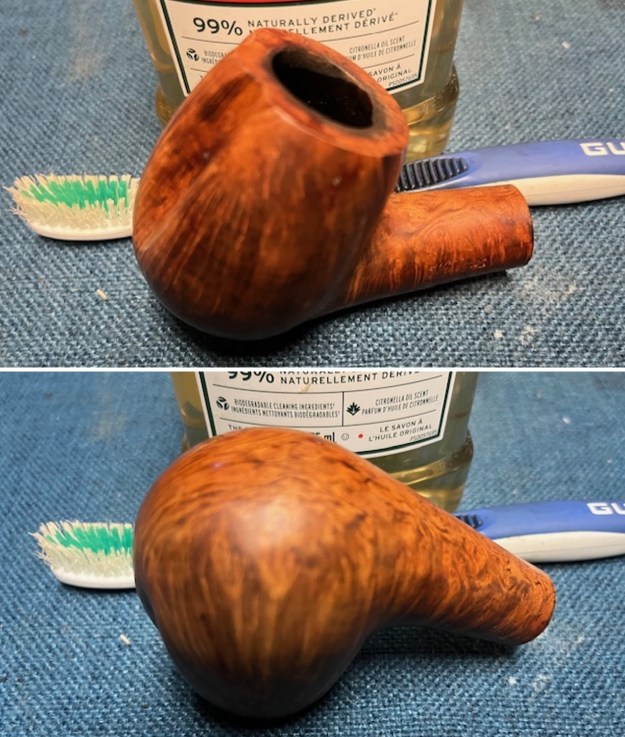
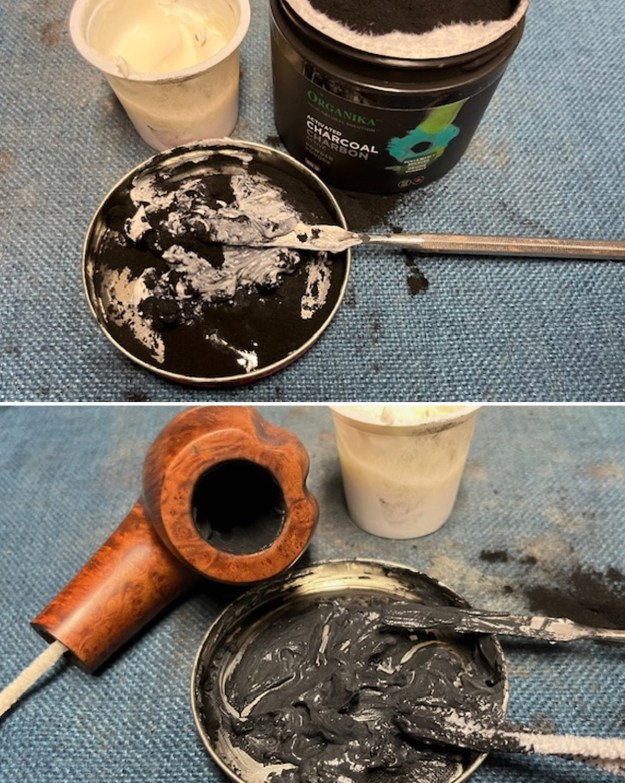
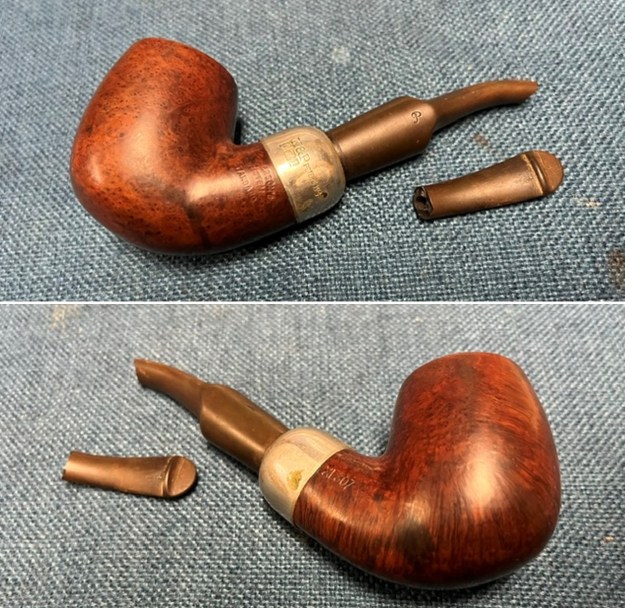
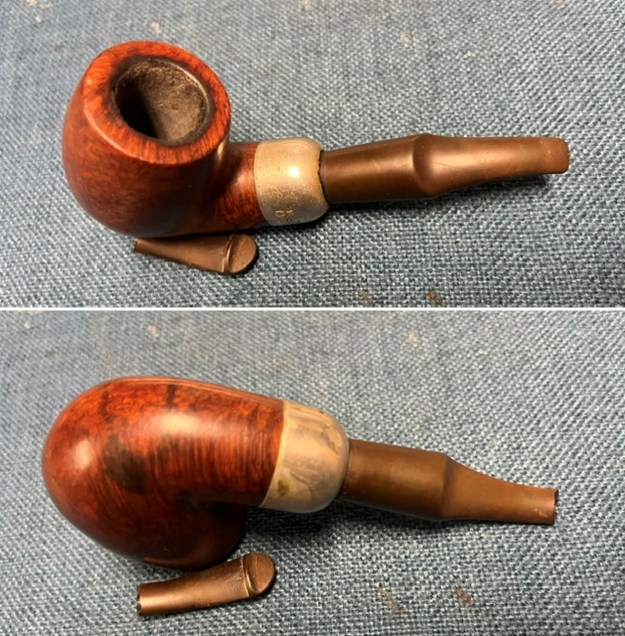
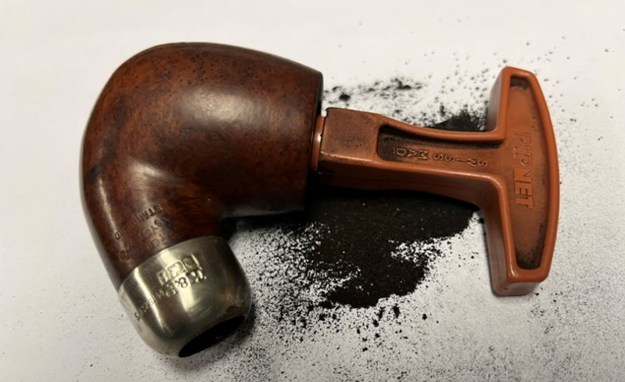
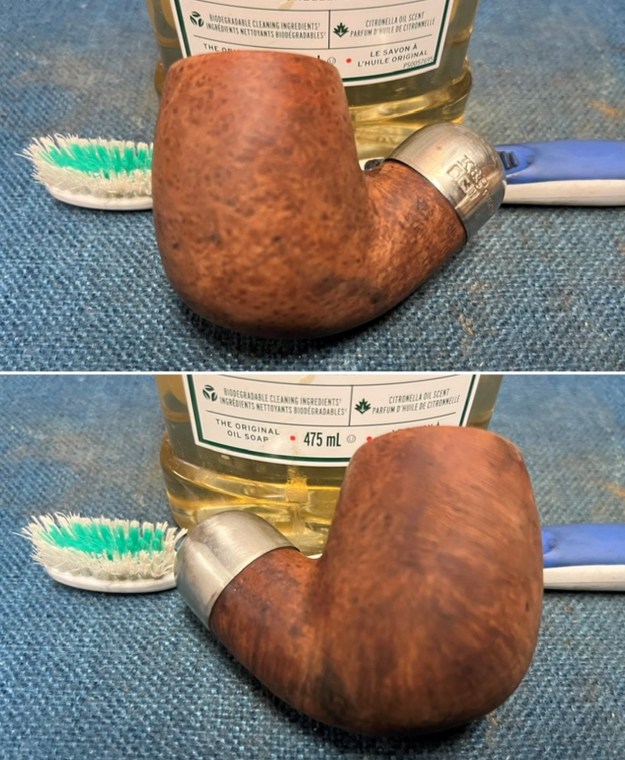
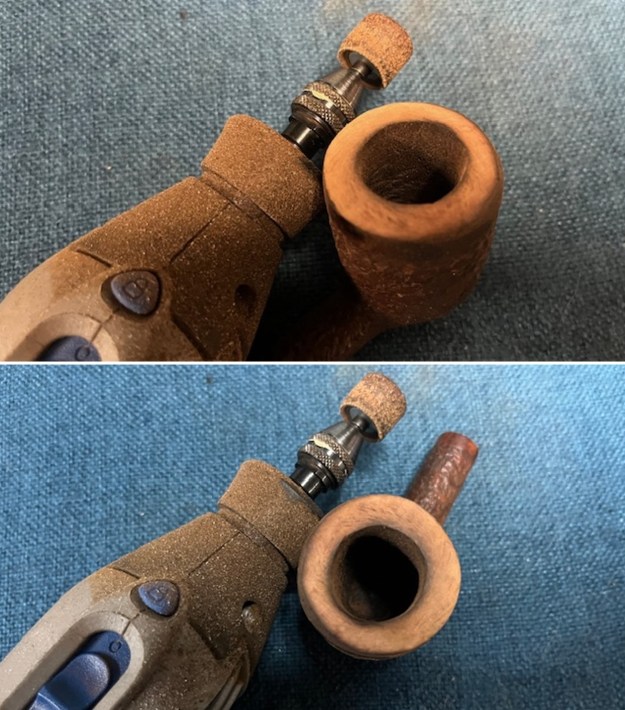
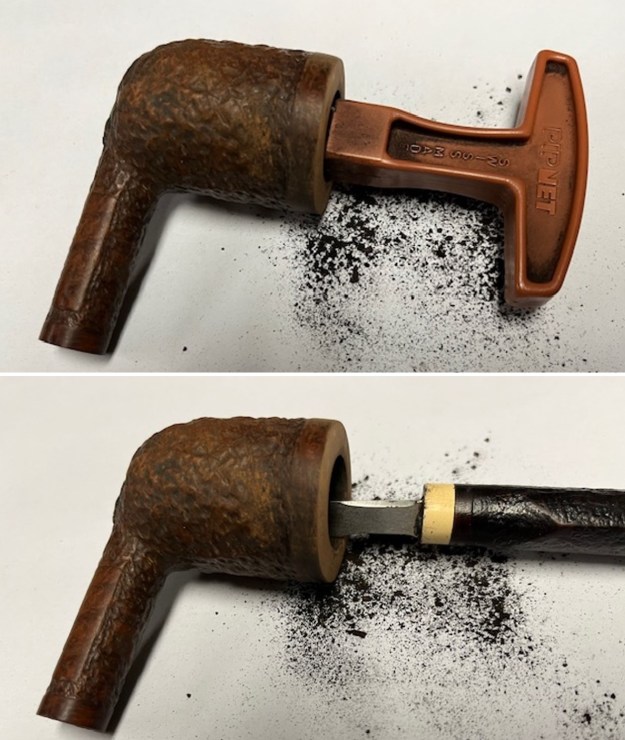
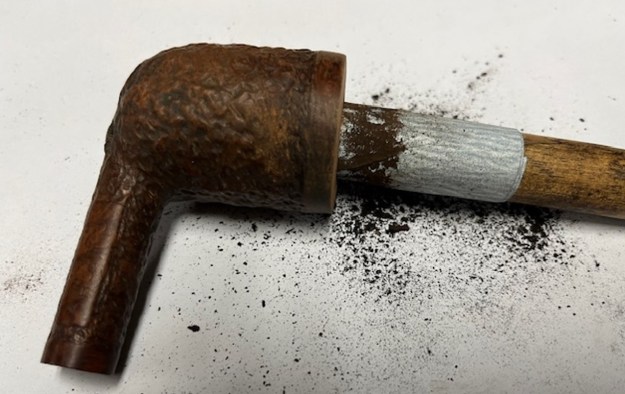
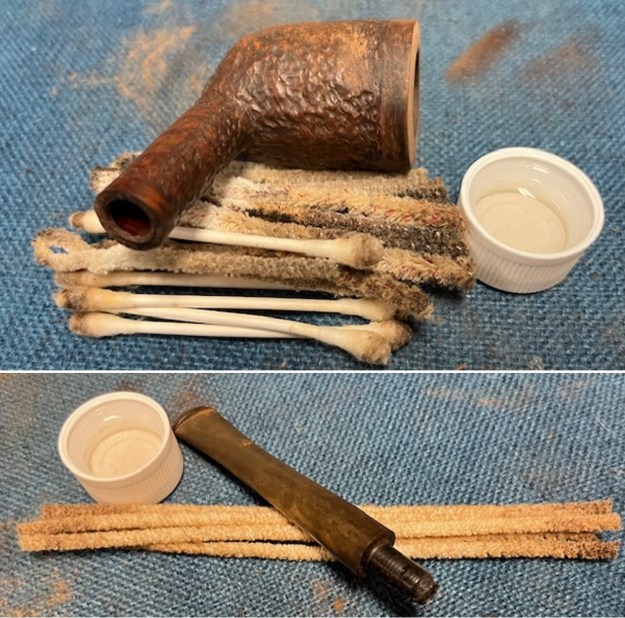
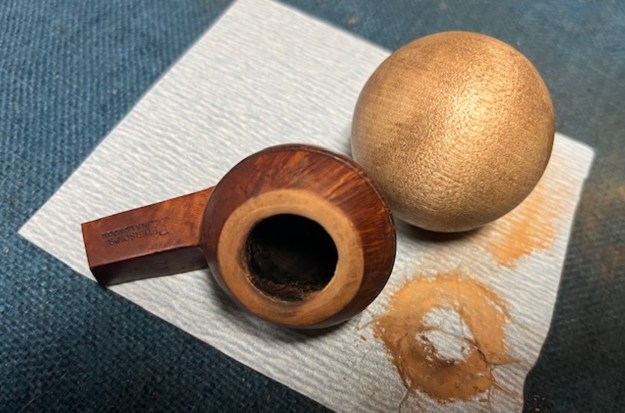
Now it was time to work on the pipe. Since Jeff always follows the same pattern of work in his cleanup we do not include photos but rather just a simple summary. Jeff reamed the bowl with a PipNet pipe reamer and followed up with a Savinelli Fitsall pipe knife to remove the cake. He scrubbed out the mortise and the airway in the shank and the stem with alcohol, cotton swabs, shank brushes and pipe cleaners. He scrubbed the exterior of the bowl, rim, shank and stem with a tooth brush and Murphy’s Oil Soap to remove the oils and tars on the rim and the grime on the finish of the bowl. He rinsed it under running water. He dried it off with a soft cloth. He was able to remove the spotty lava build up on the rim top and you could see the marks on the top and edges of the rim. He soaked it in Briarville’s Pipe Stem Deoxidizer and rinsed it with warm water to rinse off the residue. The stem was clean and the oxidation was gone. I took photos of what the pipe looked like when I brought to my worktable.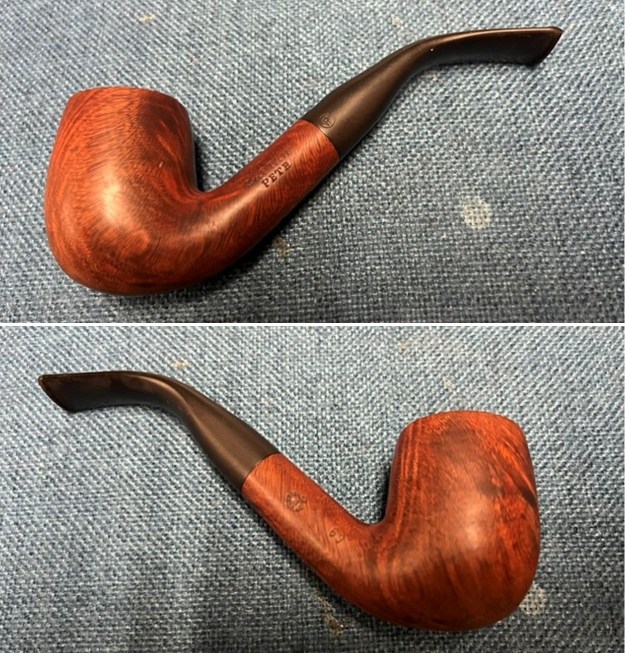
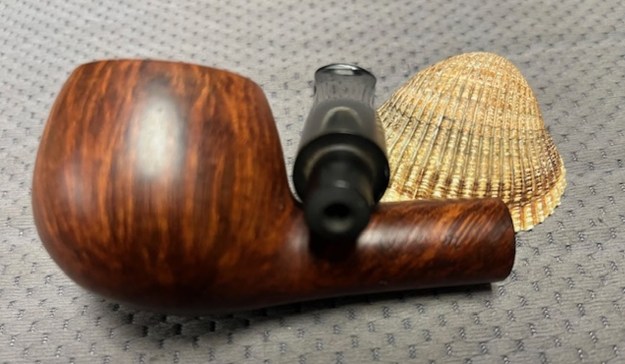
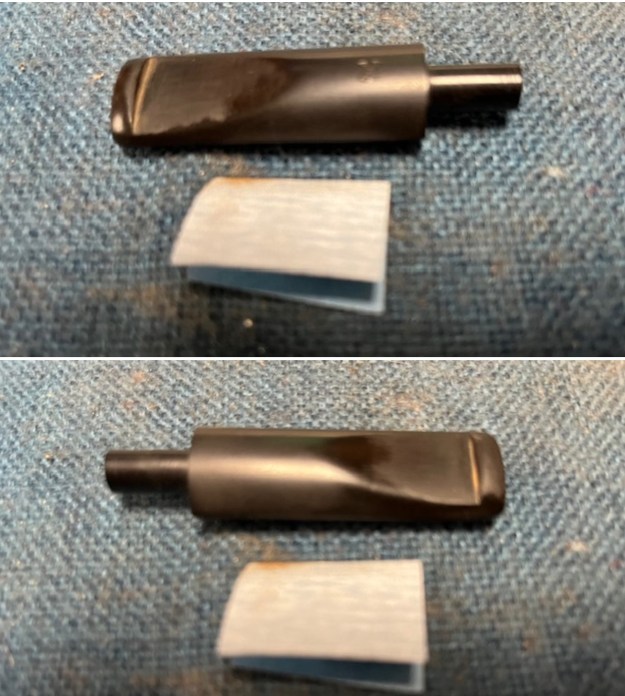
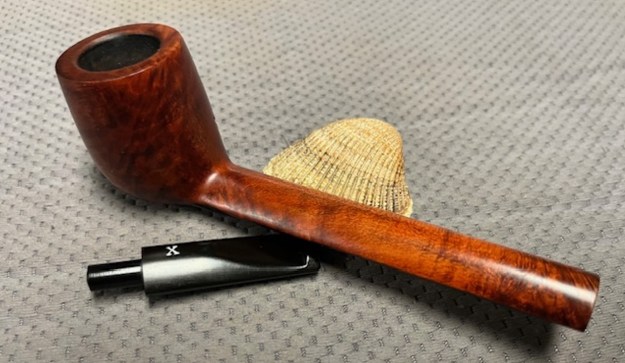
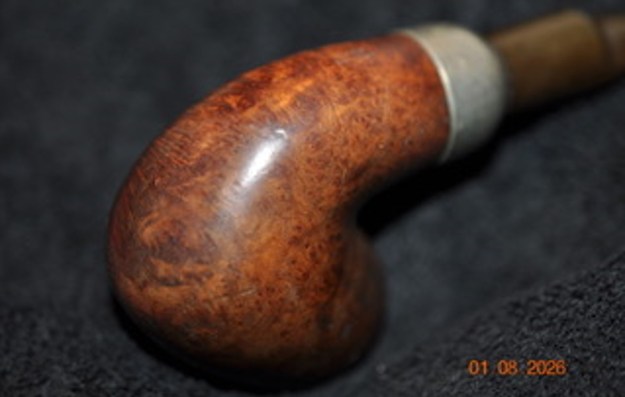
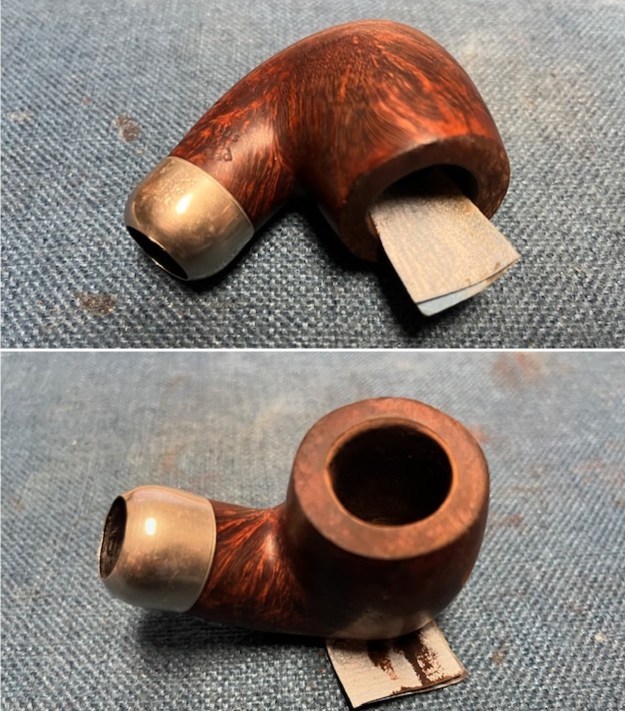
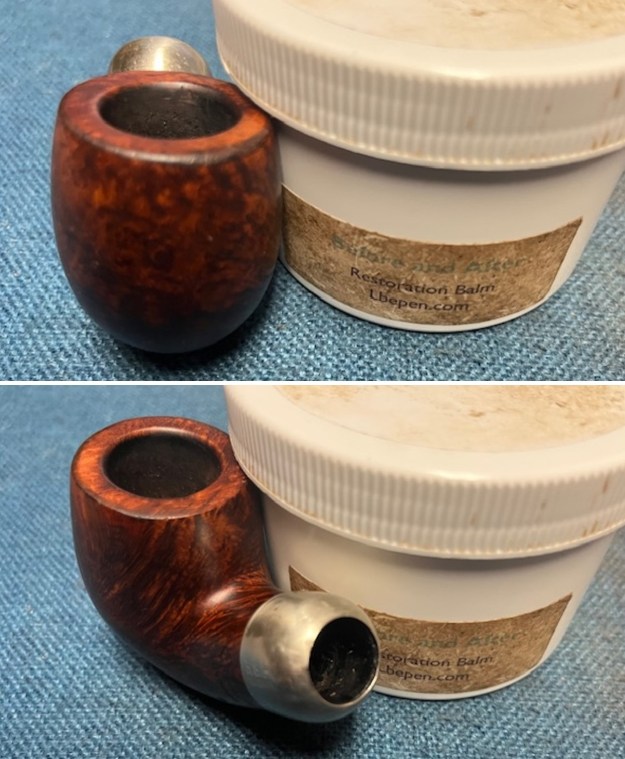
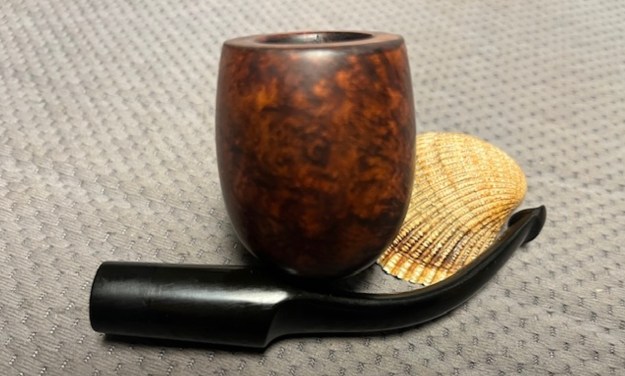
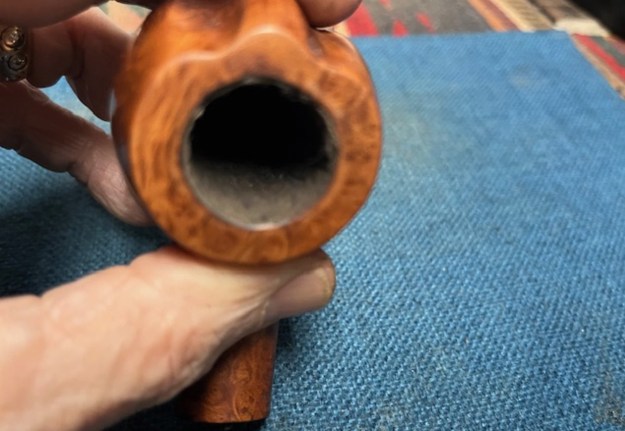
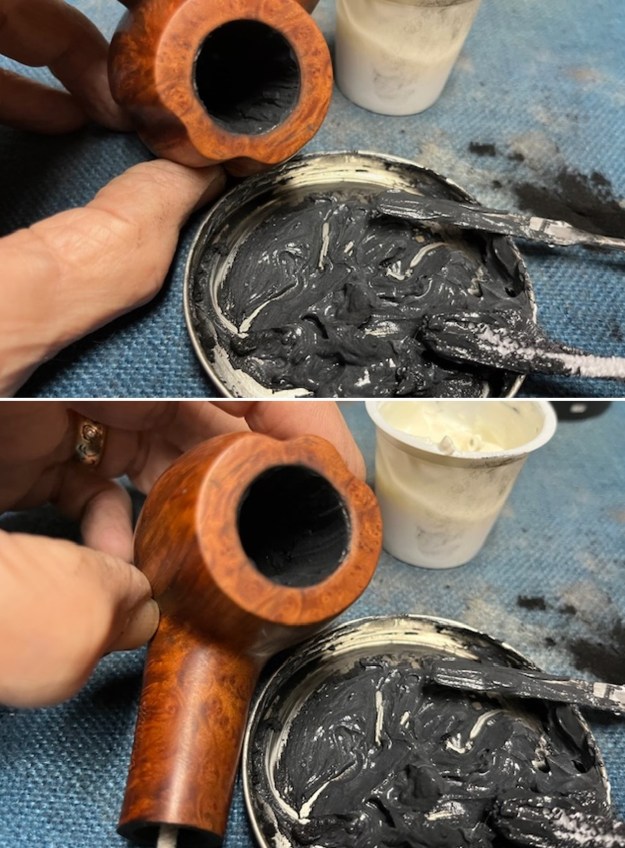
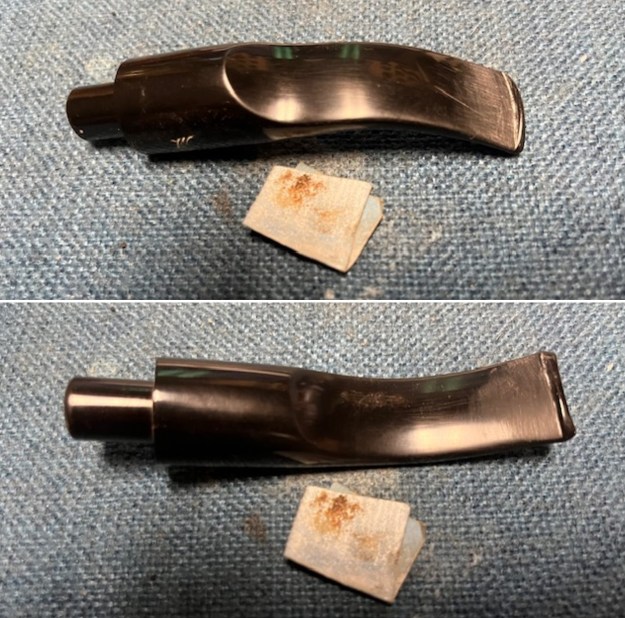
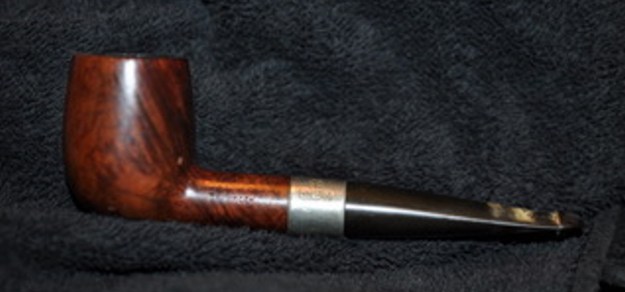
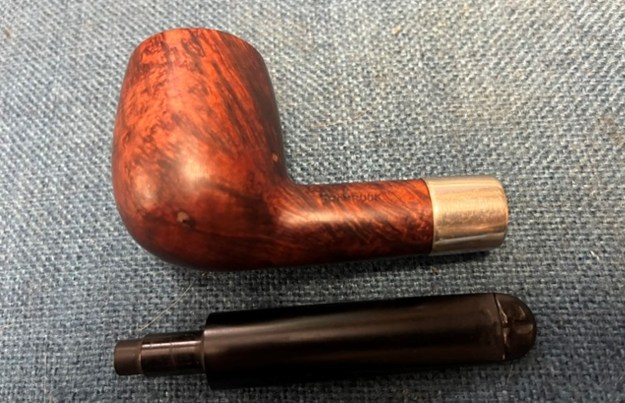
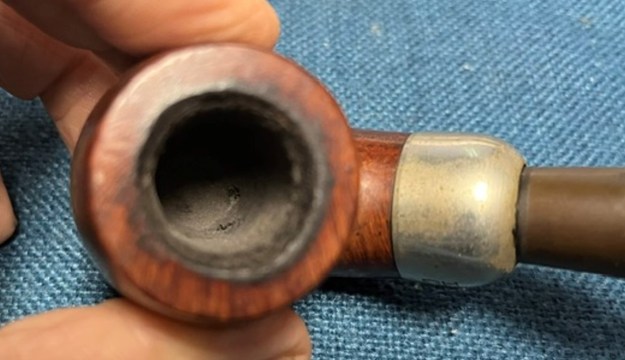
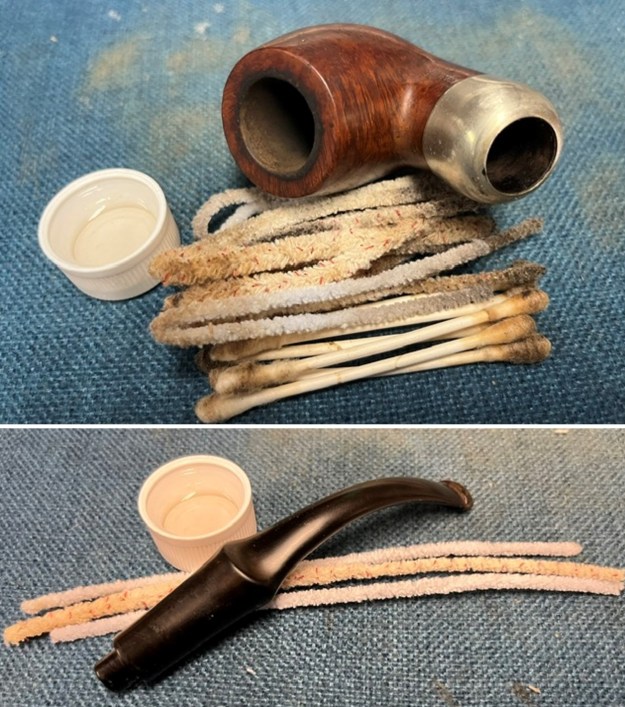
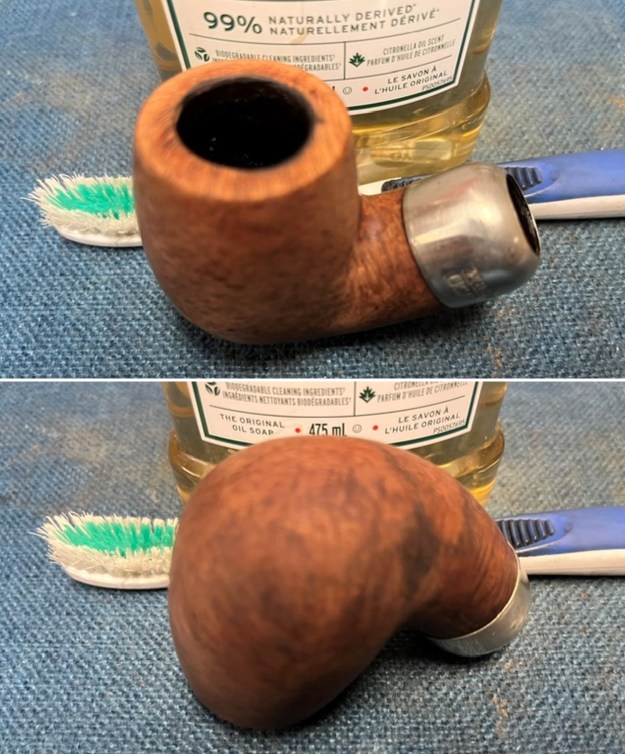
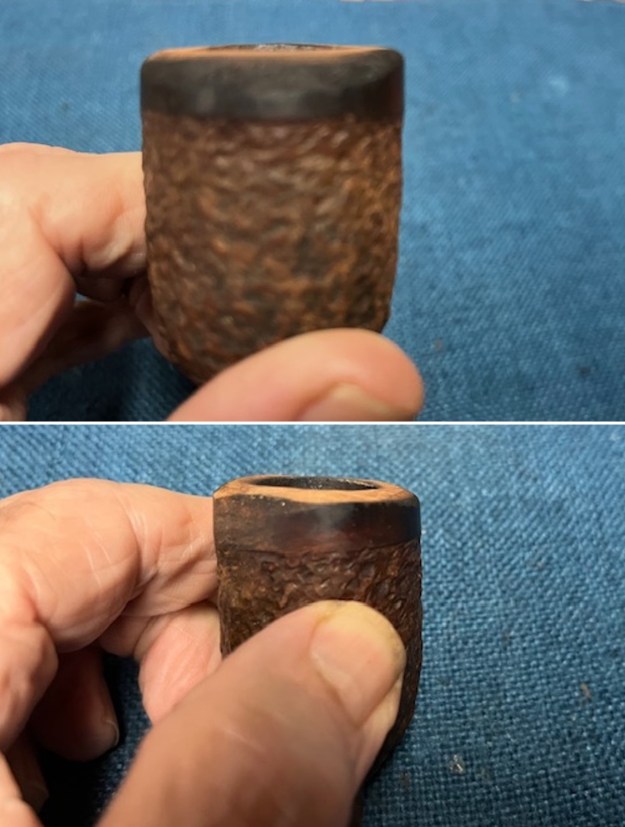
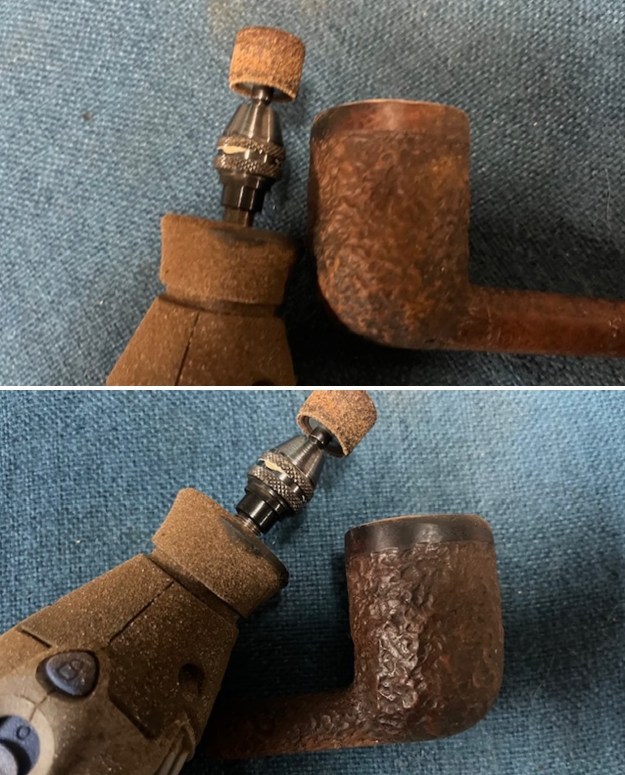
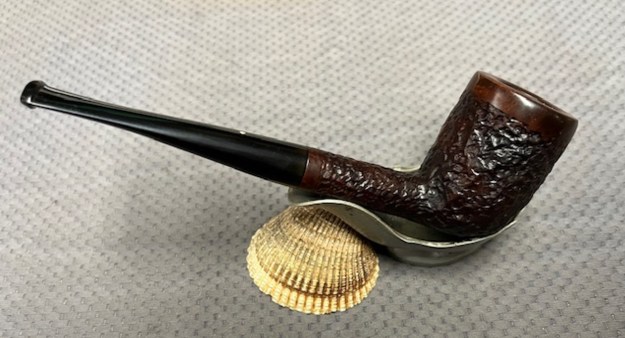
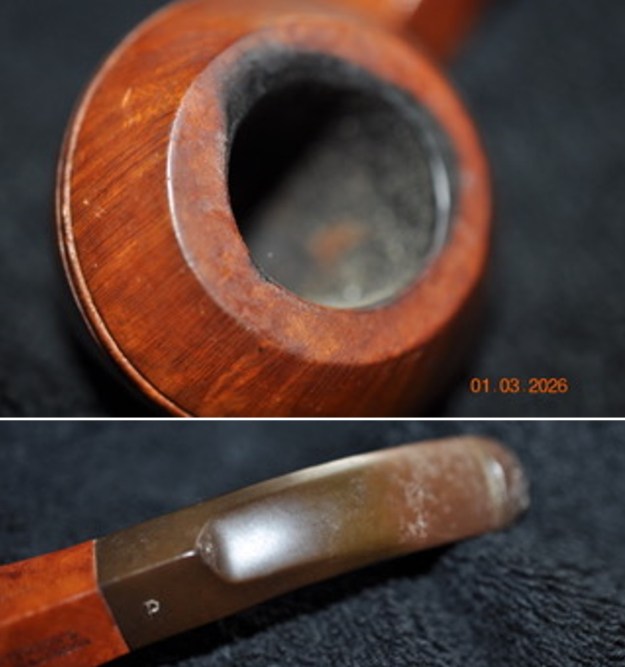
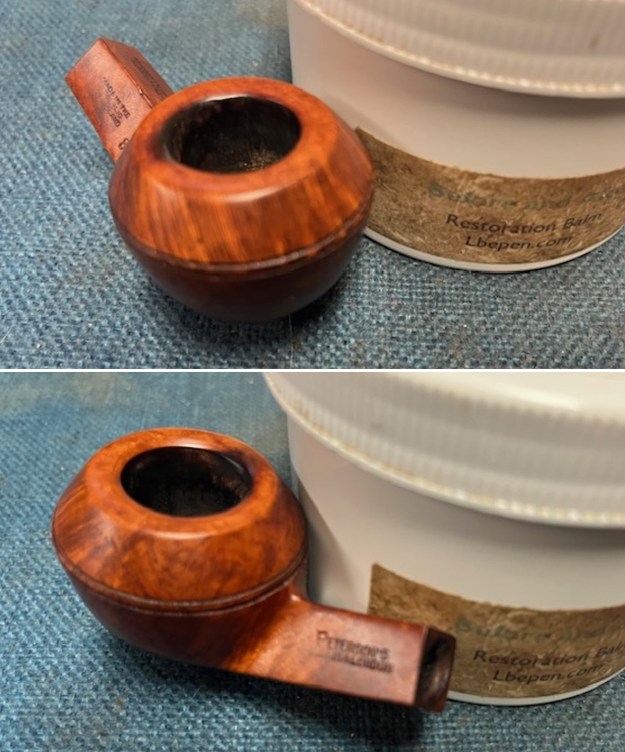
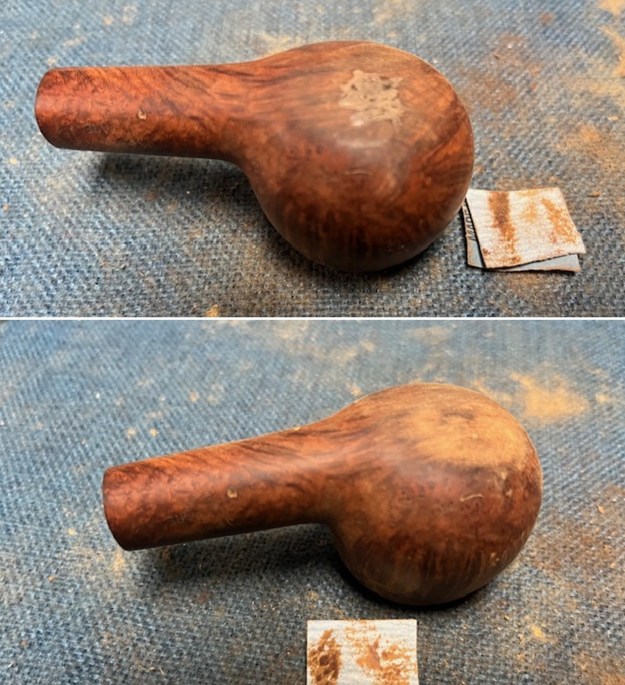
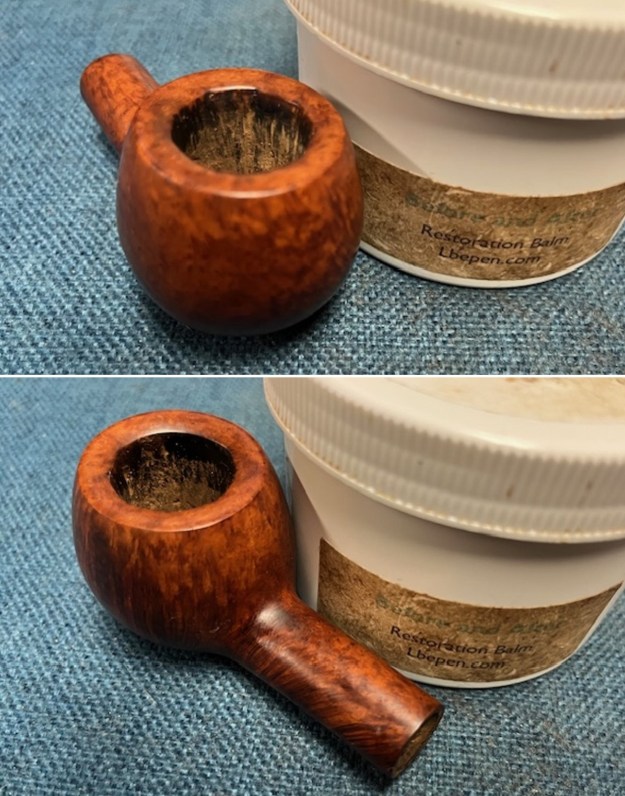
 I took close up photos of the bowl, rim top and stem to show how clean the pipe was. The bowl was clean and the rim top and the inner edge looked good. The stem was clean and there were light tooth marks on the top and underside of the stem.
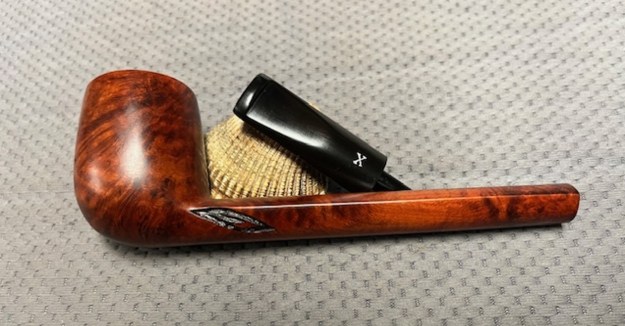
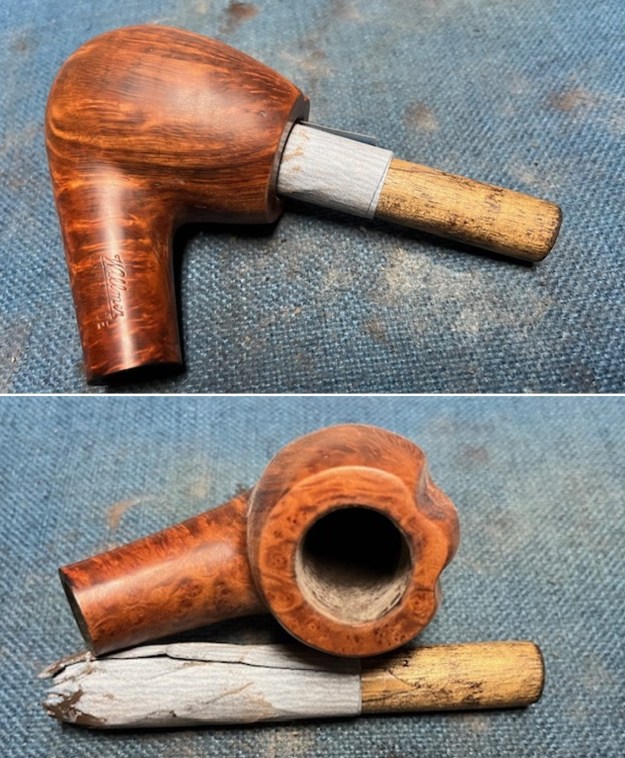
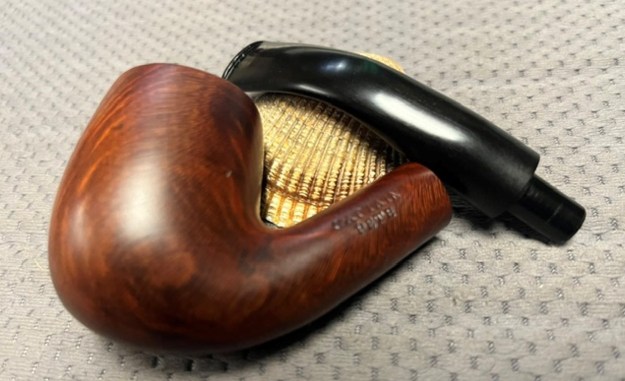
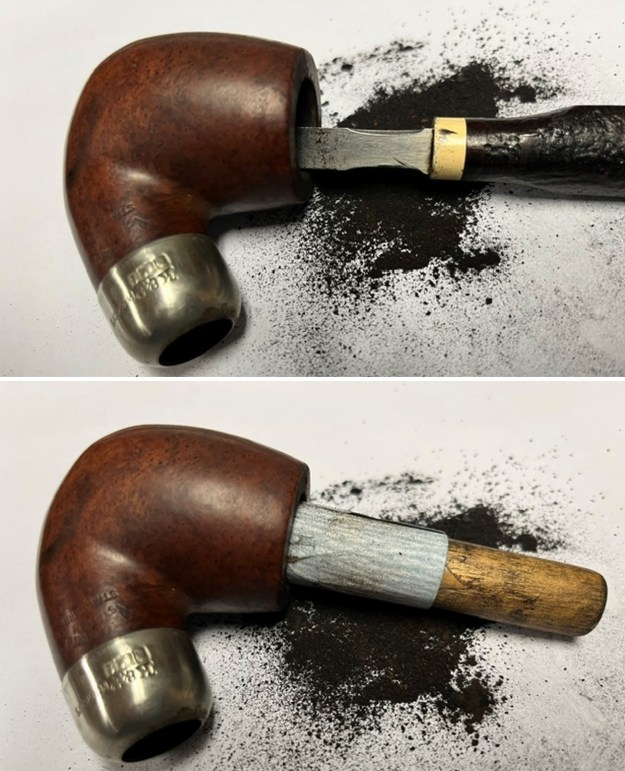
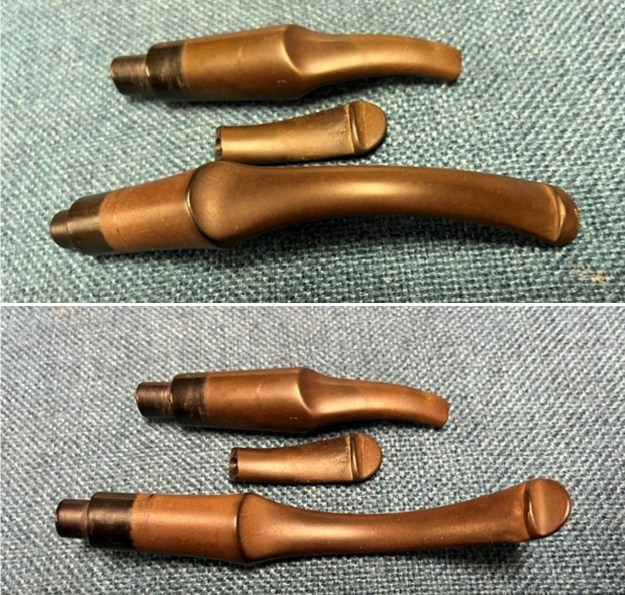
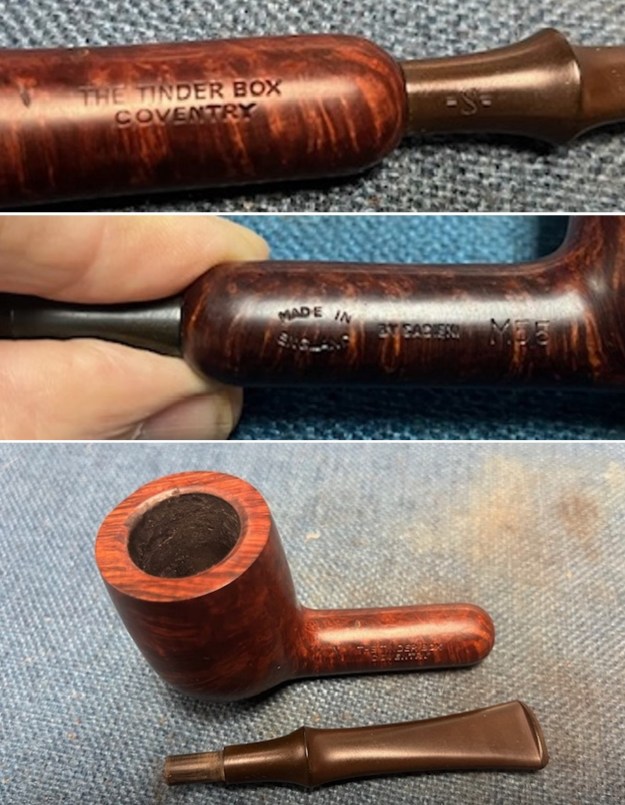
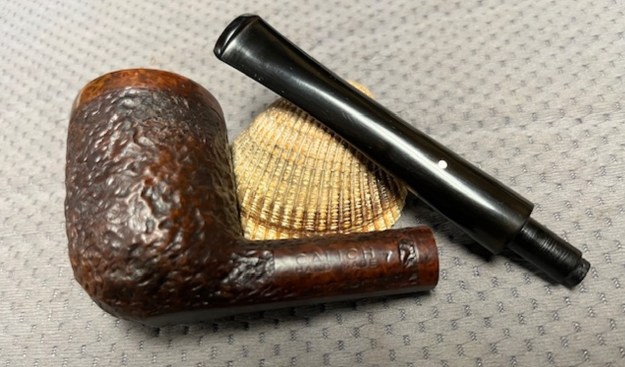
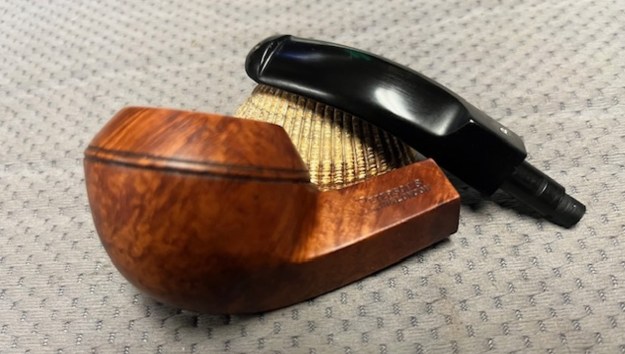
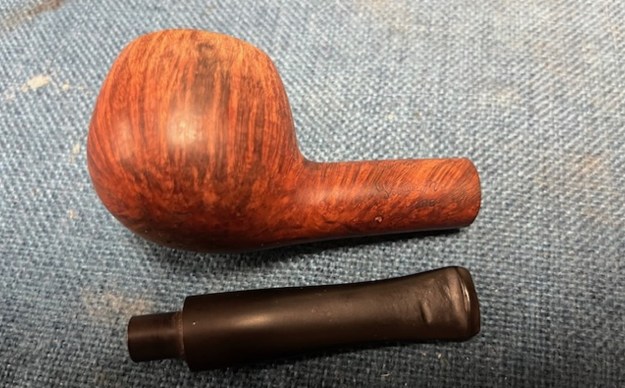
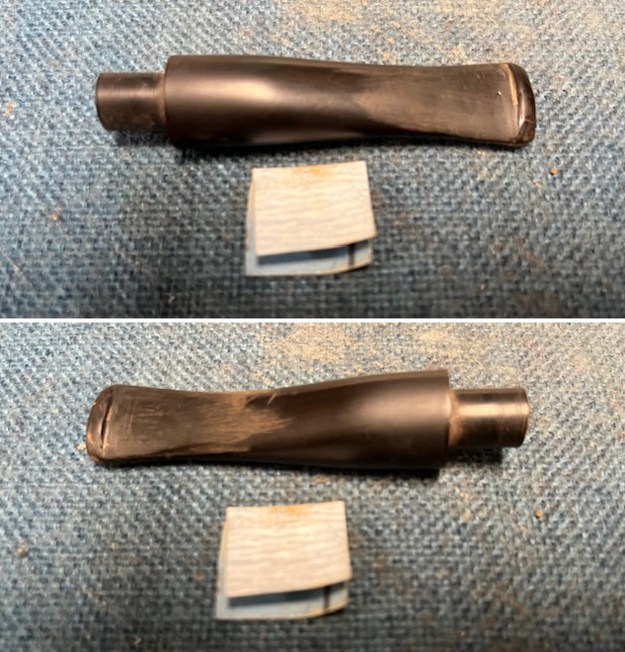
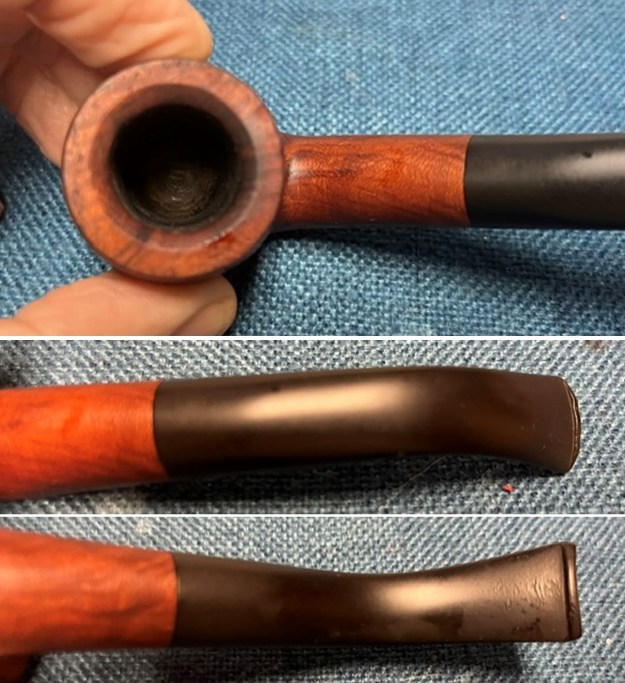 I took photos of the stamping on the sides of the shank and is readable as noted above. I also removed the stem from the shank and took photos of the pipe to show the look of the parts.
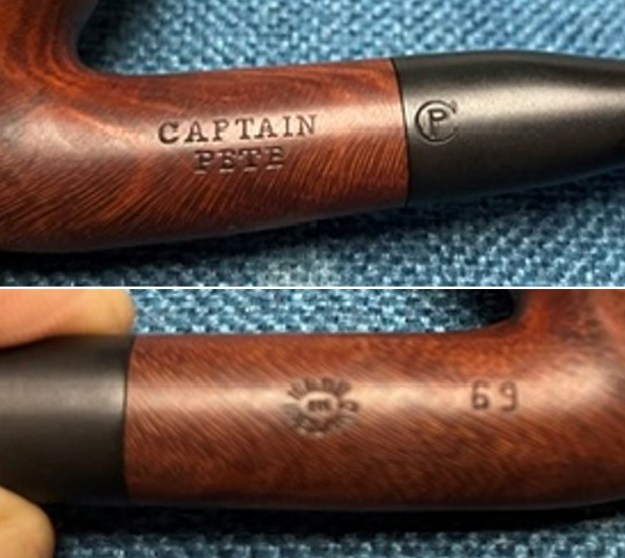
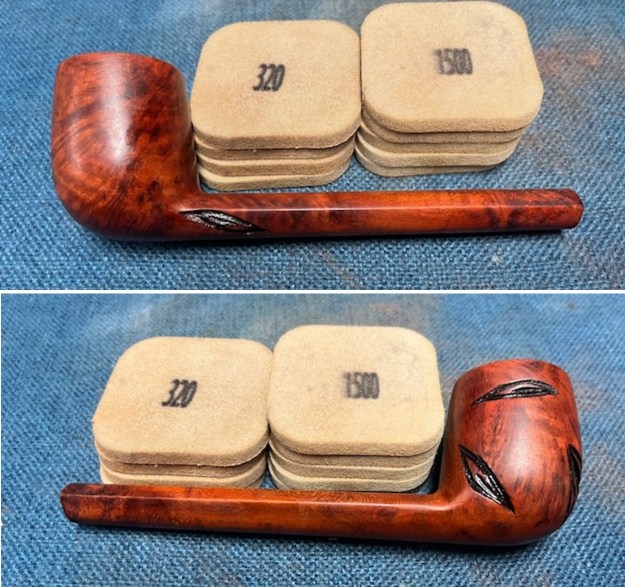
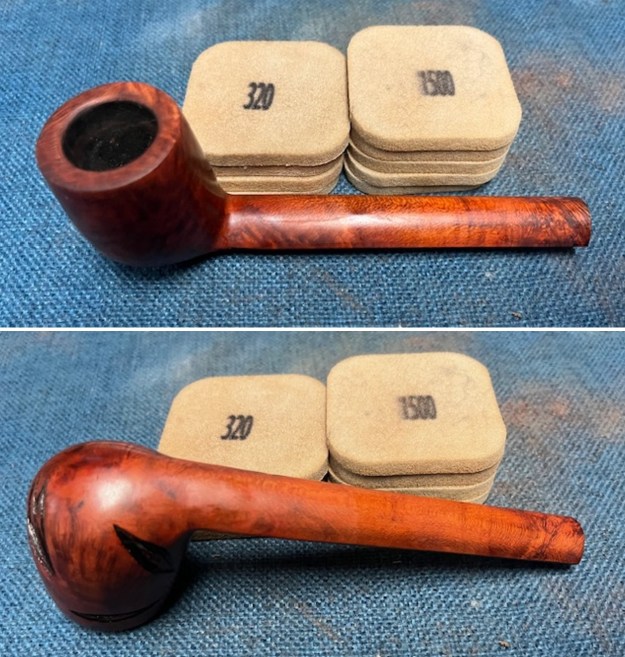
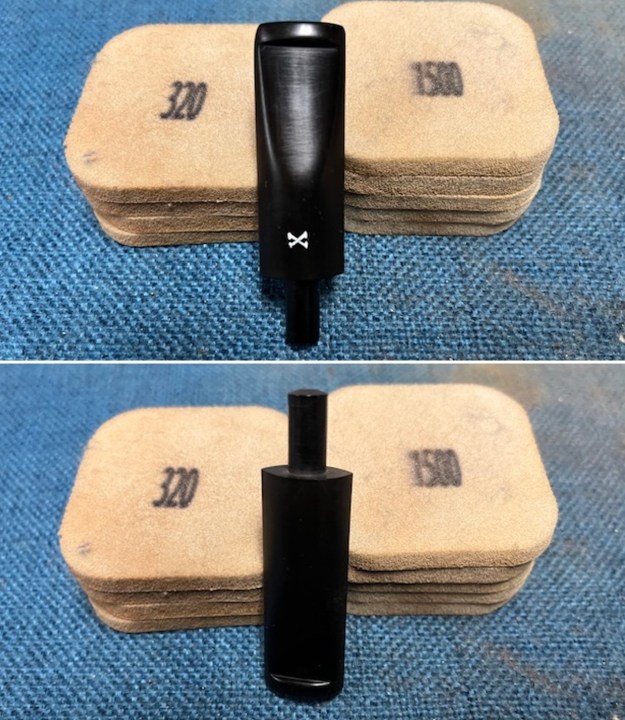
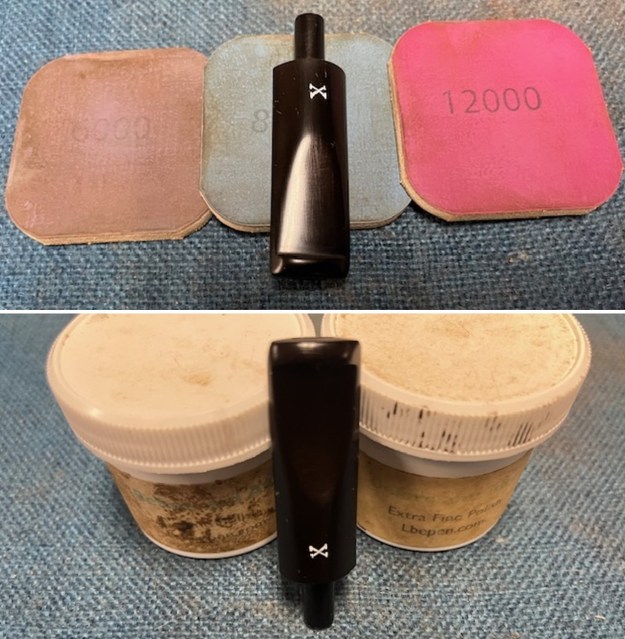
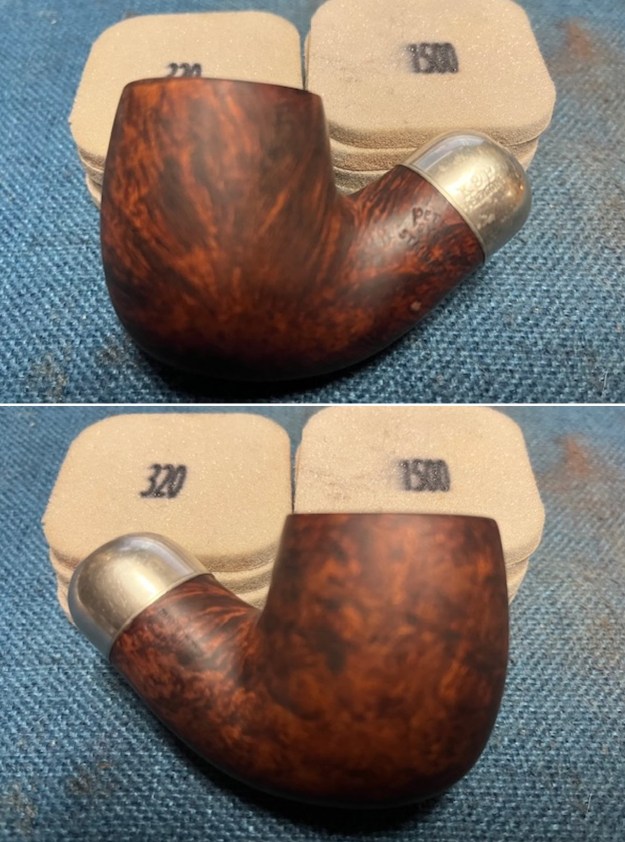
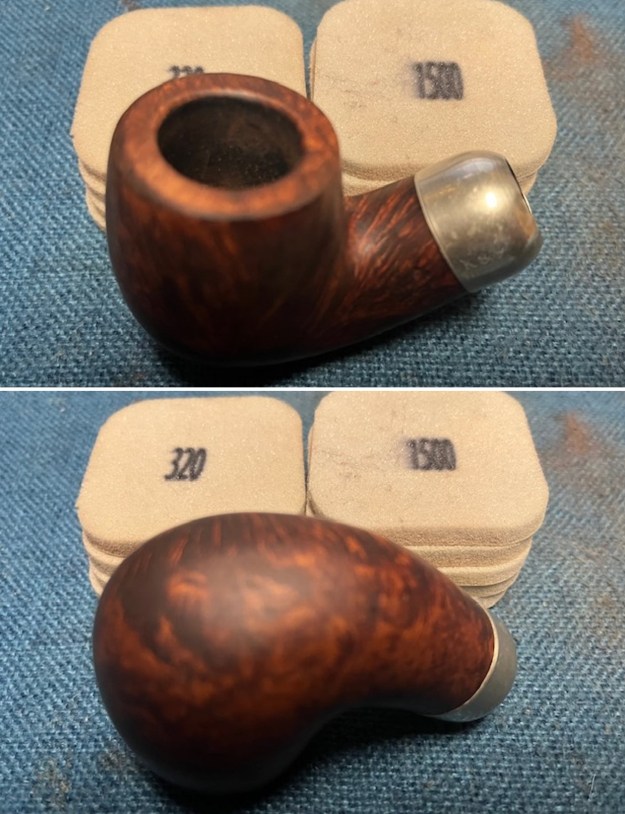
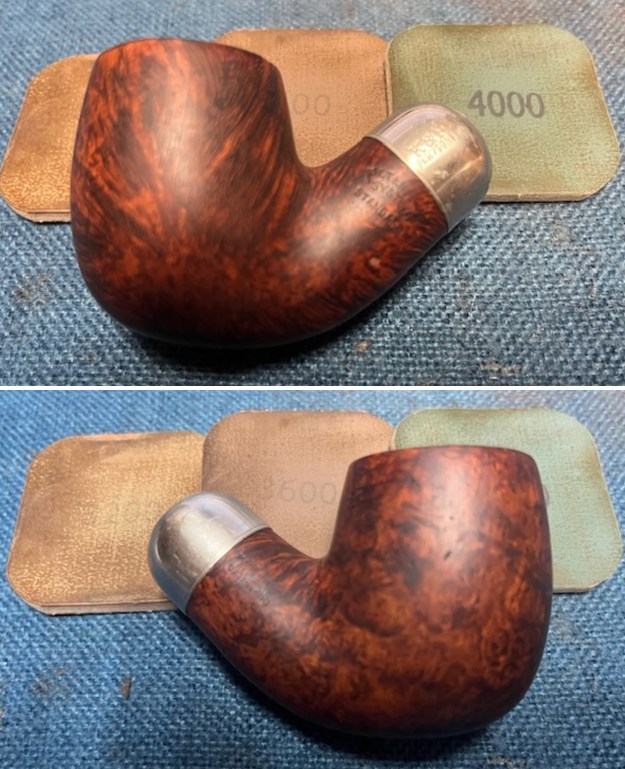
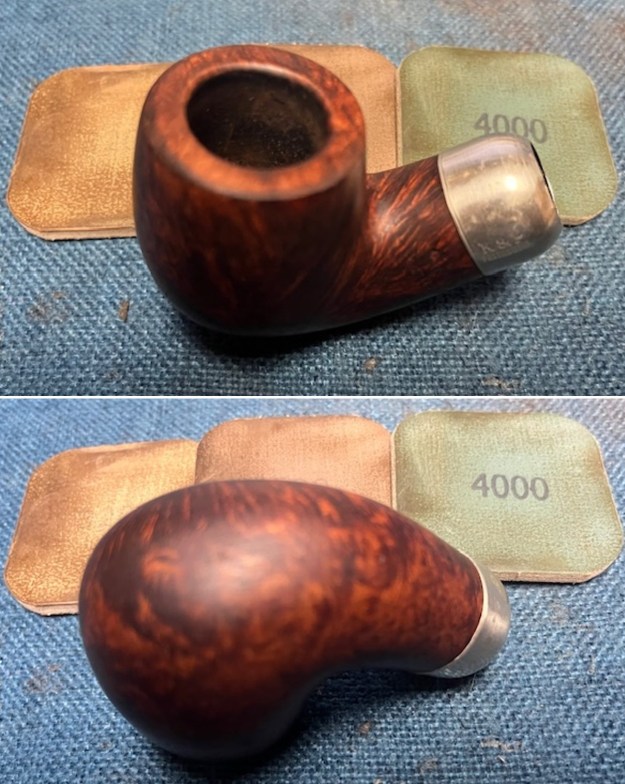
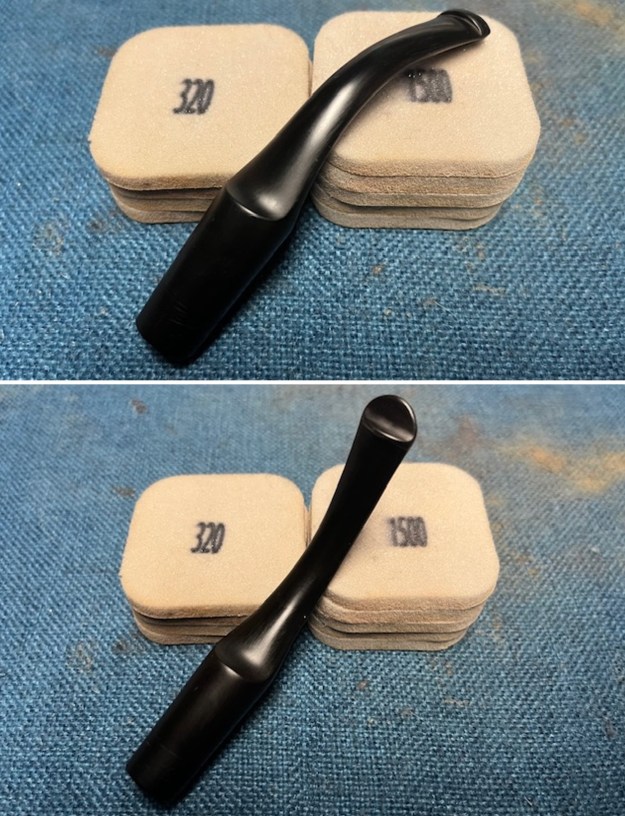
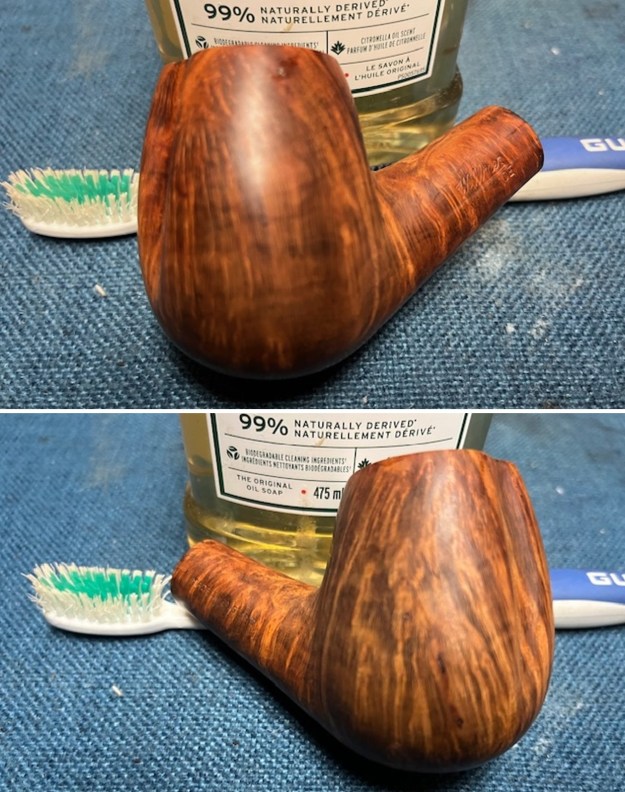
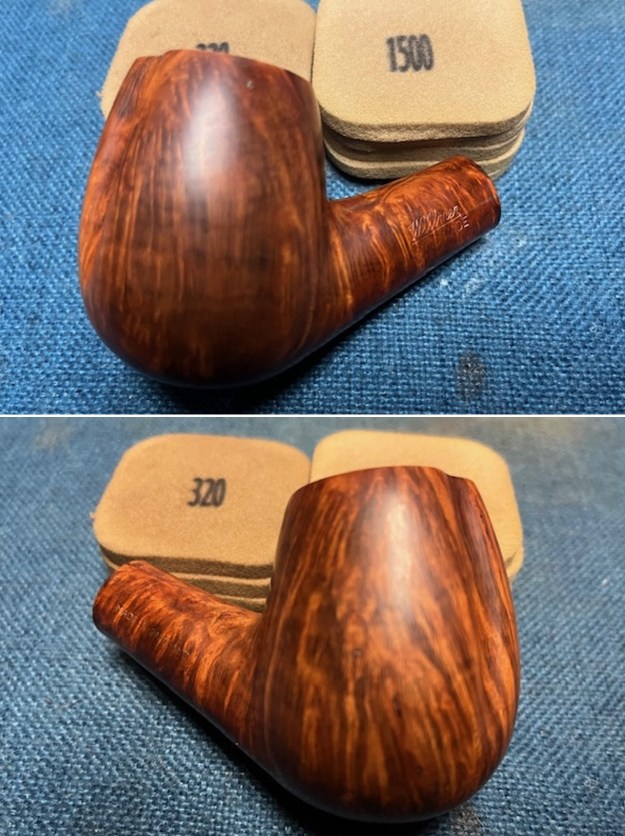
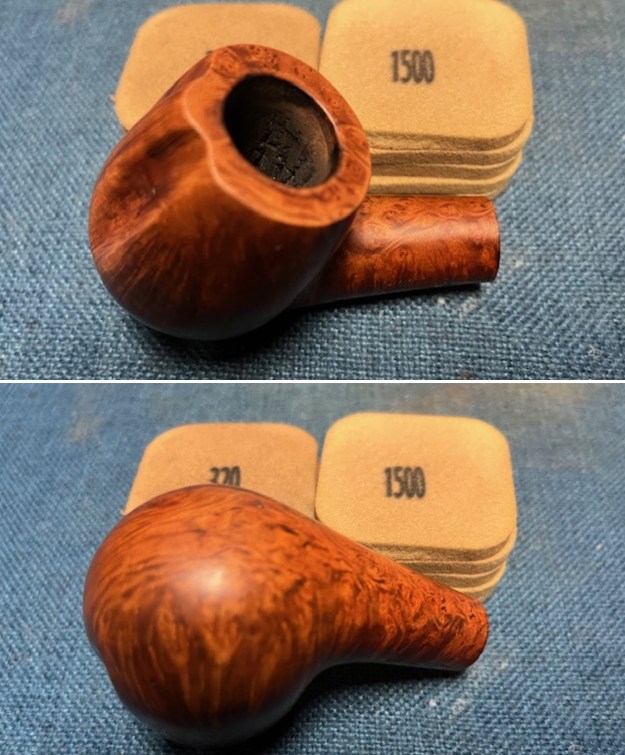
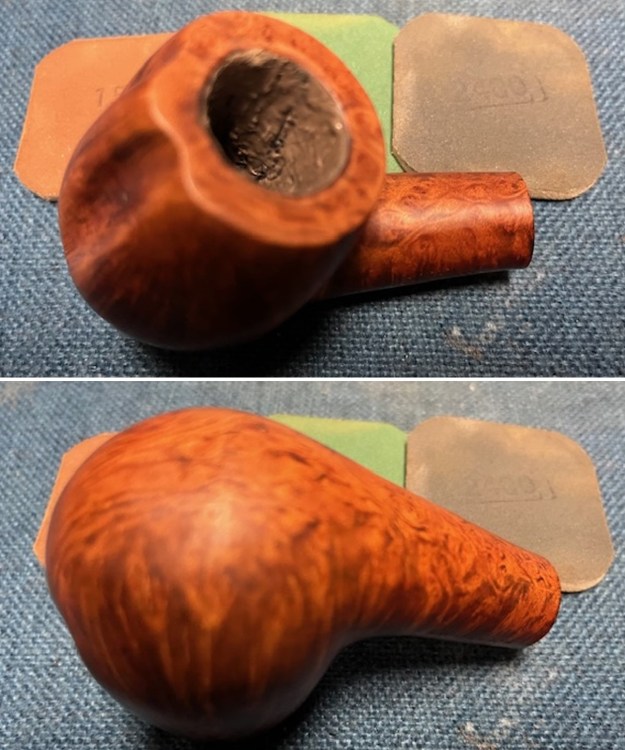
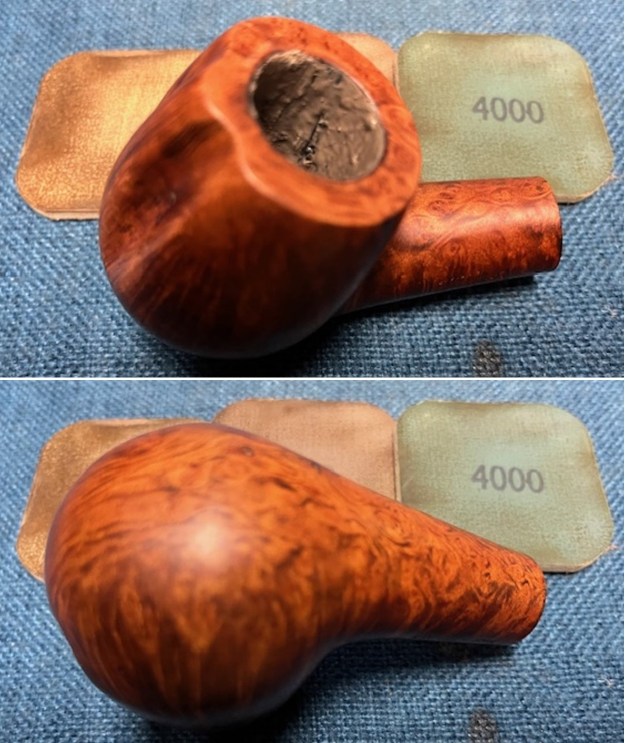
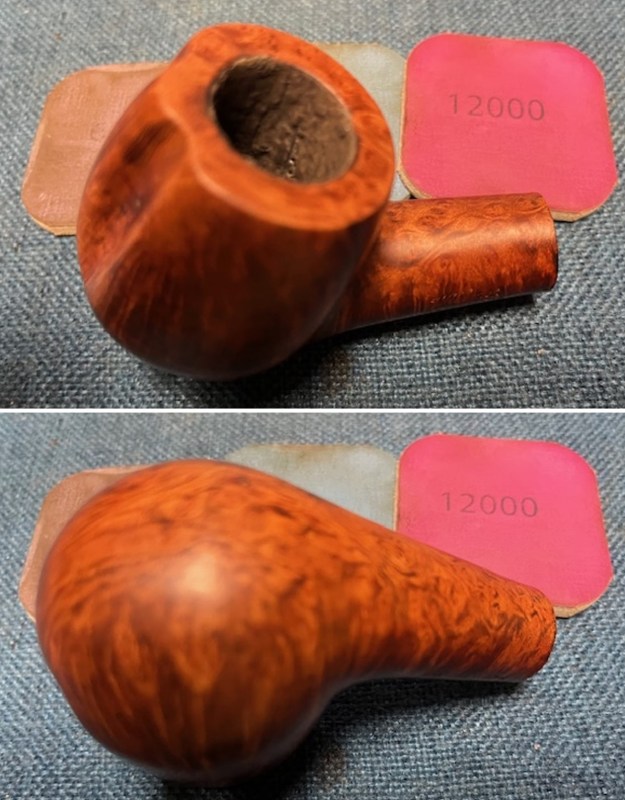
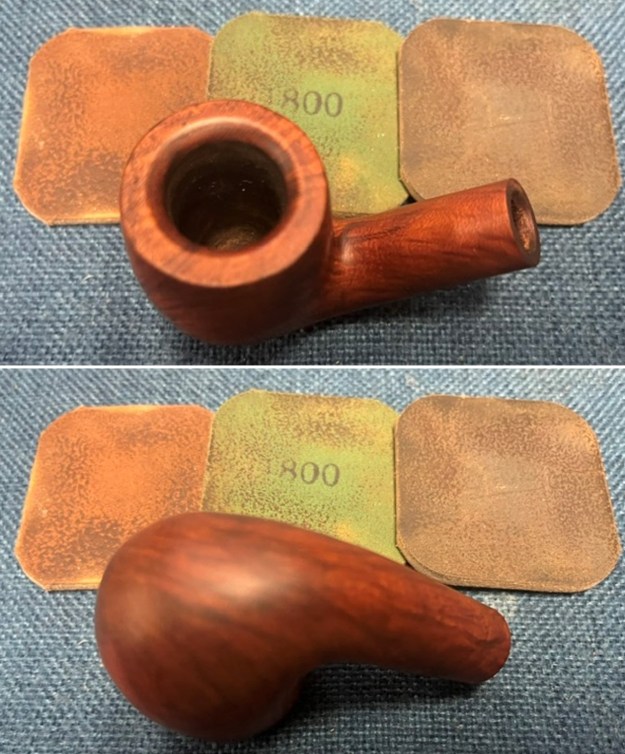
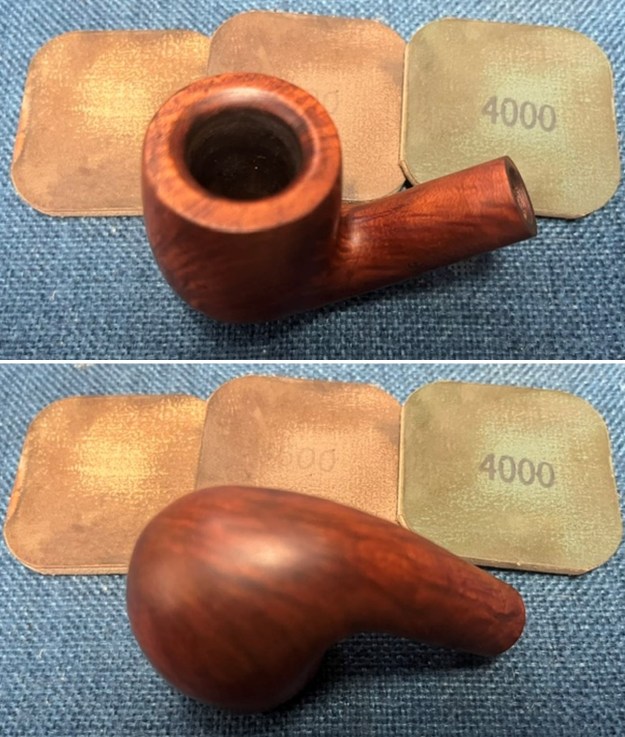
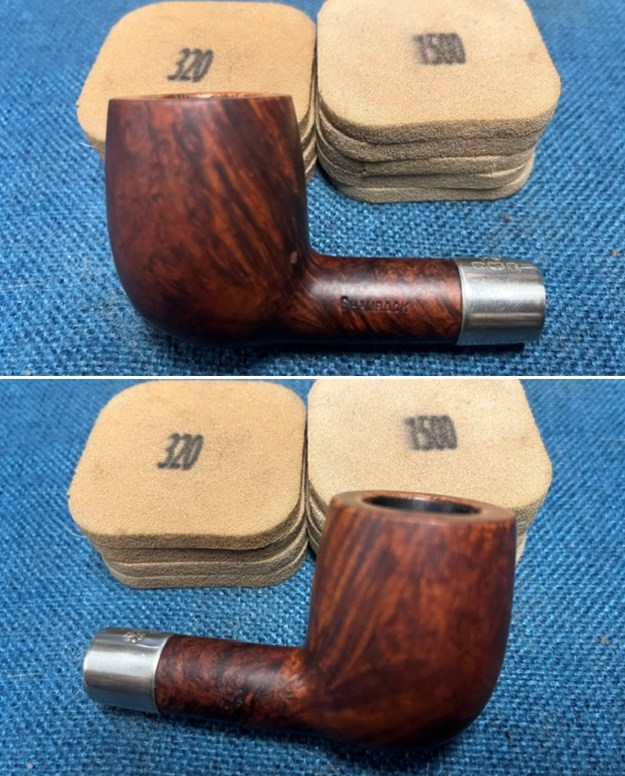
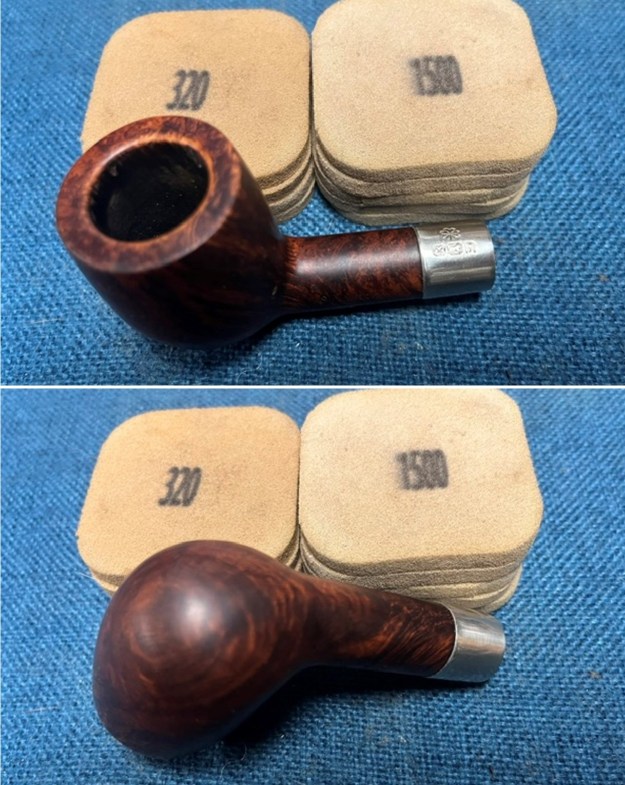
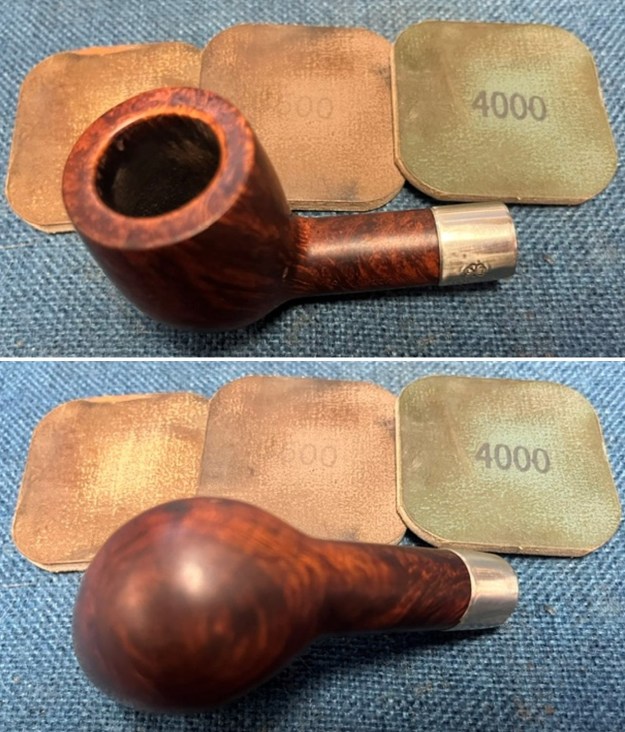
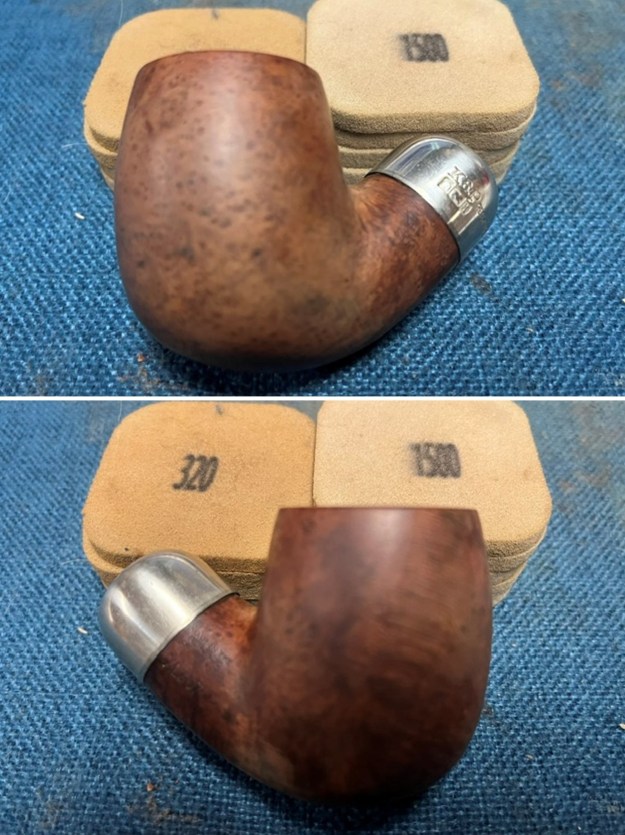
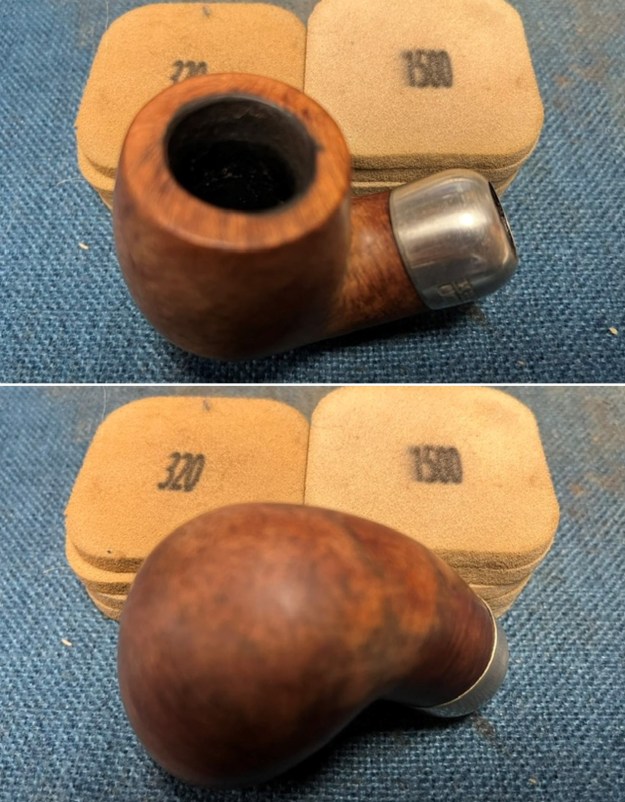
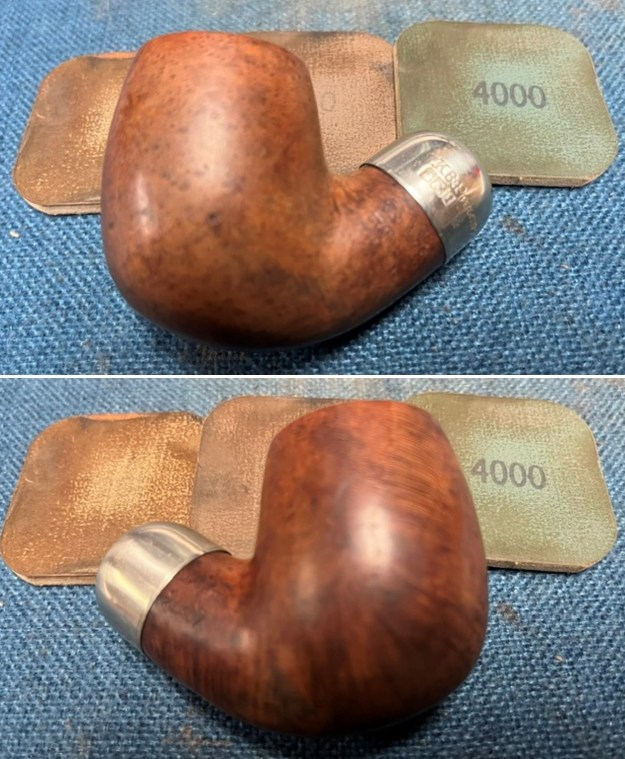
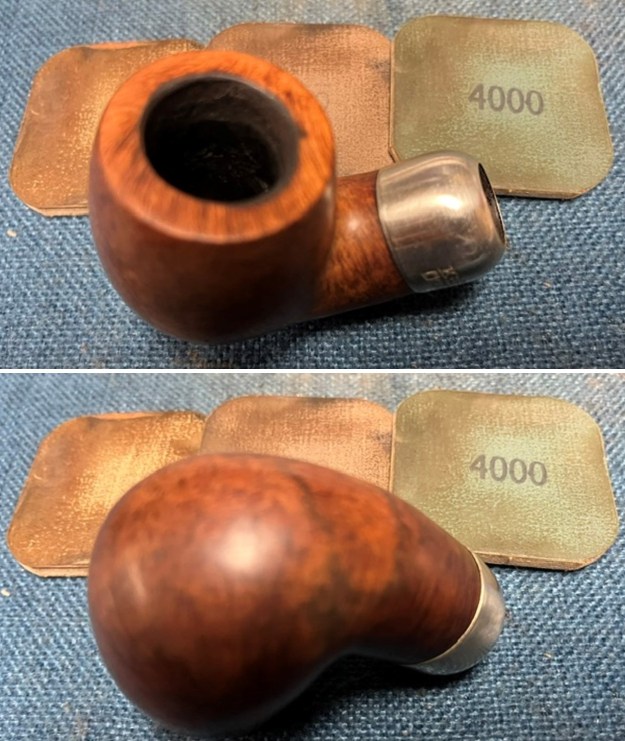
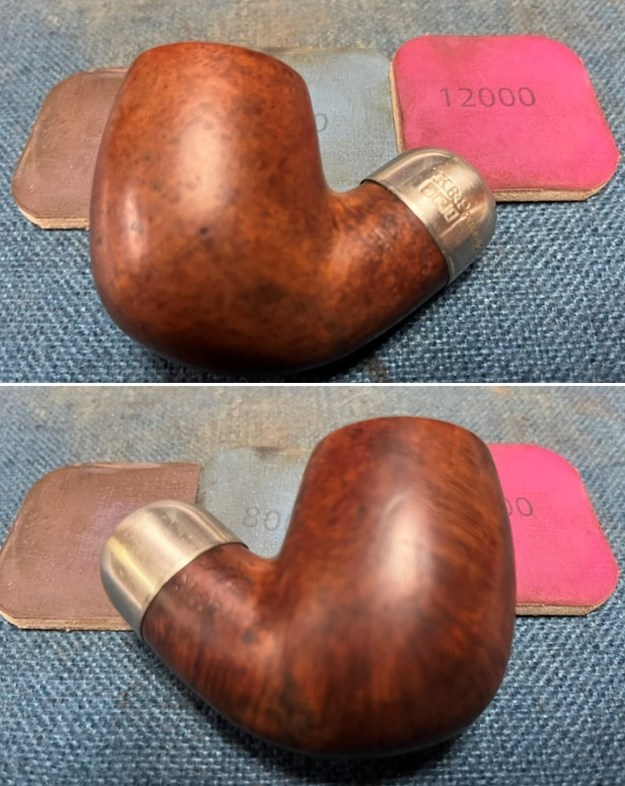
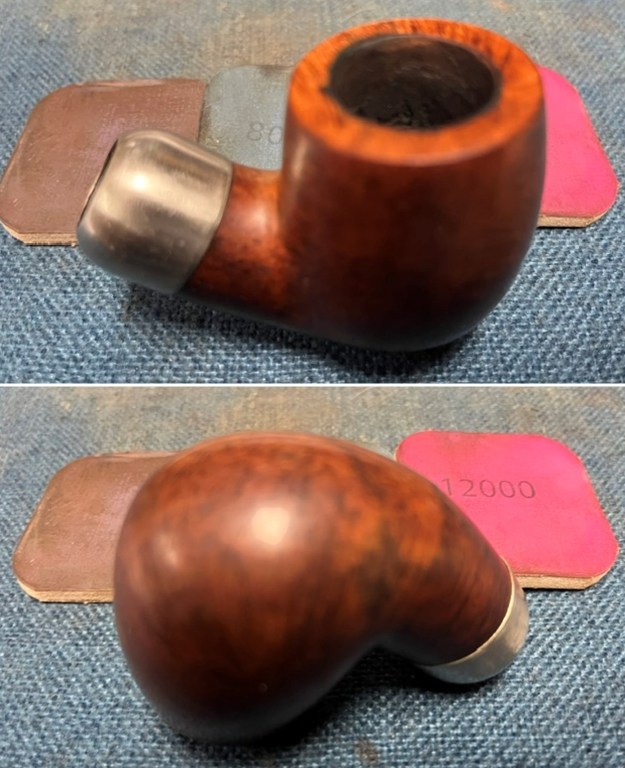
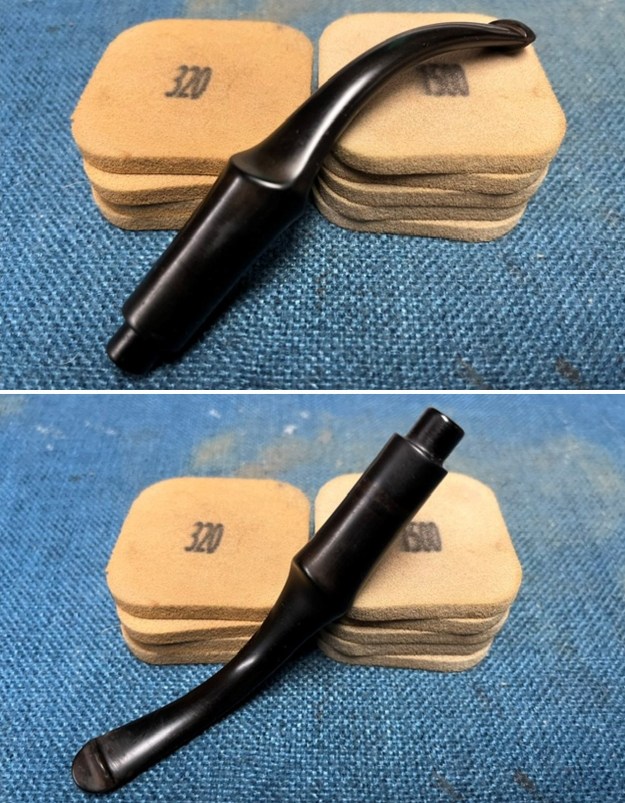
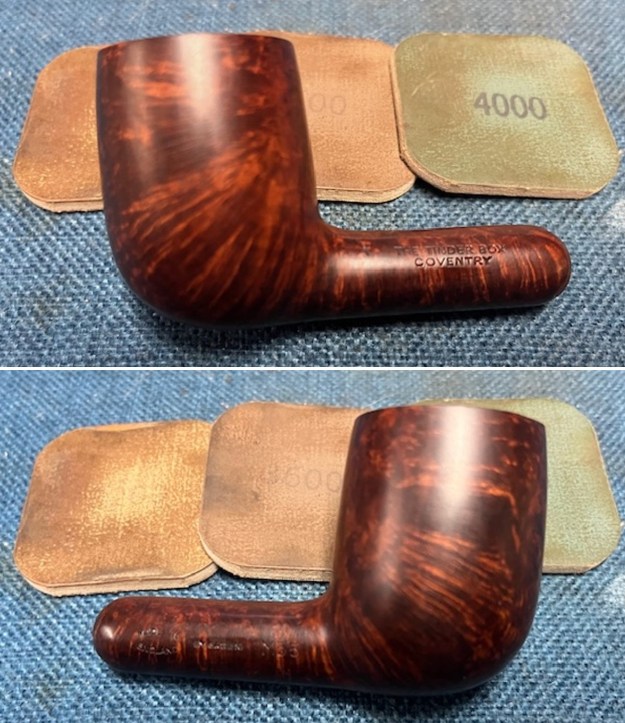
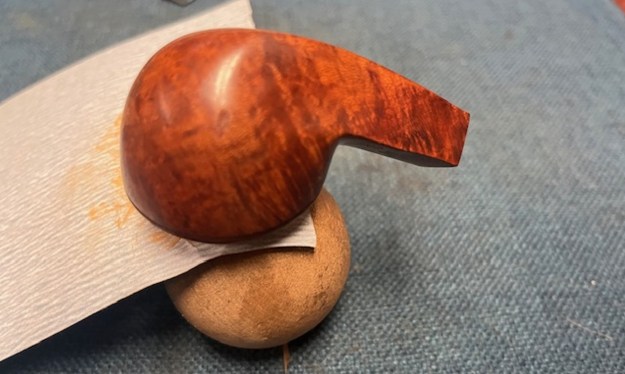
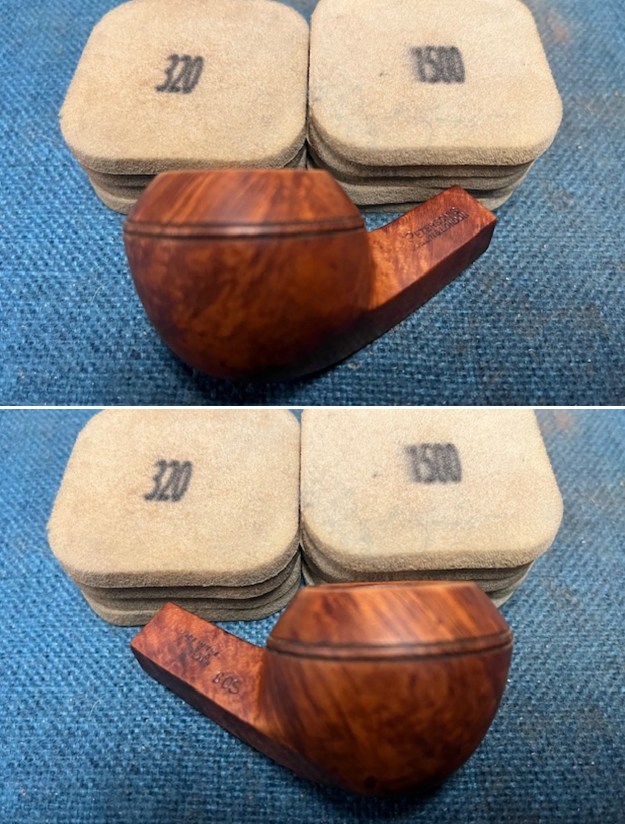
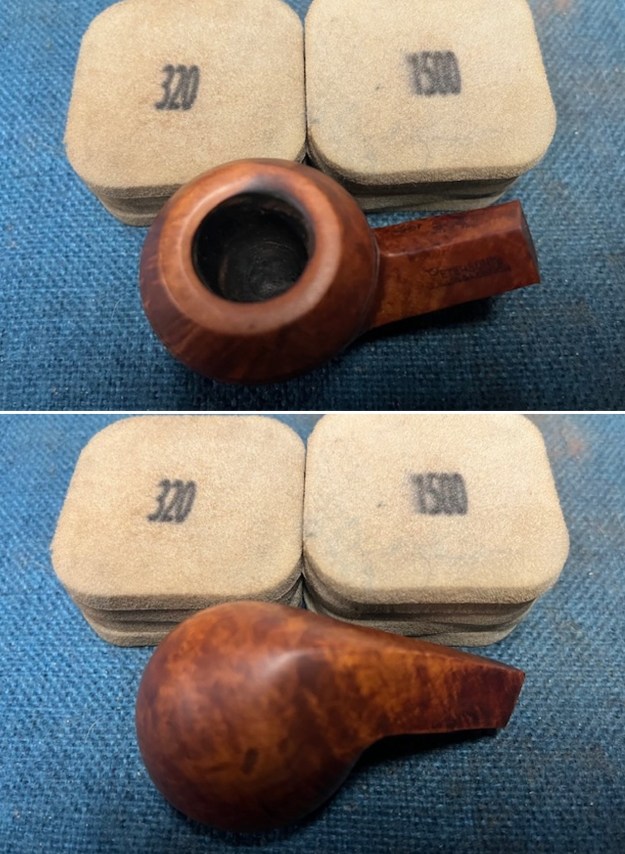
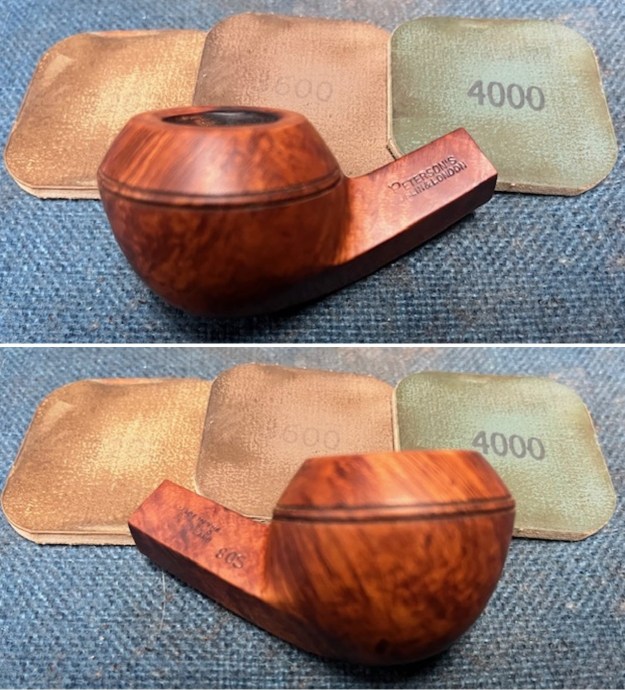
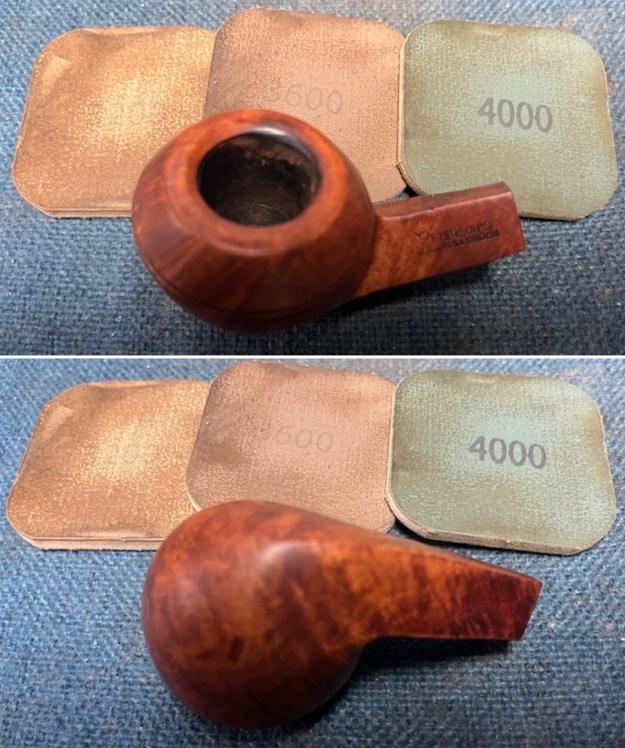
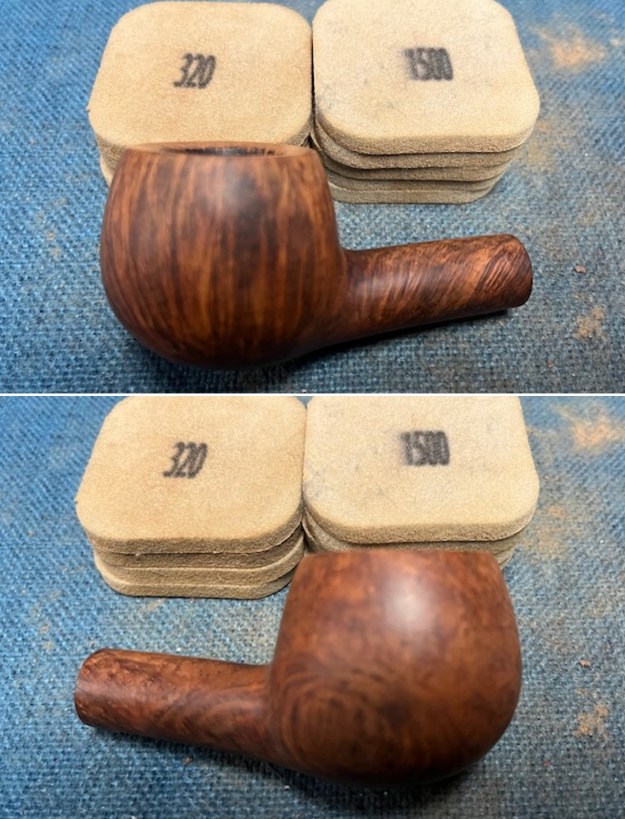
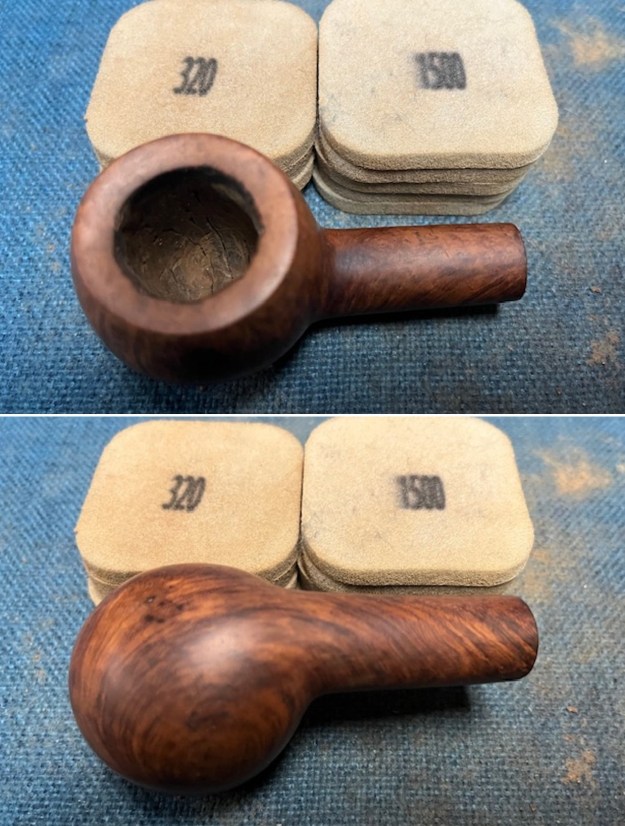
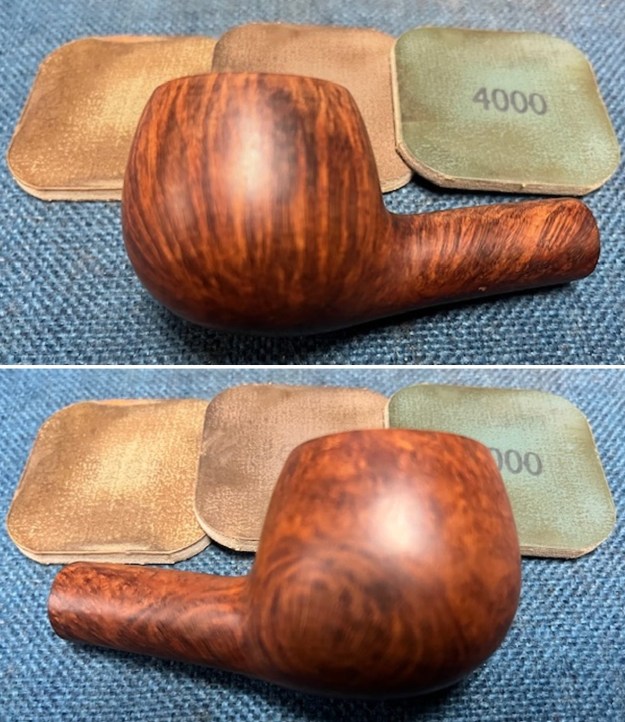
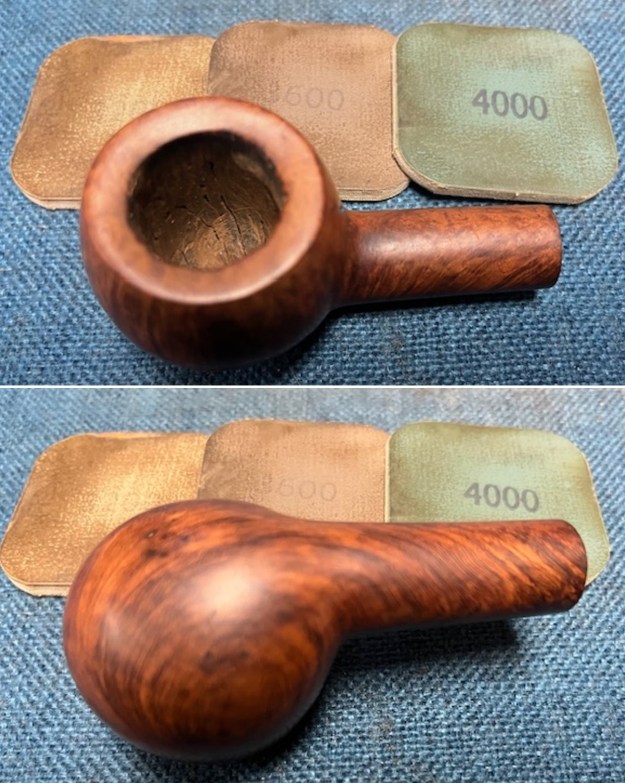
 I sanded the bowl with 320-3500 grit 2×2 inch sanding pads. I wiped it down with a damp cloth after each sanding pad to remove the debris. It began to look very good.
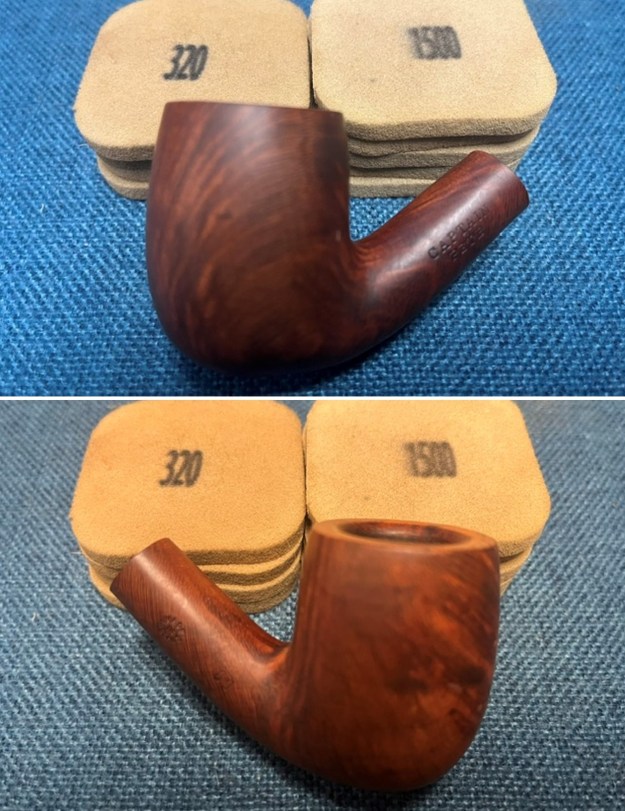
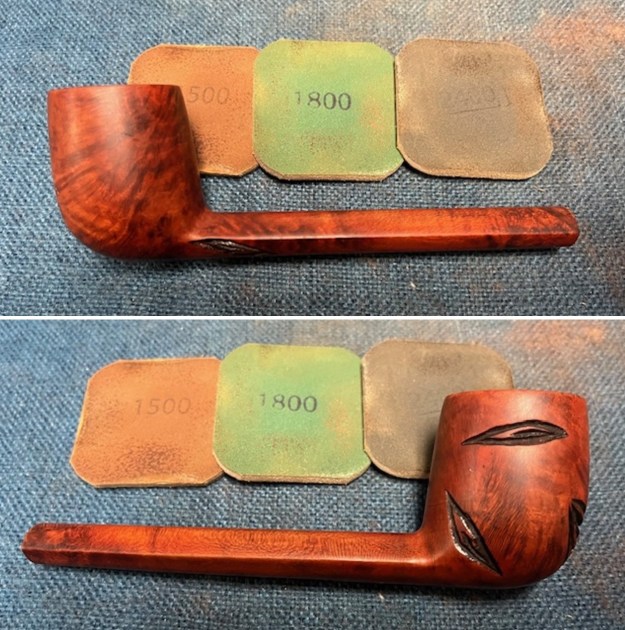
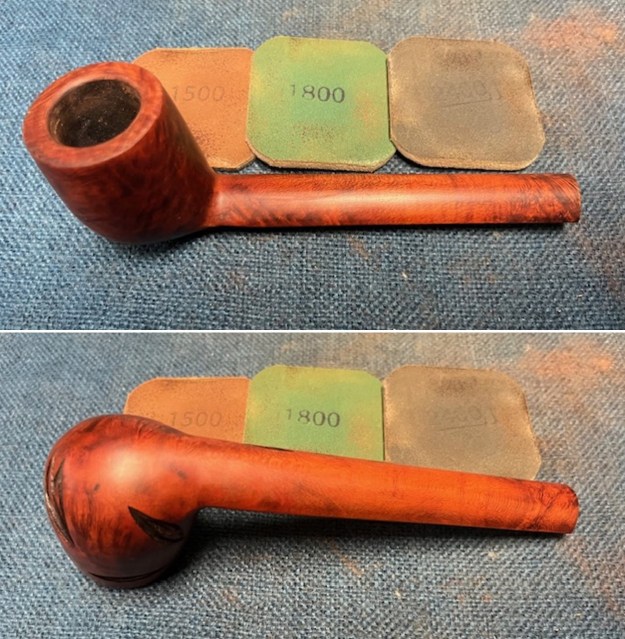
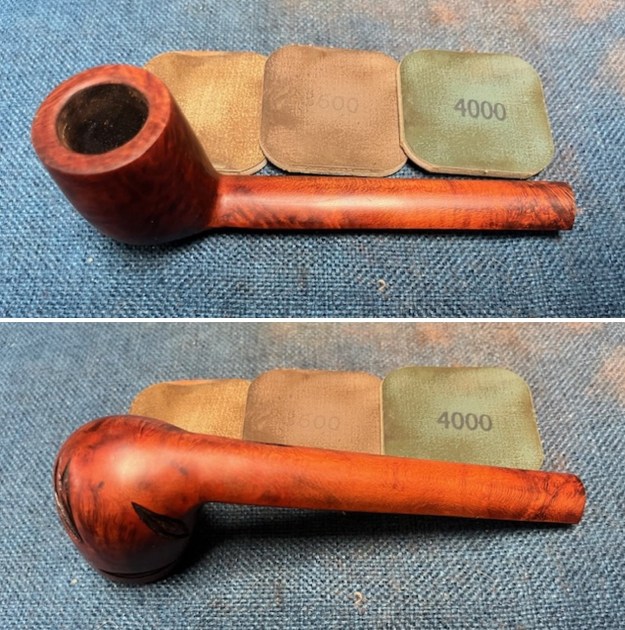
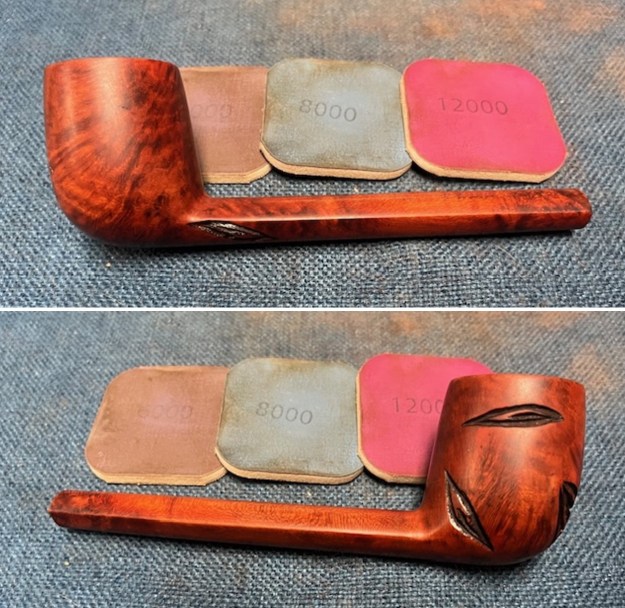
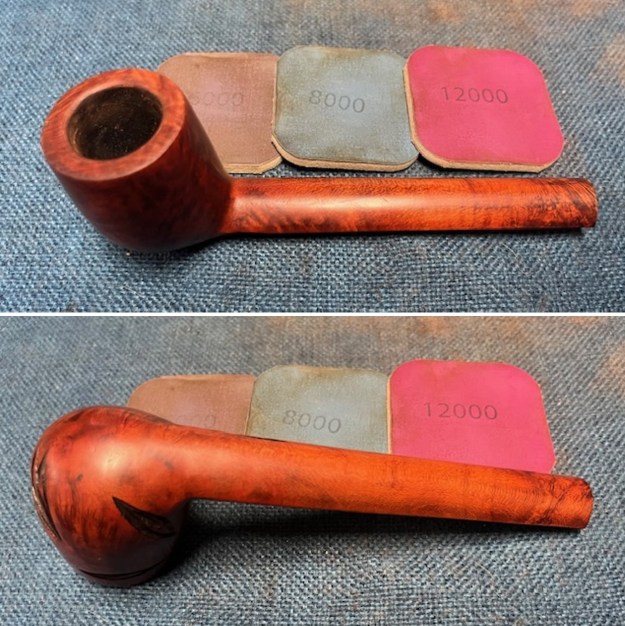
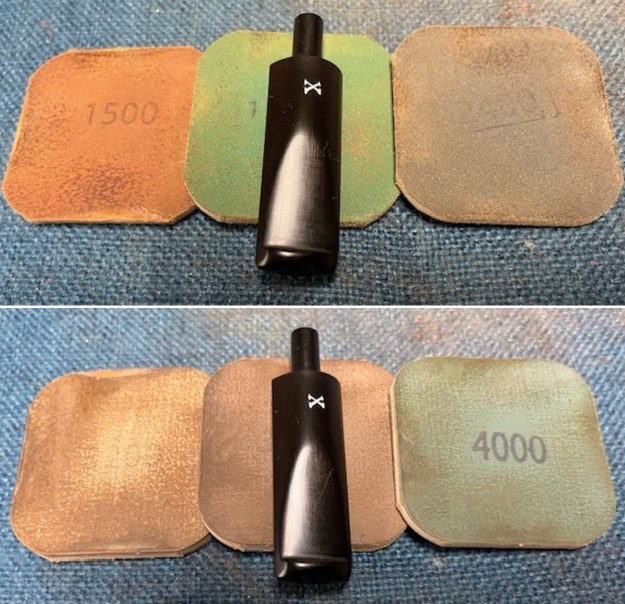
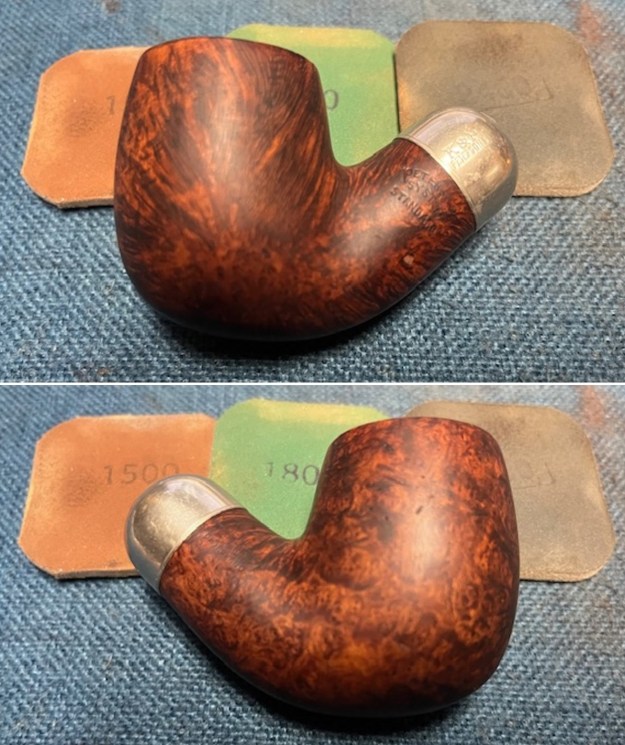
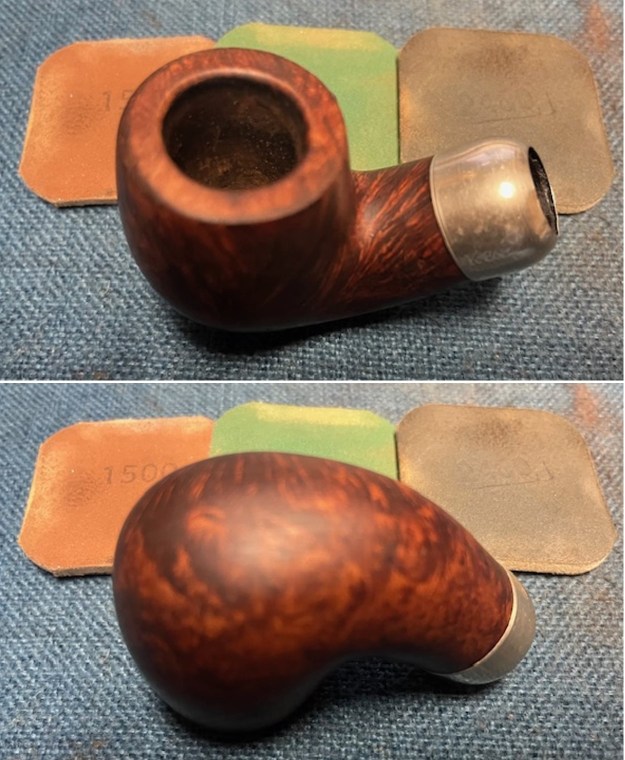
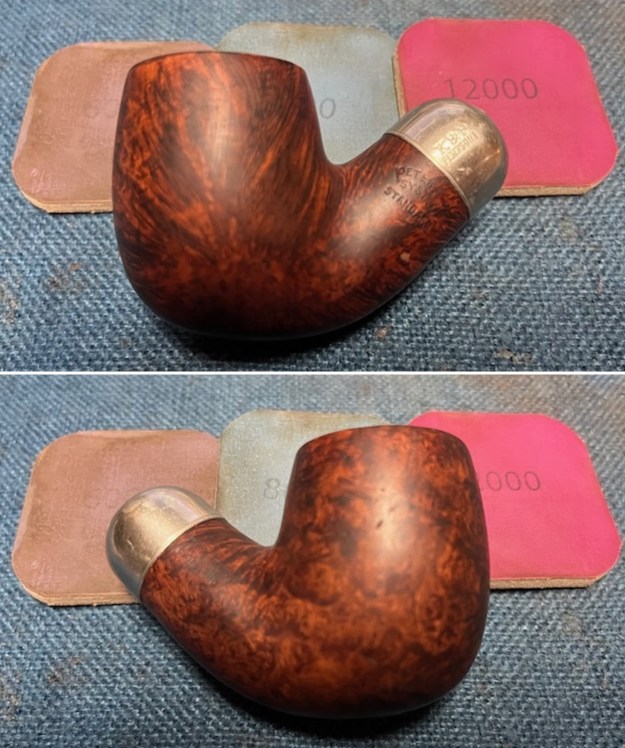
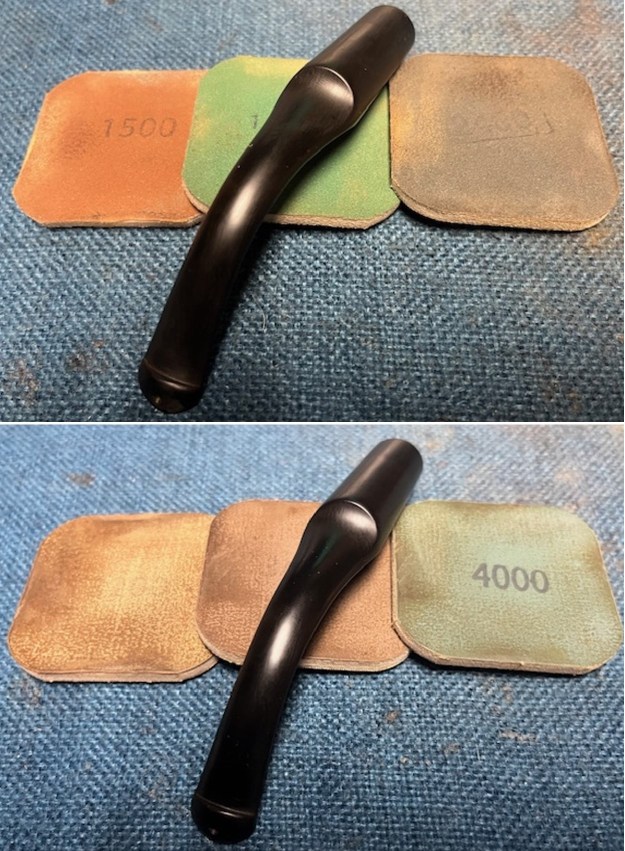
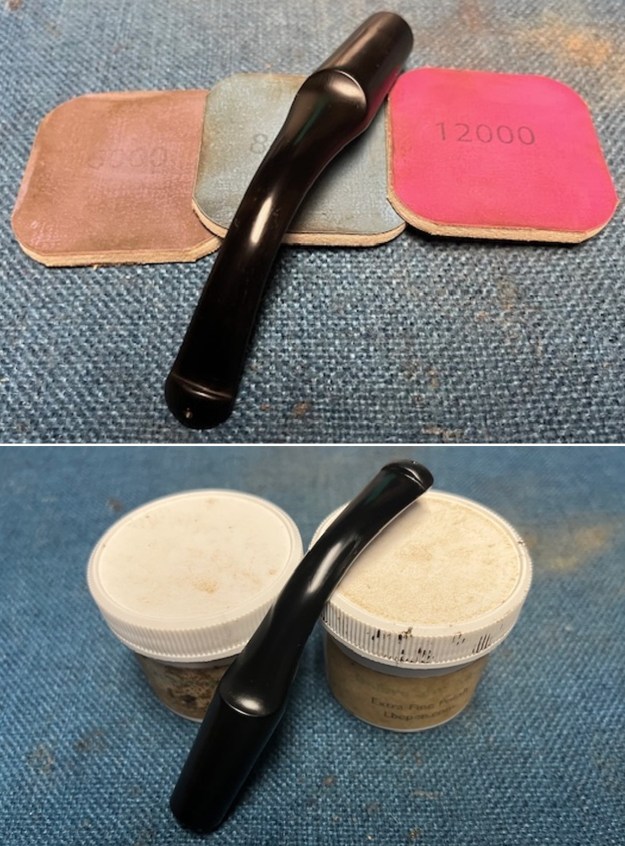
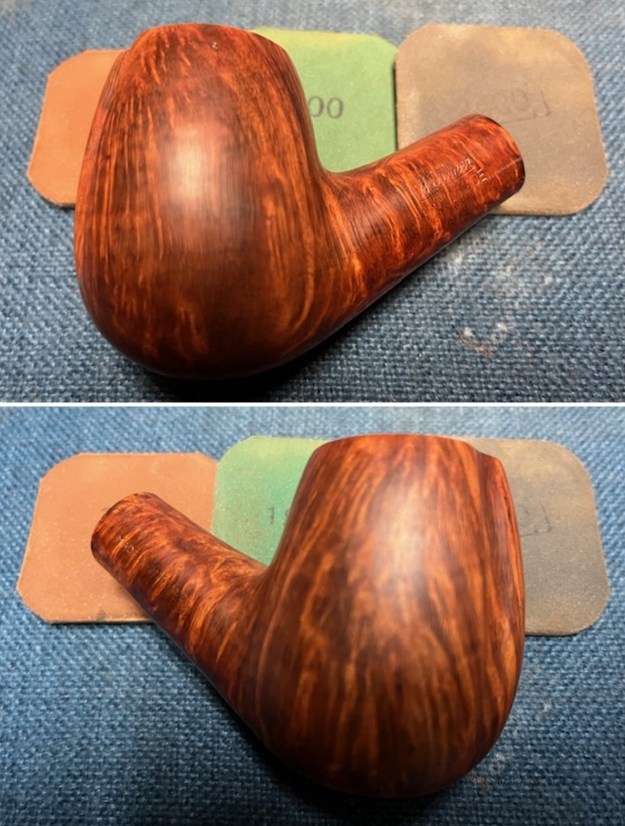
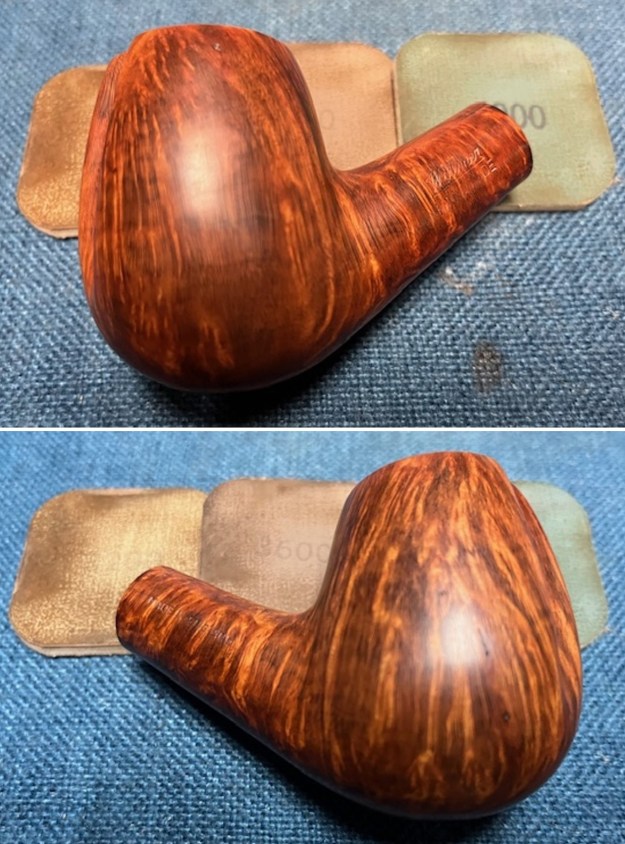
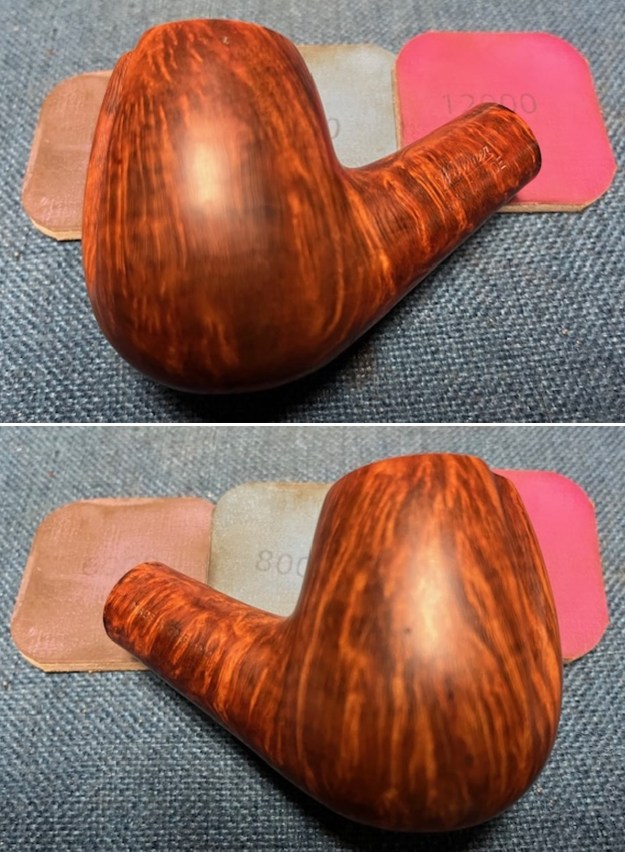
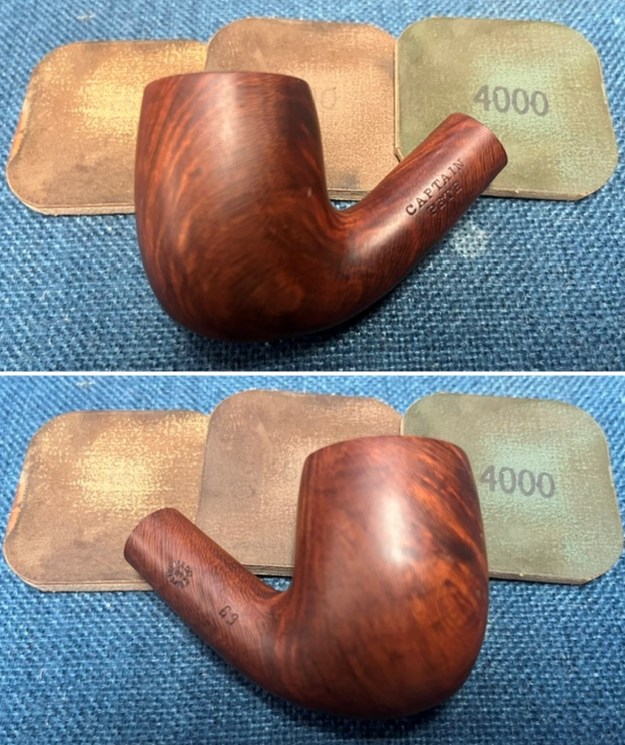
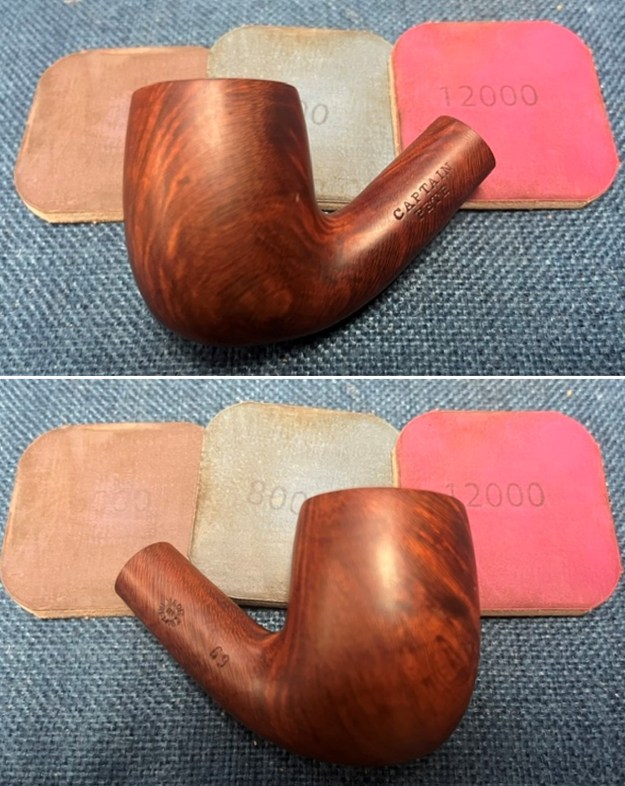
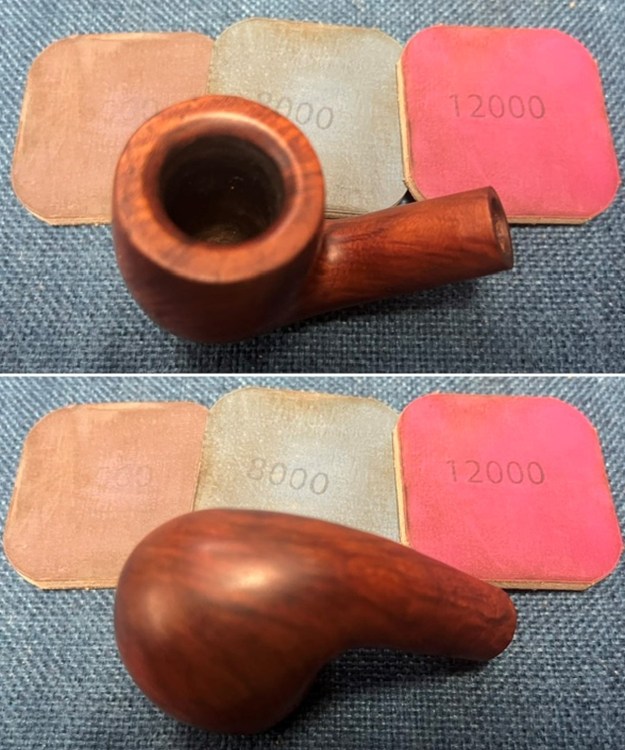
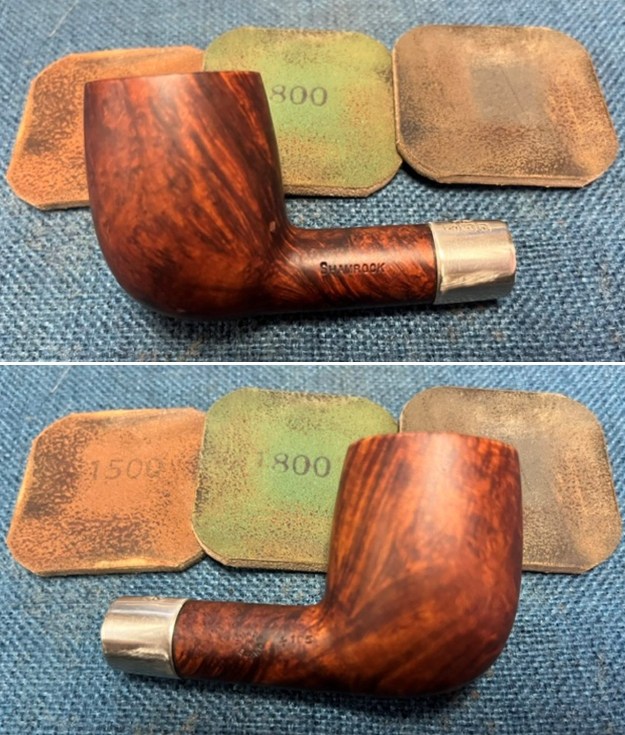
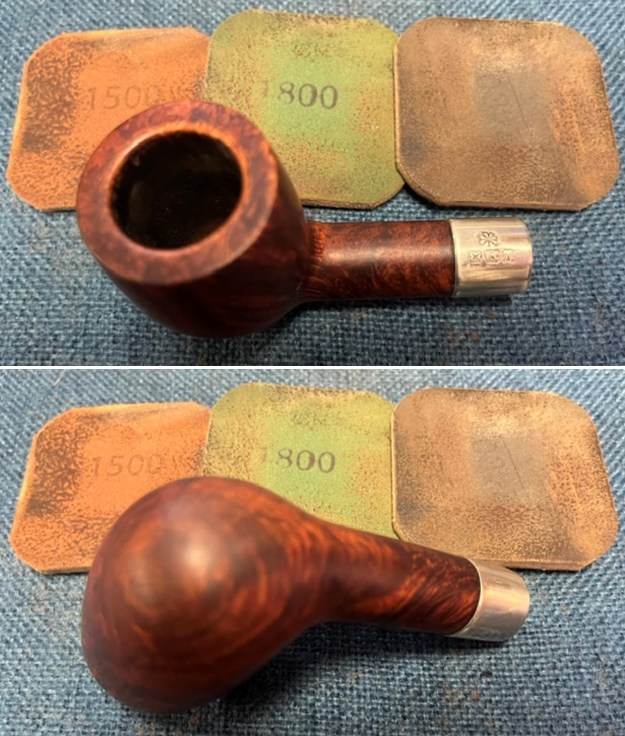
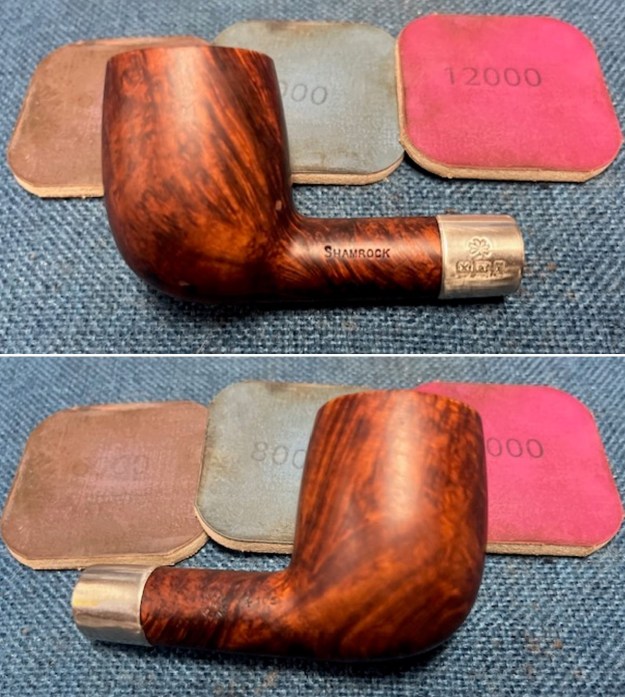
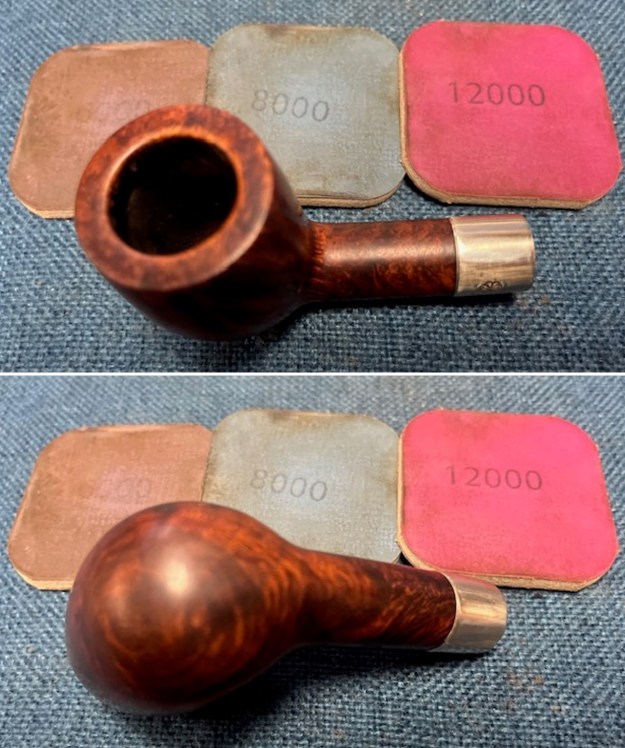
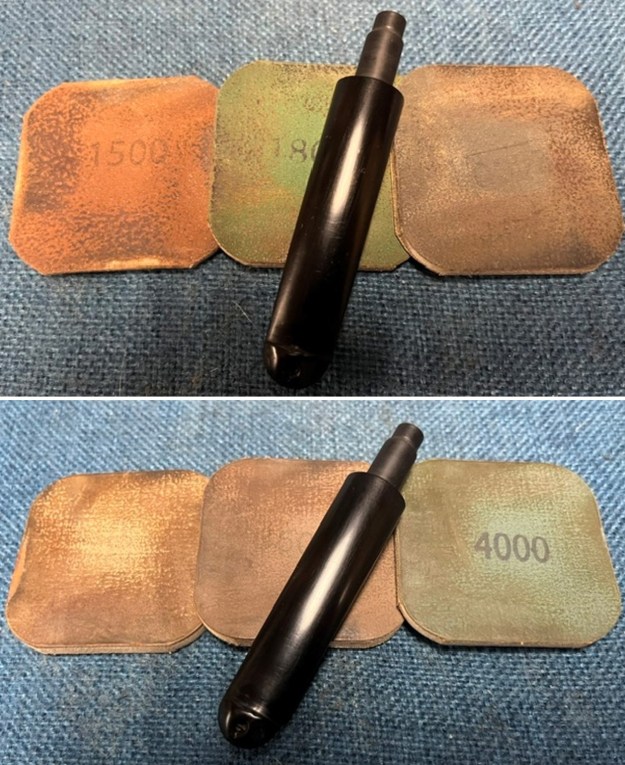
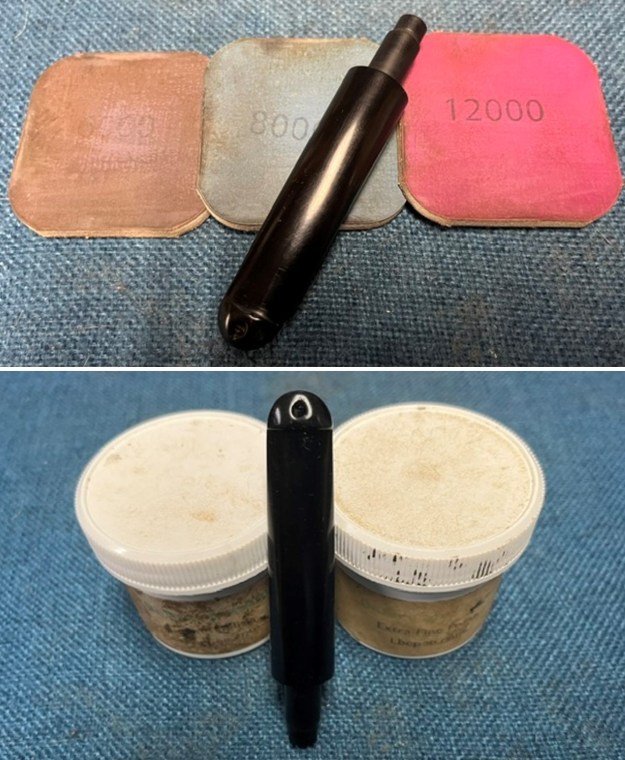
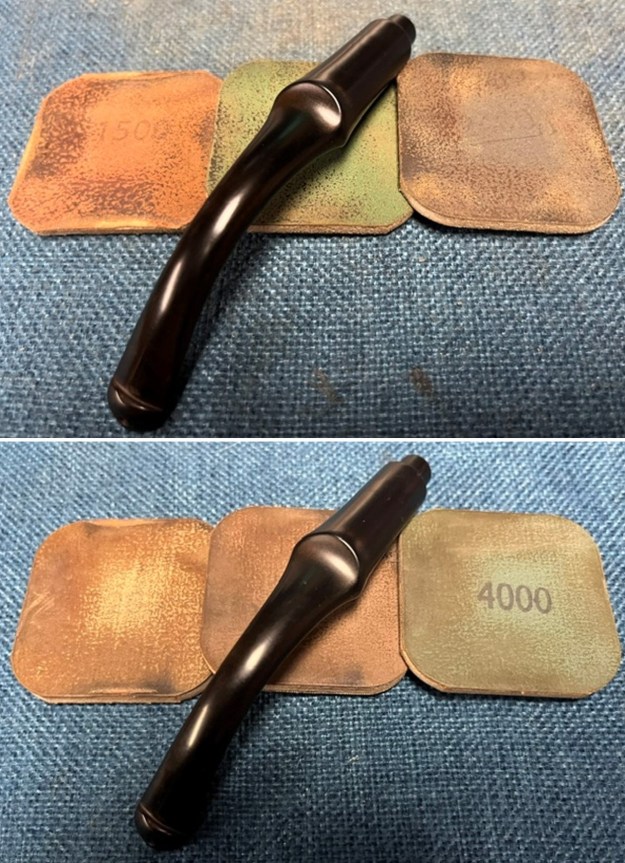
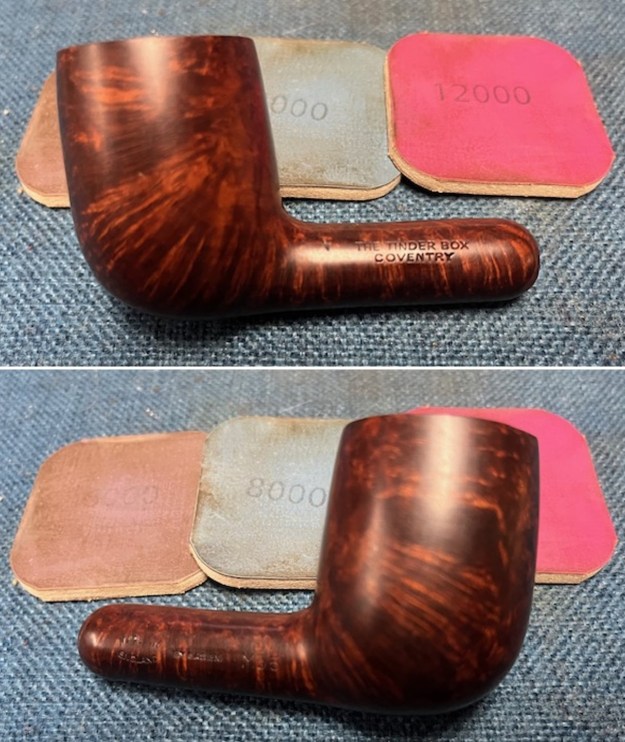
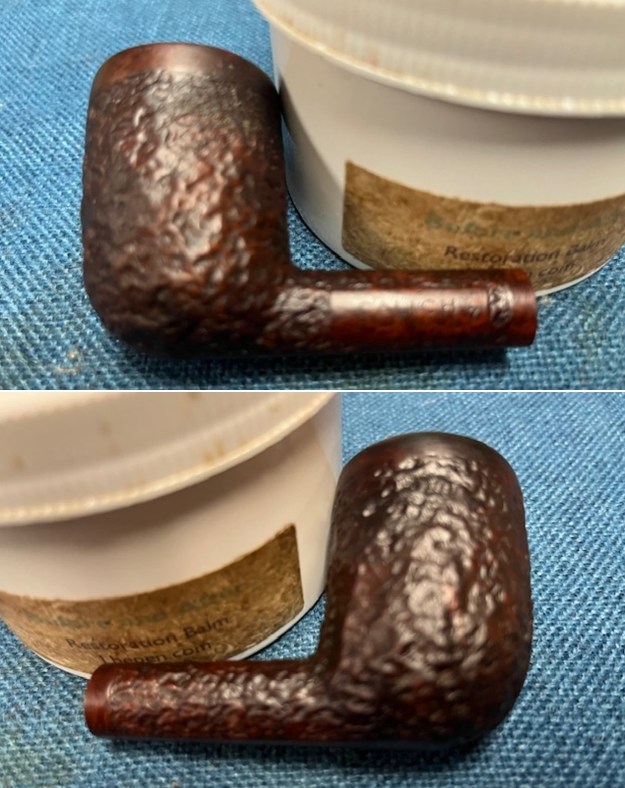
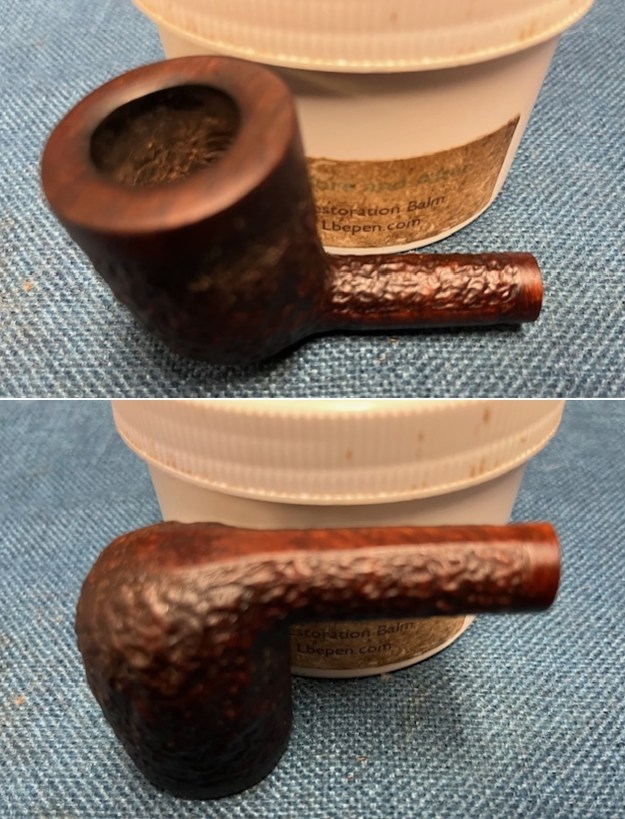
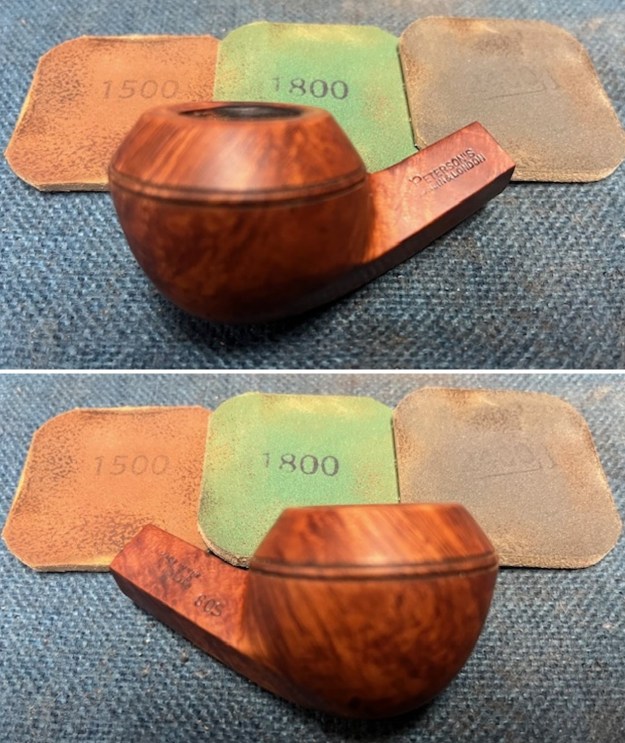
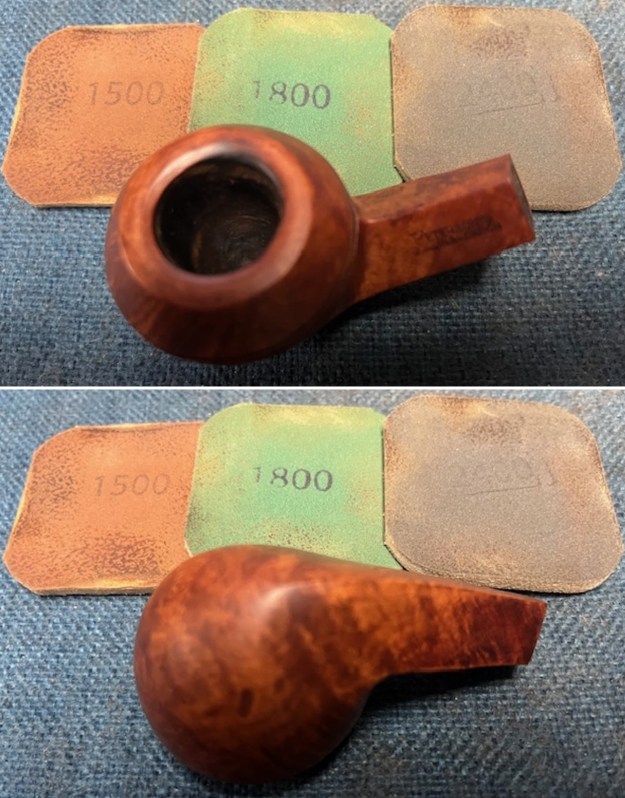
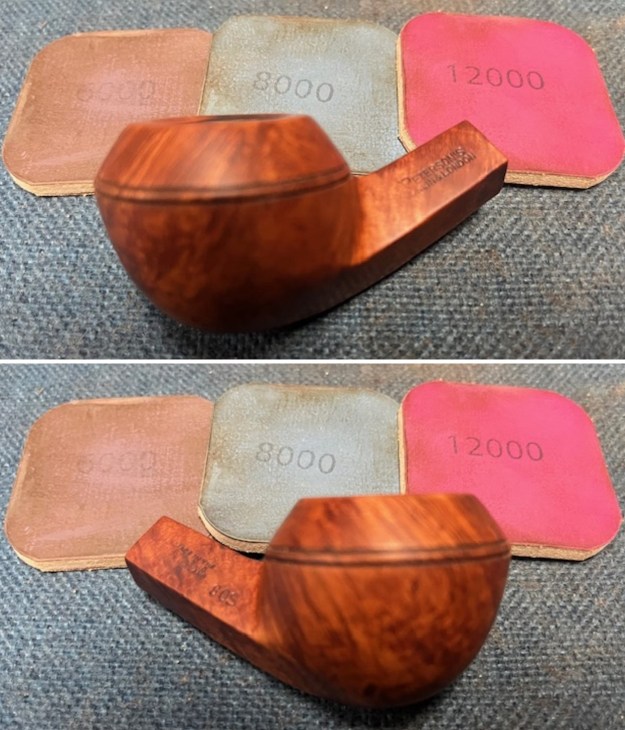
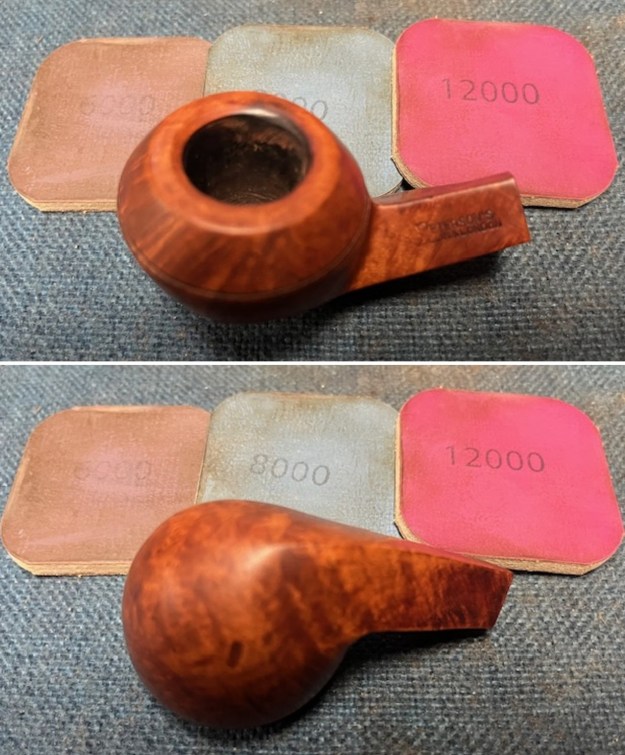
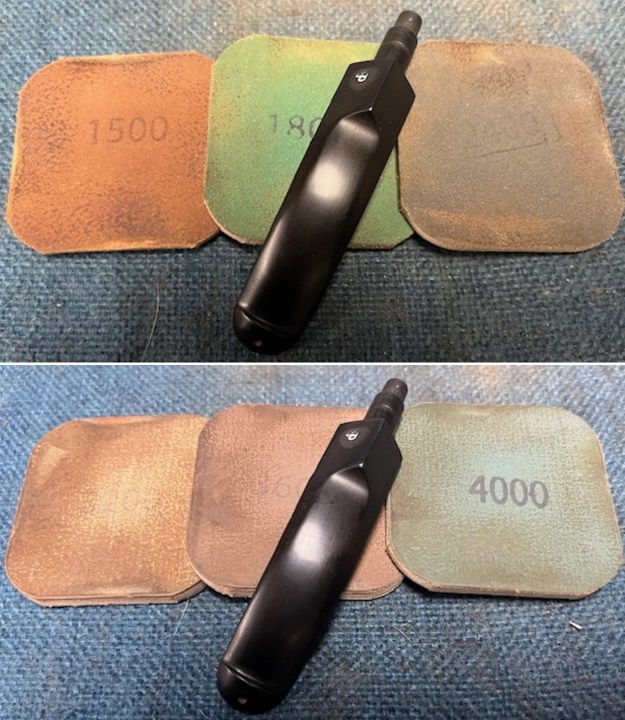
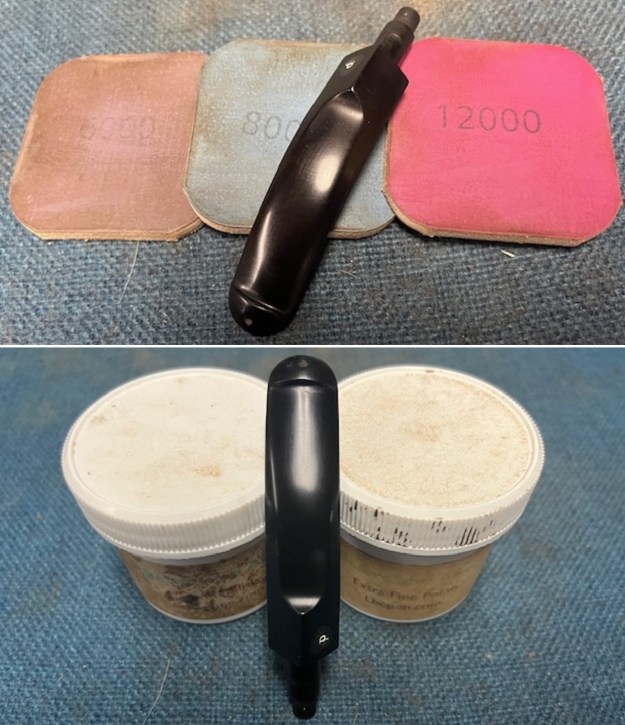
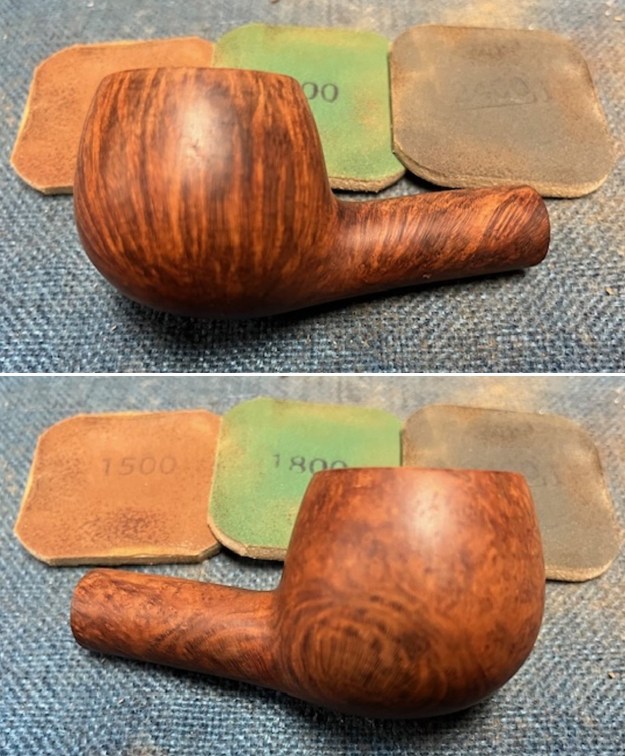
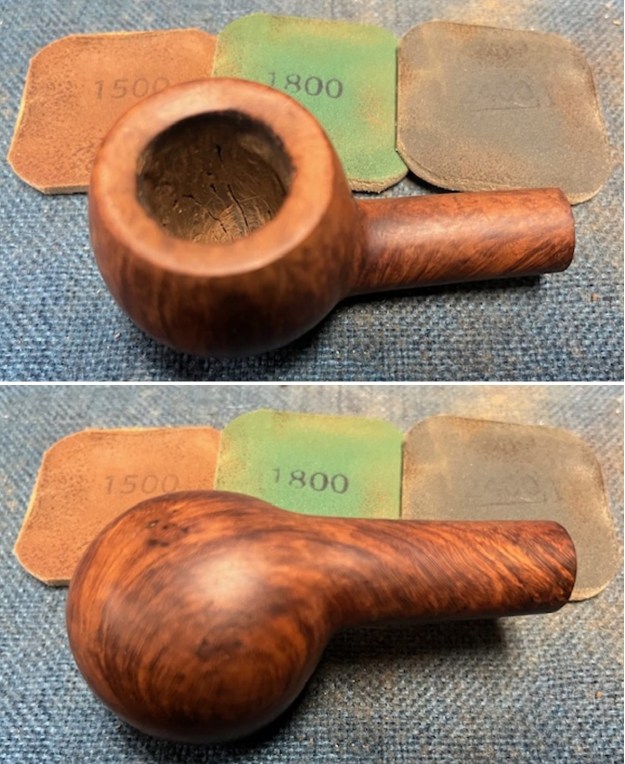
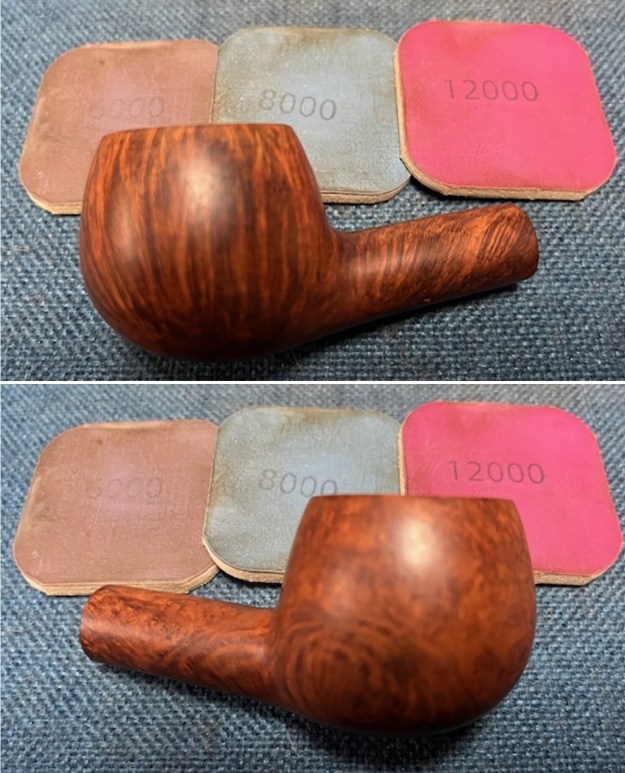
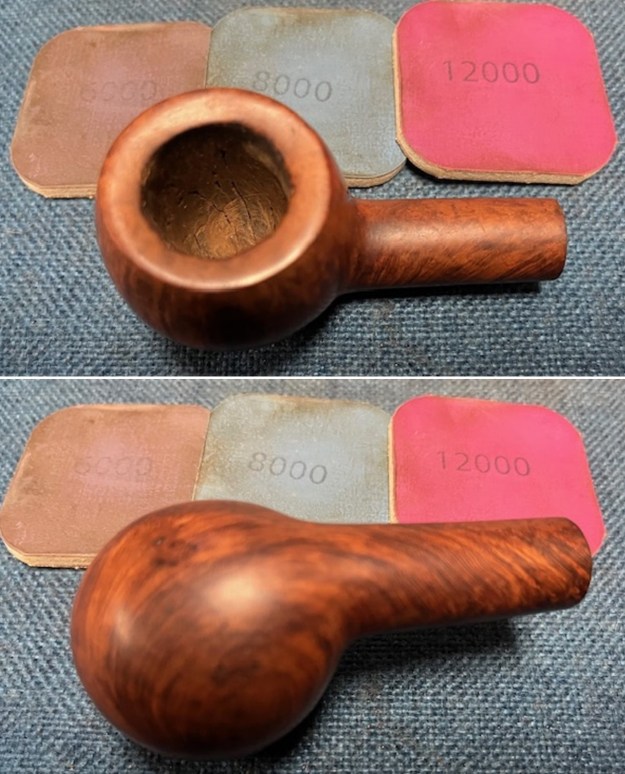
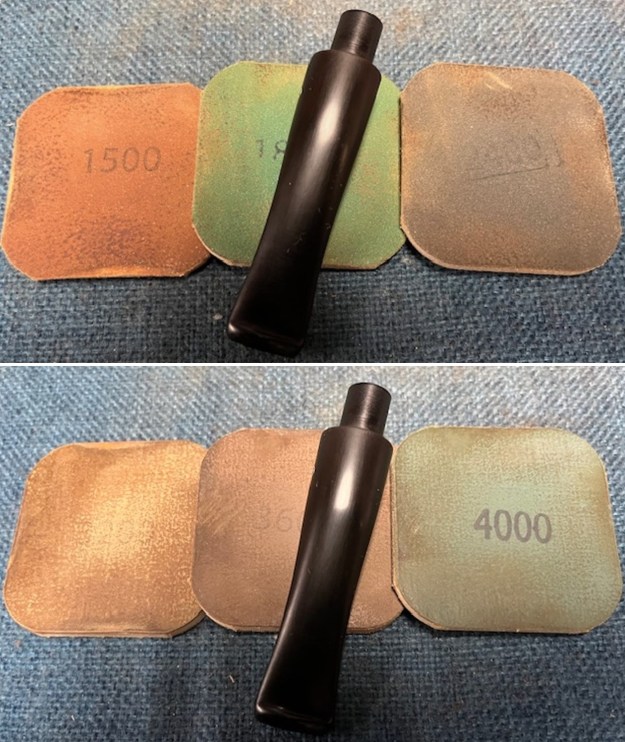
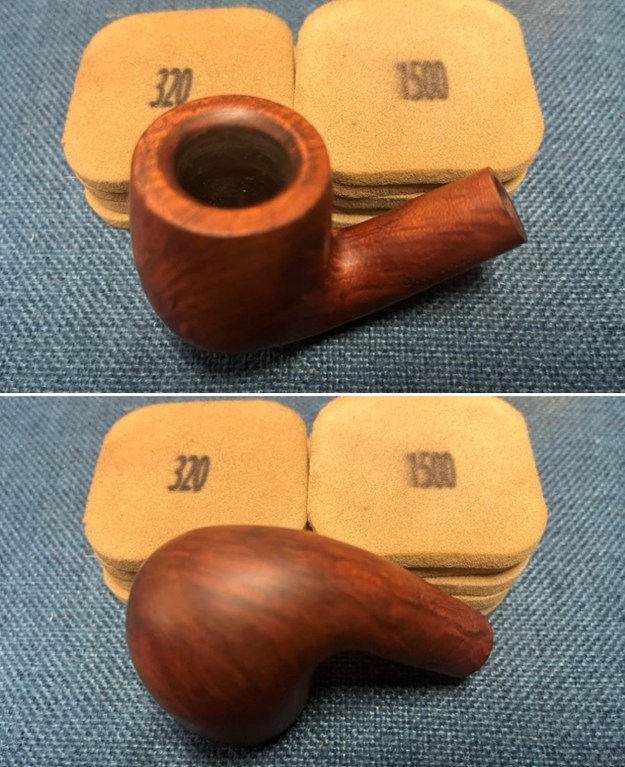 I polished the briar with micromesh sanding pads – dry sanding the bowl and shank with 1500-12000 grit pads and wiping it down with a damp cloth between each sanding pad. The bowl took on more of a shine with the completion of each sanding pad.
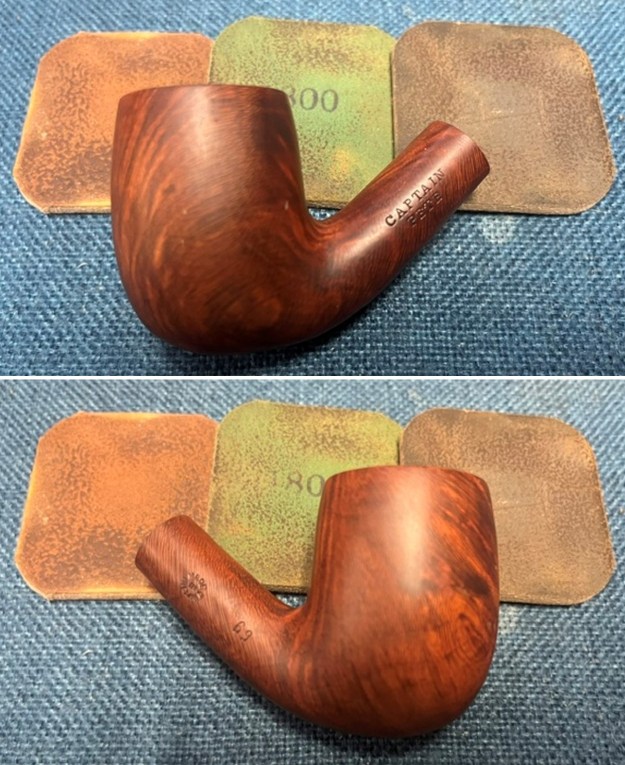
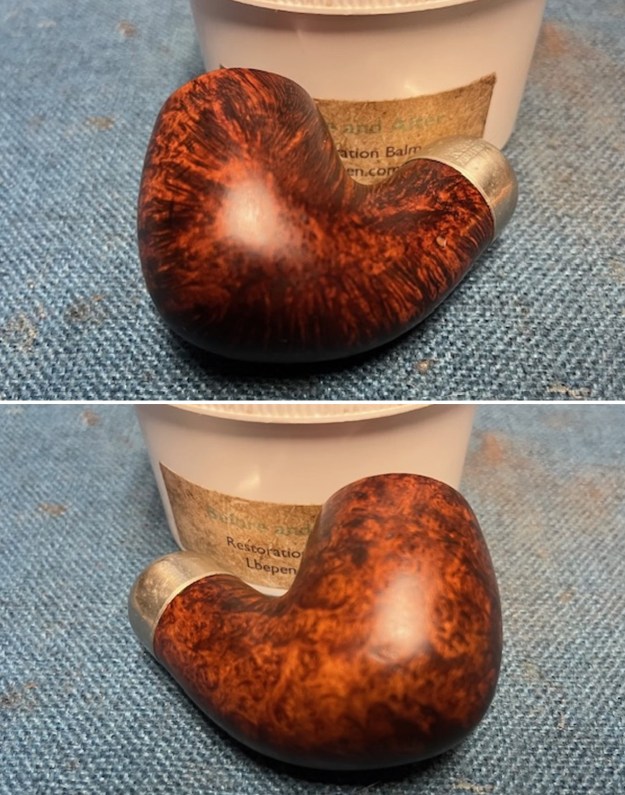
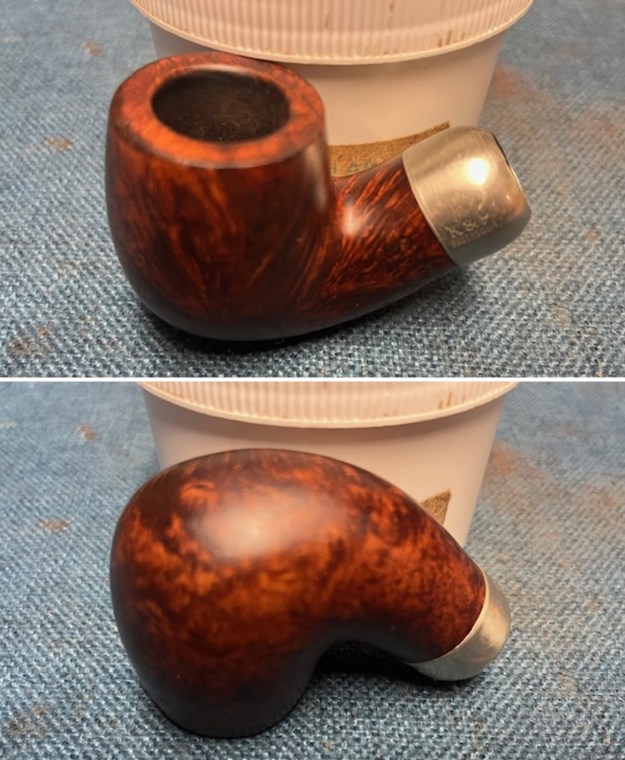
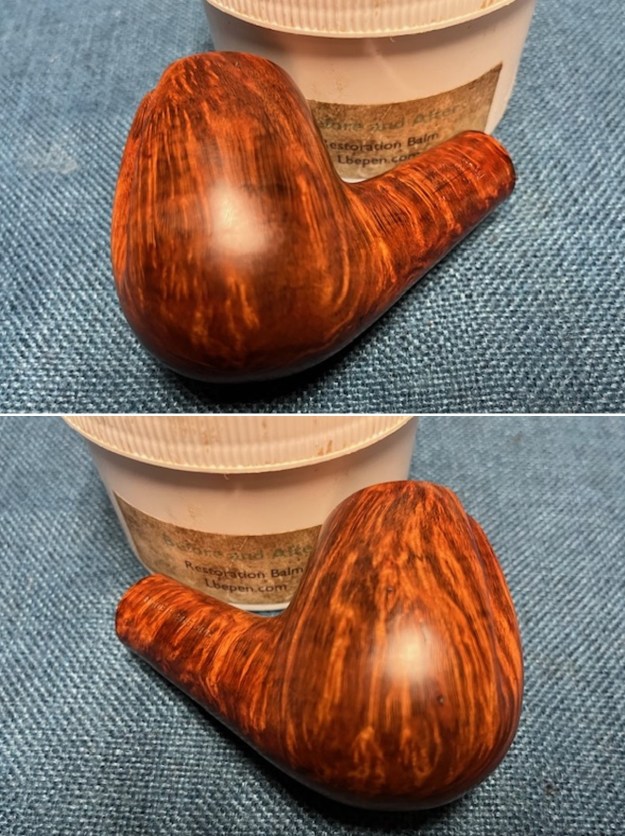
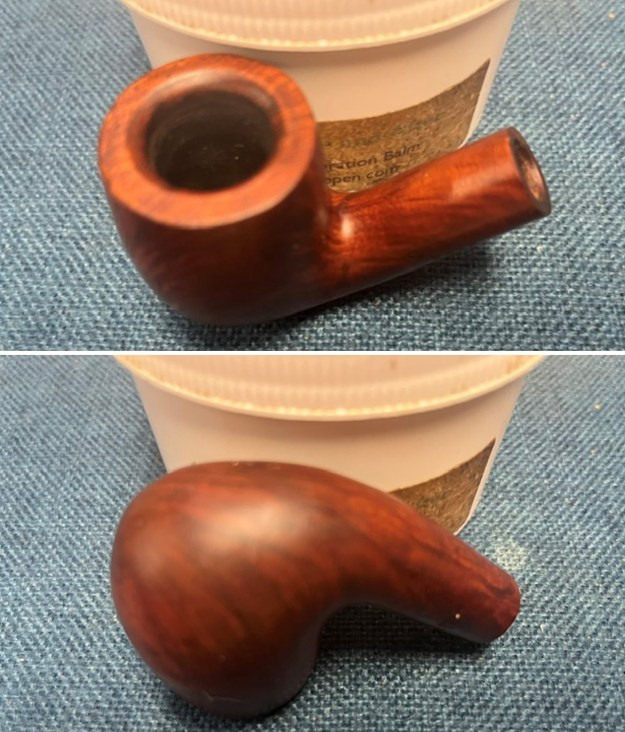
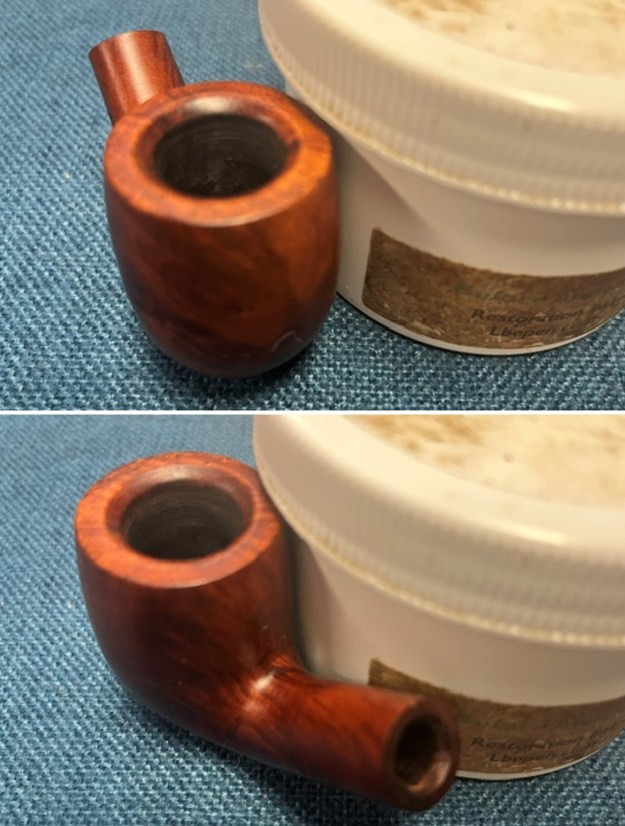
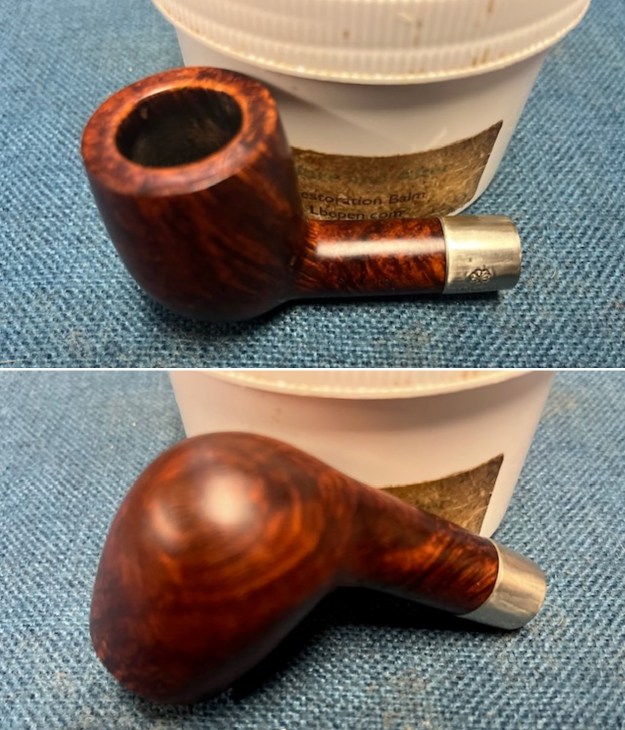
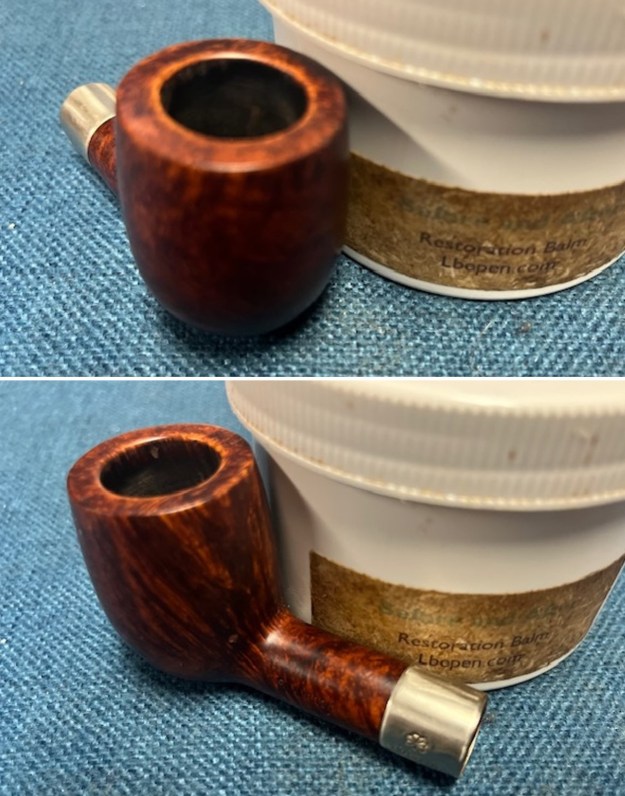
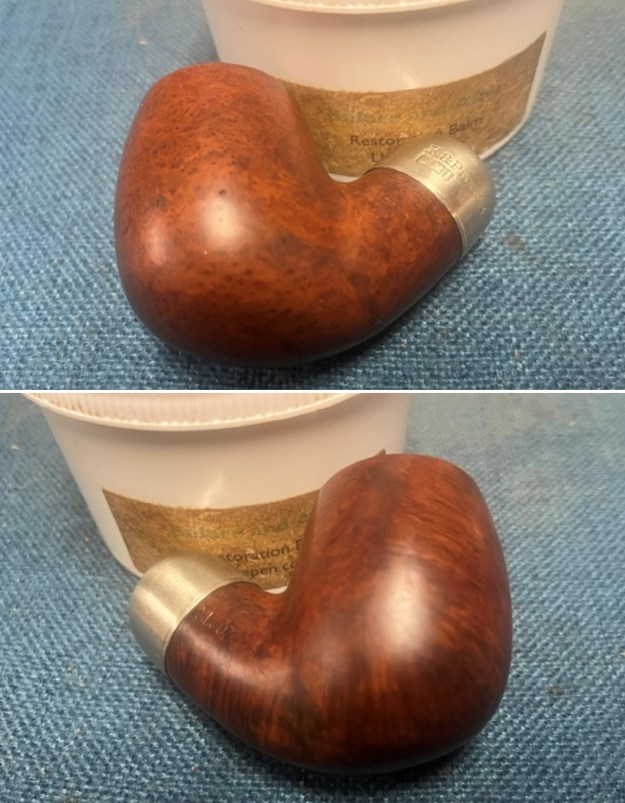
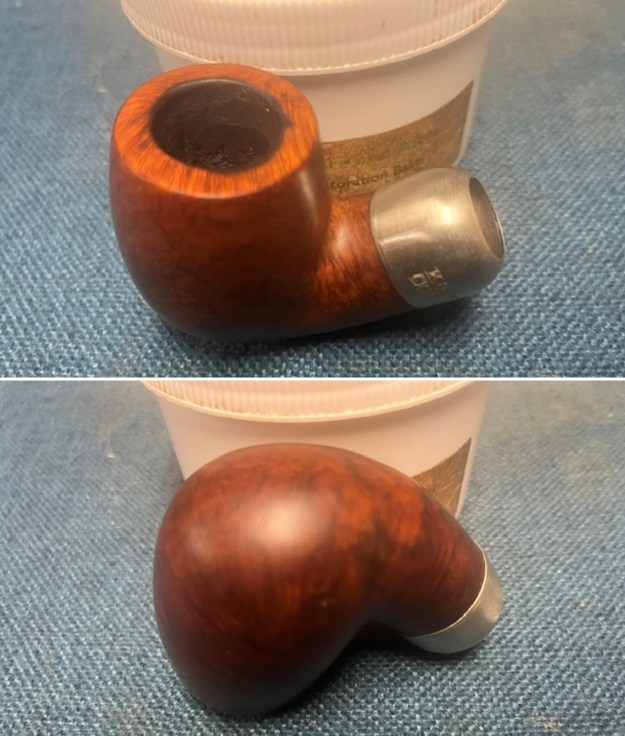
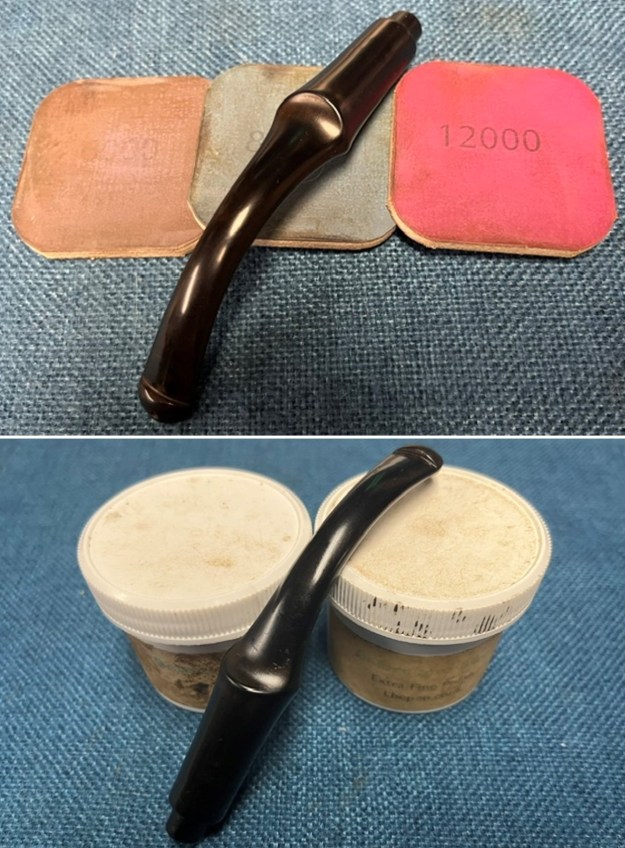
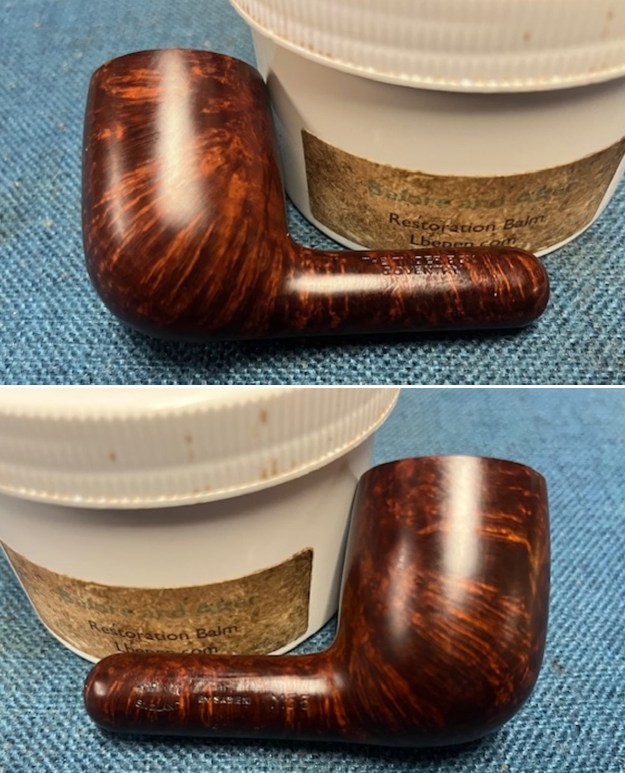
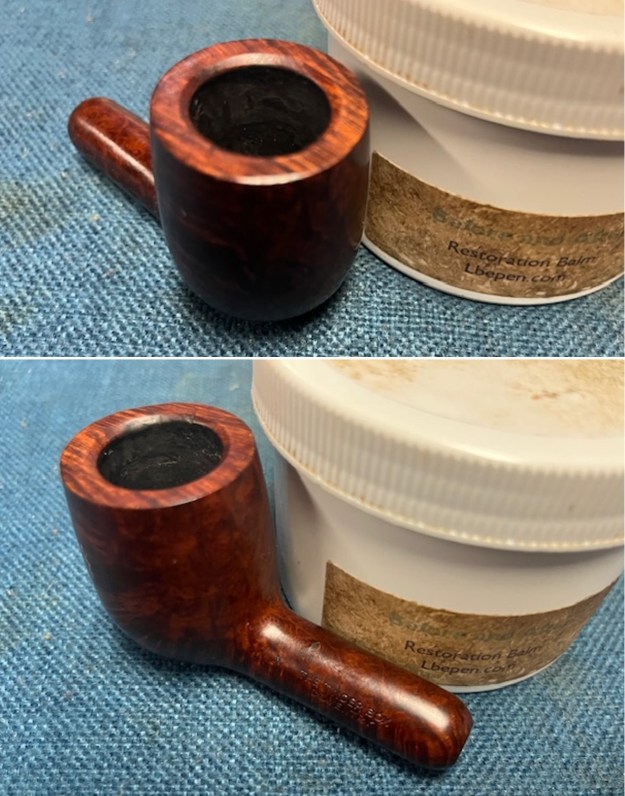
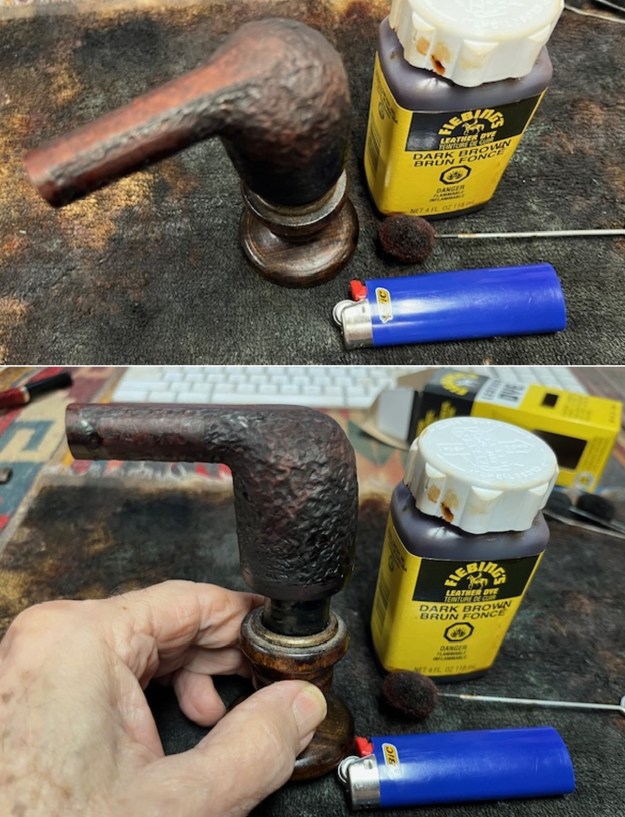
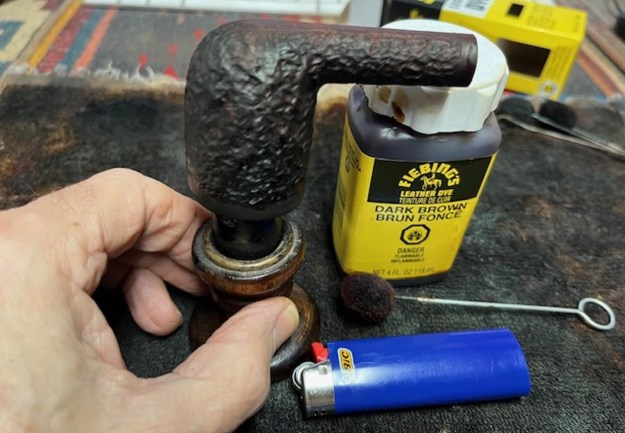
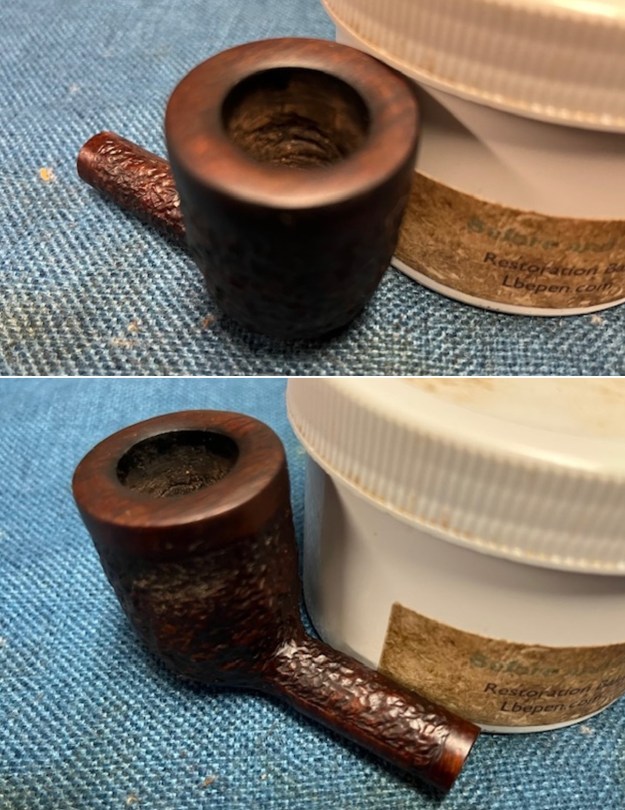
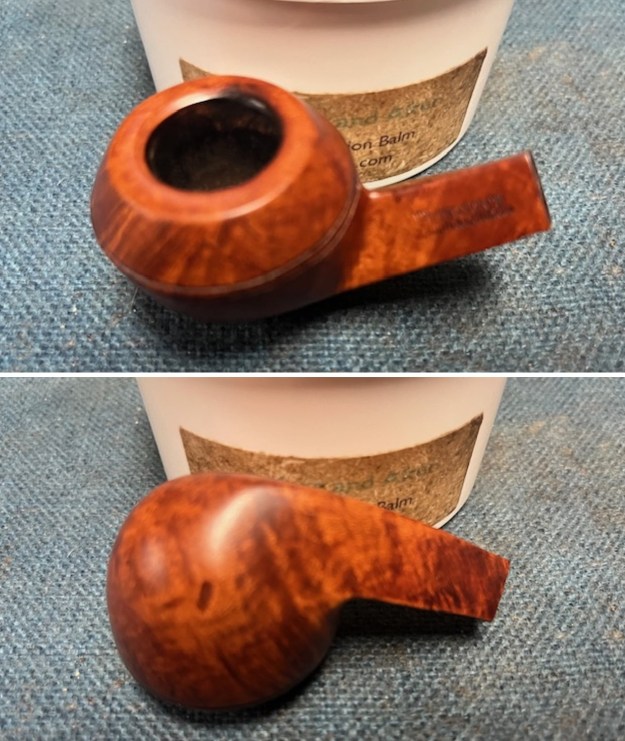
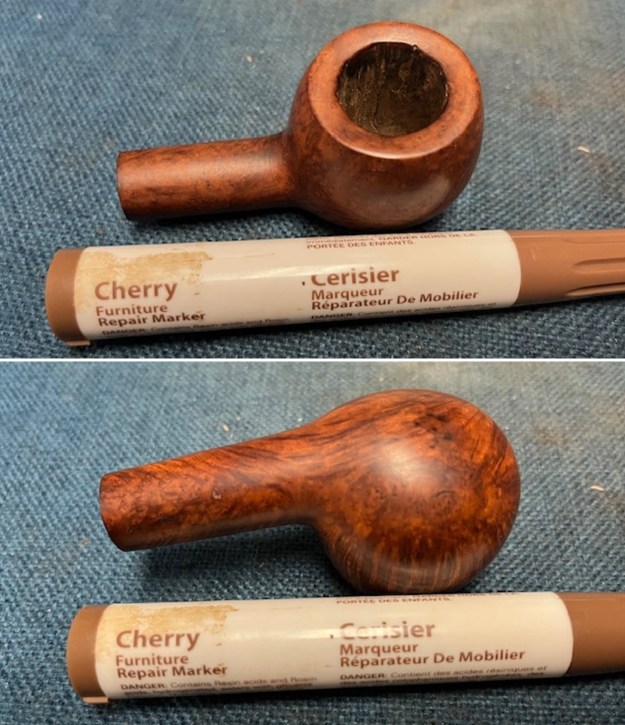
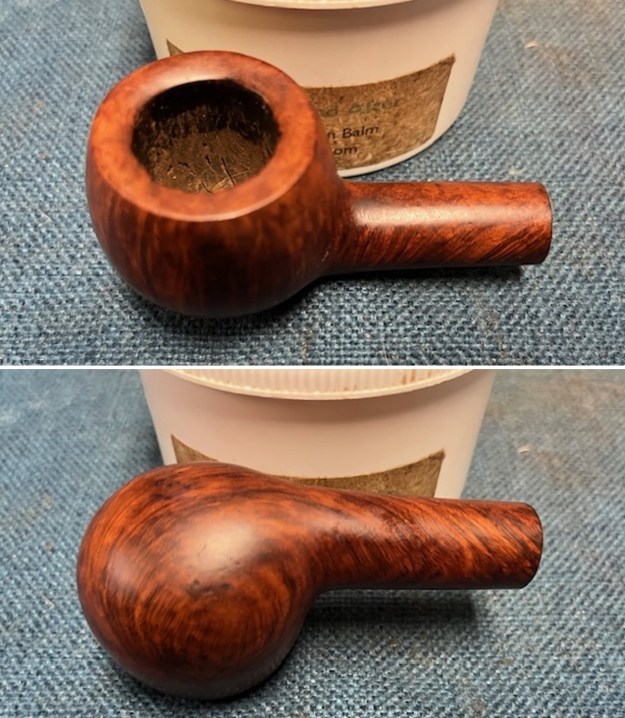
 I worked some Before & After Restoration Balm into the briar with my fingertips. I let it sit on the bowl for 15 minutes. I buffed it off with a soft cotton cloth to raise the shine. It was a beautiful piece of briar.
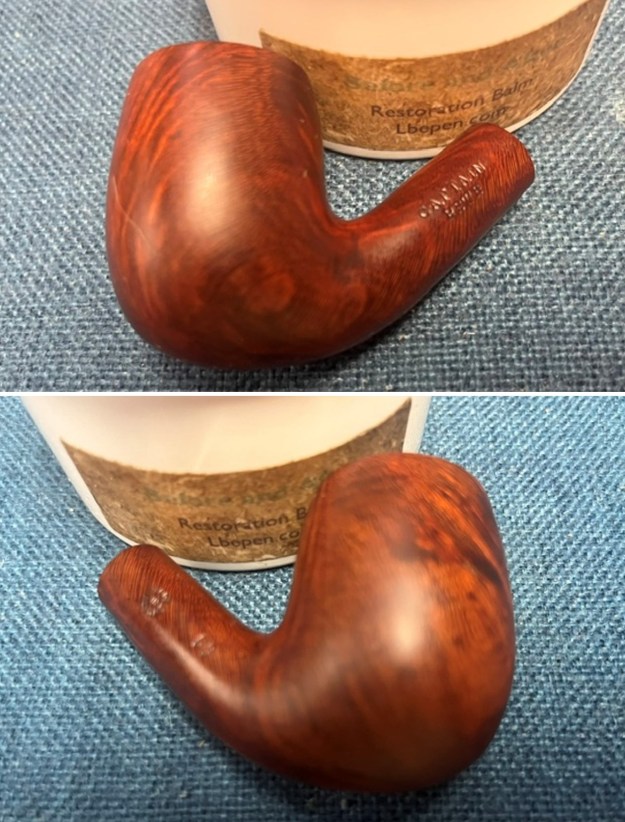
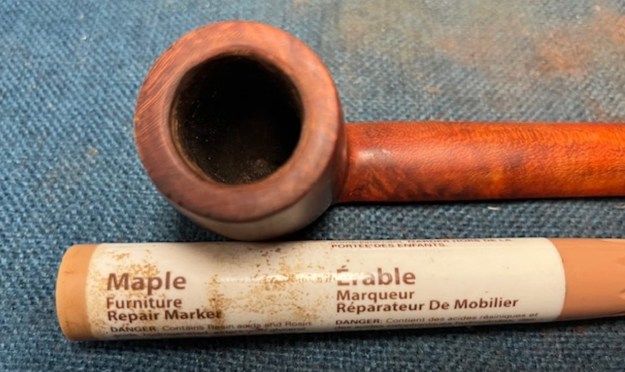
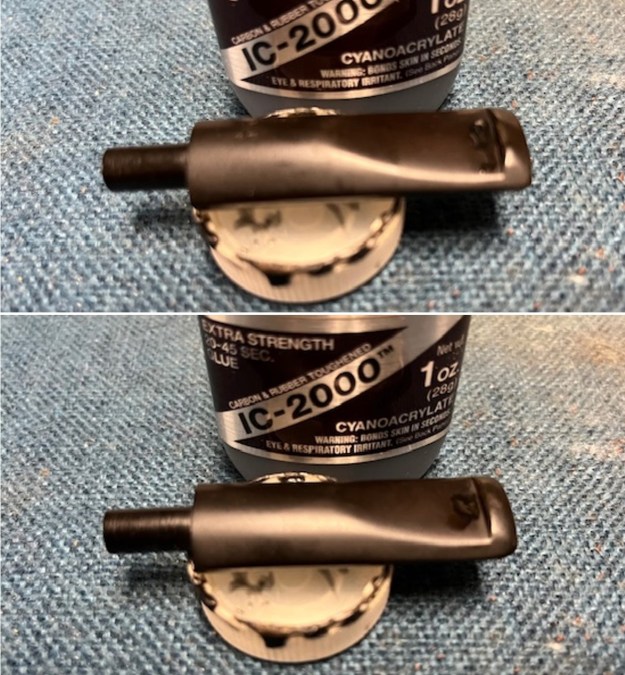
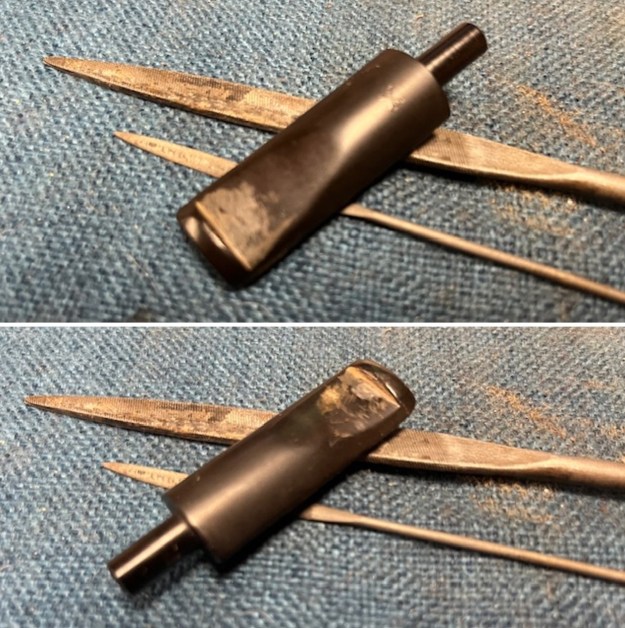
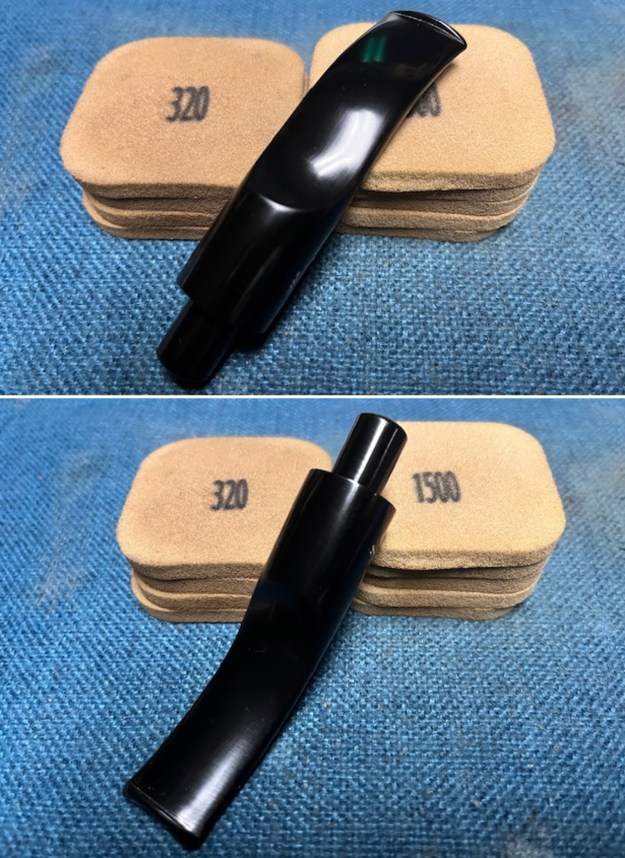
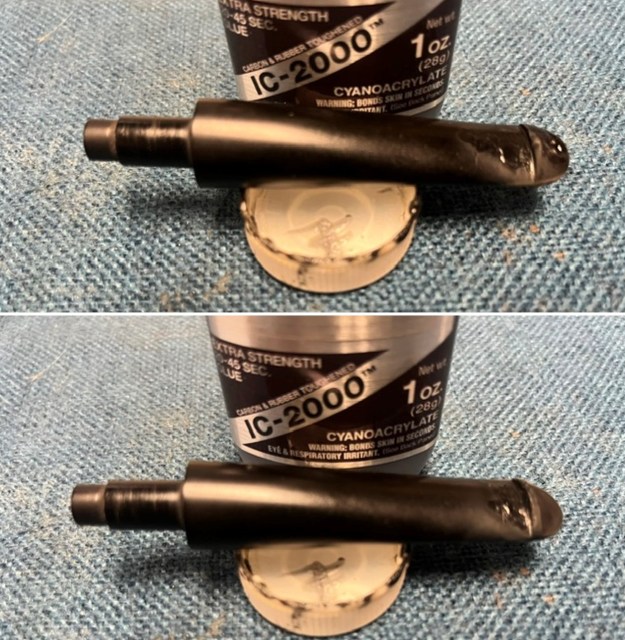
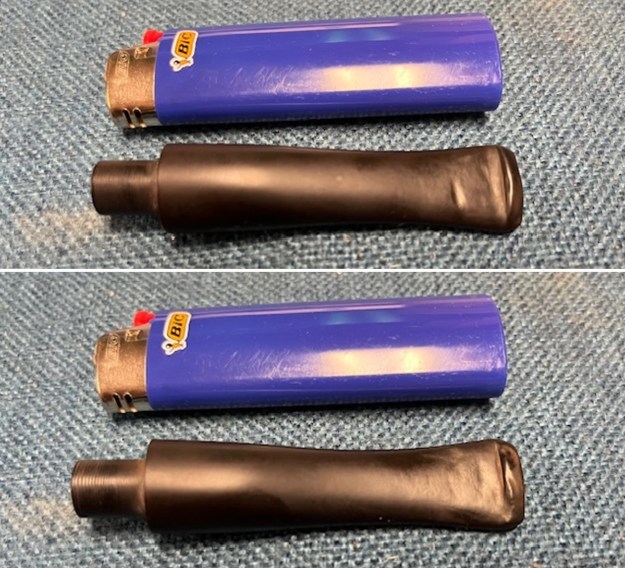
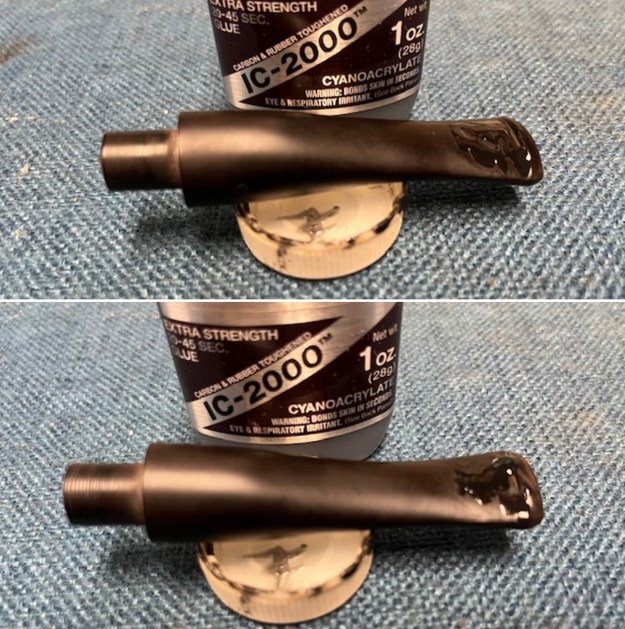
 With the bowl finished other than the final buffing I set it aside and turned my attention to the stem. I filled in the deep tooth marks on the button edge and the top and underside of the stem with a black extra strength rubberized CA glue. Once it cured I flattened the repairs with a small file and followed that up with a folded piece of 220 grit sandpaper.
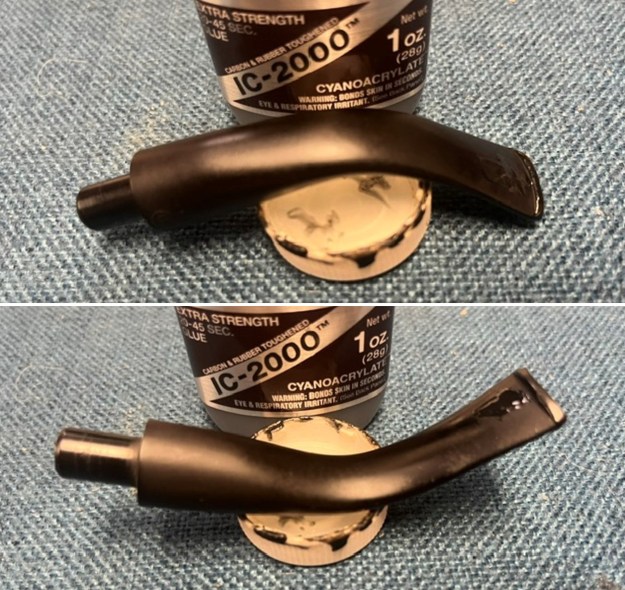
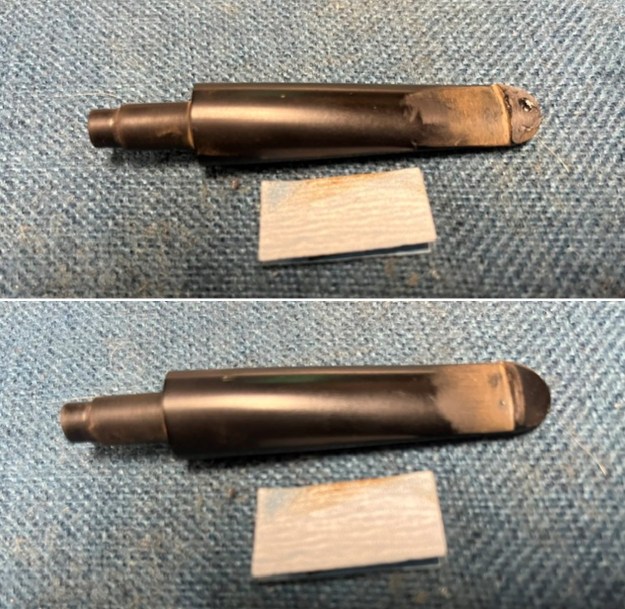
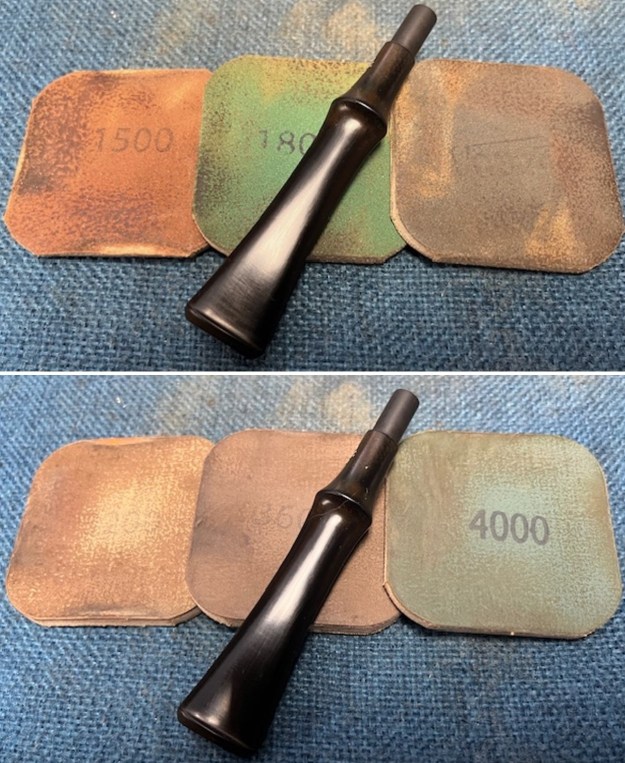
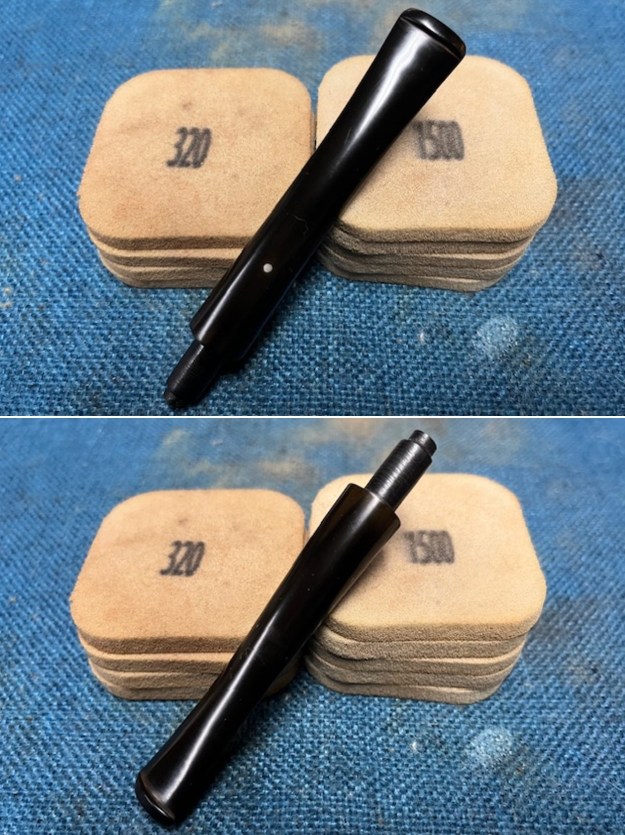
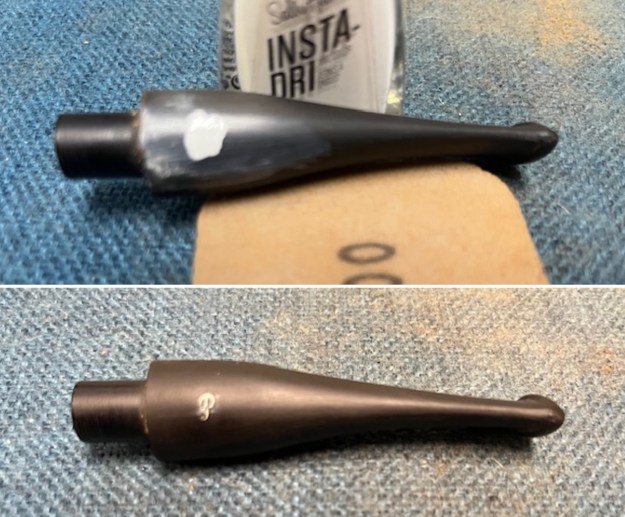
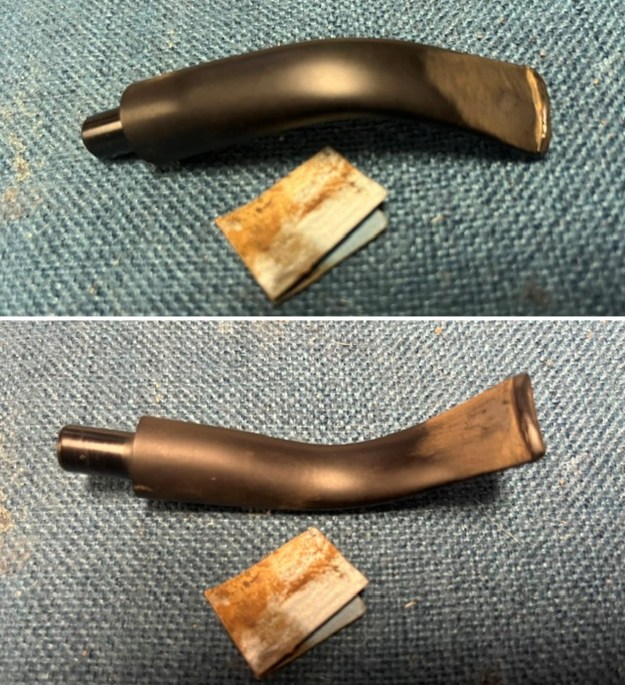 I sanded the stem surface with 320-3500 grit 2×2 inch sanding pads. I wiped it down with a cloth impregnated with Obsidian Oil after each sanding pad to remove the debris. It began to look very good.
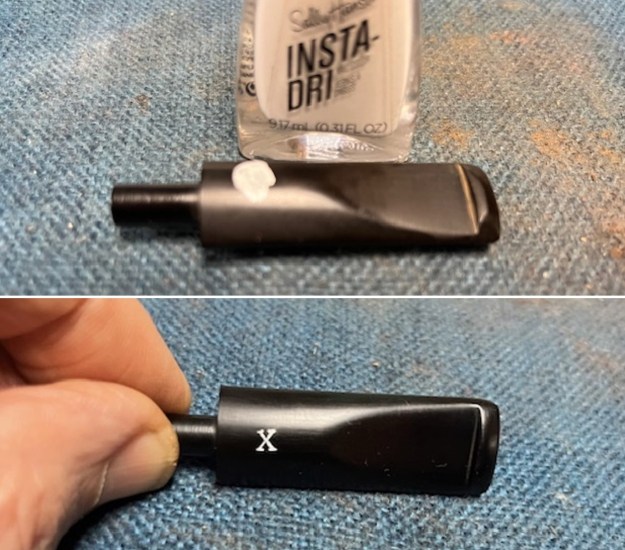
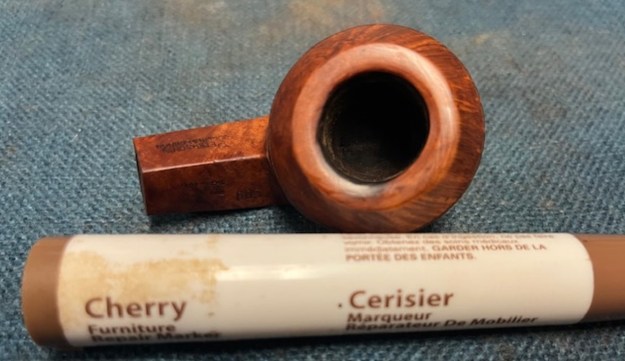
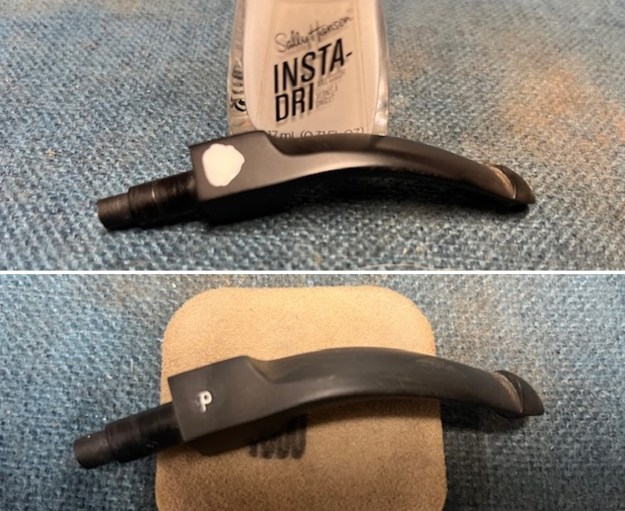
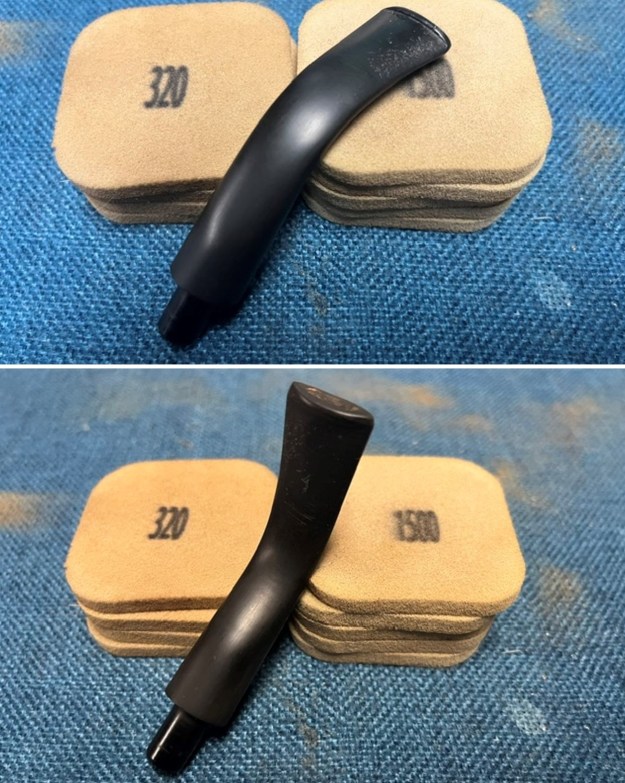 I touched up the logo the left side of the stem with some white acrylic fingernail polish. Once it dried I sanded off the excess and the logo looked very good.
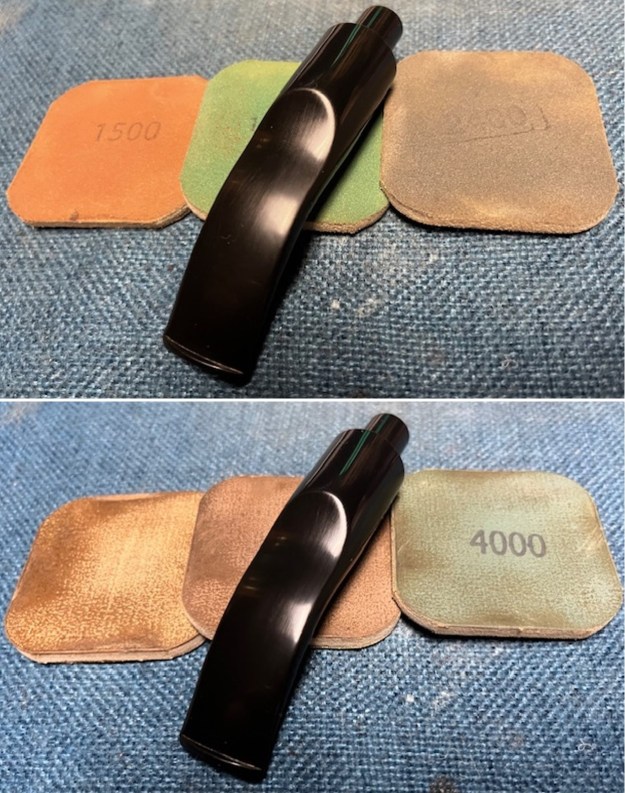
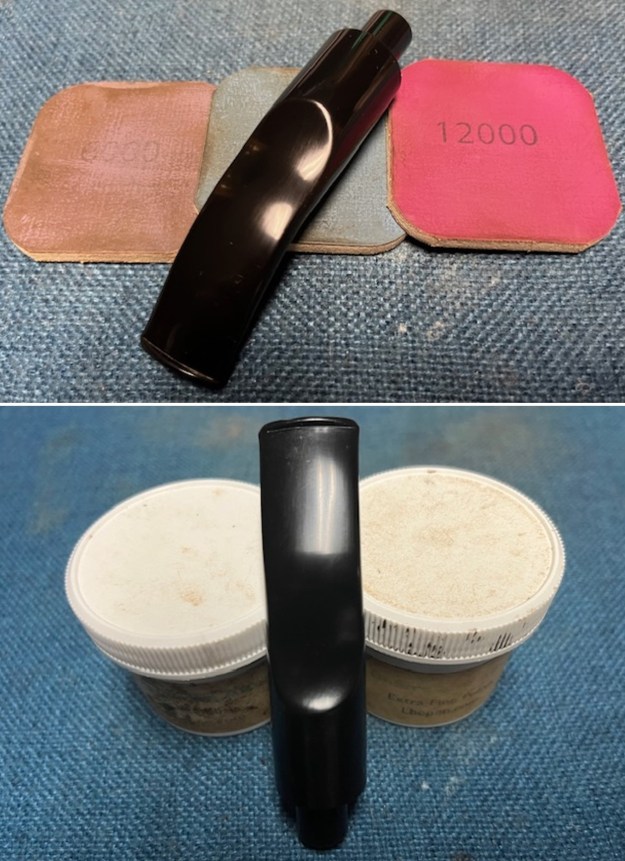
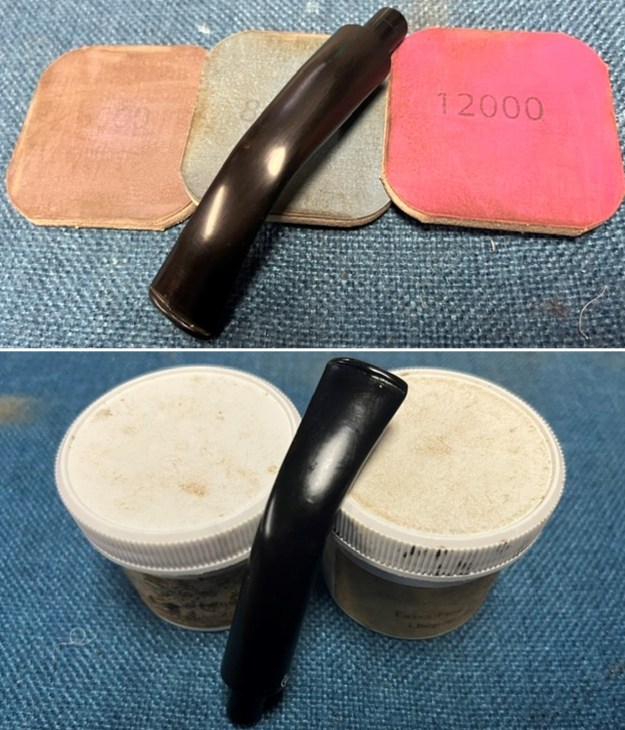
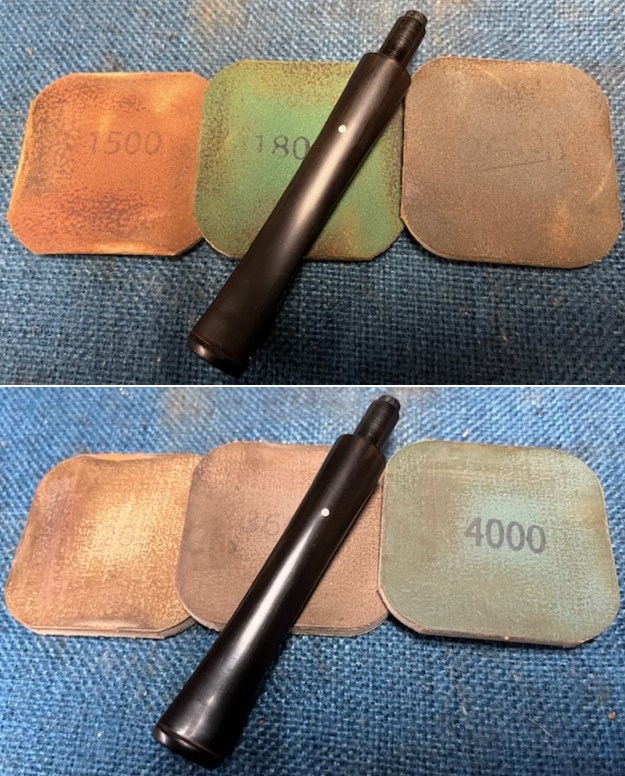
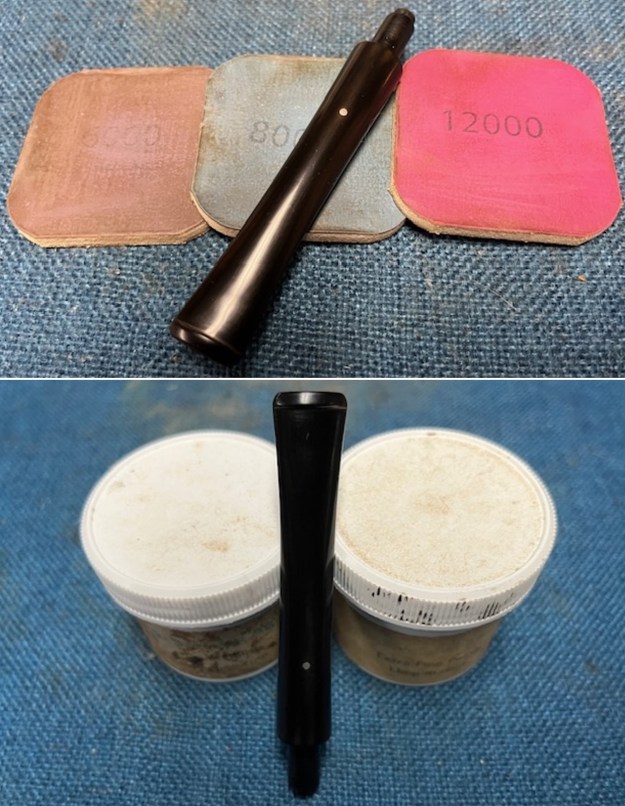
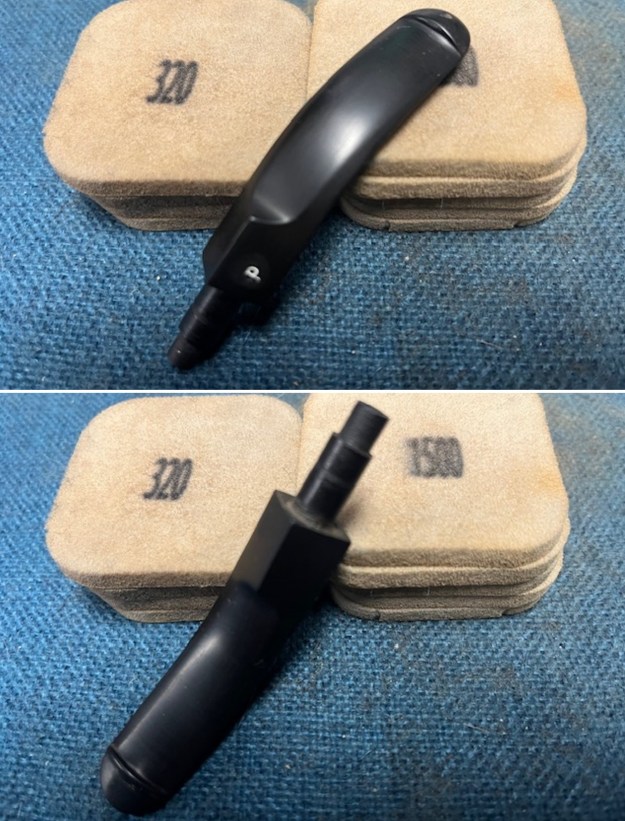
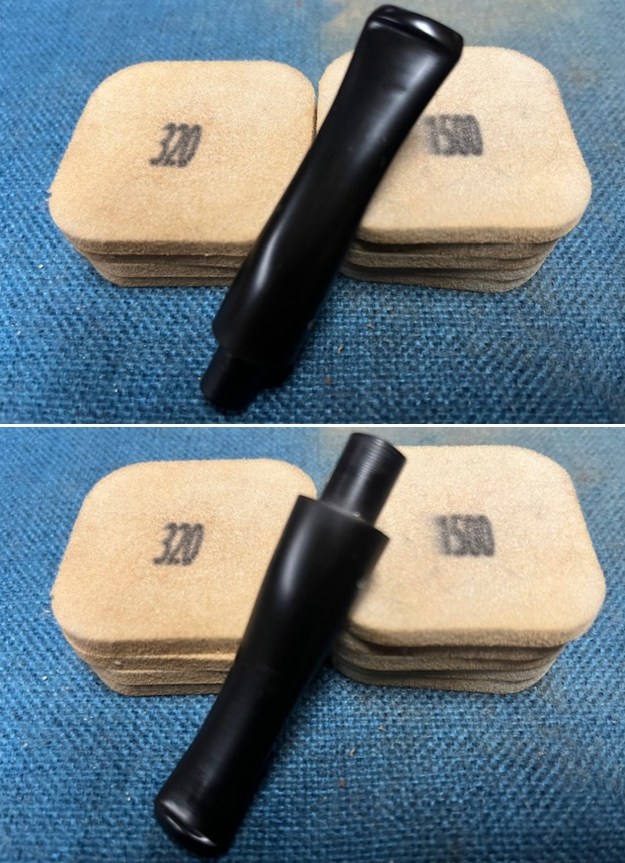
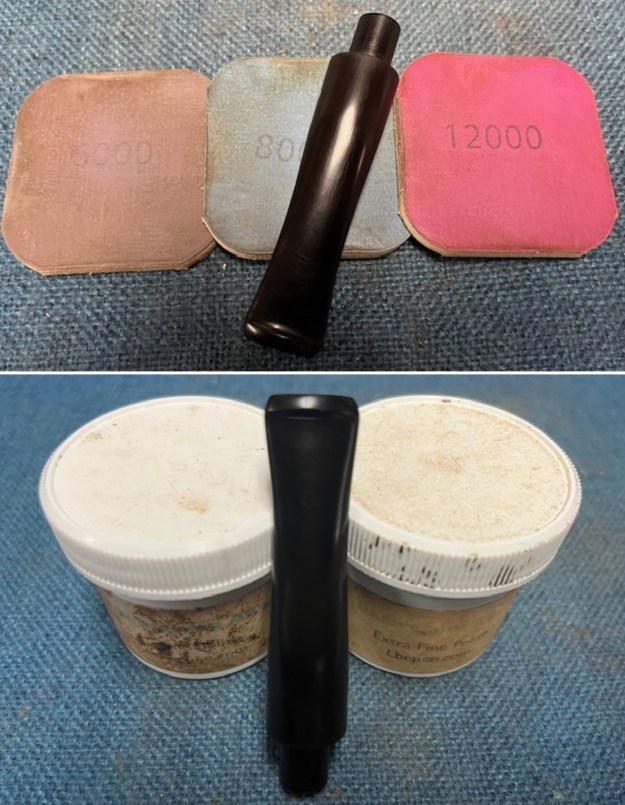
 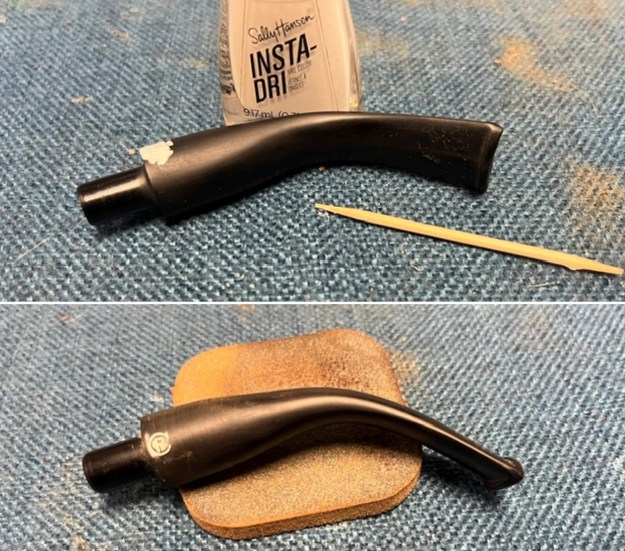 I polished it with micromesh sanding pads – dry sanding with 1500-12000 grit pads. I wiped the stem down between each pad with a cloth impregnated with Obsidian Oil. By the final pad the pipe stem looked very good.
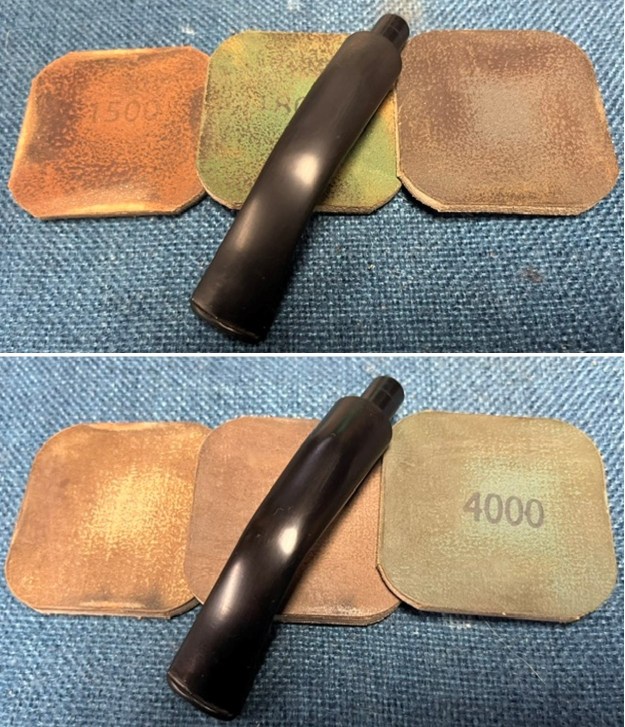
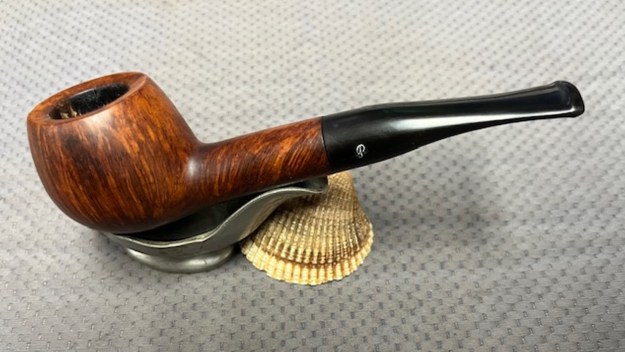
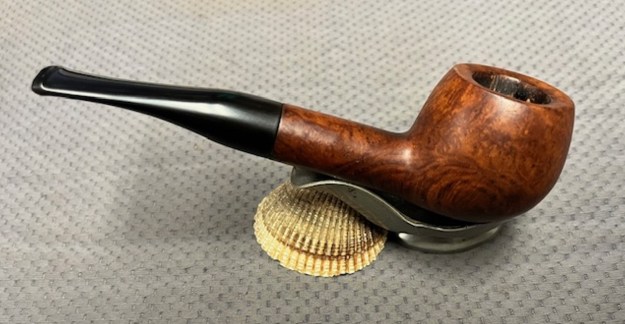
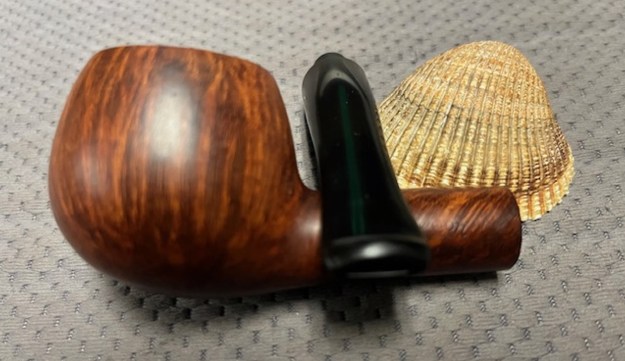
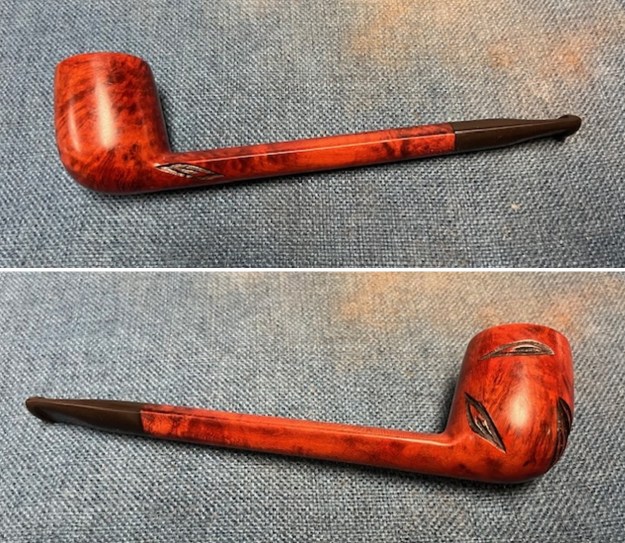
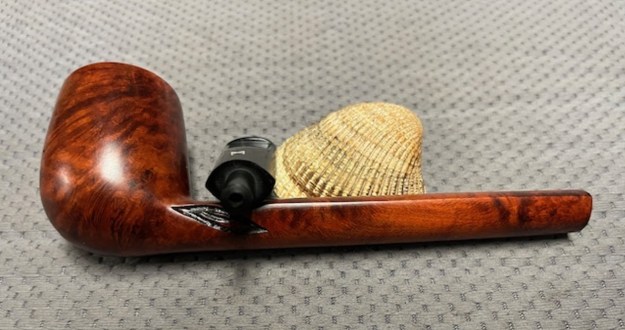
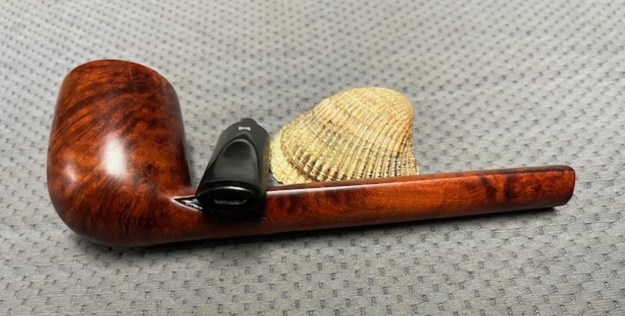
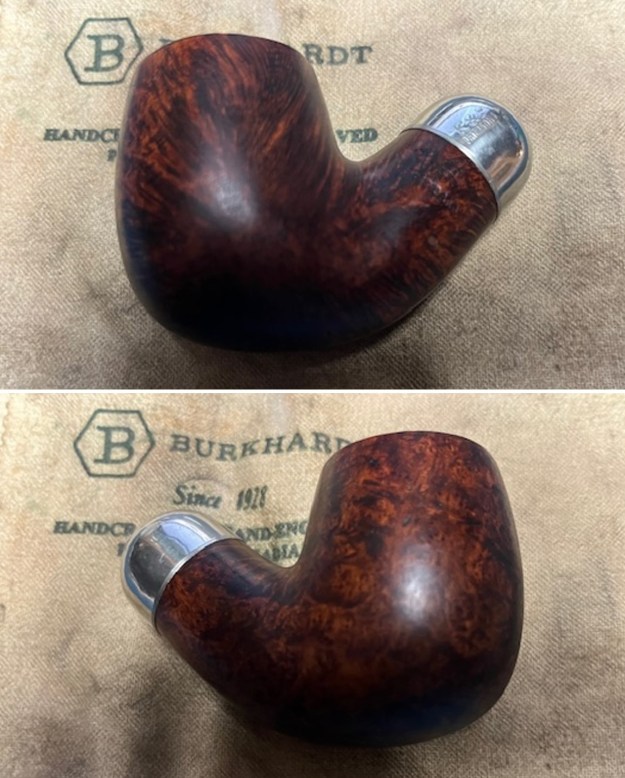
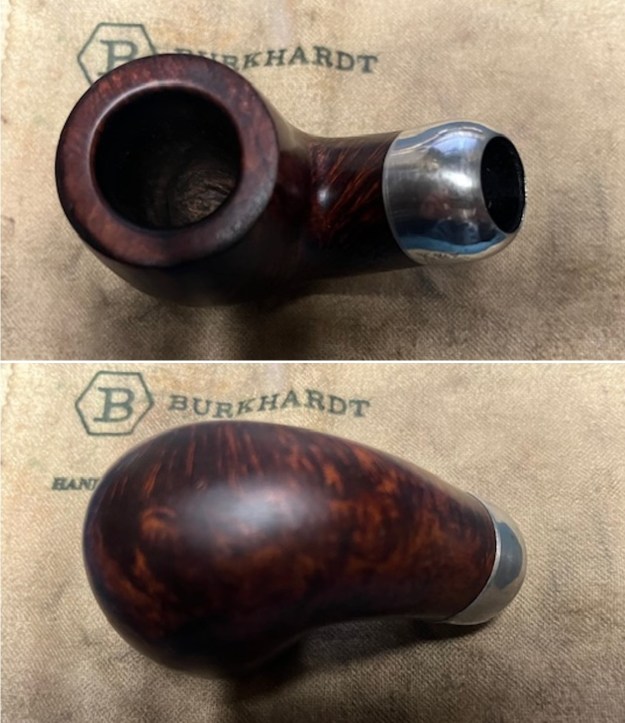
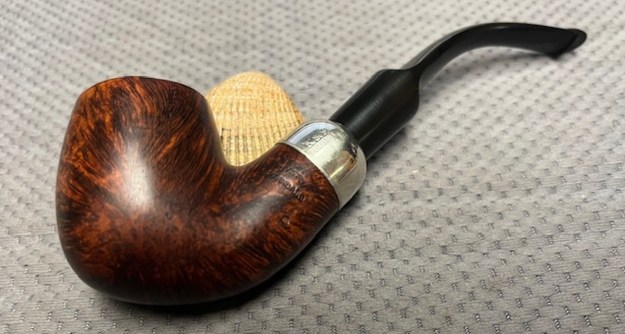
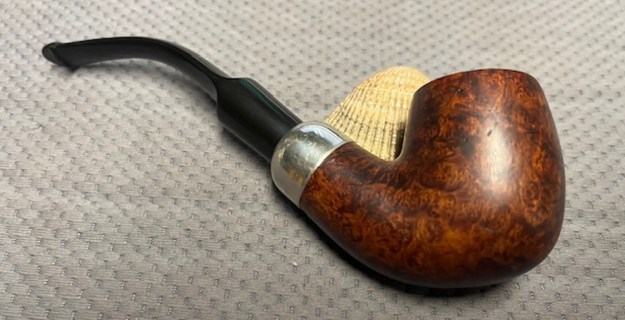
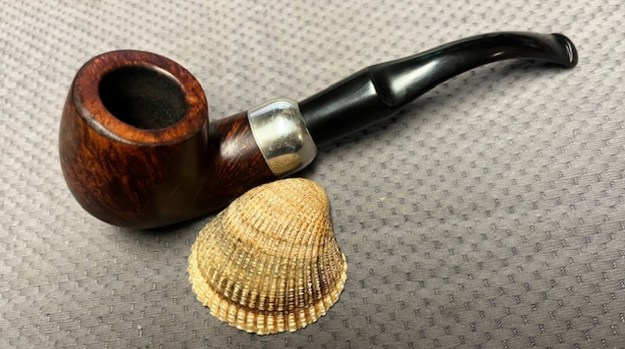
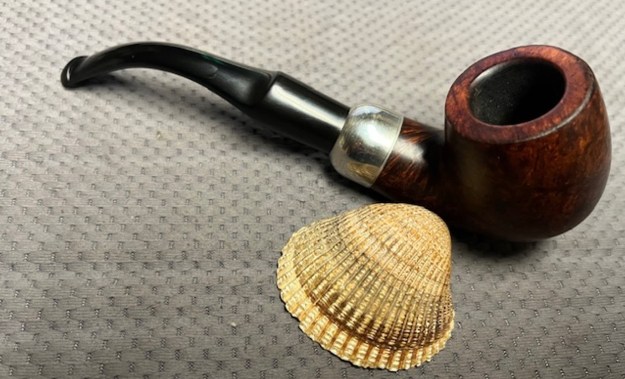
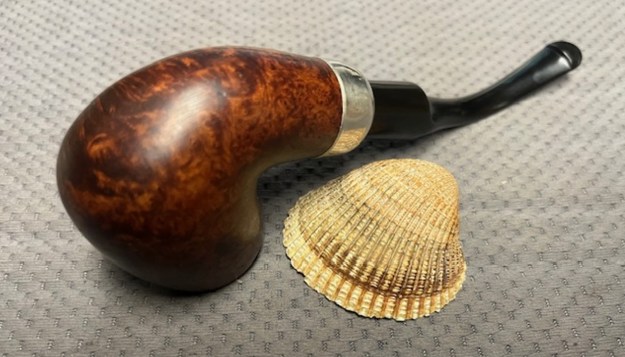
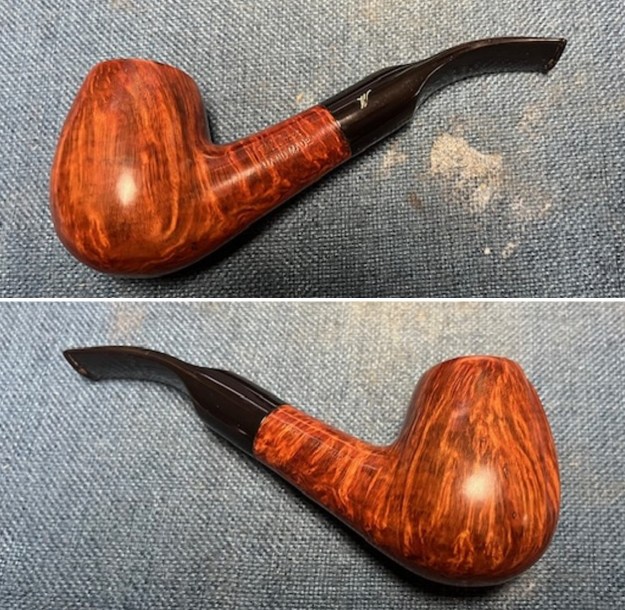
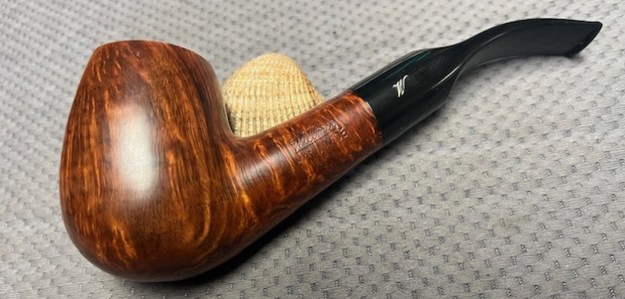
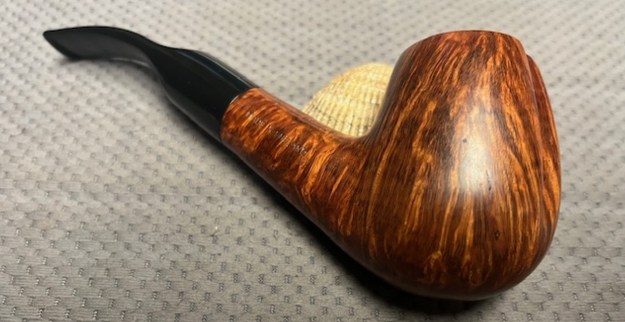
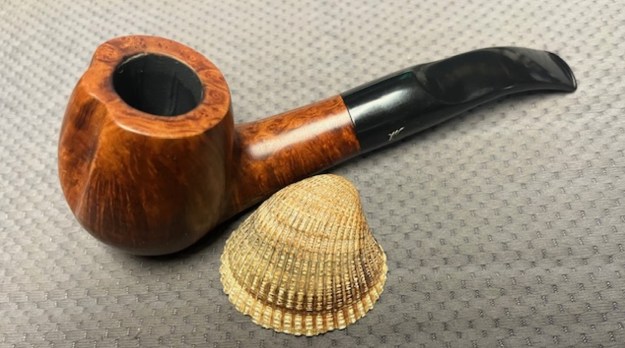
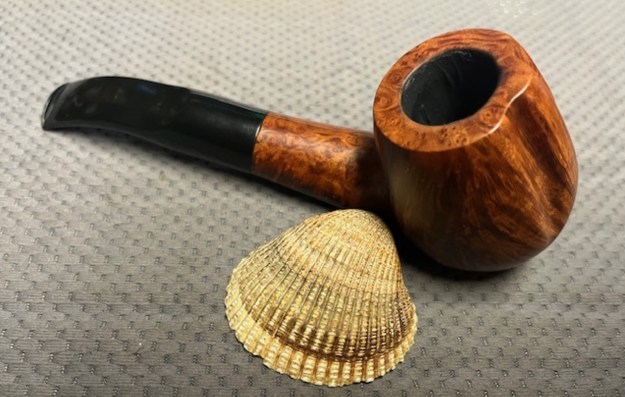
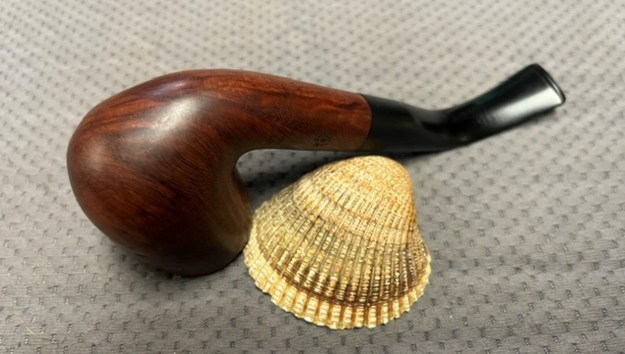
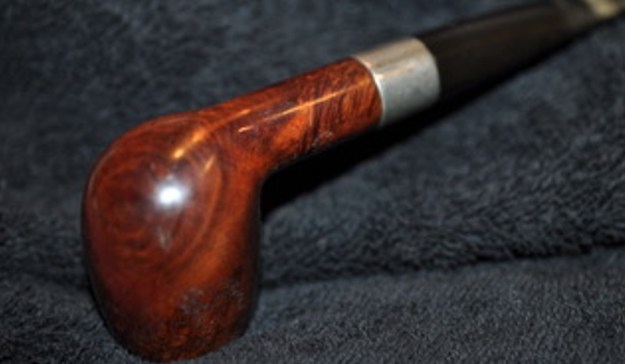
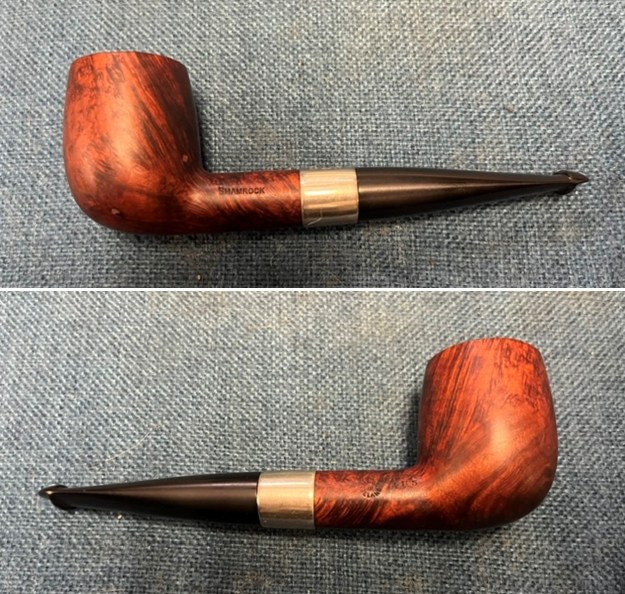
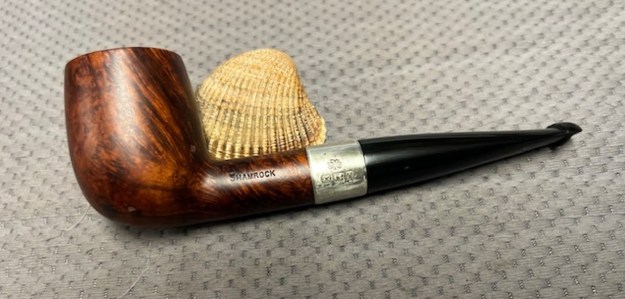
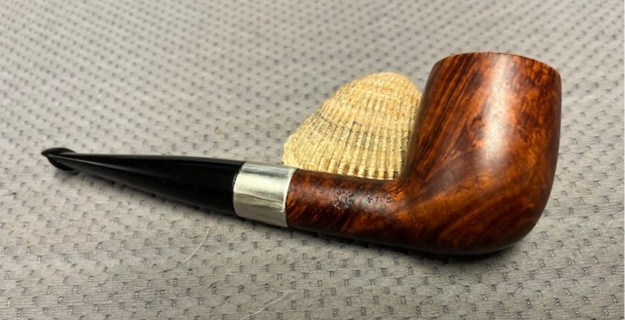
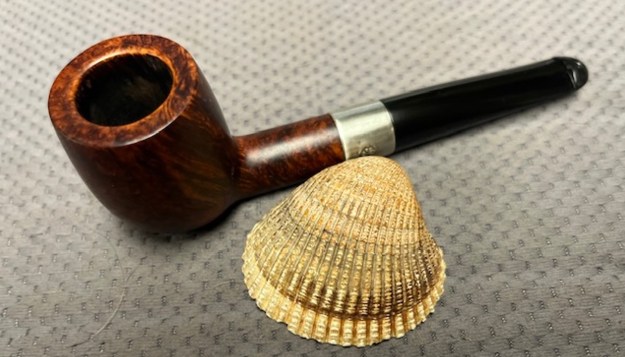
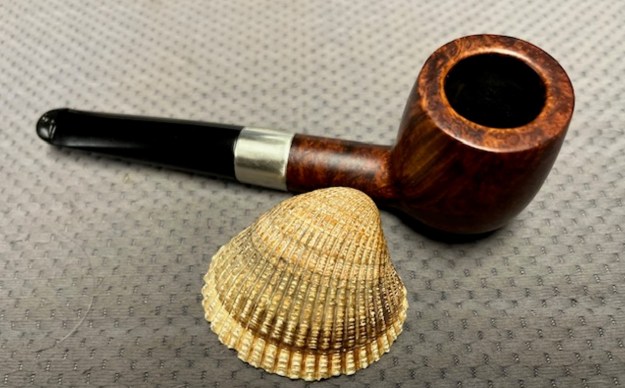
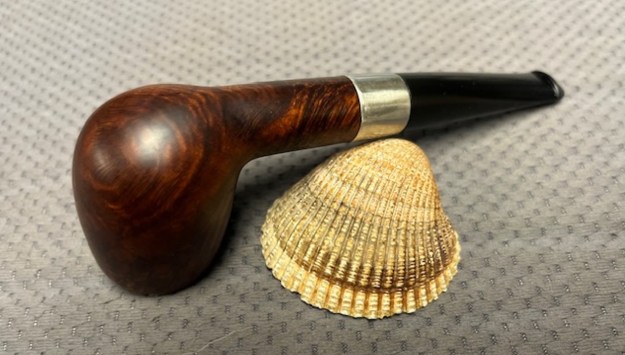
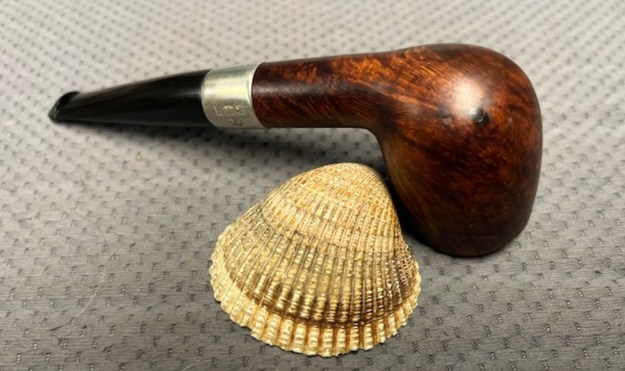
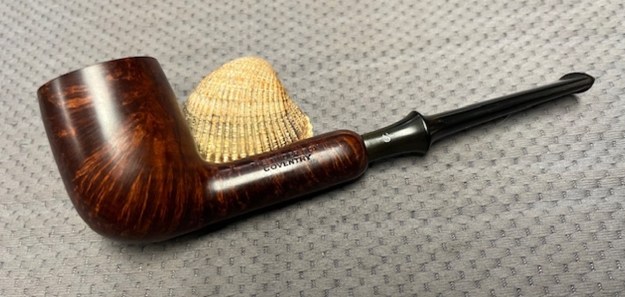
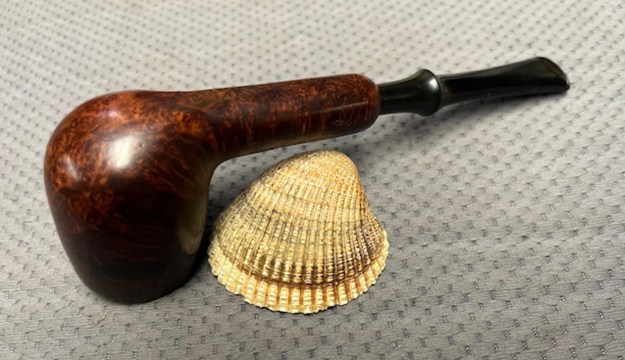
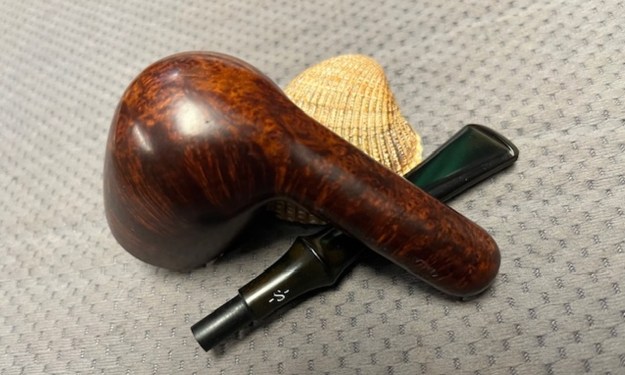
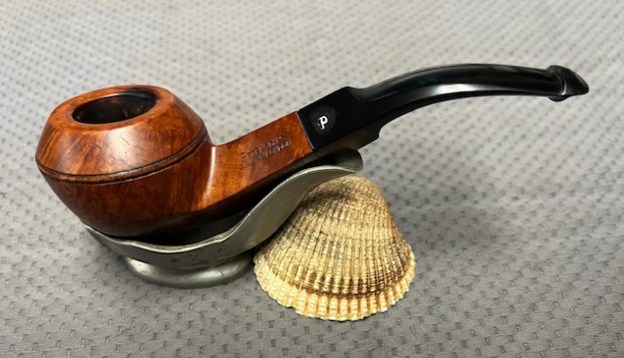
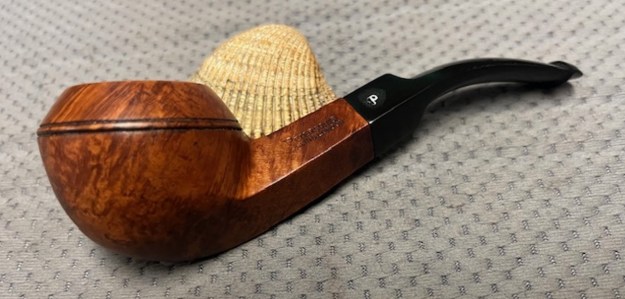
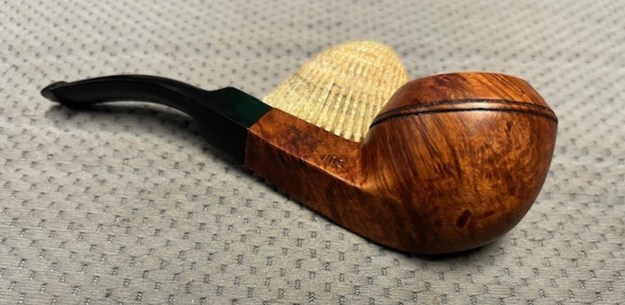
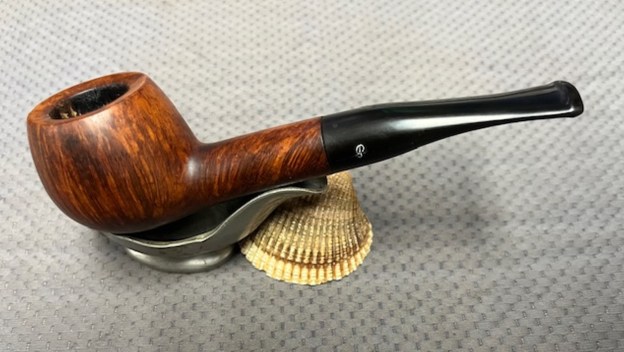
 I am excited to finish the easy restoration of this Captain Pete Made in Ireland 69 Bent Billiard. I put the pipe back together and buffed it with Blue Diamond on the buffing wheel. I gave the bowl and the stem multiple coats of carnauba wax. I buffed the pipe with a clean buffing pad to raise the shine and hand buffed it with microfiber cloth to deepen the shine. It is fun to see what the polished bowl looks like with the polished black, taper vulcanite stem was beautiful. This Captain Pete Made in Ireland 69 Bent Billiard turned out very well and feels great in my hand. It is light and well balanced. Have a look at it with the photos below. The dimensions are Length: 5 ½ inches, Height: 1 ¾ inches, Outside diameter of the bowl: 1 ¼ inch, Chamber diameter: ¾ of an inch. The weight of the pipe is 1.55 ounces/44 grams. It is a beautiful pipe and one that I will be putting on the rebornpipes store in the Irish Pipe Makers Section. If you are interested in carrying on the trust of this let me know through a message or an email to slaug@unserve.com . Thanks for walking through the cleanup with me as I worked over this pipe.
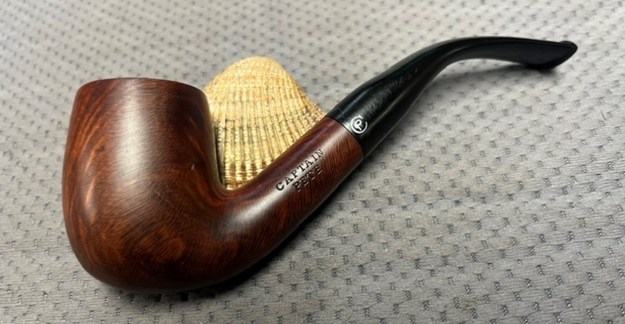


 I
I