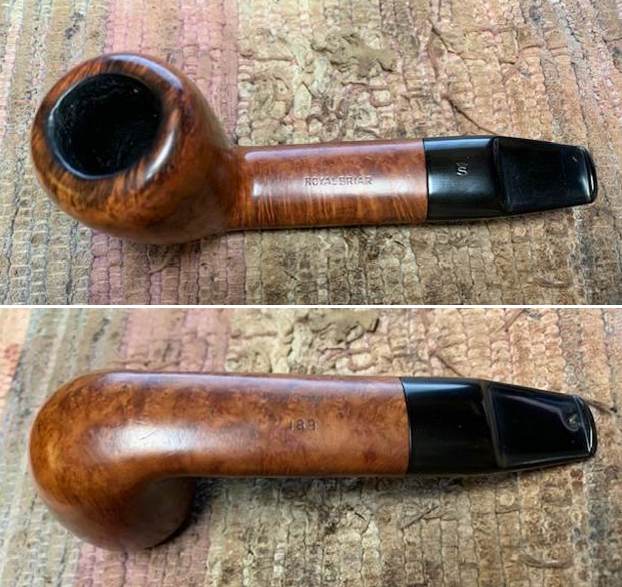
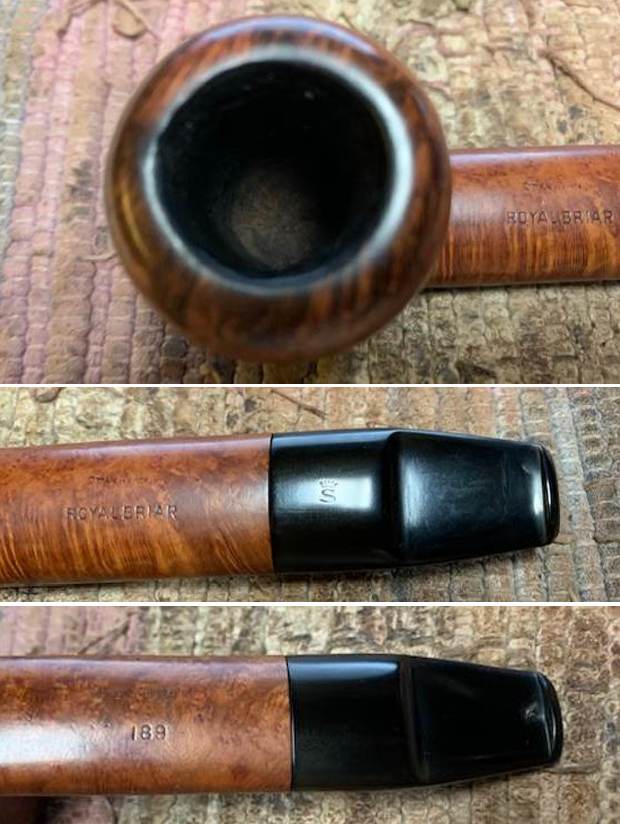
Blog by Steve Laug
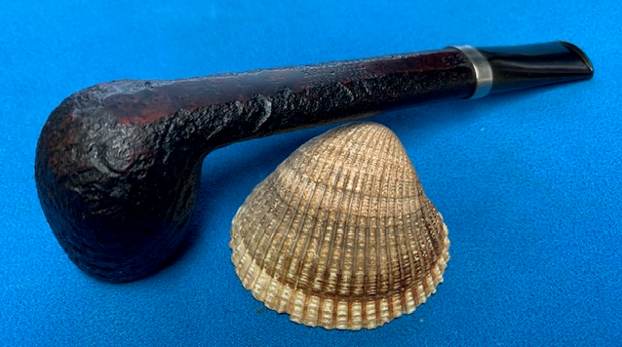
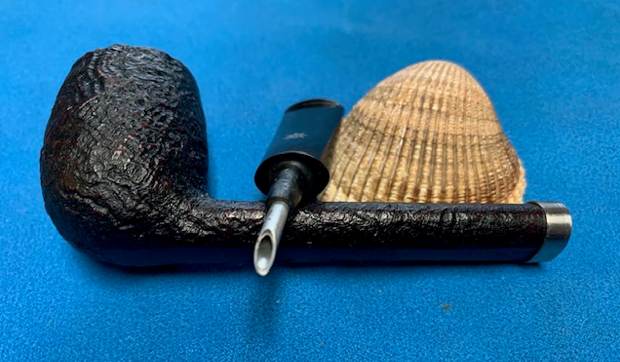
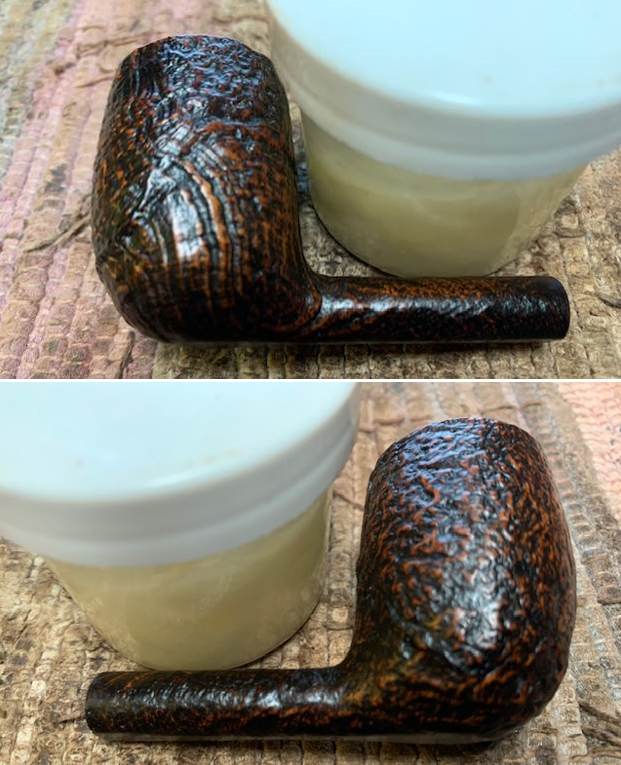
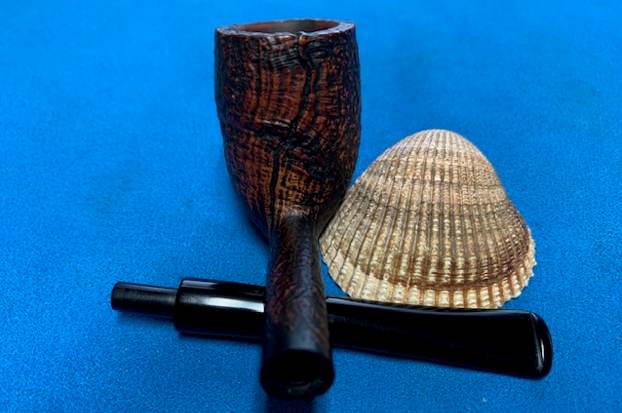
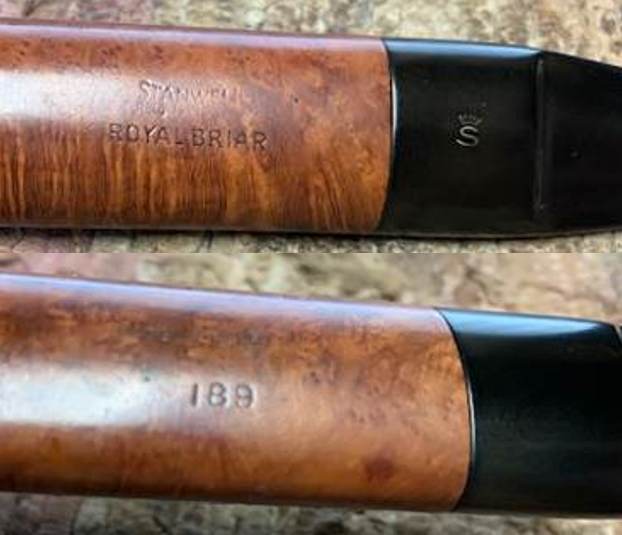
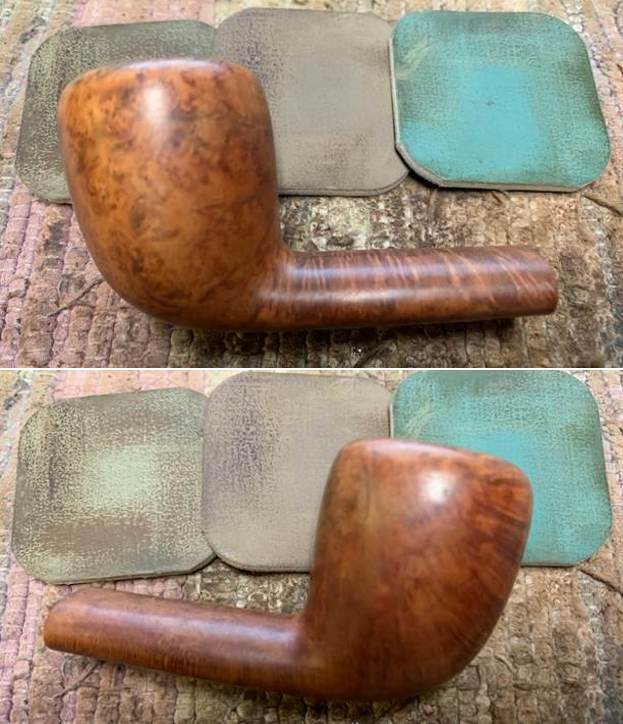
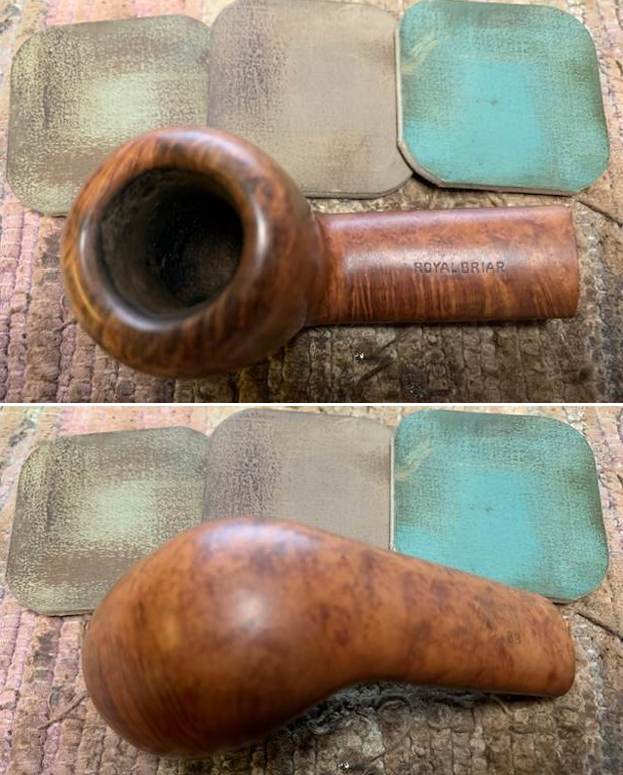
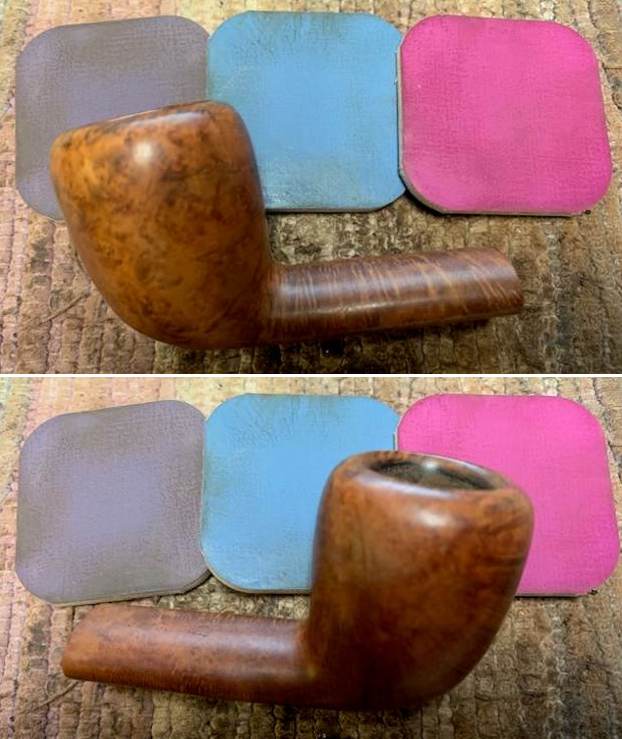
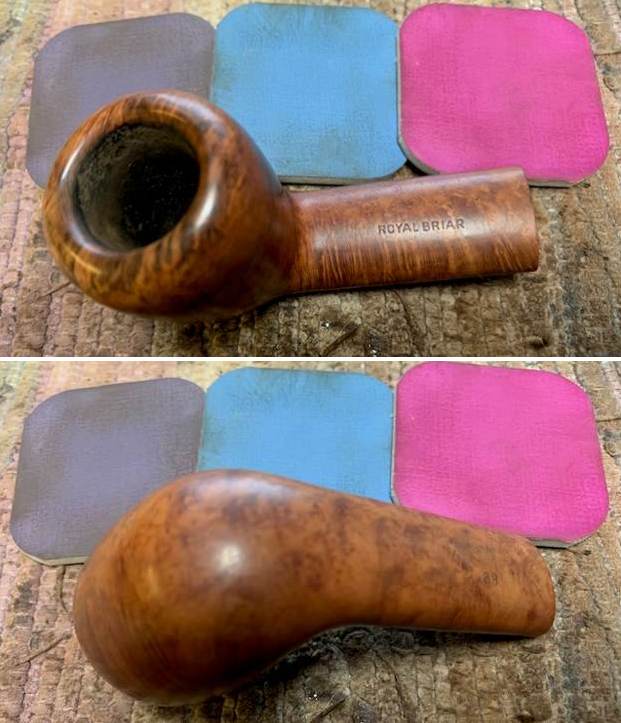
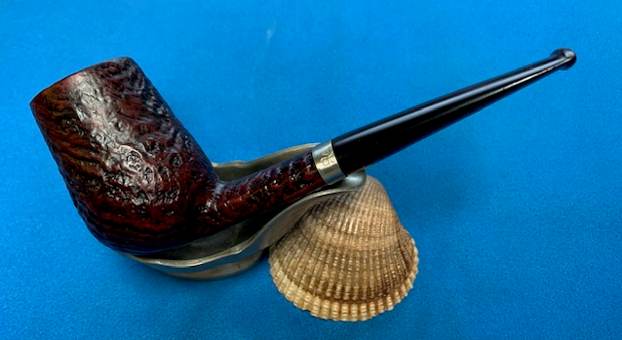
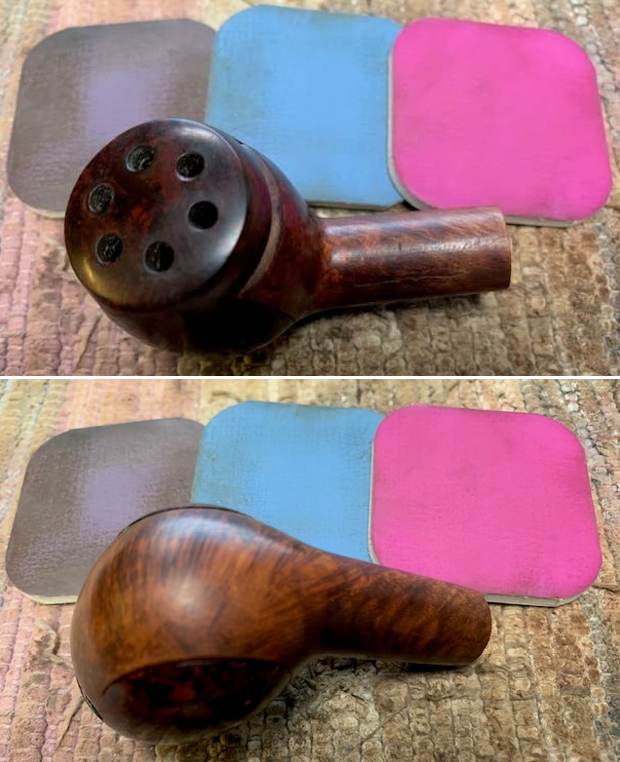
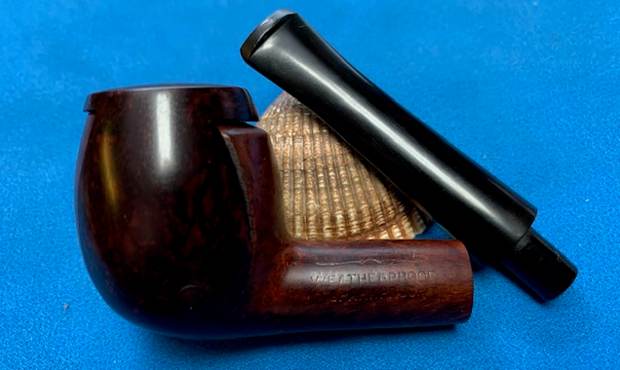
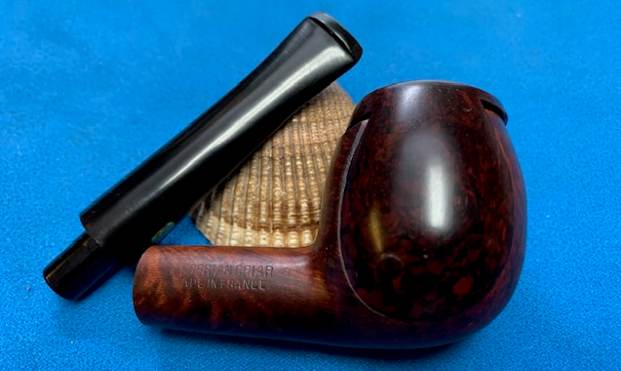
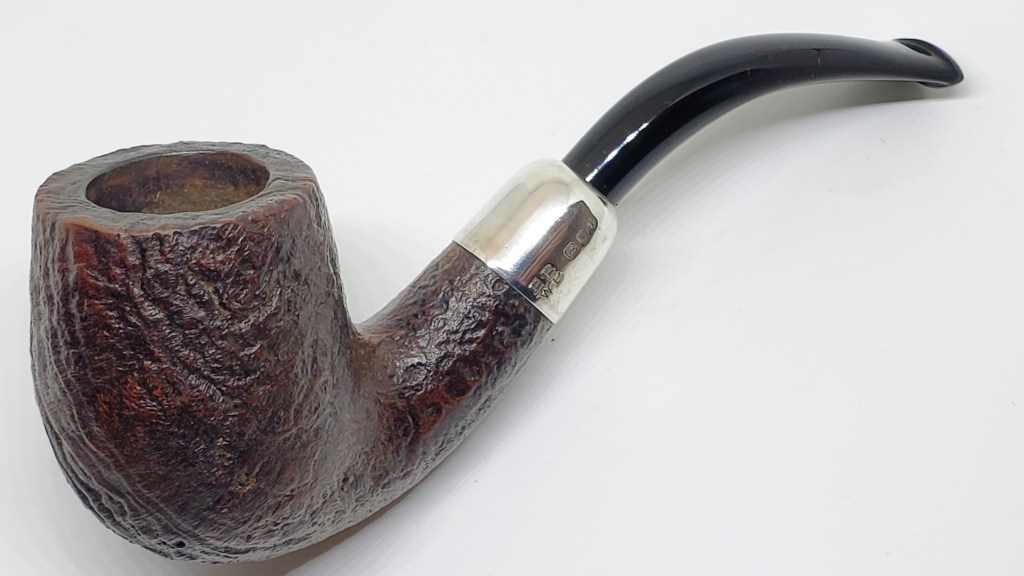
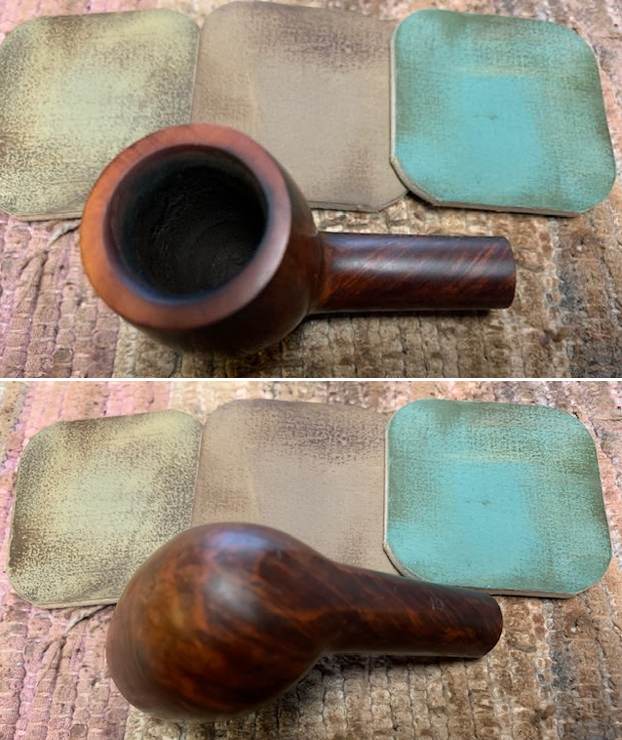
 Not long ago I worked a trade with a fellow for these five pipes in exchange for one that I had here. He sent me photos of the pipes and the deal was struck. The pipes he sent are as follows from bottom to top. There is a W.O. Larsen sandblast oval shank Brandy with a hairline crack in the shank and with tooth marks on the button on both sides, a Bertram Cutty that I had traded with him earlier, a Kriswill sandblast Canadian with a cracked shank, a Viby pencil shank Billiard and a Stanwell Royal Briar wide oval shank Dublinesque Freehand with burn damage on the rim edges and top around the bowl and deep tooth marks on the stem.
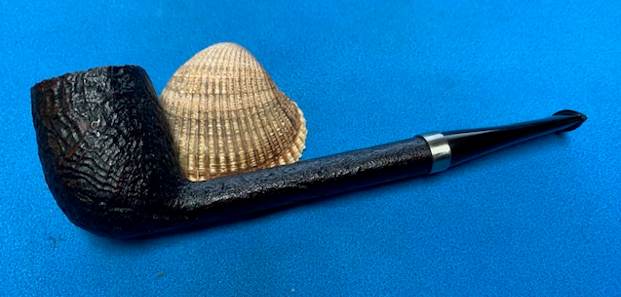
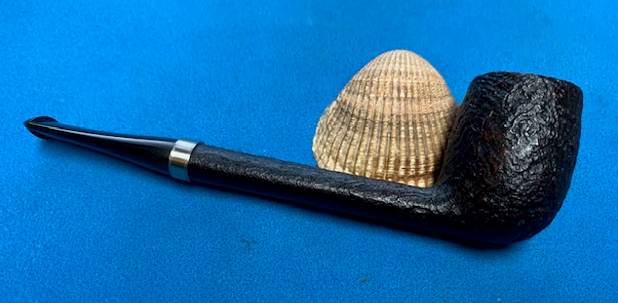
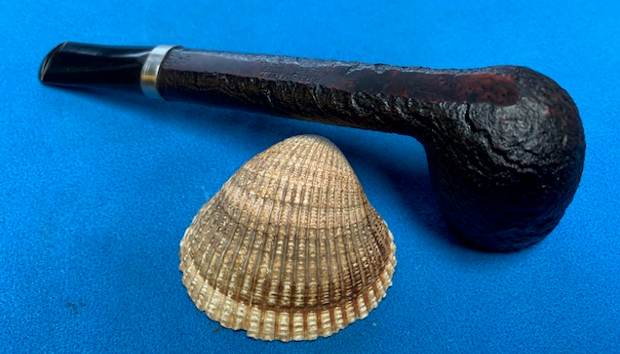
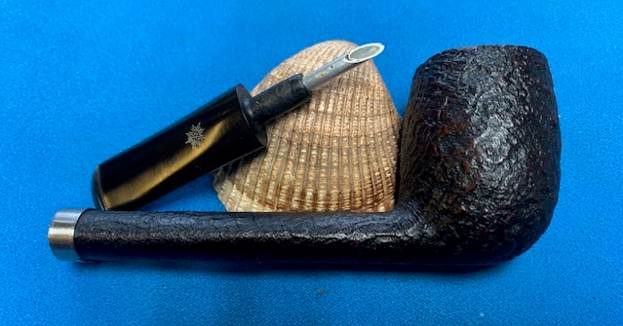
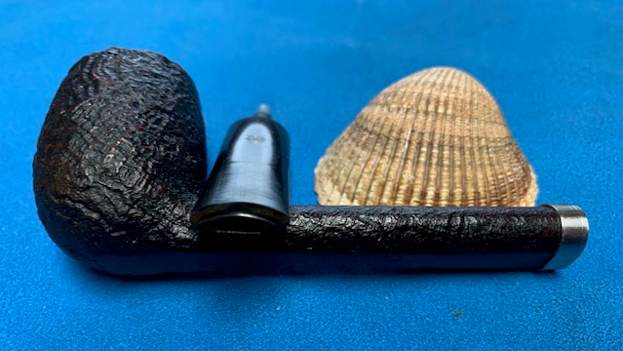
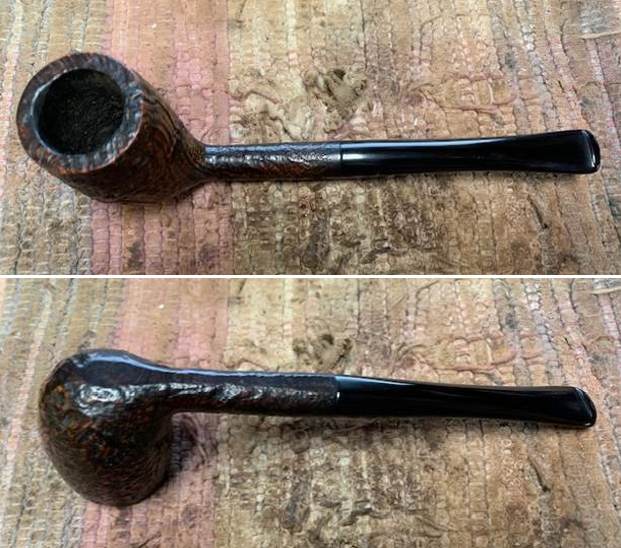
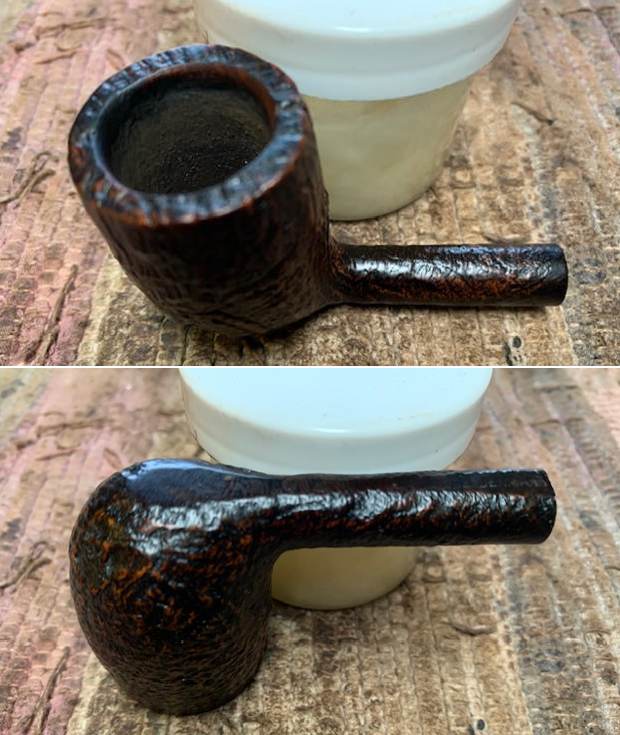
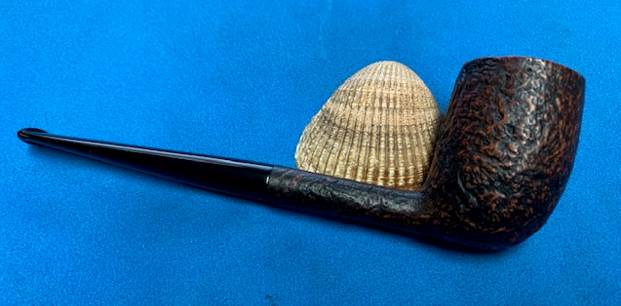
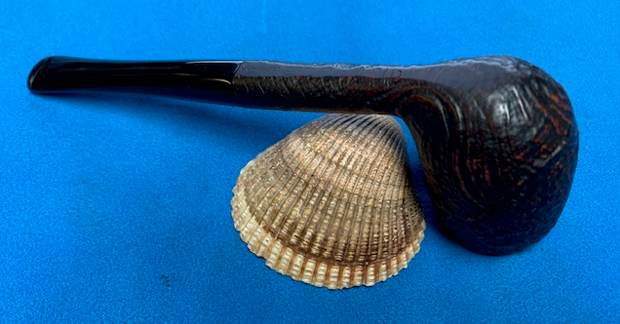
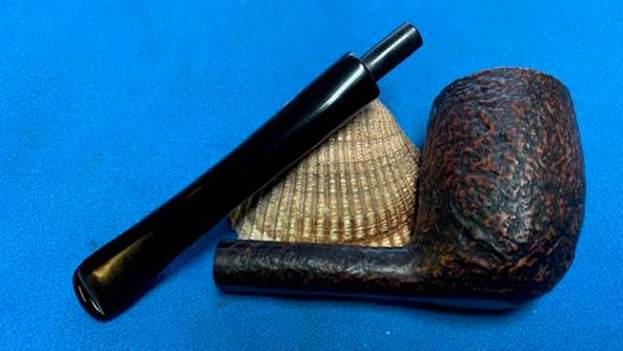
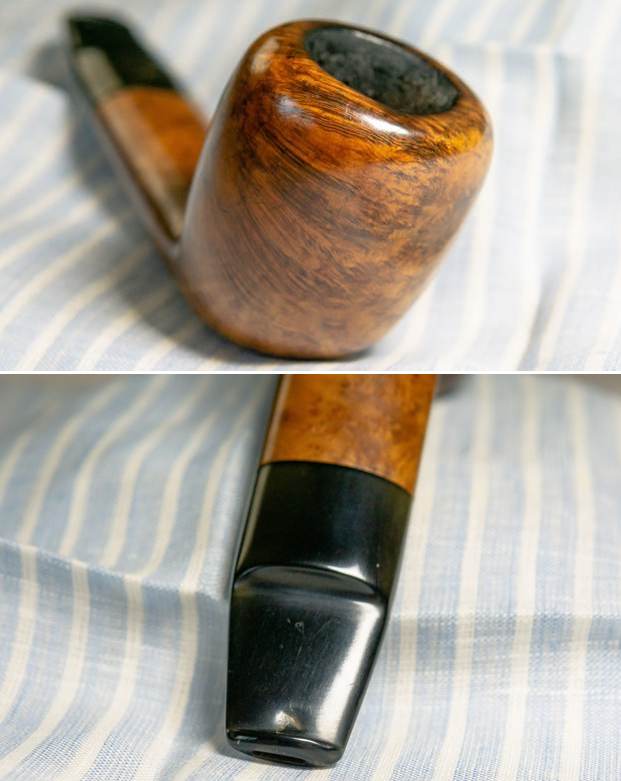
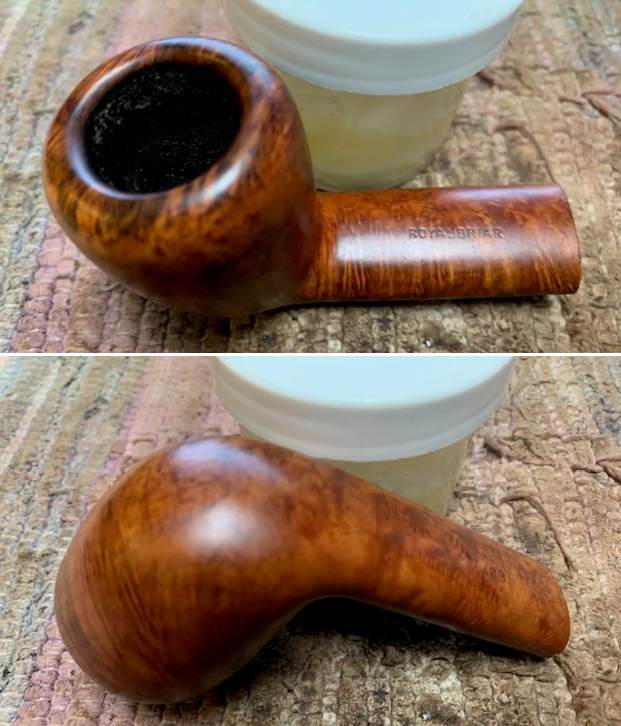
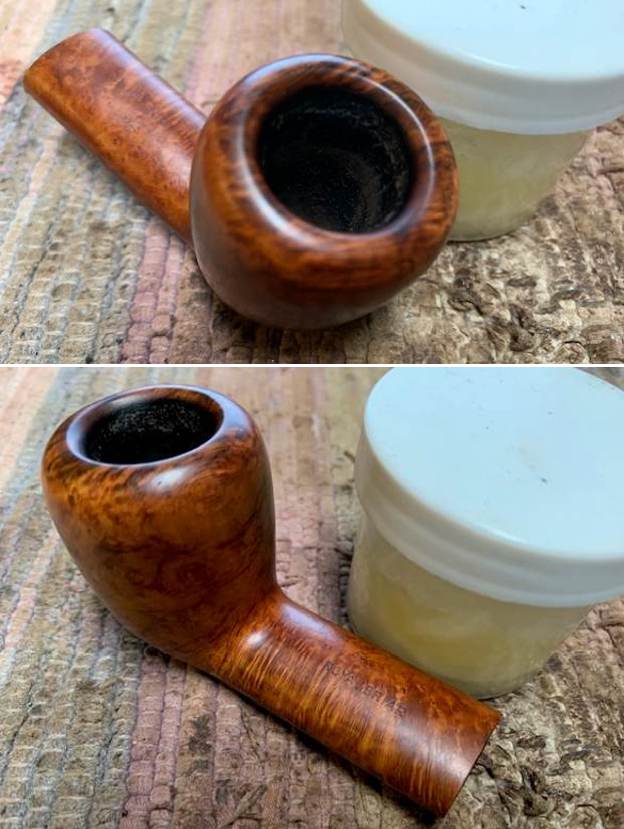
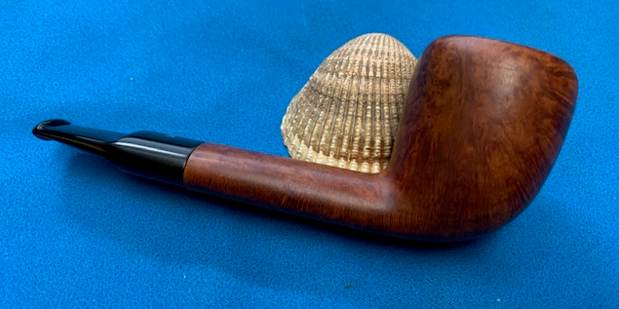
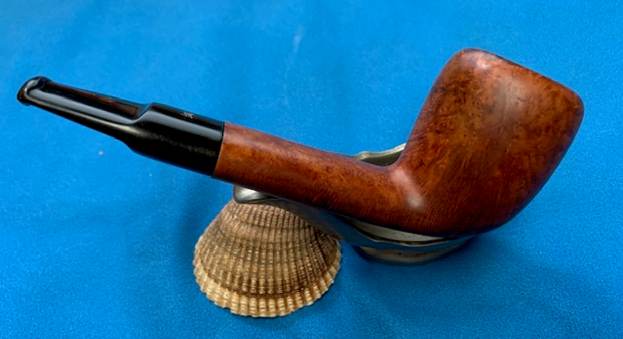
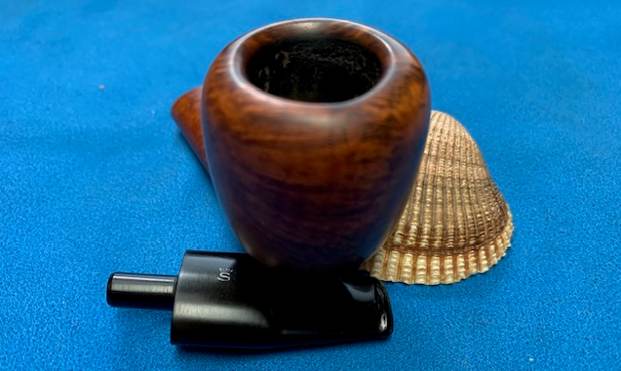
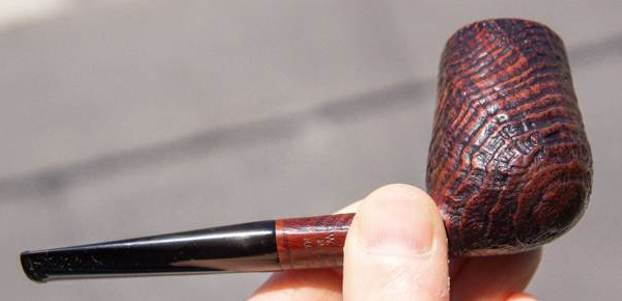
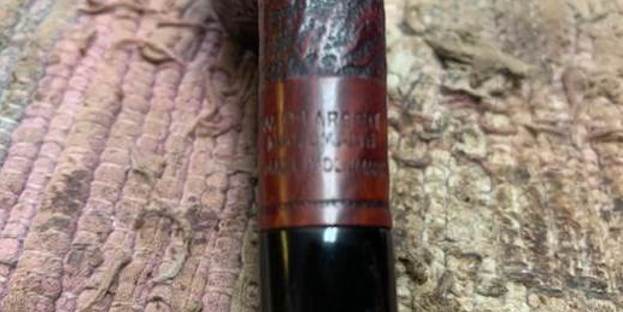
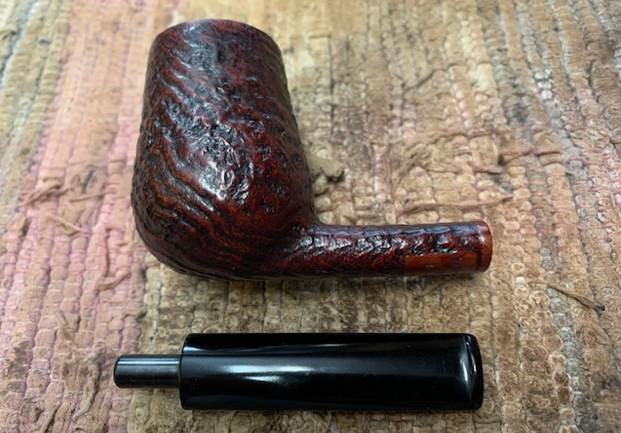
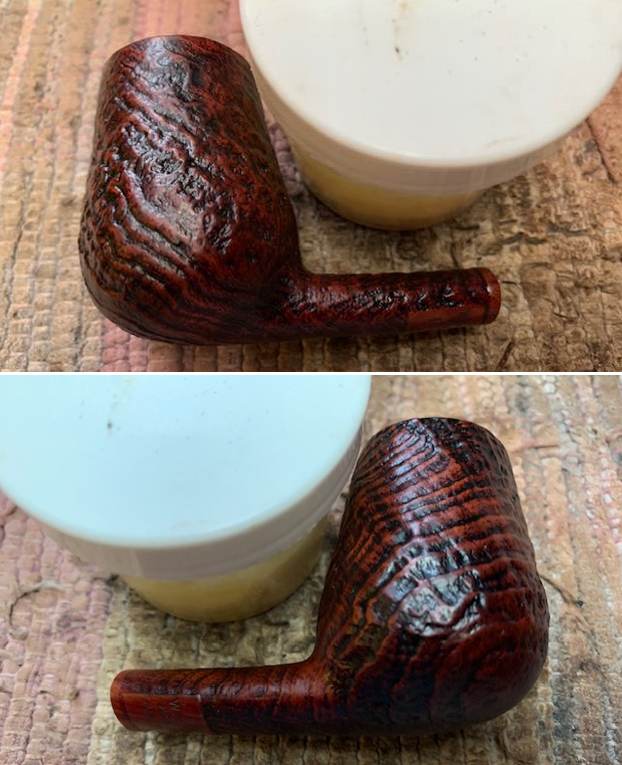
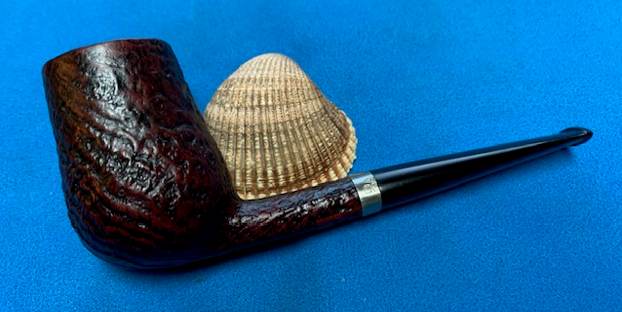
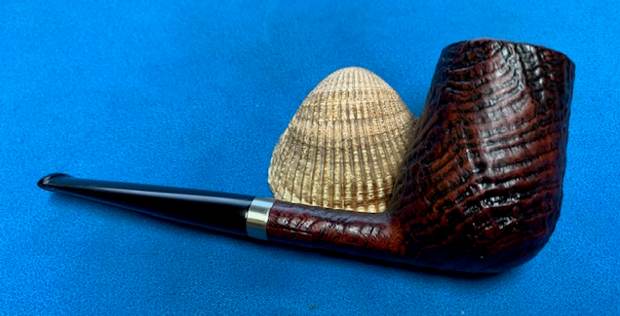
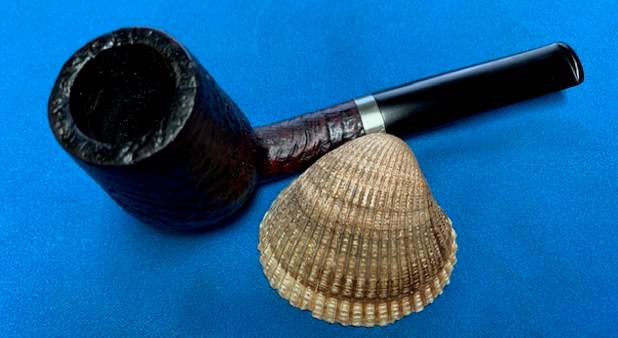
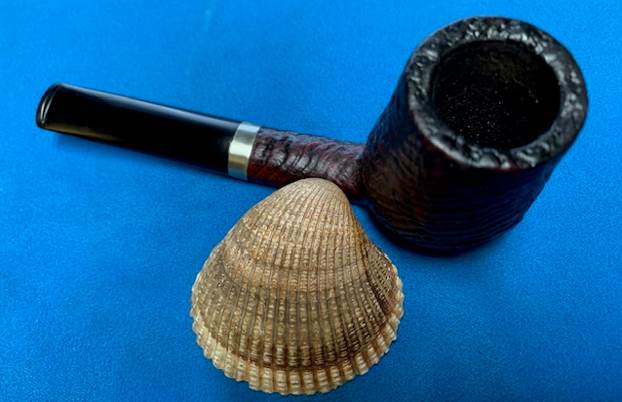
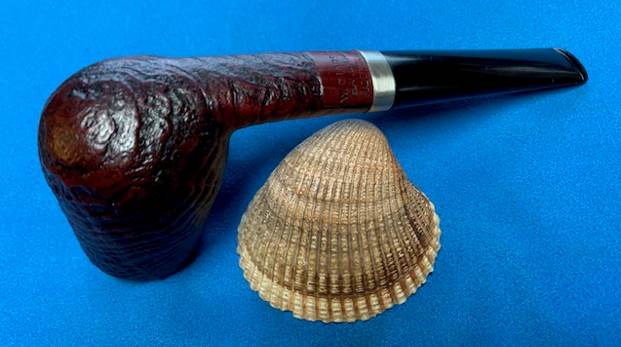
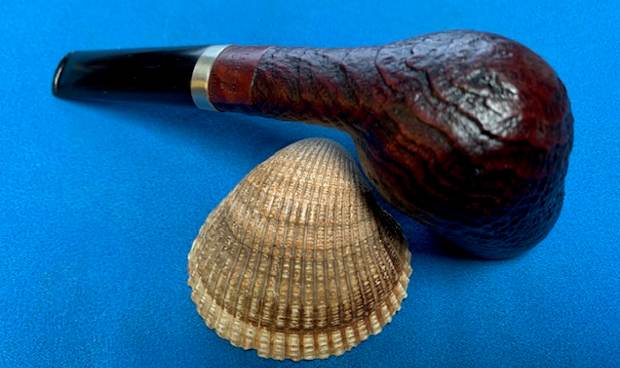
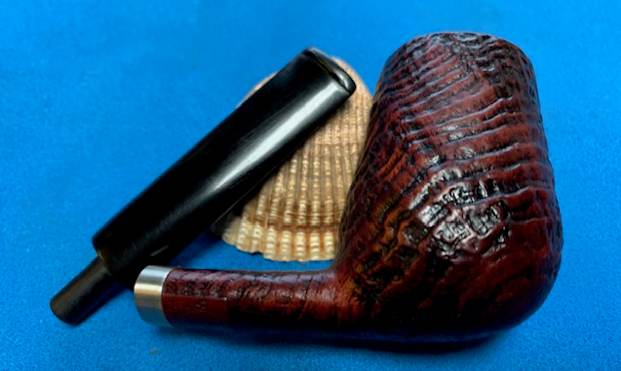
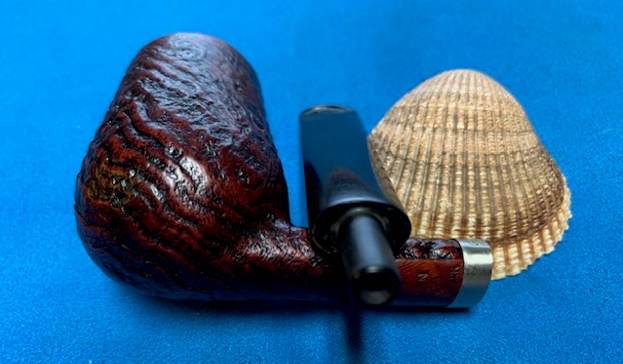
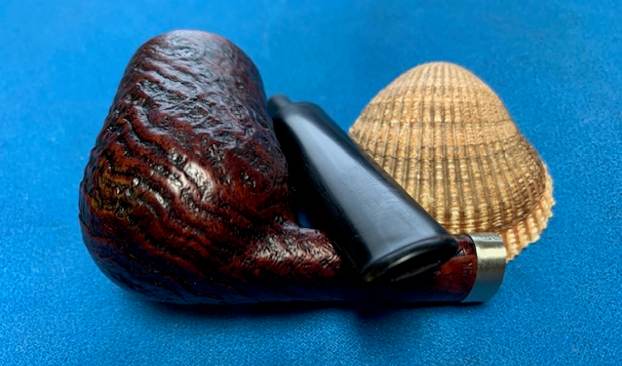
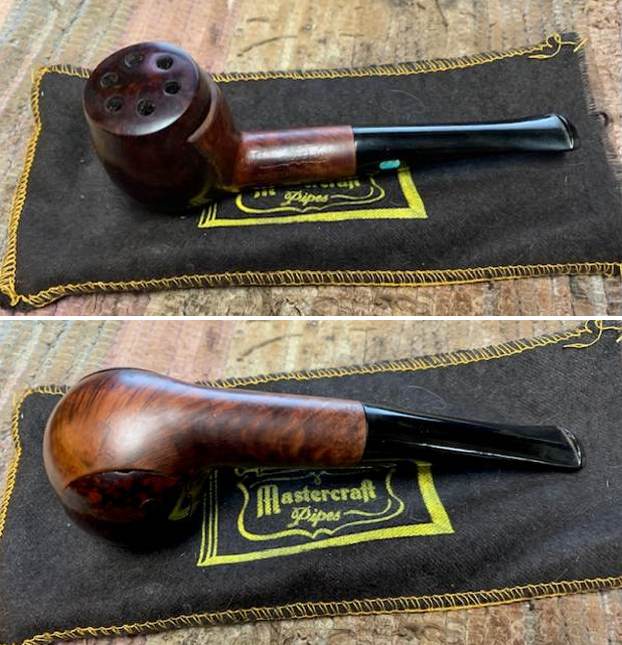
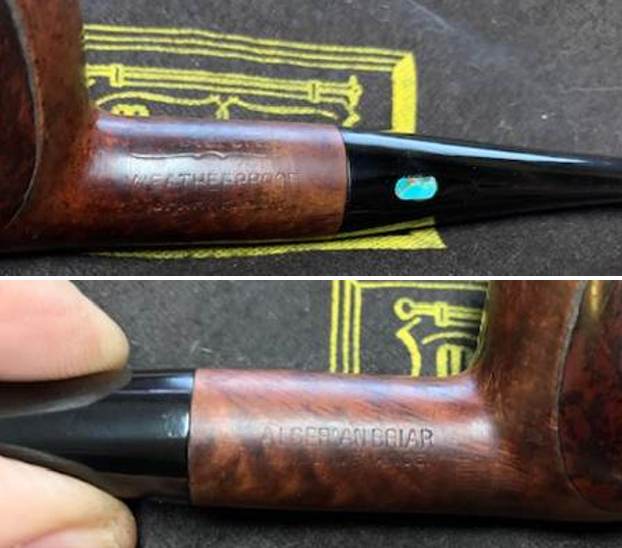
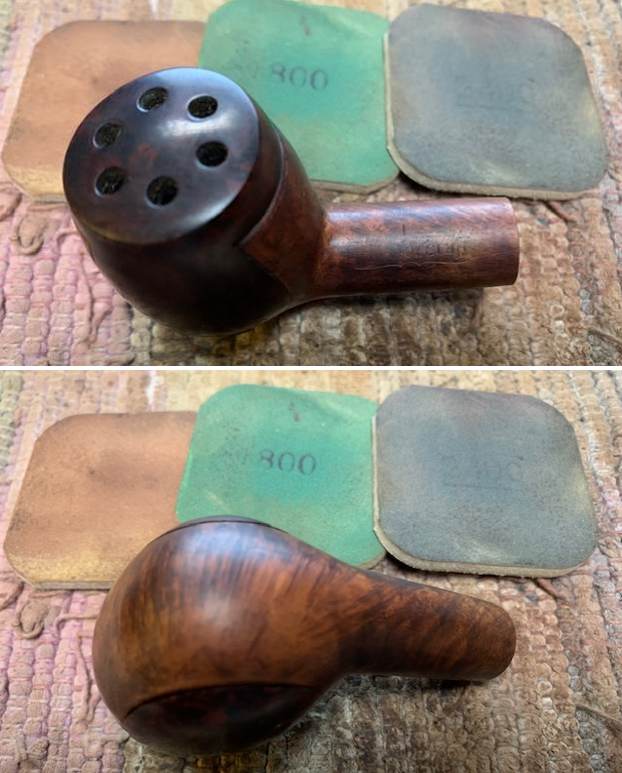
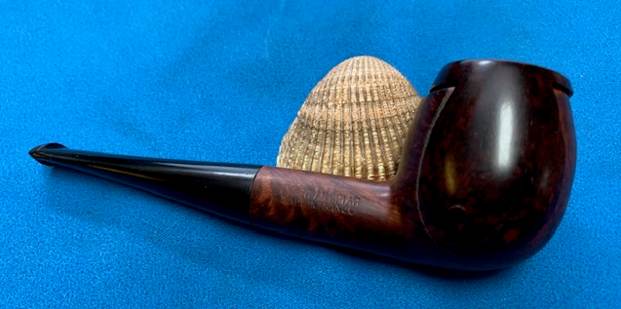
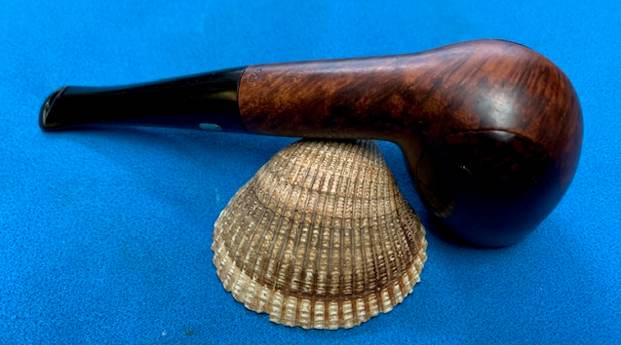
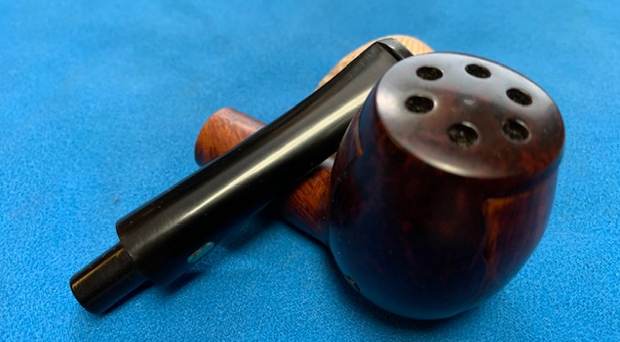
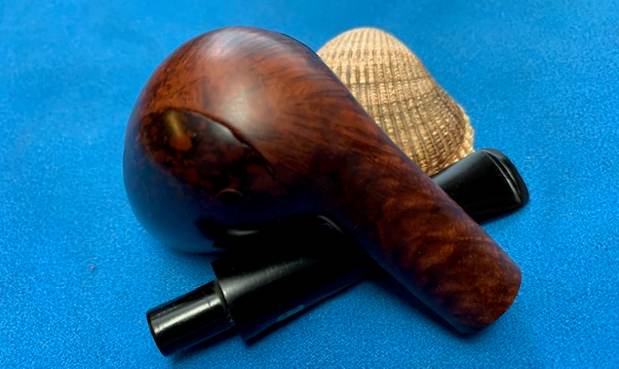
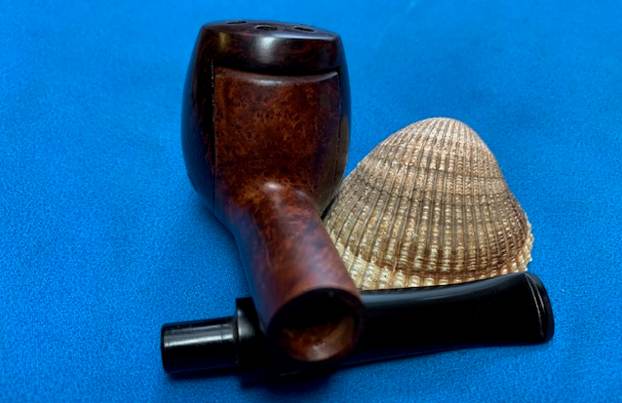
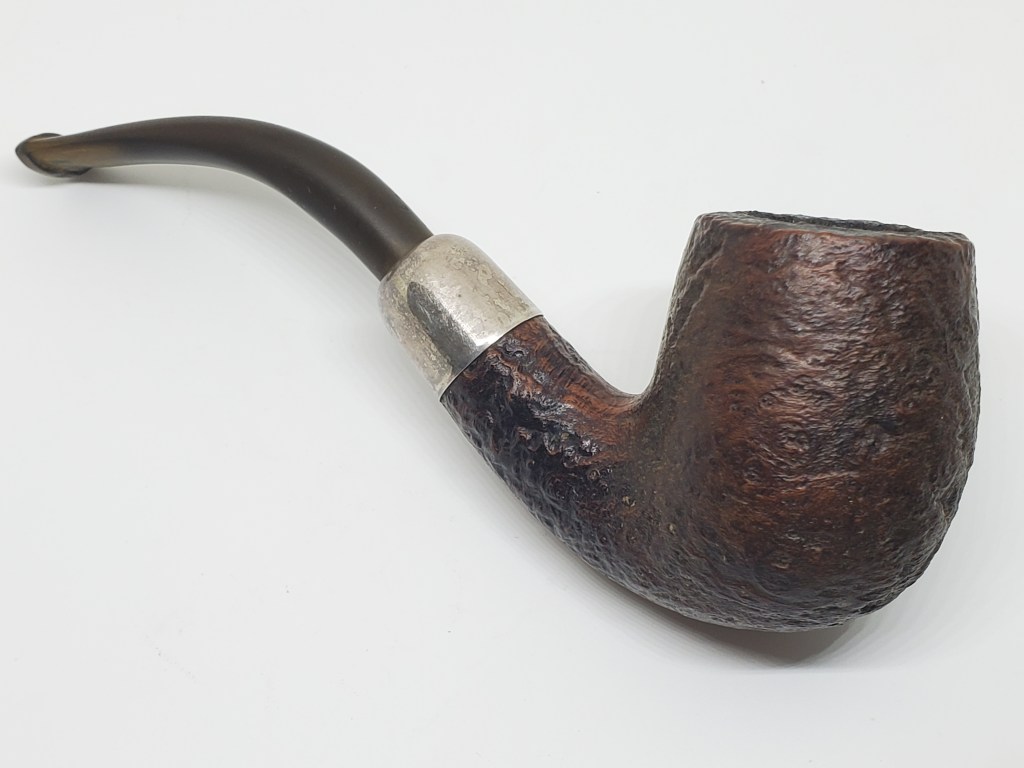
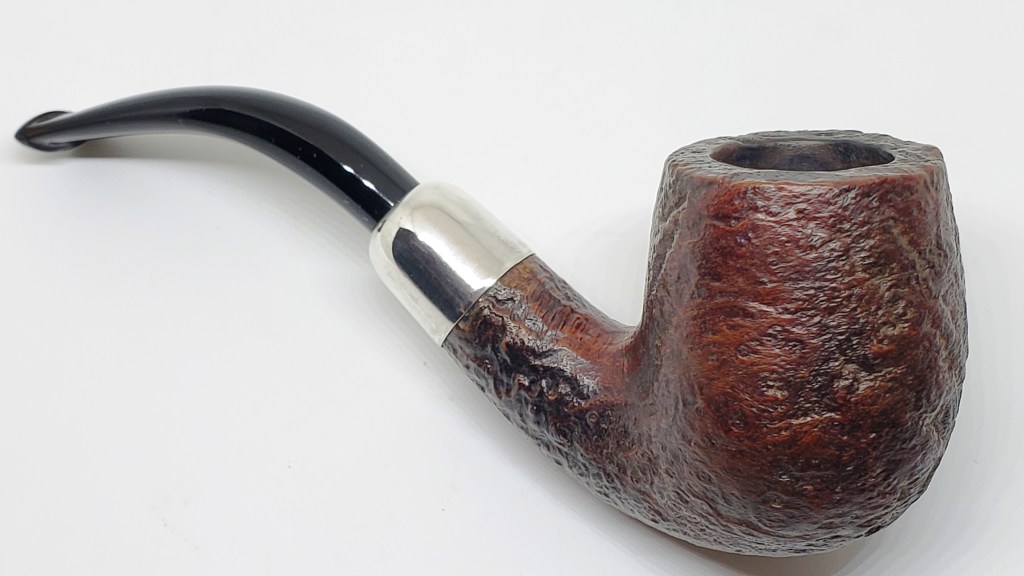
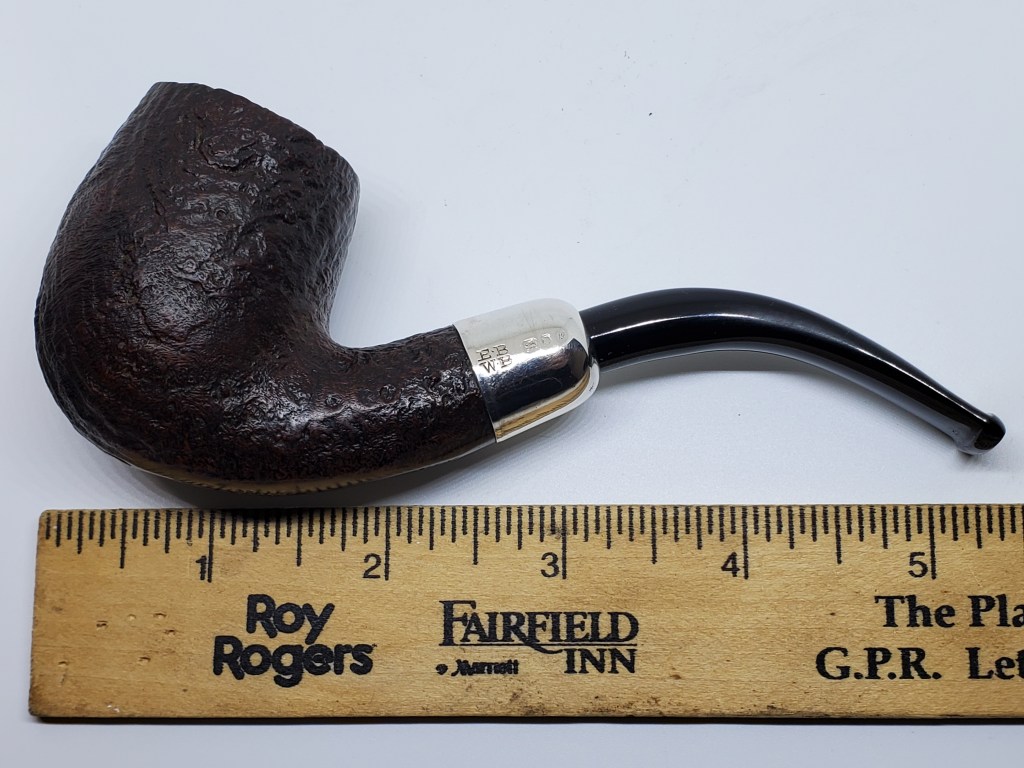
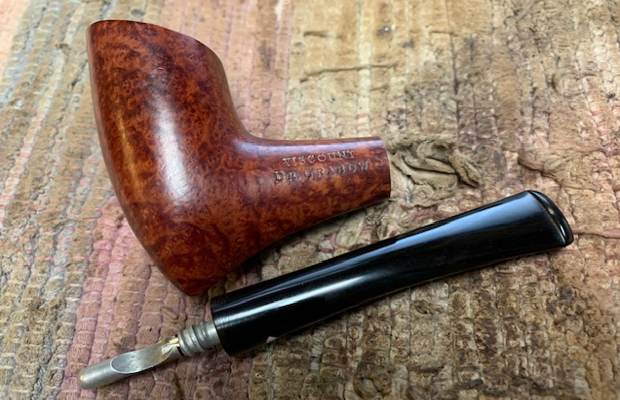
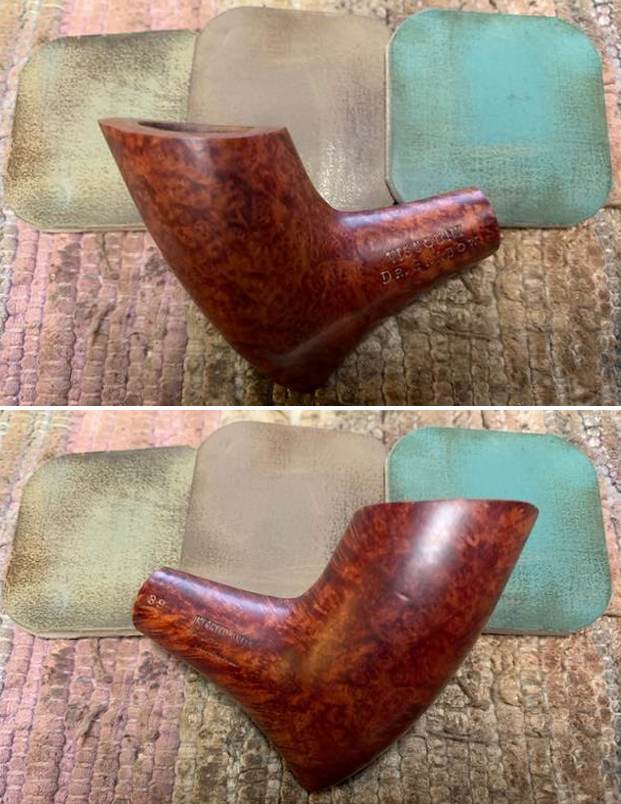
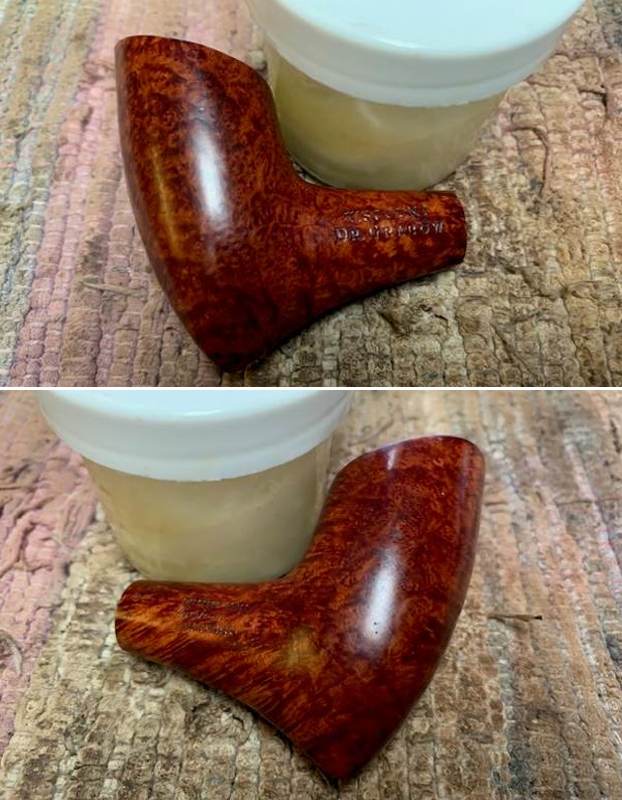
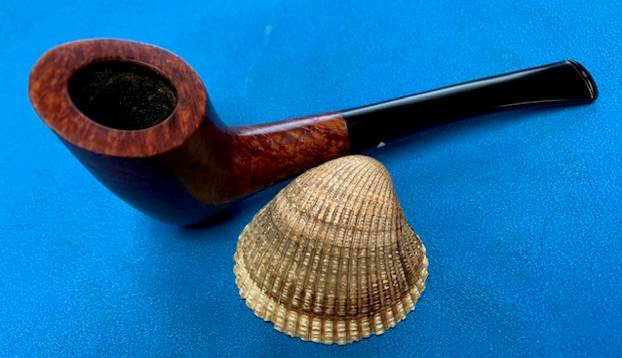
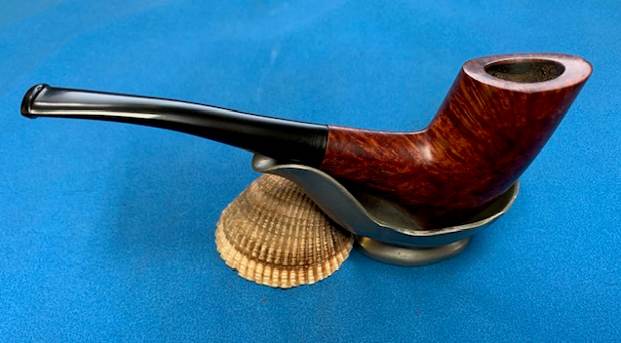
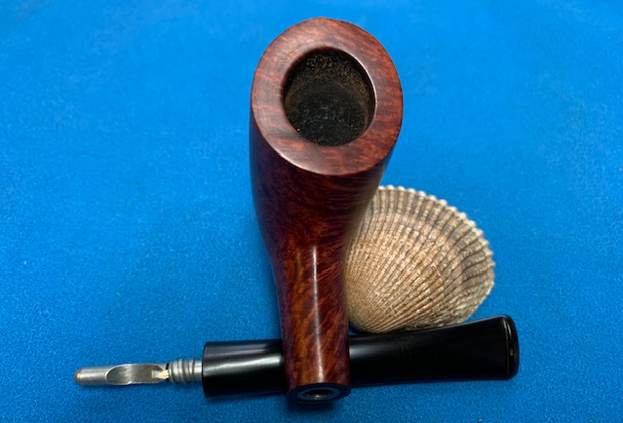
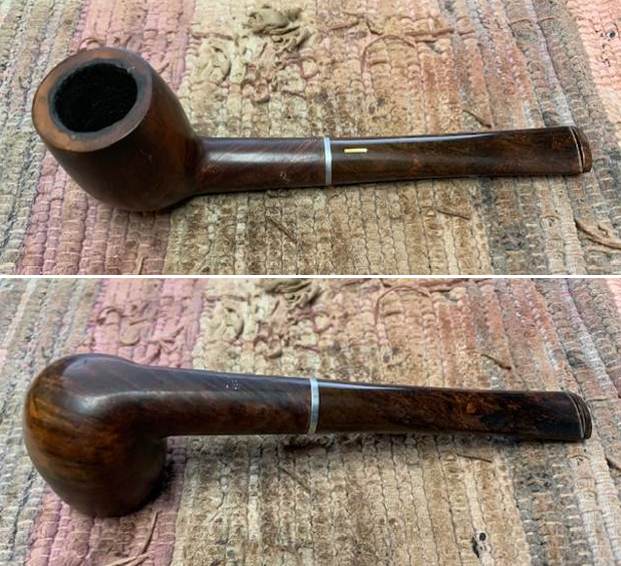
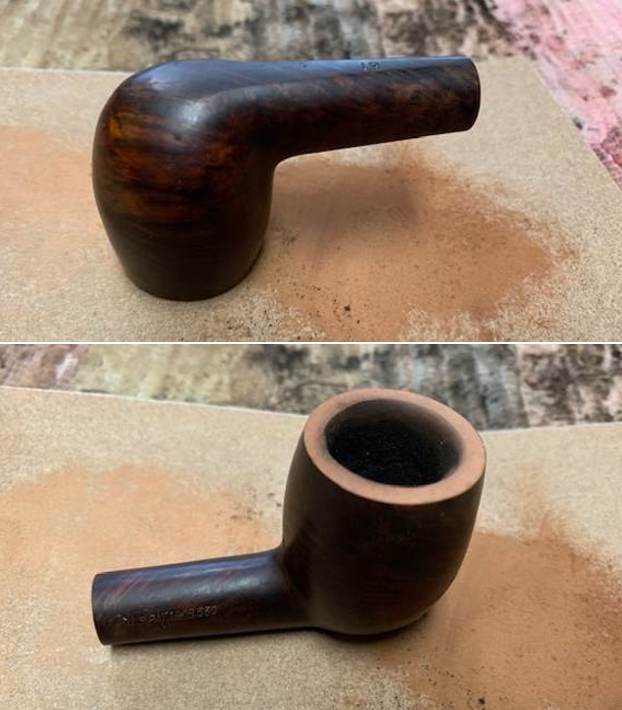
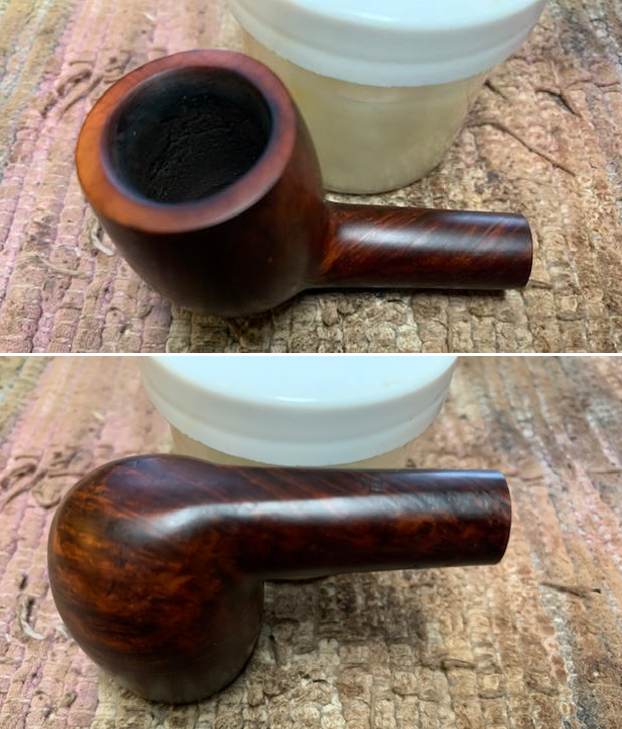
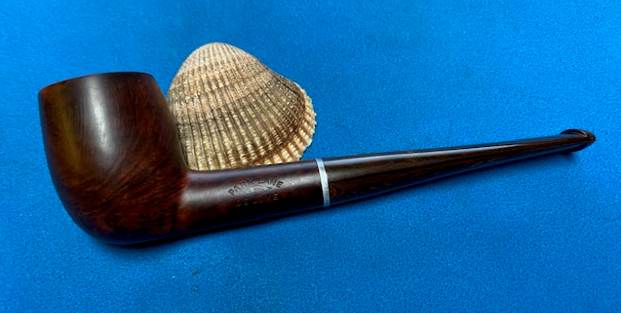
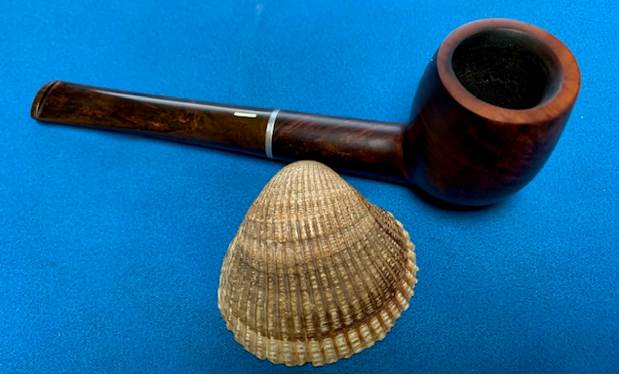
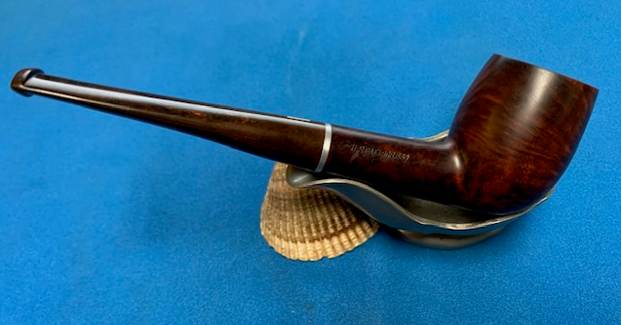
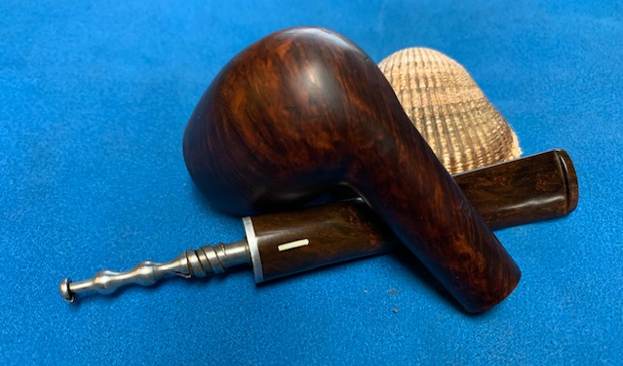
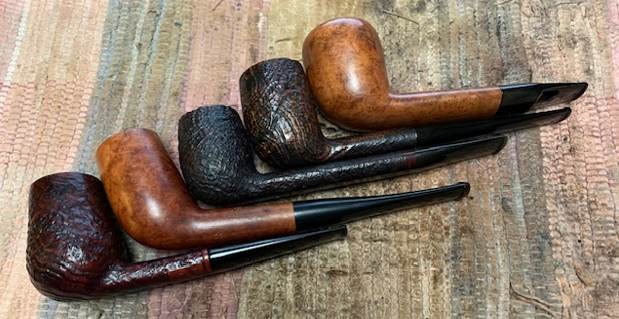 The next of these I chose to work on today is the last of the group a sandblast Kriswill Danish Clipper Canadian. It is the middle pipe shown in the photo above. It is a great looking sandblast piece with a thin oval shank and normal sized bowl. The blast reveals some interesting grain patterns around the bowl and the shank. The rim top was in good condition and there was some darkening and burn damage on the front inner edge. The outer edge of the rim is in good condition. The bowl had a light cake in the bowl and smells of good Virginia tobacco. There was some grime and grit ground into the surface of the finish. The stamping on the underside of the shank reads Kriswill [over] Danish Clipper [over] Handmade in Denmark. That is followed by the shape number 628. There was a small hairline crack in the underside of the shank level with the shape number and ending just below the 2 in the shape stamp. The stain is dark brown and oxblood and goes well with the thin taper stem. Once it is cleaned up and polished the grain around the bowl and shank will shine. The stem is in good condition with some light oxidation on both sides ending mid-stem which seems to point to having been smoked with a Softee Bit. The surface just ahead of the button looks good and shows no tooth damage. The button edge looks good on both sides. I took photos of the pipe before I did my clean up work on it to show its condition. The photos confirm what I noted above regarding the condition of the bowl and the stem. It a nice looking pipe that will look better when it is finished.
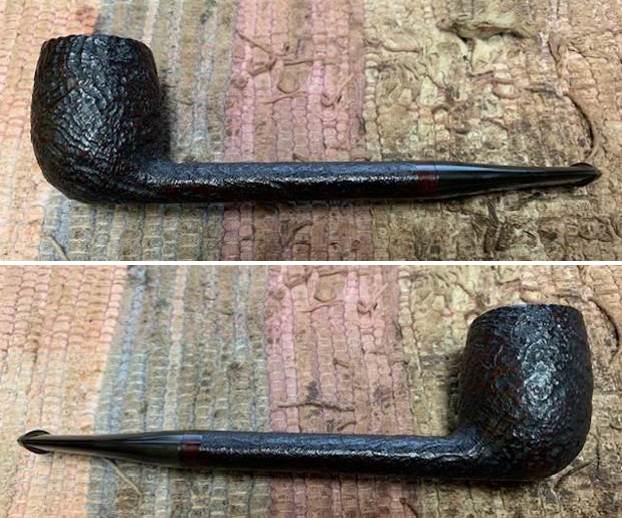
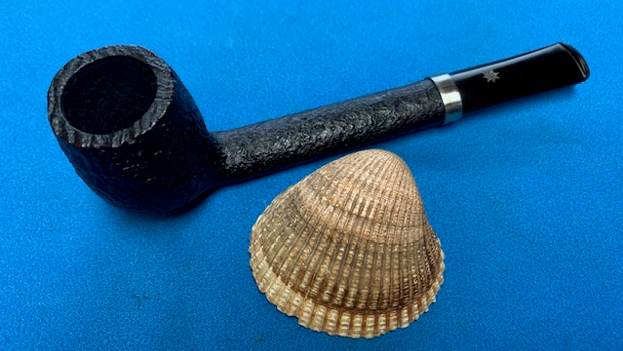
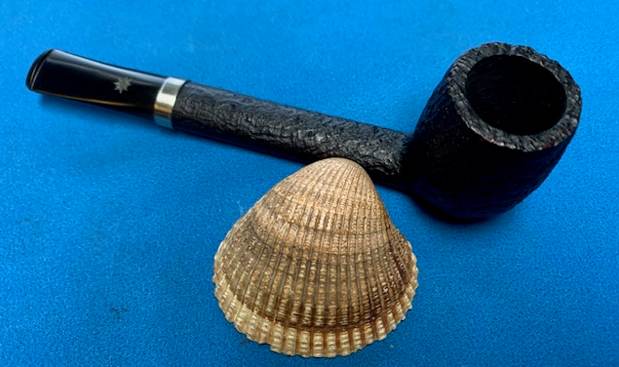
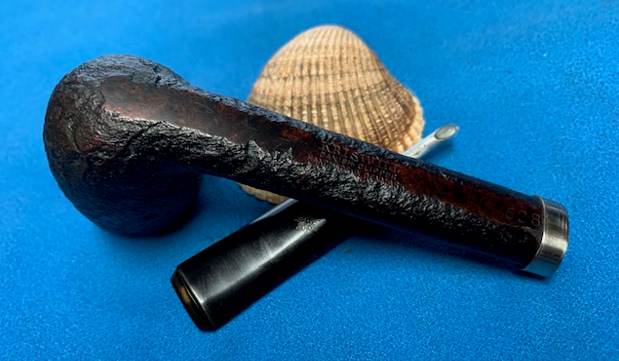
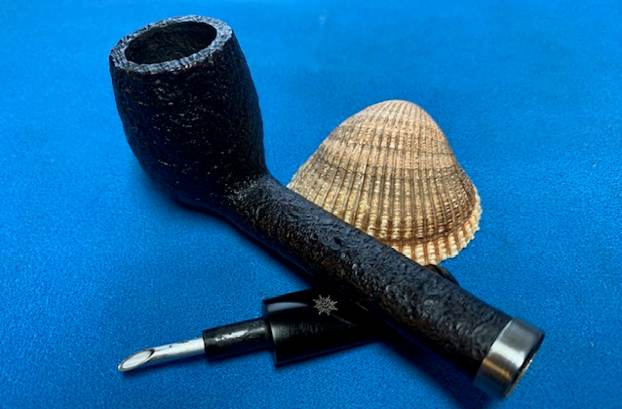
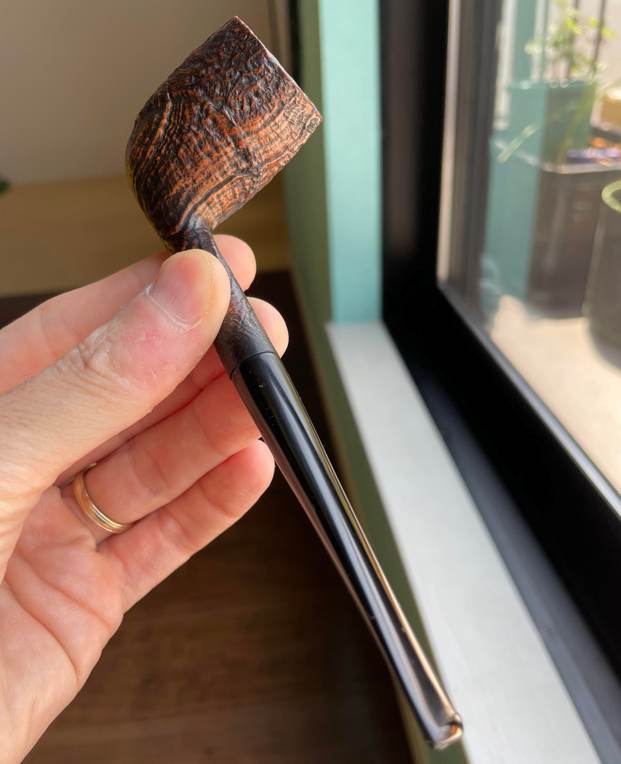
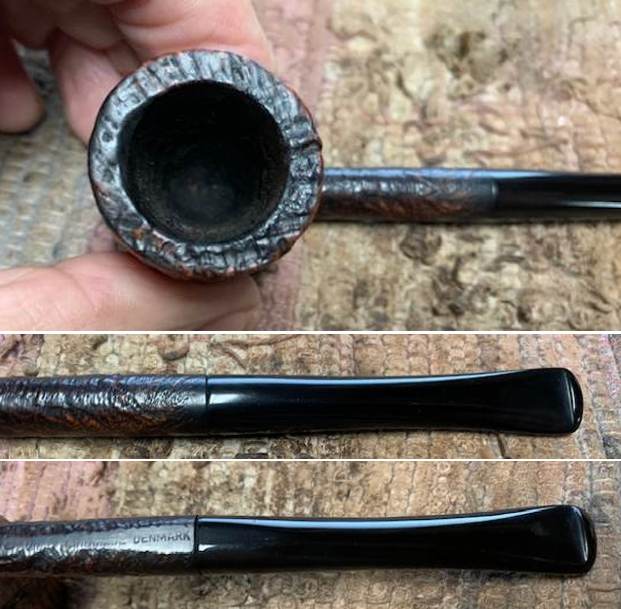
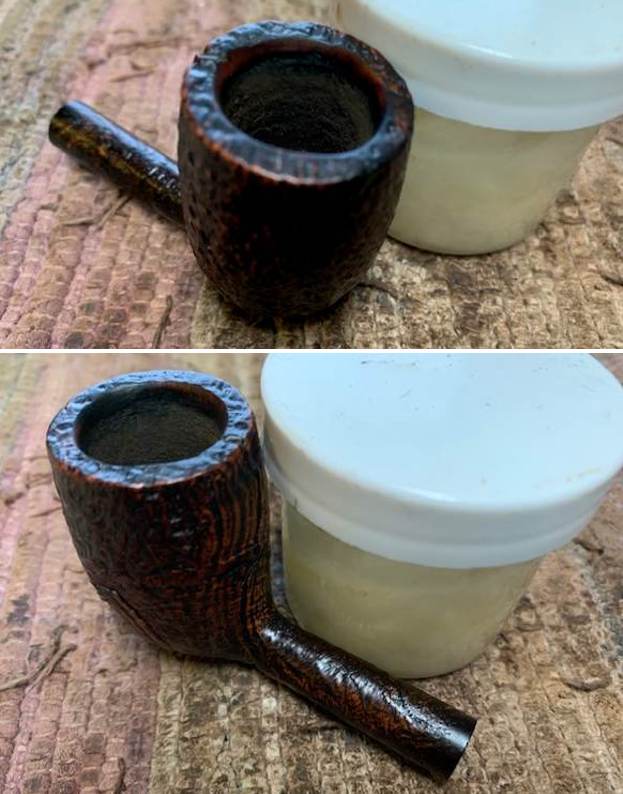
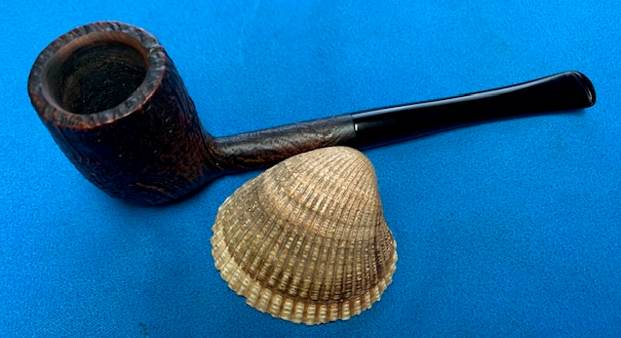
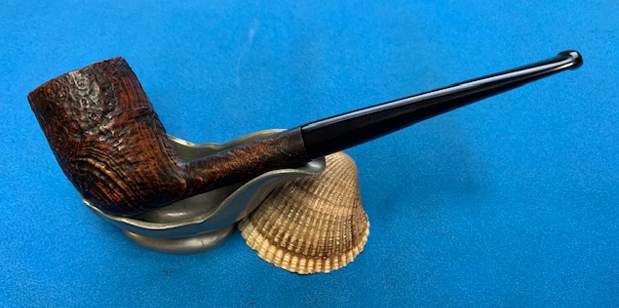
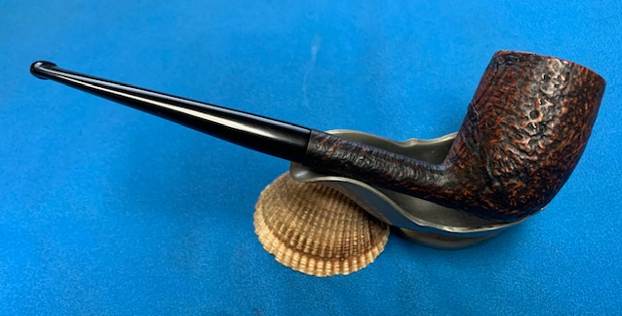
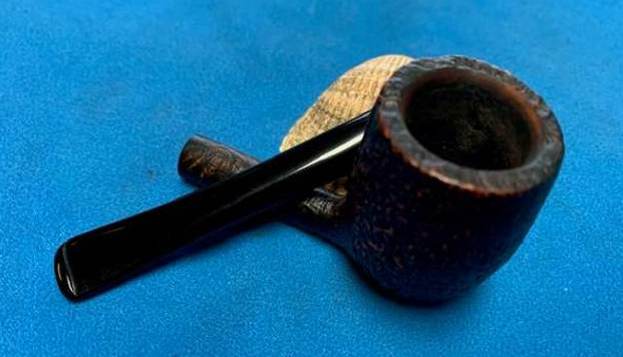
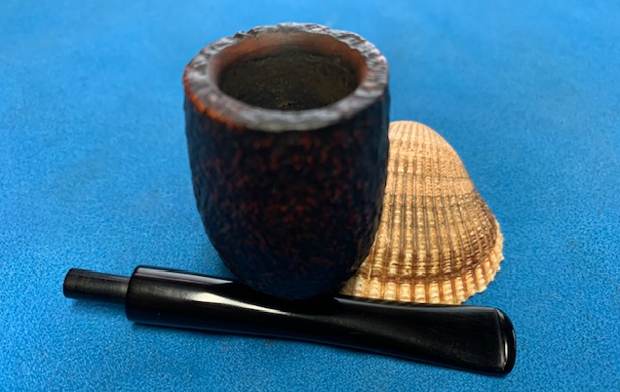
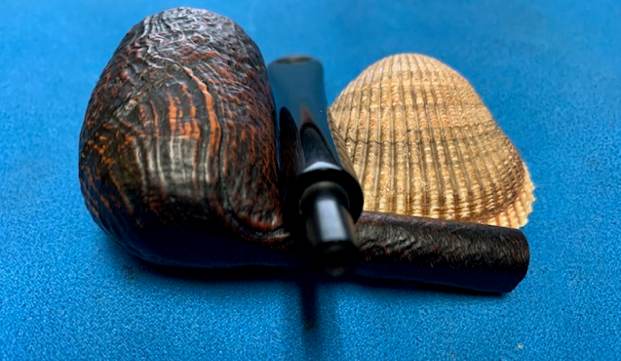
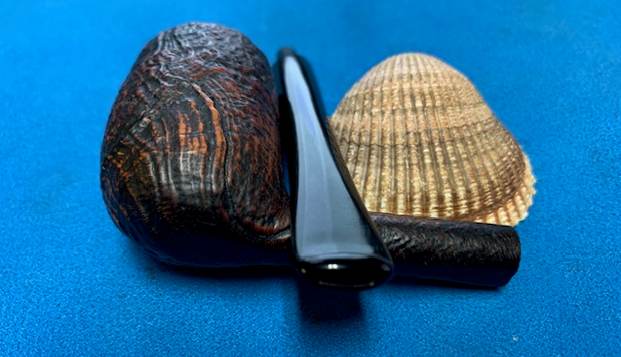
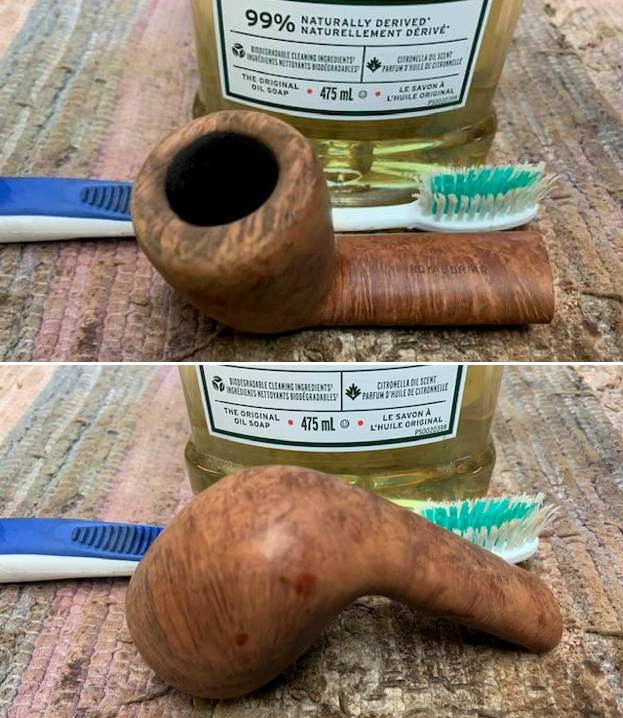
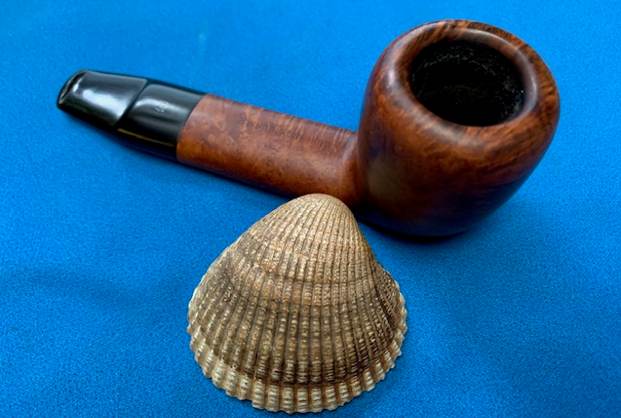
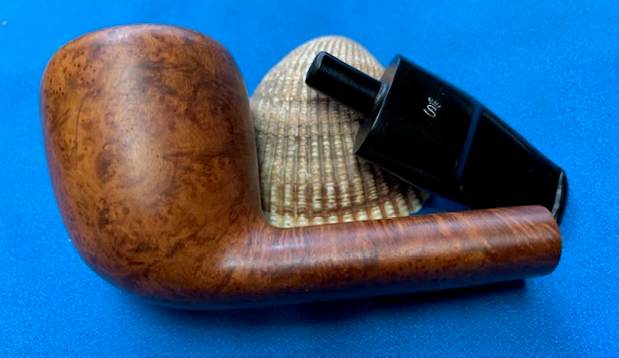
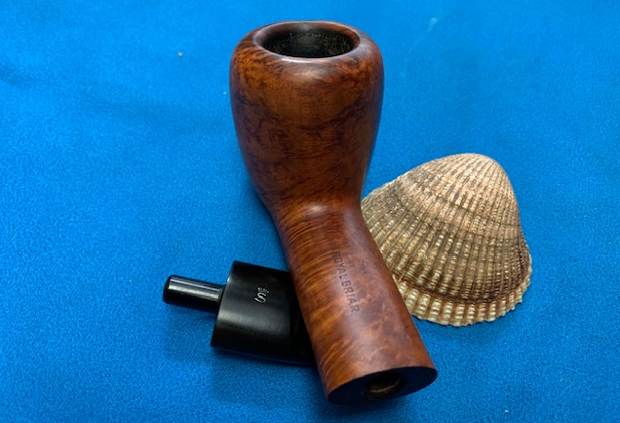
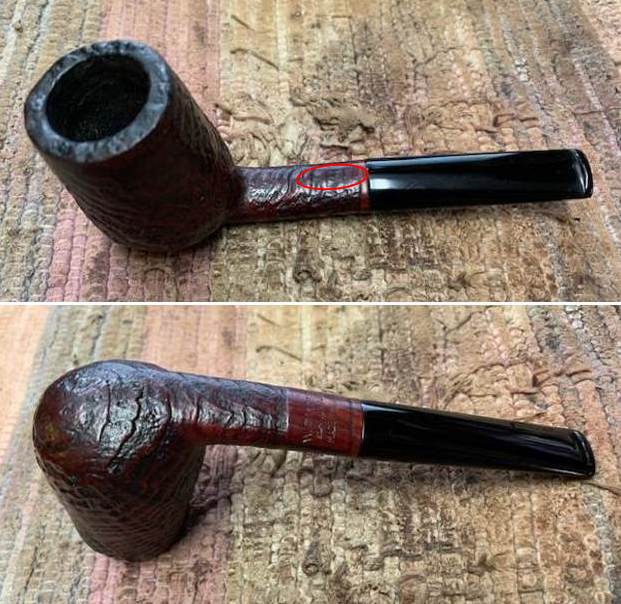
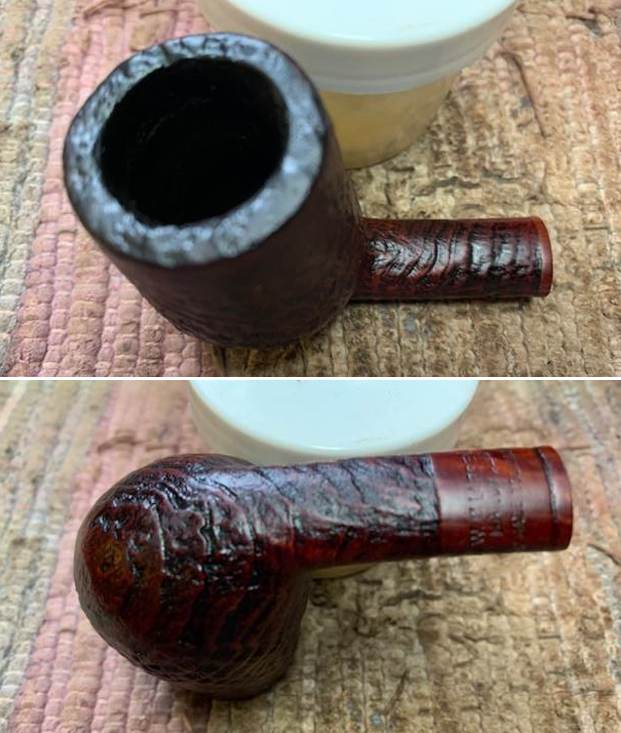
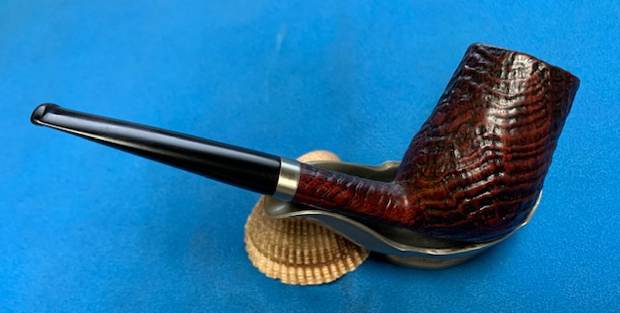
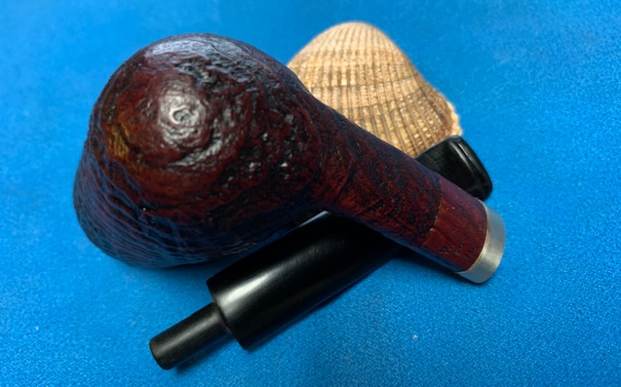
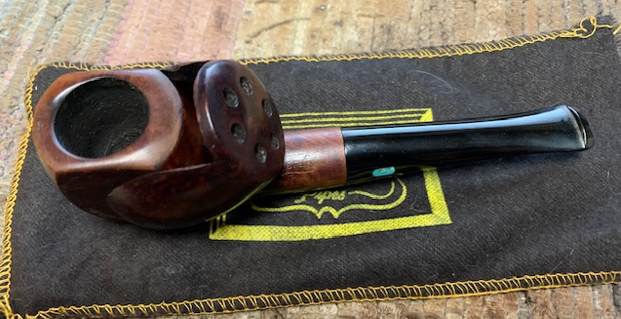
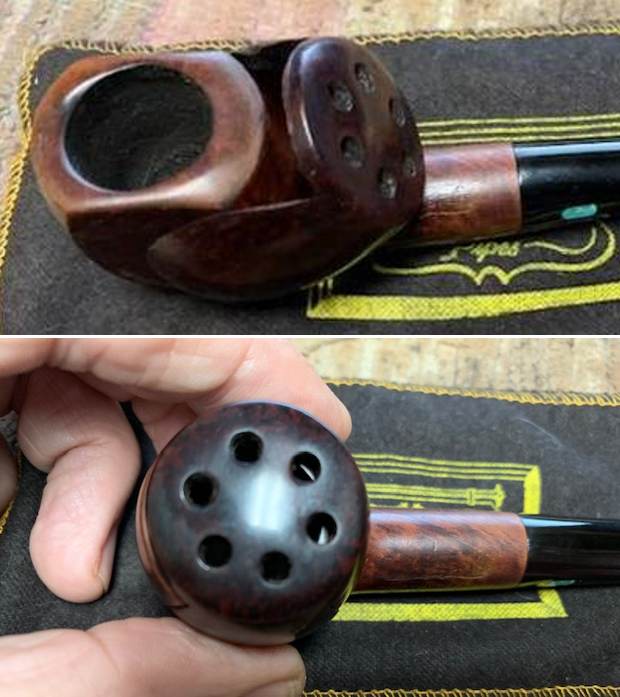
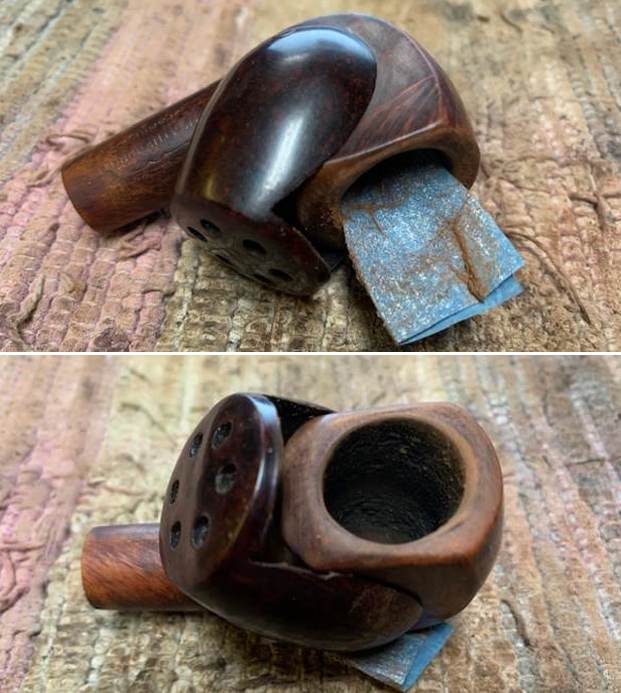
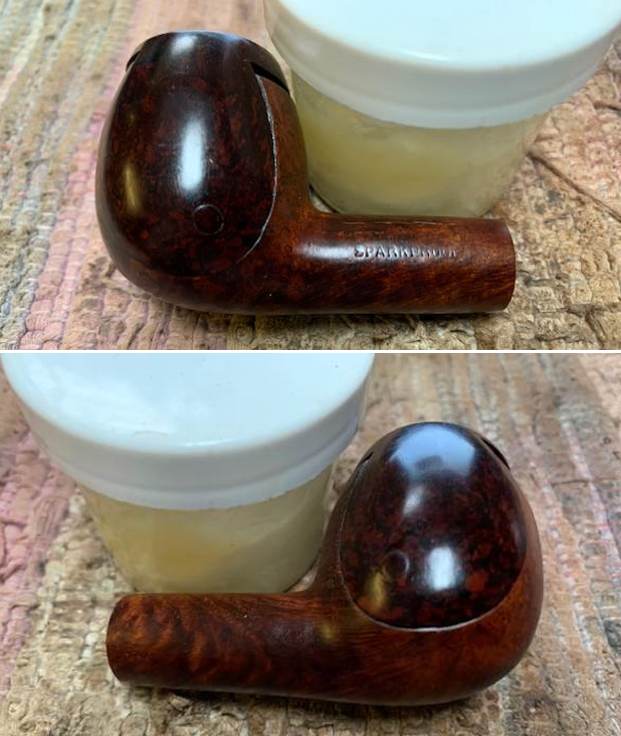
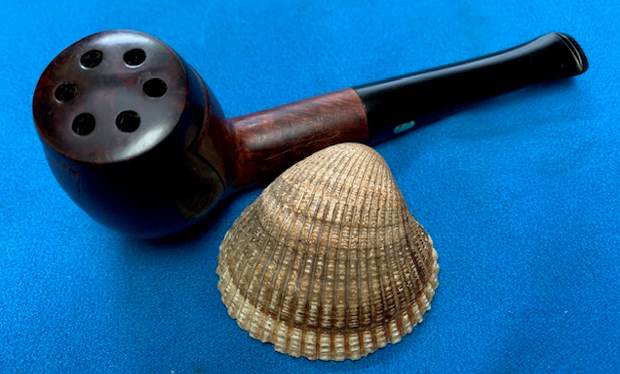
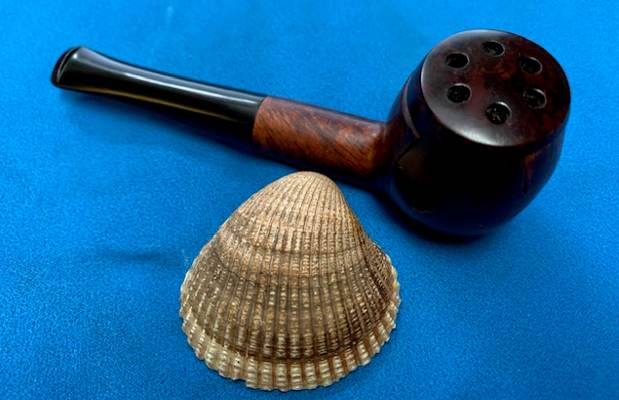
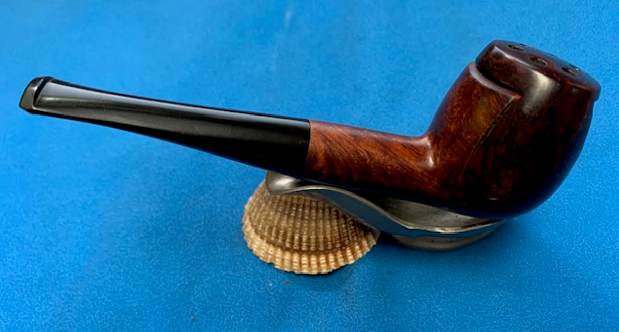
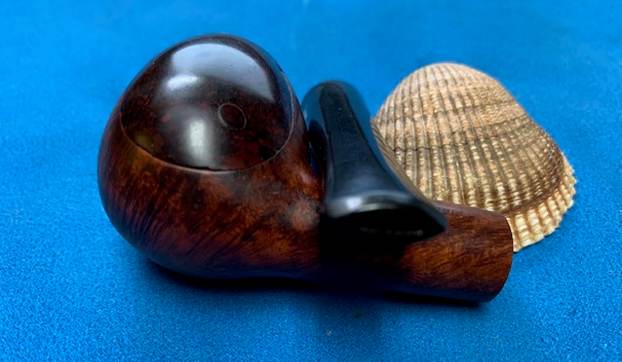
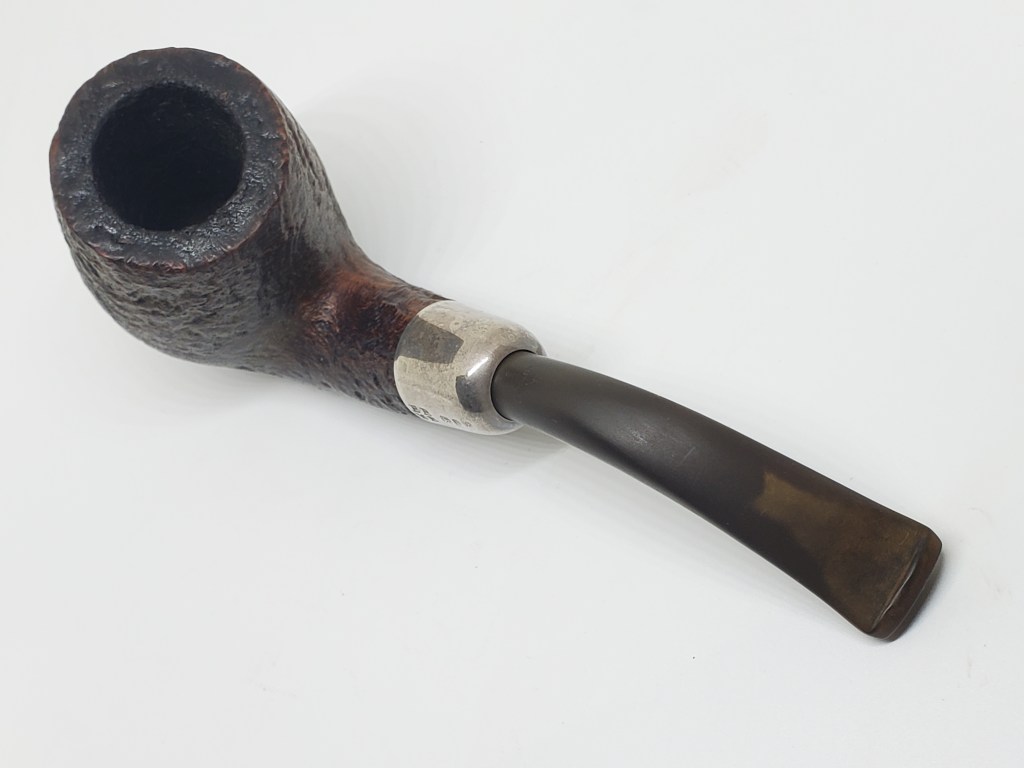
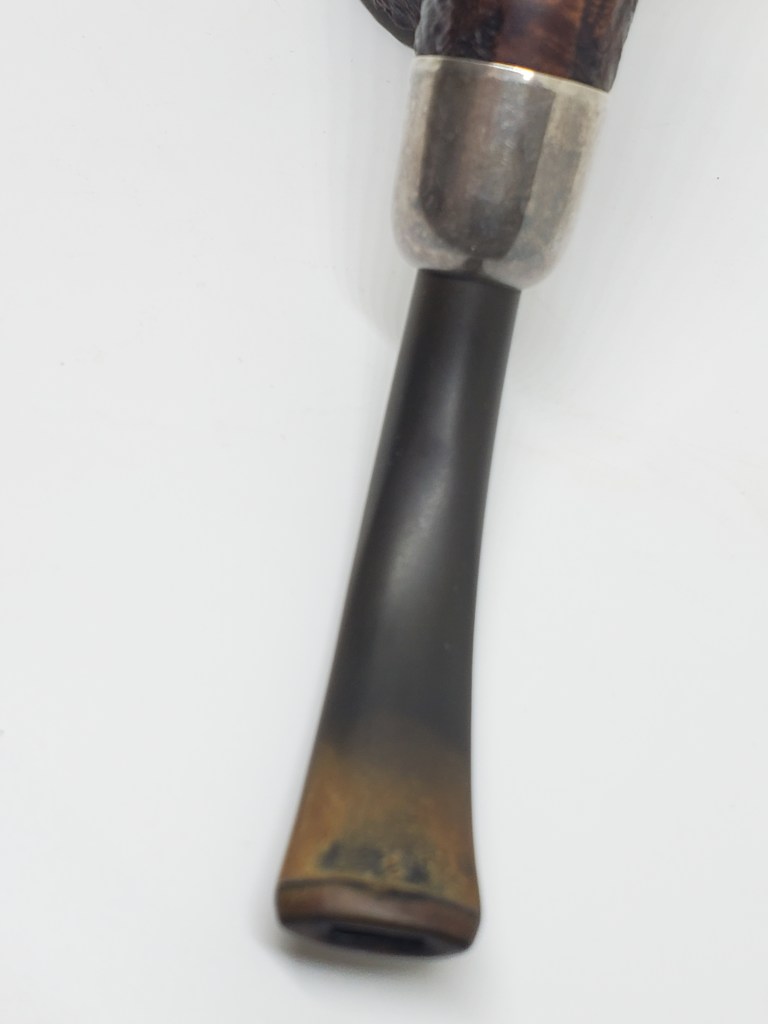
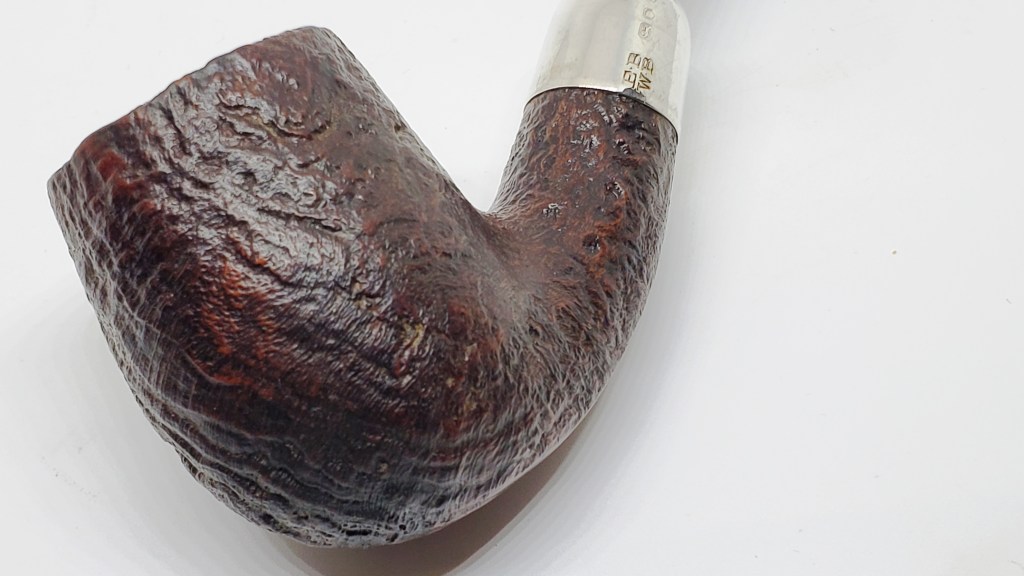
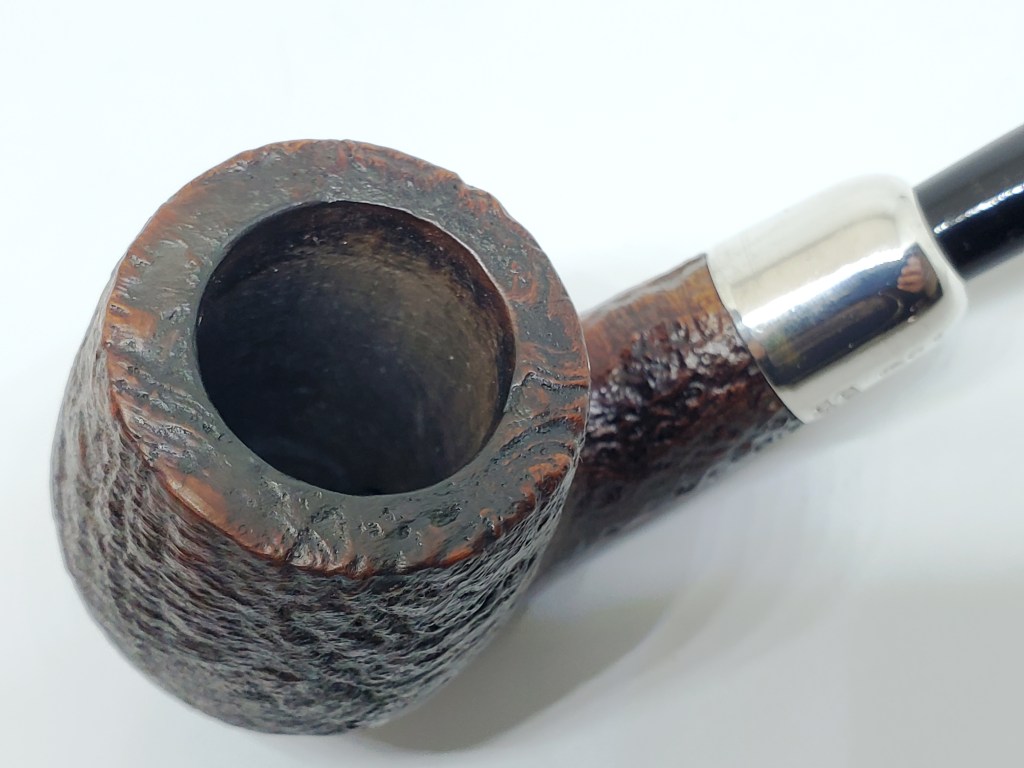
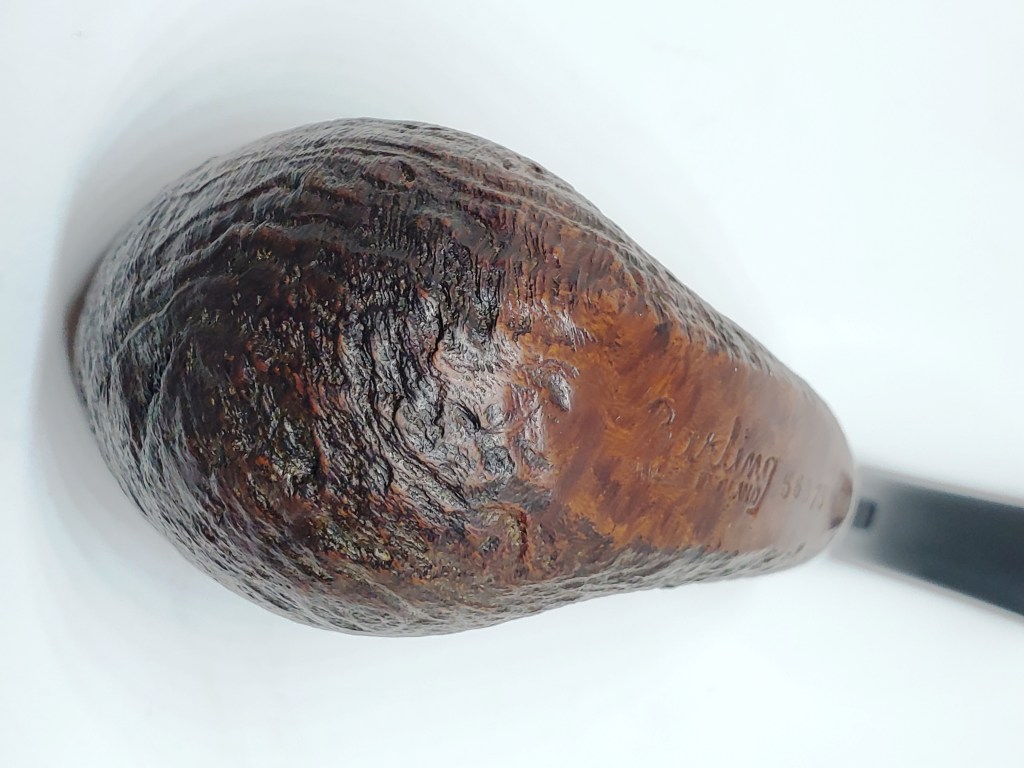
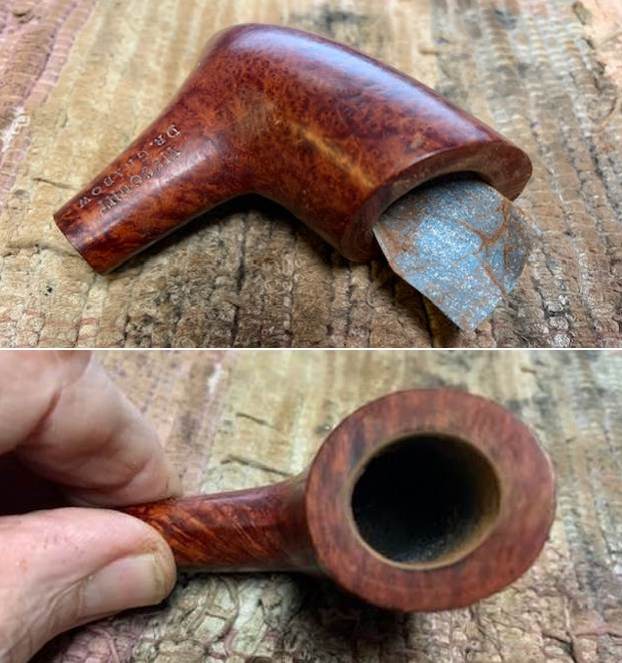
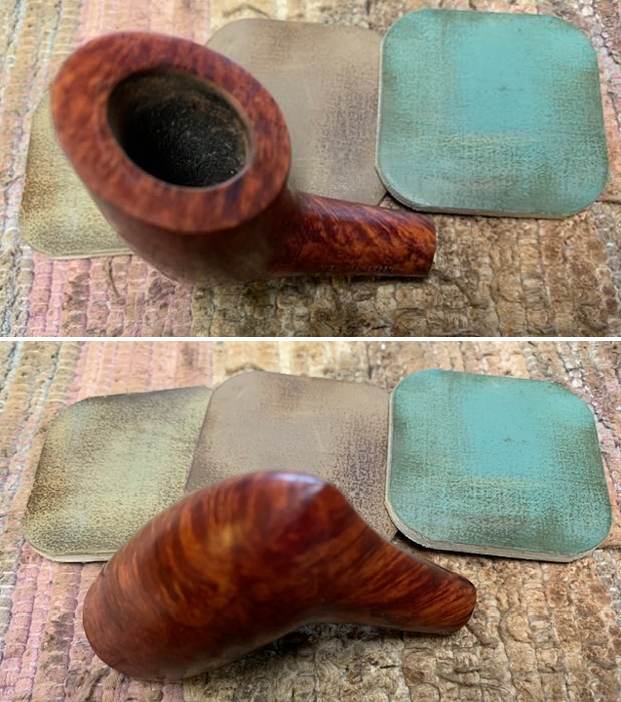
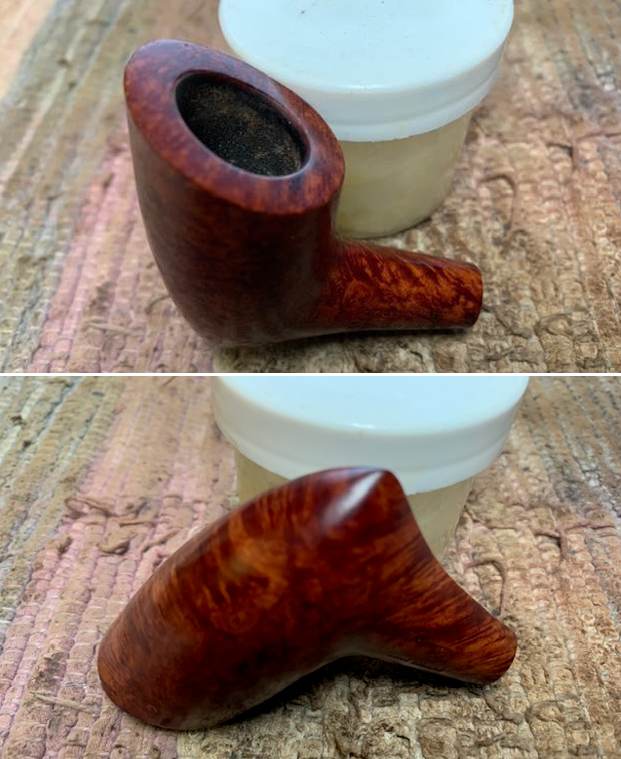
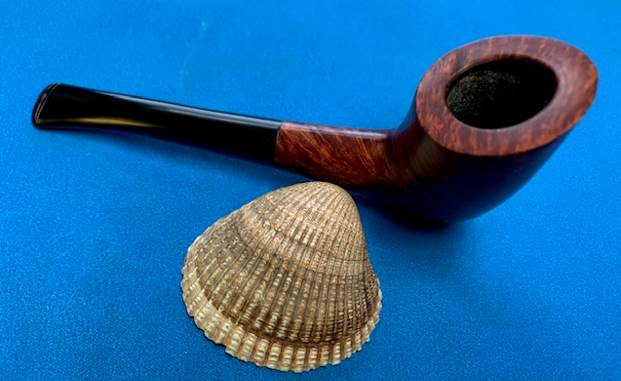
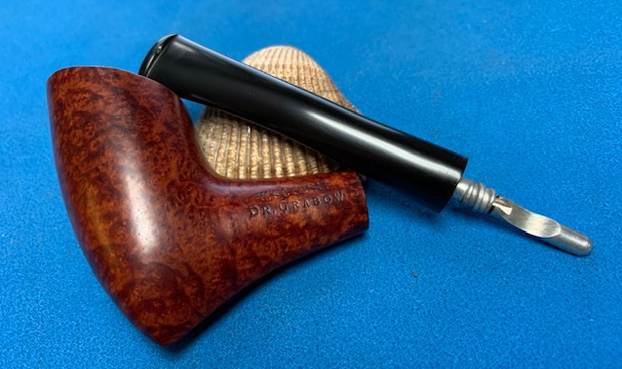
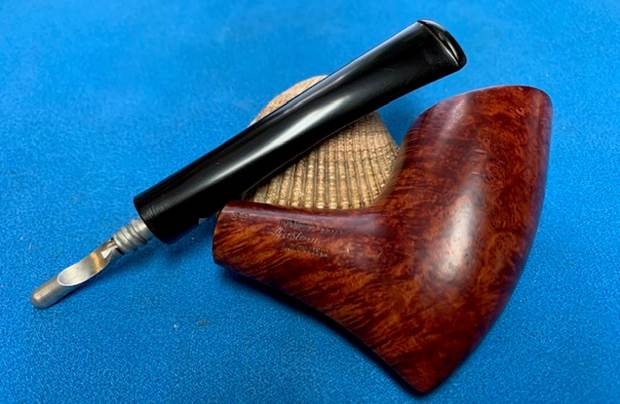
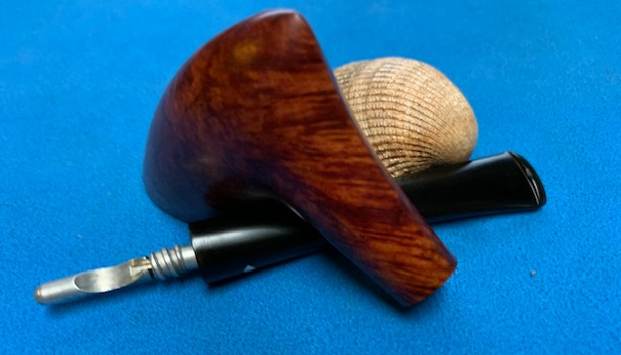
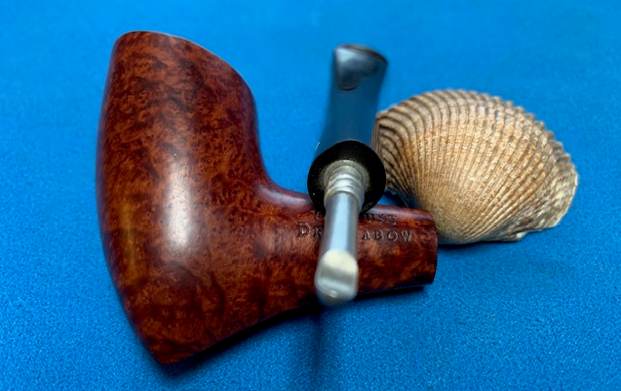
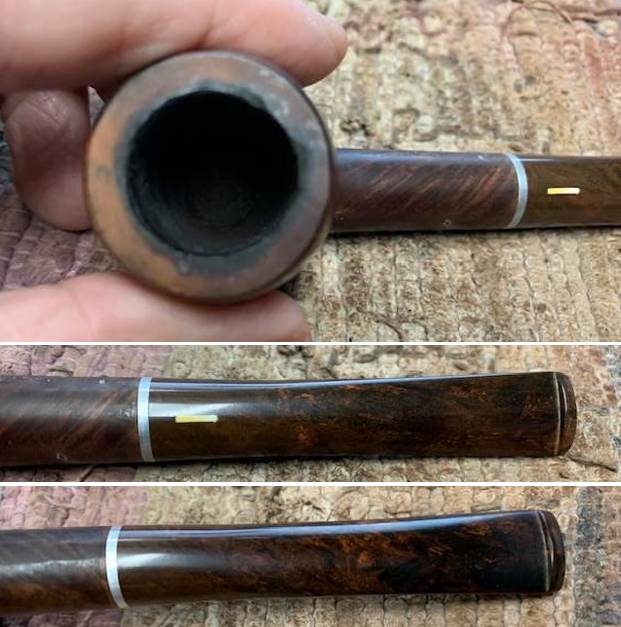
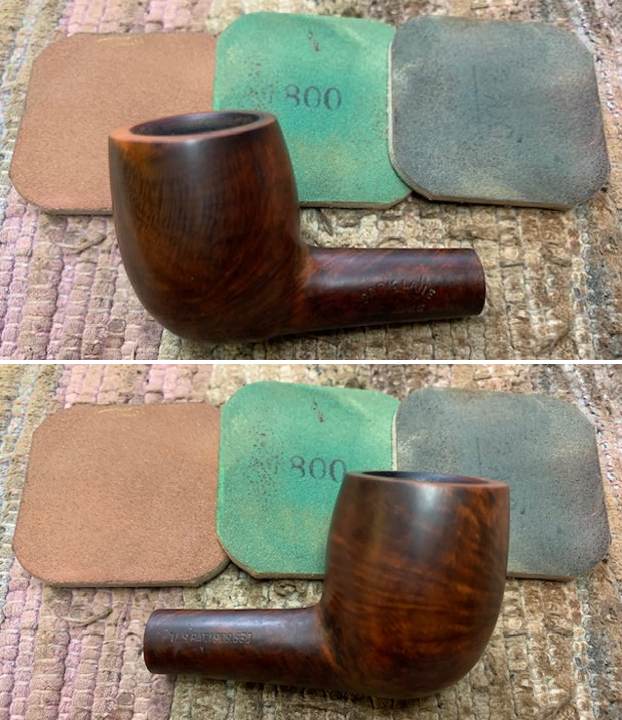
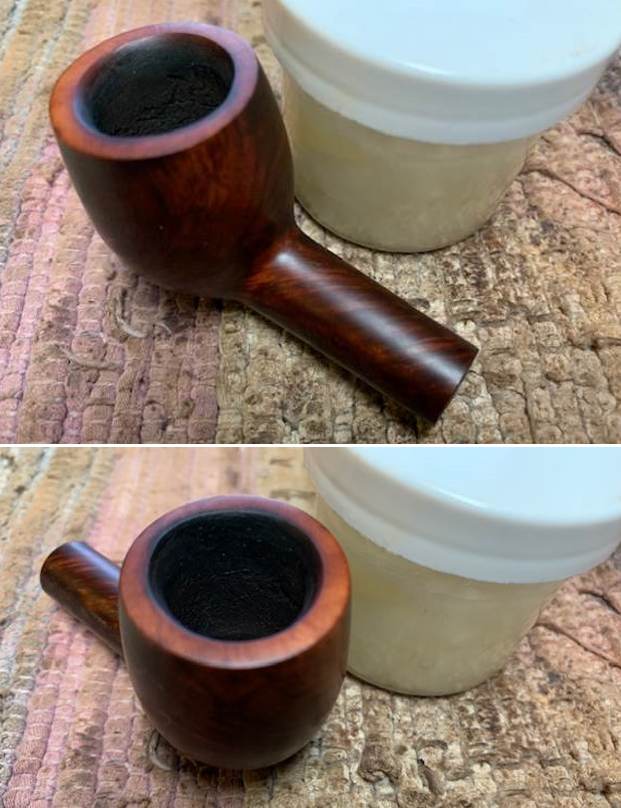
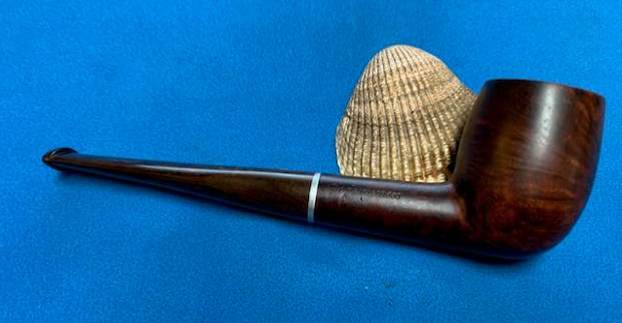
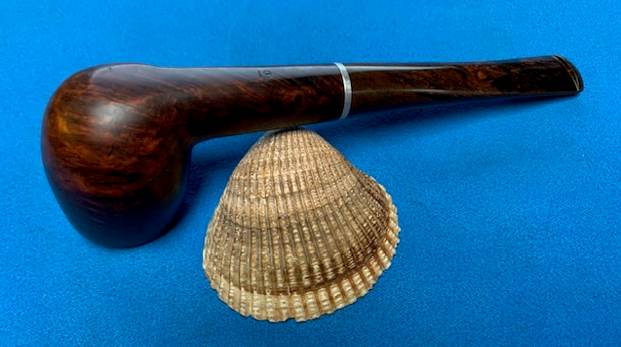
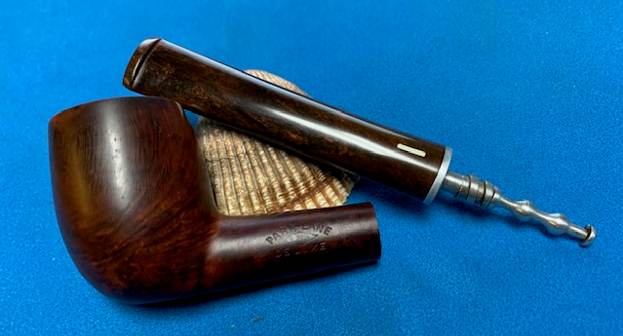
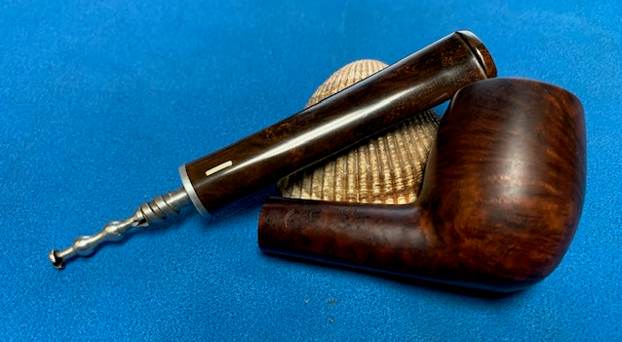
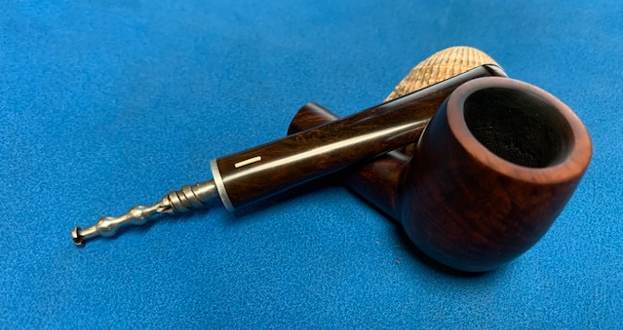
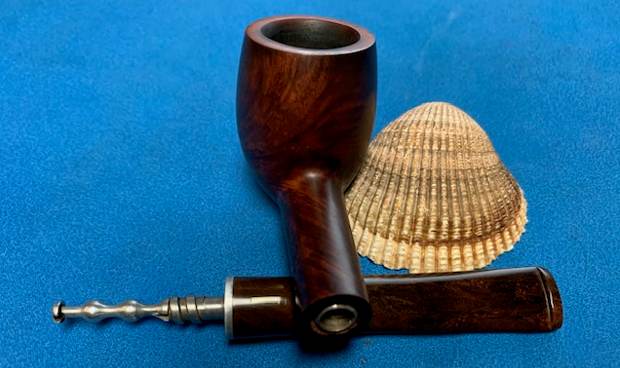
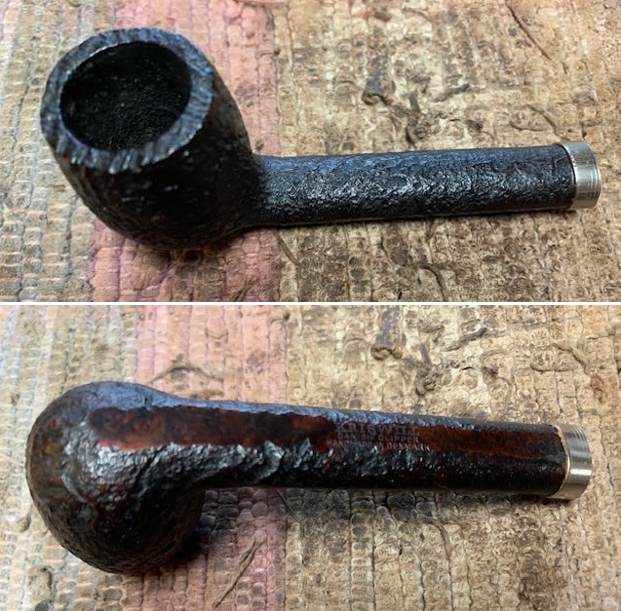
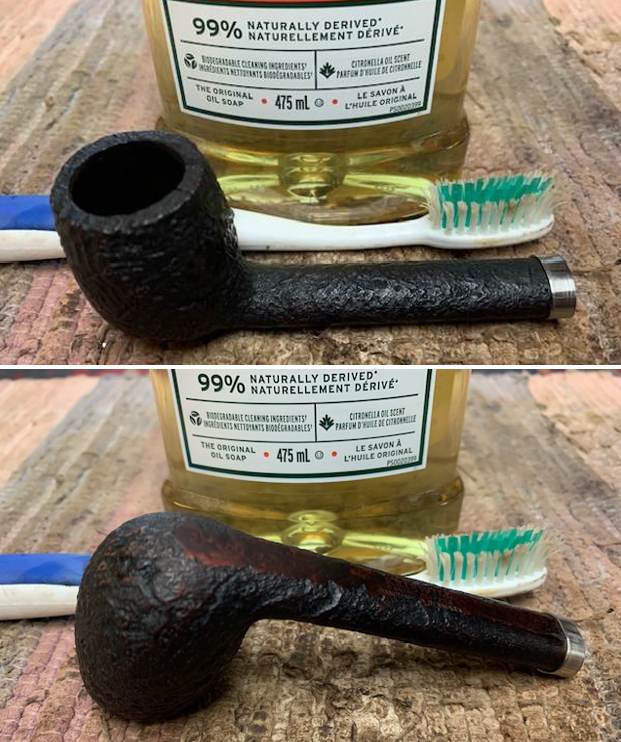
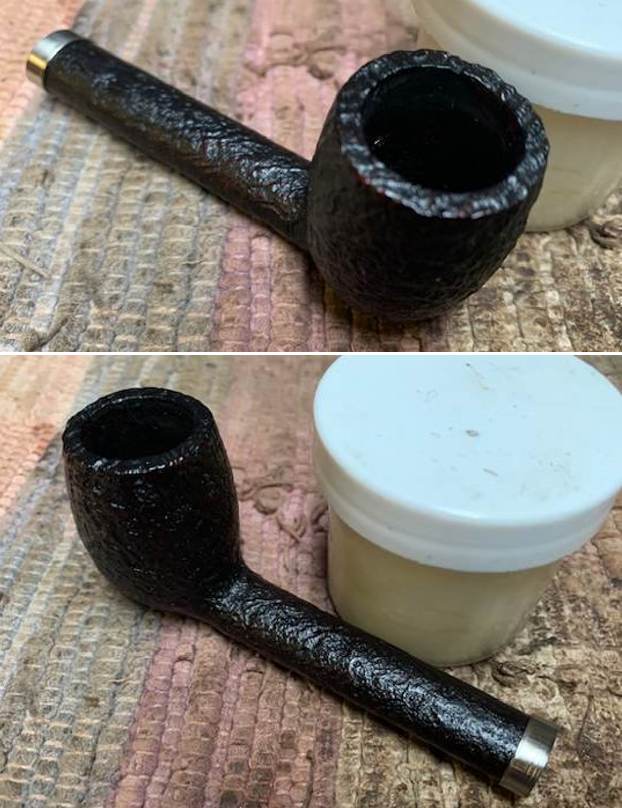
 I took close up photos so that I could have a clearer picture of the condition of the bowl, rim edges and top. The rim top photos confirm my assessment above and show that it is in excellent condition. The cake in the bowl is quite moderate and smooth. You can also see the condition of the outer and the inner edge. They appear to be in great condition. I circled the crack on the underside of the shank in red. The stem is in excellent condition with a bit of oxidation ahead of the button mid stem. This is what I look for when assessing a pipe.
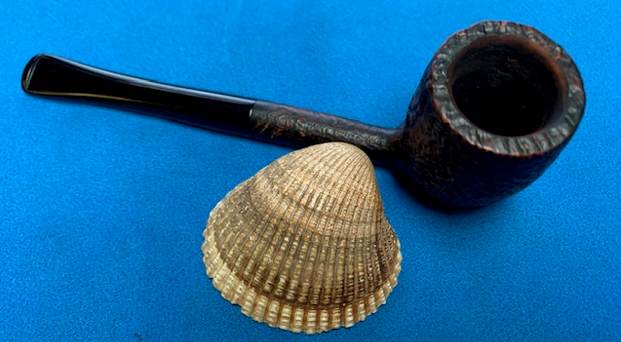
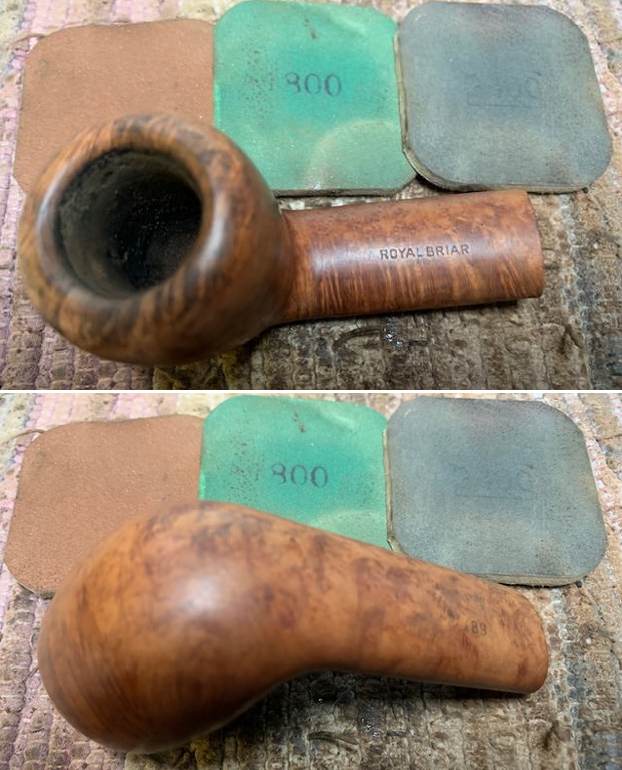
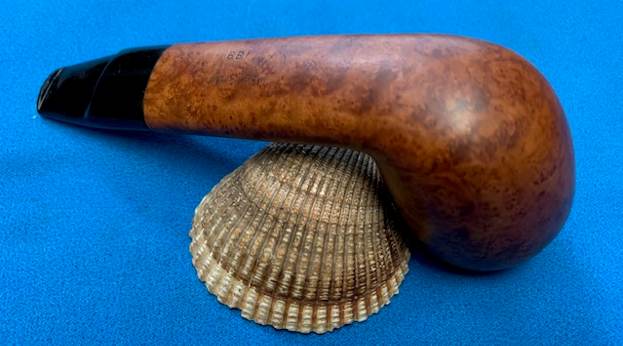
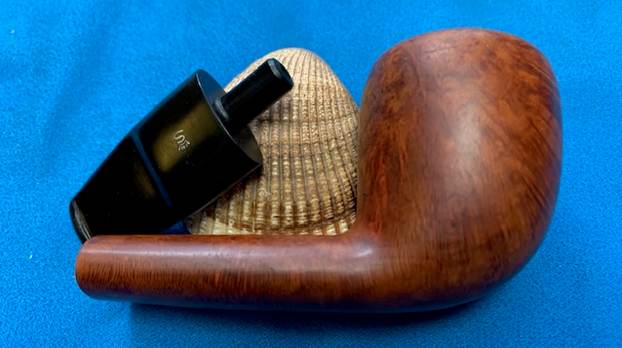
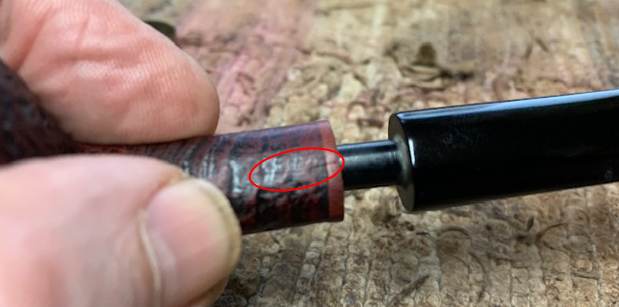
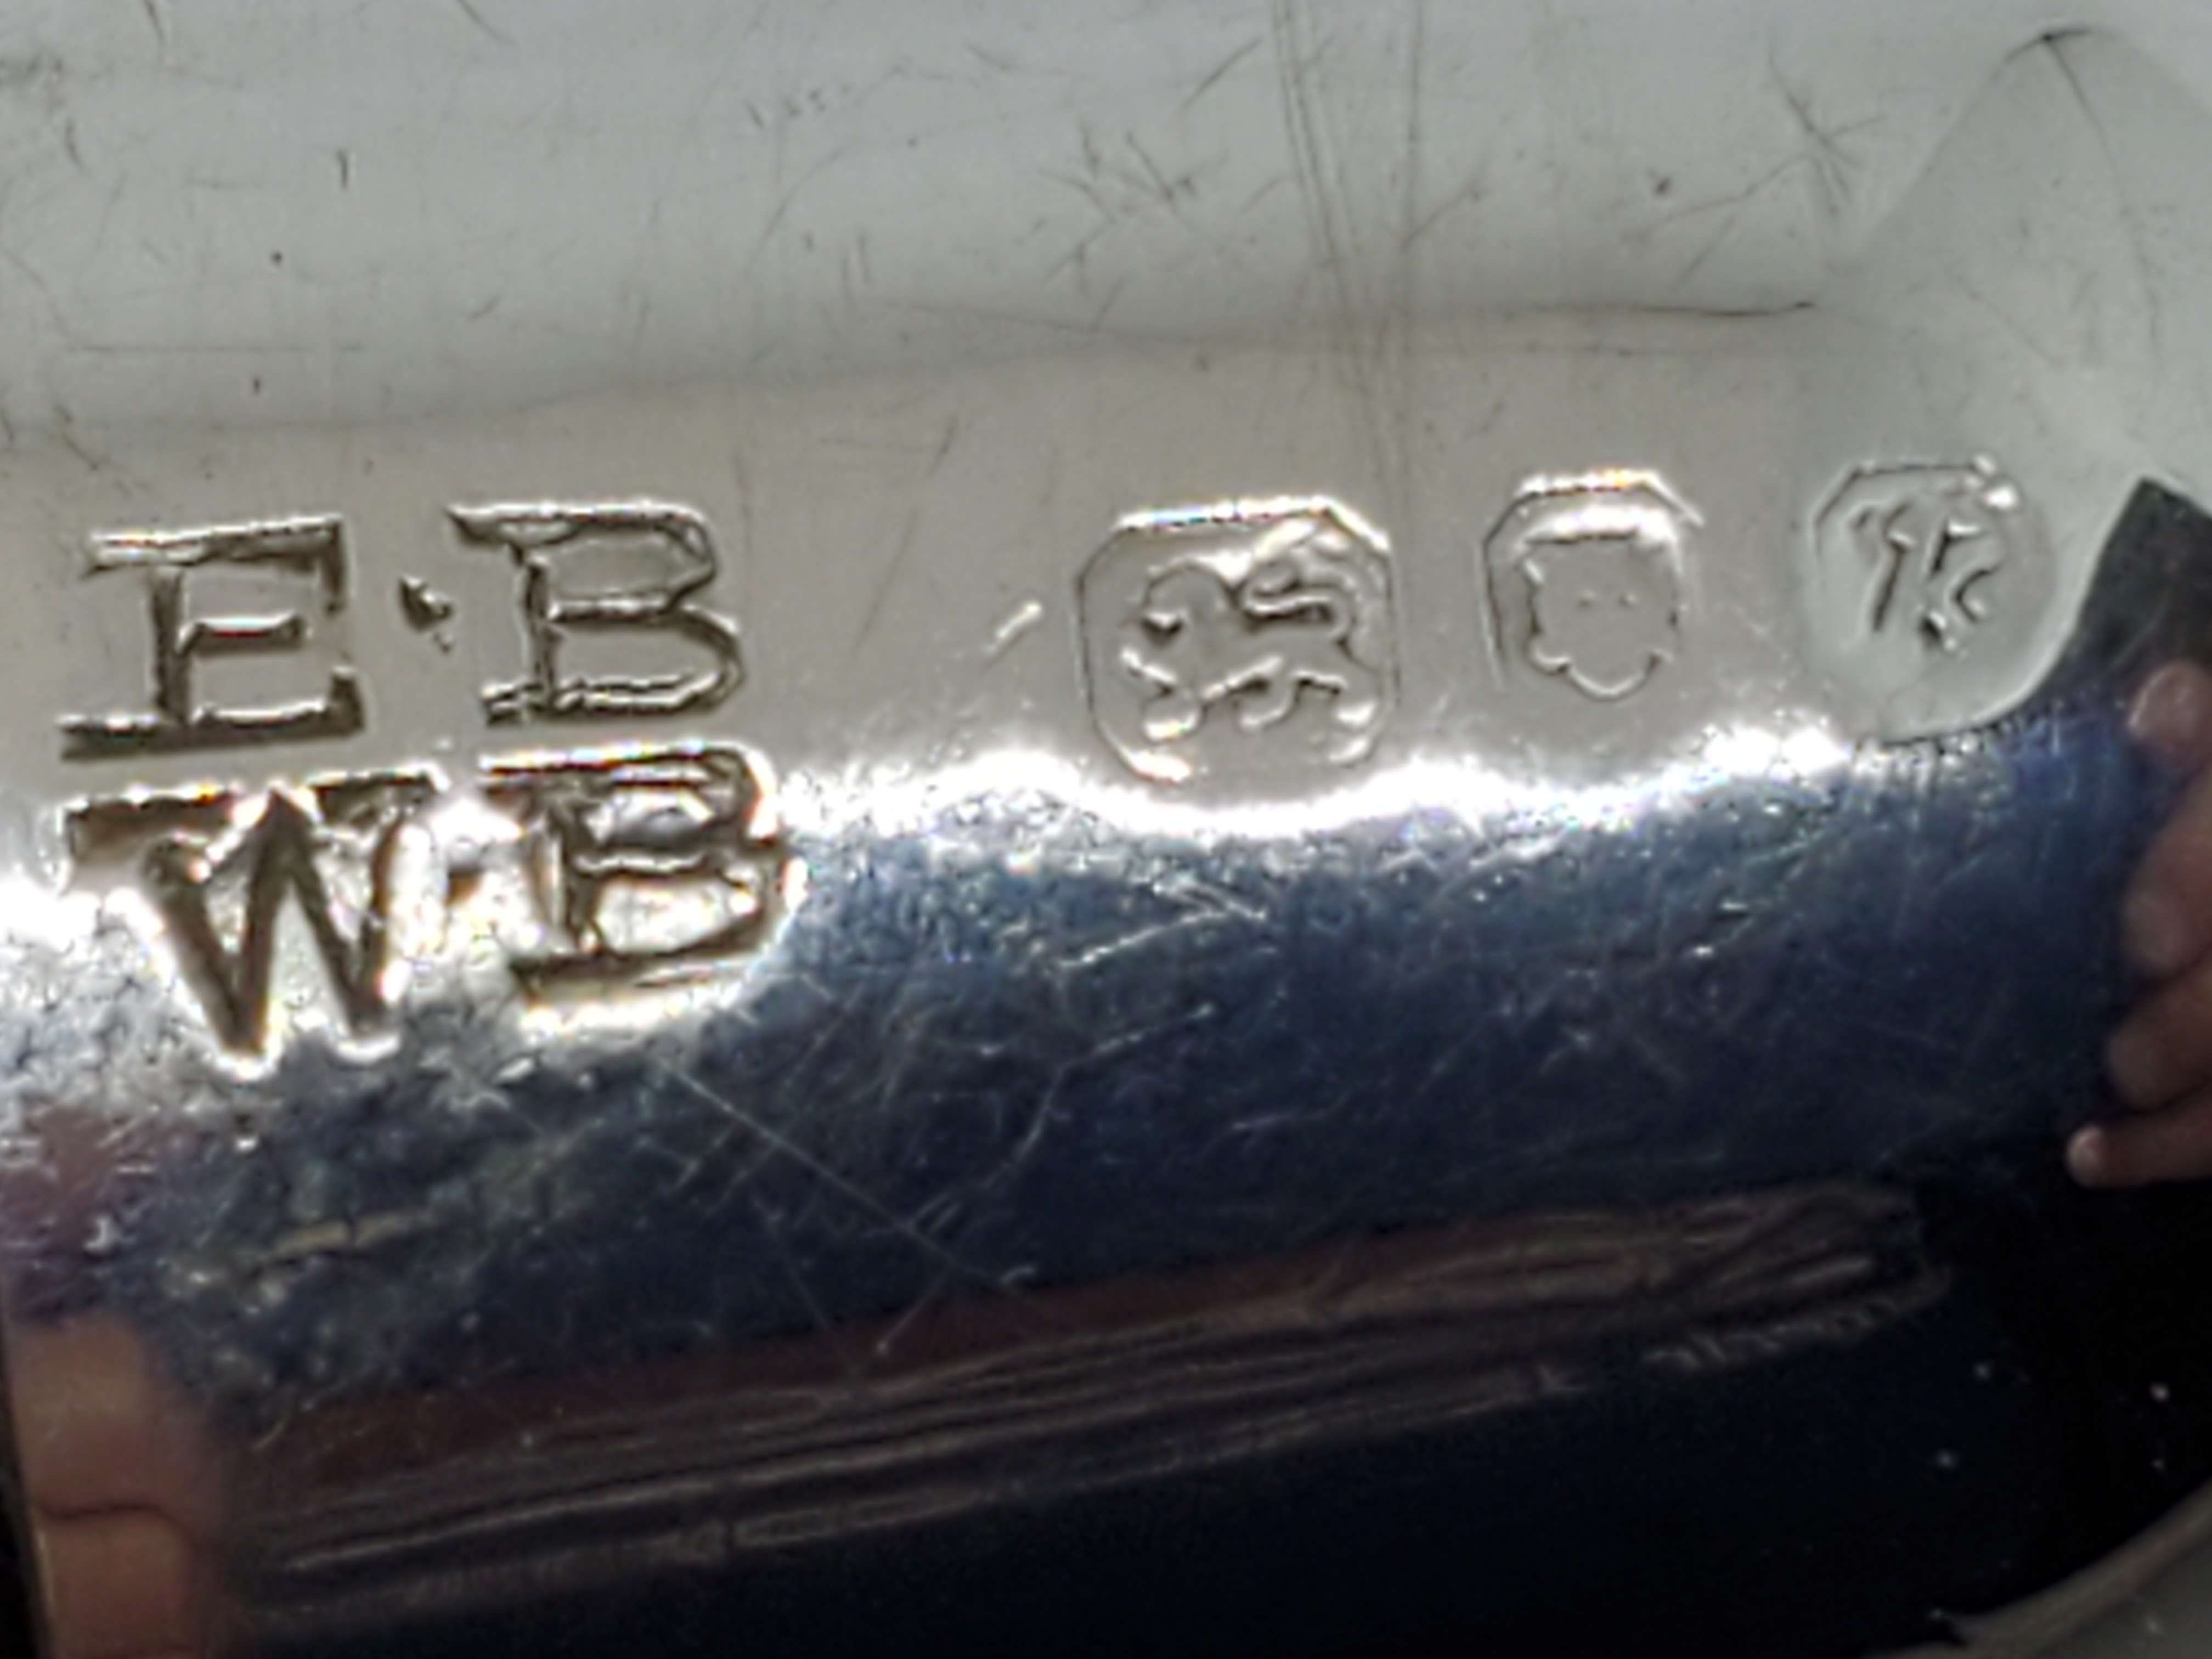
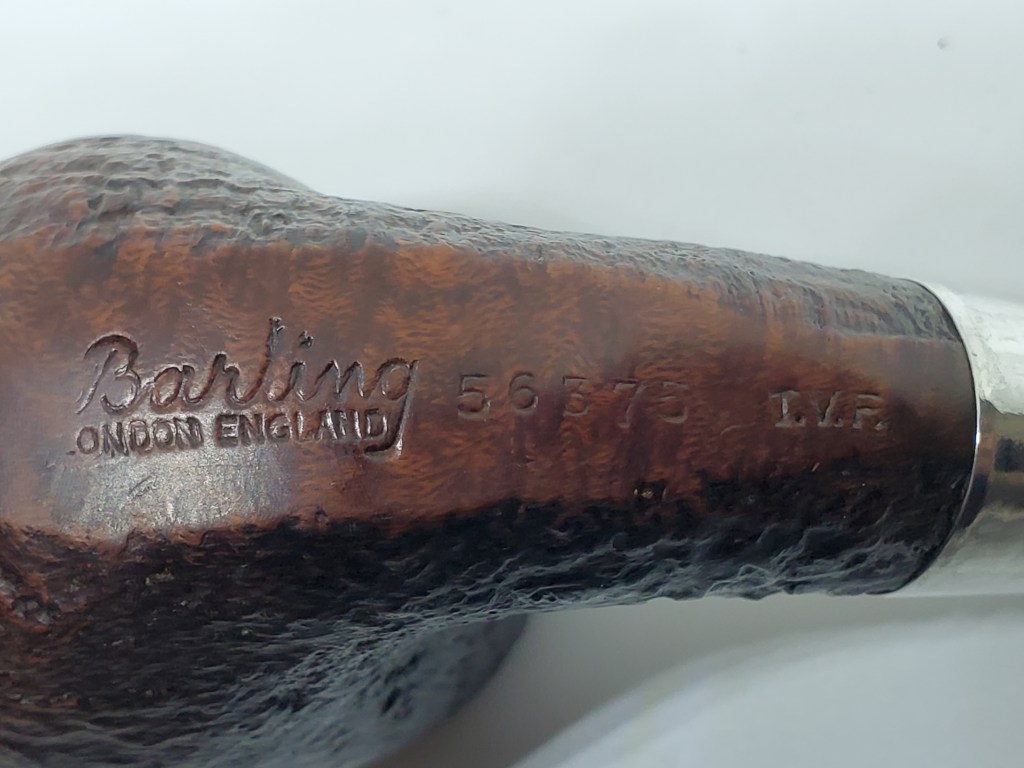
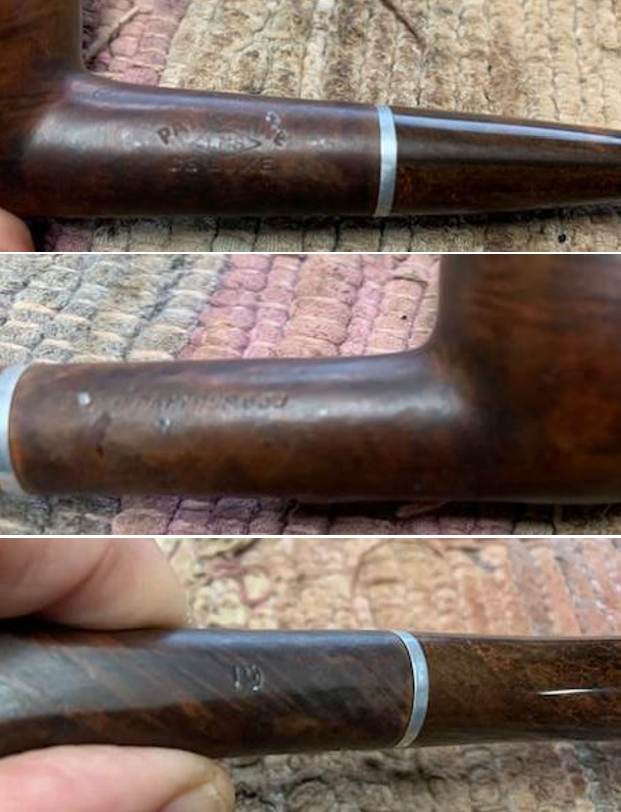
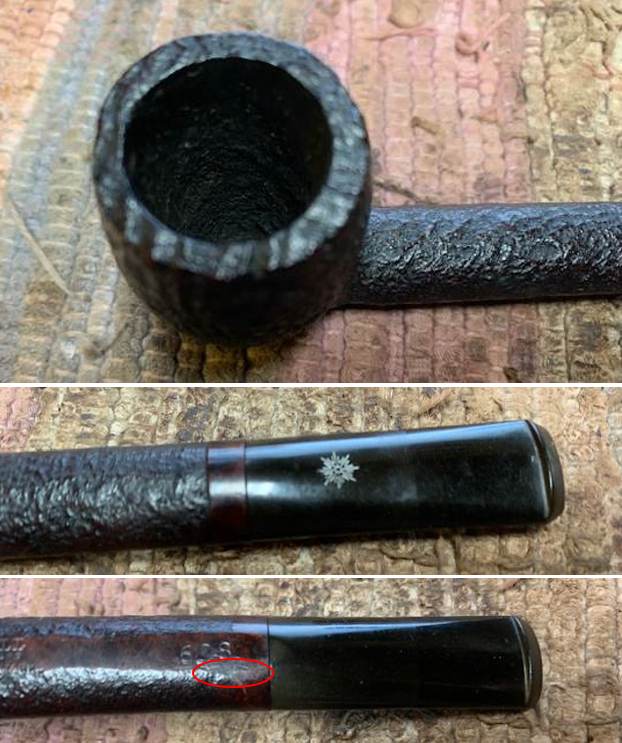 I took a photo of the stamping on the underside of the shank. It is a readable as noted above.
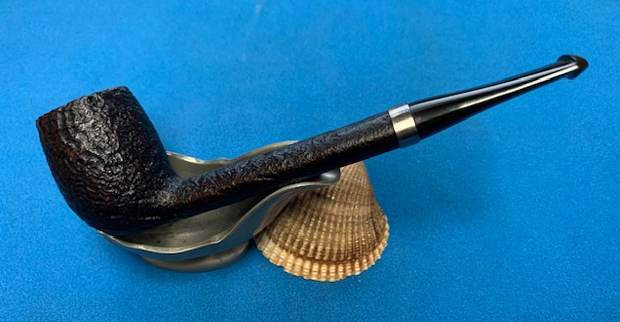
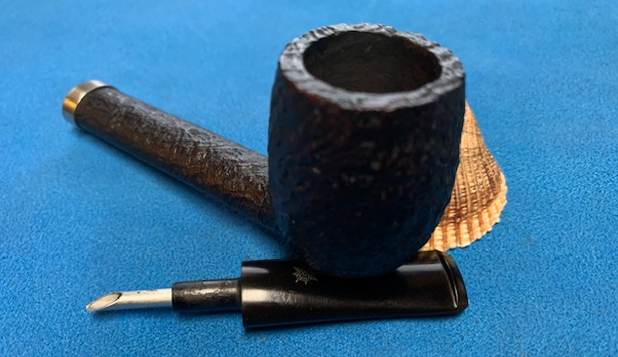
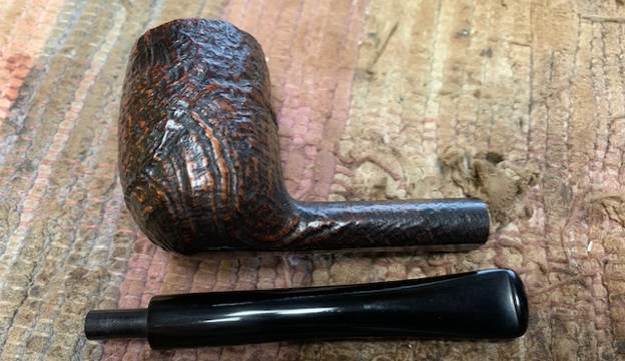
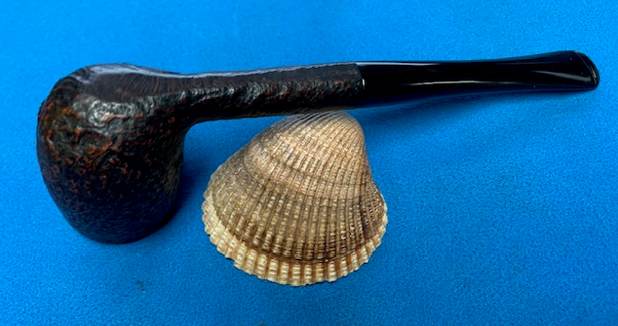
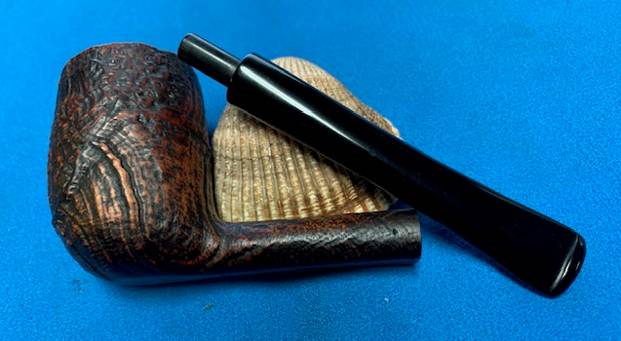
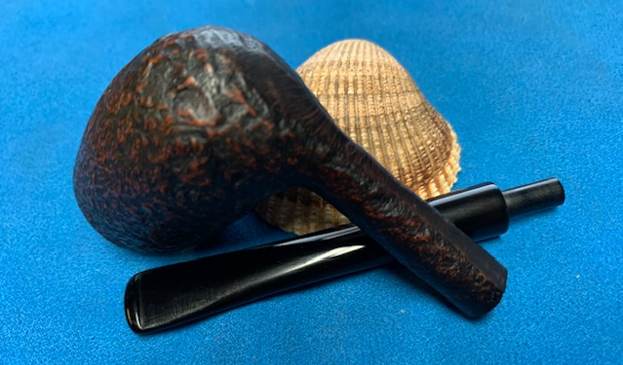
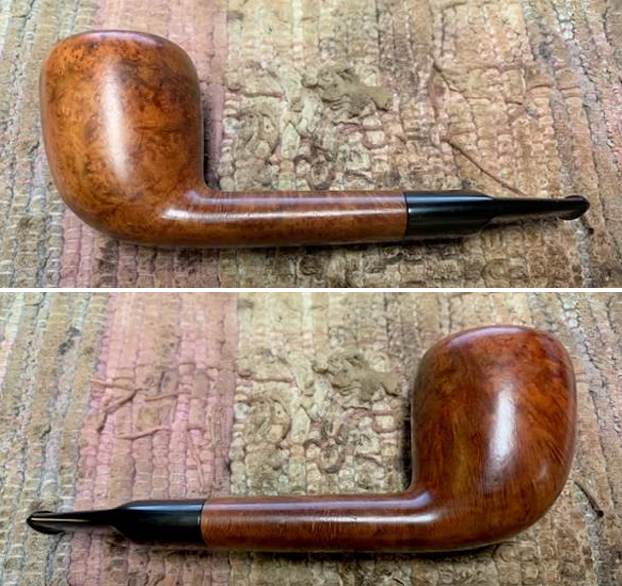
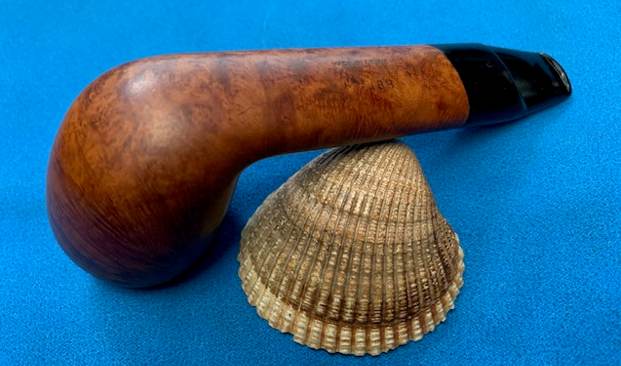
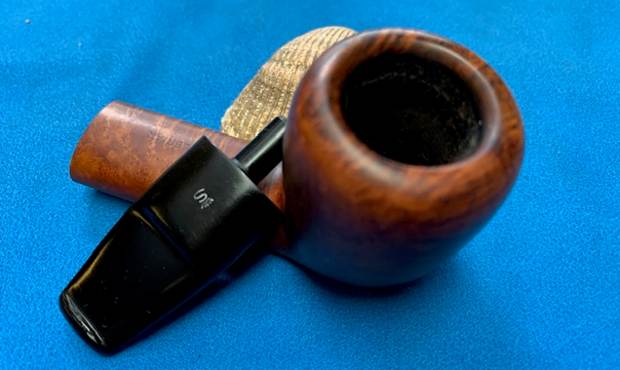
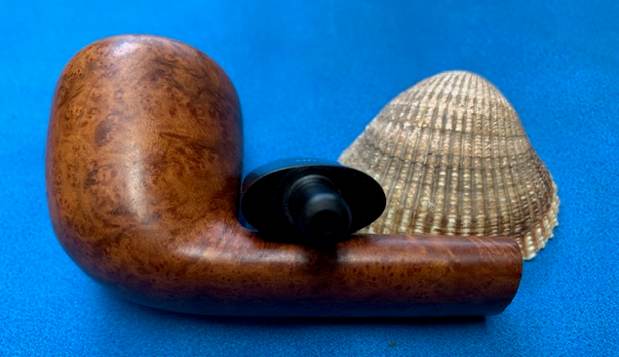
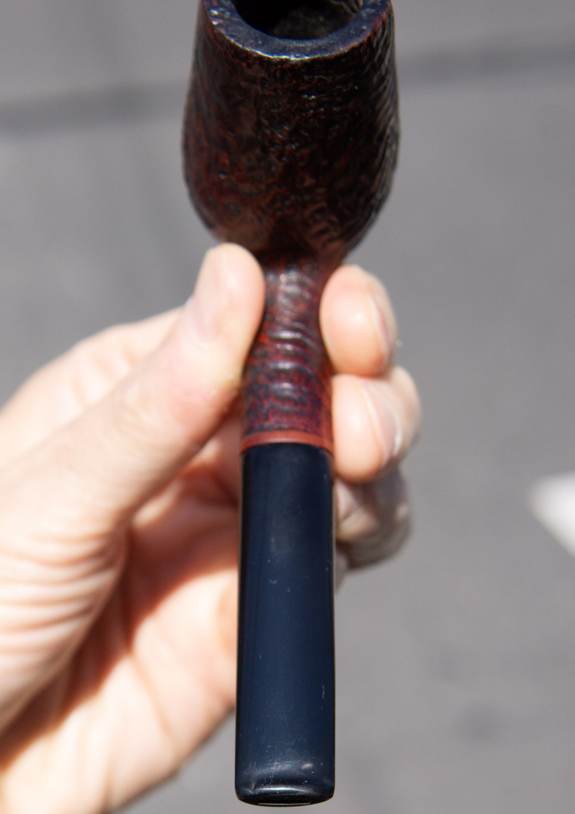
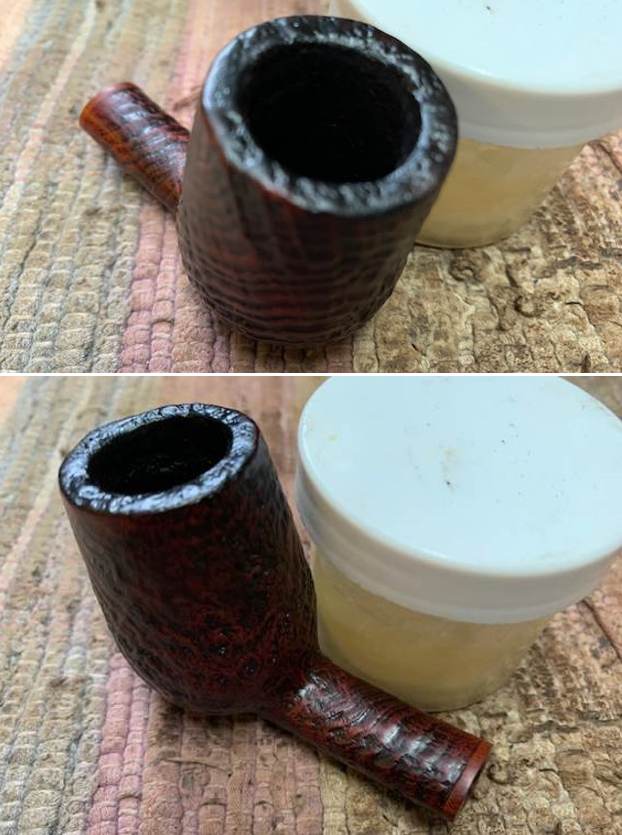
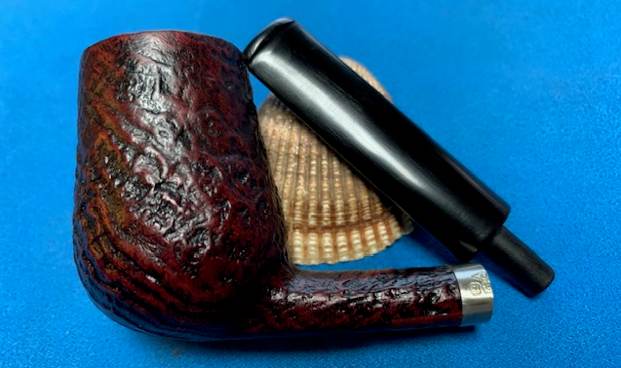
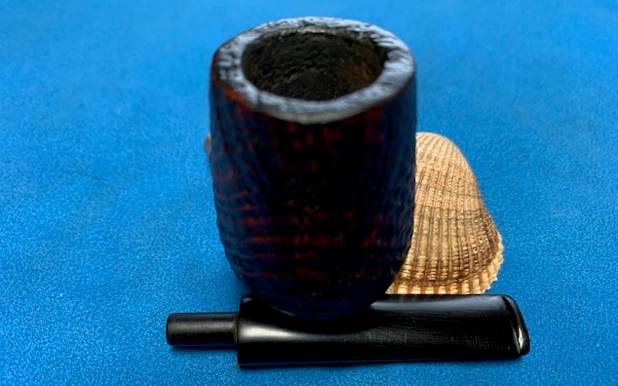
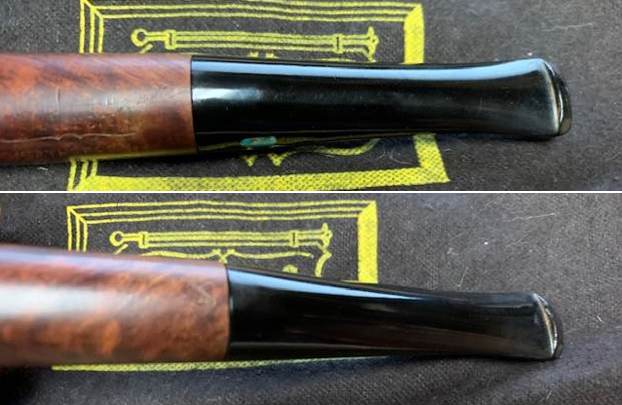
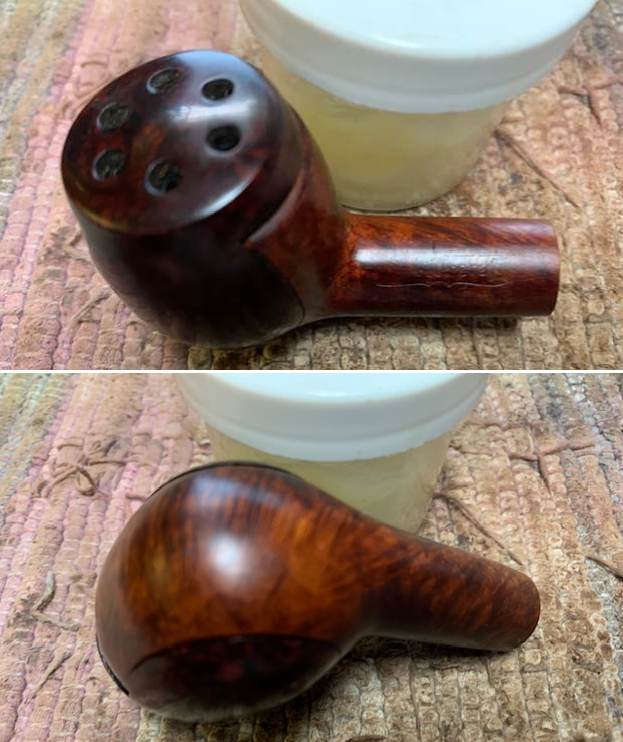
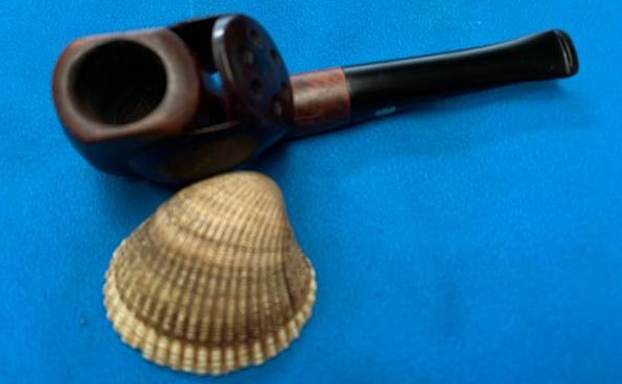
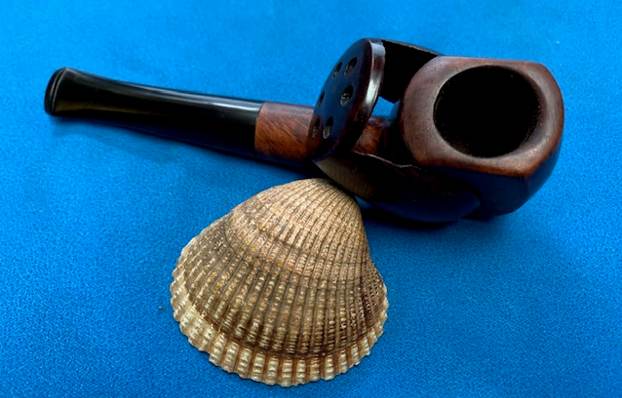
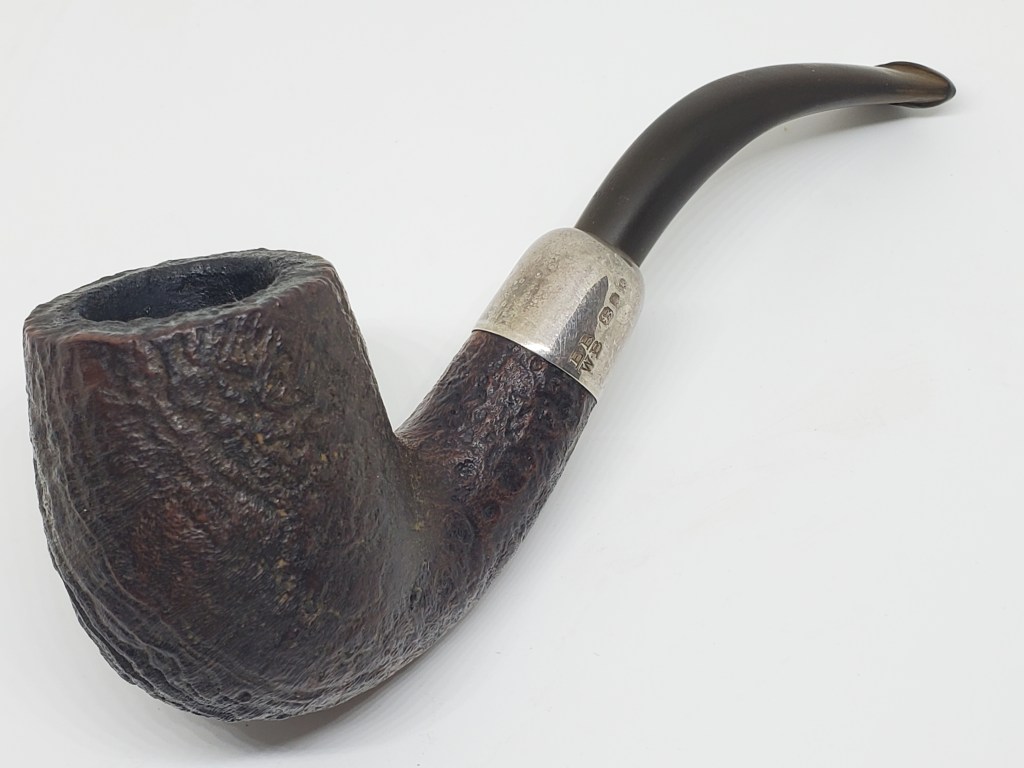
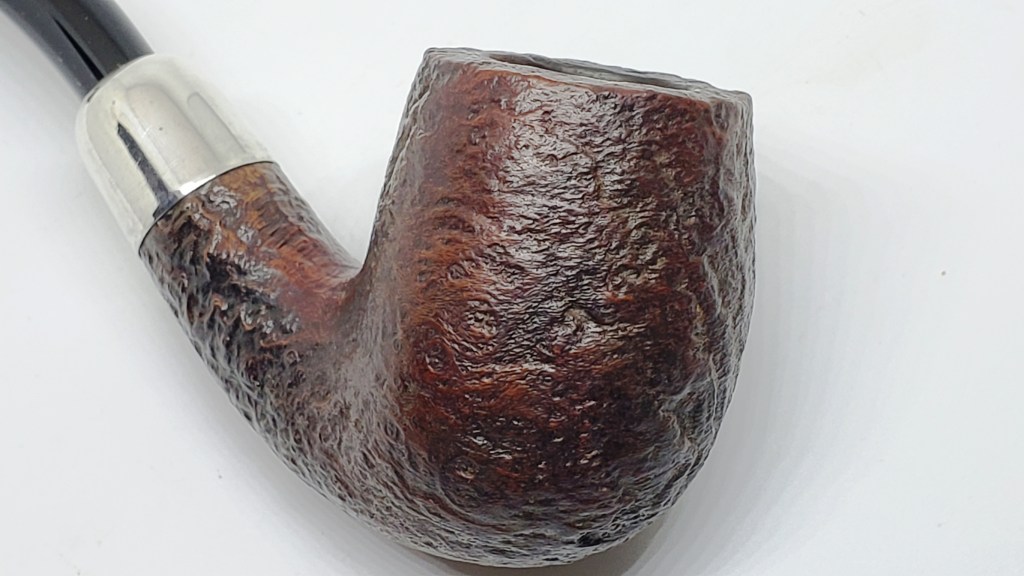
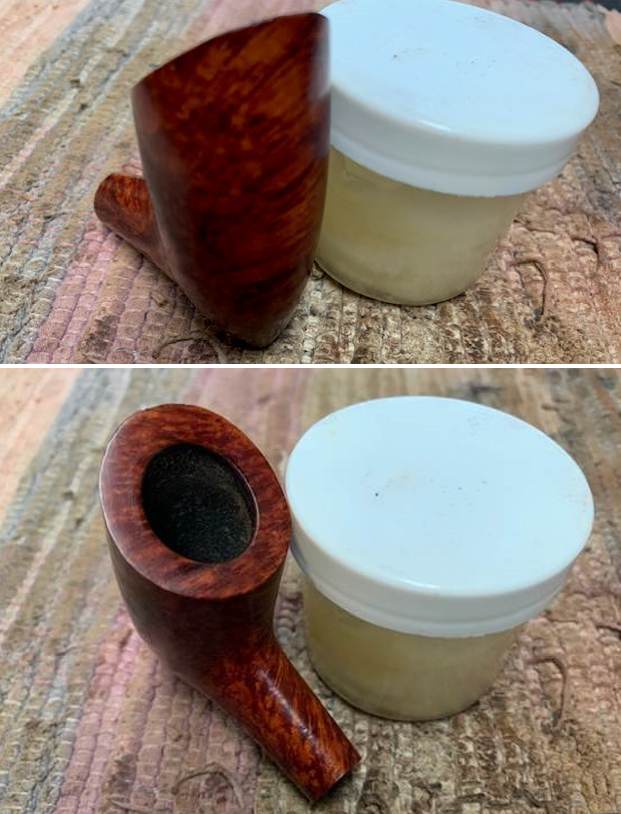
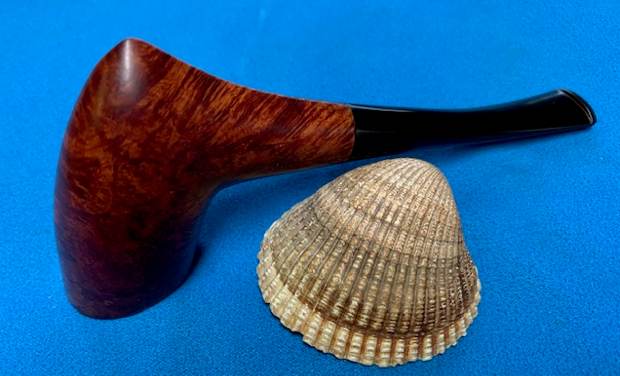
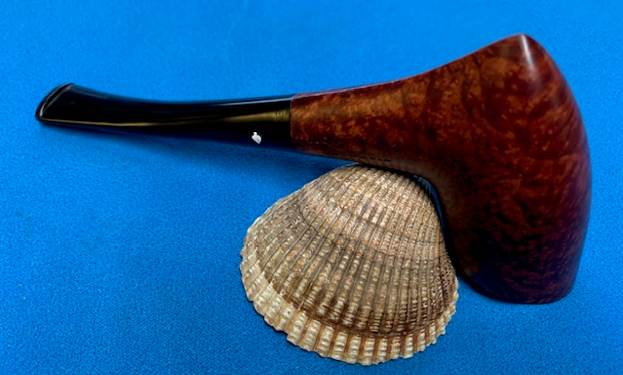
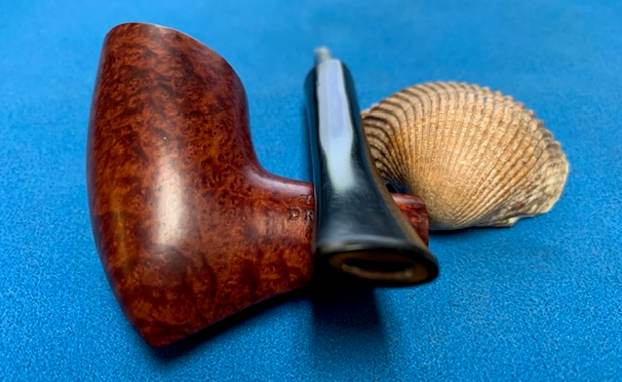
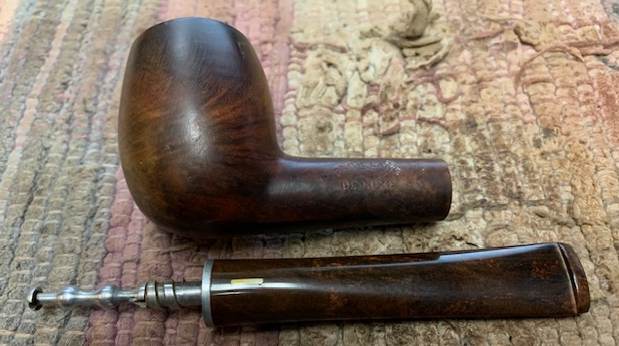
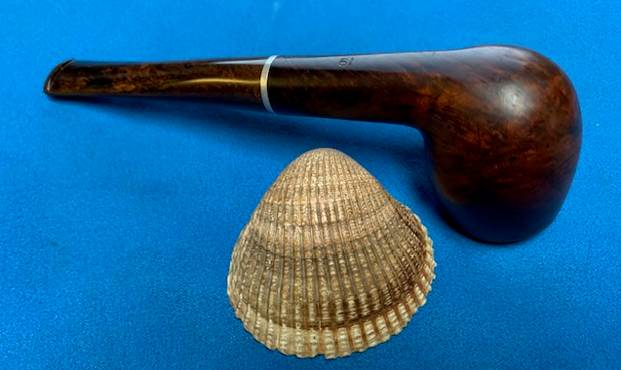
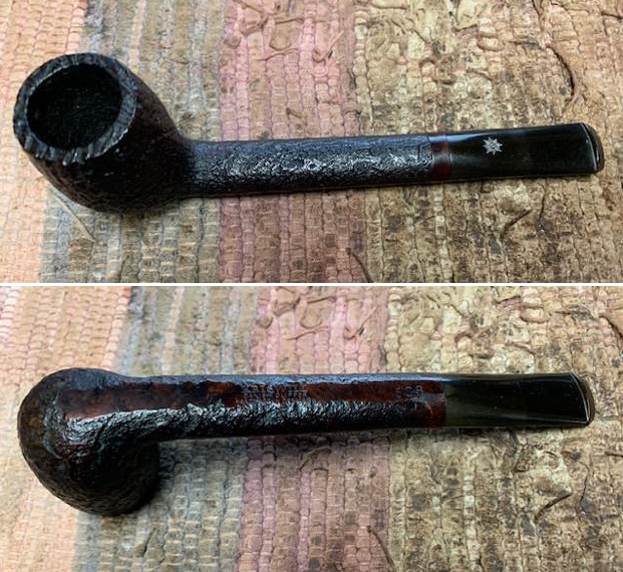
 I took the stem off the bowl and took a photo of the pipe to give a sense of proportion of the pipe. You can also see shape of the pipe and some interesting grain around the bowl and shank. There is an aluminum inner tube in the end of the tenon.
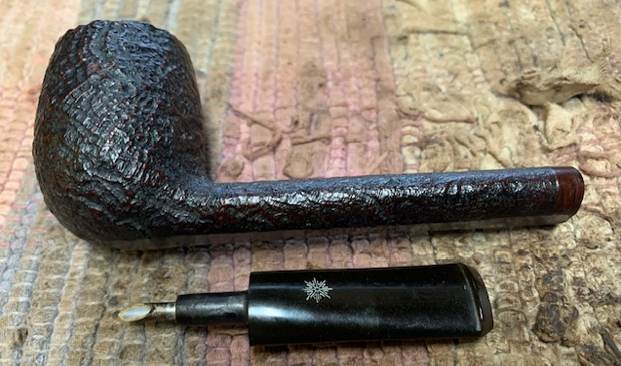 I decided to do some work on the stamping of this pipe to get an idea of the time period it was carved. I turned to Pipephil’s site for a quick overview of the brand (http://pipephil.eu/logos/en/logo-k3.html). I have included a screen capture of the brand below. From that I knew that the pipe I was working on was post 1970 because of the stamping and the star on the stem.
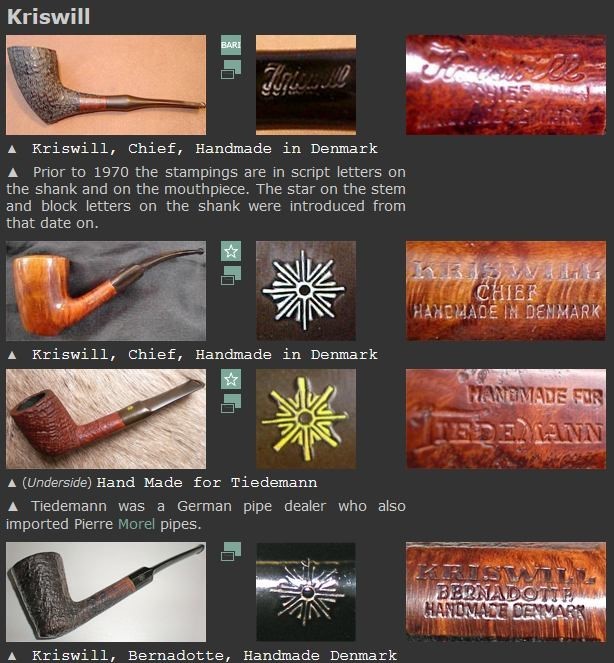 There was also a side bar that gave further information on the brand. It established an end date for the pipe I was working on. It was made before the late 1970s when the company went bankrupt. I knew that it was made between 1970-1978/79. I quote below
Kriswill is a brand of Kriswork Briar Trading, in Kolding (Denmark) established about 1955. Some of Kriswill pipes were designed by Sigvard Bernadotte, Swedish prince and brother to the late Queen Ingrid of Denmark. He collaborated with his Danish partner Acton Bjørn. When the company went bankrupt in the late 1970s it was on a level with Stanwell. Dan Pipe Cigar & Company (Hafenstrasse 30 D-21481 Lauenburg/Elbe, Ge) bought the rights to use the name and it is Holmer Knudsen and/or Poul Winsløw who make the Kriswill line.
Pipedia has a great history write up on the brand (https://pipedia.org/wiki/Kriswill). It gives a great summary of the history. There was also a shape chart included on the site and the shape number 28 Canadian is shown below which is the same shape as the 628 I am working on. It is the third one down on the Kriswill Golden Clipper chart on the far right of the screen capture below. From the background information on the brand I knew that it was made between 1970-1978/79 prior to the bankruptcy of the company in the late 70s. With that out of the way it was time to work on the pipe.
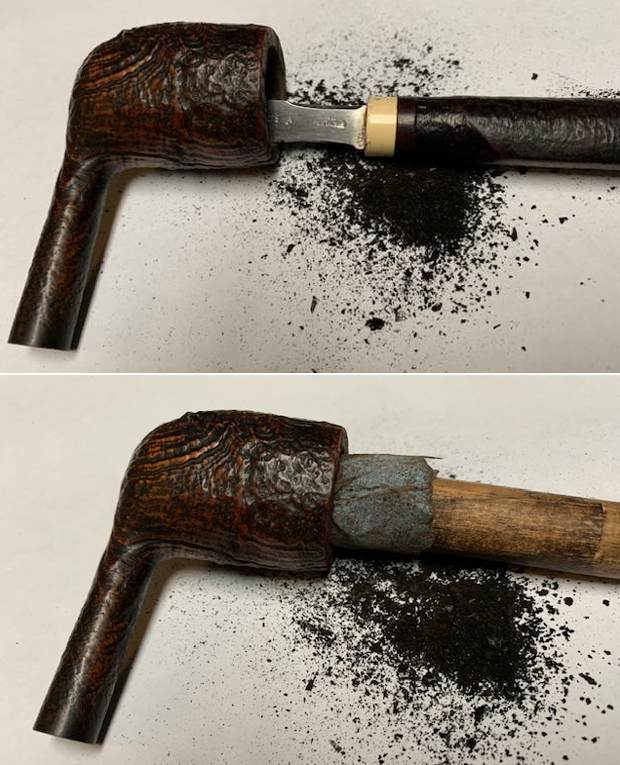
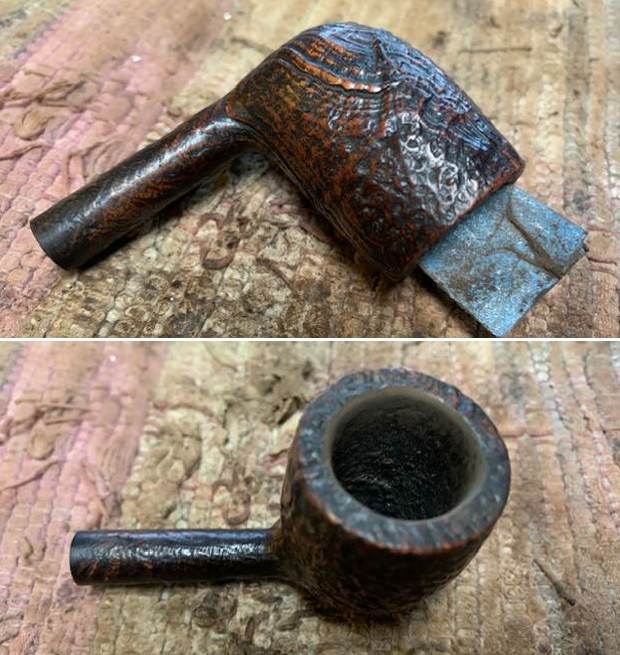
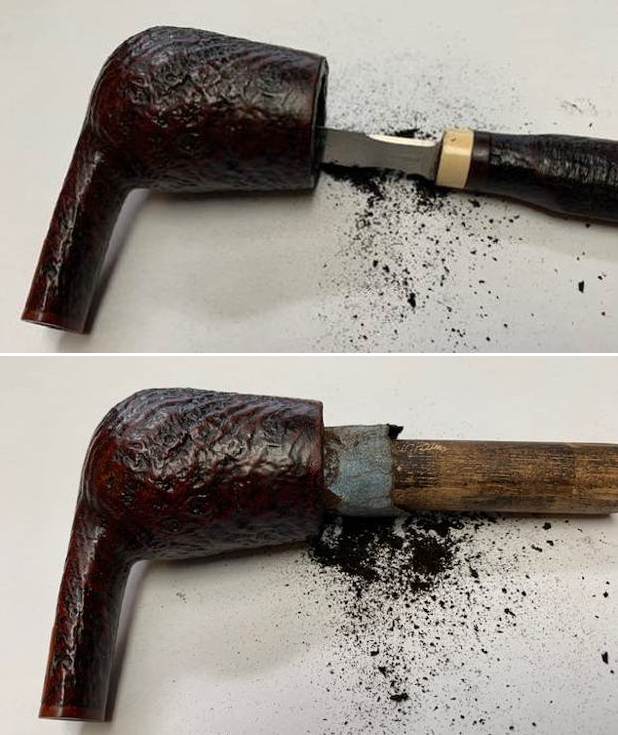
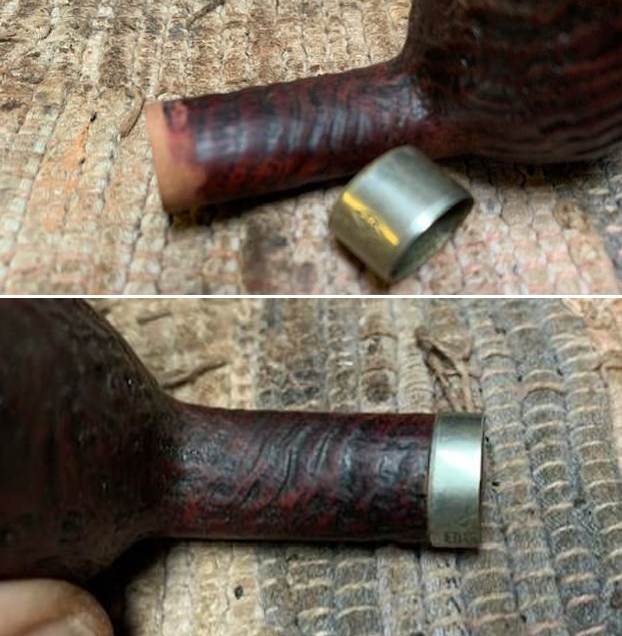
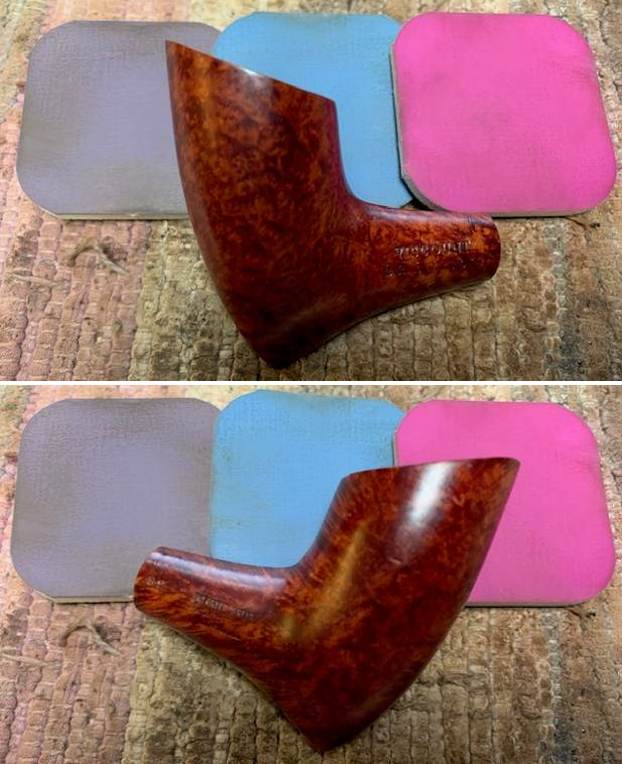
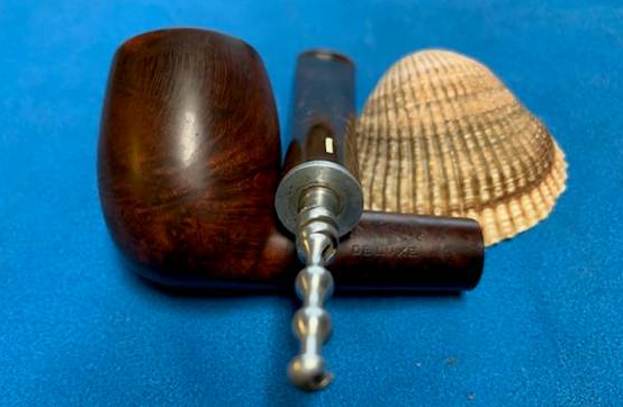
Sometimes I alter my pattern in restoration to deal with an immediate issue that calls out to me. I decided in this case to deal with the crack in the shank before cleaning up the pipe. I went through my bands and found this band that would work well on the oval shank. It was a round band that I shaped to fit well. The crack in the shank had been repaired prior with super glue and pressed together. I did not need to deal with that again. I sanded the end of the shank with 220 grit sandpaper and removed some of the diameter of the shank to make for a snug fit with the band. The band was just the right depth to not cover any of the stamping on the shank.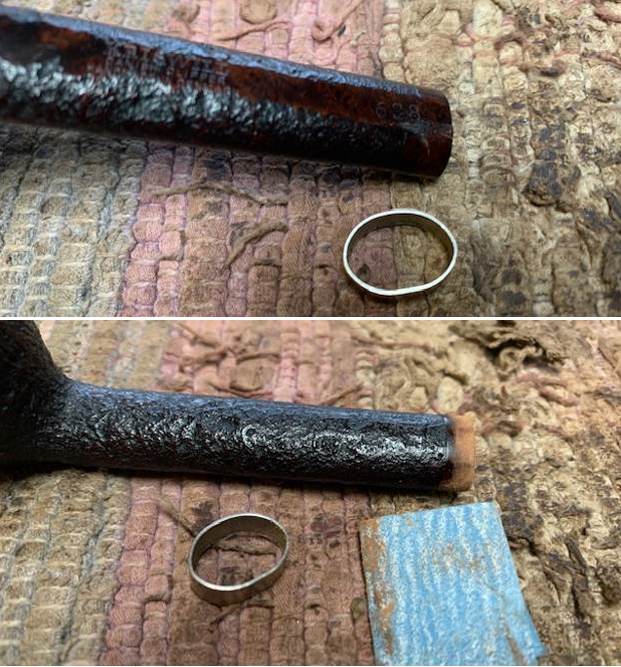
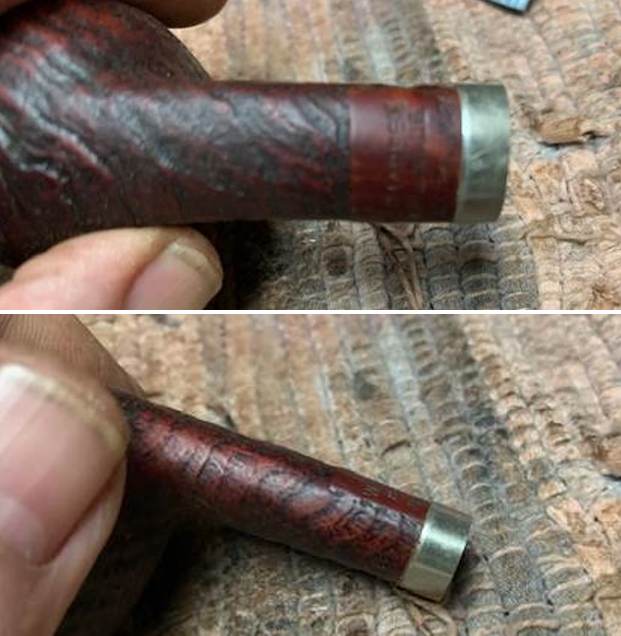
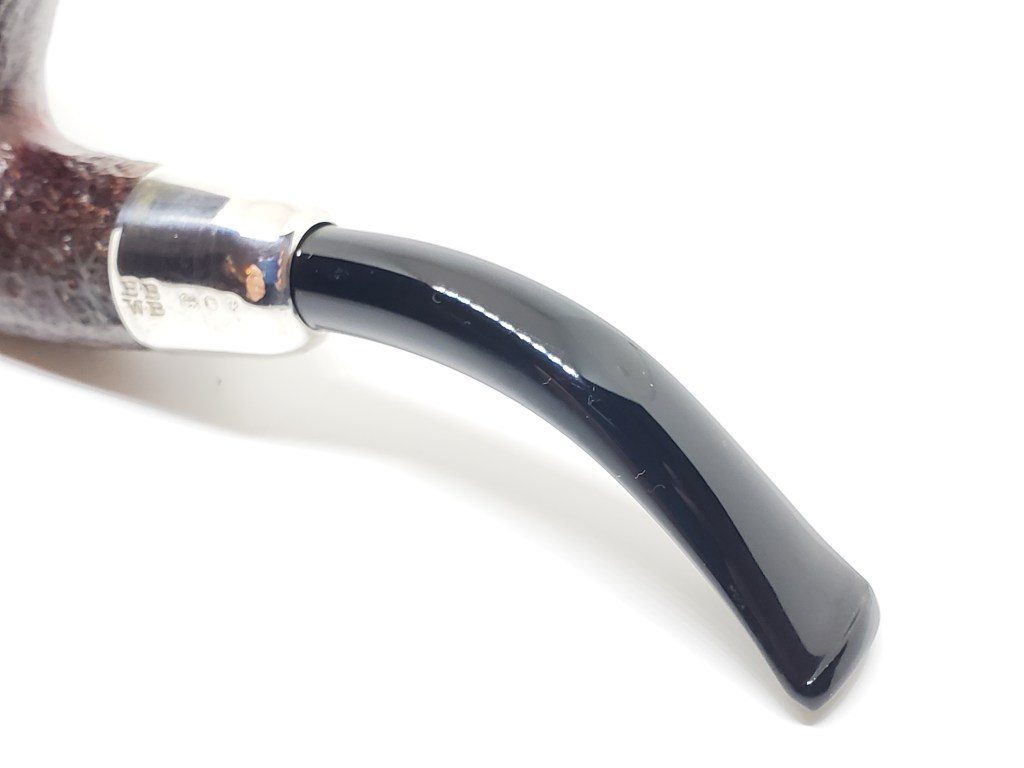
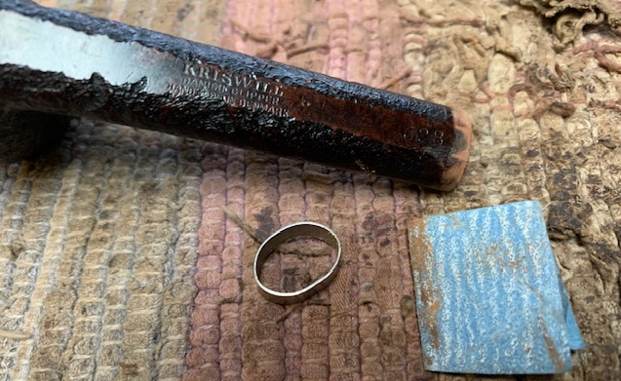 I heated the band and pressed it onto the shank end. It worked well and covered the sanded portion and bound the repaired crack together. I took photos of the band in place on the shank end. It looks very good and you can see the scratches in the band that I will need to deal with.
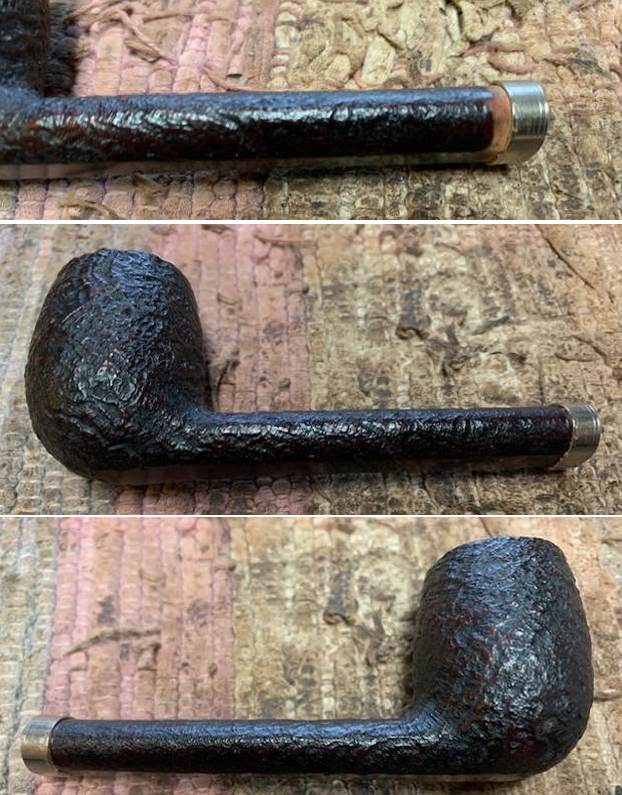
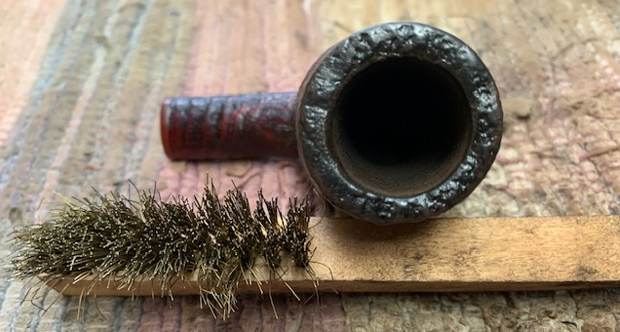
 After the banding I reamed the bowl with a Savinelli Fitsall Pipe Knife. I followed that up by sanding the bowl walls with 220 grit sandpaper wrapped around a piece of dowel.
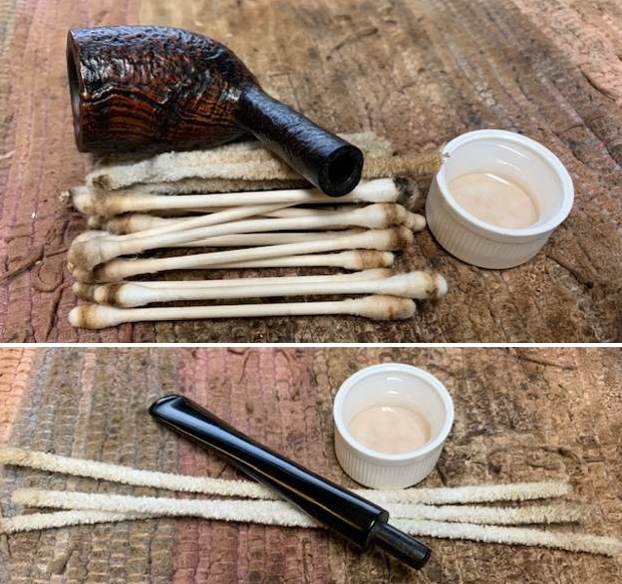
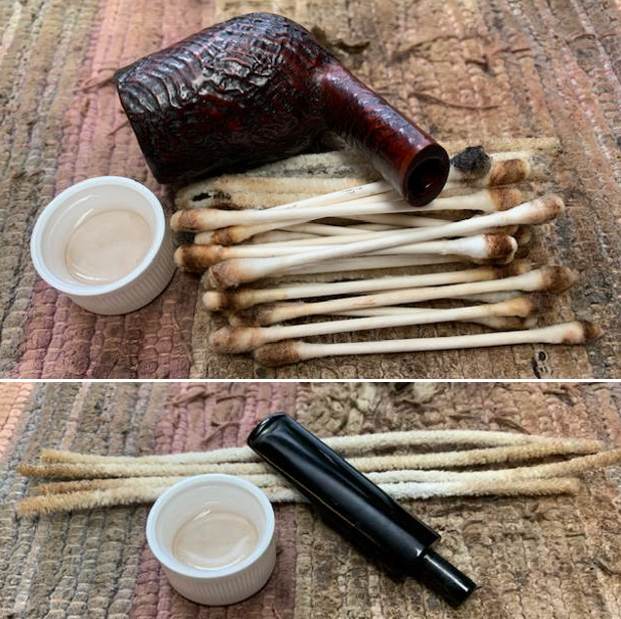
 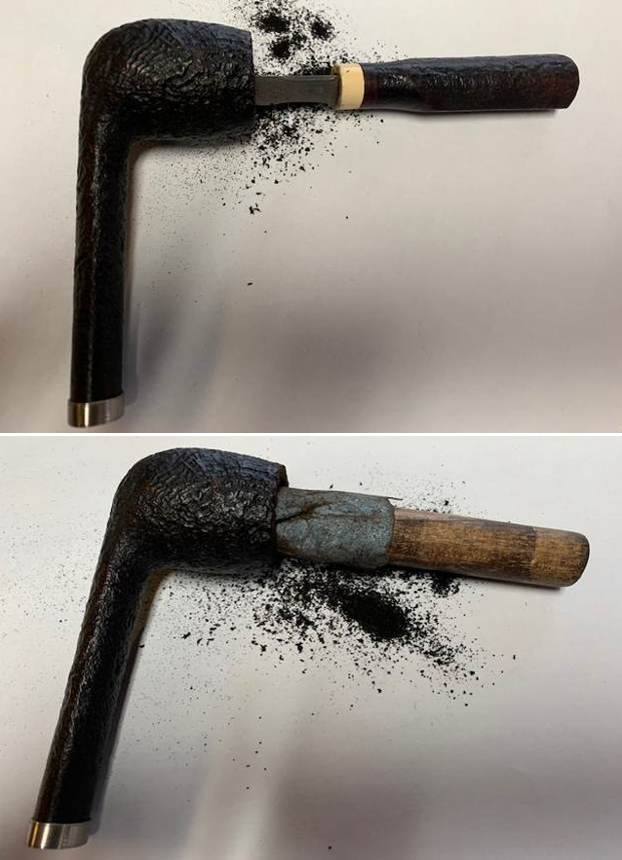 I cleaned the internals of the shank and the stem with 99% isopropyl alcohol, cotton swabs and pipe cleaners. I scrubbed it until the shank was clean and the smell was much cleaner smelling.
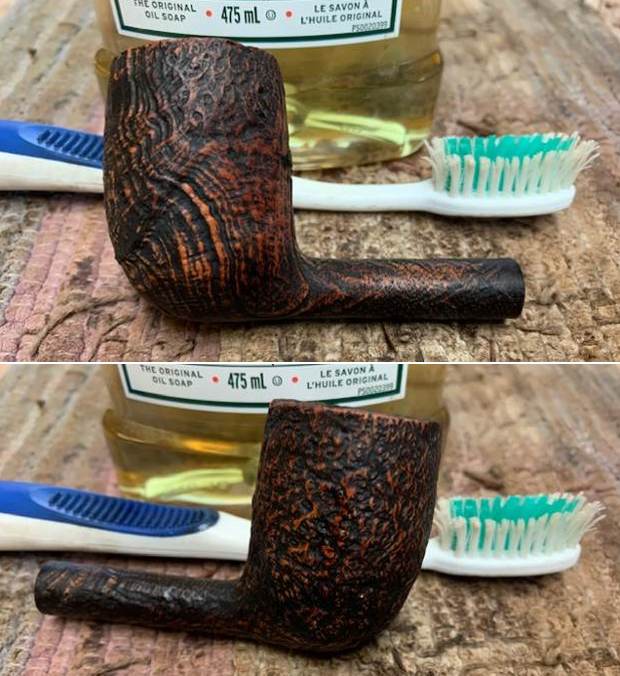
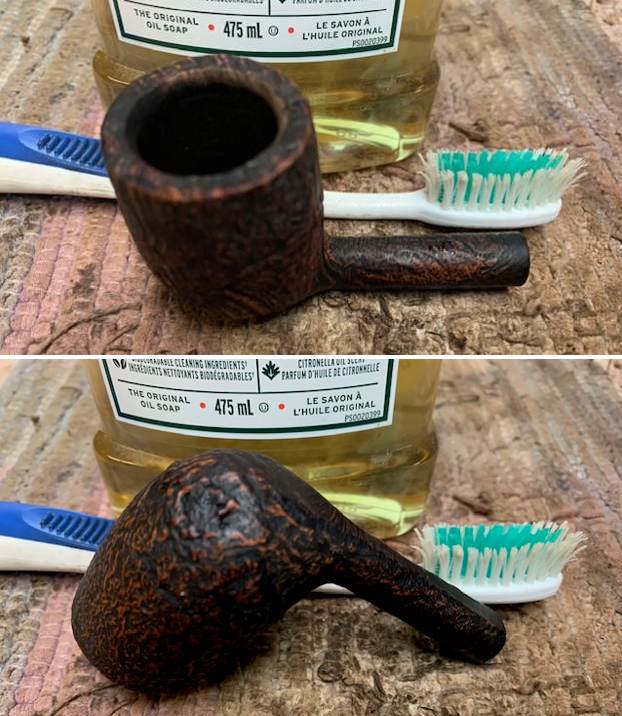
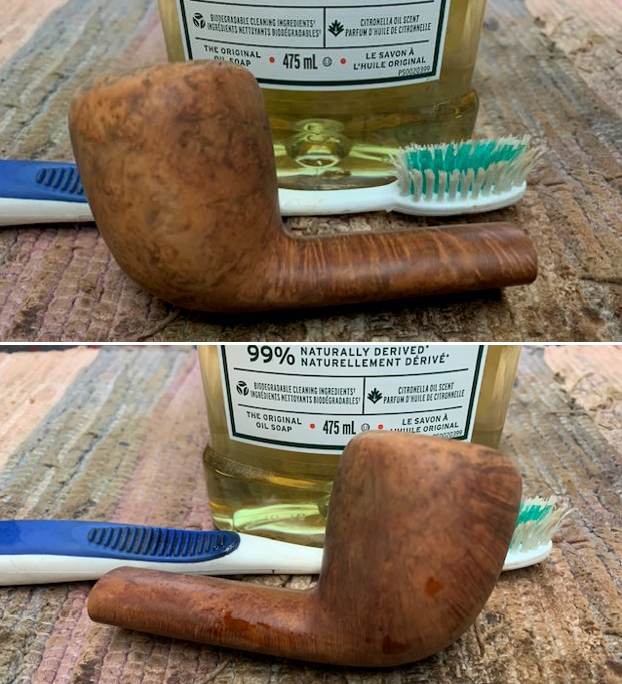
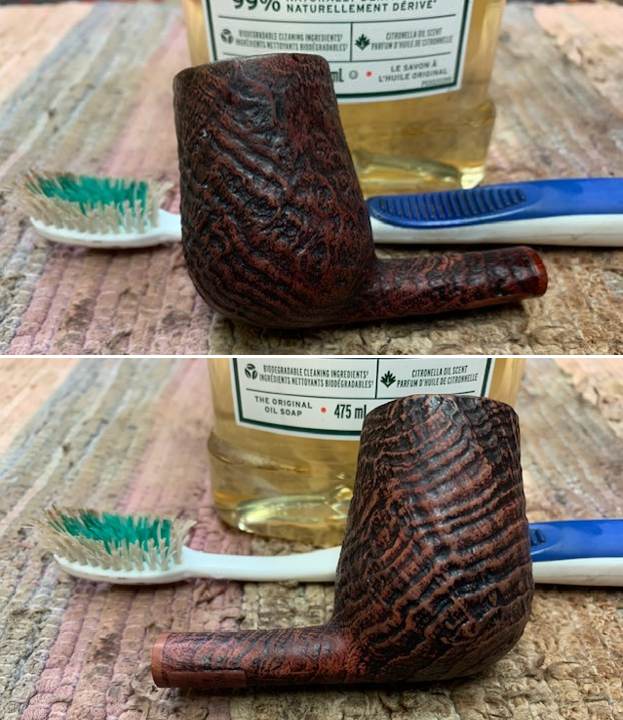
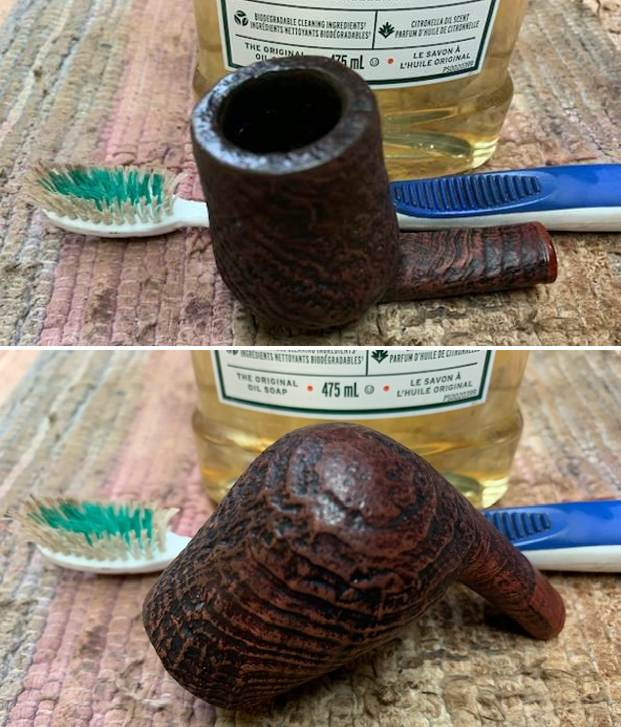
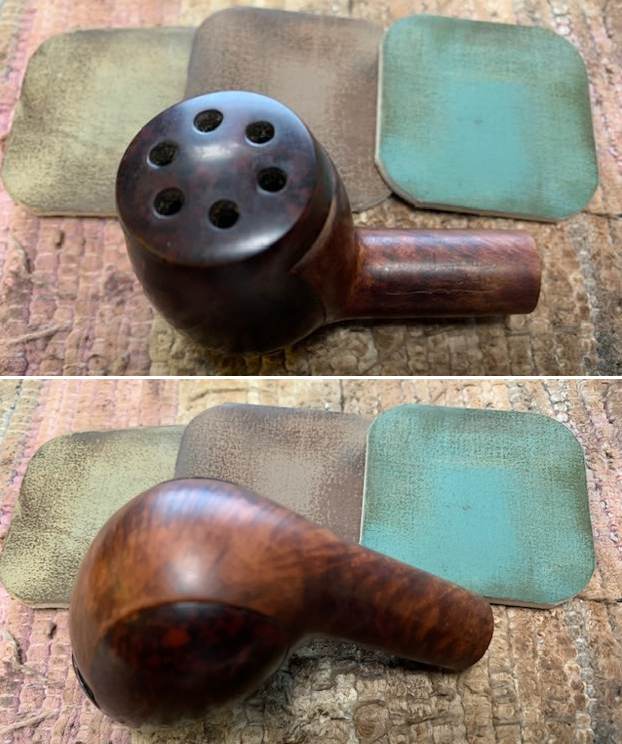
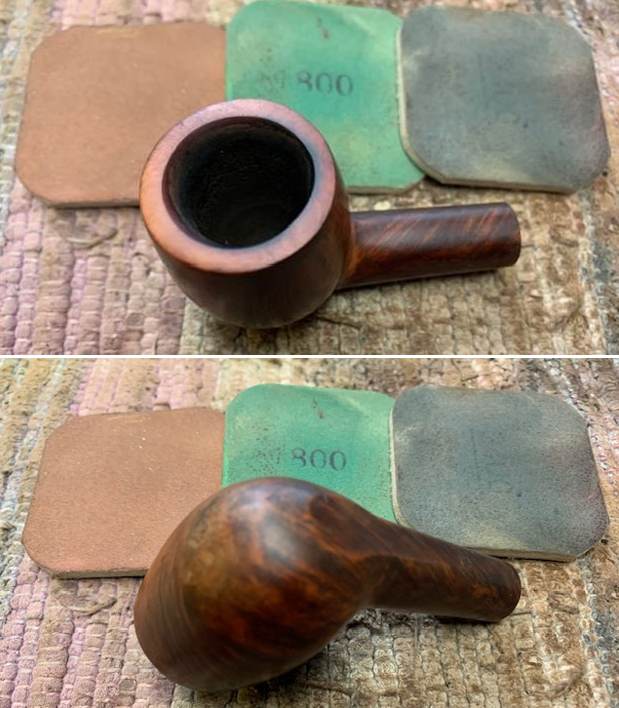
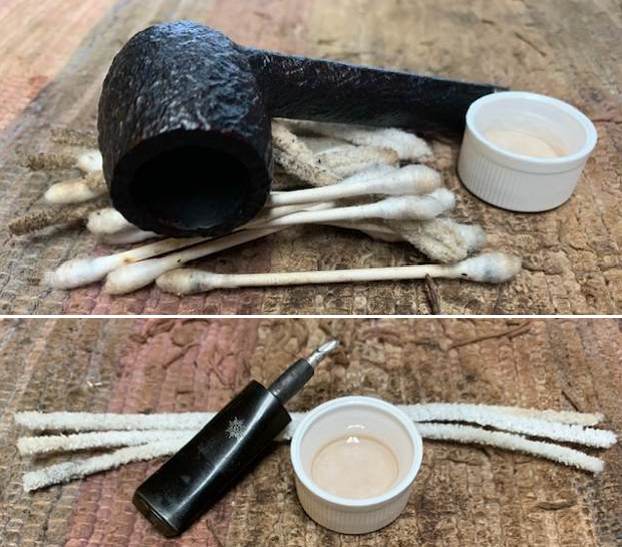 I scrubbed the external surface of the briar with a tooth brush and undiluted Murphy’s Oil Soap. I scrubbed it until the finish was clean and then rinsed it off with warm running water to rinse off the soap and the grime from the finish. I dried it off with a soft cloth and took photos of the pipe.
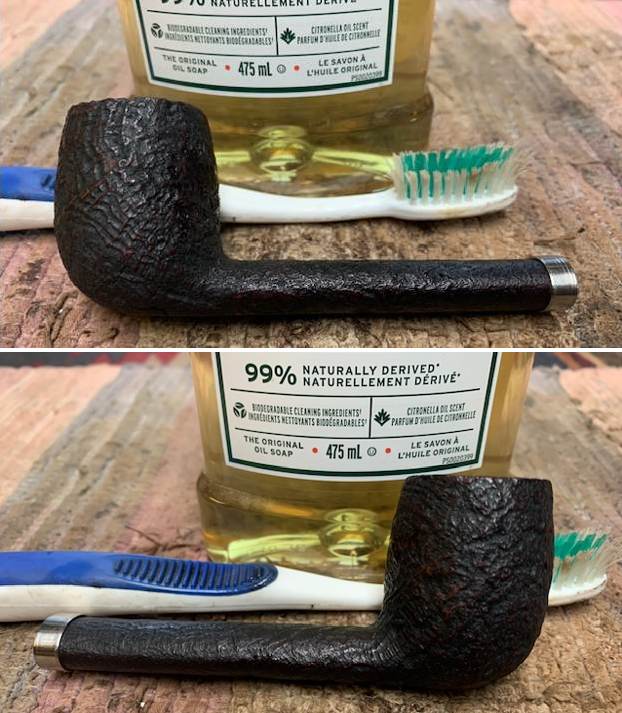
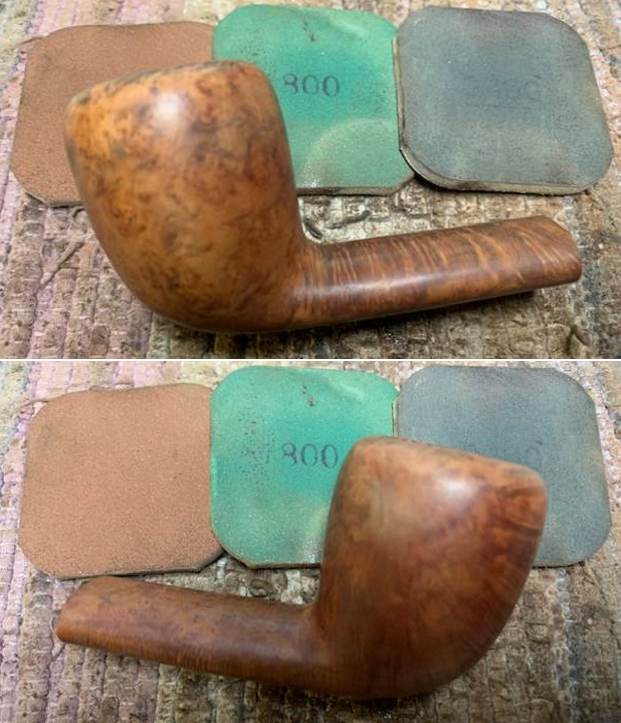
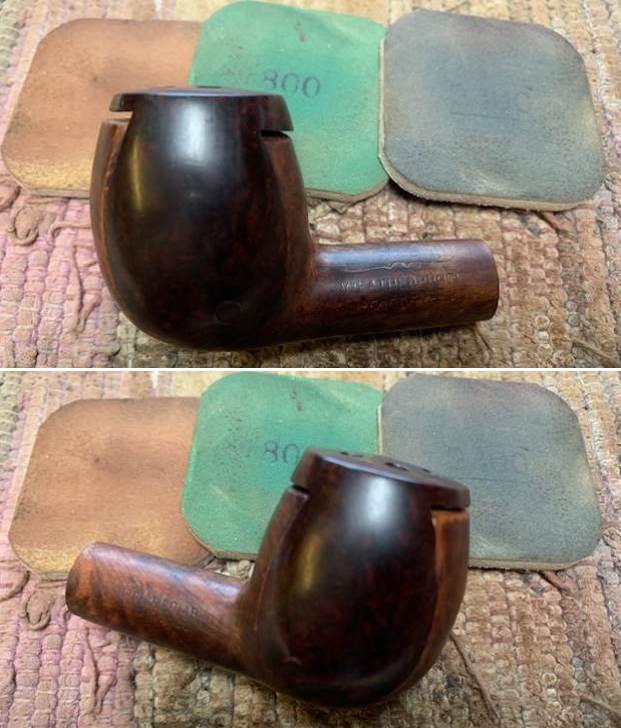
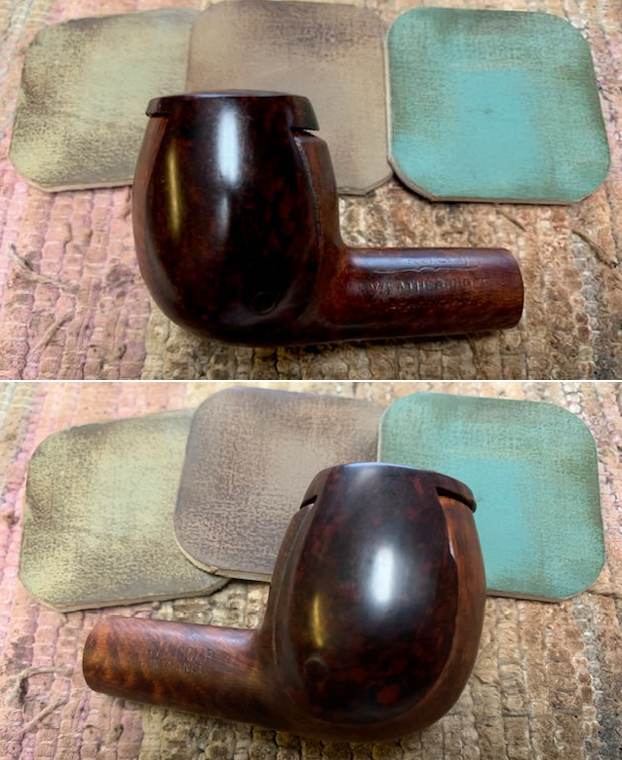
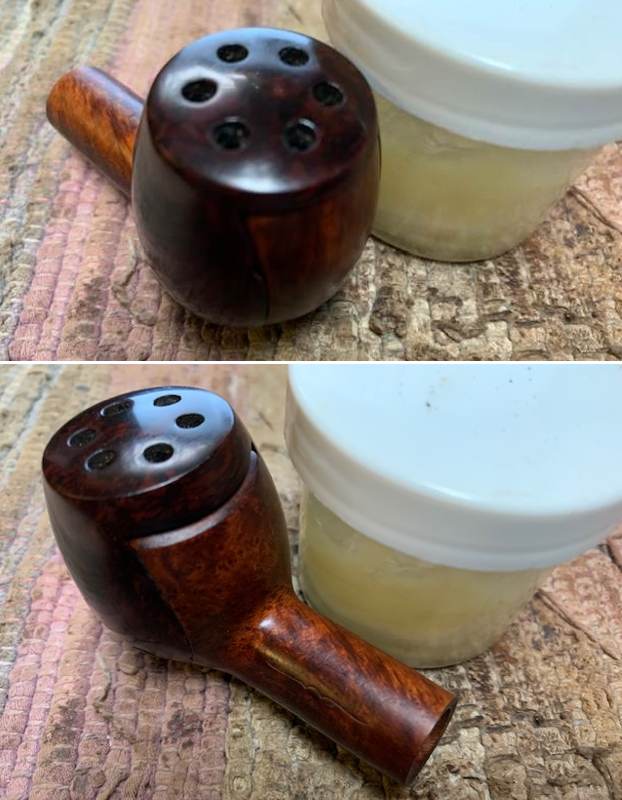
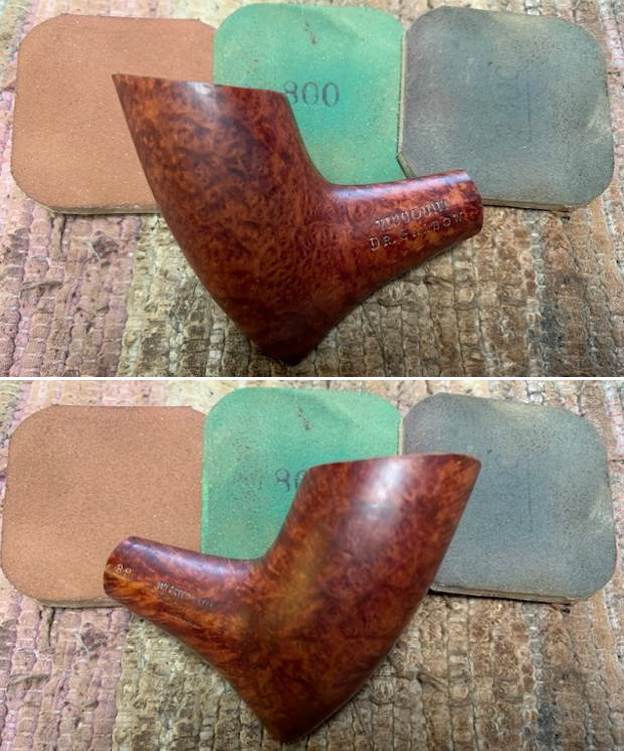
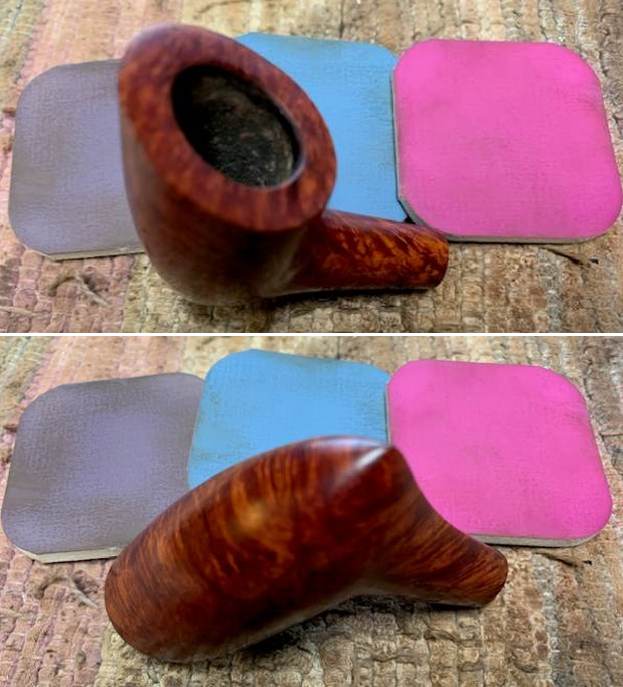
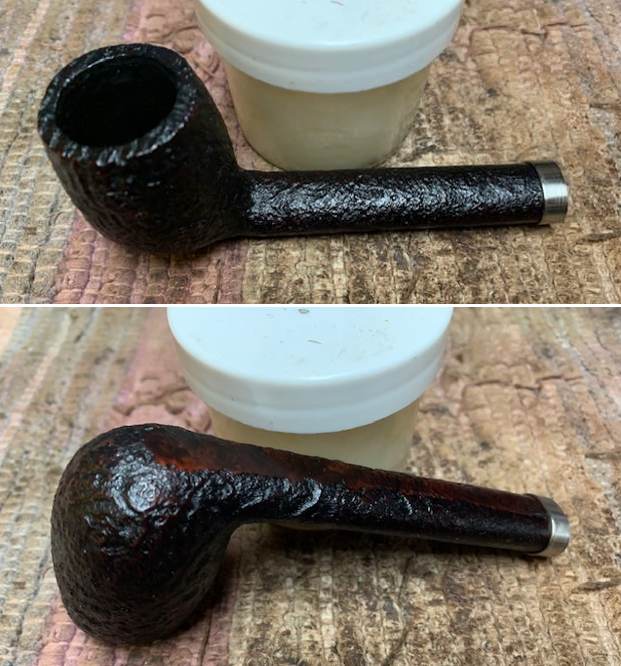
 I applied some Before & After Restoration Balm to the briar. It is a paste/balm that is rubbed into the surface of the briar. The product works to deep clean finish, enliven and protect the briar. I worked it into the briar with my finger tips and a shoe brush. I let it sit for 10 minutes to do its work. I wiped it off with a soft cloth then buffed it with a cotton cloth. The briar really began to have a deep shine and the grain shone through. The photos I took of the bowl at this point mark the progress in the restoration. It is a gorgeous pipe.
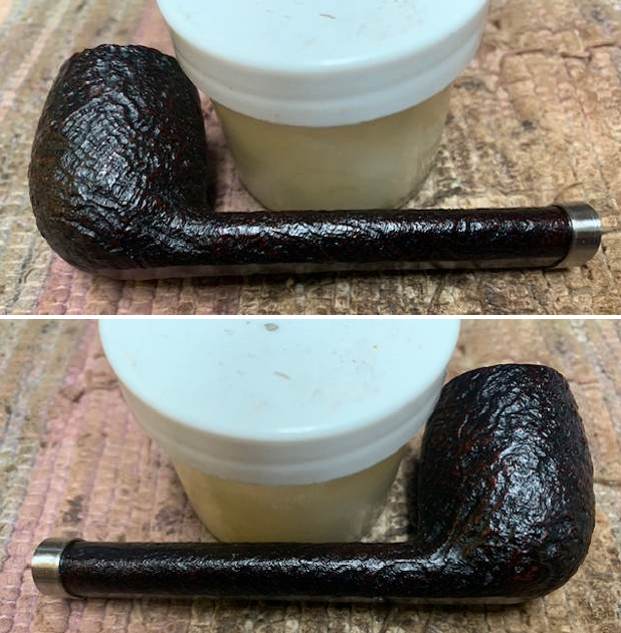
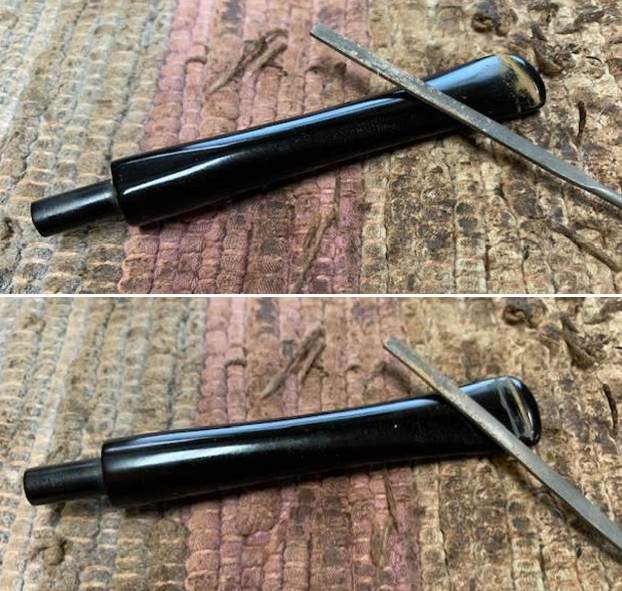
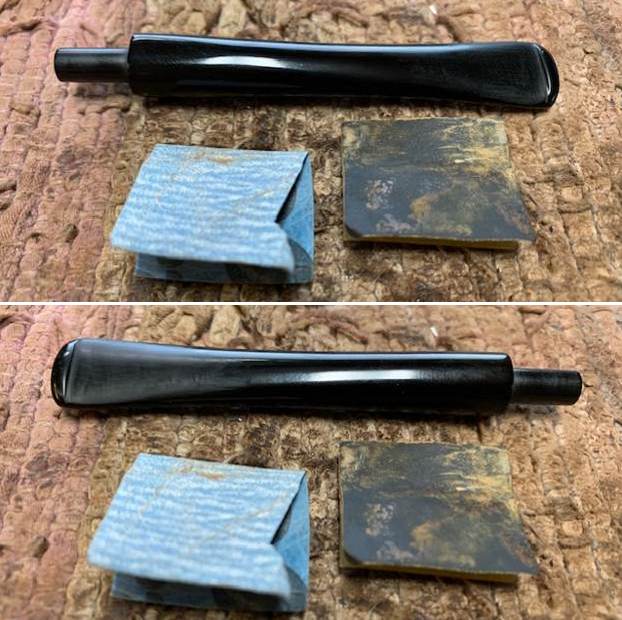
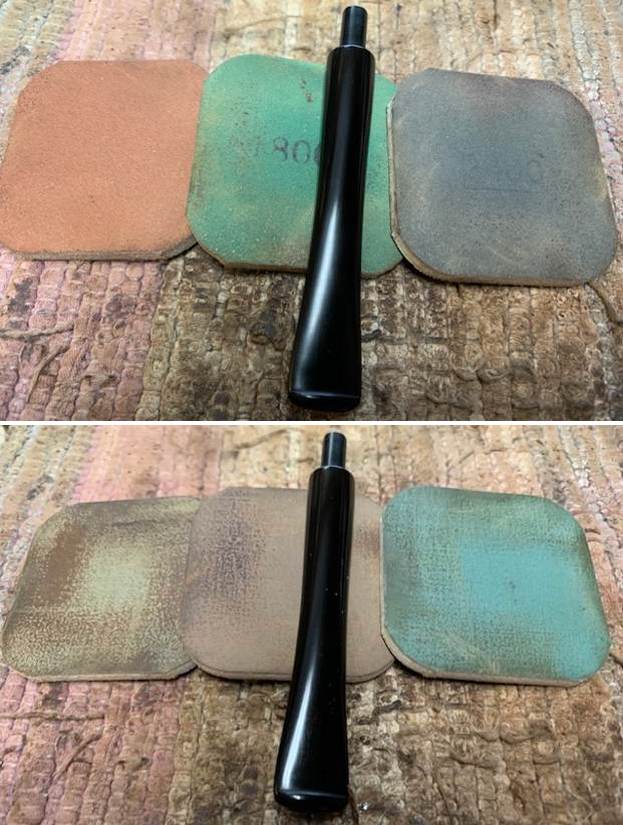
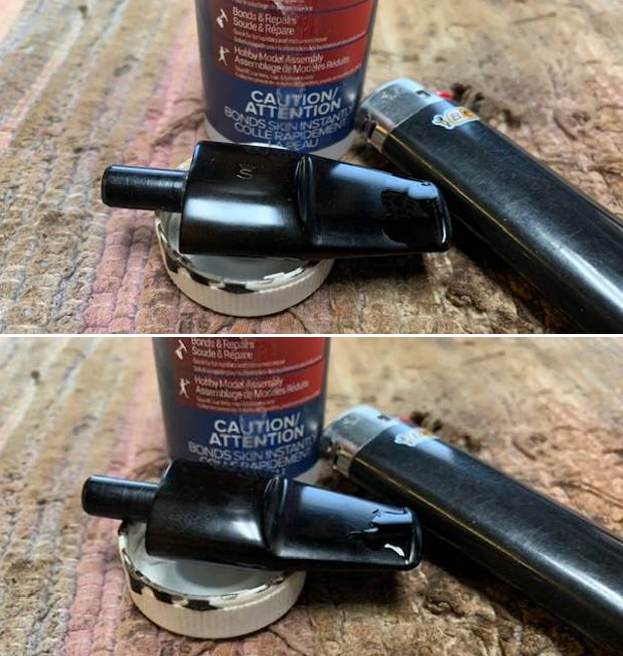
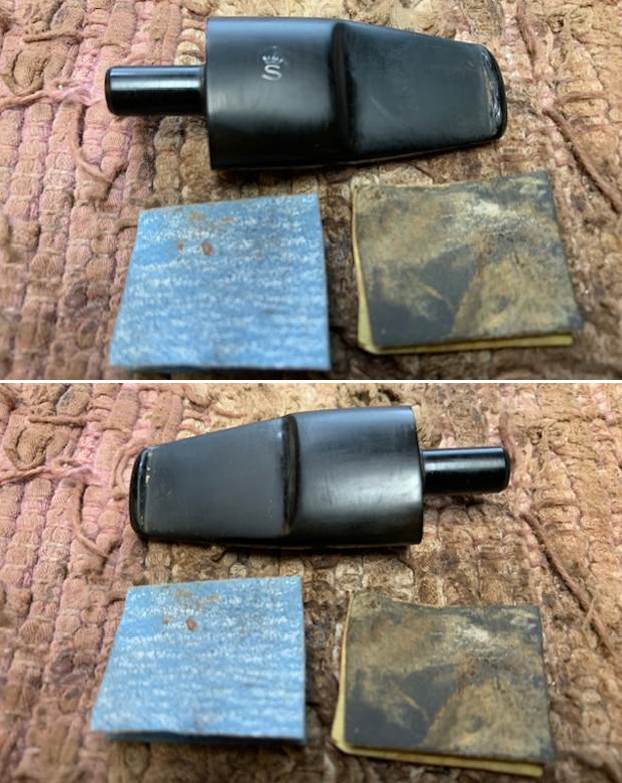
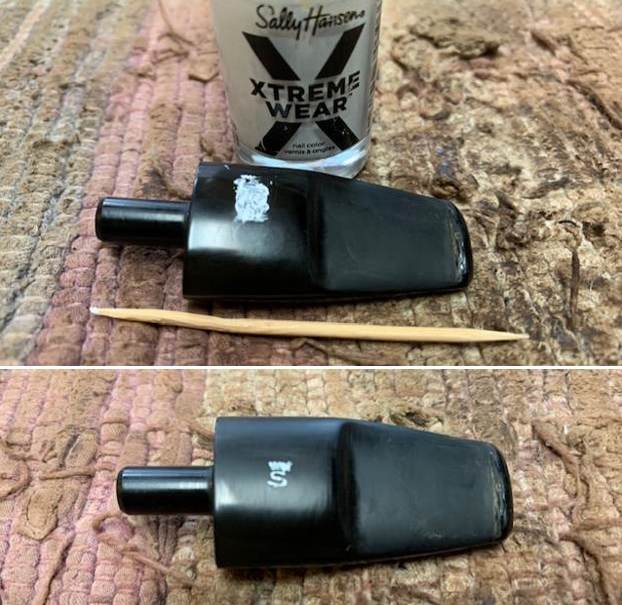
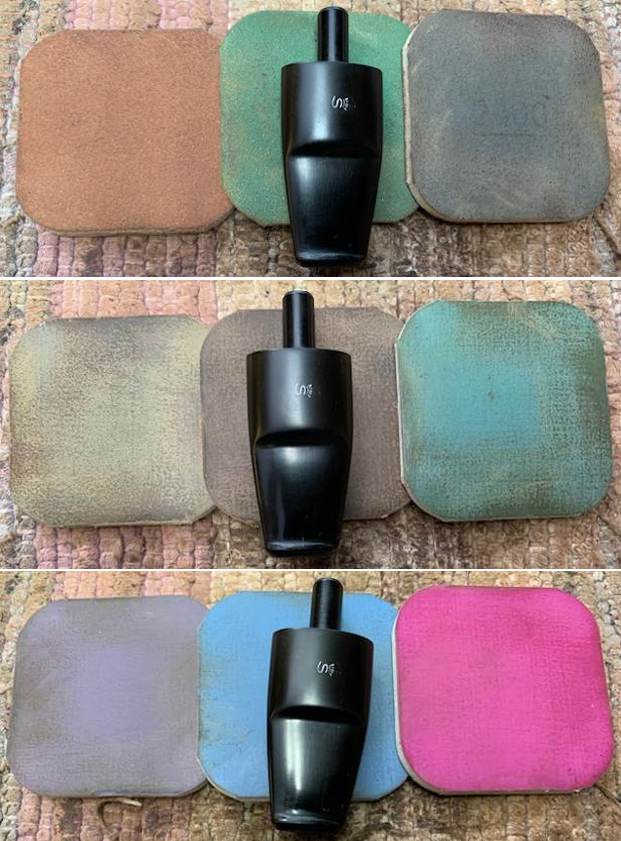
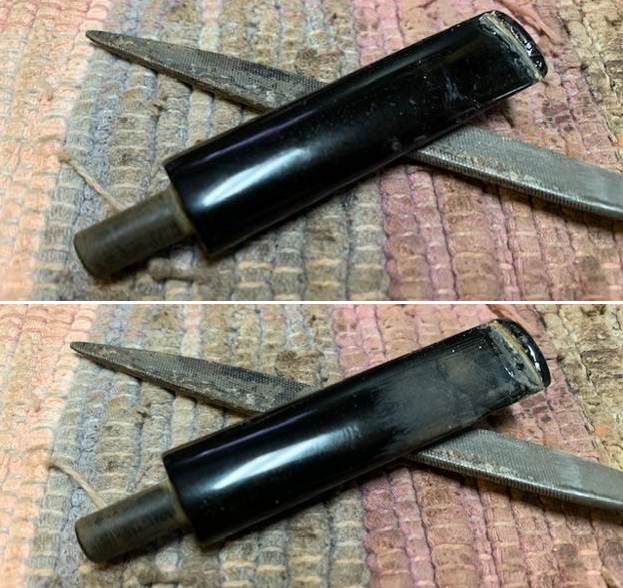
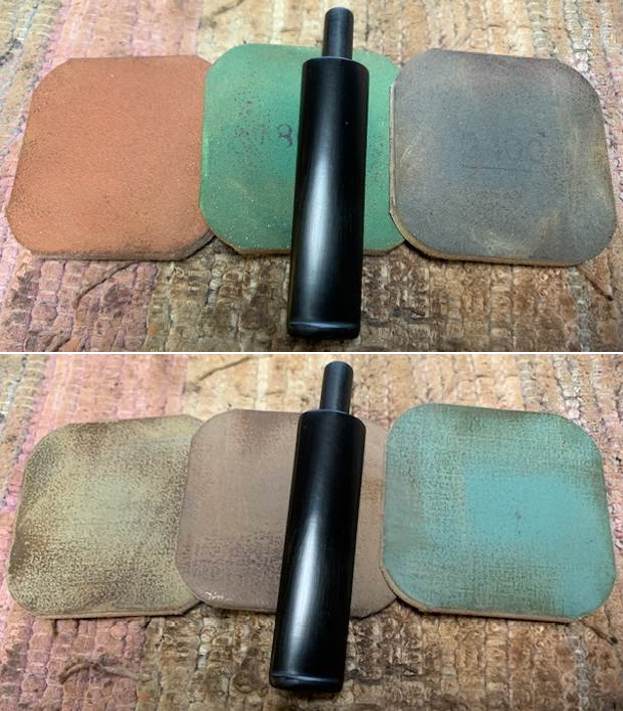
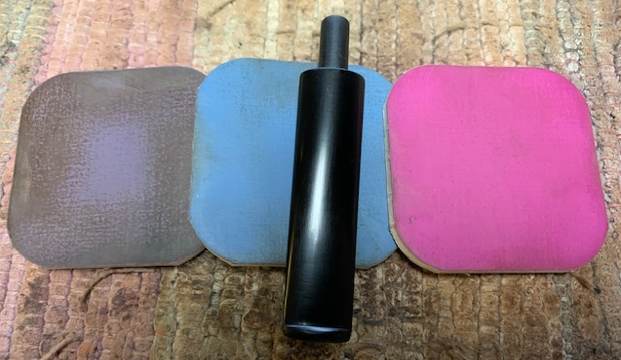
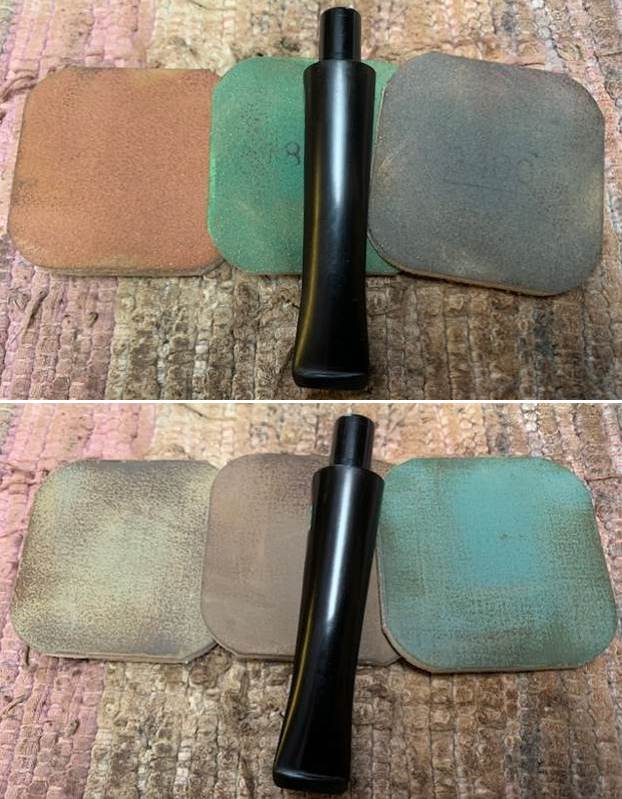
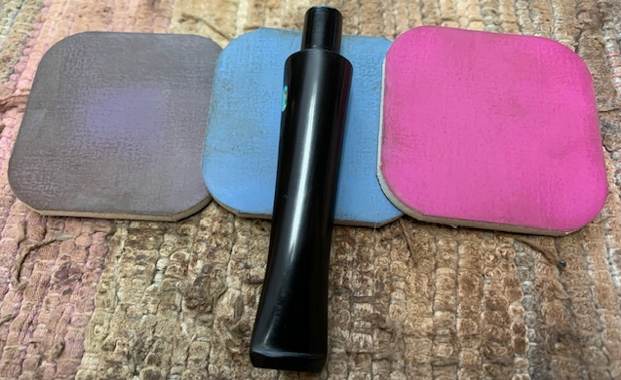
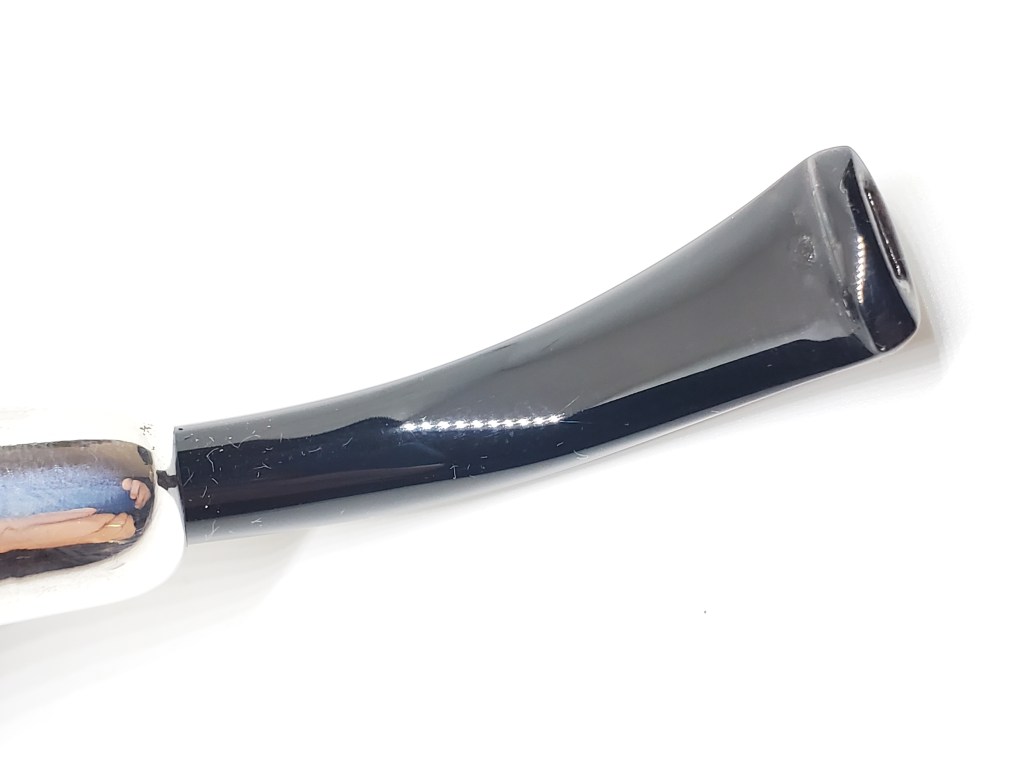
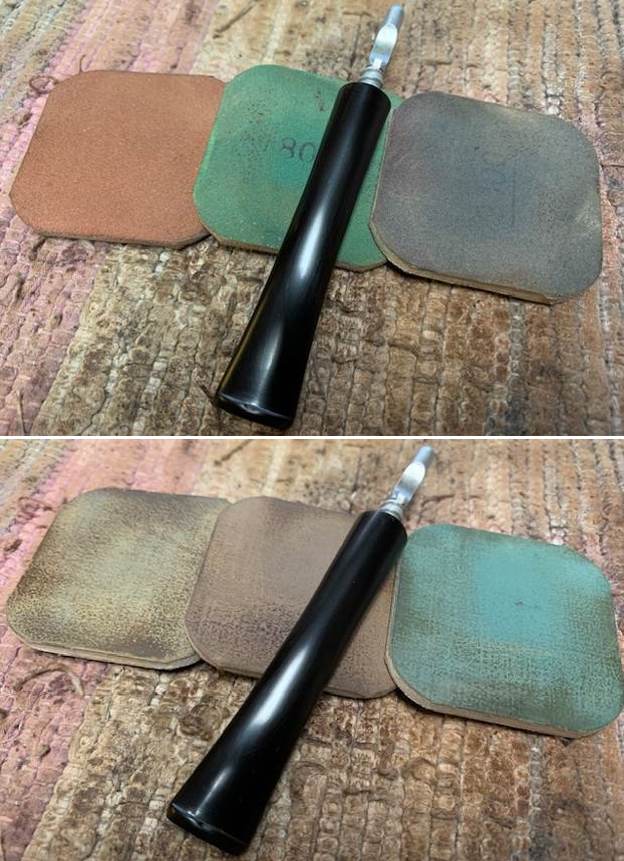
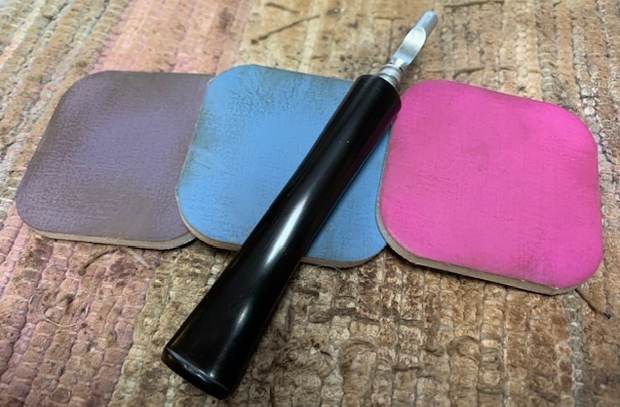
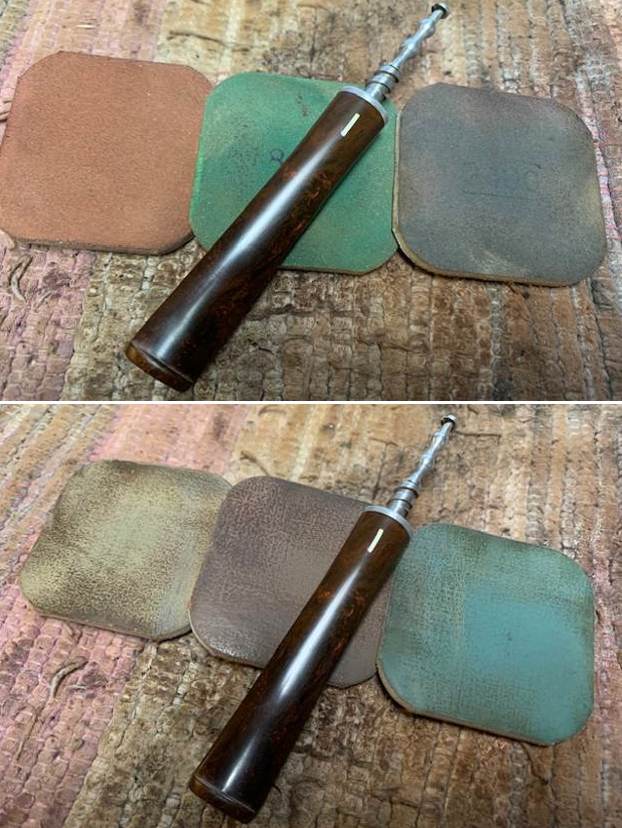
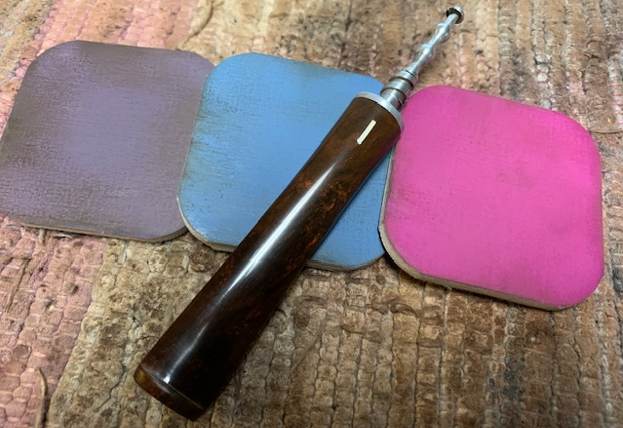
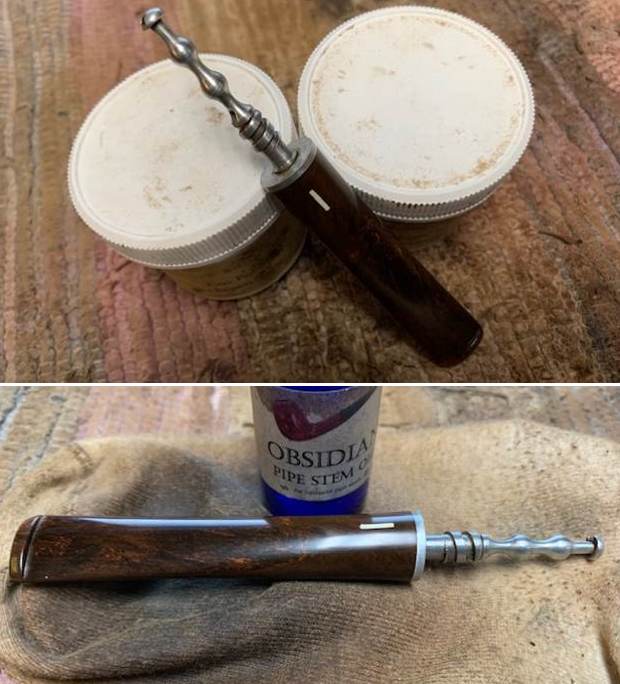
 I set the bowl aside and turned my attention to the issues with the vulcanite stem. I polished the stem with micromesh sanding pads – 1500-12000 grit sanding pads and water to wet sand the stem. I wiped it down after each sanding pad with Obsidian Oil on a cotton rag after each sanding pads. But I find it does two things – first it gives some protection to the stem from oxidation and second it give the sanding pads bite in the polishing process.
  I polished the aluminum inner tube with micromesh sanding pads and then put it in place in the tenon. It is shiny and looks new.
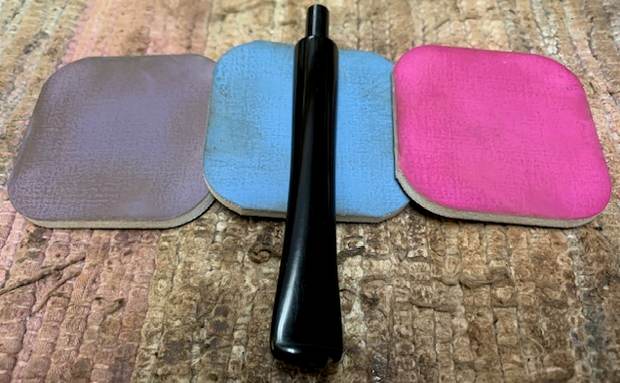
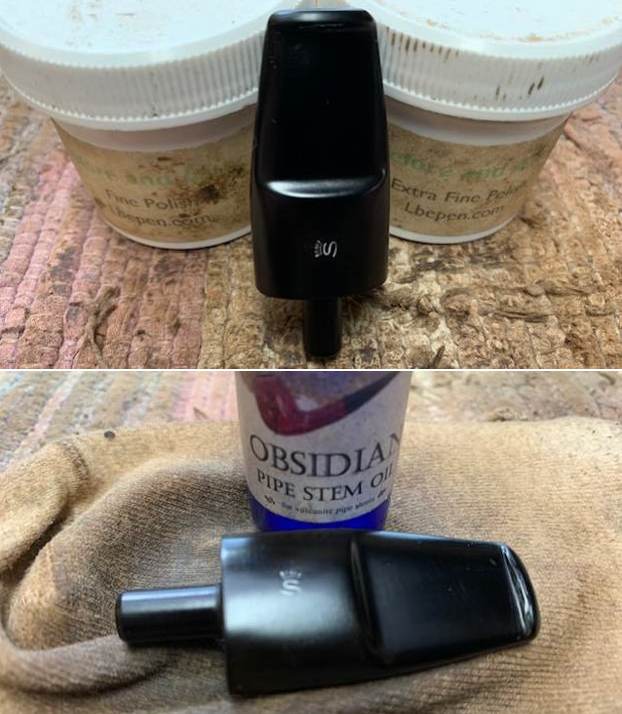
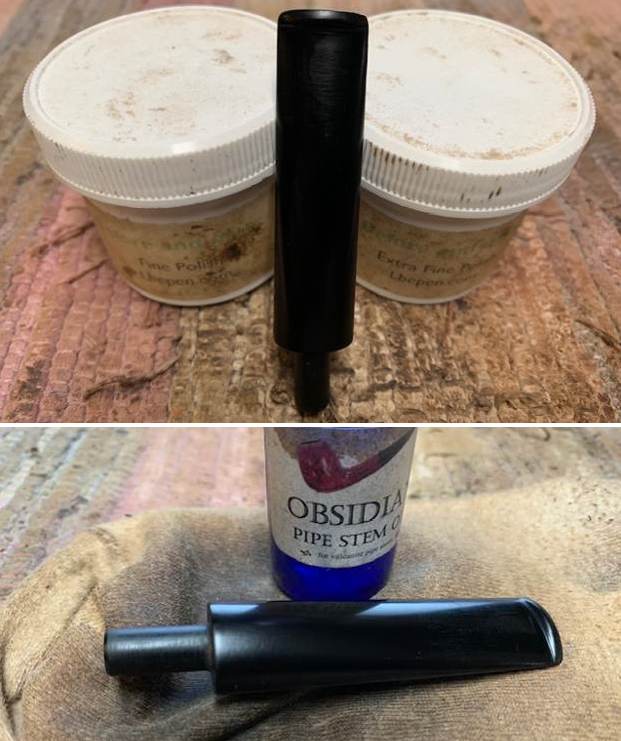
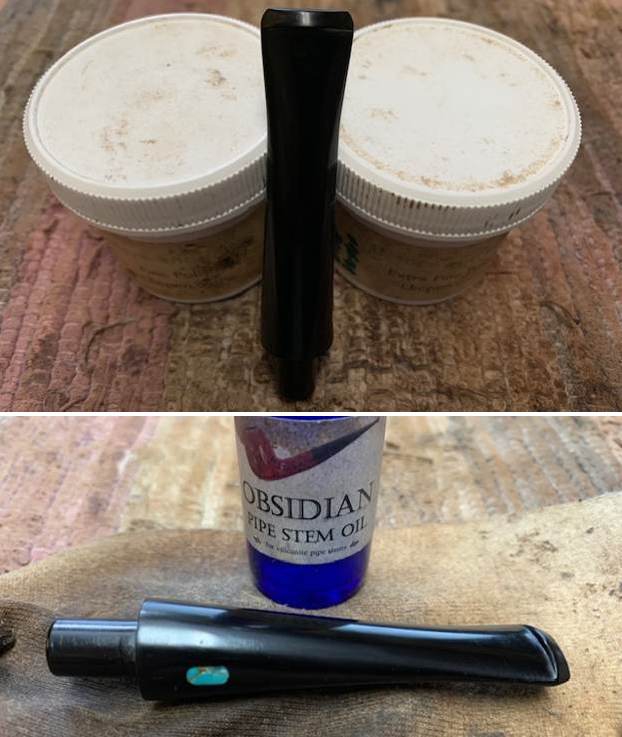
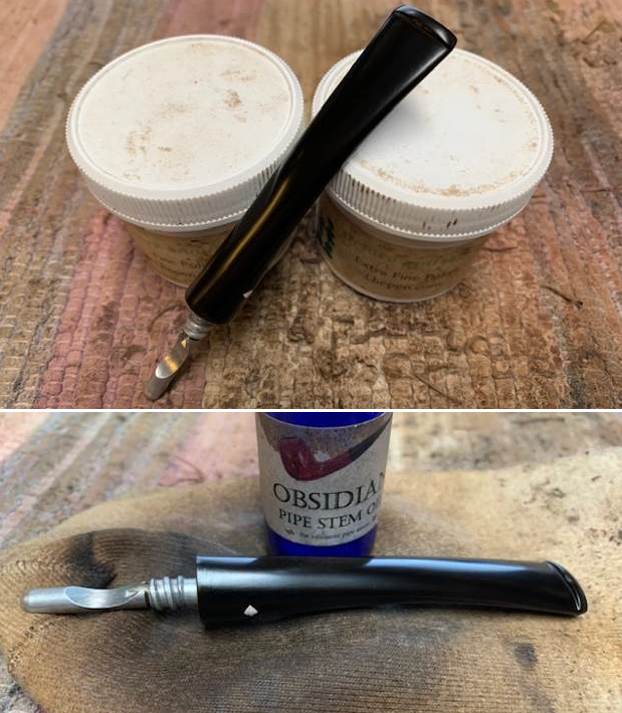
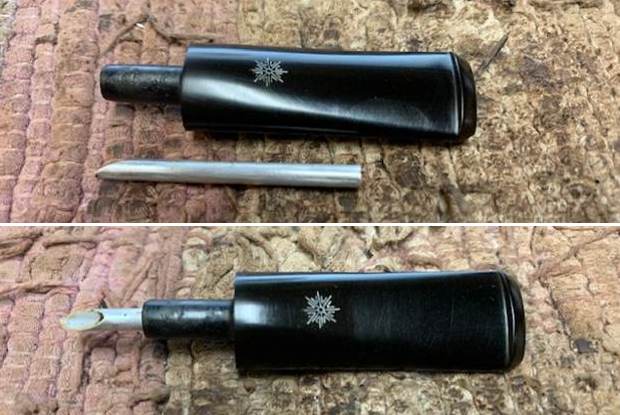 After finishing with the micromesh pads I rub the stem down with Before & After Fine and Extra Fine stem polish as it seems to really remove the fine scratches in the vulcanite. I rub the Fine Polish on the stem and wipe it off with a paper towel and then repeat the process with the Extra Fine polish. I finish the polishing of the stem down with a final coat of Obsidian Oil and set the stem aside to let the oil absorb. This process gives the stem a shine and also a bit of protection.
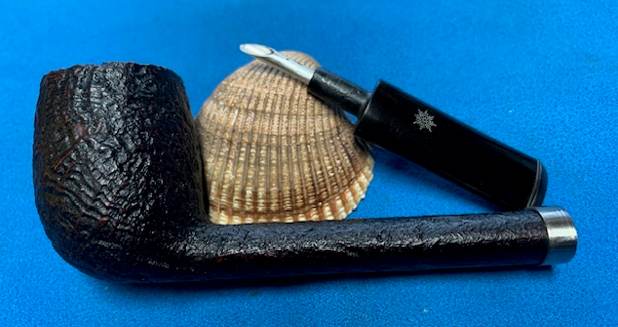
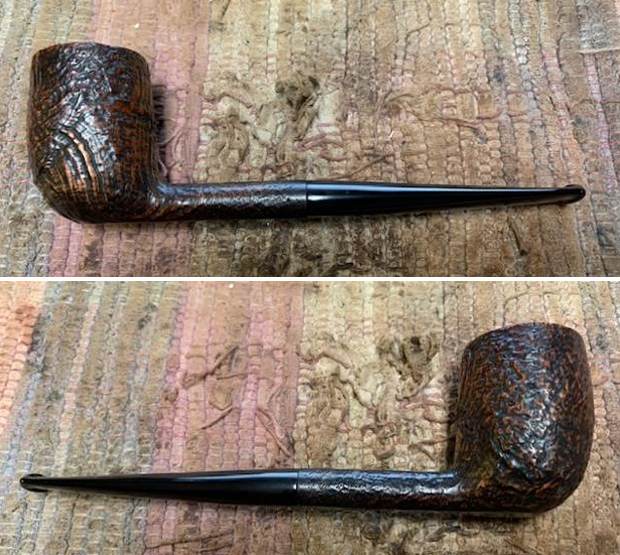
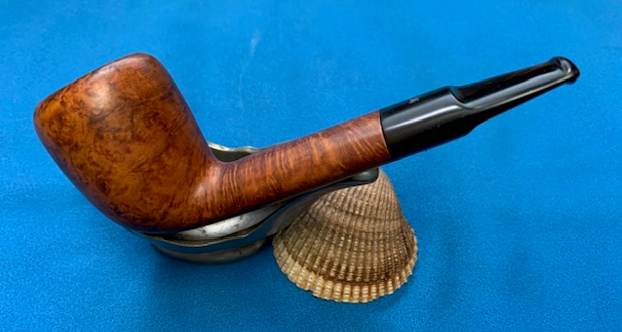
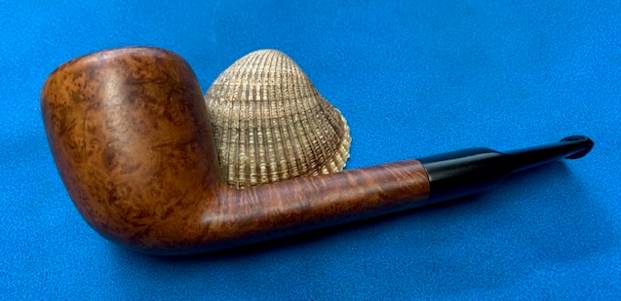
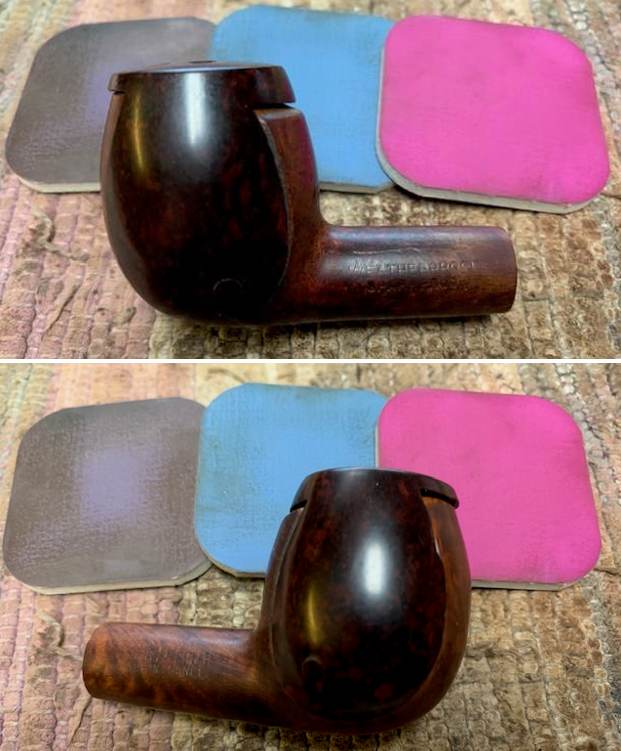
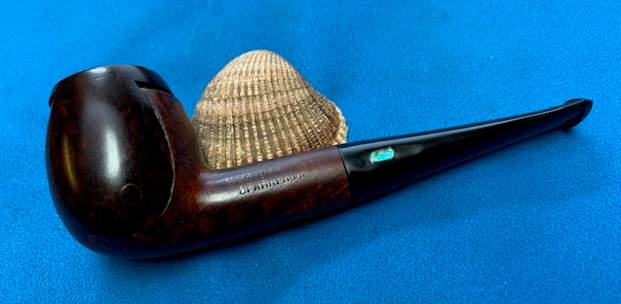
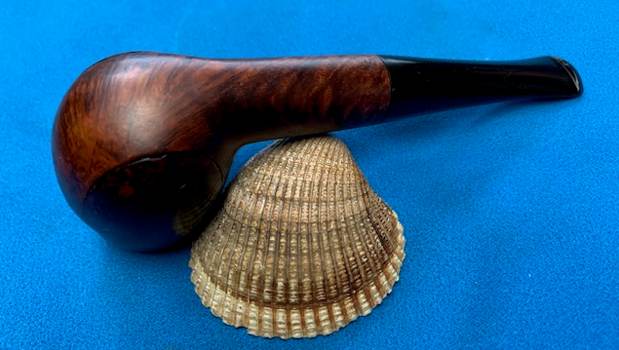
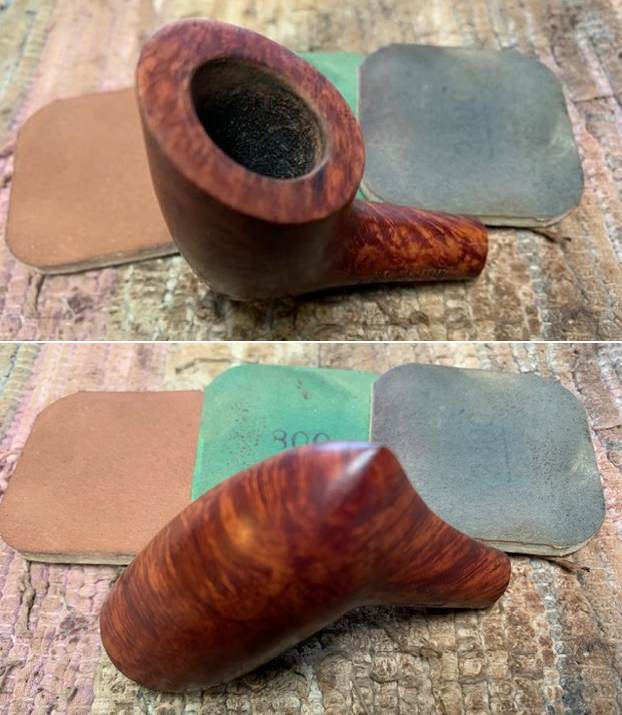
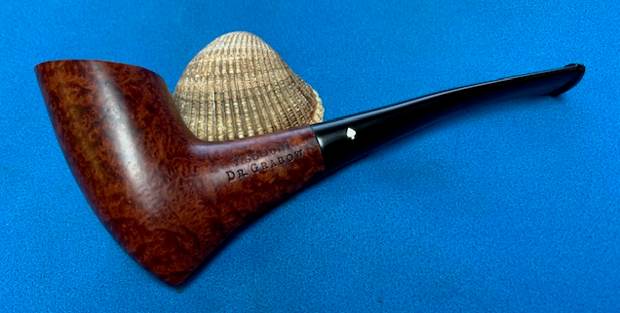
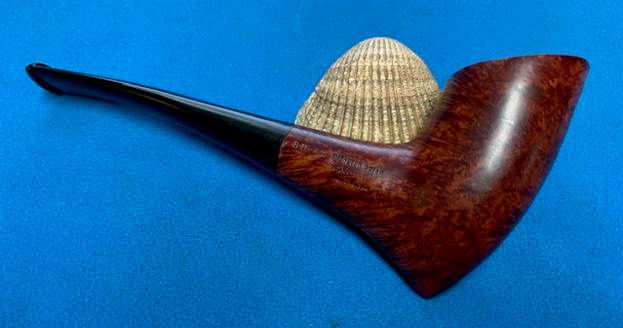
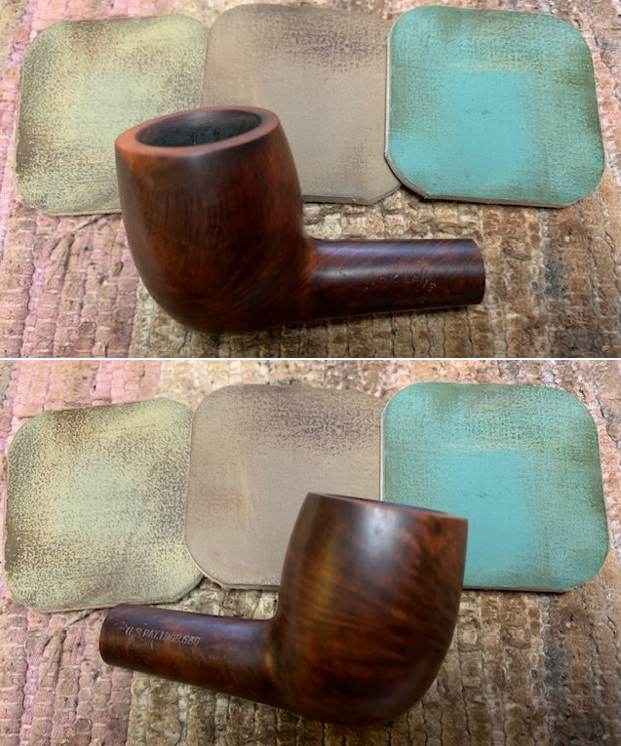
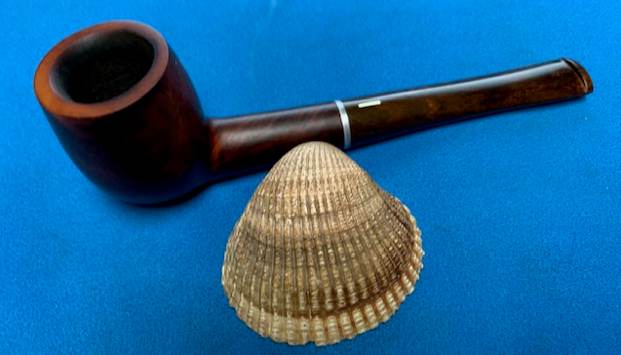
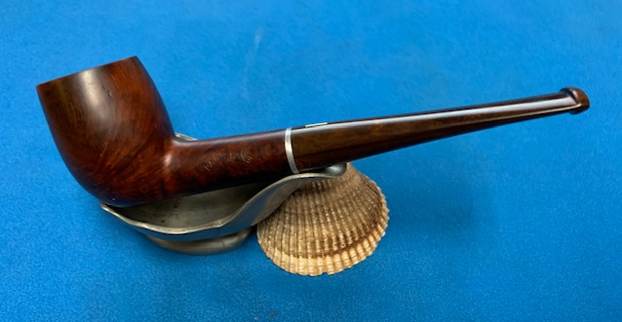
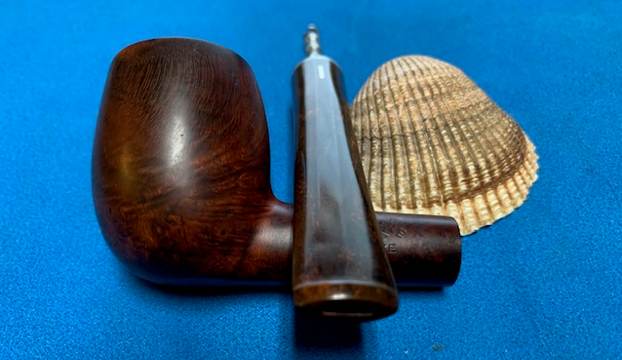
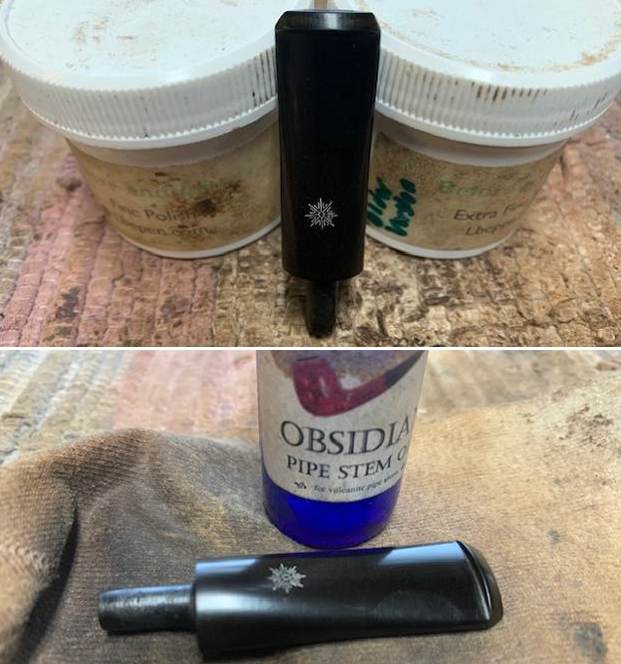 The final steps in my process involve using the buffer. I put the Kriswill Danish Clipper 628 Canadian back together and lightly buffed the bowl and stem with Blue Diamond to polish the finish. I polished the vulcanite stem at the same time to polish out the scratches. I gave the bowl multiple coats of Conservative Wax and the stem multiple coats of carnauba wax. I have found that I can get a deeper shine if I follow up the wax buff with a buff with a clean buffing pad. It works to raise the shine and then I hand buff with a microfiber cloth to deepen the shine. It is always fun for me to see what the polished bowl looks like with the polished stem. It really is a nice pipe. The finish around the bowl sides and shank looks great with the rich combination of brown stains. The Kriswill Danish Clipper Canadian feels great in my hand. It is a well balanced pipe. Have a look at it with the photos below. The dimensions are Length: 5 ¾ inches, Height: 1 ½ inches, Outside diameter of the bowl: 1 1/8 inch, Chamber diameter: ¾ of an inch. The weight of the pipe is 1.09 ounces/31 grams. It is a beautiful pipe that functions as a sitter due to the wide heel on the bowl. I will soon be adding to the rebornpipes store in the Danish Pipemakers section. If you would like to add it to your collection let me know. It should be a great smoking pipe. As always I encourage your questions and comments as you read the blog. Thanks to each of you who are reading this blog. Remember we are not pipe owners; we are pipe men and women who hold our pipes in trust until they pass on into the trust of those who follow us.