by Steve Laug
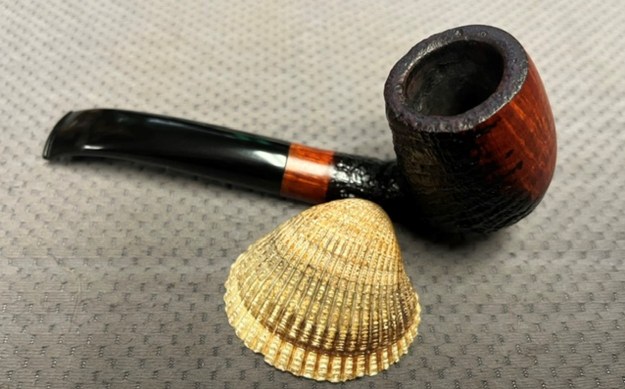
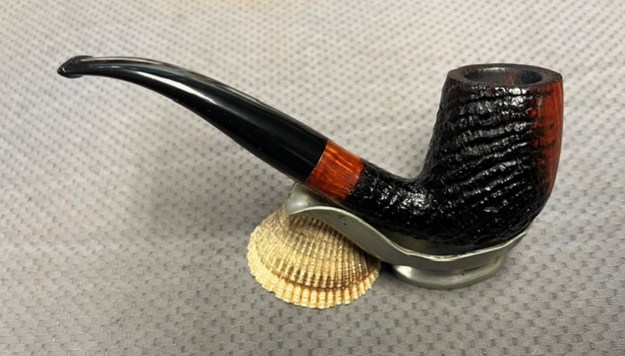
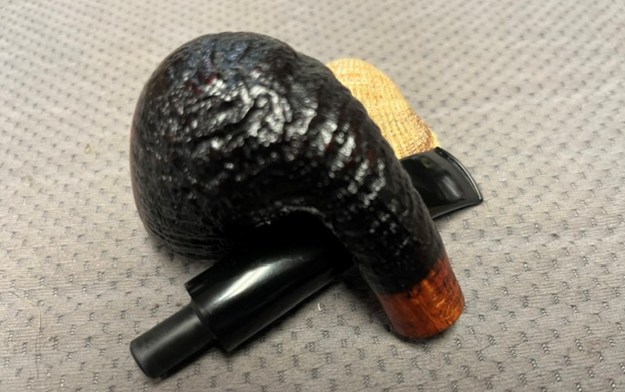
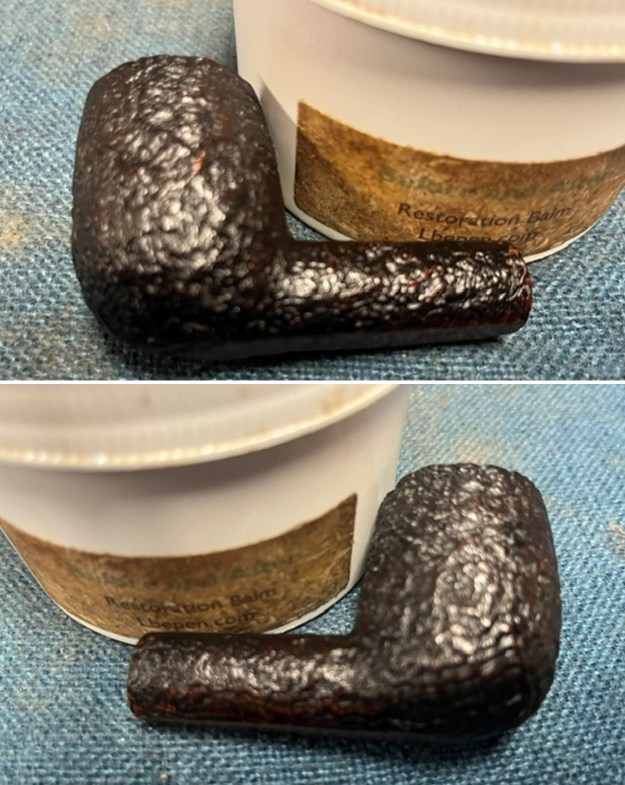
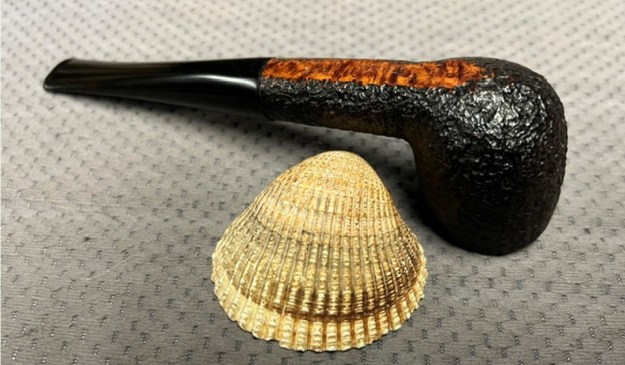
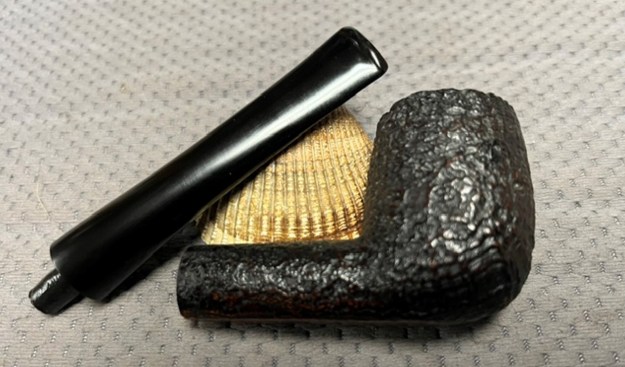
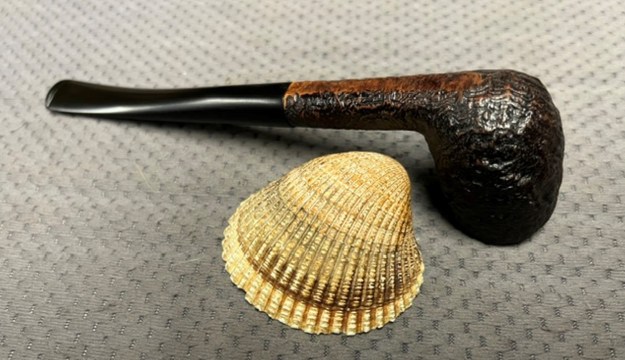
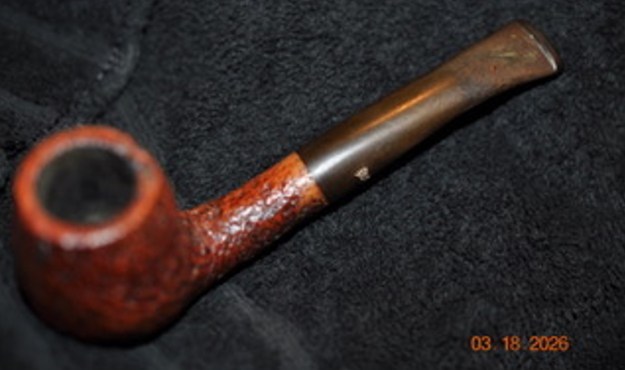
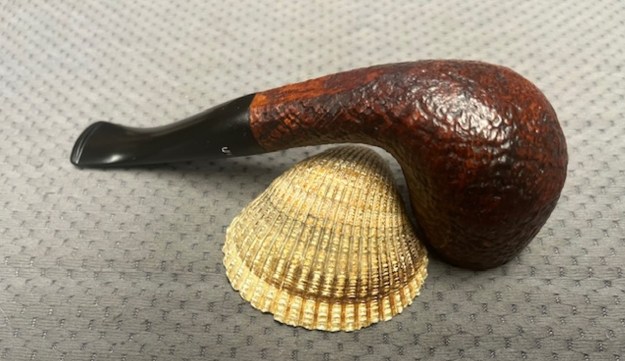
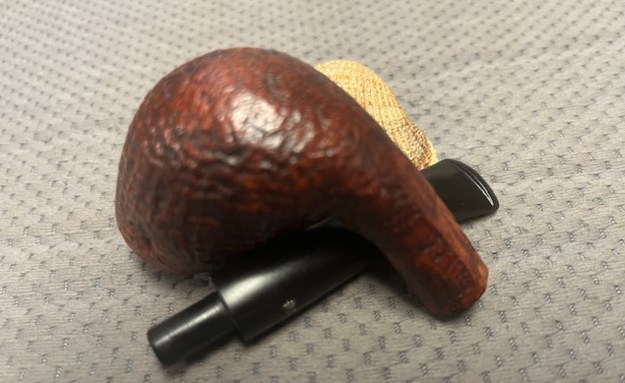
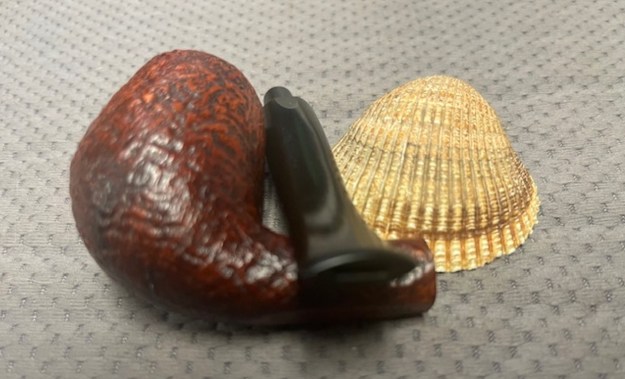
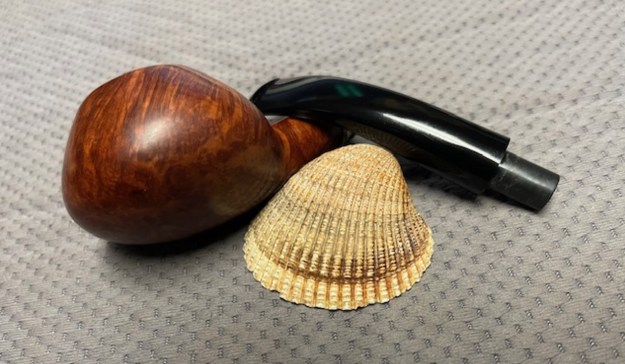
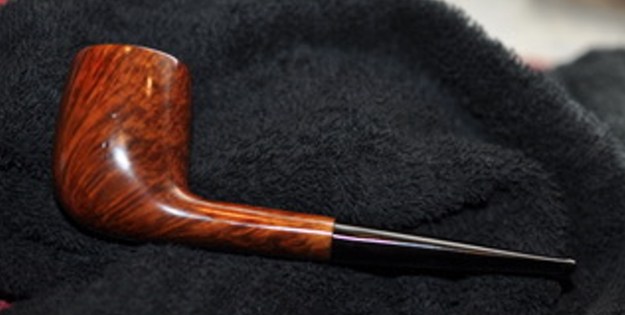
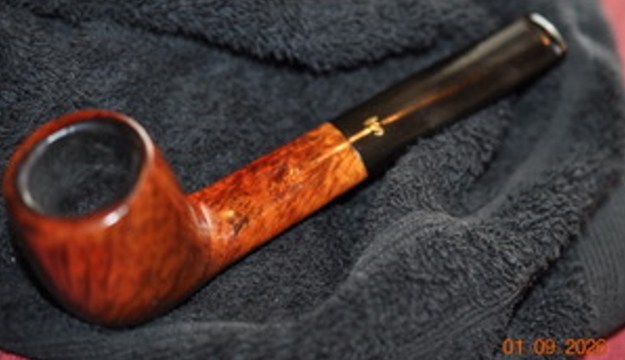
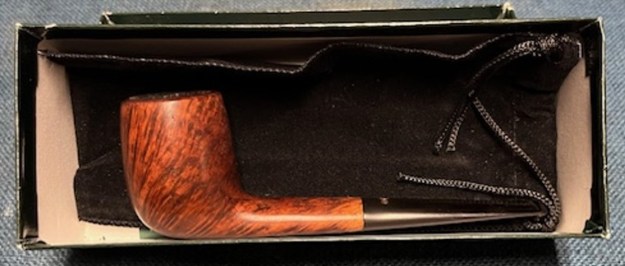
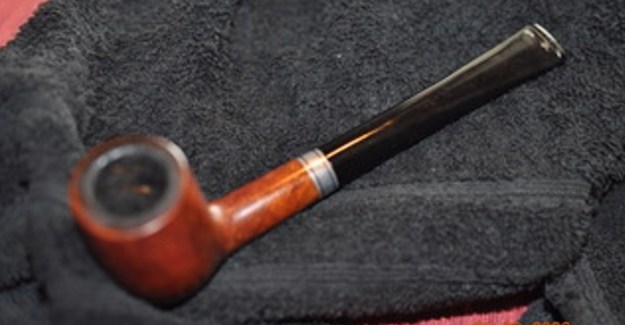
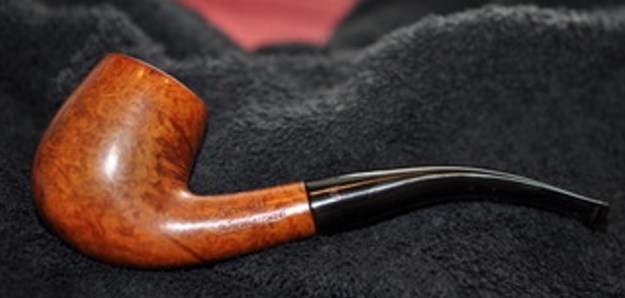
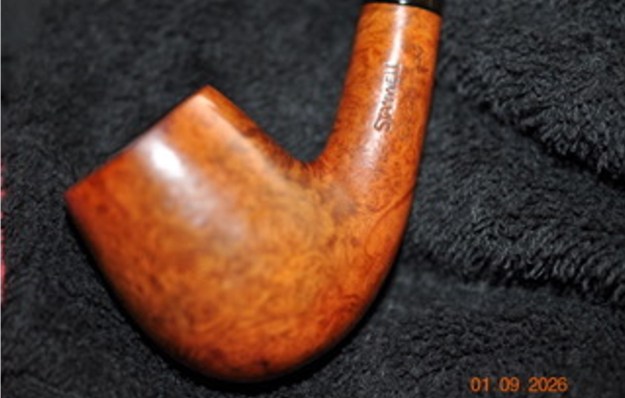
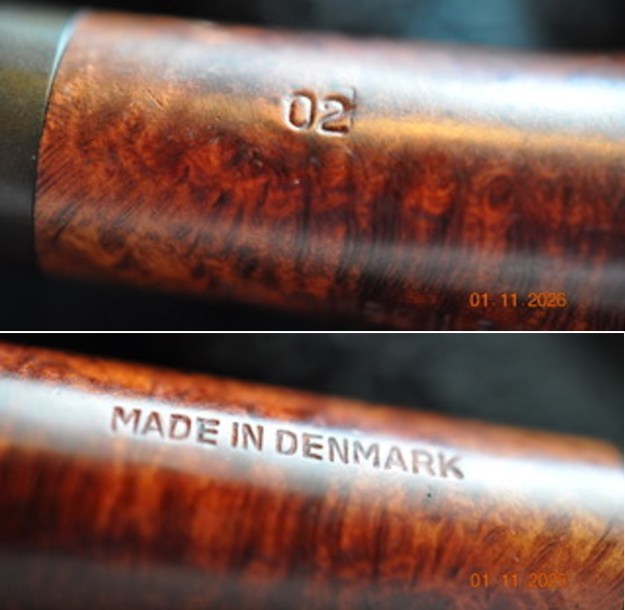
I am enjoying an evening free to work on a few pipes. The next pipe on the table came from an a seller in Ogden, Utah, USA. Even though the finish was a dirty and worn it had some amazing grain showing through the grit and grime of the years. On the left side of the shank it was stamped Stanwell [over] Danish Star. On the right side it is stamped with the shape number 02. On the underside it is stamped Made in Denmark. The pipe is a bent egg and as the shape number identifies. The finish is filthy with grime and oil ground into the briar of the bowl and shank sides. The bowl had a thick cake and there was an overflow of lava on the inner edge of the thin rim. The stem was a bent vulcanite taper stem that fit snugly in the shank. It had the Stanwell Crown S faintly stamped on the left side of the stem. The vulcanite was oxidized, calcified and had light chatter on both sides ahead of the button. Jeff took some photos of the pipe to show its overall condition before he started his cleanup work.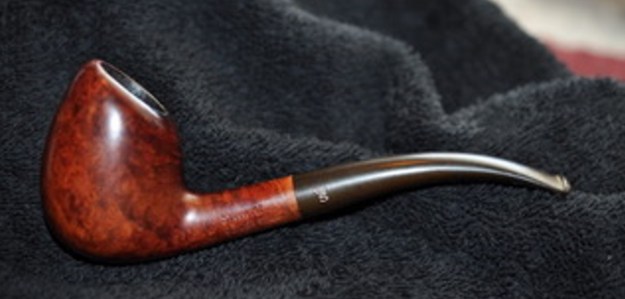
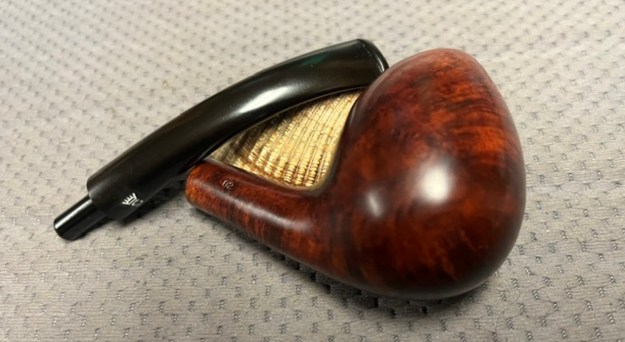
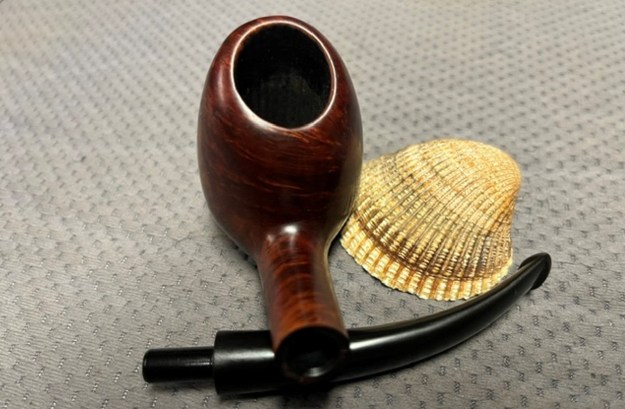
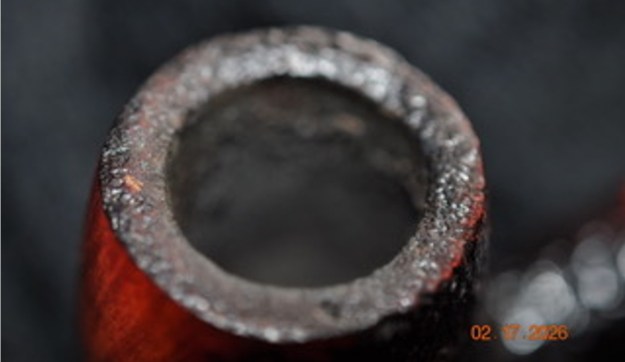
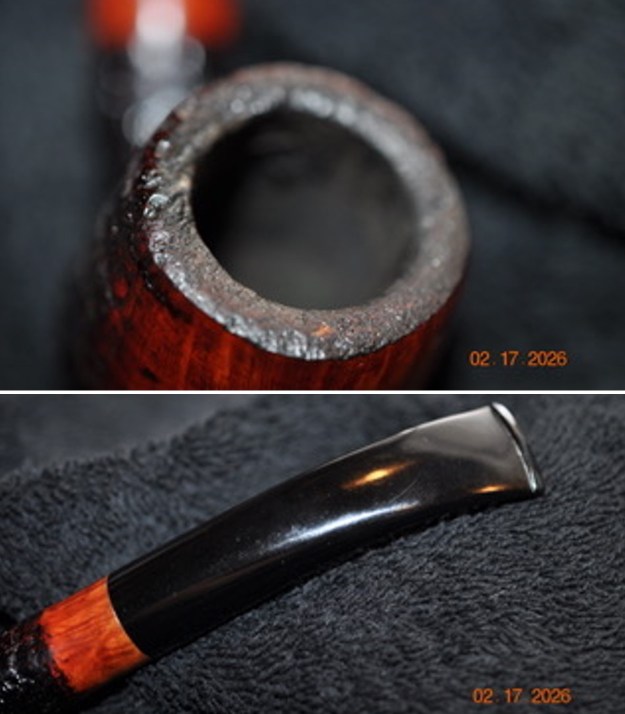
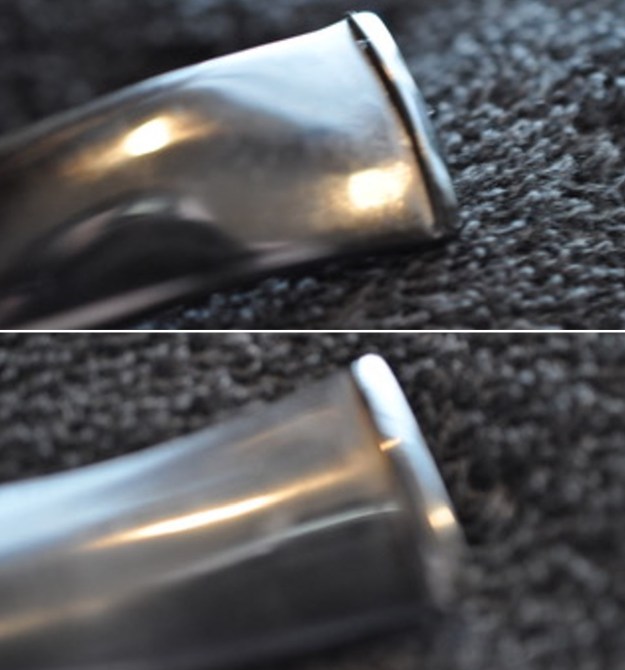
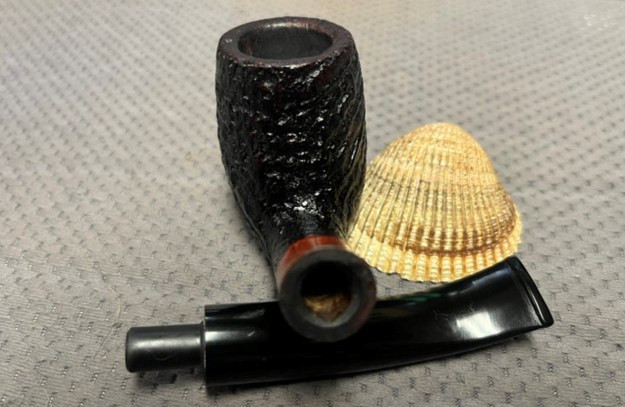
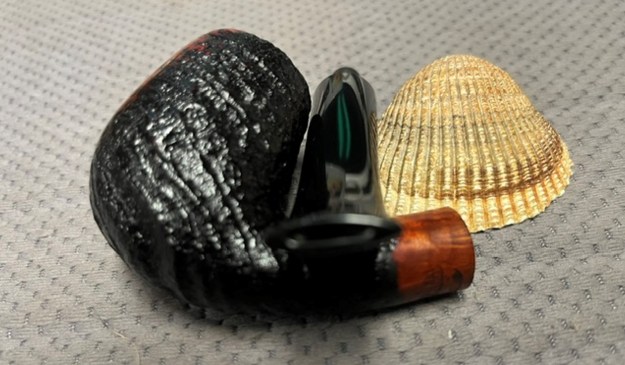
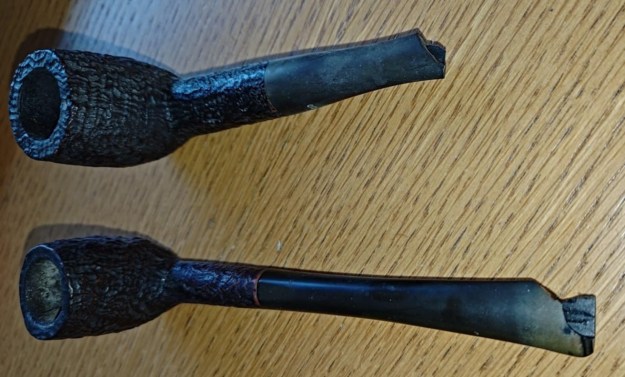
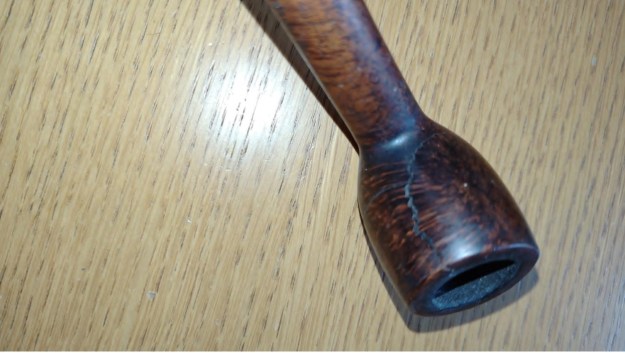
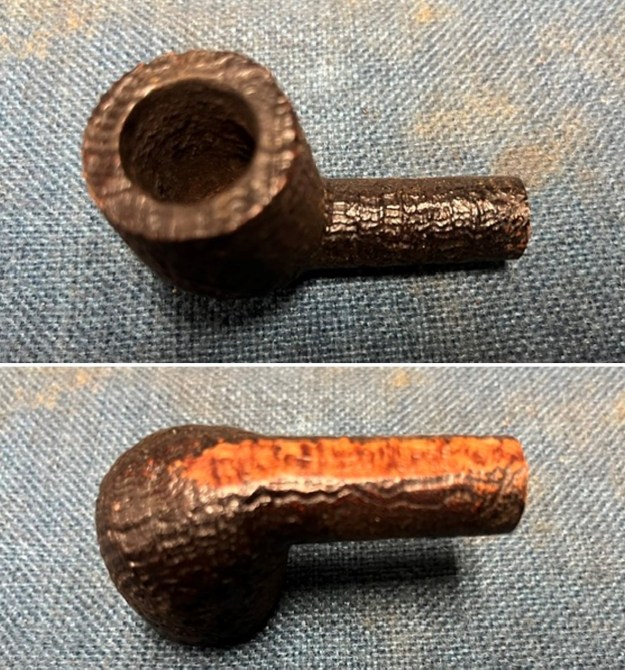
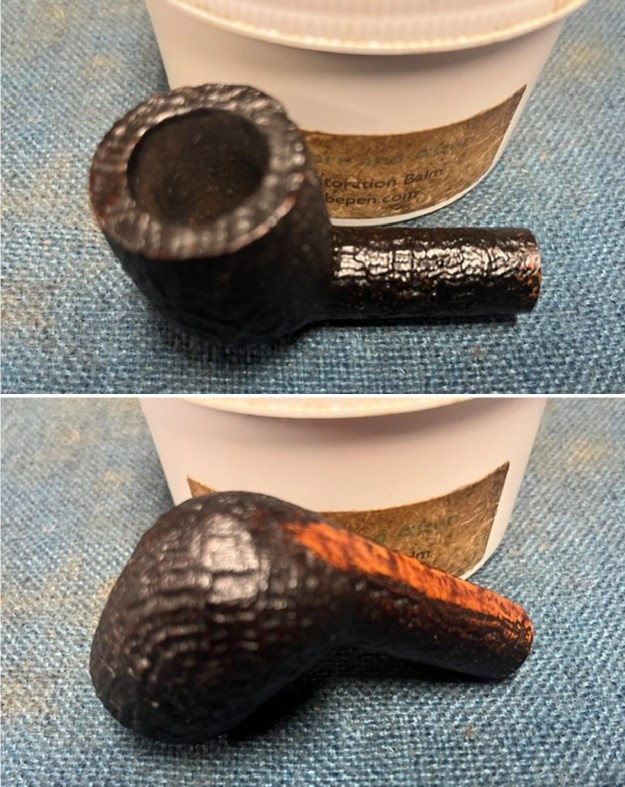
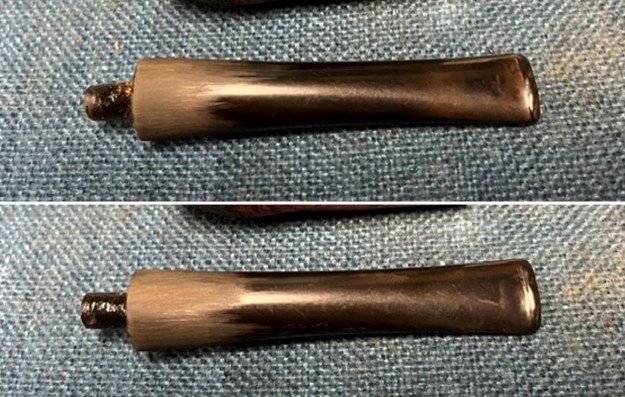
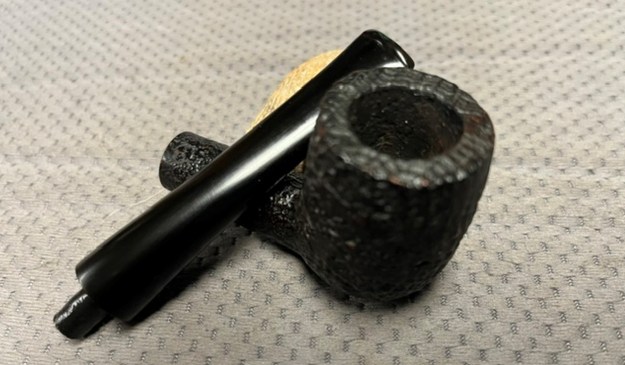
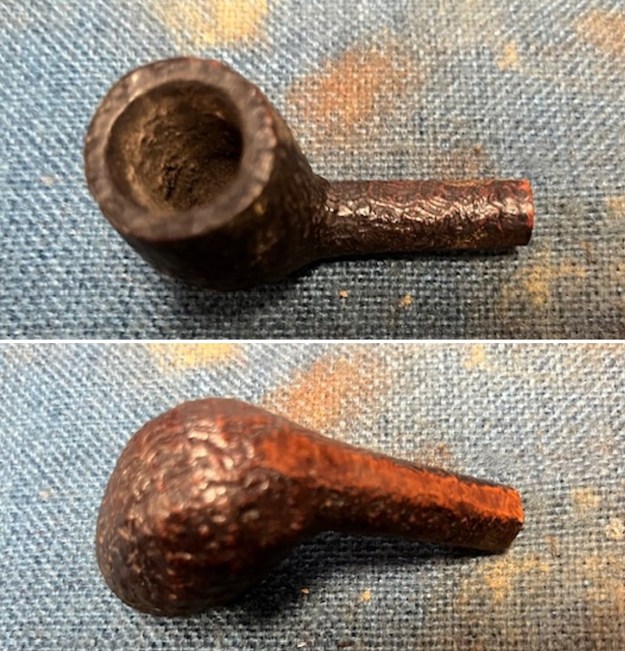
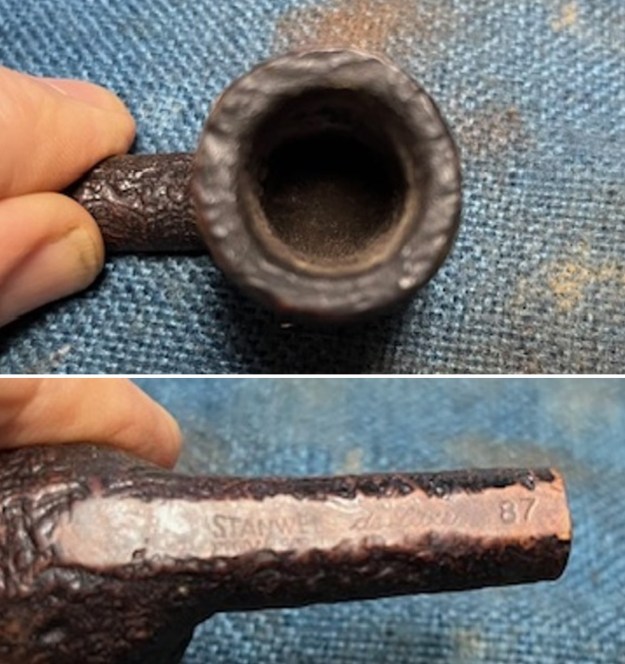
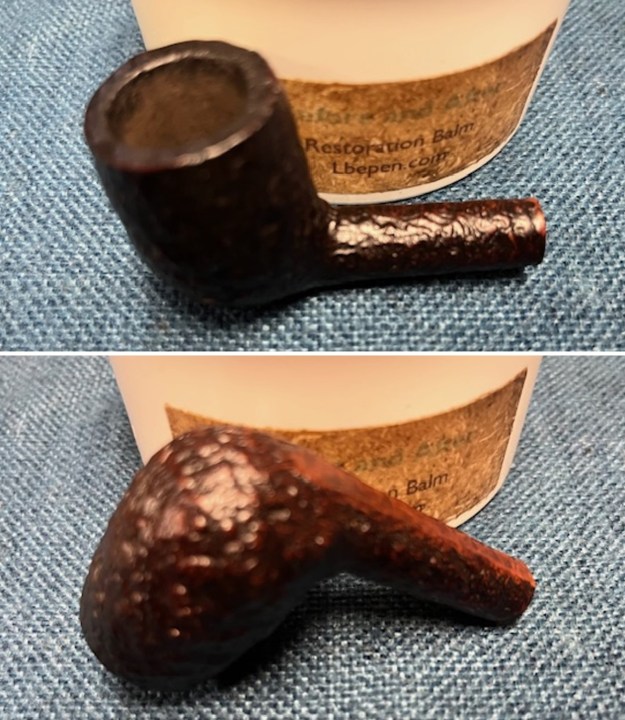
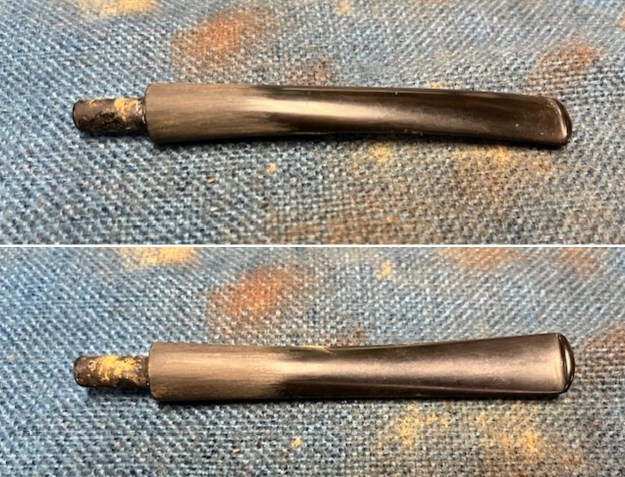
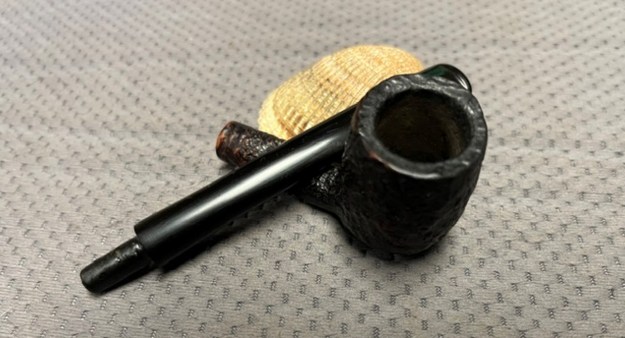
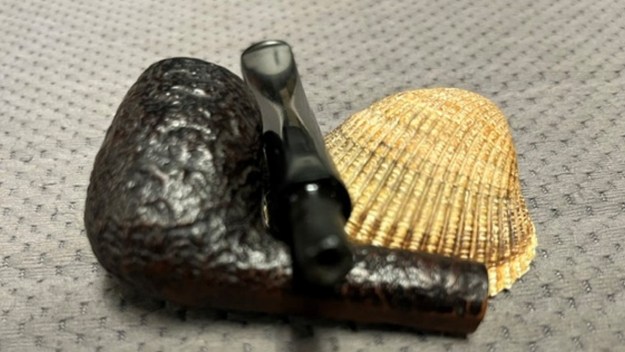
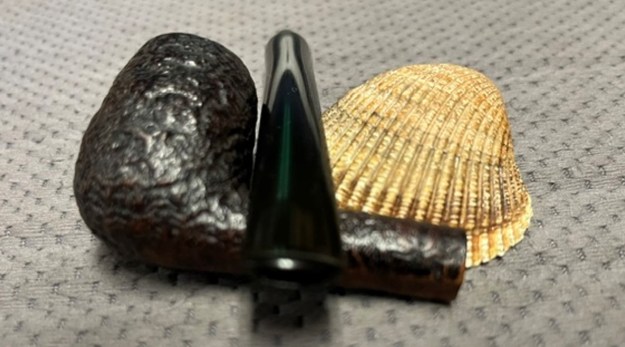
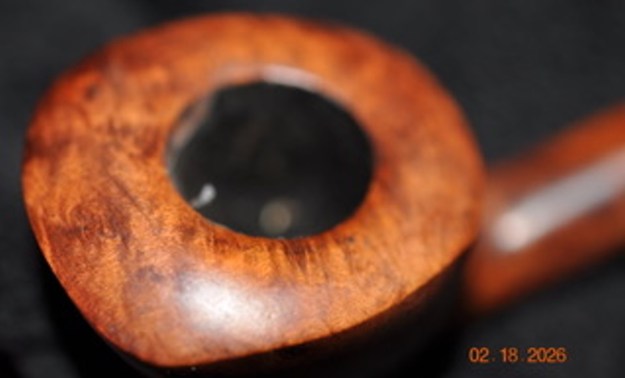
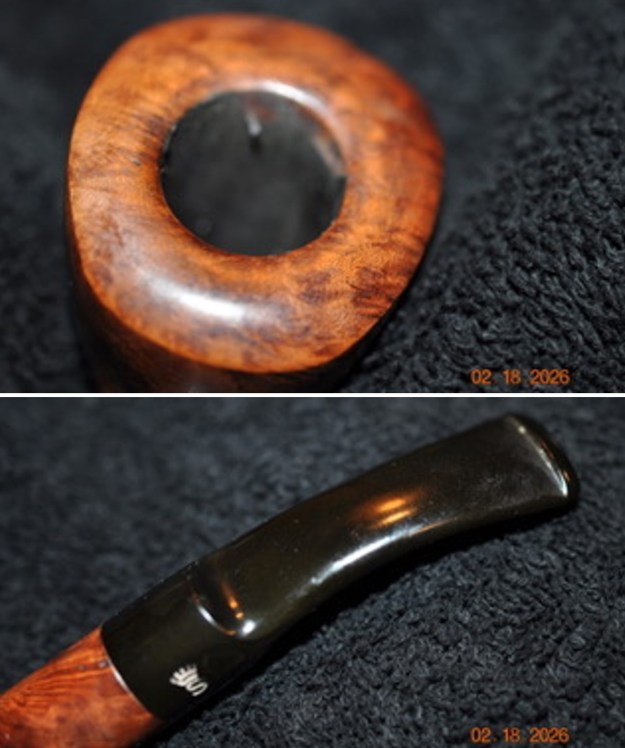
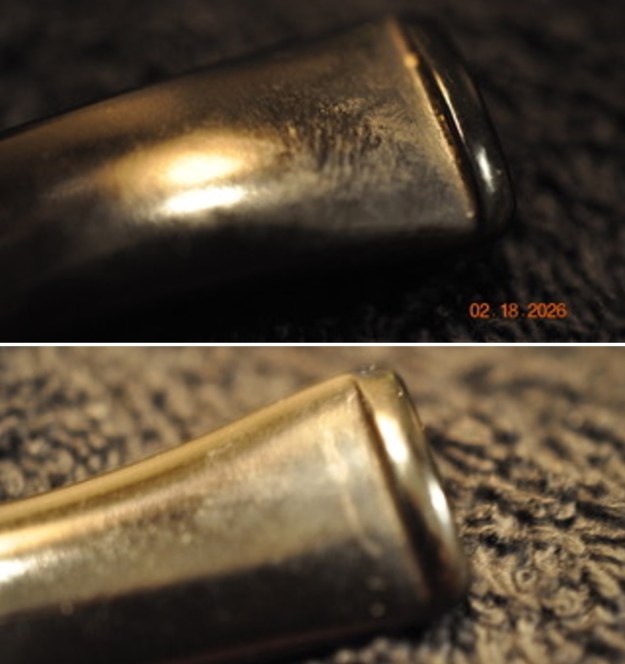
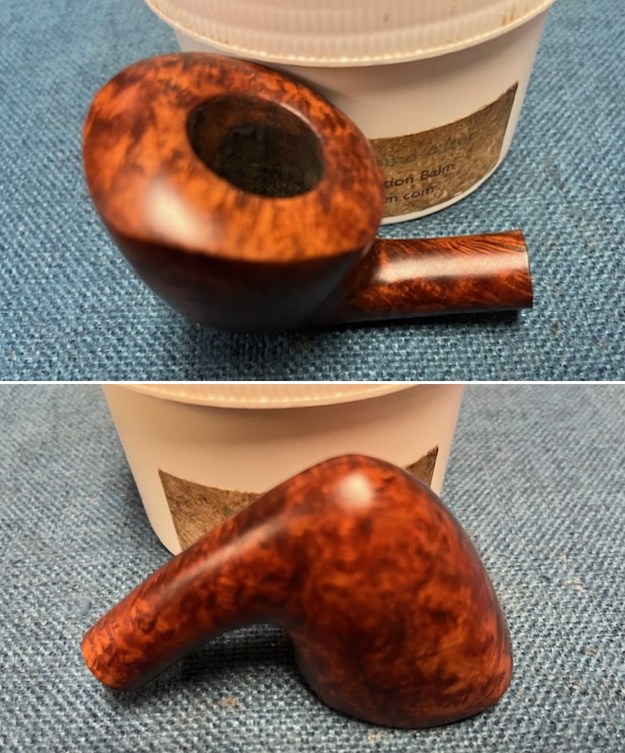
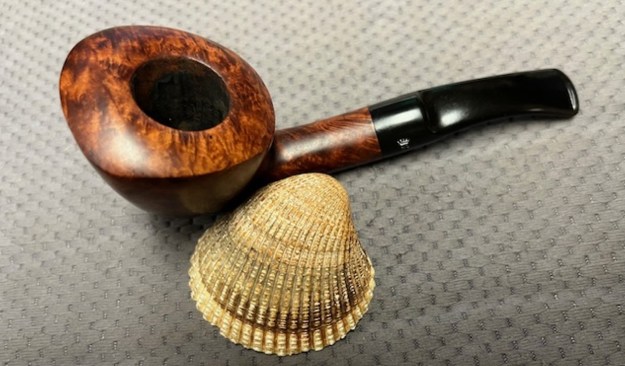
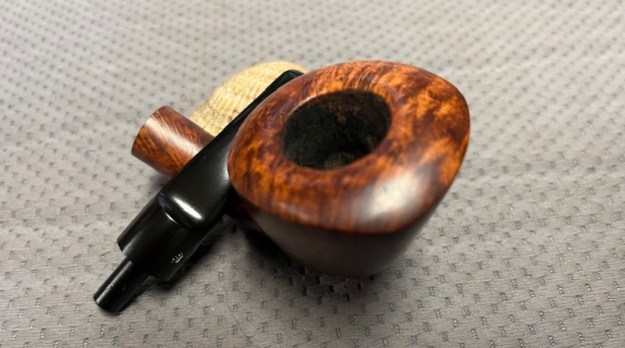
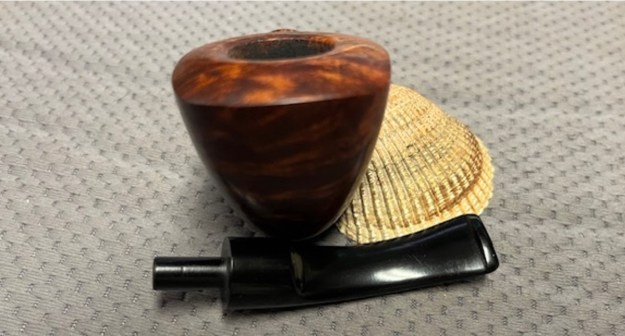
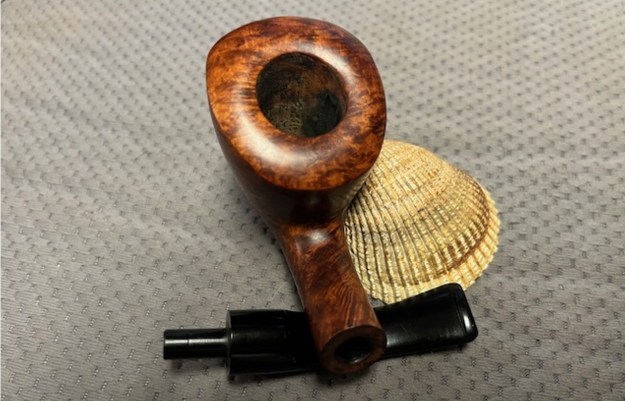
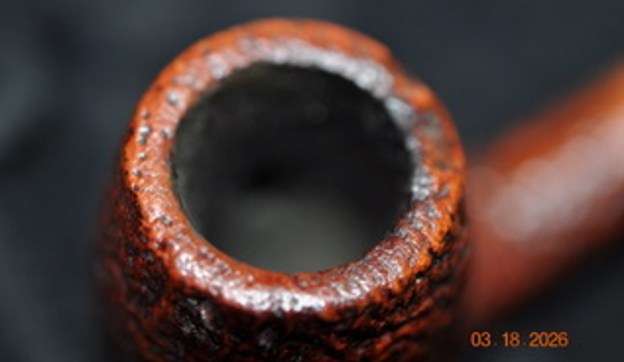
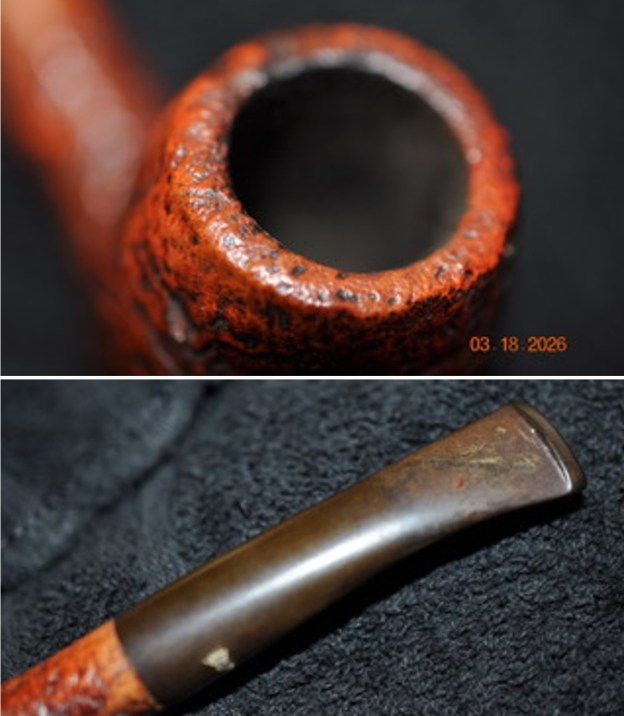
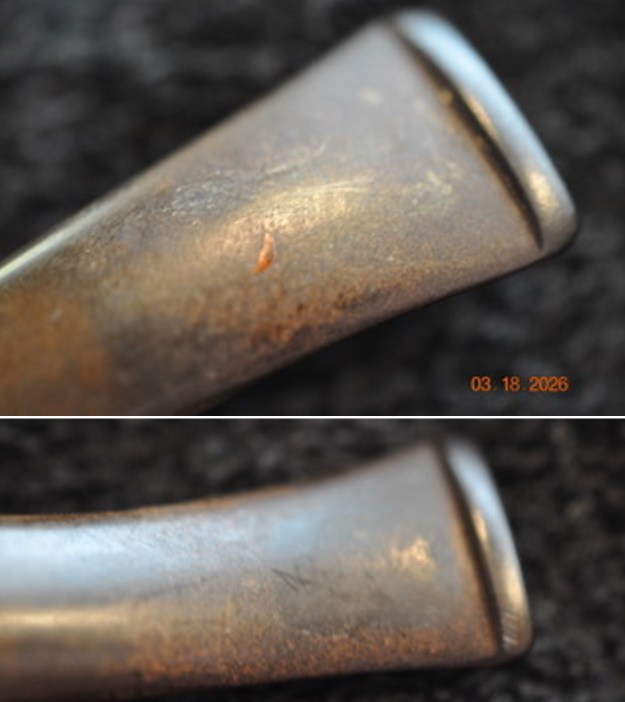
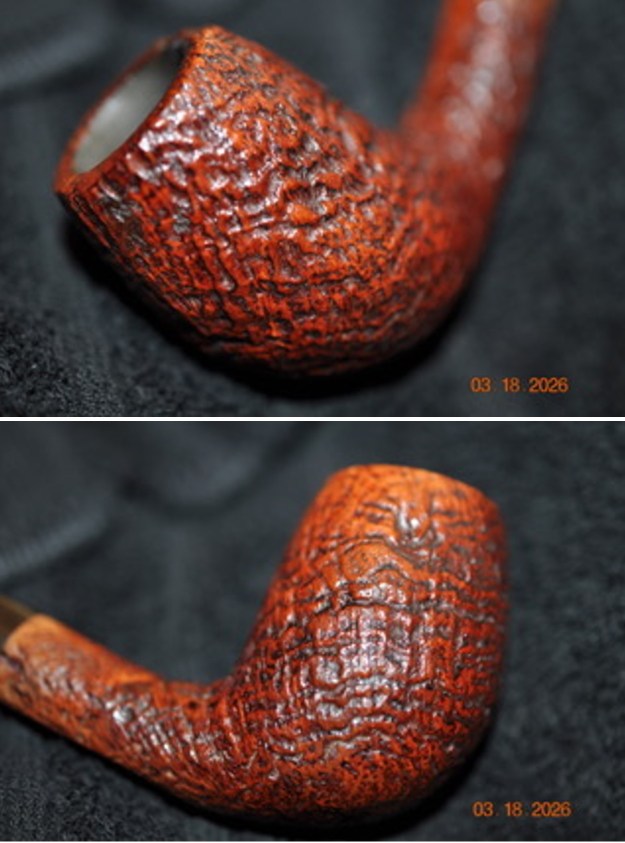
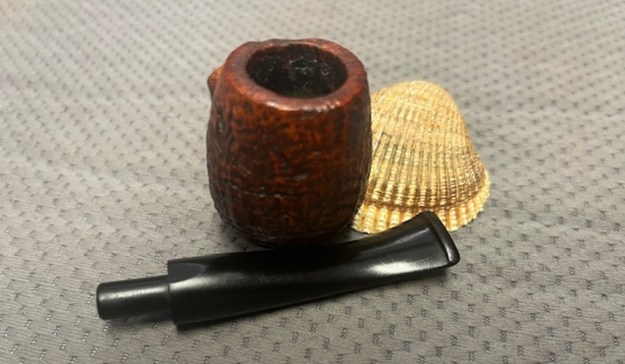
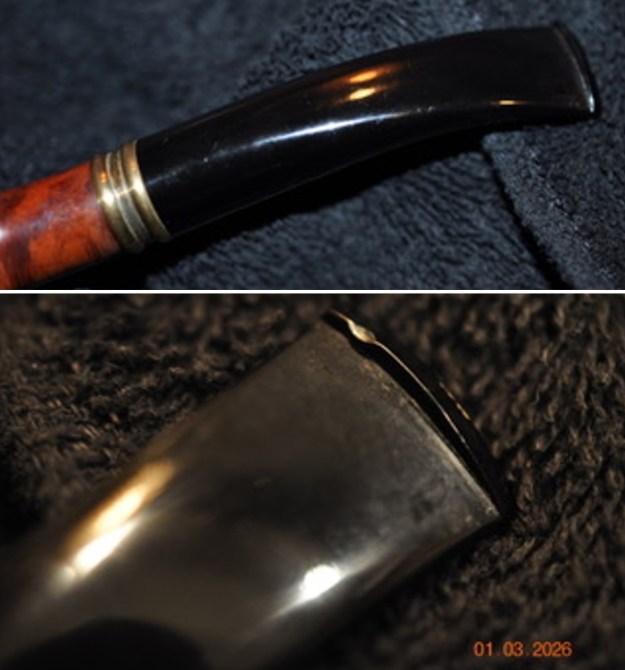
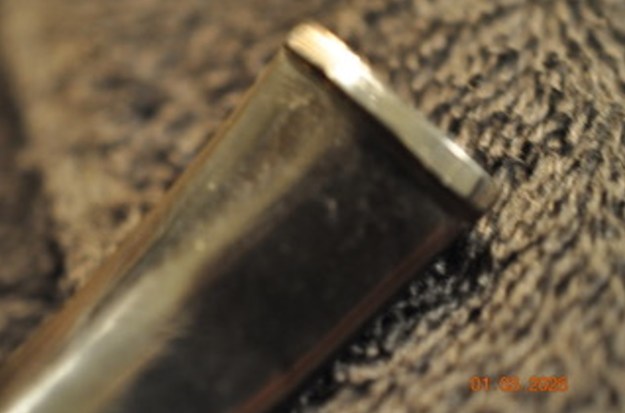
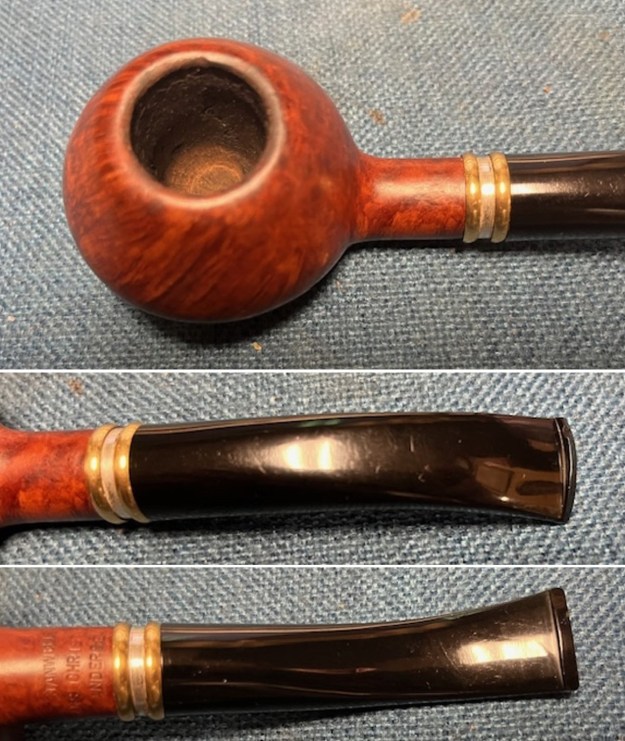
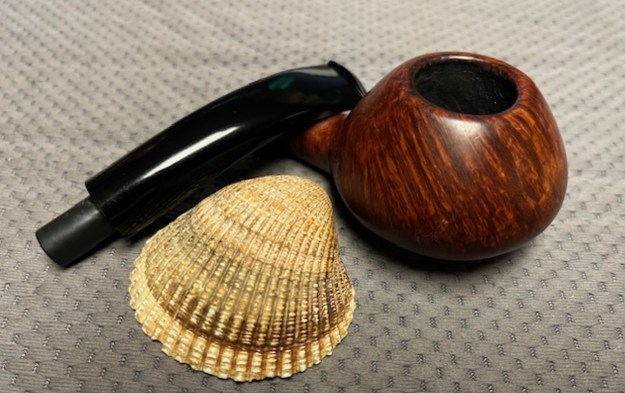
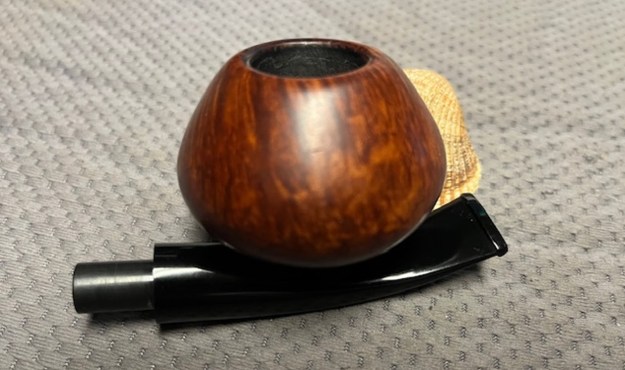
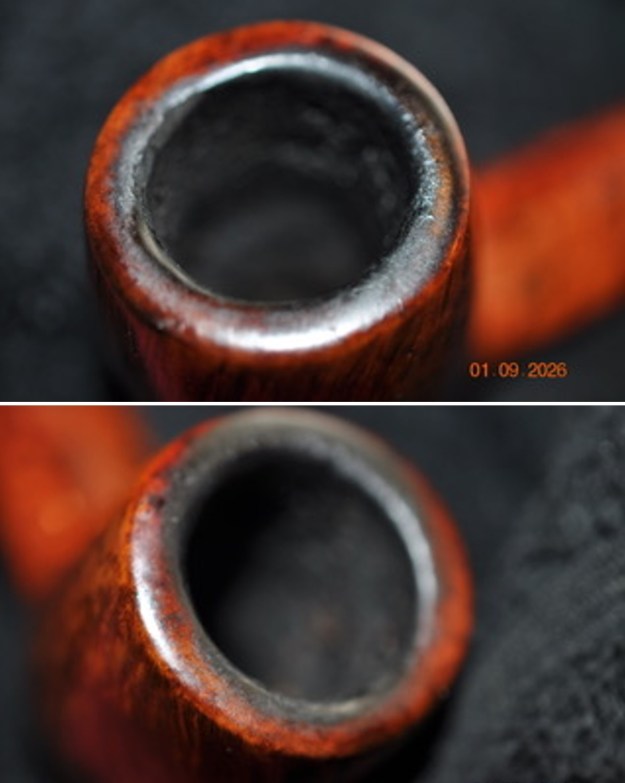
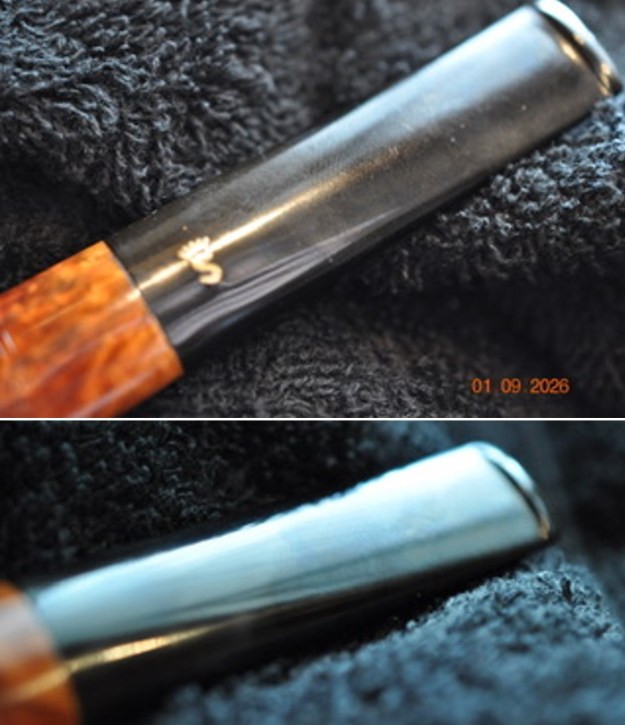
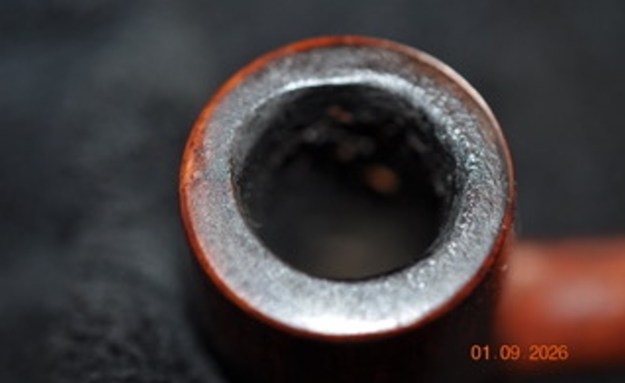
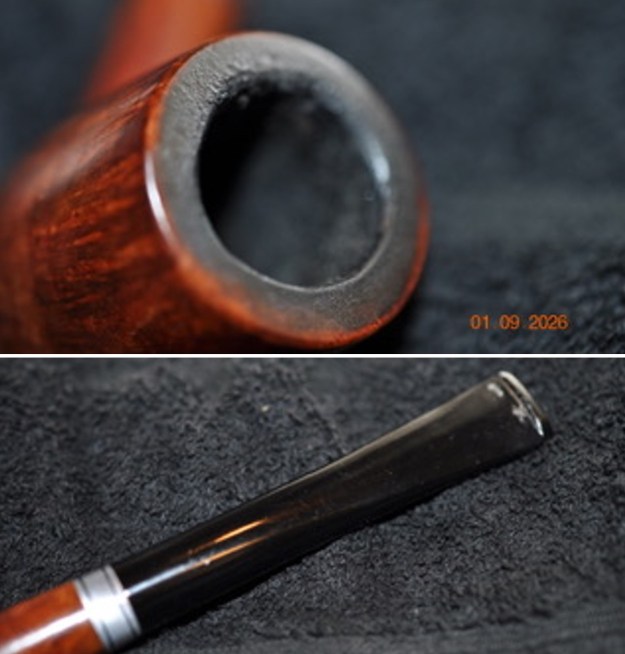
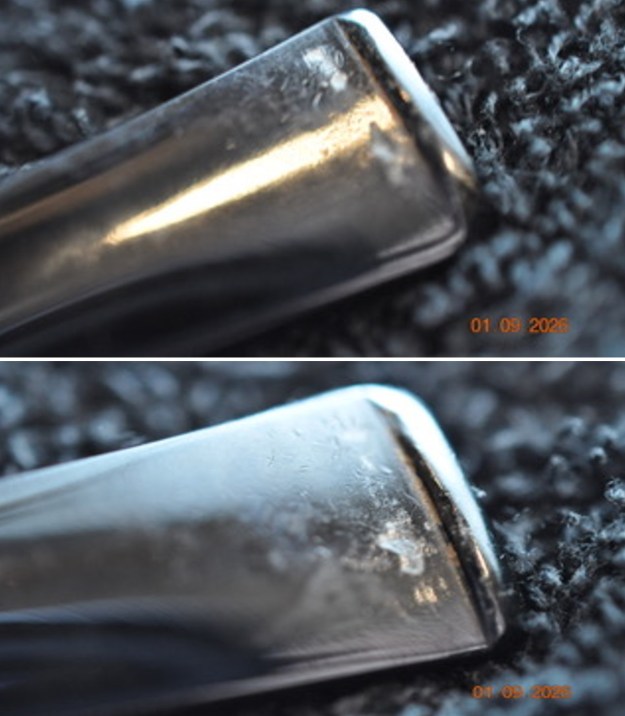
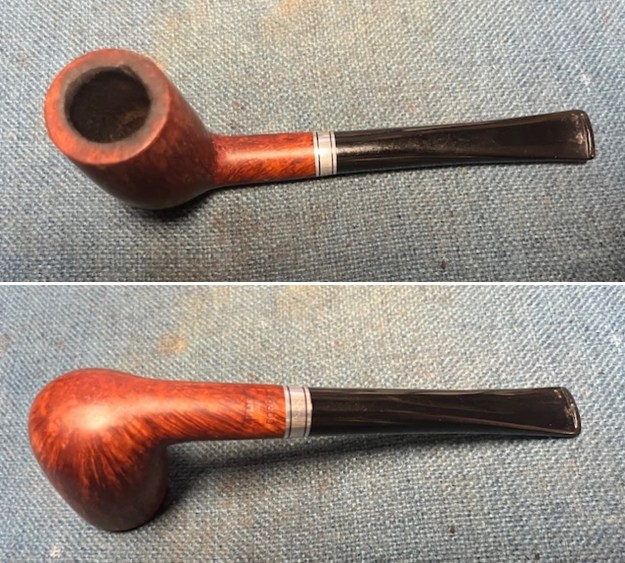
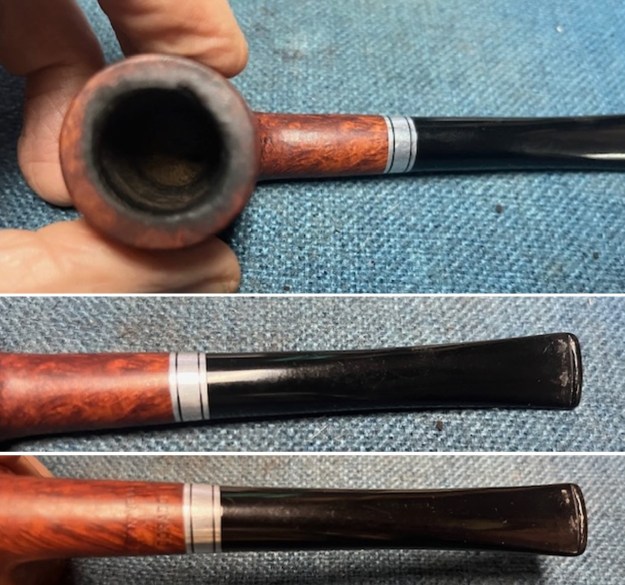
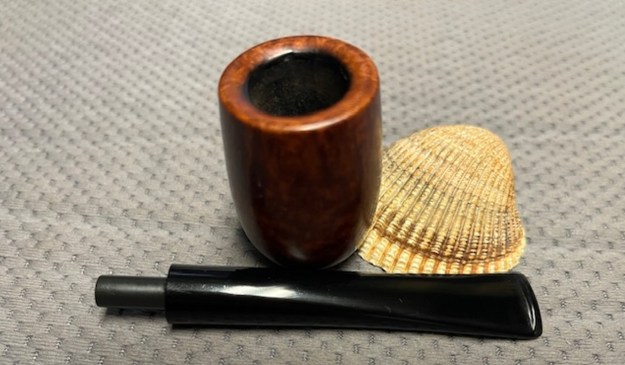
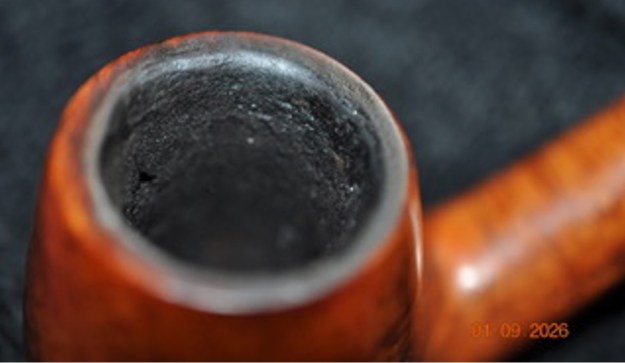
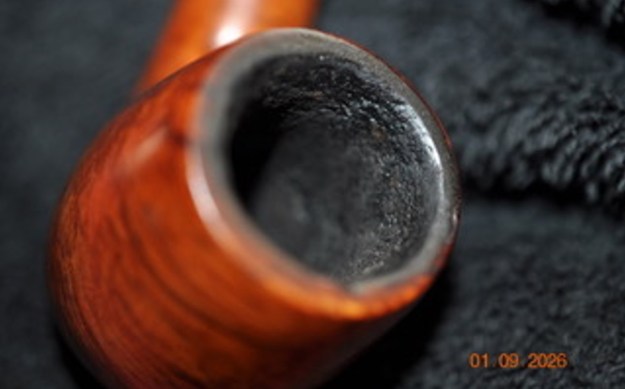
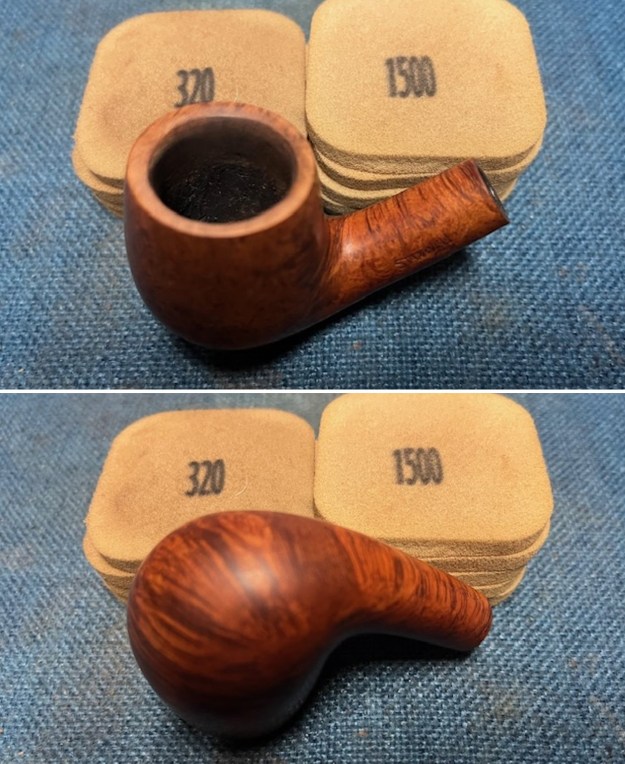
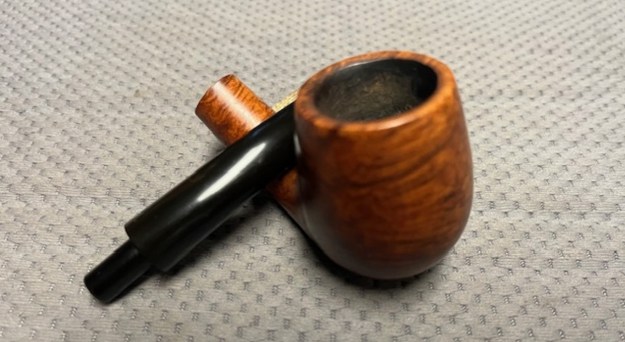
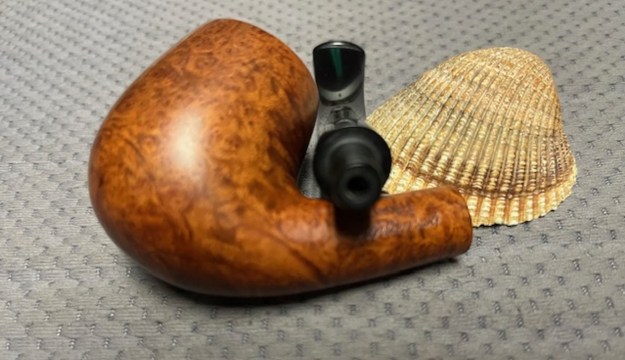
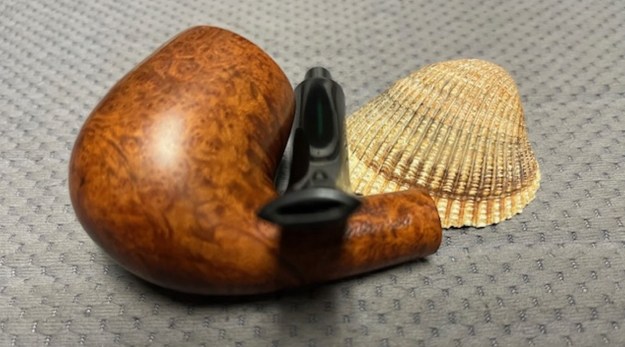
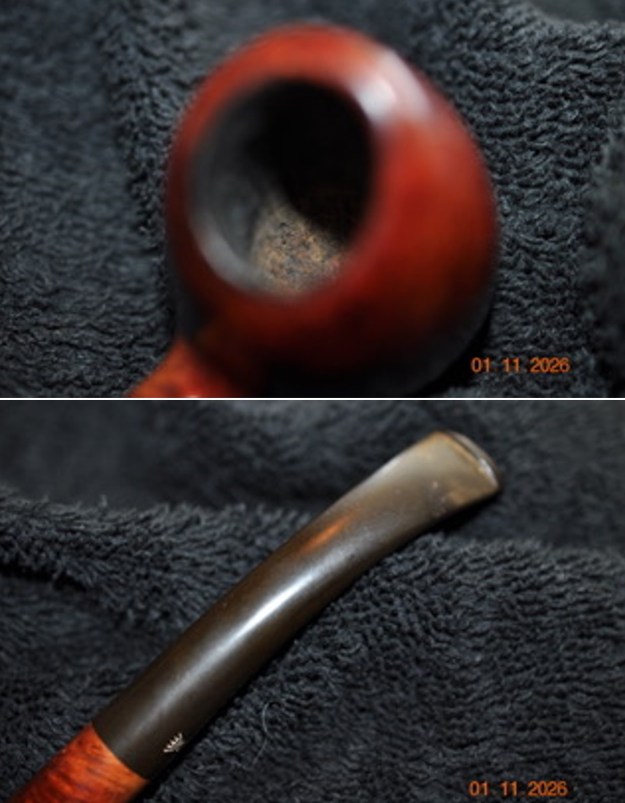
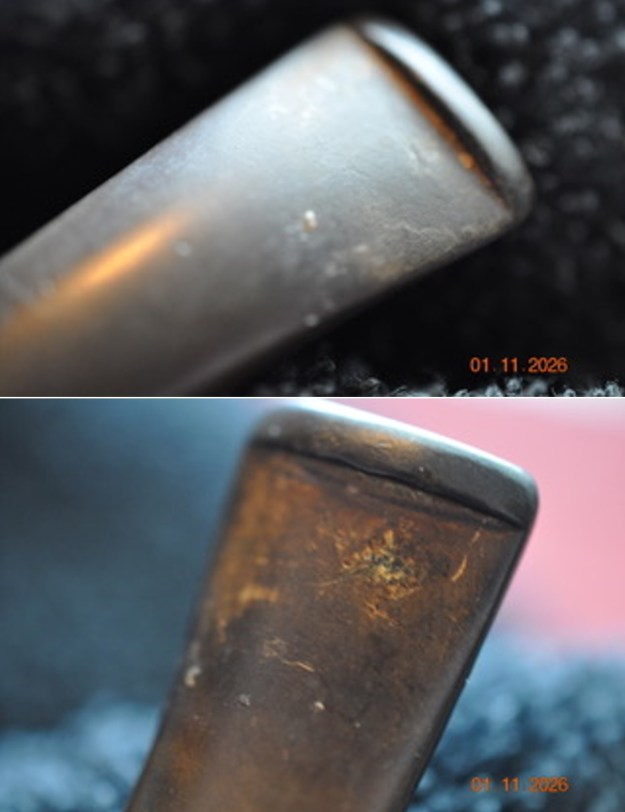
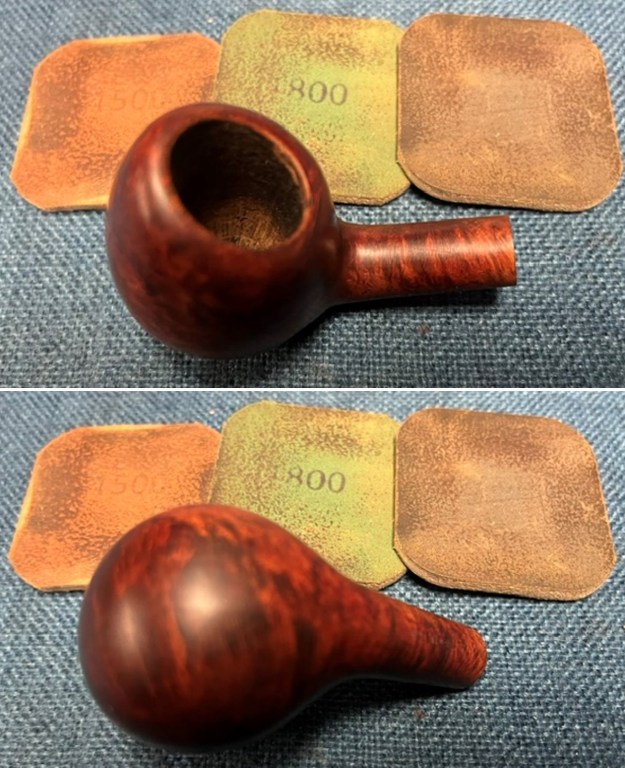
 He took photos of the rim top and bowl to give a clear picture of the thickness of the cake and the lava and dust ground into the finish of the rim top and edges. There is dust and debris stuck to the walls of the bowl clearly visible in the photos. He also took photos of the top and underside of the stem to show the oxidation, chatter and light tooth chatter.
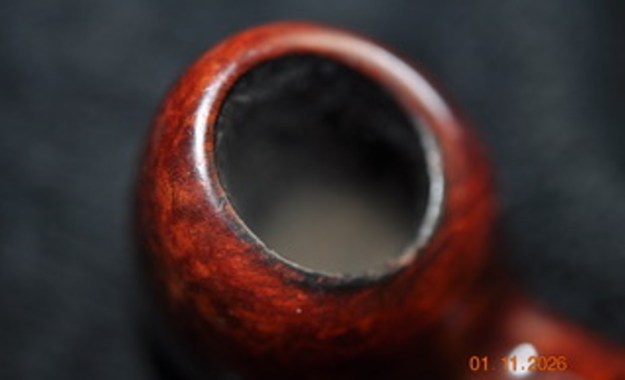
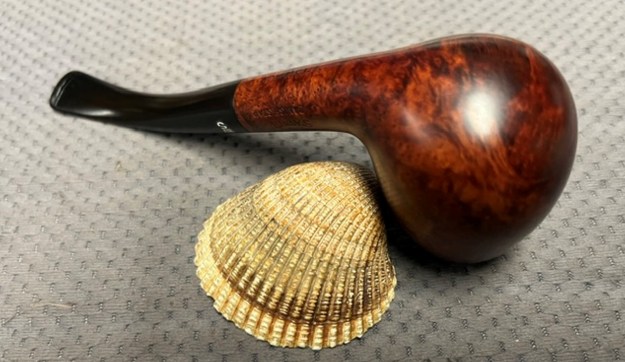
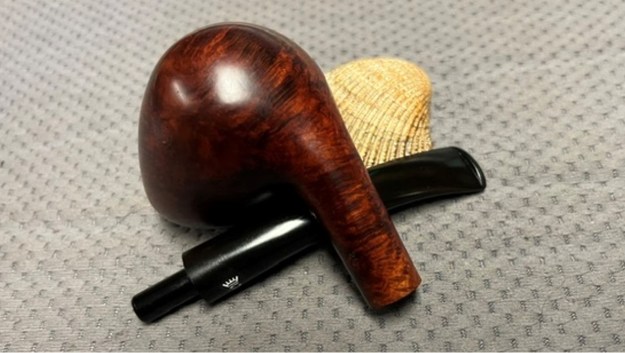
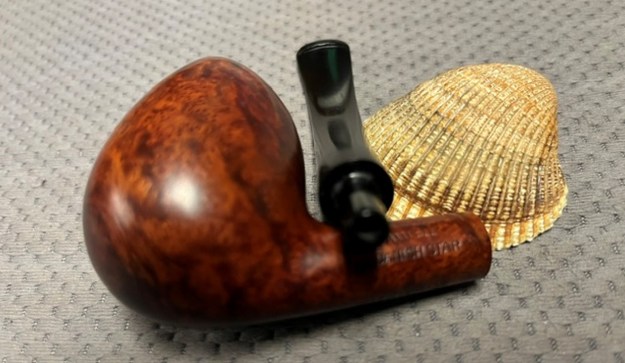
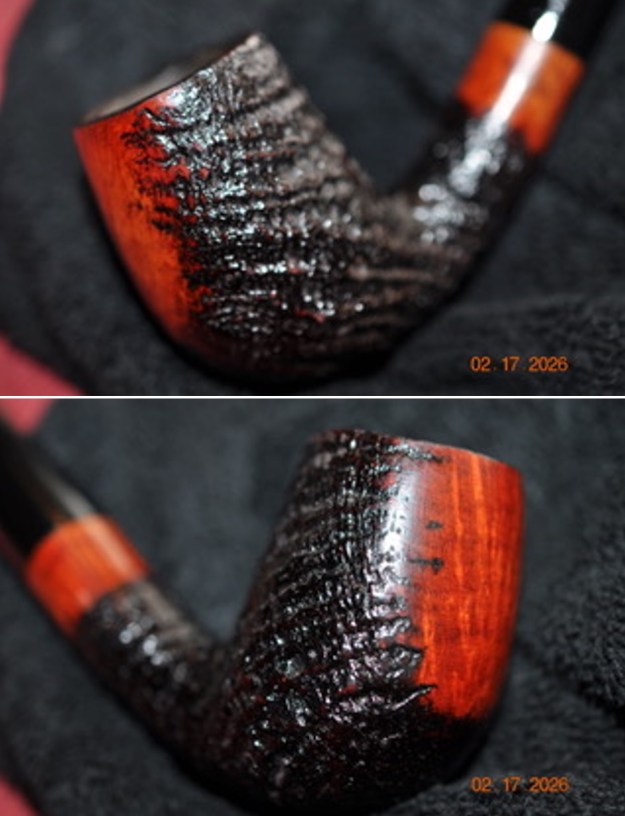
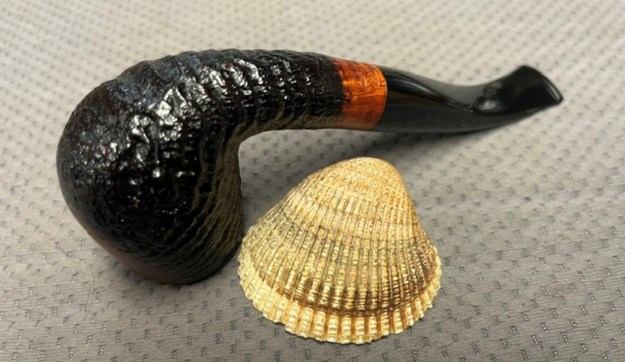
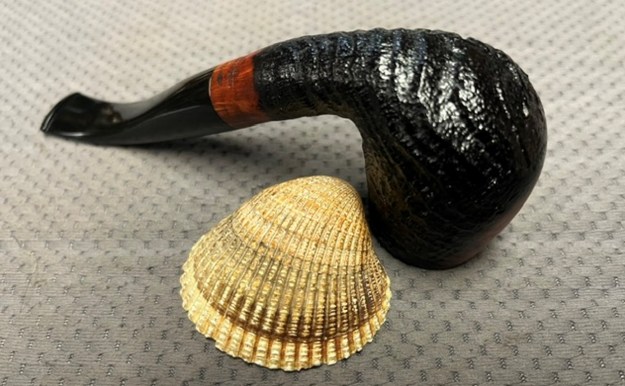
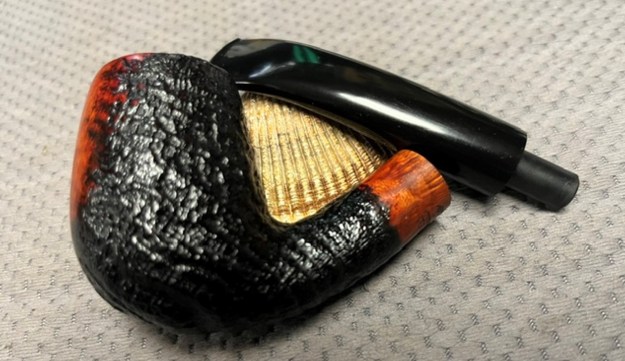
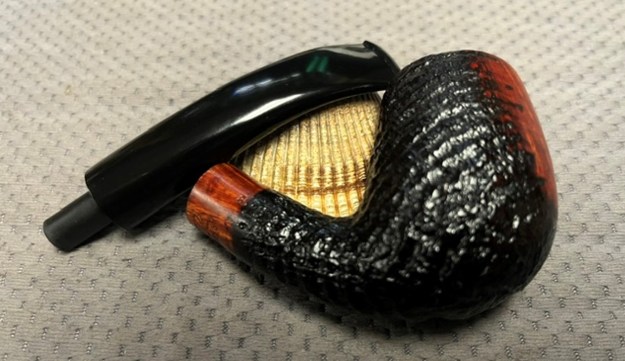
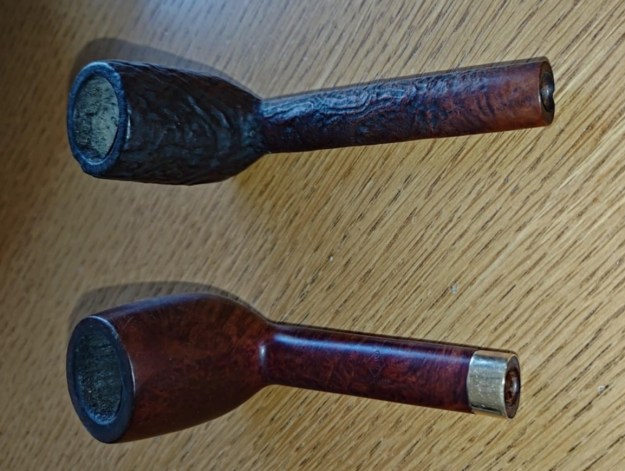
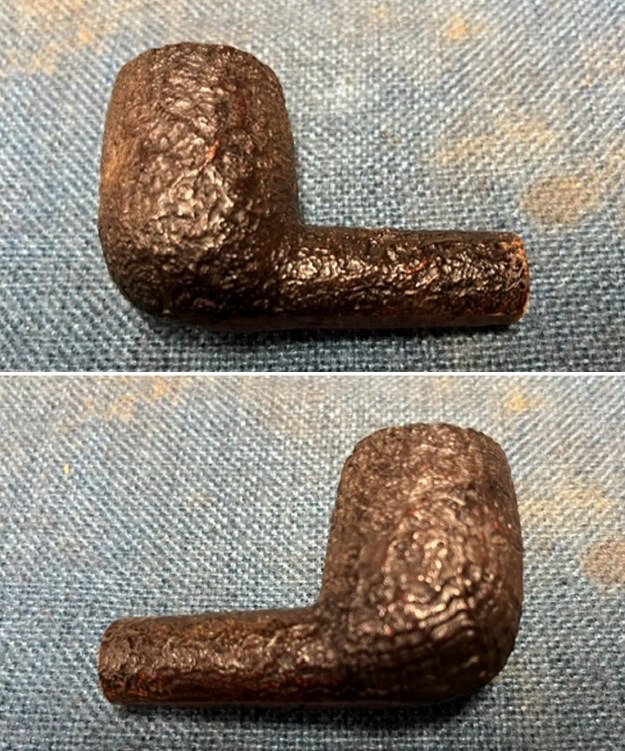
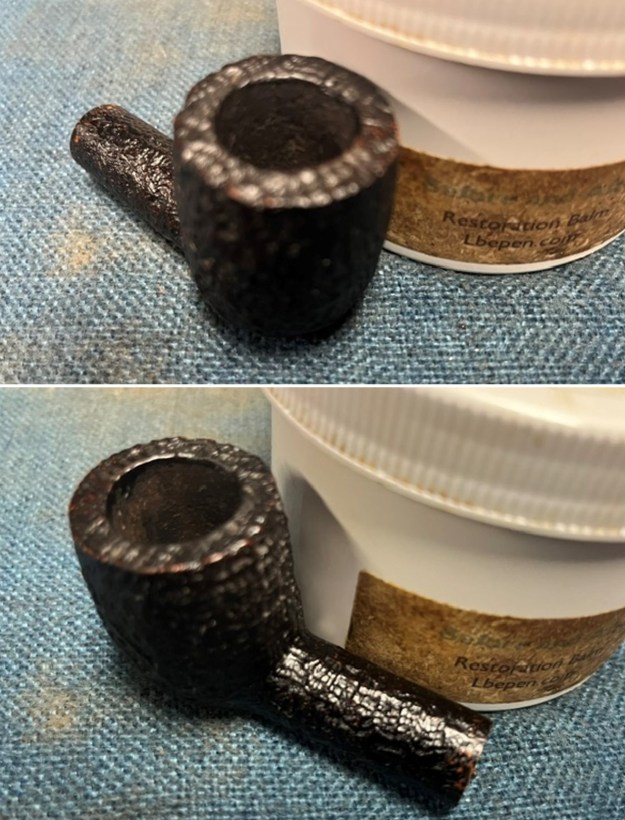
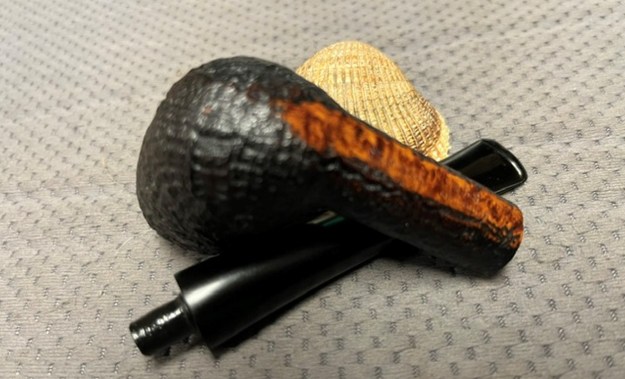
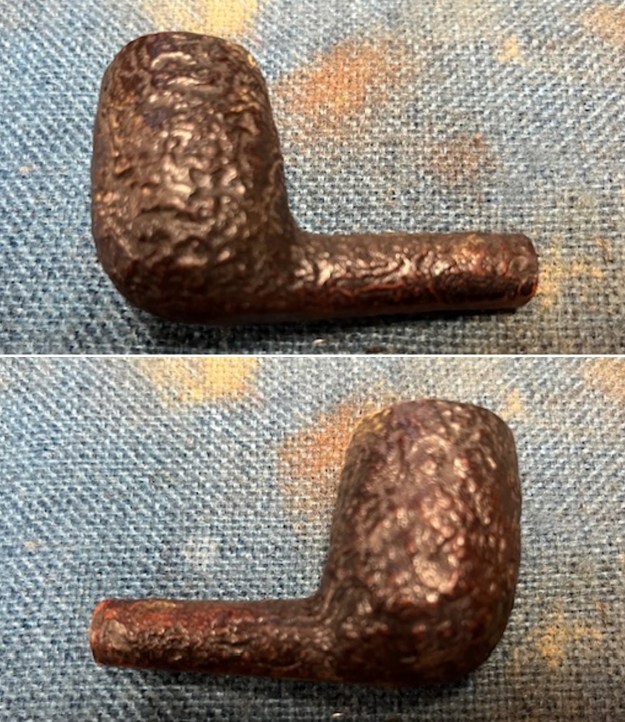
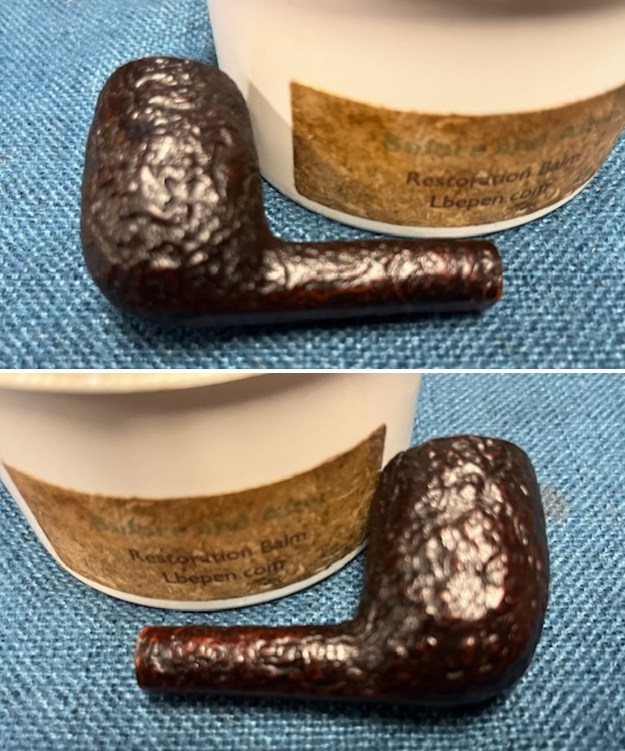
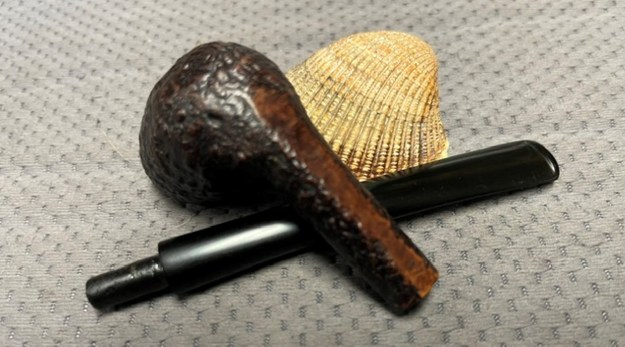
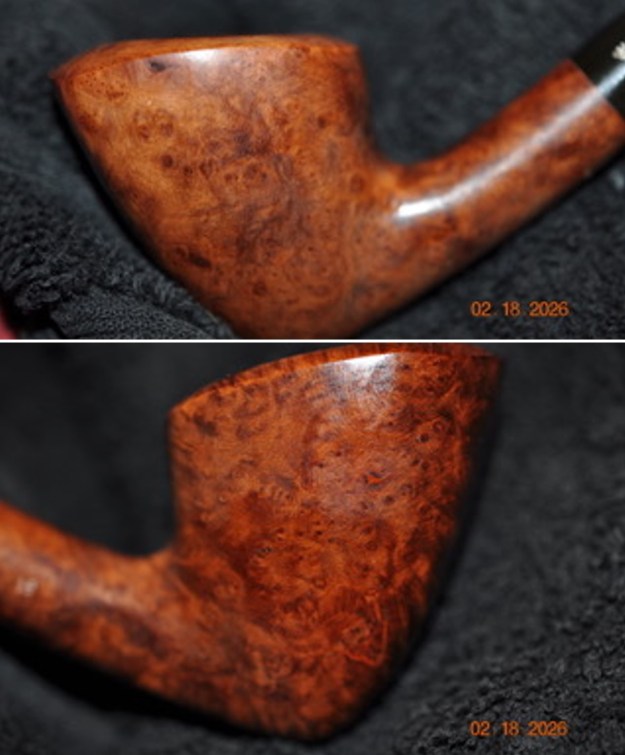
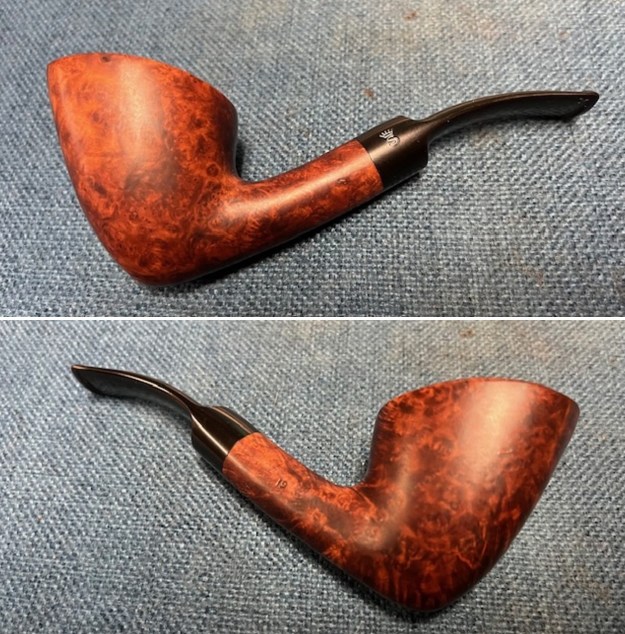
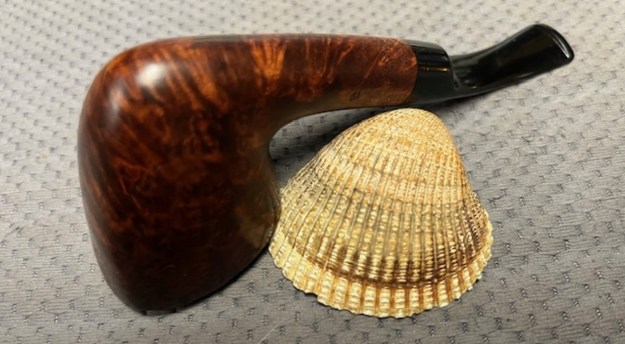
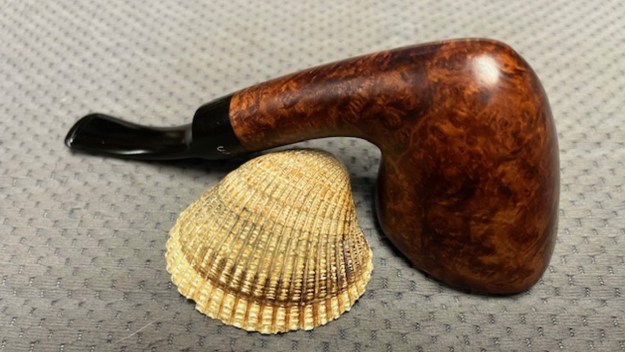
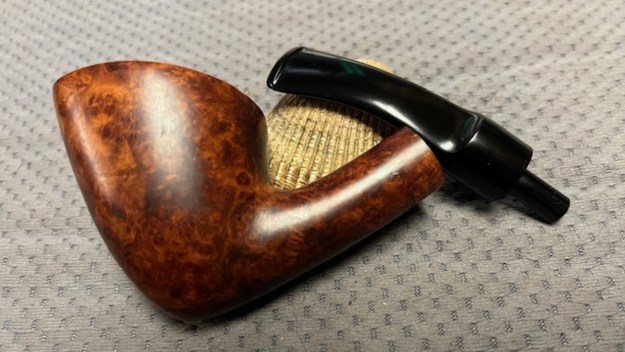
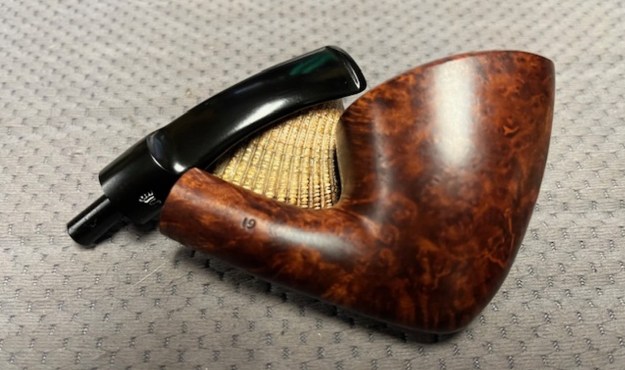
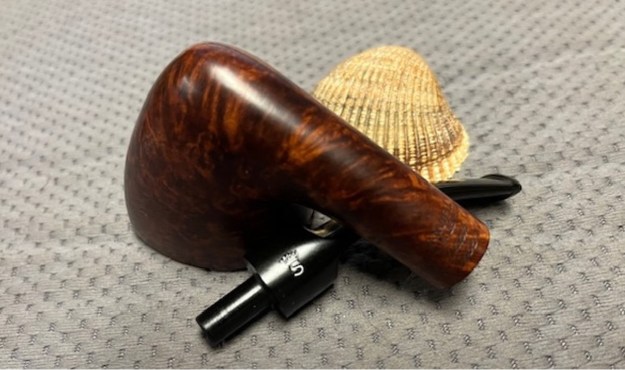
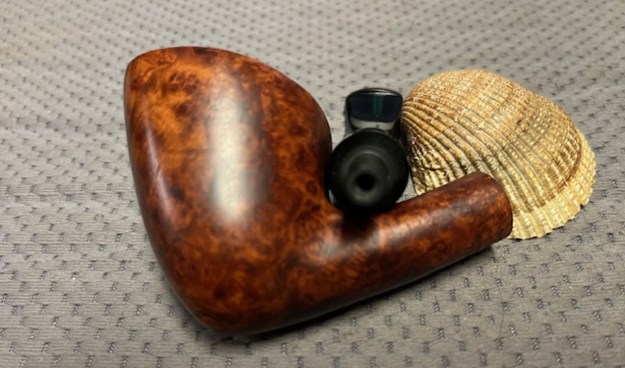
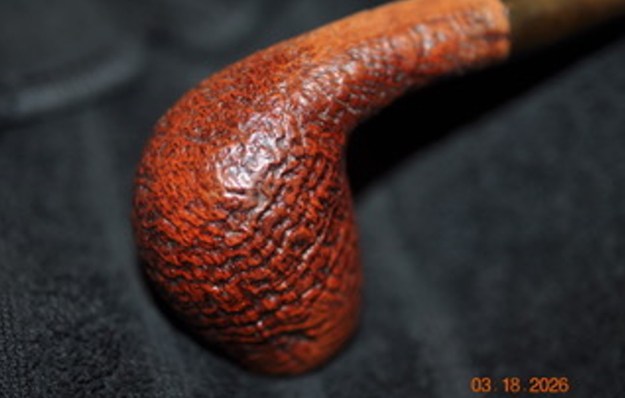
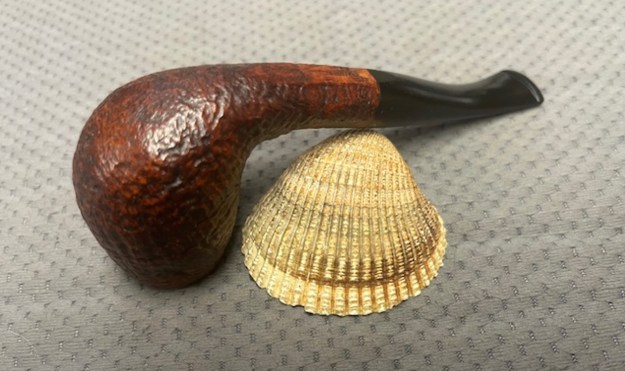
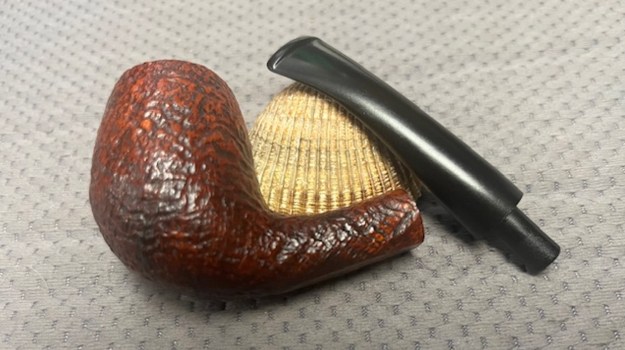
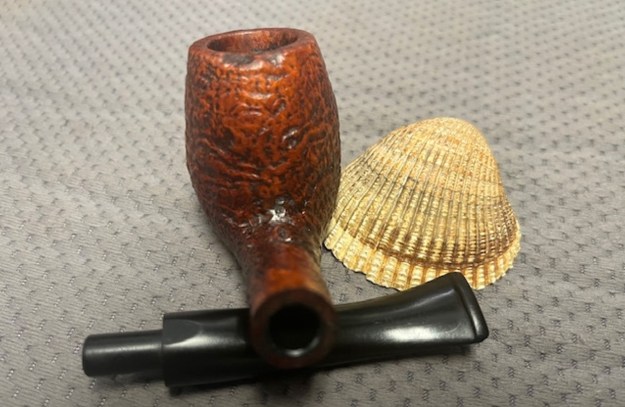
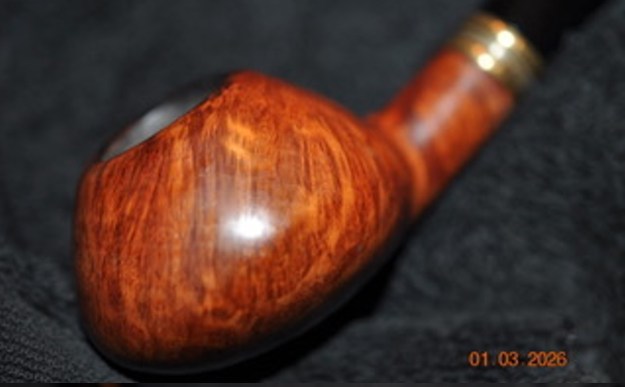
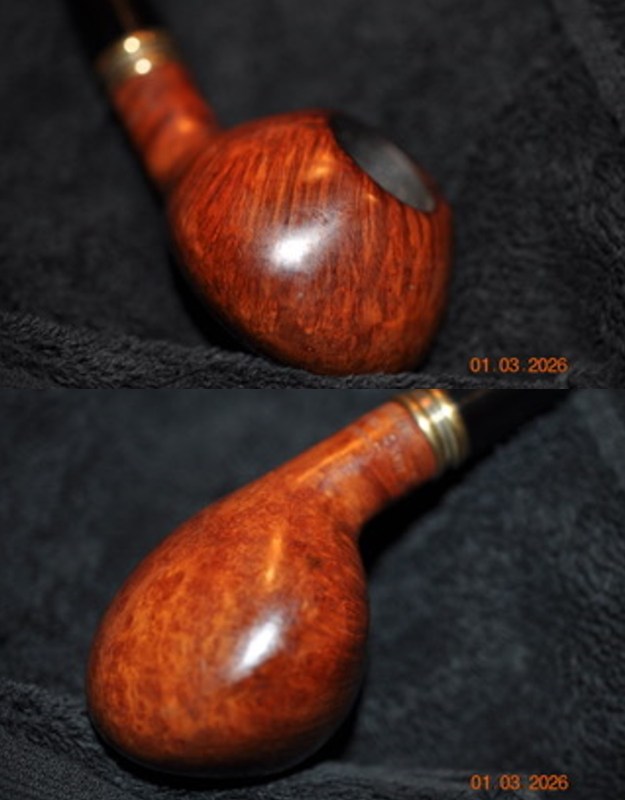
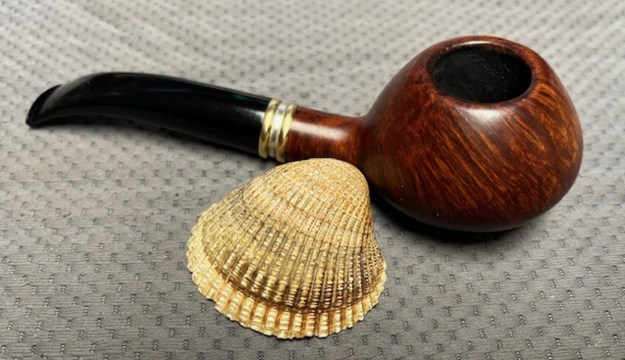
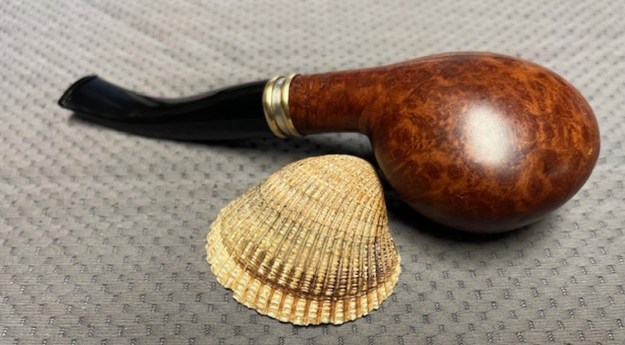
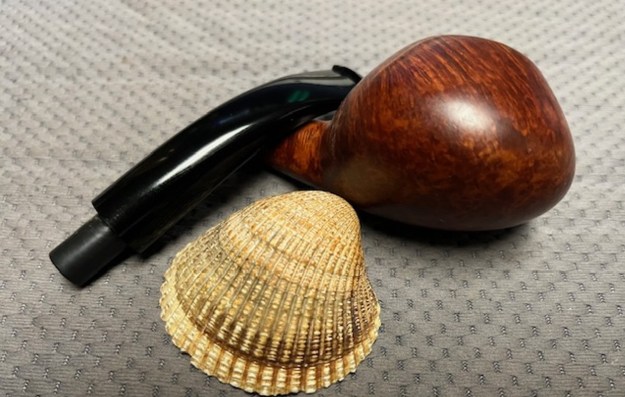
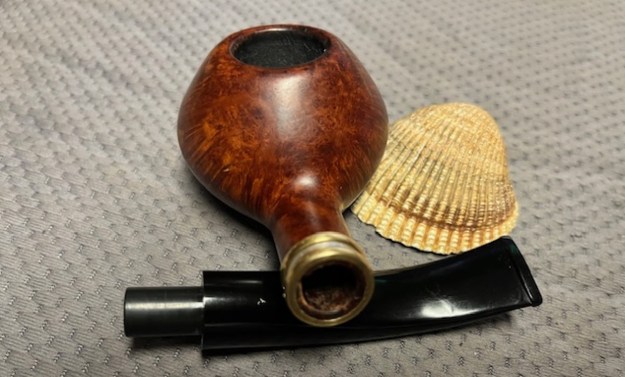
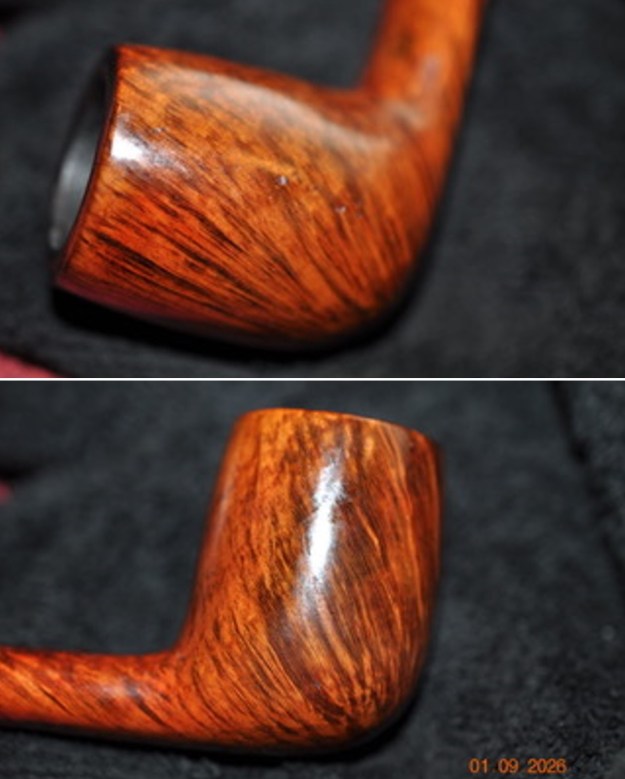
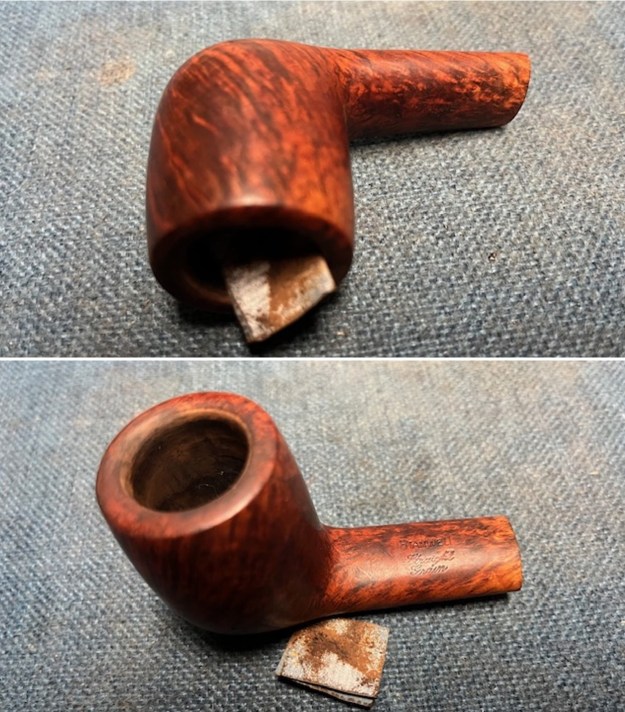
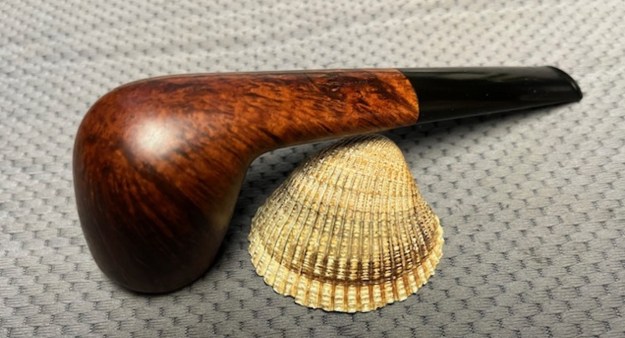
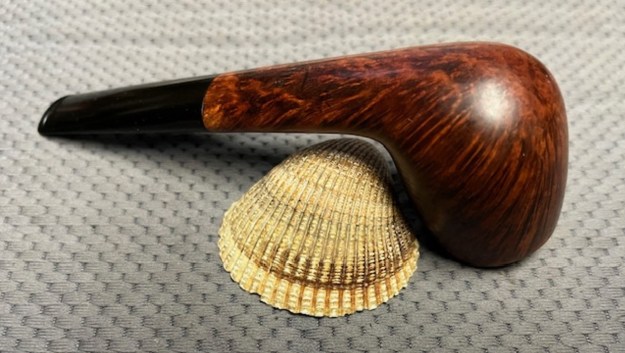
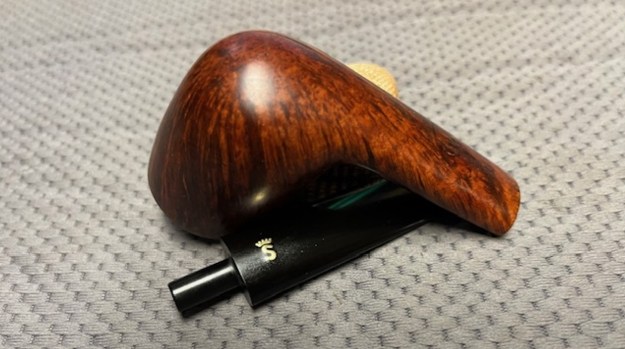
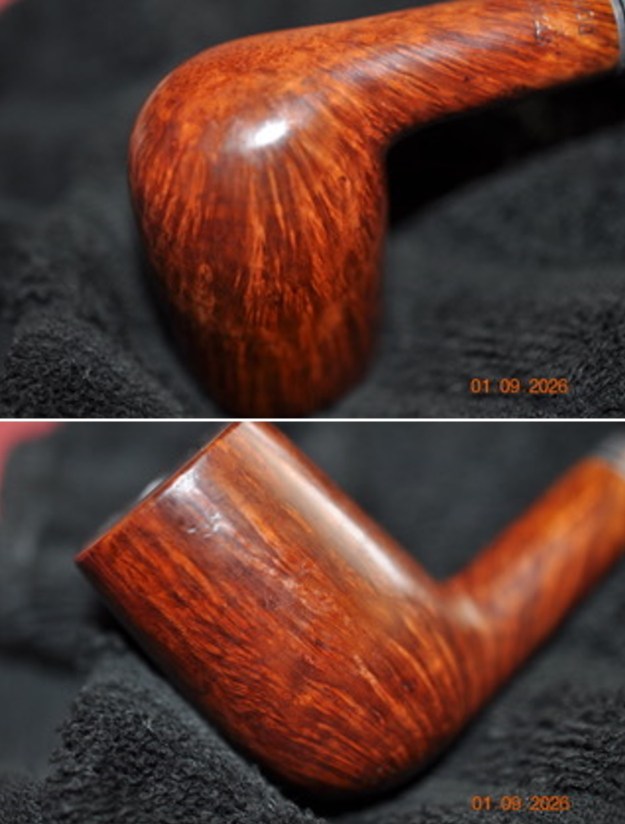
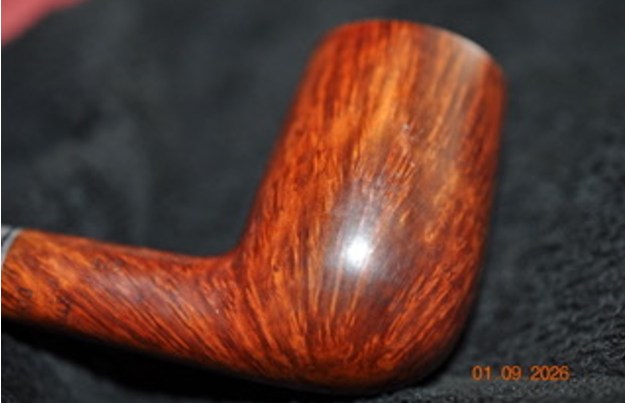
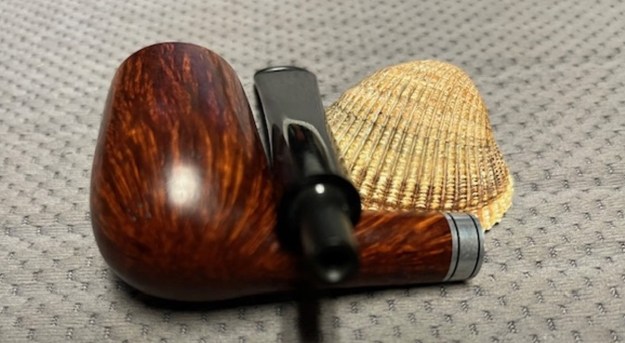
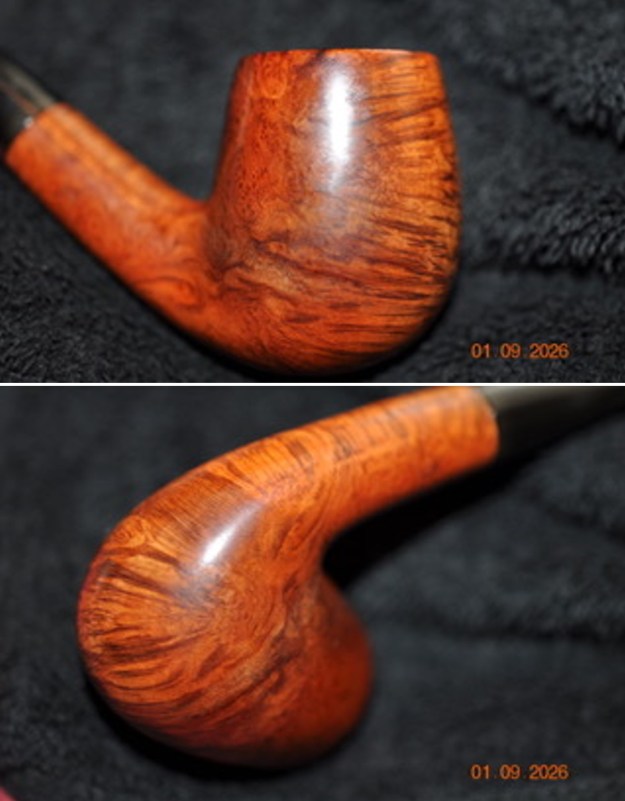
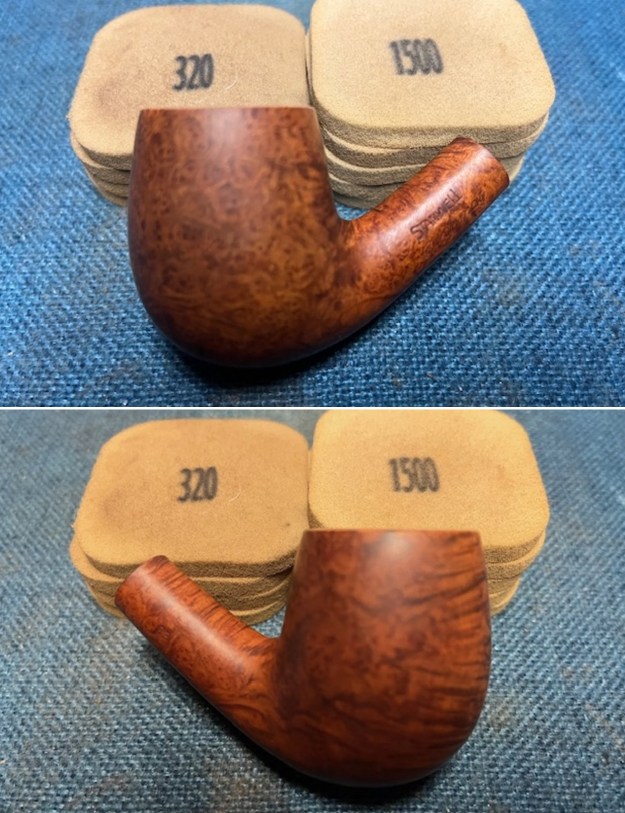
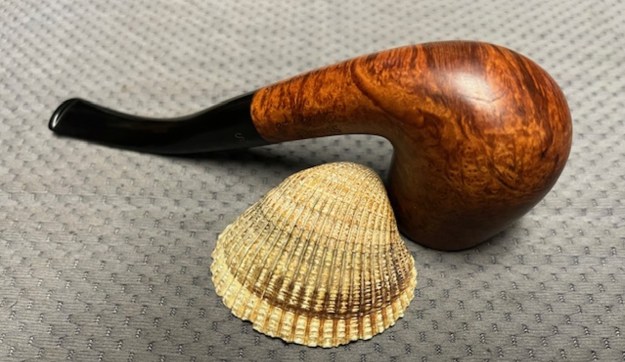
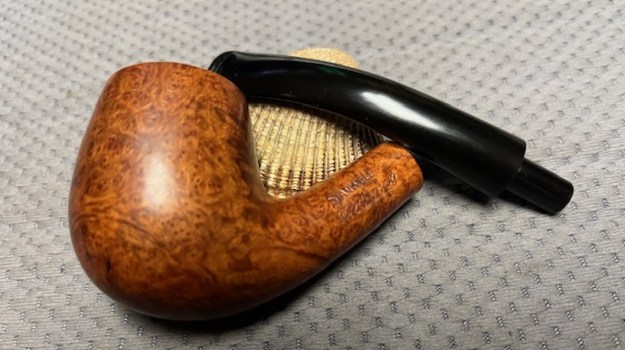
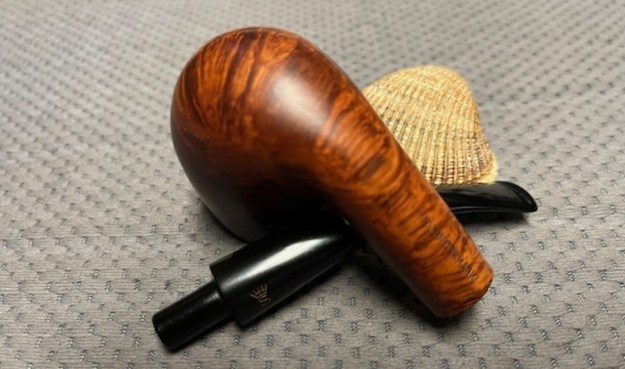
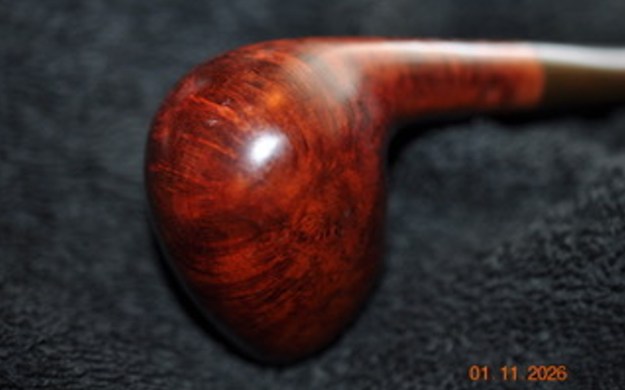
 Jeff took photos of the sides and heel of the bowl to give a picture of what the briar around the pipe looked like. There is some stunning grain under the grime.
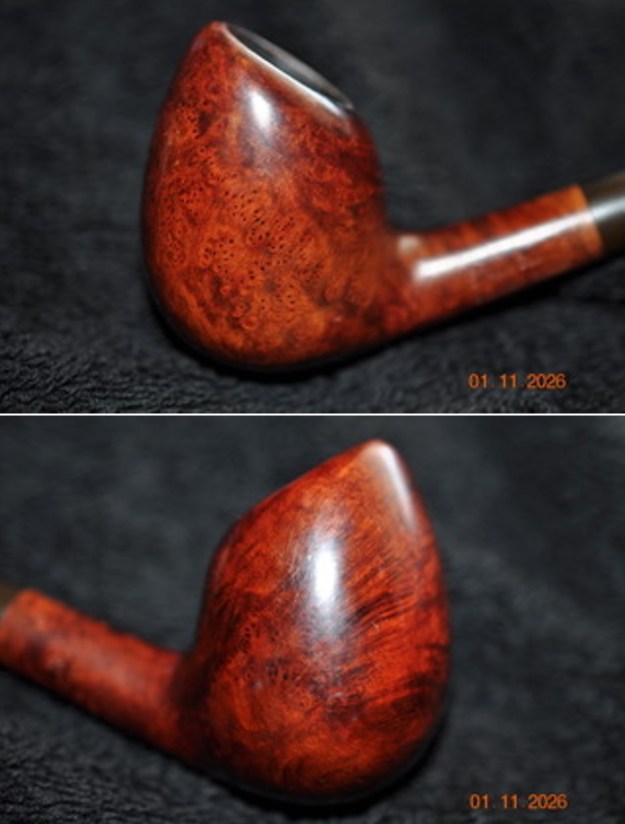
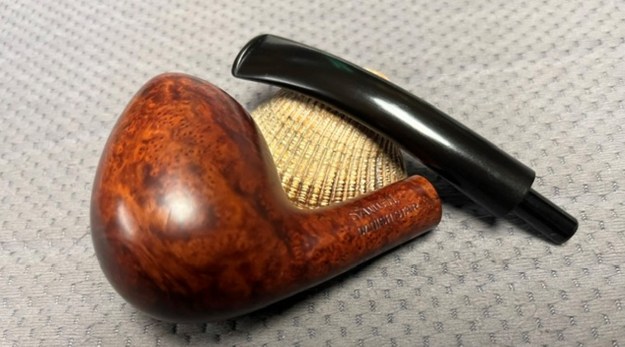
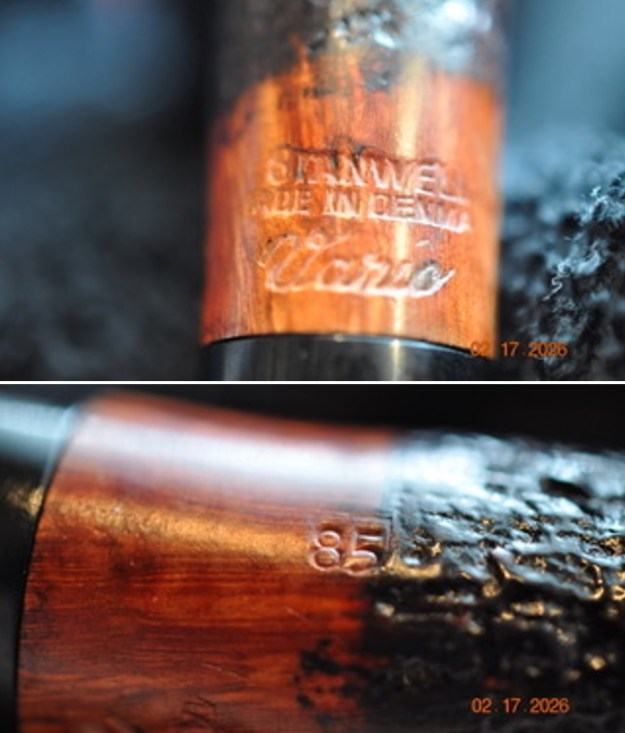
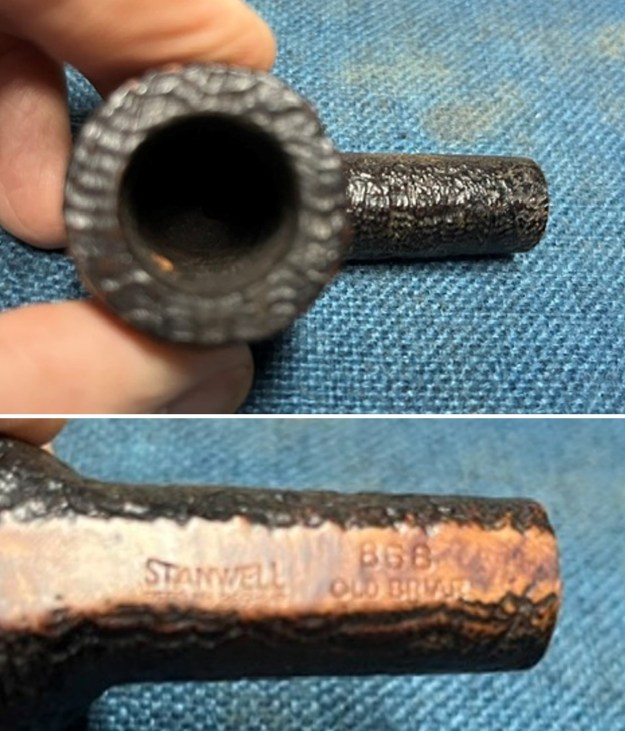
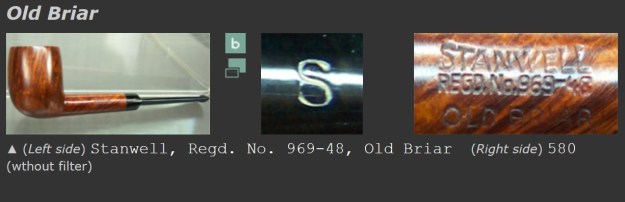
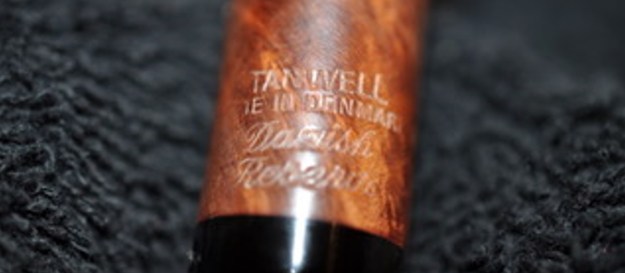
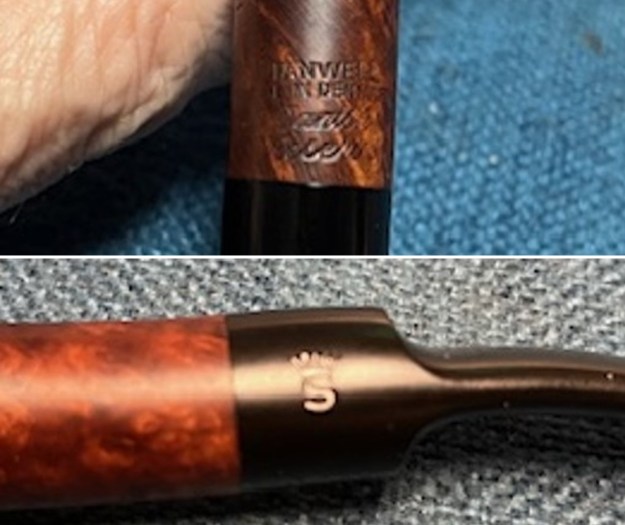
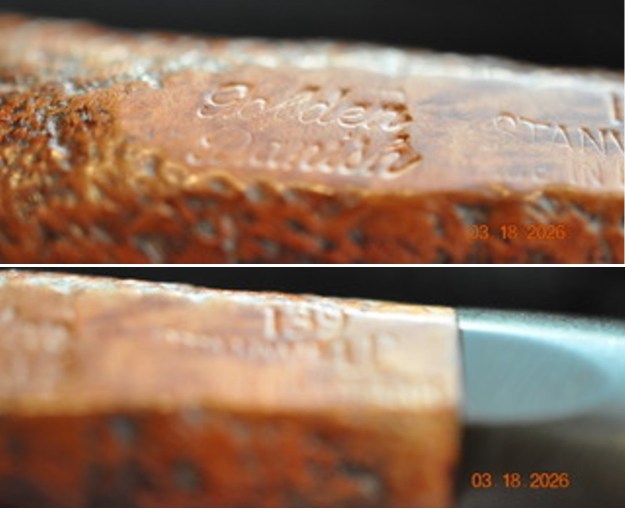
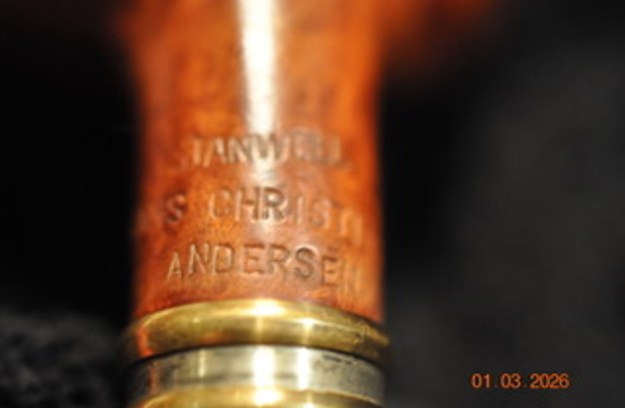
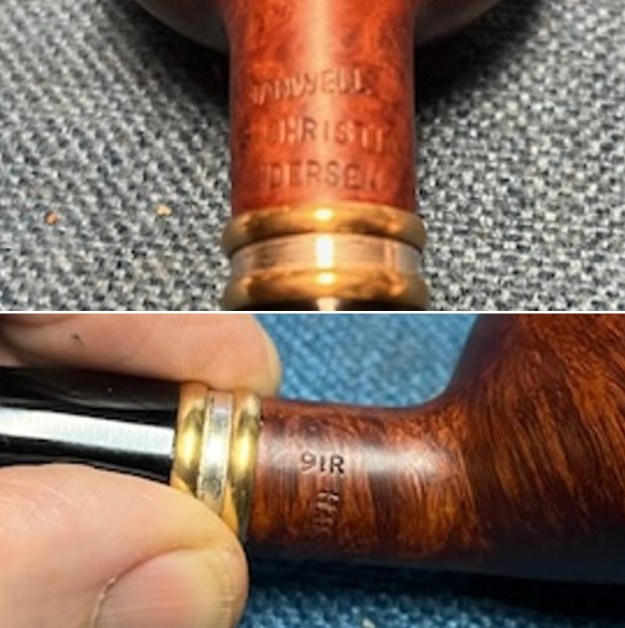
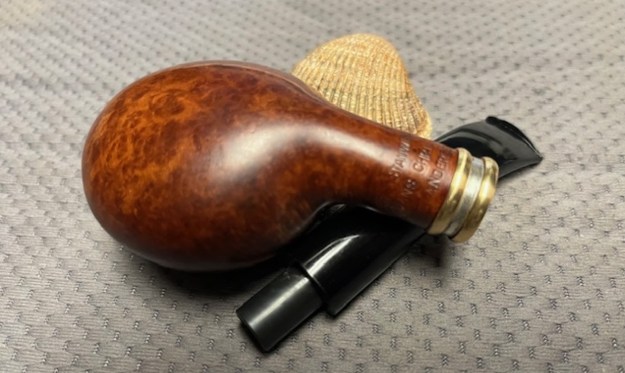
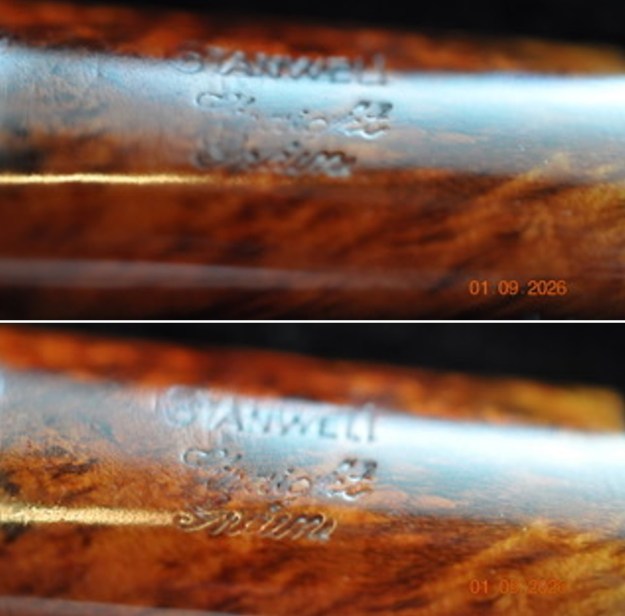
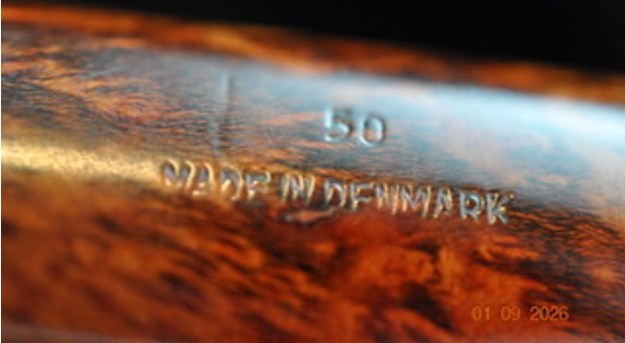
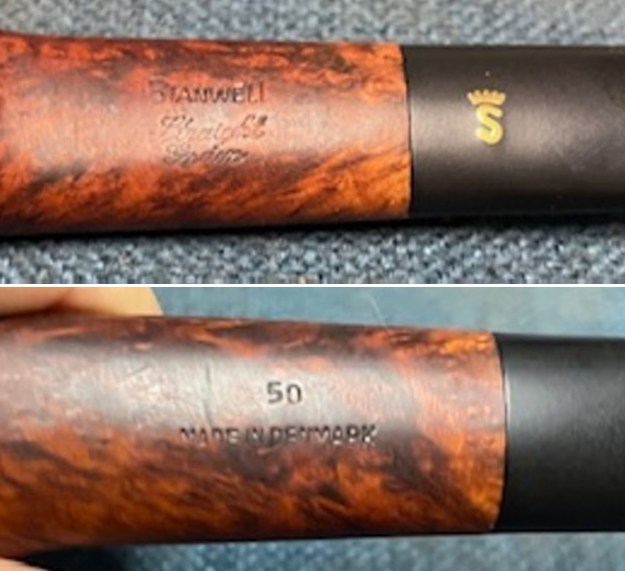
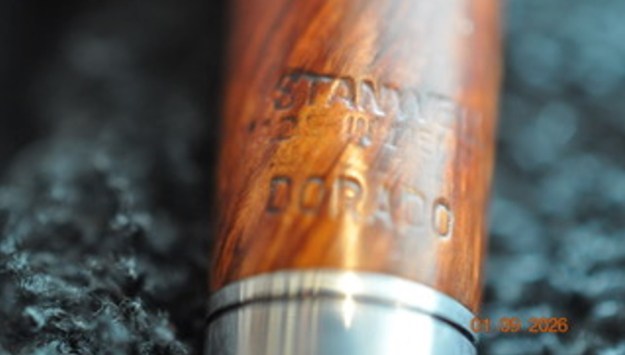
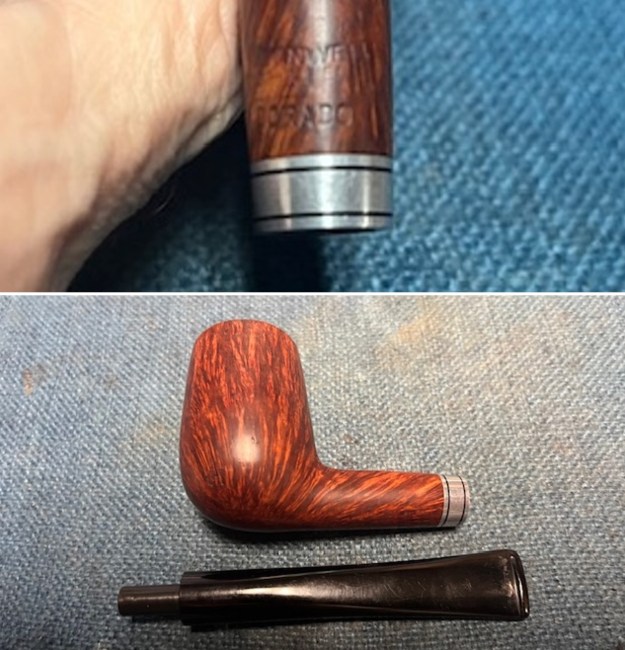
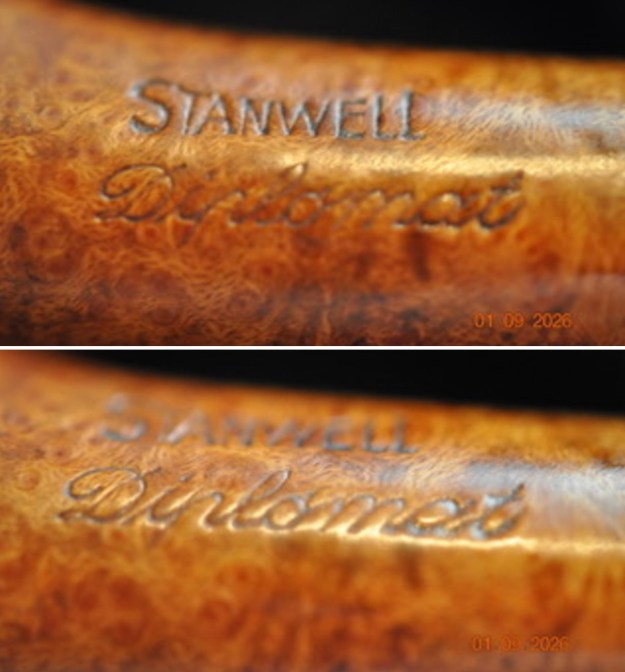
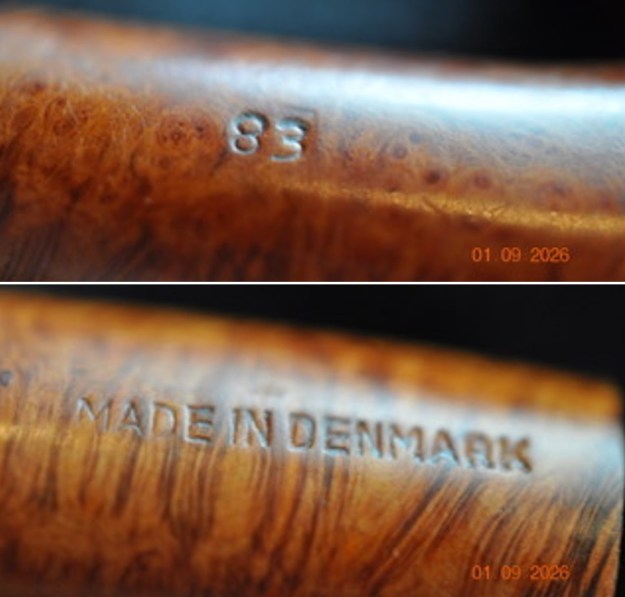
 He took photos of the stamping on the sides of the shank. It read as noted above and is clear and readable.
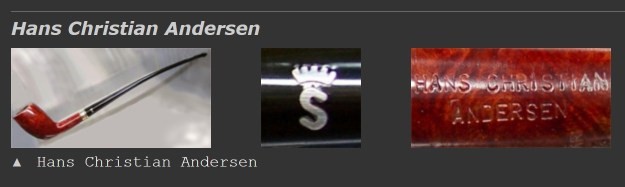
 I am always curious for more information on the pipes that I work on. Sometimes I have some history of the previous pipeman and sometimes not. This time I knew next to nothing of where the pipe came from so I turned ferret out information the Danish Star Line if I could find it.
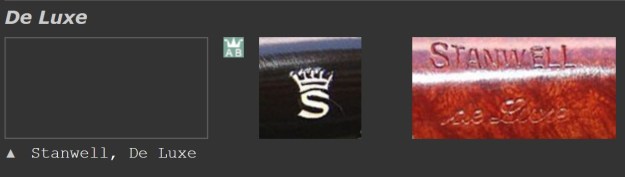
I turned first to Pipephil’s site to get a quick idea of when this pipe line was made and where it stood in the Stanwell hierarchy. I found nothing (http://www.pipephil.eu/logos/en/logo-stanwell.html).
I also turned to Pipedia’s article on Stanwell but it did not add any further information. There were a series of photos from Doug Valitchka of the Danish Star but it was a different shape number – a 138. It is a great read in terms of the history of the brand (https://pipedia.org/wiki/Stanwell).
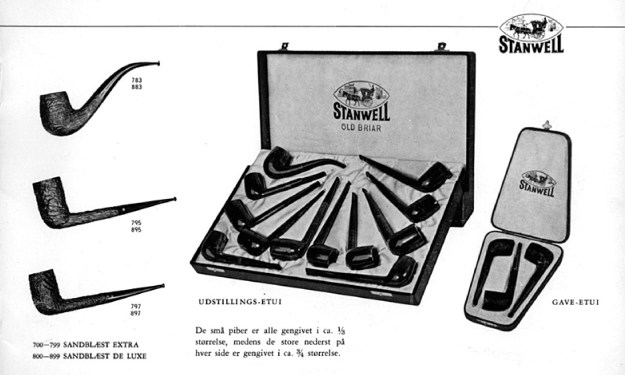
From there I turned to the section on Stanwell shapes and numbers on Pipedia to see if I could identify the designer (https://pipedia.org/wiki/Stanwell_Shape_Numbers_and_Designers). Finally, I found a bit of help there. It stated that the shape number 02 came in two versions – a Freehand, oval bowl and stem designed by Sixteen Ivarsson and a Bent Egg Shaped Bowl sloping top and full mouthpiece. Now I knew that I was dealing with the second. There was also a catalogue photo that I have included below that shows the shape 02 at the top left of the photo.
 With that information in hand I knew what I was dealing with in terms of the shape of the pipe. I am pretty sure it is a pipe that was made in the 80s or 90s. I was not certain but that is my educated guess. Now it was time to work on the pipe.
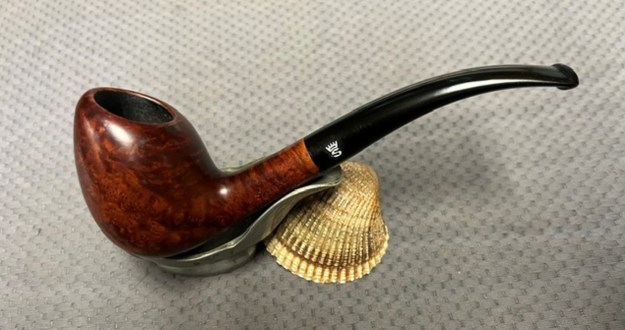
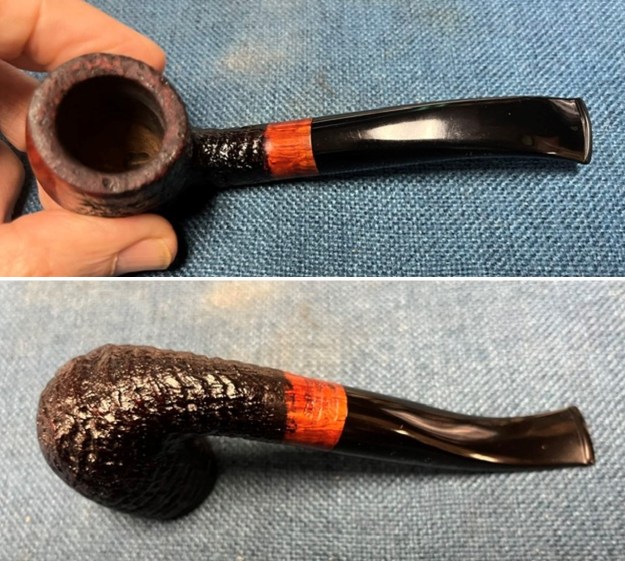
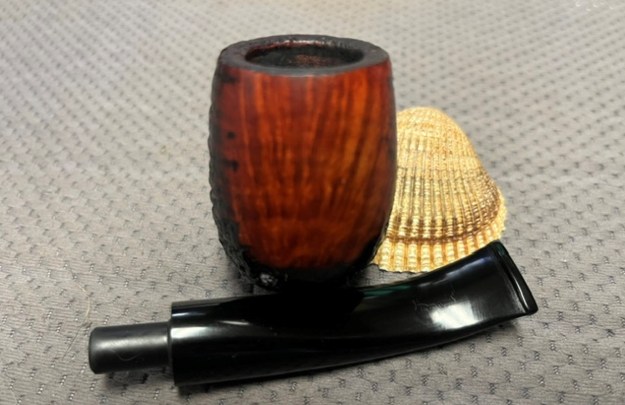
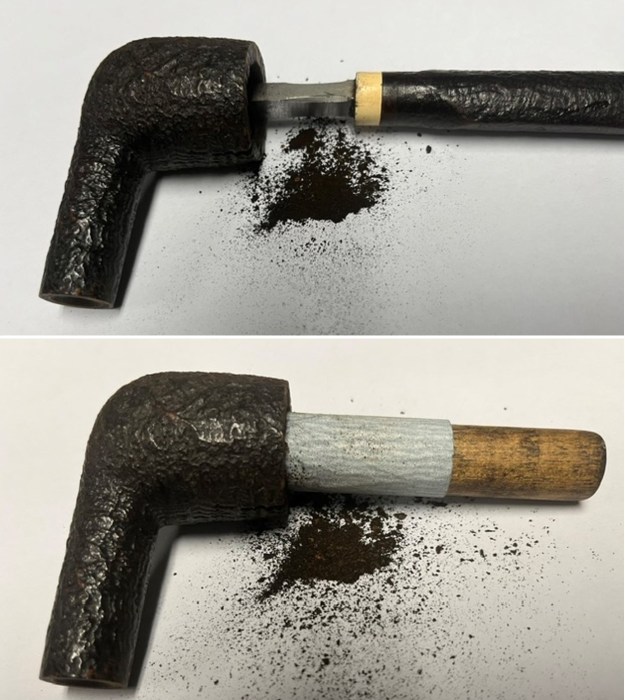
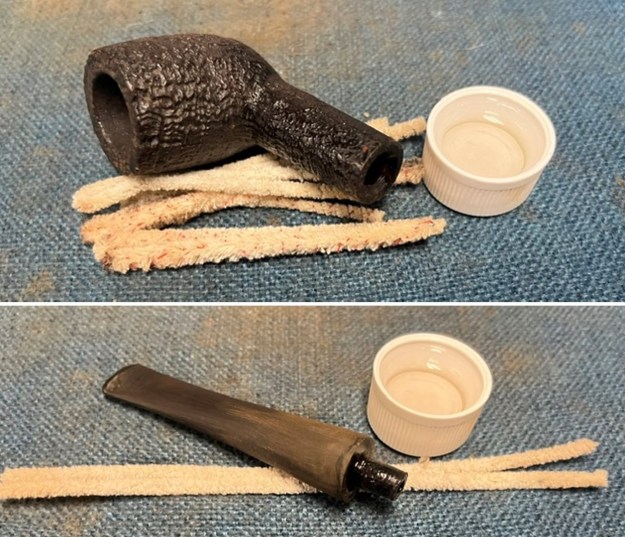
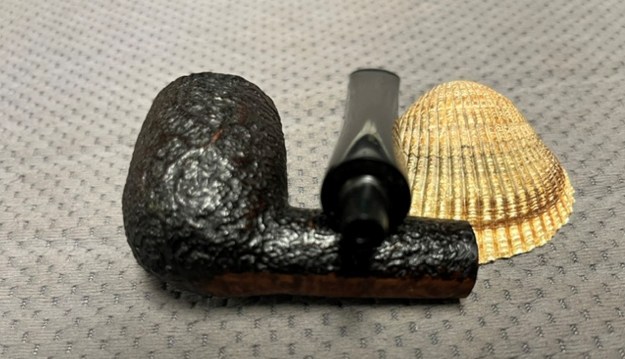
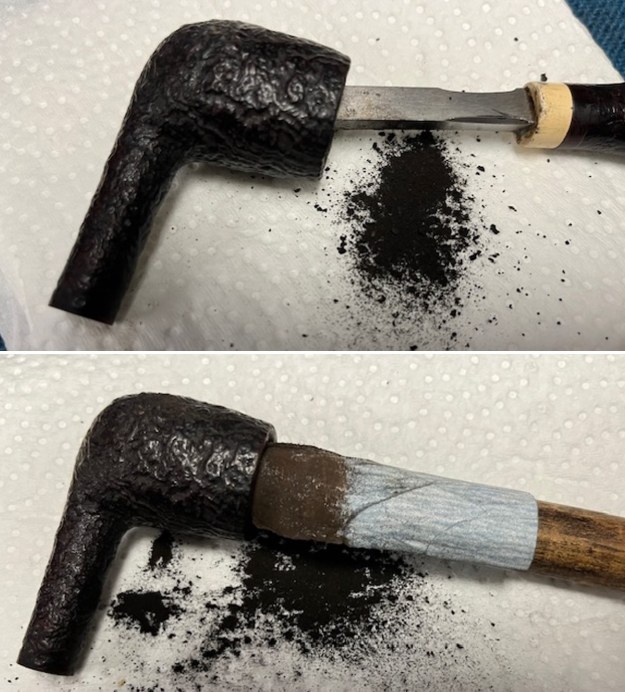
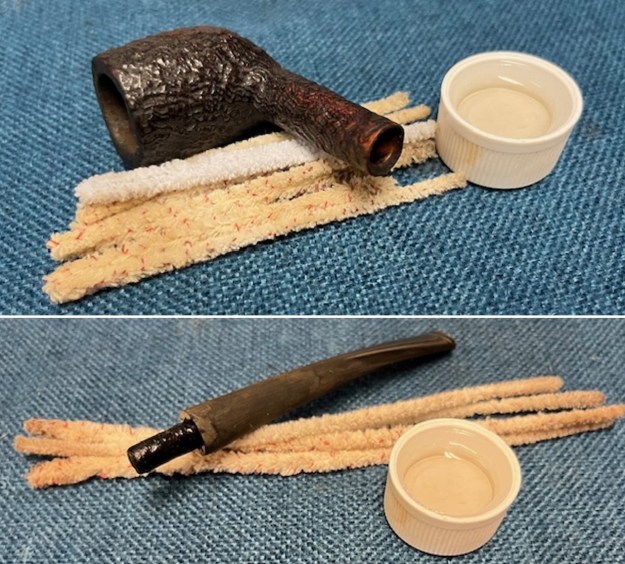
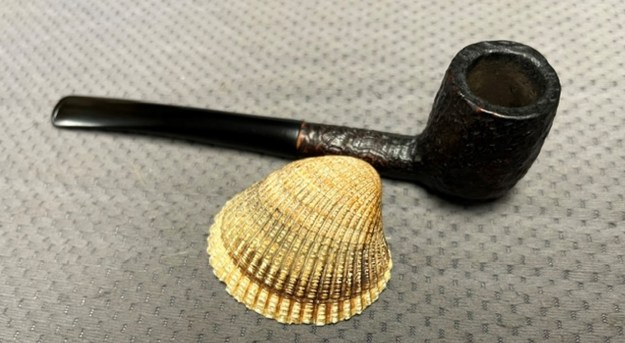
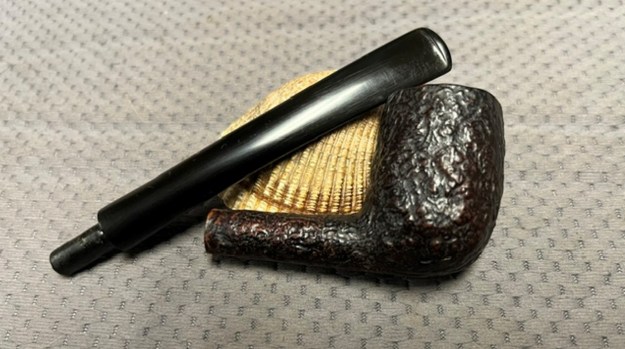
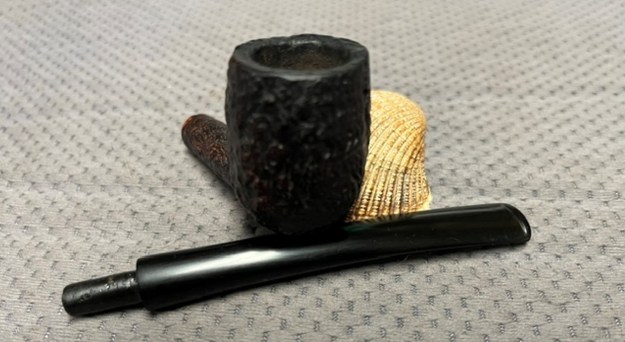
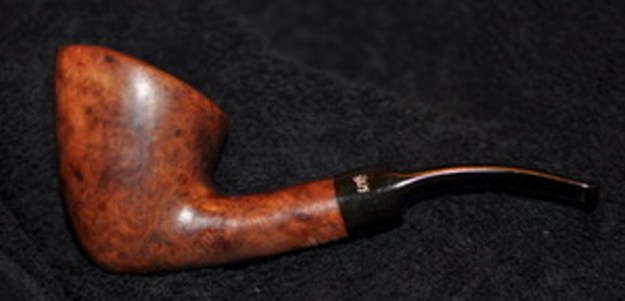
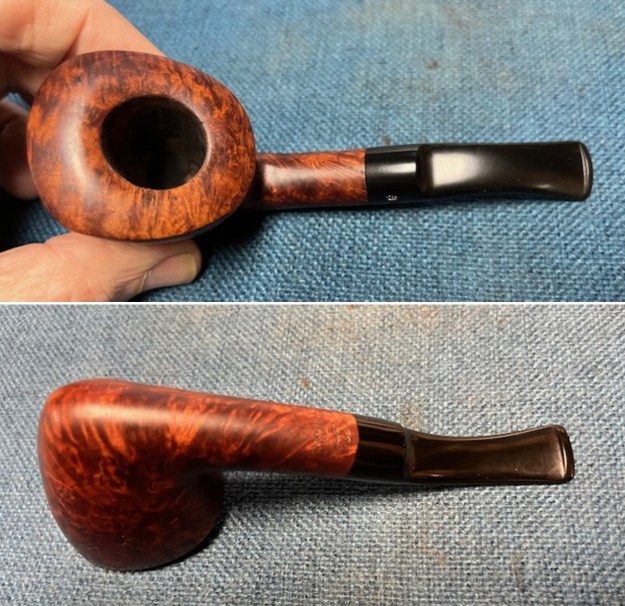
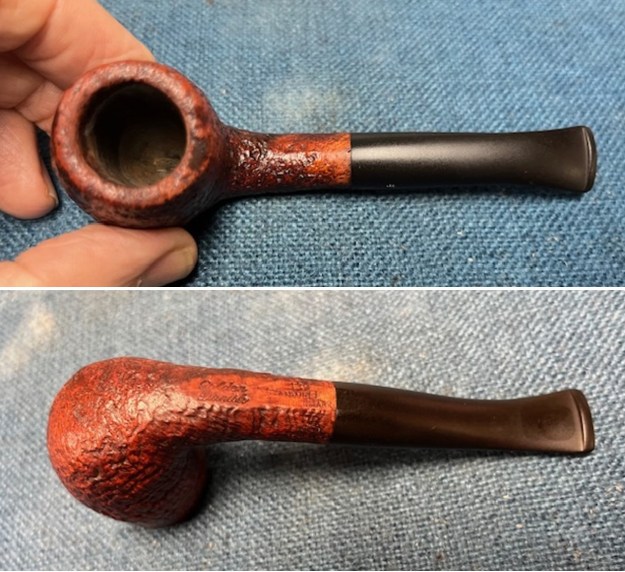
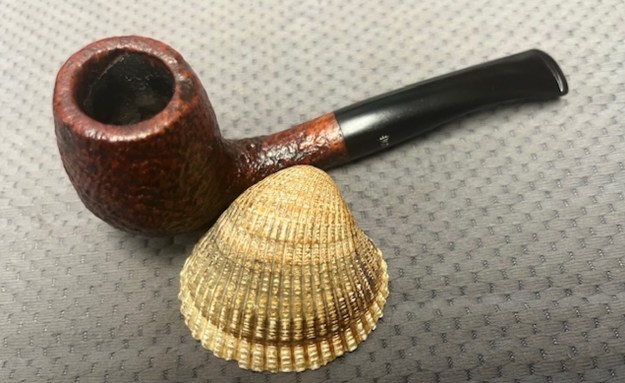
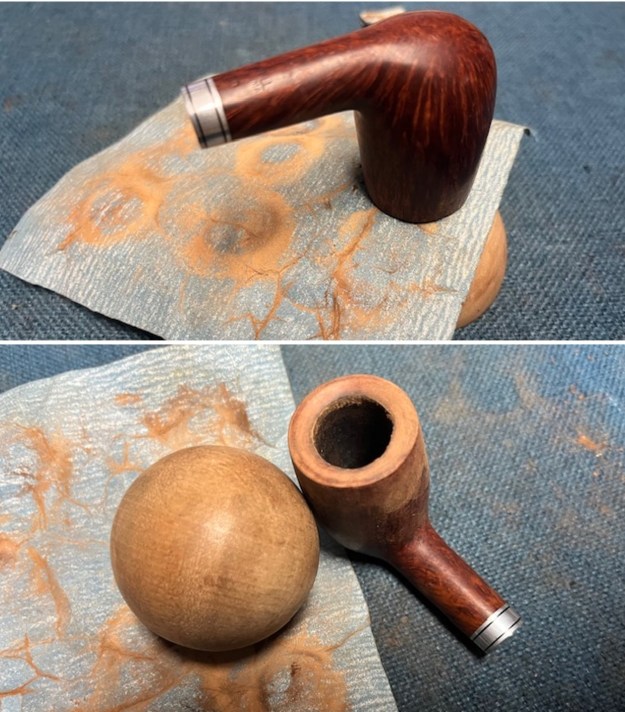
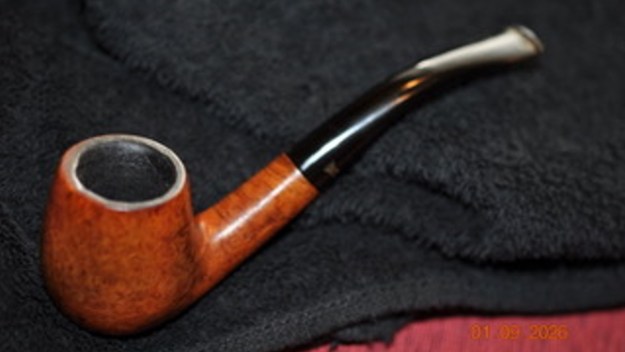
Jeff had reamed the bowl with a PipNet Pipe Reamer and cleaned up the remnants with a Savinelli Fitsall Pipe Knife. He scrubbed the exterior of the bowl with undiluted Murphy’s Oil Soap with a tooth brush. He worked over the debris on the rim top and was able to remove it. He rinsed it under running warm water to remove the soap and grime. He cleaned out the inside of the shank and the airway in the stem with alcohol, cotton swabs and pipe cleaners. He soaked the stem in Briarville’s Pipe Stem Deoxidizer and rinsed it off with warm water. He scrubbed the stem with Soft Scrub and cotton pads to remove remaining oxidation on the ferrule and the stem. He rinsed it with warm water and dried it off. I took photos of the pipe once I received it. It really looked good.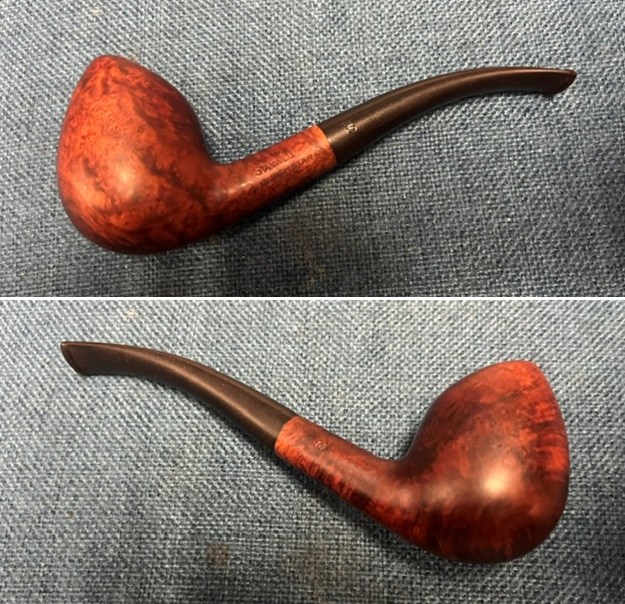
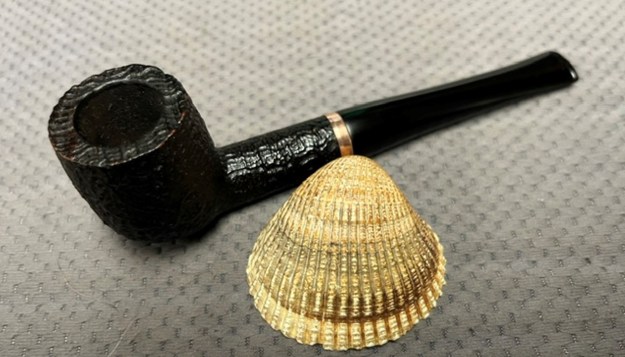
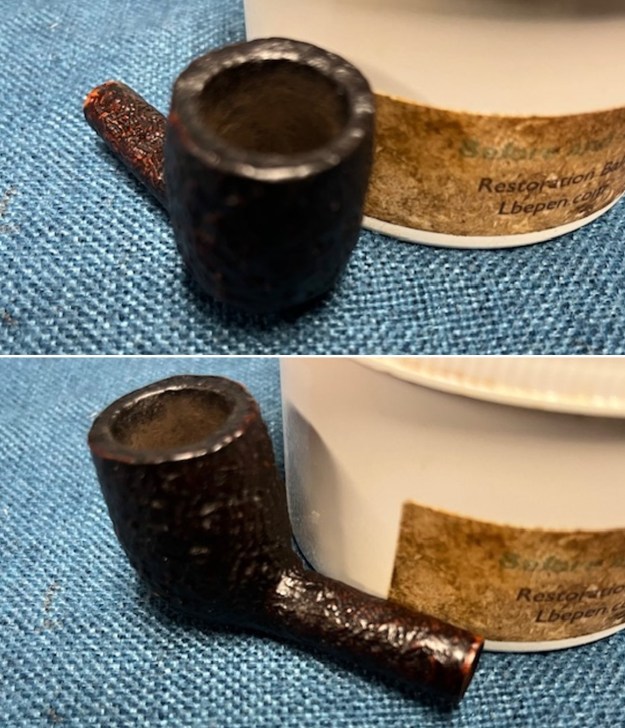
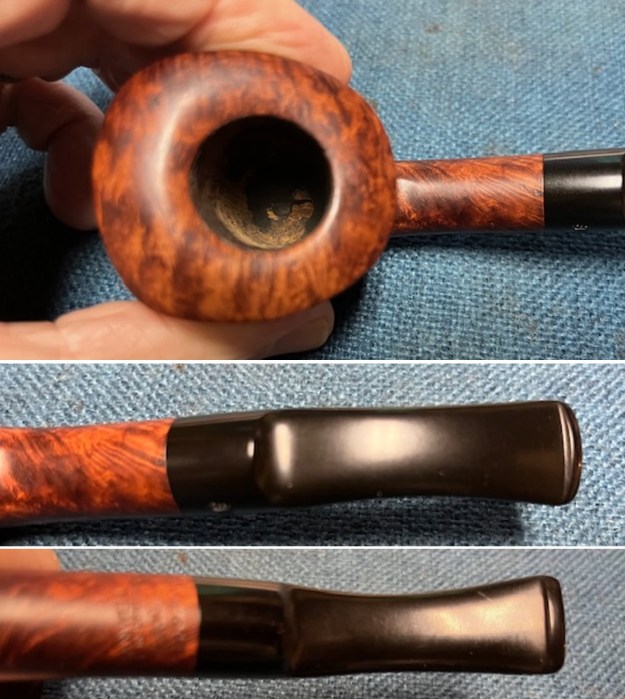
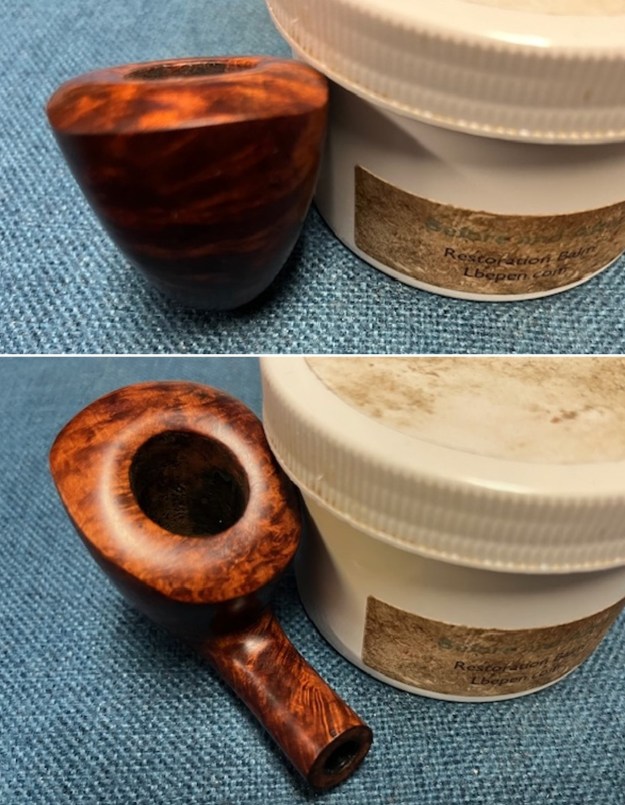
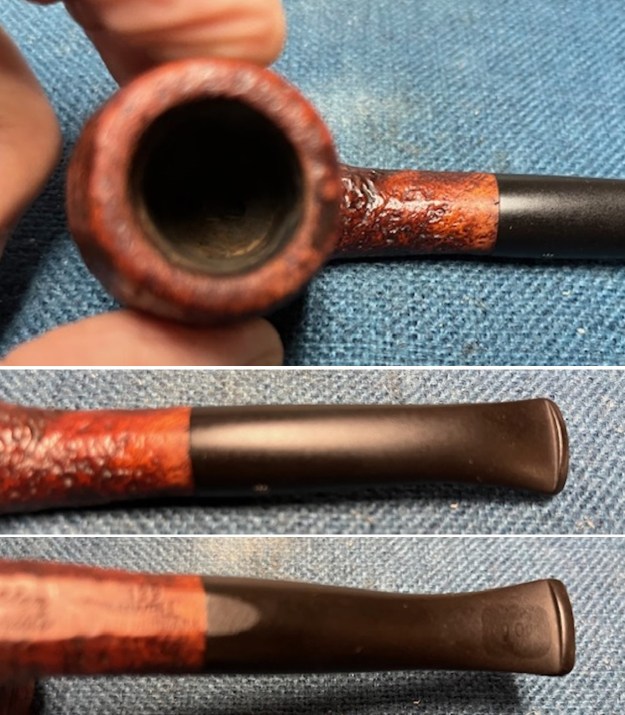
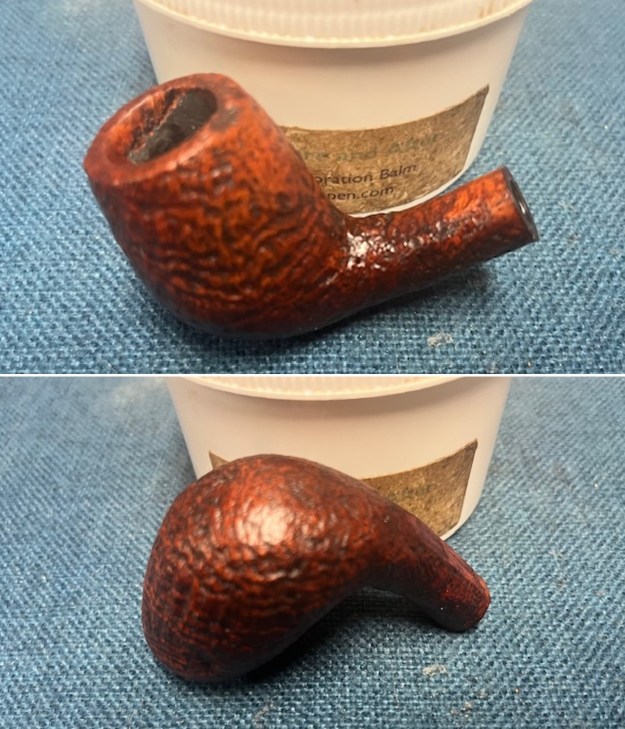
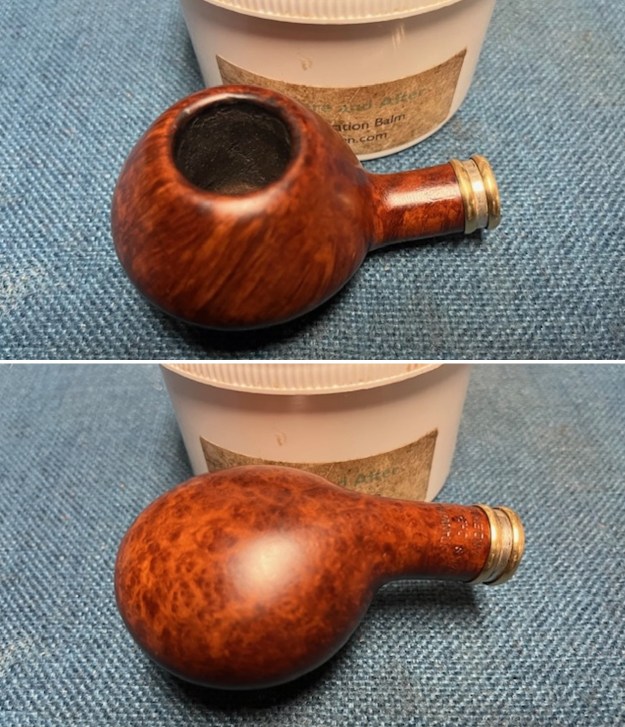
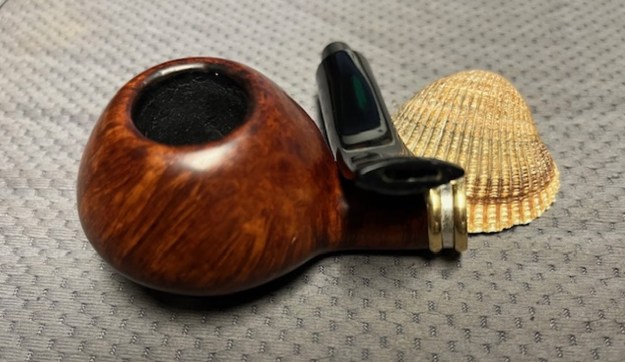
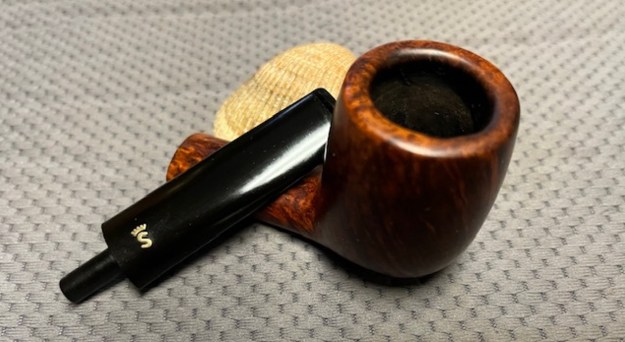
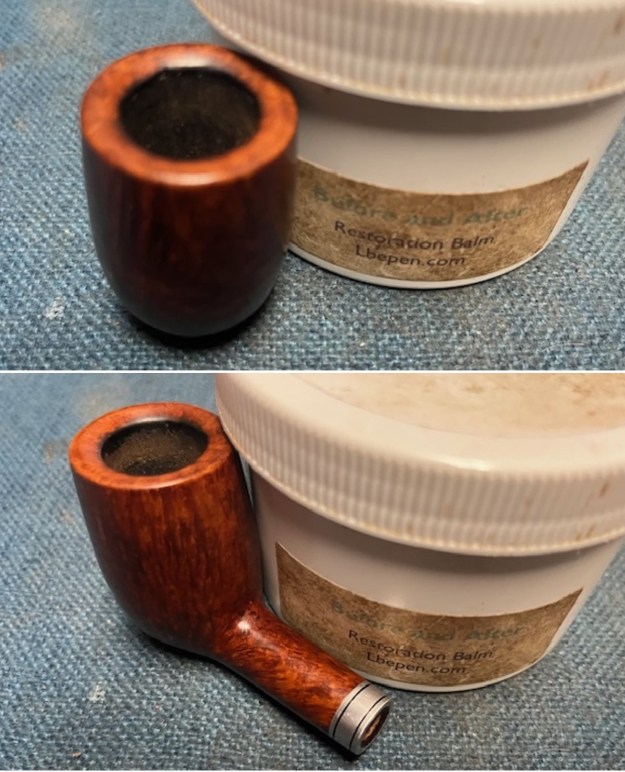
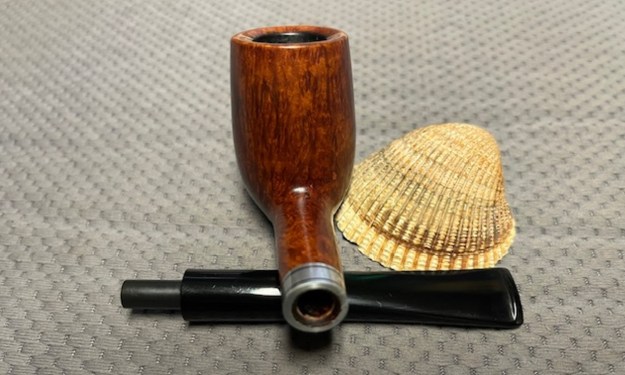
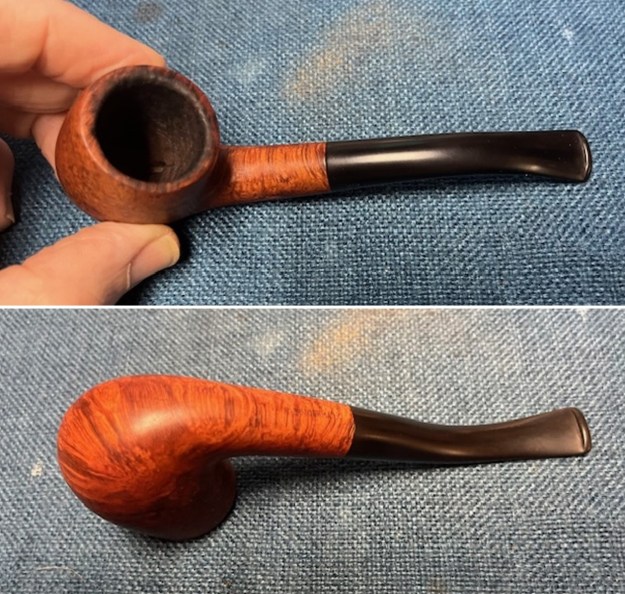
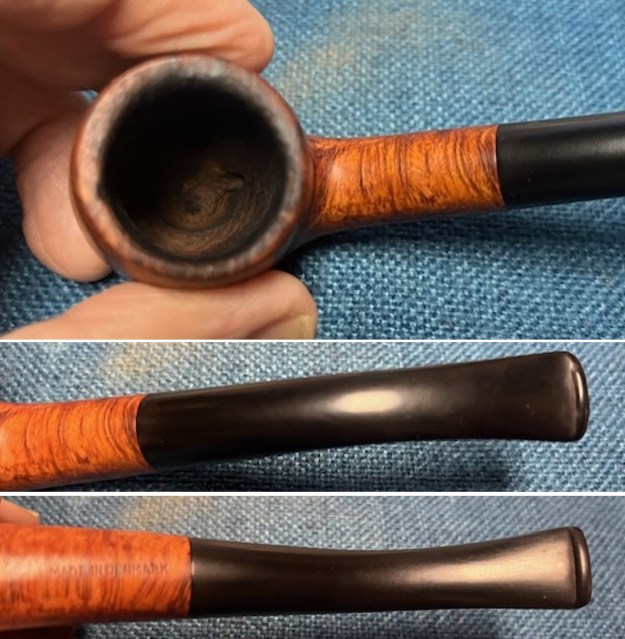
 The rim top and the inner edge of the rim showed some nicks and marks after the cleaning. The stem had some light chatter on both sides near the button. The bowl was very clean and the stem looked good.
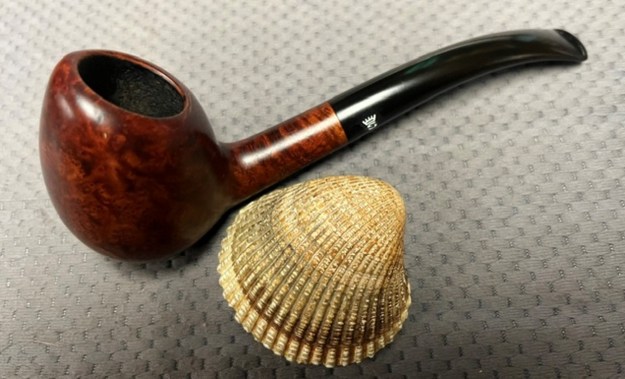
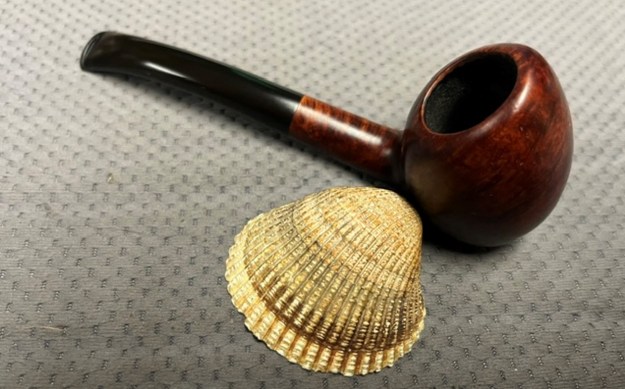
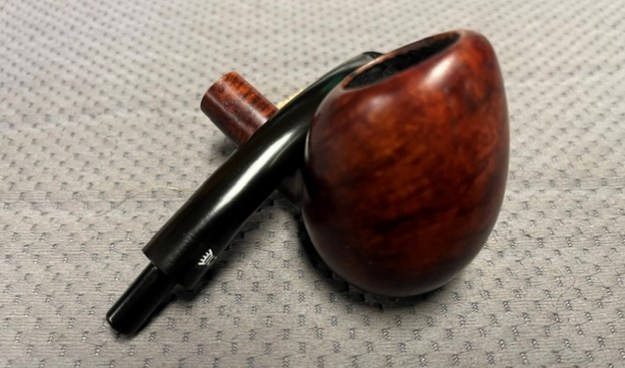
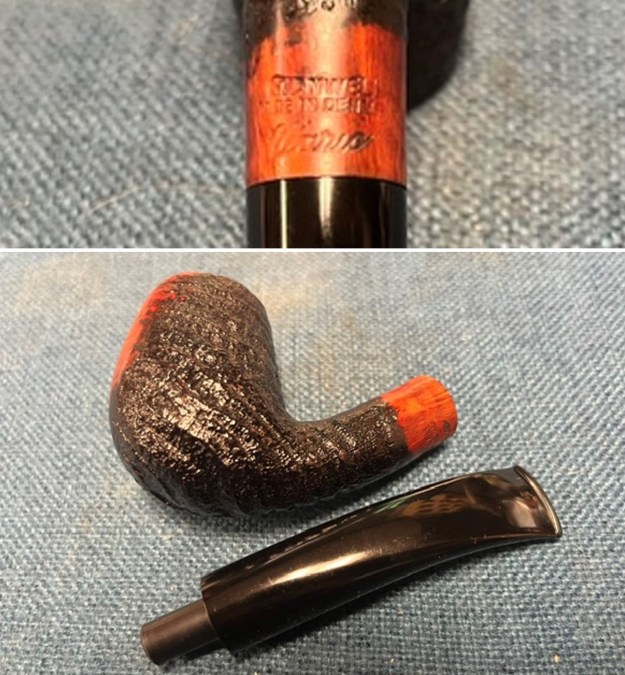
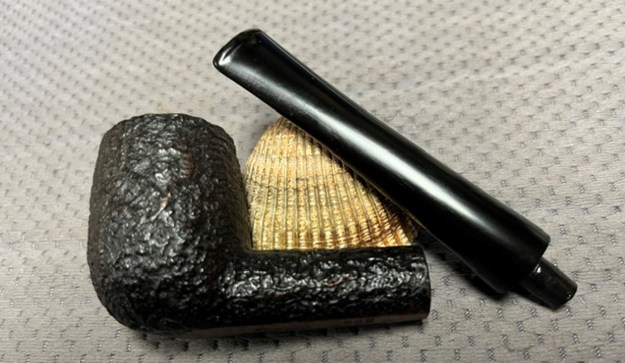
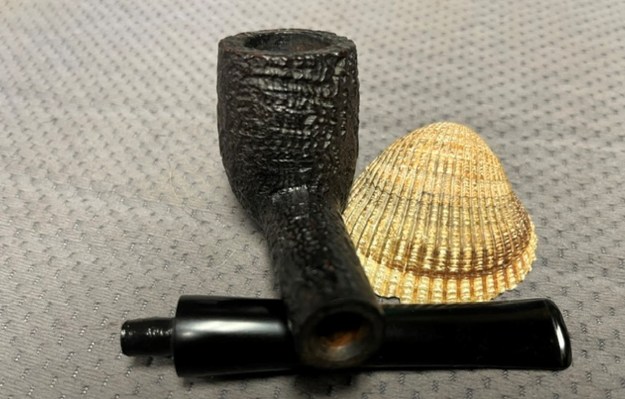
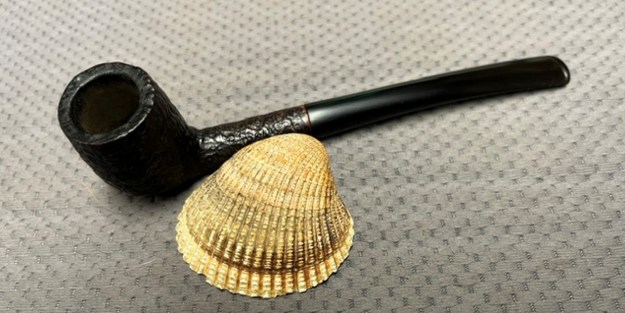
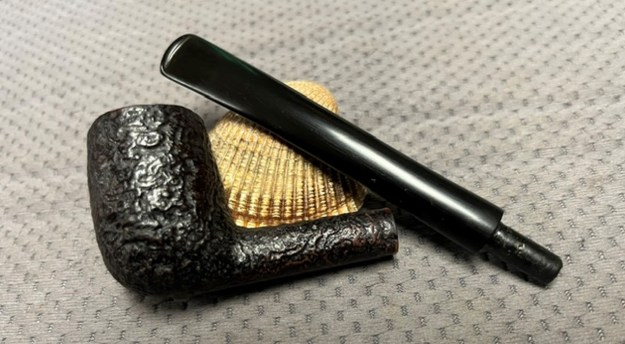
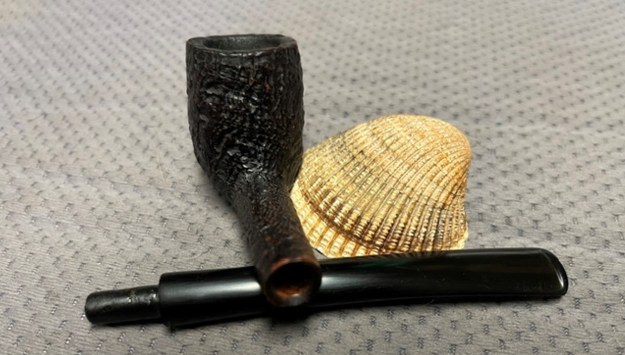
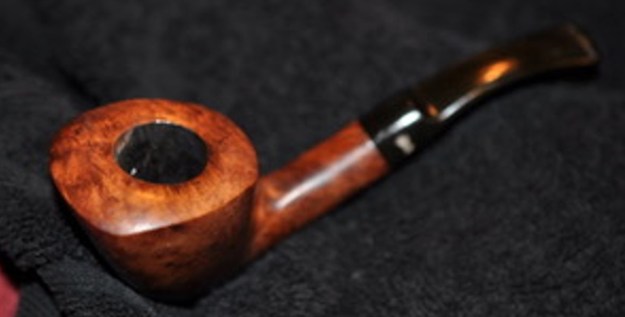
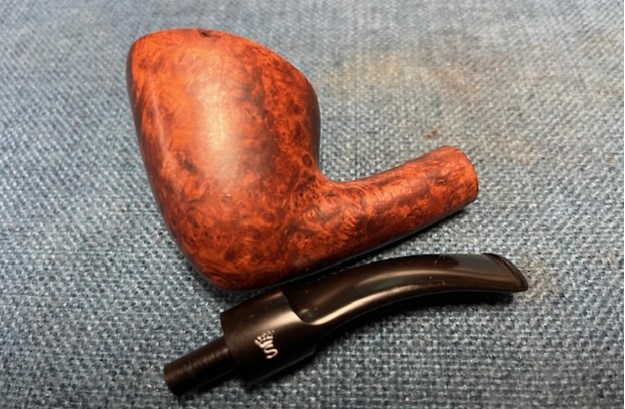
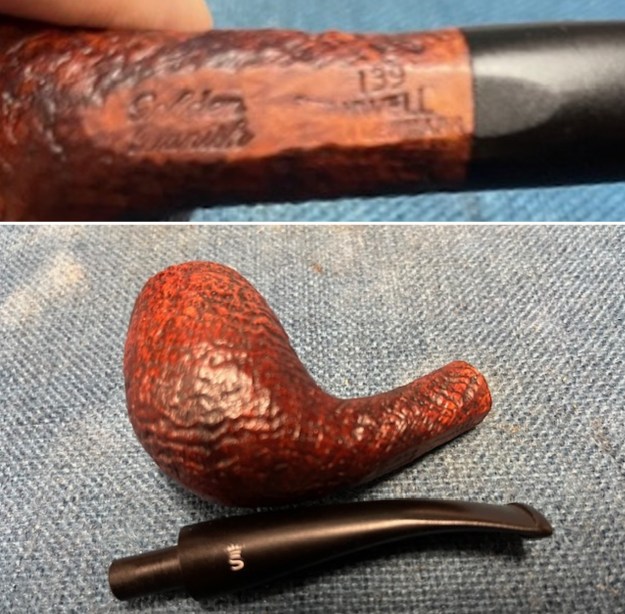
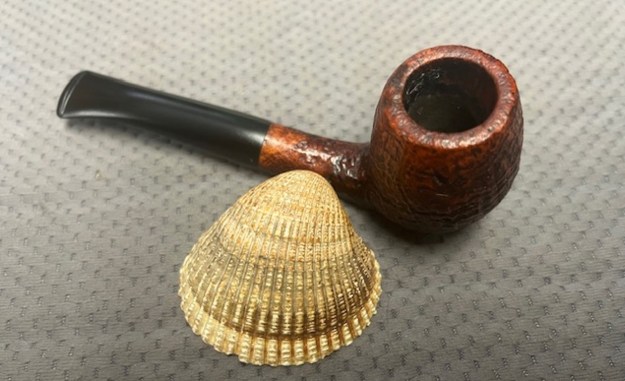
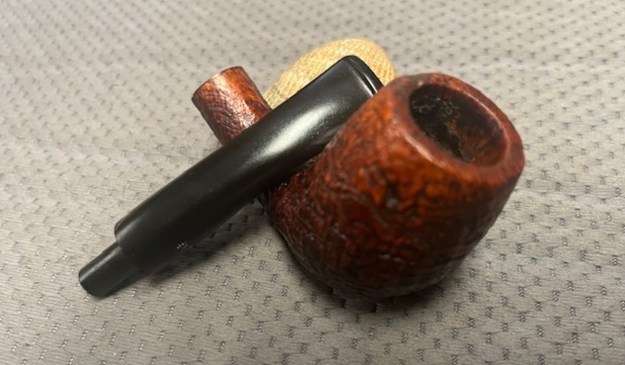
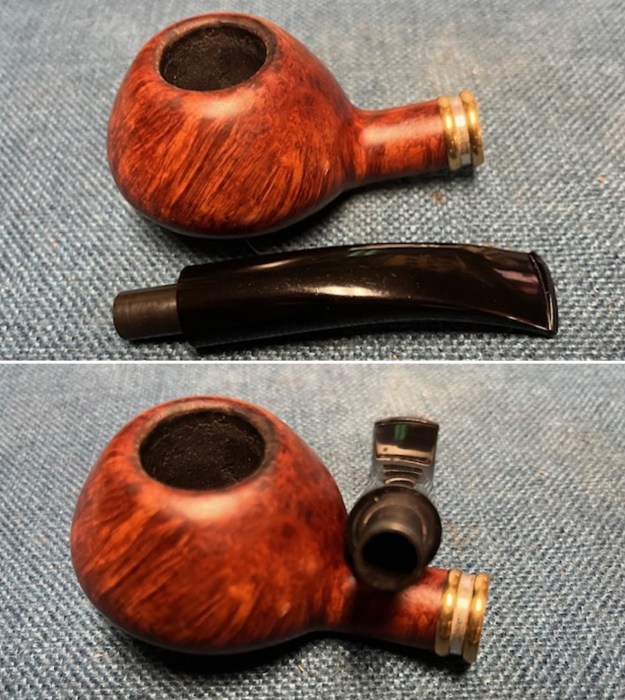
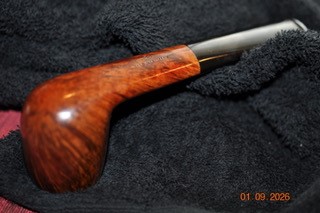
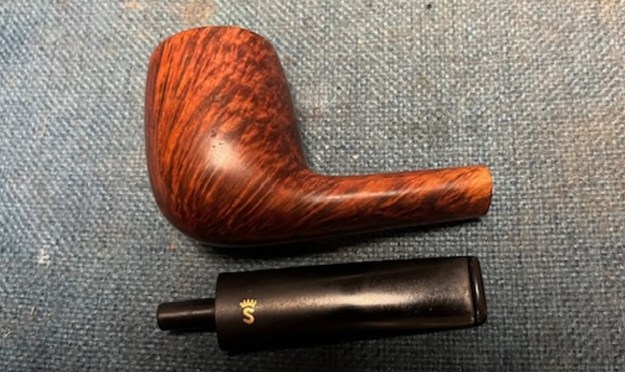
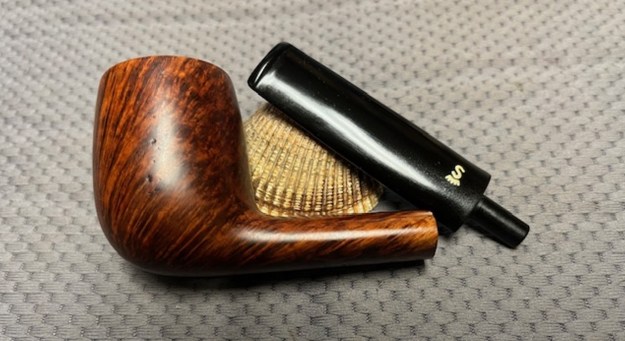
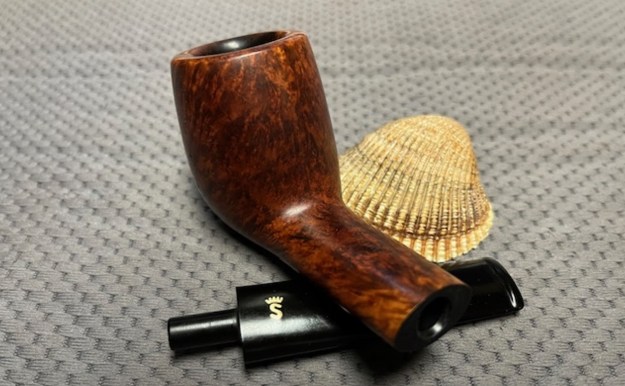
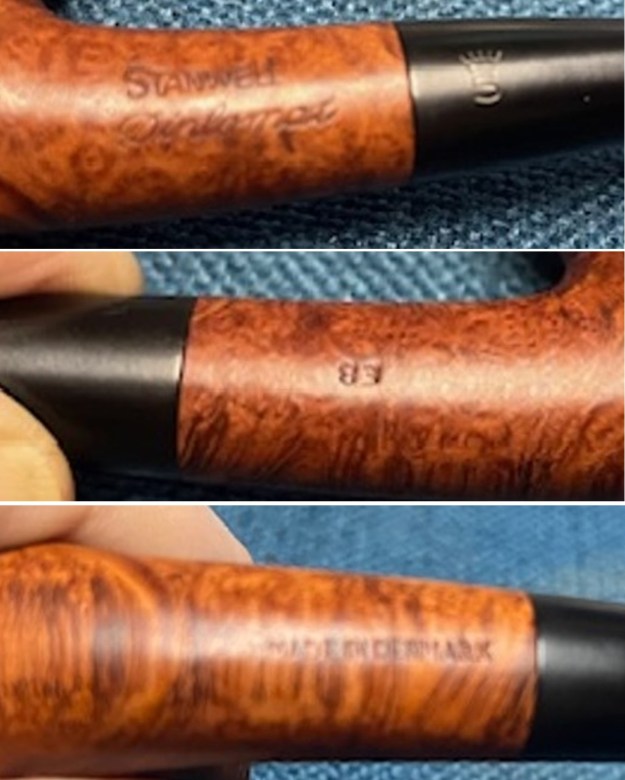
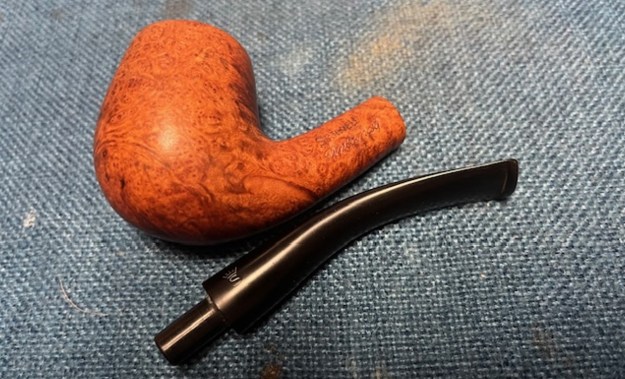
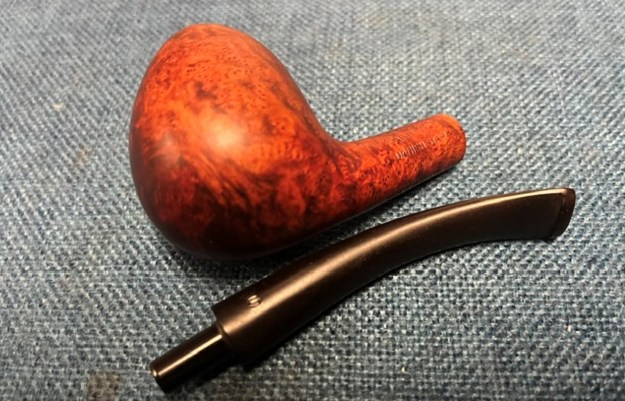
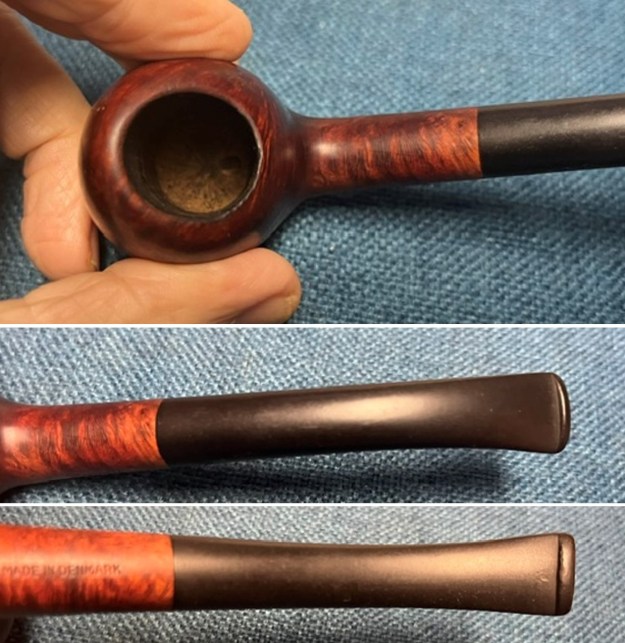 I took photos of the stamping on the sides of the shank. I left out the Made in Denmark photo that is shown above. It was clear and read as noted above. I removed the stem and took a photo of the pipe to give a sense of the whole.
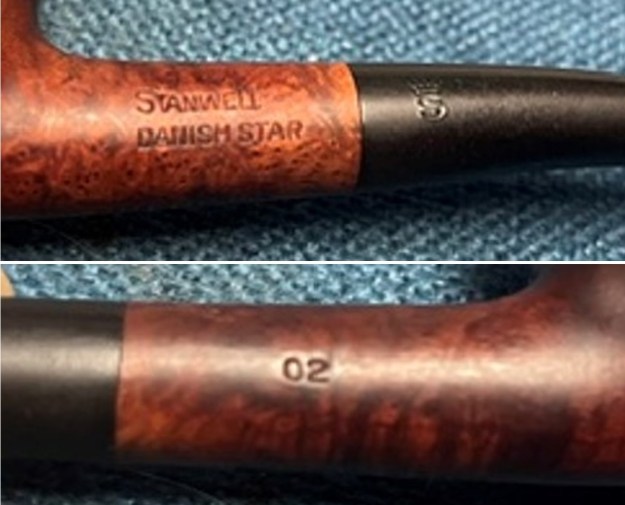
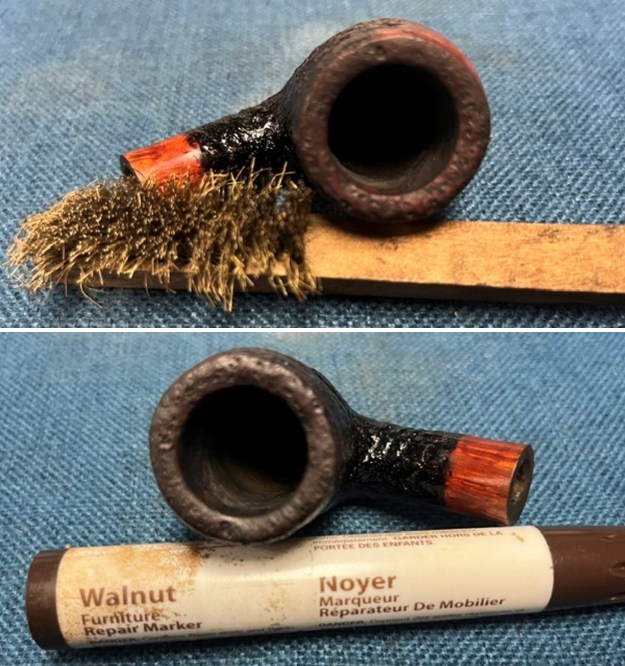
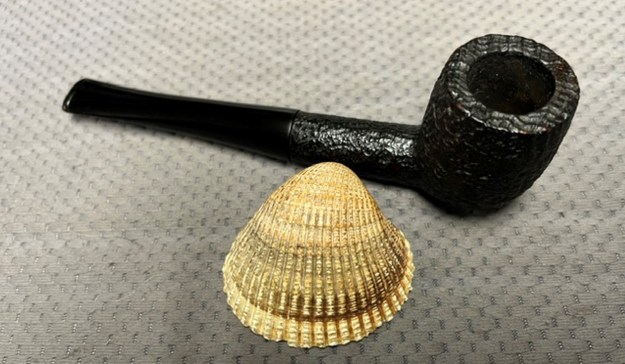
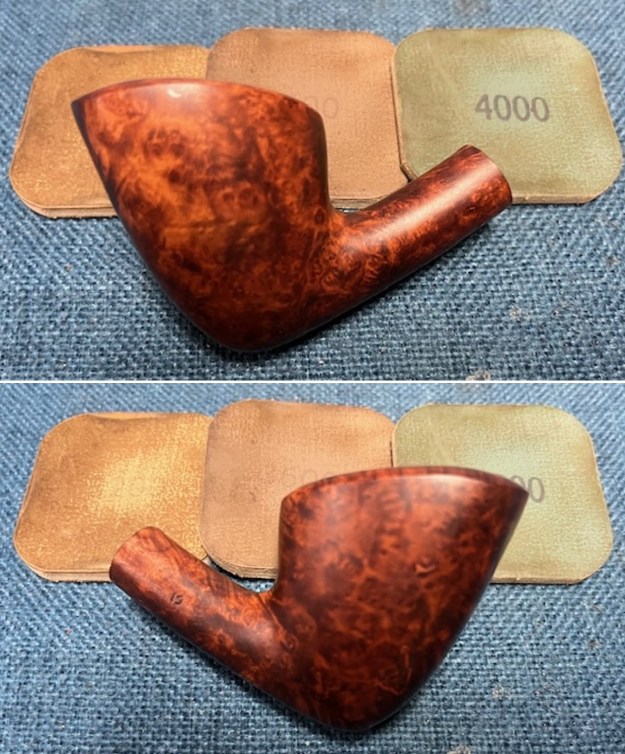
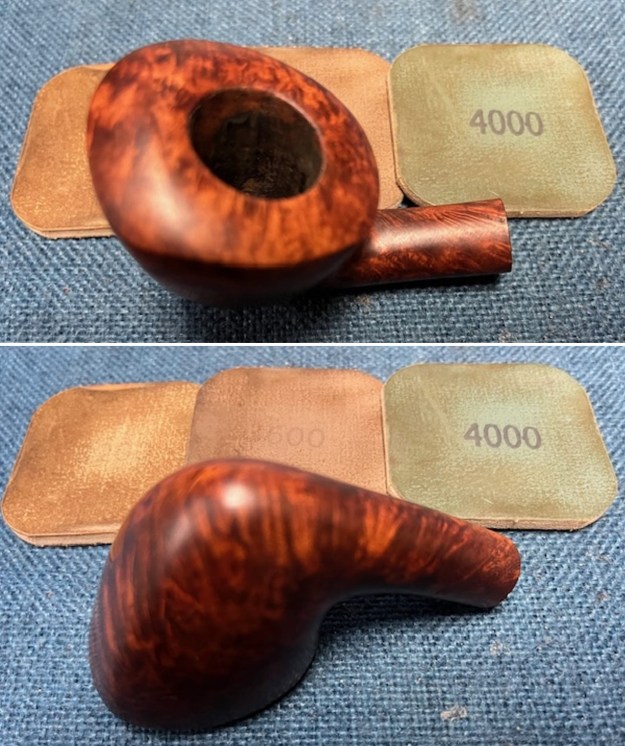
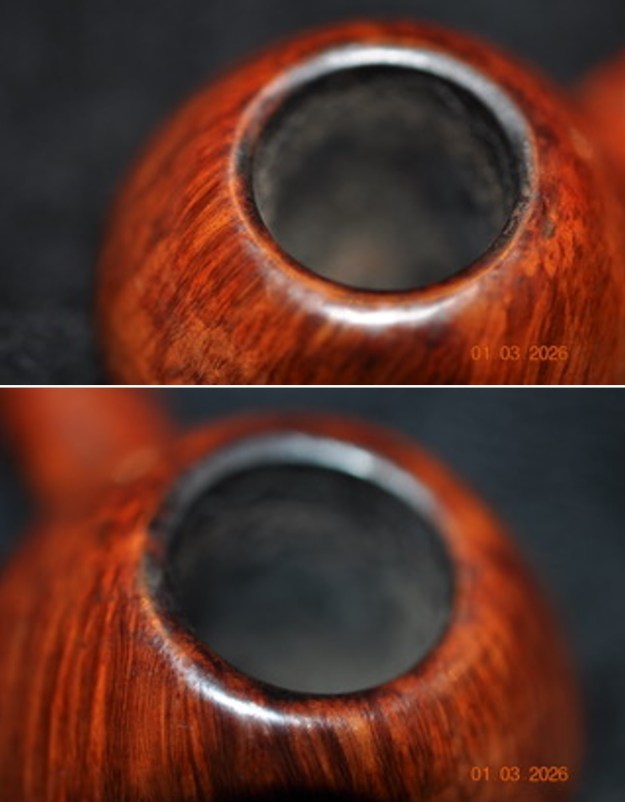
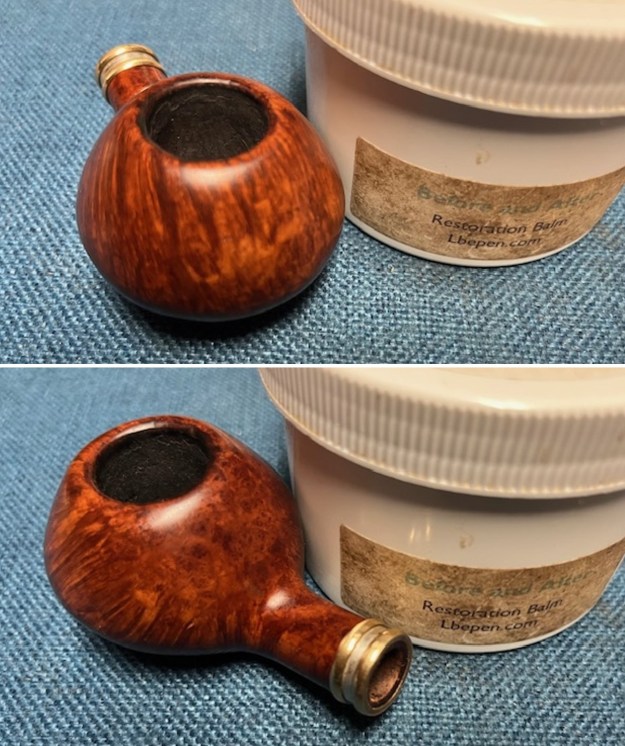
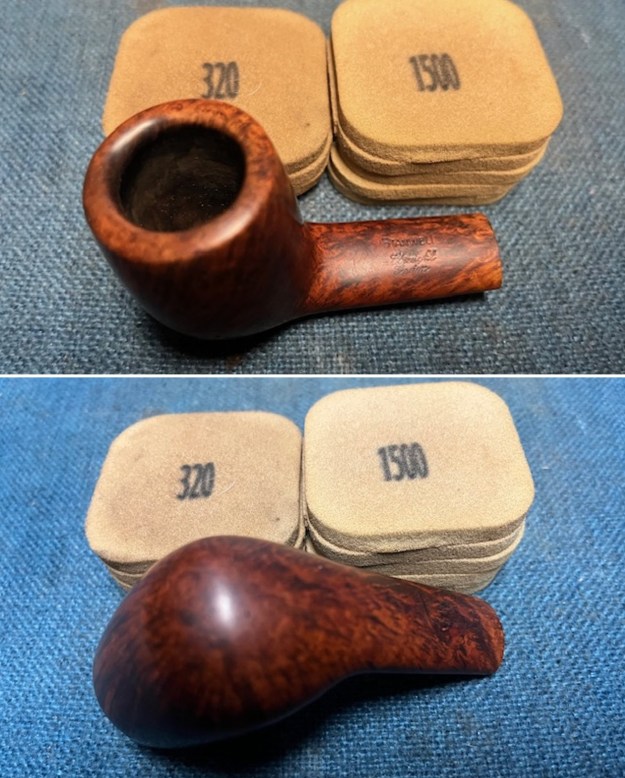
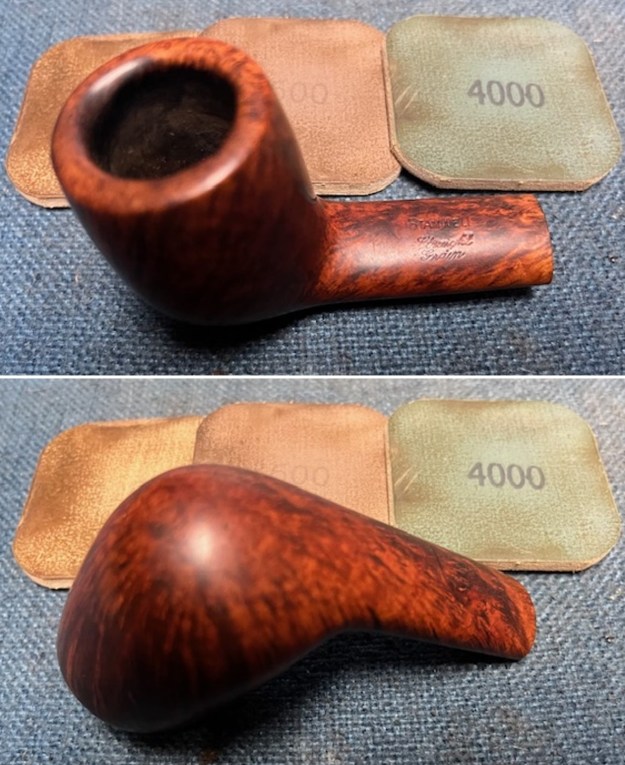
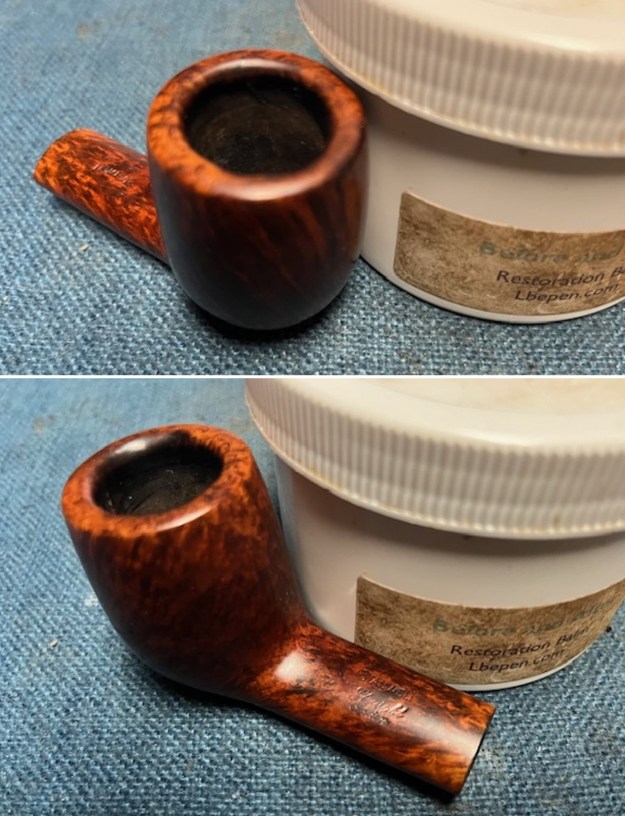
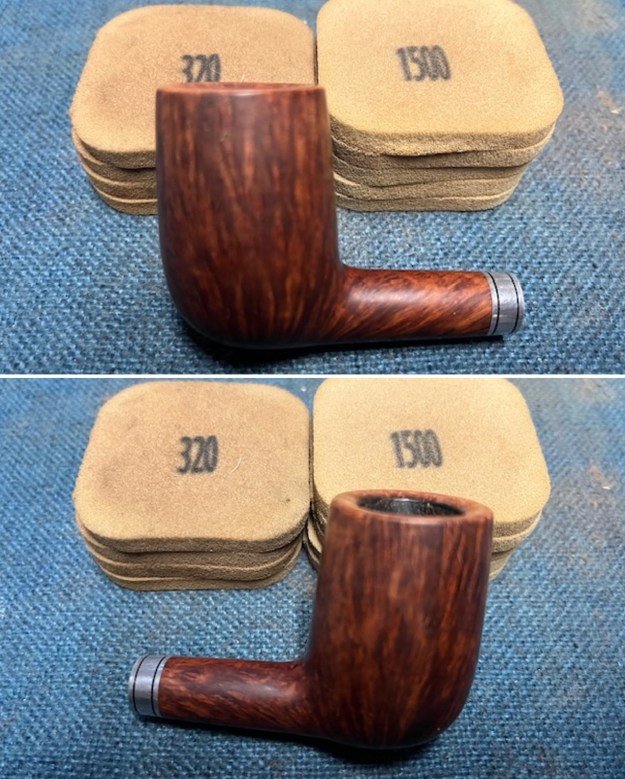
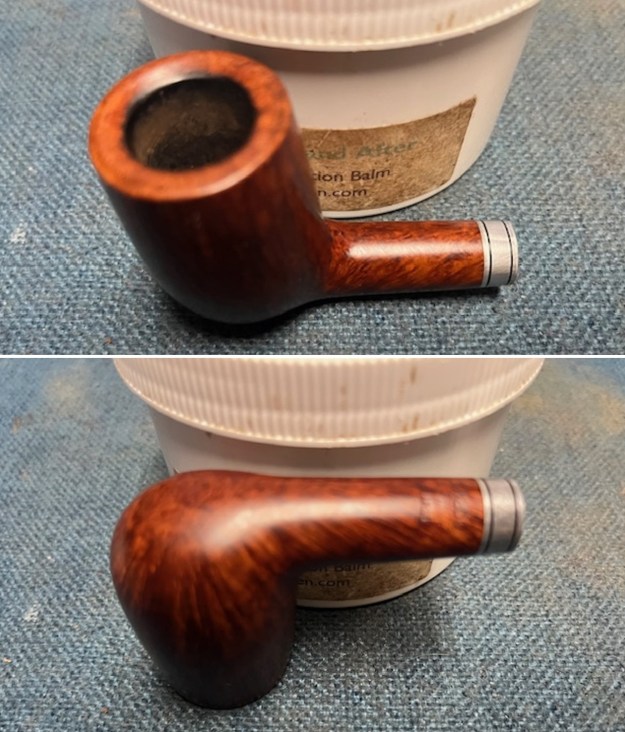
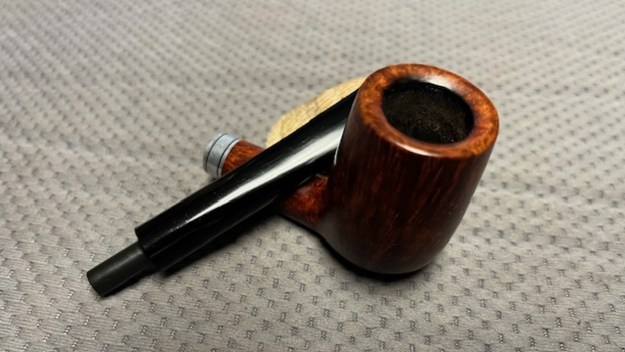
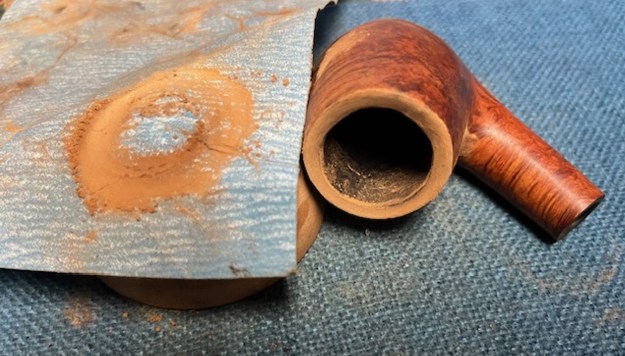
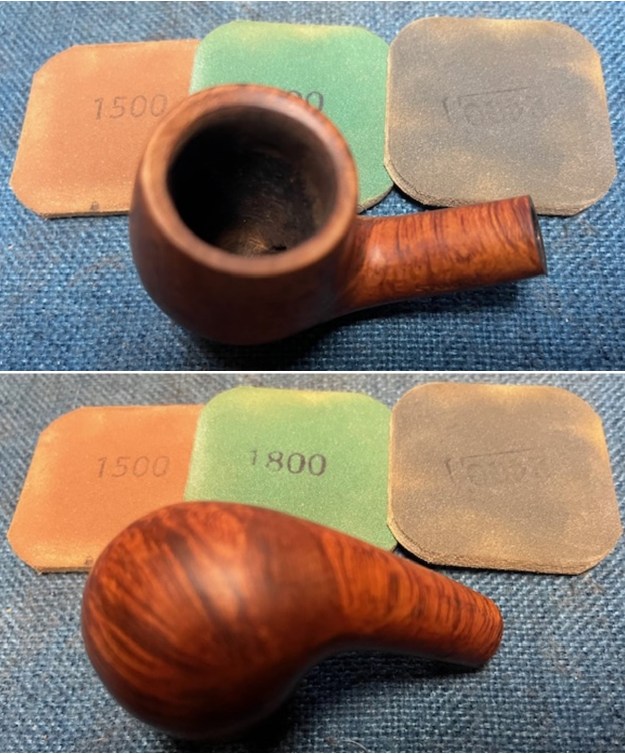
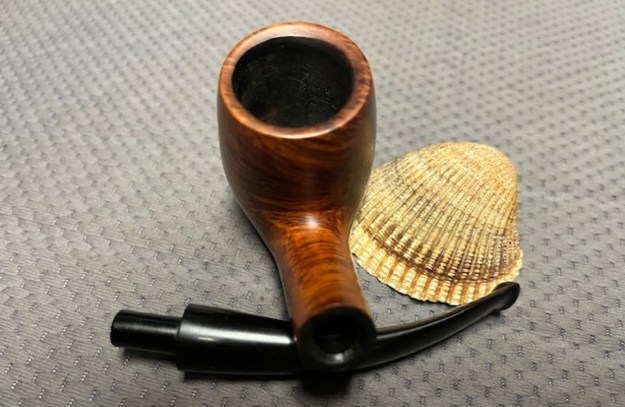
 I decided to address the nicks on the inner edge of the bowl first. I used a folded piece of 220 grit sandpaper to smooth out the damage and clean up the edge. I was pleased with the smoothed out rim top and edge.
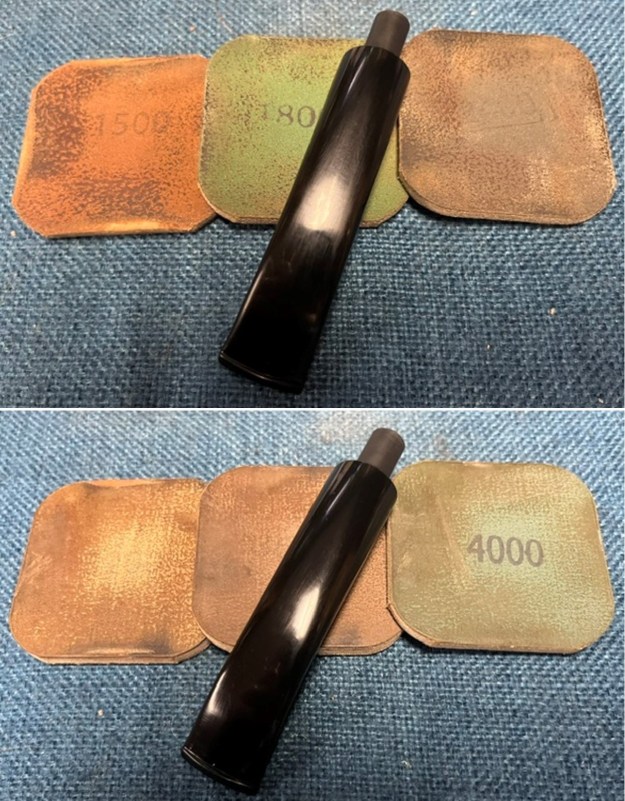
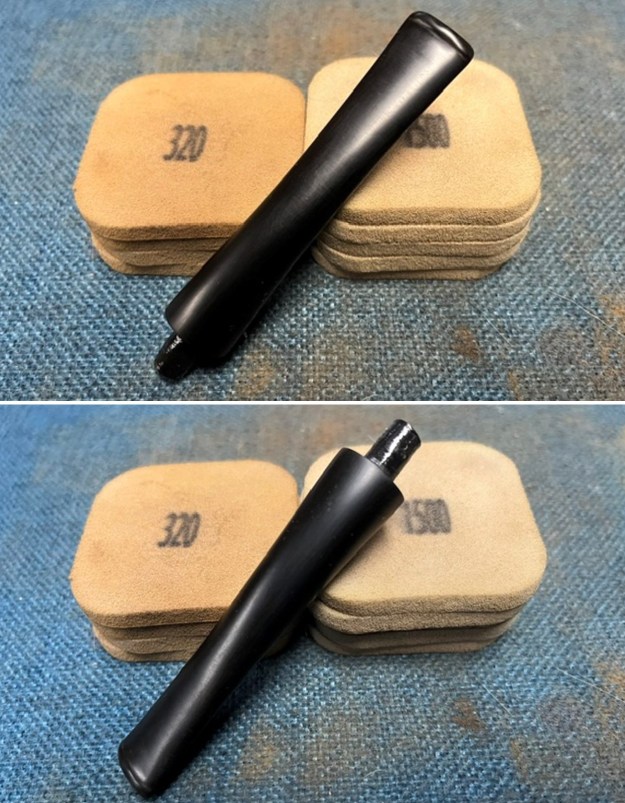
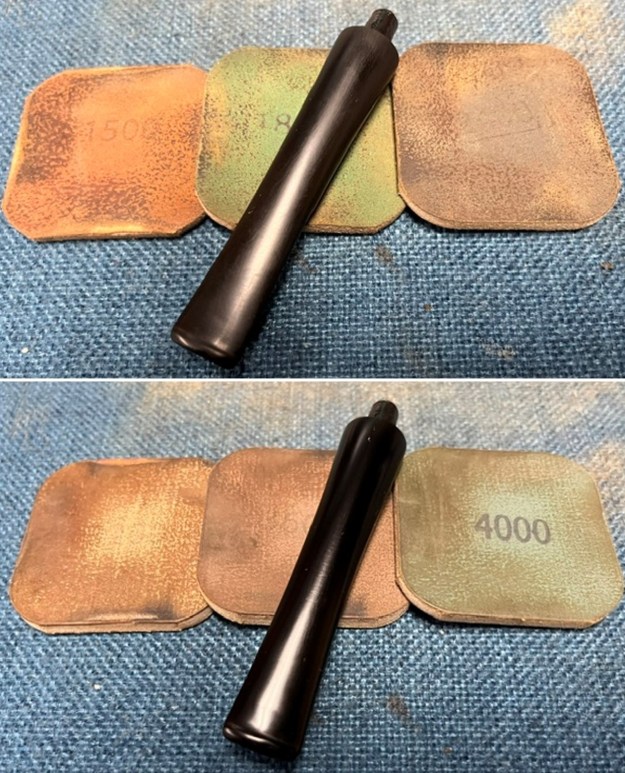
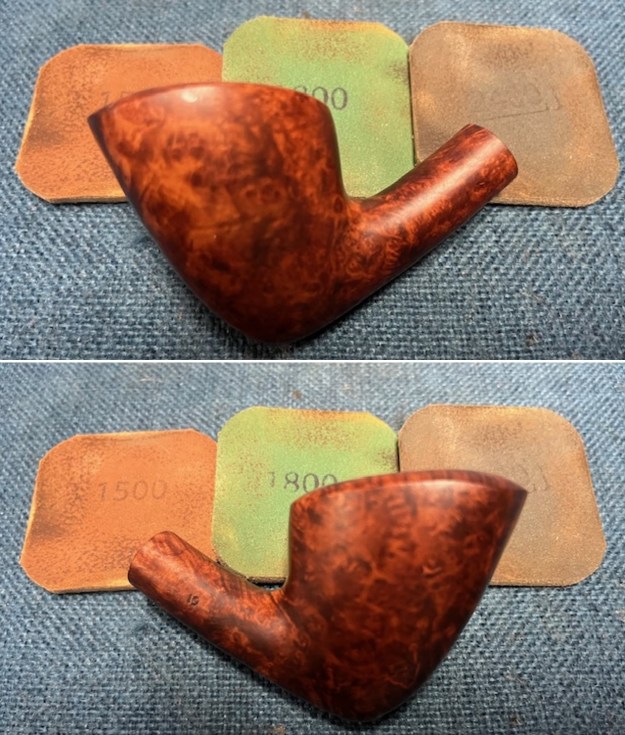
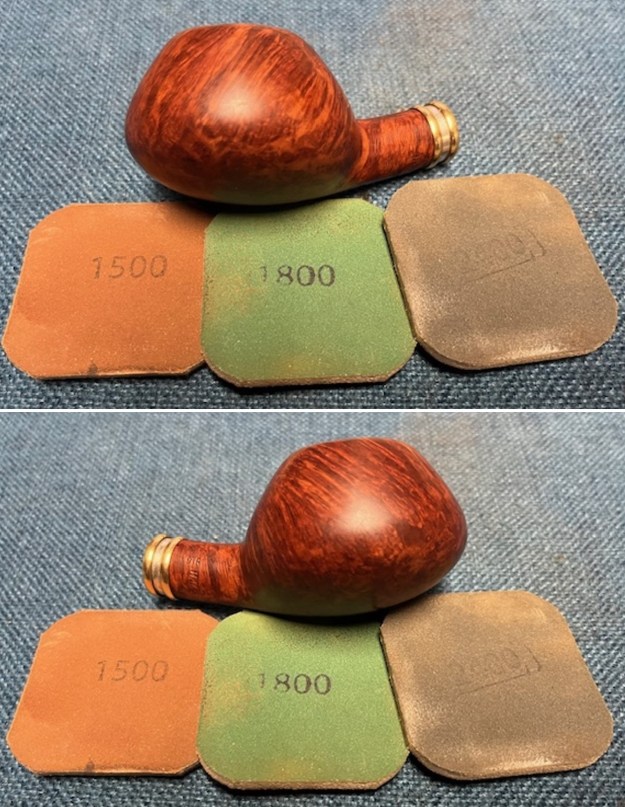
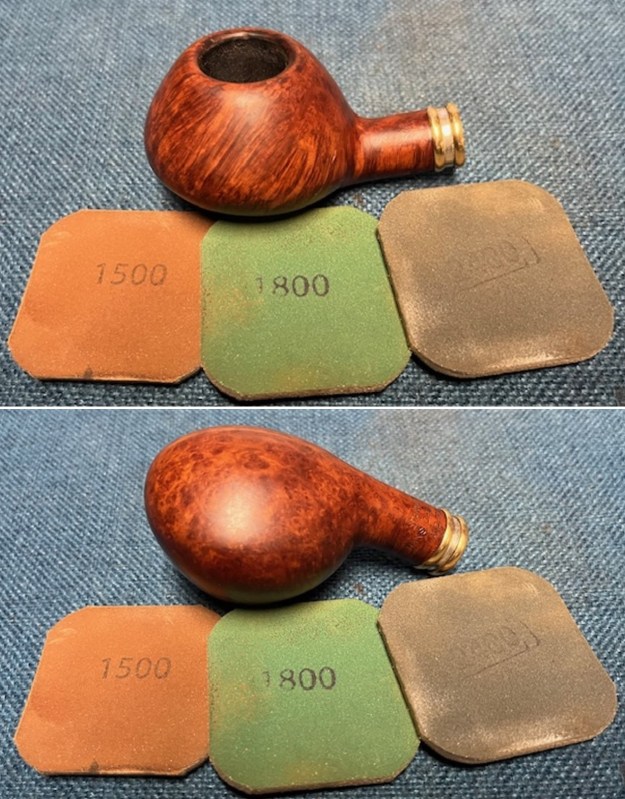
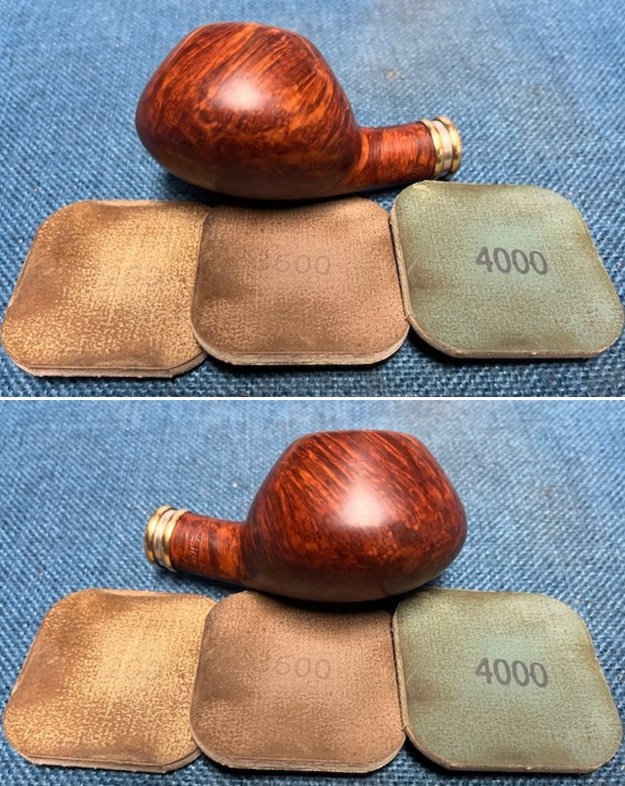
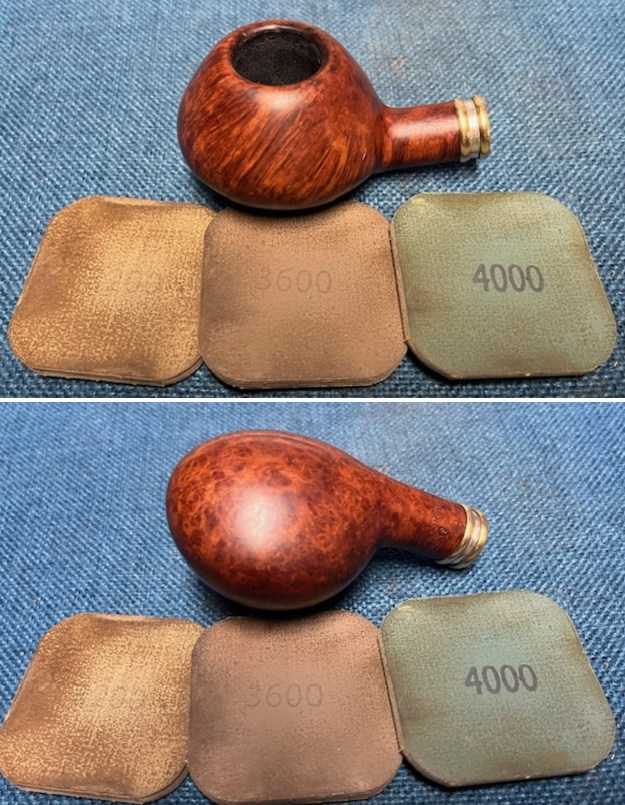
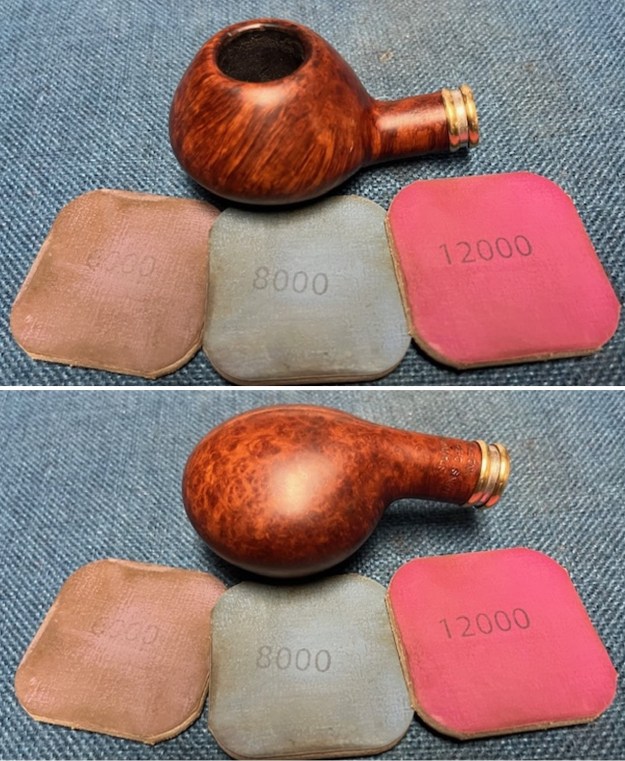
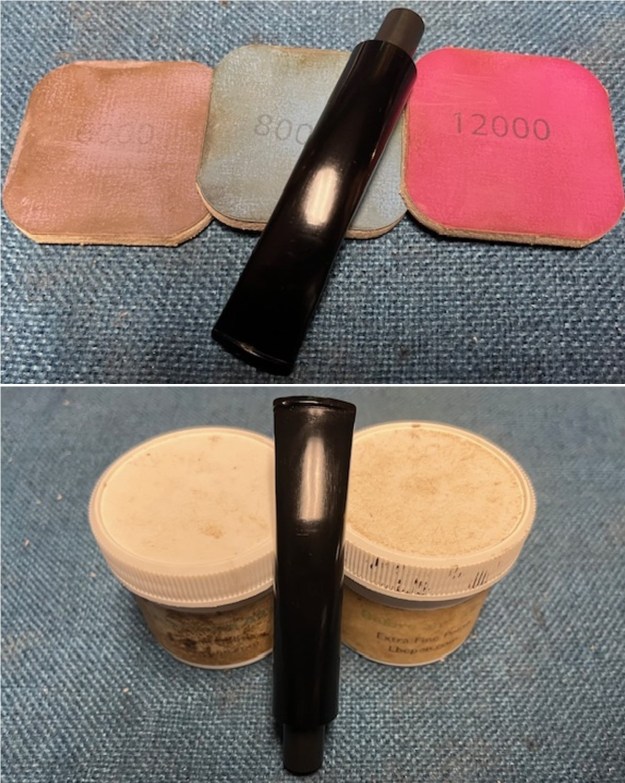
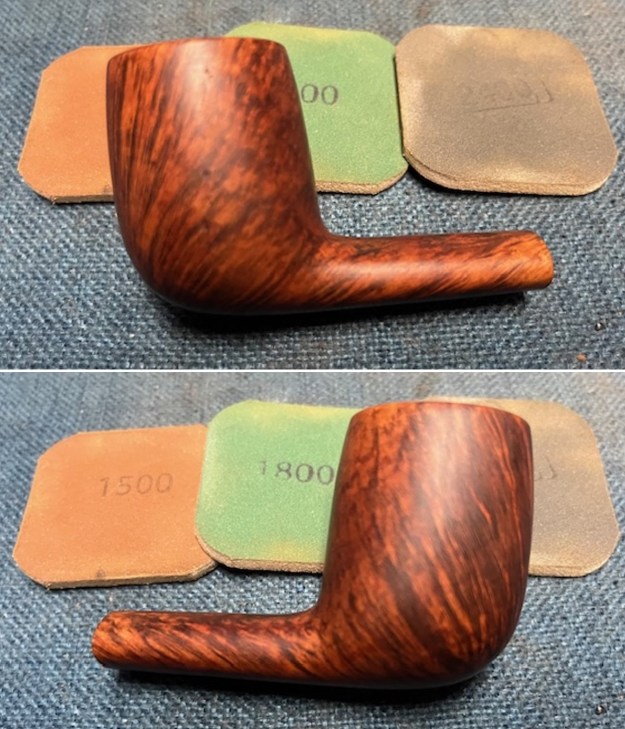
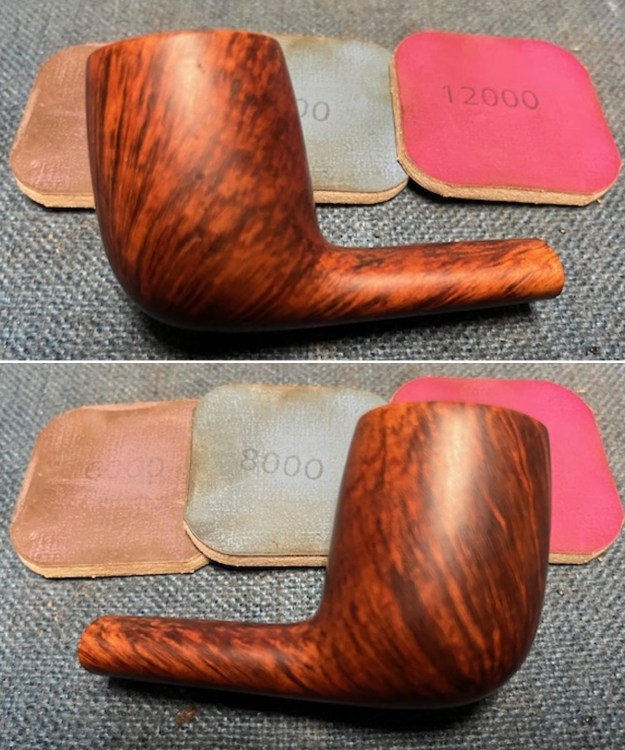
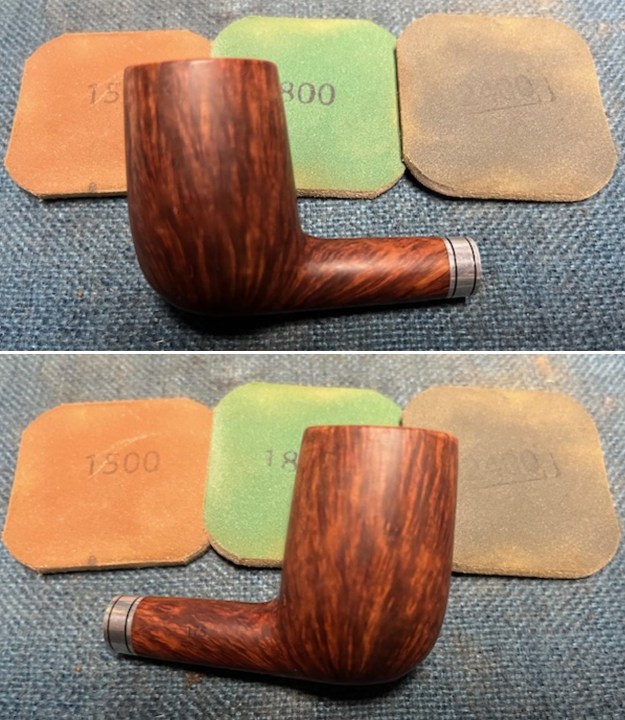
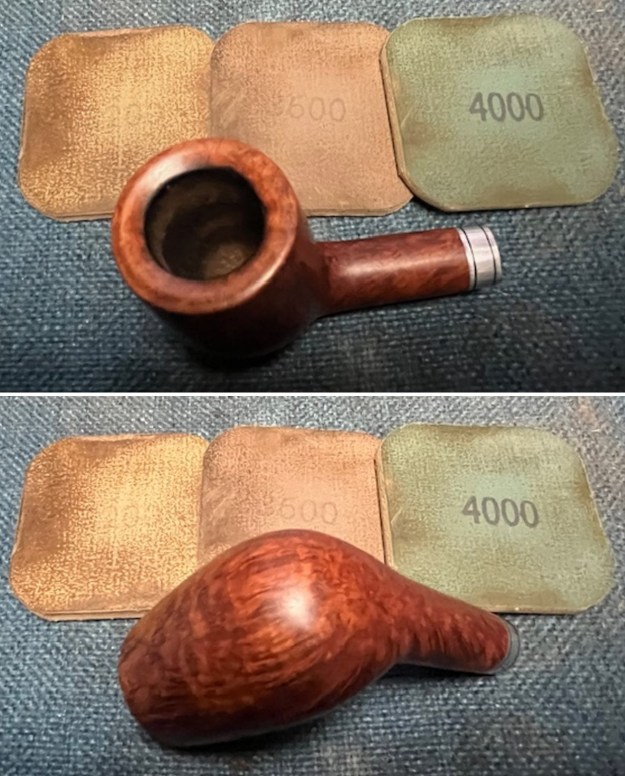
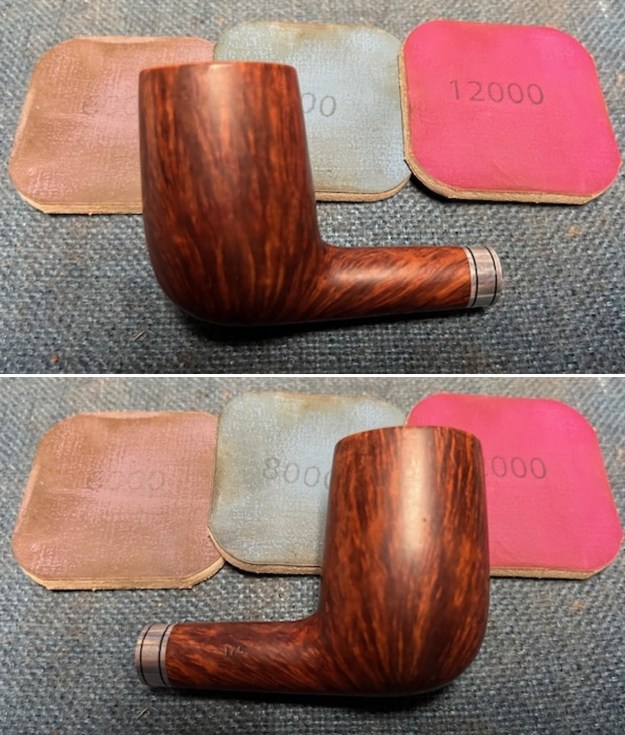
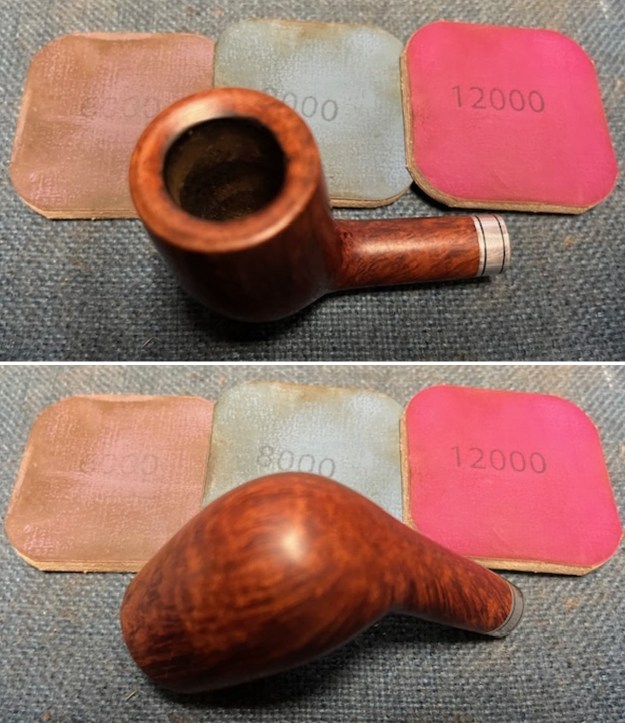
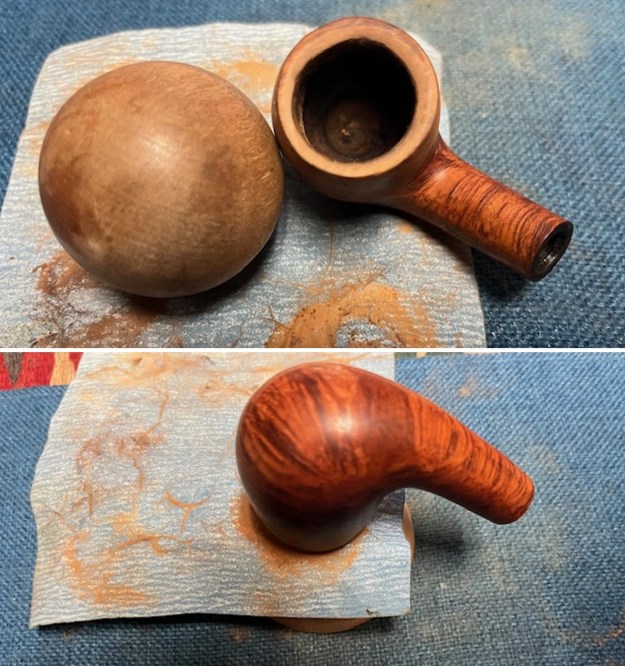
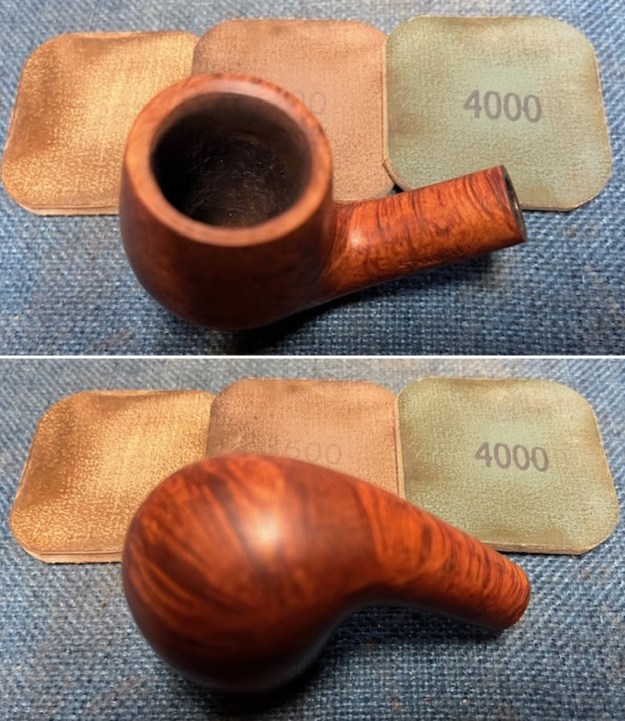
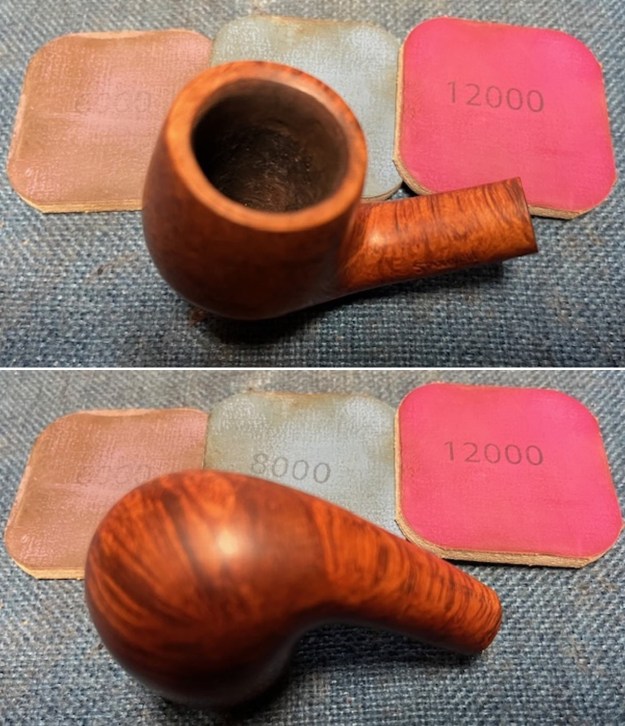
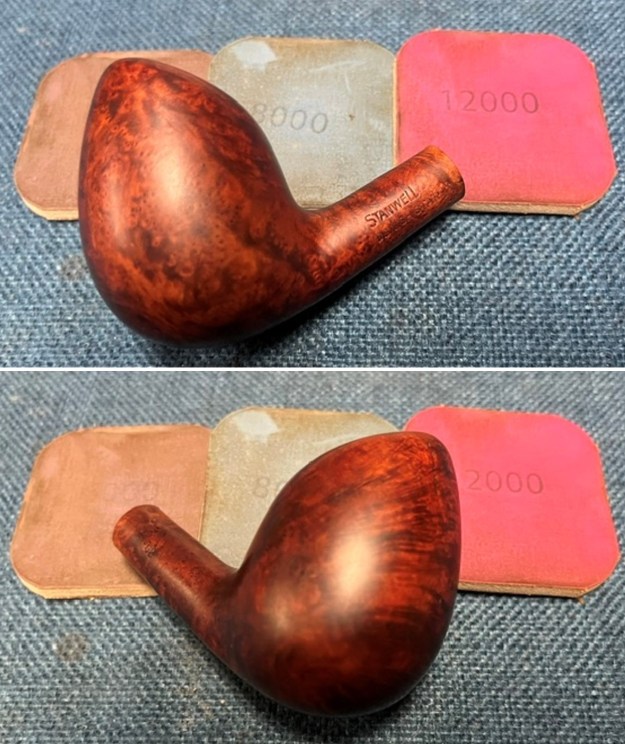
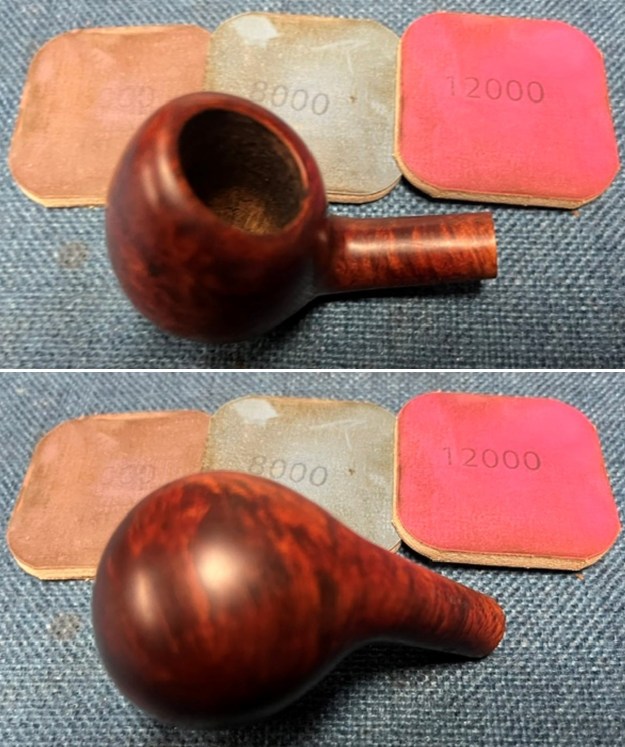
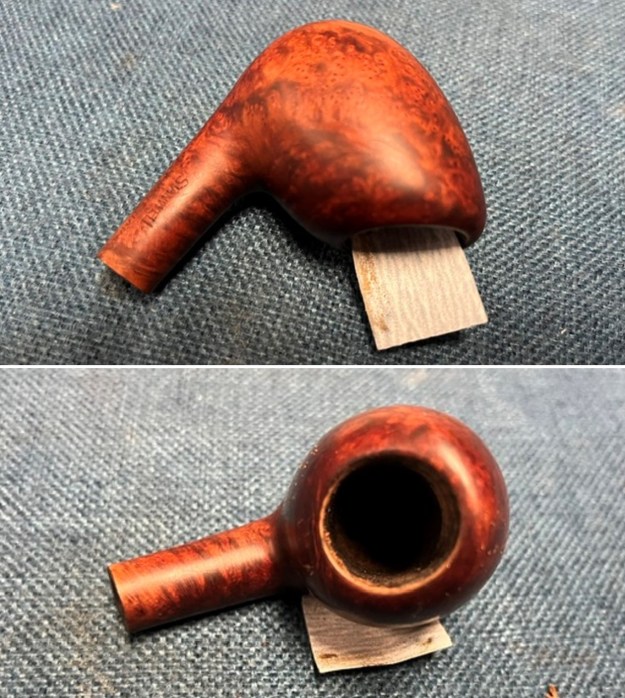 I polished the briar with micromesh sanding pads – dry sanding with 1500-12000 grit pads and wiping it down after each pad with a damp cloth.
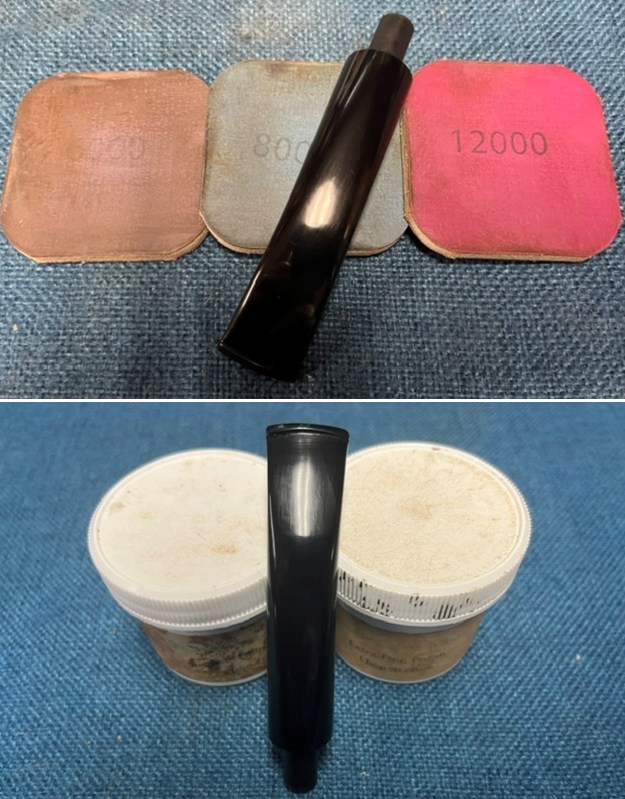
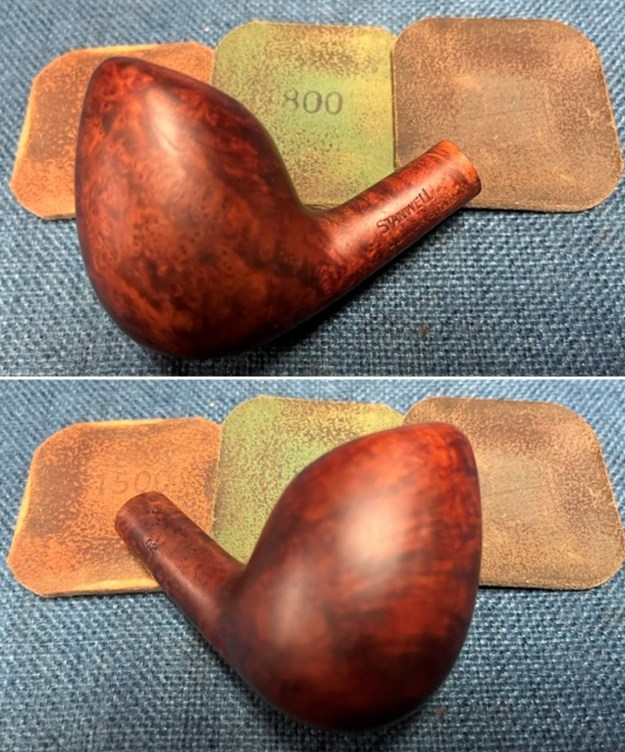
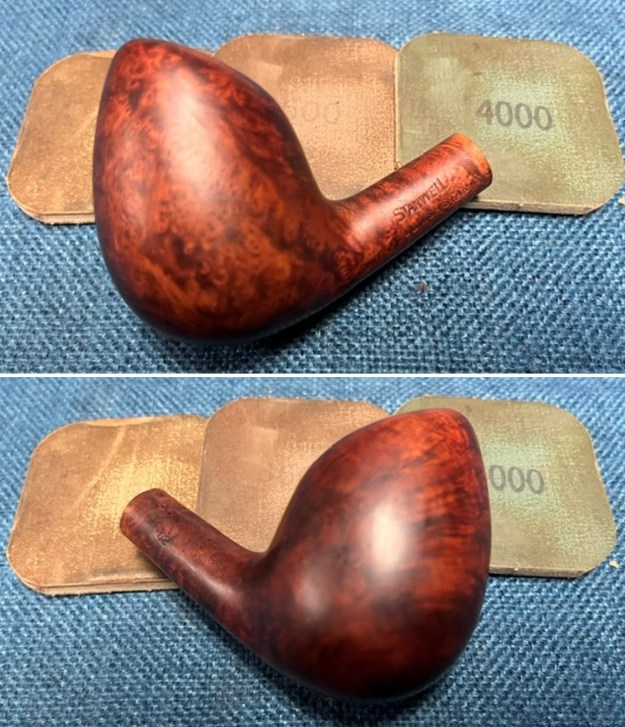
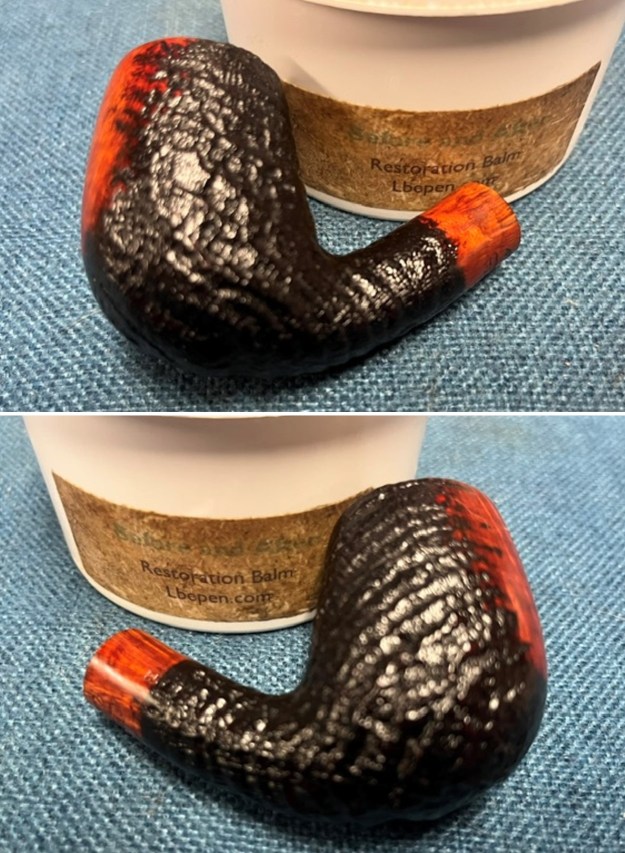
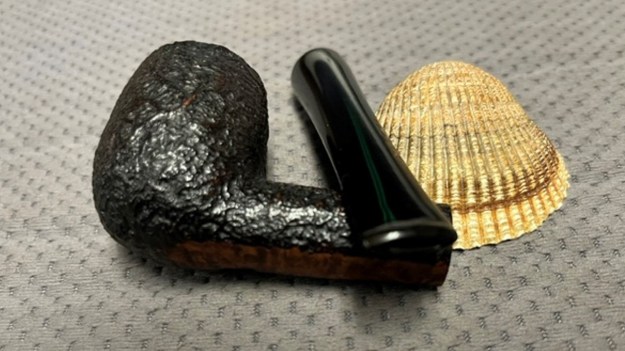
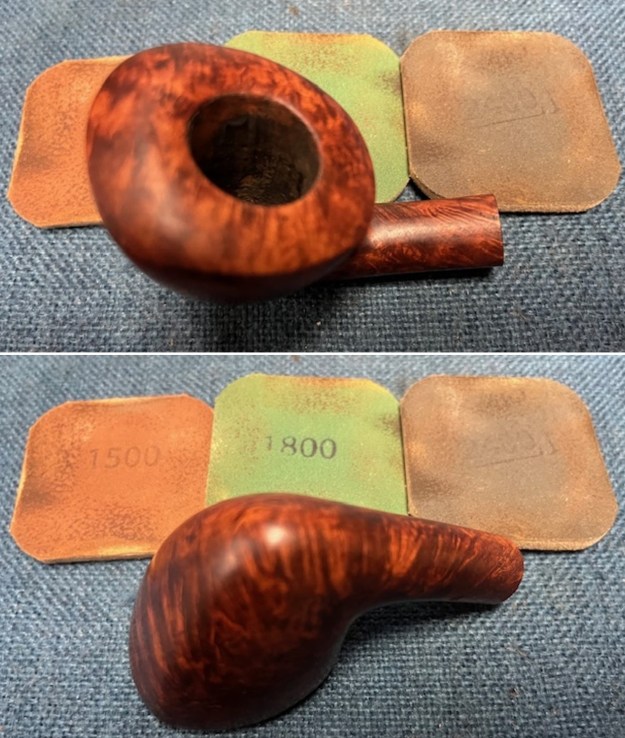
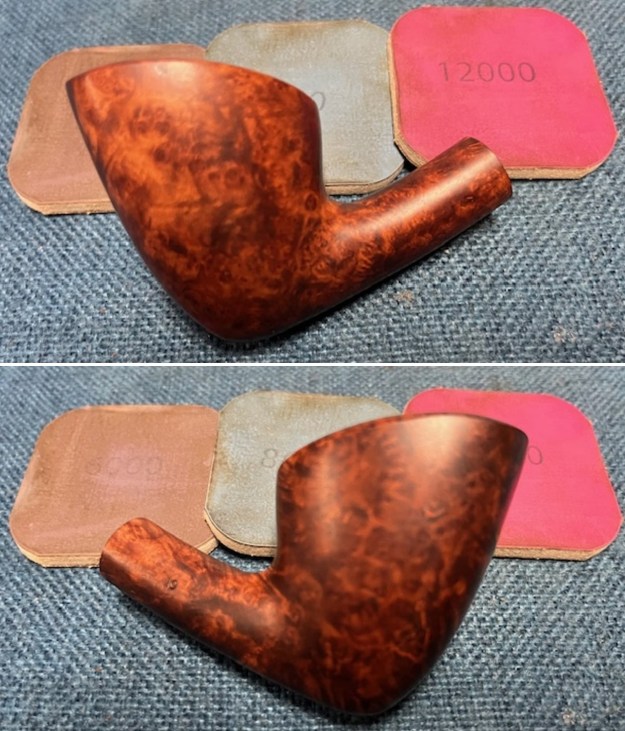
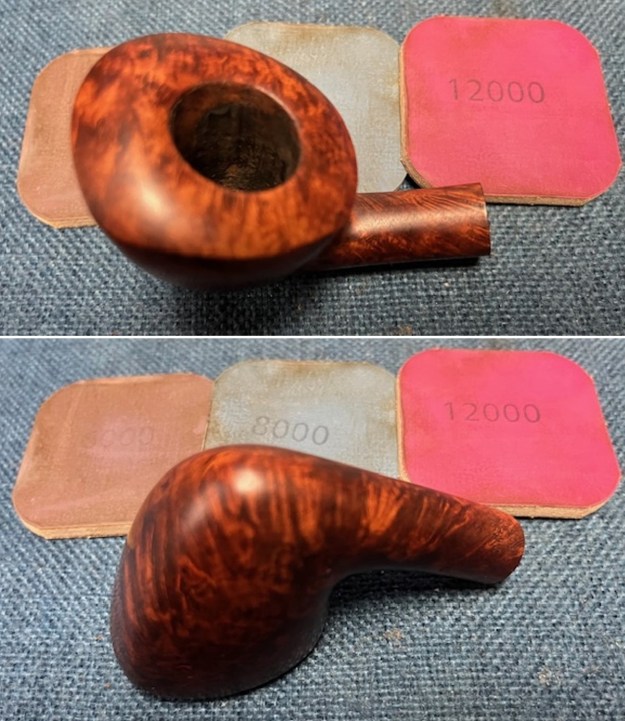
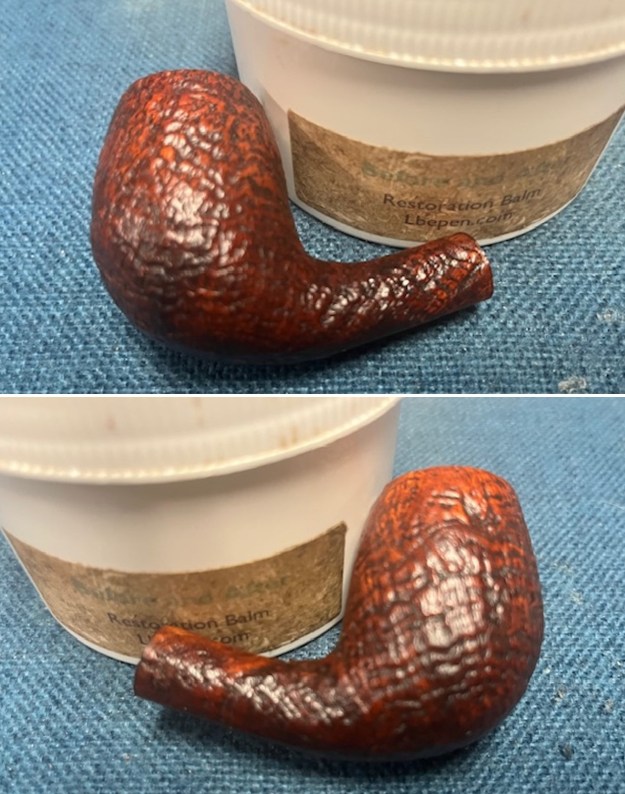
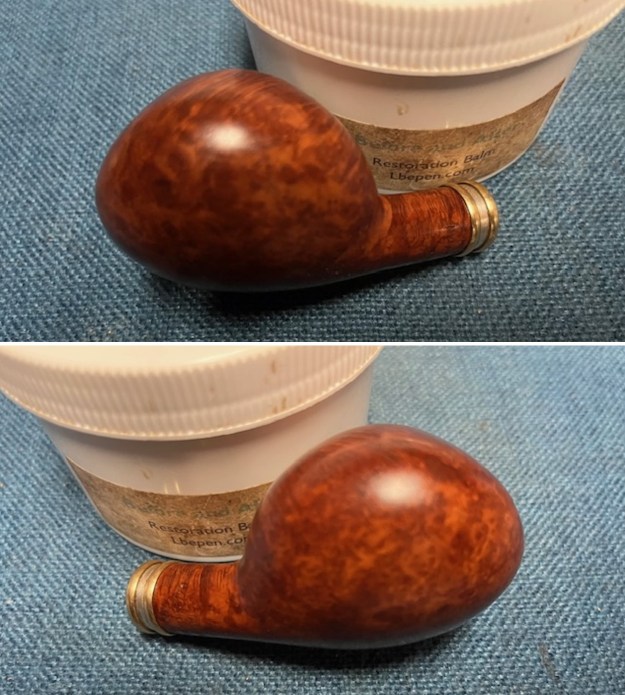
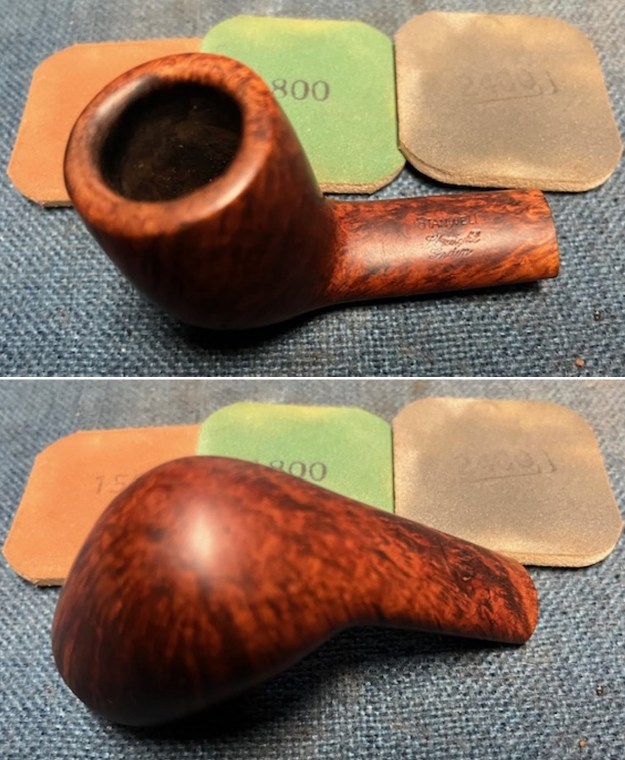
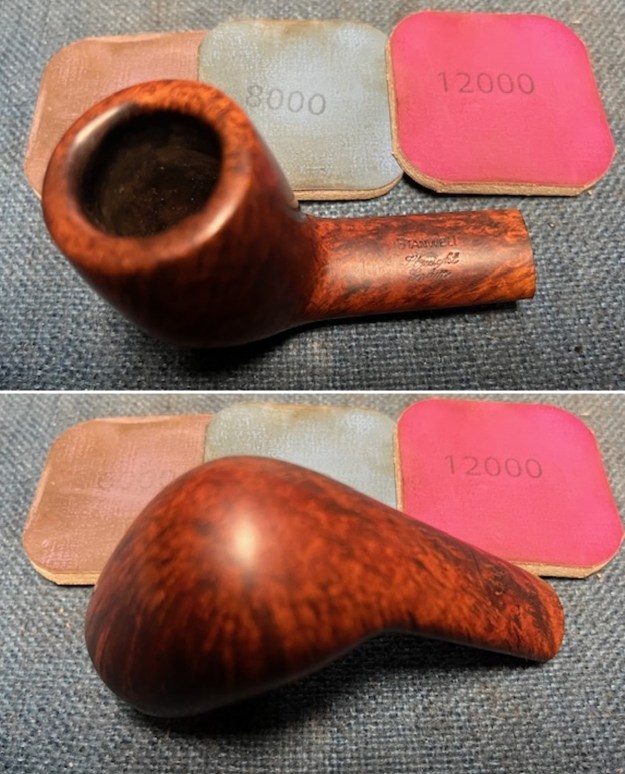
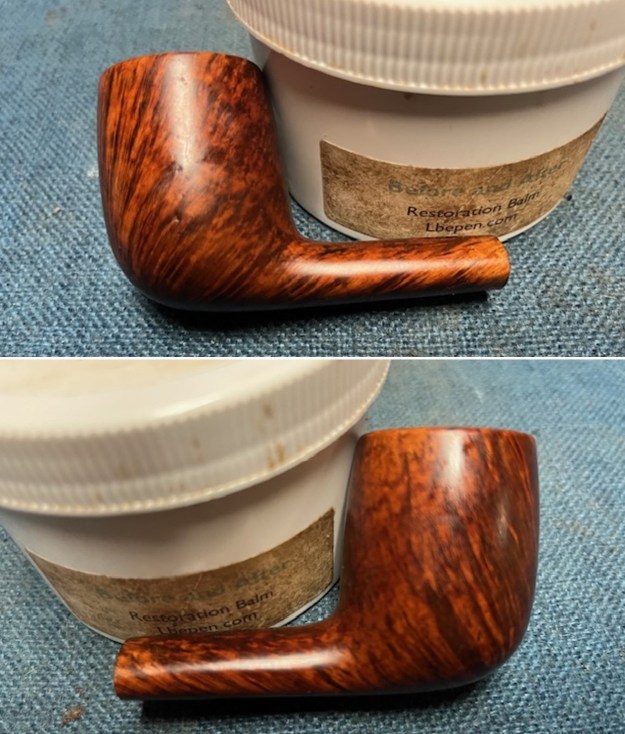
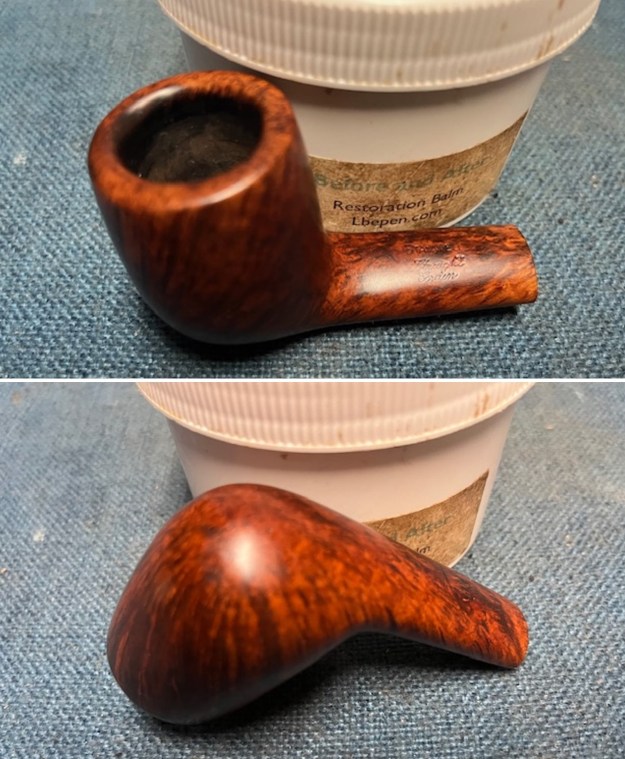
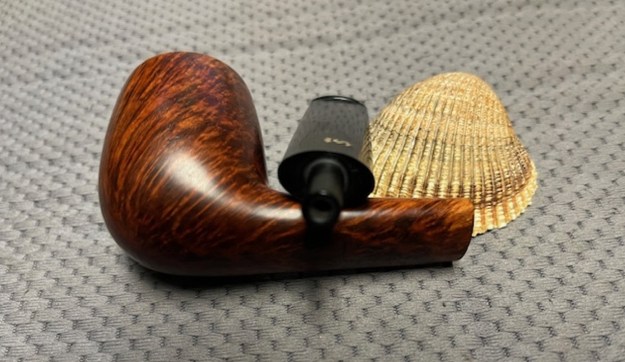
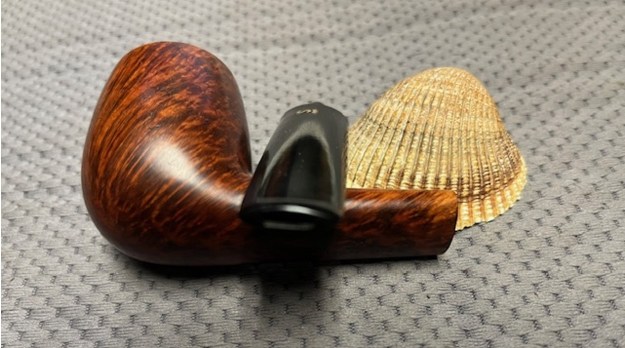
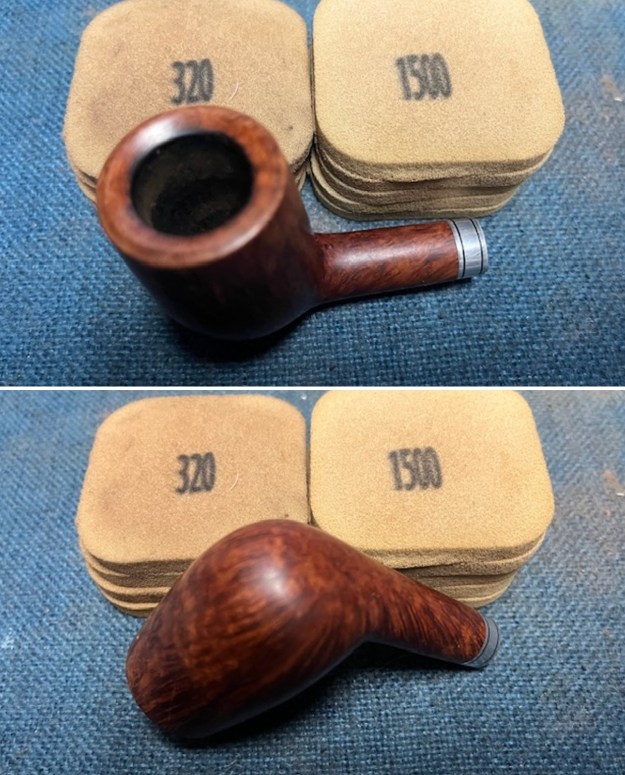
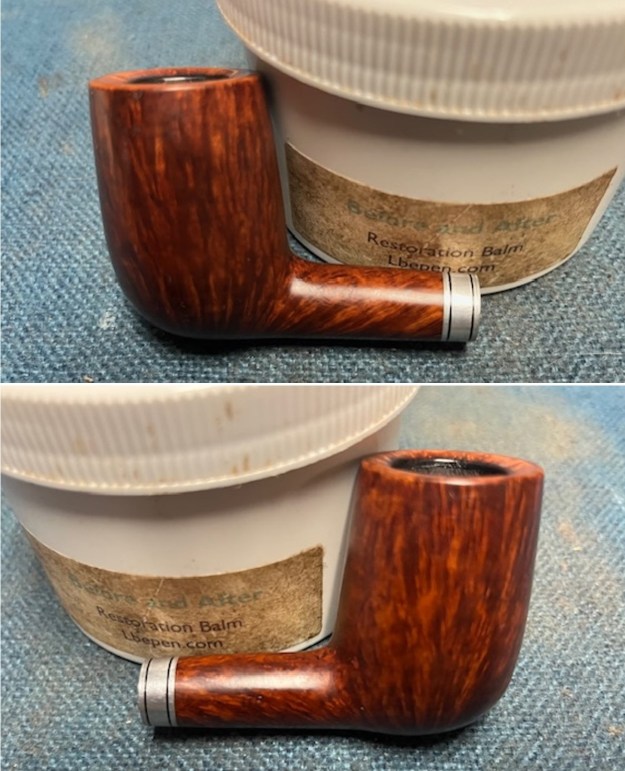
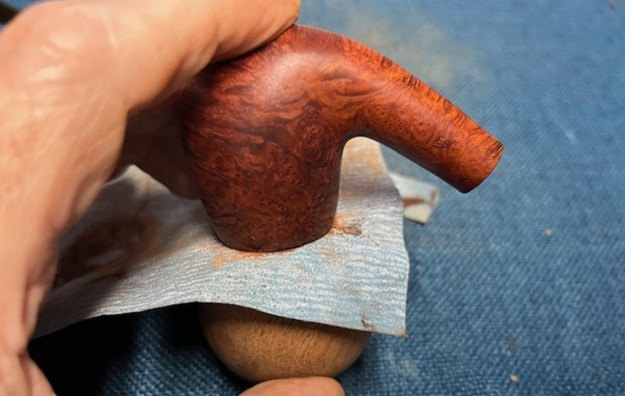
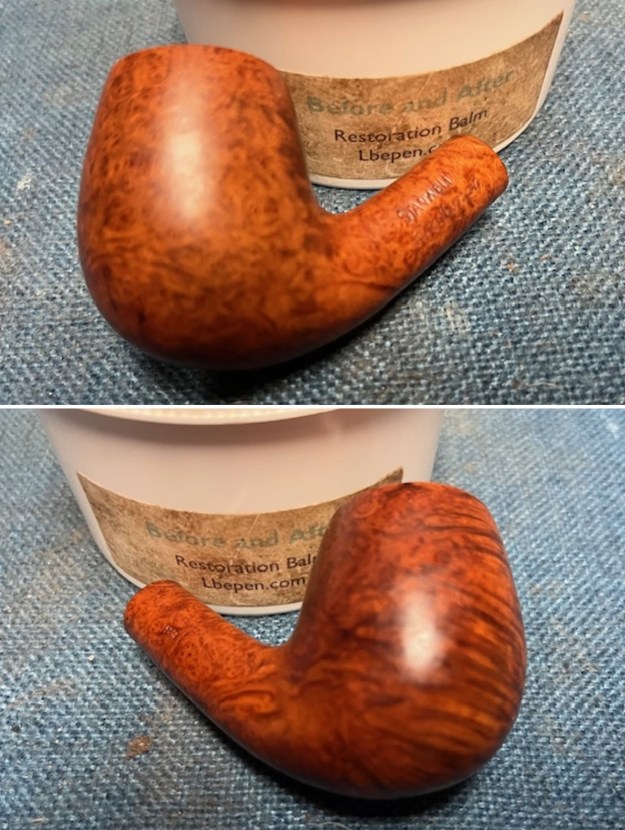
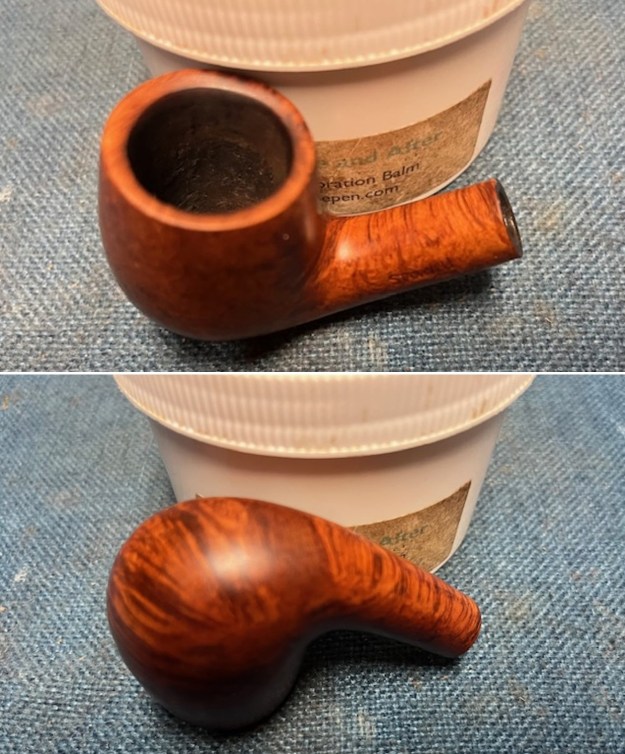
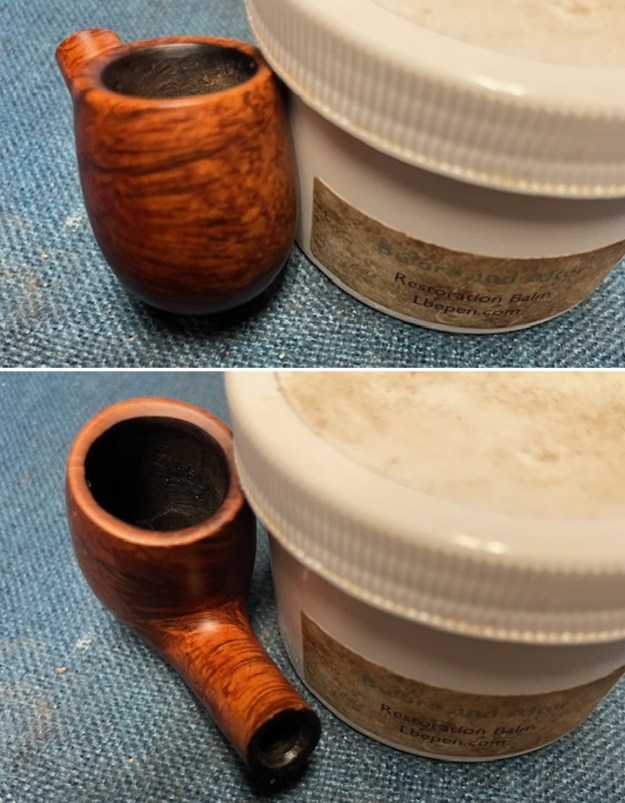
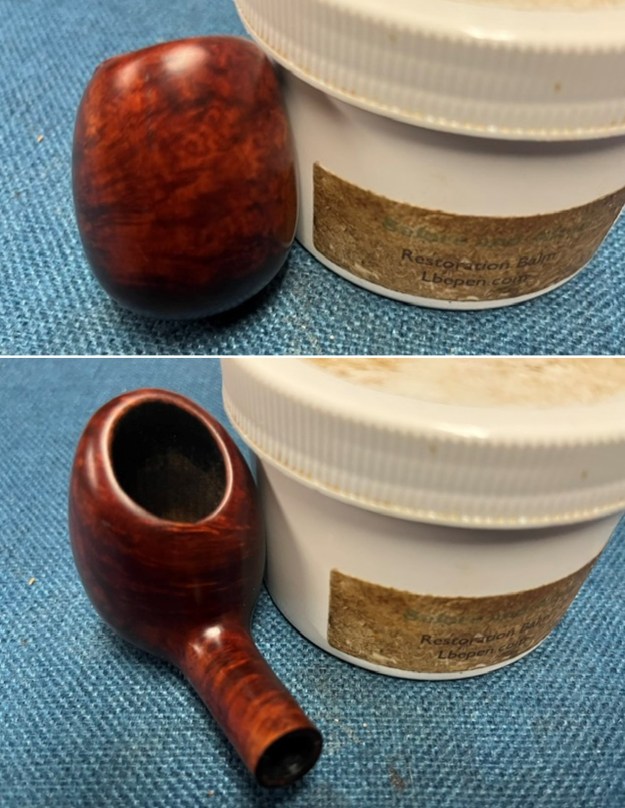
 I rubbed the bowl and shank down with Before & After Restoration Balm. I worked it into the surface of the bowl sides and shank with my fingertips. The product works to clean, enliven and protect the briar. I let the balm sit for 15 minutes and then buffed with a cotton cloth to raise the shine.
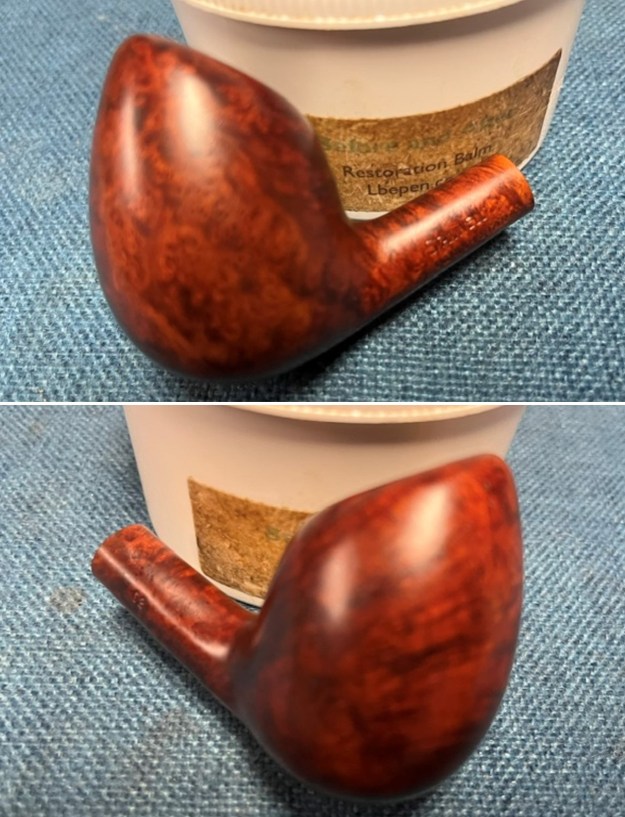
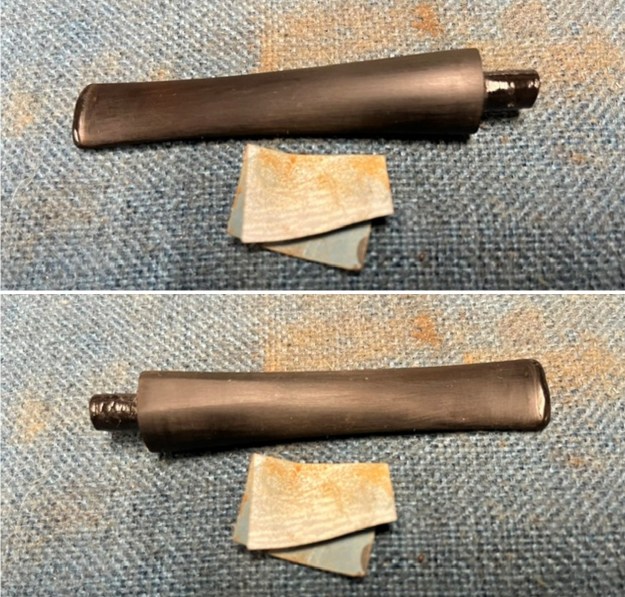
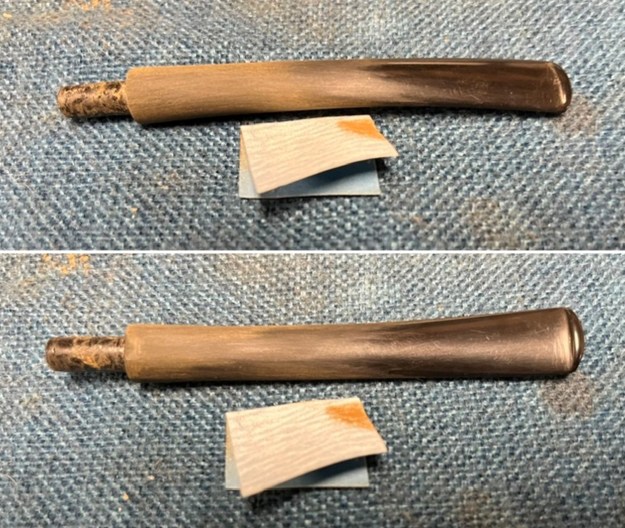
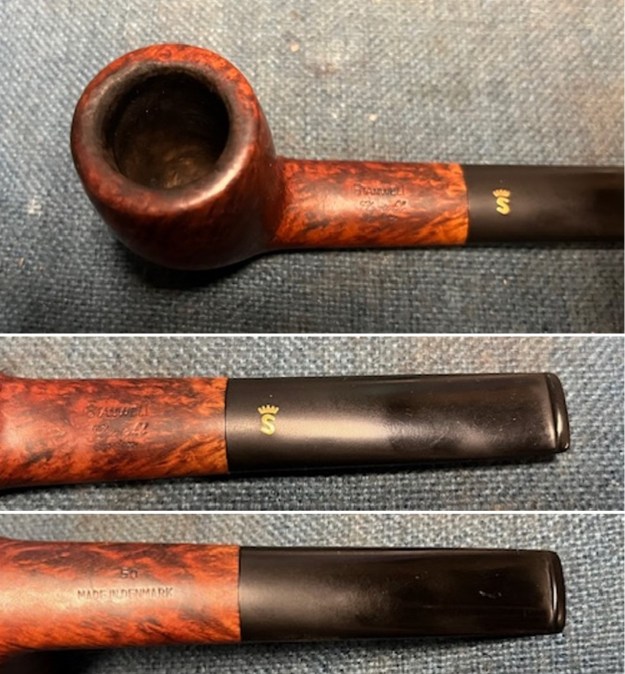
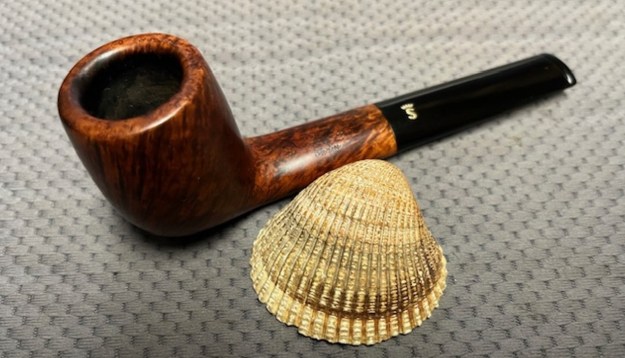
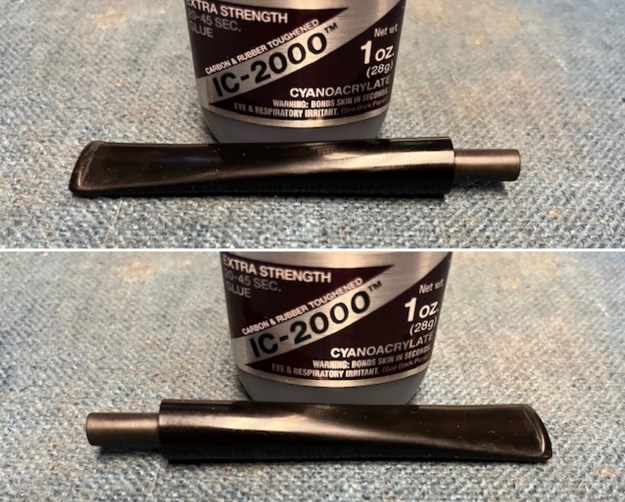
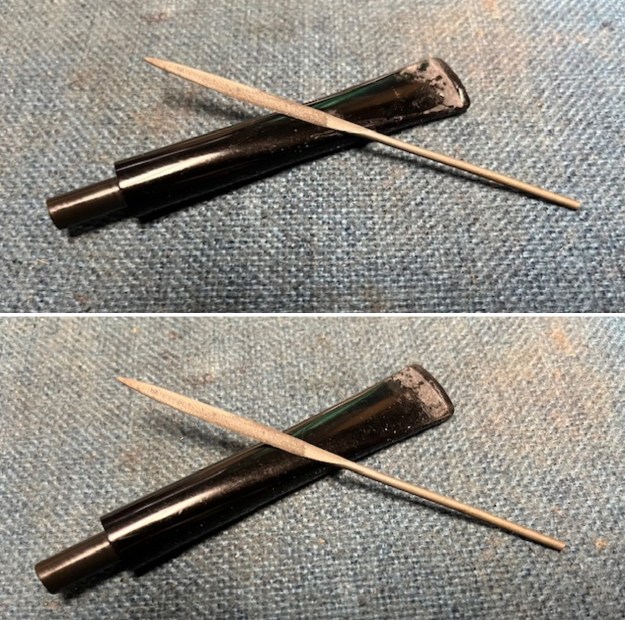
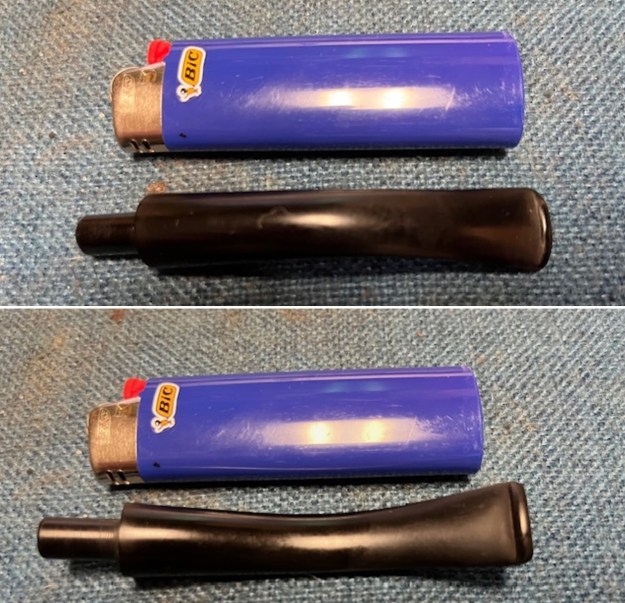
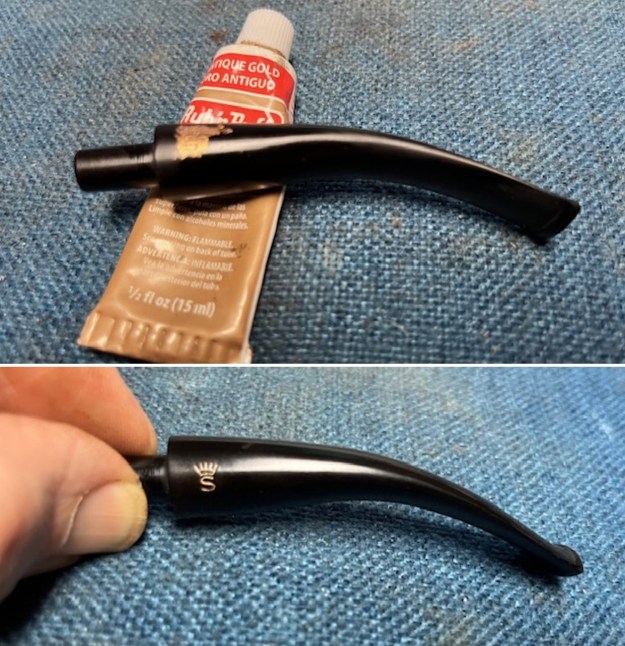
 I touched up the stamping on the top of the stem. It was a Stanwell Crown S logo. Parts of it were faint but I was able to get some of the stamping to show up with some white, acrylic fingernail polish. Once it had hardened I scraped off the excess and sanded it lightly to remove the remaining excess. It certainly looks better.
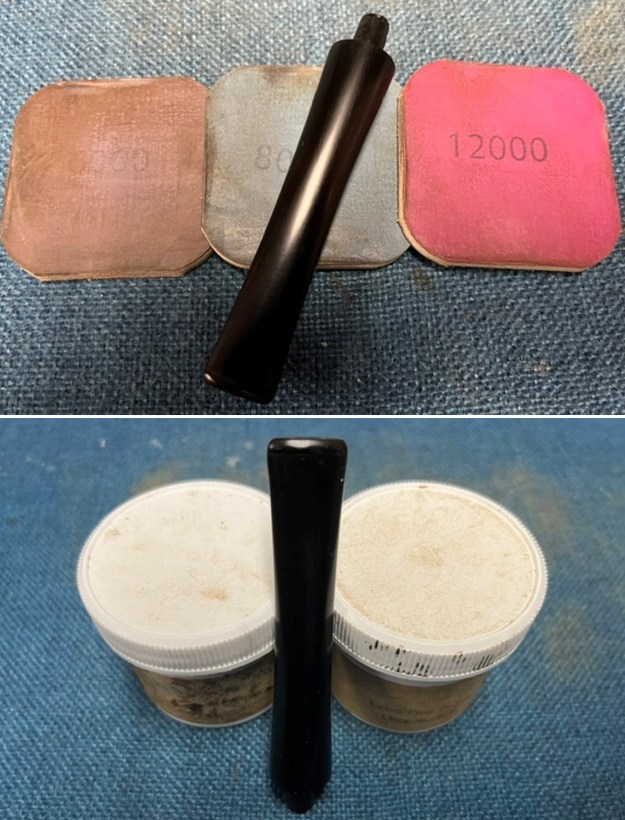
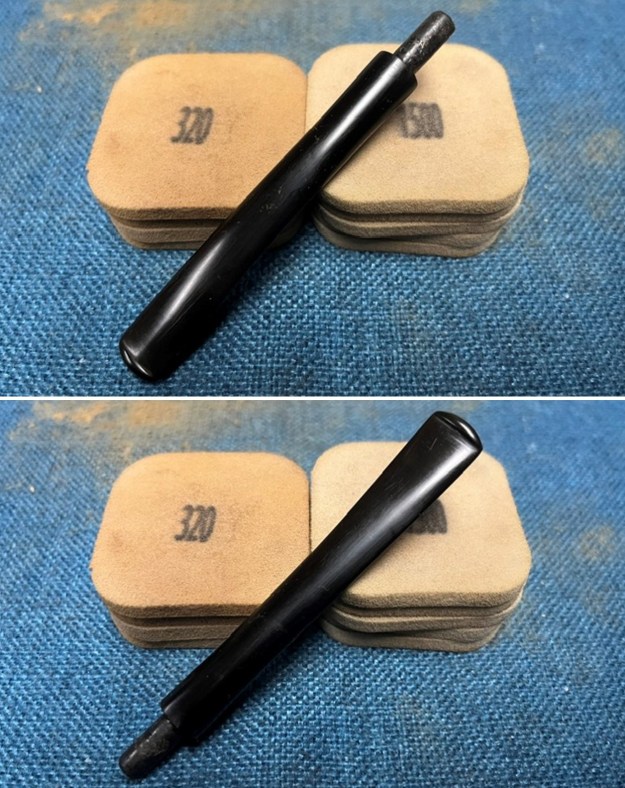
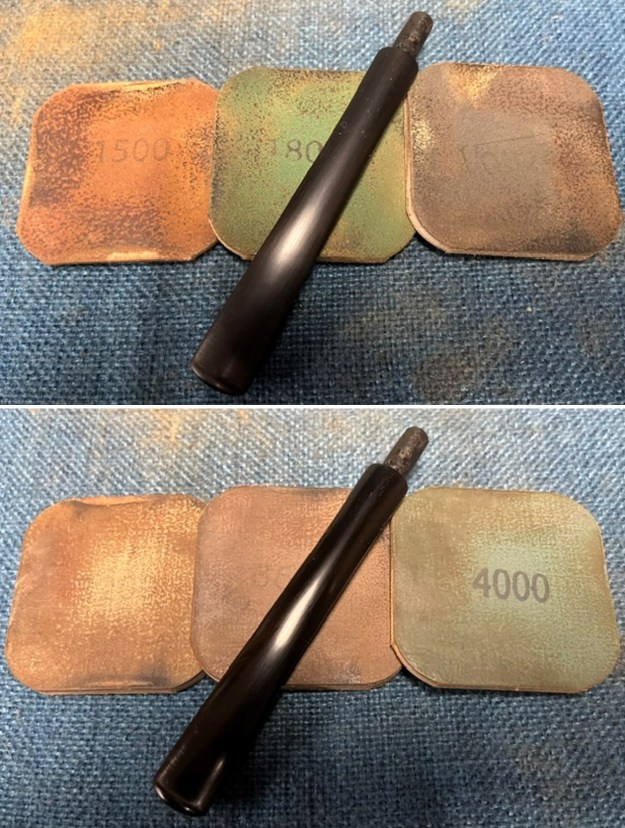
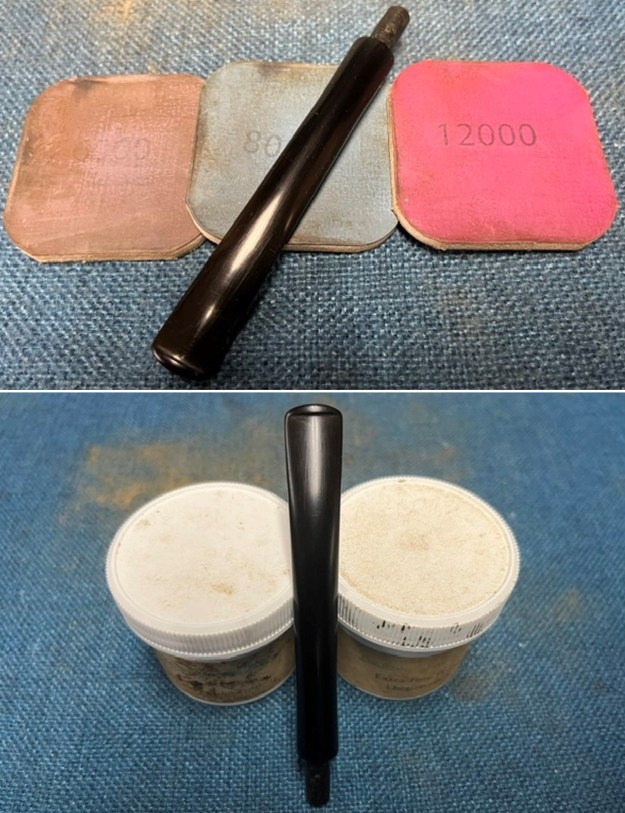
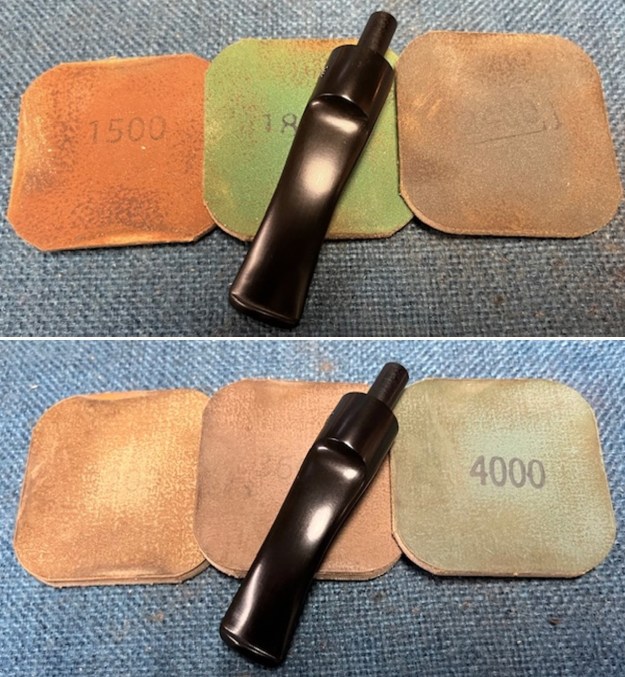
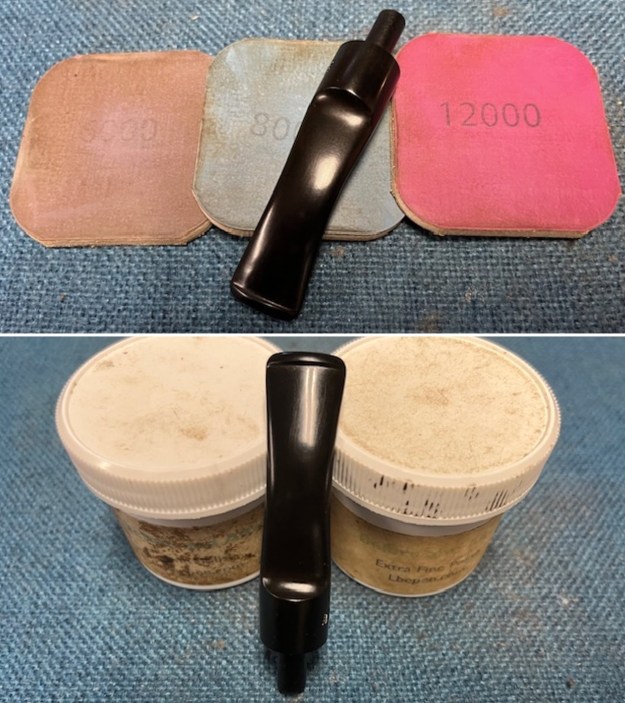
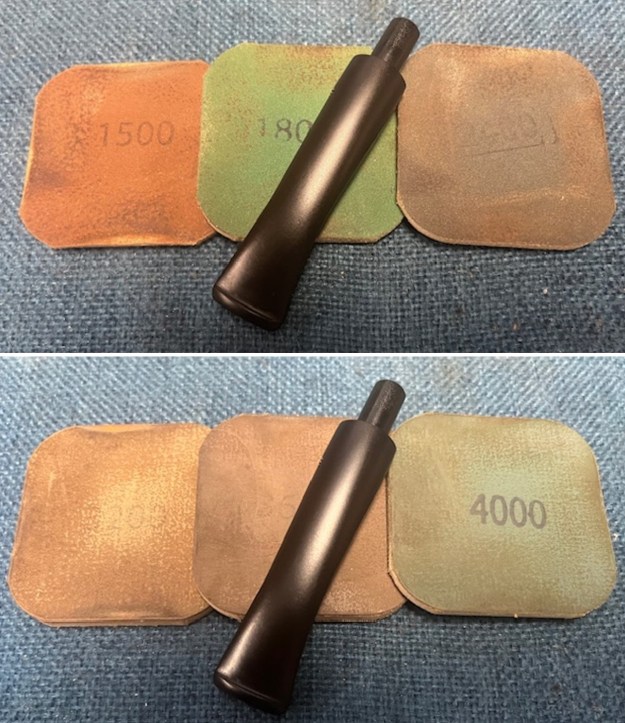
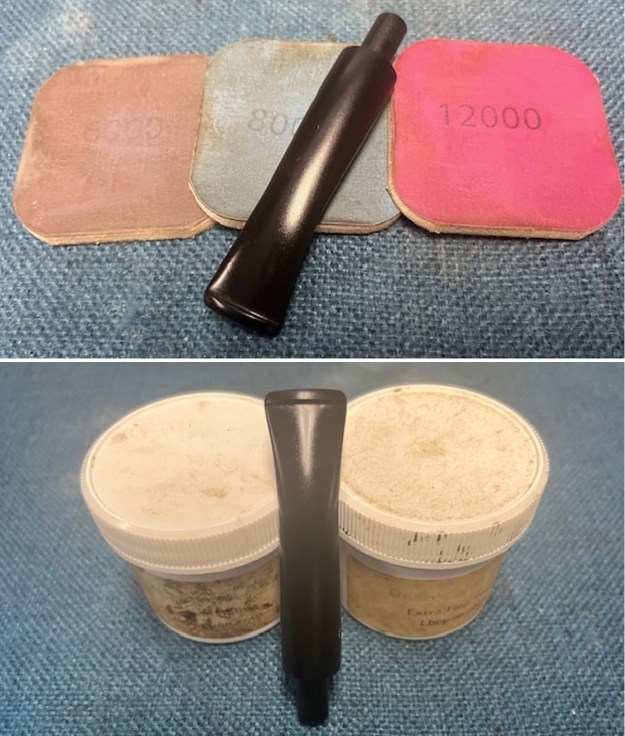
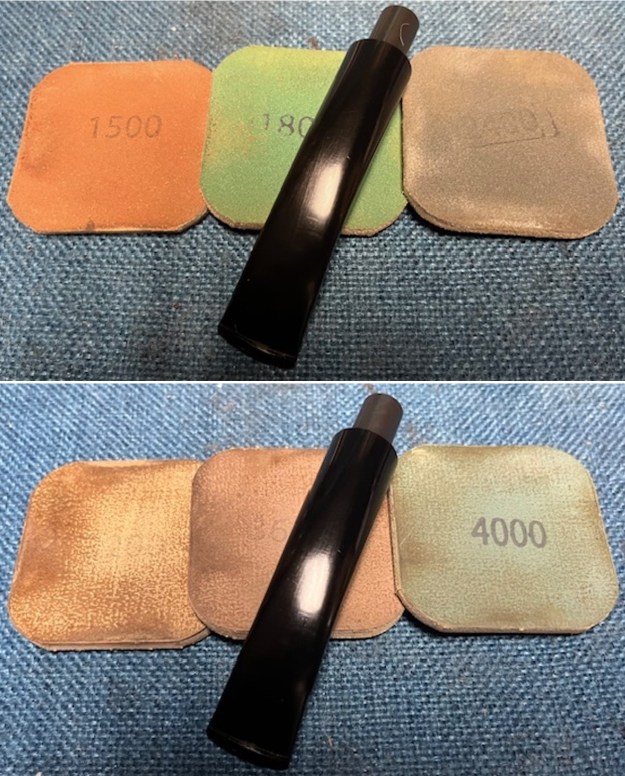
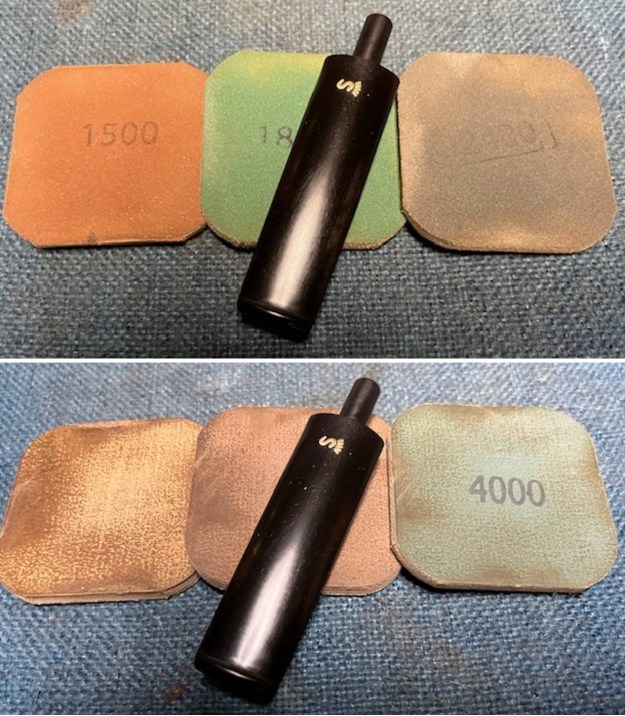
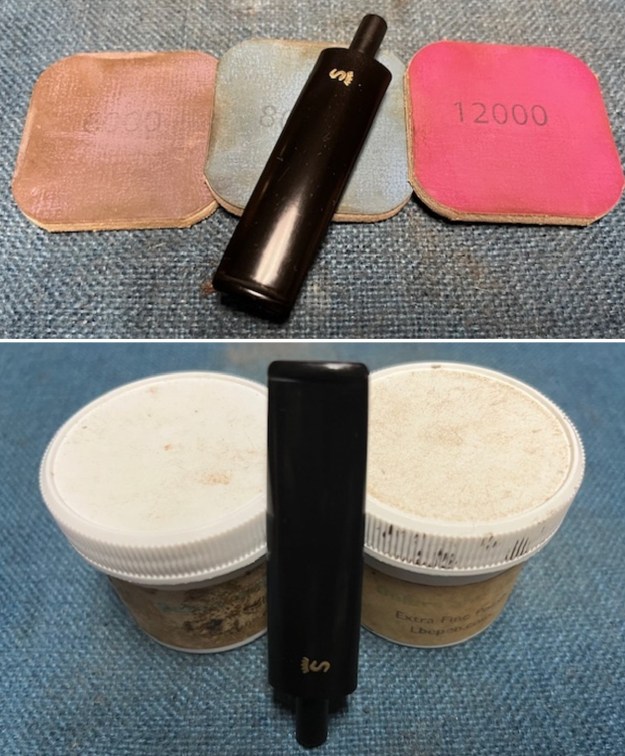
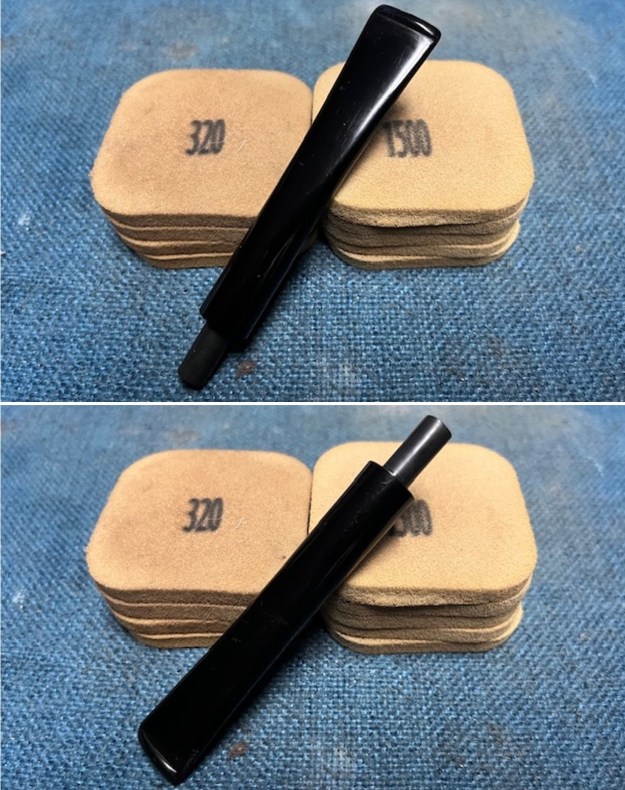
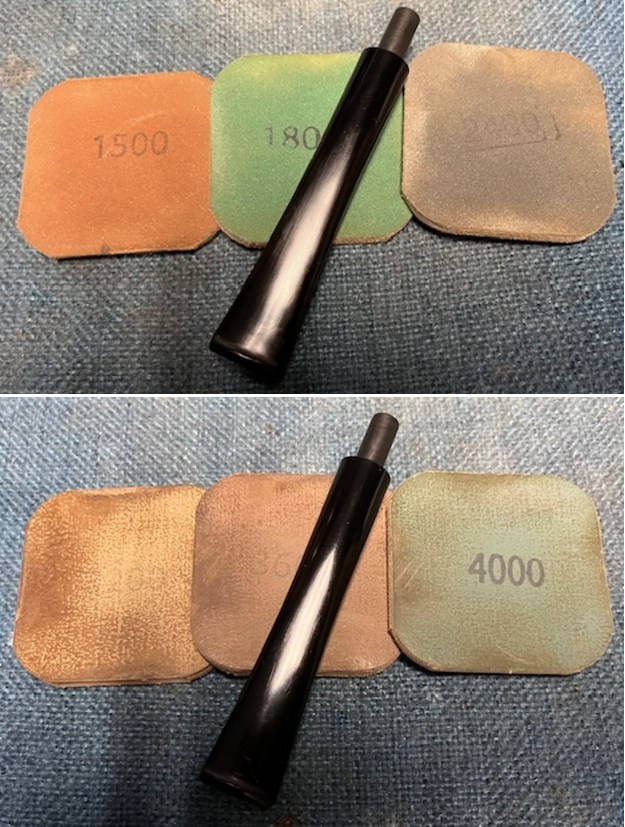
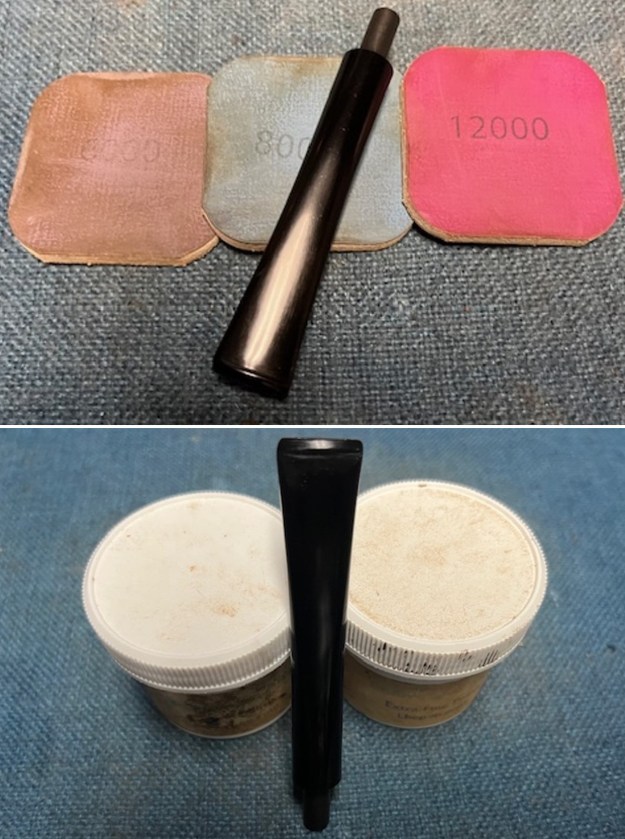
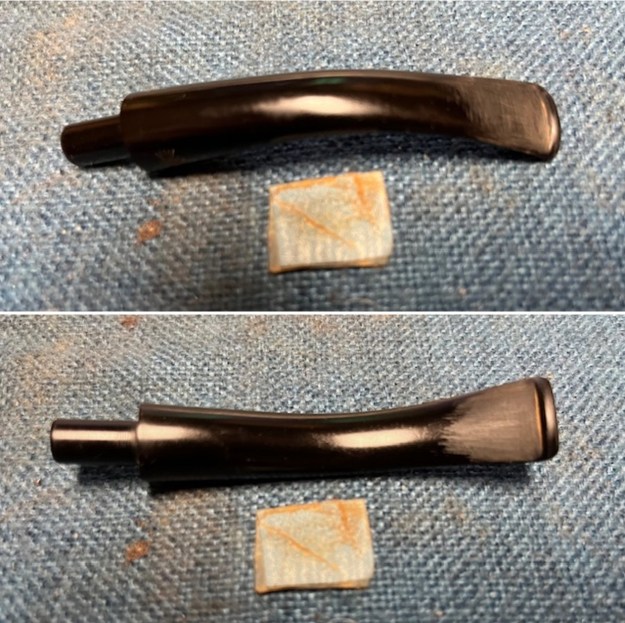
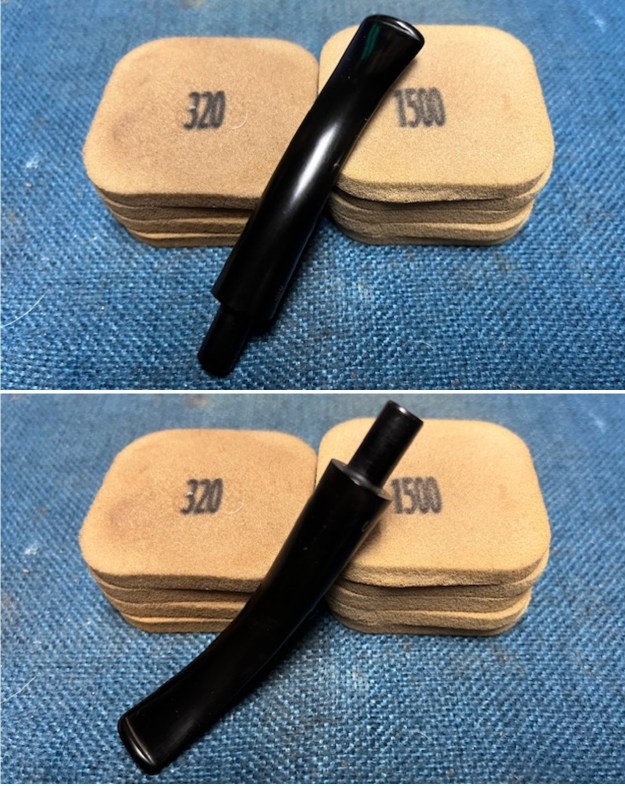
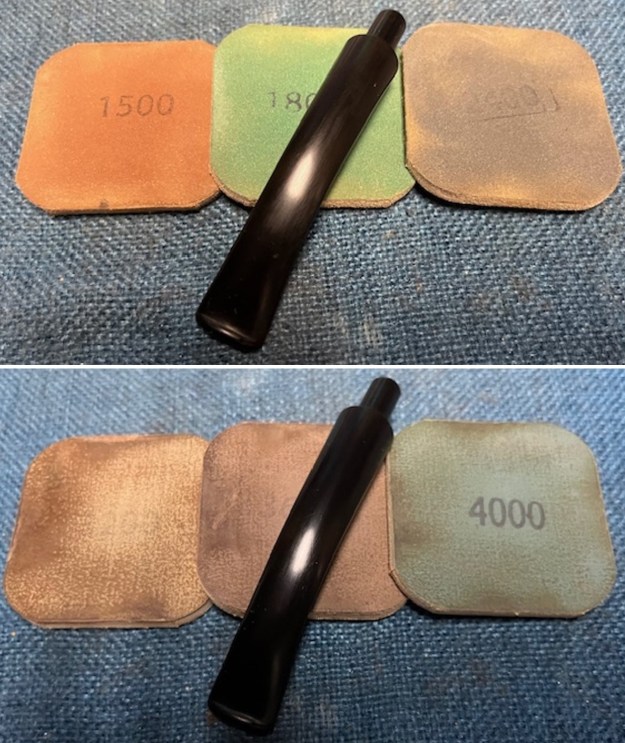
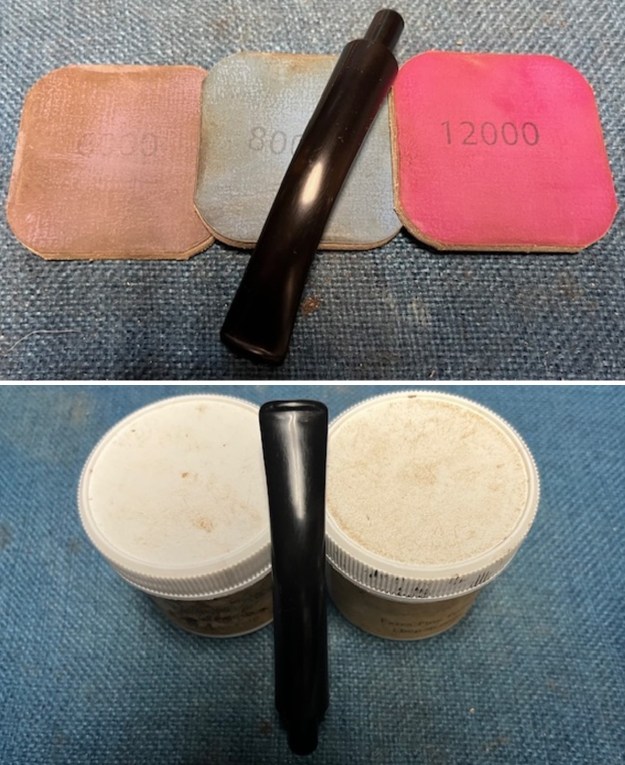
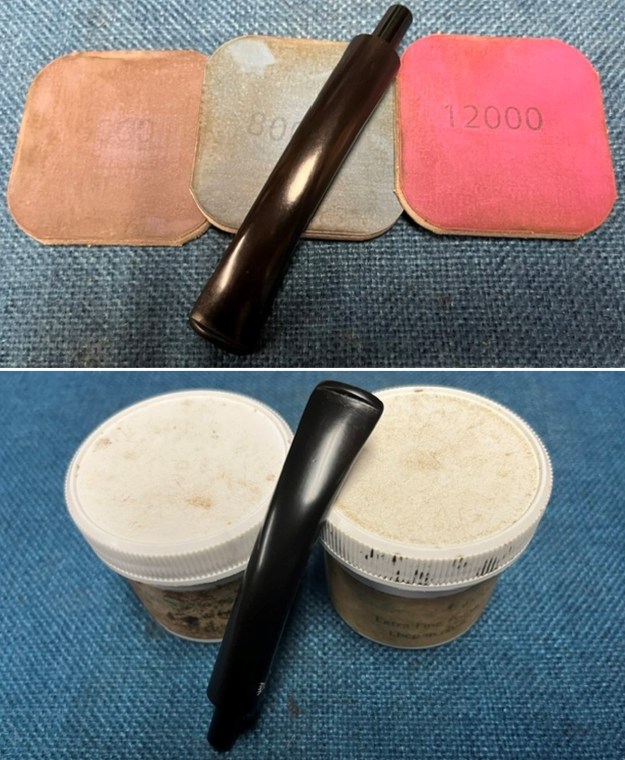
 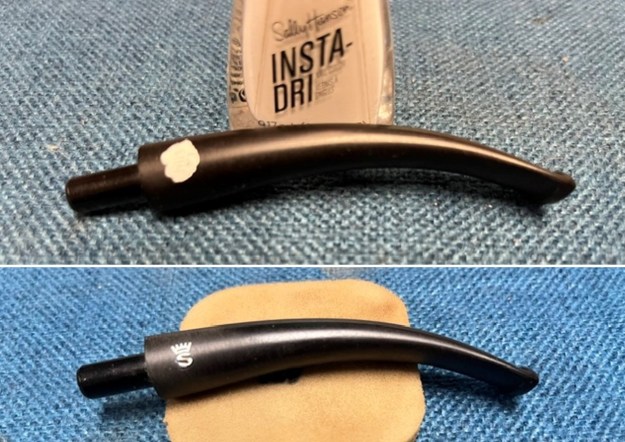 I polished the vulcanite stem with micromesh sanding pads – 1500-12000 grit pads. I wiped it down with a damp cloth after each sanding pad. I used Before & After Pipe Polish – both Fine and Extra Fine to further polish the stem.
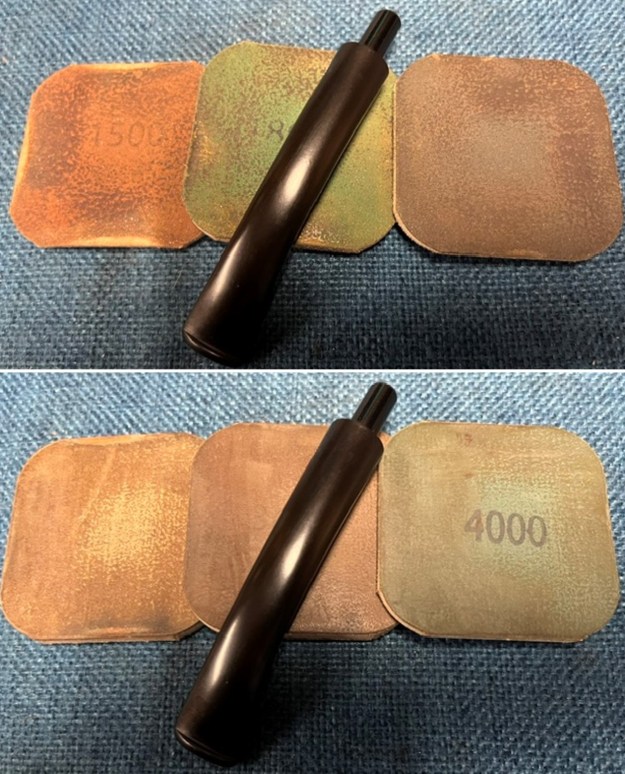
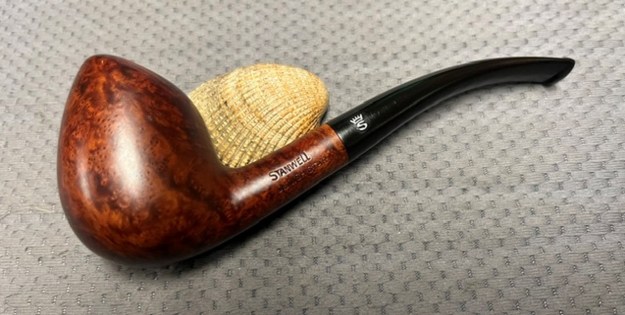
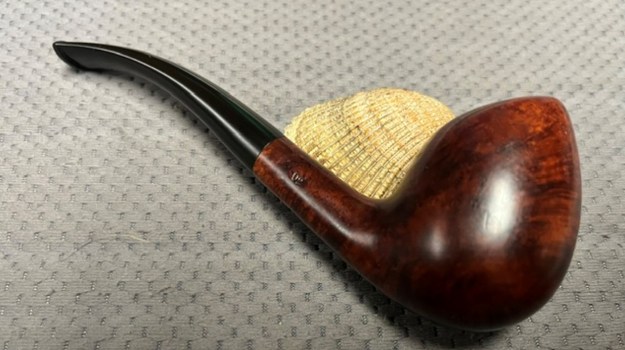
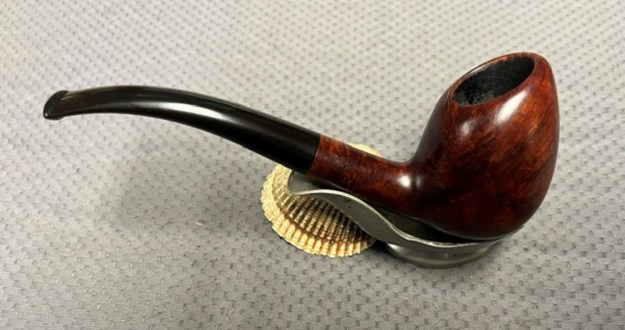
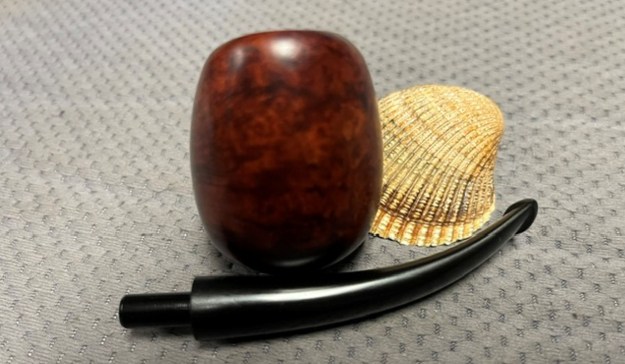
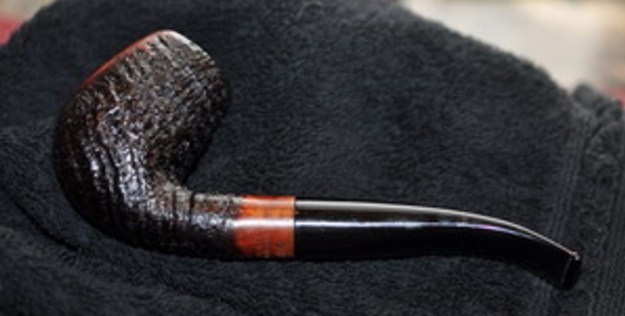
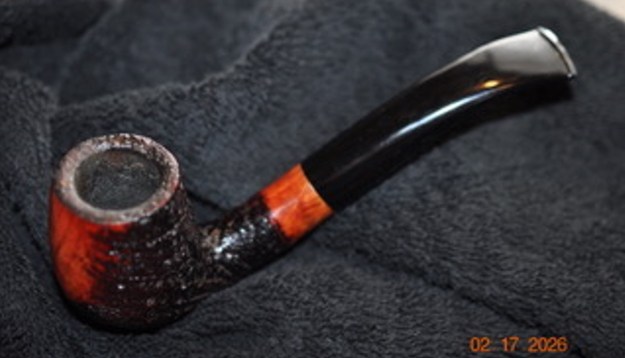
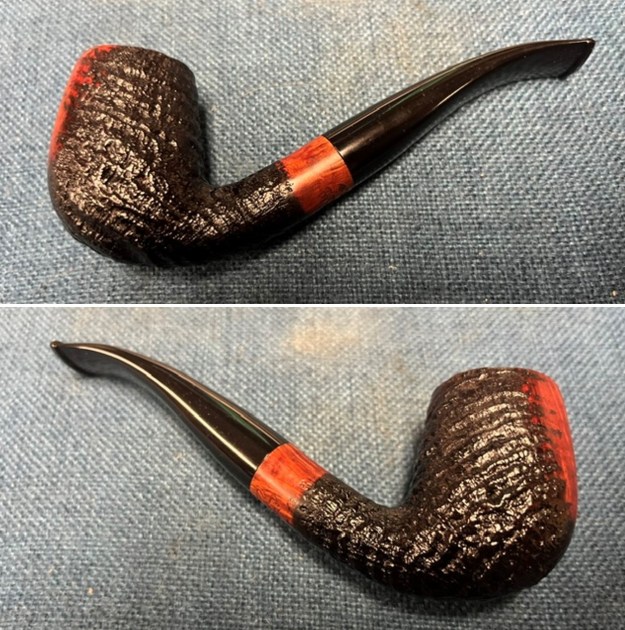
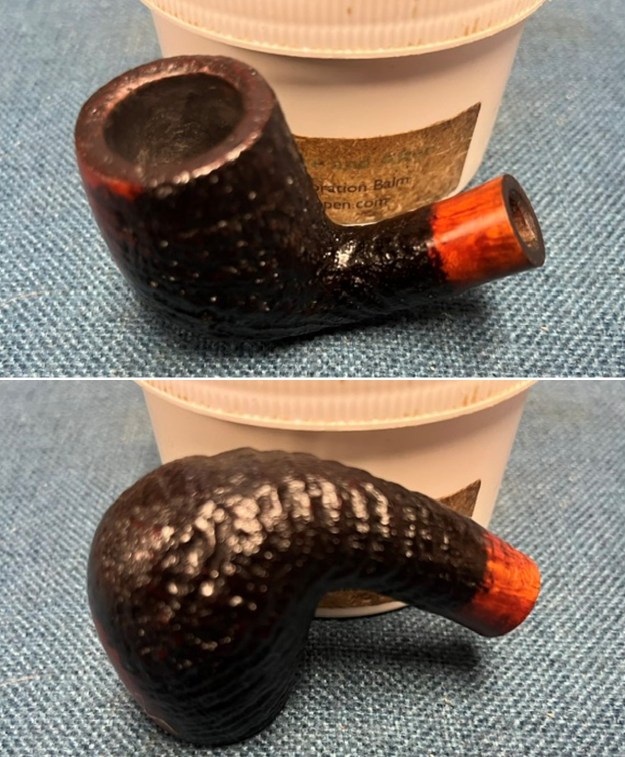
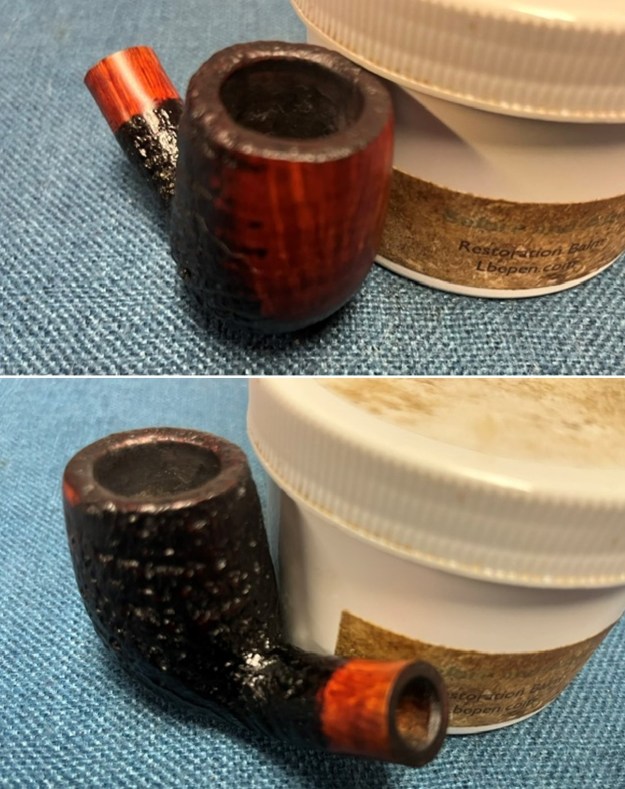
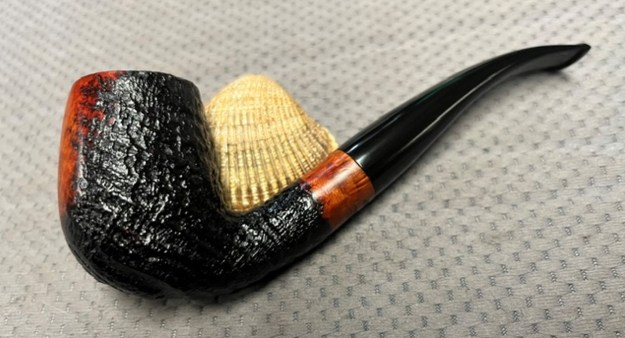
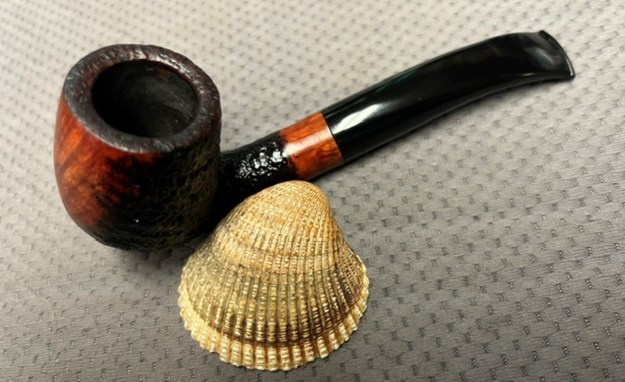
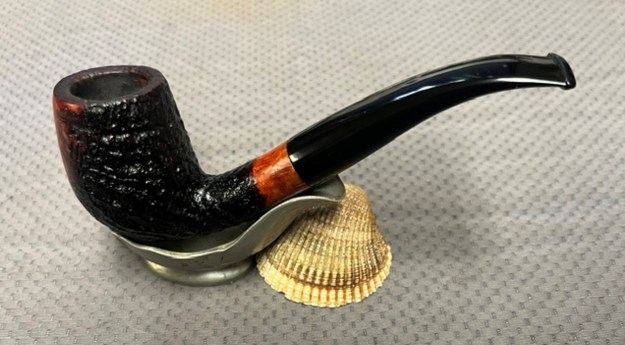
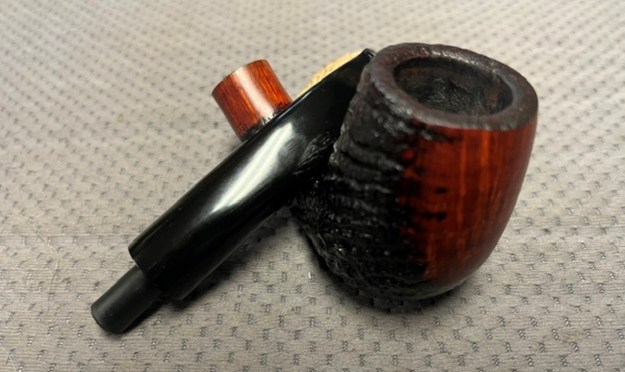
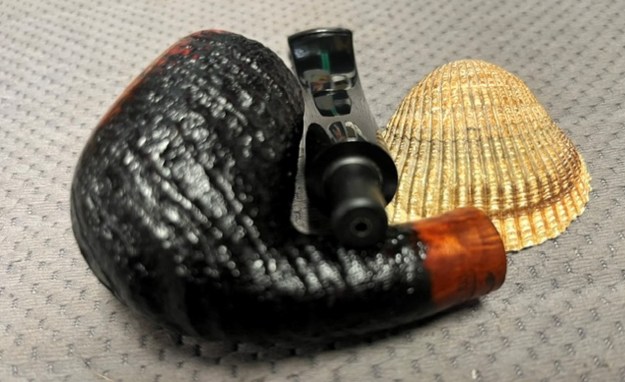
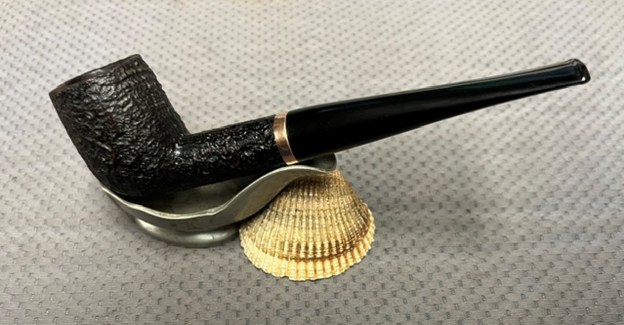
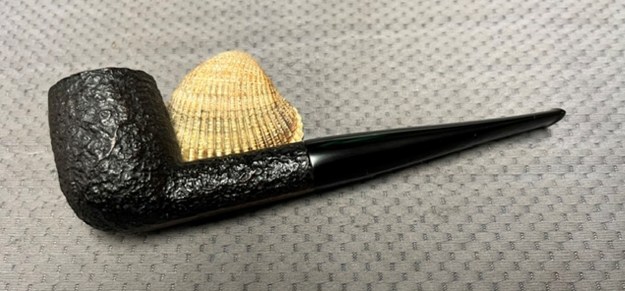
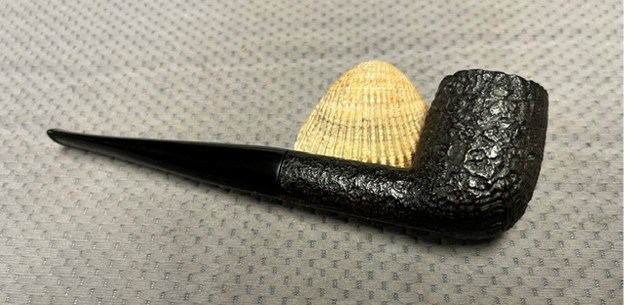
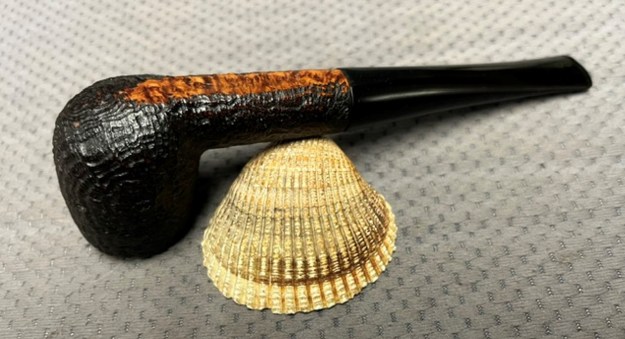
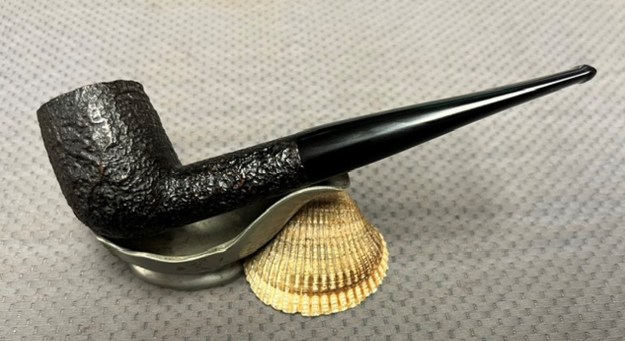
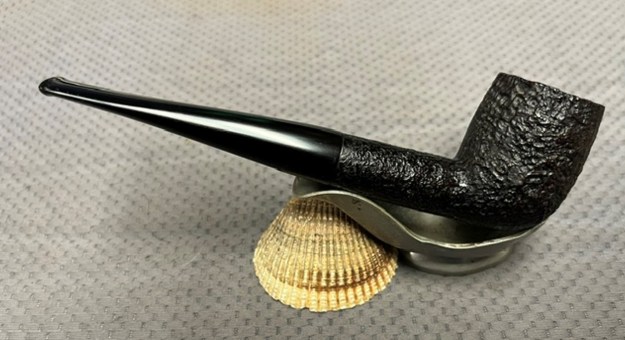
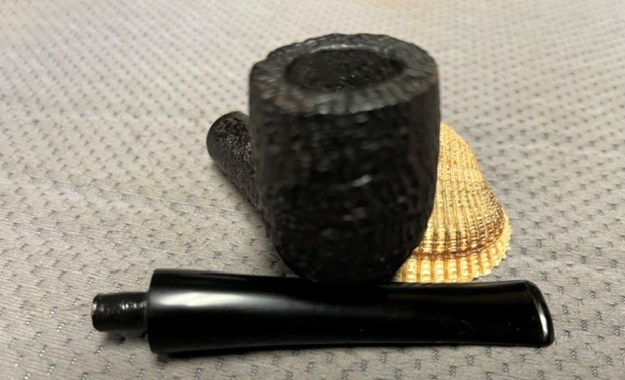
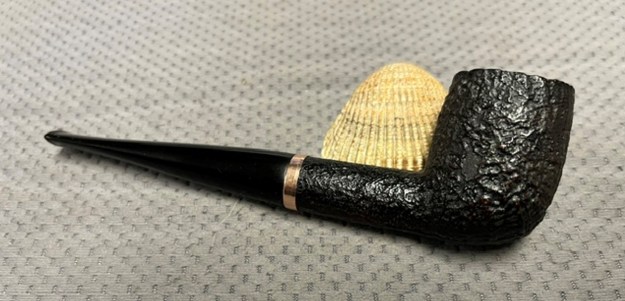
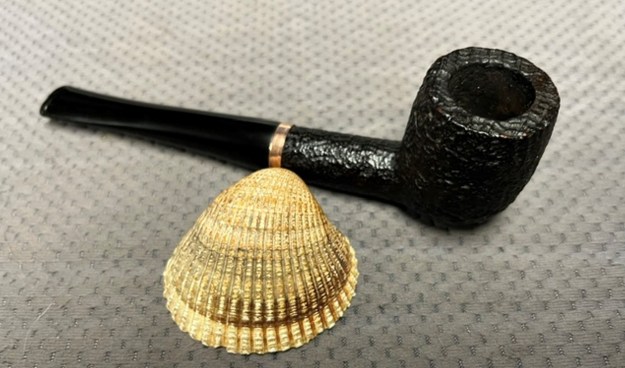
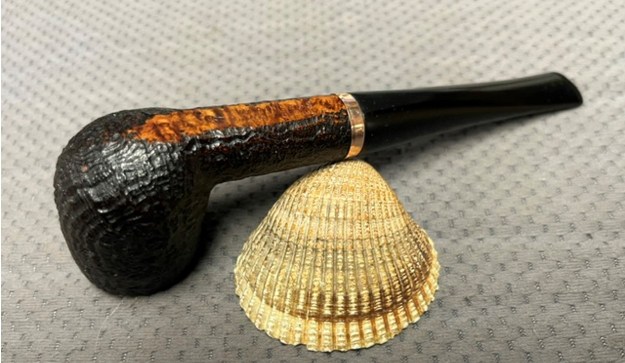
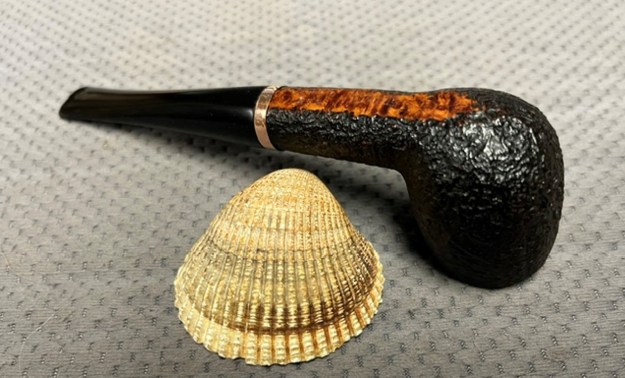
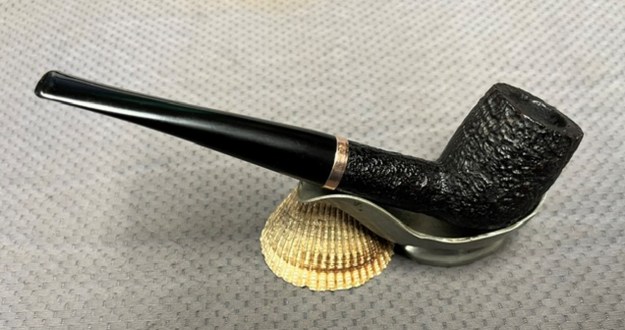
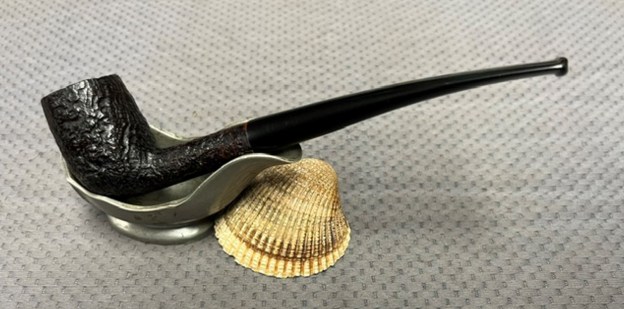
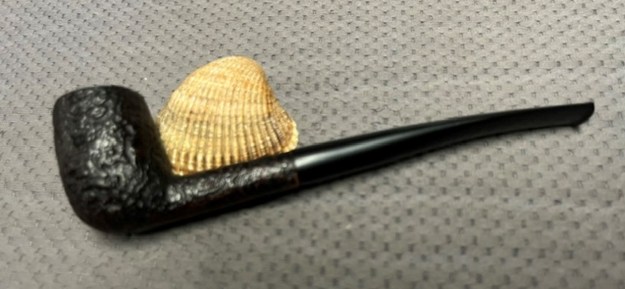
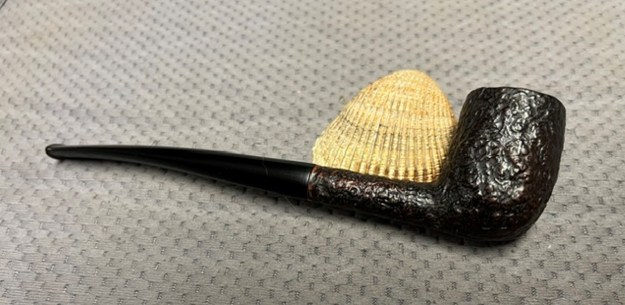
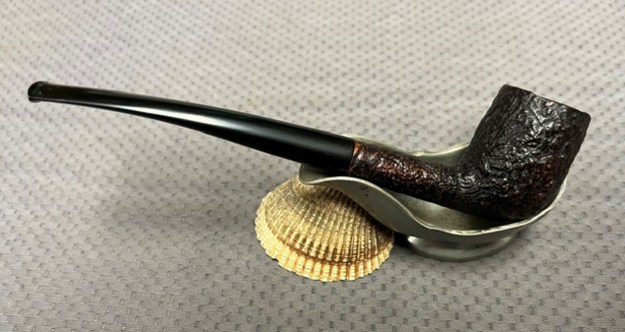
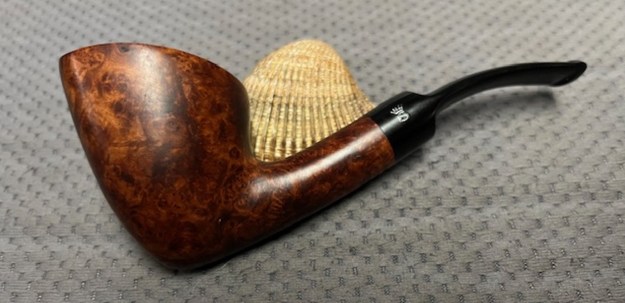
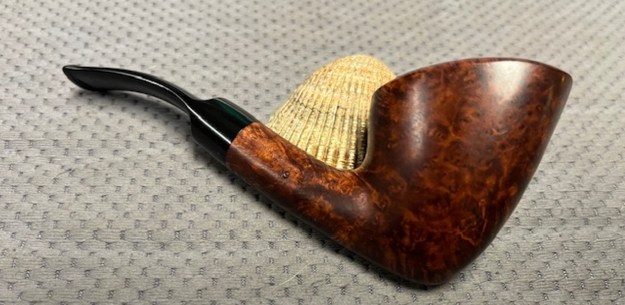
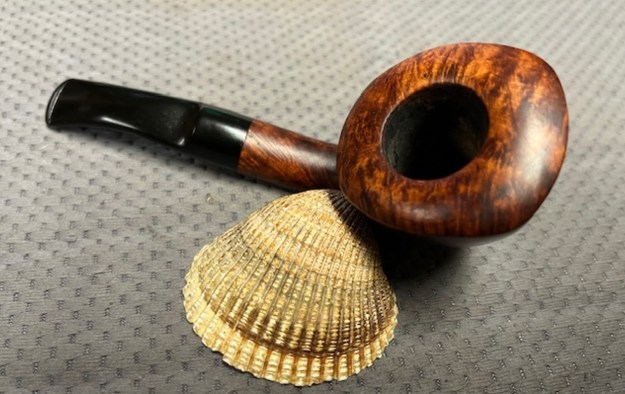
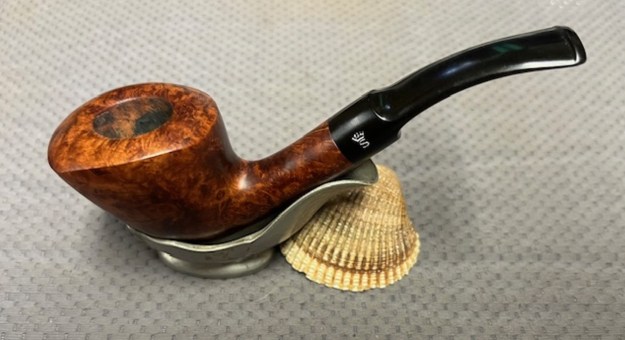
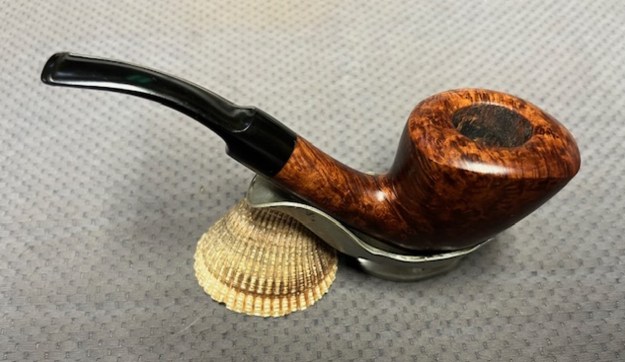
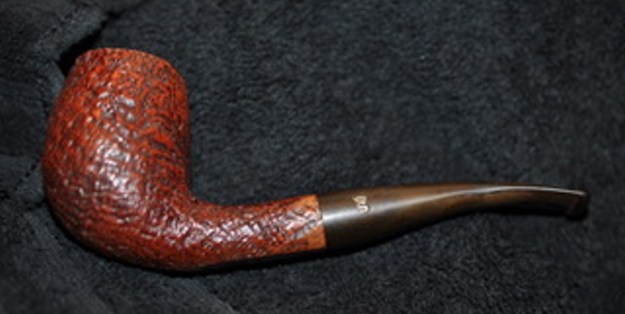
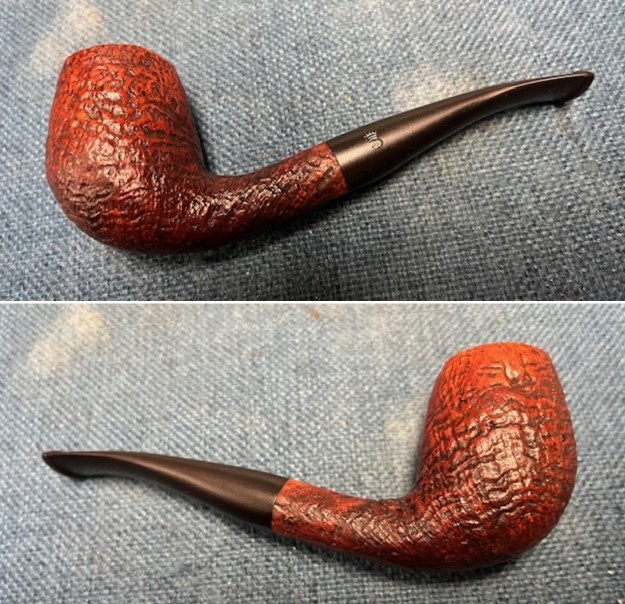
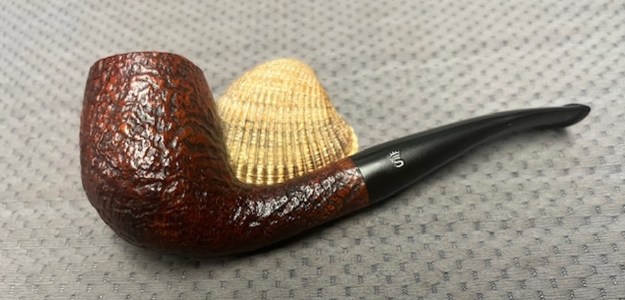
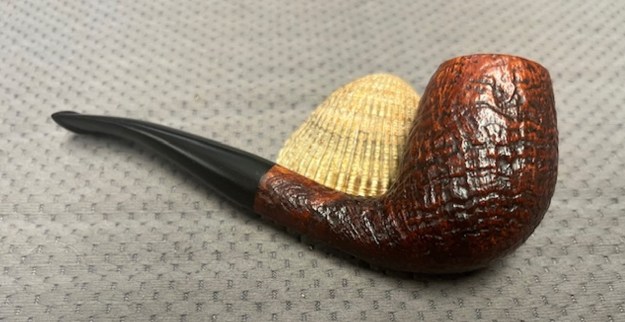
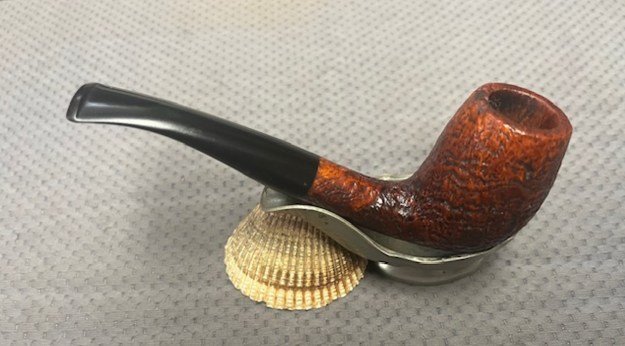
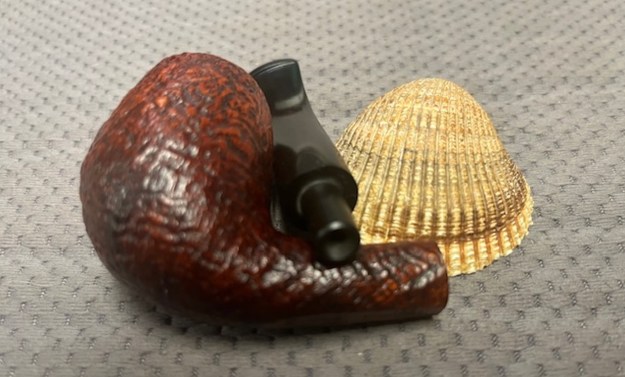
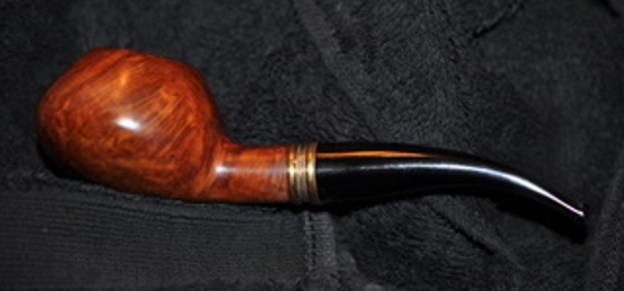
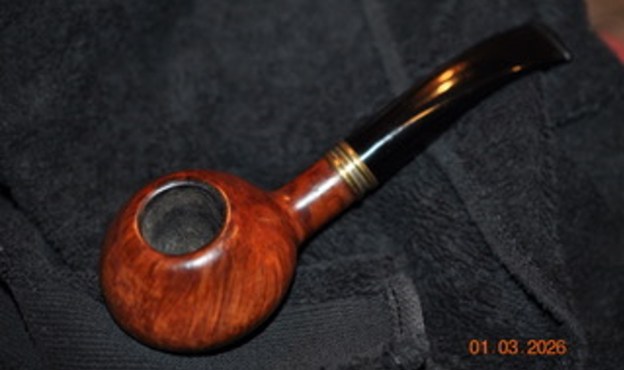
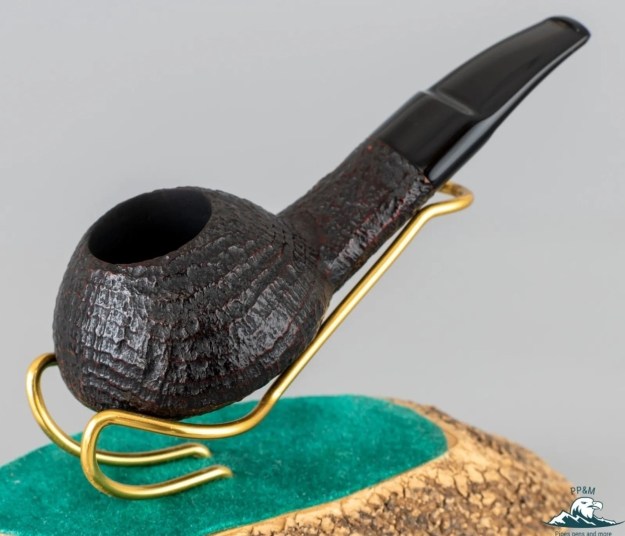
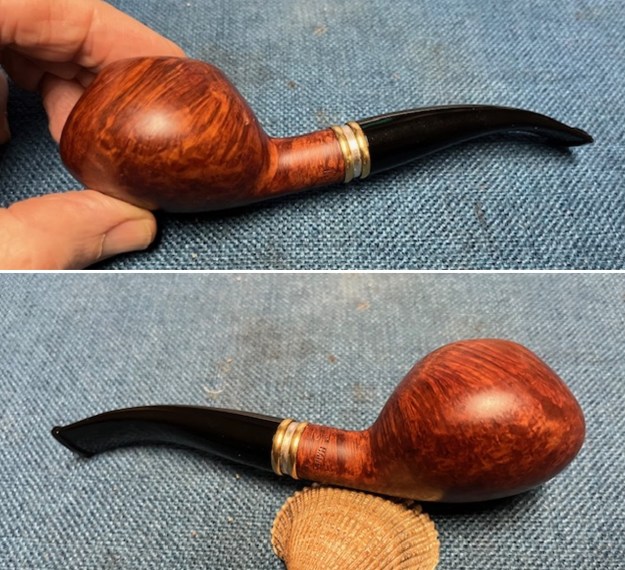
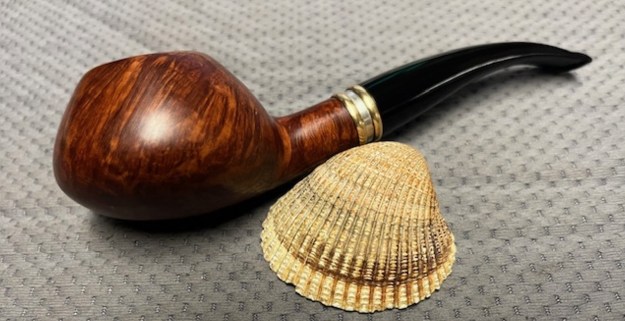
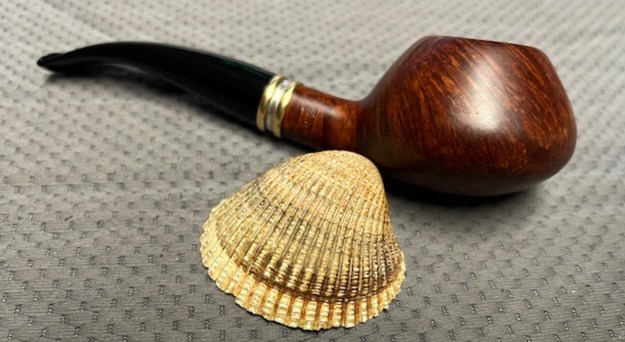
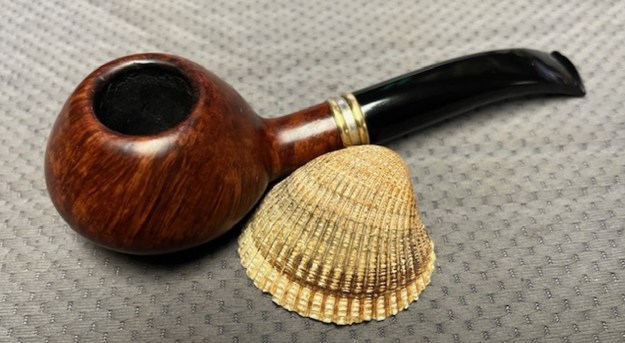
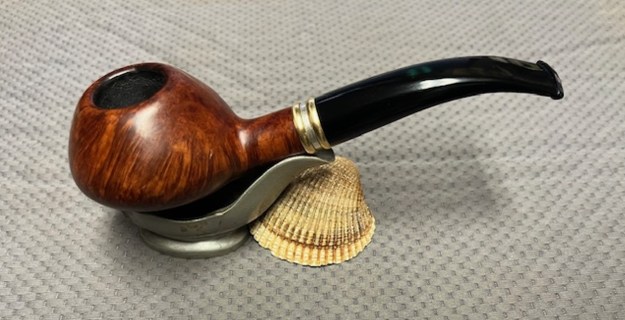
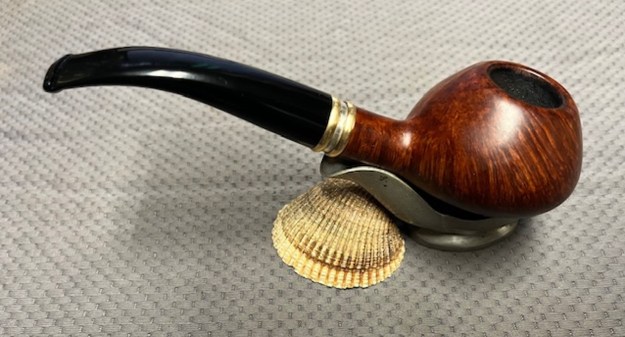
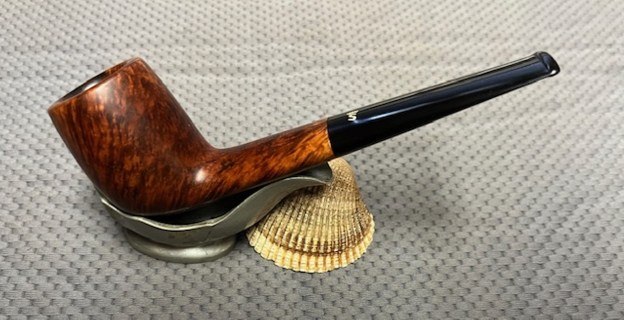
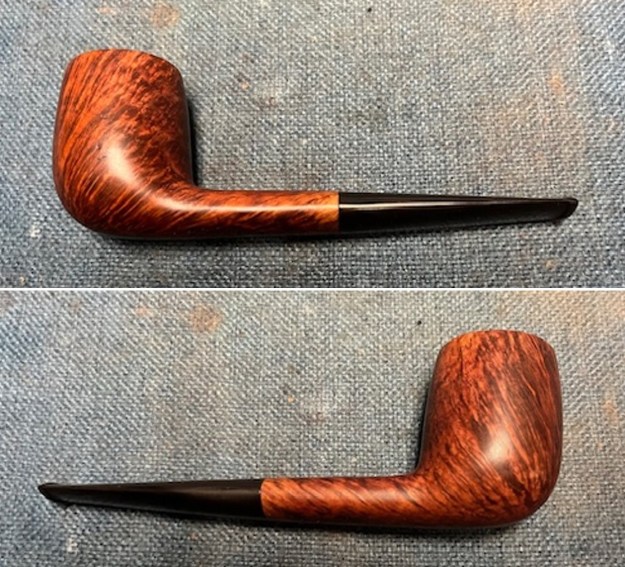
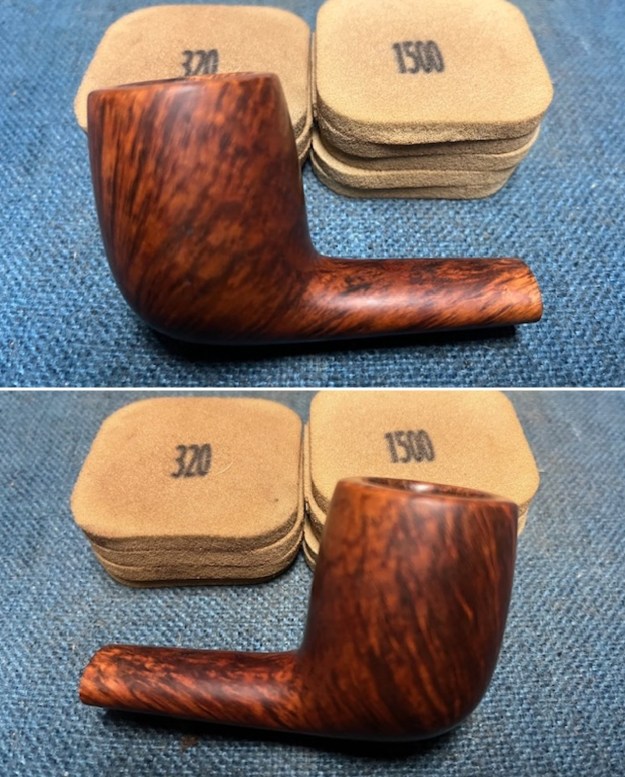
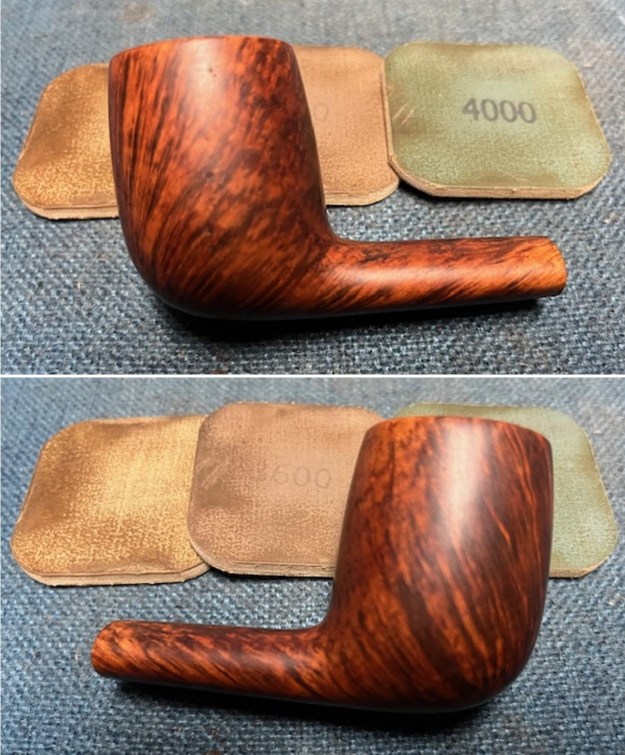
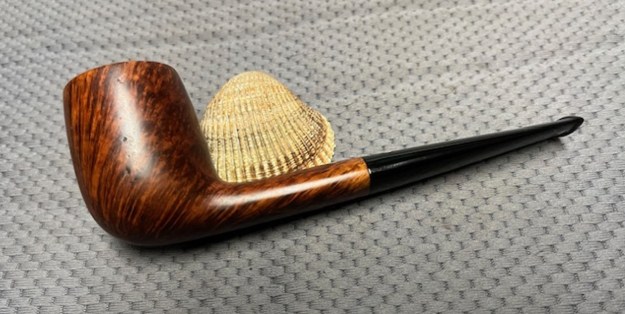
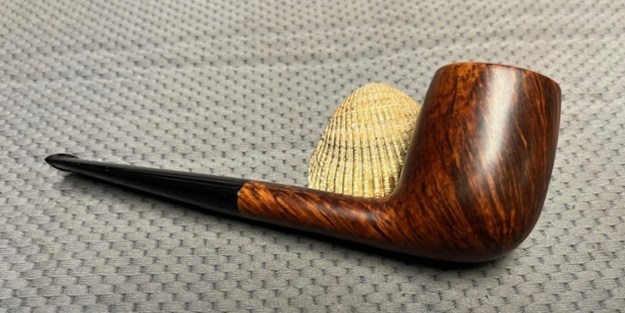
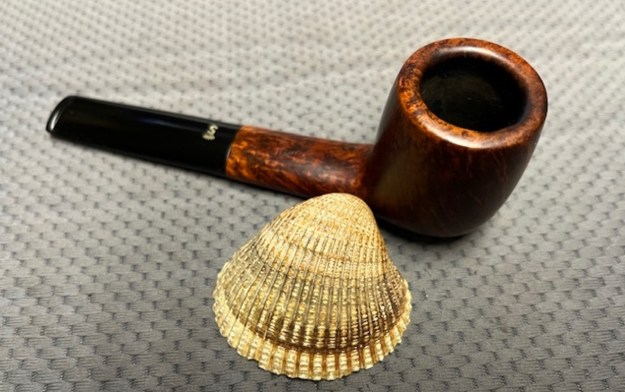
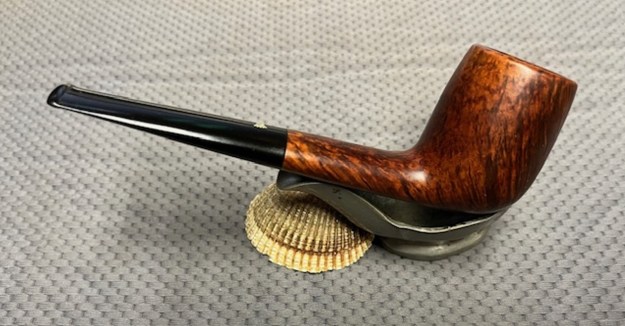
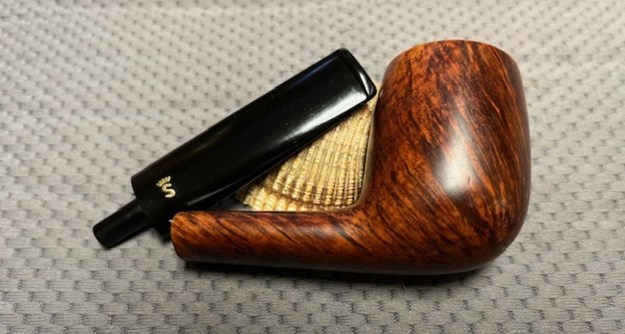
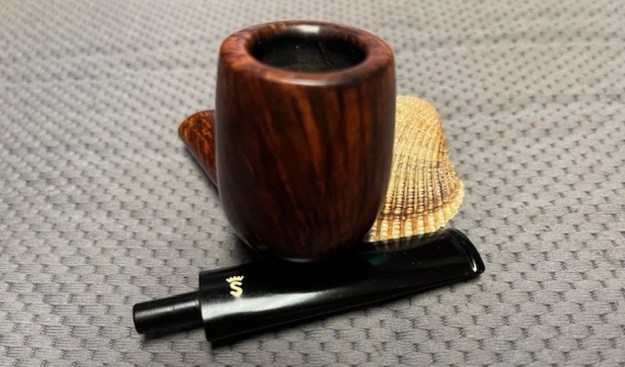
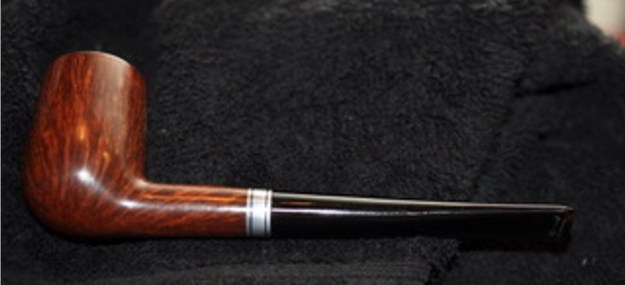
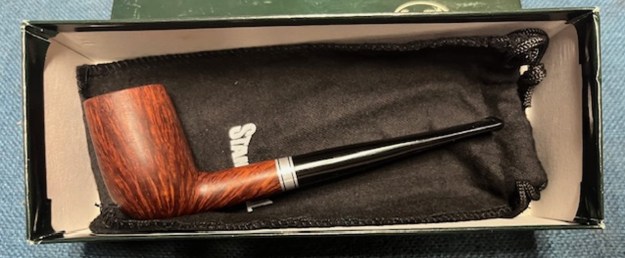
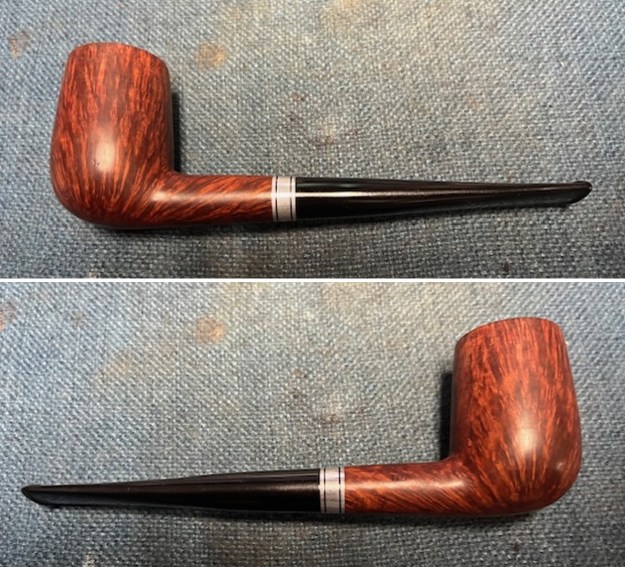
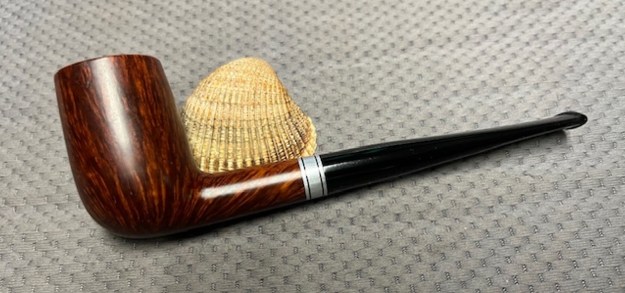
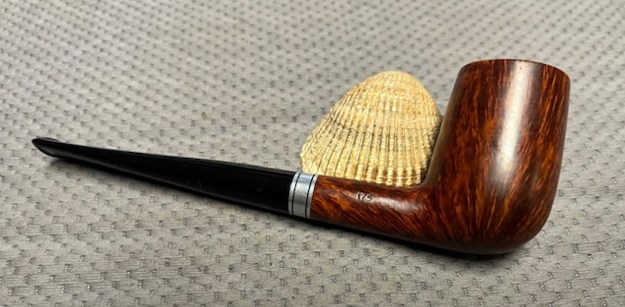
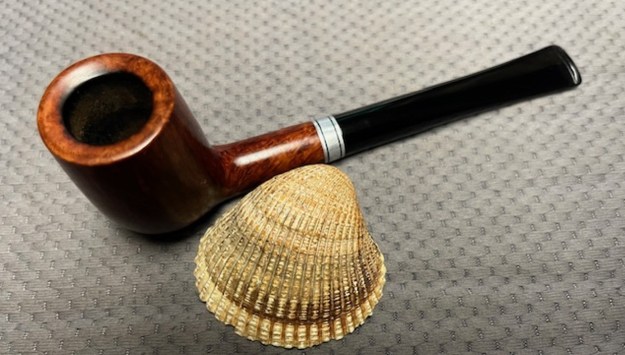
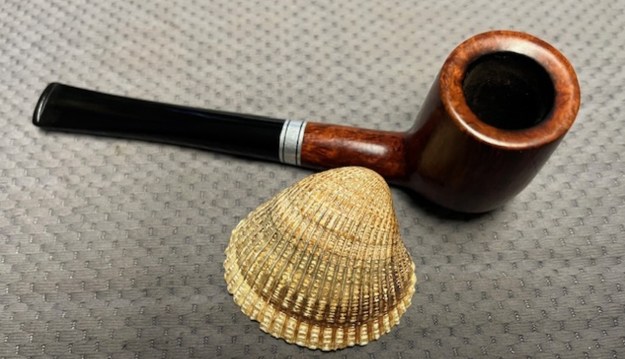
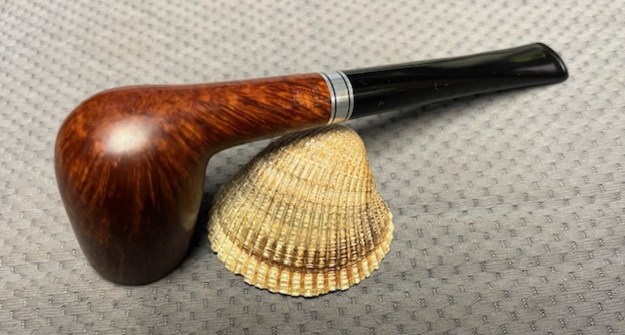
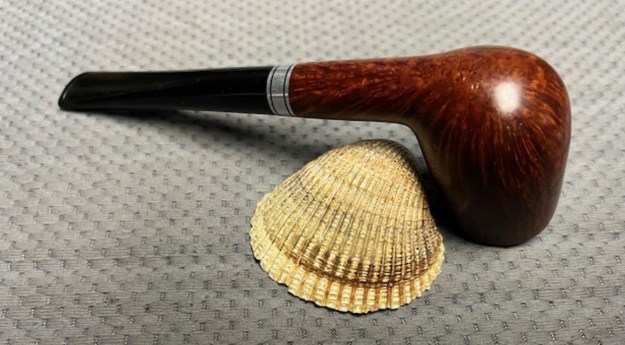
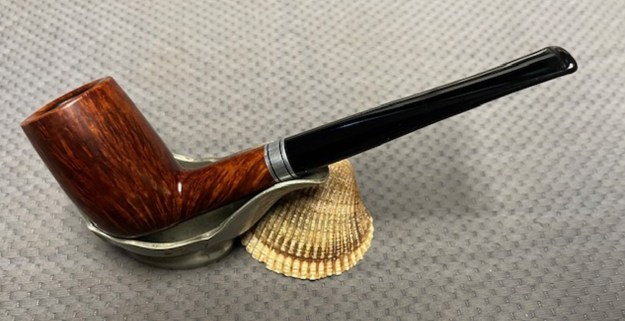
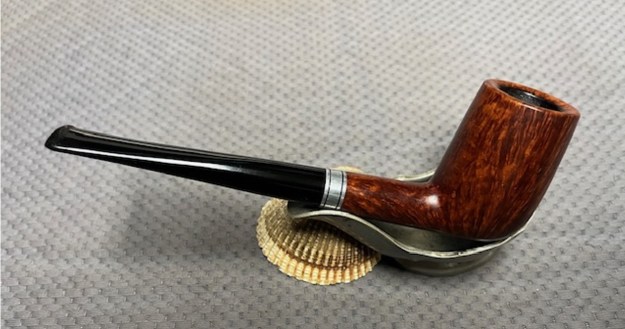
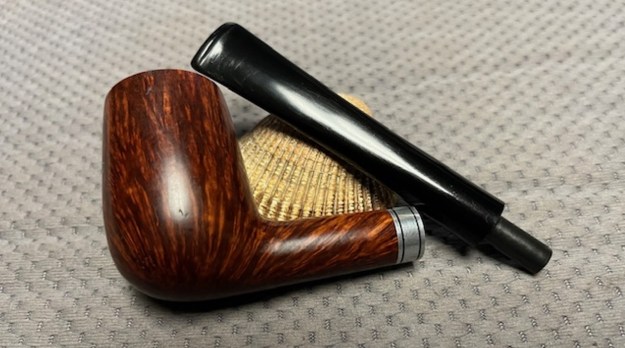
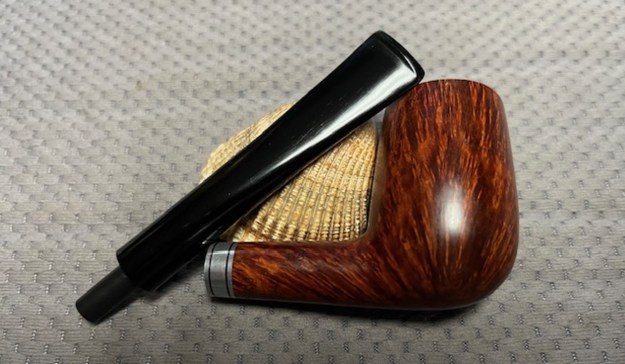
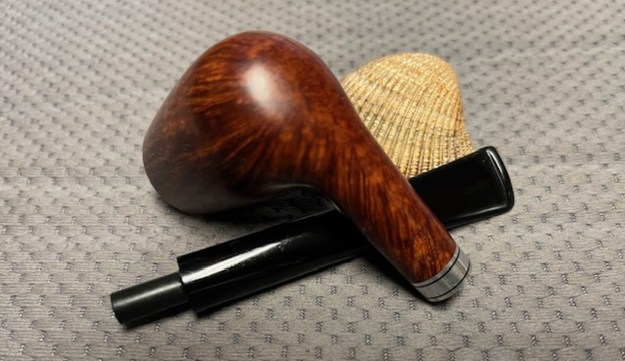
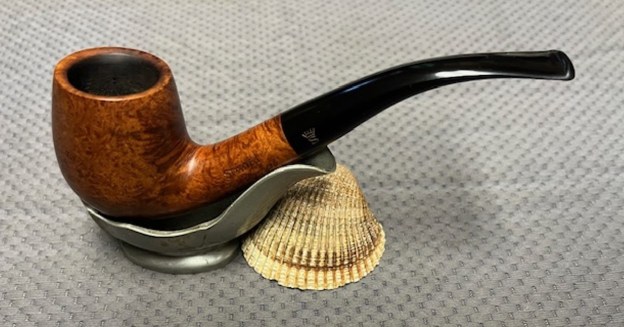
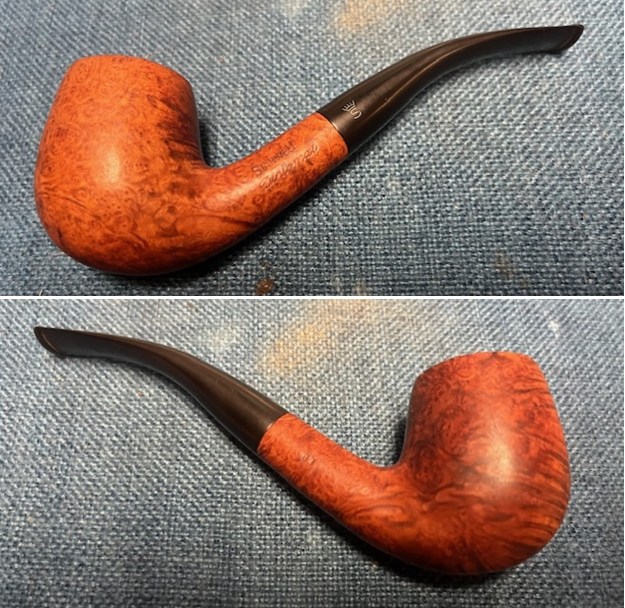
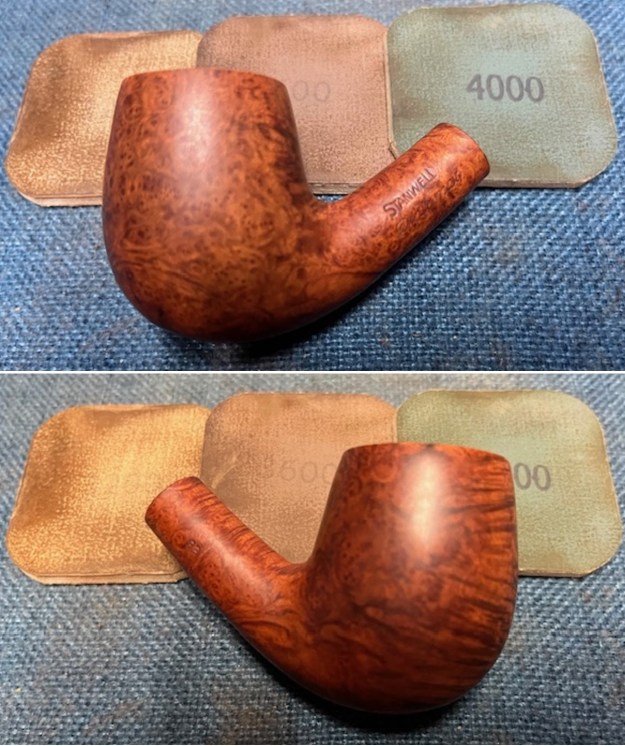
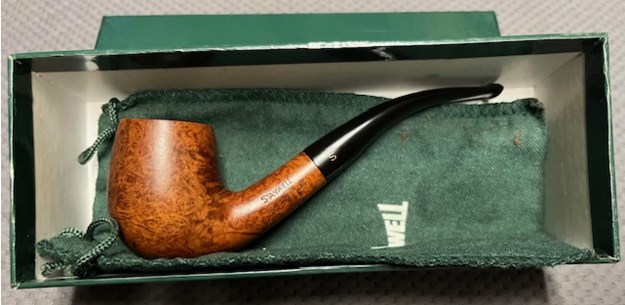
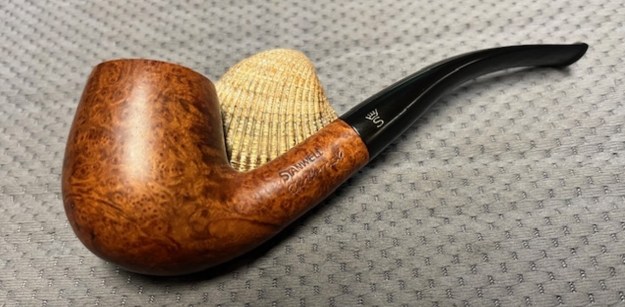
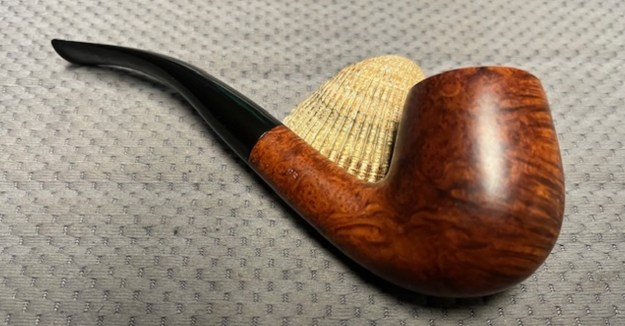
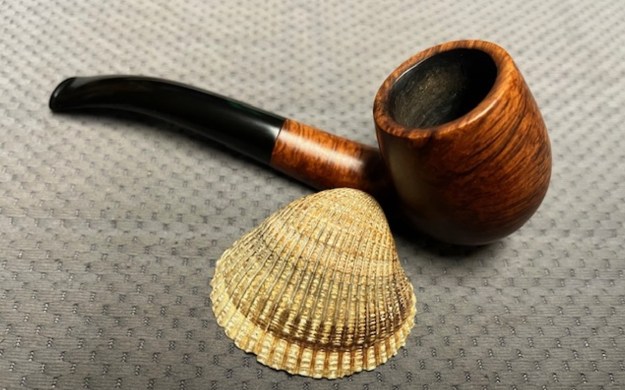
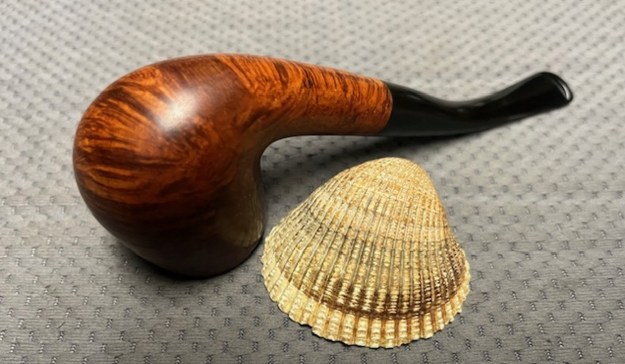
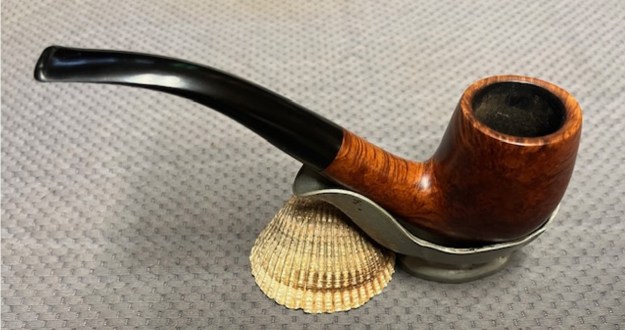
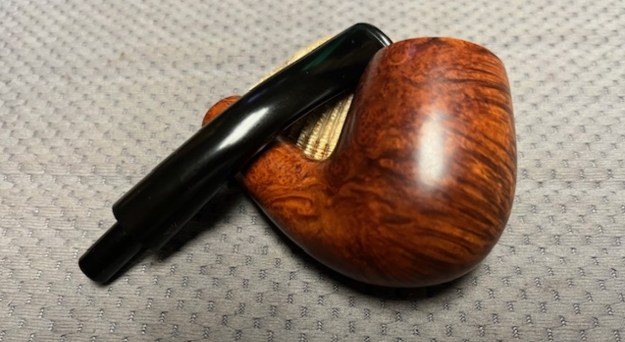
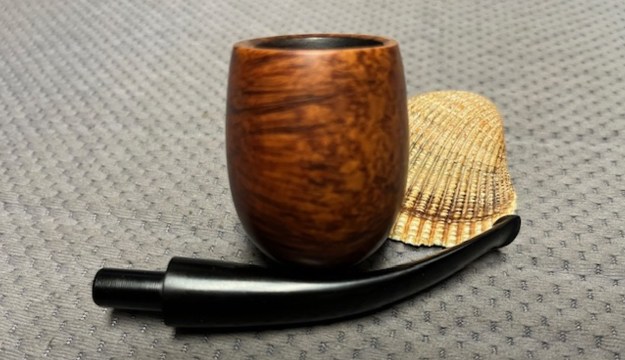
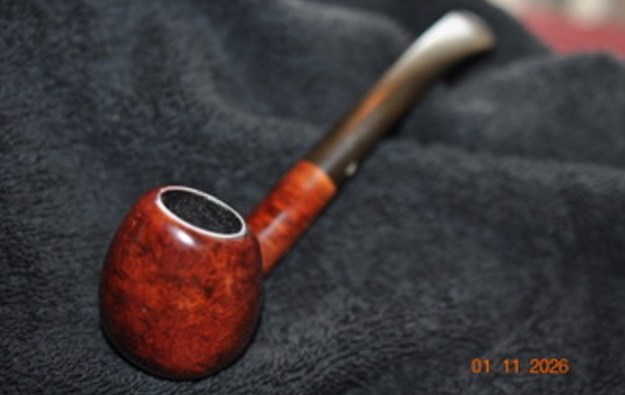
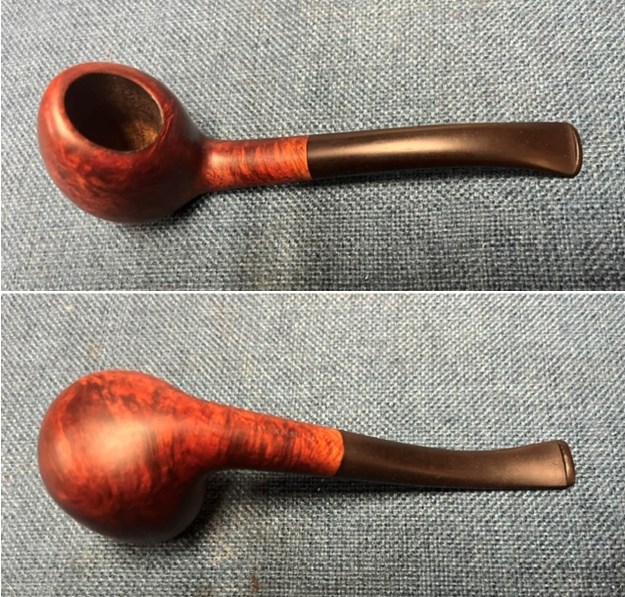
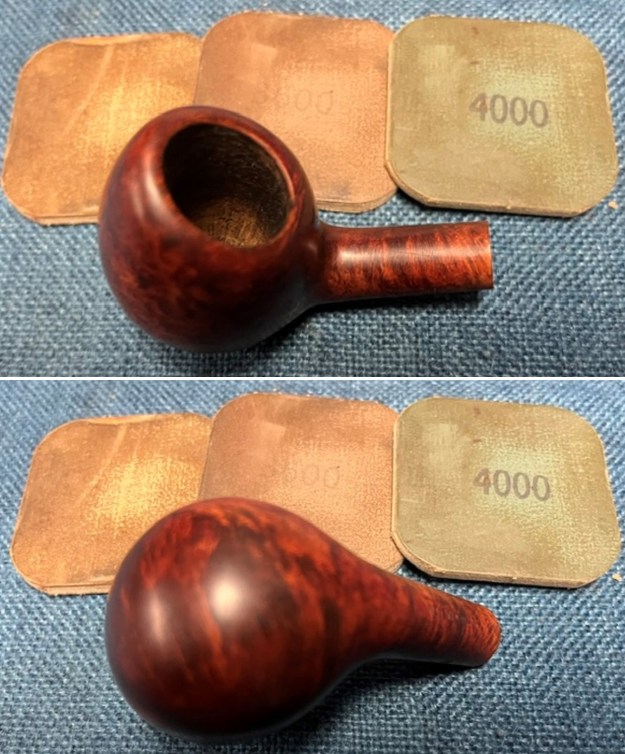
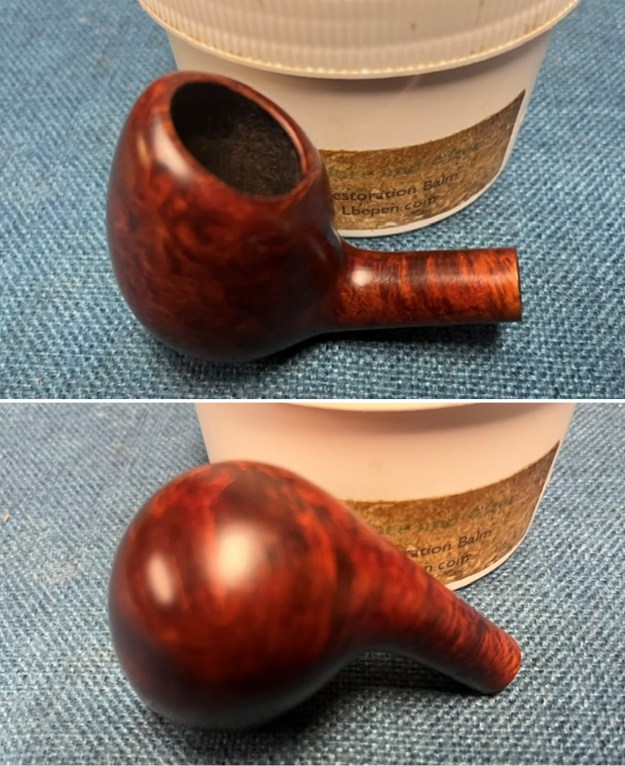
 This beautiful Stanwell Danish Star 02 Sloped Bent Egg with a taper vulcanite stem is a great looking pipe now that it has been restored. I put the stem back on the bowl and carefully buffed the pipe with Blue Diamond on the buffing wheel using a light touch on the briar. I gave the bowl and the stem multiple coats of carnauba wax on the buffing wheel and followed that by buffing the entire pipe with a clean buffing pad. I hand buffed the pipe with a microfiber cloth to deepen the shine. The finished Stanwell Danish Star Bent Egg fits nicely in the hand and feels great. Give the finished pipe a look in the photos below. The dimensions of the pipe are Length: 6 inches, Height: 2 inches, Outside diameter of the bowl: 1 ¼ inches, Chamber diameter: ¾ of an inch. The weight of the pipe is 46 grams/1.62 ounces. I will be adding it to the rebornpipes store shortly in the Danish Pipe Makers Section. Thanks for reading this blog and my reflections on the pipe while I worked on it. There are many more to come!