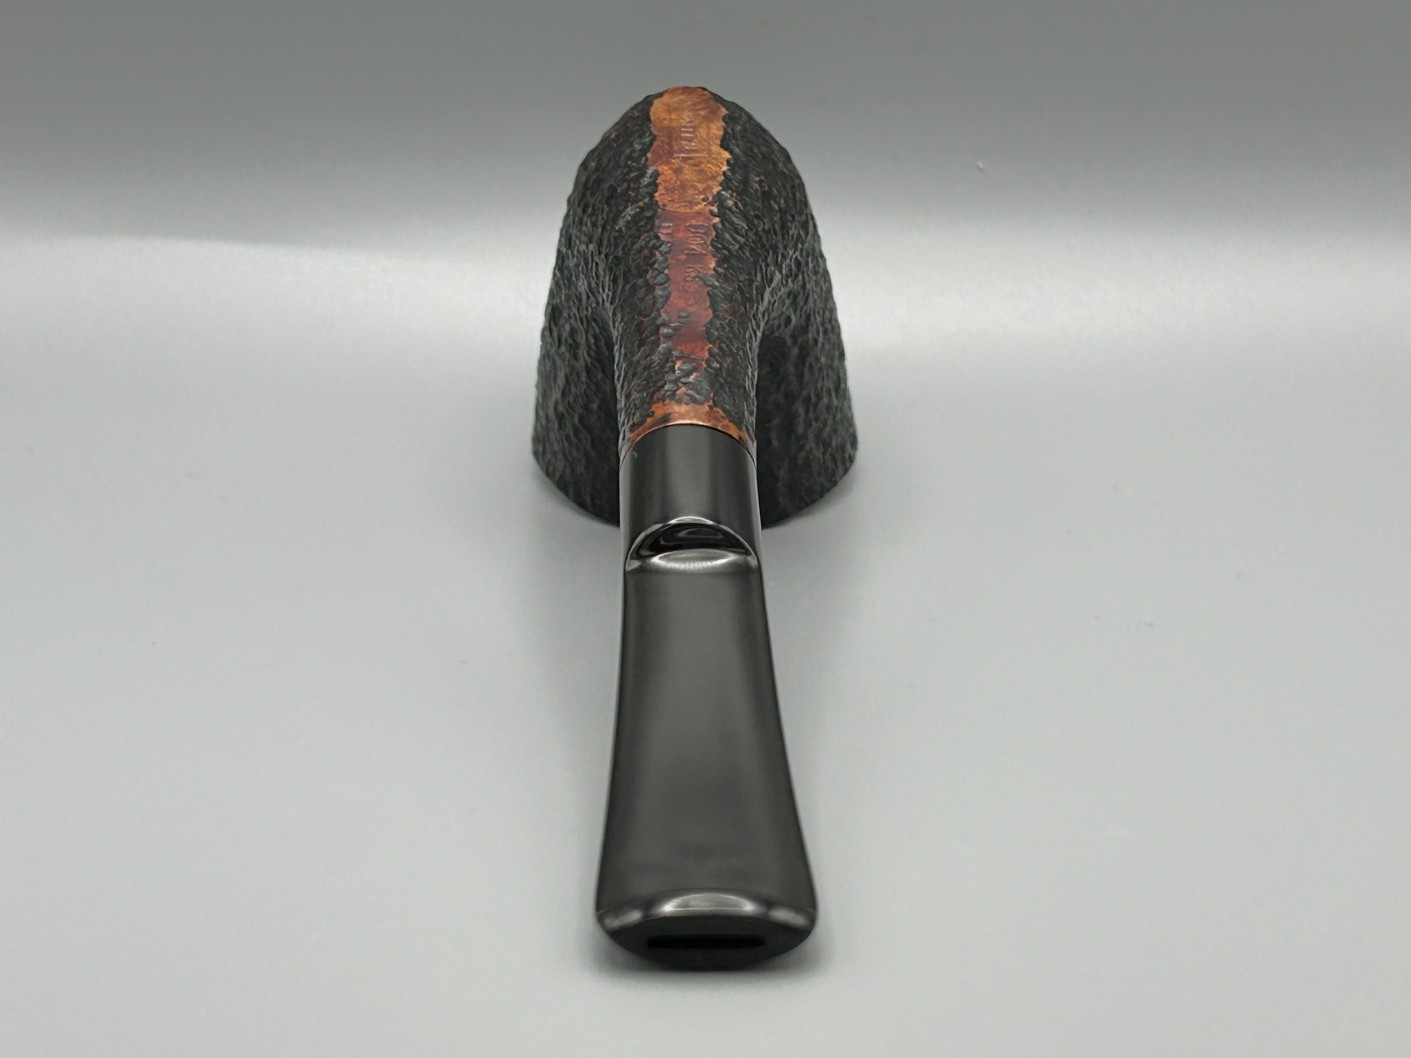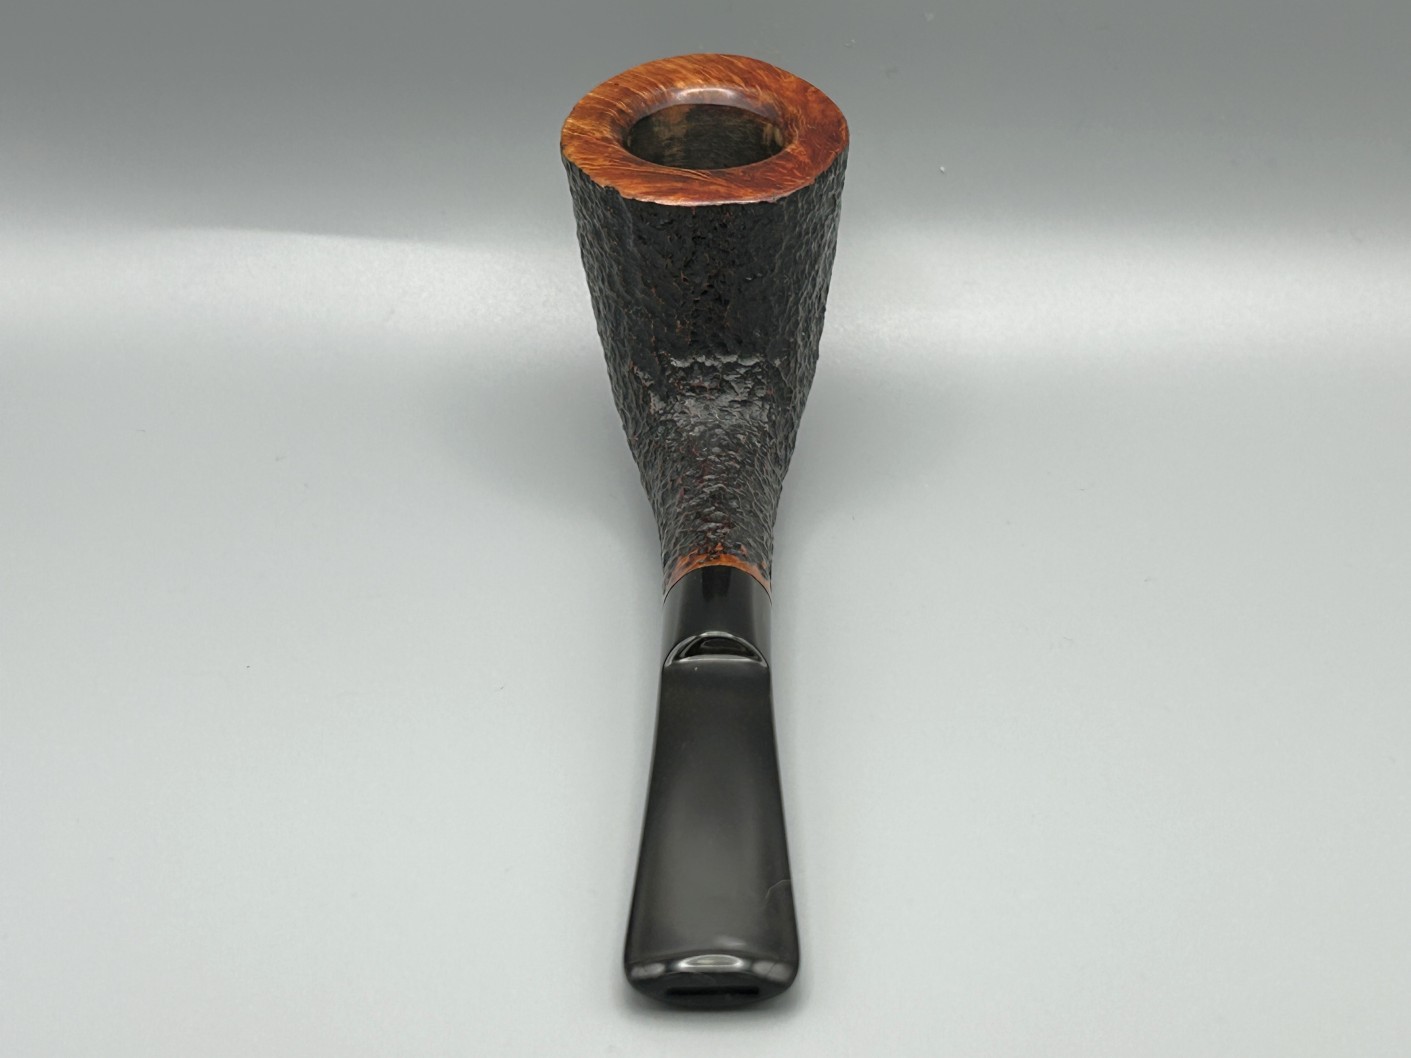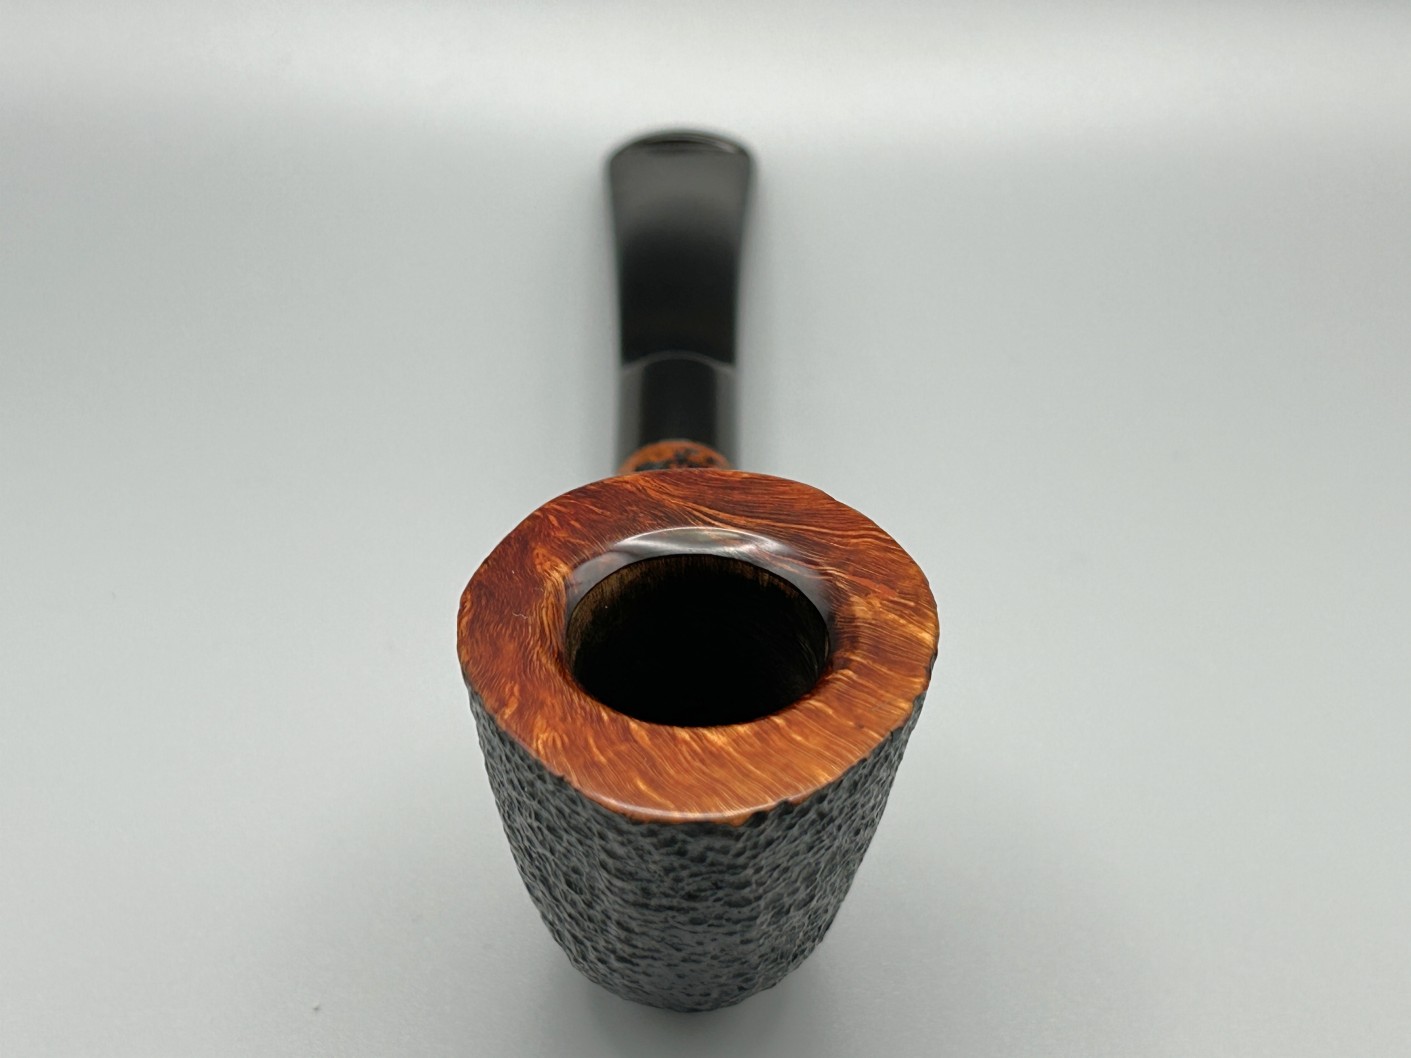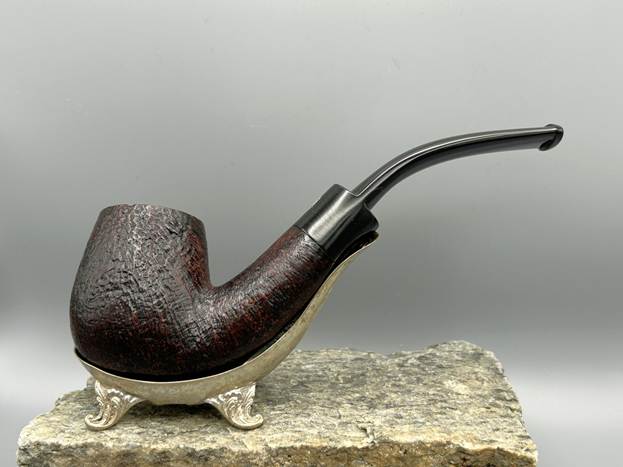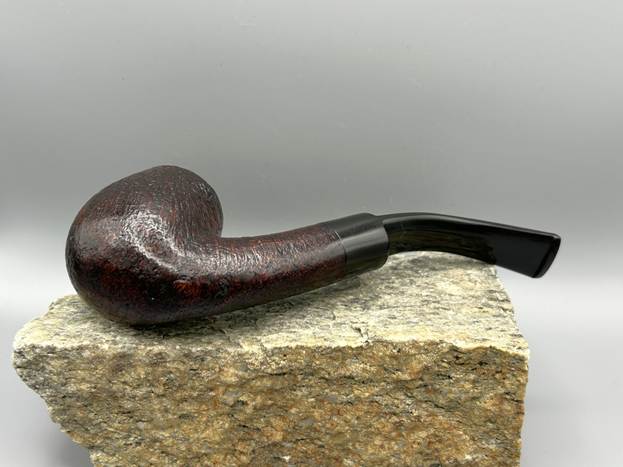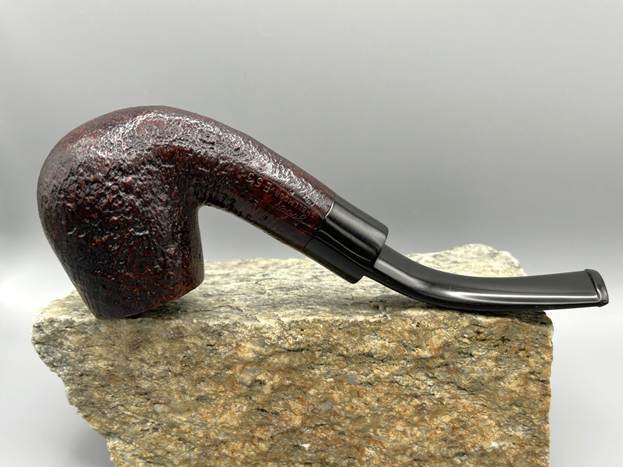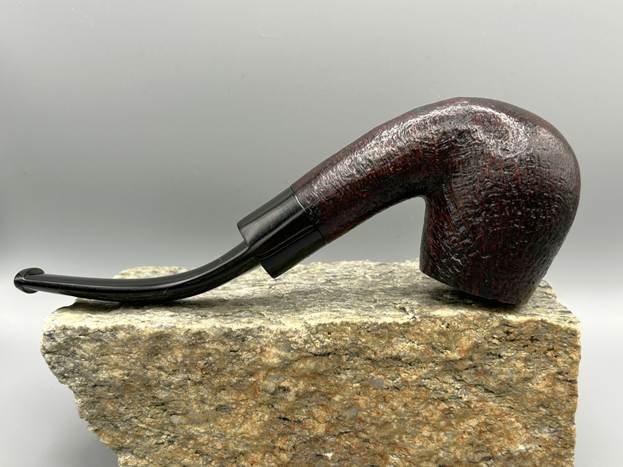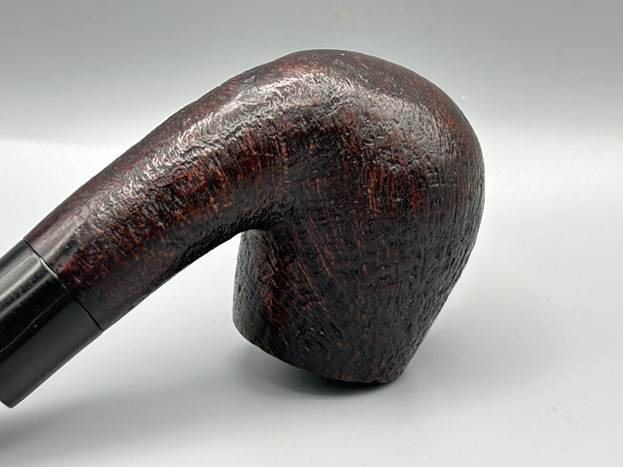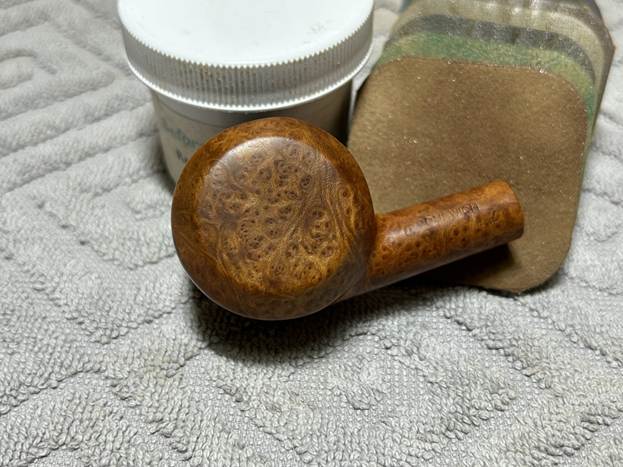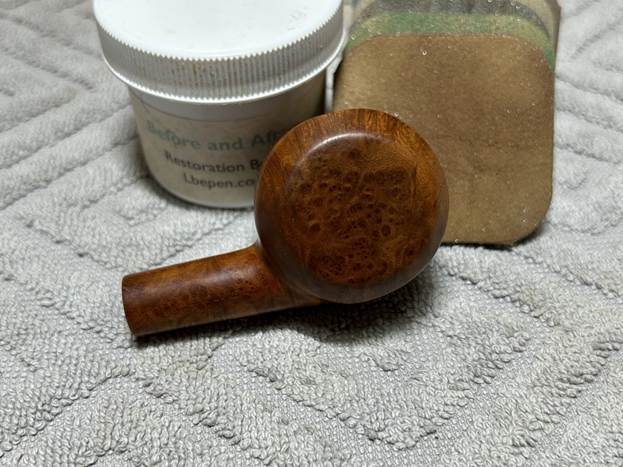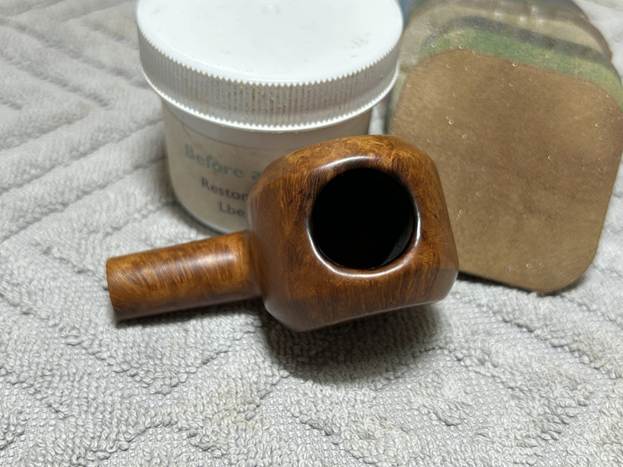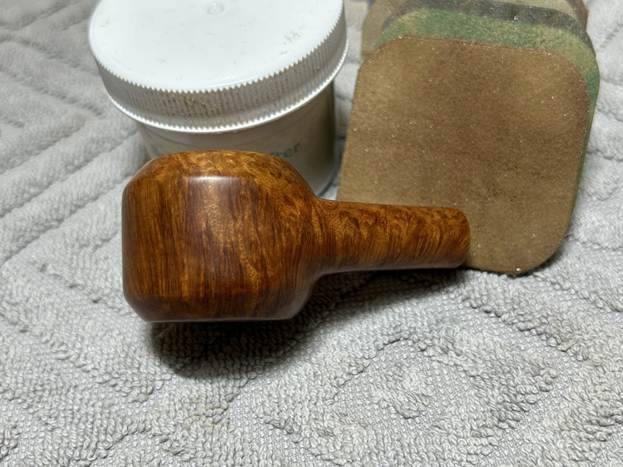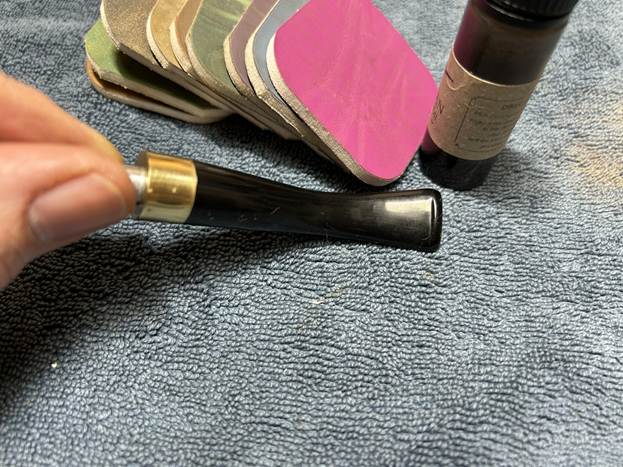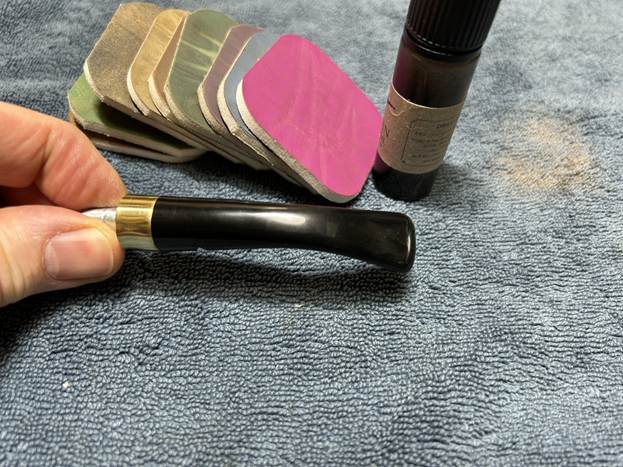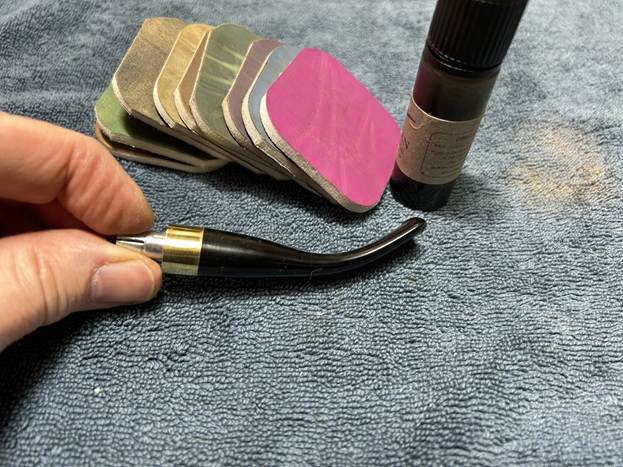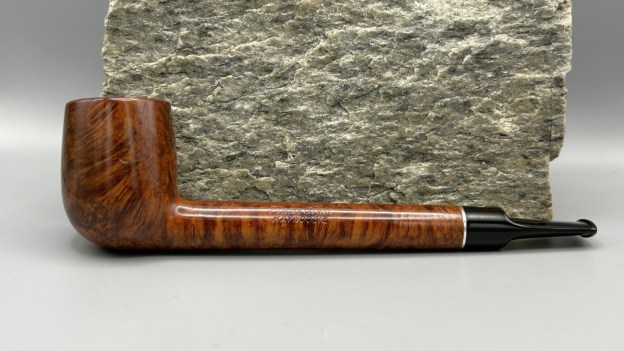
Tag Archives: waxing a stem

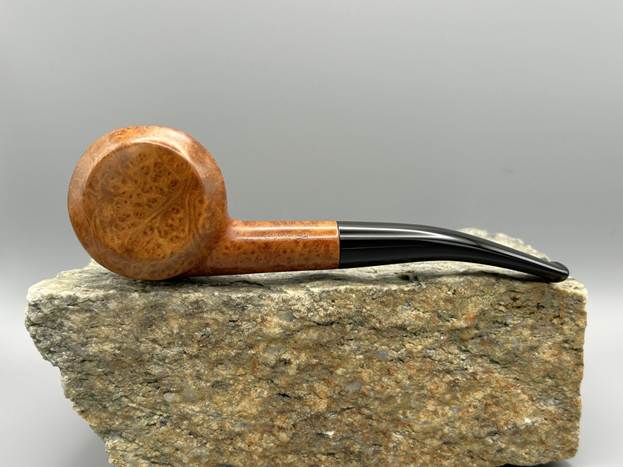
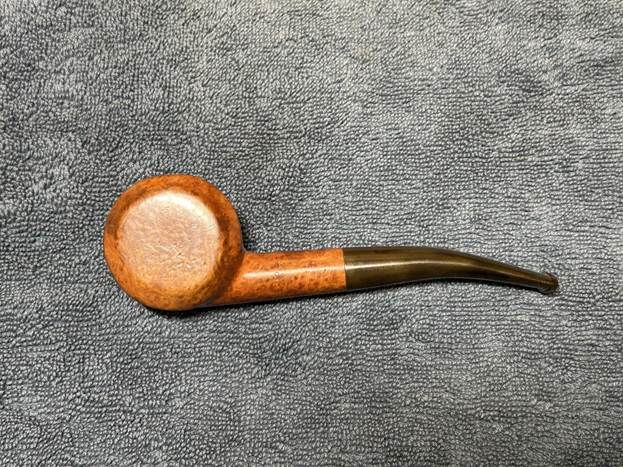
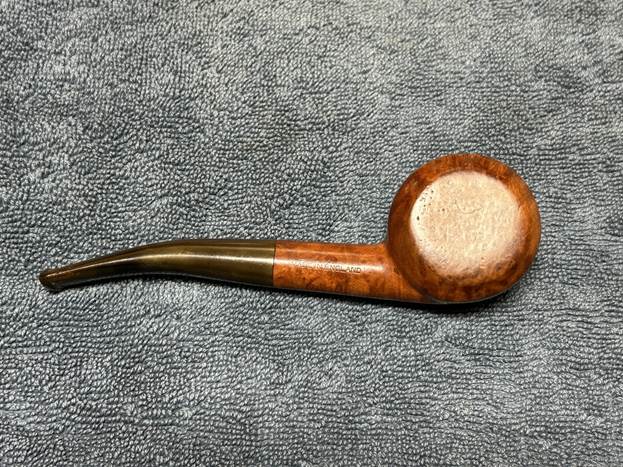
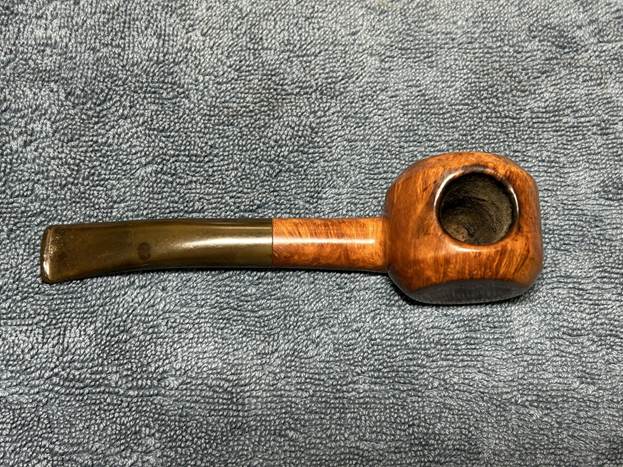
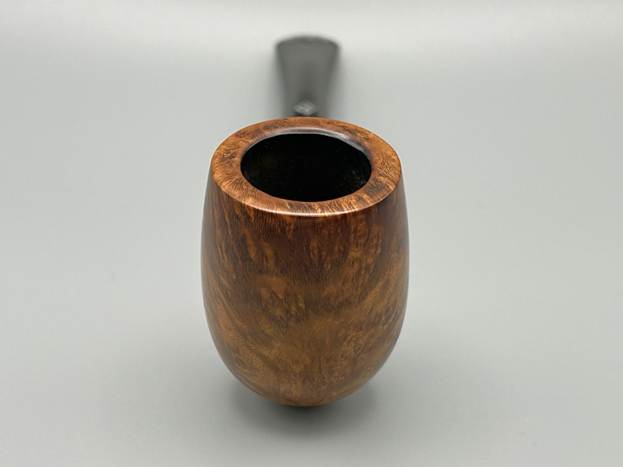
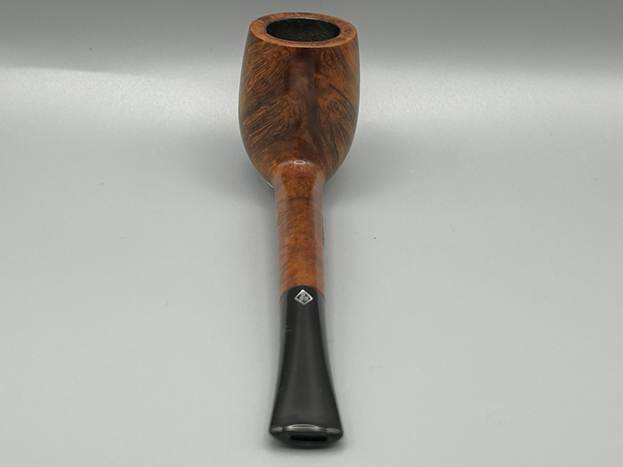
Restoring an Older Kaywoodie Flame Grain 90


by Kenneth Lieblich

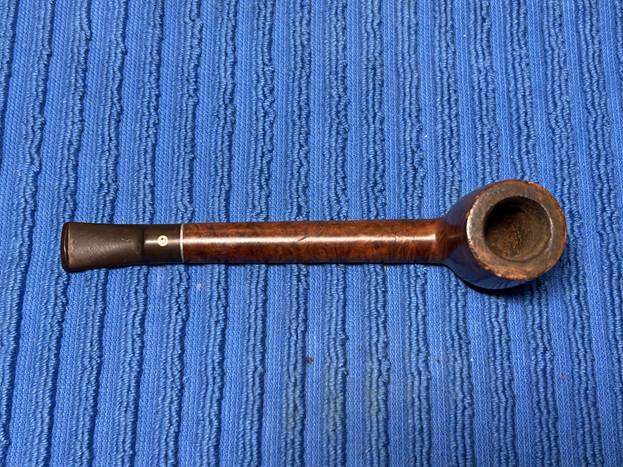
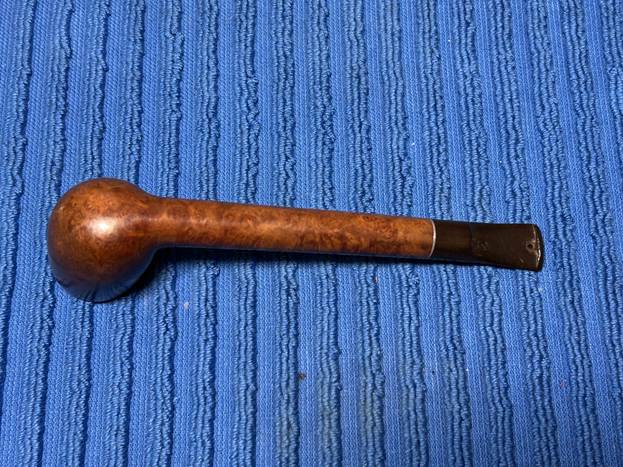
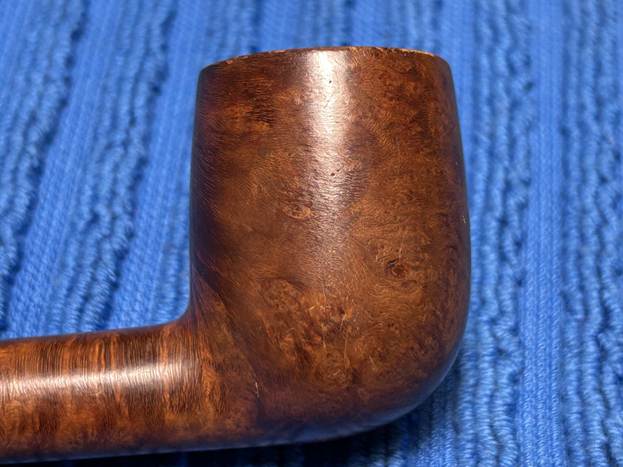
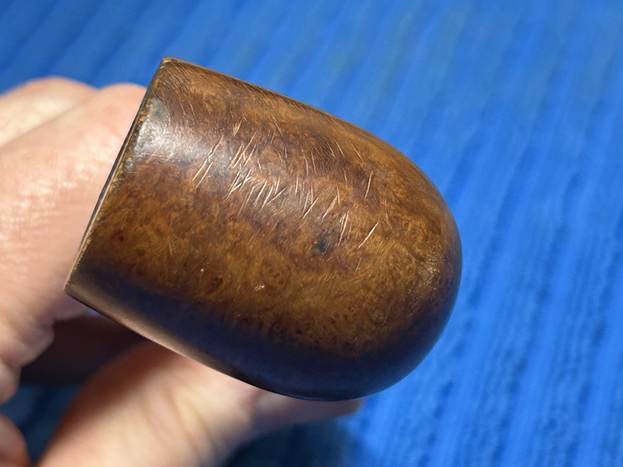
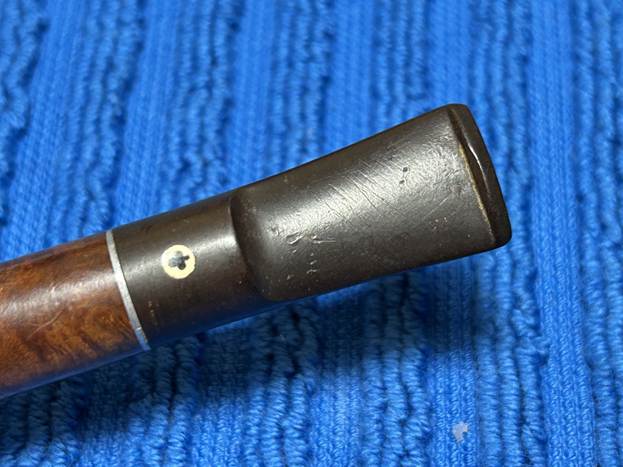
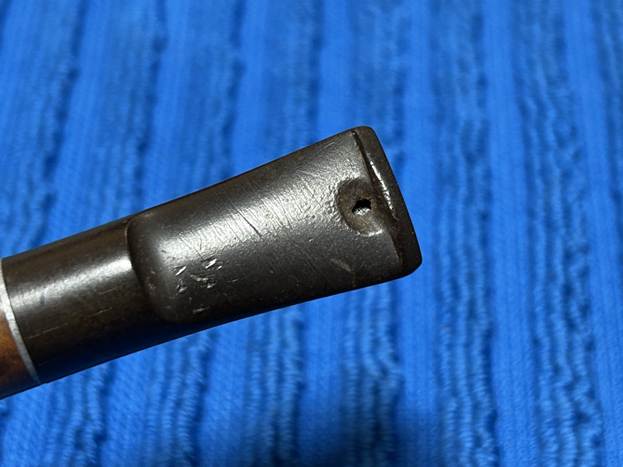
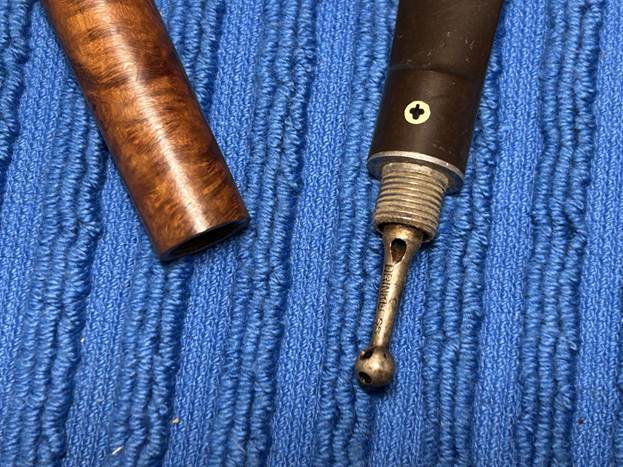
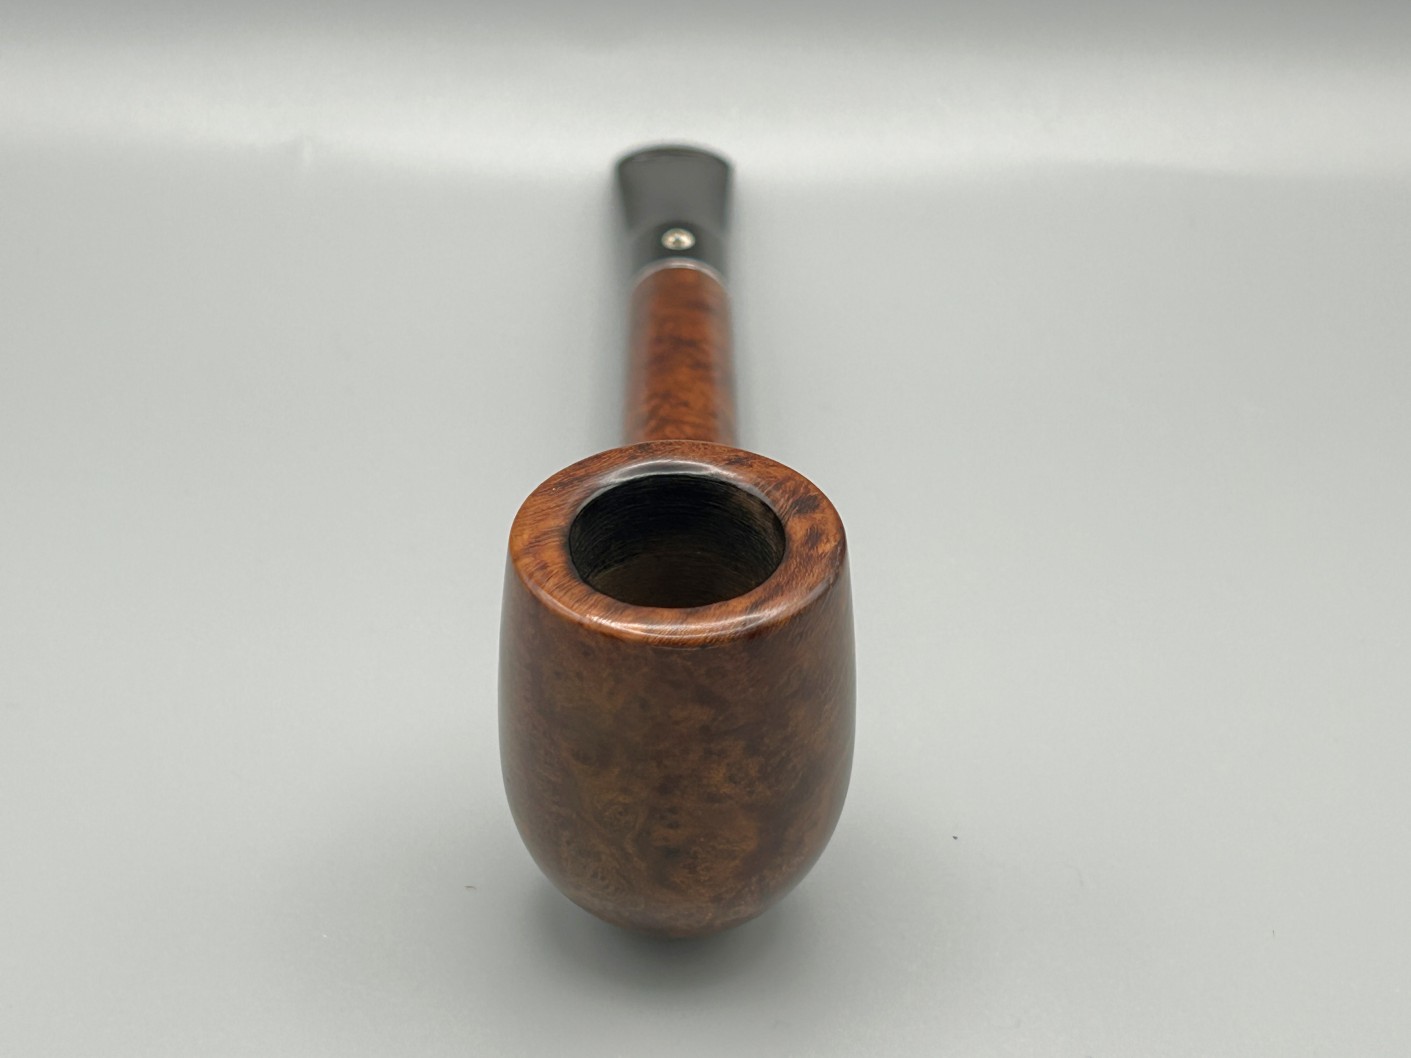
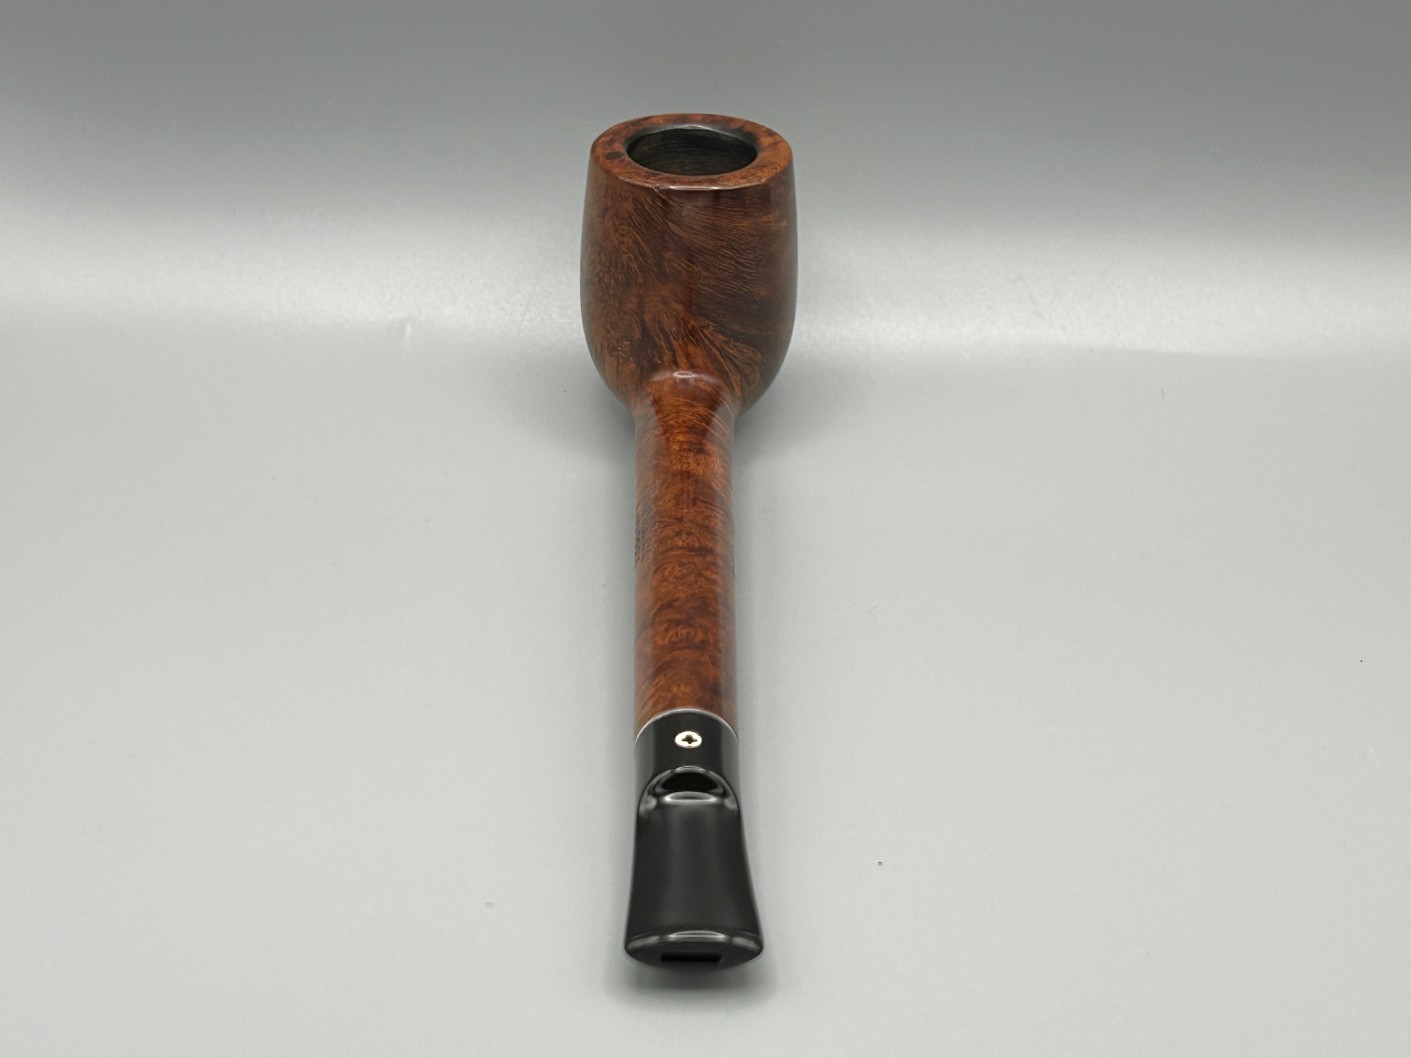
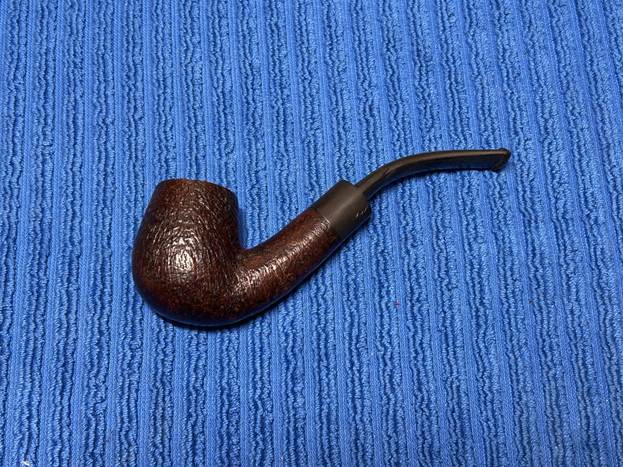
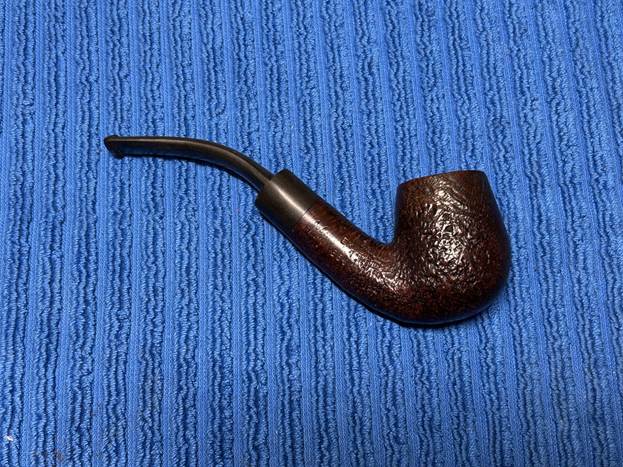
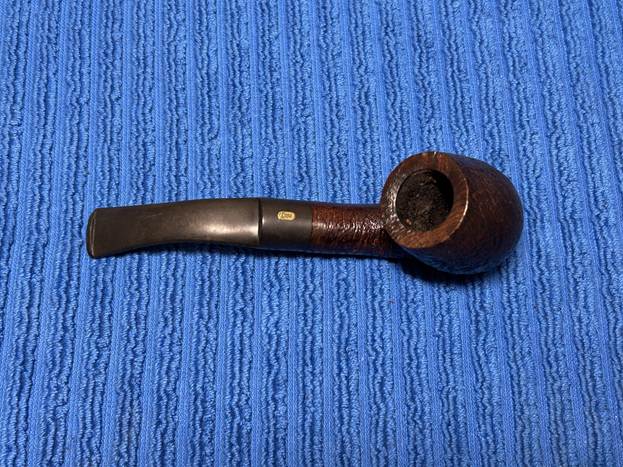
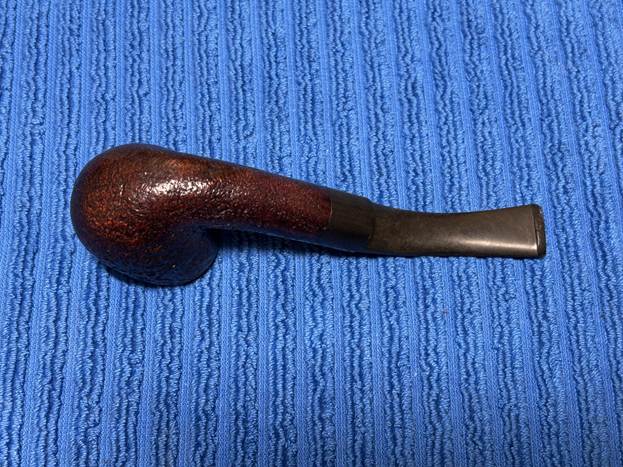
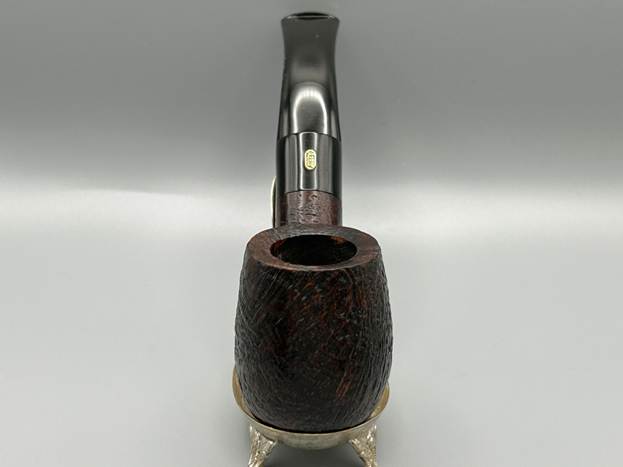
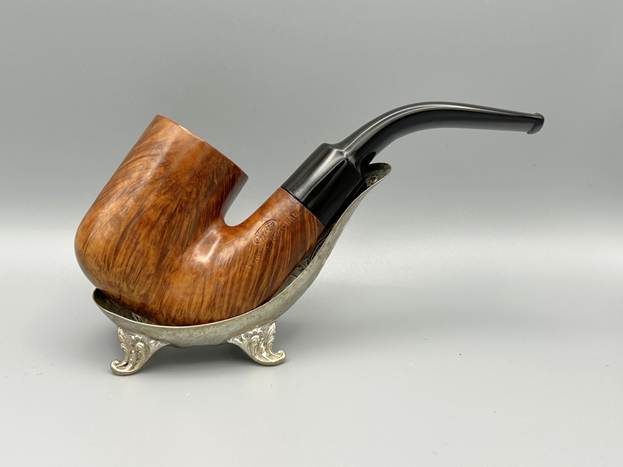
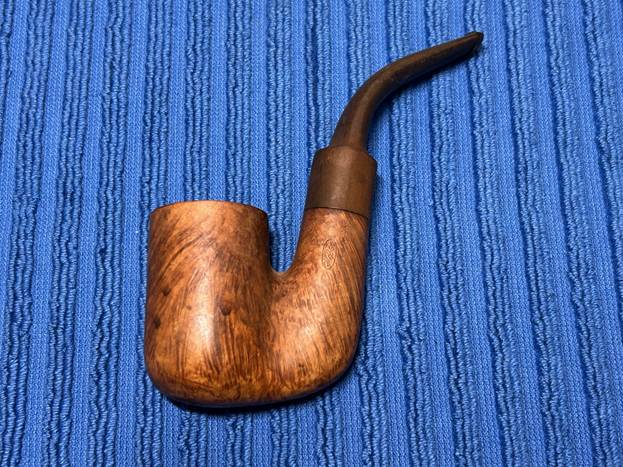
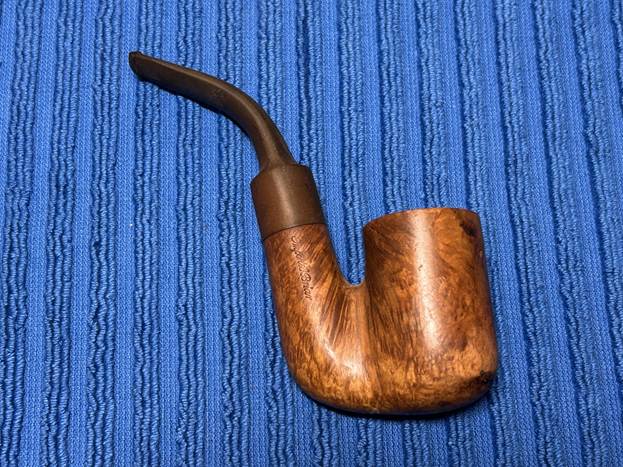
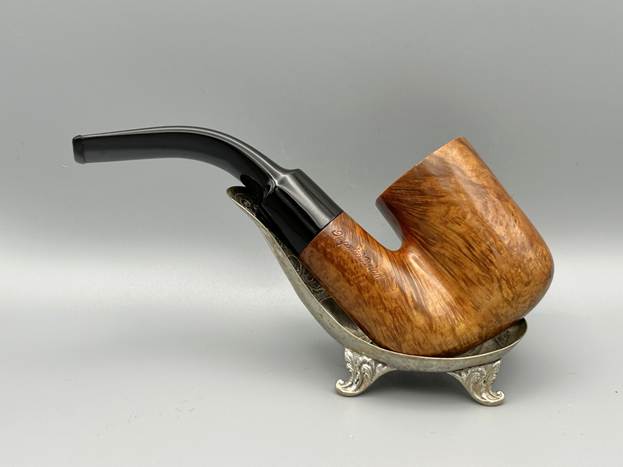
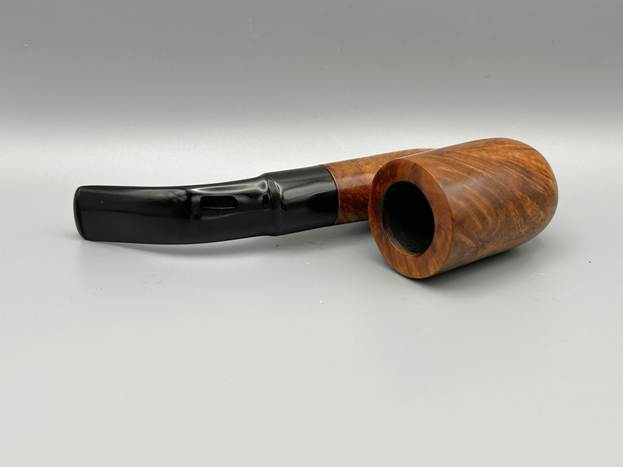
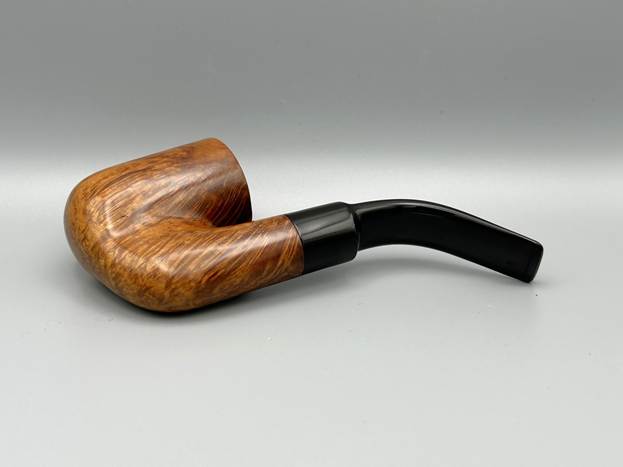
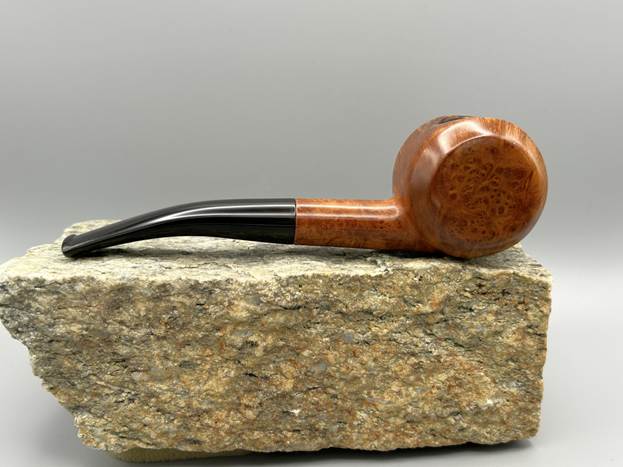
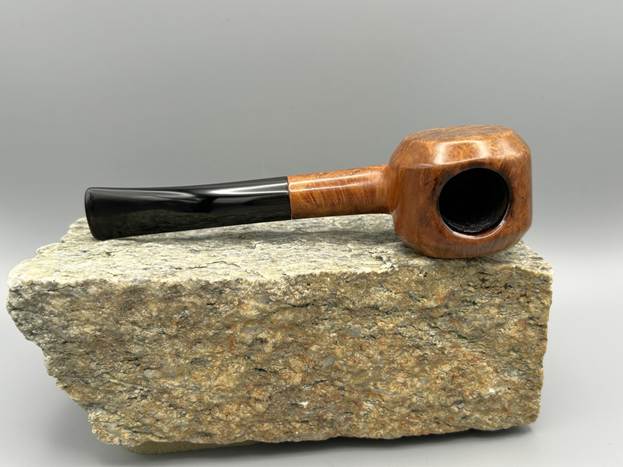
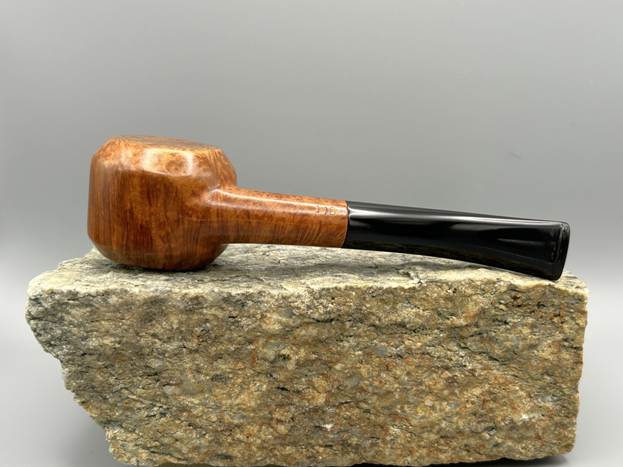
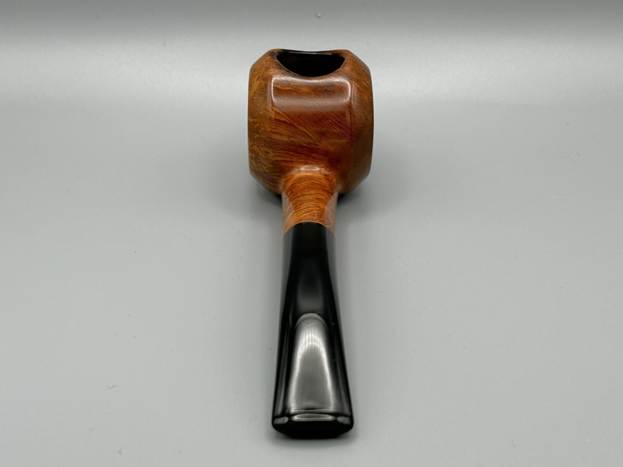
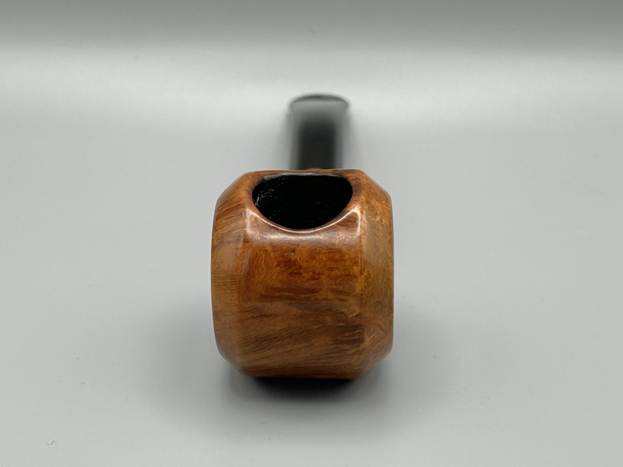
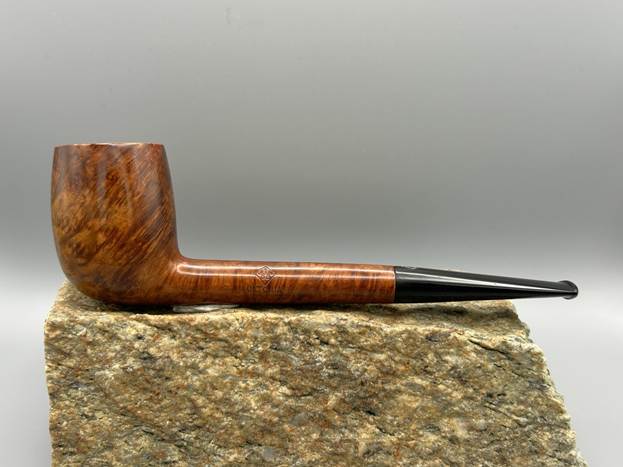
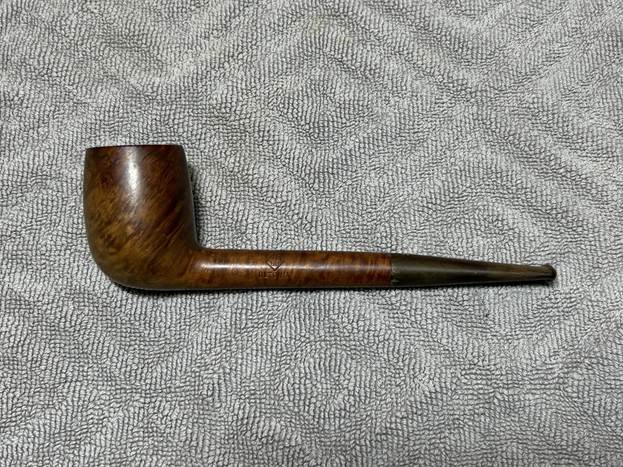
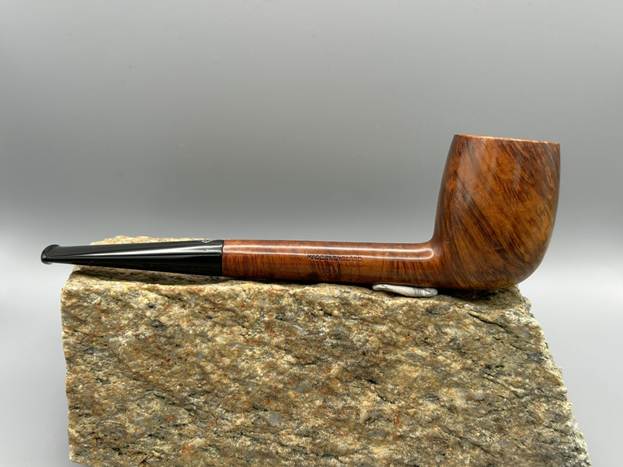
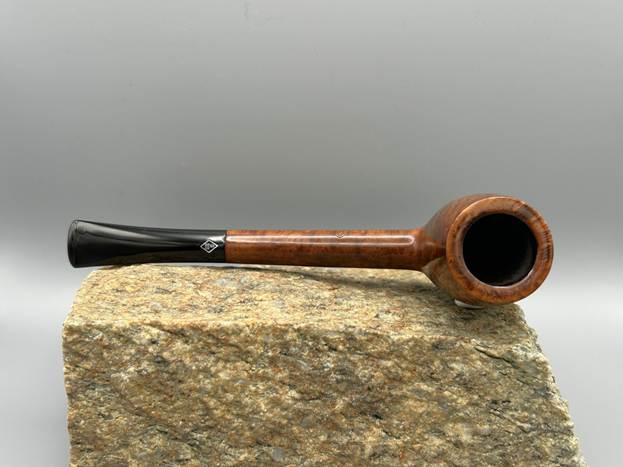
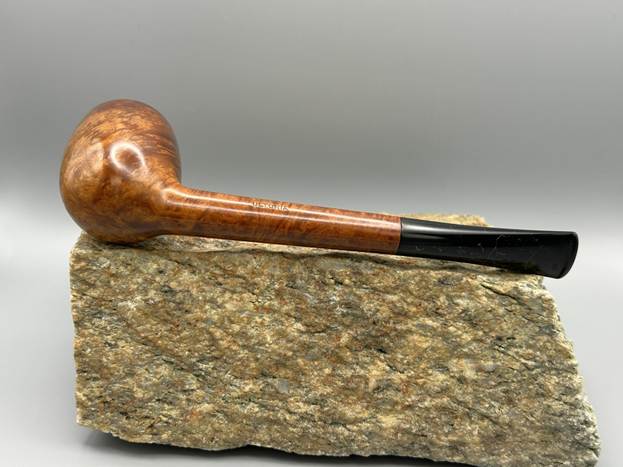
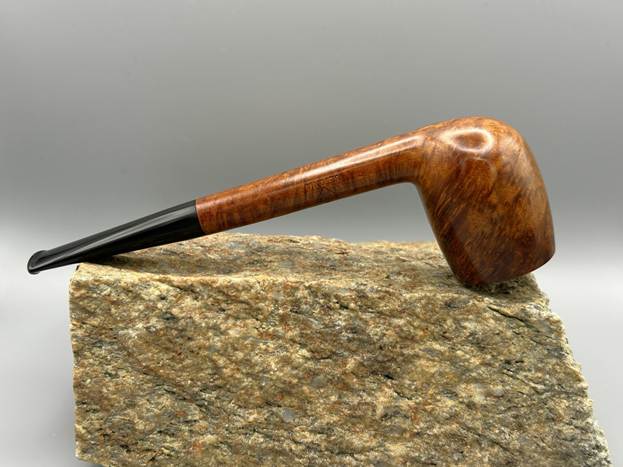
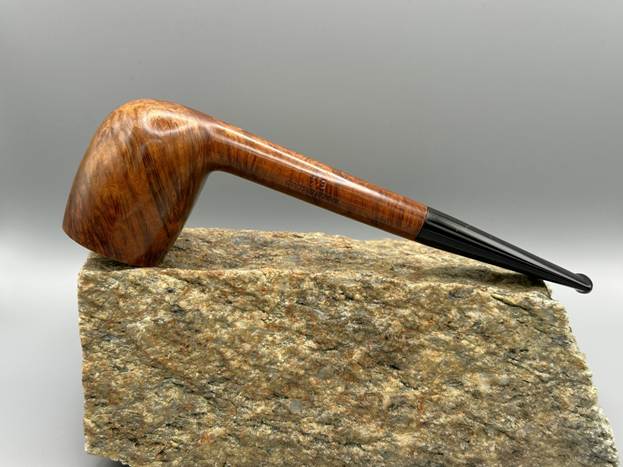
I’ve had this old timer for quite a while, but where and how I got it have been lost to my memory. I’ve been looking at it, admiringly, for a long time. This is a very attractive Kaywoodie Flame Grain 90 Lovat. Officially, Kaywoodie calls it a Canadian. It’s a nice piece of briar with a great vulcanite saddle stem with a screw tenon. The stem also has the ‘drinkless’ stinger with four holes on it – more about that later. You will also notice that the pipe has a ‘stembiter’ bit. The hole near the button is original – it is not a flaw, it’s a feature! This Kaywoodie really has a good look to it, and it is time to get it cleaned up.
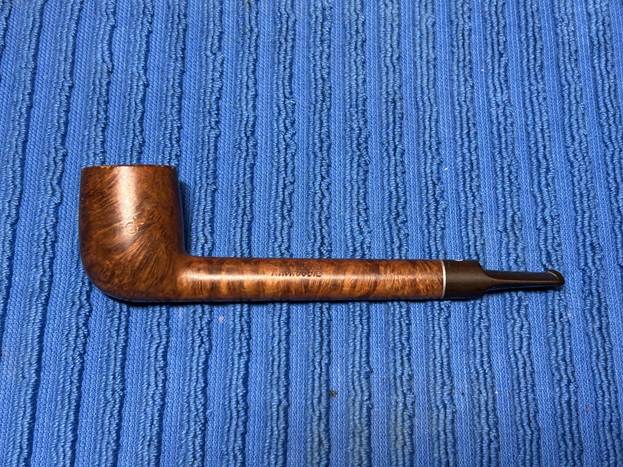
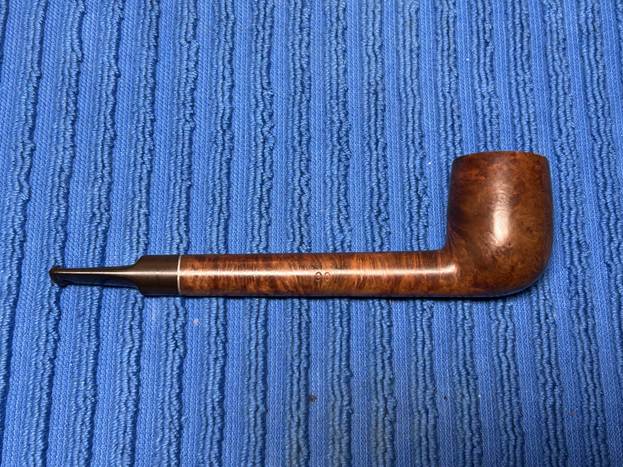
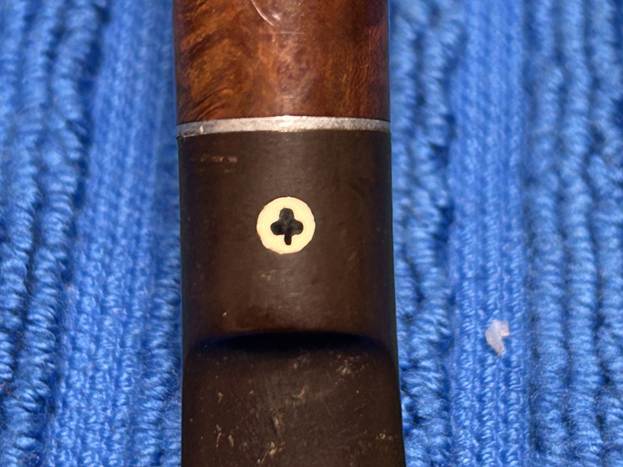
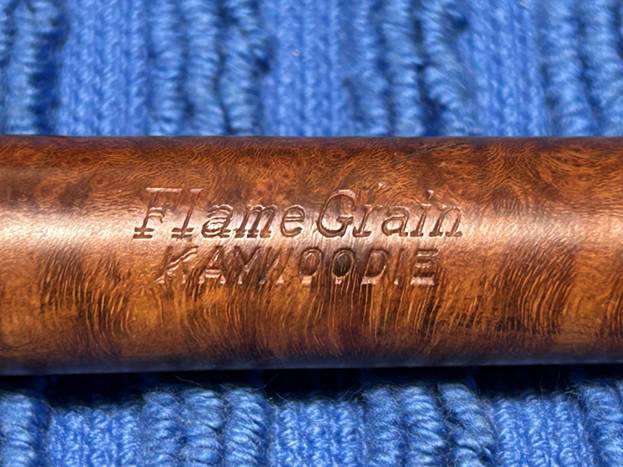
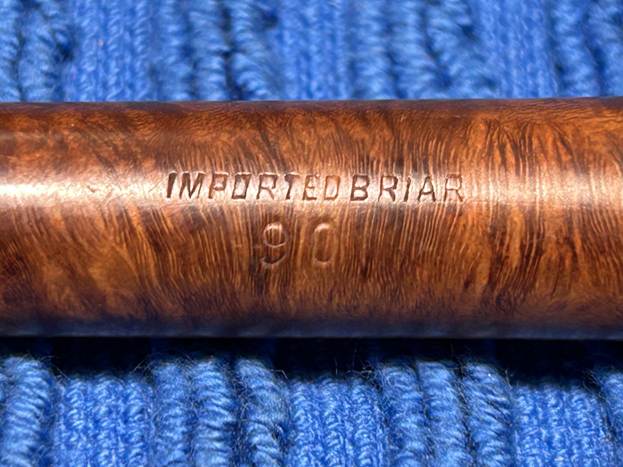
The markings on the pipe are clear and quite helpful. On the left side of the shank, we see Flame Grain [over] Kaywoodie. On the right side of the shank, we see Imported Briar [over] 90. On the top of the stem, we see the famous cloverleaf logo. On the stinger of the stem, we see the word Drinkless – but no patent or registration number. Let’s see if we can narrow down a time period for this pipe. Kaywoodie pipes take a bit of work to figure out, but I think we can do it.
First, let’s use the cloverleaf logo on the stem to help us date this. Pipephil says:

The cloverleaf logo: the round logo (black cloverleaf in white circle or white cloverleaf in black circle) was first used in 1937. Up until the late 40’s this logo was used on all of the upper-grade pipes. The concomitant use of the plain white cloverleaf and the disk inlaid logo continued until the early 80’s. Up until the late 1940’s/early 50’s, the logo was on top of the stem. After that the logo was moved to the side of the stem (exceptions exist).

The emboldened text above is my emphasis. To begin, we have a range of late-1930s to early-1950s. So far, so good. What about the ‘stembiter’ bit? This was a head-scratcher. The ‘stembiter’ bit was introduced in 1955 (according to Pipedia and Pipephil), but that date doesn’t jive with the information above. I ended up finding a footnote on Pipedia which may offer the answer:

The Stembiter pipe was shown in a 1938 Yello-Bole catalog and … may have been in the Kaywoodie line before 1955.
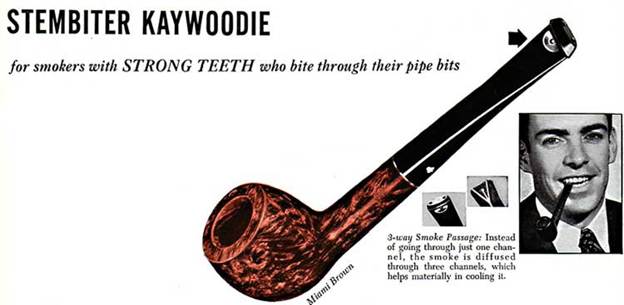
I suspect that this is one of the earlier versions – because this stembiter has only one hole, not two. This would also seem to fit with what I found concerning the Flame Grain line. Here is a screen capture from Pipephil:
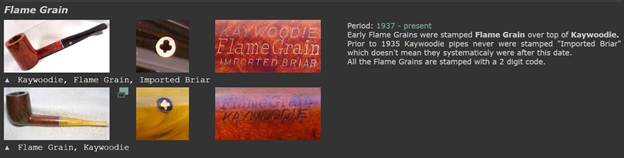
Note that it says that ‘Early Flame Grains were stamped Flame Grain over top of Kaywoodie.’ – and that’s what we see on this pipe. So, a picture is starting to form. Let’s examine the ‘drinkless’ stinger. As previously mentioned, this pipe has a stinger with four holes. This is a significant detail. Quoting Pipephil:

The early Drinkless Kaywoodies (Patent # 213598) from 1924 through 1931 had push bit stems. The Drinkless stinger with its four hole ball will keep this characteristic when integrated to the SynchroStem fitting. Pipes with screw-in attachment were produced from late 1929 with the “PAT. APPL FOR” stampings. A test of the design was conducted until 1931 when the SynchroStem patent was granted. This stamping (allways on the underside of the pipe) easily dates the pipe to a very narrow timeframe: 1929 – 1931. The Synchro-Stem patent for Kaywoodie’s Drinkless pipes was applied for in 1929 and granted in 1932. The system consists of a screw-in attachment combined with the earlier Drinkless patent. The stinger’s length is variable in order to fit the length of the shank. This flexibility was facilitated by the manufacture of the aluminium attachment at Kaywoodie’s plant. The Drinkless patent references were etched on the stinger. Kaywoodie reduced from 4 to 3 the number of holes in the Drinkless filter at an indeterminate date.

The phrase ‘at an indeterminate date’ is not very helpful, but I found some help on a thread over at the PipesMagazine forums. Here’s what I found:

… until about 1950 the Kaywoodie still featured a ball on the end of the stinger with four holes drilled through.

And later, in the same thread:

But around 1948 or so, instead of two holes drilled diagonally to make a four hole stinger, the system was changed to one hole drilled horizontally all the [way] through and one more on top drilled down vertically, for a three hole stinger.

I think the images of the shape number 90 in three different Kaywoodie catalogues (1936, 1947, and 1955) will bring this all to a close. Here is the image from the 1936 catalogue:
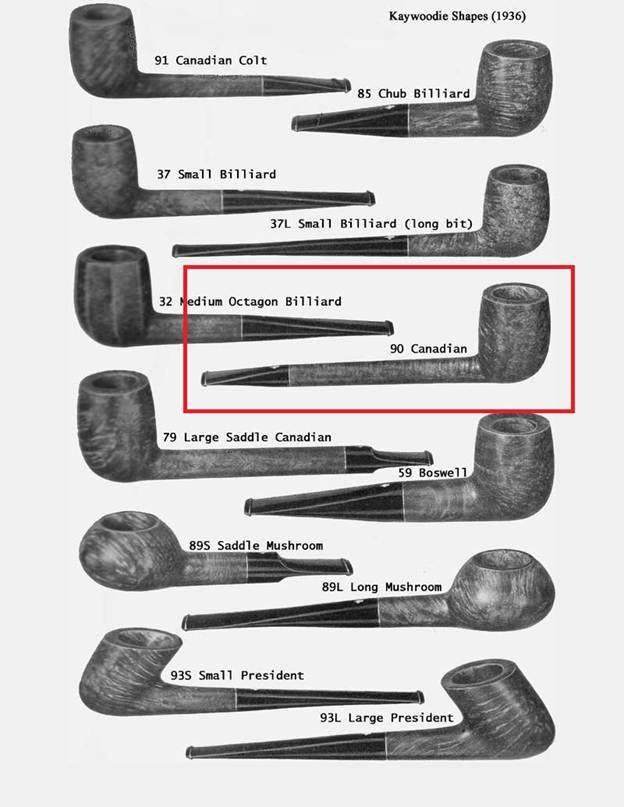
There is a shape number 90, but it doesn’t match ours – the one from 1936 has a taper stem, not a saddle. Let’s look at the image from the 1947 catalogue:
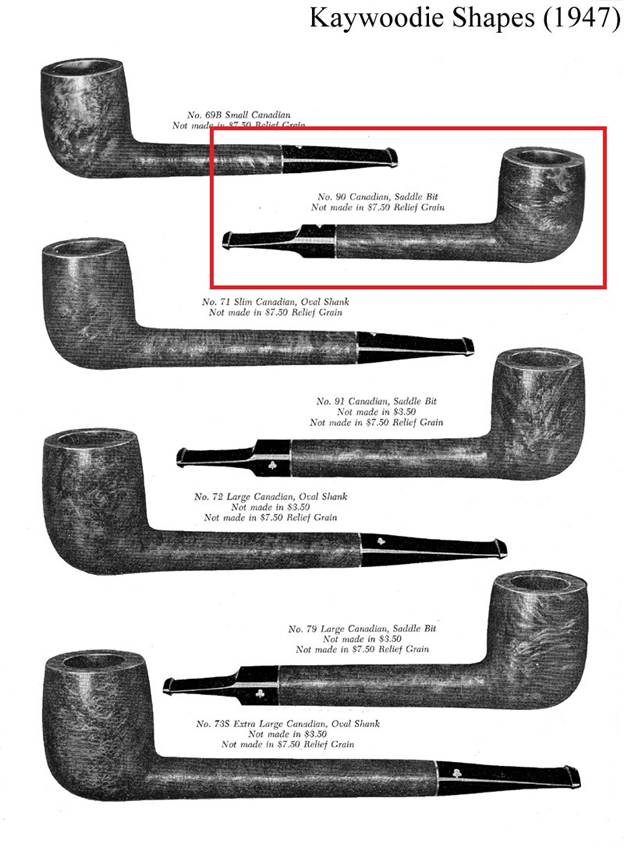
Bingo. That’s the one: right shape, right number, right logo position. And for comparison, here is the image from the 1955 catalogue:
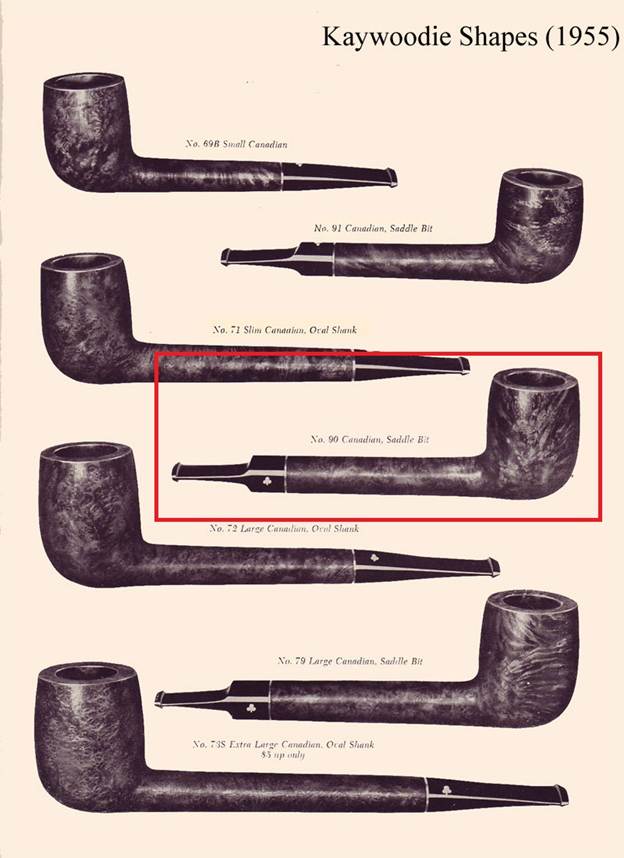
Once again, there is a shape number 90, but it doesn’t match – the logo is on the side of the stem, not the top. After all of that research, I think we can safely conclude that this pipe dates around 1947.

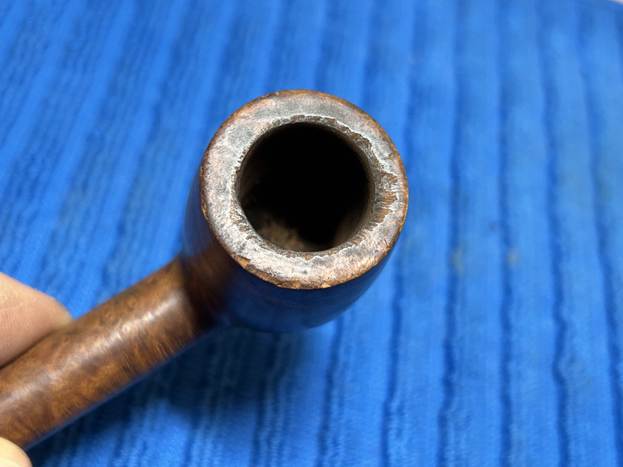
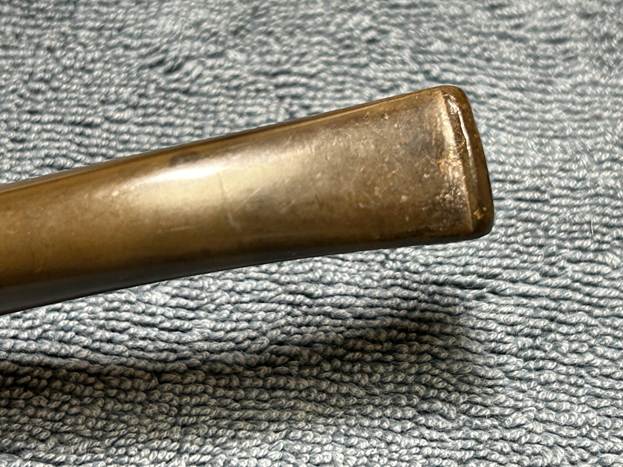
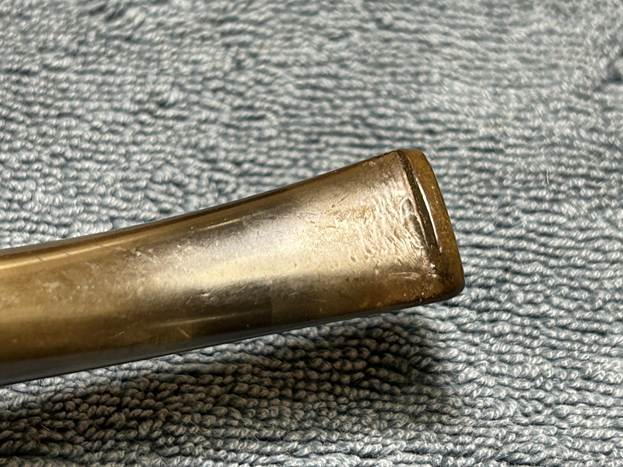
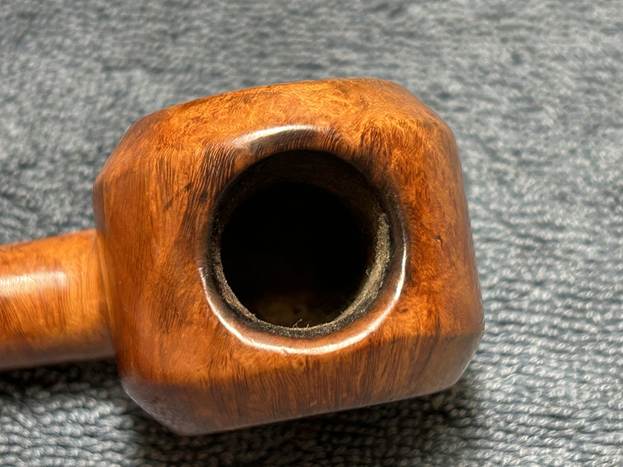
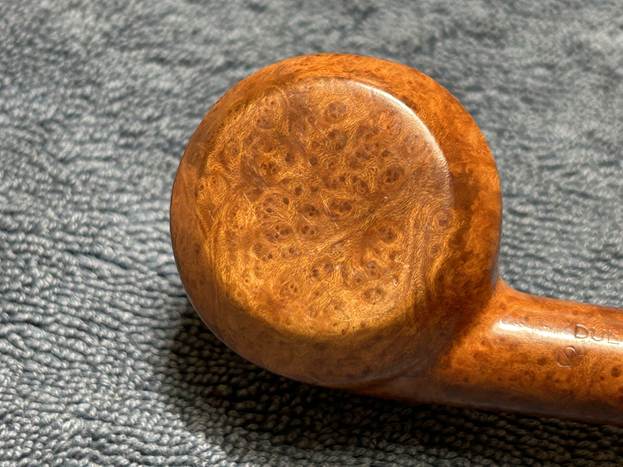
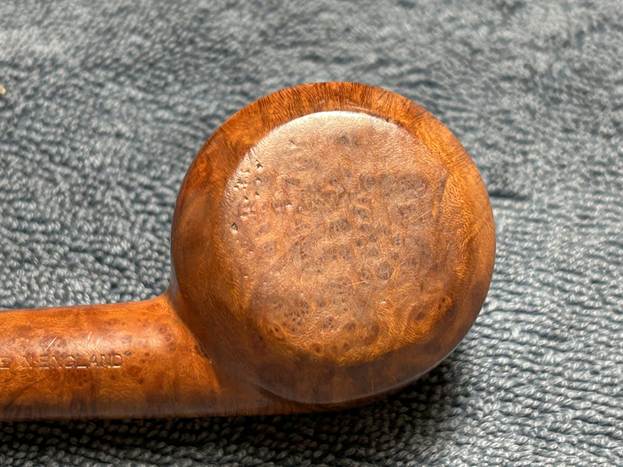
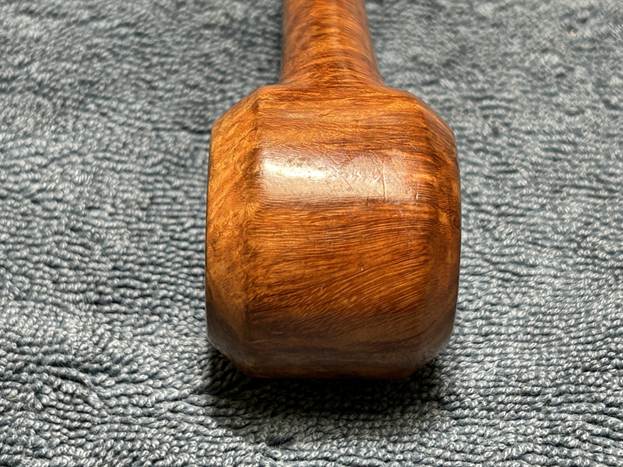
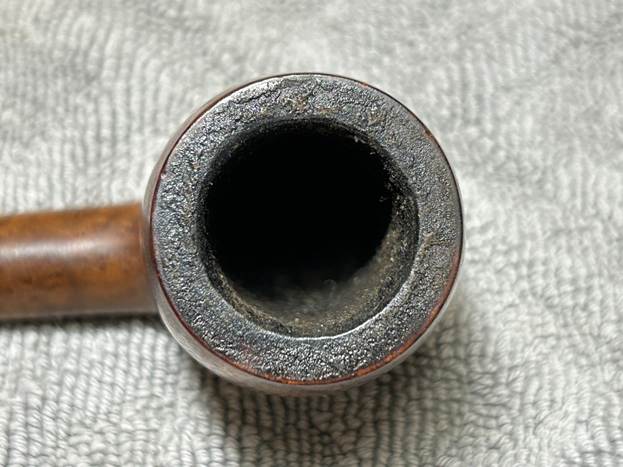
Let’s move on and have a look at the pipe’s condition. The bowl is in good shape: no major issues in the briar; some lava on the rim; some cake in the bowl; and general sense of dirtiness. Similarly, the stem was in decent shape: a few knicks in the vulcanite; a bit of oxidation; a bit of calcification, but nothing significant.
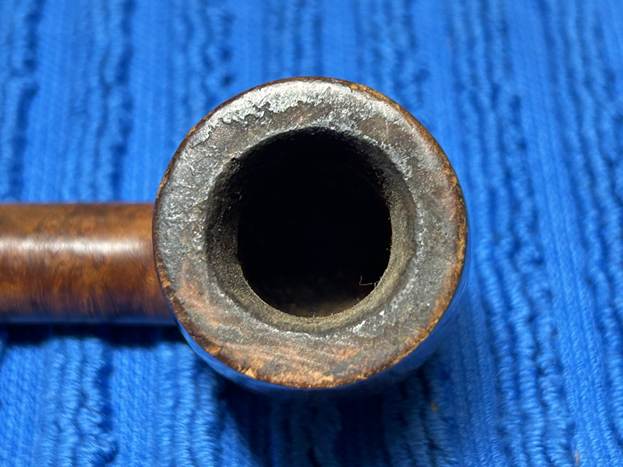
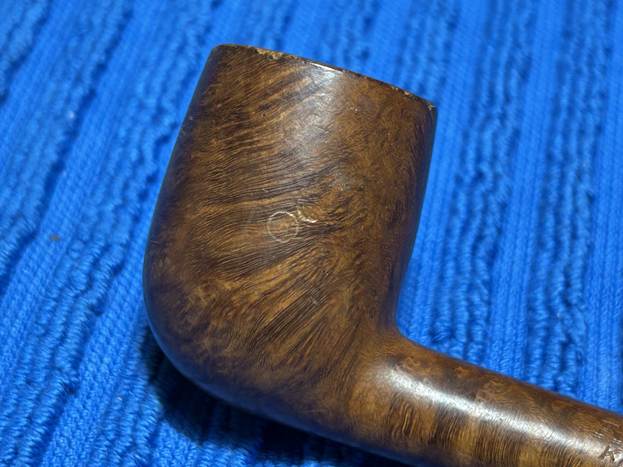
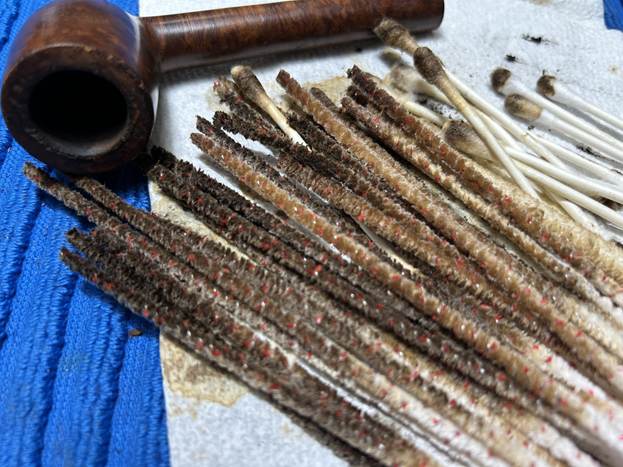
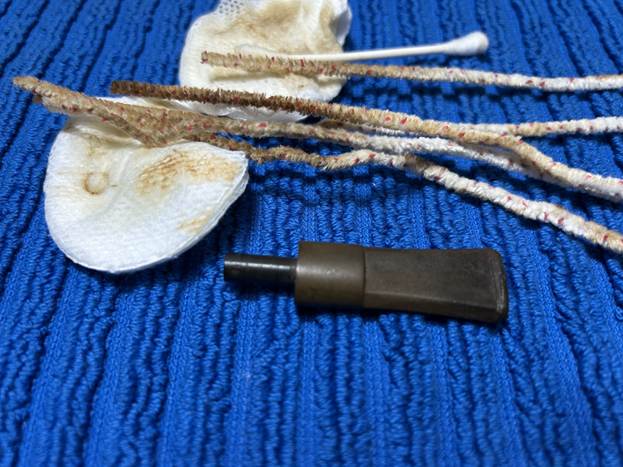
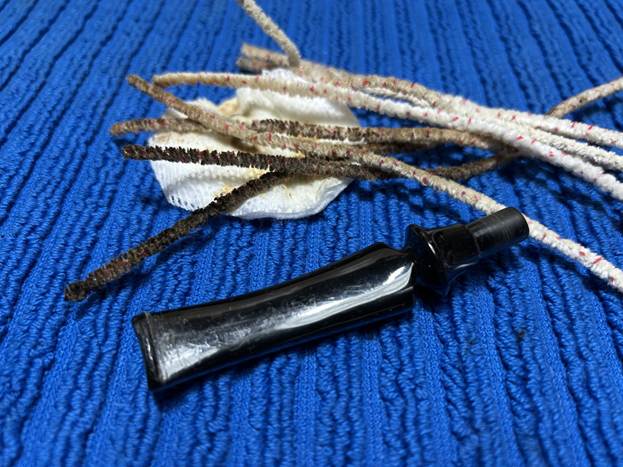
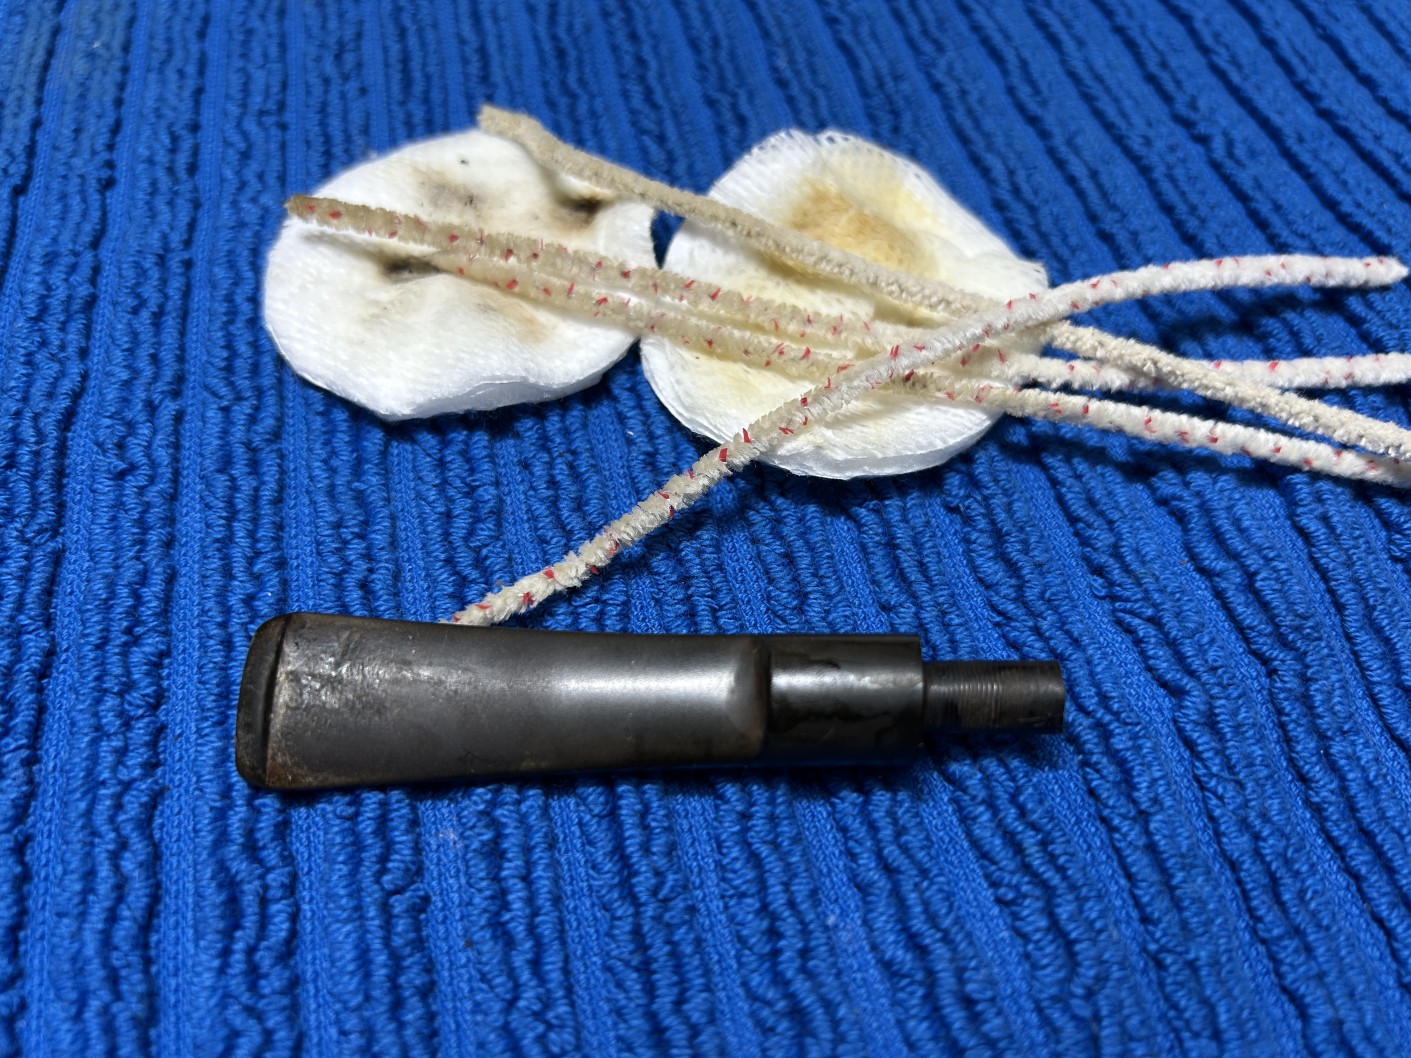
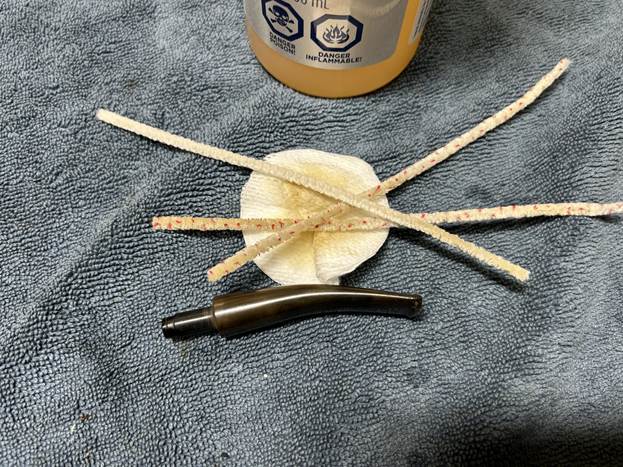
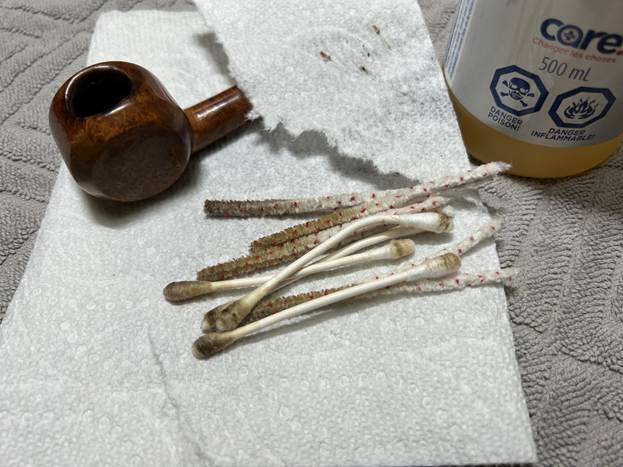
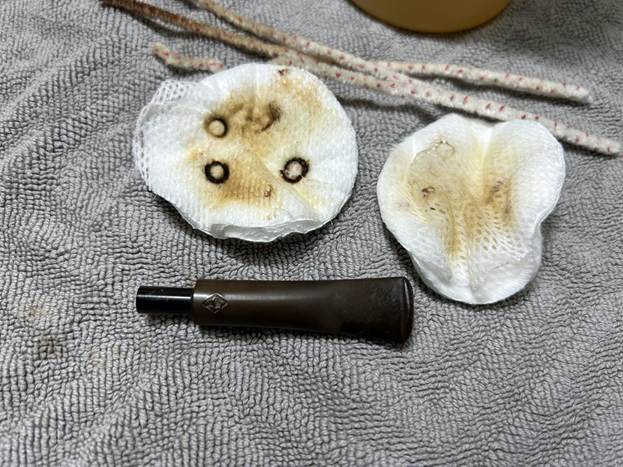
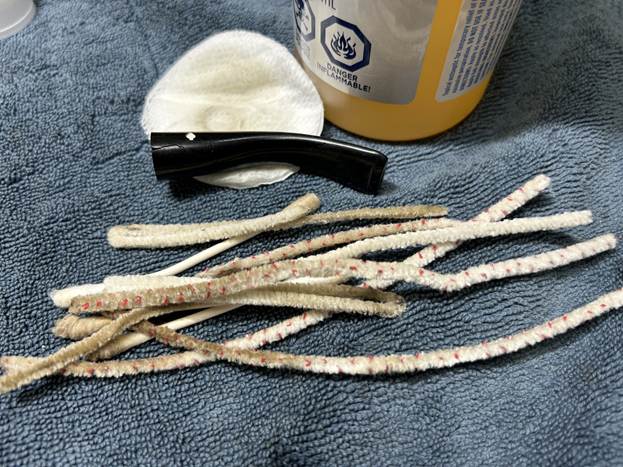
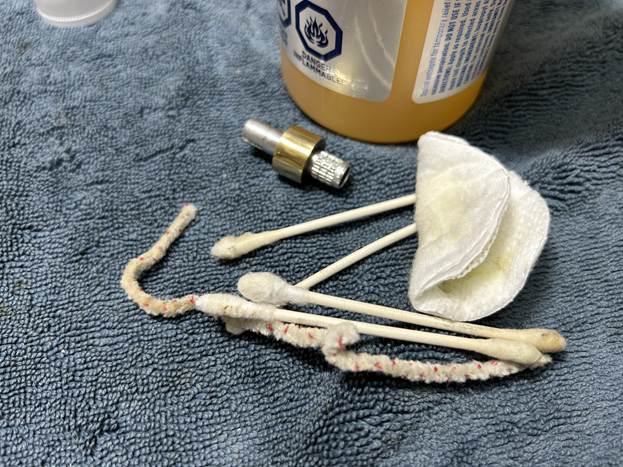
I used isopropyl alcohol on a few cotton rounds and wiped down the stem to provide an initial cleaning of filth before moving on to the next steps. The primary cleaning came next. I disinfected the inside of the stem with pipe cleaners dipped in lemon-infused 99% isopropyl alcohol. I scrubbed thoroughly to make sure the interior was very clean. I used quite a few pipe cleaners.
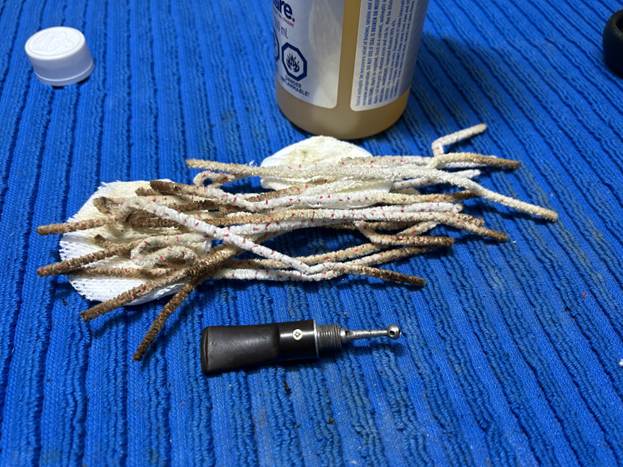
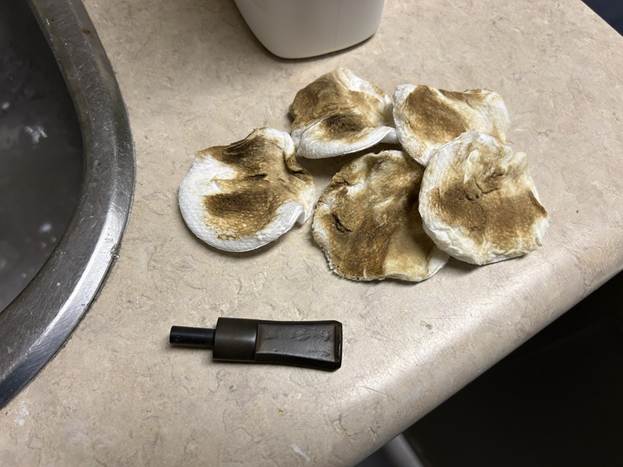
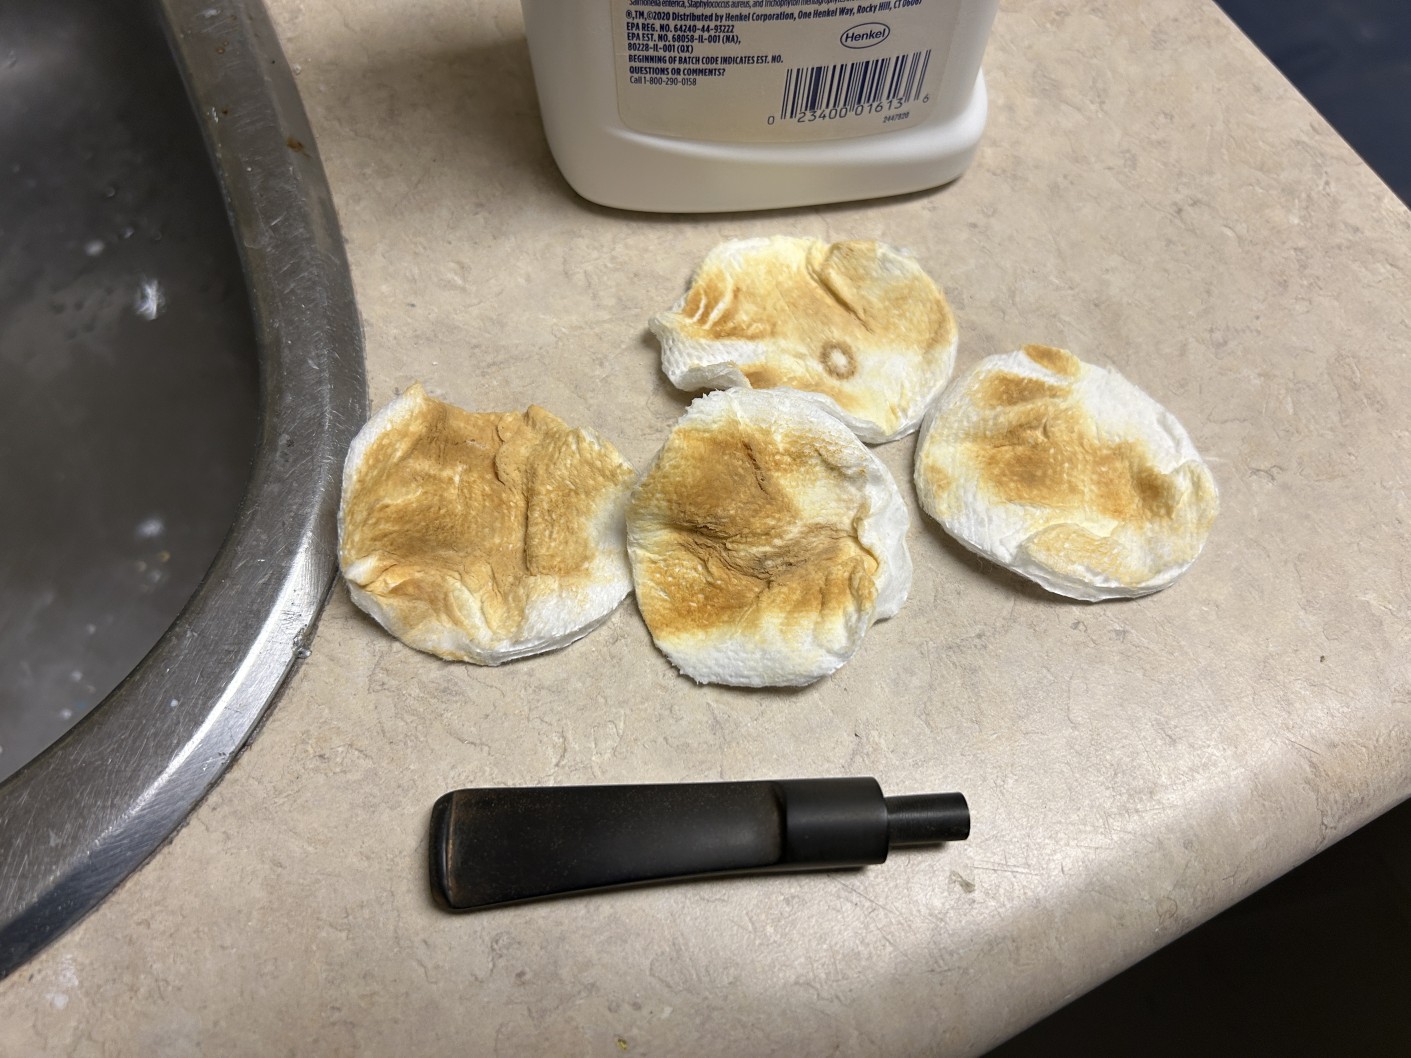
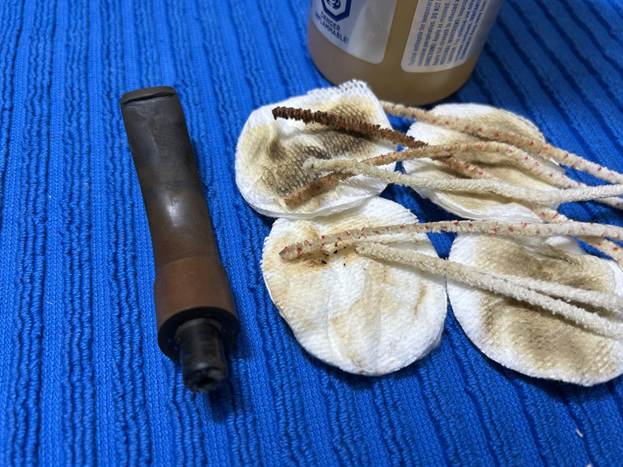
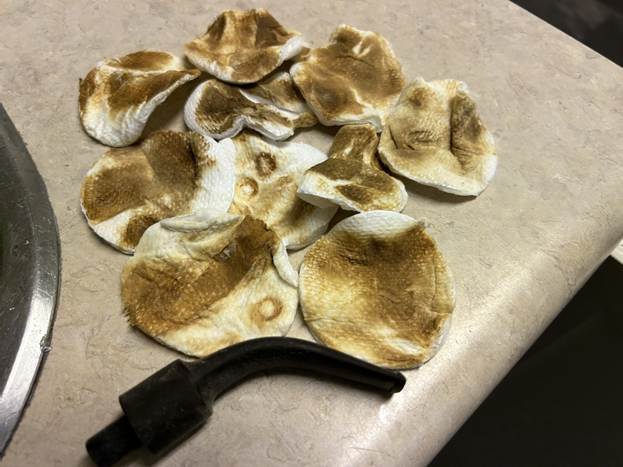
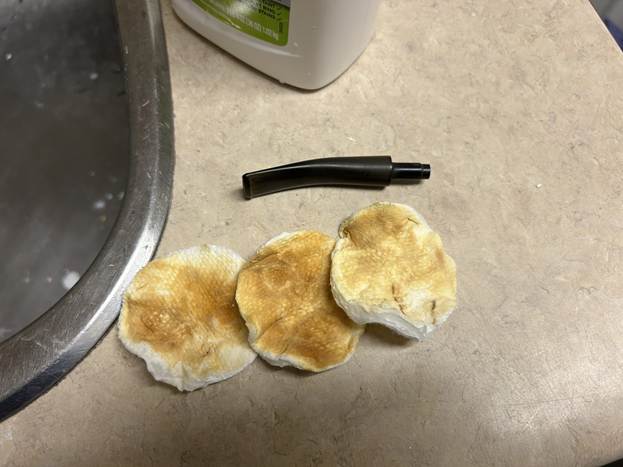
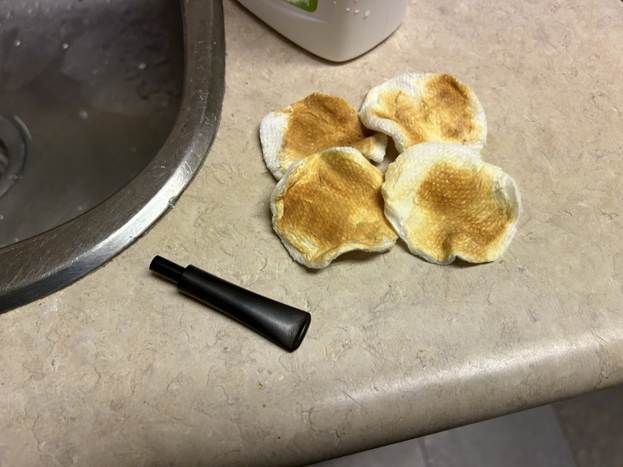
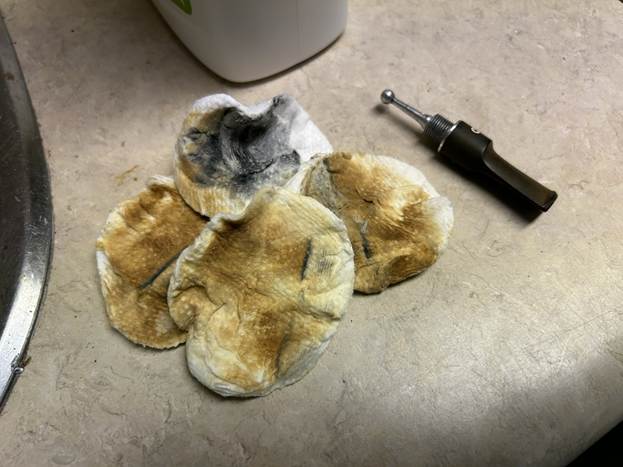
The goal of the next step is the removal (or minimization) of oxidation. Going to my sink, I used cream cleanser, cotton rounds, and a toothbrush, and scoured the stem to remove as much surface oxidation as possible. As the photos show, the result was a hideous, ochre-coloured mess – but better off the stem than on it.
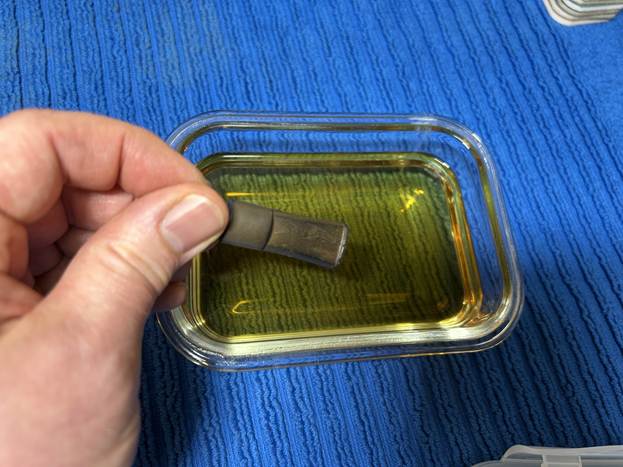
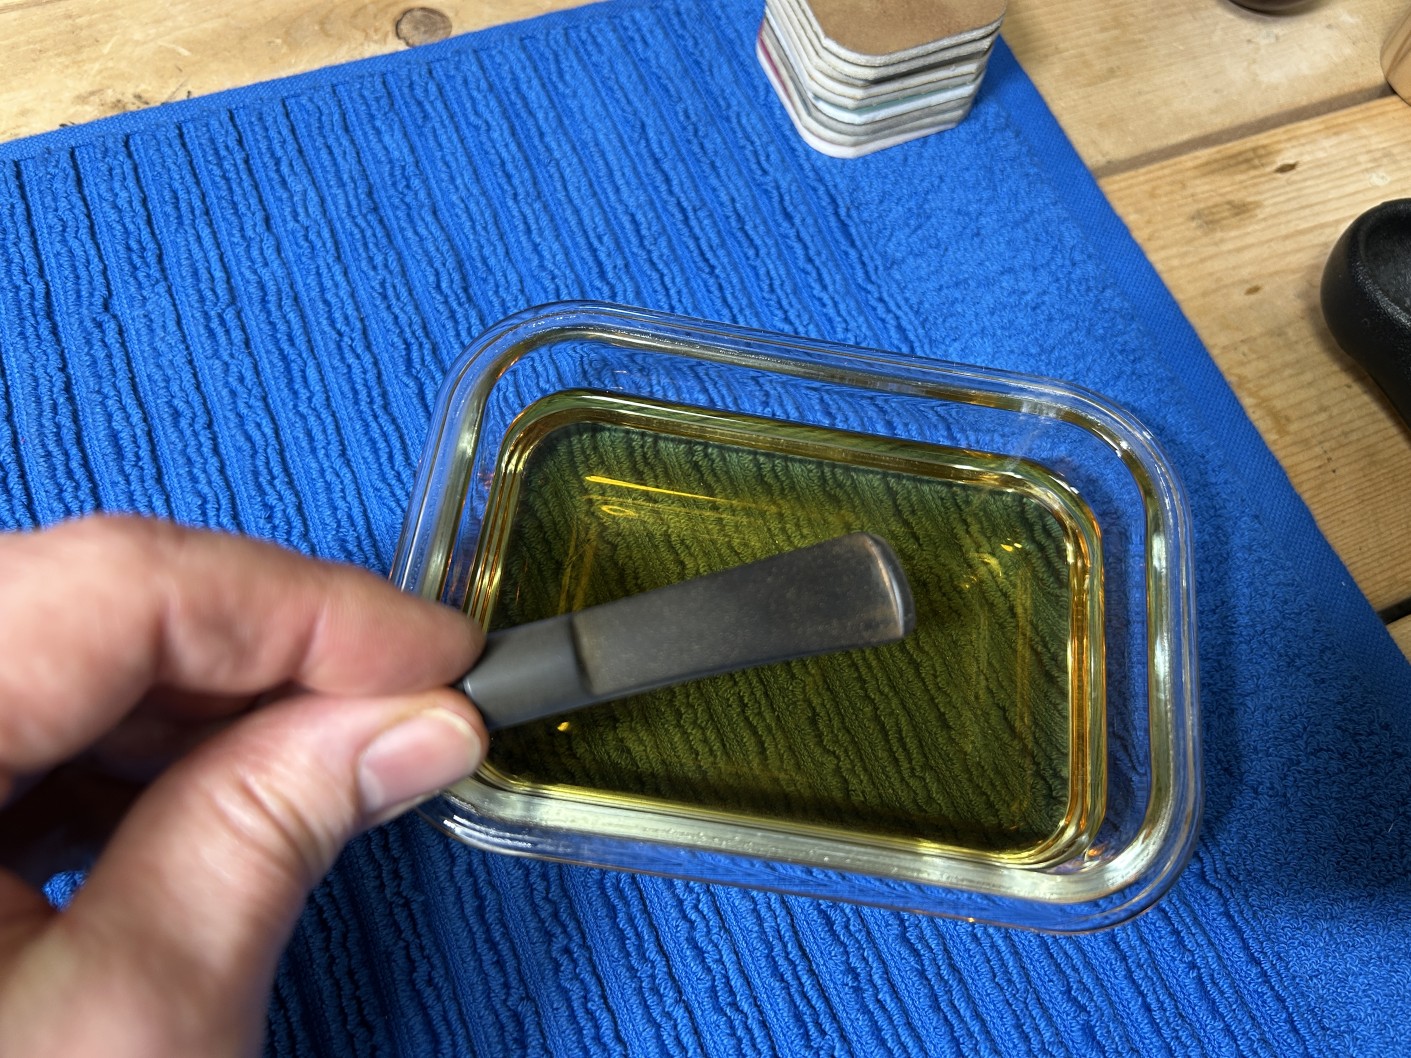
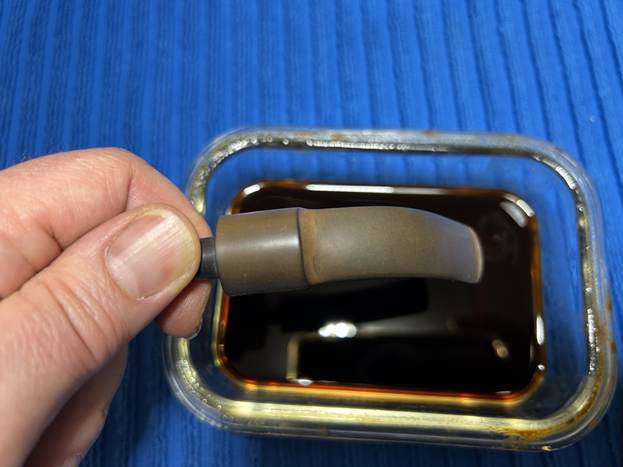
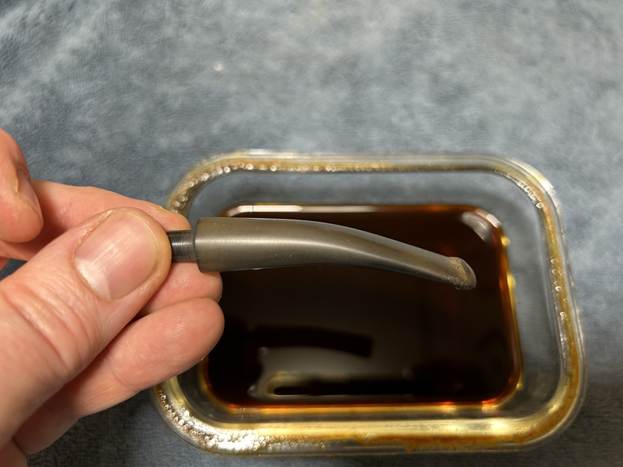
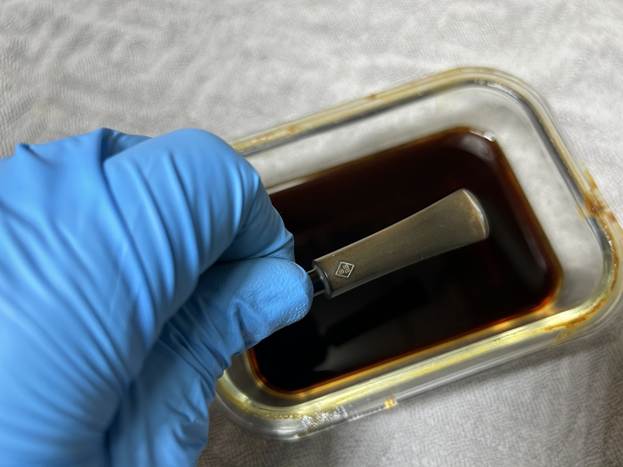
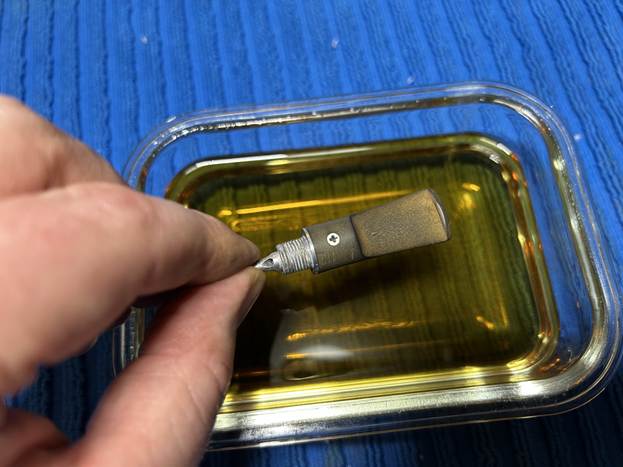
Once the stem was reasonably clean, I soaked it overnight in some Briarville Stem Oxidation Remover. This solution works to draw oxidation in the stem to the surface of the vulcanite. This is a major aid and an important step in ensuring a clean stem. The following day, I drew out the stem from its bath and scrubbed the lingering fluid with a toothbrush.
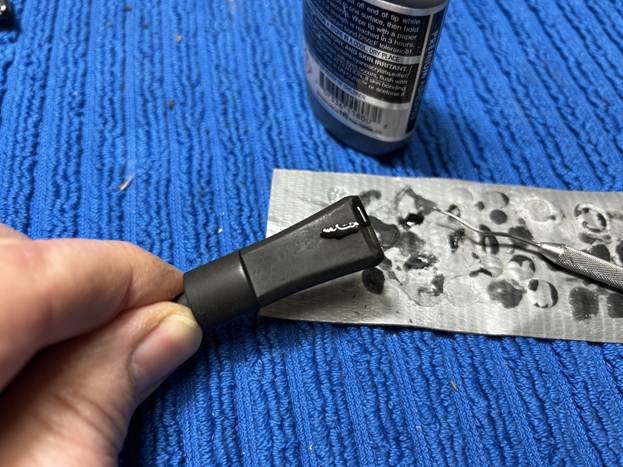
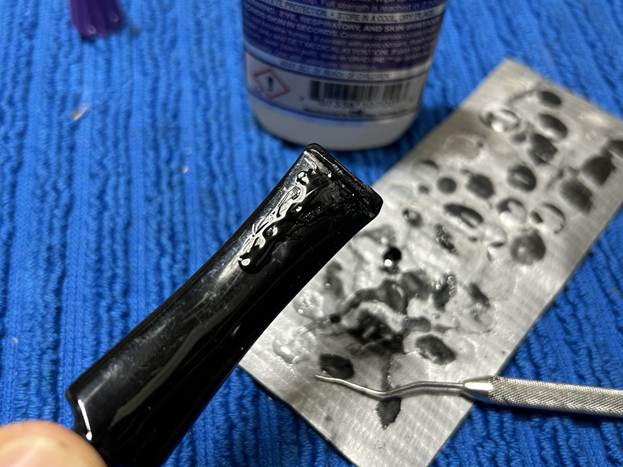
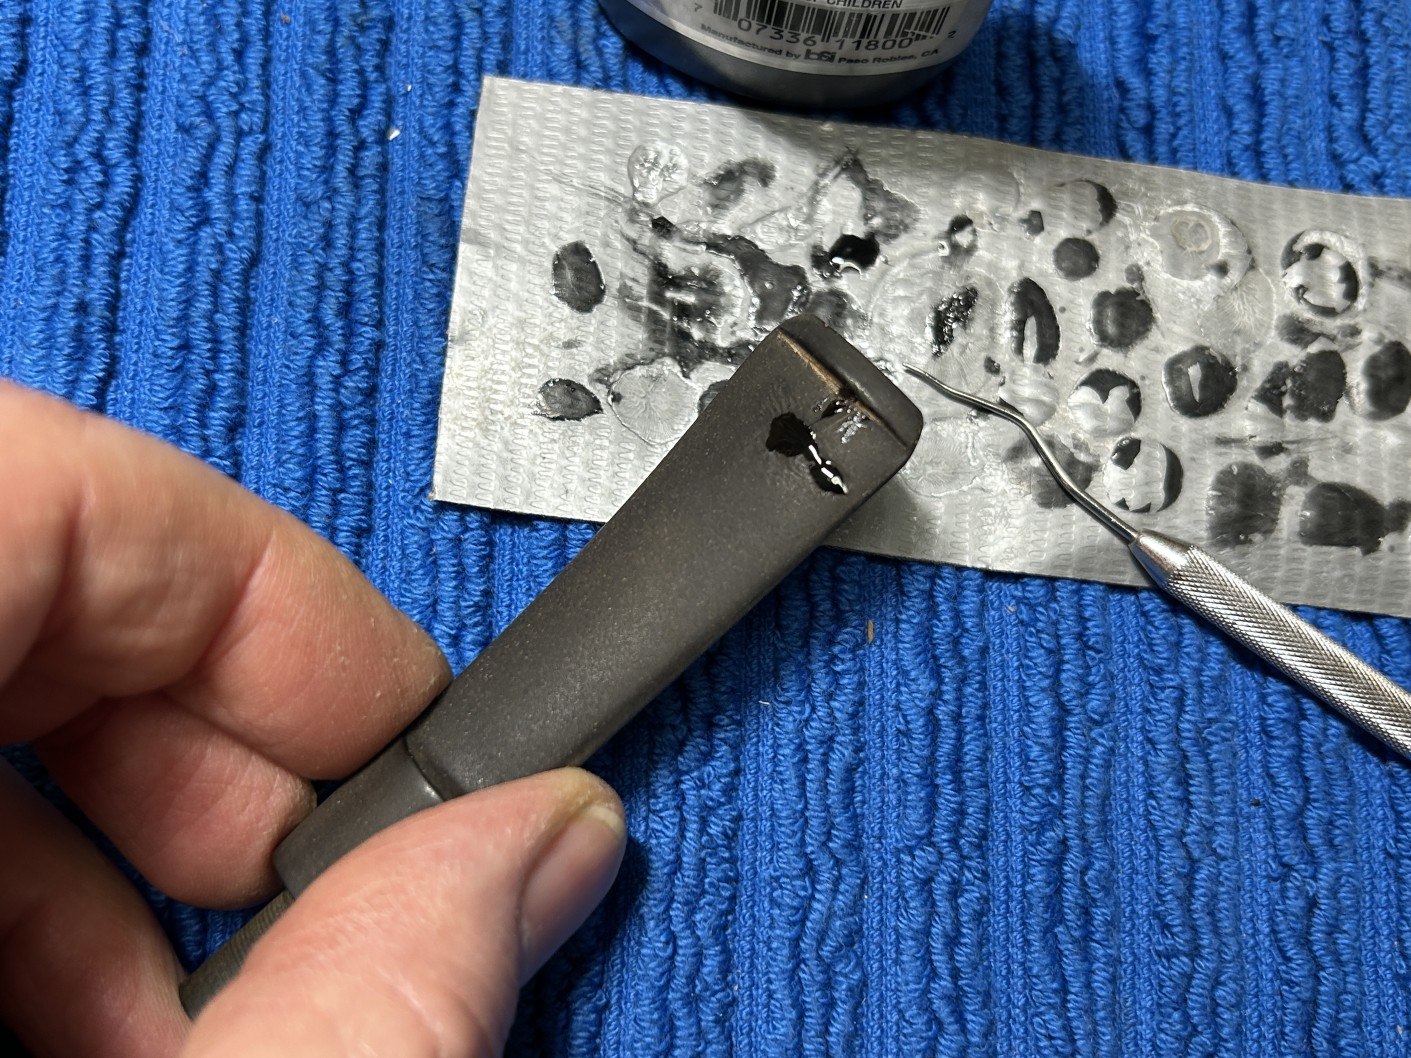
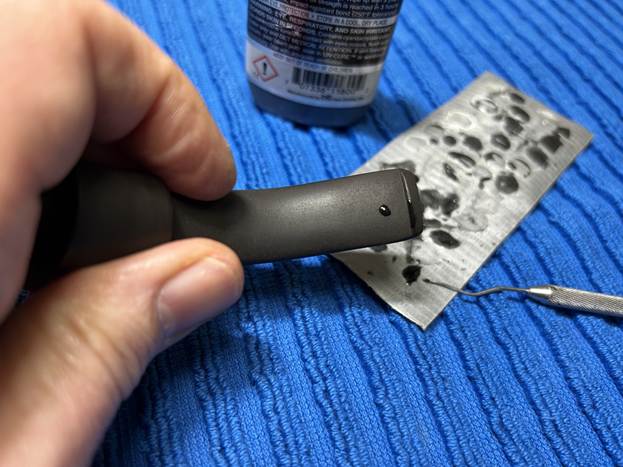
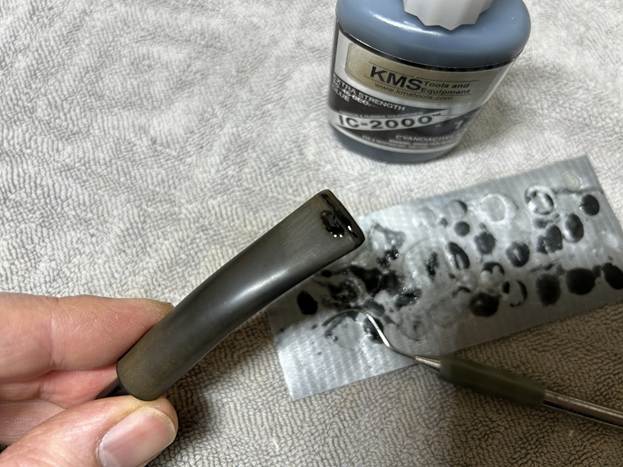
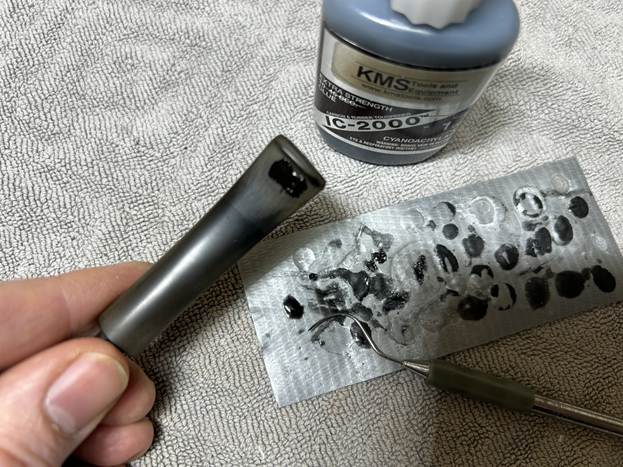
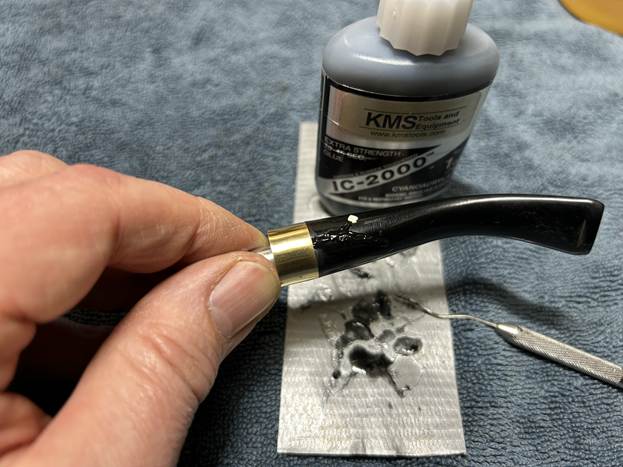
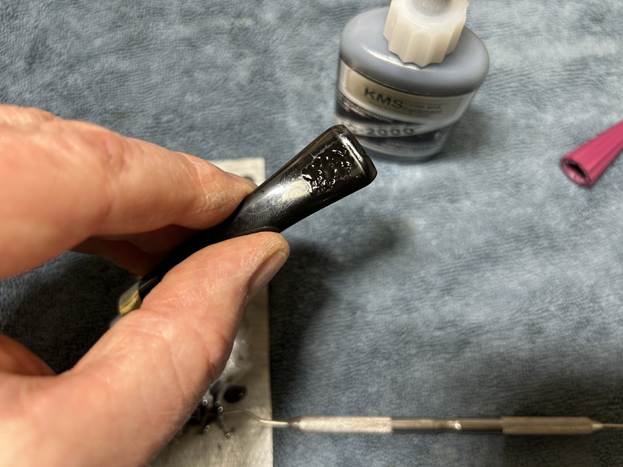
As the stem was now clean and dry, I set about fixing the marks and dents in the vulcanite. This was done by filling those divots with black cyanoacrylate adhesive, impregnated with carbon and rubber. I left this to cure and moved on.

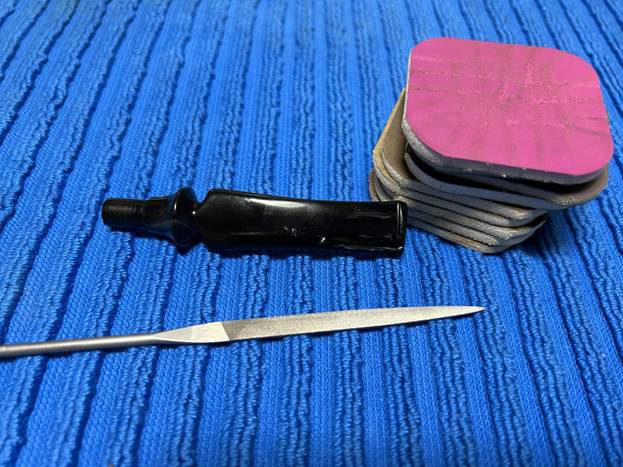
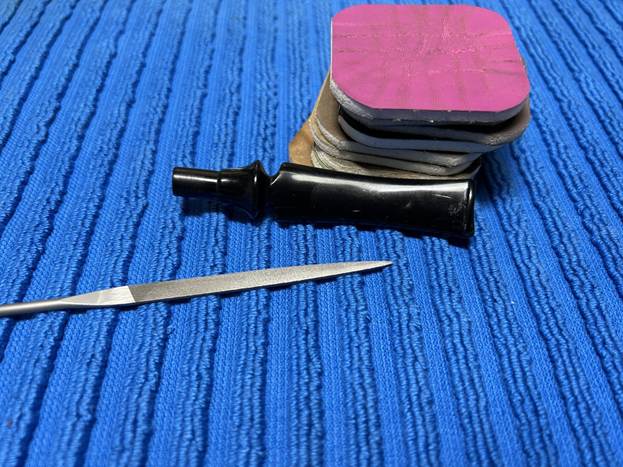
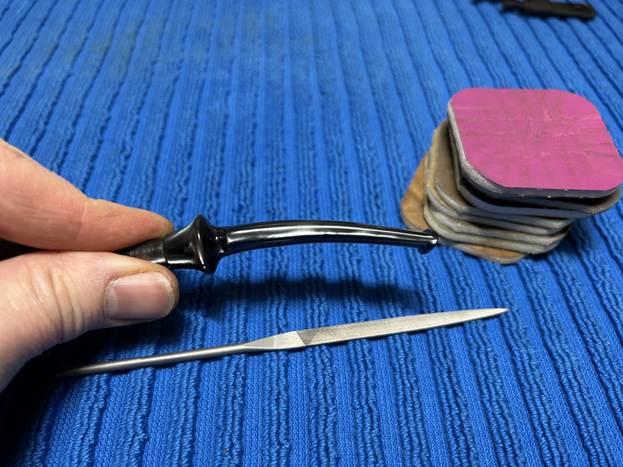
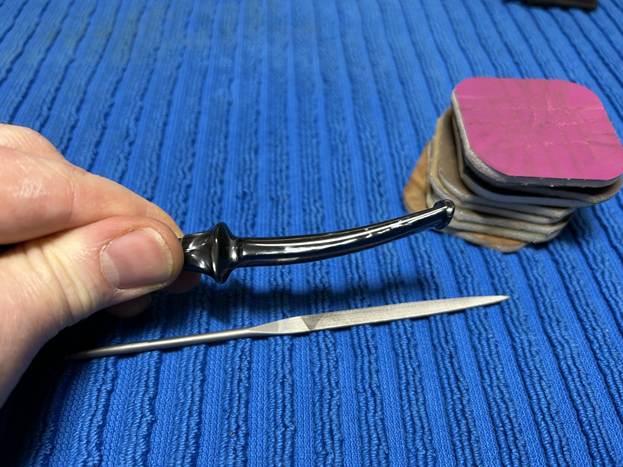
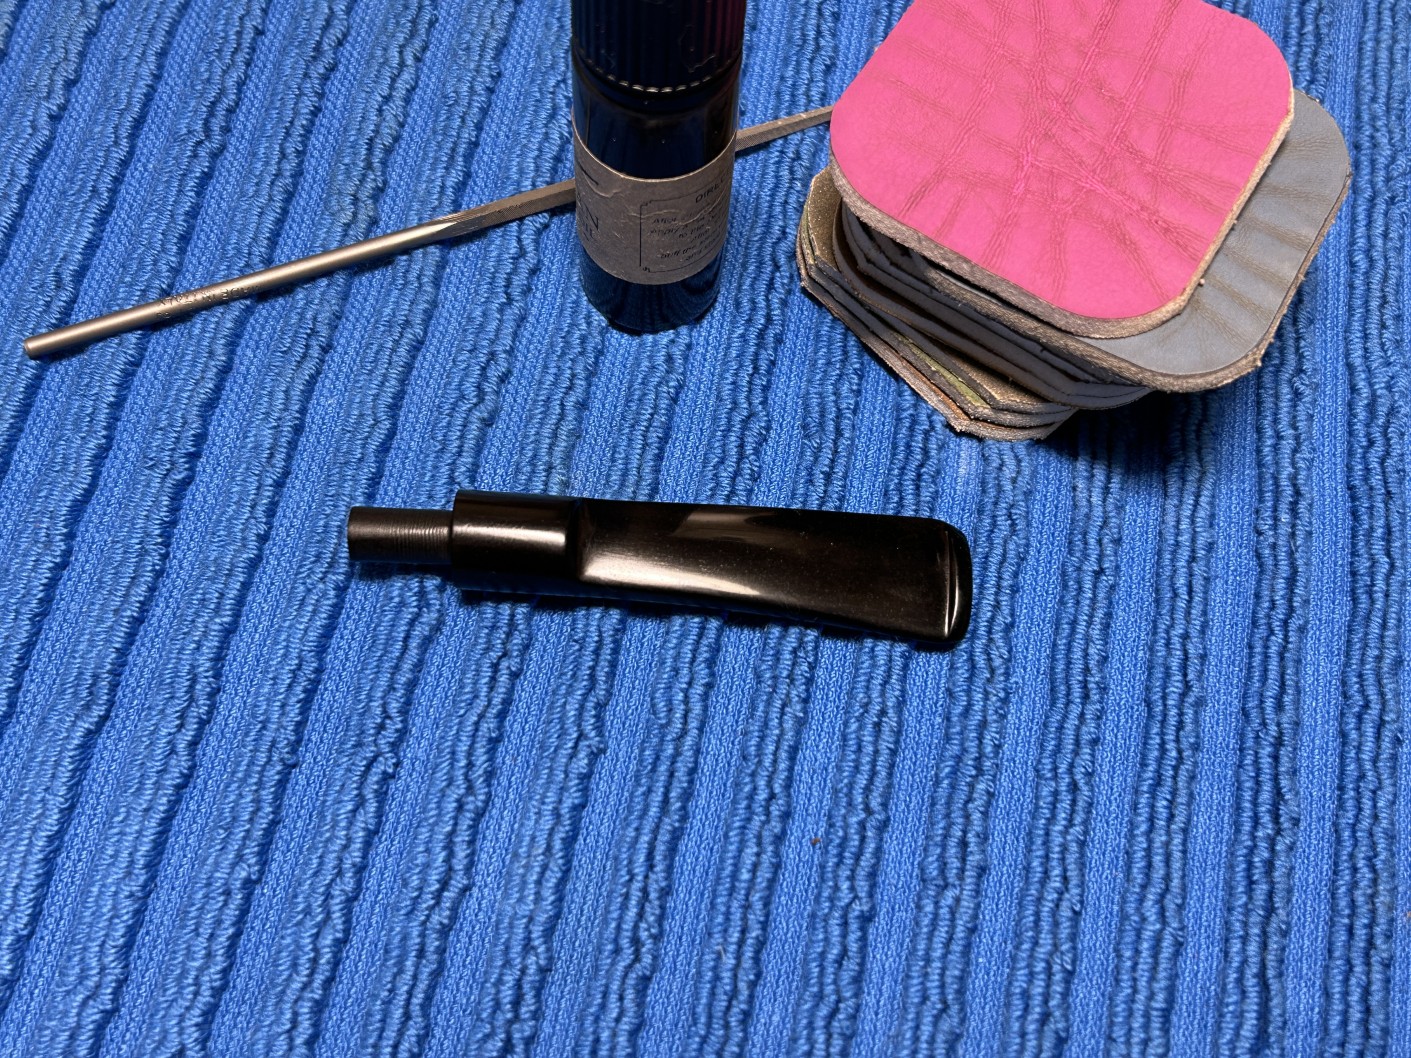
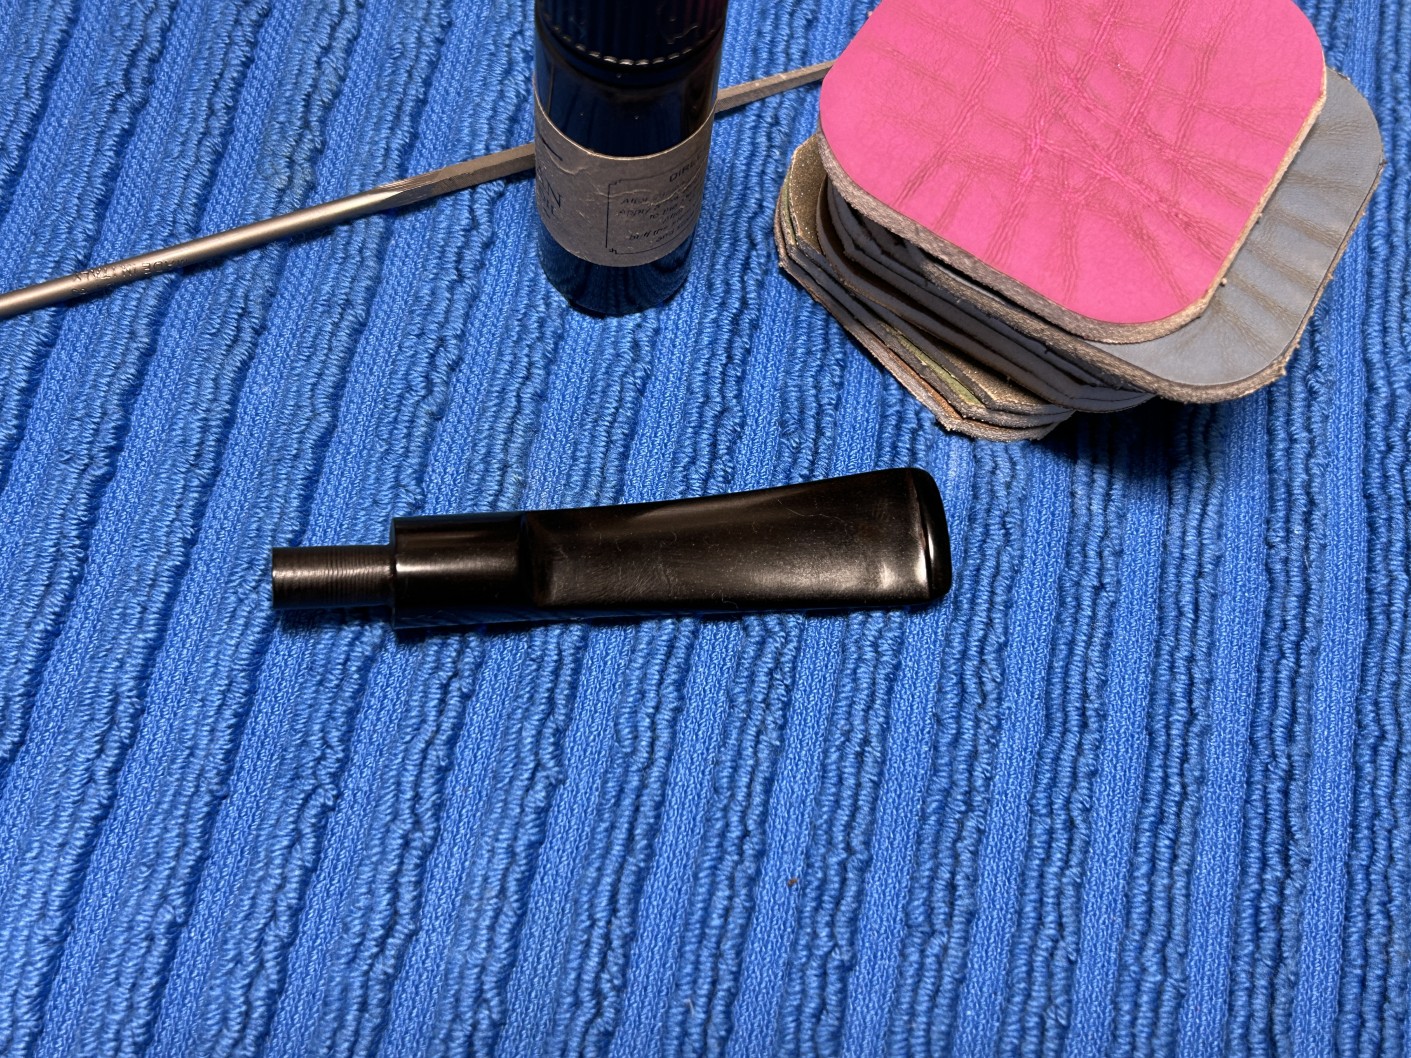
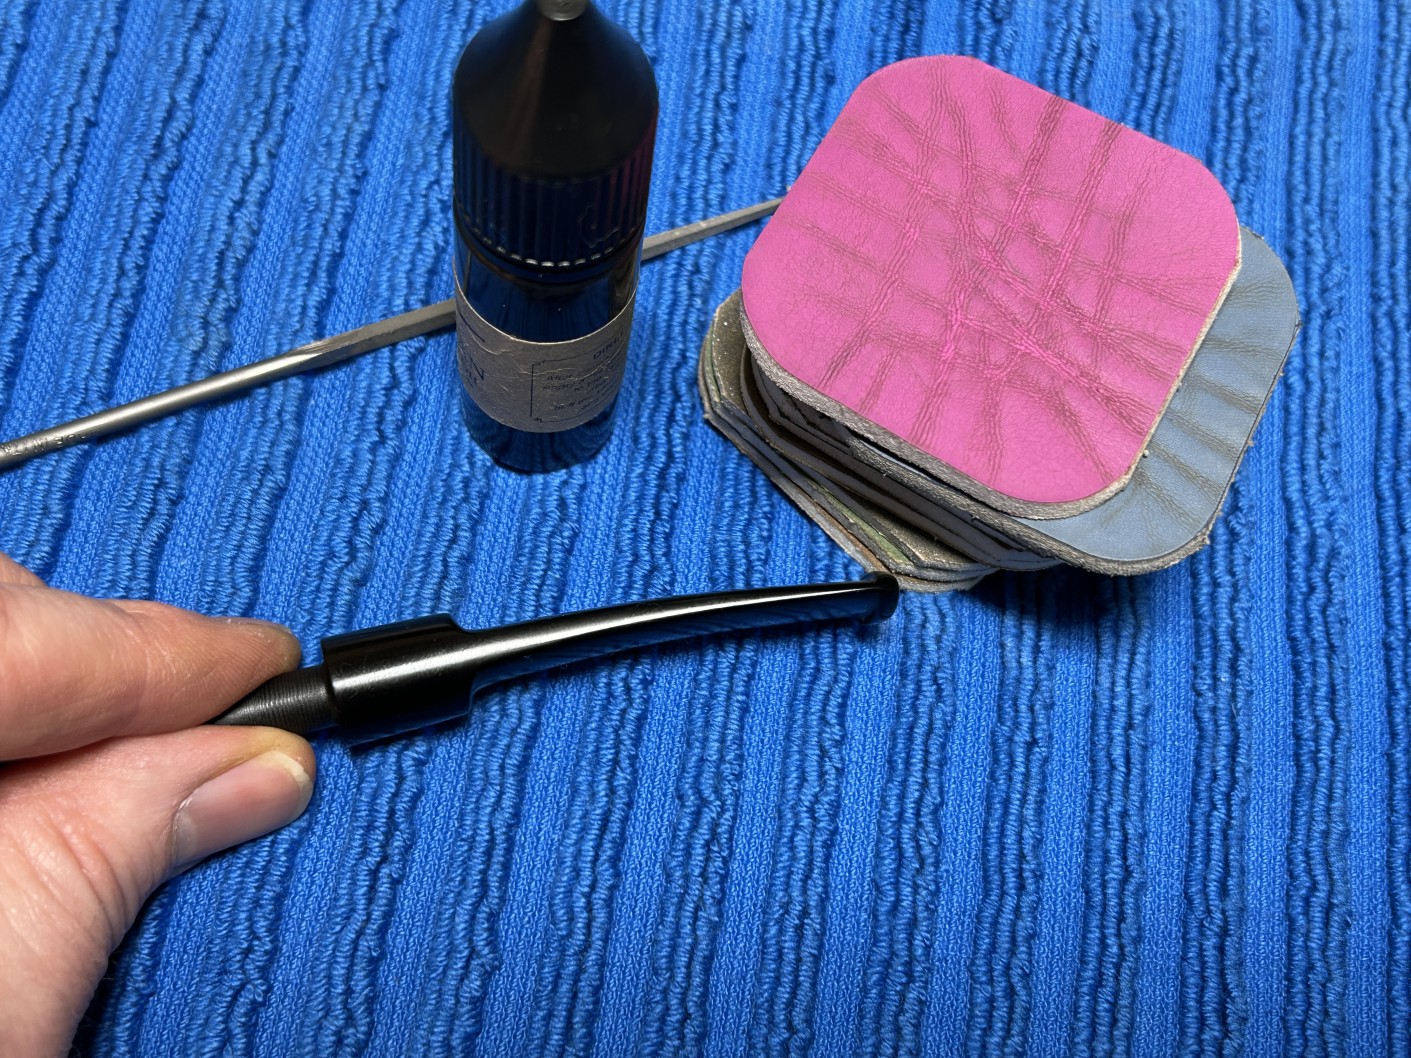
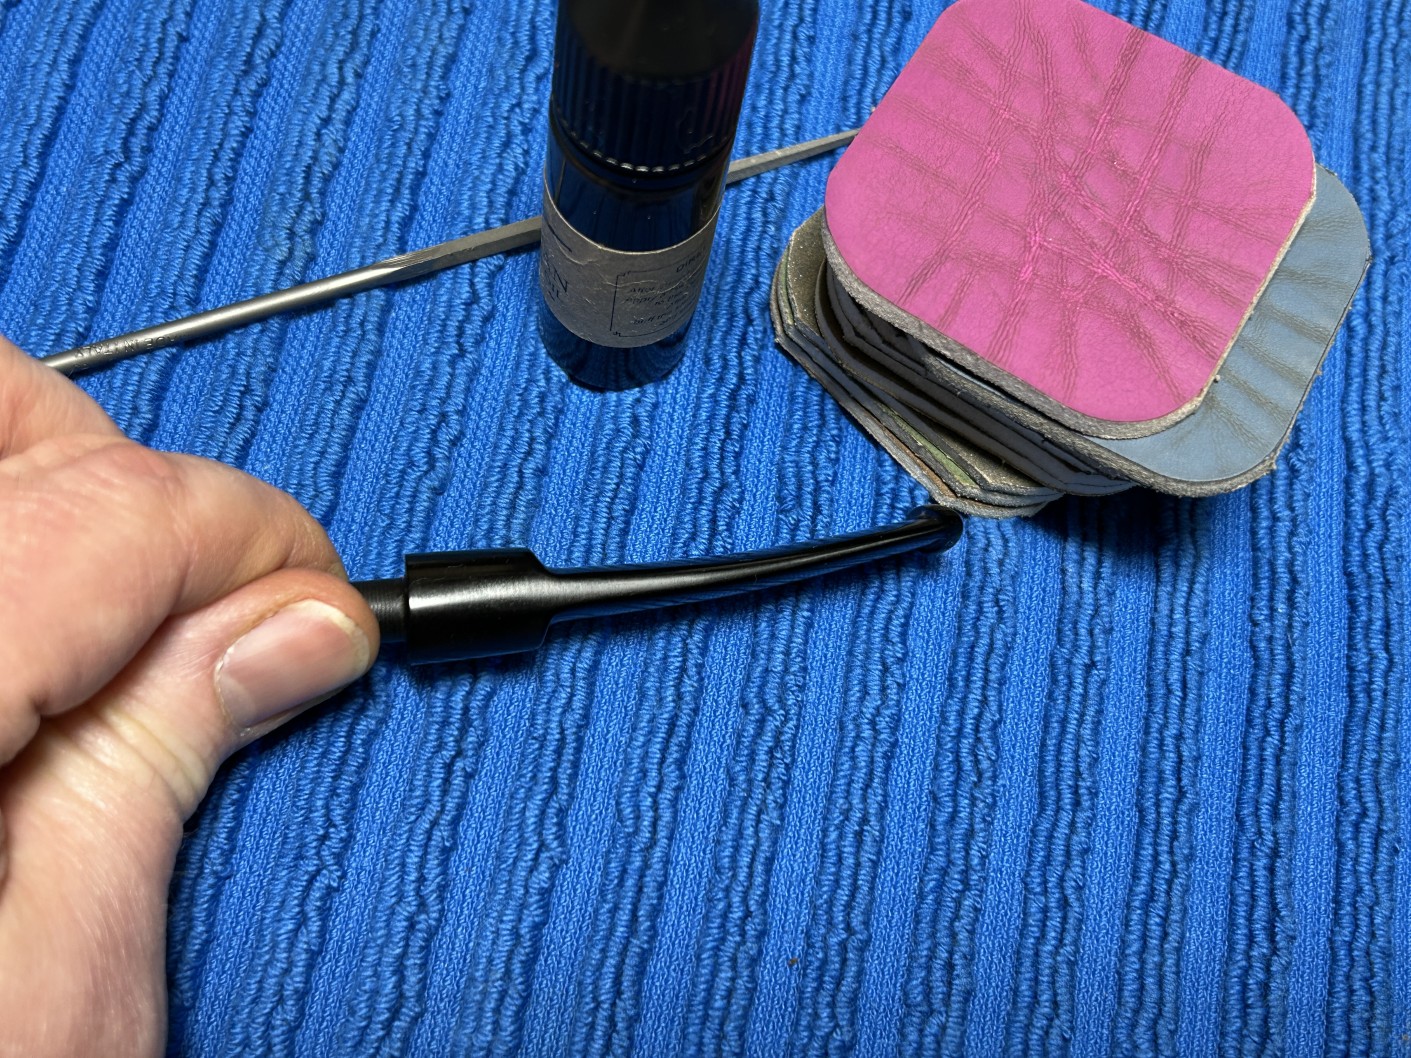
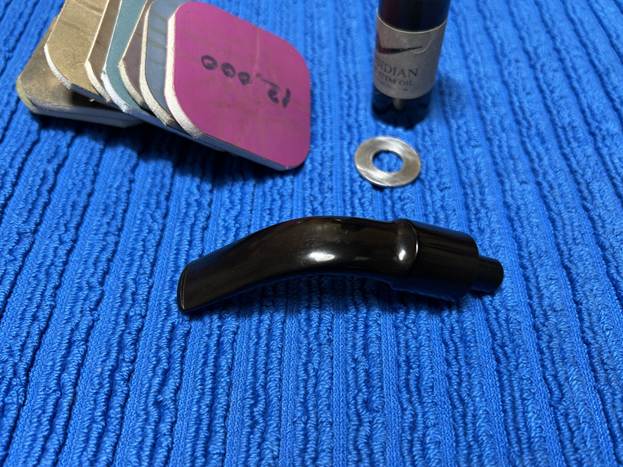
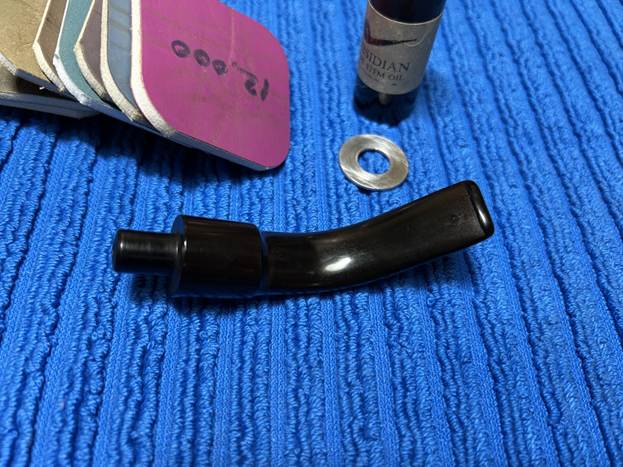
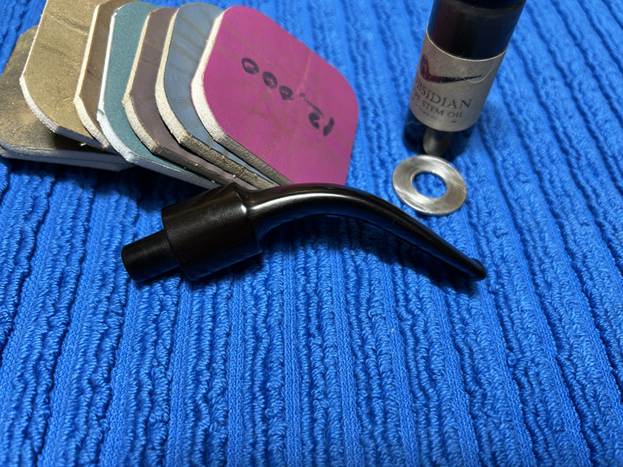
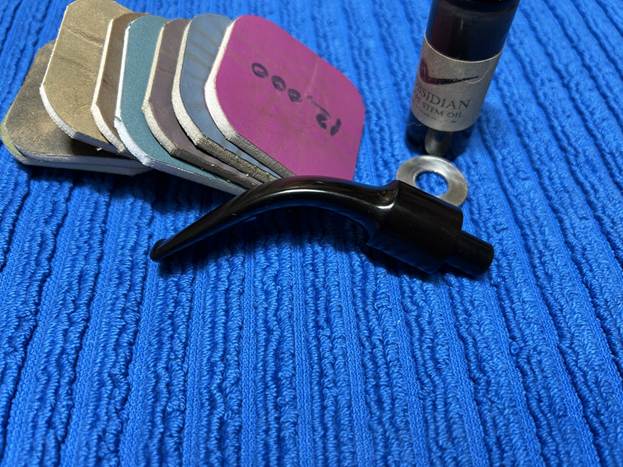
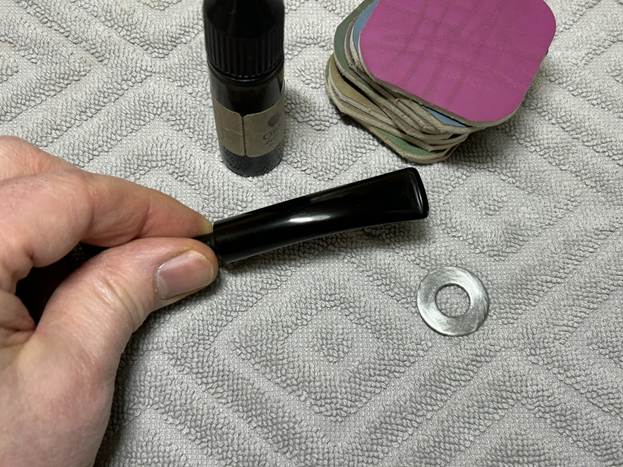
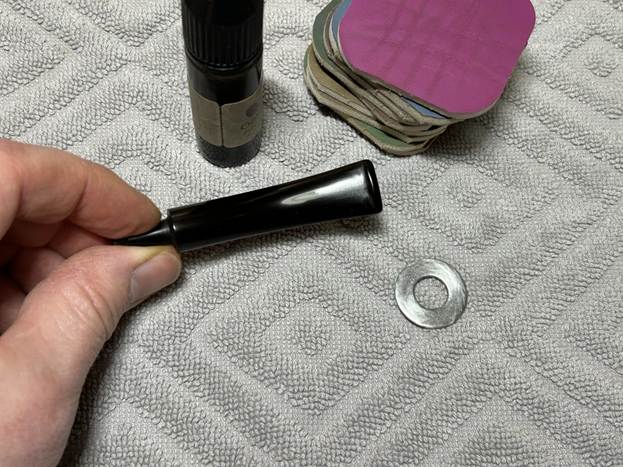
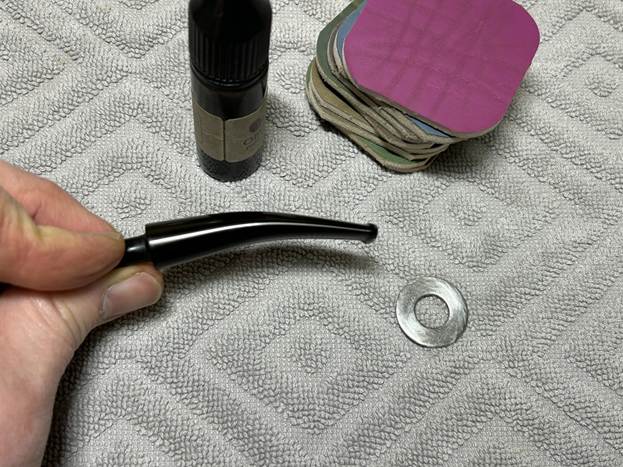
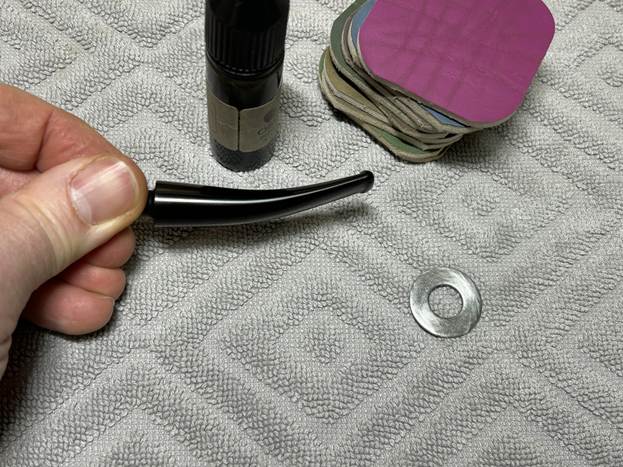
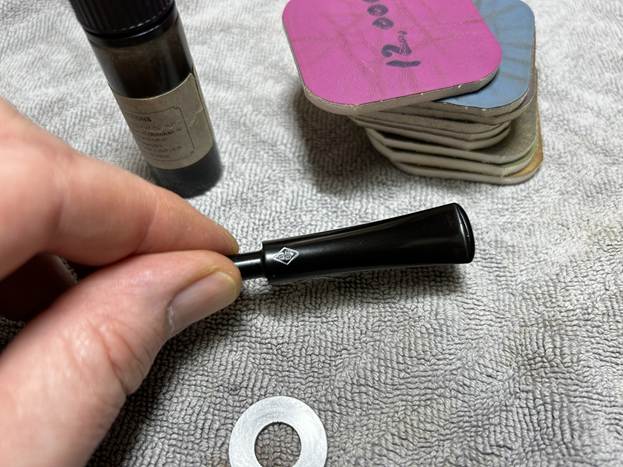
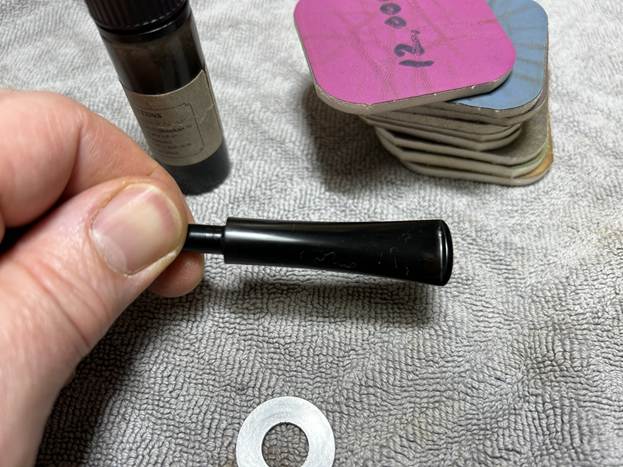
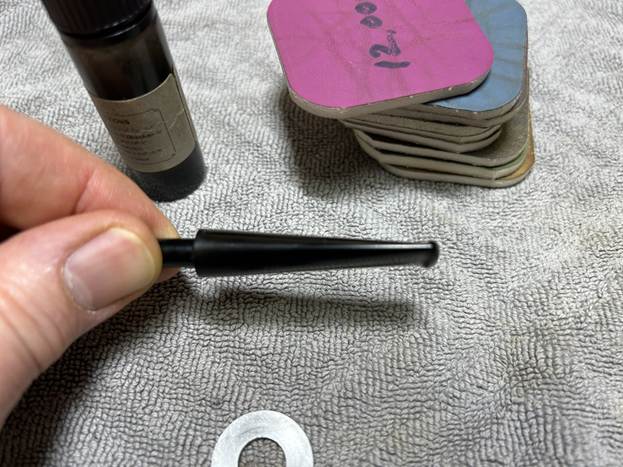
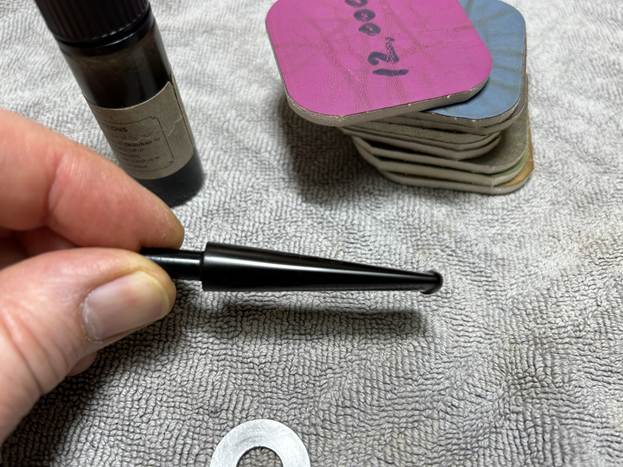
The penultimate step for the stem is sanding. First, with my set of needle files, I reduced the bulk of the cyanoacrylate repairs. I removed the excess adhesive as near to the surface as possible, without cutting into the vulcanite. Following that, I used all nine of the micromesh sanding pads (1,500 through 12,000 grit) to sand out flaws, even out the vulcanite, and provide gentle polishing of the finished surface. I also applied pipe-stem oil while using the last five micromesh pads. There was a wonderful, deep black shine to the stem when I was done.
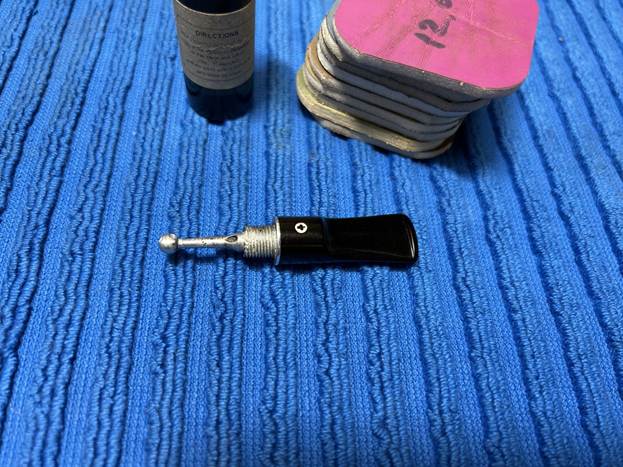
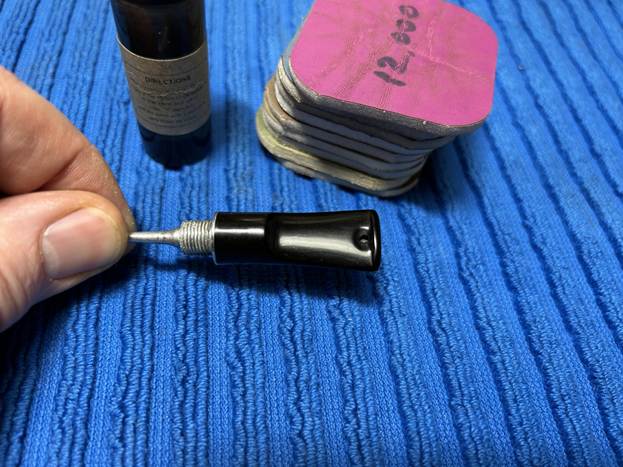
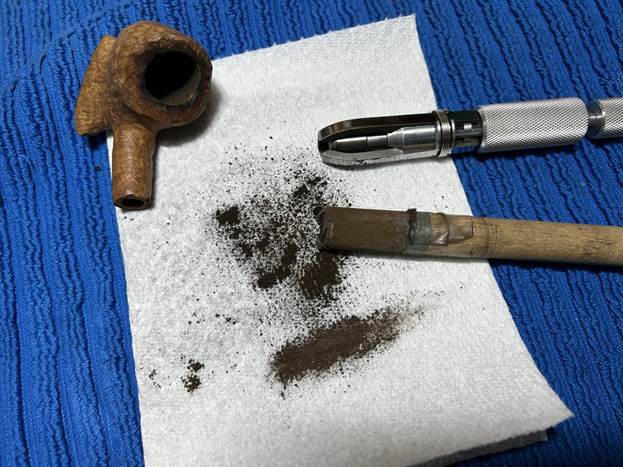
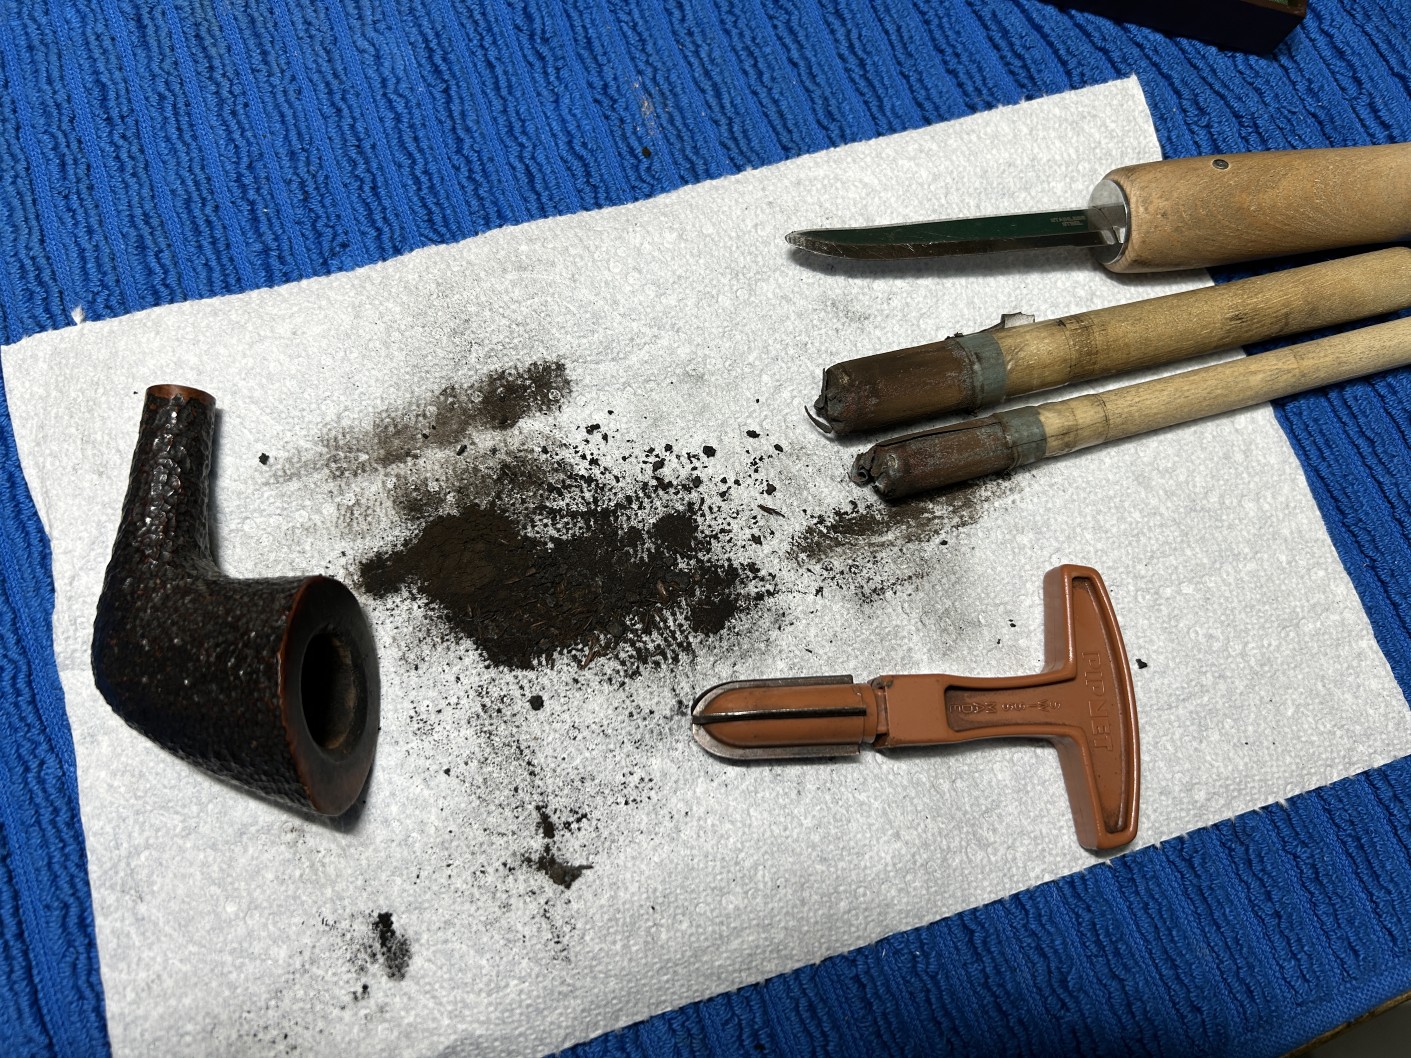
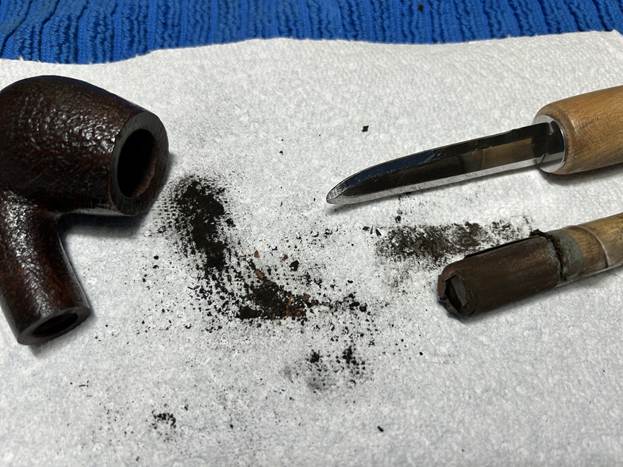
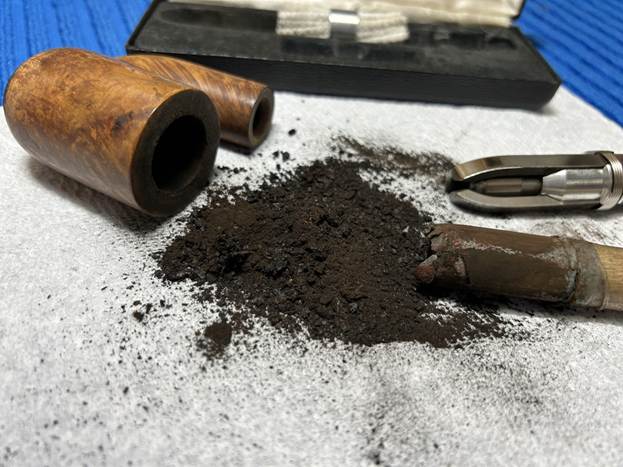
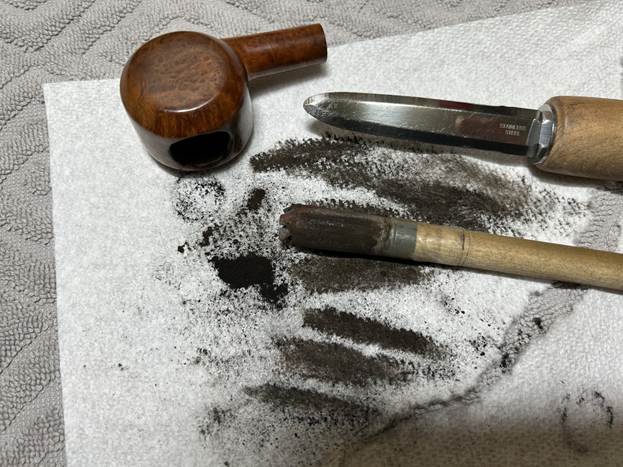
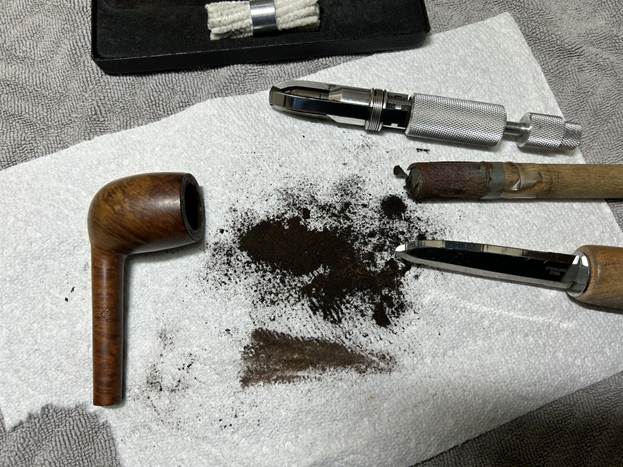
As the stem was (nearly) complete, I moved on to the stummel. The first step was to ream out the bowl – that is to say, remove all the cake inside the bowl. This accomplished a couple of things. First (and most obviously), it cleaned the bowl and provided a refurbished chamber for future smoking. Second, when the old cake was removed, I could inspect the interior walls of the bowl and determine if there was damage or not. I used a reamer, a pipe knife, and a piece of sandpaper taped to a wooden dowel. Collectively, these ensured that all the debris was removed.

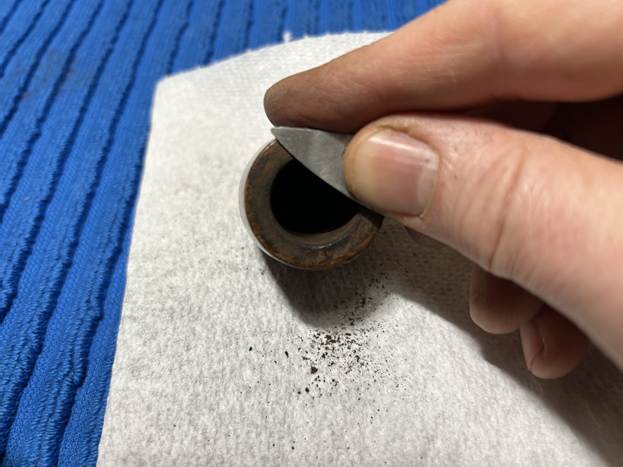
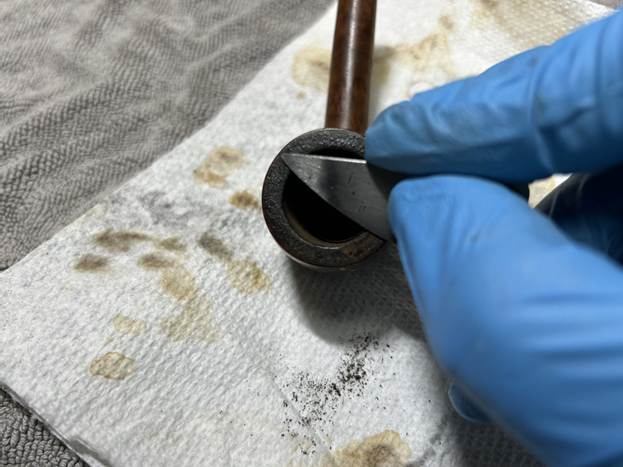
My next step was to remove the lava on the rim. For this, I took a piece of machine steel and gently scraped the lava away. The metal’s edge is sharp enough to remove what I need, but not so sharp that it damages the rim. There was some minor damage to the rim, but that would be resolved when sanding later.

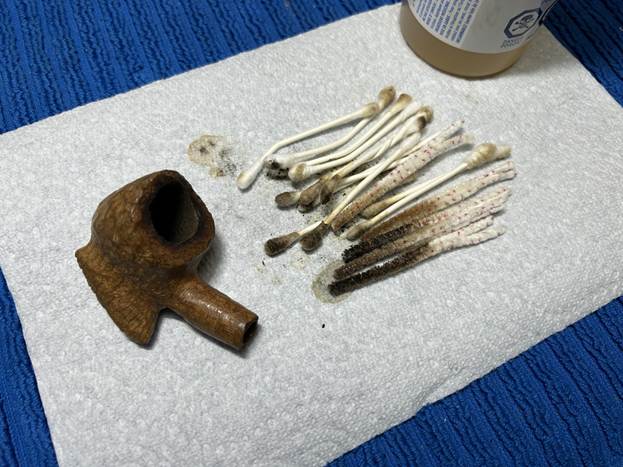
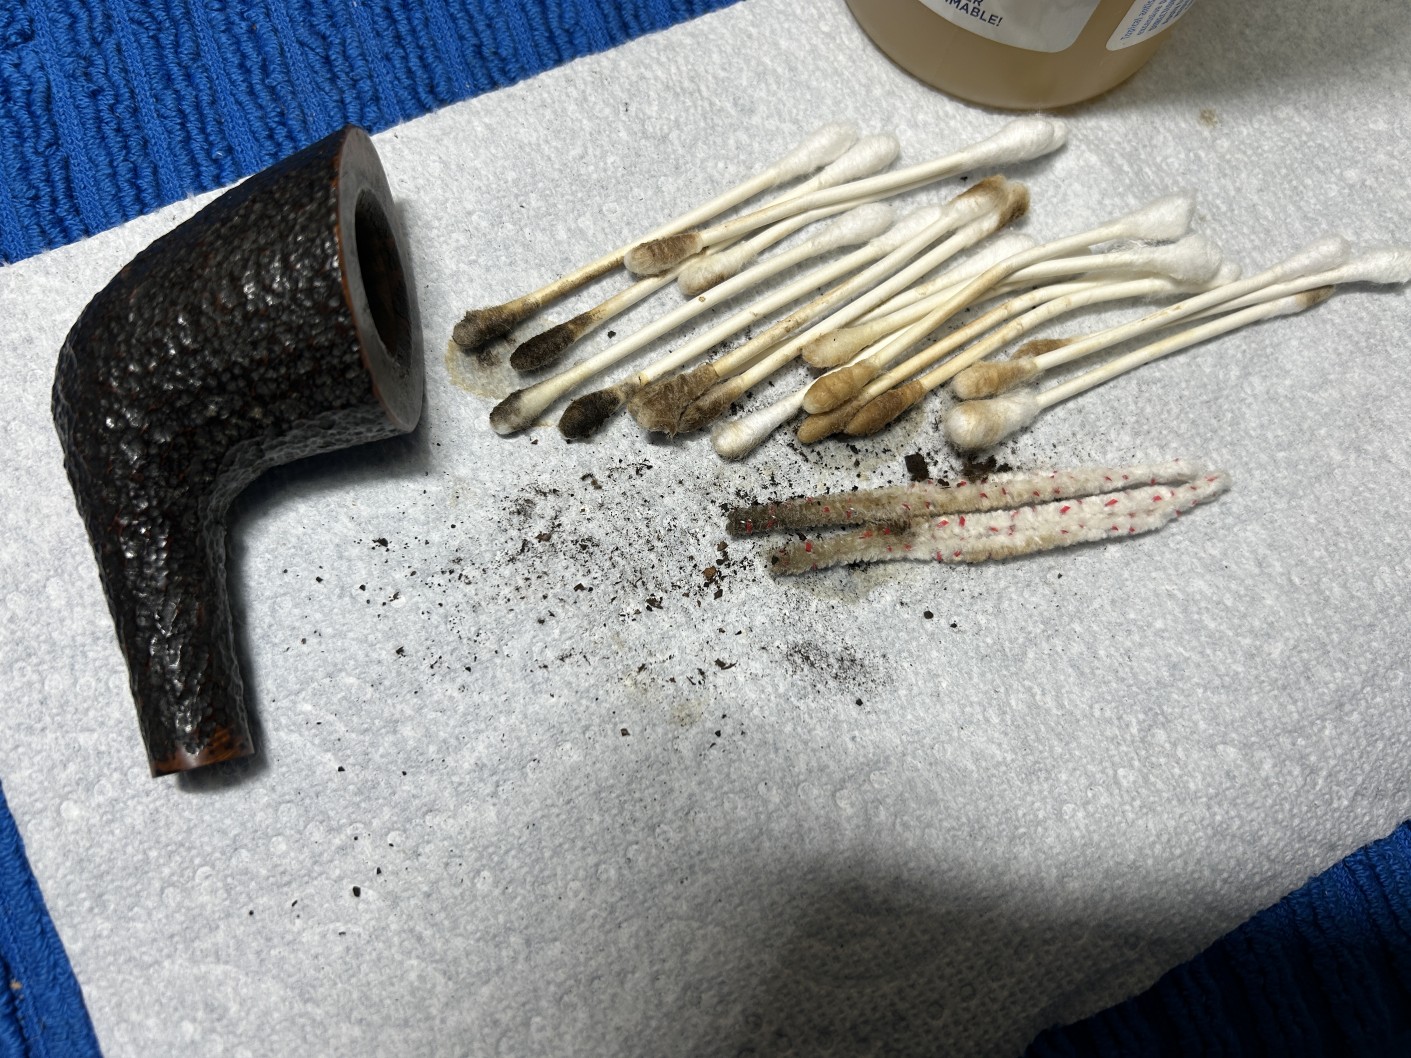
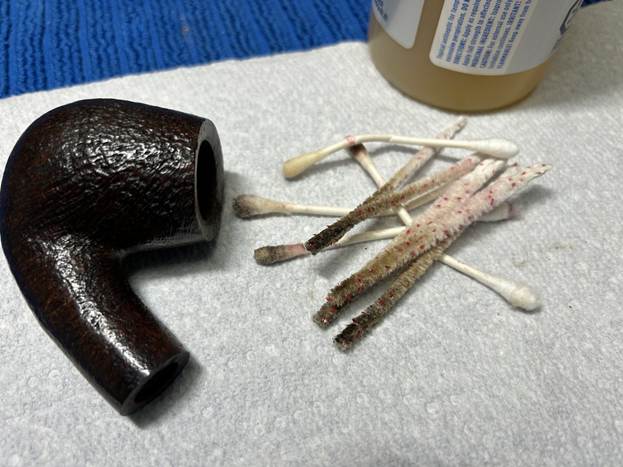
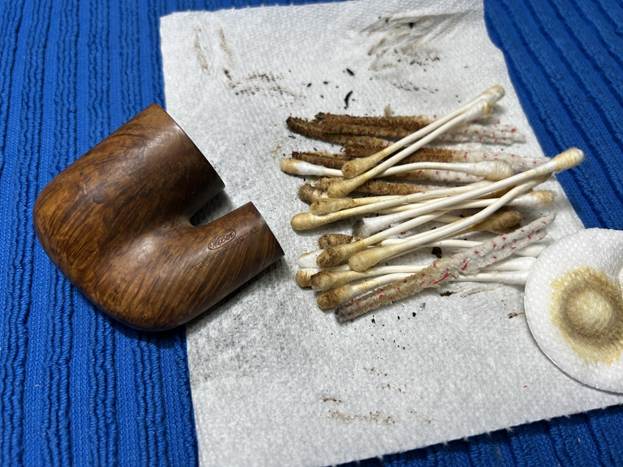
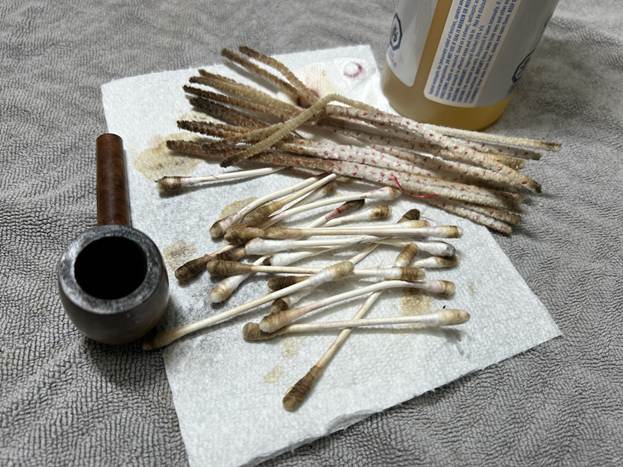
Similar to the stem, I then cleaned the stummel with both pipe cleaners and cotton swabs dipped in lemon-infused 99% isopropyl alcohol. With a pipe this dirty, it took quite a while and much cotton to clean. This pipe was incredibly dirty – it took forever.

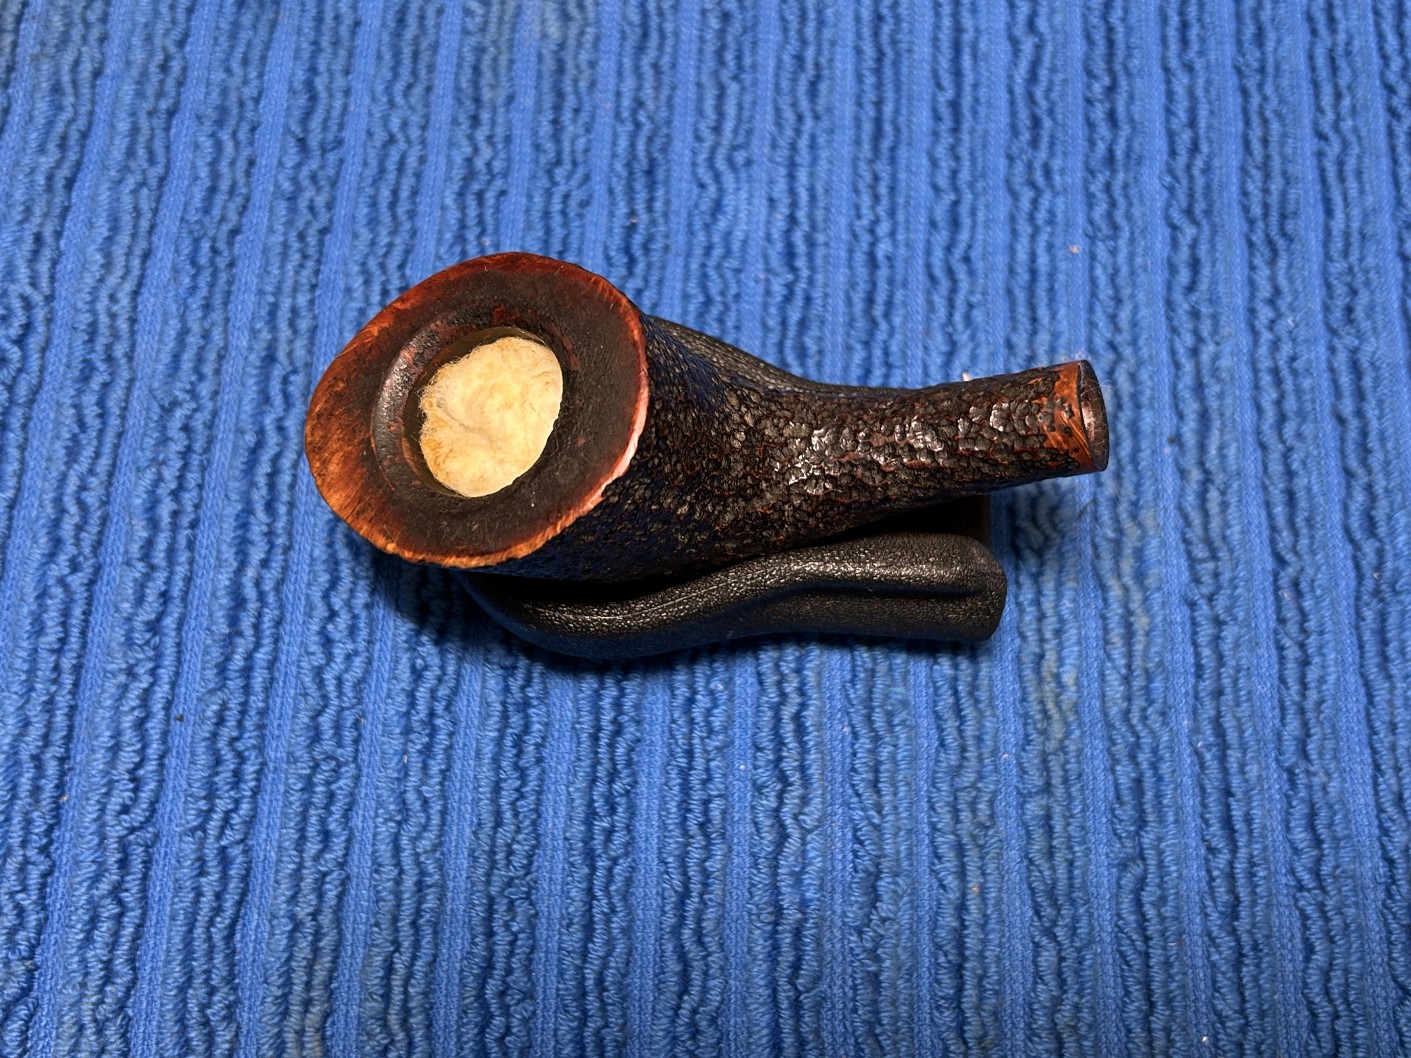
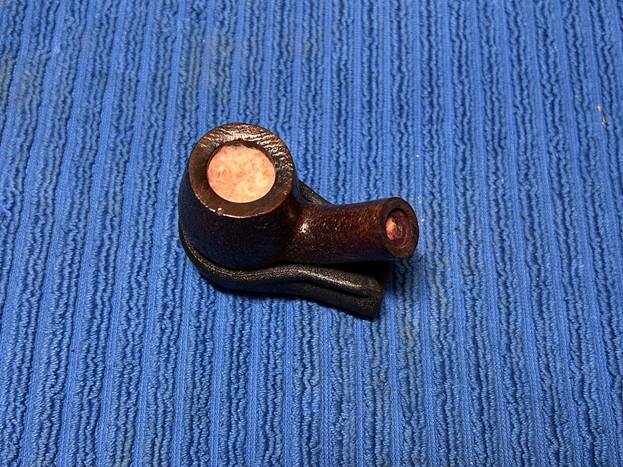
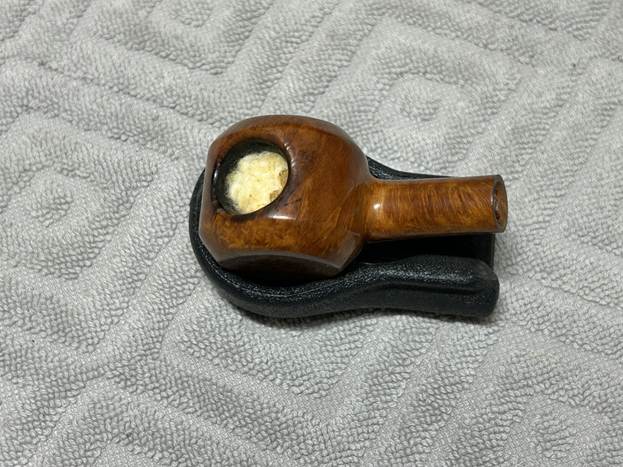
I then decided to ‘de-ghost’ the pipe – that is to say, exorcize the remaining filth from the briar. I filled the bowl and the shank with cotton balls, then saturated them with 99% isopropyl alcohol. I let the stummel sit overnight. This caused the remaining oils, tars and smells to leach out into the cotton.

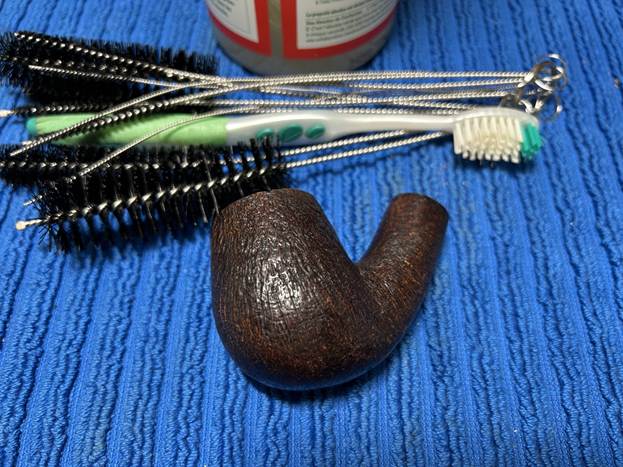
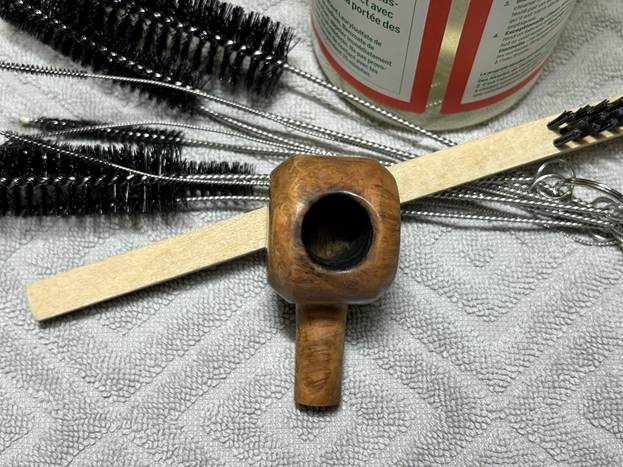
To tidy up the briar, I wiped down the outside, using a solution of a pH-neutral detergent and some distilled water, with cotton rounds. I also used a toothbrush in the crevices. This did a good job of cleaning any latent dirt on the surface of the briar. The last step of the cleaning process was to scour the inside of the stummel with the same mild detergent and tube brushes. This was the culmination of a lot of hard work in getting the pipe clean.

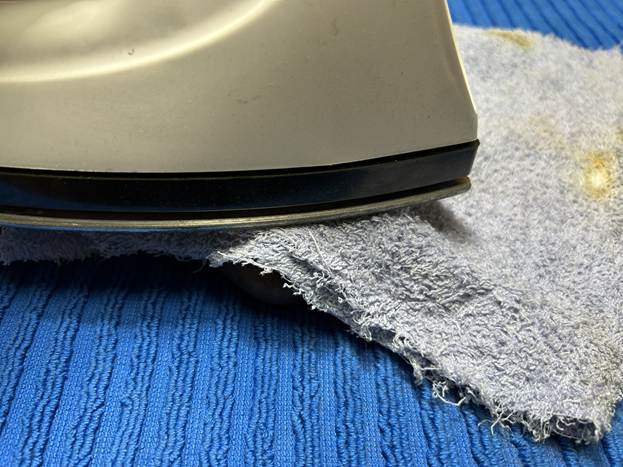
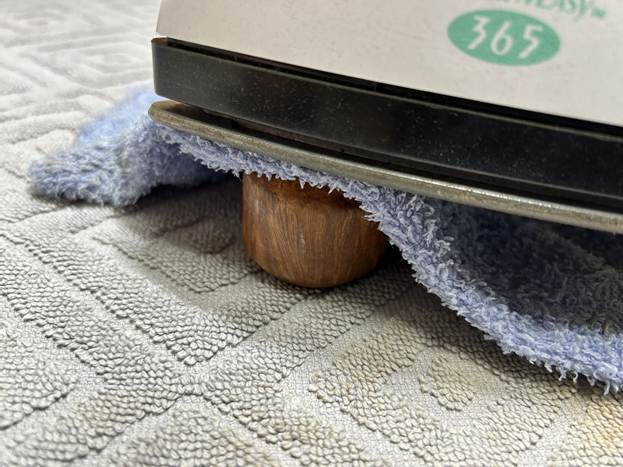
Having completed that, I was able to address the tiny nicks on the bowl. I dug out my iron and a damp cotton flannel cloth. By laying the cloth over the affected areas and applying the iron to it, the hot and moist steam can cause the wood to swell slightly and return to shape. There was some improvement – not a lot, but it was better than doing nothing.

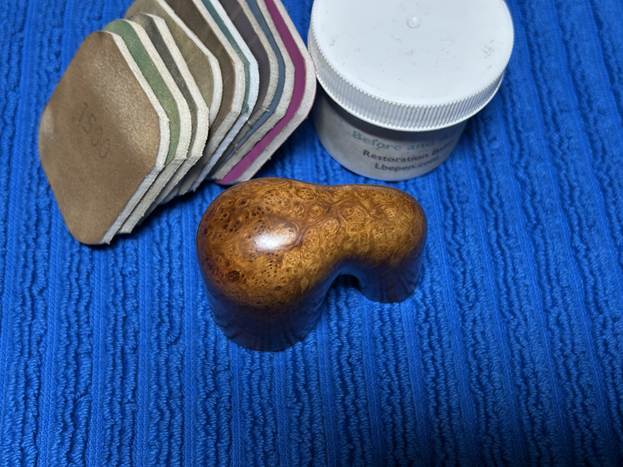
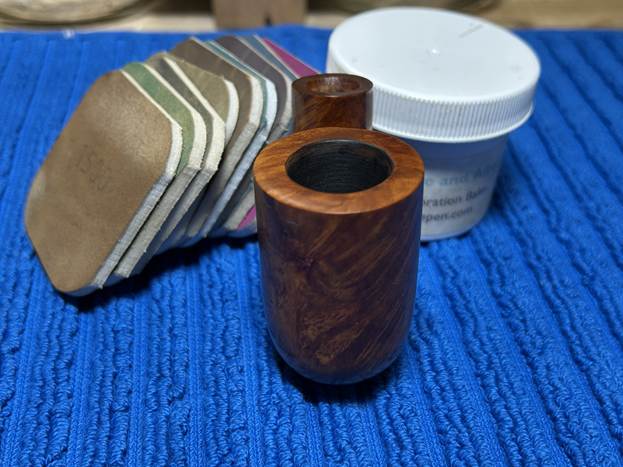
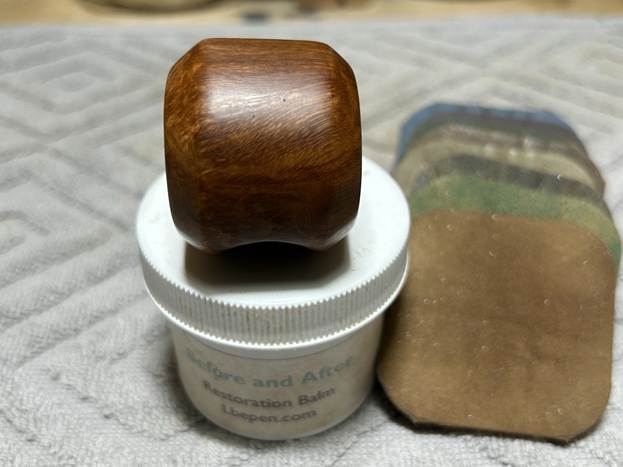
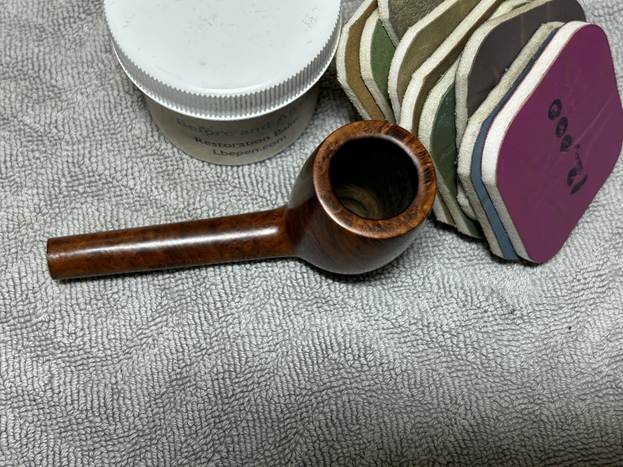
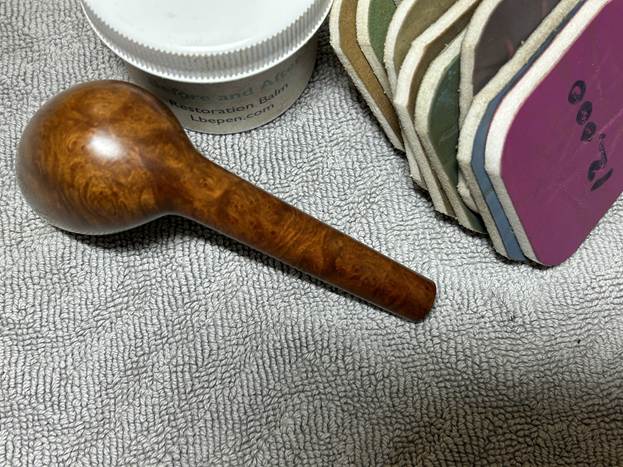
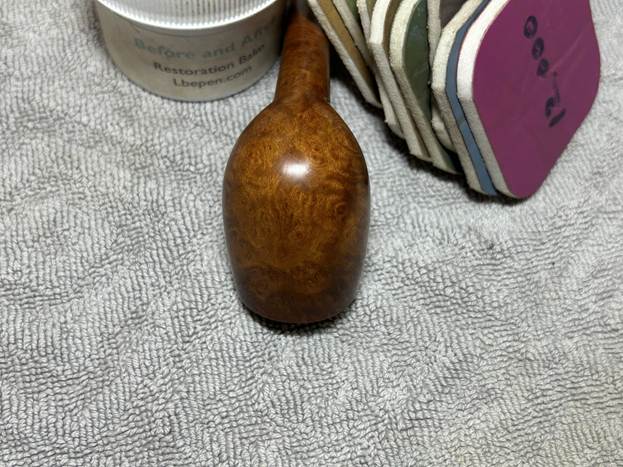
I used all nine micromesh pads (1,500 through 12,000 grit) to sand the outside of the stummel and finish it off. This sanding minimizes flaws in the briar and provides a beautiful smoothness to the wood. I rubbed some LBE Before & After Restoration Balm into the briar and let it sit for an hour or so. The balm moisturizes the wood and gives a beautiful depth to the briar. I then buffed the stummel with a microfibre cloth.

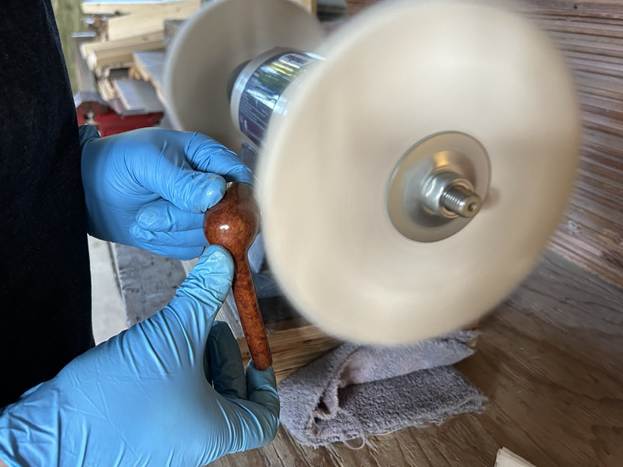
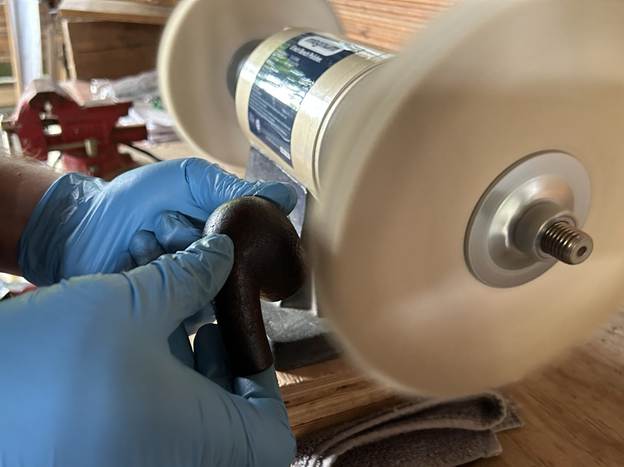
For the final step, I took the pipe to my bench polisher and carefully buffed it – first with a blue diamond compound, then with some carnauba wax. This procedure makes the pipe look its best: the stummel is smart and dapper and the stem is lithe and lustrous.

All done! This Kaywoodie Flame Grain 90 looks fantastic again and is ready to be enjoyed by its next owner. I am pleased to announce that this pipe is for sale! If you are interested in acquiring it for your collection, please have a look in the ‘American’ section of the store here on Steve’s website. You can also email me directly at kenneth@knightsofthepipe.com. The approximate dimensions of the pipe are as follows: length 6 in. (153 mm); height 1⅔ in. (43 mm); bowl diameter 1¼ in. (32 mm); chamber diameter ⅔ in. (18 mm). The weight of the pipe is 1⅛ oz. (33 g). I hope you enjoyed reading the story of this pipe’s restoration as much as I enjoyed restoring it. If you are interested in more of my work, please follow me here on Steve’s website or send me an email. Thank you very much for reading and, as always, I welcome and encourage your comments.

Cleaning an Unusual Canadian Leather Lumberman with Italian Briar


by Kenneth Lieblich

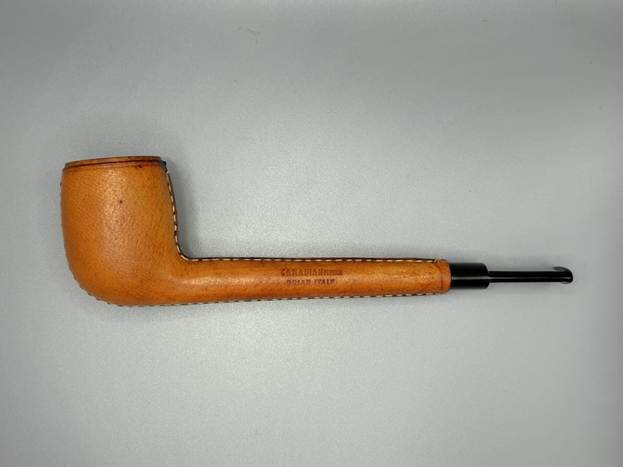
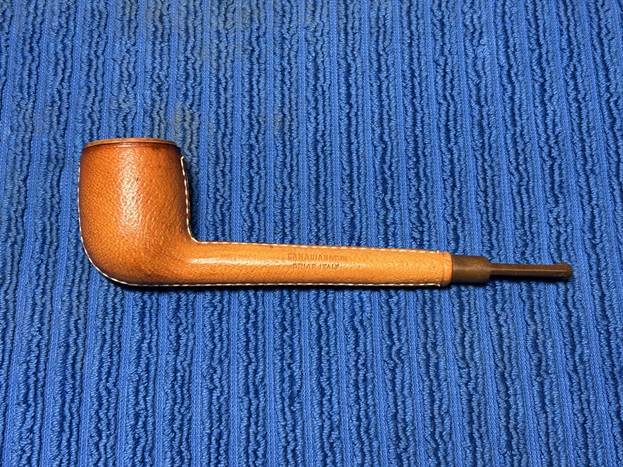
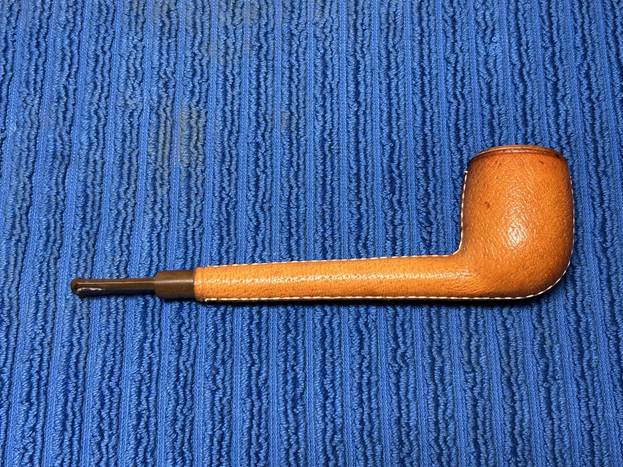
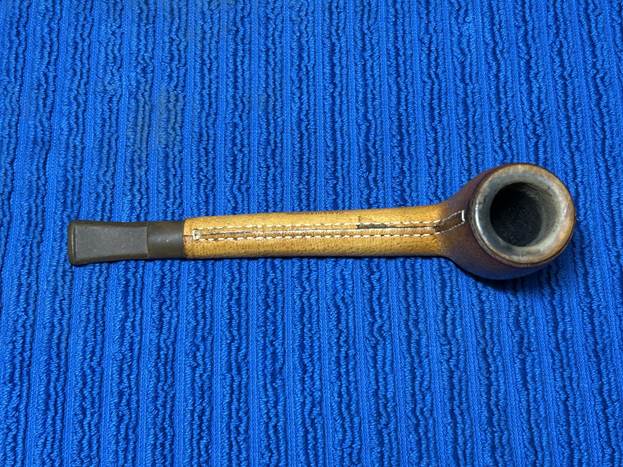
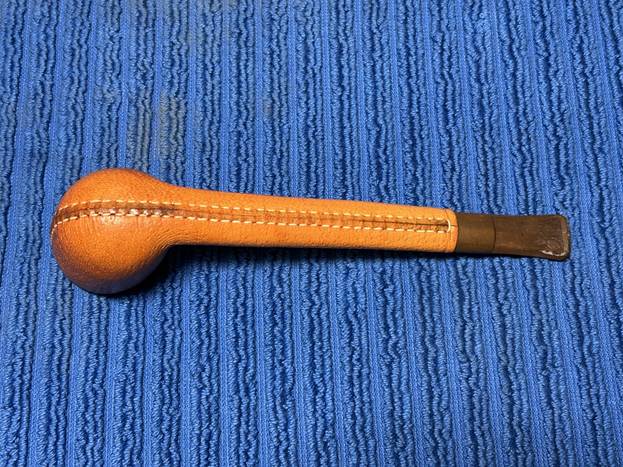
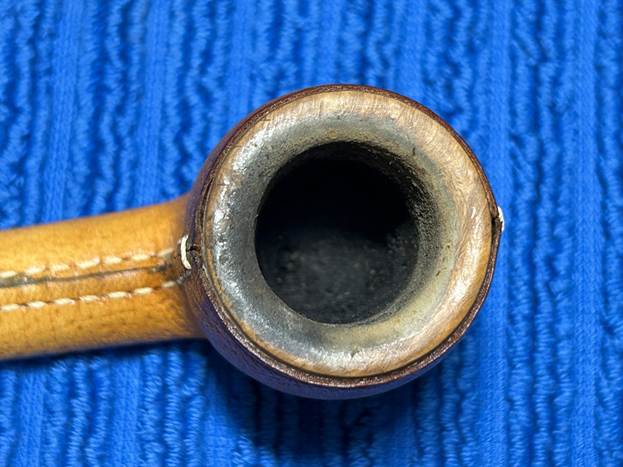
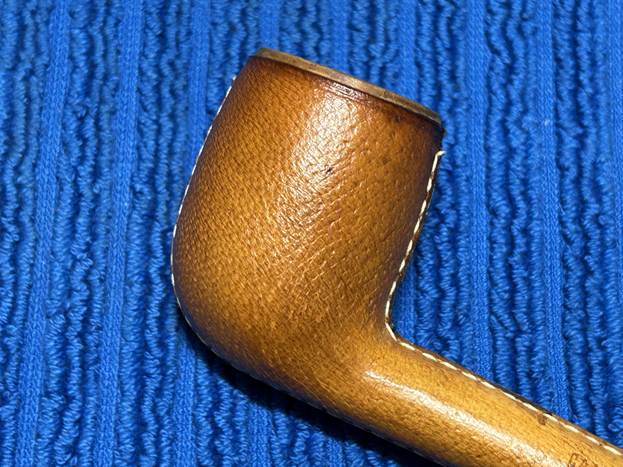
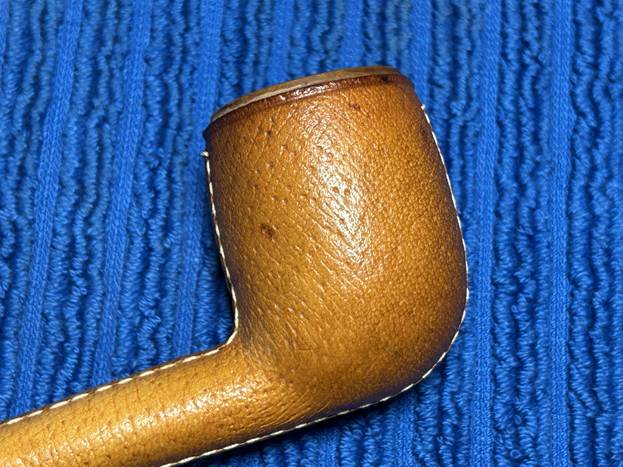
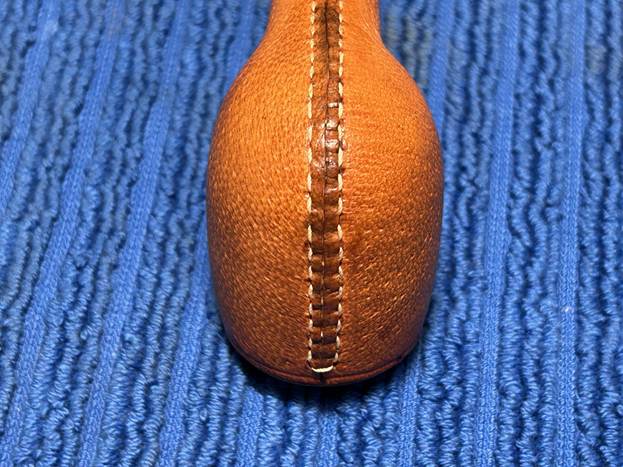
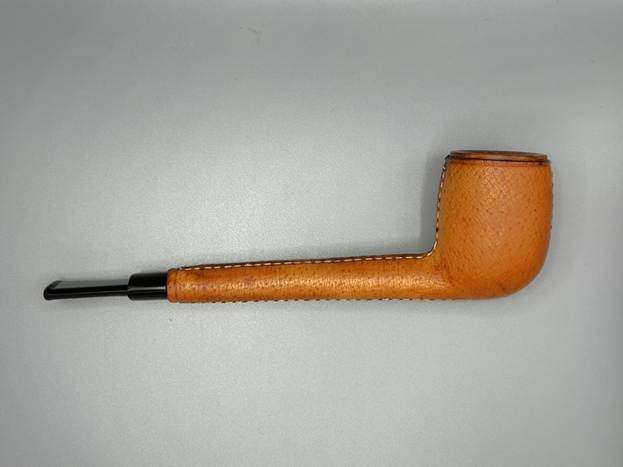
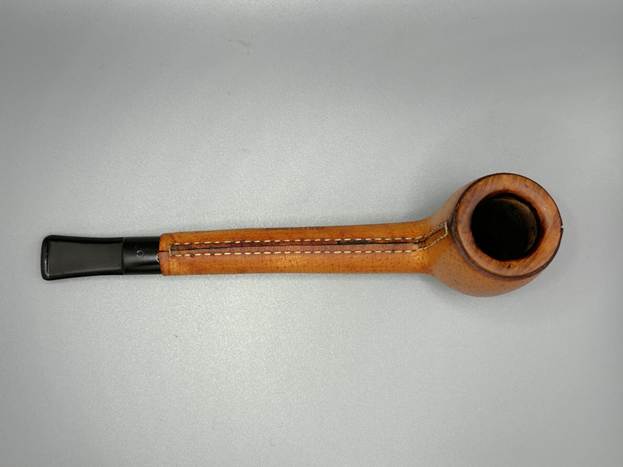
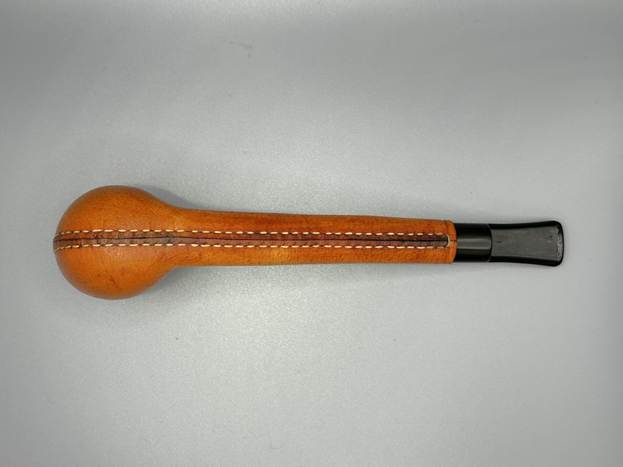
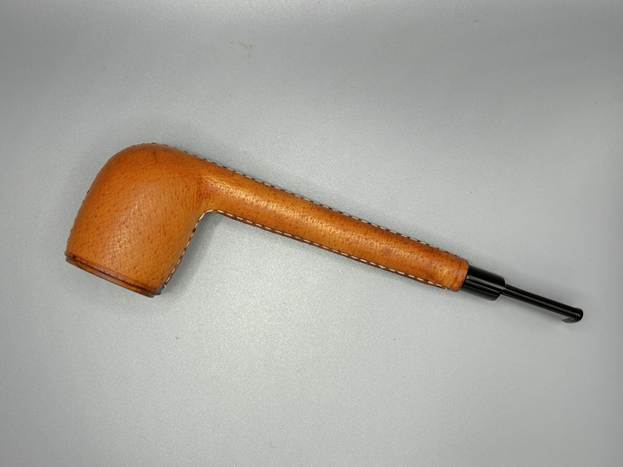
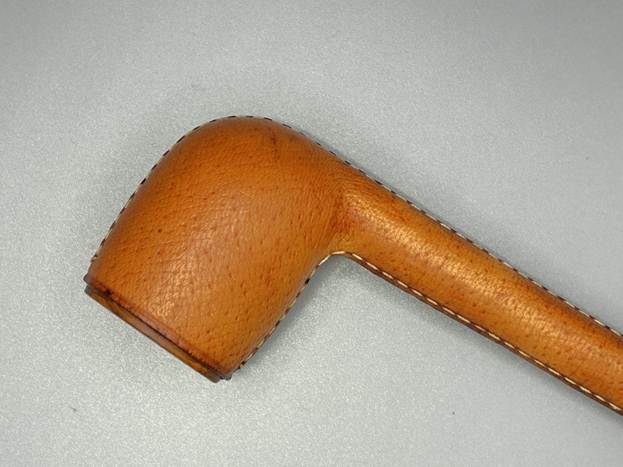
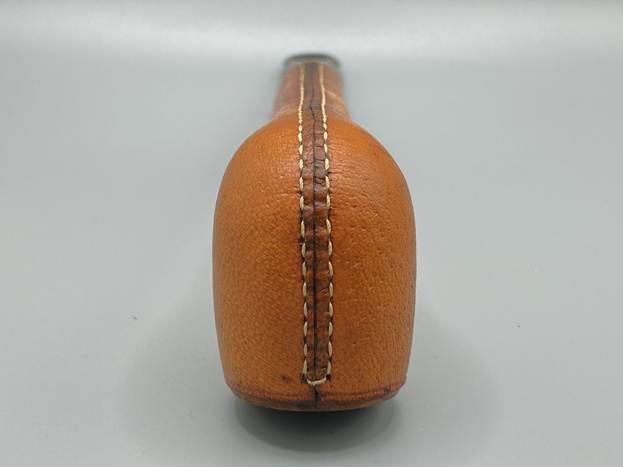
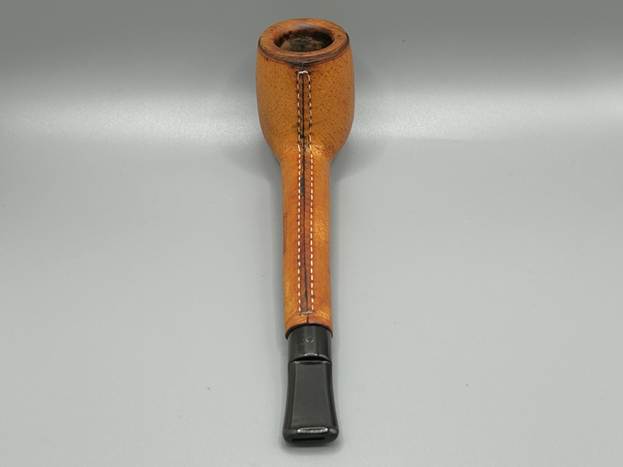
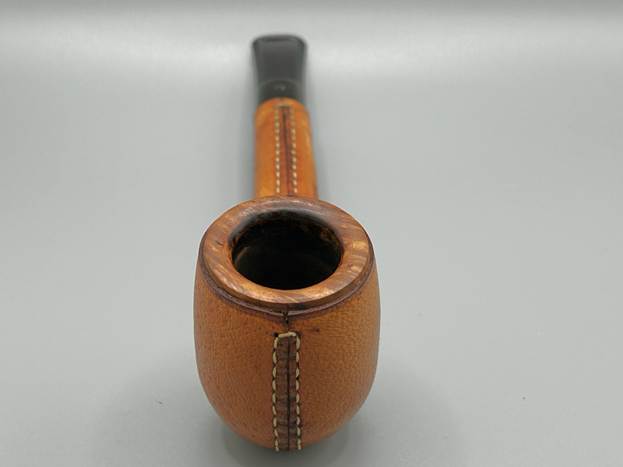
From time to time, Steve and I come across leather-wrapped pipes. They tend to follow a familiar pattern: the majority are billiards, sometimes pots; many are meerschaum lined. So, my interest was piqued when I saw this pipe: a lovely, long lumberman shape completely in briar, wrapped in elegant leather. The stem was a charming vulcanite saddle stem. I hadn’t seen a leather pipe like this before, and it seemed particularly well made.

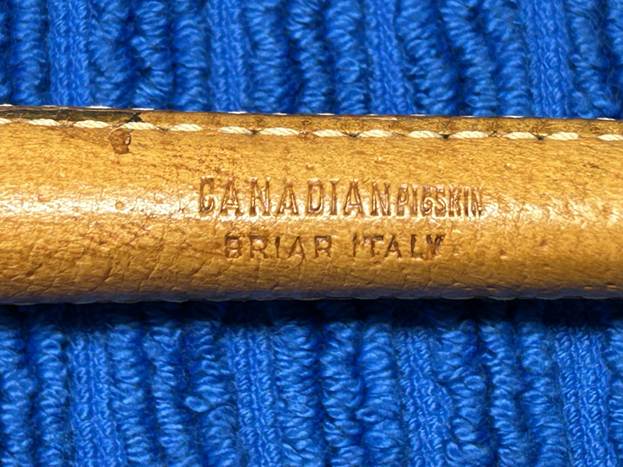
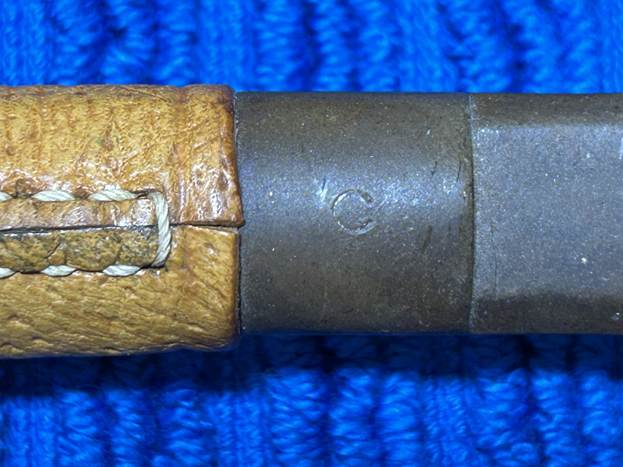
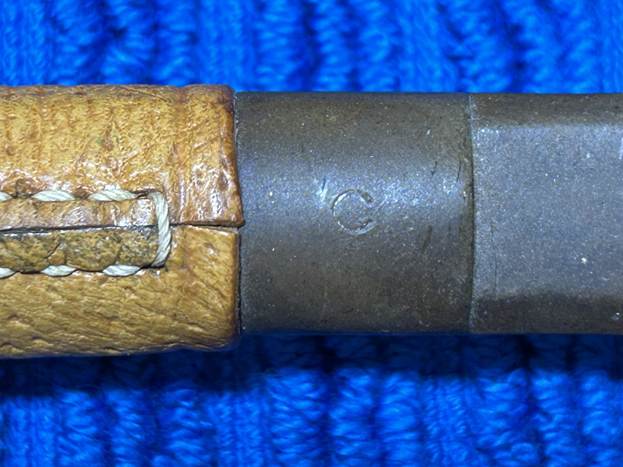
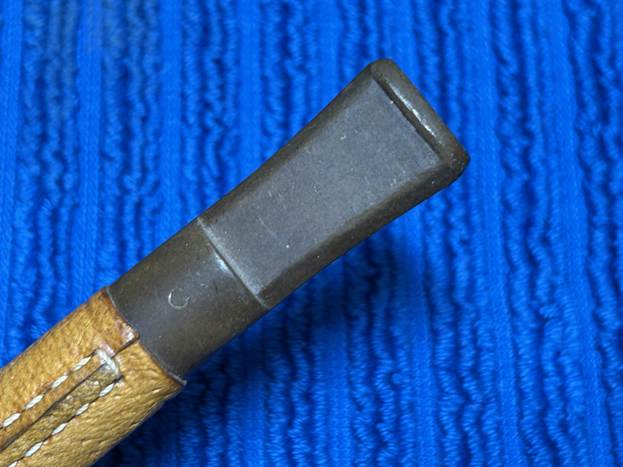
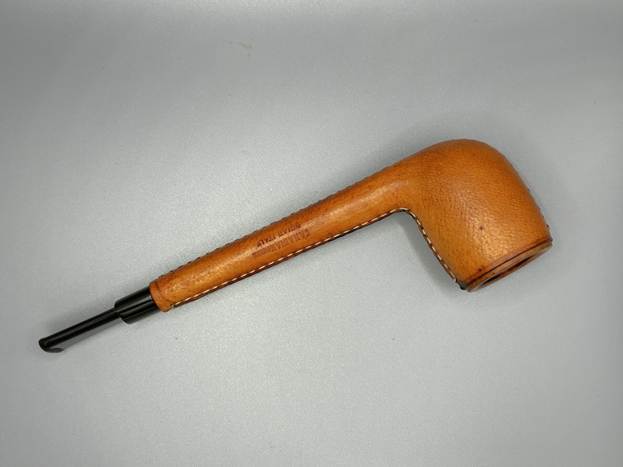
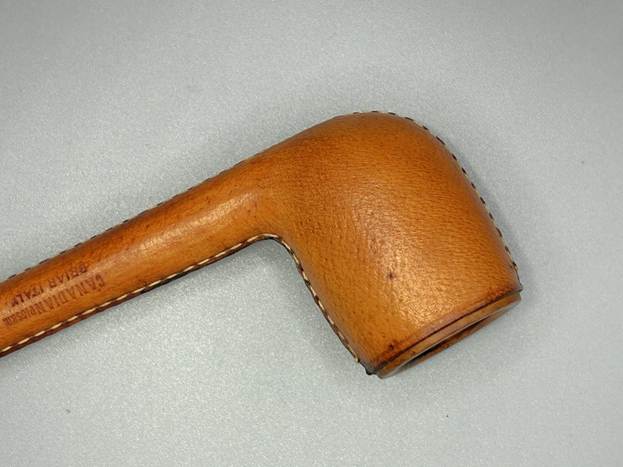
The markings pressed into the leather are very clear. We see Canadian Pigskin [over] Briar Italy. In addition, on top of the stem, we see the letter C. Unfortunately, that isn’t very helpful – the letter C could mean anything. So, we don’t know anything about this pipe other than the leather was from Canadian pigs and the wood was from Italian tree heath.

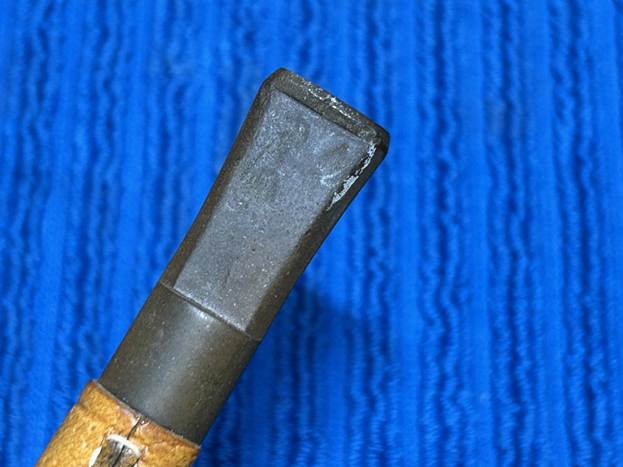
Let’s examine the pipe’s condition. The stem was pretty good. It had some tooth marks; it was quite dirty; and had a small craze line – but none of this was critical. The leather around the stummel was very nice. I’m no leather expert, but it seemed to be of good quality. There were some minor stains but easily cleaned. There were no scuffs, rips, or gouges. The stitching was tight and sound. The bowl had a bit of lava on the rim and some cake in the bowl. Nothing significant.

I used a disposable lighter and ‘painted’ the stem with its flame. The gentle heat of the flame can cause the dents in the vulcanite of the stem to expand back into shape. It worked quite well. I used isopropyl alcohol on a few cotton rounds and wiped down the stem to provide an initial cleaning of filth before moving on to the next steps. The primary cleaning came next. I disinfected the inside of the stem with both pipe cleaners and cotton swabs dipped in lemon-infused 99% isopropyl alcohol. I scrubbed thoroughly to make sure the interior was very clean.

The goal of the next step is the removal (or minimization) of oxidation. Going to my sink, I used cream cleanser, cotton rounds, and a toothbrush, and scoured the stem to remove as much surface oxidation as possible. As the photos show, the result was a hideous, ochre-coloured mess – but better off the stem than on it.

Once the stem was reasonably clean, I soaked it overnight in some Briarville Stem Oxidation Remover. This solution works to draw oxidation in the stem to the surface of the vulcanite. This is a major aid and an important step in ensuring a clean stem. The following day, I drew out the stem from its bath and scrubbed the lingering fluid with a toothbrush.

As the stem was now clean and dry, I set about fixing the marks and dents in the vulcanite. This was done by filling those divots with black cyanoacrylate adhesive, impregnated with carbon and rubber. I left this to cure and moved on. After this, I painted the logo on the stem with some enamel nail polish. I restored the logo carefully and let it fully set before proceeding.

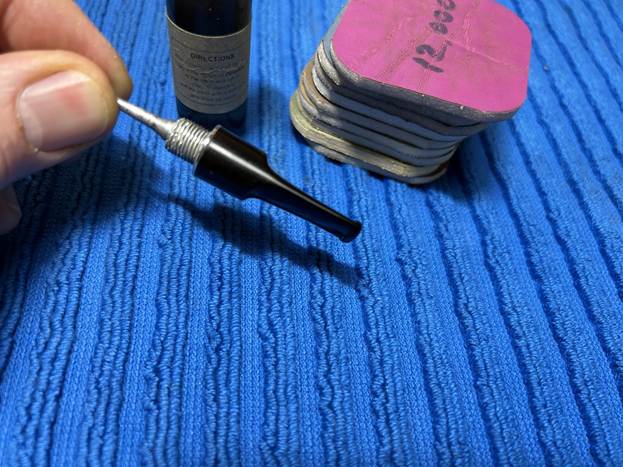
The penultimate step for the stem is sanding. First, with my set of needle files, I reduced the bulk of the cyanoacrylate repairs. I removed the excess adhesive as near to the surface as possible, without cutting into the vulcanite. Following that, I used all nine of the micromesh sanding pads (1,500 through 12,000 grit) to sand out flaws, even out the vulcanite, and provide gentle polishing of the finished surface. I also applied pipe-stem oil while using the last five micromesh pads. There was a wonderful, deep black shine to the stem when I was done.
As the stem was (nearly) complete, I moved on to the stummel. The first step was to ream out the bowl – that is to say, remove all the cake inside the bowl. This accomplished a couple of things. First (and most obviously), it cleaned the bowl and provided a refurbished chamber for future smoking. Second, when the old cake was removed, I could inspect the interior walls of the bowl and determine if there was damage or not. I used a reamer, a pipe knife, and a piece of sandpaper taped to a wooden dowel. Collectively, these ensured that all the debris was removed.

Similar to the stem, I then cleaned the stummel with both pipe cleaners and cotton swabs dipped in lemon-infused 99% isopropyl alcohol. With a pipe this dirty, it took quite a while and much cotton to clean.

My next step was to remove the lava on the rim. For this, I took a piece of machine steel and gently scraped the lava away. The metal’s edge is sharp enough to remove what I need, but not so sharp that it damages the rim.

I then decided to ‘de-ghost’ the pipe – that is to say, exorcize the remaining filth from the briar. I filled the bowl and the shank with cotton balls, then saturated them with 99% isopropyl alcohol. I let the stummel sit overnight. This caused the remaining oils, tars and smells to leach out into the cotton.

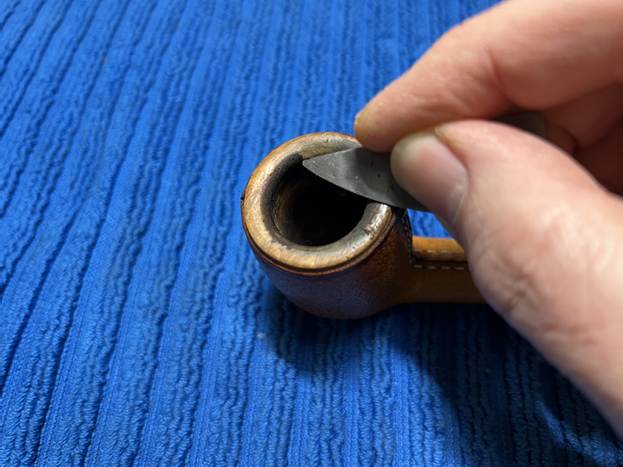
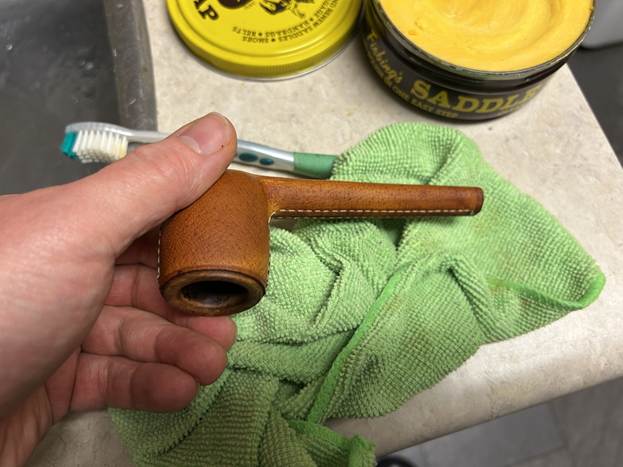
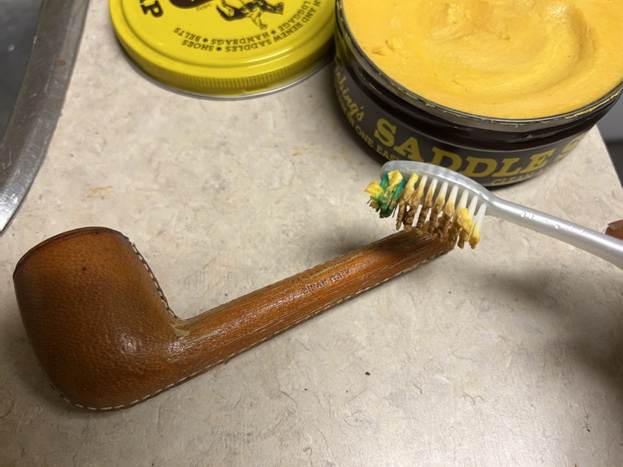
On to the next step. To clean the leather, I wiped down the outside with some saddle soap, a tiny bit of distilled water, and a soft toothbrush. I followed the instructions closely and it came out very well. This did a good job of cleaning any latent dirt on the surface of the leather. I let this dry completely before moving on.

I used all nine micromesh pads (1,500 through 12,000 grit) to sand the rim of the stummel and finish it off. This sanding minimizes flaws in the briar and provides a beautiful smoothness to the wood. I rubbed some LBE Before & After Restoration Balm into the leather and briar and let it sit for an hour or so. I then buffed the stummel with a microfibre cloth. For the final step, I took the stem to my bench polisher and carefully buffed it – first with a blue diamond compound, then with some carnauba wax. No buffing for the stummel this time.

All done! This Canadian leather lumberman with Italian briar looks fantastic again and is ready to be enjoyed by its next owner. I am pleased to announce that this pipe is for sale! If you are interested in acquiring it for your collection, please have a look in the ‘Italian’ or ‘Canadian’ section of the store here on Steve’s website. You can also email me directly at kenneth@knightsofthepipe.com. The approximate dimensions of the pipe are as follows: length 6⅞ in. (175 mm); height 2 in. (51 mm); bowl diameter 1½ in. (38 mm); chamber diameter ¾ in. (20 mm). The weight of the pipe is 1½ oz. (43 g). I hope you enjoyed reading the story of this pipe’s restoration as much as I enjoyed restoring it. If you are interested in more of my work, please follow me here on Steve’s website or send me an email. Thank you very much for reading and, as always, I welcome and encourage your comments.

New Life for Royalty, a “Malaga” Algerian Briar Prince


by Steve Laug

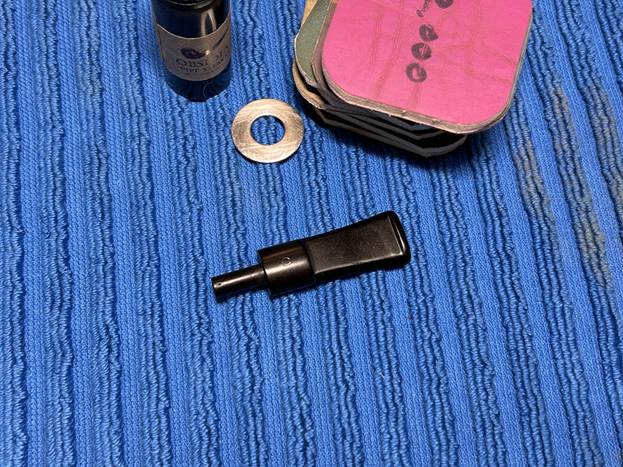
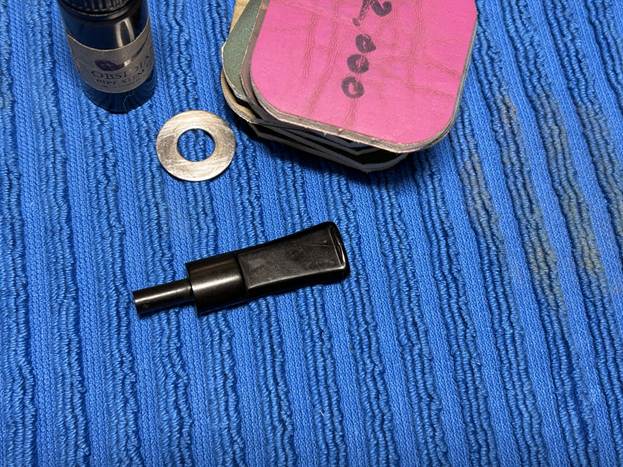
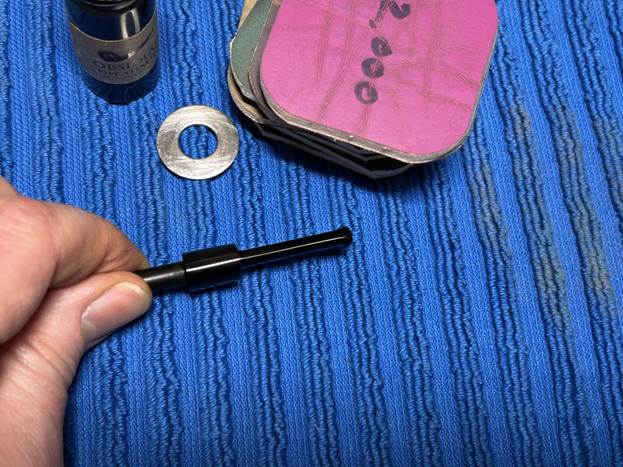
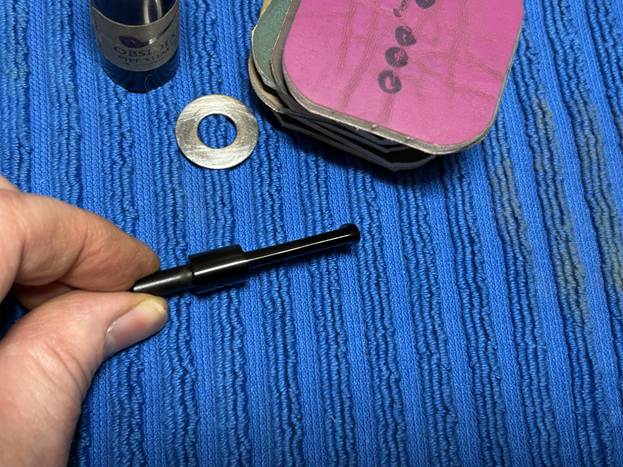
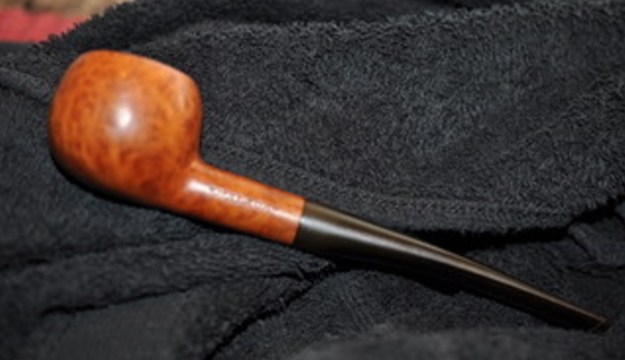
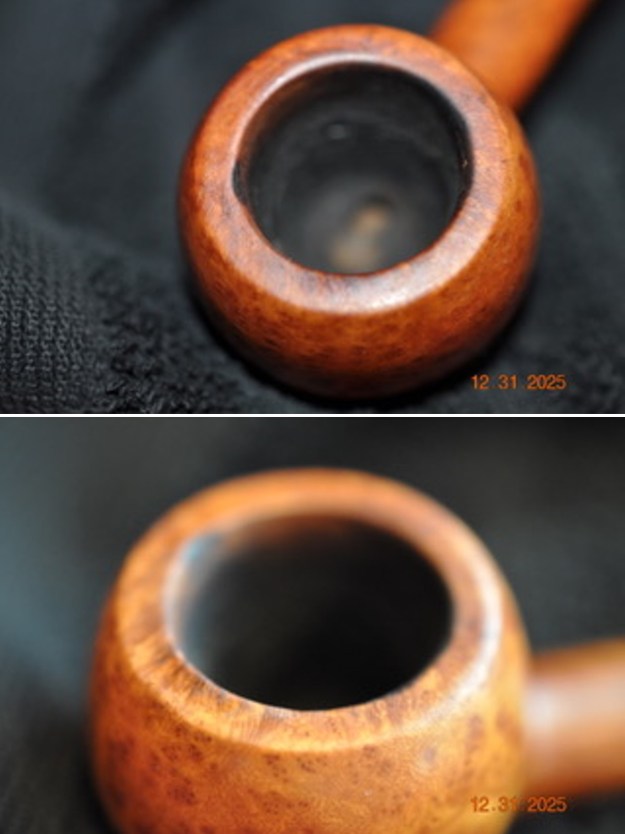
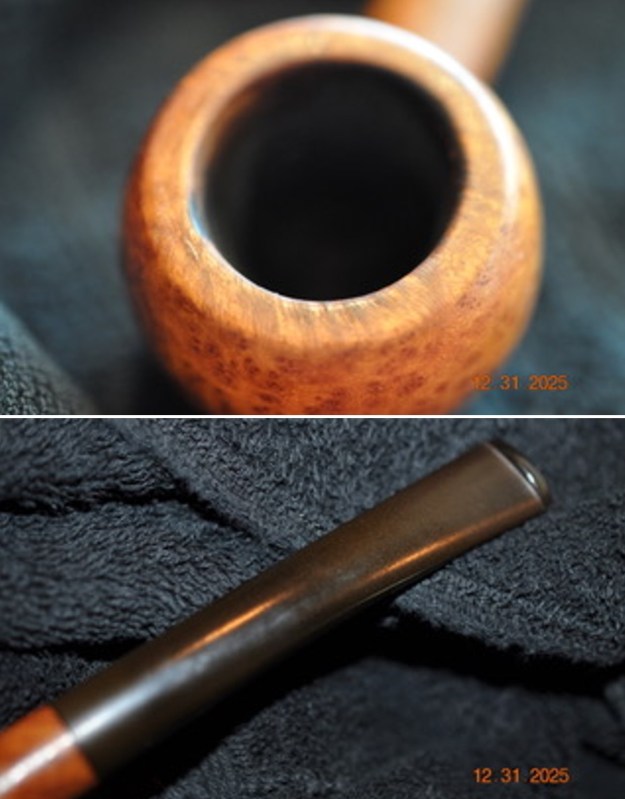
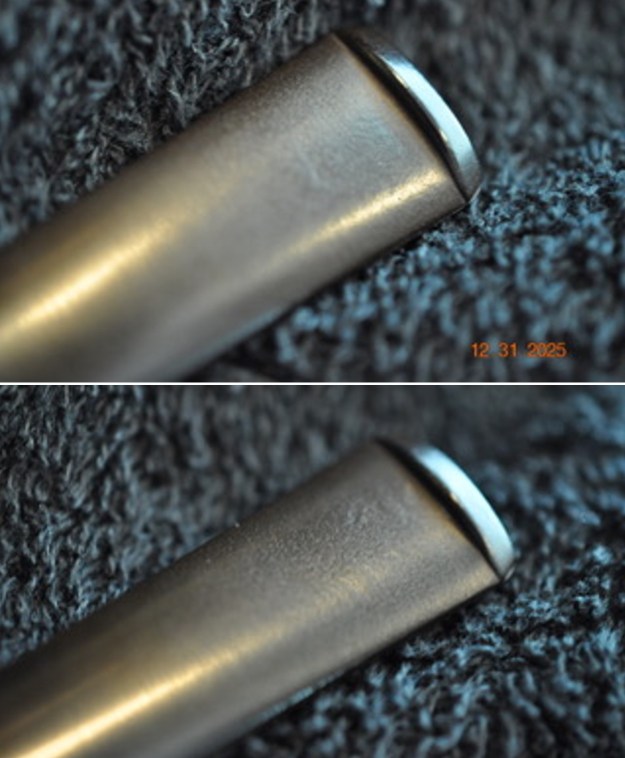
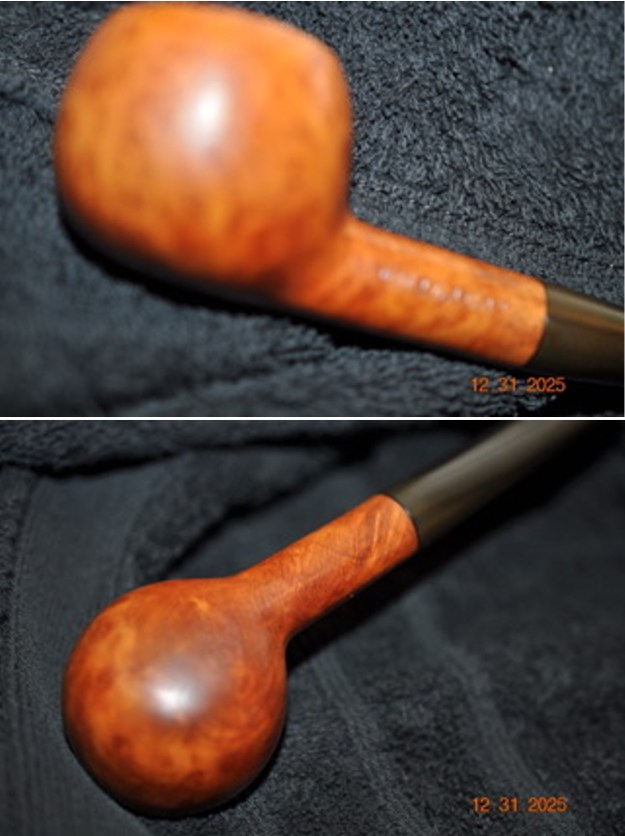
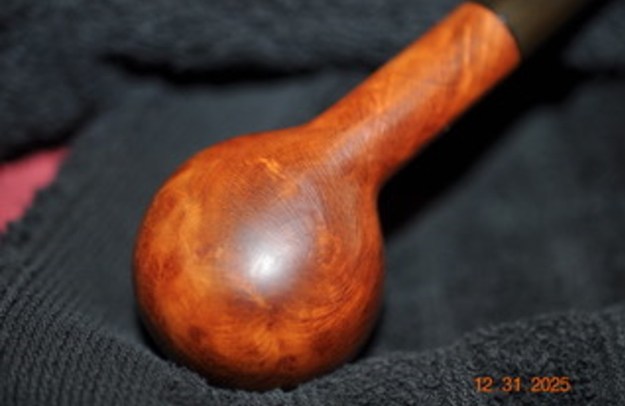
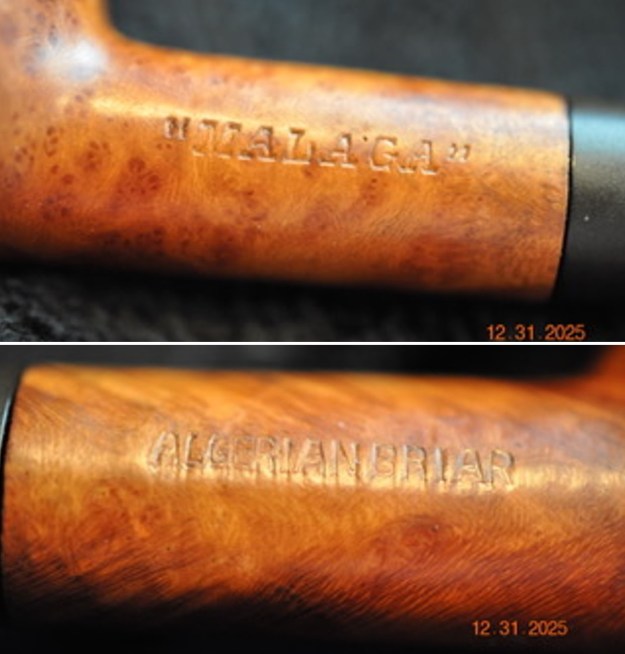
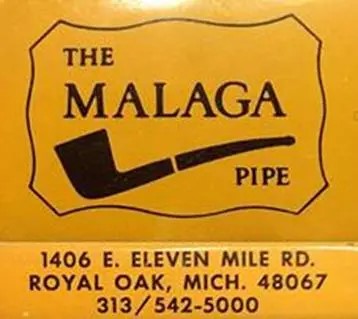
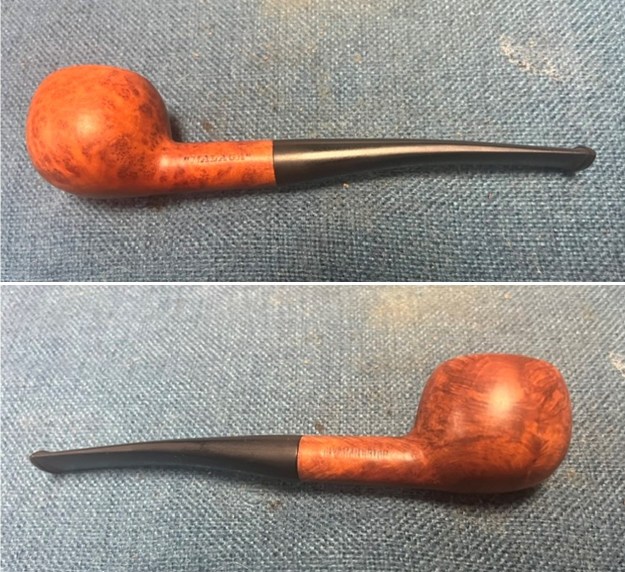
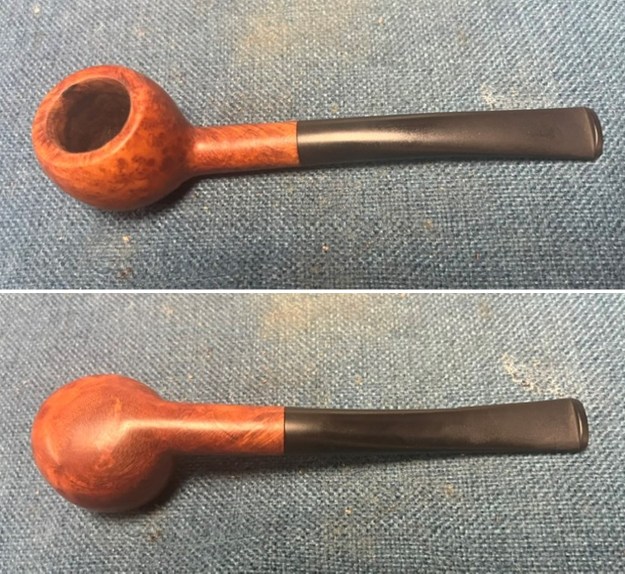
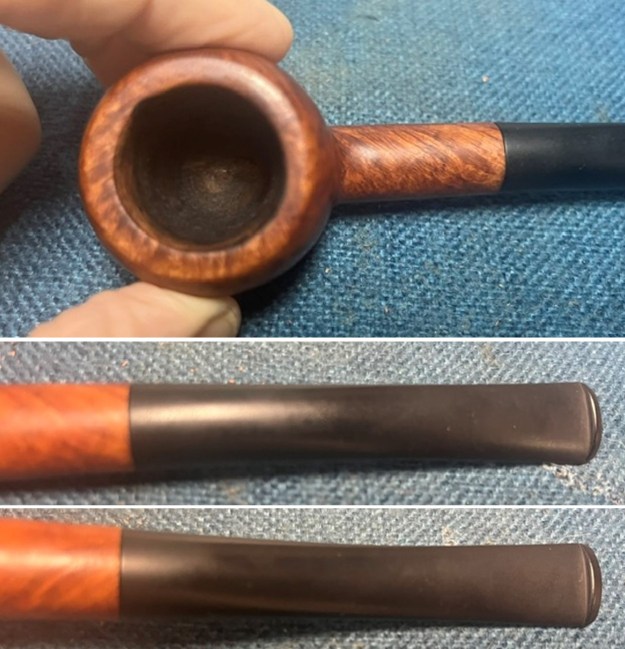
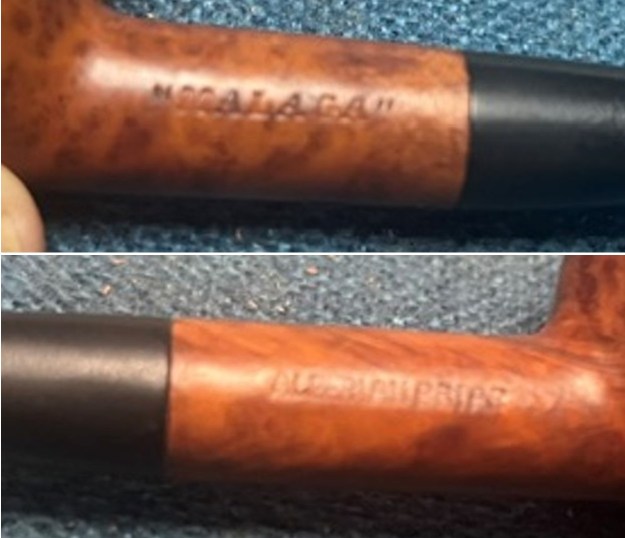
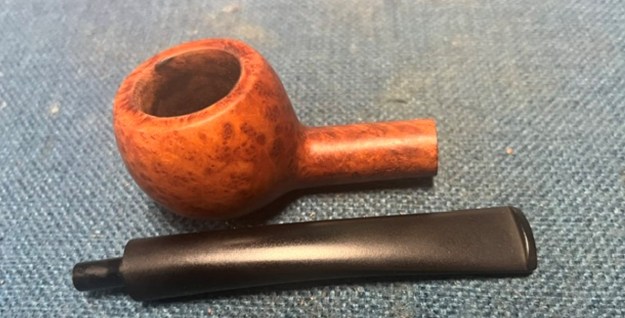
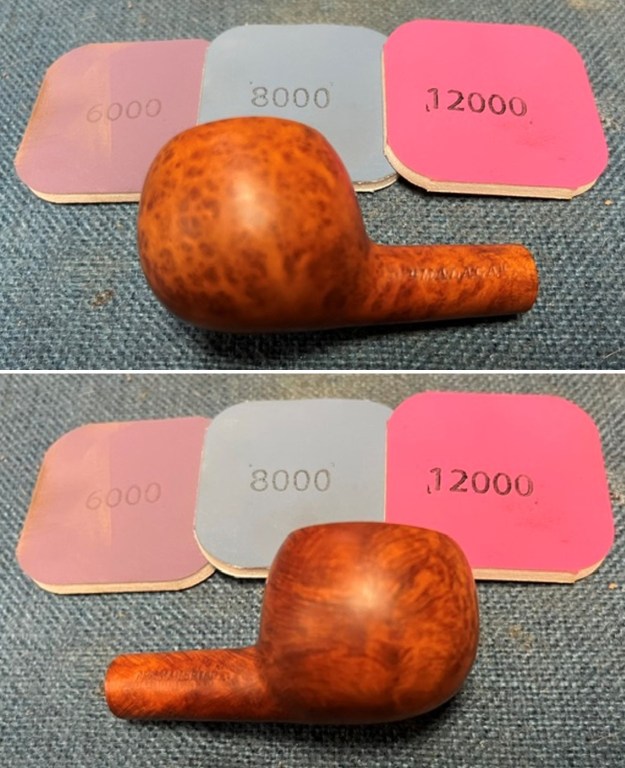
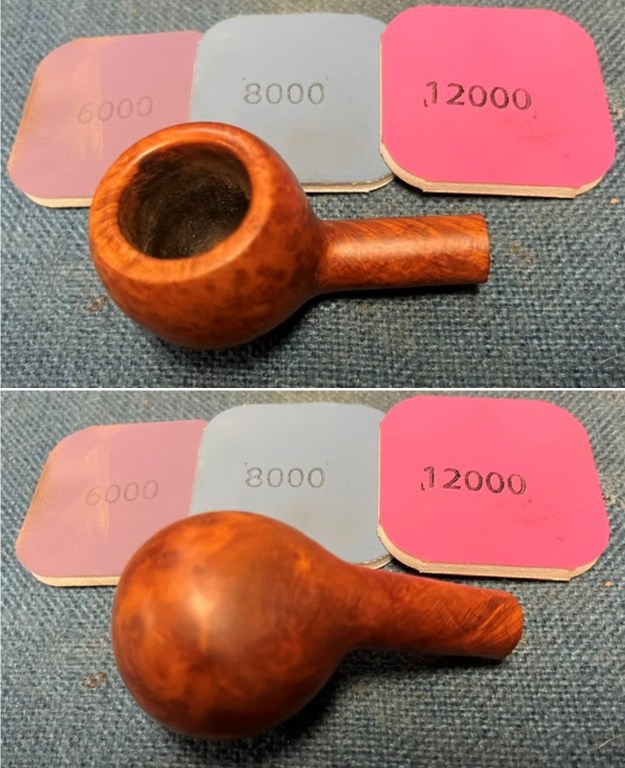
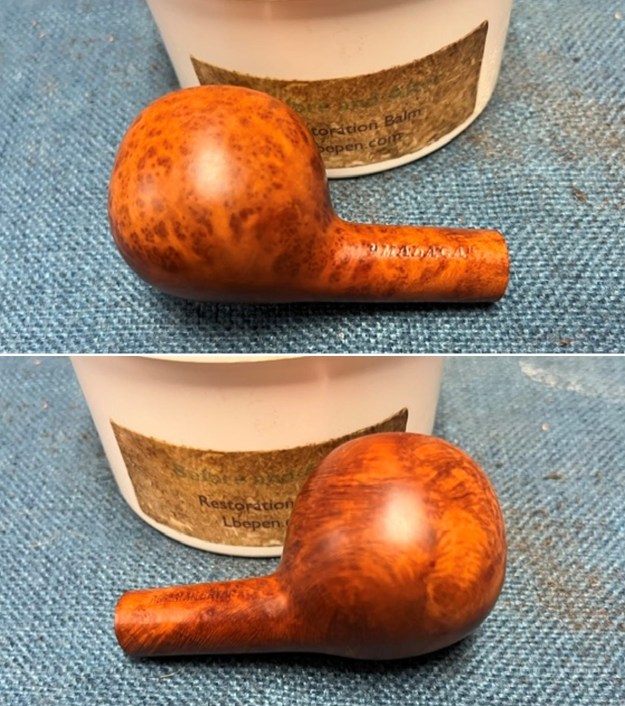
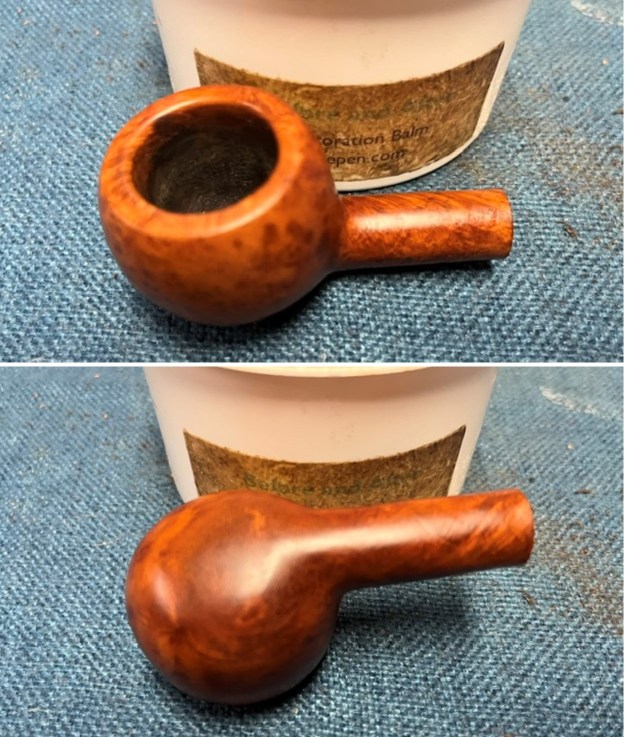
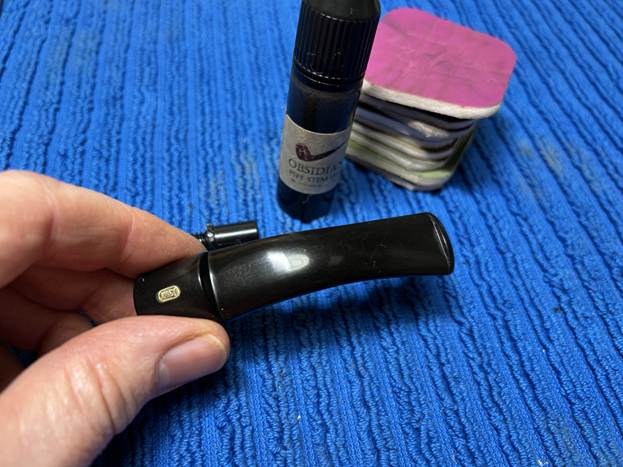
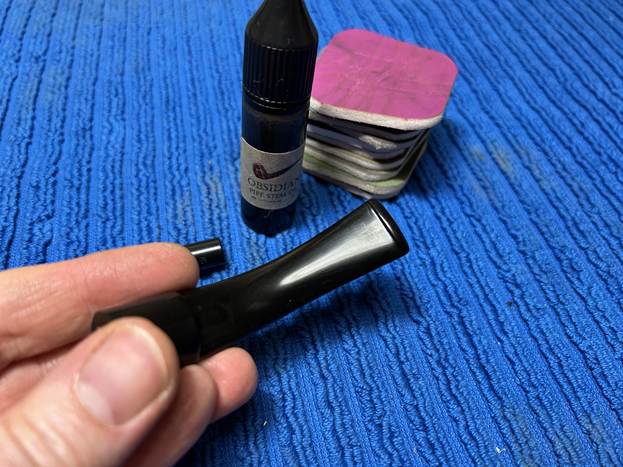
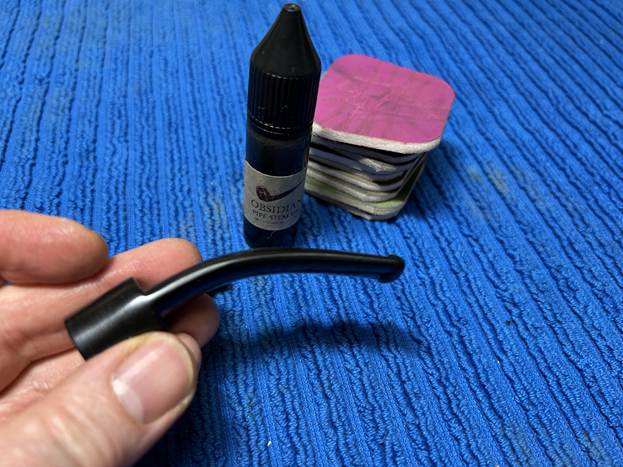
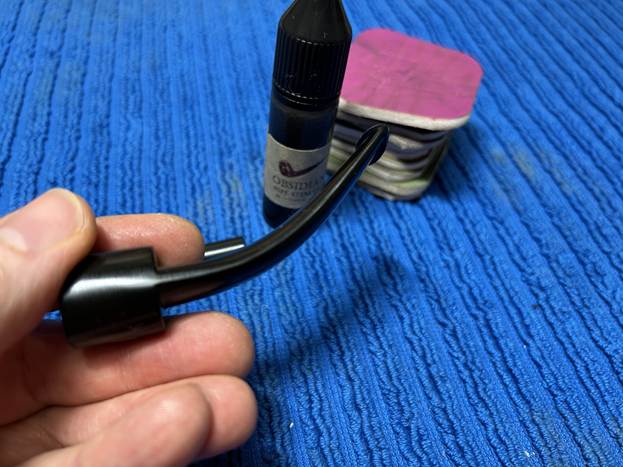
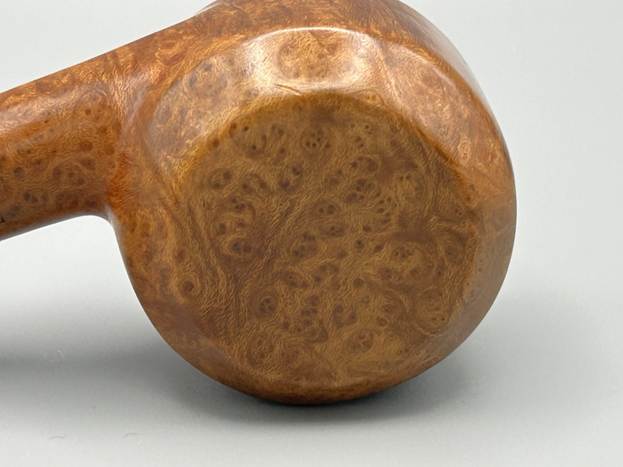
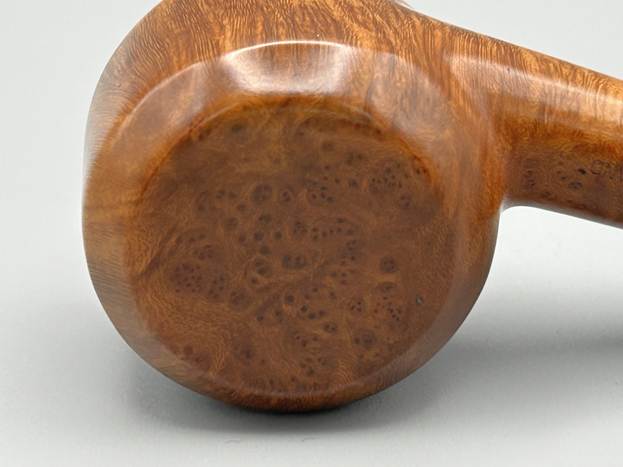
The “Malaga” Prince and black vulcanite stem is next on the table. I started it before I went to the hospital in the end of May and finally finished it in July when I left the hospital. The pipe came to us from a seller on eBay in Akron, Ohio, USA on 12/18/25. The carver did a great job of shaping the pipe to follow the grain on the briar. The bowl top is smooth and slightly beveled inward. The rim top had spotty lava and had some burn damage on the top and inner edge. The bowl had a thick cake and an overflow of lava onto the thin rim top. The sides of the bowl and shank are very dirty with grime and oils from prolonged use. The briar around the bowl had some great birdseye that would clean up well.  The stamping on the left side of the shank read “MALAGA”. On the right side it was stamped Algerian Briar. The black vulcanite stem had light tooth dents and chatter on the top and the underside of the stem. Jeff took these photos before he started the cleanup work on the pipe.Jeff took a close up photo of the bowl and rim to capture the condition of the pipe before he started his cleanup work. The rim top had some lava overflow and some darkening. It was dirty but you could see that there was rim damage on the inner edge of the bowl. The stem photos show the condition of the surface of the vulcanite with light tooth chatter and marks on both sides ahead of the button. He also took photos of the sides and bottom of the bowl and shank to show the beautiful birdseye and mixed grain around the bowl. The photos show the general condition of the bowl and wear on the finish. It is very dirty but this is another beautiful pipe. Jeff took a photo to capture the stamping on the right and left side of the shank. The photos show the stamping “MALAGA” on the left side and Algerian Briar on the right side. The stamping is weak in spots but readable. I am also including the link to a blog that I wrote that gives some of the history of the Malaga brand and the Malaga Pipe Shop in Royal Oak, Michigan in the USA. I have written an earlier blog to give a little history of the Malaga Brand and the pipemaker, George Khoubesser. Here is the link – https://rebornpipes.com/tag/malaga-pipes/.That blog also includes links to a catalogue and the history of the pipemaker George Khoubesser. Follow the link to get a feel for the brand and the pipemaker.

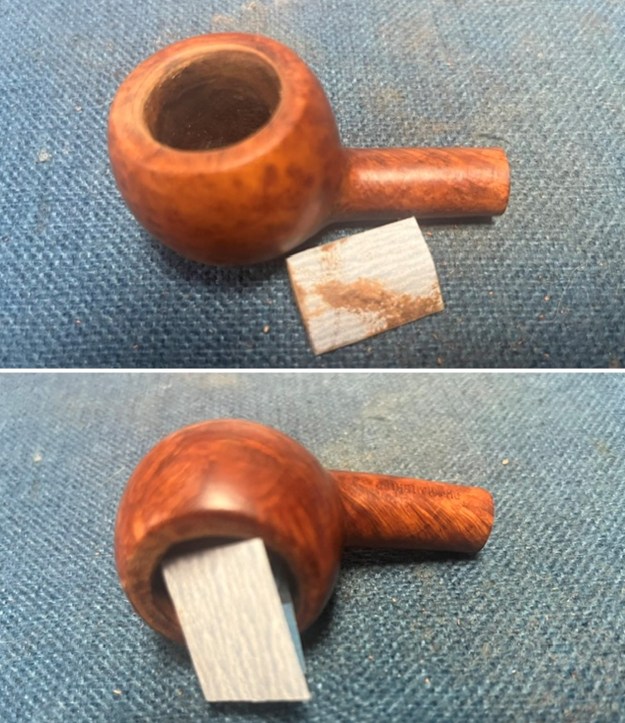
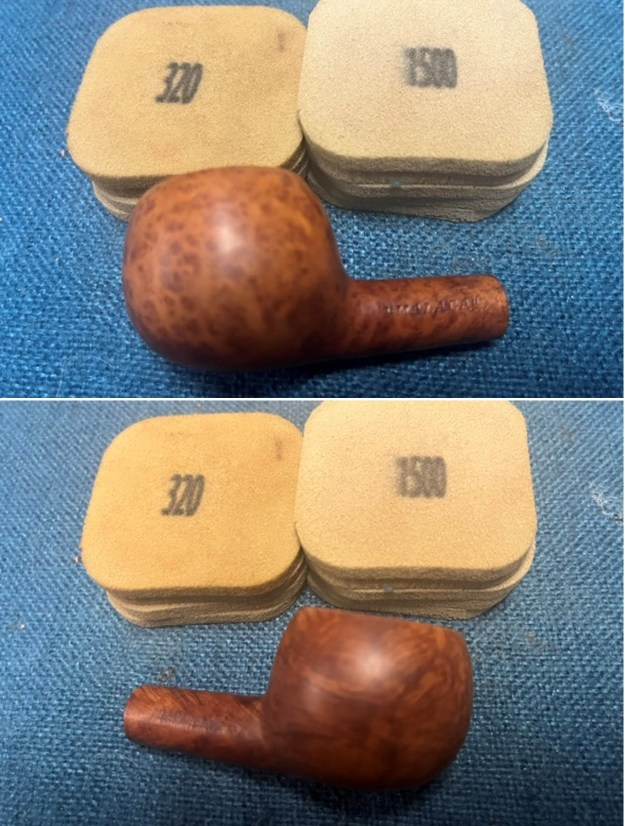
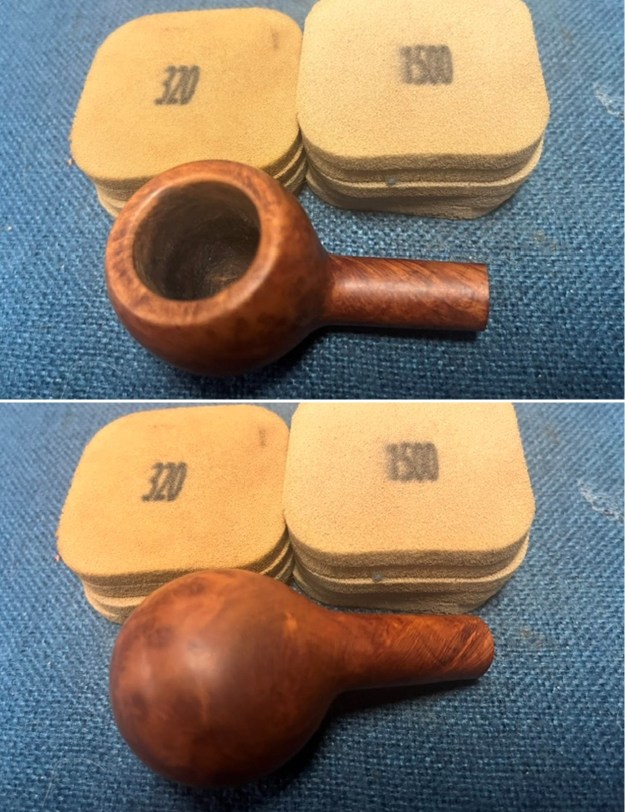
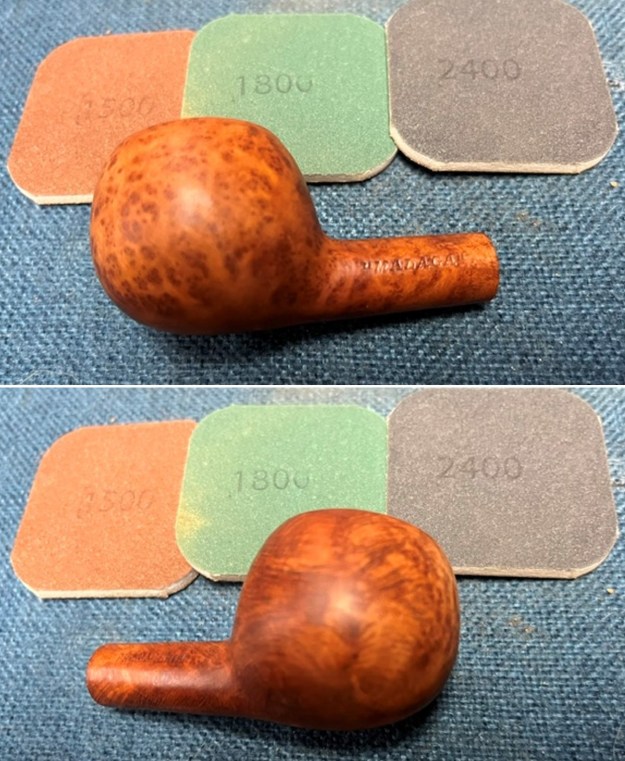
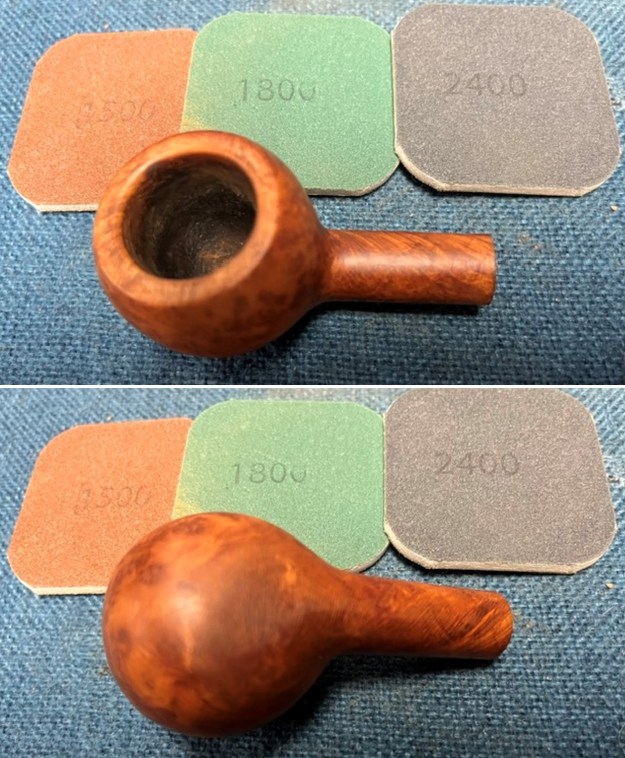
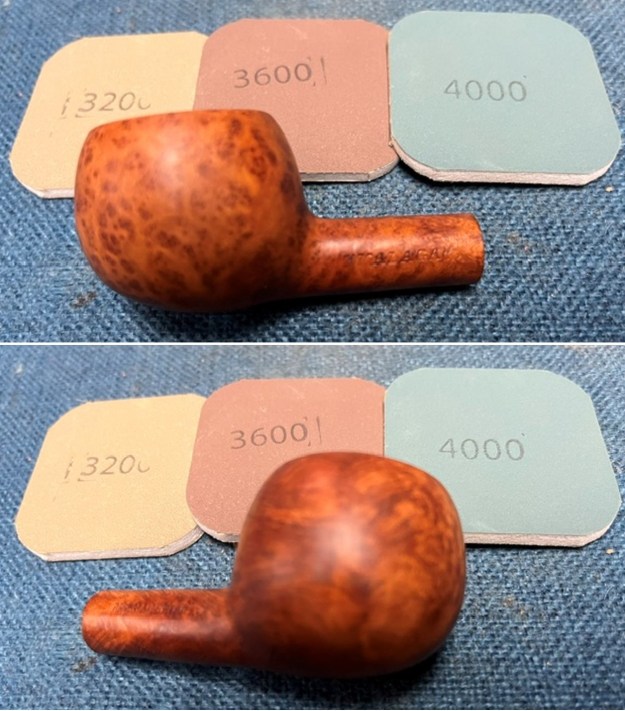
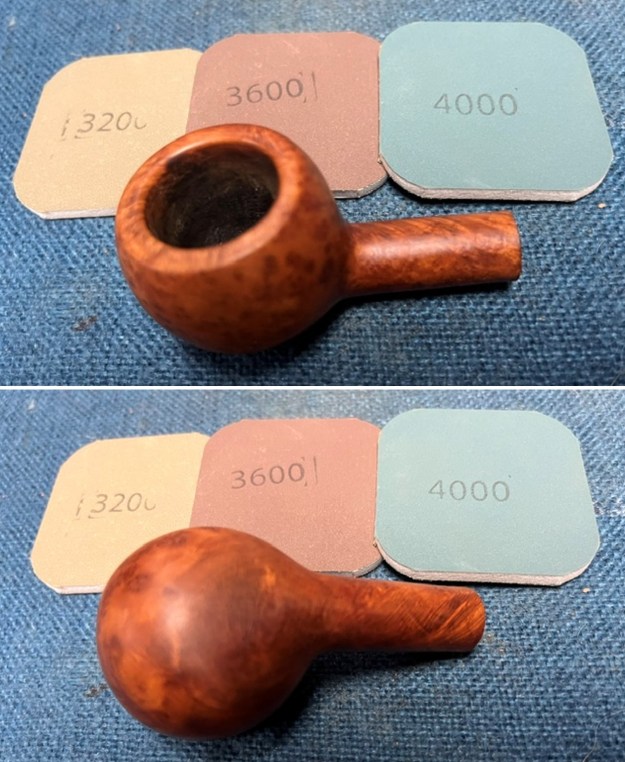
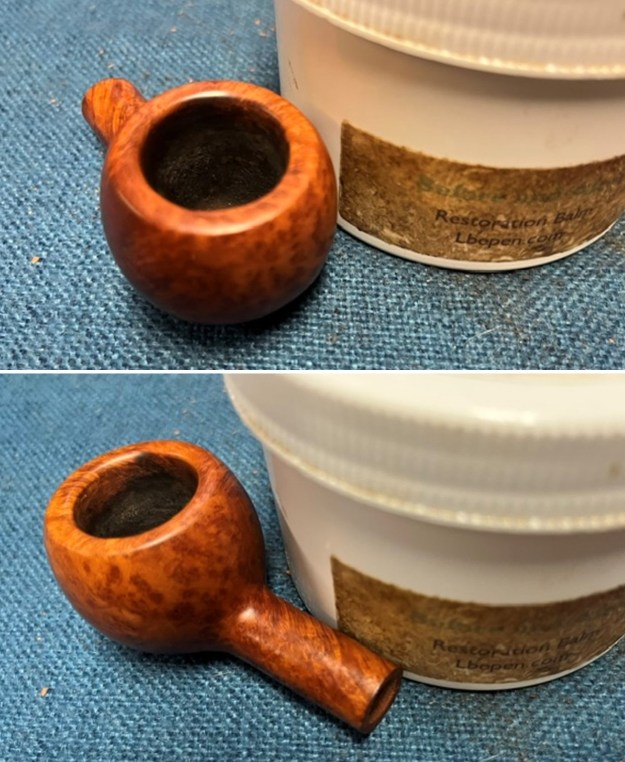
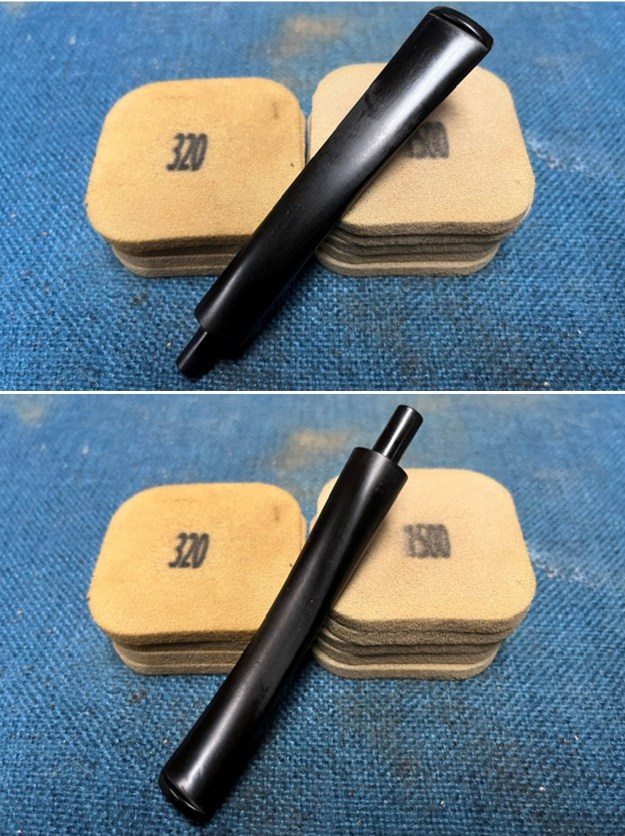
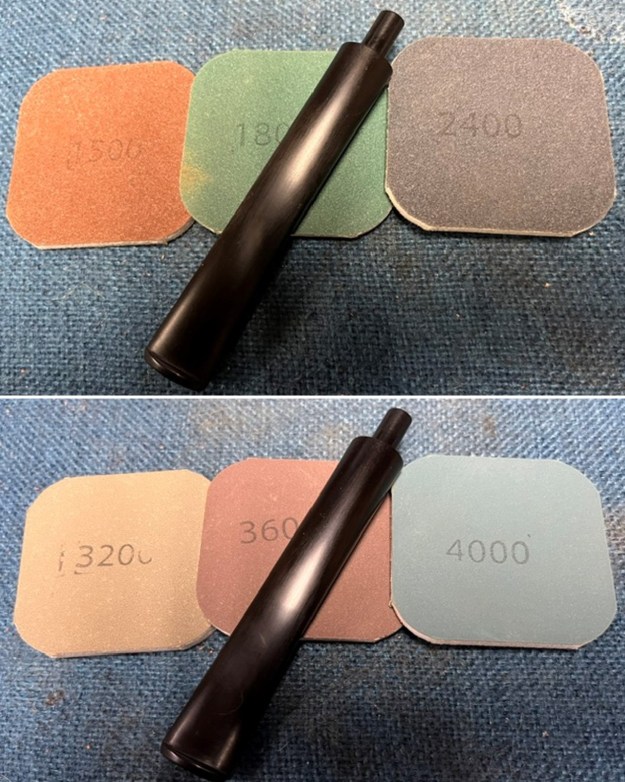
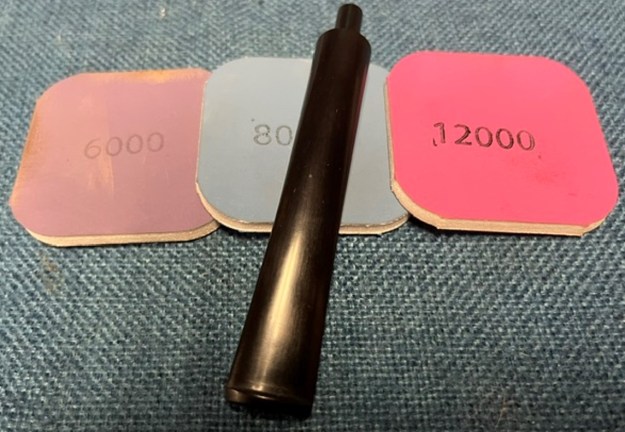
Jeff reamed the bowl with a PipNet pipe reamer and followed up with a Savinelli Fitsall pipe knife to remove the cake. He scrubbed out the mortise and the airway in the shank and the stem with alcohol, cotton swabs and pipe cleaners. He scrubbed the exterior of the bowl, rim, shank and stem with a tooth brush and Murphy’s Oil Soap to remove the oils and tars on the rim and the grime on the finish of the bowl. He rinsed it under running water. He dried it off with a soft cloth. He was able to remove the lava build up on the rim top and you could see the damage to the flat surface of the rim and the inner edge in different spots around the bowl. I took photos of the pipe to show its condition before I started my work on it. I took close up photos of the bowl and rim top as well as the stem. You can see the condition of the rim top and bowl in the first photo. Jeff was able to remove all of the tar and oils but you can now see the damaged areas on the surface clearly. There are damaged spots all around the top surface and on the inner edge of the bowl. The vulcanite taper stem had tooth chatter and some tooth marks on the top and underside of the stem near and on the button surface.I took photos of the stamping on the shank to show how good the condition is. The stamp is faint in spots but it is still legible on the left side and the right side. I decided to address the damage to the rim top first. I worked over the inner edge and top of the rim with a folded piece of 220 grit sandpaper to smooth out the damage. I gave it a slight bevel to hide the burn damage on the inner edge of the rim. The photos tell the story. The damage to the rim top is gone and the inner edge looks far better with the light bevel. I sanded the bowl and shank sides with 320-3500 grit 2×2 inch sanding pads to smooth out the nicks and scratches in the surface of the briar. I wiped the briar down with a damp cloth after each sanding pad to remove the debris.I polished the rim top and the exterior of the bowl with micromesh sanding pads – wet sanding with 1500-12000 grit pads. I wiped the bowl down after each sanding pad to remove the dust. The damage on the rim is pretty much invisible after polishing and the rim top really looked good. I worked some Before & After Restoration Balm into the surface of the briar with my fingertips to clean, enliven and protect it. I let the balm sit for a little while and then buffed with a cotton cloth to raise the shine. The following photos show the bowl at this point in the restoration process. The reworked rim top looks really good and matches the colour of the rest of the pipe. I am very happy with the results. This is where I left it at Mid May when I went to the hospital. I still needed to work on the stem but it sat on the desk until I returned to my desk mid July. I picked up the work but moving to the stem. I sanded the stem with 320-3500 grit 2×2 inch sanding pads to remove the oxidation and the scratches in the vulcanite. I wiped the stem down with Obsidian Oil on a cloth to remove the sanding debris. It looked significantly better once I finished.I polished the stem with micromesh sanding pads – dry sanding with 1500-12000 grit sanding pads. I wiped it down after each sanding pad Obsidian Oil on a cloth. This is a beautiful “Malaga” Algerian Briar Prince and the vulcanite taper stem gives it a nice touch of class. The rim top and the cut of the briar work well to highlight the mixed grain around the bowl sides. I polished the stem and the bowl with Blue Diamond polish on the buffing wheel. I gave the bowl multiple and the stem multiple coats of carnauba wax. I buffed the pipe with a clean buffing pad to raise the shine. I hand buffed it with a microfiber cloth to deepen the shine. The “Malaga” Algerian Briar Prince polished up pretty nicely. The pipe came back to life with the last work and the grain took on some dimensionality in its appearance with the buffing. The rich oil cured colour works well with the polished black vulcanite stem. The finished pipe has a rich look that is quite catching. Have a look at it with the photos below. The shape, finish and flow of the pipe and stem are very well done. The dimensions are Length: 6 inches, Height: 1 ½ inches, Outside diameter of the bowl: 1 ¼ inches, Chamber diameter: ¾ of an inch. The weight of the pipe is 1.20 ounces/34 grams. I will be adding the pipe to the rebornpipes store in the American Pipemakers Section if you would like to add it to your collection. Thanks for walking through the process with me.

Restoring a Fascinating American Granhill Old Original Freehand


by Kenneth Lieblich

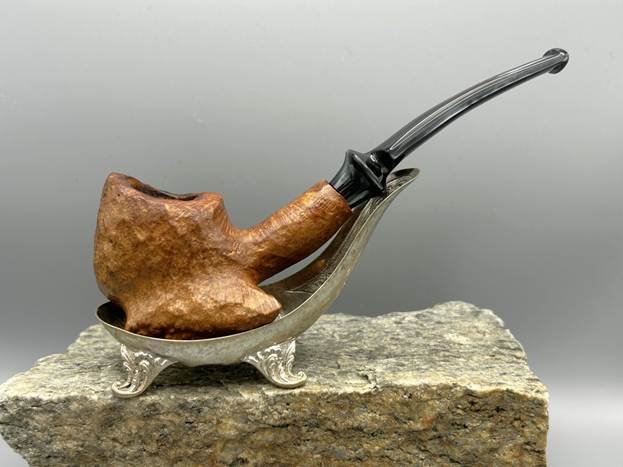
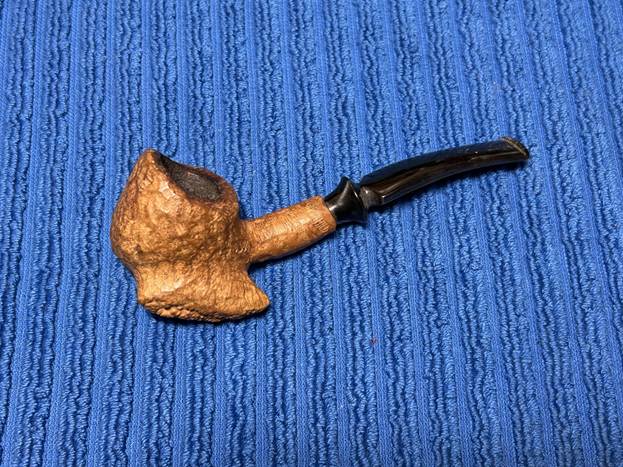
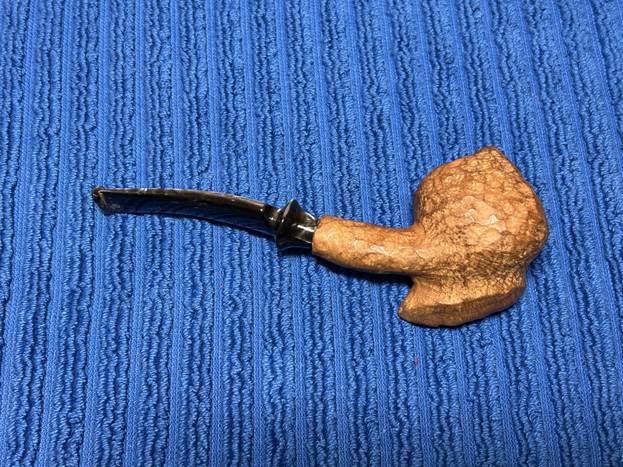
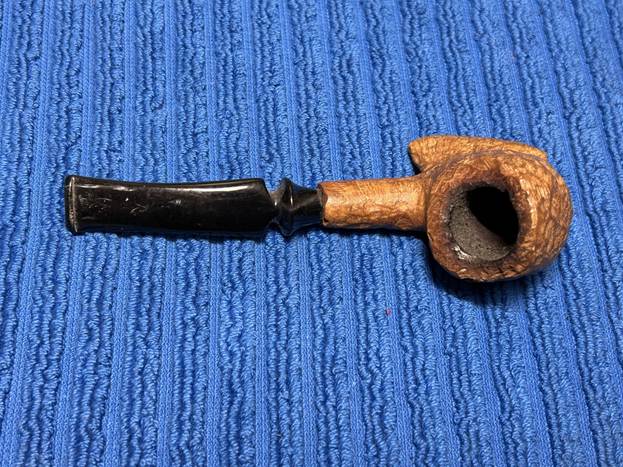
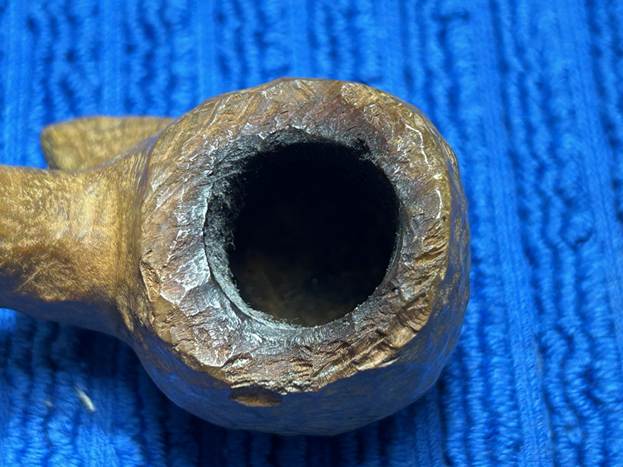
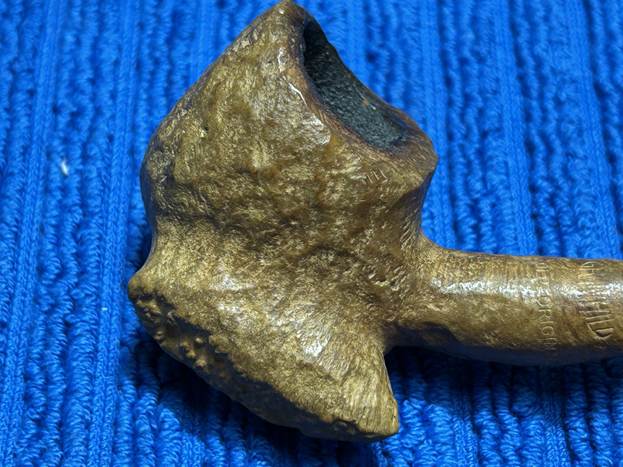
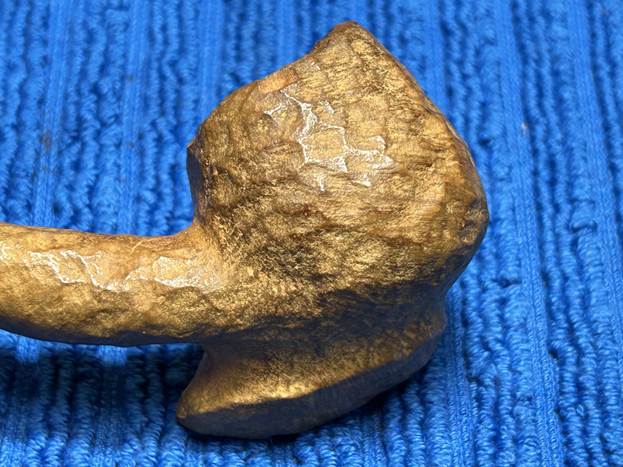
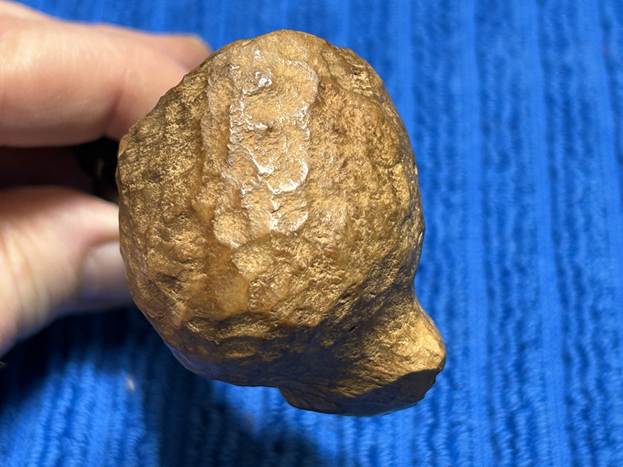
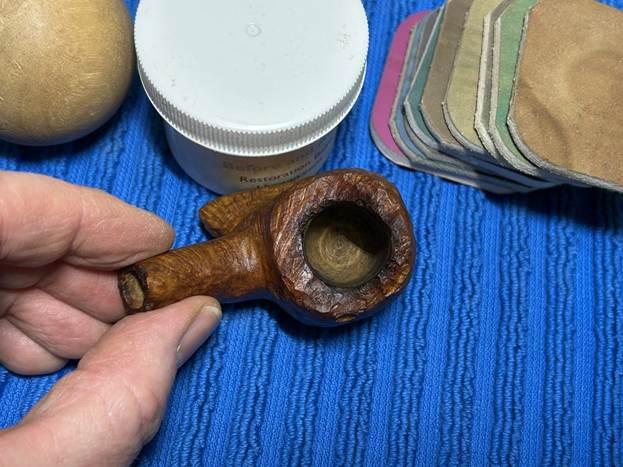
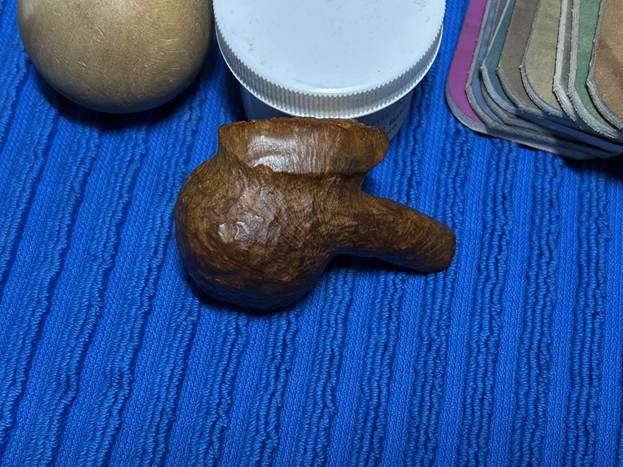
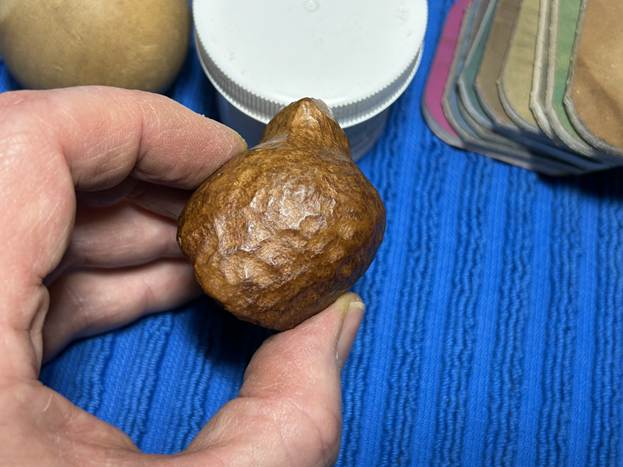
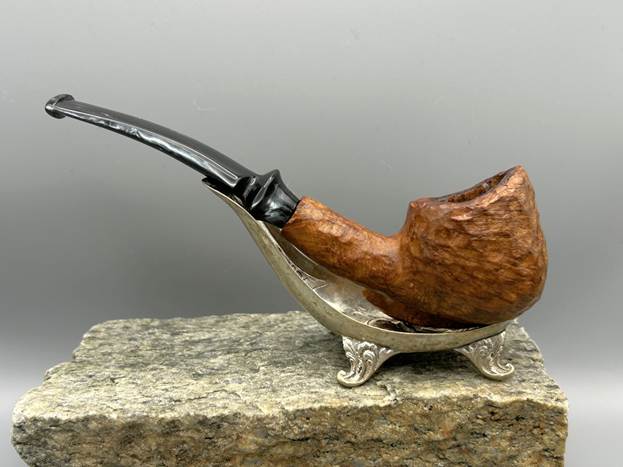
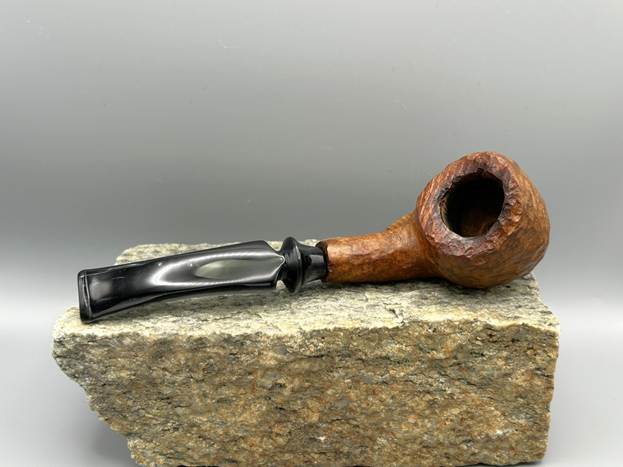
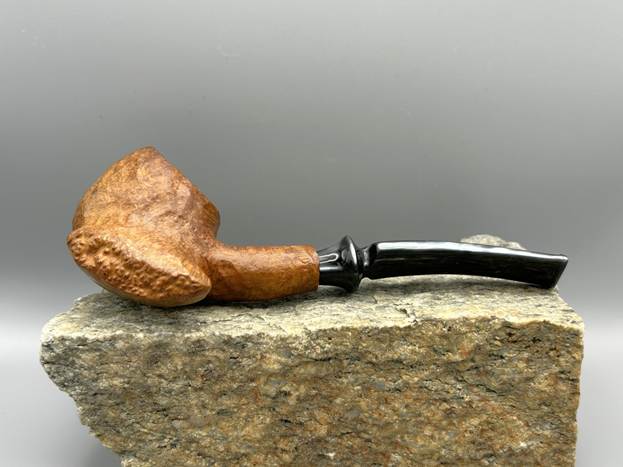
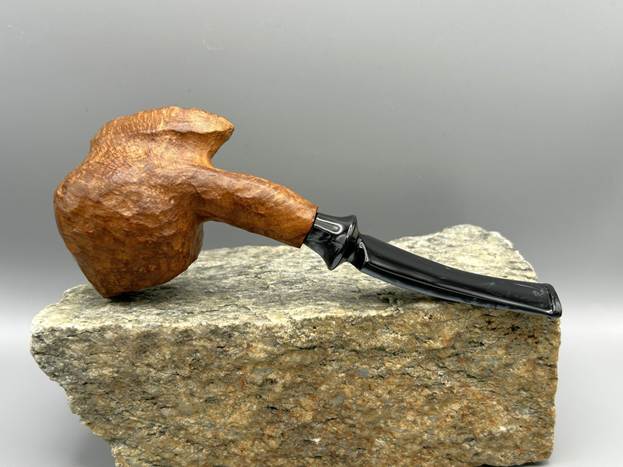
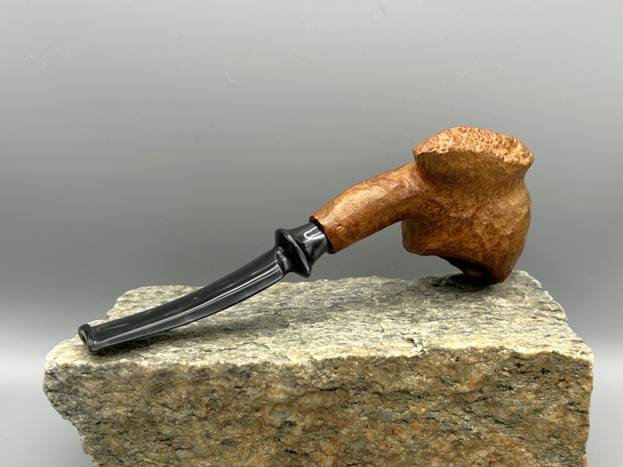
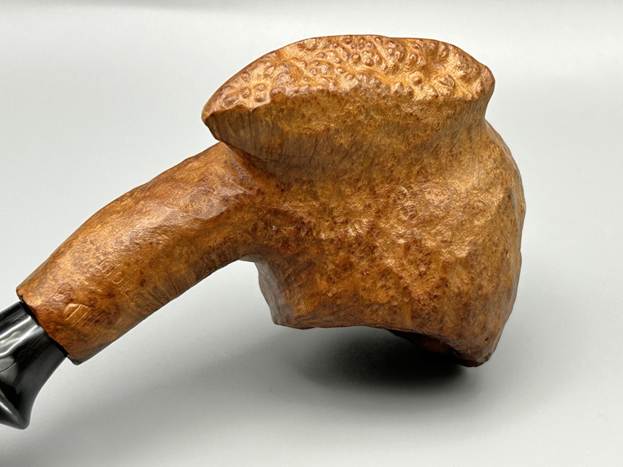
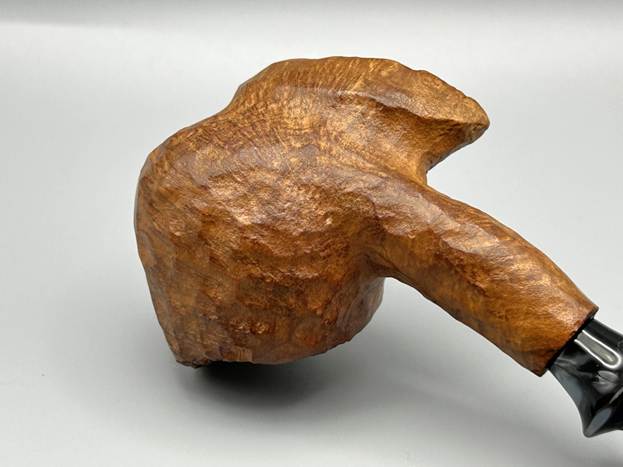
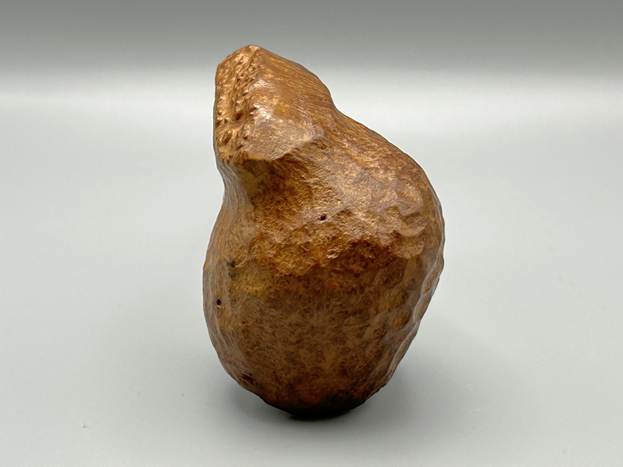
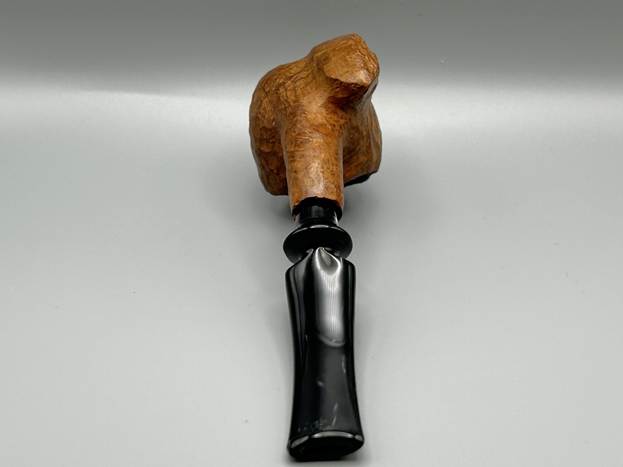
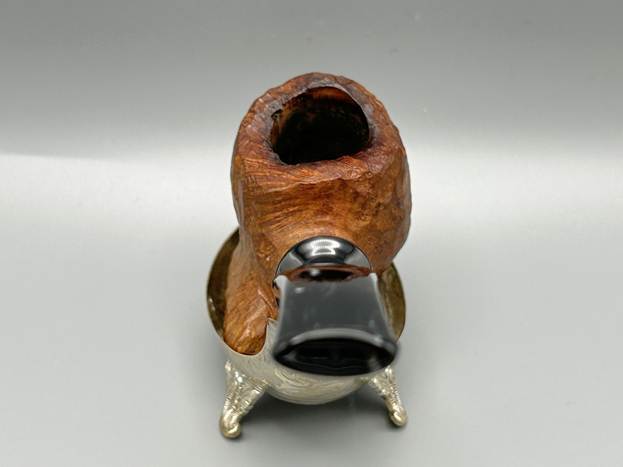
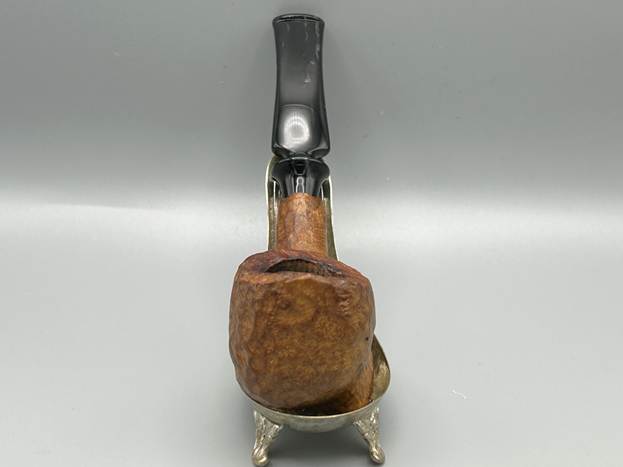
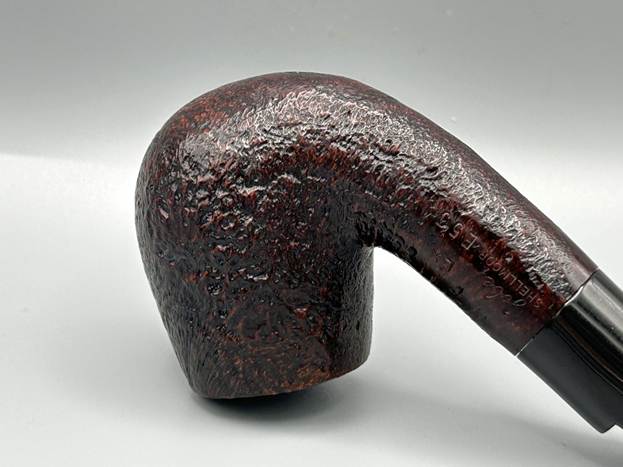
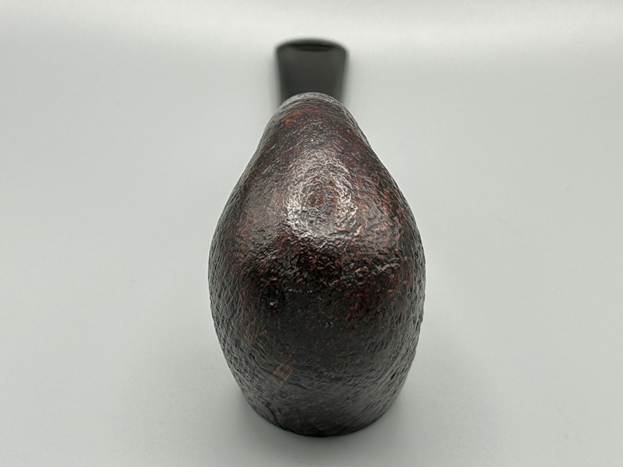
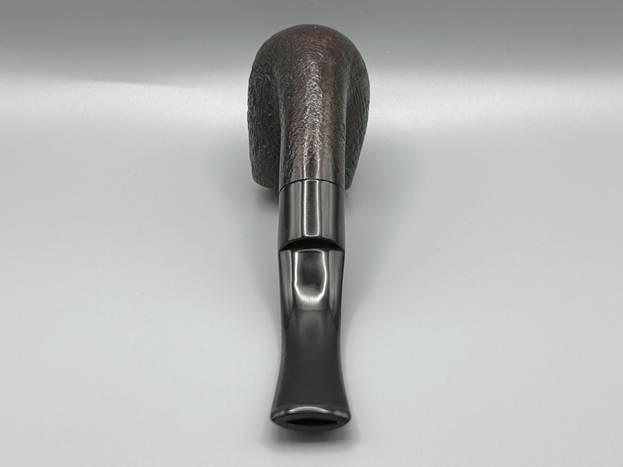
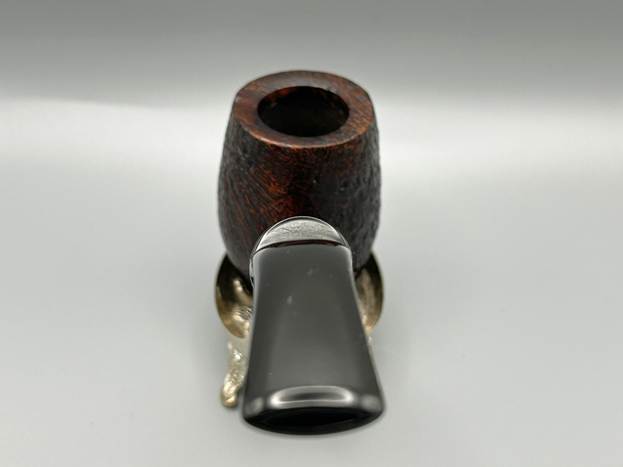
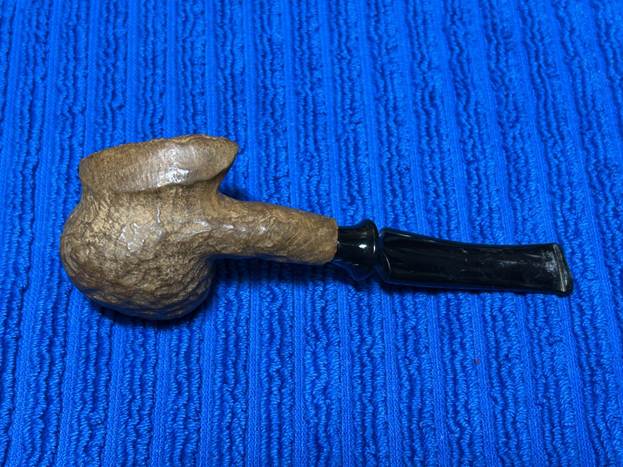
If you would like to own a pipe unlike anything else, have I got the pipe for you! This remarkable piece is a Granhill Old Original freehand. Granhill pipes are fairly rare, so it’s very nice to see another one. This pipe has a really rugged, raw nature to it. It is an interesting carving with an engaging rustication and a good-looking, variegated acrylic stem. Be sure to read on – this was an entertaining restoration.

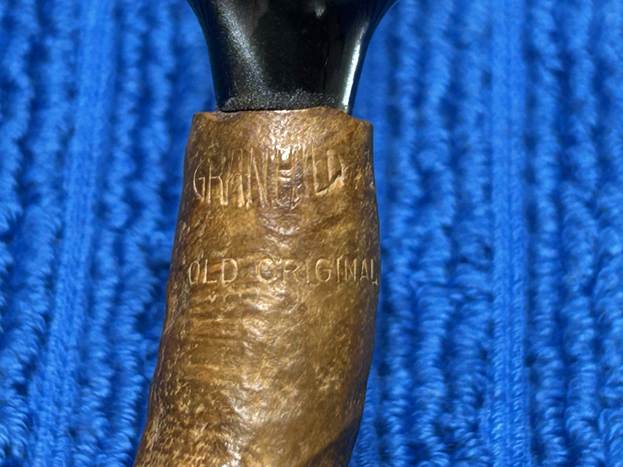
The markings on the pipe are as follows. On the shank, there is the word Granhill [over] Old Original. Unfortunately, we don’t have any other markings and I don’t know anything about the Old Original line of Granhill pipes. About two-and-a-half years ago, I restored another Granhill pipe (you can read that restoration here). What follows below is simply a copy-and-paste of what I wrote then on the background of Granhill.

There is precious little information on the Granhill name. Yonks ago, Steve did a blog post on a Granhill pipe and it contained all the available information at the time. The maker was either a carver named Michael Kabik or a tobacconist named Lonnie Fay. Now, Fay may well have produced pipes under this name, but I think we can say with certainty that this pipe is by Kabik, based on the similarity of design and logo. I will reproduce here some of what is written is Pipedia:

Michael Victor Kabik or Michael J. Kabik, now retired artisan and pipe repairman, was born in Annapolis, Maryland in 1950. As a student he was fascinated by science, but finally turned to the arts. In the early 1970s he started working as an artisan and designer for Hollyday Pipes Ltd., and when the company closed he set up in his own right.

Kabik writes as follows:

…In the 1960s, I had helped Jay build Jay’s Smoke Shop and was his first employee. Since that time, he had set up one of the very first freehand pipe-making operations in the U.S. along with his partner, Chuck Holiday, called CHP-X Pipes. The staff consisted of four full-timers actually making the pipes and perhaps another four in sales and office work. Chuck, who did the actual design and carving, had long since had serious disagreements with Jay and split. Chuck’s replacement from the staff was quitting, and Jay was in a bind. Jay offered me the job, and I gladly accepted. The fellow quitting was supposed to train me for two months but left after two weeks, leaving me with an awesome responsibility. I felt as though the future employment of all these people depended on me as the designer and cutter…and it did.

…Sadly, CHP-X closed its doors two years after my arrival, due primarily to distribution, sales force problems, and other issues to which I was not privy…In love with a medium that satisfied my creative impulses while, pretty much, paying the bills, I bought up the essential equipment and produced pipes on my own. I did this from a farm house my wife and I rented in Phoenix, Maryland. I produced pipes under the name KANE, Gran Hill and others I can’t remember as well as a private label line for a store in, I believe, South Dakota.

…In 1973, I was approached by Mel Baker, the owner of a chain in Virginia Beach called Tobak Ltd. Mel was interested in producing a freehand pipe line and was alerted to my product by Al Saxon, one of his managers and a former CHP-X employee. Mel wanted to relocate me to Virginia Beach, give me carte blanche, and recreate the CHP-X studio with, of course, a new name for the product. I’m sure my answer came very quickly.

…We decided on the name Sven-Lar. Why? Well, when I bought out CHP-X, I also got a small drawer full of metal stamps that were created for private-label work. The Sven-Lar name was conceived but never realized. Aside from having the stamp already made, there were other reasons we chose Sven-Lar. First, we were making a line of pipes in the Danish freehand tradition and also, sadly, we knew the difficulty American pipe makers had breaking the foreign market mystique barrier. The latter certainly played a big part in the demise of CHP-X.

You can read the entire Pipedia article on Kabik here. A relative of his posted a comment to my last blog post on Granhill and confirmed that Kabik is advanced in years and not in perfect health. I’m just glad to know that he is still around. Just to close the loop on this, I also found Kabik on Facebook. Here is a photo of him from a few years ago:

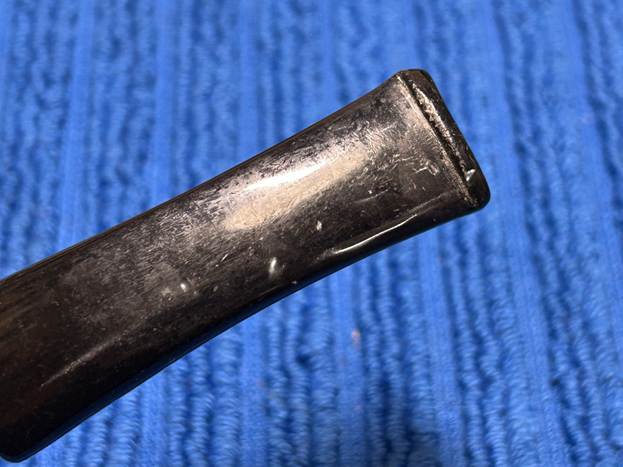
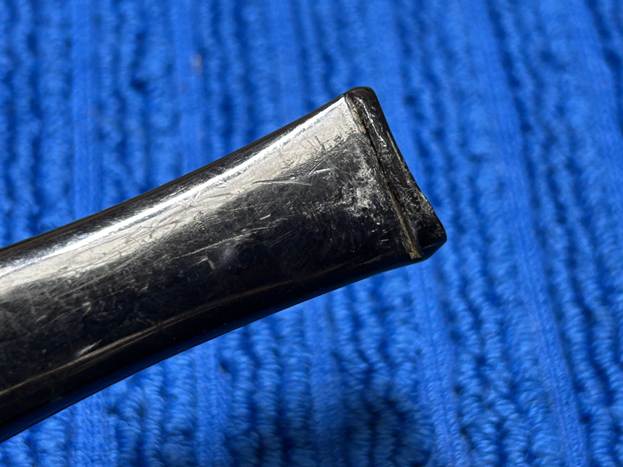
Let’s have a closer look at the pipe itself. Overall, it is in good condition – no major issues to resolve. Just a few minor ones – particularly on the stem. It had some tooth marks in the button and a few scratches. The bowl was in good, solid condition. Just a bit of darkening on the rim.

I used isopropyl alcohol on a few cotton rounds and wiped down the stem to provide an initial cleaning of filth before moving on to the next steps. The primary cleaning came next. I disinfected the inside of the stem with both pipe cleaners and cotton swabs dipped in lemon-infused 99% isopropyl alcohol. I scrubbed thoroughly to make sure the interior was very clean.

As the stem was now clean and dry, I set about fixing the marks and dents in the acrylic. This was done by filling those divots with black cyanoacrylate adhesive, impregnated with carbon and rubber.

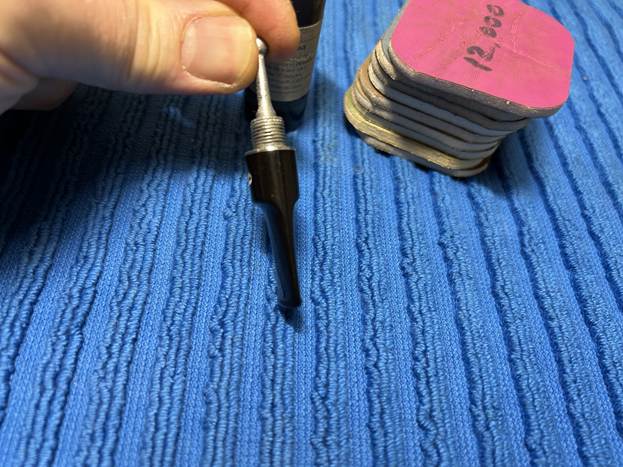
The penultimate step for the stem is sanding. First, with my set of needle files, I reduced the bulk of the cyanoacrylate repairs. I removed the excess adhesive as near to the surface as possible, without cutting into the acrylic. Following that, I used all nine of the micromesh sanding pads (1,500 through 12,000 grit) to sand out flaws, even out the acrylic, and provide gentle polishing of the finished surface. I also applied pipe-stem oil while using the last five micromesh pads. There was a wonderful, deep black shine to the stem when I was done.
As the stem was (nearly) complete, I moved on to the stummel. The first step was to ream out the bowl – that is to say, remove all the cake inside the bowl. This accomplished a couple of things. First (and most obviously), it cleaned the bowl and provided a refurbished chamber for future smoking. Second, when the old cake was removed, I could inspect the interior walls of the bowl and determine if there was damage or not. Fortunately, there was very little debris in the bowl.

My next step was to remove the lava on the rim. For this, I took a piece of machine steel and gently scraped the lava away. The metal’s edge is sharp enough to remove what I need, but not so sharp that it damages the rim. This was difficult, given the rusticated nature of the rim, but I gave it a go and there was a bit of improvement. Similar to the stem, I then cleaned the stummel with both pipe cleaners and cotton swabs dipped in lemon-infused 99% isopropyl alcohol. It took quite a while and much cotton to clean.

I then decided to ‘de-ghost’ the pipe – that is to say, exorcize the remaining filth from the briar. I filled the bowl and the shank with cotton balls, then saturated them with 99% isopropyl alcohol. I let the stummel sit overnight. This caused the remaining oils, tars and smells to leach out into the cotton.

To tidy up the briar, I wiped down the outside, using a solution of a pH-neutral detergent and some distilled water, with cotton rounds. I also used a toothbrush in the crevices. This did a good job of cleaning any latent dirt on the surface of the briar. The last step of the cleaning process was to scour the inside of the stummel with the same mild detergent and tube brushes. This was the culmination of a lot of hard work in getting the pipe clean.

I rubbed some LBE Before & After Restoration Balm into the briar and let it sit for an hour or so. The balm moisturizes the wood and gives a beautiful depth to the briar. I then buffed the stummel with a microfibre cloth.

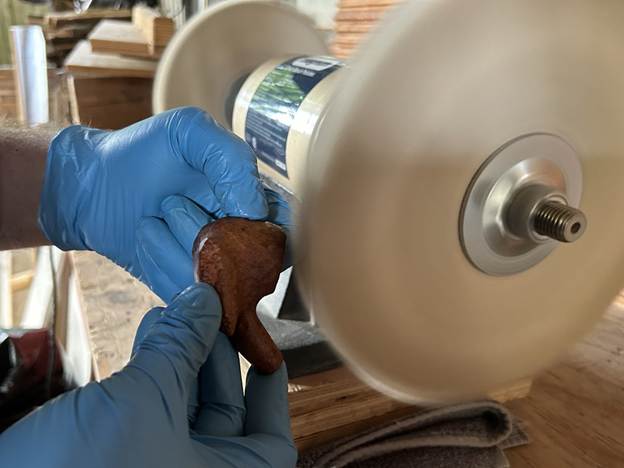
For the final step, I took the pipe to my bench polisher and carefully buffed it – first the stem with a blue diamond compound, then the stummel with some conservator’s wax. This procedure makes the pipe look its best: the stummel looks smart and the stem is lithe and lustrous.

All done! This Granhill Old Original freehand looks fantastic again and is ready to be enjoyed by its next owner. I am pleased to announce that this pipe is for sale! If you are interested in acquiring it for your collection, please have a look in the ‘American’ section of the store here on Steve’s website. You can also email me directly at kenneth@knightsofthepipe.com. The approximate dimensions of the pipe are as follows: length 5⅛ in. (131 mm); height 1⅞ in. (46 mm); bowl diameter 1⅜ in. (37 mm); chamber diameter ¾ in. (19 mm). The weight of the pipe is 1¼ oz. (37 g). I hope you enjoyed reading the story of this pipe’s restoration as much as I enjoyed restoring it. If you are interested in more of my work, please follow me here on Steve’s website or send me an email. Thank you very much for reading and, as always, I welcome and encourage your comments.

Returning Some Vigour to a Savinelli Roma 904 KS


by Kenneth Lieblich

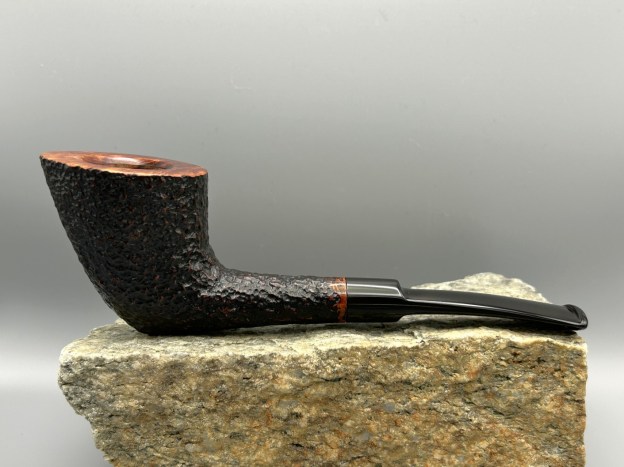
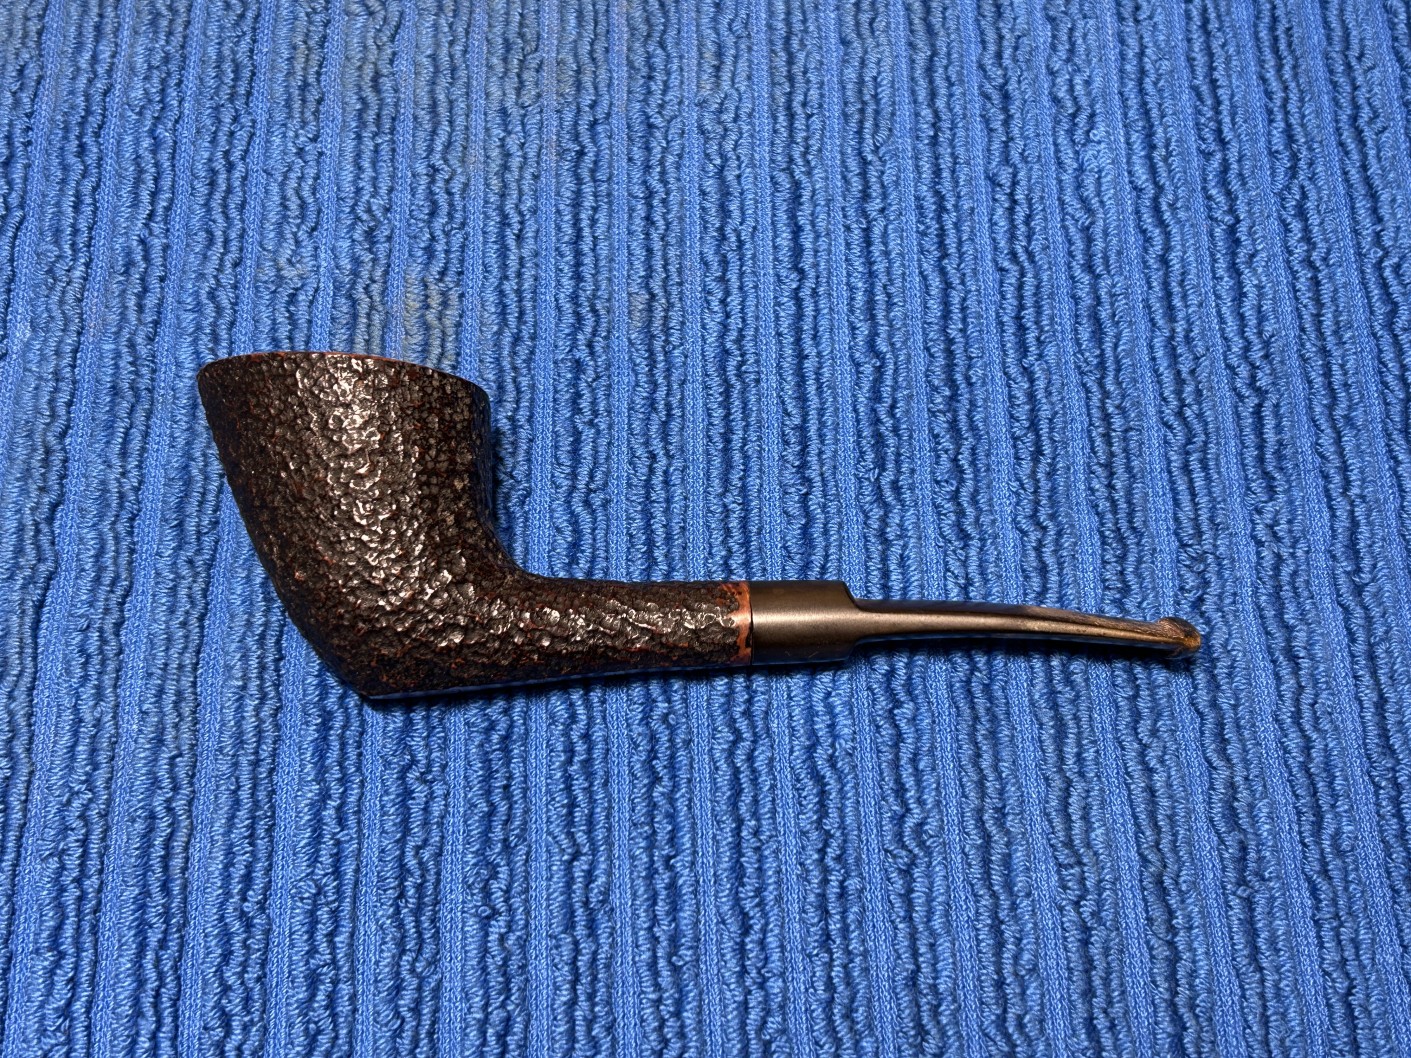
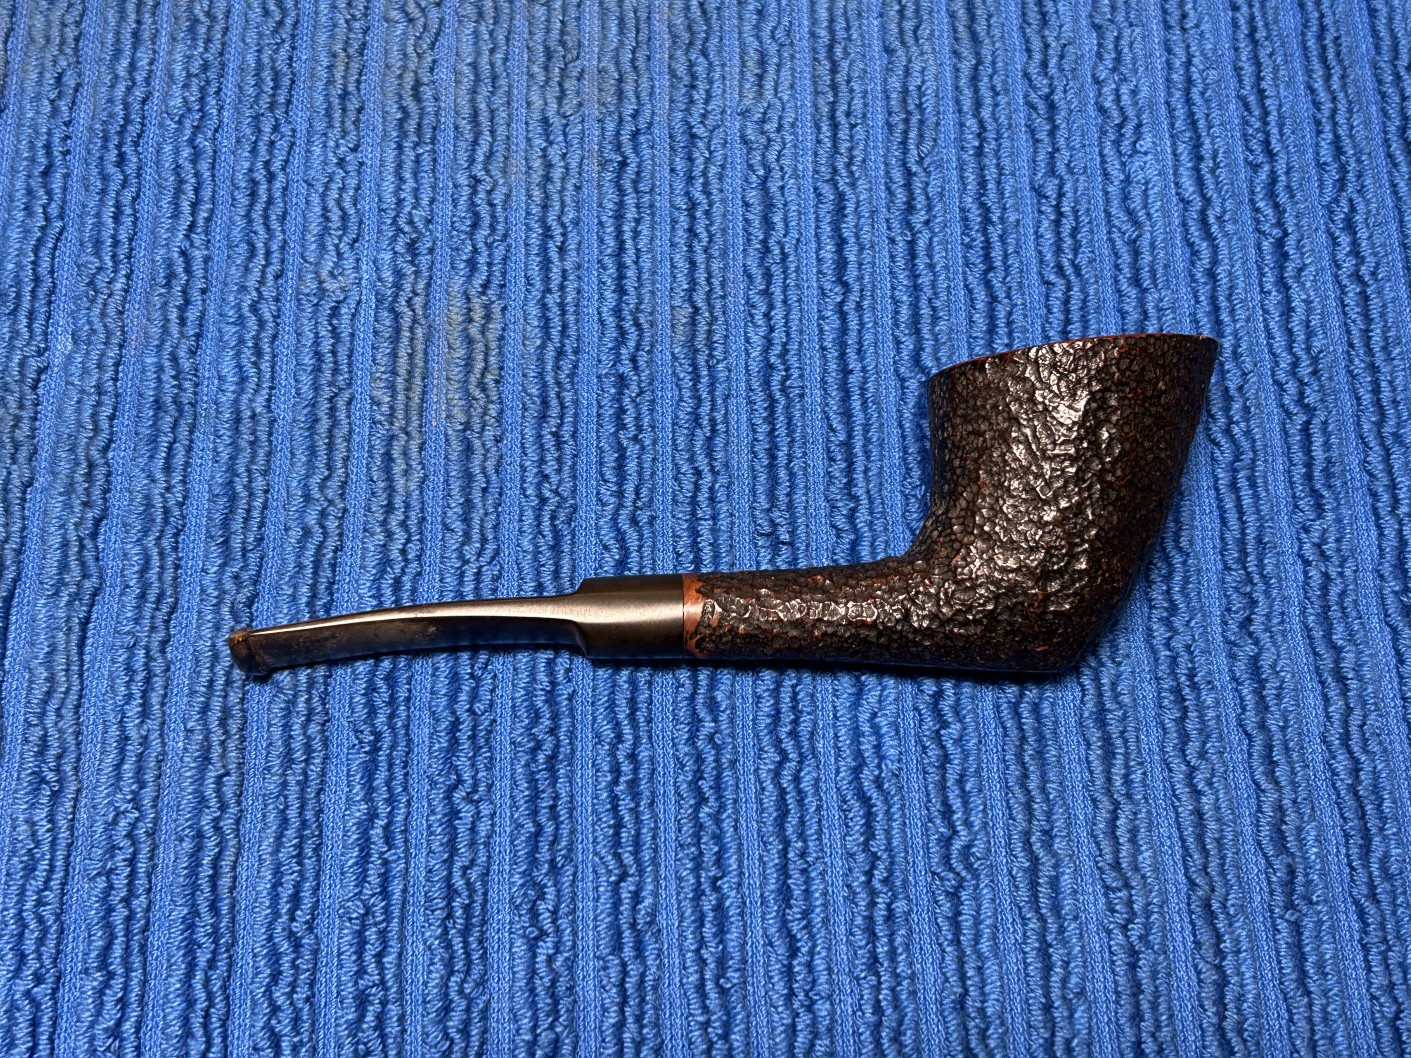
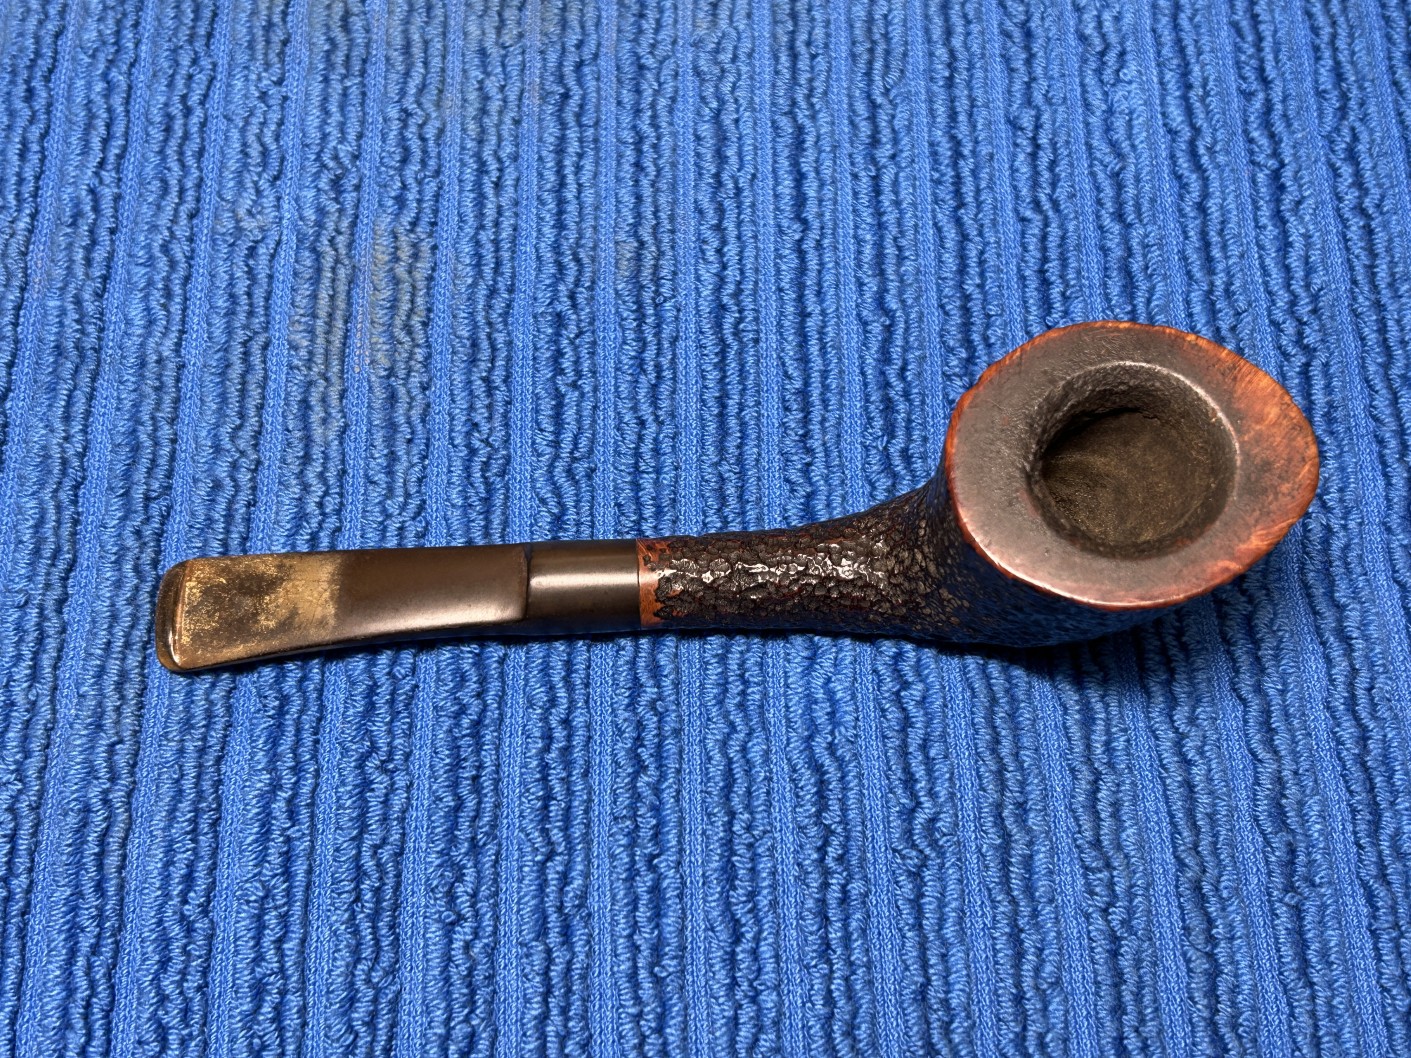
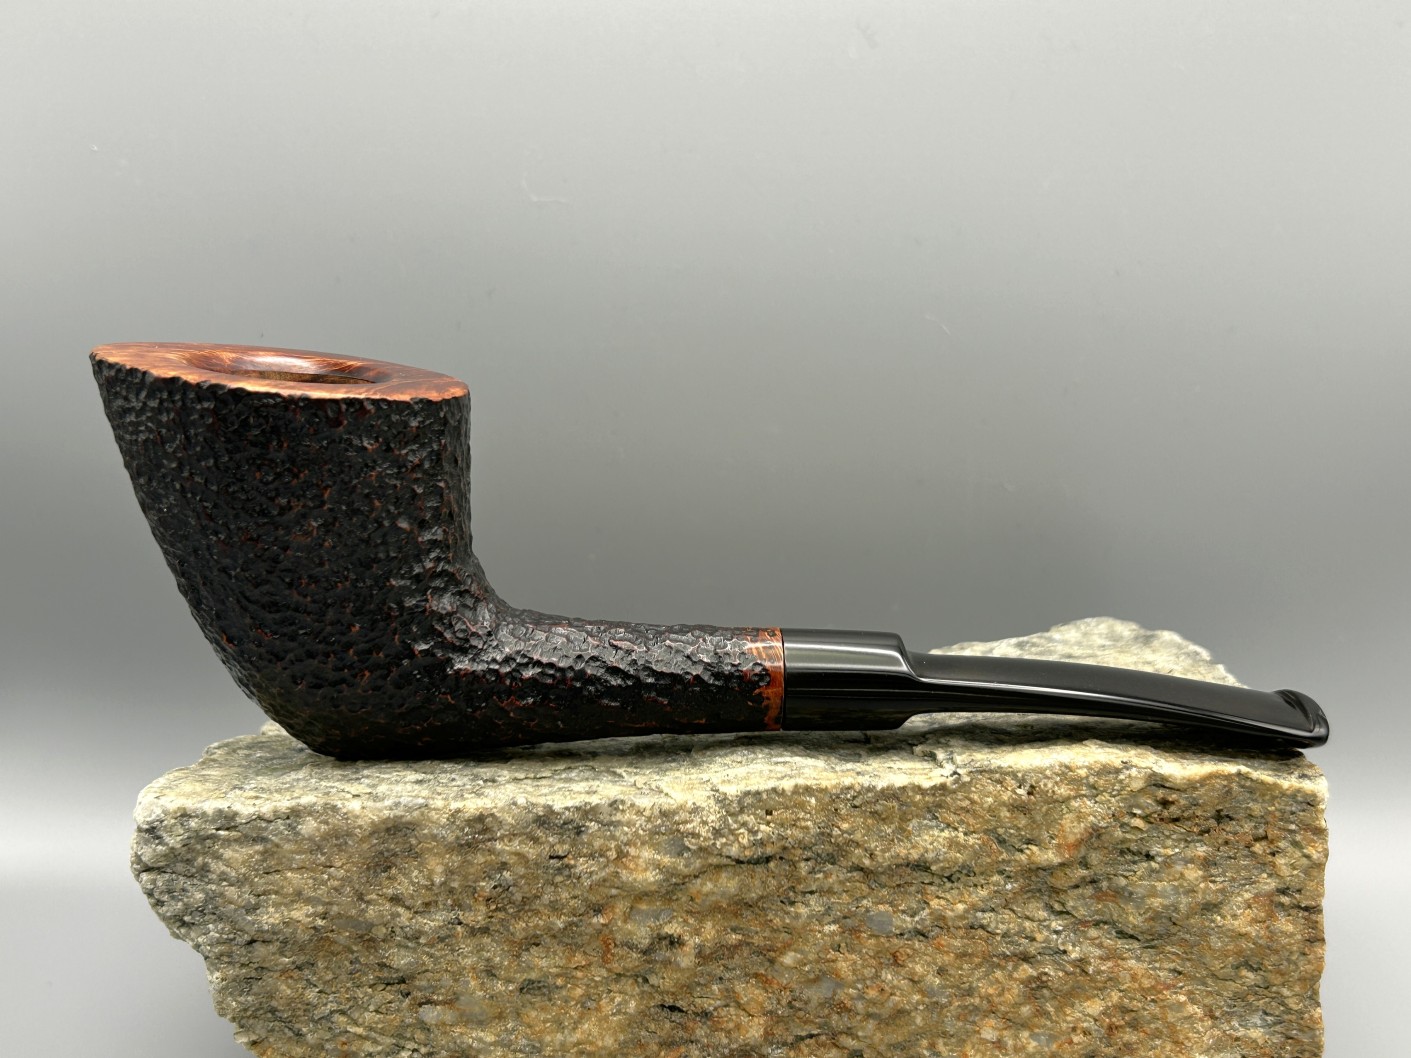
Here’s a handsome Savinelli Roma 904 KS sandblast that was part of a large lot that I recently acquired. It is a shape that Savinelli calls a ‘half bent Dublin’, but – with all due respect – this is a Zulu in my book! It’s a good-looking pipe with a great sandblast and promises to be a great smoker. The rim is smooth with beautiful grain on it and the saddle stem is made of vulcanite. This is a perfect example of a pipe that got better and better in my eyes as I worked on it. I hope you will like it too. Take a look…

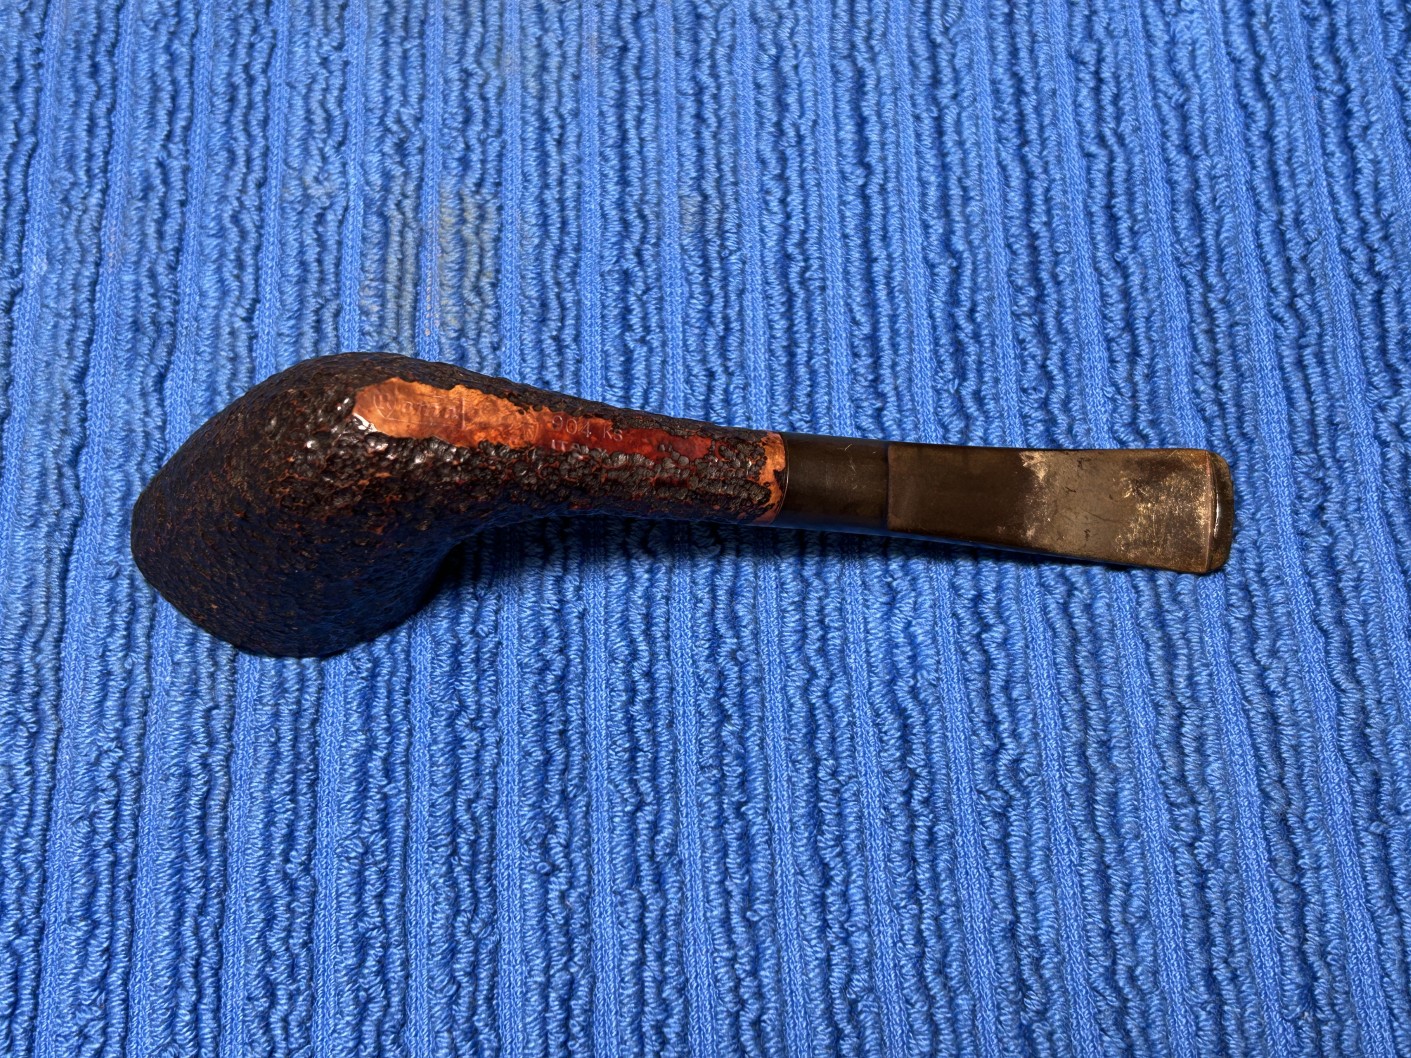
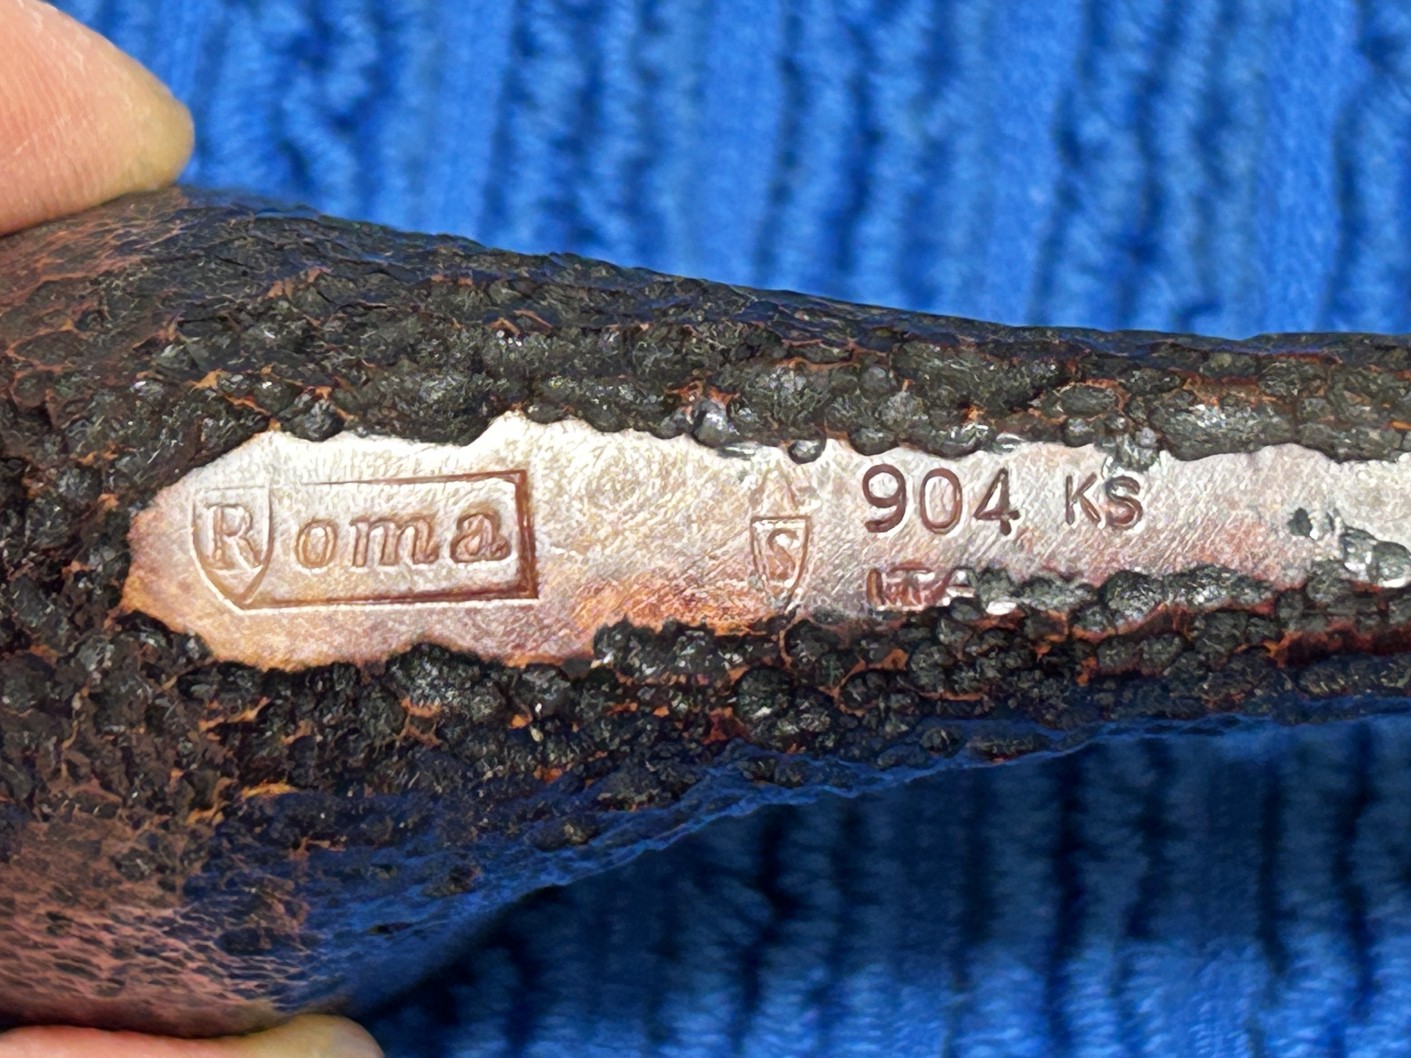
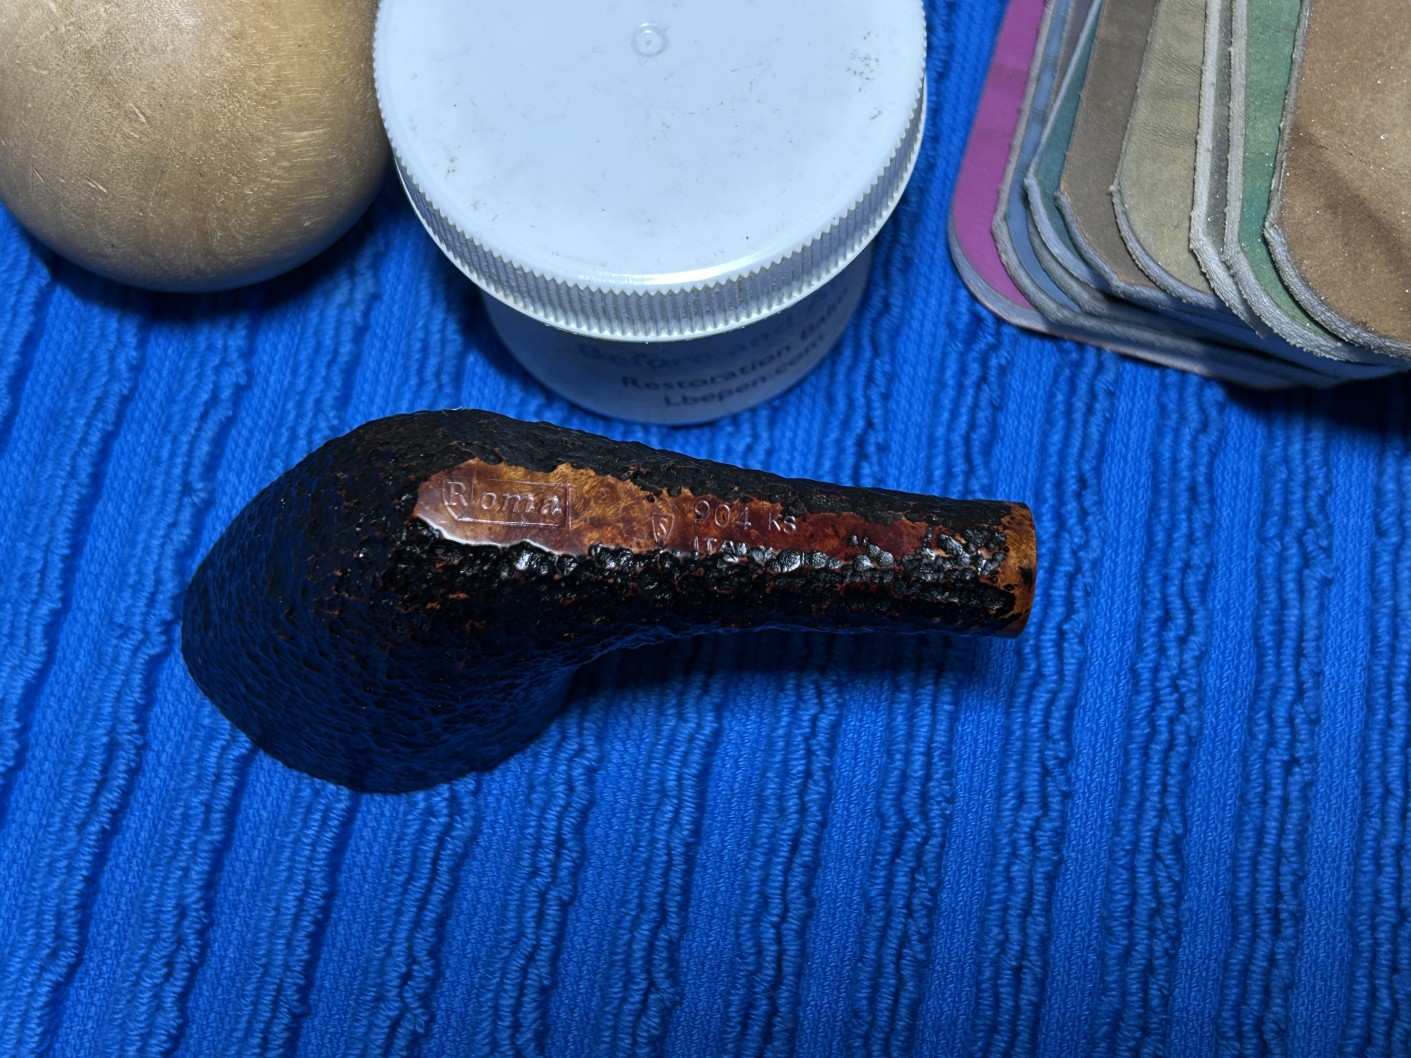
The markings on the pipe are clear and readable. On the underside of the shank is the word Roma (with the R inside a shield). To the right is the Savinelli coat of arms, showing a stylized ‘S’ on a shield, topped by two pipes. Next to this are the marks 904 KS [over] Italy. Naturally, the number refers to the shape – a Zulu (I’m going to die on that hill) – and the three digits tell us that the pipe dates from the 1970s or later. The KS stands for ‘King Size’, and that corresponds to sizes 3.5–4.

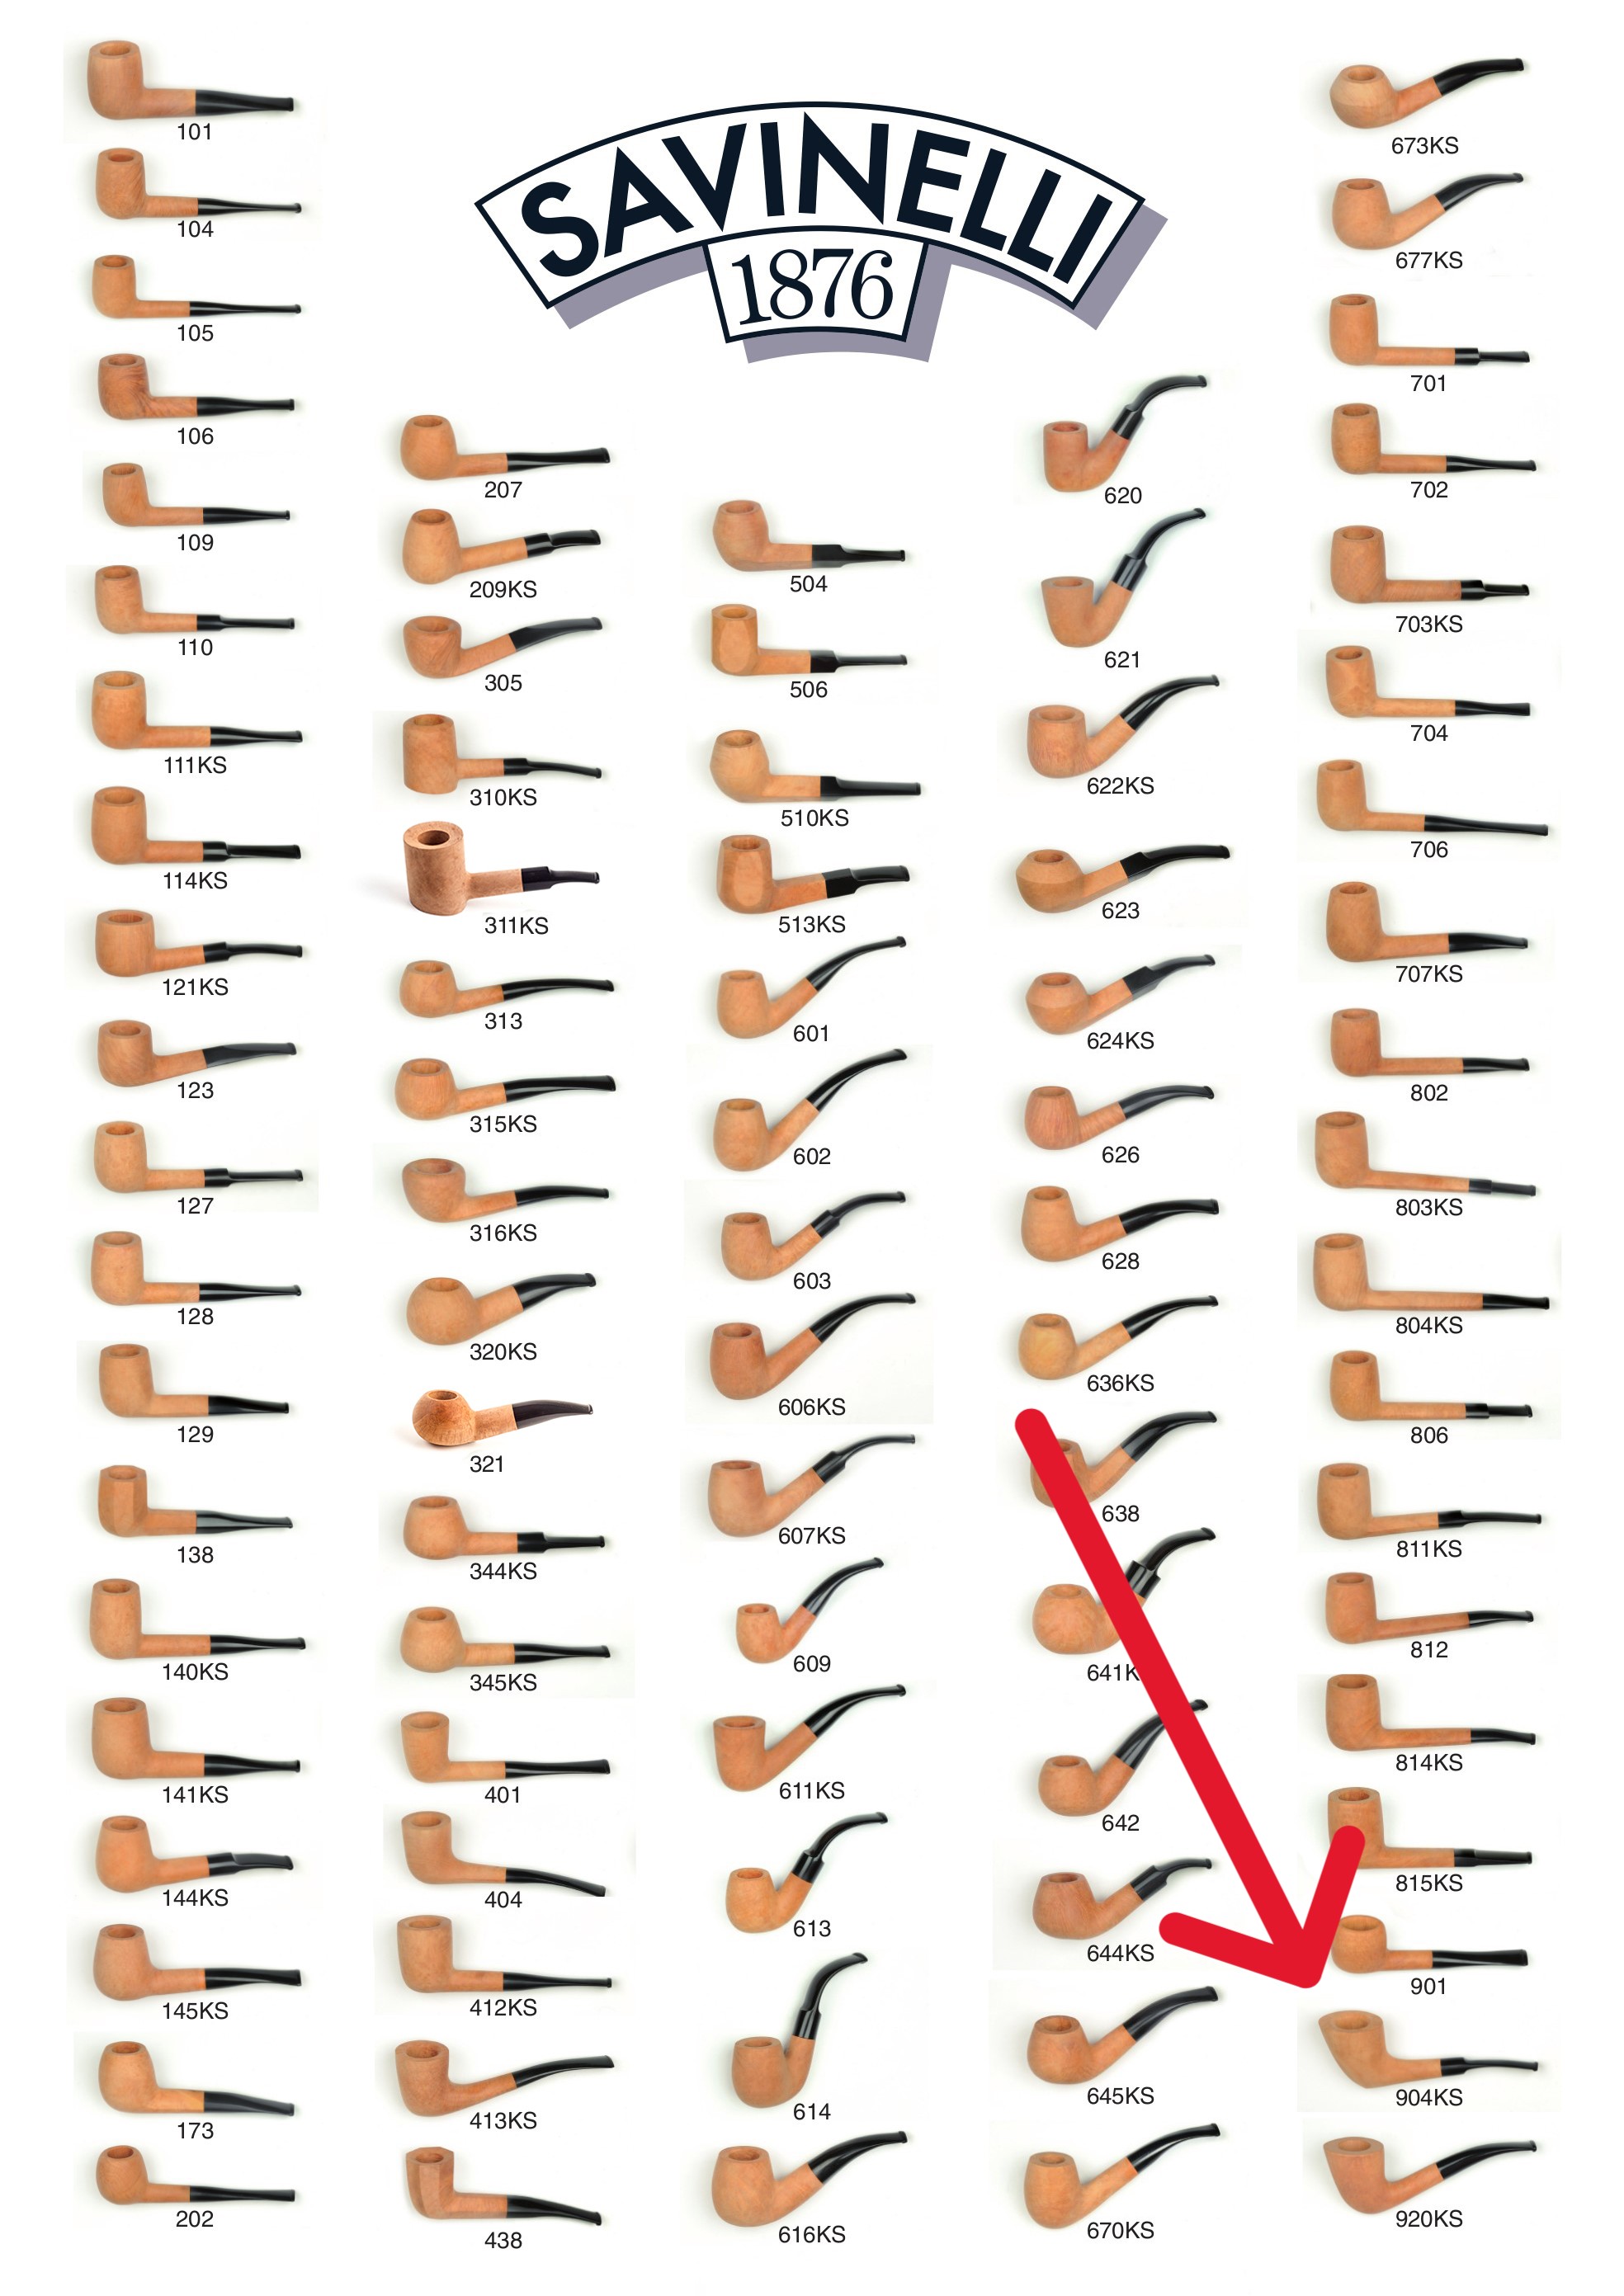
Savinelli is one of the most recognized names in pipe smoking and they have a long and storied history. You can read about them from their own website or from Pipedia’s article about them. You can see our particular shape on the chart below, in the lower right-hand corner.

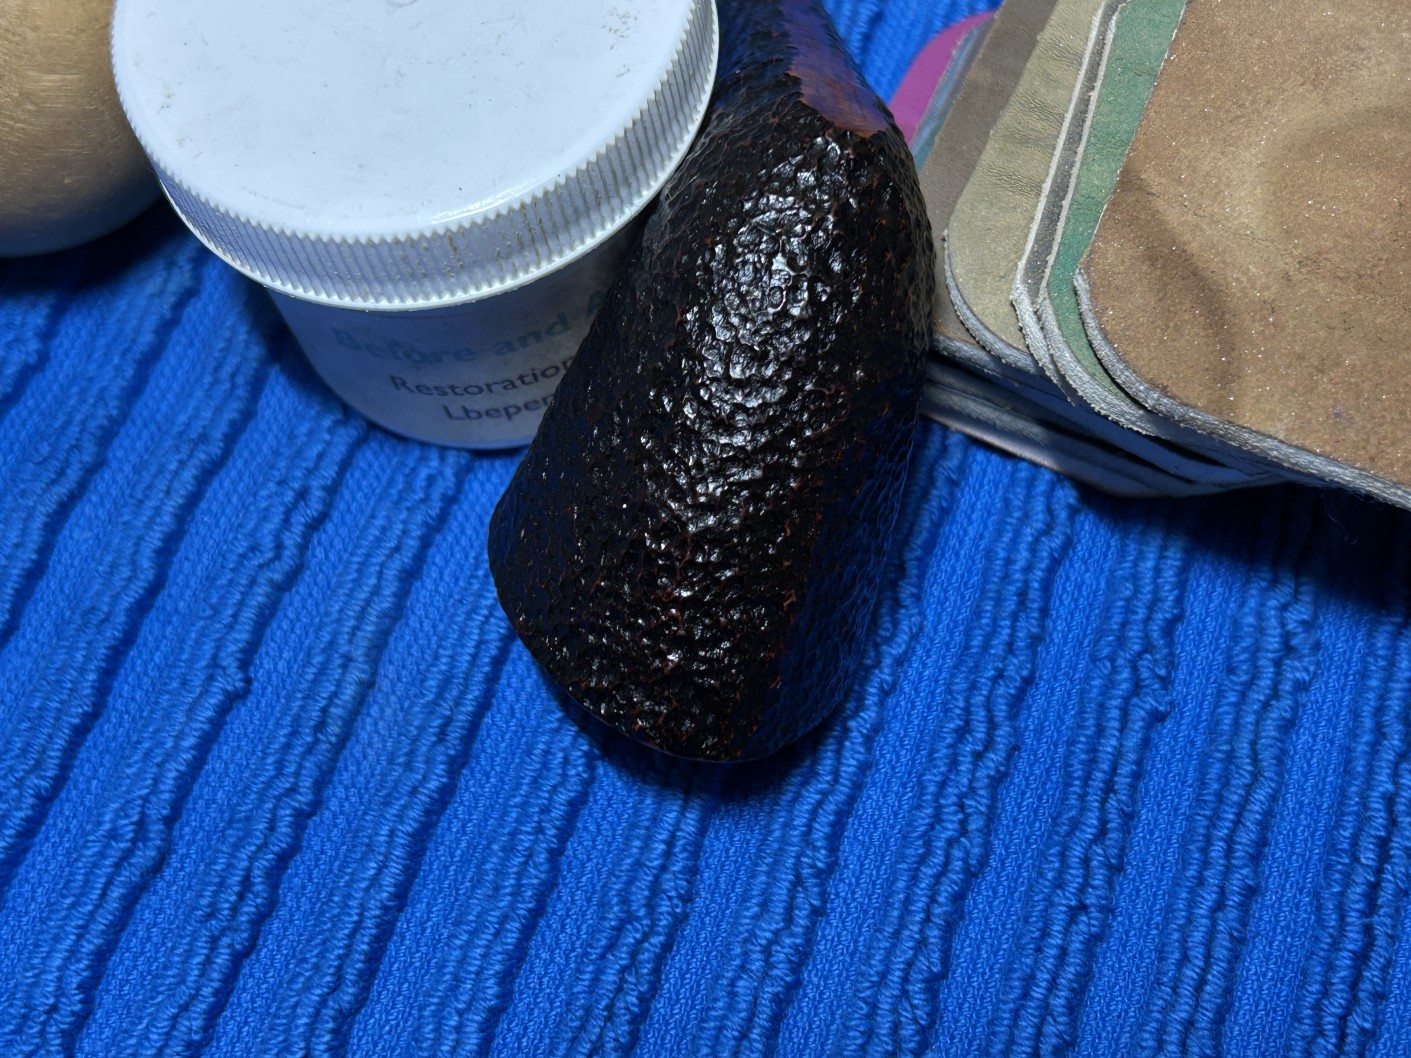
Let’s look at the pipe. All-in-all, it looks pretty good. It was obviously a favourite smoker, given how dirty it is. The stem is dirty, oxidized, and calcified. There are some tooth marks and scratches. The bowl is dirty dirty dirty! There’s lava on the rim, cake on the bowl, and dust ground into the sandblast. I have my work cut out for me!

I used isopropyl alcohol on a few cotton rounds and wiped down the stem to provide an initial cleaning of filth before moving on to the next steps. The primary cleaning came next. I disinfected the inside of the stem with both pipe cleaners and cotton swabs dipped in lemon-infused 99% isopropyl alcohol. I scrubbed thoroughly to make sure the interior was very clean.

The goal of the next step is the removal (or minimization) of oxidation. Going to my sink, I used cream cleanser, cotton rounds, and a toothbrush, and scoured the stem to remove as much surface oxidation as possible. As the photos show, the result was a hideous, ochre-coloured mess – but better off the stem than on it.

Once the stem was reasonably clean, I soaked it overnight in some Briarville Stem Oxidation Remover. This solution works to draw oxidation in the stem to the surface of the vulcanite. This is a major aid and an important step in ensuring a clean stem. The following day, I drew out the stem from its bath and scrubbed the lingering fluid with a toothbrush.

As the stem was now clean and dry, I set about fixing the marks and dents in the vulcanite. This was done by filling those divots with black cyanoacrylate adhesive, impregnated with carbon and rubber. I left this to cure and moved on.

The penultimate step for the stem is sanding. First, with my set of needle files, I reduced the bulk of the cyanoacrylate repairs. I removed the excess adhesive as near to the surface as possible, without cutting into the vulcanite. Following that, I used all nine of the micromesh sanding pads (1,500 through 12,000 grit) to sand out flaws, even out the vulcanite, and provide gentle polishing of the finished surface. I also applied pipe-stem oil while using the last five micromesh pads. There was a wonderful, deep black shine to the stem when I was done.

As the stem was (nearly) complete, I moved on to the stummel. The first step was to ream out the bowl – that is to say, remove all the cake inside the bowl. This accomplished a couple of things. First (and most obviously), it cleaned the bowl and provided a refurbished chamber for future smoking. Second, when the old cake was removed, I could inspect the interior walls of the bowl and determine if there was damage or not. I used a reamer, a pipe knife, and a piece of sandpaper taped to a wooden dowel. Collectively, these ensured that all the debris was removed.
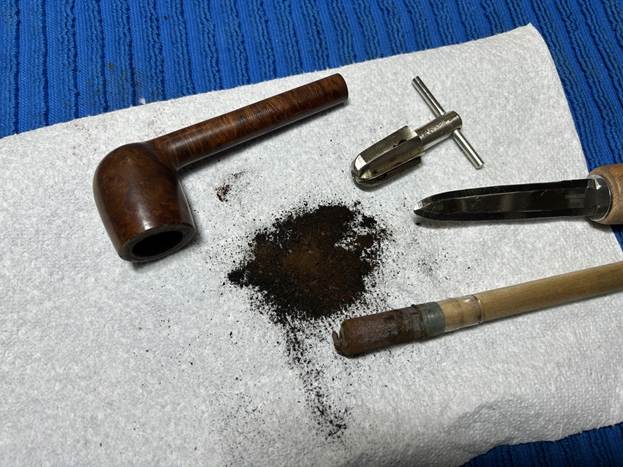
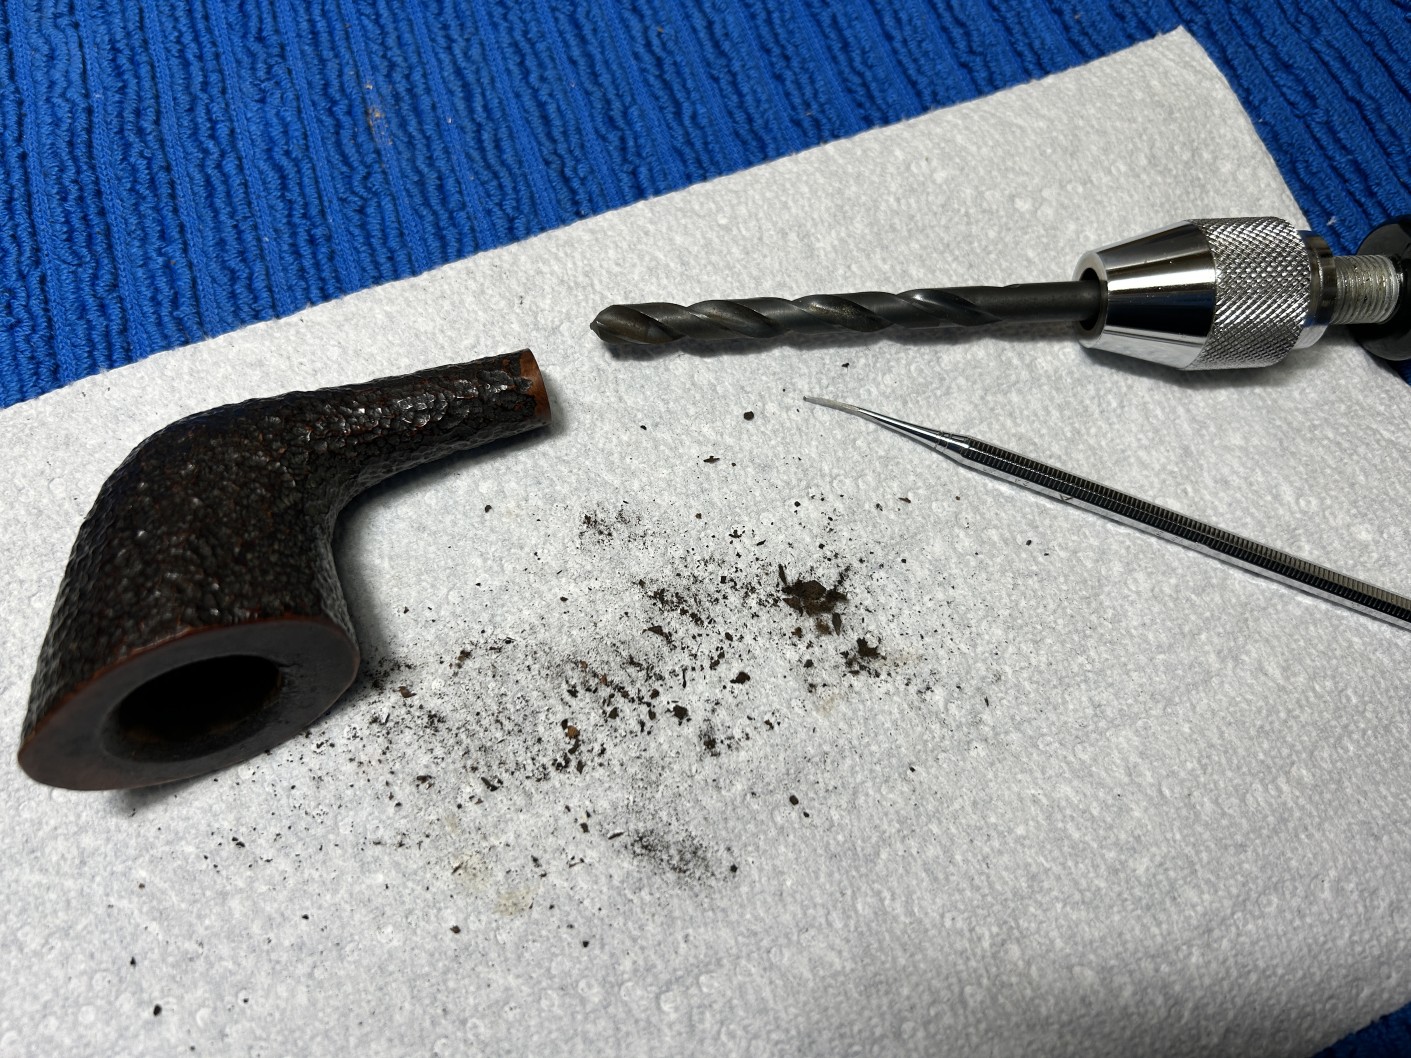
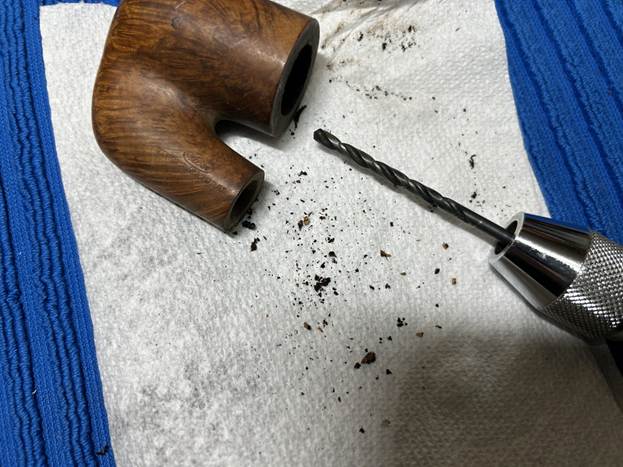
The inside of the stummel needed to be cleaned thoroughly. However, this pipe was so clogged, that I first needed to open the horribly occluded airway. So, I took a long drill bit, held in a drill chuck, and hand-cranked it to dislodge the dreadful detritus inside. Hand cranking is essential because it provides a precision and caution that a power drill cannot provide.

Similar to the stem, I then cleaned the stummel with both pipe cleaners and cotton swabs dipped in lemon-infused 99% isopropyl alcohol. With a pipe this dirty, it took quite a while and much cotton to clean.

I then decided to ‘de-ghost’ the pipe – that is to say, exorcize the remaining filth from the briar. I filled the bowl and the shank with cotton balls, then saturated them with 99% isopropyl alcohol. I let the stummel sit overnight. This caused the remaining oils, tars and smells to leach out into the cotton.
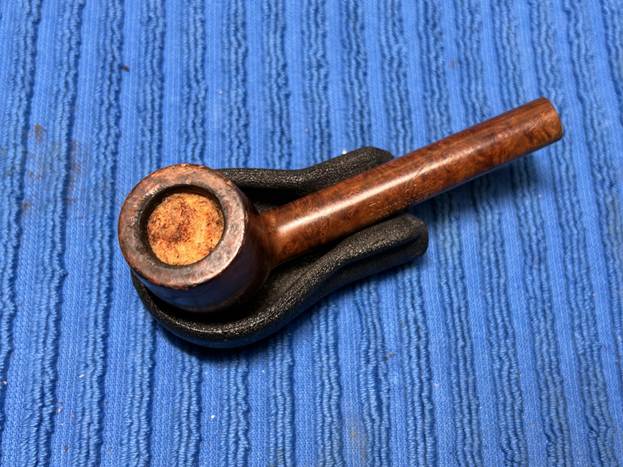
My next step was to remove the lava on the rim. For this, I took a piece of machine steel and gently scraped the lava away. The metal’s edge is sharp enough to remove what I need, but not so sharp that it damages the rim. To tidy up the briar, I wiped down the outside, using a solution of a pH-neutral detergent and some distilled water, with cotton rounds. I also used a toothbrush in the crevices. This did a good job of cleaning any latent dirt on the surface of the briar. The last step of the cleaning process was to scour the inside of the stummel with the same mild detergent and tube brushes. This was the culmination of a lot of hard work in getting the pipe clean.
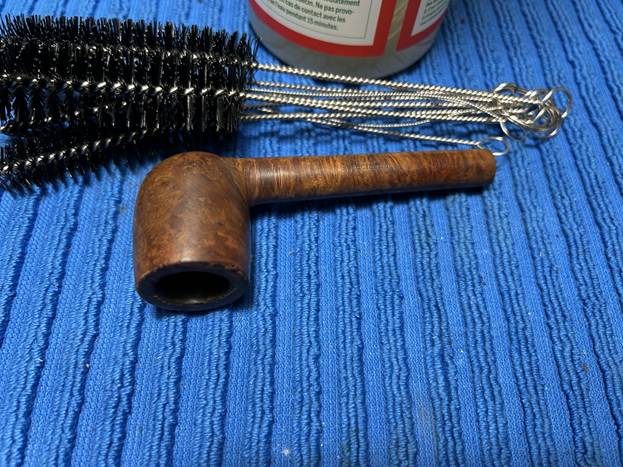
I rubbed some LBE Before & After Restoration Balm into the briar and let it sit for 30 minutes or so. The balm moisturizes the wood and gives a beautiful depth to the briar. I then buffed the stummel with a microfibre cloth.
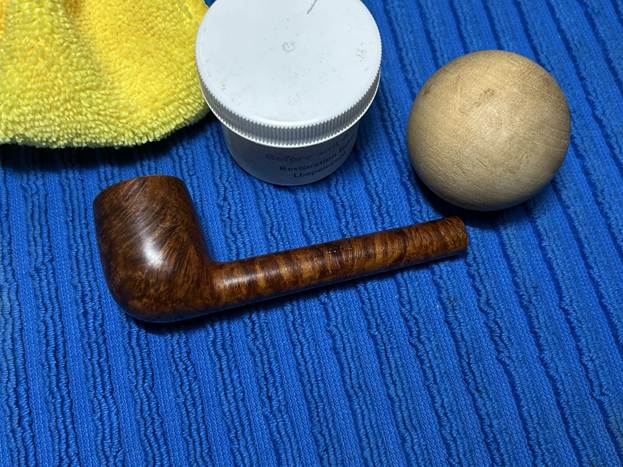
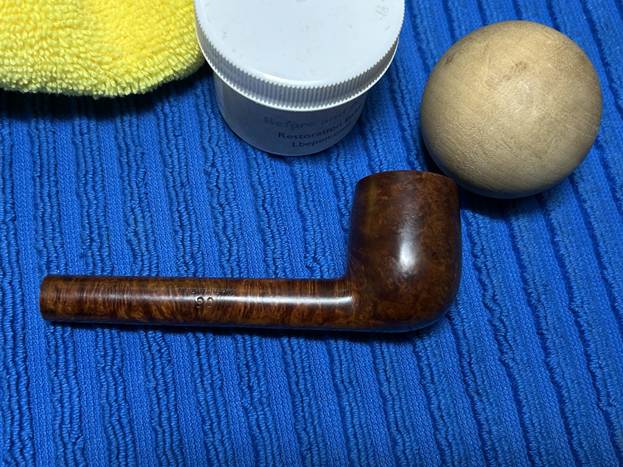
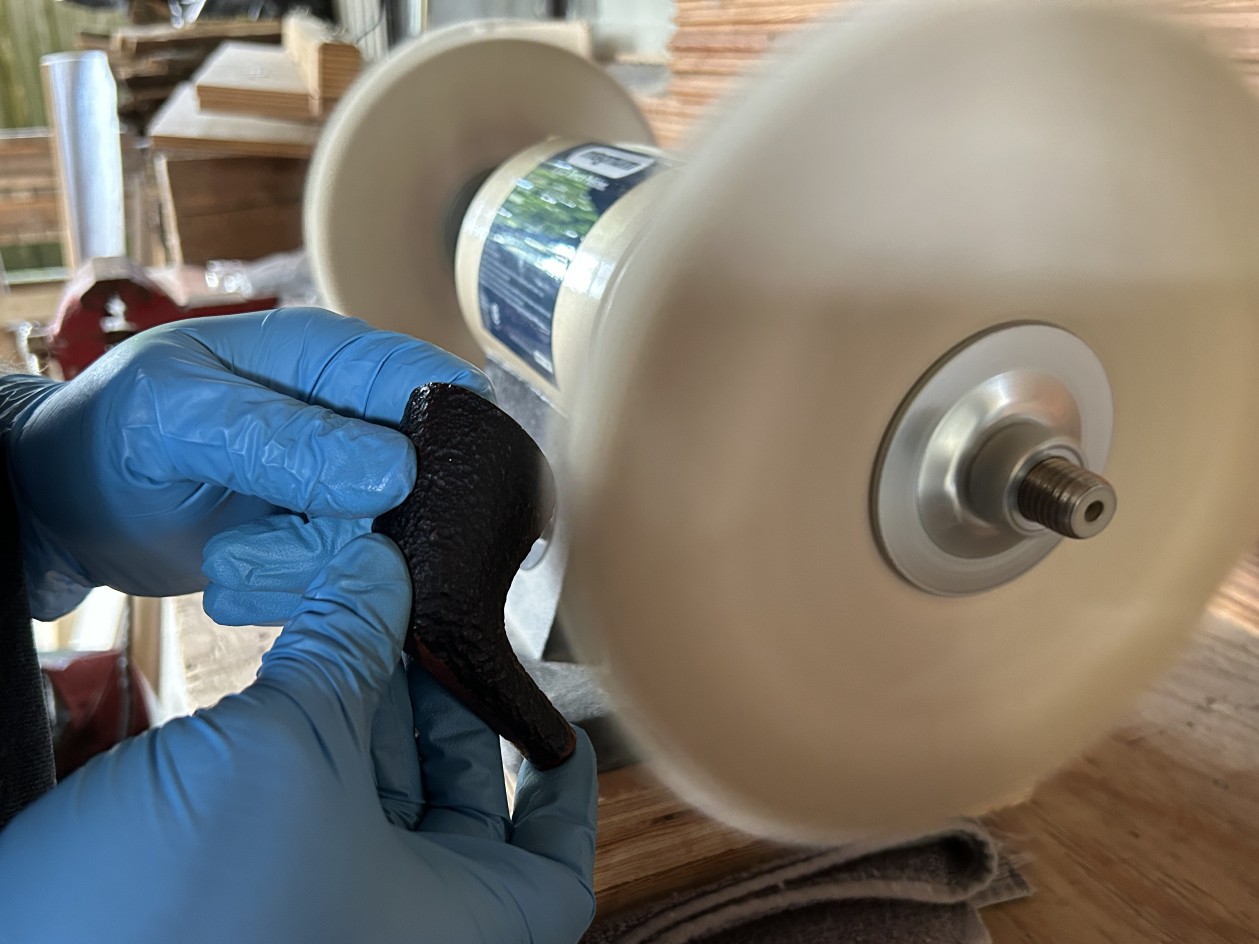
For the final step, I took the pipe to my bench polisher and carefully buffed it – first the stem with a blue diamond compound, then the stummel with some conservator’s wax. This procedure makes the pipe look its best – the stummel is quite dapper and the stem is just splendid.

All done! This Savinelli Roma 904 KS half-bent Dublin (or, Zulu, as I call it) looks fantastic again and is ready to be enjoyed by its next owner. I am pleased to announce that this pipe is for sale! If you are interested in acquiring it for your collection, please have a look in the ‘Italian’ section of the store here on Steve’s website. You can also email me directly at kenneth@knightsofthepipe.com. The approximate dimensions of the pipe are as follows: length 6⅛ in. (156 mm); height 1⅞ in. (48 mm); bowl diameter 1½ in. (39 mm); chamber diameter ¾ in. (20 mm). The weight of the pipe is 1½ oz. (44 g). I hope you enjoyed reading the story of this pipe’s restoration as much as I enjoyed restoring it. If you are interested in more of my work, please follow me here on Steve’s website or send me an email. Thank you very much for reading and, as always, I welcome and encourage your comments.

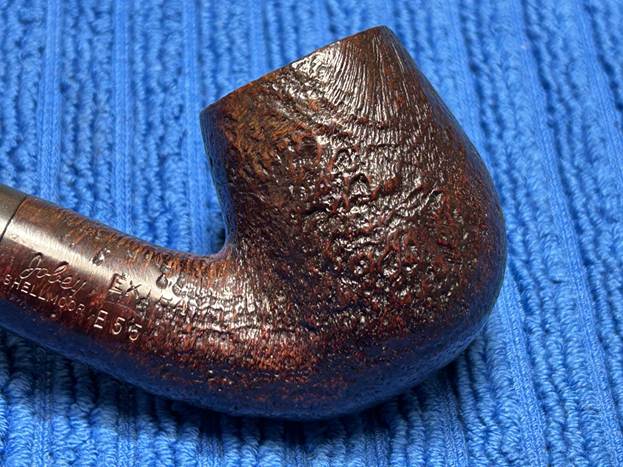
Cleaning Up a Snazzy Jobey Shellmoor Extra E55 Bent Billiard


by Kenneth Lieblich

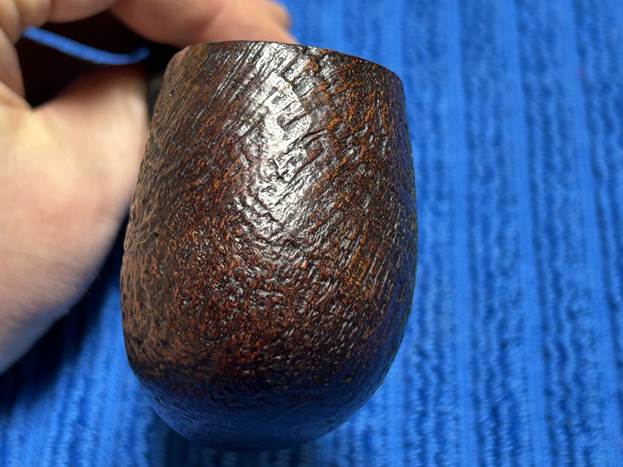
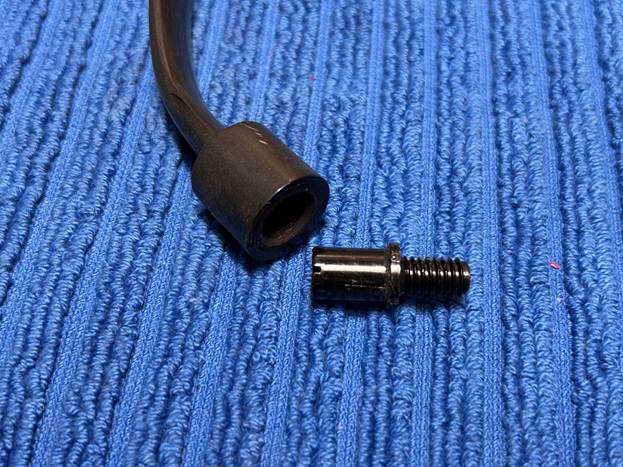
This handsome pipe was found at an antique fair around town and I’ve been meaning to clean it up since I got it. This is a Jobey Shellmoor Extra E55 pipe, in the bent billiard shape, with a vulcanite saddle stem. The stem connects to the stummel with Jobey’s own ‘Jobey Links’ system. It’s a handsome, satisfying, and confidence-generating pipe. I hope you will like this pipe – it needs a new home!

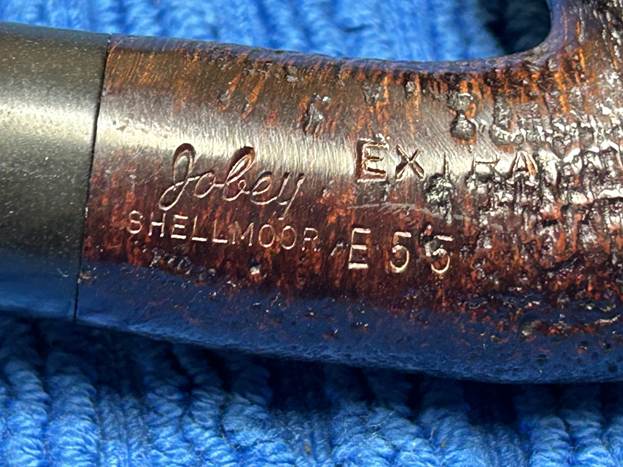
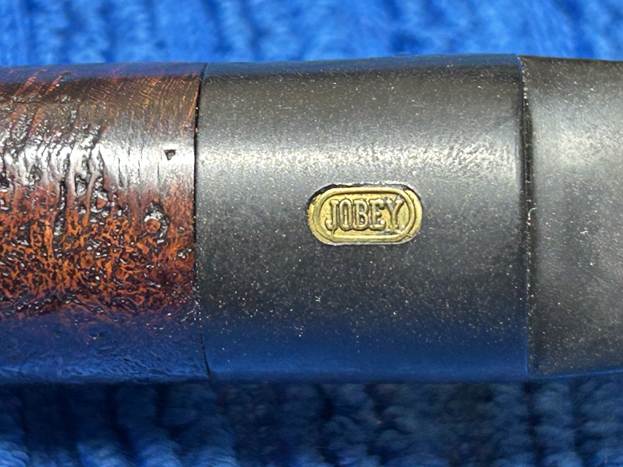
Let’s look at the markings that appear on this pipe. On the right side of the shank, we see Jobey [over] Shellmoor. To the right of that are the words Extra [over] E55. On the stem, we see the Jobey logo inlaid in brass.

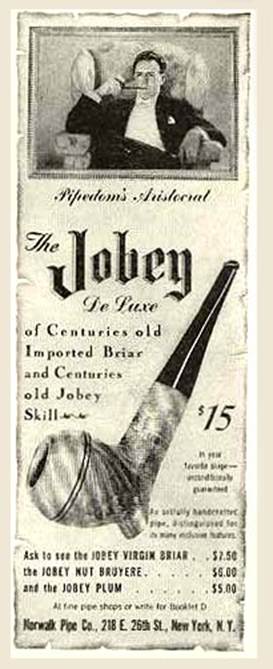
Regarding the Jobey company itself, there is precious little background information. The Pipedia article on Jobey (which I encourage you to read here) begins with this tidbit:

English – American – Danish – French… Sadly, solid information about Jobey is scant. Probably established in England around 1920(?) the brand hiked into the USA later.

And Pipephil adds this note:

These pipes are made in St Claude (France) by Butz-Choquin (Berrod-Regad group) since 1987. Before this date some were manufactured in England and Denmark (Jobey Dansk).

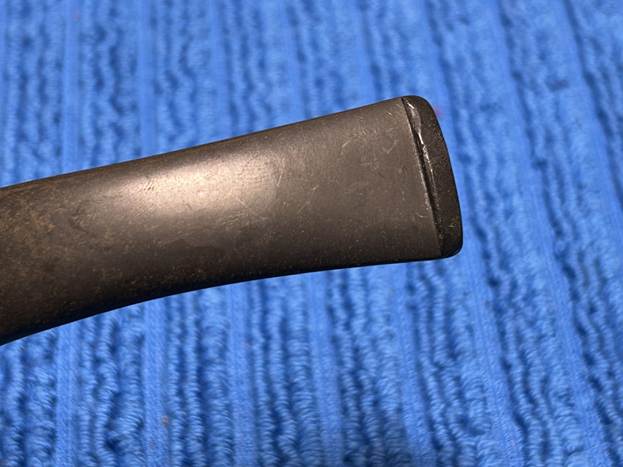
So? Not much history to learn, sadly. Let’s clean this pipe up. Fortunately, this pipe was in good condition and didn’t require too much labour. The stem is dirty and a bit oxidized. There are a few tooth scratches and some minor dents. The stummel is dirty but sound. The rim has only a slight bit of lava. The bowl, similarly, has only a bit of cake in it.

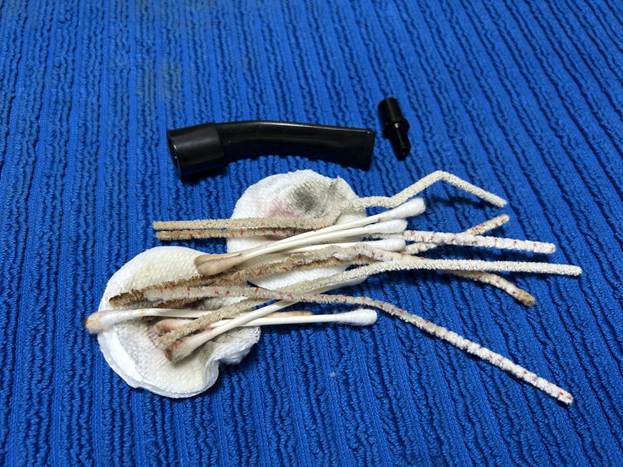
I used isopropyl alcohol on a few cotton rounds and wiped down the stem to provide an initial cleaning of filth before moving on to the next steps. The primary cleaning came next. I disinfected the inside of the stem with both pipe cleaners and cotton swabs dipped in lemon-infused 99% isopropyl alcohol. I scrubbed thoroughly to make sure the interior was very clean.

The goal of the next step is the removal (or minimization) of oxidation. Going to my sink, I used cream cleanser, cotton rounds, and a toothbrush, and scoured the stem to remove as much surface oxidation as possible. The result was a hideous, ochre-coloured mess – but better off the stem than on it. Forgot to snap a photo of this step.

The penultimate step for the stem is sanding. I used all nine of the micromesh sanding pads (1,500 through 12,000 grit) to sand out flaws, even out the vulcanite, and provide gentle polishing of the finished surface. I also applied pipe-stem oil while using the last five micromesh pads. There was a wonderful, deep black shine to the stem when I was done.

As the stem was (nearly) complete, I moved on to the stummel. The first step was to ream out the bowl – that is to say, remove all the cake inside the bowl. This accomplished a couple of things. First (and most obviously), it cleaned the bowl and provided a refurbished chamber for future smoking. Second, when the old cake was removed, I could inspect the interior walls of the bowl and determine if there was damage or not. I used a pipe knife and a piece of sandpaper taped to a wooden dowel. Collectively, these ensured that all the debris was removed. Fortunately, there was very little in there.

Similar to the stem, I then cleaned the stummel with both pipe cleaners and cotton swabs dipped in lemon-infused 99% isopropyl alcohol. There wasn’t too much filth in there.

I then decided to ‘de-ghost’ the pipe – that is to say, exorcize the remaining filth from the briar. I filled the bowl and the shank with cotton balls, then saturated them with 99% isopropyl alcohol. I let the stummel sit overnight. This caused the remaining oils, tars and smells to leach out into the cotton. Also, as the photo shows, a good amount of dye leached out too.

To tidy up the briar, I wiped down the outside, using a solution of a pH-neutral detergent and some distilled water, with cotton rounds. I also used a toothbrush in the crevices. This did a good job of cleaning any latent dirt on the surface of the briar. The last step of the cleaning process was to scour the inside of the stummel with the same mild detergent and tube brushes. This was the culmination of a lot of hard work in getting the pipe clean.

I rubbed some LBE Before & After Restoration Balm into the briar and let it sit for an hour or so. The balm moisturizes the wood and gives a beautiful depth to the briar. I then buffed the stummel with a microfibre cloth.
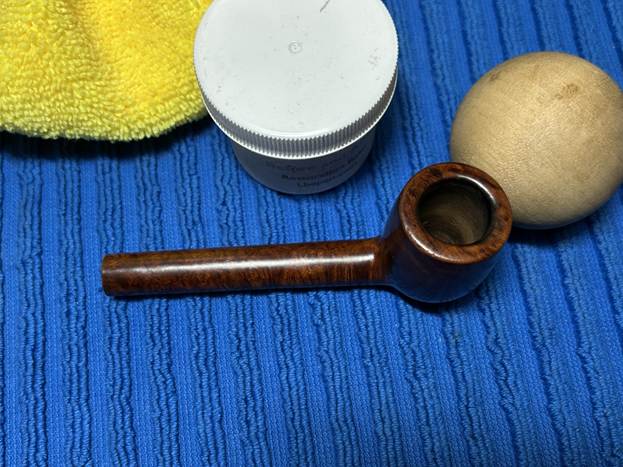
For the final step, I took the pipe to my bench polisher and carefully buffed it – the stem, with a blue diamond compound; then the stummel with some carnauba wax. This procedure makes the pipe look its best – the stummel sings and the stem glows.

This Jobey Shellmoor Extra E55 bent billiard looks fantastic again and is ready to be enjoyed by its next owner. I am pleased to announce that this pipe is for sale! If you are interested in acquiring it for your collection, please have a look in the ‘American’ pipe section of the store here on Steve’s website. You can also email me directly at kenneth@knightsofthepipe.com. The approximate dimensions of the pipe are as follows: length 5½ in. (141 mm); height 2½ in. (64 mm); bowl diameter 1½ in. (39 mm); chamber diameter ⅞ in. (21 mm). The weight of the pipe is 2⅛ oz. (61 g). I hope you enjoyed reading the story of this pipe’s restoration as much as I did restoring it. If you are interested in more of my work, please follow me here on Steve’s website or send me an email. Thank you very much for reading and, as always, I welcome and encourage your comments.

Restoring a Beautiful Weber Virgin Natural Oom Paul


by Kenneth Lieblich

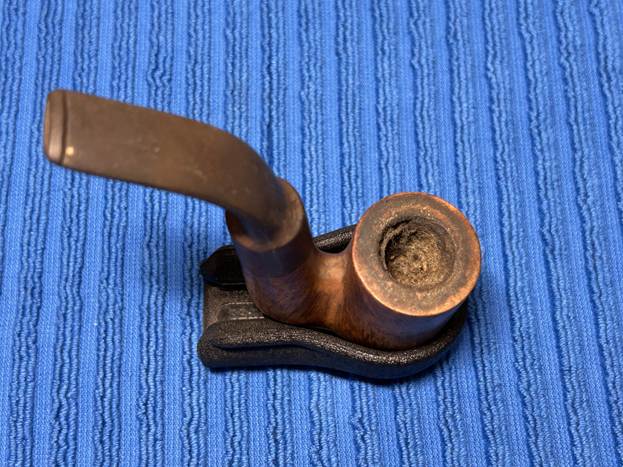
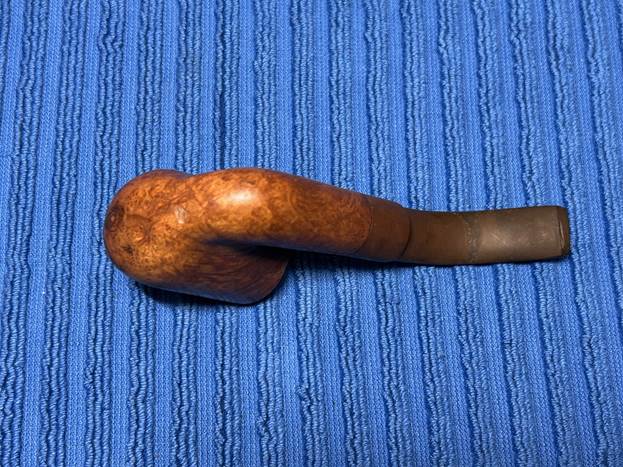
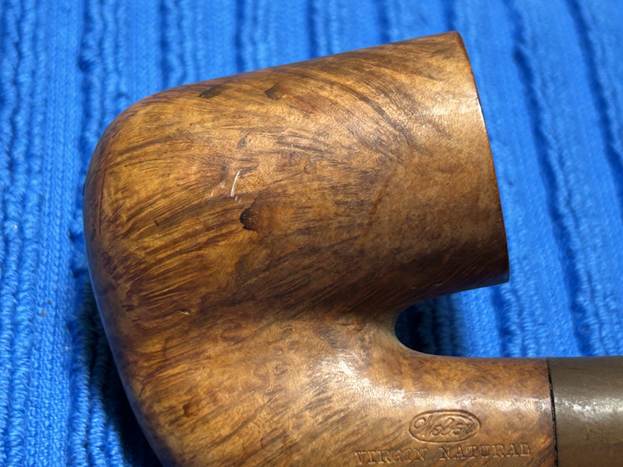
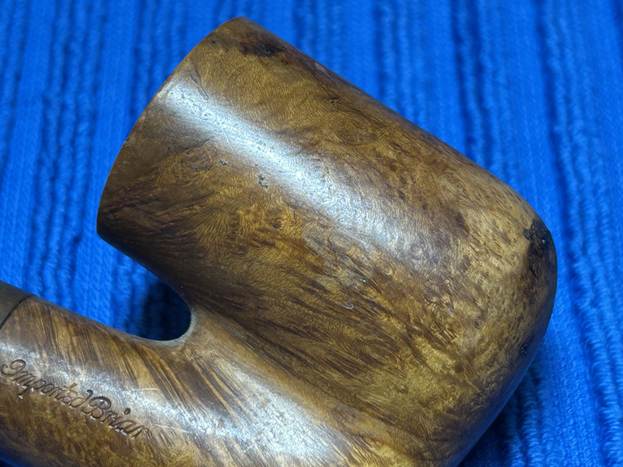
This handsome pipe was found at an antique fair around town and I liked it right at first viewing. This is a very dirty, but very attractive, Weber Virgin Natural Oom Paul. There is some lovely, filthy, smooth briar that makes up the stummel and a great bent vulcanite saddle stem (equally dirty). I hope you will like this pipe too – it needs a new home!

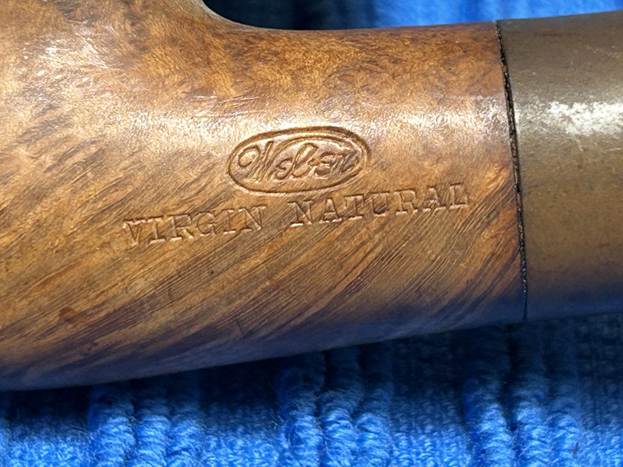
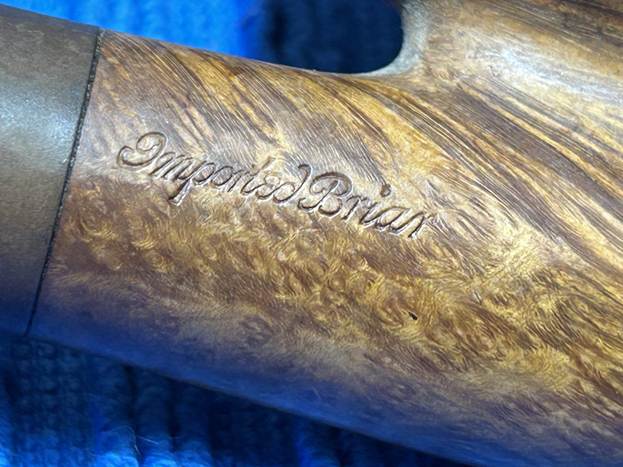
We have some clear markings to read on the briar. On the left side of the shank, we see Weber [over] Virgin Natural. The Weber logo is in an oval. The right side of the shank shows the words Imported Briar. There are no other markings on the pipe.

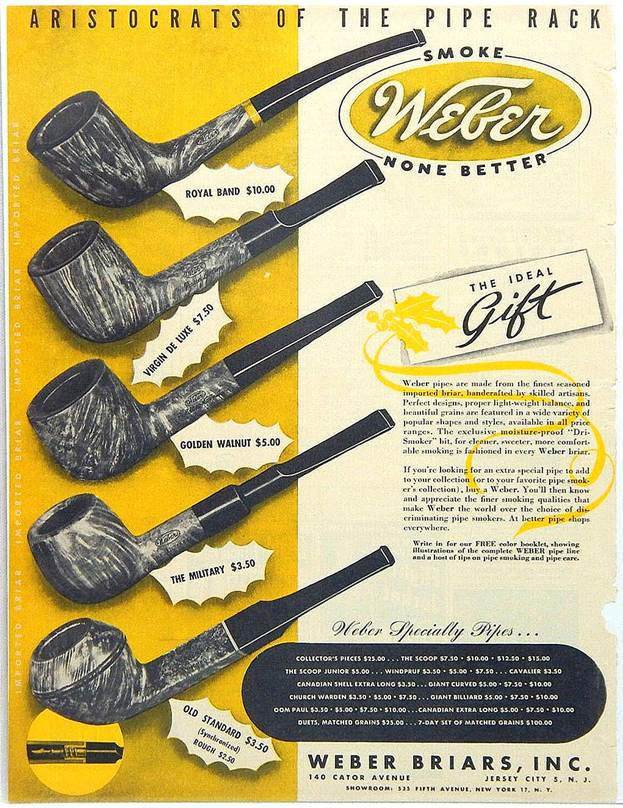
The name Weber may well be familiar to you and that’s because the name refers to Carl Weber, who wrote the well-known pipe book, Weber’s Guide to Pipes and Pipe Smoking. At Pipedia, they include the following information:

Carl B. Weber was a German from Bavaria. Aged 21 he emigrated to the USA in 1911. In 1938 he established Weber Briars Inc. in Jersey City, New Jersey. Later renamed in Weber Pipe Co. The firm grew to be one of the giants of American pipe industry focusing itself in the middle price and quality zone. Trademark: “Weber” in an oval. Beside that Weber – especially in the years after 1950 – was a most important supplier for private label pipes that went to an immense number of pipe shops. Alone in New York, exactly the same pipes were found at Wilke’s, Barclay Rex, Trinity East, Joe Strano’s Northampton Tobacconist in Ridgewood, Queens, Don-Lou in Bensonhurst, Brooklyn… Nearly all pipes for Wilke were unstained and many models, for example the “Wilke Danish Bent”, could hardly deny originating of Weber. Among other well reputated pipe makers Anthony Passante worked for Weber. Weber Pipe Co. owned and manufactured Jobey pipes – when mainly sold in the USA by the Tinder Box from 1970’s – 80’s. In addition Jobey / Weber bought Danish freehands from Karl Erik (Ottendahl). These pipes were offered as Jobey Dansk. Ottendahl discontinued exports to the United States in 1987 and in the very same year – obviously only as a ghost brand – Jobey was transferred to Saint-Claude, France to be manufactured by Butz-Choquin.

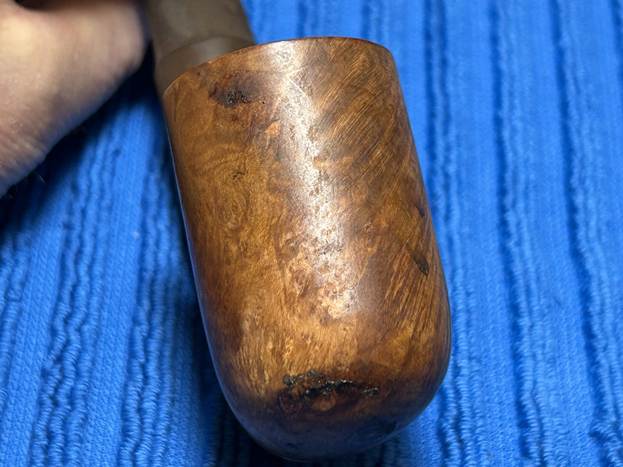
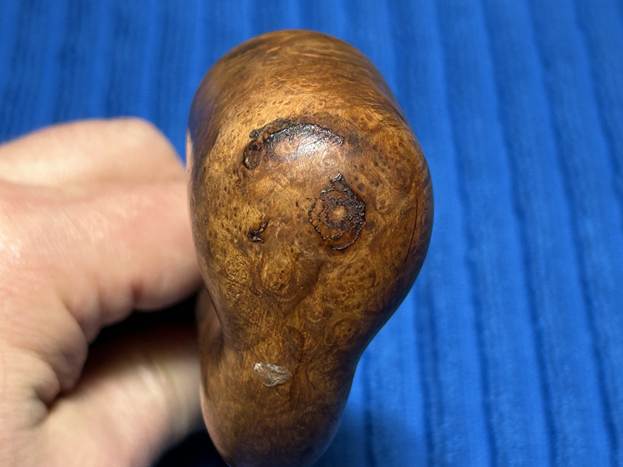
Let’s take a look at the pipe. The stem is actually in very nice condition – it’s just horribly dirty. Only minor tooth marks and the oxidation is hidden under the filth. Similarly, the stummel is also in good shape – just covered in grime. In addition, the bowl is absolutely choked with cake. That’ll take some work! As the photos show, there are some blobs of goo on the underside of the stummel, but I’m sure that will clean up well.

I used isopropyl alcohol on a few cotton rounds and wiped down the stem to provide an initial cleaning of filth before moving on to the next steps. The primary cleaning came next. I disinfected the inside of the stem with both pipe cleaners and cotton swabs dipped in lemon-infused 99% isopropyl alcohol. I scrubbed thoroughly to make sure the interior was very clean.

The goal of the next step is the removal (or minimization) of oxidation. Going to my sink, I used cream cleanser, cotton rounds, and a toothbrush, and scoured the stem to remove as much surface oxidation as possible. As the photos show, the result was a hideous, ochre-coloured mess – but better off the stem than on it.

Once the stem was reasonably clean, I soaked it overnight in some Briarville Stem Oxidation Remover. This solution works to draw oxidation in the stem to the surface of the vulcanite. This is a major aid and an important step in ensuring a clean stem. The following day, I drew out the stem from its bath and scrubbed the lingering fluid with a toothbrush.

As the stem was now clean and dry, I set about fixing the marks and dents in the vulcanite. This was done by filling those divots with black cyanoacrylate adhesive, impregnated with carbon and rubber. I left this to cure and moved on.

The penultimate step for the stem is sanding. First, with my set of needle files, I reduced the bulk of the cyanoacrylate repairs. I removed the excess adhesive as near to the surface as possible, without cutting into the vulcanite. Following that, I used all nine of the micromesh sanding pads (1,500 through 12,000 grit) to sand out flaws, even out the vulcanite, and provide gentle polishing of the finished surface. I also applied pipe-stem oil while using the last five micromesh pads. There was a wonderful, deep black shine to the stem when I was done.

As the stem was (nearly) complete, I moved on to the stummel. The first step was to ream out the bowl – that is to say, remove all the cake inside the bowl. This accomplished a couple of things. First (and most obviously), it cleaned the bowl and provided a refurbished chamber for future smoking. Second, when the old cake was removed, I could inspect the interior walls of the bowl and determine if there was damage or not. I used a reamer, a pipe knife, and a piece of sandpaper taped to a wooden dowel. Collectively, these ensured that all the debris was removed. Boy, there was a lot.

My next step was to remove the lava on the rim. For this, I took a piece of machine steel and gently scraped the lava away. The metal’s edge is sharp enough to remove what I need, but not so sharp that it damages the rim.

The inside of the stummel needed to be cleaned thoroughly. However, this pipe was so clogged, that I first needed to open the horribly occluded airway. So, I took a long drill bit, held in a drill chuck, and hand-cranked it to dislodge the dreadful detritus inside. Hand cranking is essential because it provides a precision and caution that a power drill cannot provide.

Similar to the stem, I then cleaned the stummel with both pipe cleaners and cotton swabs dipped in lemon-infused 99% isopropyl alcohol. With a pipe this dirty, it took quite a while and much cotton to clean.

I then decided to ‘de-ghost’ the pipe – that is to say, exorcize the remaining filth from the briar. I filled the bowl and the shank with cotton balls, then saturated them with 99% isopropyl alcohol. I let the stummel sit overnight. This caused the remaining oils, tars and smells to leach out into the cotton.

To tidy up the briar, I wiped down the outside, using a solution of a pH-neutral detergent and some distilled water, with cotton rounds. I also used a toothbrush in the crevices. This did a good job of cleaning any latent dirt on the surface of the briar. The last step of the cleaning process was to scour the inside of the stummel with the same mild detergent and tube brushes. This was the culmination of a lot of hard work in getting the pipe clean.

I used all nine micromesh pads (1,500 through 12,000 grit) to sand the outside of the stummel and finish it off. This sanding minimizes flaws in the briar and provides a beautiful smoothness to the wood. I rubbed some LBE Before & After Restoration Balm into the briar and let it sit for an hour or so. The balm moisturizes the wood and gives a beautiful depth to the briar. I then buffed the stummel with a microfibre cloth.
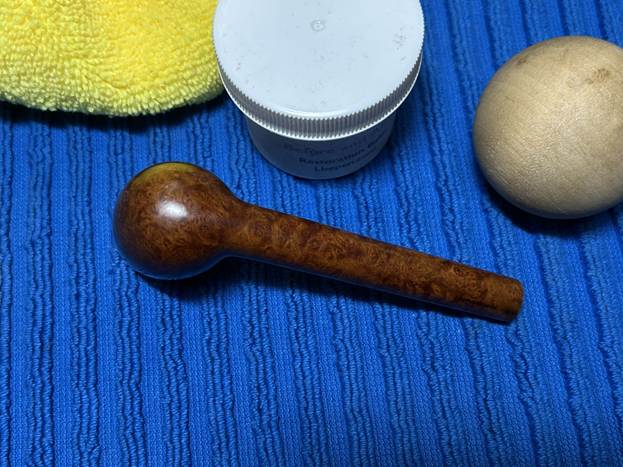
For the final step, I took the pipe to my bench polisher and carefully buffed it – first with a blue diamond compound, then with some carnauba wax. This procedure makes the pipe look its best – the stummel sings and the stem glows.

All done! This Weber Virgin Natural Oom Paul looks fantastic again and is ready to be enjoyed by its next owner. I am pleased to announce that this pipe is for sale! If you are interested in acquiring it for your collection, please have a look in the ‘American’ section of the store here on Steve’s website. You can also email me directly at kenneth@knightsofthepipe.com. The approximate dimensions of the pipe are as follows: length 4 in. (101 mm); height 4⅝ in. (118 mm); bowl diameter 1⅓ in. (45 mm); chamber diameter ¾ in. (20 mm). The weight of the pipe is 2⅛ oz. (63 g). I hope you enjoyed reading the story of this pipe’s restoration as much as I enjoyed restoring it. If you are interested in more of my work, please follow me here on Steve’s website or send me an email. Thank you very much for reading and, as always, I welcome and encourage your comments.

Spiffing Up an Amazing Dulwich Streamlined 116


by Kenneth Lieblich

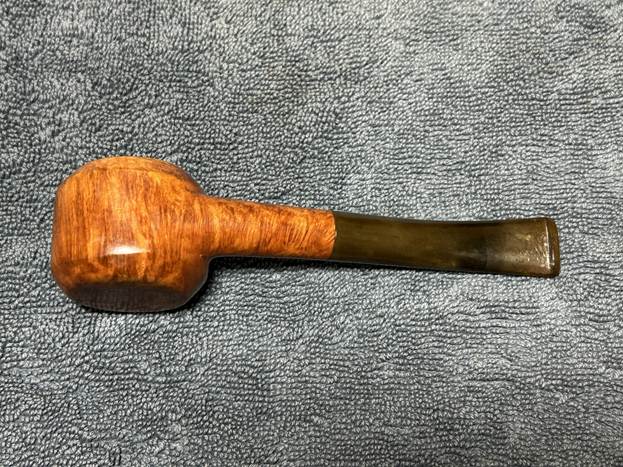
What a stunning pipe this is! When I saw it, of course the shape immediately caught my attention. What would you call it? A snail? A lollypop? A wagon wheel? Looking closely, I could see that this is a quality pipe: superb grain, well drilled, nicely proportioned. I hadn’t heard the name Dulwich before, but it didn’t matter. A fine pipe is a fine pipe regardless of whether the name is known or not. Be sure to check out the final photos of this pipe – it’s a stunner.

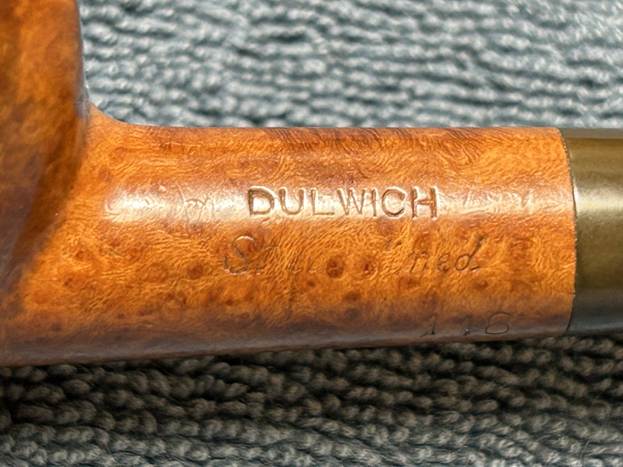
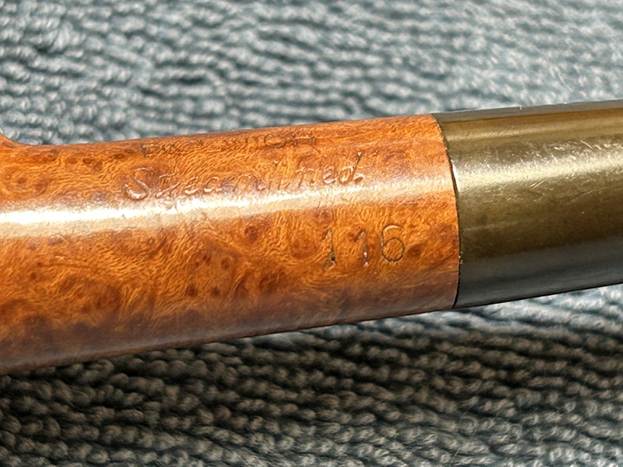
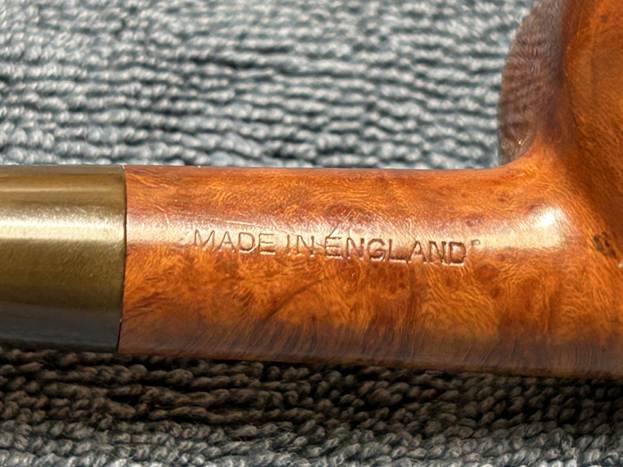
Perhaps the markings on the pipe will help us. On the left side of the shank, we can see Dulwich [over] Streamlined. Below that and to the right, is the shape number: 116. On the right side of the shank, we can see Made in England. There are no other markings to be found.

The name Dulwich is an odd one. Dulwich is actually a part of south London. Steve has restored a couple of Dulwich pipes in years past, but they were from the Quaint line of pipes. He didn’t find much in the way of history of the brand. Neither Pipedia nor Pipephil have a listing for the name. I looked in my copy of Wilczak and Colwell’s Who Made That Pipe? and checked. They have a listing for a Dulwick, but not Dulwich. No idea if that’s a typo or not, but it’s a moot point because they had no information for Dulwick anyway. I also found nothing on the Streamlined line.

Here’s the best I can dig up. There is some information to suggest that the Dulwich name is associated with the pipe maker, George Huybrecht. In the forums of PipesMagazine, the connection between the two was mentioned. The user named Jensen stated: ‘His [Huybrecht] “own ” pipes were named London Castle and Dulwich’. You can read that here. In the same forum, Jon Guss writes the following about Mr Huybrecht:

My research is decidedly on the sparse side, but such as it is it suggests that Gaston Huybrechts was born in Nancy, Meurthe-et-Moselle, France on December 25, 1893. He apparently came to England some time after the end of WW1 and formed a long-lasting partnership with M. Davies, making and selling pipes and tobacco sundries as Davies & Huybrechts Ltd from the mid 1920s through the mid 1930s (the company was struck off the register in 1938). Who exactly Davies was is a bit of a mystery to me, although I suspect he was associated with another business called M. & L. Davies Ltd located at 10 Christopher Street in London, engaged in the importation of fancy goods in 1924. Gaston evidently spent at least some time traveling for the firm since he appears in Canada in February of 1933 as a sales representative of Davies & Huybrechts. (Incidentally there were Huybrechts who settled in Canada in 1905 who were almost certainly relatives of Gaston’s).

After the dissolution of the firm in 1938 it’s not clear who Gaston worked for. In the 1939 census substitute he’s listed as a commercial traveller (i.e. salesman), but since there are no business listings under his own name in the phone books of the time I’m inclined to believe he worked for one of the other pipe manufacturers, although of course it’s possible that he was making and selling pipes to shops on his own. But if that was the case I’m skeptical he’d call himself a commercial traveller, which generally indicates a travelling salesman employed by a decent sized firm. Pure speculation of course.

“G Huybrecht” doesn’t show up in phone books until about 1950, so it leaves about a dozen year gap to speculate what Gaston was doing during that time. If he was in the armed forces, unlikely but not impossible given his age, there would be records. I suspect he worked at his trade as best he could, using connections within the fraternity of pipe makers to keep busy as briar grew scarce and facilities were repurposed to support the war effort. Reconversion of course took several years after the war ended, and it makes sense that it would be the late forties before Gaston could get the briar and the financial wherewithal to strike out on his own, and maybe another year or two to get a phone listing in the dismal economy that was post-war Britain. Again, all speculation. What’s not speculation is that Gaston continued to make pipes from that point for the rest of his life, before dying in London on October 7, 1974.

Gaston married twice: in 1923 to Marthe Alphonsine Dumas (1895-1961), and after Marthe’s death he married Josephine Clementine Ogier (1894-1977) in 1965. By his marriage to Marthe Gaston had two children, a son named Andre Ernest (1923-1997) who sometimes went by Andrew, and a daughter named Yvonne Felicie (1924-2005).

Gaston’s will contains a provision which strongly suggests that his son Andre inherited and took over the business. From what I can tell Andre operated it, under the G Huybrecht name, until his own death in 1997. As far as I know there was no further successor after Andre (perhaps one of you know one?). Certainly Andre’s death is about when existing inventory was purchased, presumably from Andre’s widow Jacqueline, and sent to guys like Mike at Blakemar for stemming and eventual sale.

As a final comment I’d add that Andre had two sons, whose names I withhold here for reasons of privacy, But the point is obviously that if anyone is very interested indeed in the history of Huybrechts pipes I’m quite sure that living memory would fill many gaps and correct many erroneous suppositions.

Let’s get on with the pipe. I’m pleased to say that the pipe started in good condition. The stem has some wear, but nothing serious; some oxidation, but, again, nothing serious. The bowl is quite clean. The rim has a bit of darkening, but that will come off. Very little cake in the bowl. The gorgeous briar sides of the bowl have some minor dents and I will address those. This should clean up very well.

I used isopropyl alcohol on a few cotton rounds and wiped down the stem to provide an initial cleaning of filth before moving on to the next steps. The primary cleaning came next. I disinfected the inside of the stem with both pipe cleaners and cotton swabs dipped in lemon-infused 99% isopropyl alcohol. I scrubbed thoroughly to make sure the interior was very clean. And it didn’t take much, fortunately.

The goal of the next step is the removal (or minimization) of oxidation. Going to my sink, I used cream cleanser, cotton rounds, and a toothbrush, and scoured the stem to remove as much surface oxidation as possible. As the photos show, the result was a hideous, ochre-coloured mess – but better off the stem than on it.

Once the stem was reasonably clean, I soaked it overnight in some Briarville Stem Oxidation Remover. This solution works to draw oxidation in the stem to the surface of the vulcanite. This is a major aid and an important step in ensuring a clean stem. The following day, I drew out the stem from its bath and scrubbed the lingering fluid with a toothbrush.

As the stem was now clean and dry, I set about fixing the marks and dents in the vulcanite. This was done by filling those divots with black cyanoacrylate adhesive, impregnated with carbon and rubber. I left this to cure and moved on.

The penultimate step for the stem is sanding. First, with my set of needle files, I reduced the bulk of the cyanoacrylate repairs. I removed the excess adhesive as near to the surface as possible, without cutting into the vulcanite. Following that, I used all nine of the micromesh sanding pads (1,500 through 12,000 grit) to sand out flaws, even out the vulcanite, and provide gentle polishing of the finished surface. I also applied pipe-stem oil while using the last five micromesh pads. There was a wonderful, deep black shine to the stem when I was done.

As the stem was (nearly) complete, I moved on to the stummel. The first step was to ream out the bowl – that is to say, remove all the cake inside the bowl. This accomplished a couple of things. First (and most obviously), it cleaned the bowl and provided a refurbished chamber for future smoking. Second, when the old cake was removed, I could inspect the interior walls of the bowl and determine if there was damage or not. I used a pipe knife and a piece of sandpaper taped to a wooden dowel. Collectively, these ensured that all the debris was removed. There wasn’t much, to be fair.

Similar to the stem, I then cleaned the stummel with both pipe cleaners and cotton swabs dipped in lemon-infused 99% isopropyl alcohol.

I then decided to ‘de-ghost’ the pipe – that is to say, exorcize the remaining filth from the briar. I filled the bowl and the shank with cotton balls, then saturated them with 99% isopropyl alcohol. I let the stummel sit overnight. This caused the remaining oils, tars and smells to leach out into the cotton.

To tidy up the briar, I wiped down the outside, using a solution of a pH-neutral detergent and some distilled water, with cotton rounds. I also used a toothbrush in the crevices. This did a good job of cleaning any latent dirt on the surface of the briar. The last step of the cleaning process was to scour the inside of the stummel with the same mild detergent and tube brushes. This was the culmination of a lot of hard work in getting the pipe clean.

Having completed that, I was able to address the nicks on the sides of the bowl. I dug out my iron and a damp cotton flannel cloth. By laying the cloth over the affected areas and applying the iron to it, the hot and moist steam can cause the wood to swell slightly and return to shape. There was tremendous improvement! It looked as good as new when I was done!

I used all nine micromesh pads (1,500 through 12,000 grit) to sand the outside of the stummel and finish it off. This sanding minimizes flaws in the briar and provides a beautiful smoothness to the wood. I rubbed some LBE Before & After Restoration Balm into the briar and let it sit for an hour or so. The balm moisturizes the wood and gives a beautiful depth to the briar. I then buffed the stummel with a microfibre cloth.
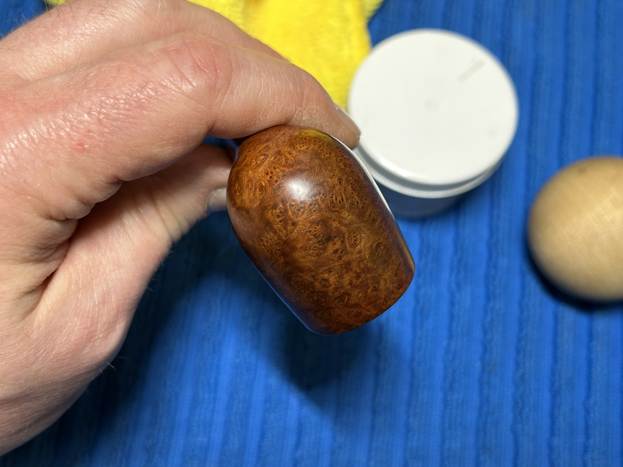
For the final step, I took the pipe to my bench polisher and carefully buffed it – first with a blue diamond compound, then with some carnauba wax. This procedure makes the pipe look its best – the stummel sings and the stem glows.

All done! This Dulwich Streamlined 116 looks fantastic again and is ready to be enjoyed by its next owner. I am pleased to announce that this pipe is for sale! If you are interested in acquiring it for your collection, please have a look in the ‘British’ section of the store here on Steve’s website. You can also email me directly at kenneth@knightsofthepipe.com. The approximate dimensions of the pipe are as follows: length 5⅛ in. (131 mm); height 1½ in. (38 mm); bowl diameter 1½ in. (38 mm); chamber diameter ⅔ in. (18 mm). The weight of the pipe is 1⅛ oz. (34 g). I hope you enjoyed reading the story of this pipe’s restoration as much as I enjoyed restoring it. If you are interested in more of my work, please follow me here on Steve’s website or send me an email. Thank you very much for reading and, as always, I welcome and encourage your comments.
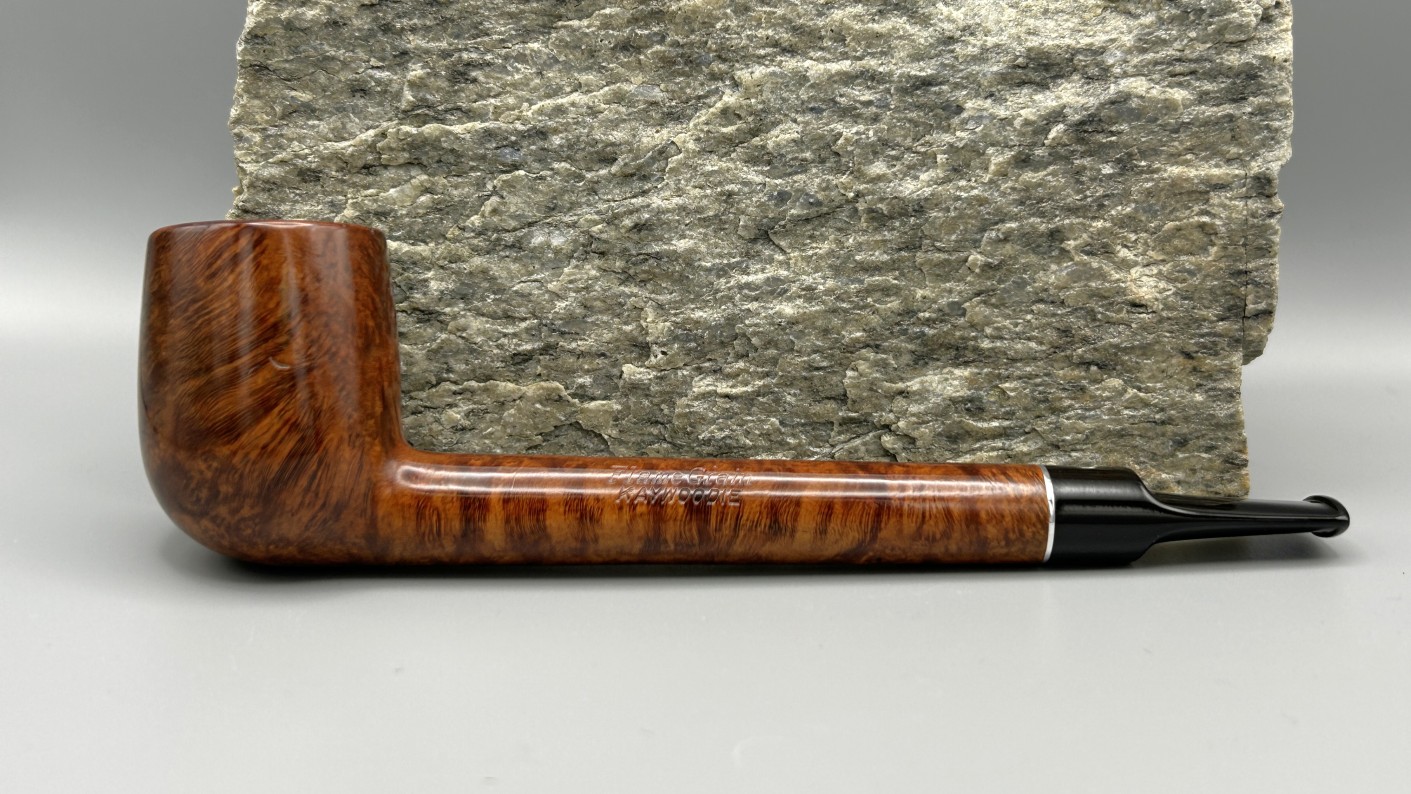
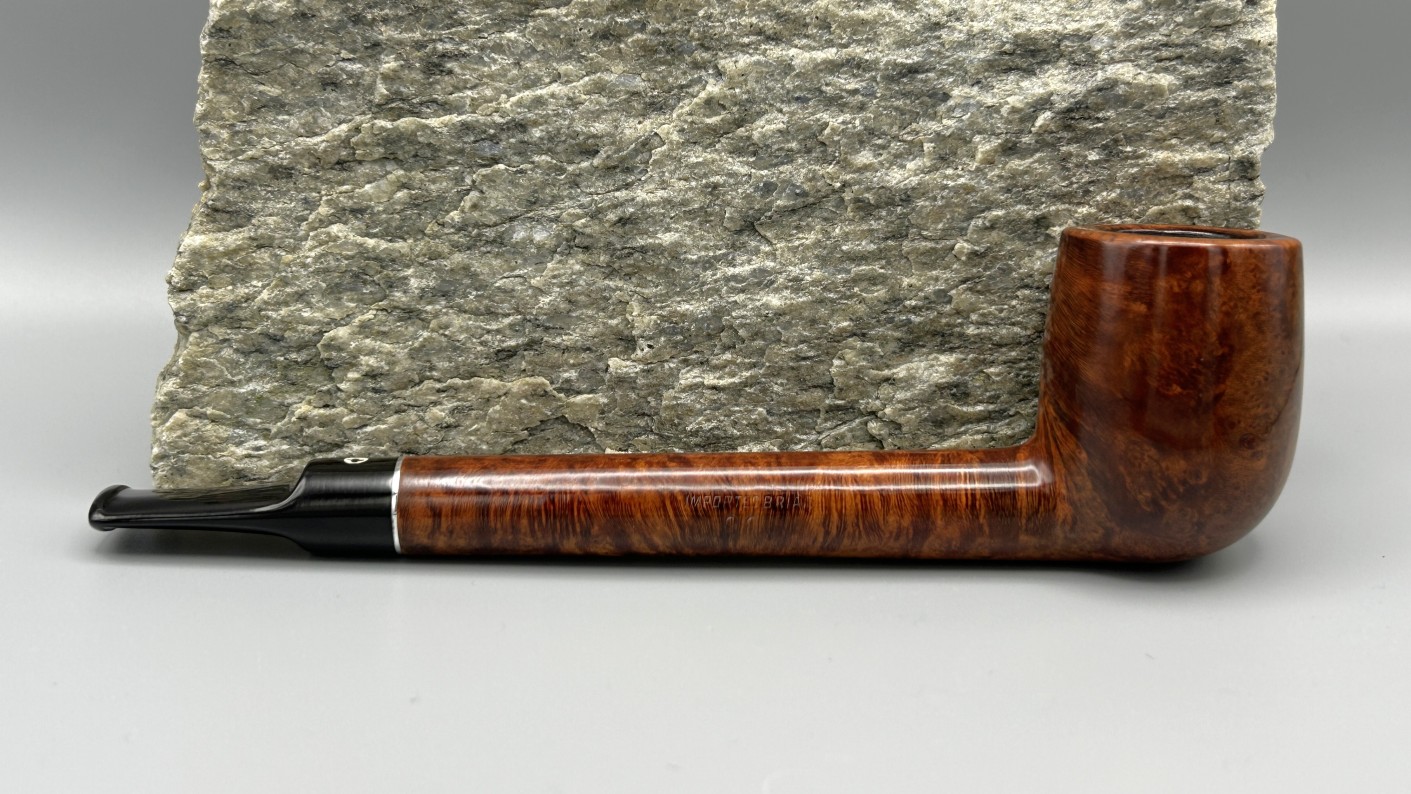
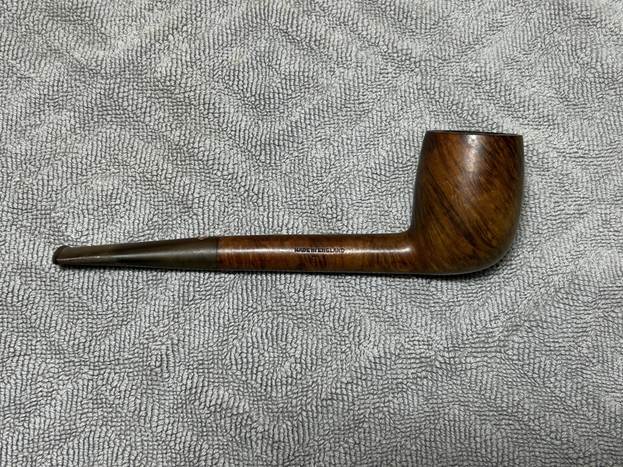
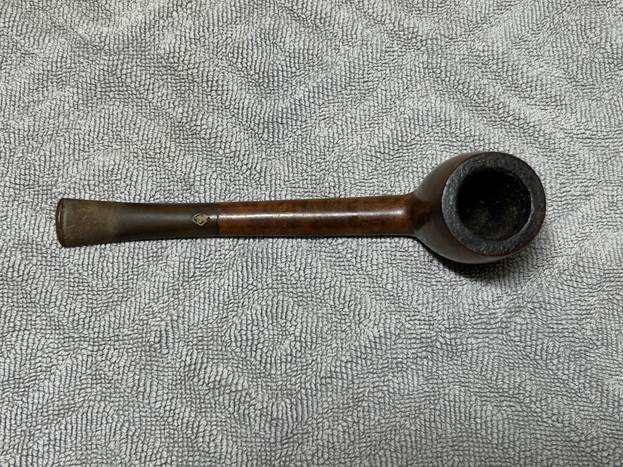
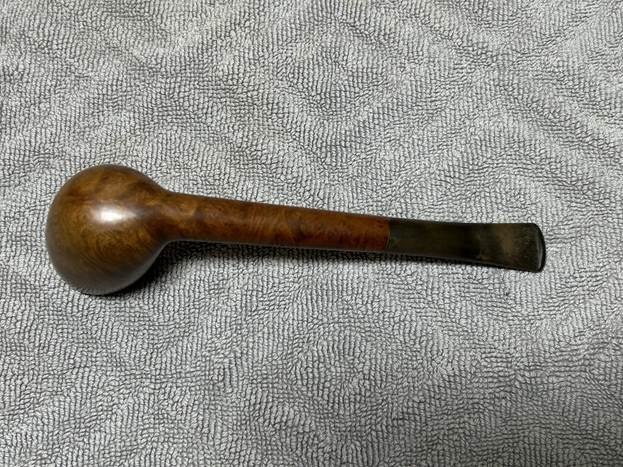
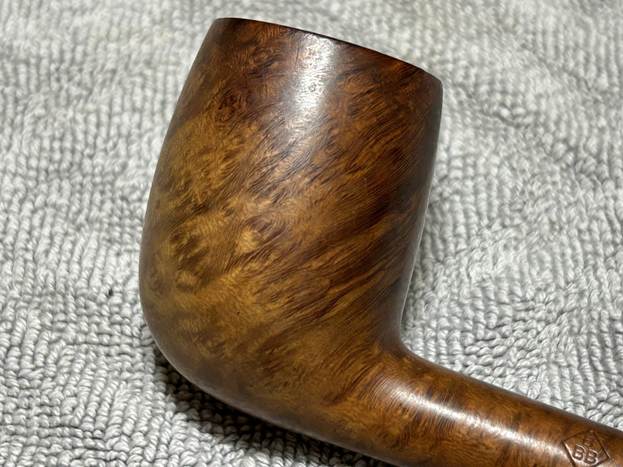
Reviving a Lovely BBB Ultonia 611


by Kenneth Lieblich

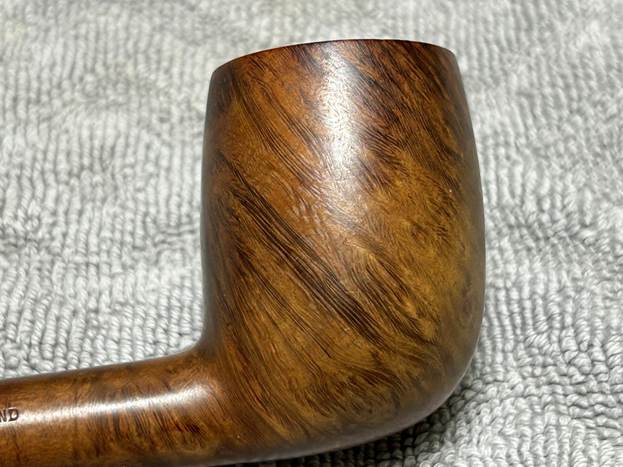
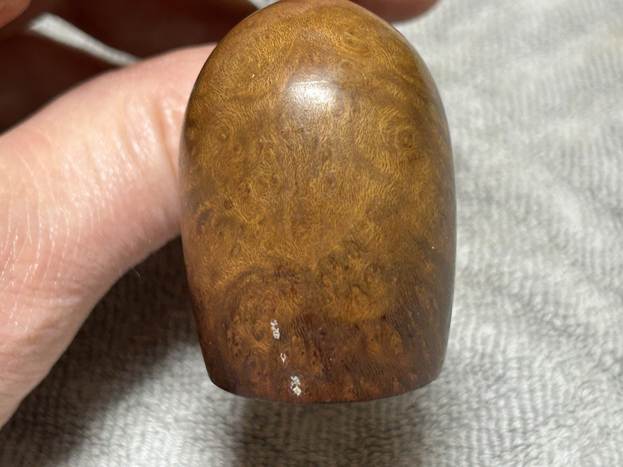
Next up is a beautiful English pipe from BBB. I acquired it locally from the estate of an old boy who kept a lovely collection of pipes. This charming fellow is luxurious, with a handsome bowl and a beautifully long, round shank. The vulcanite taper stem is also very attractive and complements the briar very well. A gentleman recently contacted me to commission the restoration of this pipe and I was only too happy to oblige. He made a great choice: there is some wonderful grain on this pipe.

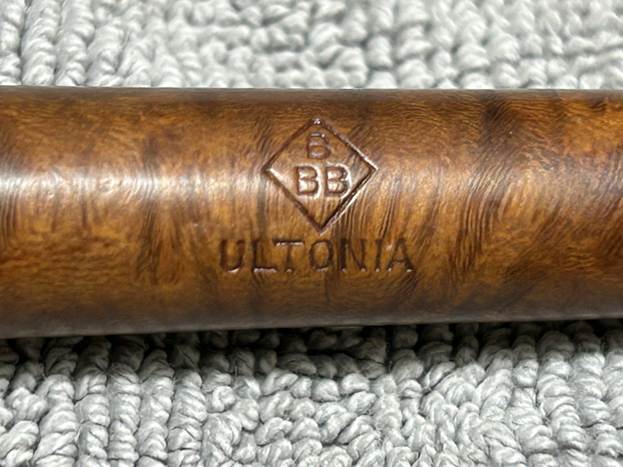
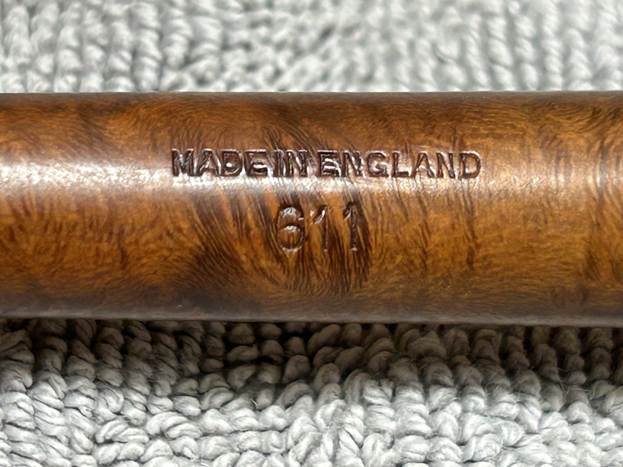
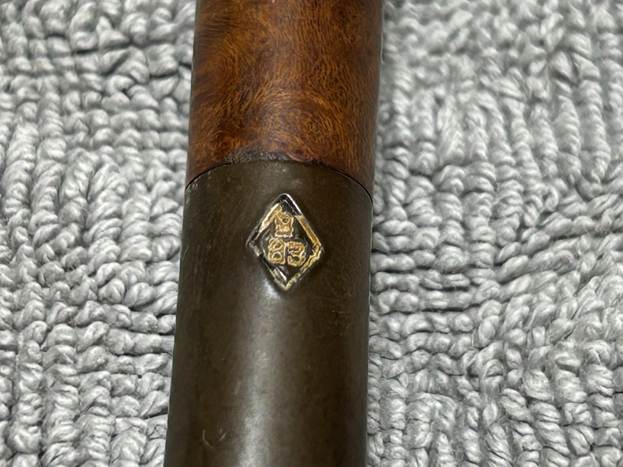
Let’s look at the marks on the pipe. They are clear and very readable. On the left side of the shank, we see the diamond-shaped logo of the company with the initials BBB inside it. Below that is the word Ultonia. On the right side of the shank, we see Made in England [over] 611 – the shape number. Finally, the stem shows the same diamond-shaped logo with the initials BBB inside it. To be clear, this logo is not in metal.

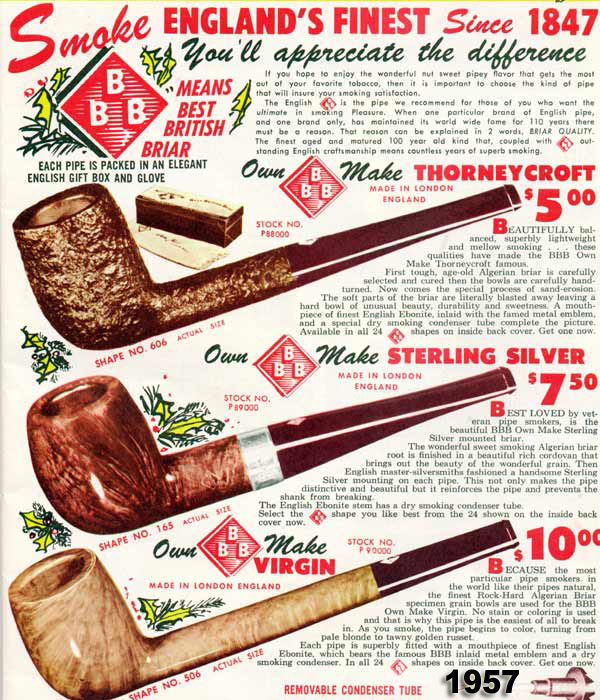
A quick examination of the background of BBB will tell you that there is much love and lore to this brand. It goes back 170 years and a great deal has been written about the company. For example, Pipedia has a good article about the company and I encourage you to read it here. As a sampling, I include the first paragraph of that article below:

The initials once stood for Blumfeld’s Best Briars after Louis Blumfeld, who took over the management of the Adolph Frankau Company in 1856. After his death, the BBB gradually became known as Britain’s Best Briars. Soon to be the oldest English trademark in current use and the first pipe ever to have a registered trademark. “Britain’s Best Briars”, often called BBB, is one of the oldest brands still in production and has always been the most popular foreign brand in Denmark. Earlier pipes included a metal rondel with a diamond shape including BBB imbedded in the stem top, and later post-Cadogan went to a stamped on logo, similar to the GBD pipes.

Pipephil also has a nice write-up on BBB, which you can read here.

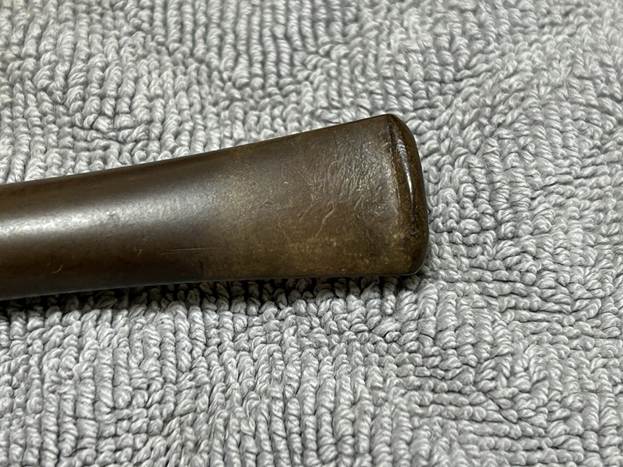
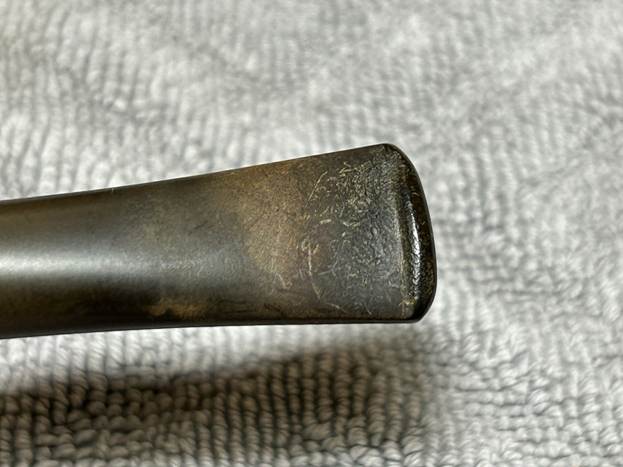
The pipe is in great condition, which will make for a great restoration. On the stem, we can see some oxidation and calcification. There are also some minor tooth marks, scratches, etc. Nothing of serious concern. The bowl had some cake (but nothing terrible) and some notable lava on the rim. We’ll have to investigate that further.

I used isopropyl alcohol on a few cotton rounds and wiped down the stem to provide an initial cleaning of filth before moving on to the next steps. The primary cleaning came next. I disinfected the inside of the stem with both pipe cleaners and cotton swabs dipped in lemon-infused 99% isopropyl alcohol. I scrubbed thoroughly to make sure the interior was very clean.

The goal of the next step is the removal (or minimization) of oxidation. Going to my sink, I used cream cleanser, cotton rounds, and a toothbrush, and scoured the stem to remove as much surface oxidation as possible. As the photos show, the result was a hideous, ochre-coloured mess – but better off the stem than on it.

Once the stem was reasonably clean, I soaked it overnight in some Briarville Stem Oxidation Remover. This solution works to draw oxidation in the stem to the surface of the vulcanite. This is a major aid and an important step in ensuring a clean stem. The following day, I drew out the stem from its bath and scrubbed the lingering fluid with a toothbrush.

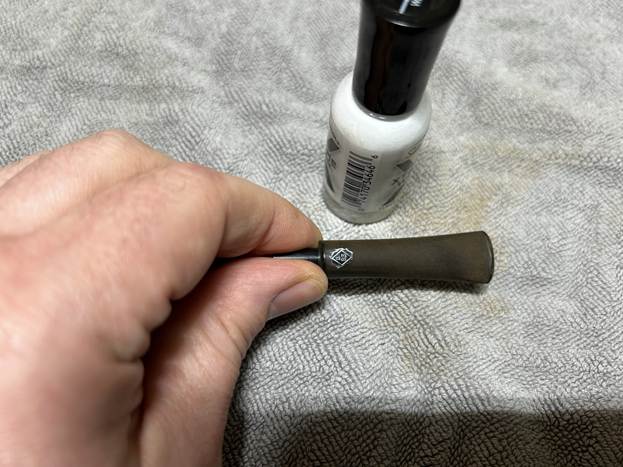
As the stem was now clean and dry, I painted the logo on the stem with some enamel nail polish. I restored the logo carefully and let it fully set before proceeding.

The penultimate step for the stem is sanding. First, with my set of needle files, I reduced the bulk of the cyanoacrylate repairs. I removed the excess adhesive as near to the surface as possible, without cutting into the vulcanite. Following that, I used all nine of the micromesh sanding pads (1,500 through 12,000 grit) to sand out flaws, even out the vulcanite, and provide gentle polishing of the finished surface. I also applied pipe-stem oil while using the last five micromesh pads. There was a wonderful, deep black shine to the stem when I was done.

As the stem was (nearly) complete, I moved on to the stummel. The first step was to ream out the bowl – that is to say, remove all the cake inside the bowl. This accomplished a couple of things. First (and most obviously), it cleaned the bowl and provided a refurbished chamber for future smoking. Second, when the old cake was removed, I could inspect the interior walls of the bowl and determine if there was damage or not. I used a reamer, a pipe knife, and a piece of sandpaper taped to a wooden dowel. Collectively, these ensured that all the debris was removed.

My next step was to remove the lava on the rim. For this, I took a piece of machine steel and gently scraped the lava away. The metal’s edge is sharp enough to remove what I need, but not so sharp that it damages the rim. This work revealed (thankfully) that there was no damage to the rim.

Similar to the stem, I then cleaned the stummel with both pipe cleaners and cotton swabs dipped in lemon-infused 99% isopropyl alcohol. With a pipe this dirty, it took quite a while and much cotton to clean.

I then decided to ‘de-ghost’ the pipe – that is to say, exorcize the remaining filth from the briar. I filled the bowl and the shank with cotton balls, then saturated them with 99% isopropyl alcohol. I let the stummel sit overnight. This caused the remaining oils, tars and smells to leach out into the cotton.

To tidy up the briar, I wiped down the outside, using a solution of a pH-neutral detergent and some distilled water, with cotton rounds. I also used a toothbrush in the crevices. This did a good job of cleaning any latent dirt on the surface of the briar. The last step of the cleaning process was to scour the inside of the stummel with the same mild detergent and tube brushes. This was the culmination of a lot of hard work in getting the pipe clean.

I used all nine micromesh pads (1,500 through 12,000 grit) to sand the outside of the stummel and finish it off. This sanding minimizes flaws in the briar and provides a beautiful smoothness to the wood. I rubbed some LBE Before & After Restoration Balm into the briar and let it sit for 30 minutes or so. The balm moisturizes the wood and gives a beautiful depth to the briar. I then buffed the stummel with a microfibre cloth.

For the final step, I took the pipe to my bench polisher and carefully buffed it – first with a blue diamond compound, then with some carnauba wax. This procedure makes the pipe look its best – the stummel sings and the stem glows.

All done! This BBB Ultonia 611 looks fantastic again and I am delighted with the results. I’m sure the gentleman in Indiana will be too. The approximate dimensions of the pipe are as follows: length 5⅔ in. (144 mm); height 1¾ in. (44 mm); bowl diameter 1¼ in. (33 mm); chamber diameter ¾ in. (19 mm). The weight of the pipe is ⅞ oz. (25 g). I hope you enjoyed reading the story of this pipe’s restoration as much as I enjoyed restoring it. If you are interested in more of my work, please follow me here on Steve’s website or send me an email at kenneth@knightsofthepipe.com. Thank you very much for reading and, as always, I welcome and encourage your comments.
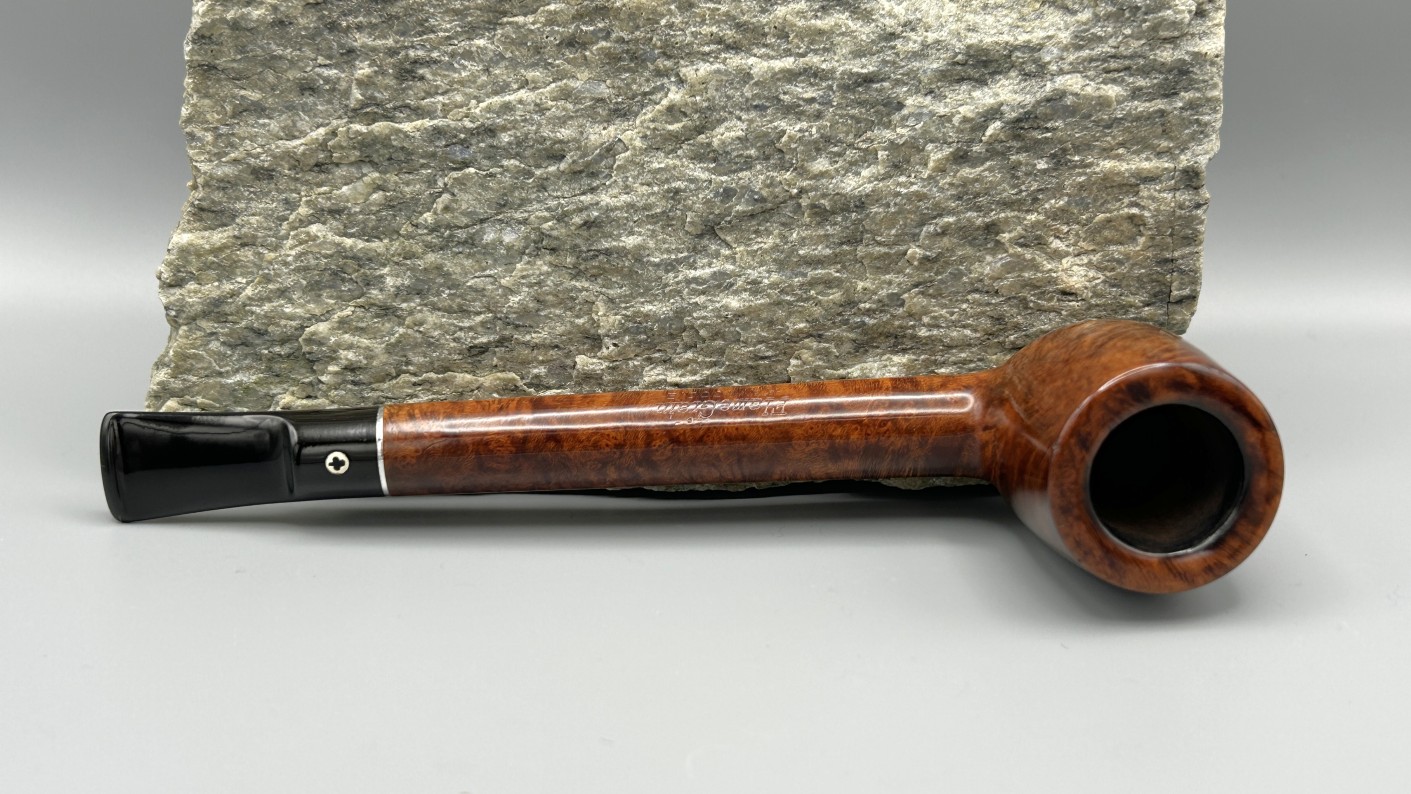
Major Repairs to a Broken Stem (KPIR #11)


by Kenneth Lieblich

Welcome to another instalment of my Pipe Incident Reports. The idea, in general, is to provide a brief write-up – focusing on a particular pipe-restoration-related issue – rather than an entire restoration story. Today’s story is on the resolution of a very specific pipe repair – a substantial radiating crack in an acrylic stem. I hope this blog post will be useful for those undertaking a similar repair.

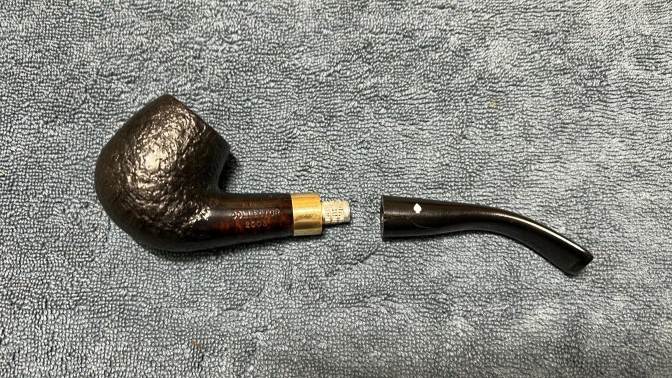
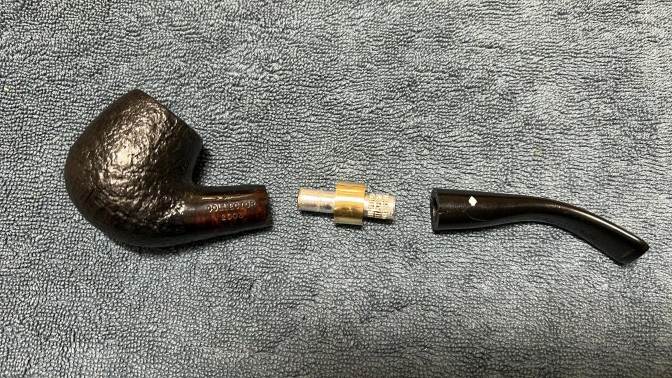
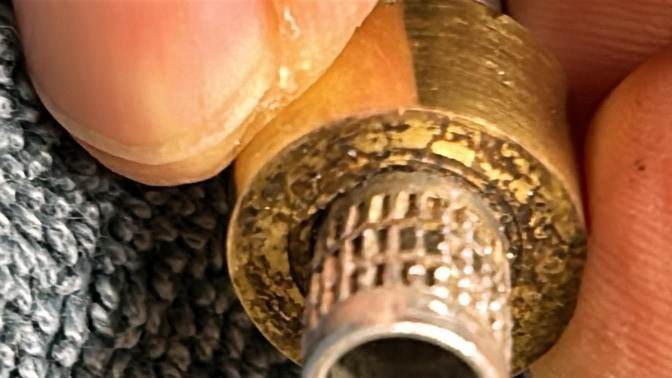
A gentleman contacted me about repairing the stem on a Dr Grabow Collector 2003 that he acquired. The damage was serious and required some significant work – but that’s what I’m here for! Let’s take a look. The photos below show how the pipe presented to me. The central component – connecting the stummel to the stem – was a brass band with an aluminum (or other metal) tube. The odd thing about the first photo is that that is not how the pipe should be. The metal section was stuck into the stummel and separated from the stem. That is the exact opposite of what should be. After some work, I managed to extricate the metal piece. The different metal components are affixed to each other permanently.

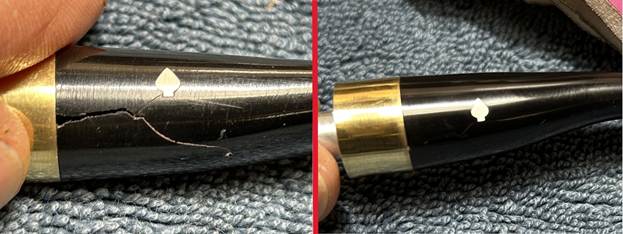
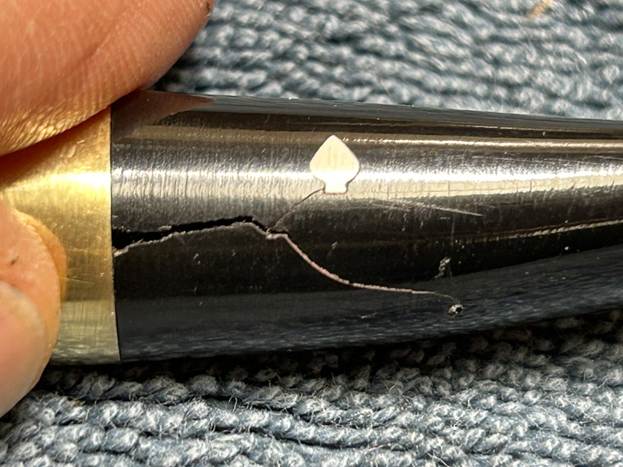
A quick look shows the problem: a radiating crack at the end of the stem. Wow – what a crack! Obviously, this needs to be repaired. We also need to reconnect the metal component to the stem. Finally, we need to ensure that the spade logo of Dr Grabow is not damaged or obscured by my repair.

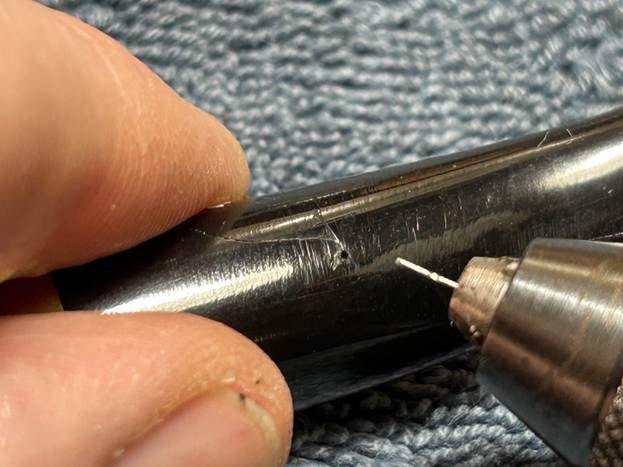
Before anything else, it is imperative that I ensure that the cracks do not continue to creep after I repair them. To that end, I took a micro-drill bit, inserted it in my rotary tool, and very carefully drilled a hole right through the wall of the stem. That hole will stop the crack from progressing. As you can see, the drill bit is incredibly thin and quite prone to snapping if great care is not taken. There is a crack that also radiated to the spade logo, but I did not drill there for fear of damaging that logo.

I used isopropyl alcohol on a few cotton rounds and wiped down the stem. I then disinfected the inside of the stem with both pipe cleaners and cotton swabs dipped in lemon-infused 99% isopropyl alcohol. I scrubbed thoroughly to make sure the interior was very clean – and I did the same to the metal components. Aside from cleanliness, this procedure also ensures a good bond between adhesive and components.
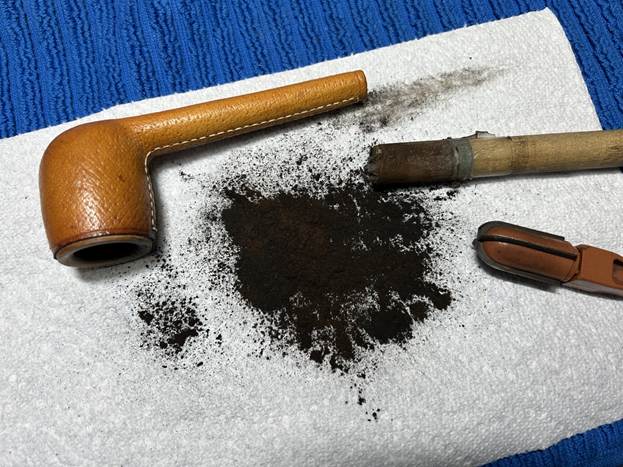
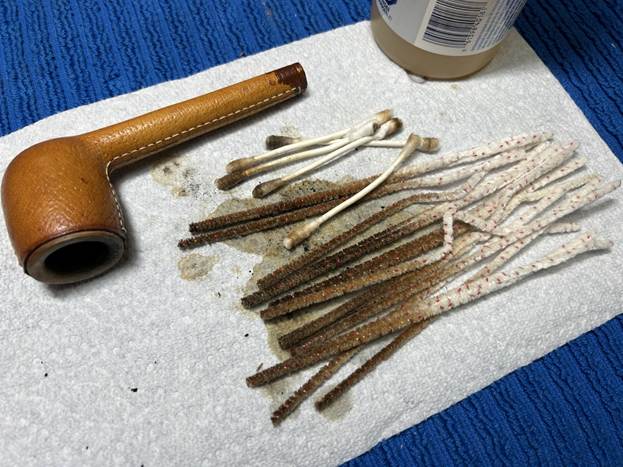
Repair time. I first used some black cyanoacrylate impregnated with carbon and rubber to reconnect the brass band etc. with the end of the acrylic stem. I also took care to ensure that the orientation of the band and stem were matching. Once that had cured, I applied the same adhesive to the crack itself. Using a very fine dental tool, I made sure that the cyanoacrylate penetrated the crack without dripping into the interior of the stem. While I was in the neighbourhood, I also set about fixing the tooth marks near the bit. This was done by similarly filling those divots with black cyanoacrylate adhesive and letting it cure.

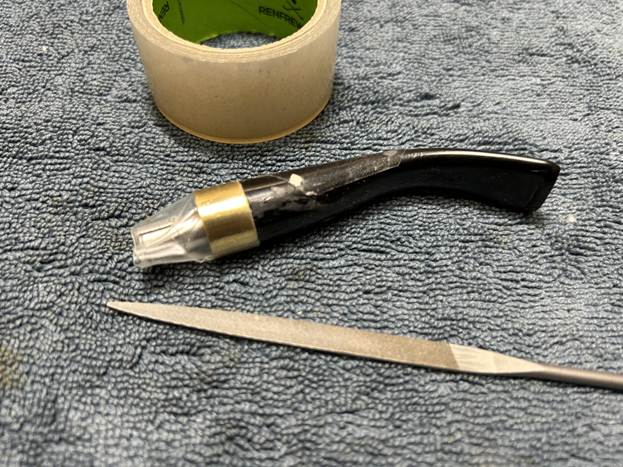
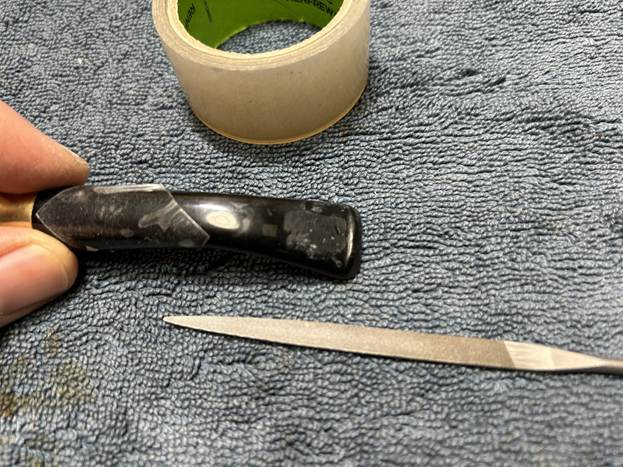
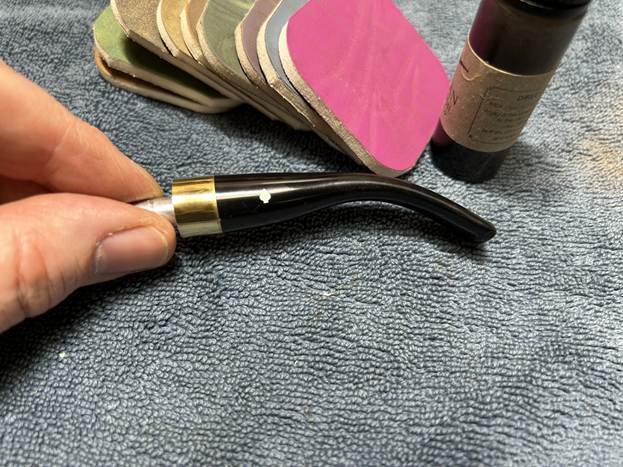
At this point, I took some clear hockey tape and carefully, precisely masked the brass band and spade logo with it, as protection. Then, with my set of needle files, I reduced the bulk of the cyanoacrylate repairs. I removed the excess adhesive as near to the surface as possible, without cutting into the acrylic. Following that, I used my micromesh sanding pads to sand out flaws, even out the acrylic, and provide gentle polishing of the finished surface. I also applied pipe-stem oil while using the last five micromesh pads. There was a wonderful, deep black shine to the stem when I was done.
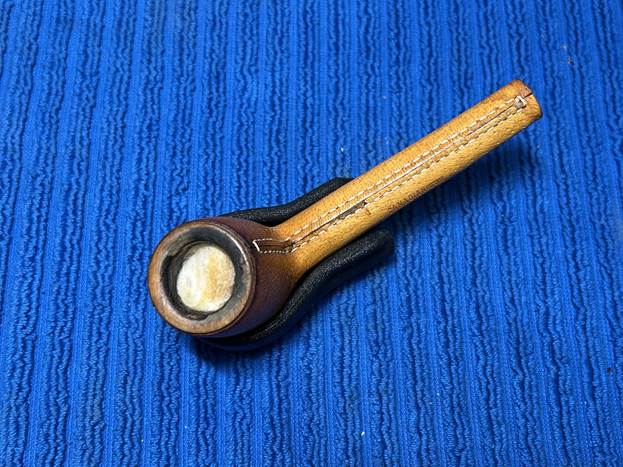
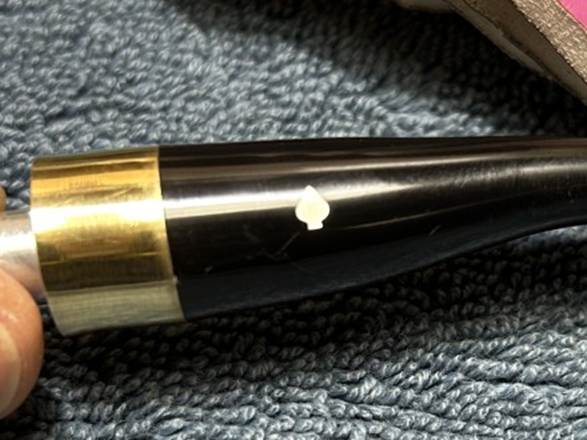
I am very pleased with how the repair turned out and I am sure that there are many years of smoking pleasure to be had from this pipe in the future. I should emphasize that the line you see to the right of the spade logo is not a scratch, but merely a reflection in the photo.

Thanks so much for joining me on this interesting repair. I hope you enjoyed reading this instalment of my Pipe Incident Reports – I look forward to writing more. If you are interested in my work, please follow me here on Steve’s website or email me directly at kenneth@knightsofthepipe.com. Thank you very much for reading and, as always, I welcome and encourage your comments.