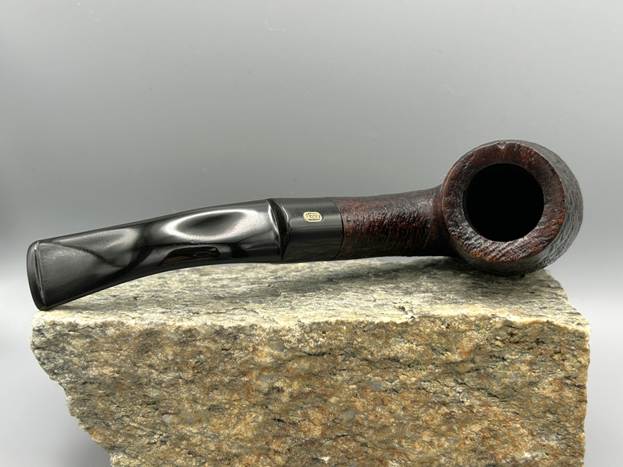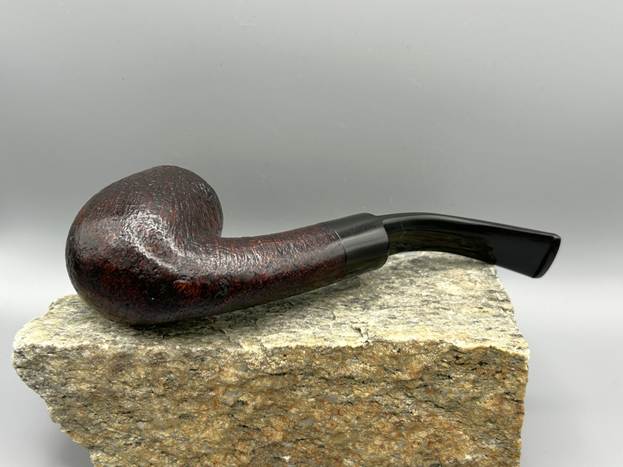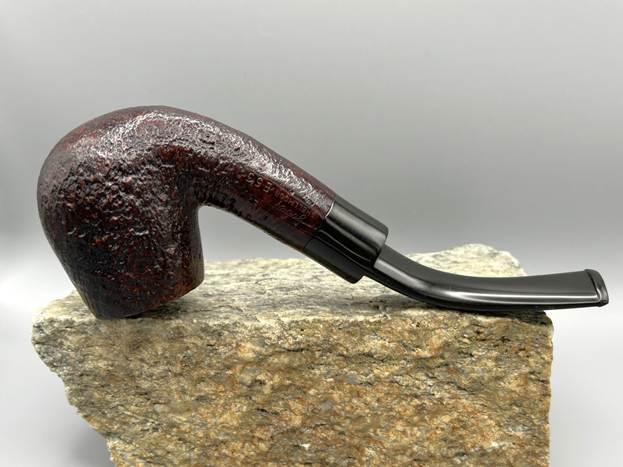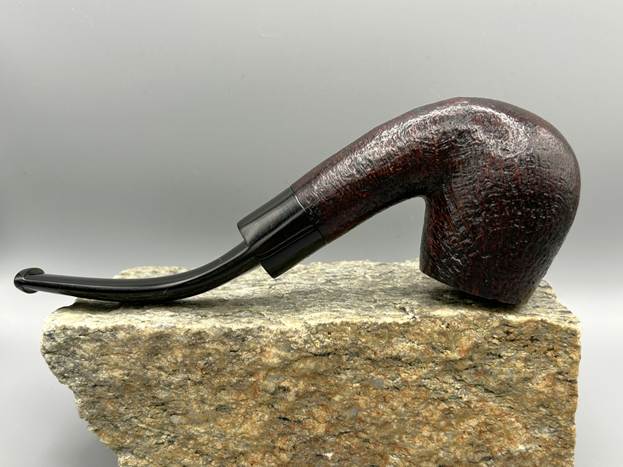
Tag Archives: Carnauba wax

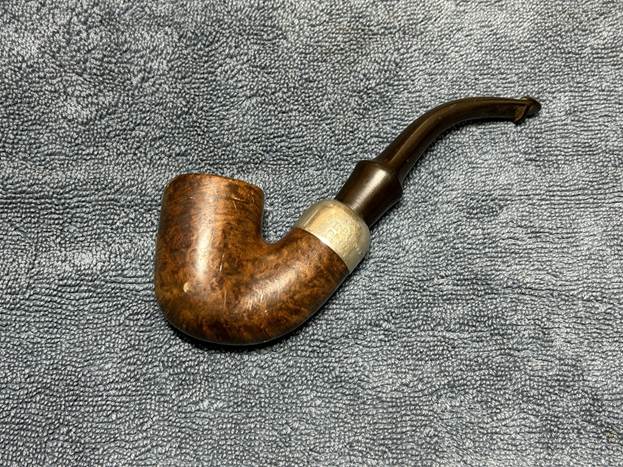
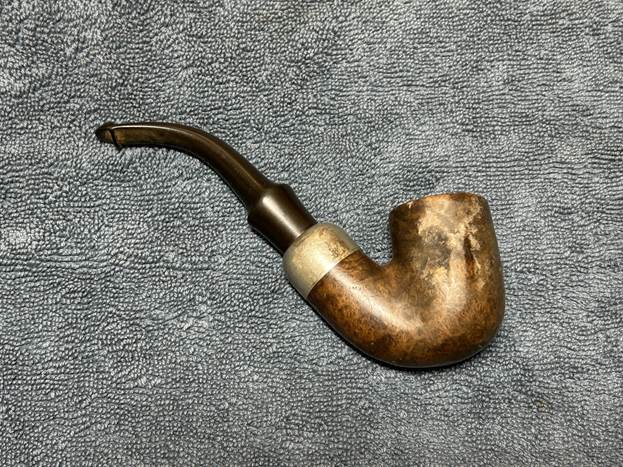
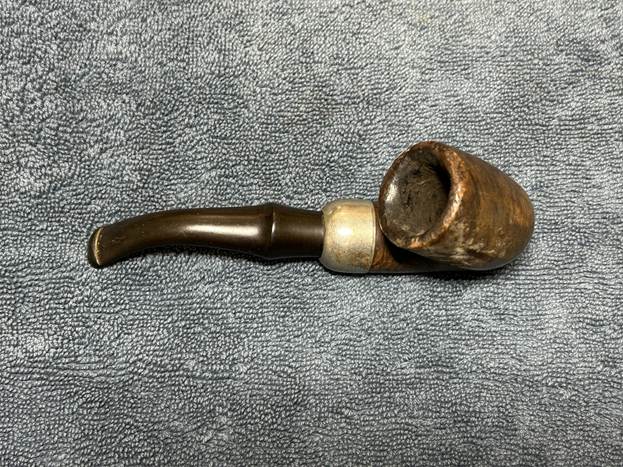
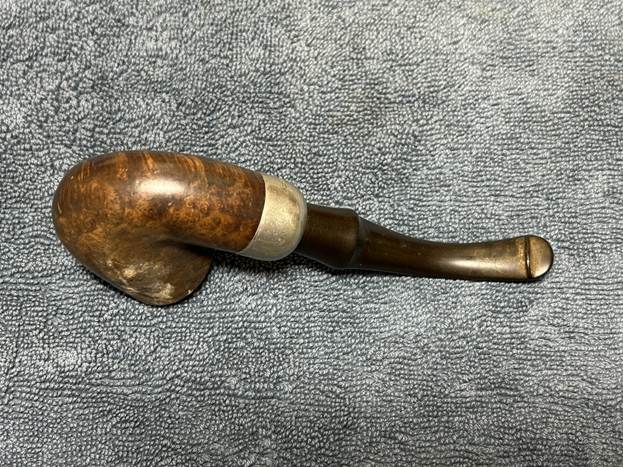
Bringing Back a PRE-Republic Peterson System Standard 313


by Kenneth Lieblich

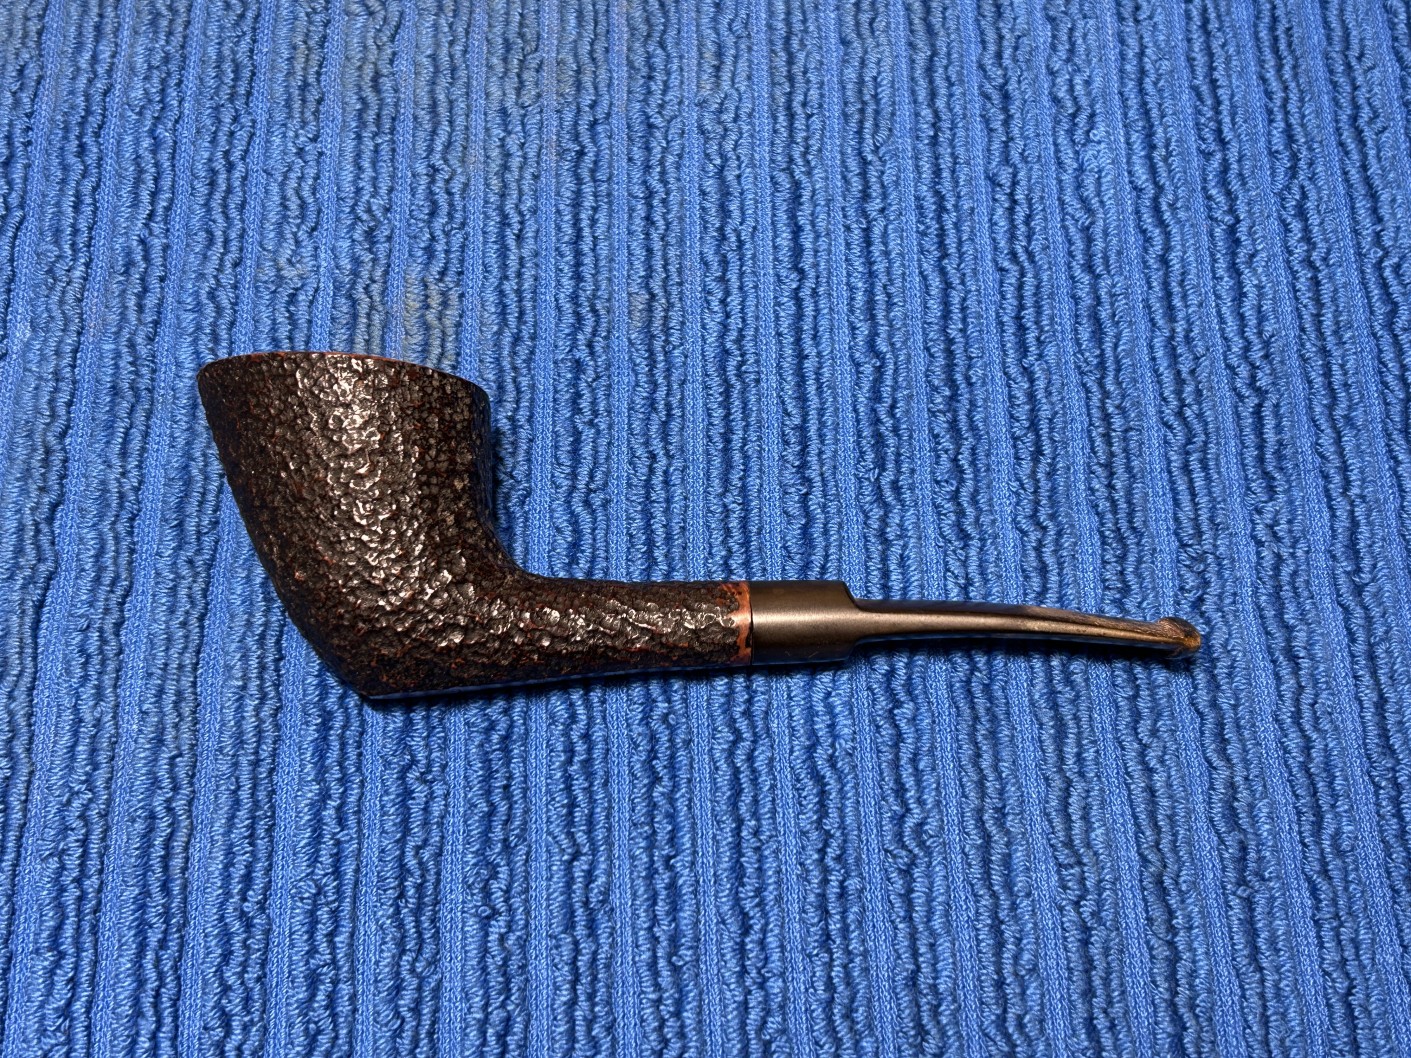
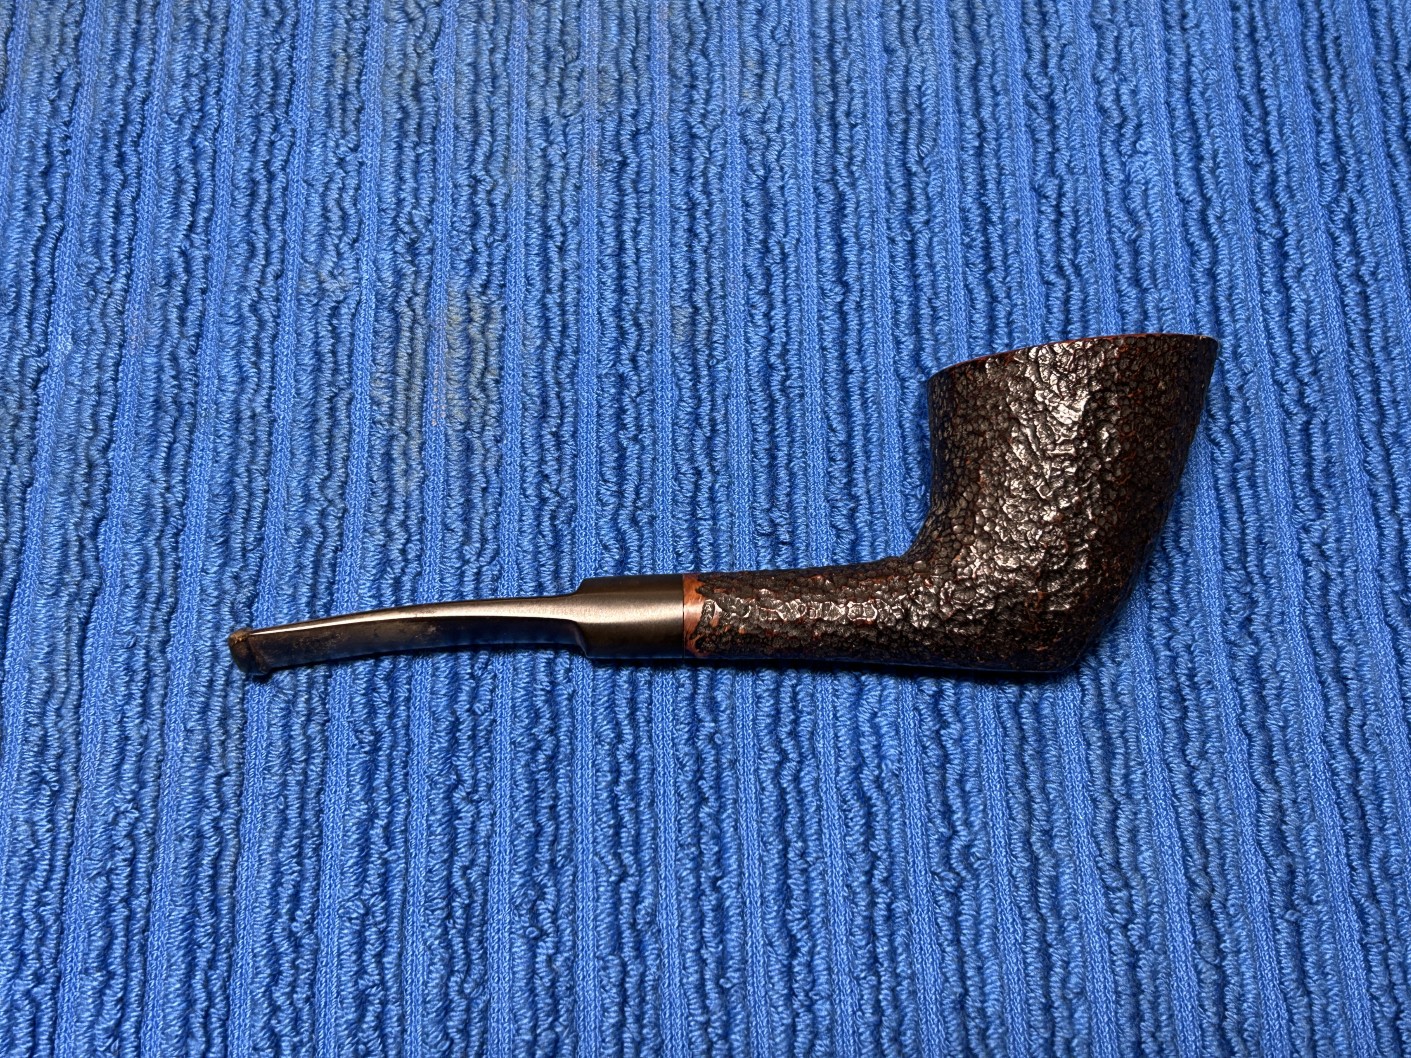
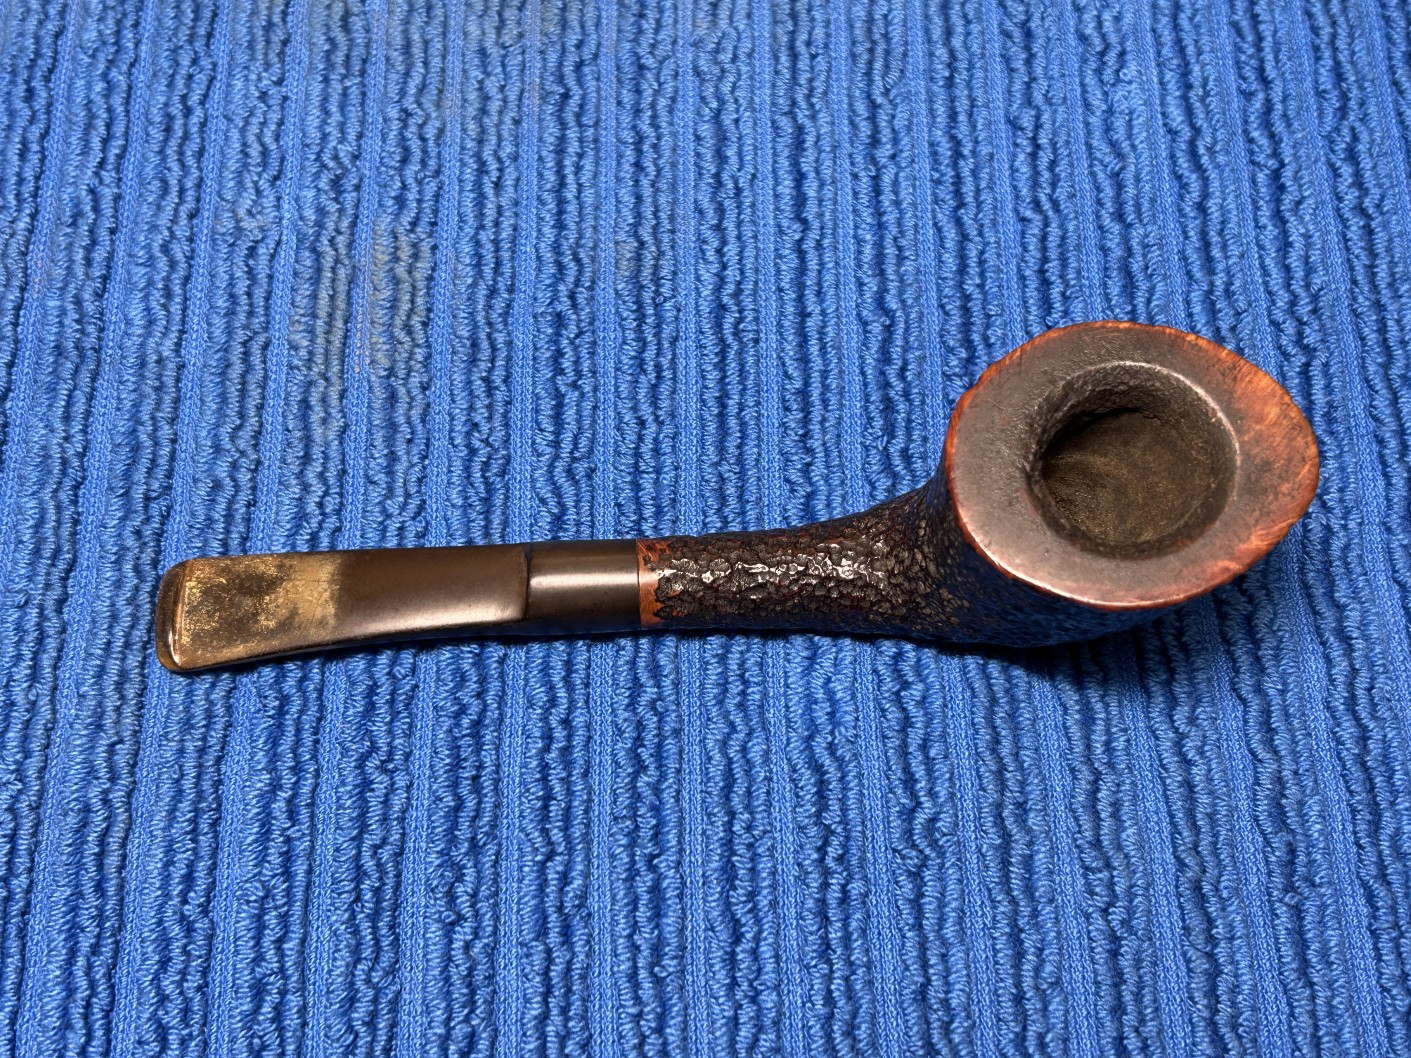
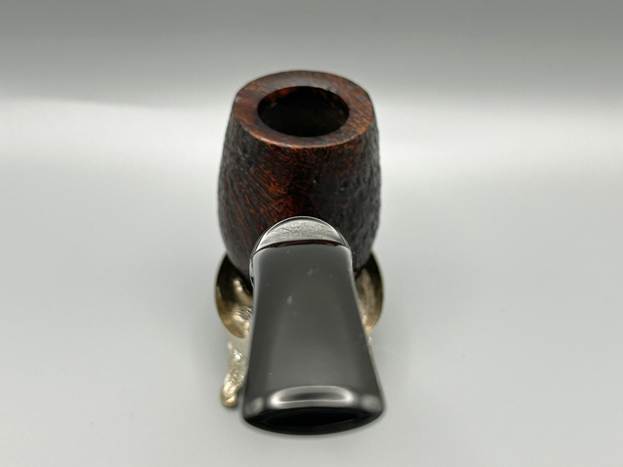
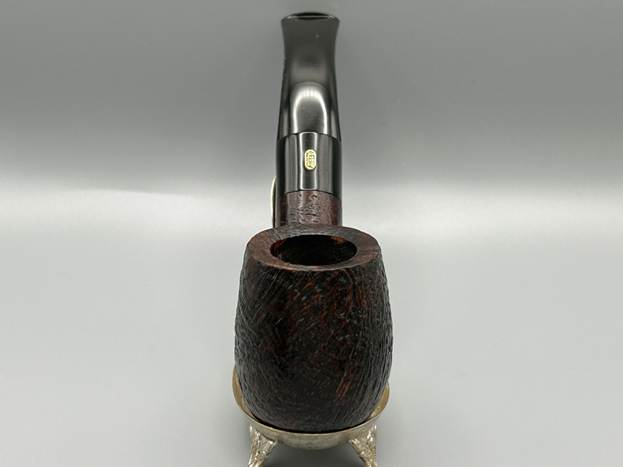
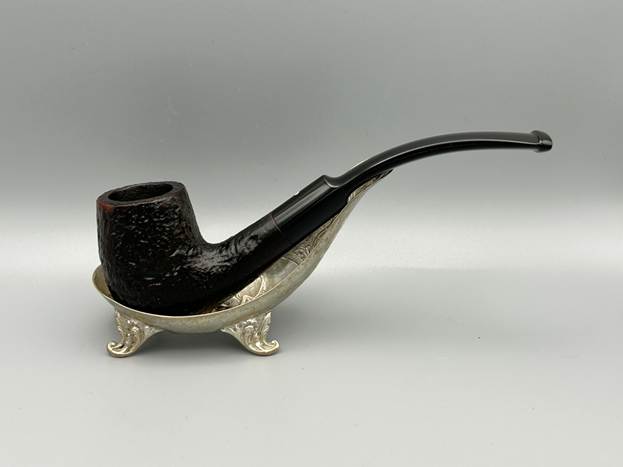
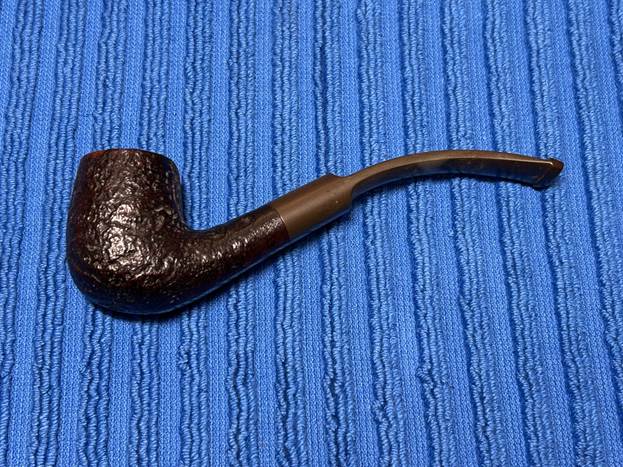
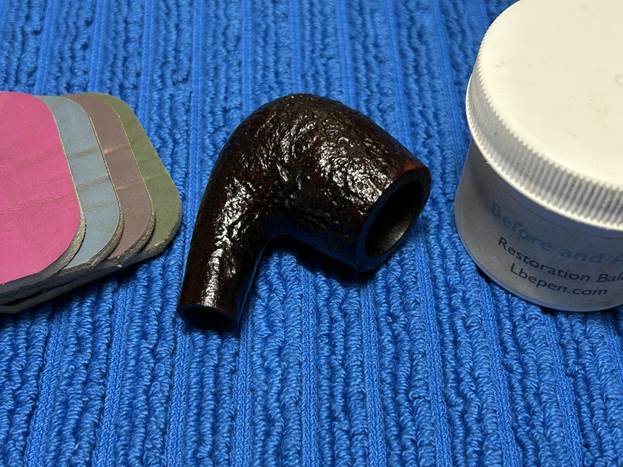
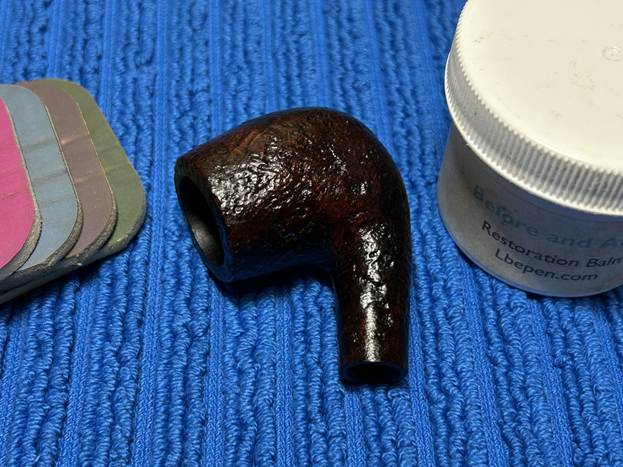
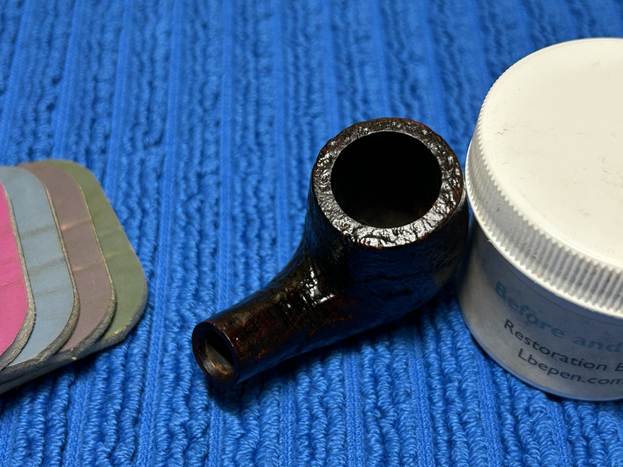
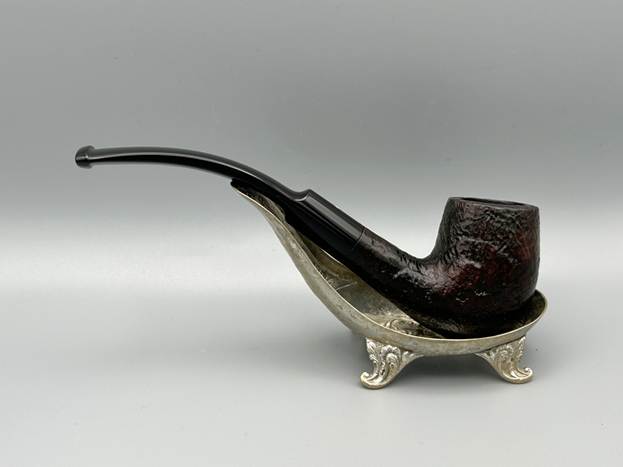
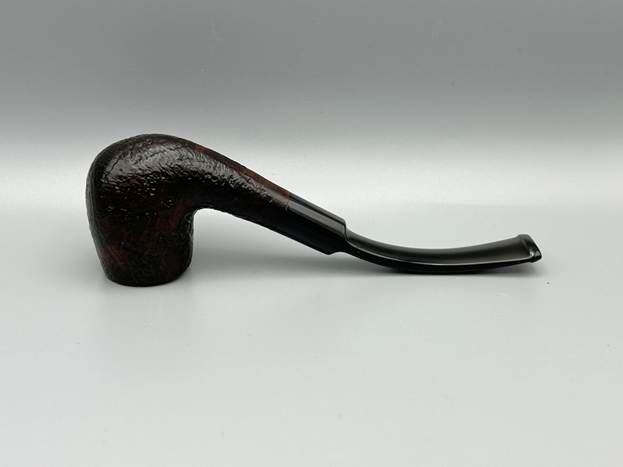
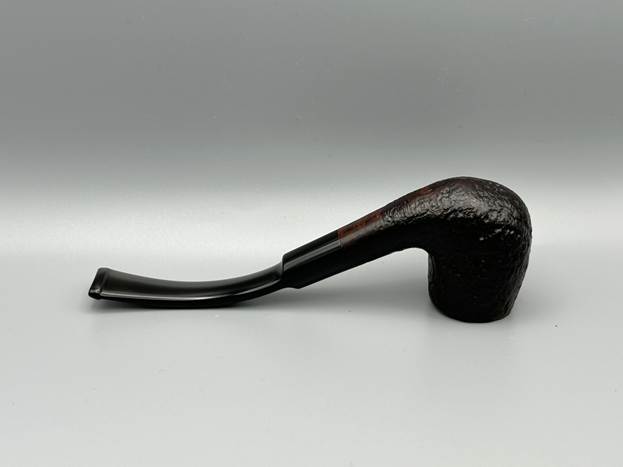
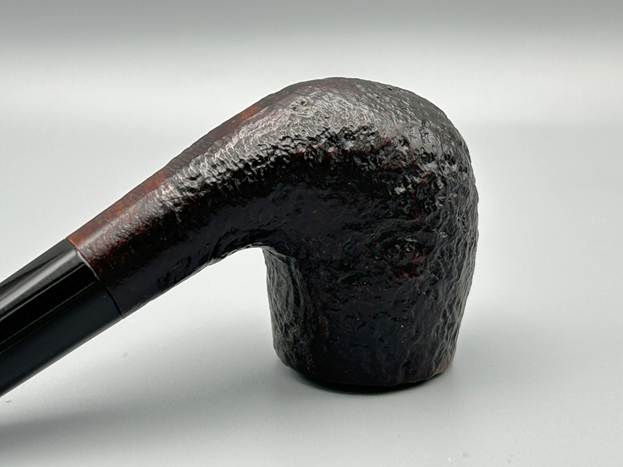
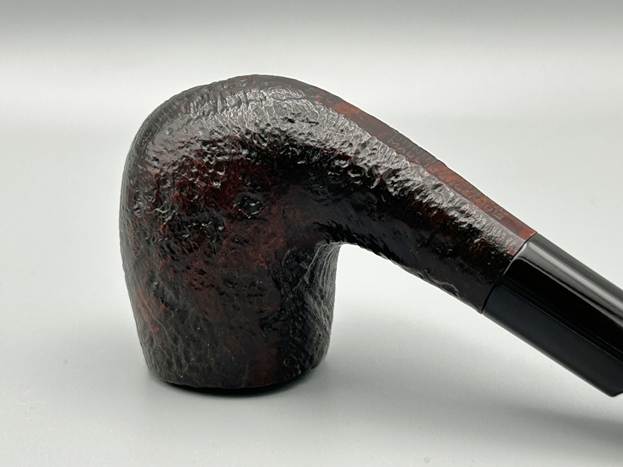
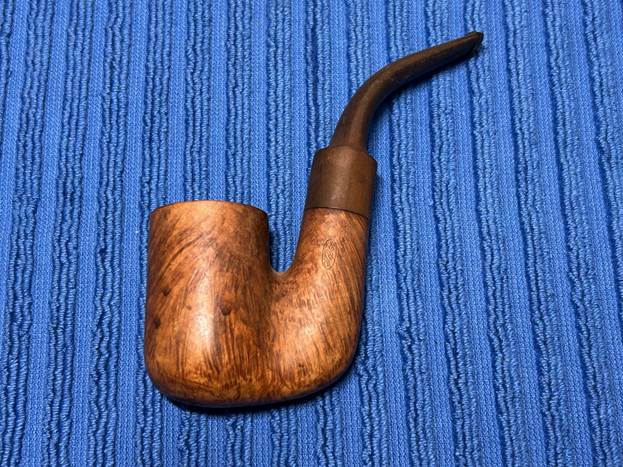
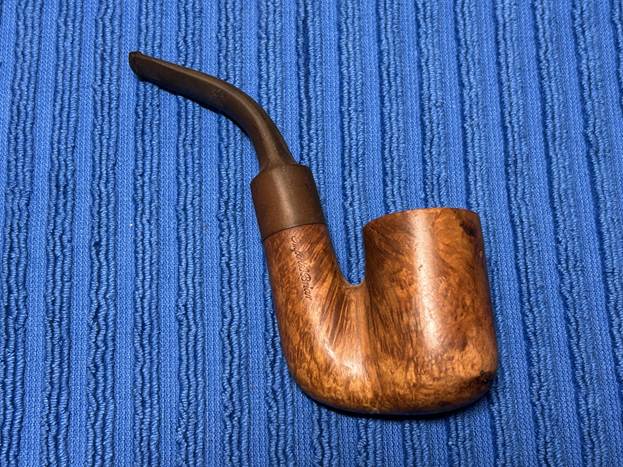
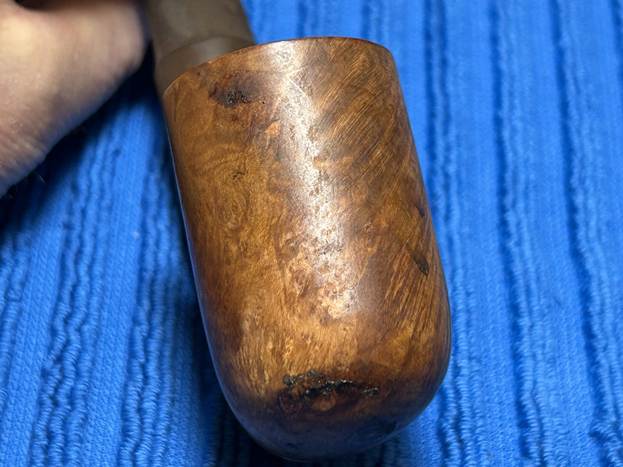
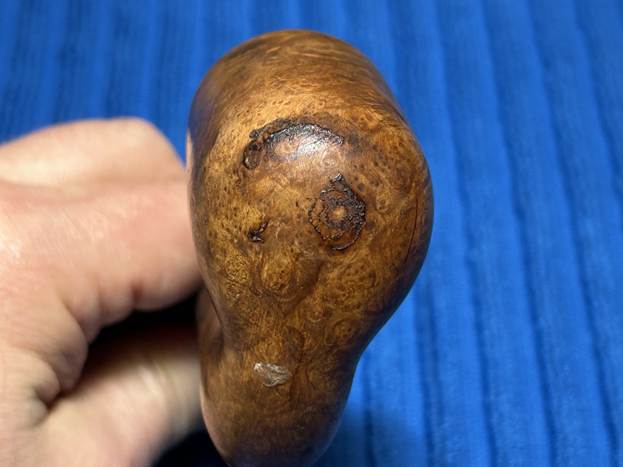
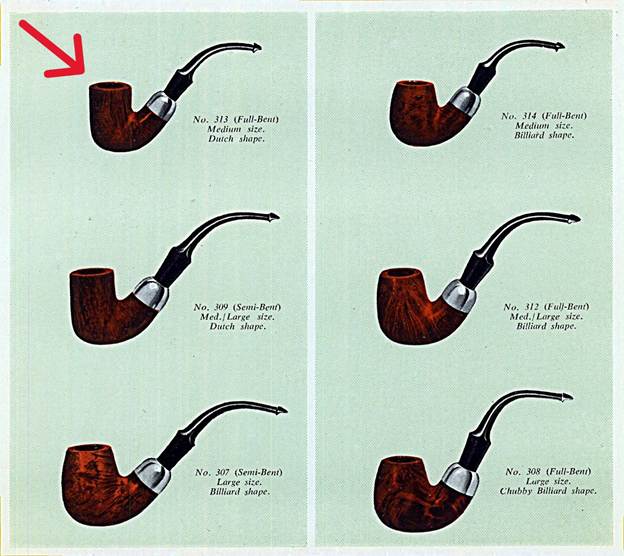
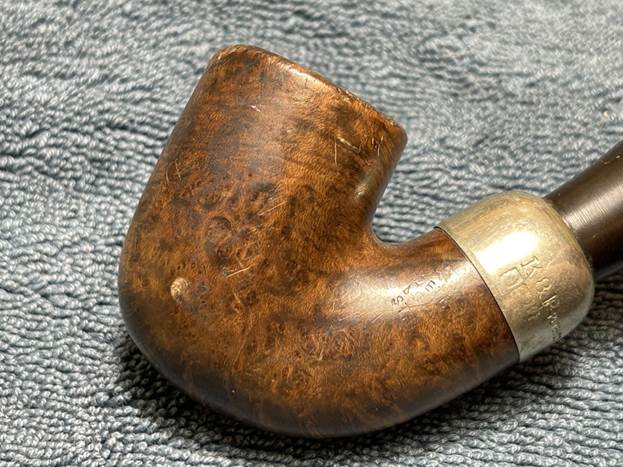
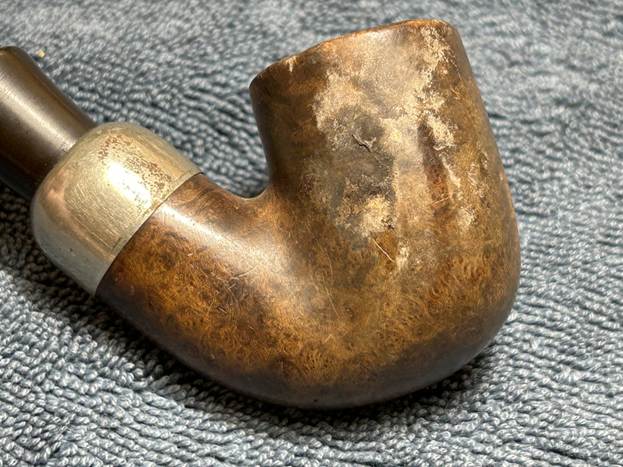
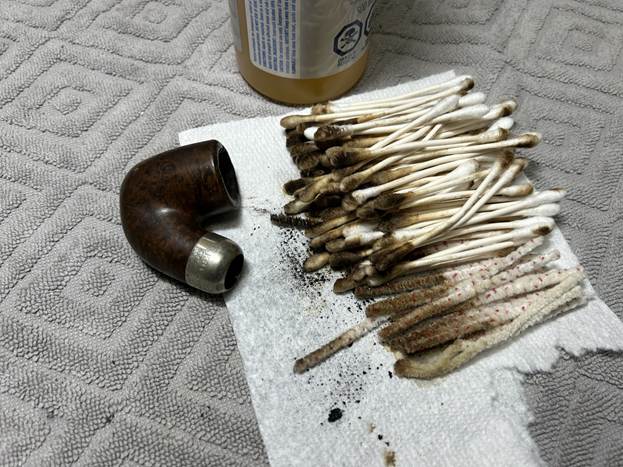
This old beauty is both delightful and a bit rough-and-tumble. Today I tell the tale of a pre-Republic Peterson System Standard 313. Peterson describes it as ‘full-bent, medium size, Dutch shape’. It’s a bit older than the usual Peterson fare. Oddly, I have no memory of this pipe’s acquisition. I suppose it doesn’t really matter. It’s a great old warrior of a pipe. It carries with it some battle scars and those remain – they will always be part of this Pete’s life story. Now it’s time to get this pipe into the hands of a Peterson fan.

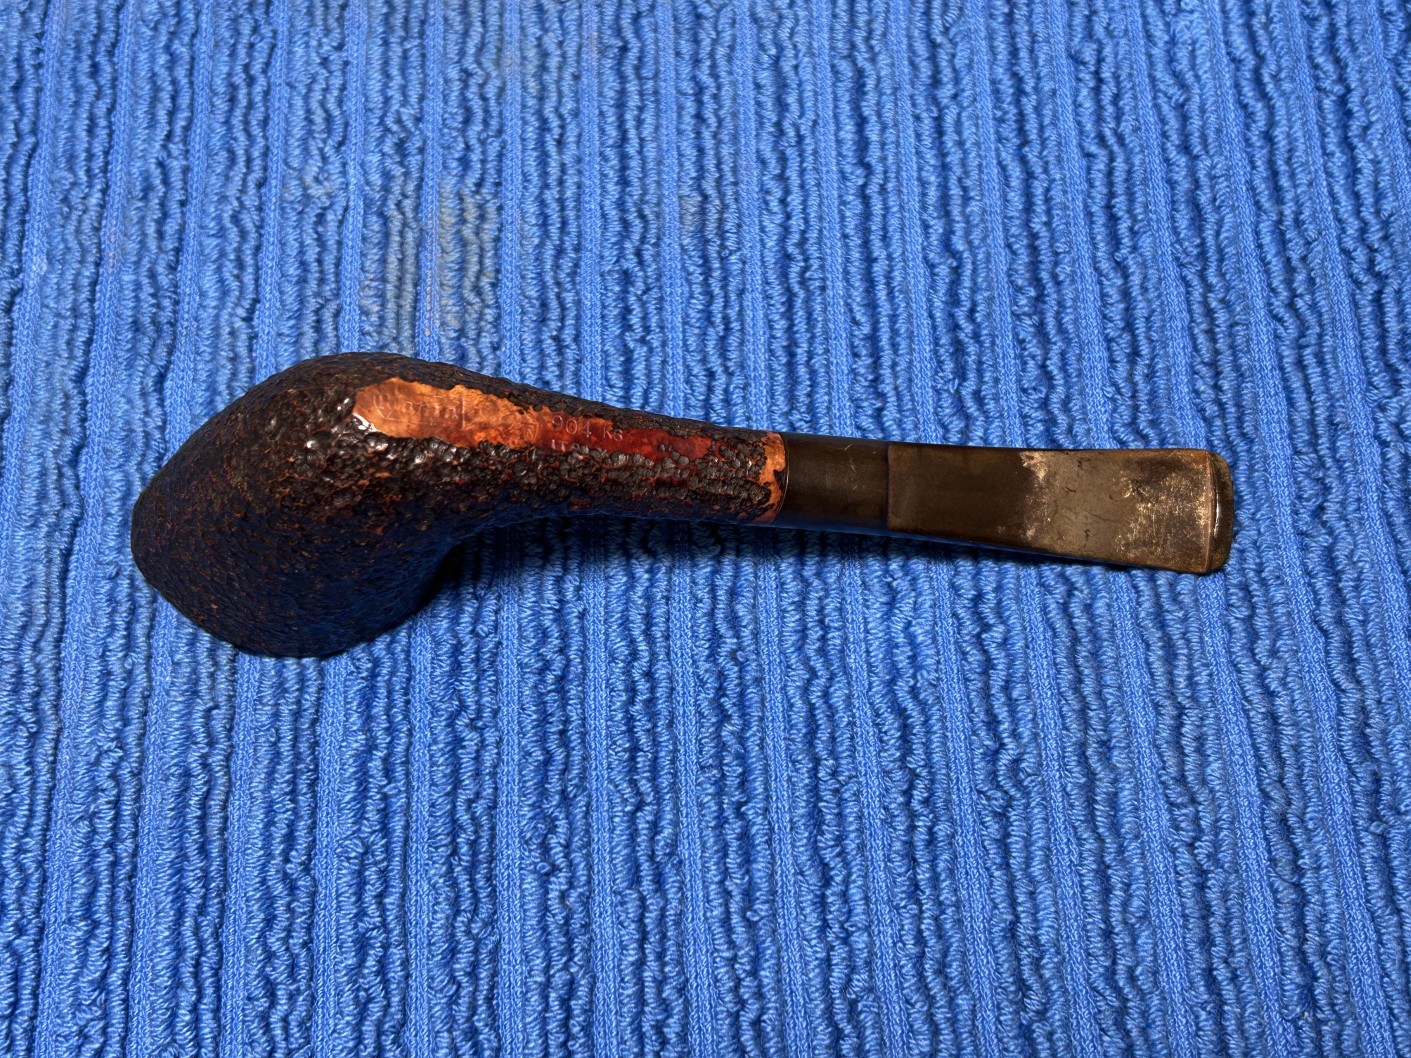
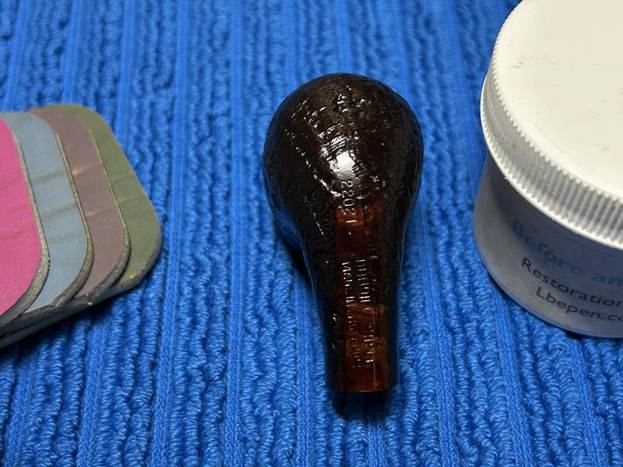
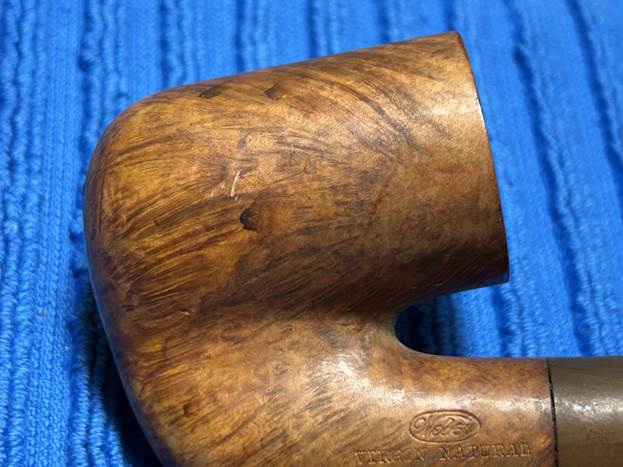
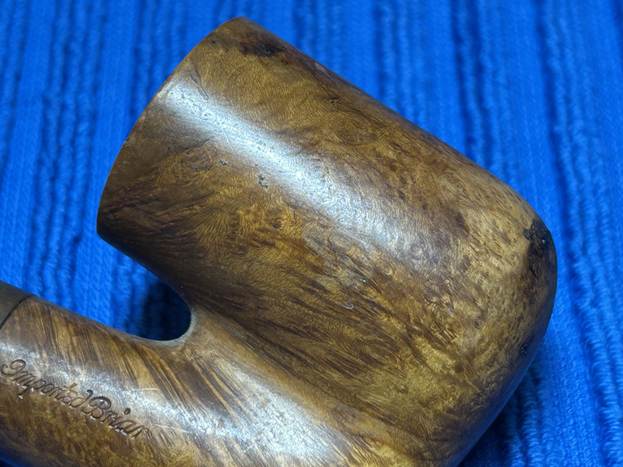
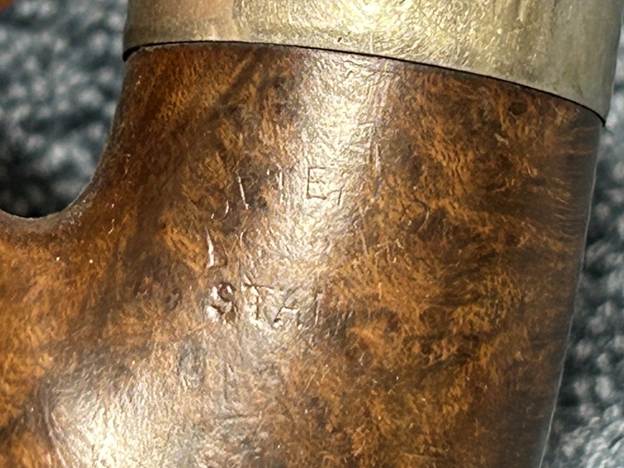
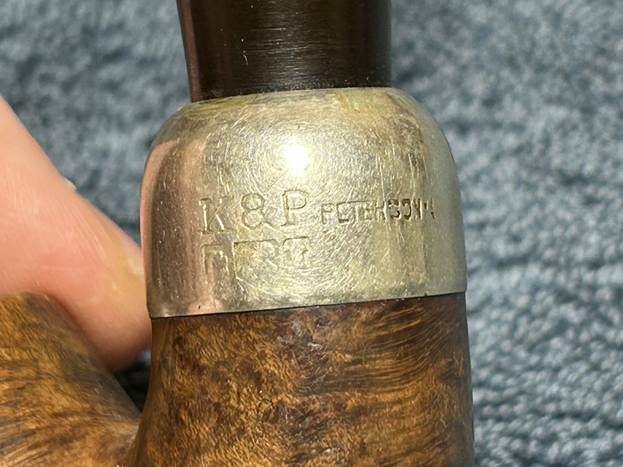
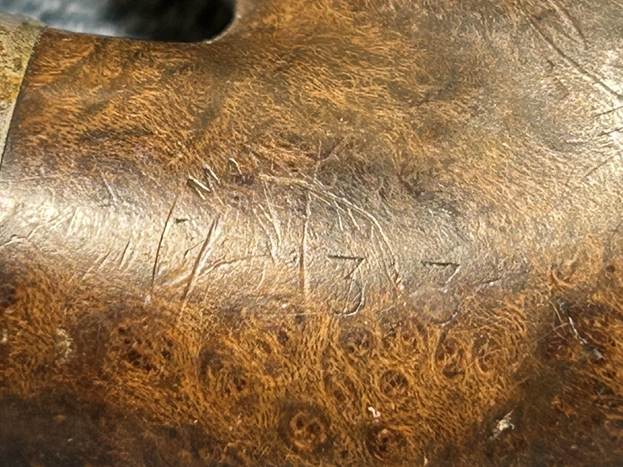
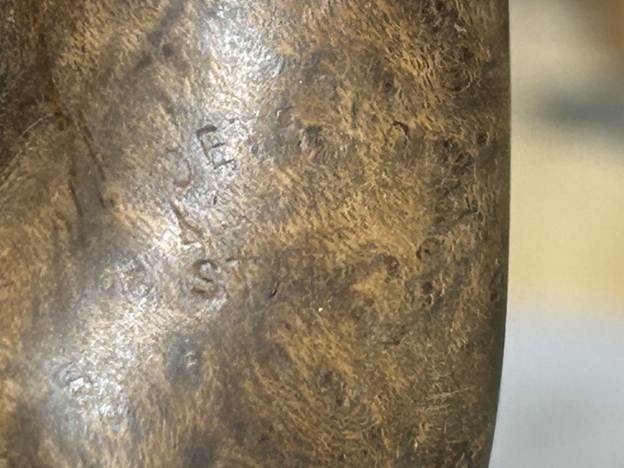
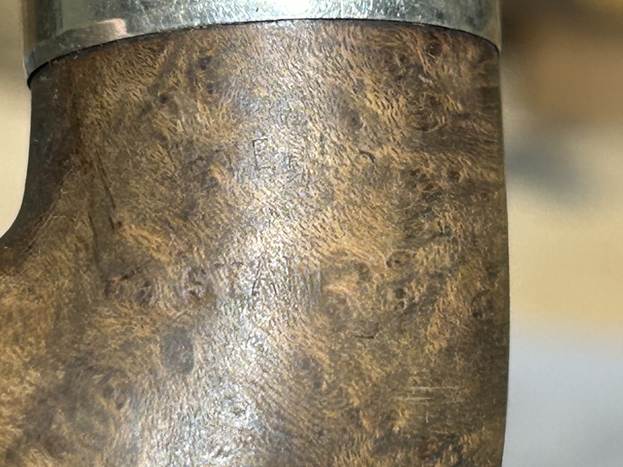
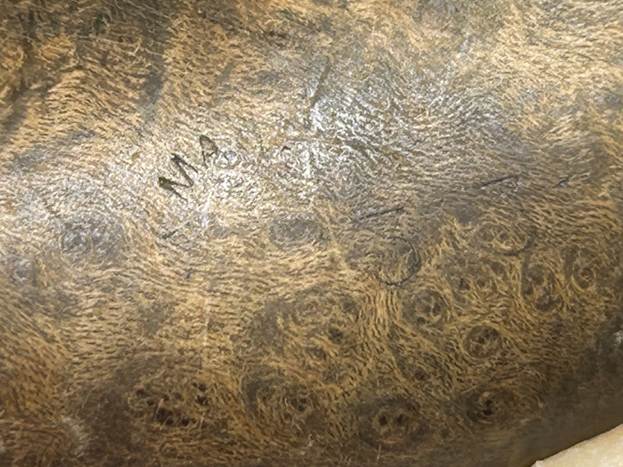
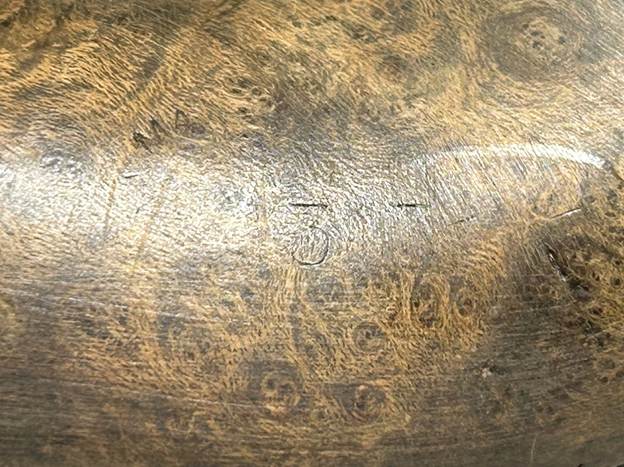
Let’s look at the markings. They are quite worn and faded, but not so faded that we can’t work them out. This Peterson 313 pipe has the classic ‘System’ look: bent shape, nickel mount, and tapered, army-style stem. Of course, it also has the traditional Peterson P-lip stem. The markings on the left side of the shank are Peterson’s [over] System [over] Standard. The right side of the shank showed Made in Ireland in a circle and, next to that, the shape number 313. The nickel mount on the shank had K&P Peterson’s [over] the typical Peterson faux hallmarks. There were no markings on the stem. The images below show the marks before cleaning. I will show them after cleaning later in this article.

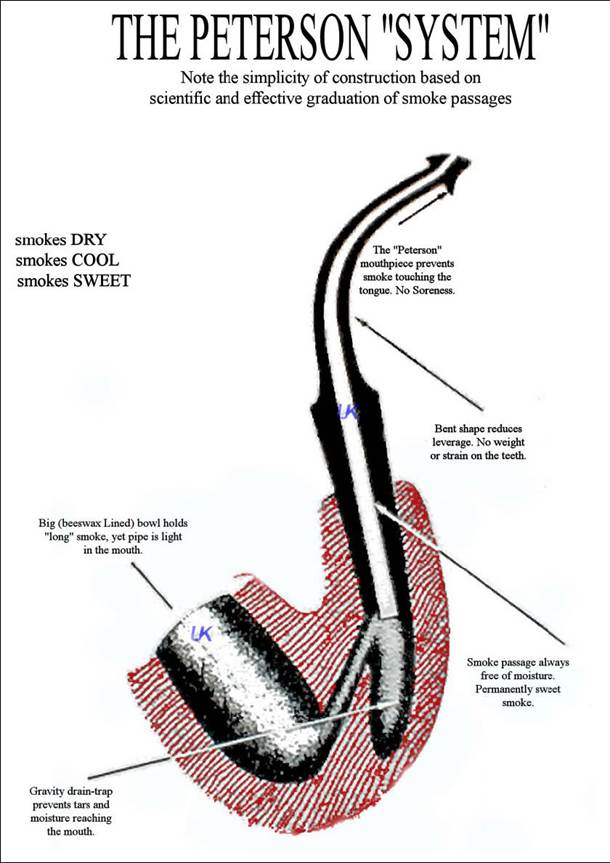
The Peterson System pipes are well-storied among Peterson collectors/admirers. I took the opportunity to read the article on Pipedia, specifically about the System pipes, by Jim Lilley. There is lots of good information there and I encourage you to read it: https://pipedia.org/wiki/A_closer_look_at_the_famous_Peterson_Standard_System_Pipe.

Having seen that the words ‘Made in Ireland’ were in a circle, I knew that I was dealing with an older pipe. Precisely how old would require some elementary research. The main Pipedia article on Peterson included a few interesting lines:

Charles Peterson applied for a patent for an improved tobacco pipe on the 8th of August 1890. He was awarded patent number 12393 on the 16th of June 1891 for Great Britain and Ireland. This came to be known as the famous ‘System Pipe’ patent…. Later they stamped their pipes with “Made in Ireland” in a circle format 1945-1947…

This is helpful in dating this pipe. I can comfortably say that this pipe dates from 1945 through 1947 – that is to say, about 80 years old (at the time of writing).

As usual, I also owe a debt of gratitude to Mark Irwin of Peterson Pipe Notes. He has a very interesting article on the various System shapes and I highly recommend having a look: https://petersonpipenotes.org/146-a-guide-to-system-shapes-1896-2019-part-1-the-300-shape-group/. He writes the following on the history of the 313:

The 313 is an original Patent dutch billiard bowl, pictured in the 1896 catalog as shape 8 and listed in the 1906 catalog as one of the small Patents. It was given its current shape number as a 2nd Quality pipe in the 1937 catalog, where it also appears as a 3rd Quality pipe with shape number 363. That catalog also gives shape number 8S to its De Luxe version, where it also appears as a Classic Range 2004B (K and 1st Quality) and 338 (Kapet and De Luxe). In the late 1970s it was released in the Dunmore System line as number 73.

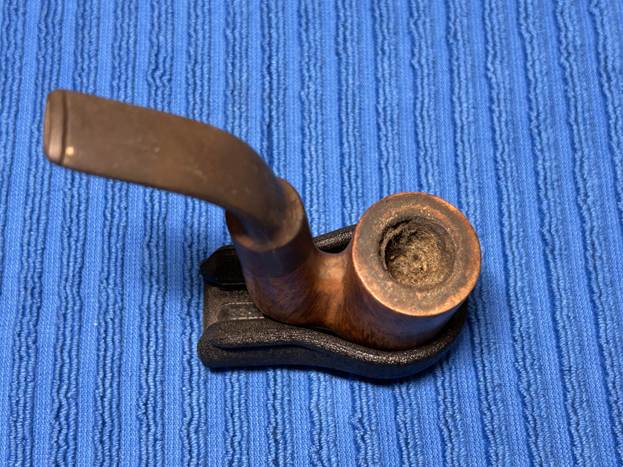
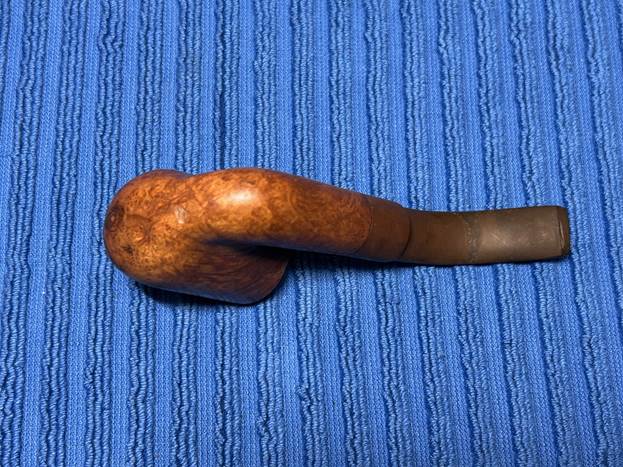
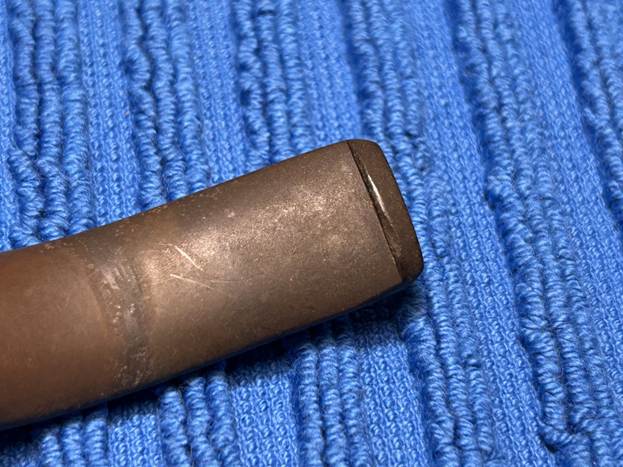
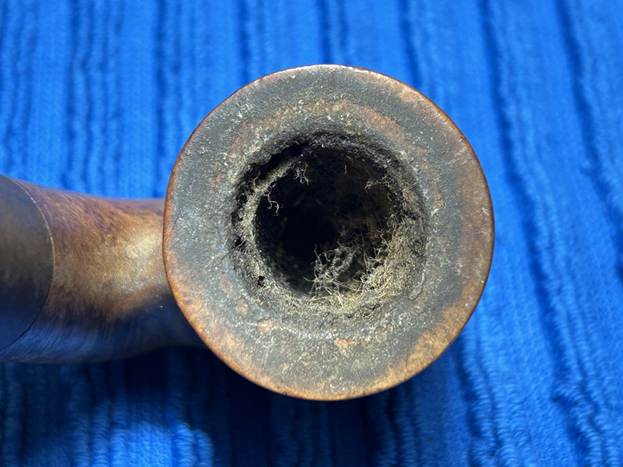
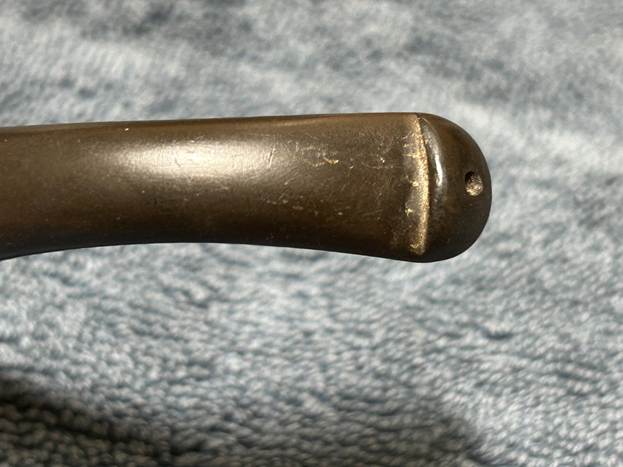
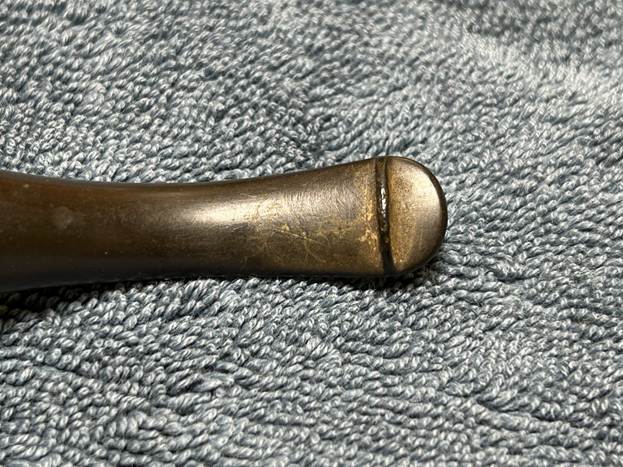
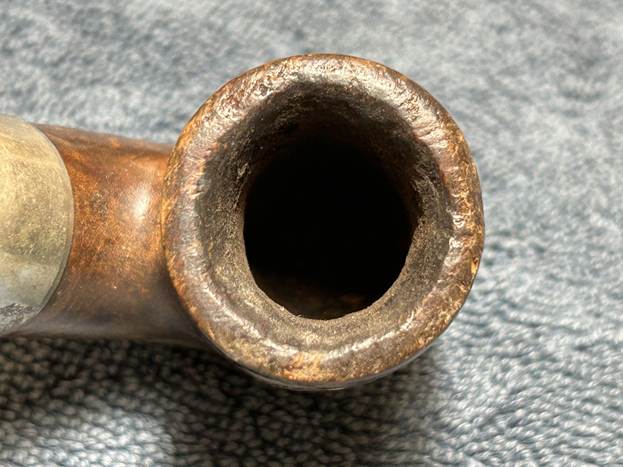
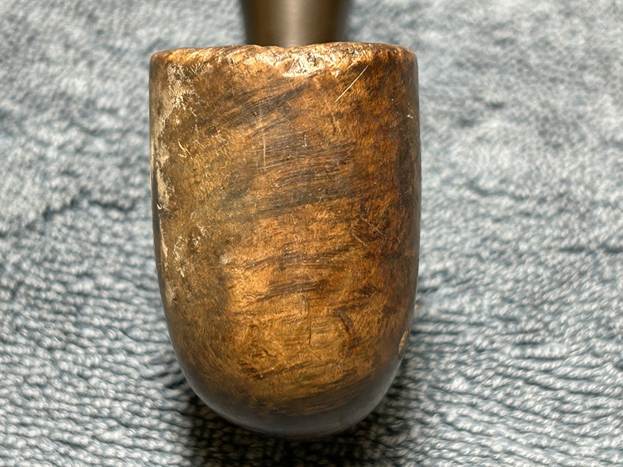
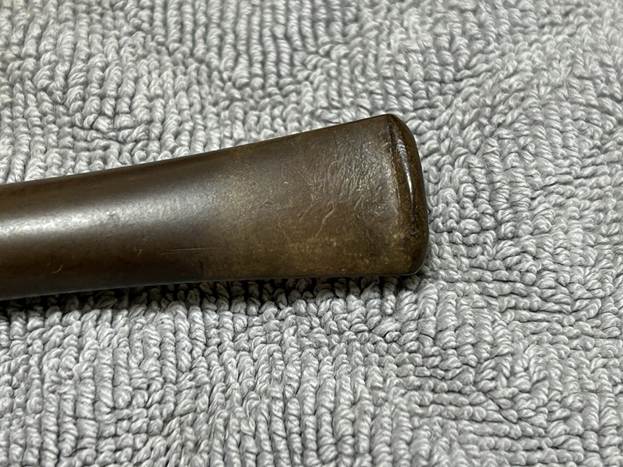
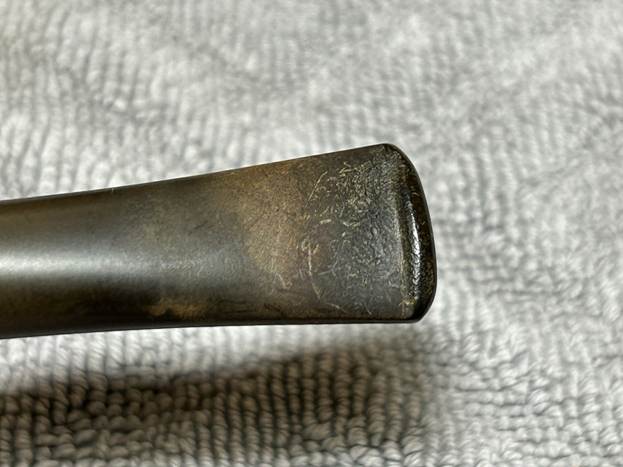
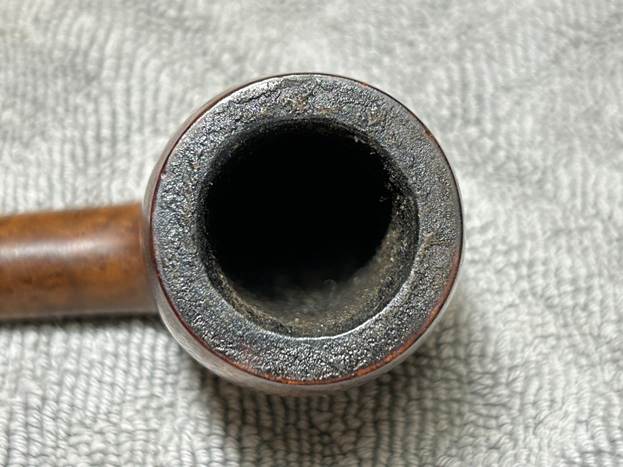
On to the pipe itself – well, it has seen better days. This one was obviously a great smoker, because the previous owner smoked it thoroughly. Mind you, the stem was in surprisingly good shape – compared with the stummel. It’s a bit dirty, oxidized, calcified, and has a few tooth marks. The bowl has a bit of lava on the rim, lots of cake in the bowl, and a notable nick on the rim. More than that, it has been reamed overly aggressively. But, as Steve always says, this is part of the pipe’s history. Despite the filth, you can see how smart this pipe is. Let’s get on with the work.

I used a disposable lighter and ‘painted’ the stem with its flame. The gentle heat of the flame can cause the dents in the vulcanite of the stem to expand back into shape. It helped a bit.

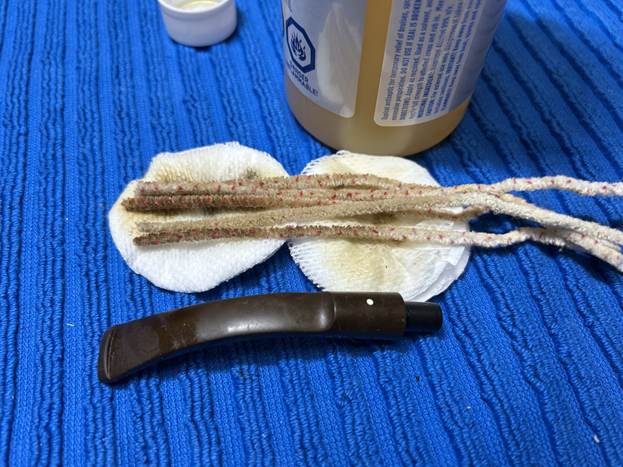
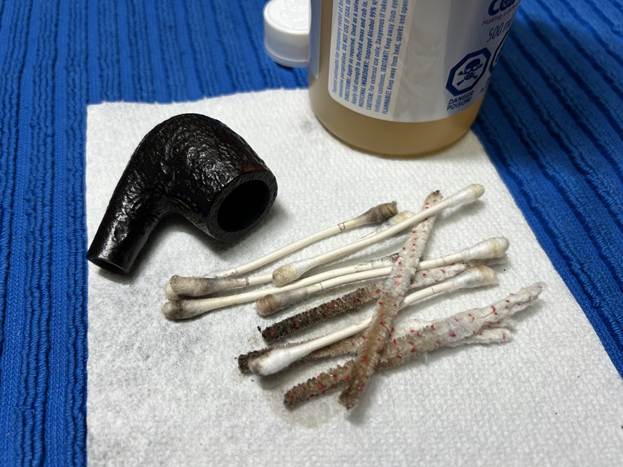
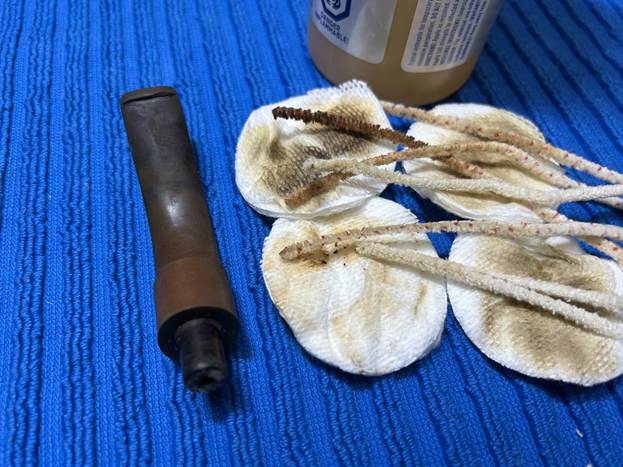
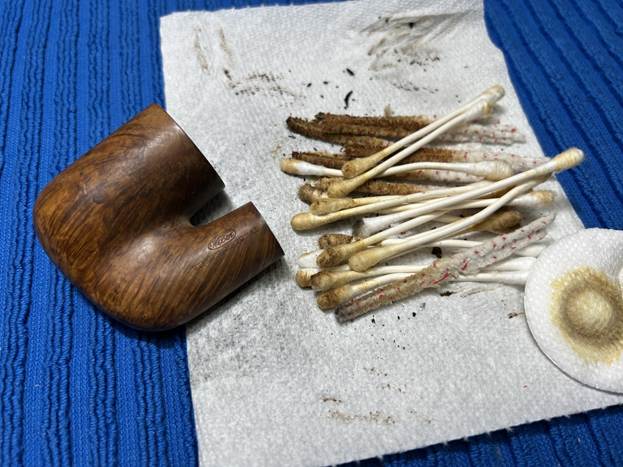
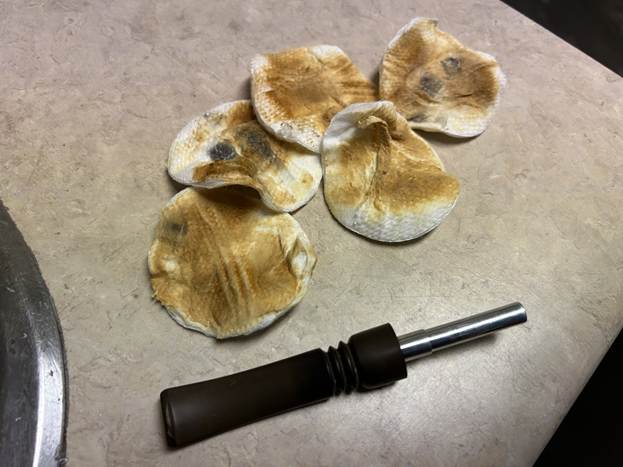
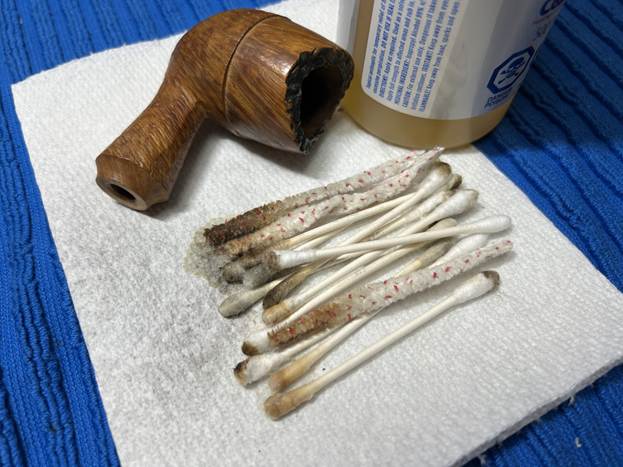
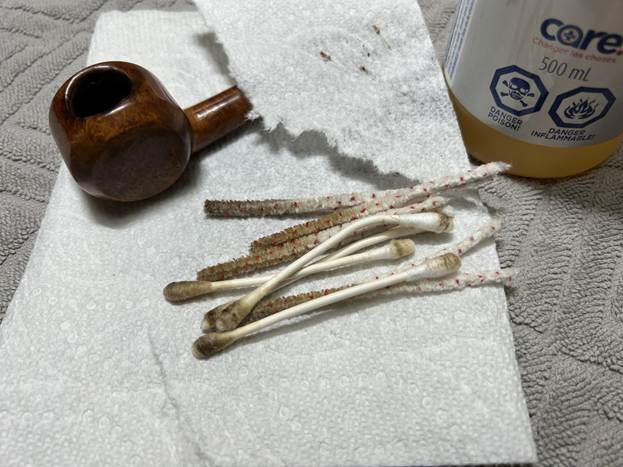
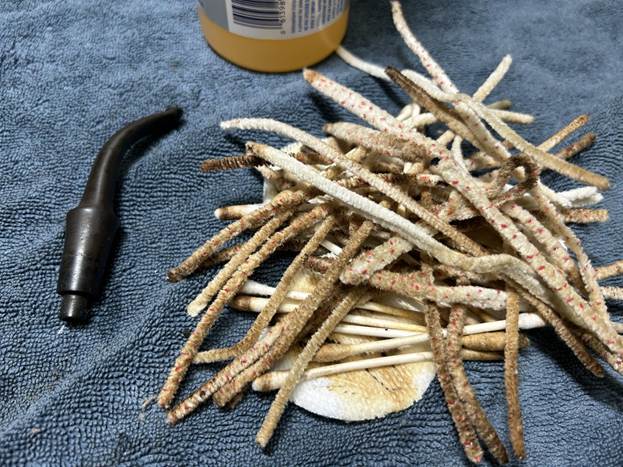
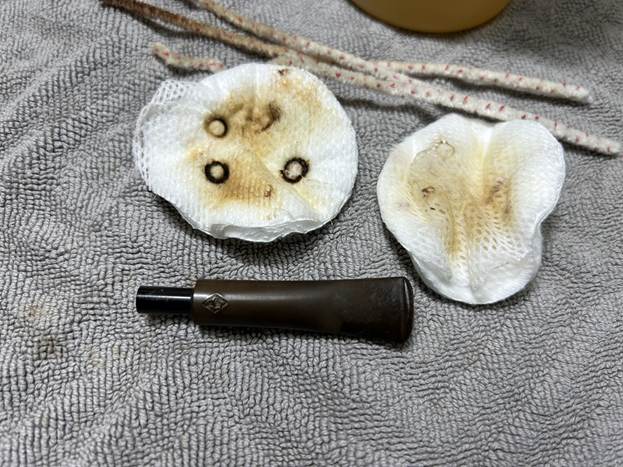
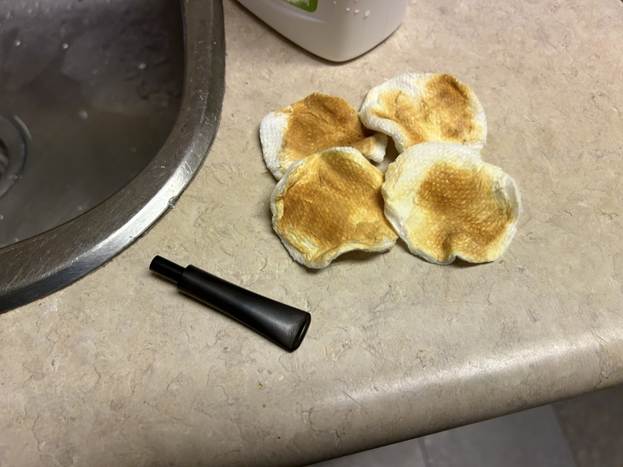
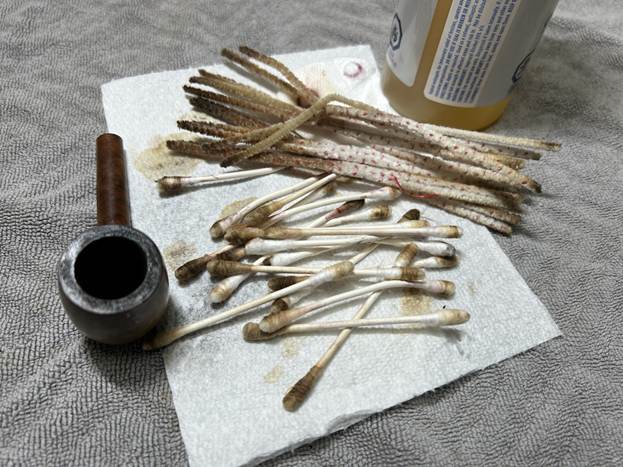
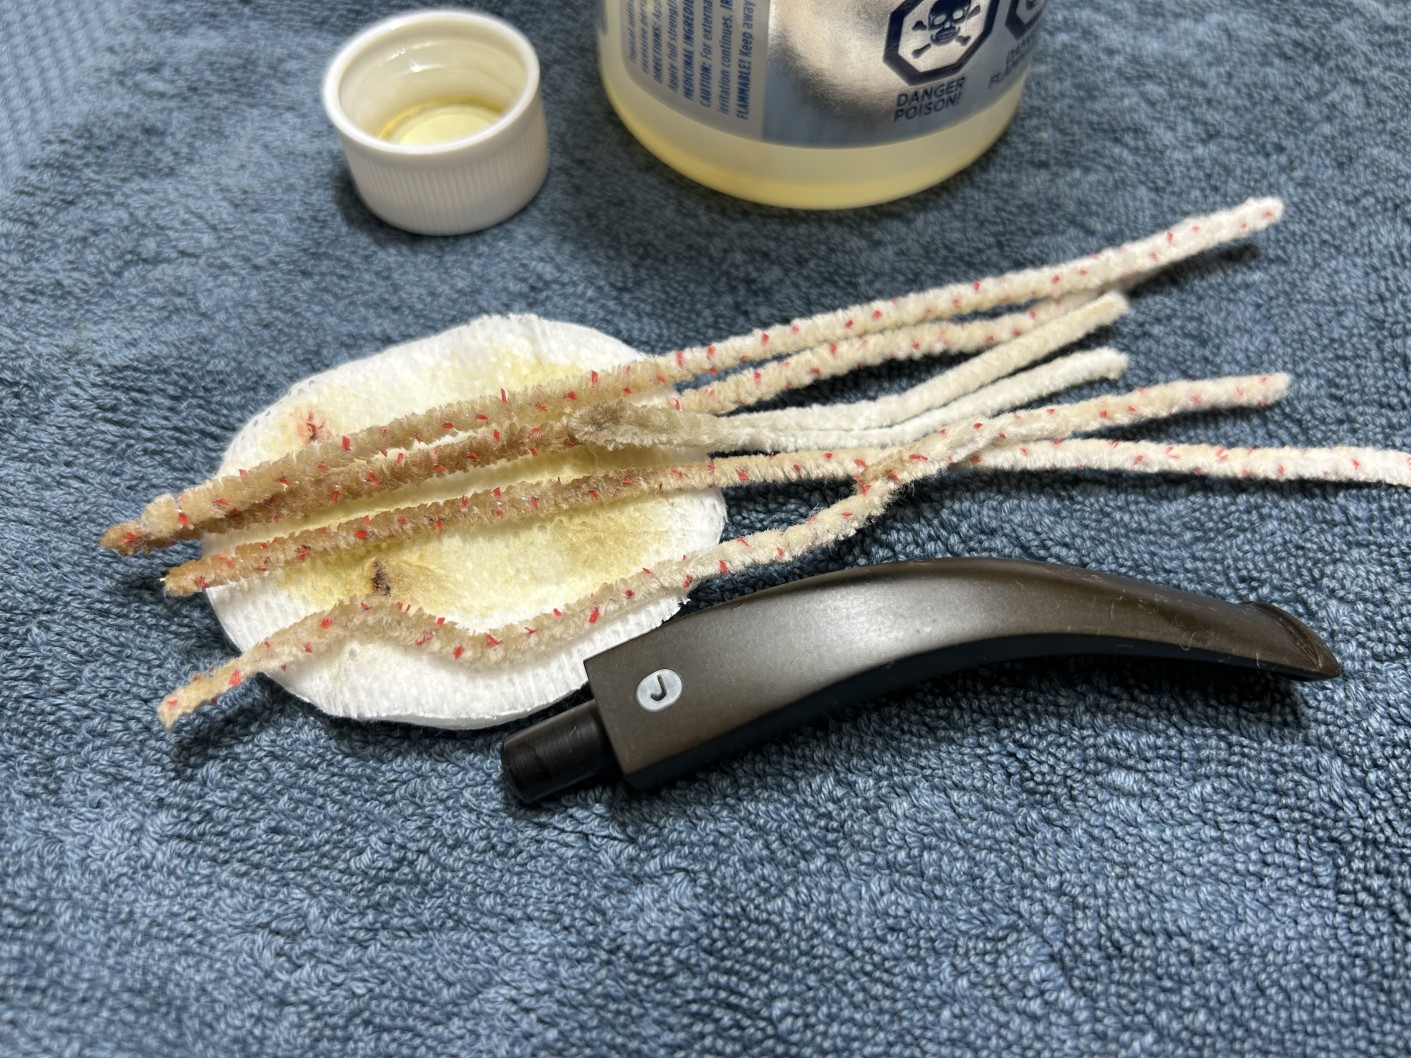
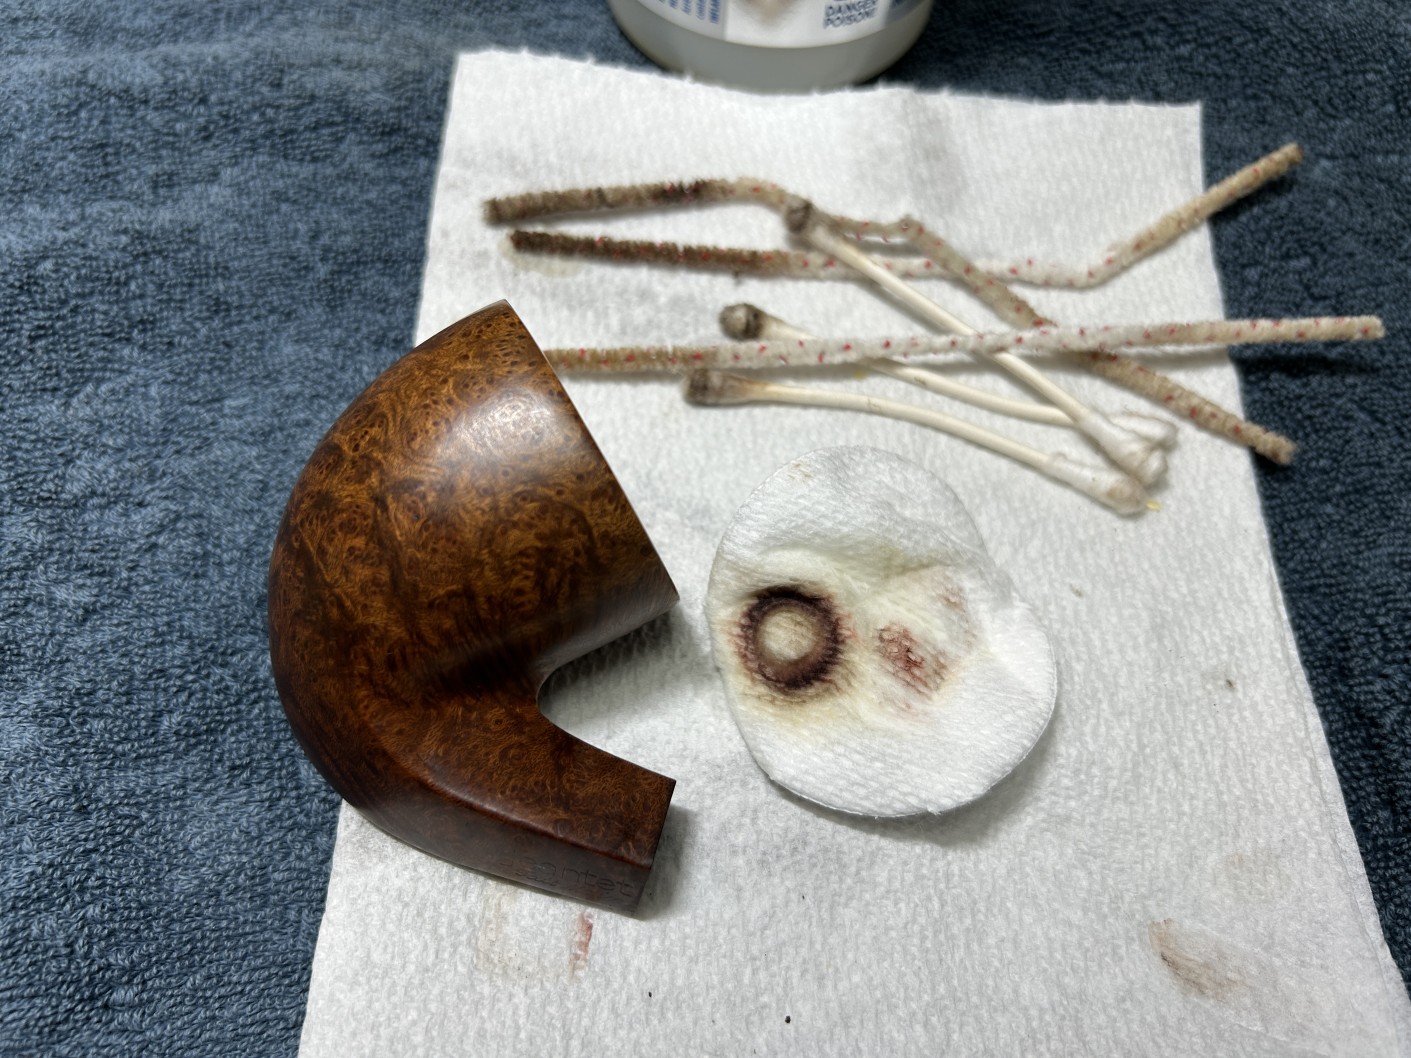
I used isopropyl alcohol on a few cotton rounds and wiped down the stem to provide an initial cleaning of filth before moving on to the next steps. The primary cleaning came next. I disinfected the inside of the stem with both pipe cleaners and cotton swabs dipped in lemon-infused 99% isopropyl alcohol. I scrubbed thoroughly to make sure the interior was very clean. I used a LOT of pipe cleaners and cotton swabs.

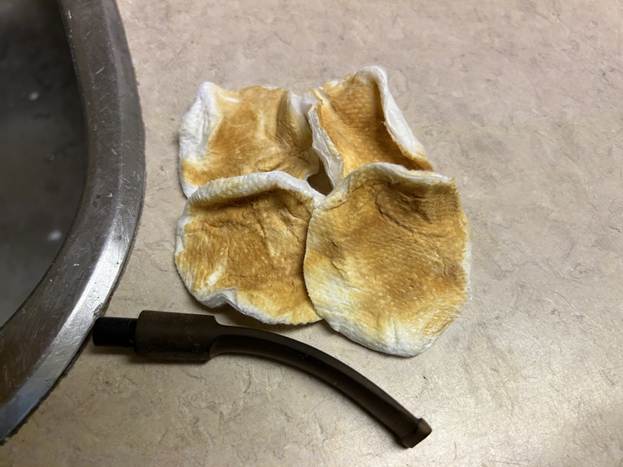
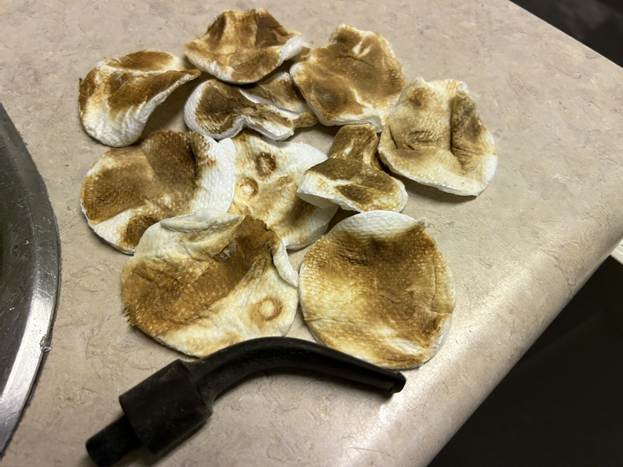
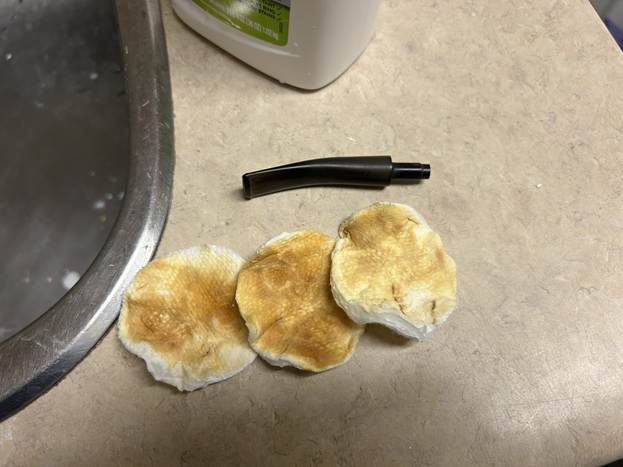
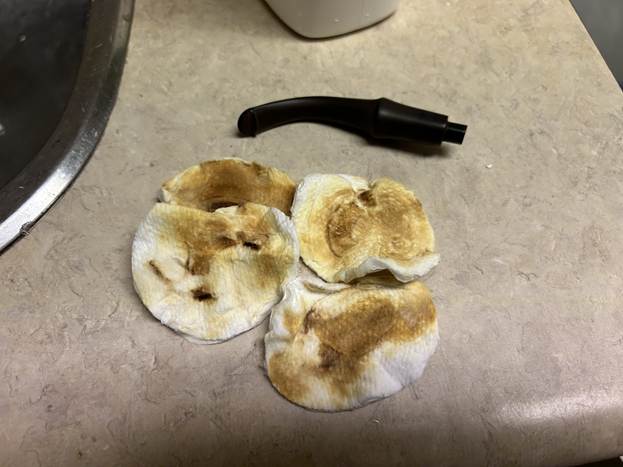
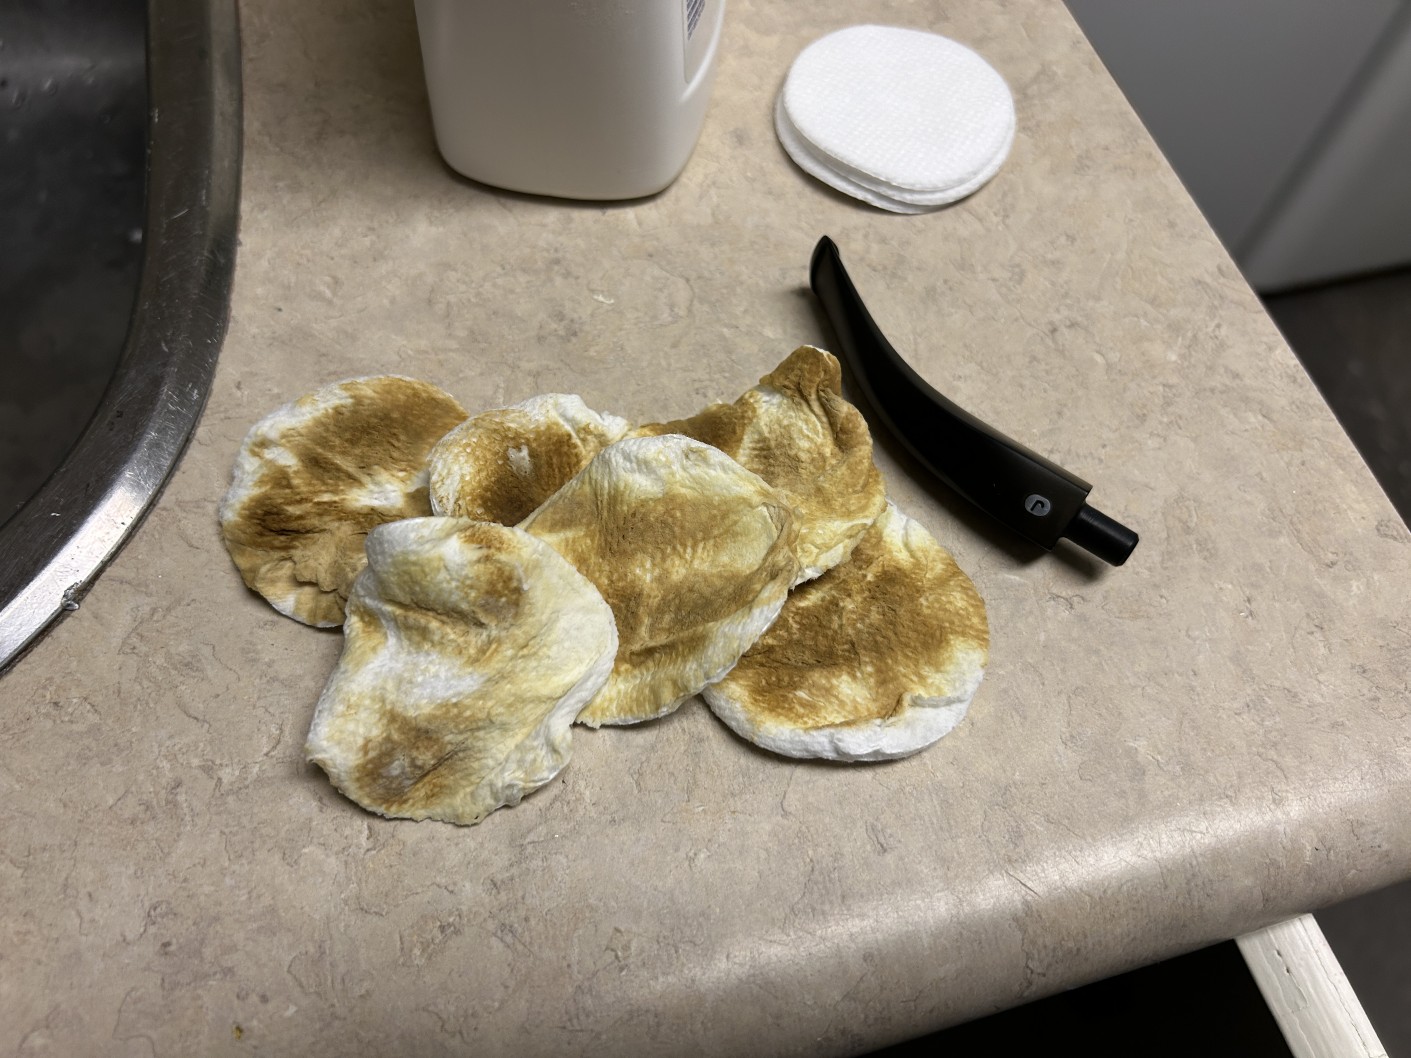
The goal of the next step is the removal (or minimization) of oxidation. Going to my sink, I used cream cleanser, cotton rounds, and a toothbrush, and scoured the stem to remove as much surface oxidation as possible. As the photos show, the result was a hideous, ochre-coloured mess – but better off the stem than on it.

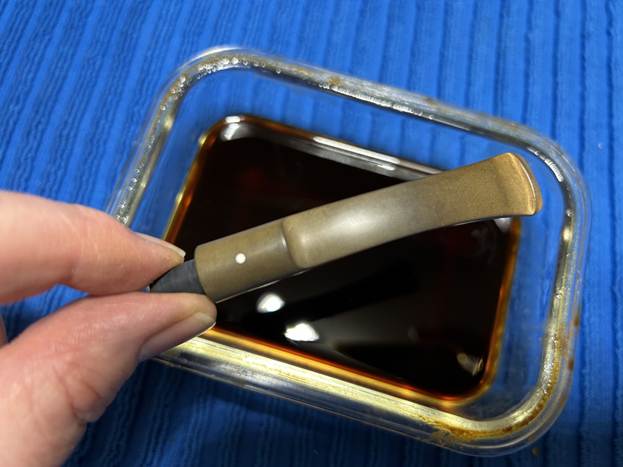
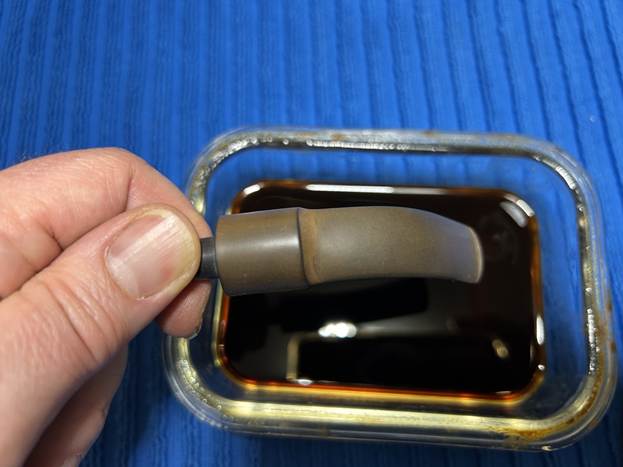
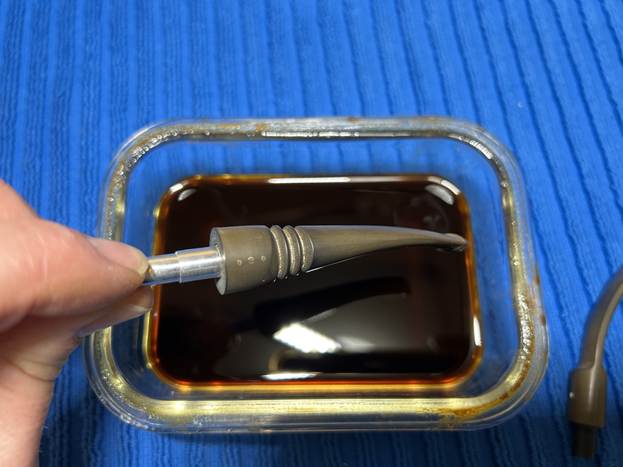
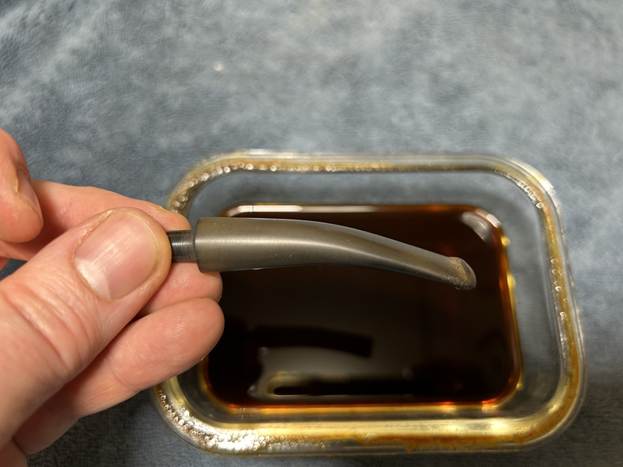
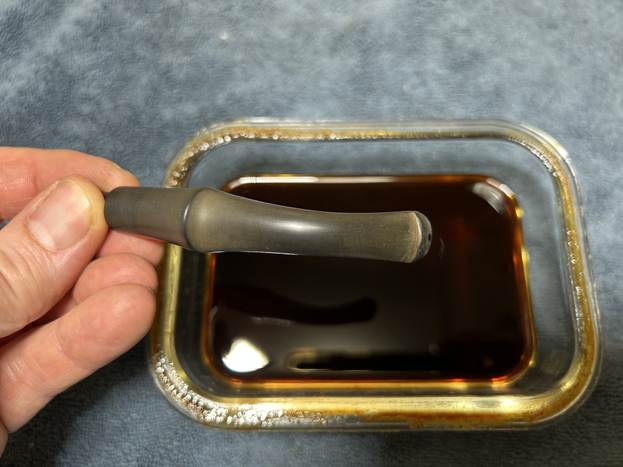
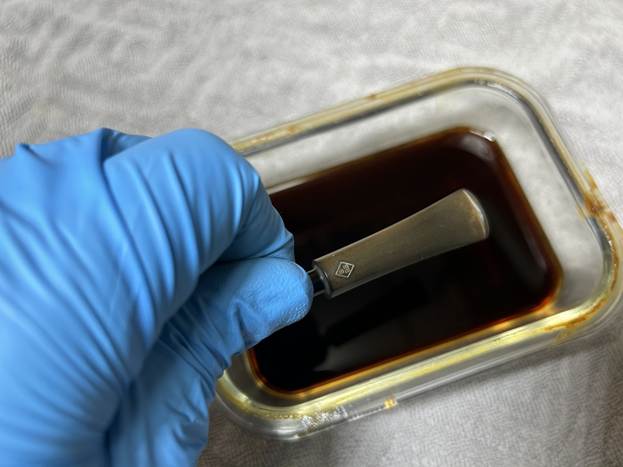
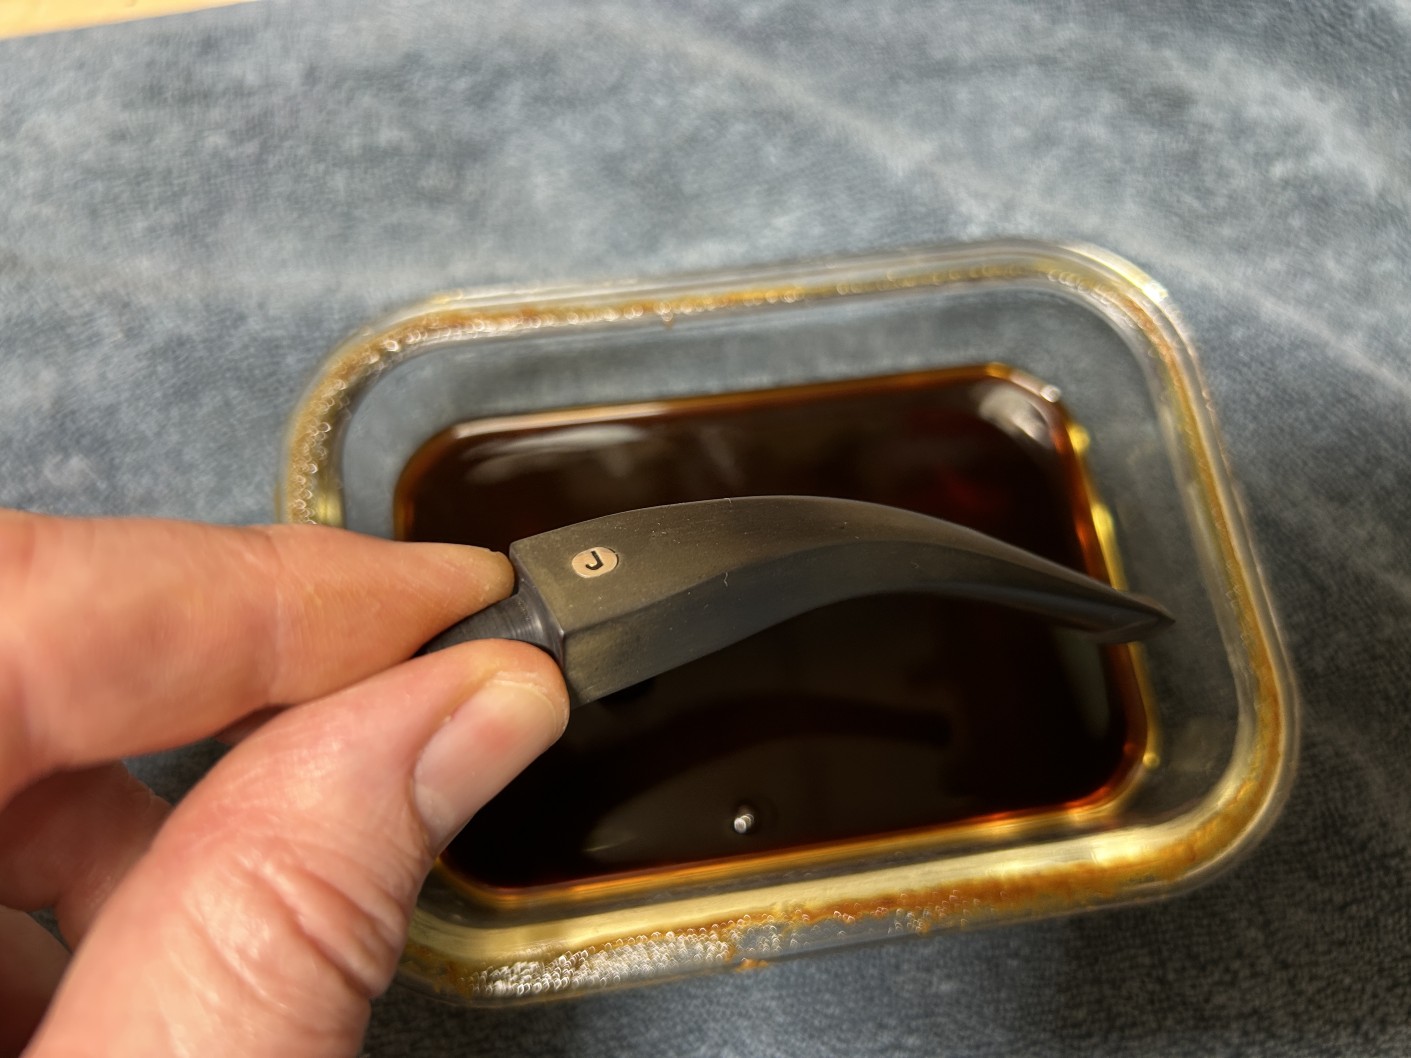
Once the stem was reasonably clean, I soaked it overnight in some Briarville Stem Oxidation Remover. This solution works to draw oxidation in the stem to the surface of the vulcanite. This is a major aid and an important step in ensuring a clean stem. The following day, I drew out the stem from its bath and scrubbed the lingering fluid with a toothbrush.

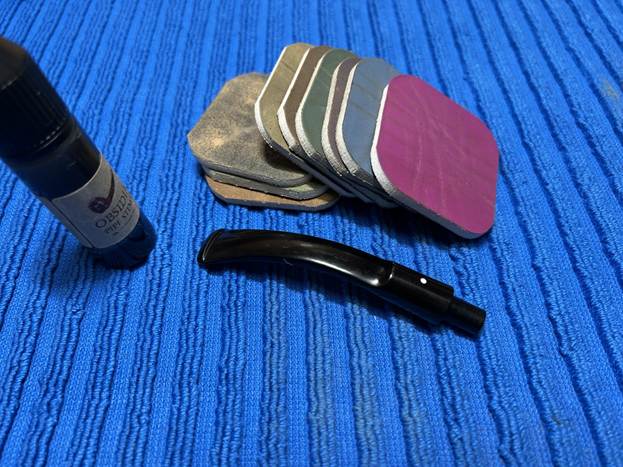
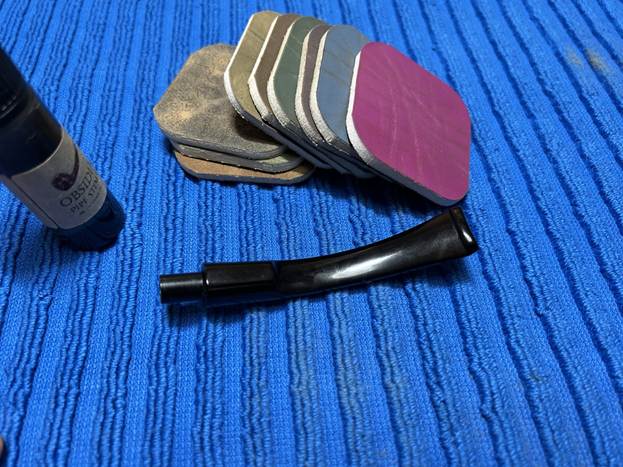
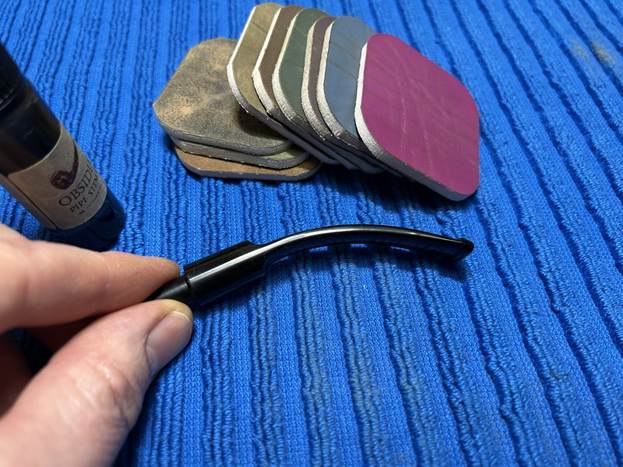
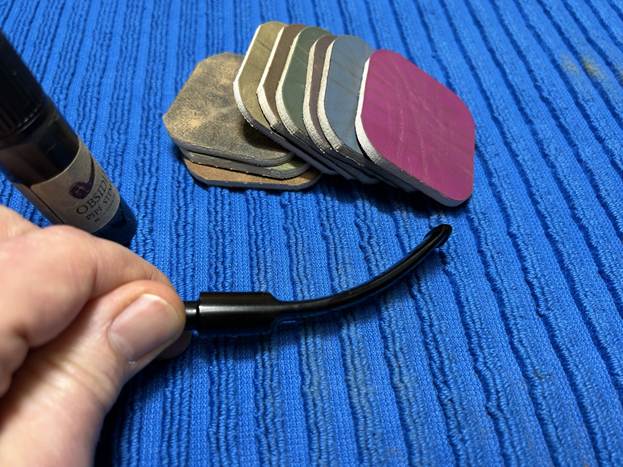
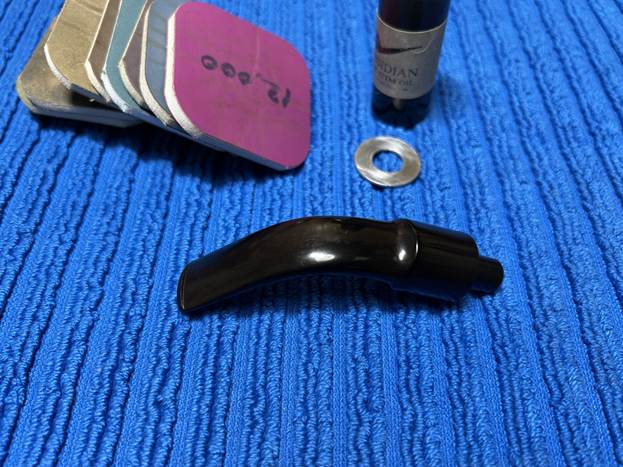
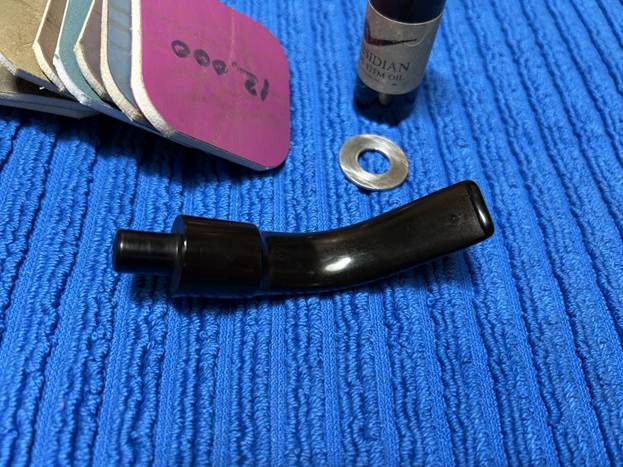
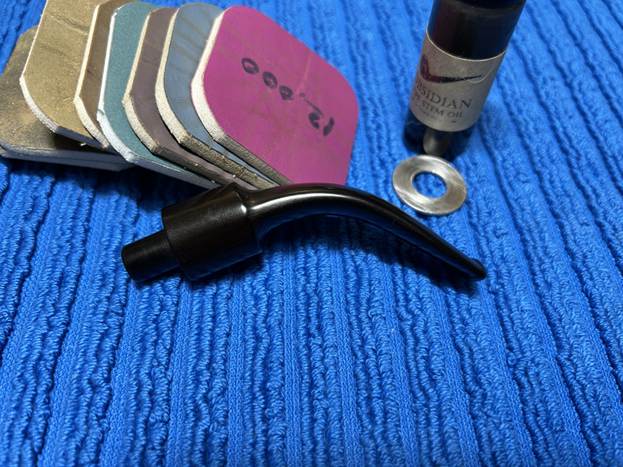
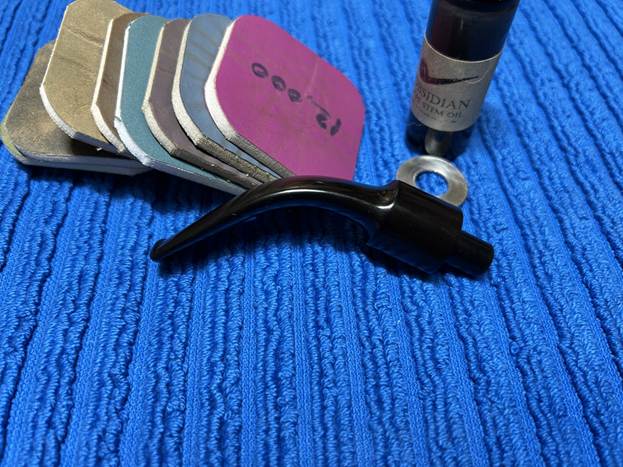
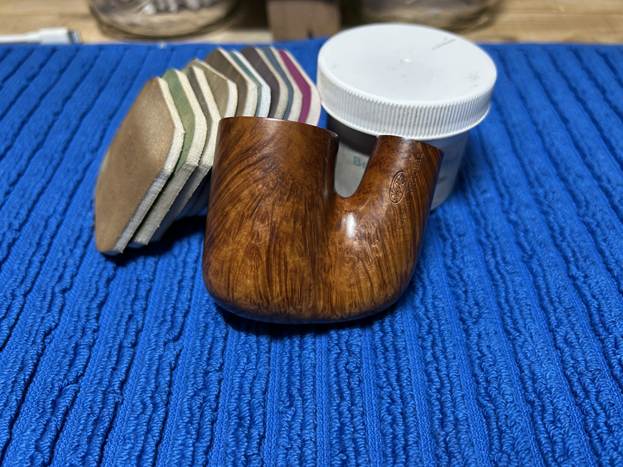
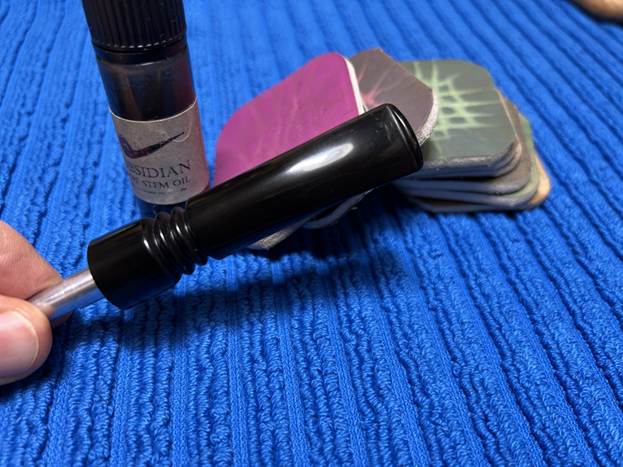
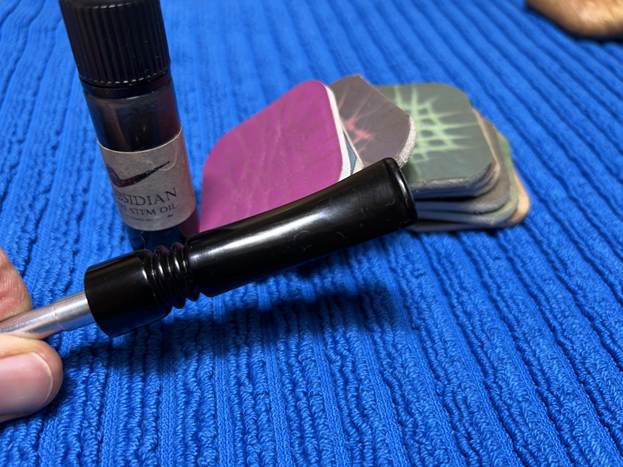
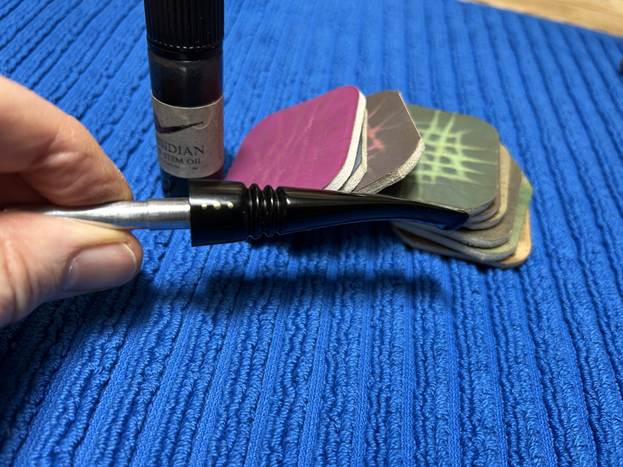
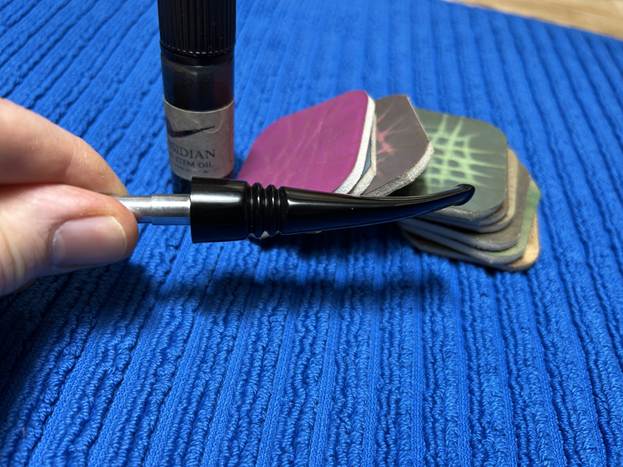
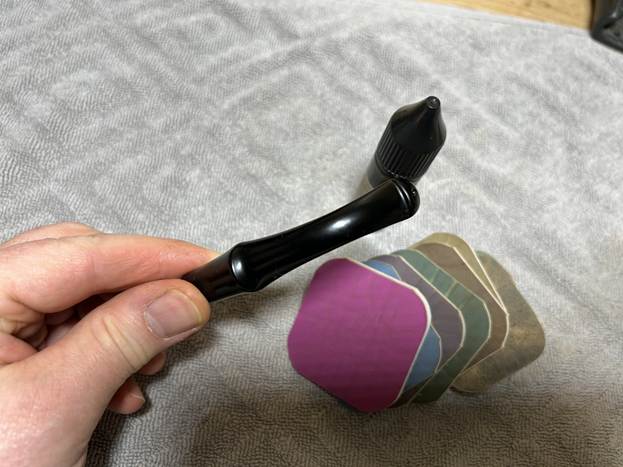
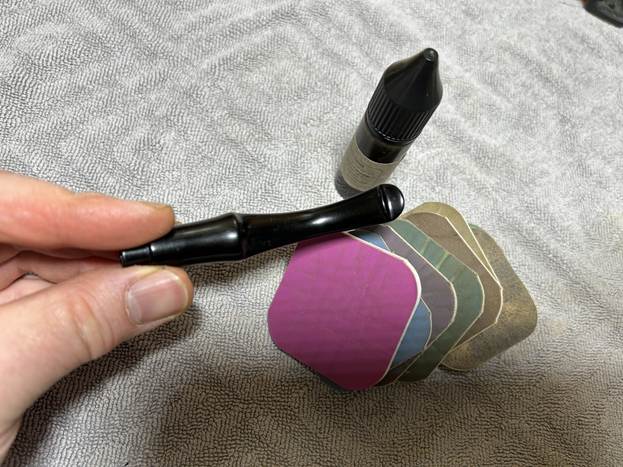
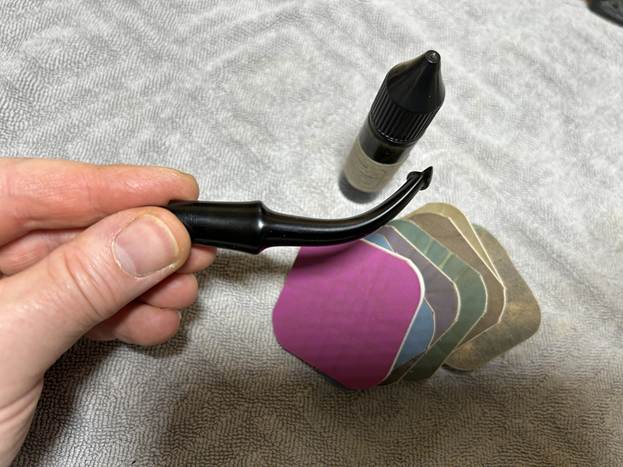
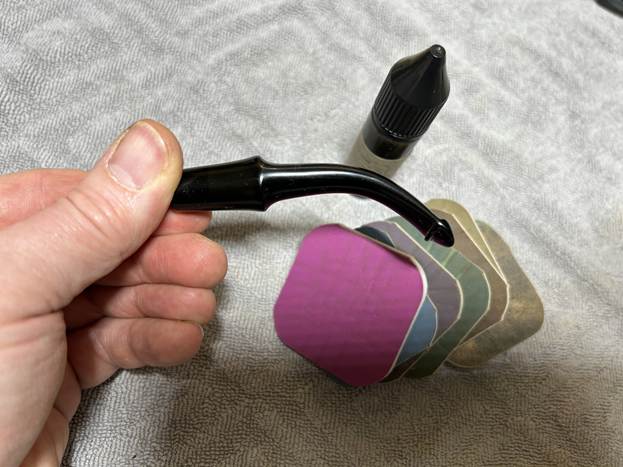
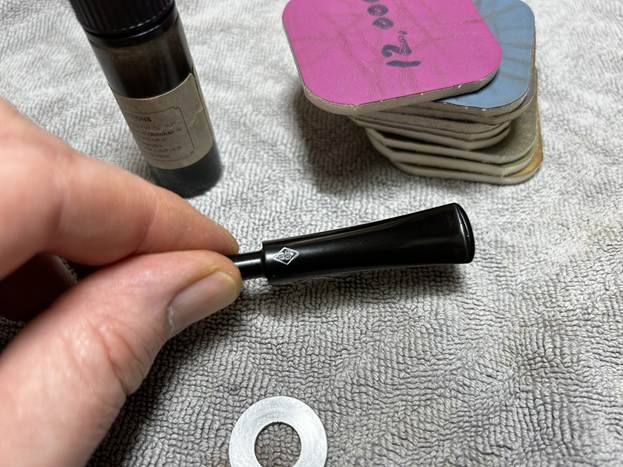
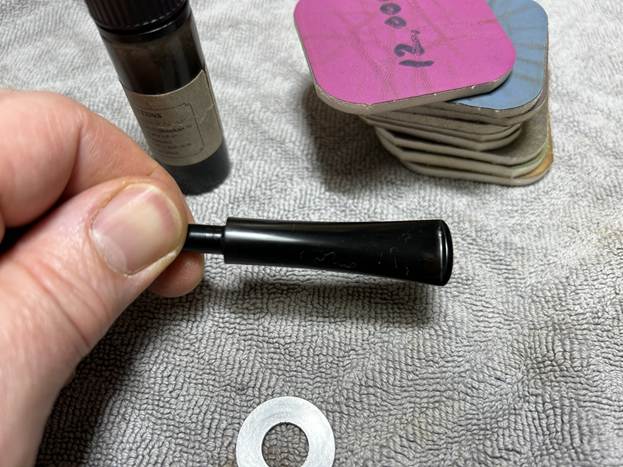
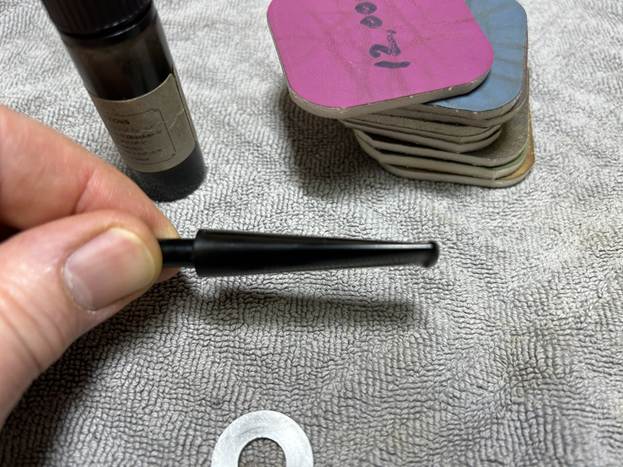
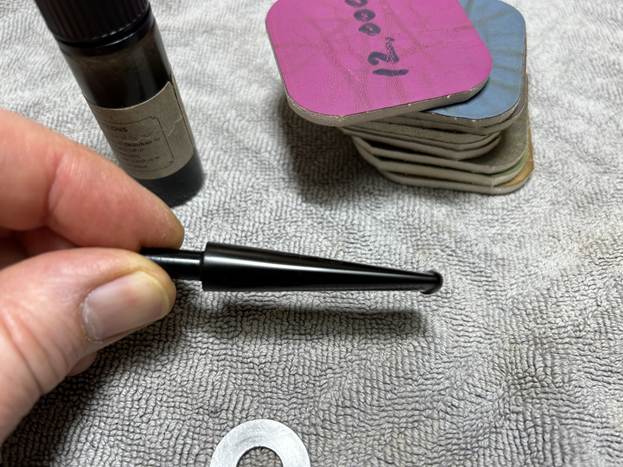
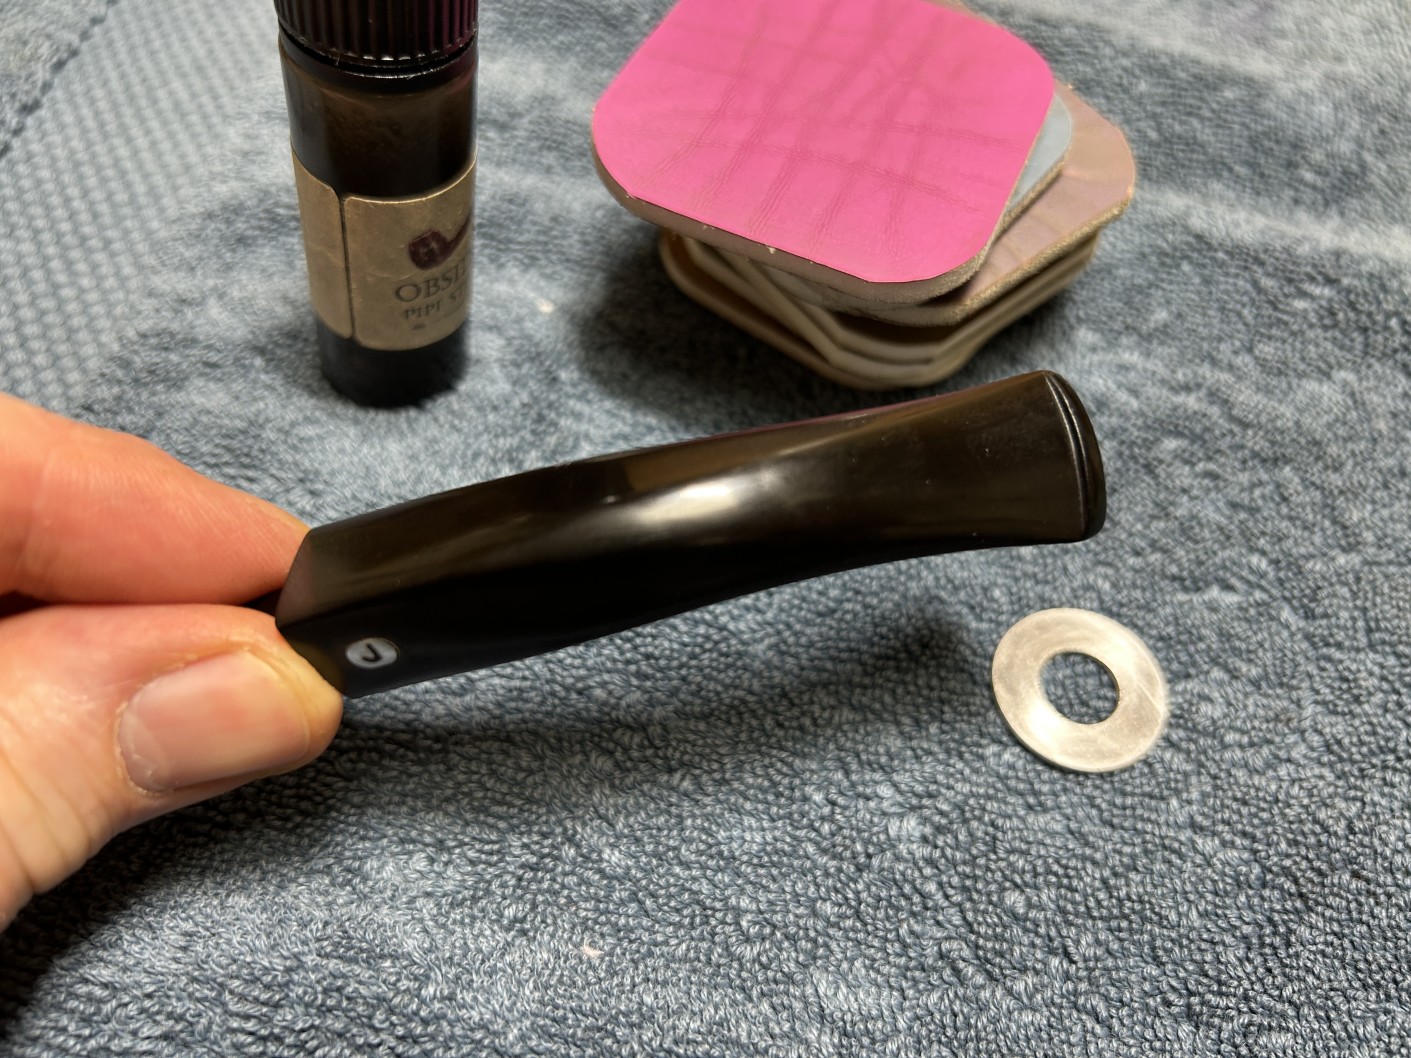
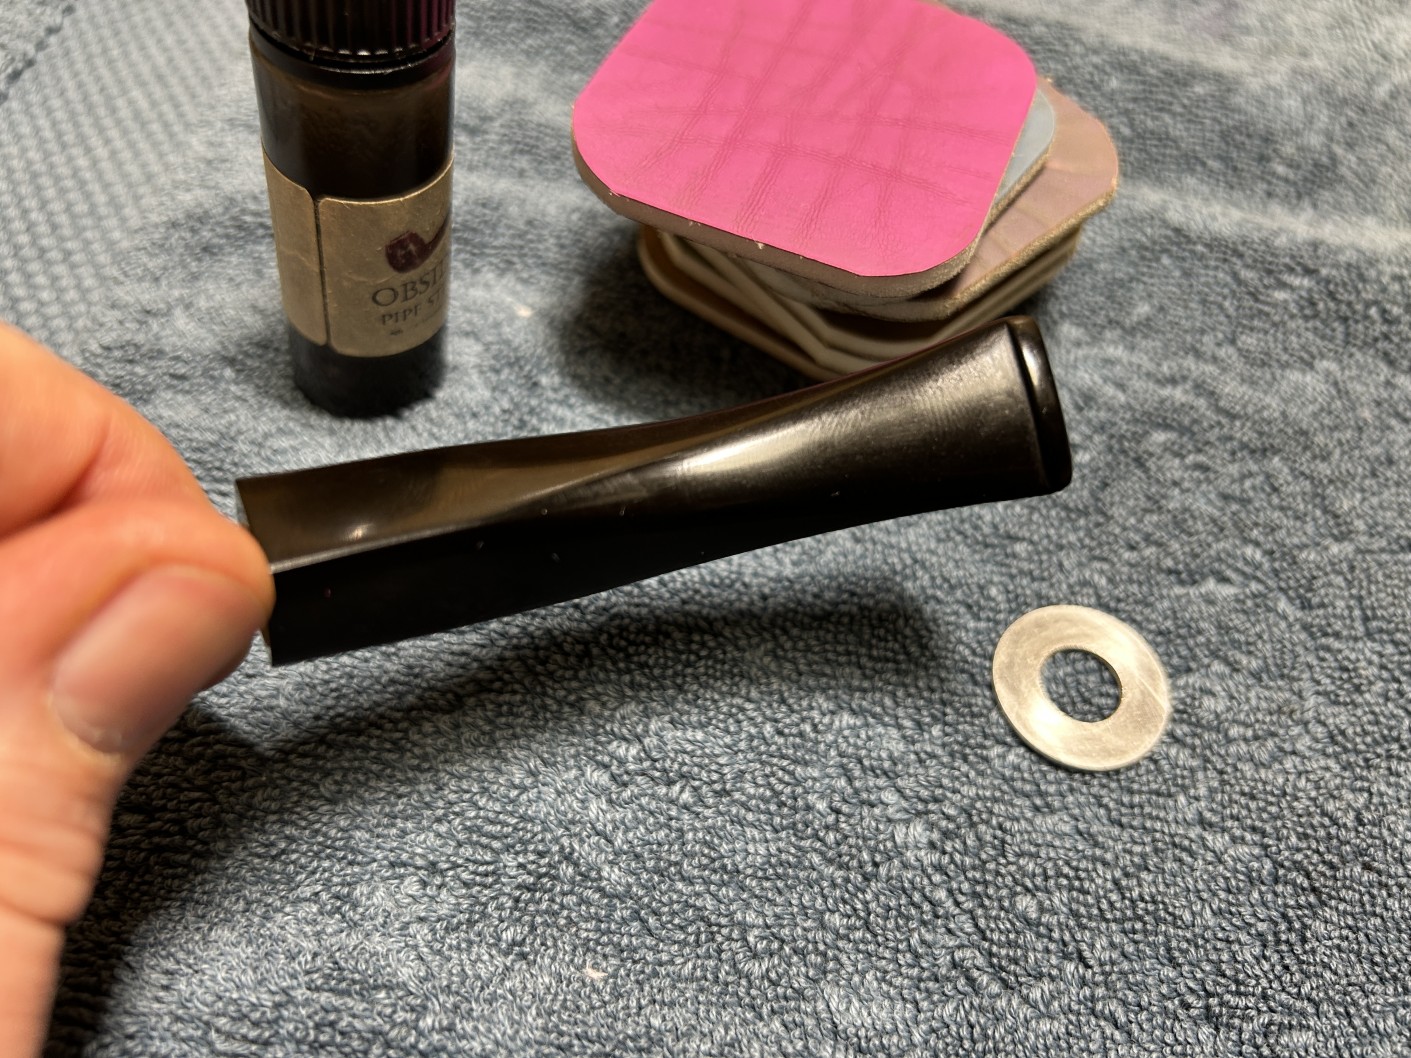
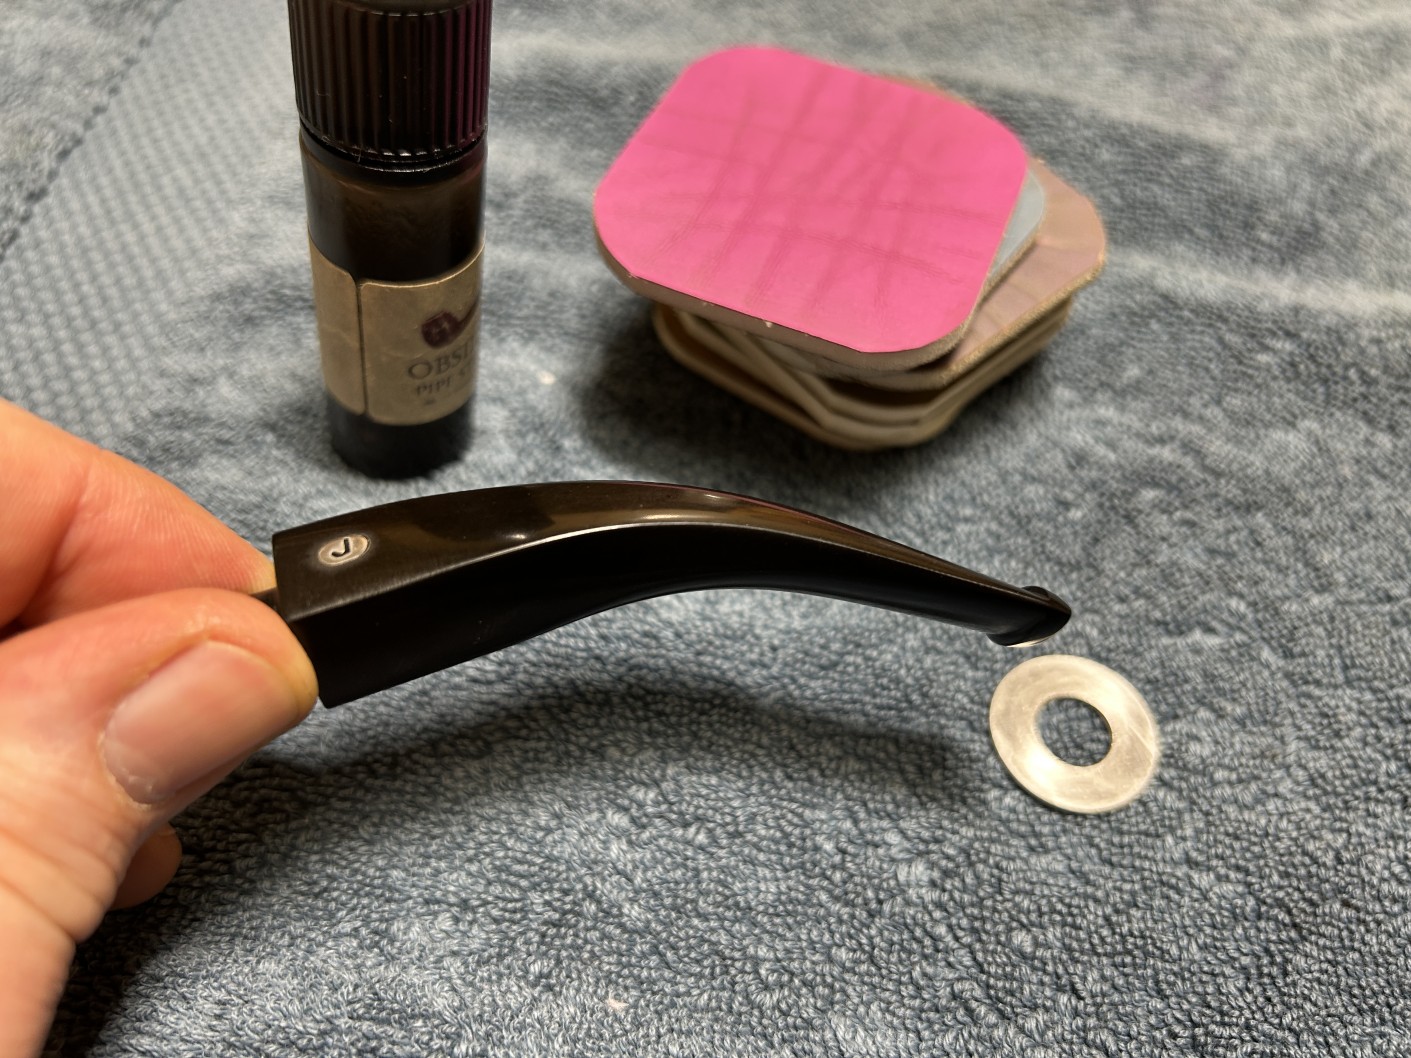
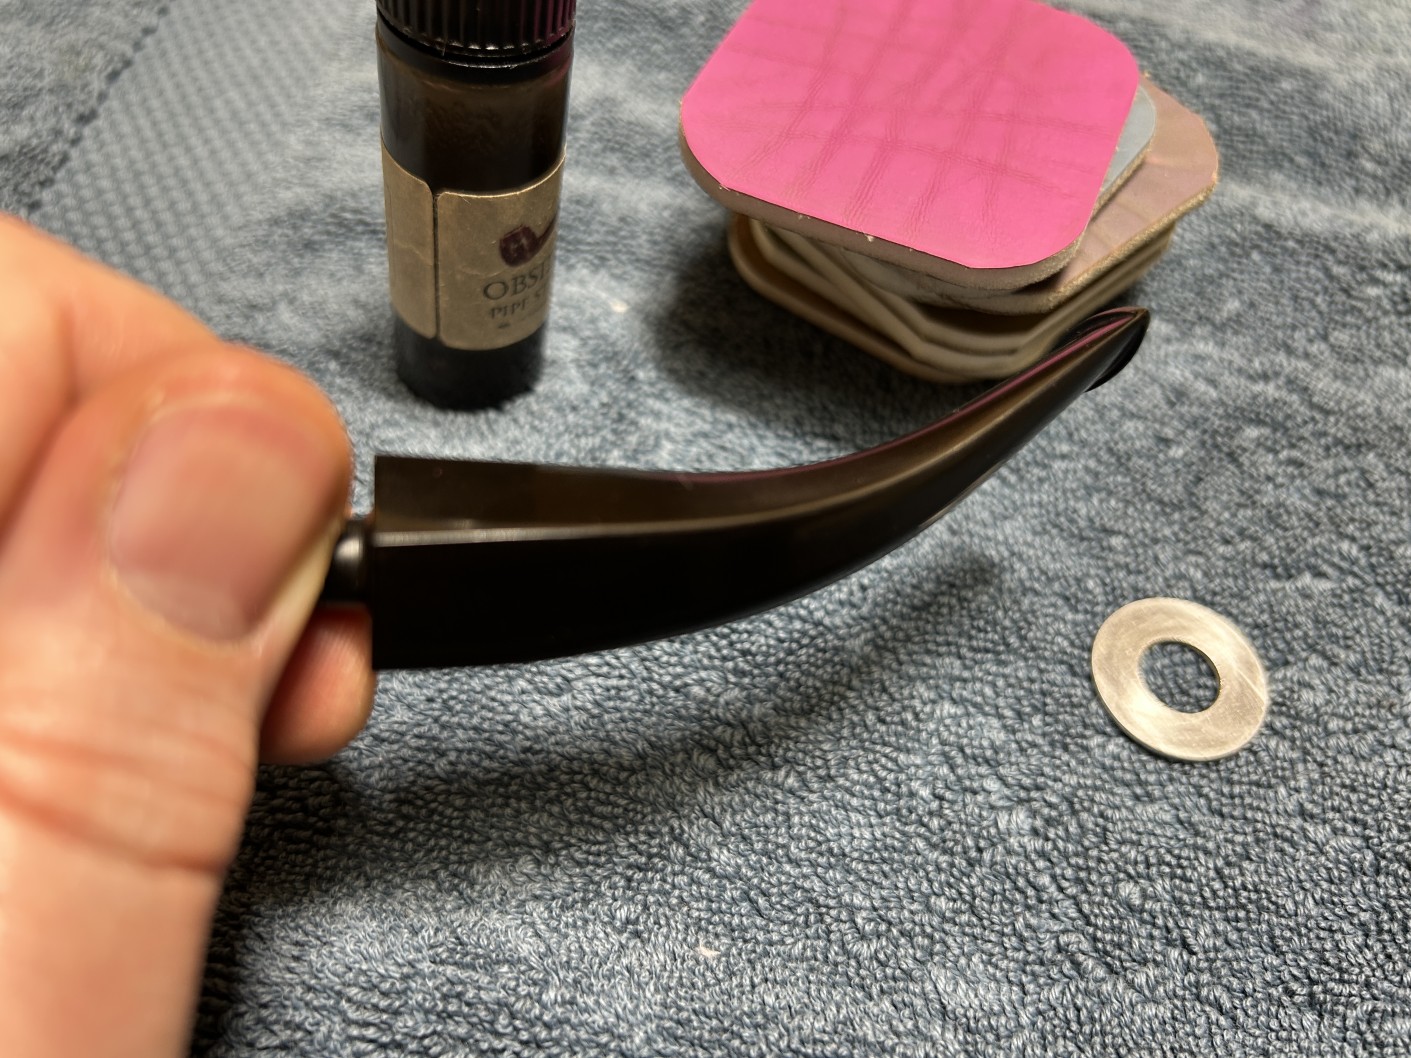
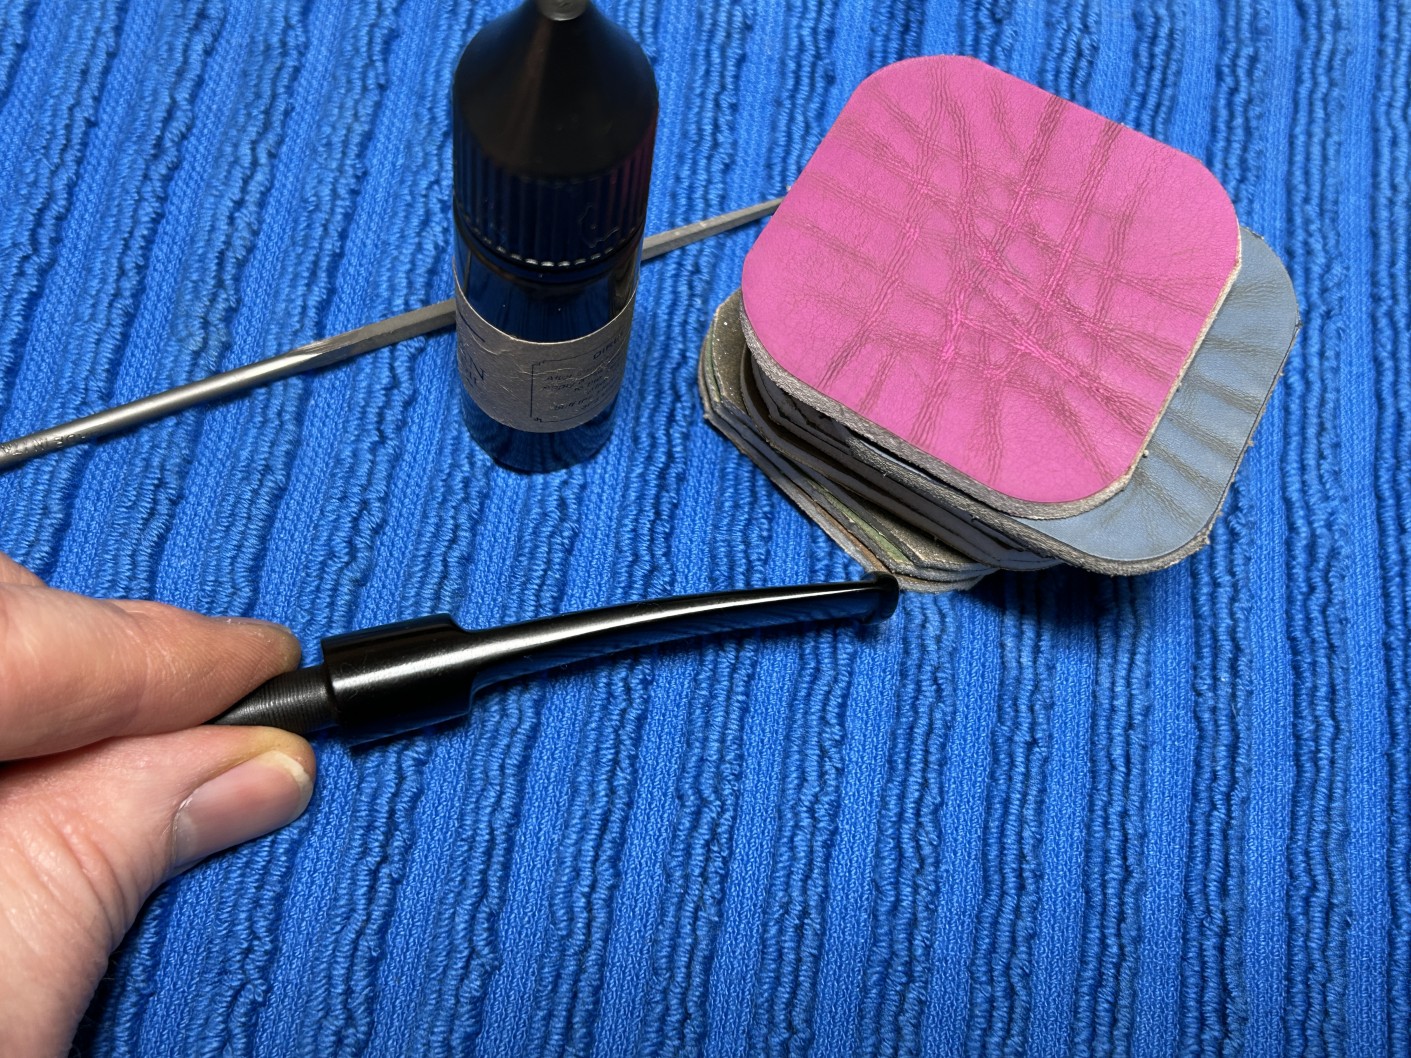
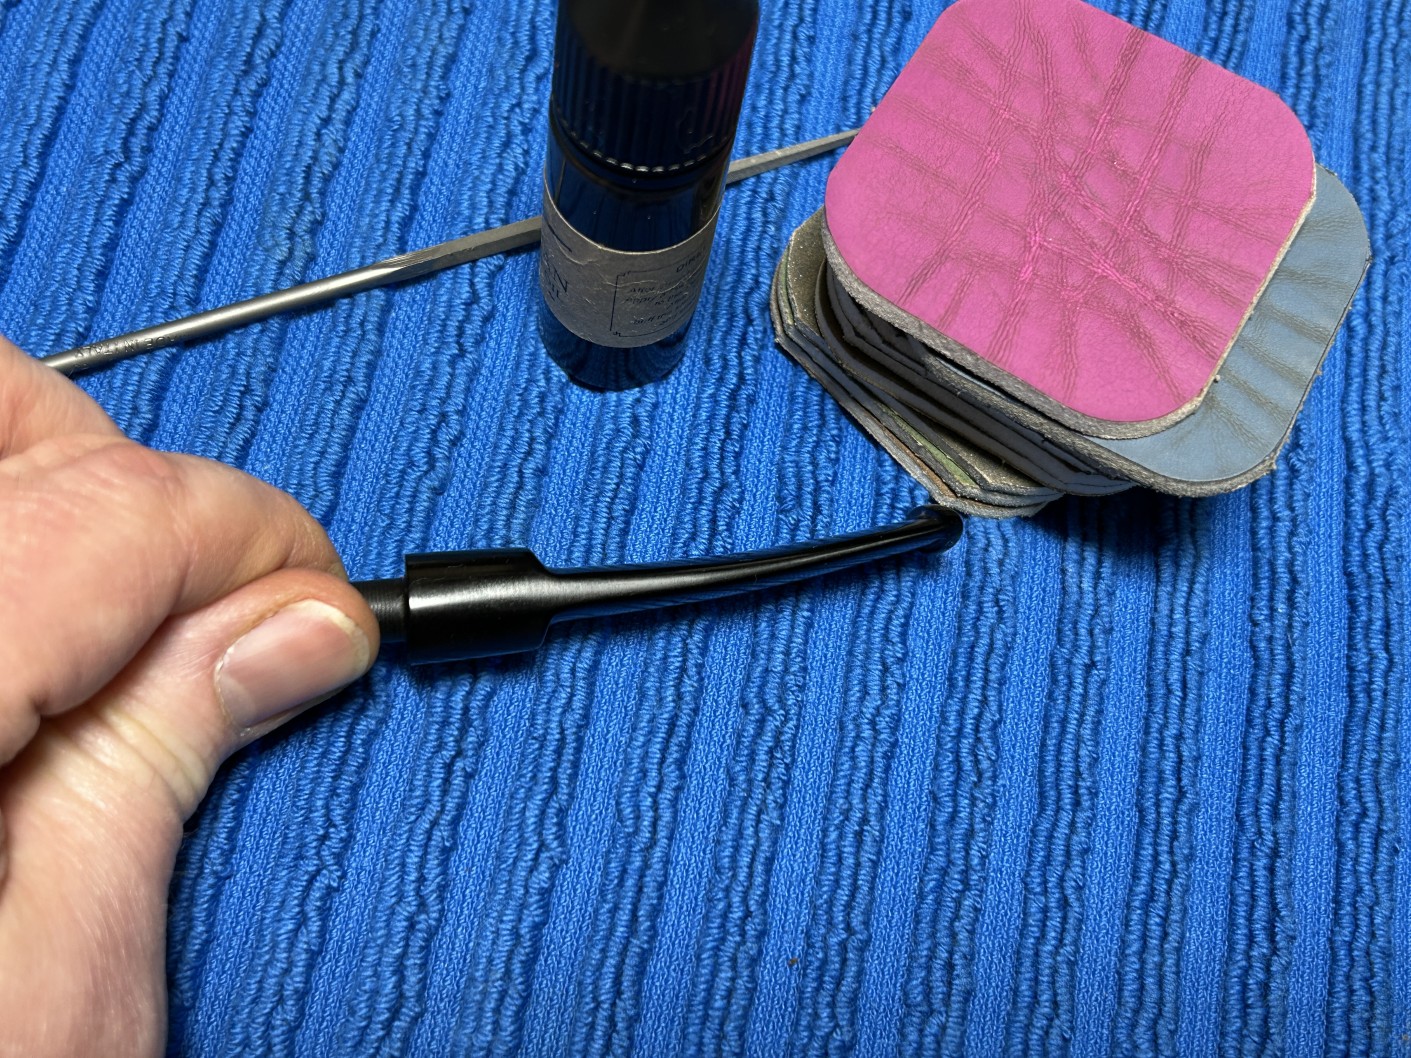
The penultimate step for the stem is sanding. I used all nine of the micromesh sanding pads (1,500 through 12,000 grit) to sand out flaws, even out the vulcanite, and provide gentle polishing of the finished surface. I also applied pipe-stem oil while using the last five micromesh pads. There was a wonderful, deep black shine to the stem when I was done.

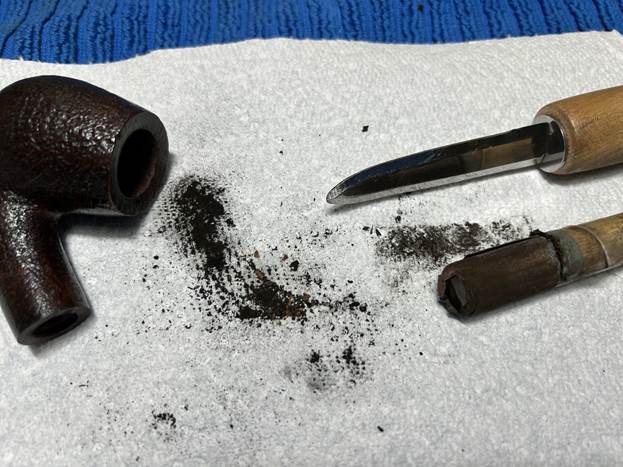
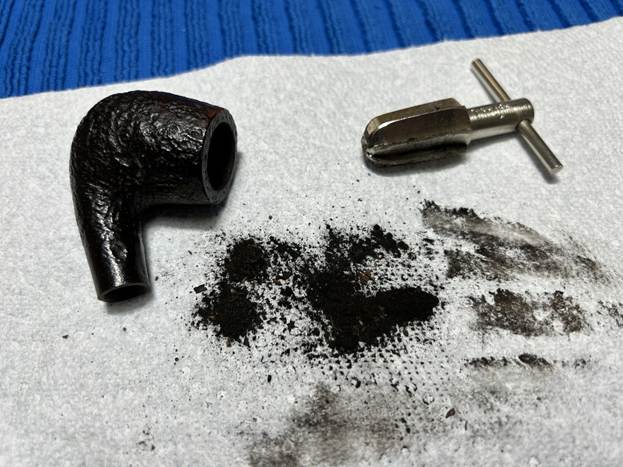
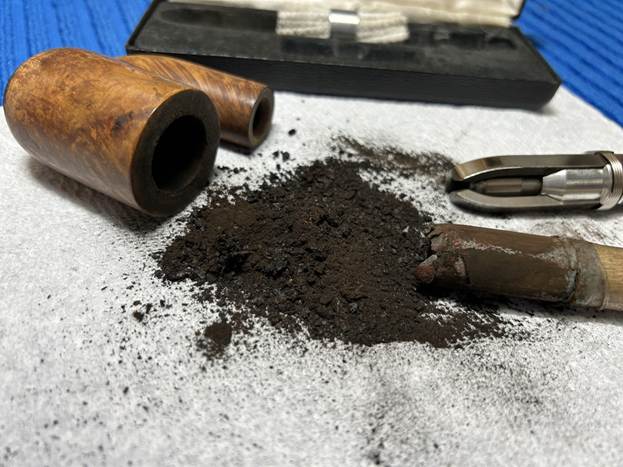
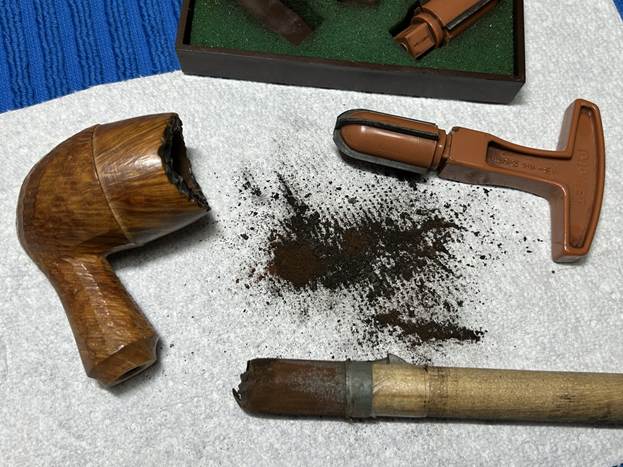
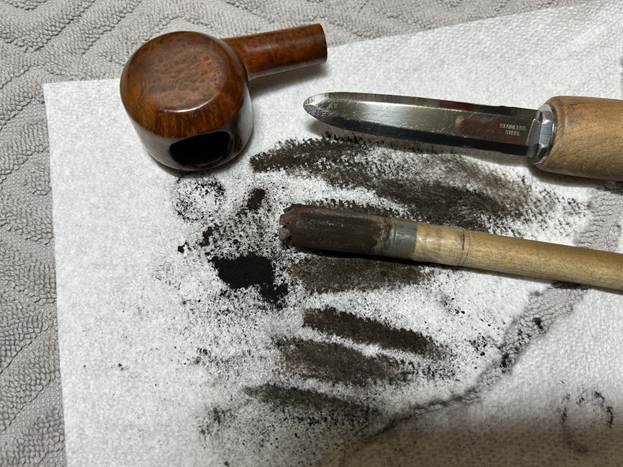
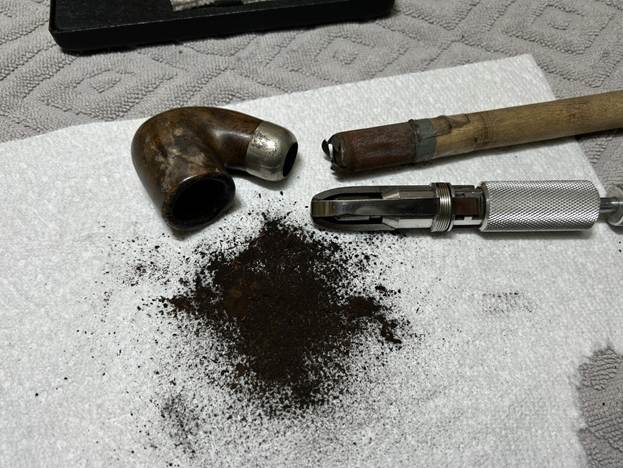
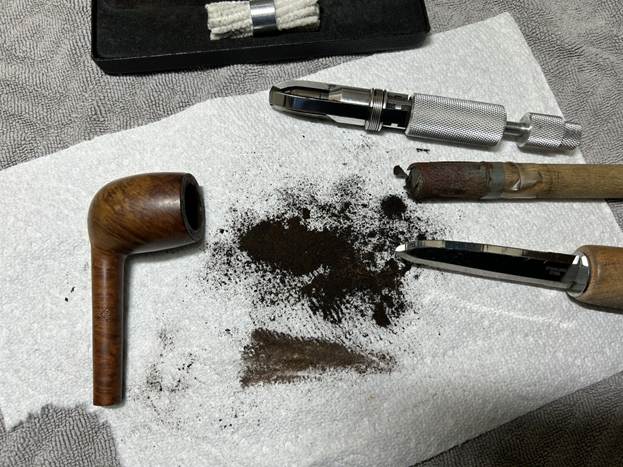
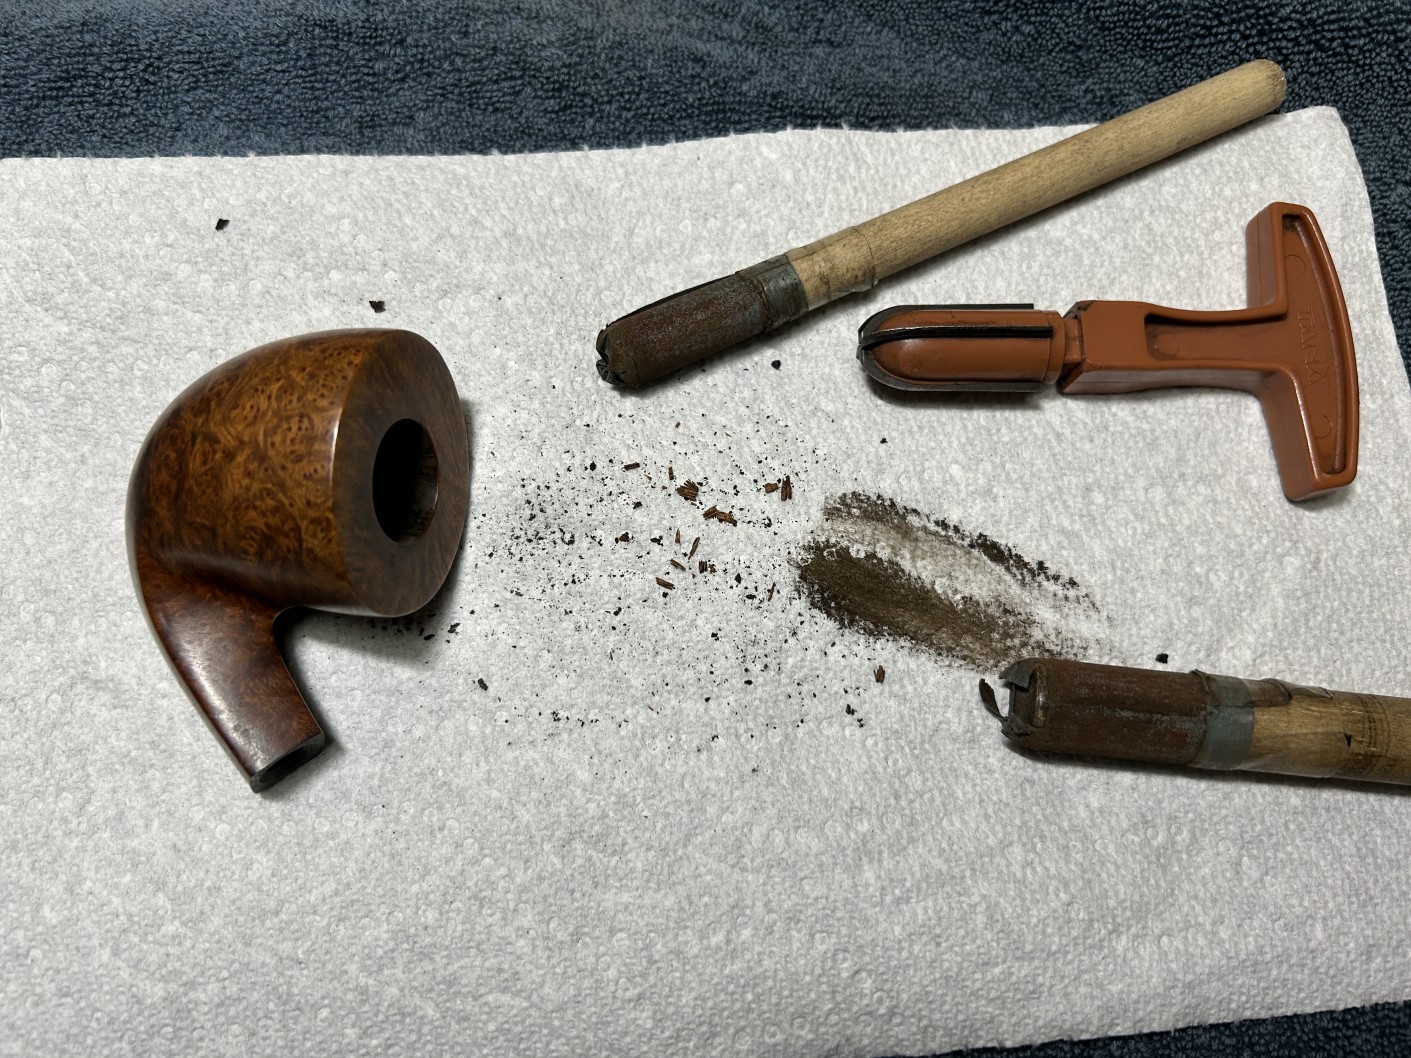
As the stem was (nearly) complete, I moved on to the stummel. The first step was to ream out the bowl – that is to say, remove all the cake inside the bowl. This accomplished a couple of things. First (and most obviously), it cleaned the bowl and provided a refurbished chamber for future smoking. Second, when the old cake was removed, I could inspect the interior walls of the bowl and determine if there was damage or not. I used a reamer, a pipe knife, and a piece of sandpaper taped to a wooden dowel. Collectively, these ensured that all the debris was removed – surprisingly, there wasn’t too much.

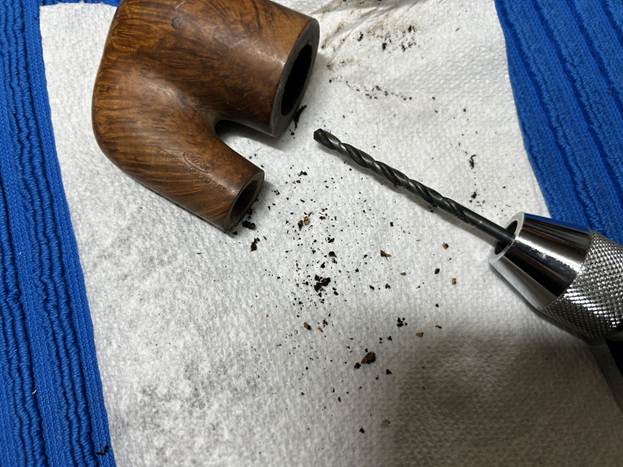
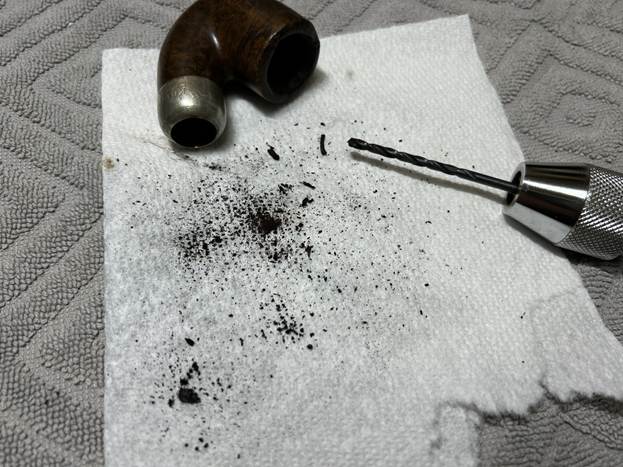
The inside of the stummel needed to be cleaned thoroughly. However, this pipe was so clogged, that I first needed to open the horribly occluded airway. So, I took a long drill bit, held in a drill chuck, and hand-cranked it to dislodge the dreadful detritus inside. Hand cranking is essential because it provides a precision and caution that a power drill cannot provide.

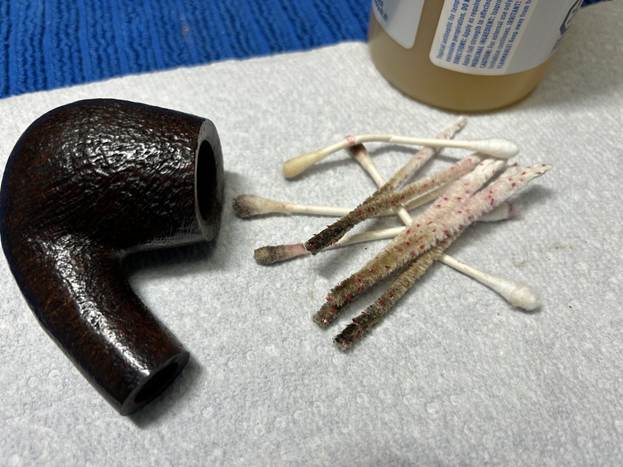
Similar to the stem, I then cleaned the stummel with both pipe cleaners and cotton swabs dipped in lemon-infused 99% isopropyl alcohol. With a pipe this dirty, it took quite a while and an extraordinary amount of cotton to clean.

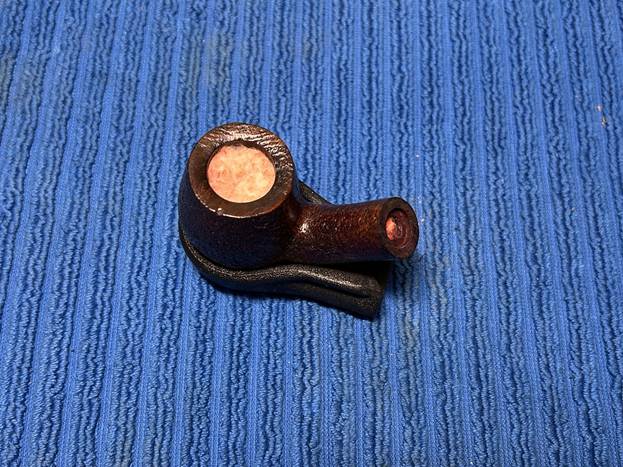
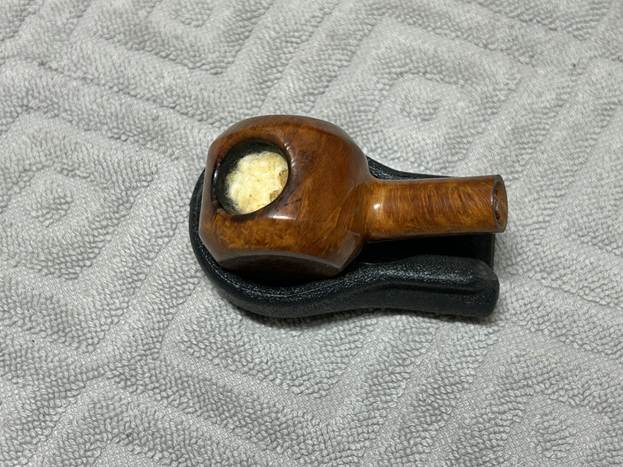
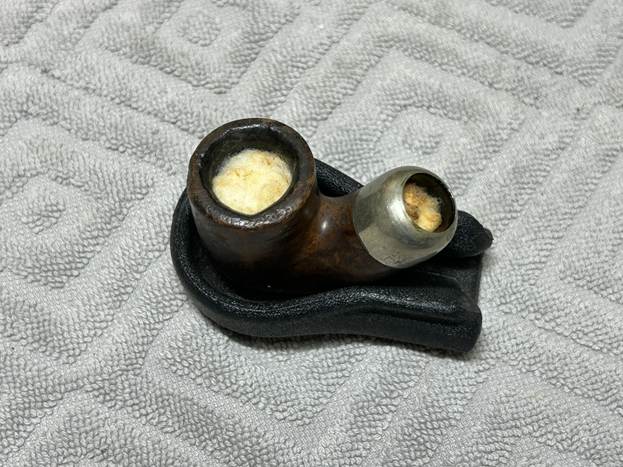
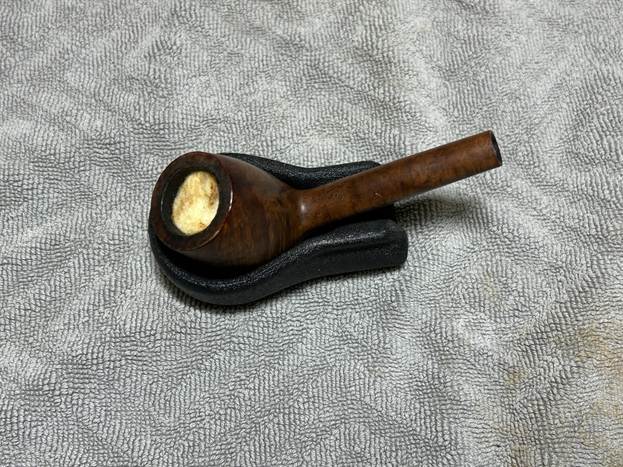
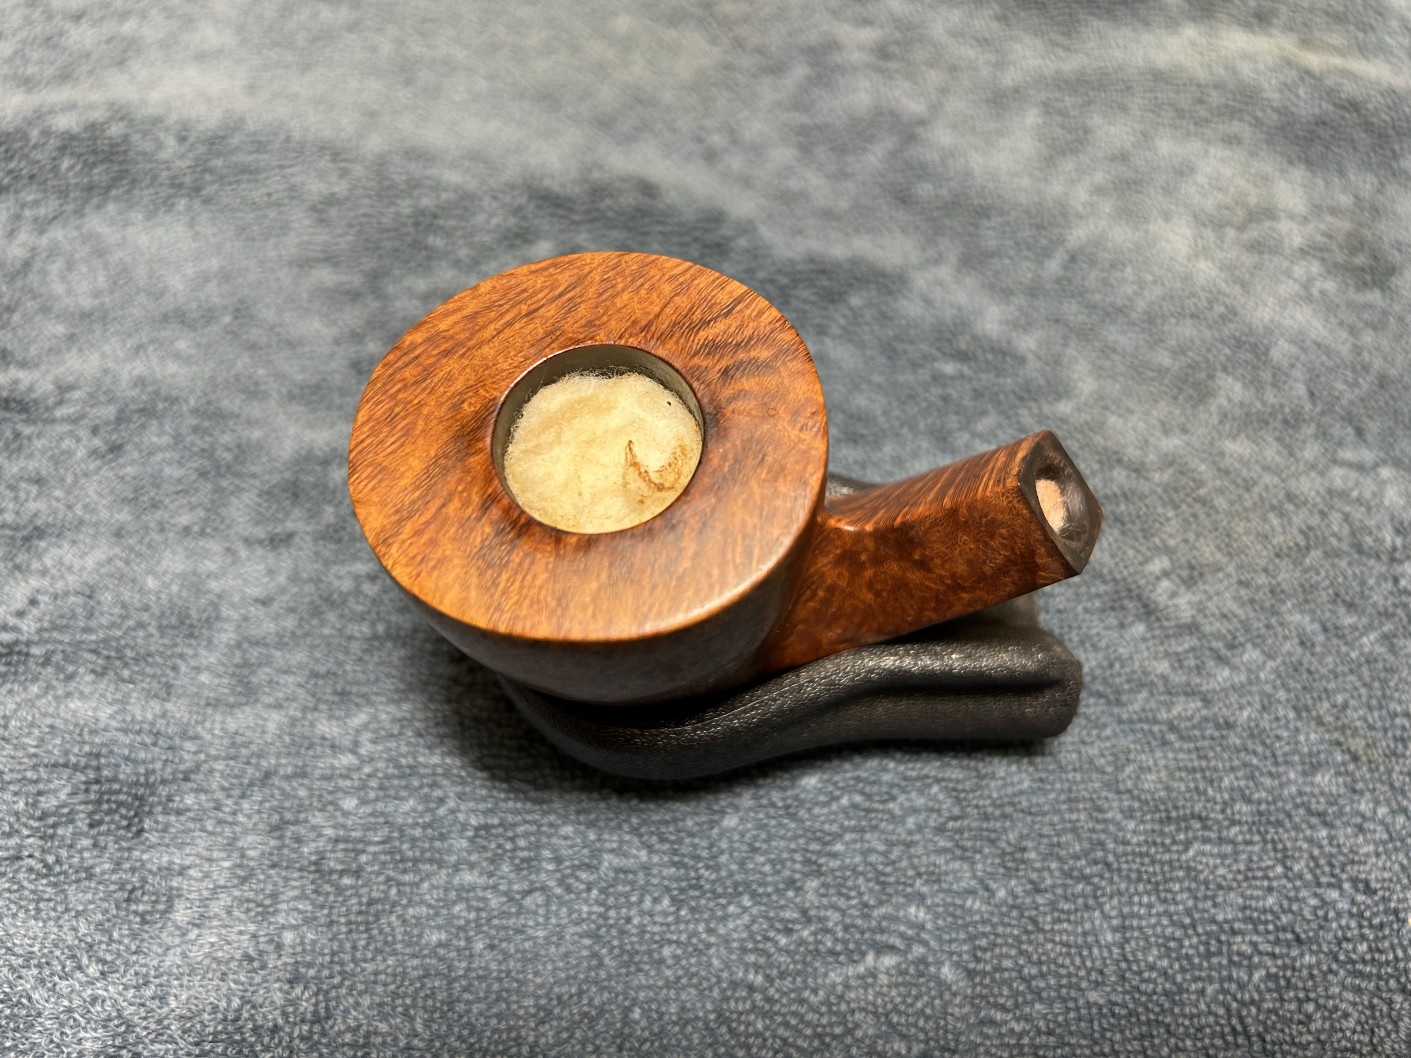
I then decided to ‘de-ghost’ the pipe – that is to say, exorcize the remaining filth from the briar. I filled the bowl and the shank with cotton balls, then saturated them with 99% isopropyl alcohol. I let the stummel sit overnight. This caused the remaining oils, tars and smells to leach out into the cotton.

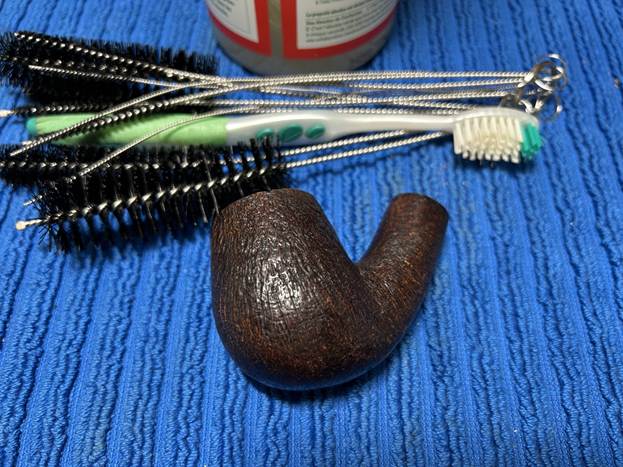
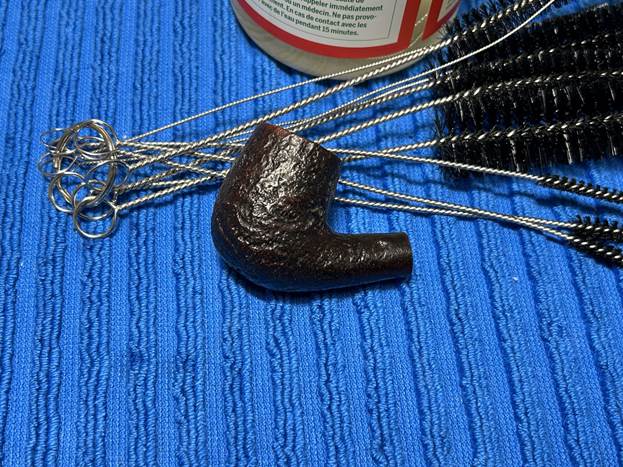
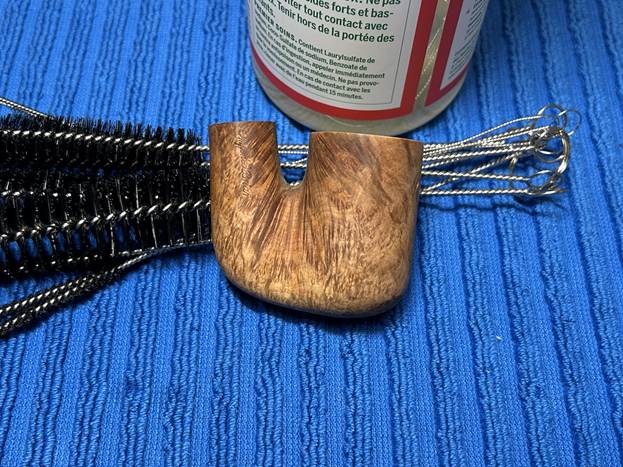
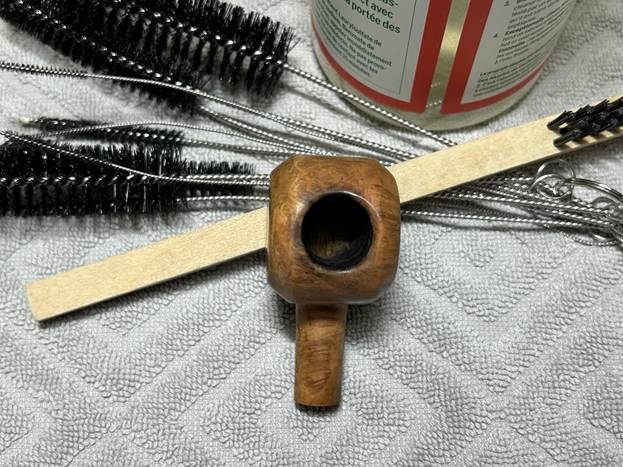
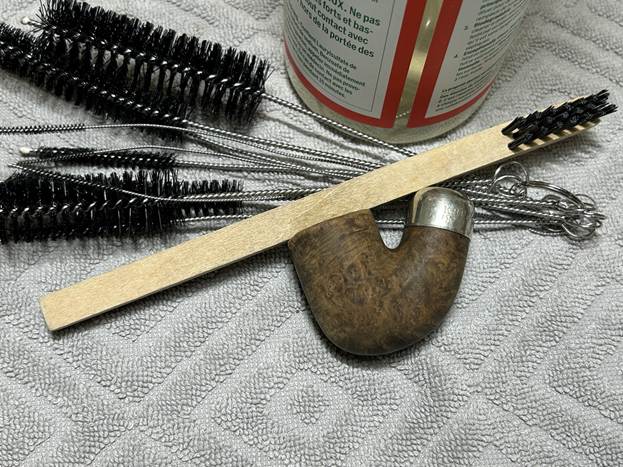
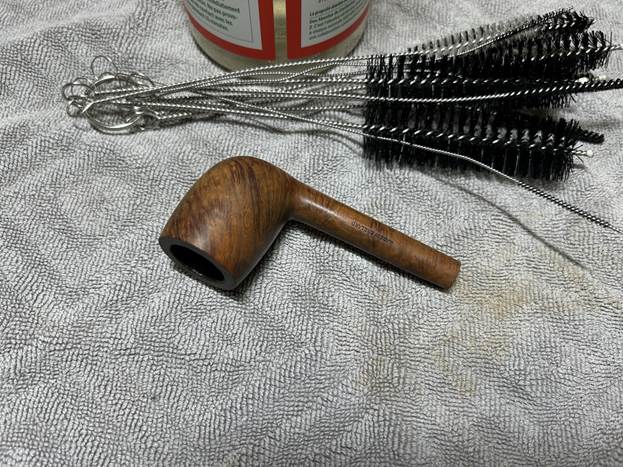
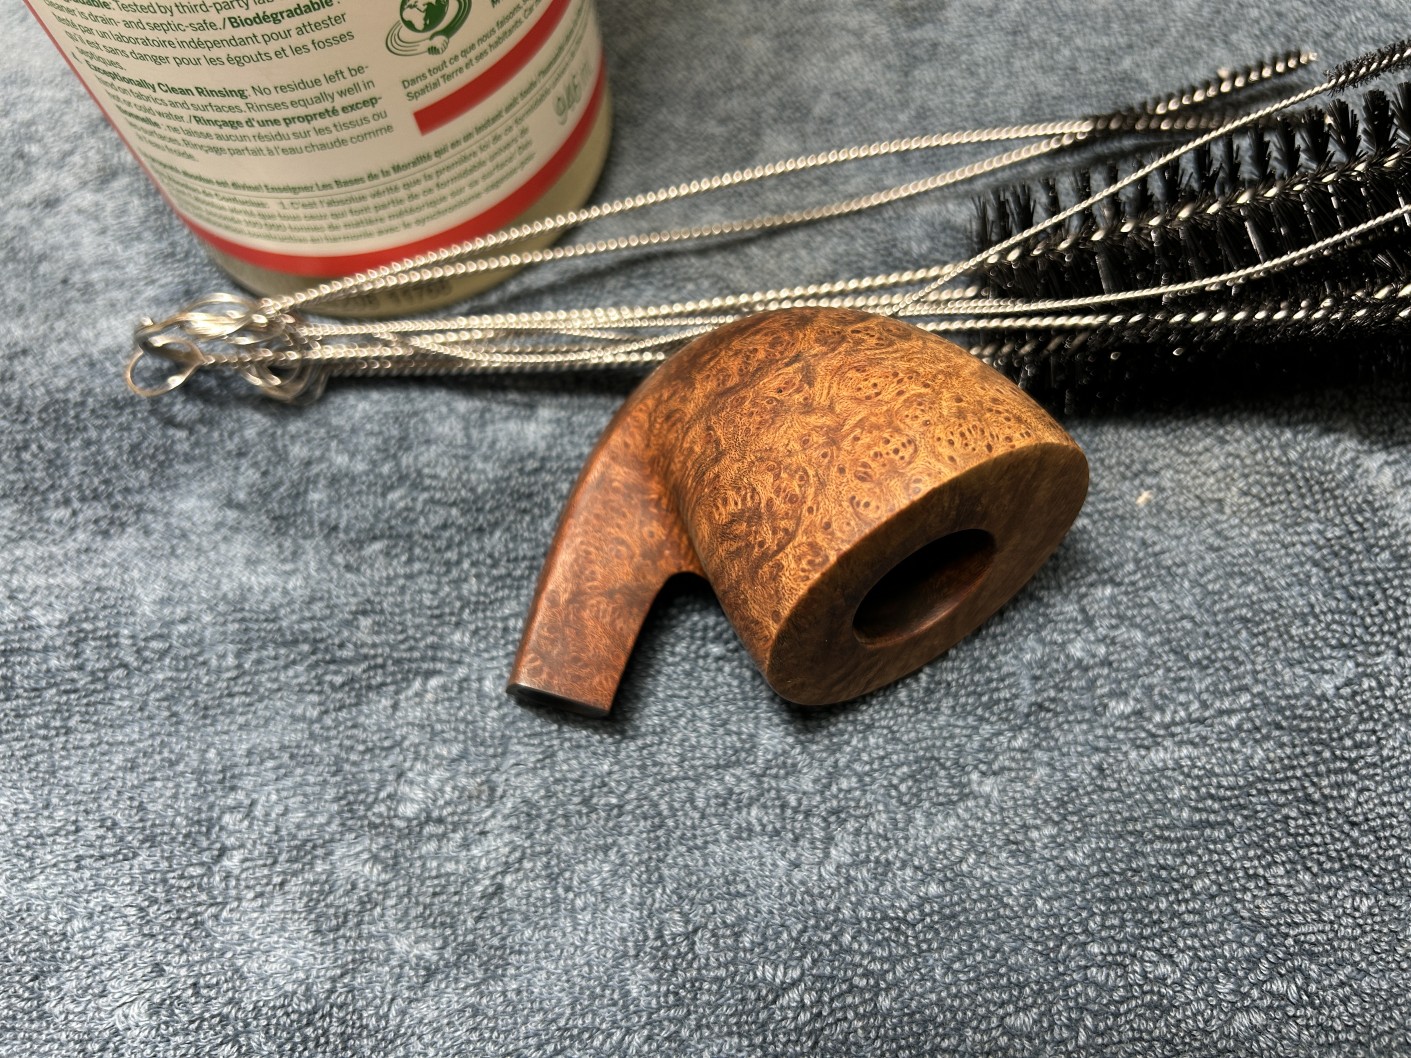
To tidy up the briar, I wiped down the outside, using a solution of a pH-neutral detergent and some distilled water, with cotton rounds. I also used a toothbrush in the crevices. This did a good job of cleaning any latent dirt on the surface of the briar. The last step of the cleaning process was to scour the inside of the stummel with the same mild detergent and tube brushes. This was the culmination of a lot of hard work in getting the pipe clean.

Now, here are some photos of the markings after having been cleaned. They are a little clearer.

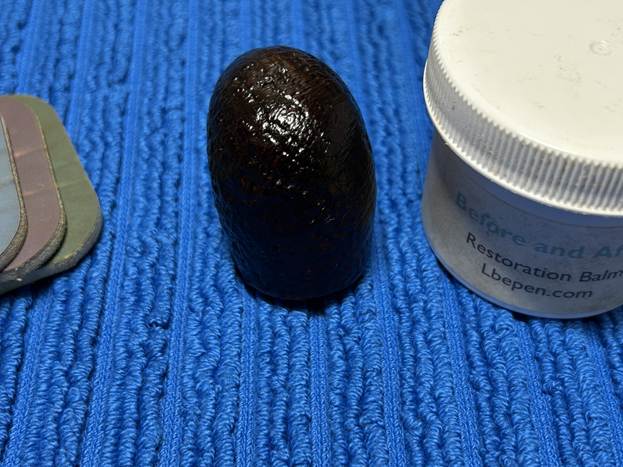
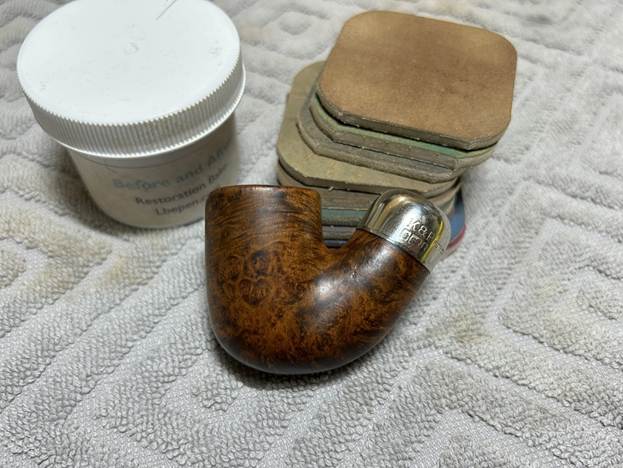
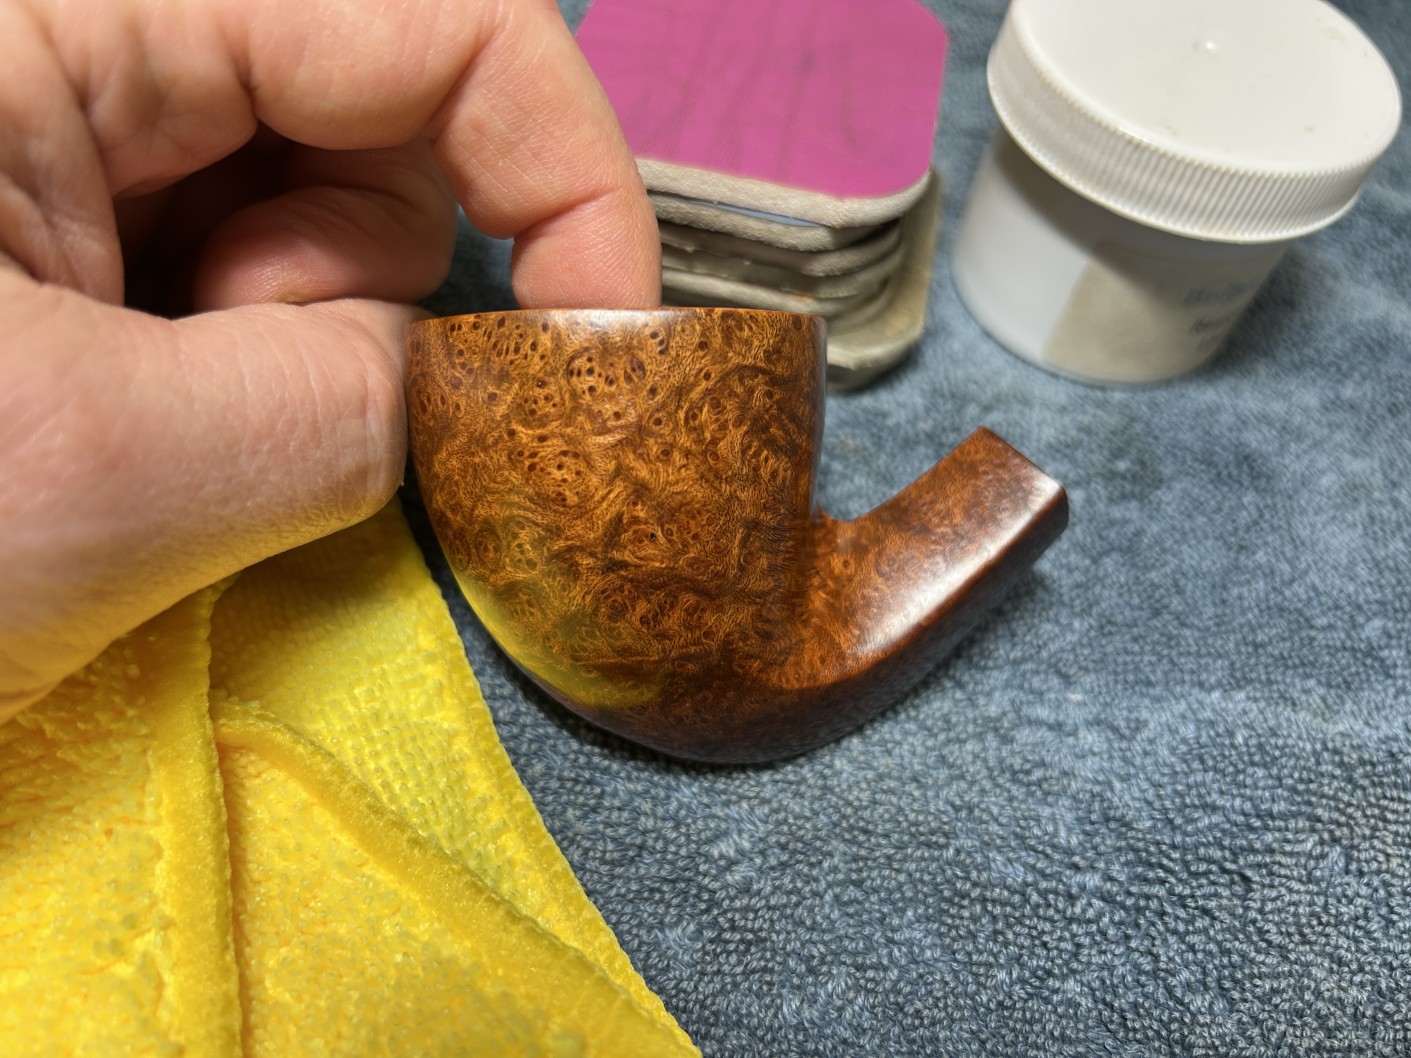
I used all nine micromesh pads (1,500 through 12,000 grit) to sand the outside of the stummel and finish it off. This sanding minimizes flaws in the briar and provides a beautiful smoothness to the wood. I rubbed some LBE Before & After Restoration Balm into the briar and let it sit for an hour or so. The balm moisturizes the wood and gives a beautiful depth to the briar. I then buffed the stummel with a microfibre cloth.

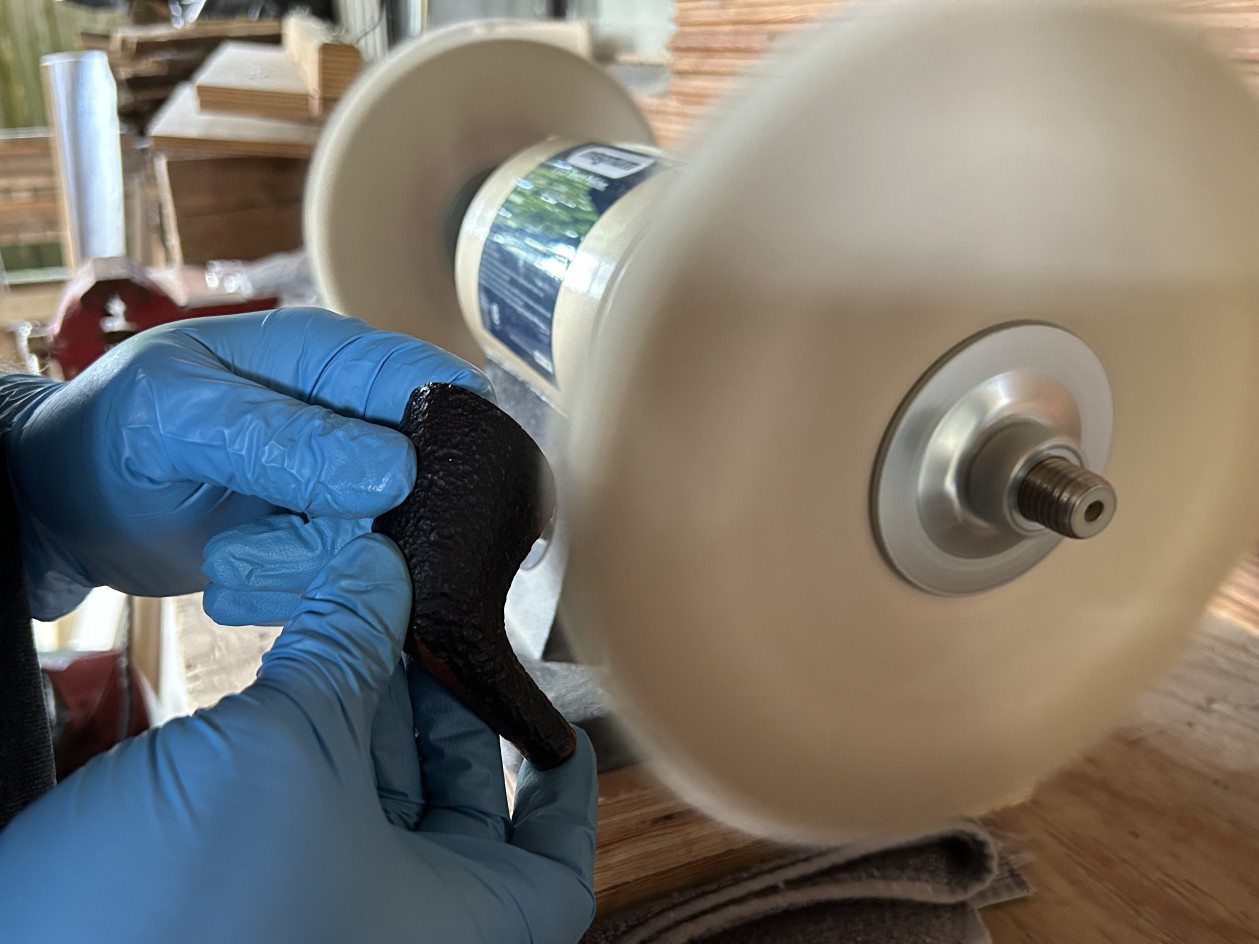
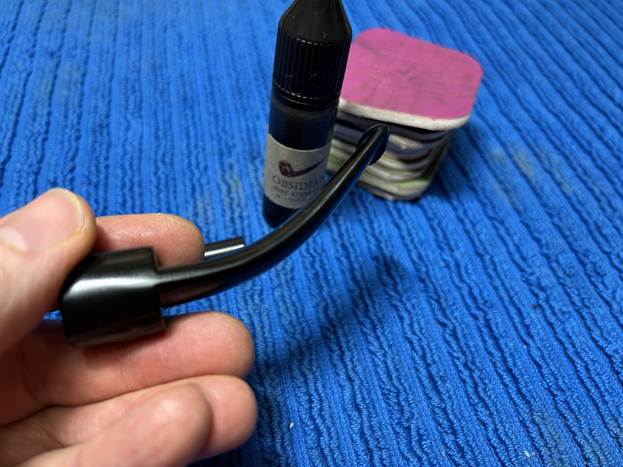
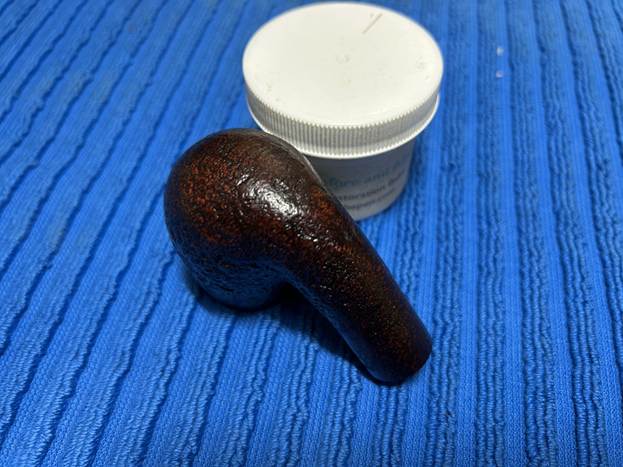
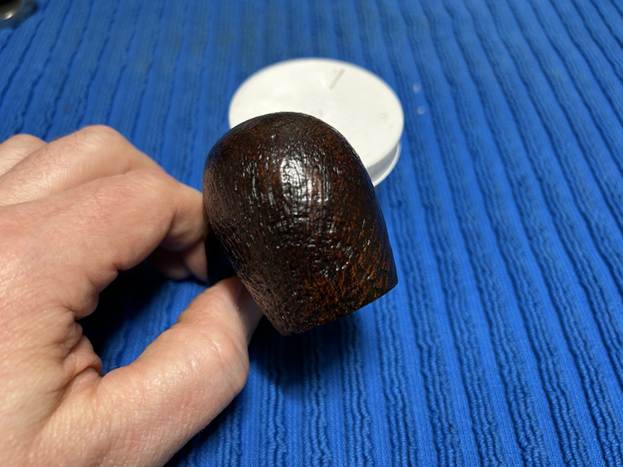
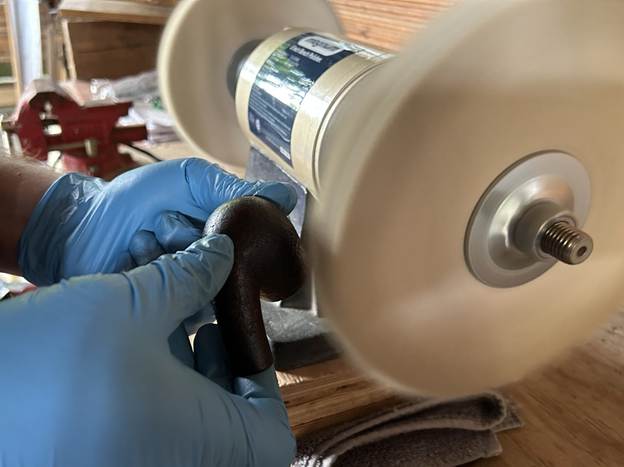
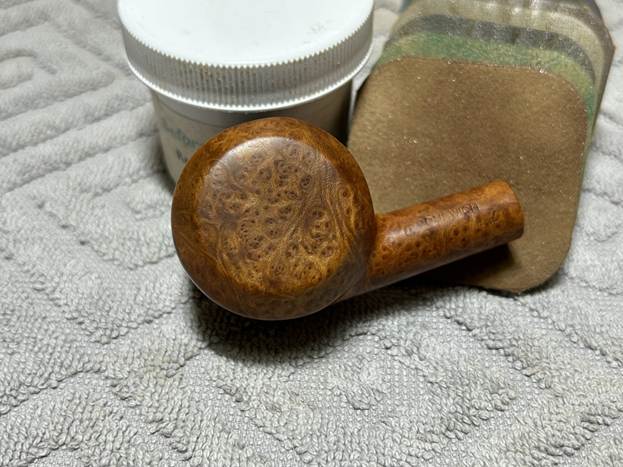
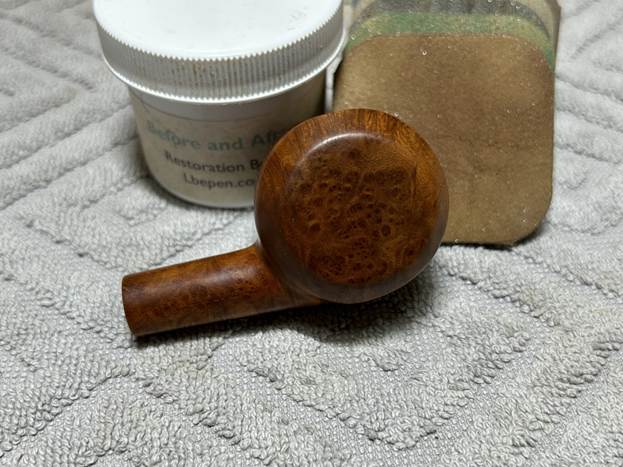
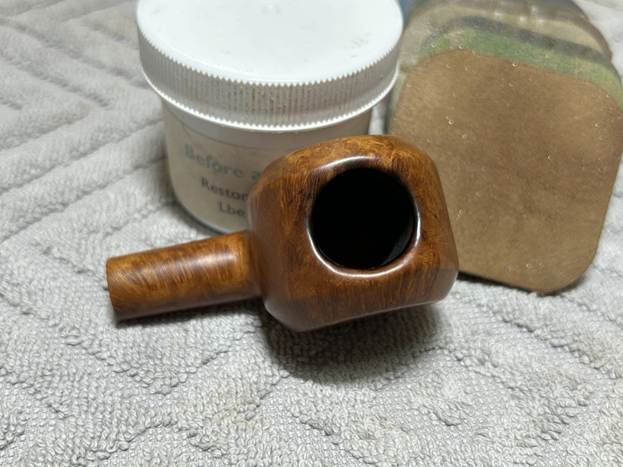
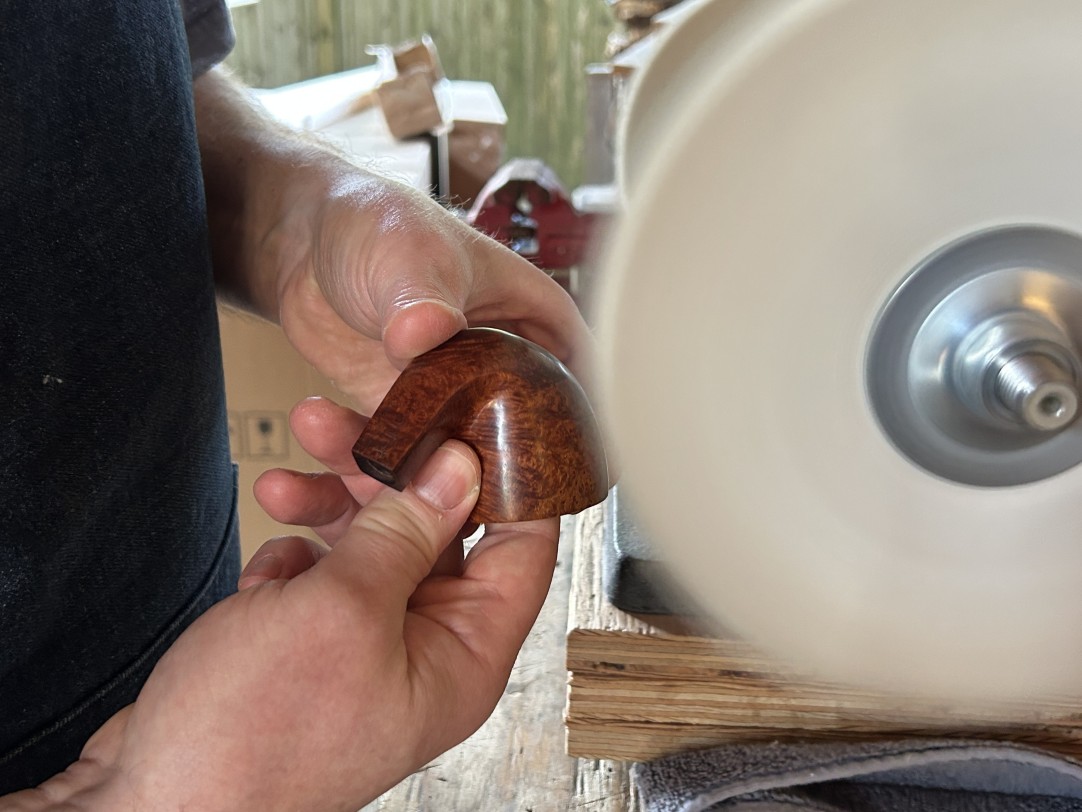
For the final step, I took the pipe to my bench polisher and carefully buffed it – first with a blue diamond compound, then with some carnauba wax. This procedure makes the pipe look its best – the stummel sings and the stem glows.

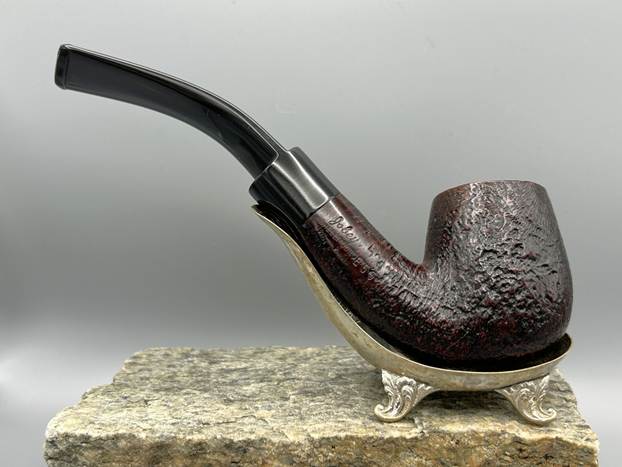
All done! This pre-Republic Peterson System Standard 313 looks fantastic again and is ready to be enjoyed by its next owner. I am pleased to announce that this pipe is for sale! If you are interested in acquiring it for your collection, please have a look in the ‘Irish’ section of the store here on Steve’s website. You can also email me directly at kenneth@knightsofthepipe.com. The approximate dimensions of the pipe are as follows: length 4⅓ in. (111 mm); height 1¾ in. (44 mm); bowl diameter 1⅛ in. (30 mm); chamber diameter ¾ in. (18 mm). The weight of the pipe is 1⅛ oz. (34 g). I hope you enjoyed reading the story of this pipe’s restoration as much as I enjoyed restoring it. If you are interested in more of my work, please follow me here on Steve’s website or send me an email. Thank you very much for reading and, as always, I welcome and encourage your comments.

Restoring an Unusual and Good-Looking Lindström System Model 3 Bent Billiard


by Kenneth Lieblich

Are you intrigued by unusual and idiosyncratic pipe systems? Well, have I got a pipe for you! This is a Lindström System Model 3 bent billiard. It’s got a handsome hunk of briar with a distinguished beveled edge on the rim. I really like the vulcanite saddle stem: the saddle is crisp and blunt, and there is a wide tenon for a filter. What is of particular note, of course, is the thick brass band in the middle. This band has four, small circular holes of varying diameters in it, which allow you to control the amount of air added to the smoke. By all counts, it works well! More about that in a bit.

A quick note about the photos in this blog post. I actually started this restoration with two different Lindström pipes and intended to write their story together. However, some issues came up with the other pipe, so I excised it from this post. In some cases, I cropped out the jettisoned pipe, but in some cases not. So, you will see another pipe in some photos – just ignore it.

The markings on the pipe were quite straightforward. On the left side of the shank, we see the word Lindström. There is also a diamond logo on the stem, which also serves as a marker for where you are to align the holes in the band. Finally, on the brass band itself, there is a cursive L – indicative of the Lindström name.

Pipephil didn’t have any useful information about Lindström, other than what is displayed in this screenshot:

There was precious little written about Lindström at Pipedia. What information they did have was lifted from an old thread on alt.smokers.pipes. The following is my own merging of the two entries:

Lindström was a German company which started in the late 1950s and invented the brass ferrule patent. Lindström was a pseudonym and was probably chosen because Danish and Scandinavian pipes had this ‘special flair’ in those days. The ring had one hole, or sometimes up to four holes of different sizes, which you could turn, matching over an airhole in the stem. An arrow on the stem marked the place where they match. In this way you could regulate the amount of air to add to the smoke, resulting in a dry and cool smoking pleasure.

The thing that frustrates me about this sort of research is that all of this information may be perfectly correct – but how do we know? Where are the references? Where are the citations? I can’t find any corroborating evidence. However, what I did find was the following fantastic advertisement from 1980 in an Australian publication:

The most hilarious part of this is the money-back guarantee:

If you do not agree with us, break the pipe into pieces with a hammer and return the pieces to us within 30 days and we will refund your money.

What on earth?! Curiously, the German equivalent of this ad does not contain such a ‘savage’ refund guarantee. The same section of the ad (highlighted in red) reads as follows:

We promise you a truly exceptional smoking experience with the Lindström pipe. No cigarette, no cigar, and hardly any other pipe can offer you a purer tobacco flavour or greater smoking pleasure. However, should you not be satisfied after a 30-day trial – something we simply cannot imagine, given our customers’ experiences – simply return the pipe to us. You will receive a full refund of the purchase price immediately. How many manufacturers are that confident in their product?

Either way, it’s a decent return policy. It’s hard to know how old this pipe is, but my gut tells me that it’s probably about 50 years old.

Let’s examine the pipe. The stem has some oxidation and calcification. There is also a little tooth chatter and minor dents. The rim of the pipe is in good shape: only minor wear and the bevel is even and solid. The bowl is soiled, but it has some nice grain and a couple of minor fills. The inside of the bowl is dirty and heavily reamed, but remains thoroughly sound.

I used isopropyl alcohol on a few cotton rounds and wiped down the stem to provide an initial cleaning of filth before moving on to the next steps. The primary cleaning came next. I disinfected the inside of the stem with both pipe cleaners and cotton swabs dipped in lemon-infused 99% isopropyl alcohol. I scrubbed thoroughly to make sure the interior was very clean. It was fairly dirty, but not when I was done with it!

The goal of the next step is the removal (or minimization) of oxidation. Going to my sink, I used cream cleanser, cotton rounds, and a toothbrush, and scoured the stem to remove as much surface oxidation as possible. As the photos show, the result was a hideous, ochre-coloured mess – but better off the stem than on it.

Once the stem was reasonably clean, I soaked it overnight in some Briarville Stem Oxidation Remover. This solution works to draw oxidation in the stem to the surface of the vulcanite. This is a major aid and an important step in ensuring a clean stem. The following day, I drew out the stem from its bath and scrubbed the lingering fluid with a toothbrush. Due to the severity of the oxidation, I then repeated the scrubbing with the cream cleanser for maximum effect. There will always be a hint of oxidation remaining deep in the vulcanite.

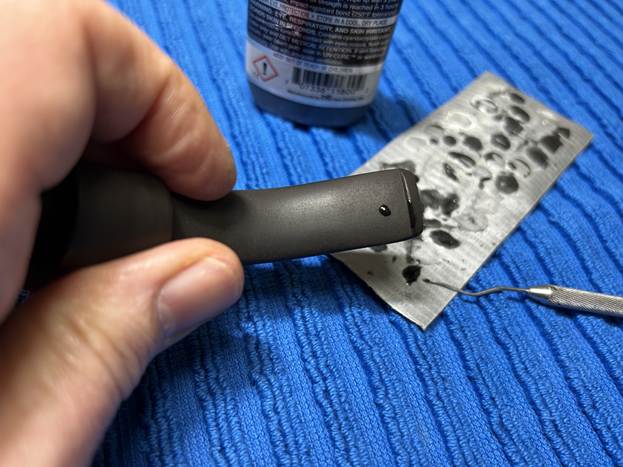
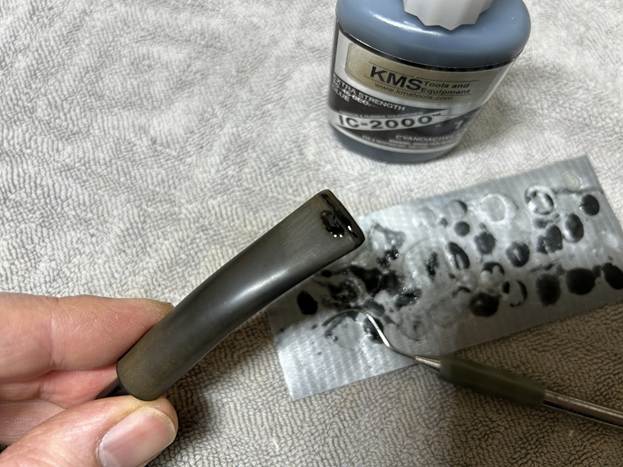
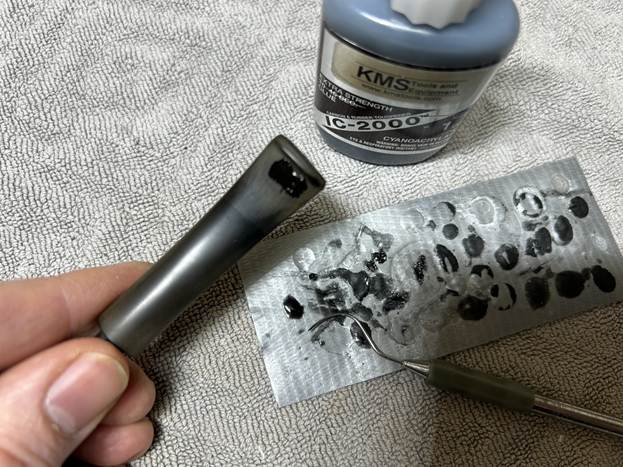
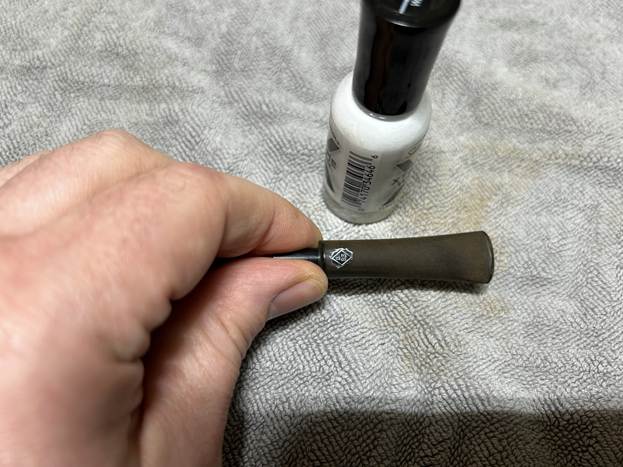
As the stem was now clean and dry, I set about fixing the marks and dents in the vulcanite. This was done by filling those divots with black cyanoacrylate adhesive, impregnated with carbon and rubber. I left this to cure and moved on. After this, I painted the diamond logo on the stem with some enamel nail polish. I restored the logo carefully and let it fully set before proceeding.

The penultimate step for the stem is sanding. First, with my set of needle files, I reduced the bulk of the cyanoacrylate repairs. I removed the excess adhesive as near to the surface as possible, without cutting into the vulcanite. Following that, I used all nine of the micromesh sanding pads (1,500 through 12,000 grit) to sand out flaws, even out the vulcanite, and provide gentle polishing of the finished surface. I also applied pipe-stem oil while using the last five micromesh pads. There was a wonderful, deep black shine to the stem when I was done.

As the stem was (nearly) complete, I moved on to the stummel. The first step was to ream out the bowl – that is to say, remove all the cake inside the bowl. This accomplished a couple of things. First (and most obviously), it cleaned the bowl and provided a refurbished chamber for future smoking. Second, when the old cake was removed, I could inspect the interior walls of the bowl and determine if there was damage or not. I used a reamer, a pipe knife, and a piece of sandpaper taped to a wooden dowel. Collectively, these ensured that all the debris was removed.

Similar to the stem, I then cleaned the stummel with both pipe cleaners and cotton swabs dipped in lemon-infused 99% isopropyl alcohol. With a pipe this dirty, it took quite a while and much cotton to clean.

I then decided to ‘de-ghost’ the pipe – that is to say, exorcize the remaining filth from the briar. I filled the bowl and the shank with cotton balls, then saturated them with 99% isopropyl alcohol. I let the stummel sit overnight. This caused the remaining oils, tars and smells to leach out into the cotton.

To tidy up the briar, I wiped down the outside, using a solution of a pH-neutral detergent and some distilled water, with cotton rounds. I also used a toothbrush in the crevices. This did a good job of cleaning any latent dirt on the surface of the briar. The last step of the cleaning process was to scour the inside of the stummel with the same mild detergent and tube brushes. This was the culmination of a lot of hard work in getting the pipe clean.

I spent some time filling in all of the fills with clear cyanoacrylate adhesive. This made them smooth and hard. This turned out very well.

I used all nine micromesh pads (1,500 through 12,000 grit) to sand the outside of the stummel and finish it off. This sanding minimizes flaws in the briar and provides a beautiful smoothness to the wood. I rubbed some LBE Before & After Restoration Balm into the briar and let it sit for 30 minutes or so. The balm moisturizes the wood and gives a beautiful depth to the briar. I then buffed the stummel with a microfibre cloth.

For the final step, I took the pipe to my bench polisher and carefully buffed it – first with a blue diamond compound, then with some carnauba wax. This procedure makes the pipe look its best – the stummel sings and the stem glows.

All done! This Lindström System Model 3 bent billiard looks fantastic again and is ready to be enjoyed by its next owner. I am pleased to announce that this pipe is for sale! If you are interested in acquiring it for your collection, please have a look in the ‘Various Makers’ section of the store here on Steve’s website. You can also email me directly at kenneth@knightsofthepipe.com. The approximate dimensions of the pipe are as follows: length 5 in. (127 mm); height 1¾ in. (45 mm); bowl diameter 1½ in. (38 mm); chamber diameter ¾ in. (20 mm). The weight of the pipe is 1⅜ oz. (41 g). I hope you enjoyed reading the story of this pipe’s restoration as much as I enjoyed restoring it. If you are interested in more of my work, please follow me here on Steve’s website or send me an email. Thank you very much for reading and, as always, I welcome and encourage your comments.

Reviving a Lovely BBB Ultonia 611


by Kenneth Lieblich

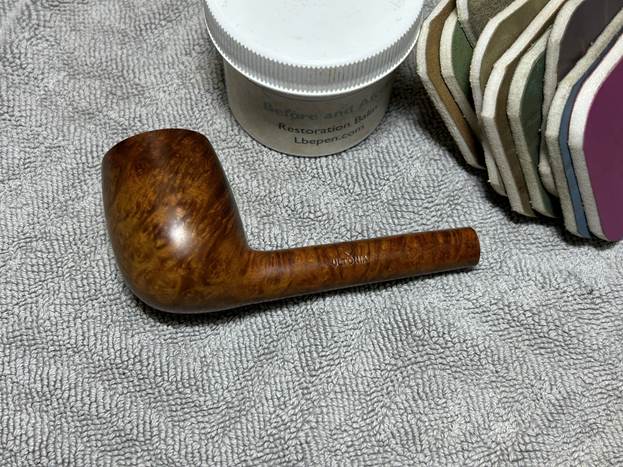
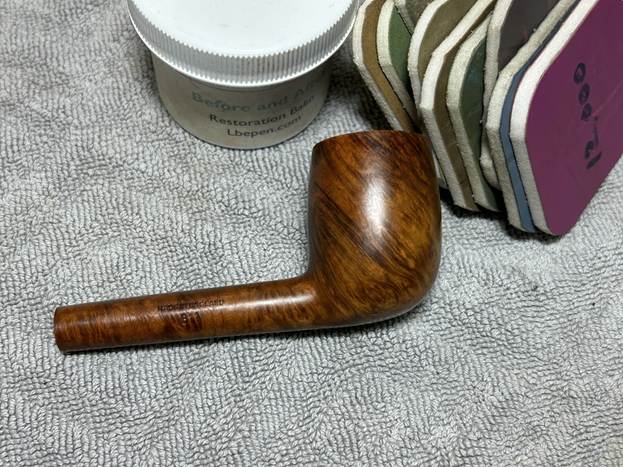
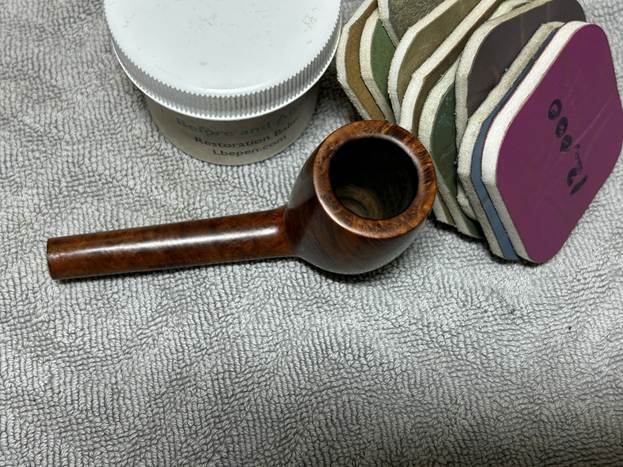
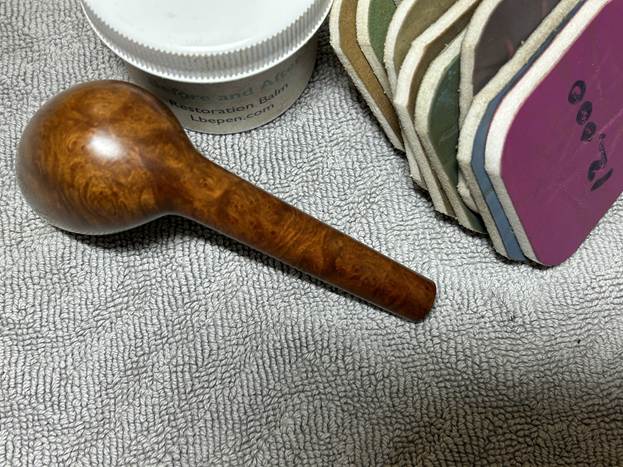
Next up is a beautiful English pipe from BBB. I acquired it locally from the estate of an old boy who kept a lovely collection of pipes. This charming fellow is luxurious, with a handsome bowl and a beautifully long, round shank. The vulcanite taper stem is also very attractive and complements the briar very well. A gentleman recently contacted me to commission the restoration of this pipe and I was only too happy to oblige. He made a great choice: there is some wonderful grain on this pipe.

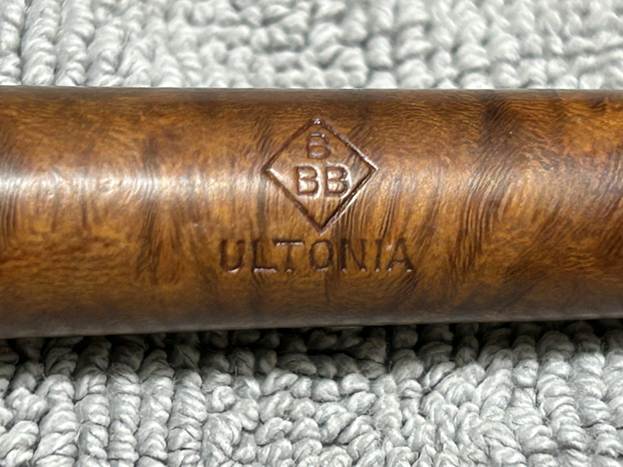
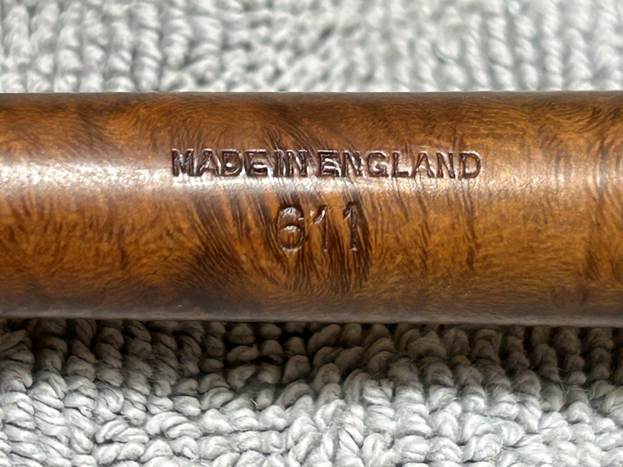
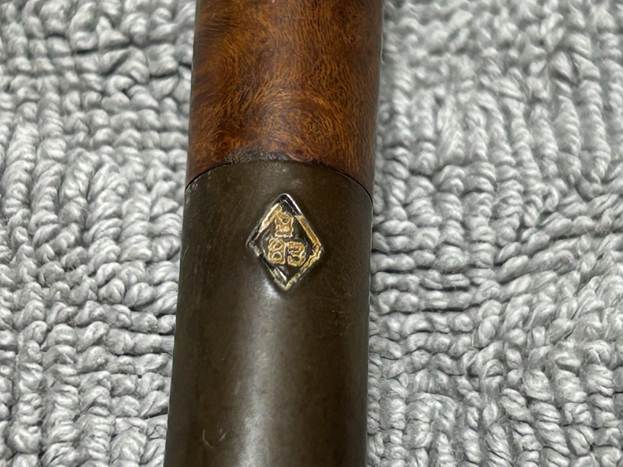
Let’s look at the marks on the pipe. They are clear and very readable. On the left side of the shank, we see the diamond-shaped logo of the company with the initials BBB inside it. Below that is the word Ultonia. On the right side of the shank, we see Made in England [over] 611 – the shape number. Finally, the stem shows the same diamond-shaped logo with the initials BBB inside it. To be clear, this logo is not in metal.

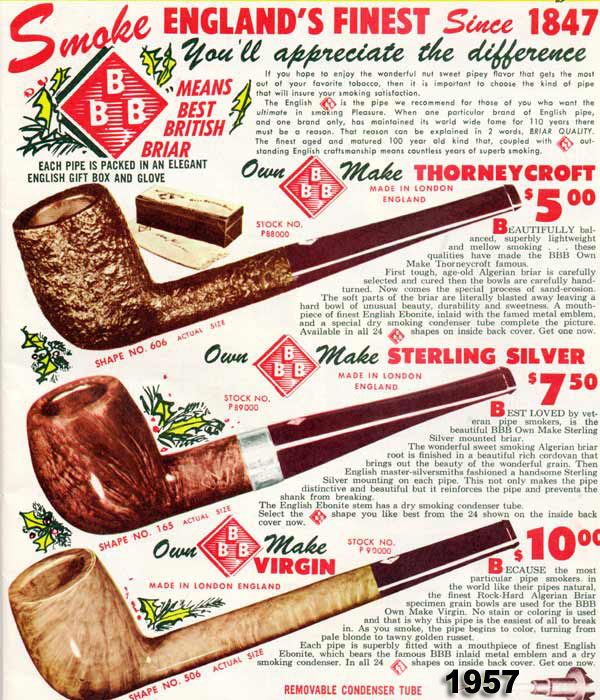
A quick examination of the background of BBB will tell you that there is much love and lore to this brand. It goes back 170 years and a great deal has been written about the company. For example, Pipedia has a good article about the company and I encourage you to read it here. As a sampling, I include the first paragraph of that article below:

The initials once stood for Blumfeld’s Best Briars after Louis Blumfeld, who took over the management of the Adolph Frankau Company in 1856. After his death, the BBB gradually became known as Britain’s Best Briars. Soon to be the oldest English trademark in current use and the first pipe ever to have a registered trademark. “Britain’s Best Briars”, often called BBB, is one of the oldest brands still in production and has always been the most popular foreign brand in Denmark. Earlier pipes included a metal rondel with a diamond shape including BBB imbedded in the stem top, and later post-Cadogan went to a stamped on logo, similar to the GBD pipes.

Pipephil also has a nice write-up on BBB, which you can read here.

The pipe is in great condition, which will make for a great restoration. On the stem, we can see some oxidation and calcification. There are also some minor tooth marks, scratches, etc. Nothing of serious concern. The bowl had some cake (but nothing terrible) and some notable lava on the rim. We’ll have to investigate that further.

I used isopropyl alcohol on a few cotton rounds and wiped down the stem to provide an initial cleaning of filth before moving on to the next steps. The primary cleaning came next. I disinfected the inside of the stem with both pipe cleaners and cotton swabs dipped in lemon-infused 99% isopropyl alcohol. I scrubbed thoroughly to make sure the interior was very clean.
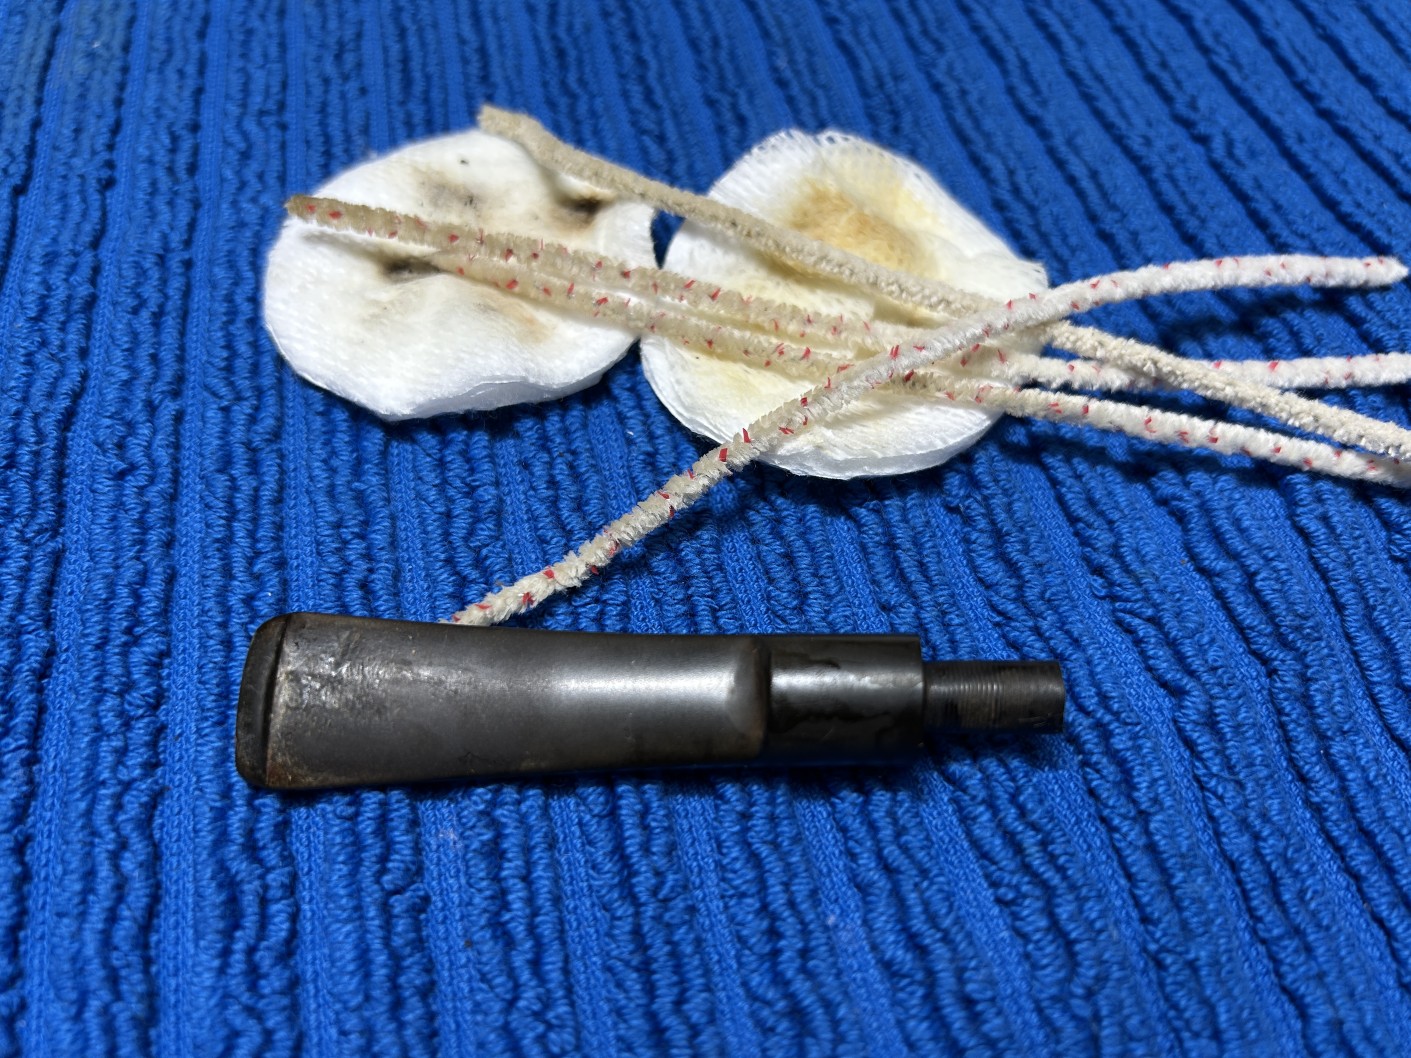
The goal of the next step is the removal (or minimization) of oxidation. Going to my sink, I used cream cleanser, cotton rounds, and a toothbrush, and scoured the stem to remove as much surface oxidation as possible. As the photos show, the result was a hideous, ochre-coloured mess – but better off the stem than on it.
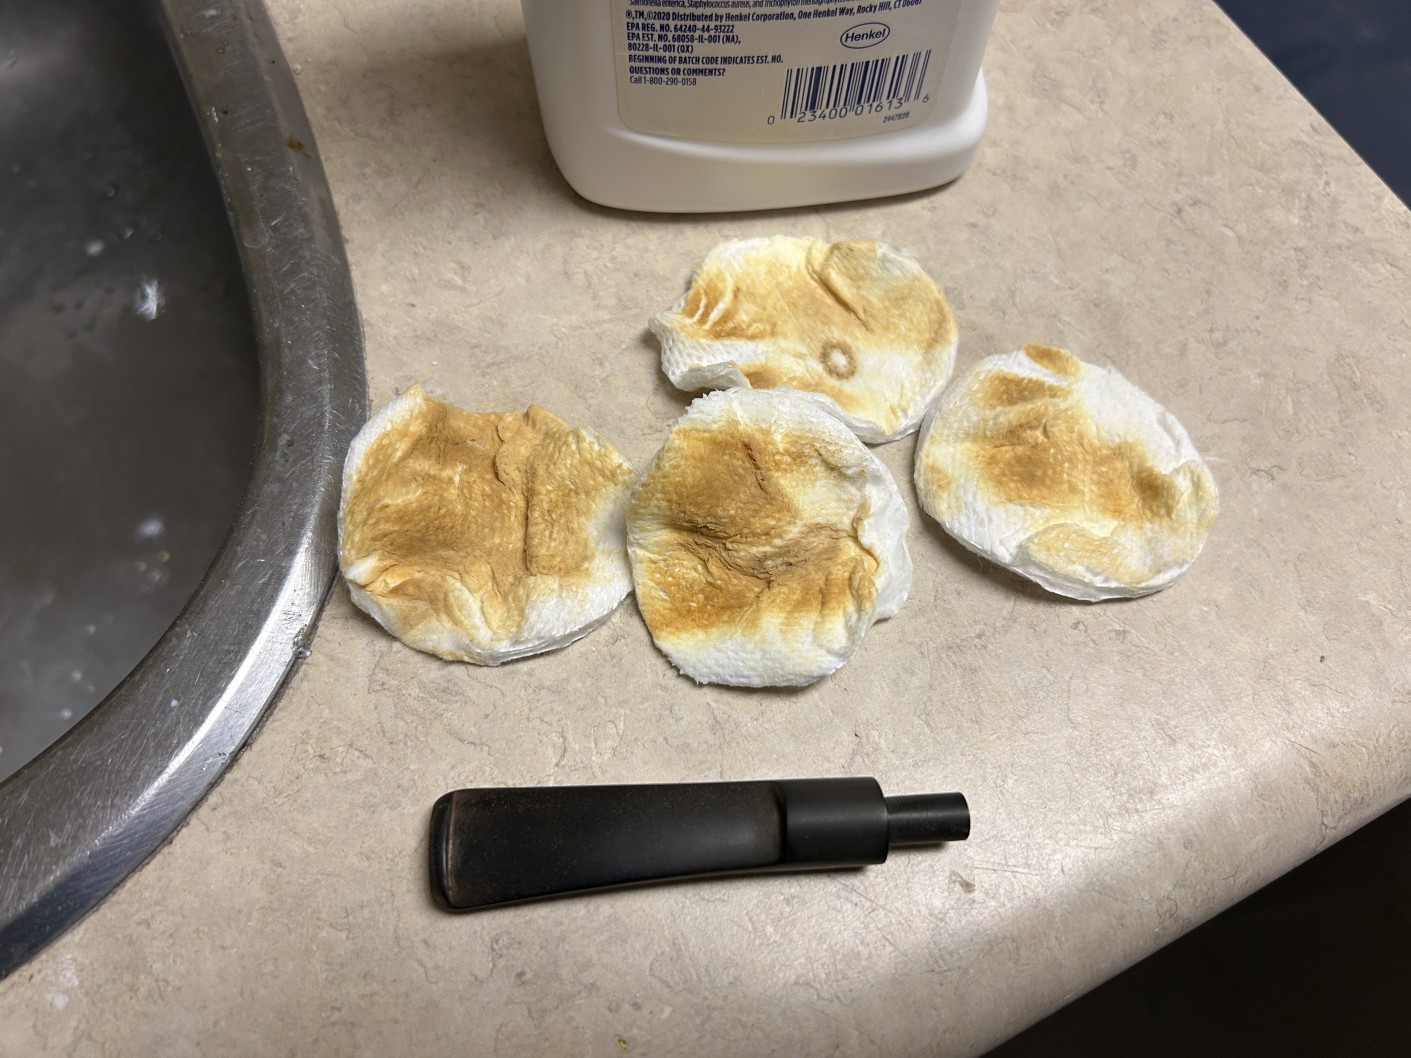
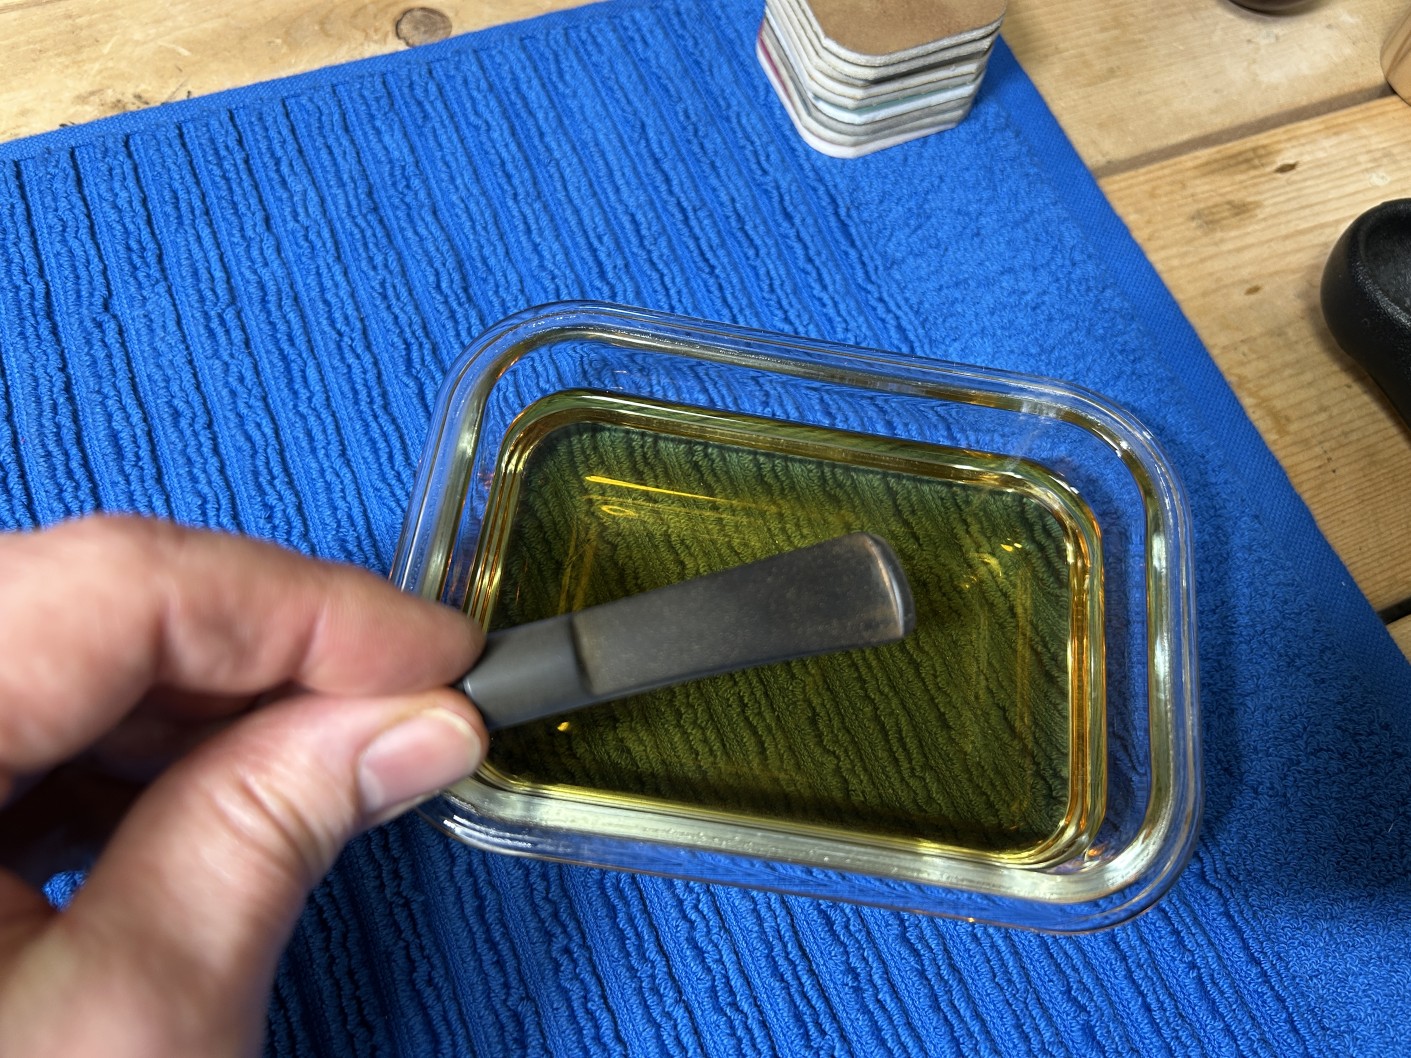
Once the stem was reasonably clean, I soaked it overnight in some Briarville Stem Oxidation Remover. This solution works to draw oxidation in the stem to the surface of the vulcanite. This is a major aid and an important step in ensuring a clean stem. The following day, I drew out the stem from its bath and scrubbed the lingering fluid with a toothbrush.
As the stem was now clean and dry, I painted the logo on the stem with some enamel nail polish. I restored the logo carefully and let it fully set before proceeding.

The penultimate step for the stem is sanding. First, with my set of needle files, I reduced the bulk of the cyanoacrylate repairs. I removed the excess adhesive as near to the surface as possible, without cutting into the vulcanite. Following that, I used all nine of the micromesh sanding pads (1,500 through 12,000 grit) to sand out flaws, even out the vulcanite, and provide gentle polishing of the finished surface. I also applied pipe-stem oil while using the last five micromesh pads. There was a wonderful, deep black shine to the stem when I was done.

As the stem was (nearly) complete, I moved on to the stummel. The first step was to ream out the bowl – that is to say, remove all the cake inside the bowl. This accomplished a couple of things. First (and most obviously), it cleaned the bowl and provided a refurbished chamber for future smoking. Second, when the old cake was removed, I could inspect the interior walls of the bowl and determine if there was damage or not. I used a reamer, a pipe knife, and a piece of sandpaper taped to a wooden dowel. Collectively, these ensured that all the debris was removed.

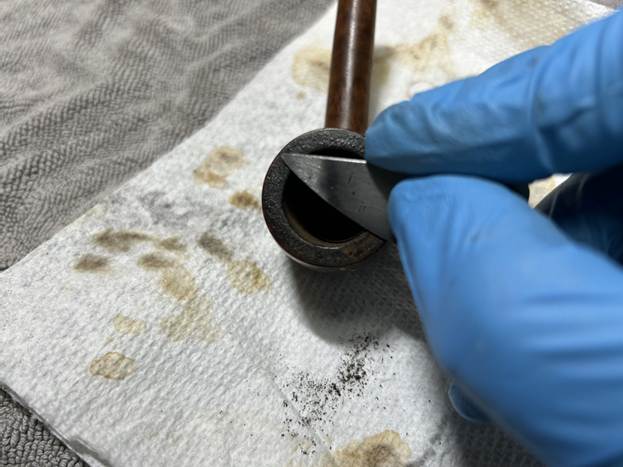
My next step was to remove the lava on the rim. For this, I took a piece of machine steel and gently scraped the lava away. The metal’s edge is sharp enough to remove what I need, but not so sharp that it damages the rim. This work revealed (thankfully) that there was no damage to the rim.

Similar to the stem, I then cleaned the stummel with both pipe cleaners and cotton swabs dipped in lemon-infused 99% isopropyl alcohol. With a pipe this dirty, it took quite a while and much cotton to clean.

I then decided to ‘de-ghost’ the pipe – that is to say, exorcize the remaining filth from the briar. I filled the bowl and the shank with cotton balls, then saturated them with 99% isopropyl alcohol. I let the stummel sit overnight. This caused the remaining oils, tars and smells to leach out into the cotton.

To tidy up the briar, I wiped down the outside, using a solution of a pH-neutral detergent and some distilled water, with cotton rounds. I also used a toothbrush in the crevices. This did a good job of cleaning any latent dirt on the surface of the briar. The last step of the cleaning process was to scour the inside of the stummel with the same mild detergent and tube brushes. This was the culmination of a lot of hard work in getting the pipe clean.

I used all nine micromesh pads (1,500 through 12,000 grit) to sand the outside of the stummel and finish it off. This sanding minimizes flaws in the briar and provides a beautiful smoothness to the wood. I rubbed some LBE Before & After Restoration Balm into the briar and let it sit for 30 minutes or so. The balm moisturizes the wood and gives a beautiful depth to the briar. I then buffed the stummel with a microfibre cloth.

For the final step, I took the pipe to my bench polisher and carefully buffed it – first with a blue diamond compound, then with some carnauba wax. This procedure makes the pipe look its best – the stummel sings and the stem glows.

All done! This BBB Ultonia 611 looks fantastic again and I am delighted with the results. I’m sure the gentleman in Indiana will be too. The approximate dimensions of the pipe are as follows: length 5⅔ in. (144 mm); height 1¾ in. (44 mm); bowl diameter 1¼ in. (33 mm); chamber diameter ¾ in. (19 mm). The weight of the pipe is ⅞ oz. (25 g). I hope you enjoyed reading the story of this pipe’s restoration as much as I enjoyed restoring it. If you are interested in more of my work, please follow me here on Steve’s website or send me an email at kenneth@knightsofthepipe.com. Thank you very much for reading and, as always, I welcome and encourage your comments.

Finishing Touches on a Handmade Jeantet 4 Bent Dublin


by Kenneth Lieblich

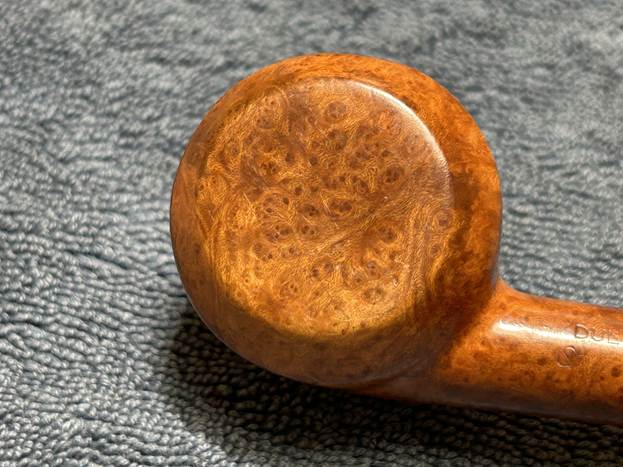
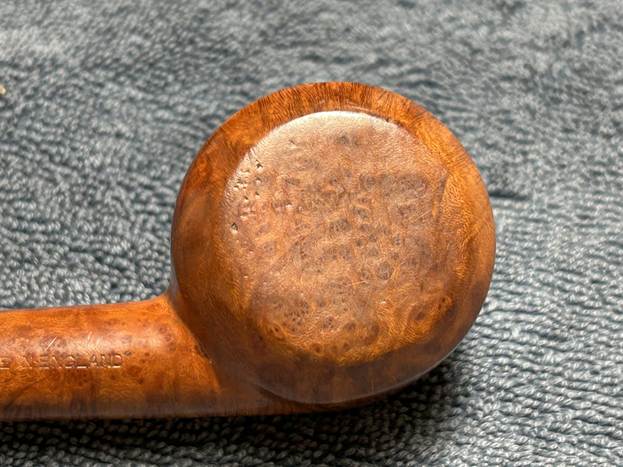
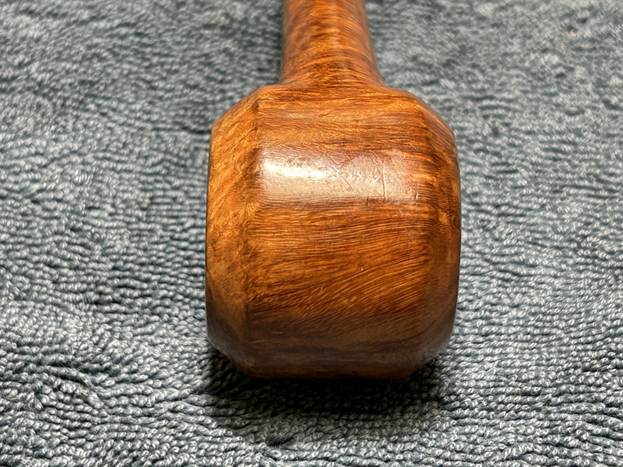
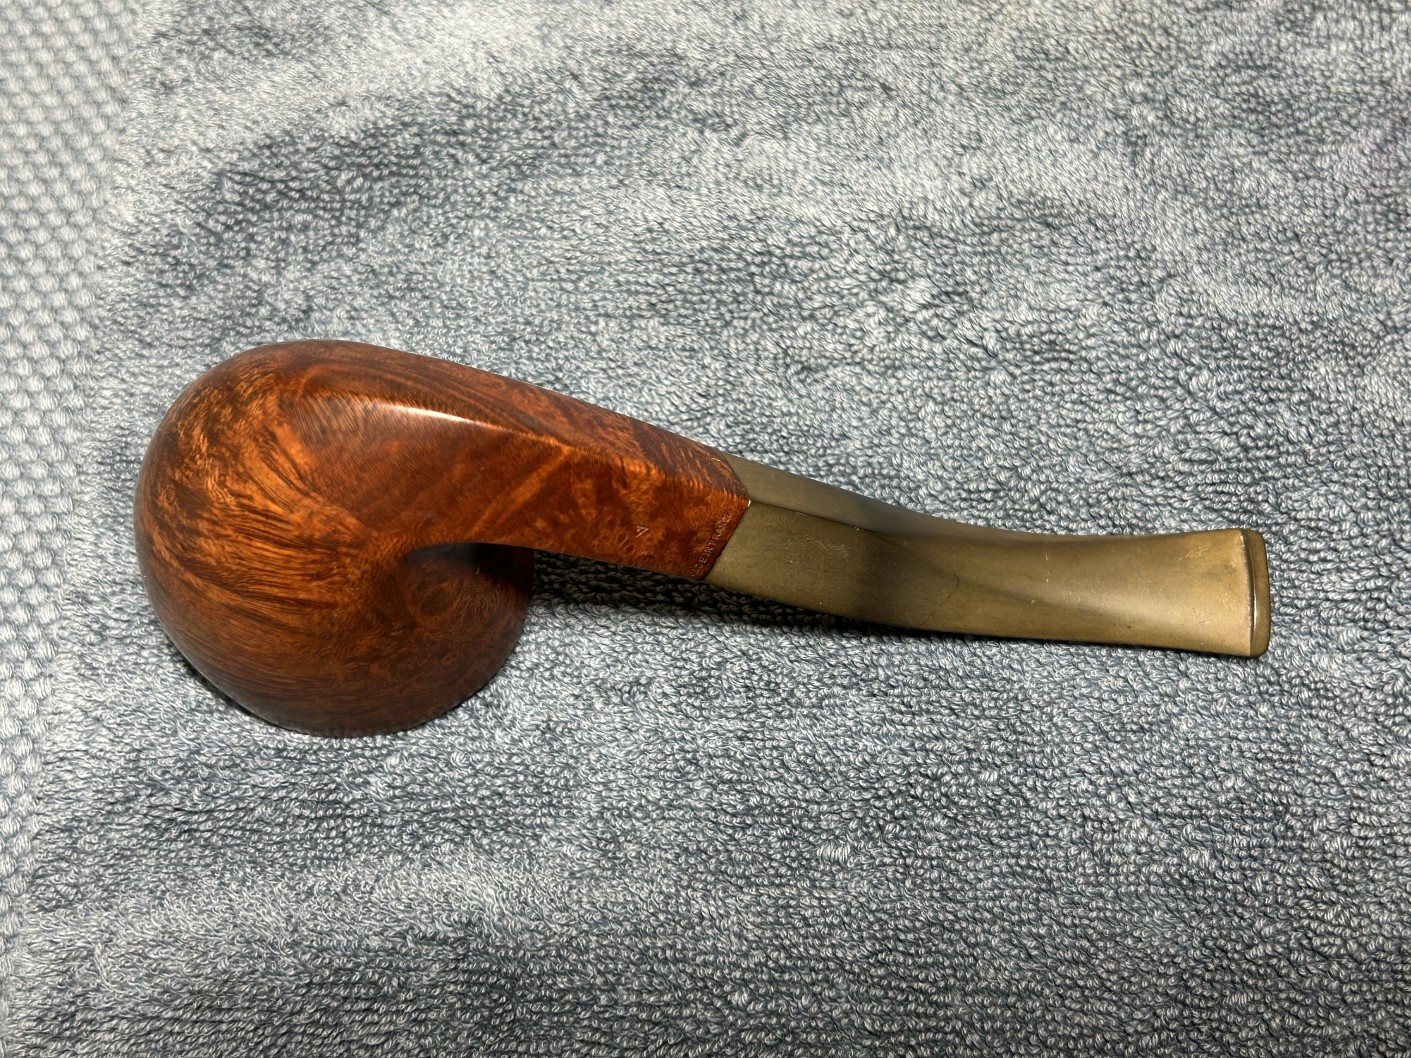
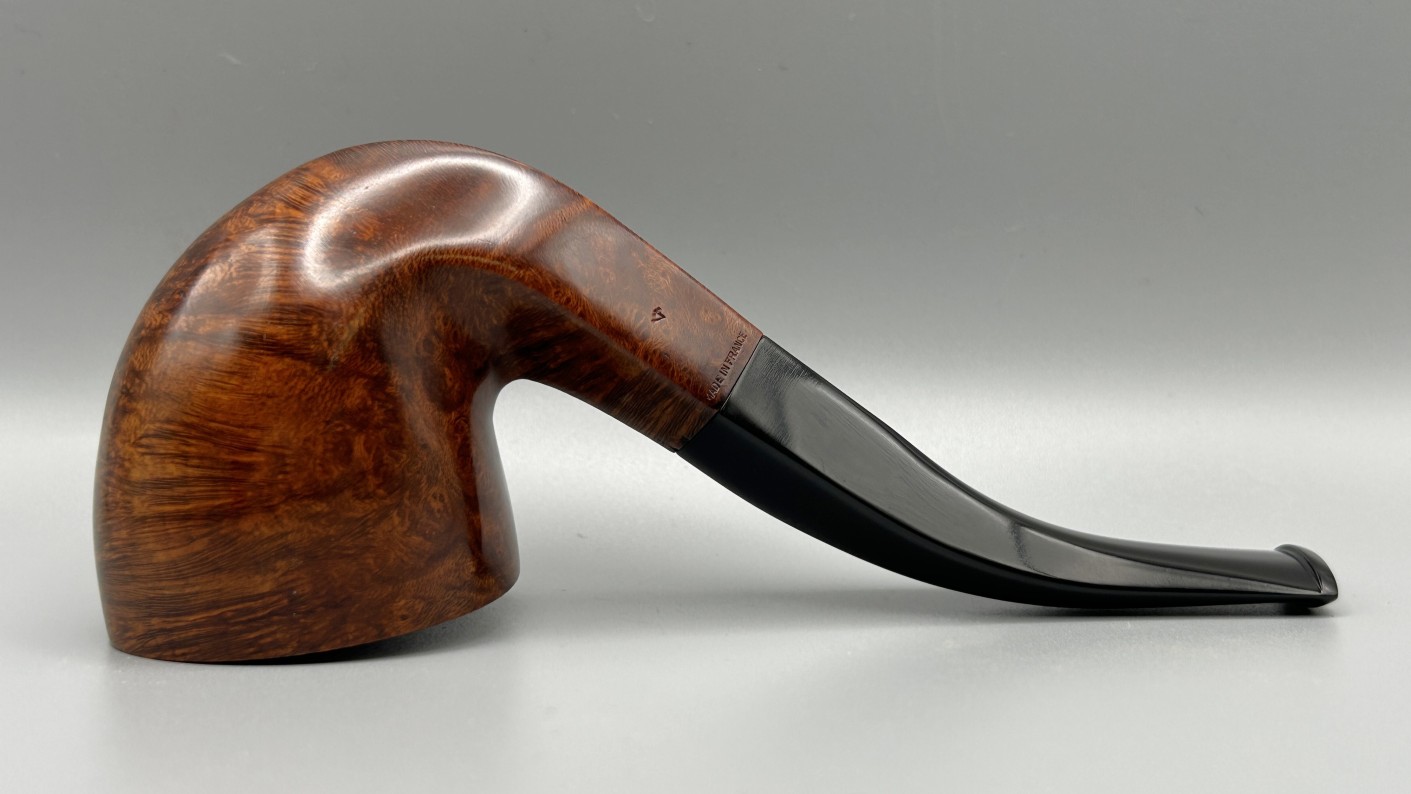
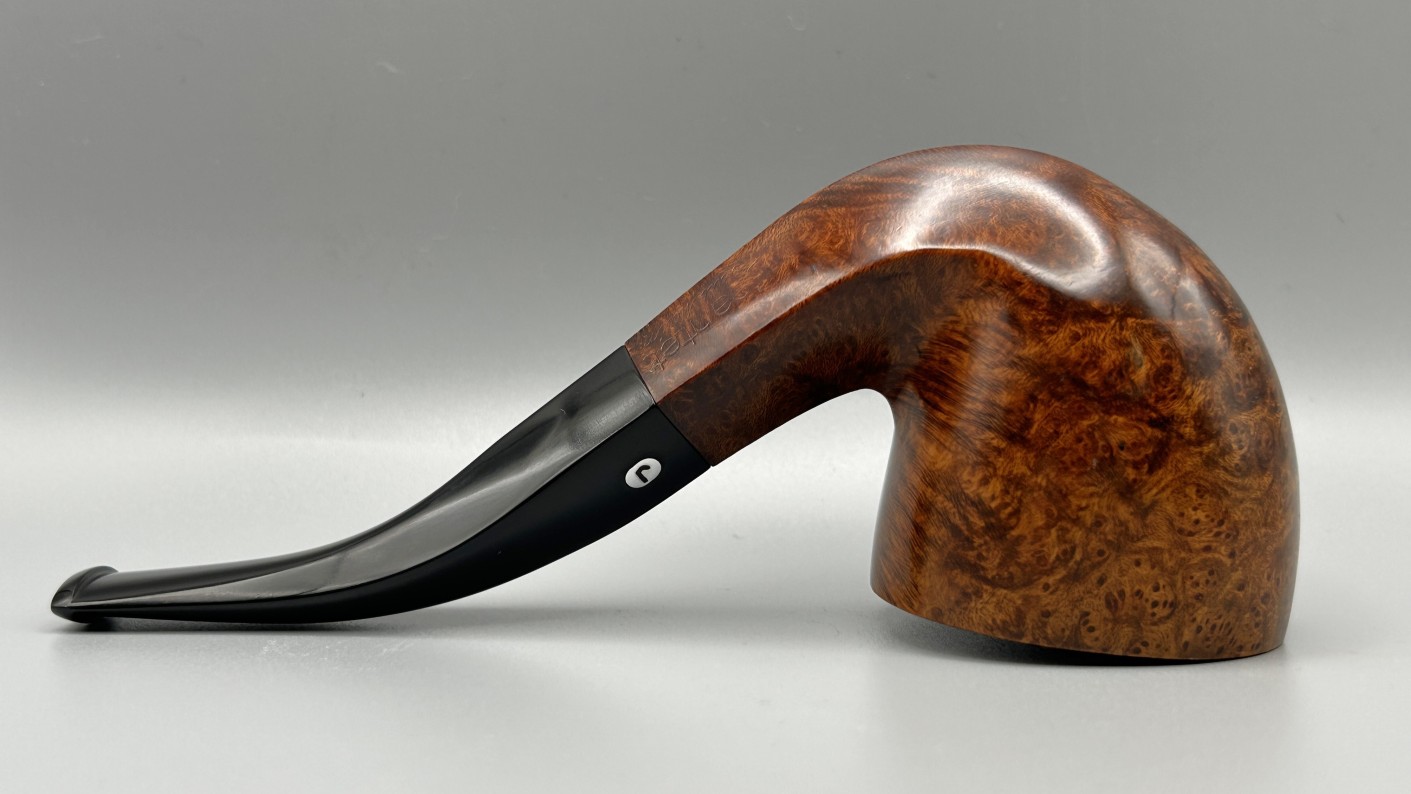
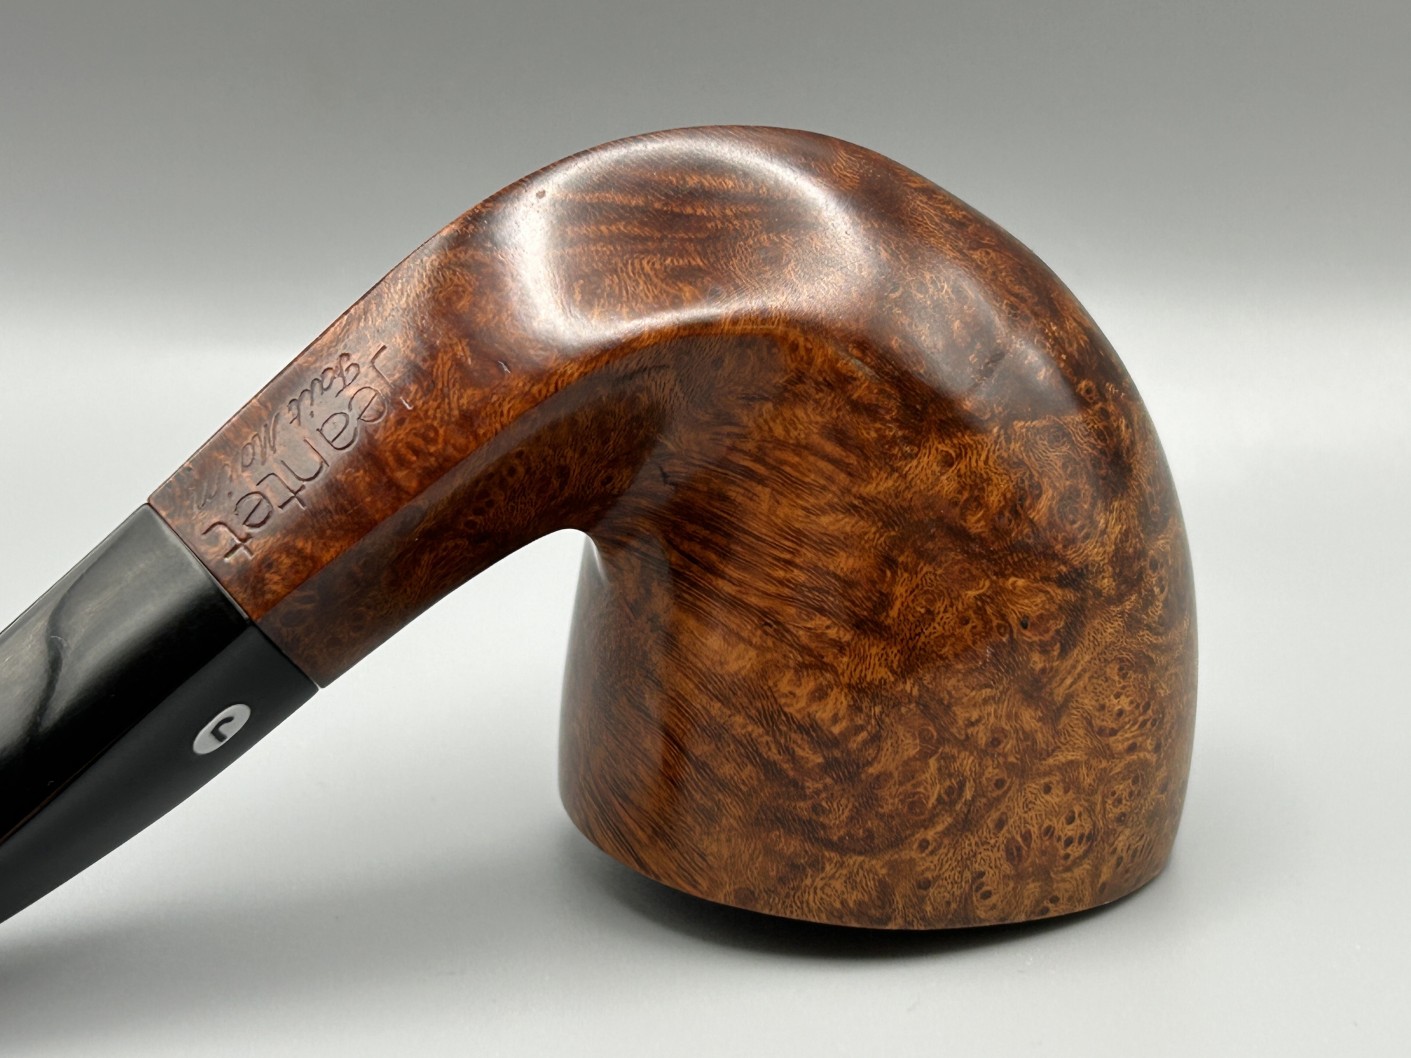
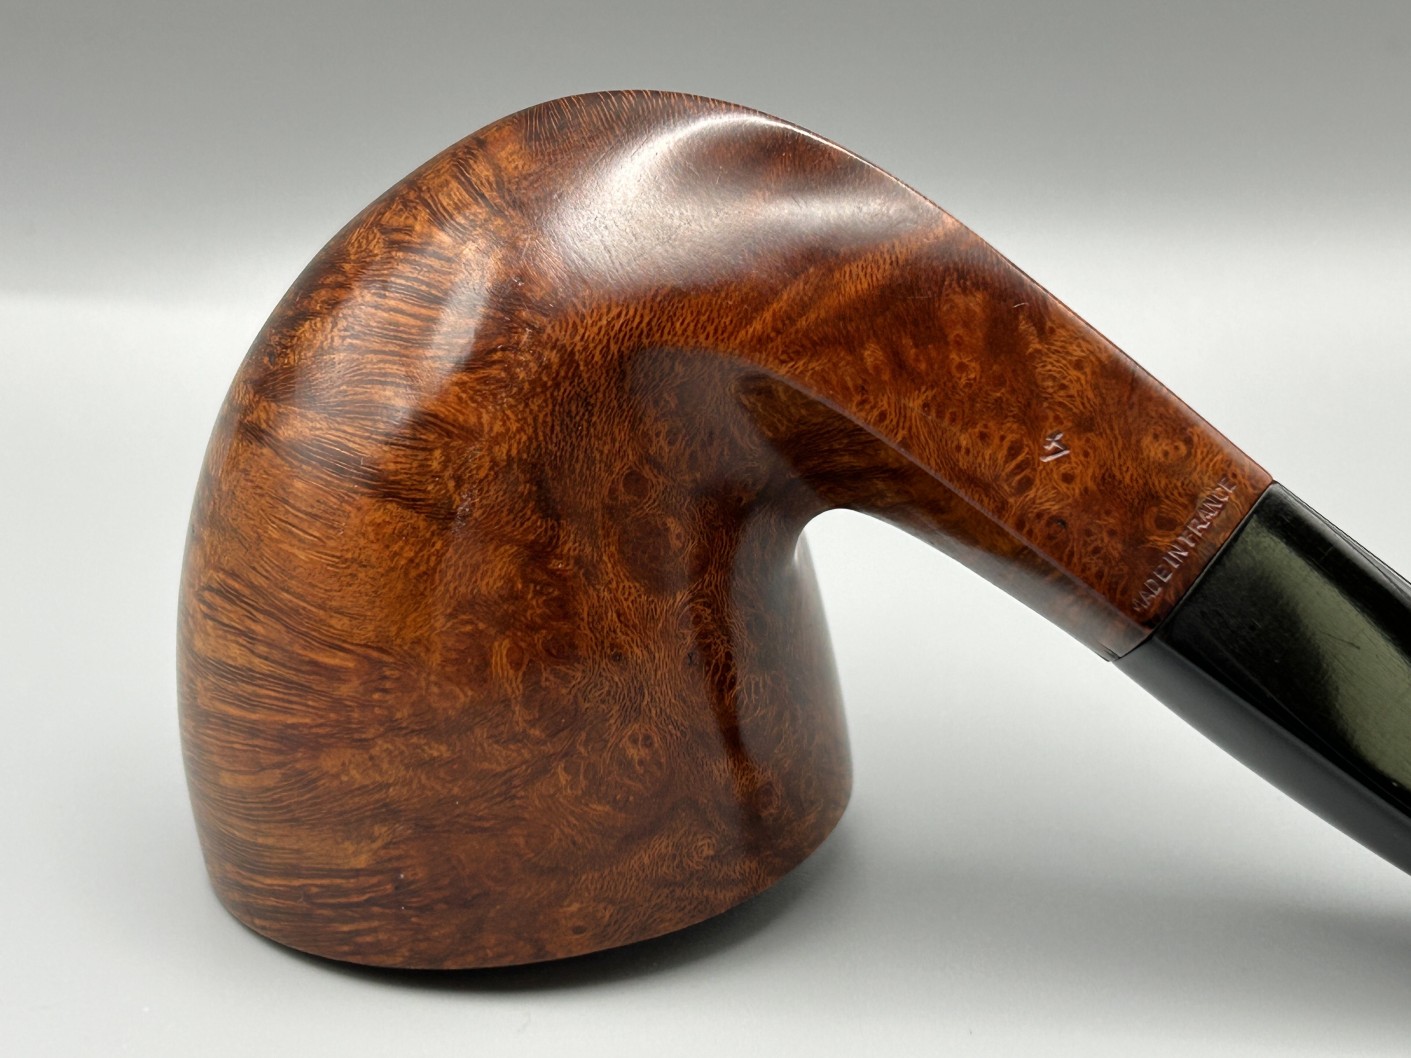
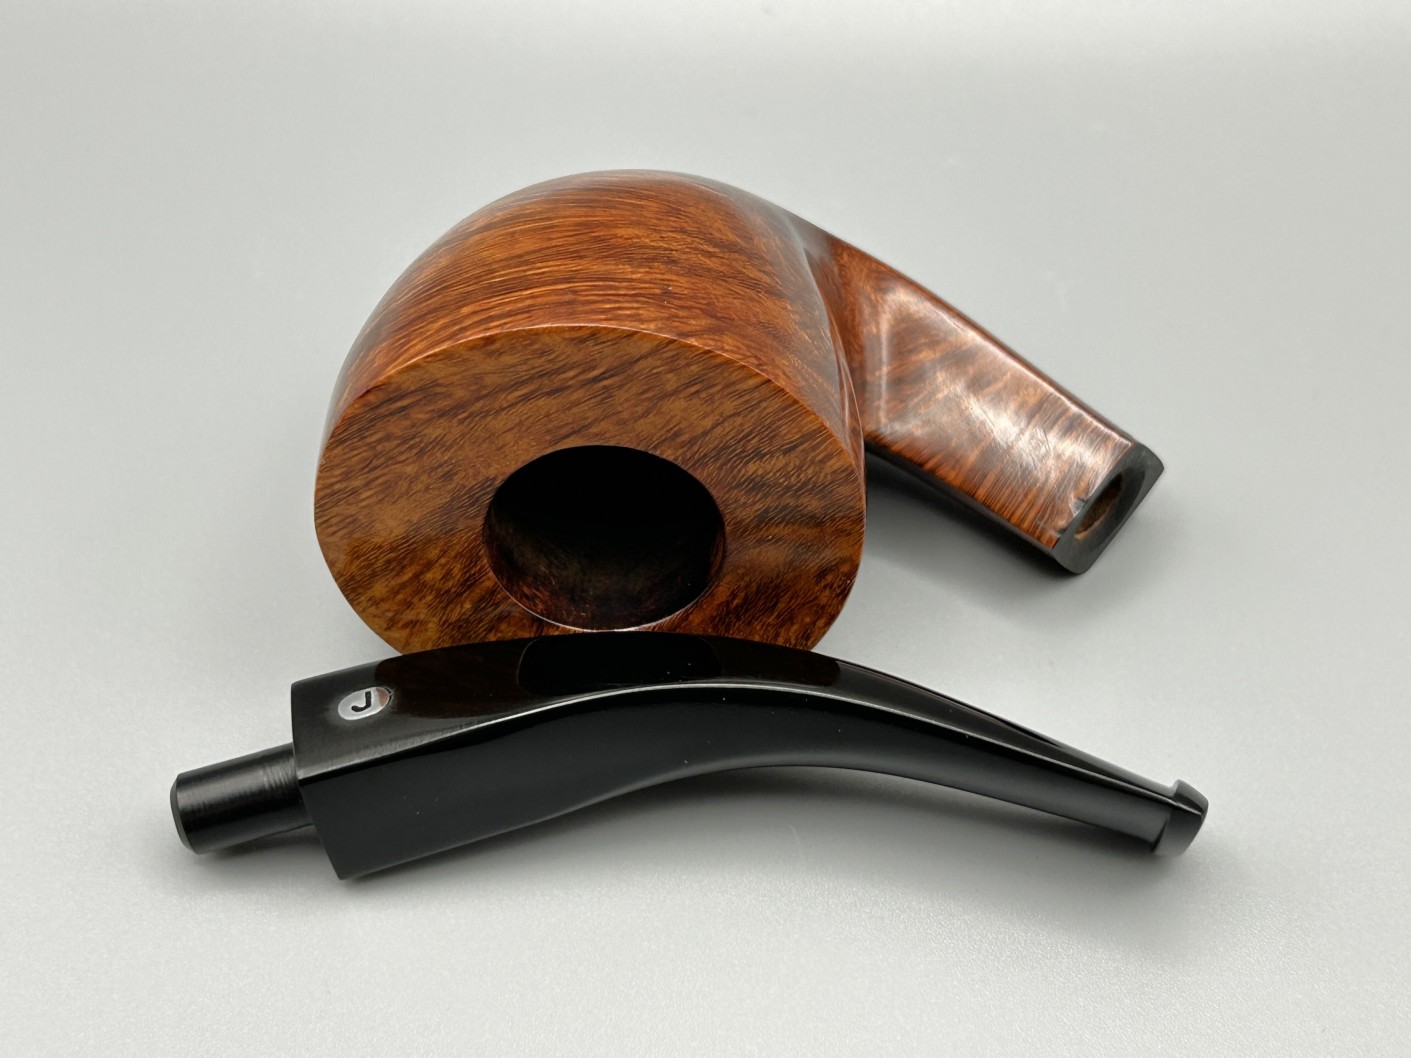
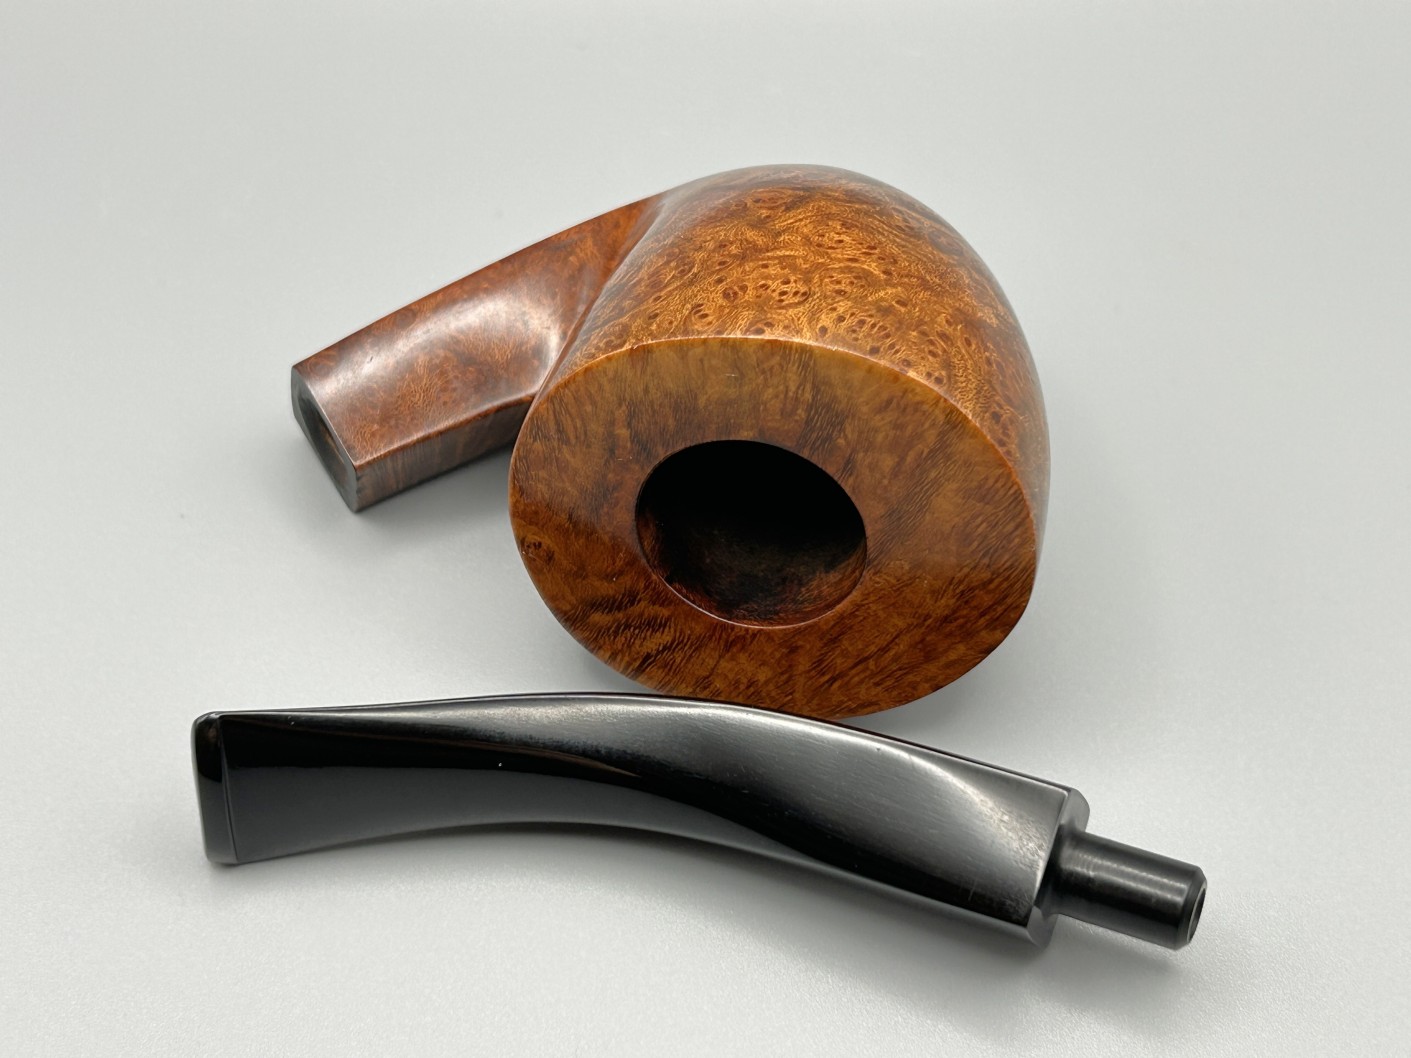
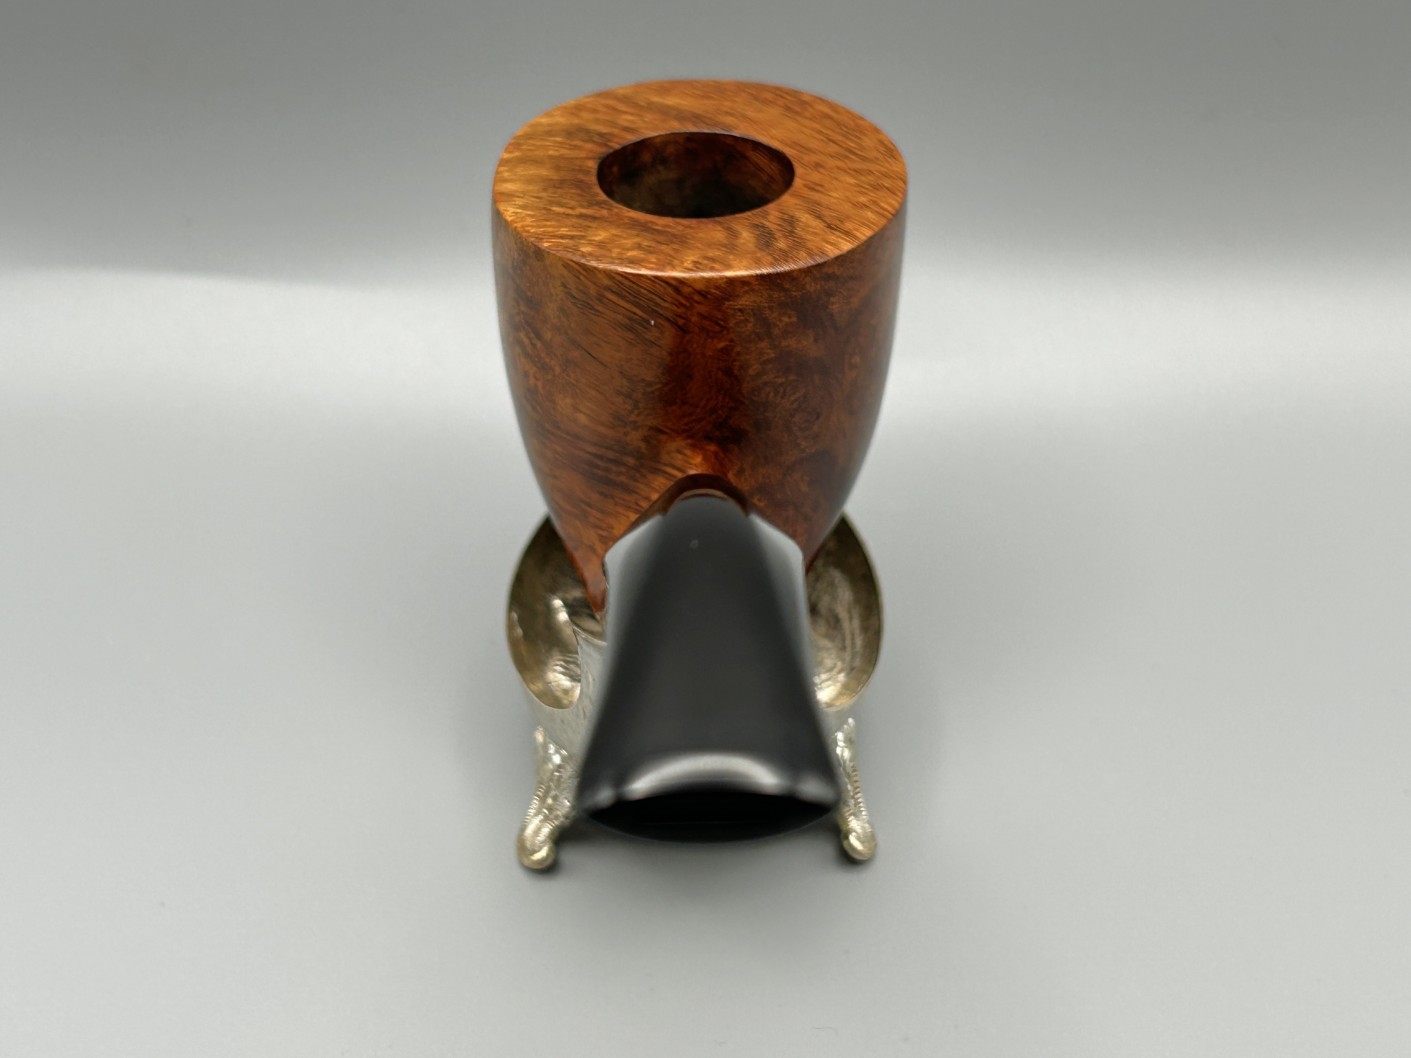
What a pipe this is! The shape is amazing. This is a French Jeantet Fait Main 4 Bent Dublin. It has a wonderfully wide bowl, with a lovely diamond-shank vulcanite stem. There is almost a freehand calabash feel to the pipe shape – not quite, but almost. I freely admit that the extra-thick walls on this pipe really captured my attention. They are so, so nice. There is also some tremendous bird’s-eye grain on the bowl. It’s a great hunk of briar and should be a great smoker. This one will clean up beautifully.

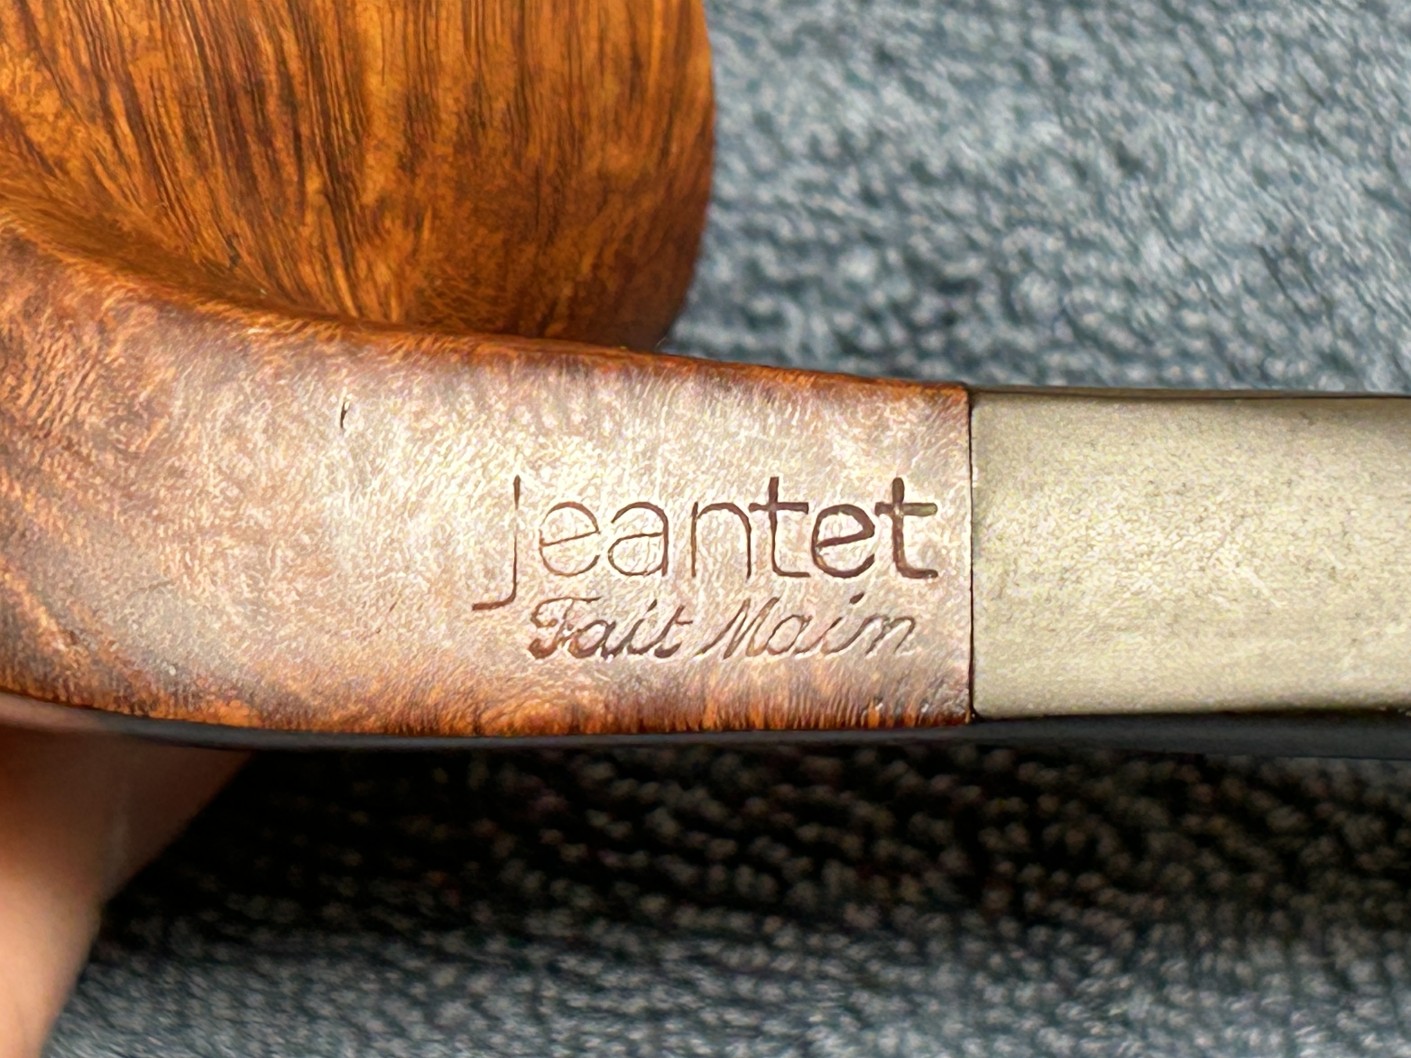
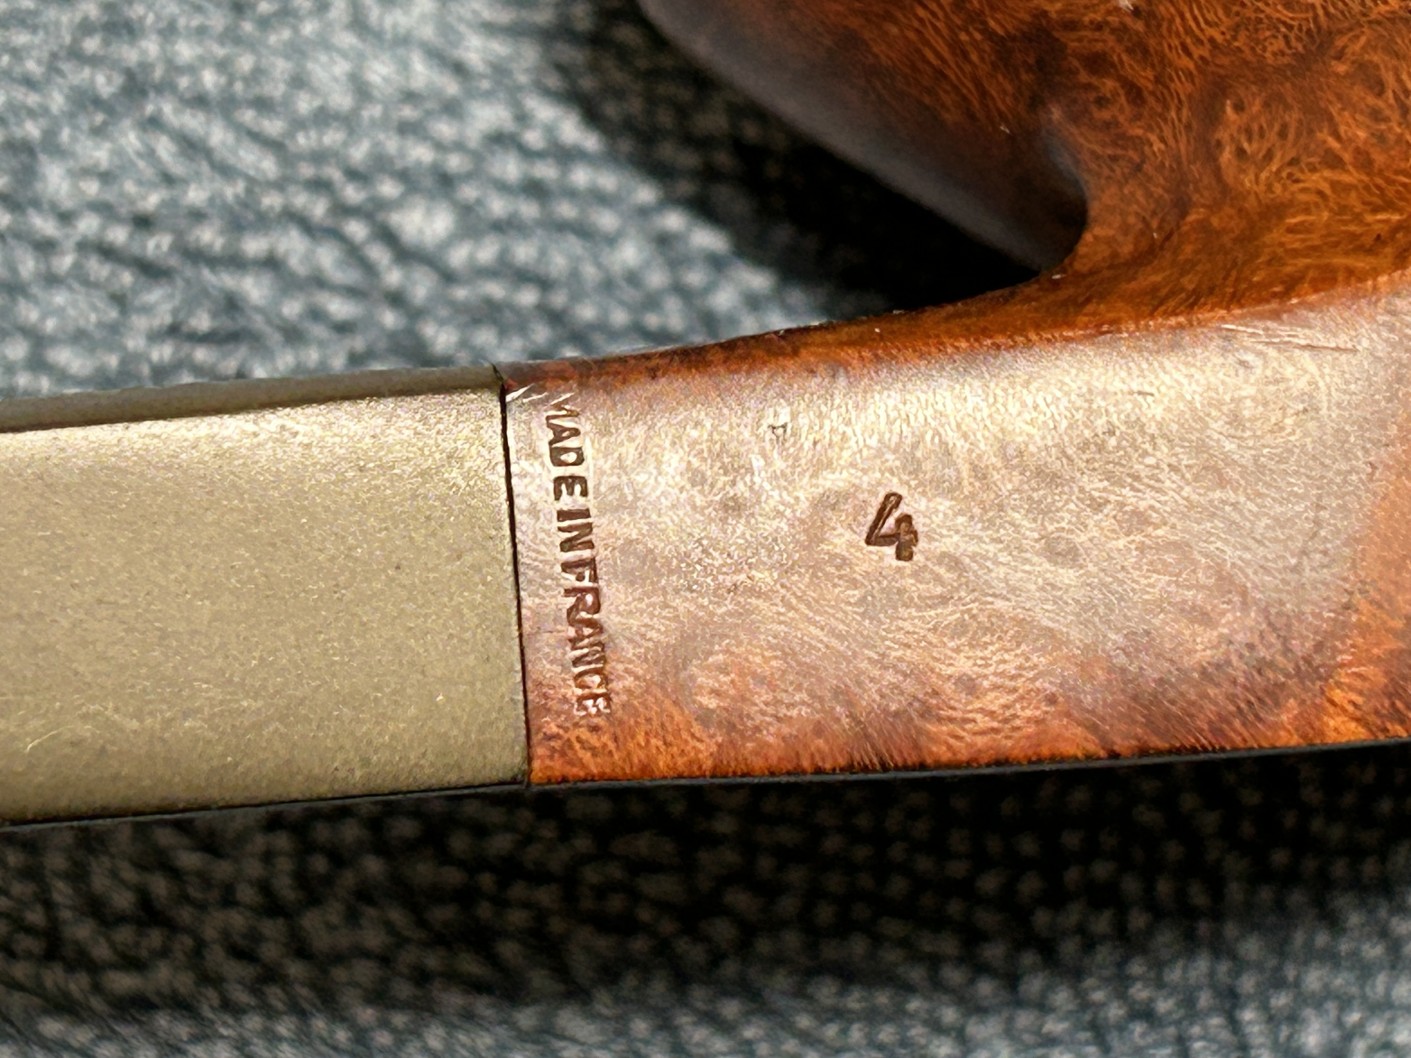
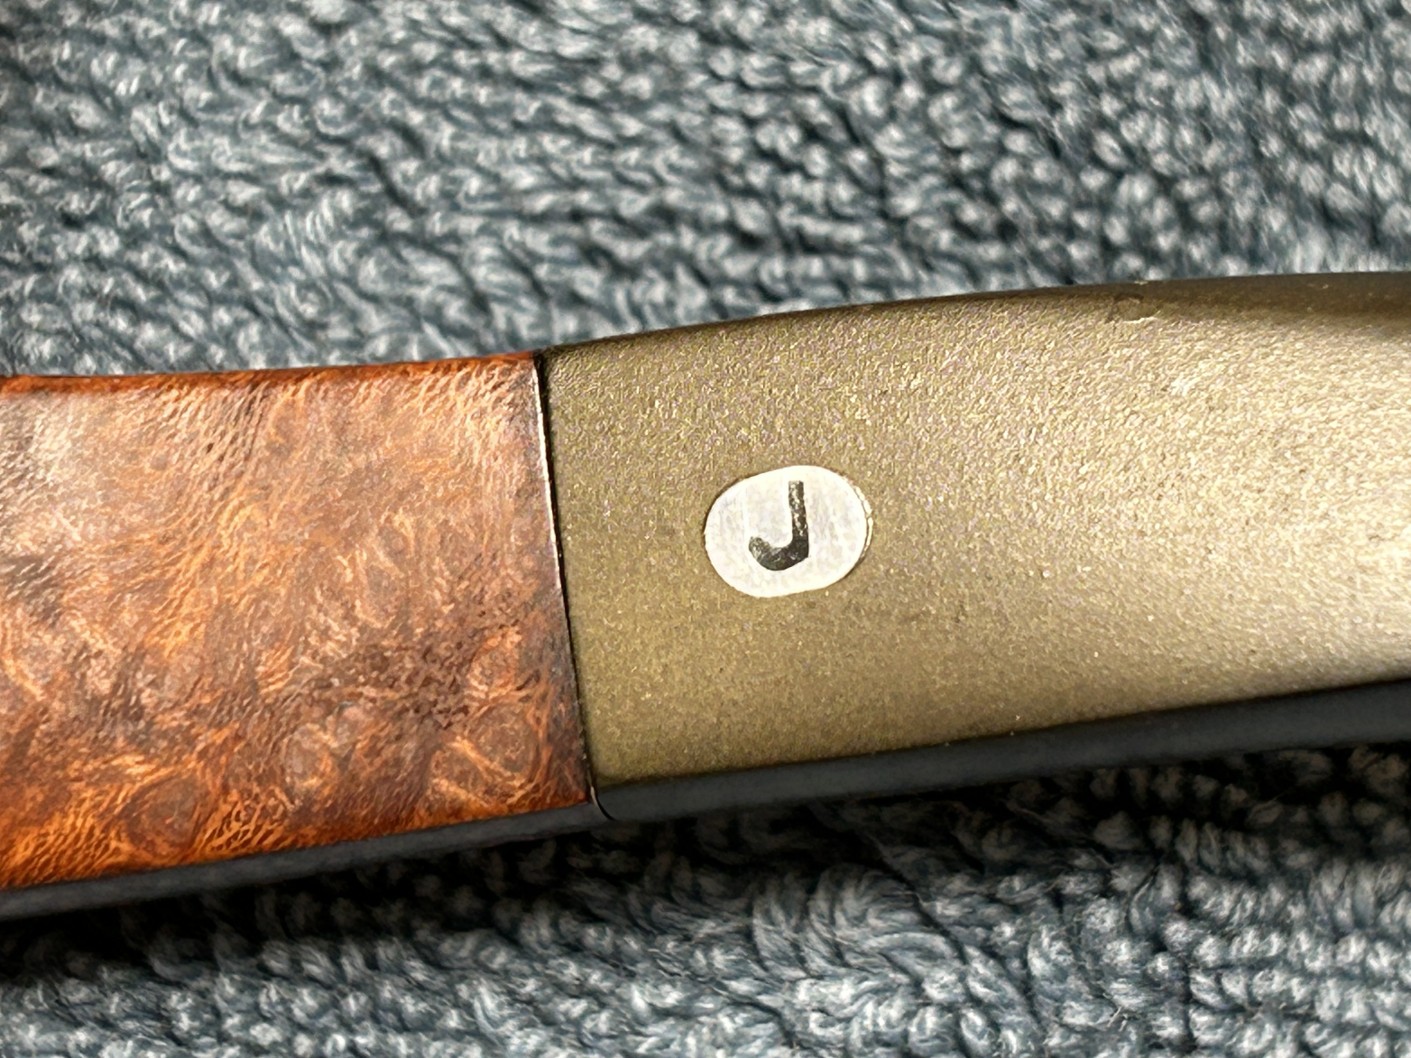
The markings are clear and obvious on this beauty. On the left side of the shank, it says Jeantet [over] Fait Main. The words Fait Main mean handmade in French. On the right side of the shank is the shape number 4, and to the left of that (at a right angle) are the words Made in France. On the stem, the Jeantet logo (simply the letter J) is found inside of a metal octagon.

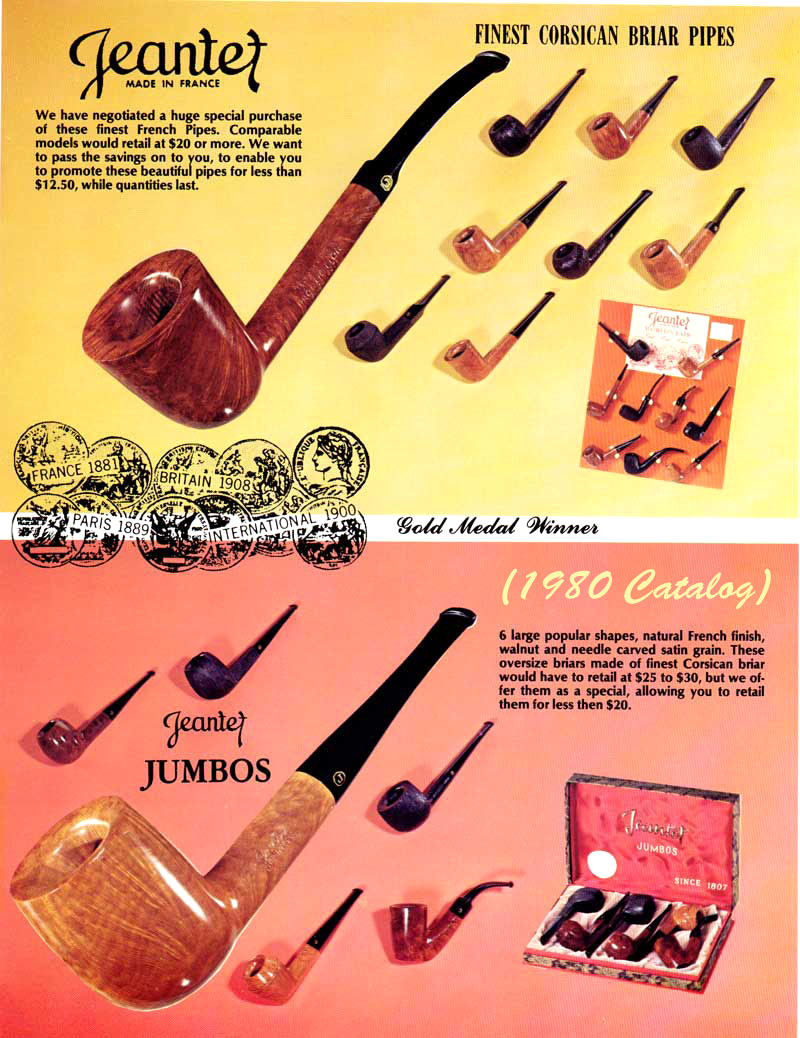
Let’s talk about the venerable French pipe company of Jeantet. There is a good write-up at Pipedia. I have reproduced it here below:

The firm of the Jeantet family in Saint-Claude is first mentioned as early as 1775. By 1807 the Jeantets operated a turnery producing in particular wooden shanks for porcelain pipes and wild cherry wood pipes. The firm was named Jeantet-David in 1816, and in 1837 the enterprise was transformed into a corporation as collective name for numerous workshops scattered all over the city.

The manufacturing of briar pipes and began in 1858. 51 persons were employed by 1890. Desirous to concentrate the workers at a single site, the corporation began to construct a factory edifying integrated buildings about 1891 at Rue de Bonneville 12 – 14. This took several years. In 1898 Maurice Jeantet restructured the business. He is also presumed to enlarge Jeantet factory purchasing a workshop adjoining southerly. It belonged to the family Genoud, who were specialized in rough shaping of stummels and polishing finished pipes. (In these times it was a most common procedure to carry goods from here to there and back again often for certain steps of the production executed by dependant family based subcontractors. Manpower was cheap.)

Jeantet was transformed to a corporation with limited liability in 1938. By that time a branch workshop was operated in Montréal-la-Cluse (Ain), where mainly the less expensive pipes were finished. 107 employees – 26 of them working from their homes – were counted in Saint-Claude in 1948 and 18 in the Ain facility.

The Saint-Claude factory was considerably modernized by ca. 1950 installing (e.g.) freight elevators. In 1952 the southern workshop was elevated. 80 workers were employed in 1958. The factory covered an area of 2831 m²; 1447 m² of the surface were buildings.

The climax of the pipe production was reached around 1969, when thirty to thirty-five thousand dozens of pipes were made by 72 workers (1969). But then the production continuously dwindled to only six or seven thousand dozens in 1987 and only 22 workers were still there. Even though, around 1979 a very modern steam powered facility for drying the briar had been installed in the factory’s roofed yard.

Yves Grenard, formerly Jeantet’s chief designer and a great cousin of Pierre Comoy, had taken over the management of Chapuis-Comoy in 1971. Now, to preserve the brand, the Jeantet family went into negotiations with him, and resulting from that Jeantet was merged in the Cuty Fort Group (est. 1987 and headed by Chacom) in 1988 along with the pipe brands of John Lacroix and Emile Vuillard. Chacom closed the Jeantet plant, and the City of Saint-Claude purchased it in 1989. After alternative plans failed, the buildings were devoted to wrecking. The southerly workshop was wrecked before 1992.

Today Jeantet pipes were produced as a sub-brand by Chapuis-Comoy who’s mainstay is Chacom of course.

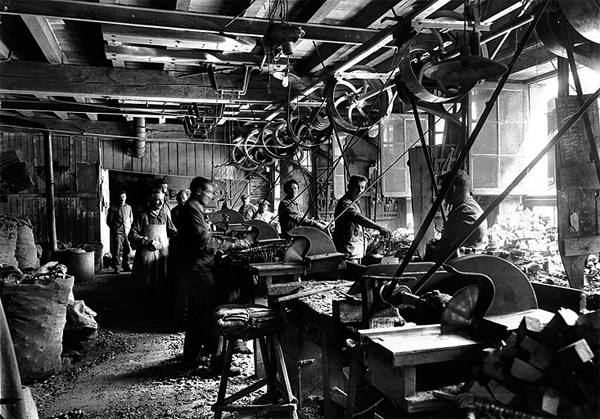
Here is an image of the factory in the 1920s:

Over at Pipephil, they add the following information:

The company joined the Cuty-Fort Entreprises group (Chacom, Ropp, Vuillard, Jean Lacroix…) in 1992. In 2010 it droped out and the brand isn’t part of the group any more. The label is owned by the Jeantet family (Dominique Jeantet) again. The pipe production is discontinued. Dominique Jeantet retired in 2000.

On to the pipe itself. I am pleased to report that this pipe was seldom smoked, so it remains in very good condition. The stem doesn’t have any tooth marks, but has plenty of oxidation from just sitting around. The bowl is also very nice. Very little cake and the stunning rim is free of lava or damage.

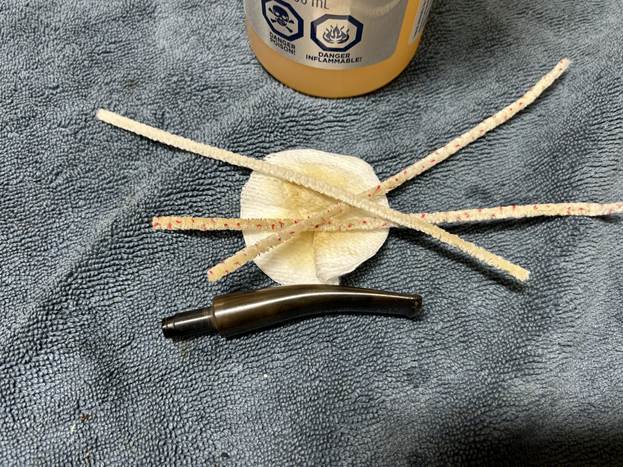
I used isopropyl alcohol on a few cotton rounds and wiped down the stem to provide an initial cleaning before moving on to the next steps. The primary cleaning came next. I disinfected the inside of the stem with both pipe cleaners and cotton swabs dipped in lemon-infused 99% isopropyl alcohol. I scrubbed thoroughly to make sure the interior was very clean.

The goal of the next step is the removal (or minimization) of oxidation. Going to my sink, I used cream cleanser, cotton rounds, and a toothbrush, and scoured the stem to remove as much surface oxidation as possible. As the photos show, the result was a hideous, ochre-coloured mess – but better off the stem than on it.

Once the stem was reasonably clean, I soaked it overnight in some Briarville Stem Oxidation Remover. This solution works to draw oxidation in the stem to the surface of the vulcanite. This is a major aid and an important step in ensuring a clean stem. The following day, I drew out the stem from its bath and scrubbed the lingering fluid with a toothbrush.

The penultimate step for the stem is sanding. First, with my set of needle files, I reduced the bulk of the cyanoacrylate repairs. I removed the excess adhesive as near to the surface as possible, without cutting into the vulcanite. Following that, I used all nine of the micromesh sanding pads (1,500 through 12,000 grit) to sand out flaws, even out the vulcanite, and provide gentle polishing of the finished surface. I also applied pipe-stem oil while using the last five micromesh pads. There was a wonderful, deep black shine to the stem when I was done.

As the stem was (nearly) complete, I moved on to the stummel. The first step was to ream out the bowl – that is to say, remove all the cake inside the bowl. This accomplished a couple of things. First (and most obviously), it cleaned the bowl and provided a refurbished chamber for future smoking. Second, when the old cake was removed, I could inspect the interior walls of the bowl and determine if there was damage or not. I used a reamer and a piece of sandpaper taped to a wooden dowel. Collectively, these ensured that all the debris was removed – there wasn’t much, as you can see.

Similar to the stem, I then cleaned the stummel with both pipe cleaners and cotton swabs dipped in lemon-infused 99% isopropyl alcohol. Didn’t take much.

I then decided to ‘de-ghost’ the pipe – that is to say, exorcize the remaining filth from the briar. I filled the bowl and the shank with cotton balls, then saturated them with 99% isopropyl alcohol. I let the stummel sit overnight. This caused the remaining oils, tars and smells to leach out into the cotton.

To tidy up the briar, I wiped down the outside, using a solution of a pH-neutral detergent and some distilled water, with cotton rounds. This did a good job of cleaning any latent dirt on the surface of the briar. The last step of the cleaning process was to scour the inside of the stummel with the same mild detergent and tube brushes.

I used all nine micromesh pads (1,500 through 12,000 grit) to sand the outside of the stummel and finish it off. This sanding minimizes flaws in the briar and provides a beautiful smoothness to the wood. I rubbed some LBE Before & After Restoration Balm into the briar and let it sit for 30 minutes or so. The balm moisturizes the wood and gives a beautiful depth to the briar. I then buffed the stummel with a microfibre cloth.

For the final step, I took the pipe to my bench polisher and carefully buffed it – first with a blue diamond compound, then with some carnauba wax. This procedure makes the pipe look its best – the stummel sings and the stem glows.

All done! This Jeantet Fait Main 4 Bent Dublin looks fantastic again and is ready to be enjoyed by its next owner. I am pleased to announce that this pipe is for sale! If you are interested in acquiring it for your collection, please have a look in the ‘French’ section of the store here on Steve’s website. You can also email me directly at kenneth@knightsofthepipe.com. The approximate dimensions of the pipe are as follows: length 5¾ in. (147 mm); height 2 in. (52 mm); bowl diameter 1⅞ in. (48 mm); chamber diameter ⅞ in. (21 mm). The weight of the pipe is 2¼ oz. (67 g). I hope you enjoyed reading the story of this pipe’s restoration as much as I enjoyed restoring it. If you are interested in more of my work, please follow me here on Steve’s website or send me an email. Thank you very much for reading and, as always, I welcome and encourage your comments.

A Quite Remarkable Danish-Style Bent Egg from the Paradis Brothers


by Kenneth Lieblich

The first time this pipe came into my possession, I said, ‘Wow’. The stunning grain, the inviting shape, and the amazing proportions drew my attention immediately. This is a lovely and large Danish-Style bent egg from the Canadian Paradis Brothers of Québec City. The hearty bowl has thick, solid walls. The shank extends beautifully to a vulcanite taper stem. The pipe is very attractive and I hope it will find a good home with one of you. As I’m sure you know, the French word paradis means ‘paradise’ or ‘heaven’. I trust that smoking it will be a heavenly experience for you.

The markings are typically strange from Paradis – strange, insofar as there is very little marked! On the left side of the shank, we see the word Paradis. The stem has a cursive P. And that is all – no shape number, no place of manufacture, nothing else.

I knew Paradis Pipes to be a Canadian pipe company, based in Québec City, but I went over to Pipedia and Pipephil to seek out more information. Sadly, the company doesn’t exist anymore. Here’s some of what I found (after correcting many spelling errors):

Paradis Pipes is the Canadian brand of the brothers Gilles and Fernand Paradis. In 1922 the Paradis family moved to the USA, when Lucien Paradis (1906-1979) was 16 years old. It was at this age that he started as an apprentice at his uncle’s pipe factory: Joseph B. Desjardins, maker of (JD) pipes, in Fall River, MA. Joseph Desjardins was issued two patents during this period, one for a new machine for making pipe stems and another for a new design of pipe reamer. The company employed 60 workers at one stage. In 1930, due to the Great Depressions, Lucien lost his job and returned to Quebec to work in the agricultural machine industry. In his spare time, be made pipes, selling them door to door. Three years later the rest of the family joined him, and Lucien founded a pipe factory with two of his brothers. The company eventually employed 18 workers and in the 1960s produced over 50,000 pipes a year, under brands like JBL, Dr. Thomas, Fernand Gignac, S.C. Pipes, New London Golfer, and Jo Thomassin. Paradis was founded in 1978, at the Salon of Quebec Artisans, and is available in tobacconists all over the country today. The brand produces 8,000 pipes a year (400 “handmade”), with Greek briar.

I’m pleased to say that the pipe is in very good condition. The stem is barely used. It has quite a bit of oxidation, but hardly any tooth chatter. The bowl has been seldom smoked. Very little cake, and no lava on the rim. There are a couple of small fills, but nothing serious.

I used isopropyl alcohol on a few cotton rounds and wiped down the stem to provide an initial cleaning of filth before moving on to the next steps. The primary cleaning came next. I disinfected the inside of the stem with both pipe cleaners and cotton swabs dipped in lemon-infused 99% isopropyl alcohol. I scrubbed thoroughly to make sure the interior was very clean. It wasn’t very dirty.

The goal of the next step is the removal (or minimization) of oxidation. Going to my sink, I used cream cleanser, cotton rounds, and a toothbrush, and scoured the stem to remove as much surface oxidation as possible. As the photos show, the result was a hideous, ochre-coloured mess – but better off the stem than on it.

Once the stem was reasonably clean, I soaked it overnight in some Briarville Stem Oxidation Remover. This solution works to draw oxidation in the stem to the surface of the vulcanite. This is a major aid and an important step in ensuring a clean stem. The following day, I drew out the stem from its bath and scrubbed the lingering fluid with a toothbrush.

After this, I painted the logo on the stem with some enamel nail polish. I restored the logo carefully and let it fully set before proceeding.

The penultimate step for the stem is sanding. First, with my set of needle files, I reduced the bulk of the cyanoacrylate repairs. I removed the excess adhesive as near to the surface as possible, without cutting into the vulcanite. Following that, I used all nine of the micromesh sanding pads (1,500 through 12,000 grit) to sand out flaws, even out the vulcanite, and provide gentle polishing of the finished surface. I also applied pipe-stem oil while using the last five micromesh pads. There was a wonderful, deep black shine to the stem when I was done.

As the stem was (nearly) complete, I moved on to the stummel. The first step was to ream out the bowl – that is to say, remove all the cake inside the bowl. This accomplished a couple of things. First (and most obviously), it cleaned the bowl and provided a refurbished chamber for future smoking. Second, when the old cake was removed, I could inspect the interior walls of the bowl and determine if there was damage or not. I used a reamer, a pipe knife, and a piece of sandpaper taped to a wooden dowel. Collectively, these ensured that all the debris was removed. There was actually very little cake in there.

Similar to the stem, I then cleaned the stummel with both pipe cleaners and cotton swabs dipped in lemon-infused 99% isopropyl alcohol. Once again, the insides were not very dirty.

I then decided to ‘de-ghost’ the pipe – that is to say, exorcize the remaining filth from the briar. I filled the bowl and the shank with cotton balls, then saturated them with 99% isopropyl alcohol. I let the stummel sit overnight. This caused the remaining oils, tars and smells to leach out into the cotton. This pipe probably didn’t need it, but it’s just what I do!

To tidy up the briar, I wiped down the outside, using a solution of a pH-neutral detergent and some distilled water, with cotton rounds. I also used a toothbrush in the crevices. This did a good job of cleaning any latent dirt on the surface of the briar. The last step of the cleaning process was to scour the inside of the stummel with the same mild detergent and tube brushes. This was the culmination of a lot of hard work in getting the pipe clean.

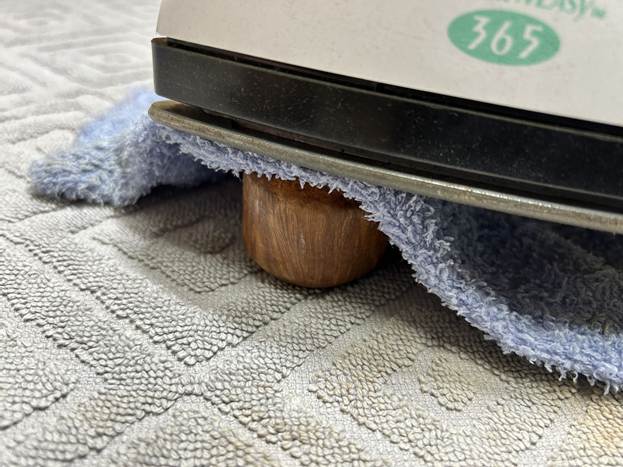
Having completed that, I was able to address the tiny nicks on the bowl. I dug out my iron and a damp cotton flannel cloth. By laying the cloth over the affected areas and applying the iron to it, the hot and moist steam can cause the wood to swell slightly and return to shape. There was some good improvement. Sorry – forgot to photograph this.

I used the last few micromesh pads to sand the outside of the stummel and finish it off. This sanding minimizes flaws in the briar and provides a beautiful smoothness to the wood. I rubbed some LBE Before & After Restoration Balm into the briar and let it sit for 30 minutes or so. The balm moisturizes the wood and gives a beautiful depth to the briar. I then buffed the stummel with a microfibre cloth.

For the final step, I took the pipe to my bench polisher and carefully buffed it – first with a blue diamond compound, then with some carnauba wax. This procedure makes the pipe look its best – the stummel sings and the stem glows.

All done! This Paradis Danish-style bent egg looks fantastic again and is ready to be enjoyed by its next owner. I am pleased to announce that this pipe is for sale! If you are interested in acquiring it for your collection, please have a look in the ‘Canadian’ section of the store here on Steve’s website. You can also email me directly at kenneth@knightsofthepipe.com. The approximate dimensions of the pipe are as follows: length 5½ in. (140 mm); height 2¼ in. (57 mm); bowl diameter 1¾ in. (45 mm); chamber diameter ⅞ in. (22 mm). The weight of the pipe is 2⅜ oz. (68 g). I hope you enjoyed reading the story of this pipe’s restoration as much as I enjoyed restoring it. If you are interested in more of my work, please follow me here on Steve’s website or send me an email. Thank you very much for reading and, as always, I welcome and encourage your comments.

Restoring an Elegant Savinelli Punto Oro Mister G 602 Bent Billiard


by Kenneth Lieblich

Next up on my restoration adventures is this Savinelli Punto Oro Mister G 602 bent billiard. In my opinion, the 602 is one of Savinelli’s most attractive shapes. It’s a classic: beautiful and understated. I acquired this pipe in a local auction and I was charmed right away. The stummel has a gorgeous sandblast, with a smooth rim. The tapered, vulcanite stem is a perfect complement, with a brass and briar band at the end. This is also a 6mm filter pipe (though they smoke very well without) and the tenon is made of acrylic. It’s a wonderful pipe and it deserves to be part of someone’s collection again.

This pipe promises to be a great smoker. Let’s look at the markings. The underside of the shank reads Savinelli [over] Punto Oro [over] Mister G. Savinelli, of course, is an Italian company, and the words Punto Oro mean literally, ‘gold point’. Next to that is the lovely Savinelli crown; and next to that are the marks 602 [over] Italy. Naturally, the number refers to the shape and Italy is the country of manufacture. Finally, there is a gold-coloured dot on the stem (made of brass) – a very nice touch.

Savinelli is one of the most recognized names in pipe smoking and they have a long and storied history. You can read about them from their own website or from Pipedia’s article about them. However, I was particularly interested in learning more about the Punto Oro line. Sadly, Pipedia had nothing on this subject. I checked with Pipephil and they did have a bit of information, which I display below.

I also found a bit of information on the Punto Oro line from Savinelli’s own website. They write:

PUNTO ORO pipe was the first pipe created by Achille Savinelli after the opening of the factory in 1958; a pipe that has always distinguished the Savinelli brand, its elegance, reliability and tradition. It is a top quality pipe with a wonderful grain. It is important to know it is very difficult to find a briar piece suitable to become a PUNTO ORO: just 1,2% of the whole choice is selected for this series, therefore not all our shapes are always available for these pipes.

What about Mister G? This is quite interesting. A comment on the PipesMagazine forums mentioned that the Mister G line was developed in the 1980s by Giancarlo Savinelli (grandson of the founder). According to the comment, he added a ring to the pipe as a design element for this line. This would seem to be corroborated by an entry on MBSD Pipes, which reads:

The Mister G was a subset of Punto Oro pipes that debuted toward the end of the 20th century, and which was a little flashier than even a typical Punto Oro. In addition to their superior briar and finishing, Mister G pipes—named for Giancarlo Savinelli, a connoisseur for the finer things in life—included extra, decorative accents, lending a little more flair to the overall design. It’s been years since I saw a new one, however, which leads me to believe that it is no longer in production. Either that, or they only leave the Savinelli factory once in a blue moon.

Let’s take a closer look at the condition of this beauty. On the whole, it is very good – more drab than damaged. The stem has some oxidation (not much) and has a few small tooth marks. No big deal. It’s dirty, but easily cleaned. The stummel has some cake in the bowl, lava on the rim, and a bit of dirt in the blast. Again, no big deal.

I used isopropyl alcohol on a few cotton rounds and wiped down the stem to provide an initial cleaning of filth before moving on to the next steps. The primary cleaning came next. I disinfected the inside of the stem with both pipe cleaners and cotton swabs dipped in lemon-infused 99% isopropyl alcohol. I scrubbed thoroughly to make sure the interior was very clean.

The goal of the next step is the removal (or minimization) of oxidation. Going to my sink, I used cream cleanser, cotton rounds, and a toothbrush, and scoured the stem to remove as much surface oxidation as possible. As the photos show, the result was a hideous, ochre-coloured mess – but better off the stem than on it.

Once the stem was reasonably clean, I soaked it overnight in some Briarville Stem Oxidation Remover. This solution works to draw oxidation in the stem to the surface of the vulcanite. This is a major aid and an important step in ensuring a clean stem. The following day, I drew out the stem from its bath and scrubbed the lingering fluid with a toothbrush.

As the stem was now clean and dry, I set about fixing the marks and dents in the vulcanite. This was done by filling those divots with black cyanoacrylate adhesive, impregnated with carbon and rubber. I left this to cure and moved on.
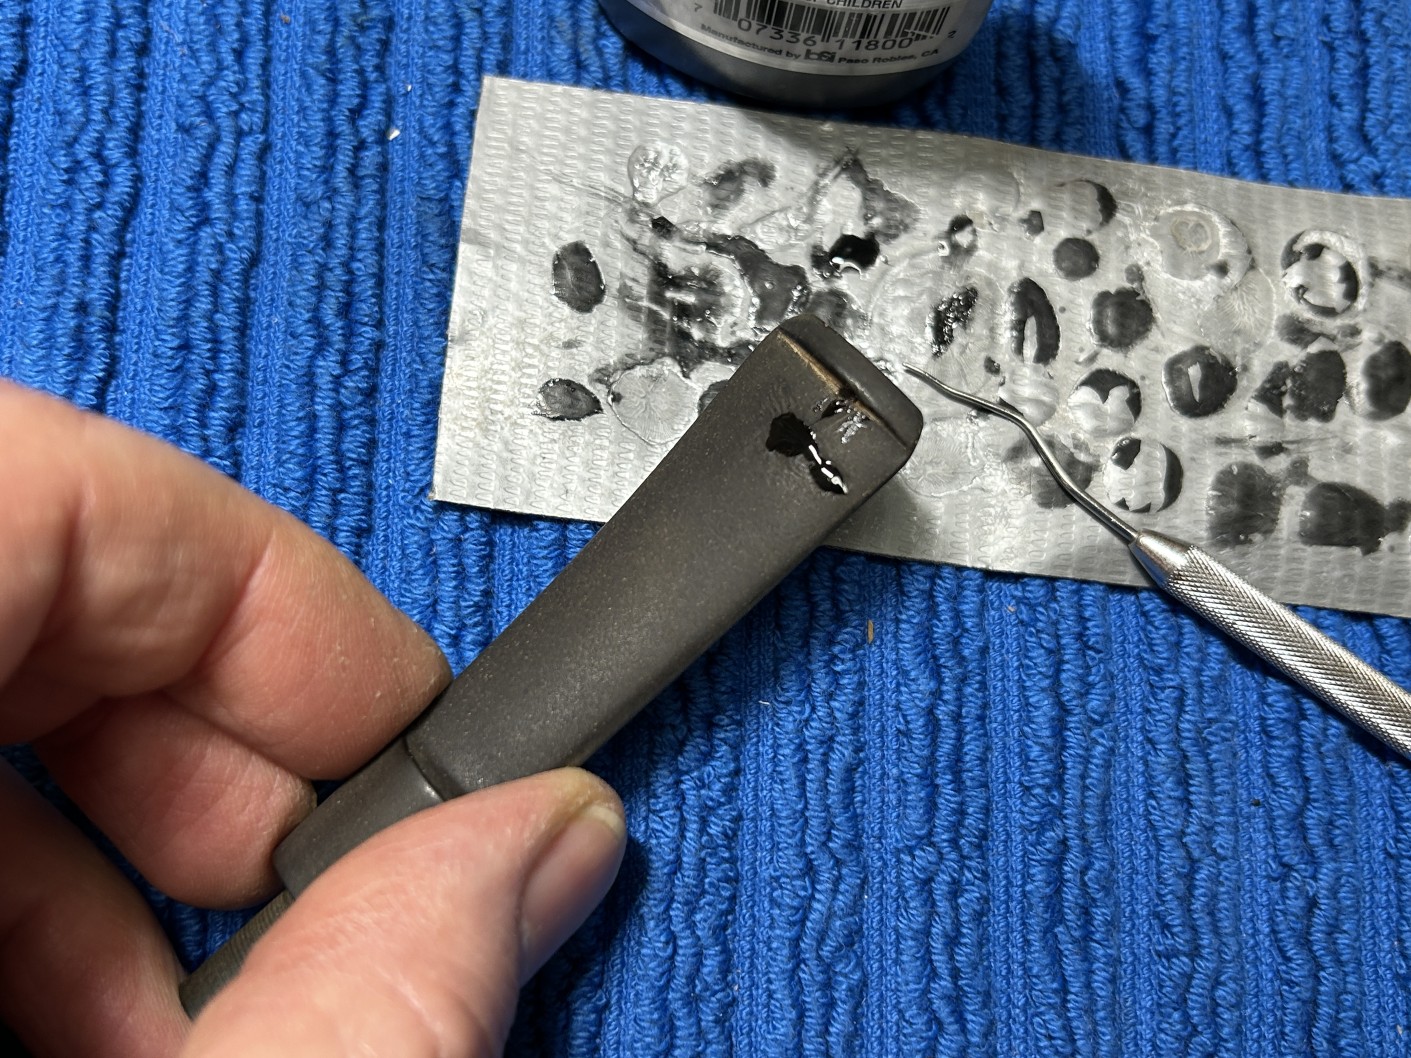
The penultimate step for the stem is sanding. First, with my set of needle files, I reduced the bulk of the cyanoacrylate repairs. I removed the excess adhesive as near to the surface as possible, without cutting into the vulcanite. Following that, I used all nine of the micromesh sanding pads (1,500 through 12,000 grit) to sand out flaws, even out the vulcanite, and provide gentle polishing of the finished surface. I also applied pipe-stem oil while using the last five micromesh pads. There was a wonderful, deep black shine to the stem when I was done.
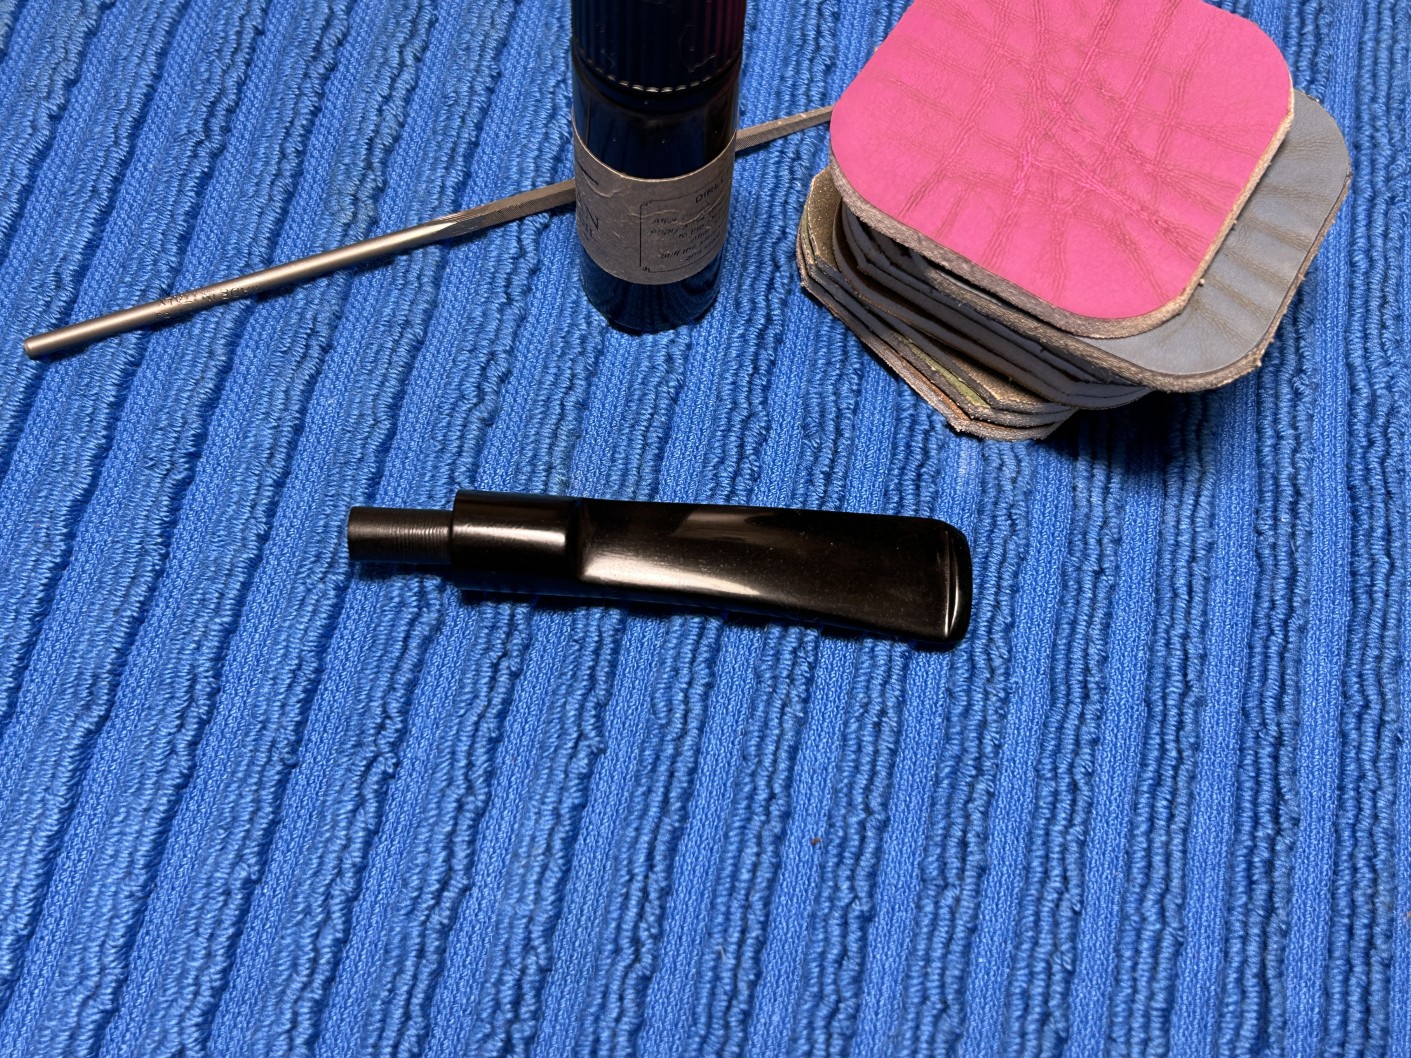
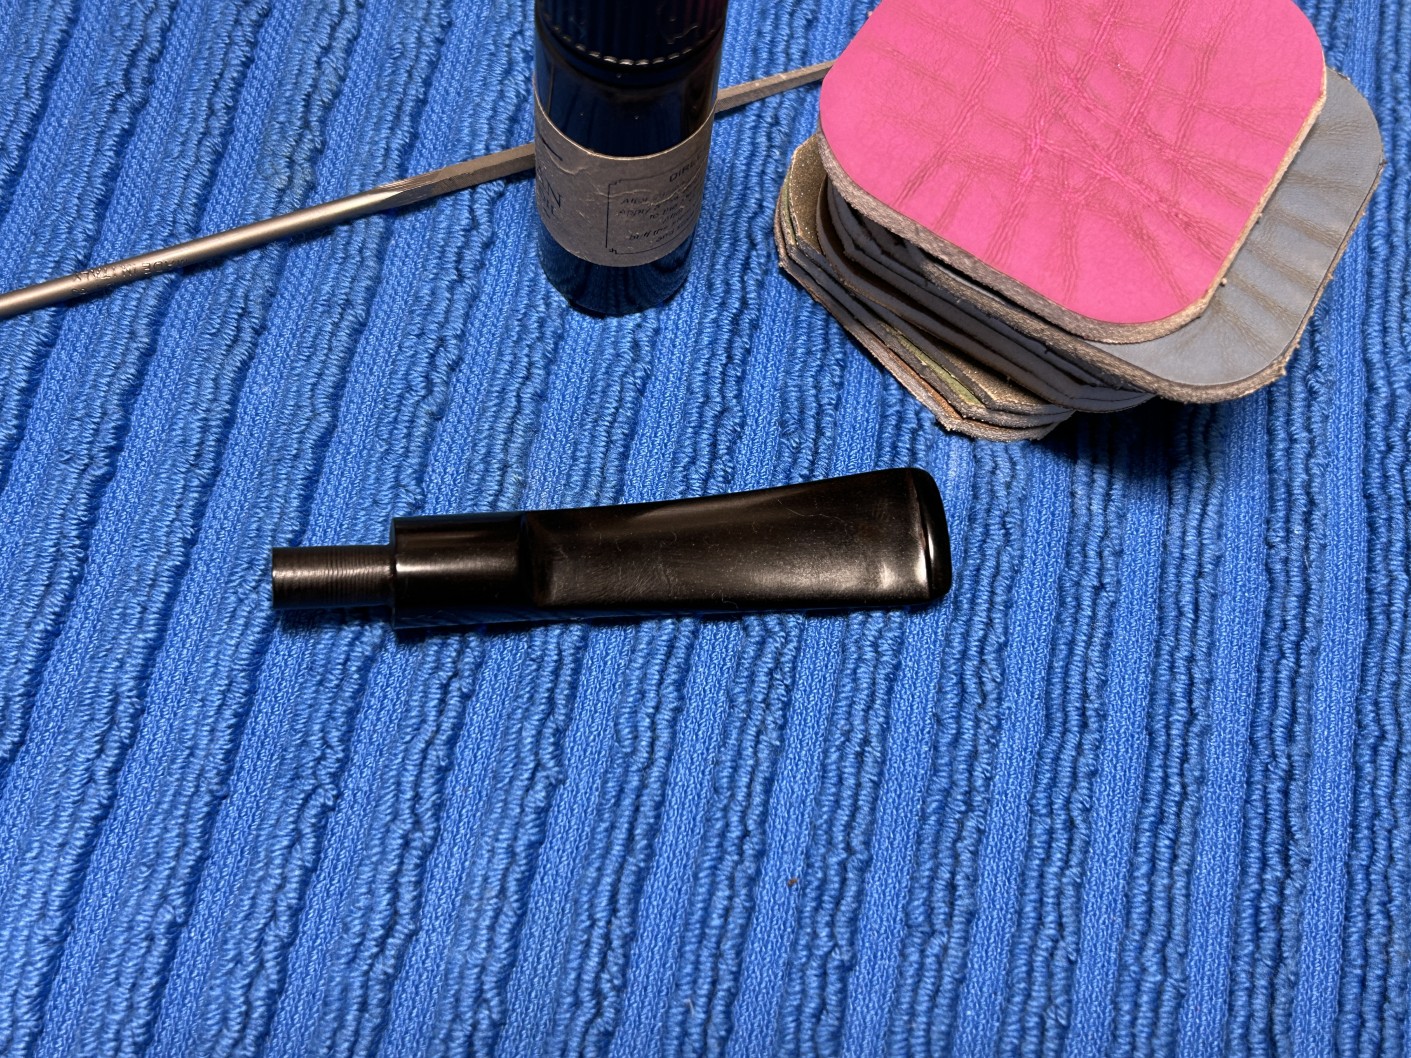
As the stem was (nearly) complete, I moved on to the stummel. The first step was to ream out the bowl – that is to say, remove all the cake inside the bowl. This accomplished a couple of things. First (and most obviously), it cleaned the bowl and provided a refurbished chamber for future smoking. Second, when the old cake was removed, I could inspect the interior walls of the bowl and determine if there was damage or not. I used a reamer, a pipe knife, and a piece of sandpaper taped to a wooden dowel. Collectively, these ensured that all the debris was removed.

Similar to the stem, I then cleaned the stummel with both pipe cleaners and cotton swabs dipped in lemon-infused 99% isopropyl alcohol. With a pipe this dirty, it took quite a while and much cotton to clean.

I then decided to ‘de-ghost’ the pipe – that is to say, exorcize the remaining filth from the briar. I filled the bowl and the shank with cotton balls, then saturated them with 99% isopropyl alcohol. I let the stummel sit overnight. This caused the remaining oils, tars and smells to leach out into the cotton.

My next step was to remove the lava on the rim. For this, I took a piece of machine steel and gently scraped the lava away. The metal’s edge is sharp enough to remove what I need, but not so sharp that it damages the rim. This worked perfectly!

To tidy up the briar, I wiped down the outside, using a solution of a pH-neutral detergent and some distilled water, with cotton rounds. I also used a toothbrush in the crevices of the sandblast. This did a good job of cleaning any latent dirt on the surface of the briar. The last step of the cleaning process was to scour the inside of the stummel with the same mild detergent and tube brushes. This was the culmination of a lot of hard work in getting the pipe clean.

I used some micromesh pads to sand only the smooth rim and patch on the underside. This sanding minimizes flaws in the briar and provides a beautiful smoothness to the wood. I rubbed some LBE Before & After Restoration Balm into the briar and let it sit for 30 minutes or so. The balm moisturizes the wood and gives a beautiful depth to the briar. I then buffed the stummel with a microfibre cloth.

For the final step, I took the pipe to my bench polisher and carefully buffed it – first with a blue diamond compound, then with three coats of conservator’s wax. This procedure makes the pipe look its best – the stummel sings and the stem glows.

All done! This Savinelli Punto Oro Mister G 602 bent billiard looks fantastic again and is ready to be enjoyed by its next owner. I am pleased to announce that this pipe is for sale! If you are interested in acquiring it for your collection, please have a look in the ‘Italian’ section of the store here on Steve’s website. You can also email me directly at kenneth@knightsofthepipe.com. The approximate dimensions of the pipe are as follows: length 5⅞ in. (149 mm); height 1⅞ in. (48 mm); bowl diameter 1½ in. (37 mm); chamber diameter ¾ in. (19 mm). The weight of the pipe is 1⅜ oz. (42 g). I hope you enjoyed reading the story of this pipe’s restoration as much as I enjoyed restoring it. If you are interested in more of my work, please follow me here on Steve’s website or send me an email. Thank you very much for reading and, as always, I welcome and encourage your comments.

Giving the Kiss of Life to a Peterson System Standard (1)309


by Kenneth Lieblich

Next up is a pipe that I acquired from a local gentleman – and it is the classic Pete. This is a republic-era Peterson System Standard 1309 bent billiard. The smooth finish on it is really attractive and satisfying. Naturally, the stem has the time-honoured Peterson P-lip. The 1309 is exactly the same pipe as the 309 – the initial ‘1’ simply indicates that it was made for the Canadian market. Otherwise, they are identical.

This Pete has had a rough-and-tumble life. It has seemingly been through a few wars. This will be an interesting restoration, as it involves many different techniques. It’s definitely worth reading through this pipe’s journey – it was a hard row to hoe.

Looking on the left side of the stummel, we can see the marks. First, we have Peterson’s [over] System [over] Standard. On the right of the stummel we see Made in the [over] Republic [over] of Ireland. Then the shape number 1309. On the nickel ferrule, there are more marks. K&P [over] the symbols (not hallmarks) of a shamrock, a lion and a standing figure. Next to that is the name Peterson’s.

The Peterson website provides some great information, specifically about the 309 shape, and I quote it here:

Introduced in 1896, this large straight-sided Billiard (also known as the large Dutch Billiard) was among our first System pipes and remains among our most recognizable shapes. It’s the pipe smoked by Basil Rathbone in 12 of his Sherlock Holmes films and beautifully represents Peterson history from the first days of the patents. It is iconically, quintessentially Peterson.

They also included a good paragraph on the Peterson system itself:

In 1890, after 15 years of handling and repairing pipes while working for the Kapps, Charles Peterson secured a patent in his own name, titled “A certain new and useful improvement in Tobacco-Pipes,” which introduced a unique system comprised of a higher draft hole and a moisture reservoir bored into the shank and transition of a briar pipe. Over the next eight years, Charles continued to refine his System, applying for and securing patents for a graduated bore mouthpiece (1891), and a unique button design known today as the P-Lip (1894-1898). Designed to wick moisture away from the smoke, reduce tongue bite, and increase the longevity of the pipe, Peterson’s complete System patent sparked a tradition of innovation, one we continue to uphold to this day. The System Pipe is the invisible source behind our unique House Style: our pipes’ muscular shanks and transitions, tubular profile, and generous bends. Our overall shaping style has a distinctly antique form because it has remained largely unchanged for over 120 years.

Steve and I have written about the Peterson System many times in many blogs. The Peterson System pipes are well storied among Peterson collectors/admirers. I took the opportunity to read the article on Pipedia, specifically about the System pipes, by Jim Lilley. There is a lot of good information and I encourage you to read it here.

As usual, I owe a debt of gratitude to Mark Irwin of Peterson Pipe Notes. He has a very interesting article on the various System shapes and I highly recommend having a look here. In fact, regarding the 309, he says this: ‘As I’ve said many times, for me this is the Peterson shape.’ Here is a photo from his page:

On to the pipe itself. It appears to be in rough shape and pretty darn dirty. The stem has tooth marks and dents, and tons of oxidation and calcification. There’s a lot of cake inside the bowl, and some charring to the rim. The outside shows two significant fills and one small burn spot. I’ve got my work cut out for me.

I used a disposable lighter and ‘painted’ the stem with its flame. The gentle heat of the flame can cause the dents in the vulcanite of the stem to expand back into shape. In this case, I got some movement – and that was satisfying.

The stem’s calcification was quite substantial. I used an old butter knife and gently scraped some of the thicker accretion off. Doing this now helps later in removing the oxidation. I used isopropyl alcohol on a few cotton rounds and wiped down the stem to provide an initial cleaning of filth before moving on to the next steps.

The primary cleaning came next. I disinfected the inside of the stem with both pipe cleaners and cotton swabs dipped in lemon-infused 99% isopropyl alcohol. I scrubbed thoroughly to make sure the interior was very clean. I used zillions of pipe cleaners and cotton swabs. The photos just don’t do it justice

The goal of the next step is the removal (or minimization) of oxidation. Going to my sink, I used cream cleanser, cotton rounds, and a toothbrush, and scoured the stem to remove as much surface oxidation as possible. As the photos show, the result was a hideous, ochre-coloured mess – but better off the stem than on it.

Once the stem was reasonably clean, I soaked it overnight in some Briarville Stem Oxidation Remover. This solution works to draw oxidation in the stem to the surface of the vulcanite. This is a major aid and an important step in ensuring a clean stem. The following day, I drew out the stem from its bath and scrubbed the lingering fluid with a toothbrush. Due to the severity of the oxidation, I then repeated the scrubbing with the cream cleanser for maximum effect.

As the stem was now clean and dry, I set about fixing the marks and dents in the vulcanite. This was done by filling those divots with black cyanoacrylate adhesive, impregnated with carbon and rubber. I left this to cure and moved on.

The penultimate step for the stem is sanding. First, with my set of needle files, I reduced the bulk of the cyanoacrylate repairs. I removed the excess adhesive as near to the surface as possible, without cutting into the vulcanite. Following that, I used all nine of the micromesh sanding pads (1,500 through 12,000 grit) to sand out flaws, even out the vulcanite, and provide gentle polishing of the finished surface. I also applied pipe-stem oil while using the last five micromesh pads. There was a wonderful, deep black shine to the stem when I was done.
As the stem was (nearly) complete, I moved on to the stummel. The first step was to ream out the bowl – that is to say, remove all the cake inside the bowl. This accomplished a couple of things. First (and most obviously), it cleaned the bowl and provided a refurbished chamber for future smoking. Second, when the old cake was removed, I could inspect the interior walls of the bowl and determine if there was damage or not. I used a reamer, a pipe knife, and a piece of sandpaper taped to a wooden dowel. Collectively, these ensured that all the debris was removed – and there was so much.

My next step was to remove the lava on the rim. For this, I took a piece of machine steel and gently scraped the lava away. The metal’s edge is sharp enough to remove what I need, but not so sharp that it damages the rim. That wasn’t really an issue since there was a lot of damage there already.

Similar to the stem, I then cleaned the stummel with both pipe cleaners and cotton swabs dipped in lemon-infused 99% isopropyl alcohol. With a pipe this dirty, it took quite a while and much cotton to clean. I can’t quite communicate to you just how dirty this pipe was.

I then decided to ‘de-ghost’ the pipe – that is to say, exorcize the remaining filth from the briar. I filled the bowl and the shank with cotton balls, then saturated them with 99% isopropyl alcohol. I let the stummel sit overnight. This caused the remaining oils, tars and smells to leach out into the cotton.

To tidy up the briar, I wiped down the outside, using a solution of a pH-neutral detergent and some distilled water, with cotton rounds. This did a good job of cleaning any latent dirt on the surface of the briar. The last step of the cleaning process was to scour the inside of the stummel with the same mild detergent and tube brushes. This was the culmination of a lot of hard work in getting the pipe clean.

I then buffed the nickel ferrule with a couple of very gentle micromesh pads, then then buffed it with a jewellery cloth.

Time to deal with some other issues. As I previously mentioned, there were two fills and a burn to be addressed. I closely examined the fills. They were sound, but slightly depressed, relative to the wood. I delicately applied some clear cyanoacrylate to the fills to strengthen them and raise them to the level of the wood.

Now the burn. This also had a slight depression. I took some crystalized oxalic acid and dissolved it in warm water. I took some cotton swaps, dipped in the solution, and rubbed the burned spot vigorously. The weak acid works very nicely to alleviate superficial burns (where the integrity of the wood is still sound). This only worked so well and the burn spot remains – but it is part of the history and story of this old pipe.

The damage to the rim was significant. In order to lessen the burns and nicks on the rim, I ‘topped’ the pipe – that is to say, I gently and evenly sanded the rim on a piece of 400-grit sandpaper. This effectively minimized the damage, without altering the look of the pipe. Then I took a solid wooden sphere, wrapped the micromesh pads around it, and lightly sanded the inner edge of the rim. This achieved two things: first, it removed some of the burn marks; and second (and more importantly), the circular shape and motion of the sphere gradually returned the edge to a perfect circle.

I rubbed some LBE Before & After Restoration Balm into the briar and let it sit for 30 minutes or so. The balm moisturizes the wood and gives a beautiful depth to the briar. I then buffed the stummel with a microfibre cloth. For the final step, I took the pipe to my bench polisher and carefully buffed it – first with a blue diamond compound, then with three coats of carnauba wax. This procedure makes the pipe look its best – the stummel sings and the stem glows.

All done! This Peterson System Standard 1309 bent billiard looks fantastic again and is ready to be enjoyed by its next owner. I am pleased to announce that this pipe is for sale! If you are interested in acquiring it for your collection, please have a look in the ‘Irish’ section of the store here on Steve’s website. You can also email me directly at kenneth@knightsofthepipe.com. The approximate dimensions of the pipe are as follows: length 5¾ in. (147 mm); height 3⅛ in. (79 mm); bowl diameter 1⅓ in. (33 mm); chamber diameter ¾ in. (19 mm). The weight of the pipe is 1¾ oz. (52 g). I hope you enjoyed reading the story of this pipe’s restoration as much as I enjoyed restoring it. If you are interested in more of my work, please follow me here on Steve’s website or send me an email. Thank you very much for reading and, as always, I welcome and encourage your comments.

Restoring a Rare English-Made Kaywoodie Standard 99B Bulldog


by Kenneth Lieblich

This recently acquired pipe caught my eye because of its markings and I thought I should clean it up and offer it to you all. It is a Kaywoodie Standard 99B bulldog, with a square shank, a screw-in tenon, and a bent saddle stem. In fact, Kaywoodie refers to this pipe as ‘Squat Bulldog, Half Bent, Saddle Bit’. The difference is that this one comes from London, England. Most unusual! It’s a handsome pipe, a lovely piece of briar, and reminds me of another time and another place.

A quick look at the markings tells us what we need to know. On the left side of the shank, we read Kaywoodie [over] Standard. On the right side of the shank, we read London England [over] 99B. Finally, the stem has the famous cloverleaf logo on the left side.

Dating this Kaywoodie is a bit of a head-scratcher. I think I’ve figured it out, but the historical details of many a pipe have been lost in the mists of time. Perhaps the cloverleaf logo on the stem can help. Pipephil says:

The cloverleaf logo: the round logo (black cloverleaf in white circle or white cloverleaf in black circle) was first used in 1937. Up until the late 40’s this logo was used on all of the upper-grade pipes. The concomitant use of the plain white cloverleaf and the disk inlaid logo continued until the early 80’s. Up until the late 1940’s/early 50’s, the logo was on top of the stem. After that the logo was moved to the side of the stem (exceptions exist).

Some elementary investigation online (from Pipedia and Pipephil) informed me that the ‘Standard’ line did not appear until 1950, so we can combine that tidbit with the detail above (regarding the cloverleaf) and certainly say that the pipe dates from after 1950. Furthermore, the fact that the pipe was made in England doesn’t help insofar as date is concerned. Kaywoodies were made there from about 1938 to about 1972.

After doing some digging on Pipedia, I finally figured out a reasonable date range for this old pipe. Please follow me! The following image shows a page from the 1947 Kaywoodie catalogue and it shows this pipe, as it should be:

So far, so good. The next image shows a page from the 1955 Kaywoodie catalogue and it also shows this pipe, as it should be:

That’s also good. Finally, the next image shows a page from the 1968–69  Kaywoodie catalogue and it shows something a little different:

Do you see the difference? It shows the same pipe (99B) – but with a flush stem, not a saddle stem. Instead, the 99S is the one with the saddle stem. I will conclude that this particular pipe was made no earlier than 1950 and no later than 1968. My experience and my gut tell me that it’s probably from the earlier part of this time range, but it’s difficult to know for sure. There you go.

Let’s get on with cleaning this beauty. The bowl is in lovely condition – dirty, but quite sound. No significant damage to be seen – a couple of small nicks near the shank, but no big deal. The stem was thoroughly oxidized and the three-hole stinger was dirty too. Of course, these Kaywoodie stingers don’t come off, so it will have to be cleaned in situ.

I used isopropyl alcohol on a few cotton rounds and wiped down the stem (including the stinger) to provide an initial cleaning of filth before moving on to the next steps. The primary cleaning came next. I disinfected the inside of the stem with both pipe cleaners and cotton swabs dipped in lemon-infused 99% isopropyl alcohol. I scrubbed thoroughly to make sure the interior was very clean. I used quite a few pipe cleaners and cotton swabs.

The goal of the next step is the removal (or minimization) of oxidation. Going to my sink, I used cream cleanser, cotton rounds, and a toothbrush, and scoured the stem and stinger to remove as much surface oxidation as possible. As the photos show, the result was a hideous, ochre-coloured mess – but better off the stem than on it.

Once the stem was reasonably clean, I soaked it overnight in some Briarville Stem Oxidation Remover. This solution works to draw oxidation in the stem to the surface of the vulcanite. This is a major aid and an important step in ensuring a clean stem. The following day, I drew out the stem from its bath and scrubbed the lingering fluid with a toothbrush. Due to the severity of the oxidation, I then repeated the scrubbing with the cream cleanser for maximum effect.

Before moving on, I then finished the stinger with some 0000-grit steel wool to give it a nice shine.

The penultimate step for the stem is sanding. First, with my set of needle files, I reduced the bulk of the cyanoacrylate repairs. I removed the excess adhesive as near to the surface as possible, without cutting into the vulcanite. Following that, I used all nine of the micromesh sanding pads (1,500 through 12,000 grit) to sand out flaws, even out the vulcanite, and provide gentle polishing of the finished surface. I also applied pipe-stem oil while using the last five micromesh pads. There was a wonderful, deep black shine to the stem when I was done. There was still a hint of the old oxidation, but it will always be with this pipe.
As the stem was (nearly) complete, I moved on to the stummel. The first step was to ream out the bowl – that is to say, remove all the cake inside the bowl. This accomplished a couple of things. First (and most obviously), it cleaned the bowl and provided a refurbished chamber for future smoking. Second, when the old cake was removed, I could inspect the interior walls of the bowl and determine if there was damage or not. I used a reamer and a piece of sandpaper taped to a wooden dowel. Collectively, these ensured that all the debris was removed – fortunately, there wasn’t much.

Similar to the stem, I then cleaned the stummel with both pipe cleaners and cotton swabs dipped in lemon-infused 99% isopropyl alcohol. With a pipe this dirty, it took quite a while and much cotton to clean.

I then decided to ‘de-ghost’ the pipe – that is to say, exorcize the remaining filth from the briar. I filled the bowl and the shank with cotton balls, then saturated them with 99% isopropyl alcohol. I let the stummel sit overnight. This caused the remaining oils, tars and smells to leach out into the cotton.

To tidy up the briar, I wiped down the outside, using a solution of a pH-neutral detergent and some distilled water, with cotton rounds. This did a good job of cleaning any latent dirt on the surface of the briar. The last step of the cleaning process was to scour the inside of the stummel with the same mild detergent and tube brushes. This was the culmination of a lot of hard work in getting the pipe clean.

I used all nine micromesh pads (1,500 through 12,000 grit) to sand the outside of the stummel and finish it off. This sanding minimizes flaws in the briar and provides a beautiful smoothness to the wood. I rubbed some LBE Before & After Restoration Balm into the briar and let it sit for 30 minutes or so. The balm moisturizes the wood and gives a beautiful depth to the briar. I then buffed the stummel with a microfibre cloth.

For the final step, I took the pipe to my bench polisher and carefully buffed it – first with a blue diamond compound, then with three coats of carnauba wax. This procedure makes the pipe look its best – the stummel sings and the stem glows.

All done! This English-Made Kaywoodie Standard 99B bulldog looks fantastic again and is ready to be enjoyed by its next owner. I am pleased to announce that this pipe is for sale! If you are interested in acquiring it for your collection, please have a look in the ‘American’ section  of the store here on Steve’s website (even though it was made in England). You can also email me directly at kenneth@knightsofthepipe.com. The approximate dimensions of the pipe are as follows: length 5½ in. (141 mm); height 1⅔ in. (41 mm); bowl diameter 1¾ in. (44 mm); chamber diameter ⅞ in. (21 mm). The weight of the pipe is 1⅜ oz. (41 g). I hope you enjoyed reading the story of this pipe’s restoration as much as I enjoyed restoring it. If you are interested in more of my work, please follow me here on Steve’s website or send me an email. Thank you very much for reading and, as always, I welcome and encourage your comments.

Bringing a 1967 Dunhill Tanshell 148 Bulldog Back to Its Best


by Kenneth Lieblich

Dunhill is a name that inspires awe and warms the cockles of the hearts of many pipe smokers worldwide. Today, I am pleased to show the restoration of a wonderful tanshell briar. I acquired it in an auction some time ago. Other than that, I don’t know much of its provenance. Its colour and cragginess are very handsome, and I have no doubt that it was a much-loved pipe. I instinctively have a certain respect for Dunhill pipes, and I am especially keen to restore this one so that the next pipe smoker can enjoy it.

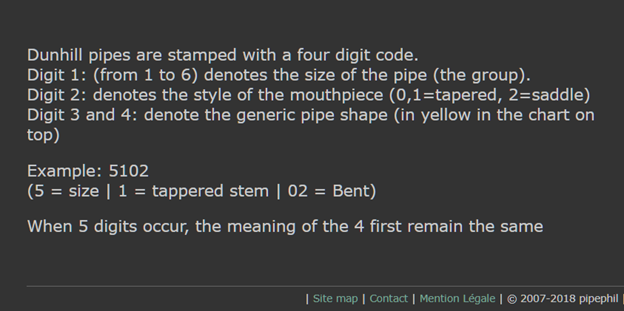
As I mentioned, this is a Dunhill Tanshell and the markings confirm this. It is a beautiful, classic bulldog shape. Pleasingly, those markings are very clear and well-cut on the bottom of the shank. On the left-hand side is the model number, 148 F/T. Immediately to the right of this is Dunhill [over] Tanshell. Then, to the right of that, is Made in [over] England7. To the right of that is an encircled 3, followed by a T. Finally, the stem, of course, has the iconic white spot of Alfred Dunhill’s company. Here is a photo of Alfred, followed by the markings.

Let’s have a closer look at what all of these markings mean. The model number 148 is a classic Dunhill bulldog shape – that number first appeared back in 1950. The page on Pipedia about Dunhill shapes says this:

The original skus/model numbers from the 1920’s until the early 1970’s stood for very specific shapes and bowls. For example, the codes 31, 34, 59, 111, 113, 117, 196, LB, LBS… were all different types of Billiard shaped pipes and there were about 50(!), such codes for the Billiard shape alone.

The F/T stands for ‘fishtail’, which is the style of stem bit.

The markings Dunhill [over] Tanshell refer (obviously and respectively) to the company that produced the pipe and the finish. The history of Alfred Dunhill, his company, and his family is fascinating. If you are interested in learning more, have a read of this article from Pipedia. The tanshell finish is best described by the company itself – this is taken from Dunhill’s website. Following that is a photo of Alfred’s son (also Alfred) seeking out briar in Sardinia.

Introduced in 1952. The Tanshell is a light tan sandblast. Sardinian briar was used for this sandblast. There is a distinct contrast in the sandblasts using Sardinian as opposed to Algerian briar. The Sardinian is much denser and much harder. The resulting pattern, when blasted, is far more even and regular both in terms of the surface texture and the finish.

Furthermore, John Loring’s fine book, The Dunhill Briar Pipe: The Patent Years and After, says this about the tanshell:

The TanShell was Dunhill’s fourth finish and its first major post-war line addition. Introduced in 1951/1952 the TanShell was a naturally stained sandblasted pipe made exclusively from Sardinian briar through the 1960s. The TanShell apparently was not simply a light stained Shell but rather was also the product of “certain processes [unrevealed] not previously employed.” Initially, it appears that the pipe was to be named the Root Shell and a stamp to that effect was ordered and received by Dunhill in May 1951. Ultimately, however, the name TanShell was settled upon but the stamp for the TanShell name was not received by Dunhill until the beginning of December. Thus while the Tanshell was in production in 1951 it appears that most if not all TanShells made in that year did not enter into retail distribution until 1952 and were given a 1952 date code.

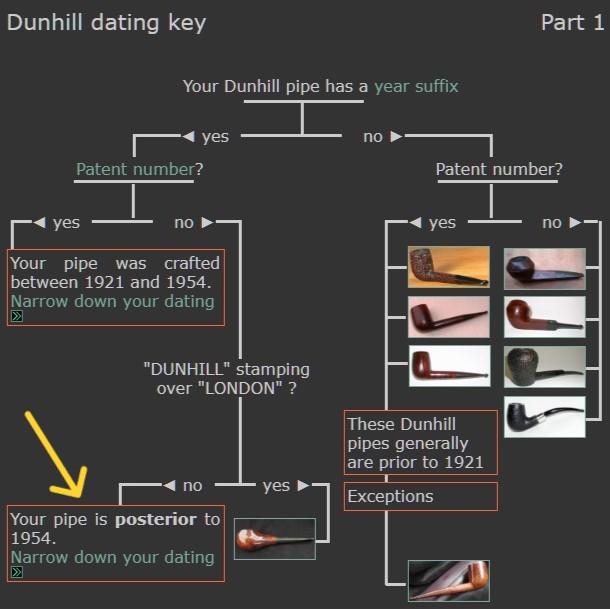
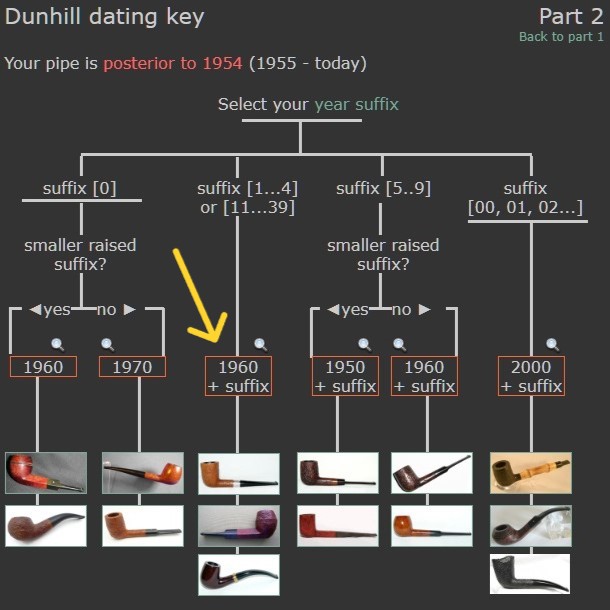
The markings Made in [over] England7 give us an indication of when this pipe was manufactured. The number is the date suffix and provides us the information we need to figure out the date. I already knew the answer, but allow me to walk you through the process. I went to Pipephil’s Dunhill Dating Key (which you can find here) and I have reproduced (below) the two charts they use to date Dunhills. In the first image below, we are asked if our pipe has a date suffix. It does, so we follow the arrow and the chart asks if our pipe has a patent number. It does not, so we proceed. Then we are asked if our pipe reads Dunhill [over] London – again, it does not. As a result, we know that our pipe dates from after 1954.

On to the second chart – and it is much more straightforward. The chart asks for the digit(s) in our date suffix. In our case, it is 7, so we know that the date of our pipe is the result of simple addition: 1960 + 7 = 1967. Now we know that the year of manufacture is 1967! Is this your birth year? If so, have I got a pipe for you!

Next, the encircled 3 and the capital T. This tells us about the size and finish of the pipe. Pipedia says:

The encircled group number indicates the size of the bowl (1, for example, is the smaller bowl). It is usually followed by a letter corresponding to the pipe finish. This number/letter code has been introduced about 1950 and was discontinued about 1976 replaced by a 4 or 5 digits code. They were reintroduced in March 2012, but only for commemorative versions.

In this case, the 3 indicates a medium-sized bowl and the T naturally refers to tanshell.

Finally, the white spot. Have you ever wondered about it? Well, very briefly, here is the origin of the famous white spot (from Pipedia):

In 1912, the famous white spot was introduced for very practical concerns. With straight pipes, customers had trouble knowing which way to insert the handmade vulcanite mouthpieces. So Alfred Dunhill ordered white spots to be placed on the upper side of the stem. This very practical solution would become a definitive trademark of Dunhill pipes. The “white spot” soon became known as a symbol of quality.

Now let’s get on with restoring this beautiful pipe! It was in generally good condition – nothing outstanding and no significant damage. As you can see, the stem had the usual wear-and-tear. There was some oxidation, but not much calcification. Meanwhile, the stummel was in lovely condition, but a bit dirty. The rim had some darkening and the bowl had only a little cake inside it. The sandblast looked rich and beautiful.

I wiped the stem and the stinger with some cotton pads. There was some filth there and I needed to remove it. Meanwhile, the stem was a bit dirty inside. I cleaned out the inside with various pipe cleaners and 99% isopropyl alcohol.

I then wiped down the stem and the stinger with some cream cleanser to remove some surface oxidation. Once this process was done, the stem went for an overnight soak in the oxidation remover. As the name suggests, this liquid removes oxidation, but, more than anything, it helps draw oxidation to the surface of the vulcanite. This allows me to clean the oxidation off in a couple of ways: both by applying a mild abrasive cleanser to the surface, then by sanding the stem. The following day, I cleaned all of the de-oxidizing mess off with alcohol, pipe cleaners, et cetera. The oxidation had migrated to the surface and would be fairly straightforward to remove. I scrubbed with the cleanser again on some cotton pads to remove the leftover oxidation.

In order to give some shine to the metal stinger, I burnished it with some 0000-grit steel wood. Looked much better afterwards.

Then I used a set of nine Micromesh pads (1,500 through 12,000 grit) which gradually erased the ravages of time and brought out the stem’s lovely black lustre. For the last five pads, I also lightly coated the stem with pipe stem oil in between each scrubbing. At last, I set the finished stem aside.

Off to work on the stummel! The outside looked very well cared-for. No significant damage and the blast maintained its great appeal. Alas, the rim had some darkening, but first things first. The bowl needed a thorough reaming, so I used the KleenReem to scrape off the built-up cake and I followed that with 220-grit sandpaper taped to a dowel to eliminate as much as possible. Generally, I prefer to sand the chamber down to bare briar. When restoring, it is important to ensure that there is no damage to the briar in the bowl, under the cake. I was pleased to see that the walls were sound.

Next up, I needed to clean the shank and bowl thoroughly. I proceeded to use Q-tips, pipe cleaners, and 99% isopropyl alcohol. I made sure that everything was very clean.

Then, to further clean the inside of the pipe, I opted to ‘de-ghost’ the pipe. I put some cotton balls in the bowl and in the shank, and then saturated them with 99% isopropyl alcohol. I let that sit overnight to exorcize any evil spirits (i.e. bad smells and oils) from the old pipe.

Time to deal with that rim. I gently scraped away as much debris as I could. However, given the craggy blast, that only worked so well. I moved on to cotton rounds and some pH-neutral detergent to clean the outside of the stummel and a toothbrush for the rim of the pipe. This worked reasonably well.  I followed that up by cleaning the insides with the same detergent and tube brushes.

At this point, I rubbed some of Mark Hoover’s Before & After Restoration Balm into the briar and left it to sit for 15 minutes or so. I brushed it with a horsehair brush and buffed it with a microfibre cloth. The balm does wonderful things to the wood, and I really like the sheen on the sandblast.

Then it was off for a trip to the bench polisher. A few coats of conservator’s wax were just what this pipe needed. Boy – that wax really makes this pipe pop! The lovely shine made the wood look absolutely beautiful. The sandblast looks fantastic and is ready to be enjoyed again by the next owner.

I thoroughly enjoyed bringing this Dunhill Tanshell 148 bulldog back to life and I am pleased to announce that this pipe is for sale! If you are interested in acquiring it for your collection, please have a look in the ‘British’ section of the store here on Steve’s website. You can also email me directly at kenneth@knightsofthepipe.com. The approximate dimensions of the pipe are as follows: length 5⅛ in. (131 mm); height 1⅔ in. (43 mm); bowl diameter 1⅜ in. (35 mm); chamber diameter ¾ in. (19 mm). The weight of the pipe is ⅞ oz. (19 g). I hope you enjoyed reading the story of this pipe’s restoration as much as I enjoyed restoring it. If you are interested in more of my work, please follow me here on Steve’s website or send me an email. Thank you very much for reading and, as always, I welcome and encourage your comments.

Another Fine Mess: The Story of an Arendal Freehand


by Kenneth Lieblich

An elegant young lady approached me recently with a pipe belonging to her fiancé. She wanted some tidying up done to it – a bit of spit & polish, so-to-speak. Only too happy to oblige, I took the pipe with me and immediately noticed a certain malodorous quality to it. This pipe was dirty – very dirty – but it was a beautiful piece of wood and I wanted to return something nifty to her. This pipe is an Arendal Algerian Briar freehand, made in Italy. It has a large, gorgeously grained briar bowl, with a plateau rim top and shank end. In addition, the stem was a variegated acrylic, military-mount style. Despite its dirtiness, it held a handsome charm and looked like a good smoker.

A quick look at the markings was in order. On the left side of the shank were the words Arendal [over] Algerian Briar. On the underside of the shank was the word Italy. Well, that tells us something, but not much. There were no other markings.

I was not familiar with the Arendal brand, and I couldn’t find any indication that Steve had worked on one before. I looked at Pipedia and Pipephil and the PipesMagazine forums – and found nothing about Arendal. So, I checked my copy of Wilczak and Colwell’s book, Who Made That Pipe?, and got a hit! It associated Arendal with the Hudson Universal Pipe Co. of the United States – despite the pipe having been made in Italy. I went back to Pipedia and searched Hudson Universal Pipe Co. It referred me to José Manuel Lopes’ book, Pipes: Artisans and Trademarks. Fortunately, I have a copy of that book and it told me that Hudson Universal Pipe Co. was a retailer of pipes, selling such brands as Eagle, Excelsior, Harrington Park, and Hilex. No mention of Arendal. I have emboldened those two names because they will come back into this story.

A quick search online uncovered that MBSD Pipes once had another Arendal for sale at some point in the recent past. They provided no more information than I have here, but it was interesting to see that the pipe looked somewhat similar to this one. Here is the MBSD pipe, and you can see the similarity:

My online search also turned up another clue. It turns out that Arendal is the name of a city in Norway. Here is an interesting point which may be a coincidence or may be a small connection. The Wikipedia article for the Norwegian city of Arendal says that

The Old Norse form of the name was probably Arnardalr. The first element is the genitive case of ǫrn which means “eagle” and the last element is dalr which means “valley” or “dale”, thus meaning the “eagle valley”.

Could there be a connection between this and the fact that Hudson Universal Pipe Co. sold a pipe brand named Eagle? The connection is most certainly tenuous, but I post it here for your consideration.

Here is my final detail. My online searching accidentally turned up the name ‘Omega Arendal’ – and there was a link to it on Pipephil. The entry for Omega pipes on Pipephil includes the following words (emphasis mine):

Pipes with this brand are obviously from the same origin as Bayard, Chadhall, Thomas and Duke of Kent pipes. Others fleur-de-lis logos: Ajustomatic, Cellini, Fleur de lis, Harrington Park, Vincenzo Lombardi.

Harrington Park again! Now, almost all of those brands were made in France (I checked). However, Cellini and Vincenzo Lombardi were both Brebbia seconds. Of course, Brebbia pipes are made in Italy – so I wonder if we can conclude that our Arendal pipe was made by the Brebbia factory. That would make sense and I may have solved this little mystery.

Anyway, enough about that – let’s get on with the pipe! It was pretty darn grungy. There was filth ground into the plateau rim top. The wood was soiled and ever-so-slightly slimy. The bowl had plenty of cake and the mortise in the shank was quite yucky too. The stem was less problematic: it certainly had tooth marks and scratches, but the acrylic meant that there was no oxidation to deal with. On the other hand, no matter how much one scrubs an acrylic stem’s draught, it never loses the tobacco colour inside. Ah well, it is what it is. What was clear, however, was that this was a remarkably attractive piece of briar. I looked forward to seeing what it would look like in the end.

I used isopropyl alcohol on a few cotton rounds and wiped down the stem to provide an initial cleaning of filth before moving on to the next steps. The primary cleaning came next. I disinfected the inside of the stem with both pipe cleaners and cotton swabs dipped in lemon-infused 99% isopropyl alcohol. I scrubbed thoroughly to make sure the interior was very clean. There was a lot more cleaning involved that the photo below would suggest.

I then set about fixing the marks and dents in the acrylic. This was done by filling those divots with clear cyanoacrylate adhesive. I left this to cure and moved on.

The penultimate step for the stem is sanding. First, with my set of needle files, I reduced the bulk of the cyanoacrylate repairs. I removed the excess adhesive as near to the surface as possible, without cutting into the acrylic. Following that, I used all nine of the micromesh sanding pads (1,500 through 12,000 grit) to sand out flaws, even out the acrylic, and provide gentle polishing of the finished surface. I also applied pipe-stem oil while using the last five micromesh pads. There was a wonderful shine to the stem when I was done.

As the stem was (nearly) complete, I moved on to the stummel. The first step was to ream out the bowl – that is to say, remove all the cake inside the bowl. This accomplished a couple of things. First (and most obviously), it cleaned the bowl and provided a refurbished chamber for future smoking. Second, when the old cake was removed, I could inspect the interior walls of the bowl and determine if there was damage or not. I used a reamer, a pipe knife, and a piece of sandpaper taped to a wooden dowel. Collectively, these ensured that all the debris was removed. There was some charring to the walls of the bowl, but I left it as is. It wasn’t significant enough to mess with.
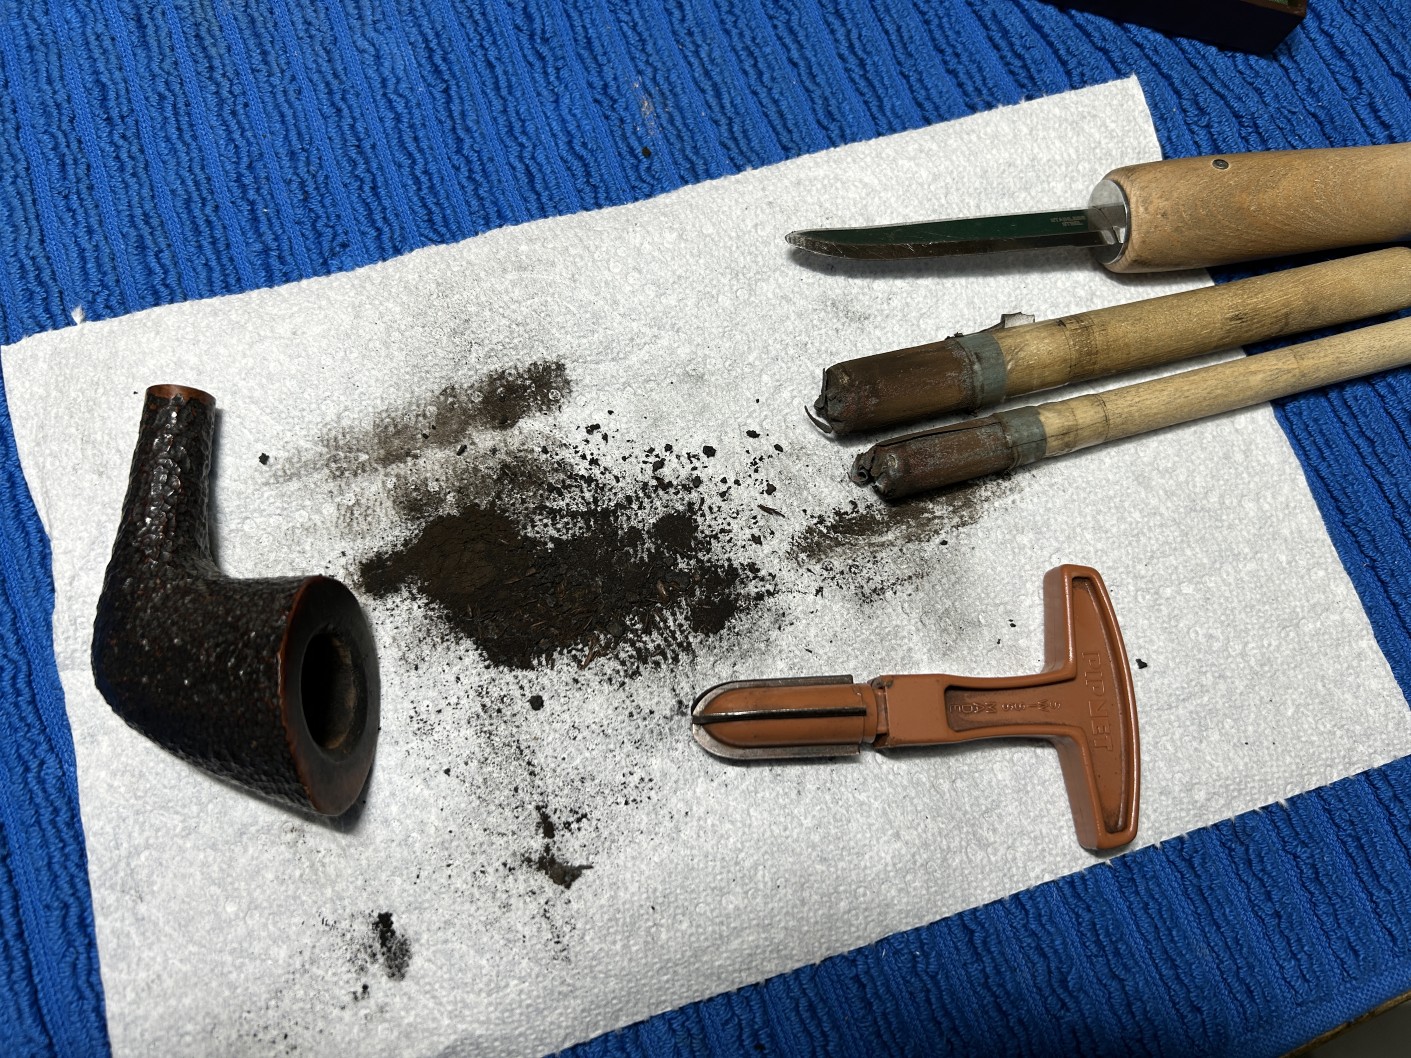
The inside of the stummel needed to be cleaned thoroughly. However, this pipe was so clogged, that I first needed to open the horribly occluded airway. So, I took a long drill bit, held in a drill chuck, and hand-cranked it to dislodge the dreadful detritus inside. Hand cranking is essential because it provides a precision and caution that a power drill cannot provide. Similar to the stem, I then cleaned the stummel with both pipe cleaners and cotton swabs dipped in lemon-infused 99% isopropyl alcohol. With a pipe this dirty, it took quite a while and much cotton to clean.
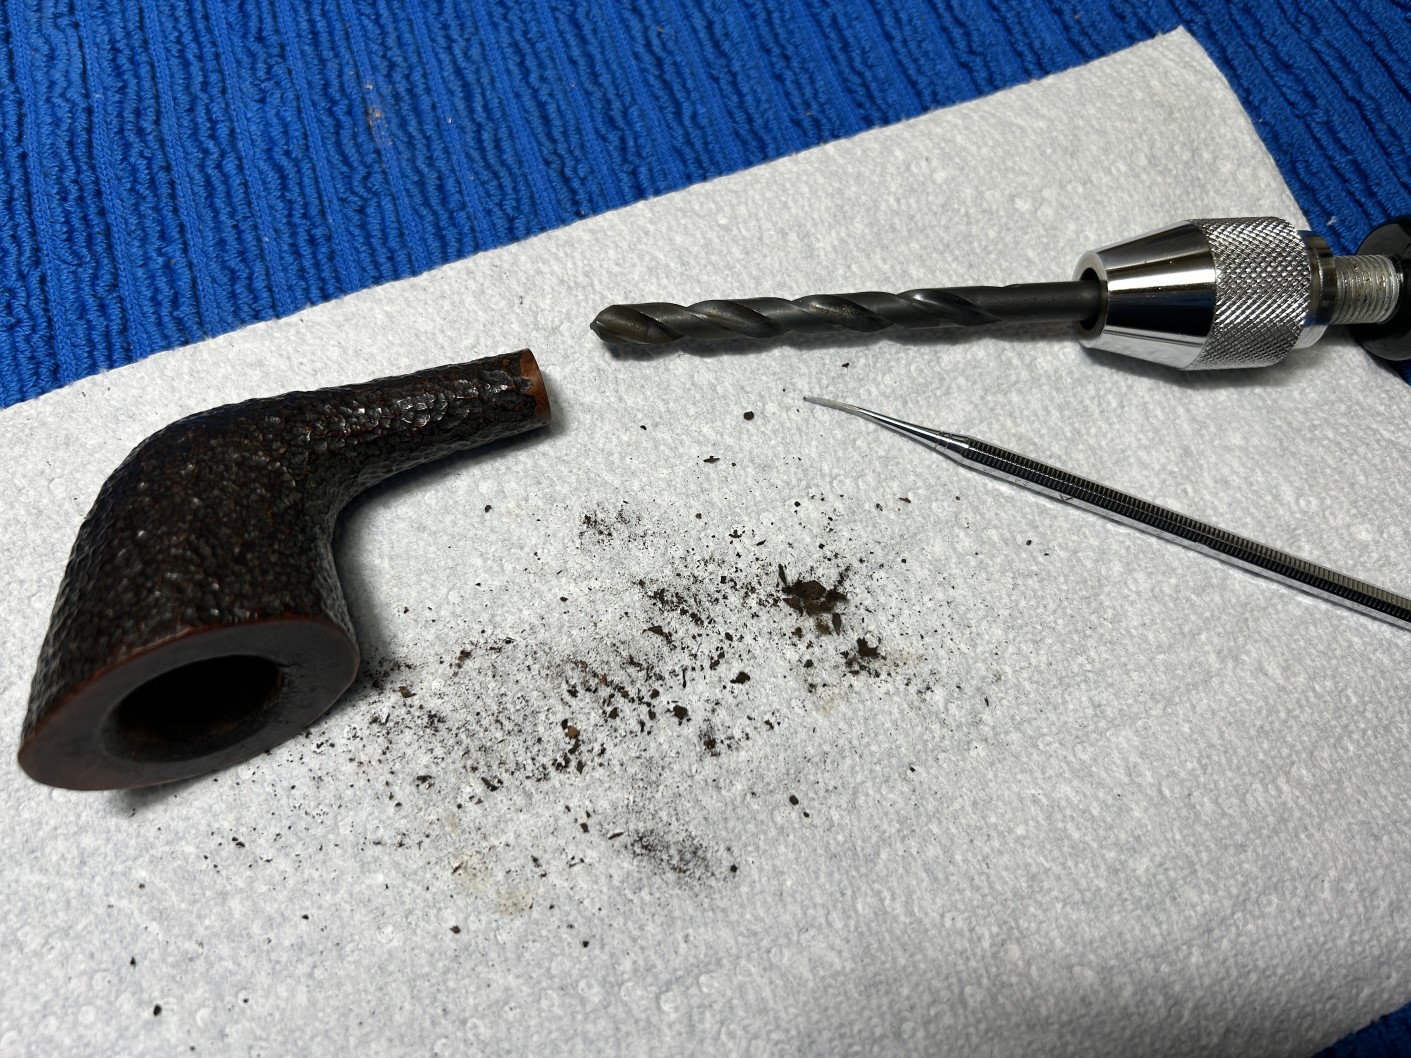
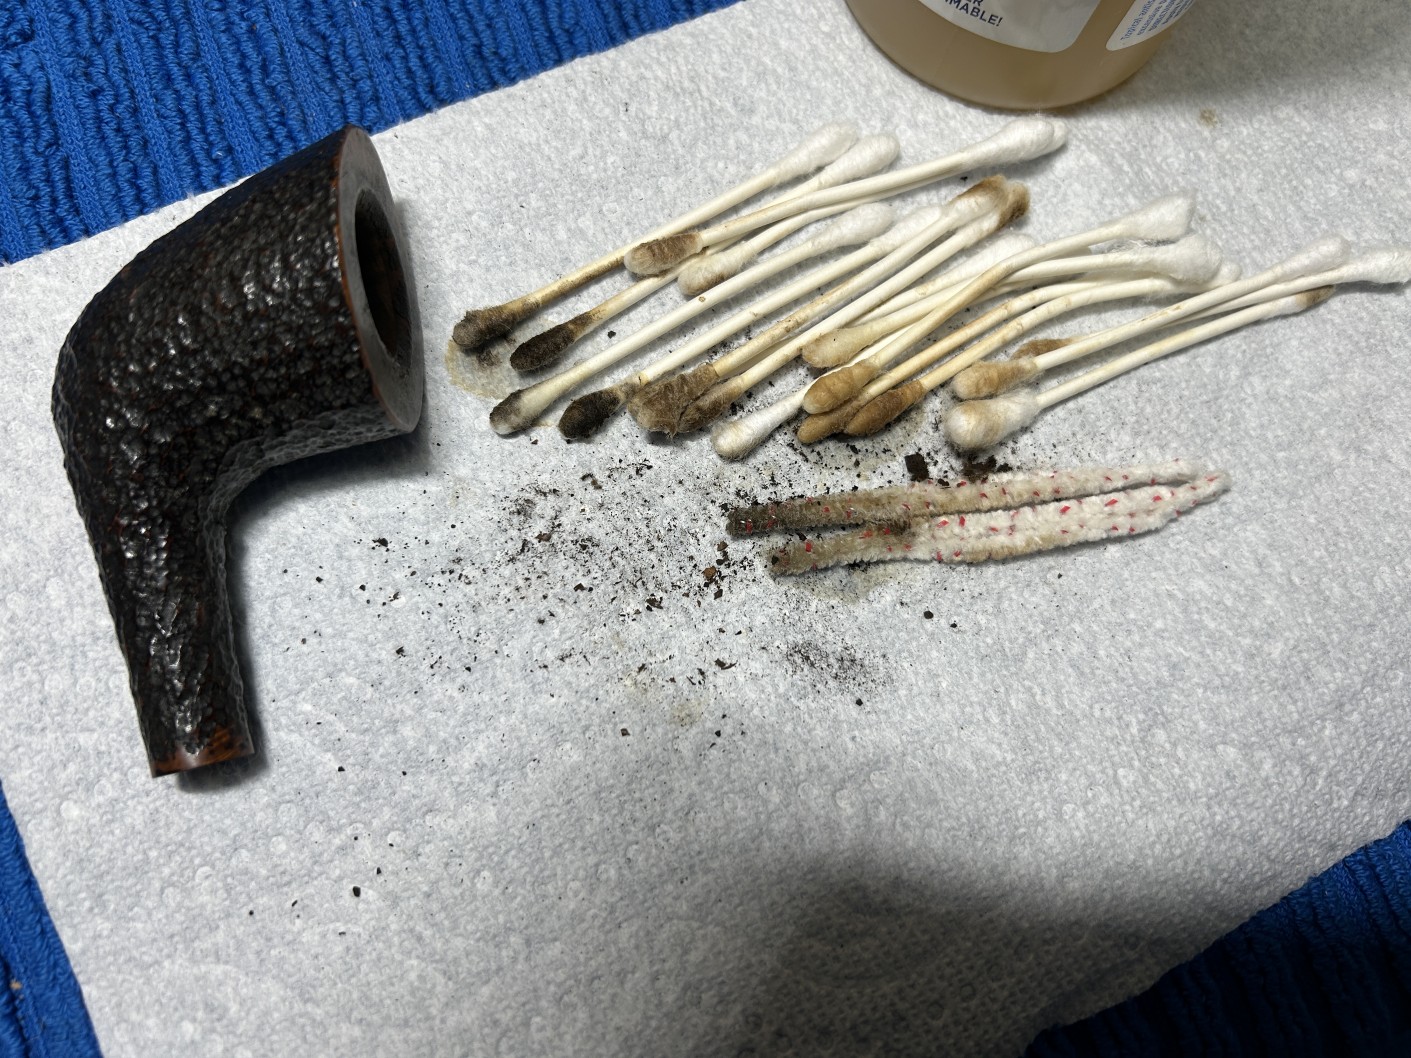
I then decided to ‘de-ghost’ the pipe – that is to say, exorcize the remaining filth from the briar. I filled the bowl and the shank with cotton balls, then saturated them with 99% isopropyl alcohol. I let the stummel sit overnight. This caused the remaining oils, tars and smells to leach out into the cotton.
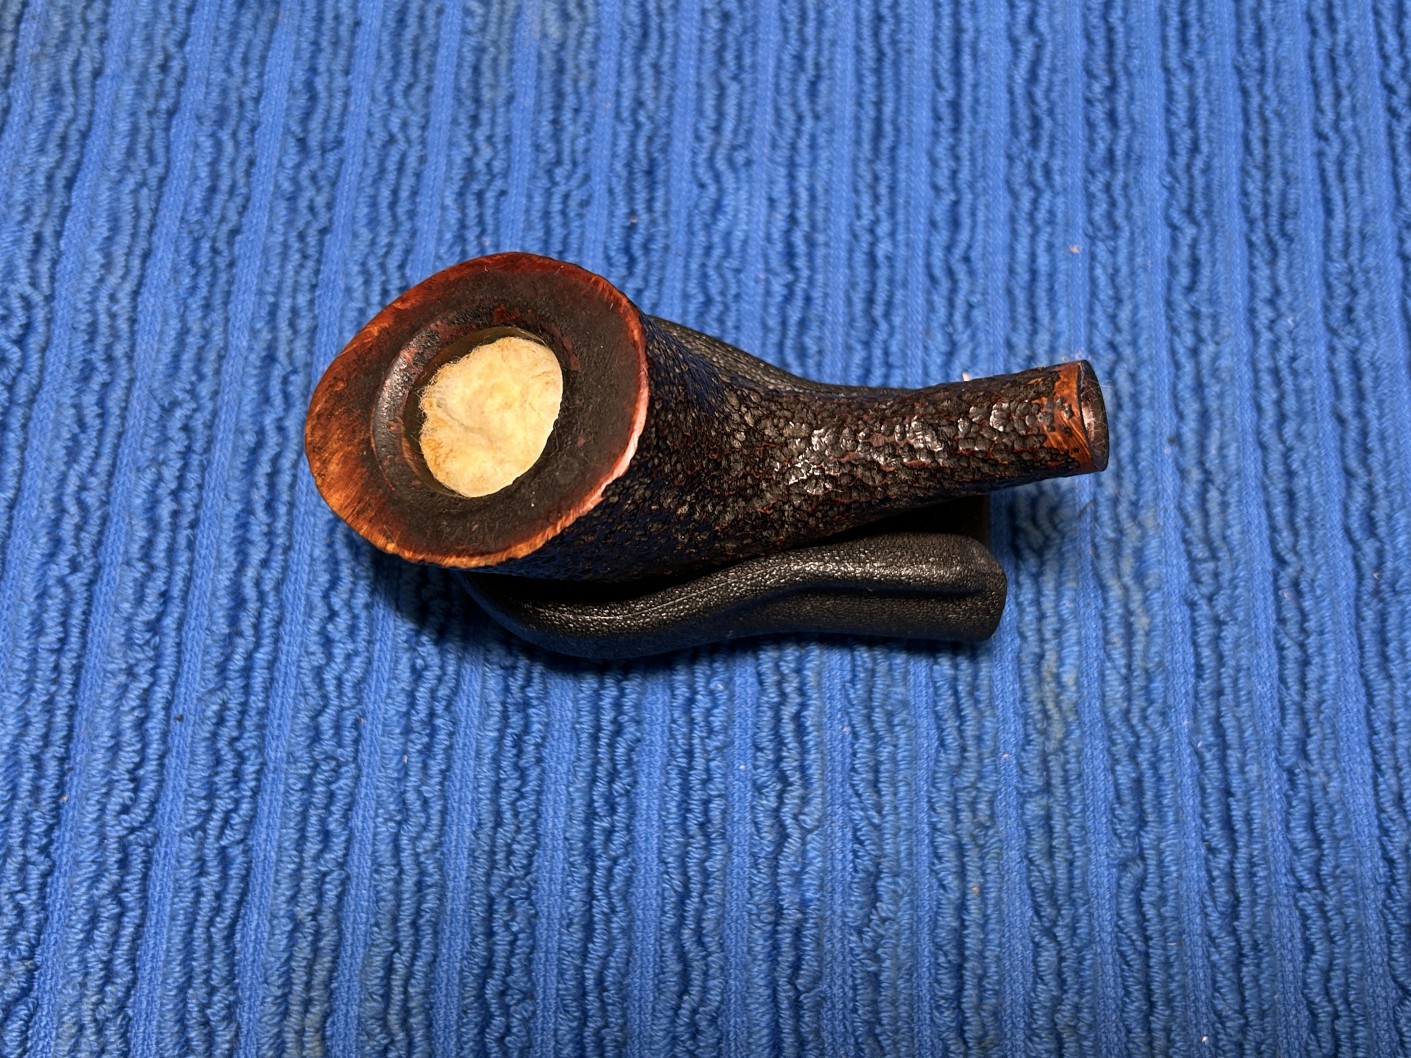
To tidy up the briar, I wiped down the outside, using a solution of a pH-neutral detergent and some distilled water, with cotton rounds. I also used a toothbrush in the crevices – especially on the plateau rim and shank end. This did a good job of cleaning any latent dirt on the surface of the briar. The last step of the cleaning process was to scour the inside of the stummel with the same mild detergent and tube brushes. This was the culmination of a lot of hard work in getting the pipe clean.
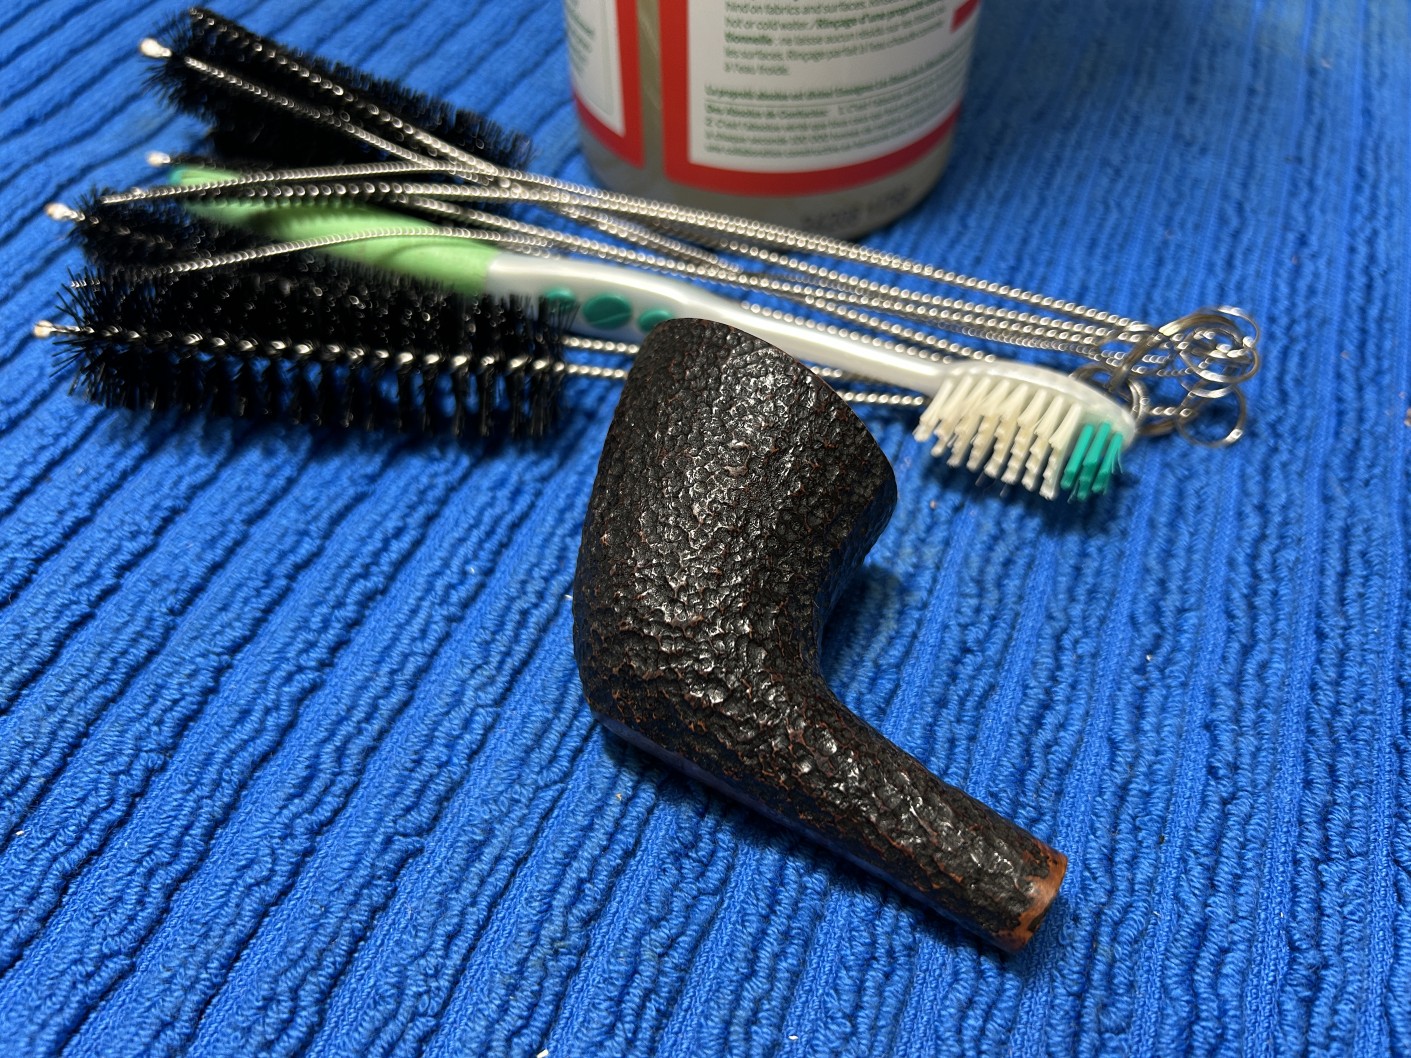
The thorough cleaning I provided revealed some hidden damage to the shank end. As the photo below shows, there were some notable cracks in the briar. This would suggest that the pipe had been disassembled while still warm. This is a no-no! The reason is plain to see.

Anyway, I elected to fill these cracks with clear cyanoacrylate adhesive. This was tricky, as I had to select an adhesive that was thin enough to penetrate the cracks, but not so thin that it went everywhere. Before that, I applied some petroleum jelly to the mortise. The petroleum jelly prohibits the adhesive from leaking out over everything. Applying cyanoacrylate adhesive to a plateau like this is fraught with potential problems because it is difficult to hide the repair effectively. However, I feel that, in the end, I did a good job.

I used all nine micromesh pads (1,500 through 12,000 grit) to sand the outside of the stummel and finish it off. This sanding minimizes flaws in the briar and provides a beautiful smoothness to the wood. I rubbed some LBE Before & After Restoration Balm into the briar and let it sit for 30 minutes or so. The balm moisturizes the wood and gives a beautiful depth to the briar. I then buffed the stummel with a microfibre cloth.
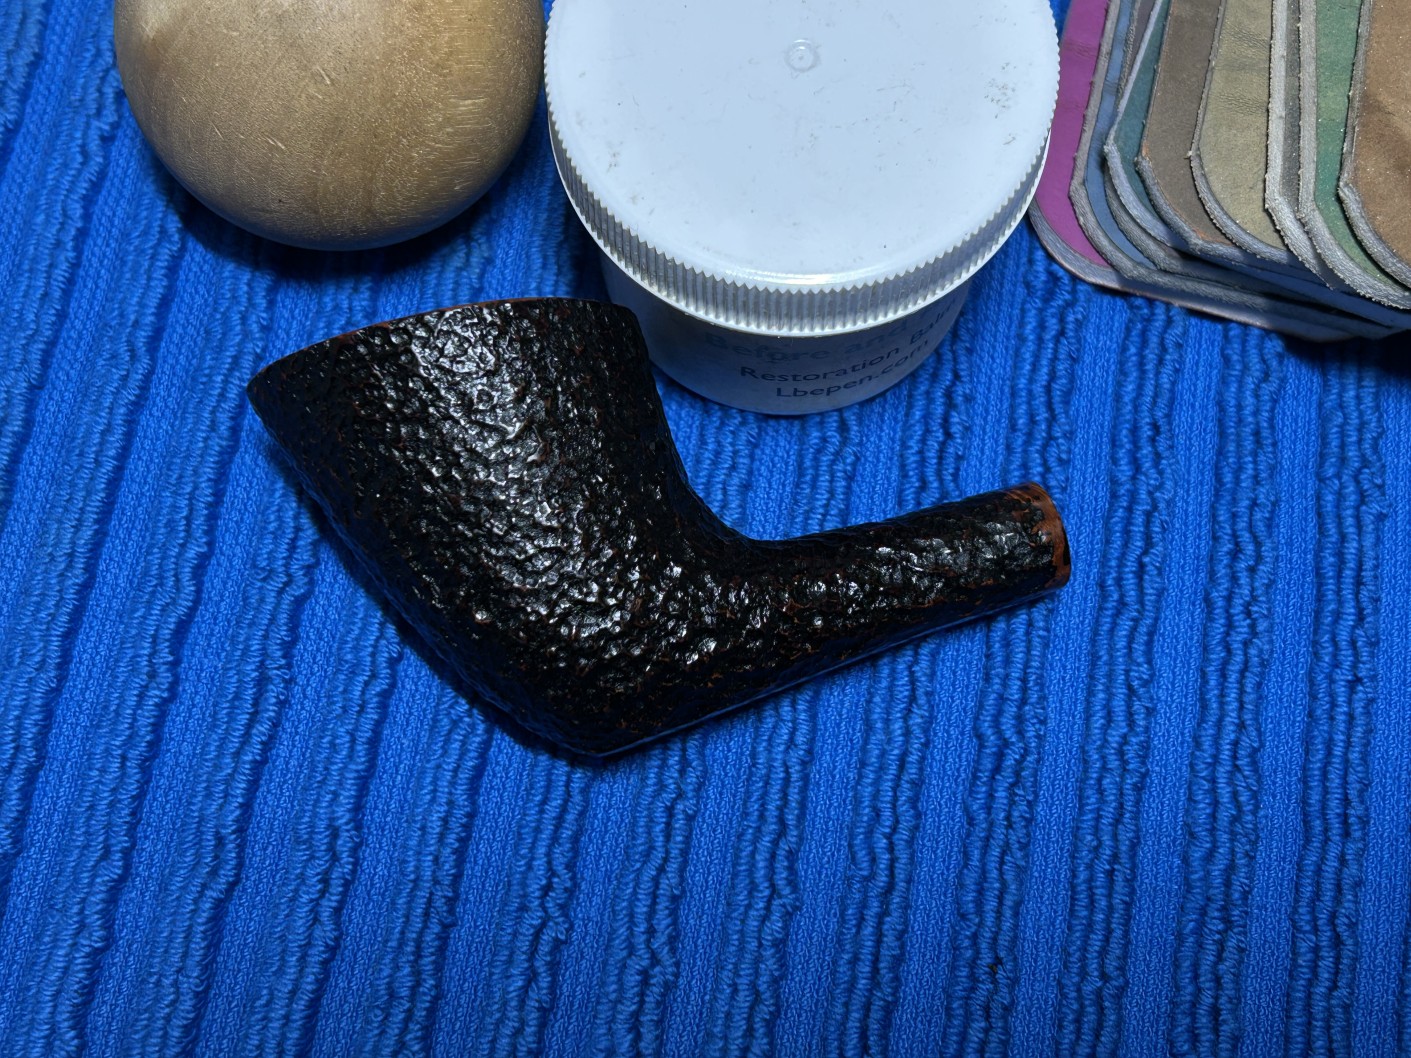
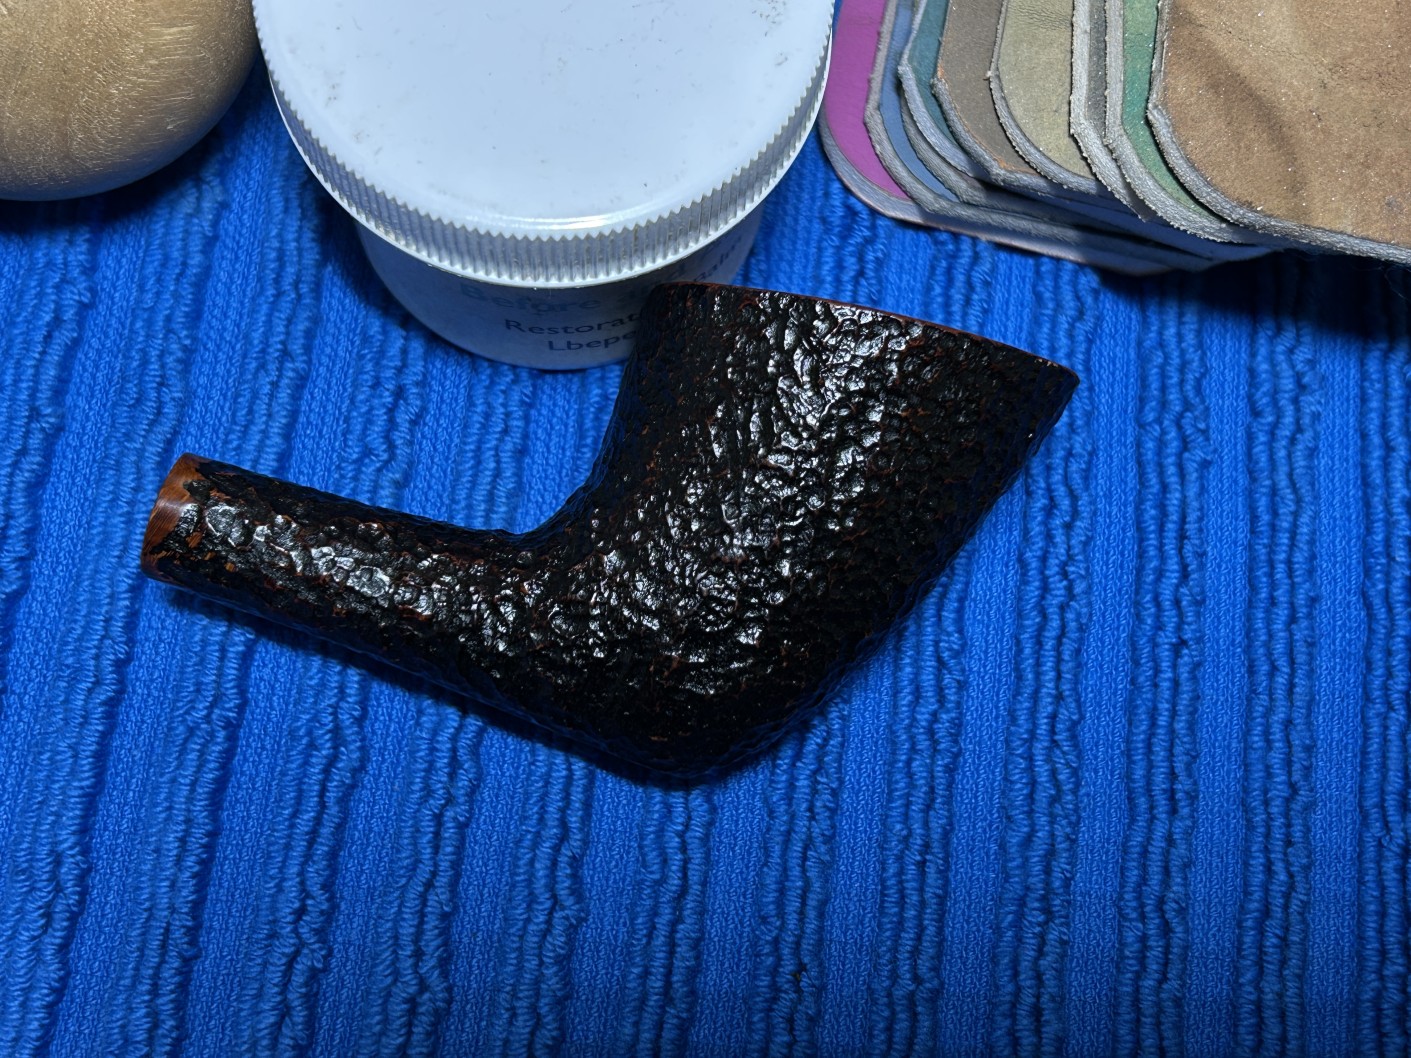
For the final step, I took the pipe to my bench polisher and carefully buffed it – first with a blue diamond compound, then with three coats of conservator’s wax. This procedure makes the pipe look its best – the stummel sings and the stem glows.

All done! This Arendal Algerian briar freehand looks fantastic again and I am delighted with the results. I’m sure the young lady’s fiancé will be too.  The approximate dimensions of the pipe are as follows: length 5¾ in. (145 mm); height 2⅛ in. (55 mm); bowl diameter 1⅔ in. (41 mm); chamber diameter ¾ in. (20 mm). The weight of the pipe is 1⅞ oz. (55 g). I hope you enjoyed reading the story of this pipe’s restoration as much as I enjoyed restoring it. If you are interested in more of my work, please follow me here on Steve’s website or send me an email at kenneth@knightsofthepipe.com. Thank you very much for reading and, as always, I welcome and encourage your comments.