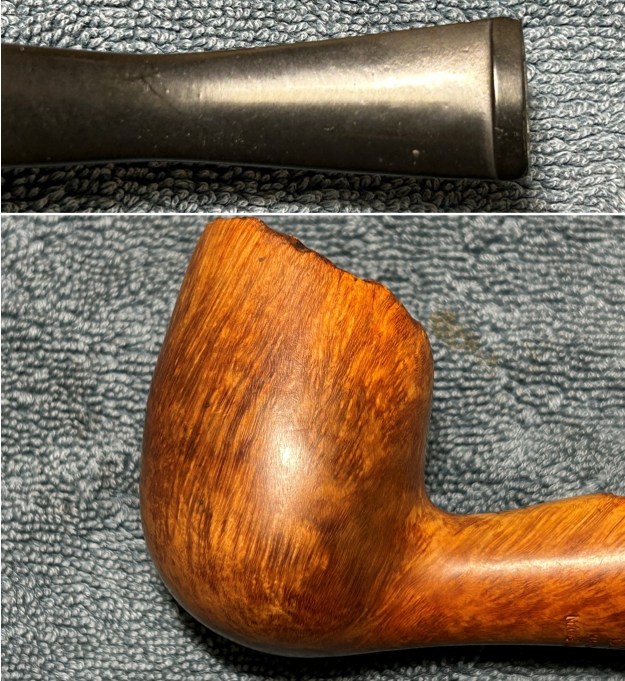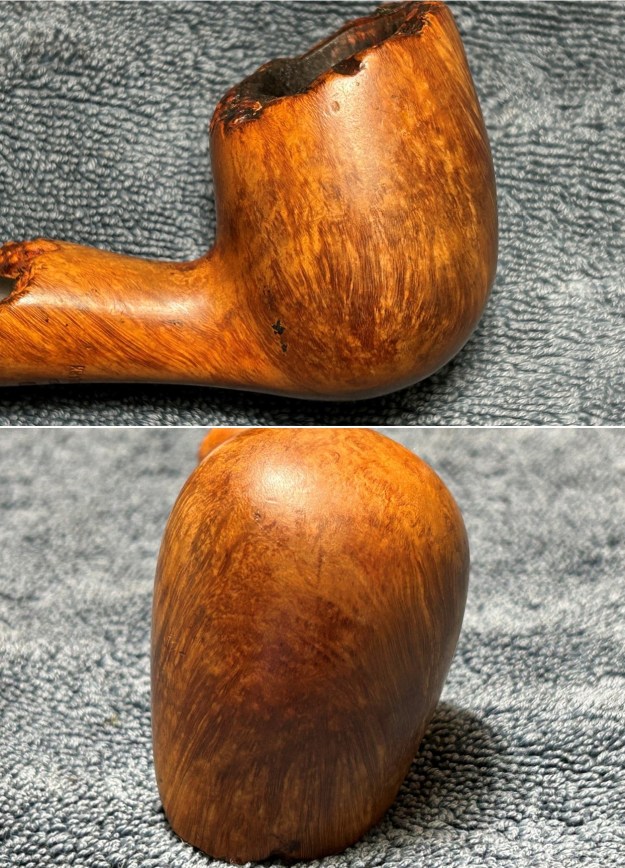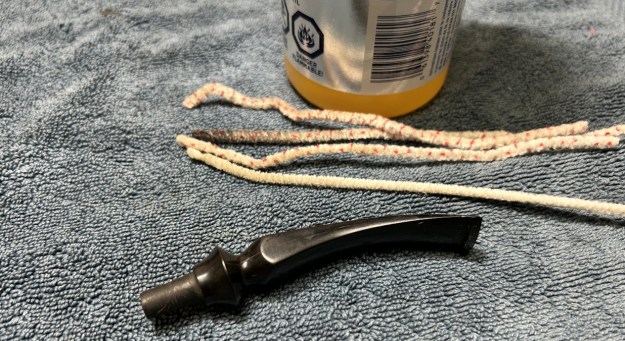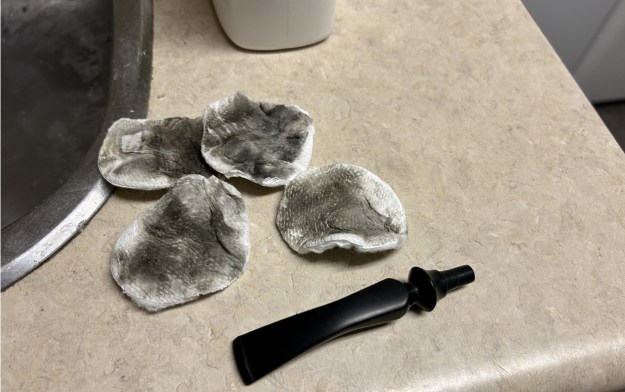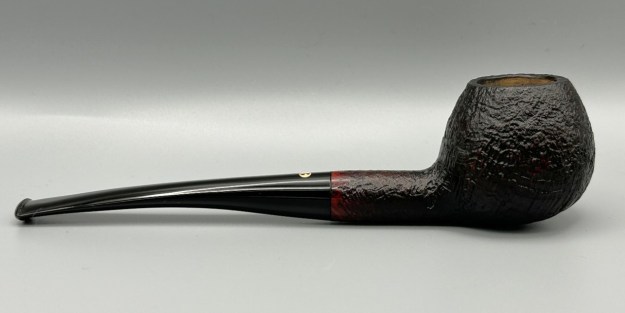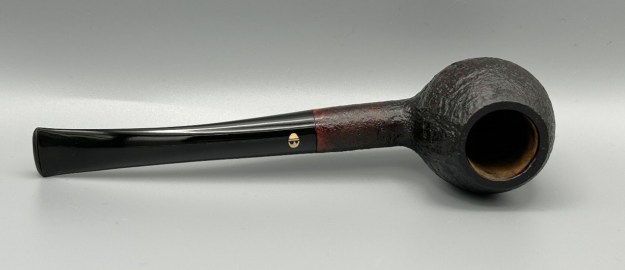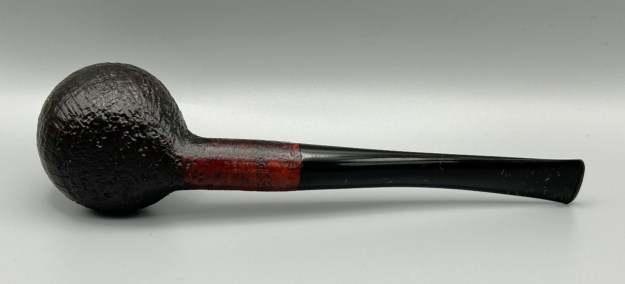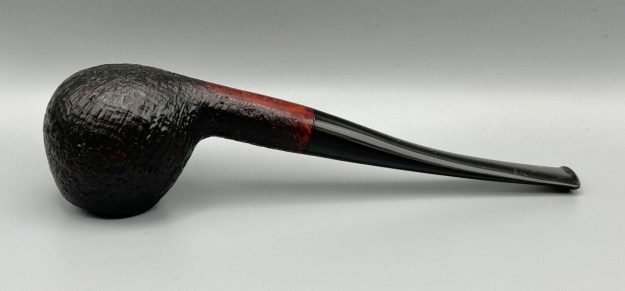
Tag Archives: Danish pipes

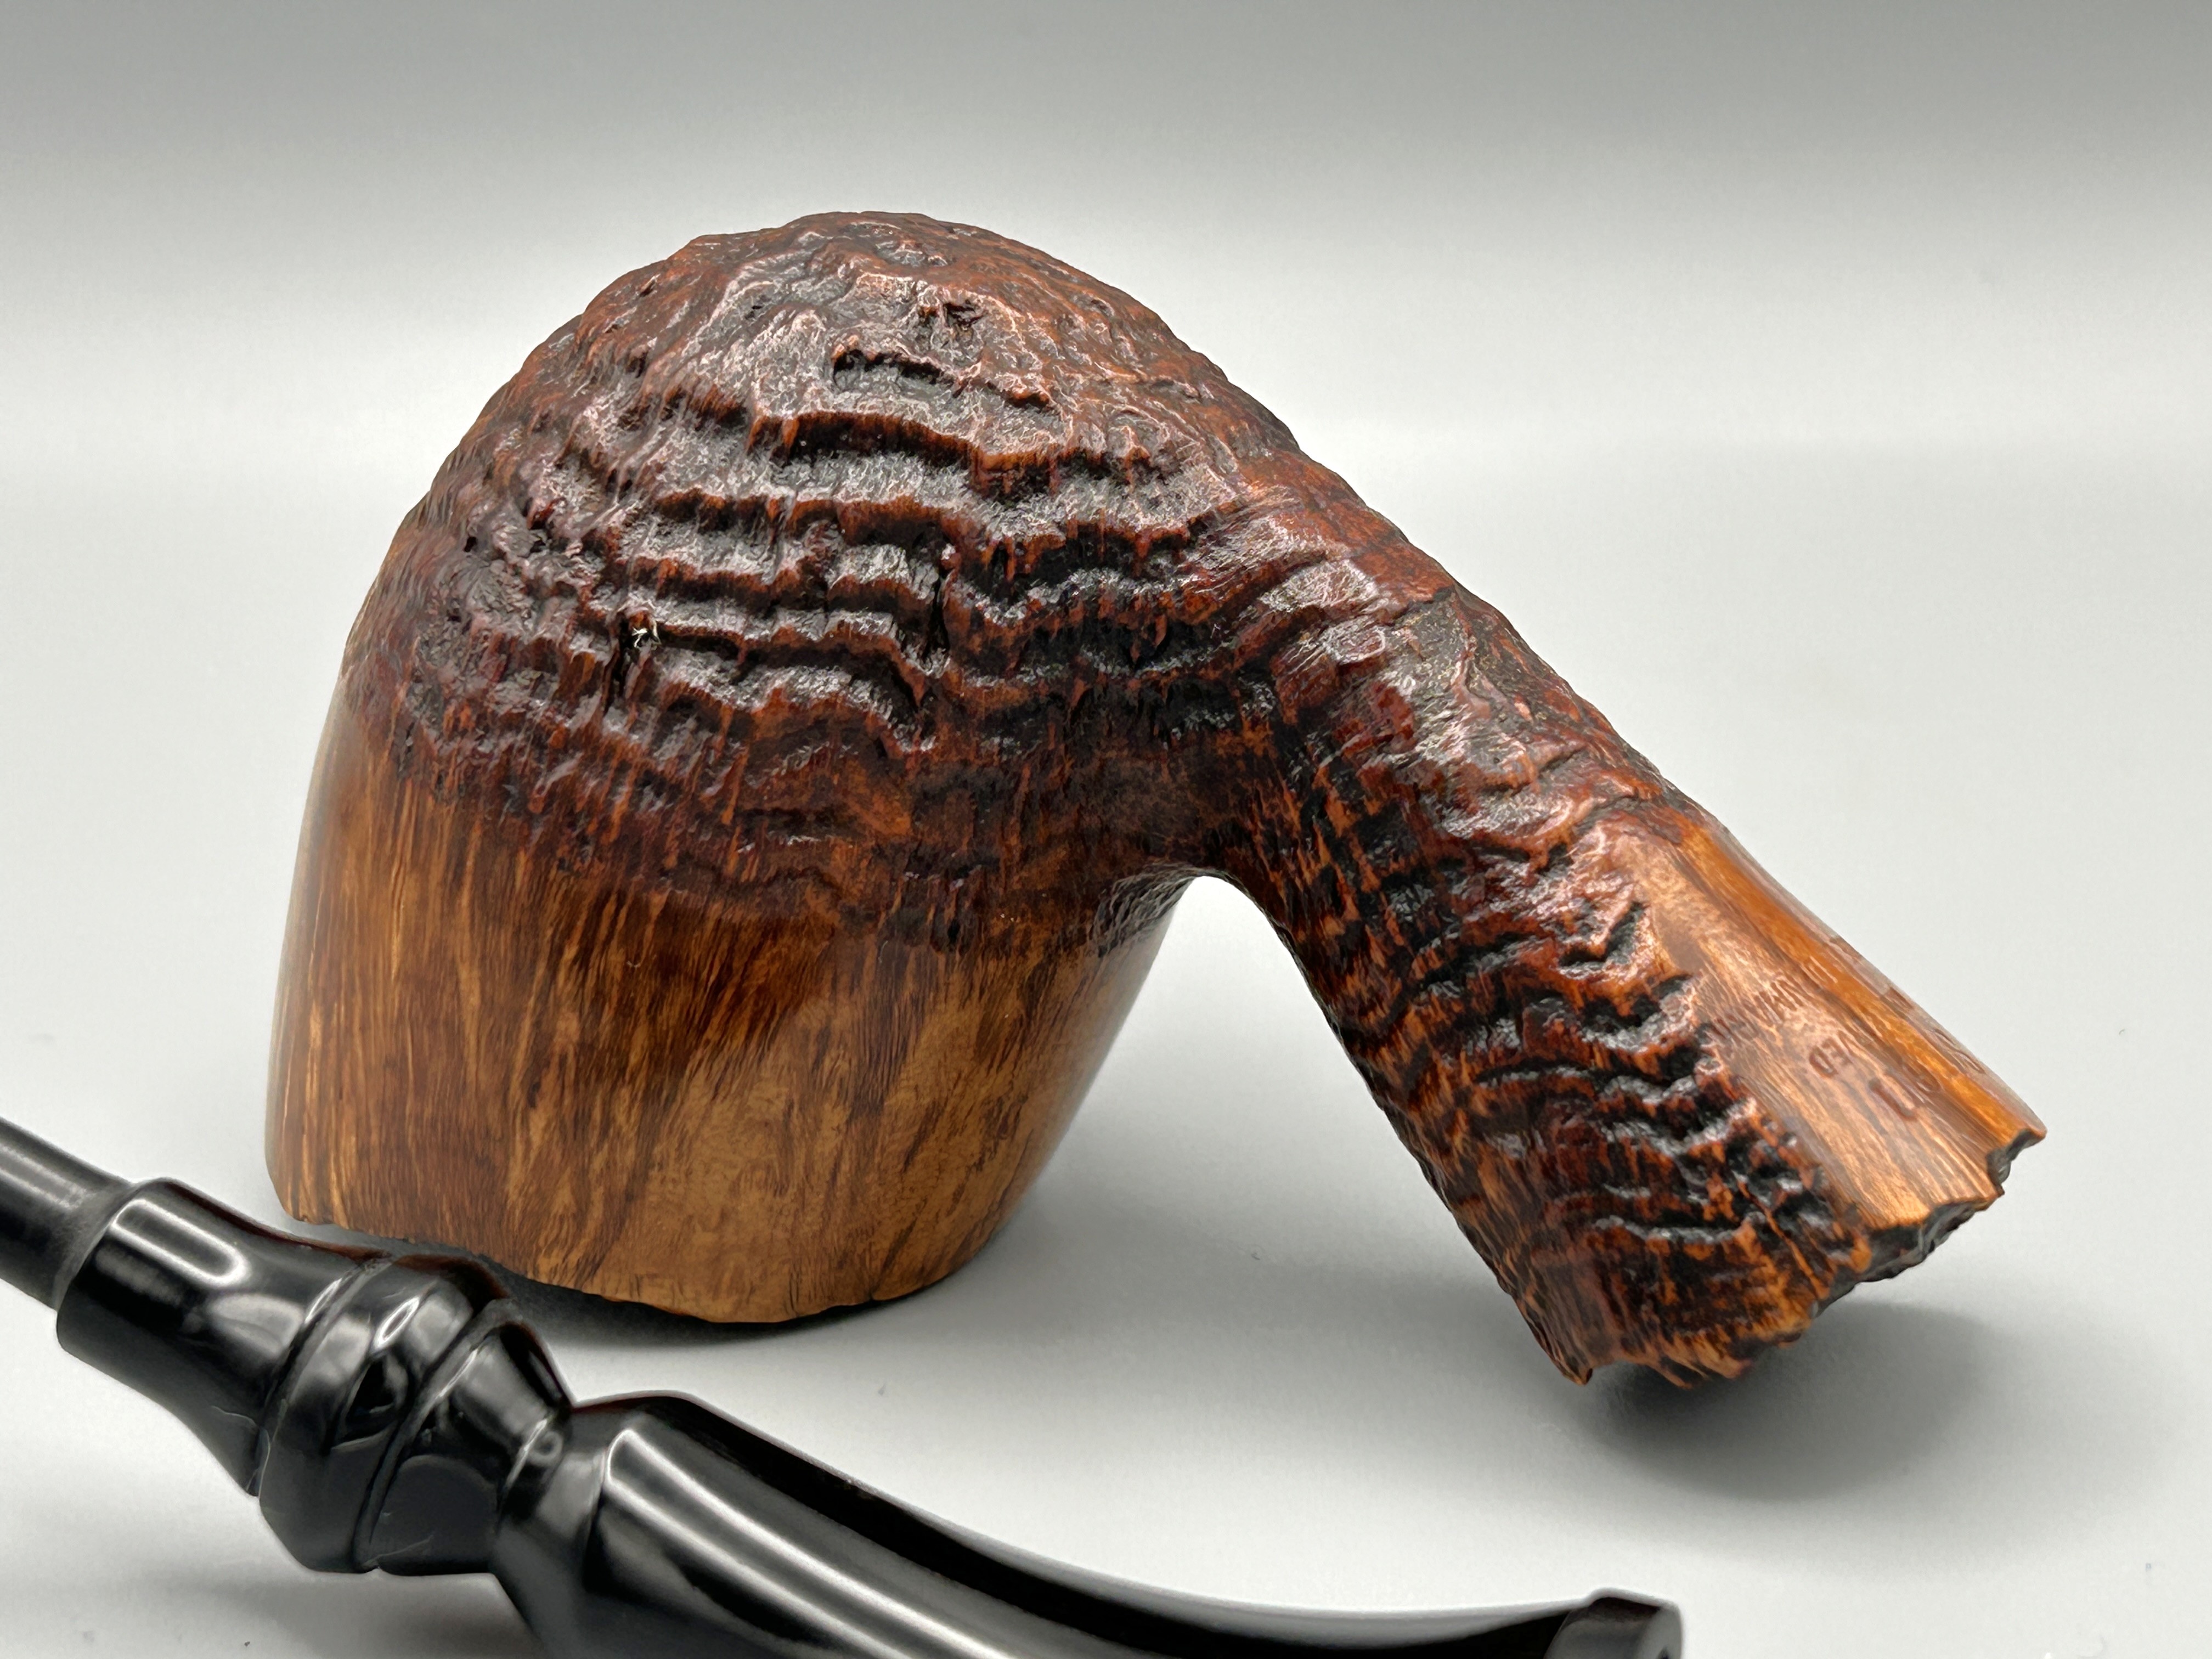
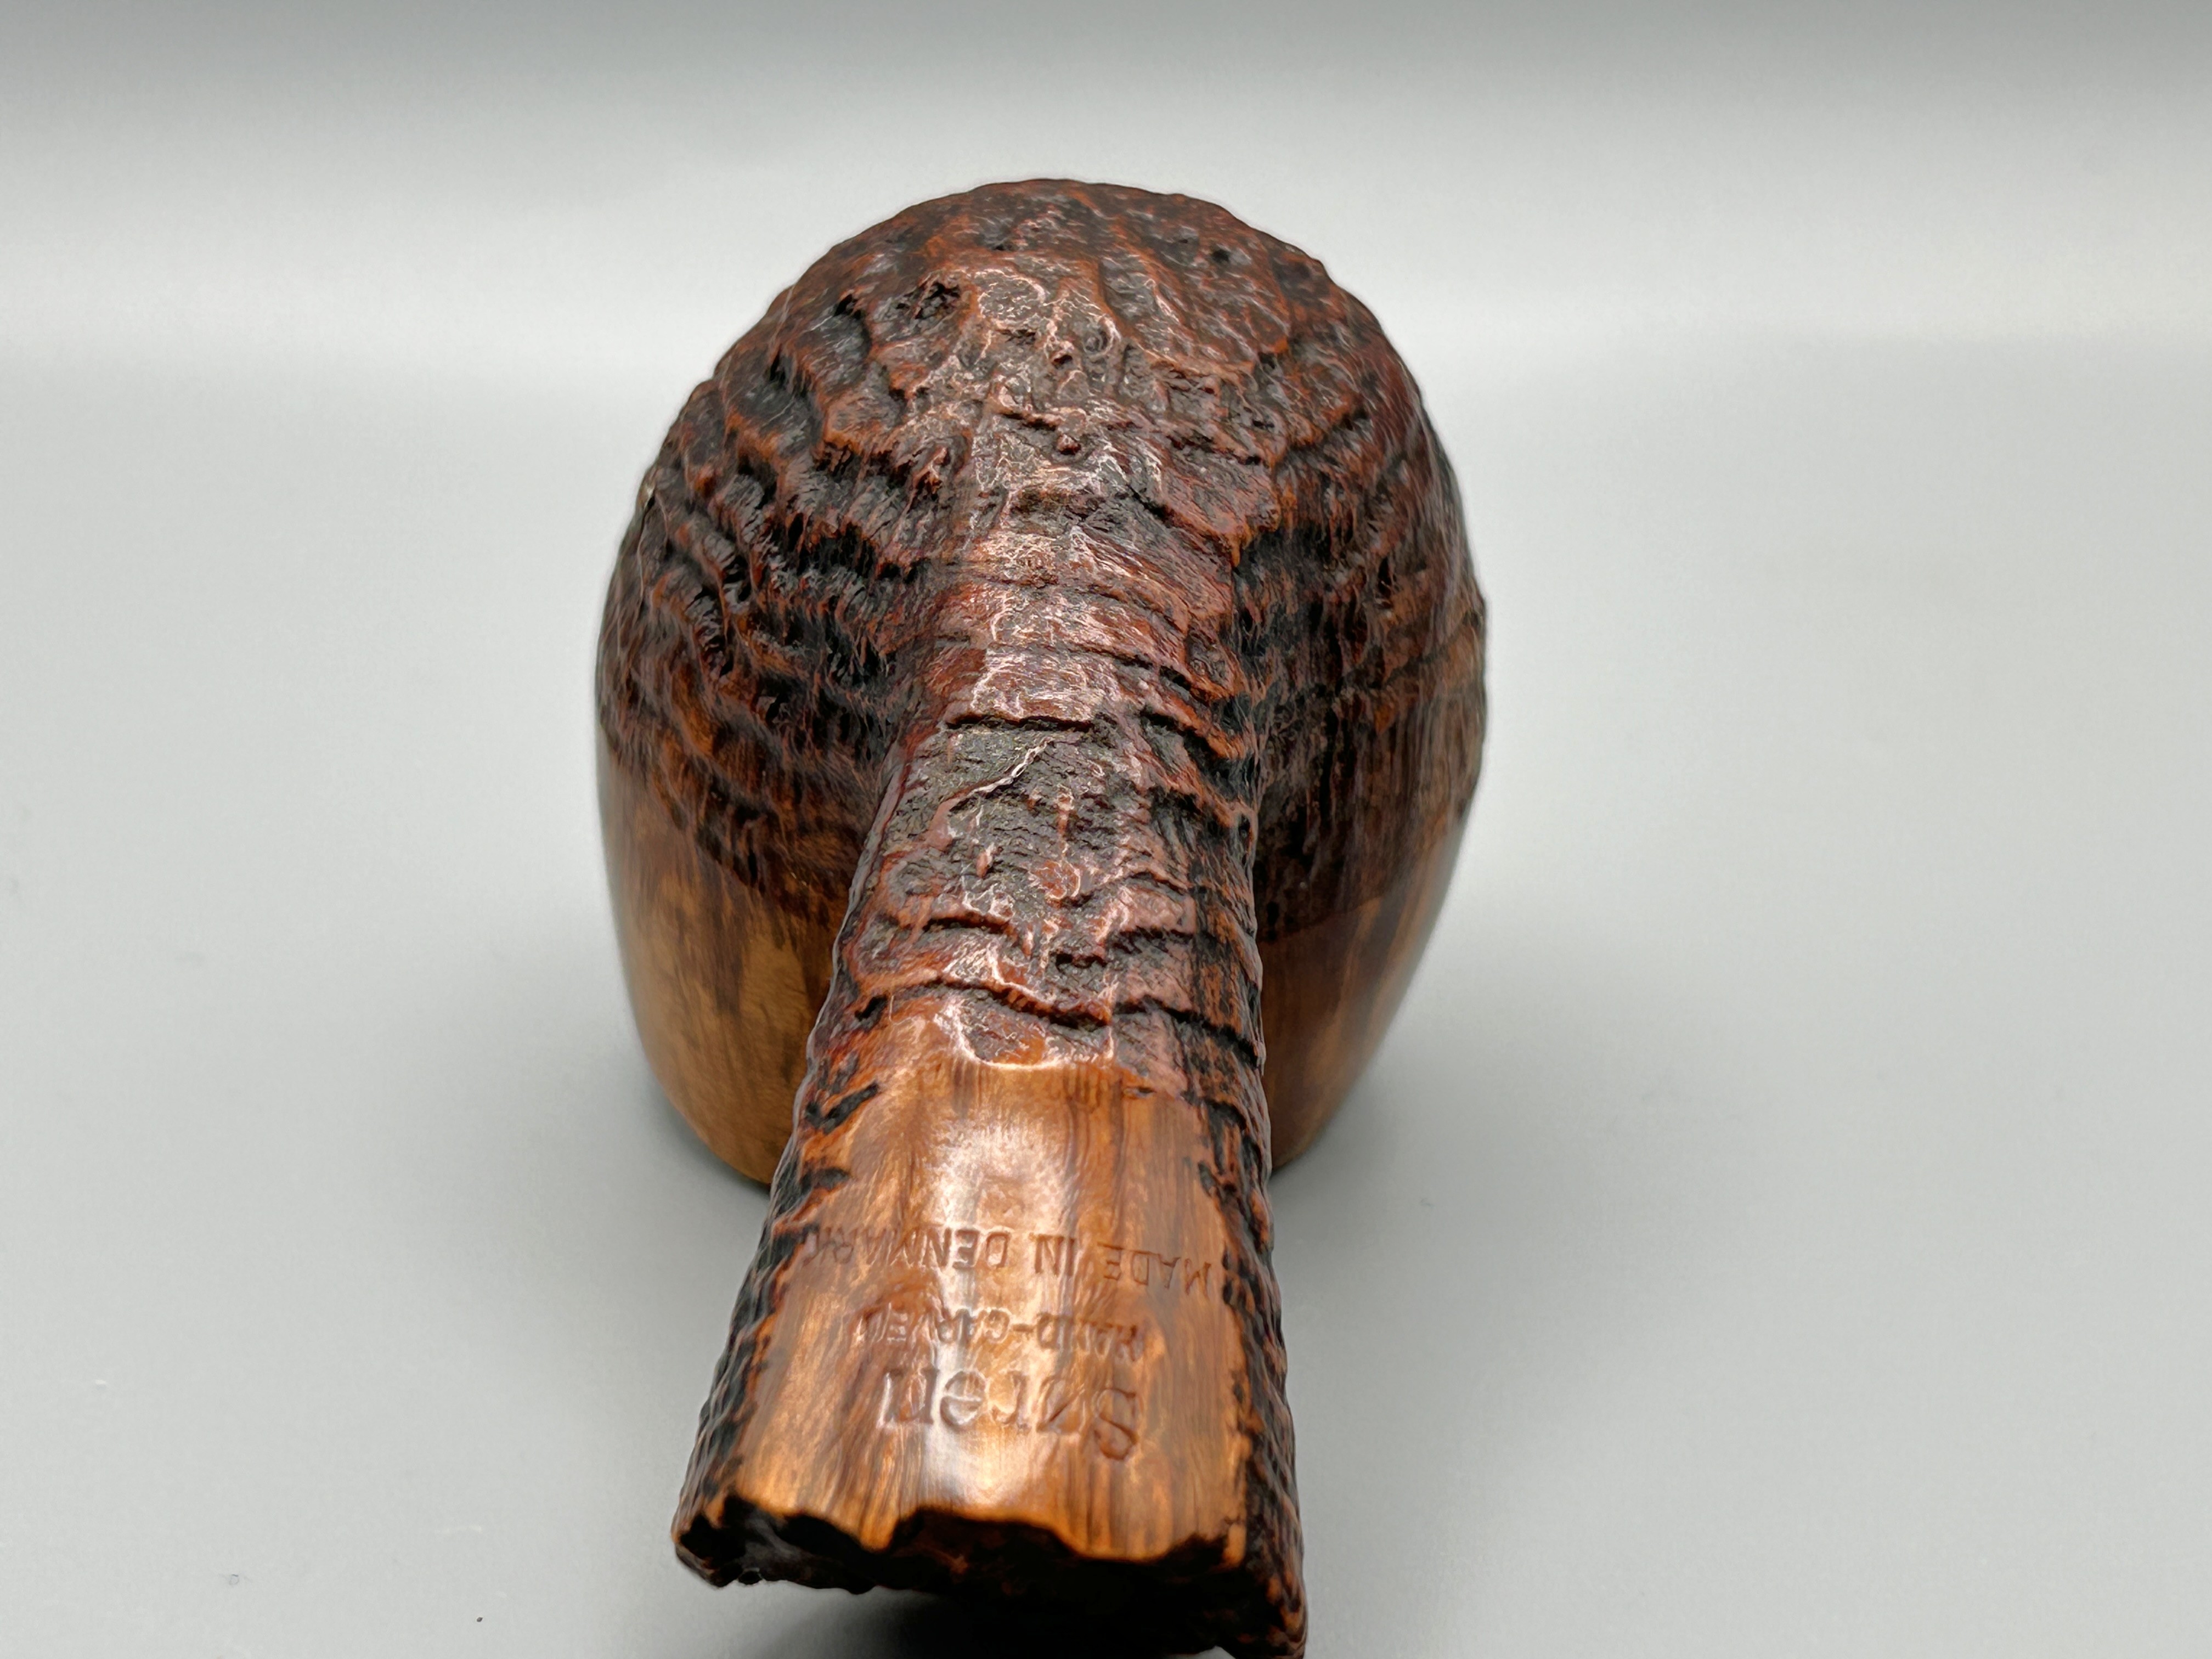
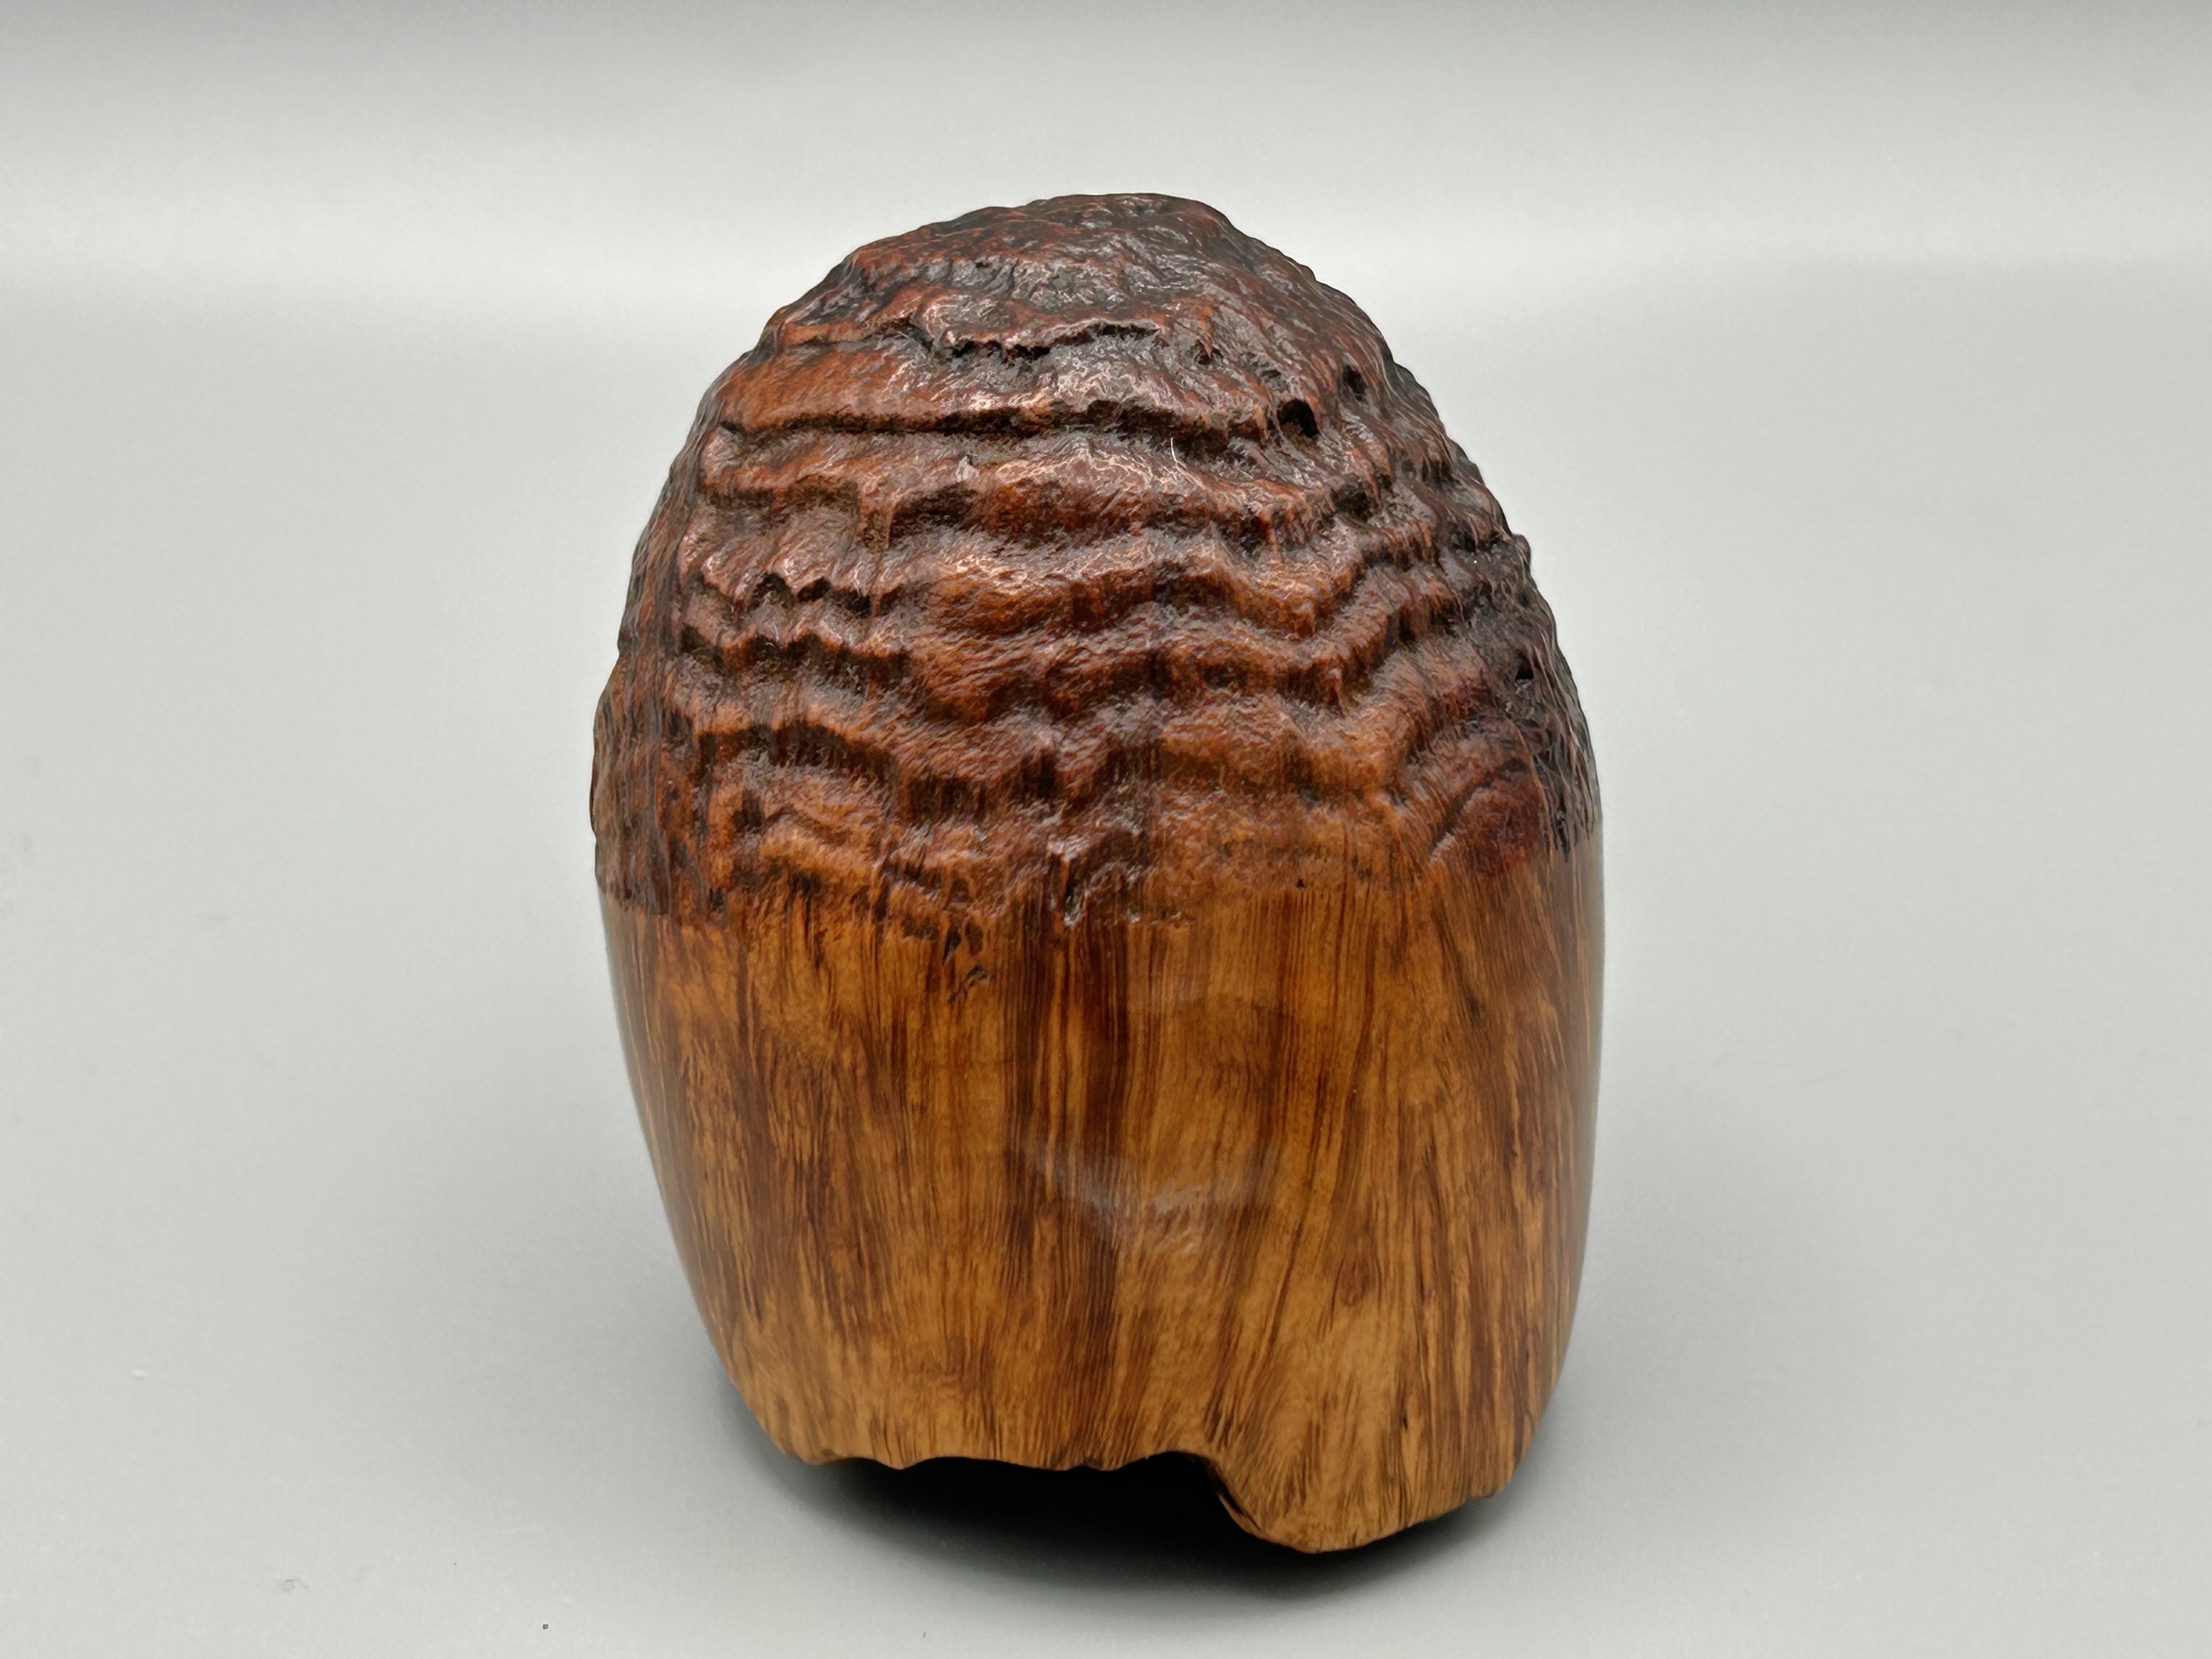
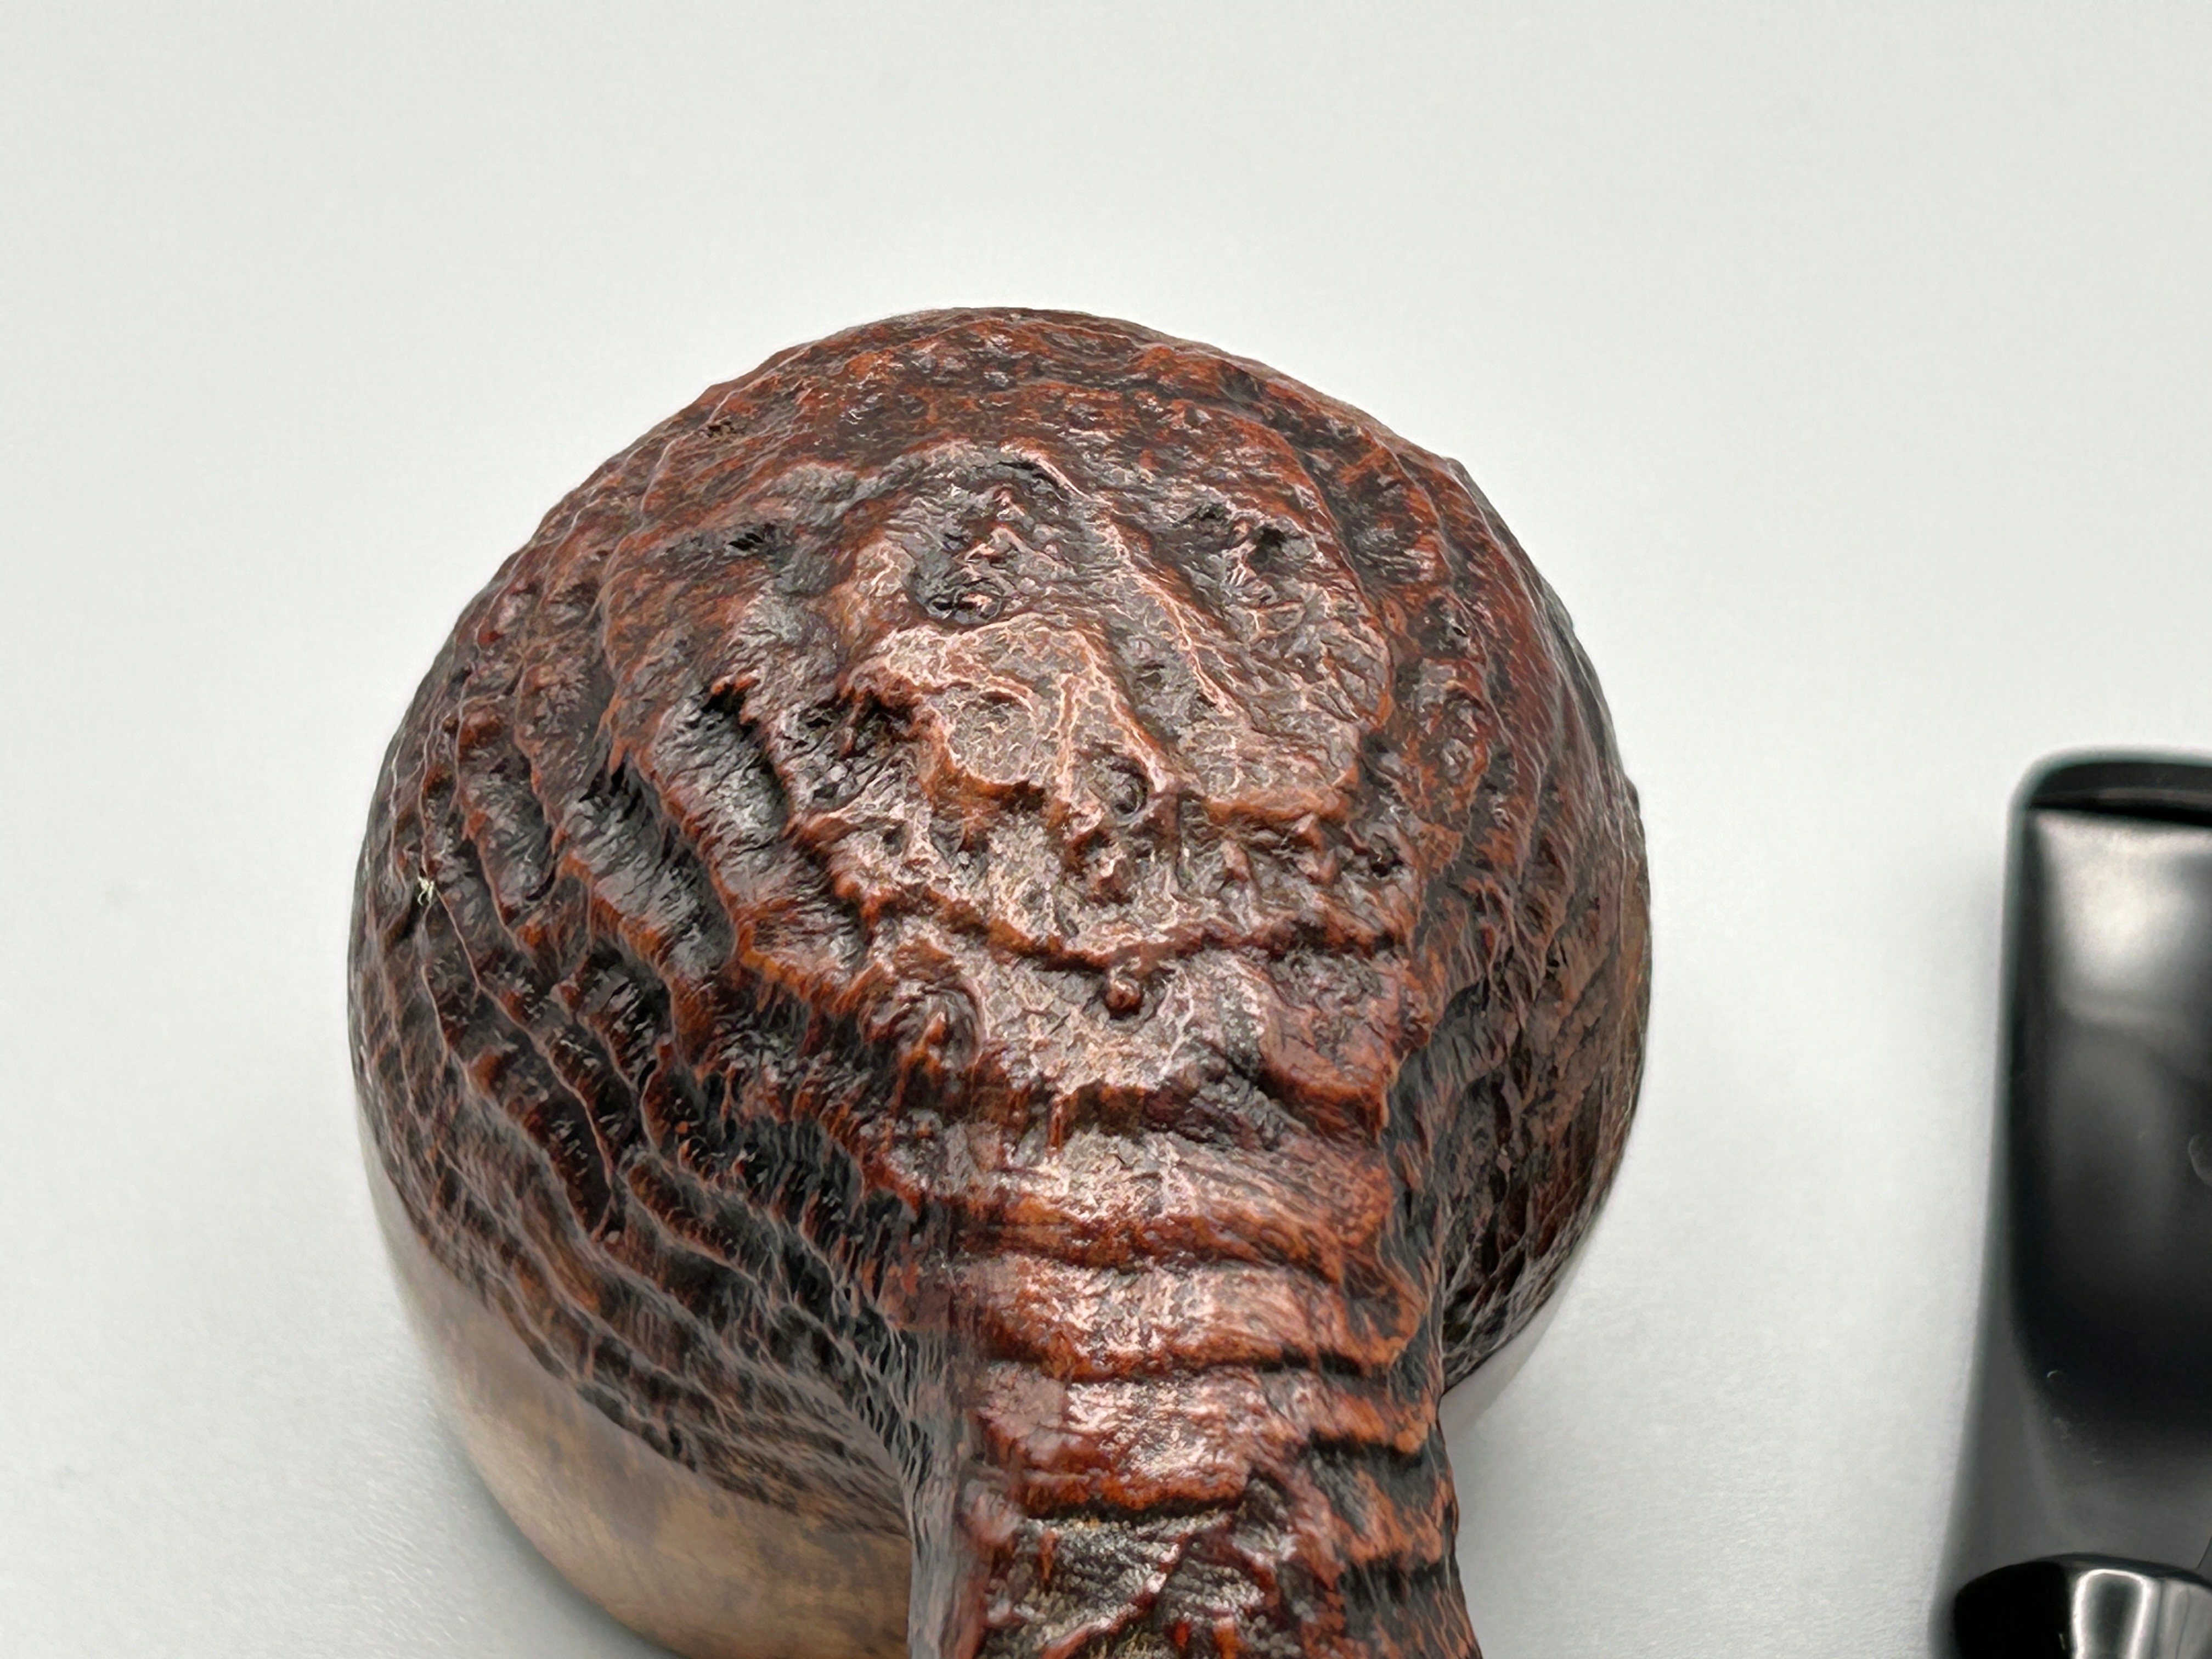
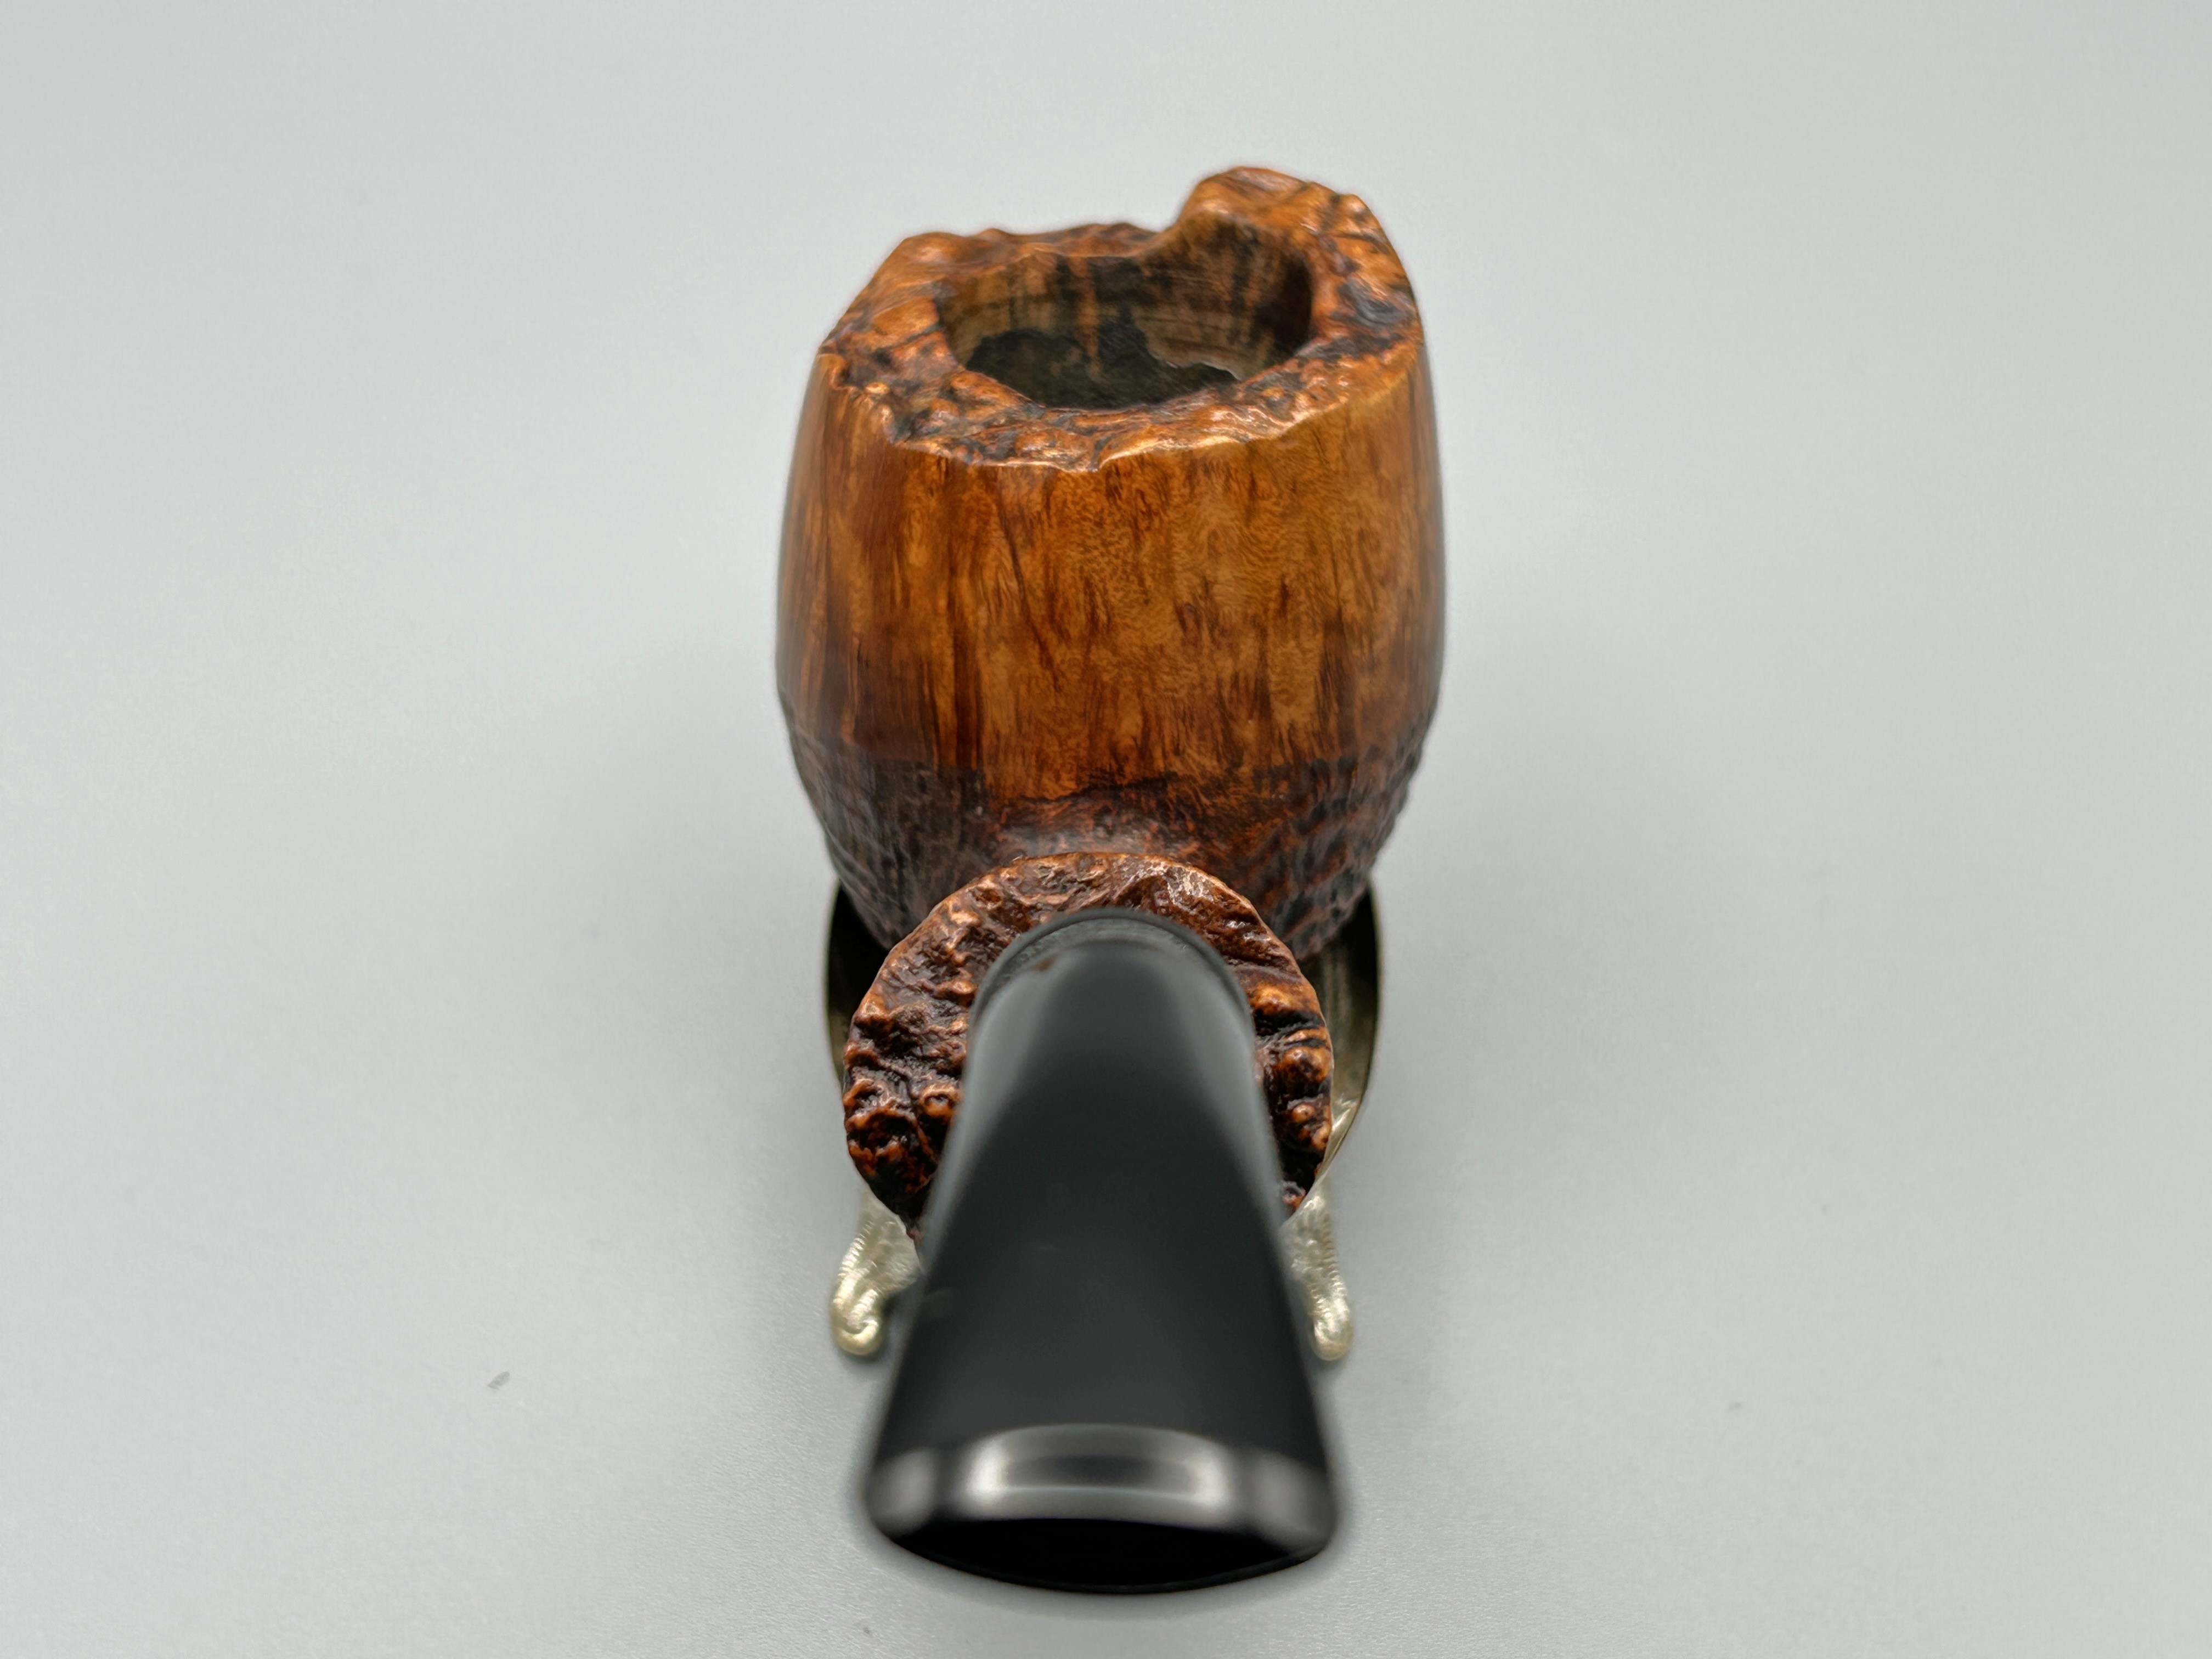
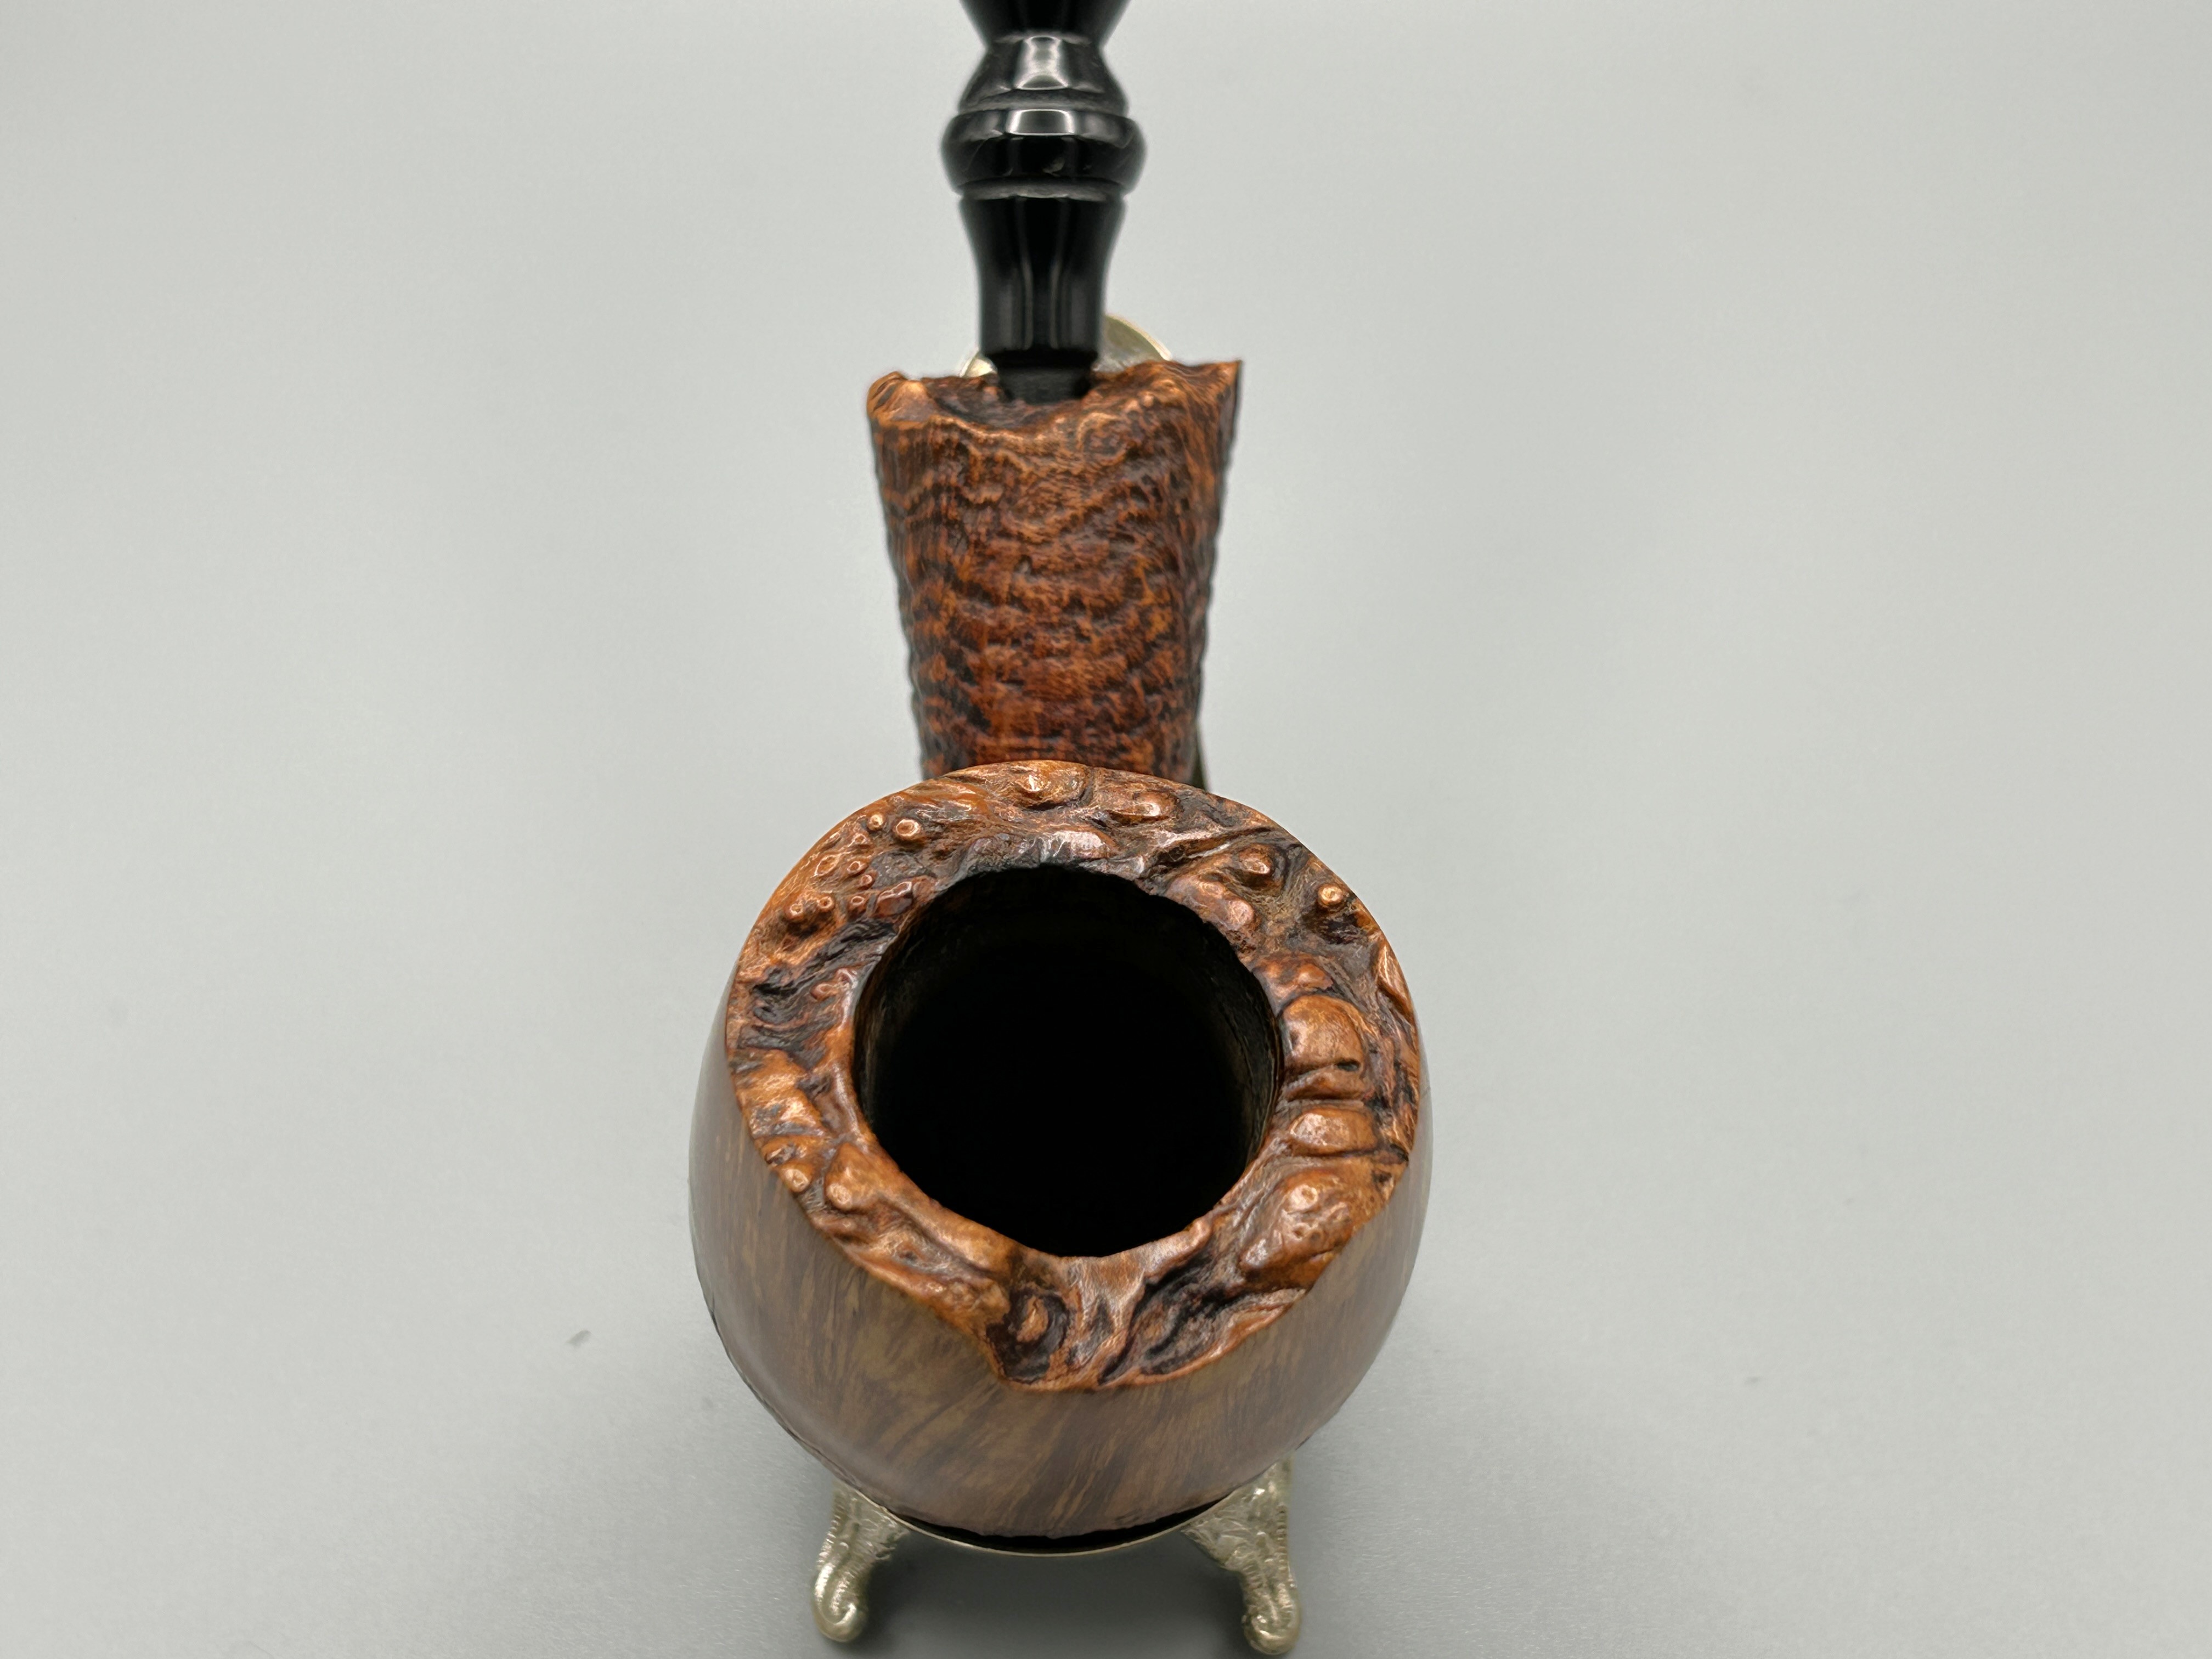
Fantastic Blast on a Hand-Carved Søren Freehand Egg


by Kenneth Lieblich

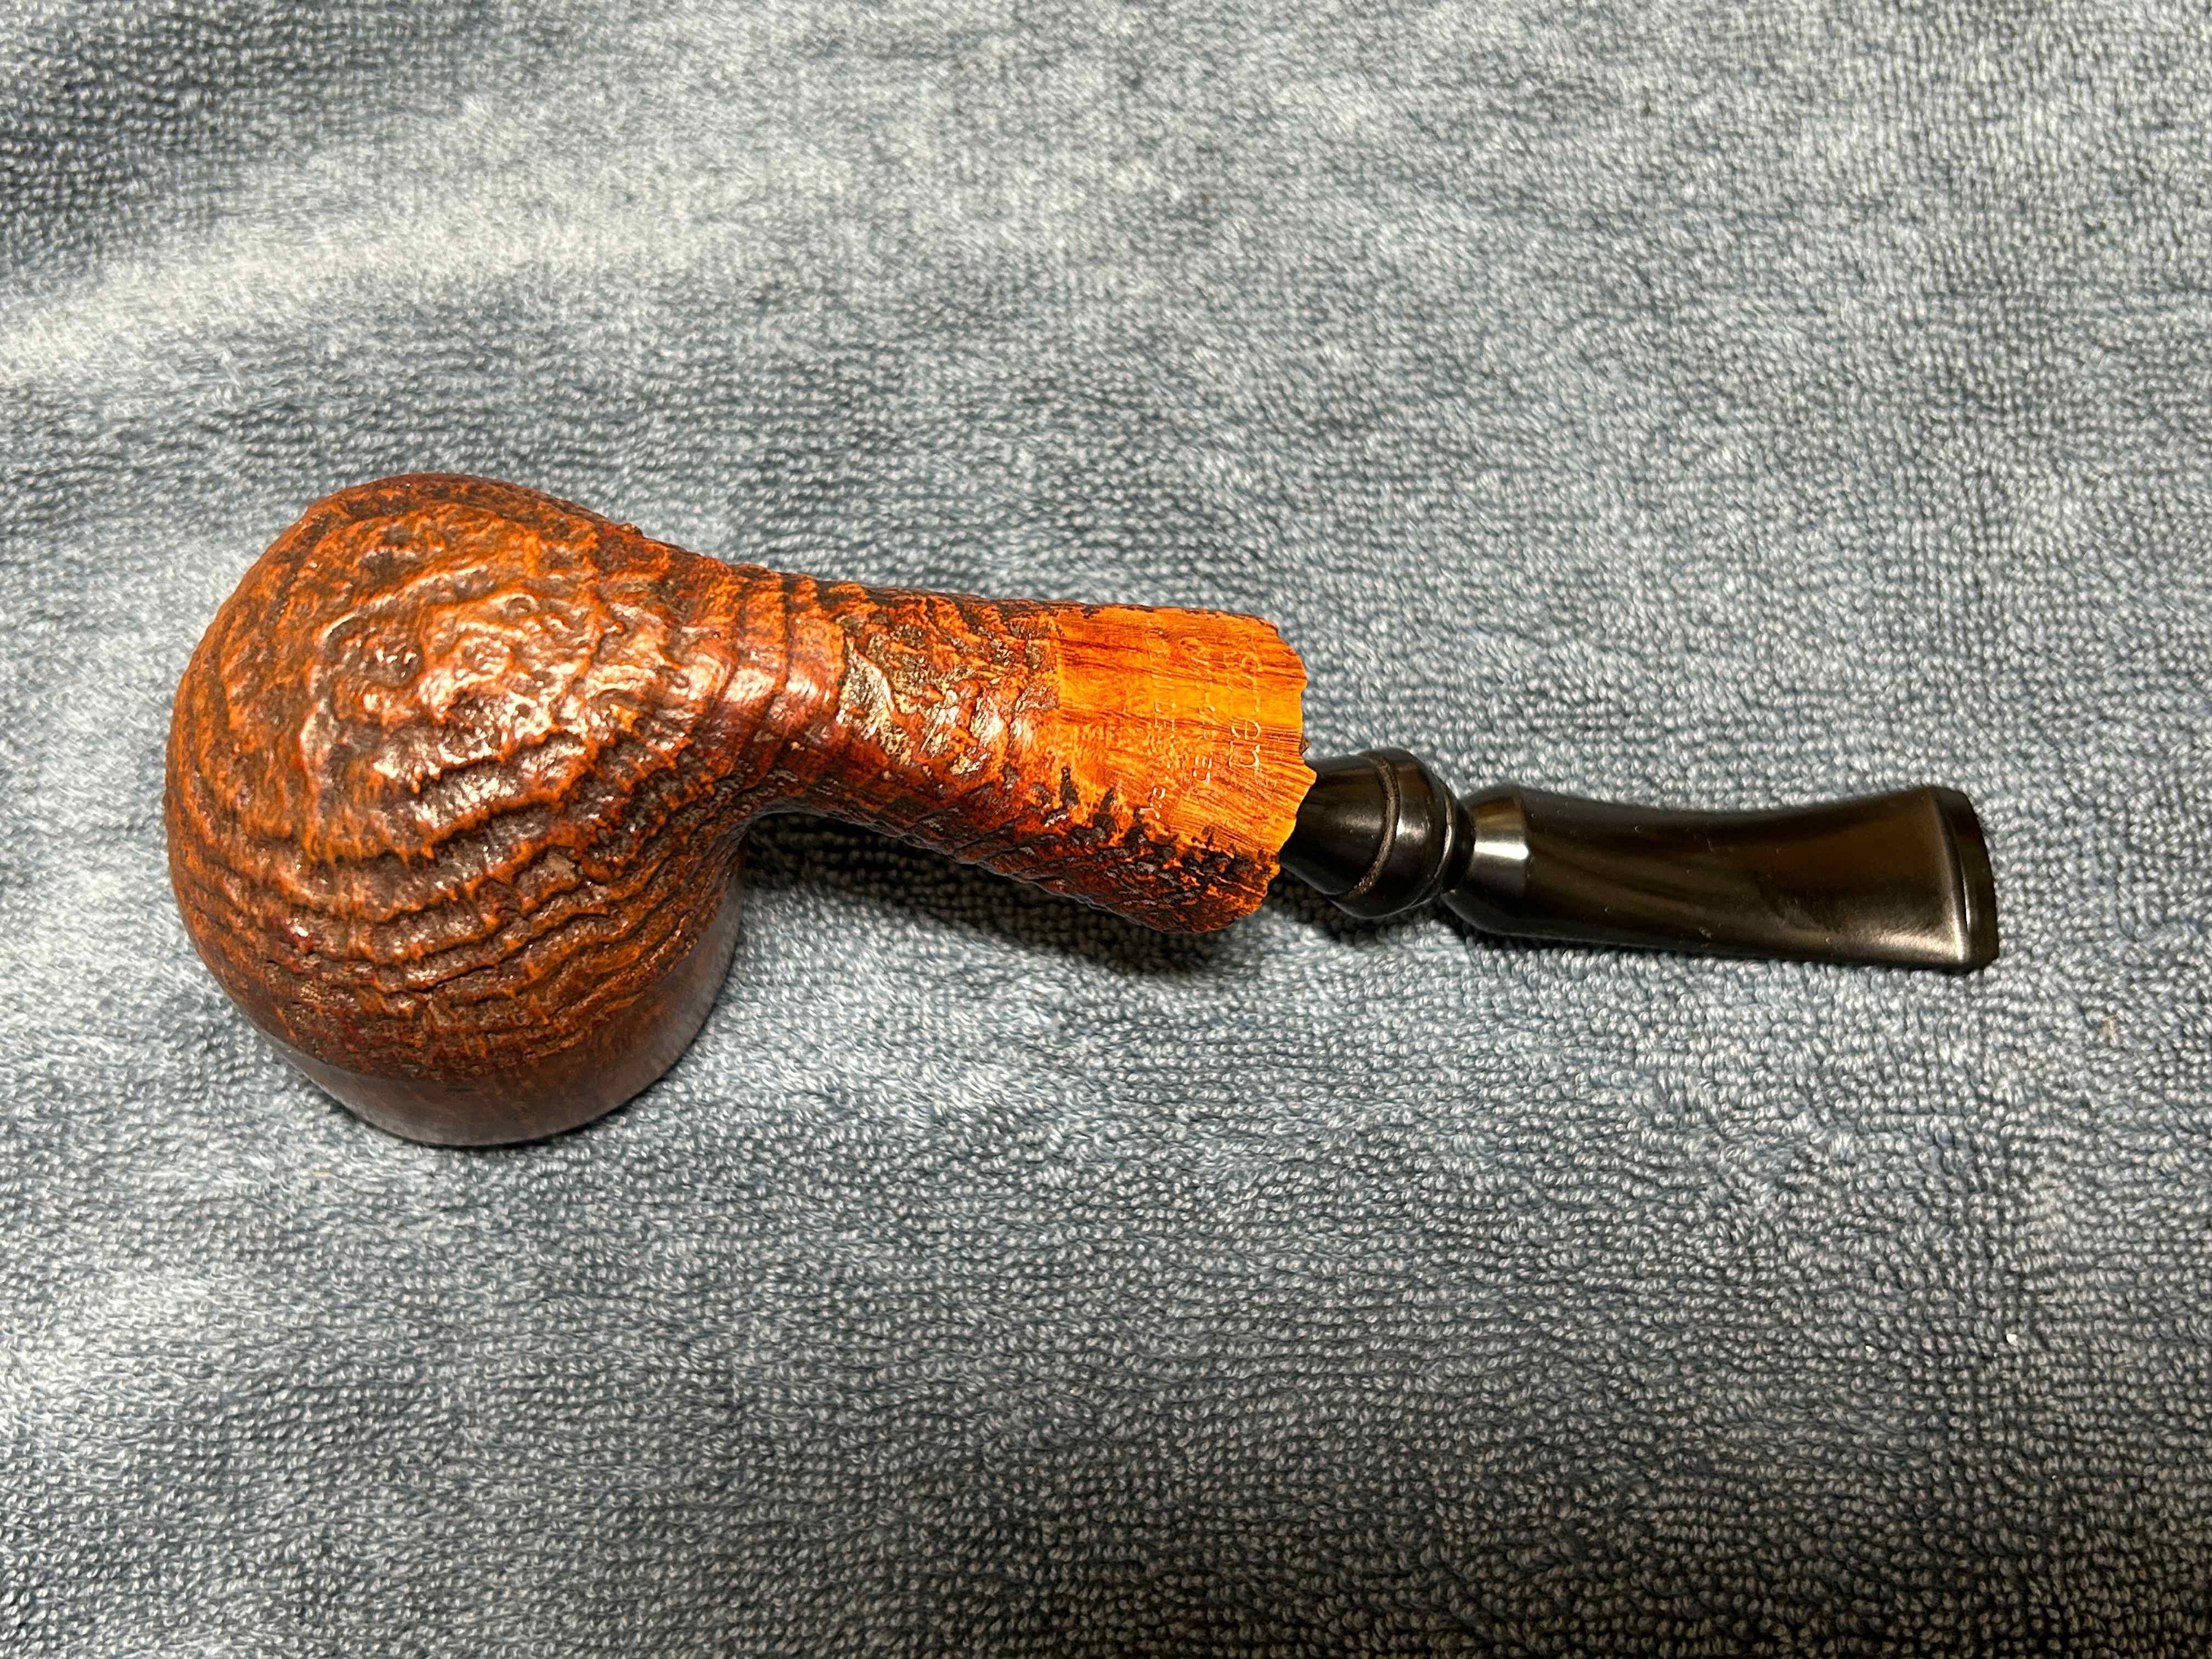
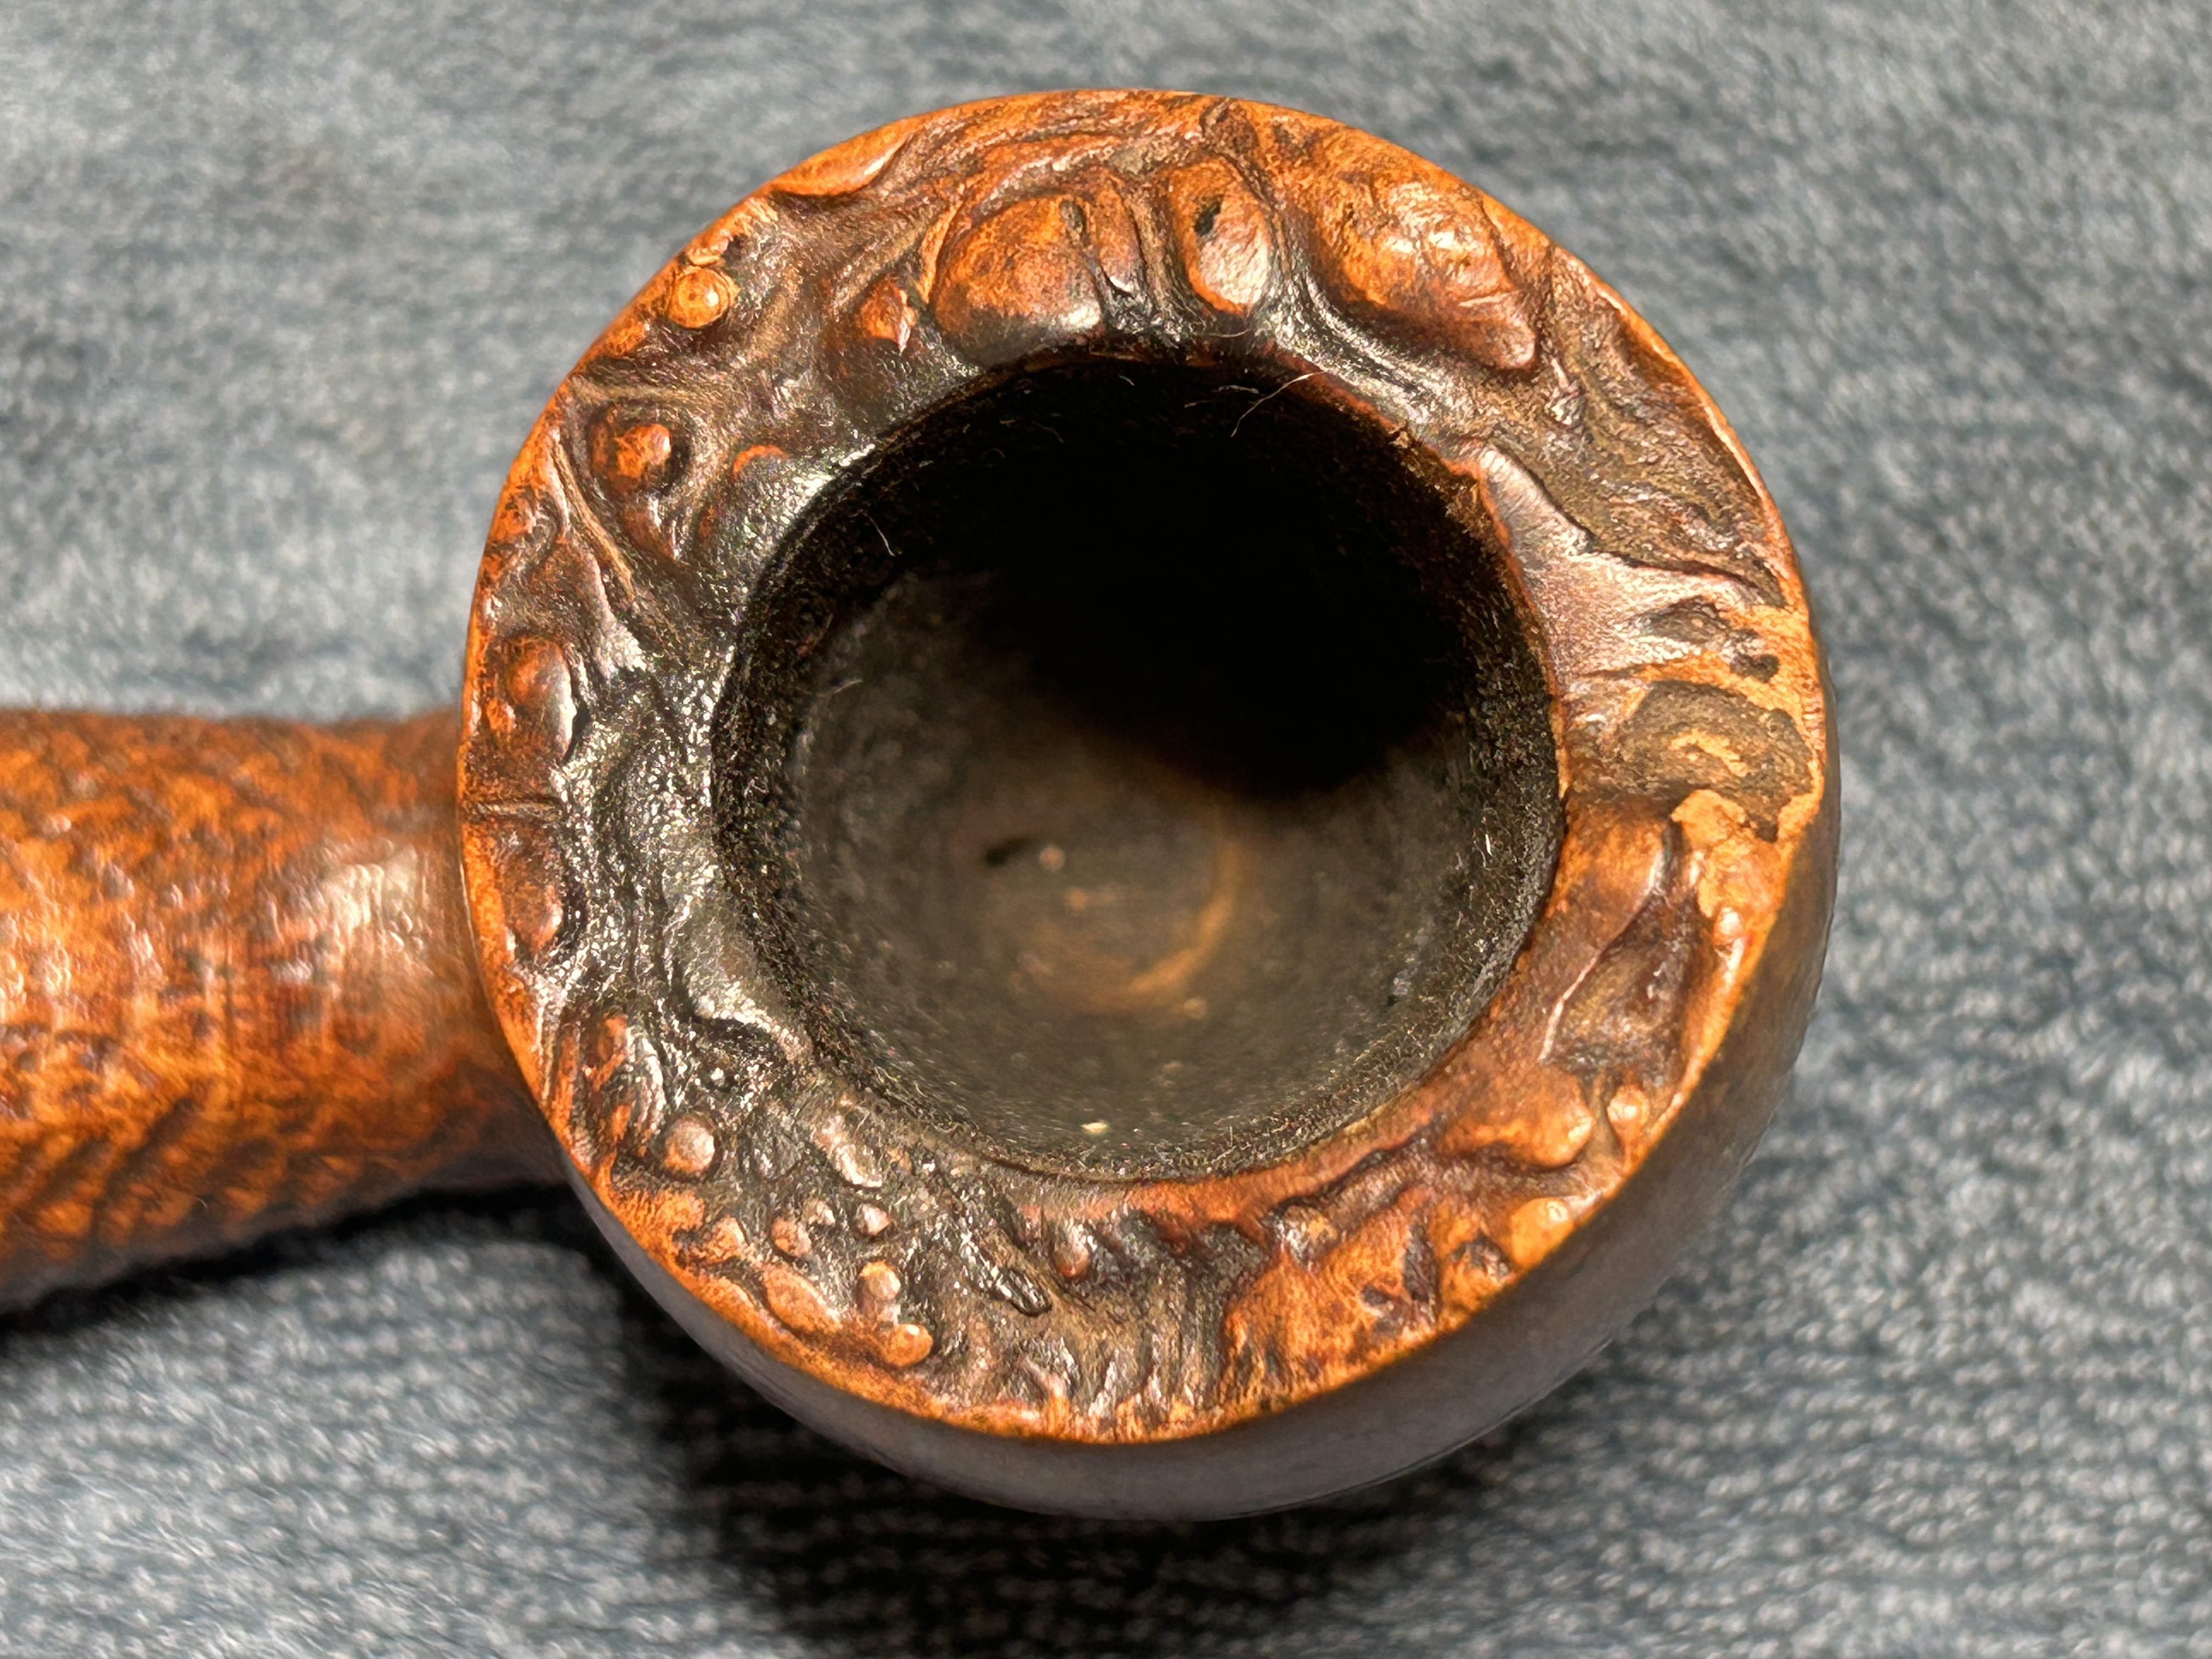
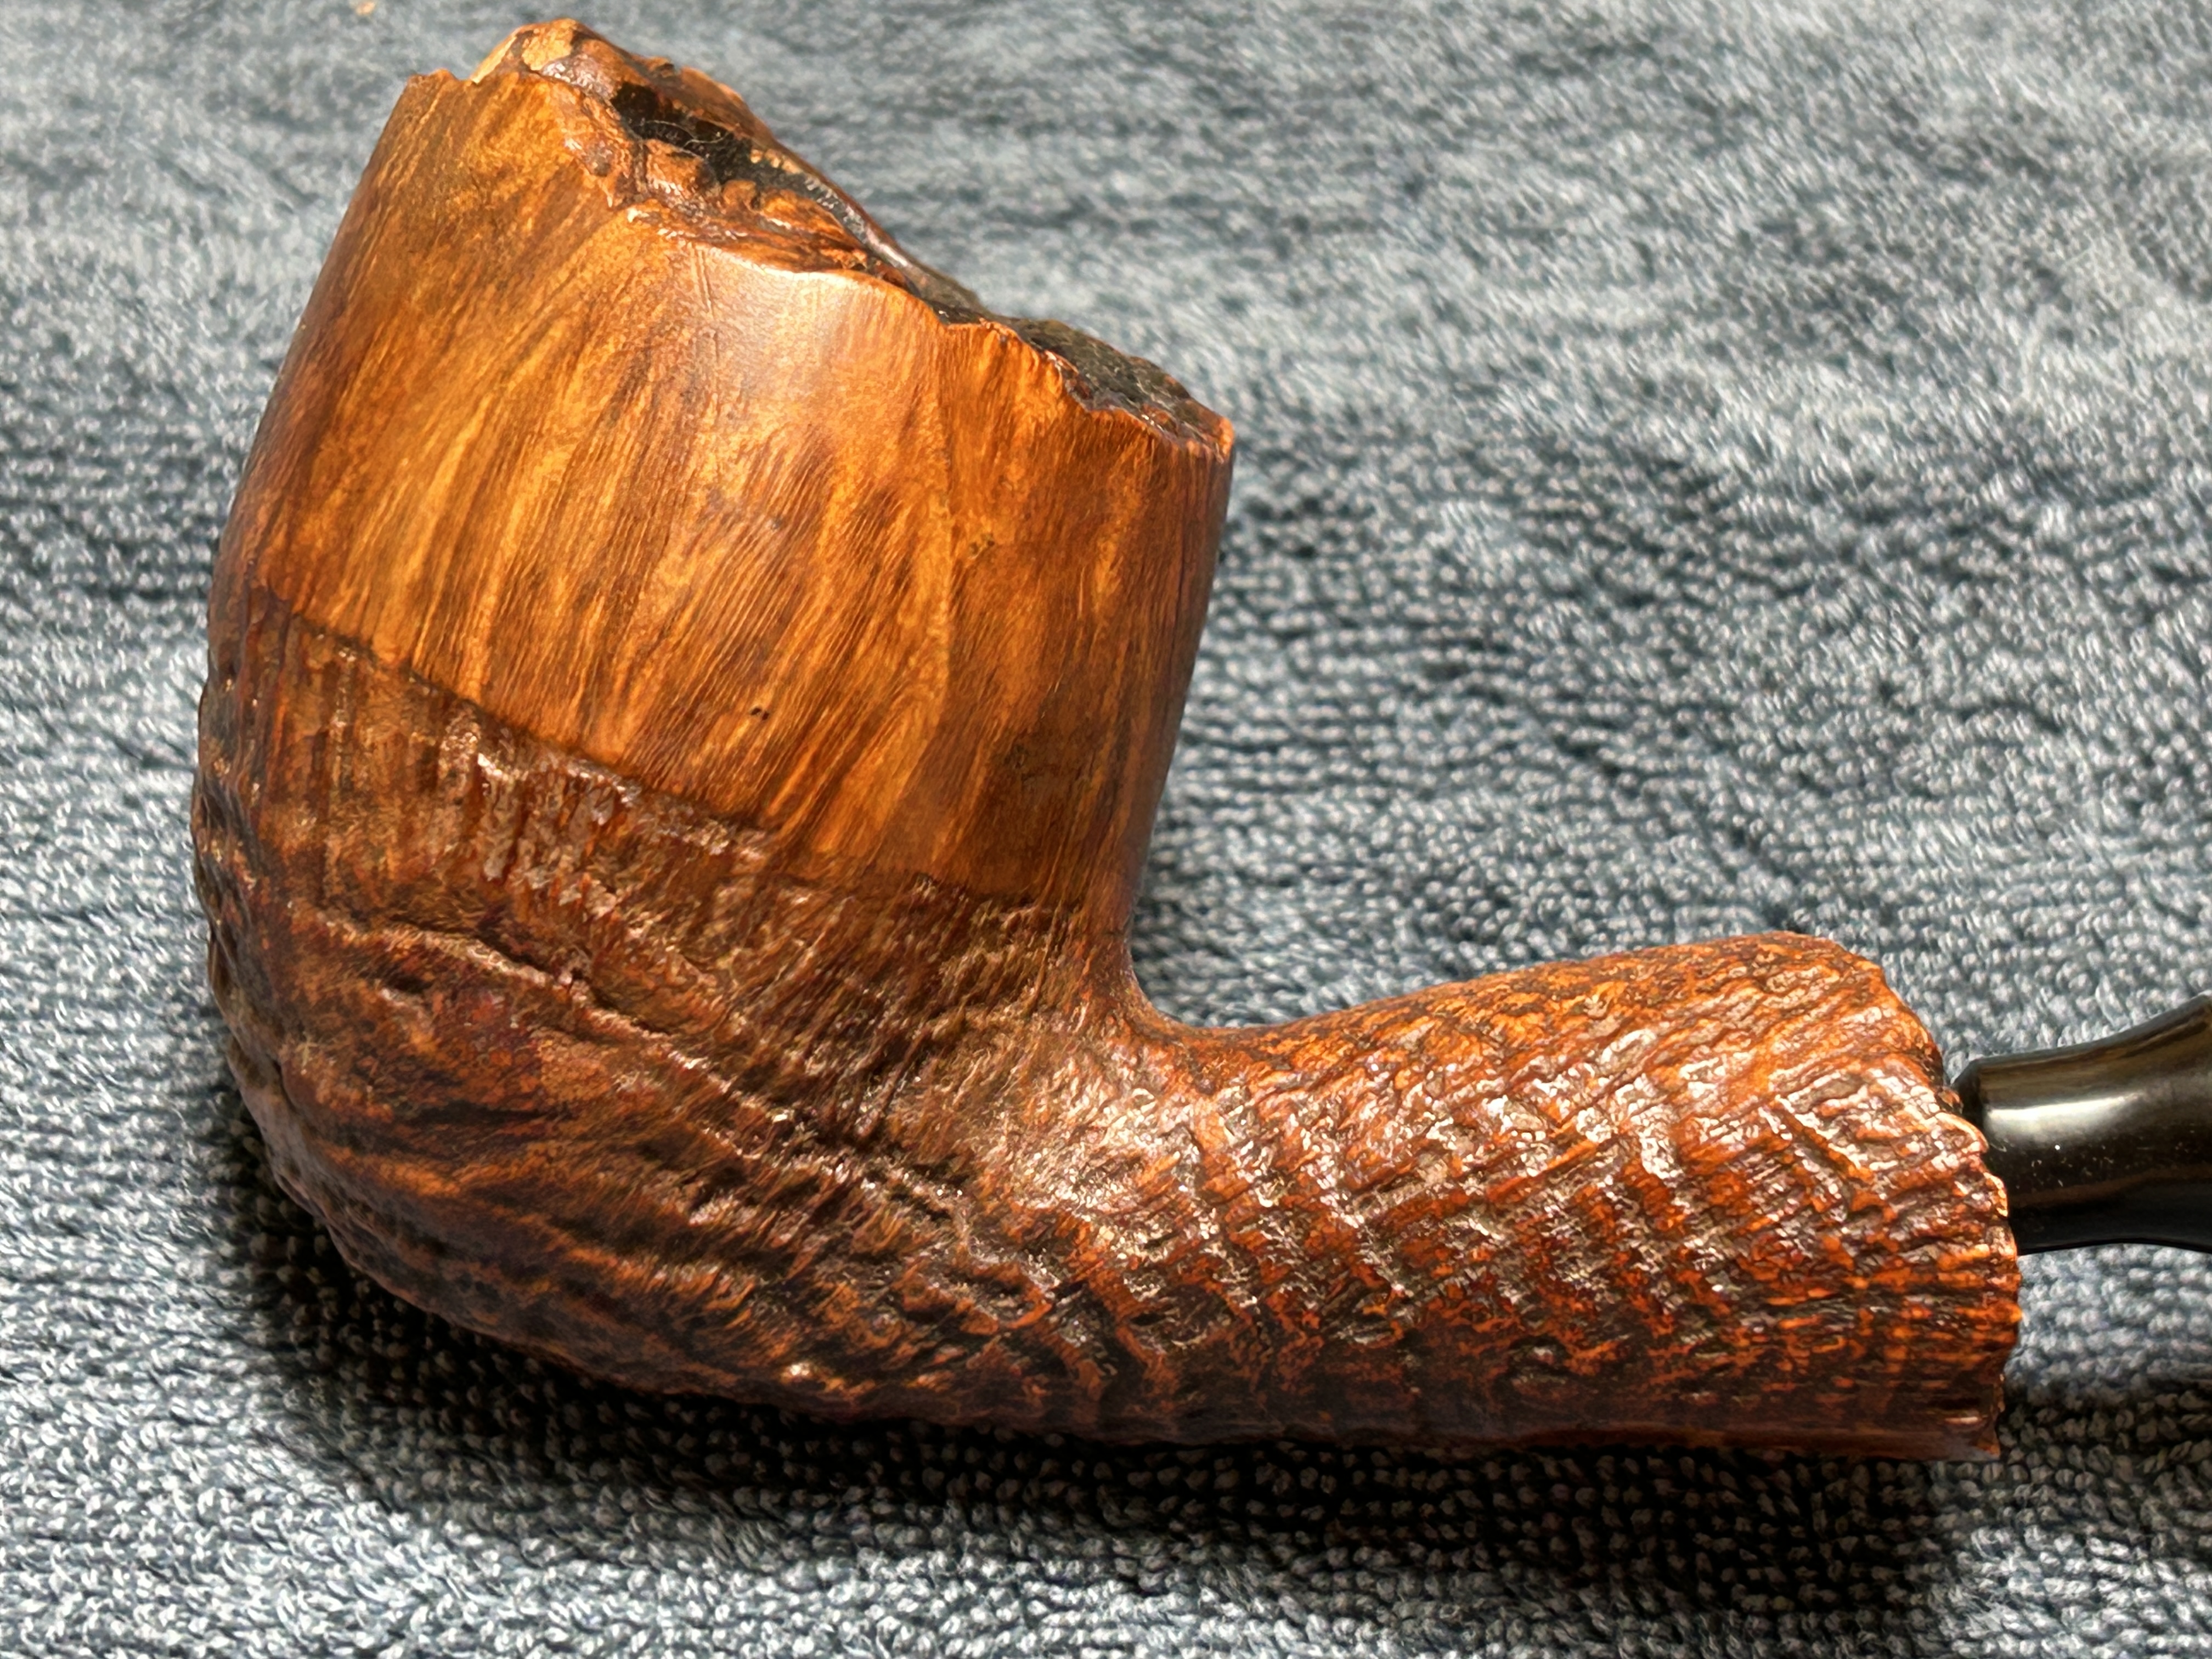
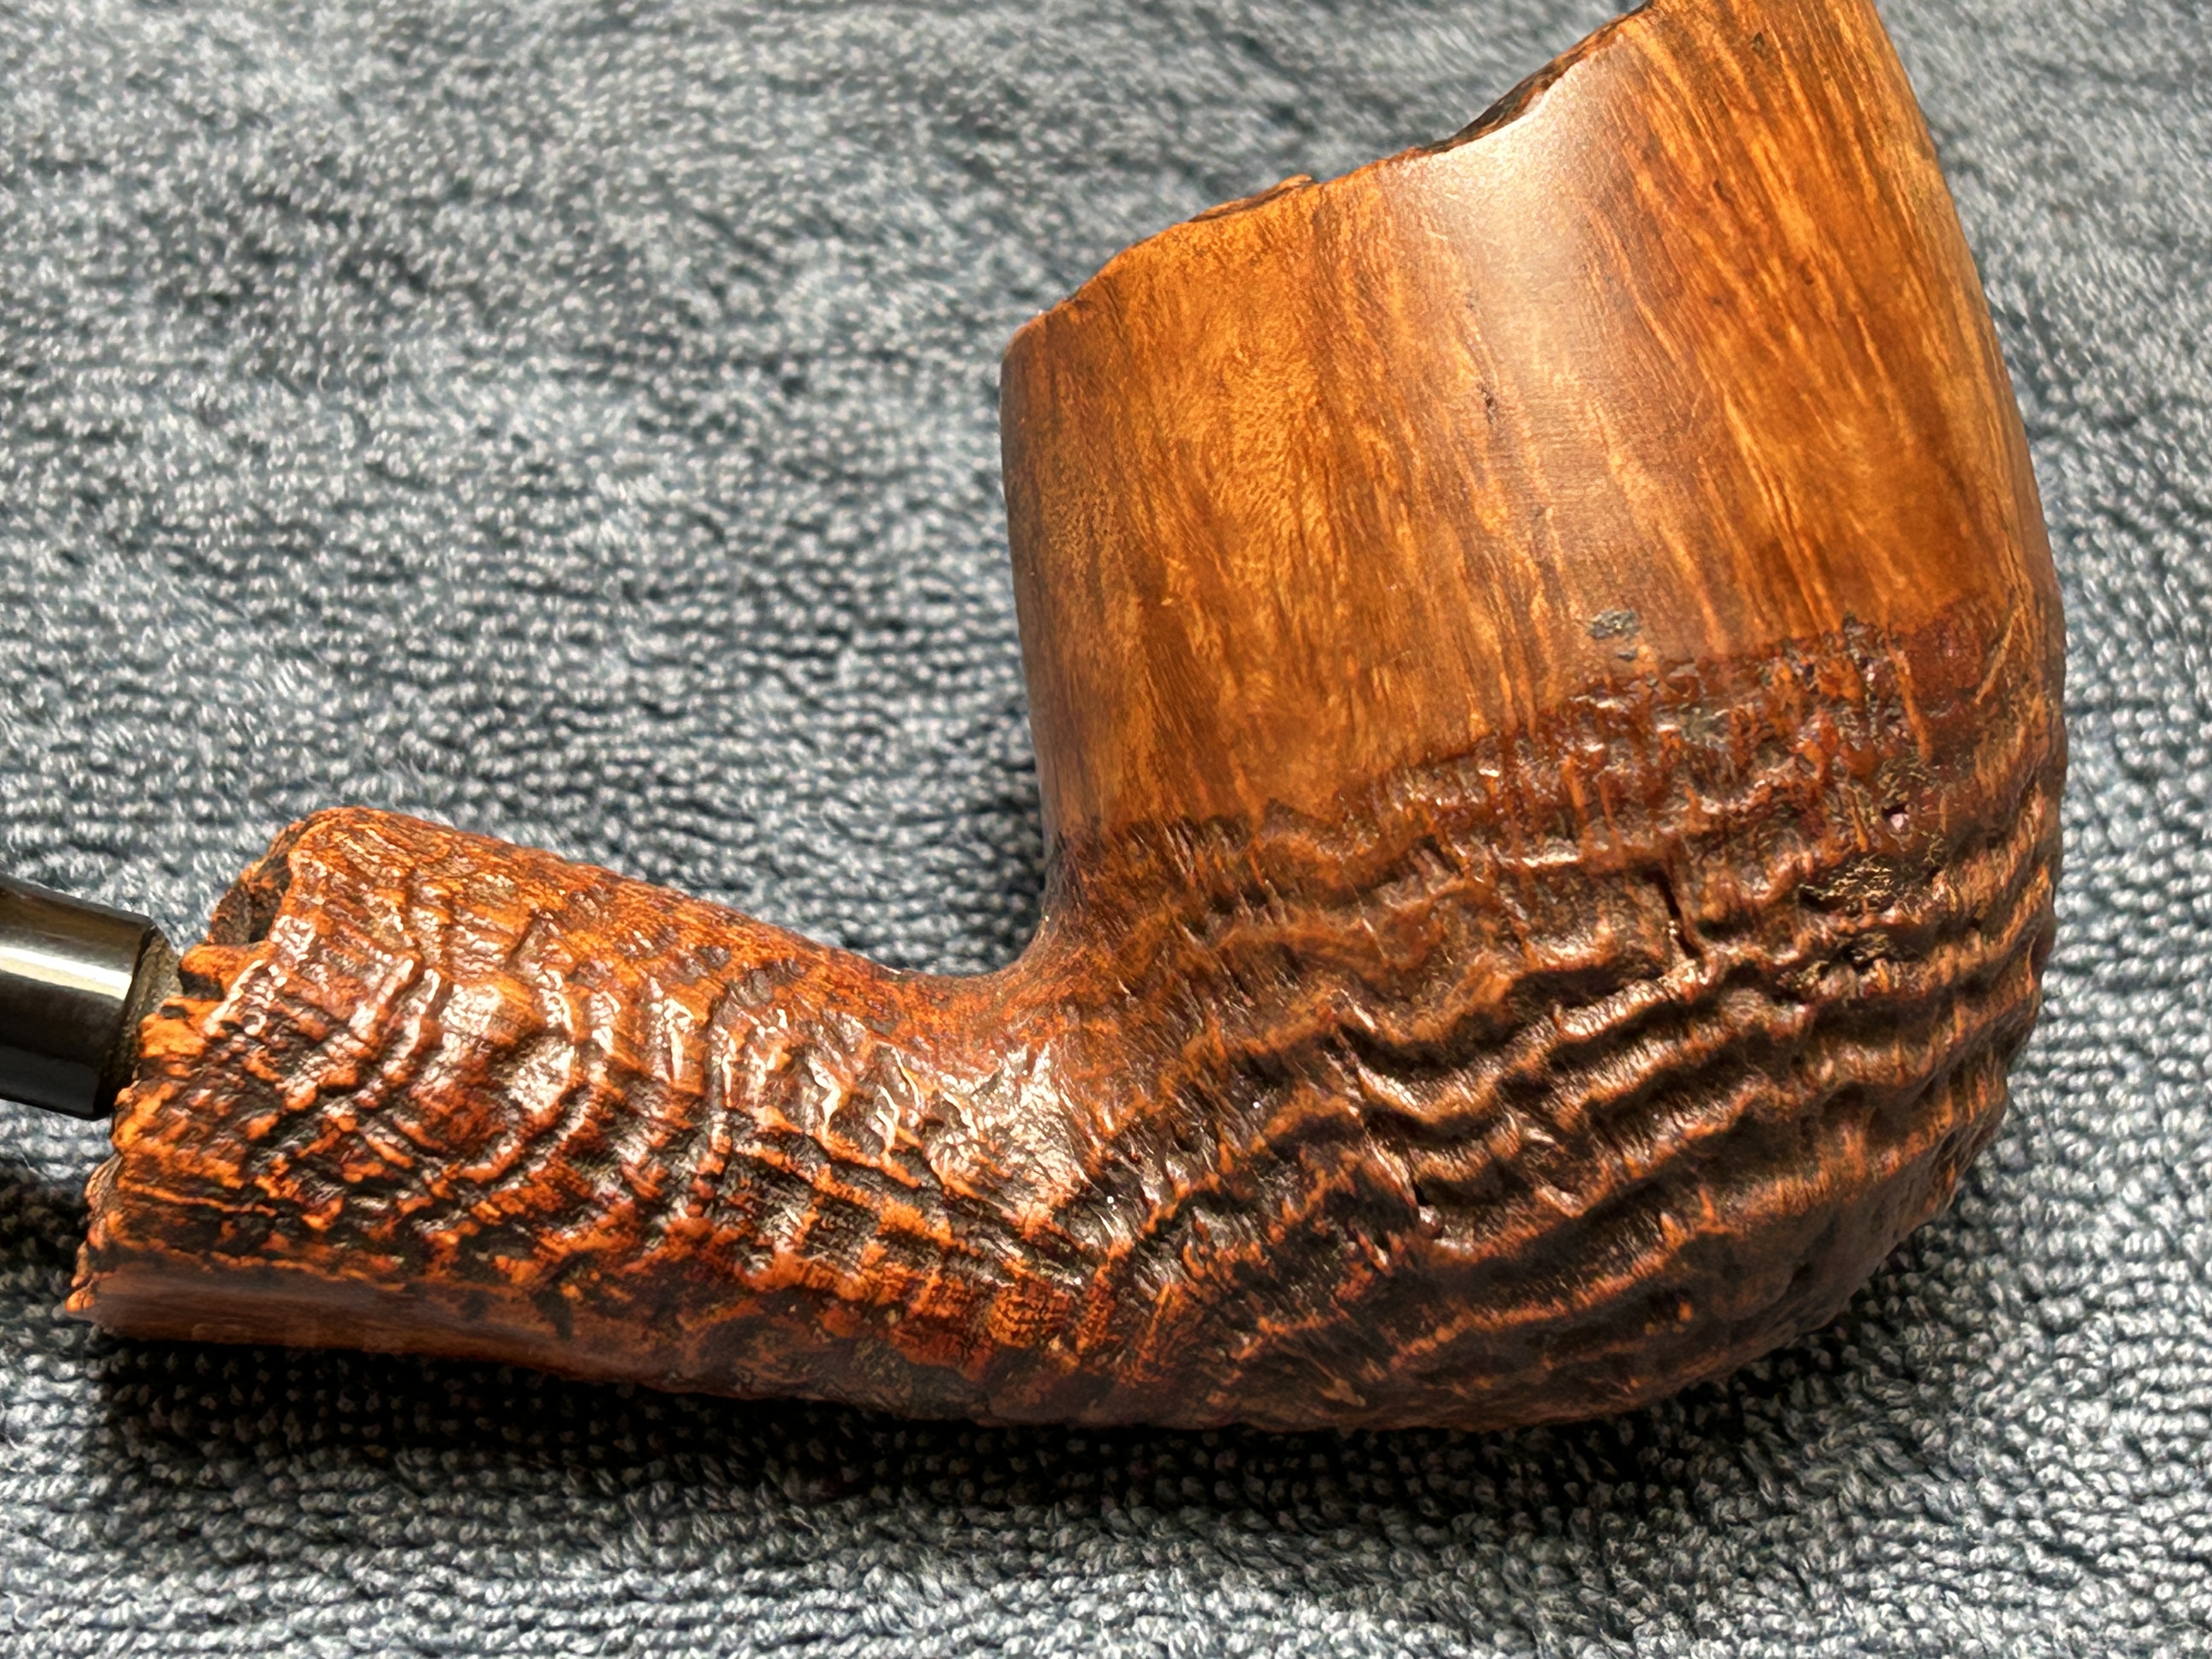
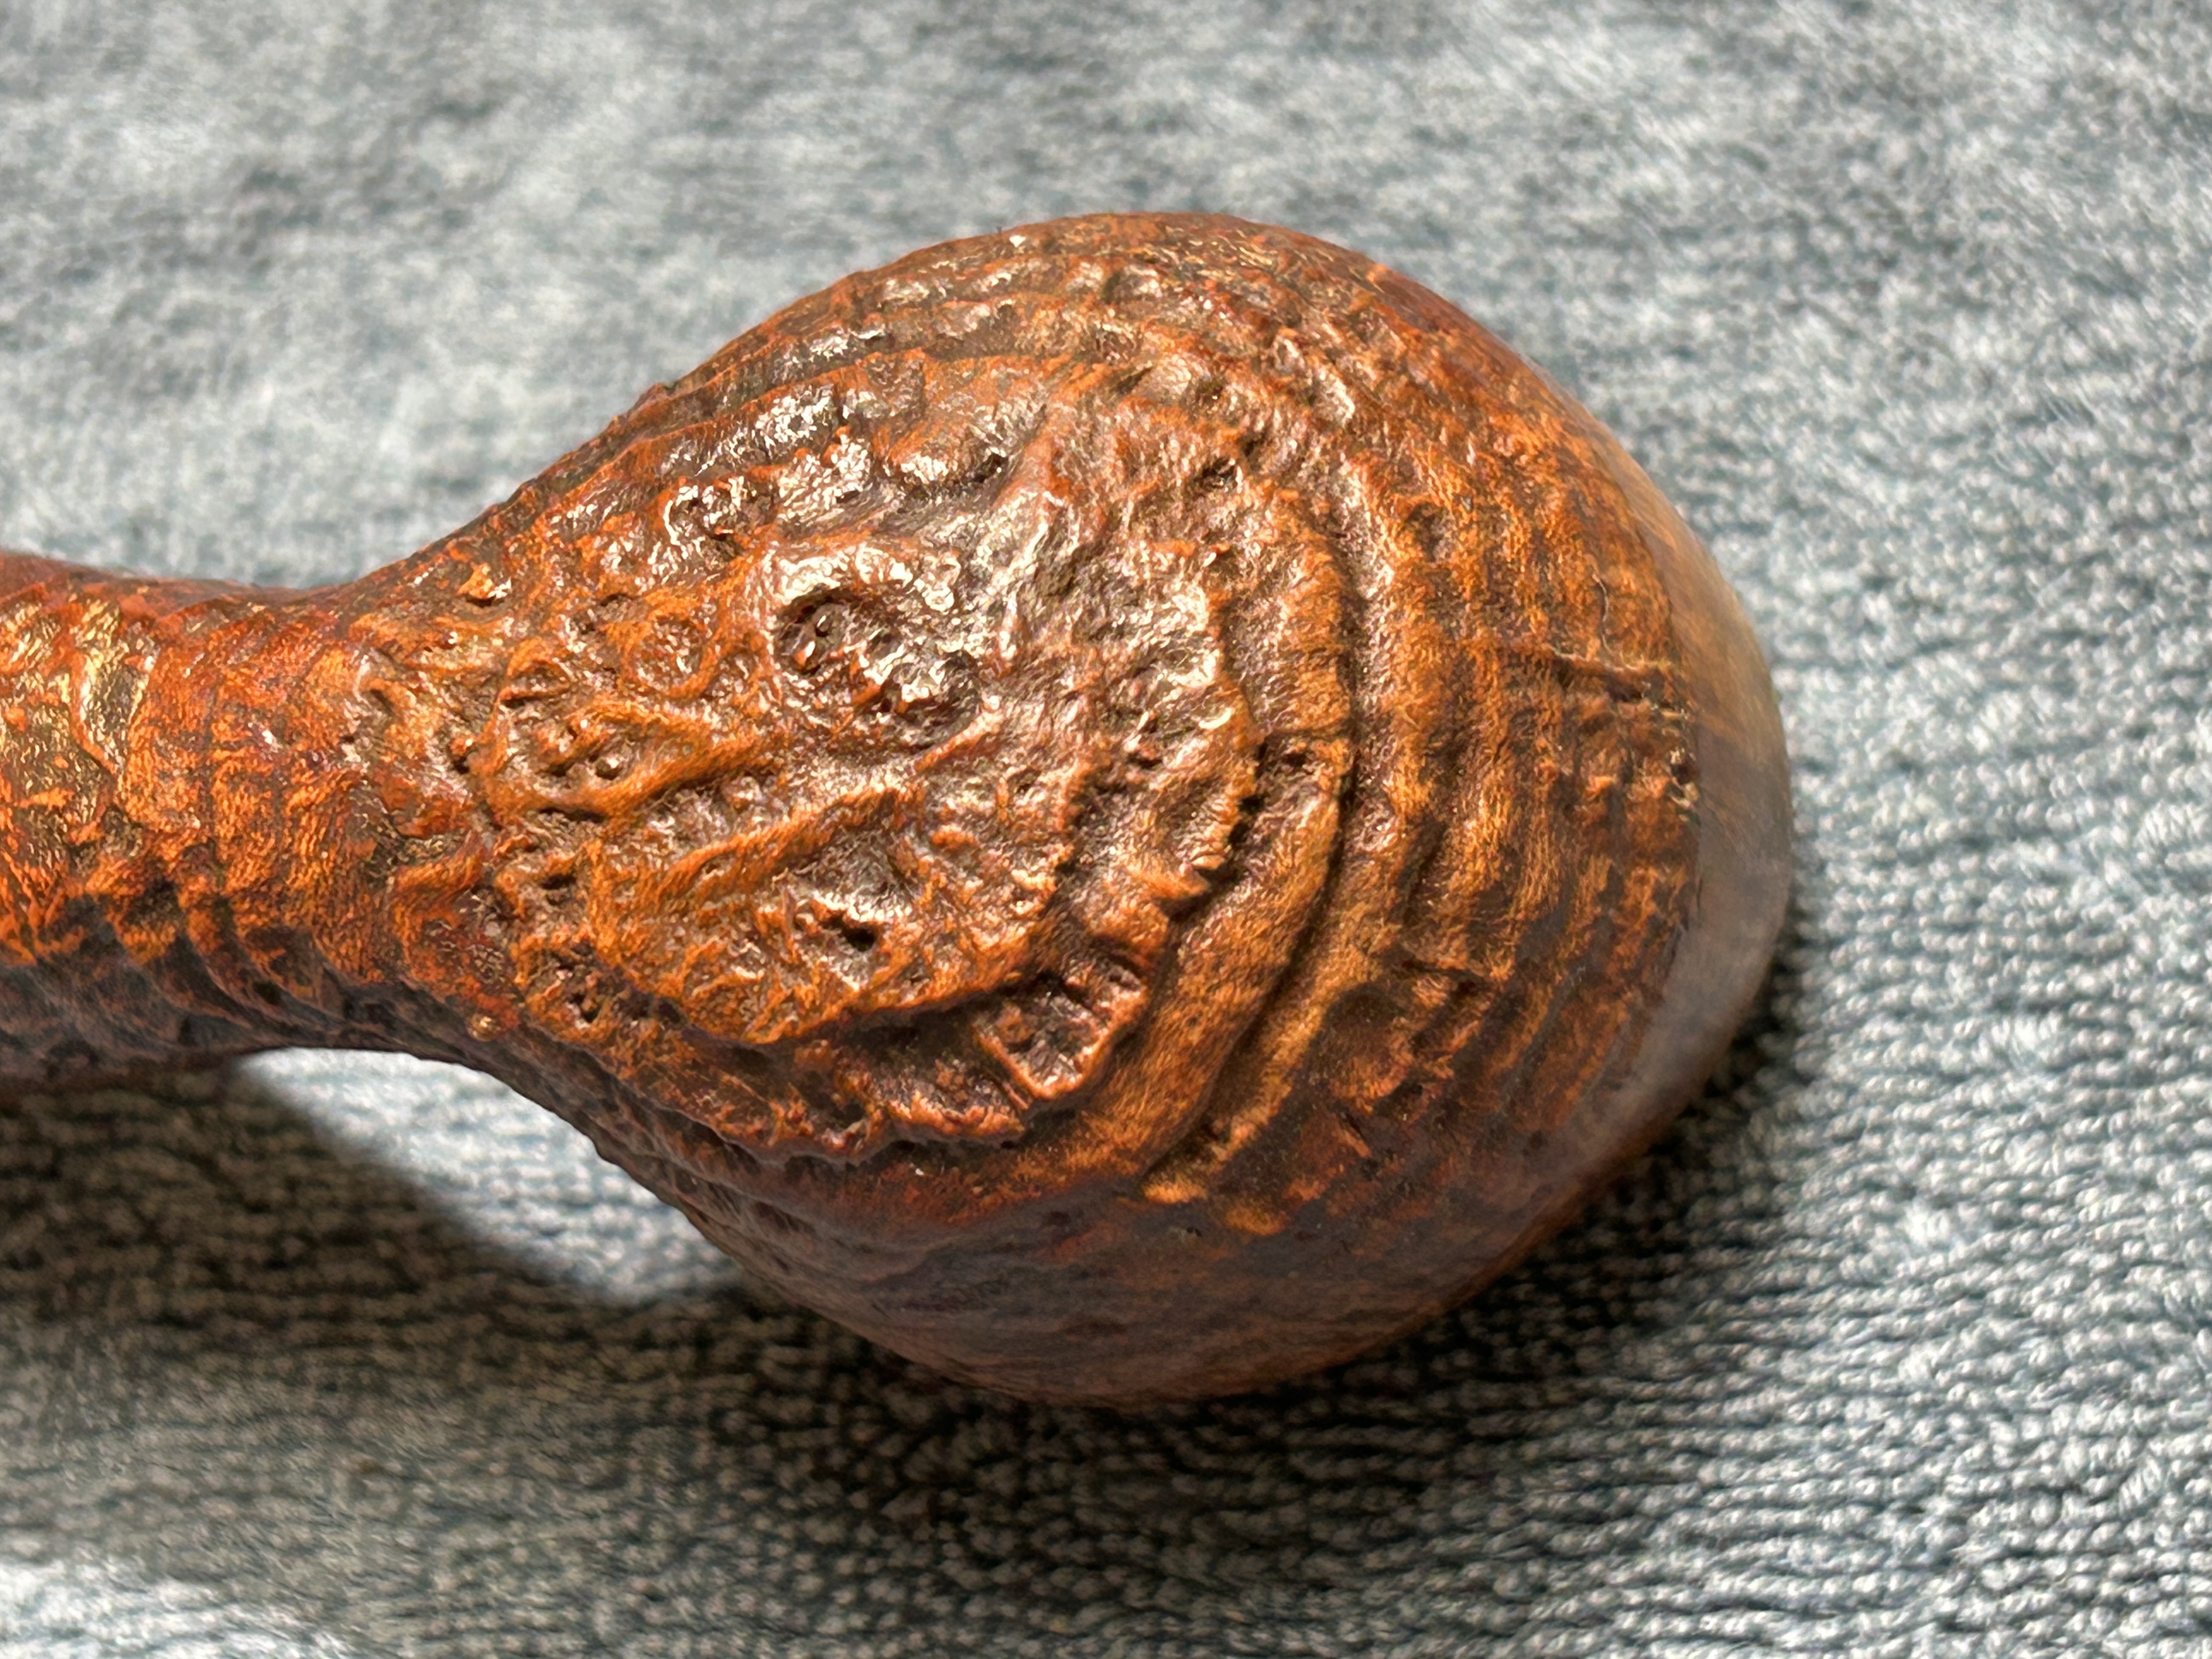
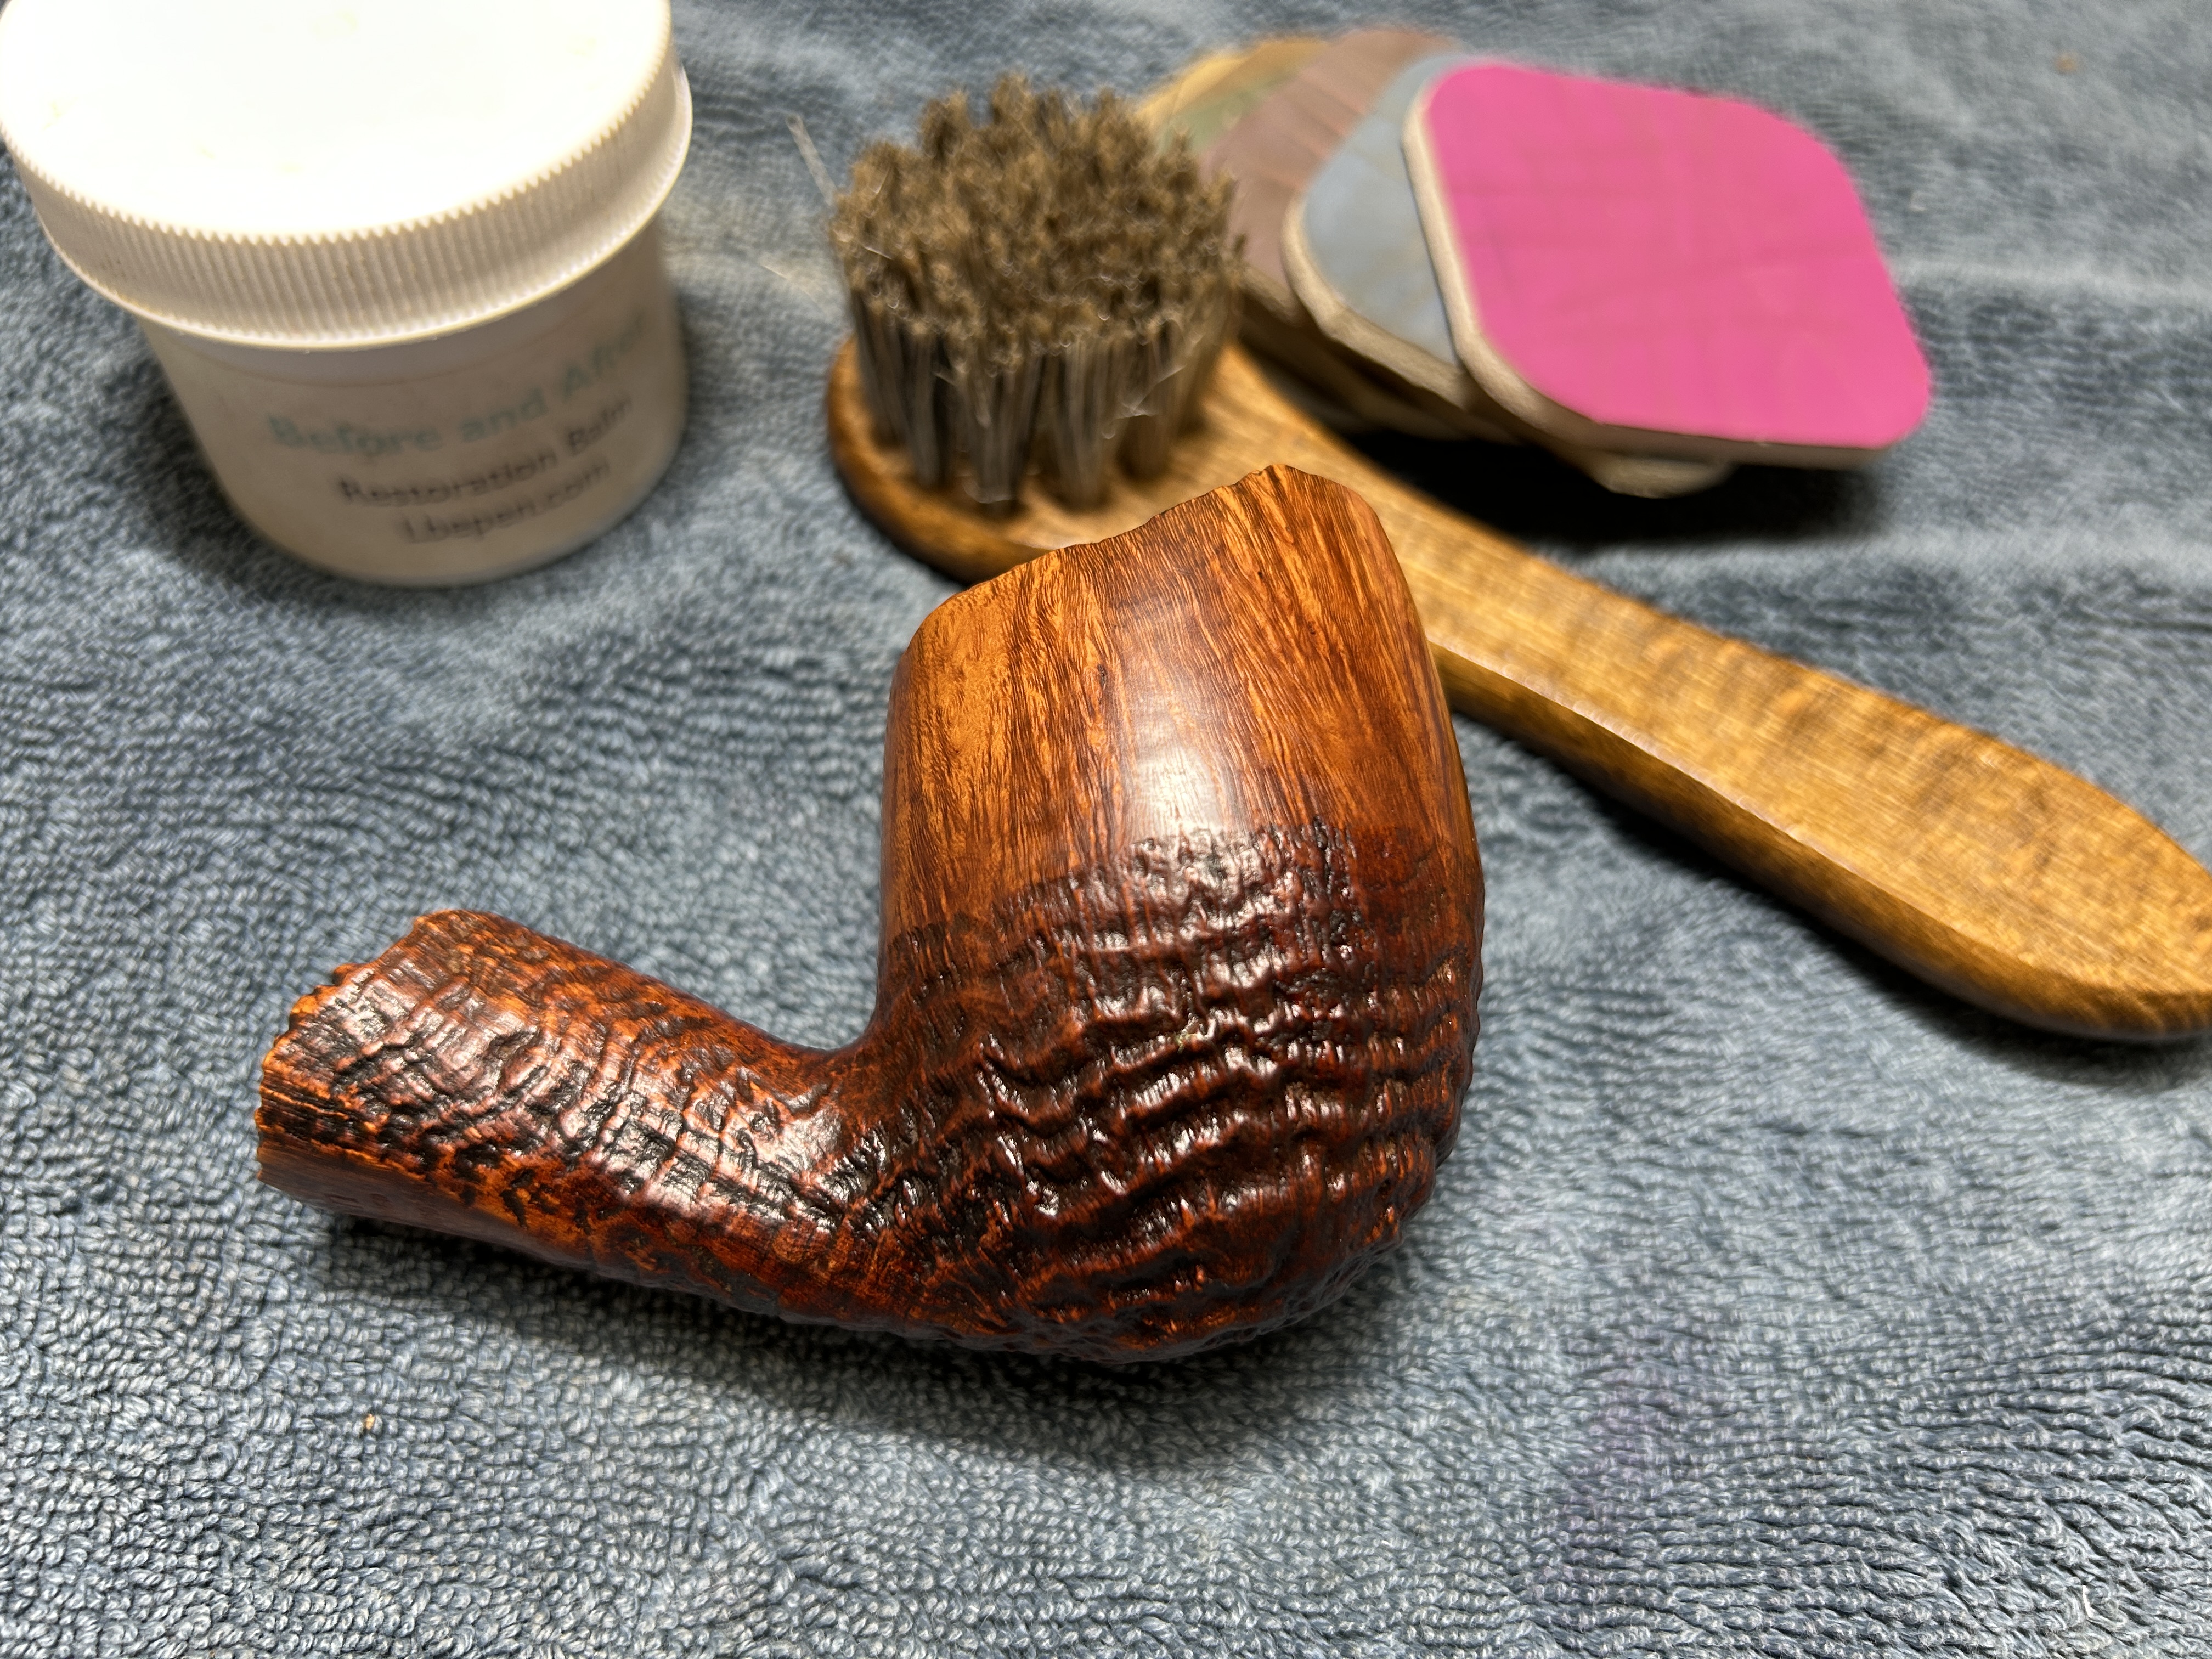
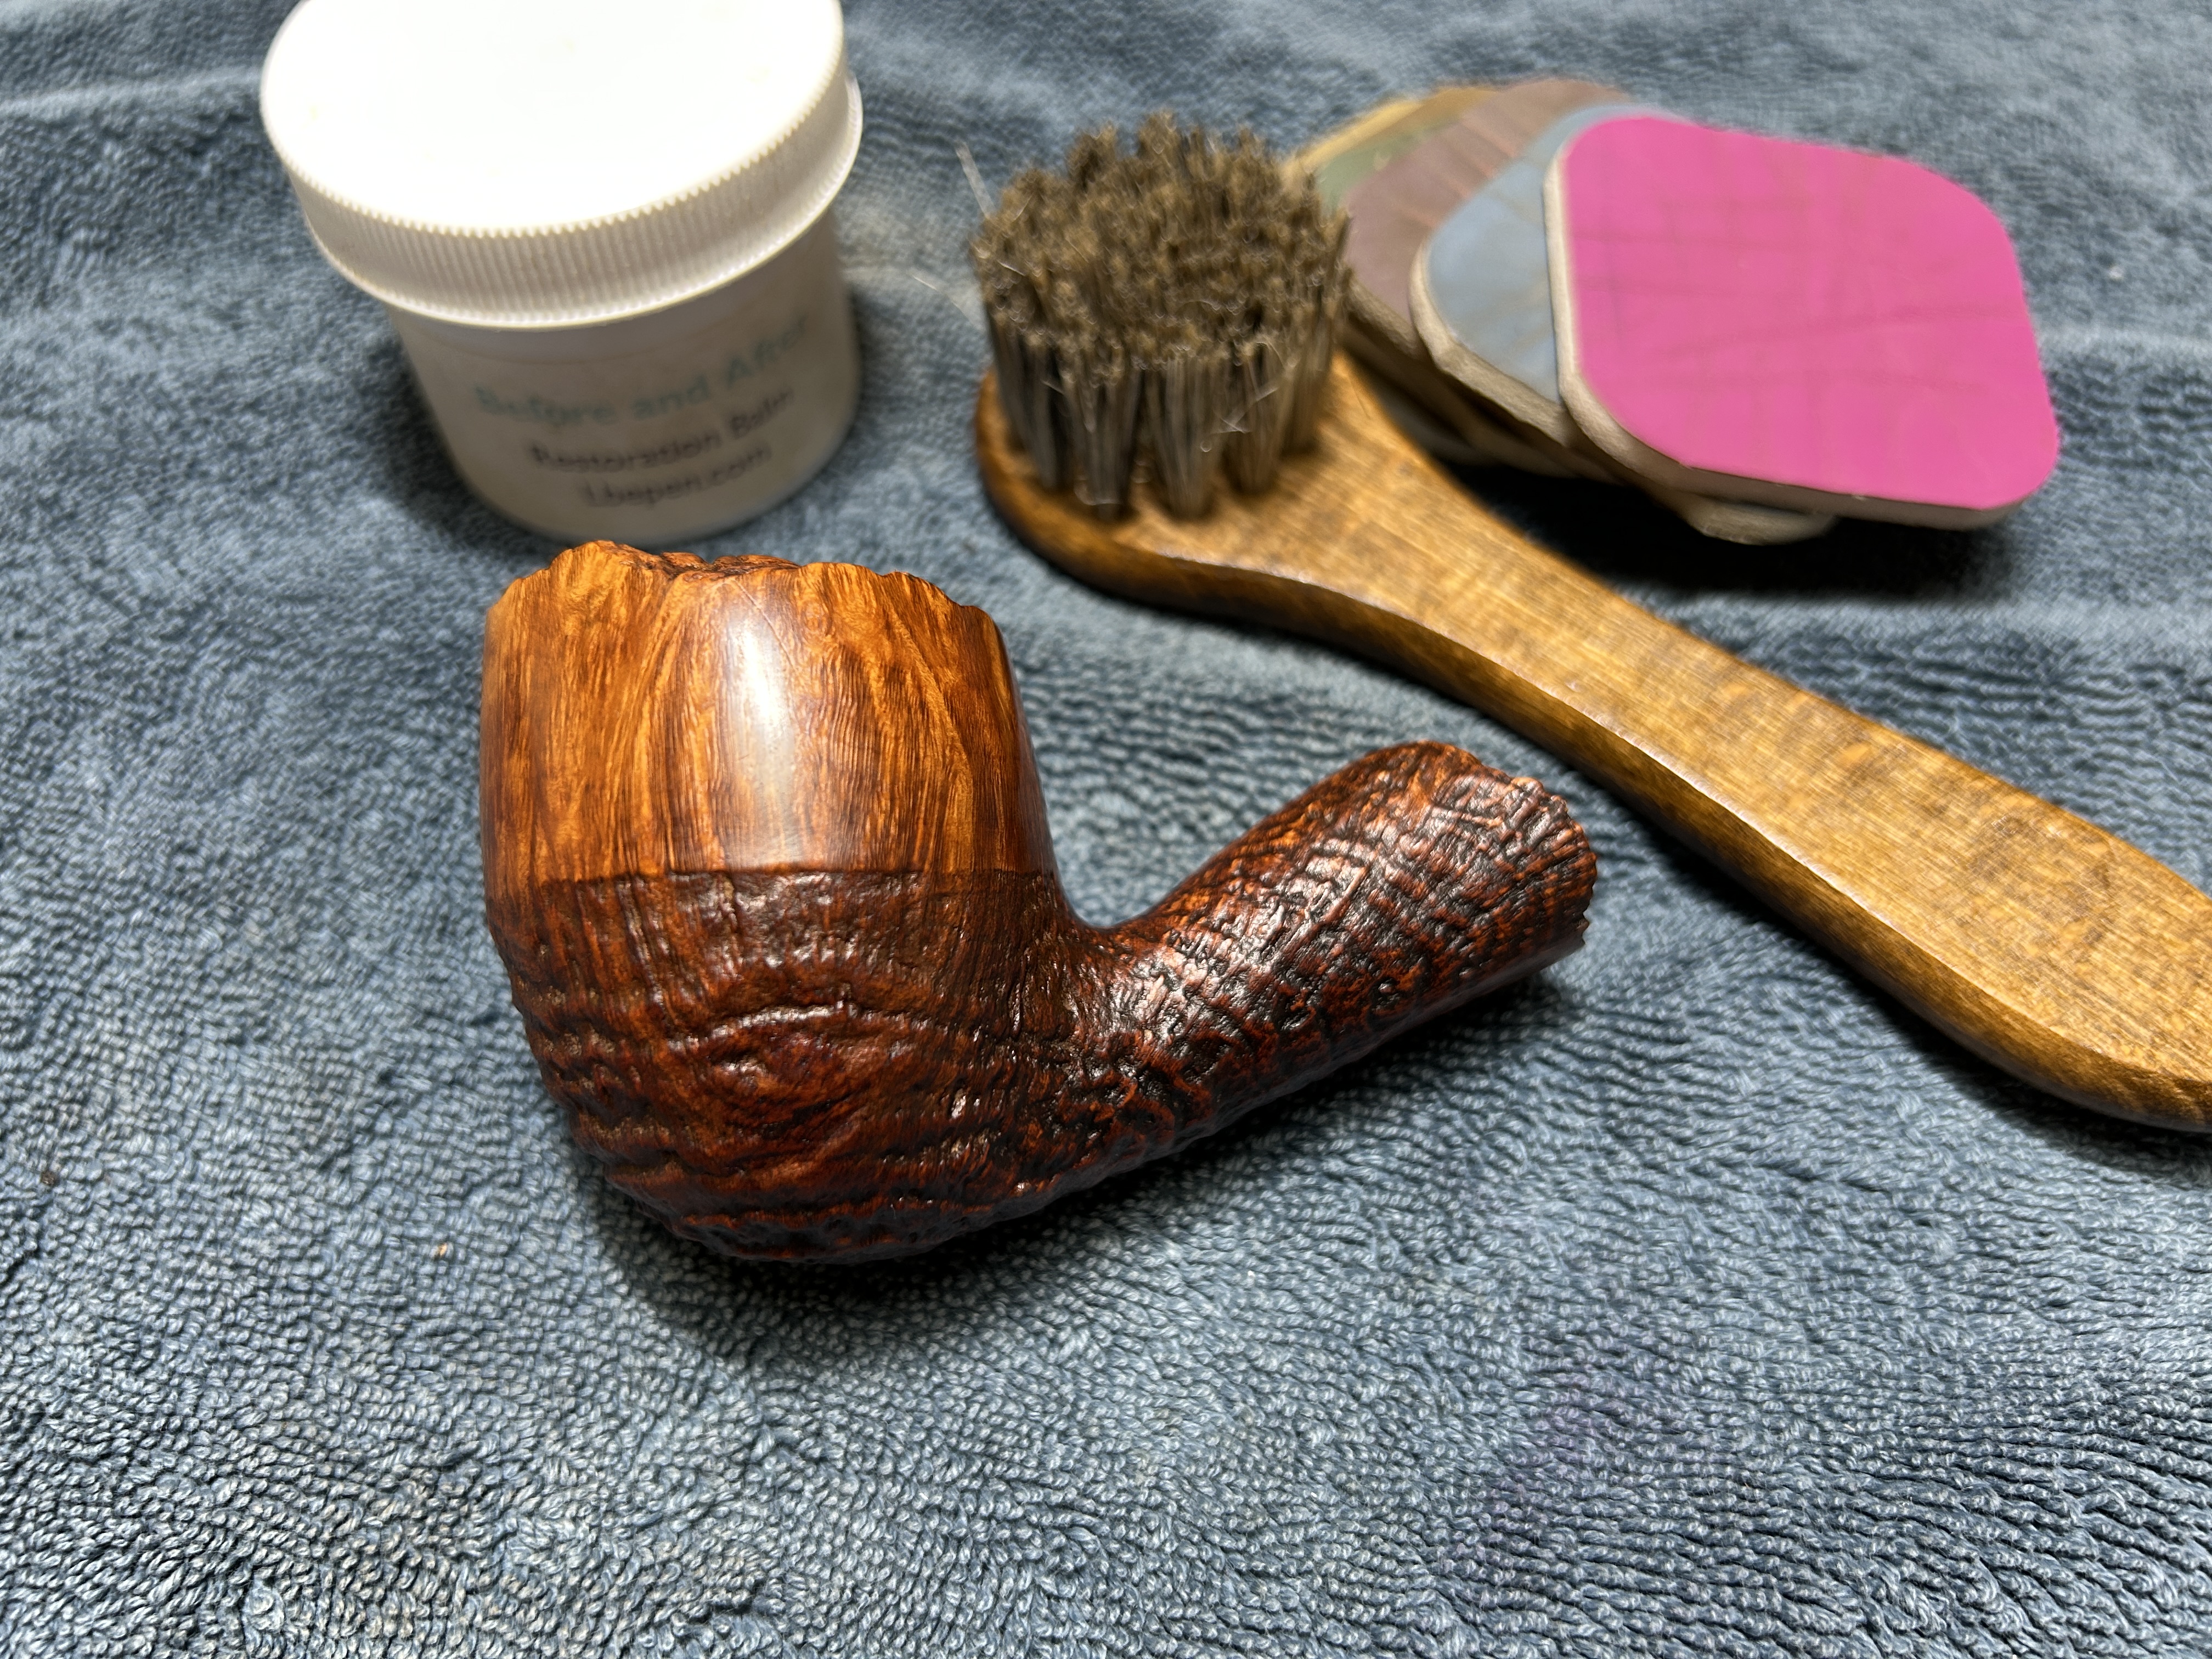
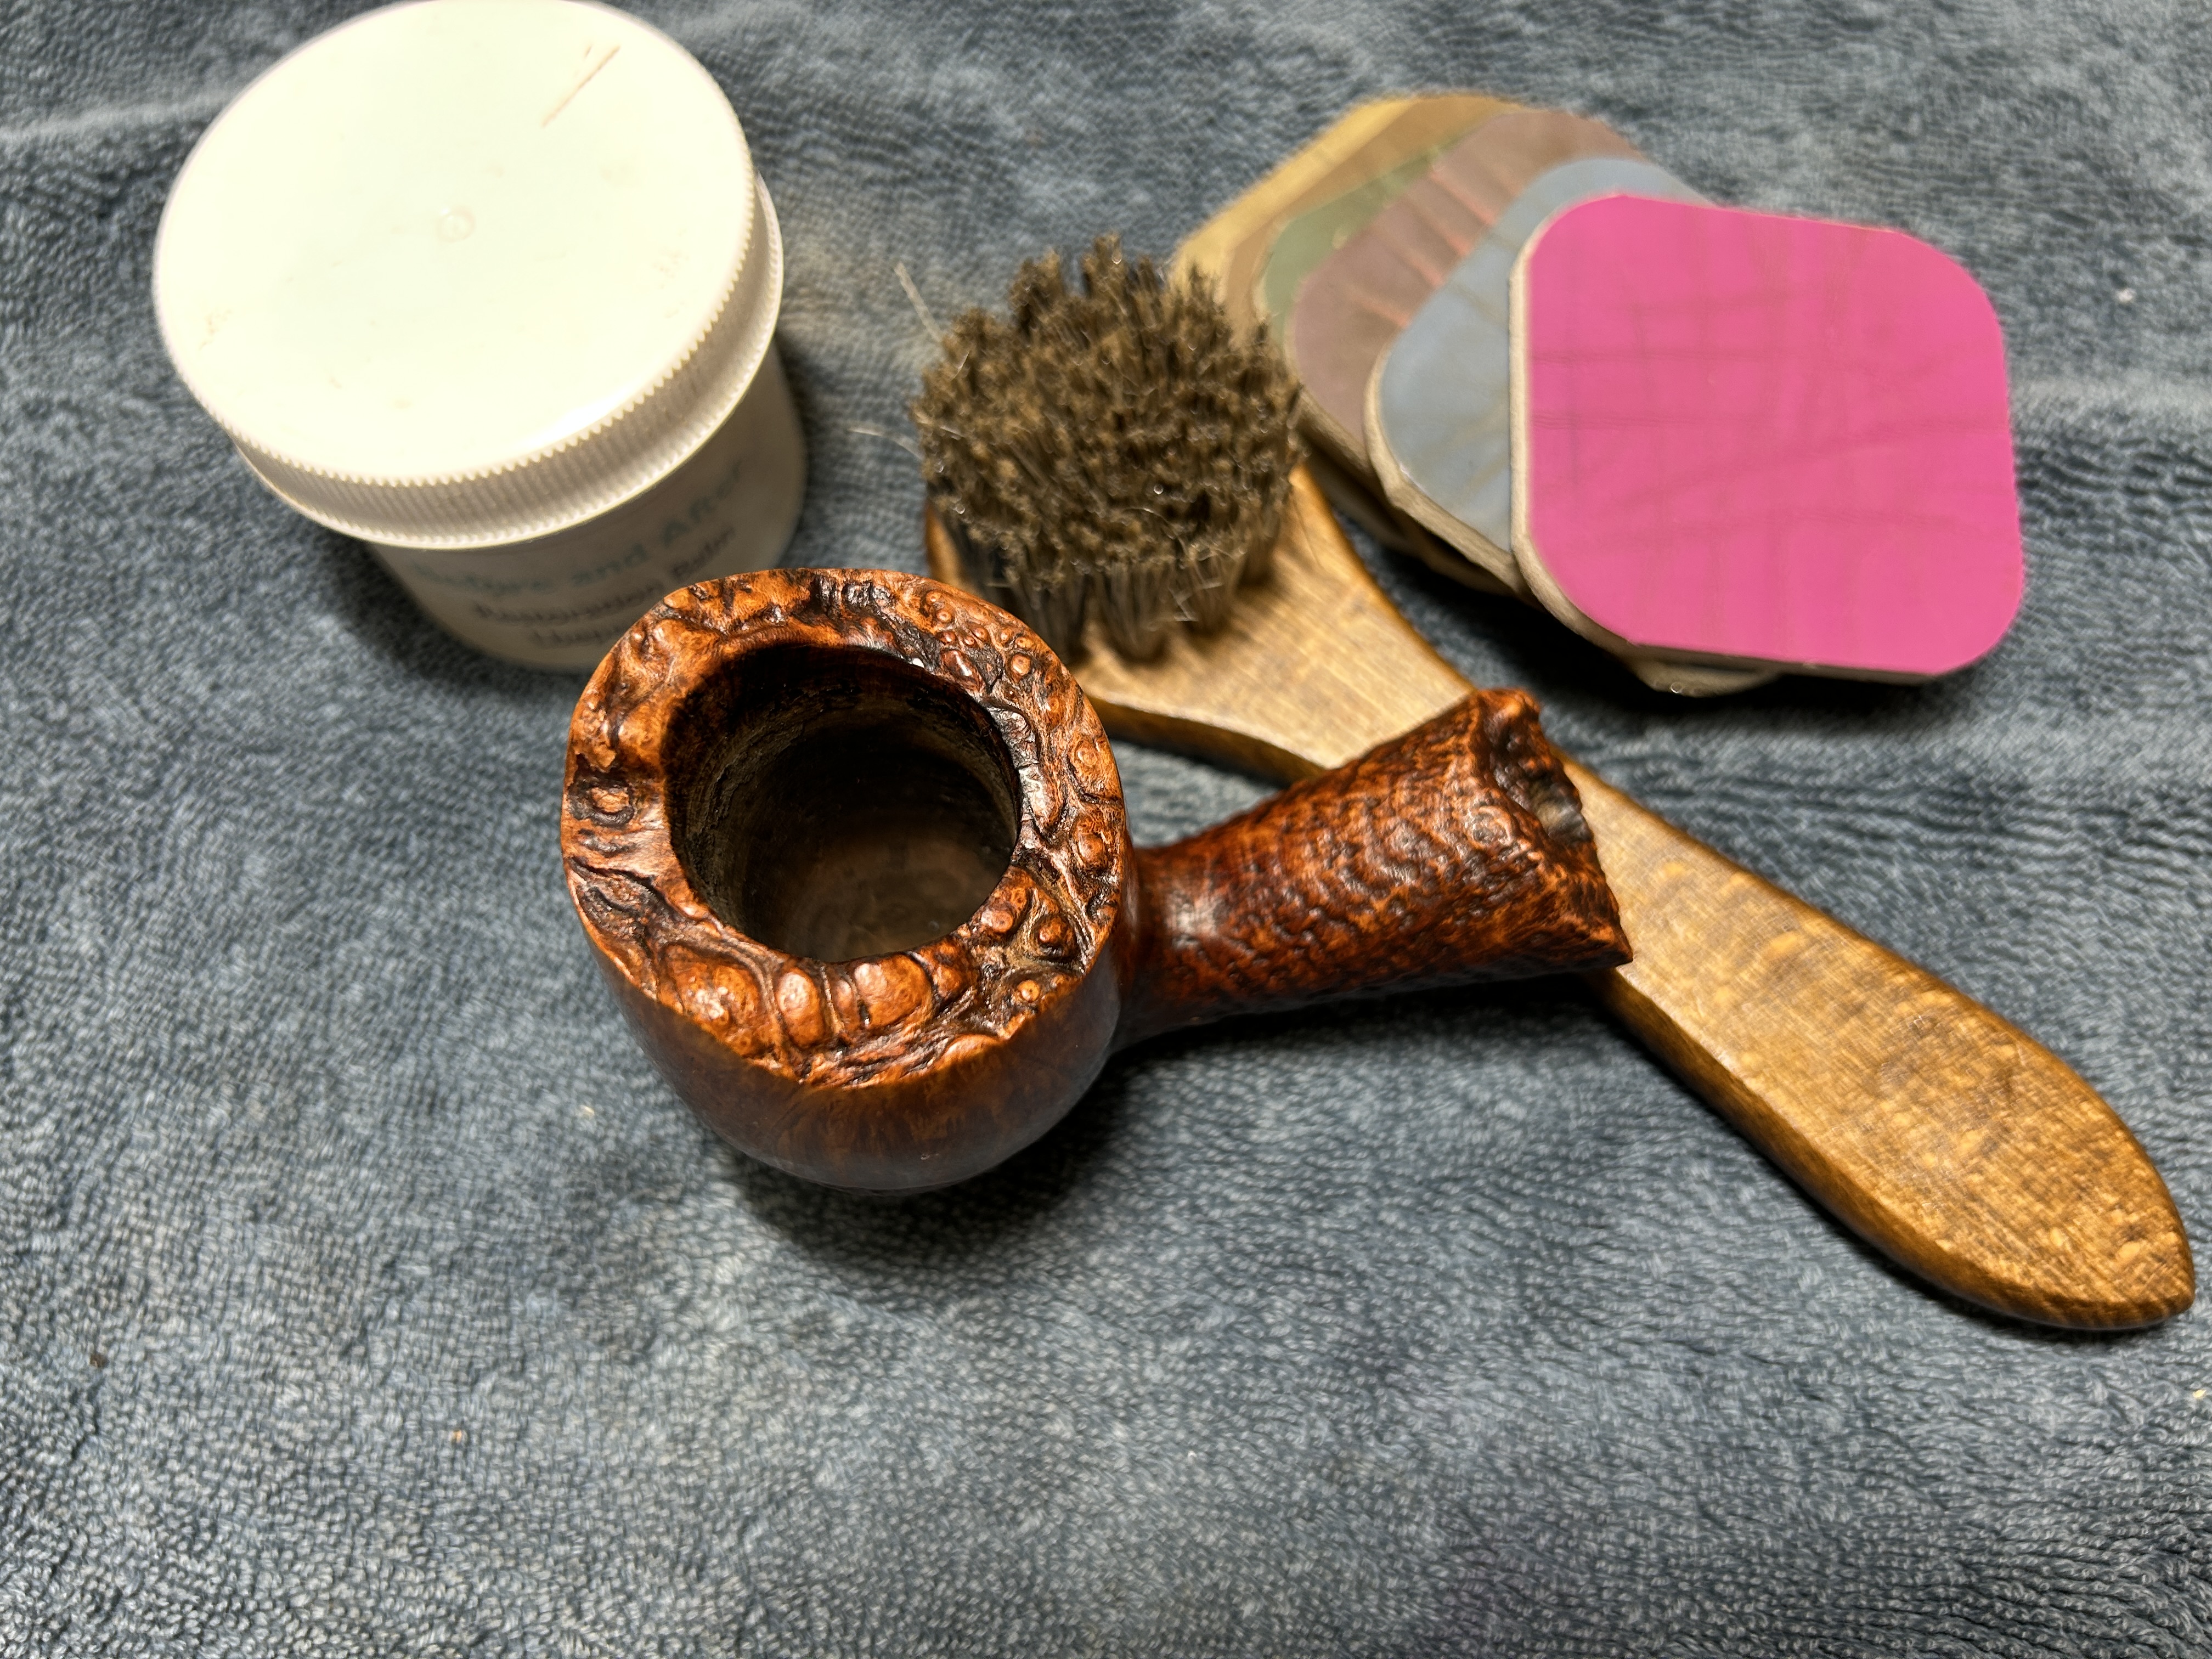
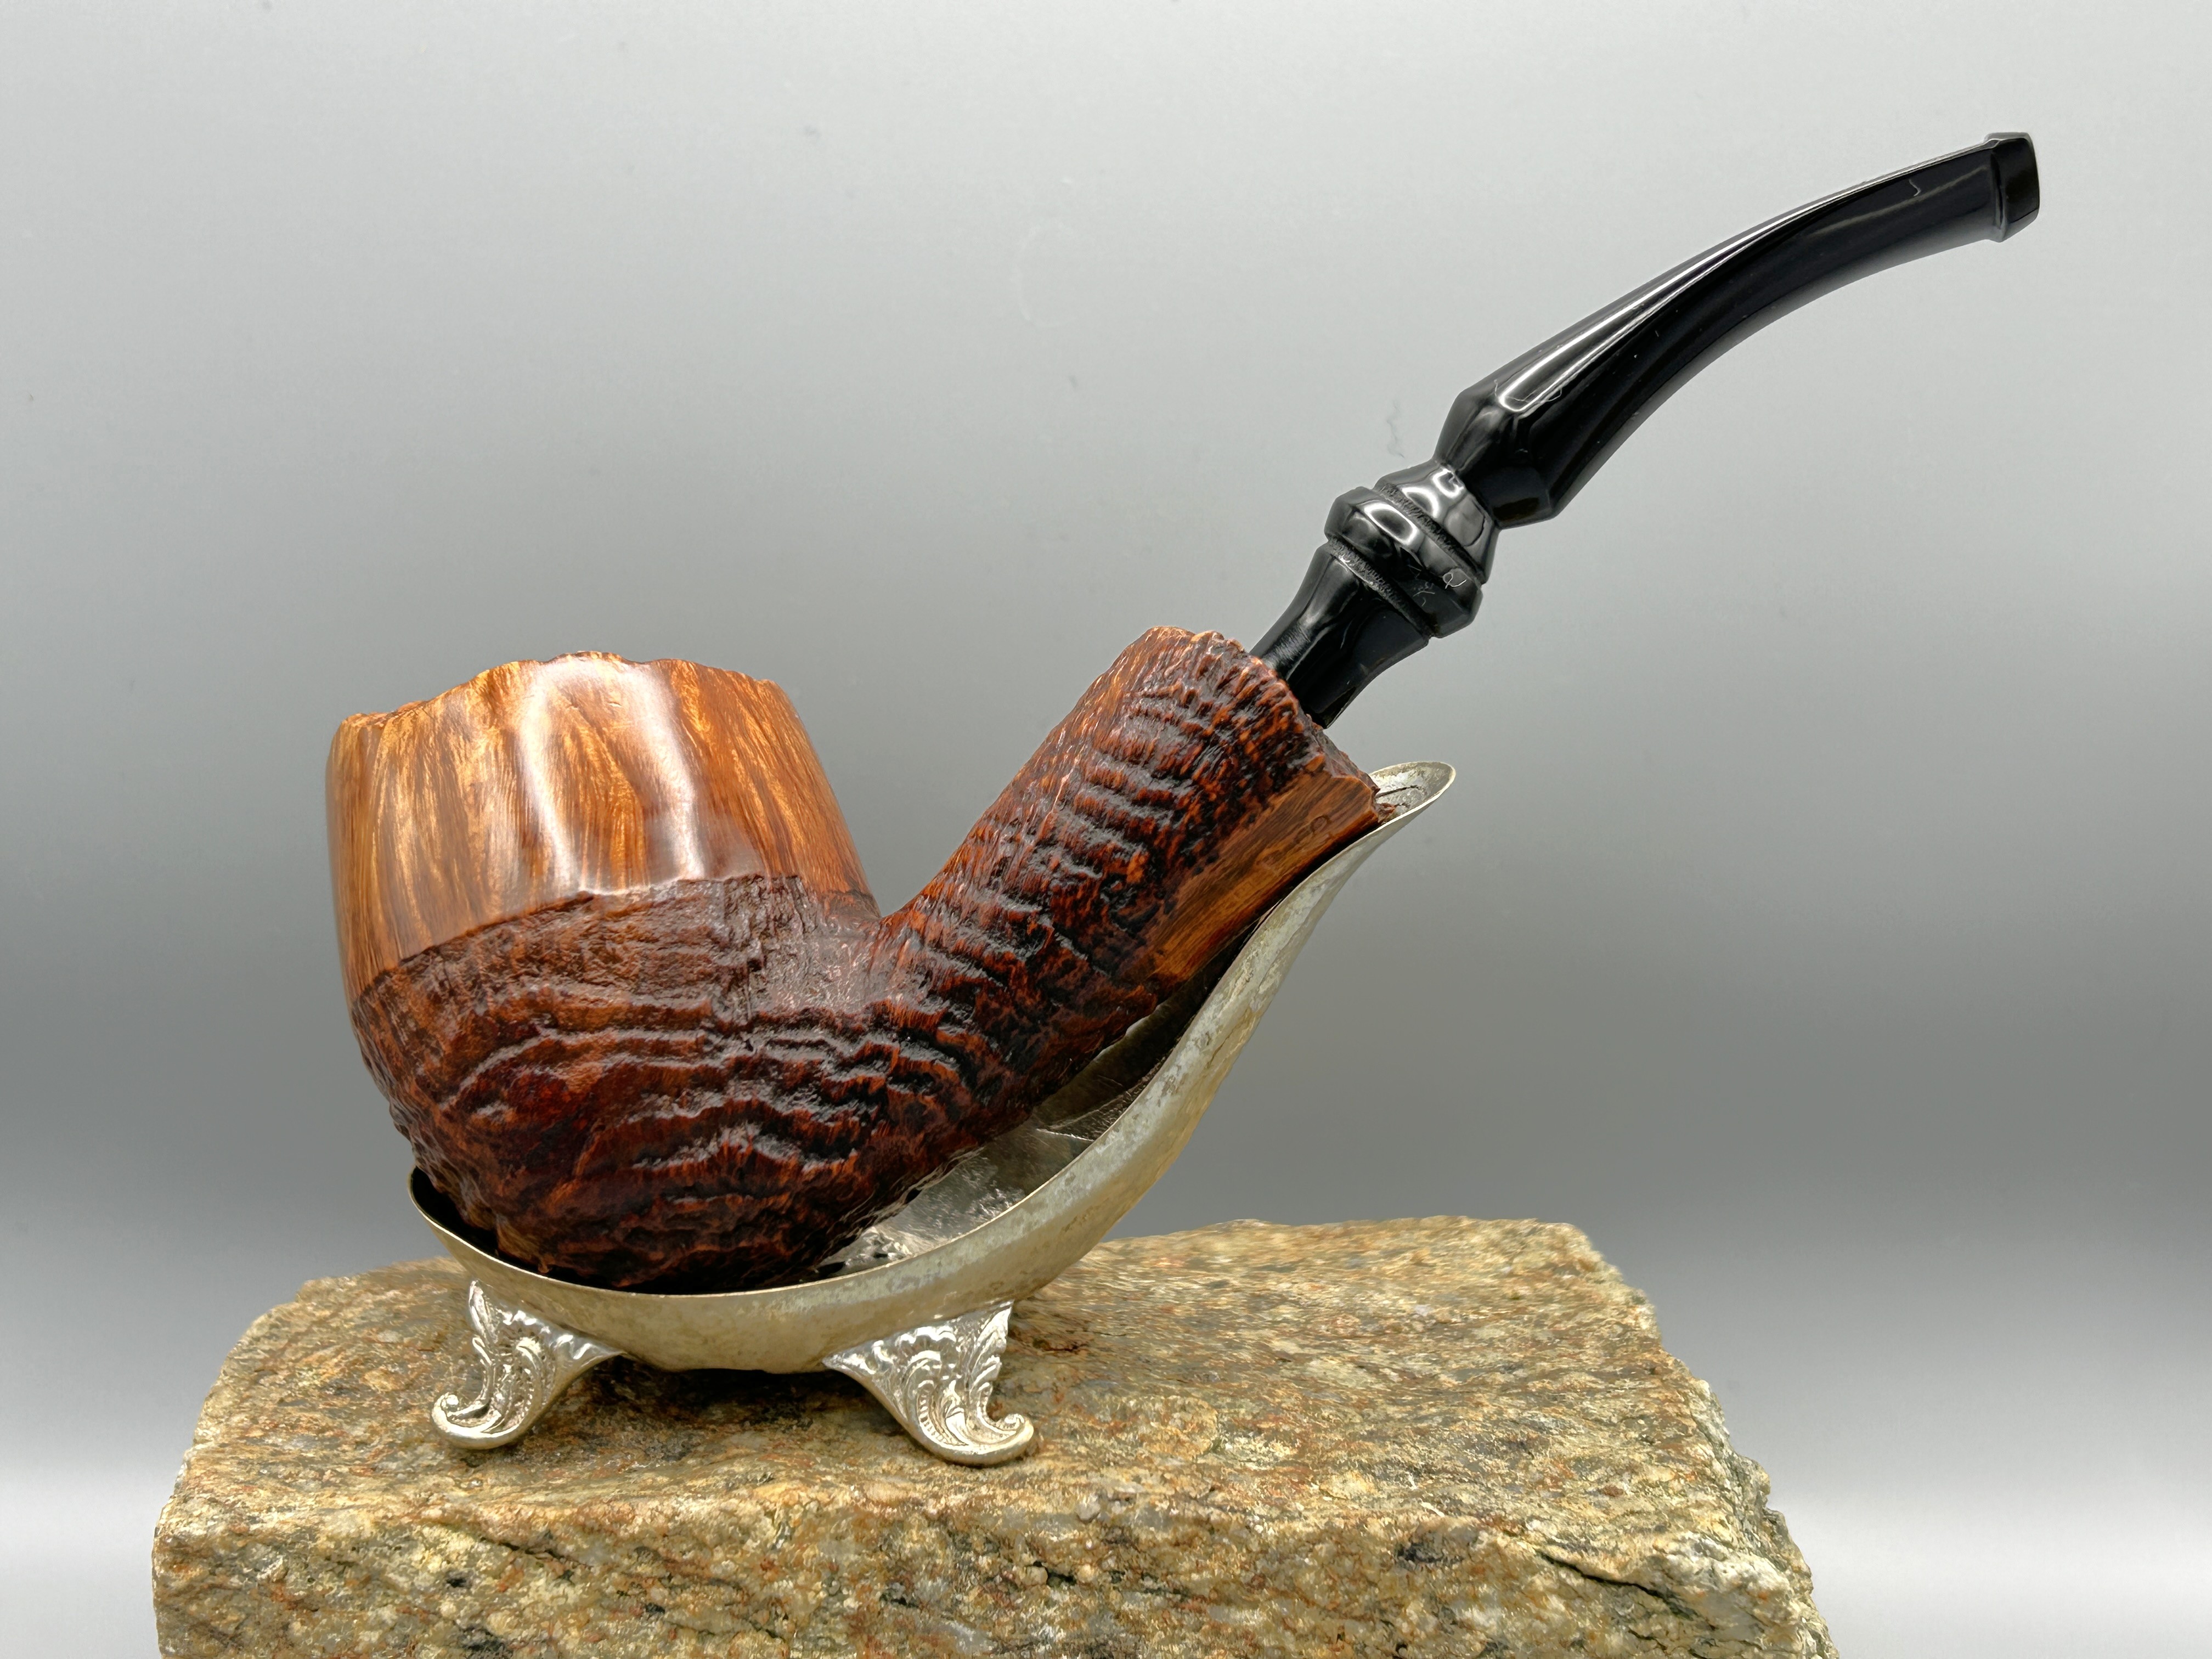
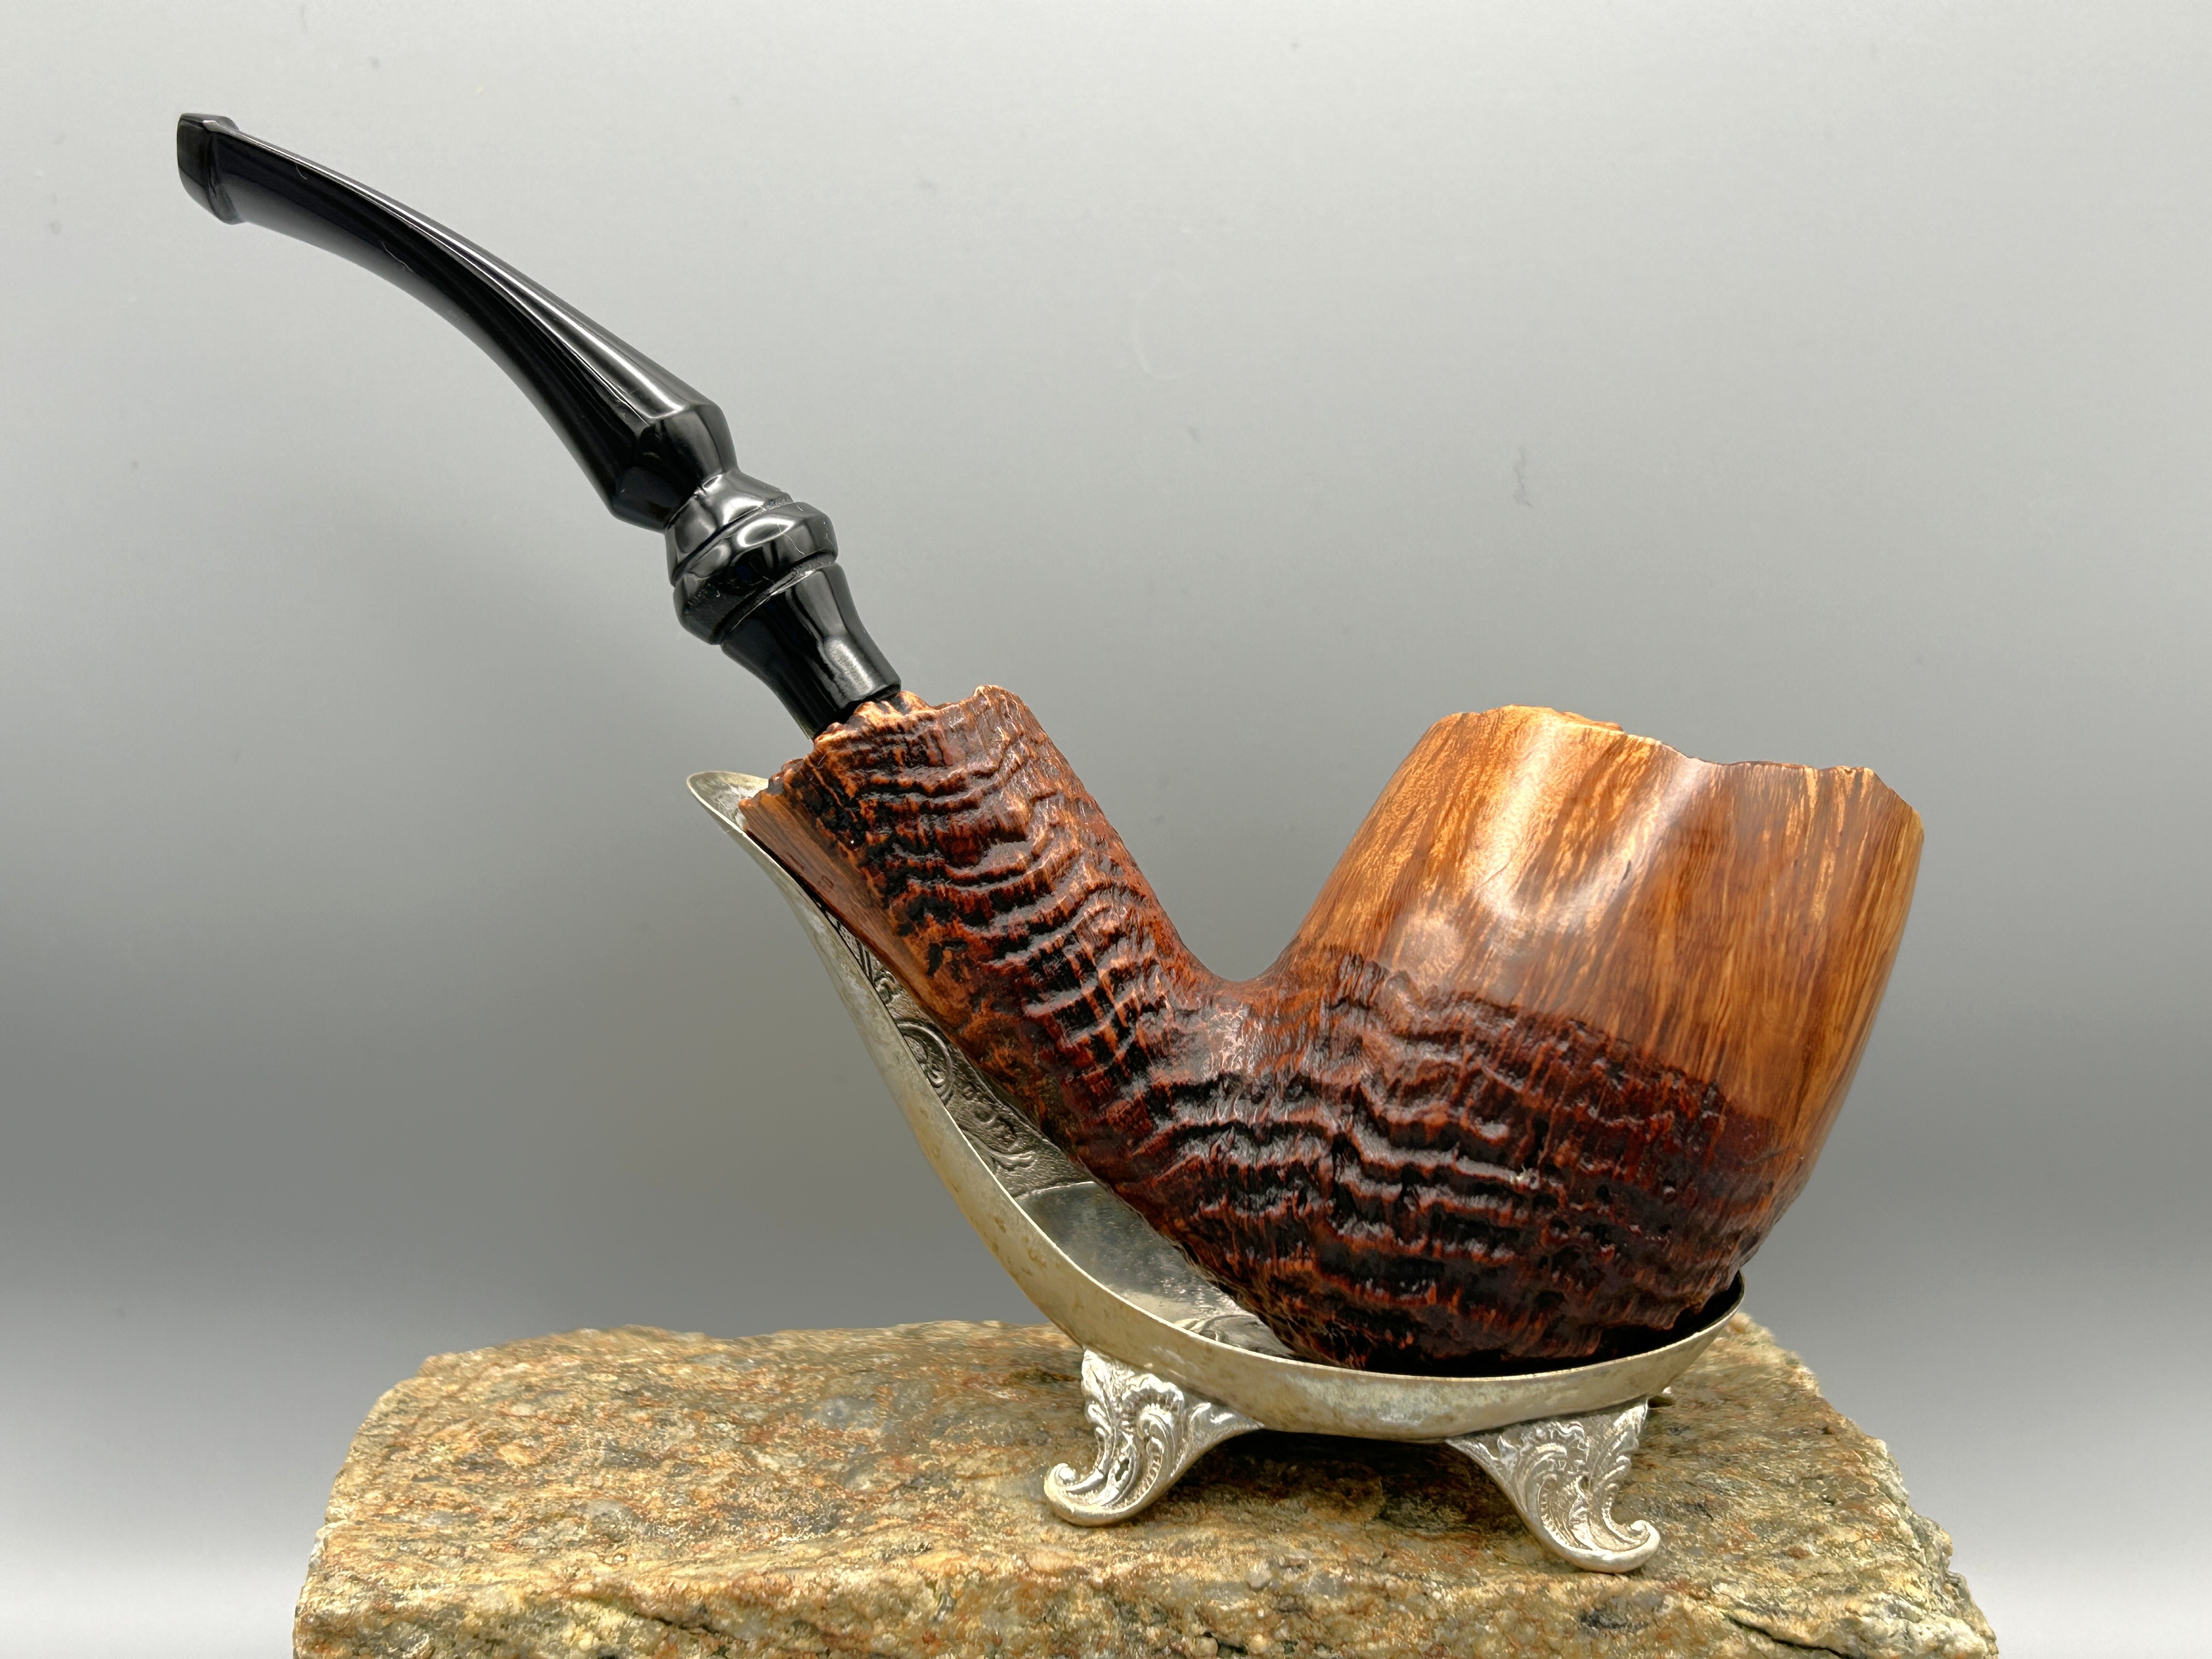
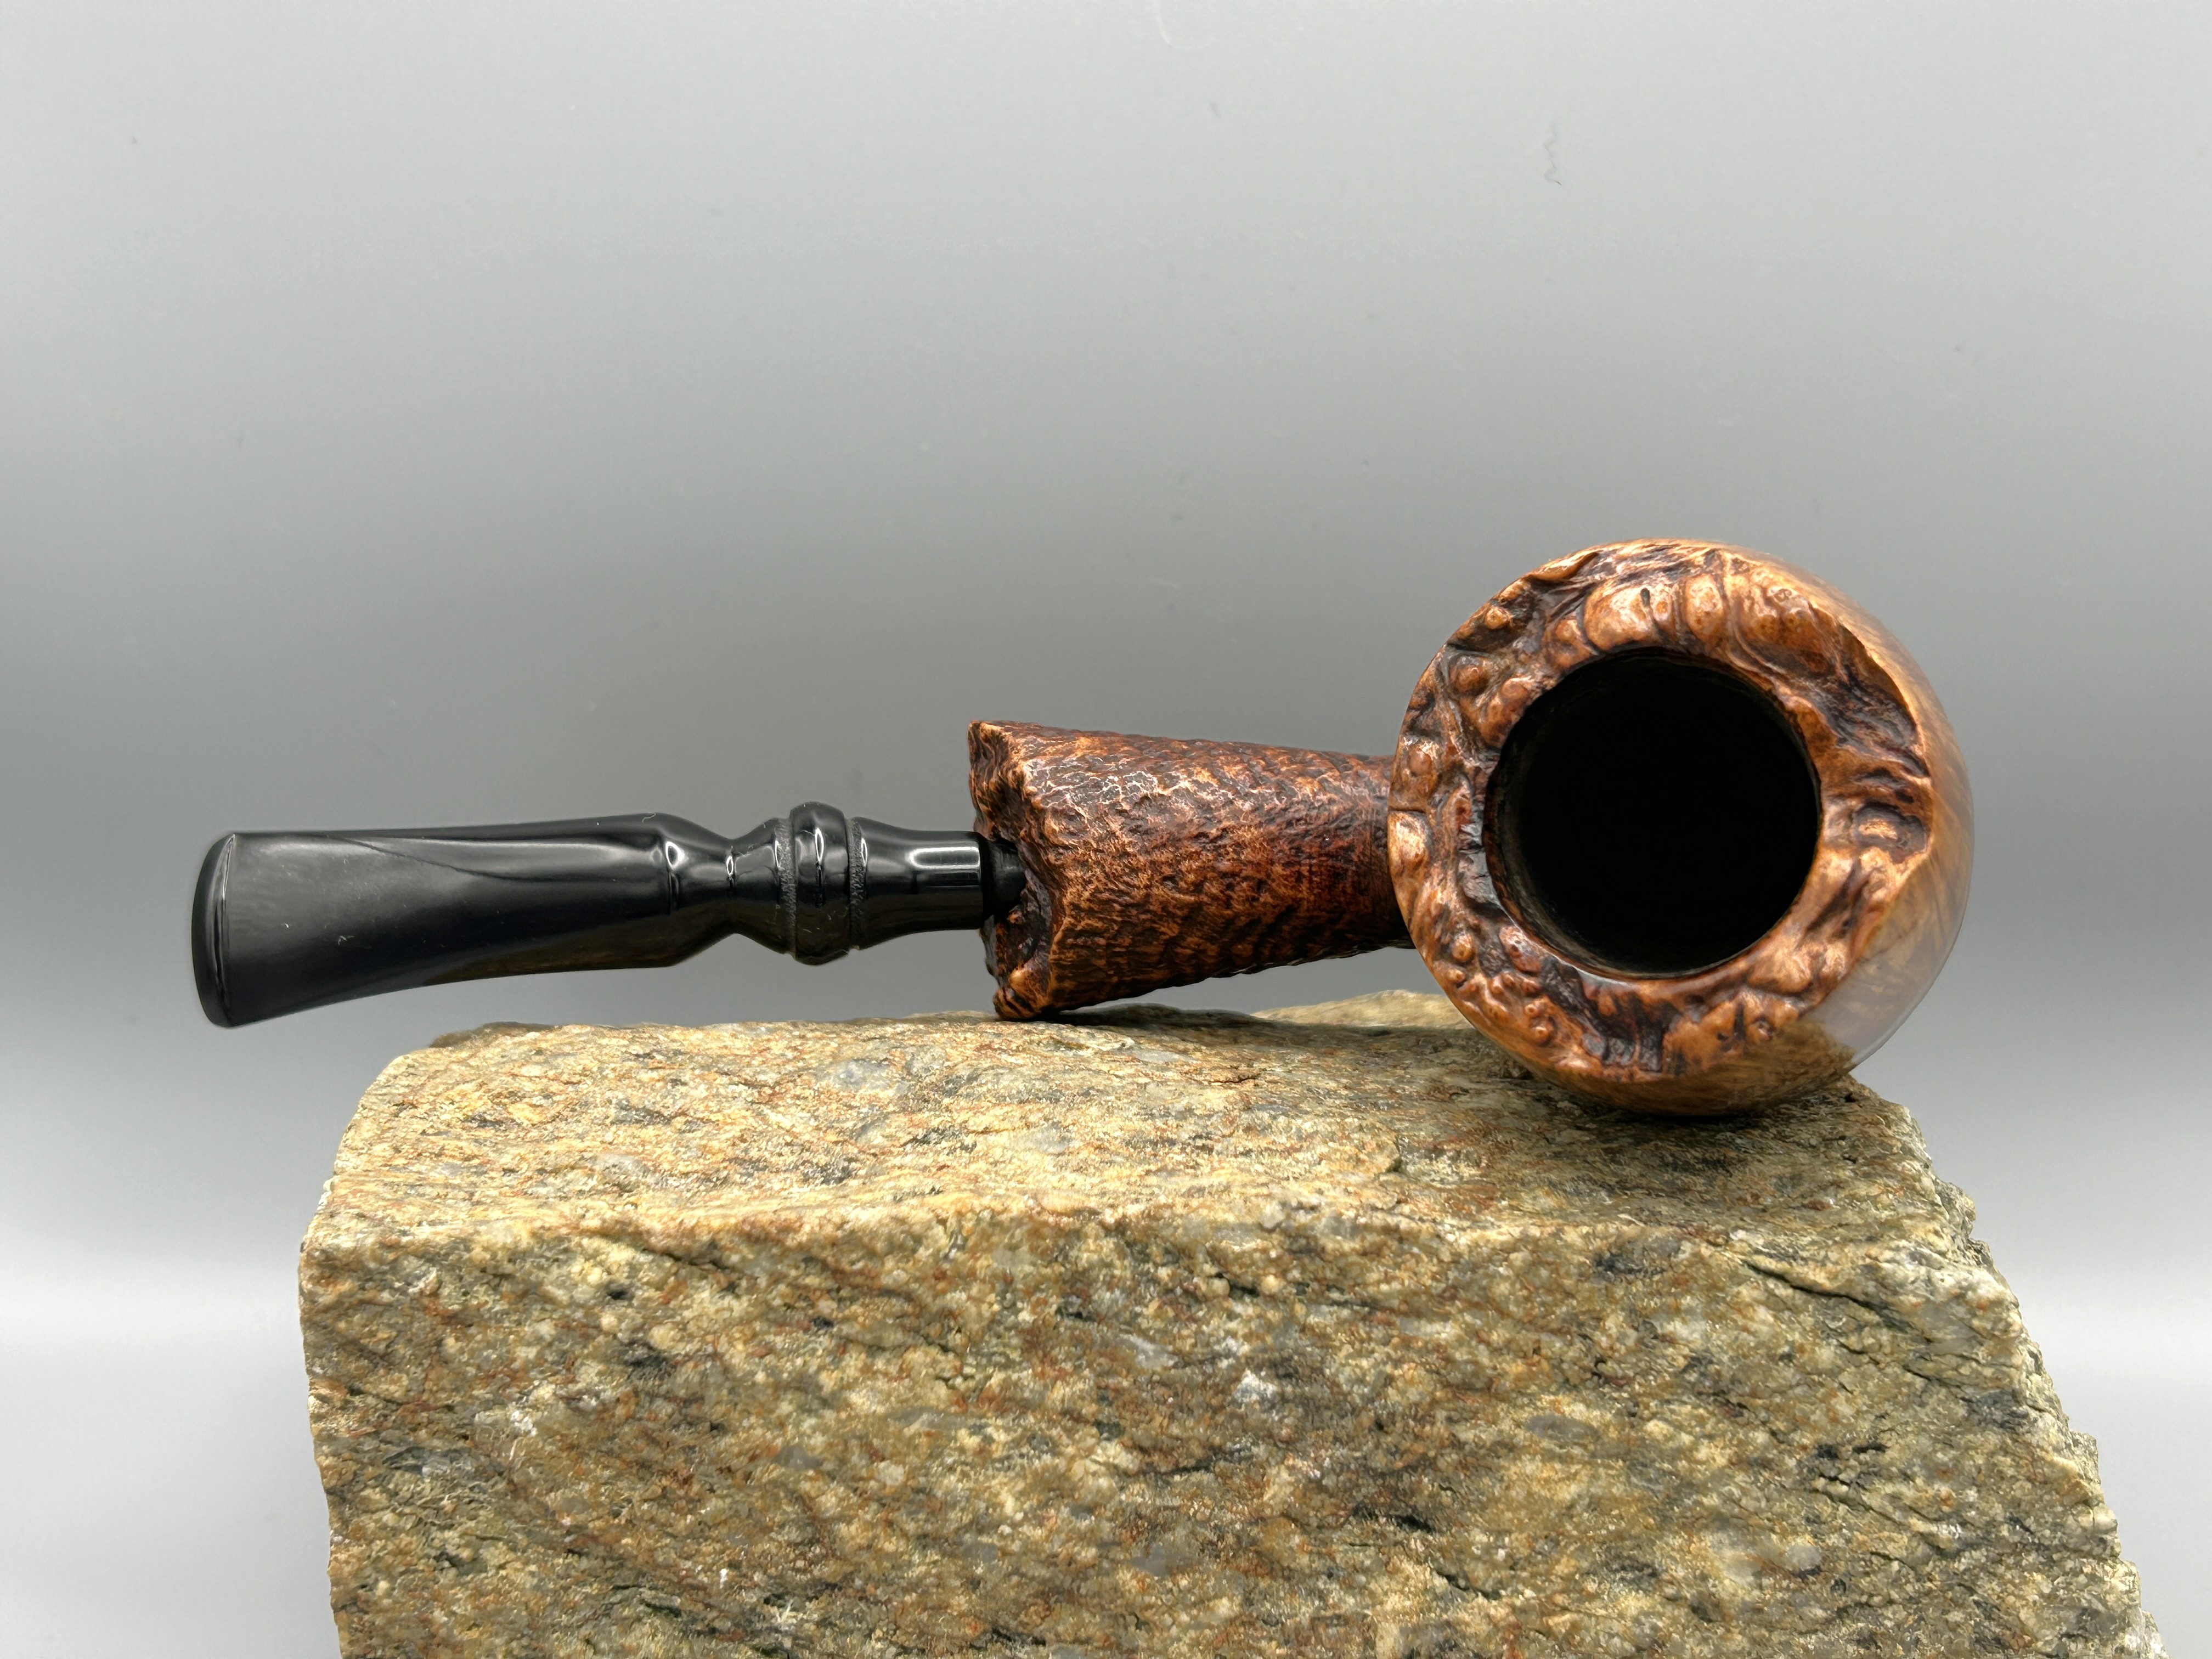
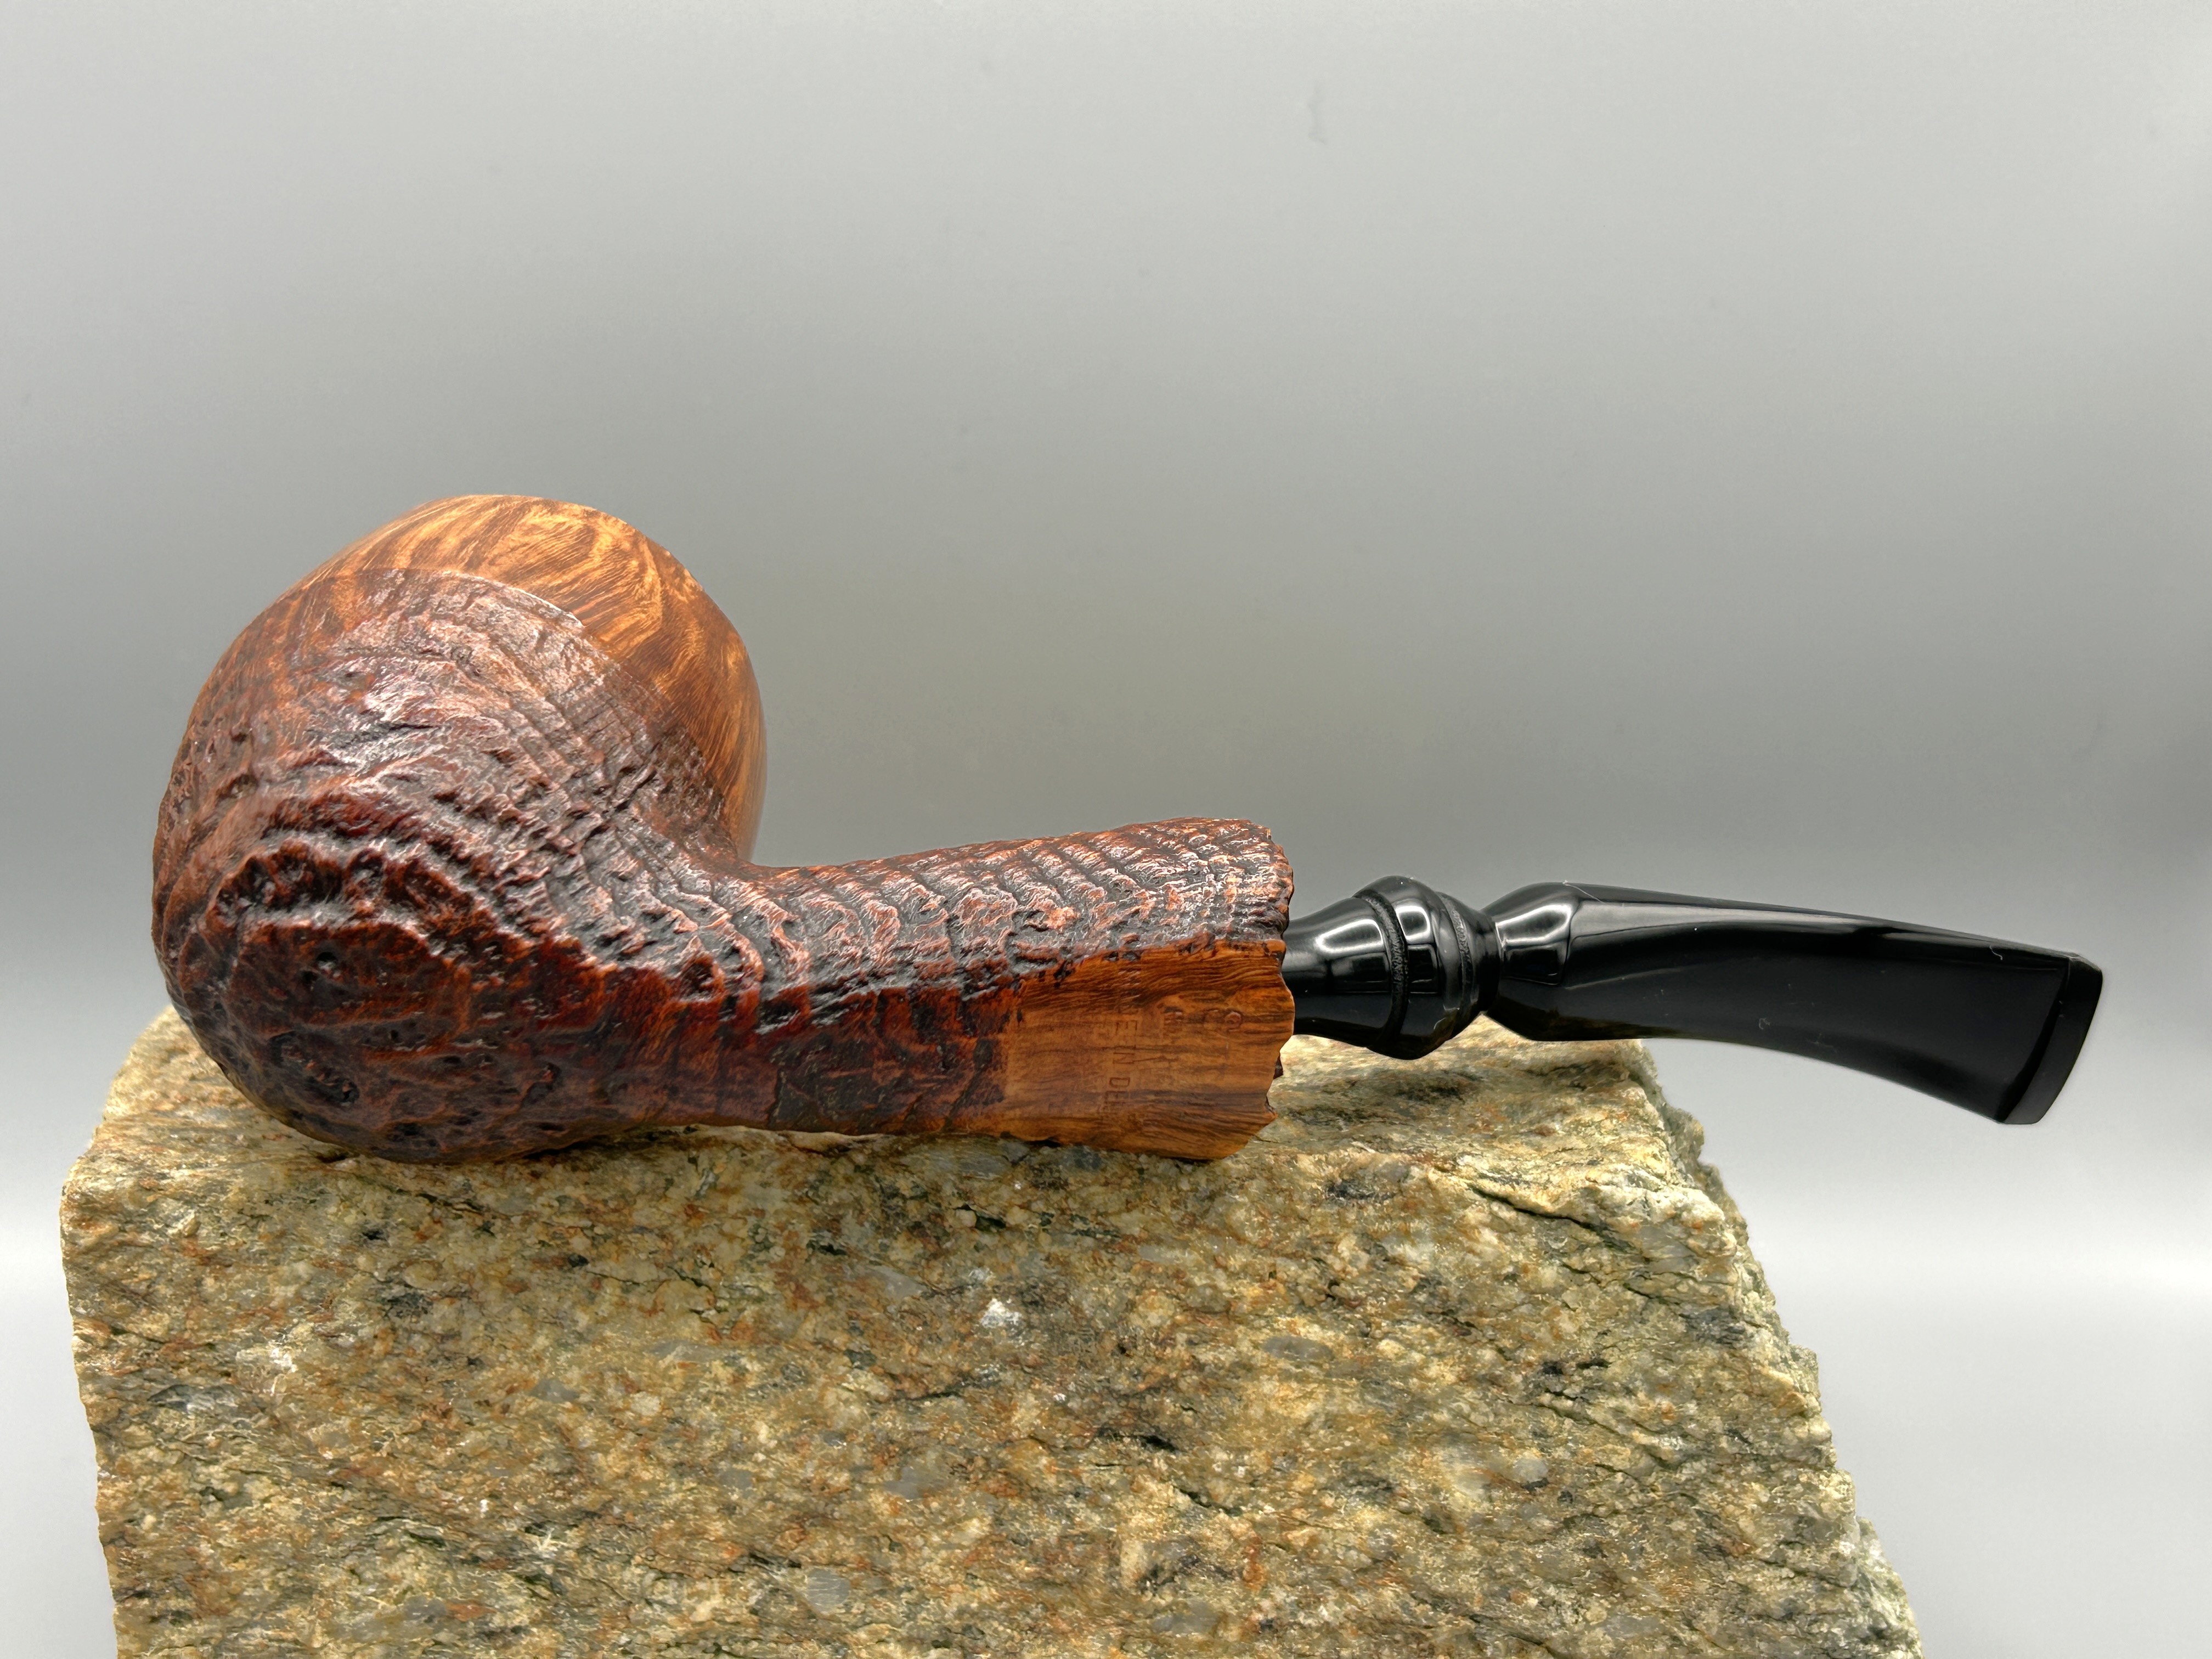
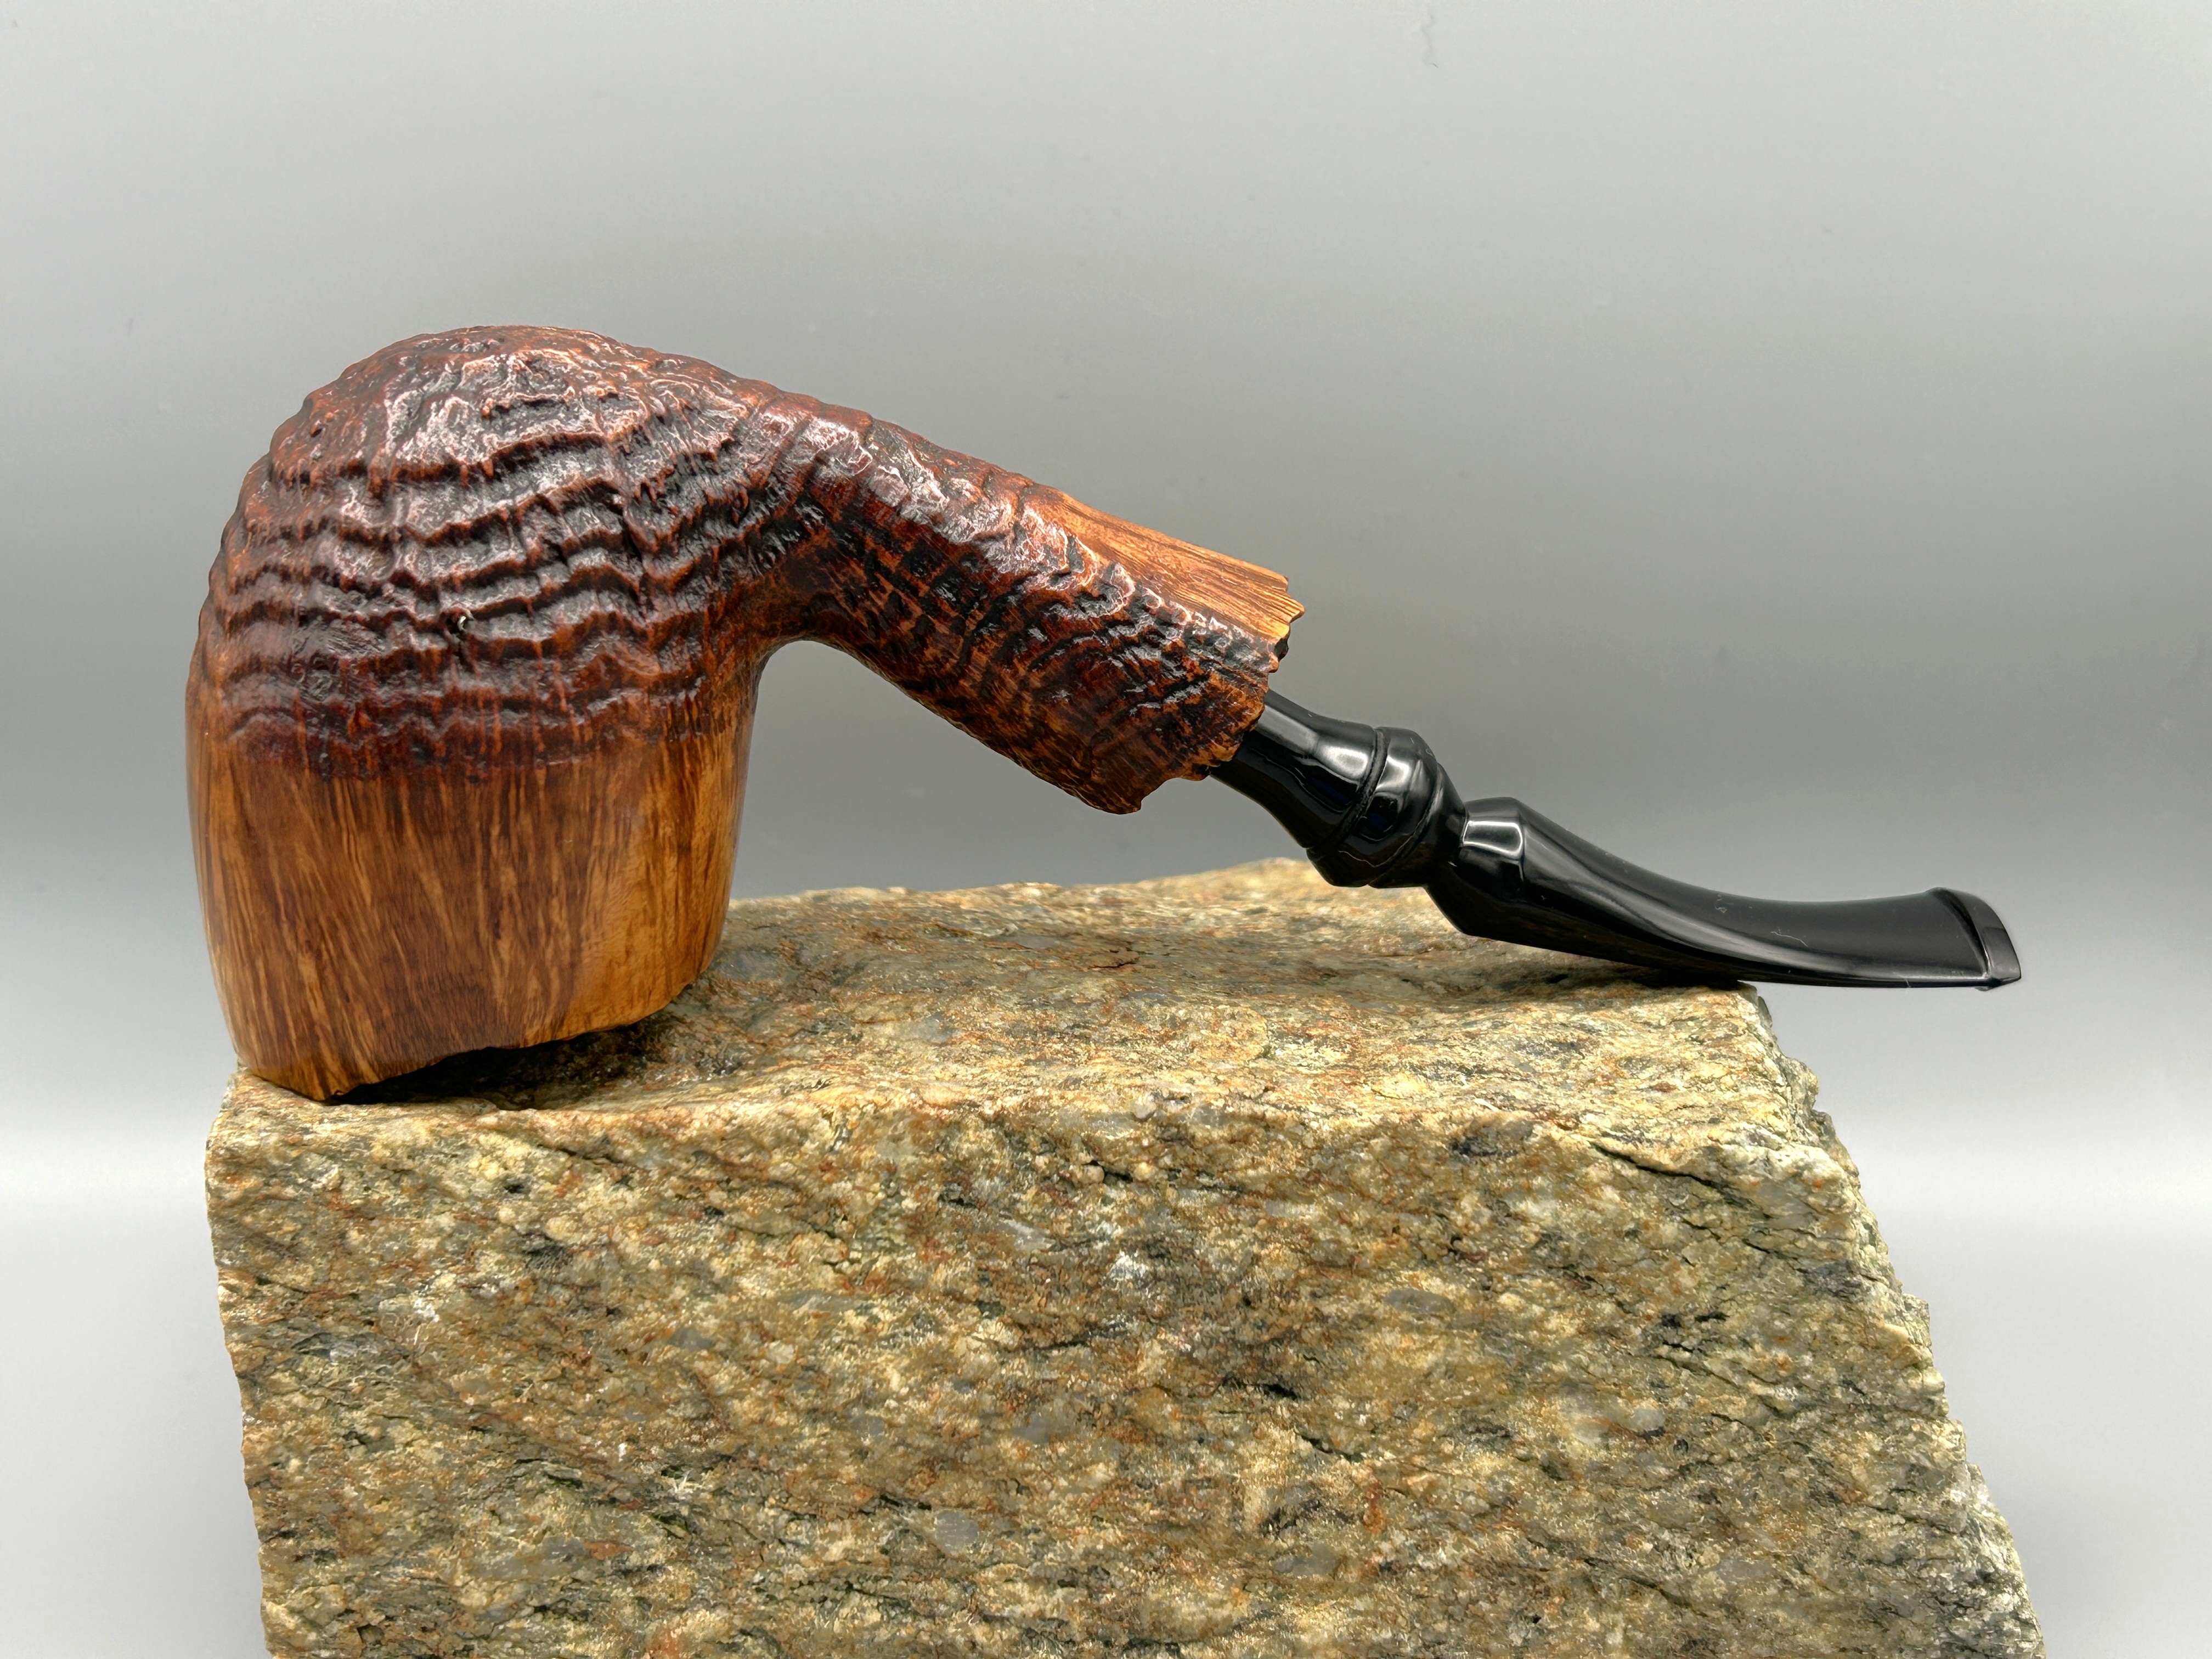
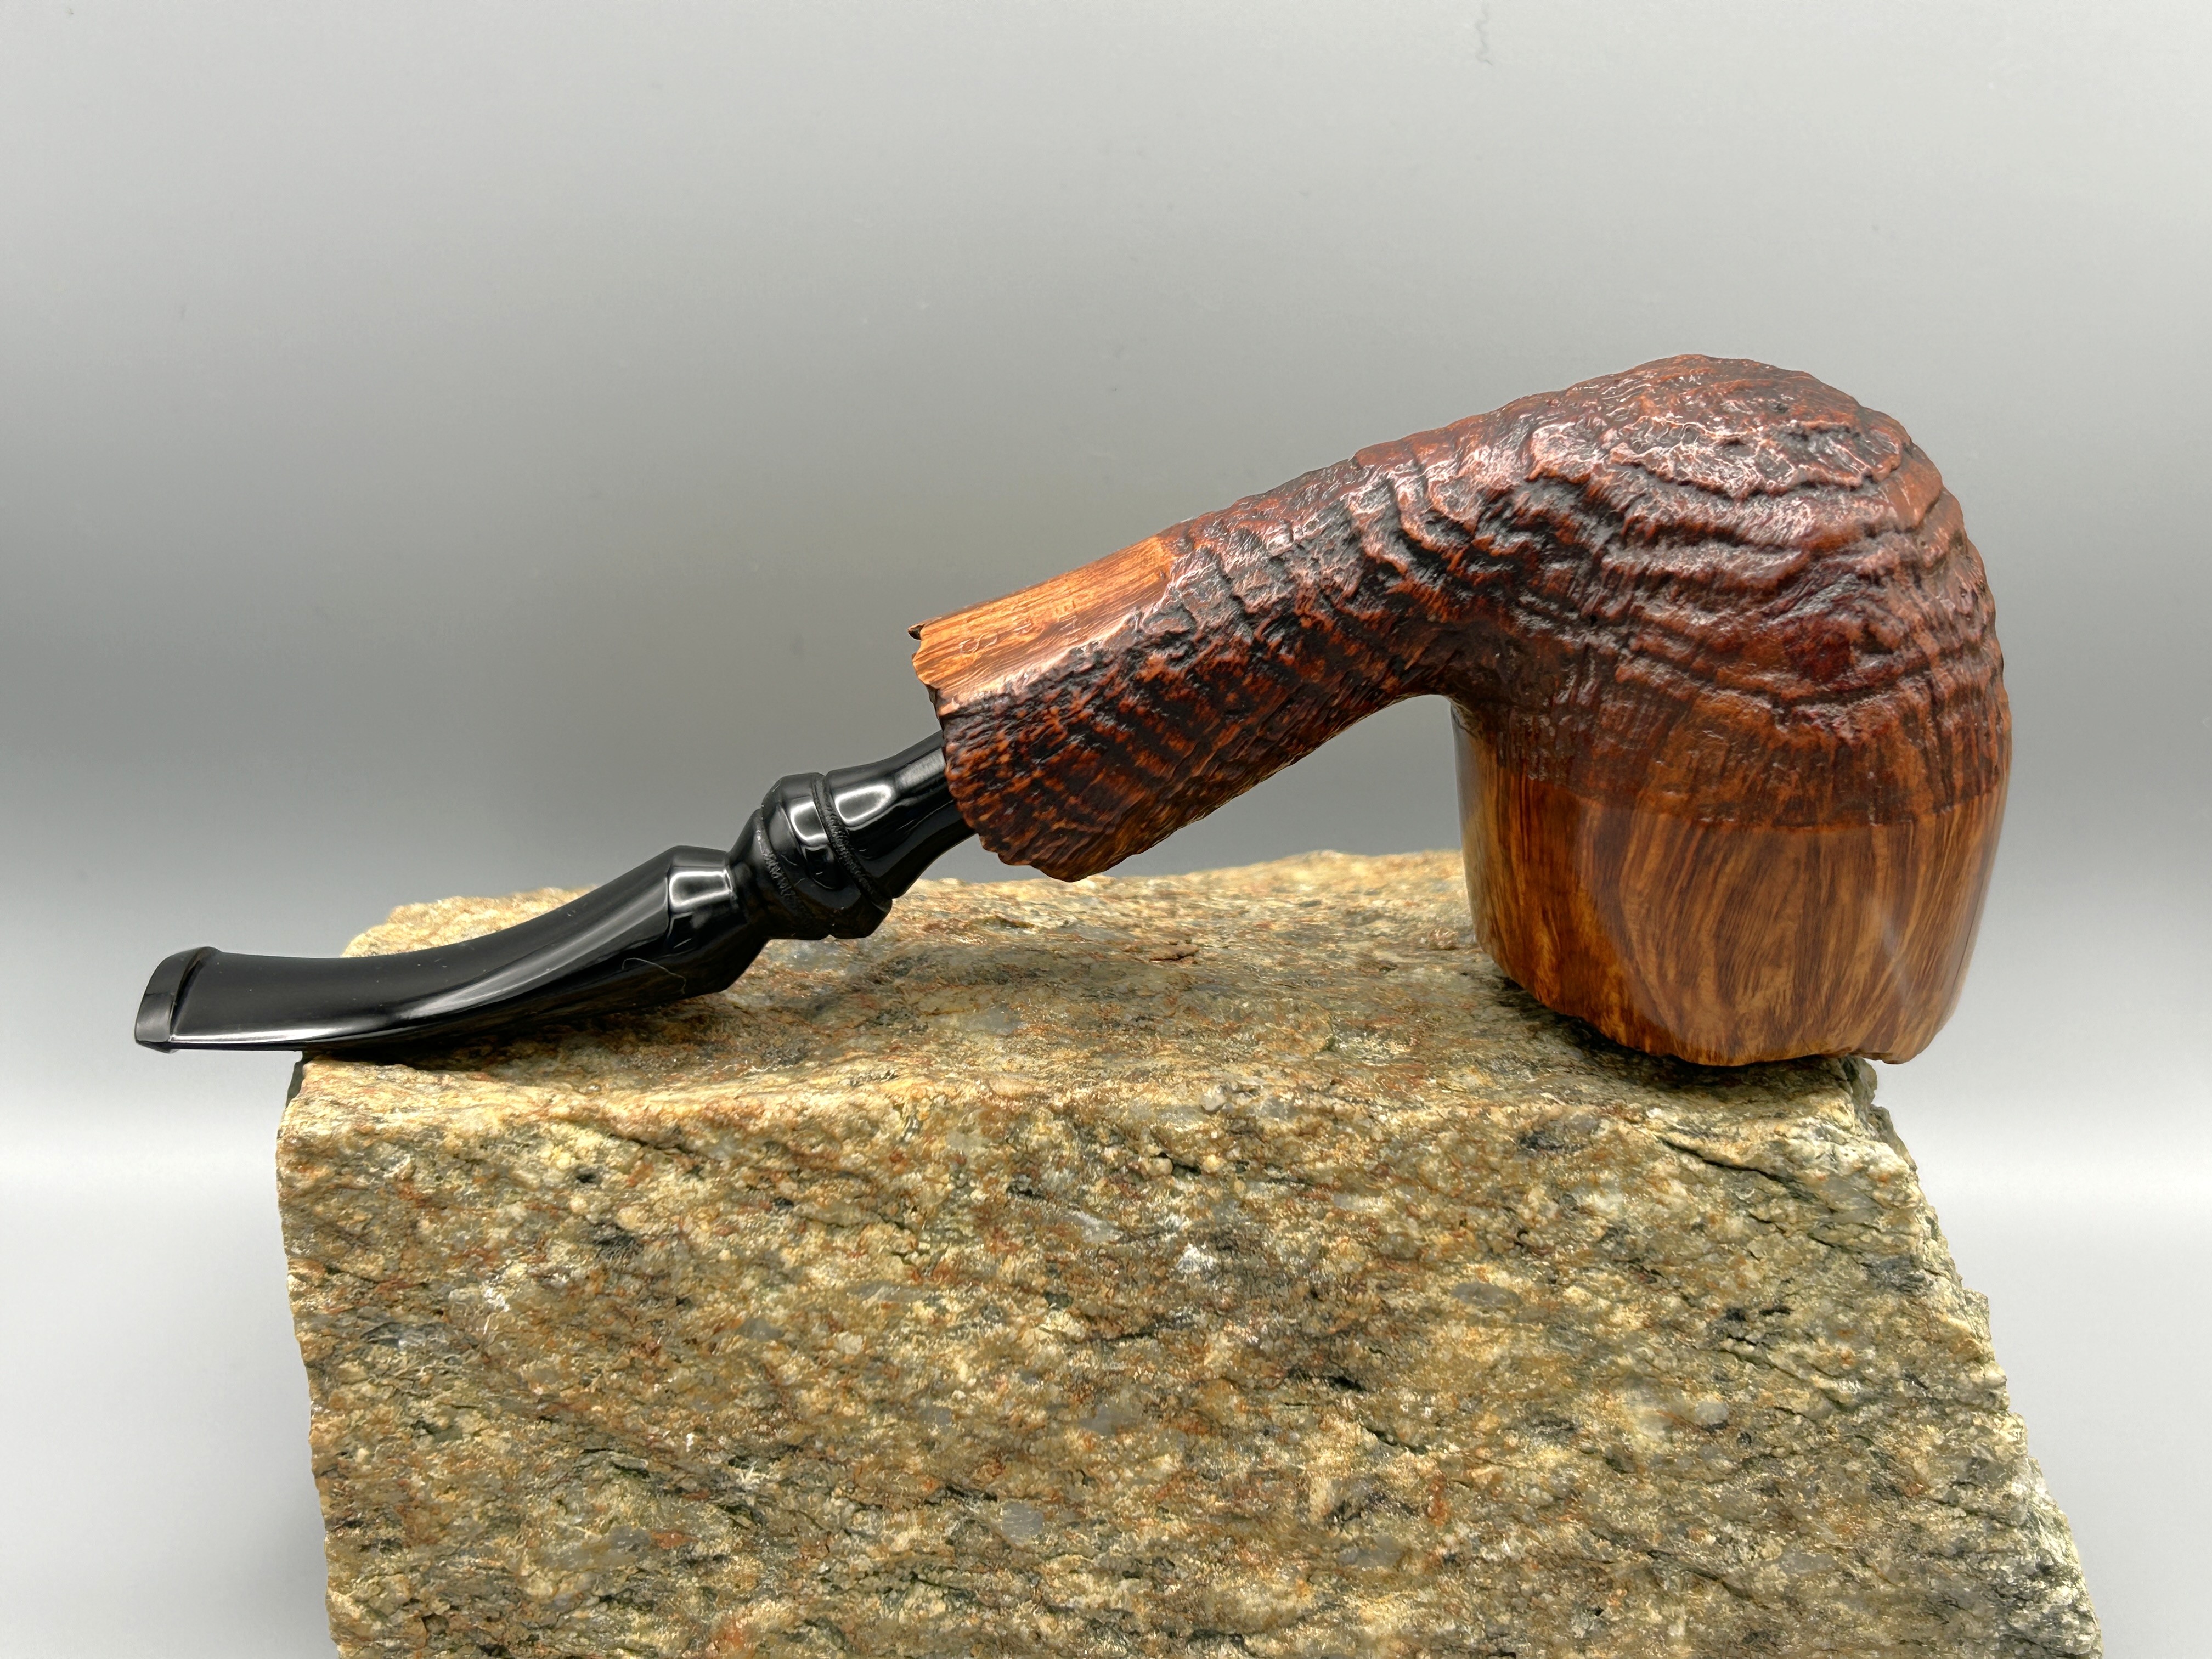
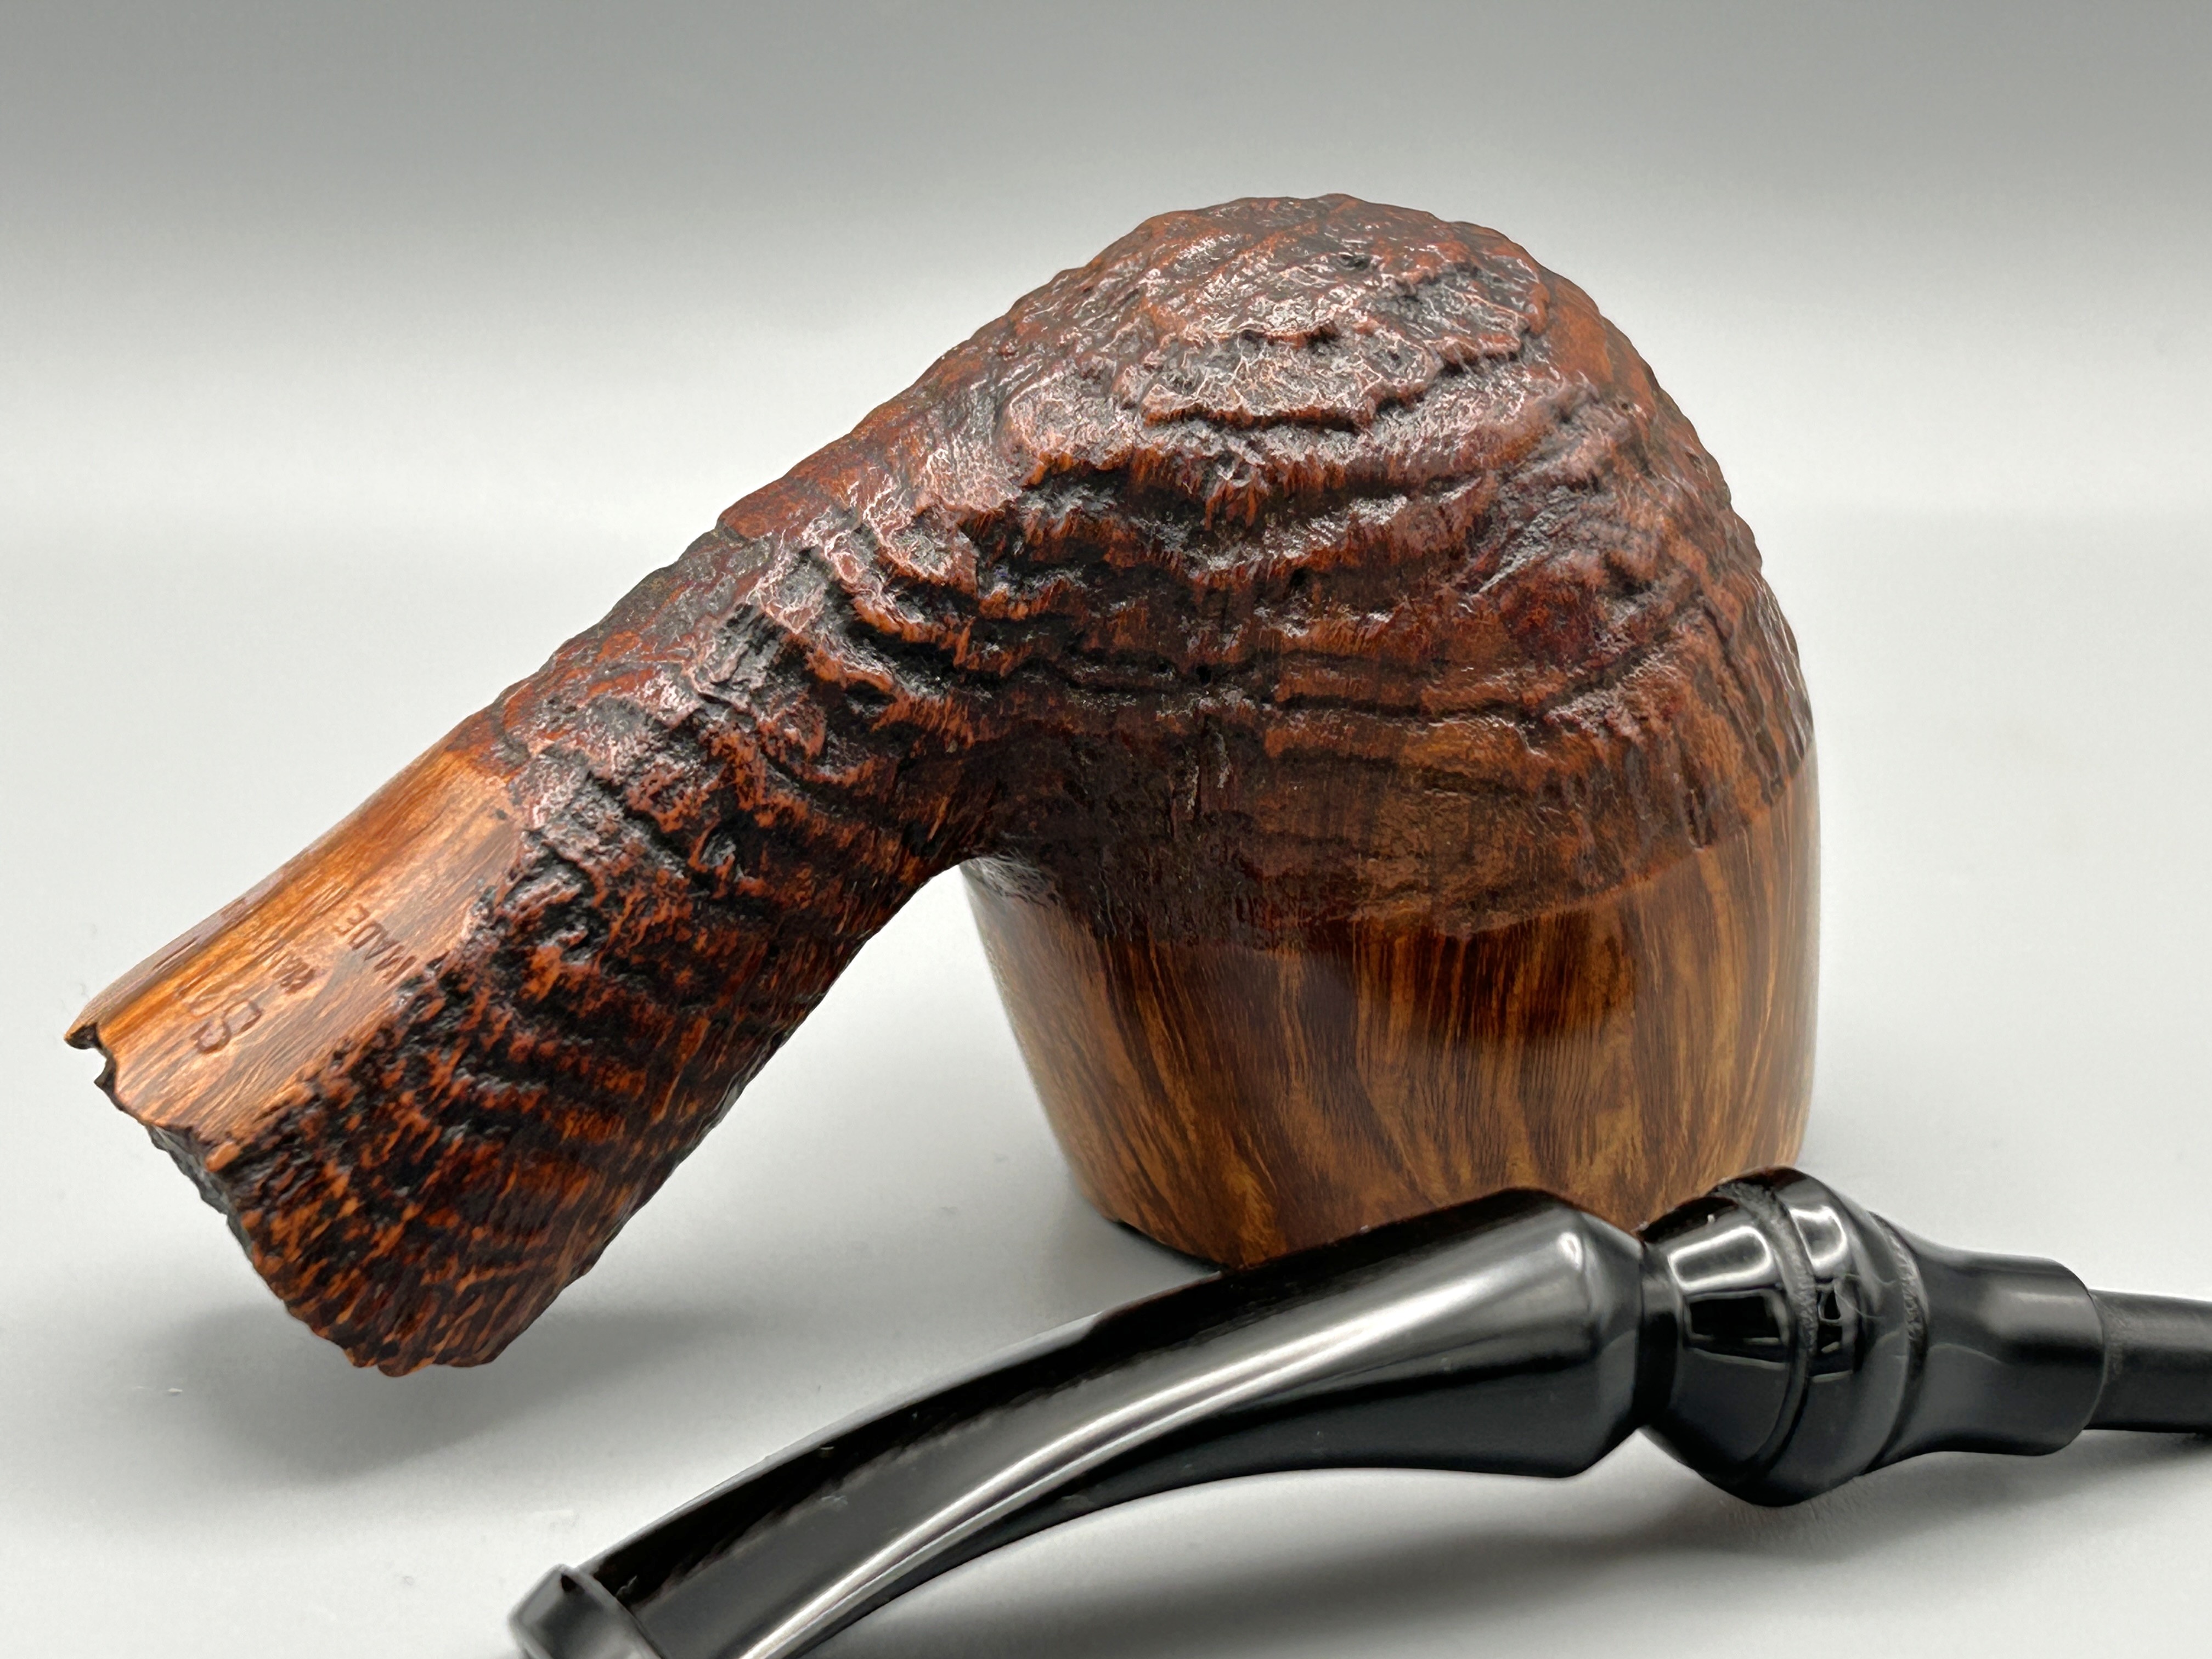
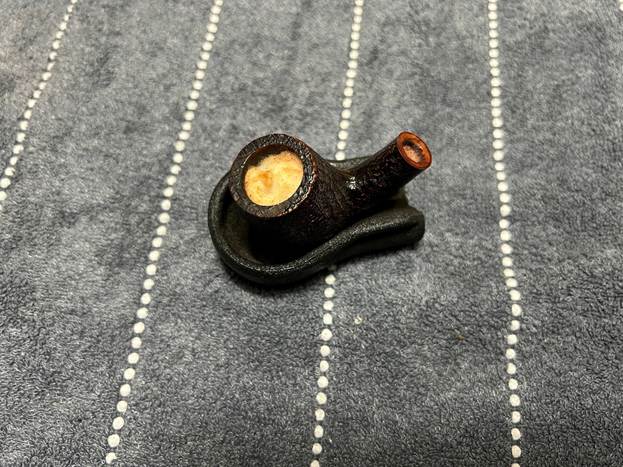
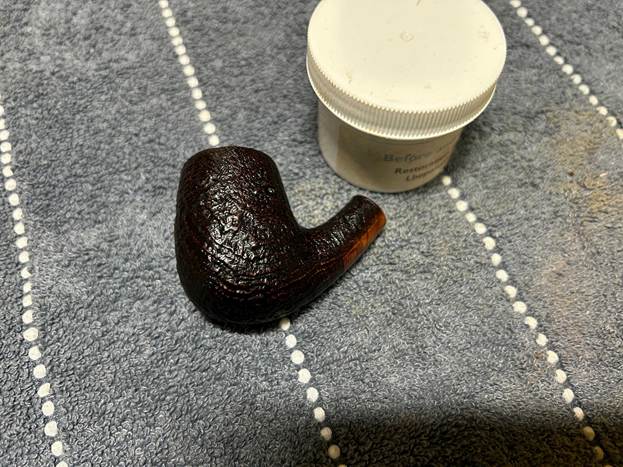
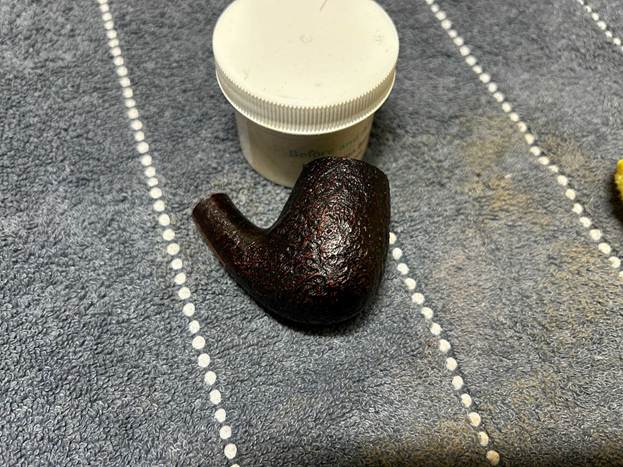
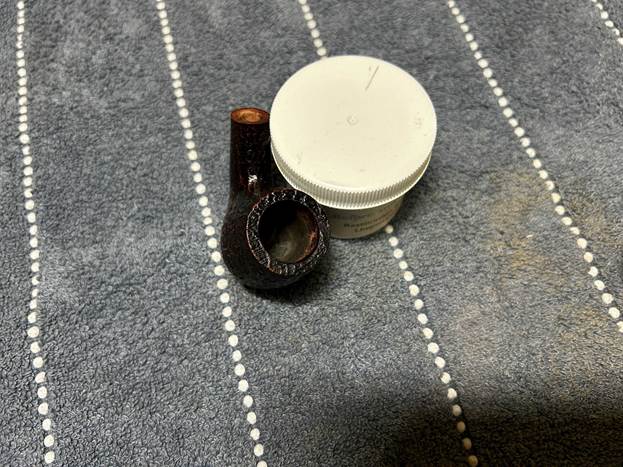
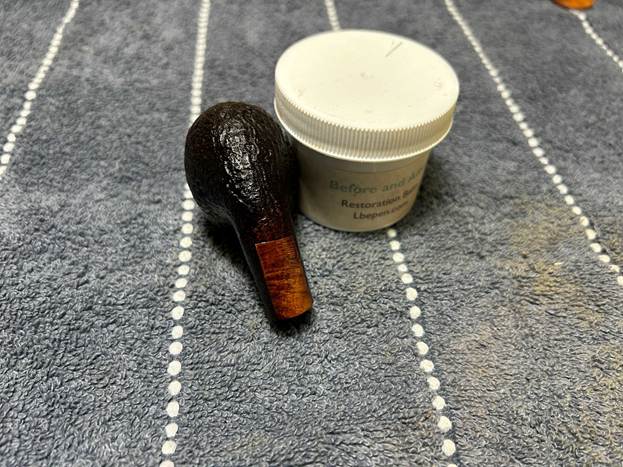
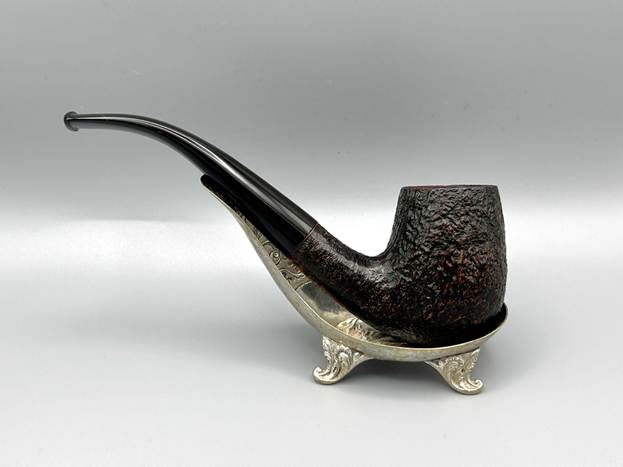
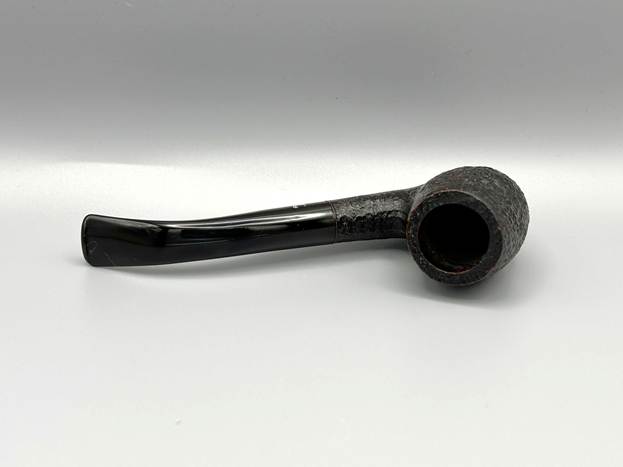
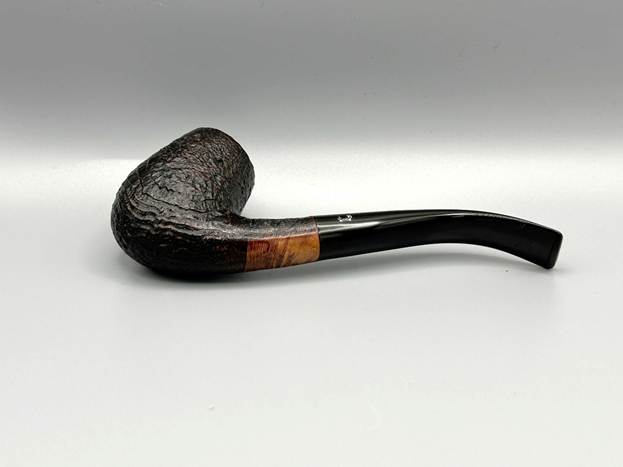
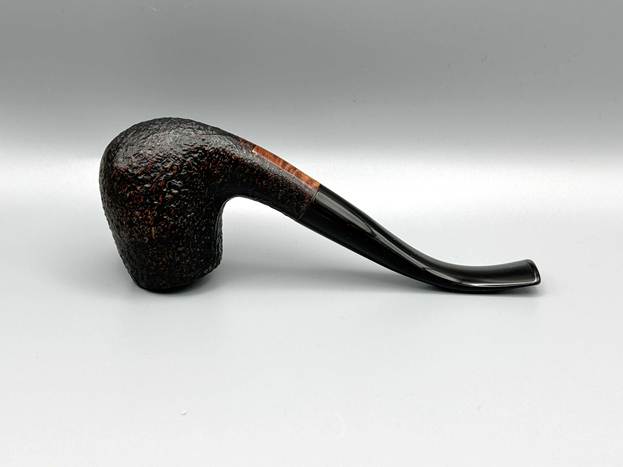
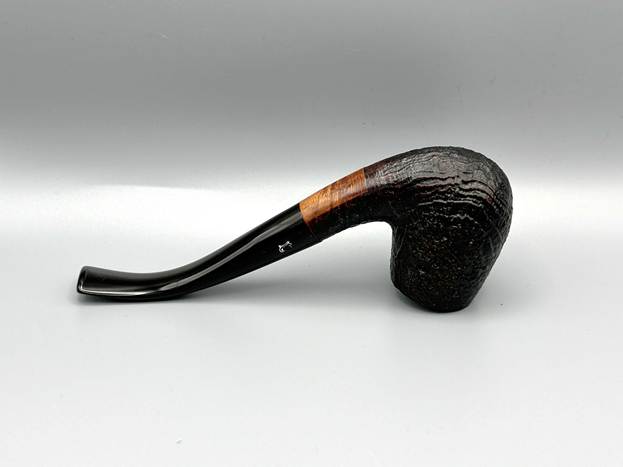
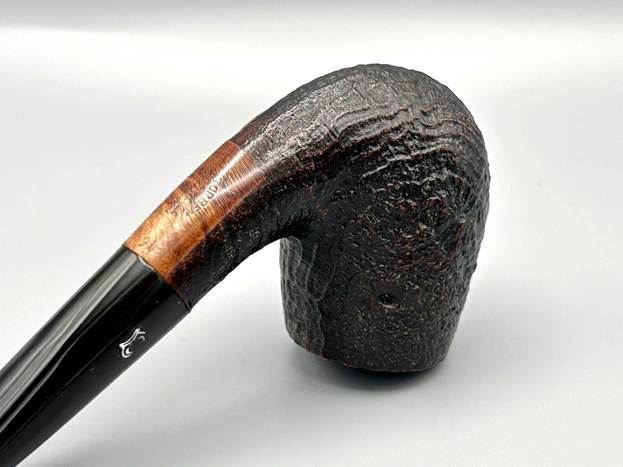
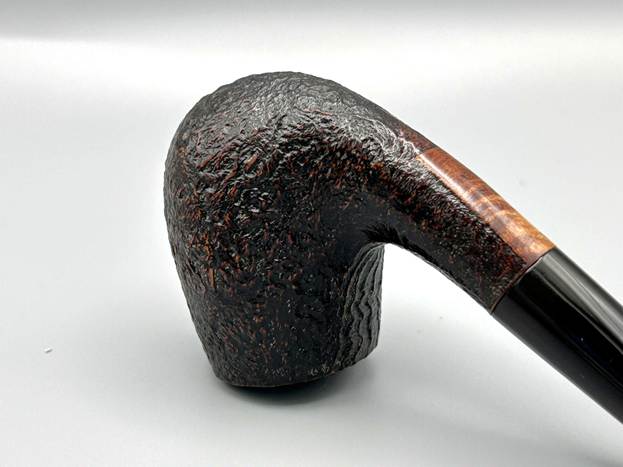
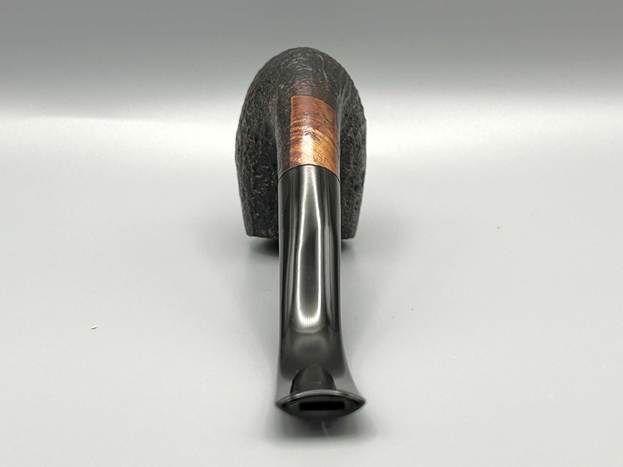
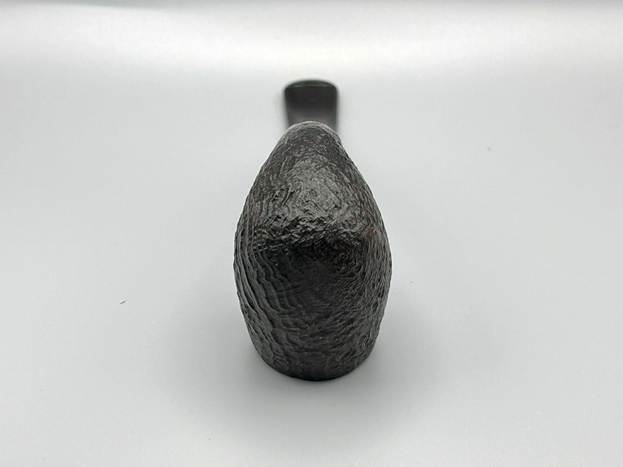
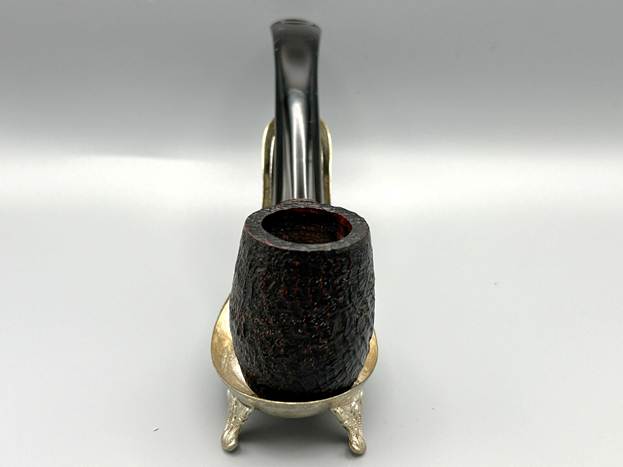
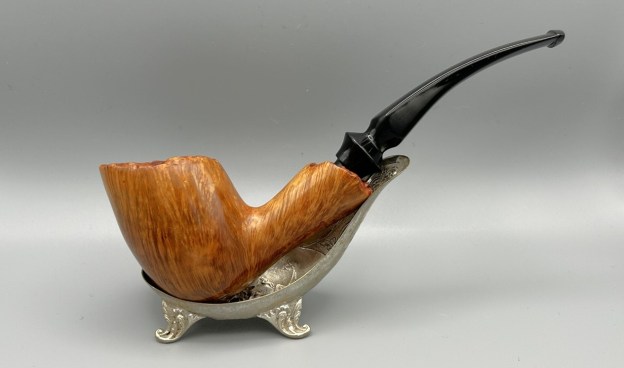
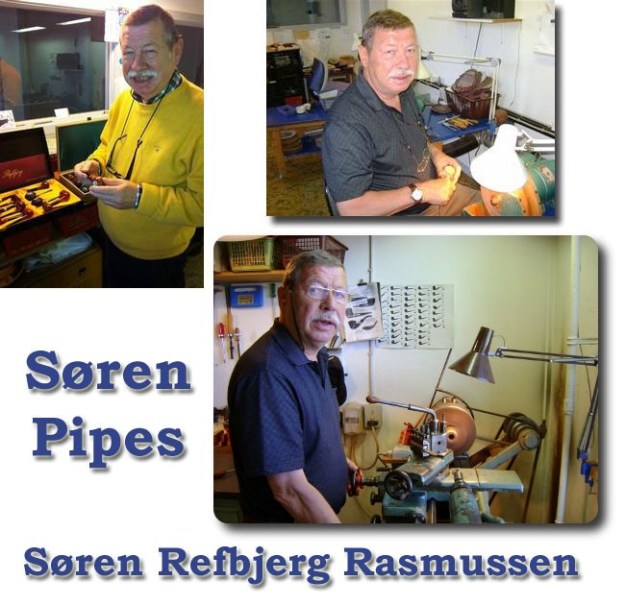
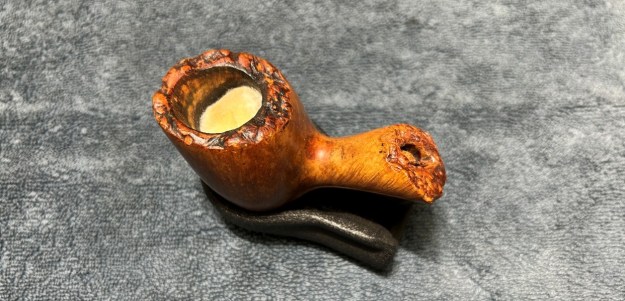
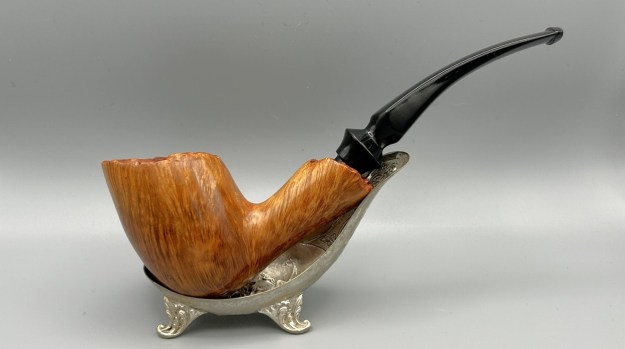
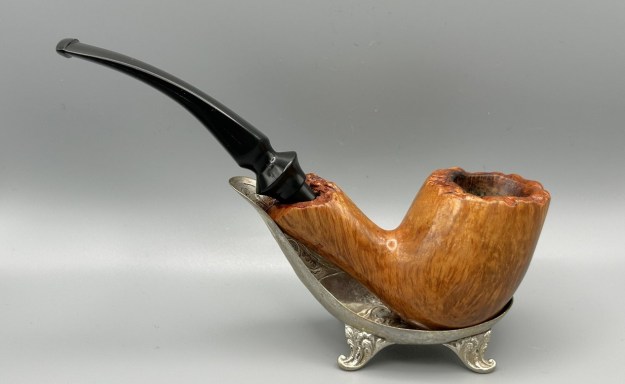
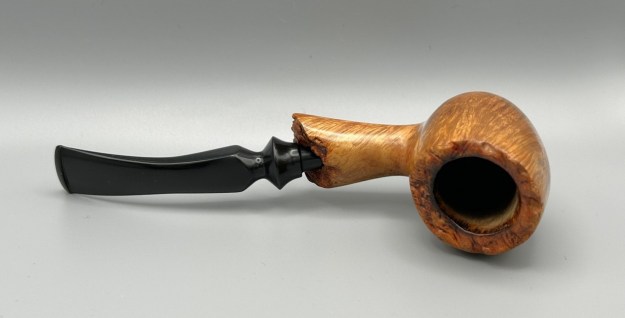
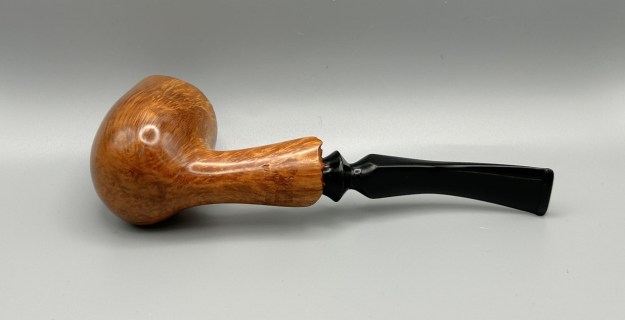
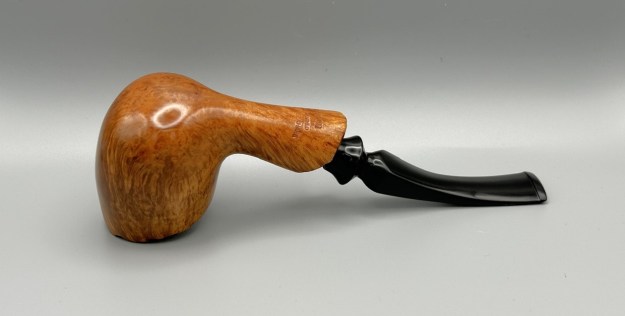
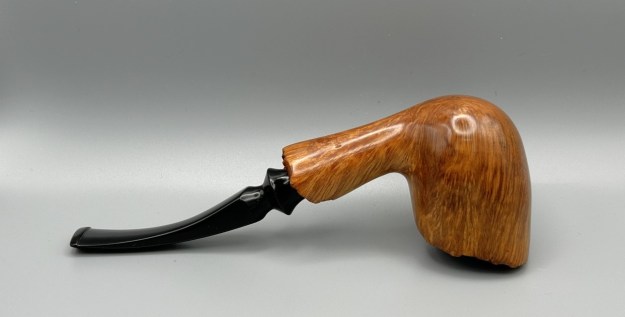
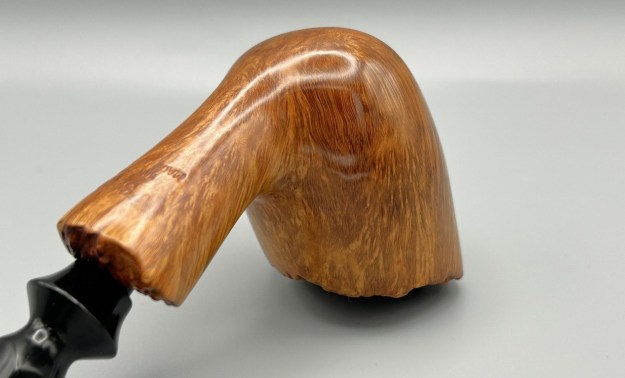
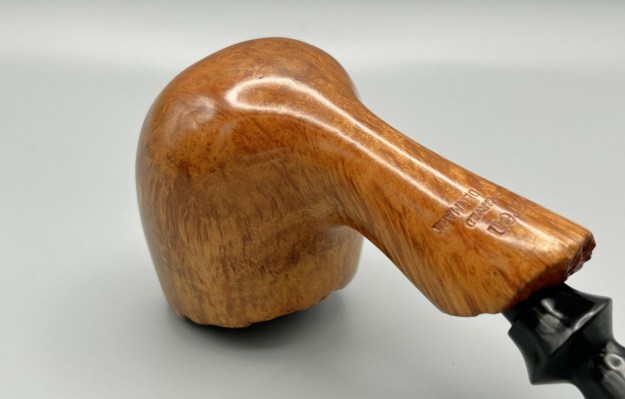
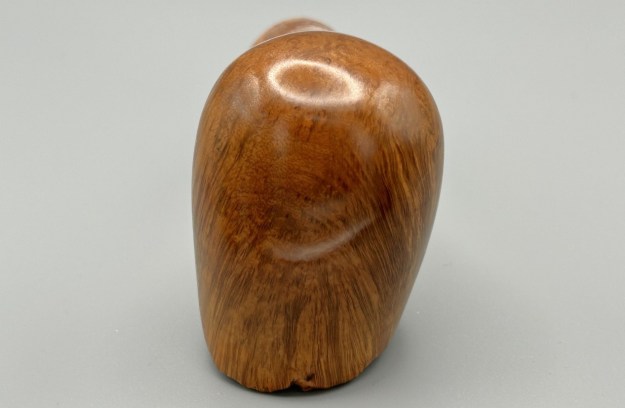
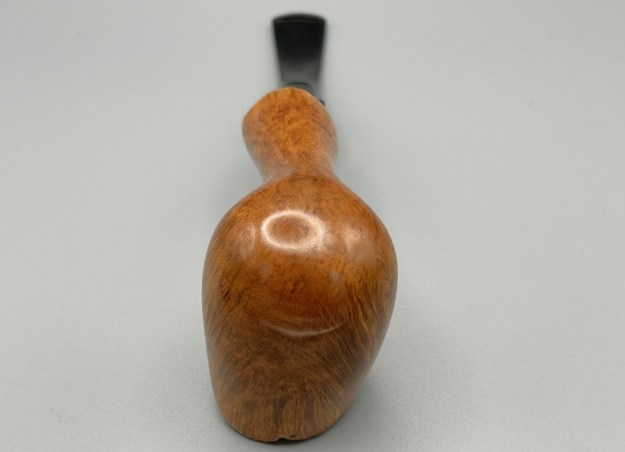
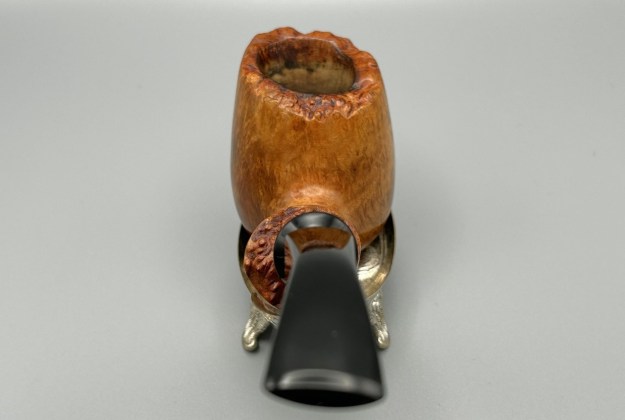
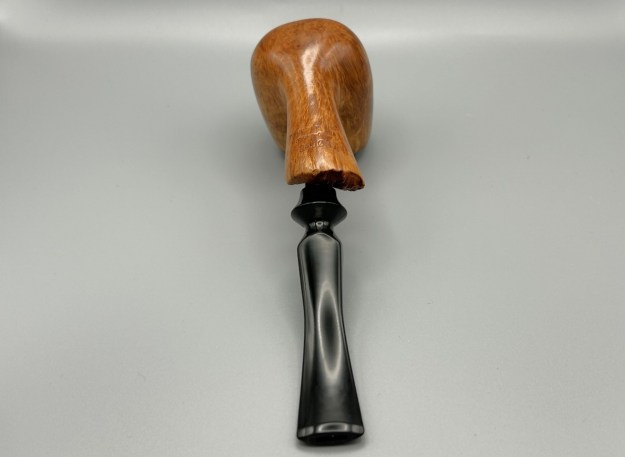
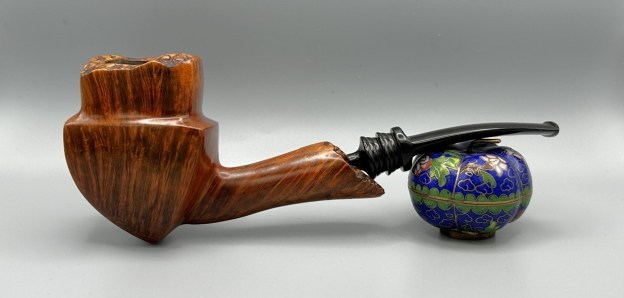
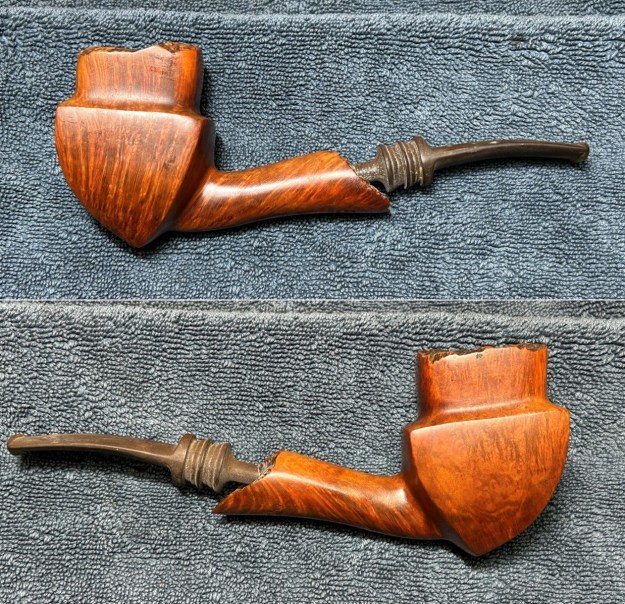
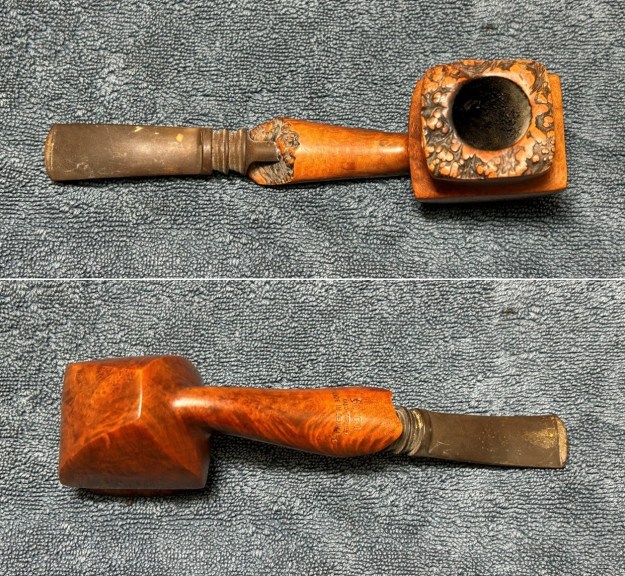
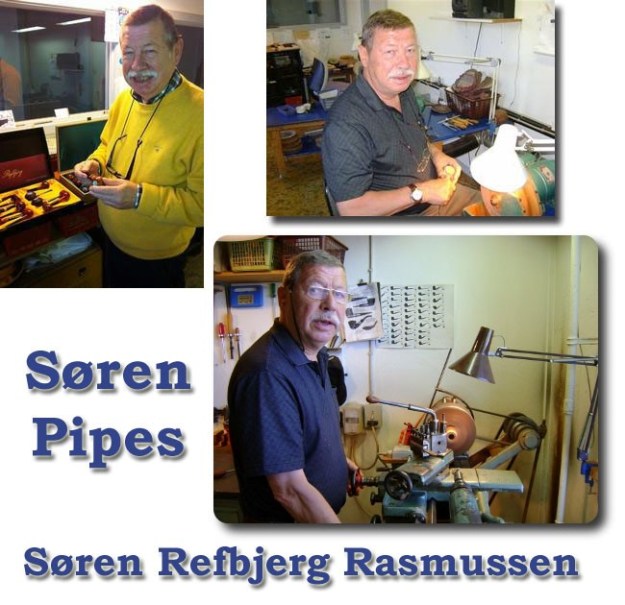
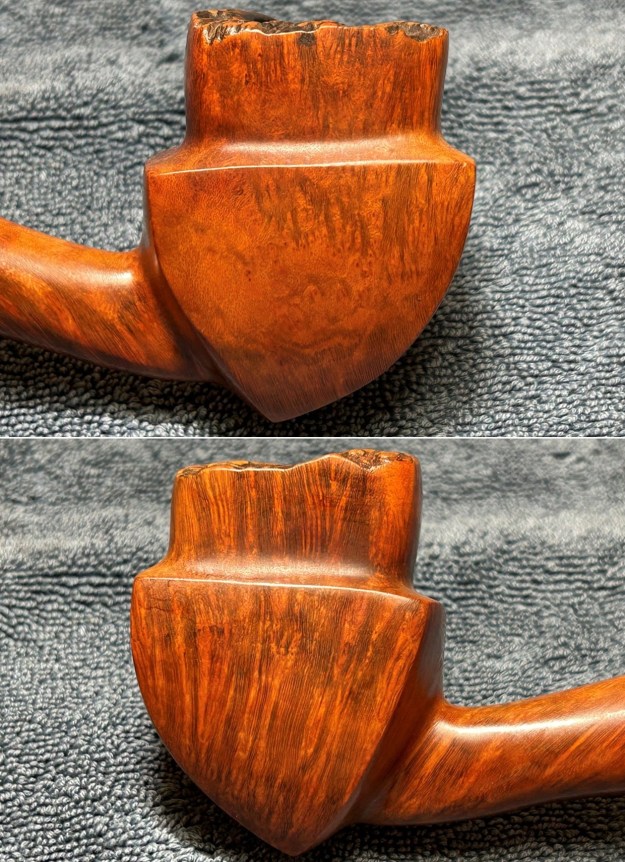
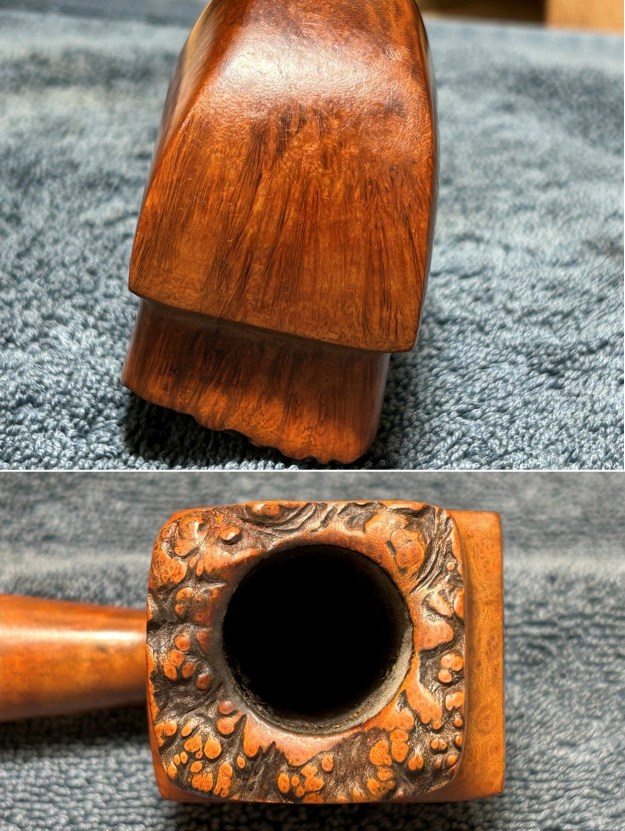
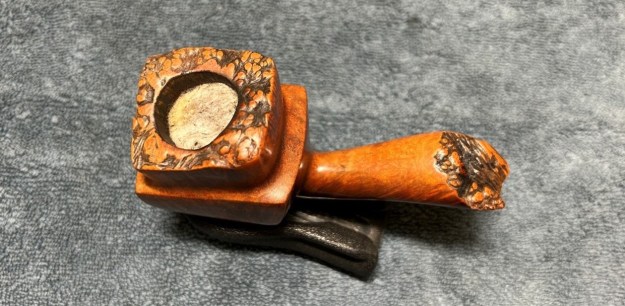
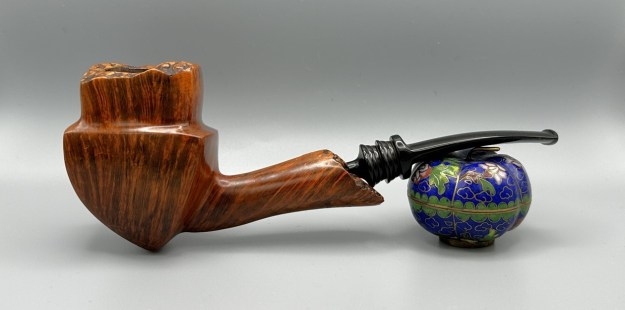
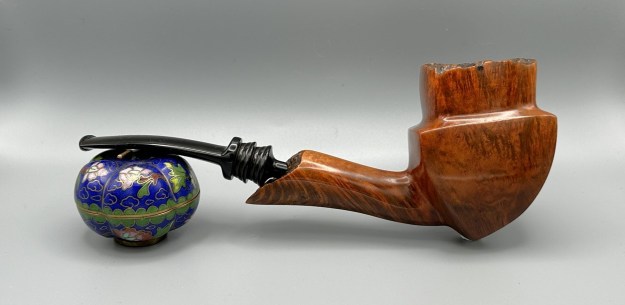
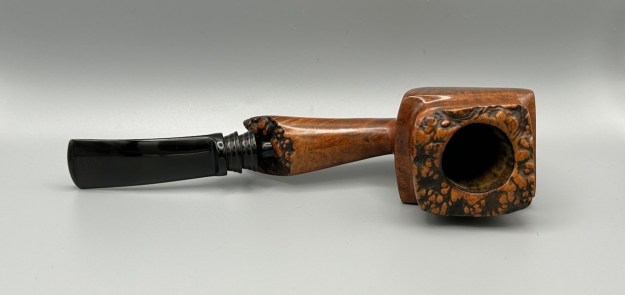
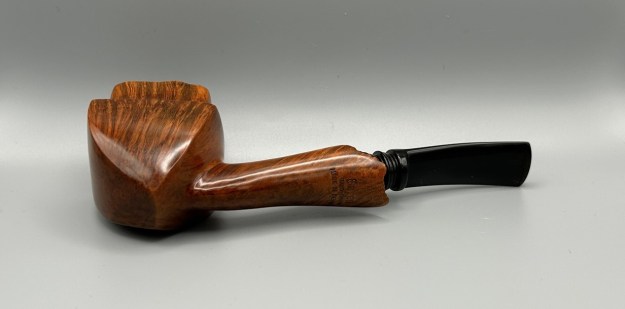
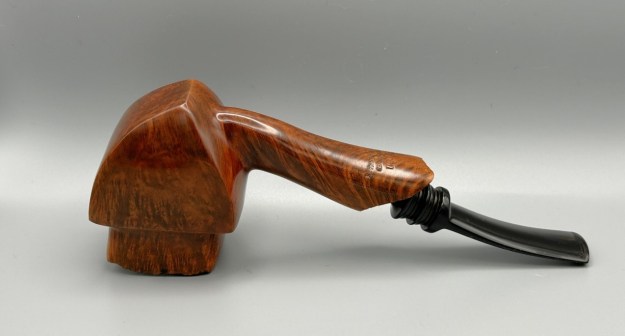
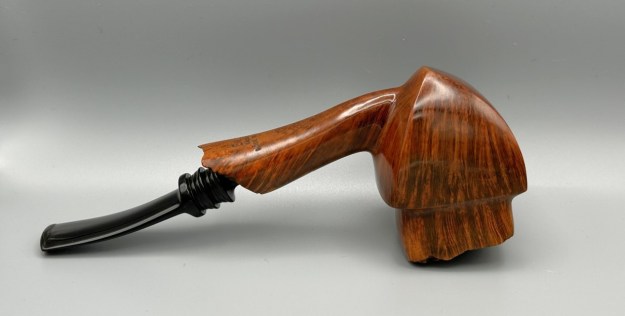
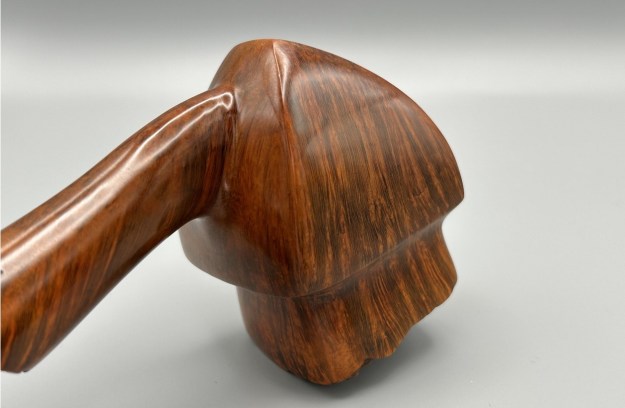
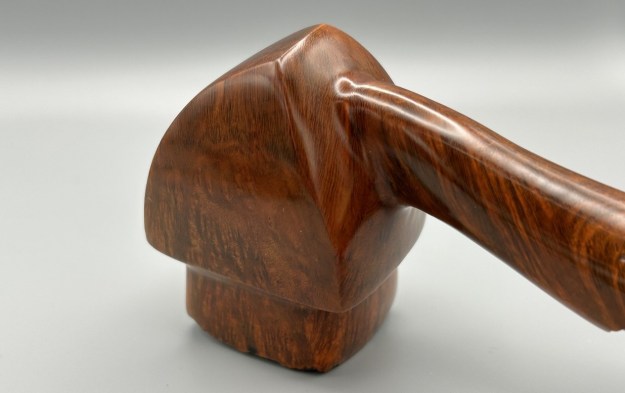
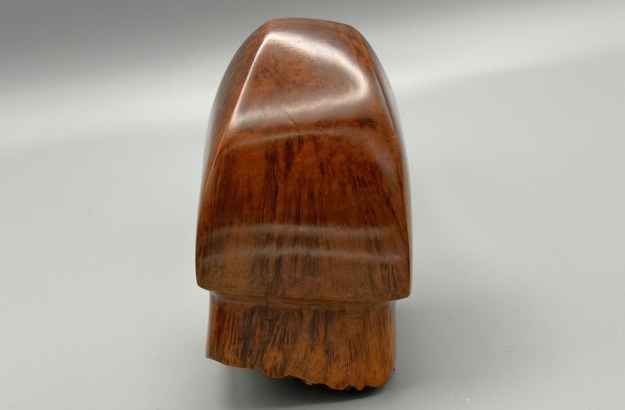
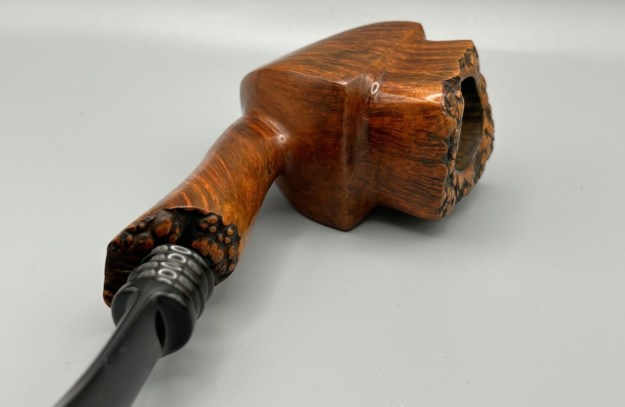
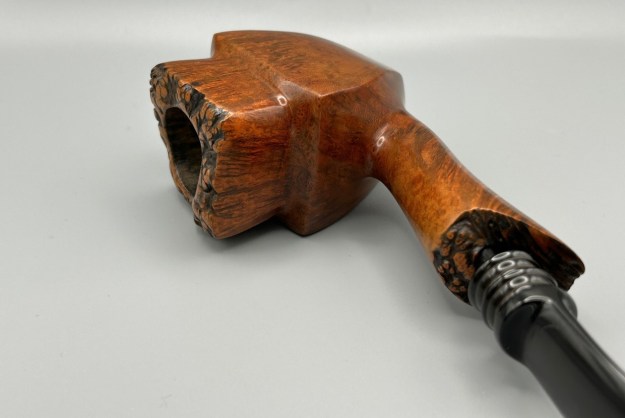
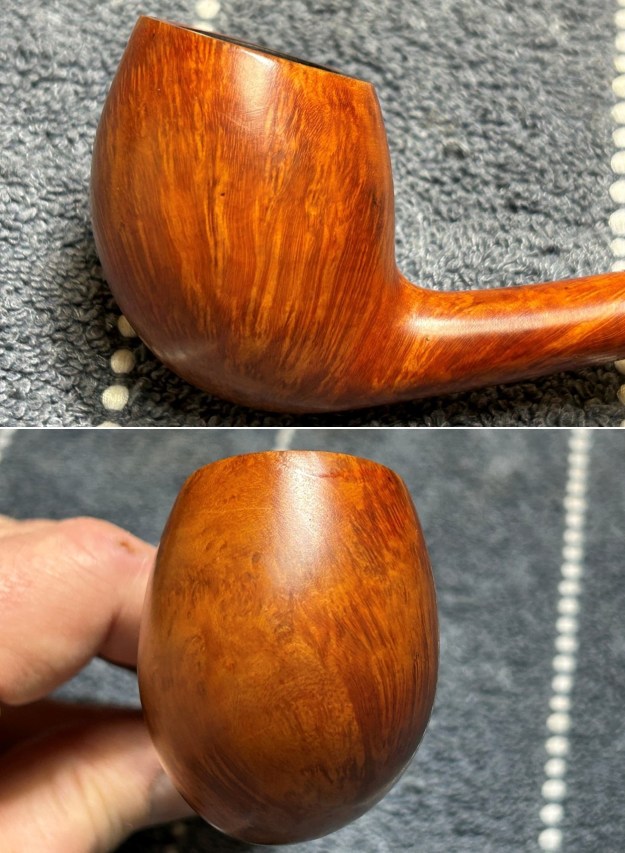
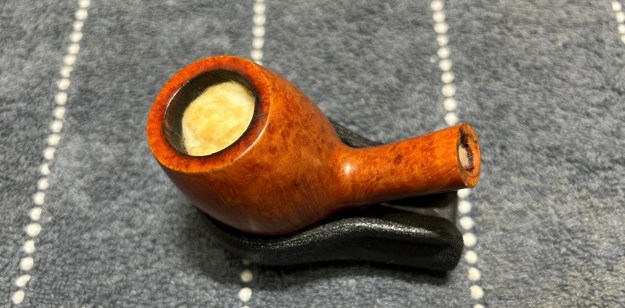
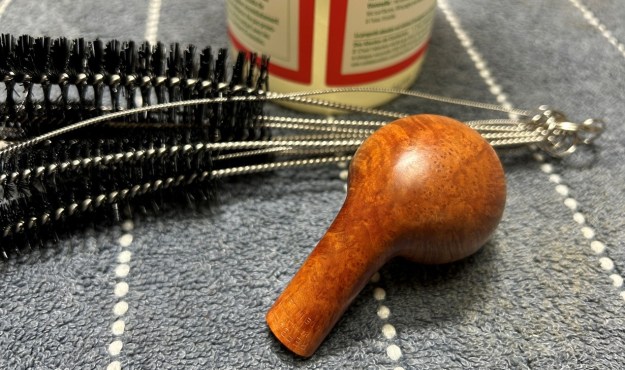
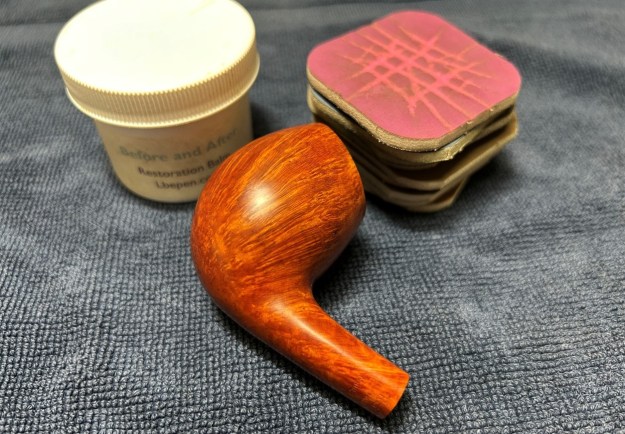
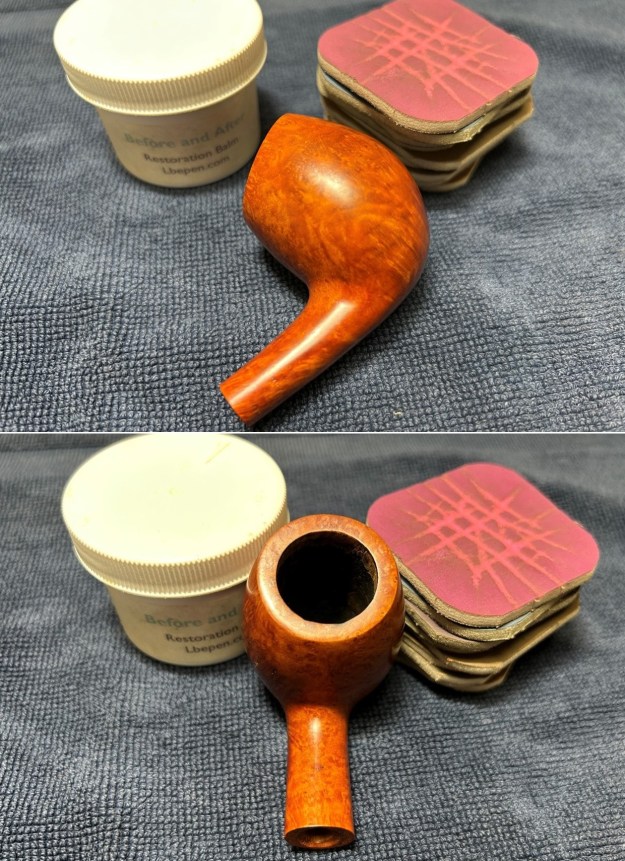
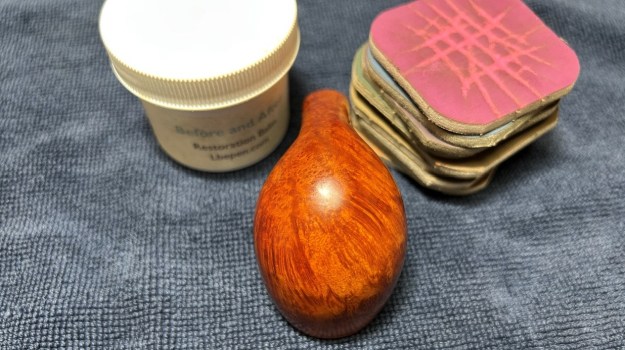
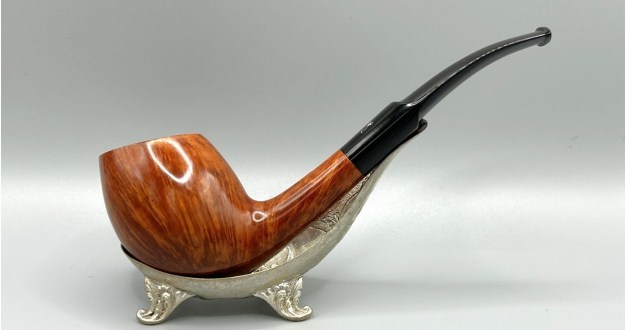
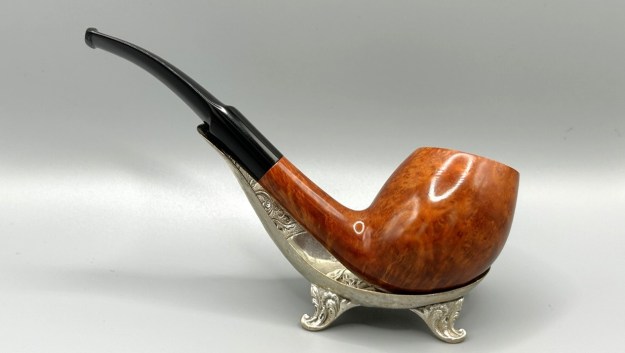
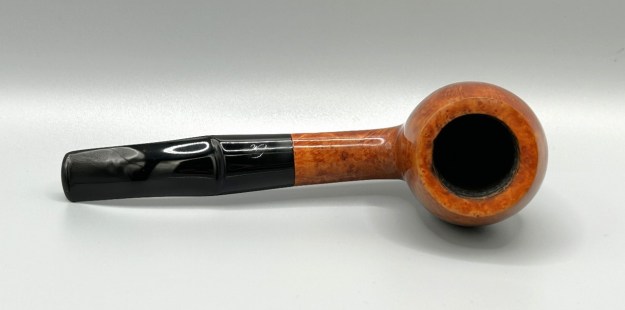
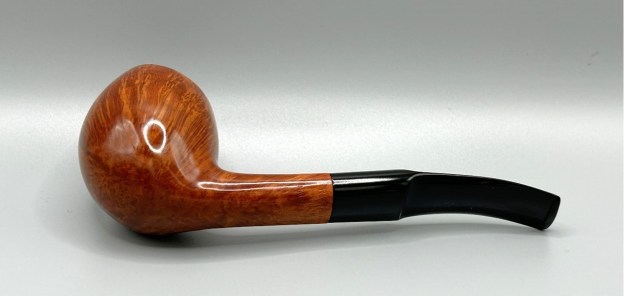
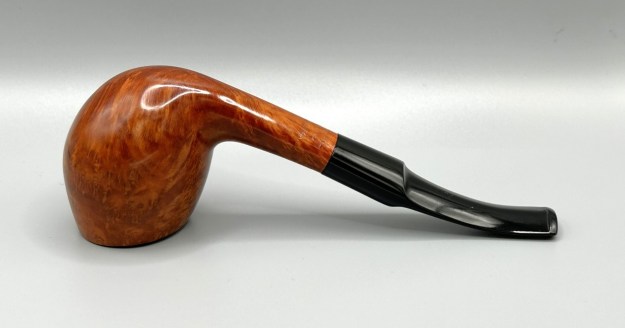
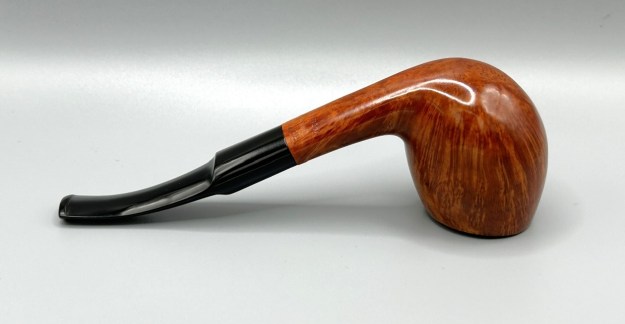
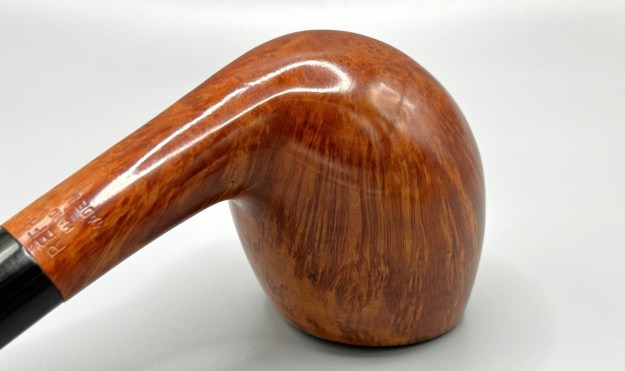
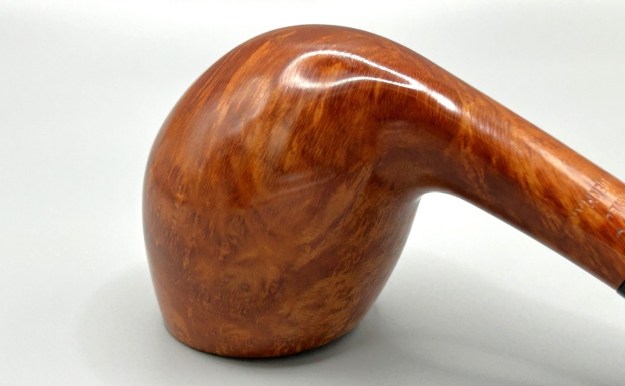
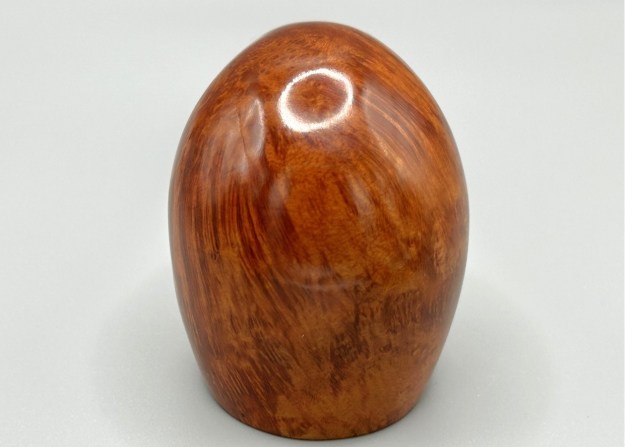
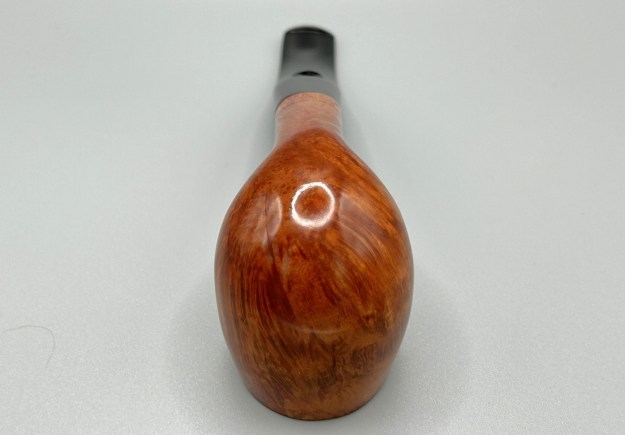
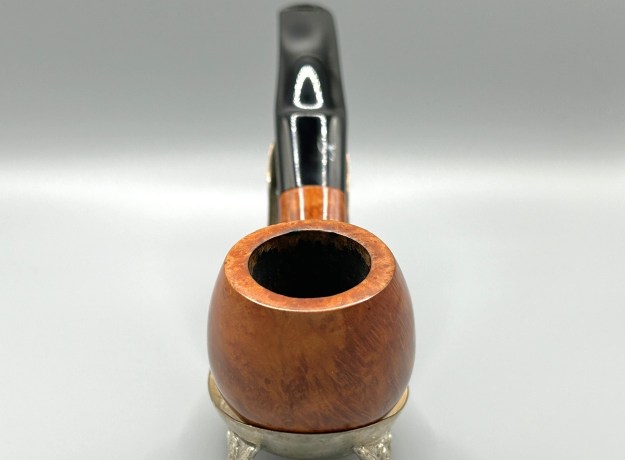
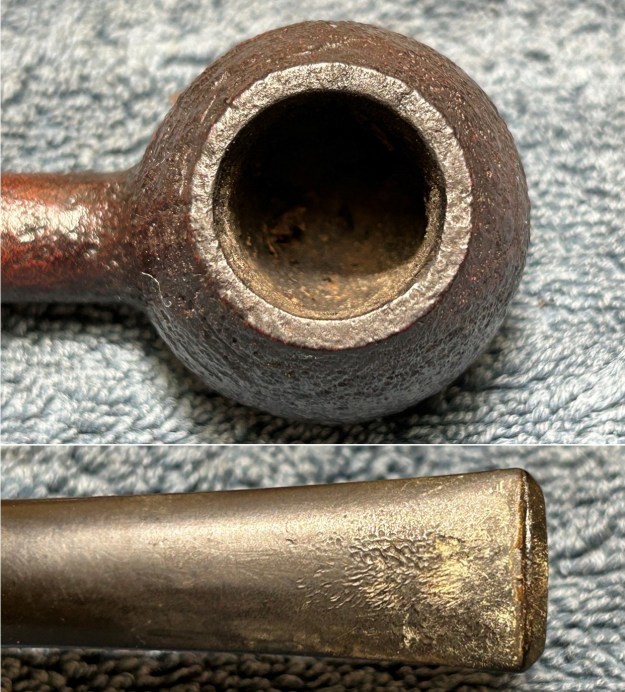
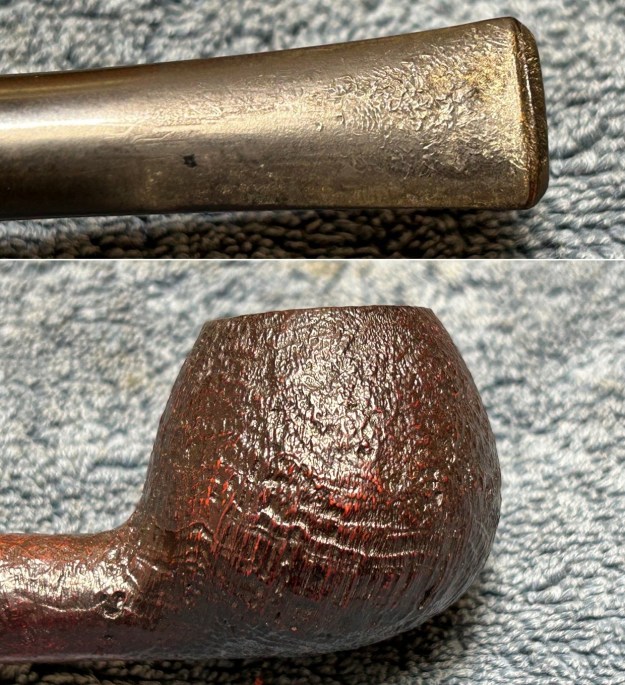
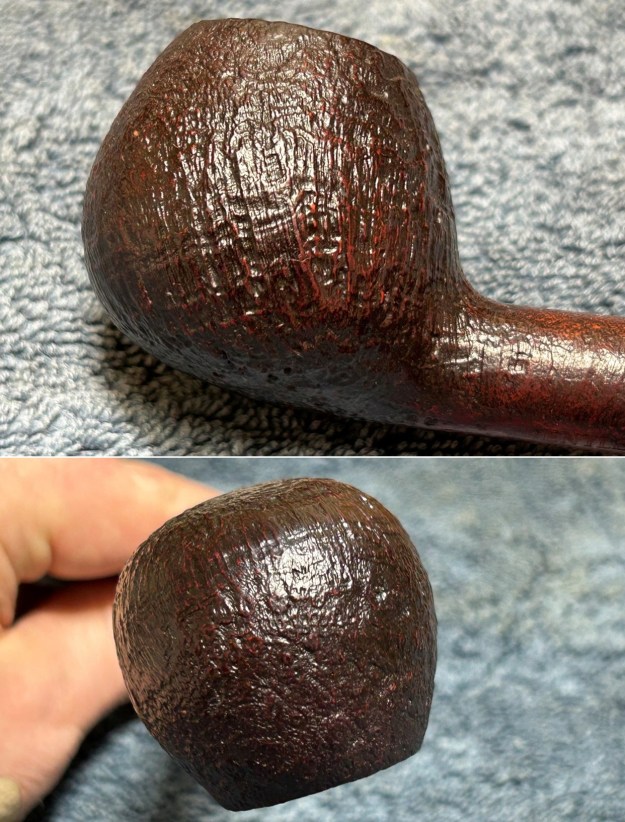
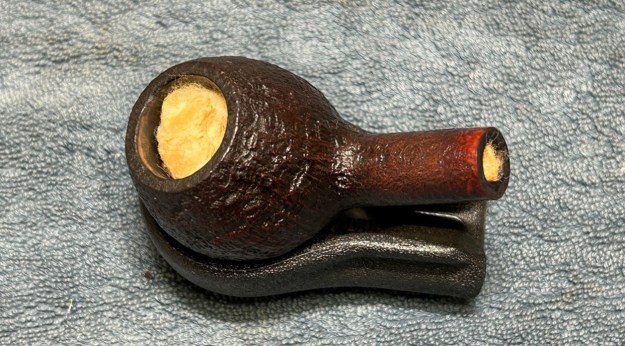
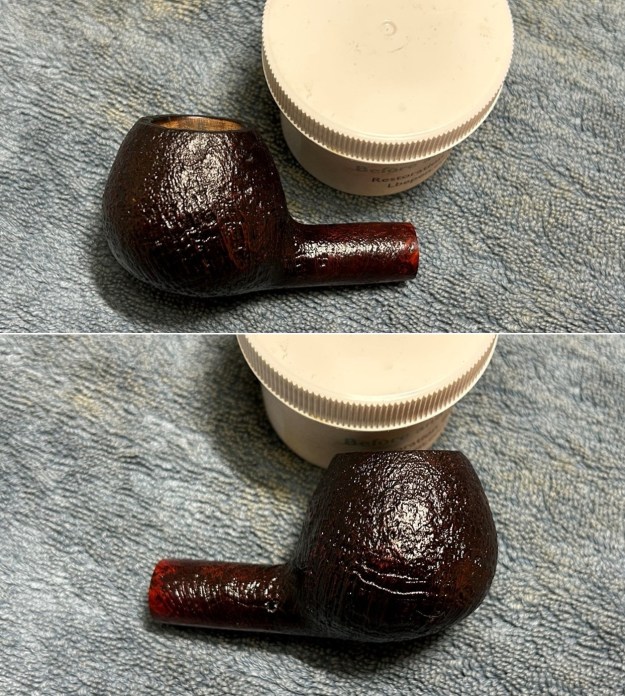
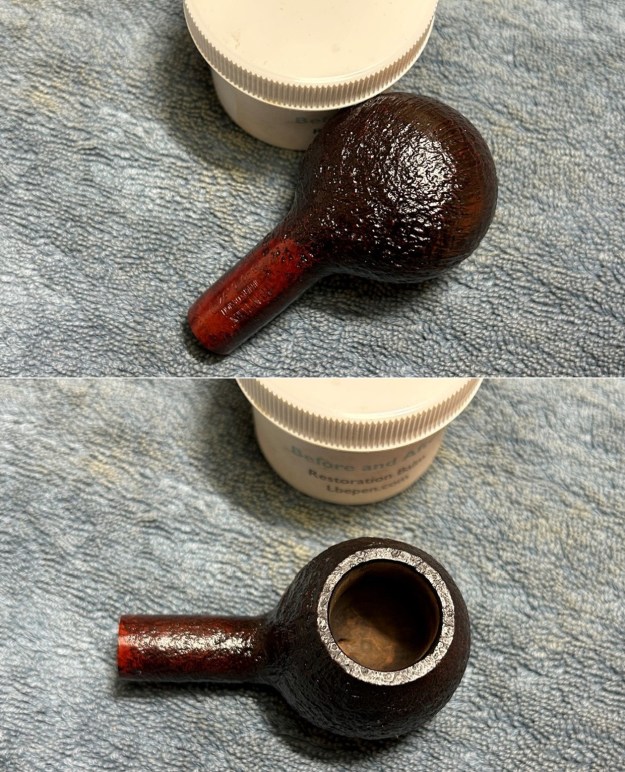
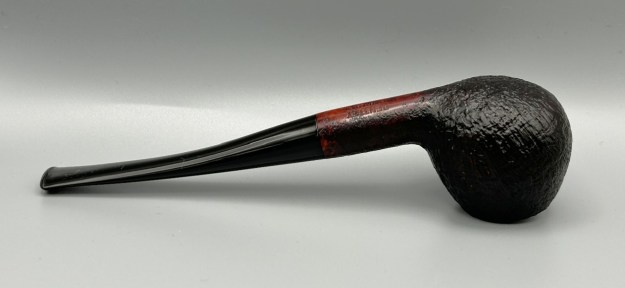
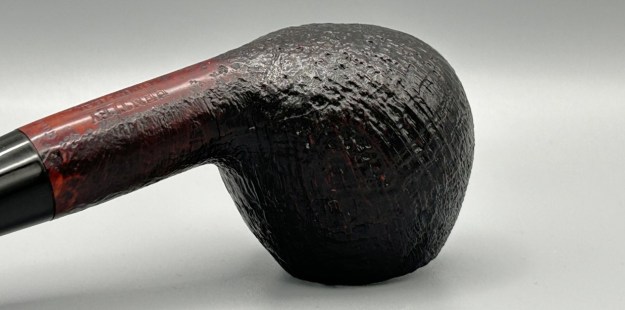
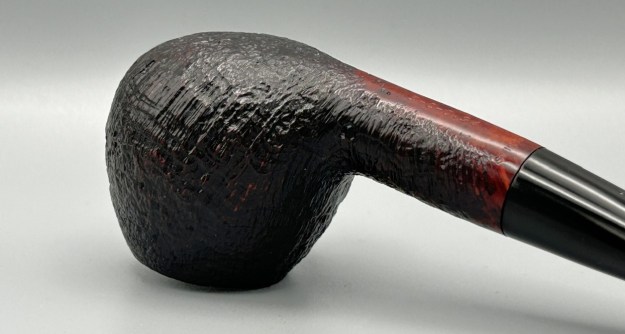
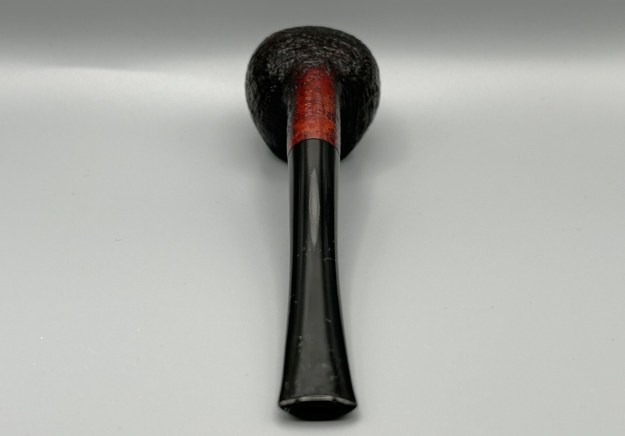
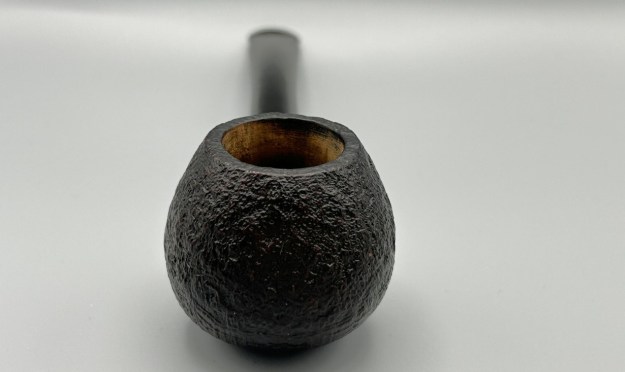
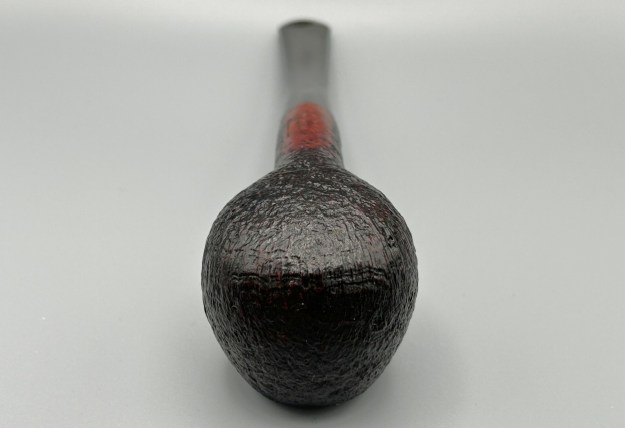
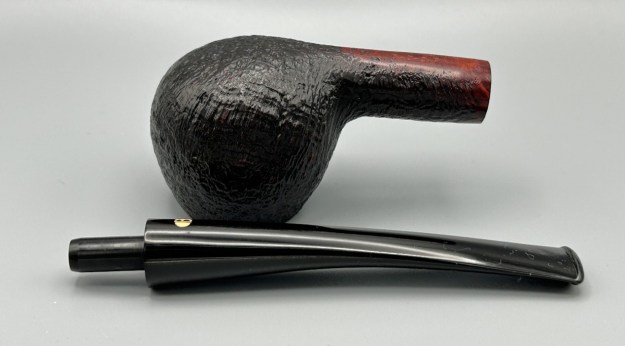
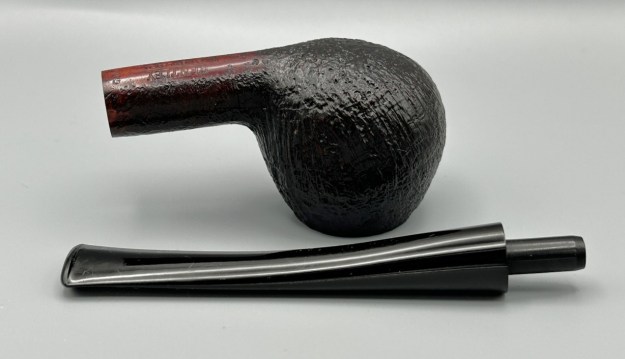
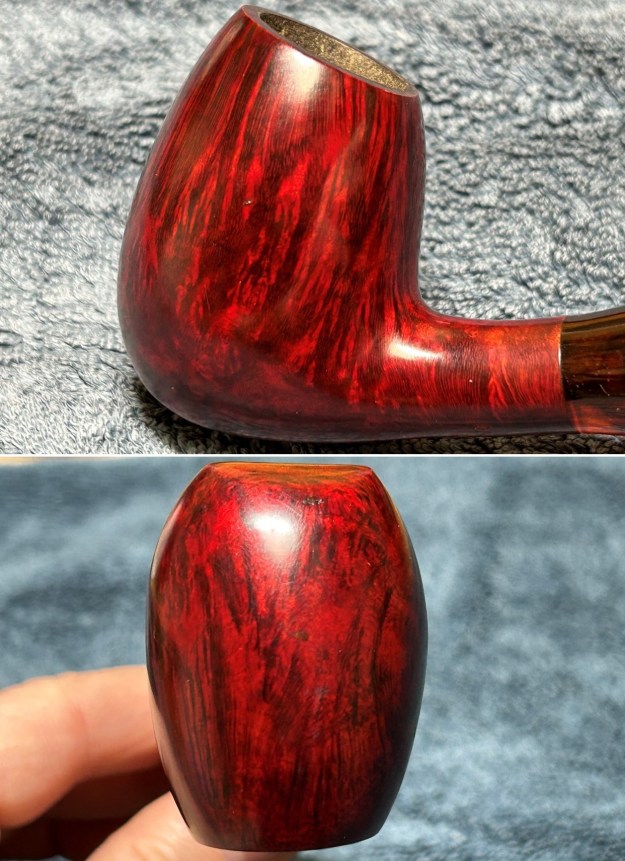
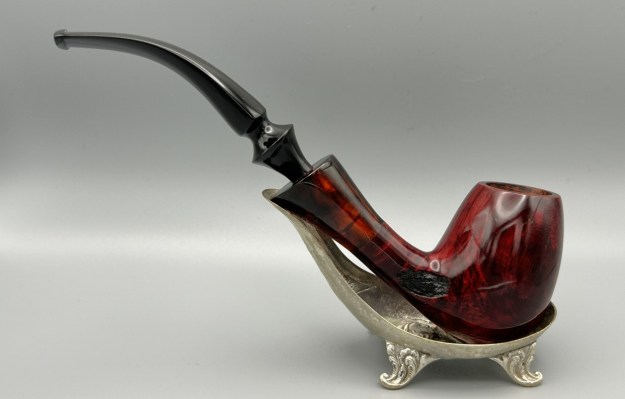
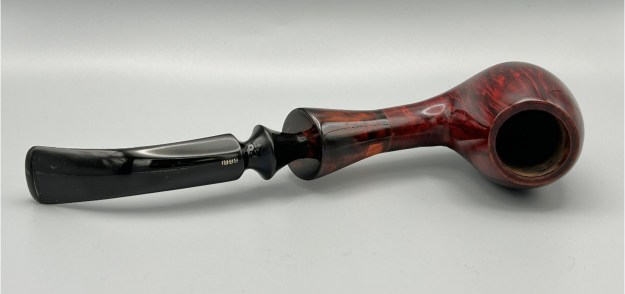
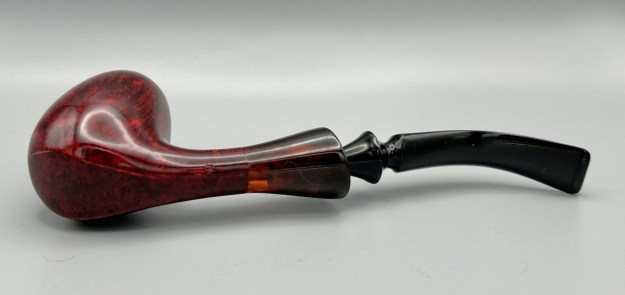
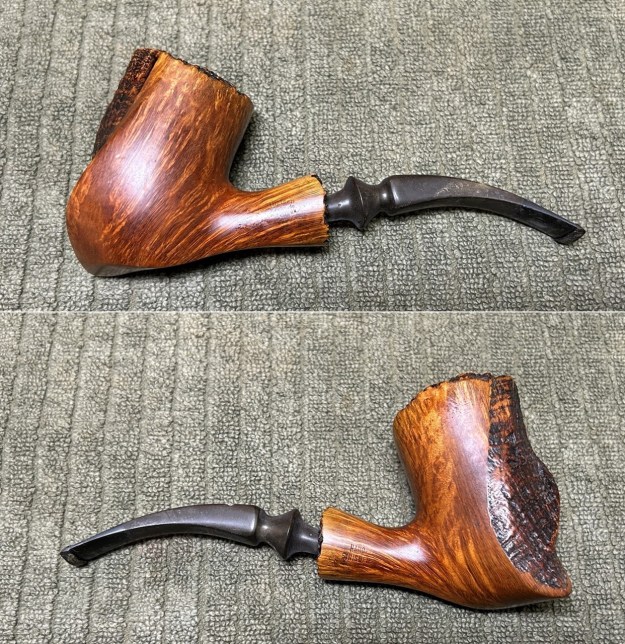
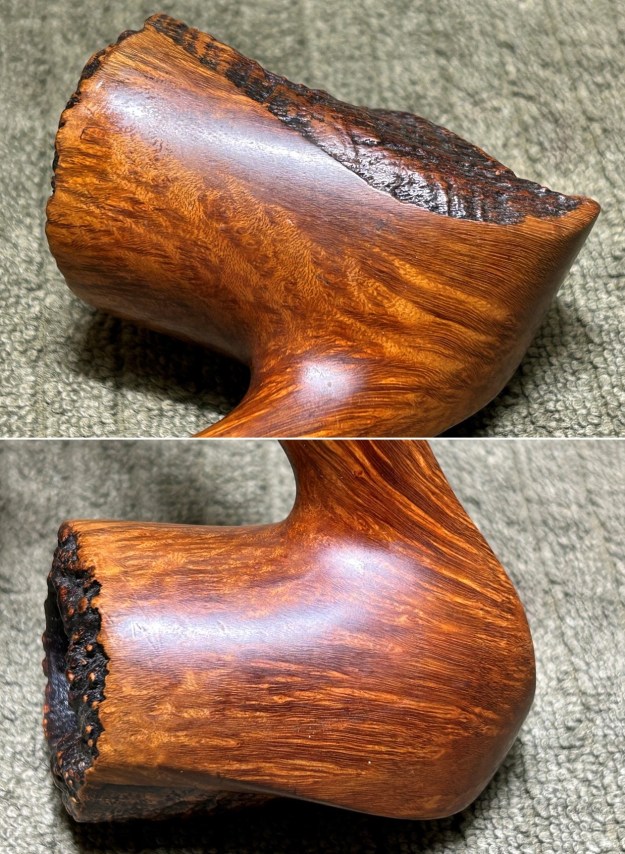
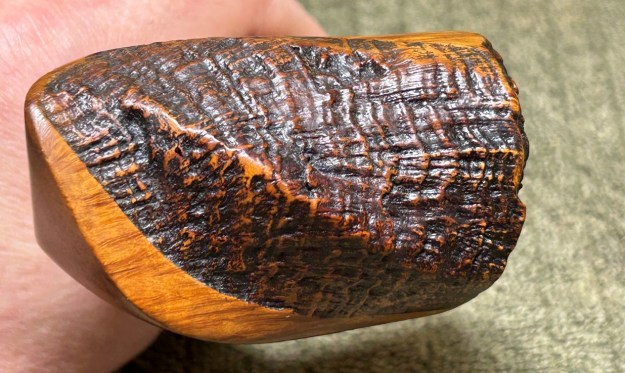
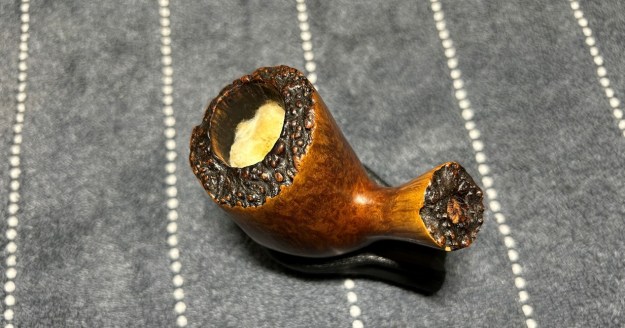
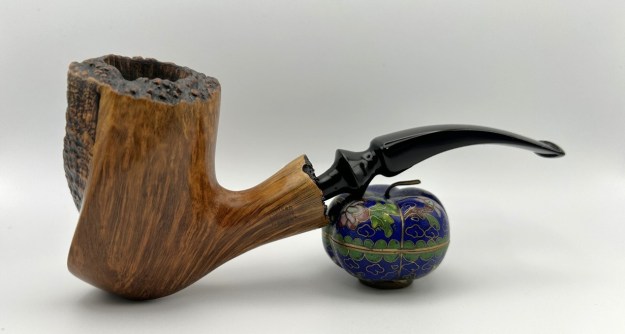
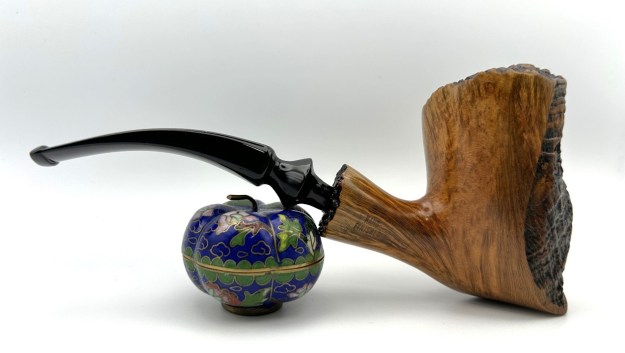
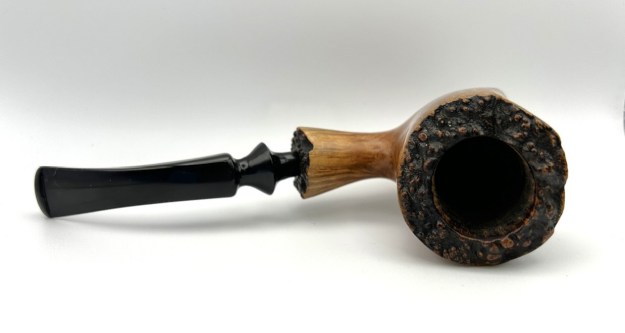
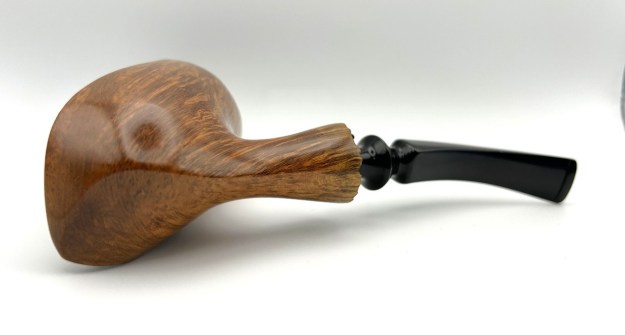
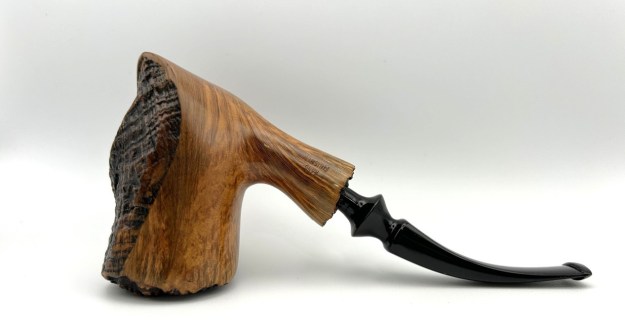
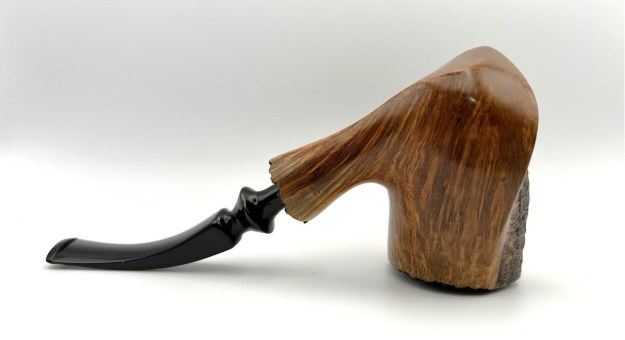
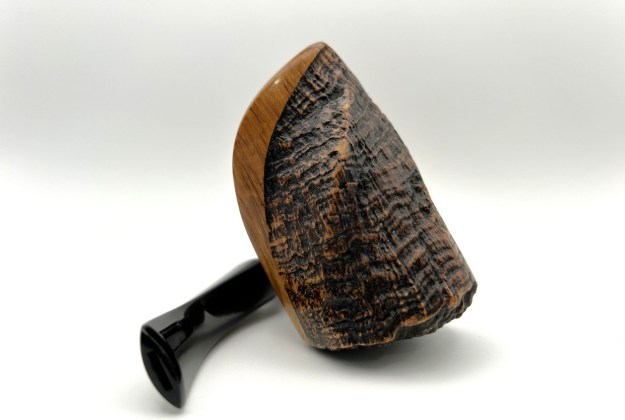
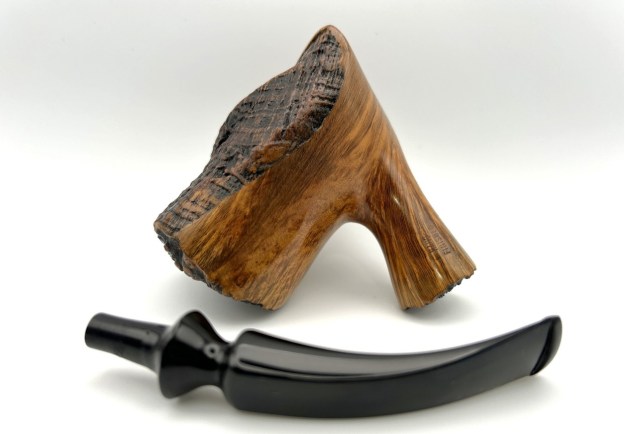
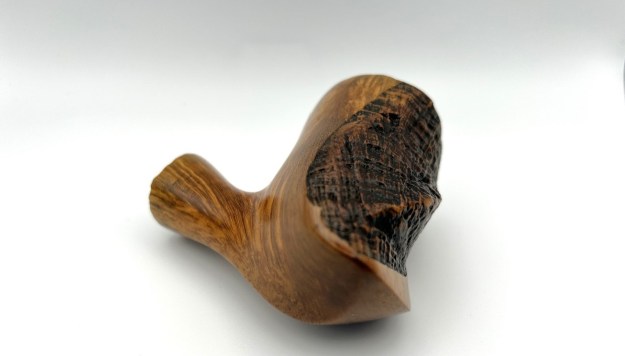
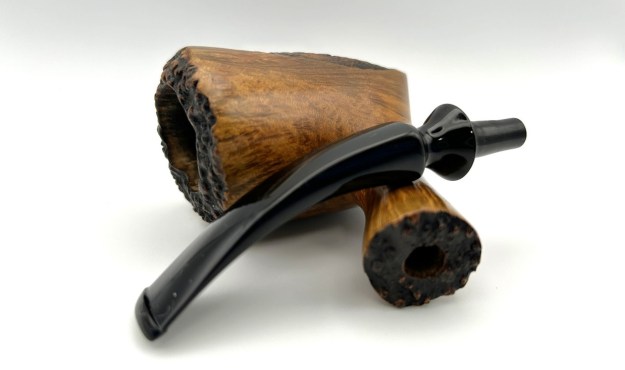
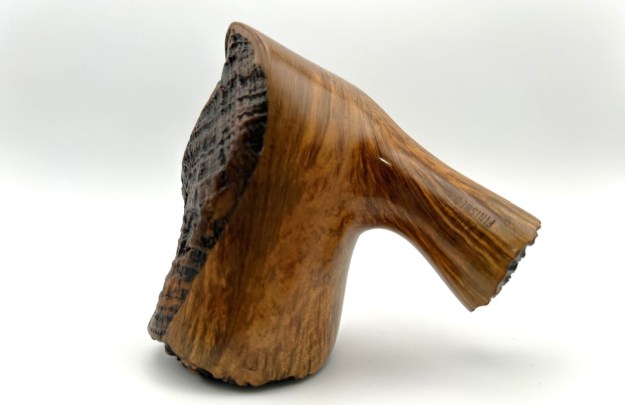
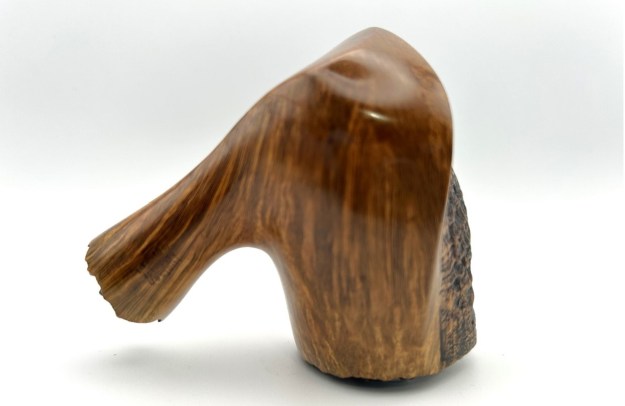
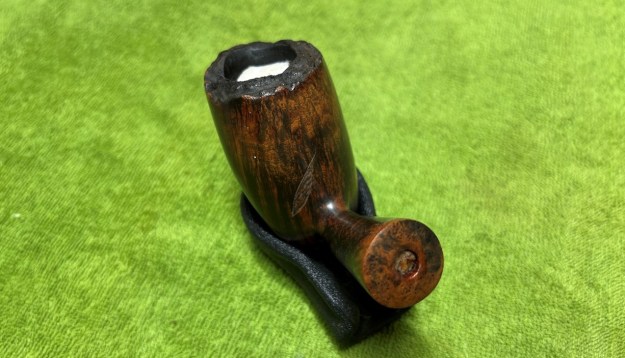
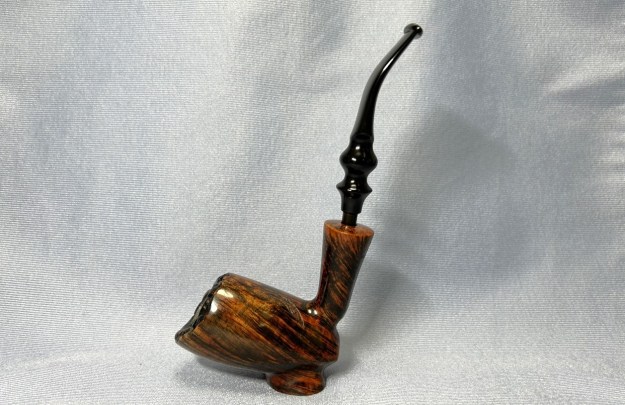
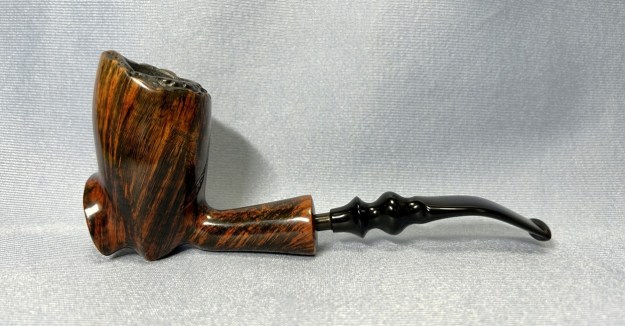
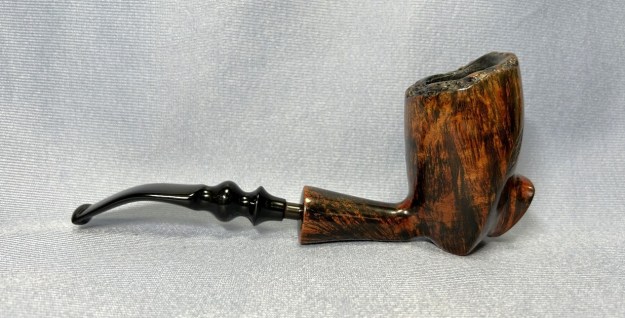
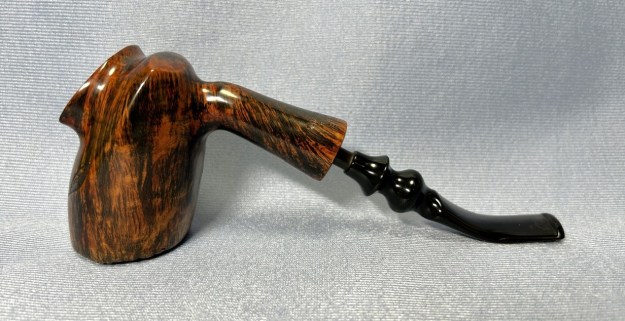
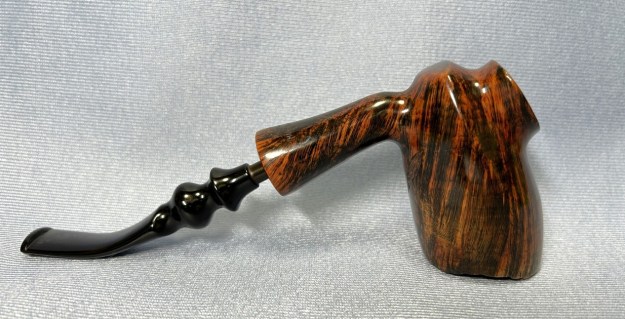
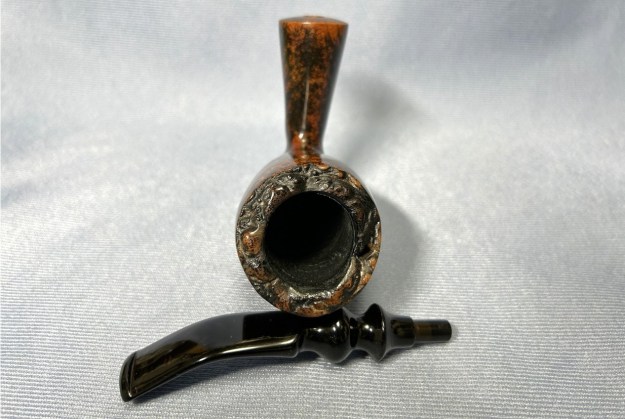
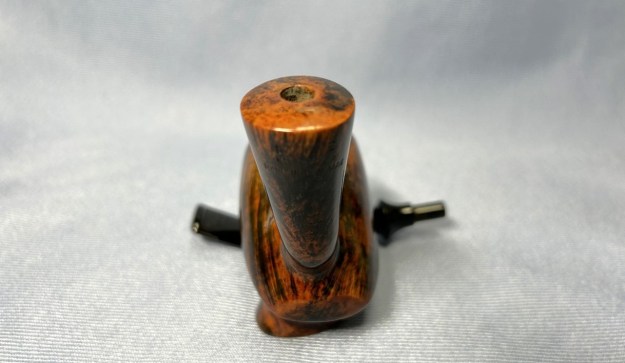
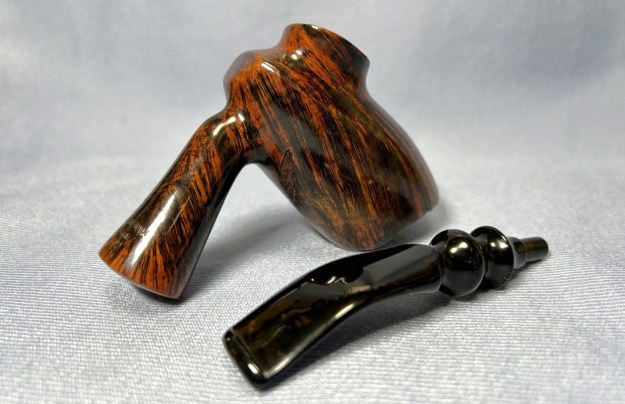
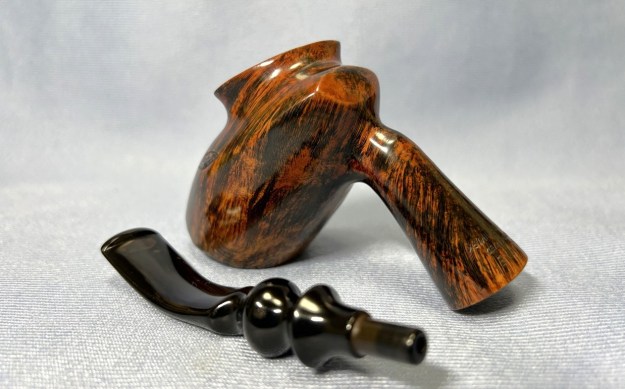
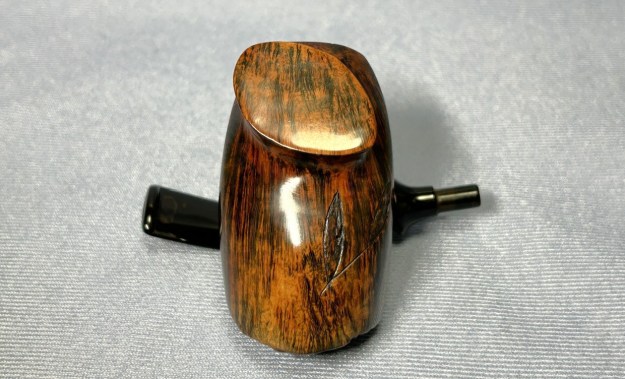
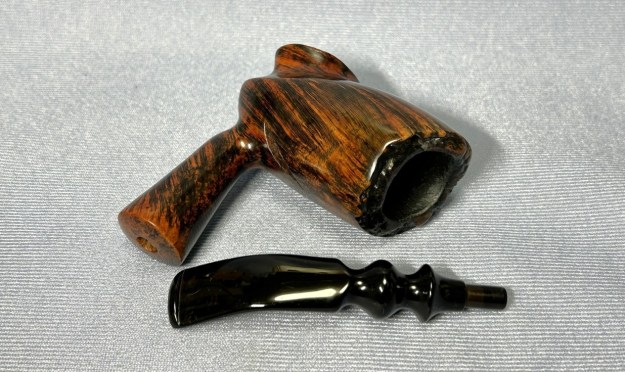
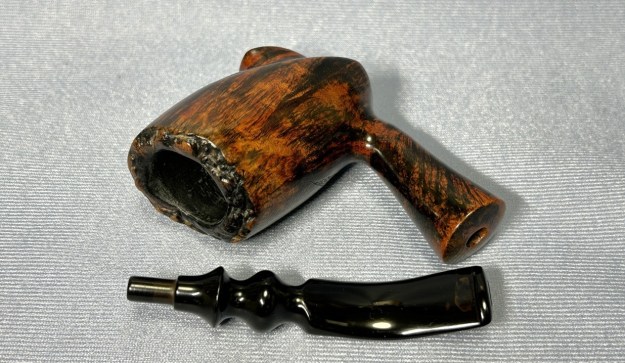
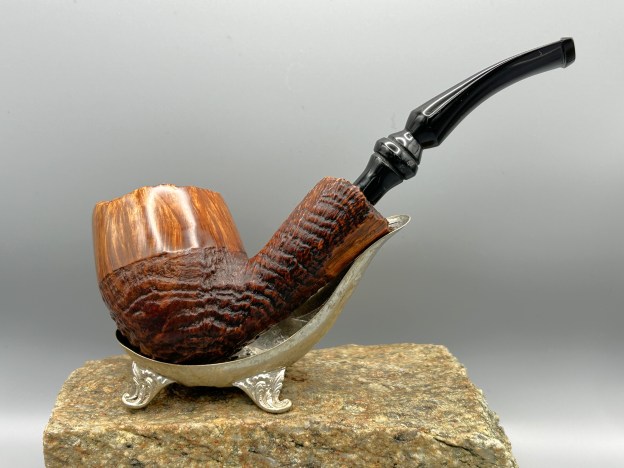
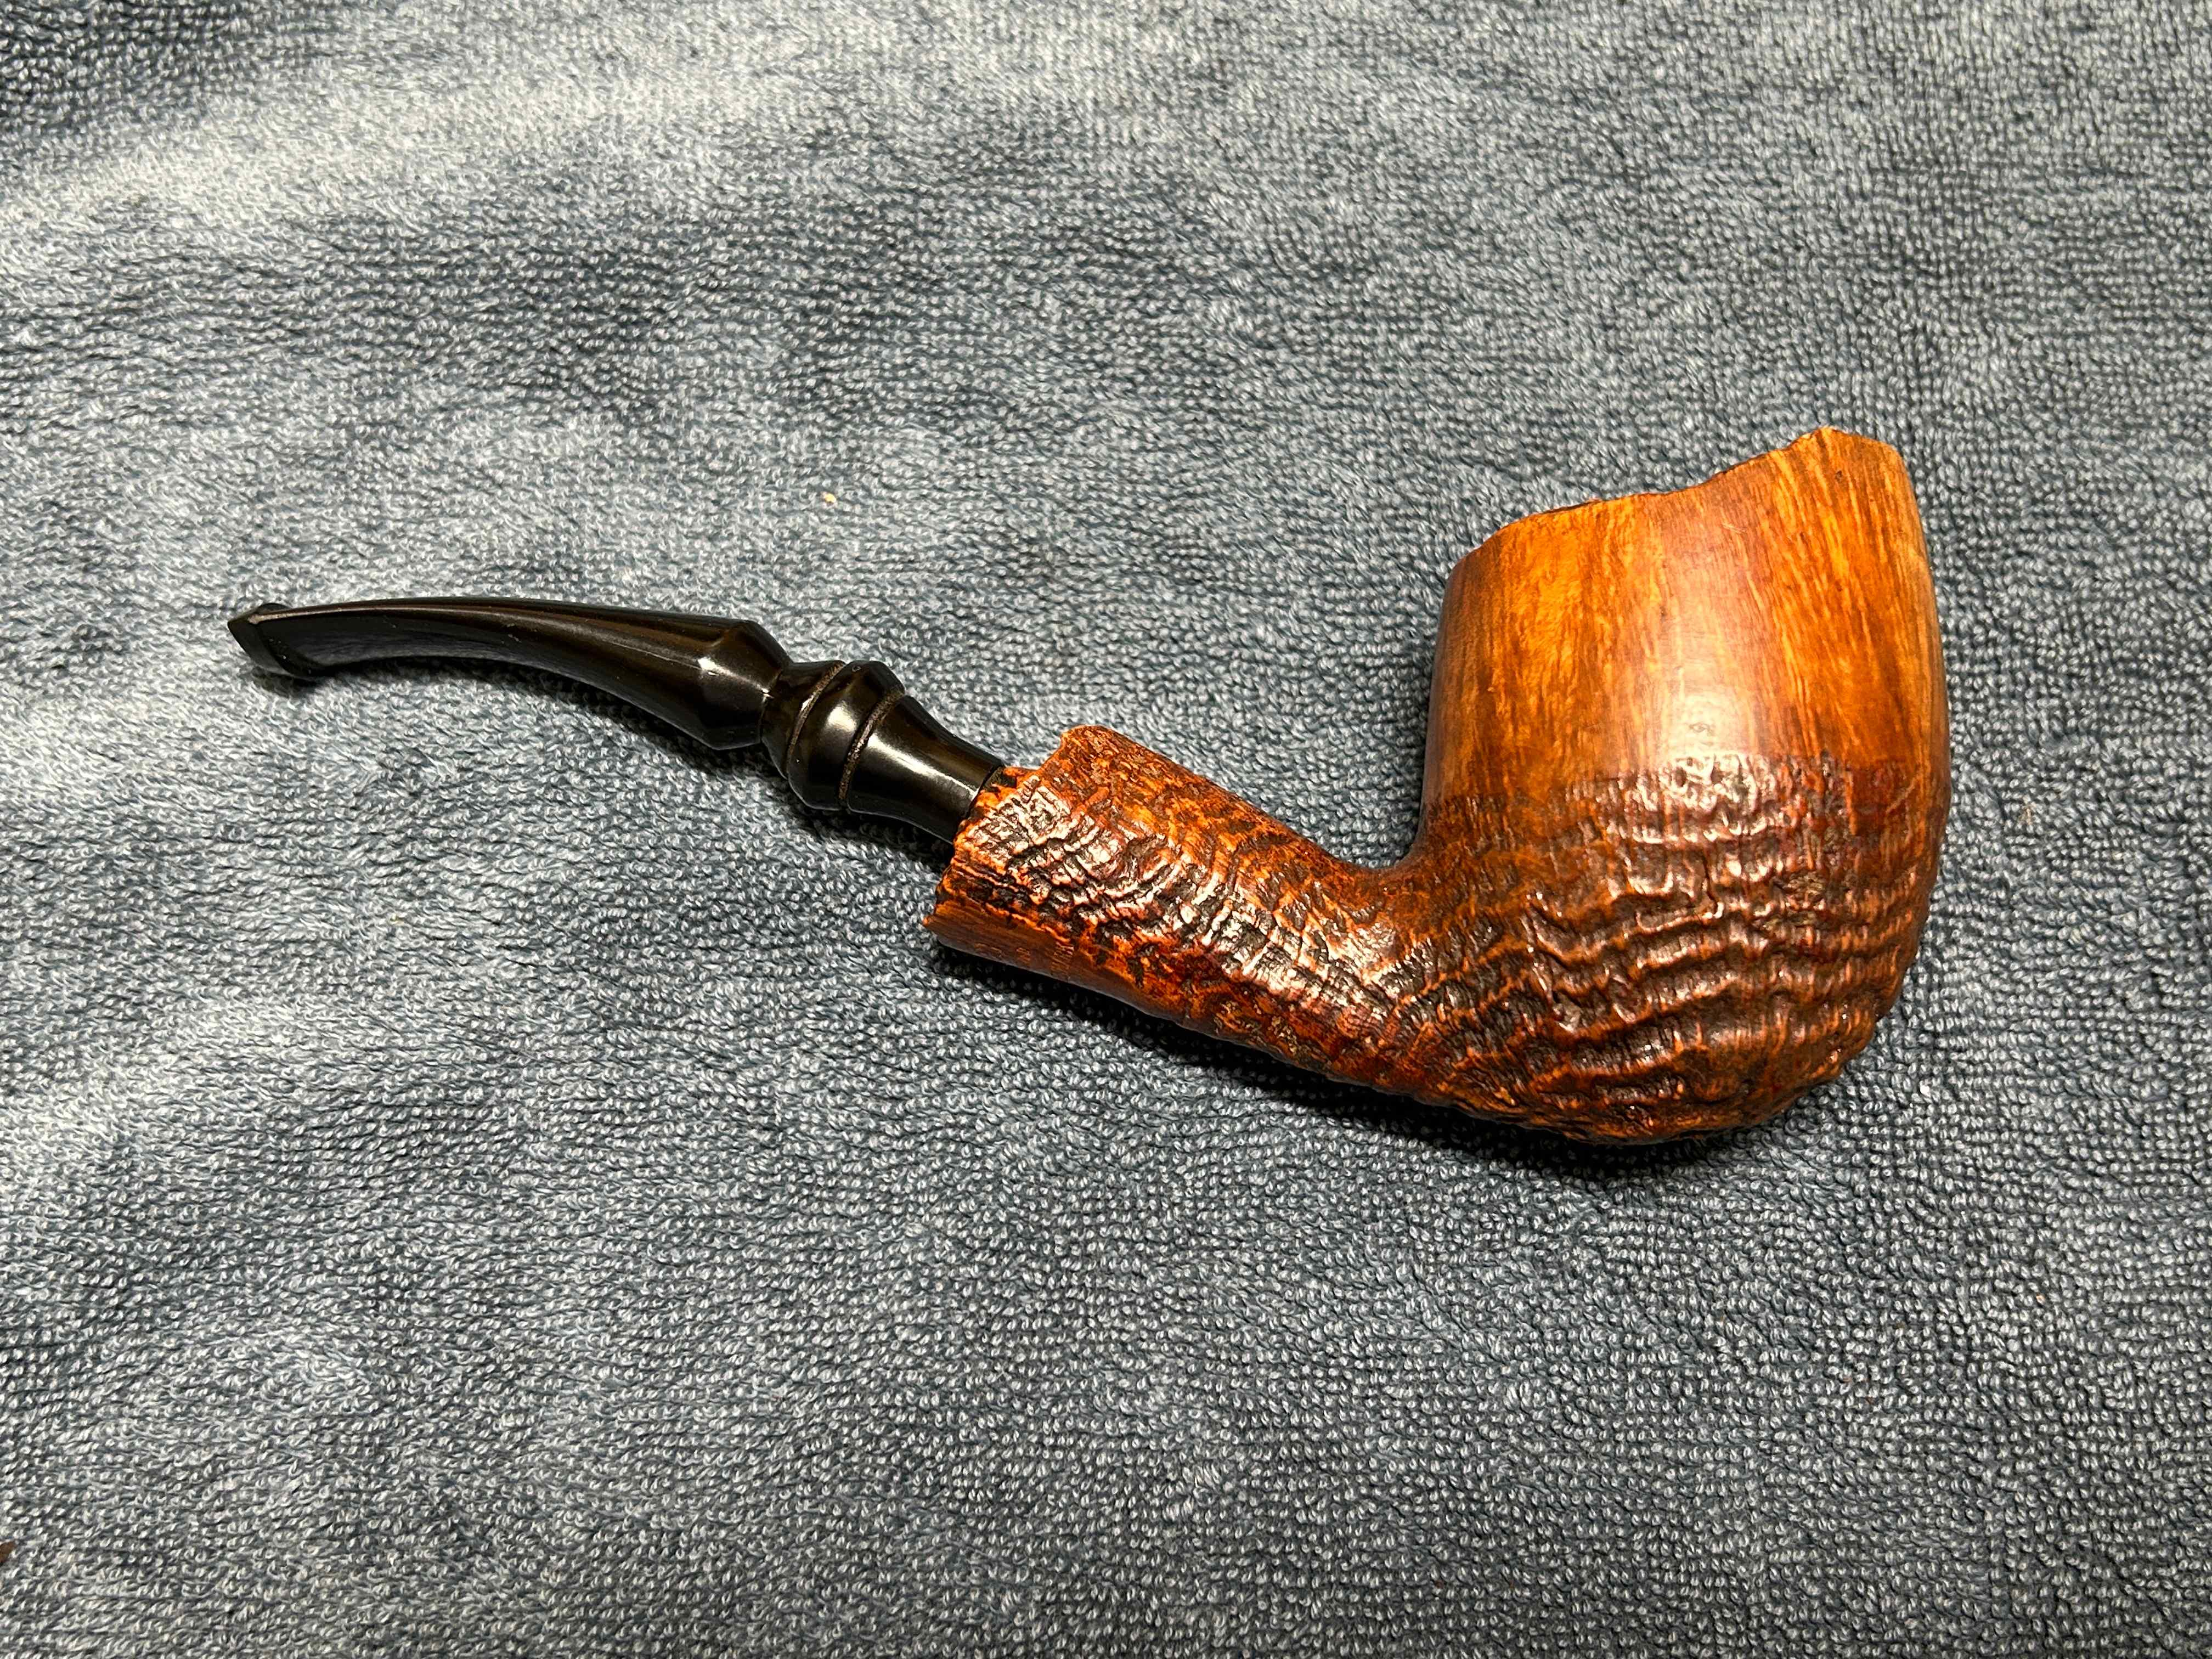
The sandblast on this pipe really captured my imagination. I recently acquired a collection from a gentleman, now deceased, who clearly loved his pipes. They were all well used and, according to his family, he had a pipe hanging out of his mouth at all times. I’ve restored a few of them already and this is another beauty. It’s a Søren Hand-Carved Freehand Egg, with some stunning grain and some stunning sandblast, by master carver, Søren Refbjerg Rasmussen. It also has an attractive plateau on the rim and the end of the shank. This one is really worth restoring. It’s a remarkable pipe and deserves to be back in someone’s collection. It promises to be a great smoker.
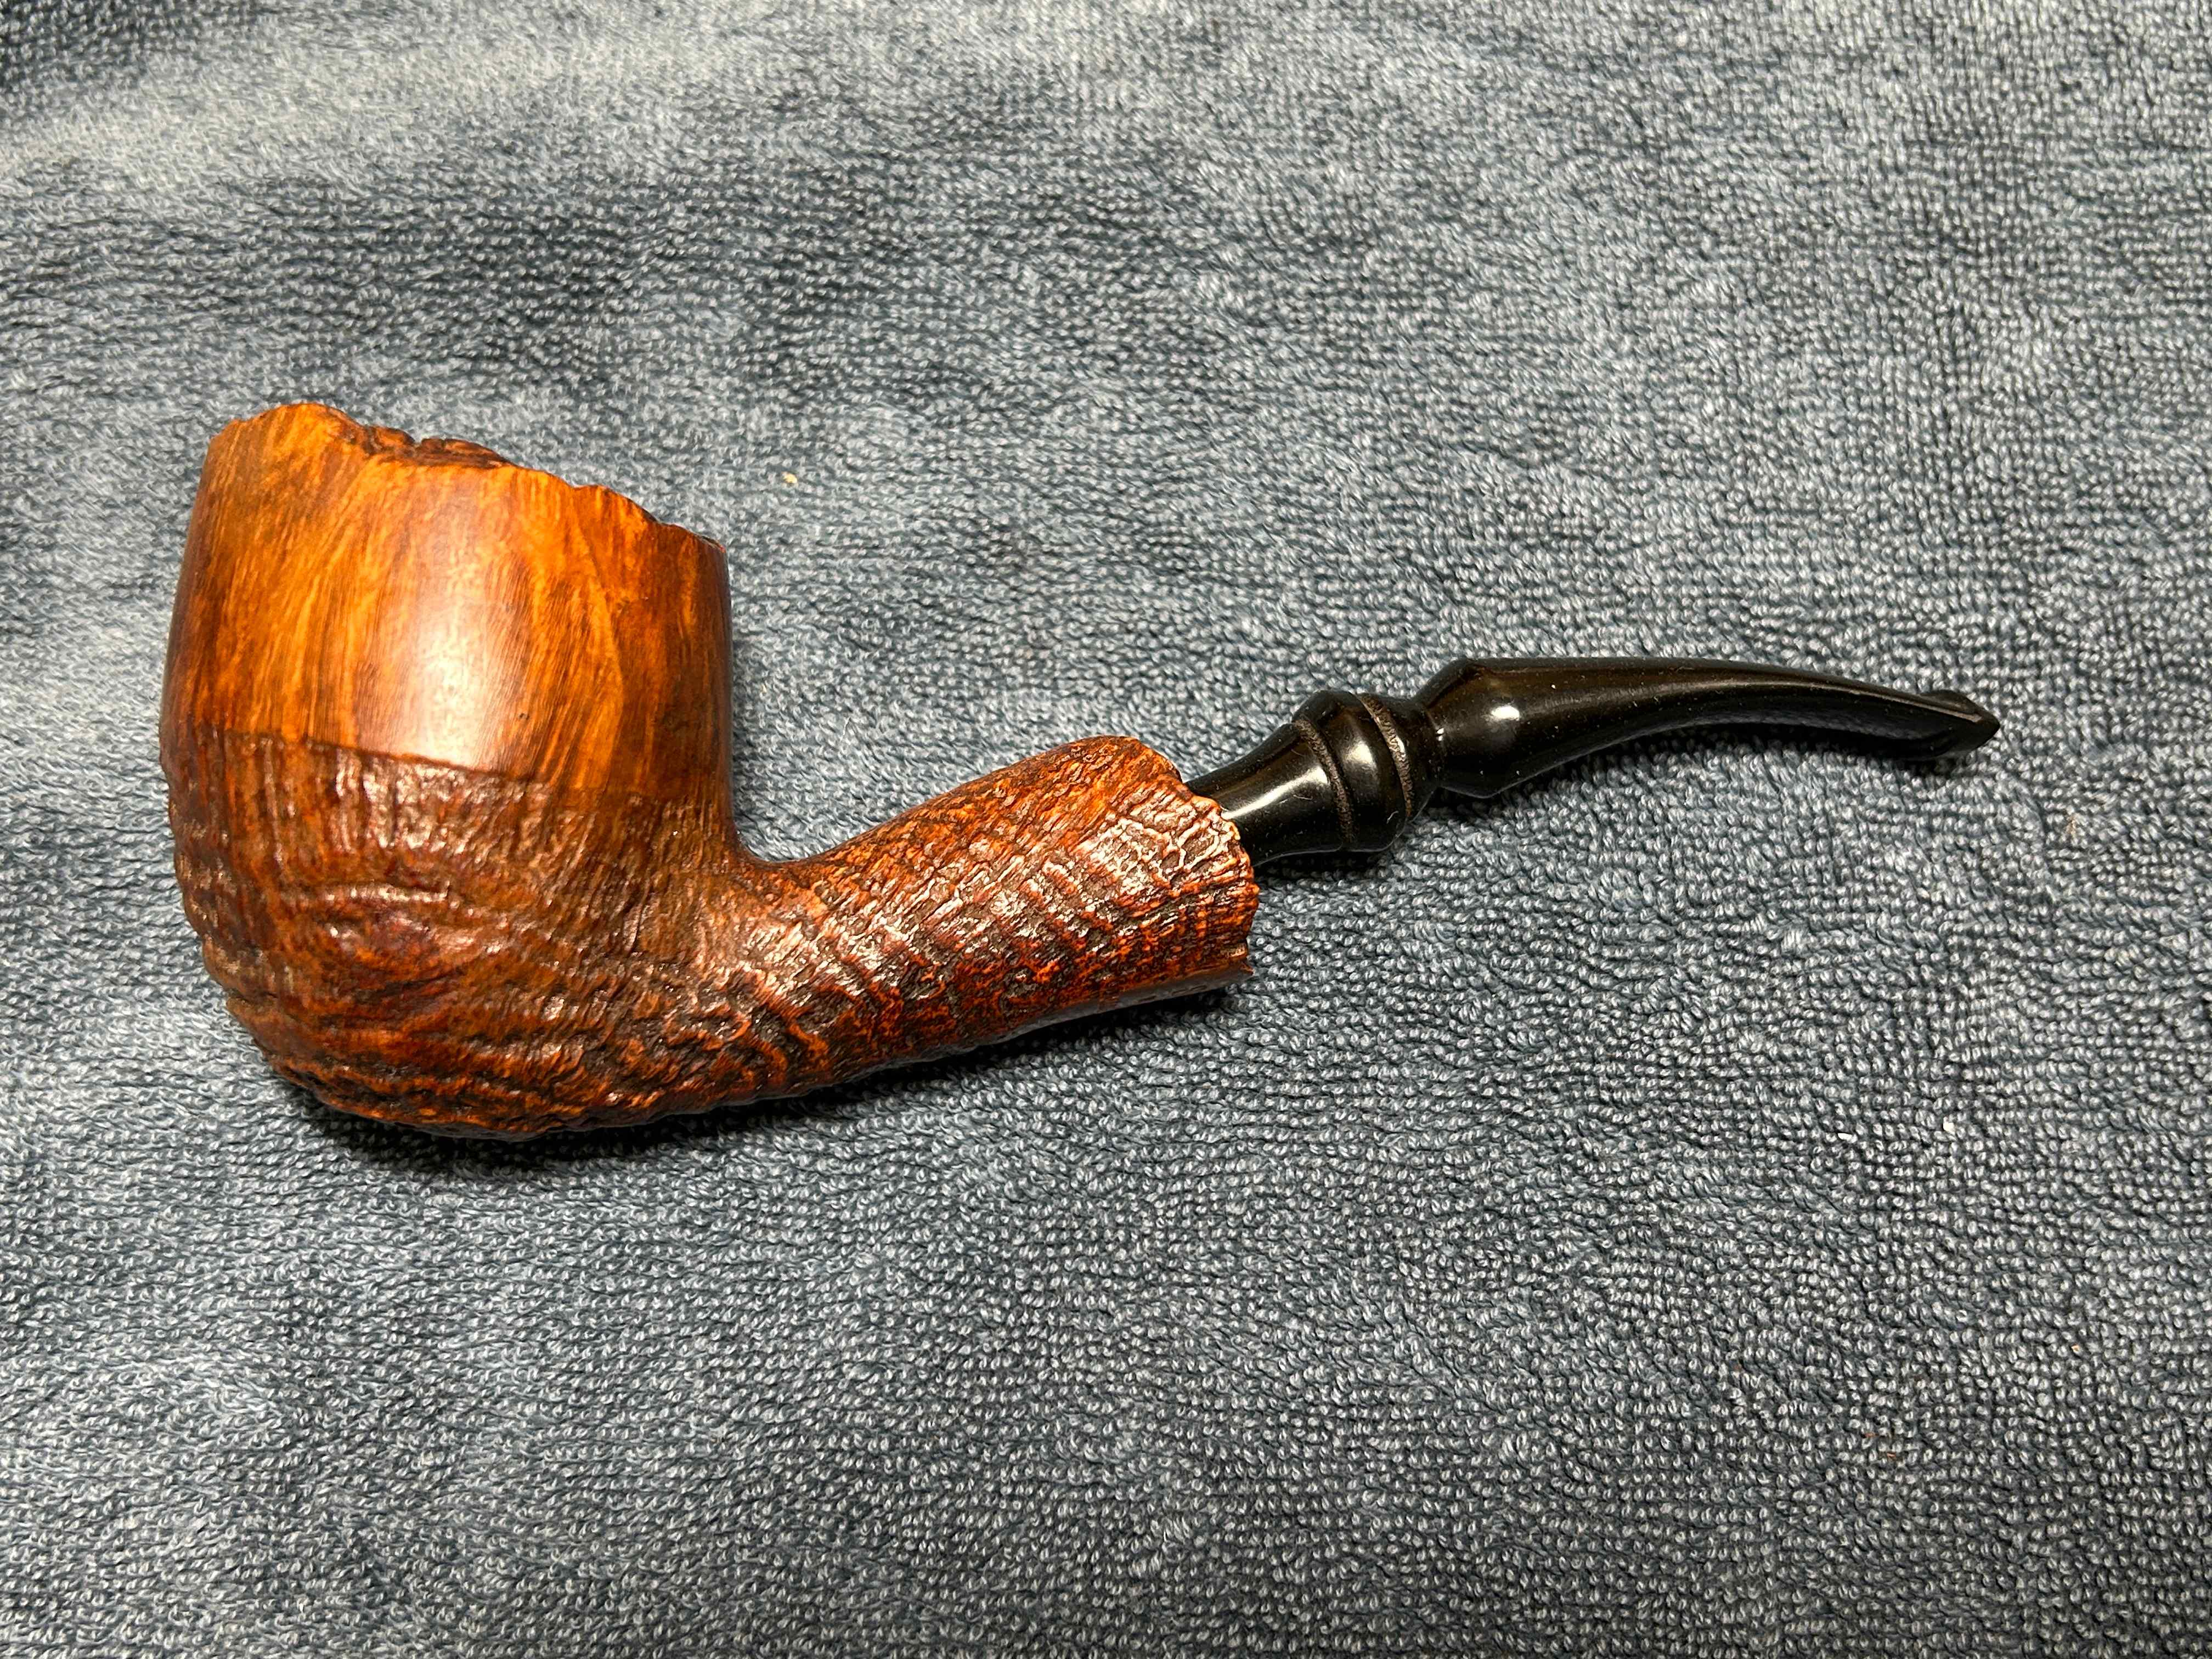
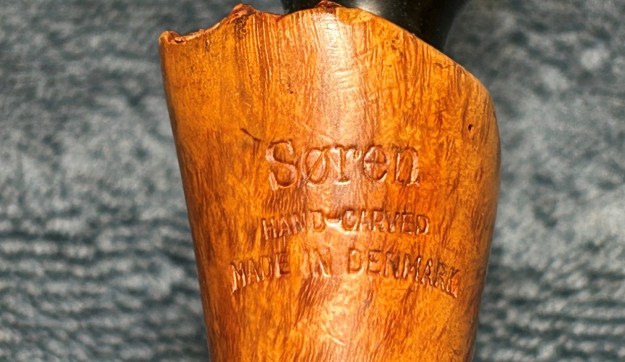
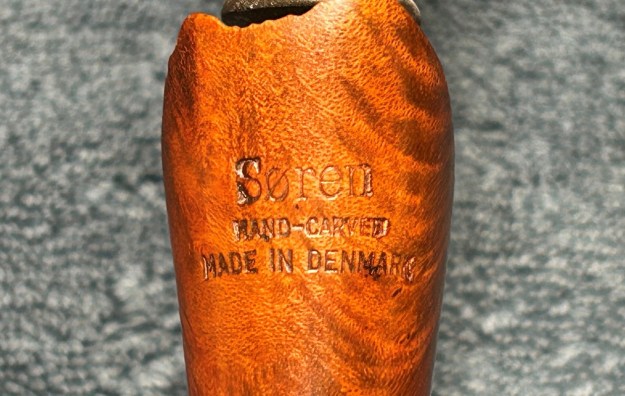
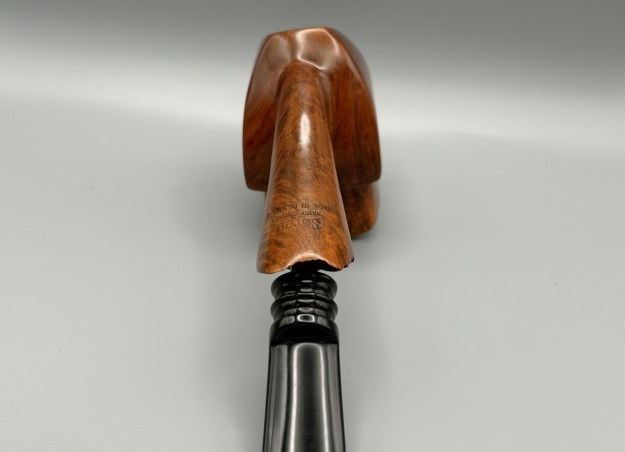
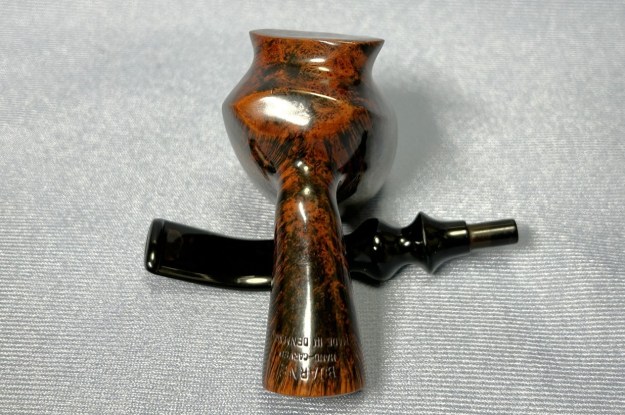
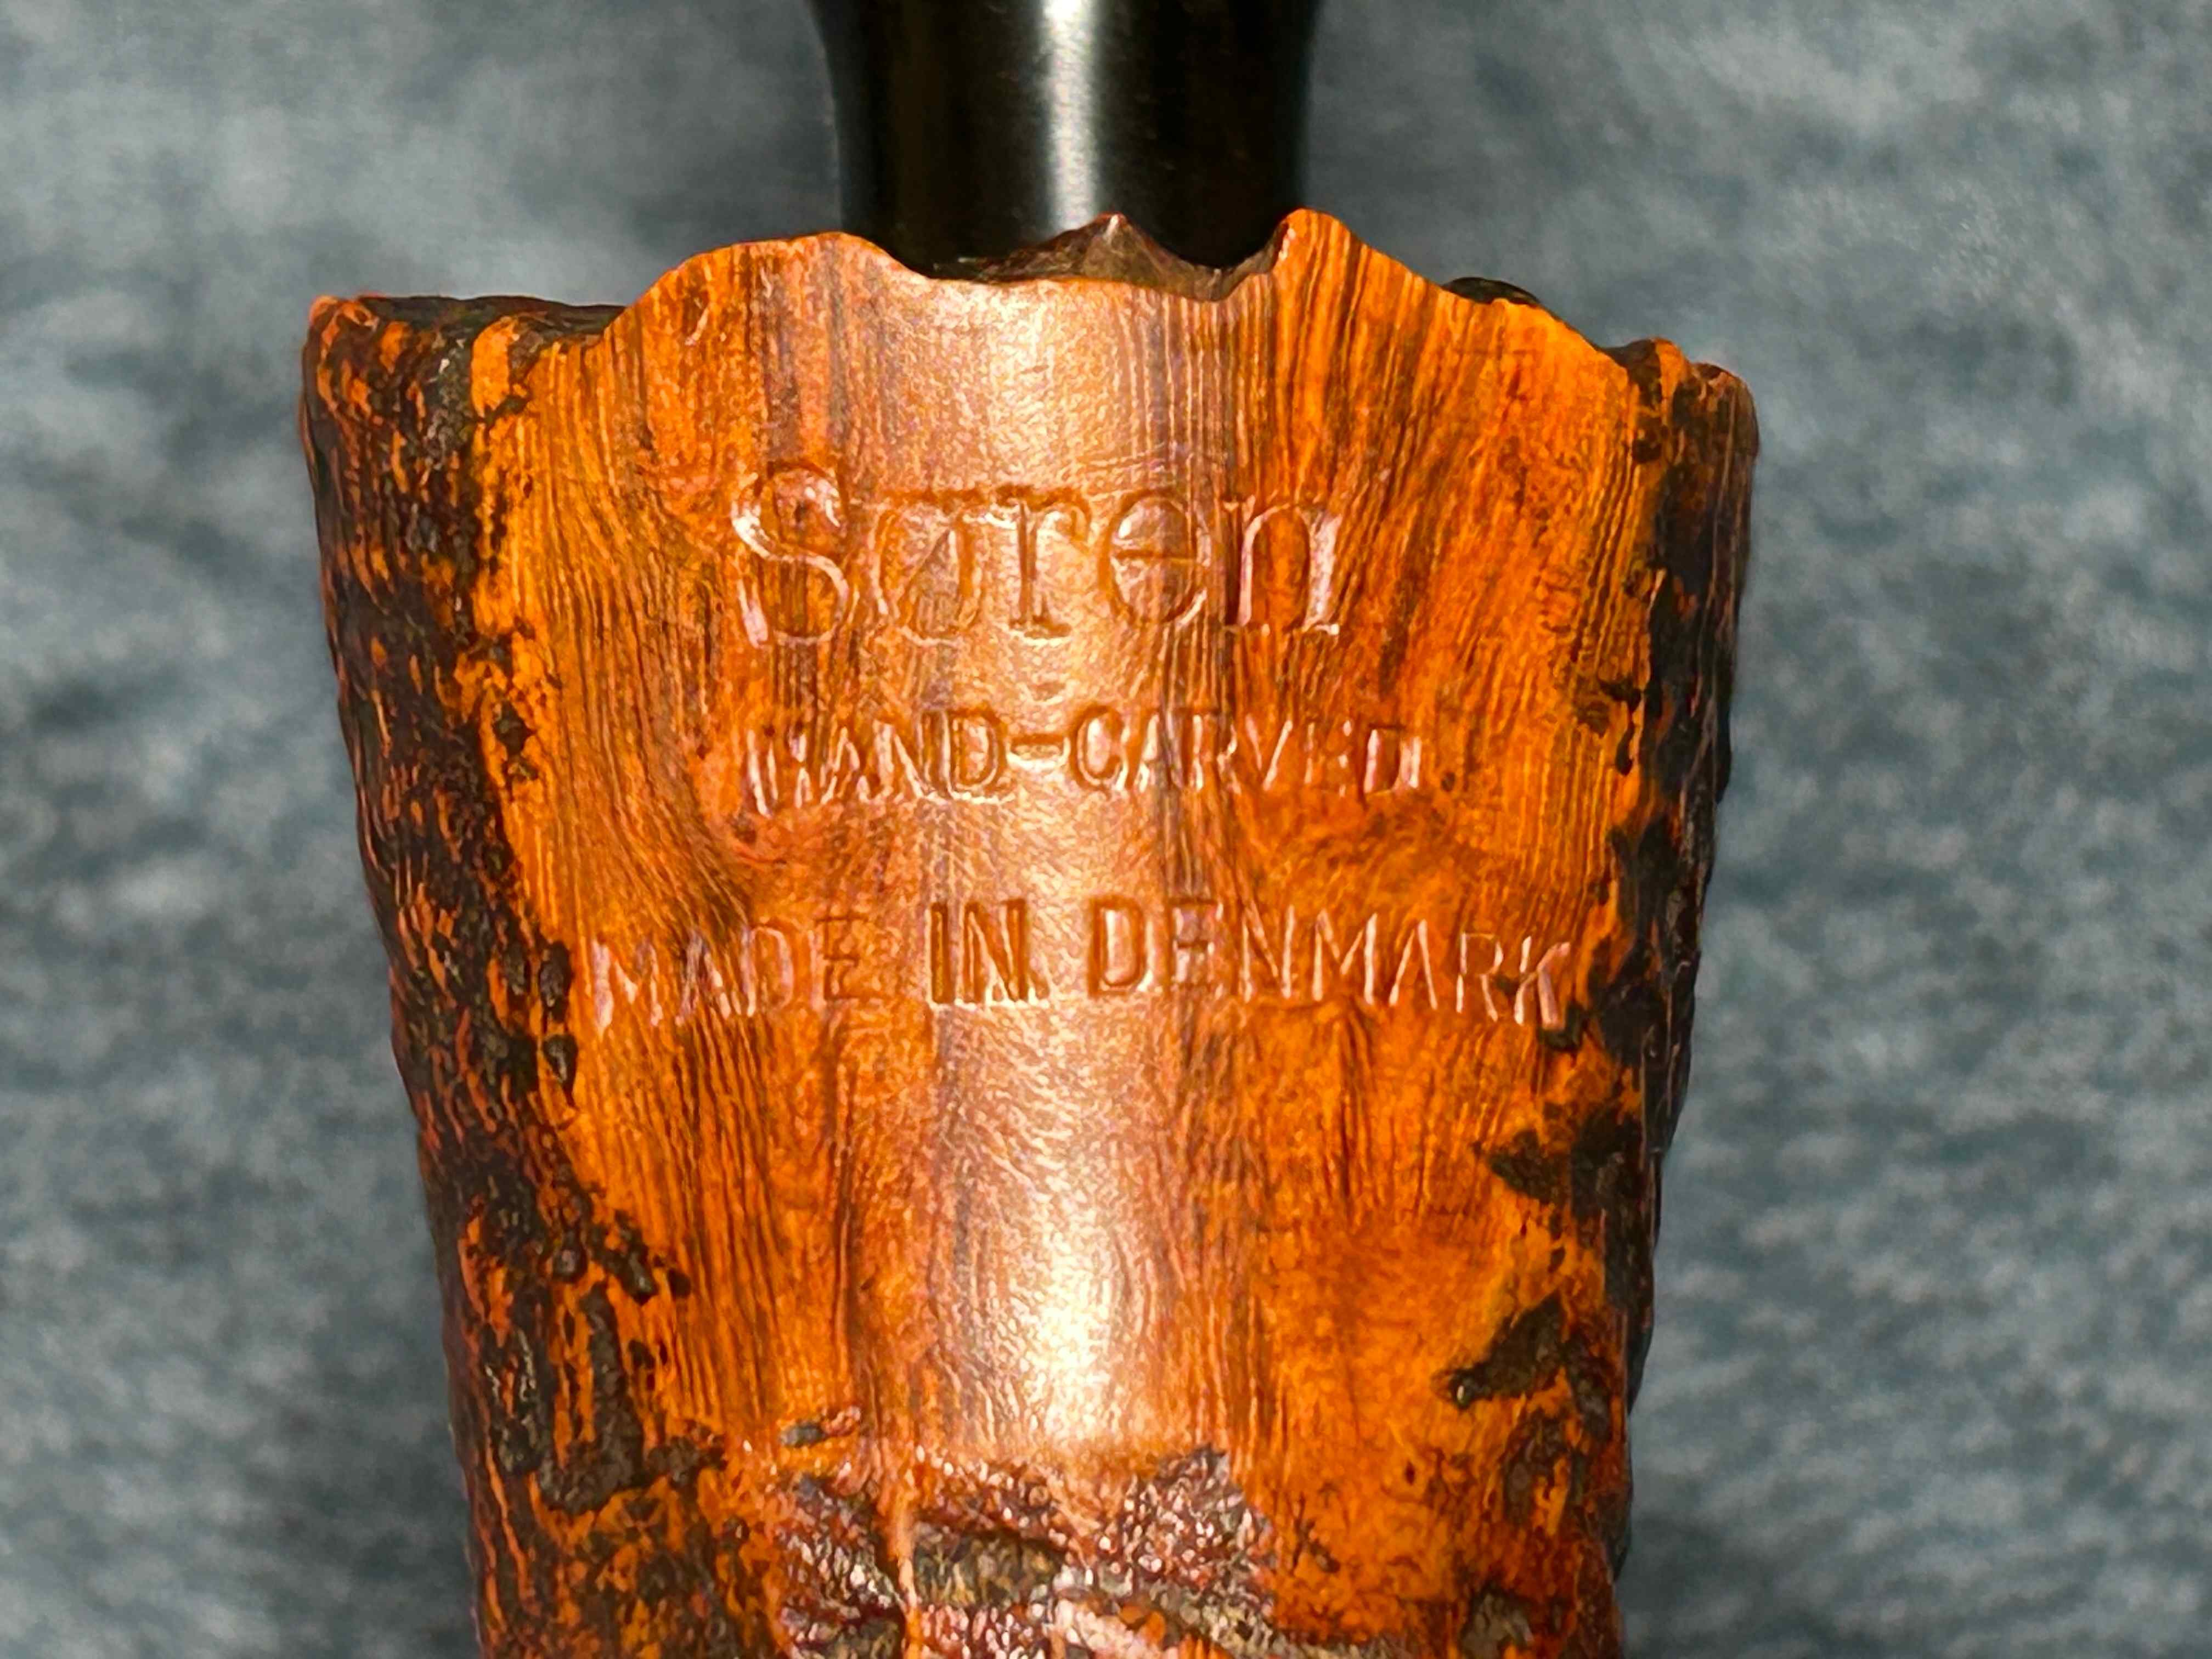
On the underside of the shank, we read Søren [over] Hand-Carved [over] Made in Denmark. Those are all the markings we can see.

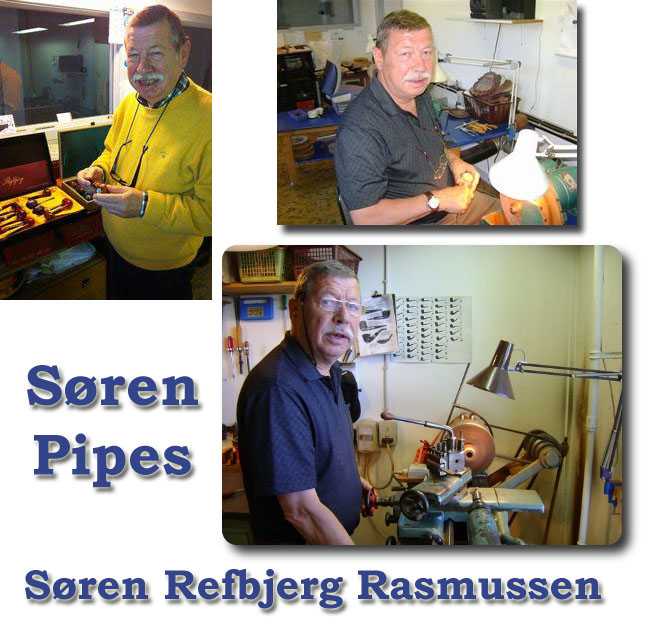
Pipedia has an article on Mr Rasmussen and I quote a part of it here:

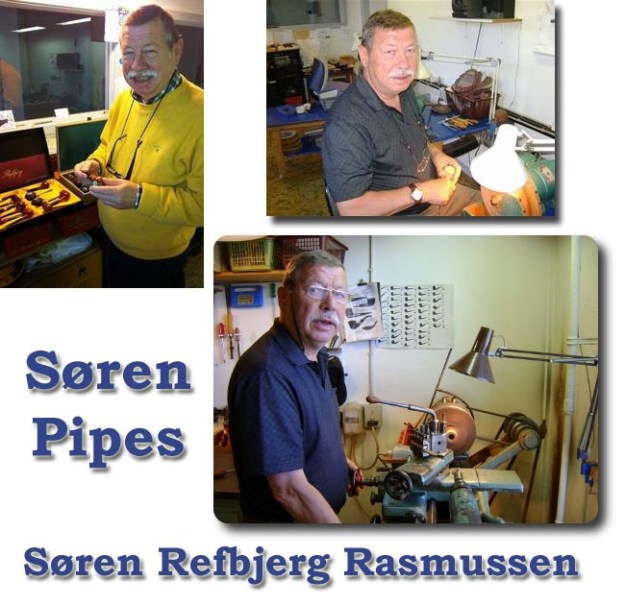
Søren Refbjerg Rasmussen founded a company in 1969, which employed an average of 8 – 12 craftsmen in the 1970’s. The semi-freehands they produced were traded under his prename Søren. Rasmussen himself finished only the very best pipes. So his way of pipemaking closely resembled the ways of Preben Holm, Karl Erik Ottendahl or Erik Nørding. Altogether more than 1,000,000 pipes were sold. Today he works alone as Refbjerg and manufactures only a small number of pipes in his workshop in DK-2860 Søborg, which are considered to be tremendously precisely executed. The dimensions mostly range from small to medium sized, corresponding to his personal preferences. The shapes adhere to the classical models, but often he gives them a touch of Danish flair. Refbjerg accepts minor faults but never uses any fillings. “Straight Grain” is the only grading, used for his very best pieces. He likes stem decorations made of exotic woods or metal rings.

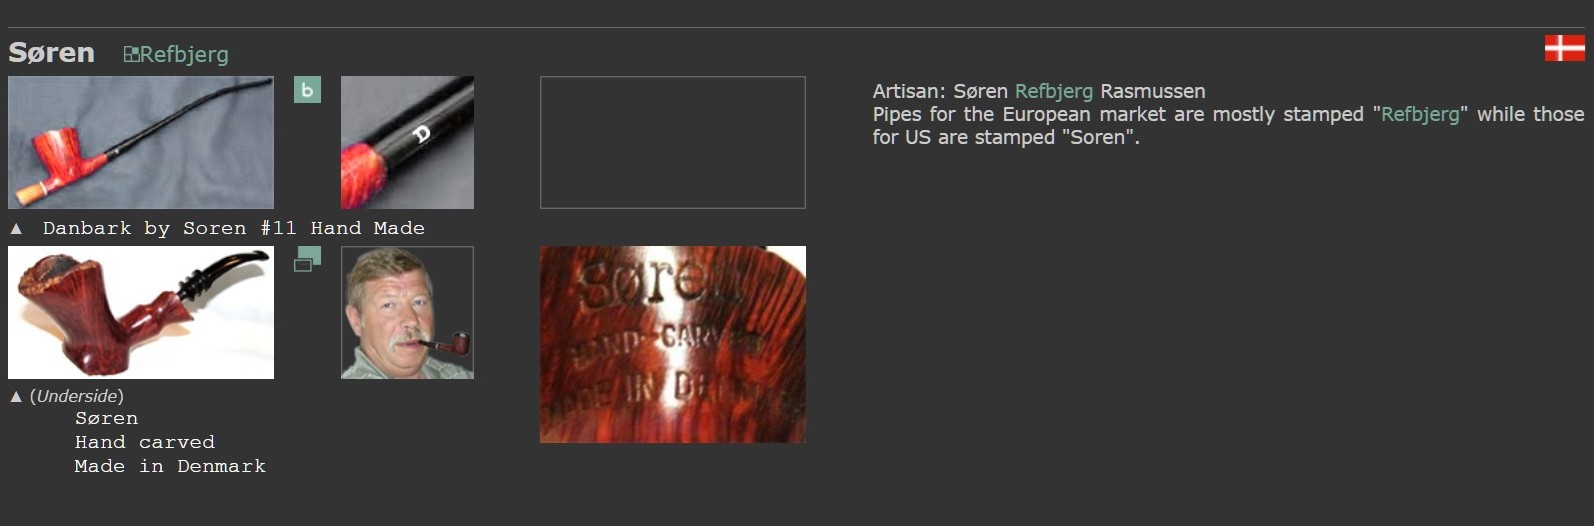
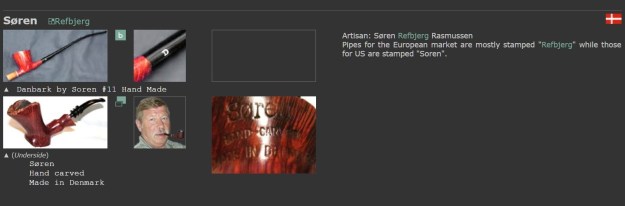
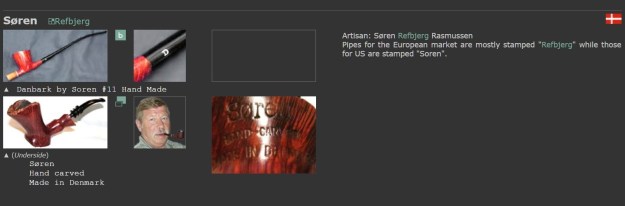
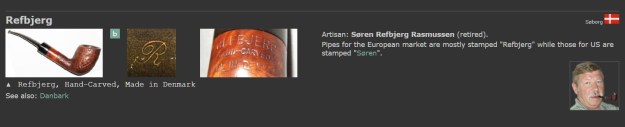
Meanwhile, over at Pipephil, there is the following entry:

And, finally, scandinavianpipes.com includes these details about him:

Søren Refbjerg was born 1943 in the city of Søborg where he still lives and has been a full time pipe-maker since 1969. In the 70´s Søren had his own small factory with 10 employees producing a huge number of pipes mainly for the US market. Søren has indeed been one of the most productive Danish pipe-makers and for many years he also produced pipes for W.Ø. Larsen For the last decades Søren has been making pipes by himself, always using briar from Corsica. Søren derive much relaxation from being on the coast while angling for Sea Trout with his own hand-tied flies and find this environment to be a great inspiration for making pipes. Many times Søren say to himself: “Inspired by nature, made by me”.

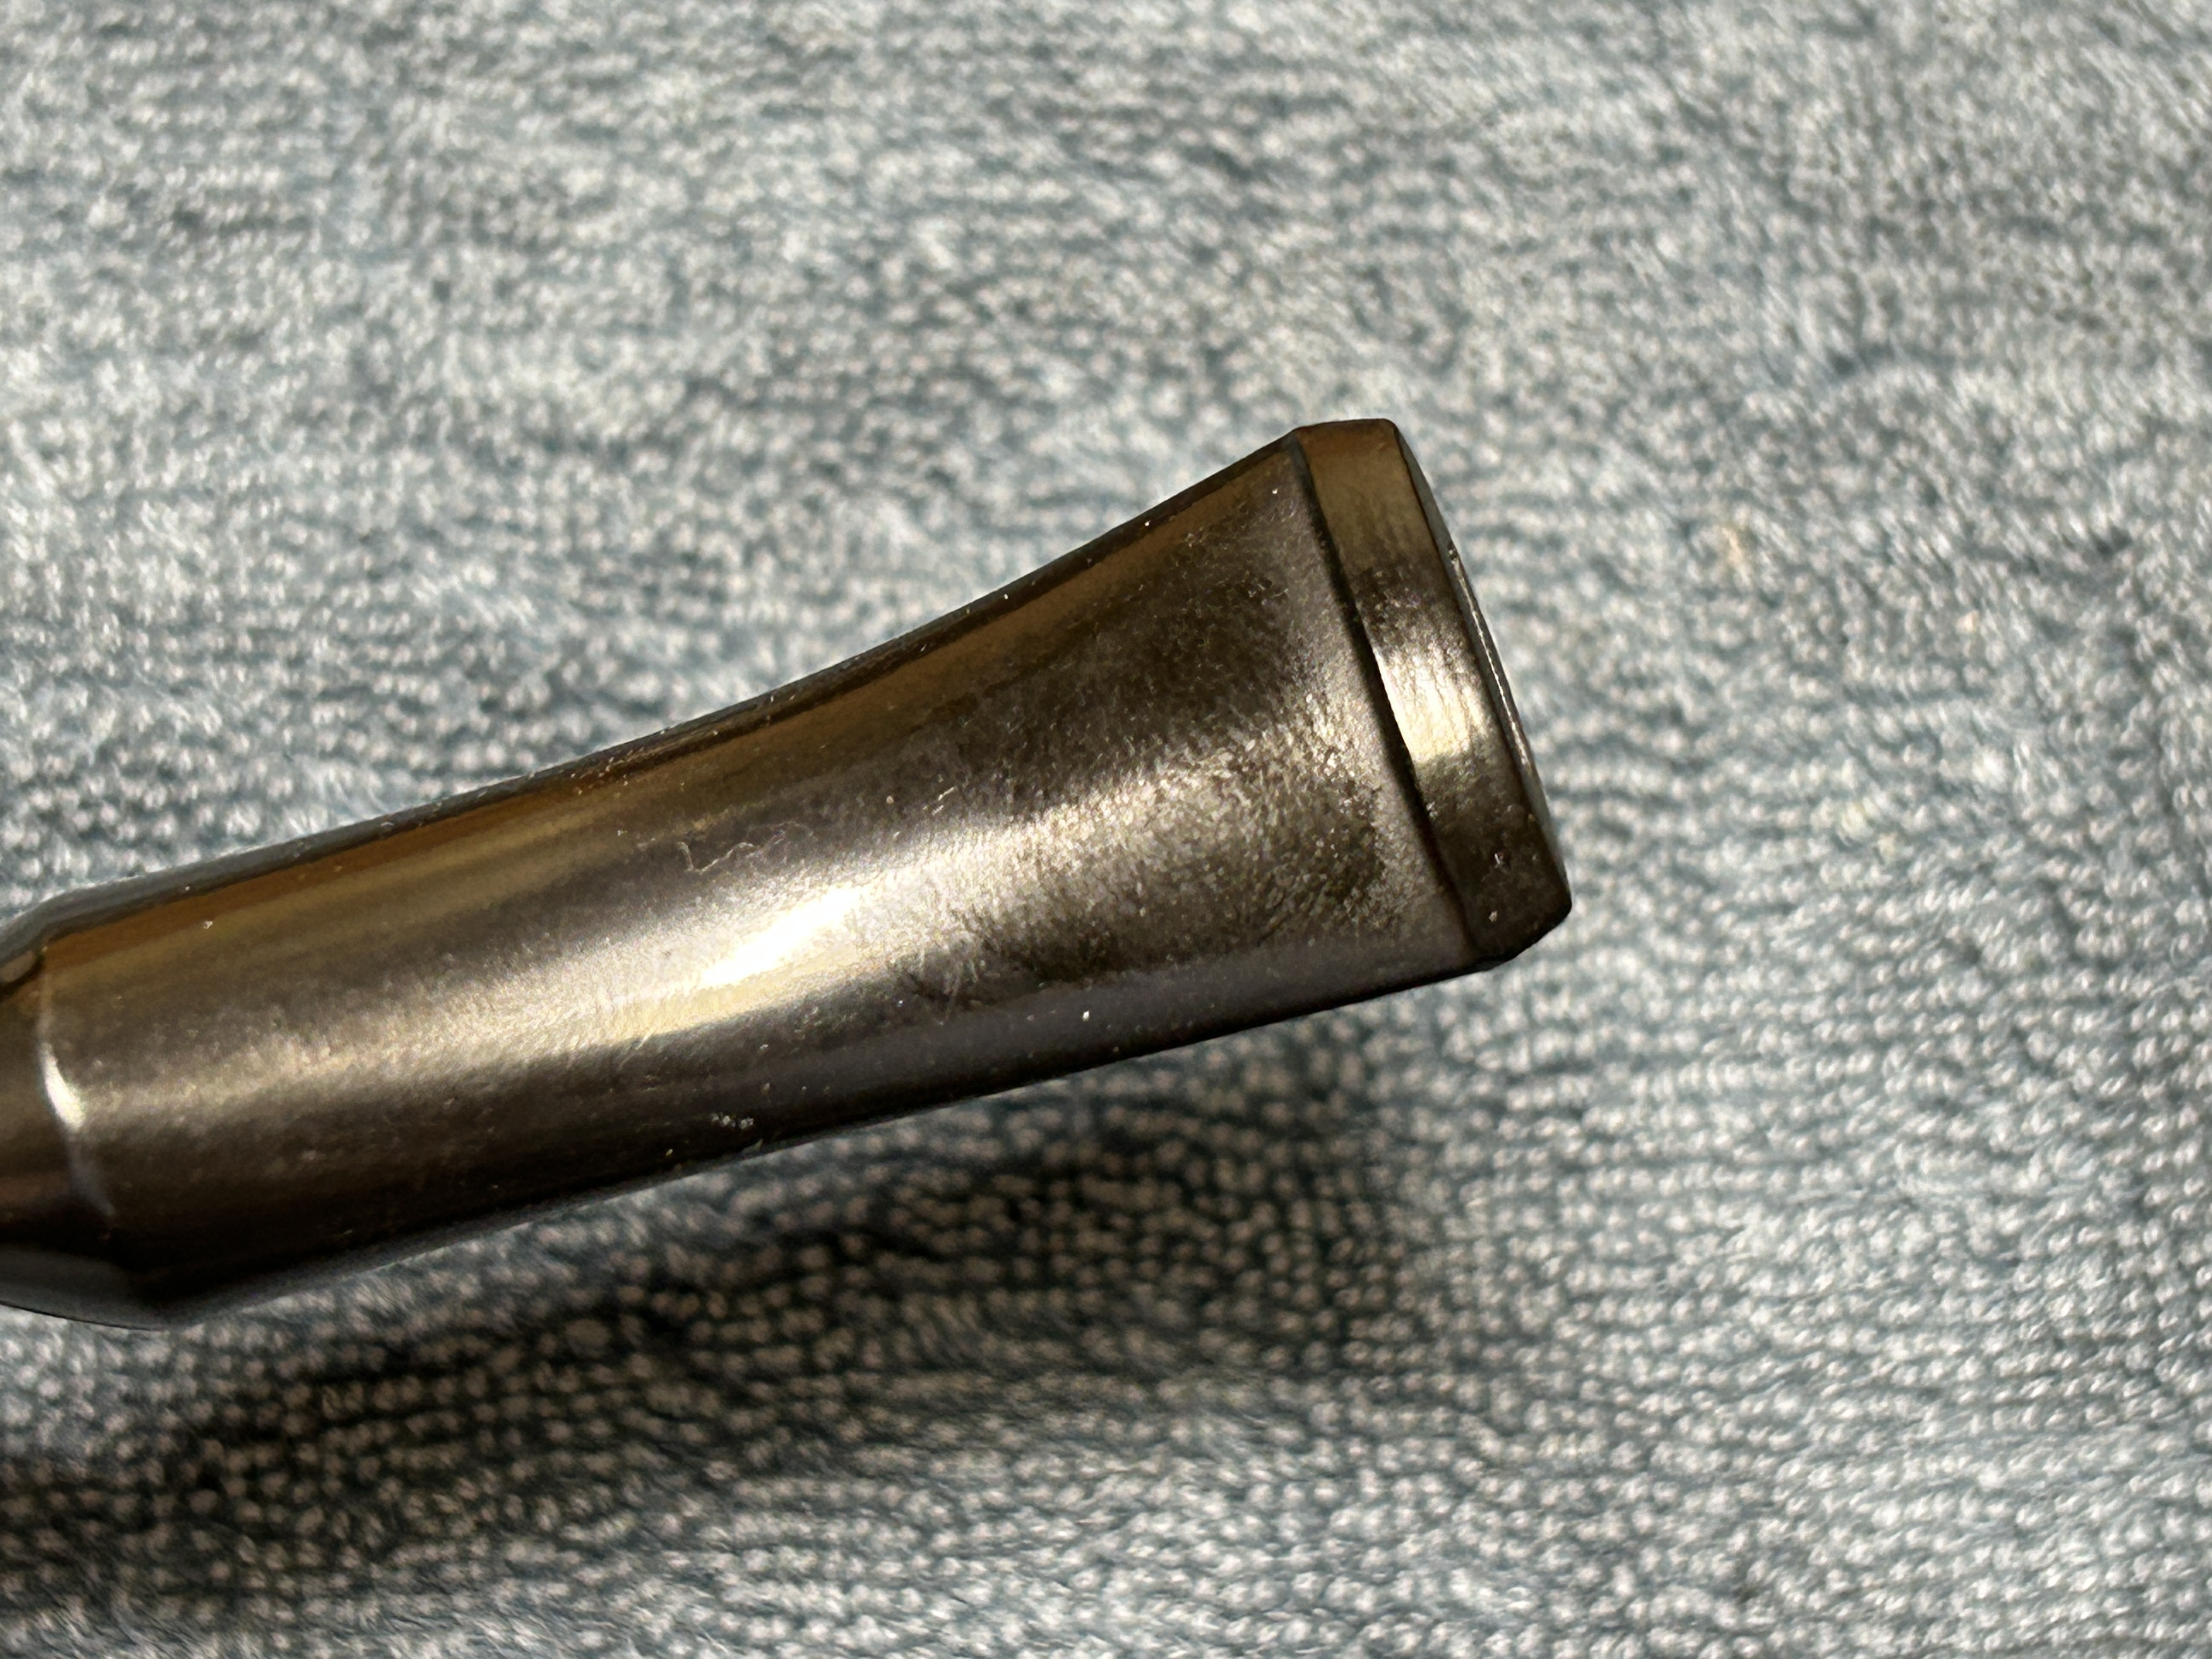
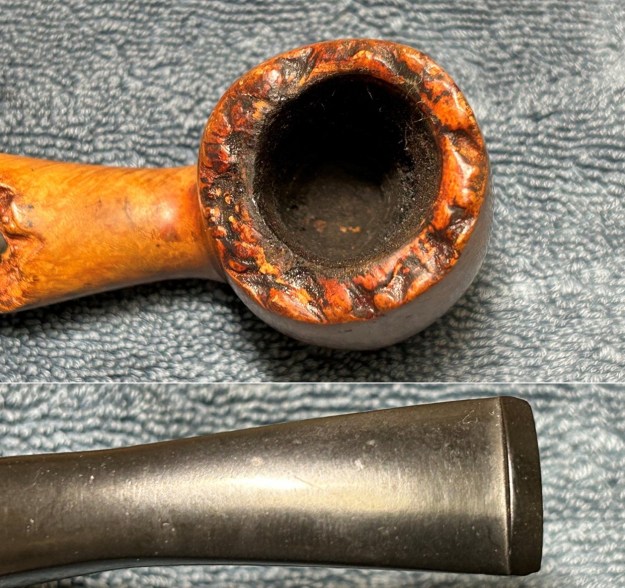
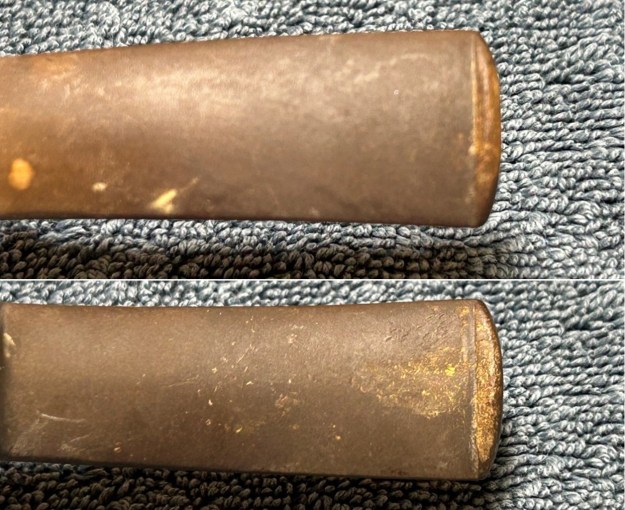
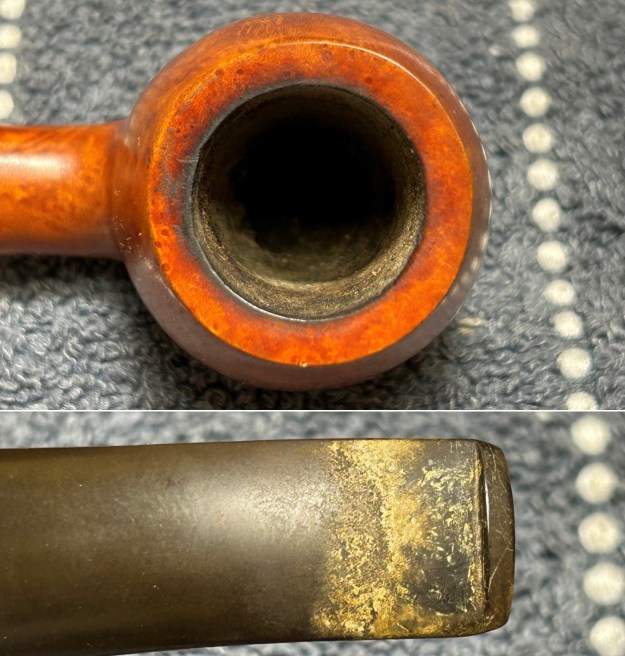
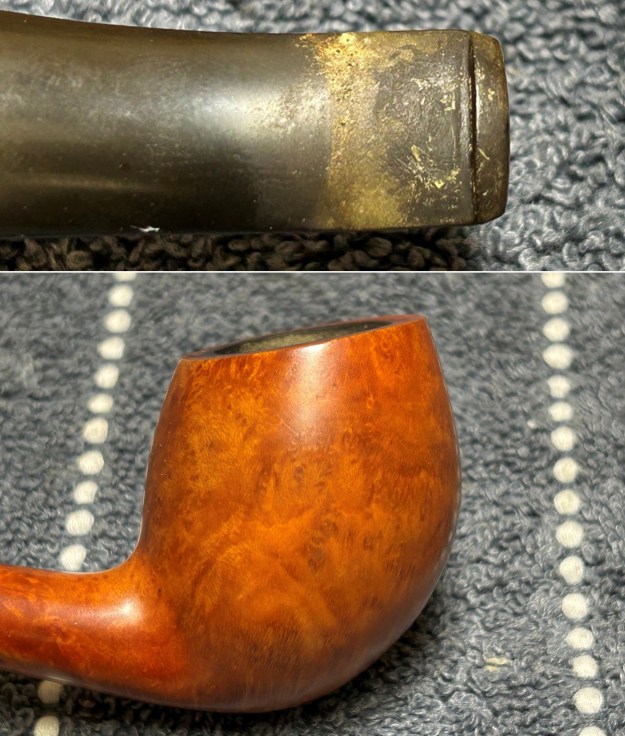
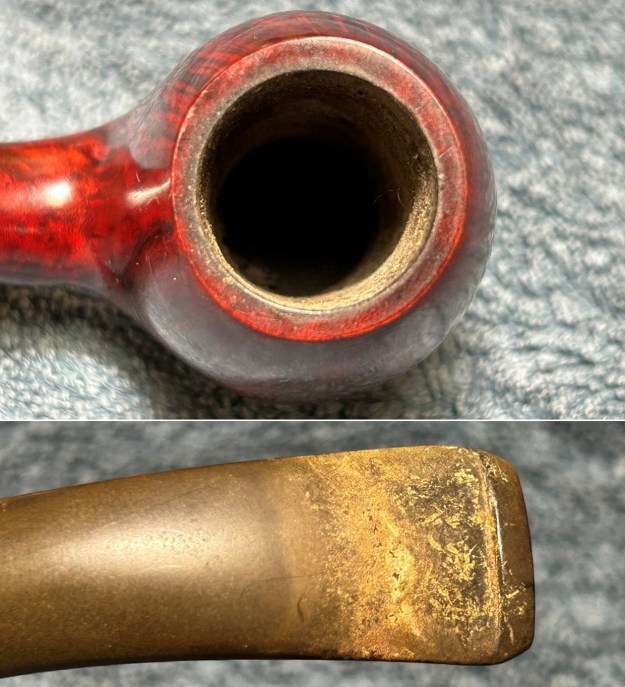
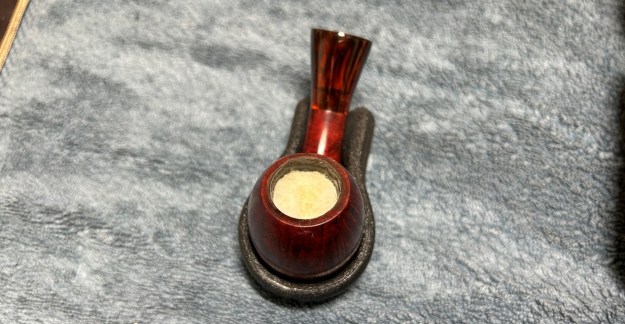
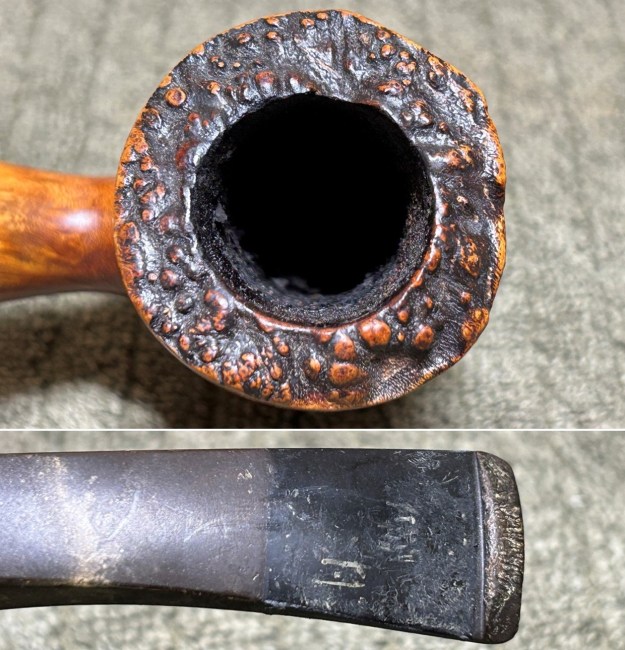
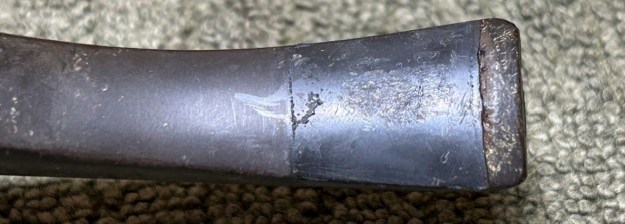
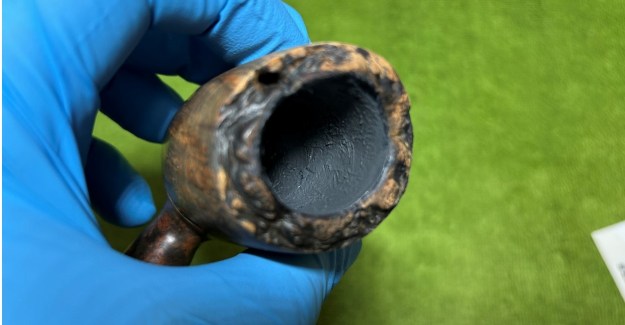
He died in 2021. Let’s take a closer look at the pipe. It is in very nice shape. The stem is in surprisingly good condition. Hardly any oxidation and barely any wear. The stummel is also lovely. Wonderful condition – there’s some cake in the bowl, but nothing cataclysmic. It doesn’t look like it was smoked much.

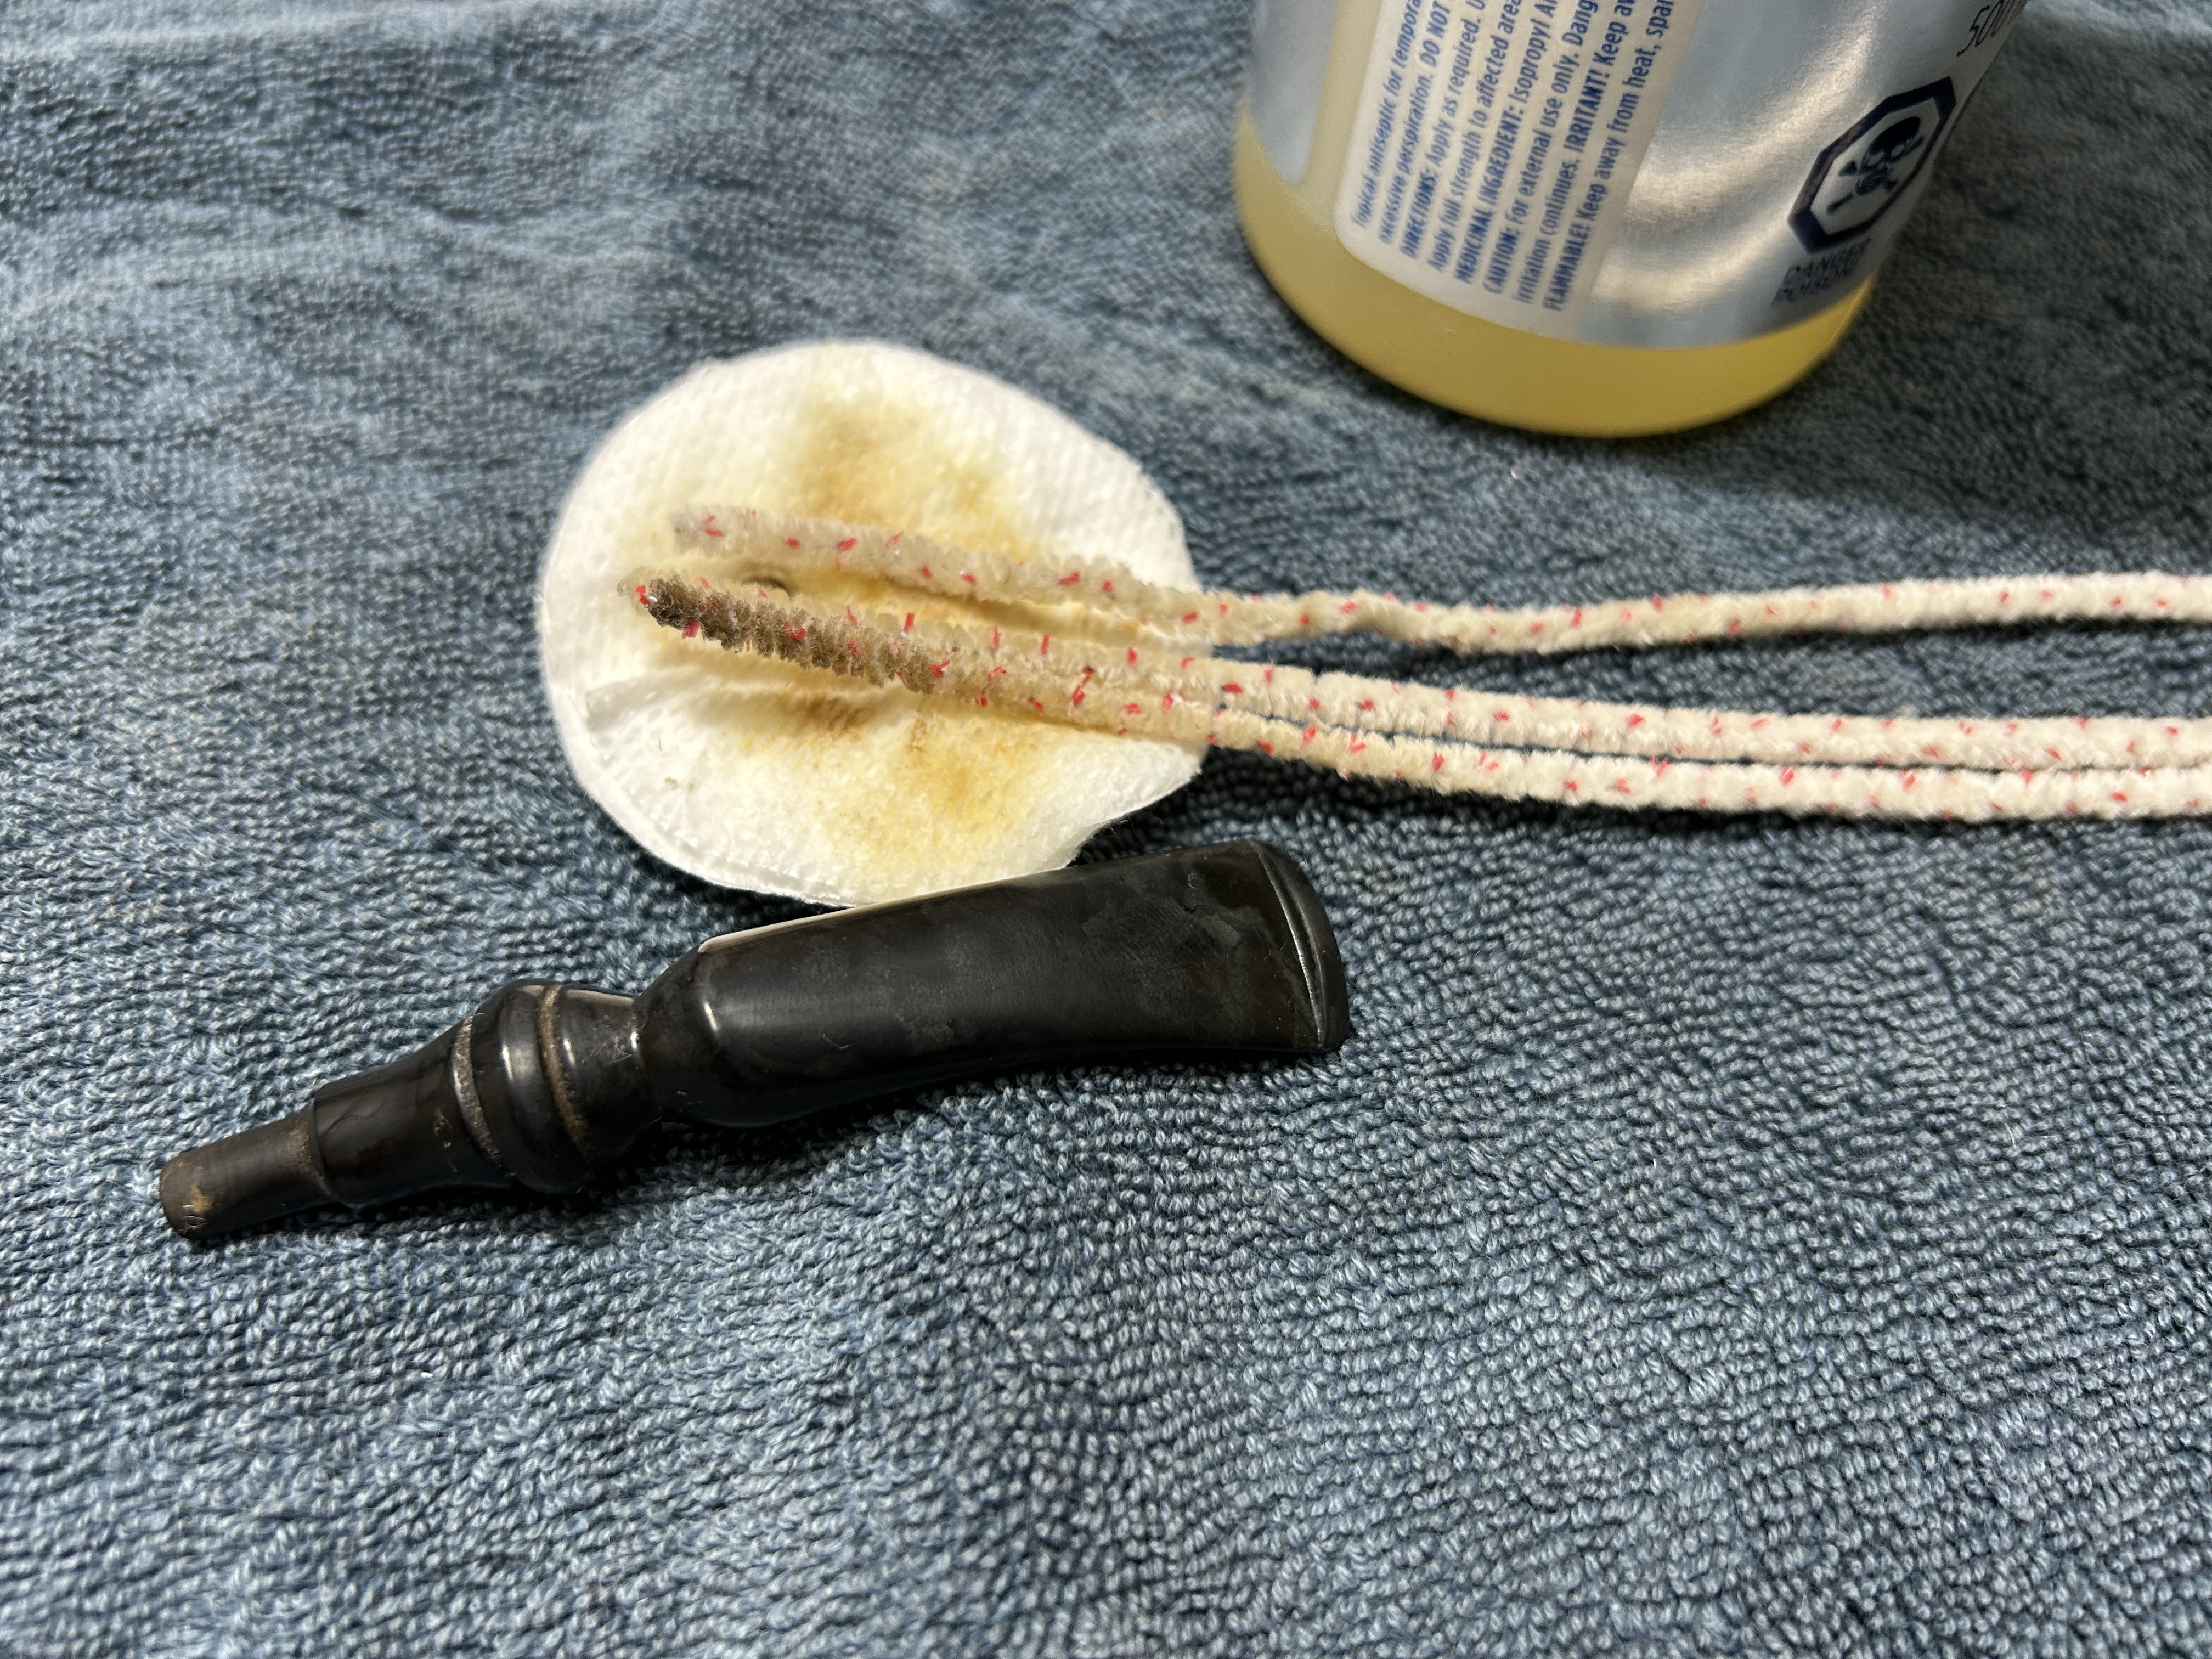
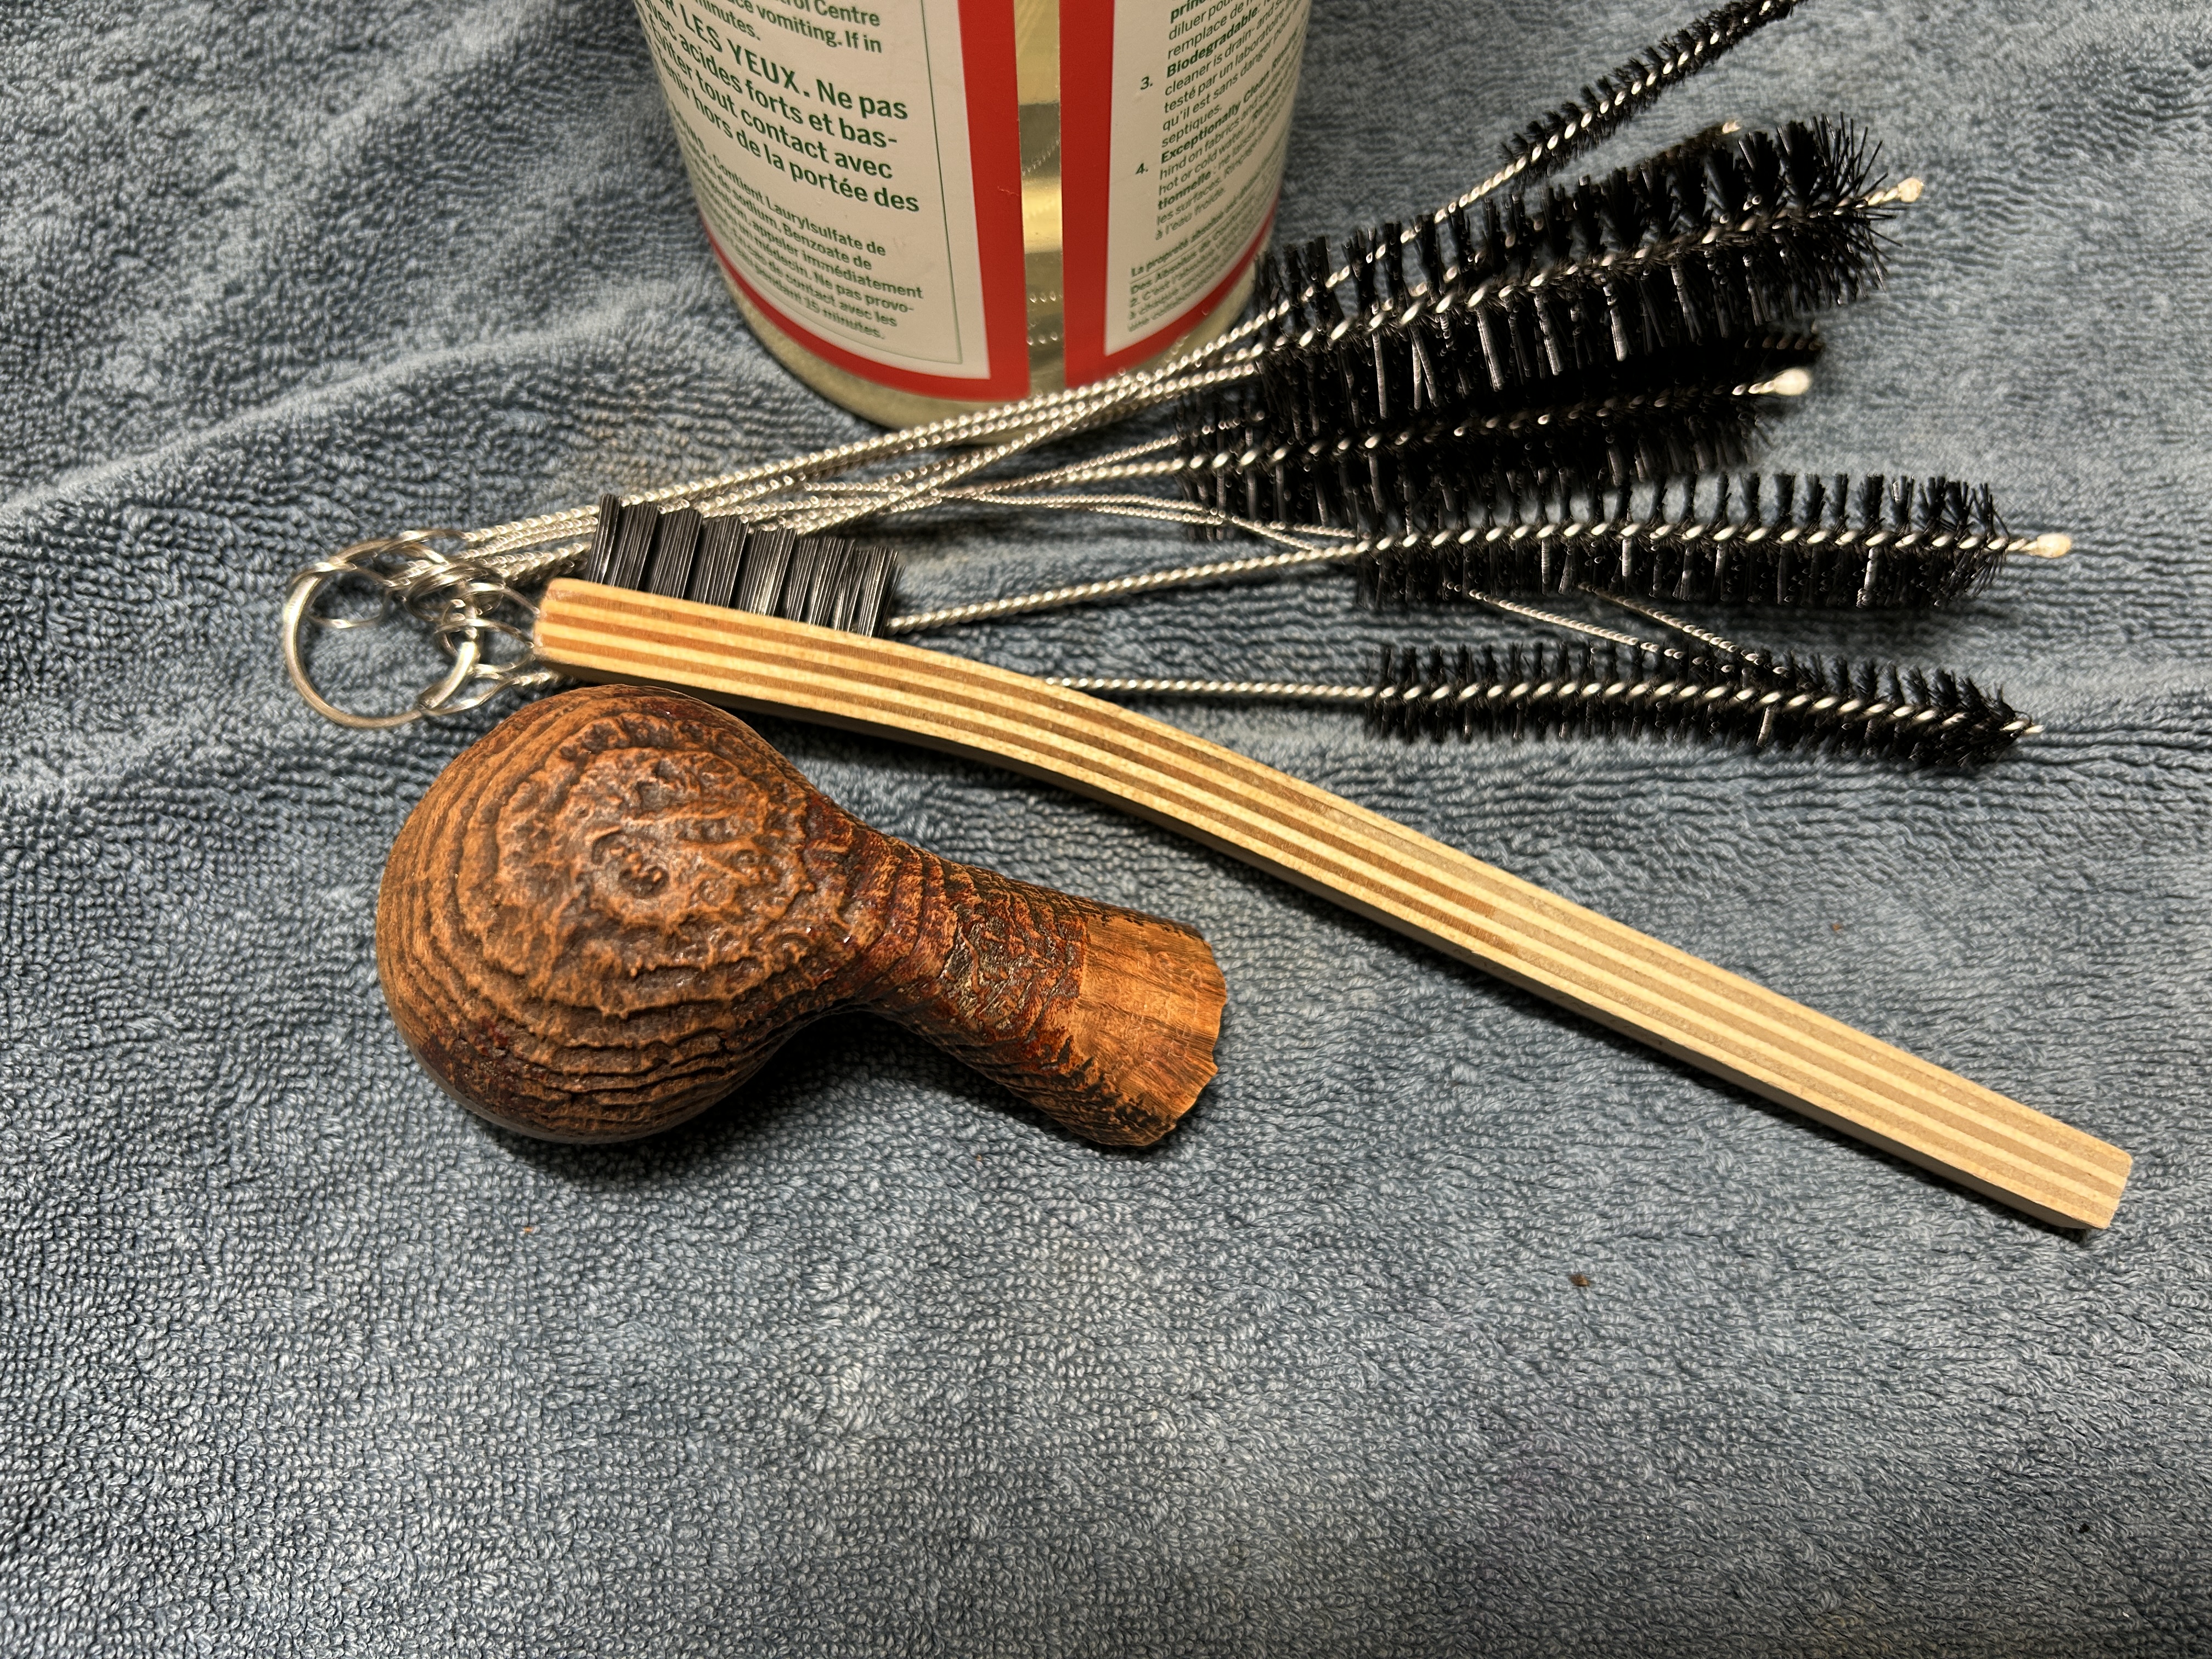
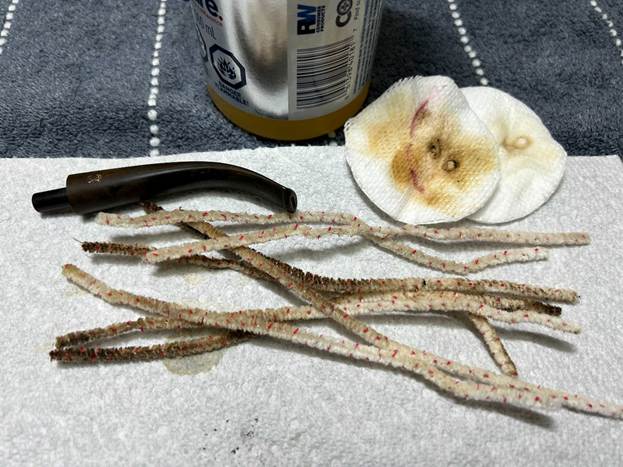
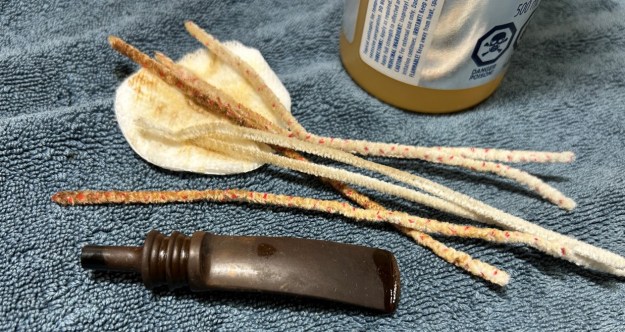
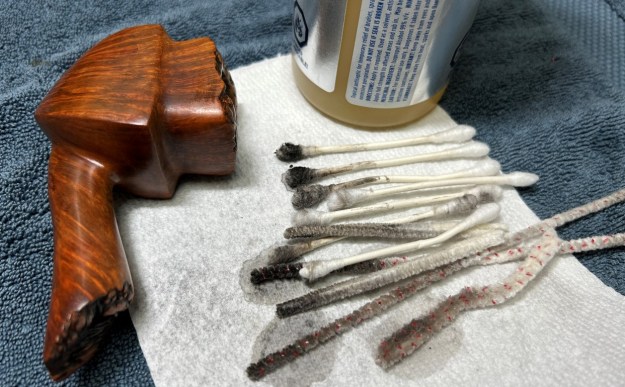
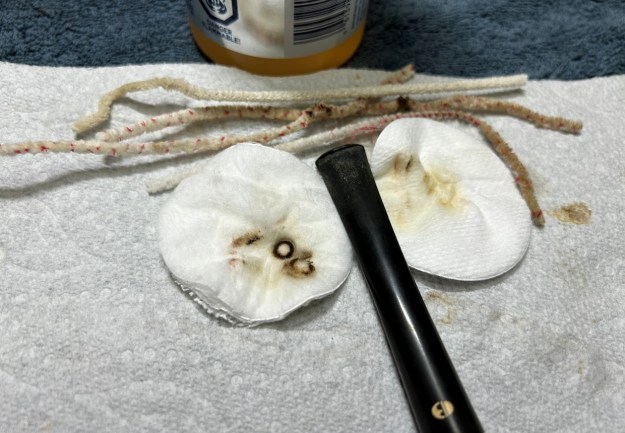
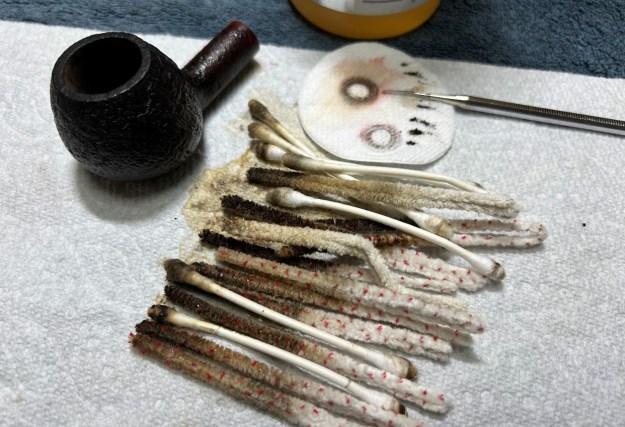
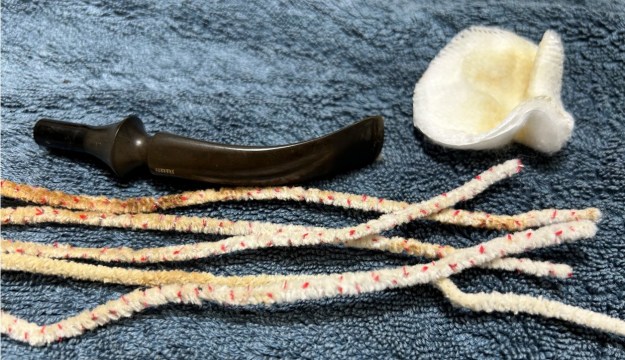
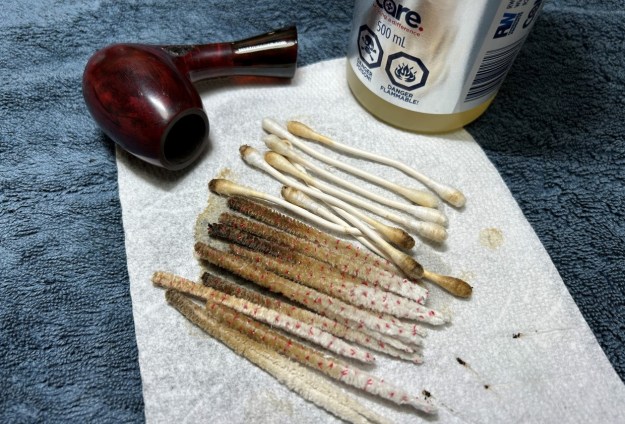
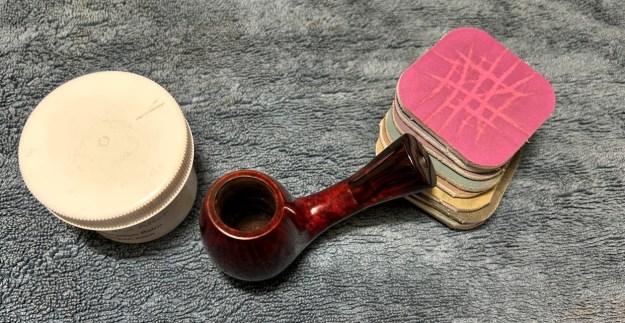
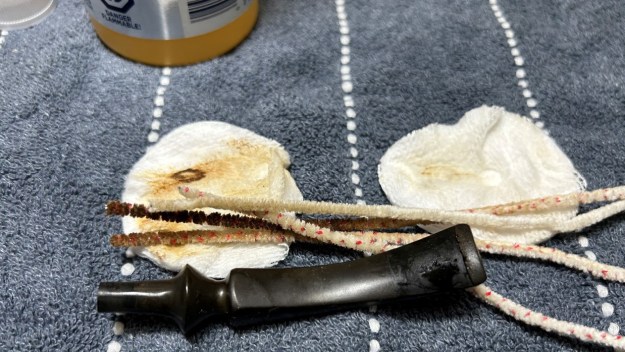
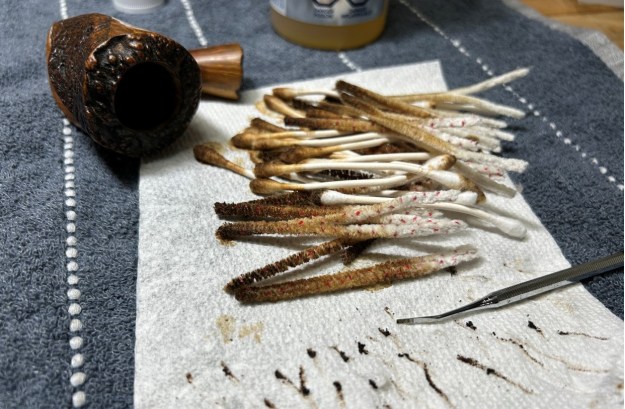
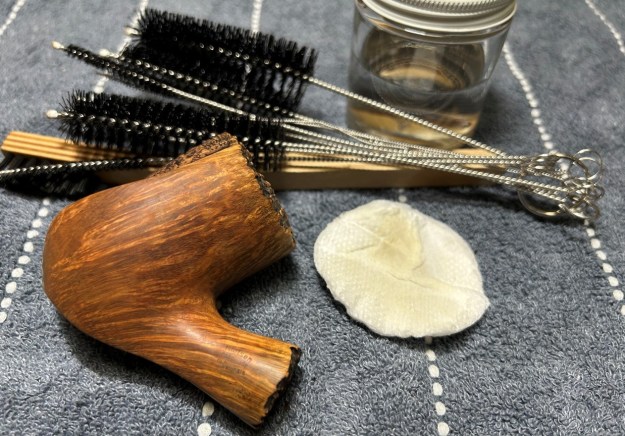
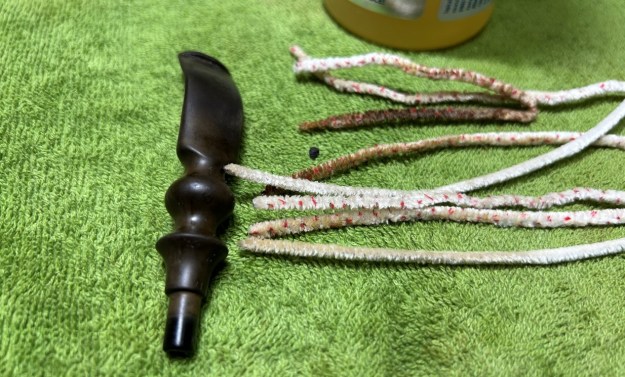
I used isopropyl alcohol on a few cotton rounds and wiped down the stem to provide an initial cleaning of filth before moving on to the next steps. The primary cleaning came next. I disinfected the inside of the stem with both pipe cleaners and cotton swabs dipped in lemon-infused 99% isopropyl alcohol. I scrubbed thoroughly to make sure the interior was very clean. Fortunately, it wasn’t too dirty.

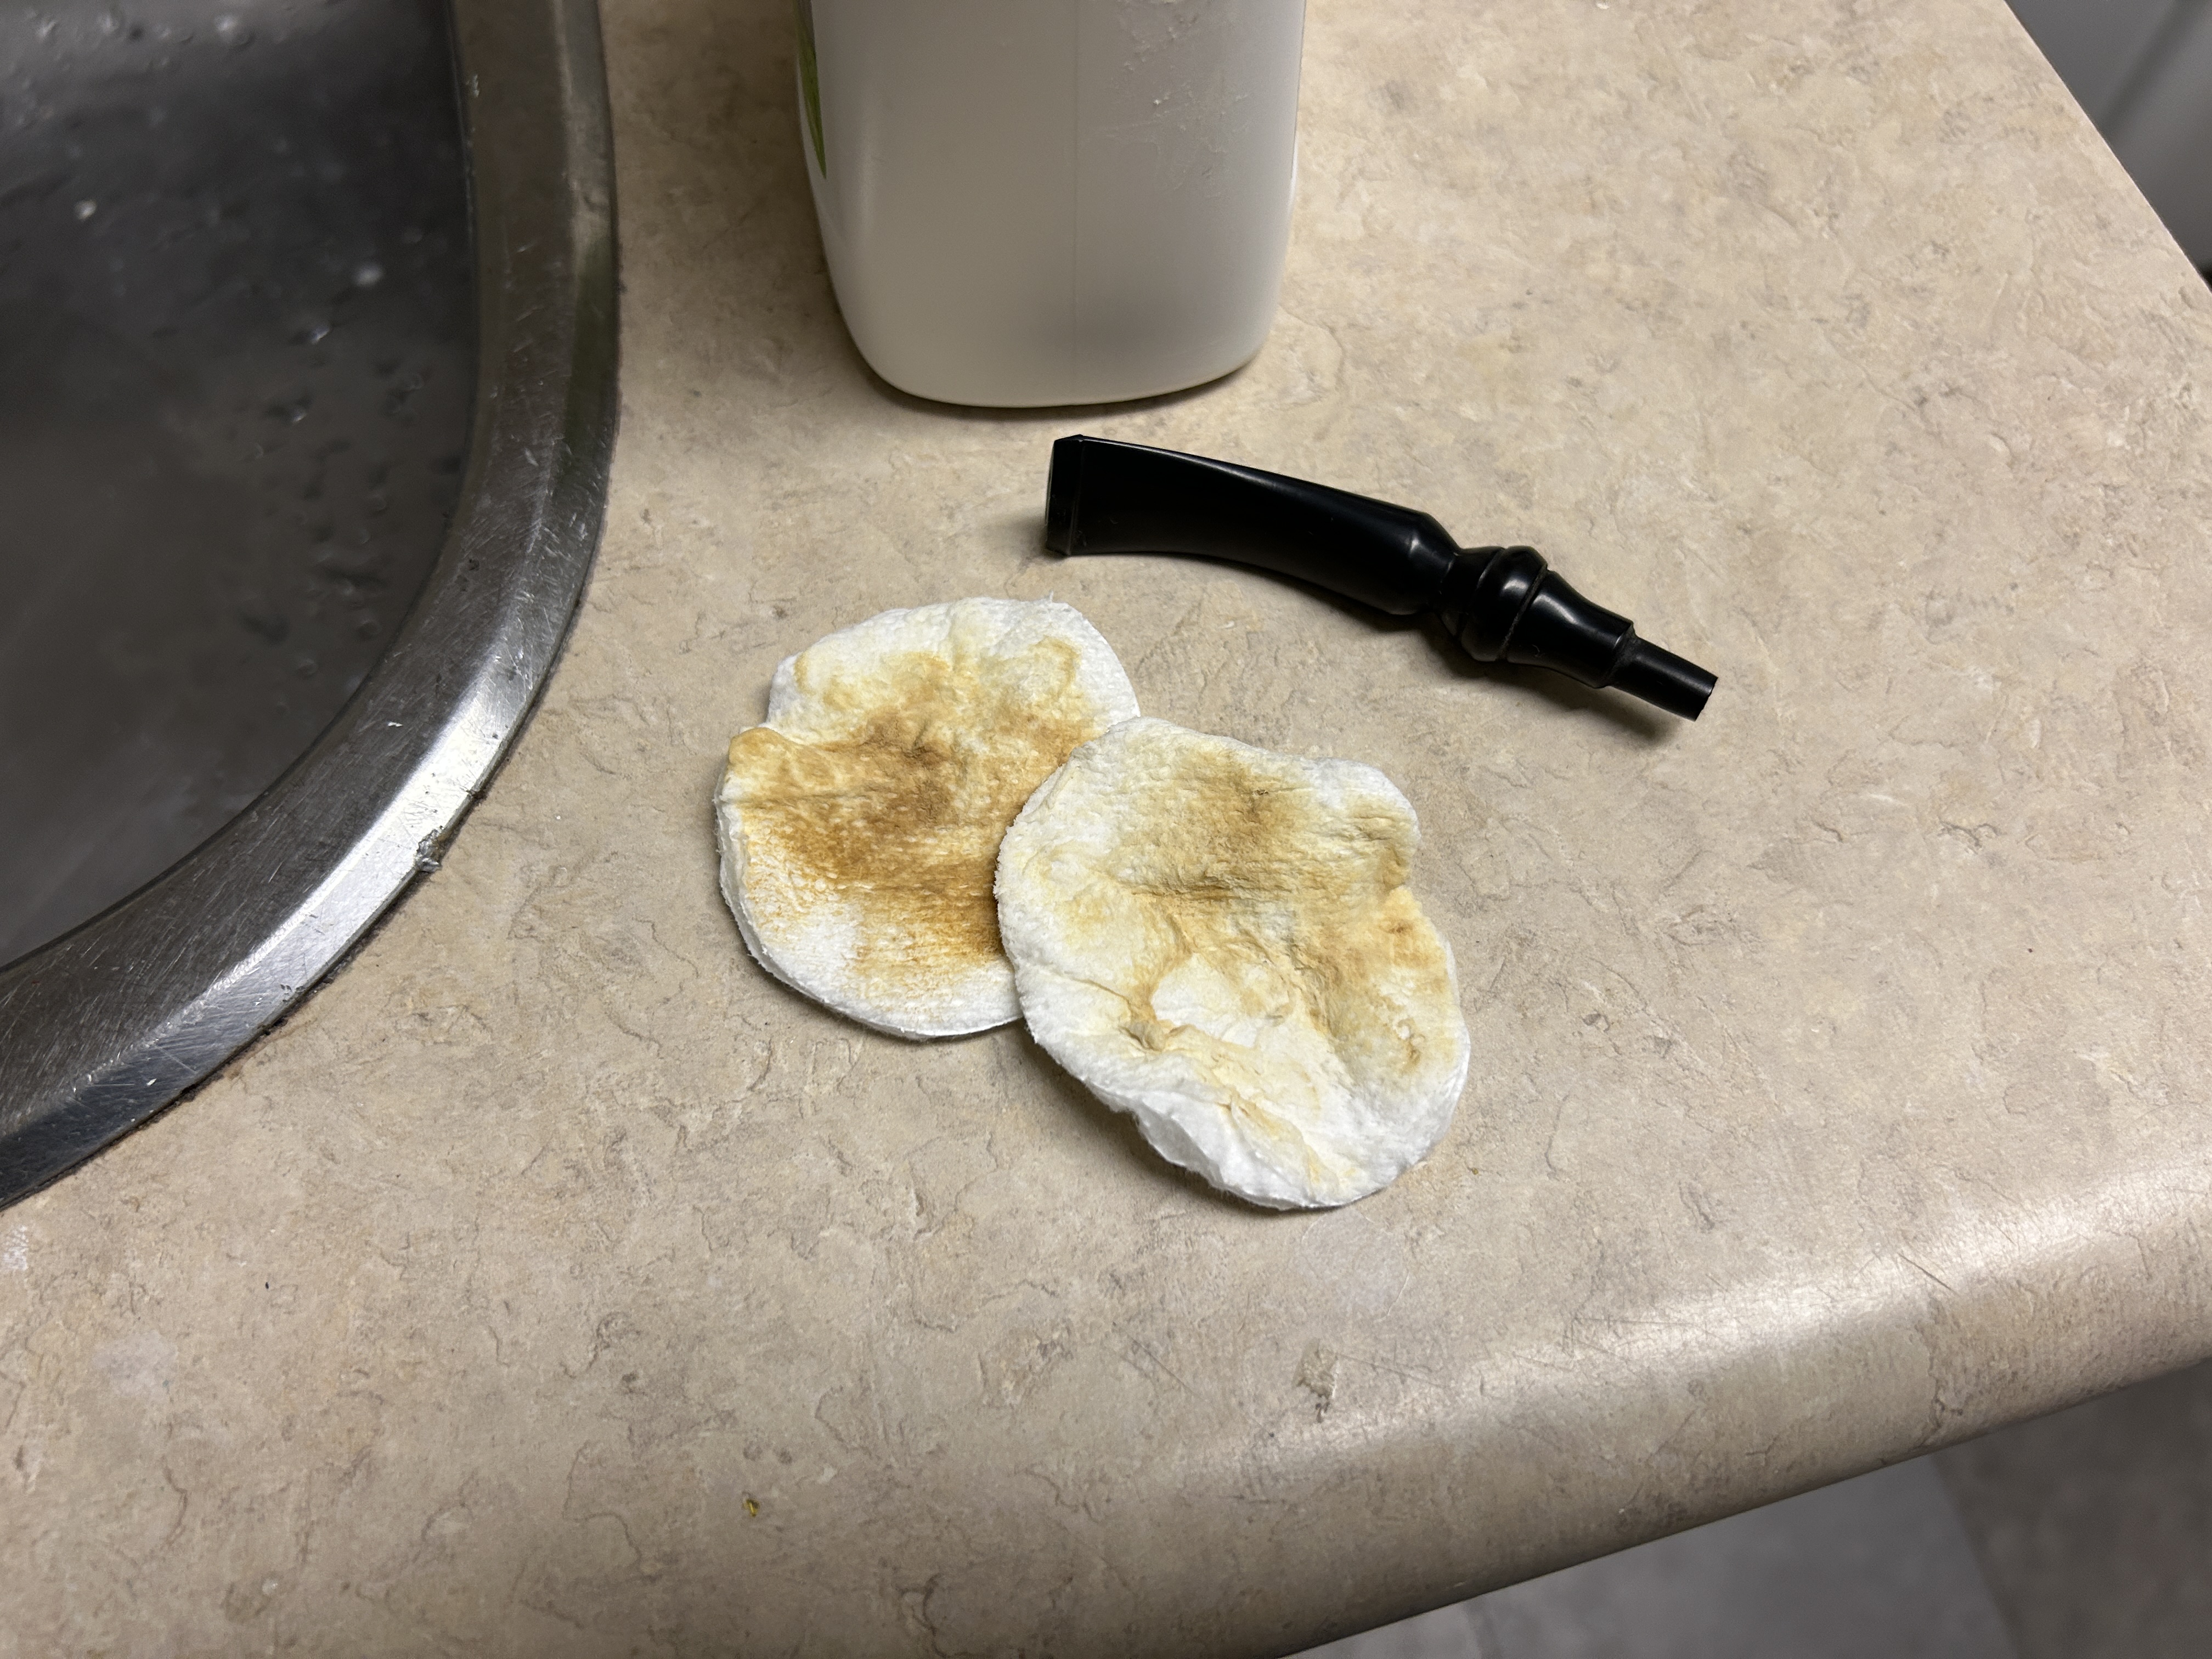
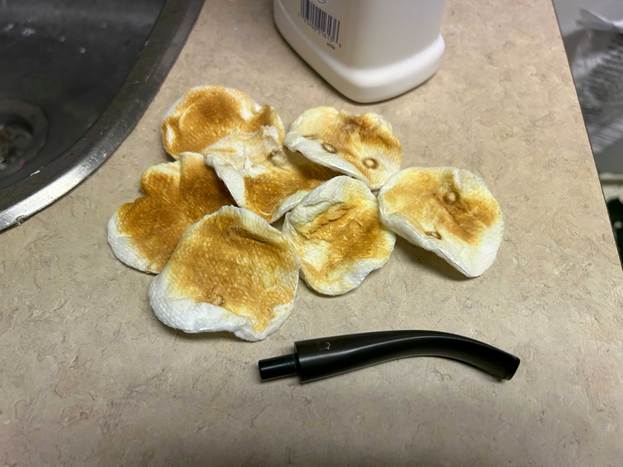
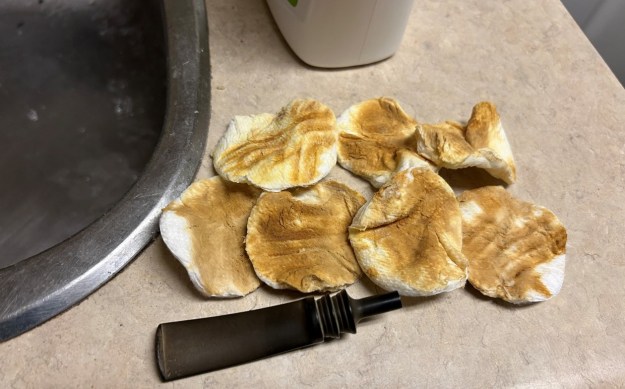
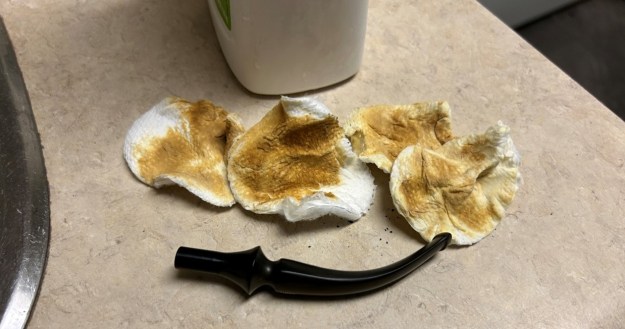
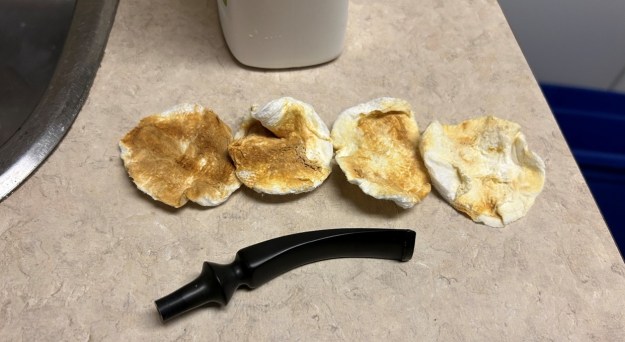
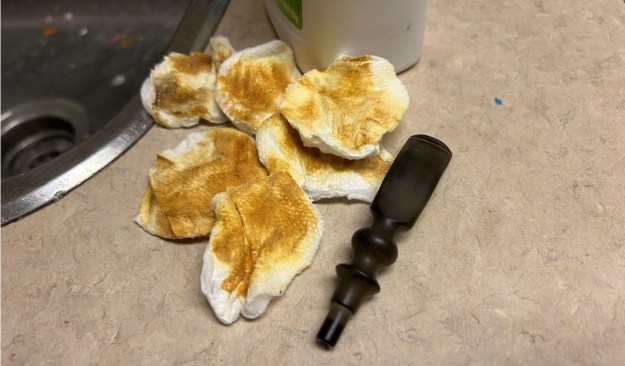
The goal of the next step is the removal (or minimization) of oxidation. Going to my sink, I used cream cleanser, cotton rounds, and a toothbrush, and scoured the stem to remove as much surface oxidation as possible. As the photos show, the result was a hideous, ochre-coloured mess – but not too much of it. Thankfully.

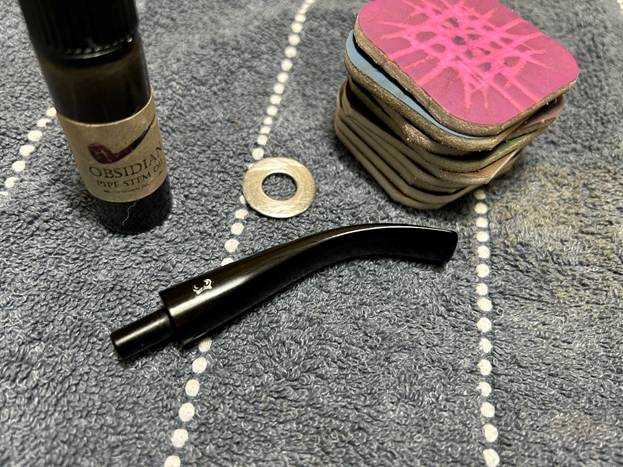
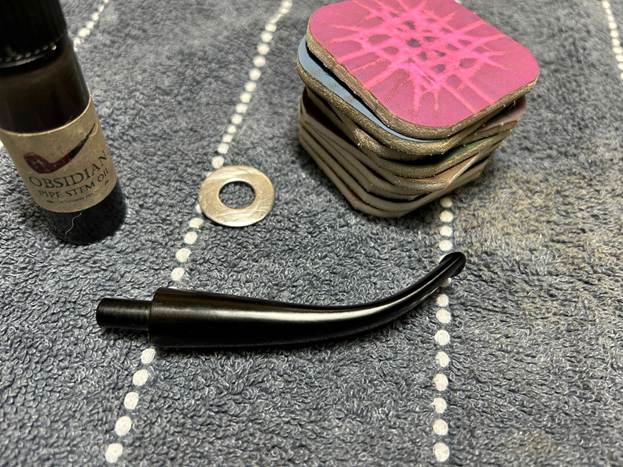
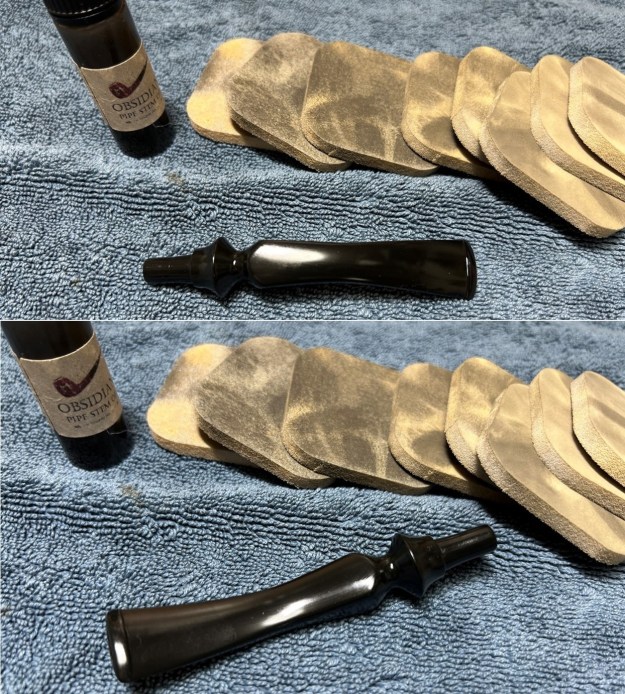
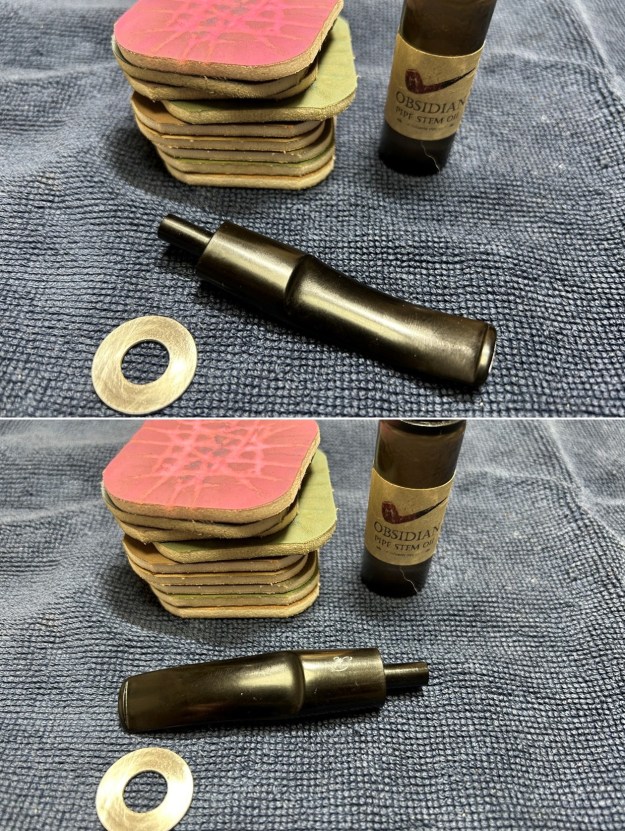
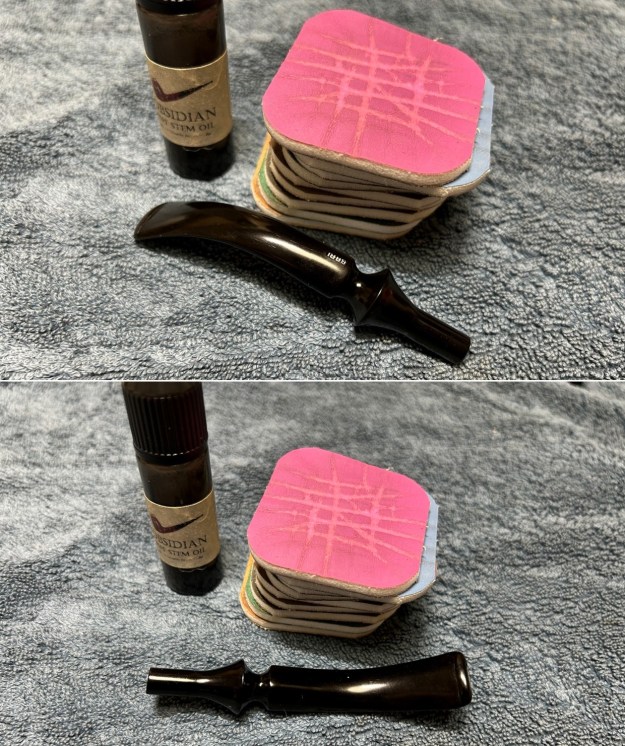
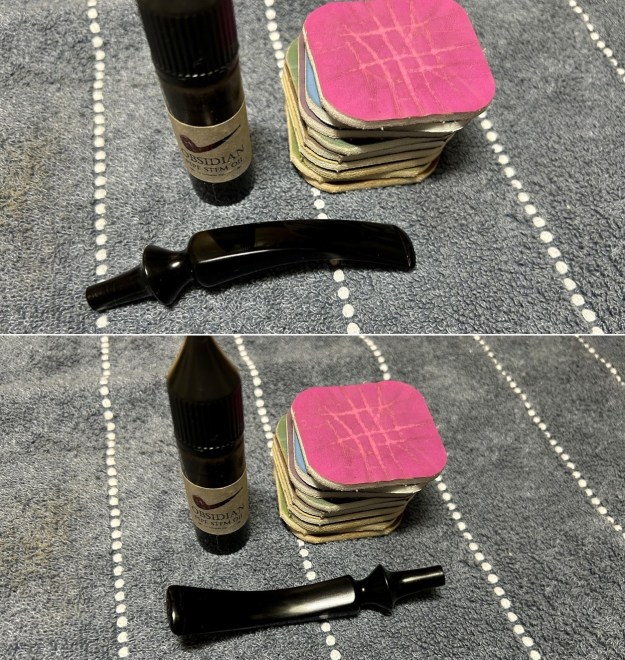
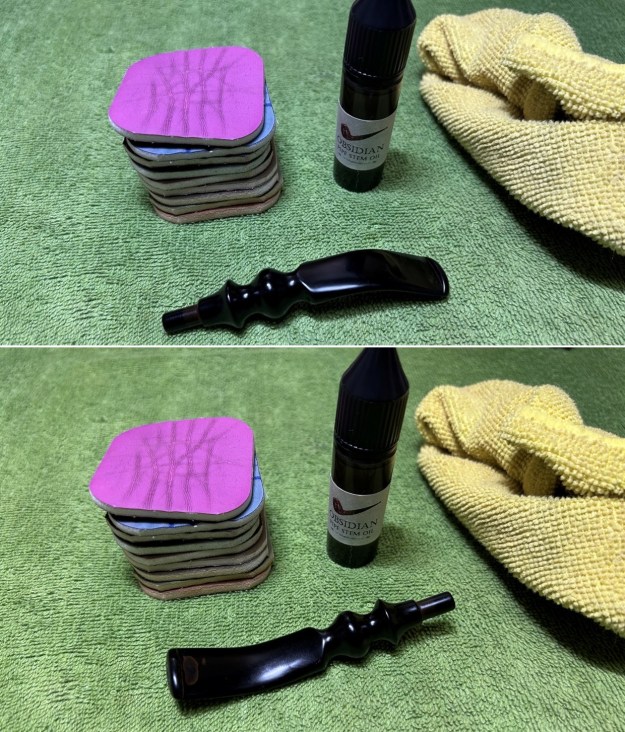
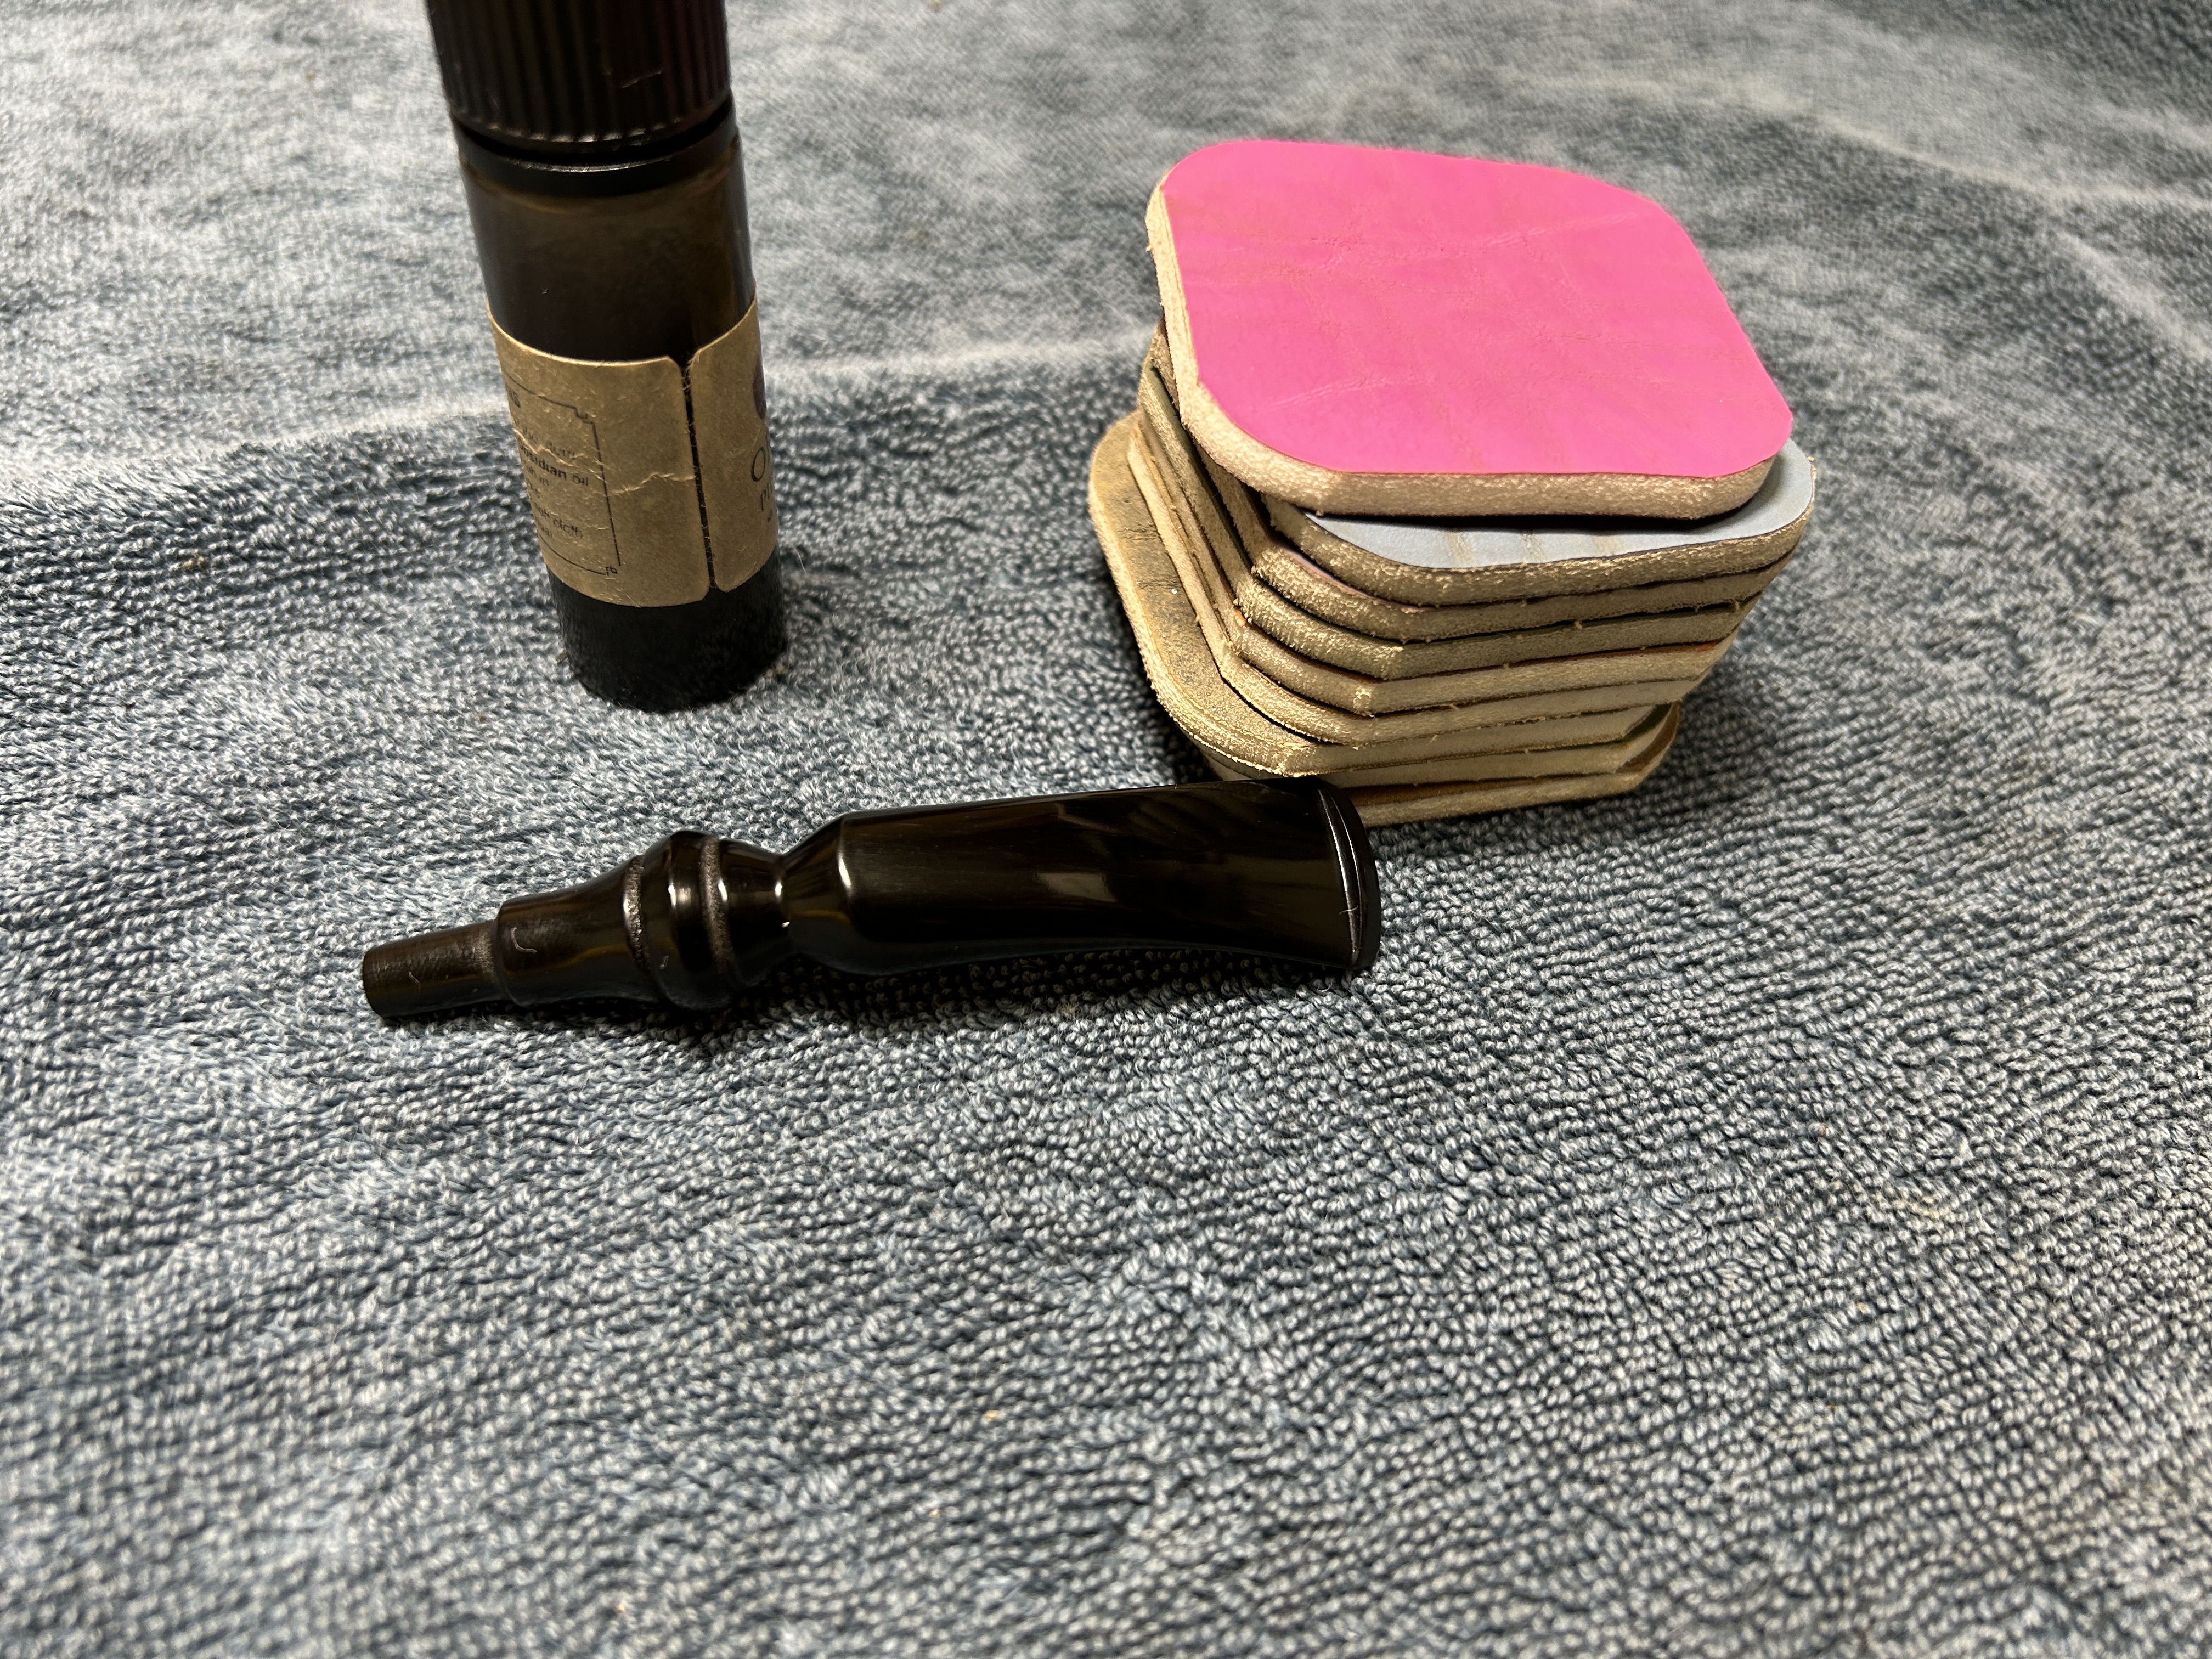
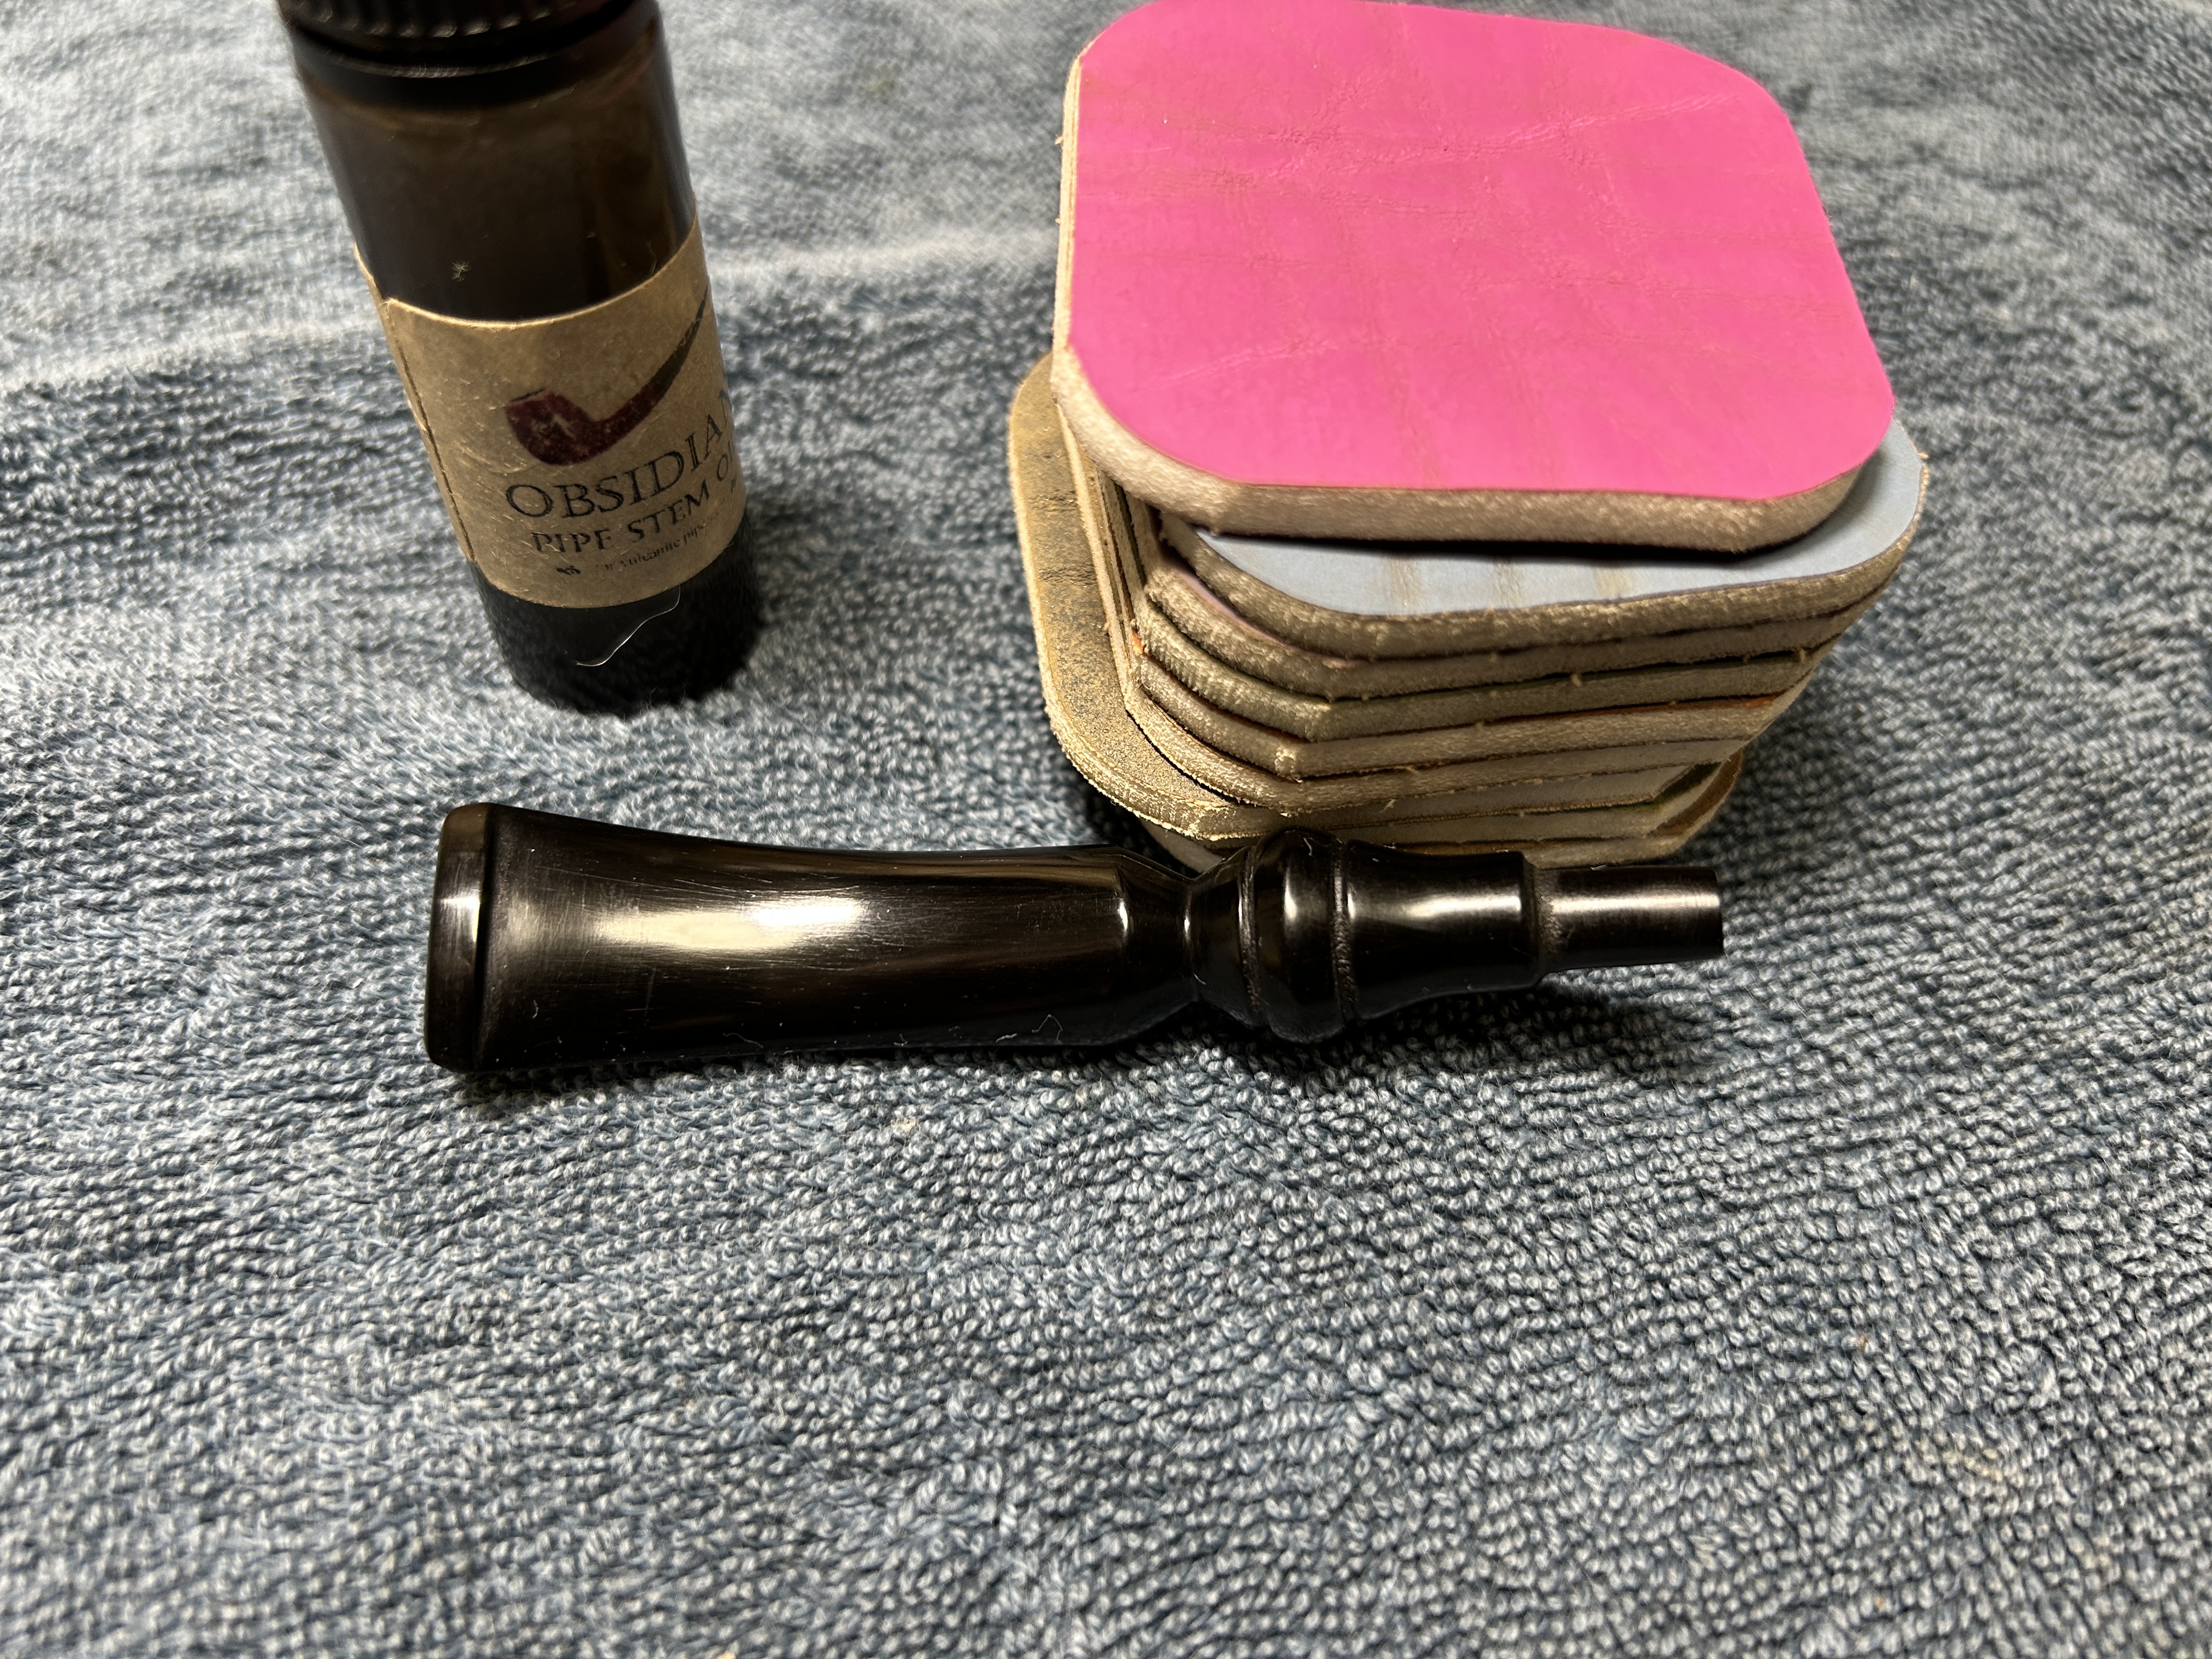
The penultimate step for the stem is sanding. I used all nine of the micromesh sanding pads (1,500 through 12,000 grit) to sand out flaws, even out the vulcanite, and provide gentle polishing of the finished surface. I also applied pipe-stem oil while using the last five micromesh pads. There was a wonderful, deep black shine to the stem when I was done.

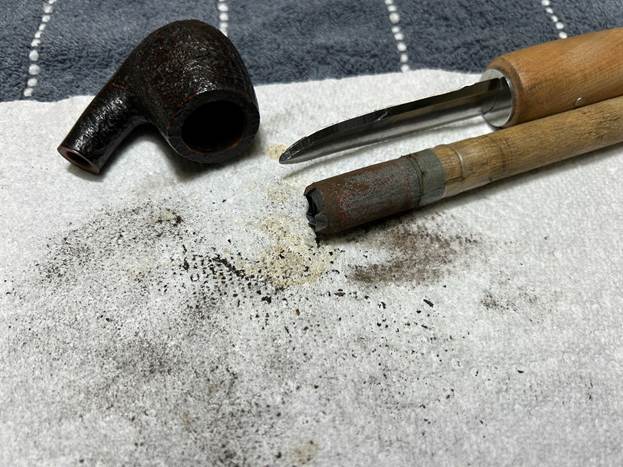
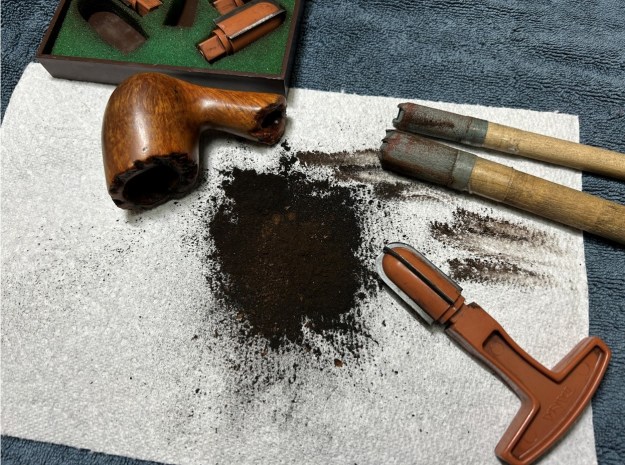
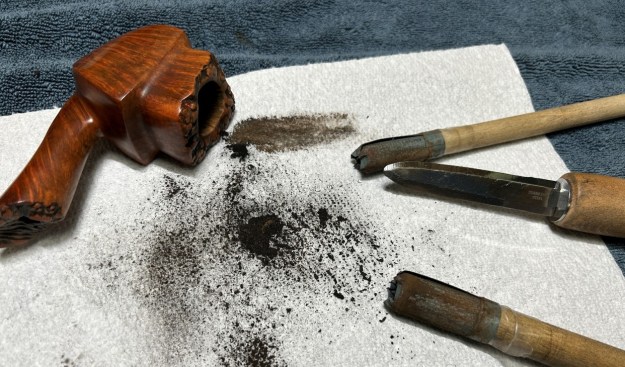
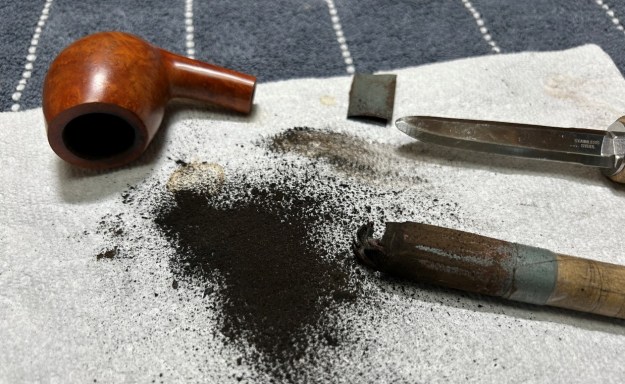
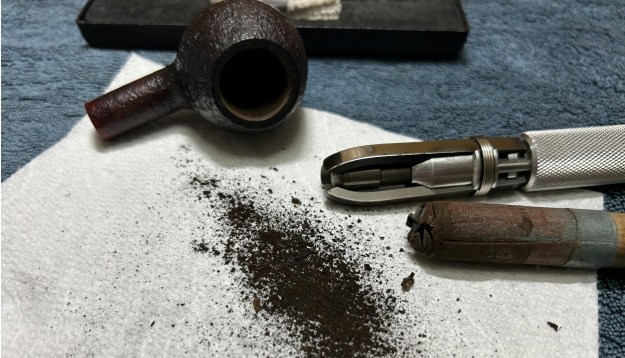
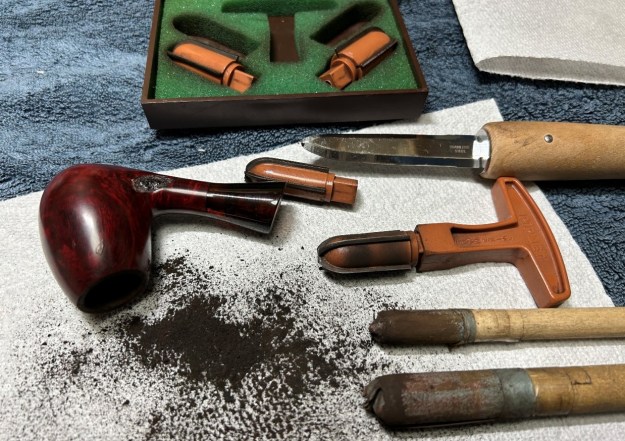
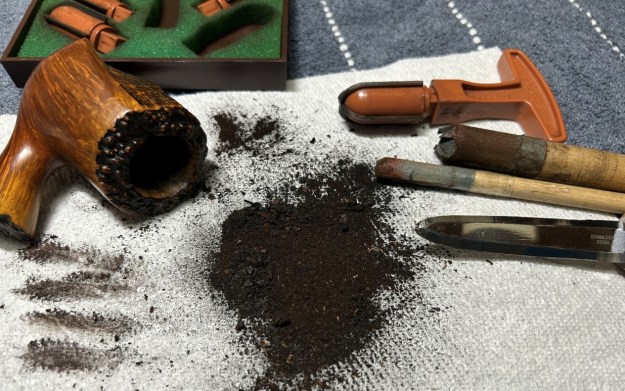
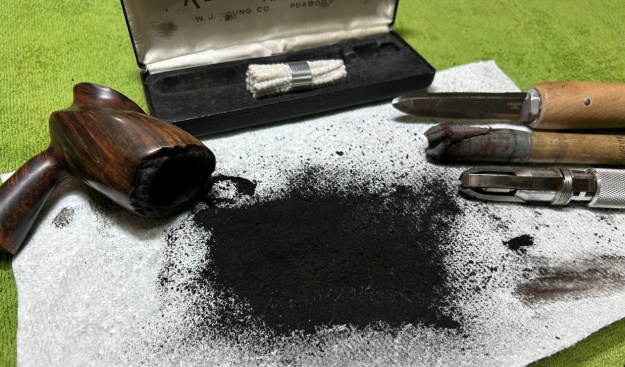
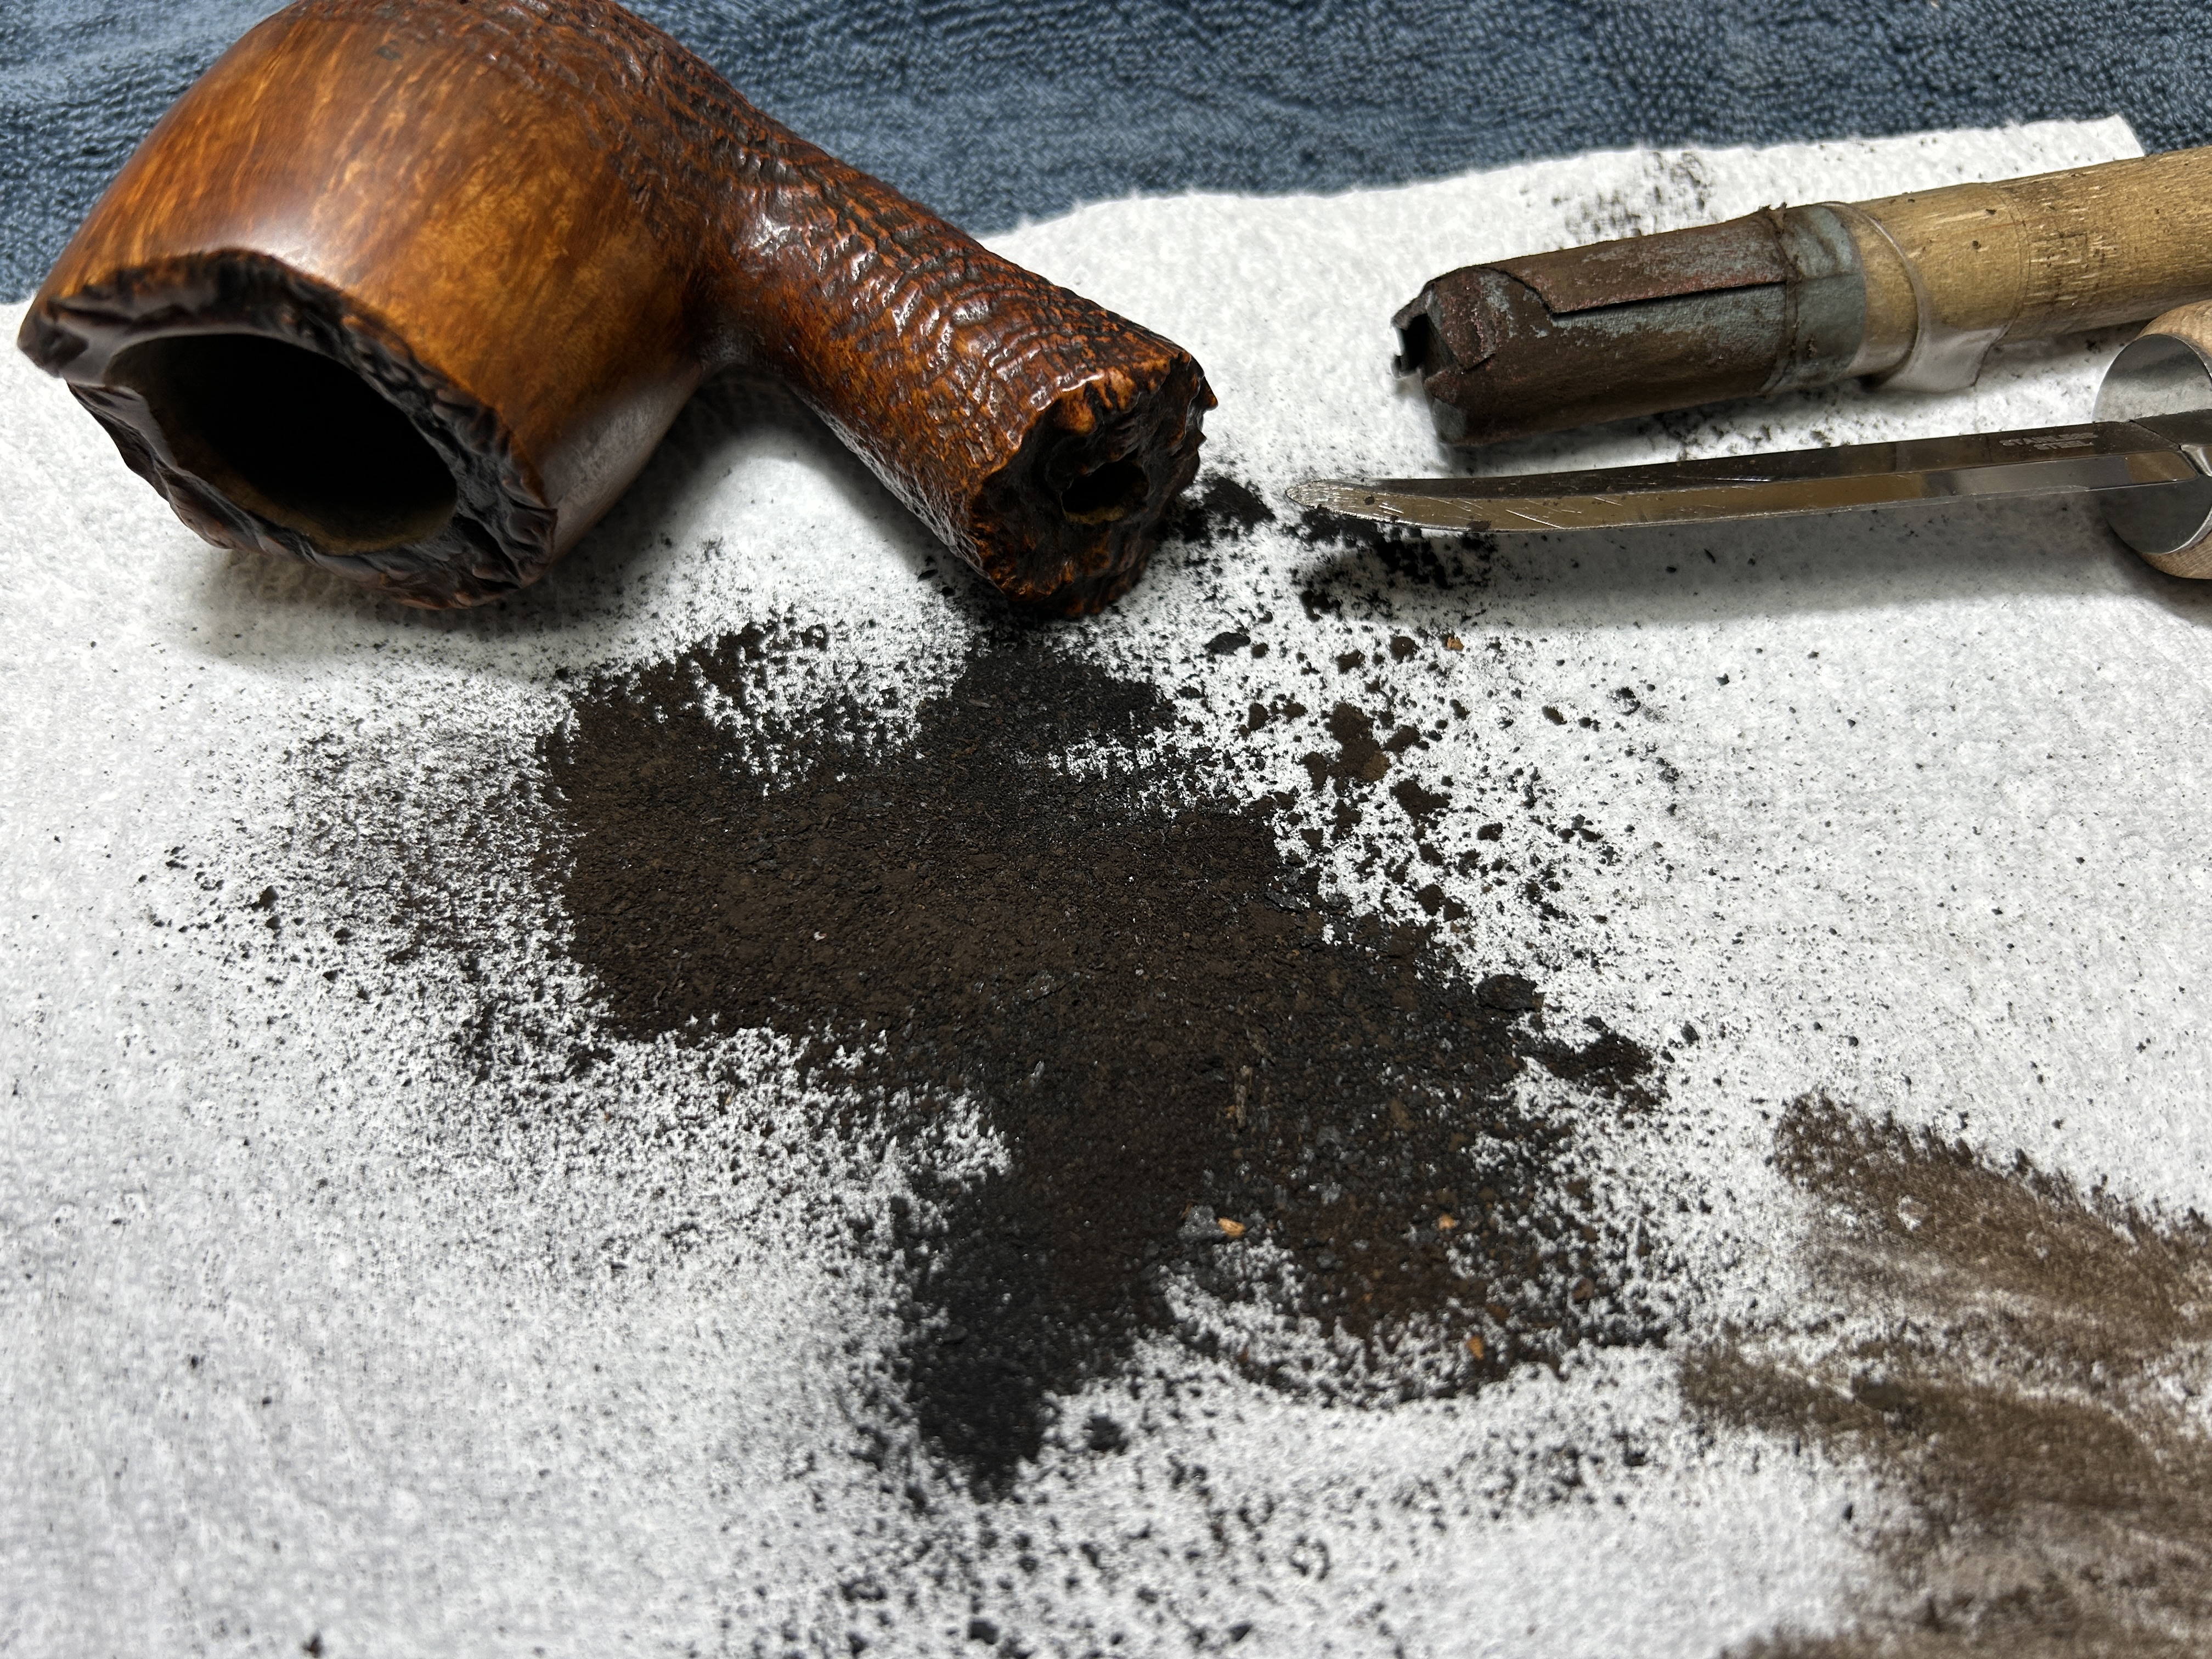
As the stem was (nearly) complete, I moved on to the stummel. The first step was to ream out the bowl – that is to say, remove all the cake inside the bowl. This accomplished a couple of things. First (and most obviously), it cleaned the bowl and provided a refurbished chamber for future smoking. Second, when the old cake was removed, I could inspect the interior walls of the bowl and determine if there was damage or not. I used a pipe knife and a piece of sandpaper taped to a wooden dowel. Collectively, these ensured that all the debris was removed.

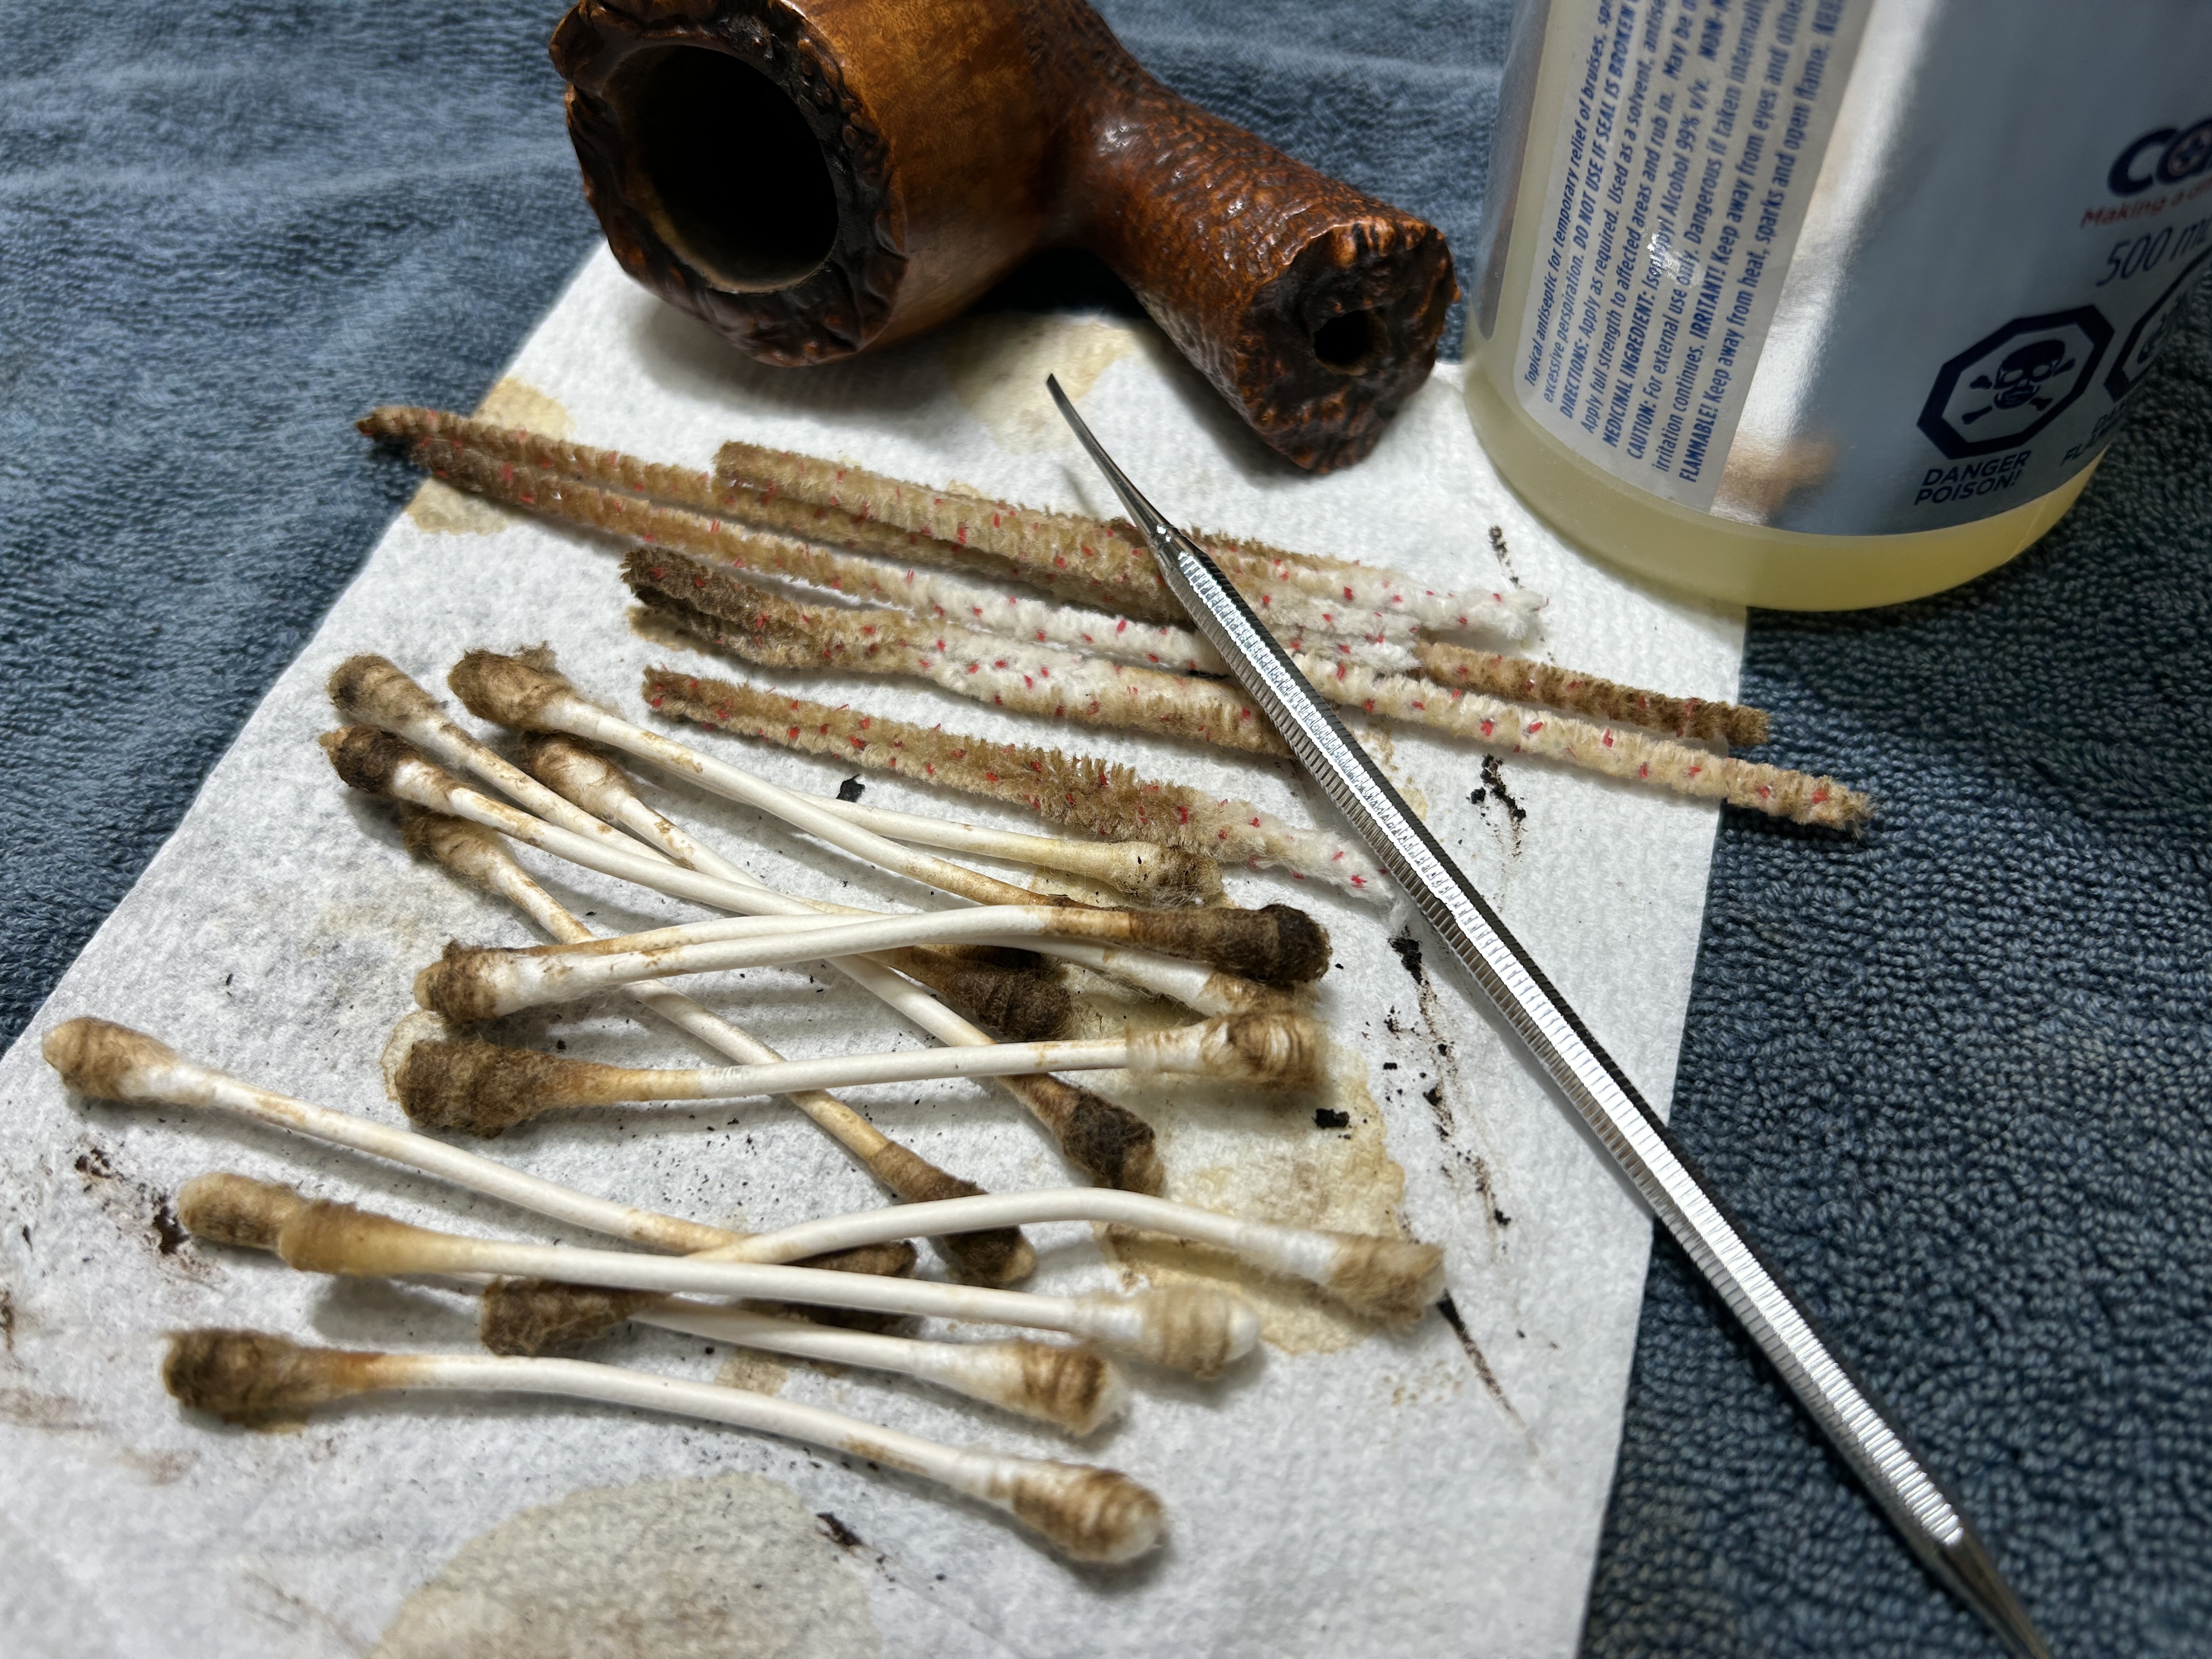
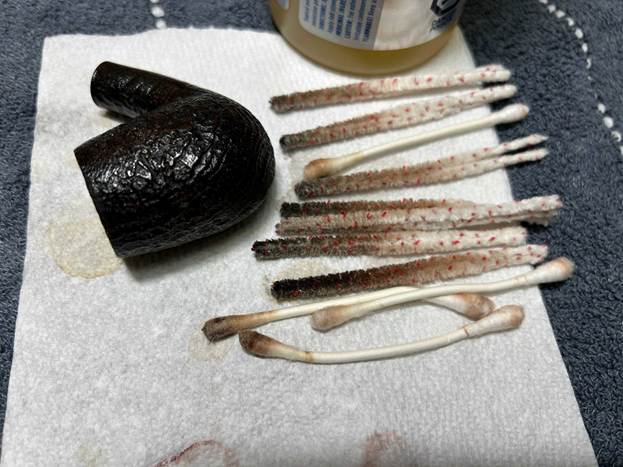
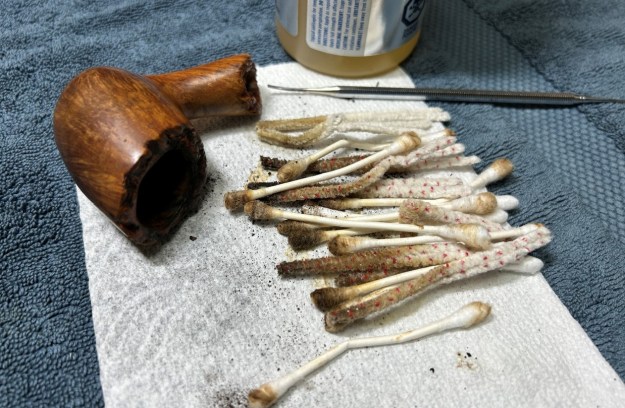
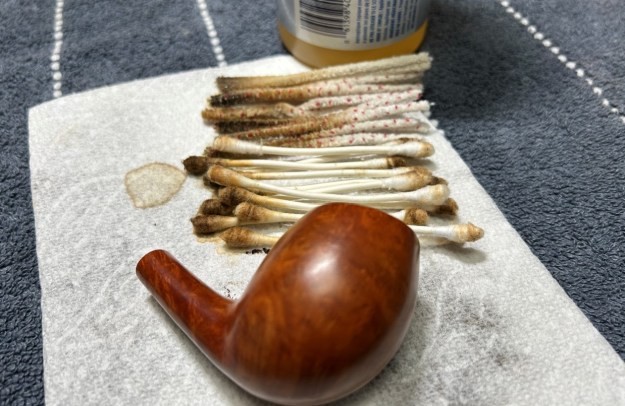
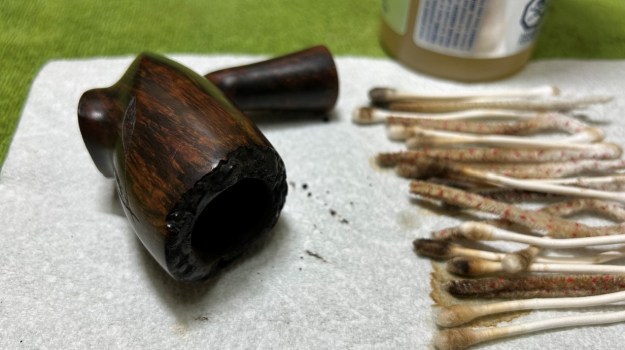
Similar to the stem, I then cleaned the stummel with both pipe cleaners and cotton swabs dipped in lemon-infused 99% isopropyl alcohol. It was pretty darn dirty.

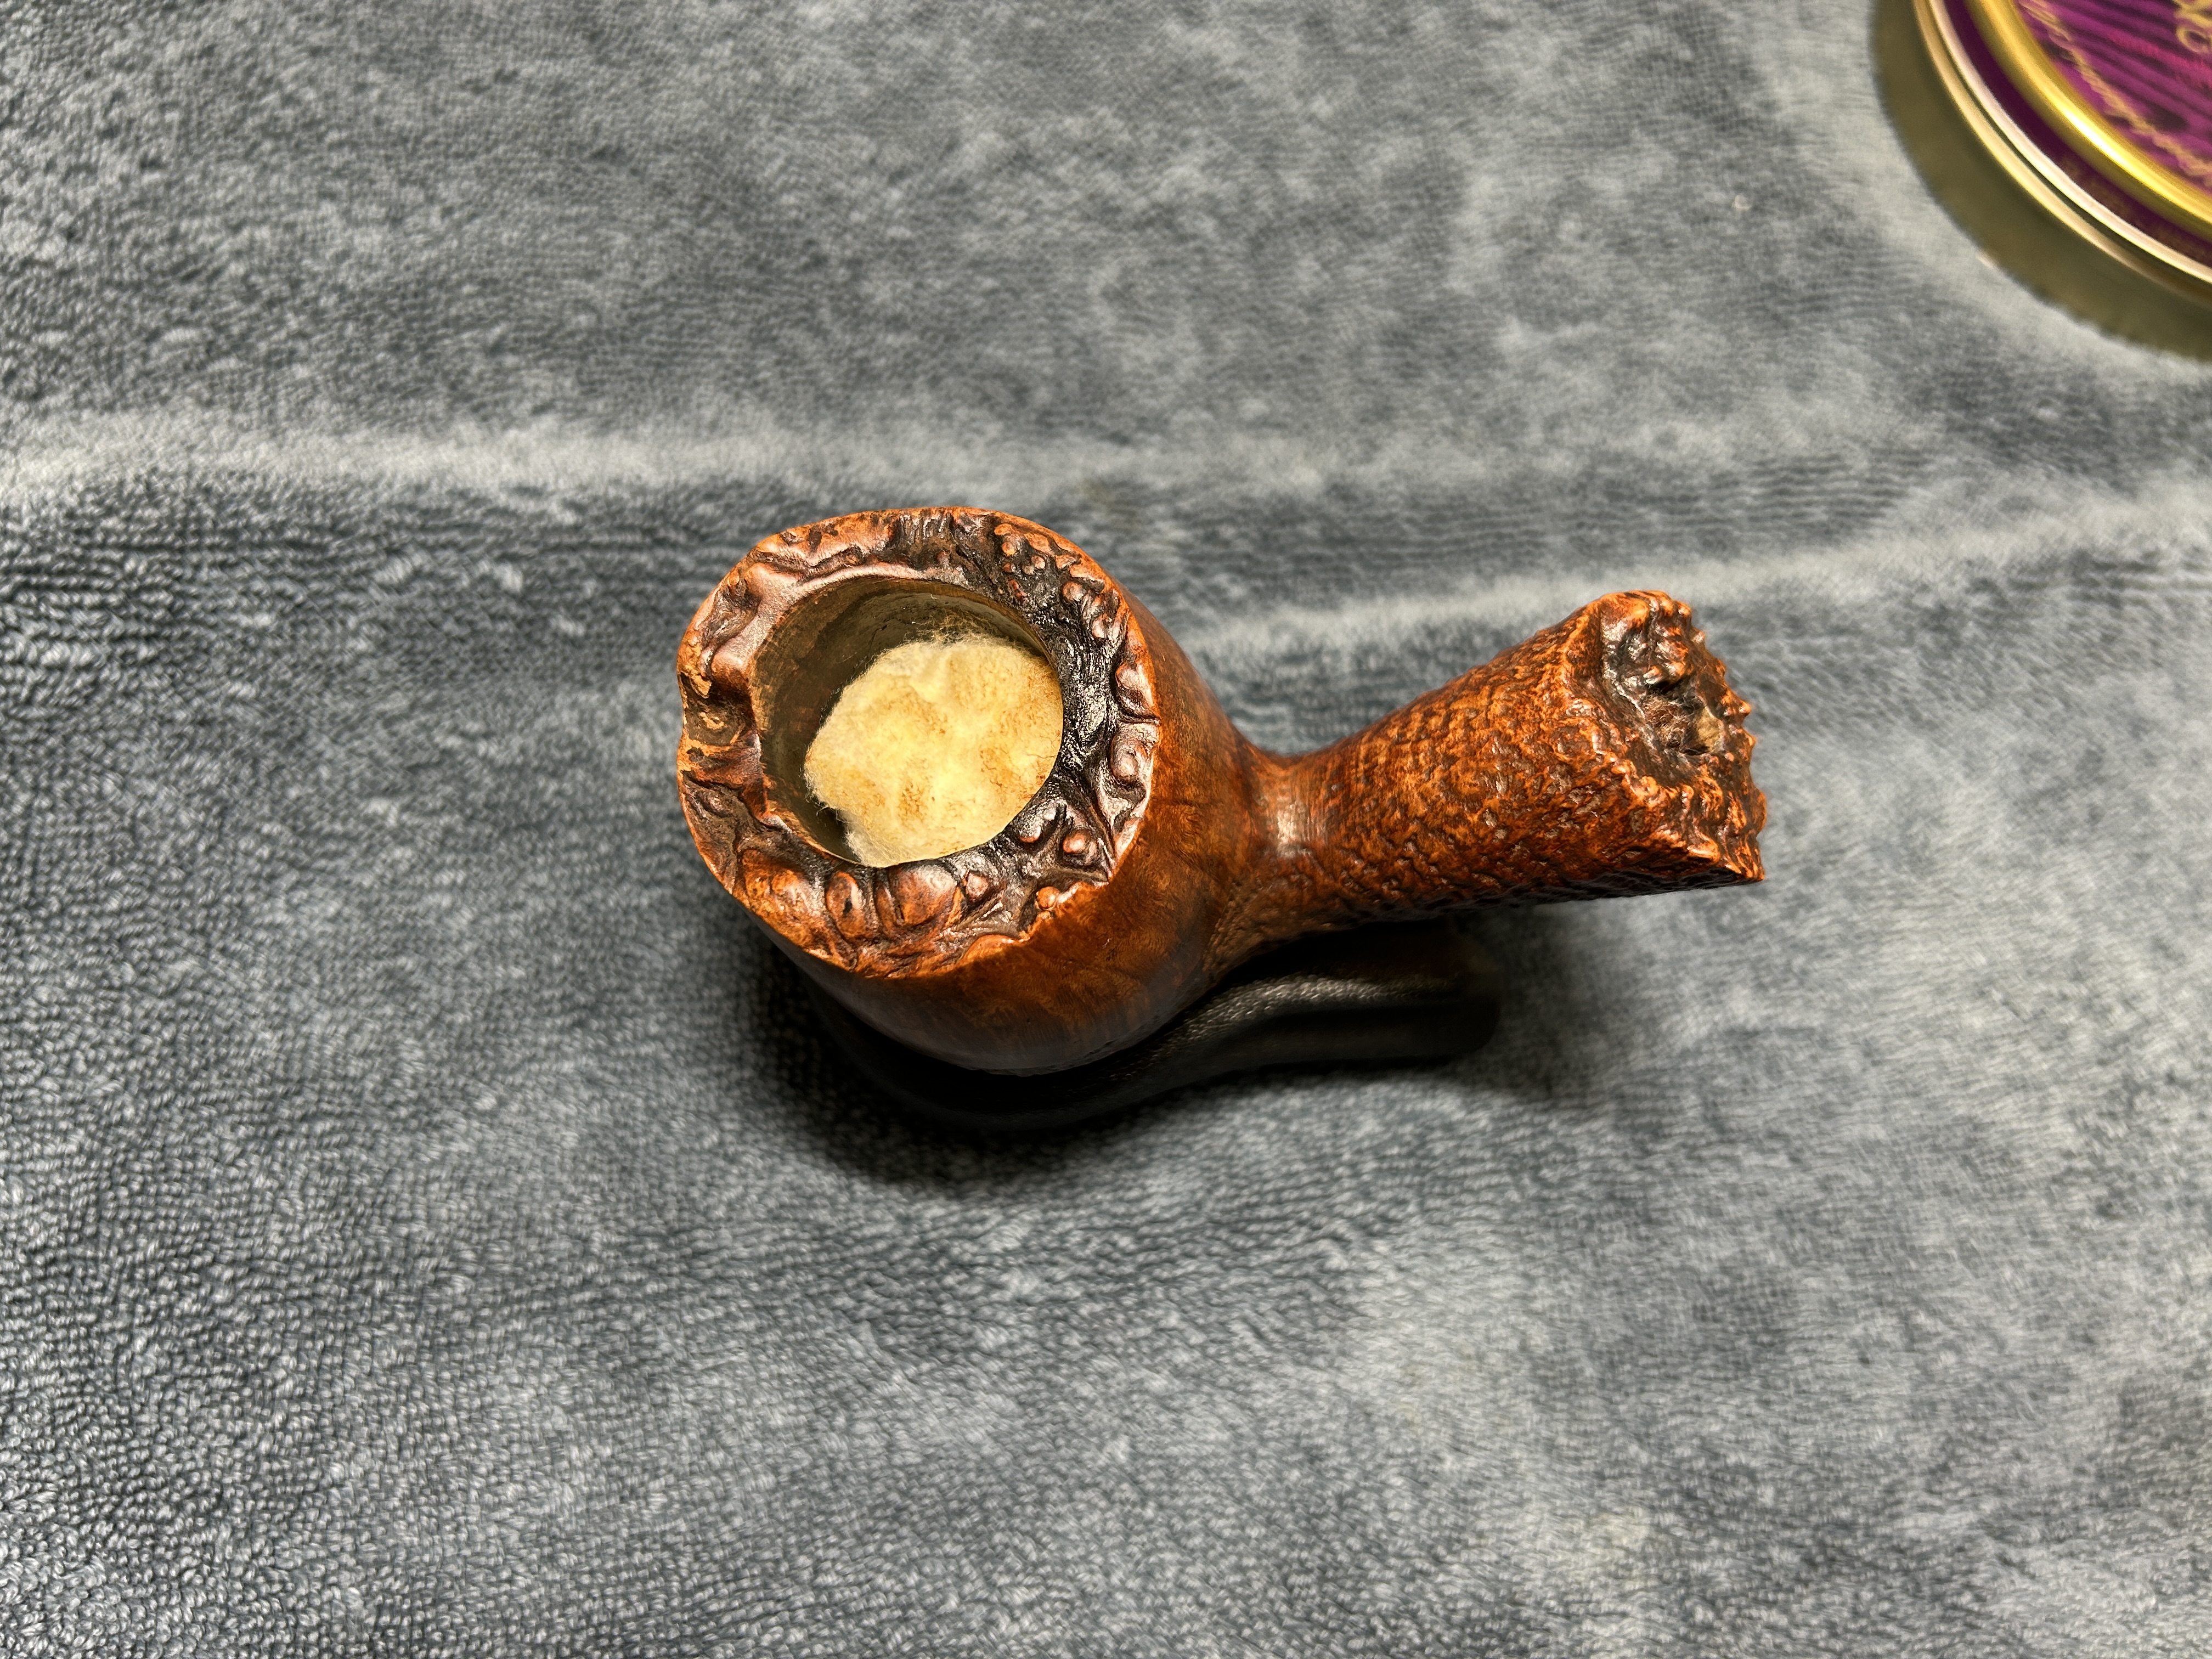
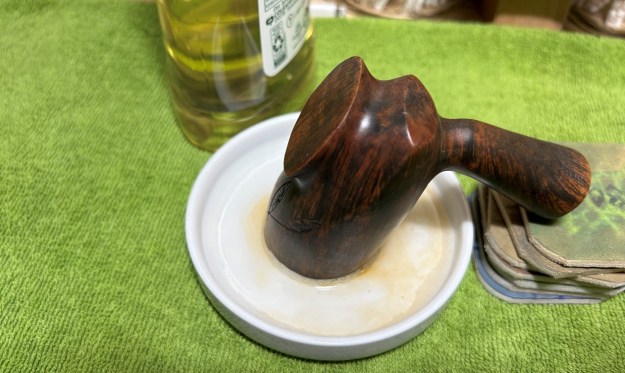
I then decided to ‘de-ghost’ the pipe – that is to say, exorcize the remaining filth from the briar. I filled the bowl and the shank with cotton balls, then saturated them with 99% isopropyl alcohol. I let the stummel sit overnight. This caused the remaining oils, tars and smells to leach out into the cotton.

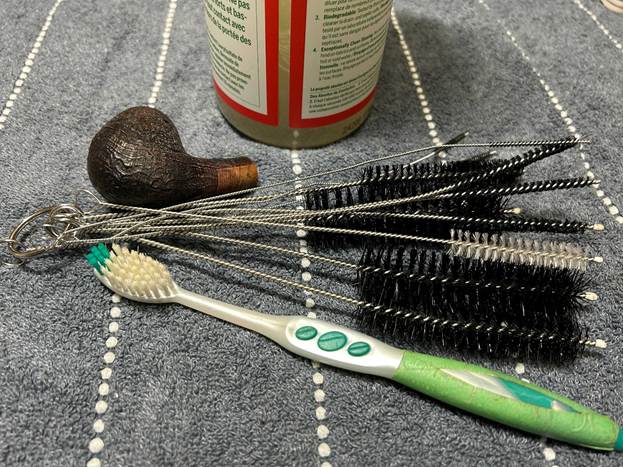
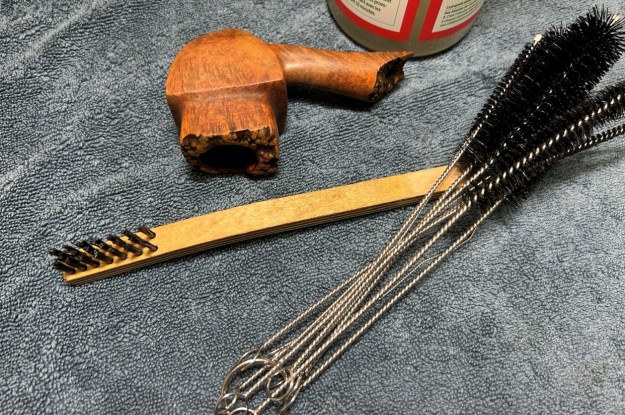
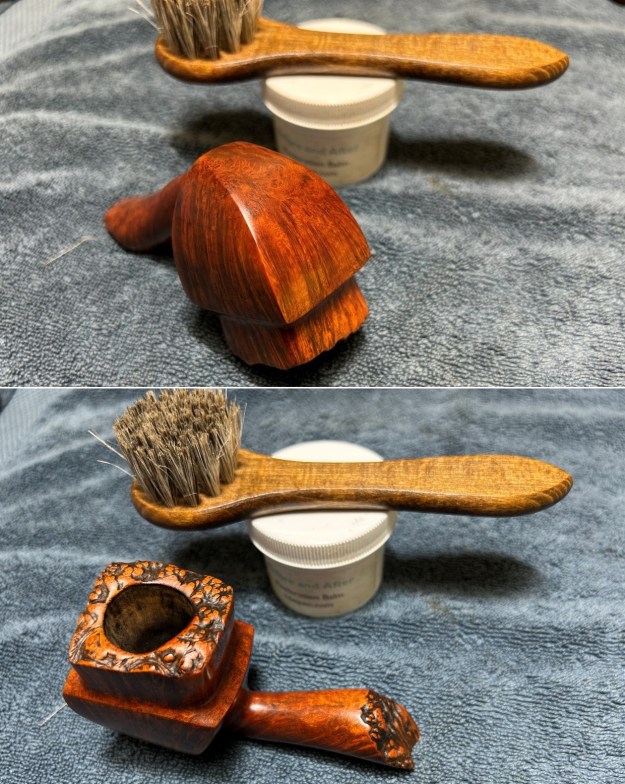
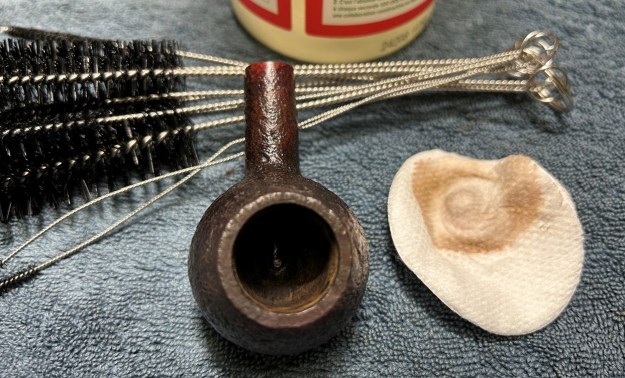
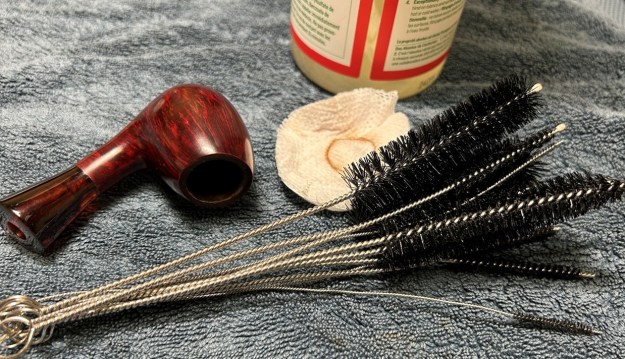
To tidy up the briar, I wiped down the outside, using a solution of a pH-neutral detergent and some distilled water, with cotton rounds. I also used a brush in the blast and the grooves of the plateau. This did a good job of cleaning any latent dirt on the surface of the briar. The last step of the cleaning process was to scour the inside of the stummel with the same mild detergent and tube brushes. This was the culmination of a lot of hard work in getting the pipe clean.

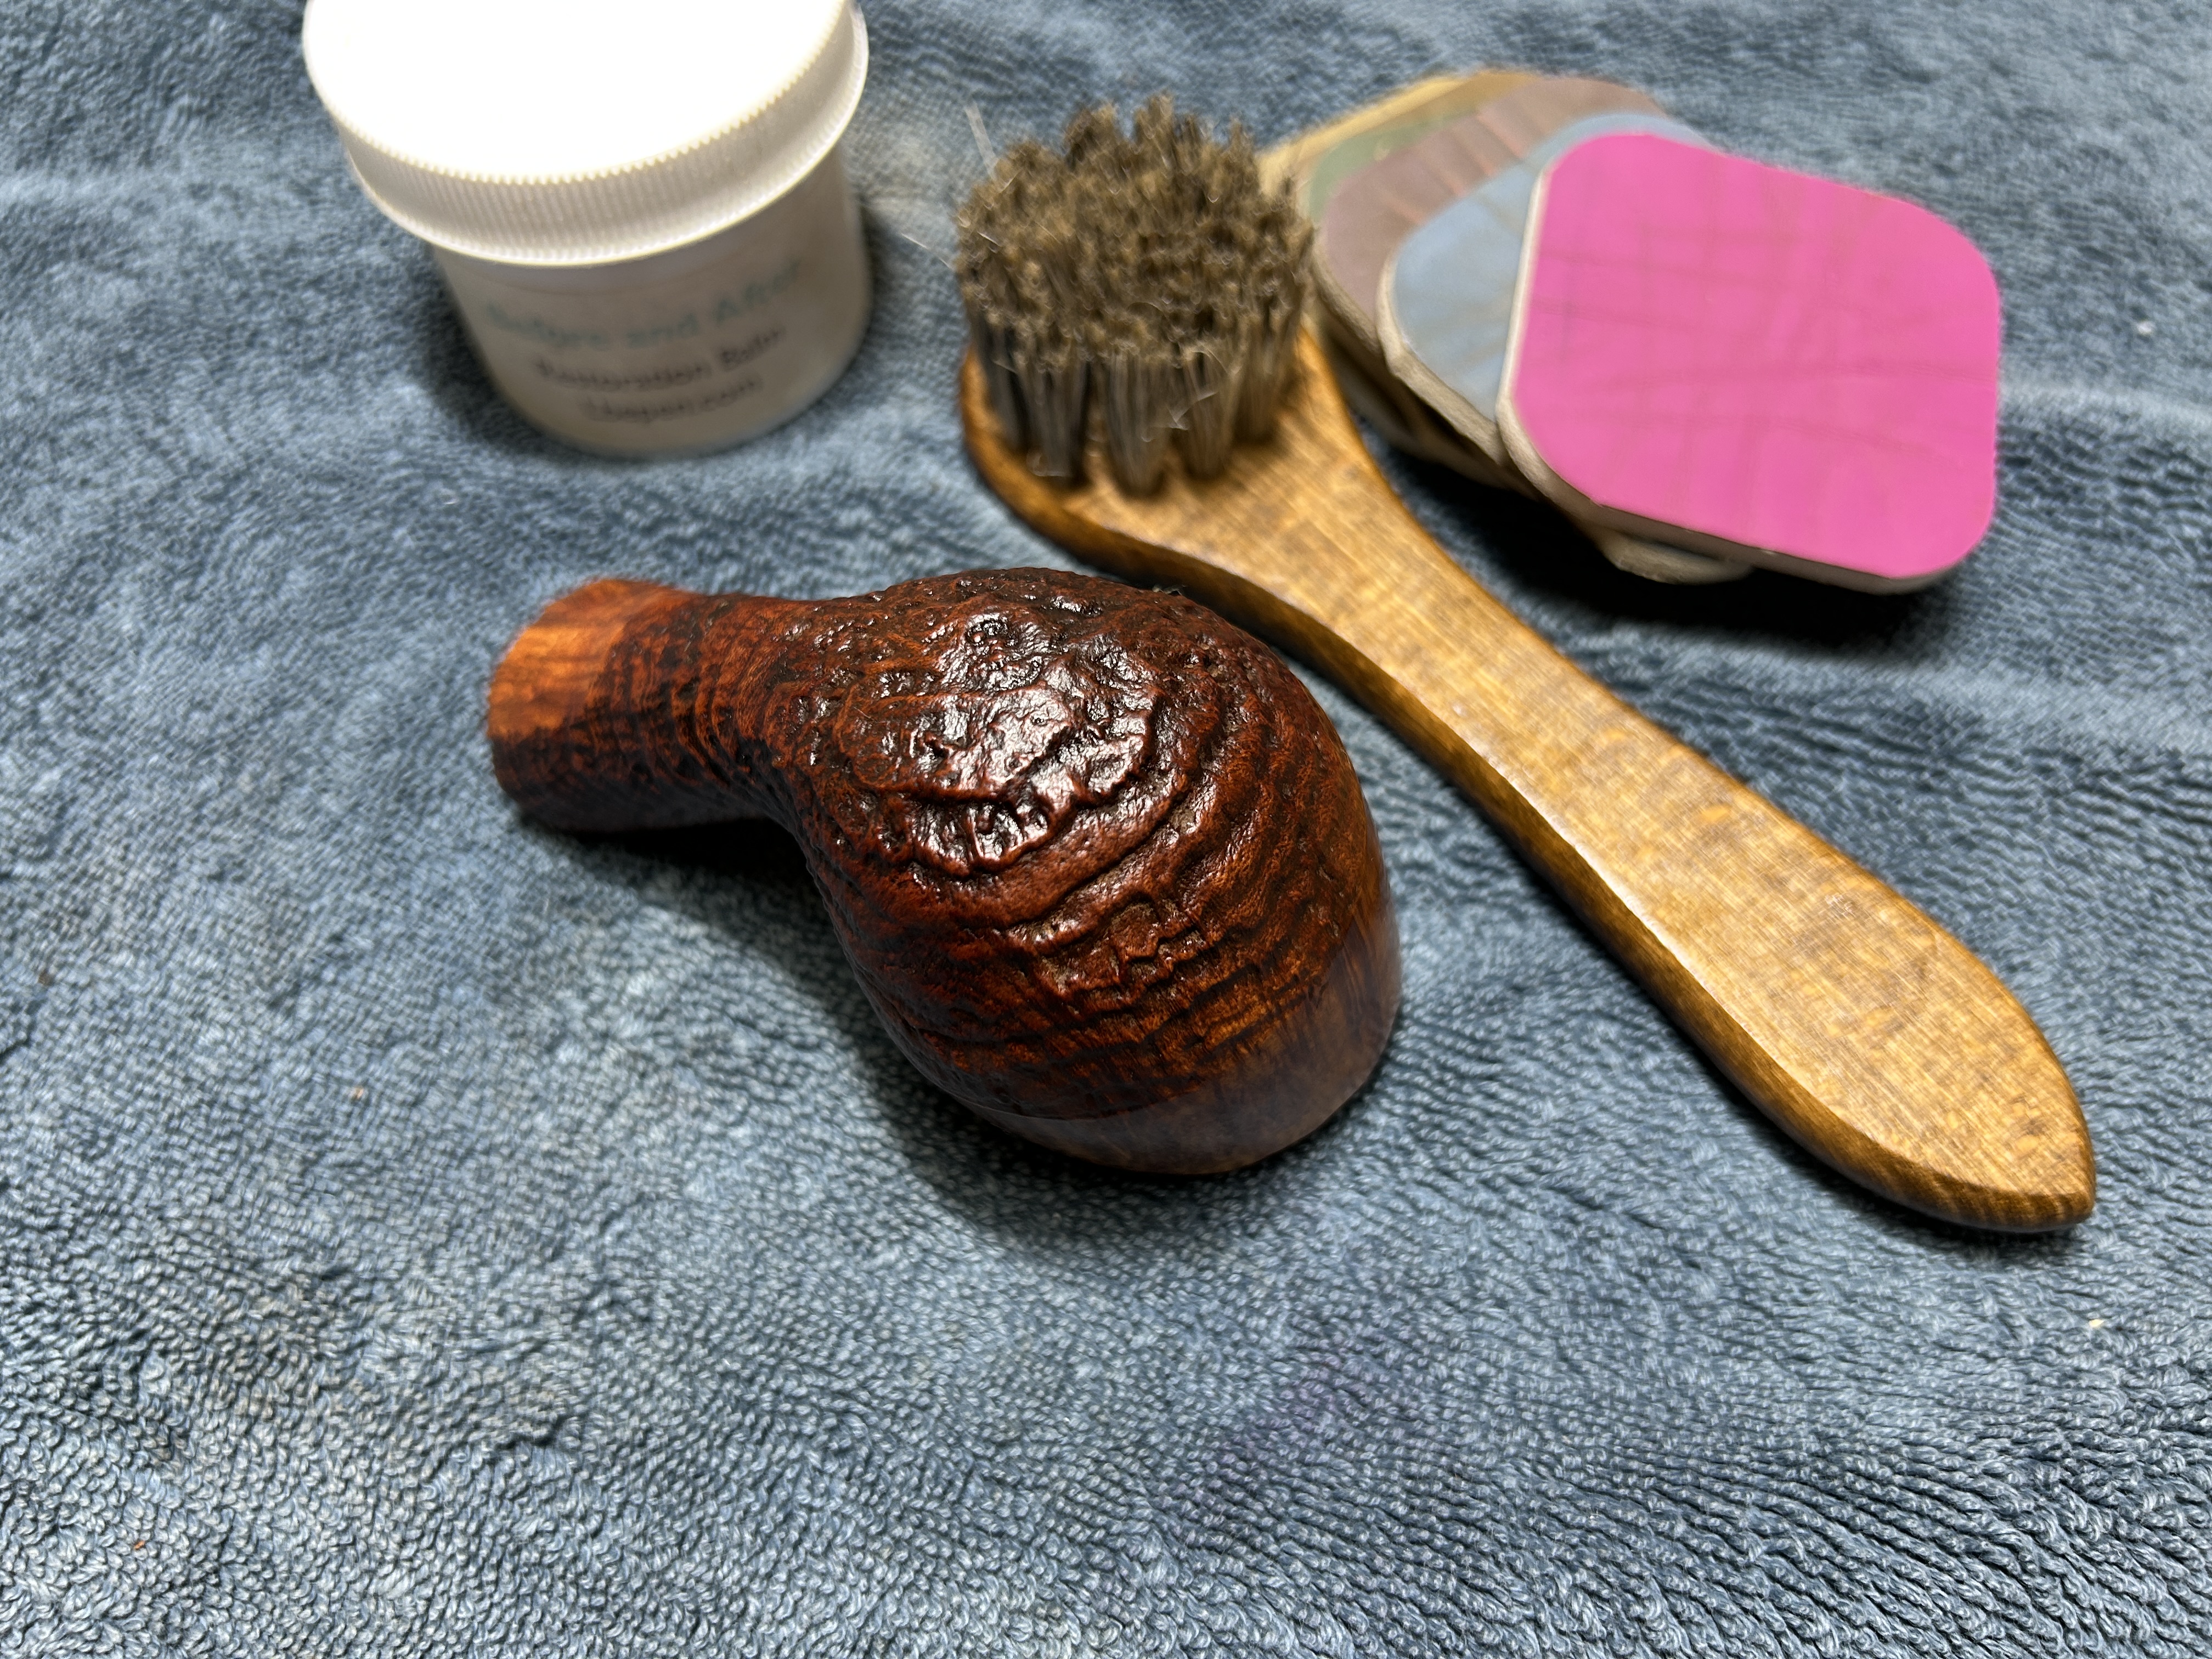
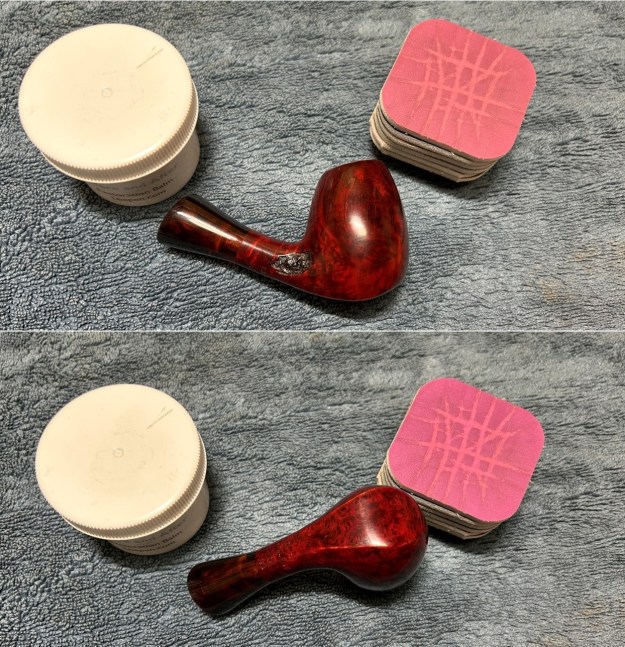
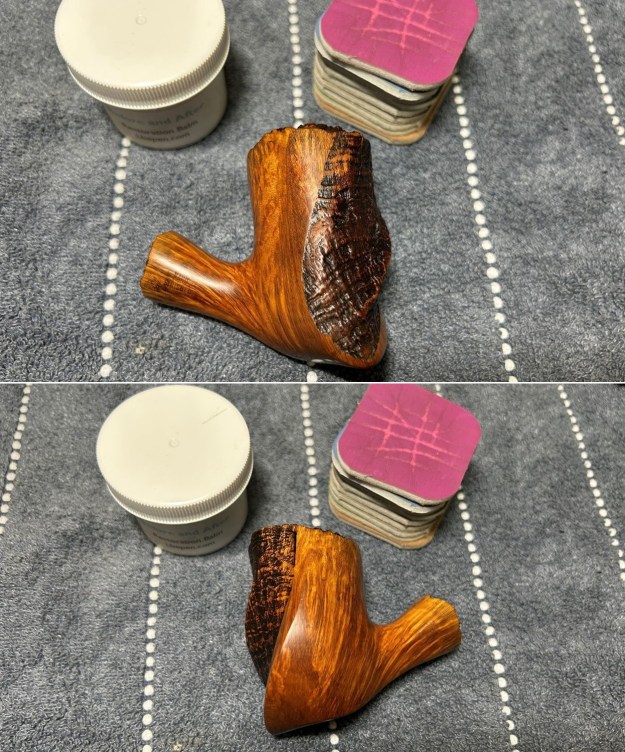
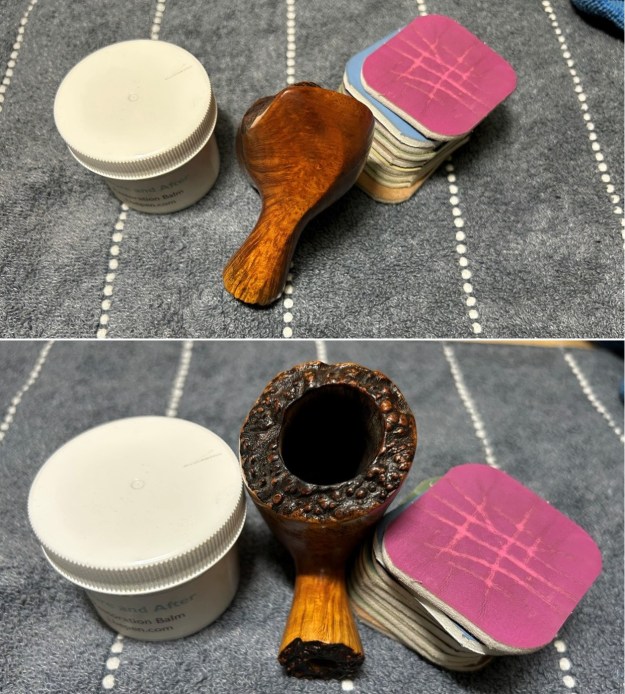
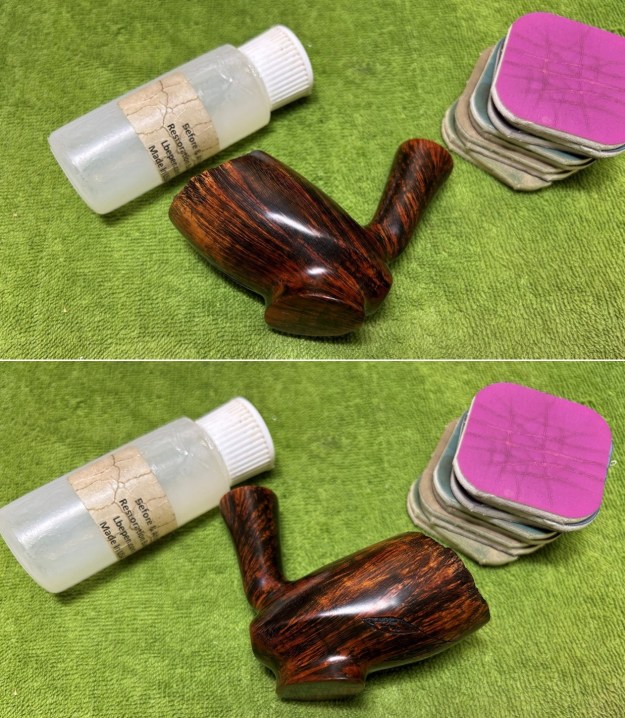
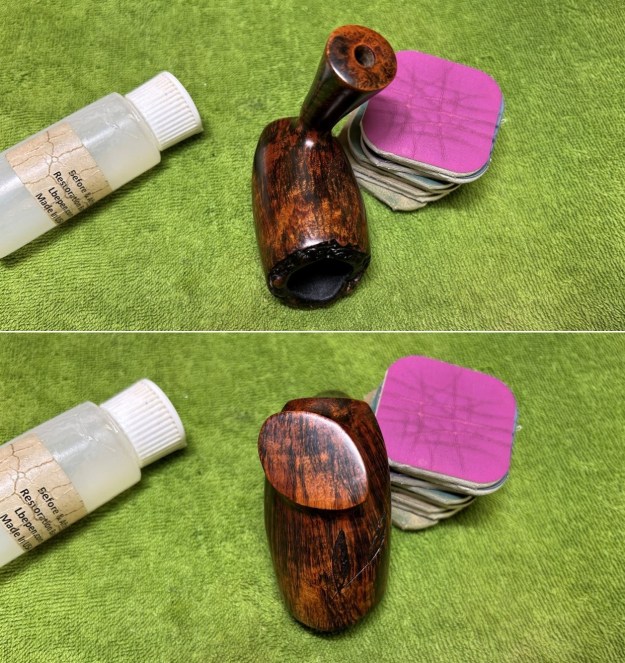
I used all nine micromesh pads (1,500 through 12,000 grit) to sand the smooth areas of the stummel and finish it off. This sanding minimizes flaws in the briar and provides a beautiful smoothness to the wood. I rubbed some LBE Before & After Restoration Balm into the briar and let it sit for 30 minutes or so. The balm moisturizes the wood and gives a beautiful depth to the briar. I then buffed the stummel with a microfibre cloth.

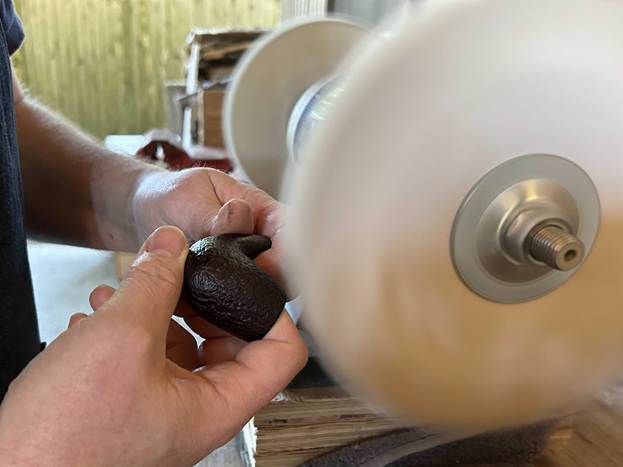
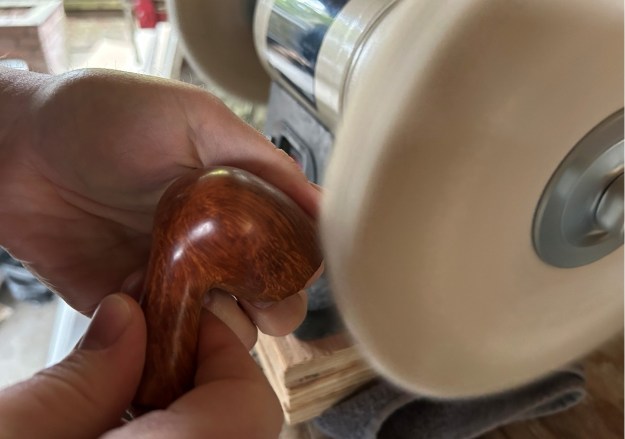
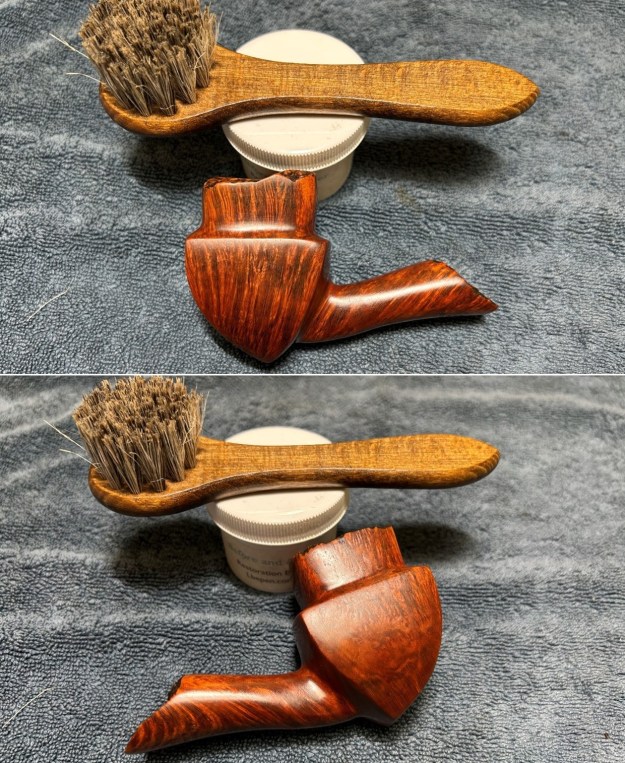
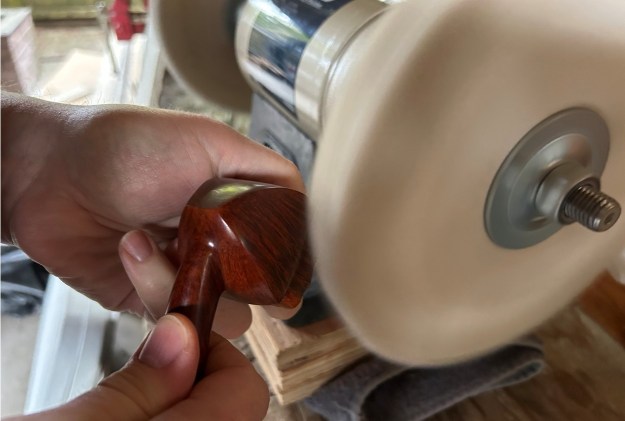
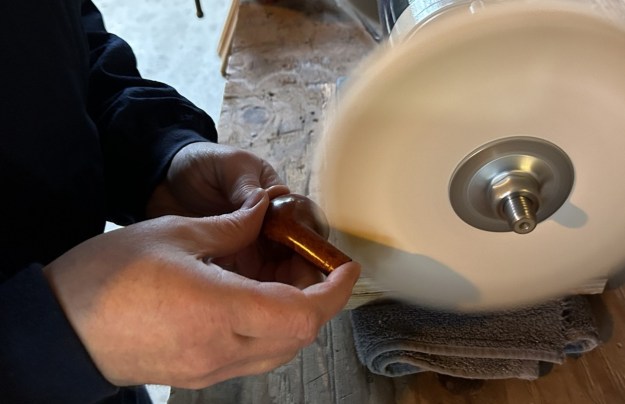
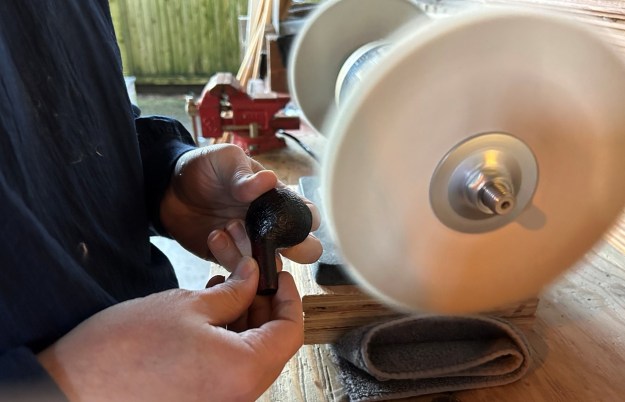
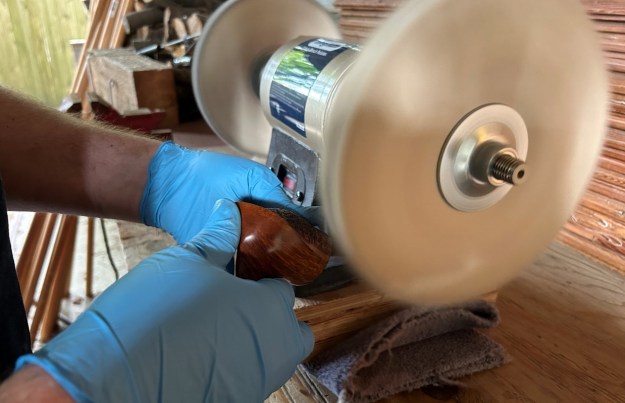
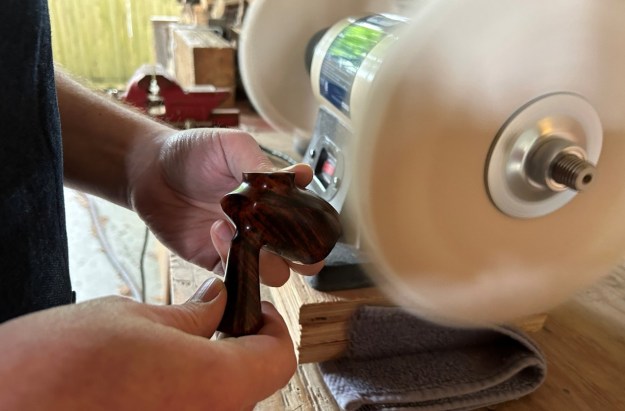
For the final step, I took the pipe to my bench polisher and carefully buffed it – first with a blue diamond compound, then with three coats of conservator’s wax. This procedure makes the pipe look its best – the stummel sings and the stem glows.

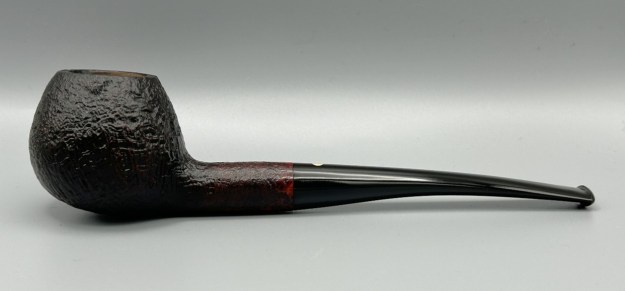
This Søren Hand-Carved Sandblast Freehand Egg looks fantastic again and is ready to be enjoyed by its next owner. I am pleased to announce that this pipe is for sale! If you are interested in acquiring it for your collection, please have a look in the ‘Danish’ section of the store here on Steve’s website. You can also email me directly at kenneth@knightsofthepipe.com. The approximate dimensions of the pipe are as follows: length 6 in. (154 mm); height 2 in. (52 mm); bowl diameter 1⅞ in. (49 mm); chamber diameter 1 in. (25 mm). The weight of the pipe is 2⅜ oz. (70 g). I hope you enjoyed reading the story of this pipe’s restoration as much as I enjoyed restoring it. If you are interested in more of my work, please follow me here on Steve’s website or send me an email. Thank you very much for reading and, as always, I welcome and encourage your comments.

A Better Life for a Torben Dansk 16 Bent Billiard


by Kenneth Lieblich

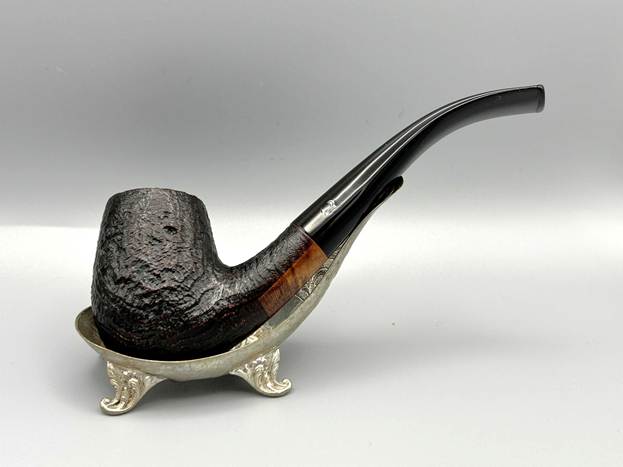
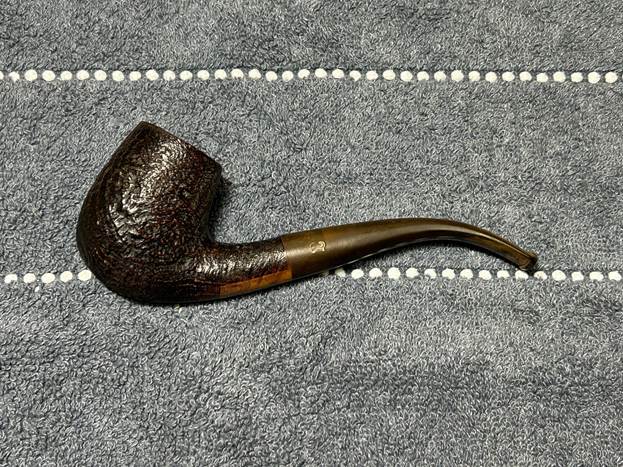
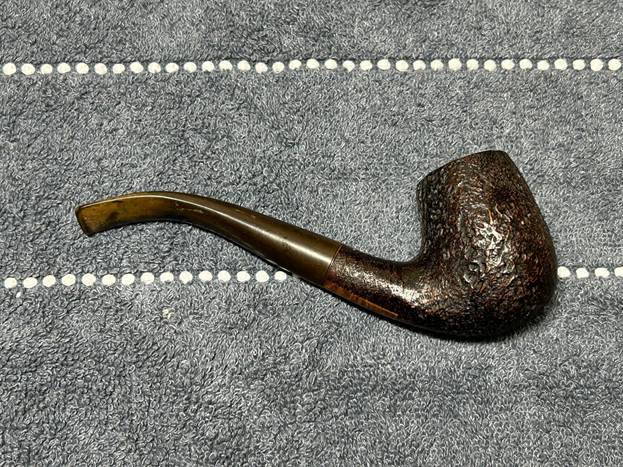
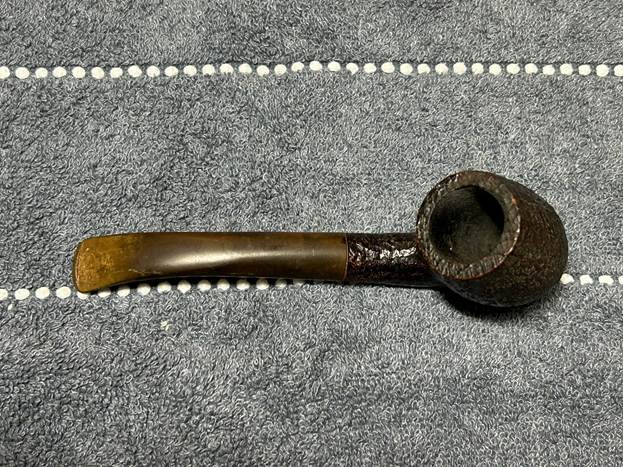
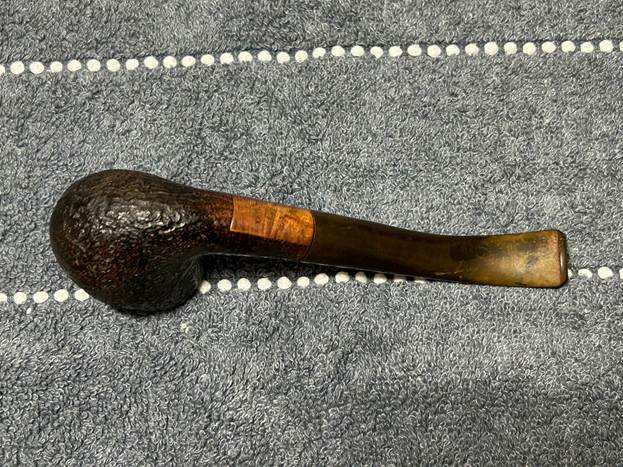
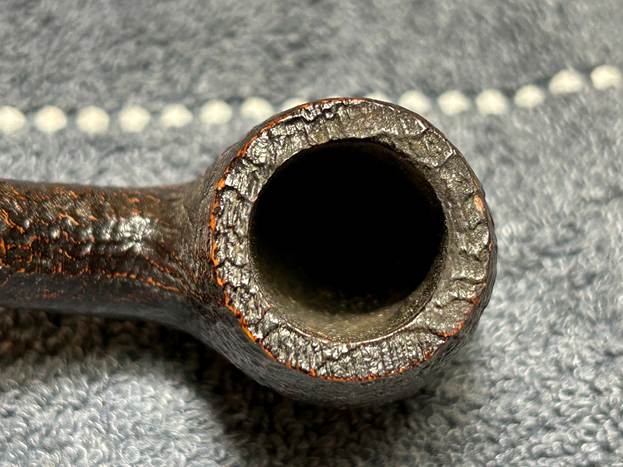
Now, this is a perfect example of the sort of pipe that we should all have in our collections: a really good smoker – and, by all accounts, that’s exactly what this is. This pipe is a dapper, sandblasted bent billiard from Torben Dansk of Denmark. The blast is gnarly and wonderful. The pipe looks well made and feels very nice to hold.

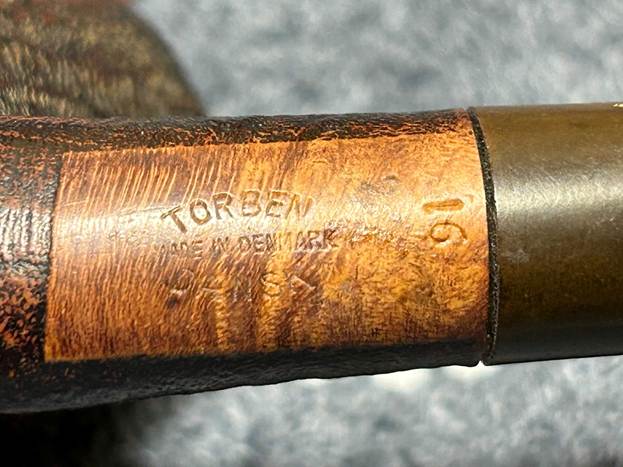
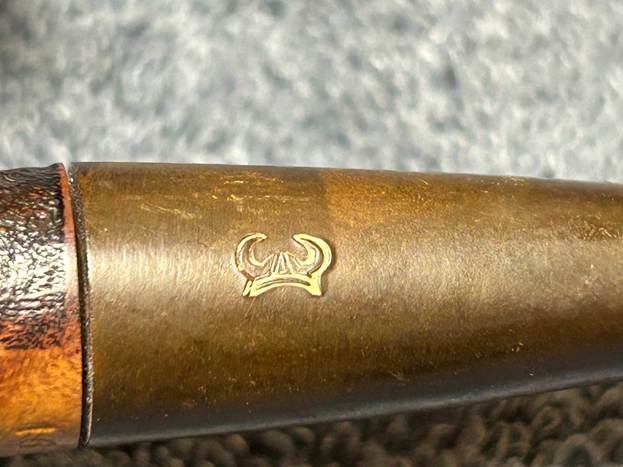
The markings are found on a smooth patch of briar on the underside of the shank. They read Torben [over] Made in Denmark [over] Dansk. Off to the right of this, and at a right angle, is the shape number, 16. Finally, on the stem, we see a Viking helmet as logo.

So, what do we know about Torben Dansk? There is a brief write-up at Pipedia about the label. It reads as follows:

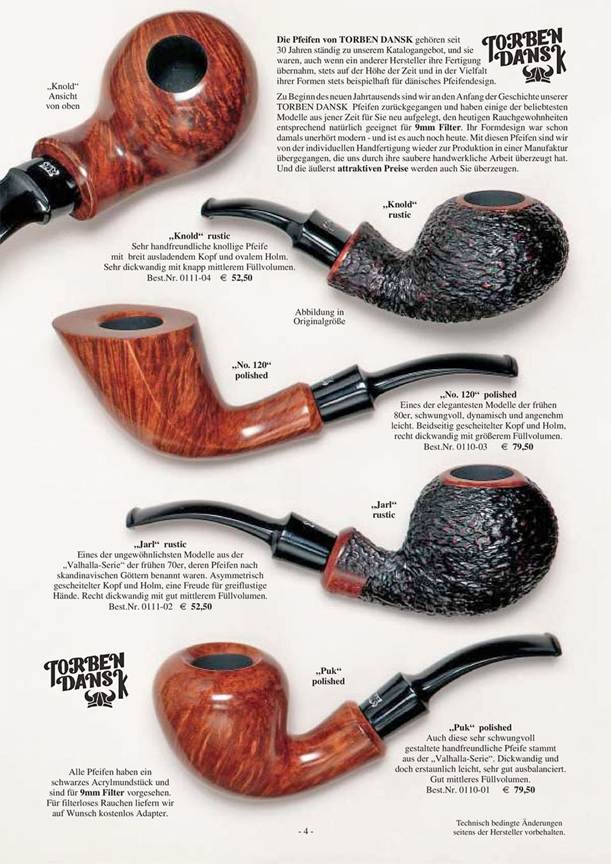
Torben Dansk pipes were originally made by Torben Hetler. Next to other manufacture brands (Danmore, Tabago e.a.) they appeared in the first cataloge of Dan Pipe (originally named “Danske Pibe”), a pipe and tobacco mailing enterprise established by Heiko Behrens in 1972. Following the pipes became well-known and quite popular in Germany. Later they were made by Lars Christensen’s manufacture. According to the cataloge 1992/93 they were made by Poul Winslow.

I checked in at Pipephil, but they didn’t have any significant information to offer. However, there were three interesting comments from different fellows in the forums over at PipesMagazine:

The old briar buffed up like new and now it’s one of the best lookers and best smokers in my collection.

I had two Torben Dansk pipes in my collection several years ago. I remember they were both great smokers and I am sorry I traded them away.

Well, I wish I could say I had one in my collection. I was eyeing one on the bay and was outbid at the last second.

There was also mention of Torben Dansk at DutchPipeSmoker, in an article about the Dan Pipe company:

The history of Dan Pipe began in 1972 when, after a holiday in Denmark, teacher and enthusiastic pipe smoker Heiko Behrens decided to sell the creations of then unknown Danish pipe makers. In a small catalogue handmade pipes by Former, Emil Chonowitsch and Poul Hansen were presented together with factory pipes from Tabago, Torben Dansk, Danmore and other Danish producers. Soon also pipe tobacco was added to the catalogue, including Dan Pipe‘s first own-brand Torben Dansk. The quality of the pipes and tobaccos from the Dan Pipe catalogue provided good word-of-mouth advertising amongst the German pipe-smokers so gradually the customer base grew.

Sounds like a quality pipe. Let’s get working.

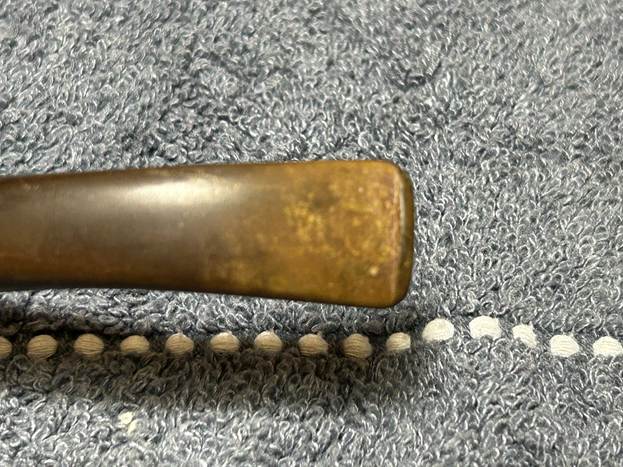
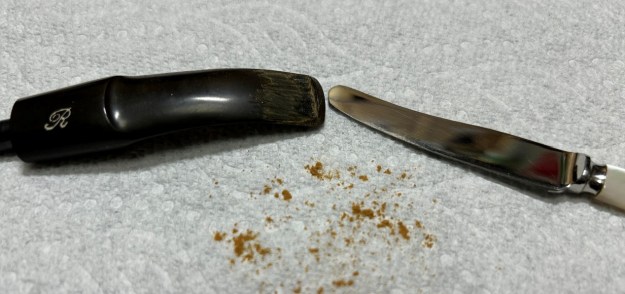
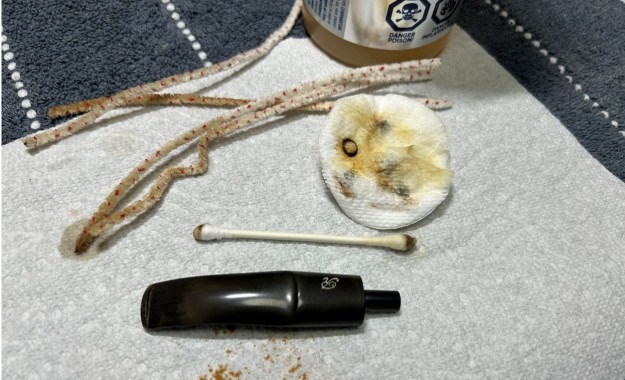
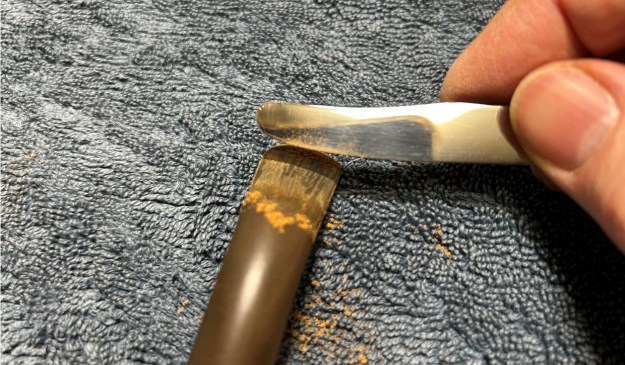
The stem’s calcification was quite substantial. I used an old butter knife and gently scraped some of the thicker accretion off. Doing this now helps later in removing the oxidation. I used isopropyl alcohol on a few cotton rounds and wiped down the stem to provide an initial cleaning of filth before moving on to the next steps. The primary cleaning came next. I disinfected the inside of the stem with both pipe cleaners and cotton swabs dipped in lemon-infused 99% isopropyl alcohol. I scrubbed thoroughly to make sure the interior was very clean.

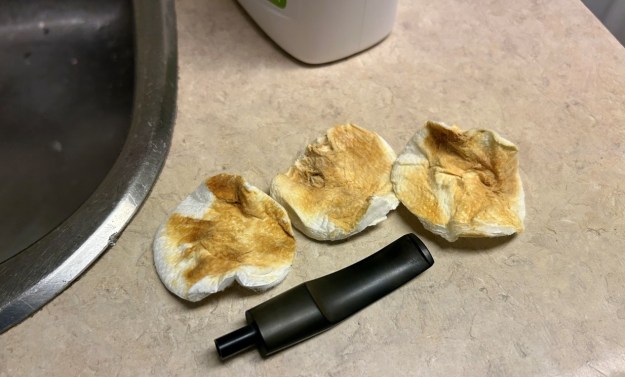
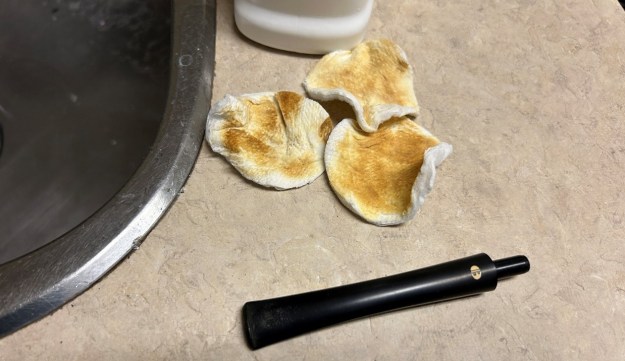
The goal of the next step is the removal (or minimization) of oxidation. Going to my sink, I used cream cleanser, cotton rounds, and a toothbrush, and scoured the stem to remove as much surface oxidation as possible. As the photos show, the result was a hideous, ochre-coloured mess – but better off the stem than on it.

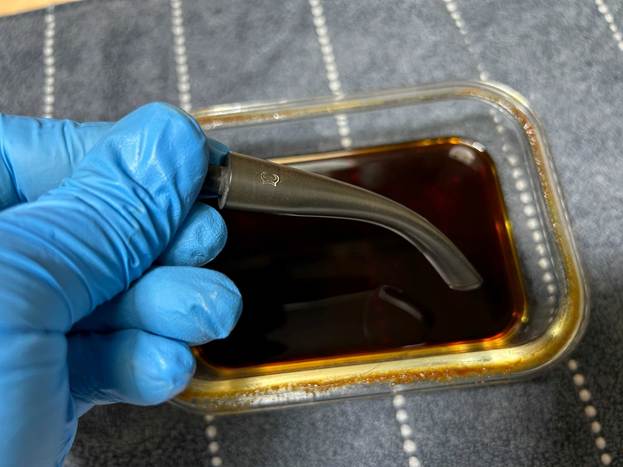
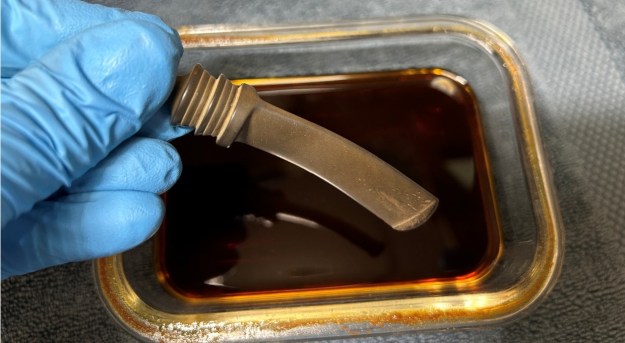
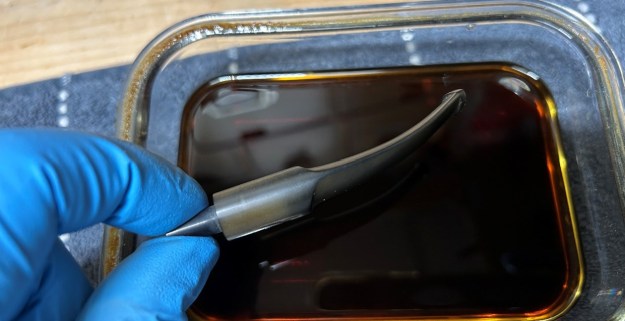
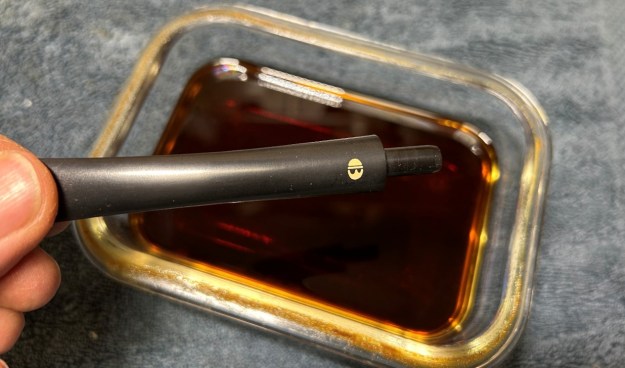
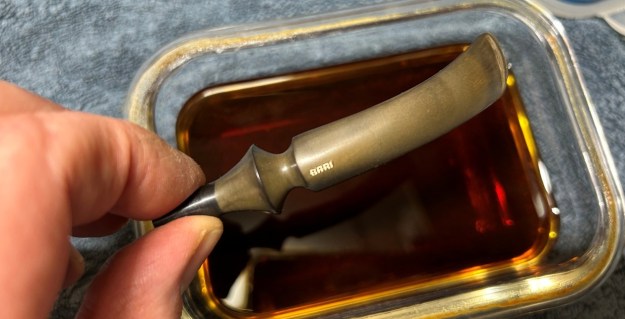
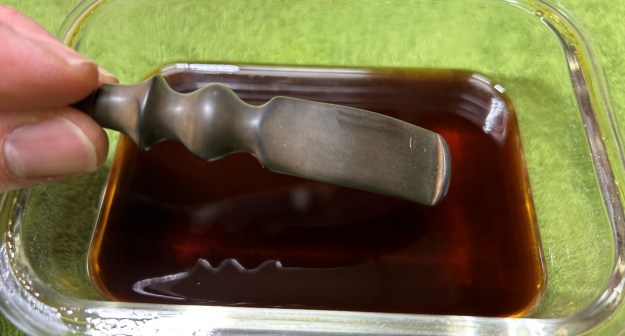
Once the stem was reasonably clean, I soaked it overnight in some Briarville Stem Oxidation Remover. This solution works to draw oxidation in the stem to the surface of the vulcanite. This is a major aid and an important step in ensuring a clean stem. The following day, I drew out the stem from its bath and scrubbed the lingering fluid with a toothbrush.

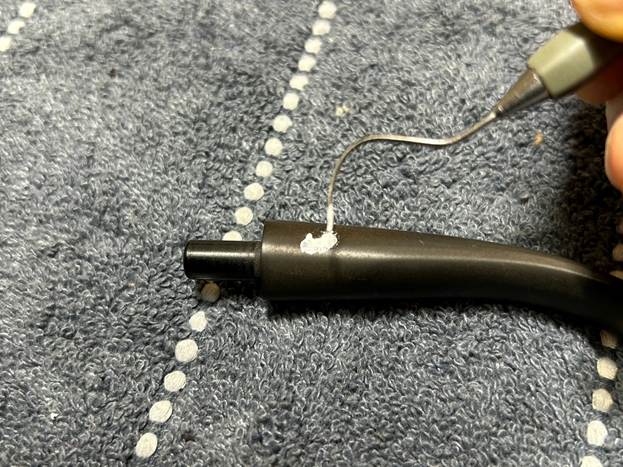
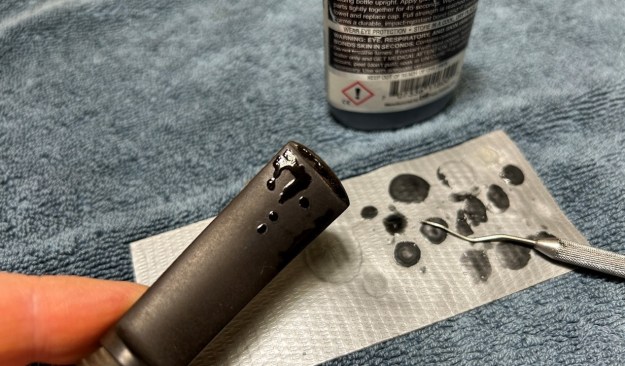
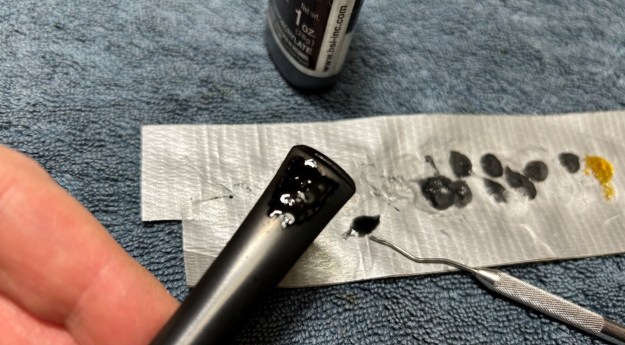
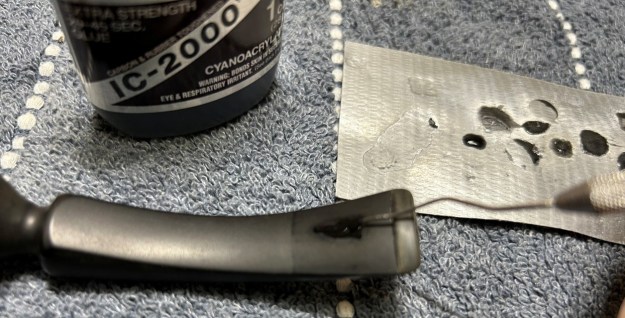
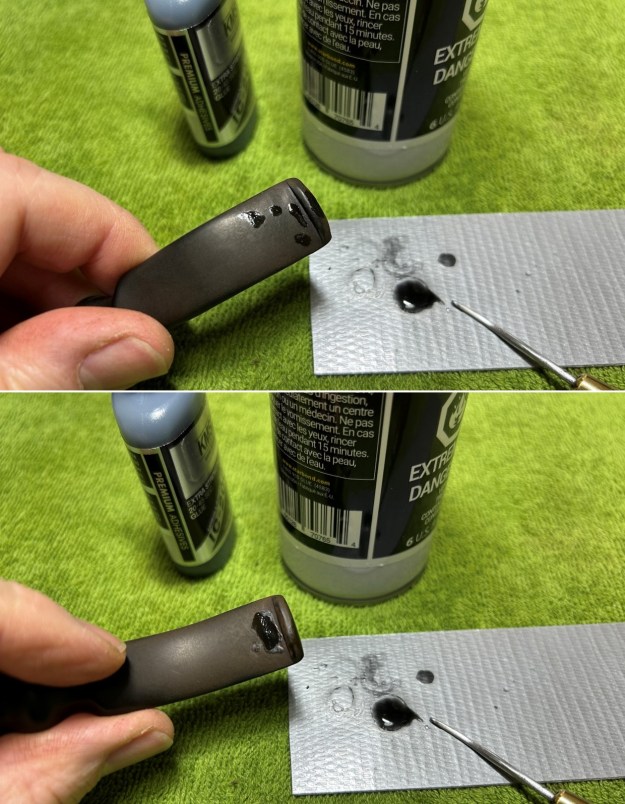
As the stem was now clean and dry, I set about fixing the marks and dents in the vulcanite. This was done by filling those divots with black cyanoacrylate adhesive, impregnated with carbon and rubber. I left this to cure and moved on. After this, I painted the logo on the stem with some enamel nail polish. I restored the logo carefully and let it fully set before proceeding.

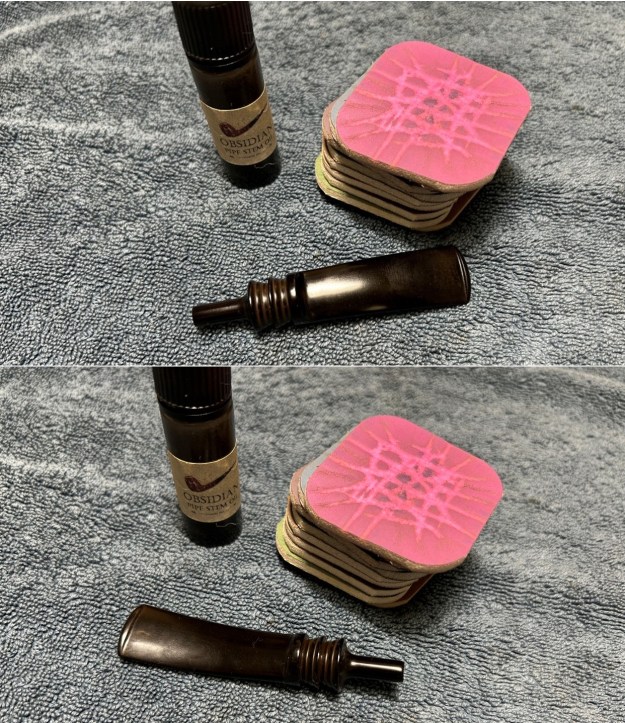
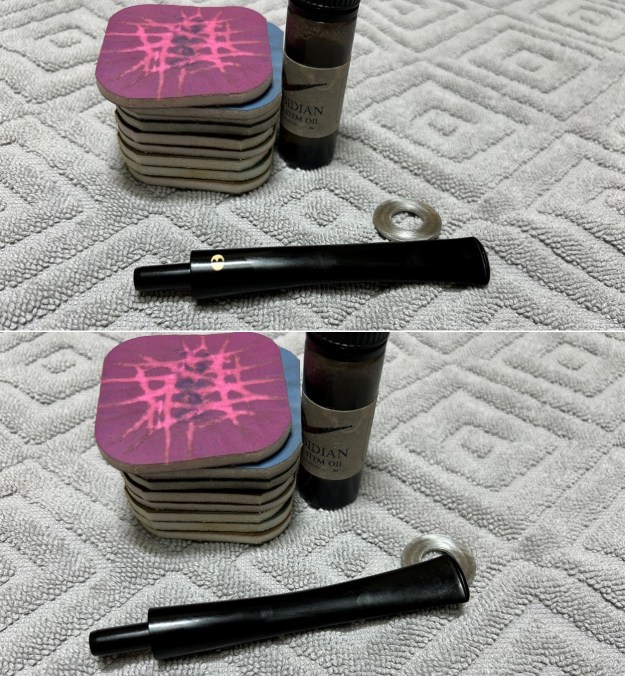
The penultimate step for the stem is sanding. First, with my set of needle files, I reduced the bulk of the cyanoacrylate repairs. I removed the excess adhesive as near to the surface as possible, without cutting into the vulcanite. Following that, I used all nine of the micromesh sanding pads (1,500 through 12,000 grit) to sand out flaws, even out the vulcanite, and provide gentle polishing of the finished surface. I also applied pipe-stem oil while using the last five micromesh pads. There was a wonderful, deep black shine to the stem when I was done.

As the stem was (nearly) complete, I moved on to the stummel. The first step was to ream out the bowl – that is to say, remove all the cake inside the bowl. This accomplished a couple of things. First (and most obviously), it cleaned the bowl and provided a refurbished chamber for future smoking. Second, when the old cake was removed, I could inspect the interior walls of the bowl and determine if there was damage or not. I only used a pipe knife and a piece of sandpaper taped to a wooden dowel – fortunately, there was very little debris in the bowl.

Similar to the stem, I then cleaned the stummel with both pipe cleaners and cotton swabs dipped in lemon-infused 99% isopropyl alcohol. With a pipe this dirty, it took quite a while and much cotton to clean.

I then decided to ‘de-ghost’ the pipe – that is to say, exorcize the remaining filth from the briar. I filled the bowl and the shank with cotton balls, then saturated them with 99% isopropyl alcohol. I let the stummel sit overnight. This caused the remaining oils, tars and smells to leach out into the cotton.

To tidy up the briar, I wiped down the outside, using a solution of a pH-neutral detergent and some distilled water, with cotton rounds. I also used a toothbrush in the crevices. This did a good job of cleaning any latent dirt on the surface of the briar. The last step of the cleaning process was to scour the inside of the stummel with the same mild detergent and tube brushes. This was the culmination of a lot of hard work in getting the pipe clean.

I gave a quick pass of the micromesh pads on the smooth bit of briar on the shank. I rubbed some LBE Before & After Restoration Balm into the briar and let it sit for 30 minutes or so. The balm moisturizes the wood and gives a beautiful depth to the briar. I then buffed the stummel with a microfibre cloth.

For the final step, I took the pipe to my bench polisher and carefully buffed it – first with a blue diamond compound, then with three coats of conservator’s wax. This procedure makes the pipe look its best – the stummel sings and the stem glows.

All done! This Torben Dansk 16 sandblasted bent billiard looks fantastic again and is ready to be enjoyed by its next owner. I am pleased to announce that this pipe is for sale! If you are interested in acquiring it for your collection, please have a look in the ‘Danish’ section of the store here on Steve’s website. You can also email me directly at kenneth@knightsofthepipe.com. The approximate dimensions of the pipe are as follows: length 5⅜ in. (138 mm); height 1⅞ in. (48 mm); bowl diameter 1⅓ in. (34 mm); chamber diameter ¾ in. (20 mm). The weight of the pipe is 1¼ oz. (36 g). I hope you enjoyed reading the story of this pipe’s restoration as much as I enjoyed restoring it. If you are interested in more of my work, please follow me here on Steve’s website or send me an email. Thank you very much for reading and, as always, I welcome and encourage your comments.

Another Wonderful Hand-Carved Søren Freehand Bent Egg


by Kenneth Lieblich

The last few weeks have been an extraordinarily busy time for me, so I haven’t posted in a bit, but this pipe is from the same lot as the one I posted last time. I recently acquired a collection from a gentleman, now deceased, who clearly loved his pipes. They were all well used and, according to his family, he had a pipe hanging out of his mouth at all times. They were all interesting pipes, but this one called to me. It’s a Søren Hand-Carved Freehand Bent Egg, with a beautiful look and feel, by master carver, Søren Refbjerg Rasmussen. It also has an attractive plateau on the rim and the end of the shank. This one deserves to be back in someone’s collection – maybe yours! On the underside of the shank, we read Søren [over] Hand-Carved [over] Made in Denmark. Those are all the markings we can see.Pipedia has an article on Mr Rasmussen and I quote a part of it here:

Søren Refbjerg Rasmussen founded a company in 1969, which employed an average of 8 – 12 craftsmen in the 1970’s. The semi-freehands they produced were traded under his prename Søren. Rasmussen himself finished only the very best pipes. So his way of pipemaking closely resembled the ways of Preben Holm, Karl Erik Ottendahl or Erik Nørding. Altogether more than 1,000,000 pipes were sold. Today he works alone as Refbjerg and manufactures only a small number of pipes in his workshop in DK-2860 Søborg, which are considered to be tremendously precisely executed. The dimensions mostly range from small to medium sized, corresponding to his personal preferences. The shapes adhere to the classical models, but often he gives them a touch of Danish flair. Refbjerg accepts minor faults but never uses any fillings. “Straight Grain” is the only grading, used for his very best pieces. He likes stem decorations made of exotic woods or metal rings.Meanwhile, over at Pipephil, there is the following entry:And, finally, scandinavianpipes.com includes these details about him:

Søren Refbjerg was born 1943 in the city of Søborg where he still lives and has been a full time pipe-maker since 1969. In the 70´s Søren had his own small factory with 10 employees producing a huge number of pipes mainly for the US market. Søren has indeed been one of the most productive Danish pipe-makers and for many years he also produced pipes for W.Ø. Larsen For the last decades Søren has been making pipes by himself, always using briar from Corsica. Søren derive much relaxation from being on the coast while angling for Sea Trout with his own hand-tied flies and find this environment to be a great inspiration for making pipes. Many times Søren say to himself: “Inspired by nature, made by me”.

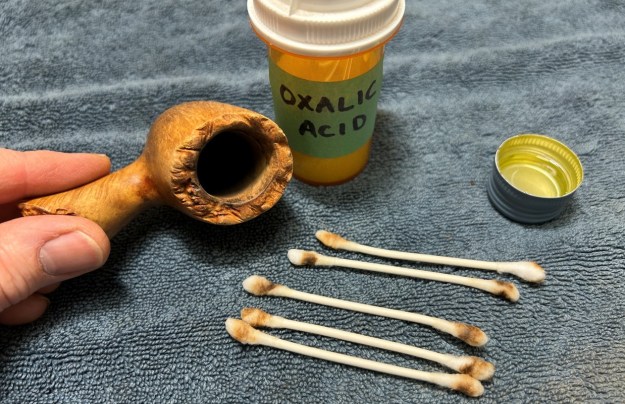
He died in 2021. Let’s take a closer look at the pipe. It is in very nice shape. The stem is remarkably clean – a little bit of tooth chatter, but very little oxidation or calcification. The stummel is very nice – some cake in the bowl and a bit of darkening on the rim. I used isopropyl alcohol on a few cotton rounds and wiped down the stem to provide an initial cleaning of filth before moving on to the next steps. The primary cleaning came next. I disinfected the inside of the stem with both pipe cleaners and cotton swabs dipped in lemon-infused 99% isopropyl alcohol. I scrubbed thoroughly to make sure the interior was very clean.The goal of the next step is the removal (or minimization) of oxidation. Going to my sink, I used cream cleanser, cotton rounds, and a toothbrush, and scoured the stem to remove as much surface oxidation as possible. As the photos show, the result was a nasty, black mess – but better off the stem than on it.The penultimate step for the stem is sanding. I used all nine of the micromesh sanding pads (1,500 through 12,000 grit) to sand out flaws, even out the vulcanite, and provide gentle polishing of the finished surface. I also applied pipe-stem oil while using the last five micromesh pads. There was a wonderful, deep black shine to the stem when I was done.As the stem was (nearly) complete, I moved on to the stummel. The first step was to ream out the bowl – that is to say, remove all the cake inside the bowl. This accomplished a couple of things. First (and most obviously), it cleaned the bowl and provided a refurbished chamber for future smoking. Second, when the old cake was removed, I could inspect the interior walls of the bowl and determine if there was damage or not. I used a pipe knife and a piece of sandpaper taped to a wooden dowel. Collectively, these ensured that all the debris was removed.Similar to the stem, I then cleaned the stummel with both pipe cleaners and cotton swabs dipped in lemon-infused 99% isopropyl alcohol.I then decided to ‘de-ghost’ the pipe – that is to say, exorcize the remaining filth from the briar. I filled the bowl and the shank with cotton balls, then saturated them with 99% isopropyl alcohol. I let the stummel sit overnight. This caused the remaining oils, tars and smells to leach out into the cotton.To tidy up the briar, I wiped down the outside, using a solution of a pH-neutral detergent and some distilled water, with cotton rounds. I also used a brush in the grooves of the plateau. This did a good job of cleaning any latent dirt on the surface of the briar. The last step of the cleaning process was to scour the inside of the stummel with the same mild detergent and tube brushes. This was the culmination of a lot of hard work in getting the pipe clean.Some darkening remained on the rim, so I took some crystalized oxalic acid and dissolved it in warm water. I took some cotton swaps, dipped in the solution, and rubbed the burned spot vigorously. The weak acid works very nicely to alleviate superficial burns (where the integrity of the wood is still sound).I then used all nine micromesh pads (1,500 through 12,000 grit) to sand the outside of the stummel and finish it off. This sanding minimizes flaws in the briar and provides a beautiful smoothness to the wood. I rubbed some LBE Before & After Restoration Balm into the briar and let it sit for 30 minutes or so. The balm moisturizes the wood and gives a beautiful depth to the briar. I then buffed the stummel with a microfibre cloth. For the final step, I took the pipe to my bench polisher and carefully buffed it – first with a blue diamond compound, then with three coats of carnauba wax. This procedure makes the pipe look its best – the stummel sings and the stem glows.This Søren Hand-Carved Freehand Bent Egg looks fantastic again and is ready to be enjoyed by its next owner. I am pleased to announce that this pipe is for sale! If you are interested in acquiring it for your collection, please have a look in the ‘Danish’ section of the store here on Steve’s website. You can also email me directly at kenneth@knightsofthepipe.com. The approximate dimensions of the pipe are as follows: length 6⅛ in. (155 mm); height 2⅓ in. (60 mm); bowl diameter 1⅔ in. (43 mm); chamber diameter ⅞ in. (22 mm). The weight of the pipe is 1¾ oz. (52 g). I hope you enjoyed reading the story of this pipe’s restoration as much as I enjoyed restoring it. If you are interested in more of my work, please follow me here on Steve’s website or send me an email. Thank you very much for reading and, as always, I welcome and encourage your comments.

Amazing Grain on a Hand-Carved Søren Freehand


by Kenneth Lieblich

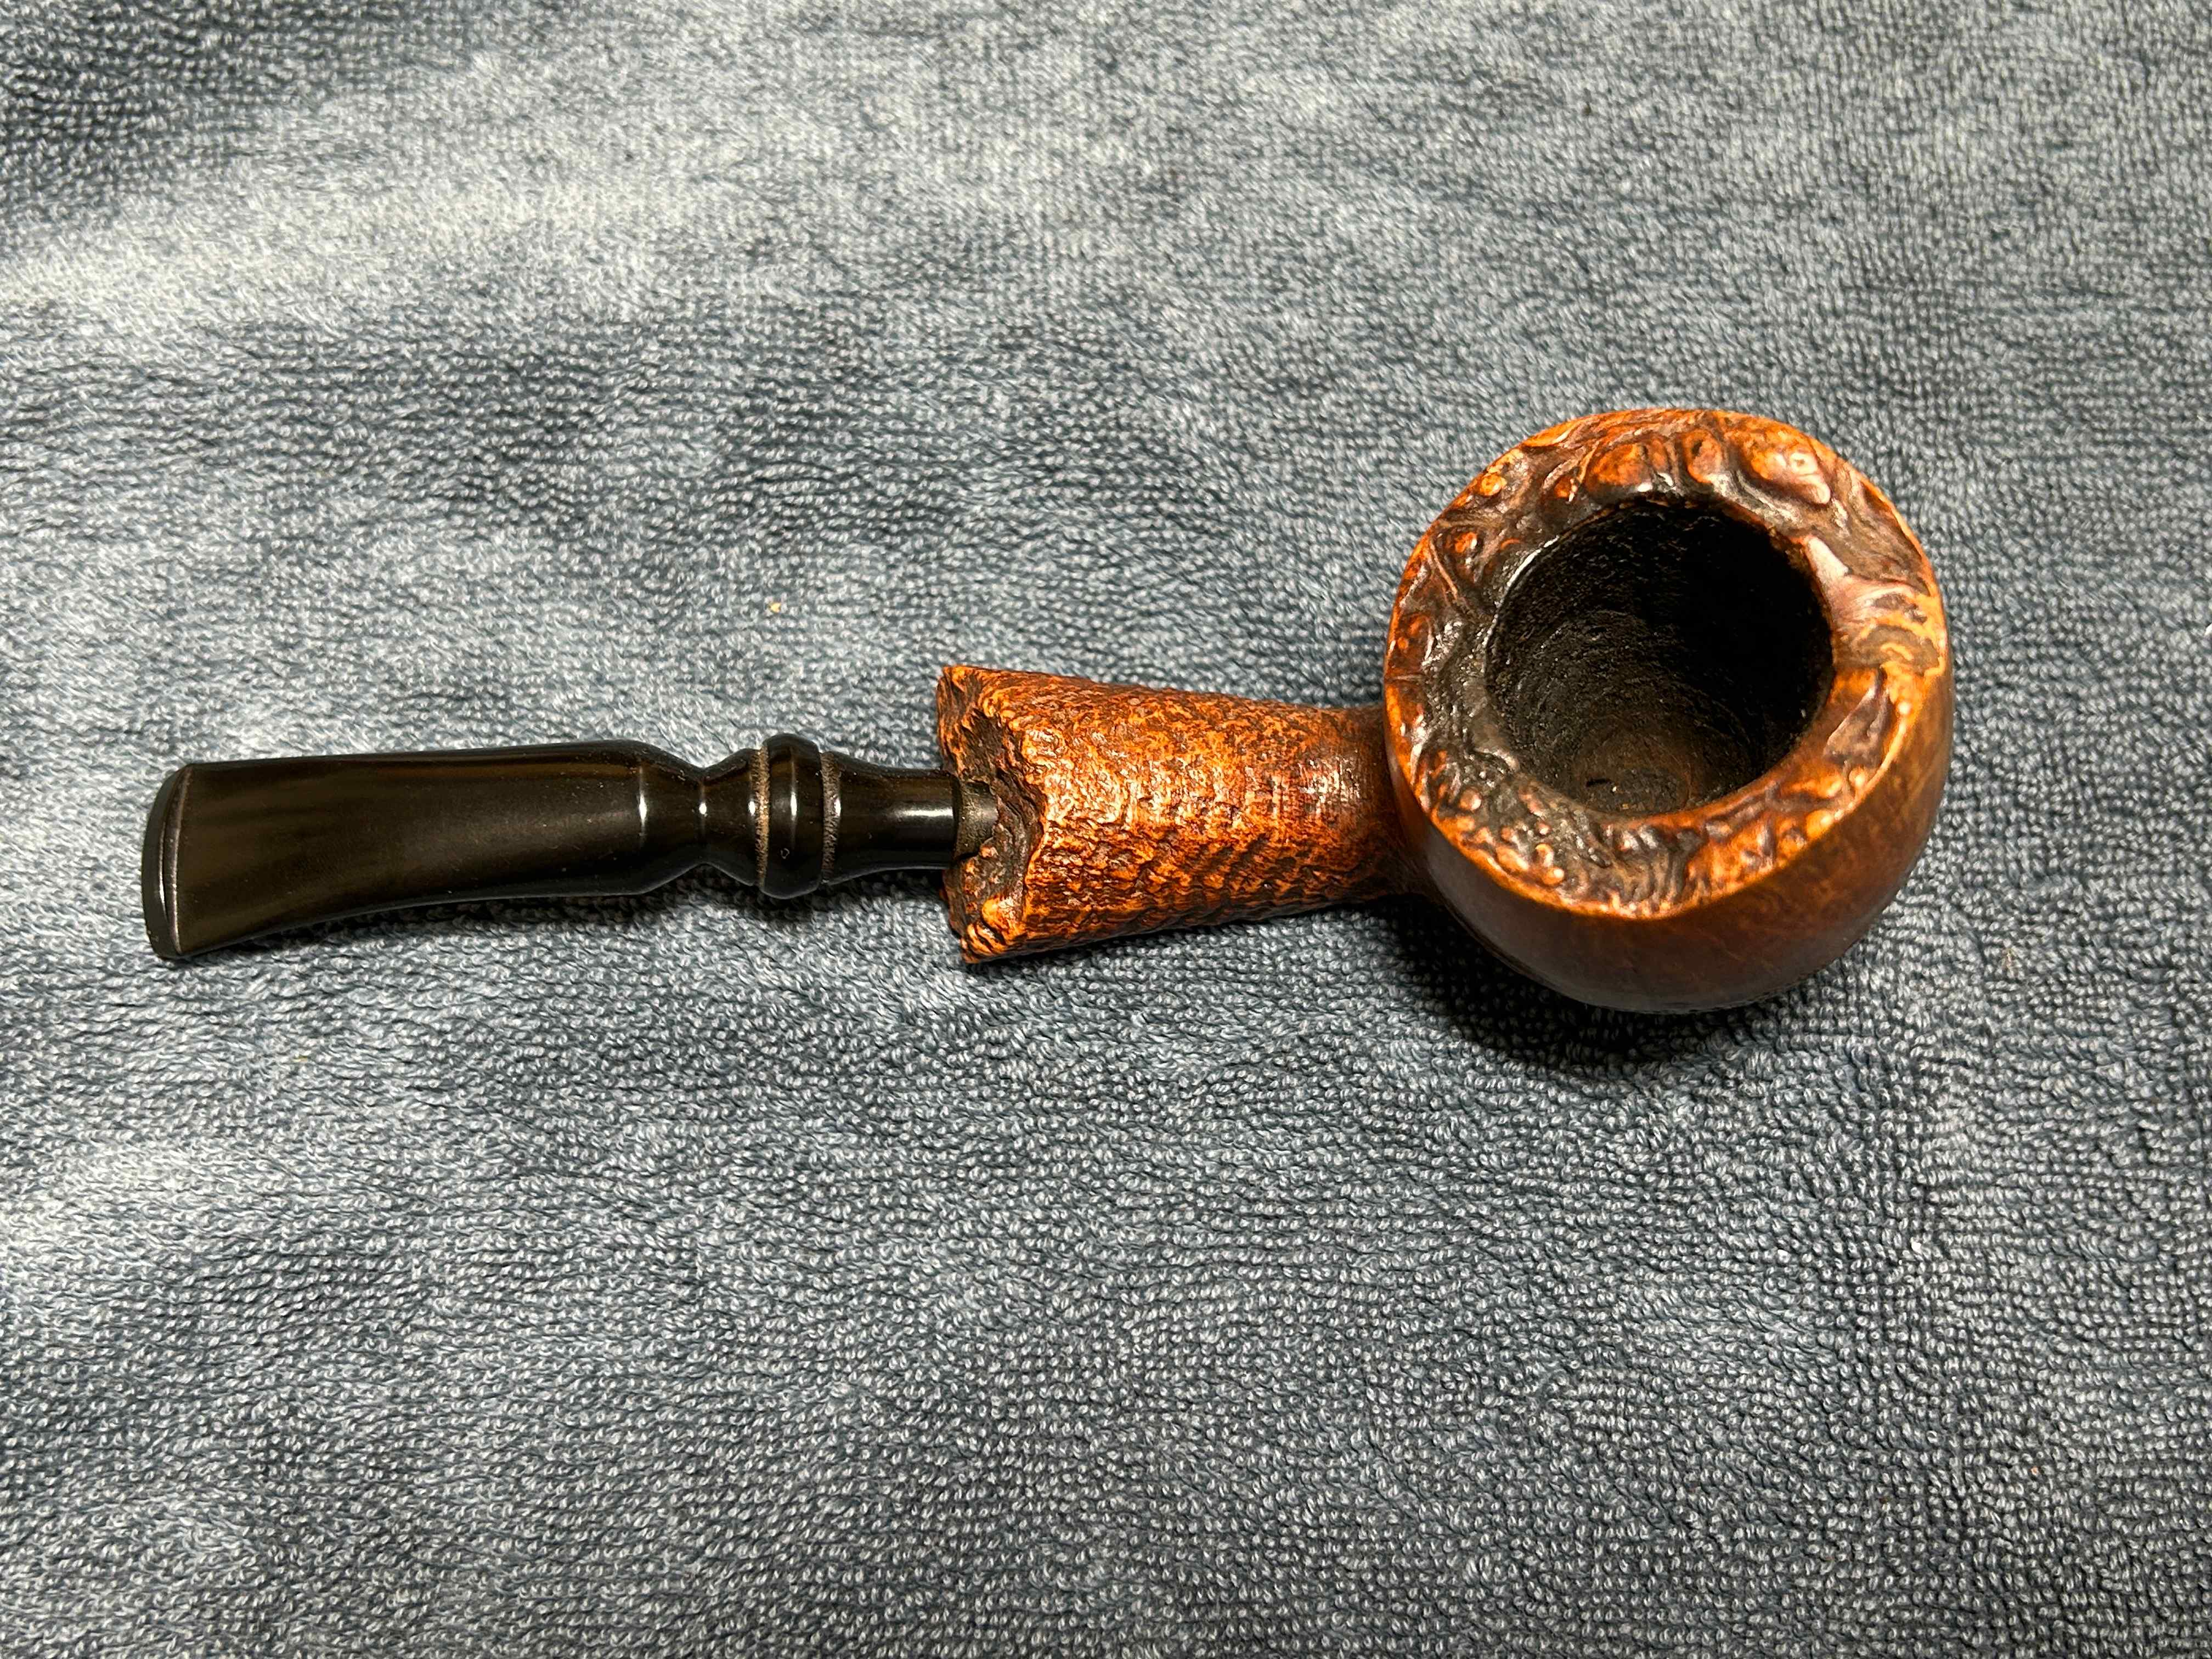
Well, now, this is quite the pipe! I recently acquired a collection from a gentleman, now deceased, who clearly loved his pipes. They were all well used and, according to his family, he had a pipe hanging out of his mouth at all times. As I was looking through them, this particular one caught my attention. It’s an interesting one, isn’t it? It’s a Søren Hand-Carved Freehand, with some stunning grain, by master carver, Søren Refbjerg Rasmussen. It also has an attractive plateau on the rim and the end of the shank. This one is really worth restoring. It’s a remarkable pipe and deserves to be back in someone’s collection. It promises to be a great smoker. On the underside of the shank, we read Søren [over] Hand-Carved [over] Made in Denmark. Those are all the markings we can see. Pipedia has an article on Mr Rasmussen and I quote a part of it here:
Søren Refbjerg Rasmussen founded a company in 1969, which employed an average of 8 – 12 craftsmen in the 1970’s. The semi-freehands they produced were traded under his prename Søren. Rasmussen himself finished only the very best pipes. So his way of pipemaking closely resembled the ways of Preben Holm, Karl Erik Ottendahl or Erik Nørding. Altogether more than 1,000,000 pipes were sold. Today he works alone as Refbjerg and manufactures only a small number of pipes in his workshop in DK-2860 Søborg, which are considered to be tremendously precisely executed. The dimensions mostly range from small to medium sized, corresponding to his personal preferences. The shapes adhere to the classical models, but often he gives them a touch of Danish flair. Refbjerg accepts minor faults but never uses any fillings. “Straight Grain” is the only grading, used for his very best pieces. He likes stem decorations made of exotic woods or metal rings.Meanwhile, over at Pipephil, there is the following entry:And, finally, scandinavianpipes.com includes these details about him:

Søren Refbjerg was born 1943 in the city of Søborg where he still lives and has been a full time pipe-maker since 1969. In the 70´s Søren had his own small factory with 10 employees producing a huge number of pipes mainly for the US market. Søren has indeed been one of the most productive Danish pipe-makers and for many years he also produced pipes for W.Ø. Larsen For the last decades Søren has been making pipes by himself, always using briar from Corsica. Søren derive much relaxation from being on the coast while angling for Sea Trout with his own hand-tied flies and find this environment to be a great inspiration for making pipes. Many times Søren say to himself: “Inspired by nature, made by me”.

He died in 2021. Let’s take a closer look at the pipe. It is in very nice shape. The stem is thoroughly oxidized (and has a few bite marks), but isn’t damaged. The stummel is lovely! Wonderful condition, with only a little bit of cake in the bowl. It doesn’t look like it was smoked much. I used isopropyl alcohol on a few cotton rounds and wiped down the stem to provide an initial cleaning of filth before moving on to the next steps. The primary cleaning came next. I disinfected the inside of the stem with both pipe cleaners and cotton swabs dipped in lemon-infused 99% isopropyl alcohol. I scrubbed thoroughly to make sure the interior was very clean.The goal of the next step is the removal (or minimization) of oxidation. Going to my sink, I used cream cleanser, cotton rounds, and a toothbrush, and scoured the stem to remove as much surface oxidation as possible. As the photos show, the result was a hideous, ochre-coloured mess – but better off the stem than on it.Once the stem was reasonably clean, I soaked it overnight in some Briarville Stem Oxidation Remover. This solution works to draw oxidation in the stem to the surface of the vulcanite. This is a major aid and an important step in ensuring a clean stem. The following day, I drew out the stem from its bath and scrubbed the lingering fluid with a toothbrush. Due to the severity of the oxidation, I then repeated the scrubbing with the cream cleanser for maximum effect. There will always be a hint of the oxidation in the vulcanite, but that is just fine: it is part of the history of the pipe.As the stem was now clean and dry, I set about fixing the marks and dents in the vulcanite. This was done by filling those divots with black cyanoacrylate adhesive, impregnated with carbon and rubber. I left this to cure and moved on.The penultimate step for the stem is sanding. First, with my set of needle files, I reduced the bulk of the cyanoacrylate repairs. I removed the excess adhesive as near to the surface as possible, without cutting into the vulcanite. Following that, I used all nine of the micromesh sanding pads (1,500 through 12,000 grit) to sand out flaws, even out the vulcanite, and provide gentle polishing of the finished surface. I also applied pipe-stem oil while using the last five micromesh pads. There was a wonderful, deep black shine to the stem when I was done. As the stem was (nearly) complete, I moved on to the stummel. The first step was to ream out the bowl – that is to say, remove all the cake inside the bowl. This accomplished a couple of things. First (and most obviously), it cleaned the bowl and provided a refurbished chamber for future smoking. Second, when the old cake was removed, I could inspect the interior walls of the bowl and determine if there was damage or not. I used a pipe knife and a piece of sandpaper taped to a wooden dowel. Collectively, these ensured that all the debris was removed.Similar to the stem, I then cleaned the stummel with both pipe cleaners and cotton swabs dipped in lemon-infused 99% isopropyl alcohol.I then decided to ‘de-ghost’ the pipe – that is to say, exorcize the remaining filth from the briar. I filled the bowl and the shank with cotton balls, then saturated them with 99% isopropyl alcohol. I let the stummel sit overnight. This caused the remaining oils, tars and smells to leach out into the cotton.To tidy up the briar, I wiped down the outside, using a solution of a pH-neutral detergent and some distilled water, with cotton rounds. I also used a brush in the grooves of the plateau. This did a good job of cleaning any latent dirt on the surface of the briar. The last step of the cleaning process was to scour the inside of the stummel with the same mild detergent and tube brushes. This was the culmination of a lot of hard work in getting the pipe clean.I used all nine micromesh pads (1,500 through 12,000 grit) to sand the outside of the stummel and finish it off. This sanding minimizes flaws in the briar and provides a beautiful smoothness to the wood. I rubbed some LBE Before & After Restoration Balm into the briar and let it sit for 30 minutes or so. The balm moisturizes the wood and gives a beautiful depth to the briar. I then buffed the stummel with a microfibre cloth. For the final step, I took the pipe to my bench polisher and carefully buffed it – first with a blue diamond compound, then with three coats of carnauba wax. This procedure makes the pipe look its best – the stummel sings and the stem glows.This Søren Hand-Carved Freehand looks fantastic again and is ready to be enjoyed by its next owner. I am pleased to announce that this pipe is for sale! If you are interested in acquiring it for your collection, please have a look in the ‘Danish’ section of the store here on Steve’s website. You can also email me directly at kenneth@knightsofthepipe.com. The approximate dimensions of the pipe are as follows: length 6½ in. (165 mm); height 3 in. (66 mm); bowl diameter 1⅞ in. (49 mm); chamber diameter ⅞ in. (22 mm). The weight of the pipe is 2⅝ oz. (75 g). I hope you enjoyed reading the story of this pipe’s restoration as much as I enjoyed restoring it. If you are interested in more of my work, please follow me here on Steve’s website or send me an email. Thank you very much for reading and, as always, I welcome and encourage your comments.
A Sound Repair for a Suave Nørding Meerschaum Pot


by Kenneth Lieblich

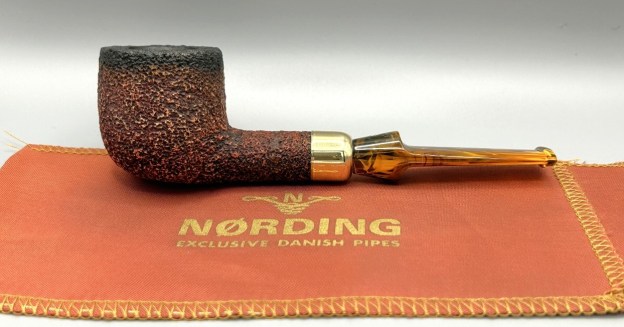
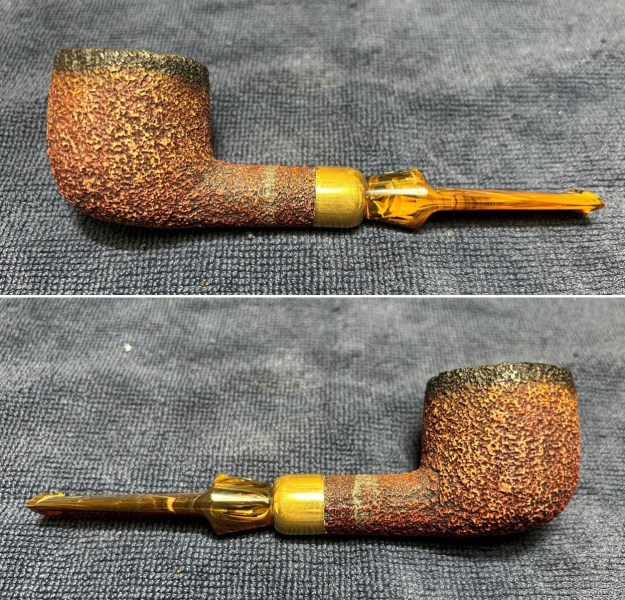
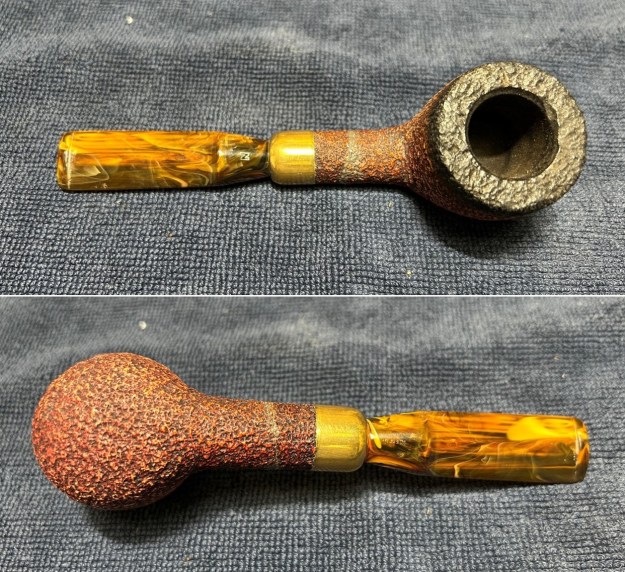
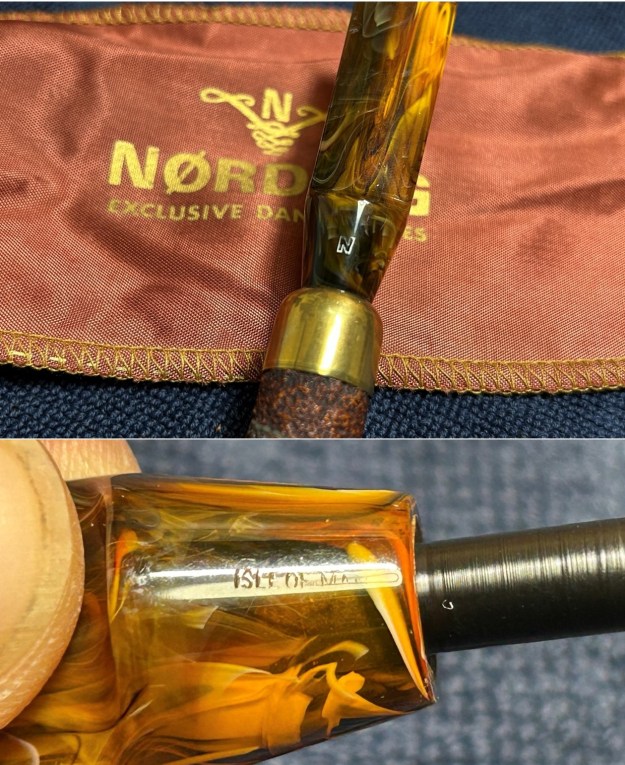
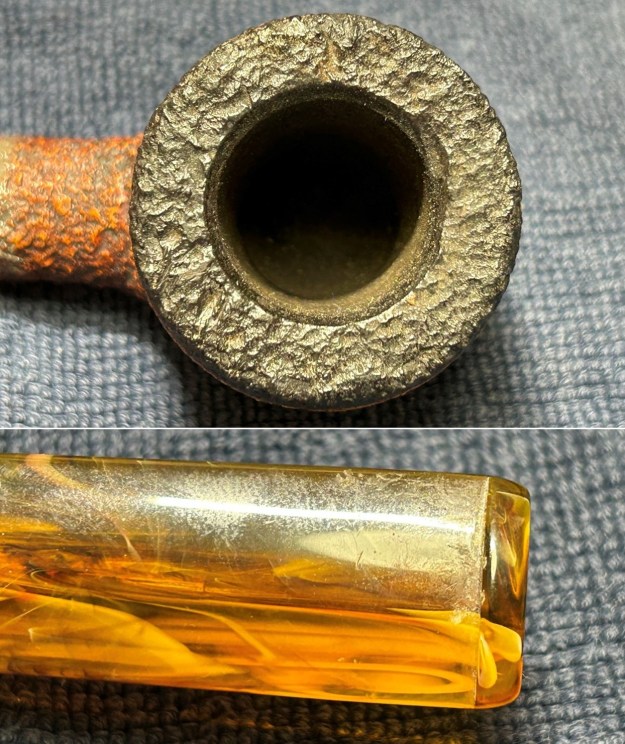
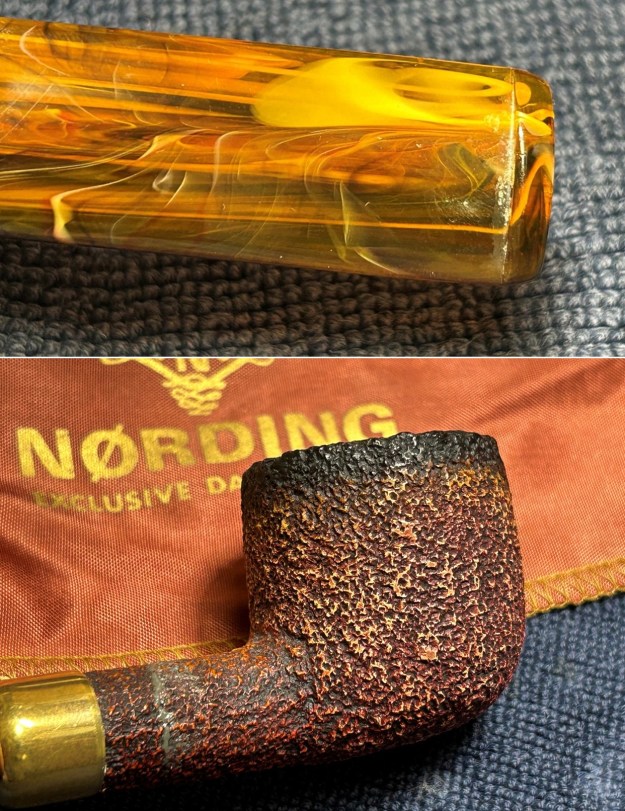
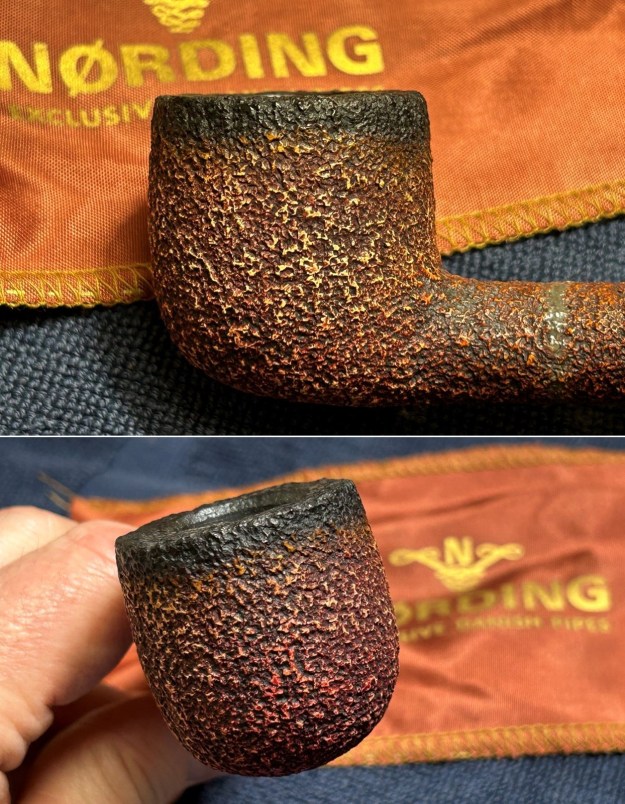
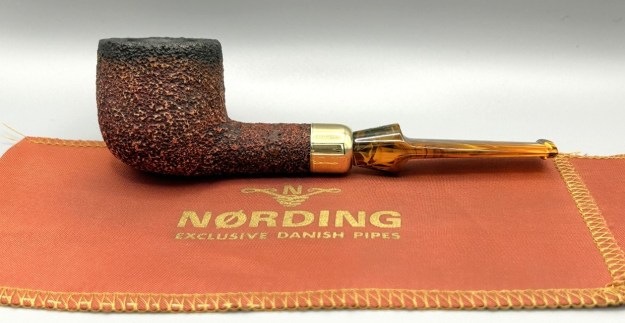
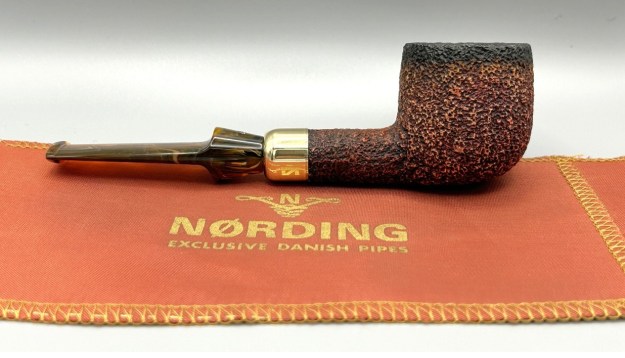
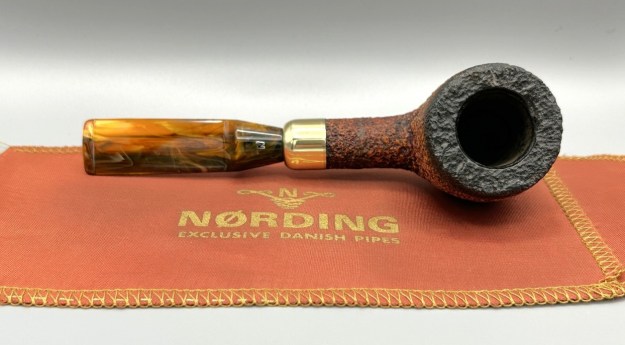
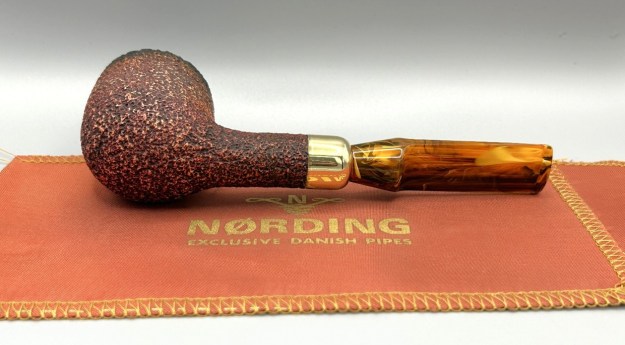
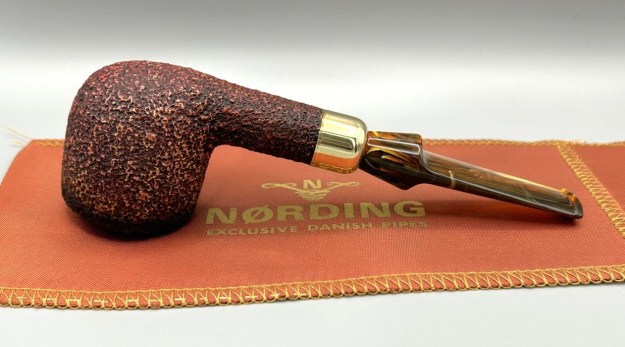
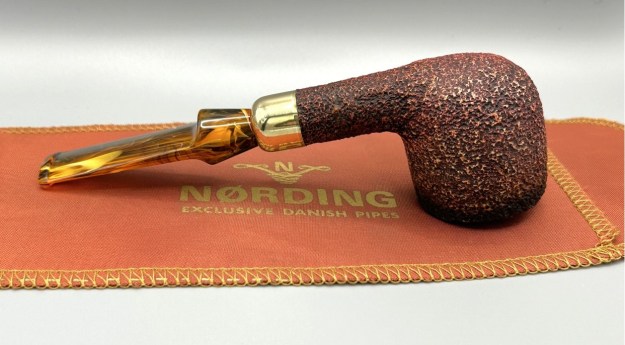
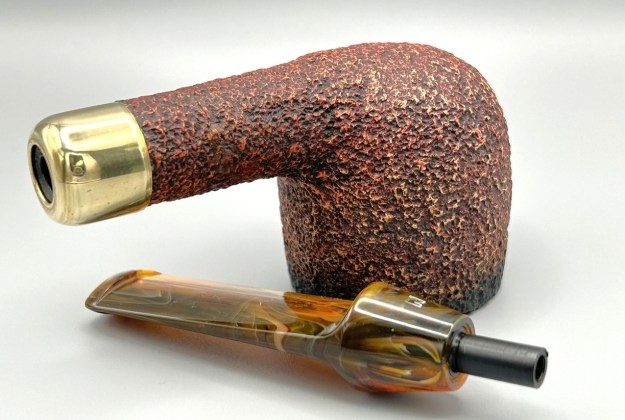
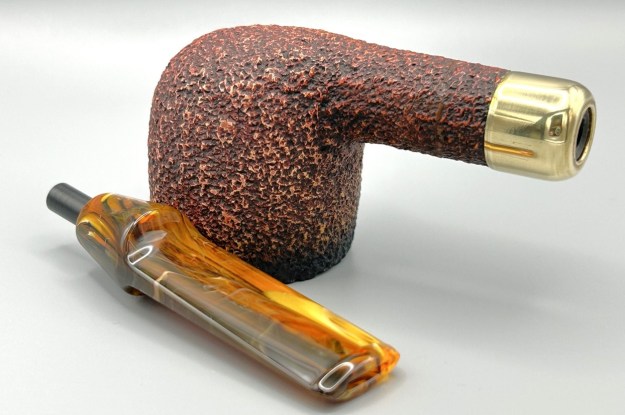
I don’t know about you, but this pipe immediately reminded me of similar Peterson meerschaum pipes. It bears a certain resemblance, and no wonder – it was made in the same place as the Pete meers. This Nørding is very attractive, both in its construction and in its aesthetics. As you can see, this Nørding is a pot shape, with a metal cap over the shank and a lovely, variegated acrylic stem. It also comes with its own original pipe sock – a very fine detail. Before the pipe came into my possession, it had been repaired – very well, I must say – and I will talk more about the repair below. For the time being, it was my job to clean it up, beautify it, and send it back out into the world. Please take the time to see how this one turned out: I think you will be impressed. The pipe itself has few markings, but the pipe sock certainly helps with identification! Anyway, the top of the stem has the letter N of the Nørding pipe works. This mark is slightly faded, but still completely readable. Underneath the stem, we see the words, Isle of Man. This tells us where the pipe was made.Erik Nørding is well-known in the pipe world and his pipes are highly regarded. You can visit his website here to view some of what he has to offer. The site offers a bit of background information, including the fact that he is 87 years old in 2026! Pipedia has a long entry on him, and I encourage you to read it here. These are the first few lines:

Erik Nørding was born in Copenhagen, Denmark. Originally educated in engineering. Pipe carving began as a hobby, but as time went by, he became more interested in pipe making as a profession. During the last 40 years Erik Nørding has built his own business, which today produces approximately 50.000 pipes a year, 90% of which are for the export market. From pipe design innovations to knife making to custom machinery and barbecue cookery, Erik Nørding’s inventiveness keeps expanding. A blacksmith and engineer, Nørding knows his way around pipe making machinery. Strangely, it was not his love for woodworking that propelled Erik Nørding into the pipe making field — it was his terrific facility with machines.

The information on Nørding over at Pipephil is scant, but it does confirm what I indicated earlier: his meerschaum pipes were made on the Isle of Man. Here is some information from Pipedia about meerschaum production on the Isle of Man:

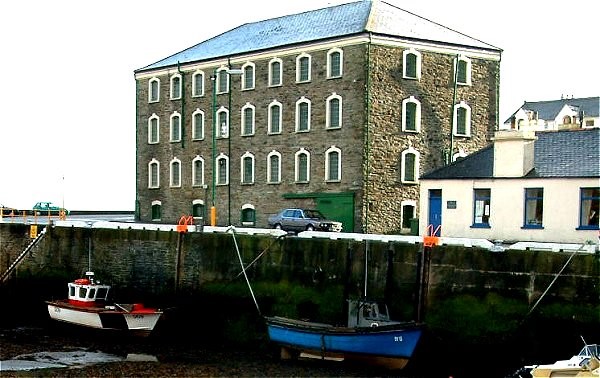
Laxey Pipes Ltd. resided in a historical 19th century four-storey Man stone building at The Quay, Old Laxey, Isle of Man, which thankfully has been preserved.

The company specialised in the production of meerschaum pipes using the Meerschaum mined by the Tanganyika Meerschaum Corporation in the Amboseli basin in Tanganyika (since 1964 part of the United Republic of Tanzania).

Please note: you may often find names like “Manx Pipes Ltd.”, “Man Pipe Co.” and others more, but there is no indication of another Isle of Man pipe producer other than Laxey Pipe Ltd. at any time!

Laxey Pipes Ltd. marketed own brands like “Manxpipe”, “Manxman”, “Manxland” e.c. Names like “John Bull”, “White Knight” (unwaxed), “Domino” (black, or lined) indicated some shapes / colours of Laxey’s own series. The stems either showed the astronomical sign for “male” or “man” (circle + arrow), or the crest of the Isle of Man, the 3-legged X in a circle. Manxpipes and Laxey’s other brands were available through pipe retailers in general, but also were sold (mainly) to tourists through their own shop in Laxey.

Furthermore Laxey Pipes Ltd. manufactured the meer bowls for Peterson, Barling, Nørding and others from the later 1960’s until 2001. Man Pipe e.g. was a brand distributed by Comoy’s. The bowls usually showed no nomenclature indicating the orderer. “Genuine Block Meerschaum” was engraved frequently. Often, just the stems were different, while bowls were the same.

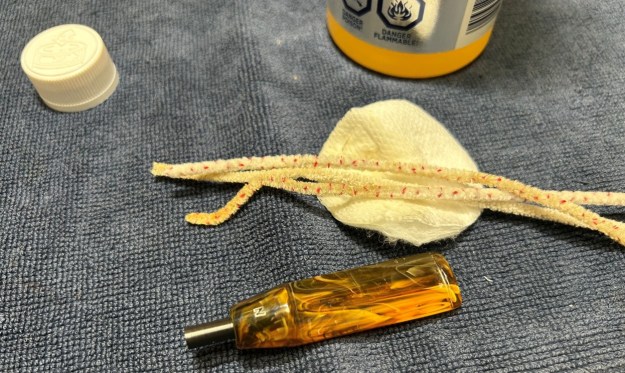
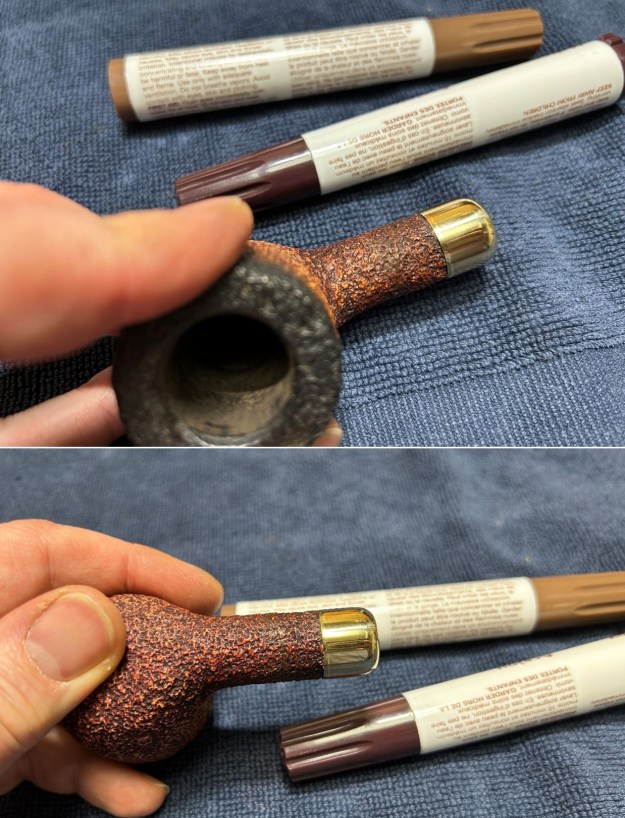
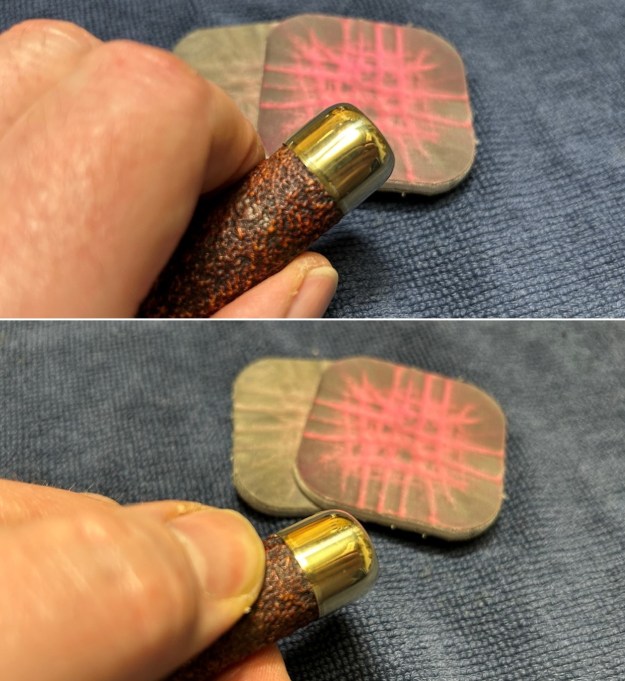
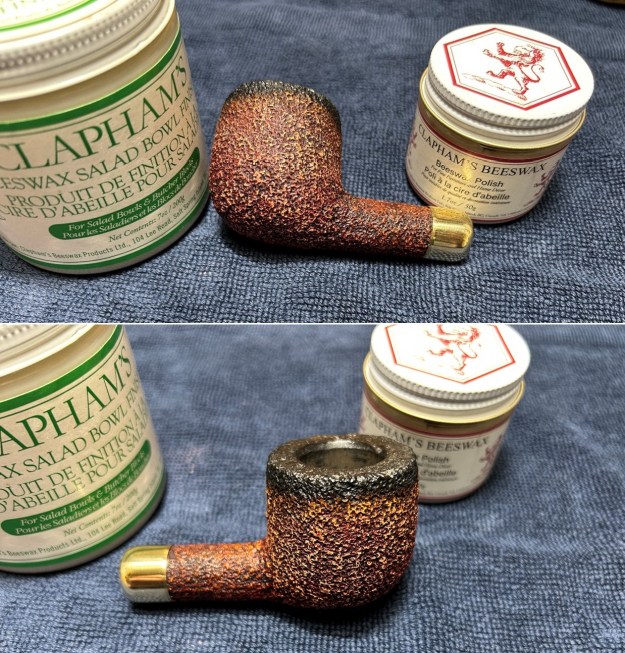
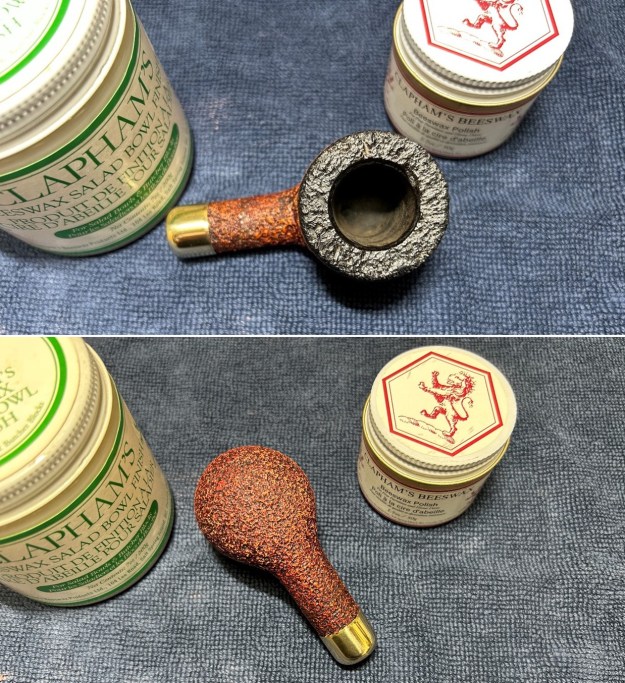
Supply of meerschaum from East Africa run out (Kenya / Tanzania exhausted, Somalia inaccessible), and thus the last Laxey meers were supplied to trade in May, 2001. Laxey Pipes Ltd. tried to survive continuing with briar pipes – mainly in the Danish style -, but to no success. It closed down business in July, 2002.So, let’s take a closer look at this very handsome pipe. The first thing to note is that this pipe’s shank was cracked at some point in the past. I don’t know any details of this incident or of who repaired the pipe. However, I performed a detailed and thorough inspection of the repair, and it is excellent. It was repaired with an epoxy and, although there was more squeeze-out than I would have left, I was quite impressed with the quality of the work. I have no qualms about it at all. Other than that, the bowl has a bit of cake inside, but not much. It is in lovely condition. Same with the stem, which has only minor tooth marks. Let’s get this pipe back to its best. I used isopropyl alcohol on a few cotton rounds and wiped down the stem to provide an initial cleaning before moving on to the next steps. The primary cleaning came next. I disinfected the inside of the stem with both pipe cleaners and cotton swabs dipped in lemon-infused 99% isopropyl alcohol. I scrubbed thoroughly to make sure the interior was very clean. Fortunately, it wasn’t very dirty at all.As the stem was made of acrylic, no deoxidation procedure was needed. Instead, I went straight into fixing the marks in the acrylic. This was done by filling those divots with clear cyanoacrylate adhesive. I left this to cure and moved on.The penultimate step for the stem is sanding. First, with my set of needle files, I reduced the bulk of the cyanoacrylate repairs. I removed the excess adhesive as near to the surface as possible, without cutting into the acrylic. Following that, I used all nine of the micromesh sanding pads (1,500 through 12,000 grit) to sand out flaws, even out the acrylic, and provide gentle polishing of the finished surface. I also applied pipe-stem oil while using the last five micromesh pads. There was a wonderful shine to the stem when I was done.As the stem was (nearly) complete, I moved on to the stummel. The first step was to ream out the bowl – that is to say, remove all the cake inside the bowl. This accomplished a couple of things. First (and most obviously), it cleaned the bowl and provided a refurbished chamber for future smoking. Second, when the old cake was removed, I could inspect the interior walls of the bowl and determine if there was damage or not. Normally, at this point, I would use a reamer to remove the built-up cake inside the bowl, but meerschaum has the potential to crack in those circumstances. Instead, I used a pipe knife, and a piece of sandpaper taped to a wooden dowel. Collectively, these ensured that all the debris was removed. There wasn’t too much.Similar to the stem, I then cleaned the stummel with both pipe cleaners and cotton swabs dipped in lemon-infused 99% isopropyl alcohol. I did it carefully because too much soaking can cause meerschaum to soften. In this case, I moved quickly, nothing softened, and everything turned out well. I also took a brush to the rusticated surface of the bowl. There were a few bits and pieces of debris and my brushing removed them. It looked much better.It was at this point that I used all my nous (as the Brits would say) to improve the look of the repair. I stared a lot; I pondered a lot; I harrumphed a lot. Eventually, I used a combination of some of my furniture pens (which is simply dye in pen form) to match the colours. I was very pleased with the results – from some angles, the repair is essentially invisible.I took some very fine micromesh pads and buffed up the metal cap on the shank. I also polished it with my jeweller’s cloth and made it shine.I then applied some Clapham’s Beeswax Finishes to the meerschaum and let it sit for about 30 minutes. As meerschaum pipes don’t do well on a bench-polisher, I then buffed it with a microfibre cloth. I repeated this process and left it – it sure was pretty! For the final step, I took the stem to my bench polisher and carefully buffed it with a blue diamond compound.

All done! This Nørding Meerschaum pot looks fantastic again and is ready to be enjoyed by its next owner. I am pleased to announce that this pipe is for sale! If you are interested in acquiring it for your collection, please have a look in the ‘Danish’ section of the store here on Steve’s website. You can also email me directly at kenneth@knightsofthepipe.com. The approximate dimensions of the pipe are as follows: length 5⅞ in. (149 mm); height 1¾ in. (45 mm); bowl diameter 1⅝ in. (41 mm); chamber diameter ⅞ in. (85 mm). The weight of the pipe is 1¾ oz. (53 g). I hope you enjoyed reading the story of this pipe’s restoration as much as I enjoyed restoring it. If you are interested in more of my work, please follow me here on Steve’s website or send me an email. Thank you very much for reading and, as always, I welcome and encourage your comments.

Cleaning Up a Beautiful Refbjerg Hand-Carved Bent Egg


by Kenneth Lieblich

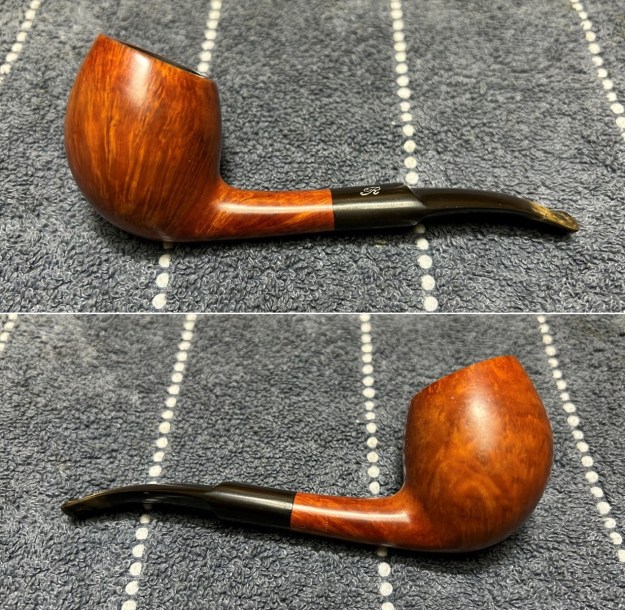
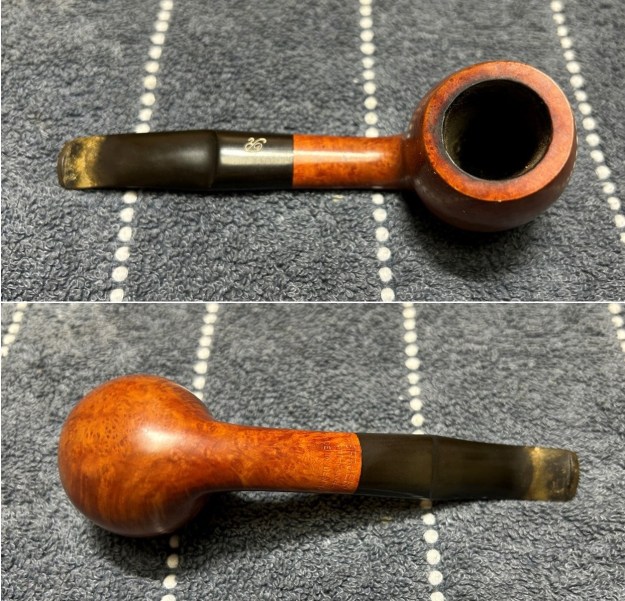
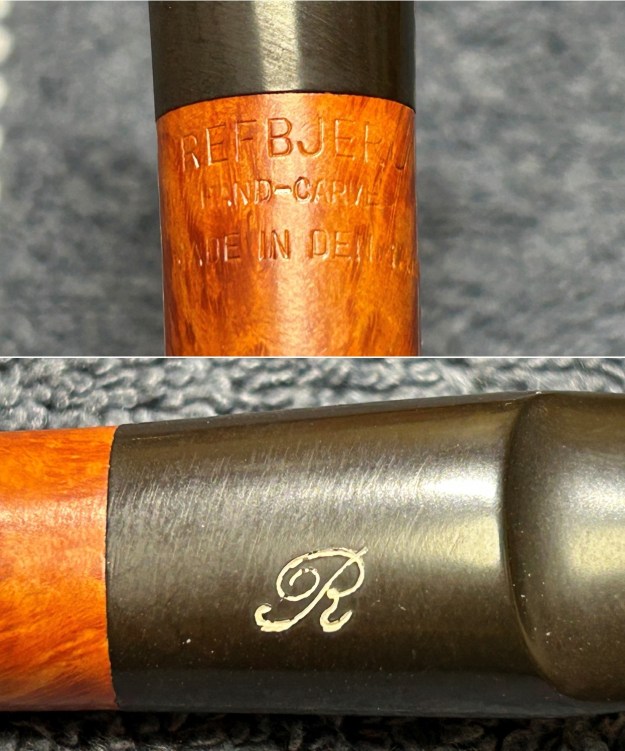
The proceeds of a recent auction lot included this lovely Danish pipe. It really caught my eye and I’m sure it will catch yours too. This is a sort of freehand, hand-carved, bent egg by master carver, Søren Refbjerg Rasmussen. There is some wonderful grain in this pipe and it feels so good to hold. It is light and comfortable. It promises to be a great smoker. On the underside of the shank, we read Refbjerg [over] Hand-Carved [over] Made in Denmark. On the stem, there is a cursive letter R, representing his name, Refbjerg.Pipedia has an article on Mr Rasmussen and I quote a part of it here:

Søren Refbjerg Rasmussen founded a company in 1969, which employed an average of 8 – 12 craftsmen in the 1970’s. The semi-freehands they produced were traded under his prename Søren. Rasmussen himself finished only the very best pipes. So his way of pipemaking closely resembled the ways of Preben Holm, Karl Erik Ottendahl or Erik Nørding. Altogether more than 1,000,000 pipes were sold. Today he works alone as Refbjerg and manufactures only a small number of pipes in his workshop in DK-2860 Søborg, which are considered to be tremendously precisely executed. The dimensions mostly range from small to medium sized, corresponding to his personal preferences. The shapes adhere to the classical models, but often he gives them a touch of Danish flair. Refbjerg accepts minor faults but never uses any fillings. “Straight Grain” is the only grading, used for his very best pieces. He likes stem decorations made of exotic woods or metal rings.Meanwhile, over at Pipephil, there is the following entry:And, finally, scandinavianpipes.com includes these details about him:

Søren Refbjerg was born 1943 in the city of Søborg where he still lives and has been a full time pipe-maker since 1969. In the 70´s Søren had his own small factory with 10 employees producing a huge number of pipes mainly for the US market. Søren has indeed been one of the most productive Danish pipe-makers and for many years he also produced pipes for W.Ø. Larsen For the last decades Søren has been making pipes by himself, always using briar from Corsica. Søren derive much relaxation from being on the coast while angling for Sea Trout with his own hand-tied flies and find this environment to be a great inspiration for making pipes. Many times Søren say to himself: “Inspired by nature, made by me”.

He died in 2021. Let’s take a closer look at the pipe. It is in very nice shape. The stem is thoroughly calcified (and has a bit of oxidation), but isn’t damaged. Its stylized R is a bit thin/faded, but there are no notable tooth marks. The stummel is lovely! Wonderful condition, with only slight marks to the rim. The stem’s calcification was quite substantial. I used an old butter knife and gently scraped some of the thicker accretion off. Doing this now helps later in removing the oxidation.I used isopropyl alcohol on a few cotton rounds and wiped down the stem to provide an initial cleaning of filth before moving on to the next steps. The primary cleaning came next. I disinfected the inside of the stem with both pipe cleaners and cotton swabs dipped in lemon-infused 99% isopropyl alcohol. I scrubbed thoroughly to make sure the interior was very clean.The goal of the next step is the removal (or minimization) of oxidation. Going to my sink, I used cream cleanser, cotton rounds, and a toothbrush, and scoured the stem to remove as much surface oxidation as possible. As the photos show, the result was a hideous, ochre-coloured mess – but better off the stem than on it.Once the stem was reasonably clean, I soaked it overnight in some Briarville Stem Oxidation Remover. This solution works to draw oxidation in the stem to the surface of the vulcanite. This is a major aid and an important step in ensuring a clean stem. The following day, I drew out the stem from its bath and scrubbed the lingering fluid with a toothbrush.After this, I painted the logo on the stem with some enamel nail polish. I restored the logo carefully and let it fully set before proceeding. This didn’t work ideally, but came out fairly well.

The penultimate step for the stem is sanding. First, with my set of needle files, I reduced the bulk of the cyanoacrylate repairs. I removed the excess adhesive as near to the surface as possible, without cutting into the vulcanite. Following that, I used all nine of the micromesh sanding pads (1,500 through 12,000 grit) to sand out flaws, even out the vulcanite, and provide gentle polishing of the finished surface. I also applied pipe-stem oil while using the last five micromesh pads. There was a wonderful, deep black shine to the stem when I was done. As the stem was (nearly) complete, I moved on to the stummel. The first step was to ream out the bowl – that is to say, remove all the cake inside the bowl. This accomplished a couple of things. First (and most obviously), it cleaned the bowl and provided a refurbished chamber for future smoking. Second, when the old cake was removed, I could inspect the interior walls of the bowl and determine if there was damage or not. I used a pipe knife and a piece of sandpaper taped to a wooden dowel. Collectively, these ensured that all the debris was removed.Similar to the stem, I then cleaned the stummel with both pipe cleaners and cotton swabs dipped in lemon-infused 99% isopropyl alcohol.I then decided to ‘de-ghost’ the pipe – that is to say, exorcize the remaining filth from the briar. I filled the bowl and the shank with cotton balls, then saturated them with 99% isopropyl alcohol. I let the stummel sit overnight. This caused the remaining oils, tars and smells to leach out into the cotton.To tidy up the briar, I wiped down the outside, using a solution of a pH-neutral detergent and some distilled water, with cotton rounds. I also used a toothbrush in the crevices. This did a good job of cleaning any latent dirt on the surface of the briar. The last step of the cleaning process was to scour the inside of the stummel with the same mild detergent and tube brushes. This was the culmination of a lot of hard work in getting the pipe clean.I used all nine micromesh pads (1,500 through 12,000 grit) to sand the outside of the stummel and finish it off. This sanding minimizes flaws in the briar and provides a beautiful smoothness to the wood. I rubbed some LBE Before & After Restoration Balm into the briar and let it sit for 30 minutes or so. The balm moisturizes the wood and gives a beautiful depth to the briar. I then buffed the stummel with a microfibre cloth. For the final step, I took the pipe to my bench polisher and carefully buffed it – first with a blue diamond compound, then with three coats of carnauba wax. This procedure makes the pipe look its best – the stummel sings and the stem glows.This Refbjerg Hand-Carved Bent Egg looks fantastic again and is ready to be enjoyed by its next owner. I am pleased to announce that this pipe is for sale! If you are interested in acquiring it for your collection, please have a look in the ‘Danish’ section of the store here on Steve’s website. You can also email me directly at kenneth@knightsofthepipe.com. The approximate dimensions of the pipe are as follows: length 5½ in. (139 mm); height 1⅞ in. (46 mm); bowl diameter 1⅔ in. (41 mm); chamber diameter ⅞ in. (22 mm). The weight of the pipe is 1¼ oz. (37 g). I hope you enjoyed reading the story of this pipe’s restoration as much as I enjoyed restoring it. If you are interested in more of my work, please follow me here on Steve’s website or send me an email. Thank you very much for reading and, as always, I welcome and encourage your comments.
Restoring a Beautiful Bentley Sandblast Prince by Hans Jonny Nielsen (aka Former)


by Kenneth Lieblich

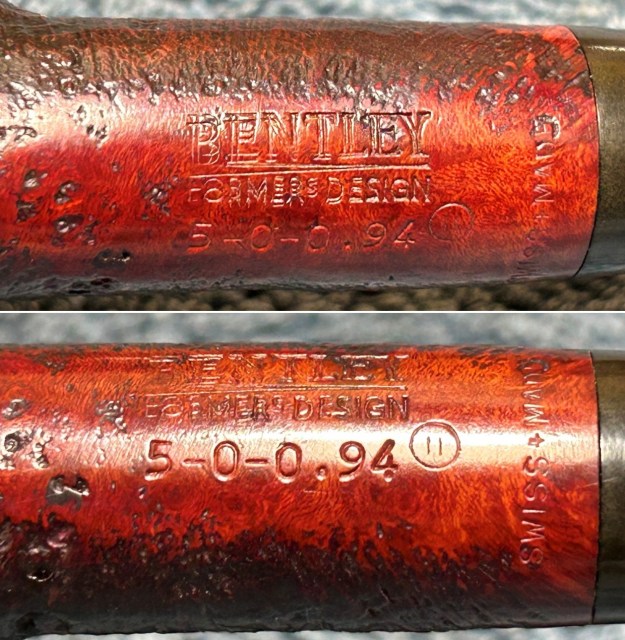
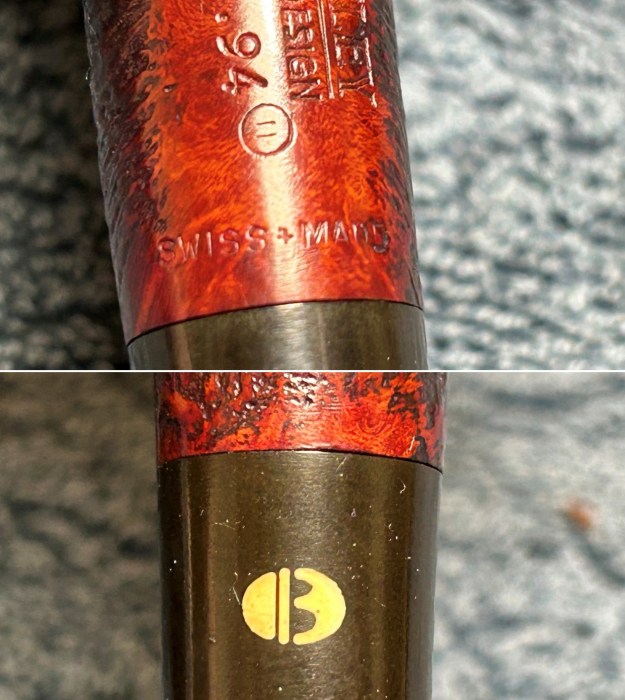
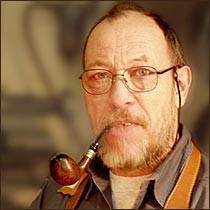
Now here’s a pipe you don’t see everyday: a very attractive prince by the Danish pipe maker known as ‘Former’ – though his real name is Hans Jonny Nielsen – working for the Danish/German/Swiss outfit, Bentley. This pipe came to me in an exchange with a gentleman in Toronto. It is an elegant pipe, with a beautiful blast, and a luxurious tapered stem. I was quite taken with this pipe when I first saw it, and I’m sure you will be too. What do the marks on the pipe say? The underside of the shank tells us. First, we see the word Bentley [over] Former Design [over] 5 – 0 – 0. 94. Next to that is a circle inside of which is either the Roman numeral II or the number 11. Further to the right, and a right angle, are the words, Swiss+Made. Finally, there is a stylized B on the stem, signifying the Bentley name. I didn’t know much about Bentley or Nielsen, so I sought out the usual sources for information. At Pipedia, the Bentley article included this information:

This is the production Brand of Hans Jonny “Former” Nielsen. When the U. S. pipe demand for quality handmade “freehand” pipes diminished, W.Ø. Larsen in Copenhagen sent their several workshop pipemakers home to work out of their house. Former who was the Larsen foreman at the time, eventually went to Germany and started the Bentley line of production pipes made on frasing machines, several at a time. Some years ago he returned to Denmark with this type of equipment and continues to make these production pipes in his current workshop in between making his famous handmade pipes. Former went to Kleinlutzel, Switzerland (just over the border from Germany) and took over a pipe fabrication in the employ of Herman Lane, making the Bentley pipes (circa 1986).

This last line made sense as far as this pipe was concerned. Pipedia also has a good-length article on Nielsen himself and I encourage you to read it here. However, one paragraph of that article concerns us here:

In 1986 Former met an interesting opportunity when he was asked to go to Switzerland and modernize the old Bru-Bu factory and to develop a new, high-grade pipe given the English name “Bentley”. He successfully took the opportunity, and spent the next 10 years in Switzerland. Former met his wife, Daniela, while working in Switzerland. In 1997, they decided to purchase the factory machinery and moved to Lauenburg / Elbe, where the Bentley production was continued at Dan Pipe. But Daniela got homesick and so they returned to Denmark. Dan Tobacco (a subsidiary of DanPipe) still manufactures Former’s tobacco blends and the building still has the Bentley logo prominently featured on its front.

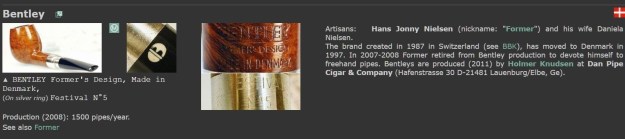
A quick perusal of the material at Pipephil confirmed all of this. Look at this screenshot:I think we can surmise that this pipe was probably made in the 1980s, presumably in Switzerland – although I still think of it as a Danish pipe.

The stummel is in lovely condition. Not too much cake or lava, and the blast is in wonderful shape. The stem is a bit different. For the most part, it looks good, but there are some serious tooth marks. Clearly, the vulcanite is excellent quality, but the tooth chatter is quite heavy. Let’s see what we can do about it. I used isopropyl alcohol on a few cotton rounds and wiped down the stem to provide an initial cleaning of filth before moving on to the next steps. The primary cleaning came next. I disinfected the inside of the stem with both pipe cleaners and cotton swabs dipped in lemon-infused 99% isopropyl alcohol. I scrubbed thoroughly to make sure the interior was very clean.The goal of the next step is the removal (or minimization) of oxidation. Going to my sink, I used cream cleanser, cotton rounds, and a toothbrush, and scoured the stem to remove as much surface oxidation as possible. As the photos show, the result was a hideous, ochre-coloured mess – but better off the stem than on it.Once the stem was reasonably clean, I soaked it overnight in some Briarville Stem Oxidation Remover. This solution works to draw oxidation in the stem to the surface of the vulcanite. This is a major aid and an important step in ensuring a clean stem. The following day, I drew out the stem from its bath and scrubbed the lingering fluid with a toothbrush.As the stem was now clean and dry, I set about fixing the dents in the vulcanite. This was done by filling those marks with black cyanoacrylate adhesive, impregnated with carbon and rubber. I left this to cure and moved on.The penultimate step for the stem is sanding. First, with my set of needle files, I reduced the bulk of the cyanoacrylate repairs. I removed the excess adhesive as near to the surface as possible, without cutting into the vulcanite. Following that, I used all nine of the micromesh sanding pads (1,500 through 12,000 grit) to sand out flaws, even out the vulcanite, and provide gentle polishing of the finished surface. I also applied pipe-stem oil while using the last five micromesh pads. Not all of the marks could be removed – but it is so much better than before! There was a wonderful, deep black shine to the stem when I was done.As the stem was (nearly) complete, I moved on to the stummel. The first step was to ream out the bowl – that is to say, remove all the cake inside the bowl. This accomplished a couple of things. First (and most obviously), it cleaned the bowl and provided a refurbished chamber for future smoking. Second, when the old cake was removed, I could inspect the interior walls of the bowl and determine if there was damage or not. I used a reamer, a pipe knife, and a piece of sandpaper taped to a wooden dowel. Collectively, these ensured that all the debris was removed. Fortunately, the bowl was pretty clean.Similar to the stem, I then cleaned the stummel with both pipe cleaners and cotton swabs dipped in lemon-infused 99% isopropyl alcohol. With a pipe this dirty, it took quite a while and much cotton to clean.I then decided to ‘de-ghost’ the pipe – that is to say, exorcize the remaining filth from the briar. I filled the bowl and the shank with cotton balls, then saturated them with 99% isopropyl alcohol. I let the stummel sit overnight. This caused the remaining oils, tars and smells to leach out into the cotton.To tidy up the briar, I wiped down the outside, using a solution of a pH-neutral detergent and some distilled water, with cotton rounds. I also used a toothbrush in the crevices. This did a good job of cleaning any latent dirt on the surface of the briar. The last step of the cleaning process was to scour the inside of the stummel with the same mild detergent and tube brushes. This was the culmination of a lot of work in getting the pipe clean.I rubbed some LBE Before & After Restoration Balm into the briar and let it sit for 30 minutes or so. The balm moisturizes the wood and gives a beautiful depth to the briar. I then buffed the stummel with a microfibre cloth. For the final step, I took the pipe to my bench polisher and carefully buffed it – first the stem with a blue diamond compound, then the stummel with three coats of conservator’s wax. This procedure makes the pipe look its best – the stummel sings and the stem glows.All done! This Bentley prince by ‘Former’ looks fantastic again and is ready to be enjoyed by its next owner. I am pleased to announce that this pipe is for sale! If you are interested in acquiring it for your collection, please have a look in the ‘Danish’ section of the store here on Steve’s website. You can also email me directly at kenneth@knightsofthepipe.com. The approximate dimensions of the pipe are as follows: length 6⅓ in. (162 mm); height 1⅝ in. (40 mm); bowl diameter 1⅔ in. (43 mm); chamber diameter ⅞ in. (21 mm). The weight of the pipe is 1½ oz. (44 g). I hope you enjoyed reading the story of this pipe’s restoration as much as I enjoyed restoring it. If you are interested in more of my work, please follow me here on Steve’s website or send me an email. Thank you very much for reading and, as always, I welcome and encourage your comments.
Putting the Shine on a Bari Excellent 7054 Freehand Egg


by Kenneth Lieblich

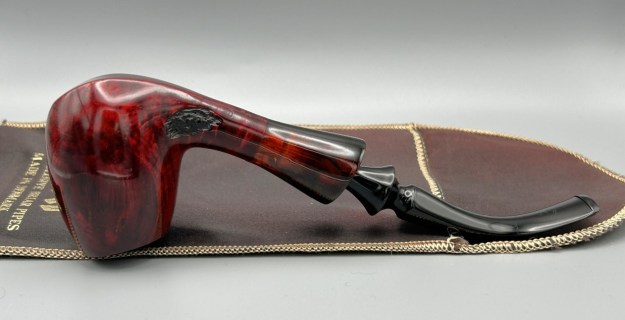
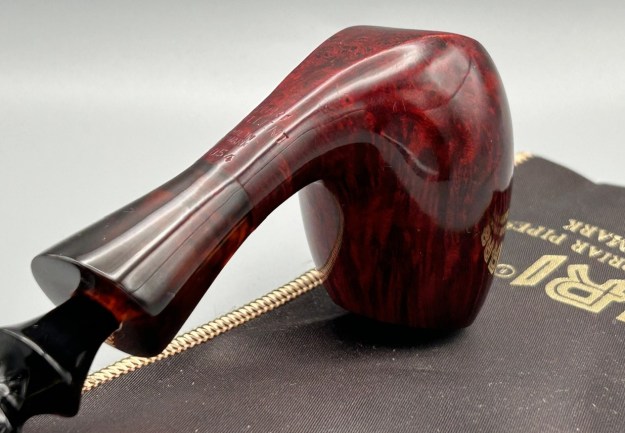
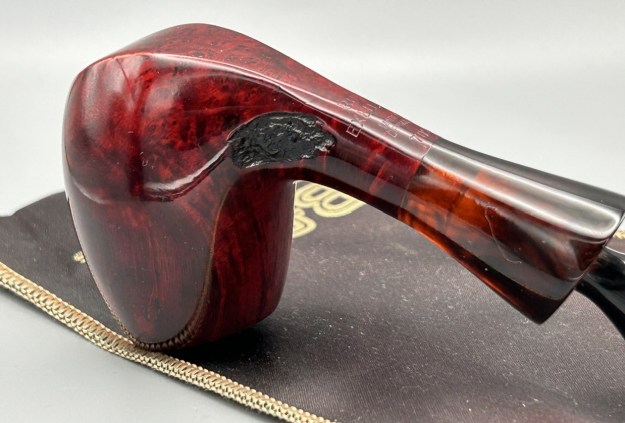
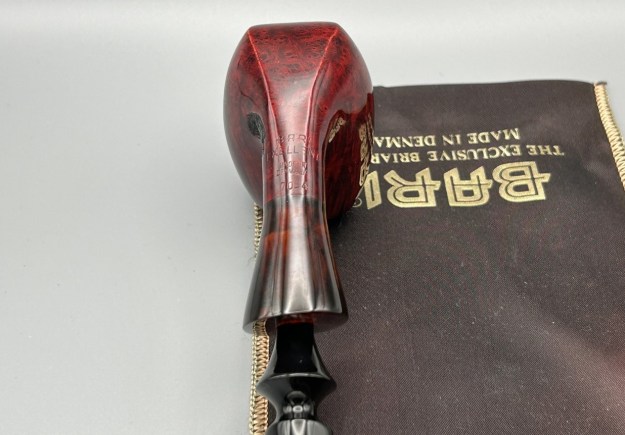
I recently got my hands on a few pipes, and this one caught my eye right away: it’s a Bari Excellent 7054 freehand egg. It’s a Danish beauty and it’s in lovely condition to start. It has a very attractive shank extension and sumptuous curves. I couldn’t help but think that this pipe deserves a new home and someone to light it up. Many of the pipes I just received came with their own pipe socks – and this is one of them. So if you want this pipe, you also get your very own Bari-branded pipe sock! On the underside of the shank, we see the following markings: Bari [over] Excellent [over] Made in [over] Denmark [over] 7054. Along the top of the stem, we also see the Bari logo, prominently placed.I have worked on Bari pipes before, but it is worth it to review the background of the maker. From Pipedia, here is a very brief history of the Bari company:

Bari Piber was founded by Viggo Nielsen in Kolding around the turn of 1950-51. Viggo’s sons Kai Nielsen and Jørgen Nielsen both grew into their father’s business from a very young age and worked there till 1975. Bari had very successfully adapted the new Danish Design that had been started mainly by Stanwell for its own models. When Viggo Nielsen sold Bari in 1978 to Joh. Wilh. von Eicken GmbH in Hamburg, Bari counted 33 employees. From 1978 to 1993 Åge Bogelund and Helmer Thomsen headed Bari’s pipe production. Thomsen bought the company in 1993 re-naming it to Bari Piber Helmer Thomsen. The workshop moved to more convenient buildings in Vejen. Bari’s basic conception fundamentally stayed the same for decades: series pipes pre-worked by machines and carefully finished by hand. Thus no spectacular highgrades but solid, reliable every day’s companions.Let’s take a look at the state of the pipe. The stummel is in great condition. Minimal wear to the rim and the sides of the bowl. There are a couple of small fills, but nothing to worry about. The inside looks quite good, with only a small amount of cake. The stem is also in good shape – just some oxidation and calcification. But that just goes with the territory. First things first. The stem’s calcification needed to be removed. I used an old butter knife and gently scraped some of the thicker accretion off. Doing this now helps later in removing the oxidation.I used isopropyl alcohol on a few cotton rounds and wiped down the stem to provide an initial cleaning of filth before moving on to the next steps. The primary cleaning came next. I disinfected the inside of the stem with both pipe cleaners and cotton swabs dipped in lemon-infused 99% isopropyl alcohol. I scrubbed thoroughly to make sure the interior was very clean.The goal of the next step is the removal (or minimization) of oxidation. Going to my sink, I used cream cleanser, cotton rounds, and a toothbrush, and scoured the stem to remove as much surface oxidation as possible. As the photos show, the result was a hideous, ochre-coloured mess – but better off the stem than on it.Once the stem was reasonably clean, I soaked it overnight in some Briarville Stem Oxidation Remover. This solution works to draw oxidation in the stem to the surface of the vulcanite. This is a major aid and an important step in ensuring a clean stem. The following day, I drew out the stem from its bath and scrubbed the lingering fluid with a toothbrush.I then used all nine of the micromesh sanding pads (1,500 through 12,000 grit) to sand out flaws, even out the vulcanite, and provide gentle polishing of the finished surface. I also applied pipe-stem oil while using the last five micromesh pads. There was a wonderful, deep black shine to the stem when I was done.As the stem was (nearly) complete, I moved on to the stummel. The first step was to ream out the bowl – that is to say, remove all the cake inside the bowl. This accomplished a couple of things. First (and most obviously), it cleaned the bowl and provided a refurbished chamber for future smoking. Second, when the old cake was removed, I could inspect the interior walls of the bowl and determine if there was damage or not. I used a reamer, a pipe knife, and a piece of sandpaper taped to a wooden dowel. Collectively, these ensured that all the debris was removed.Similar to the stem, I then cleaned the stummel with both pipe cleaners and cotton swabs dipped in lemon-infused 99% isopropyl alcohol. It was fairly dirty, but nothing extraordinary.I then decided to ‘de-ghost’ the pipe – that is to say, exorcize the remaining filth from the briar. I filled the bowl and the shank with cotton balls, then saturated them with 99% isopropyl alcohol. I let the stummel sit overnight. This caused the remaining oils, tars and smells to leach out into the cotton.To tidy up the briar, I wiped down the outside, using a solution of a pH-neutral detergent and some distilled water, with cotton rounds. I also used a toothbrush in the crevices. This did a good job of cleaning any latent dirt on the surface of the briar. The last step of the cleaning process was to scour the inside of the stummel with the same mild detergent and tube brushes. This was the culmination of a lot of hard work in getting the pipe clean.I used some of my micromesh pads to sand the outside of the stummel (and the acrylic shank extension) and finish it off. This sanding minimizes flaws in the briar and provides a beautiful smoothness to the wood. I rubbed some LBE Before & After Restoration Balm into the briar and let it sit for 30 minutes or so. The balm moisturizes the wood and gives a beautiful depth to the briar. I then buffed the stummel with a microfibre cloth. For the final step, I took the pipe to my bench polisher and carefully buffed it – first with a blue diamond compound, then with three coats of carnauba wax. This procedure makes the pipe look its best – the stummel sings and the stem glows.

All done! This lovely Bari Excellent 7054 Freehand Egg looks fantastic again and is ready to be enjoyed by its next owner. I am pleased to announce that this pipe is for sale! If you are interested in acquiring it for your collection, please have a look in the ‘Danish’ section of the store here on Steve’s website. You can also email me directly at kenneth@knightsofthepipe.com. The approximate dimensions of the pipe are as follows: length 6⅛ in. (155 mm); height 1⅞ in. (48 mm); bowl diameter 1½ in. (38 mm); chamber diameter ¾ in. (19 mm). The weight of the pipe is 1½ oz. (46 g). I hope you enjoyed reading the story of this pipe’s restoration as much as I enjoyed restoring it. If you are interested in more of my work, please follow me here on Steve’s website or send me an email. Thank you very much for reading and, as always, I welcome and encourage your comments.

Restoring a Work of Art from Viggo Nielsen


by Kenneth Lieblich

When I first saw this pipe, I thought that it was a very fine example of Danish pipemaking. But the more I worked on it, the more I recognized the incredible workmanship involved in carving it. This is a majestic, hand-finished freehand from master carver, Viggo Nielsen. This is the sort of pipe that offers you more each time you look at it. Examining the curves, angles, transitions, and plateau was very rewarding and reminded me of a rugged mountain landscape. It’s a beautiful pipe! There are some markings on the shank of this pipe and they are helpful for identification. On the left side of the shank, we see Nielsen [over] Handmade [over] in Denmark. On the right side of the shank, we see Hand [over] Finished. That’s all – no other markings to be found.It is worth looking up the work of Viggo Nielsen from the usual sources. On Pipedia, his article states:

Viggo is surely one of the seminal figures in the evolution of the Danish pipe. His pipes are all handmade – also handmade stems, often in Cumberland. Most of the pipes are quite big, and a large number are made for 9mm filter. The finish is just perfect and when holding one of Viggo’s pipes, you can tell, he’s a pro. 

Viggo Nielsen was born in 1927. During World War II he started making pipes at a now closed factory. These pipes were made of birch due to the lack of briar (because of the war). In 1948 Viggo started his own pipe factory, “Bari”. But it wasn’t until 3 years later he could actually acquire Briar wood for his pipes. The business was very successful producing both classic shapes and freehand models.

In 1978 Viggo sold the business to a German tobacco manufacturer and he began making the Fåborg Pipe together with his two sons Jørgen Nielsen and Kai Nielsen. Even when Viggo had reached the age of retirement, he could not quite leave his workshop and he still made about 100 pipes a year, some of them based on the famous “Fåborg Pibe” but also a few “Jewels of Denmark”, until he passed away.

This pipe doesn’t have a Cumberland stem, nor a filter, but it is a healthy size. I also went to Pipephil and found the following:

Artisan: Viggo Nielsen (1927 – †2009) starts making pipes during WWII. He estabishes his own Bari factory in 1948. The business is sold to a German tobacco manufacturer in 1978 and from this period on he starts the “Faaborg Pipe” (Fåborg Pibe) with his two sons Jørgen Nielsen and Kai Nielsen. The “Jewel of Denmark” stamping is reserved for perfect pipes (flawless straight grain).

Let’s examine this wonderful specimen. The pipe was in great condition – just very dirty from lots of smoking. You can see lots of lava on the plateau rim top. The briar bowl was in nice shape, with a bit of grime ground in. The stem was well-worn, but a good, solid freehand stem. It has a few tooth marks and some oxidation, but nothing to worry about. To begin, I used isopropyl alcohol on a few cotton rounds and wiped down the stem to provide an initial cleaning of filth before moving on to the next steps. The primary cleaning came next. I disinfected the inside of the stem with both pipe cleaners and cotton swabs dipped in lemon-infused 99% isopropyl alcohol. I scrubbed thoroughly to make sure the interior was very clean. I used quite a few pipe cleaners and cotton swabs – far more than are shown in the photo.The goal of the next step is the removal (or minimization) of oxidation. Going to my sink, I used cream cleanser, cotton rounds, and a toothbrush, and scoured the stem to remove as much surface oxidation as possible. As the photos show, the result was a hideous, ochre-coloured mess – but better off the stem than on it.Once the stem was reasonably clean, I soaked it overnight in some Briarville Stem Oxidation Remover. This solution works to draw oxidation in the stem to the surface of the vulcanite. This is a major aid and an important step in ensuring a clean stem. The following day, I drew out the stem from its bath and scrubbed the lingering fluid with a toothbrush.As the stem was now clean and dry, I set about fixing the marks and dents in the vulcanite. This was done by filling those divots with black cyanoacrylate adhesive, impregnated with carbon and rubber. I left this to cure and moved on.The penultimate step for the stem is sanding. First, with my set of needle files, I reduced the bulk of the cyanoacrylate repairs. I removed the excess adhesive as near to the surface as possible, without cutting into the vulcanite. Following that, I used all nine of the micromesh sanding pads (1,500 through 12,000 grit) to sand out flaws, even out the vulcanite, and provide gentle polishing of the finished surface. I also applied pipe-stem oil while using the last five micromesh pads. There was a wonderful, deep black shine to the stem when I was done.As the stem was (nearly) complete, I moved on to the stummel. The first step was to ream out the bowl – that is to say, remove all the cake inside the bowl. This accomplished a couple of things. First (and most obviously), it cleaned the bowl and provided a refurbished chamber for future smoking. Second, when the old cake was removed, I could inspect the interior walls of the bowl and determine if there was damage or not. I used a reamer, a pipe knife, and a piece of sandpaper taped to a wooden dowel. Collectively, these ensured that all the debris was removed. And – holy moly – there was a lot of debris!Similar to the stem, I then cleaned the stummel with both pipe cleaners and cotton swabs dipped in lemon-infused 99% isopropyl alcohol. With a pipe this dirty, it took quite a while and much cotton to clean.I then decided to ‘de-ghost’ the pipe – that is to say, exorcize the remaining filth from the briar. I filled the bowl and the shank with cotton balls, then saturated them with 99% isopropyl alcohol. I let the stummel sit overnight. This caused the remaining oils, tars and smells to leach out into the cotton.To tidy up the briar, I wiped down the outside, using a solution of a pH-neutral detergent and some distilled water, with cotton rounds. I also used a nylon brush in the crevices of the plateau. This did a good job of cleaning any latent dirt on the surface of the briar. The last step of the cleaning process was to scour the inside of the stummel with the same mild detergent and tube brushes. This was the culmination of a lot of hard work in getting the pipe clean.I used all nine micromesh pads (1,500 through 12,000 grit) to sand the outside of the stummel and finish it off. This sanding minimizes flaws in the briar and provides a beautiful smoothness to the wood. I rubbed some LBE Before & After Restoration Balm into the briar and let it sit for 30 minutes or so. The balm moisturizes the wood and gives a beautiful depth to the briar. I then buffed the stummel with a microfibre cloth. Just look at that pipe! For the final step, I took the pipe to my bench polisher and carefully buffed it – first with a blue diamond compound, then with three coats of conservator’s wax. This procedure makes the pipe look its best – the stummel sings and the stem glows.This Viggo Nielsen Hand-Finished Freehand looks fantastic again and is ready to be enjoyed by its next owner. I am pleased to announce that this pipe is for sale! If you are interested in acquiring it for your collection, please have a look in the ‘Danish’ pipe section of the store here on Steve’s website. You can also email me directly at kenneth@knightsofthepipe.com. The approximate dimensions of the pipe are as follows: length 6⅛ in. (156 mm); height 3 in. (76 mm); bowl diameter 1⅞ in. (46 mm); chamber diameter 1 in. (25 mm). The weight of the pipe is 2¼ oz. (67 g). I hope you enjoyed reading the story of this pipe’s restoration as much as I did restoring it. If you are interested in more of my work, please follow me here on Steve’s website or send me an email. Thank you very much for reading and, as always, I welcome and encourage your comments.

You’ve Come a Long Way, Baby!


by Kenneth Lieblich

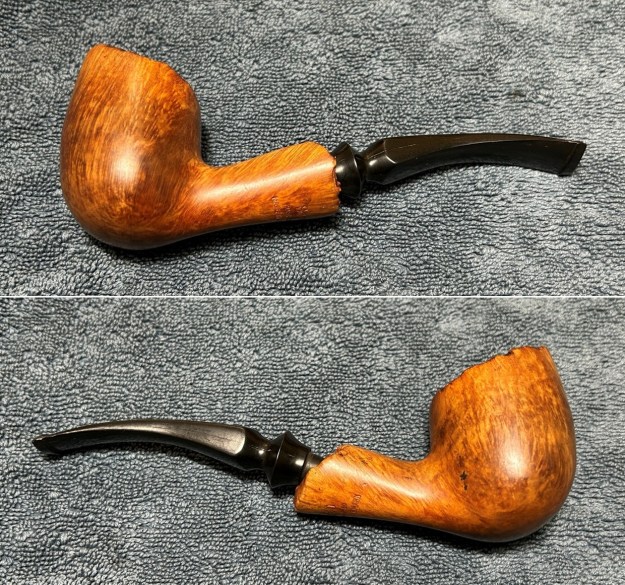
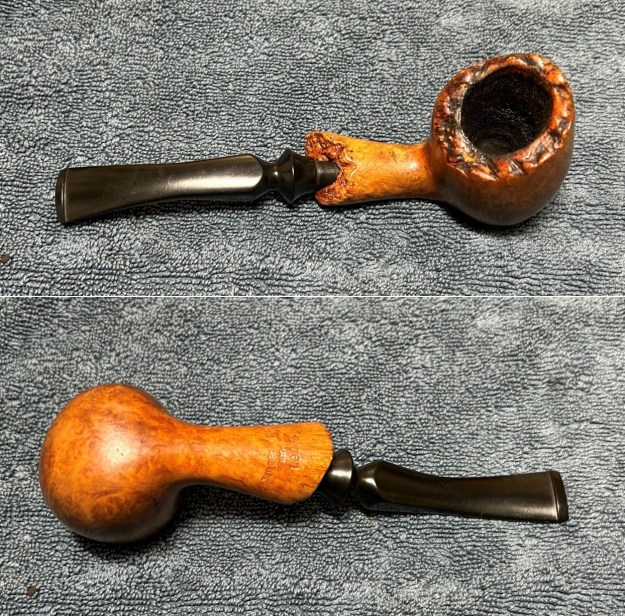
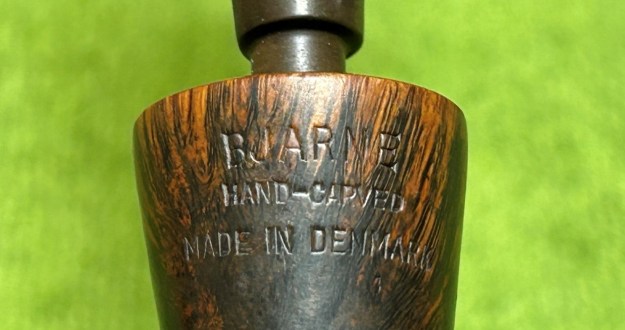
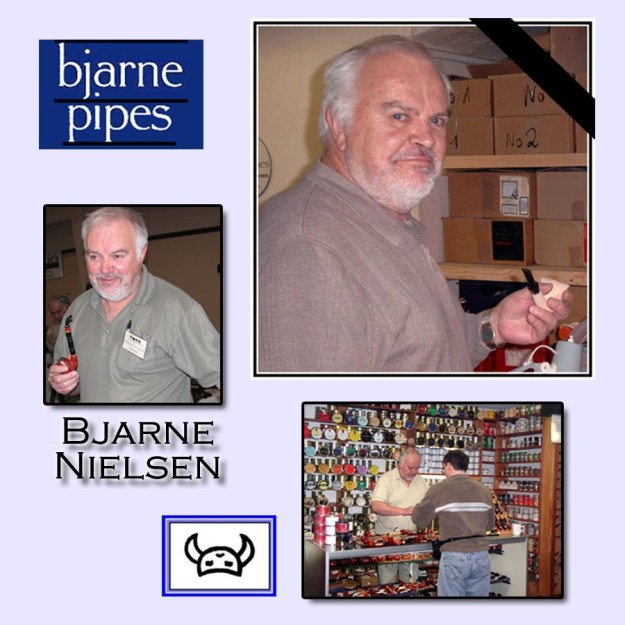
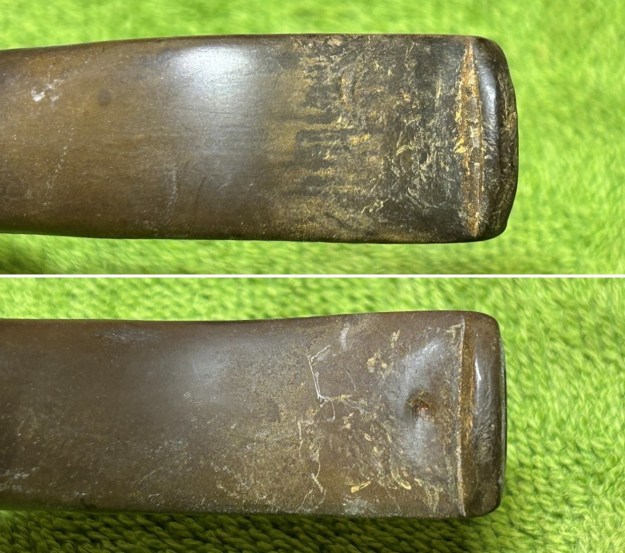
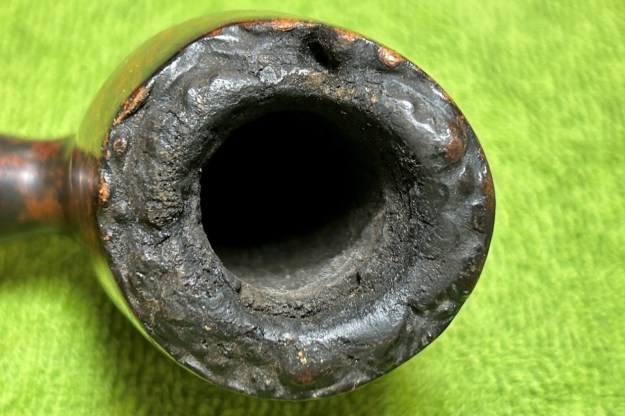
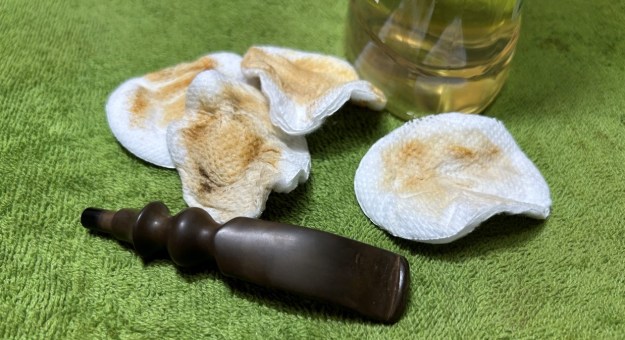
Hold on to your hats, folks – you’re in for a wild ride of pipe restoration. This amazing pipe has had quite a life, and its latest chapter includes coming into my possession. This is a Bjarne Hand-Carved freehand sitter from one of the great characters of the Danish pipe industry, Bjarne Nielsen. This pipe found its way to me through an auction and I was immediately besotted. It is a wonderful piece of briar, with a spacious bowl, and a charming, bent vulcanite stem. It’s a beauty and really makes an impression. Underneath the shank, the following words are engraved: Bjarne [over] Hand-Carved [over] Made in Denmark. There is no logo on the stem. Given the absence of a logo, I suspect that this is an older Bjarne pipe.Pipedia has a good article on Bjarne Nielsen and I recommend reading it here. For now, here is a part of that biography:

Bjarne Nielsen was born in 1941, and started smoking a pipe when he was 16 years old, and he also made some pipes for his own use at that time. He liked the pipes and made some more, giving some away as presents to friends. At the University of Copenhagen he obtained an MBA degree and found work at the Danish Ministry of Foreign Affairs where he helped Danish companies that were exporting their products establish contacts in foreign countries. That was in the 1960’s when the high demand for Danish freehand pipes started, so Bjarne was often asked if he knew of any companies that could sell those types of pipes. But all those companies had their order-books filled, so Bjarne always had to give a negative answer. One day he decided to send some pictures of his own pipes, and the response was overwhelming. He was asked how many pipes he could make and how quickly he could deliver them, and at once Bjarne had order for more pipes than he could make. What had been a relaxing hobby now became much more than that.

With a demanding job it was hard to find time to make pipes in that quantity, and Bjarne had to choose. His dream had always been to have a company of his own, and if he wanted fo fulfill that dream, now was the time to do it. But to leave a promising career, in which he probably would have become a Danish ambassador in some foreign country, was indeed a big step to take. “Many thought I was crazy”, Bjarne says, “and one of them was my wife. But she supported my decision anyway.”

He made that decision in 1973, and became a fulltime pipemaker. But he soon realized that it was impossible for one person to handle all of it–he could not make a lot of pipes, sell them and collect money for them all by himself. So he decided to find some pipemakers to help him. In those days Preben Holm was one of the biggest makers of fancy pipes, and he employed a great number of pipemakers. But not all of them were happy to work for Preben,m so Bjarne recruited a few of those.

During the first years all of Bjarne’s pipes were sold in the USA, but at the end of the 1970s he visited the pipe show in Frankfurt and found that there was a market for his there as well. However, he found that the Germans wanted a completely different style of pipes–pipes in traditional shapes. So if he wanted to be successful there, he had to add a completely new line to his production. “It was not easy, we learned it the hard way,” Bjarne says. But they certainly succeeded, and for a number of years Germany became the top-selling market for Bjarne’s pipes.Let’s take a closer look at this pipe’s condition. It was obvious right away that this was a terrific pipe – but, boy, was it dirty. The stem was heavily chewed, with some significant dents in the vulcanite. There was a lot of calcification and oxidation. The stem will be fine in the end – it’ll just take some hard work. Similarly, the stummel needed help. The briar was dirty and tired. The rim was coated in lava, and the bowl was full of cake. I just needed to uncover the beauty of this baby. Let’s get on with it. To begin, I used a disposable lighter and ‘painted’ the stem with its flame. The gentle heat of the flame can cause the dents in the vulcanite of the stem to expand back into shape. In this case, it worked quite well and I got some lift in the dents. Not perfect, but definitely some improvement. The stem’s calcification was quite substantial. I used an old butter knife and gently scraped some of the thicker accretion off. Doing this now helps later in removing the oxidation. I used oil soap on a few cotton rounds and wiped down the stem to provide an initial cleaning of filth before moving on to the next steps.The primary cleaning came next. I disinfected the inside of the stem with pipe cleaners dipped in lemon-infused 99% isopropyl alcohol. I scrubbed thoroughly to make sure the interior was very clean. I used a good numbers of pipe cleaners.The goal of the next step is the removal (or minimization) of oxidation. Going to my sink, I used cream cleanser, cotton rounds, and a toothbrush, and scoured the stem to remove as much surface oxidation as possible. As the photos show, the result was a hideous, brownish mess – but better off the stem than on it.Once the stem was reasonably clean, I soaked it overnight in some Briarville Stem Oxidation Remover. This solution works to draw oxidation in the stem to the surface of the vulcanite. This is a major aid and an important step in ensuring a clean stem. The following day, I drew out the stem from its bath and scrubbed the lingering fluid with a toothbrush. Due to the severity of the oxidation, I then repeated the scrubbing with the cream cleanser for maximum effect. This really helped a lot.As the stem was now clean and dry, I set about fixing the marks and dents in the vulcanite. This was done by filling those divots with black cyanoacrylate adhesive, impregnated with carbon and rubber. I left this to cure and moved on.The penultimate step for the stem is sanding. First, with my set of needle files, I reduced the bulk of the cyanoacrylate repairs. I removed the excess adhesive as near to the surface as possible, without cutting into the vulcanite. Following that, I used all nine of the micromesh sanding pads (1,500 through 12,000 grit) to sand out flaws, even out the vulcanite, and provide gentle polishing of the finished surface. I also applied pipe-stem oil while using the last five micromesh pads. There was a wonderful, deep black shine to the stem when I was done.As the stem was (nearly) complete, I moved on to the stummel. The first step was to ream out the bowl – that is to say, remove all the cake inside the bowl. This accomplished a couple of things. First (and most obviously), it cleaned the bowl and provided a refurbished chamber for future smoking. Second, when the old cake was removed, I could inspect the interior walls of the bowl and determine if there was damage or not. I used a reamer, a pipe knife, and a piece of sandpaper taped to a wooden dowel. Collectively, these ensured that all the debris was removed. However, it was clear that there were a few heat fissures inside the bowl that would need to be repaired. It’s difficult to tell from the photo below, but the quantity of debris removed was enormous. It must have been a well-loved pipe!Similar to the stem, I then cleaned the stummel with both pipe cleaners and cotton swabs dipped in lemon-infused 99% isopropyl alcohol. With a pipe this dirty, it took quite a while and much cotton to get clean.I then decided to ‘de-ghost’ the pipe – that is to say, exorcize the remaining filth from the briar. I filled the bowl and the shank with cotton balls, then saturated them with 99% isopropyl alcohol. I let the stummel sit overnight. This caused the remaining oils, tars and smells to leach out into the cotton.My next step was to remove the lava on the rim. For this, I normally take a piece of machine steel and gently scrape the lava away. However, a jackhammer would have been more appropriate in this case! Instead, I soaked the rim in some oil soap and this softened things up enough for me to scrub the debris off with a nylon-bristle brush. To tidy up the briar, I also wiped down the outside with some oil soap on cotton rounds and used a toothbrush in the crevices. This did a good job of cleaning any latent dirt on the surface of the briar. The last step of the cleaning process was to scour the inside of the stummel with some soap and tube brushes. This was the culmination of a lot of hard work in getting the pipe clean. Additionally, there was a minuscule line on the bottom of the stummel. It was so small, in fact, that I couldn’t really determine if this was a craze line in the briar or just a little scratch. Just to be on the safe side, I applied a tiny bit of clear cyanoacrylate adhesive and sanded it down.To address the heat fissures inside the bowl, I used an epoxy adhesive that is extremely hard, resistant to high temperatures, and completely inert when cured. It worked superbly. I gently filled the affected area with the epoxy and let it cure for a full 24 hours. The next day, I roughened up the epoxy’s surface with 220-grit sandpaper for the next step. I thinly coated the inside of the bowl with a mixture of my wife’s homemade yogurt and activated charcoal. Once hardened, this provides a good, faintly rough surface for a new cake to build.I used all nine micromesh pads (1,500 through 12,000 grit) to sand the outside of the stummel and finish it off. This sanding minimizes flaws in the briar and provides a beautiful smoothness to the wood. I rubbed some LBE Before & After Restoration Balm into the briar and let it sit for 30 minutes or so. The balm moisturizes the wood and gives a beautiful depth to the briar. I then buffed the stummel with a microfibre cloth. For the final step, I took the pipe to my bench polisher and carefully buffed it – first with a blue diamond compound, then with three coats of carnauba wax. This procedure makes the pipe look its best – the stummel sings and the stem glows. You can now see why I called this article ‘You’ve Come a Long Way, Baby!’All done! This Bjarne Hand-Carved freehand sitter looks fantastic again and is ready to be enjoyed by its next owner. I am pleased to announce that this pipe is for sale! If you are interested in acquiring it for your collection, please have a look in the ‘Danish’ section of the store here on Steve’s website. You can also email me directly at kenneth@knightsofthepipe.com. The approximate dimensions of the pipe are as follows: length 6¾ in. (175 mm); height 3 in. (75 mm); bowl diameter 1¾ in. (44 mm); chamber diameter 1 in. (25 mm). The weight of the pipe is 2½ oz. (74 g). I hope you enjoyed reading the story of this pipe’s restoration as much as I enjoyed restoring it. If you are interested in more of my work, please follow me here on Steve’s website or send me an email. Thank you very much for reading and, as always, I welcome and encourage your comments.