Blog by Steve Laug
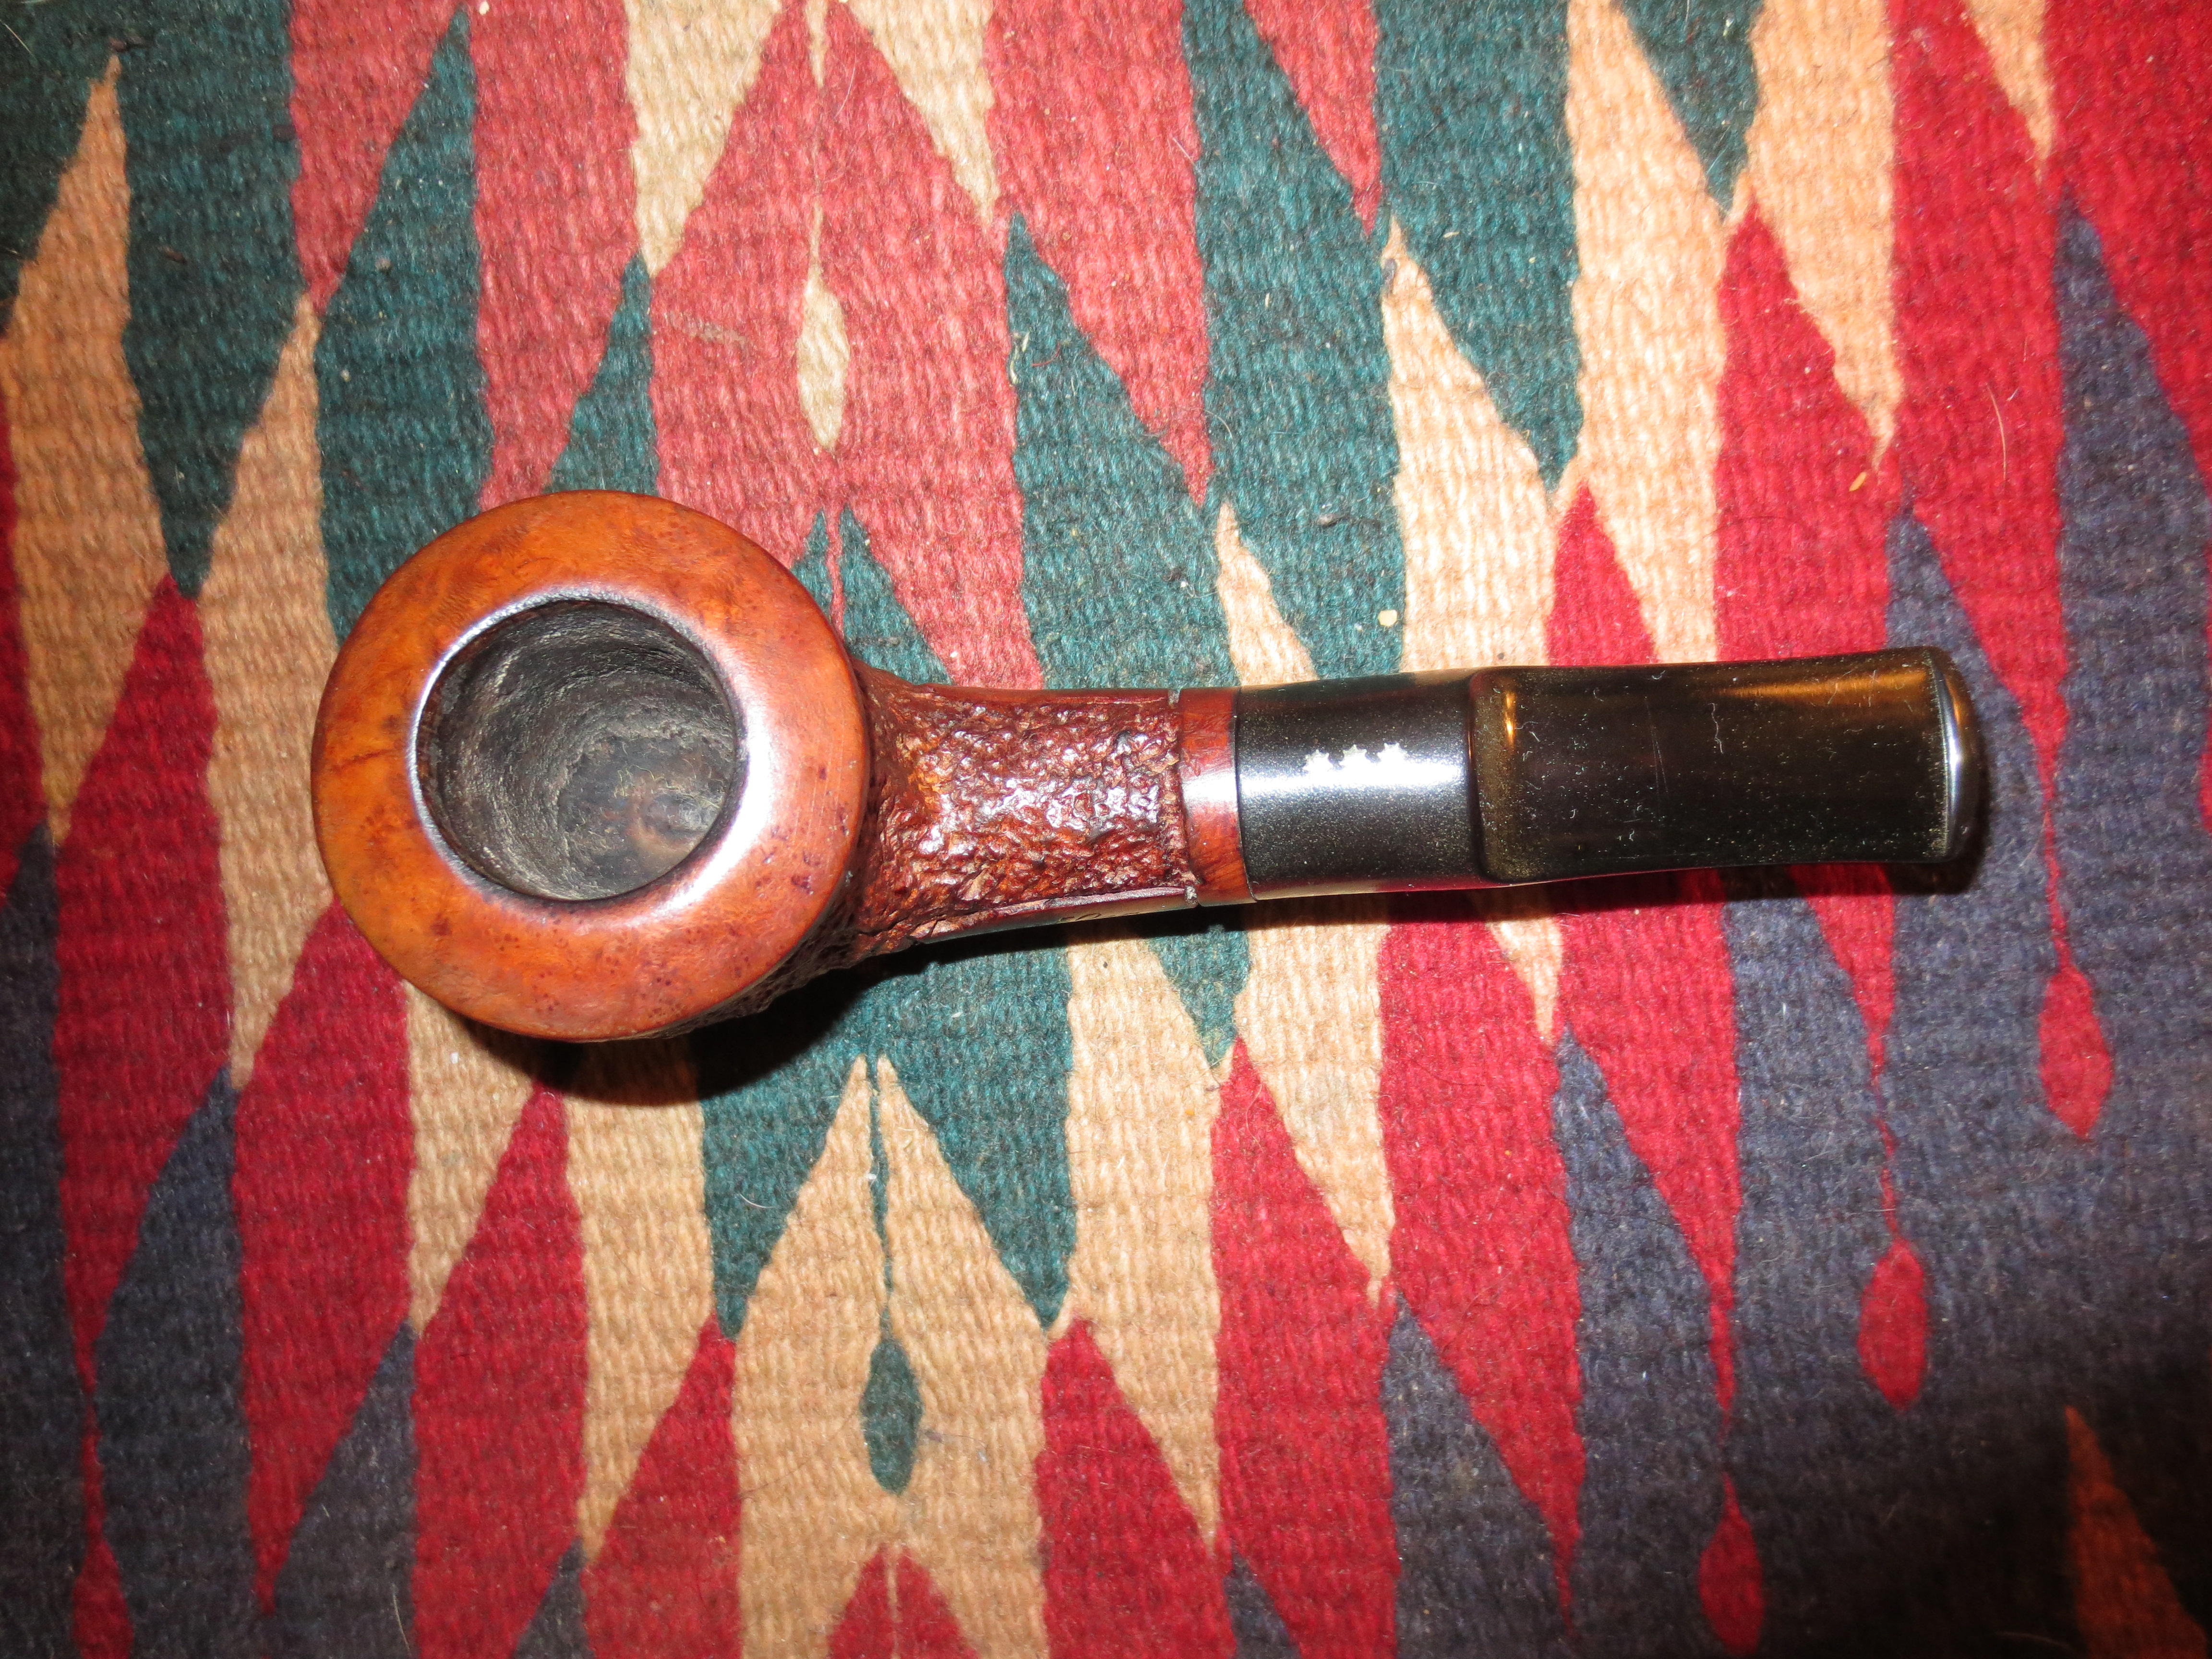
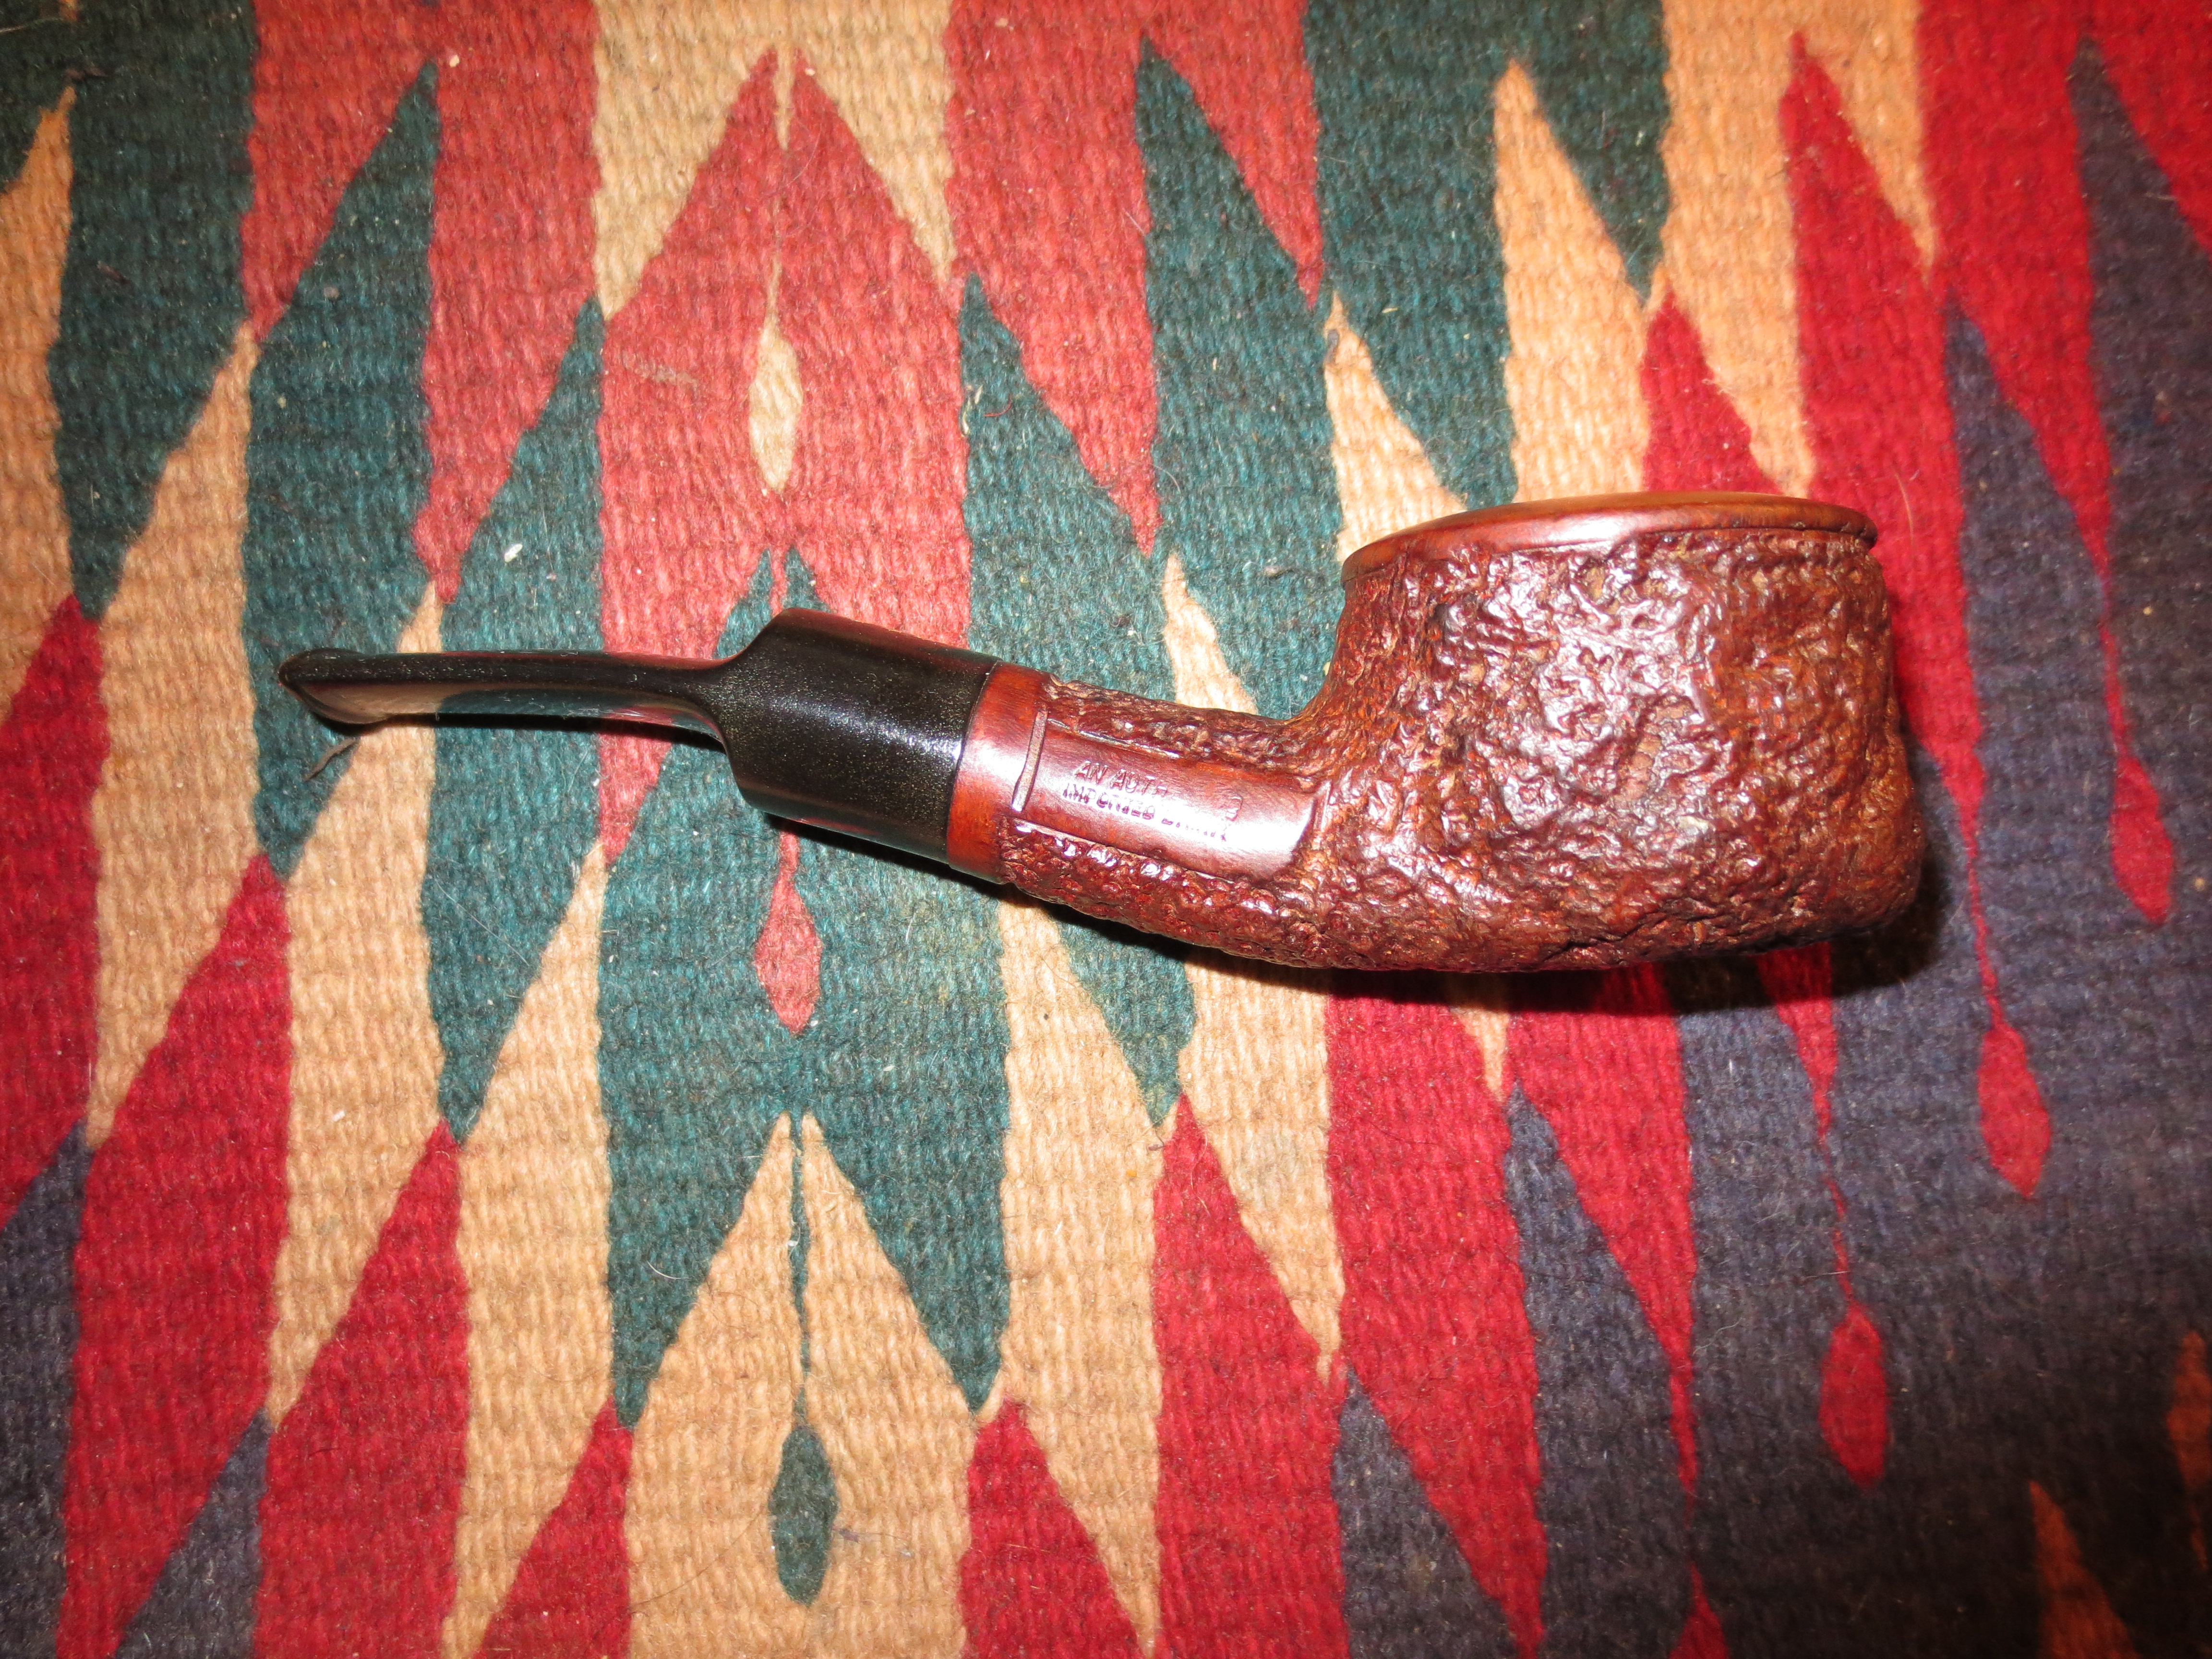
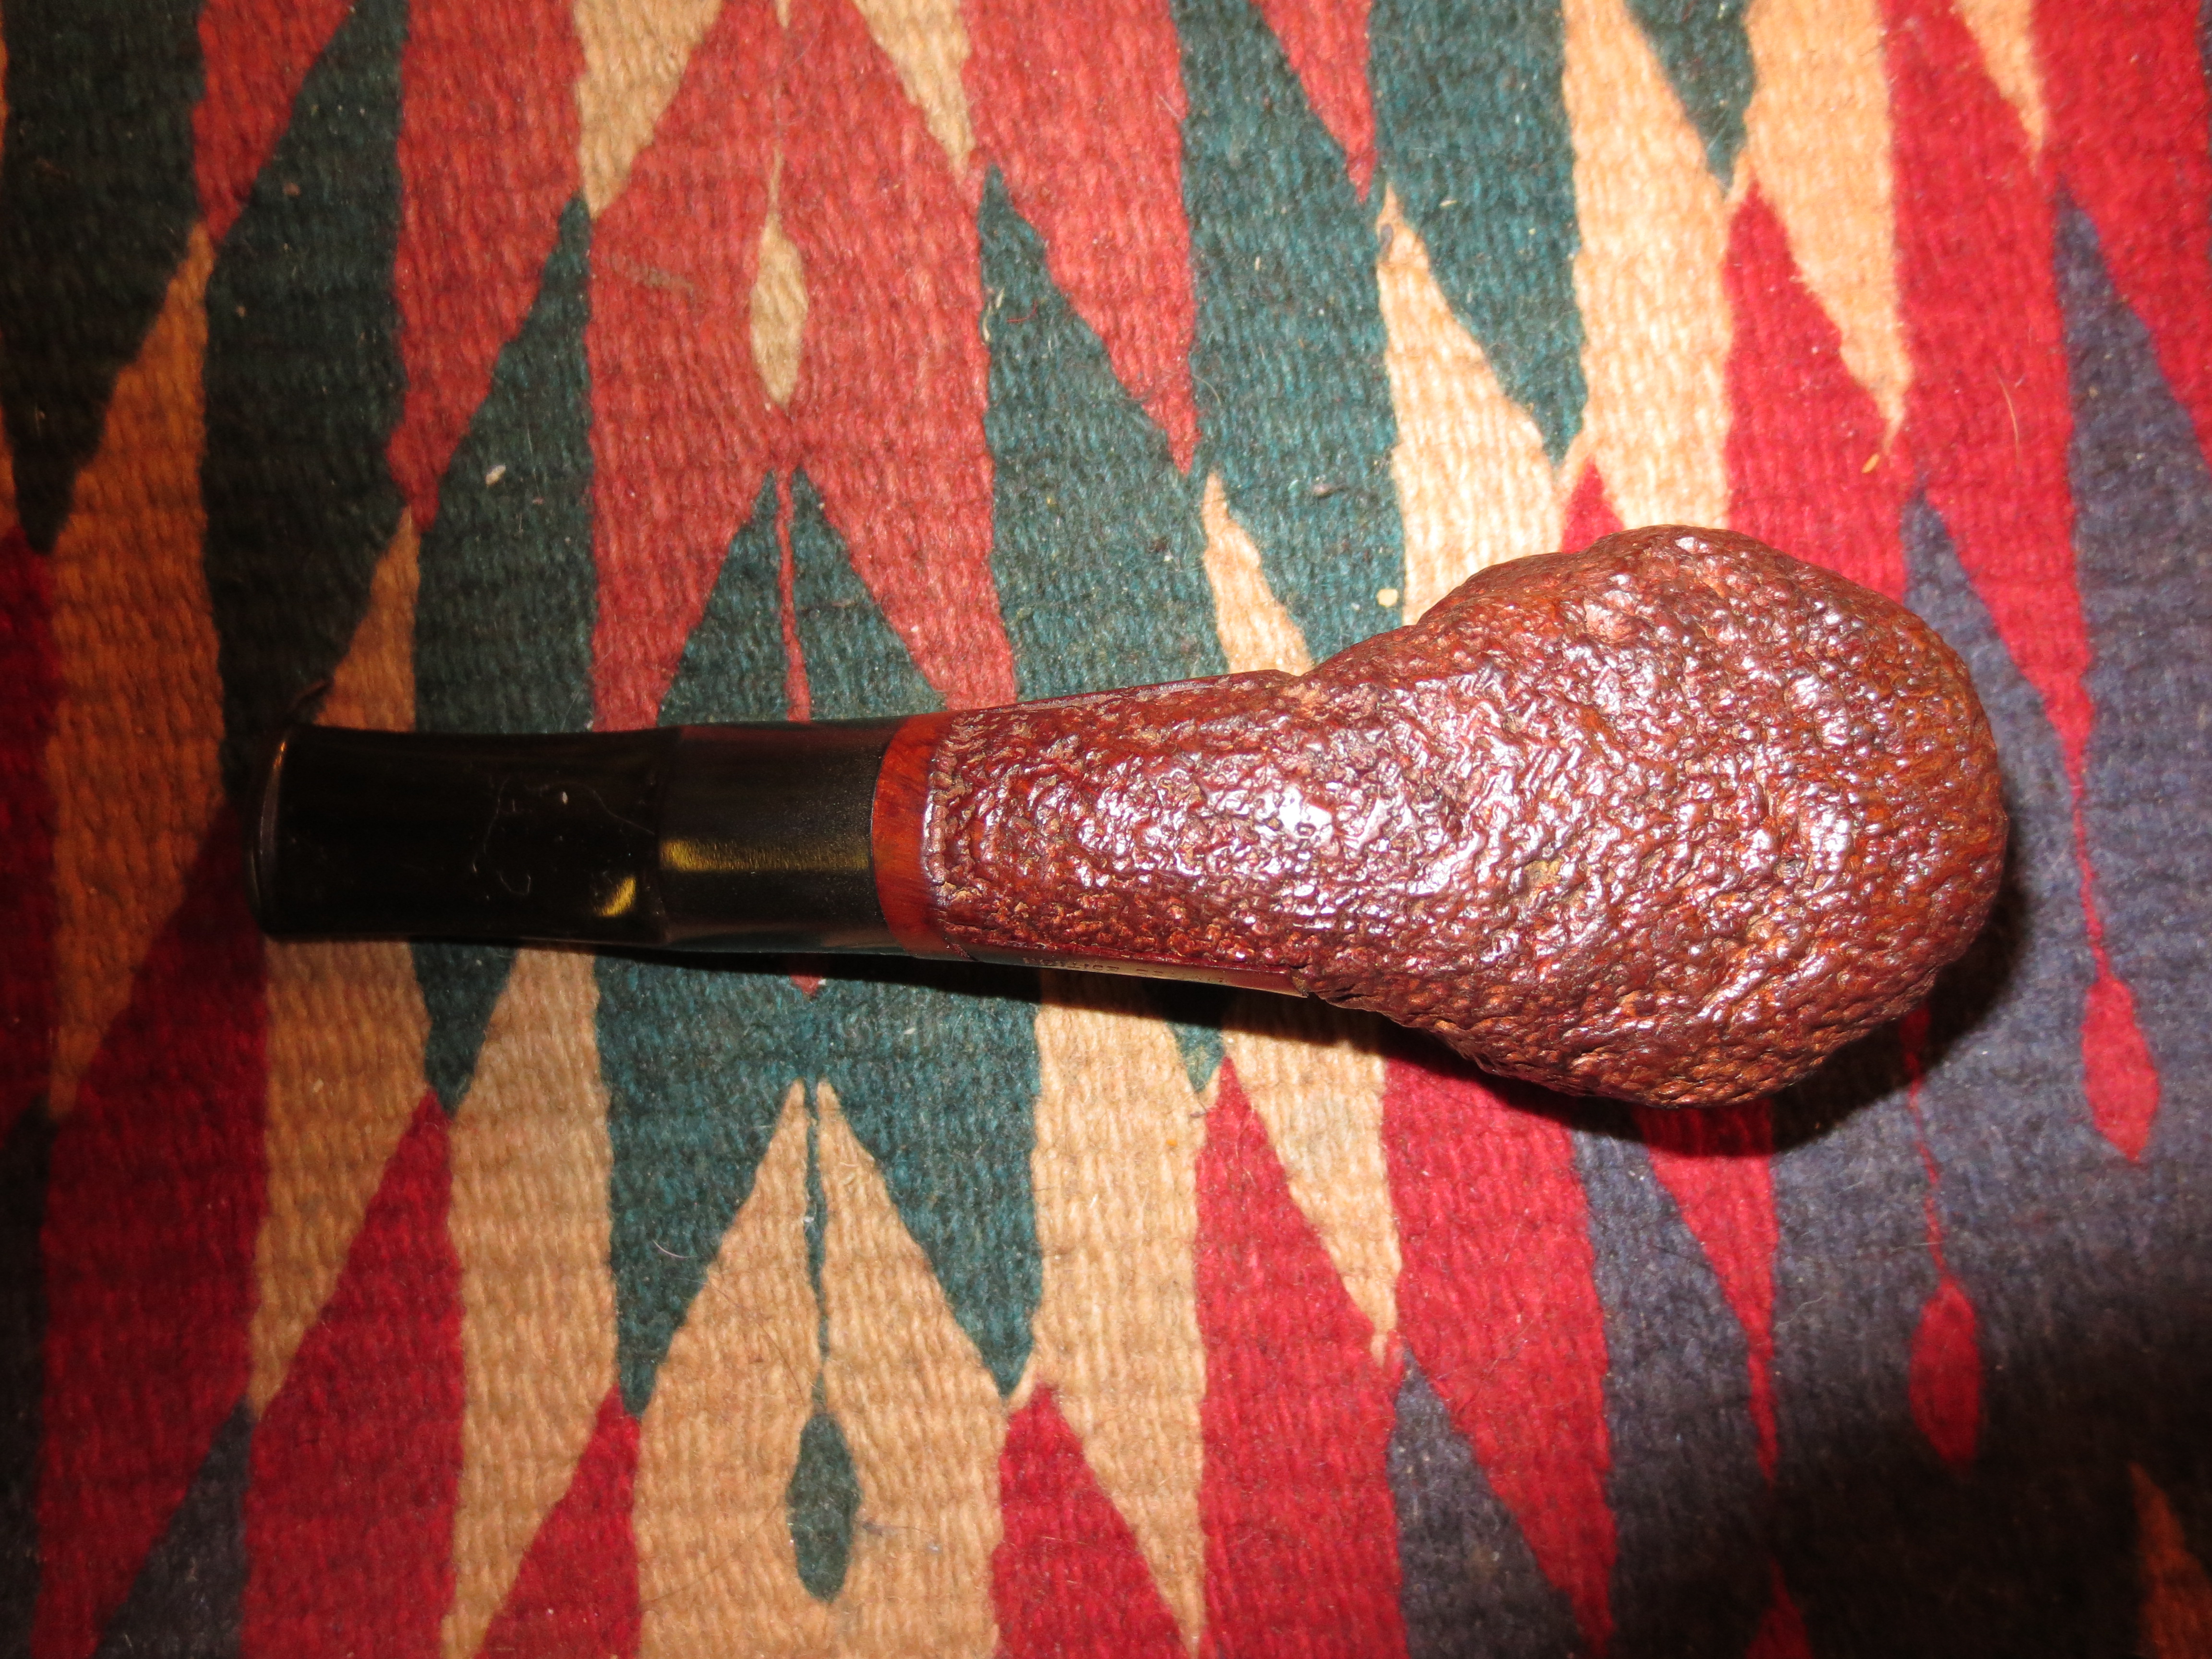
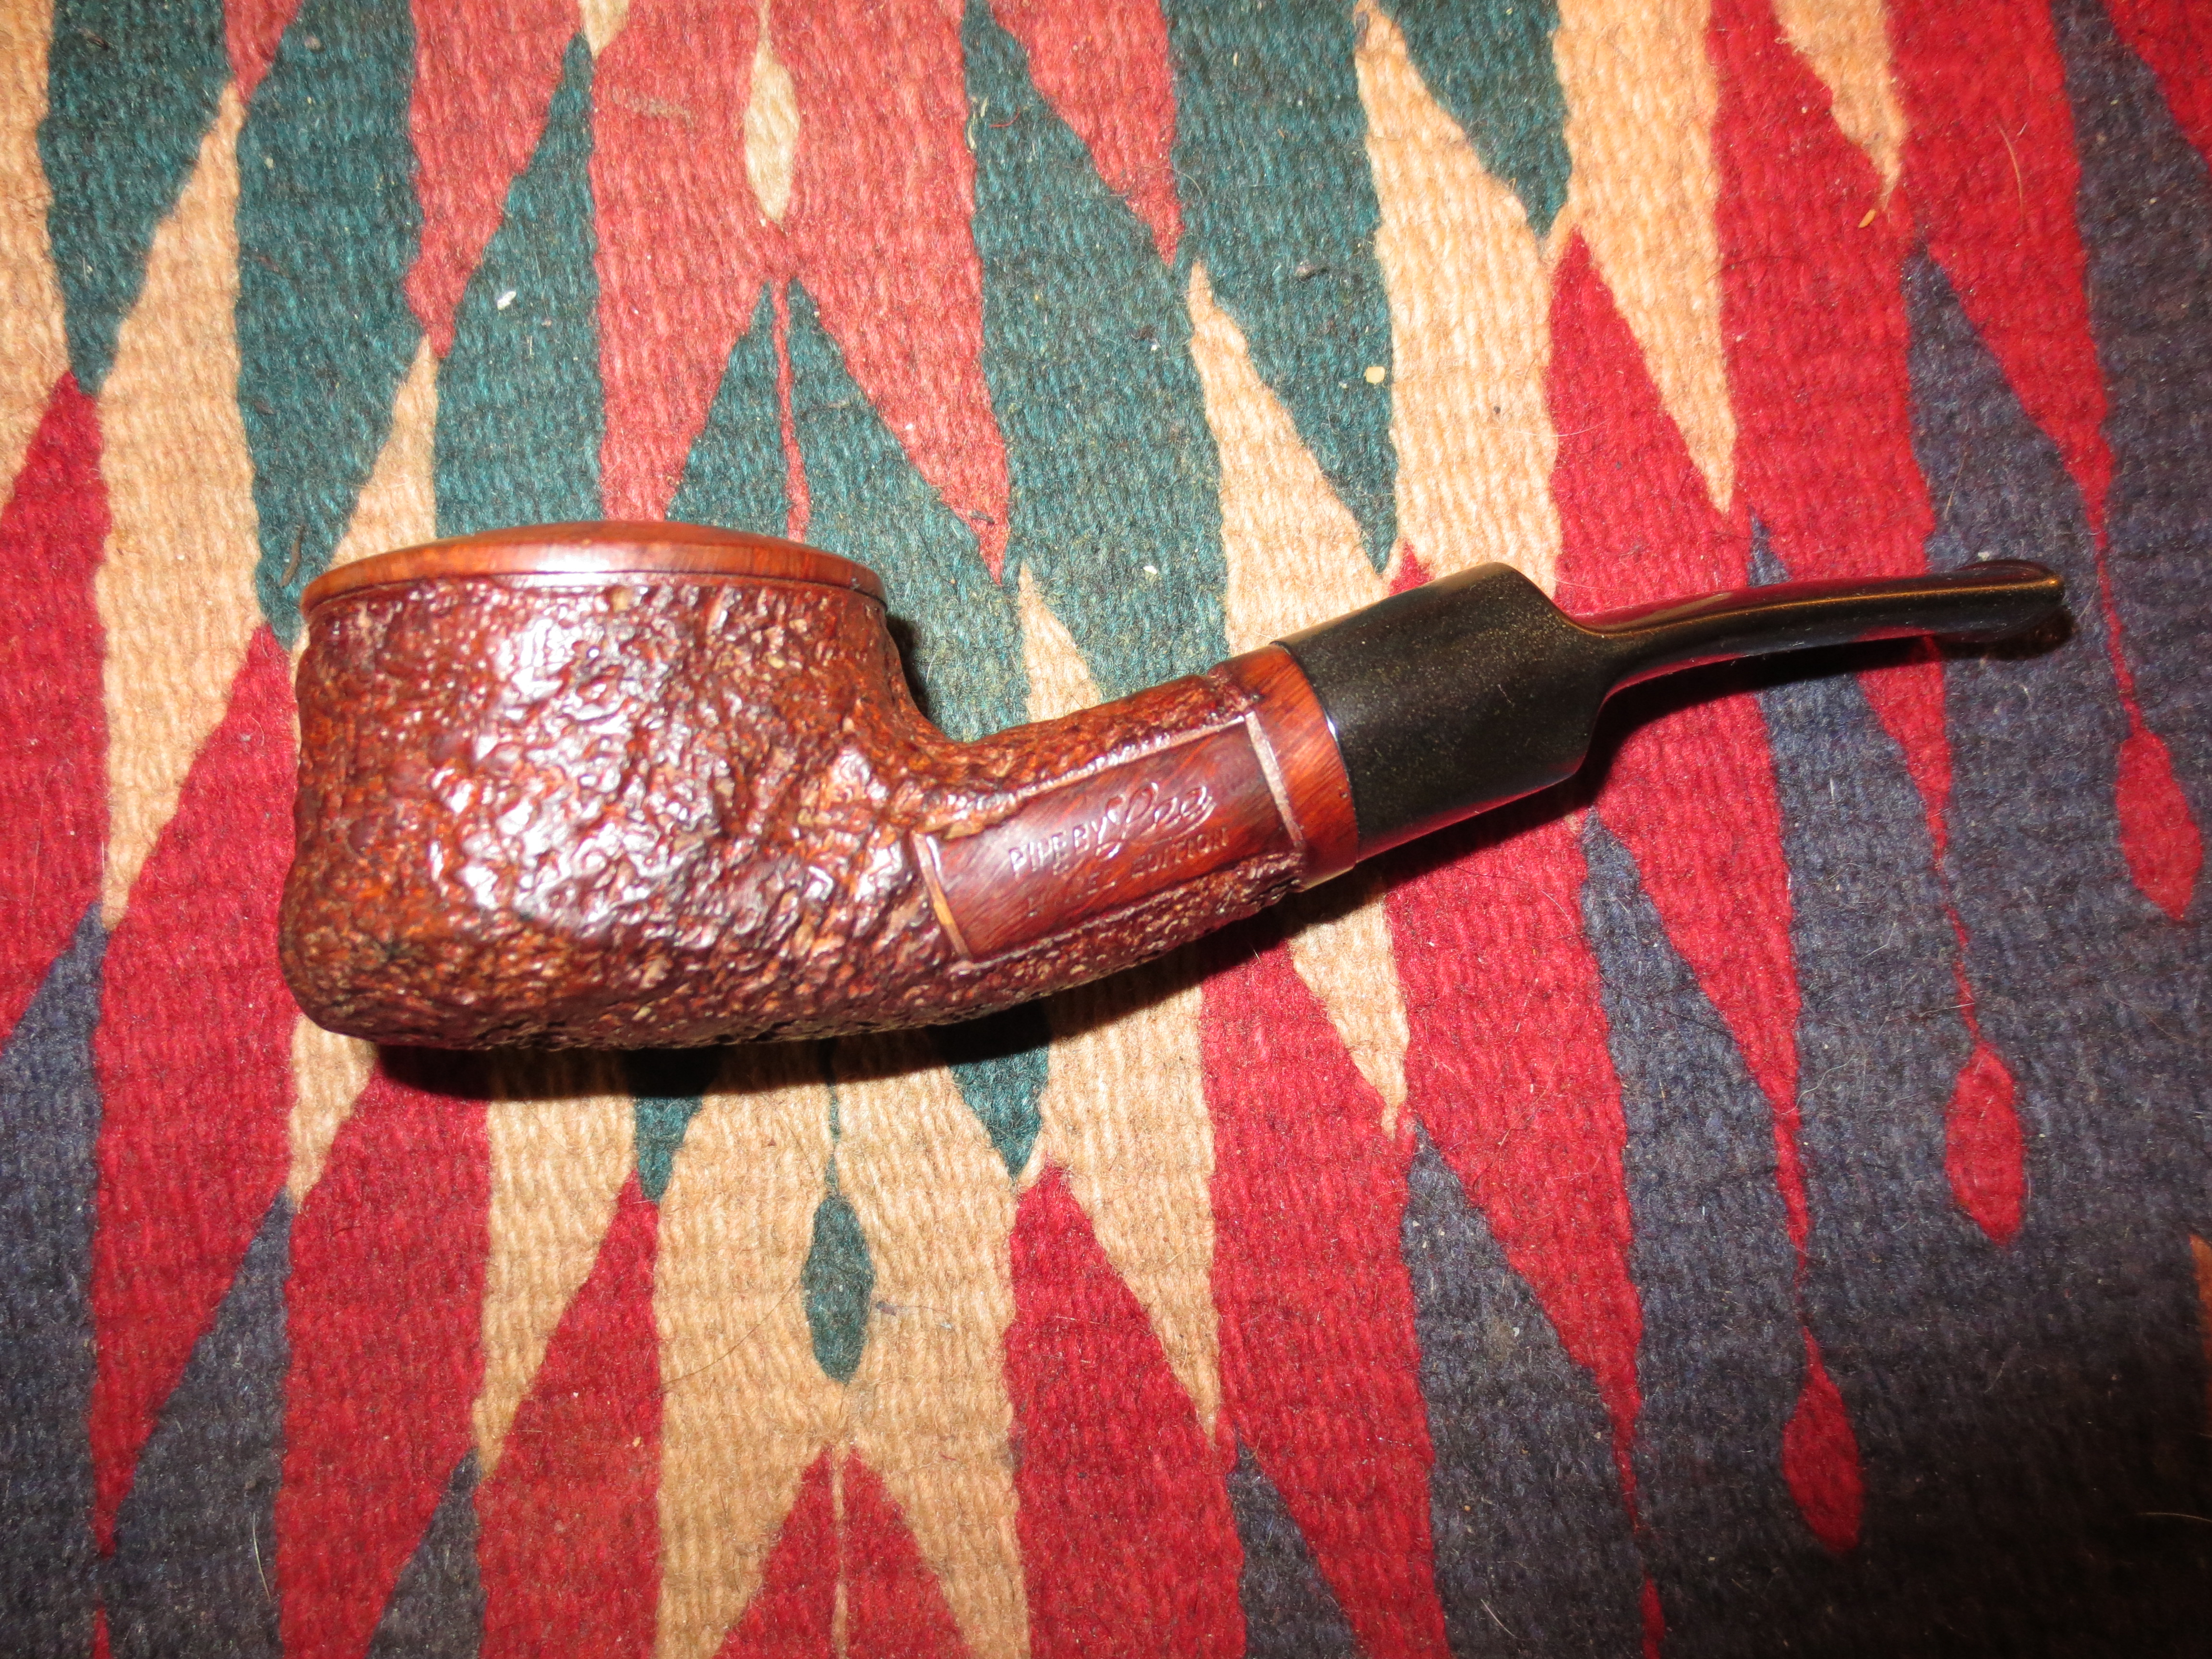
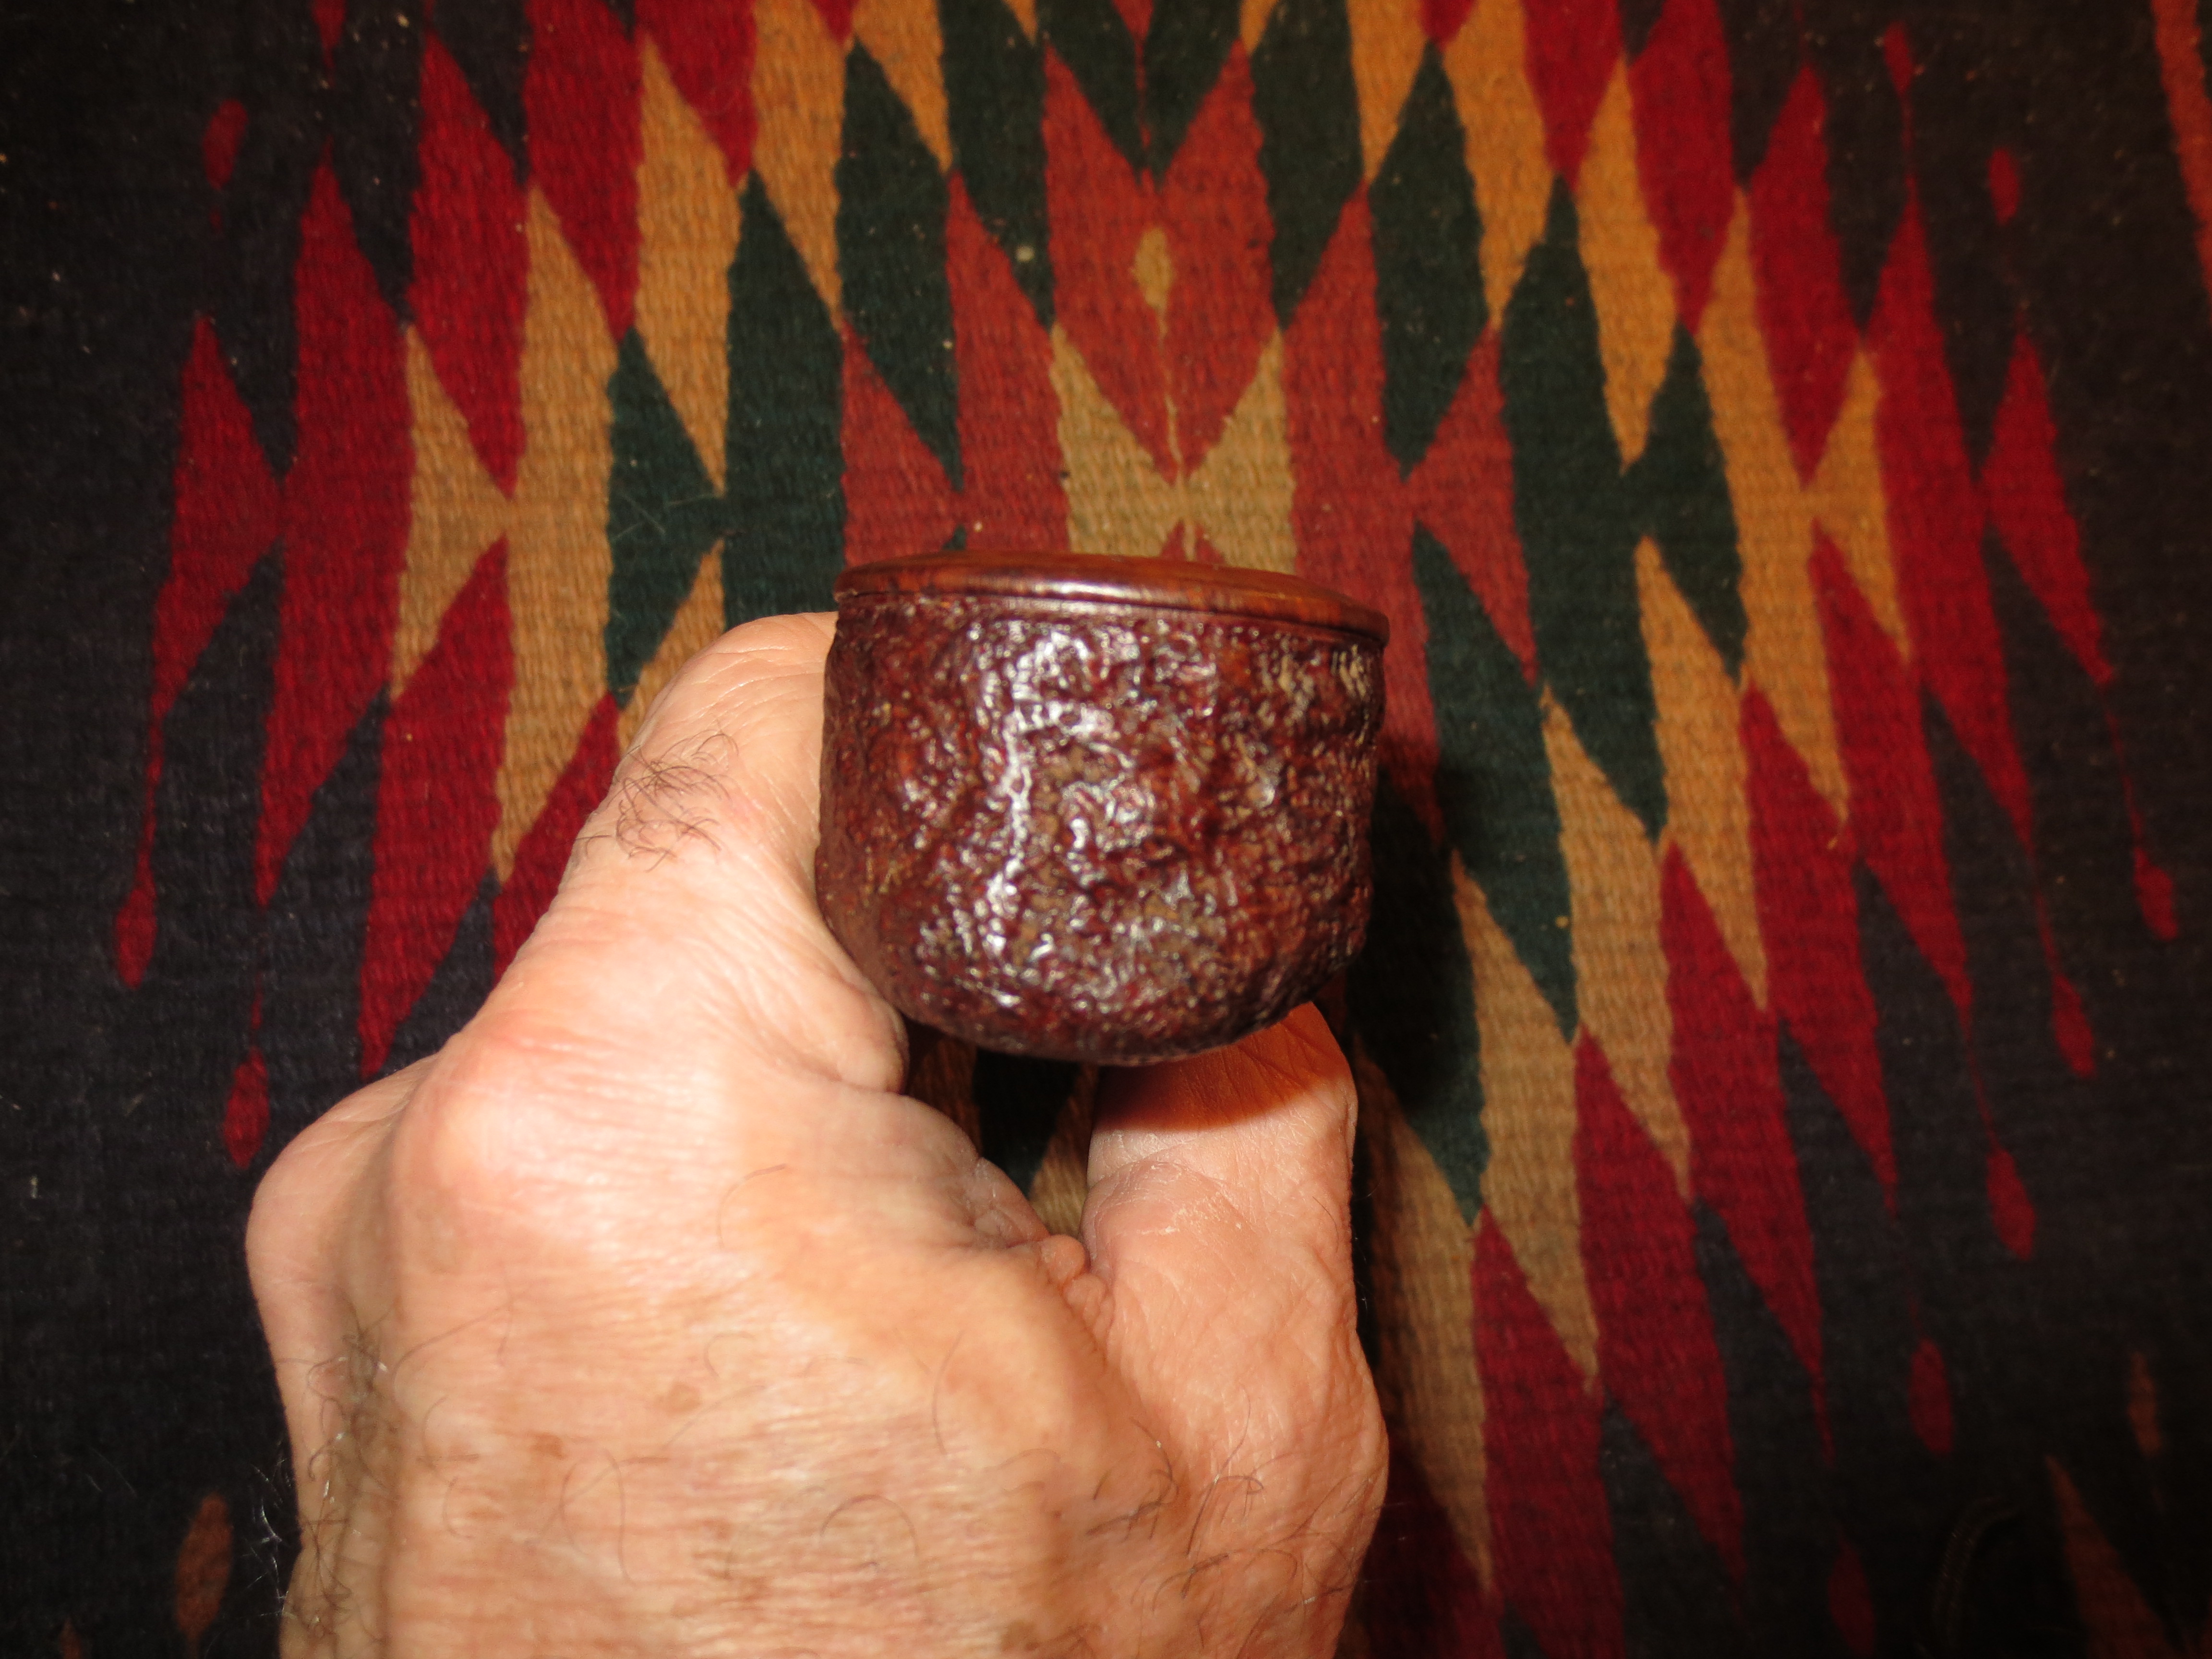
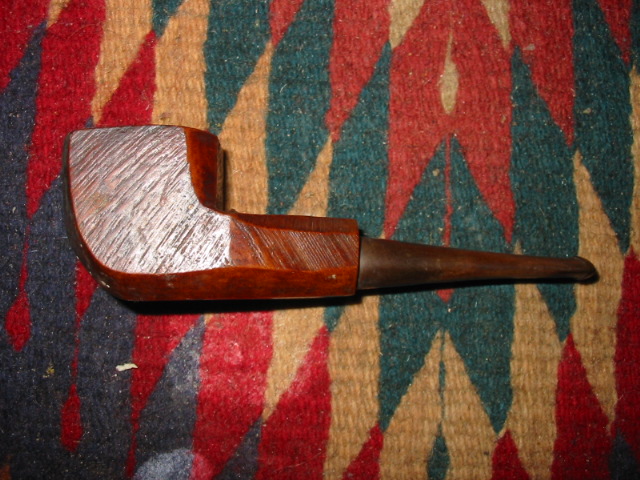
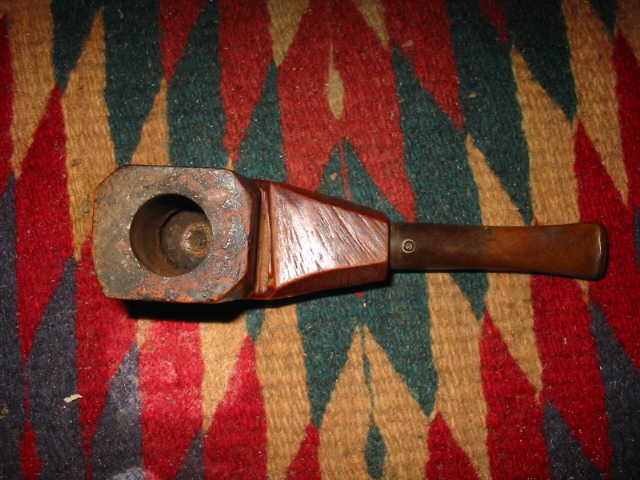
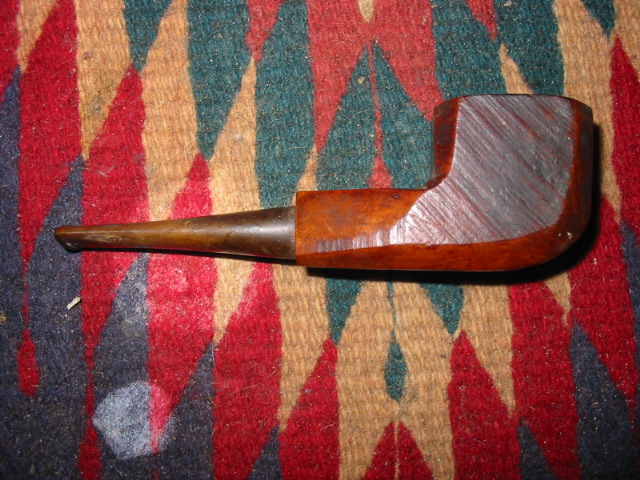
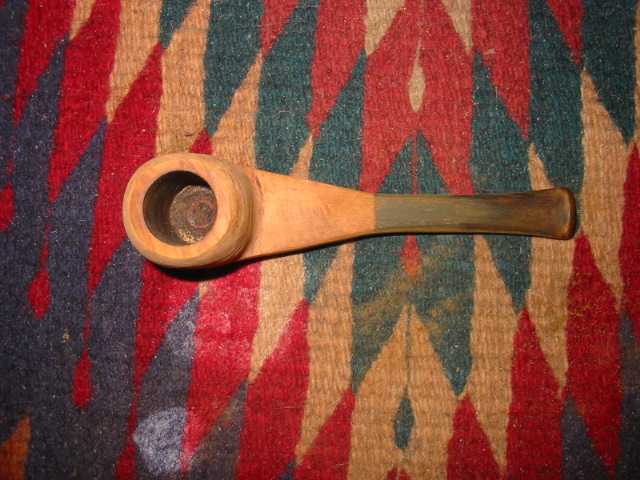
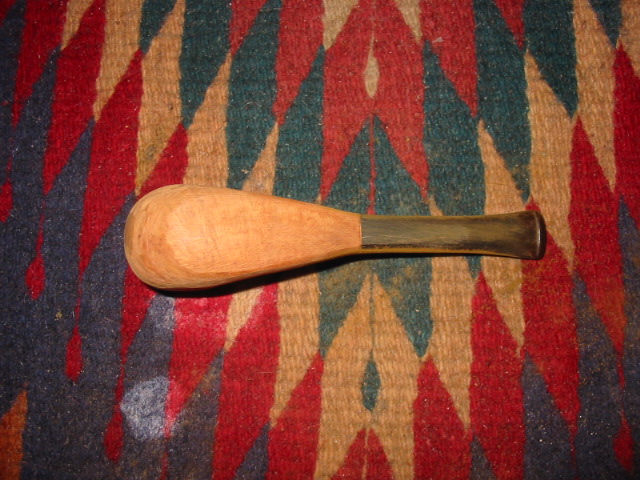
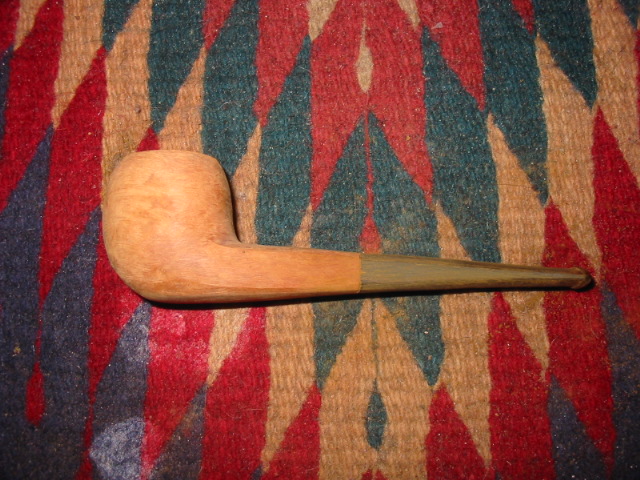
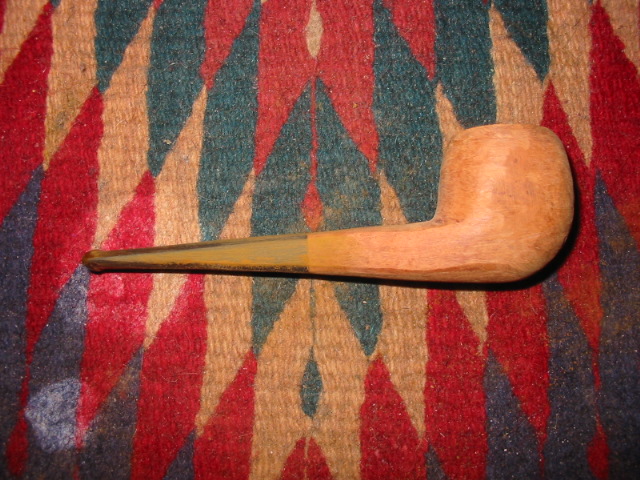
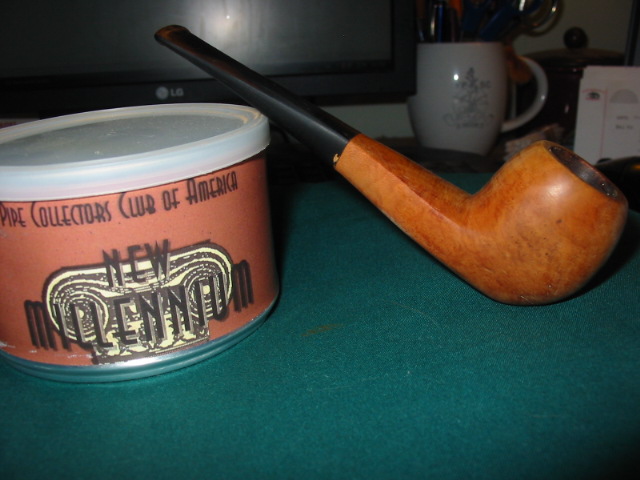
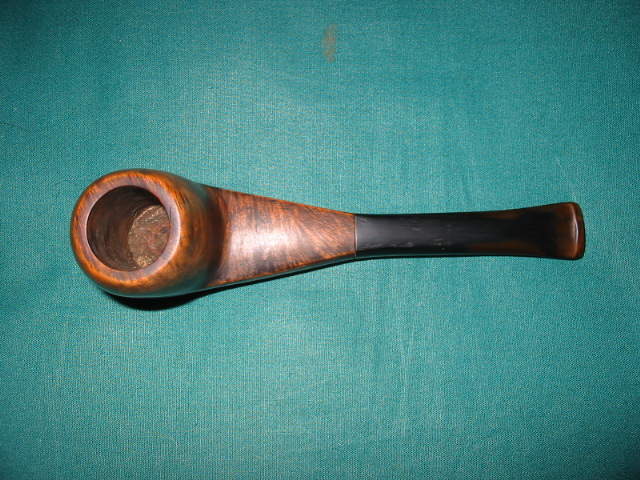
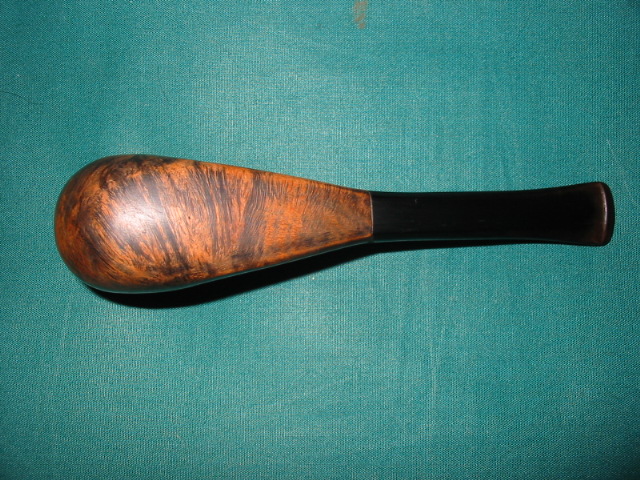
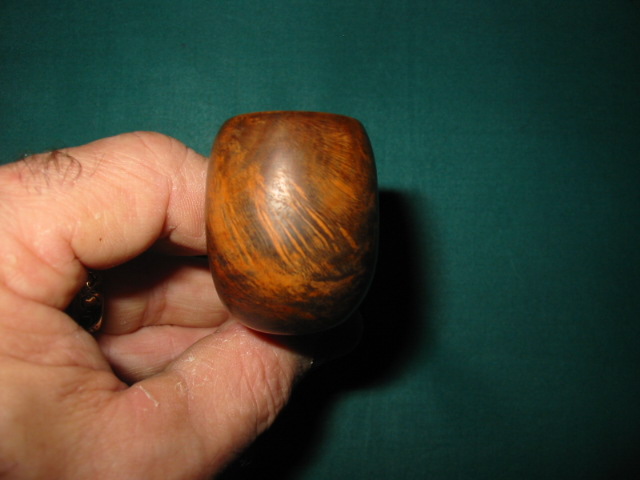
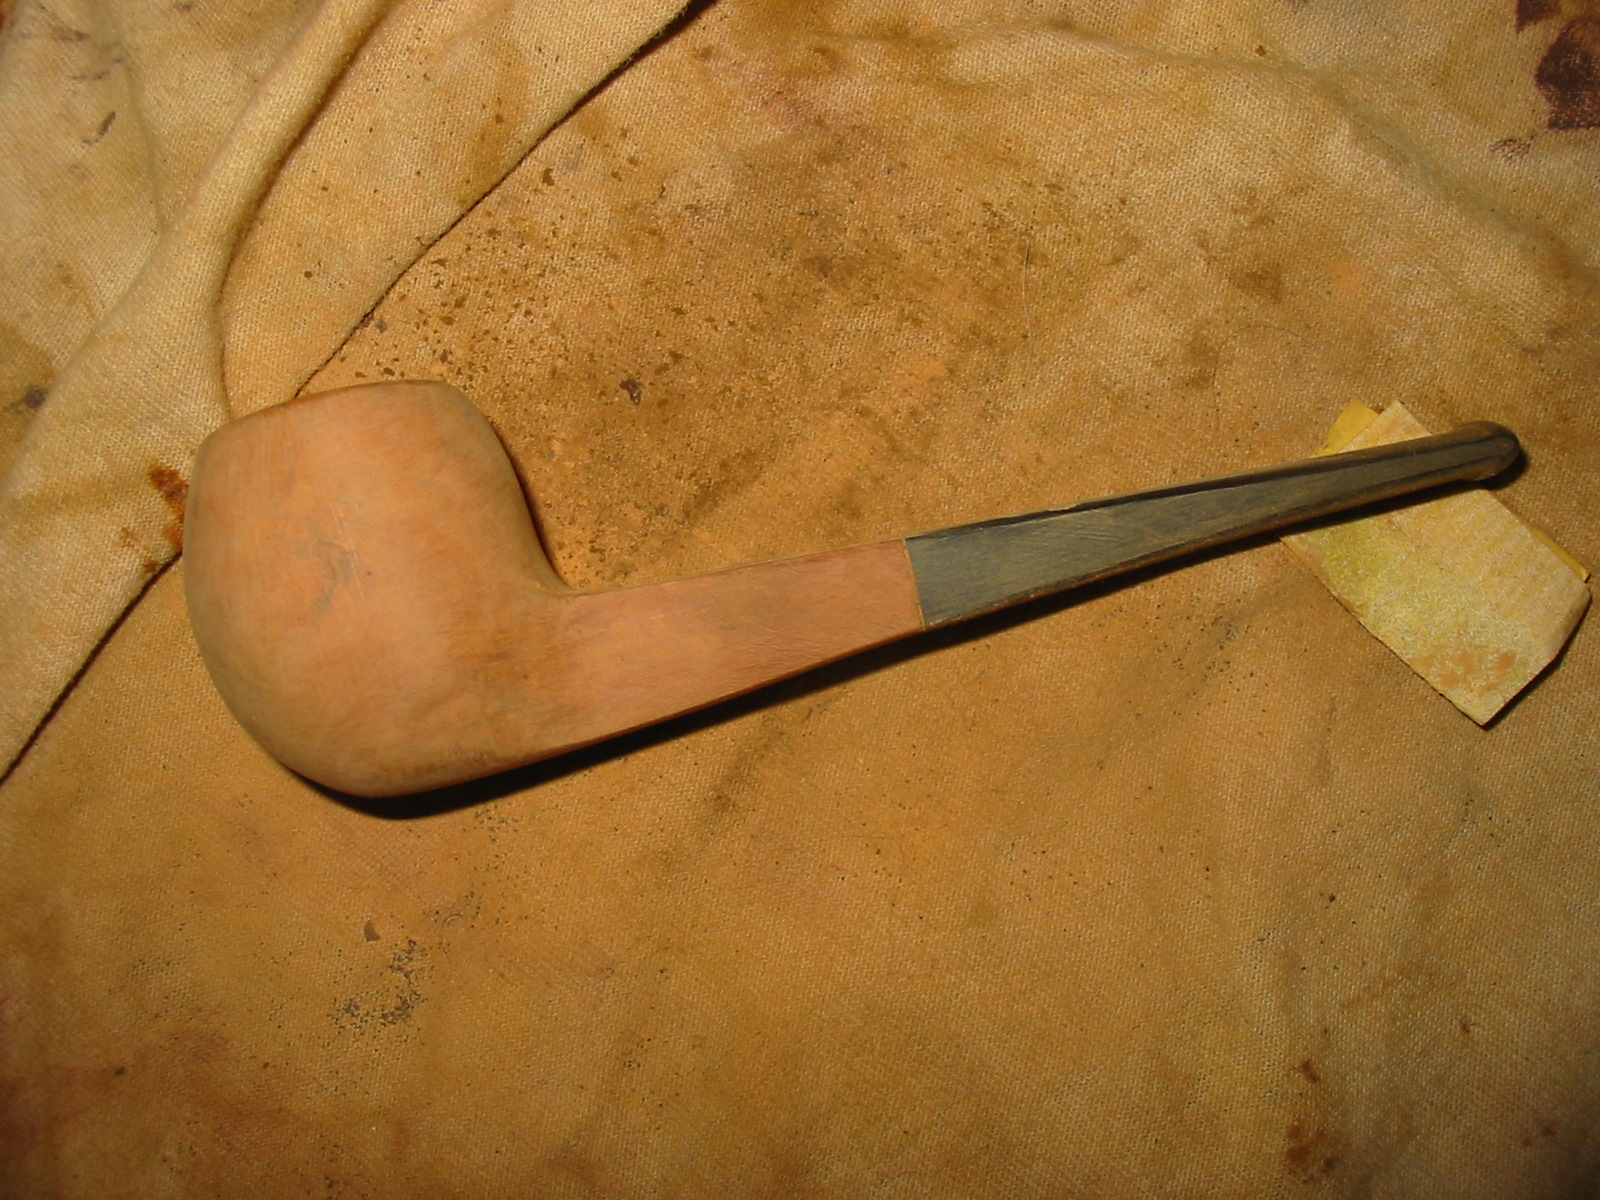
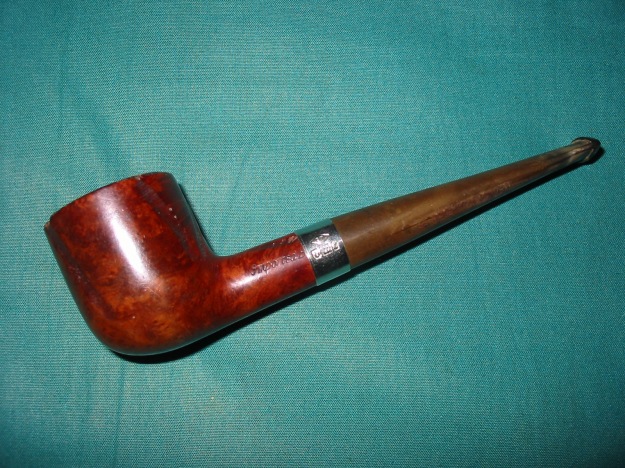
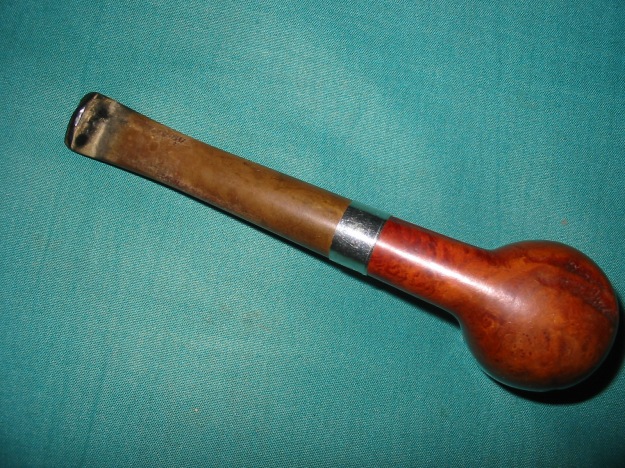
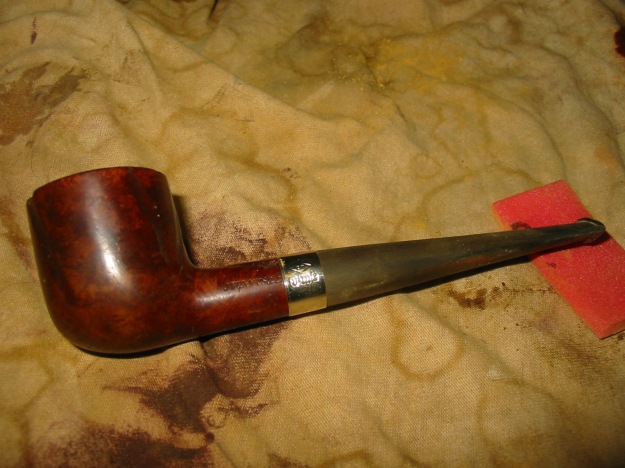
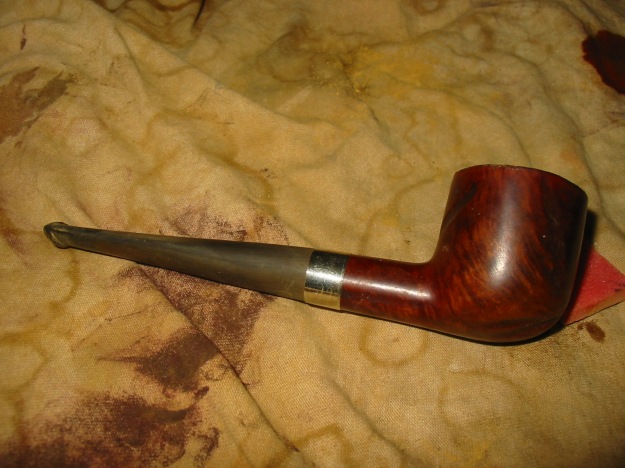
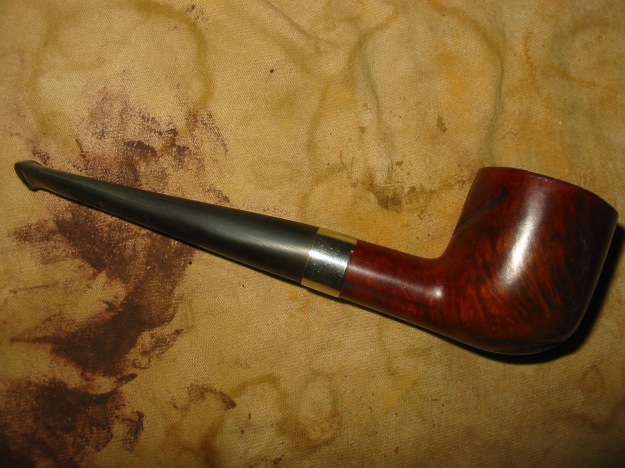
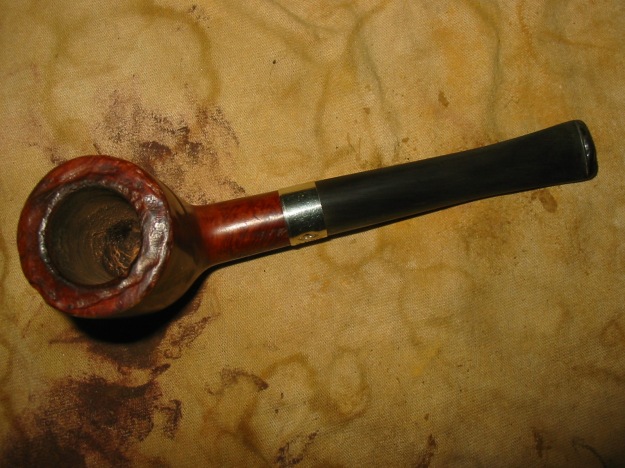
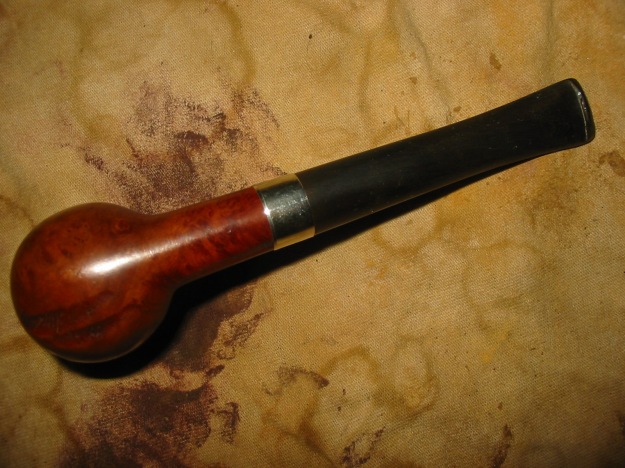
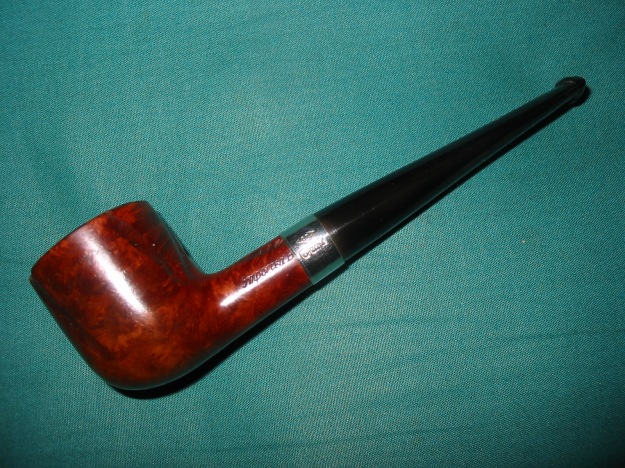
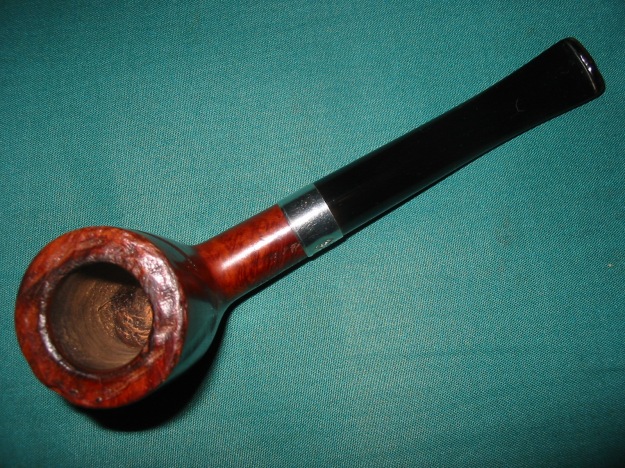
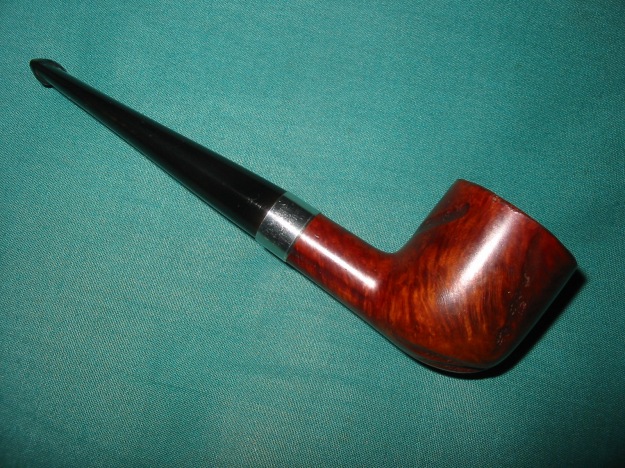
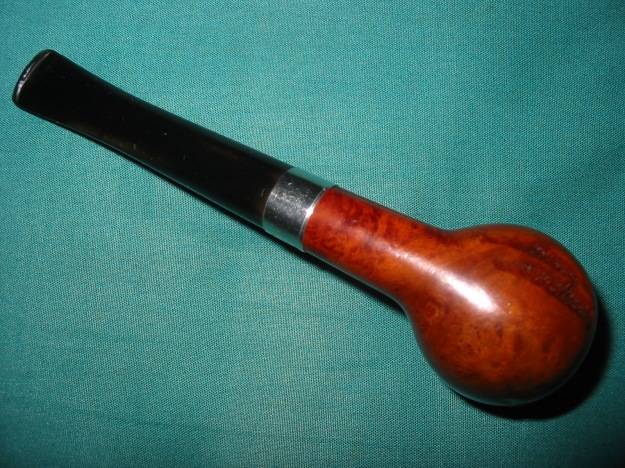
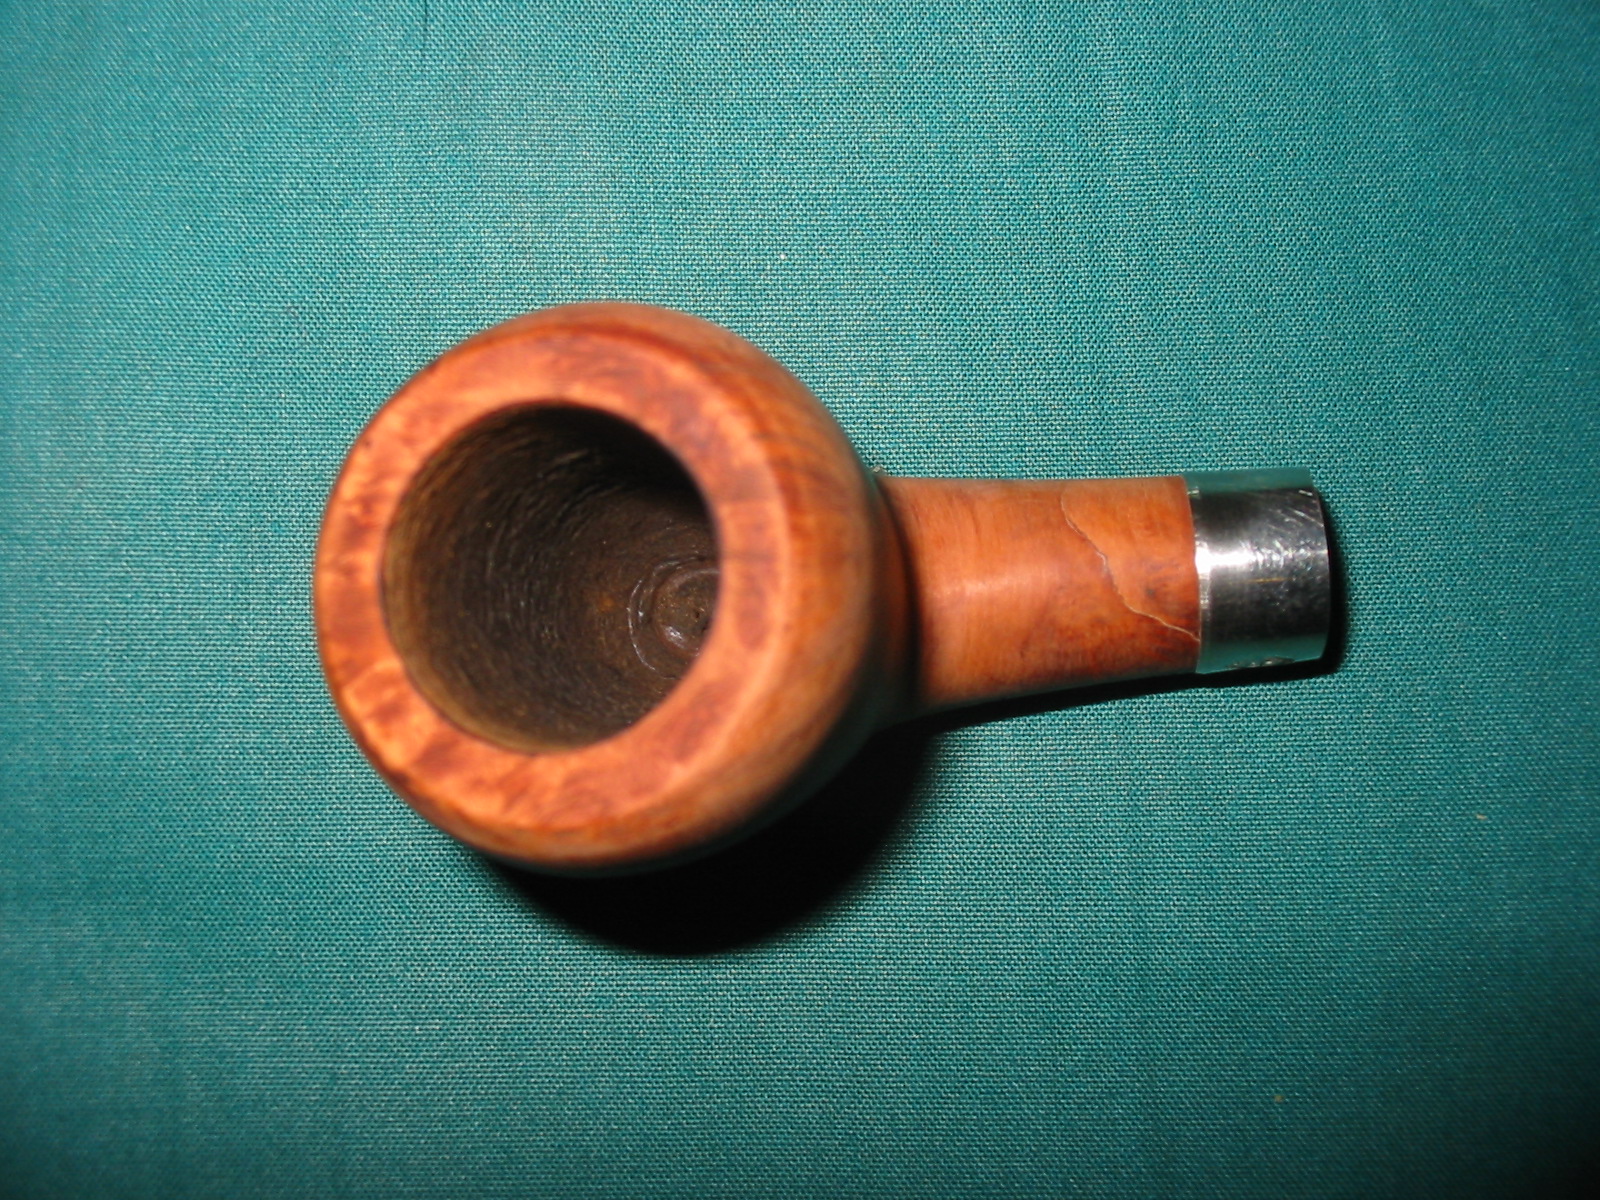
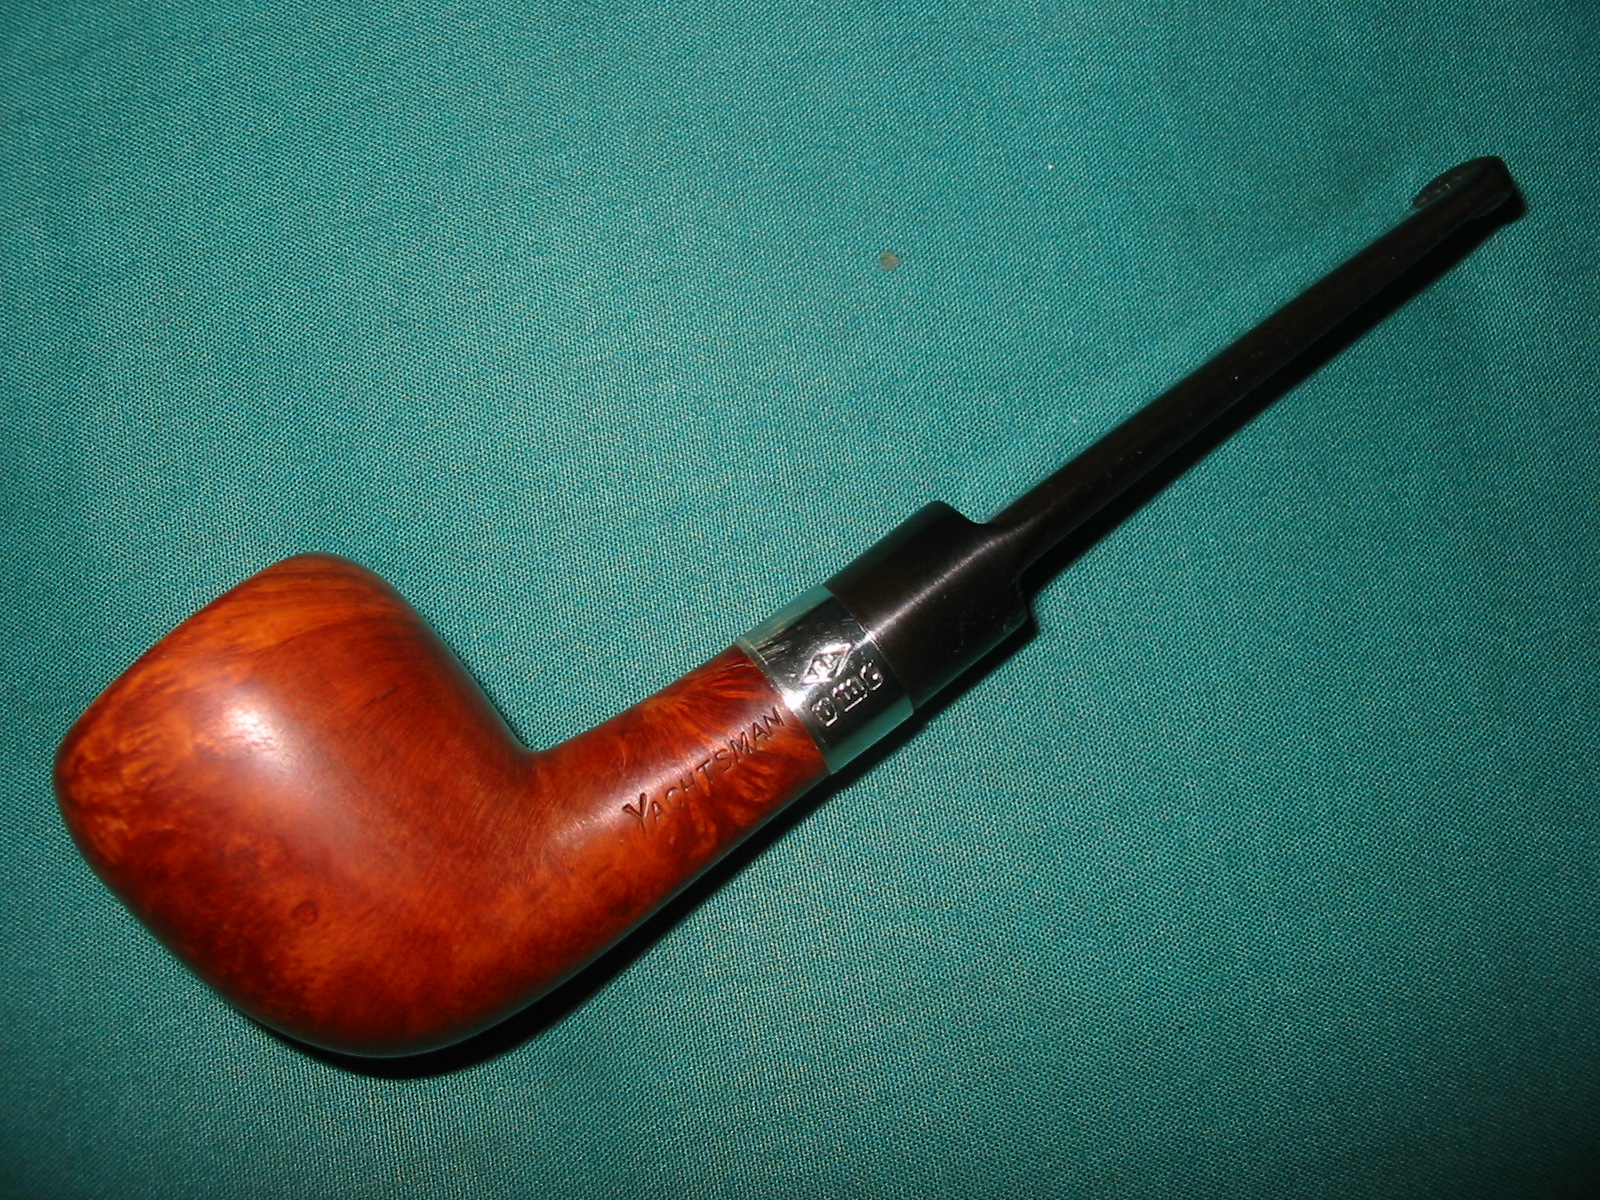
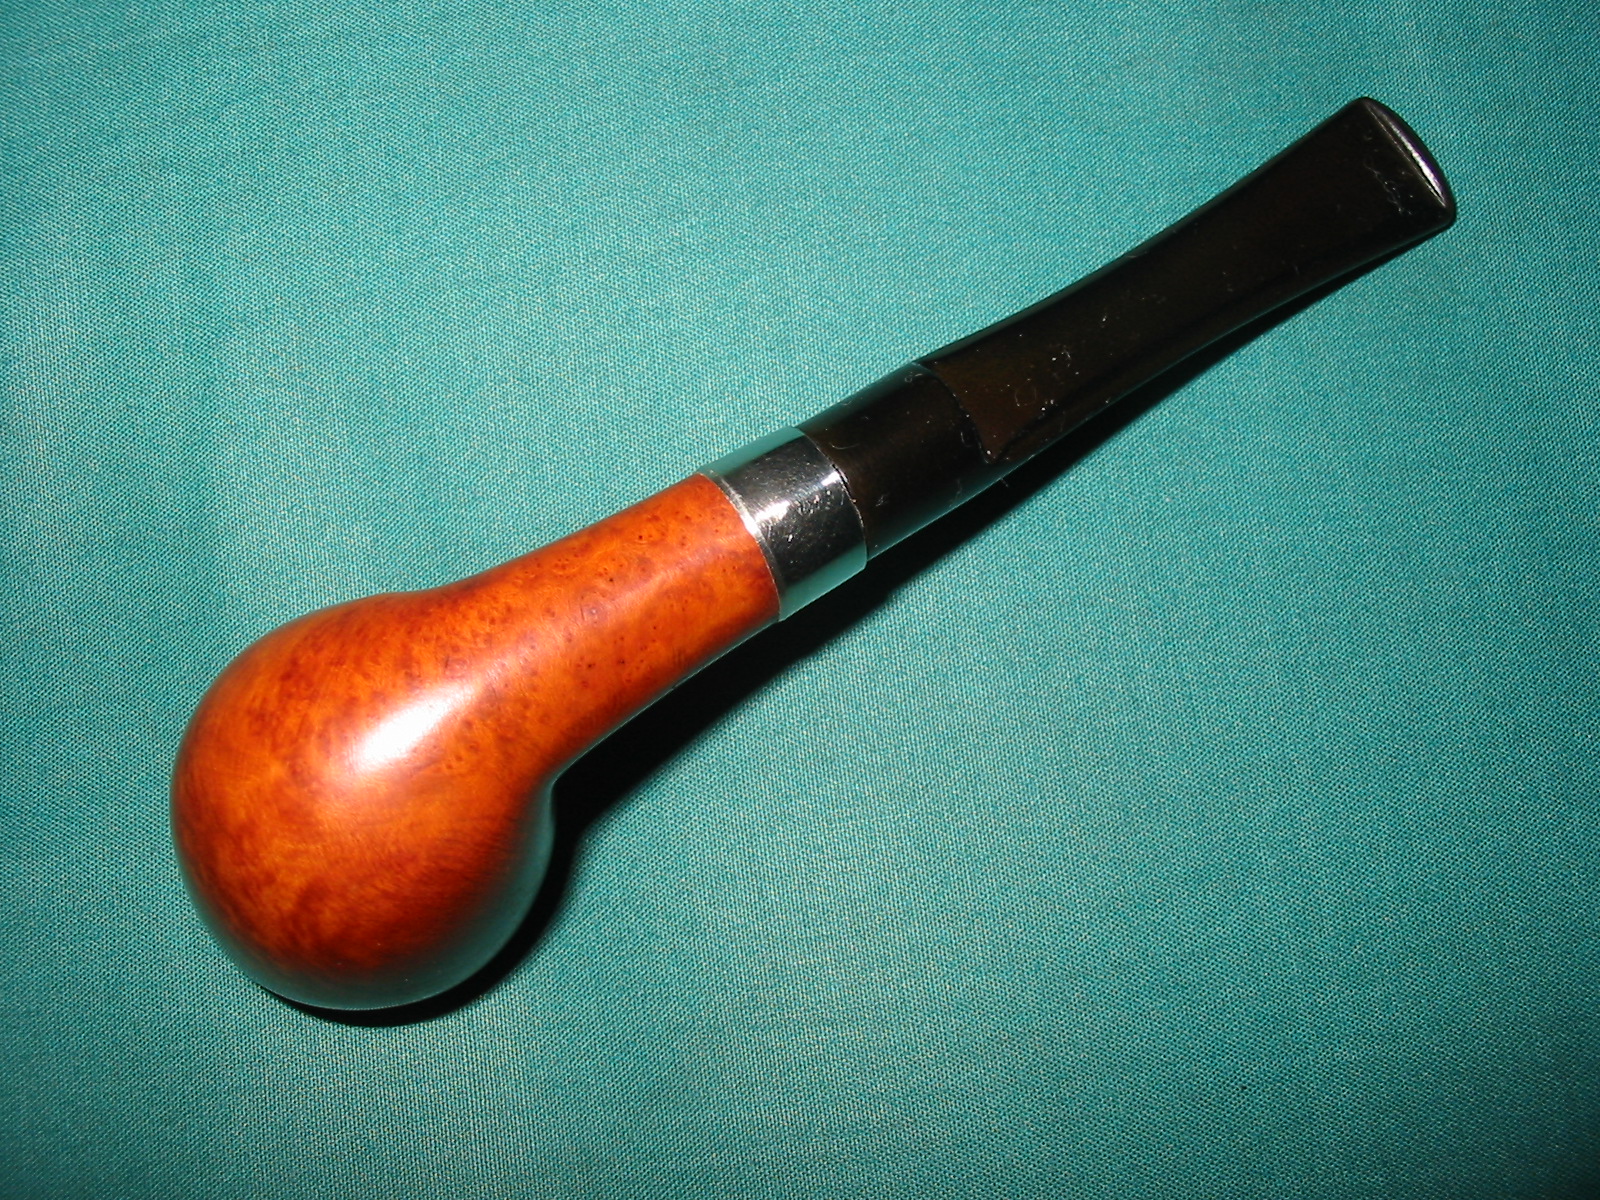
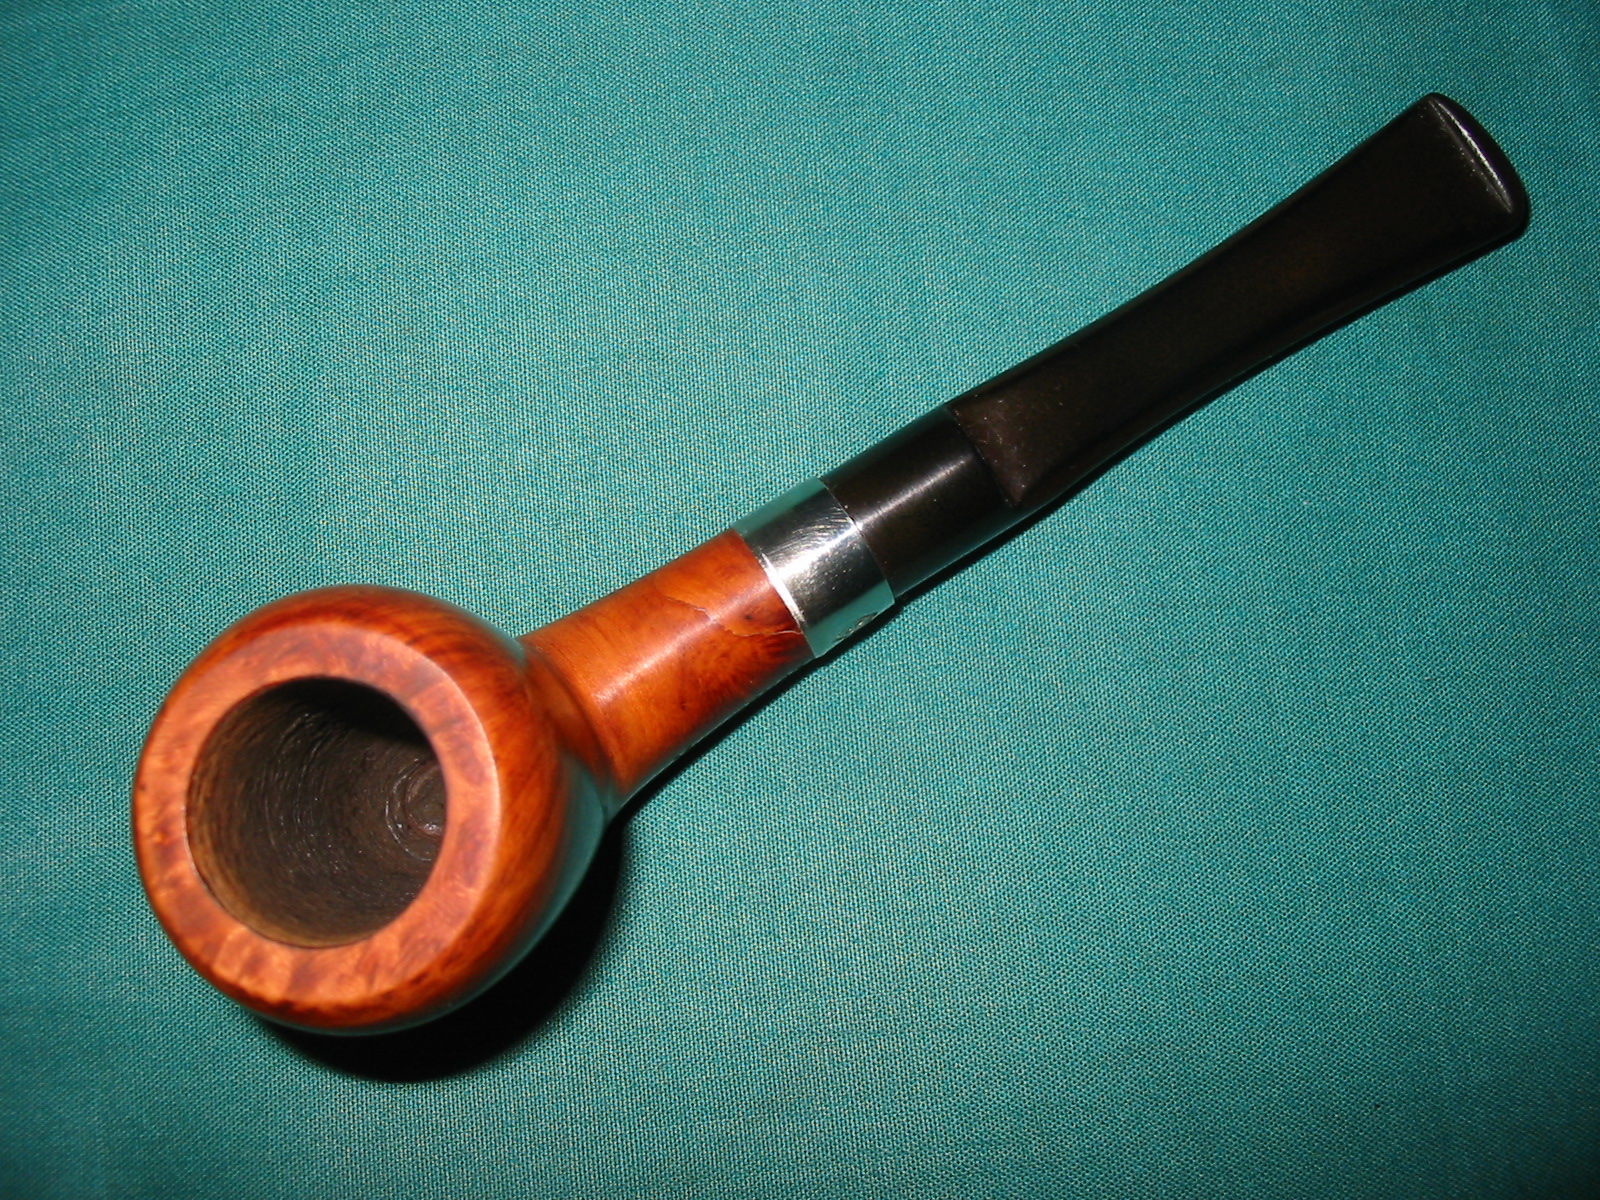
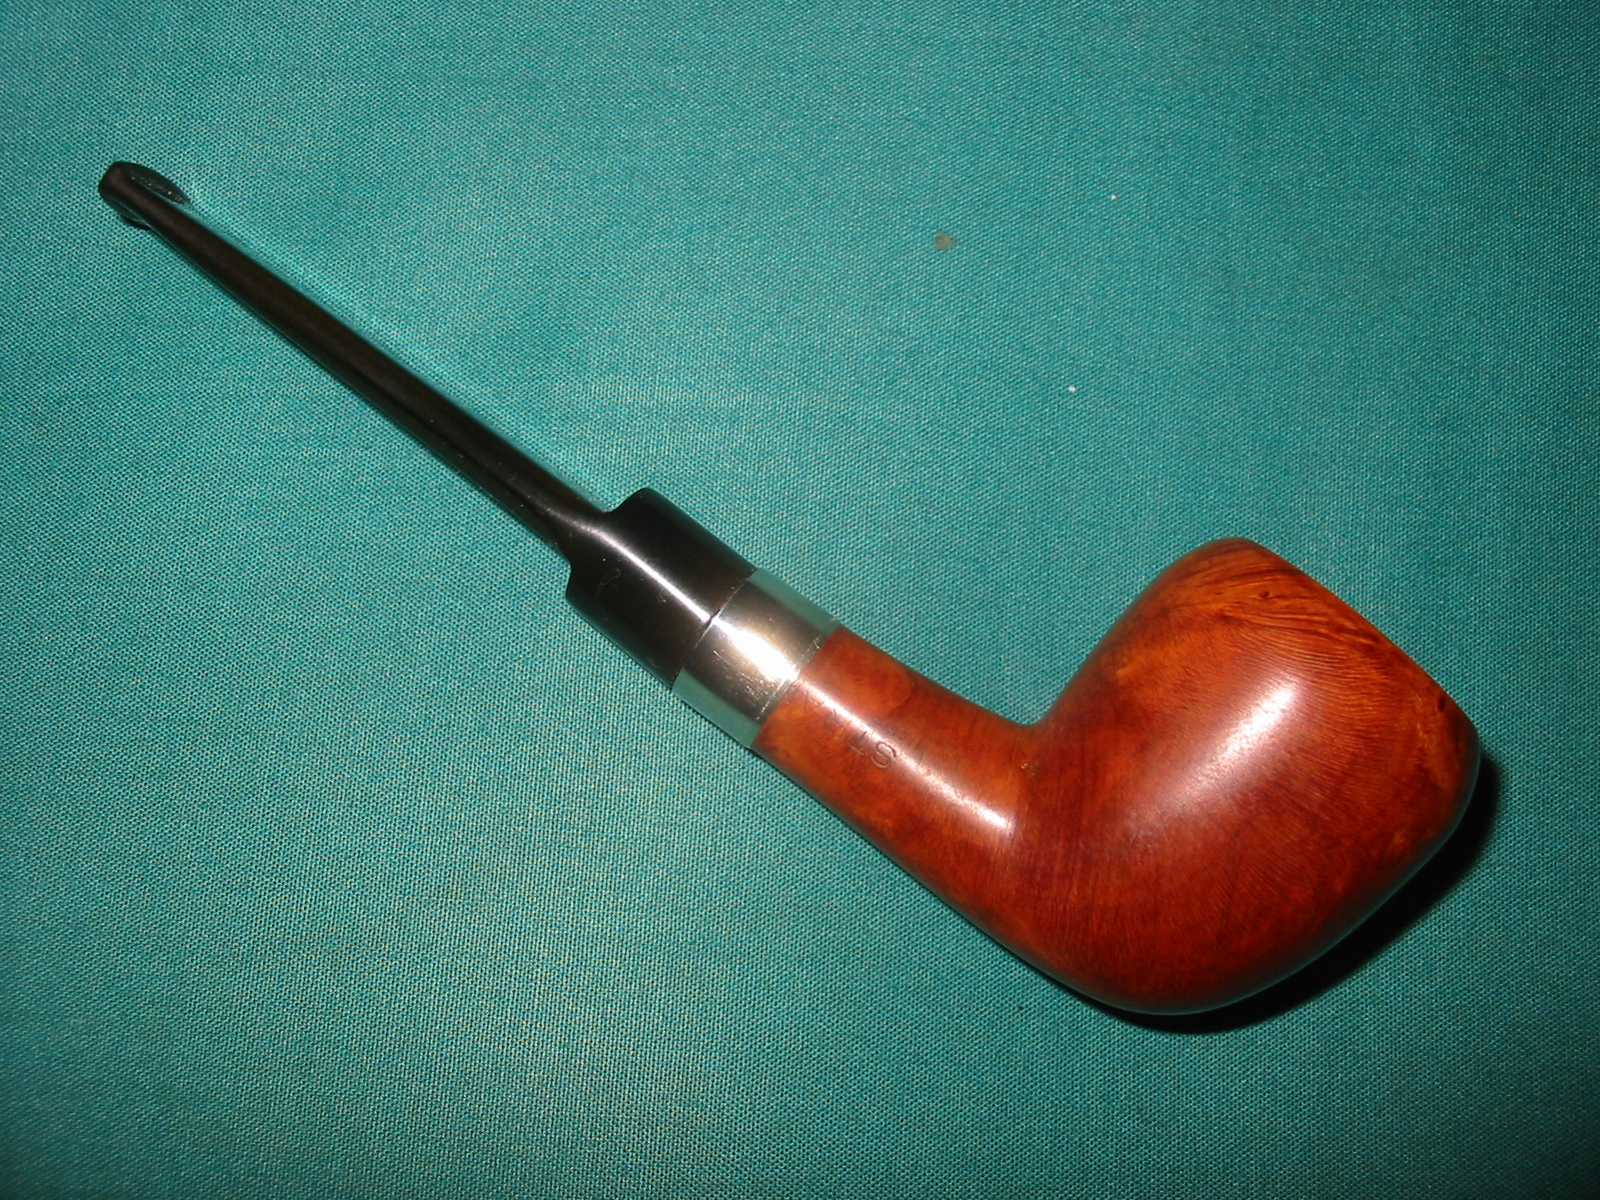
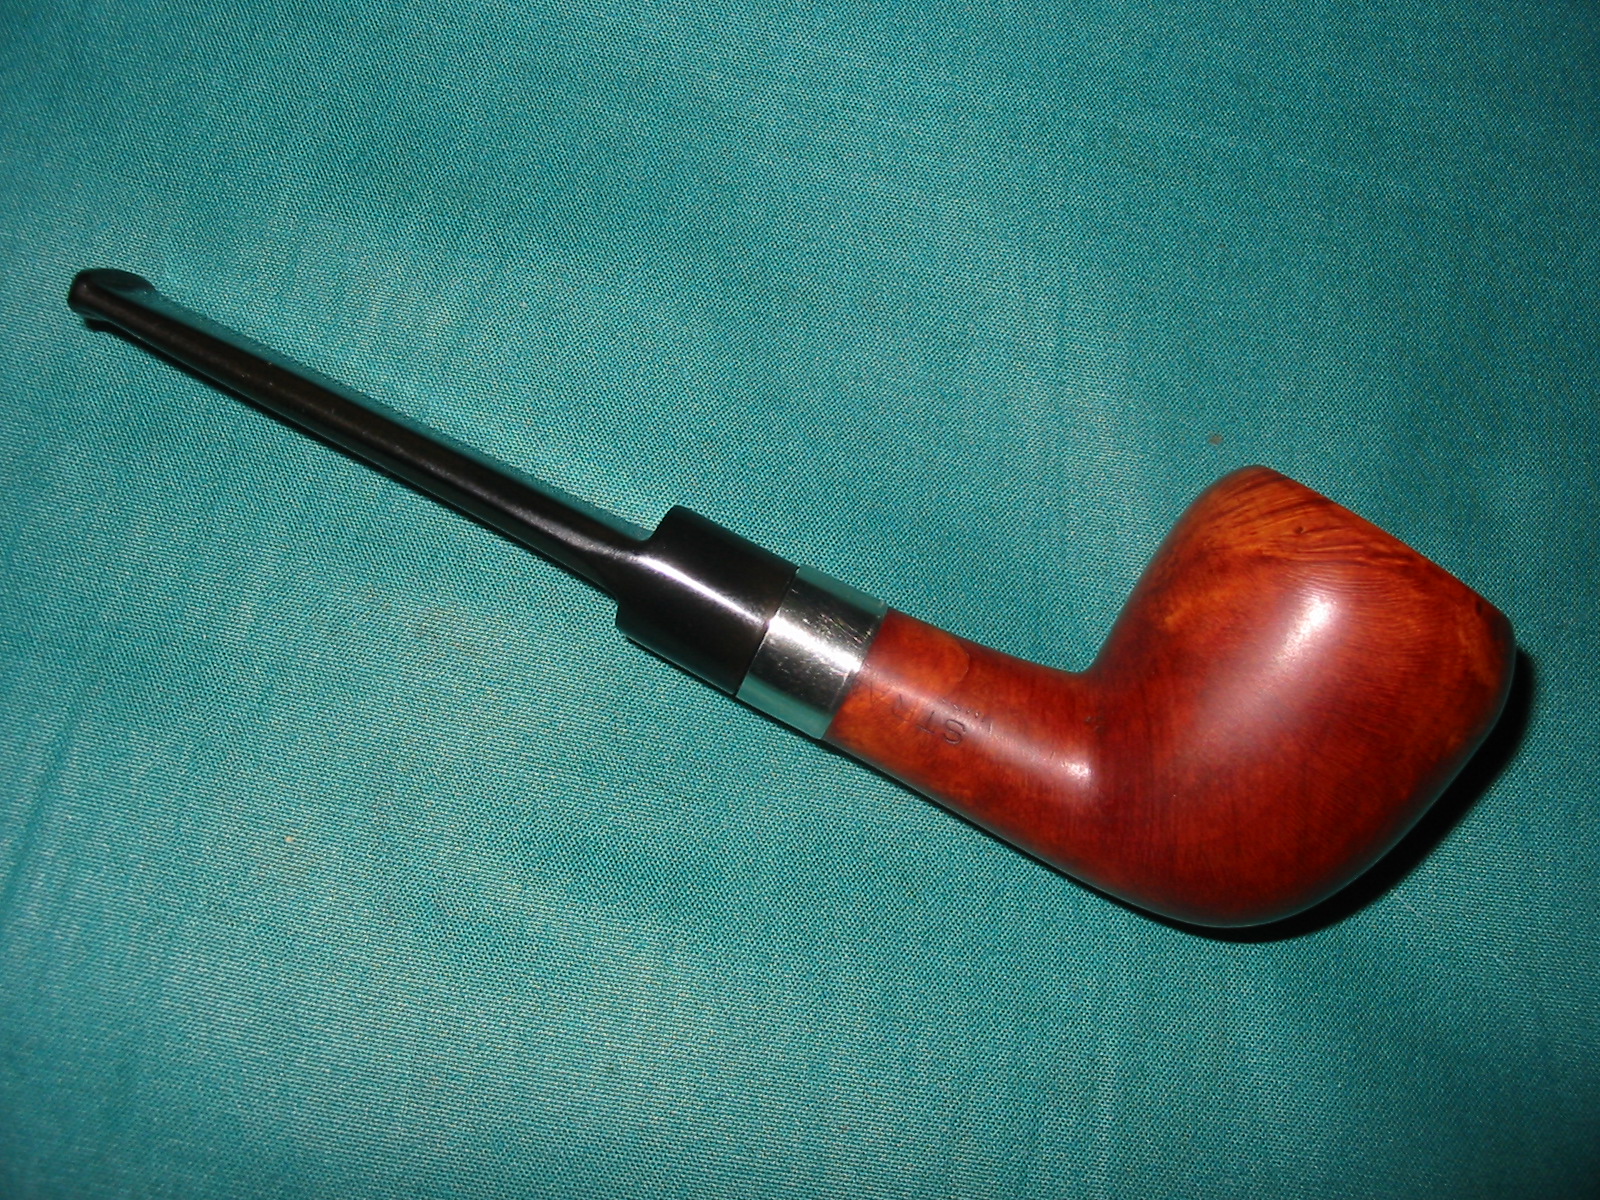
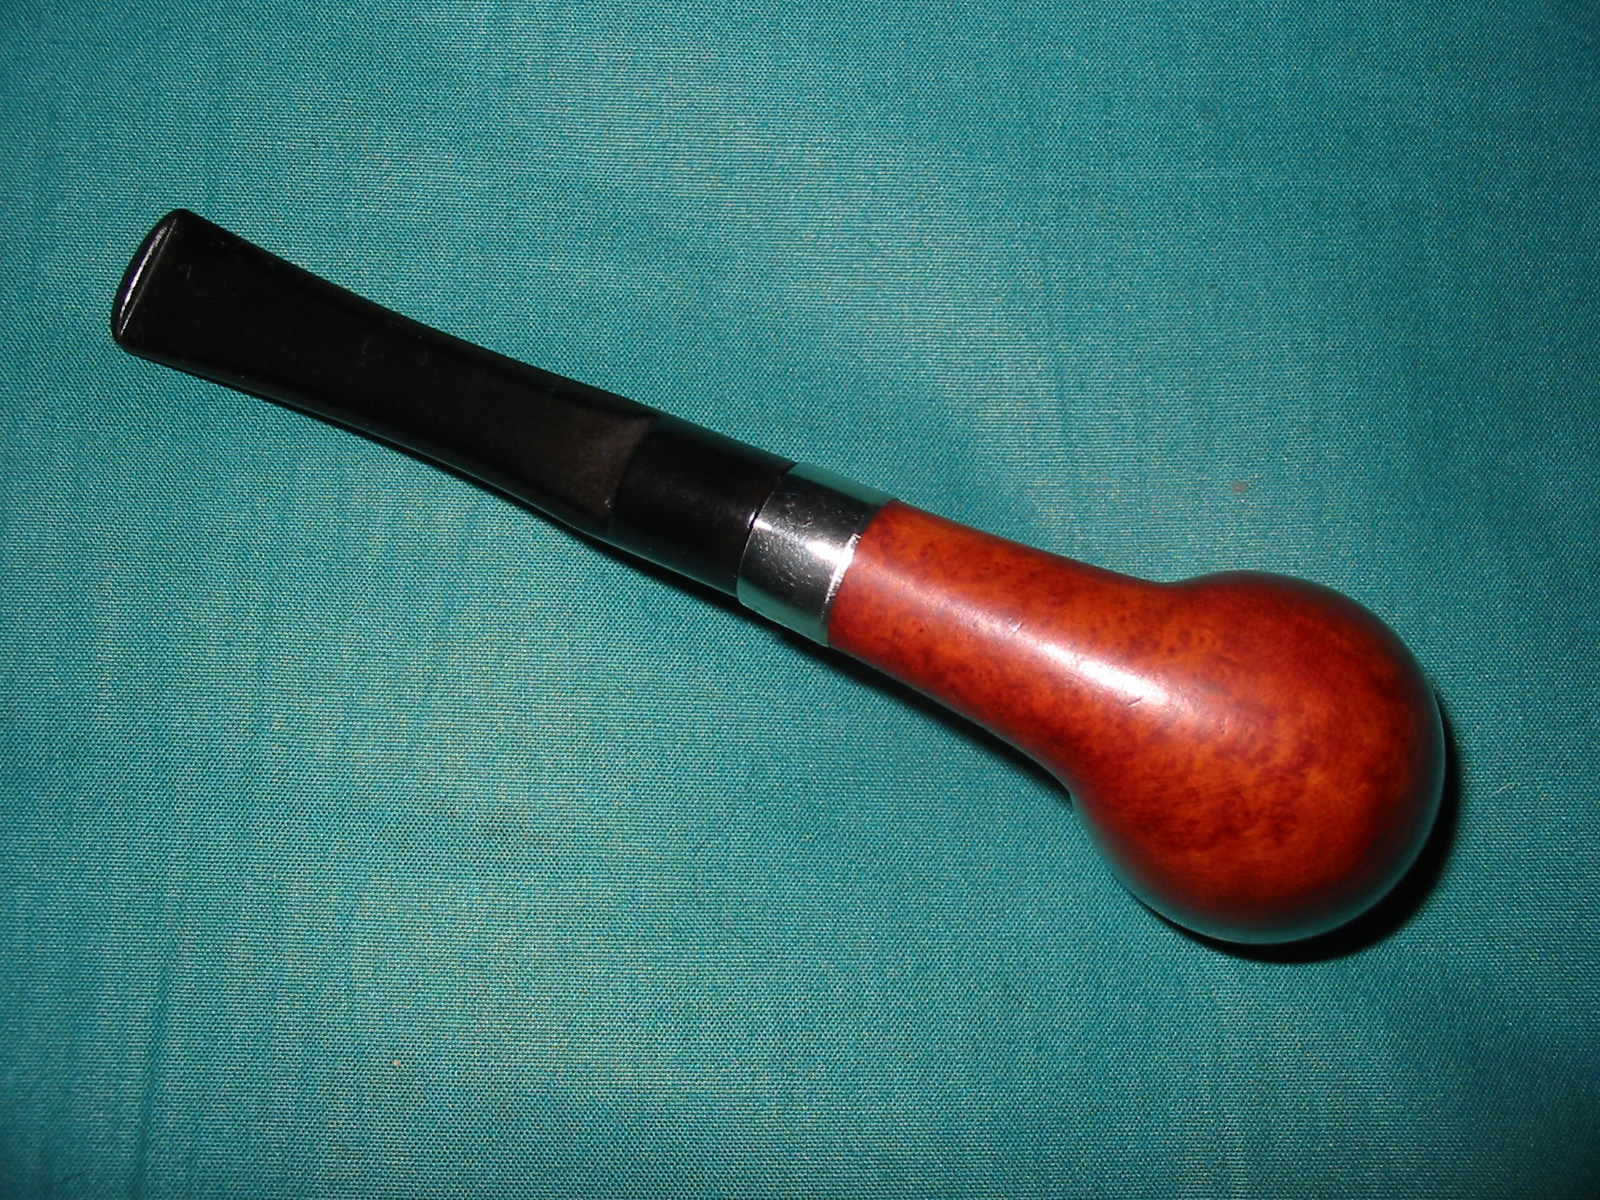
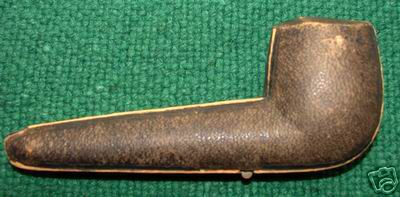
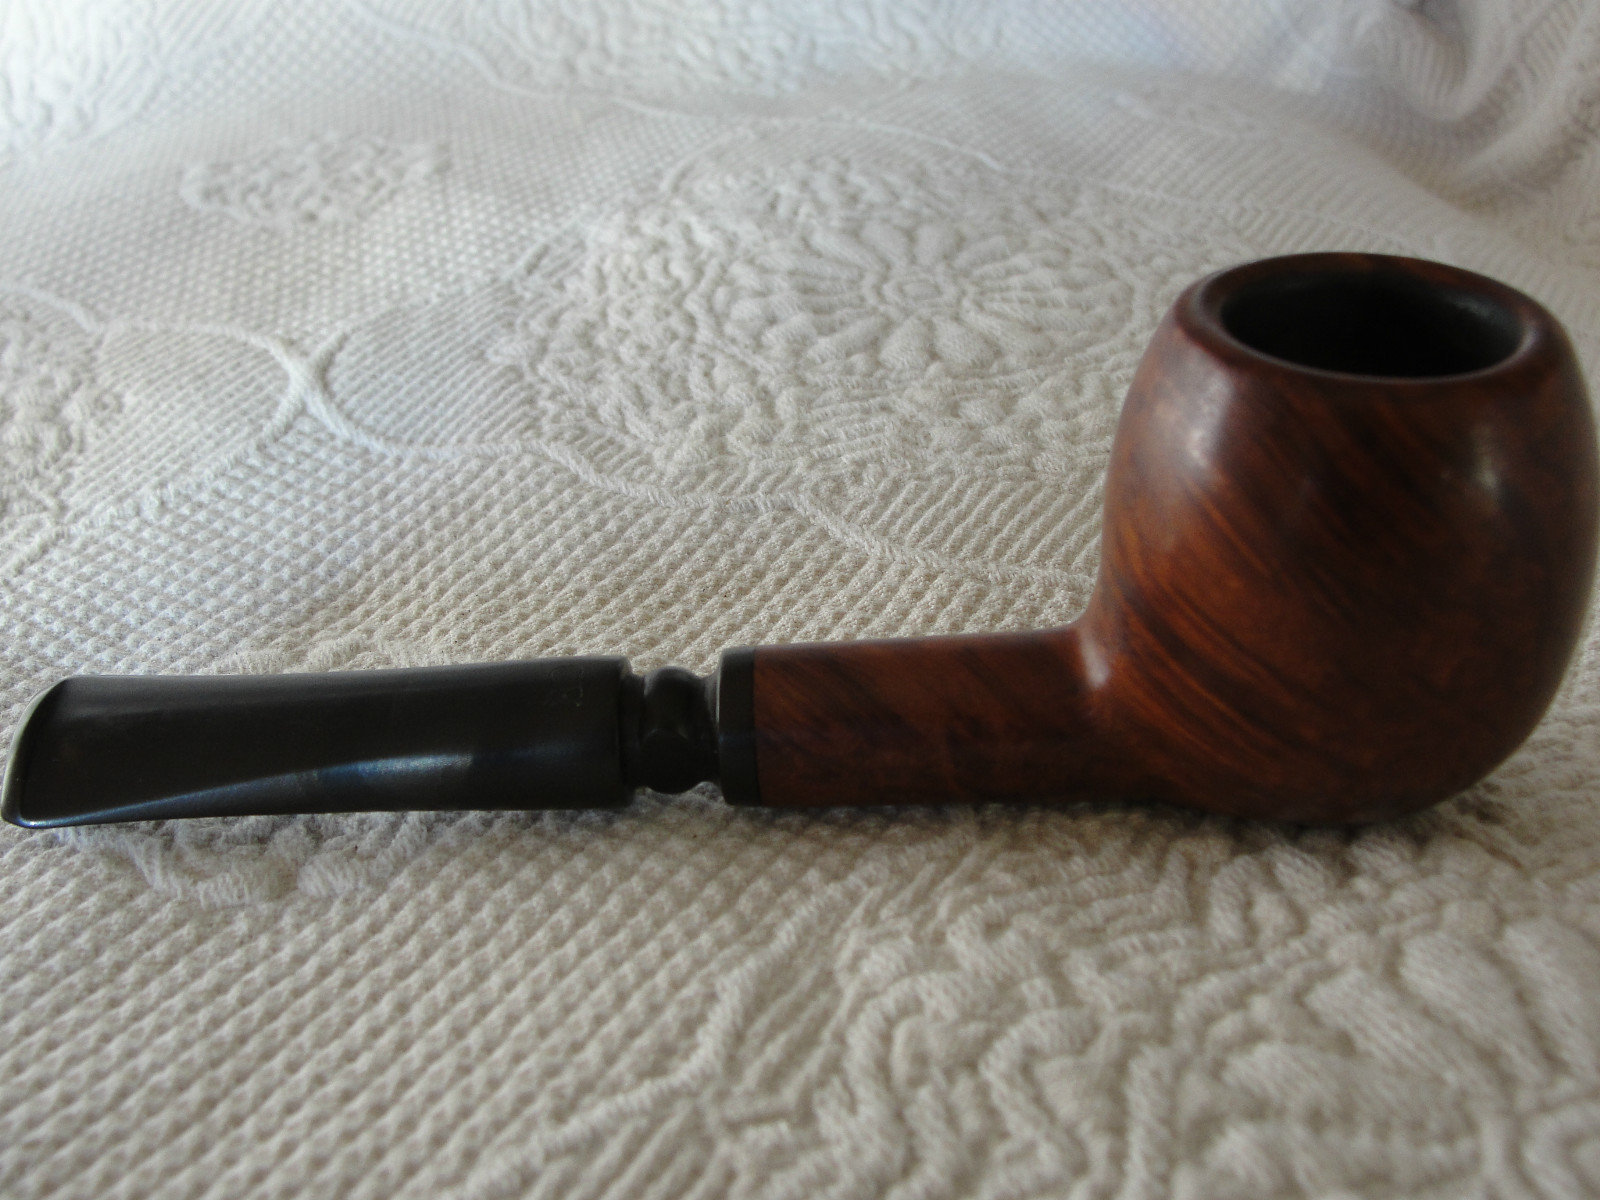
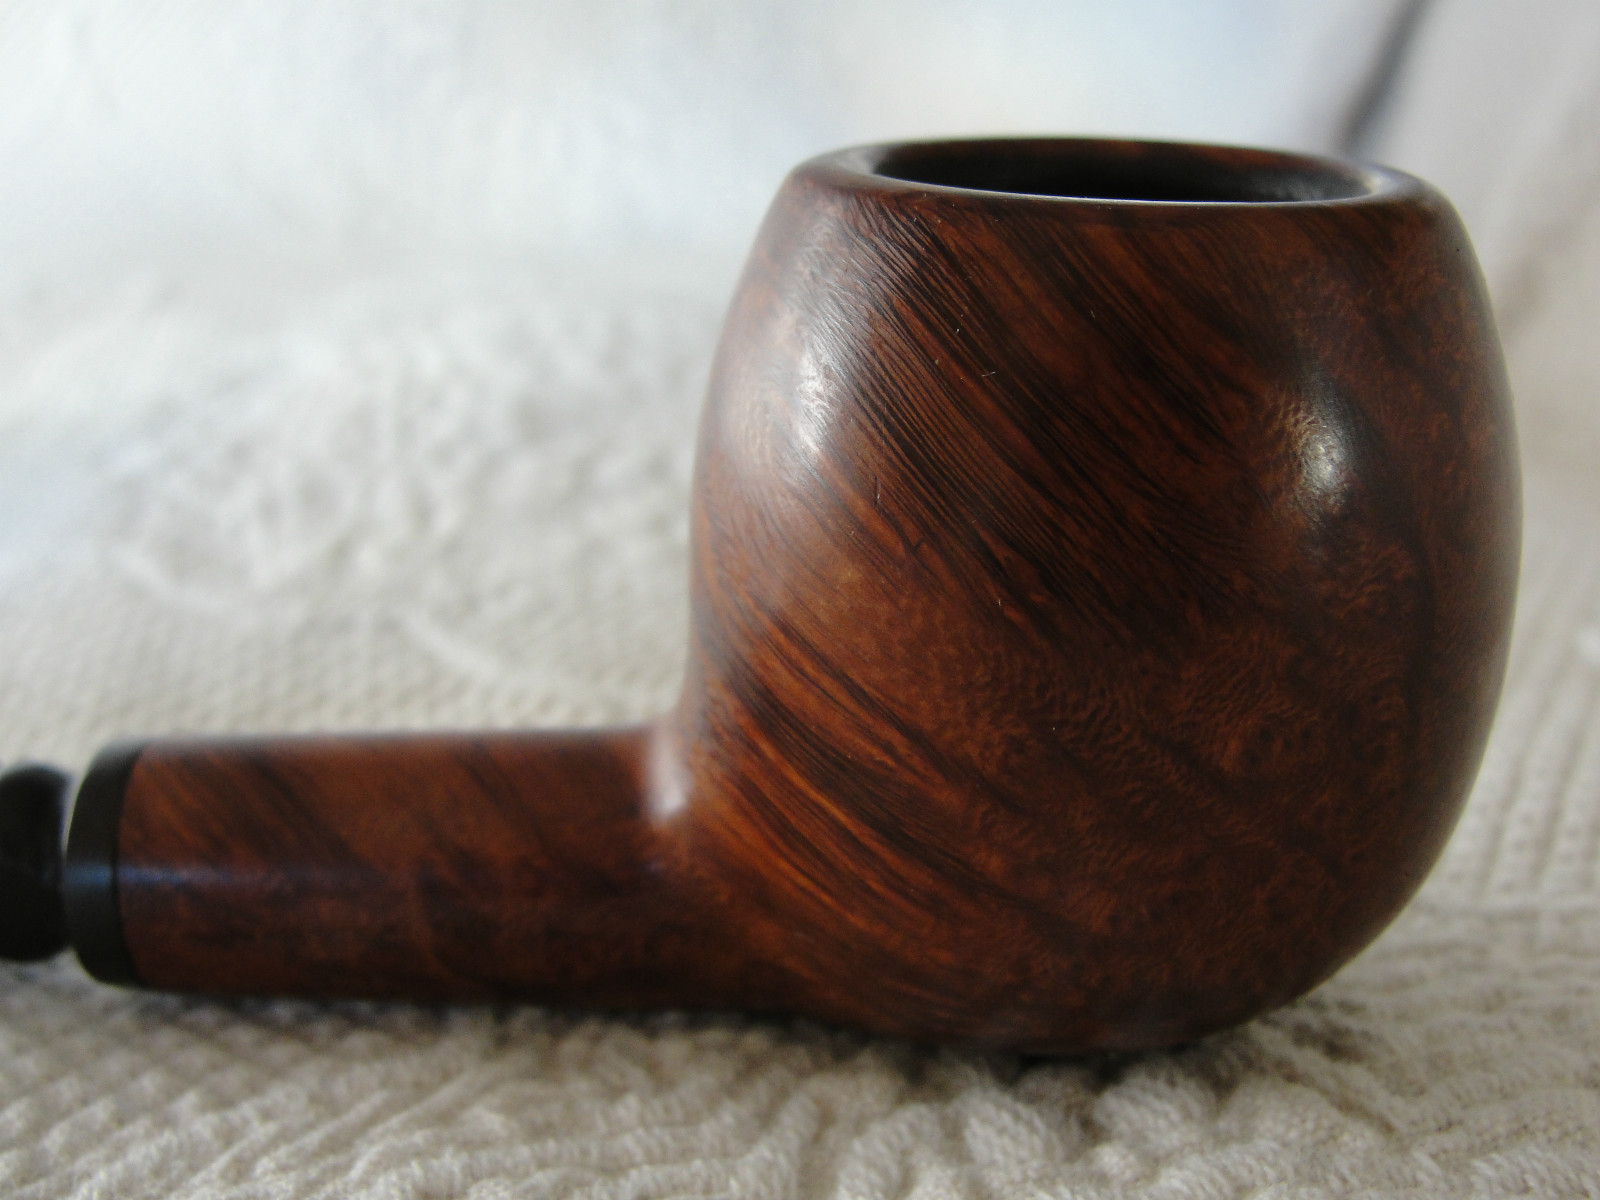
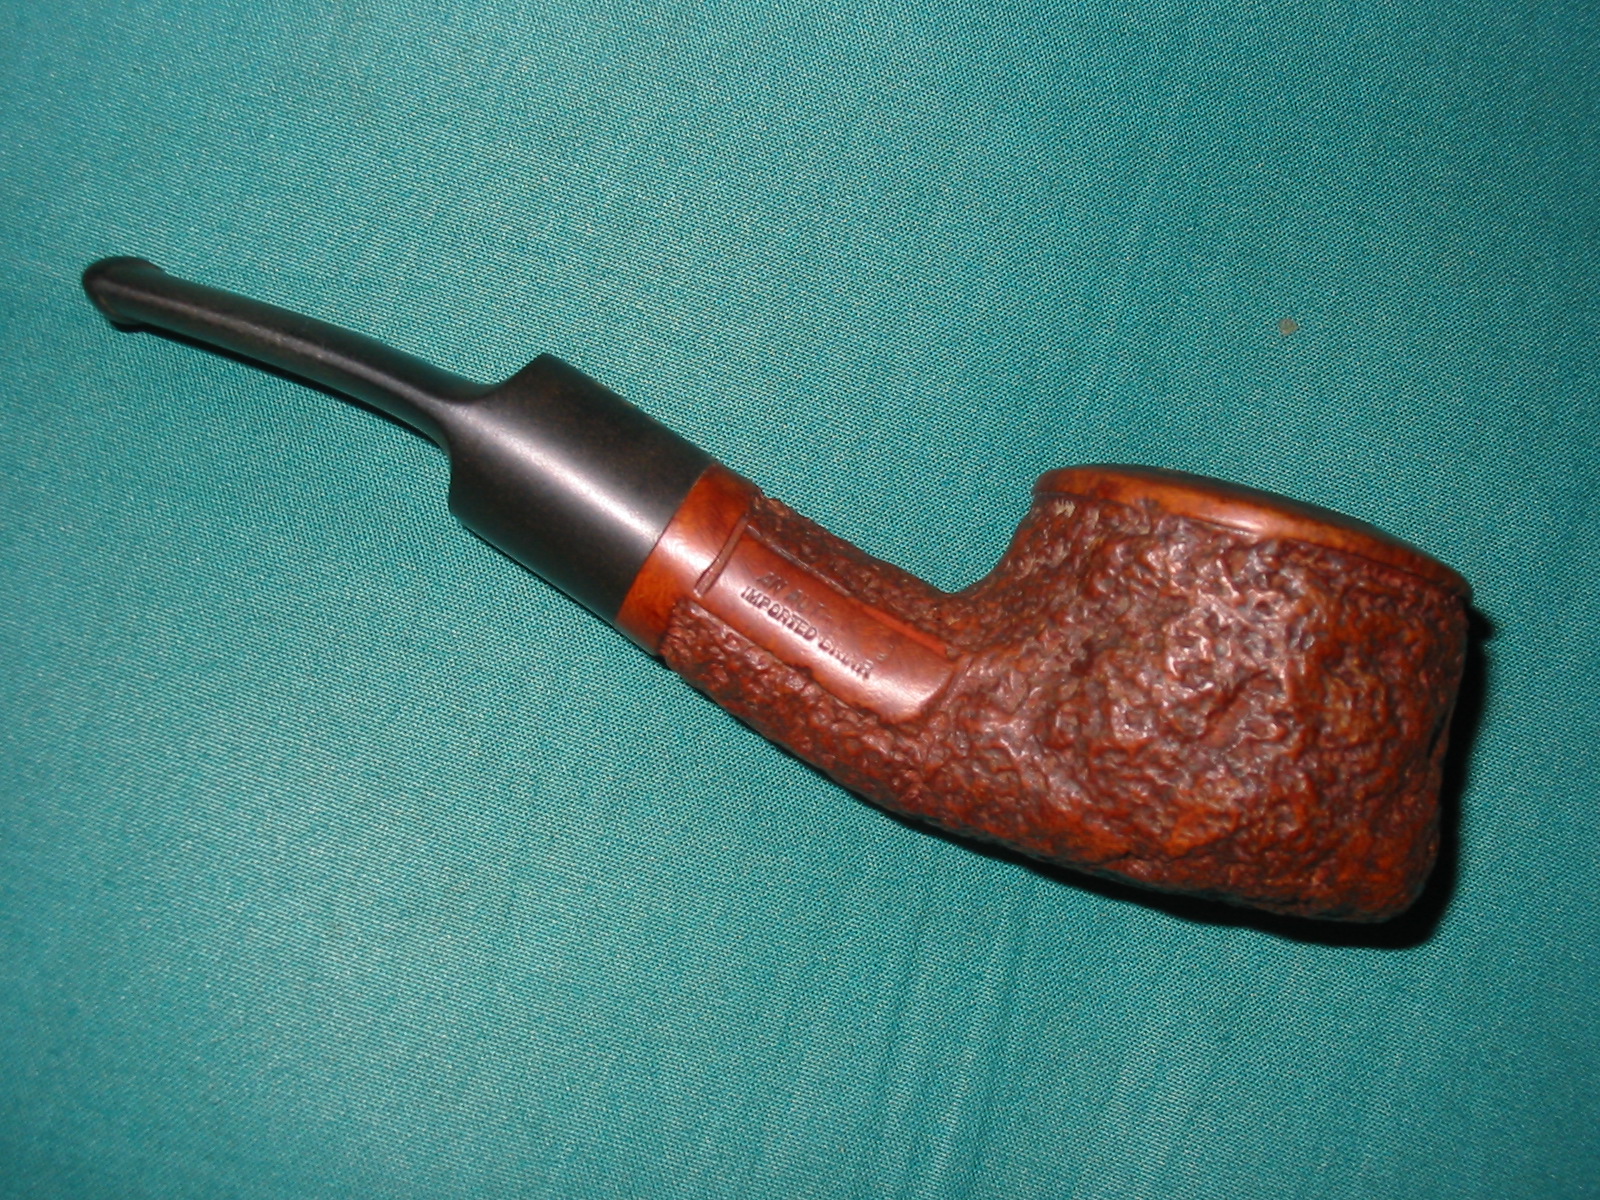
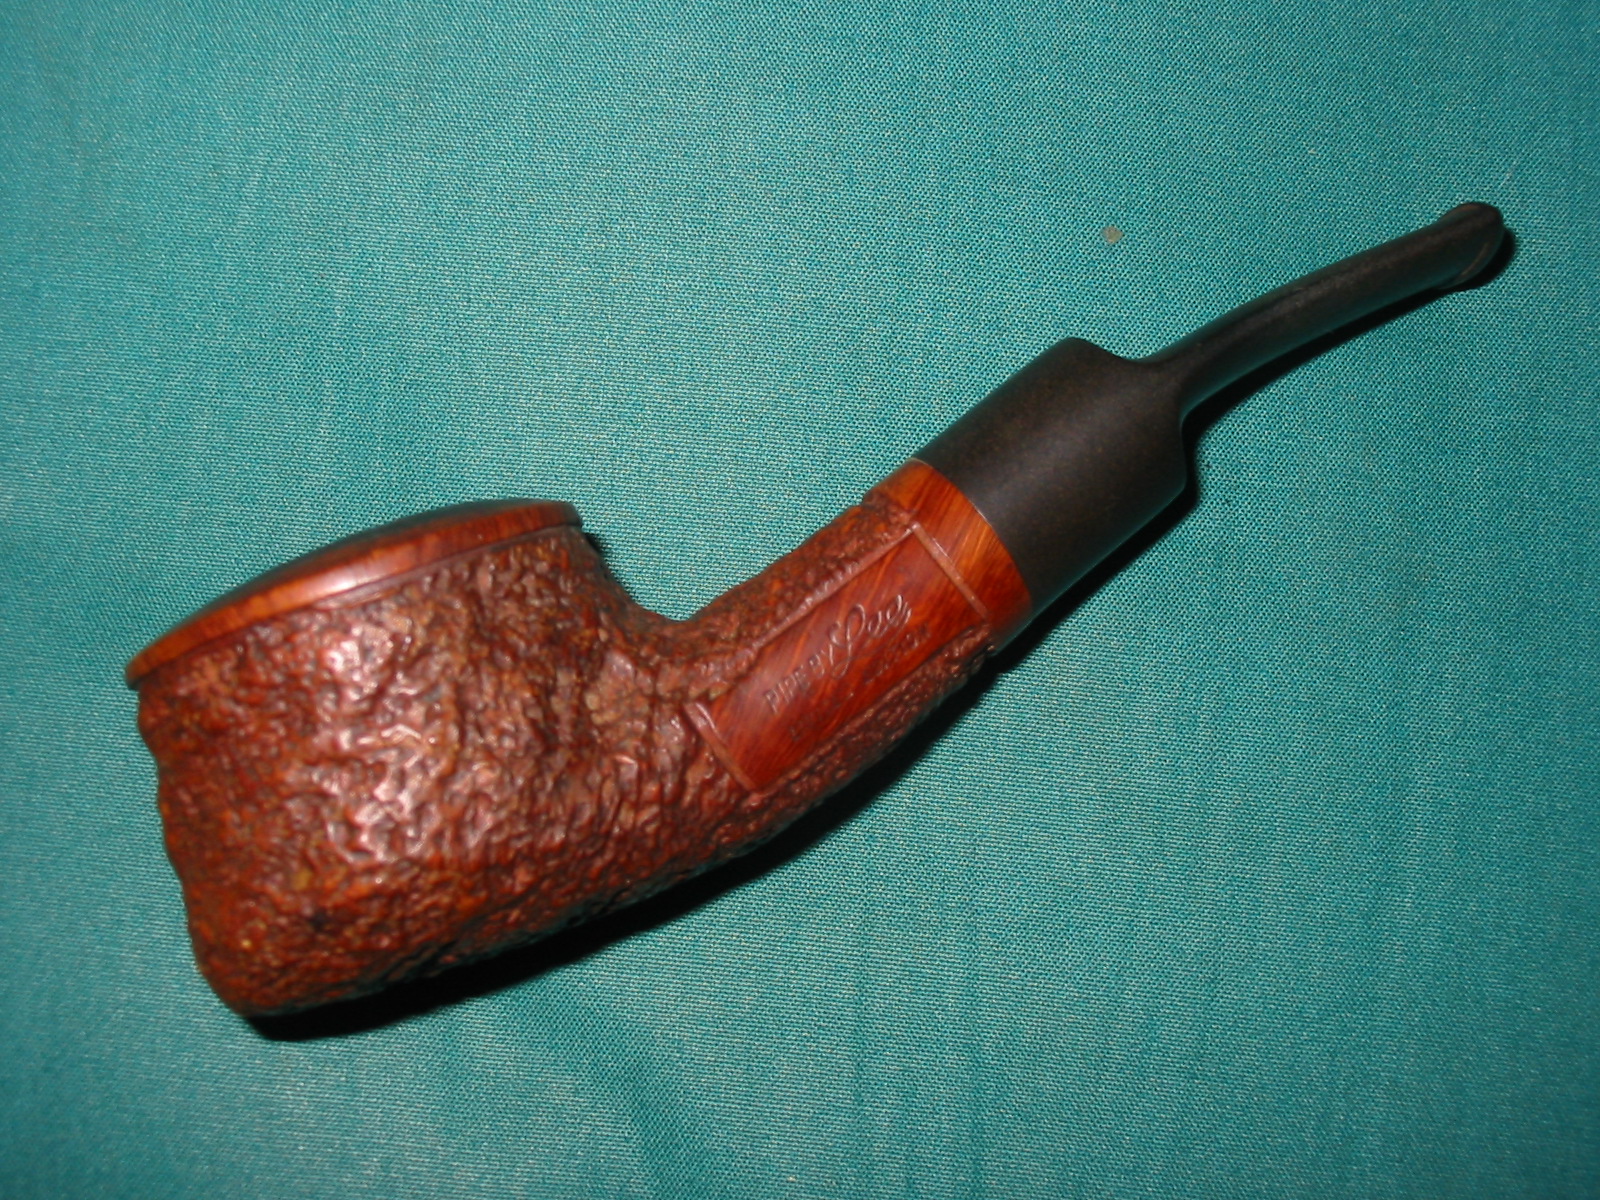
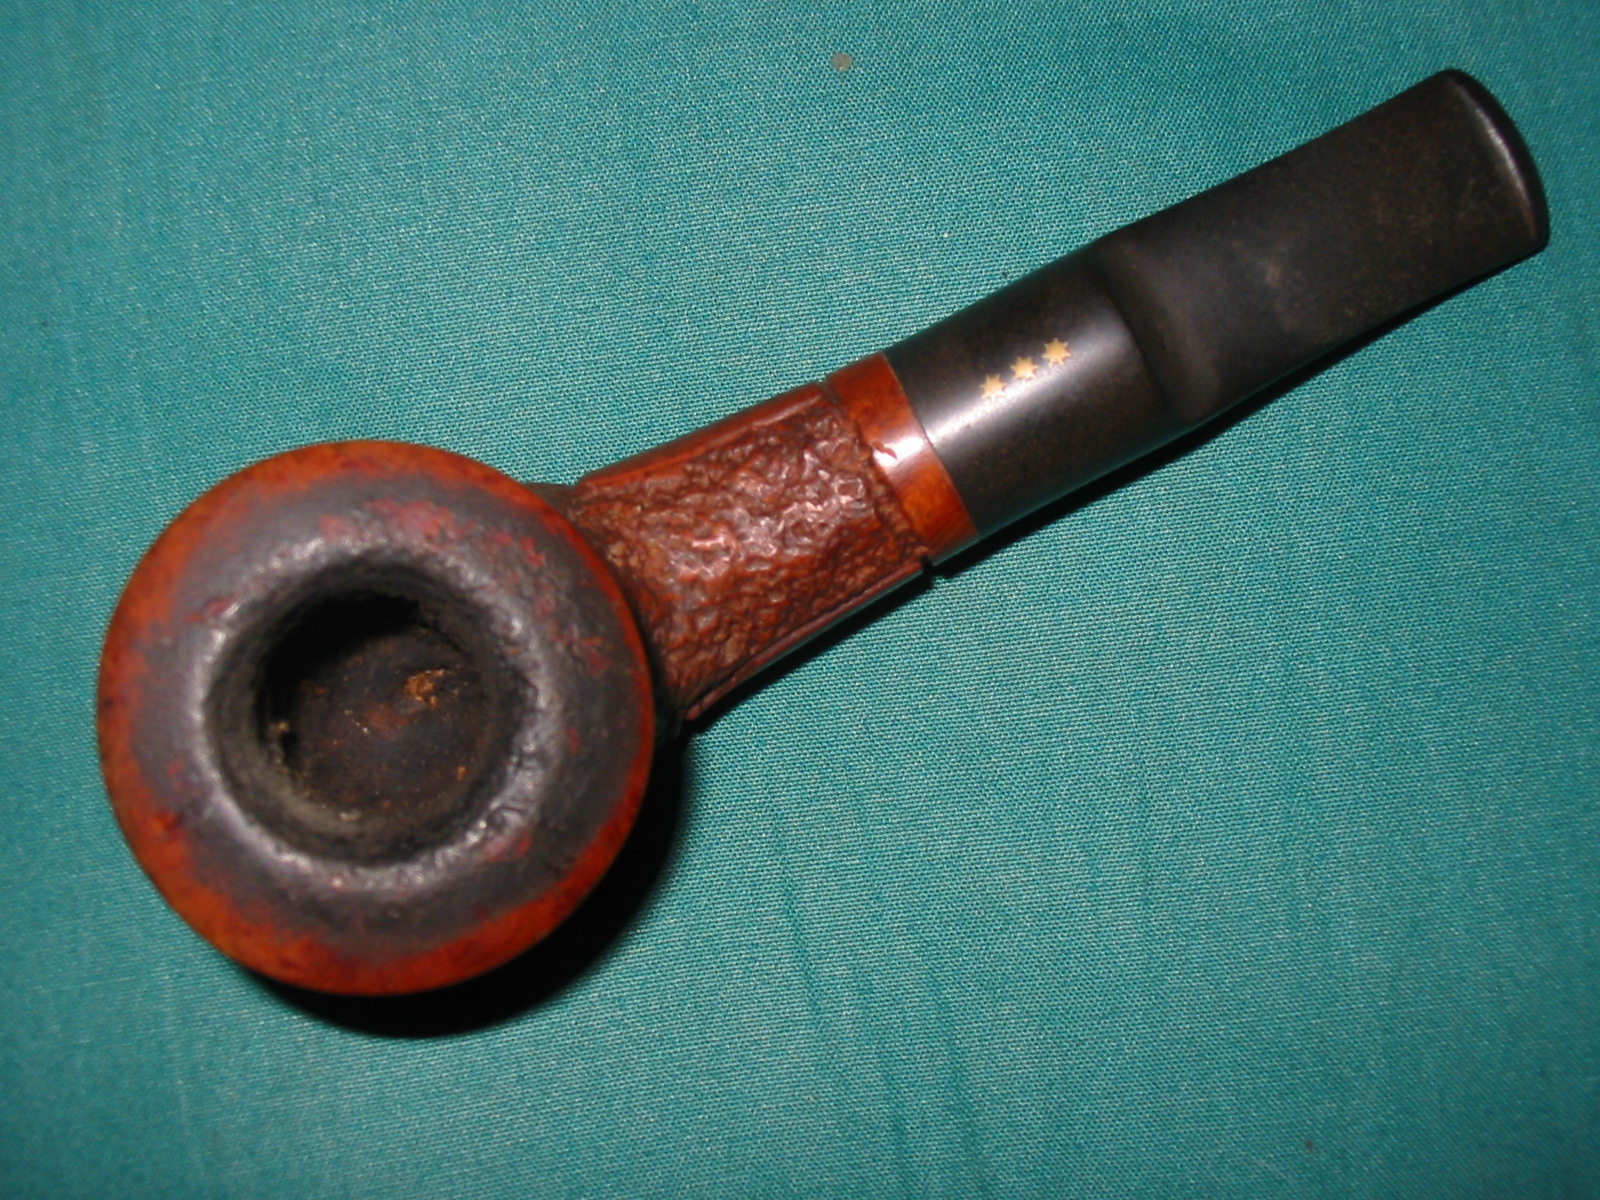
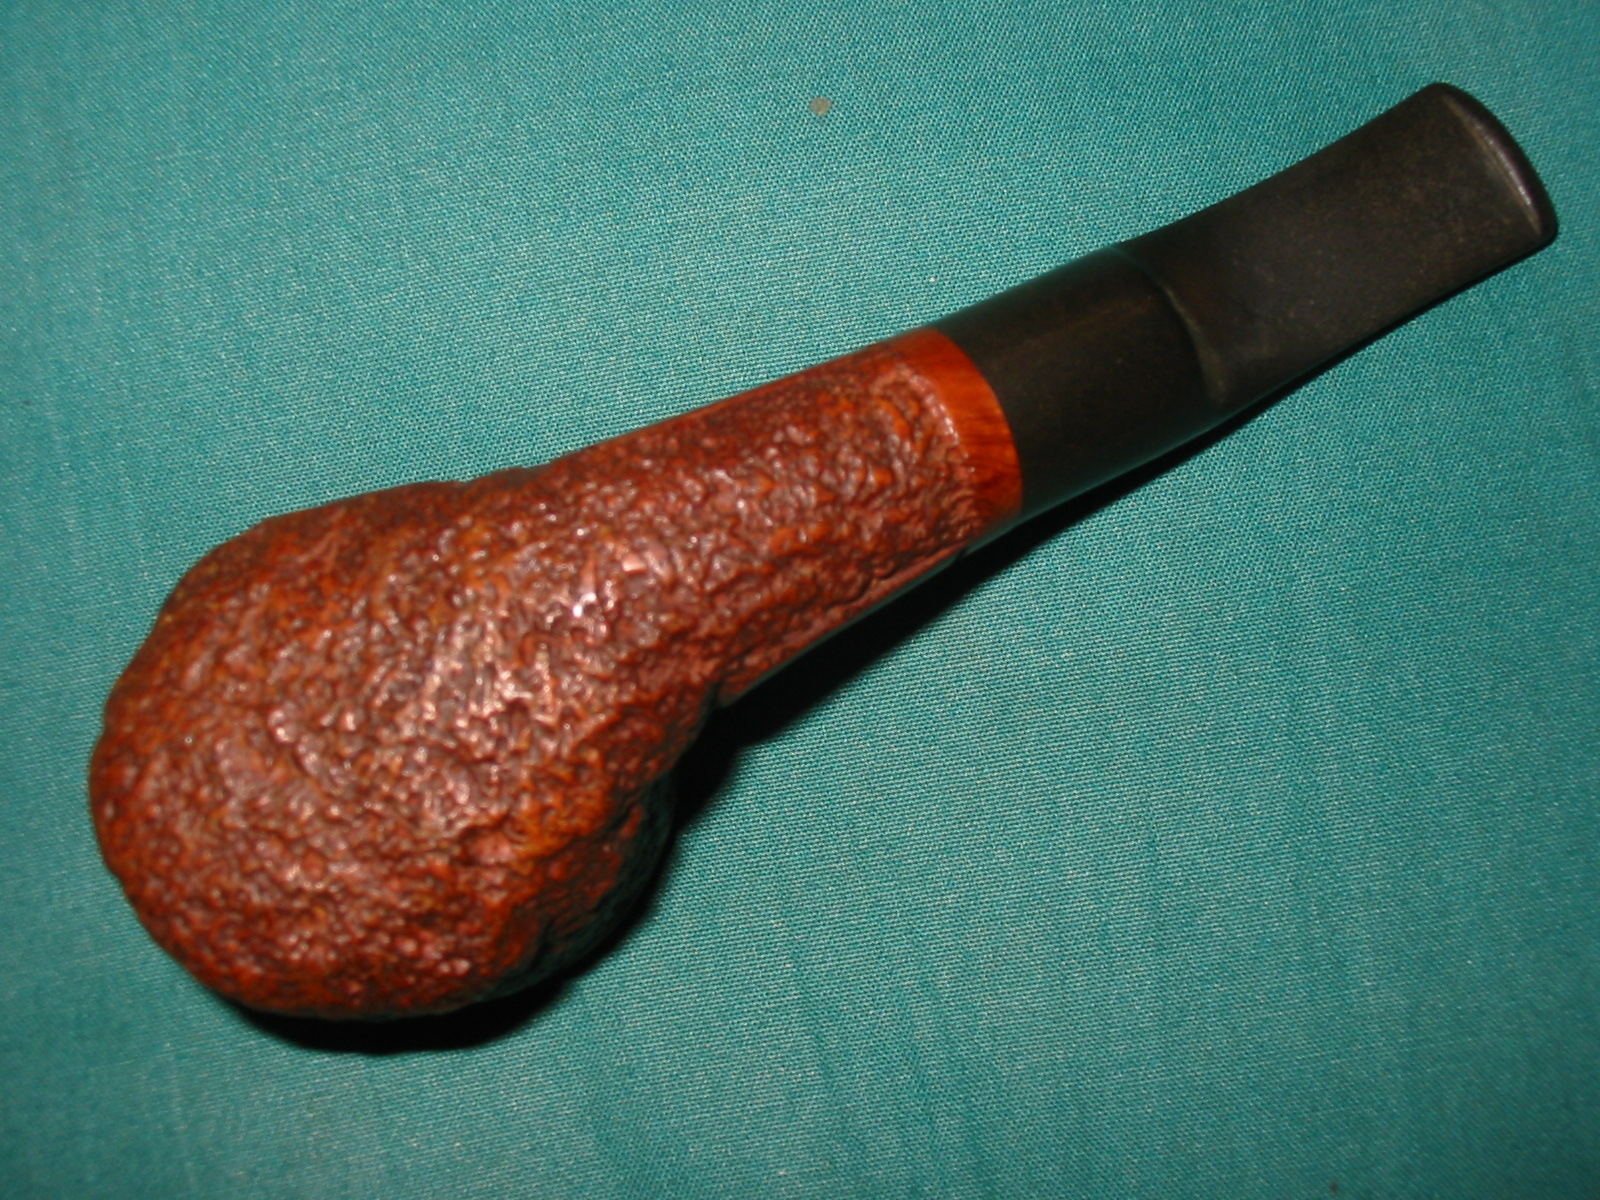
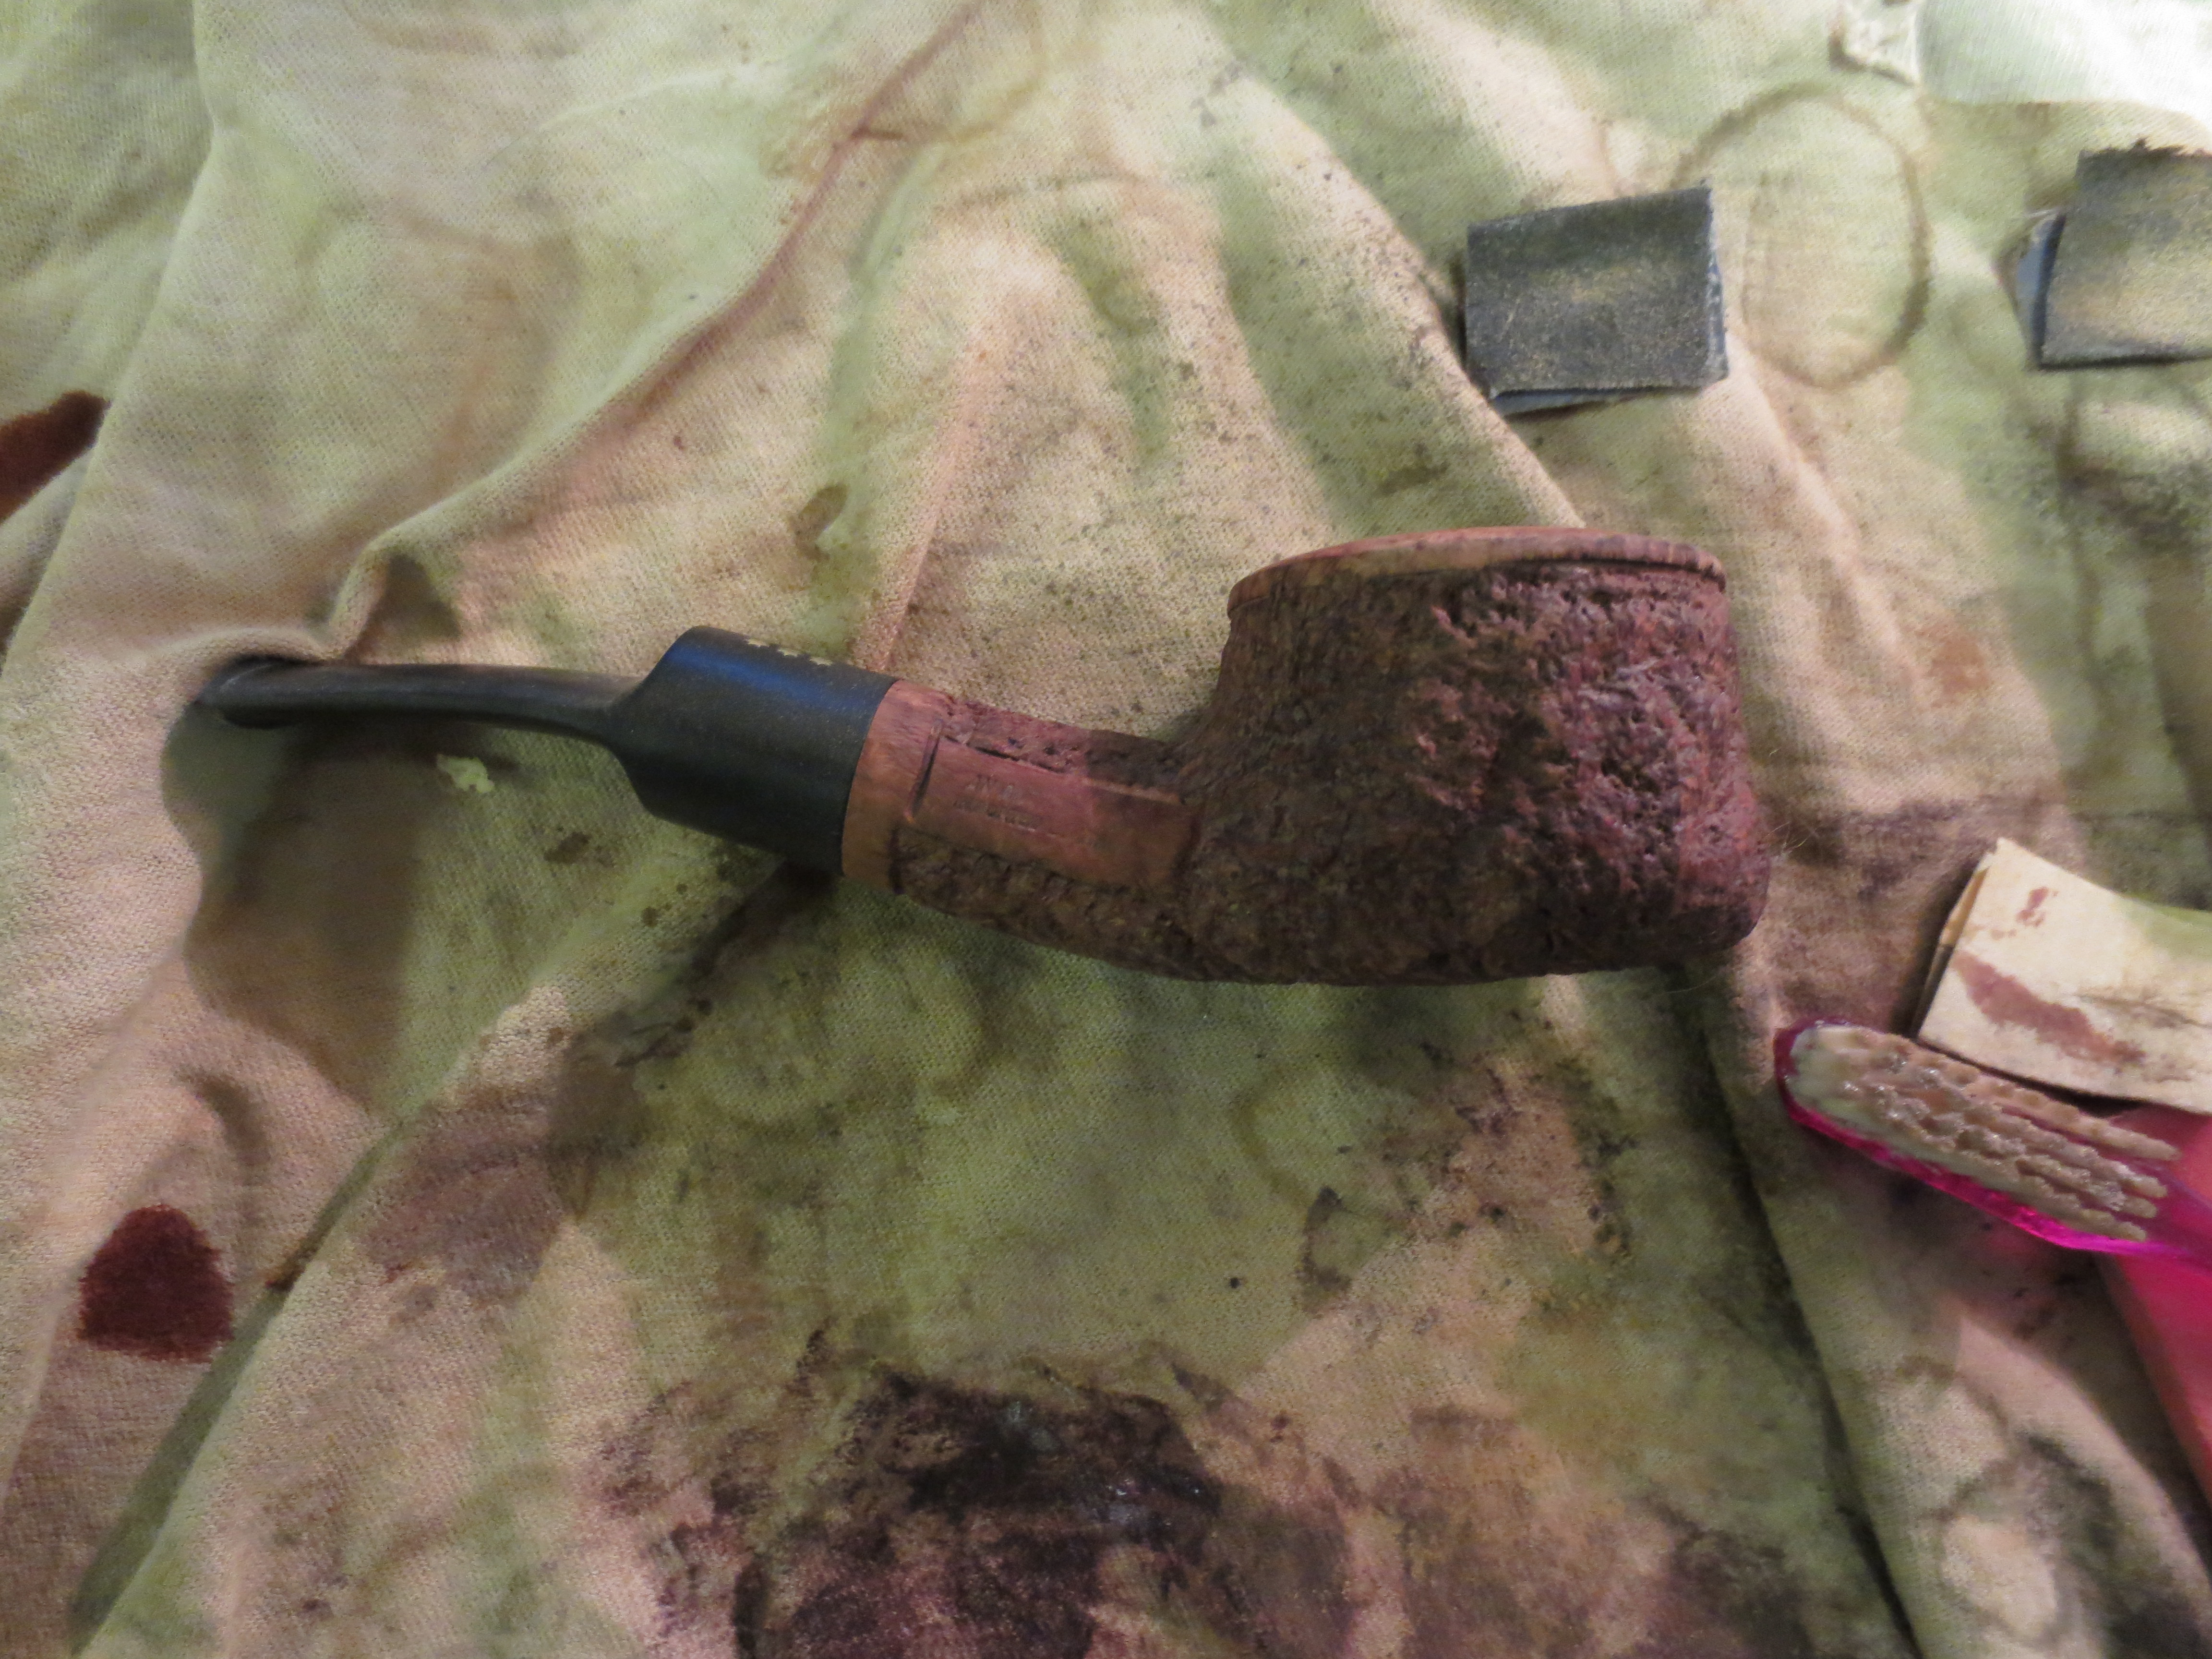
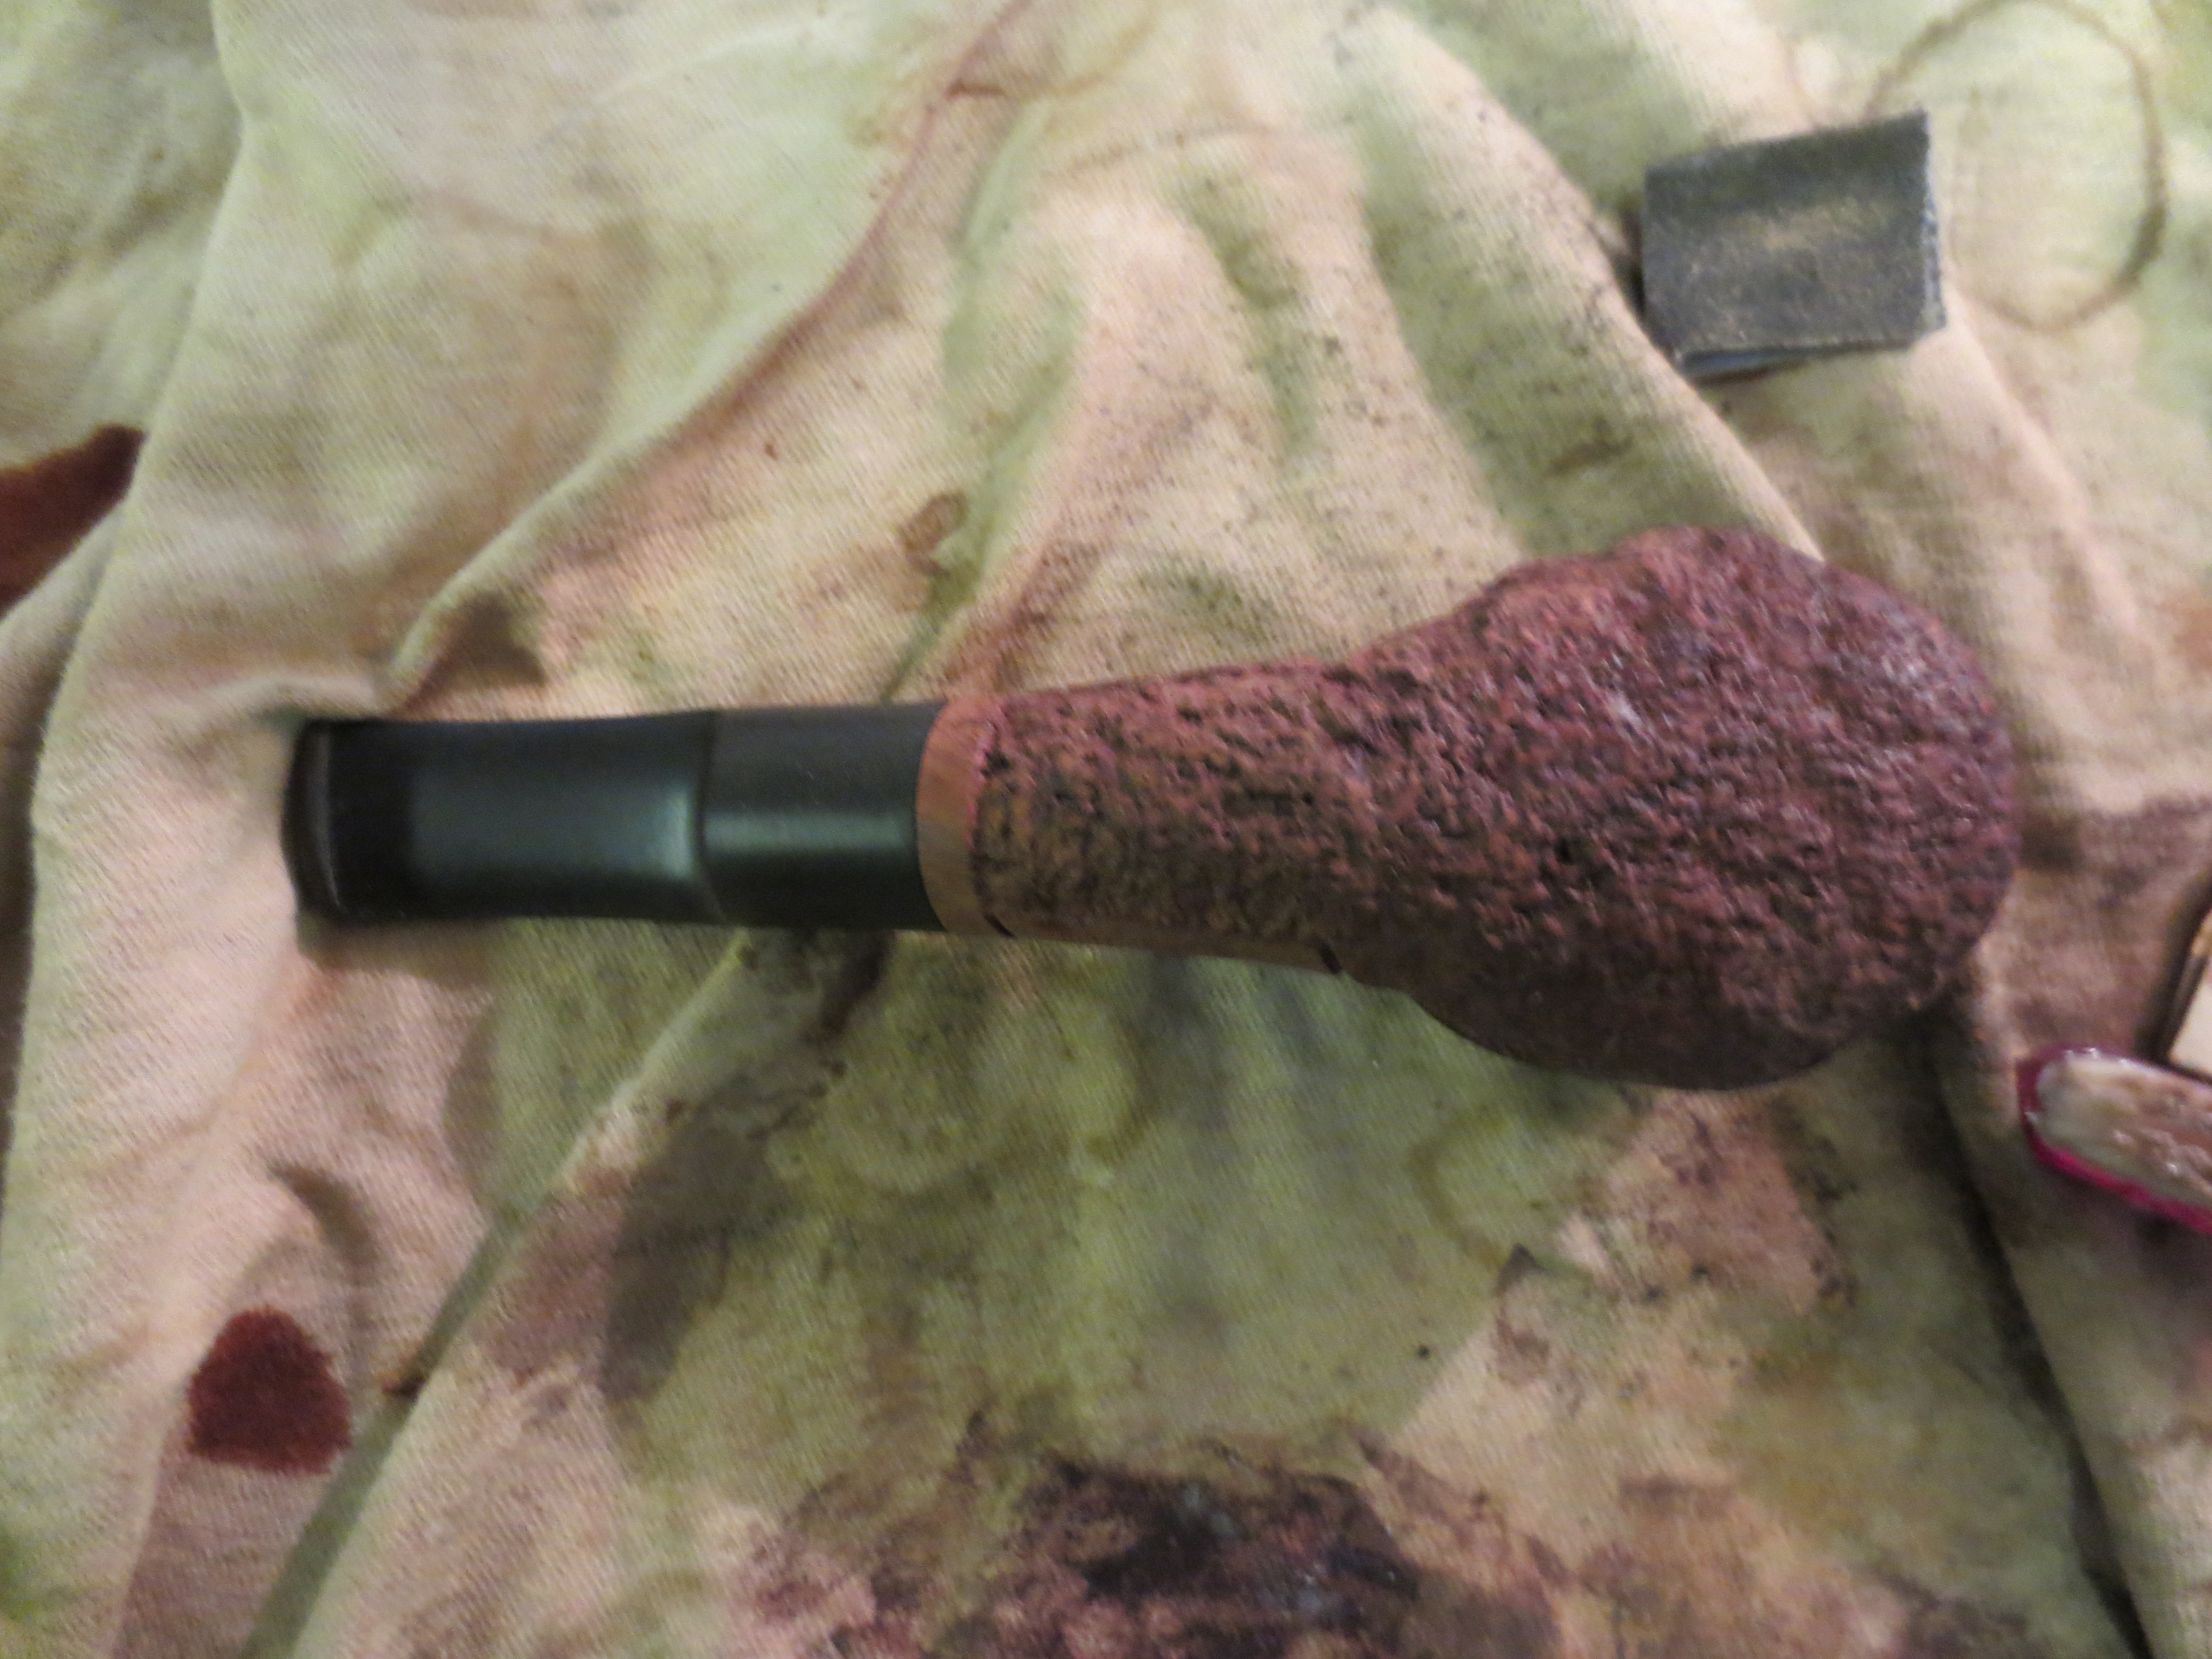
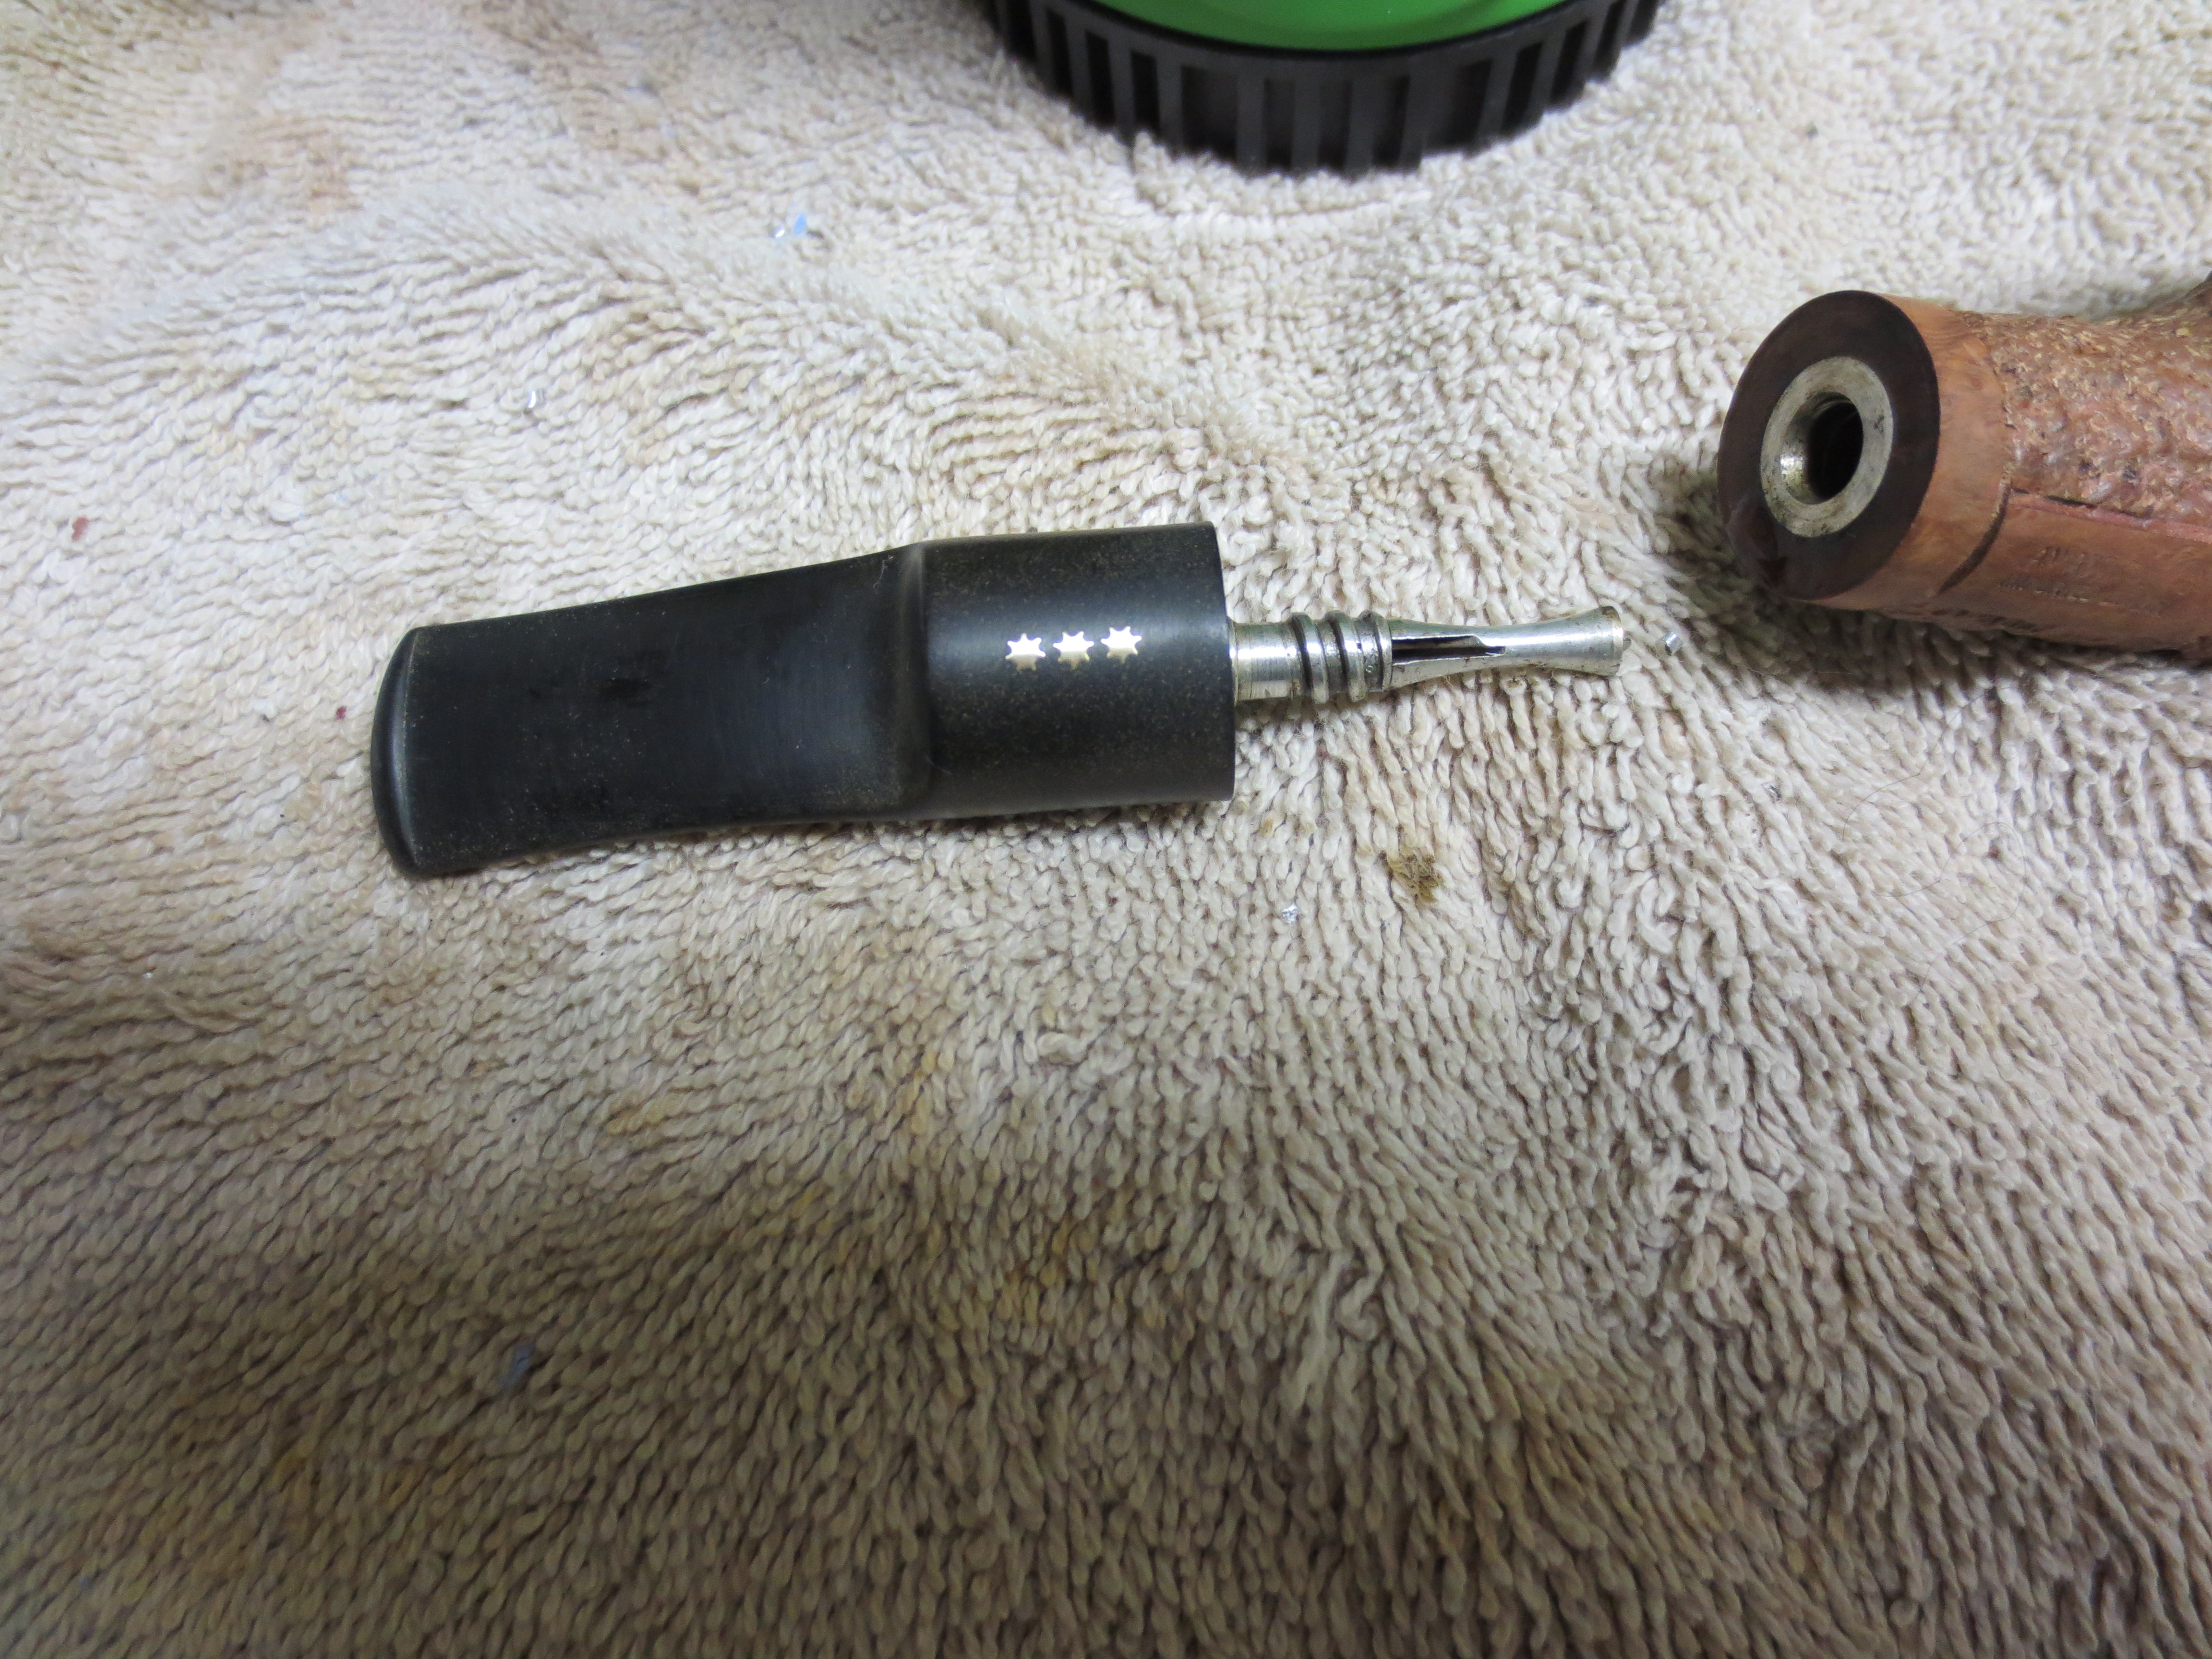
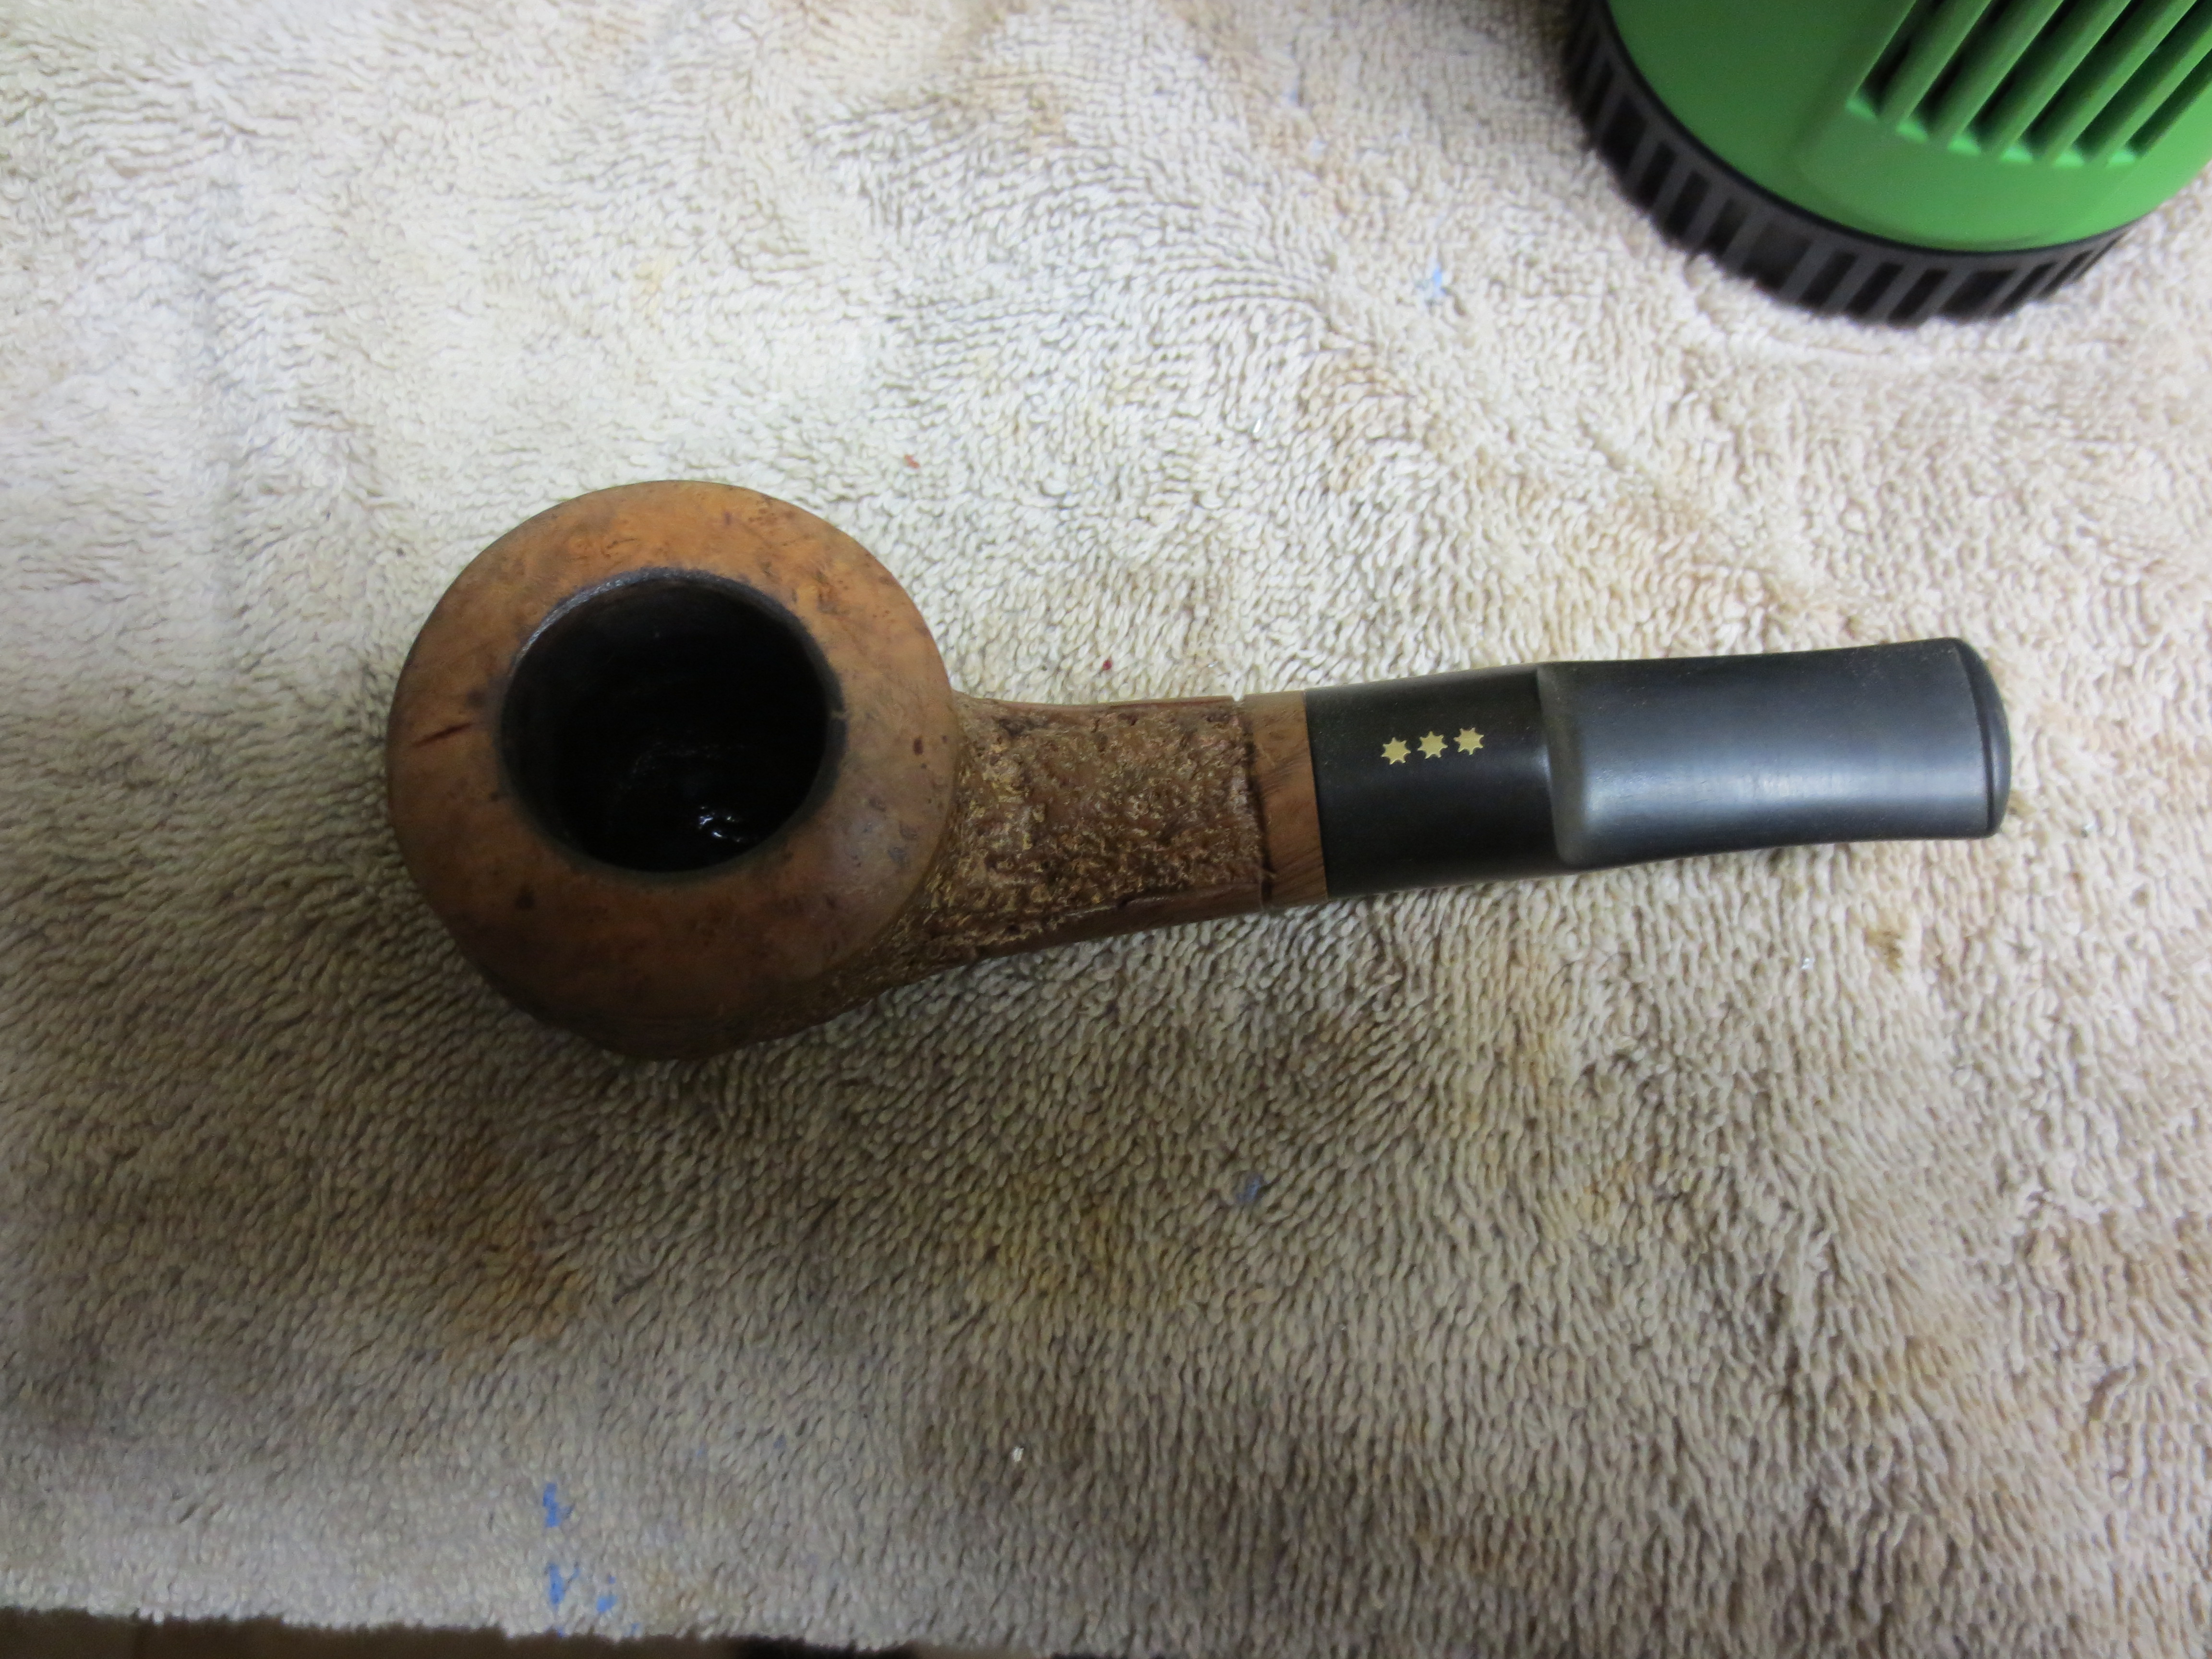
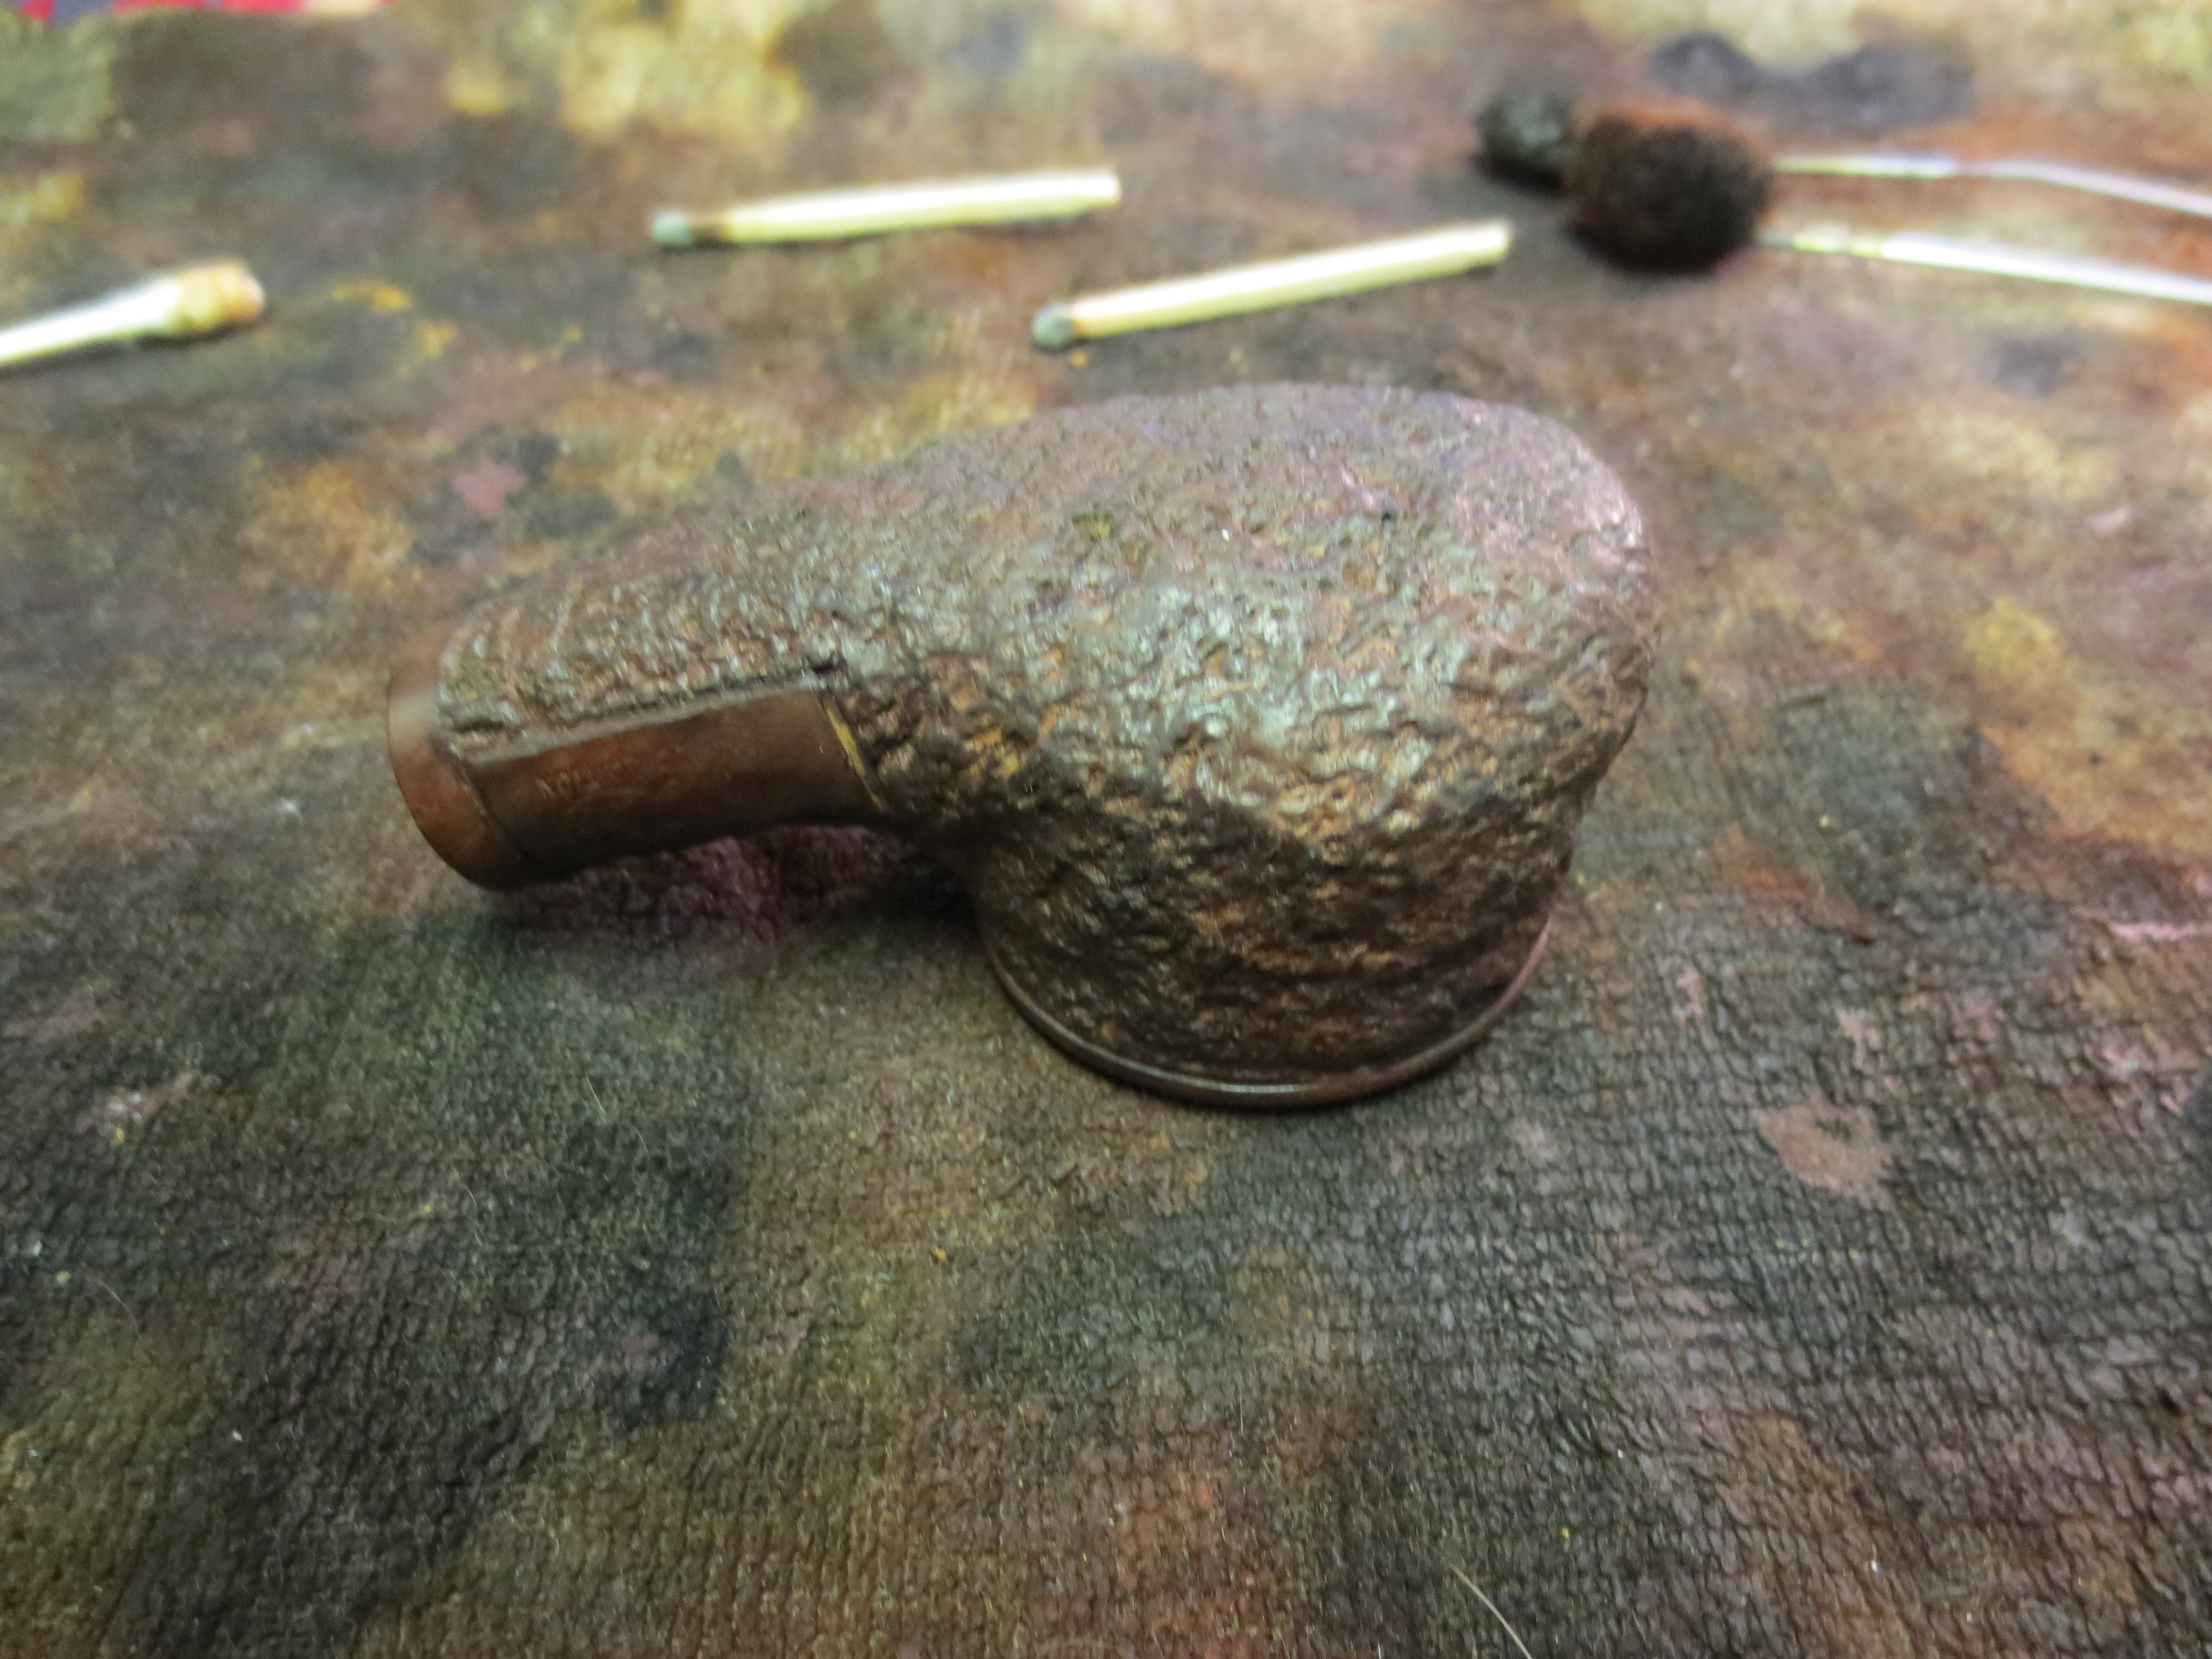
This weekend I took my wife down for a visit to Bellingham, Washington – just about 40 minutes or so from Vancouver, BC. One of our past times when we are visiting another city is to check out the antique shops and antique malls. We have a circuit of them that we visit whenever we go to Bellingham. She looks for things for the house and I look for pipe and tobacciana. This weekend was great in that I found 6 pipes and three old pouches of tobacco. The first pipe on the work table is one that intrigued me and grabbed my attention. It has a nice rustication (??) that looks almost like a sand blast. The carver left a smooth rim and a small ring around the top edge of the pipe. There is also a smooth band at the end of the shank and also two patches that are smooth that bear the stamping on the pipe. The shape is a Bull Moose, I believer. It is also very similar to a Weber Scoop that I have except for the prominent prow on the front of the bowl. It is stamped on the left side of the shank PIPE BY Lee (Lee is in Script) over LIMITED EDITION. On the other side of the shank it is stamped AN AUTHENTIC over IMPORTED BRIAR. The stem bears the brass stars that grace the stems of Lee pipes. This one has three stars.
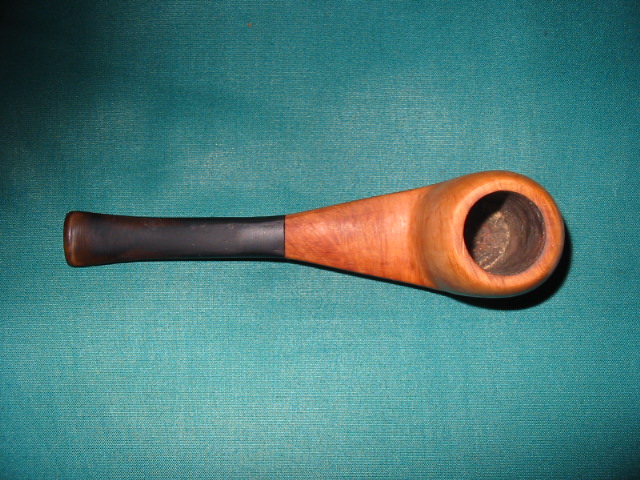
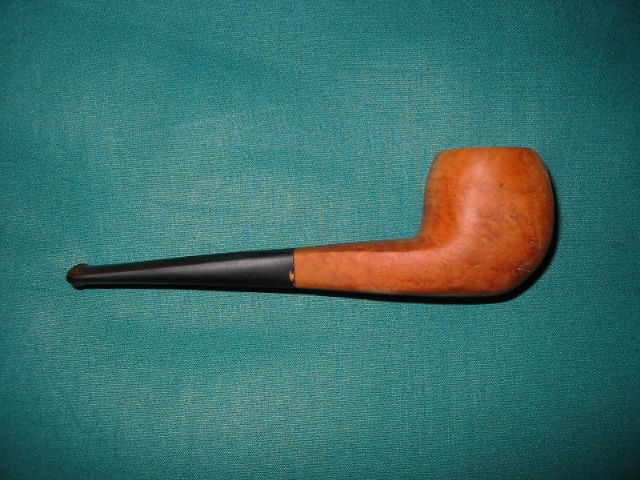
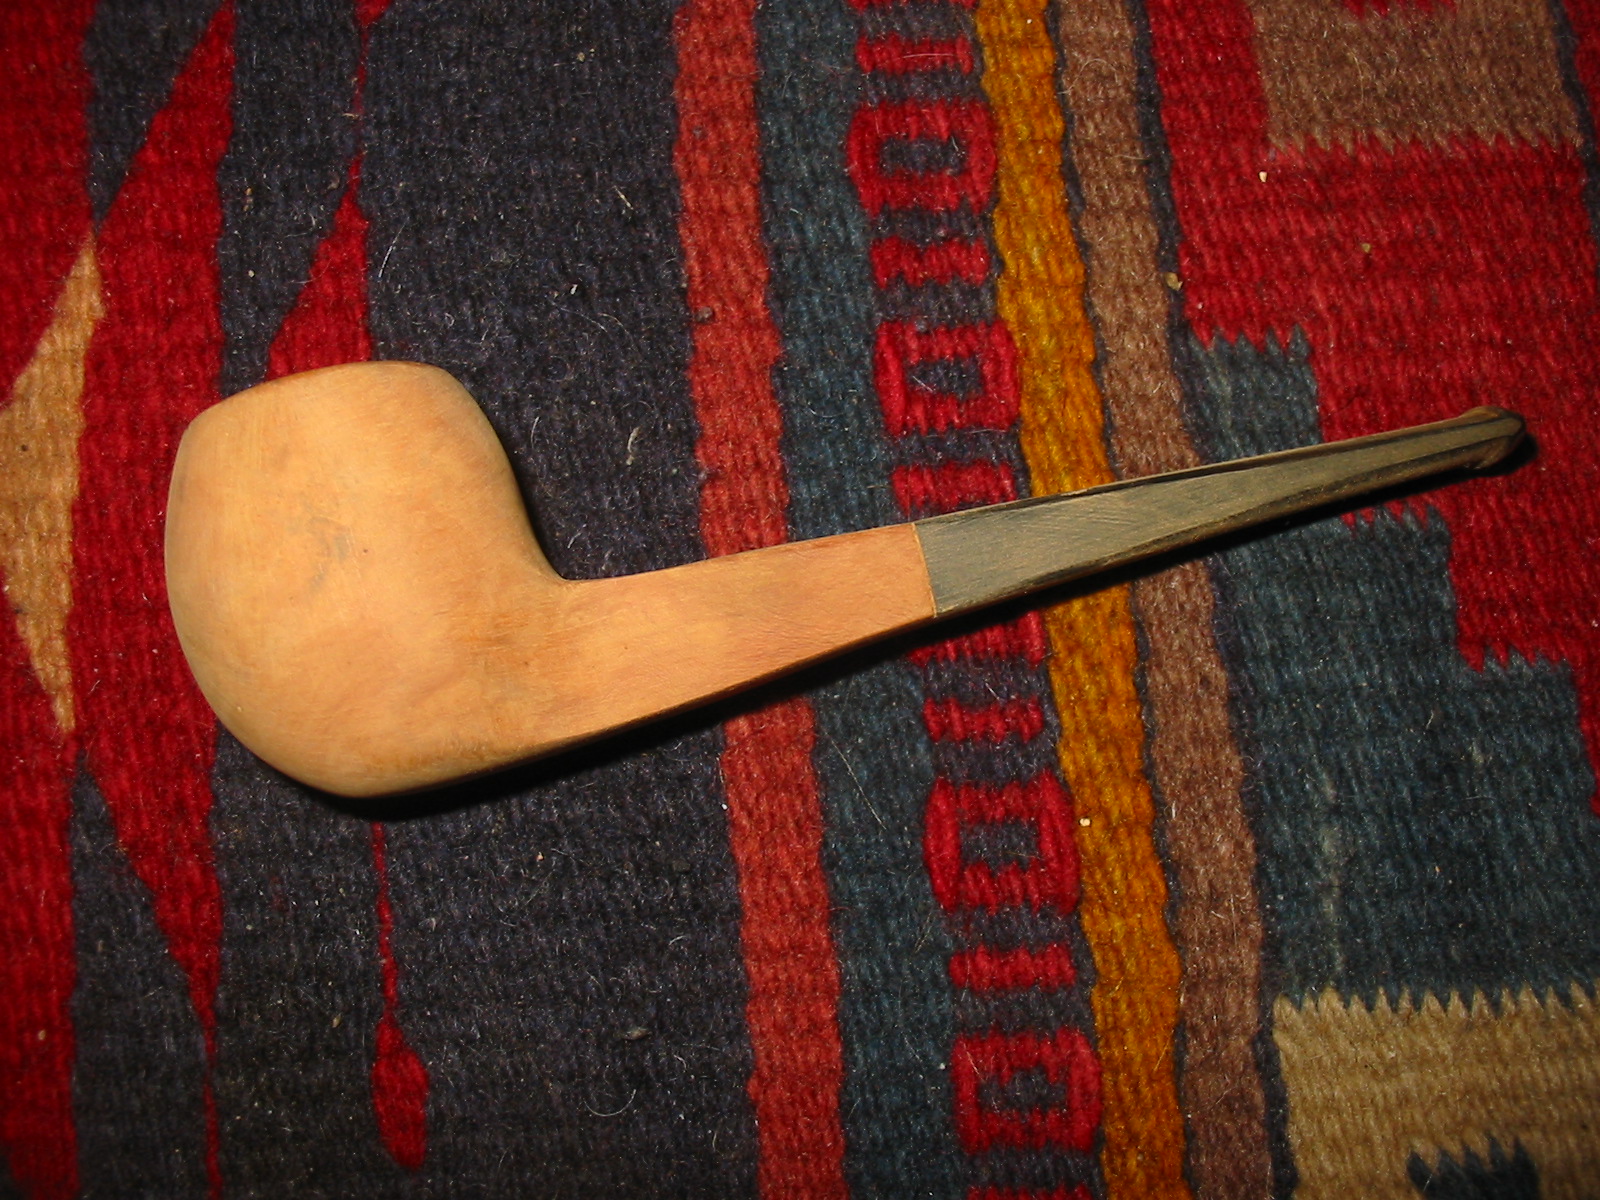
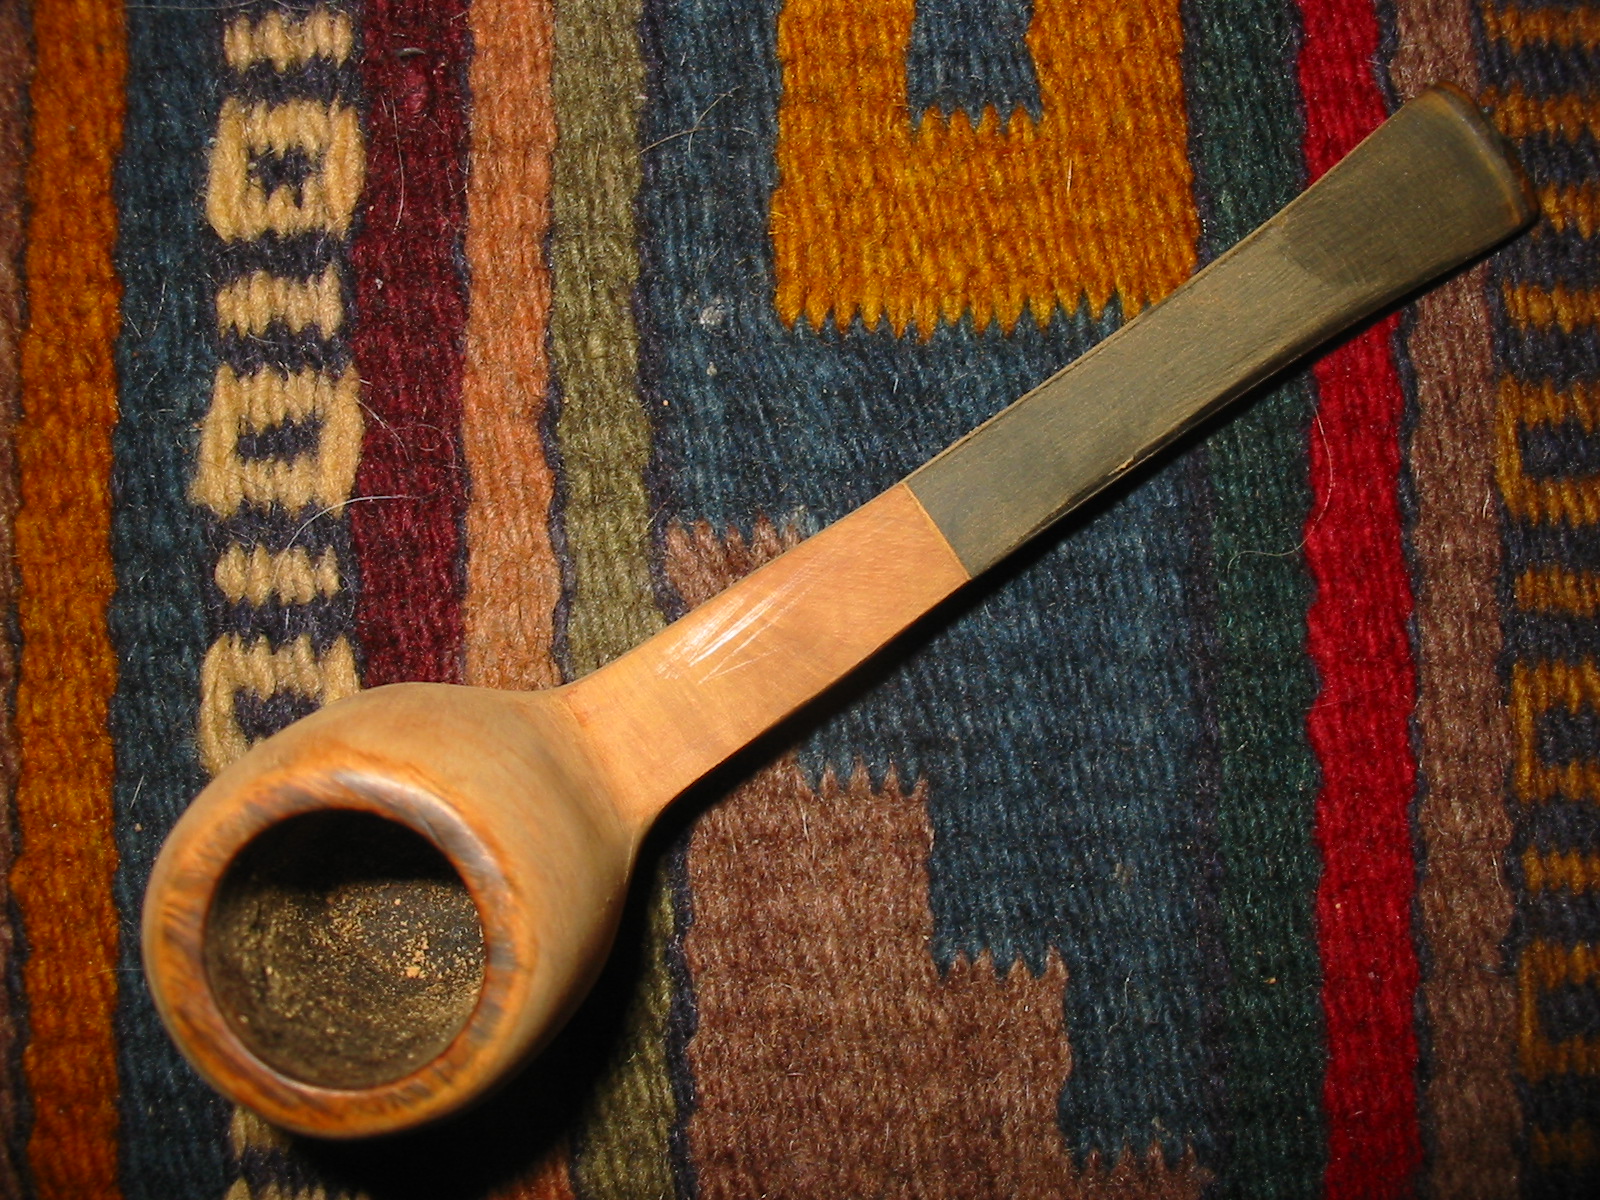
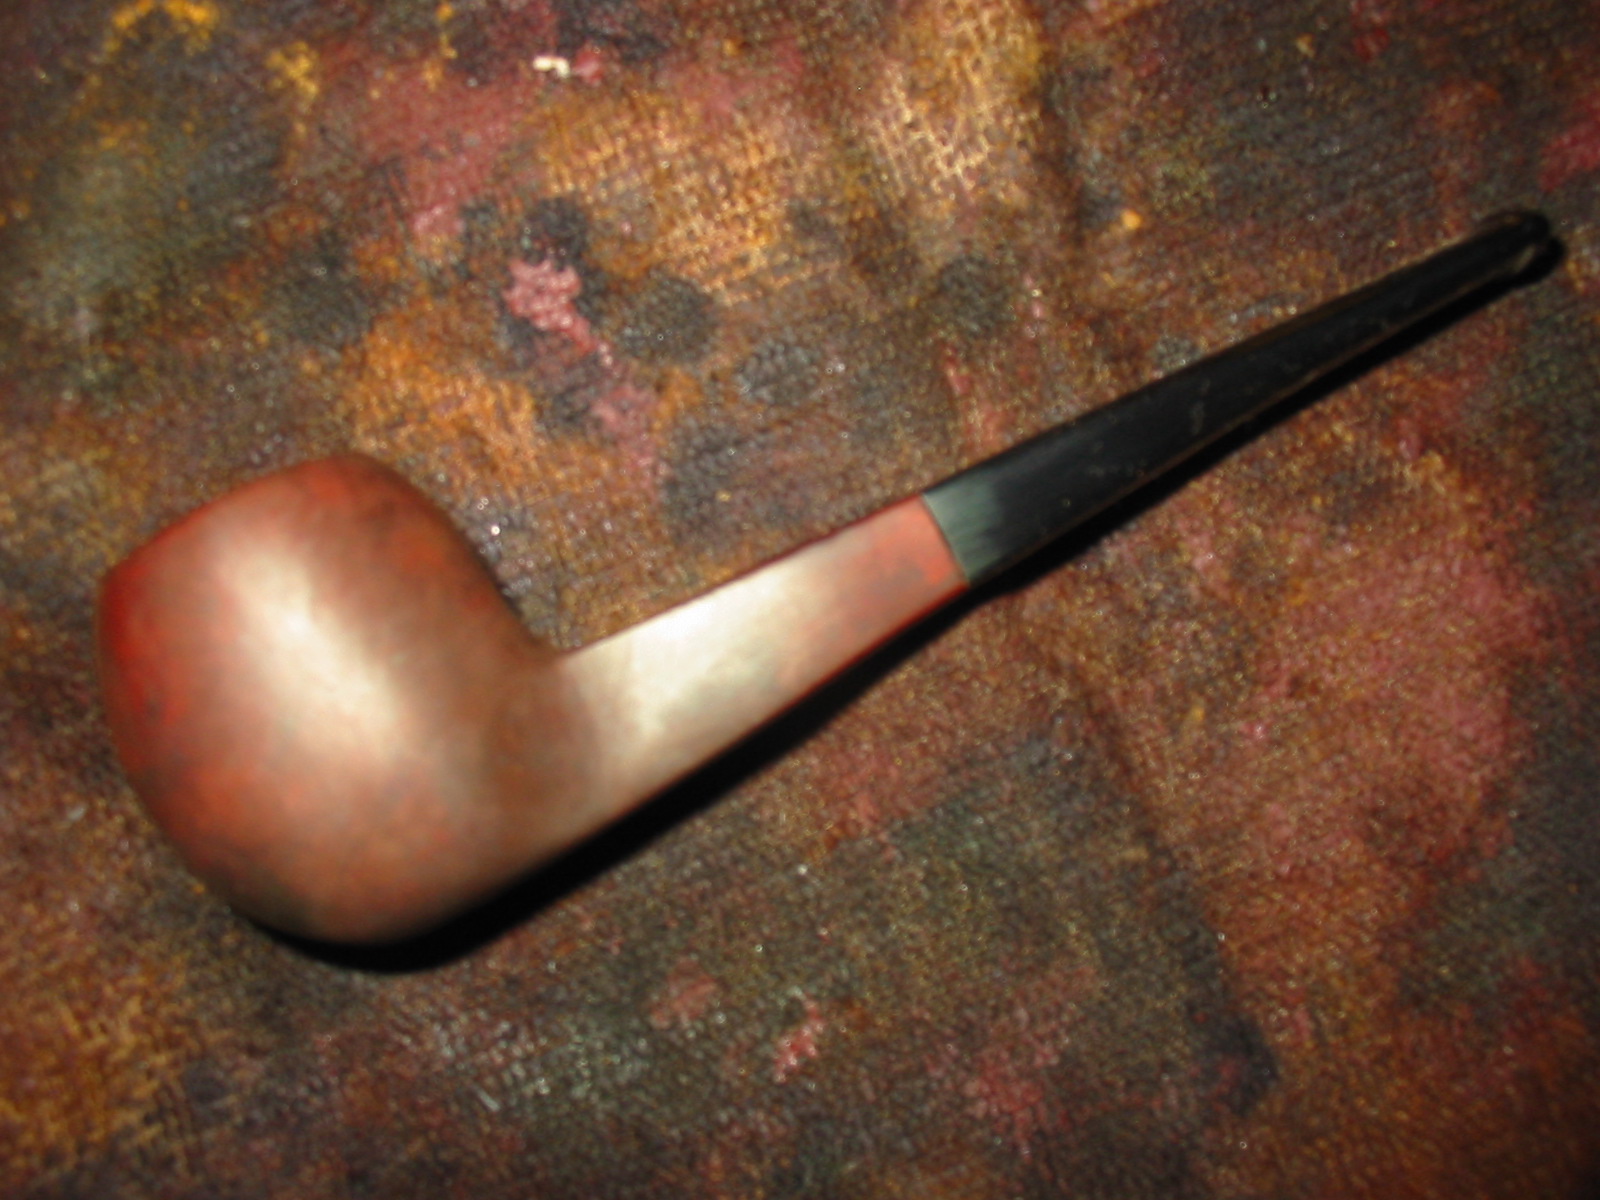
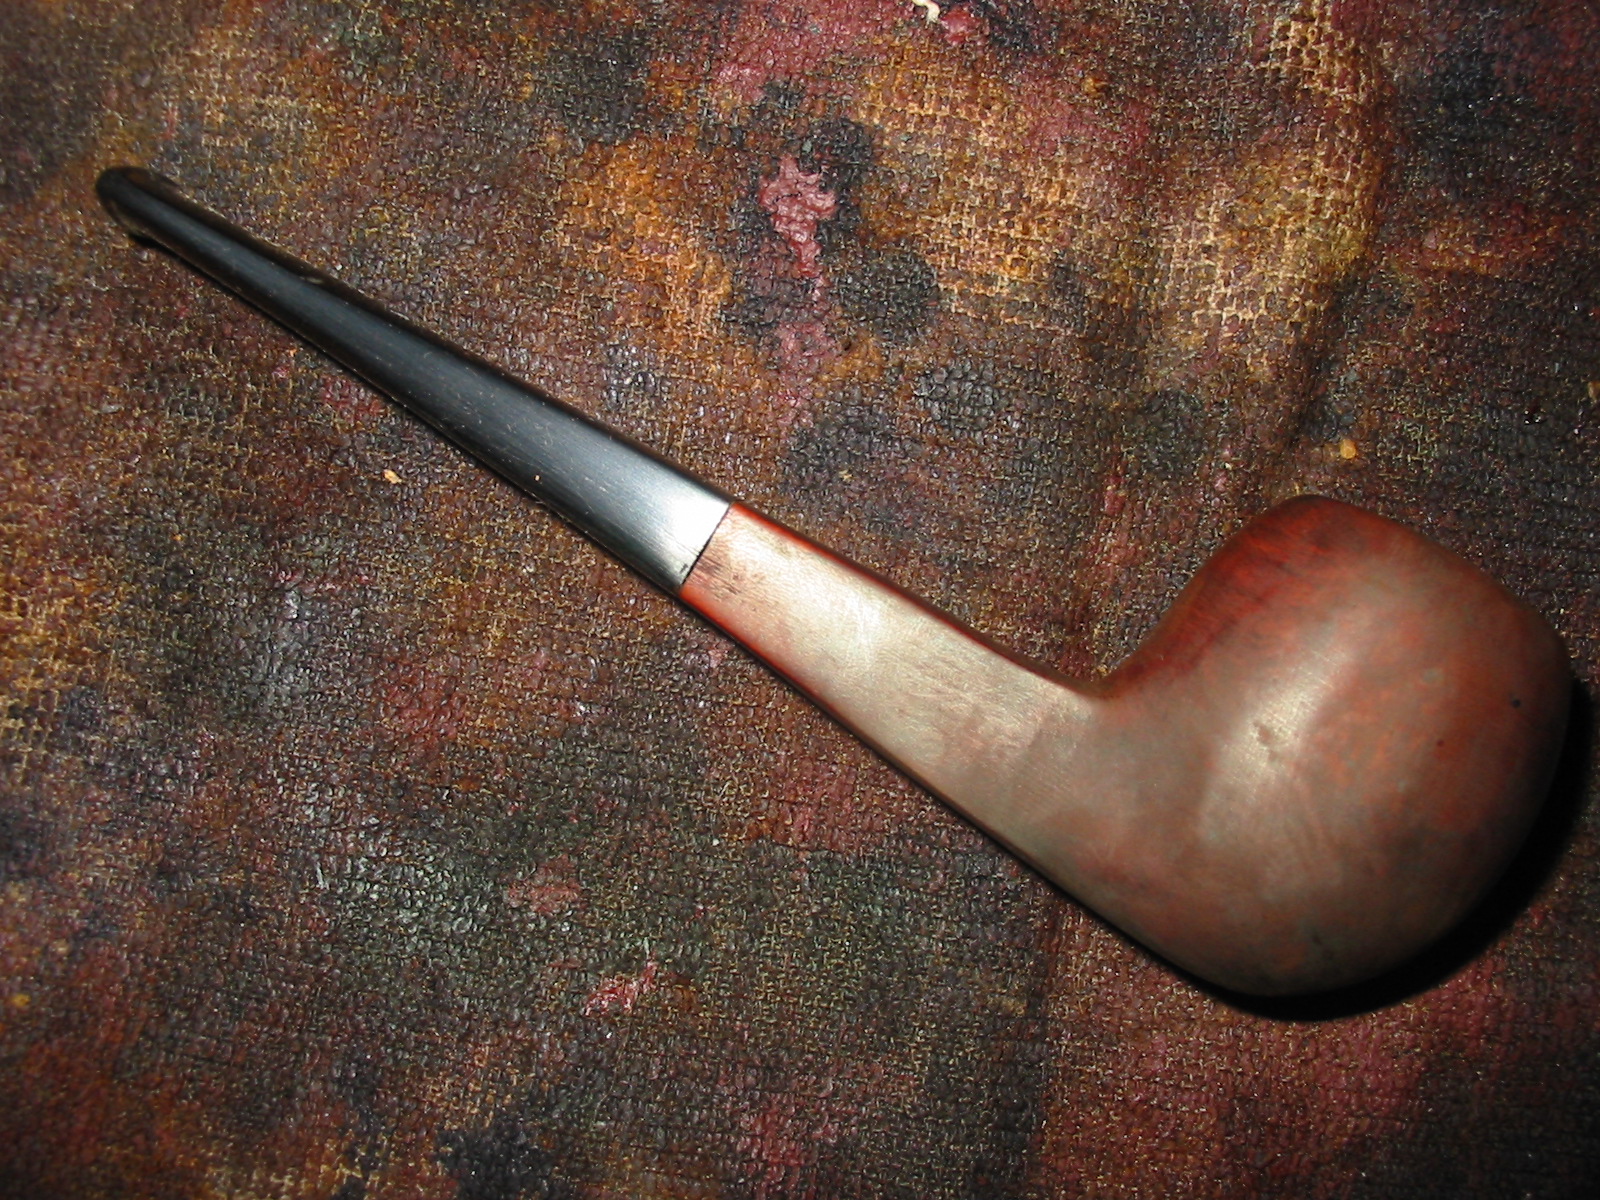
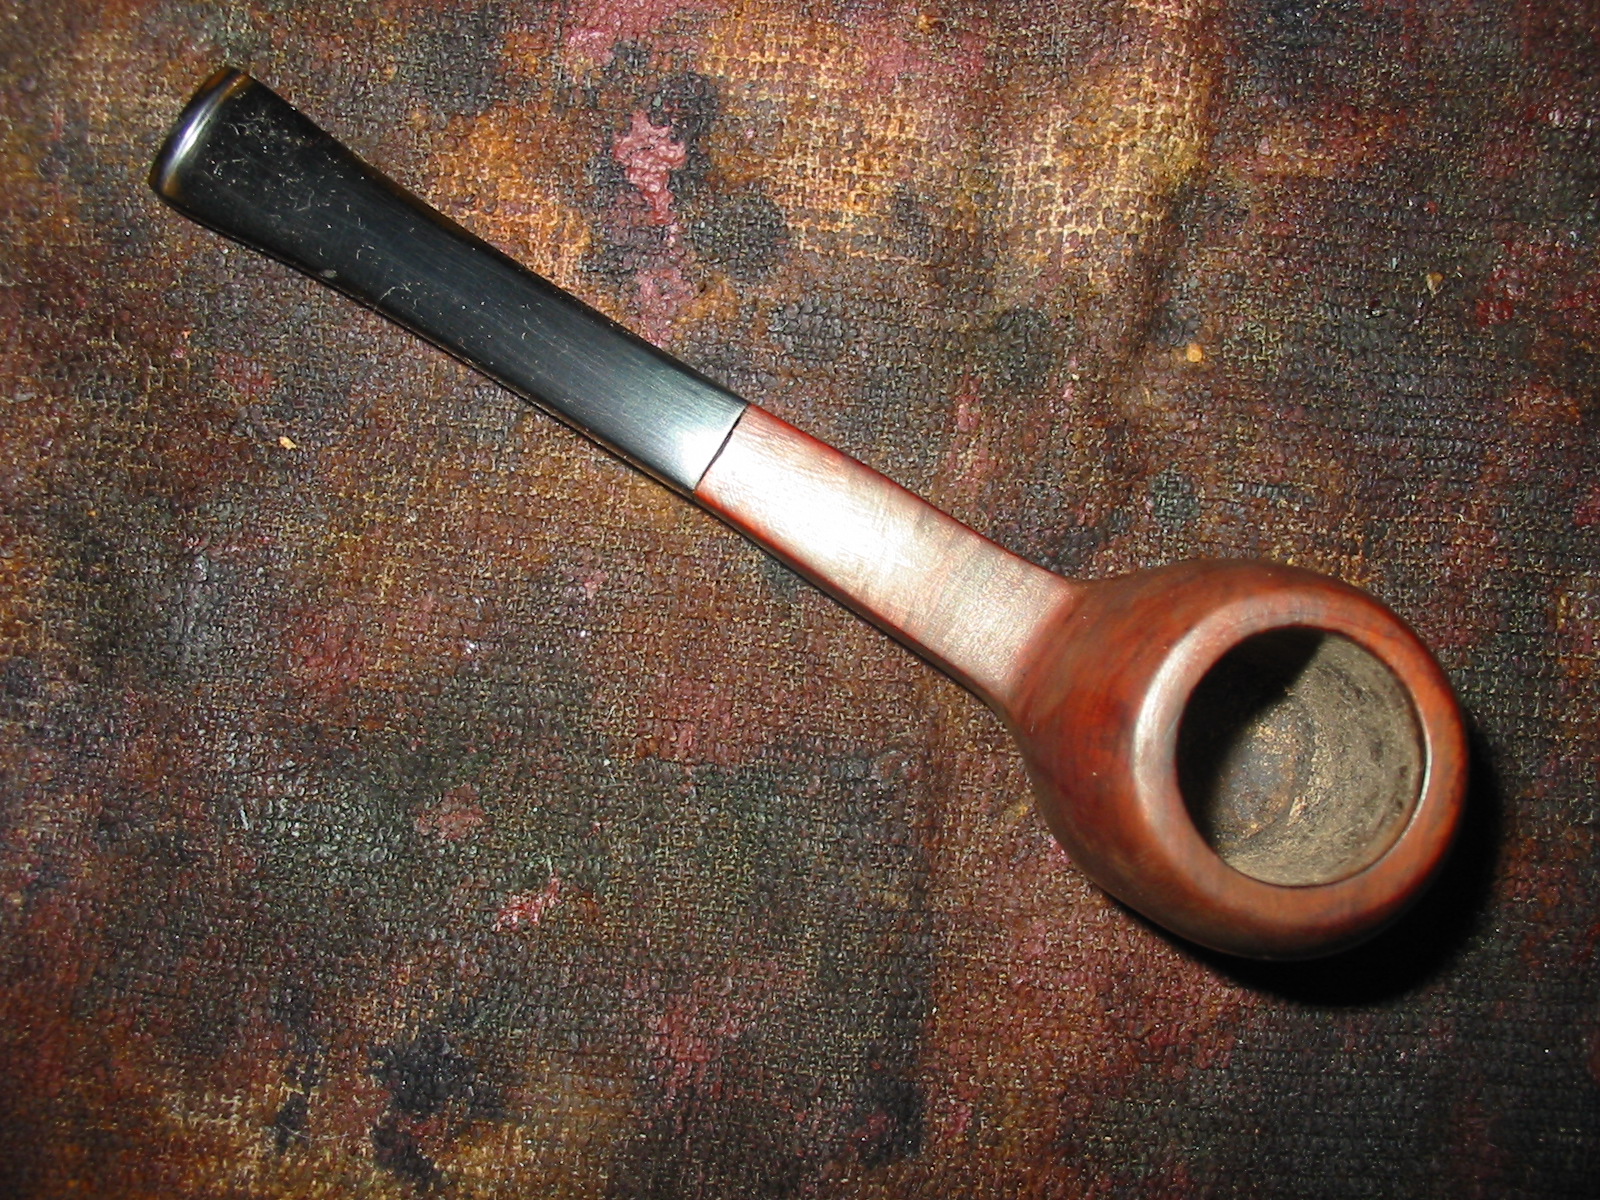
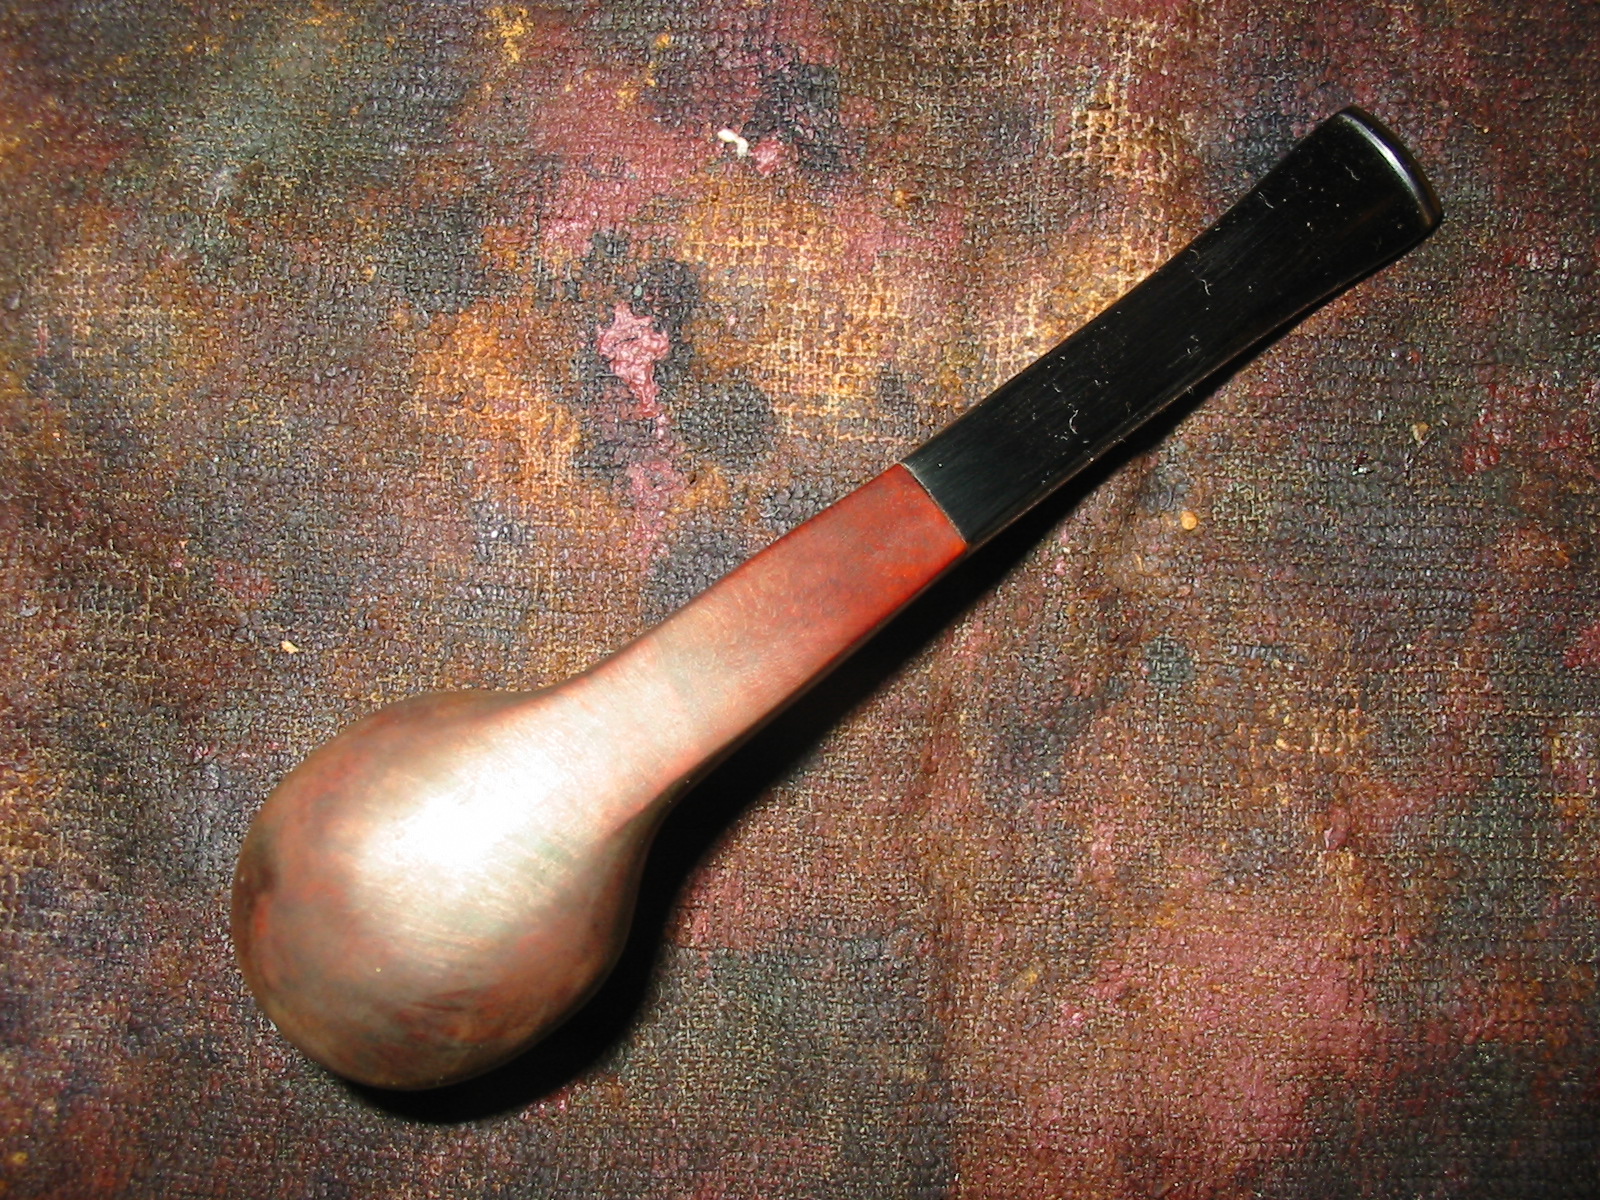
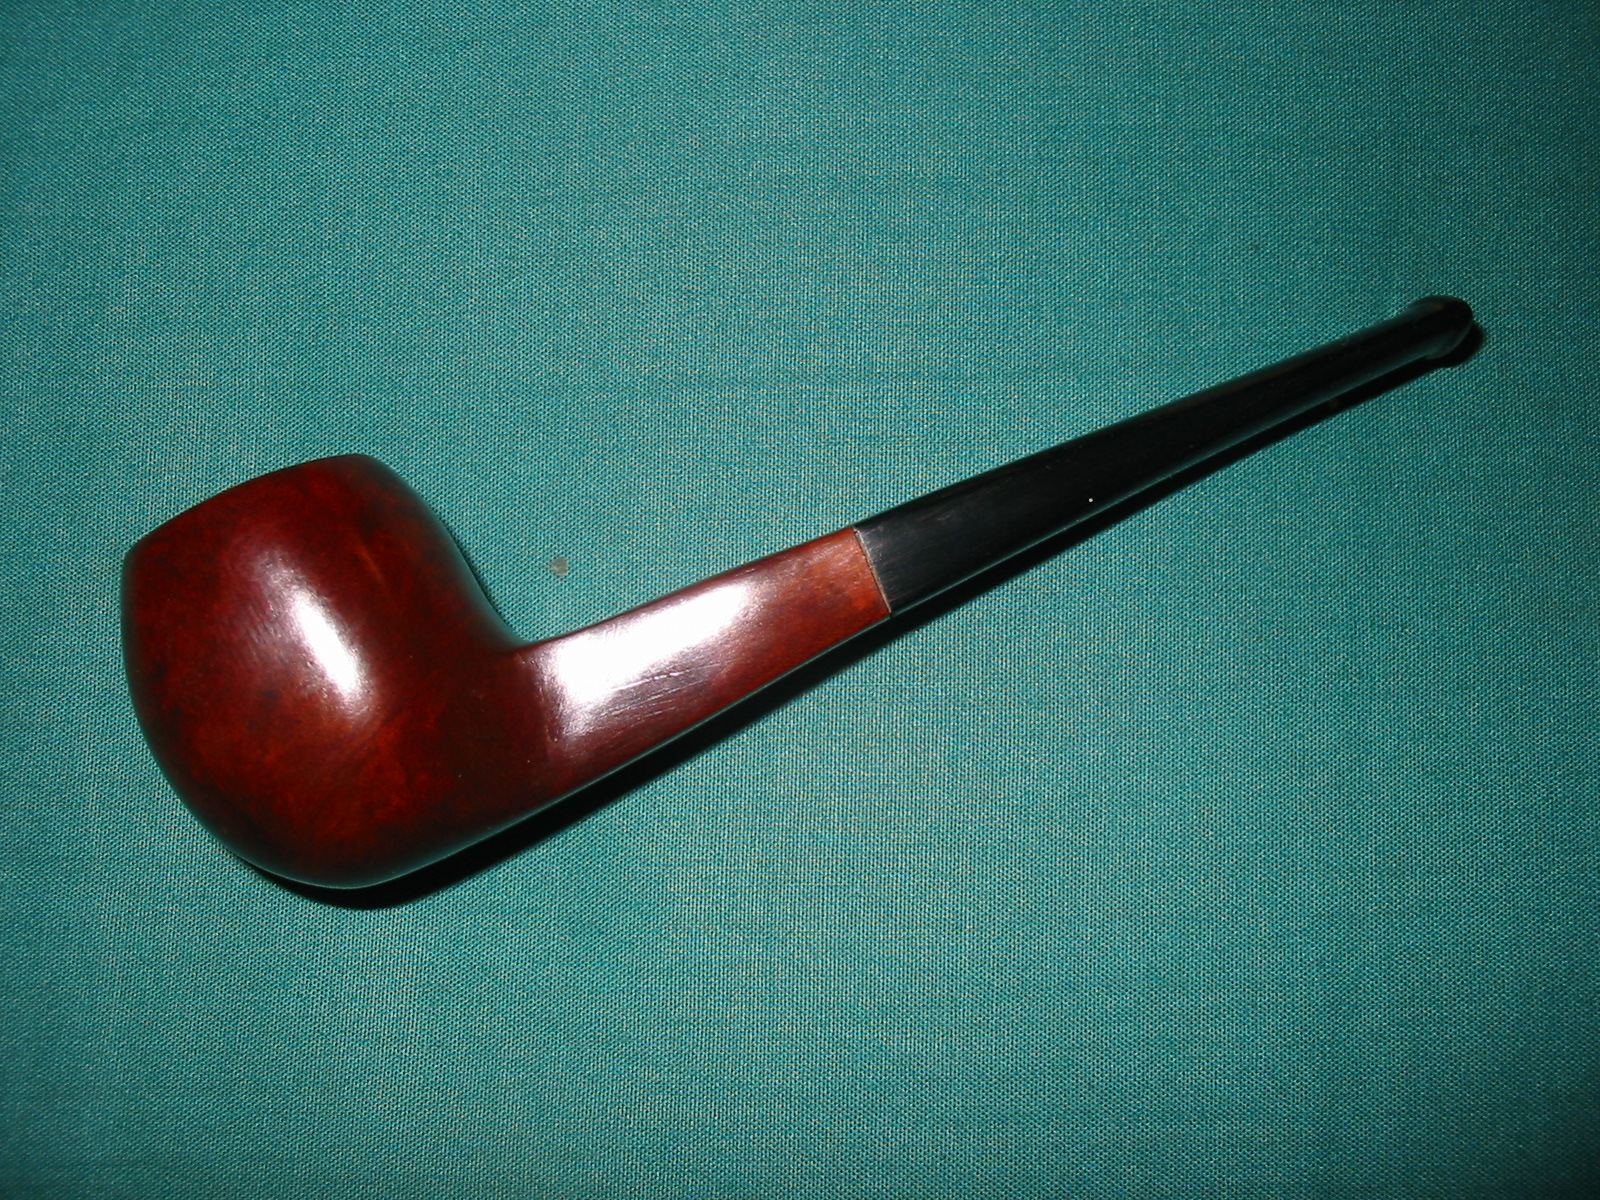
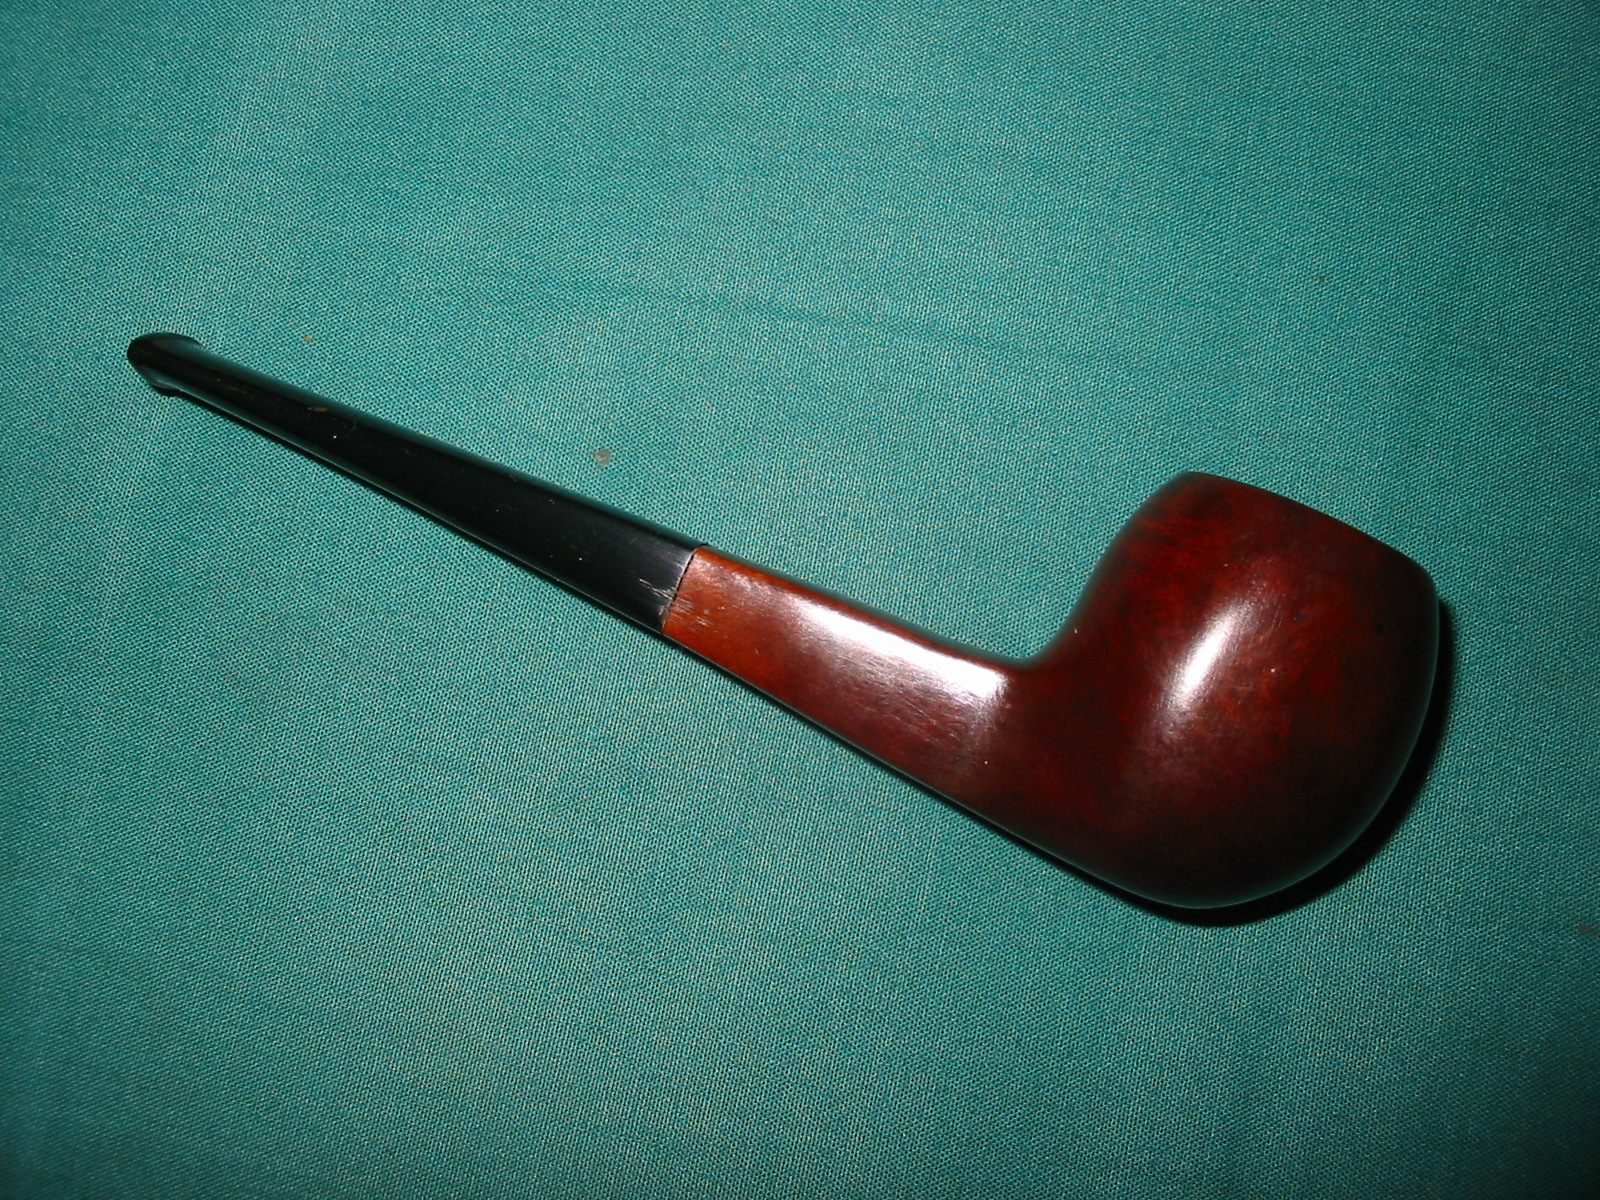
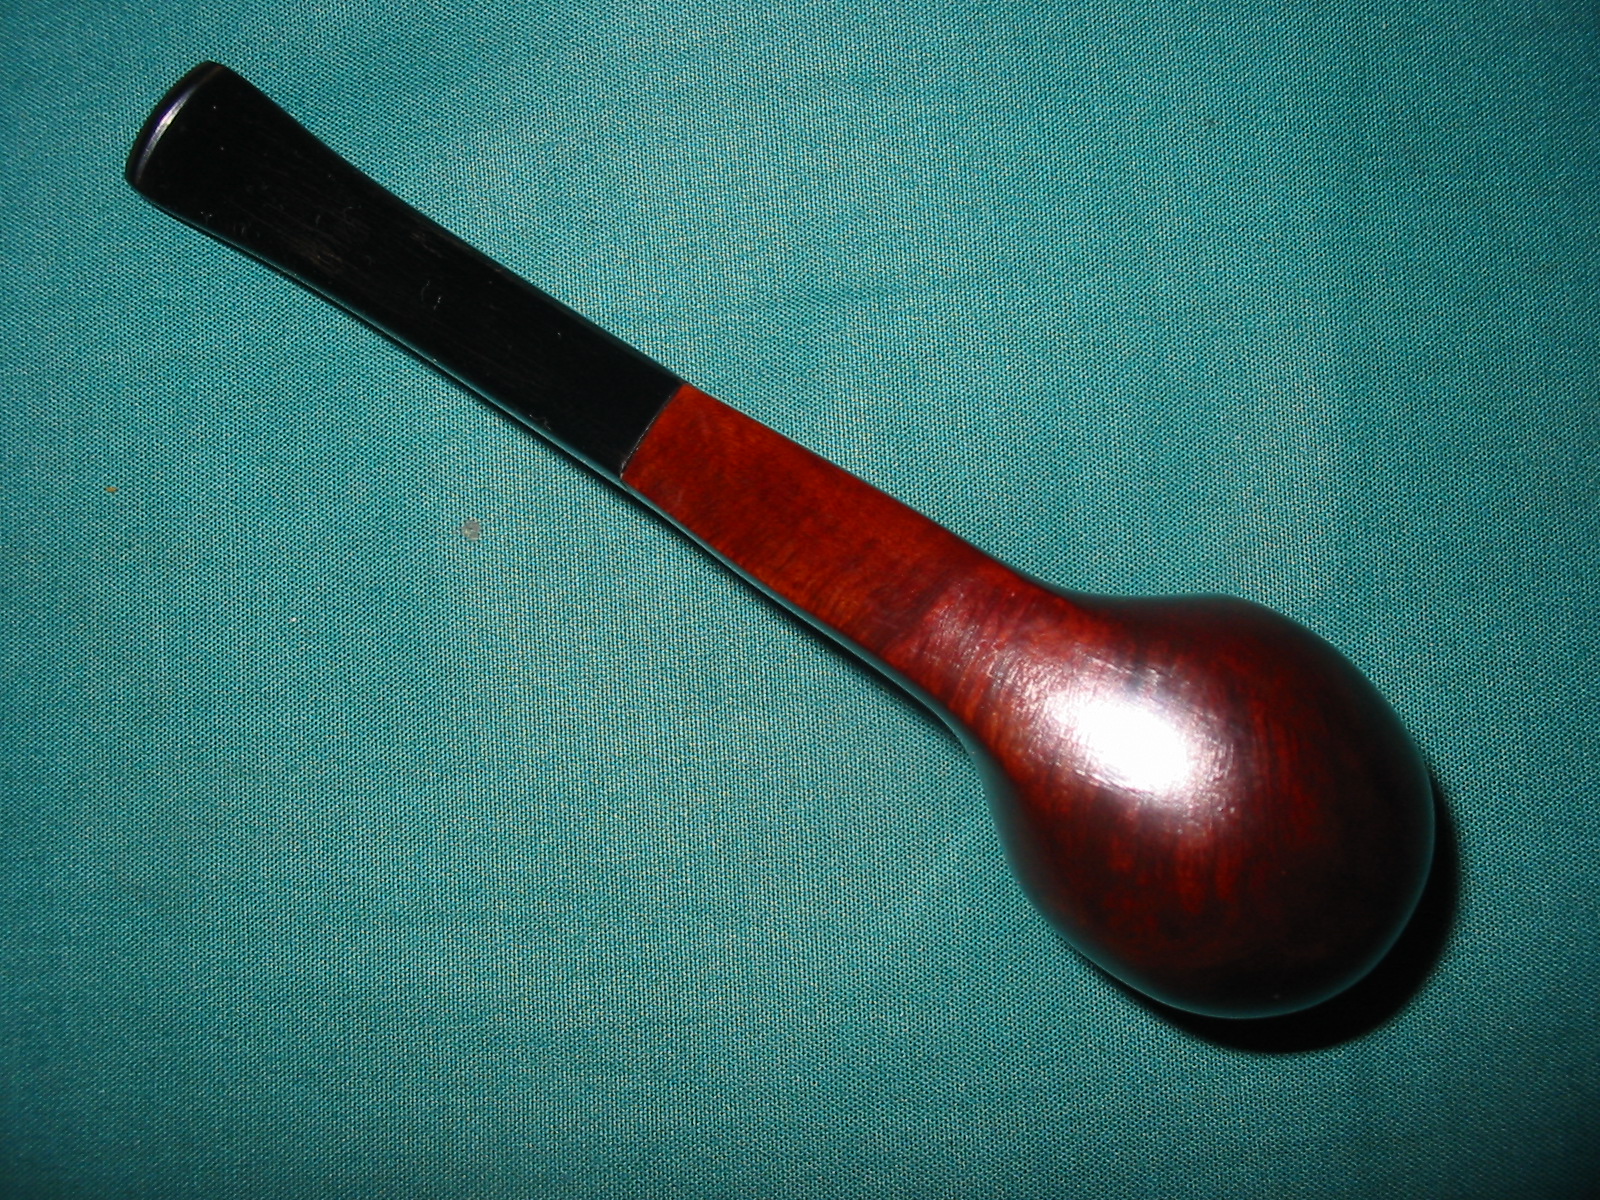
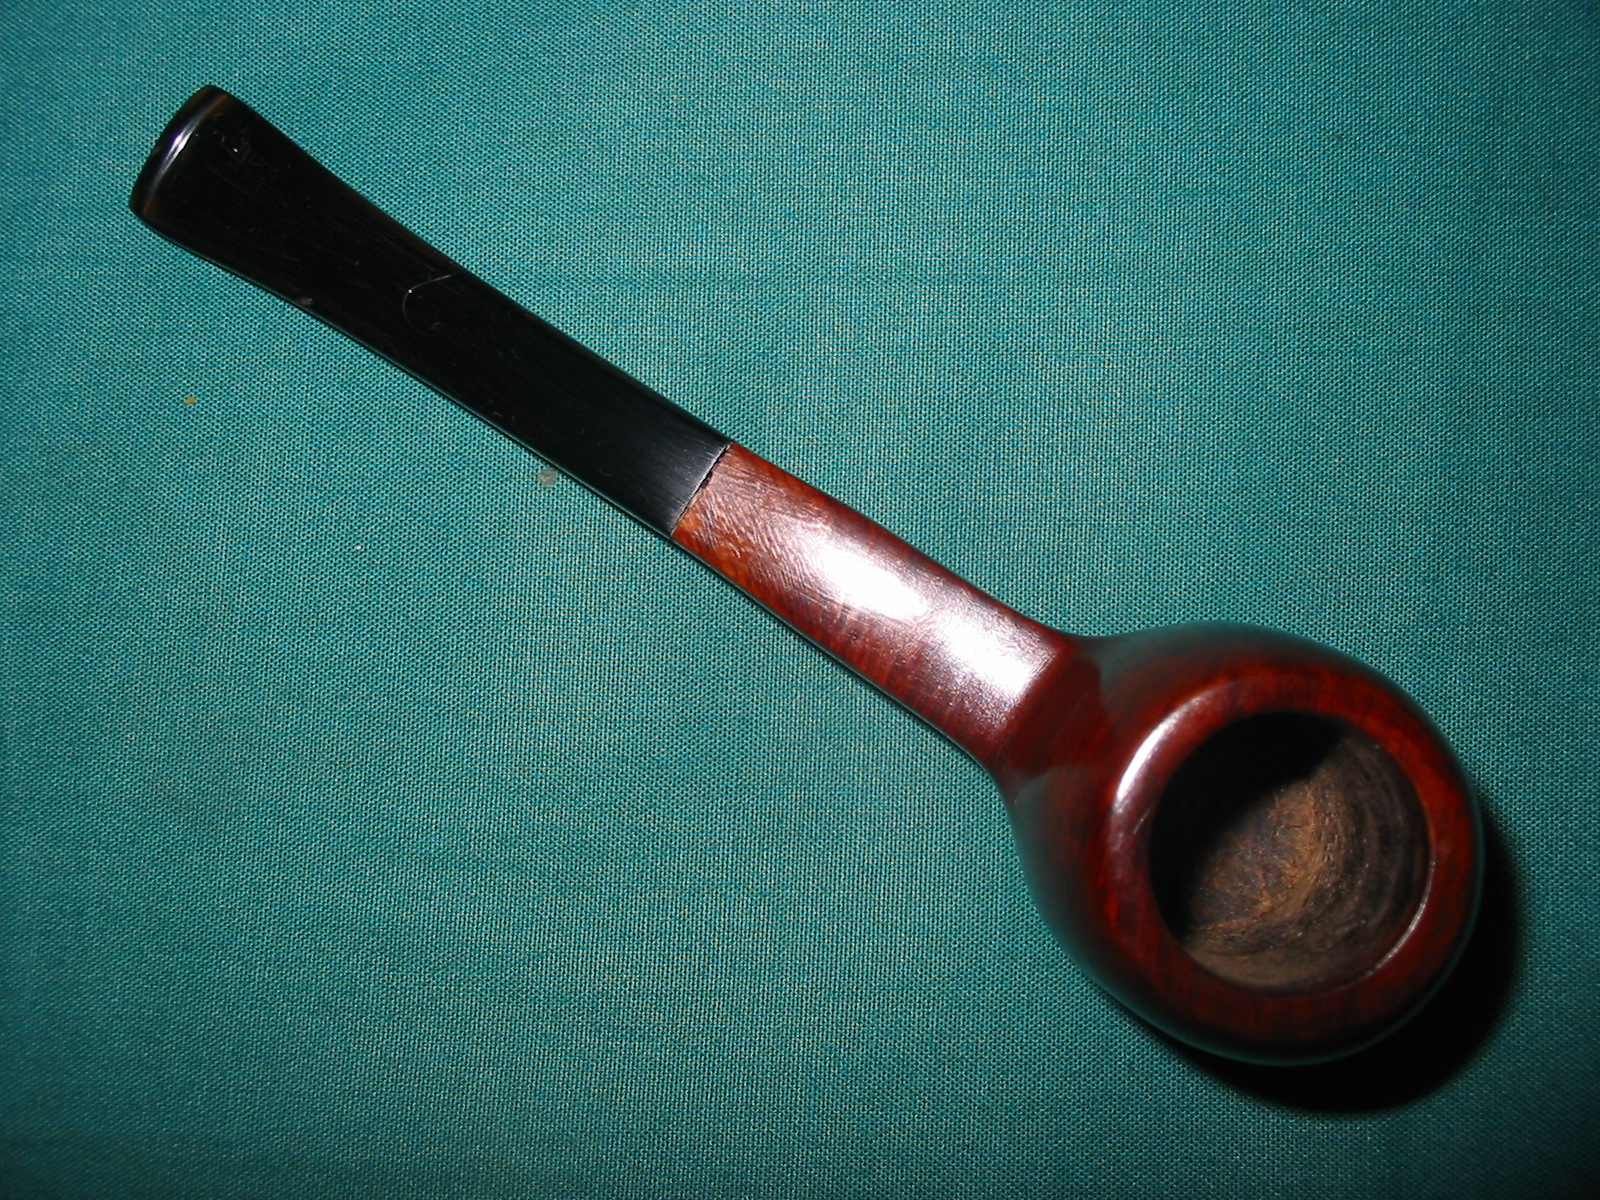
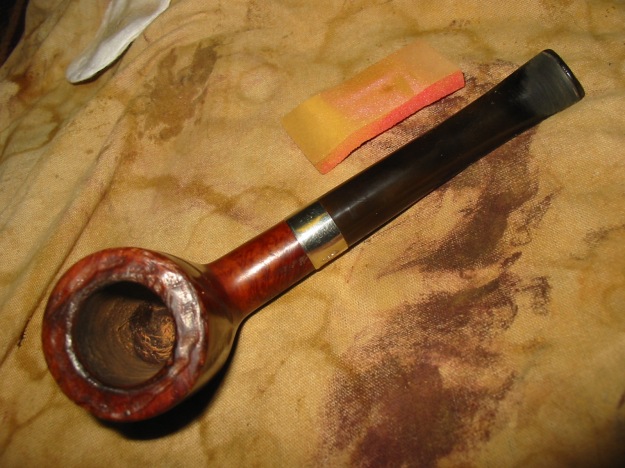
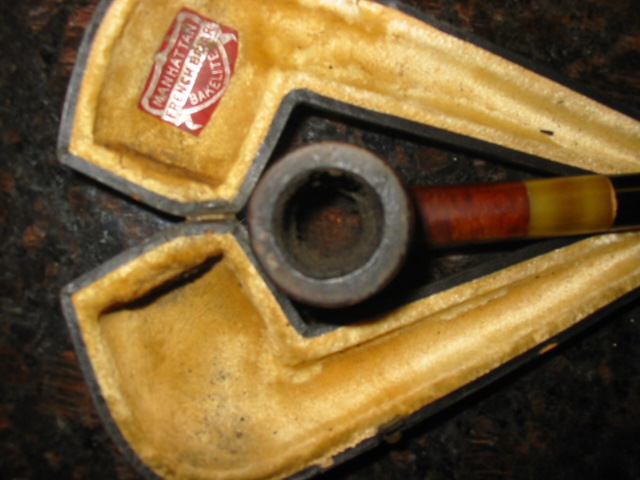
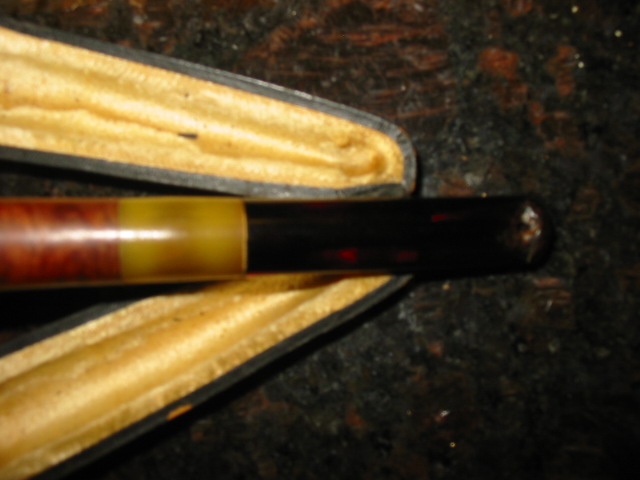
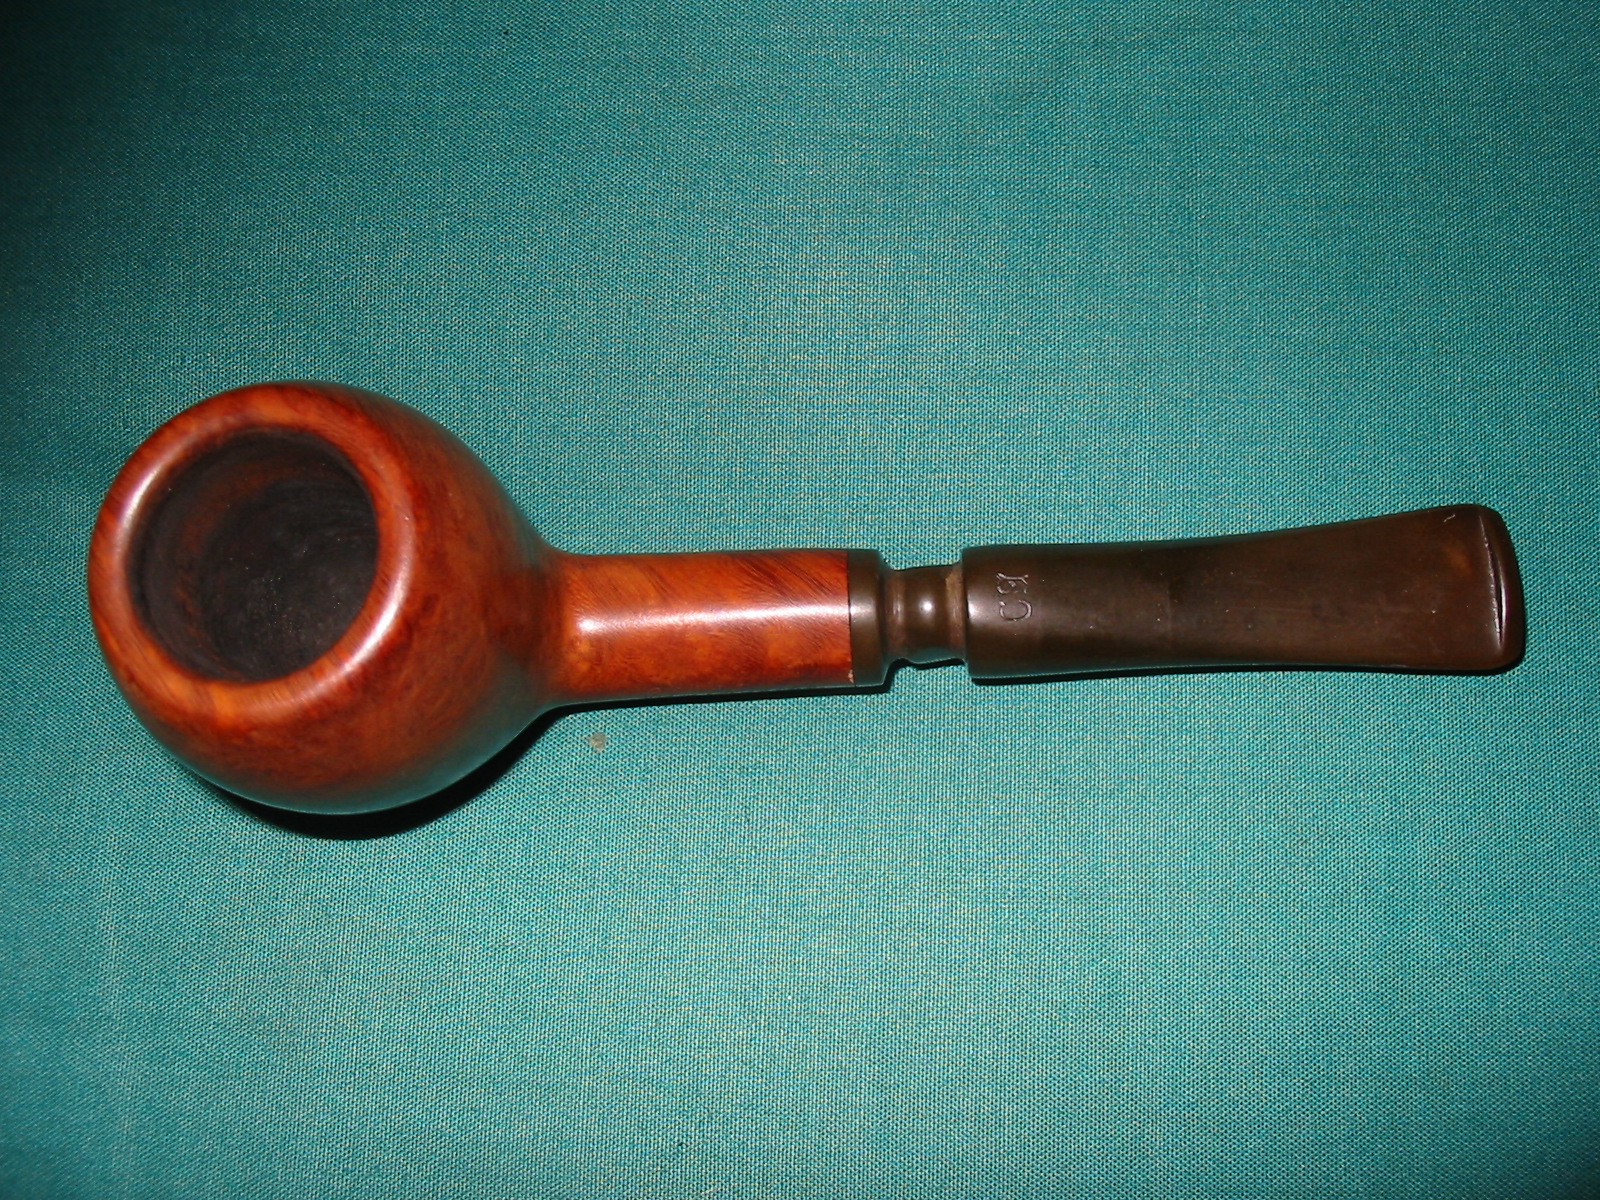
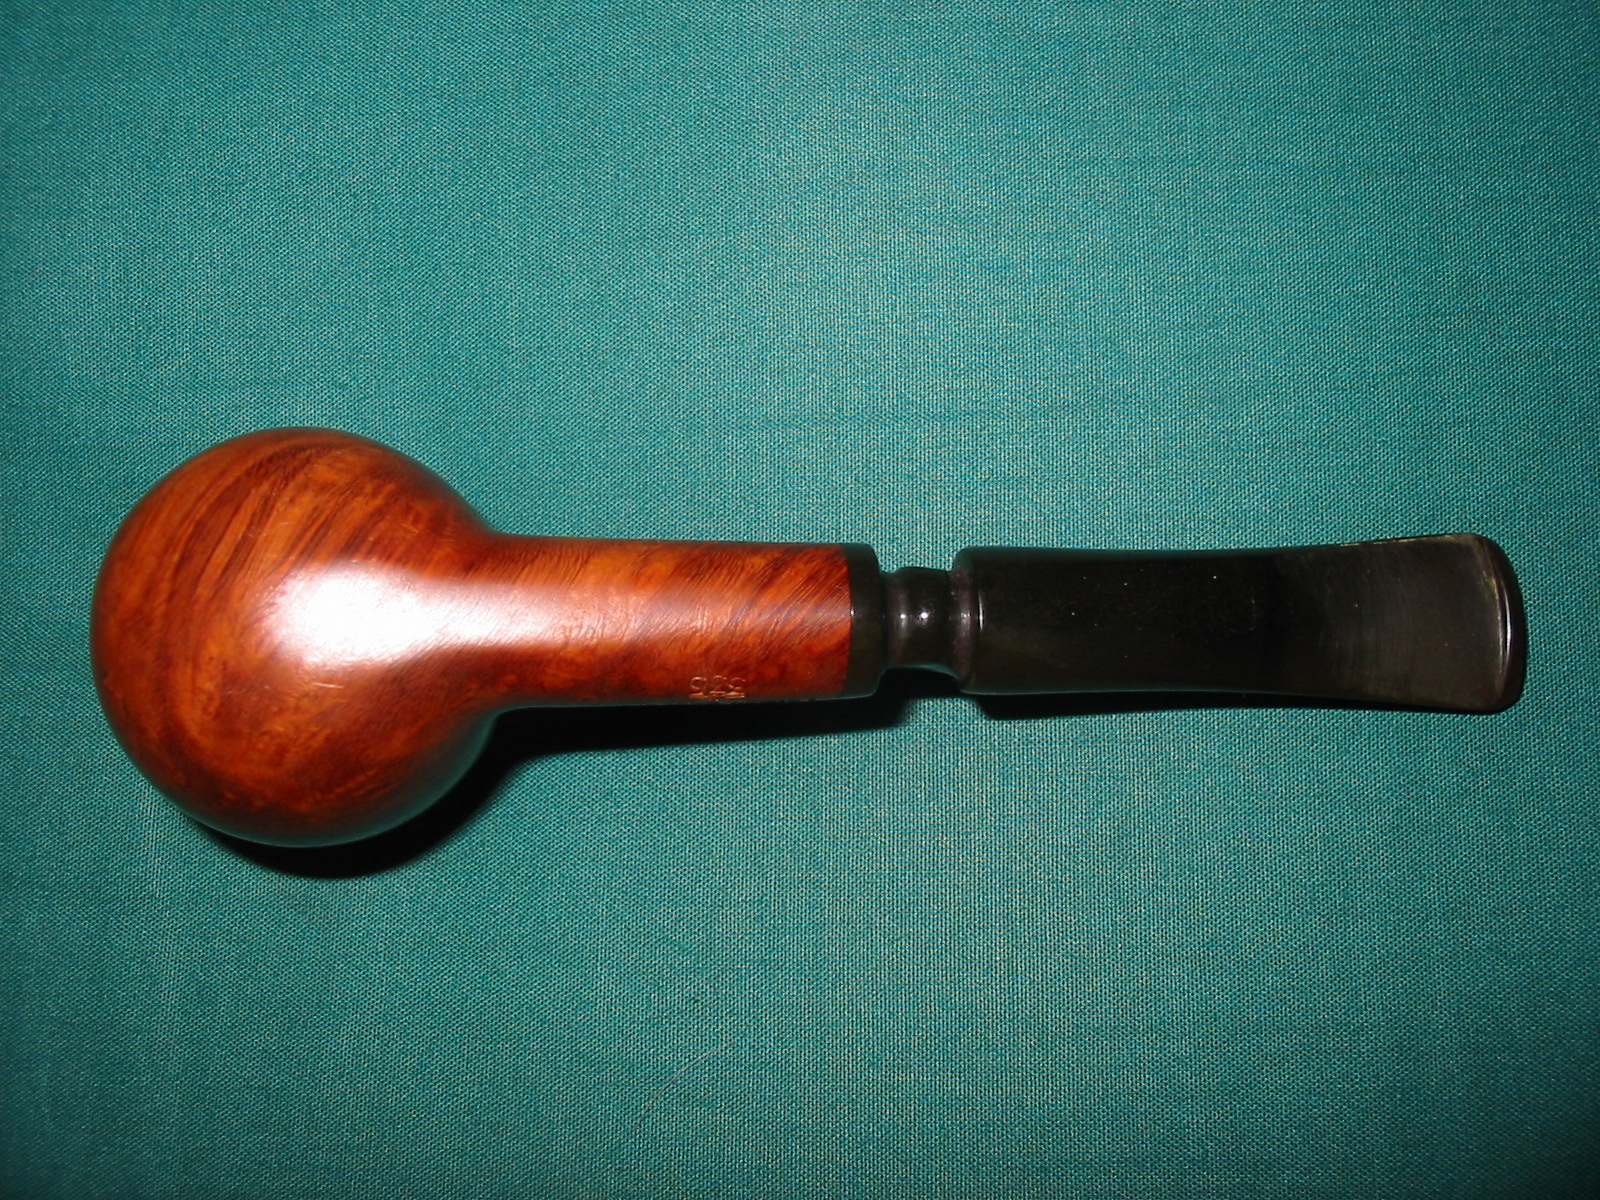
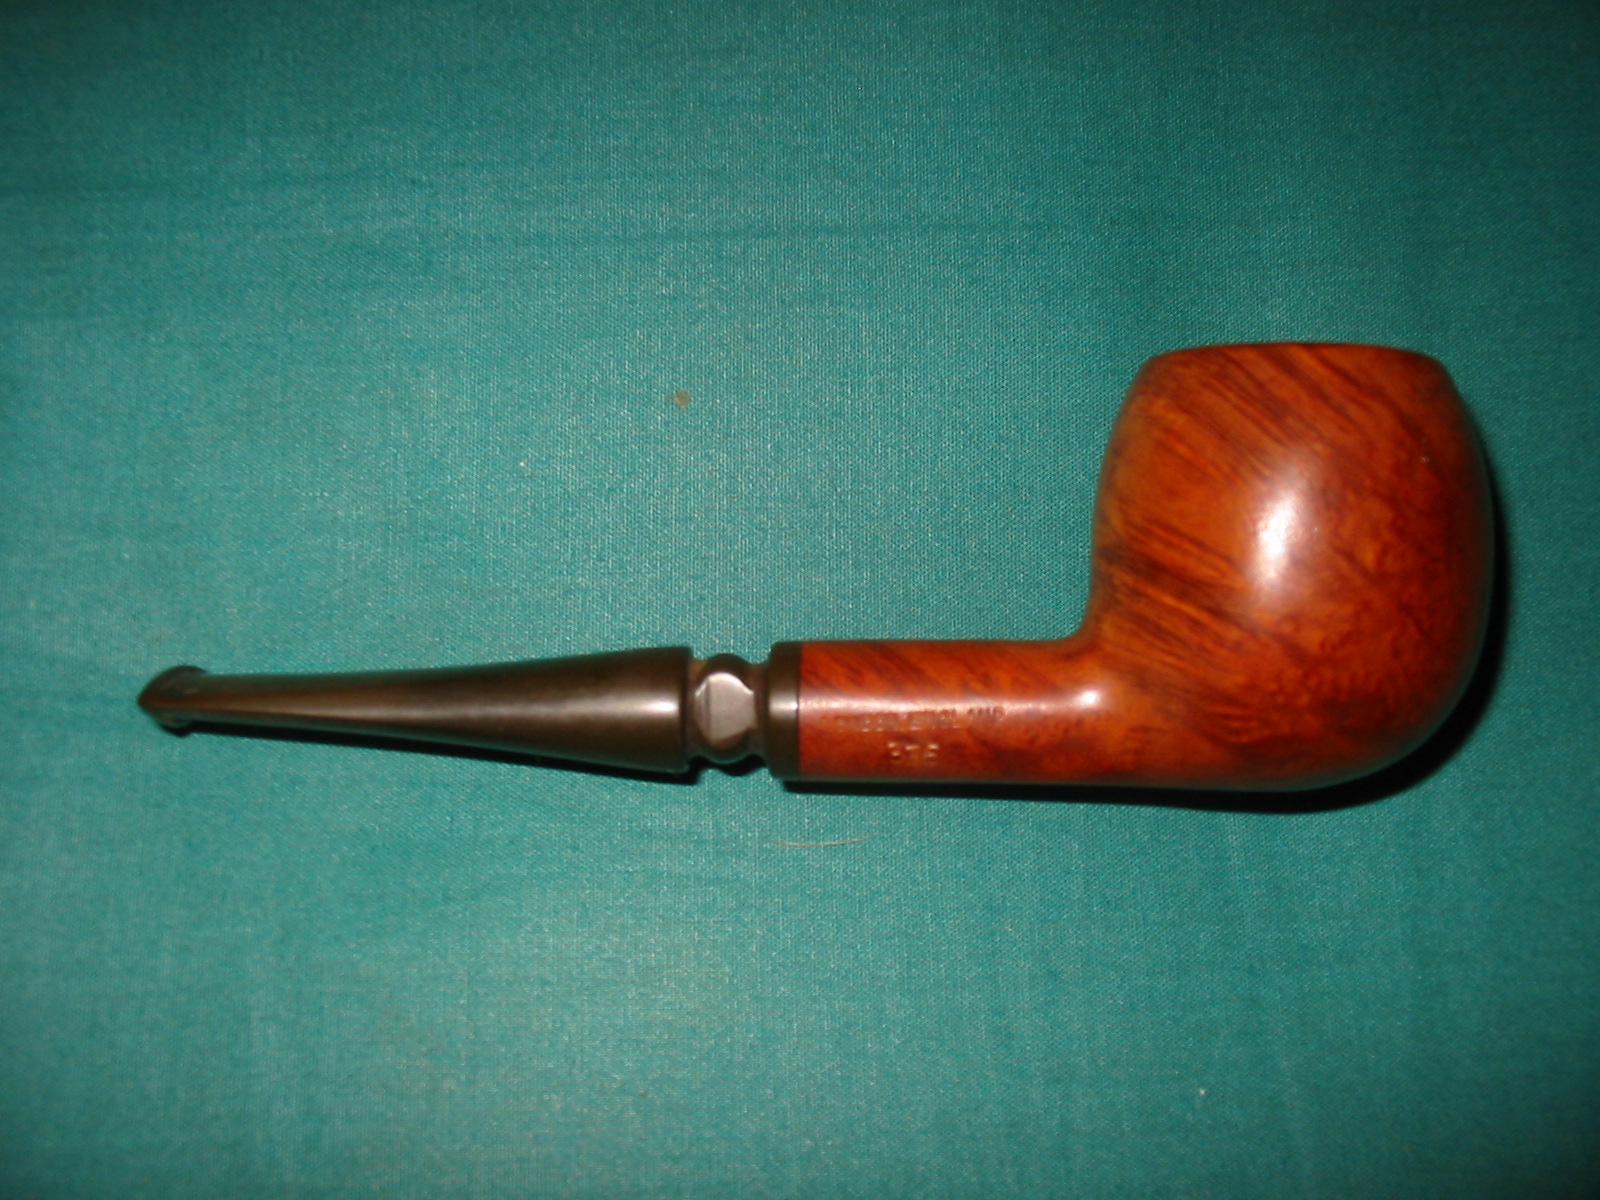
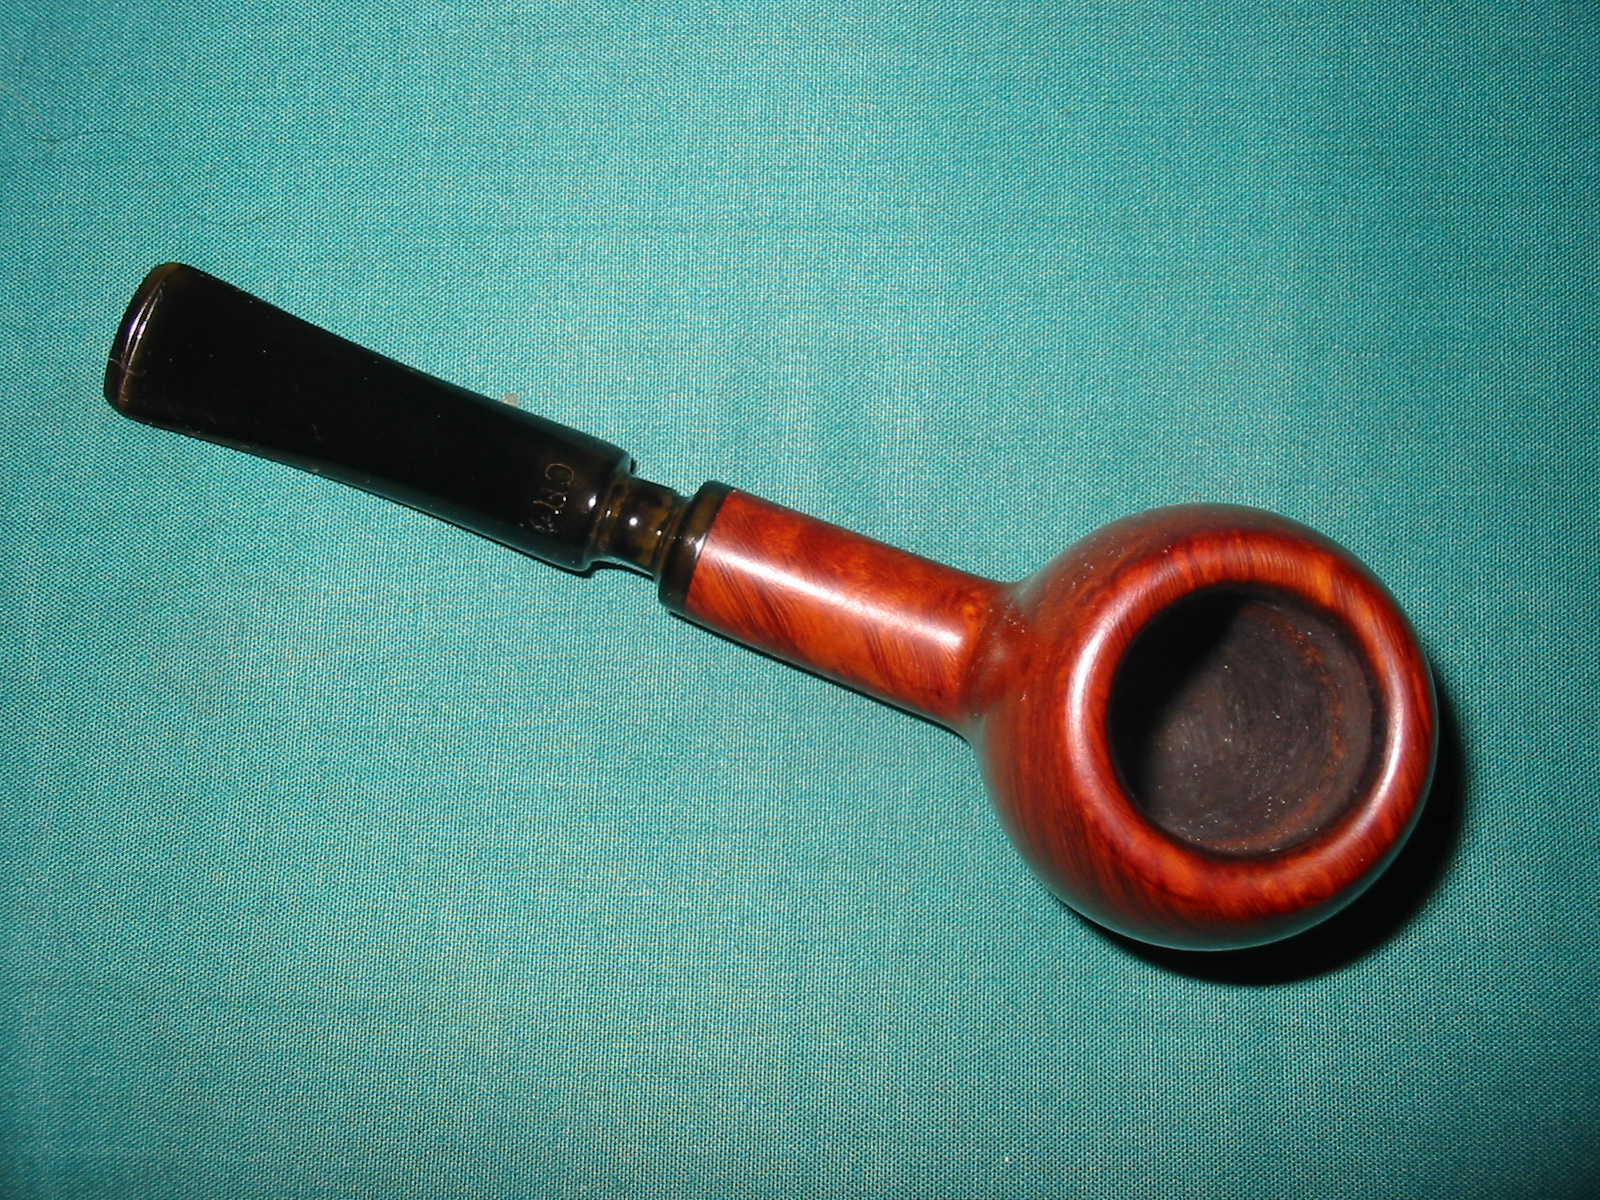
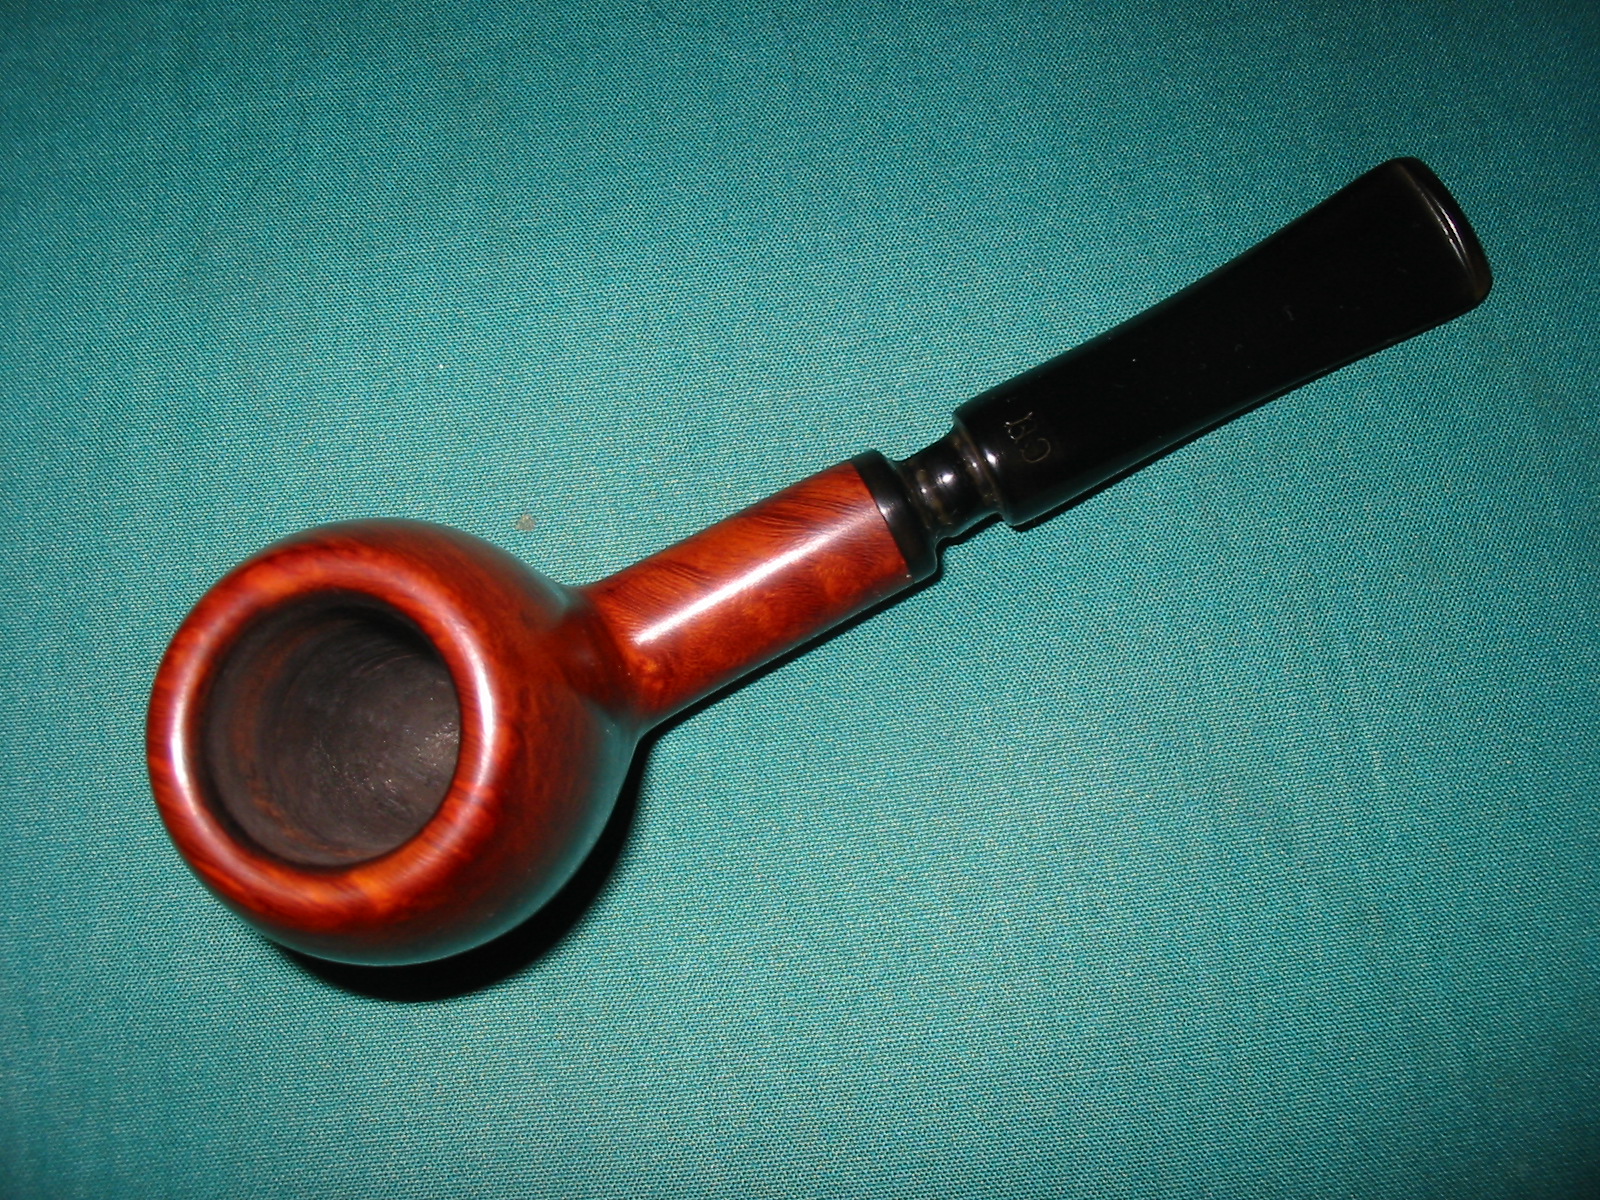
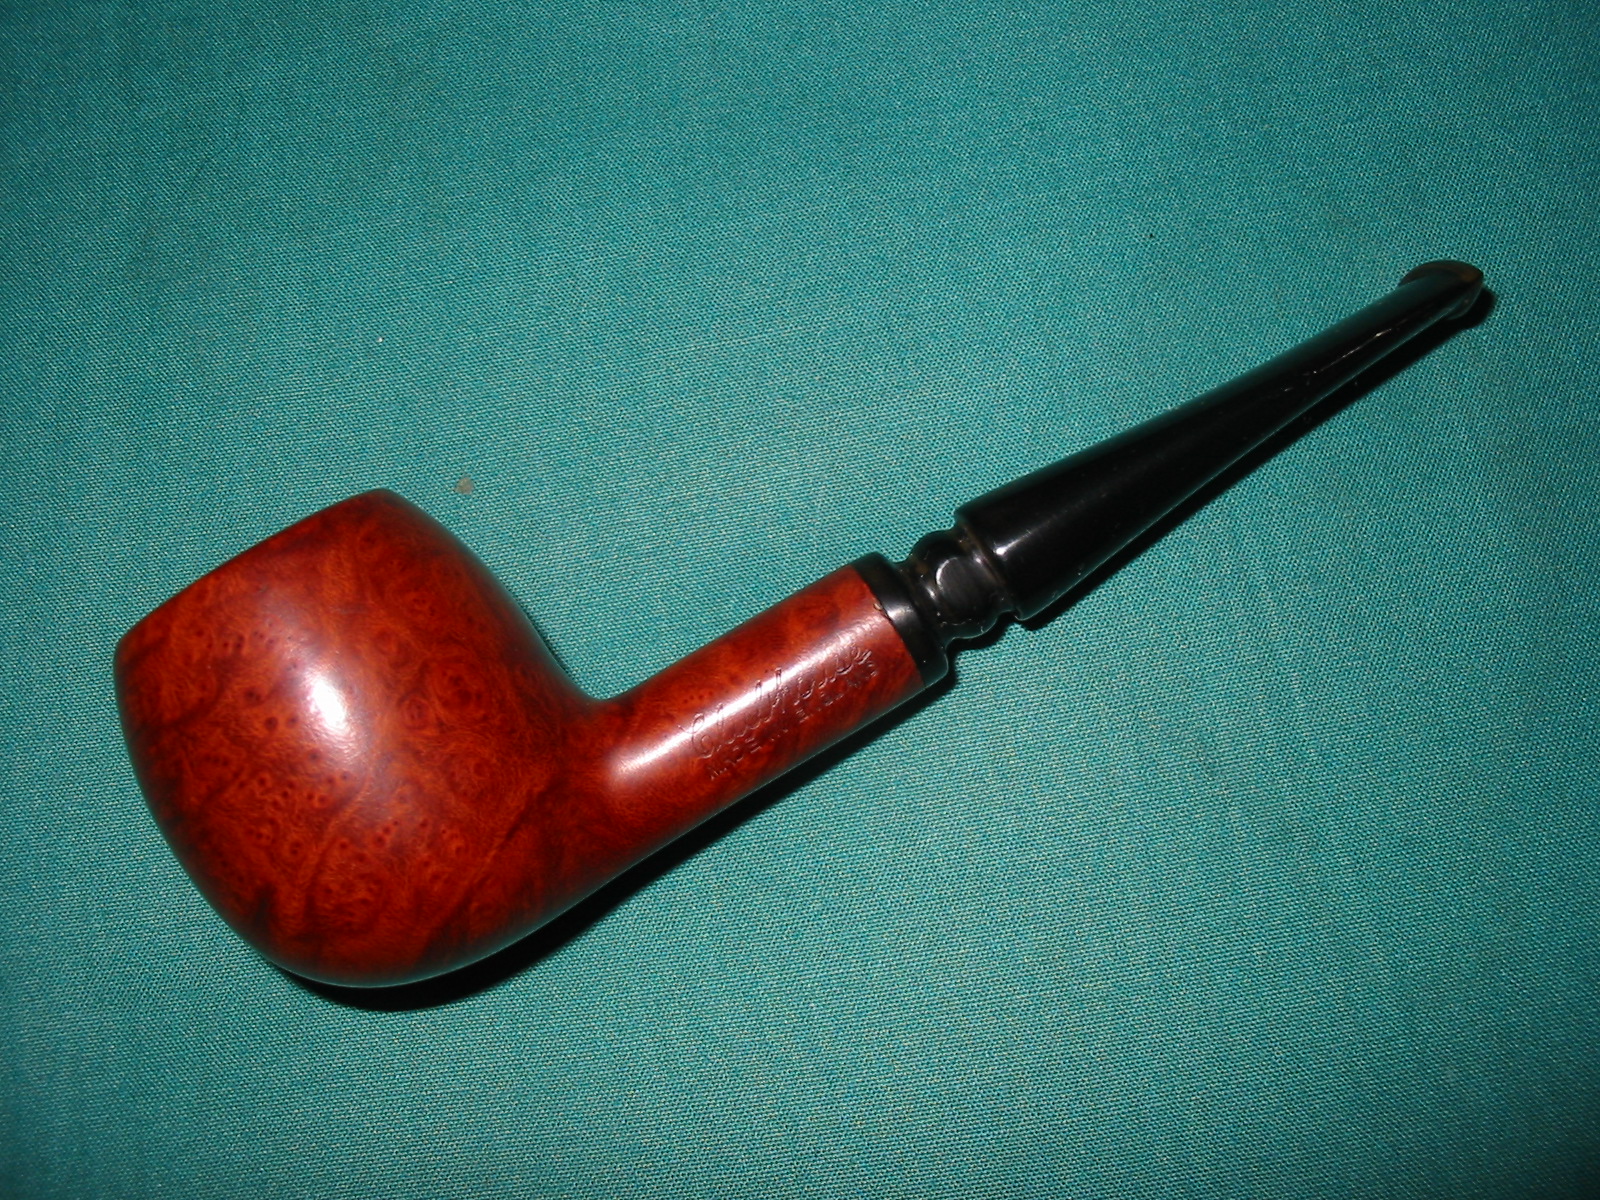
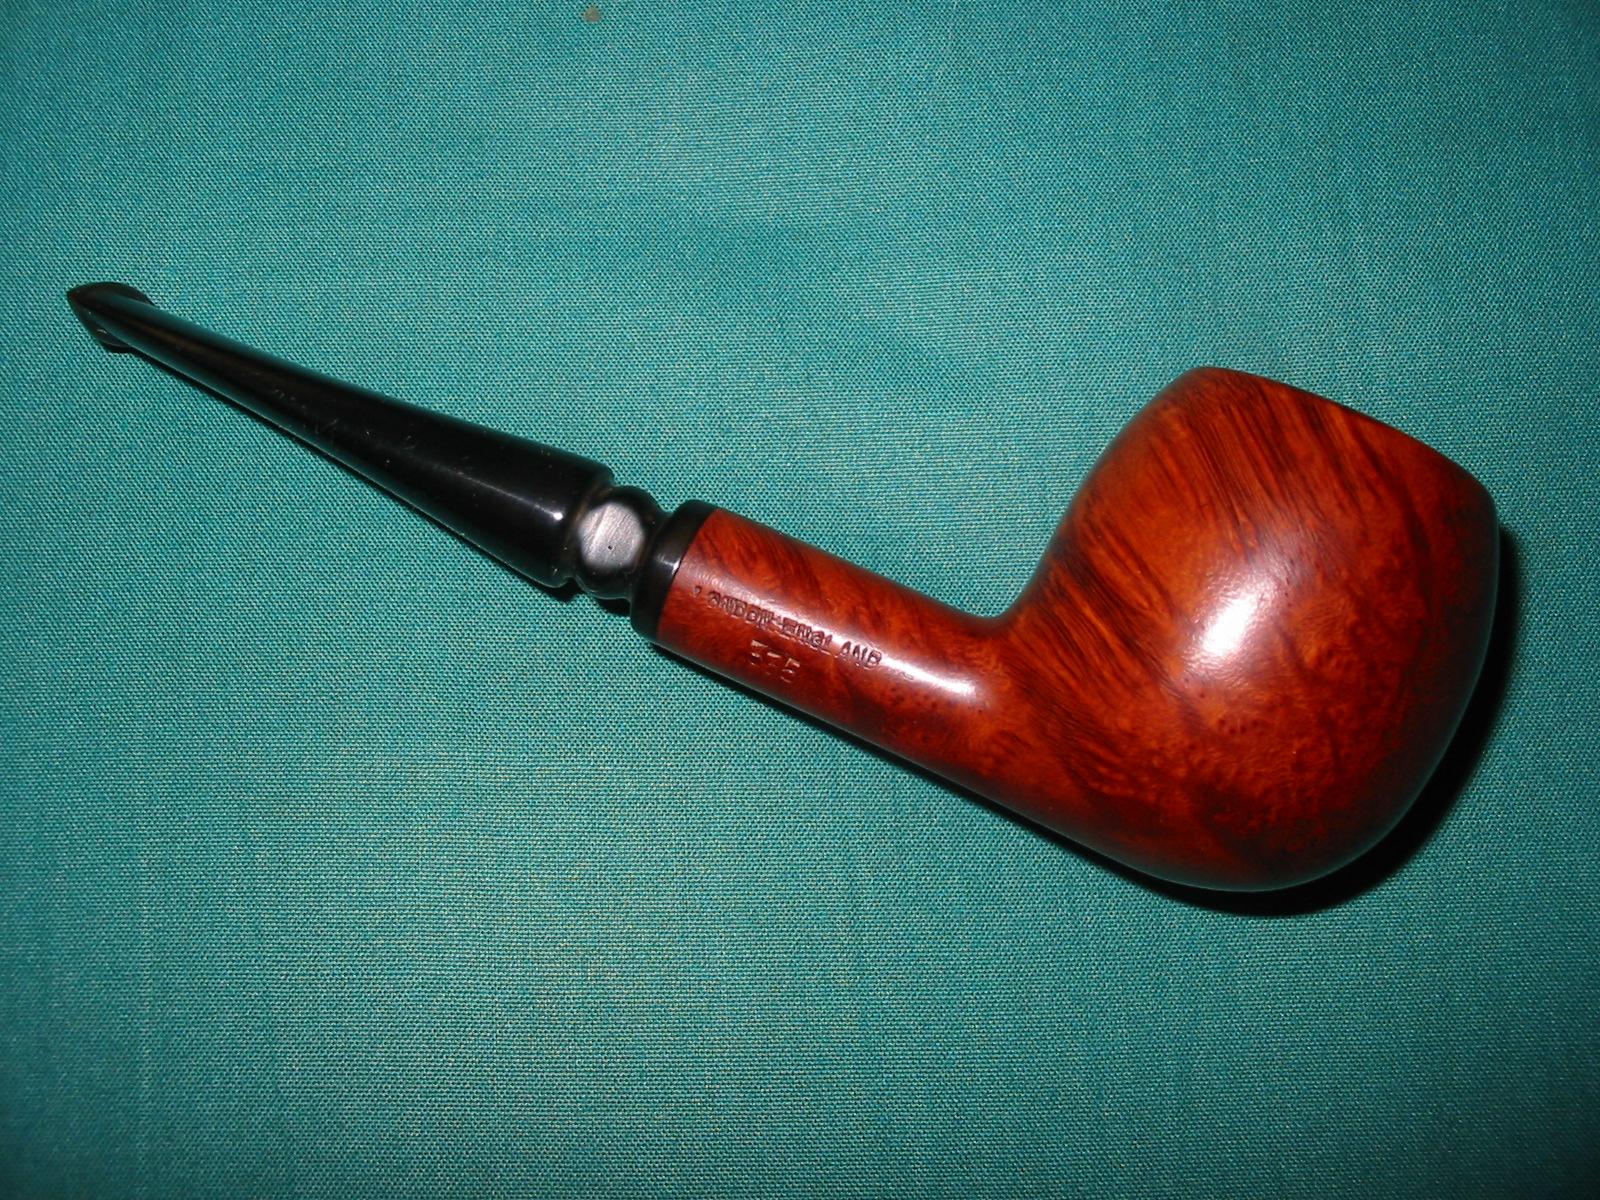
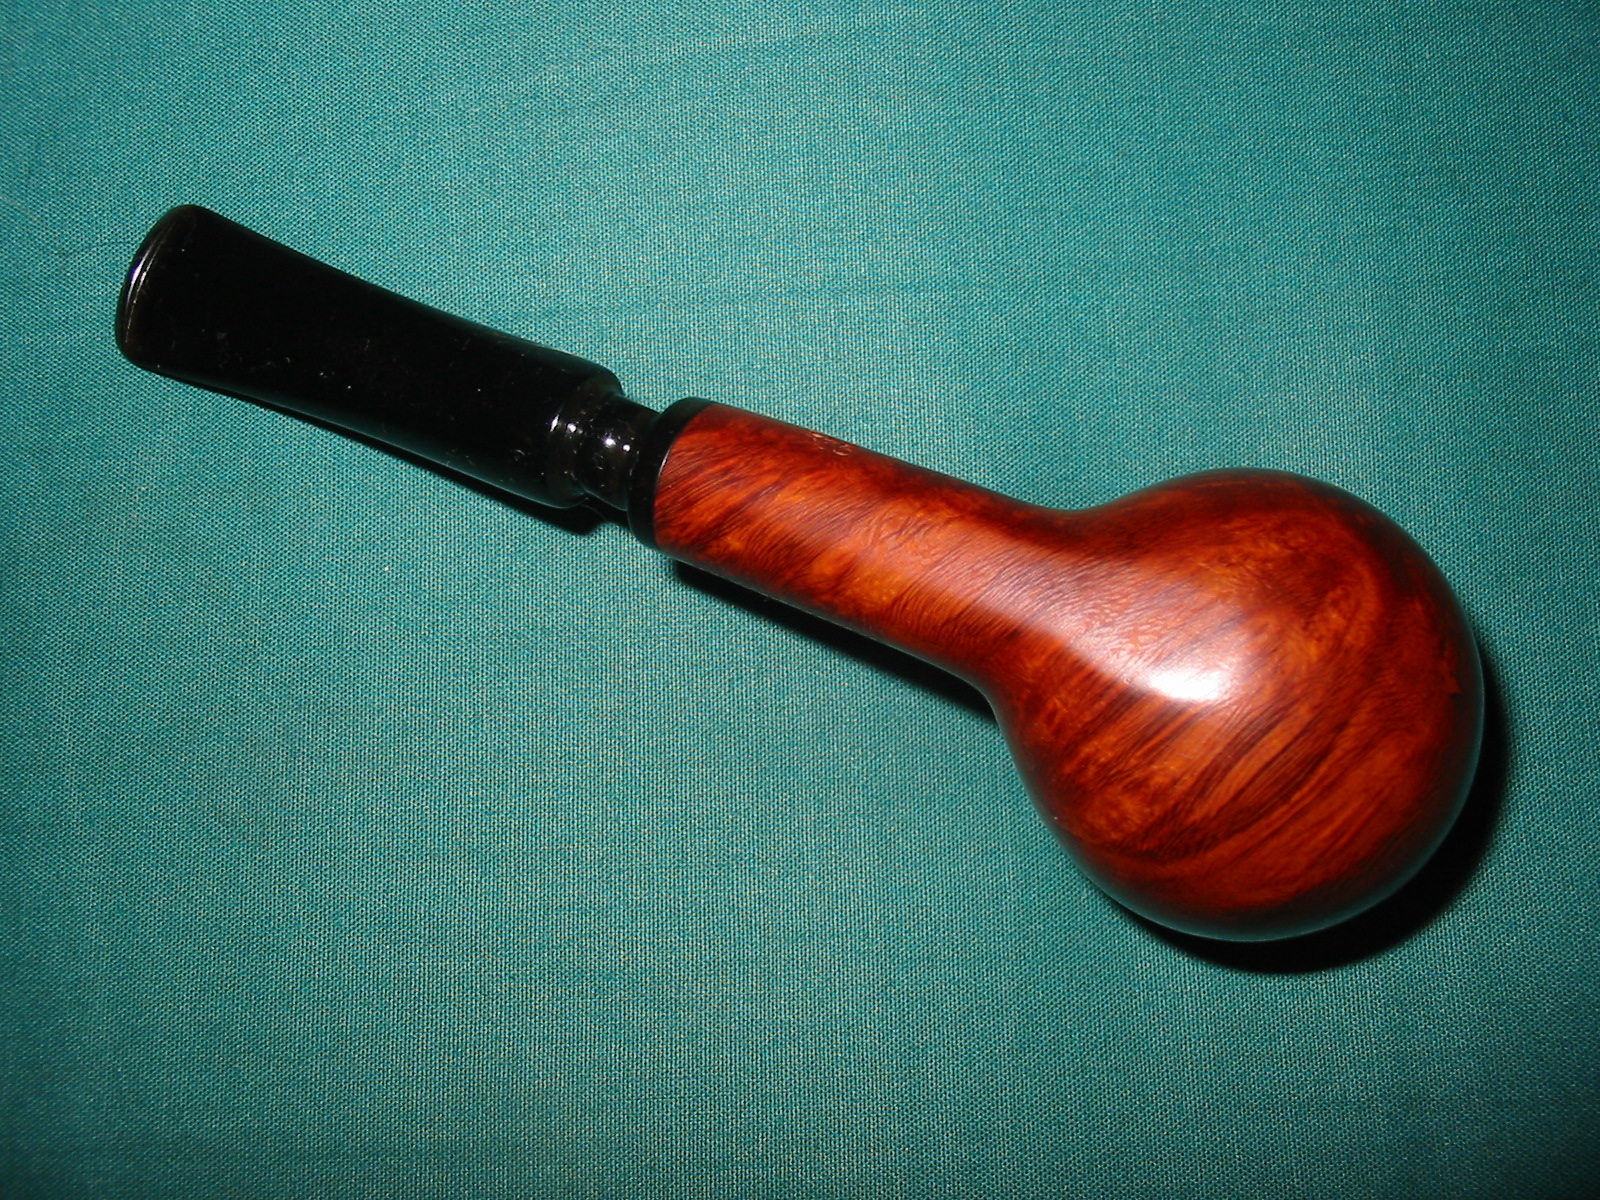
When I found it in the shop the stem had some oxidation and some minor tooth marks on the underside of the stem near the button. The stem had a metal stinger that was black with tars and oils and was also overturned slightly. The bowl was dirty with dirt and grime wedged into the finish of the rustication. The rim had a thick coat of tars and buildup and the bowl was heavily caked and wreaked of aromatics. When I found it there was also a threesome of tobaccos in their original packages tied in a sealed plastic bag – Skandinavic Mildly Aromatic, Sir Walter Raleigh Aromatic and a leather pouch of something that smells aromatic as well. The pipe smelled just like these tobaccos. The first series of four photos show the pipe as I found it.
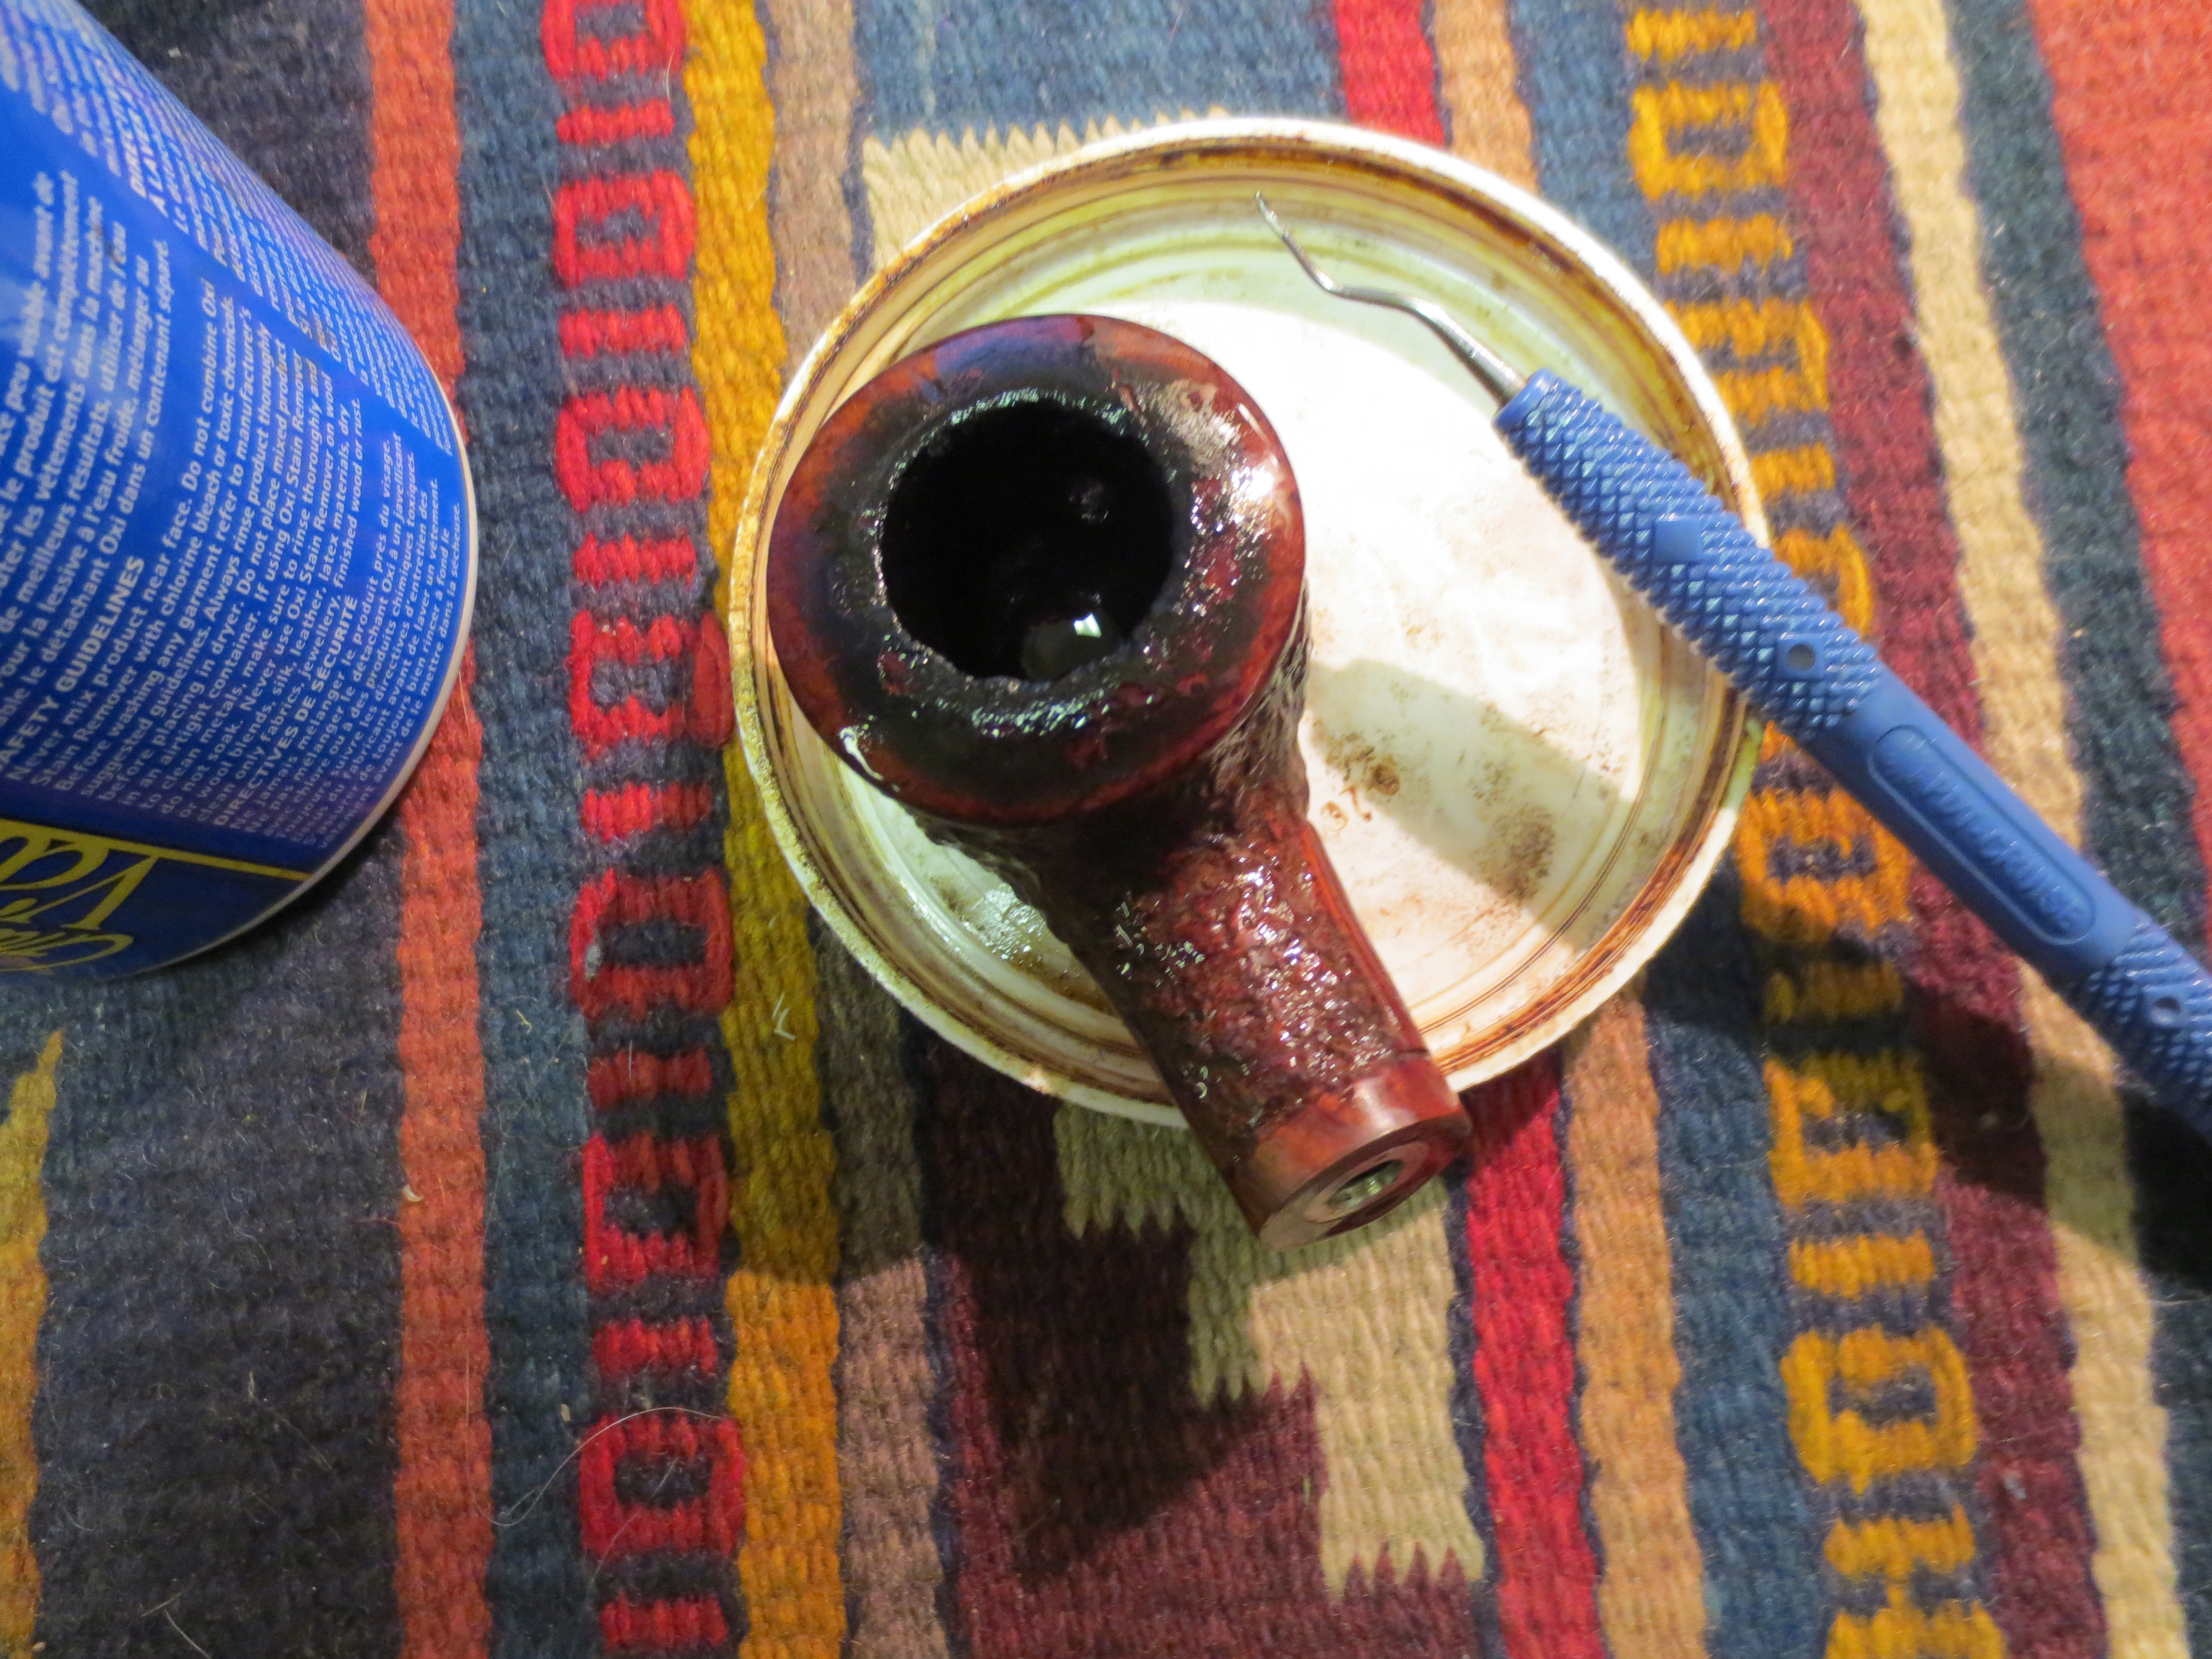
I unscrewed the stem from the shank and dropped the bowl into my alcohol bath. It is a jar of isopropyl alcohol that I have reused and filtered repeatedly to remove the grit from the bath. The remaining alcohol has a dark brown colour and actually does a great job in not only removing the grime and old finish but gives the old bowls a light patina as well.

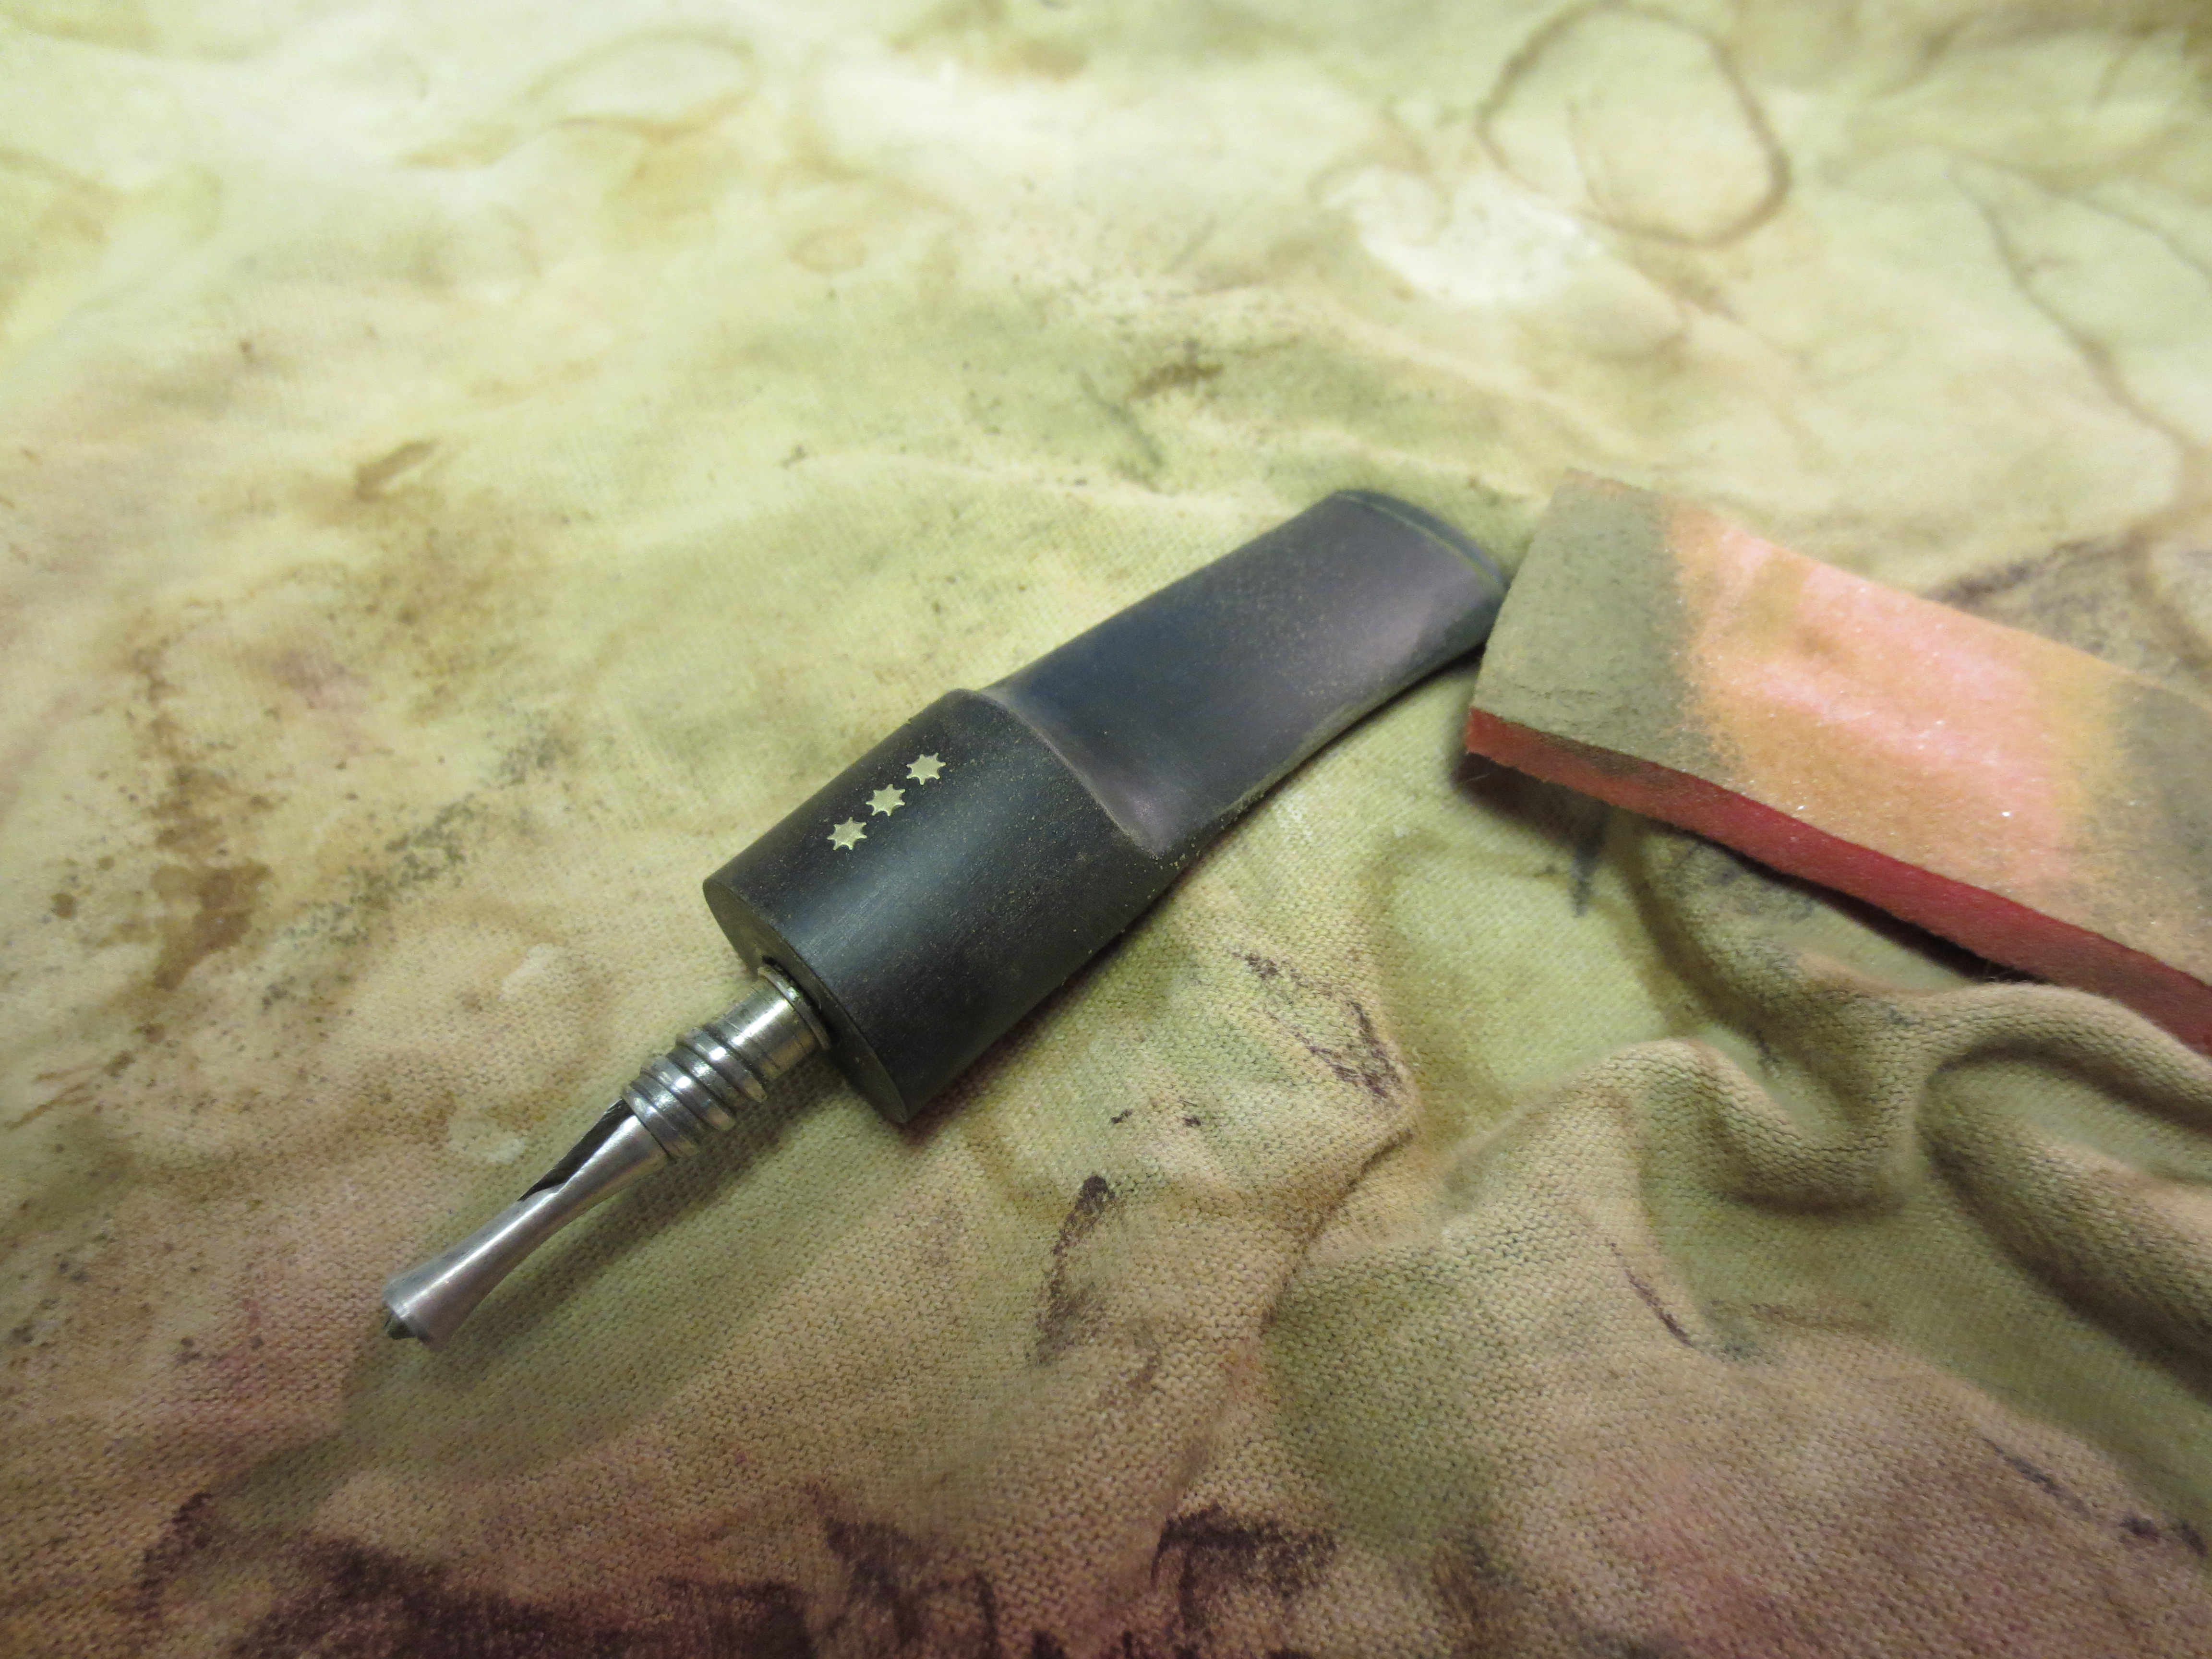
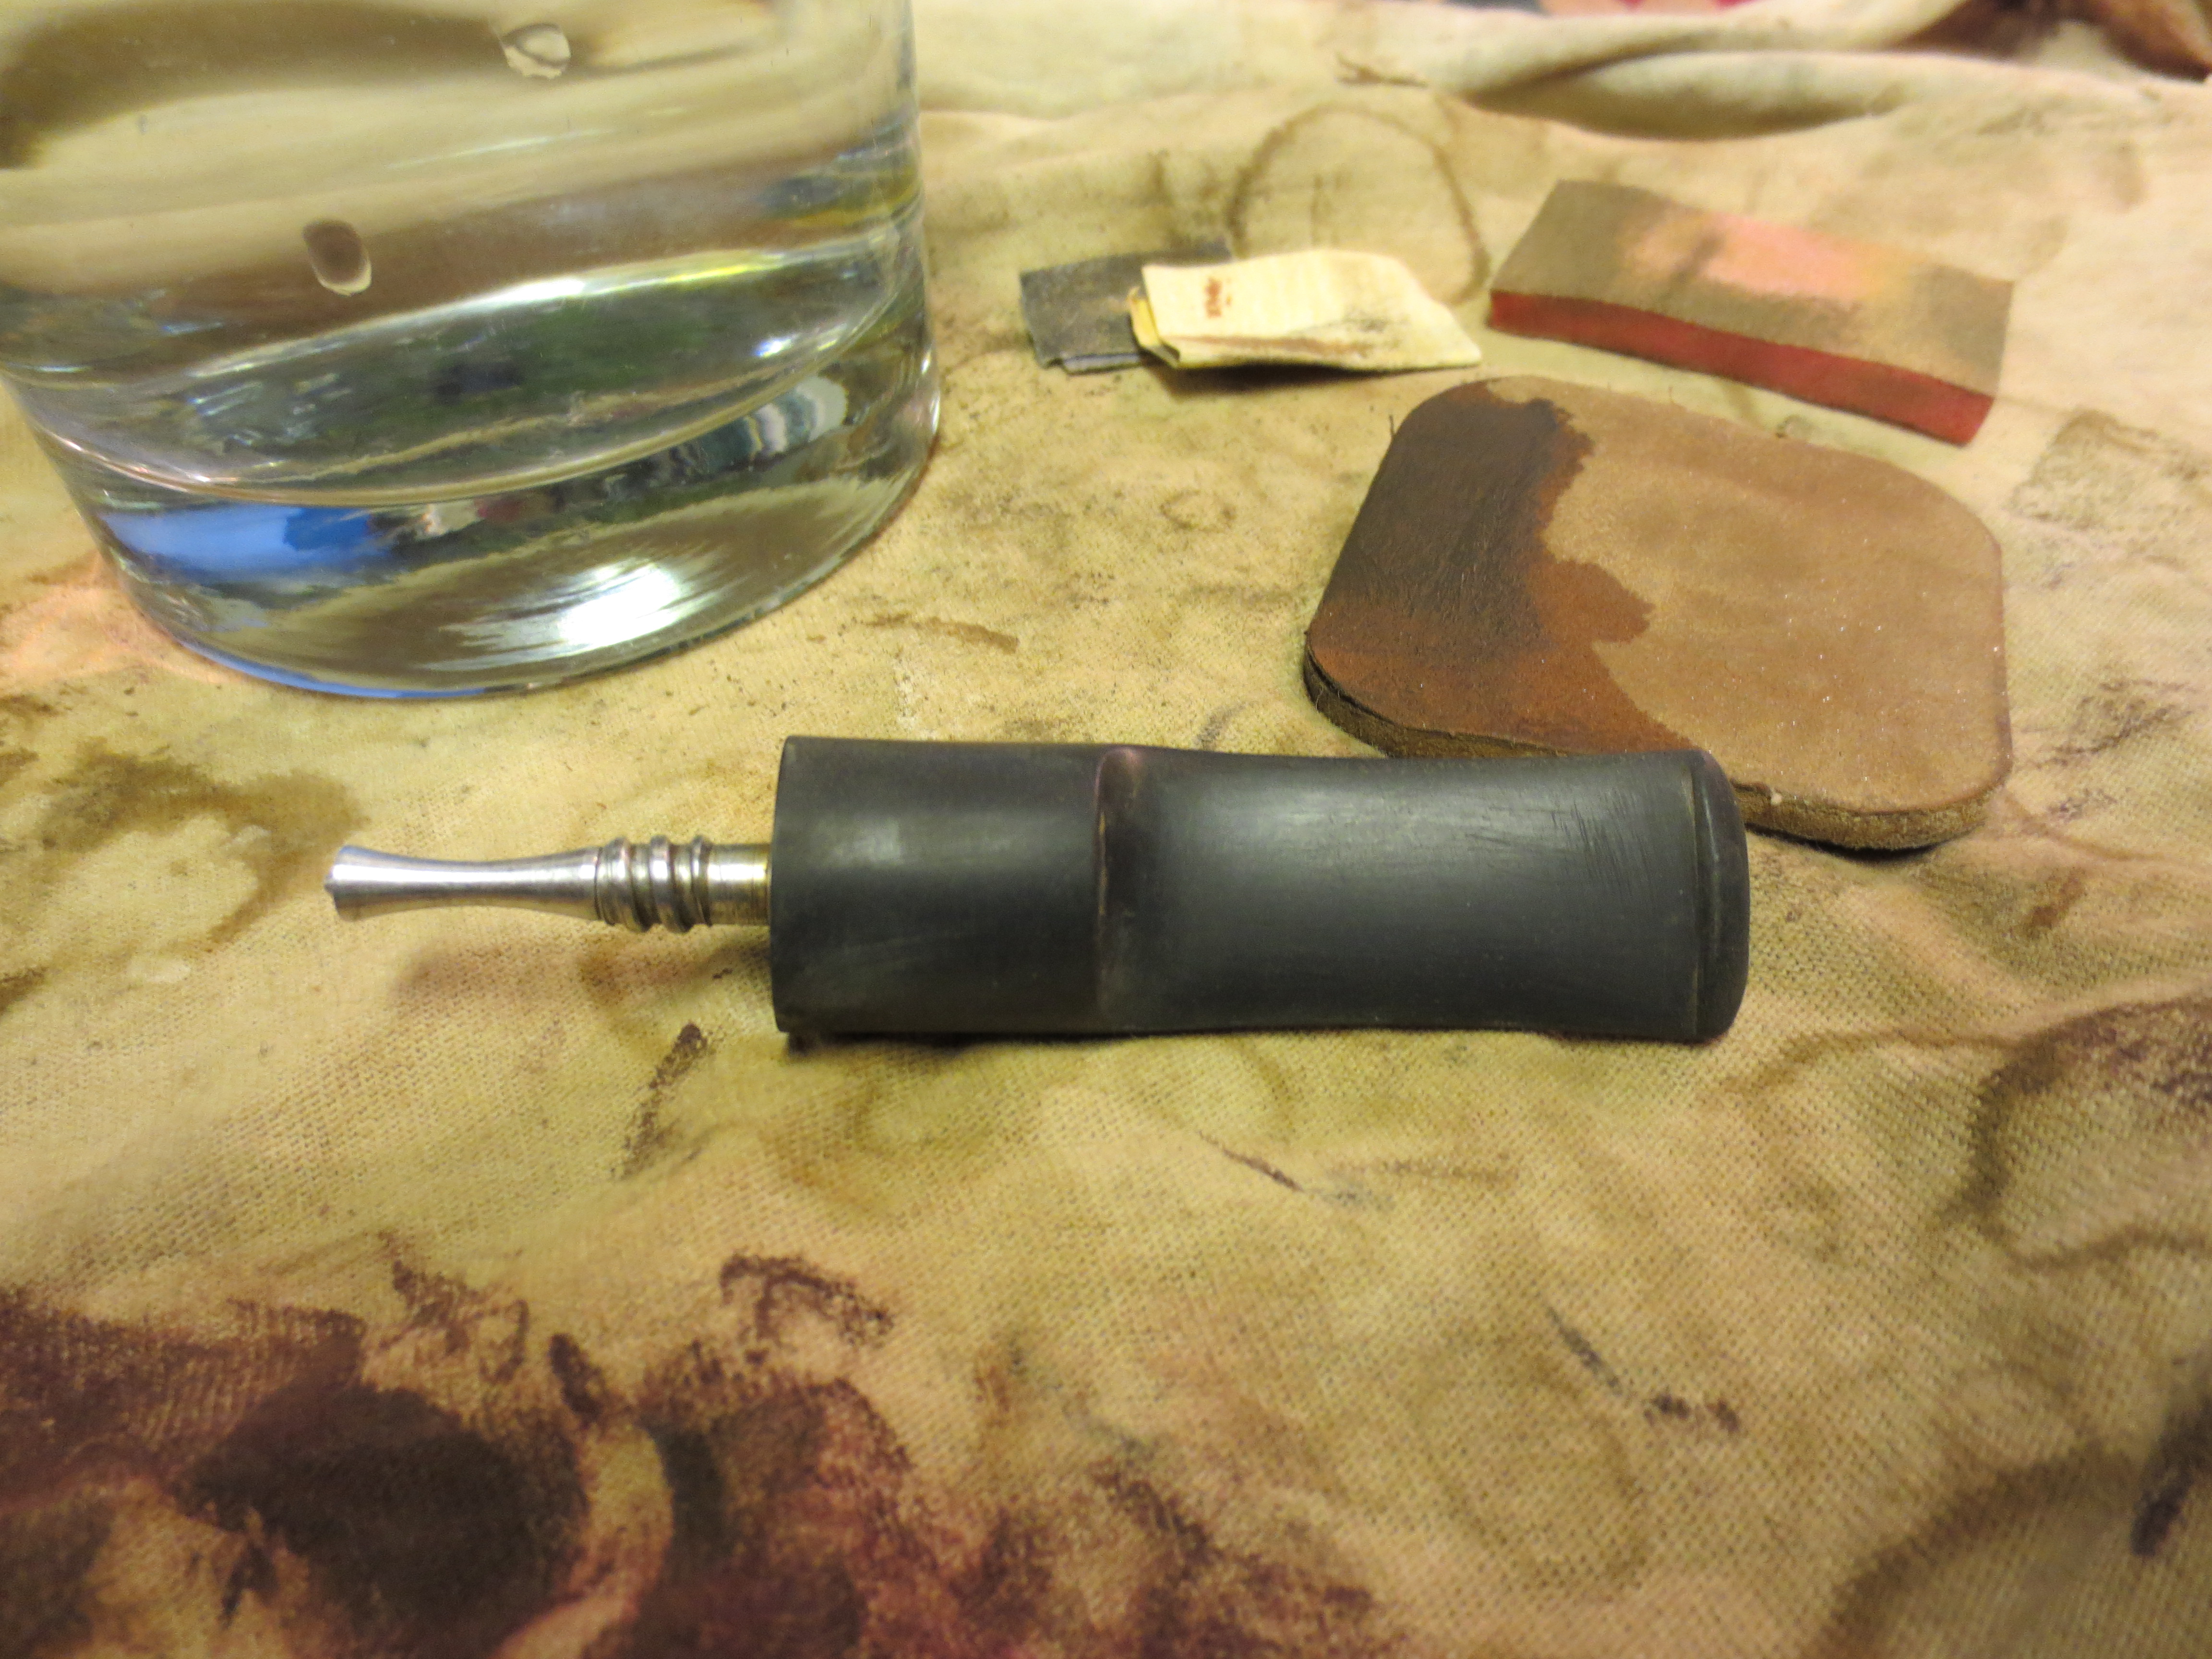
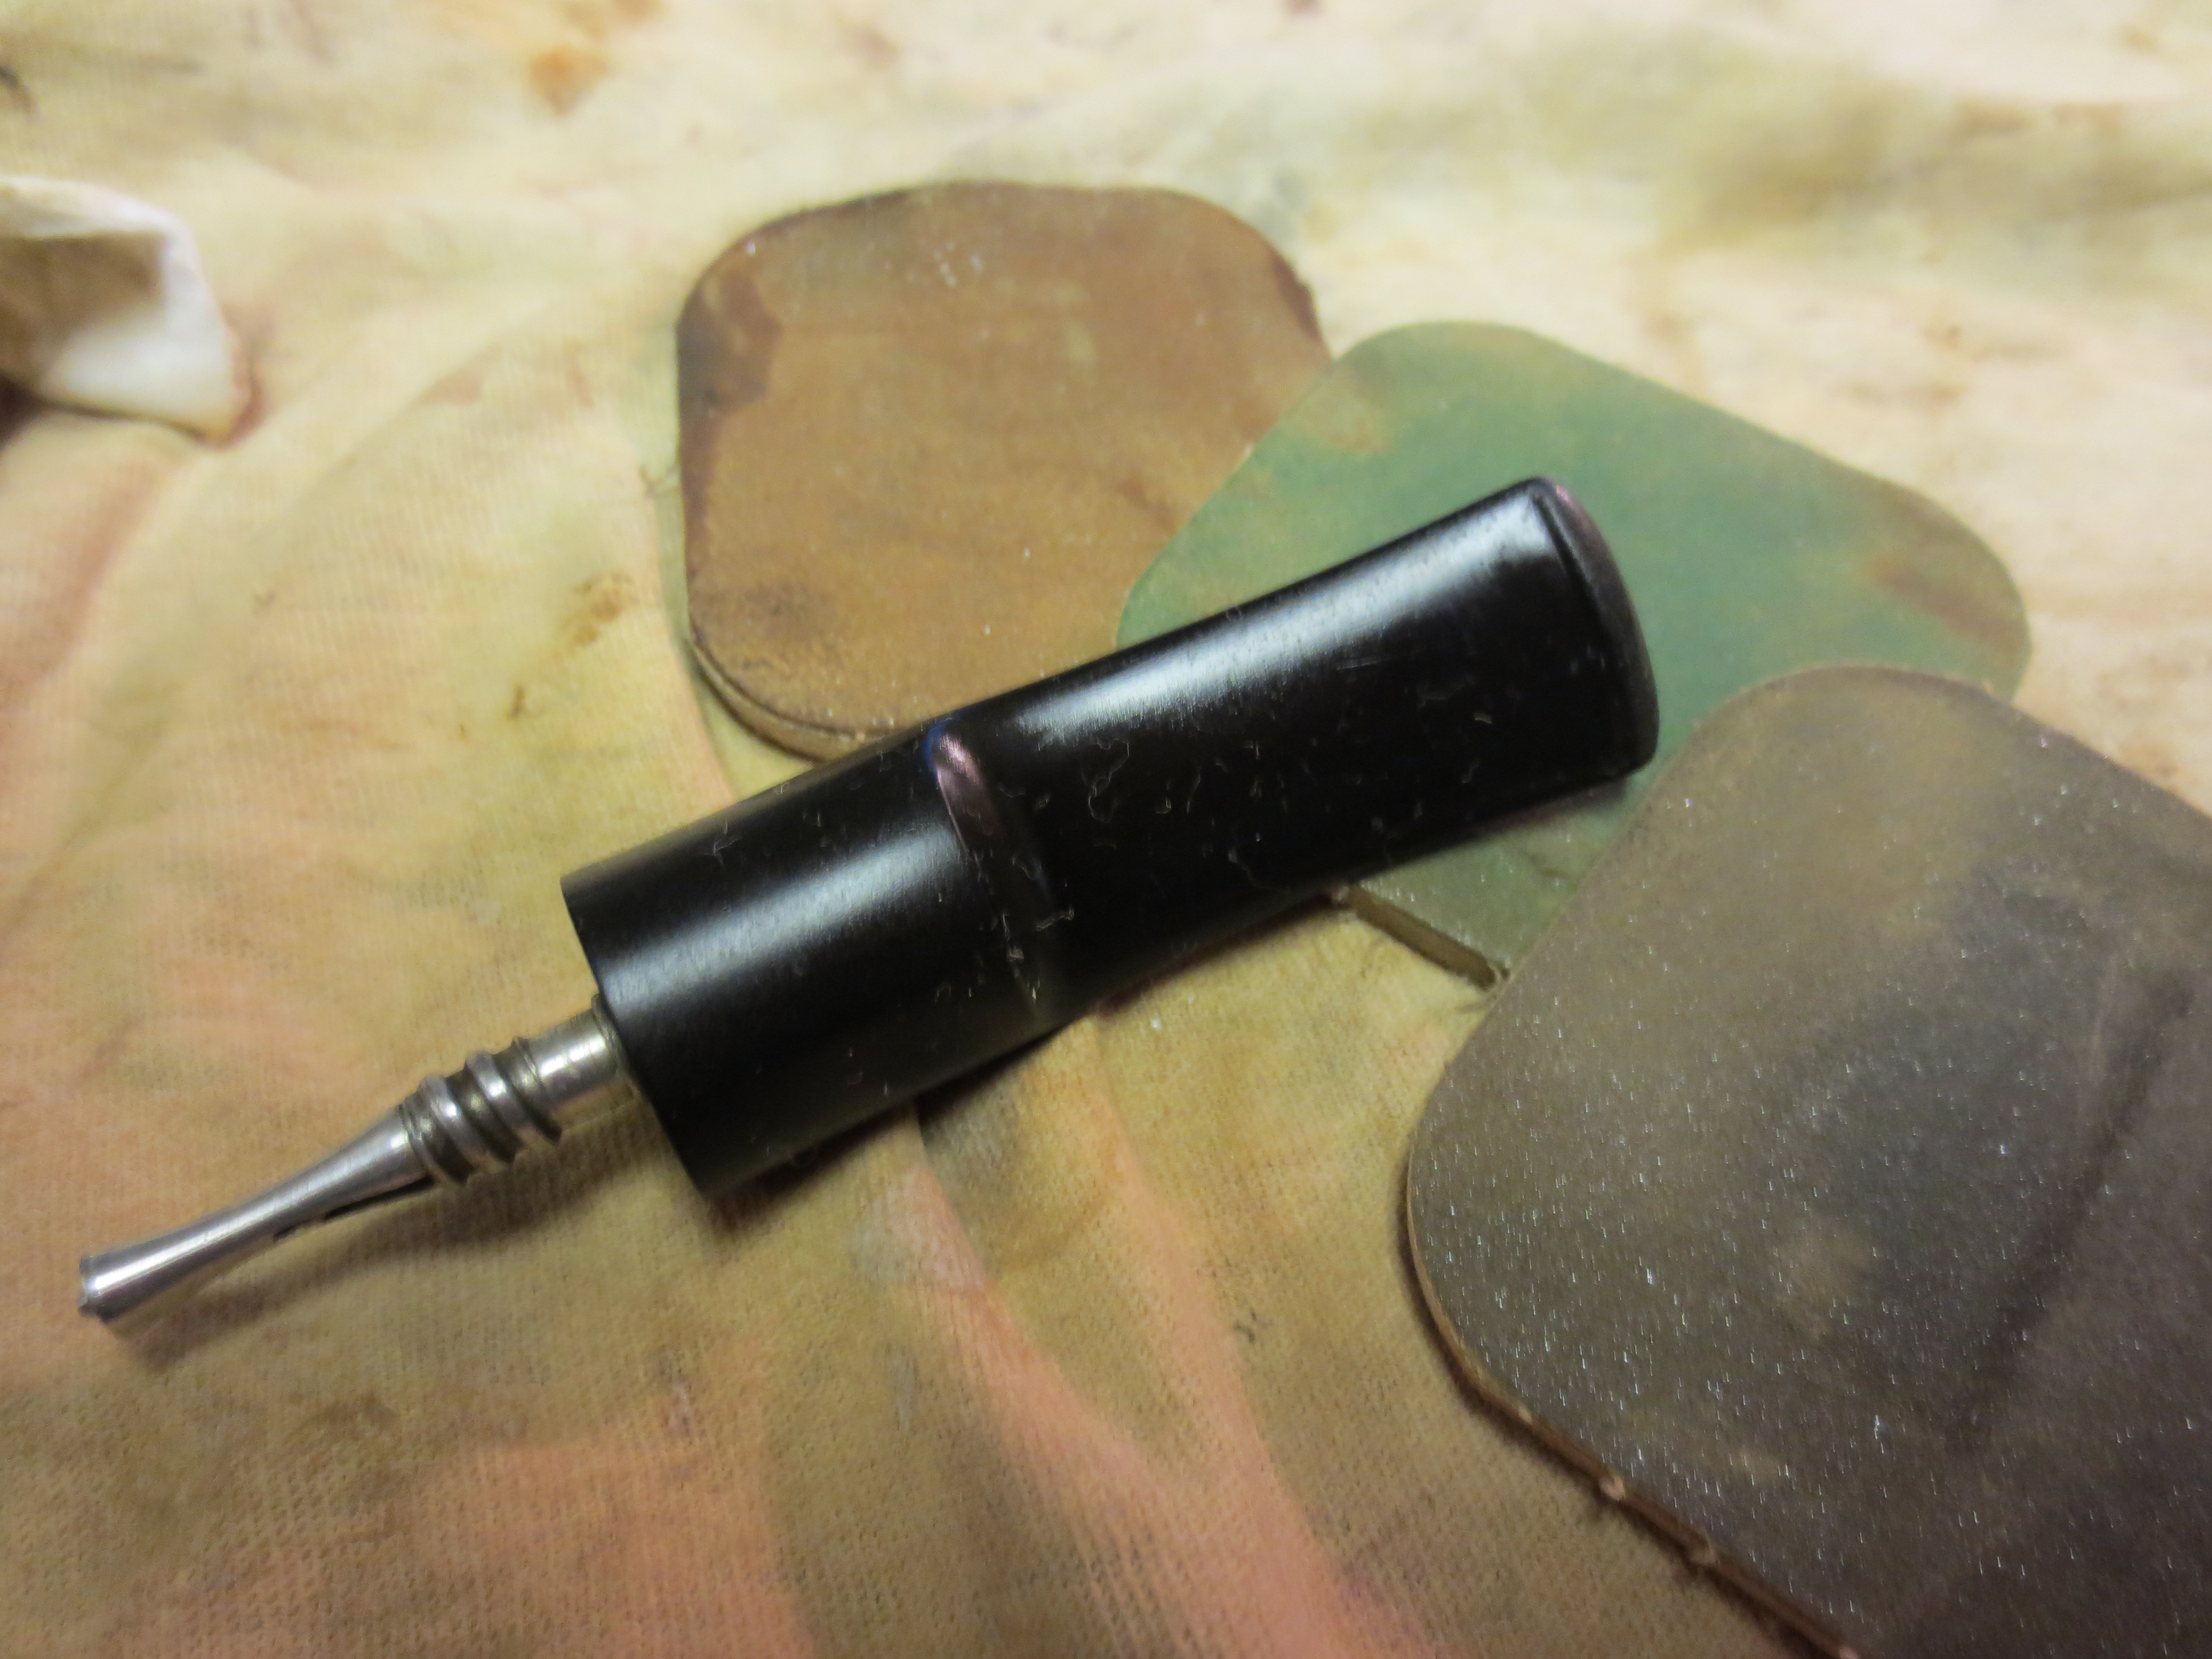
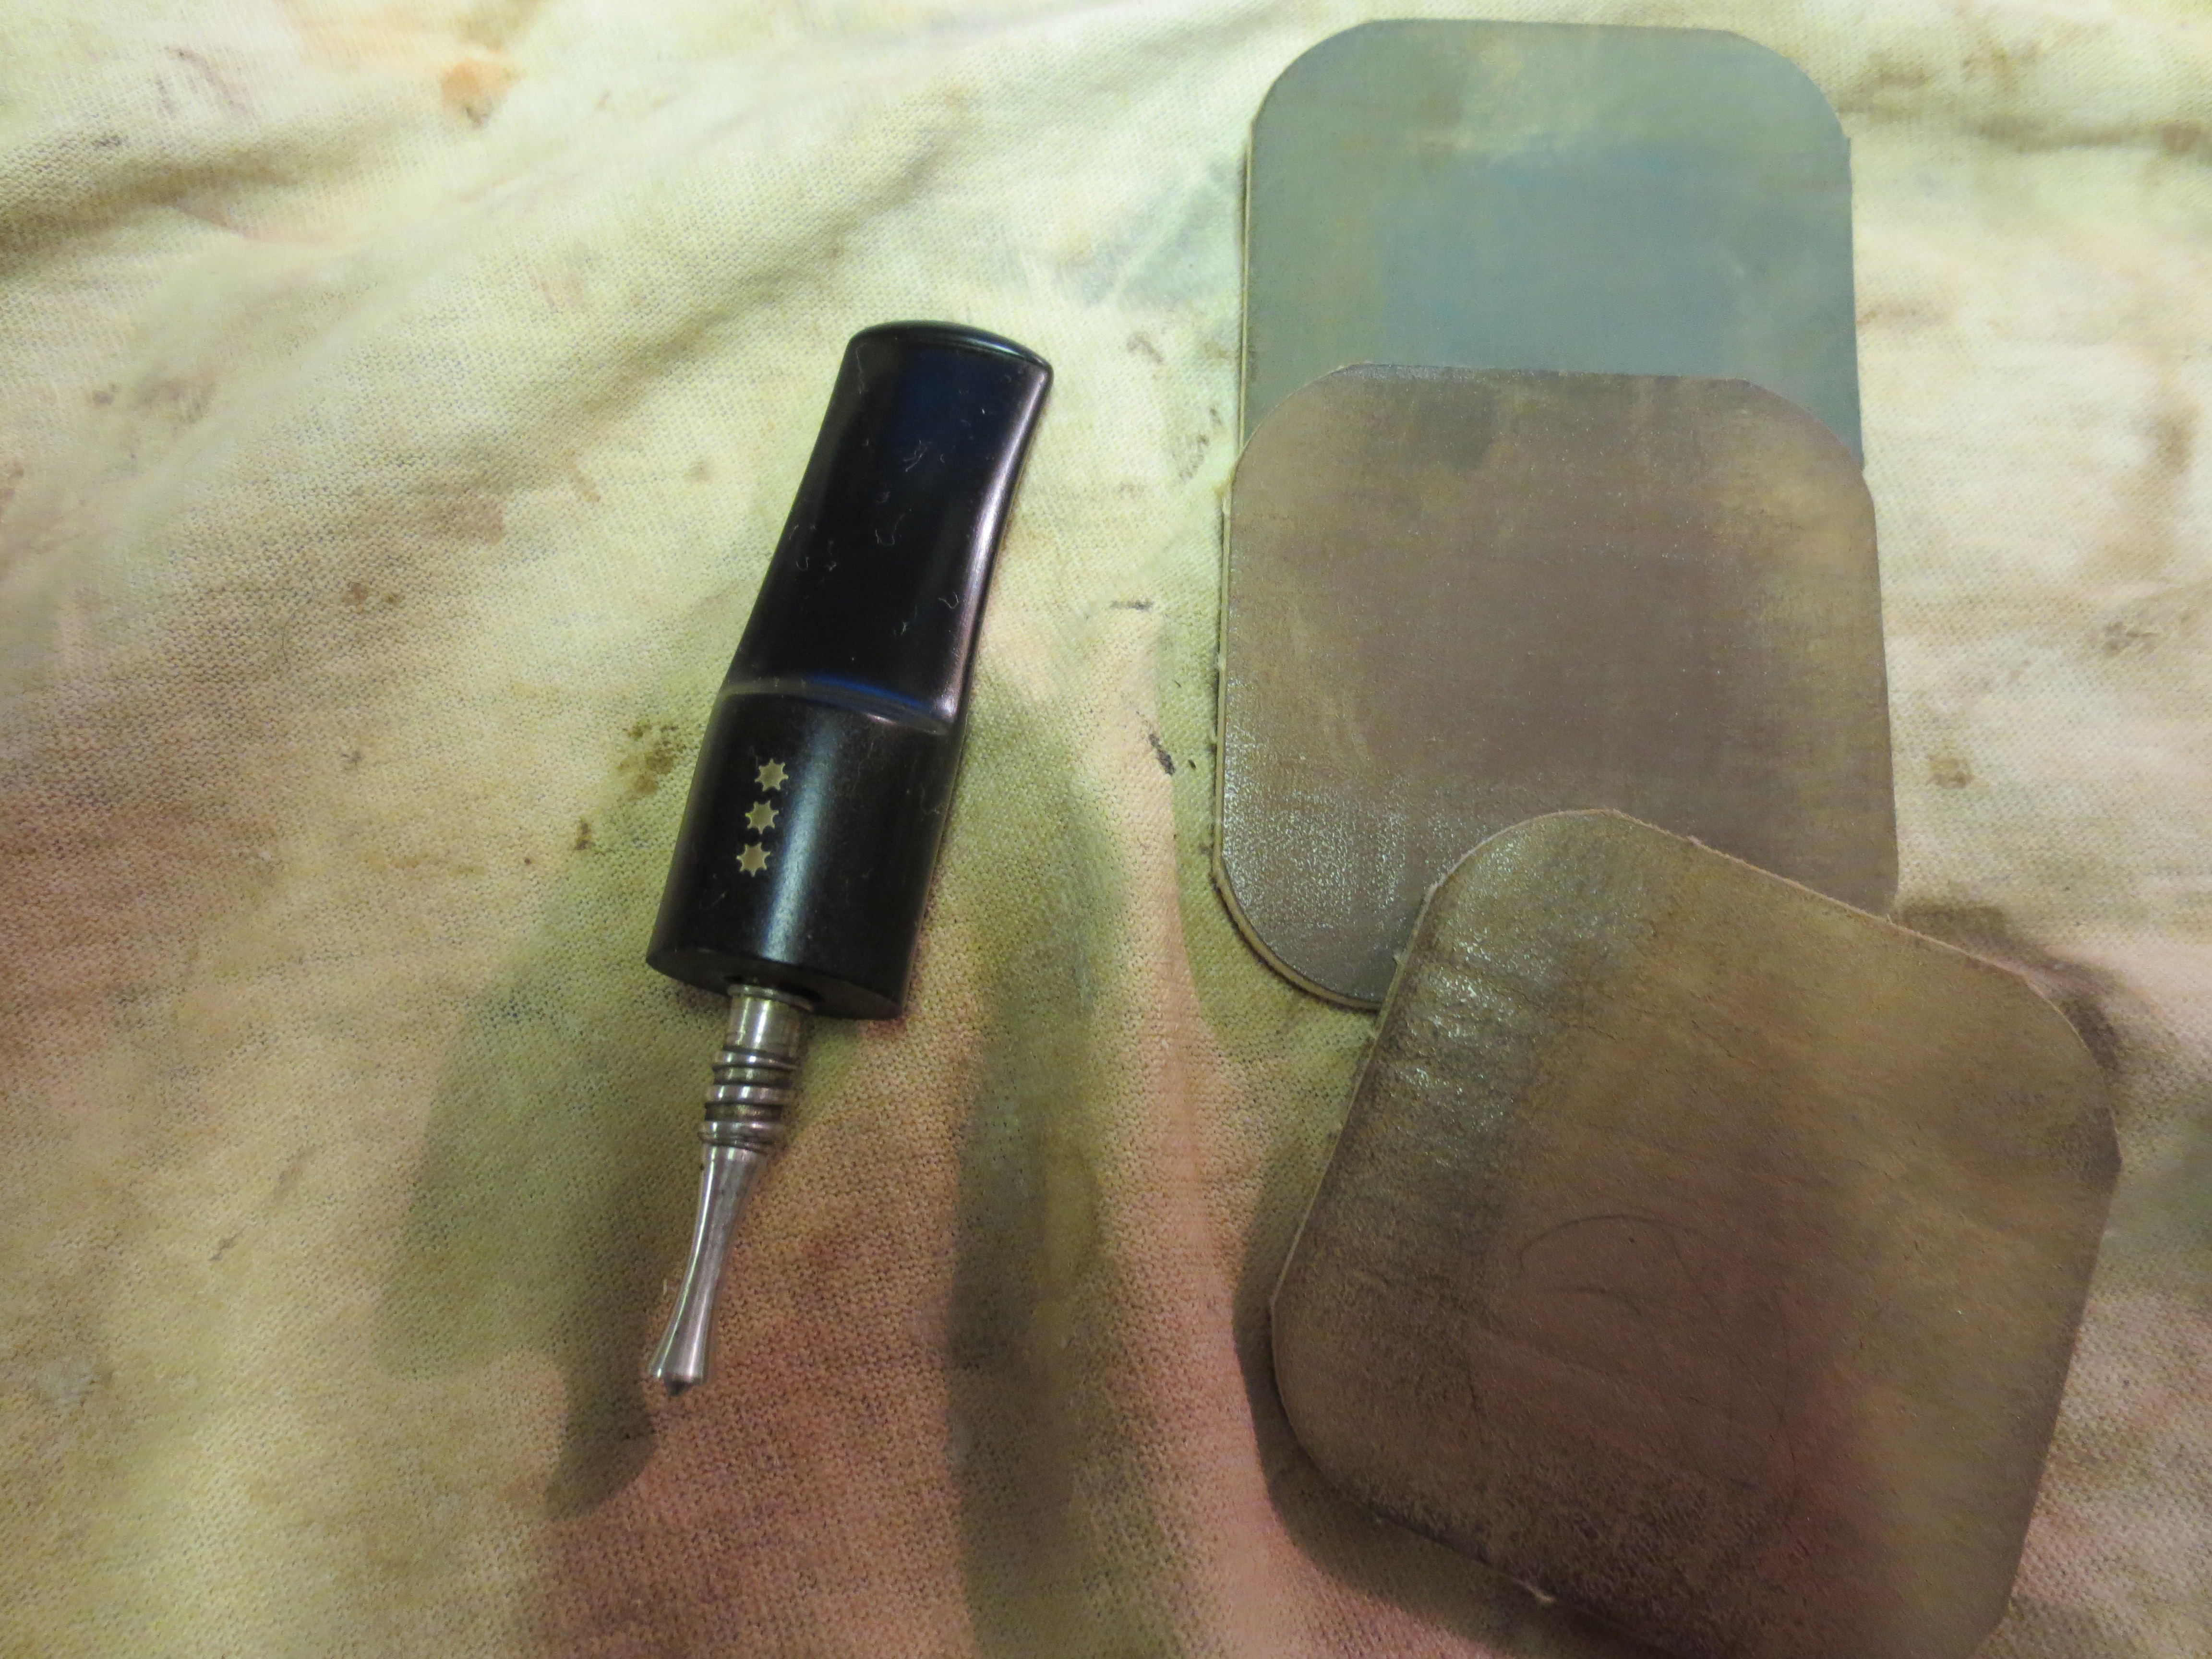
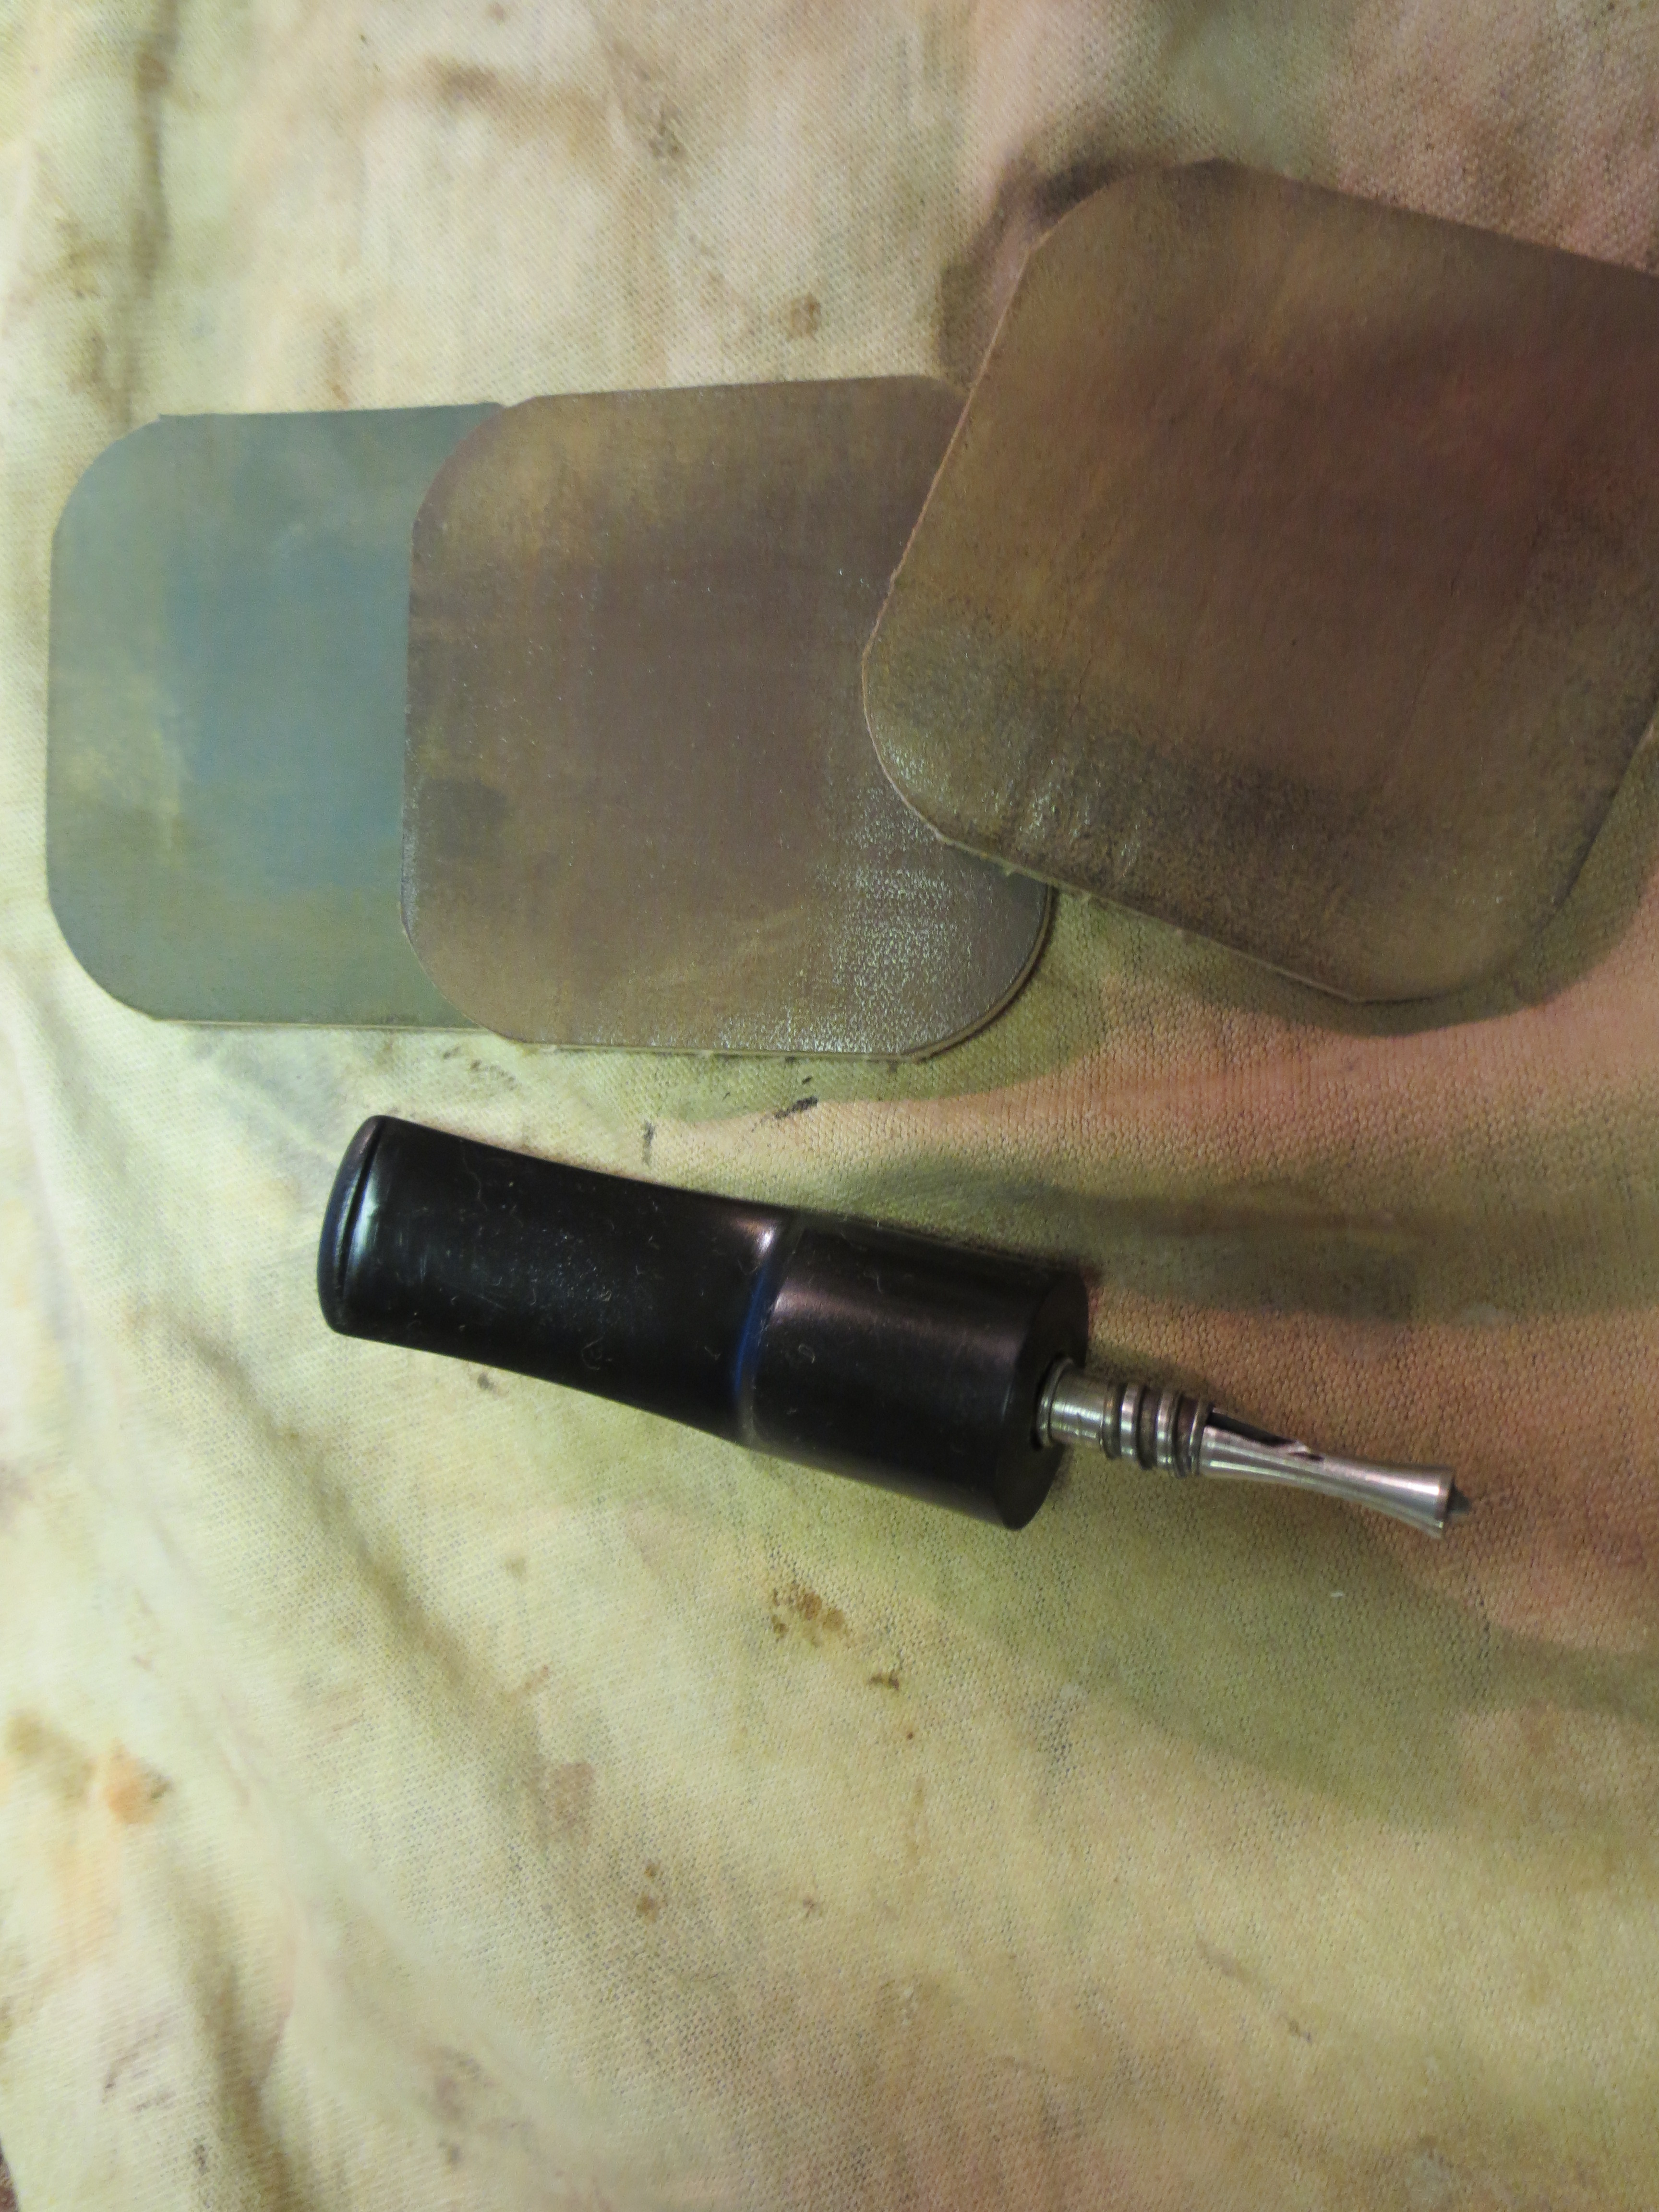
While the bowl soaked I worked on the stem. I cleaned it with pipe cleaners and isopropyl alcohol to get the tars and oils out of the stem. The style of stinger restricts the airway enough that I could not get the pipe cleaner all the way through. It took quite a few cleaners until they came out clean. The stinger I cleaned with alcohol and then 0000 steel wool until it was clean. I began sanding it with the medium grit sandpaper on the sponge back to remove the oxidation and the roughness of the stem. It was very rough and almost pitted. It is hard to capture that with the photos. The first three photos below show the sanding pad and the stem after that initial sanding.


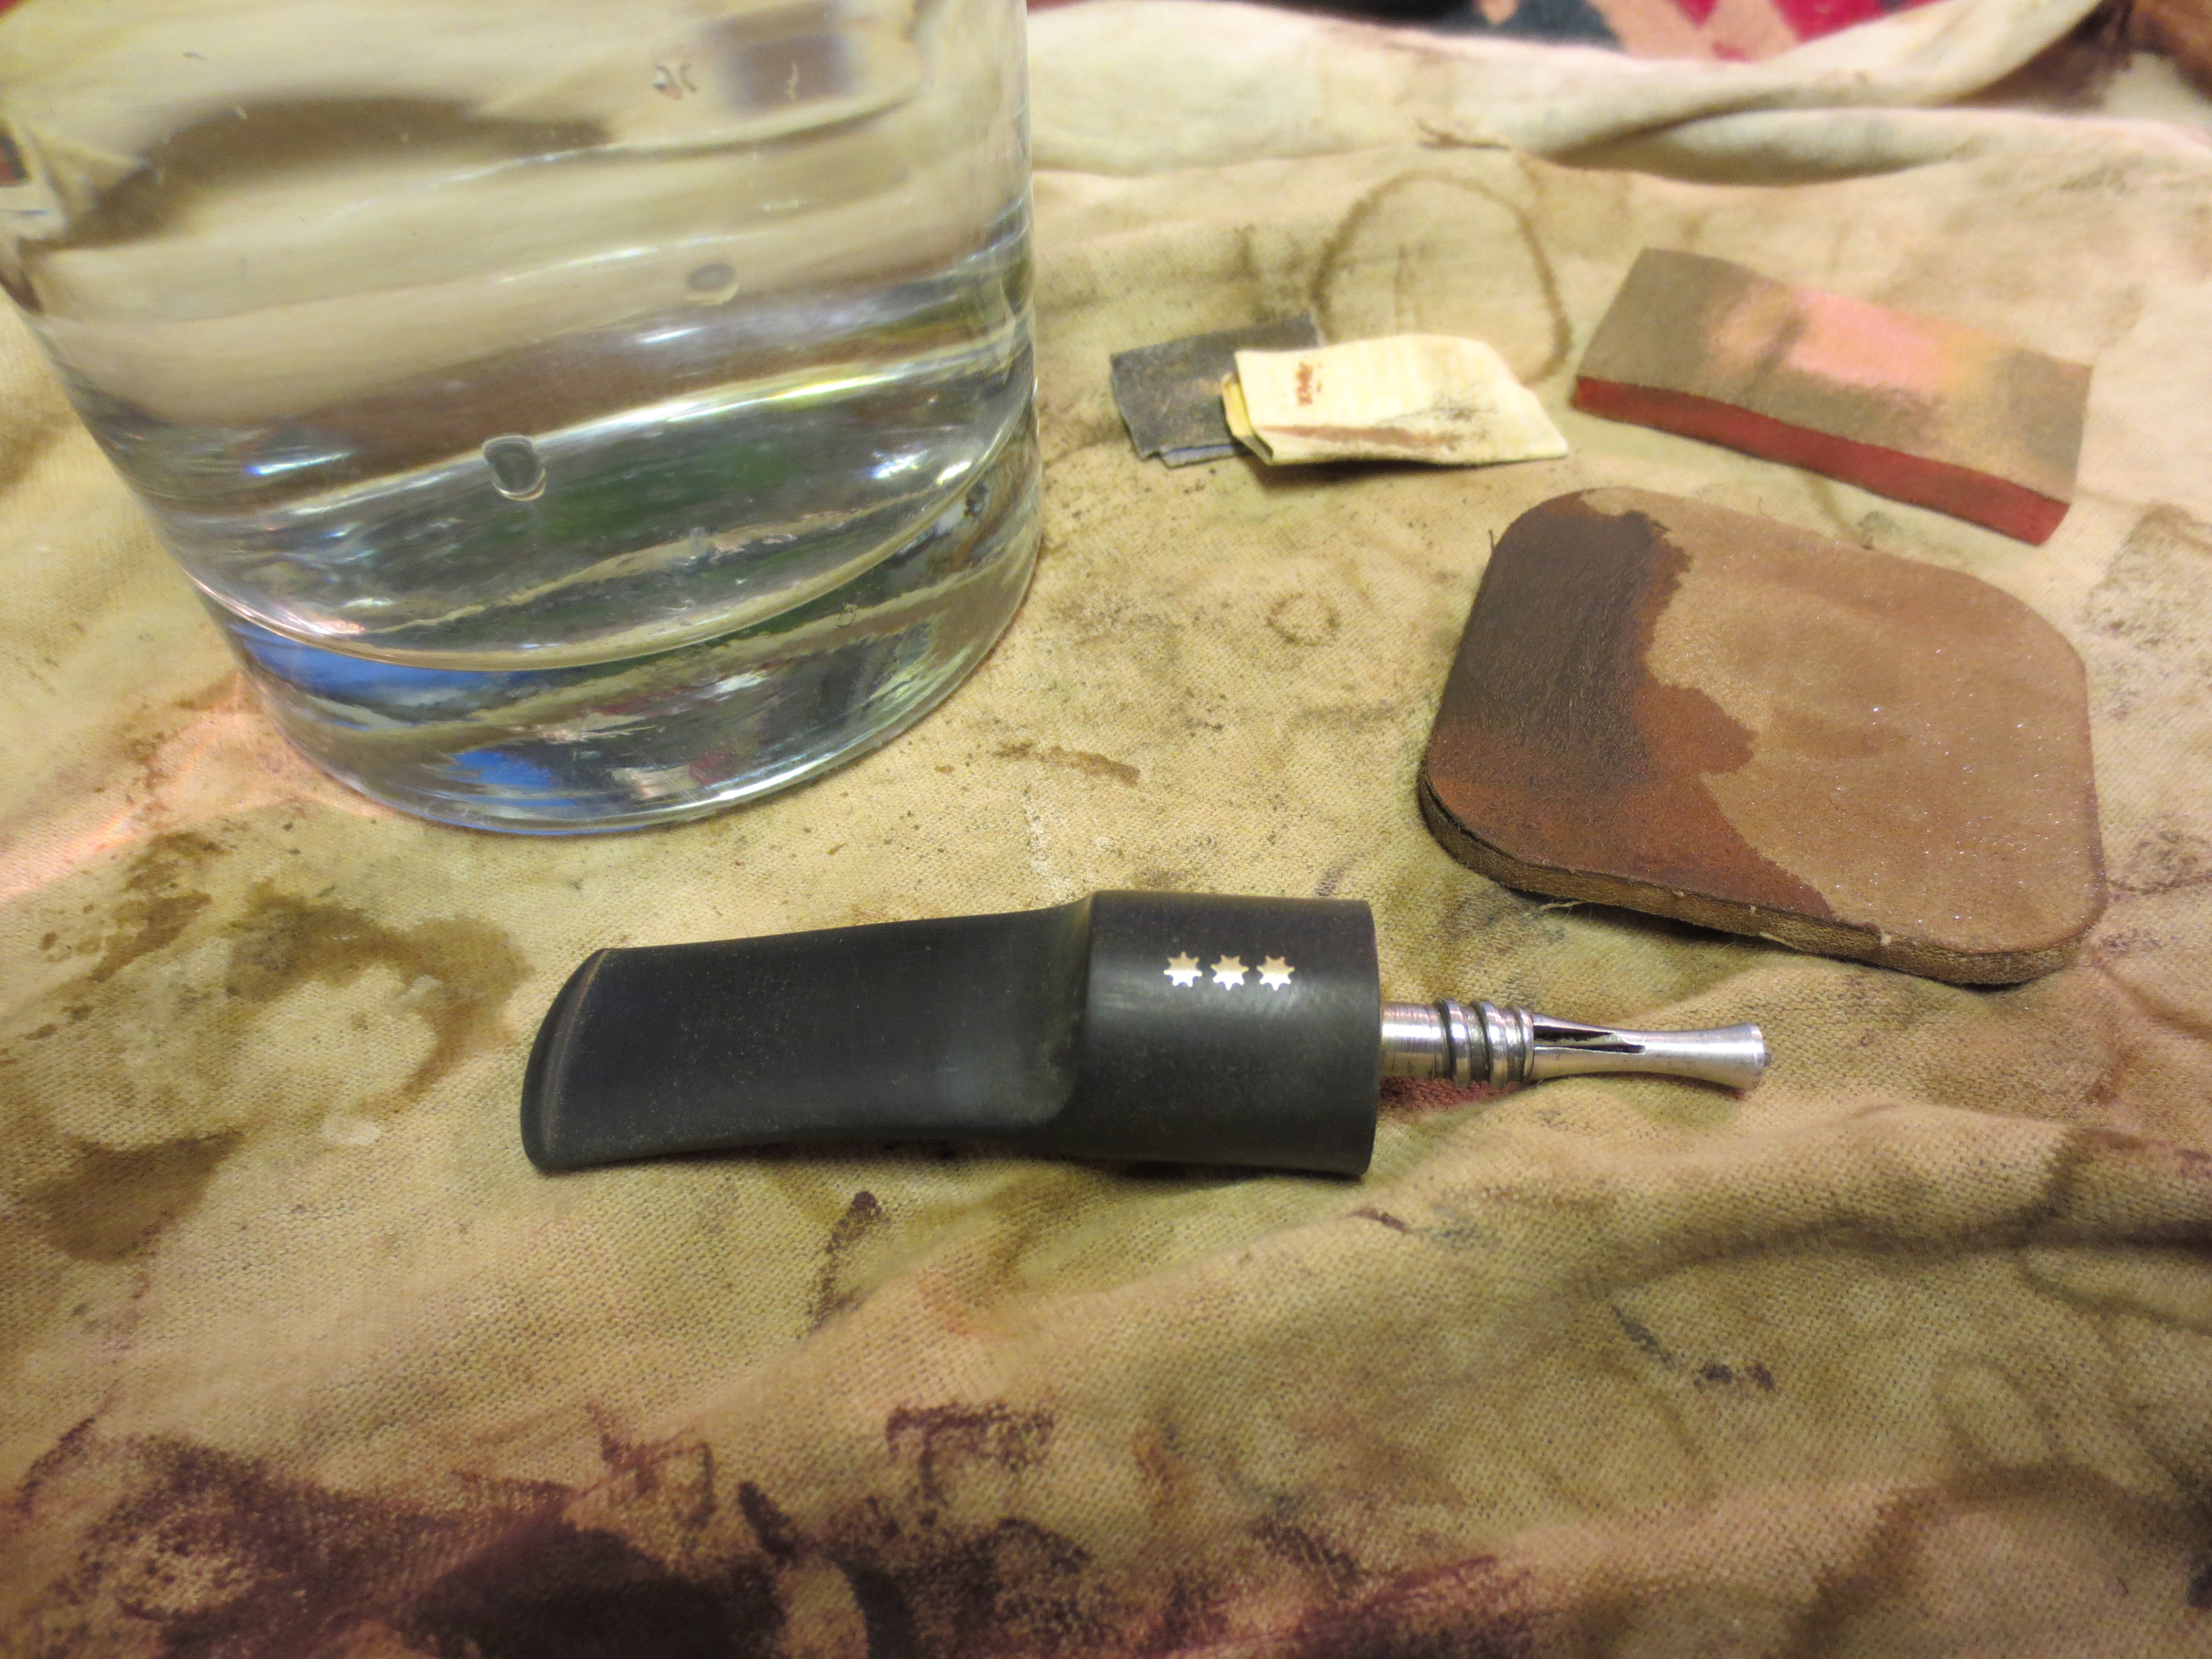
From there I filled a glass with warm water and used a micromesh1500 grit sanding pad to wet sand the stem. This took the majority of the scratch marks out of the surface and took care of the roughness of the stem. It would take a lot of sanding to bring the surface to a glossy smooth finish.
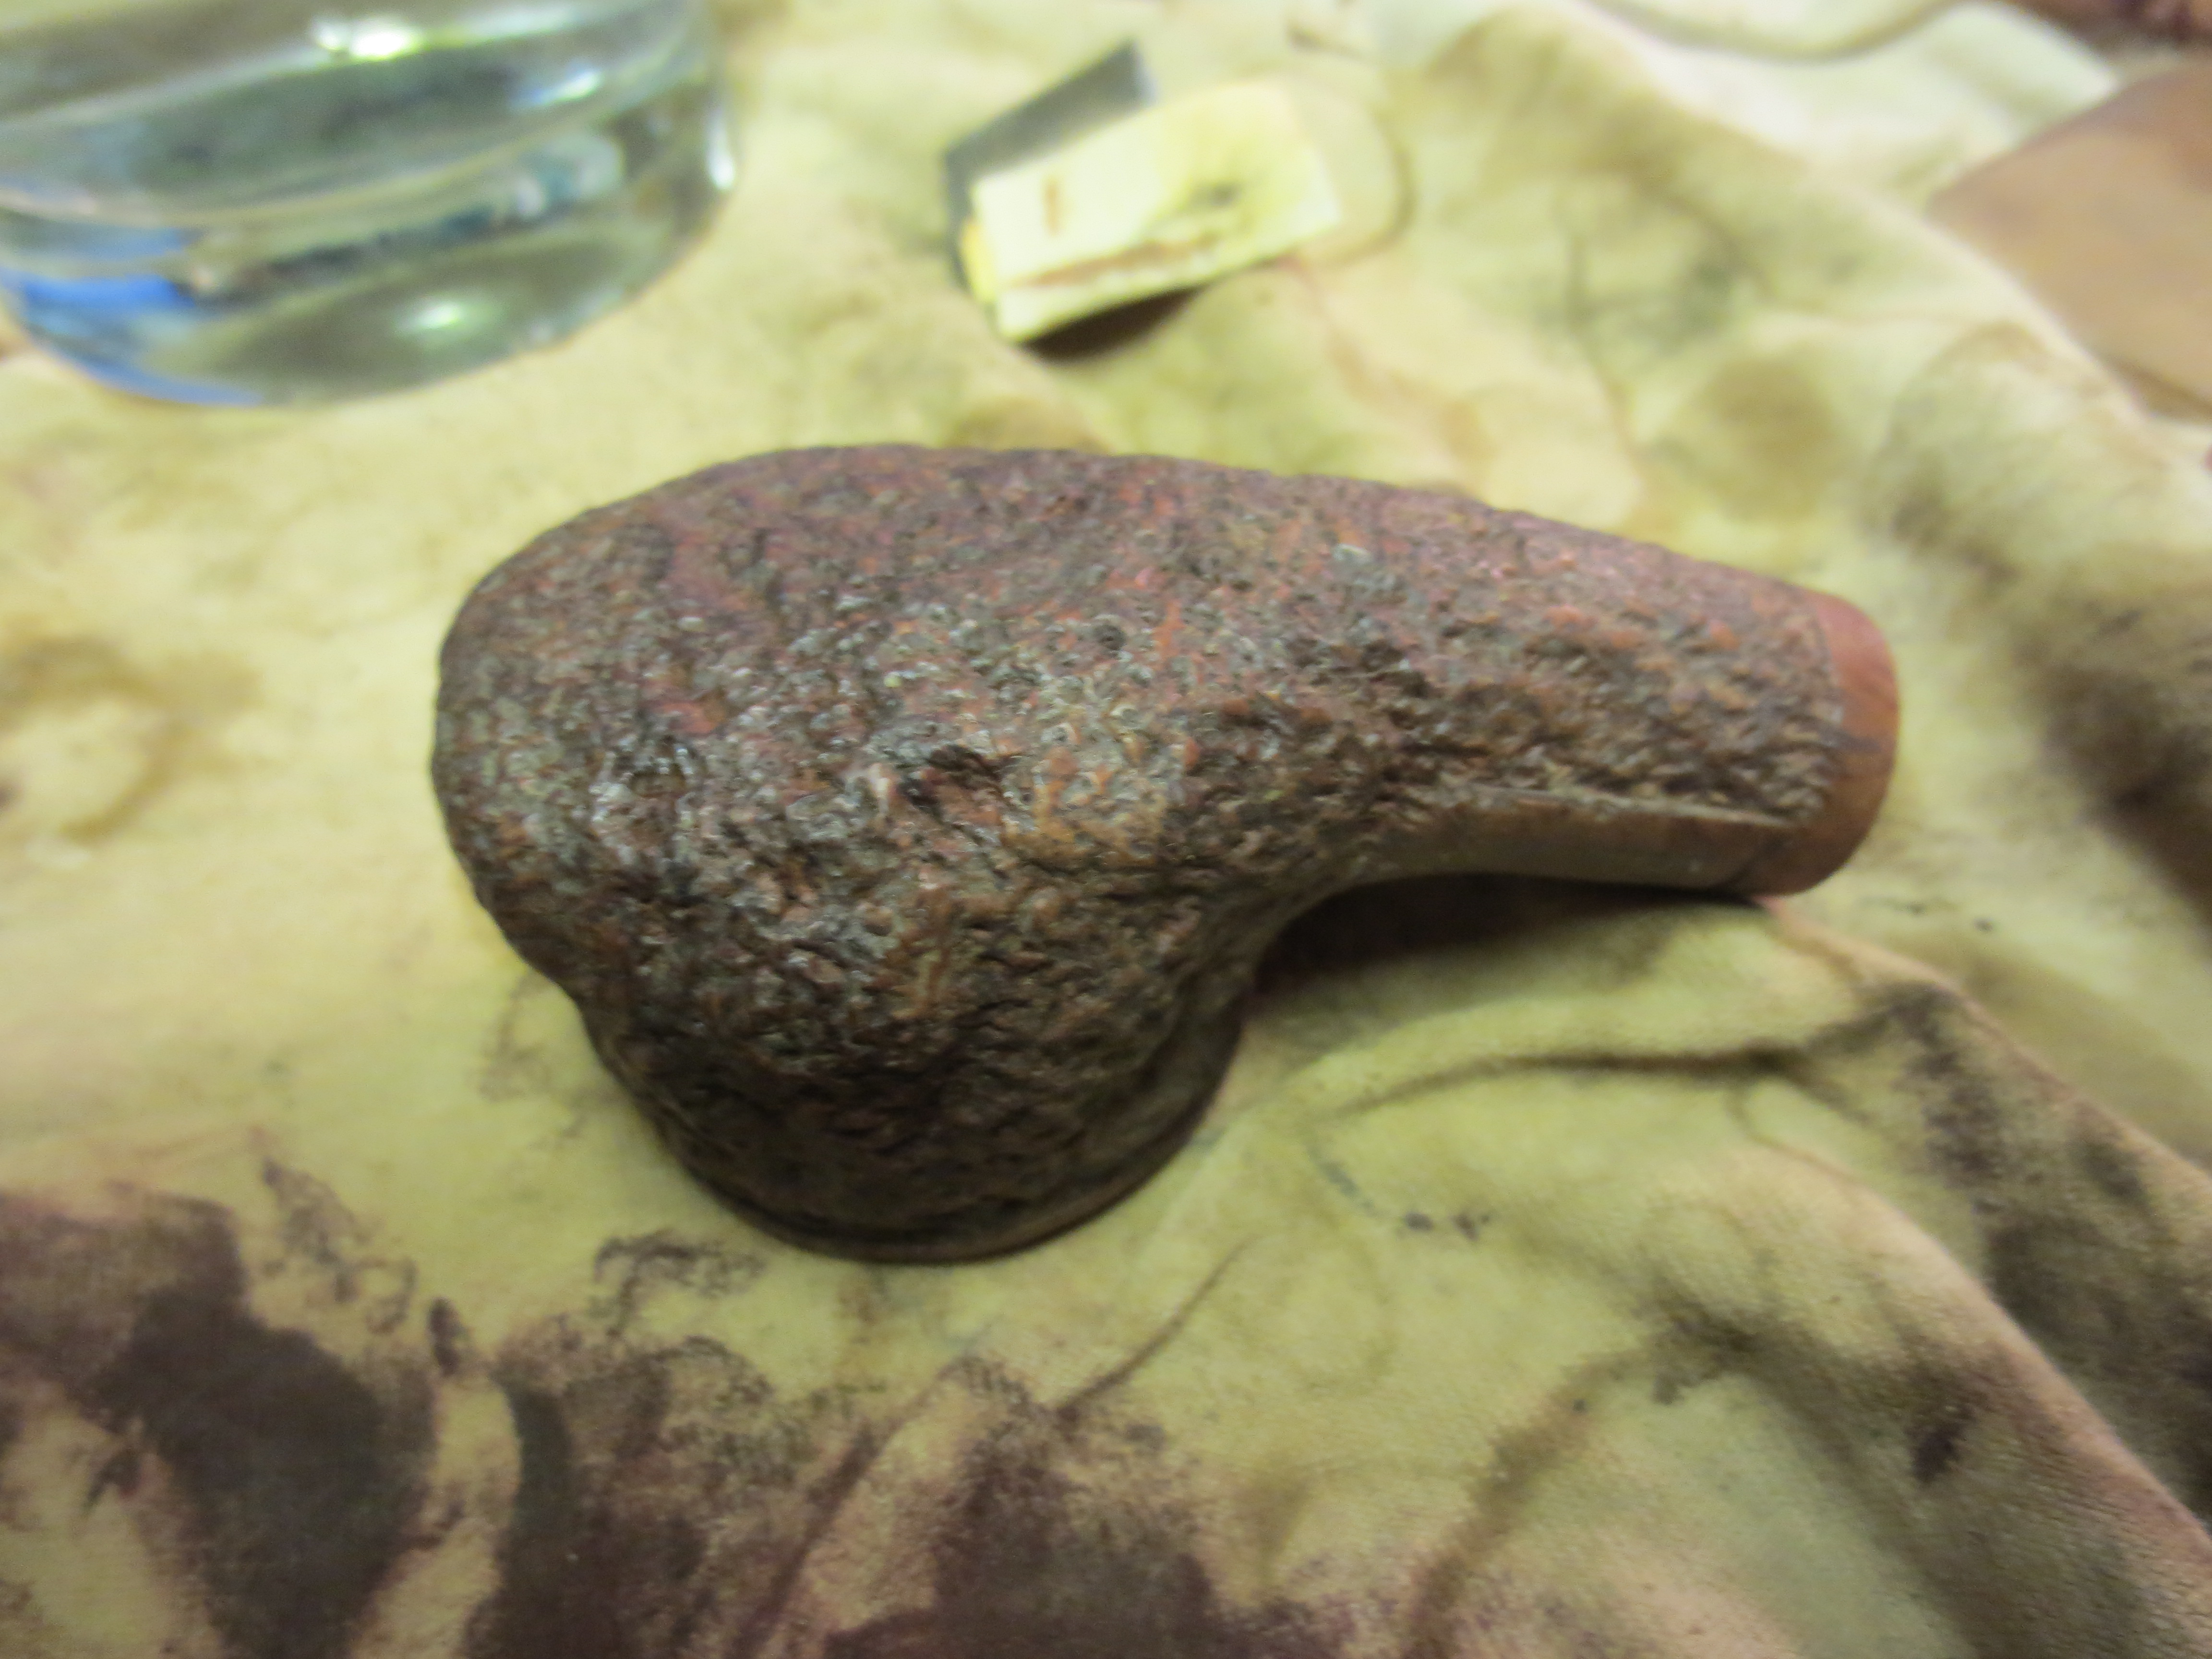
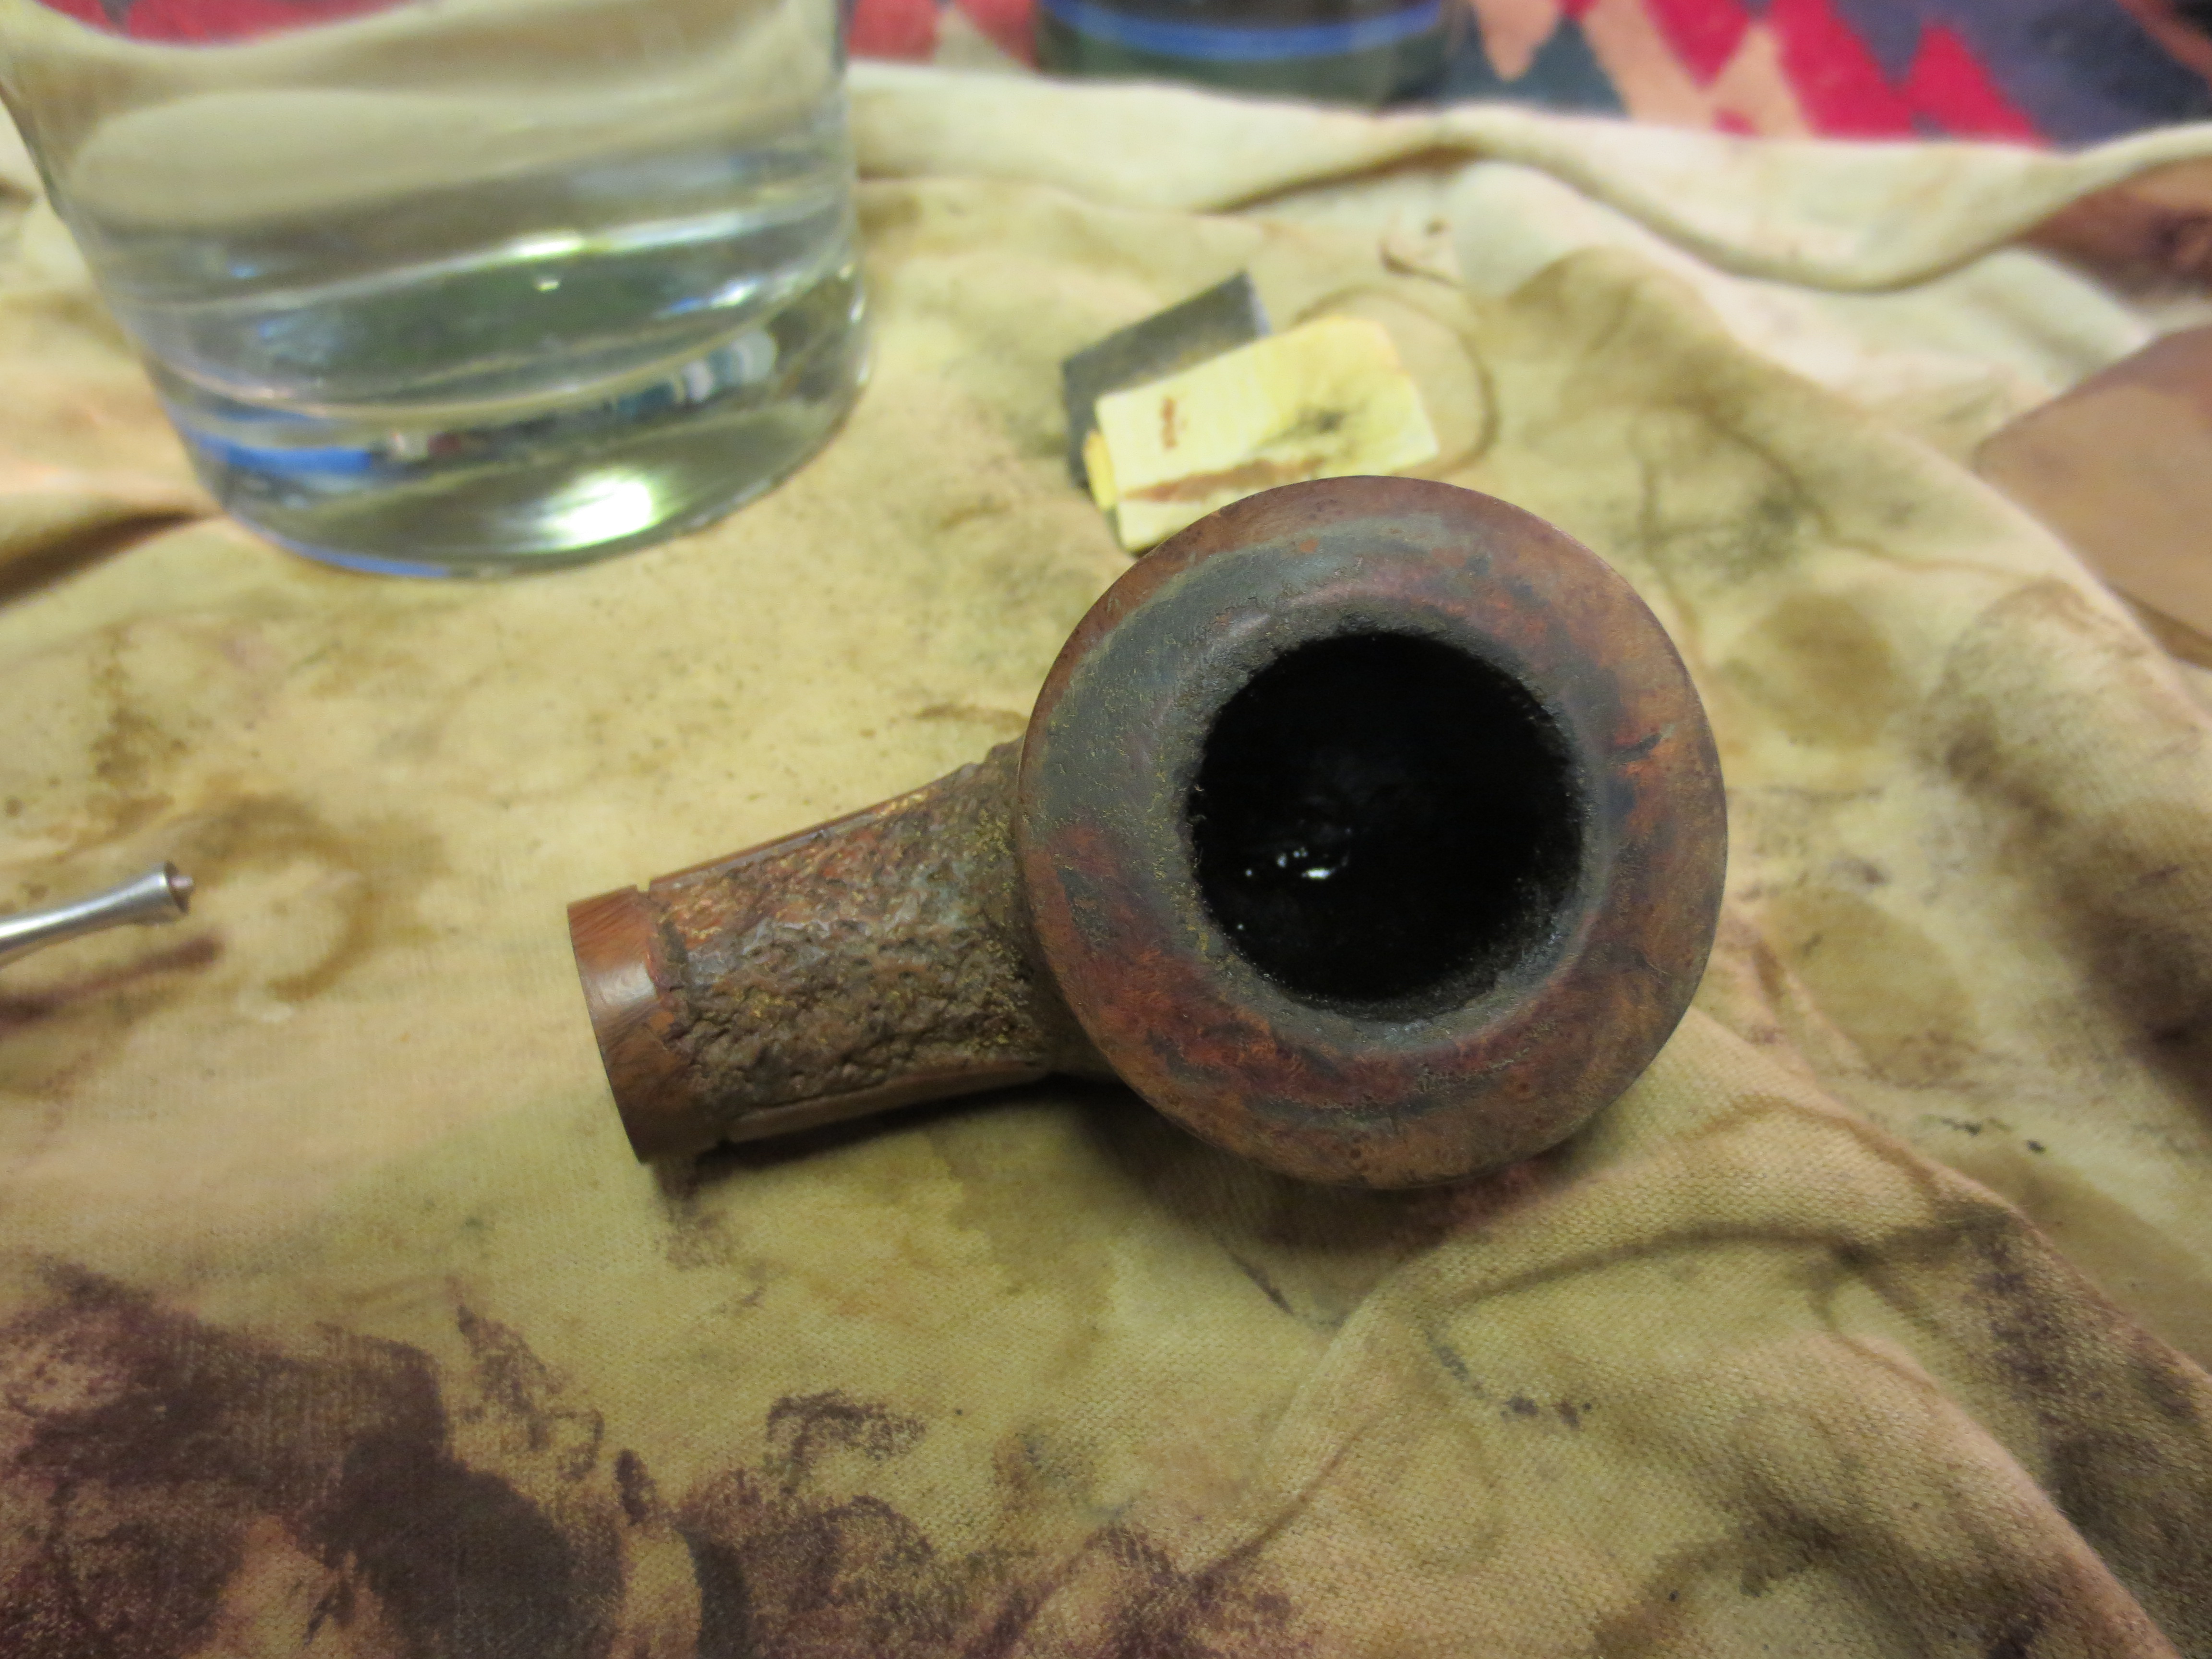
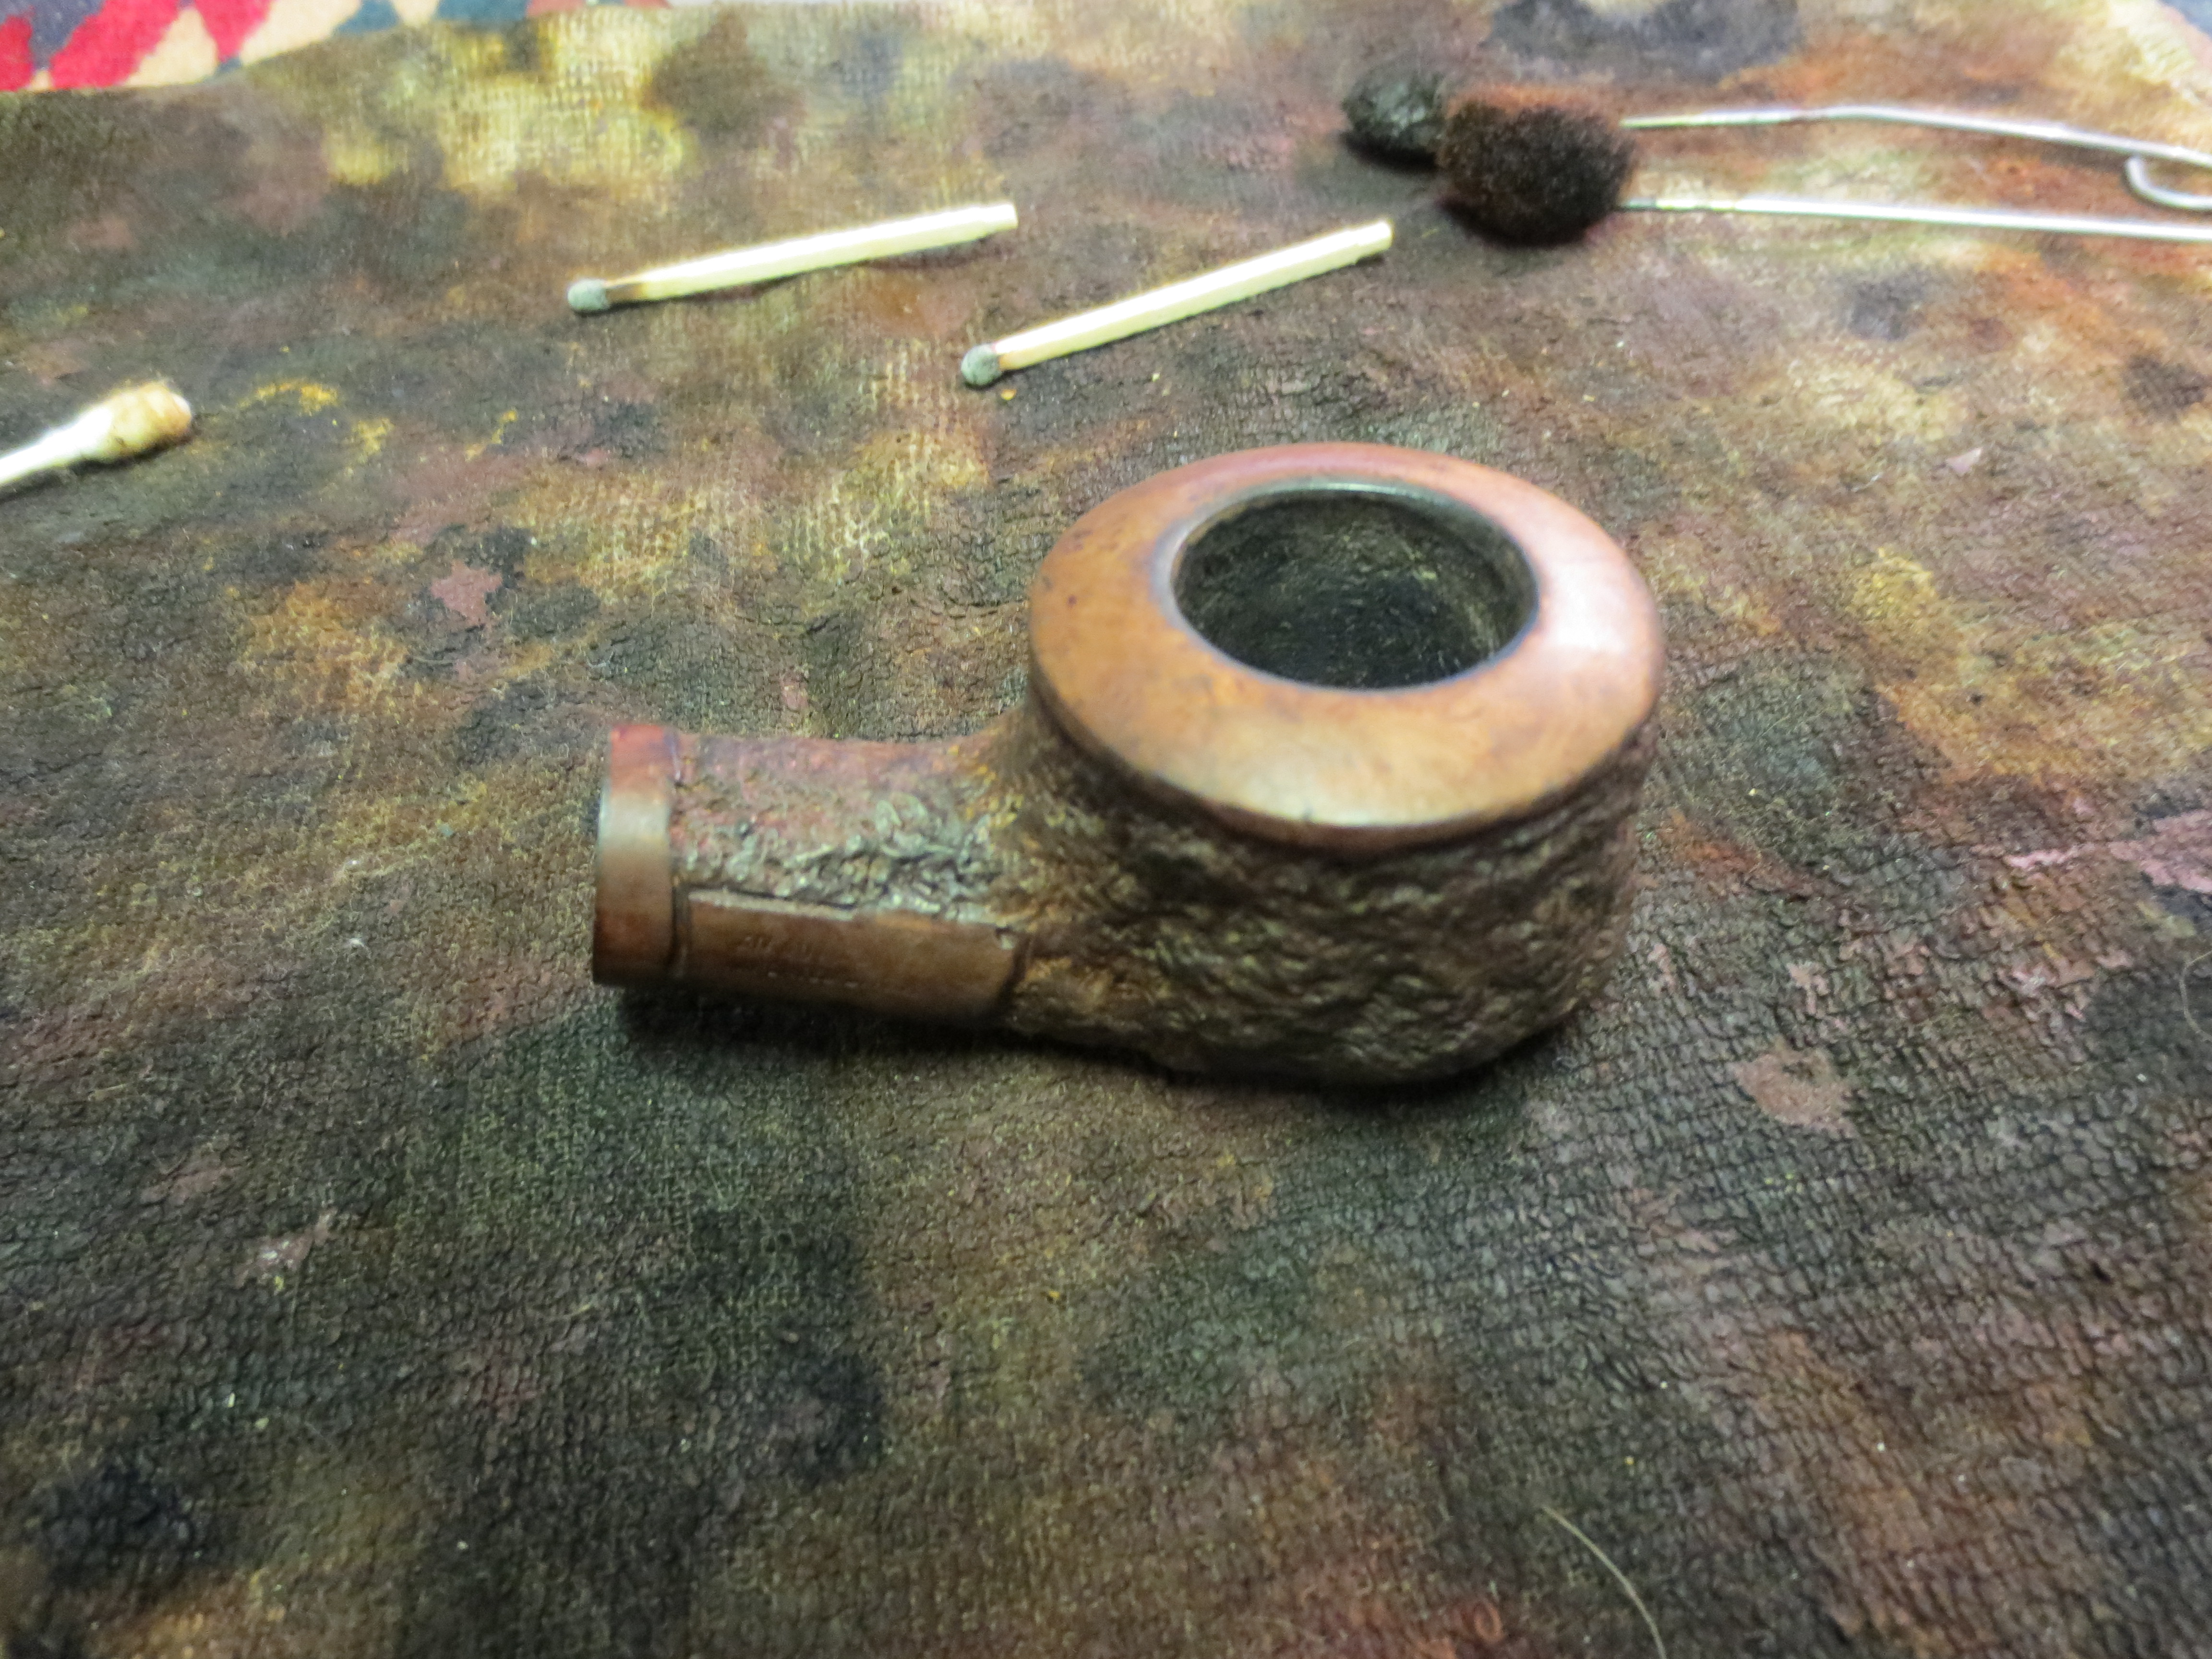
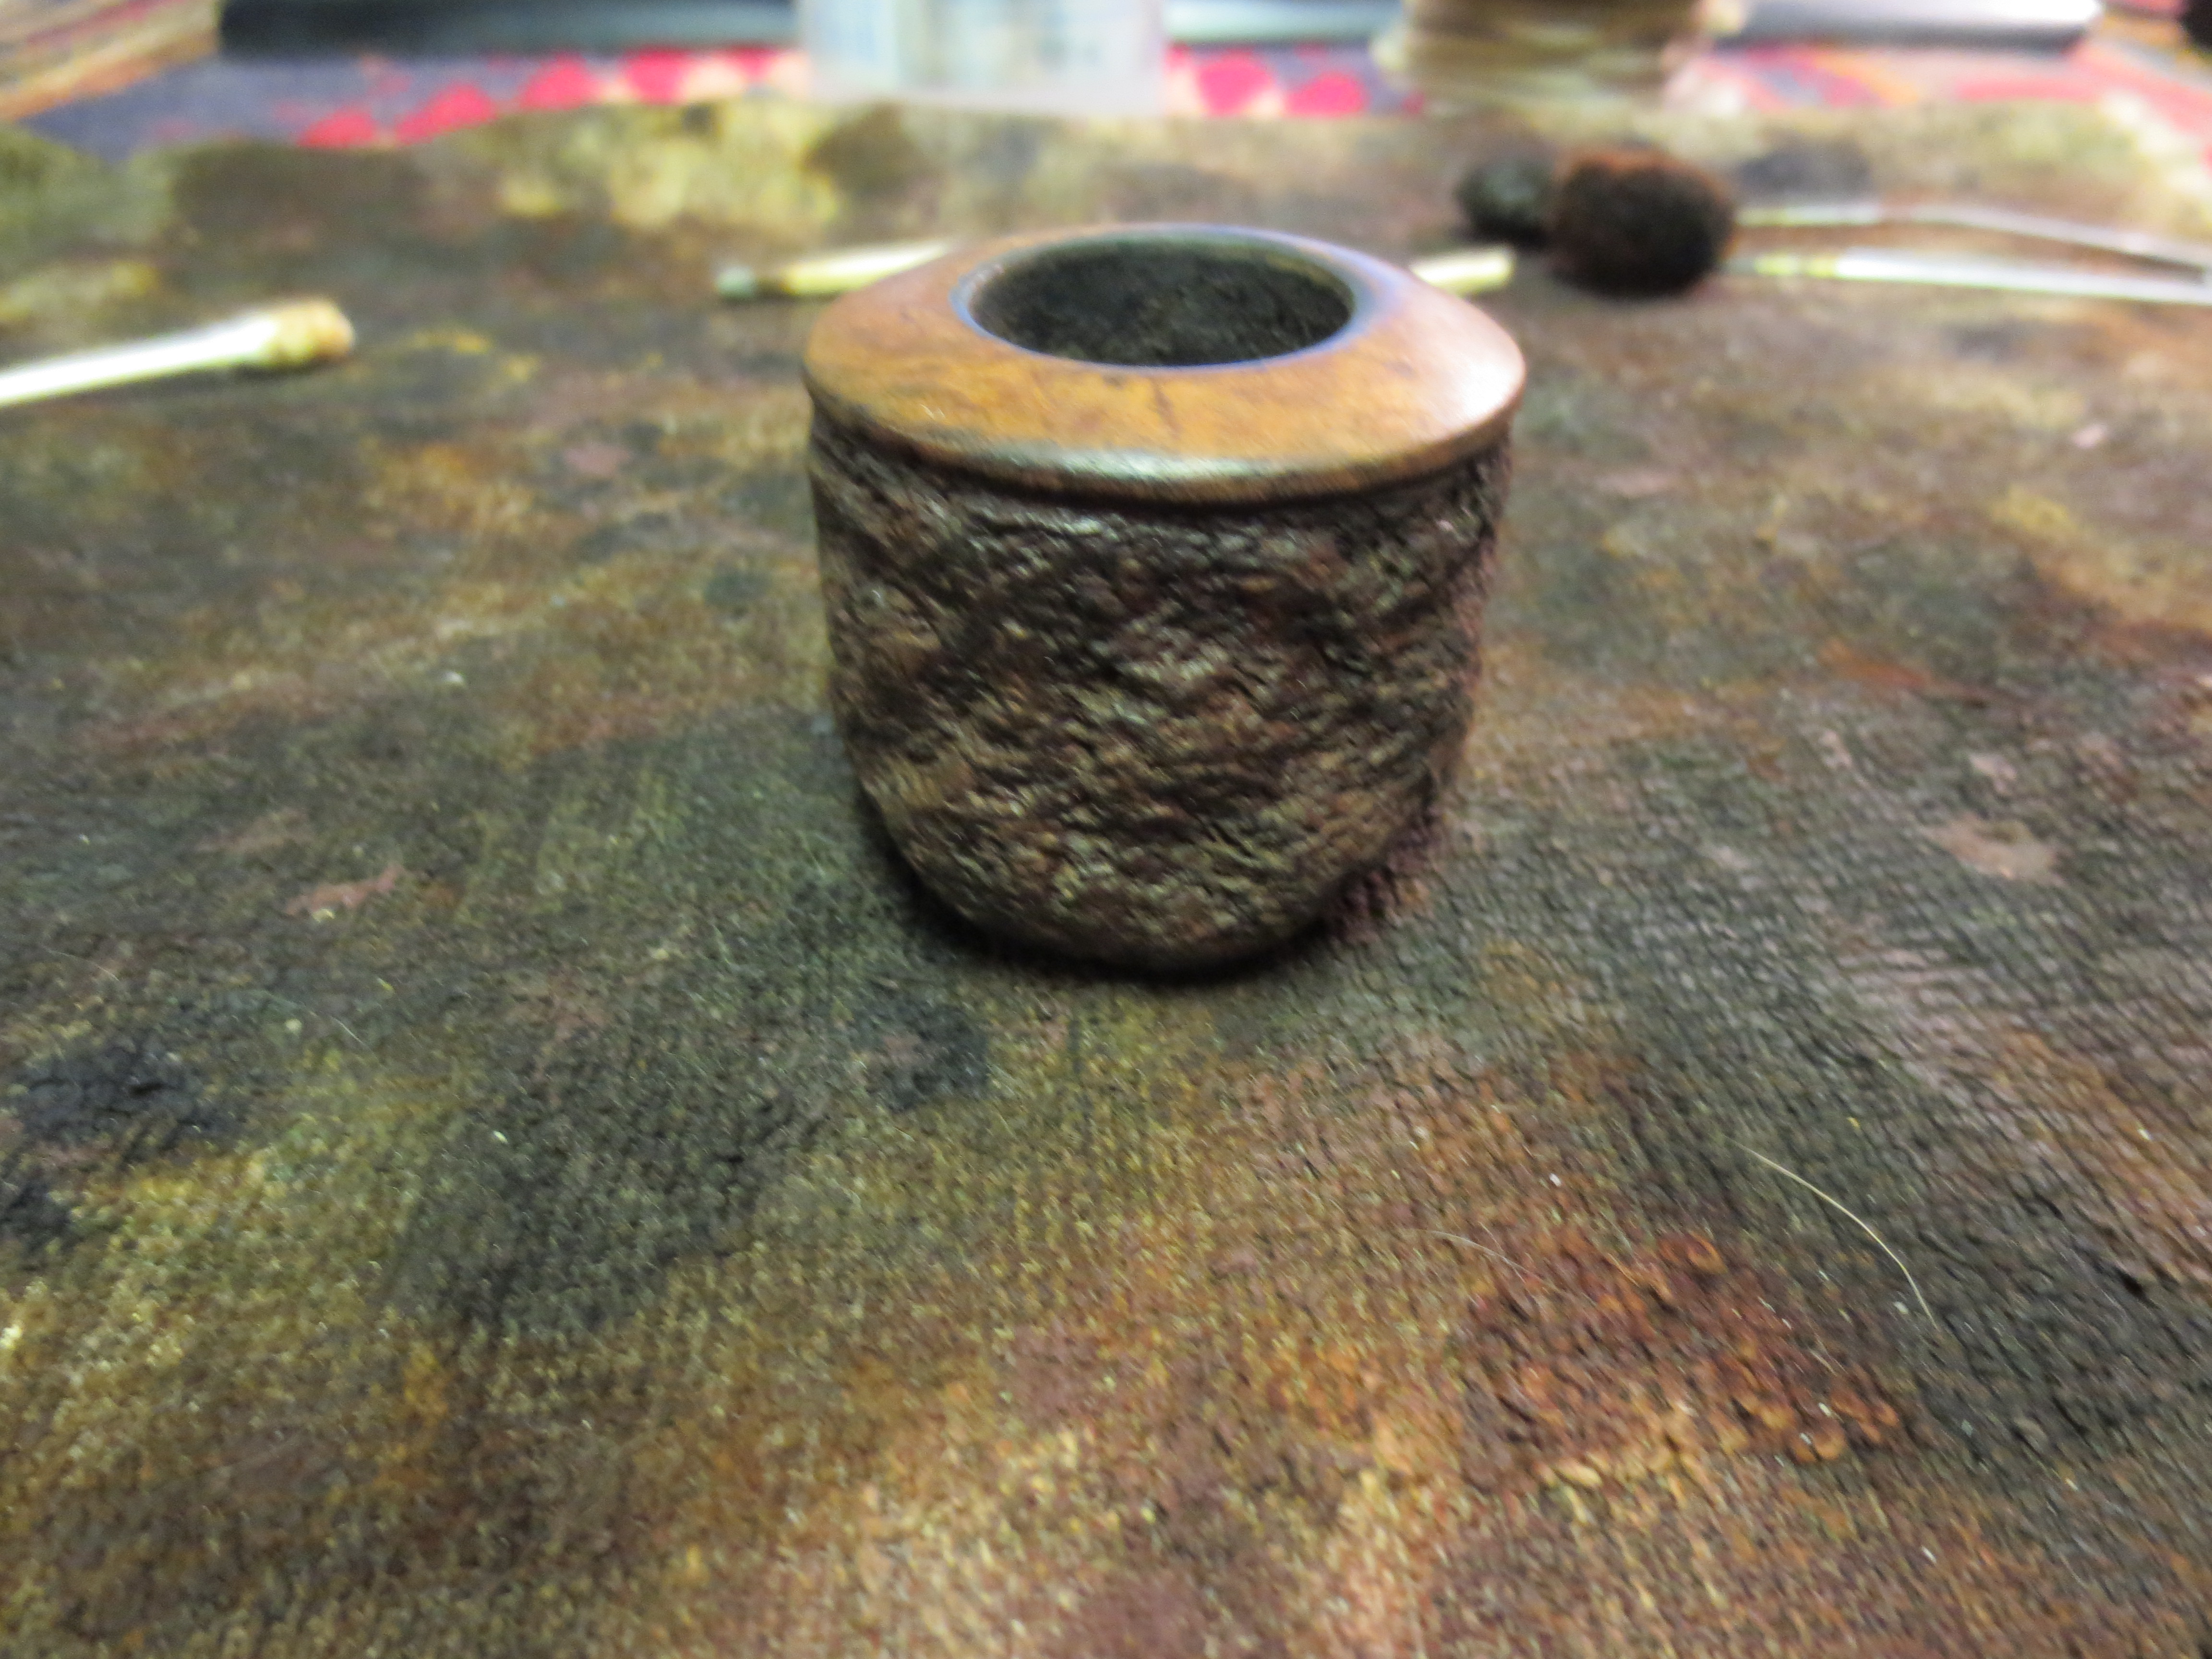
At this point I took the bowl out of the bath. It had been sitting in the bath for about an hour and I figured it was time to pull it. I scrubbed it with a soft bristle tooth brush to remove the softened grit and grime in the rustication. The next two photos show the bowl after I removed it from the bath and dried it off with the cloth that it is resting on. The grit is pretty well gone and the rim tar is softened but still present. The third photo below shows the rim after I had used some fine grit sandpaper to begin removing the tars on the rim. I continued to sand it until they were all gone. Since I planned on restaining the pipe anyway it was not an issue.

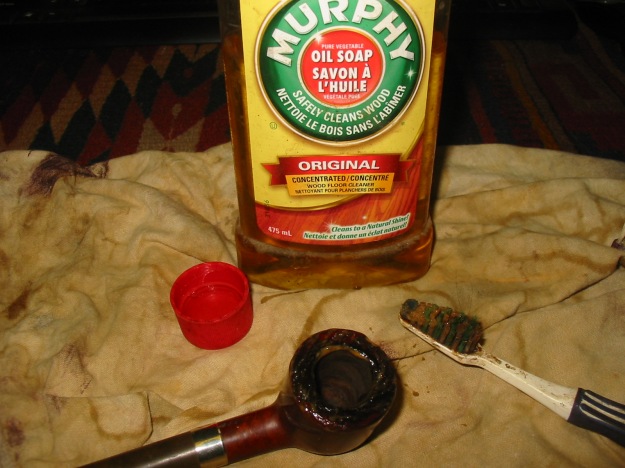
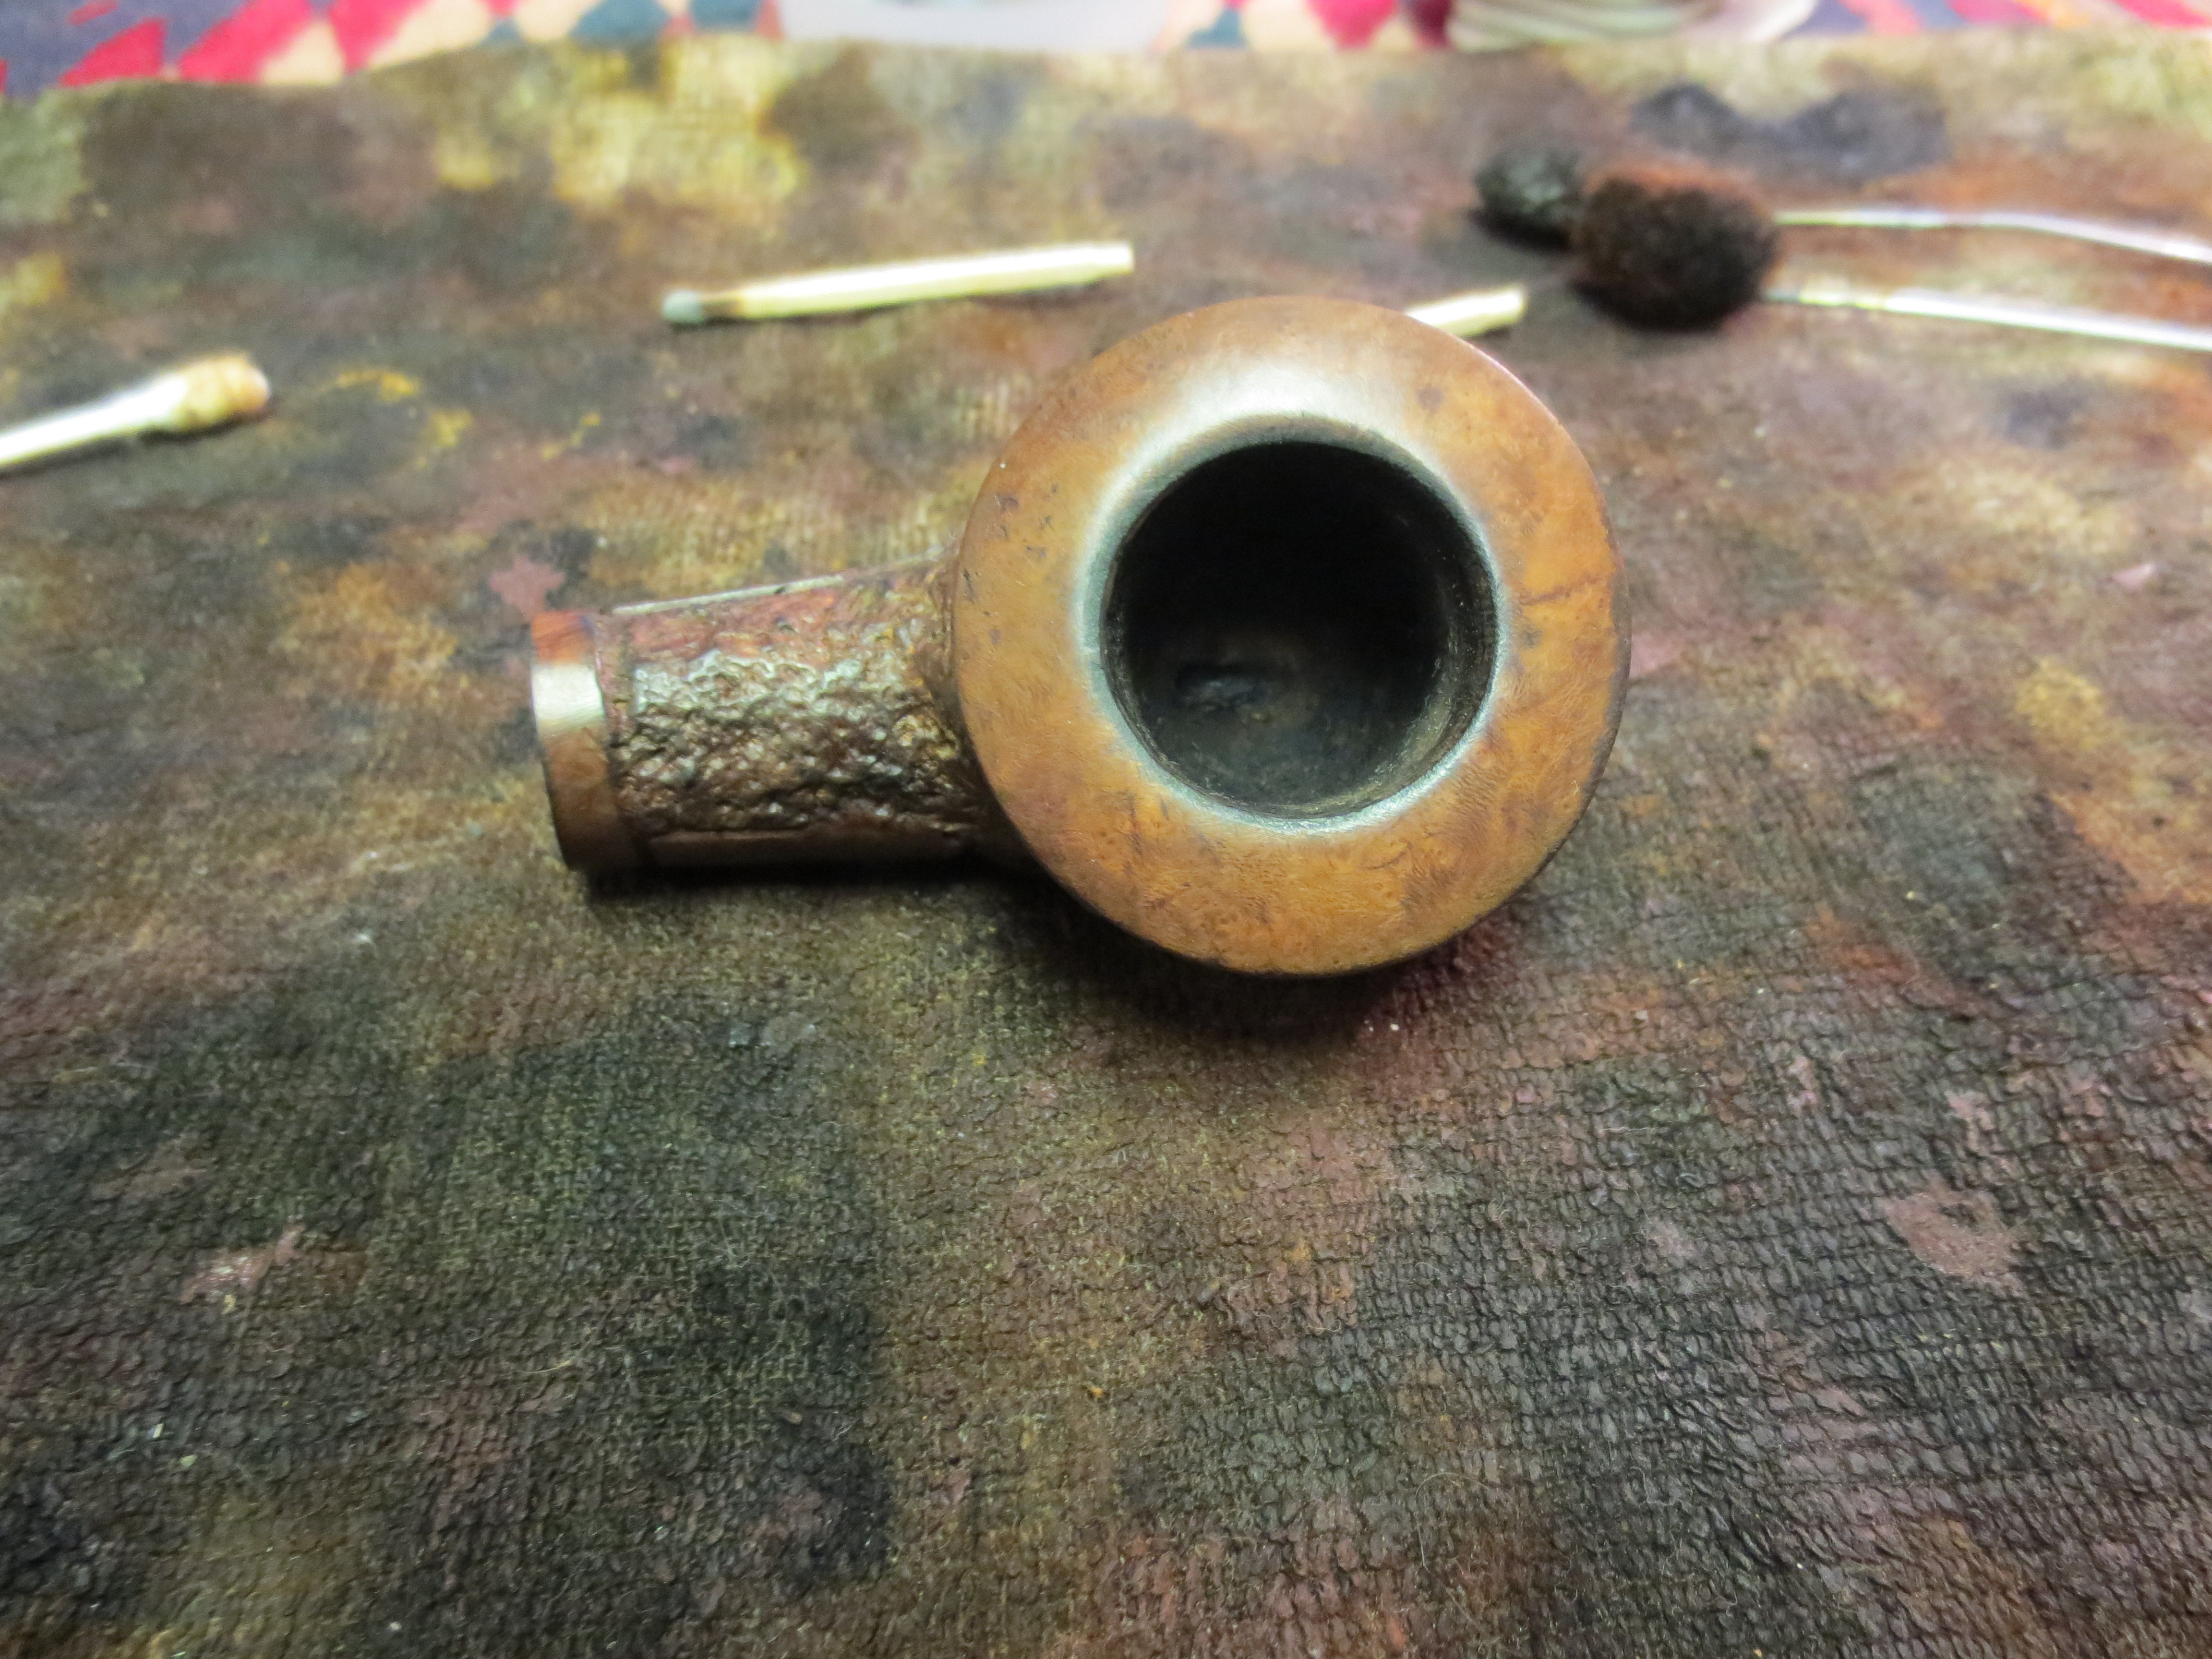
I still was not happy with the grime in the crevices of the rustication. I had removed much of it but there was still quite a bit present and I decided to scrub it with Murphy’s Oil Soap and a tooth brush until the surface was clean. Again I was not worrying about removing any finish as I planned on redoing that anyway so I gave it a heavy scrub and then rinsed it with warm water and dried it off. I repeated the scrub until the bowl was clean and the rustication free of grime.
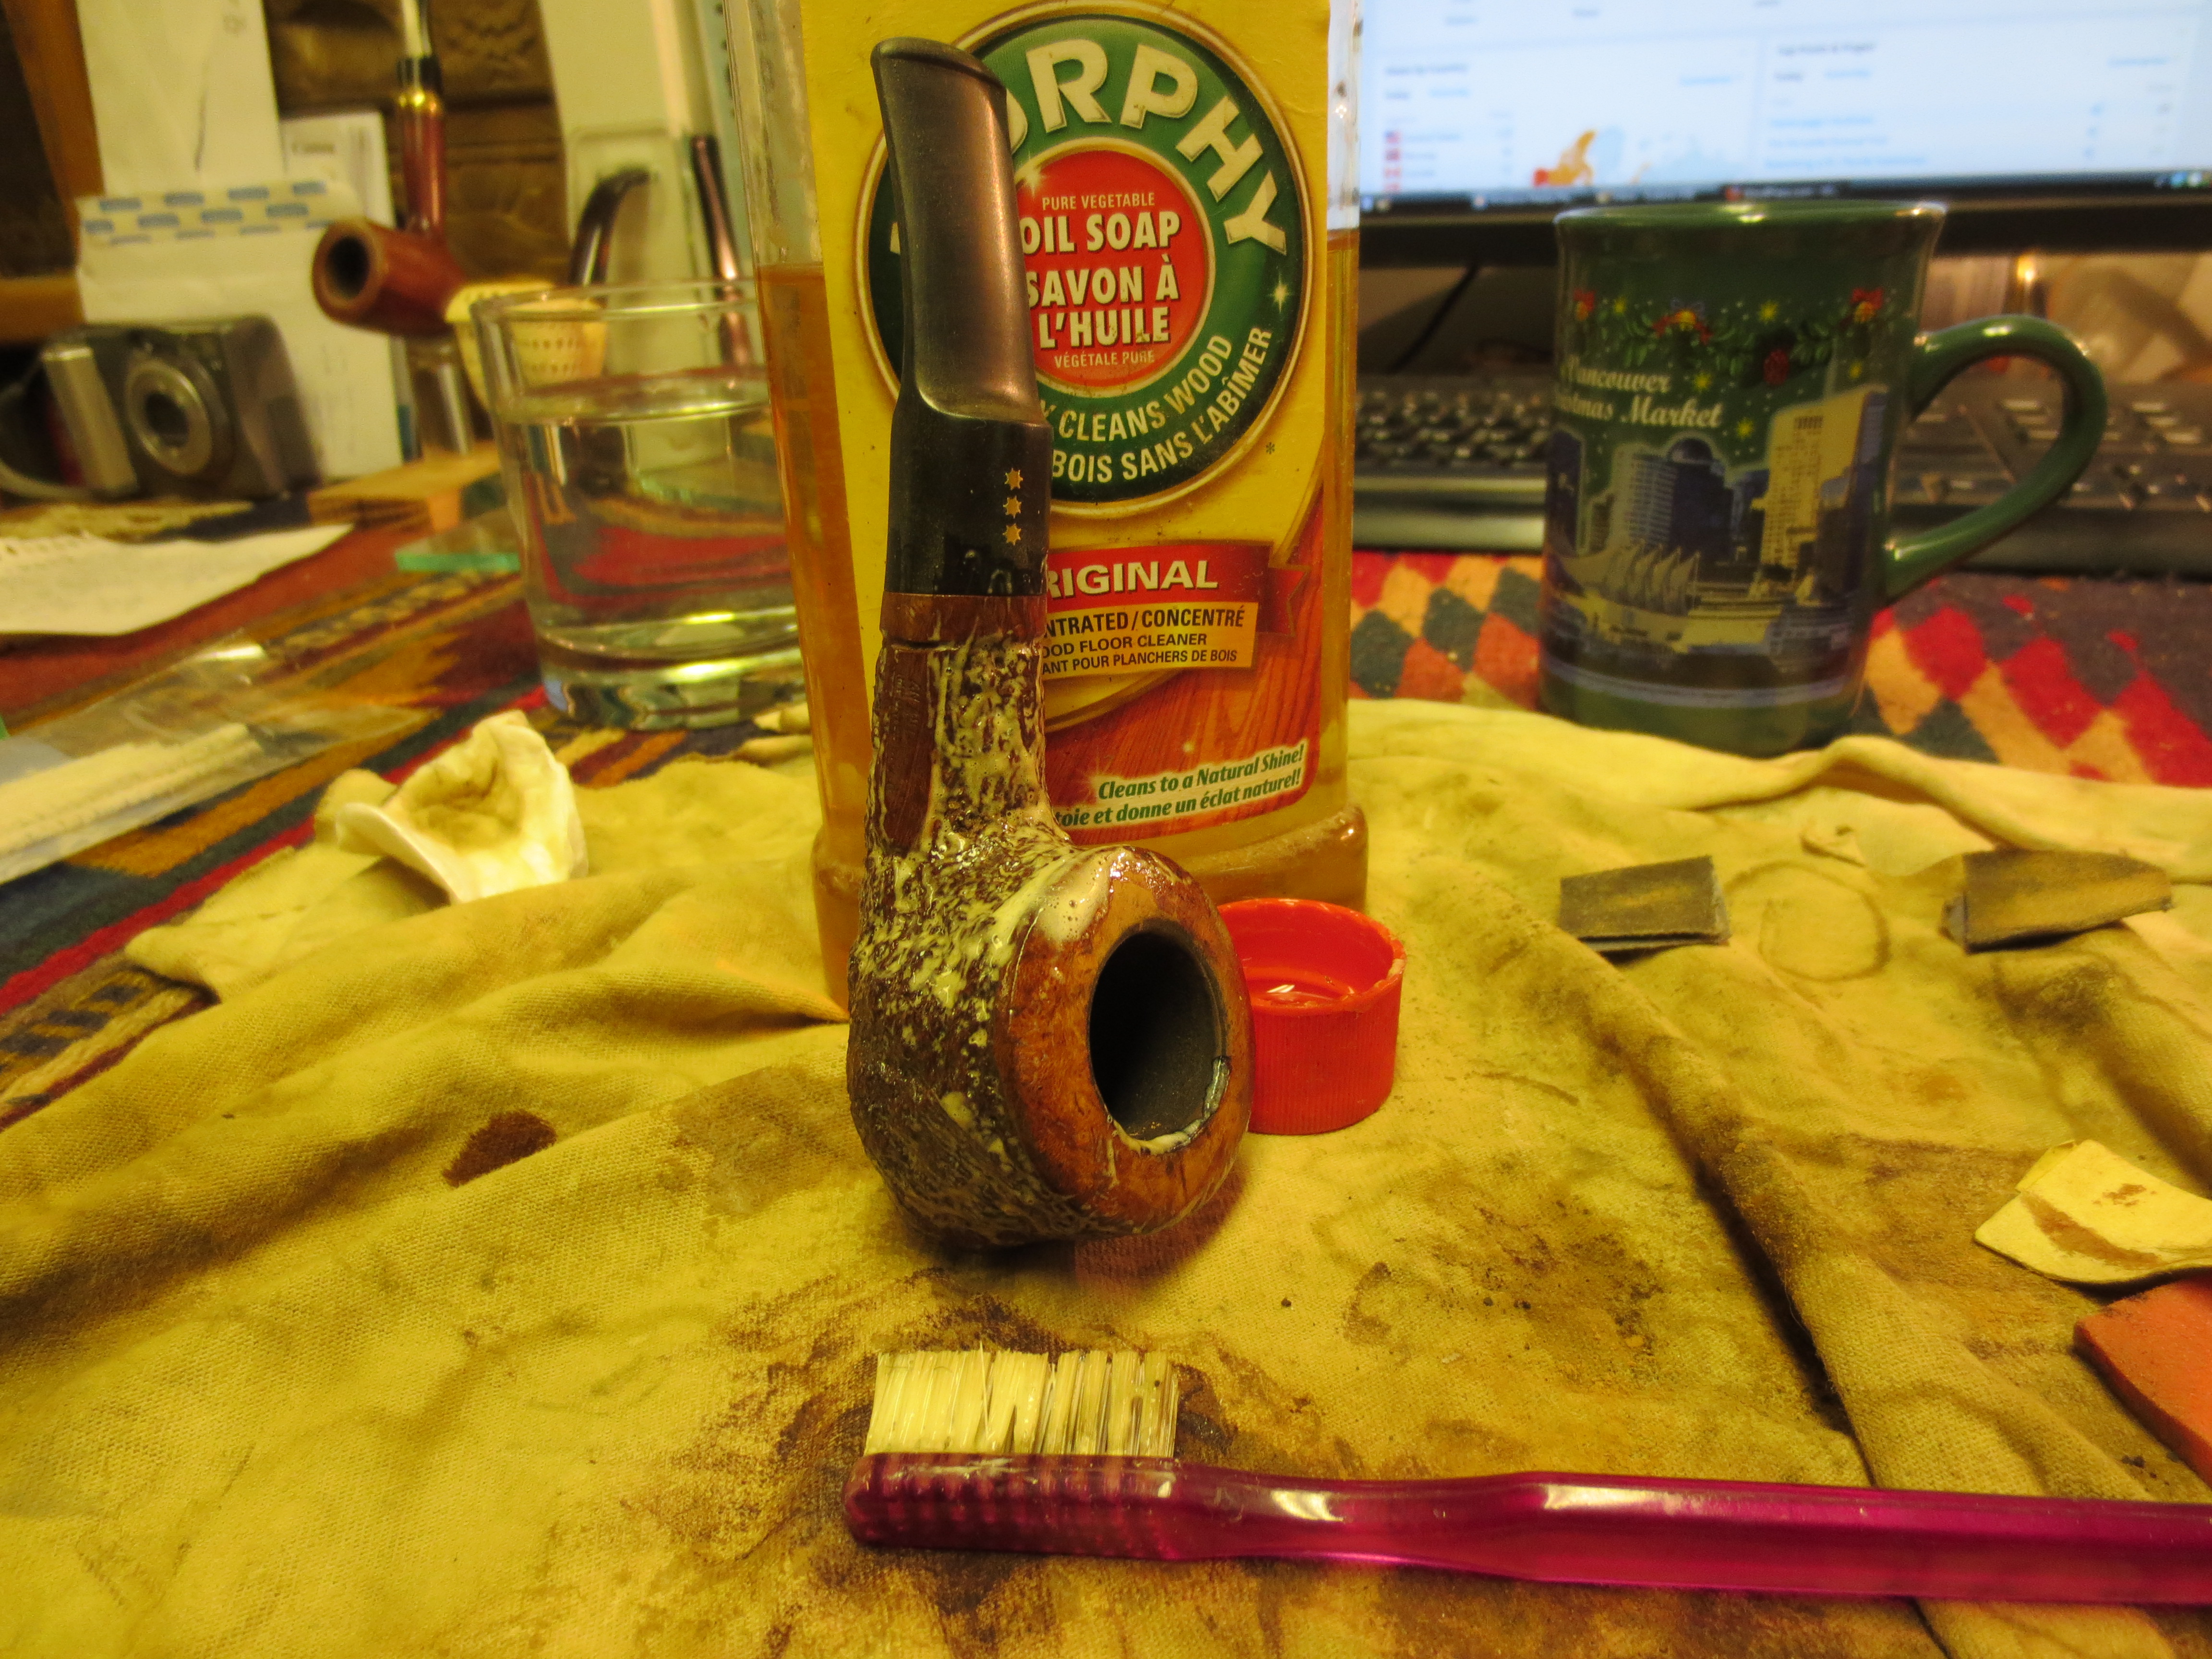
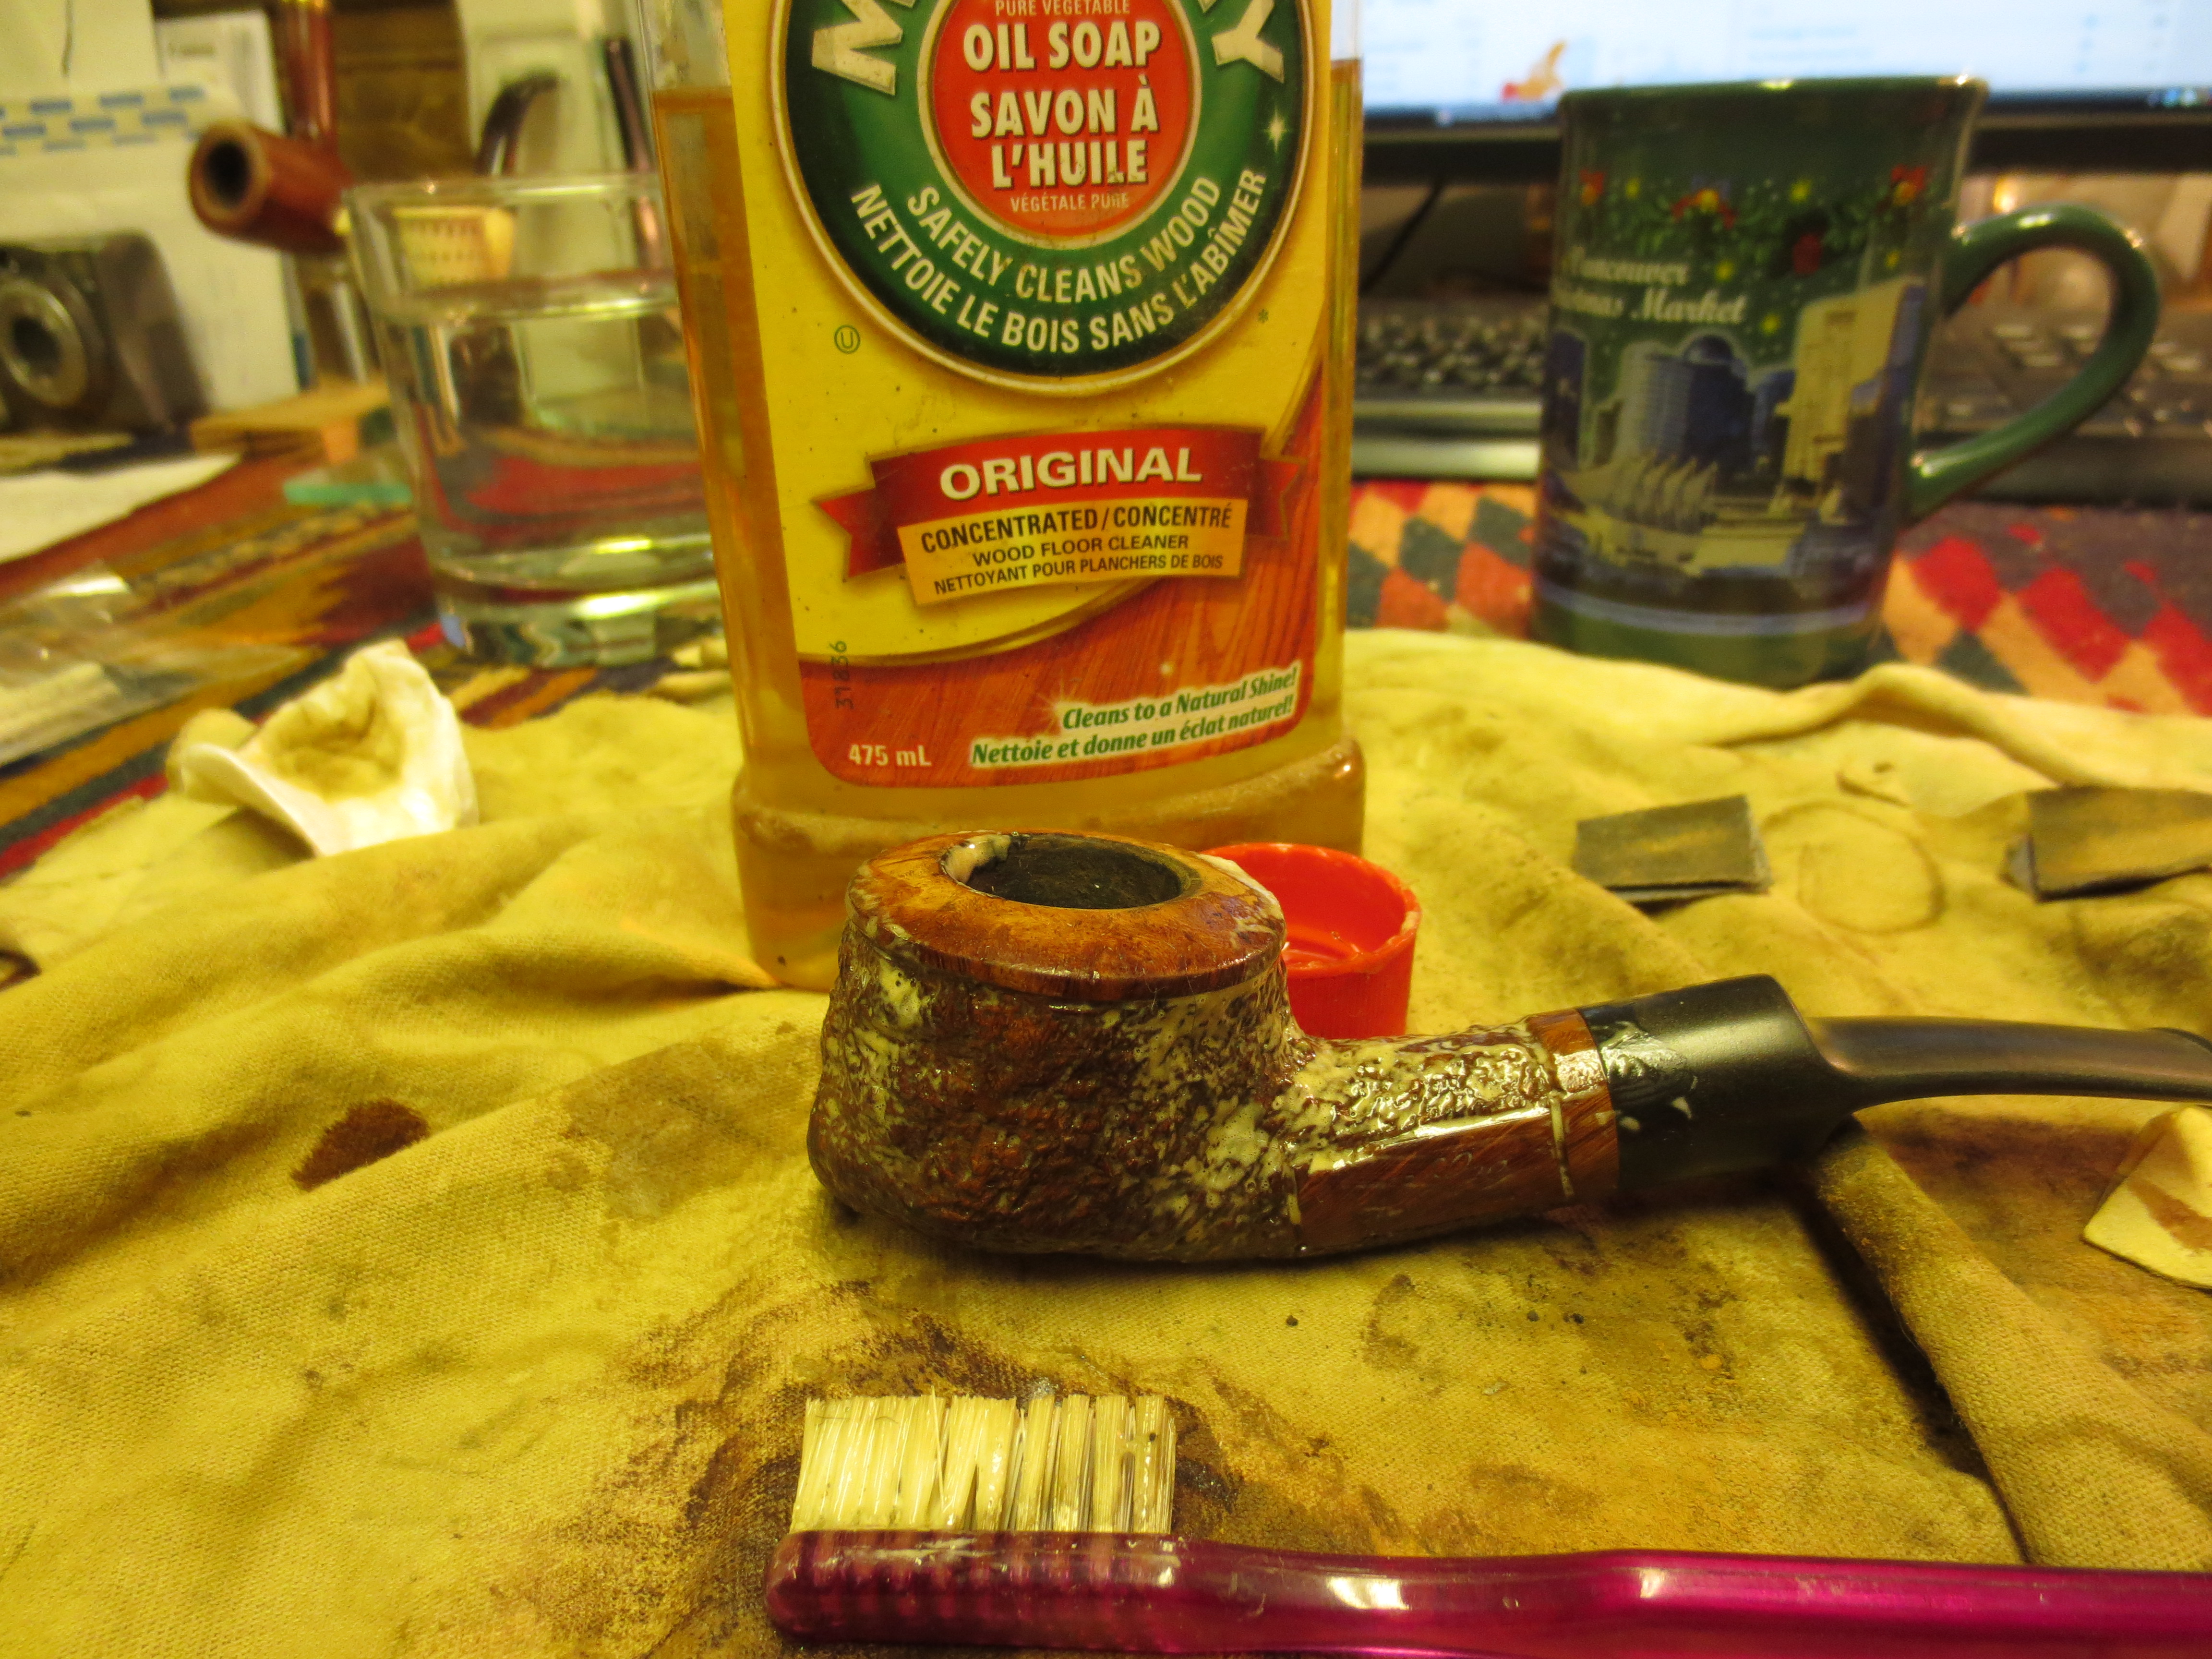
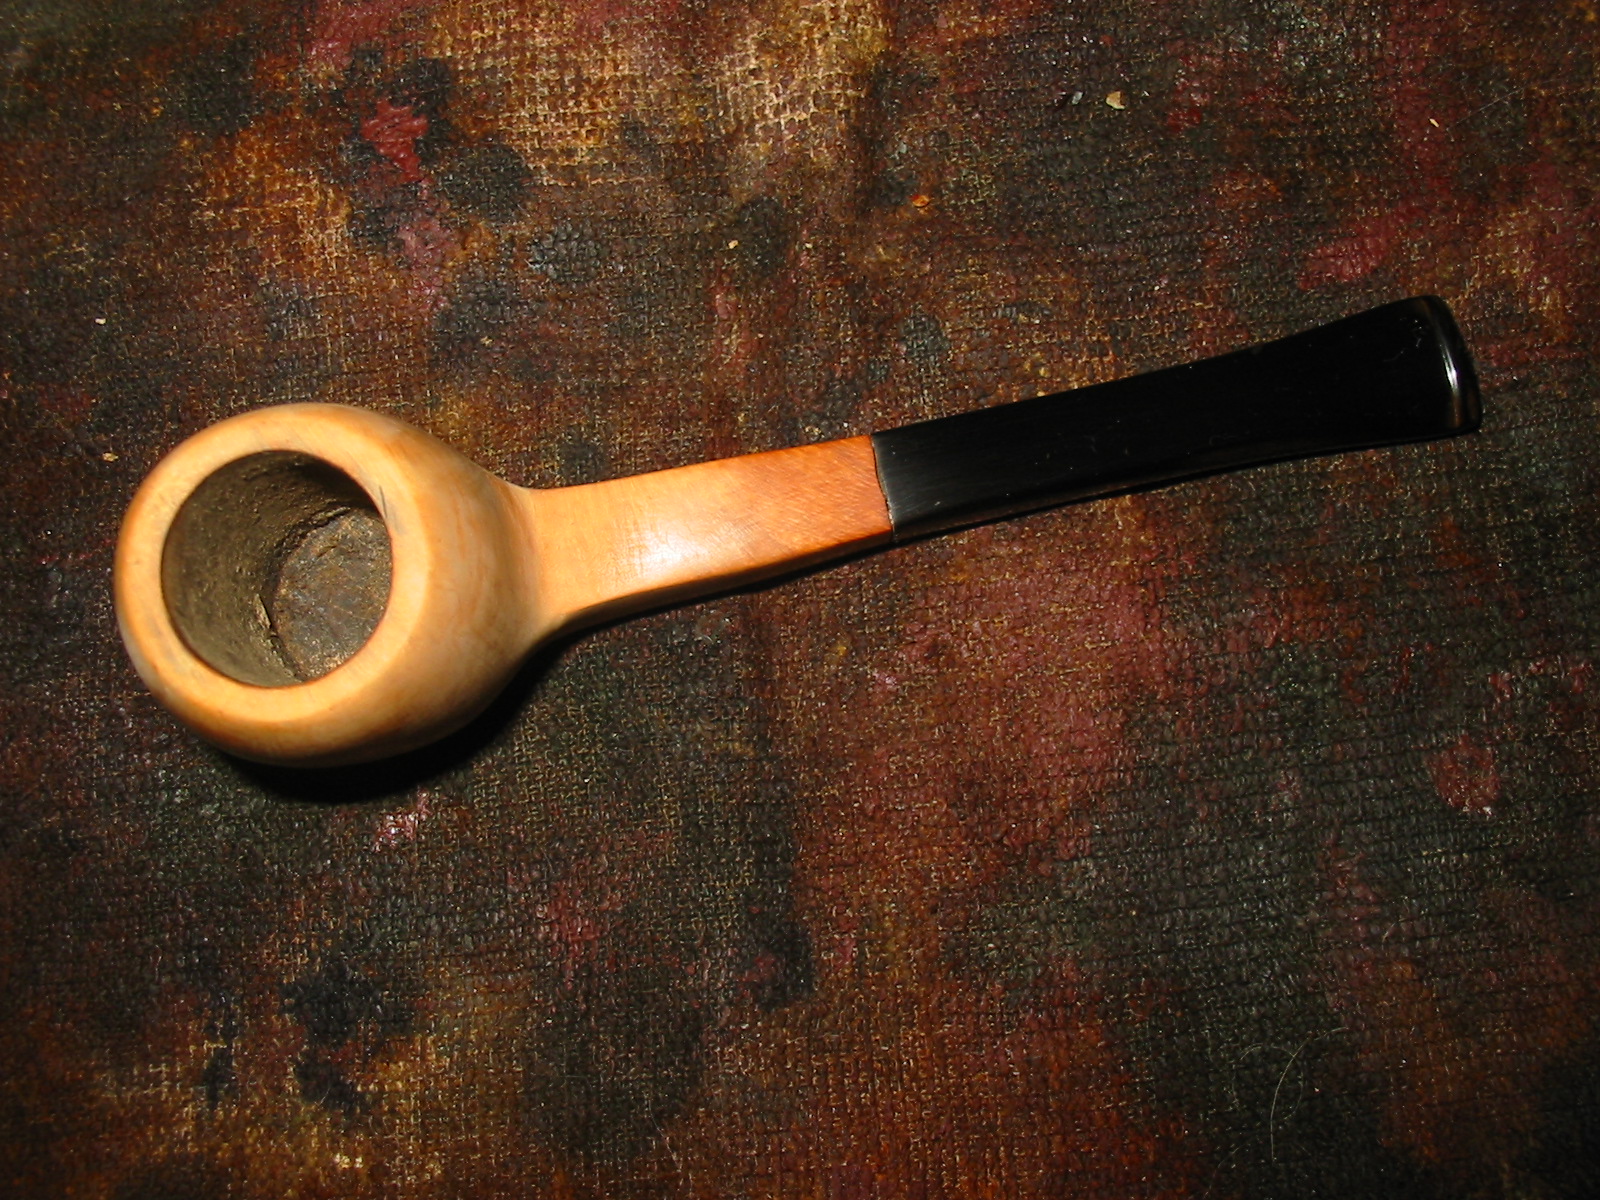
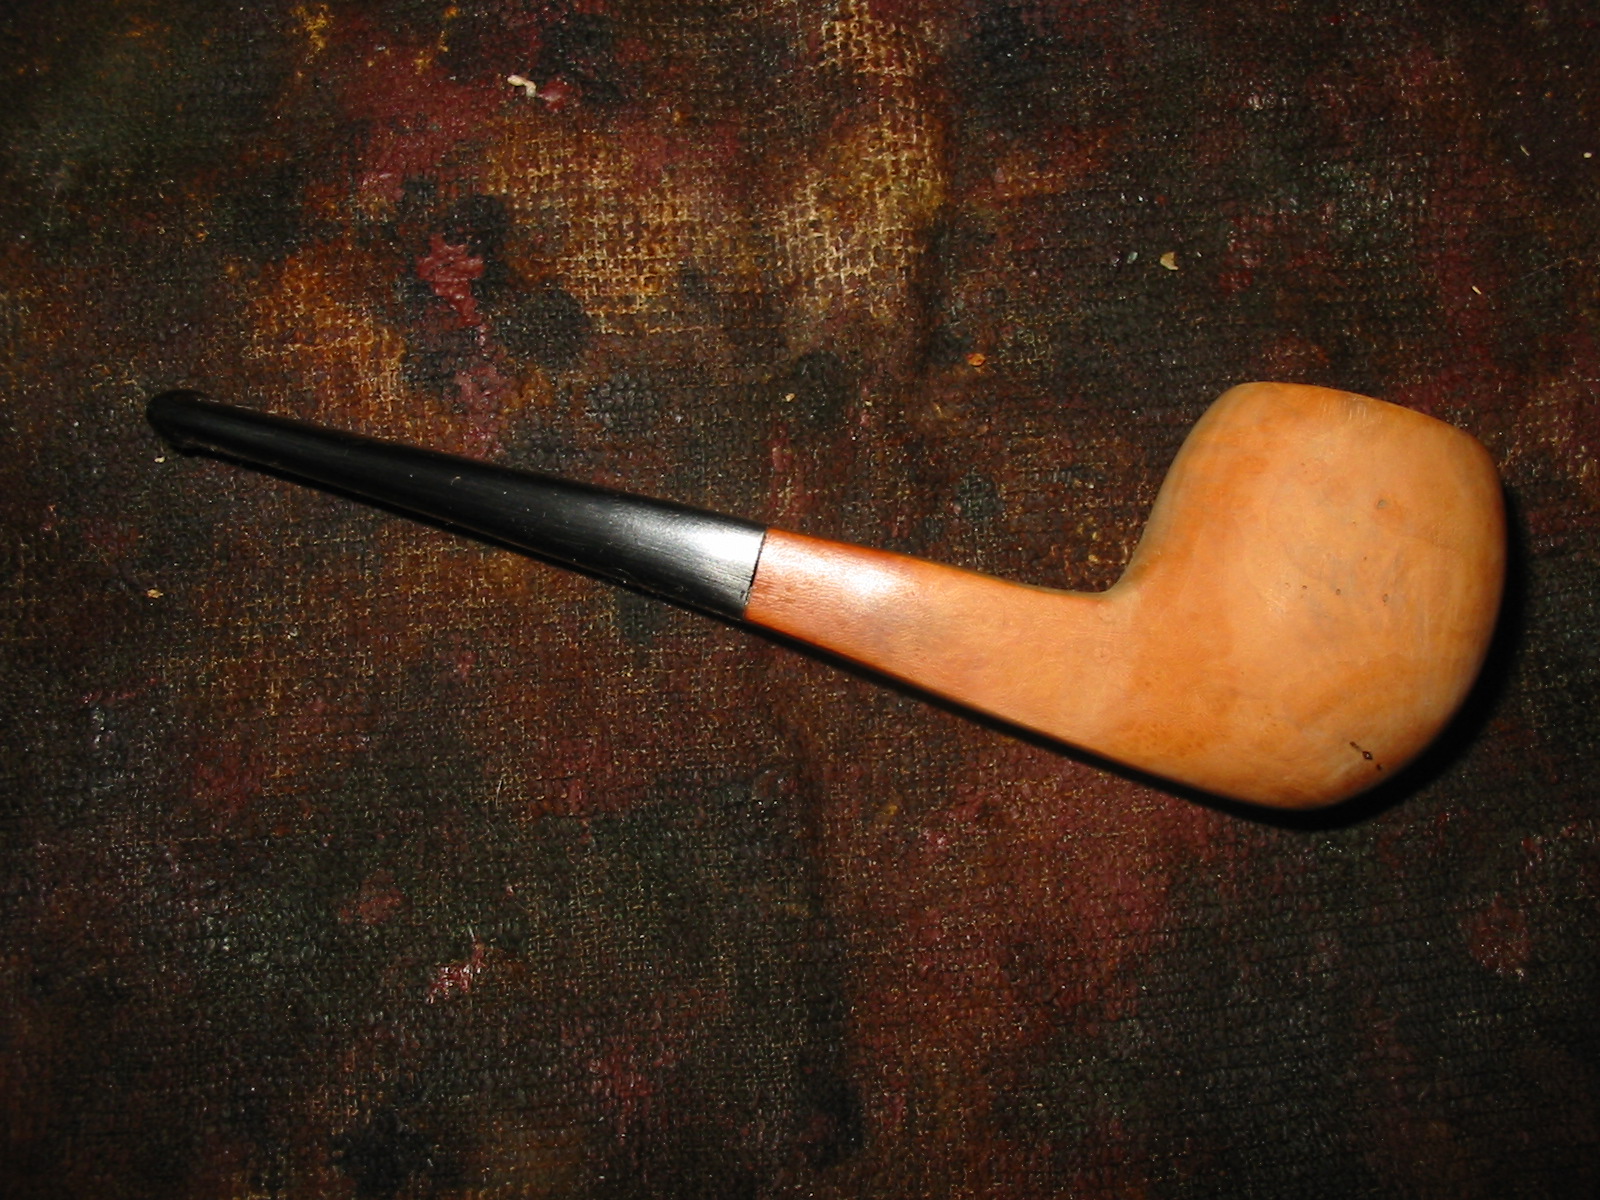
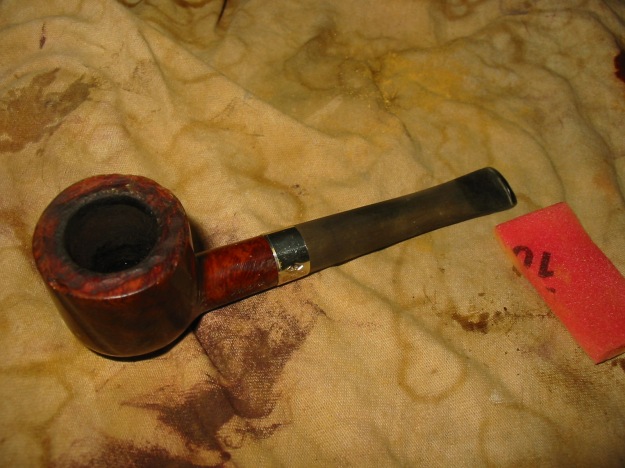
The next four photos show the pipe bowl after I had scrubbed it with the oil soap and rinsed it the final time. I dried it off with some microfiber rags that I have here for that purpose. It removed the water from the briar and left a good clean surface that was ready for a coat of stain. In the photos you can also see the stem after it has been sanded with micromesh sanding pads up to 2400 grit. All of the sanding on the stem to this point was done with water and wet sanded. The rim is clean and ready for the stain. The bowl is clean and you can actually see the rustication really well.
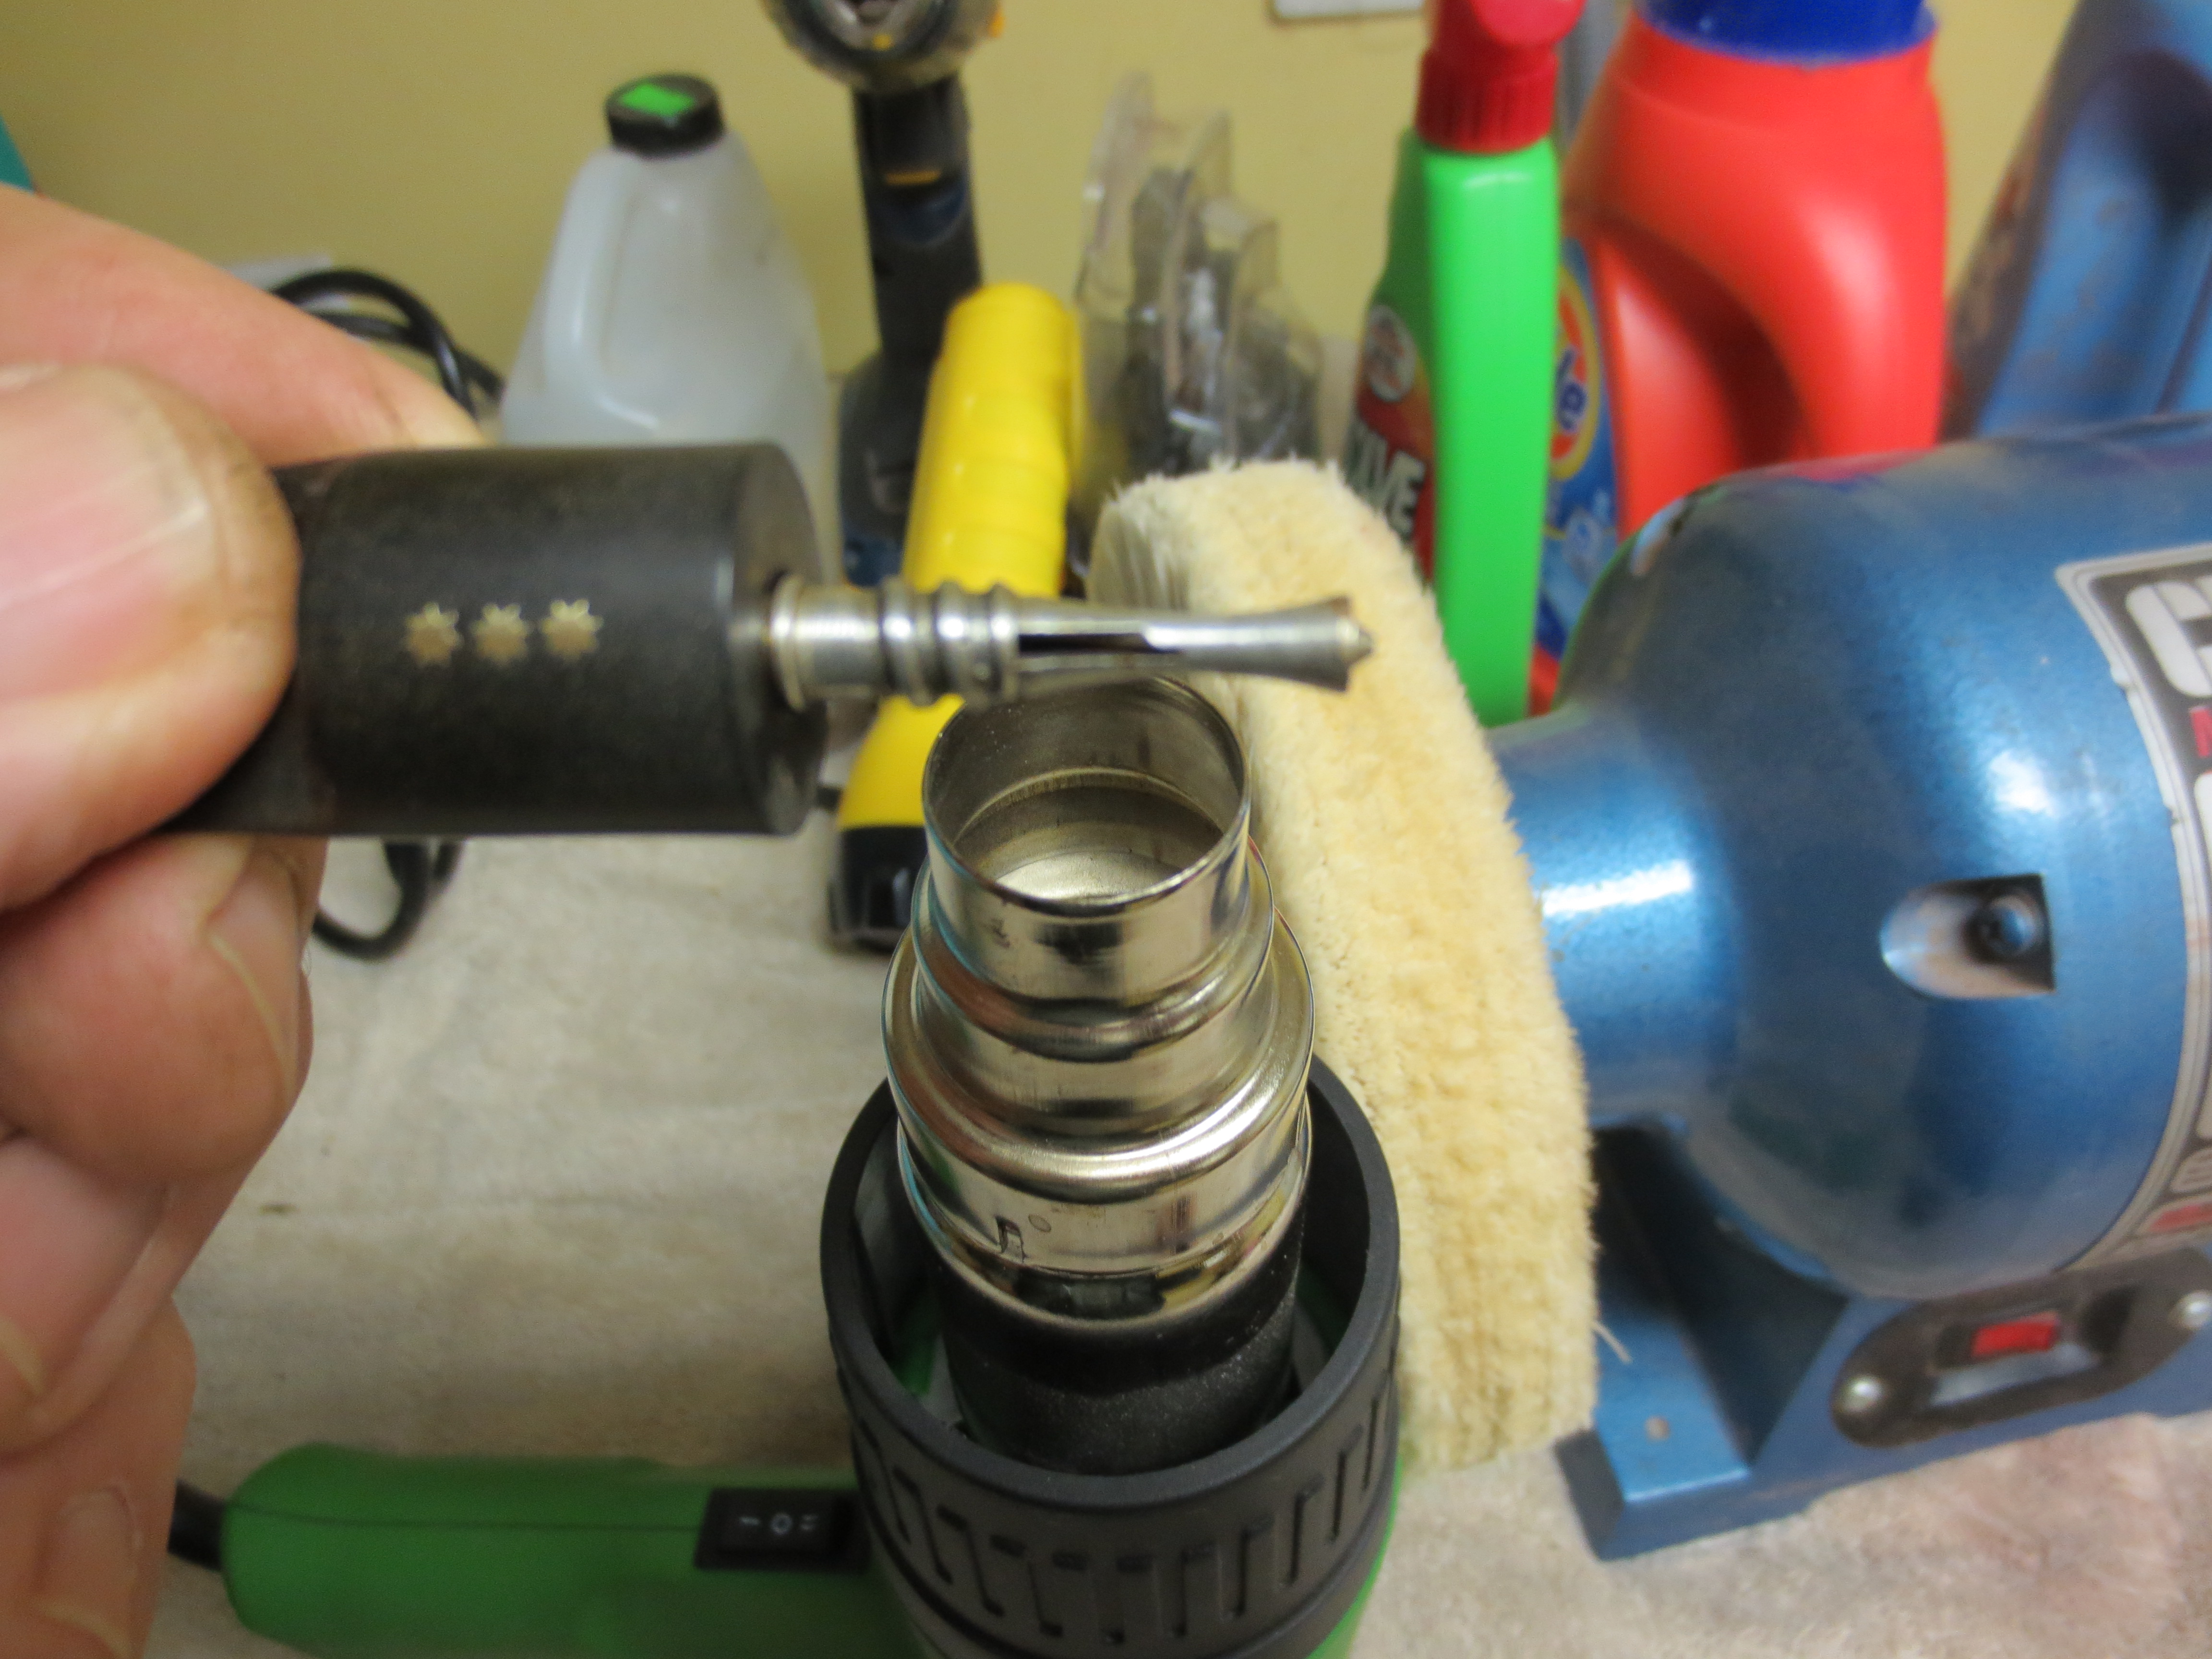
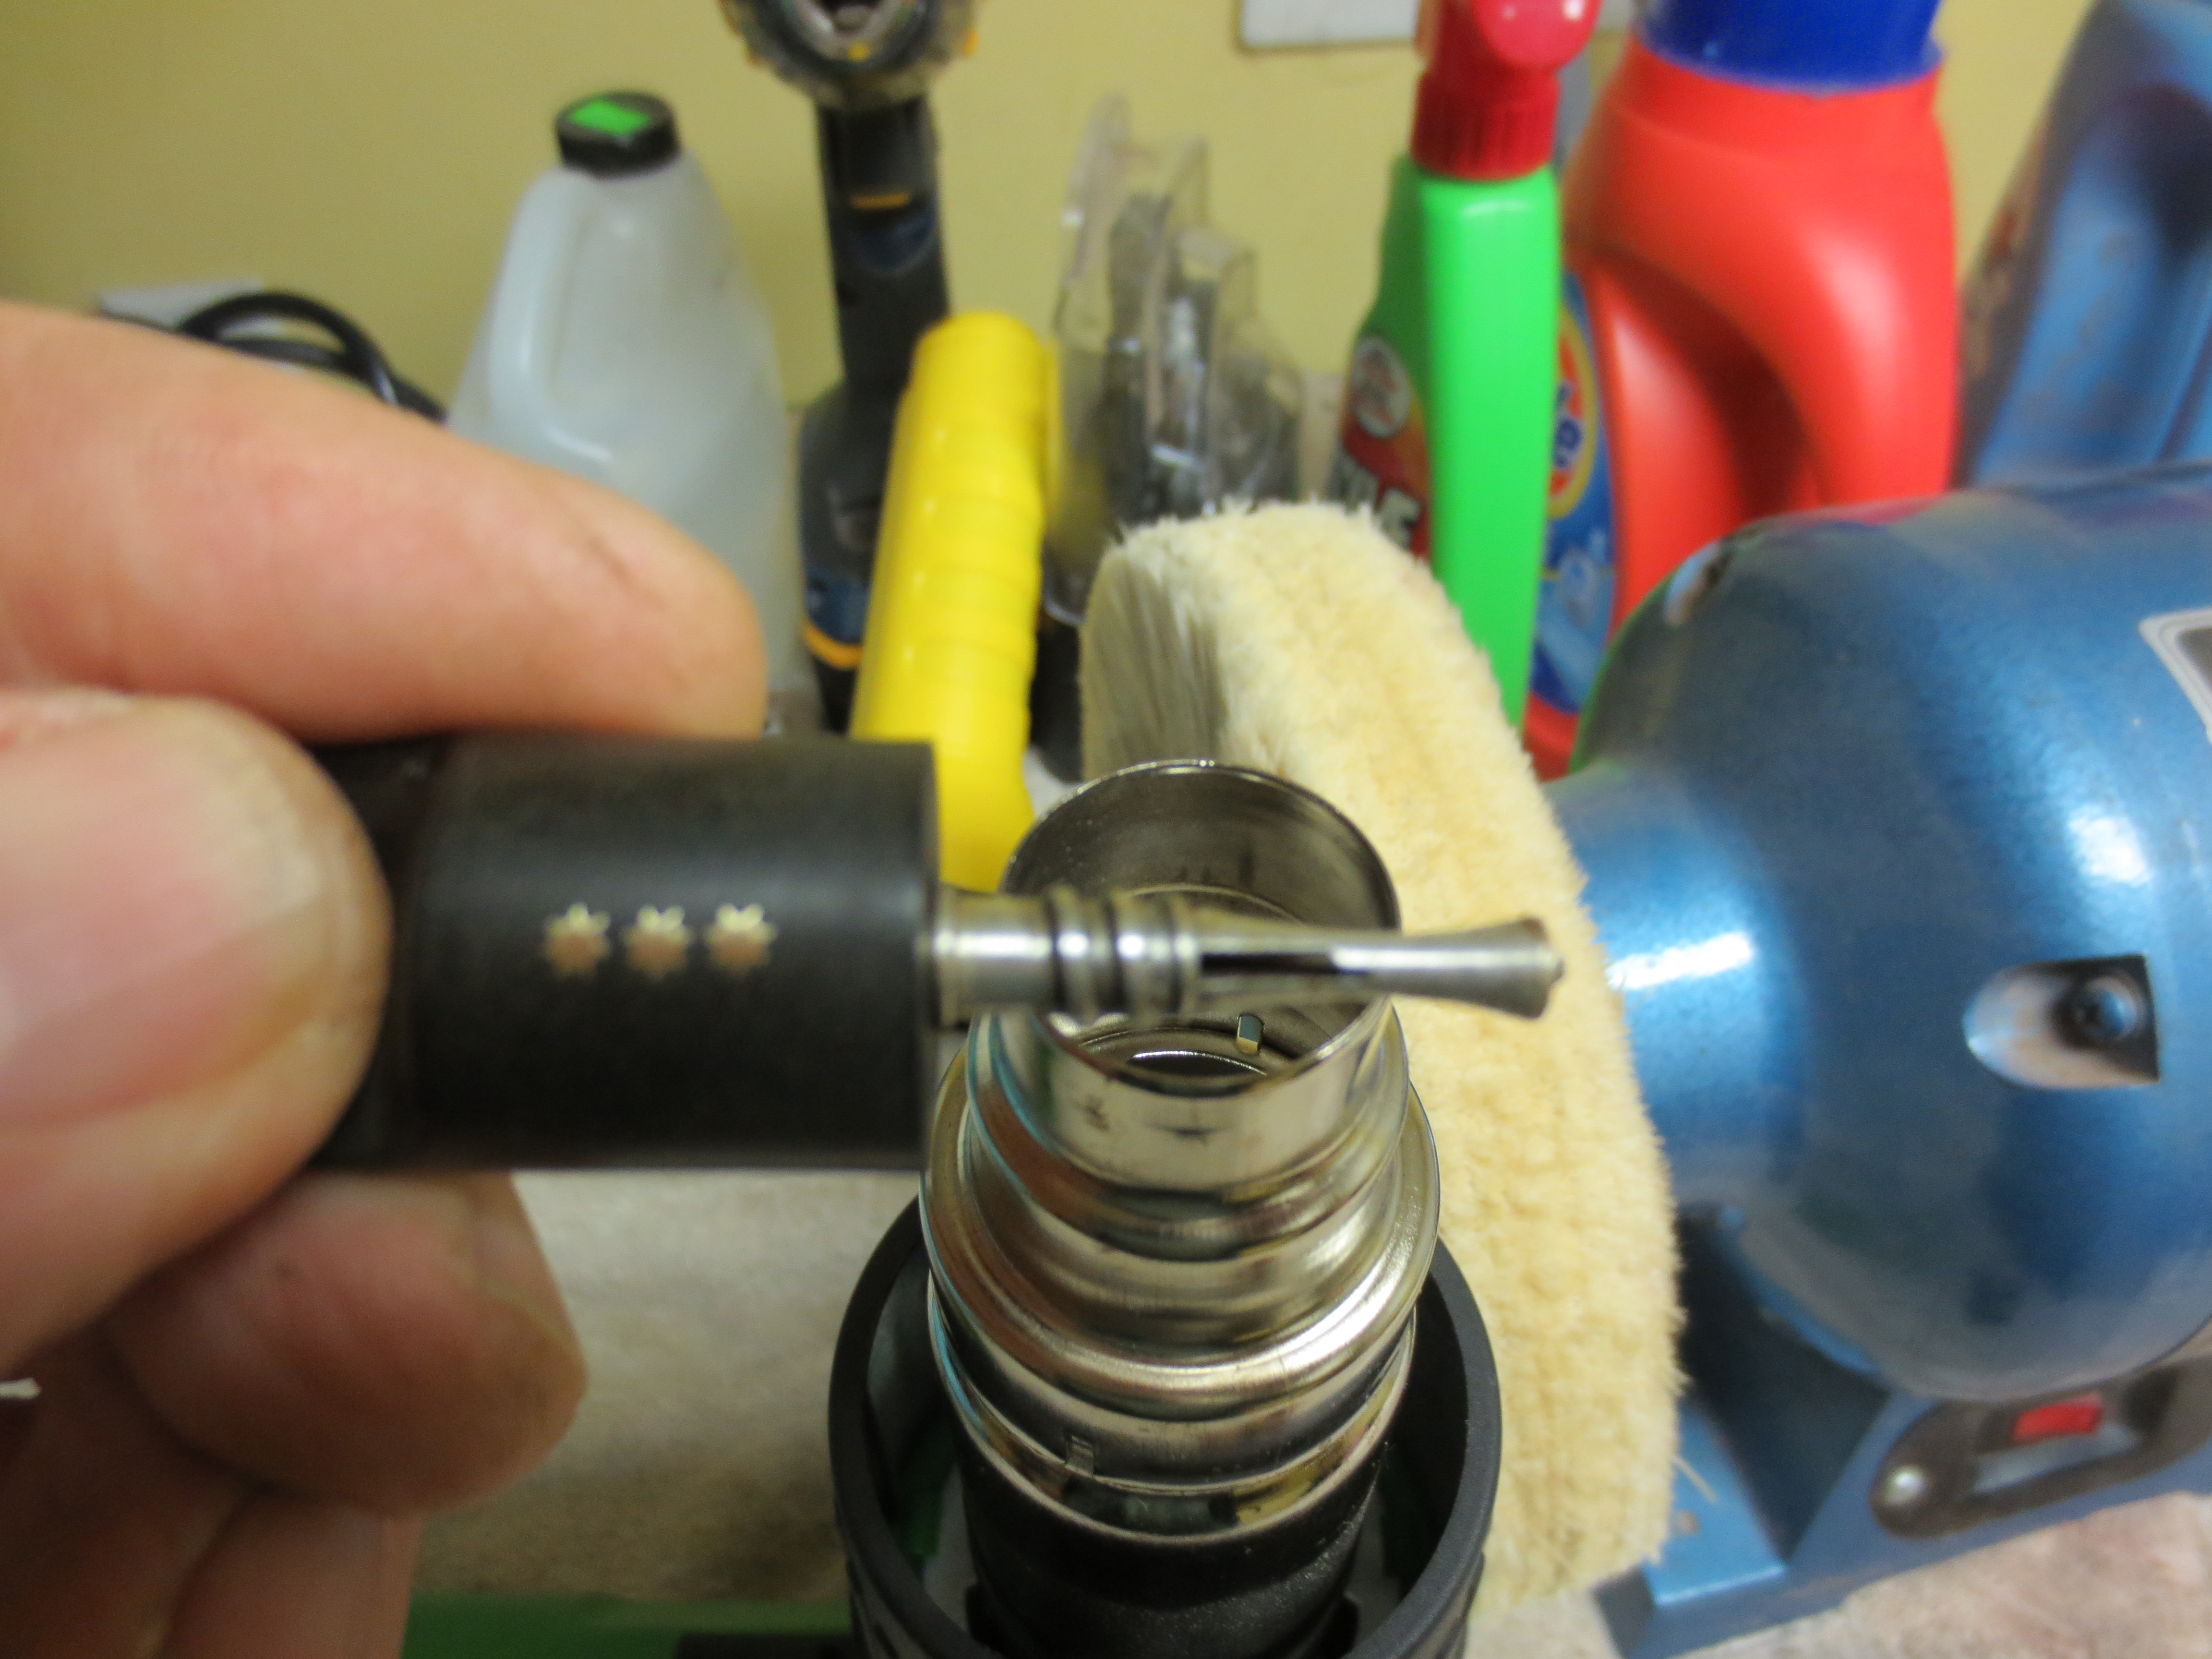
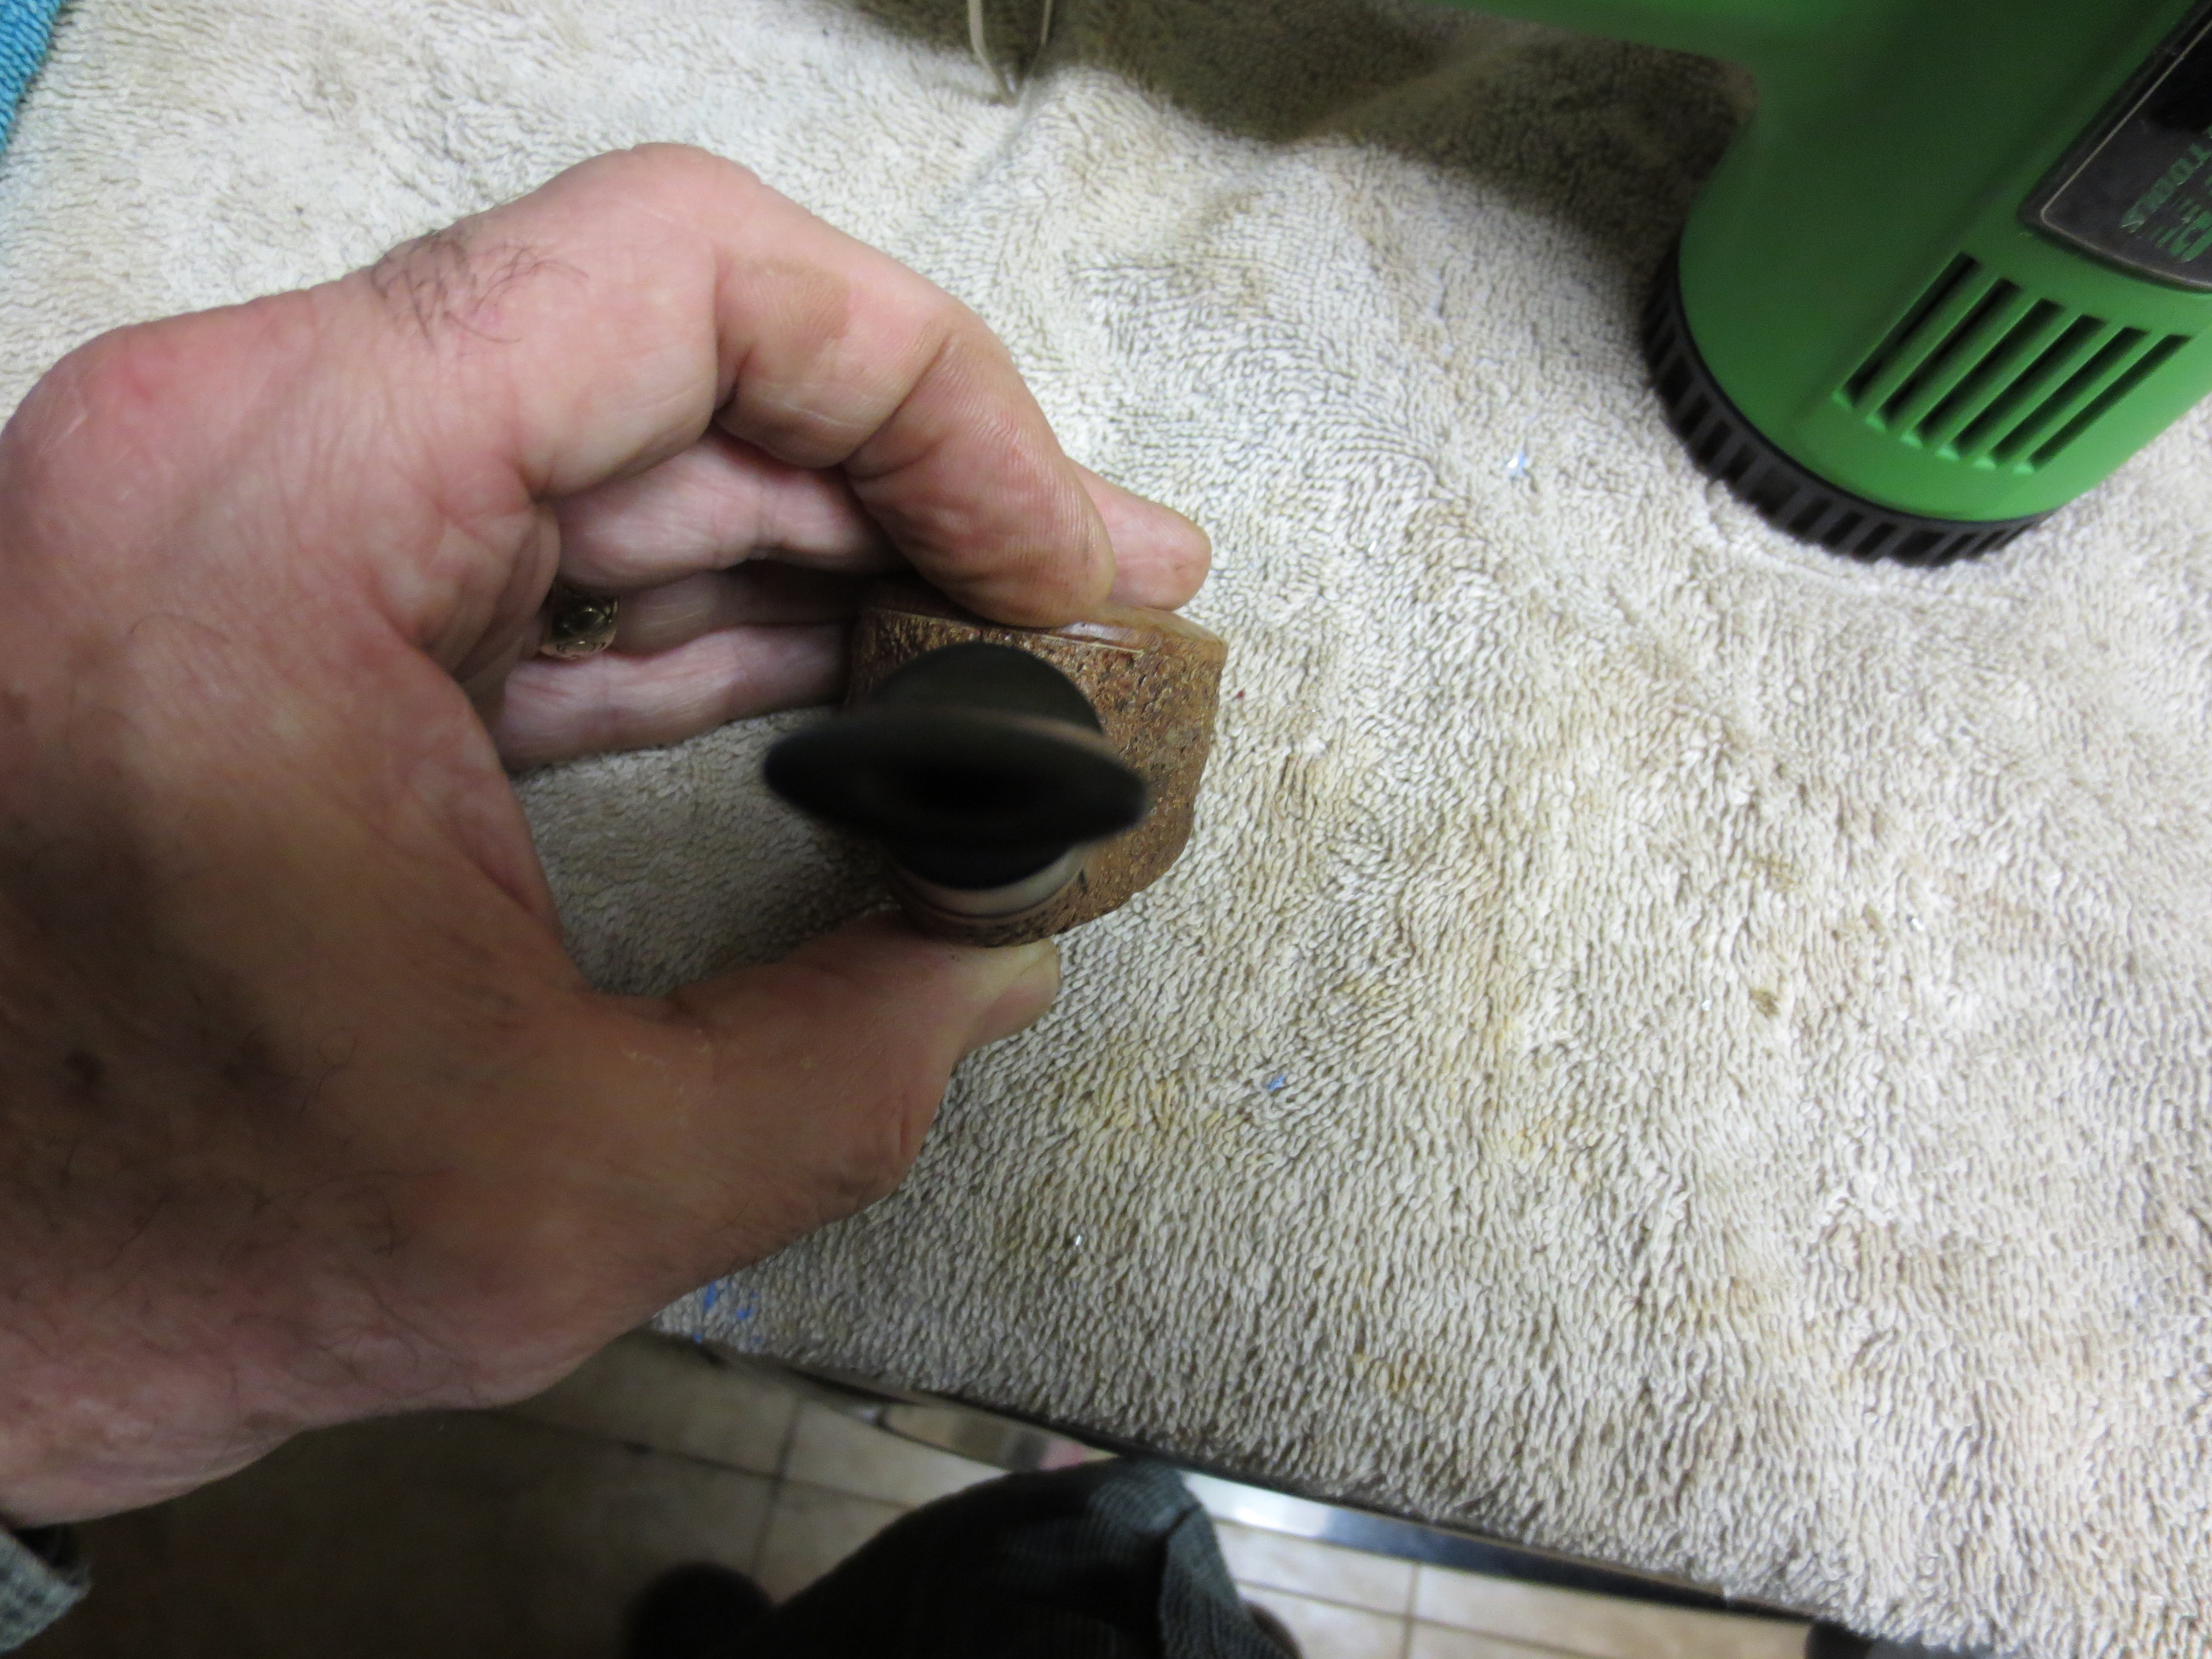
At this point in the refurbishing process I decided to correct the over turned stem. I set up my heat gun and then took the pipe apart. The second and third photos show the process of heating the stinger. The heat softens the glue in the stem and once it is soft I turn it back on the shank until I can turn it all the way around and align the stem properly. Once it was aligned I dipped it in cold water to set the glue again. The fourth and fifth pictures in the sequence below show the newly aligned stem.
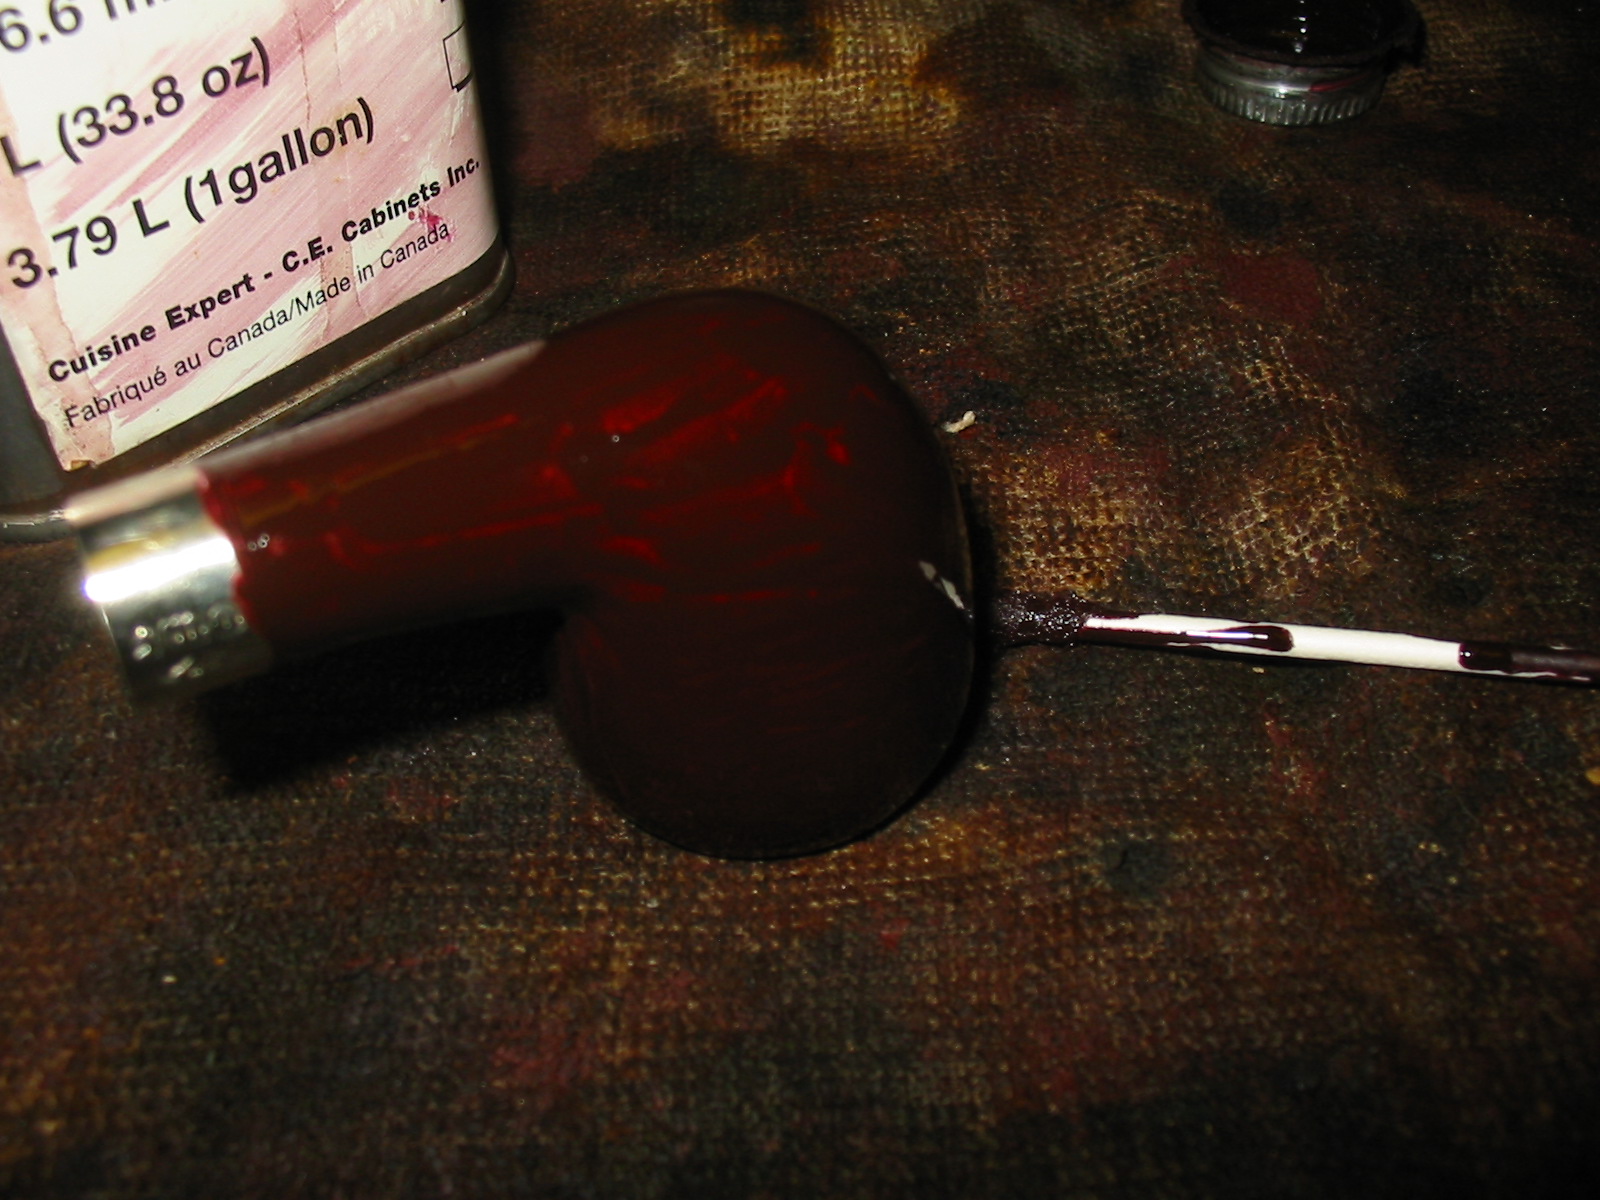
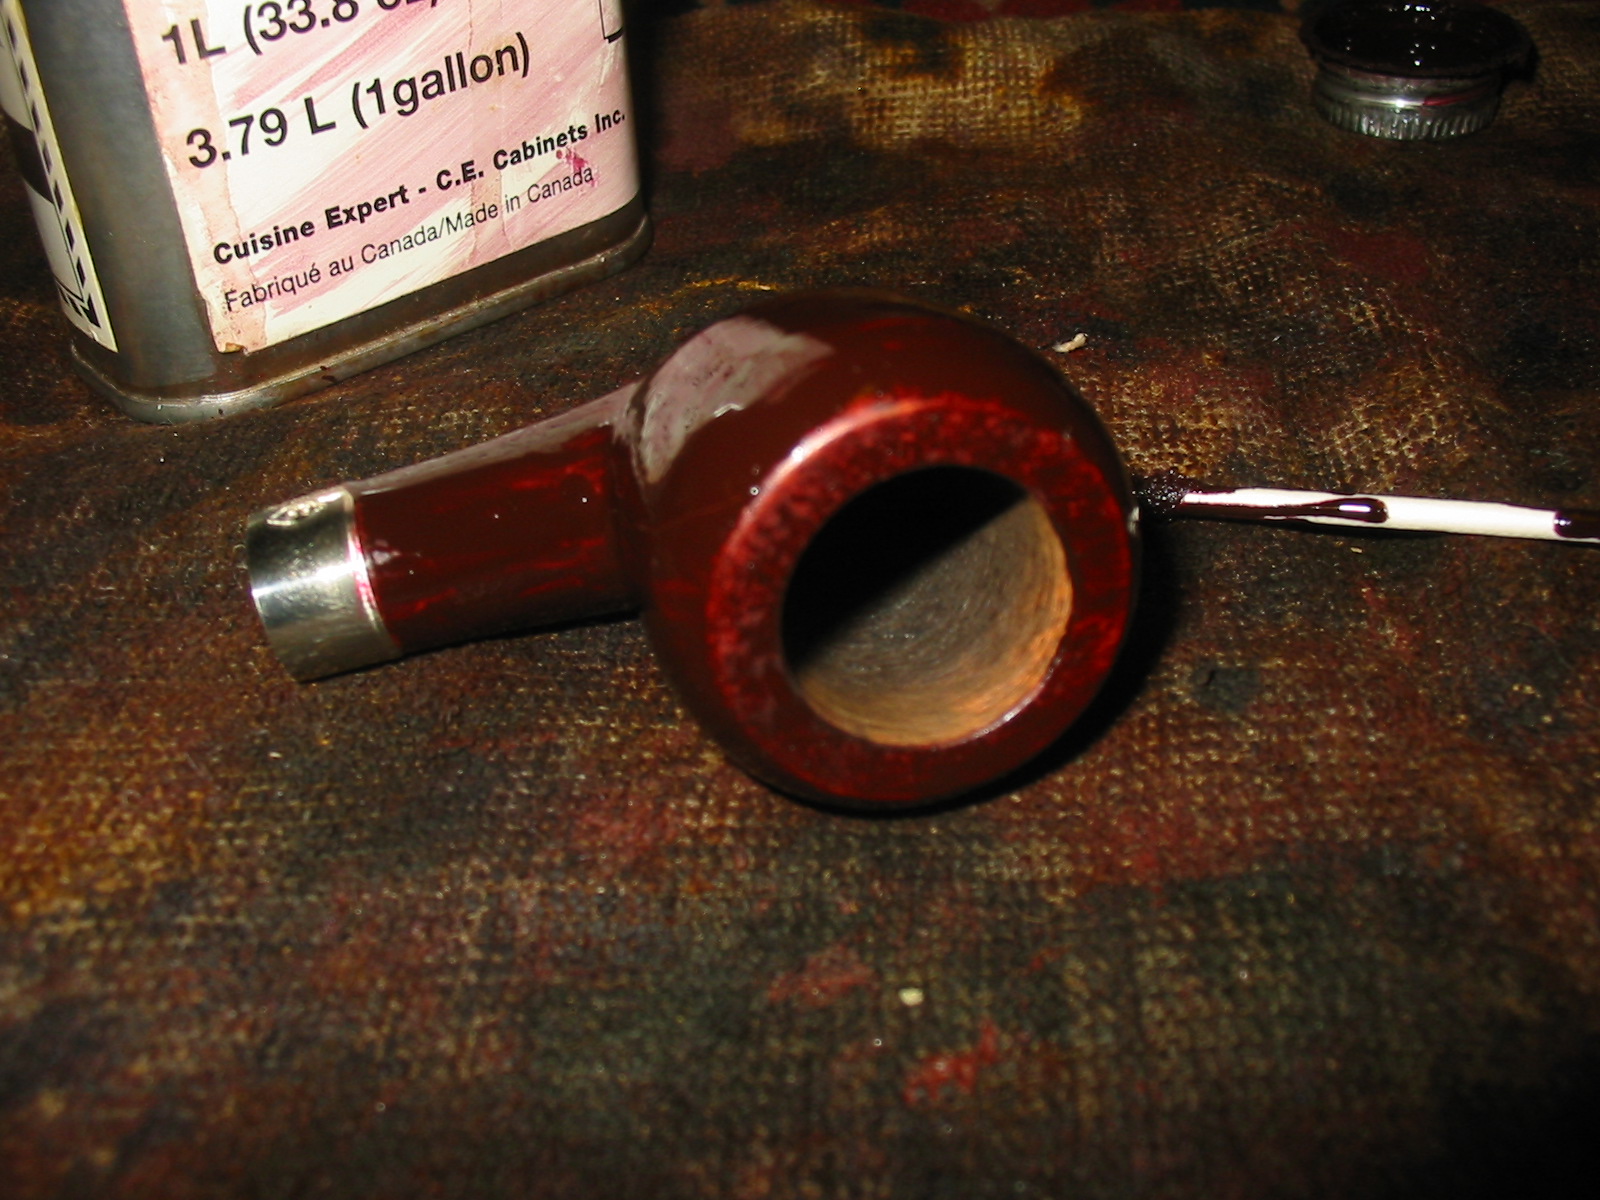
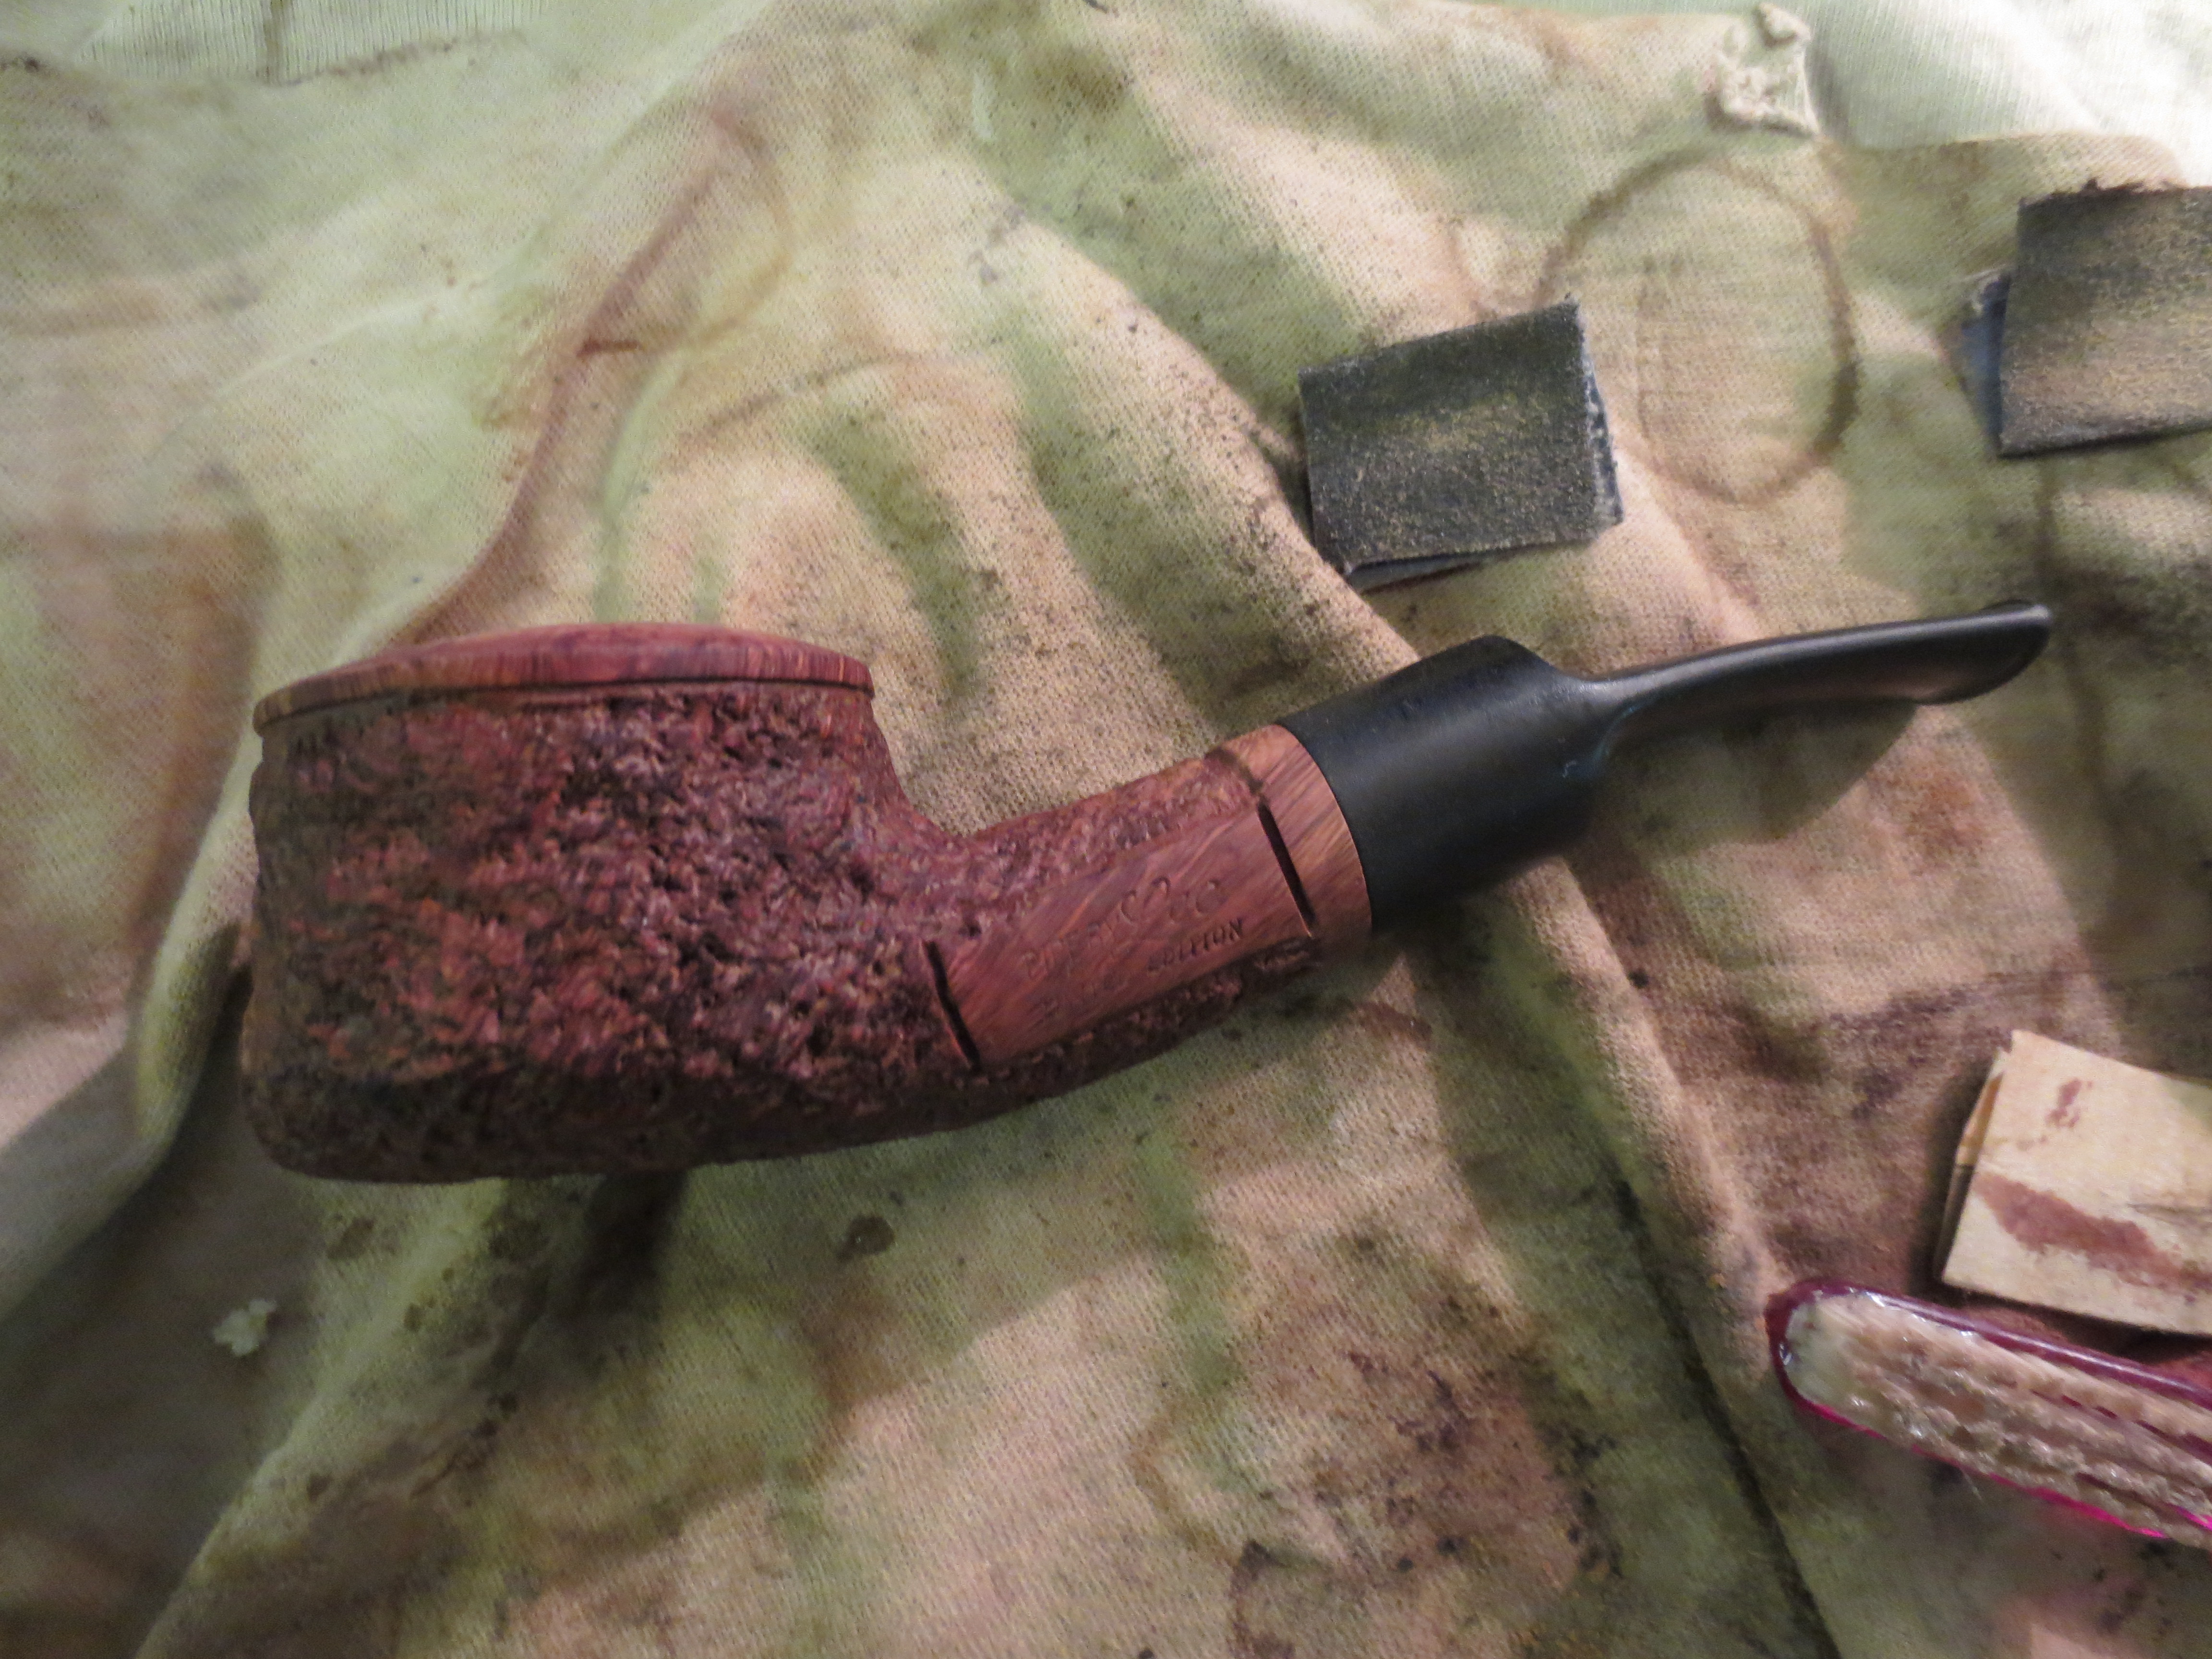
The next series of photos show the staining process of the bowl. I decided to thin the Dark Brown aniline stain to a light brown wash. I use an old tobacco tin and fill it with 2/3 alcohol and 1/3 stain. I mix it well and then use a dauber to stain the pipe. I repeated the staining until it was the brown colour I was looking for. I flamed the stain between coats. The colour I was aiming for was a wash coat that allowed the grain to show through on the smooth portions of the pipe and also made a good contrast between those parts and the rustication.
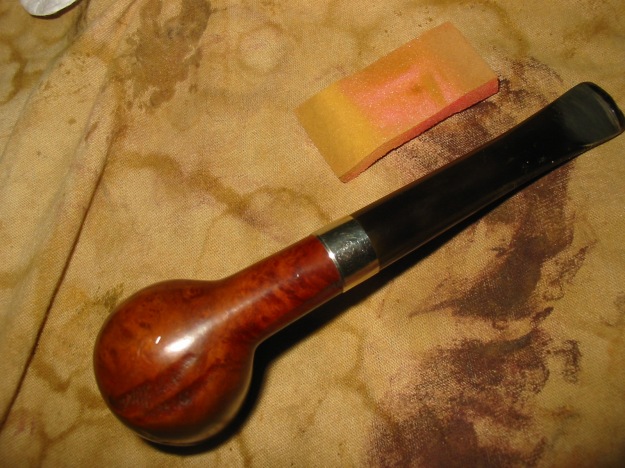
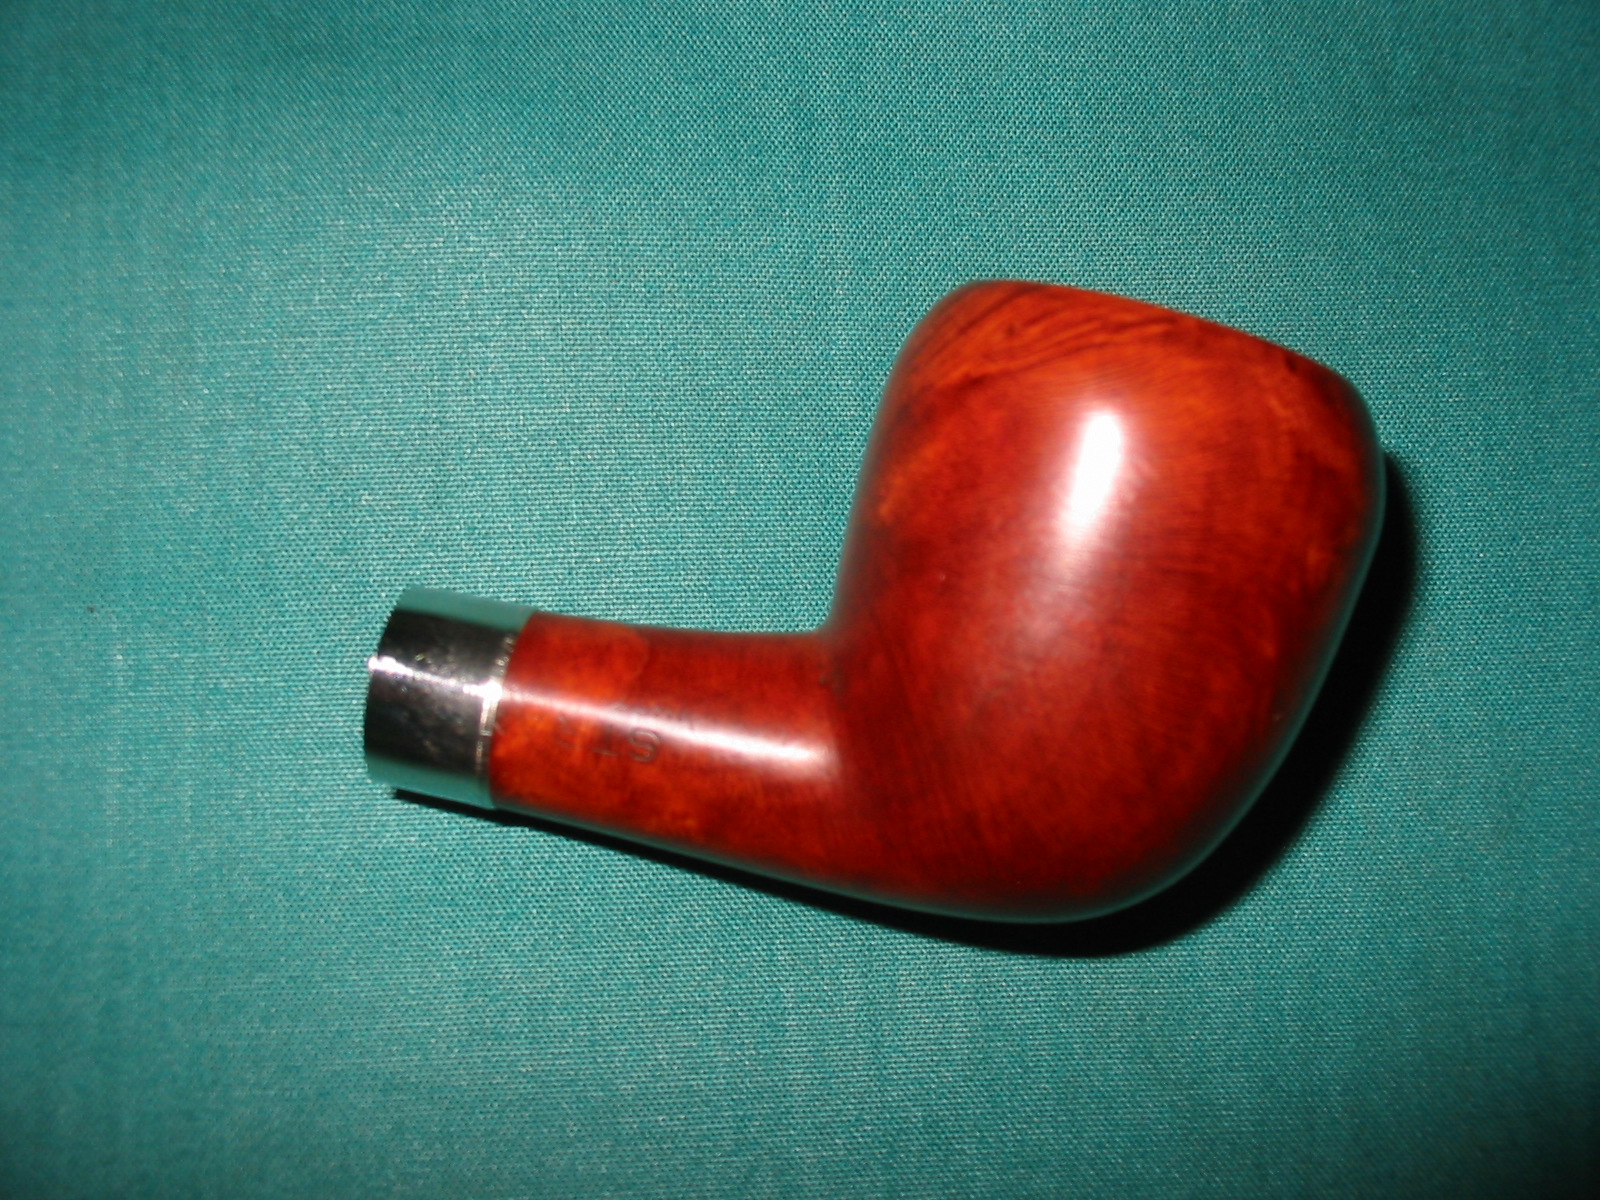
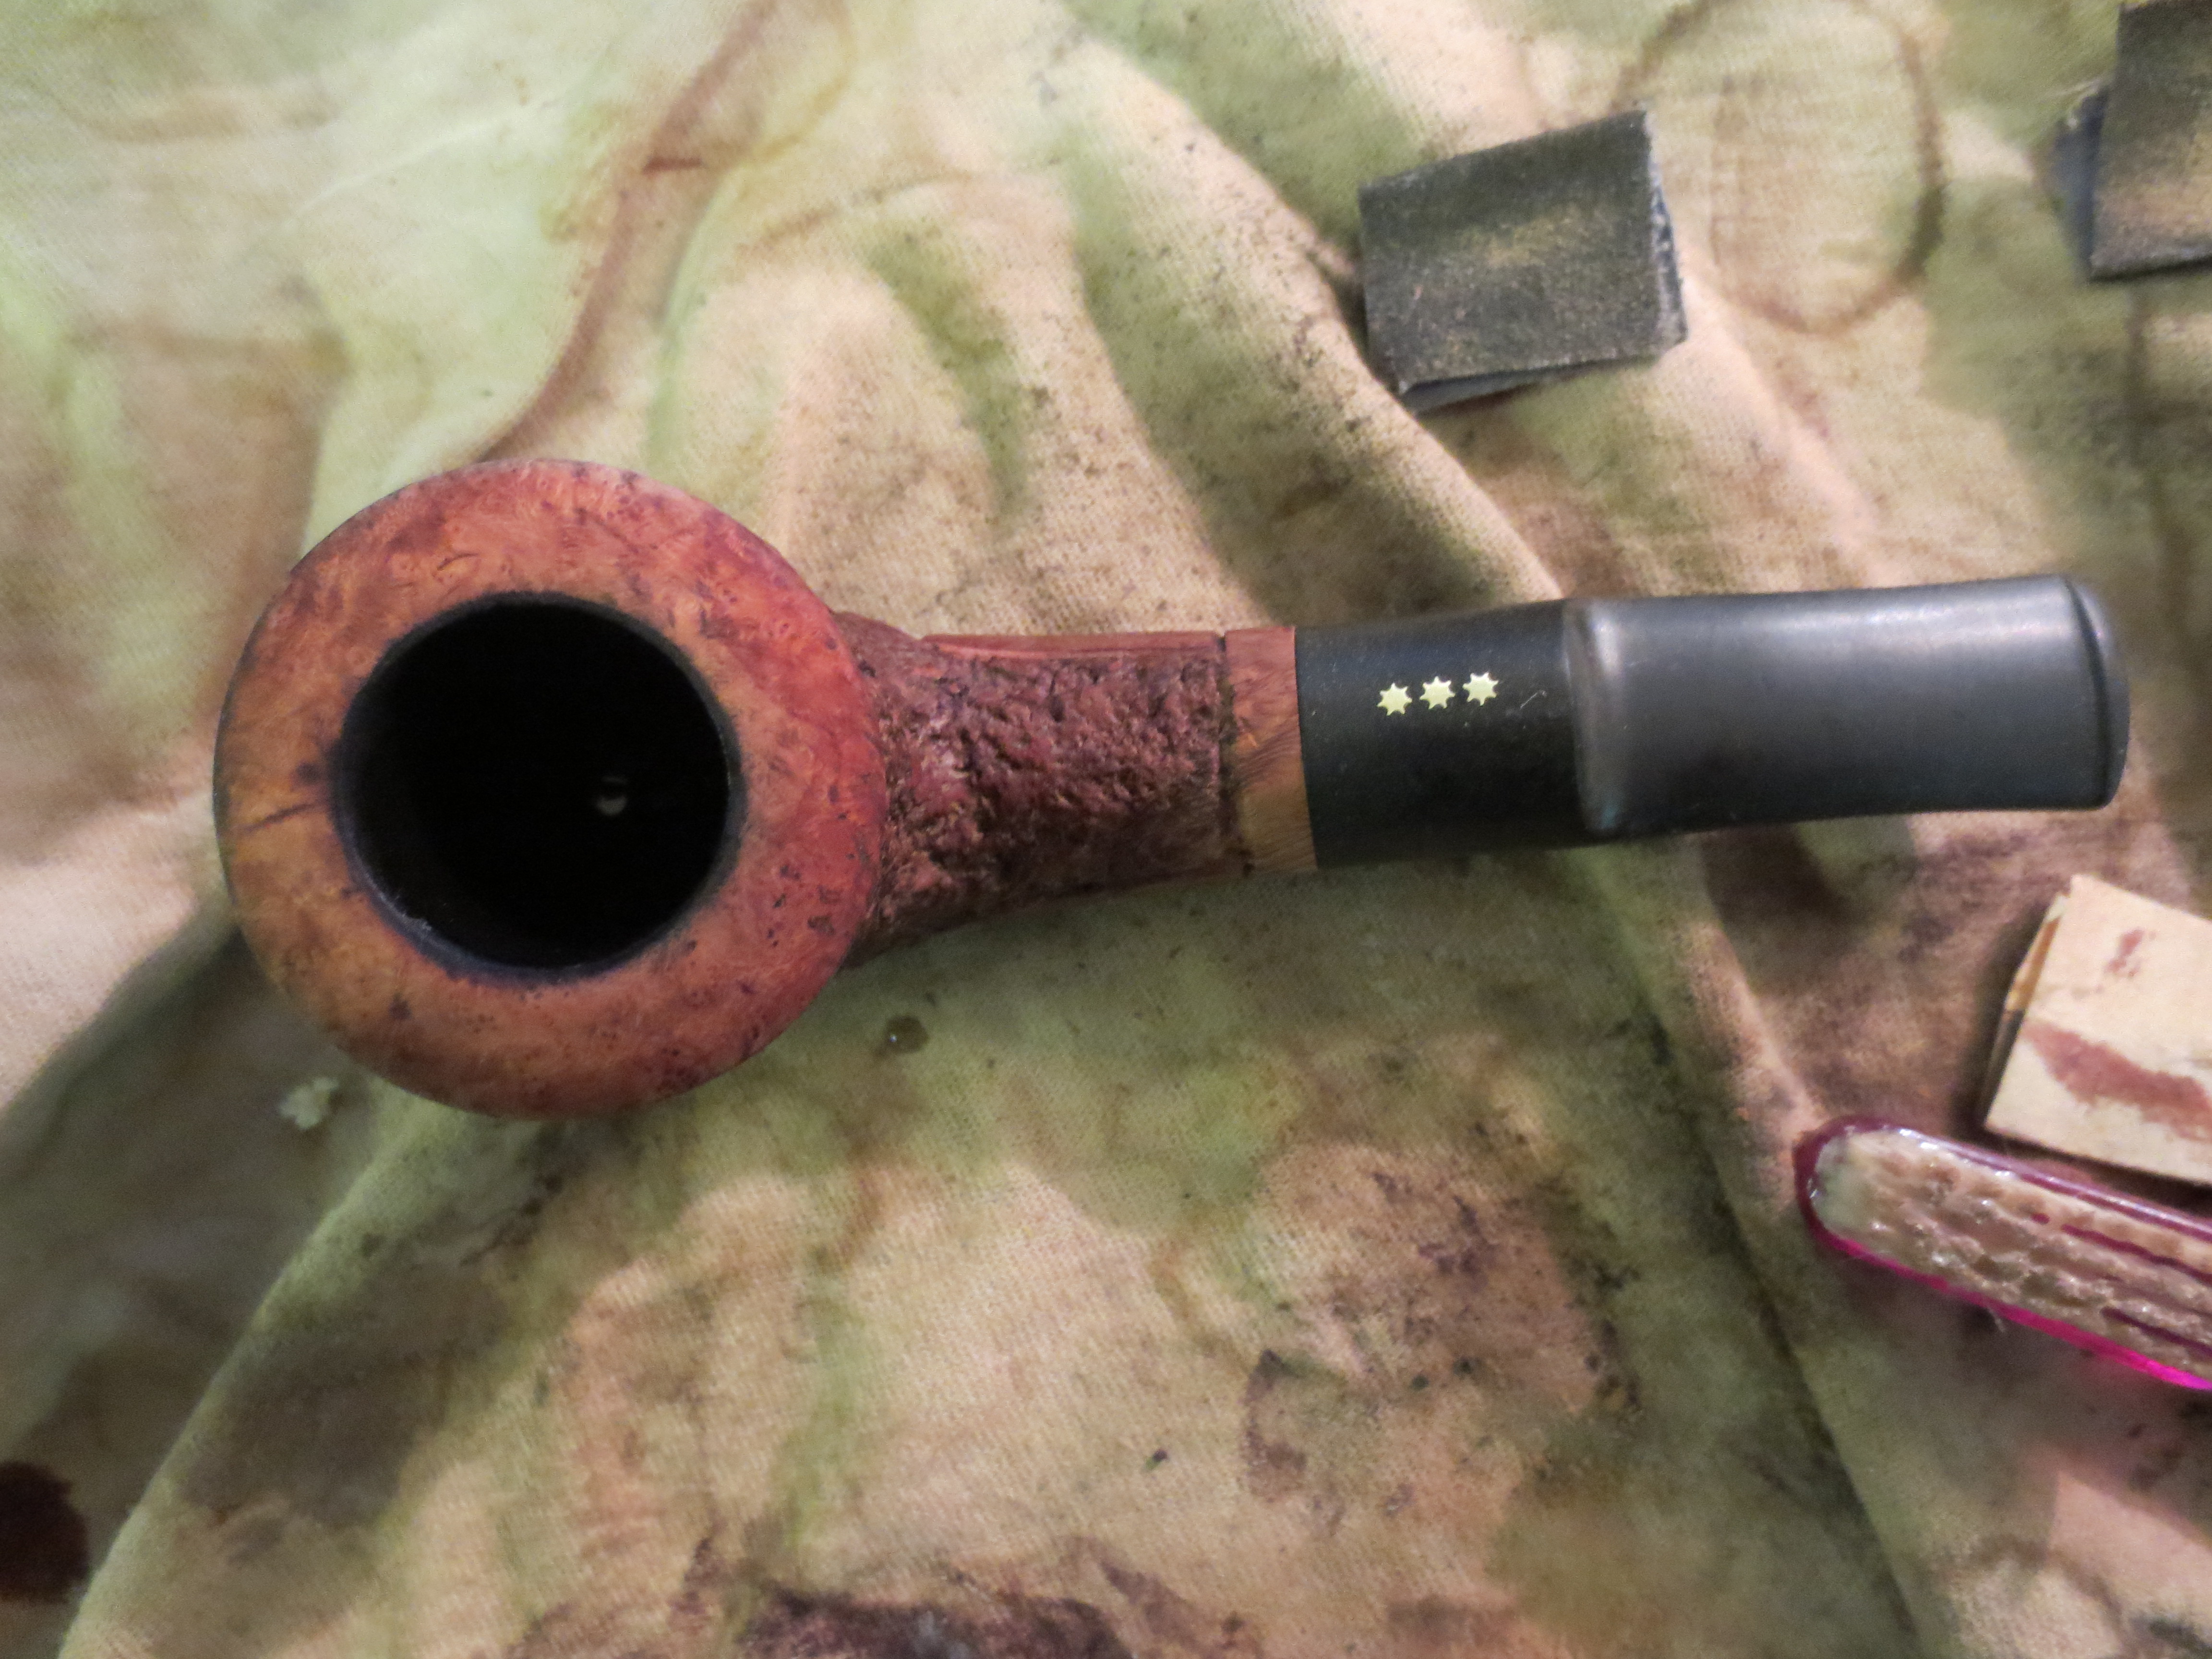
Once I had the stain the colour I wanted I took it to the buffer and buffed it with White Diamond. The next two photos show the pipe bowl after the buffing. The contrast came out nicely and the grain is very visible on the smooth portions.
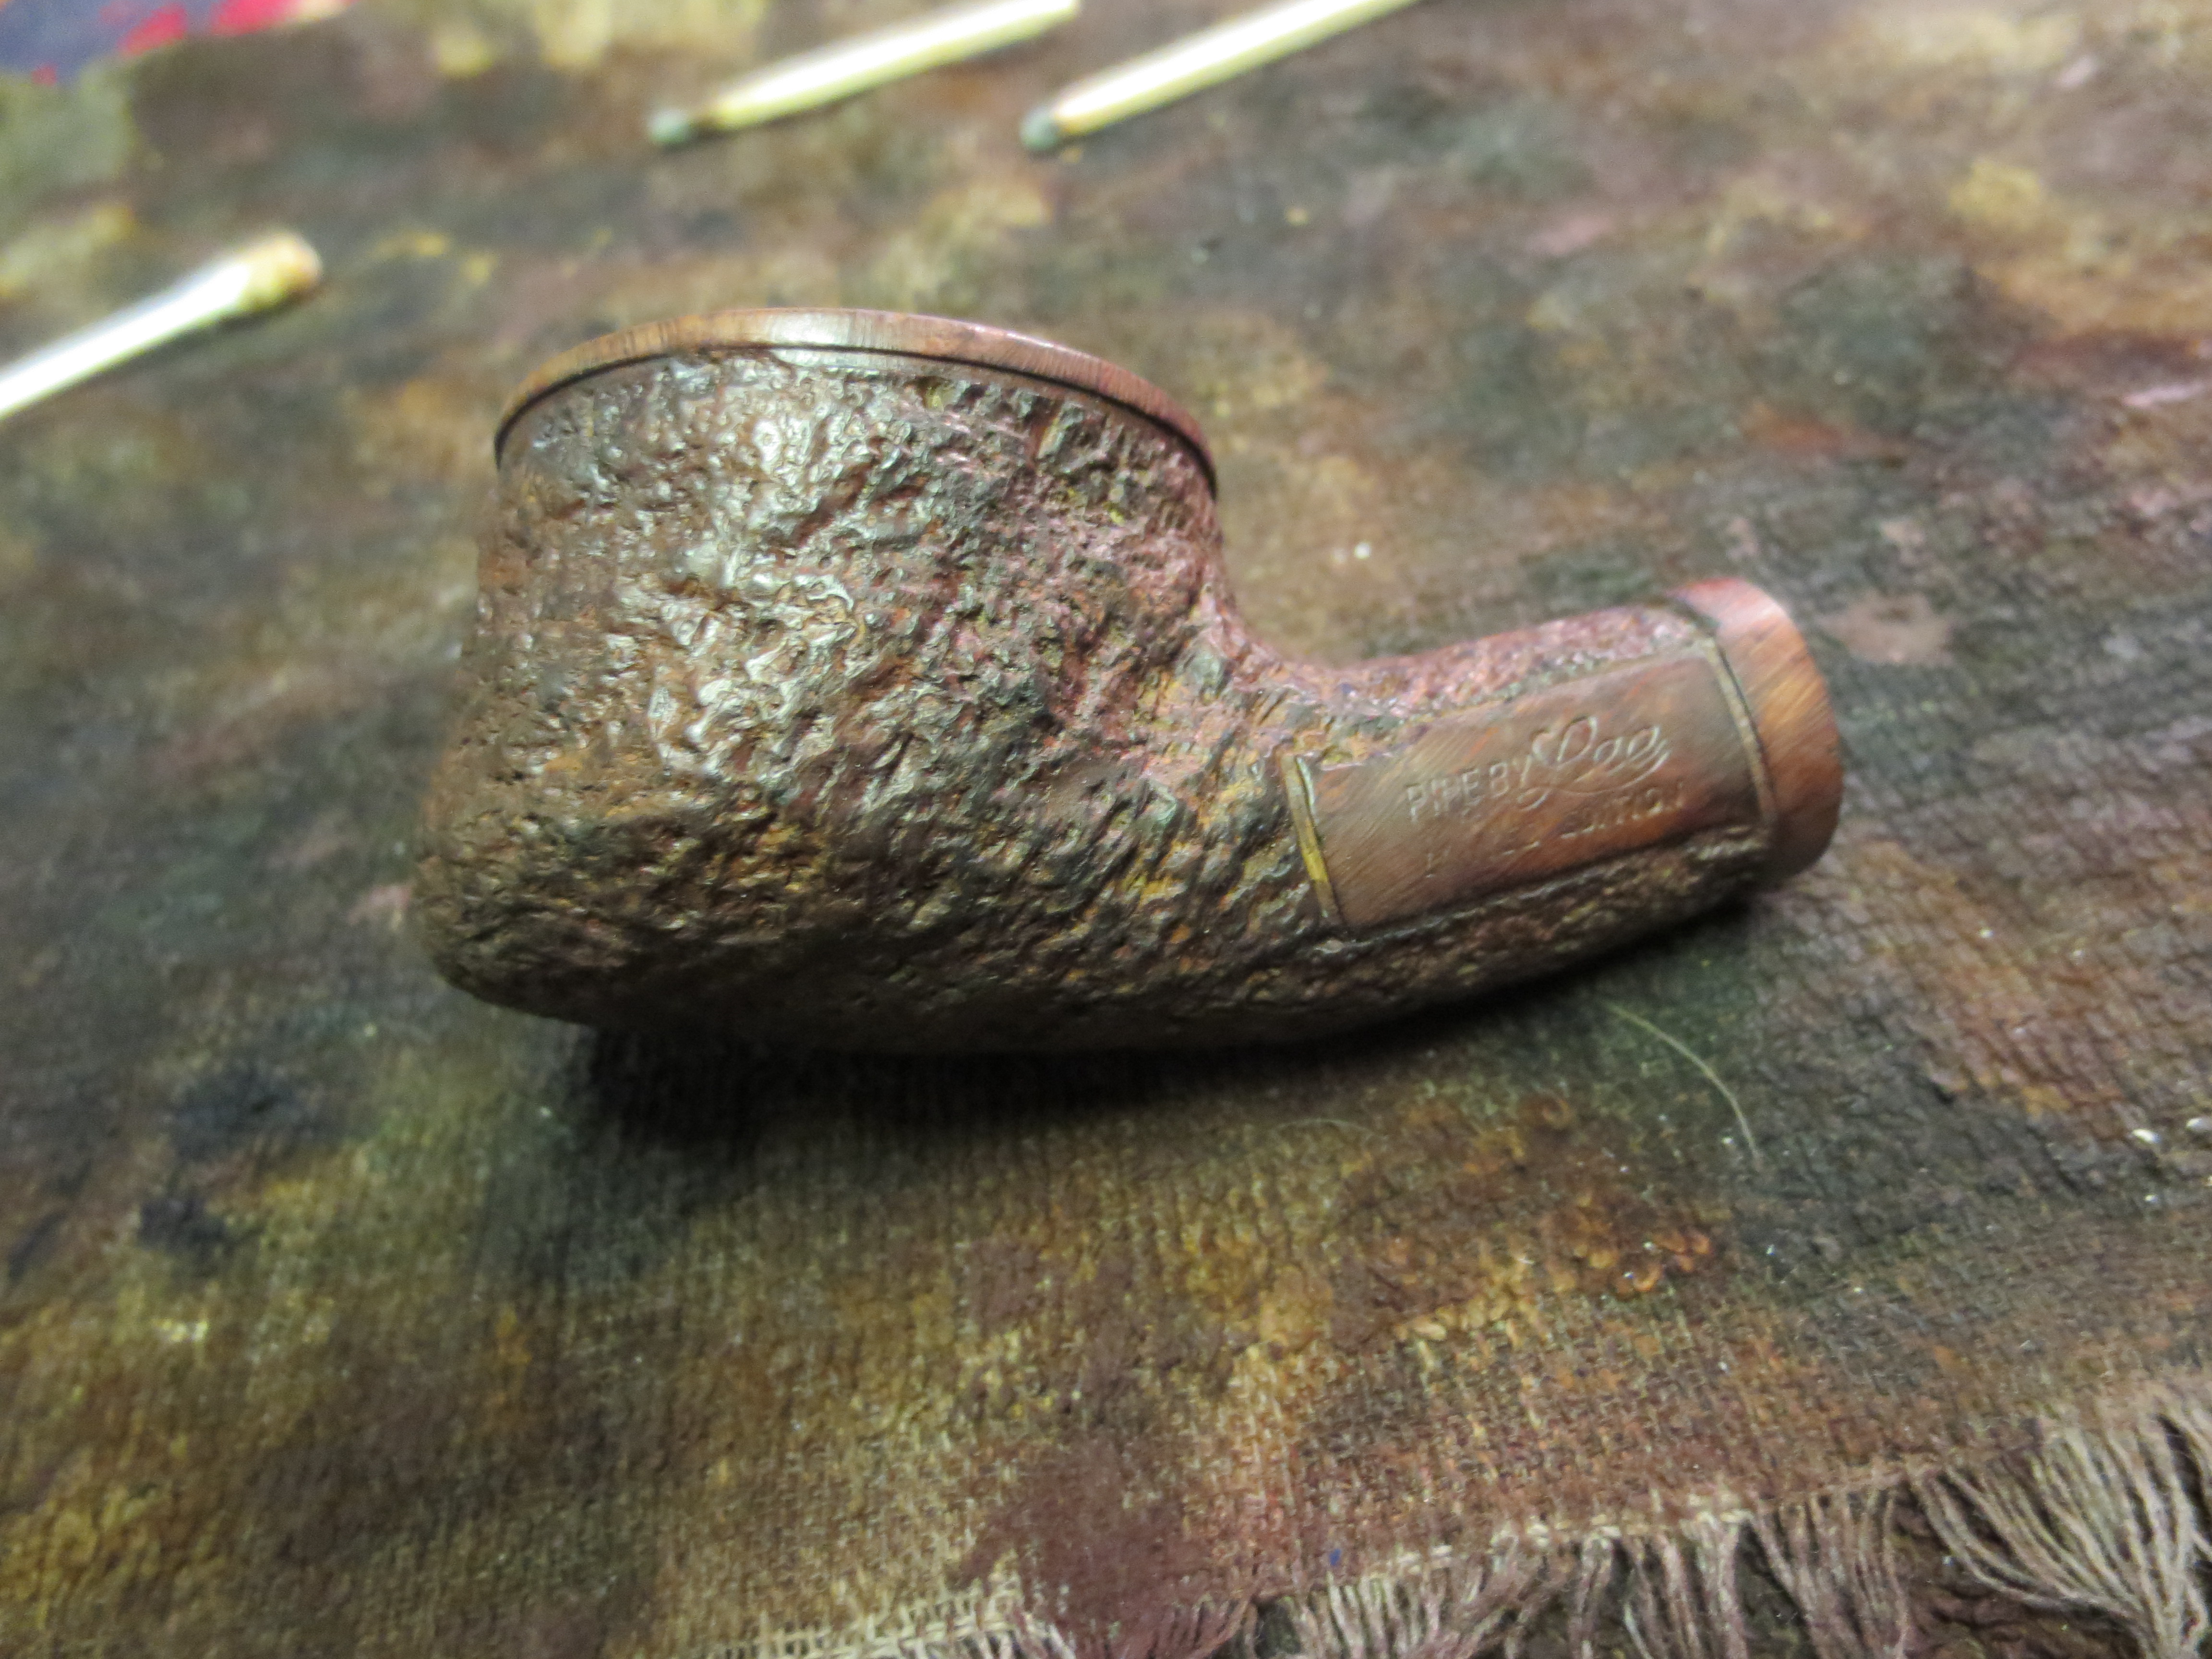

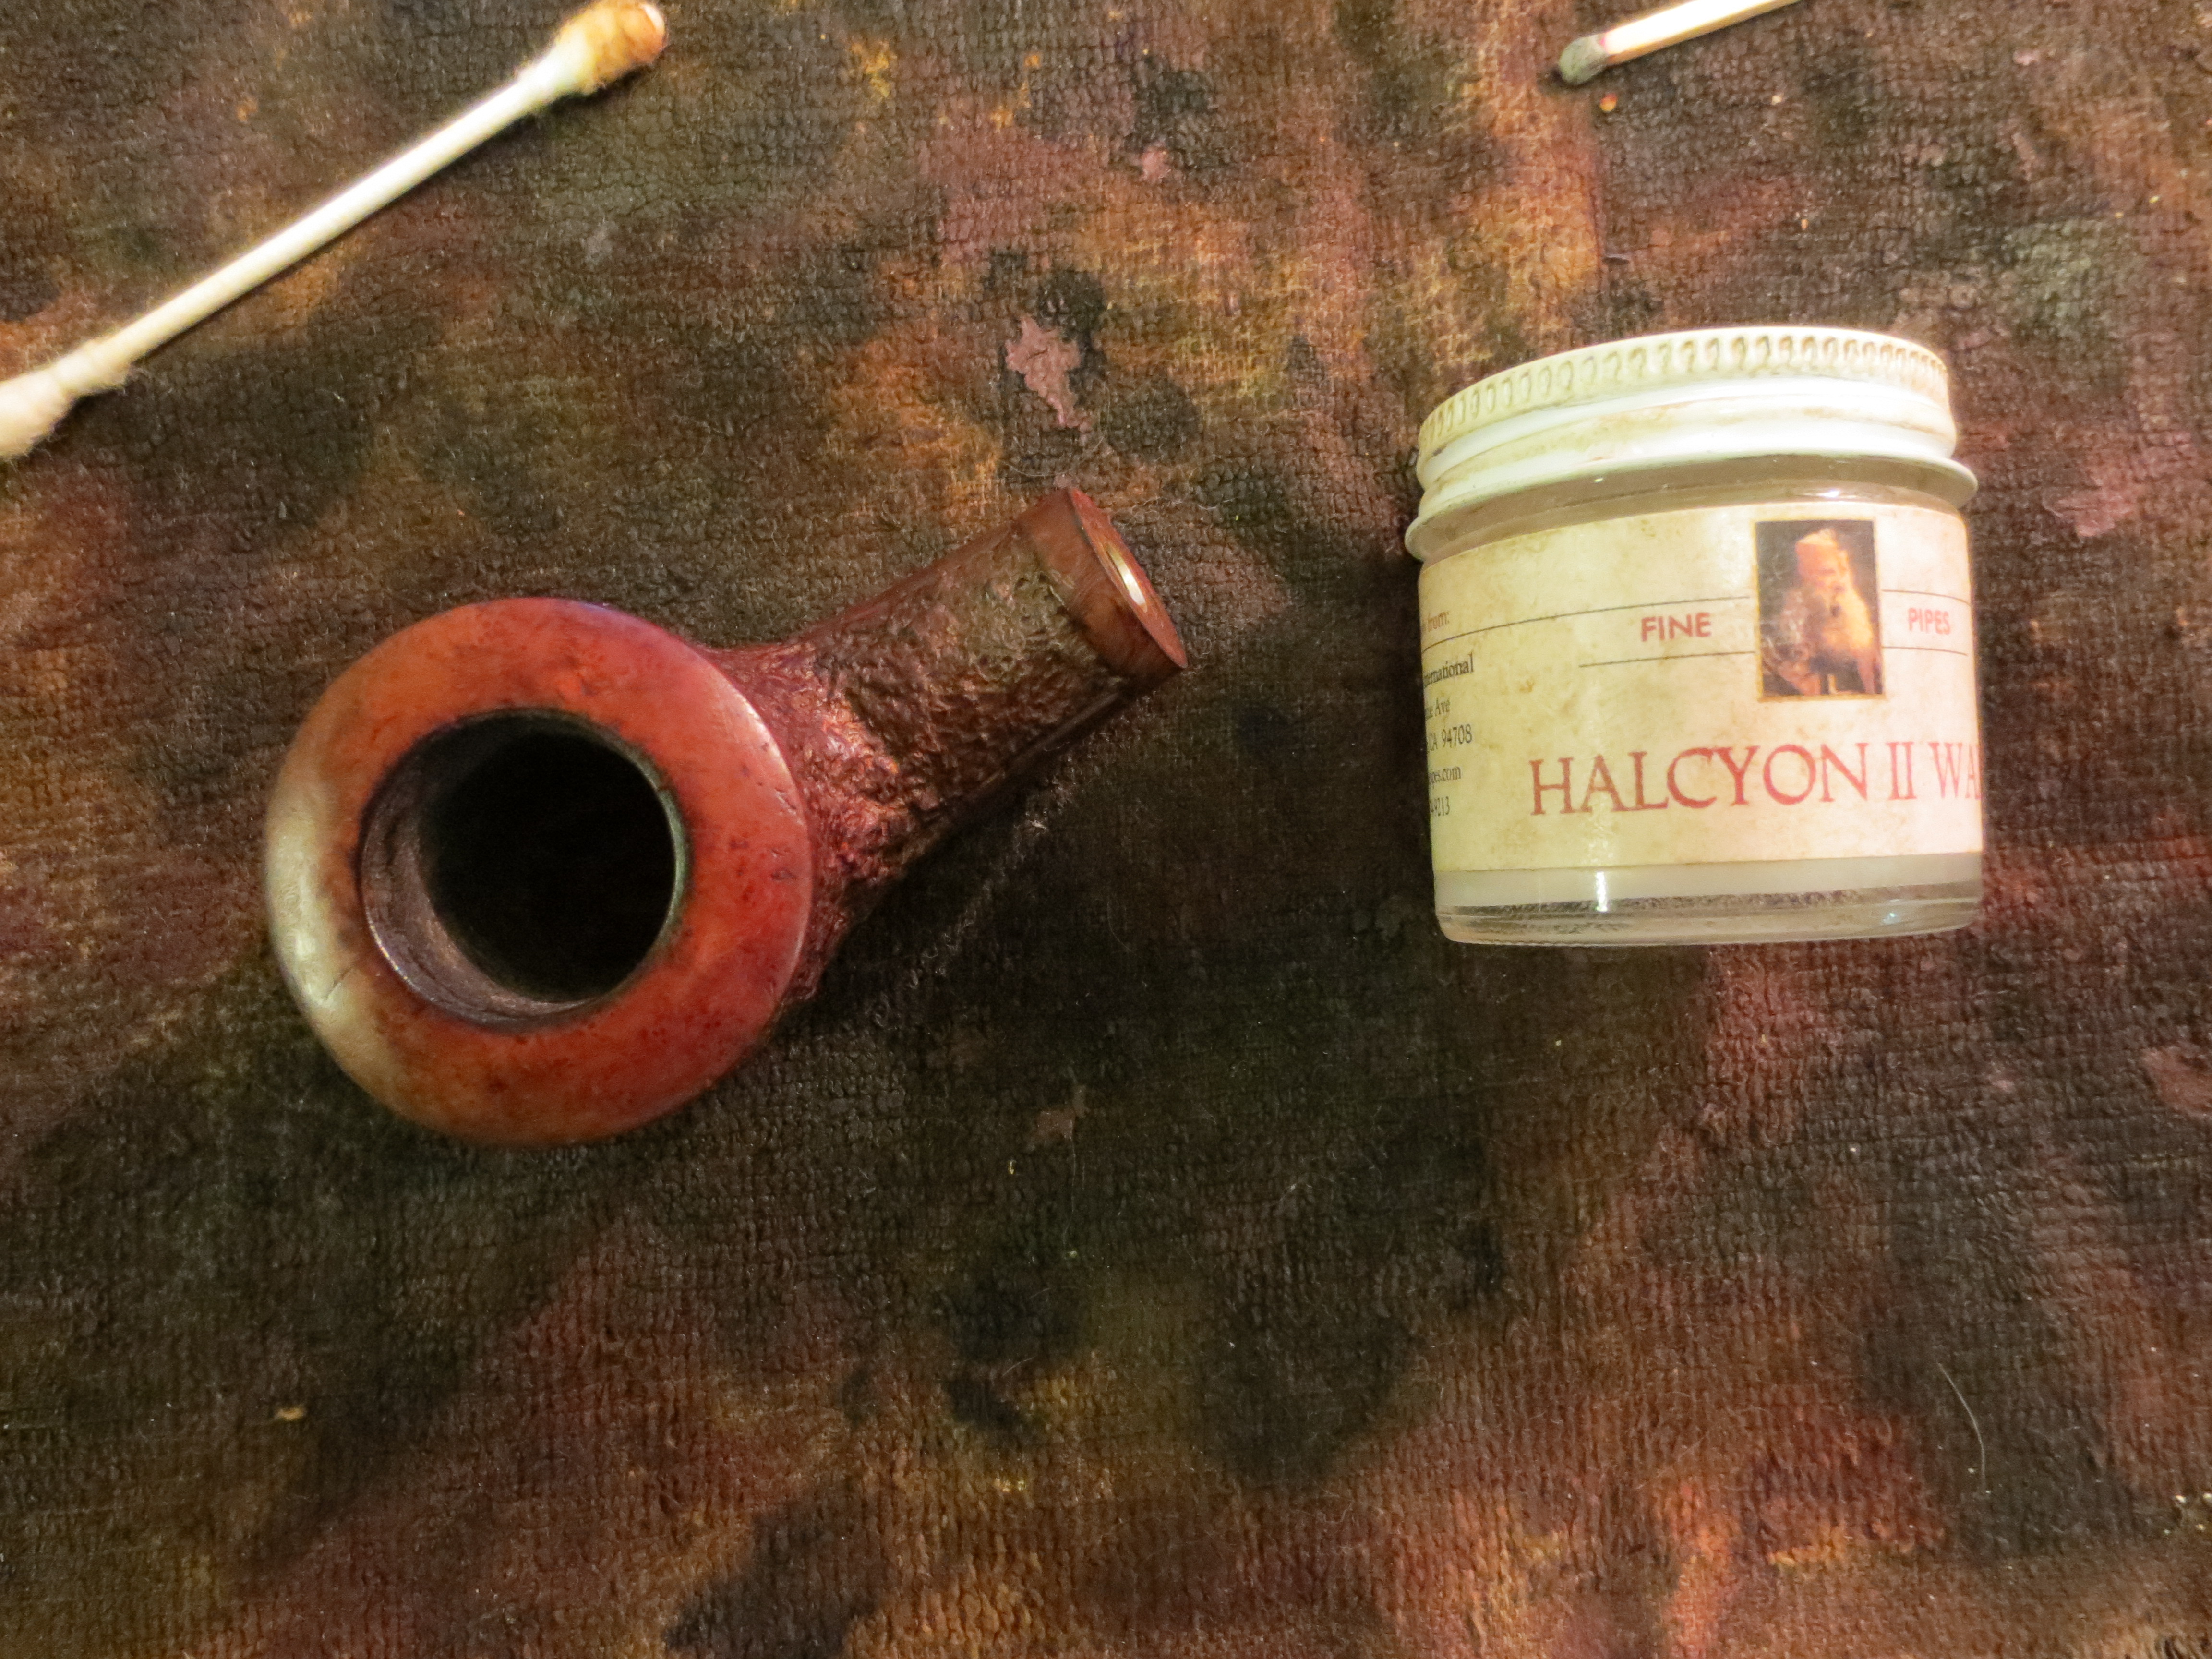
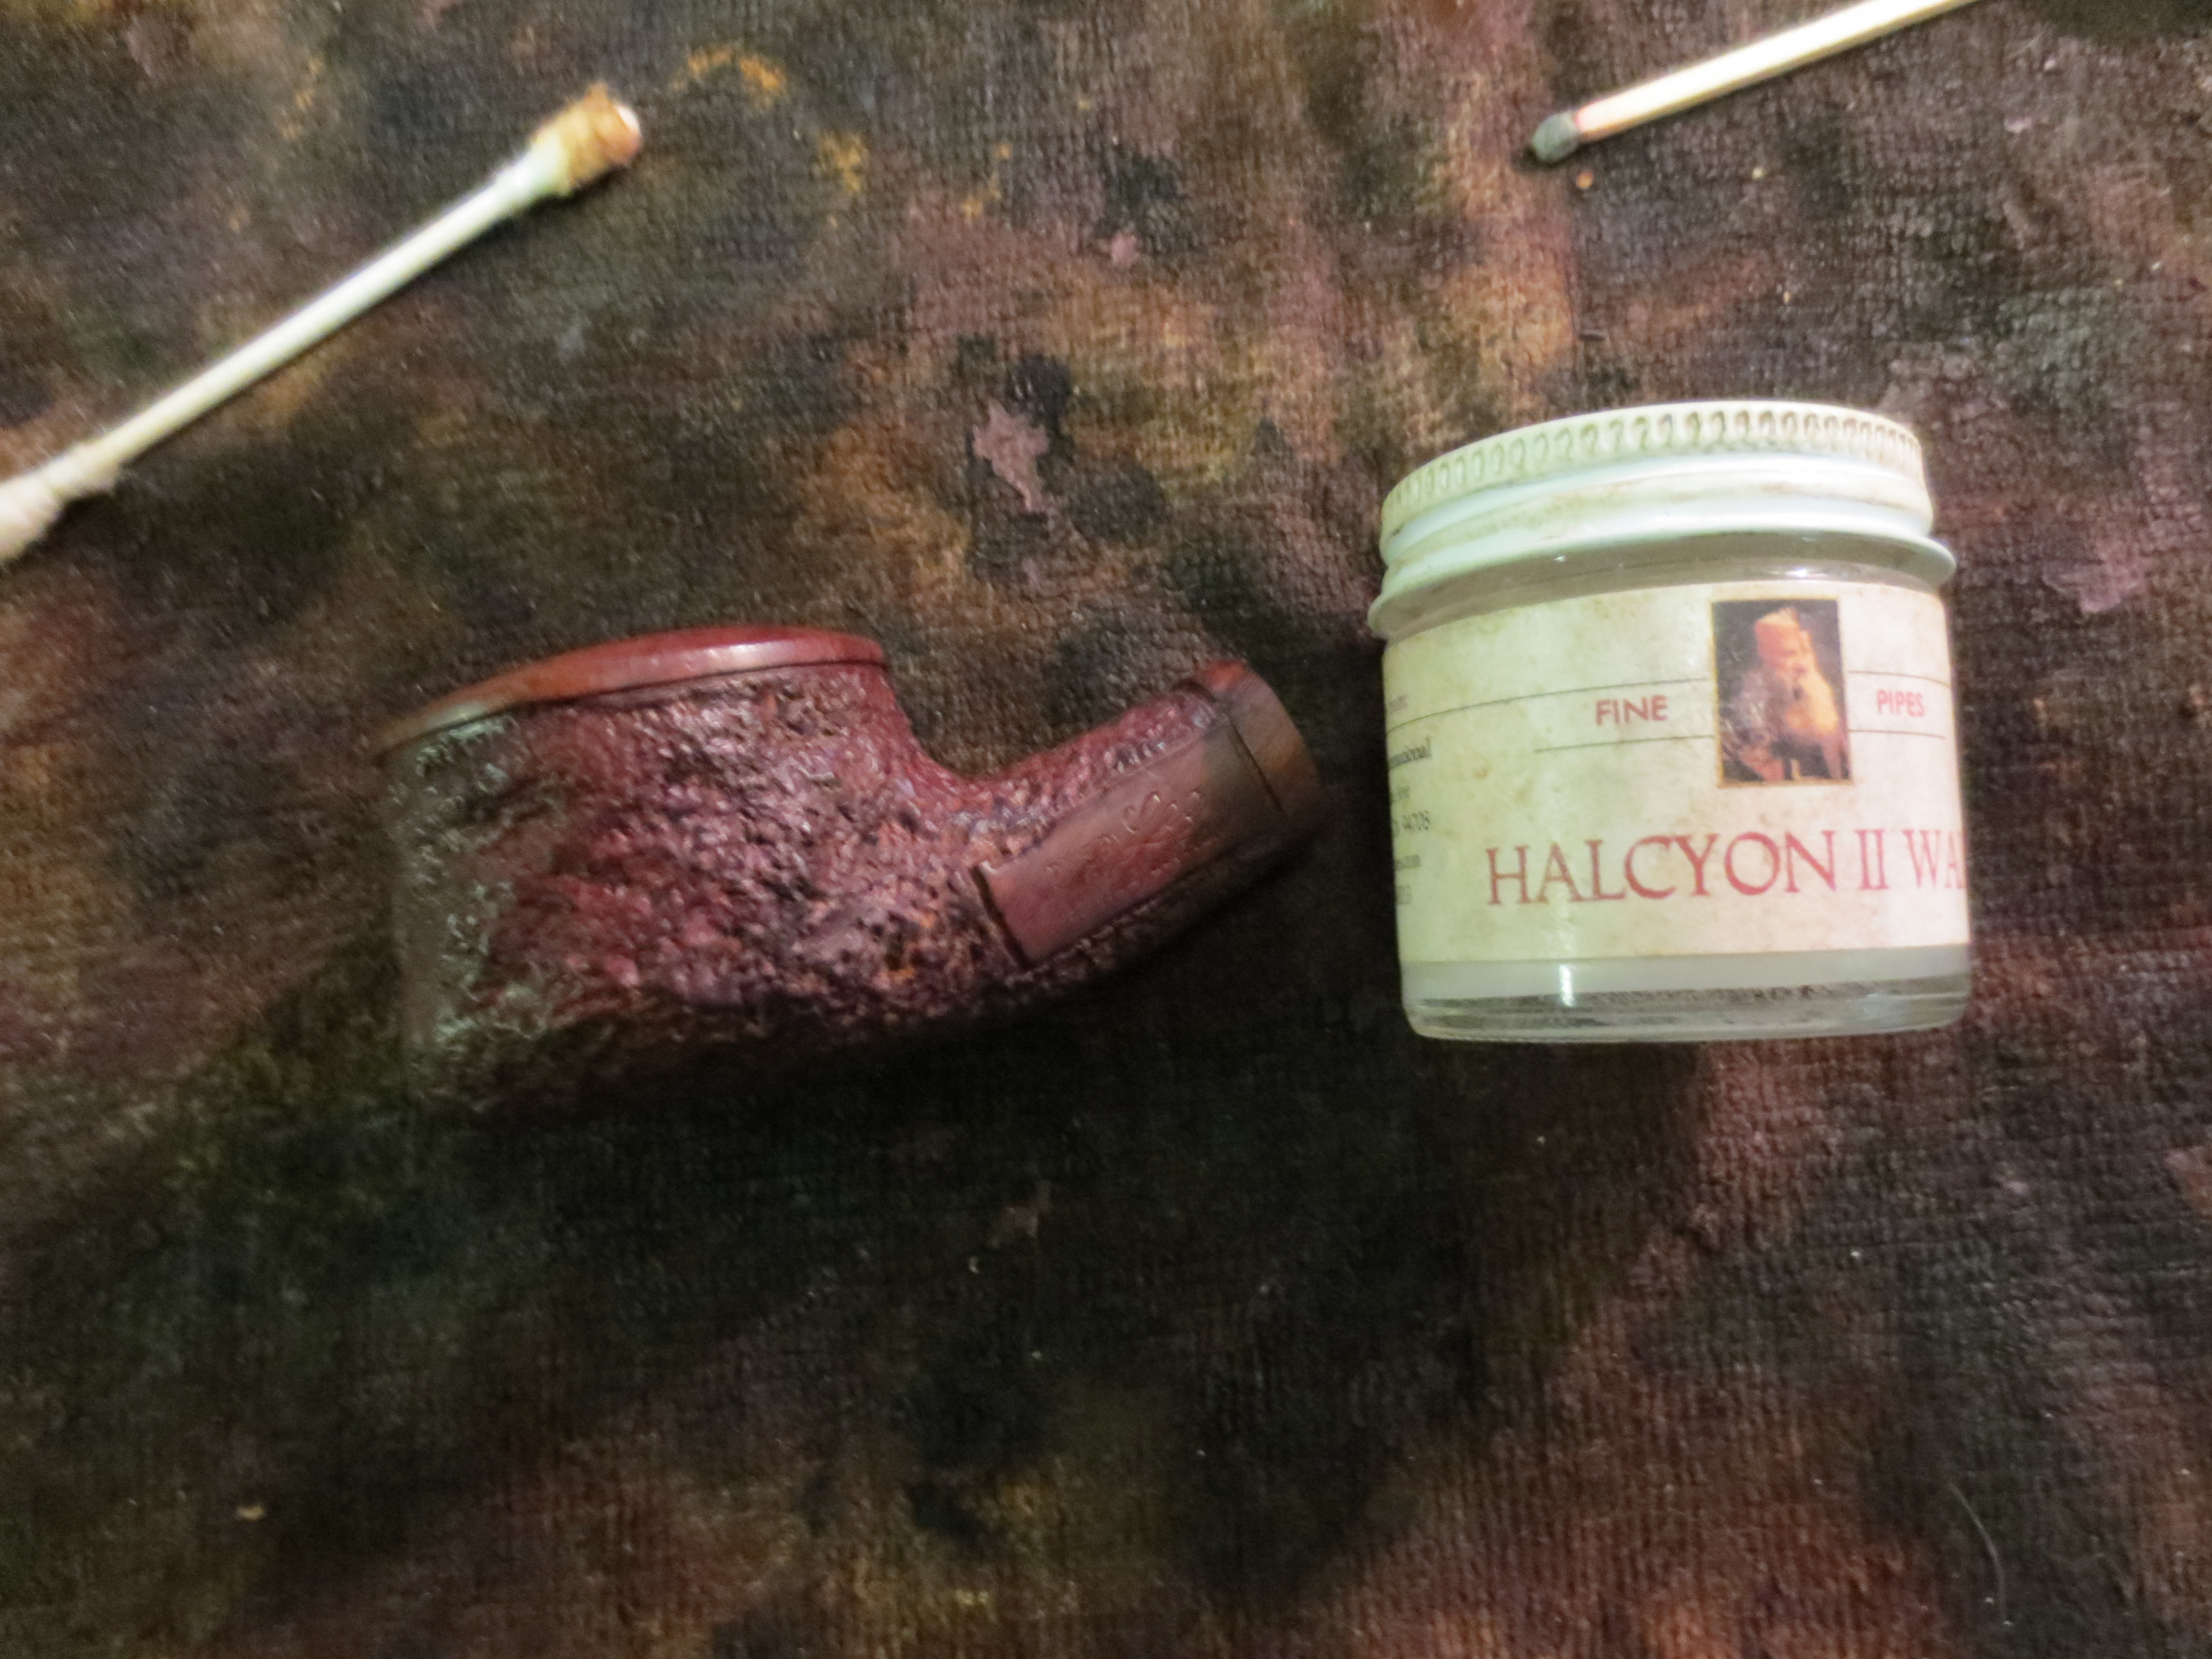
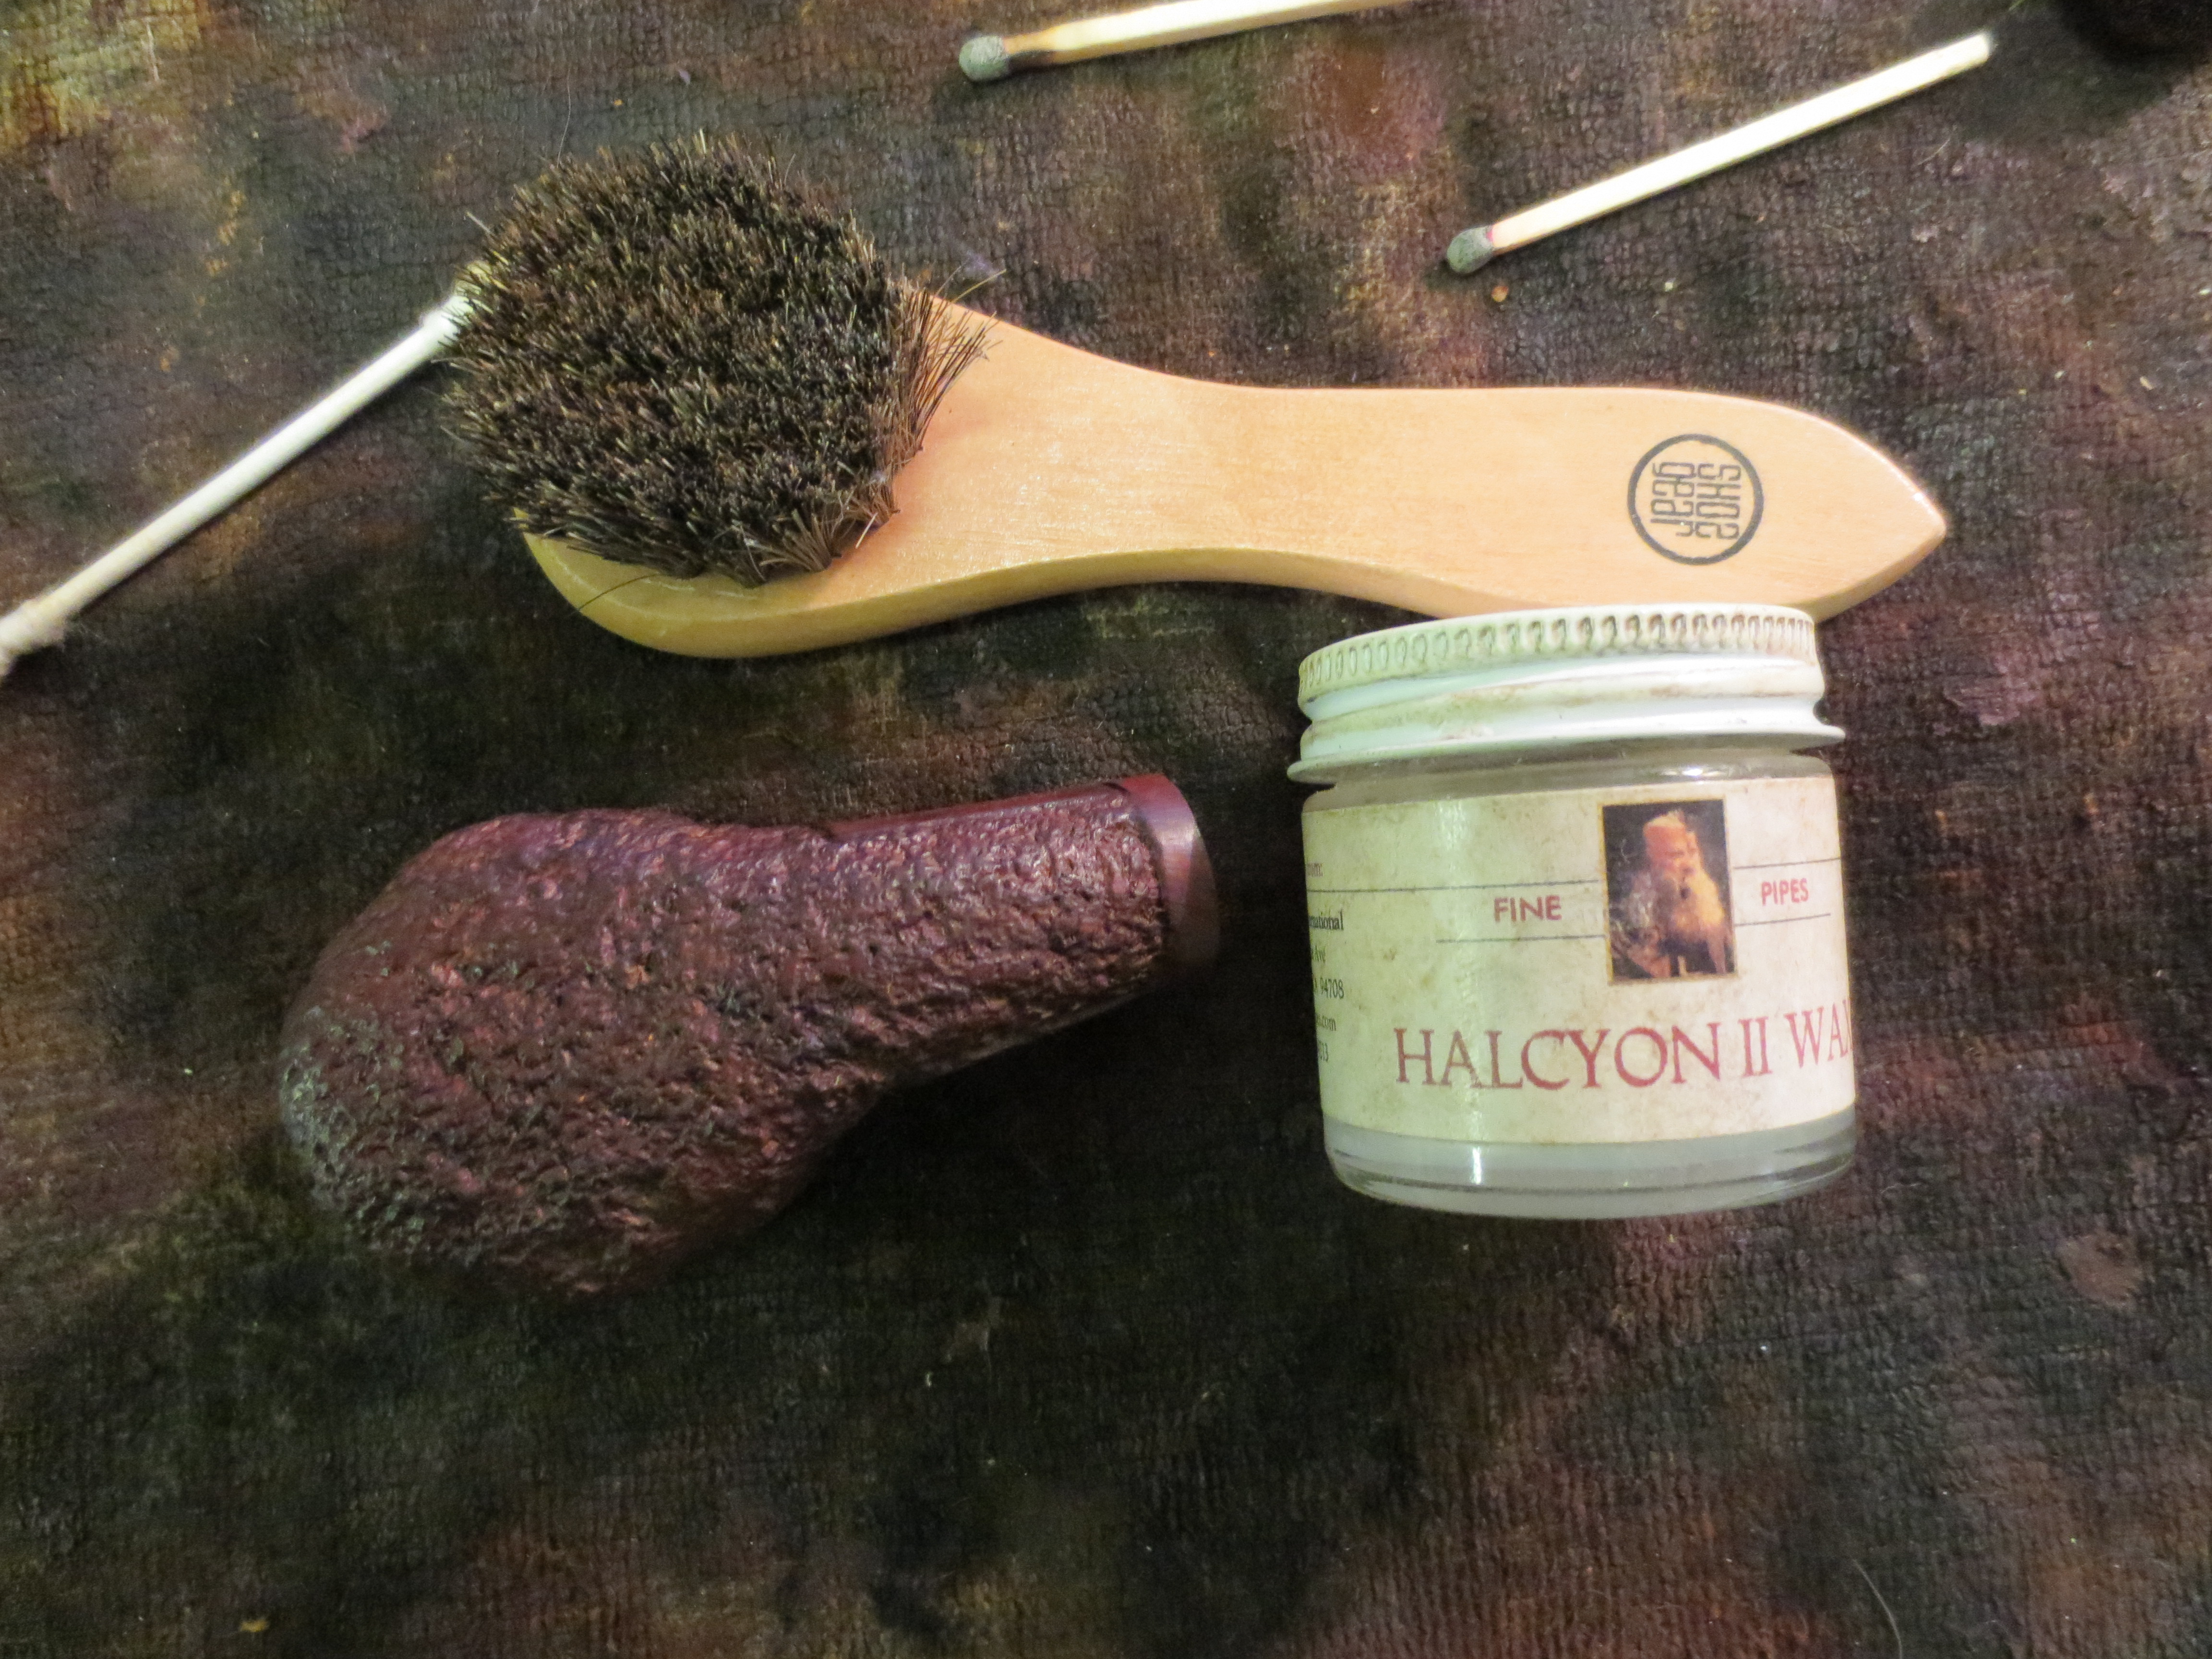
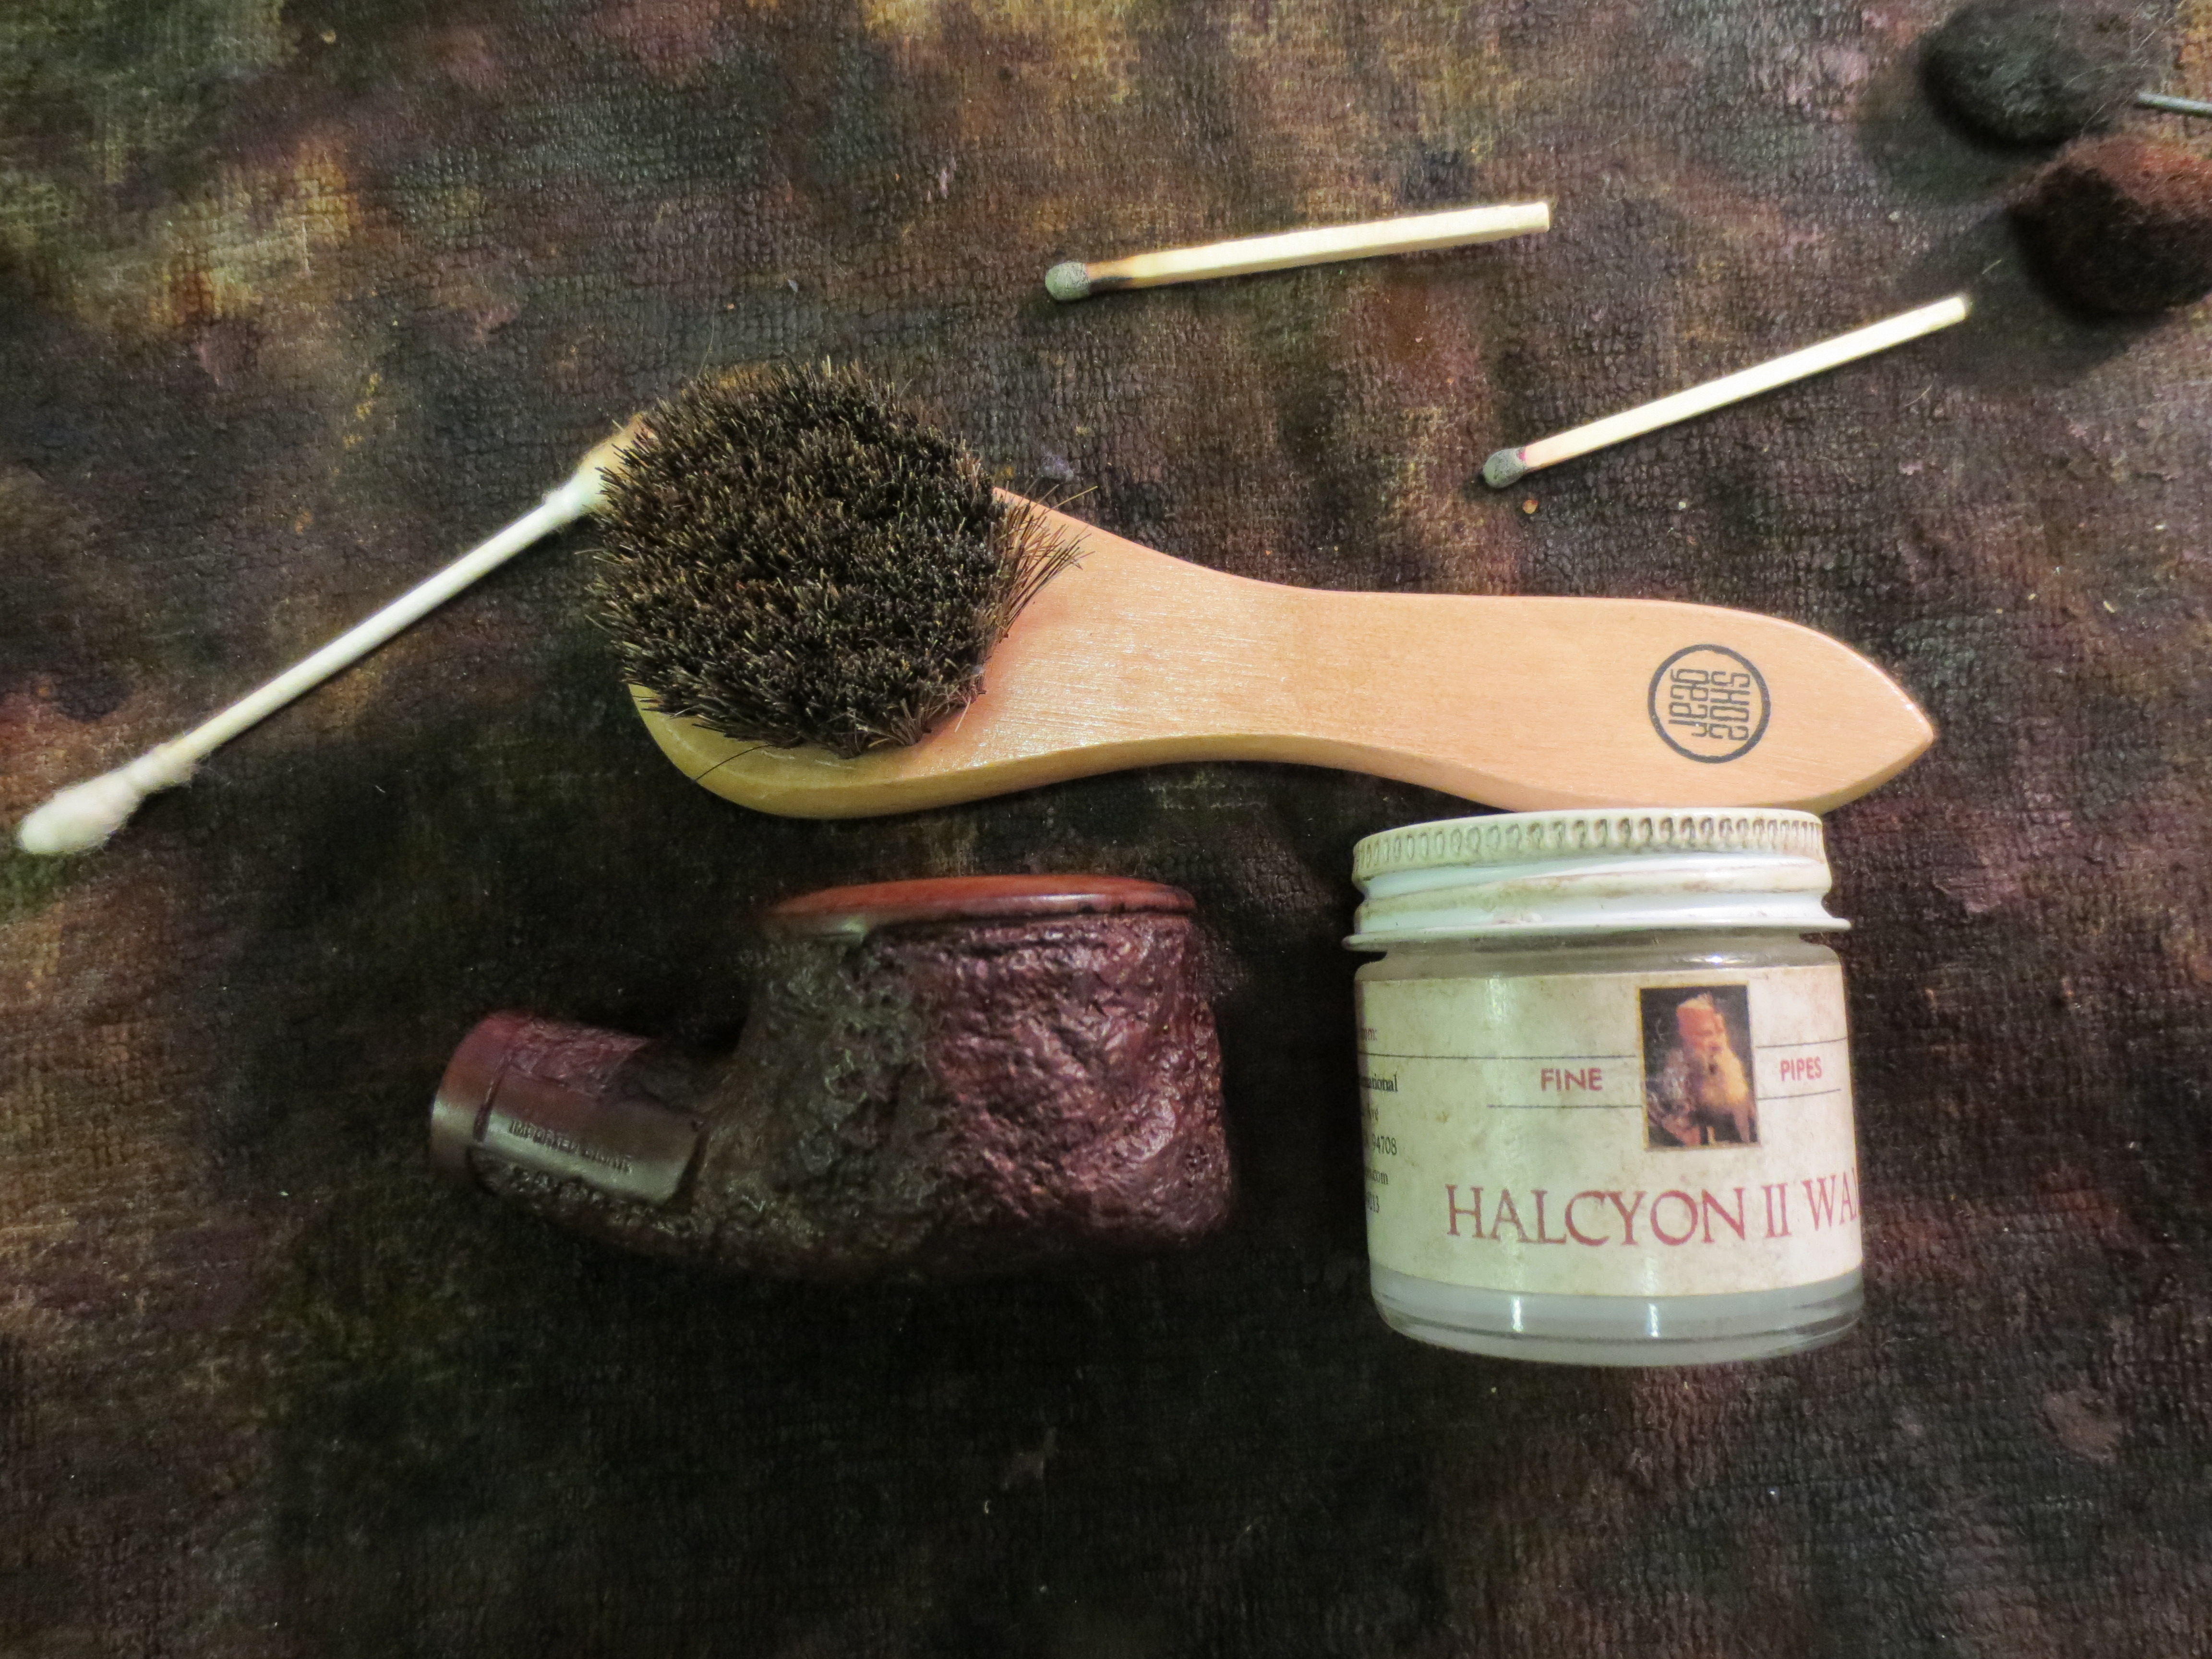
After buffing I took it back to the work table and gave the bowl a coat of Halcyon II wax. I rubbed it on by hand and then buffed it with a soft bristle shoe shine brush. For some reason the photos came out with some strange looking browns to the finish. The final colour is the reddish brown tone that is visible in the first photo below.

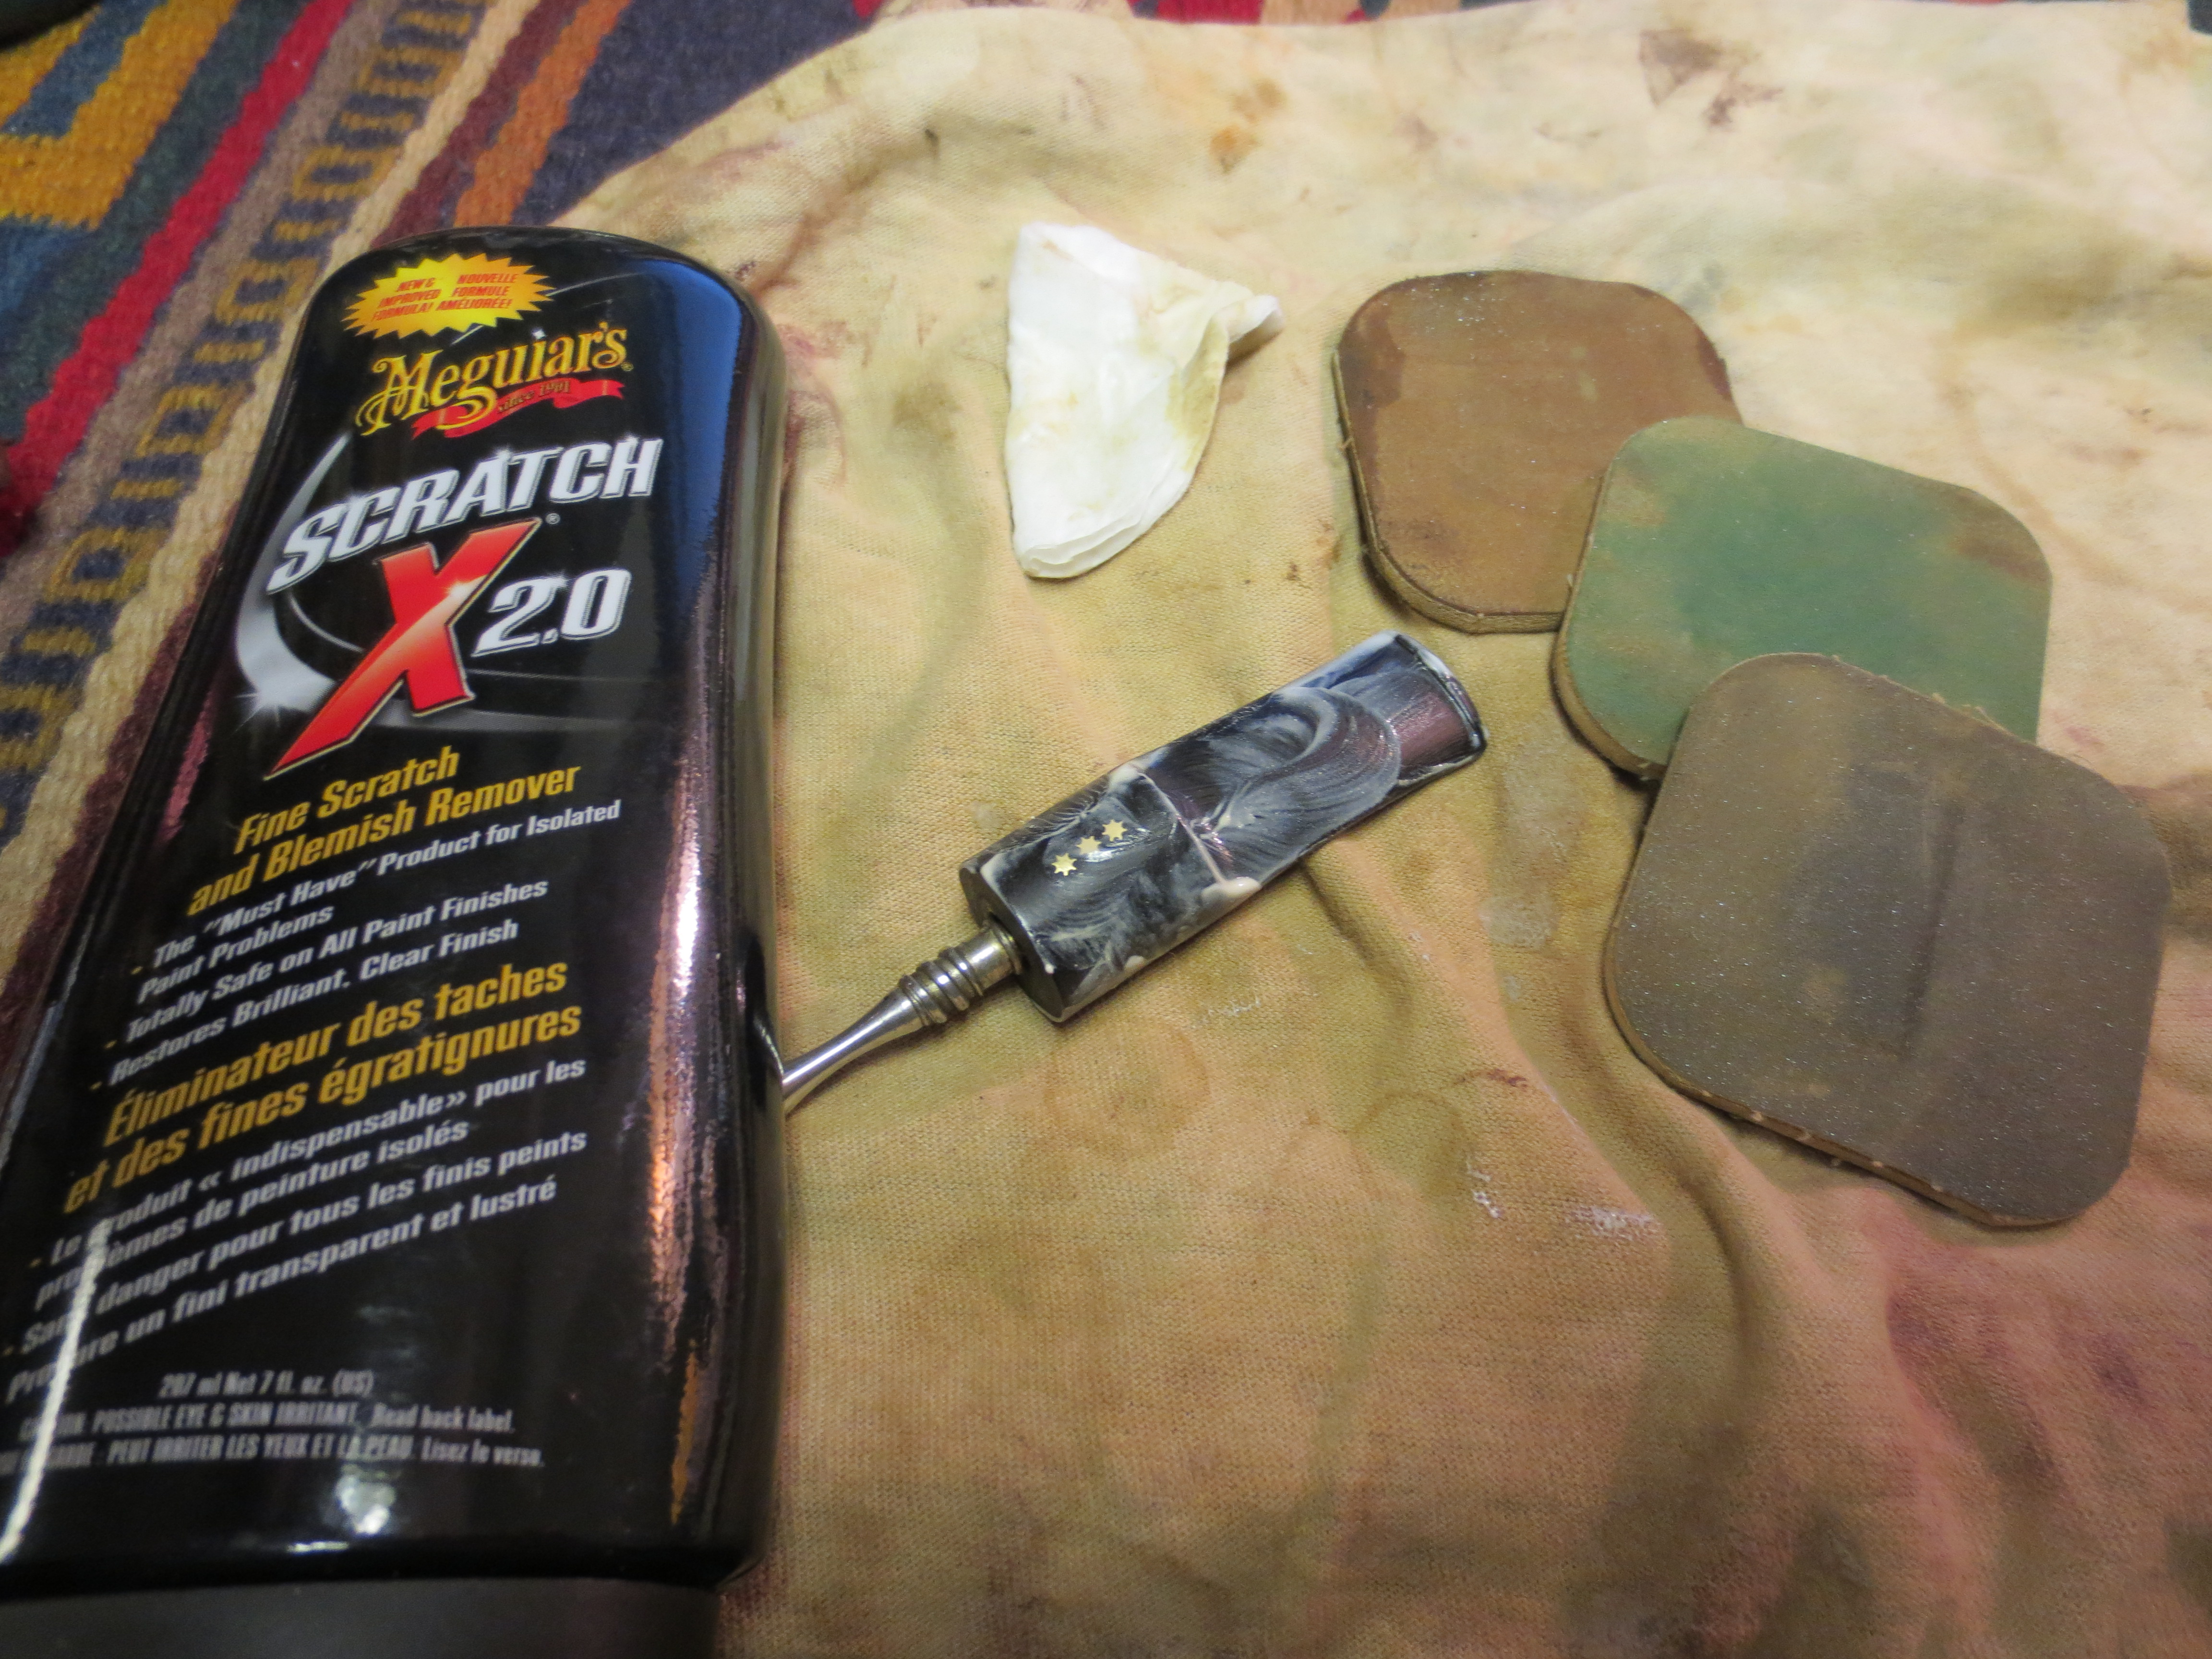
Once the bowl was stained, waxed and buffed I put it aside and went back to work on the stem. I finished wet sanding the stem with the micromesh sanding pads 1500, 1800 and 2400 and then gave the stem a coating of Maguiar’s Scratch X 2.0. I applied it with my finger and then rubbed it with a cotton pad. The first photo below shows the coating of the polish. The second and third photos show the stem after the polishing with Maguiar’s.

At that point I shifted to 3200, 3600 and 4000 grit micromesh sanding pads. The next two photos show the change in the stem polish after this next set of three sanding pads.
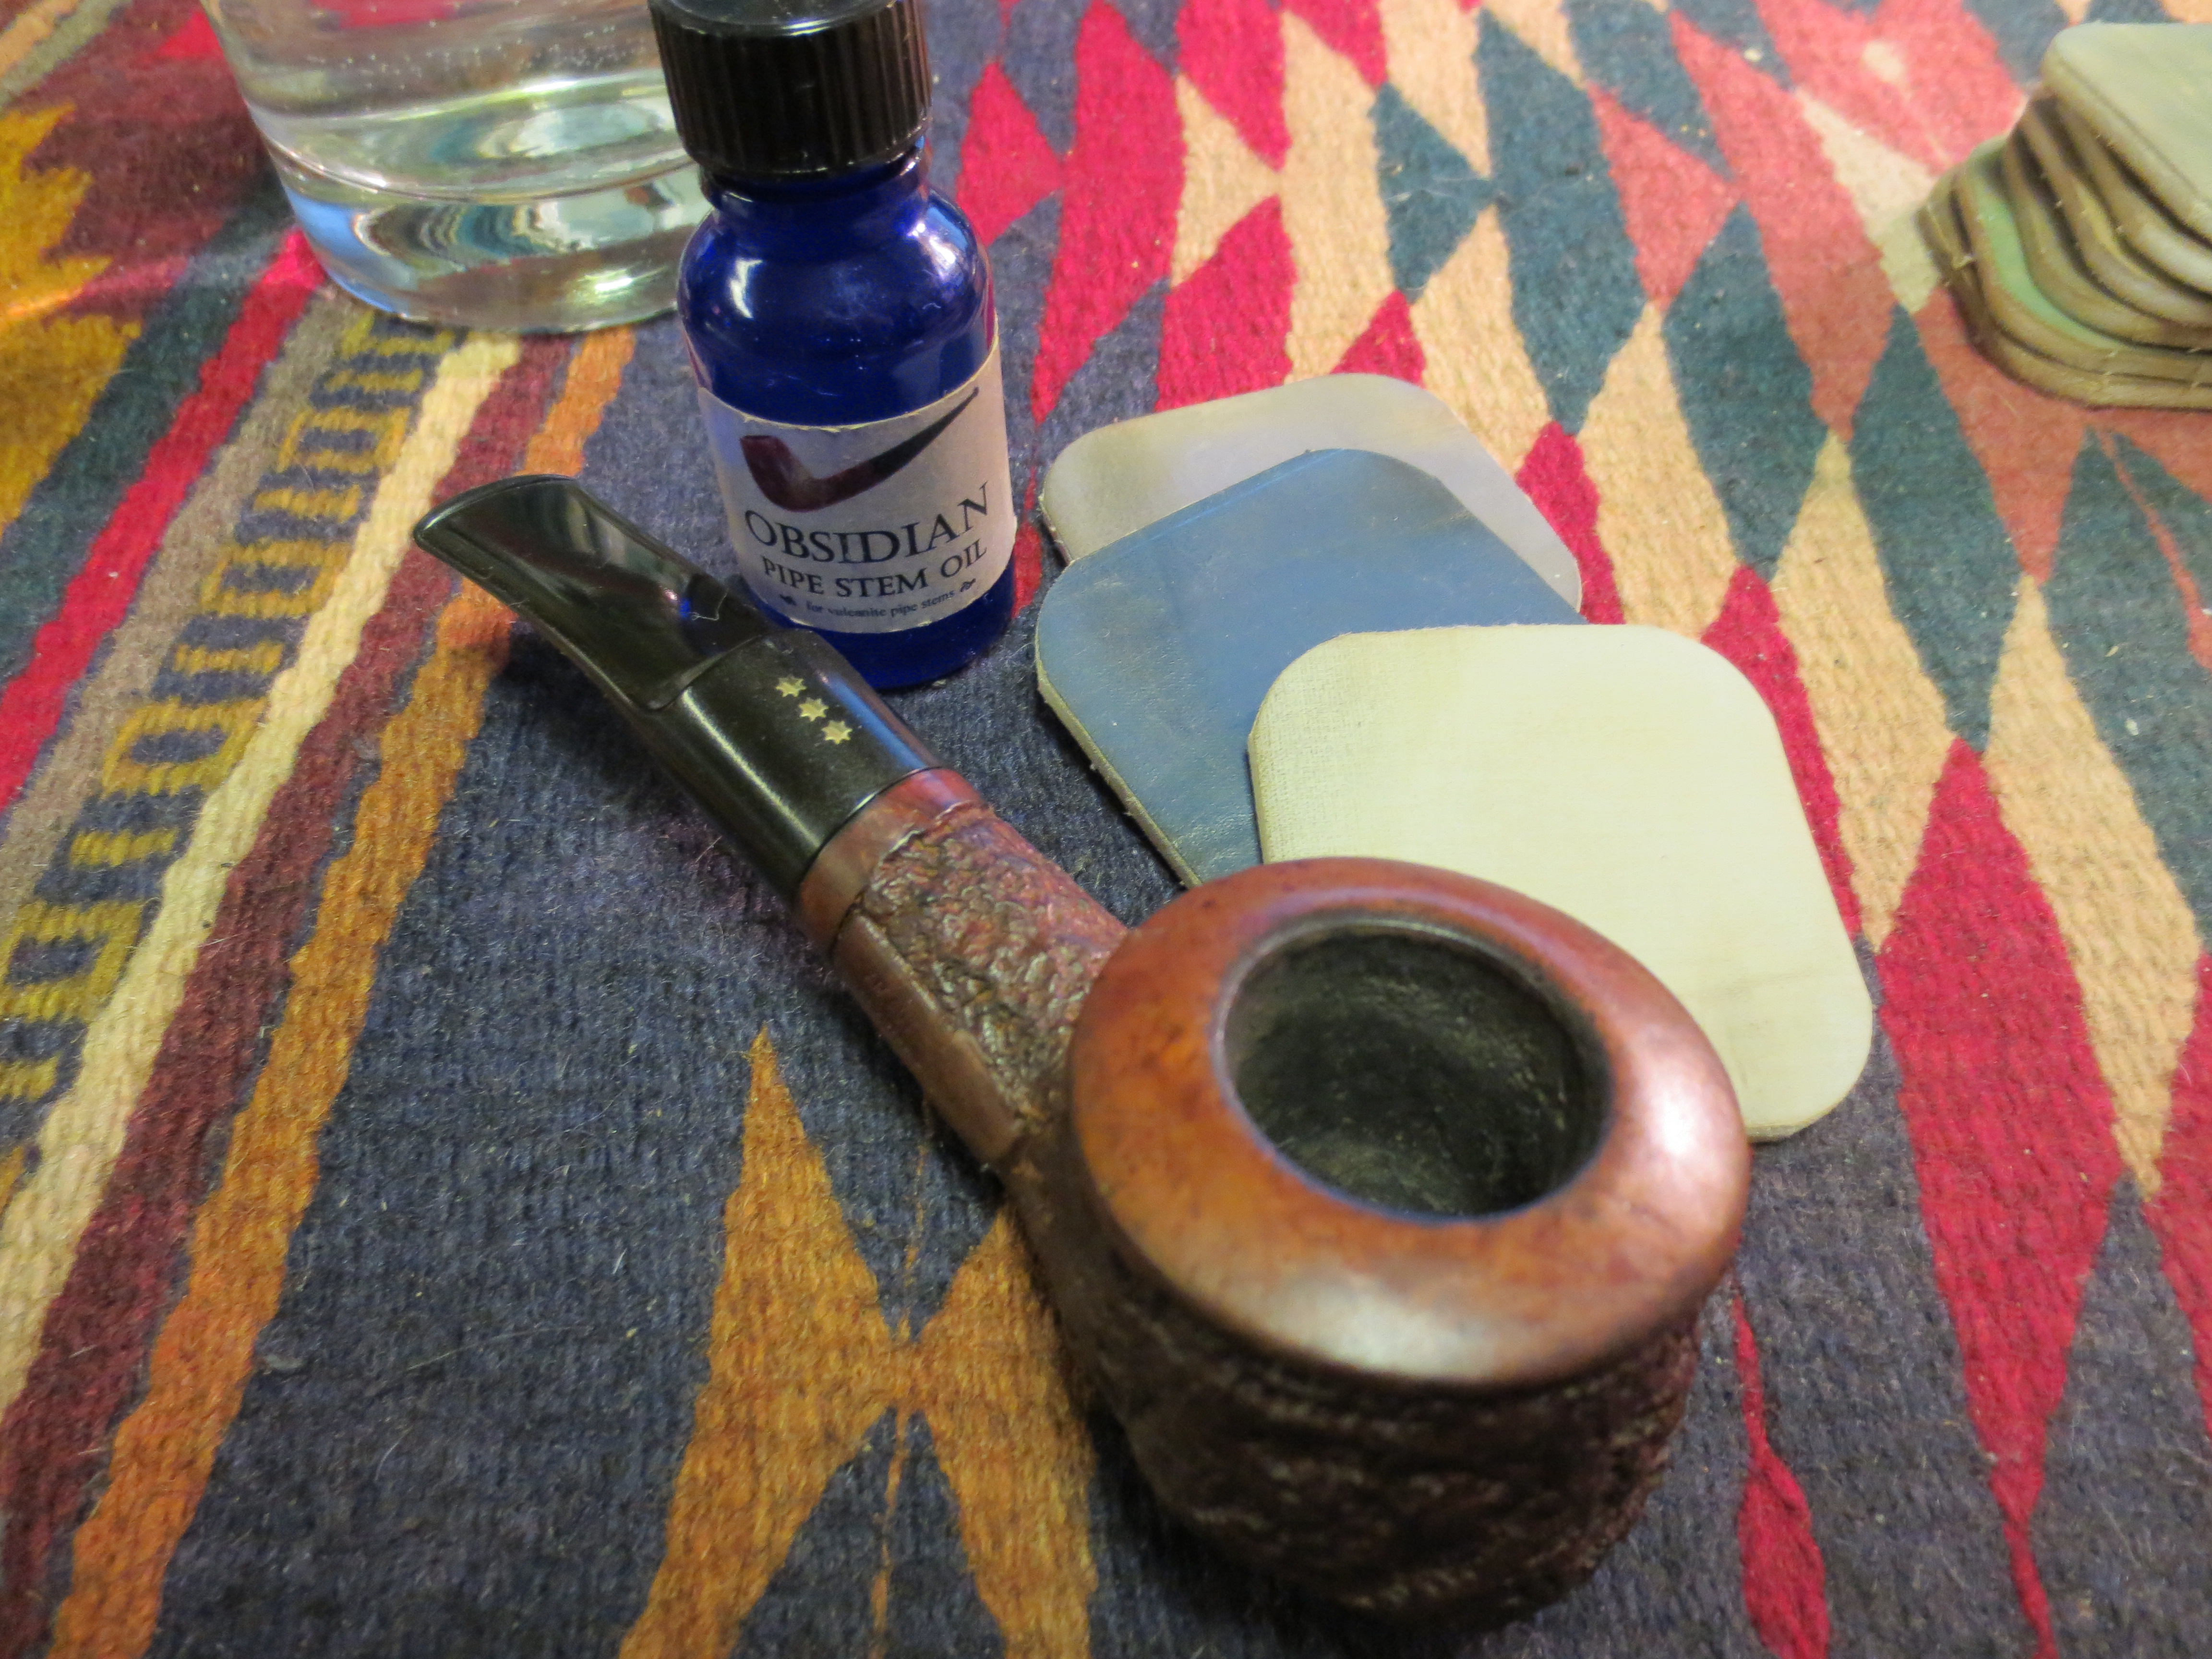
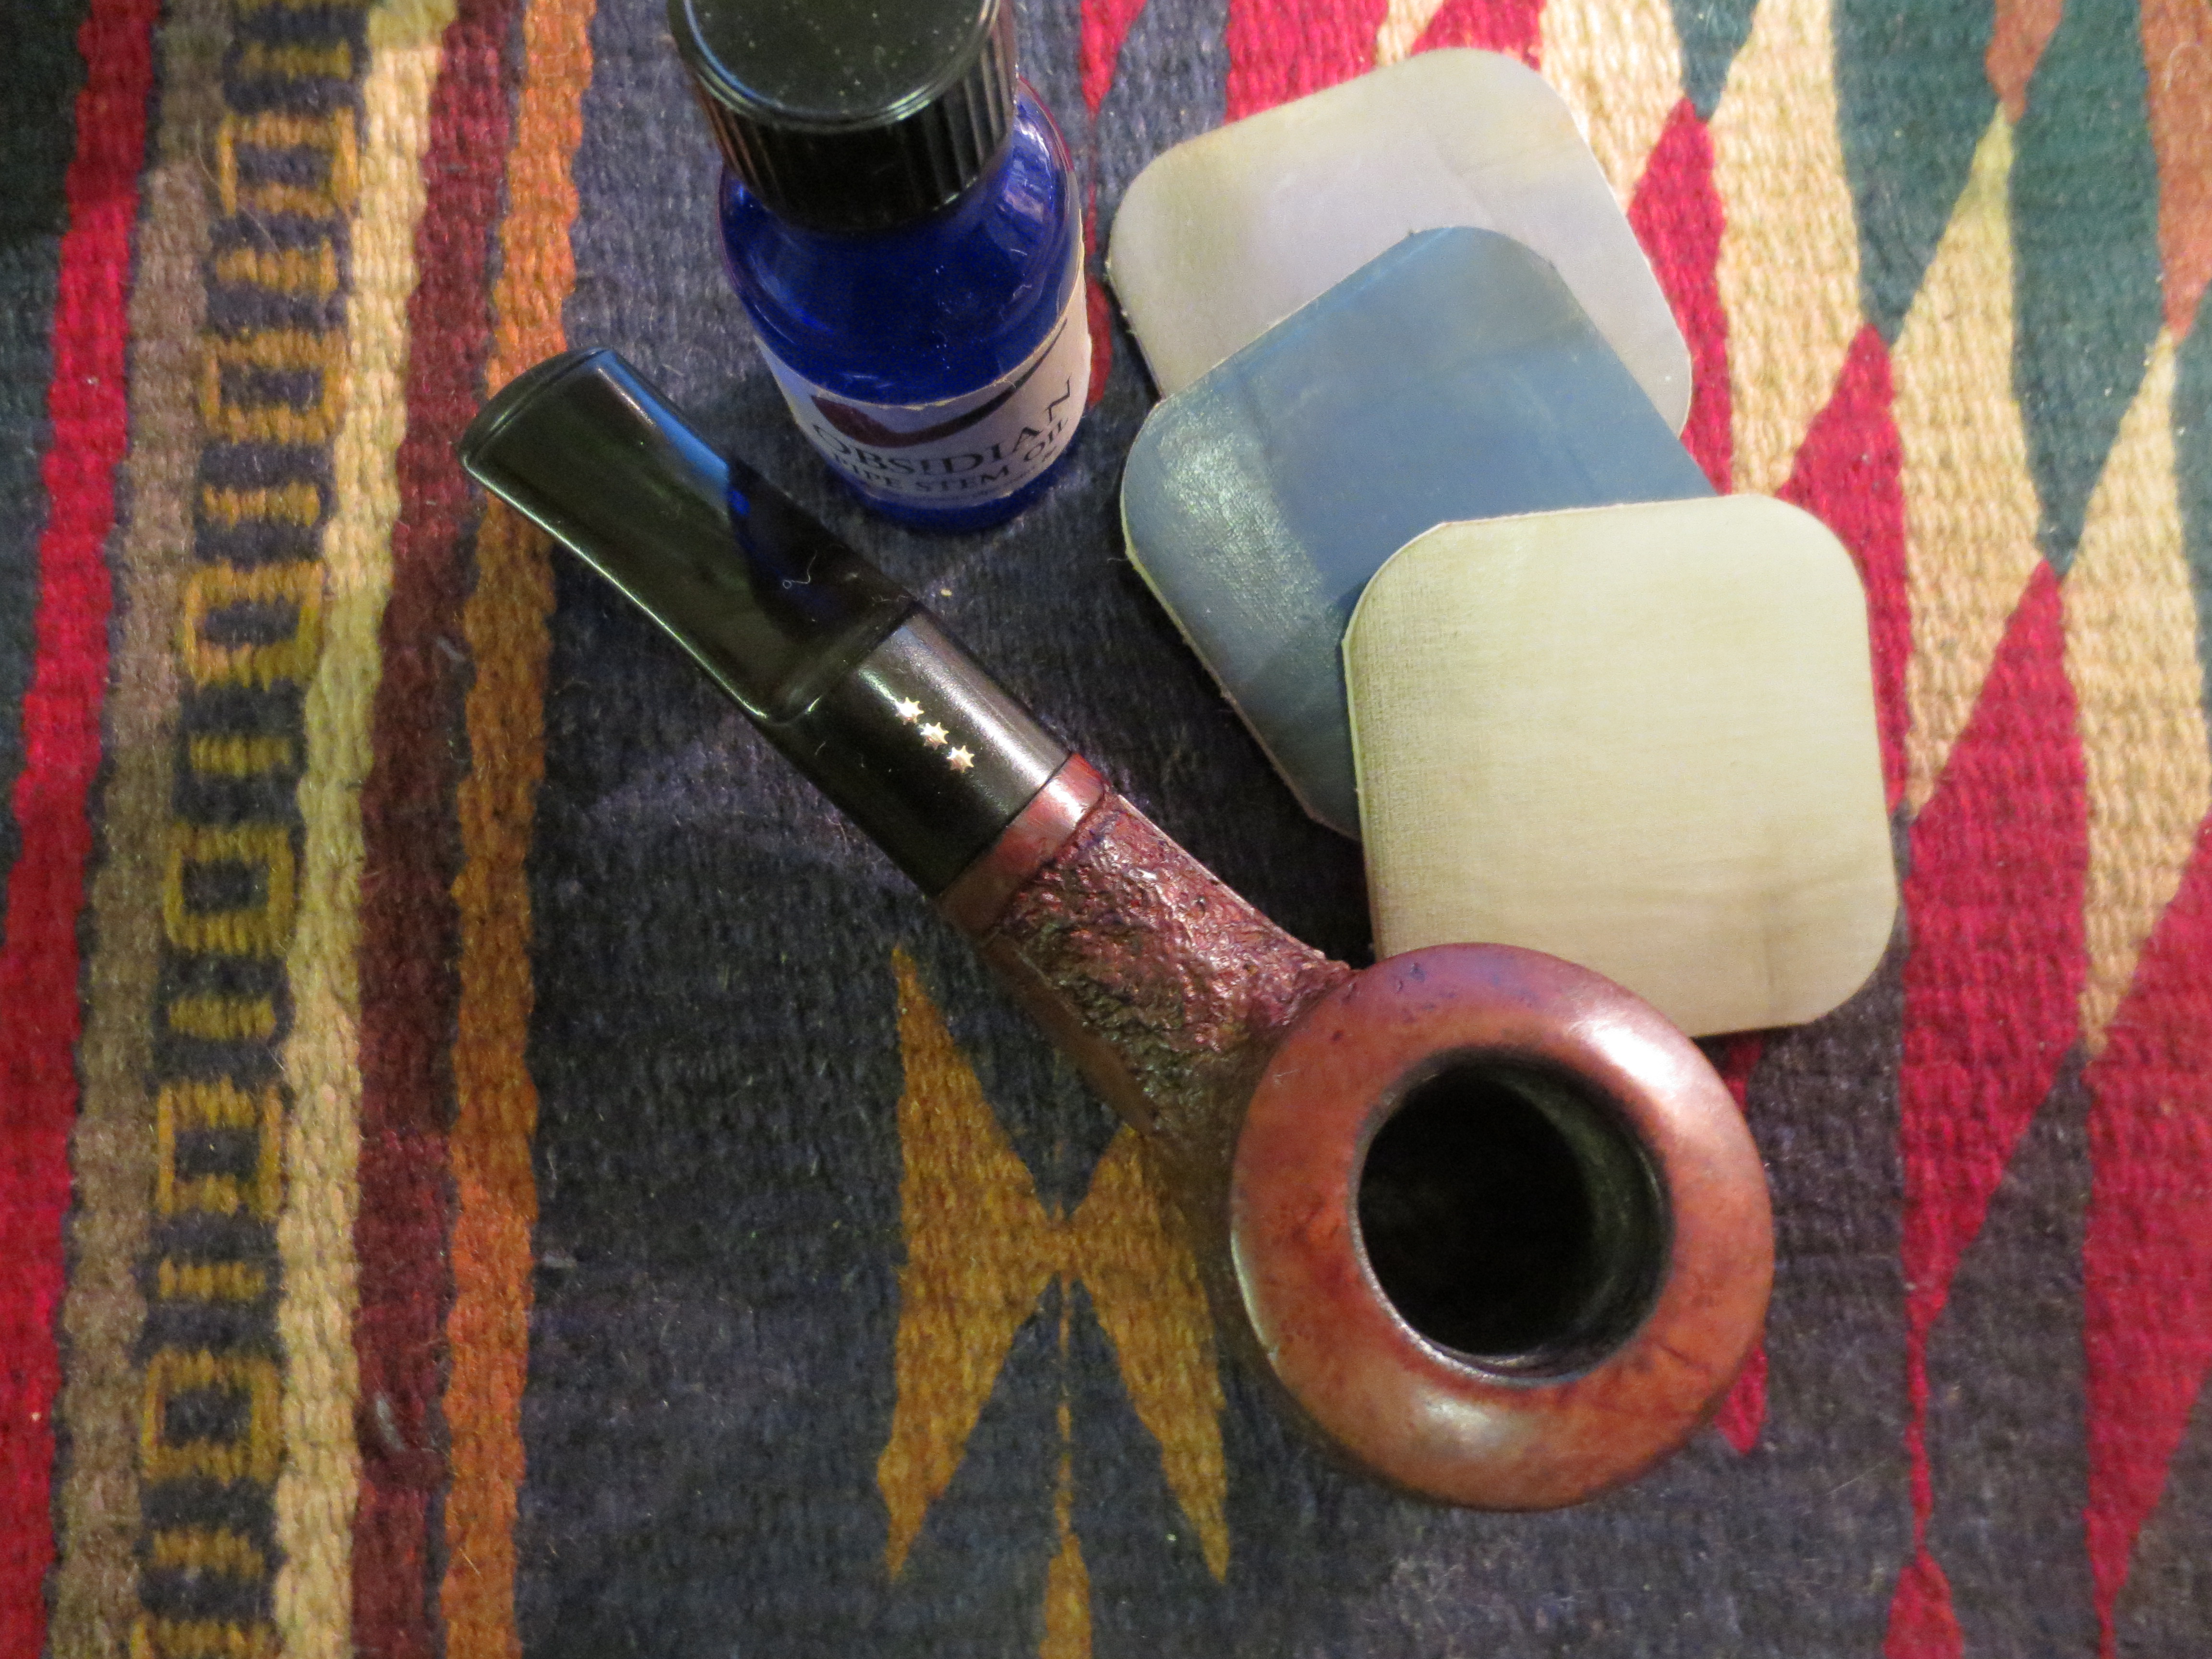
I then coated the stem with Obsidian Oil as pictured in the next two photos. When it was dry I wiped the stem down and finished sanding with the last three micromesh sanding pads – 6000, 8000 and 12,000 grit. The difference in the finish after the last three pads is quite remarkable.
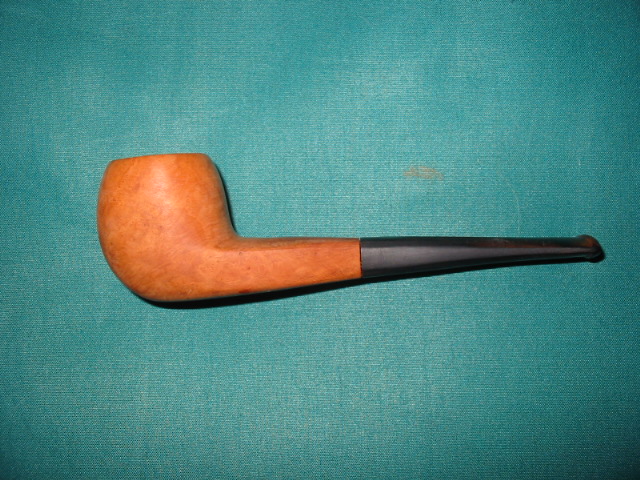
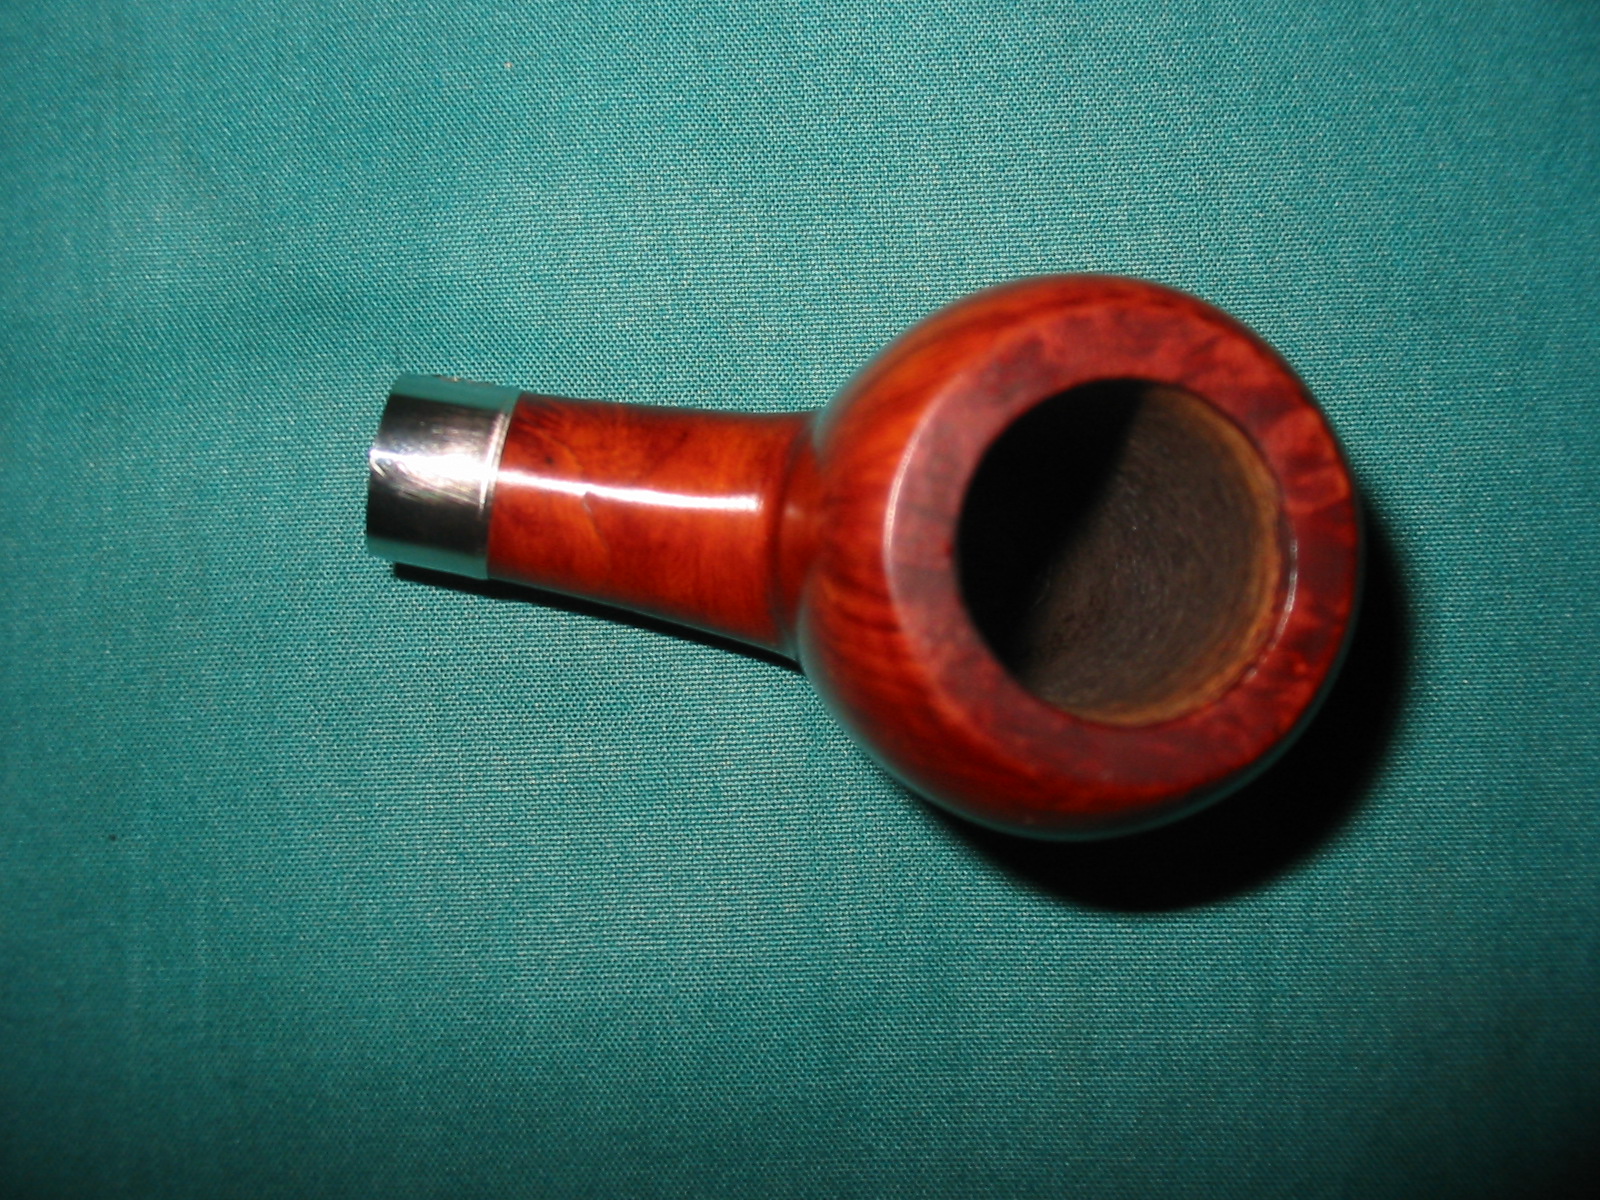
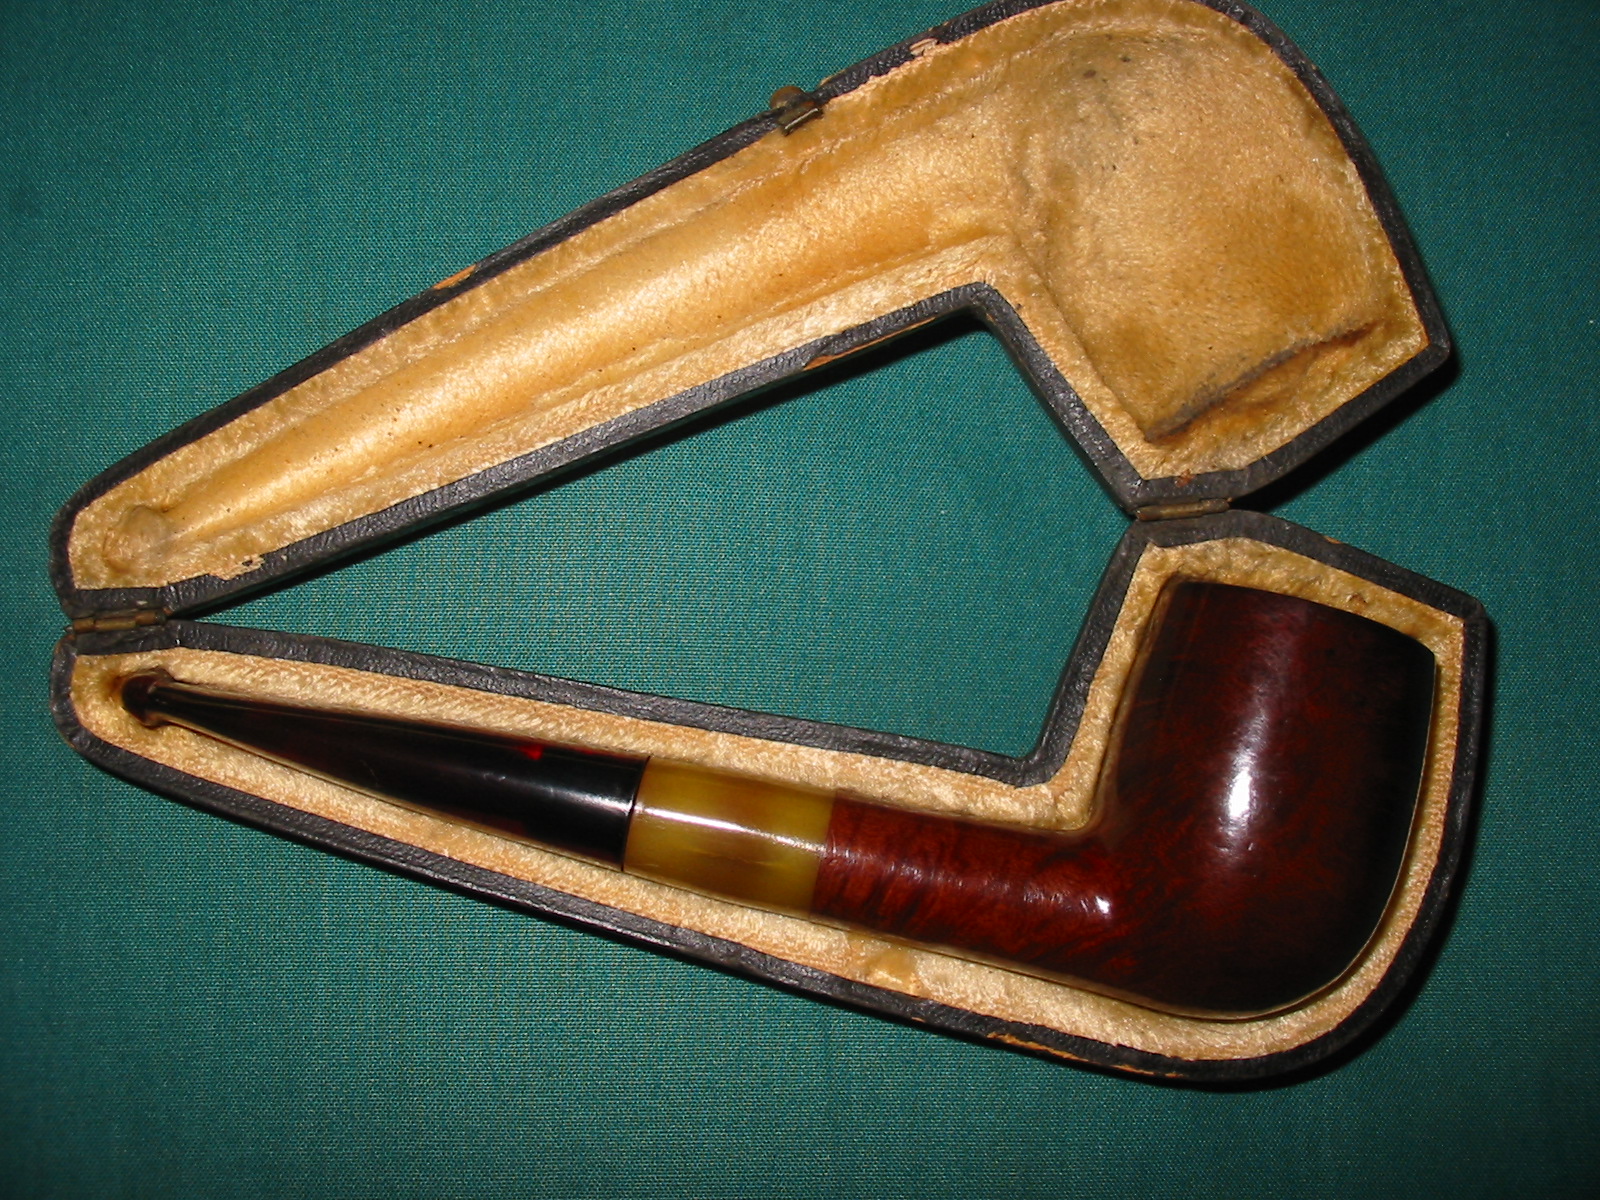
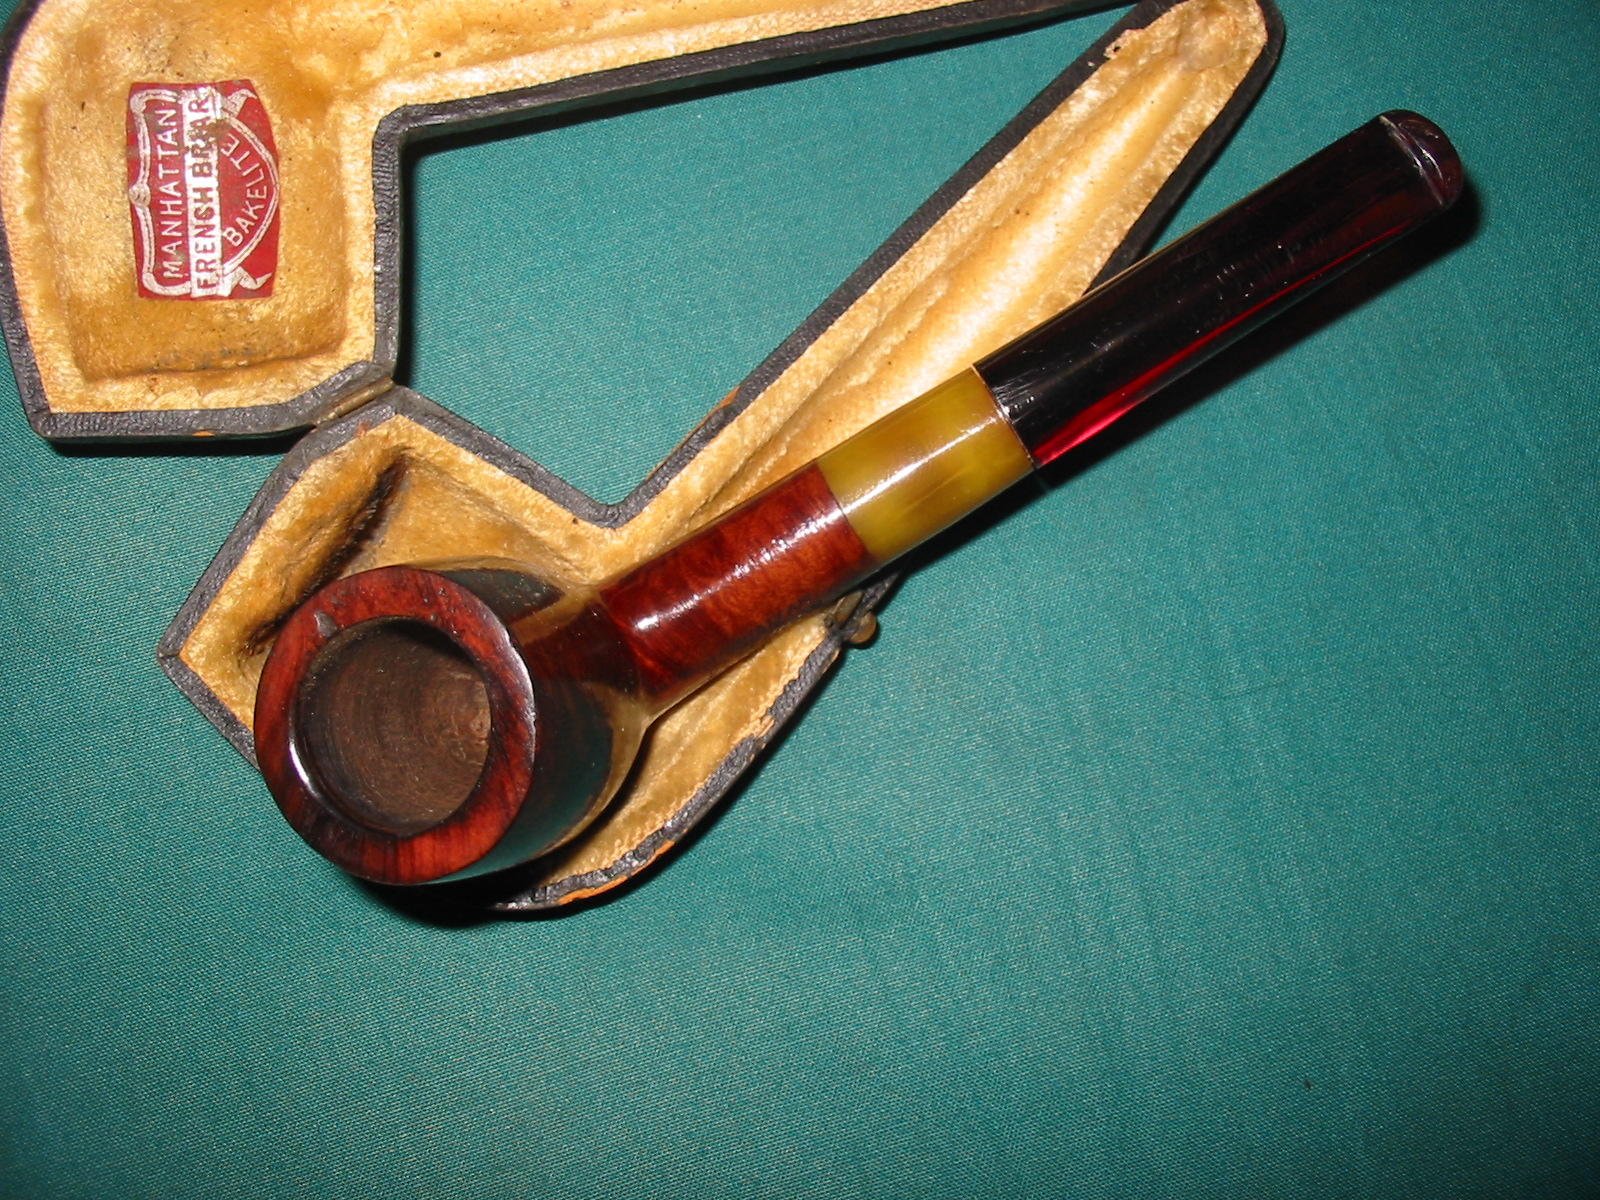
Once the stem was polished I gave it a coat of carnauba wax and then buffed it with a soft flannel buffing pad. Here is the finished pipe. The pipe in person has a glossy stem. I got a new camera so I am still learning all the tricks of it. The thing really picks up the dust particles on the pics. Ah well. I will get it down eventually!