Blog by Steve Laug
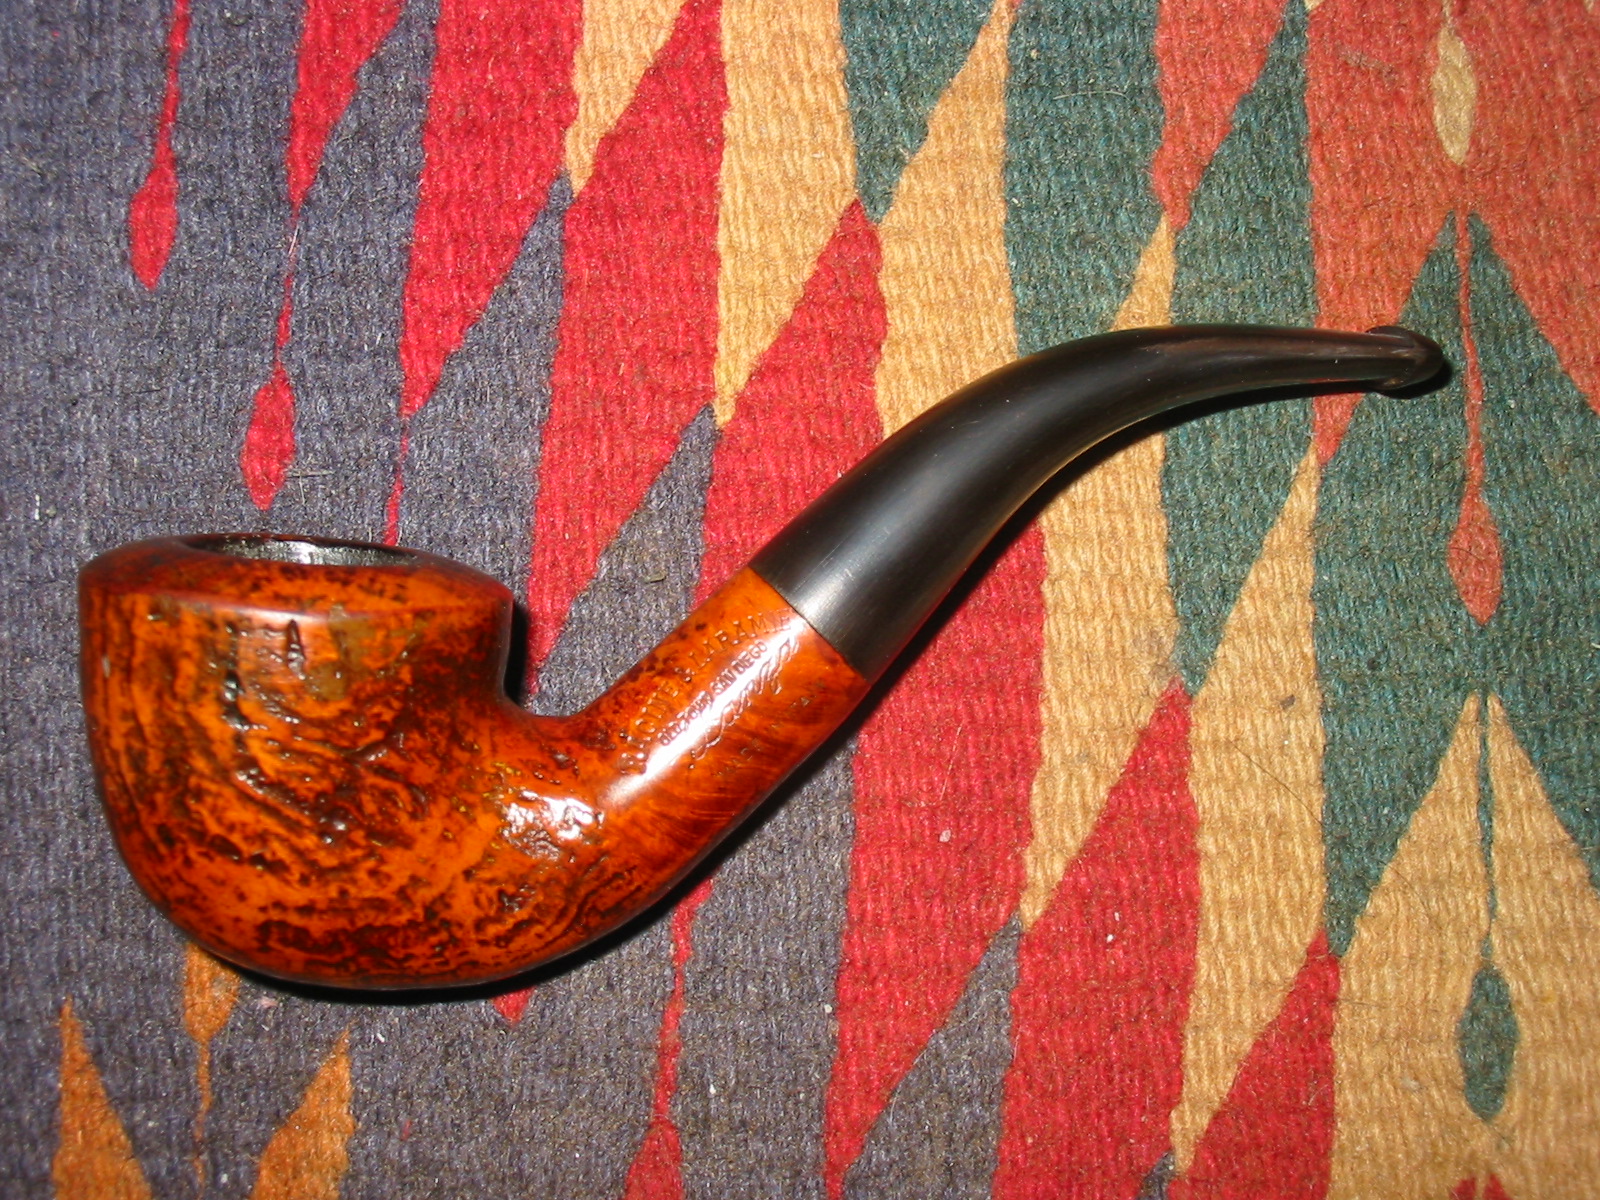
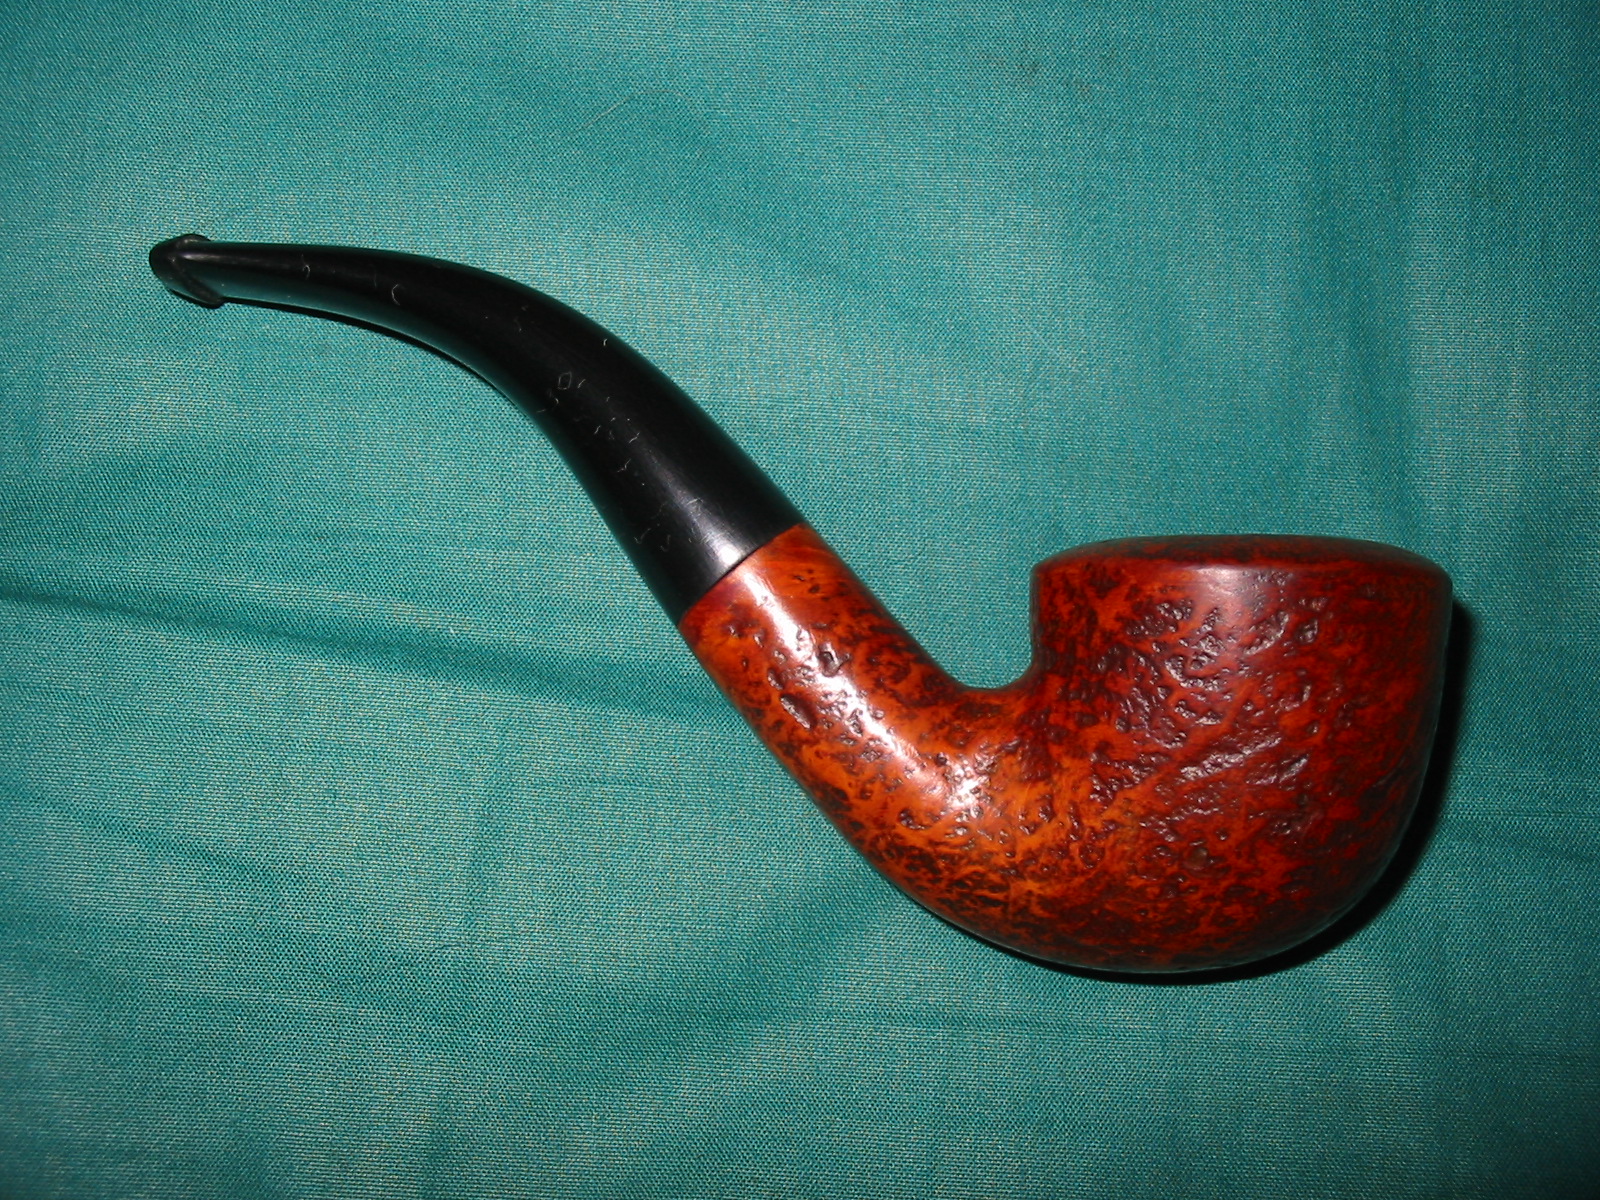
In the last box of pipes Jeff sent me there was a nice looking straight Bulldog. It came to us through our connection Copenhagen, Denmark on 10/17/2022. It is stamped on the left side of the shank and reads Vauen [arched over] Dr. Perl [over] D.R.W.Z. On the right side of the shank it was stamped Bruyere [arched over] twin pipes (logo) with Extra arched underneath. On the left underside of the diamond shank it was stamped with the shape number 6140. The pipe had charm for sure but it was a very dirty pipe when we received it. The finish was smooth finish on the bowl and shank with classic twin rings around the cap of the bowl. There was a heavy cake in the bowl that darkened the inner edge and overflowed as a thick lava coat on the rim top. The vulcanite, taper stem was oxidized, calcified and there were light tooth marks and chatter on the top and underside ahead of the button. The tenon was made for Vauen Dr. Perl 9mm filters. Jeff took some photos of the pipe before he started his cleanup work. 
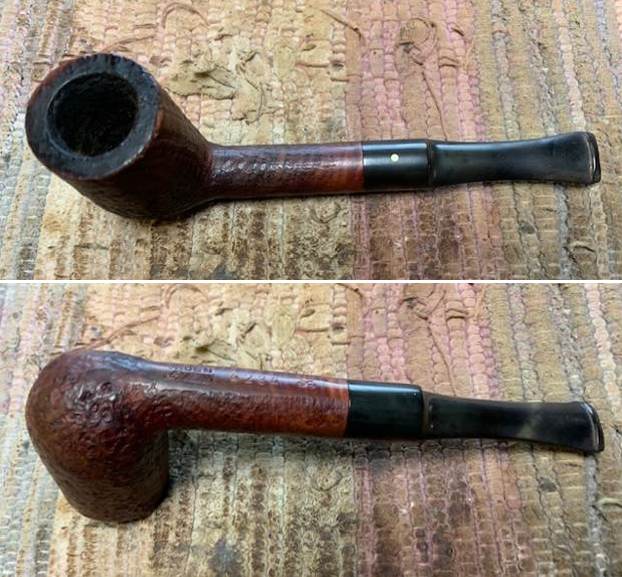
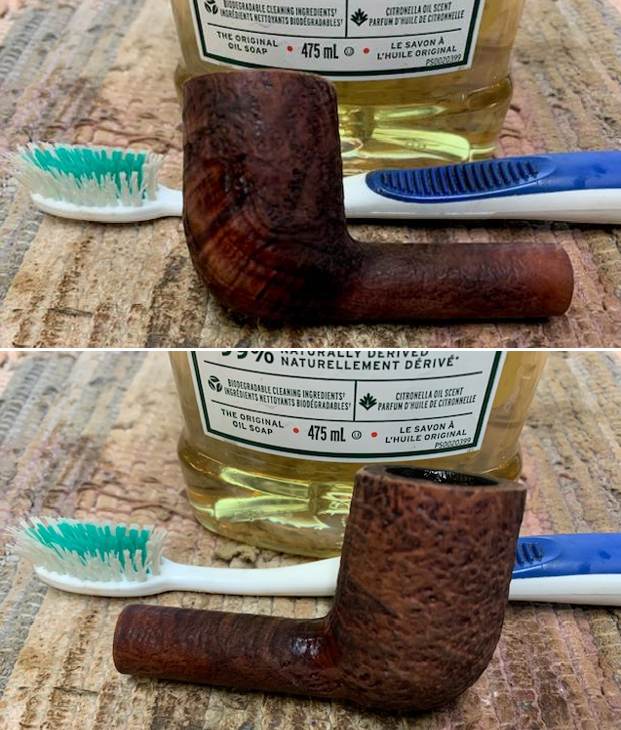
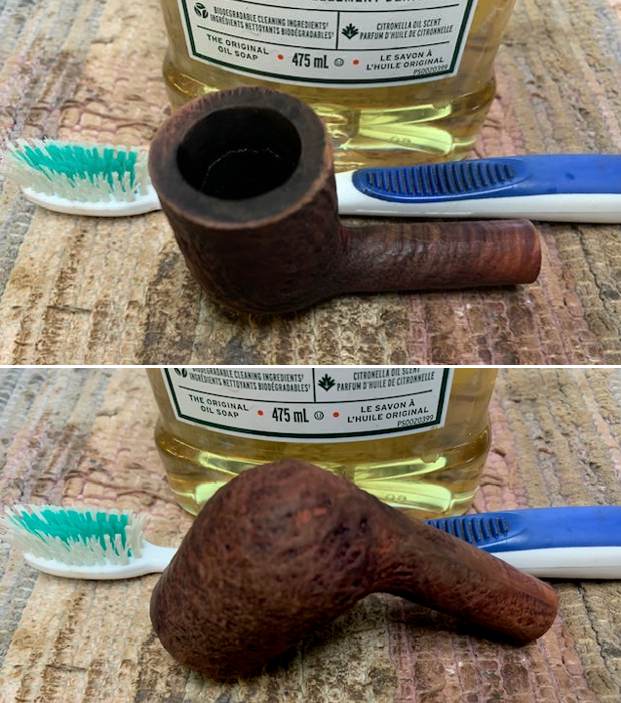
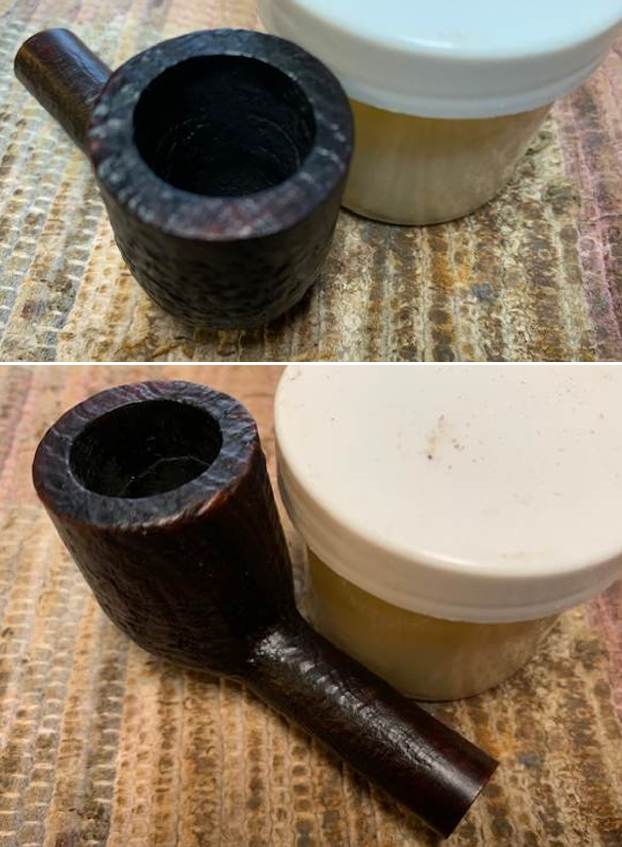
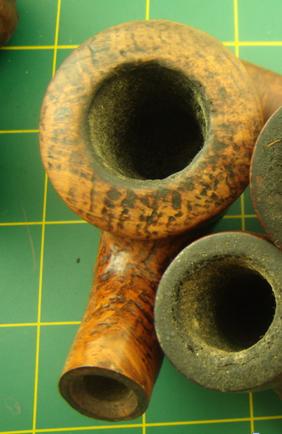
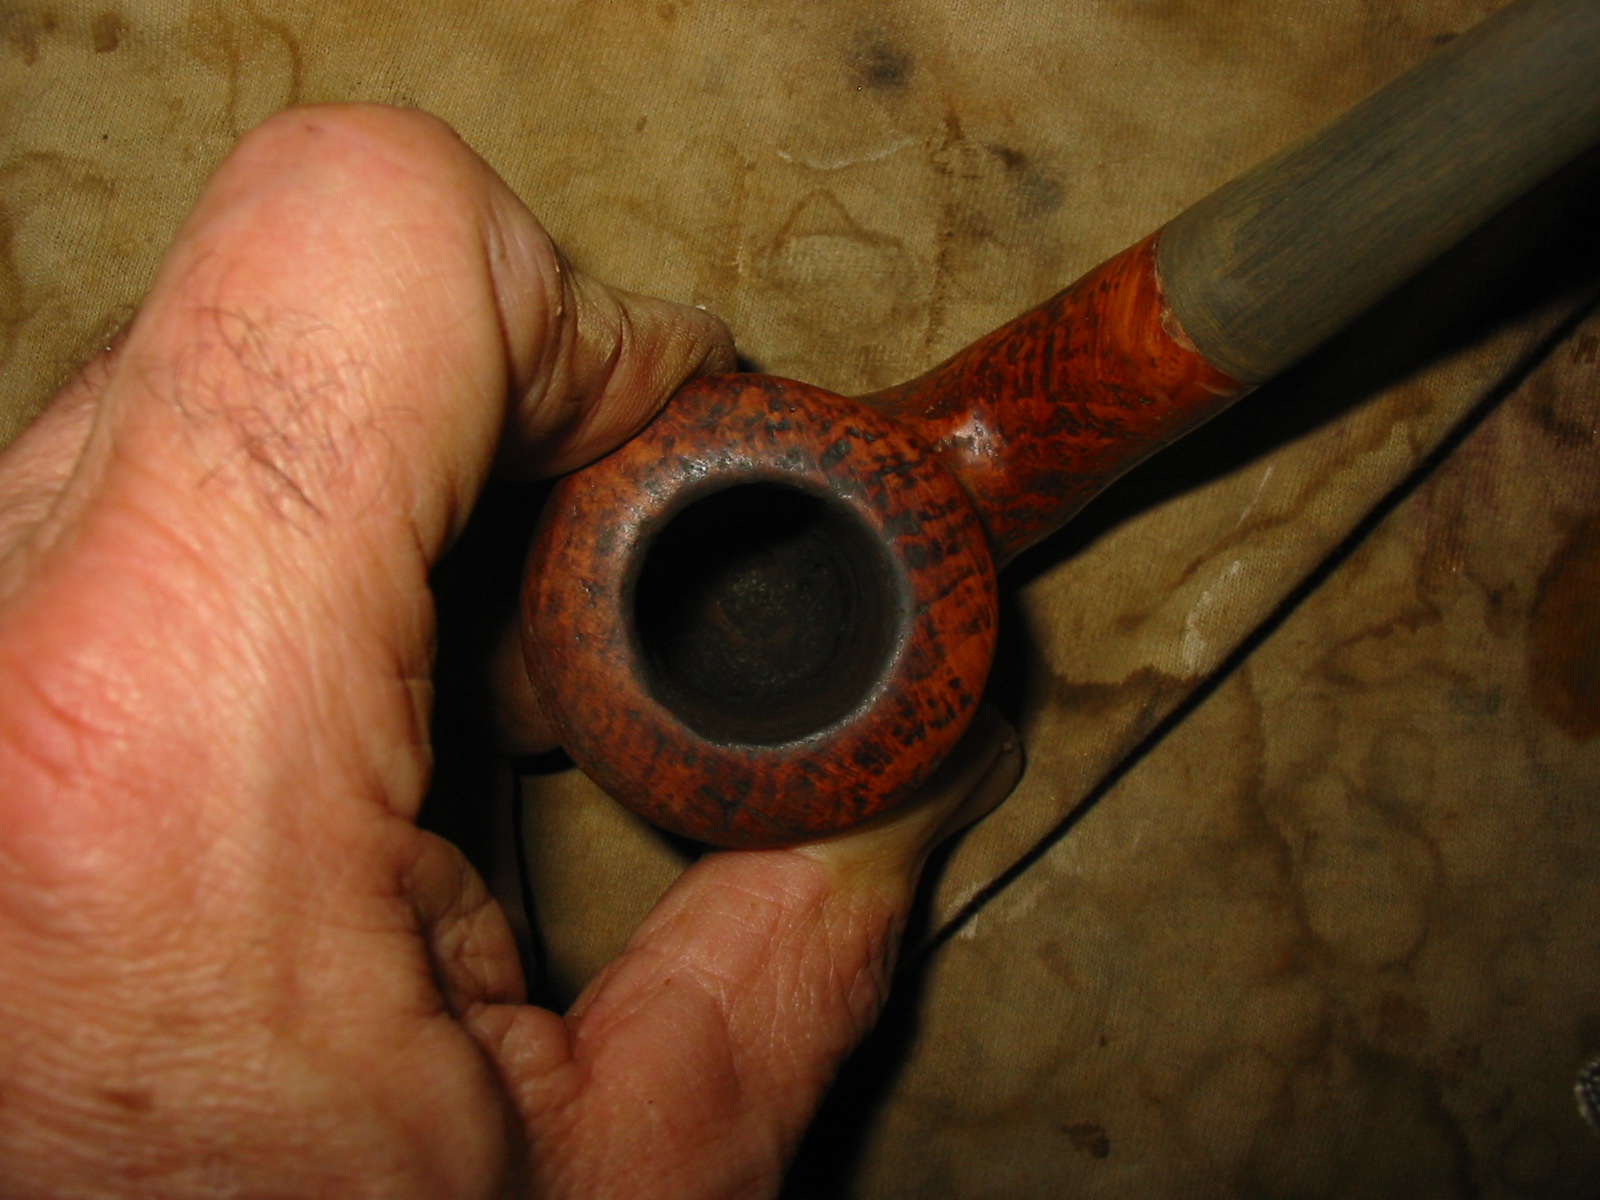
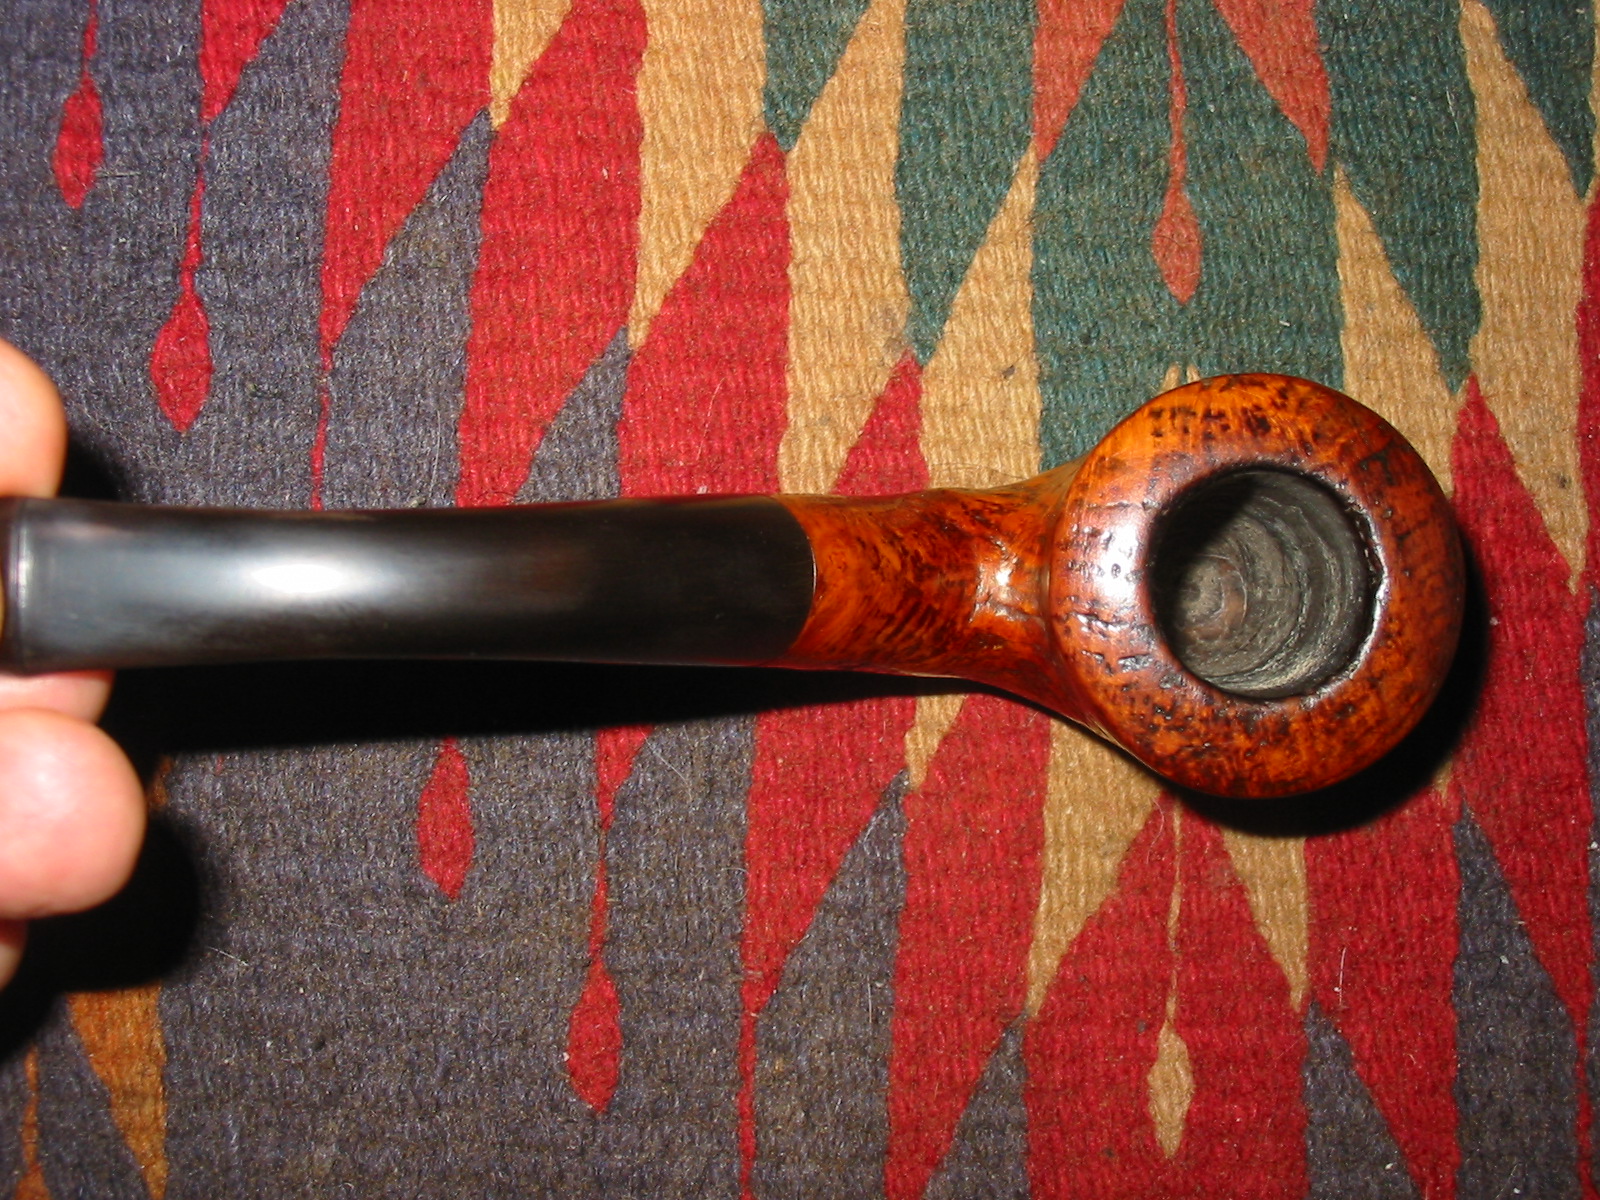
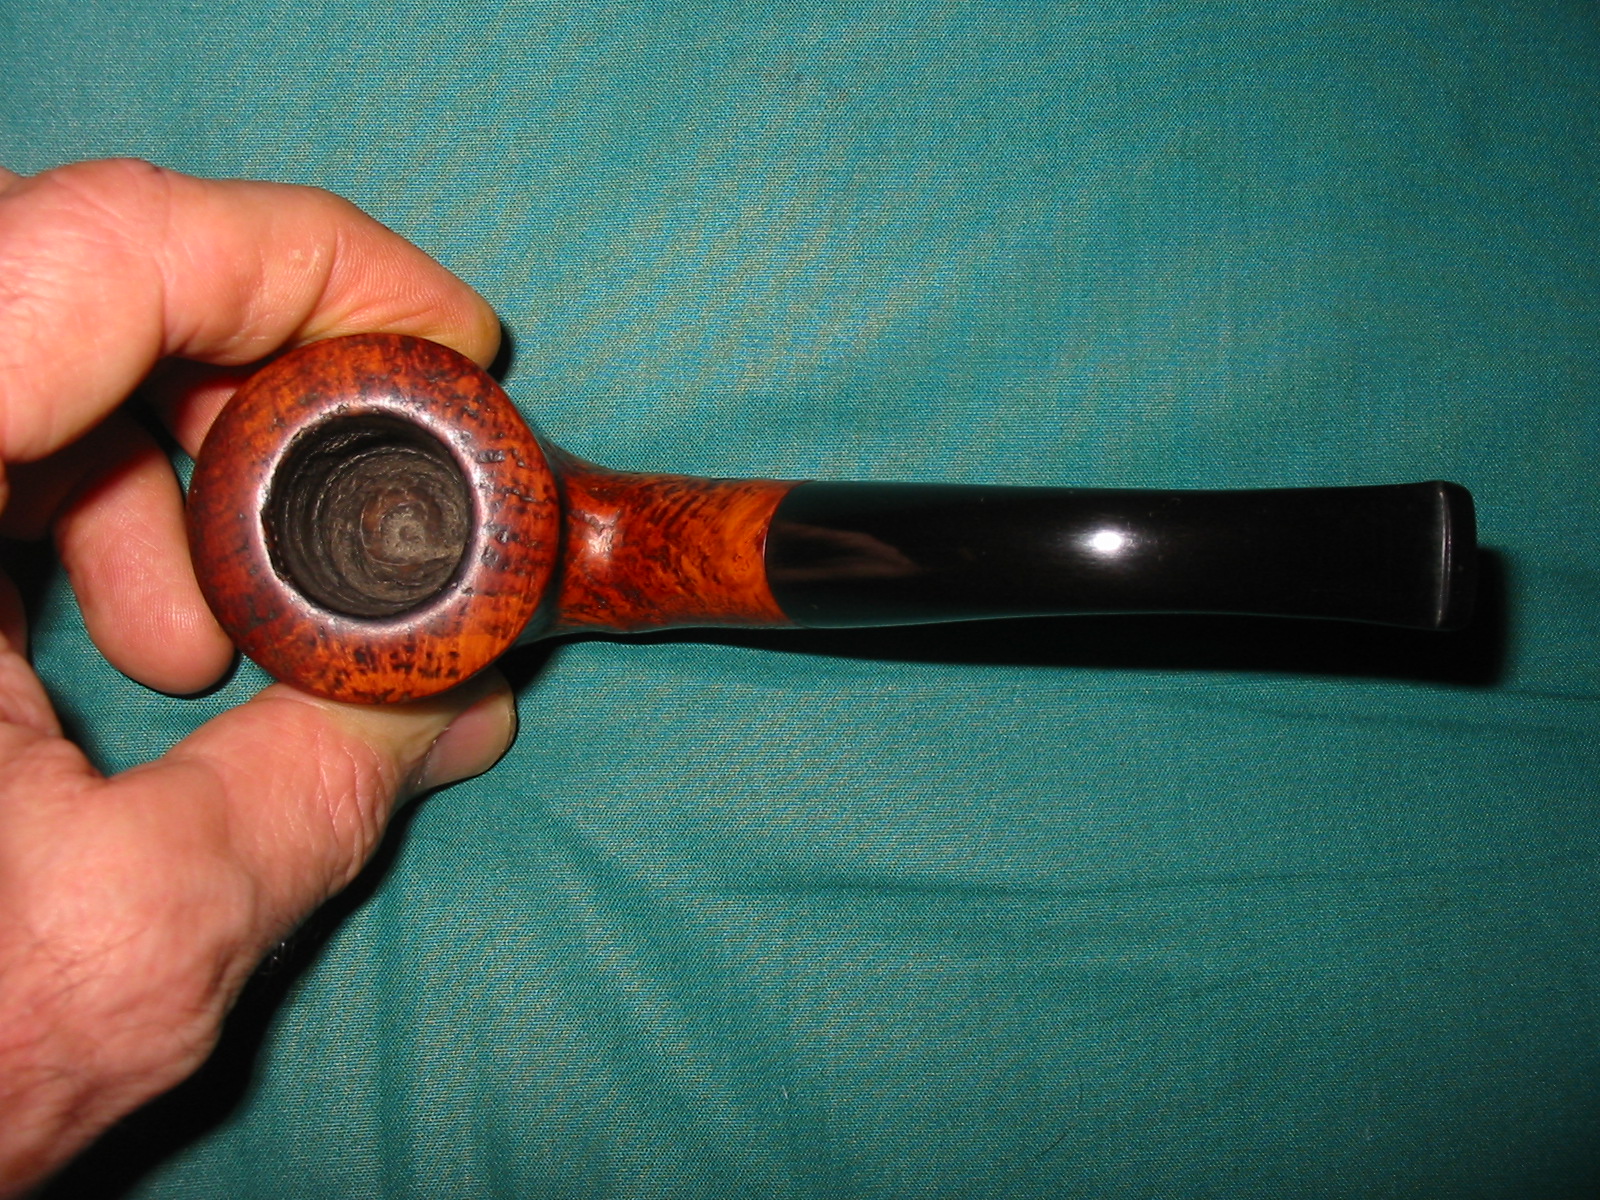
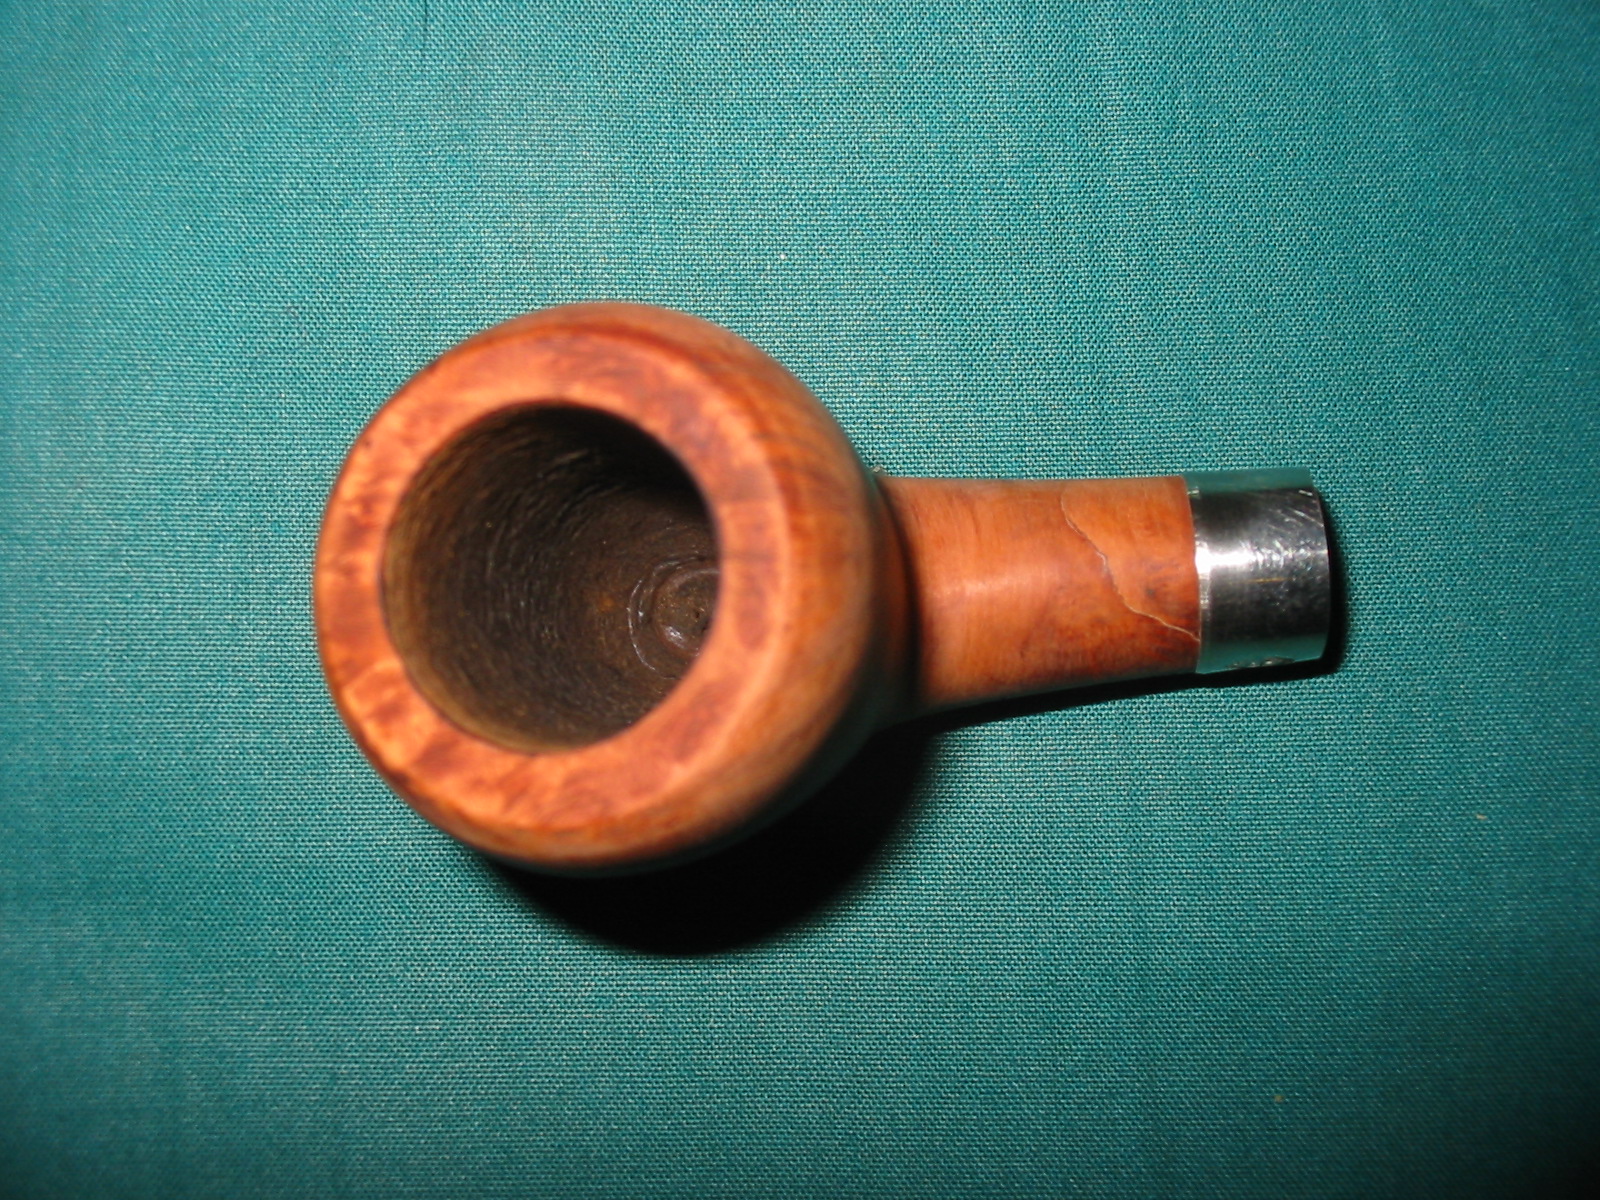
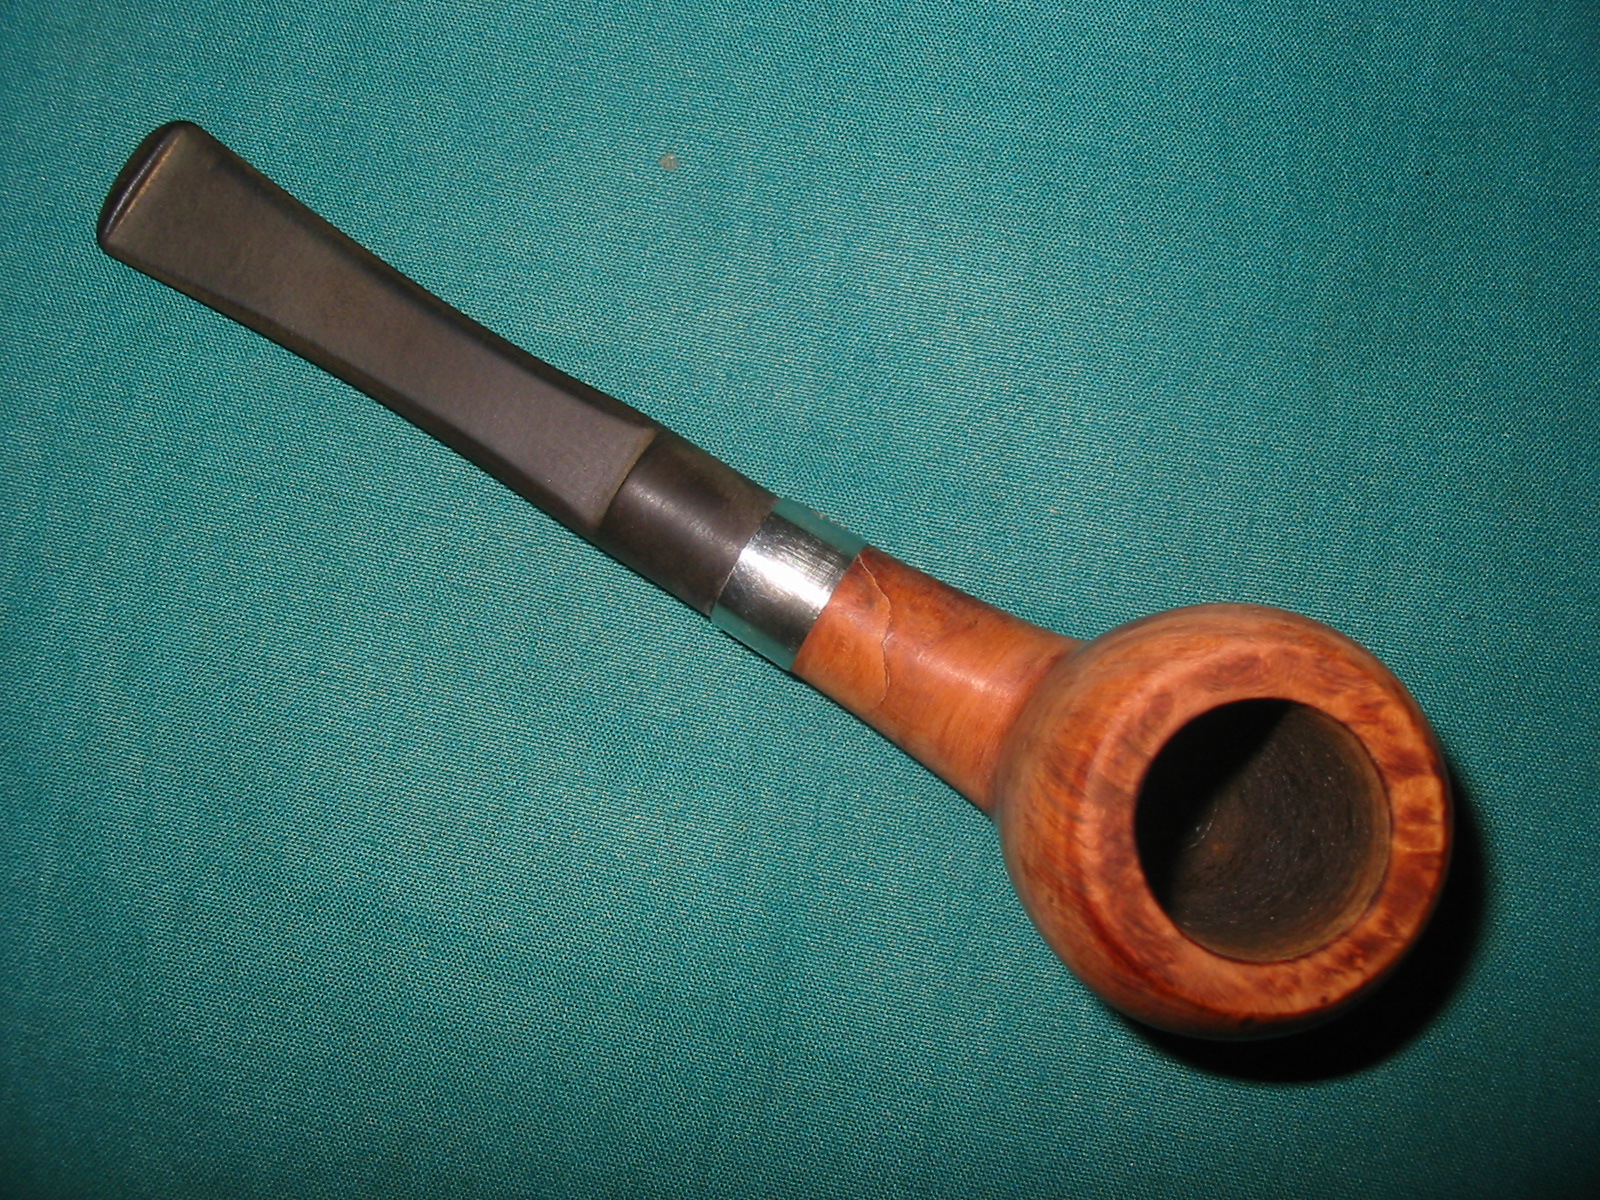
 He took photos of the bowl and rim top to show their general condition. You can see the thick cake in the bowl and the heavy lava coat in the top of the rim and inner edge of the bowl. The finish on the bowl is very dirty with grime and oils ground into the bowl, but still very stunning. This pipe has a class straight Bulldog look to me. The P-lip style taper stem that has some oxidation, calcification on the surface of the vulcanite. There is chatter and tooth marks on the top and underside. On the underside near the button was a thick spot of goop – a repair possibly? I don’t think so, I think it rather is debris that should clean off.

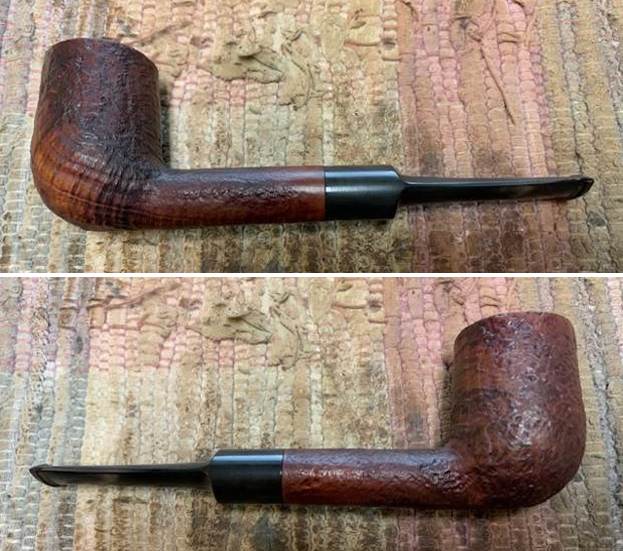
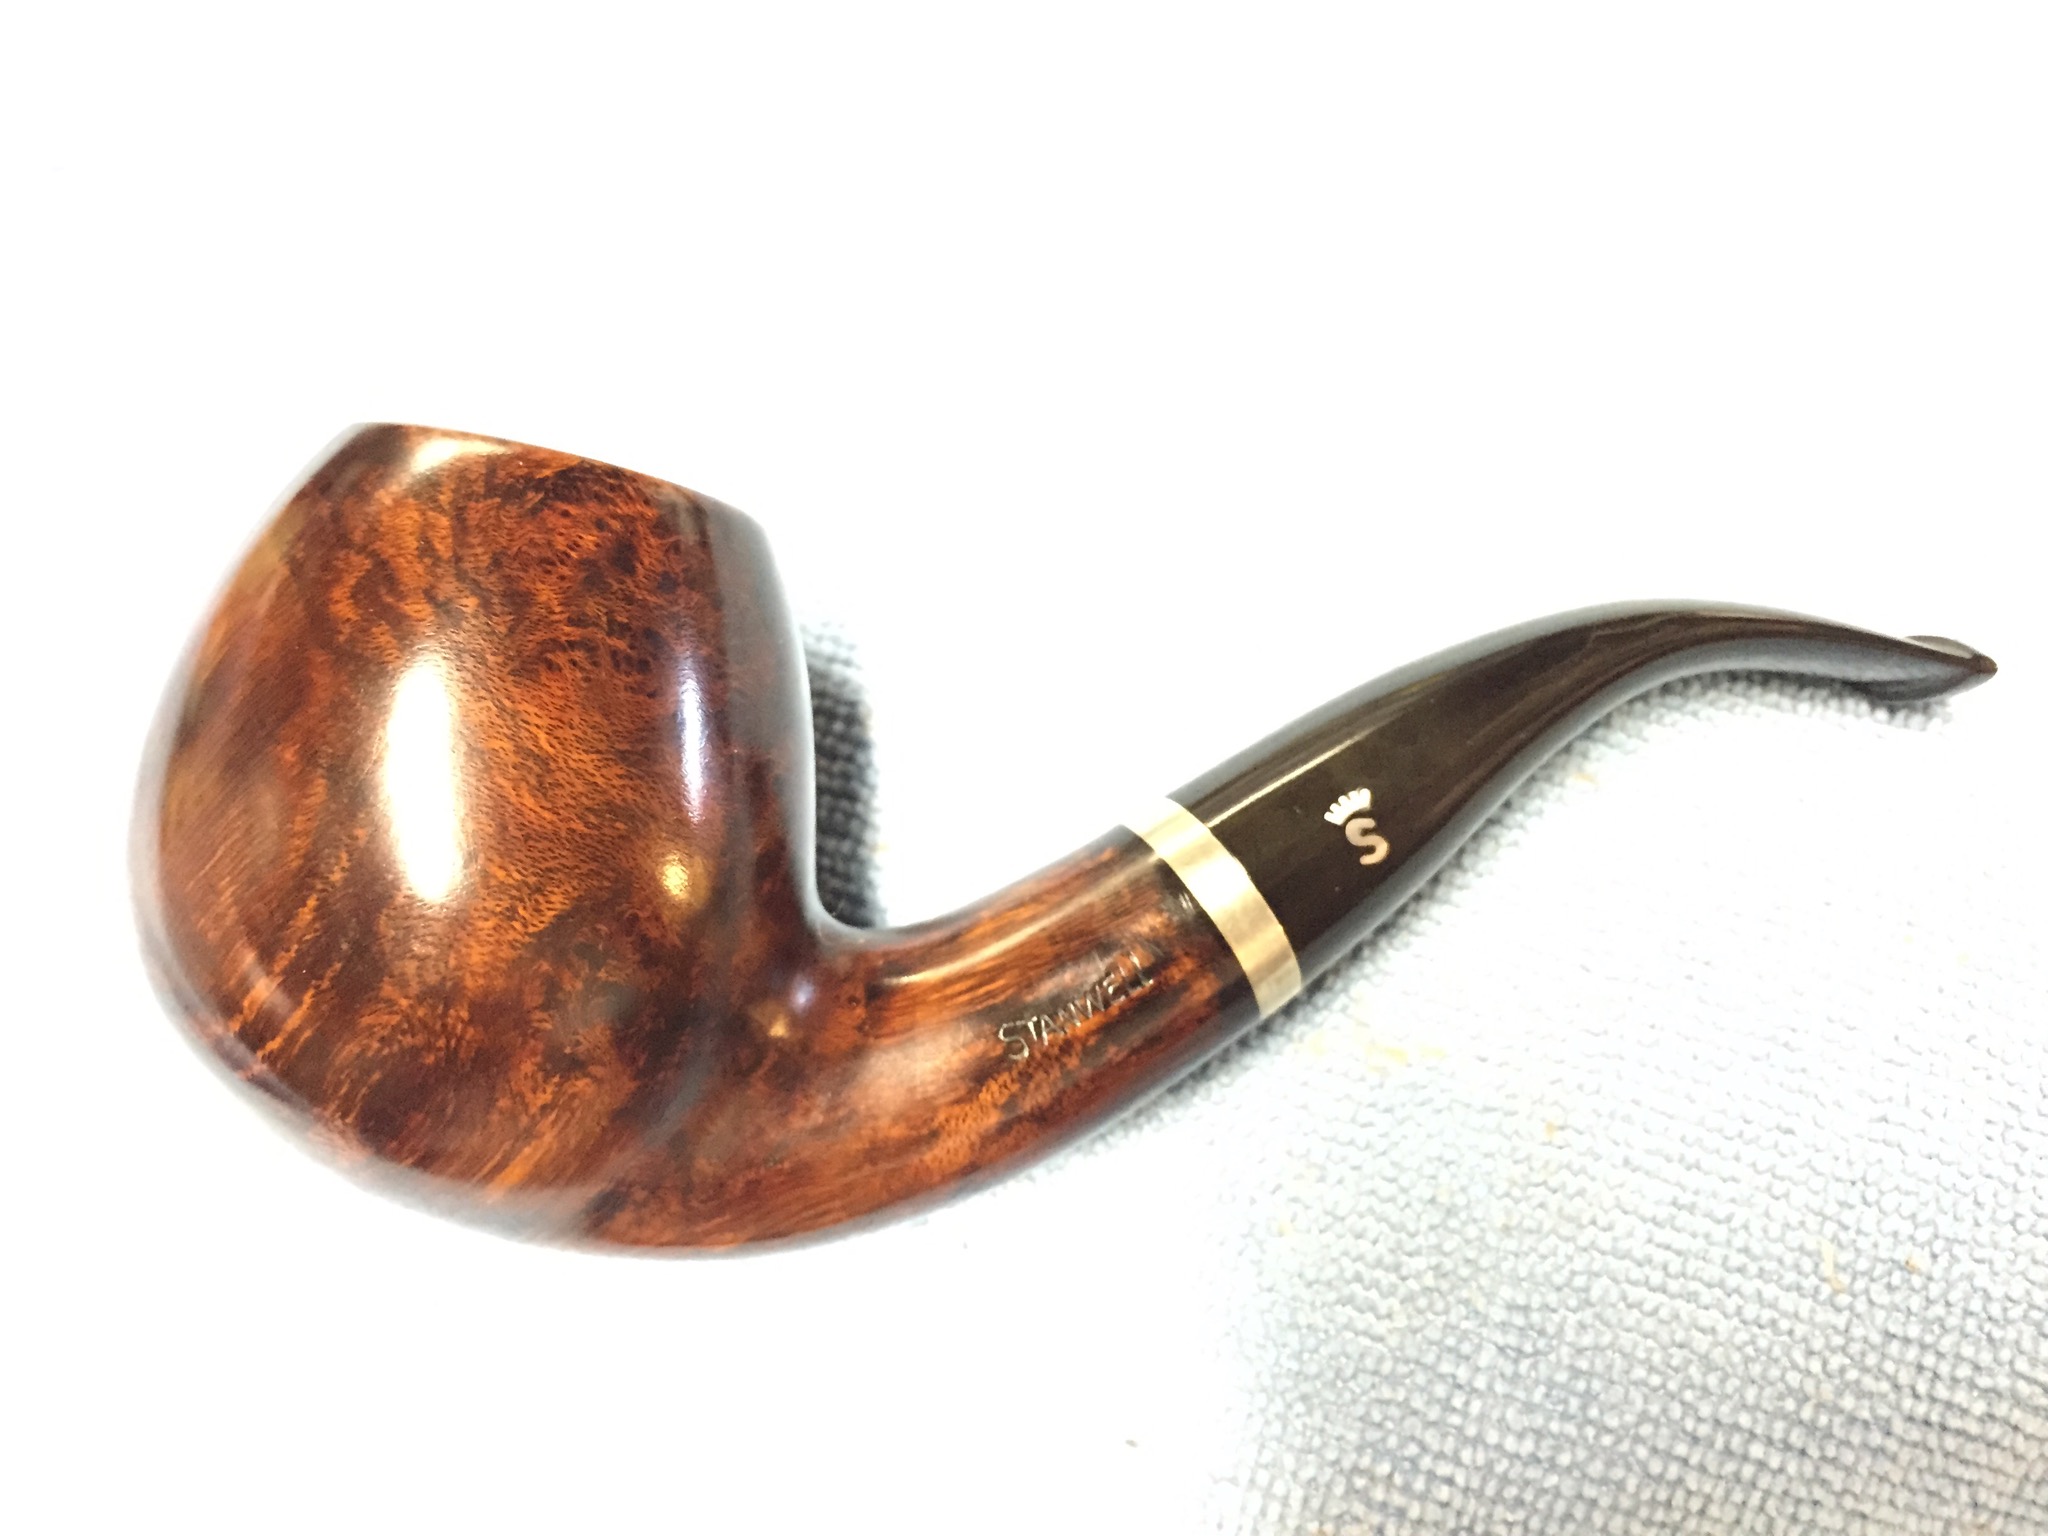
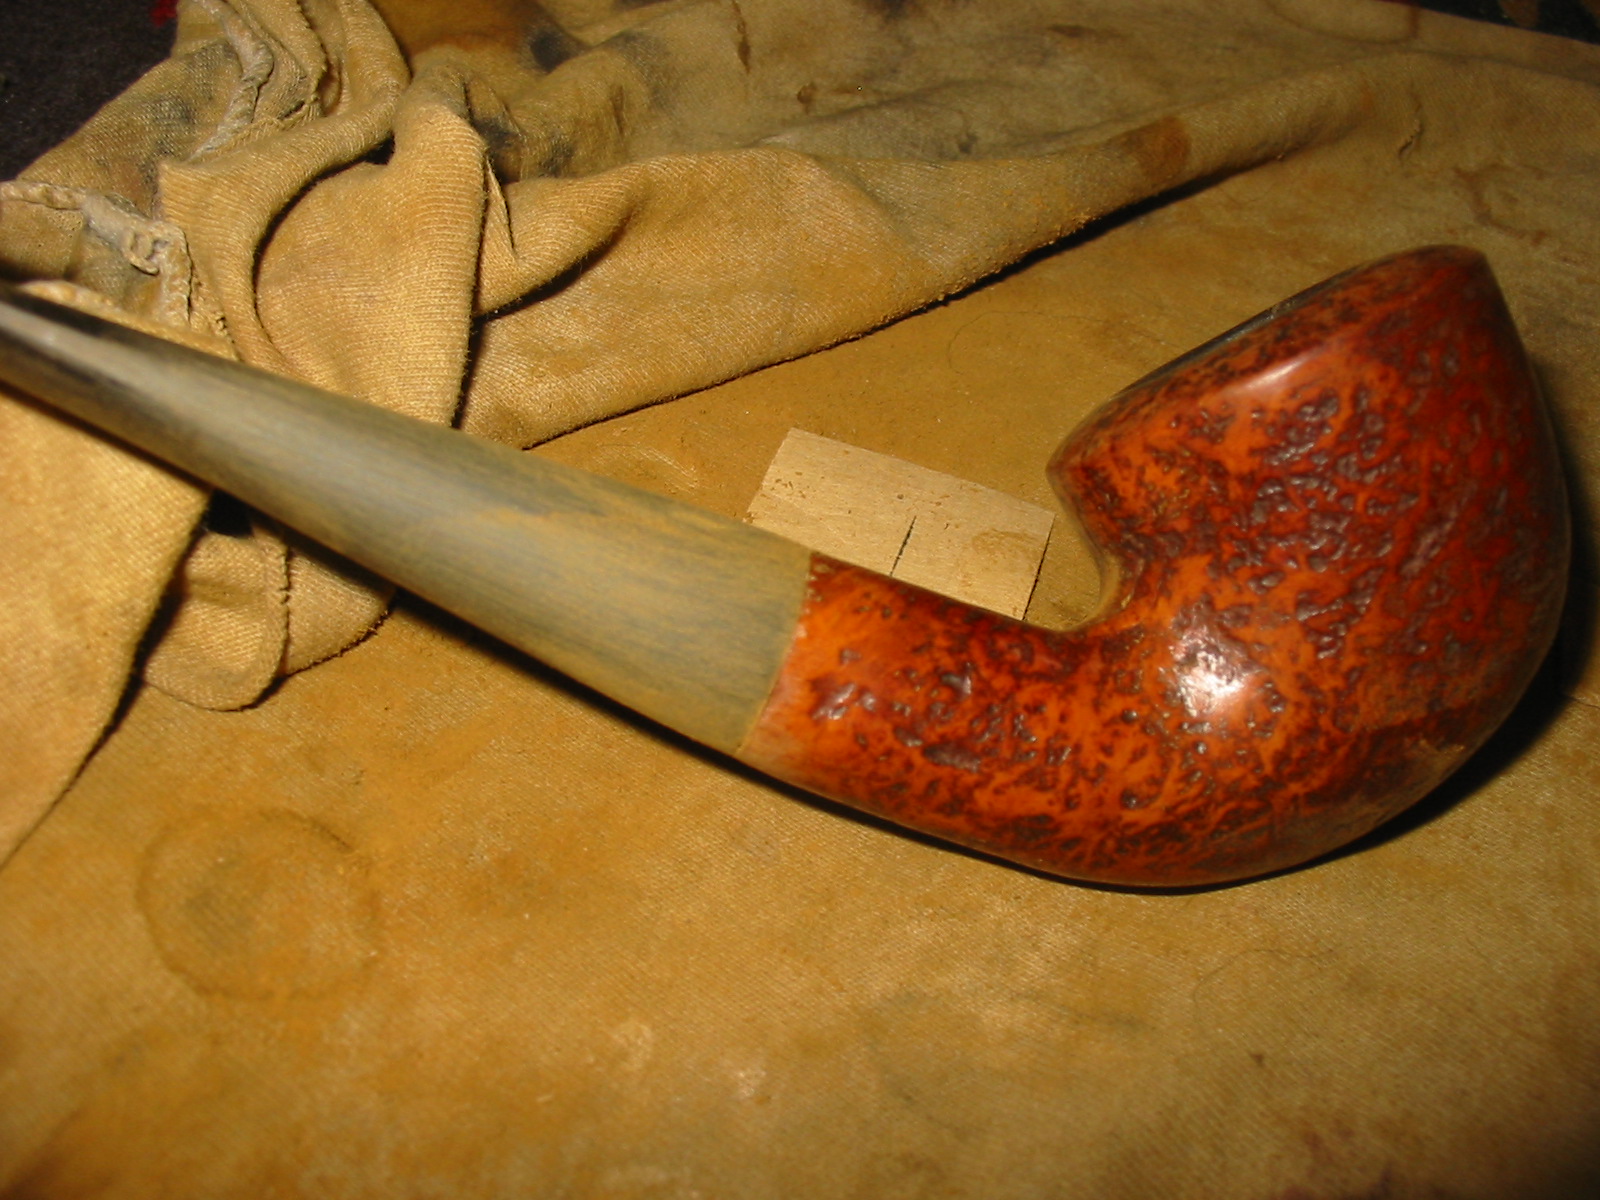
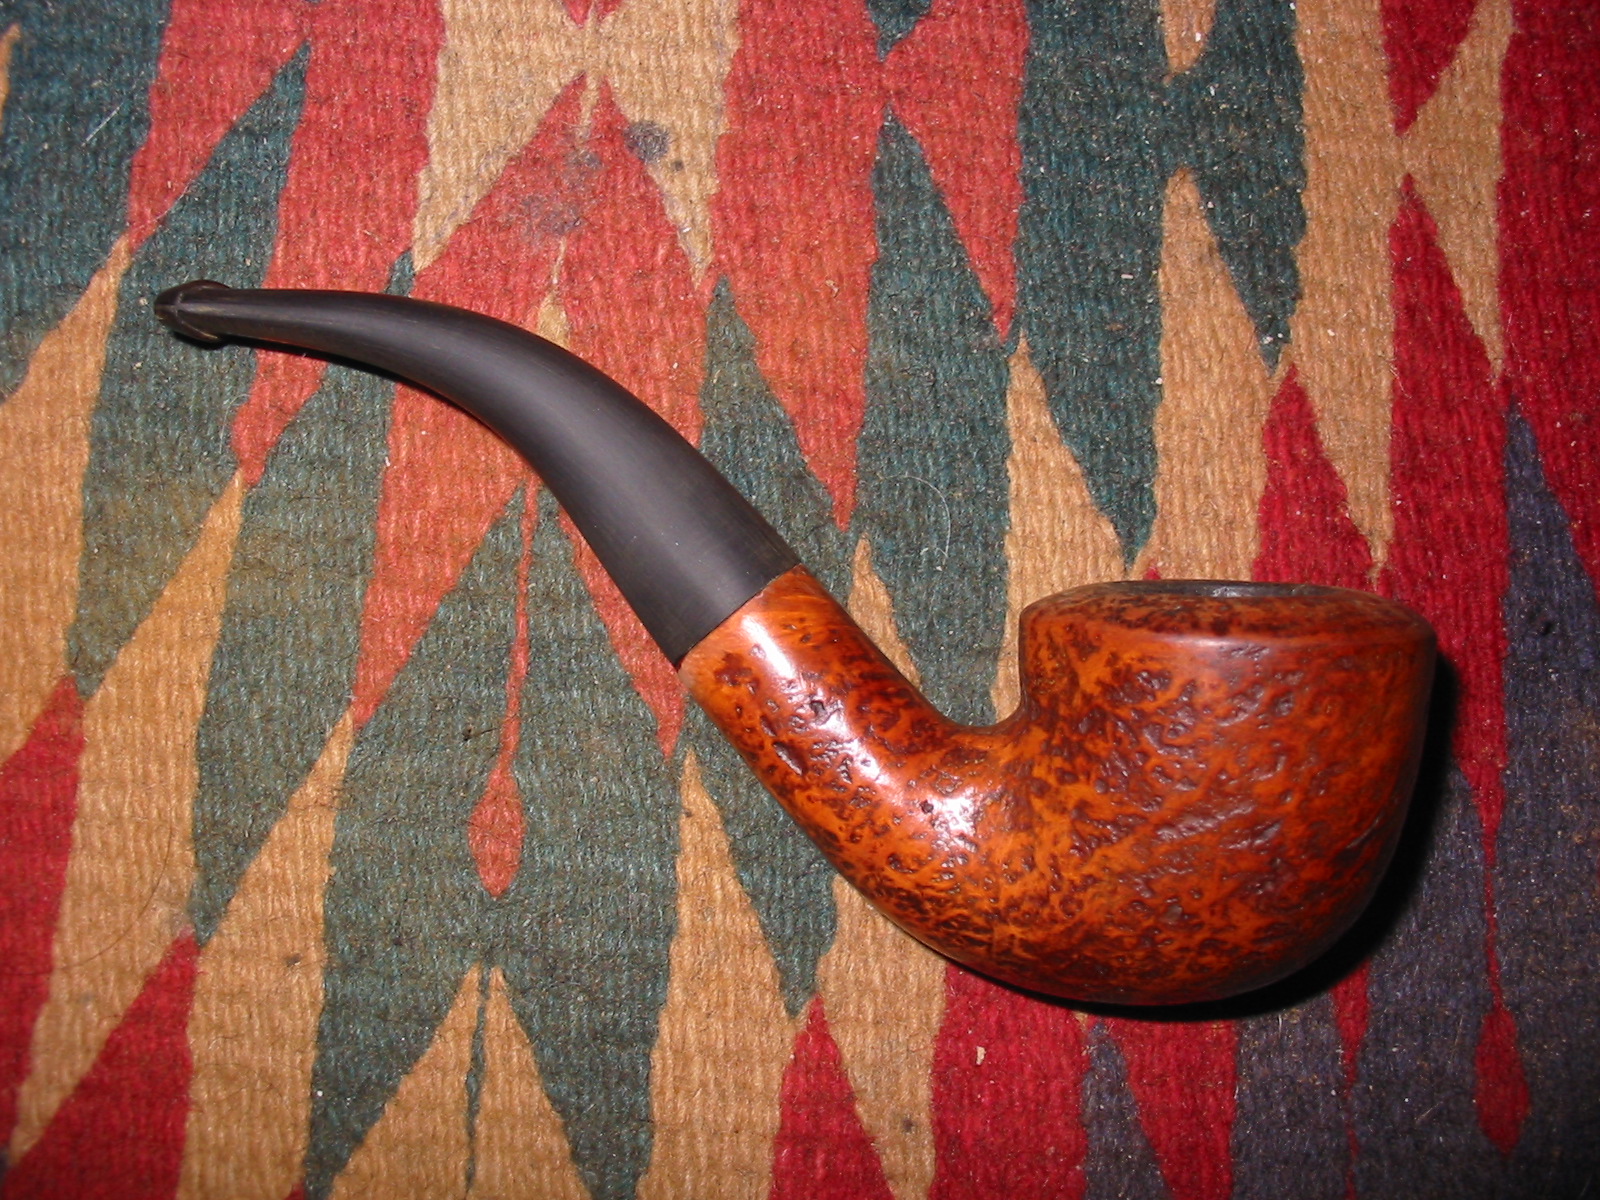
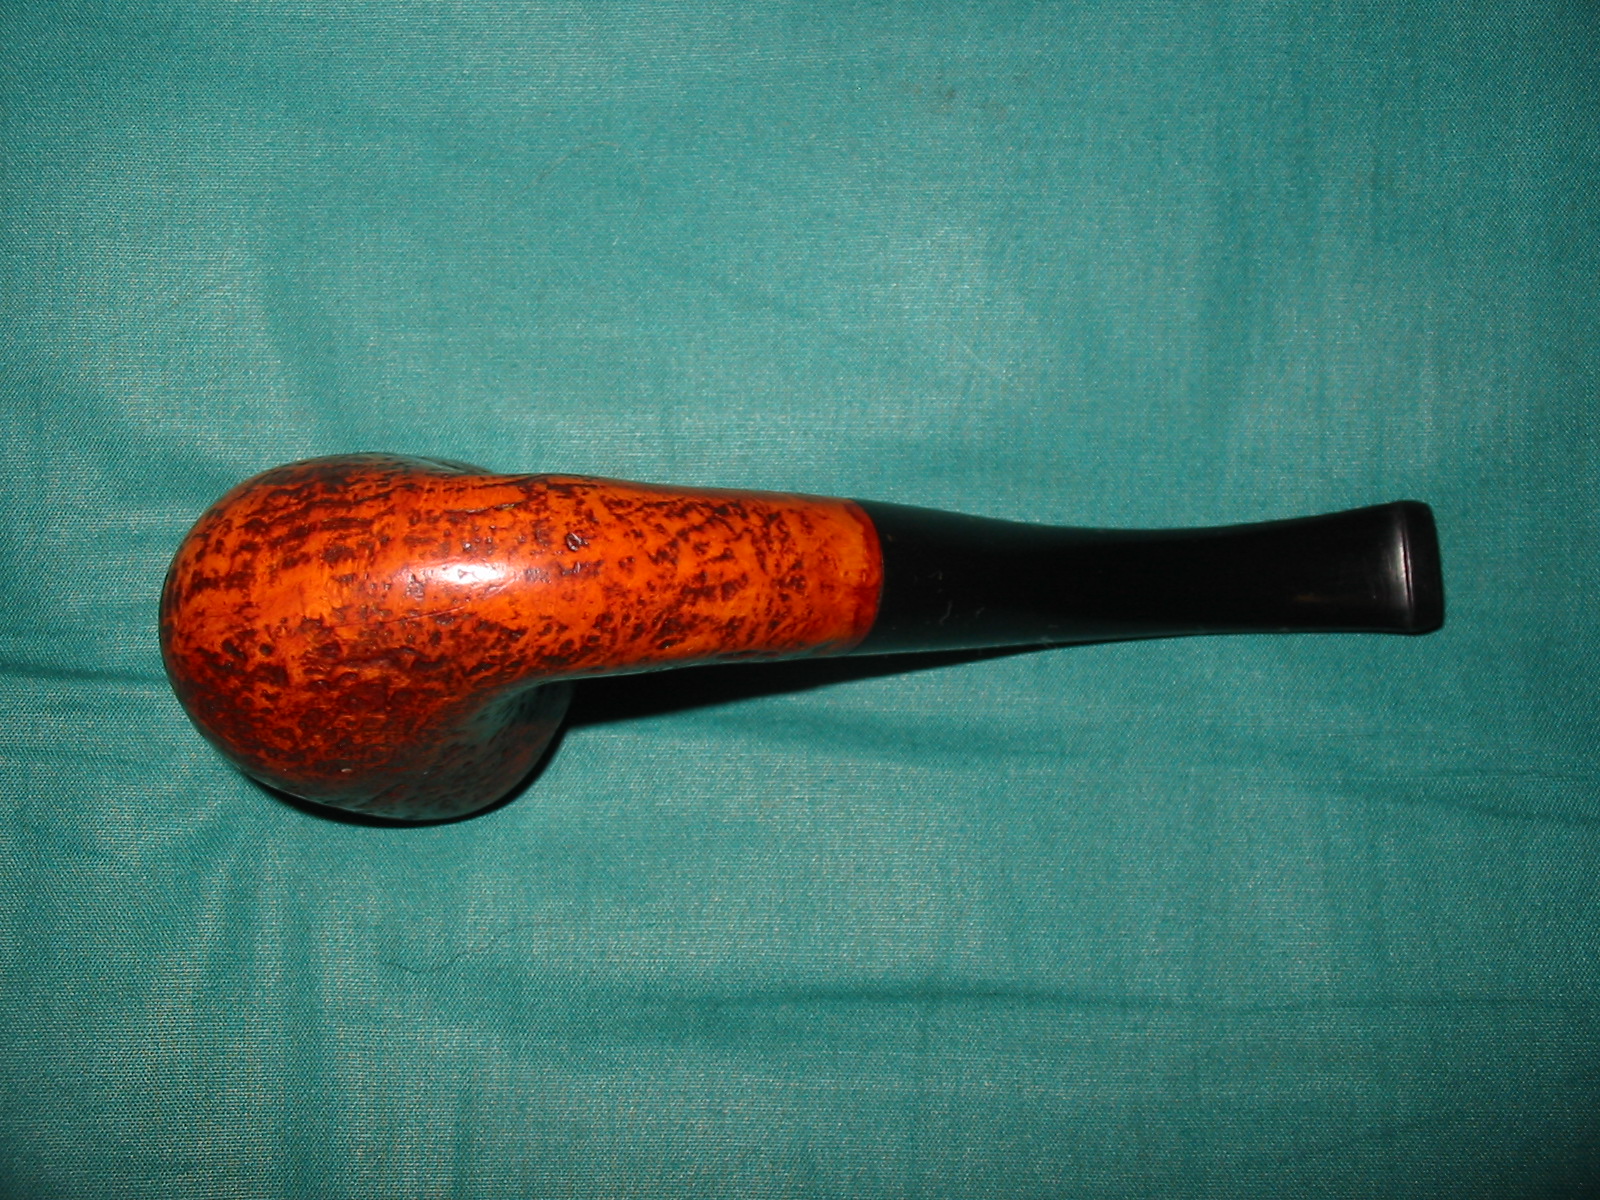
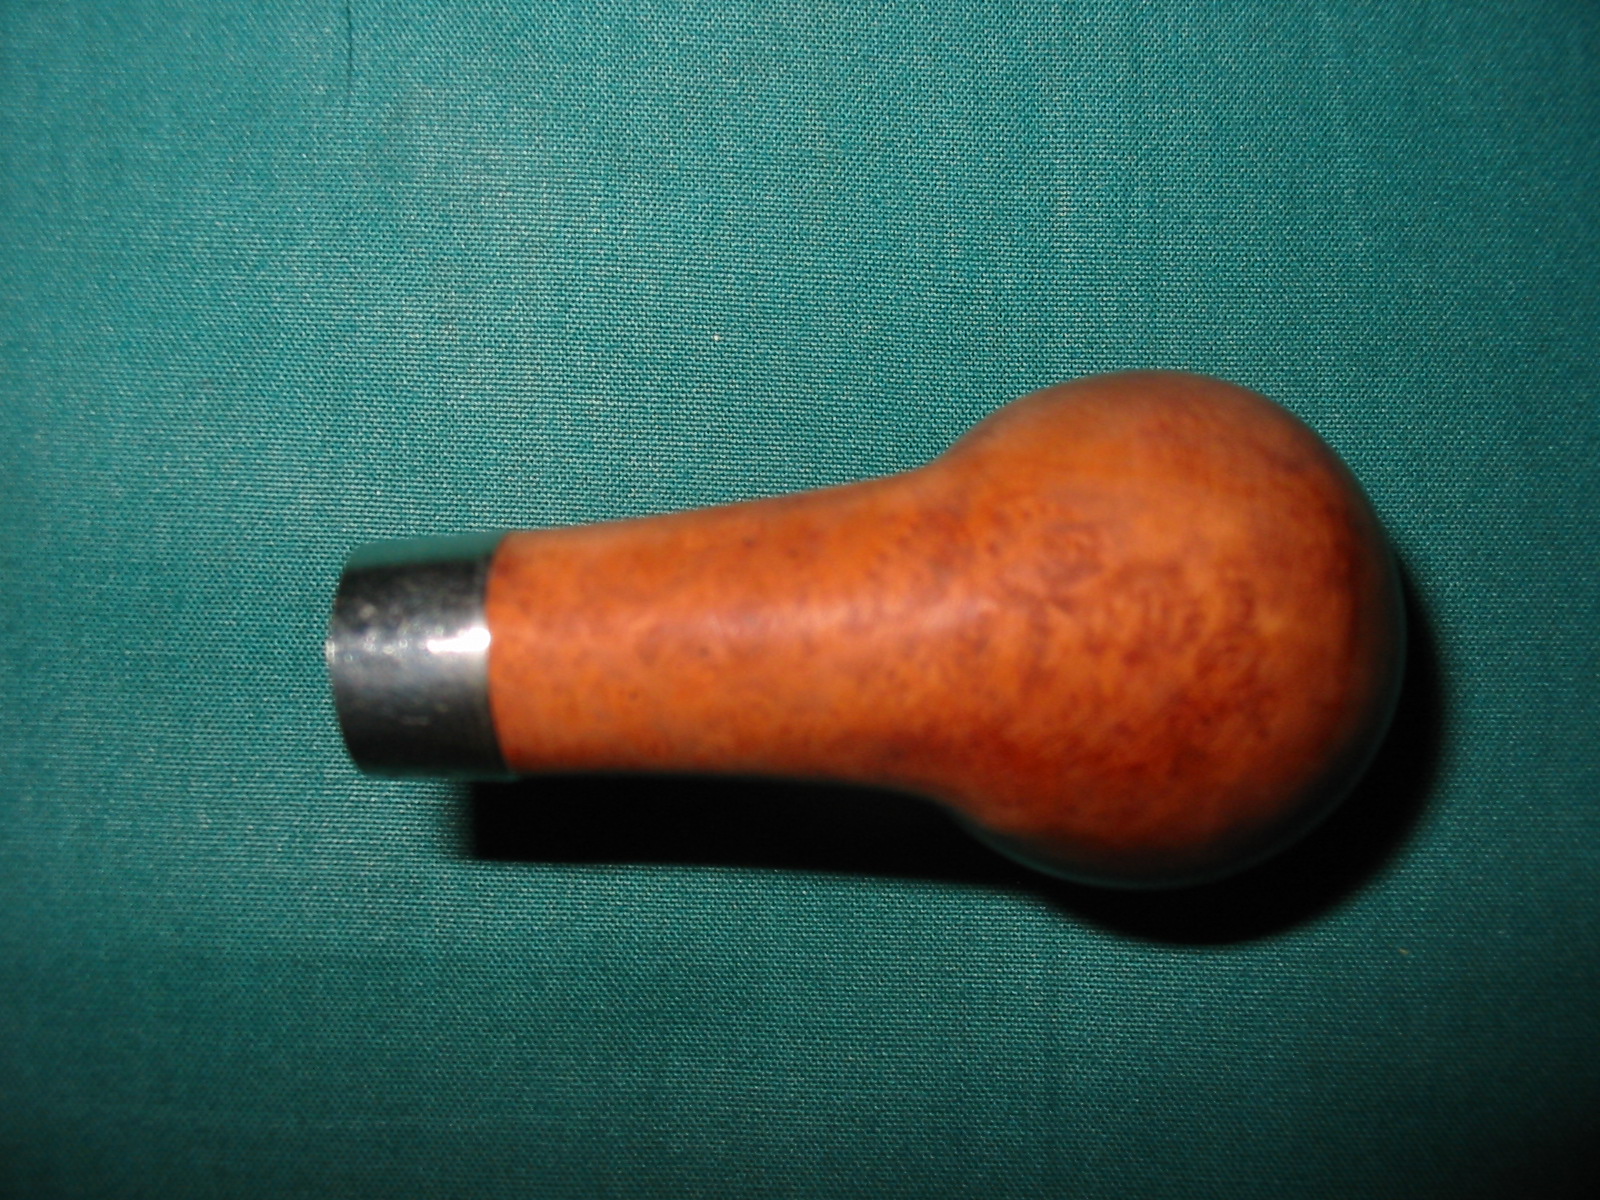
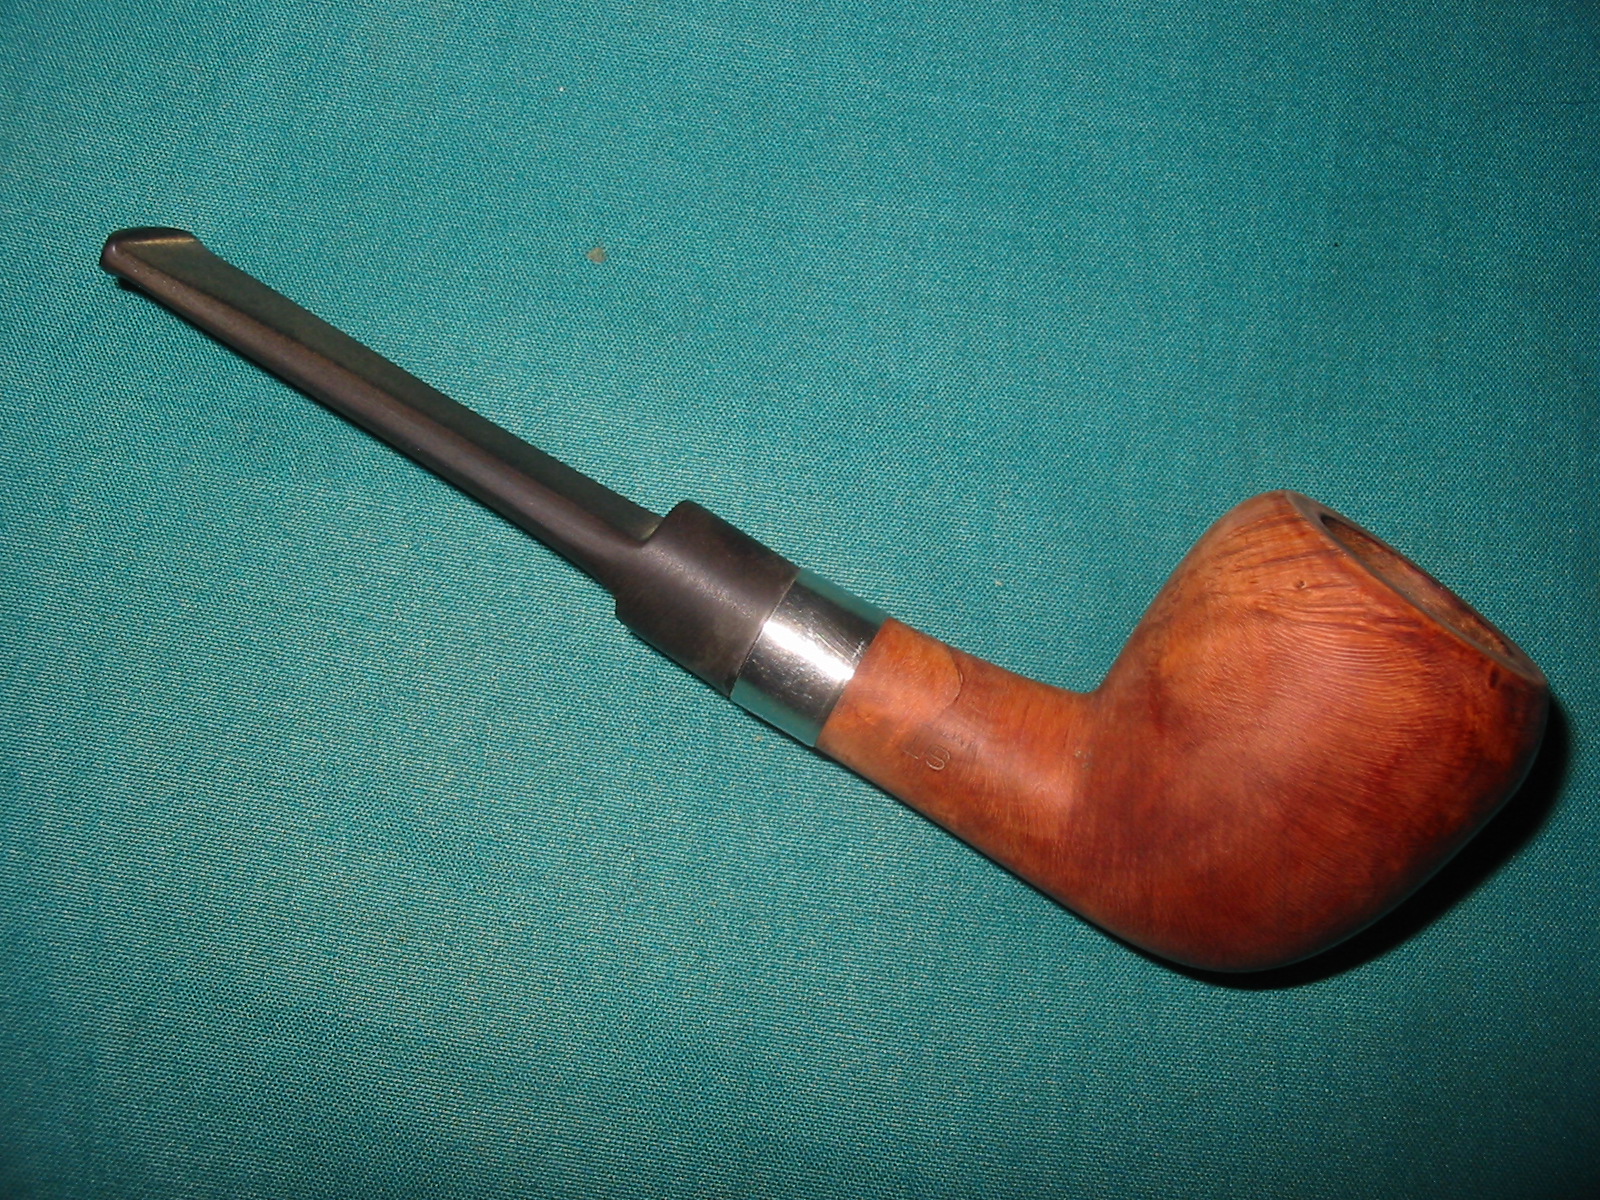
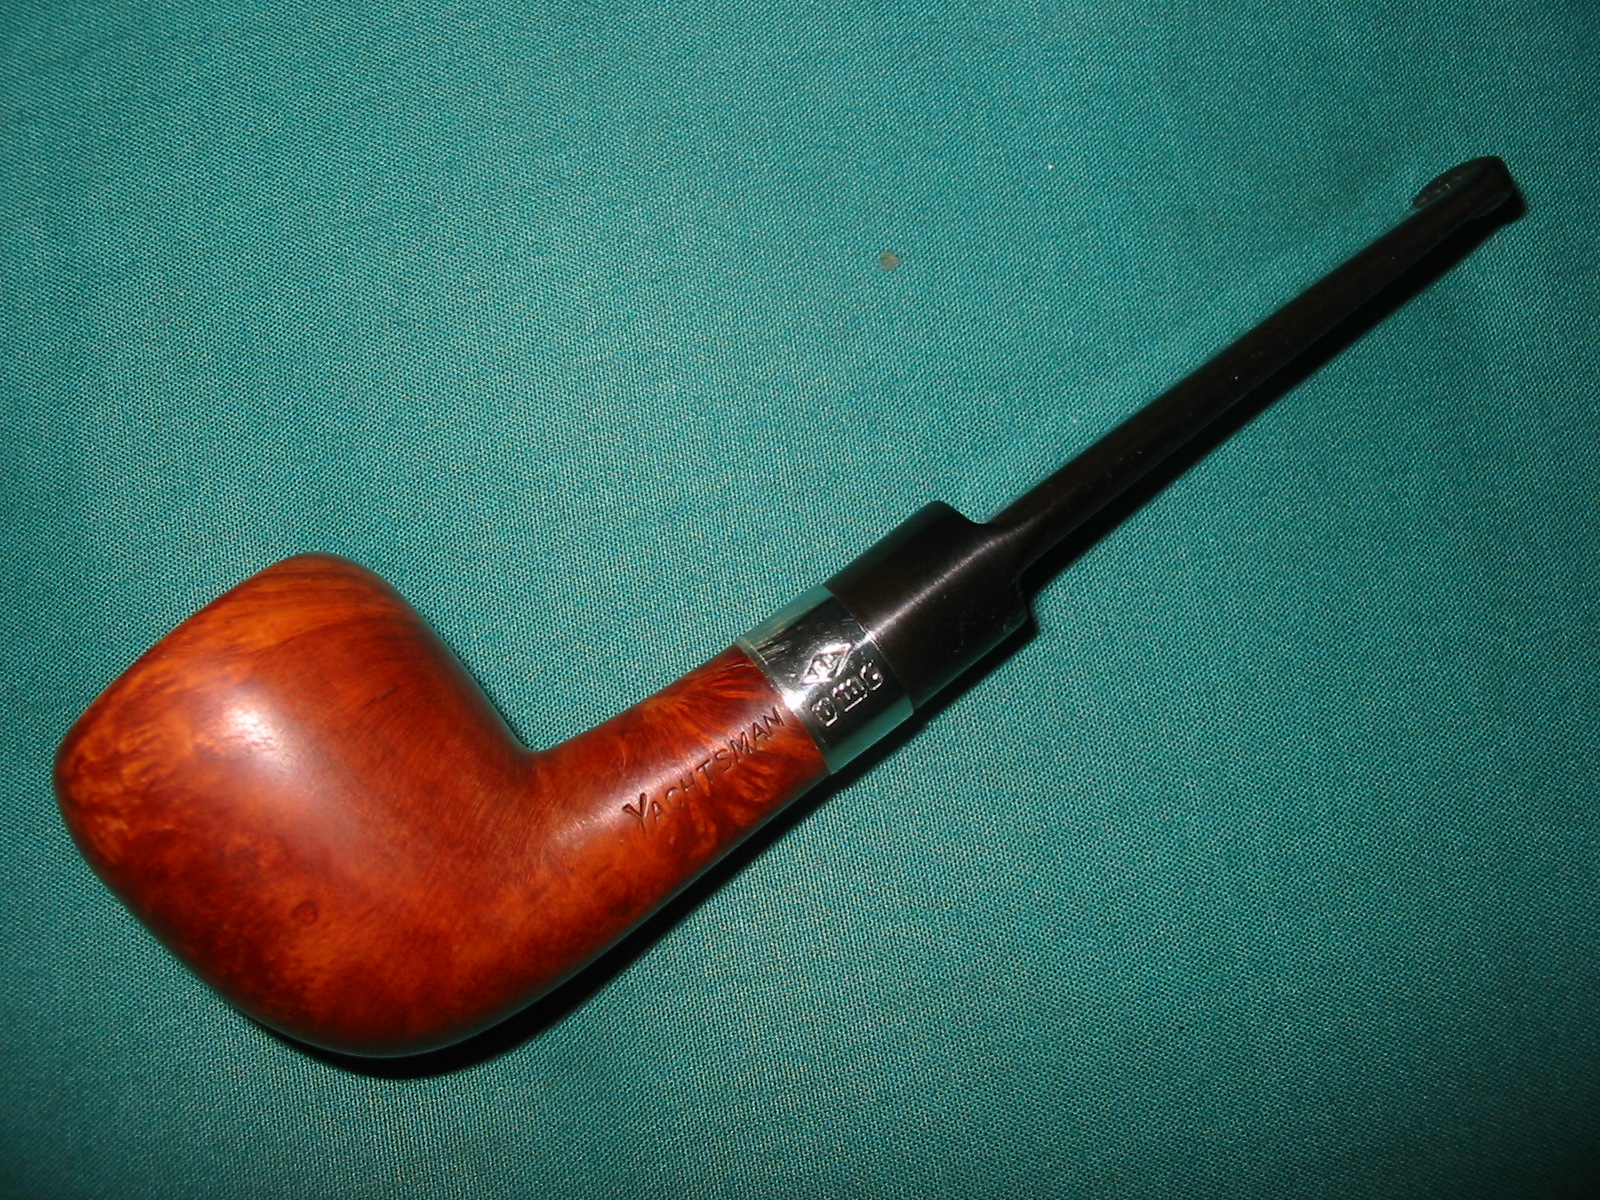
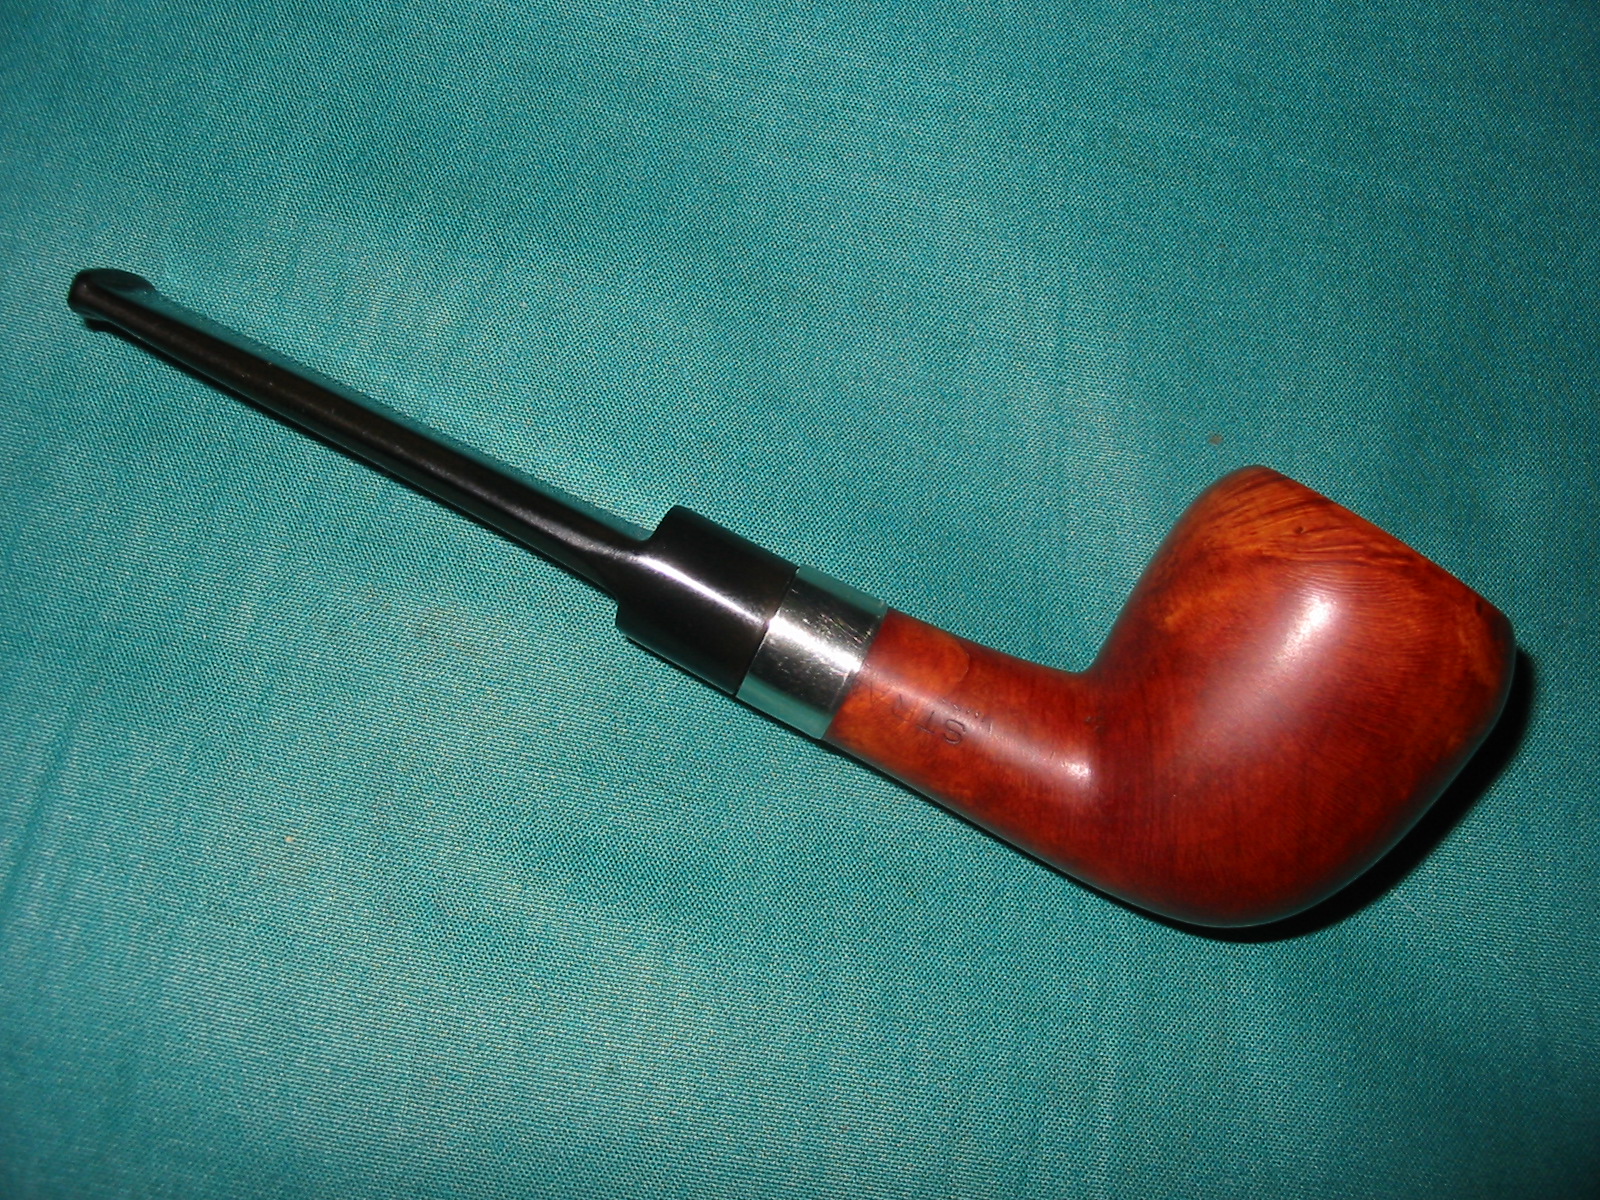
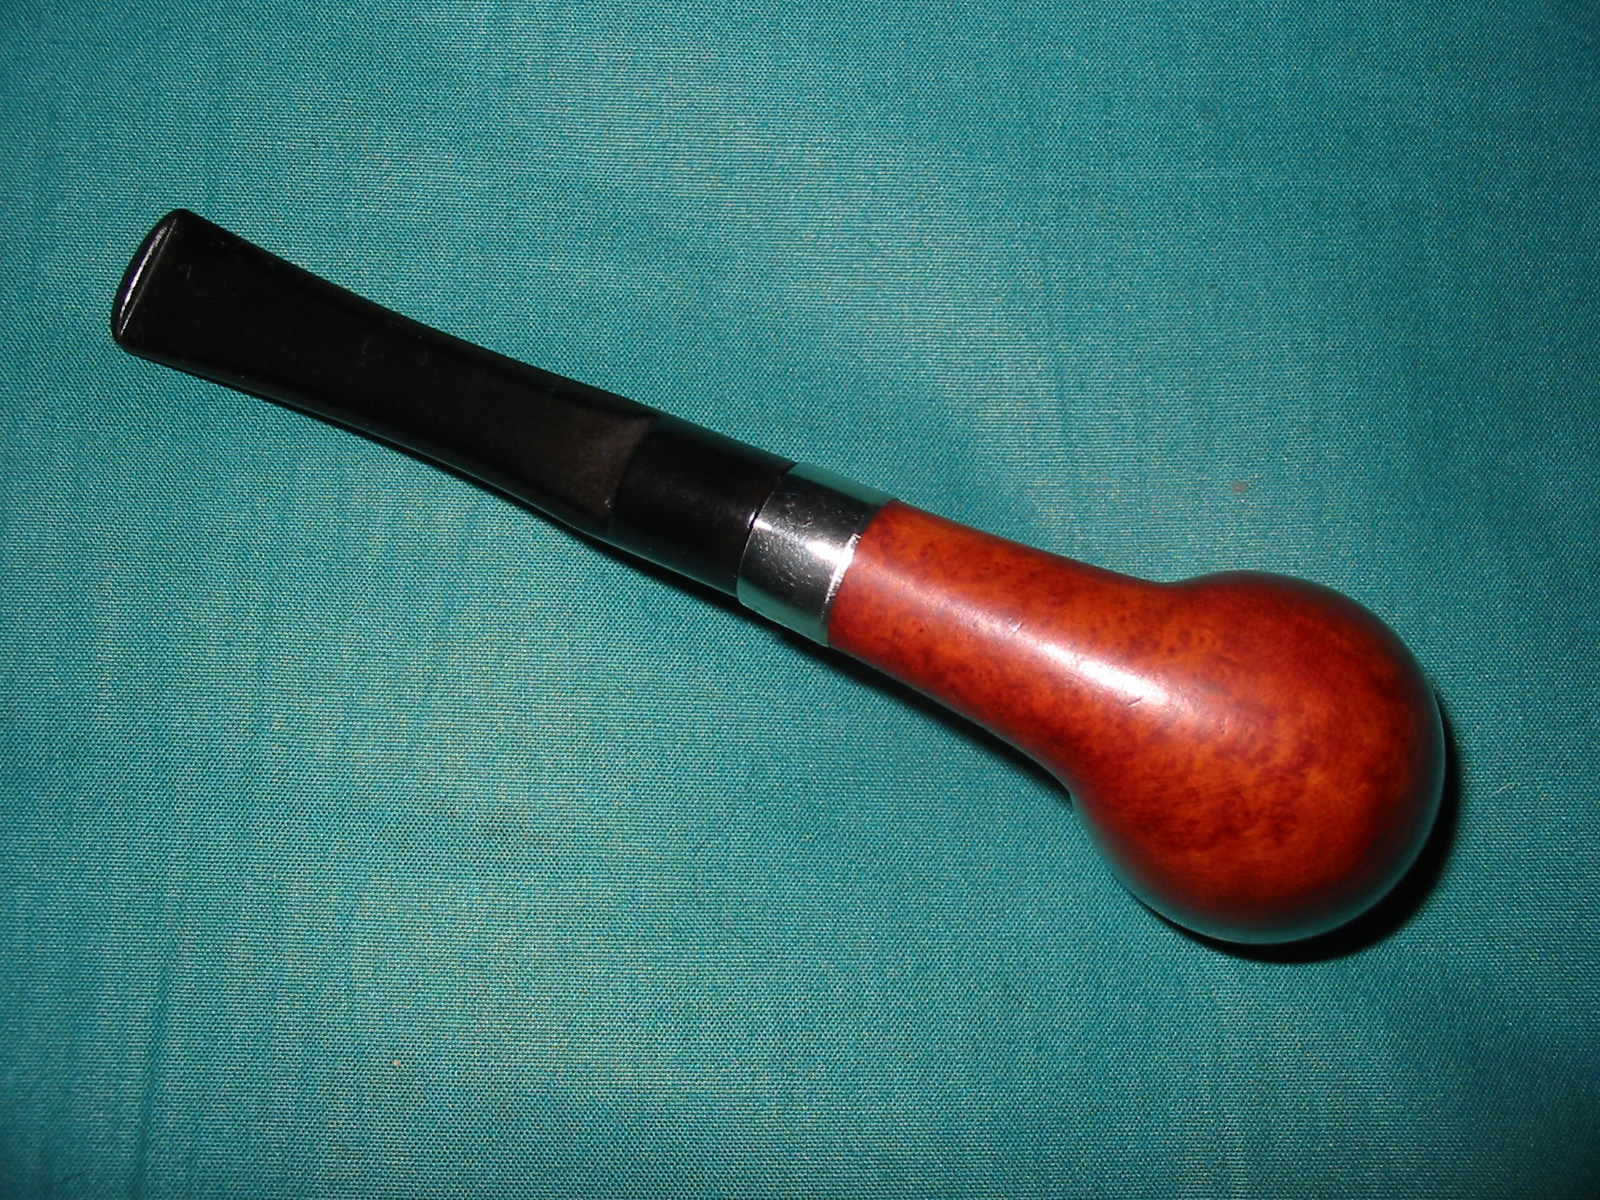
 Jeff took some photos of the sides and heel of the bowl to give an idea of the grain and the finish around the bowl and shank. It is amazing and I cannot wait to see what it looks like once it is polished and waxed.
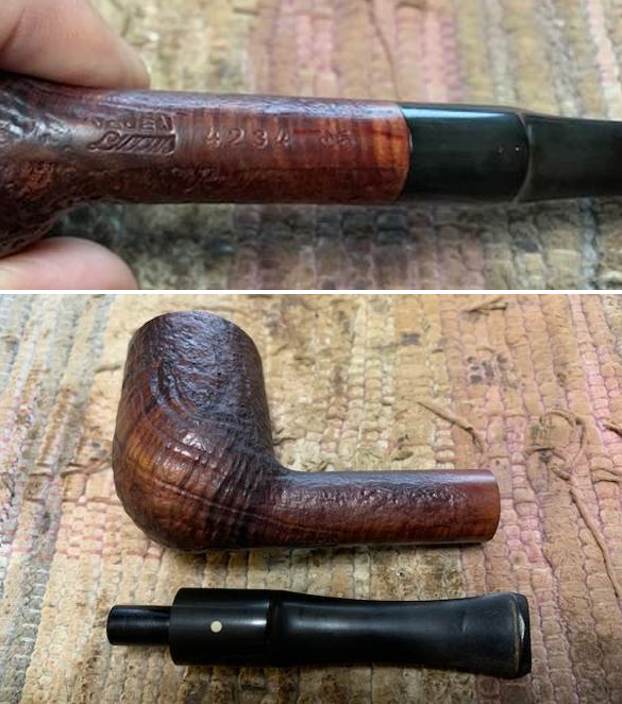
 He took a photo of the cut and fill marks on the right side of the bowl toward the shank. The sharp cuts will not steam out.
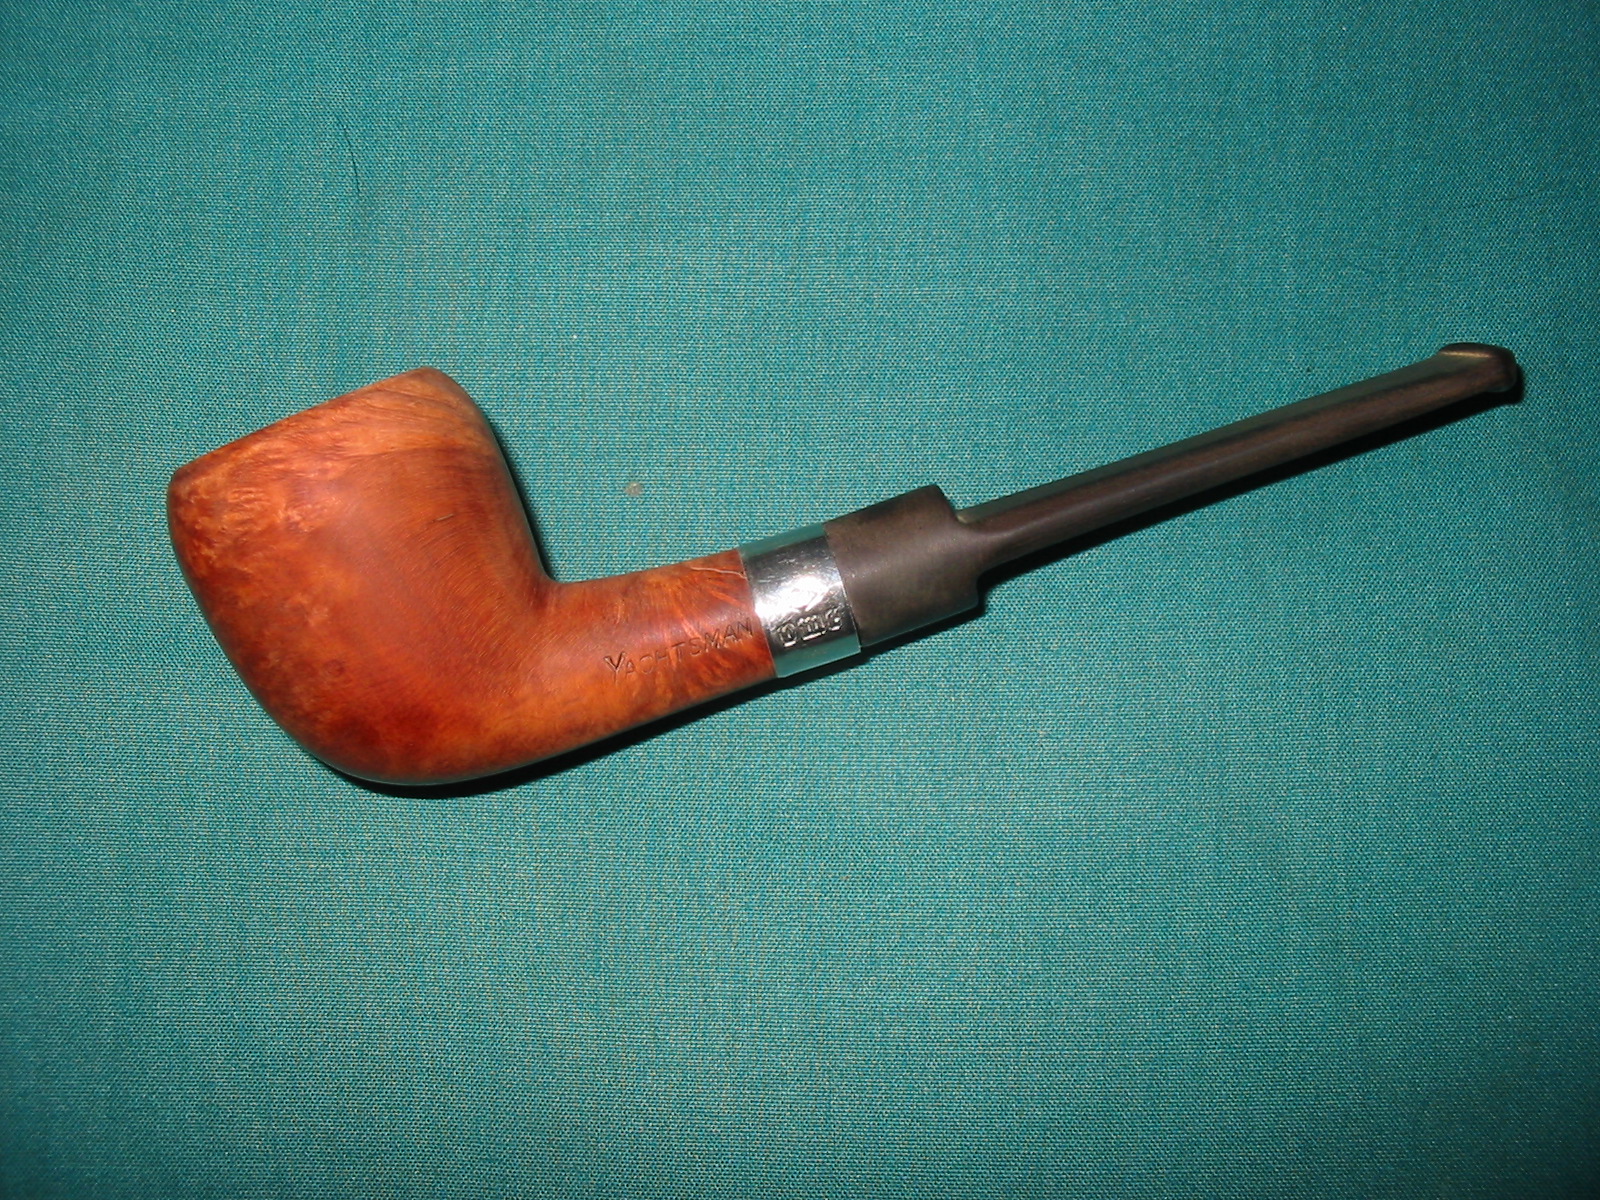
 He took photos of the stamping on the shank sides to capture how they look at this point. They are clear and readable as noted above.
 I wanted to get some background on the Dr. Perl pipe by Vauen. I turned first to Pipephil’s site (http://pipephil.eu/logos/en/logo-v1.html). I did a screen capture of the information on the site. There was a great sidebar that gave some history of the brand. I include both of them below. There was also a note at the bottom of the screen capture below that has a link to the Vauen Dr Perl variant on the P-Lip pipe.
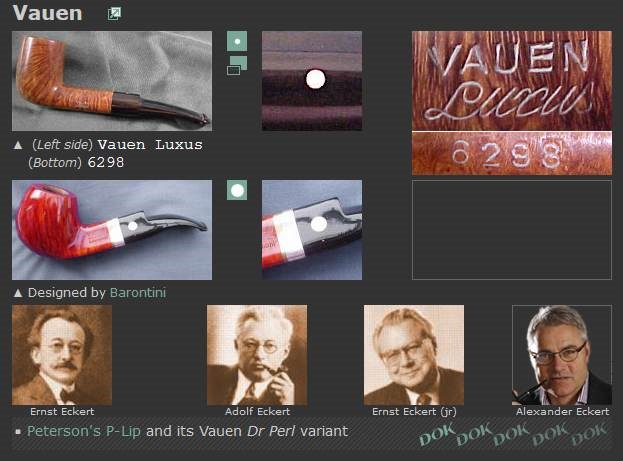 In 1848, Karl Ellenberger and his partner Carl August Ziener establish a pipe factory in Nuremberg. In 1901 they merge with Gebhard Ott an other factory in town and they create a firm named Vereinigten Pfeifenfabriken Nürnberg (abbreviated : VPFN*). Shortly after Ernst Eckert, a member of the Ott family became manager of the society. During the 20th century Adolf, Ernst (jr) and Alexander Eckert (CEO in 2012) followed one another at Vauen’s head.* VPFN : “V” is said VAU in German (pronounce faou) and “N” becomes EN. Hence VAUEN.
I followed that link on the bottom of the photo above (http://pipephil.eu/logos/en/infos/p-lip-en.html). I found that there was description of the Vauen Dr. Perl that had the same style stem as the pipe I was working on. I have included a screen capture of the Dr. Perl pipe below: I also turned to a blog written on rebornpipes by Dal Stanton (Pipesteward.com) that I quote a section from the blog below that gives a great sense of the history of the German brand and some photos from the website (https://rebornpipes.com/2021/04/27/breathing-new-life-into-a-german-vauen-6294-p-lip-saddle-billiard-for-a-special-young-lady/).
… I turn to the question of the history of the VAUEN name? I look to the History section of the VAUEN website and again, I am impressed with the presentation. Whenever I work on a pipe, and especially when a pipe name is new to me, I enjoy looking at its history to appreciate the pipe more fully now on my worktable. From VAUEN’s website: Quality and a wealth of ideas have a long tradition at VAUEN. 160 years of VAUEN: that means 160 years of skilled workmanship and modern technology and 160 years of experience in fulfilling the individual wishes of today’s pipe lovers, and those of tomorrow.
In Nuremberg in 1848, Karl Ellenberger and his partner Carl August Ziener turned an idea into reality: Germany’s first pipe manufacturer produced tobacco pipes for connoisseurs around the world using a selection of the best wood. In an amalgamation with the Gebhard Ott pipe factory, which was founded in 1866 in Nuremberg, the Vereinigten Pfeifenfabriken Nuremberg (United Pipe Factories Nuremberg, or VPFN) was born in 1901. Under the management of Ernst Eckert, a descendent of the founding Ott family, a company was born whose products and services would shape the tobacco and smoking culture in Europe and overseas for the next 160 years and counting.
The question about the name, VAUEN, not being a name of a person and why it is capitalized throughout is explained:
In his search for a name that would be easily remembered by all pipe lovers, Ernst Eckert’s son, Adolf Eckert, coined a new name for the company in 1909: VAUEN – a composition of the first letters V (pronounced vow) of Vereinigte Pfeifenfabriken and N (pronounced en) of Nuremberg. A brand for the future was born.
I did a final search for information on the D.R.W.Z. stamp to see if it could help me establish a date for this pipe. I found a link to one stamped the same though in a different shape number (https://vkpipes.com/pipeline/vauen-dr-perl-d-r-w-z-3232/). I quote a portion of the article below and have highlighted a pertinent portion in red.
VAUEN Dr. Perl D.R.W.Z. 3232
Germany, 1939-45
VAUEN is really a phenomenal company – one of the oldest and largest European pipe businesses remains at the same time very flexible and innovative: they not only freely experiment with shapes and finishes, but regularly offer basically new solutions such as the “Pipo” or the “Zeppelin”.
Unfortunately unlike other big manufacturers the history of VAUEN products is not well documented: many documents and catalogues wee lost in the end of the World War II, nowadays company launches about 50 models every year, so it’s hardly possible to systematize all that variety.
Nevertheless this pipe can be easily identified as a VAUEN product made between 1939 and 1945: the stamping “D.R.W.Z” (Deutsches Reichs Waren Zeichen – a kind of a registered trademark) was applied only within that perios and was replaced after the end of the War by “registered (German) trademark”. So there’s a really old and historical pipe for your attention.
With that information at hand I turned to work on the pipe itself. Jeff had thoroughly cleaned up the pipe. He reamed the pipe with a PipNet Pipe Reamer and cleaned up the remnants with a Savinelli Fitsall Pipe Knife. He scrubbed the bowl with undiluted Murphy’s Oil Soap with a tooth brush. He rinsed it under running warm water to remove the soap and grime. He cleaned out the inside of the shank and the airway in the stem with alcohol, cotton swabs and pipe cleaners. He scrubbed the exterior of the stem with Soft Scrub to remove as much of the oxidation and calcification as possible. He soaked the stem in Briarville’s Pipe Stem Deoxidizer and rinsed it off with warm water. I took photos of the pipe once I started to work on it. 
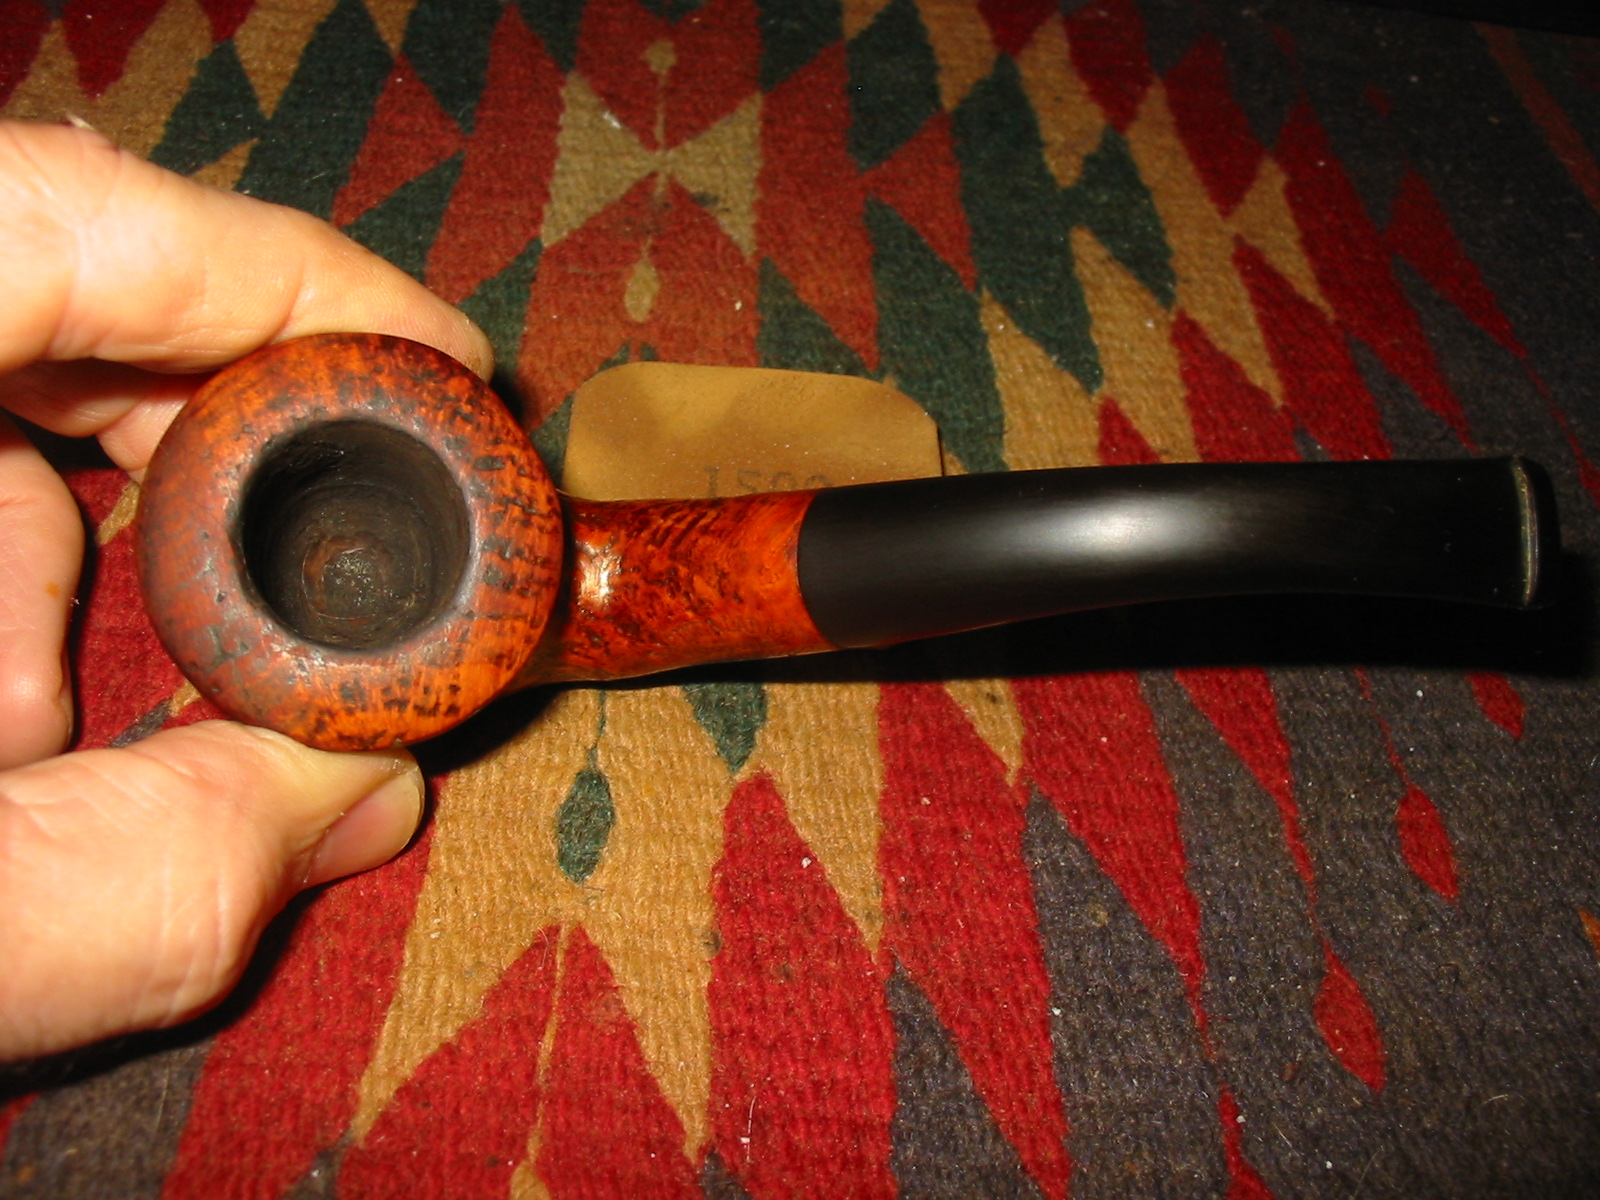
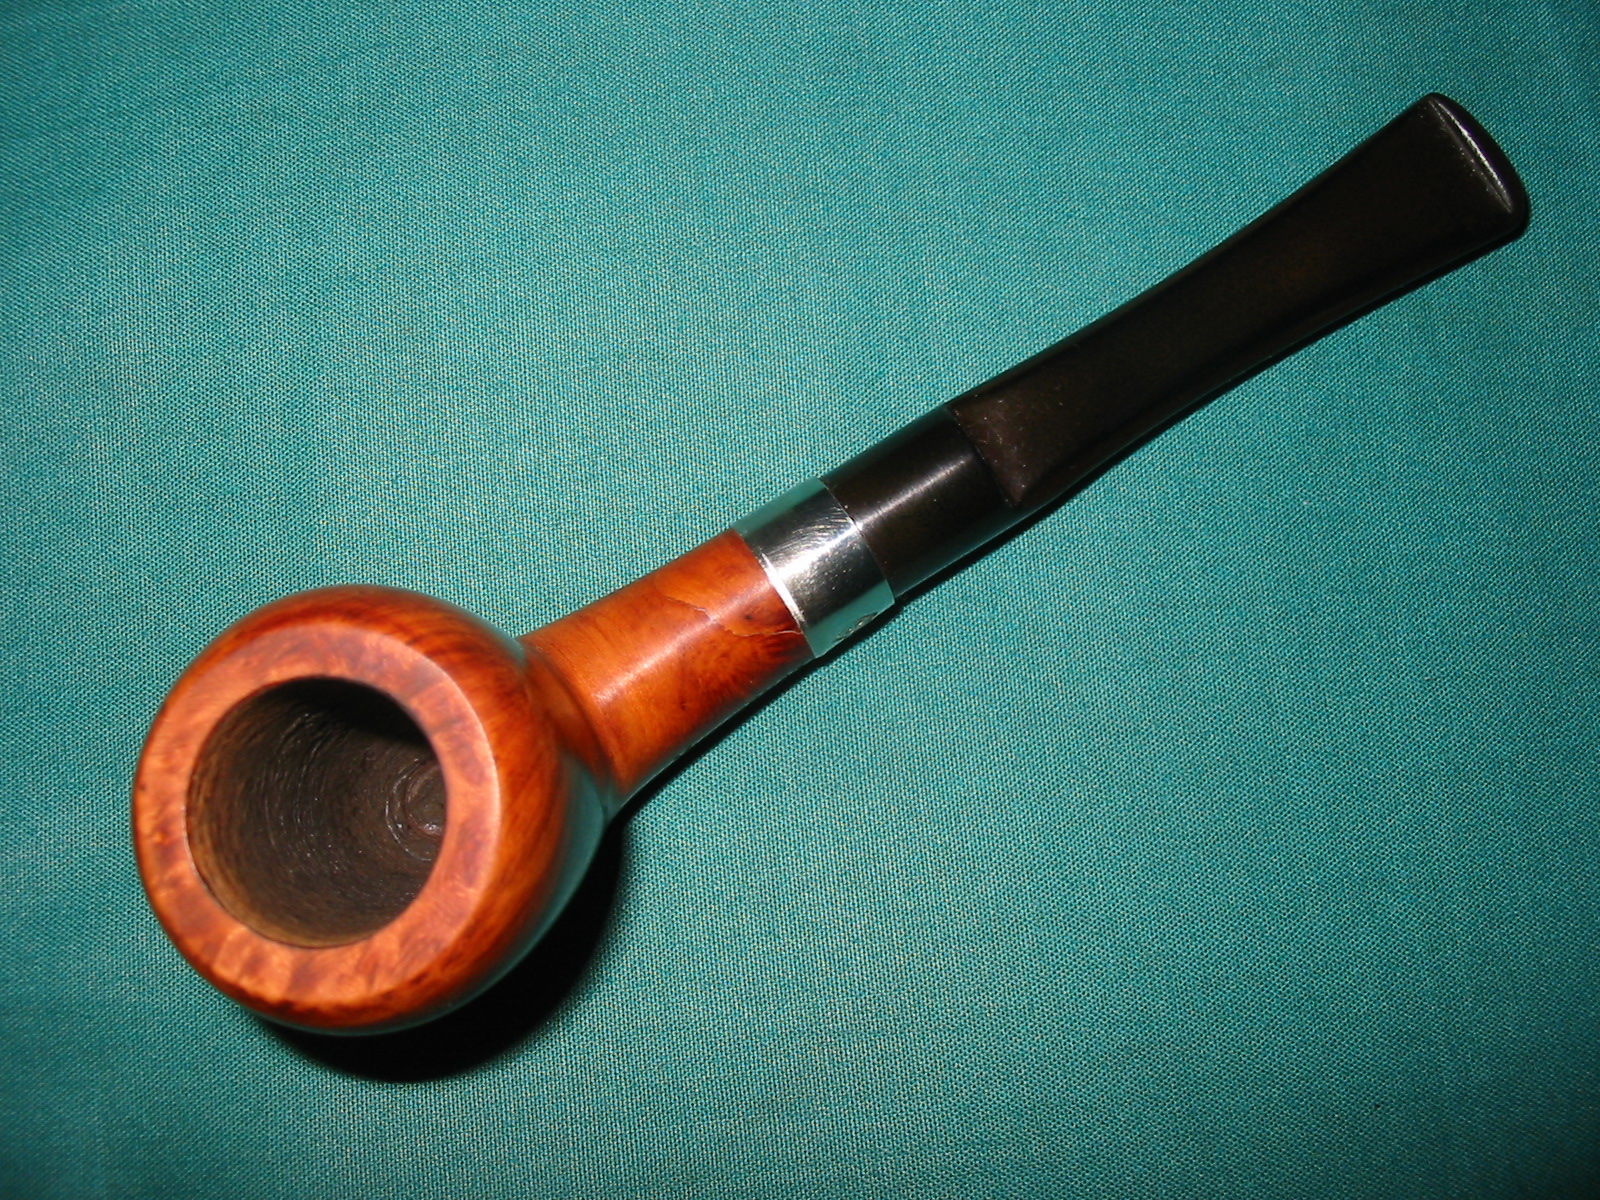
 I took some photos of the rim top and stem. The rim top and bowl looked very good. The cake and lava overflow were gone but the rim top and edges showed a lot of burn marks and darkening. Both the smooth portion and the plateau portion would need a bit more work to really clean up well. The closeup photos of the stem shows that it is a much cleaner and looks good. The light tooth marks and chatter were still present on both sides.
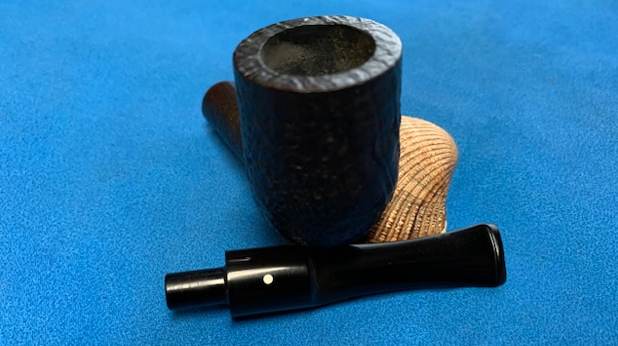
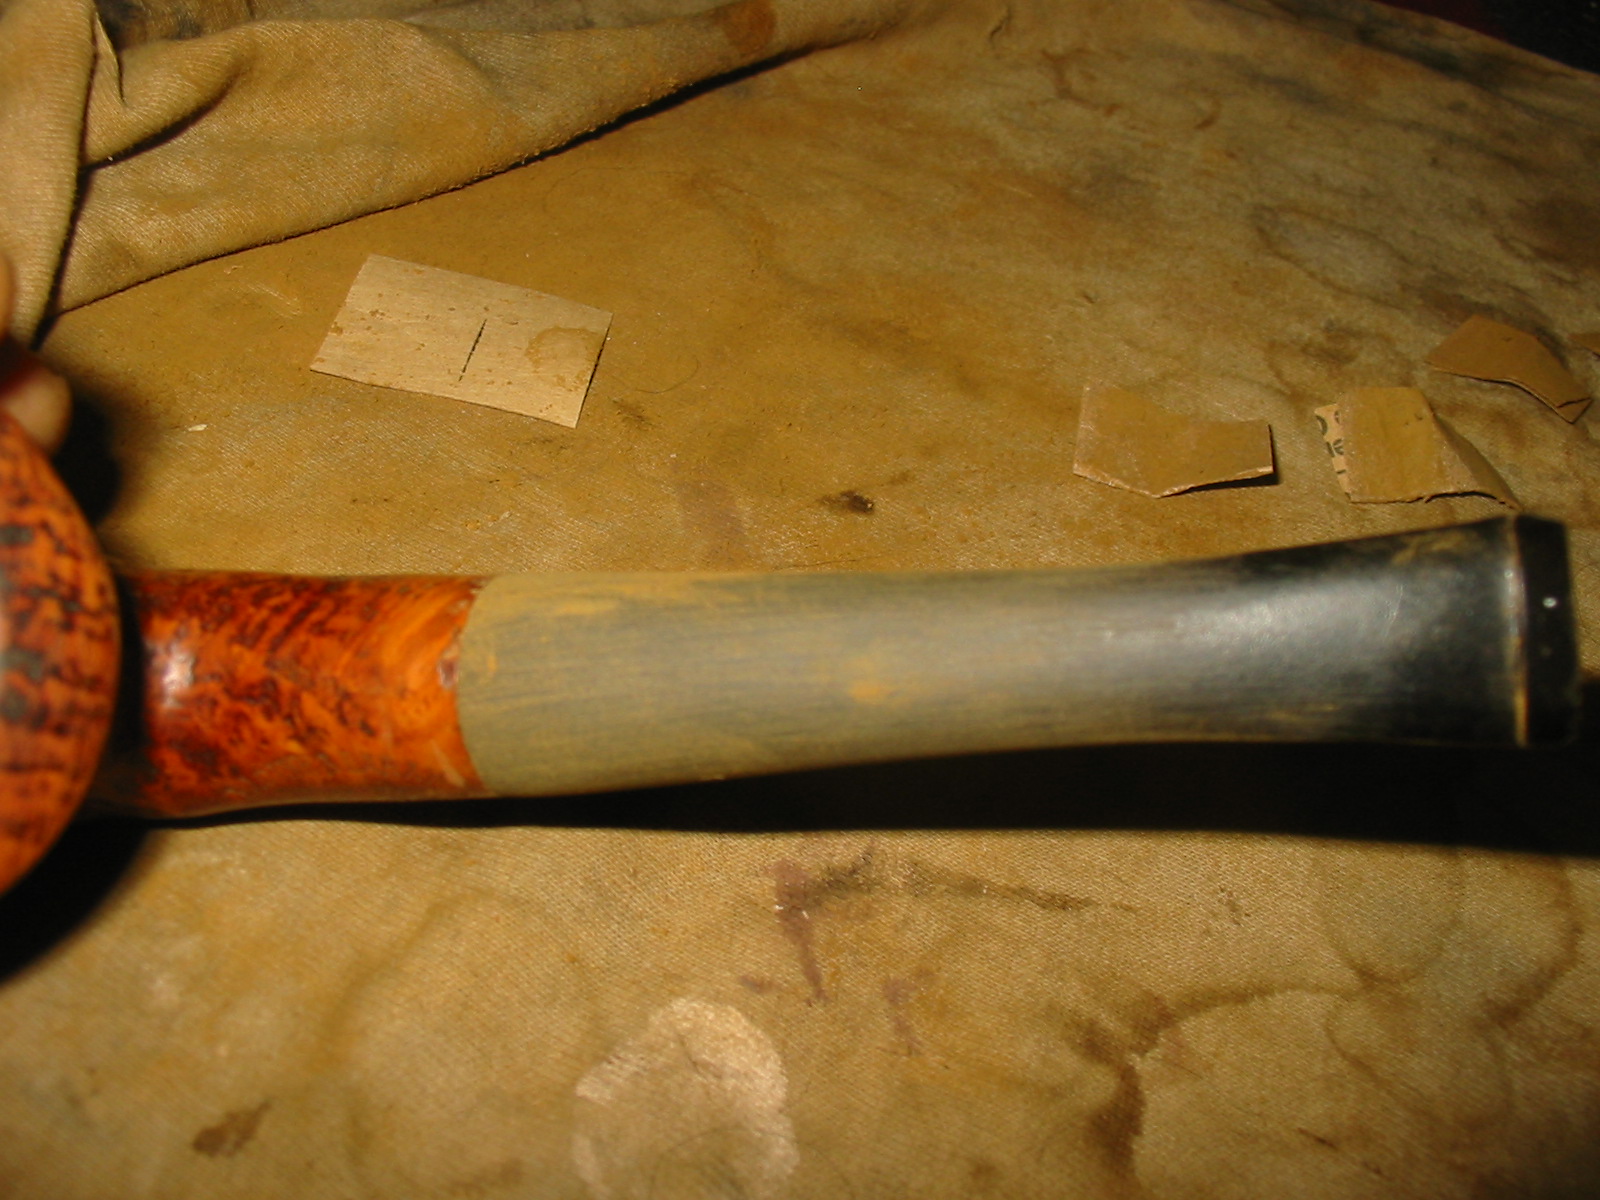
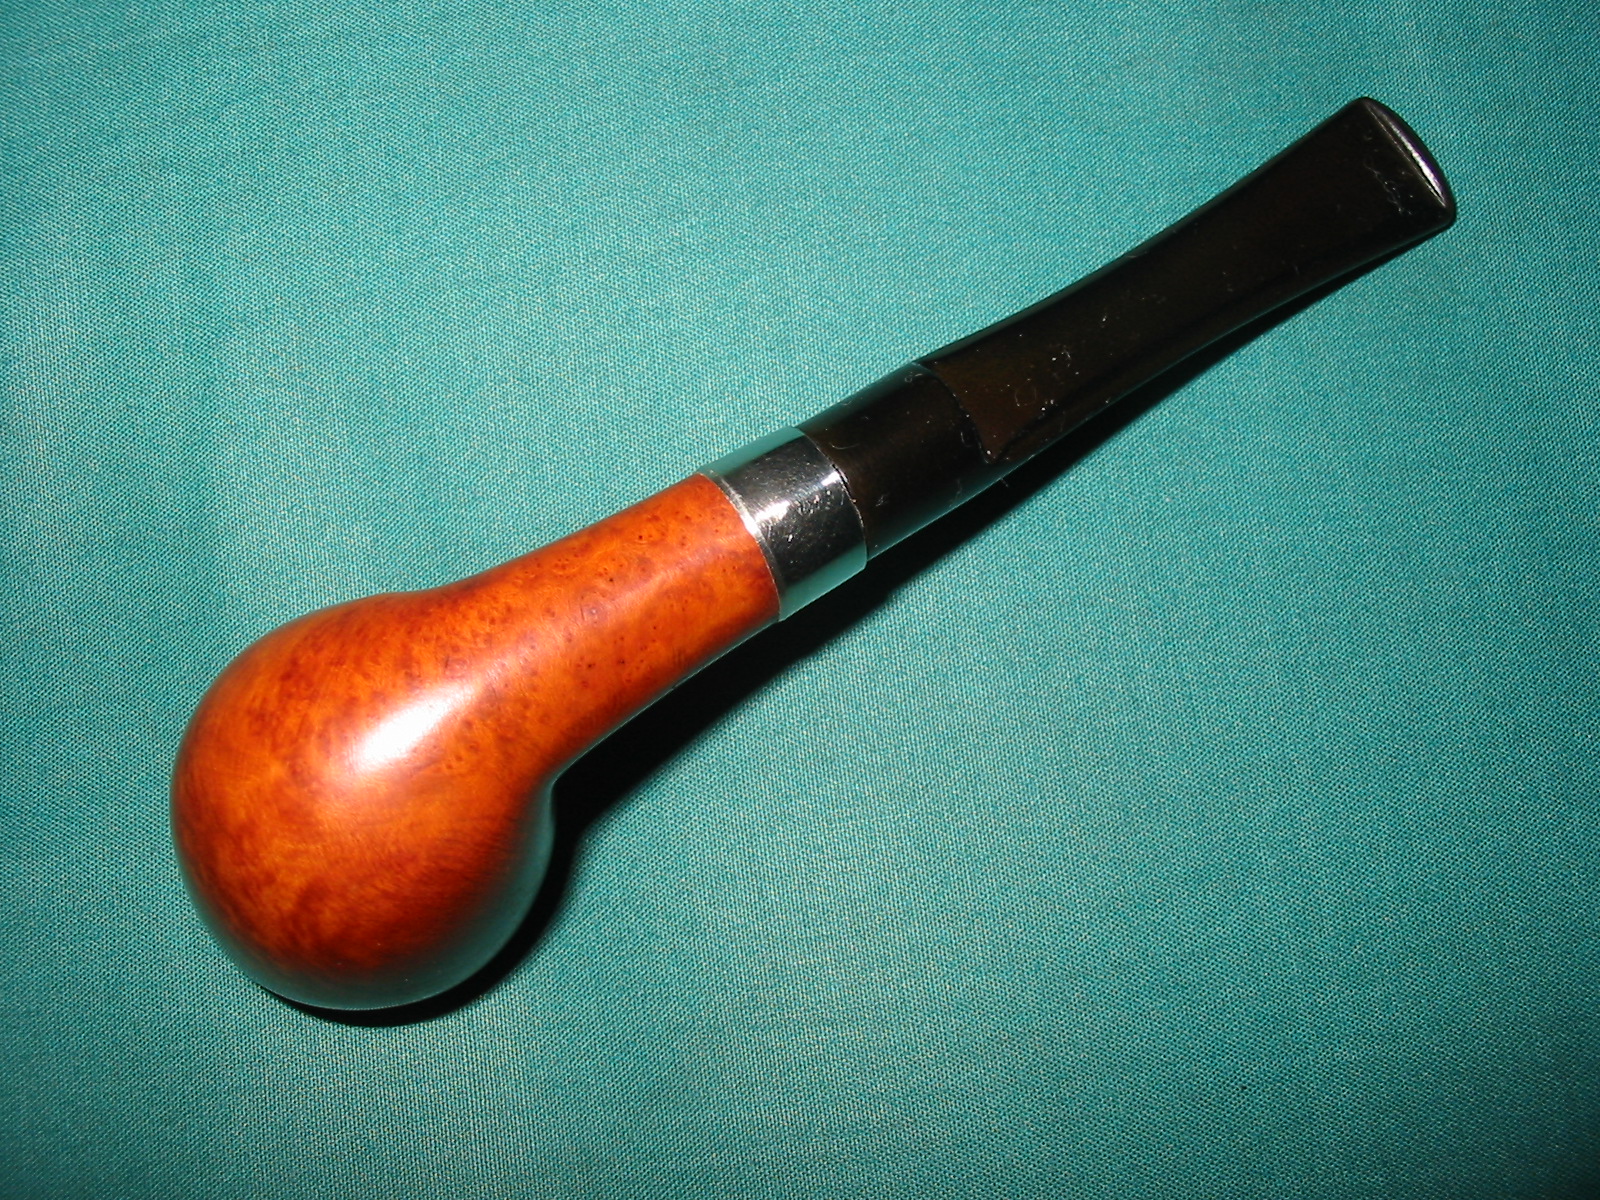
 I took photos of the stamping on the sides of the shank to show the condition after the cleanup. It was very readable and undamaged. I took the stem off the shank and took a photo of the pipe to give a sense of the proportions of the pipe.
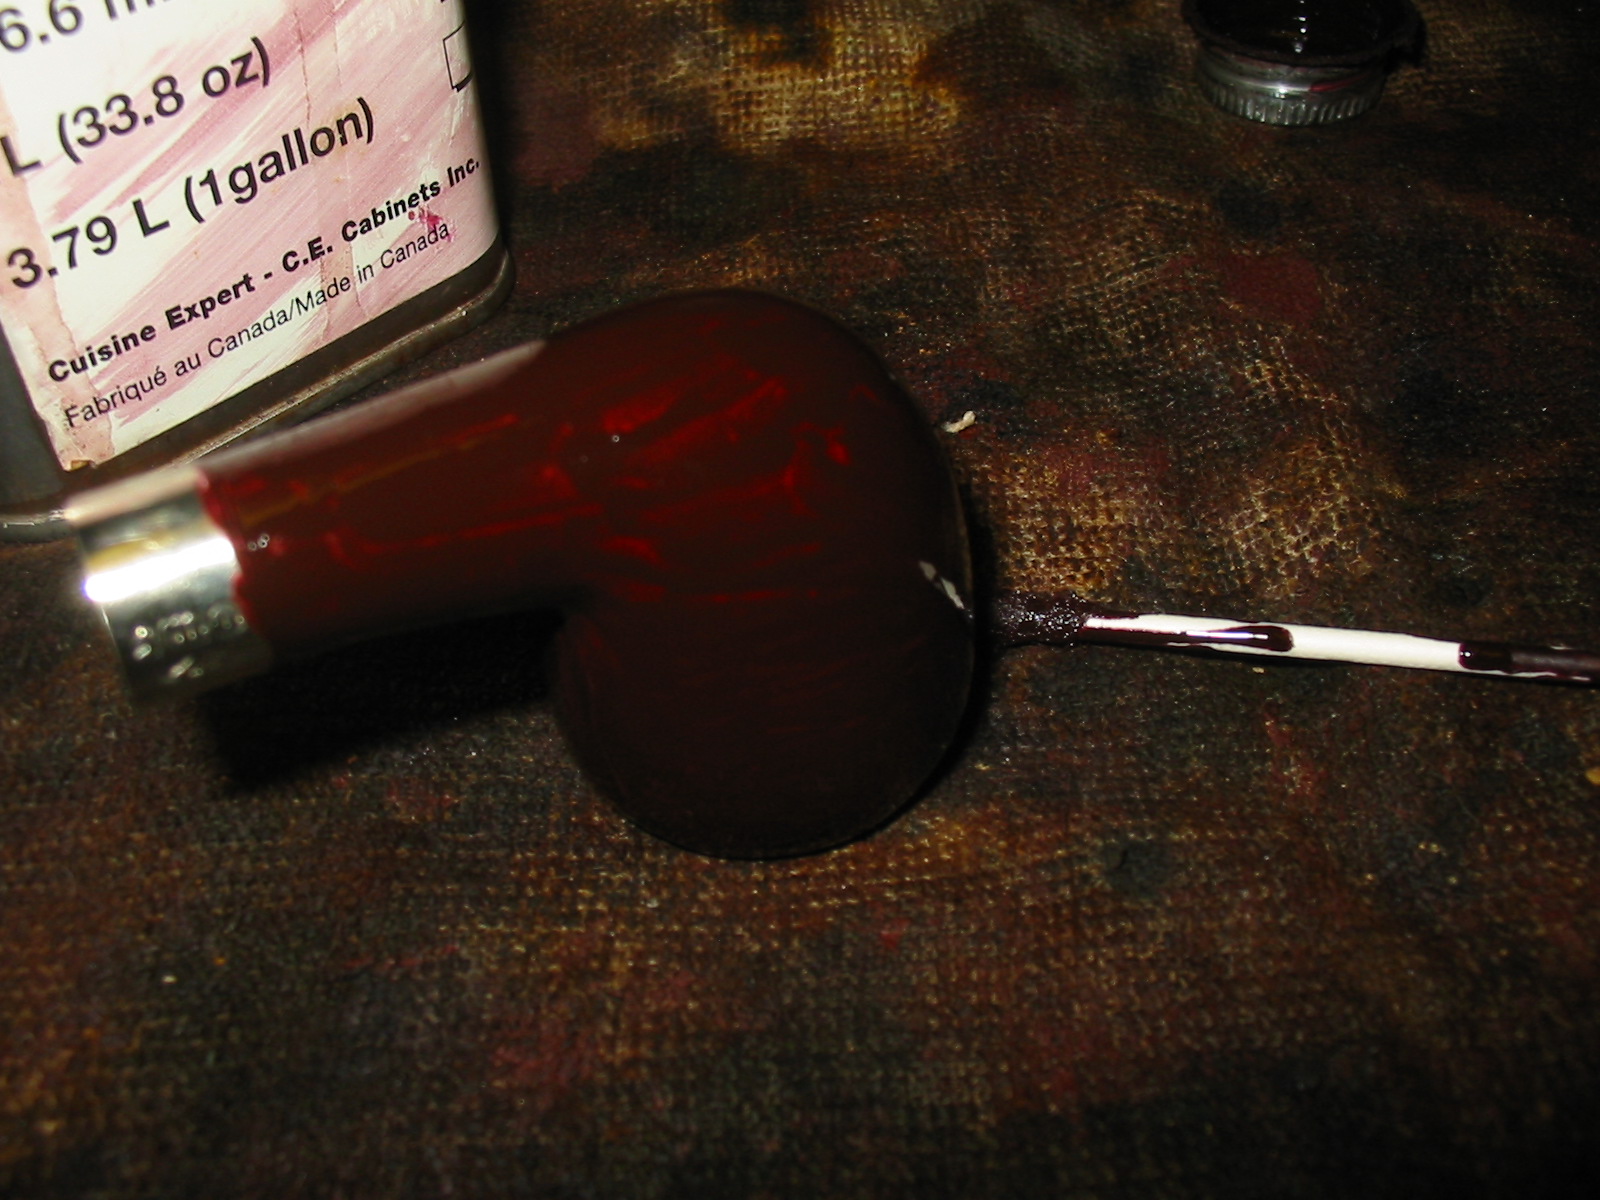
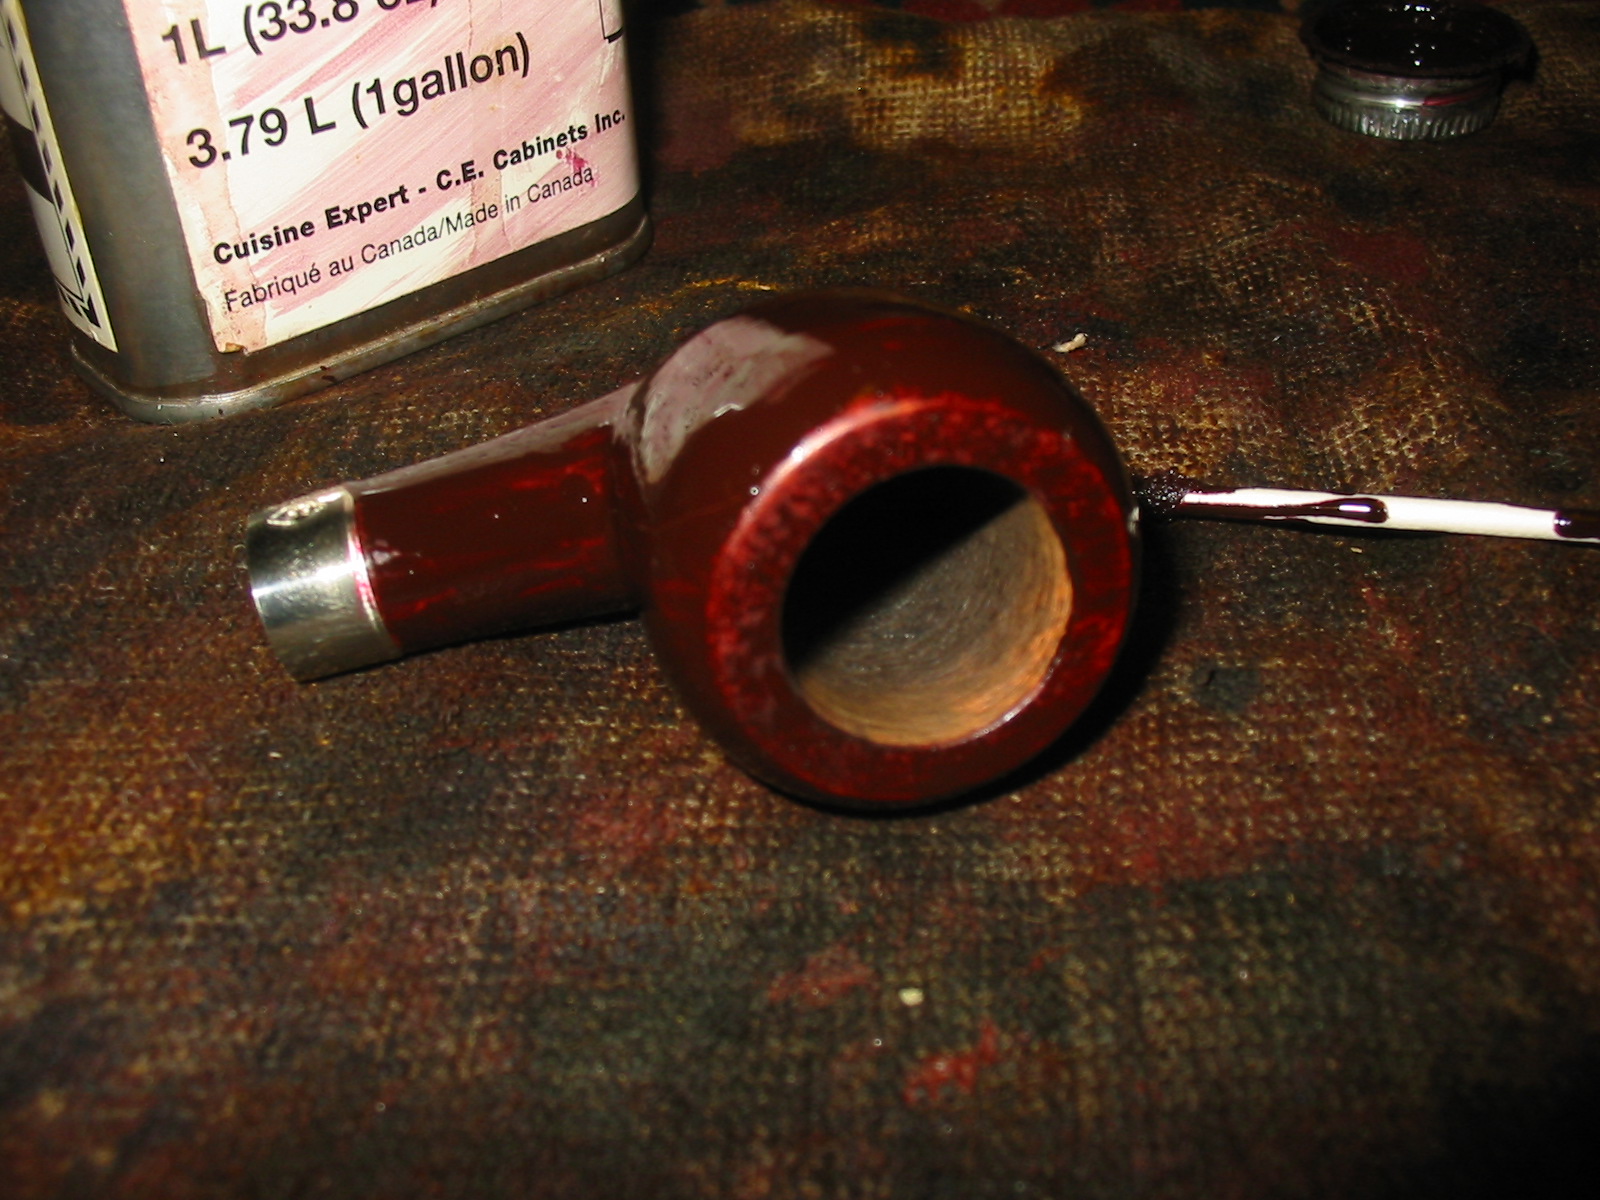
 I started my restoration work on this pipe by addressing the darkening around the inner edge of the bowl and the rim top. I used a folded piece of 220 grit sandpaper to clean up the inner edge and the rim top. The finished rim top looked much better.
 I filled in the shrunken fills and the chips/cuts in the right side of the bowl below the twin rings of the cap with clear CA glue. I used a tooth pick to fill in the holes. Once it cured I sanded the areas smooth with 220 grit sandpaper to blend it into the surface. I touched up the sanded areas with a Walnut stain pen to blend them into the surrounding briar.
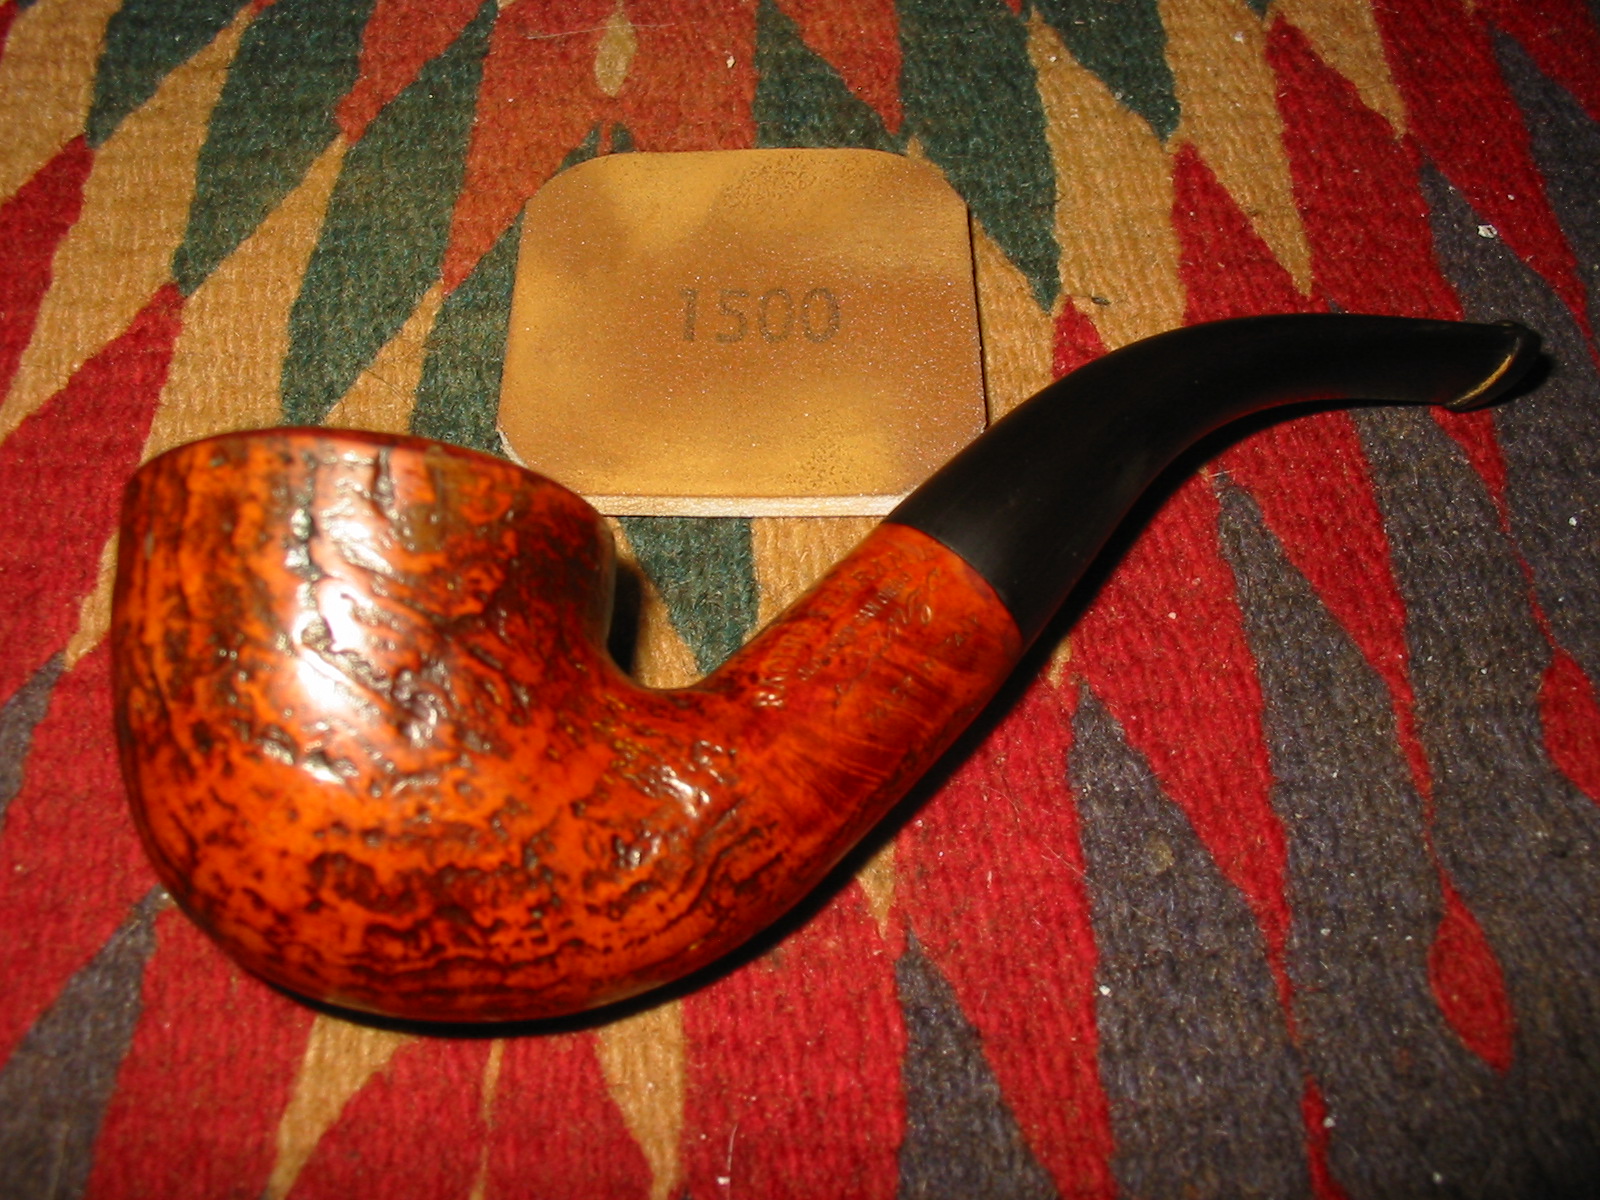
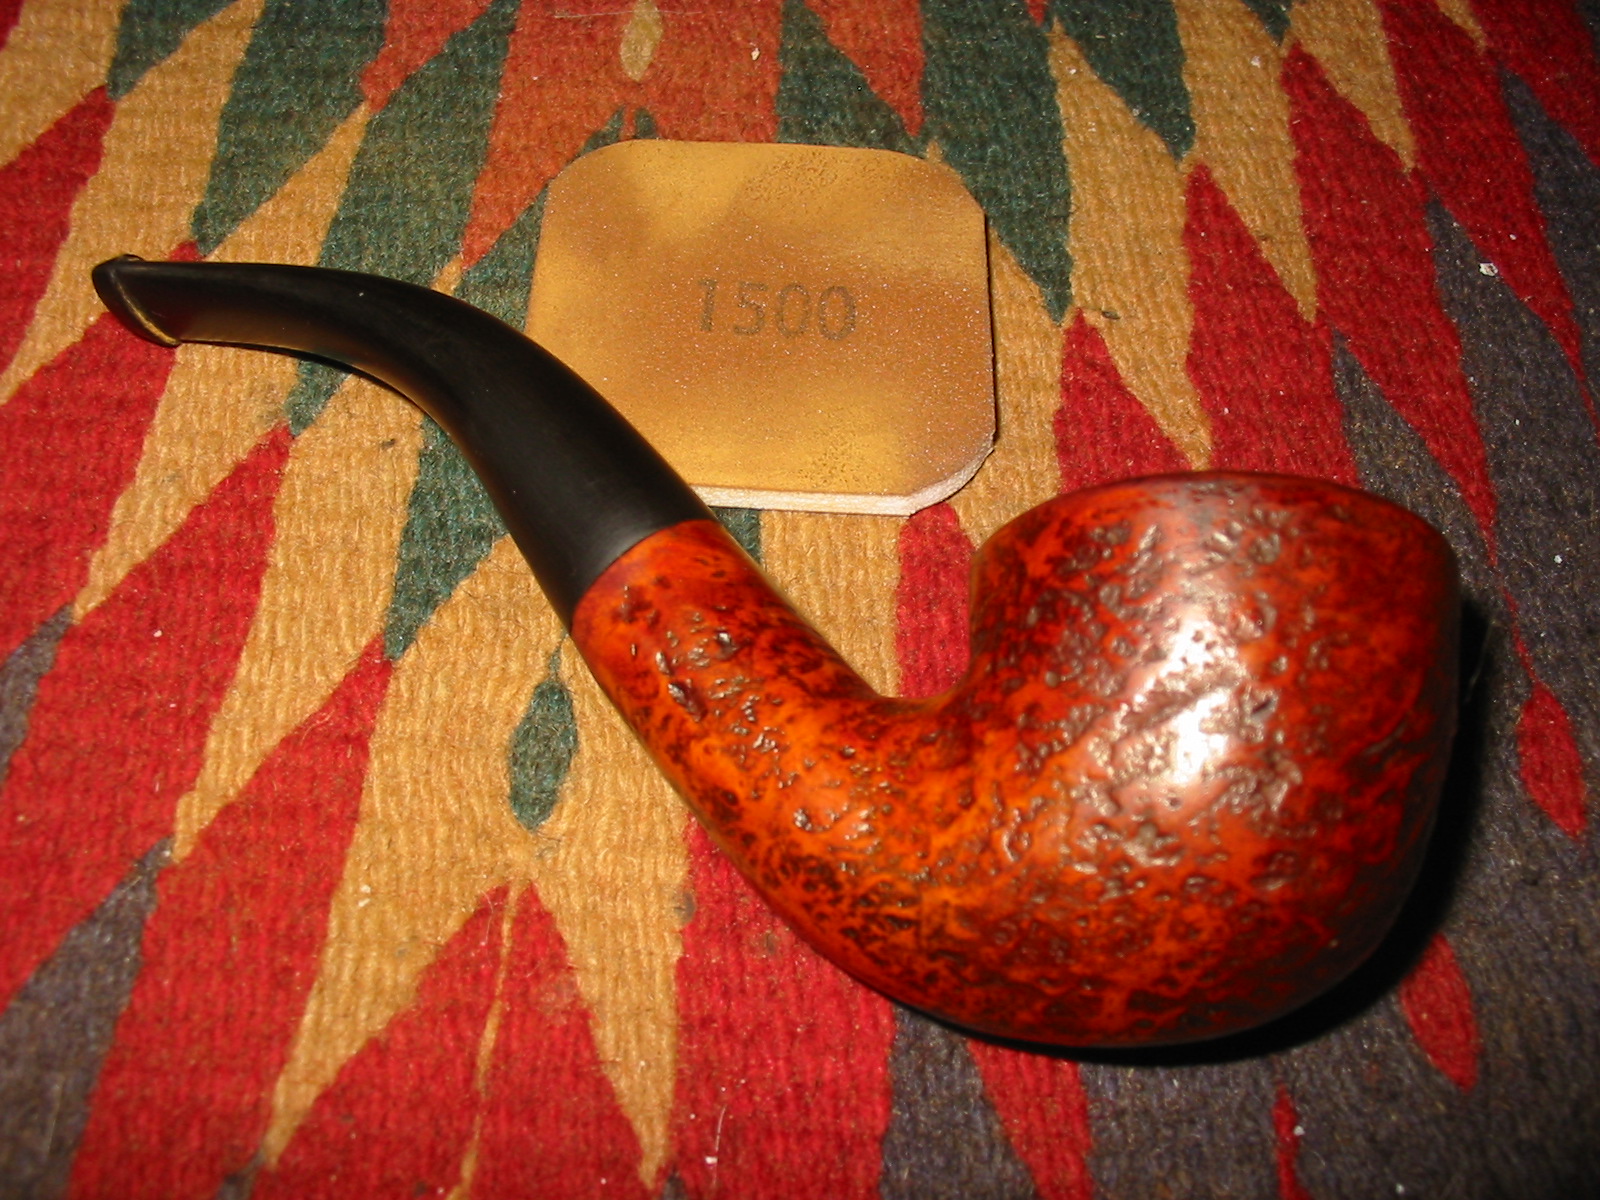
 I started my polishing regimen on the bowl. I used nine micromesh sanding pads and dry sanded the bowl with 1500-12000 grit pads. I wiped the bowl down with a damp cloth after each pad. The bowl really shines by the final three pads.


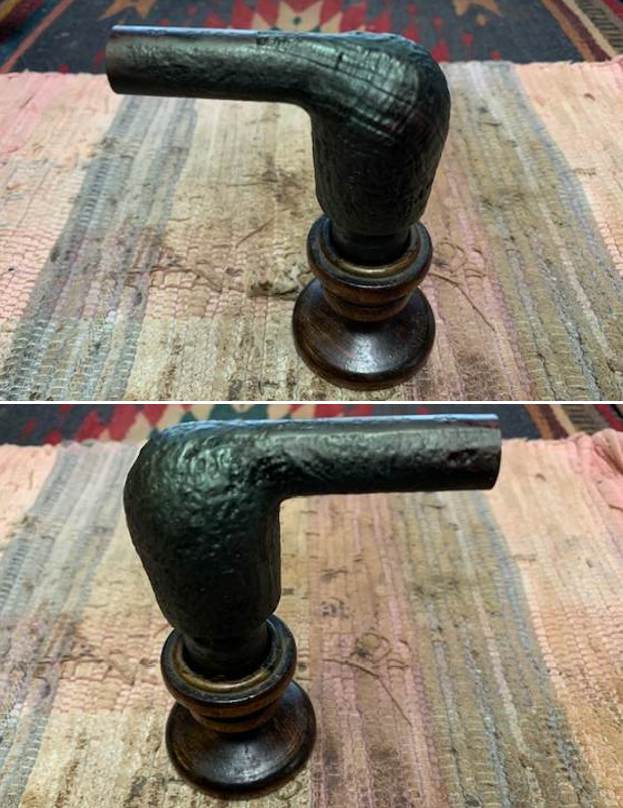
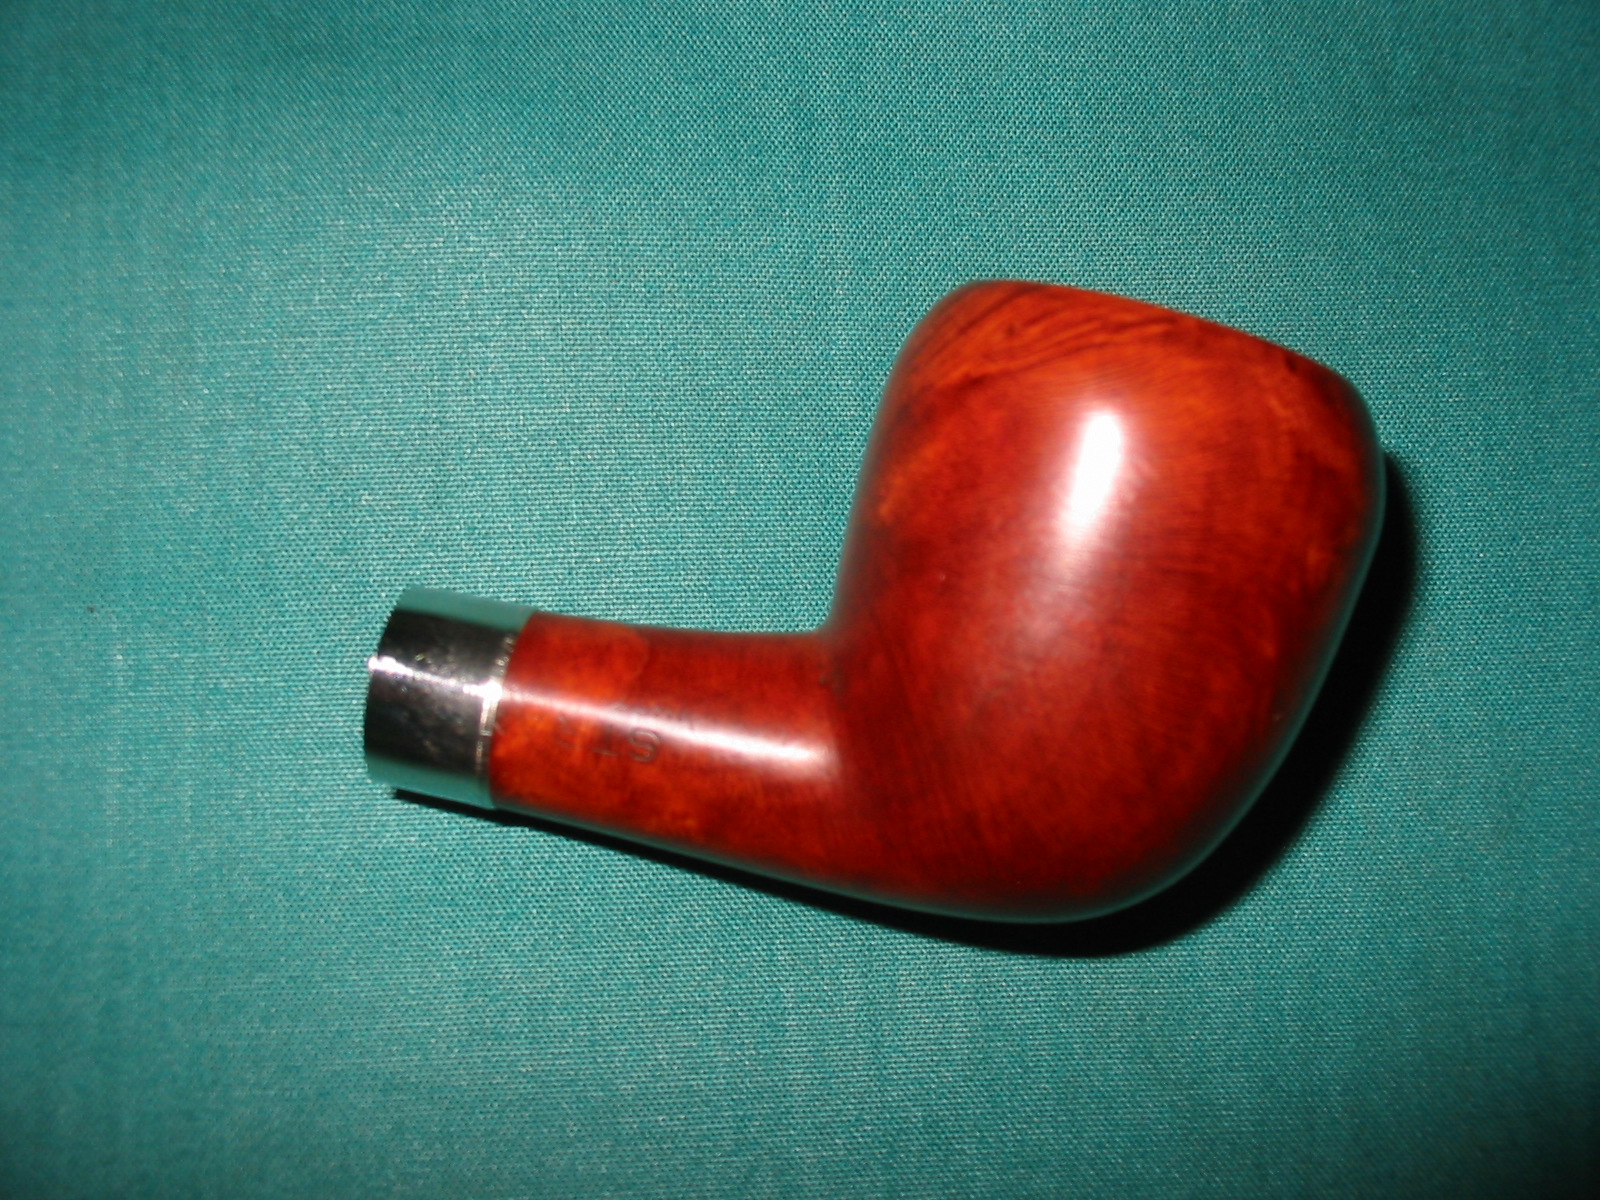
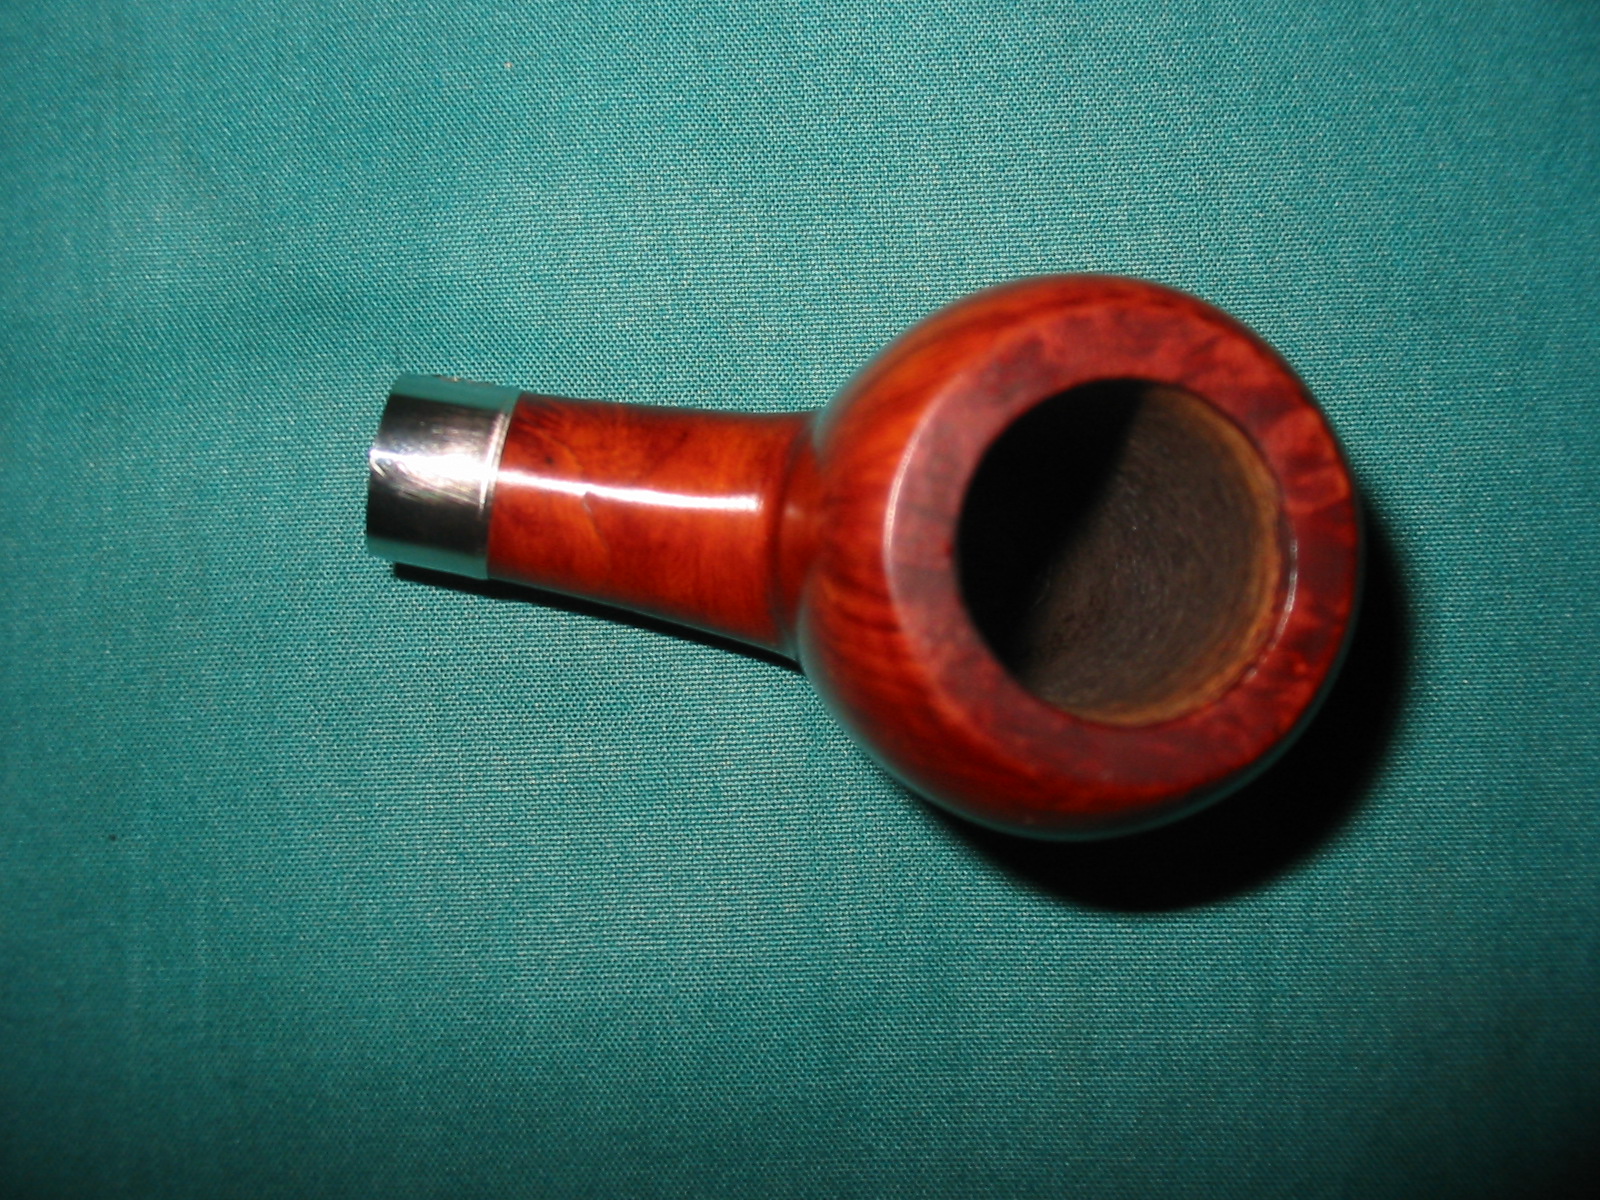
 I worked some Before & After Restoration Balm into the surface of the briar with my fingertips and into the twin rings with a shoe brush to clean, enliven and protect it. I let the balm sit for a little while and then buffed with a cotton cloth to raise the shine. The photos show the bowl at this point in the restoration process.

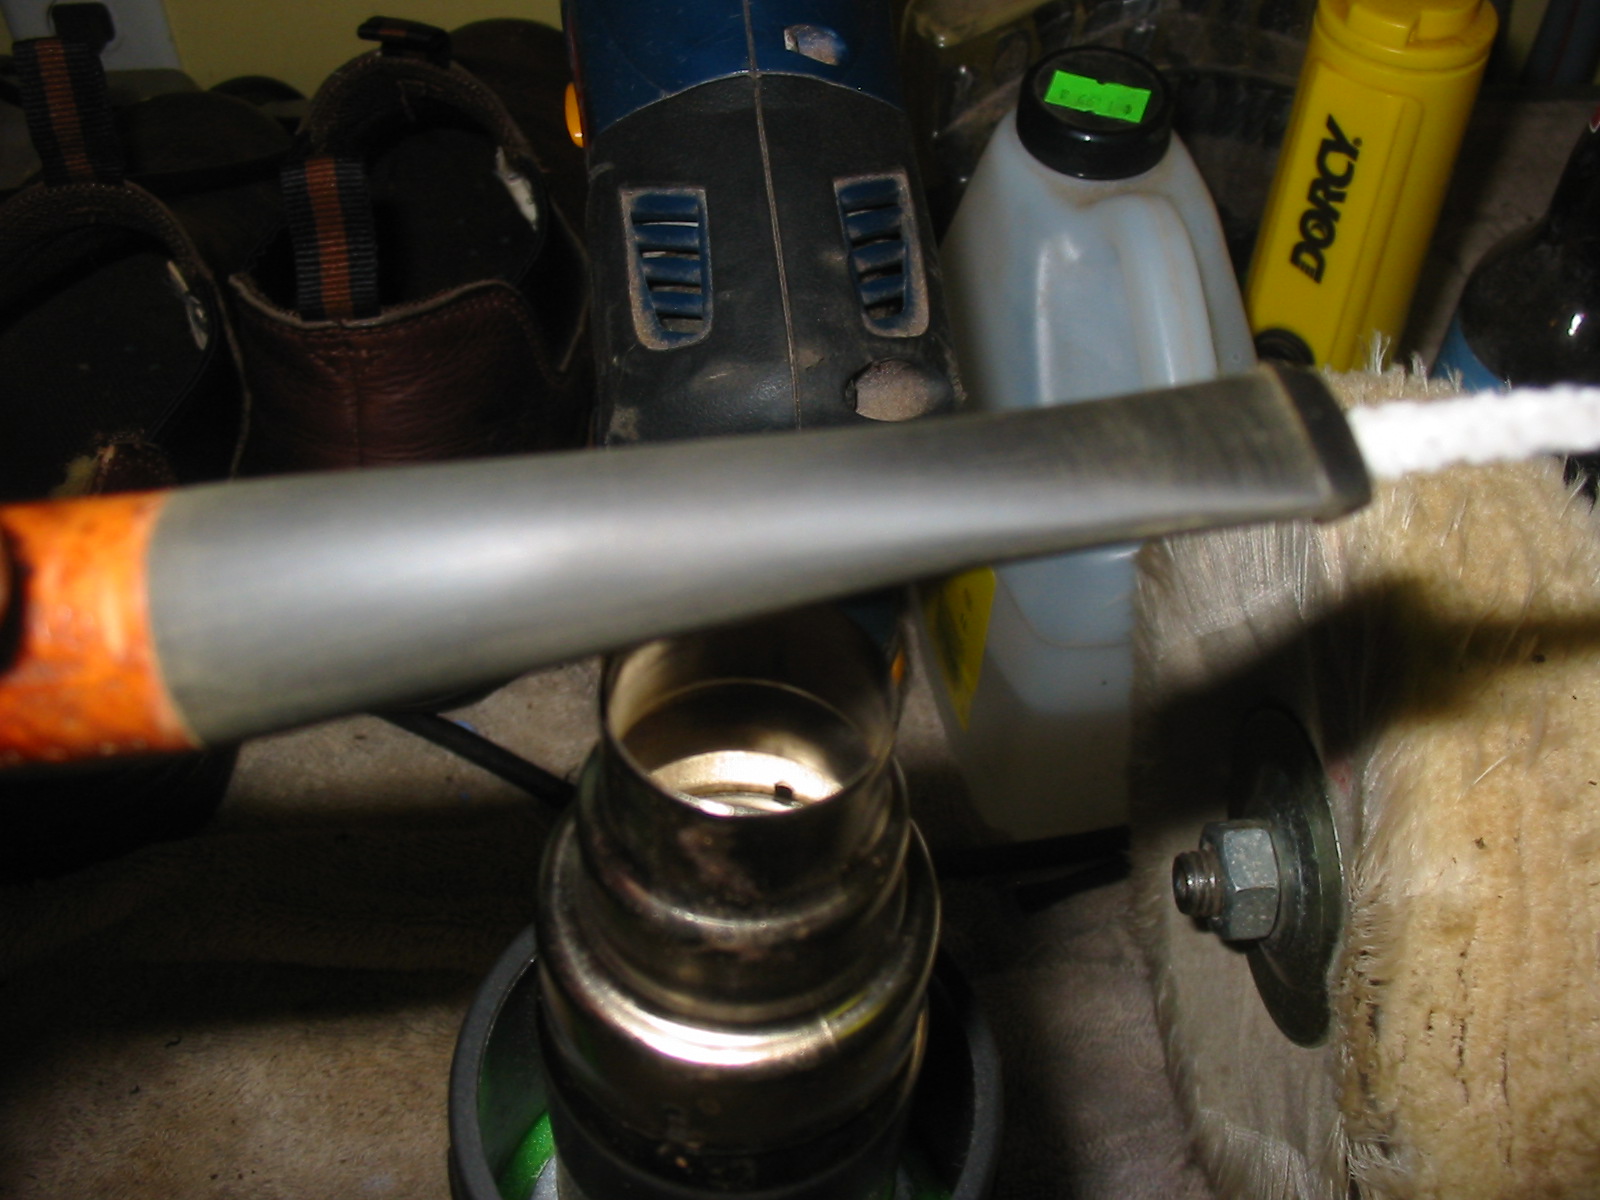
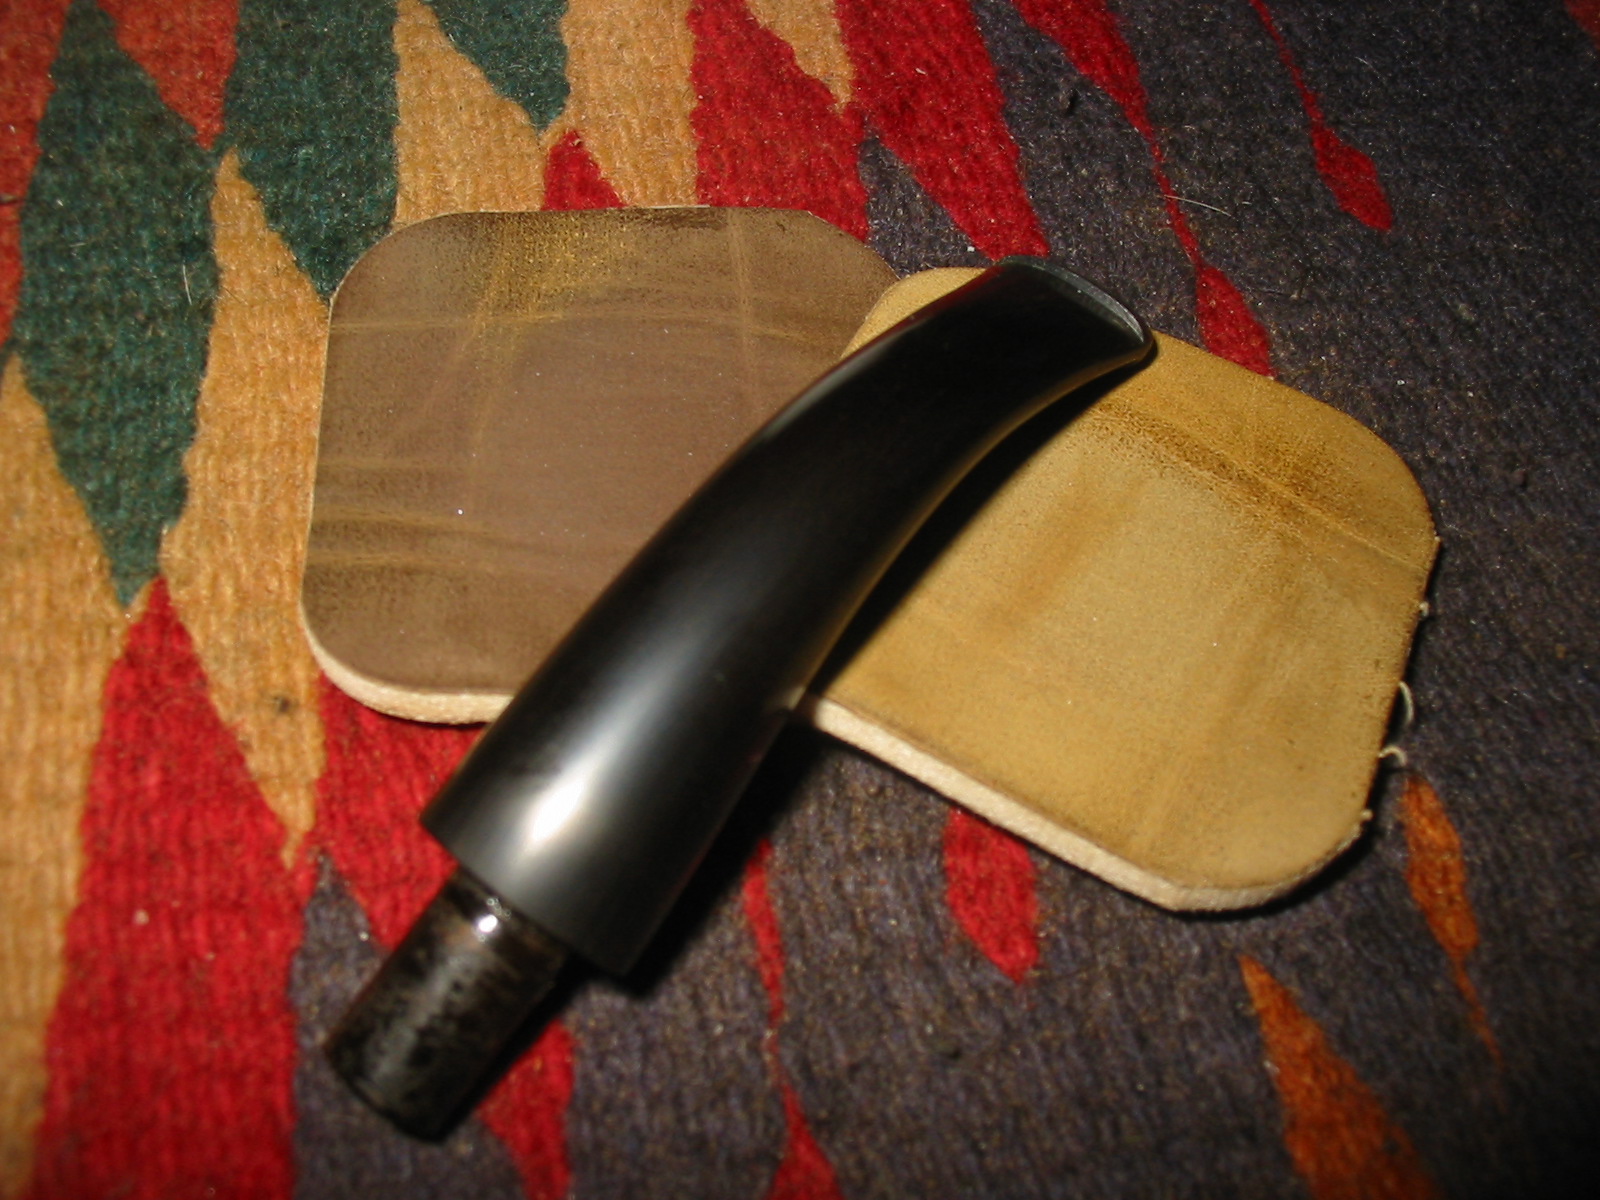
 I set the bowl aside and polished out the tooth marks and chatter with micromesh sanding pads – dry sanding with 1500-12000 grit pads. I wiped the stem down after each pad with some Obsidian Oil on a cotton cloth to remove the sanding debris.
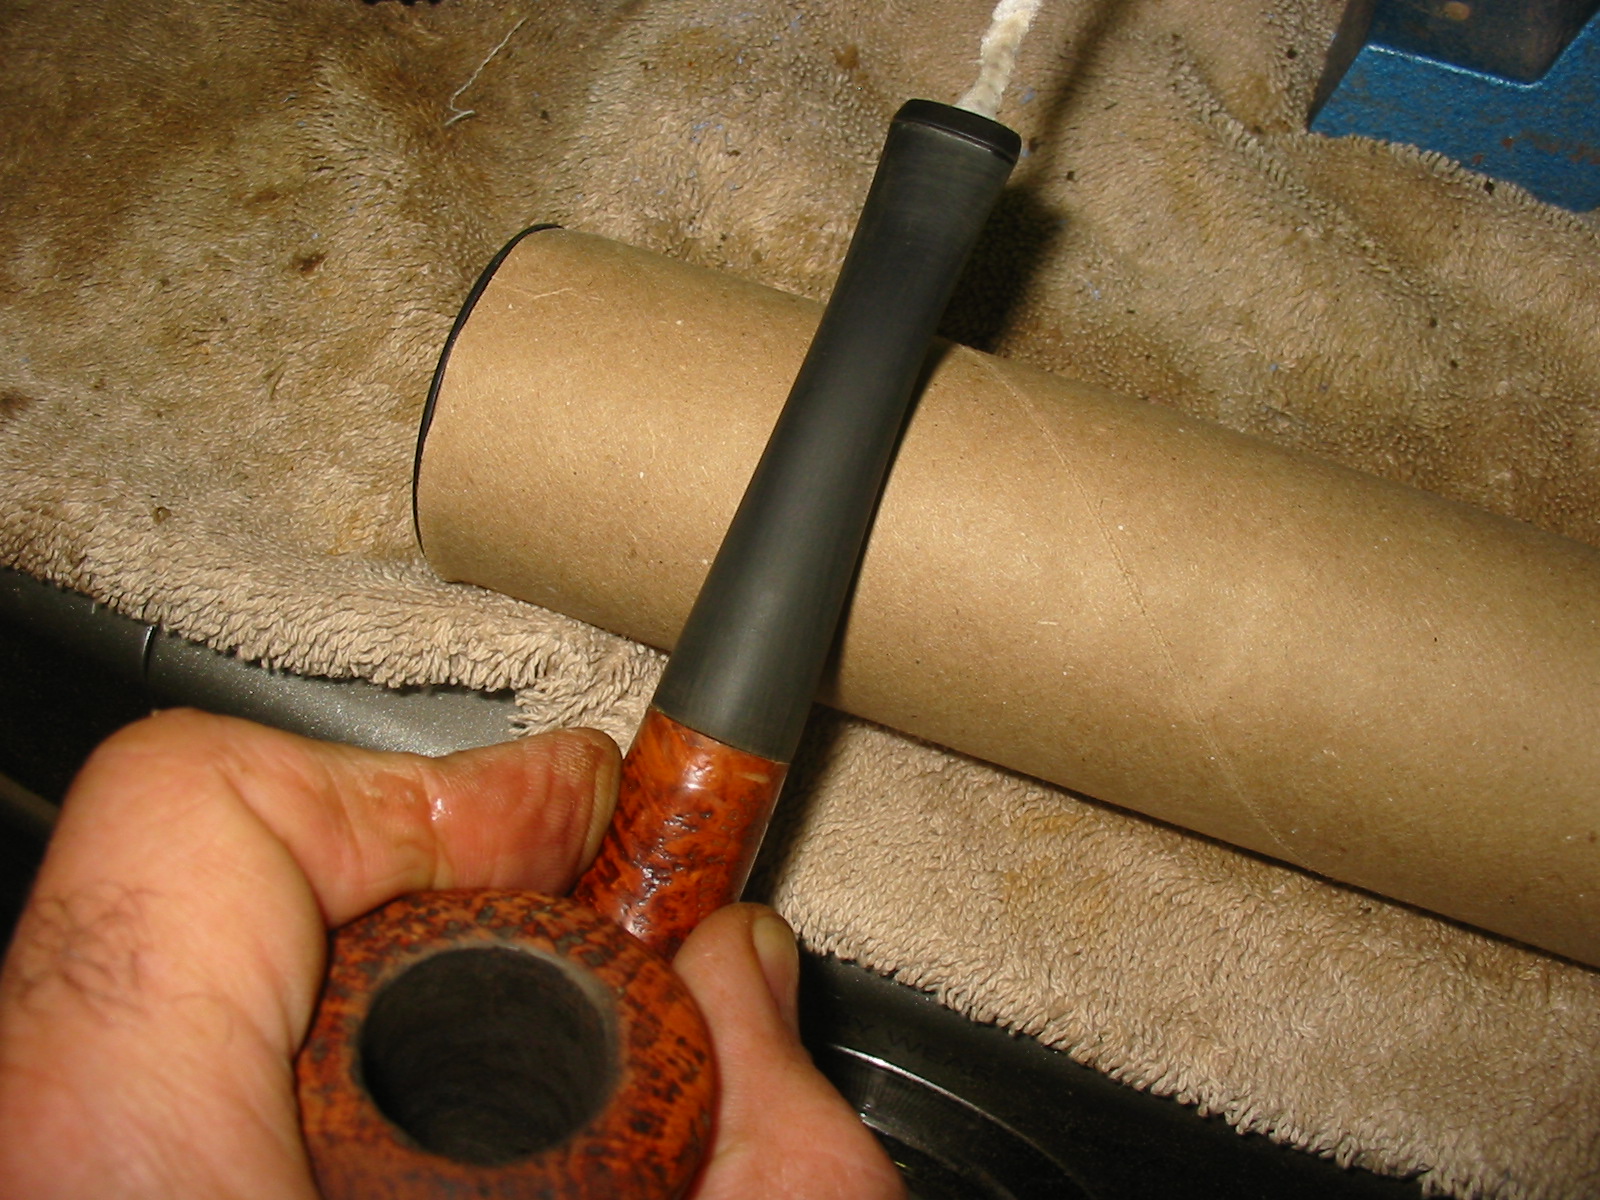
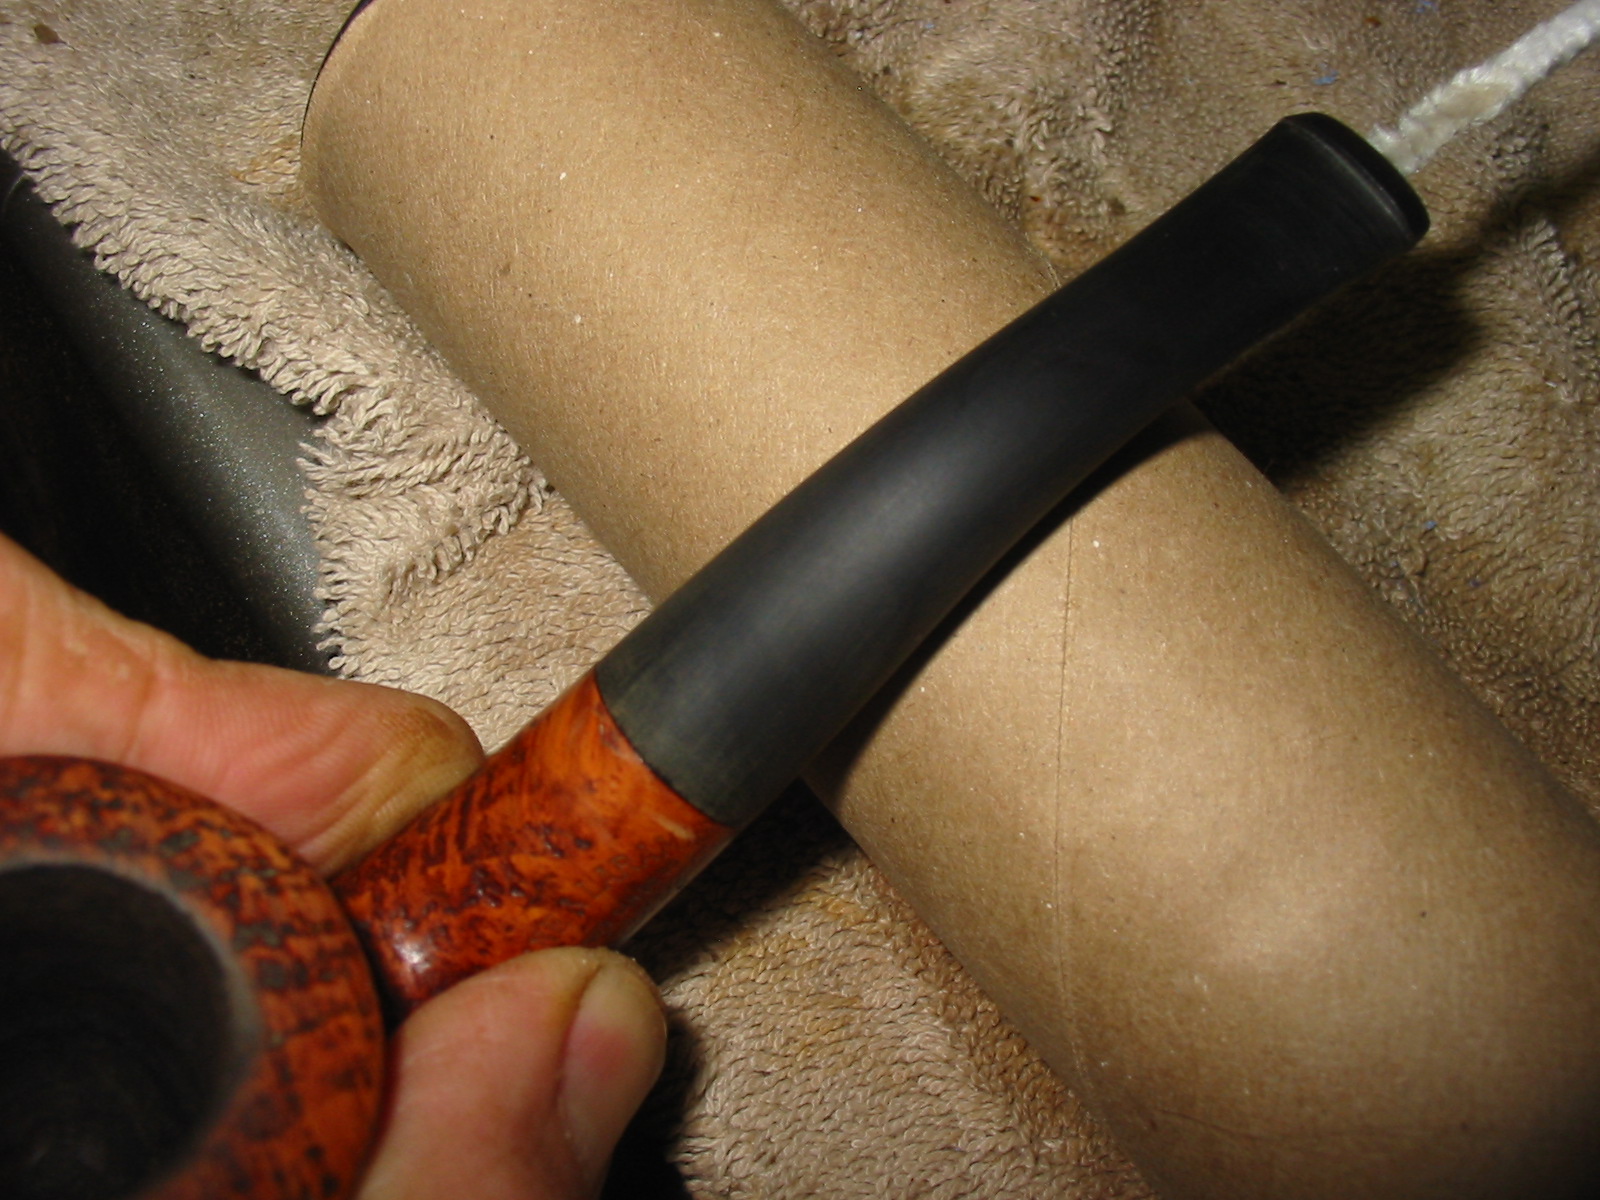
 I finished the polishing routine with some Before & After Pipe Stem Polish – both Fine and Extra Fine and buffed it off with a cotton cloth. I gave it a coat of Obsidian Oil to preserve and protect the stem.
  Once I finish a filter stem I like to fit it with a clean filter. In this case I do not have the filters to fit it. My thinking is that it was made for a Dr. Perl Junior 6mm filter. The pipeman or woman who adds this pipe to his/her collection will have to pick some up. I have included a photo of what I think the filters will be.
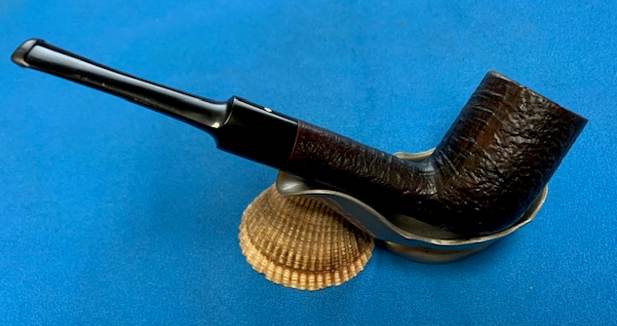
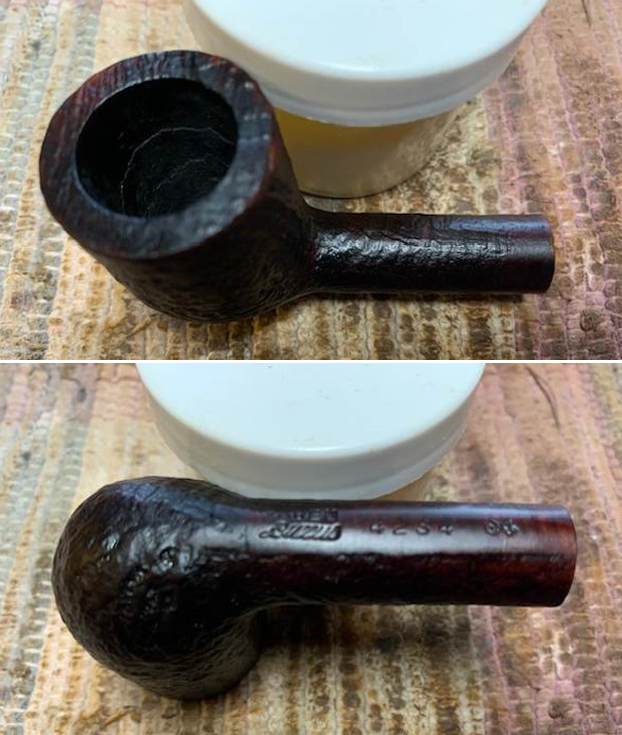
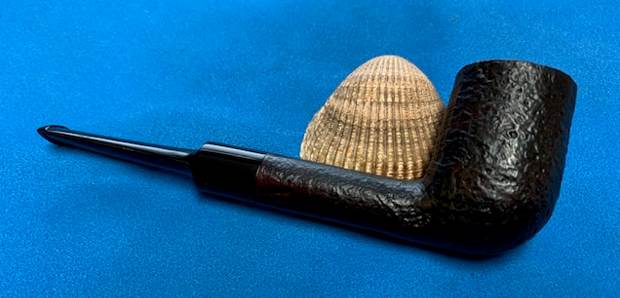
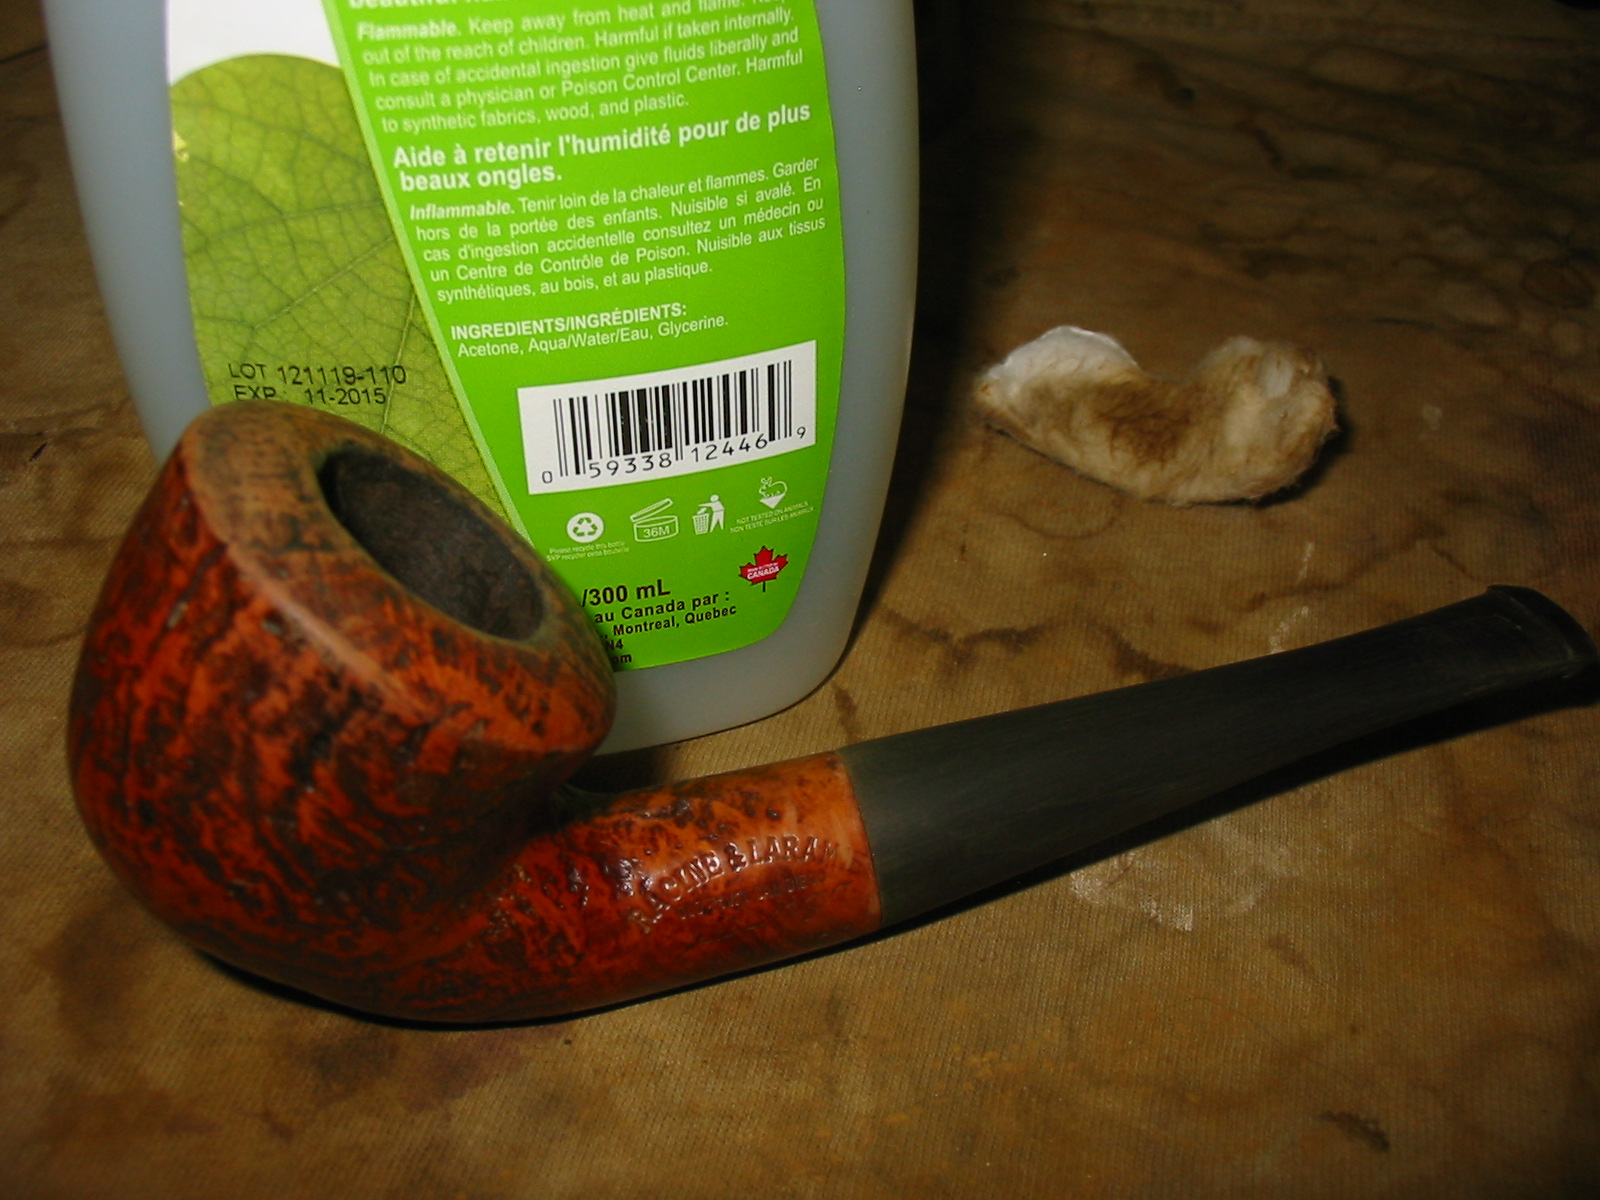
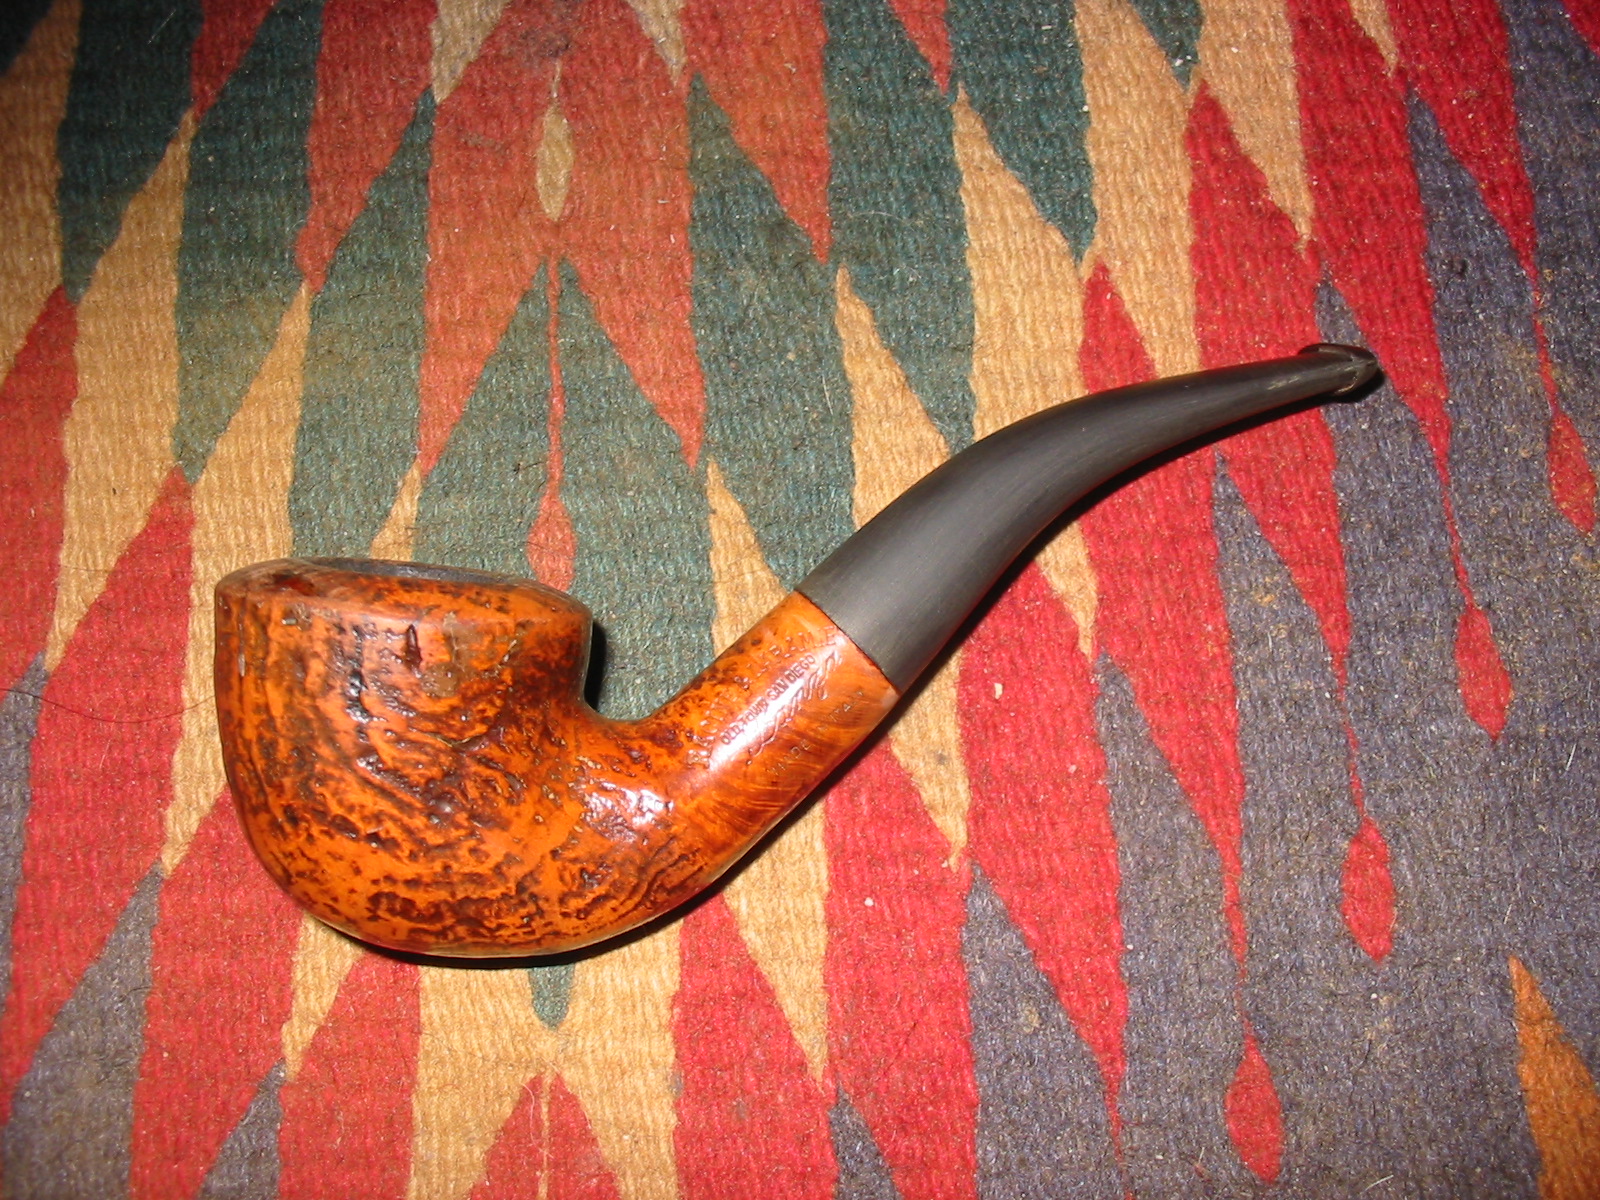
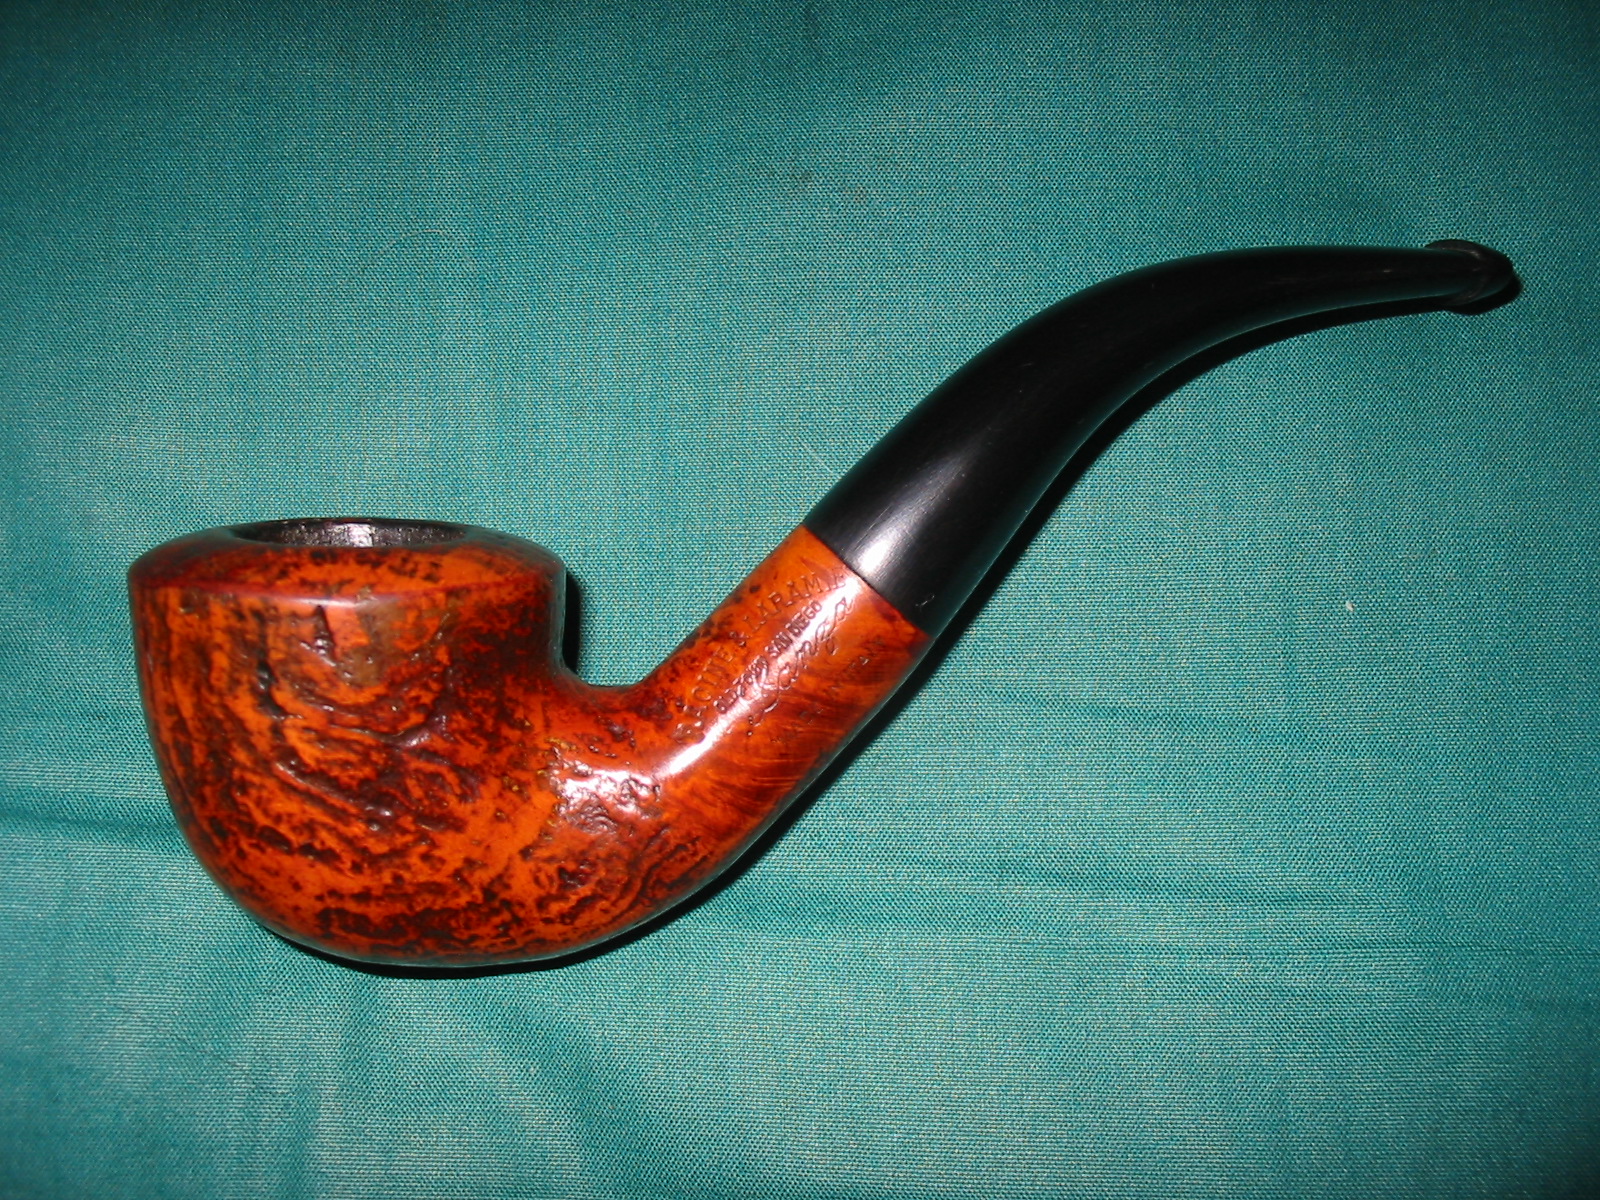
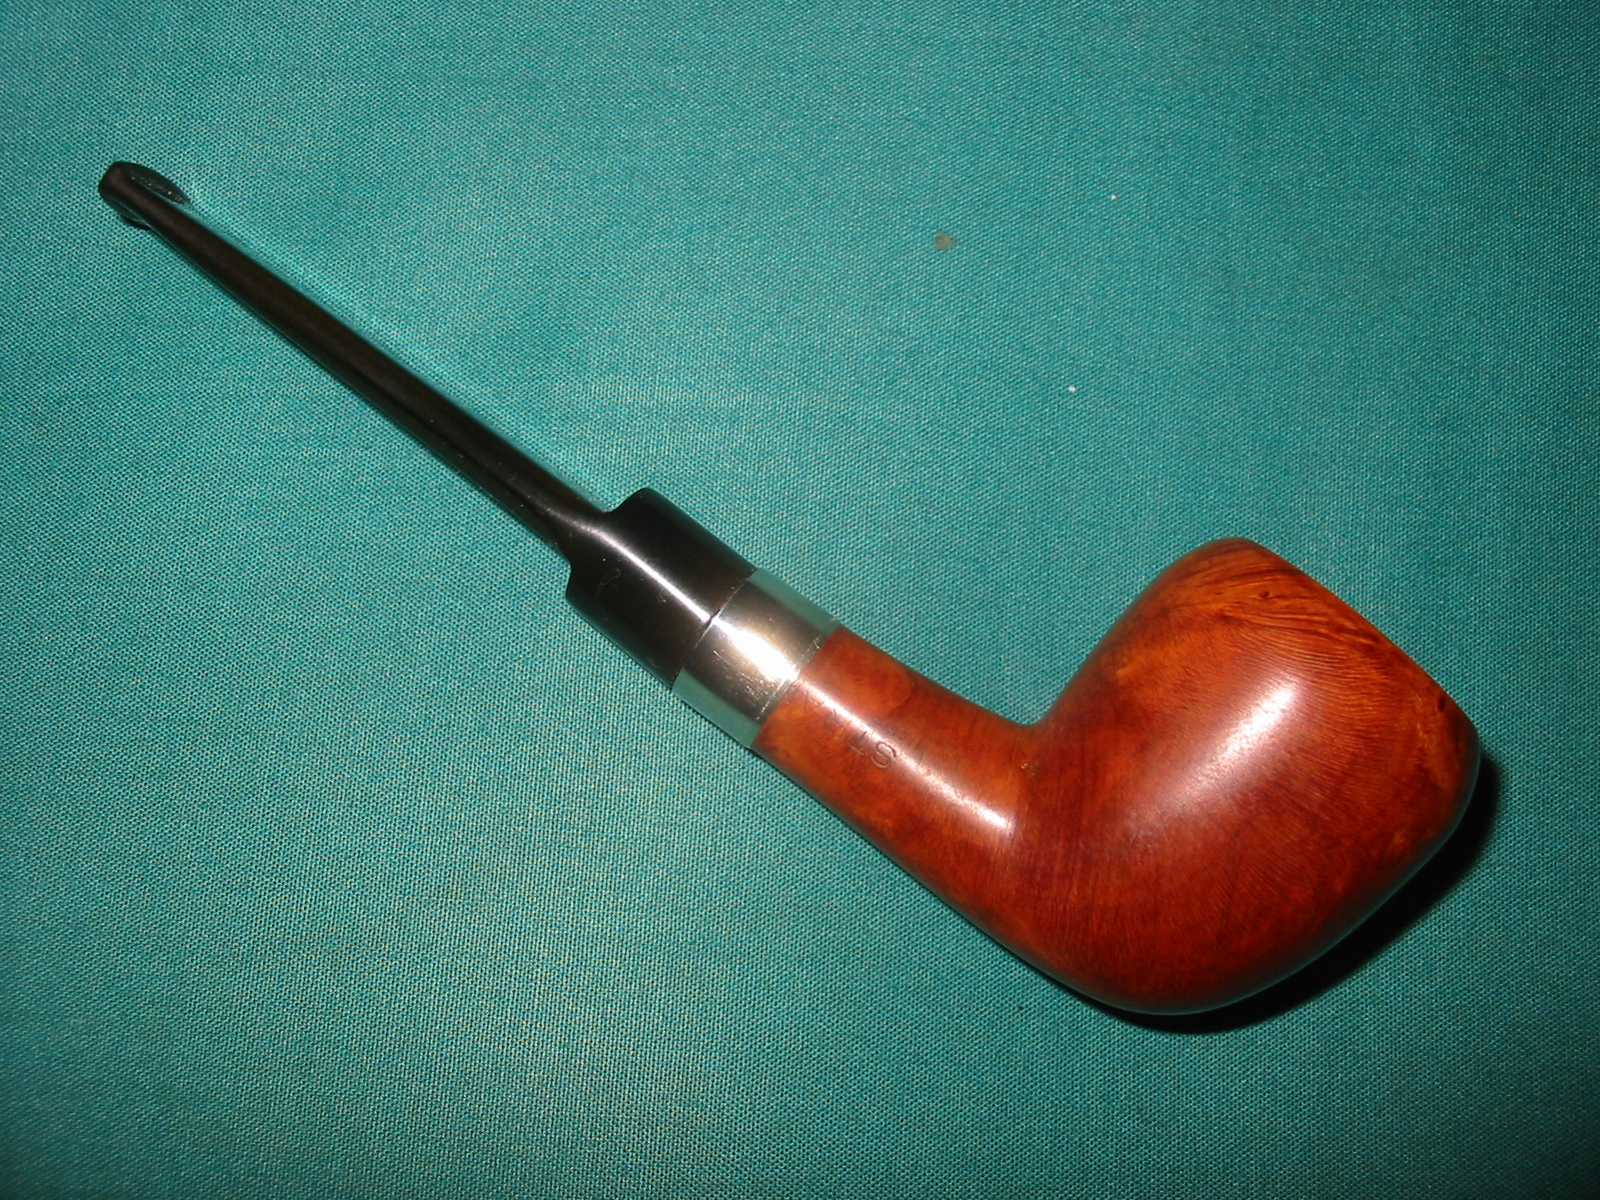
 I finished with the Blue Diamond and moved on to buffing with carnauba wax. Once I have a good shine in the briar and vulcanite I always give the bowl and the stem multiple coats of carnauba wax. I have found that I can get a deeper shine if I following up the wax buff with a clean buffing pad. It works to raise the shine and then I follow that up with a hand buff with a microfiber cloth to deepen the shine. It is always fun for me to see what the polished bowl looks like with the polished stem. It really is a beautiful pipe. The bowl coating and build up of cigar mud should harden and provide a base for the build up of new cake. The sand blast finish around the bowl sides and shank show the grain patterns underneath the rich brown stains of this Vauen Dr. Perl D.R.W.Z. Bruyere Extra 6140 Filter Straight Bulldog and the polished vulcanite taper stem is a great addition. The finished pipe feels great in my hand. It is light and well balanced. Have a look at it with the photos below. The dimensions are Length: 6 inches, Height: 1 ½ inches, Outside diameter of the bowl: 1 ½ inches, Chamber diameter: ¾ of an inch. The weight of the pipe is 1.16 ounces/33 grams. It is a beautiful pipe that I will have to tell a friend of mine about who collects Vauen pipes. I look forward to hearing what he thinks of it.
As always, I encourage your questions and comments as you read the blog. Thanks to each of you who are reading this blog. Remember we are not pipe owners; we are pipemen and women who hold our pipes in trust until they pass on into the trust of those who follow us.