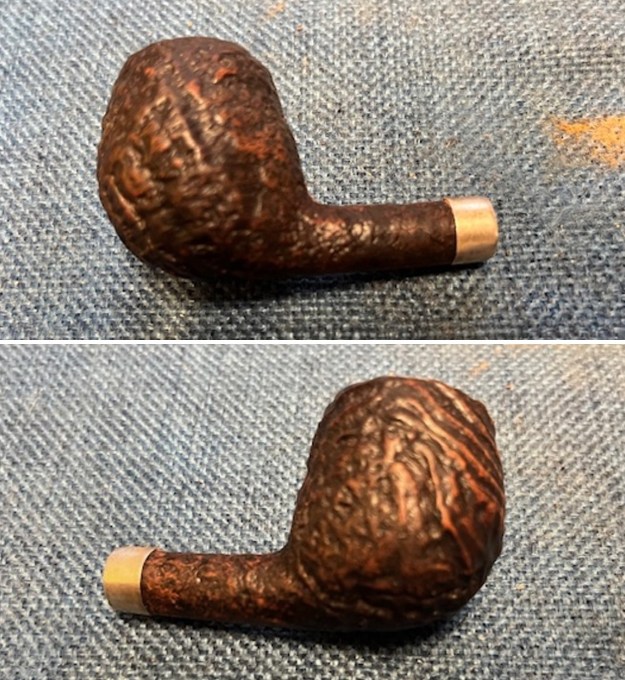
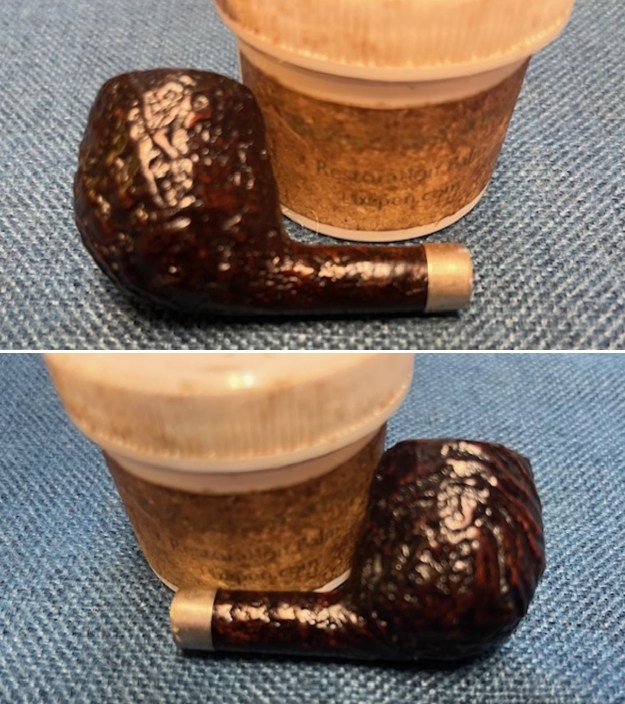
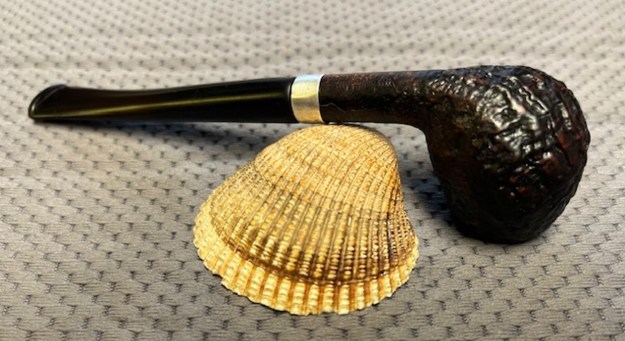
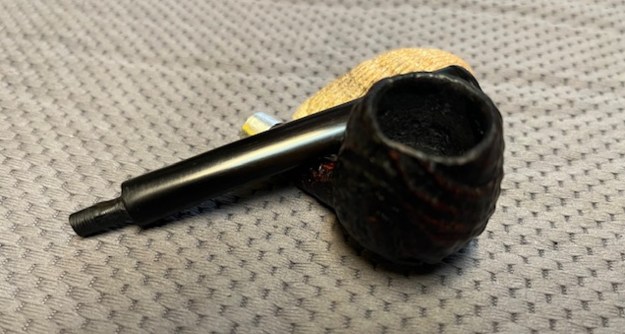
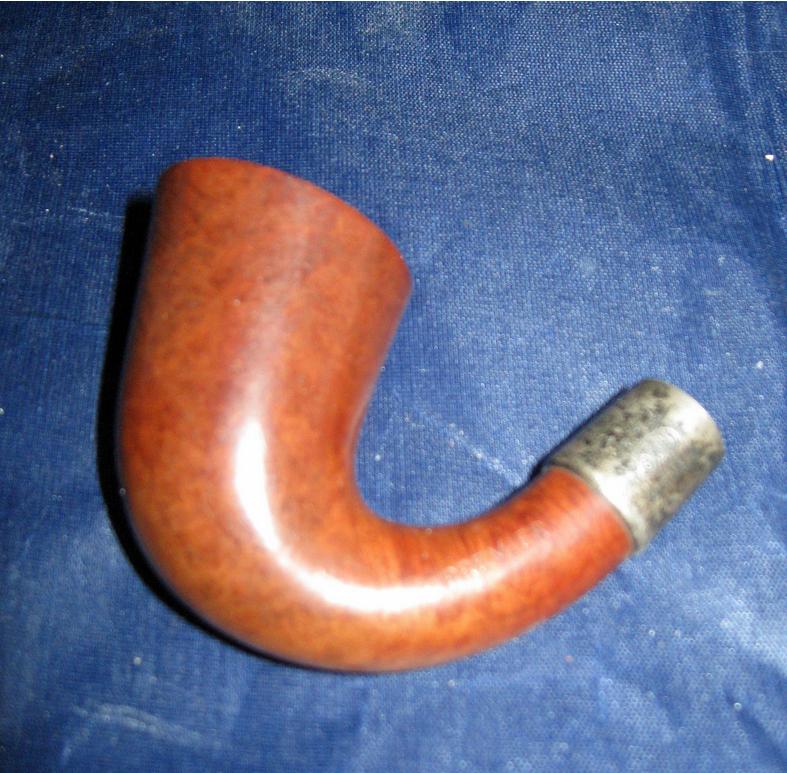
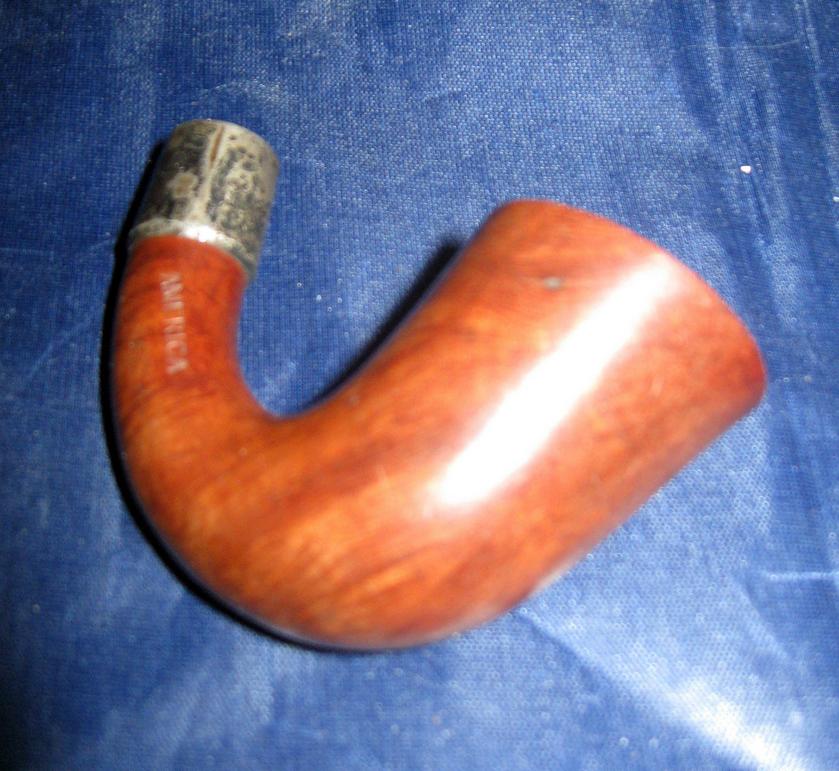
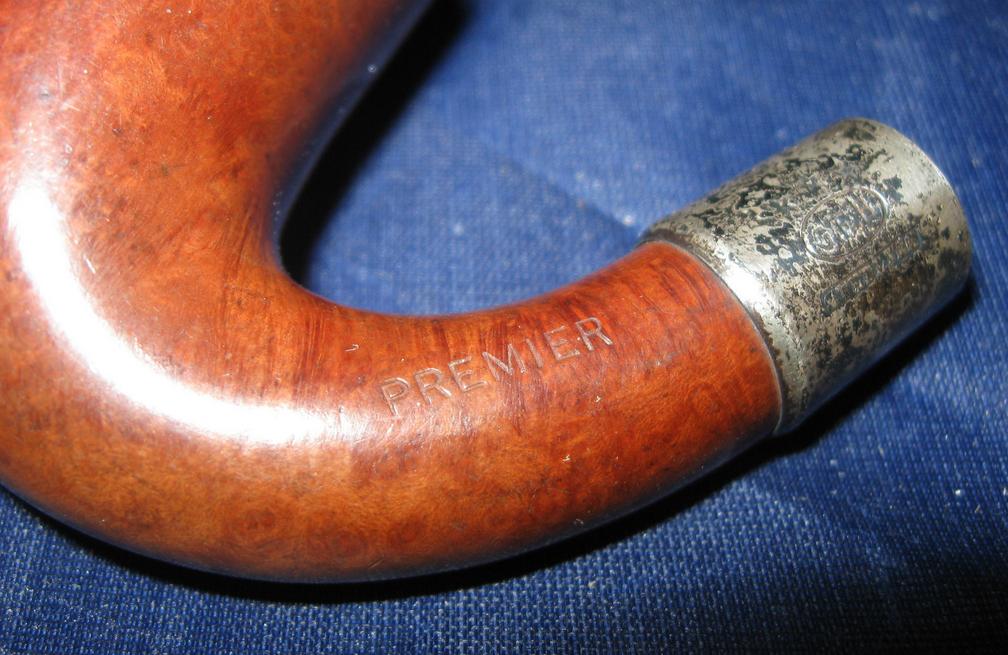
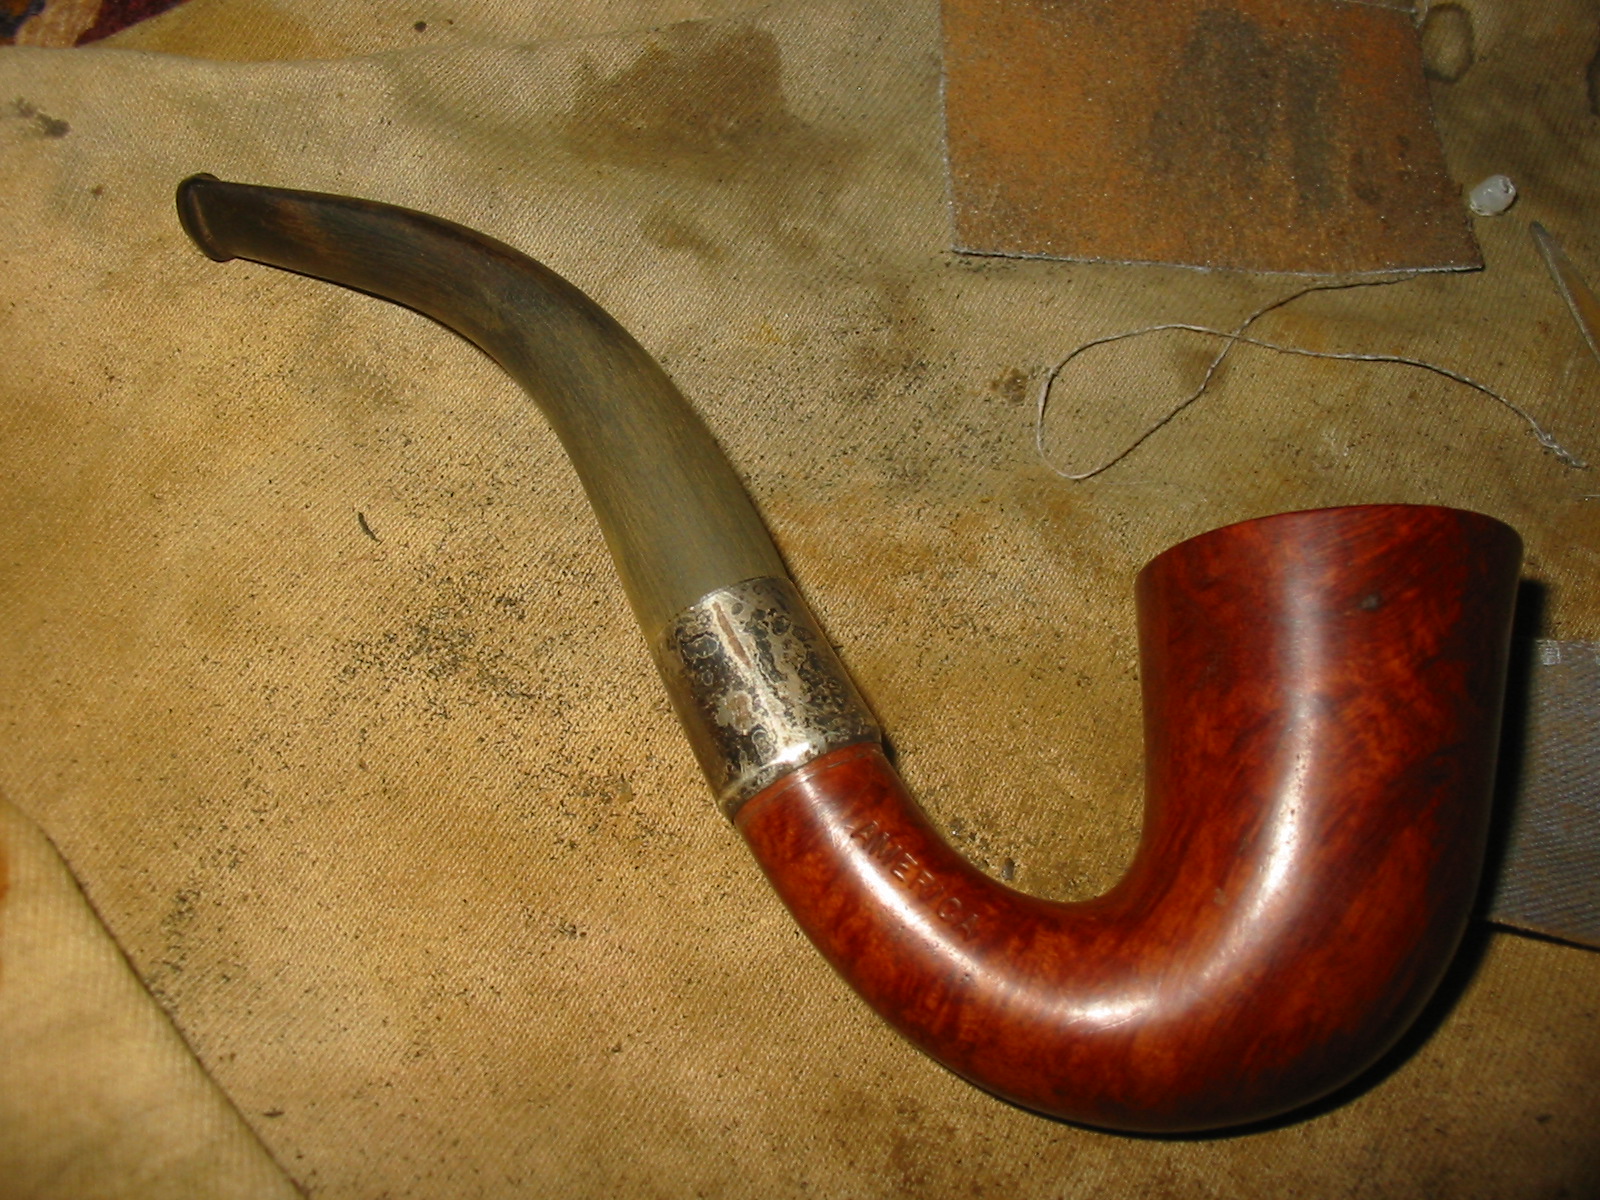
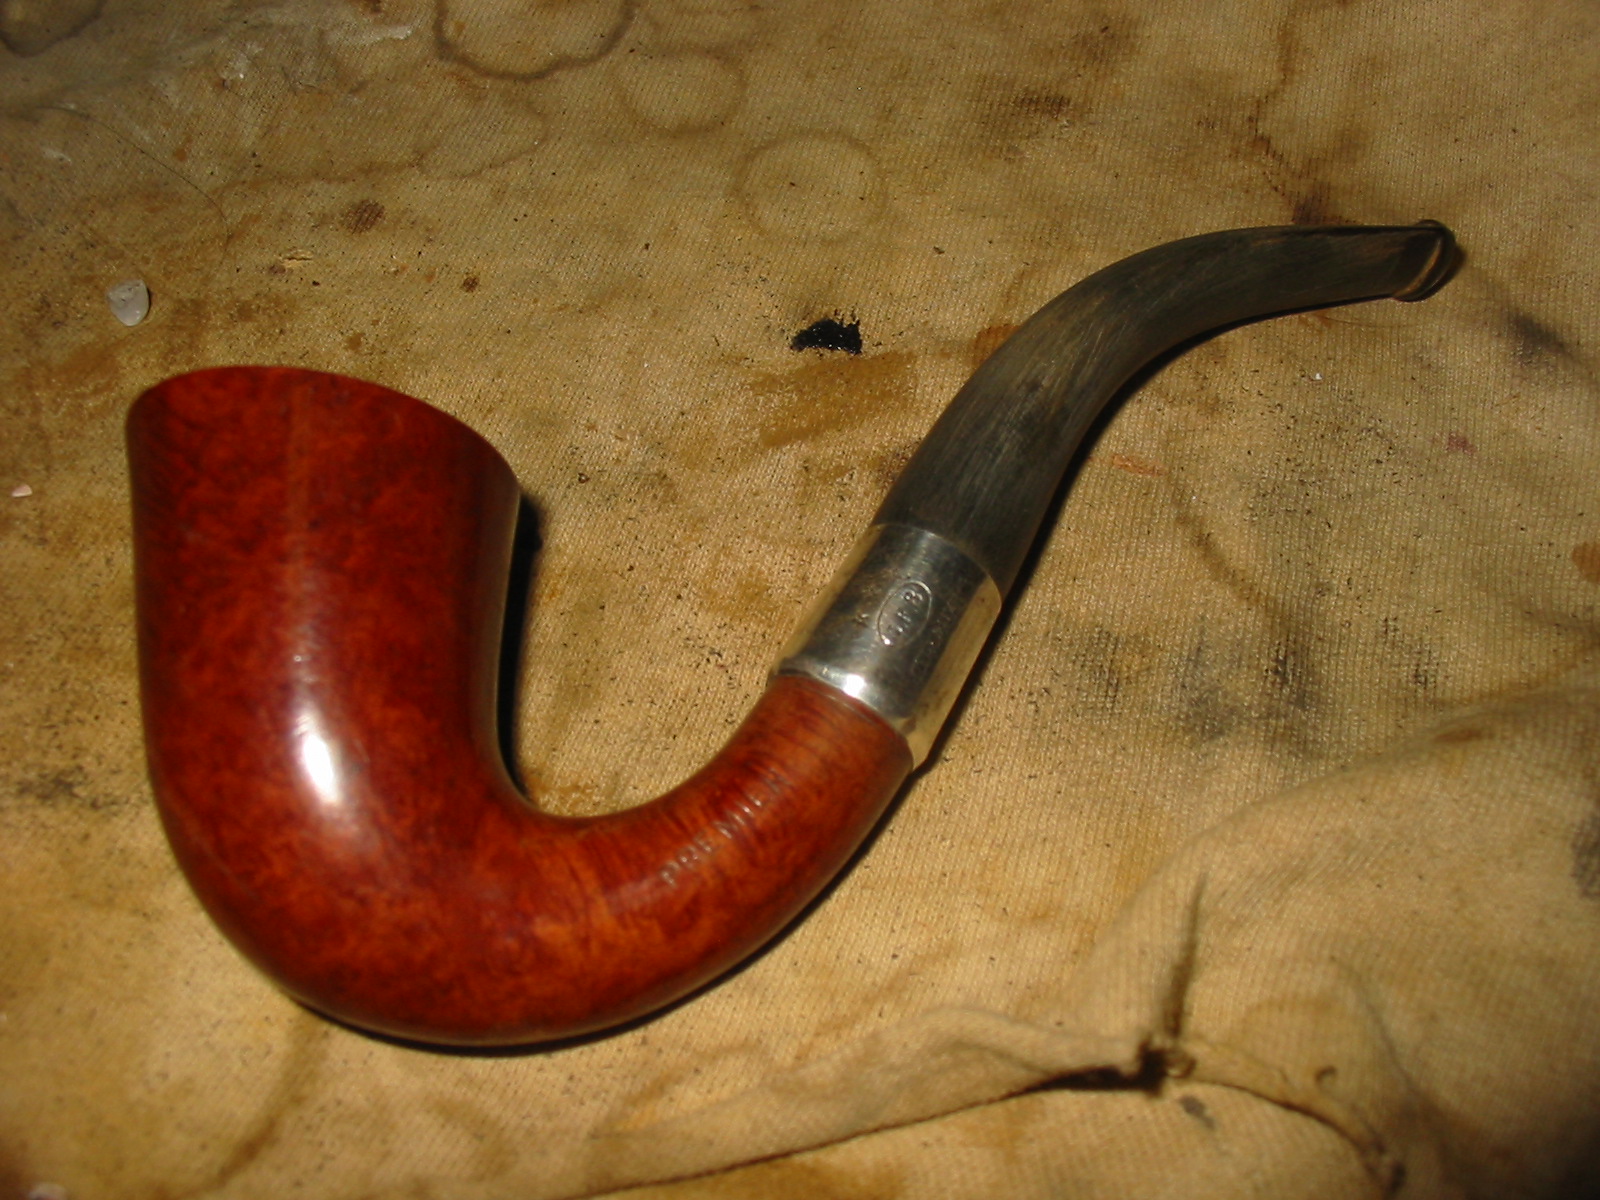
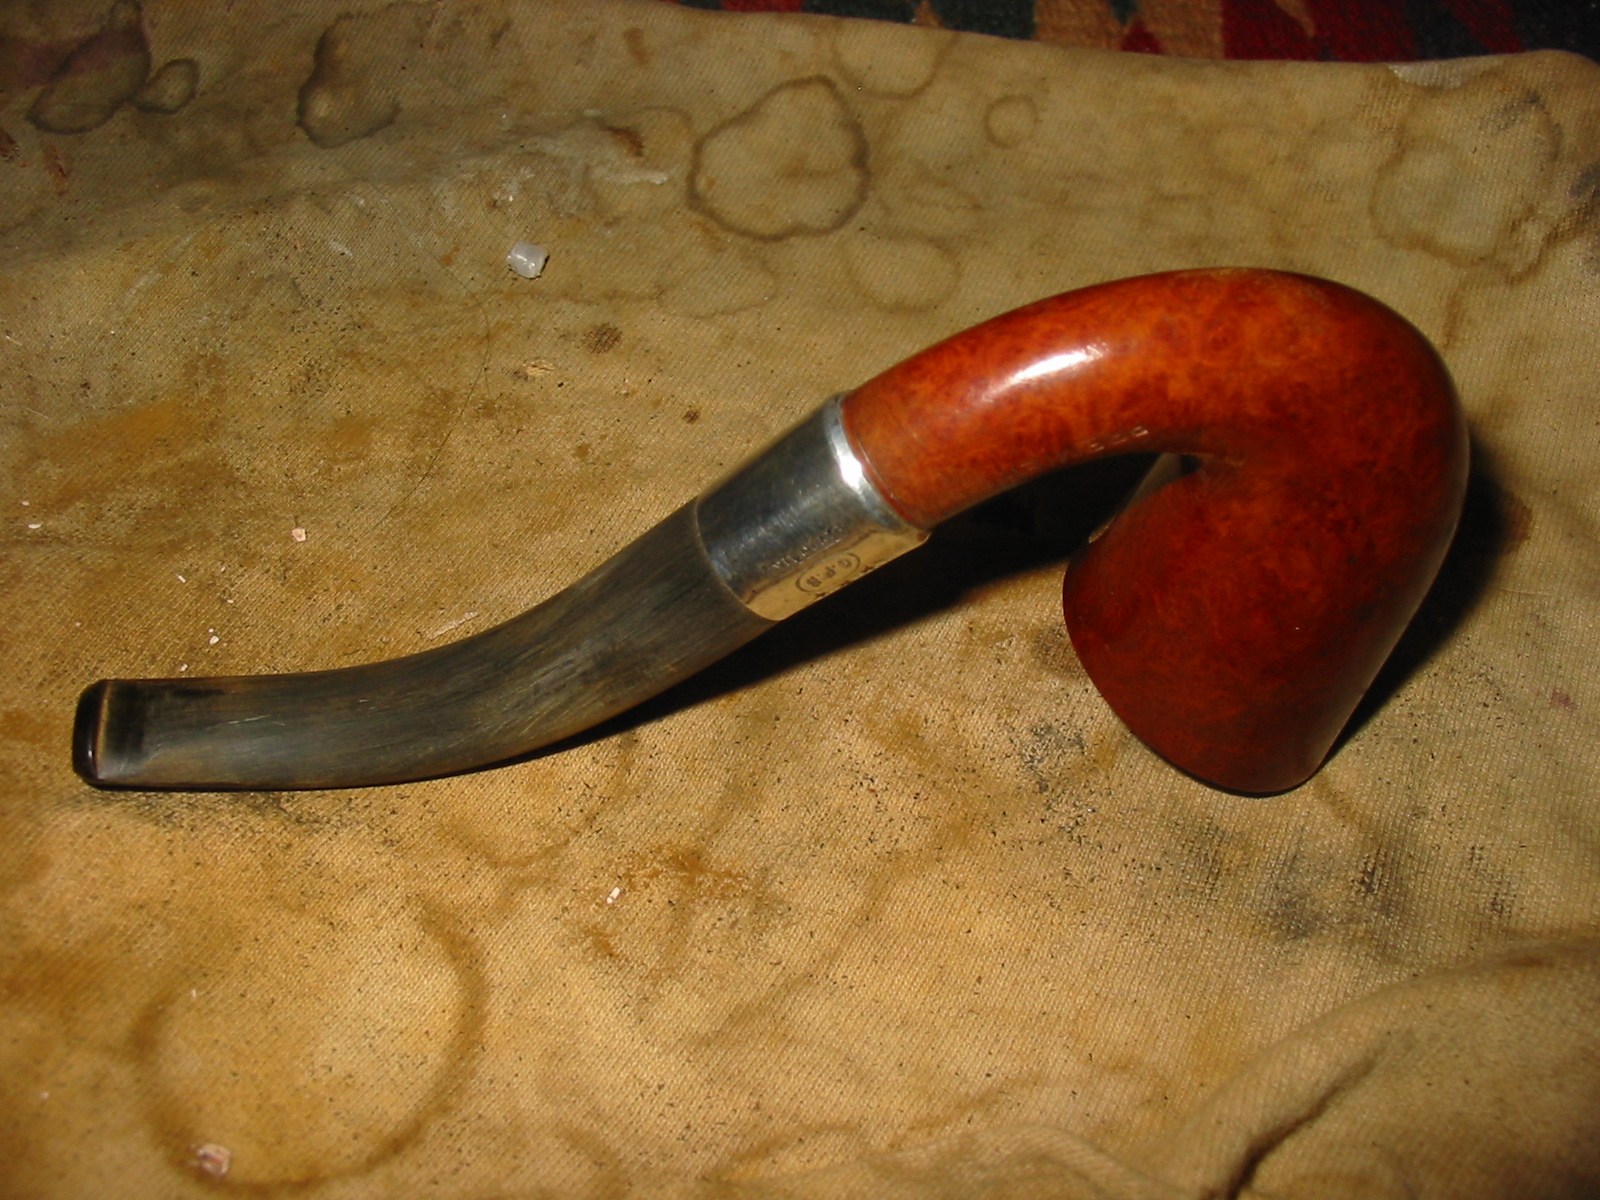
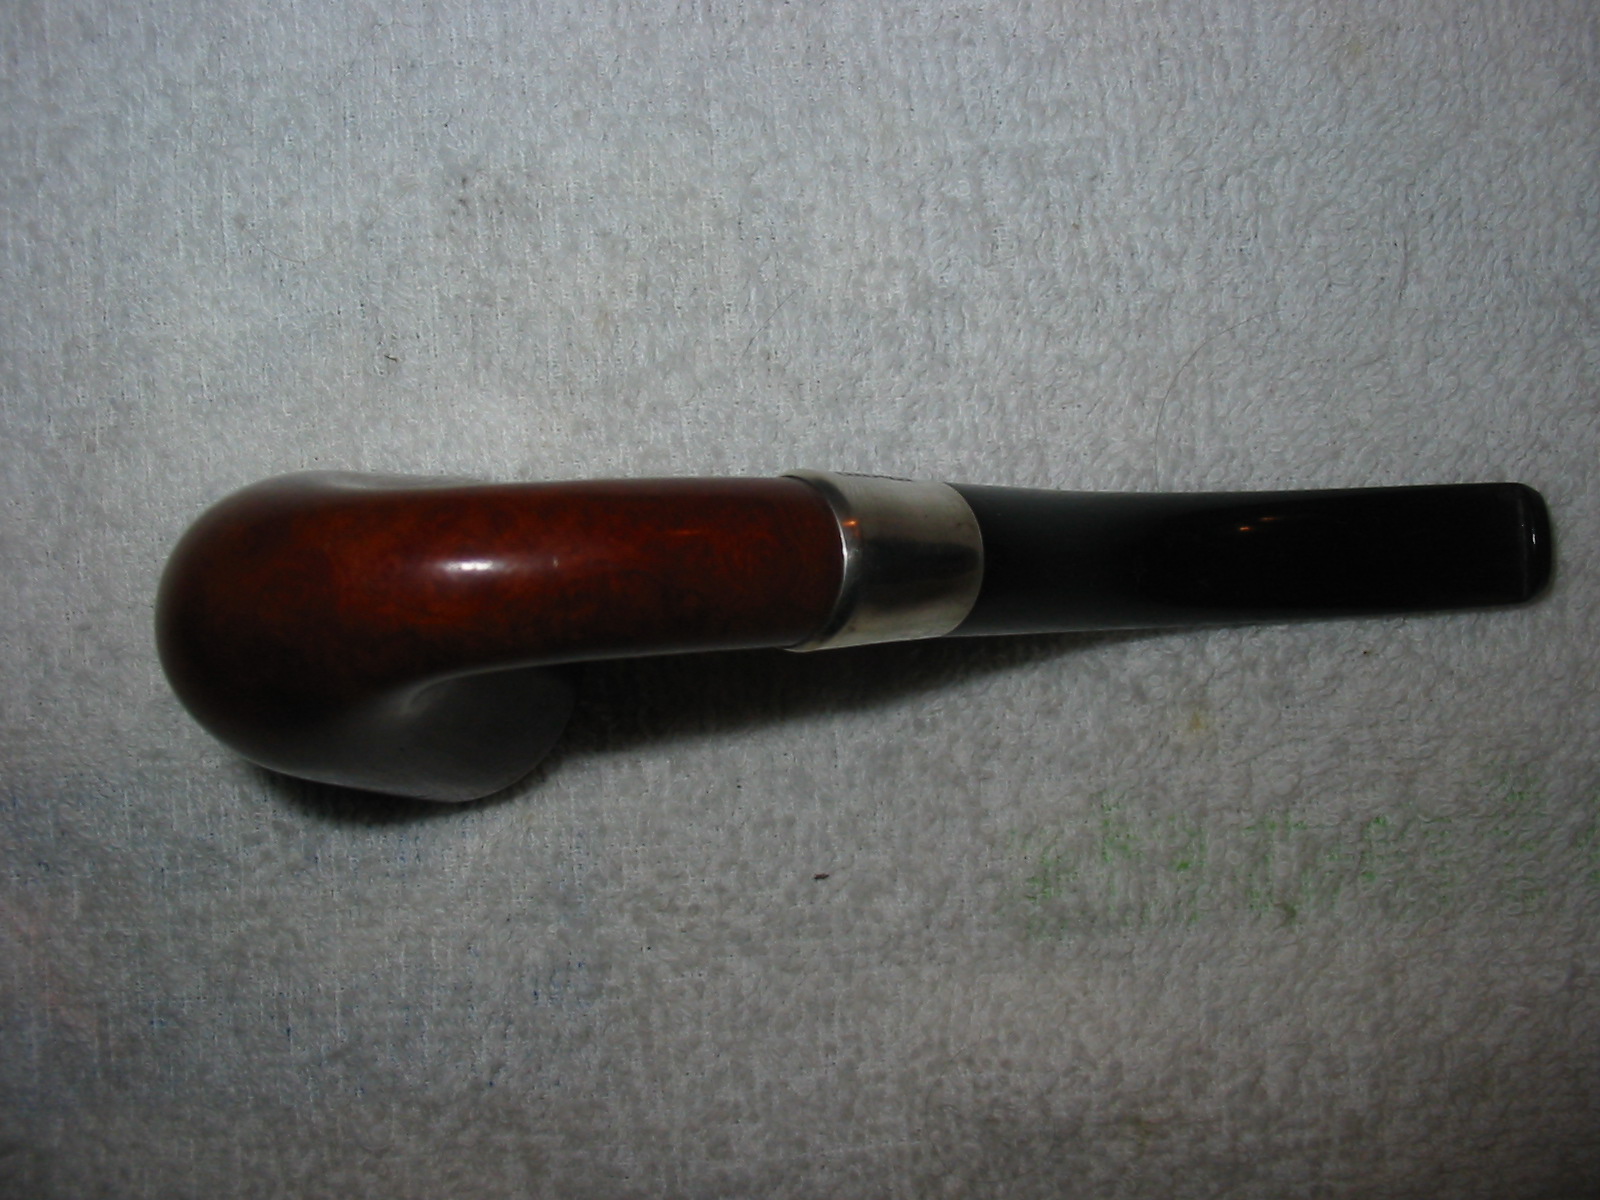
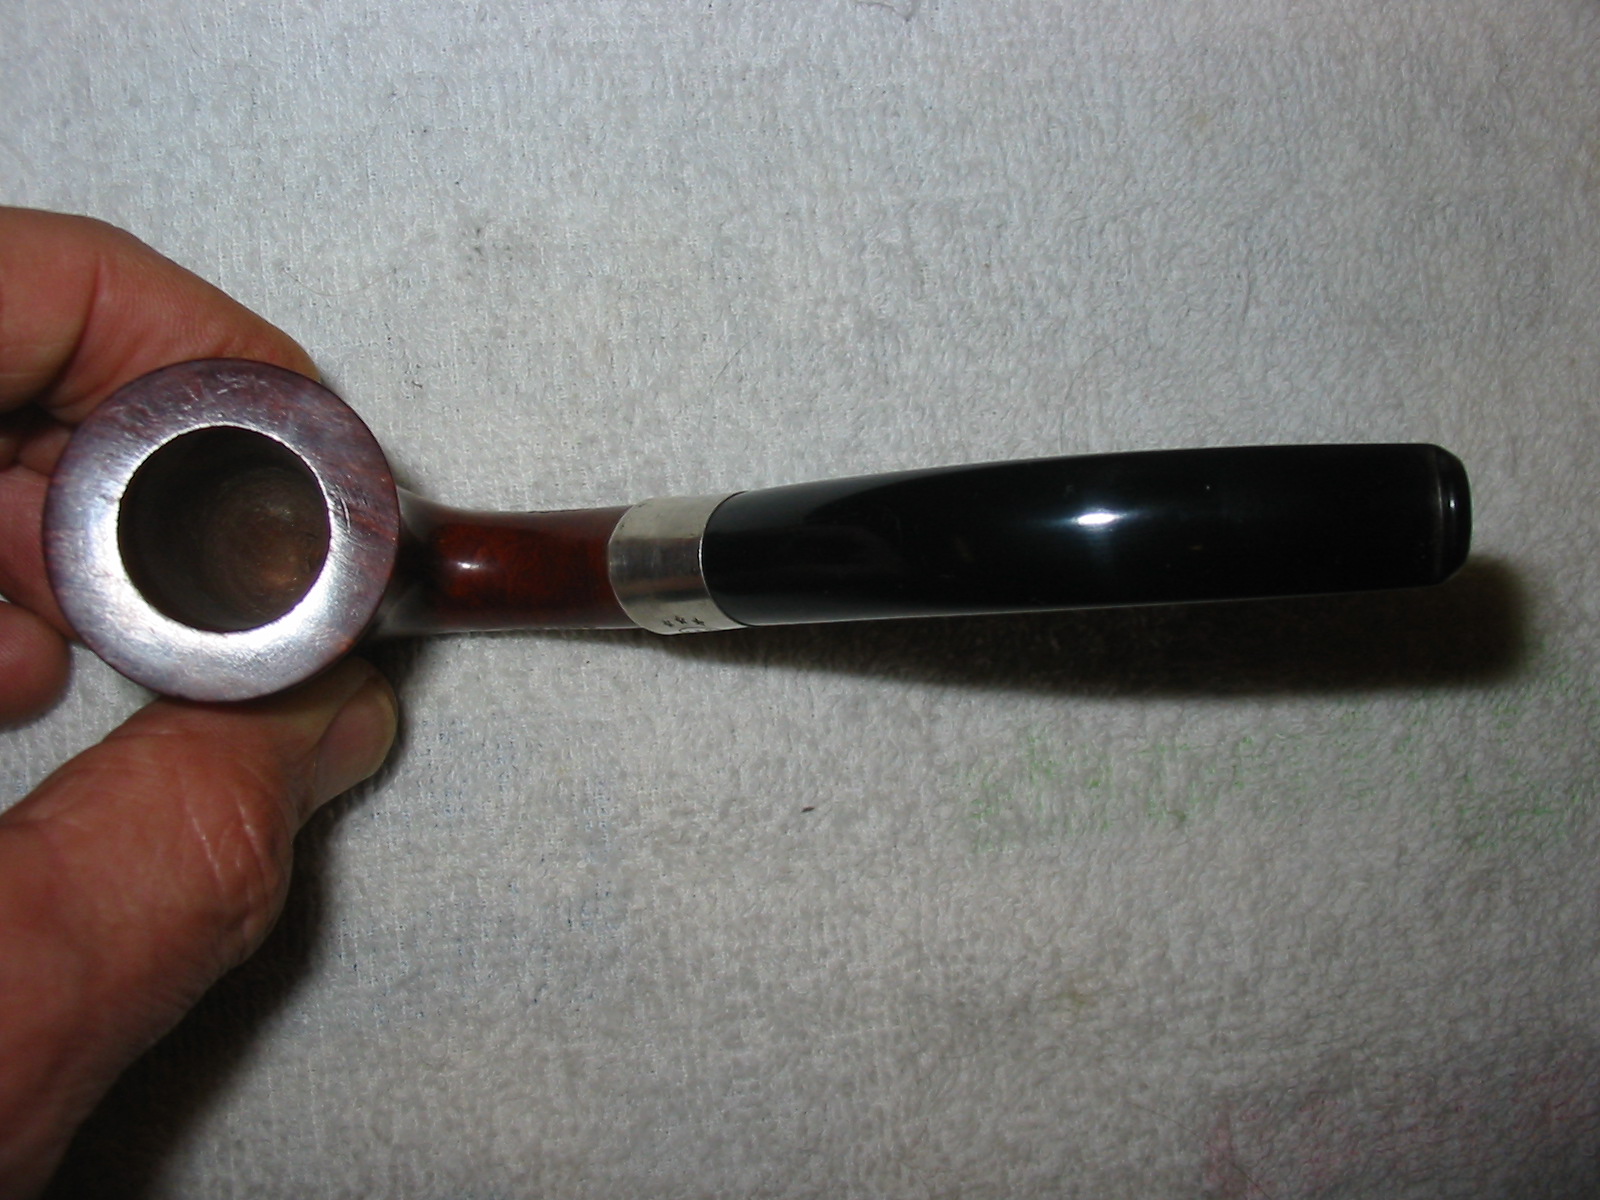
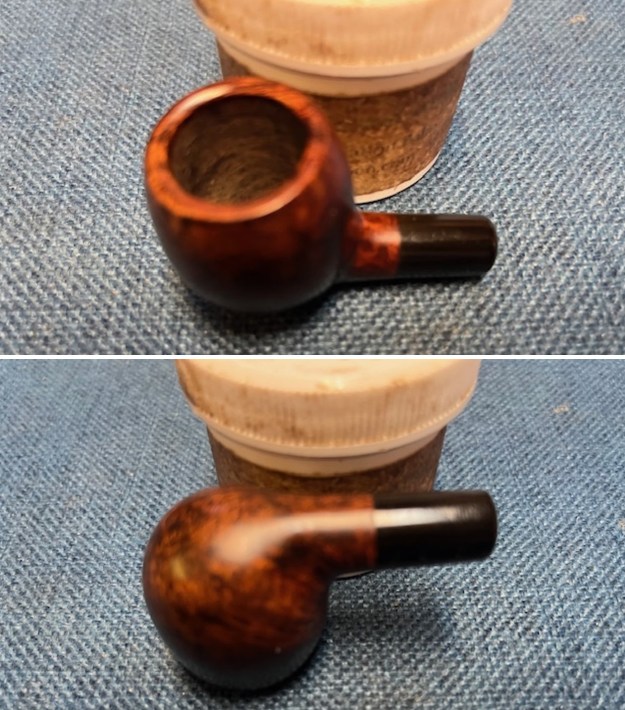
I saw this old stummel on EBay and was interested in giving it a refurbishment. It did not have a stem and when it arrived it was in worse shape than the seller had led me to believe. The bowl was filled with a hardened burned tobacco and also a half a bowl under that of unburned dried and hardened tobacco. The rim was very badly damaged and the cake was very thick. It was thicker about half way down the bowl and funneled down to the bottom of the bowl making the bowl appear to be conical. I knew from examining it that it was not a conical bowl so the cake would have to go. The silver band was twisted over to the right and was upside down. The stamping on the bowl was non-existent but the band was stamped J.K.L.K. and next to it were the hallmarks – a lion (signifying that the band was sterling silver), an anchor (signifying that it was made in Birmingham, England) and in the center of the threesome was the letter “t” in a boxlike shield with the corners trimmed (signifying the date of the pipe as 1918). I use a website that gives the information on hallmarks http://www.silvercollection.it/englishsilverhallmarks.html . The finish on the bowl was shot with darkening spots and worn spots. The grain underneath actually appeared to be quite nice. It looked like it would clean up very well to me. The first three pictures below show the state of the bowl when it arrived in the mail.


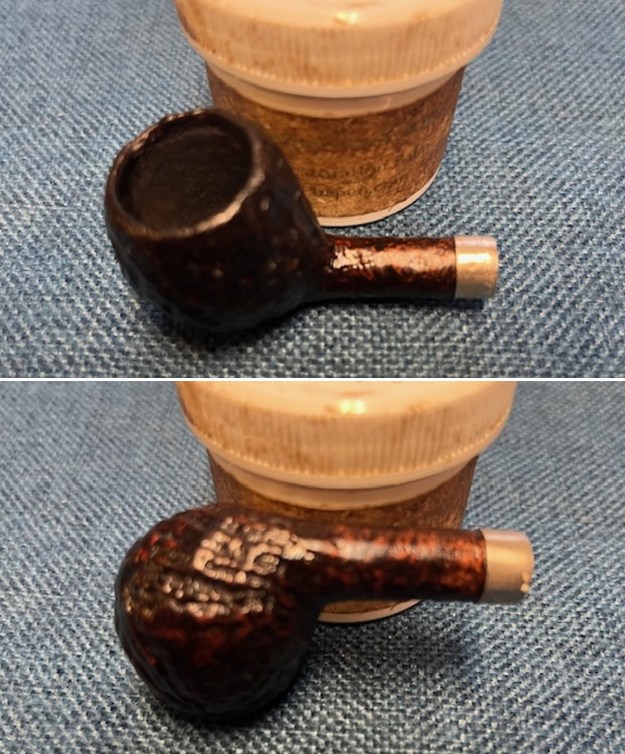
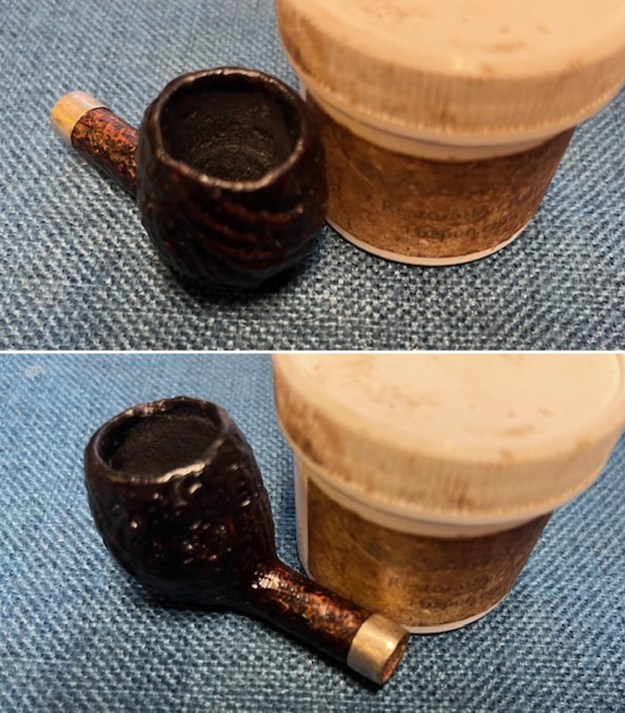
I took my dental pick and cleaned out the hardened tobacco, both burned and unburned. I collected it on a piece of paper to show the amount of material left in the bowl. It is always interesting to me to think about what had happened in the life of the original smoker to make him pause mid-bowl and stop smoking, set aside his pipe and not come back to it. I also wondered what happened to the stem on this pipe as it seemed that somehow it had been separated from the bowl and was nowhere to be found. I reamed the pipe with my PipNet reamer and dumped the carbon material on the paper as well. The next two pictures show the cleaning of the bowl and removal of the dottle and the cake.


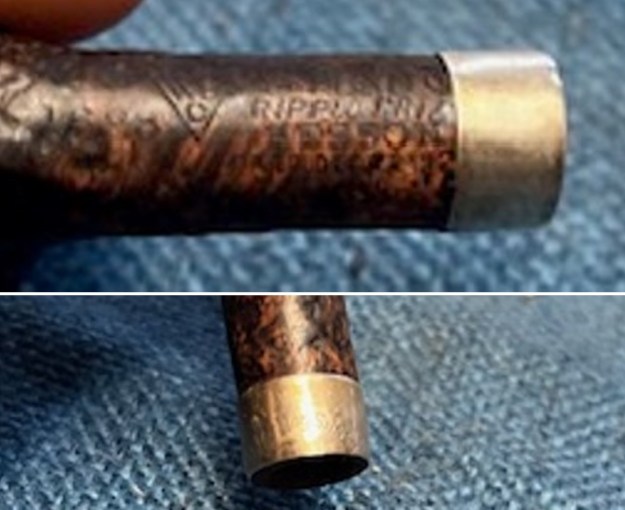
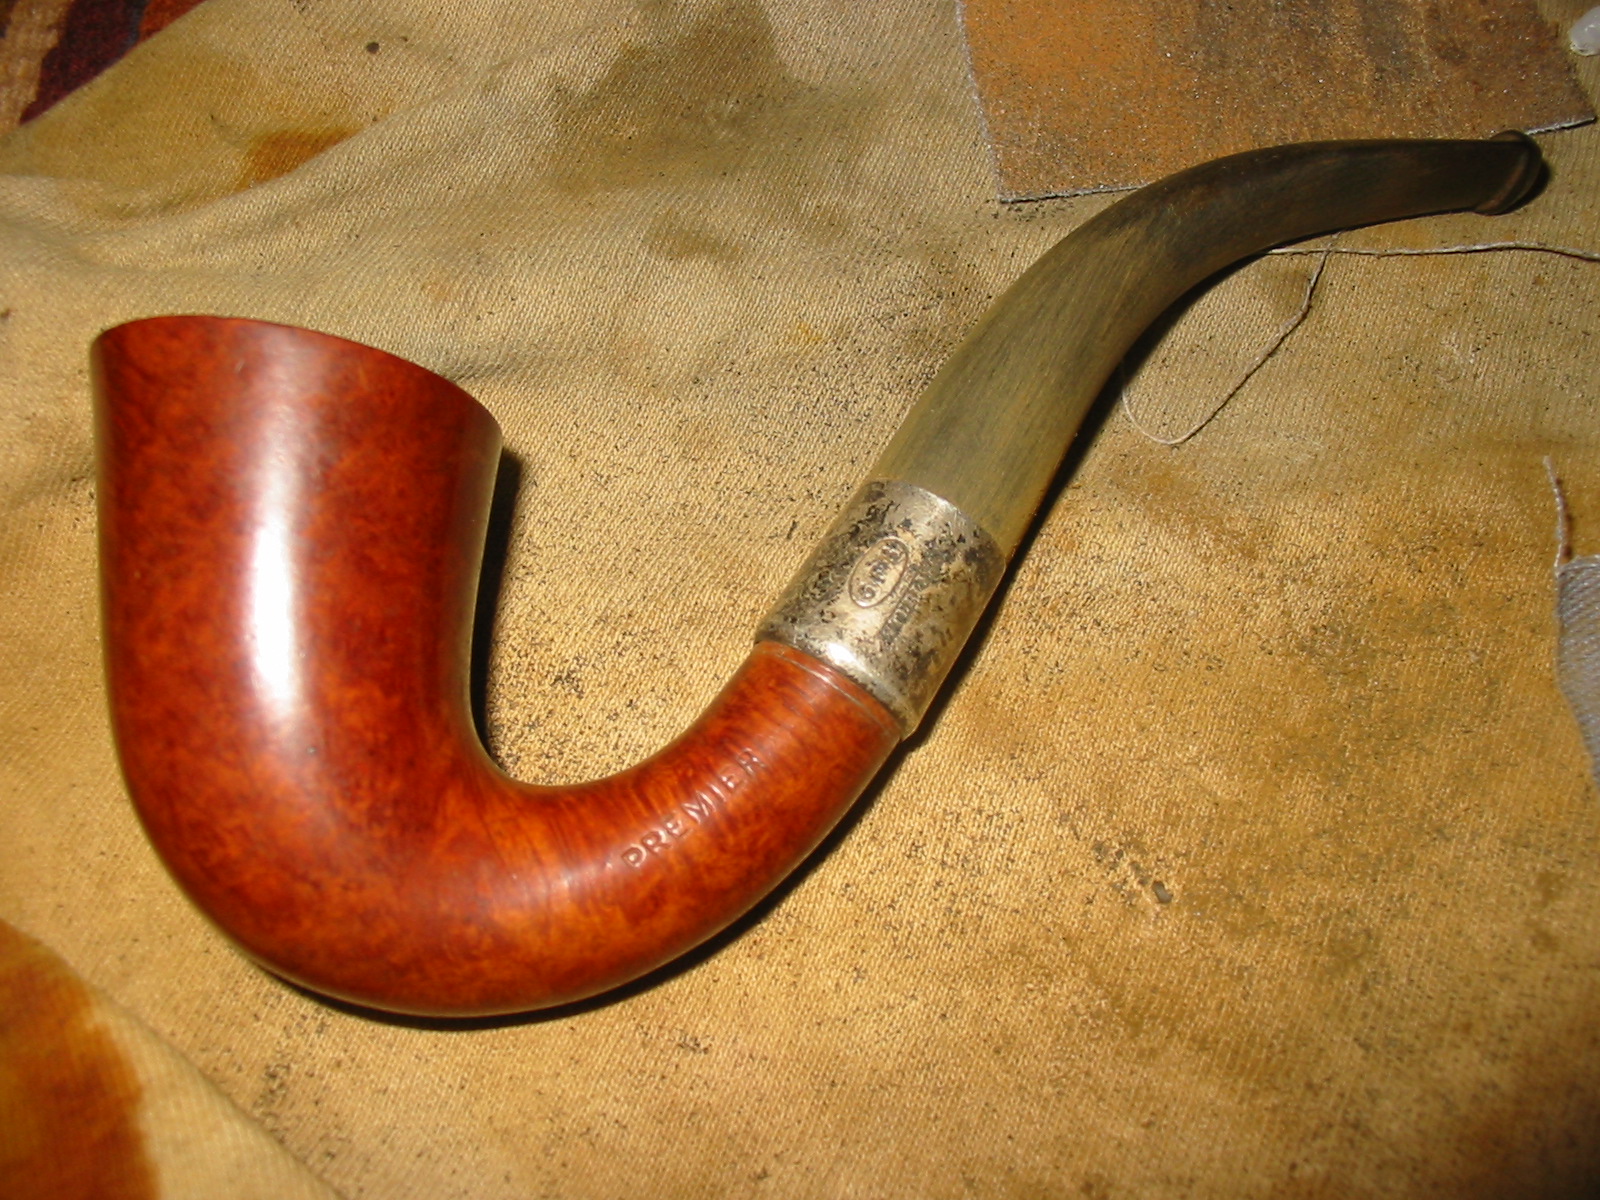
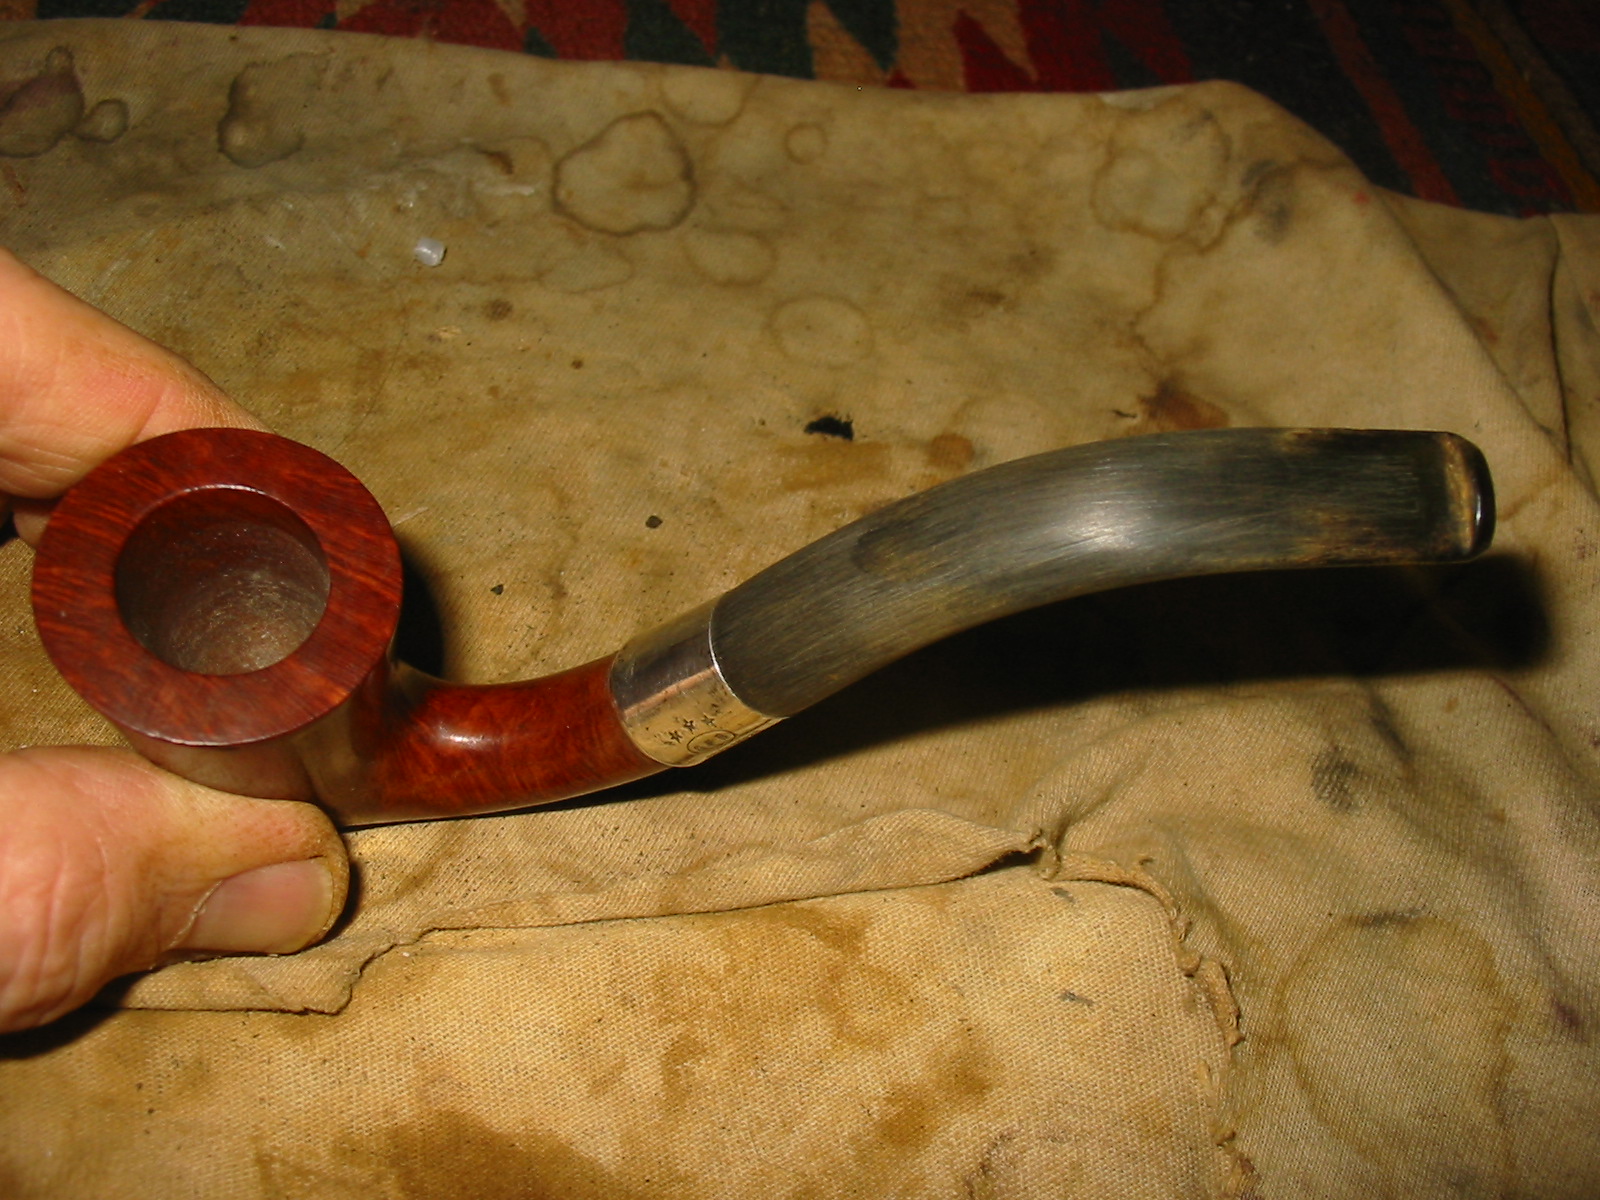
I then set up my heat gun to heat and loosen the band in order to turn it to the correct position on the shank. I heated it using the lowest setting on the gun. I used a cotton cloth to try to turn the band several times before the heat loosened the glue and allowed me to turn it. Once it was loose I removed the band and cleaned off the old glue and the surface of the shank with an alcohol damp cloth. Once it was clean and dry I used some wood glue and spread it over the surface and then pressure fit the band in place and wiped off the excess glue. I used turned the band so that the letters and hallmarks were right side up and straight on the right side of the shank. The next three pictures show the heating and setting of the band as well as the finished set of the band.


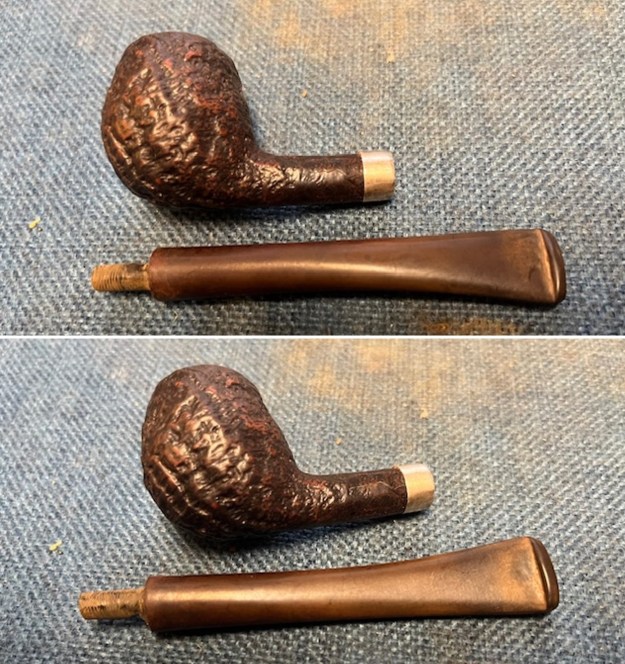
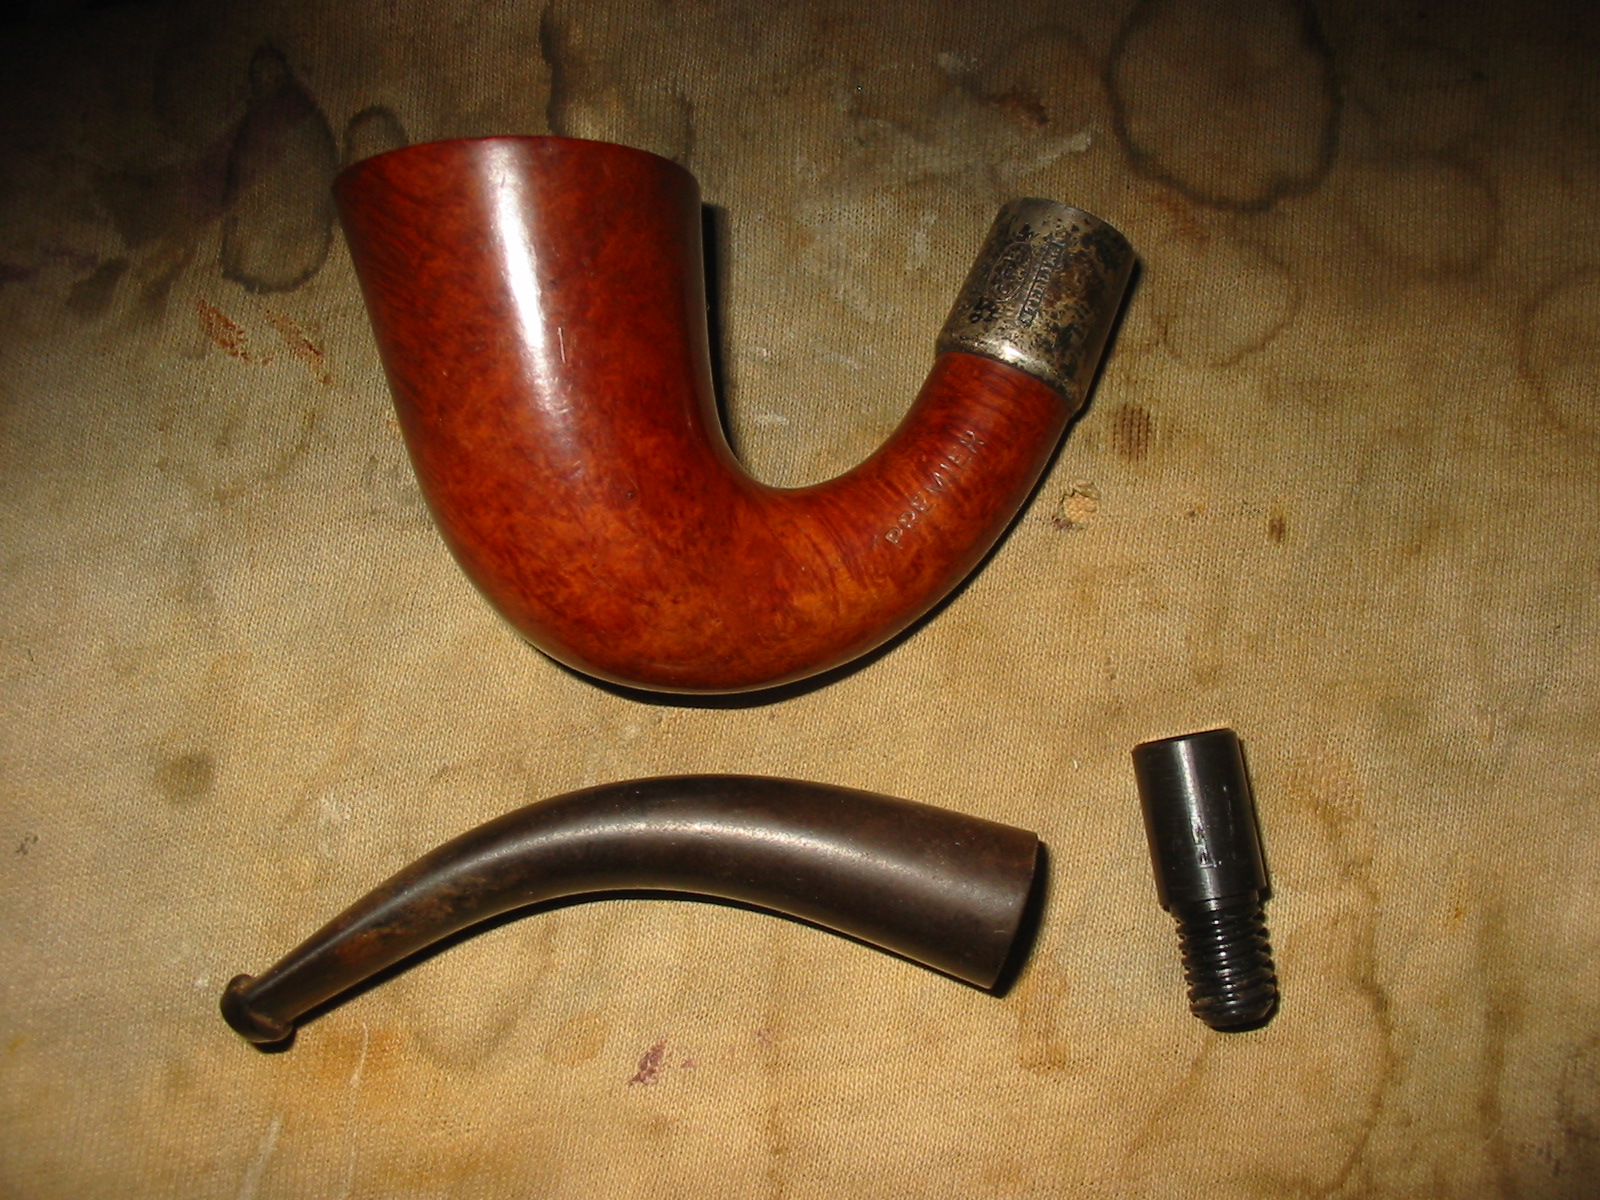
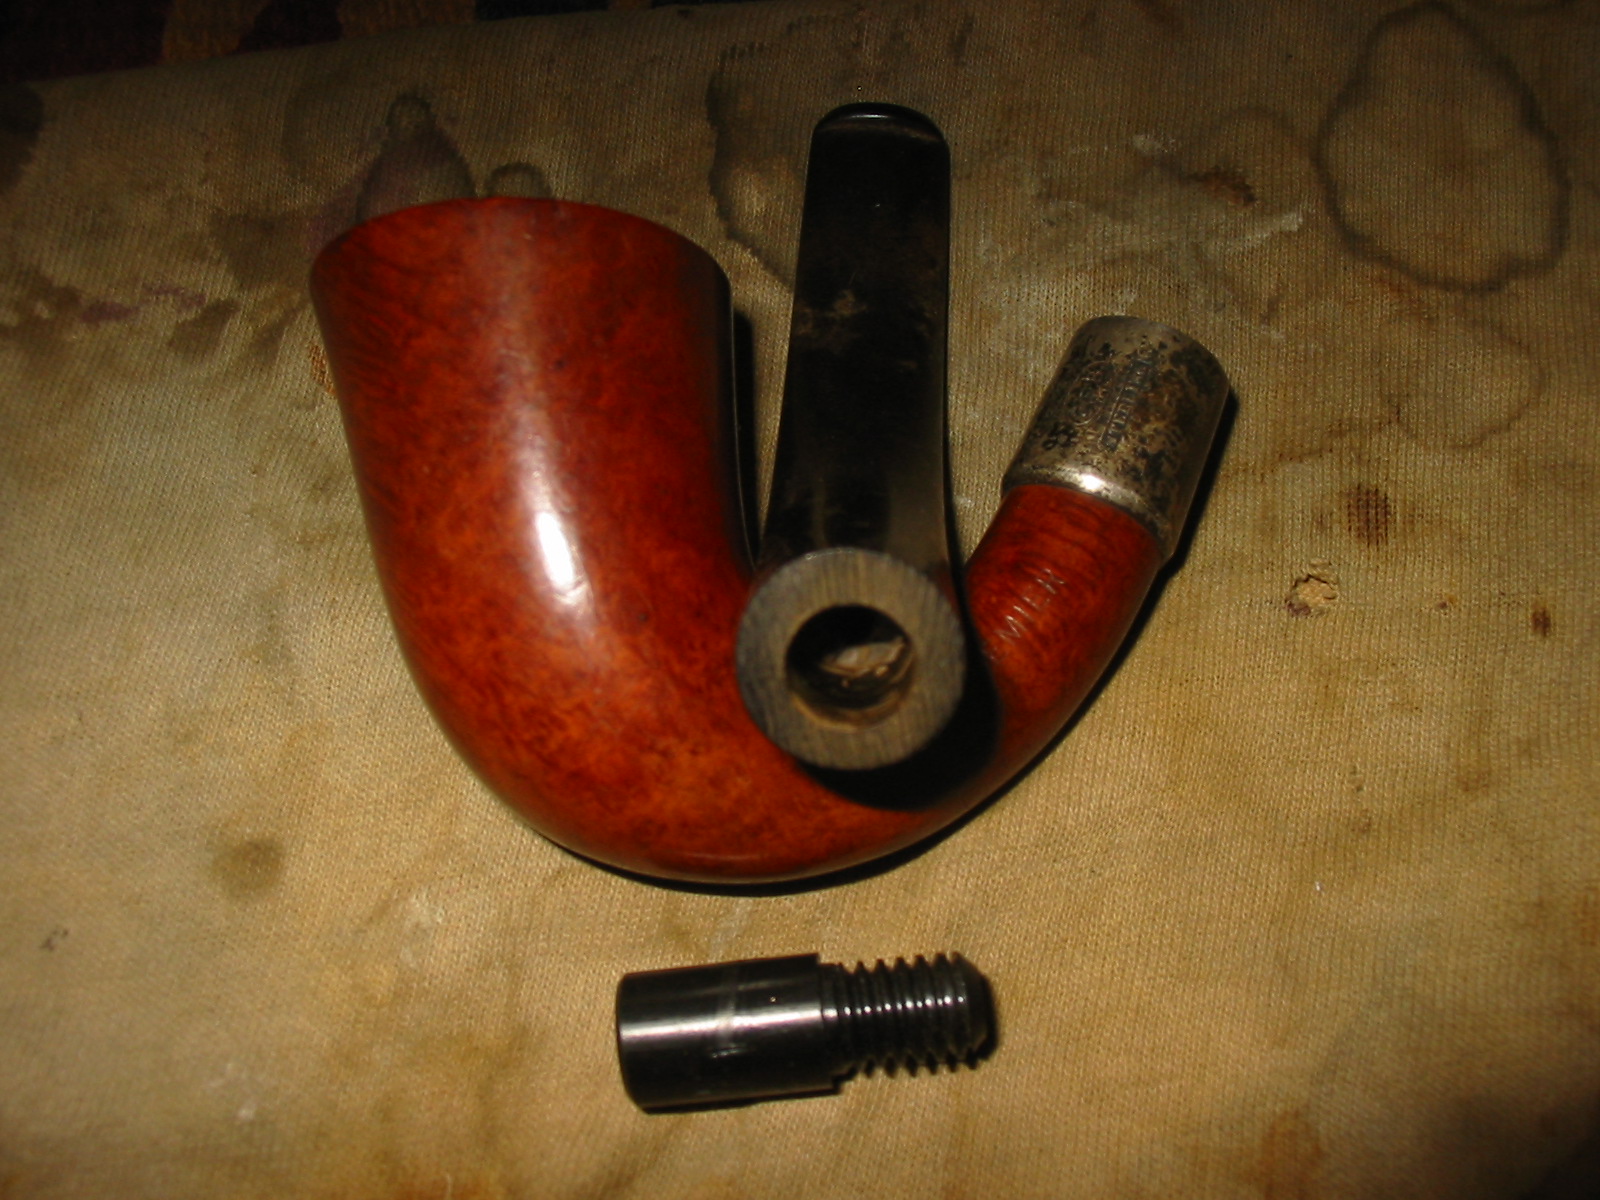
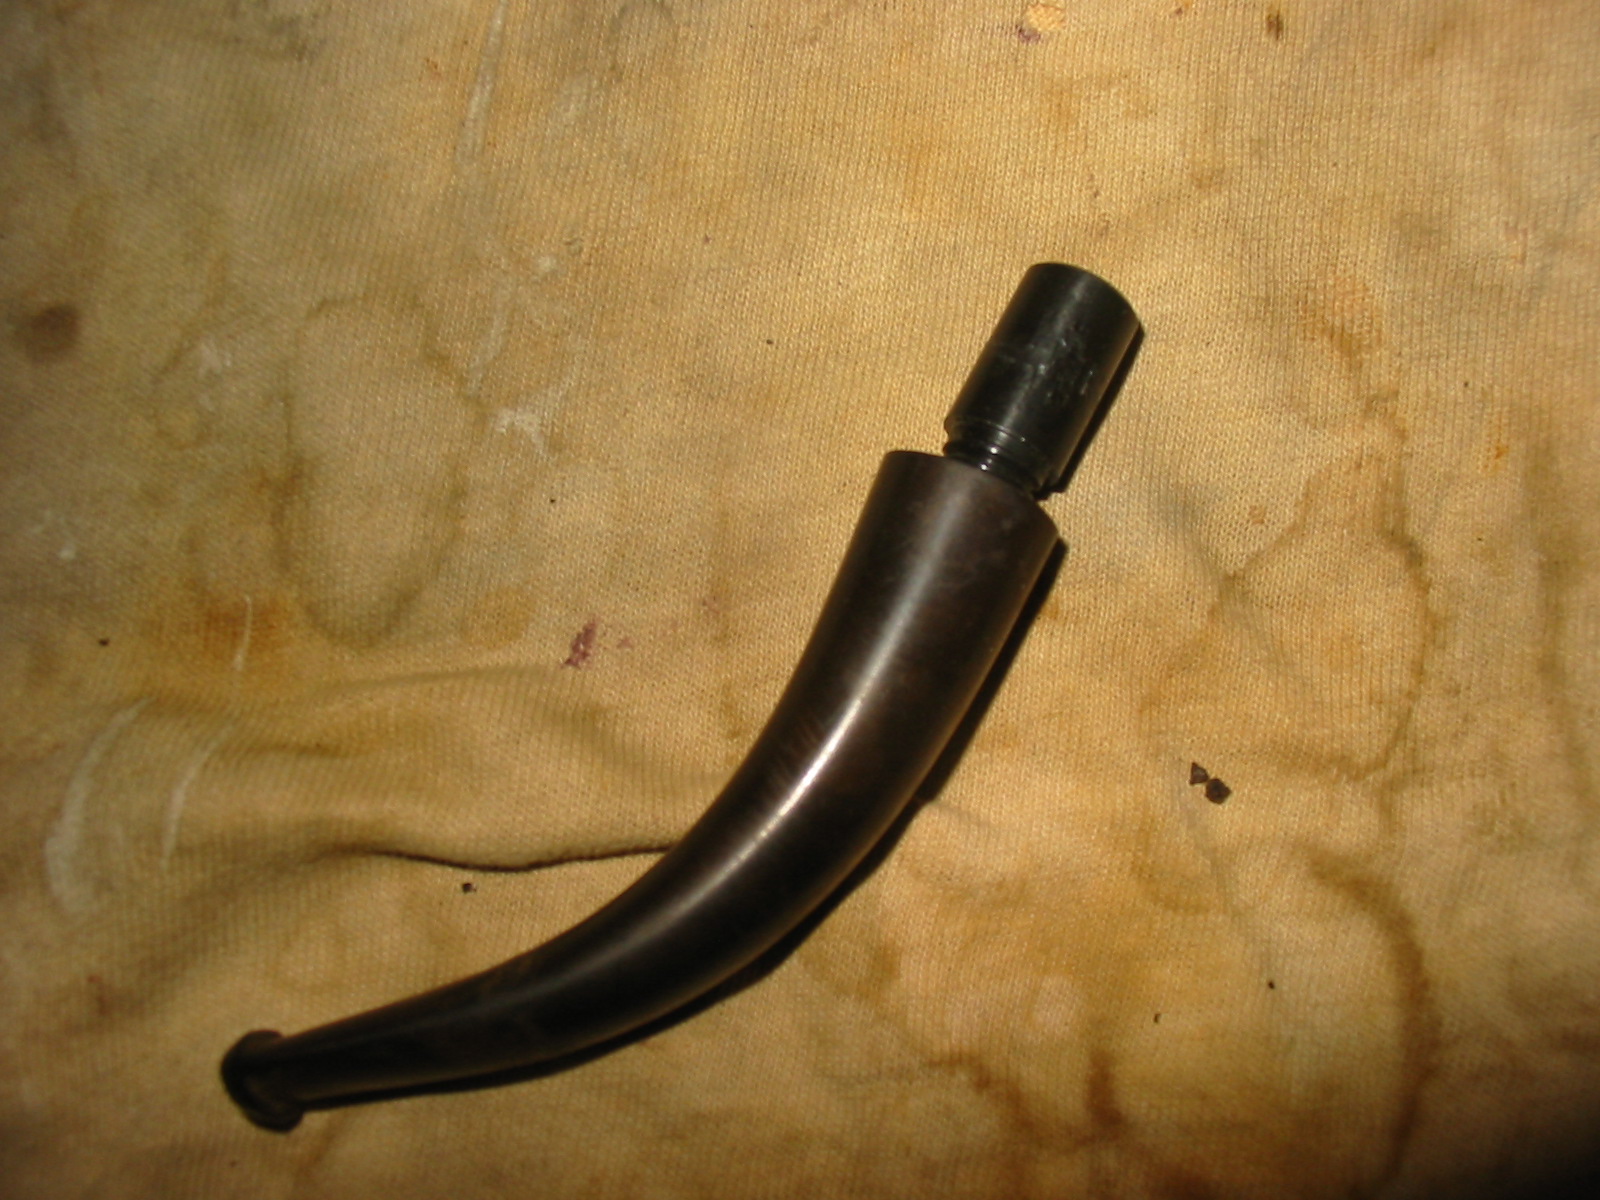
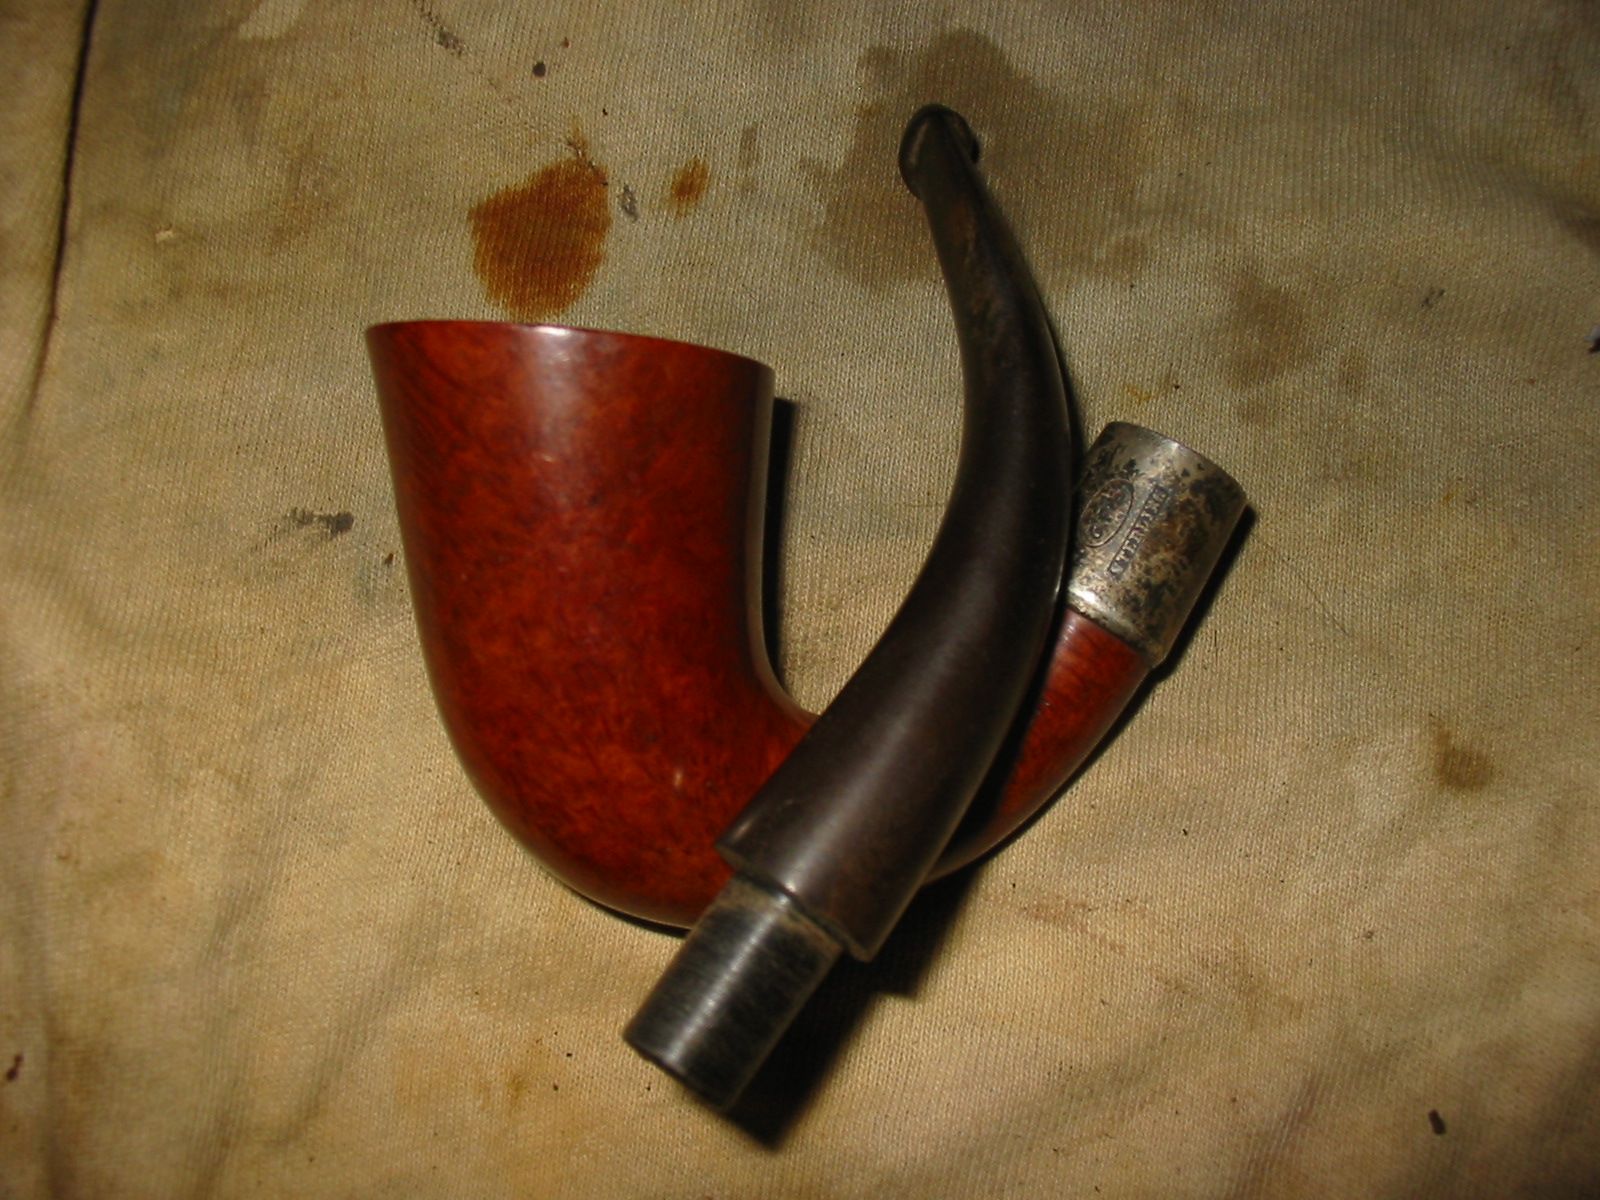
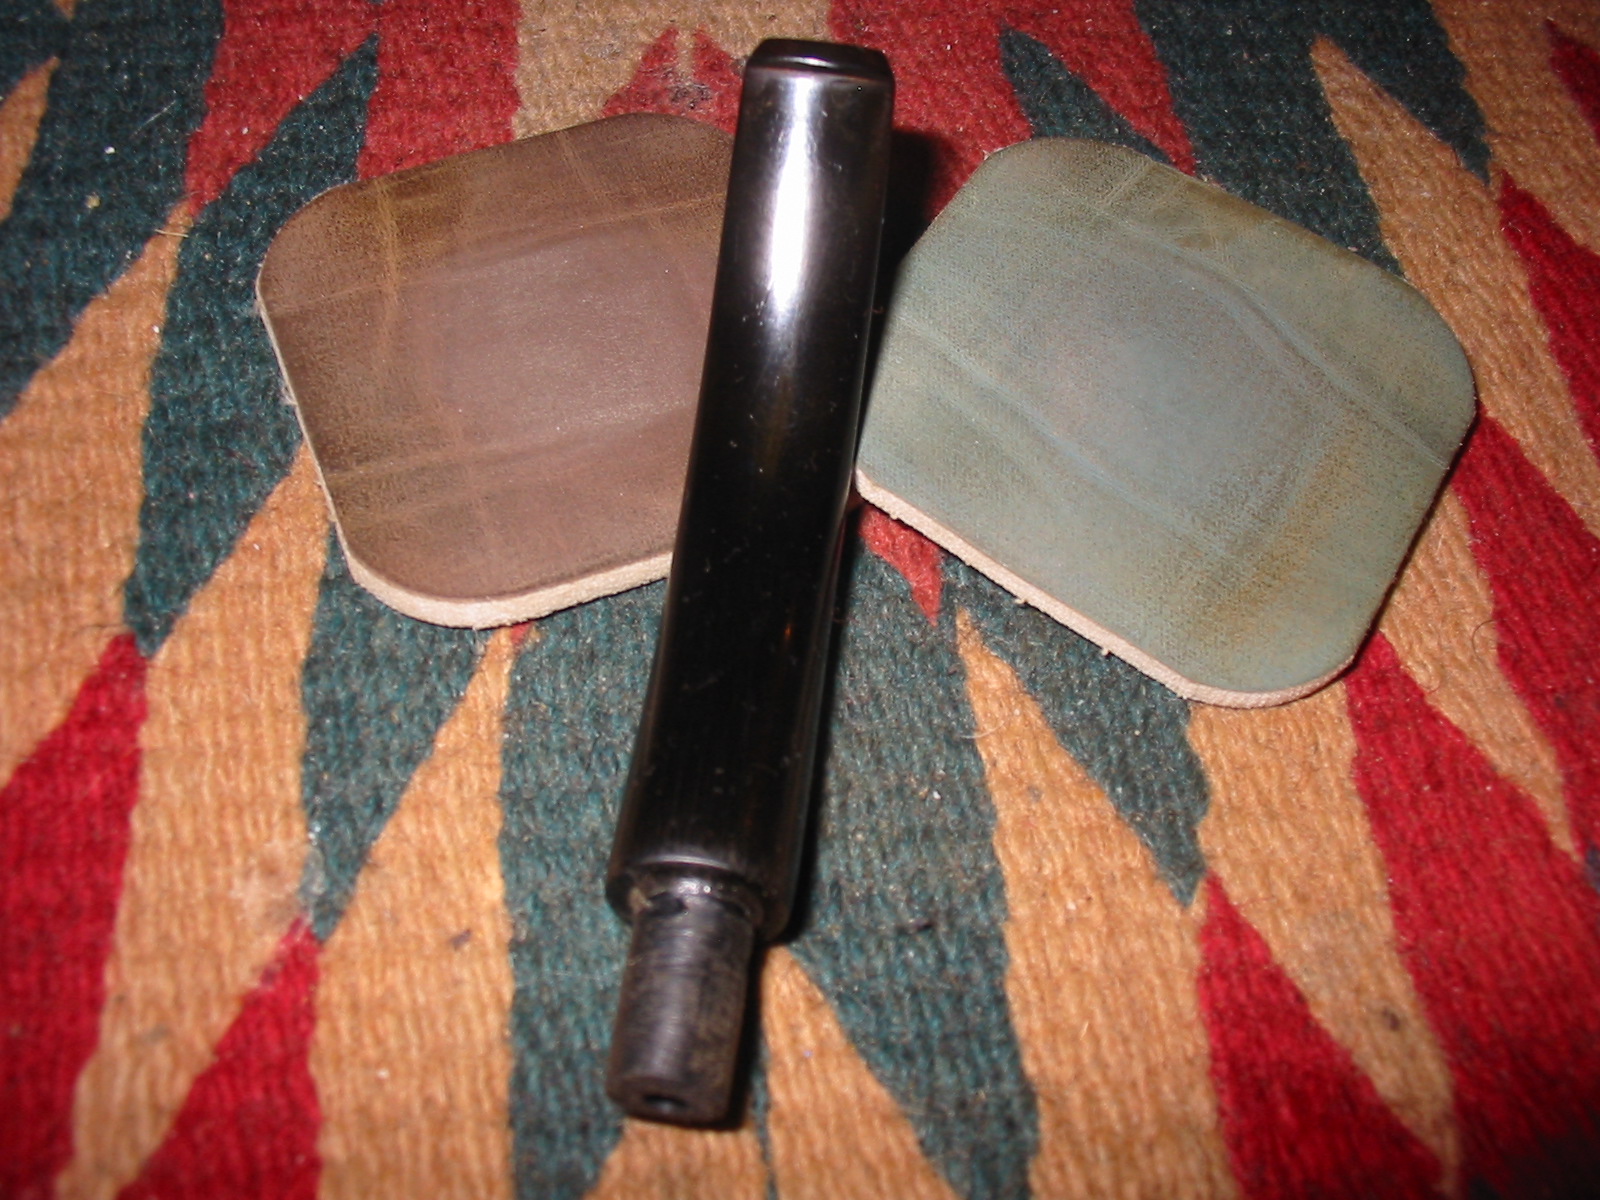
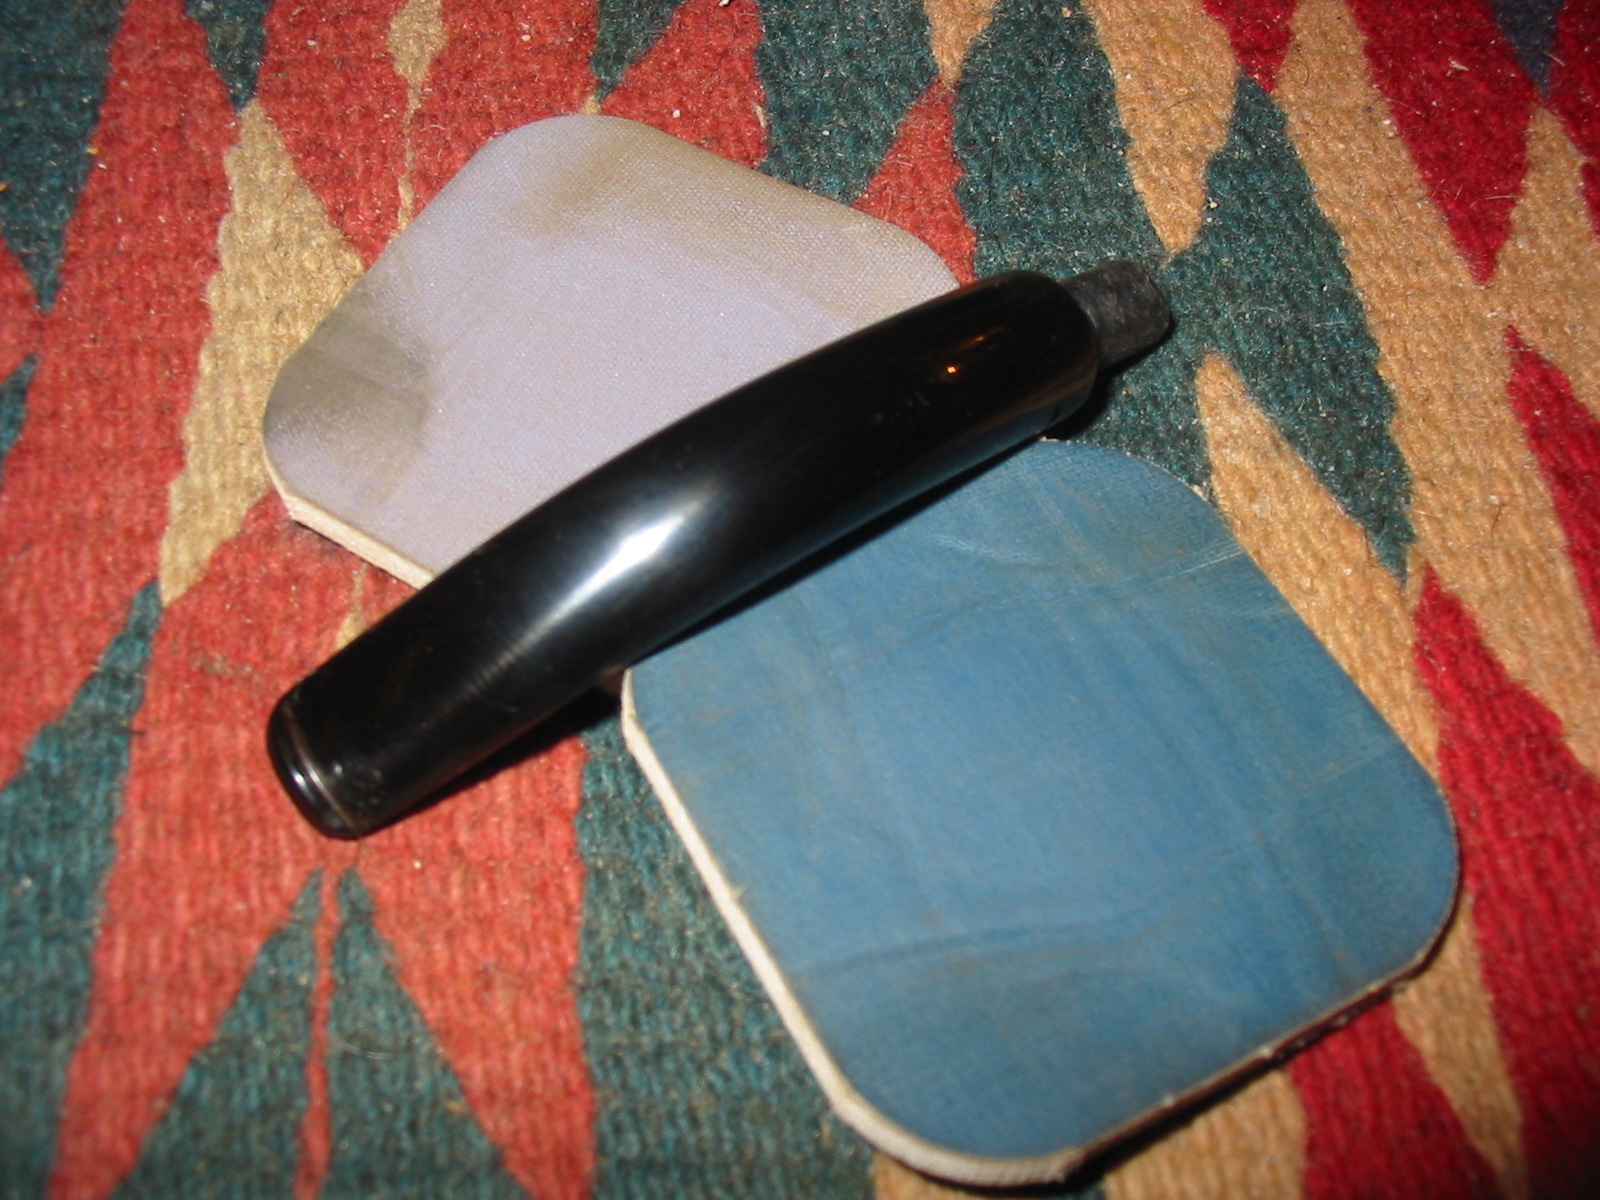
I then looked through my can of used stems that I have scavenged and purchased until I found one that had the same diameter as the shank and band. I knew that I would have to work on the diameter of the tenon to make it fit the shank. I sanded the tenon until it fit well in the shank. I also needed to use a drill bit to smooth out the interior of the shank. I hand turned a drill bit into the shank until it was the same depth as the tenon and was smooth on the inside. I then used a slightly larger drill bit to set the countersink on the shank so that the stem would fit tightly against the shank. The next four photos show the process of fitting the stem to the shank.


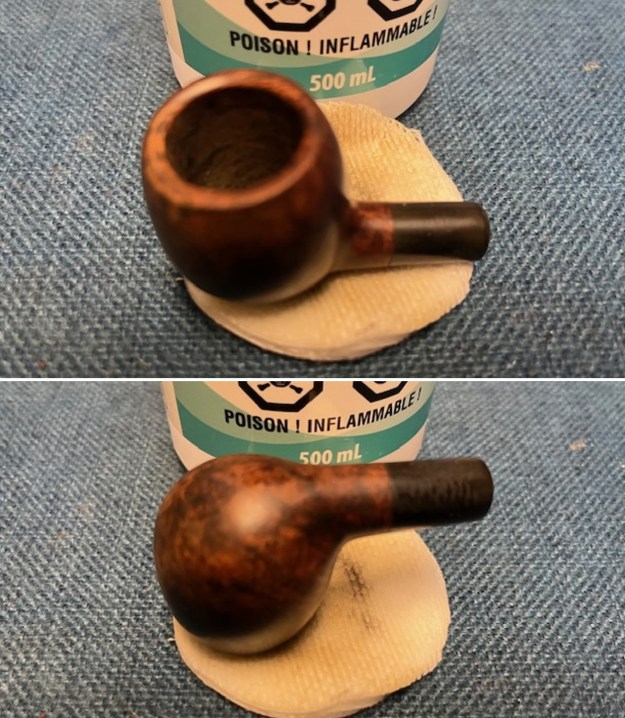
At this point I topped the bowl rim to smooth out the surface and remove the chewed up surface and the dents and roughness. I used my board and a piece of emery cloth first. I turned the bowl top in a counter clockwise direction with the rim flat against the board and paper. I turned it on the emery cloth and repeatedly checked to see if I removed the damaged surface. I have found that regular checking keeps me from going too far with the topping process. The next four photos show the topping process. As I topped the bowl and cleaned the surface of the bowl exterior, a fairly large crack appeared in the side of the bowl and also on the top of the rim. It is visible in several of the photos at the 7 o’clock position on the bowl surface. It would need some work to repair it and a decision had to be made whether to do so.


Once it was sanded I wiped the bowl down with some more acetone on a cotton pad to remove the dust from the sanding. I decided to take the time to work on the crack and see if I could repair it with briar dust and superglue. I began by wiping down the bowl with a cotton pad and some acetone. Once the surface was clean I used my dental pick to clean out the crack. It did not seem to go all the way through to the inside of the bowl and as I cleaned it the depth of the crack became very evident. The first three photos below show the surface cleaned and ready to repair. The next two photos show the repairs that have been made with the briar dust and the superglue. I tapped briar dust into the crack first with my dental pick and then dripped the super glue on the rim and the bowl side. The glue on the rim ran and made a large spot of glue that would need to be sanded to clean up the spillage.


I sanded the rim by once again placing a piece of sandpaper on my flat board and sanded the bowl top like I did when I topped it. I used 320 grit sandpaper for the topping cleanup and also used the same grit sandpaper to sand the outside of the bowl. I sanded it again with 400 and 600 grit wet dry sandpaper and water to finish removing the excess glue and preparing the surface for a restaining. The next series of six photos show the repair after it has been sanded and wiped clean. The crack on the side of the bowl has all but disappeared with the briar dust/superglue repair. The one on the top of the rim also was smooth and once it was stained would also be virtually invisible.


I sanded the bowl with micromesh pads 1500-4000 grits and then wiped the bowl down a final time with some acetone on a soft cotton pad to prepare it for staining. I decided to use some dark brown aniline stain that I had thinned down 2:1 with isopropyl alcohol. I applied the stain with a wool dauber that came with the stain and then flamed it to set the stain. I reapplied the stain, flamed it a second time and then reapplied the stain a third time with several applications to the rim of the bowl. Each time I flamed it and set it. Once finished I took it to the buffer and buffed the bowl with red Tripoli and then White Diamond to polish it and see the finished look of the pipe to this point. The next three photos show the progress of the staining from first application to the resulting look after buffing with the White Diamond. After buffing the bowl I took it back to the work table and wiped the bowl down with some isopropyl alcohol on a cotton pad to lighten the stain some more as I wanted to make the grain more visible. I rebuffed the pipe with White Diamond and the last three photos below show the pipe after the final buffing.


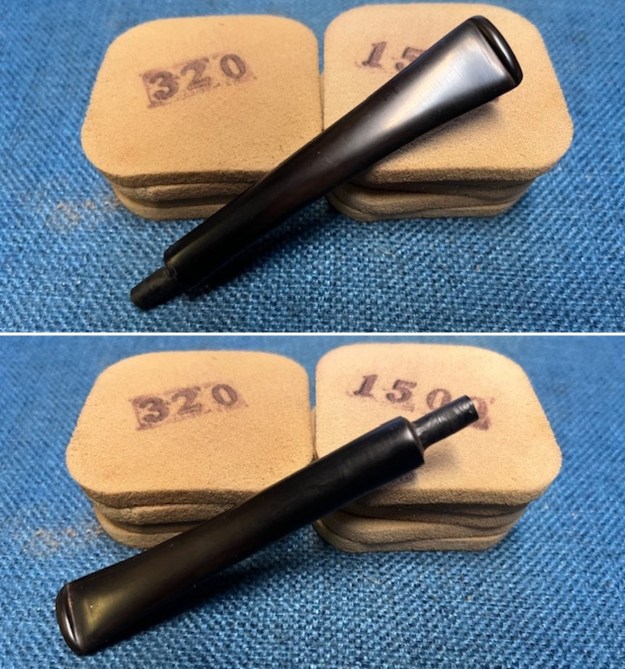
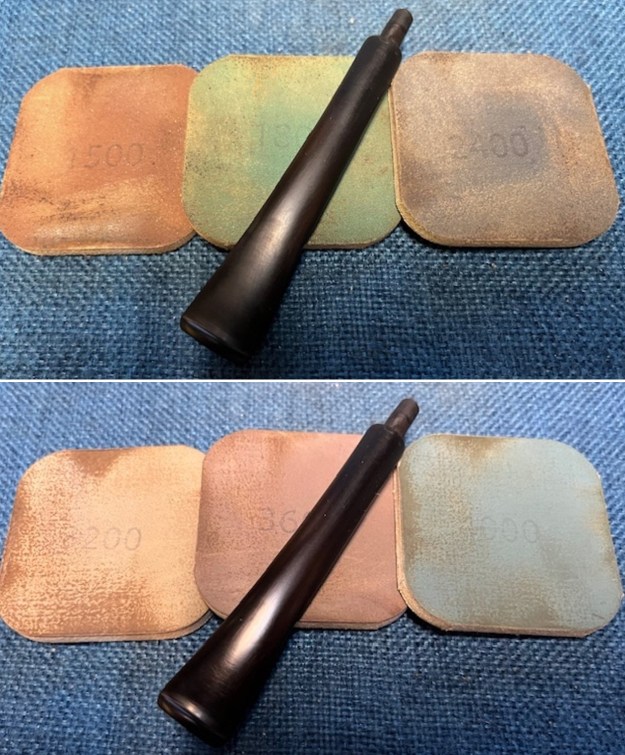
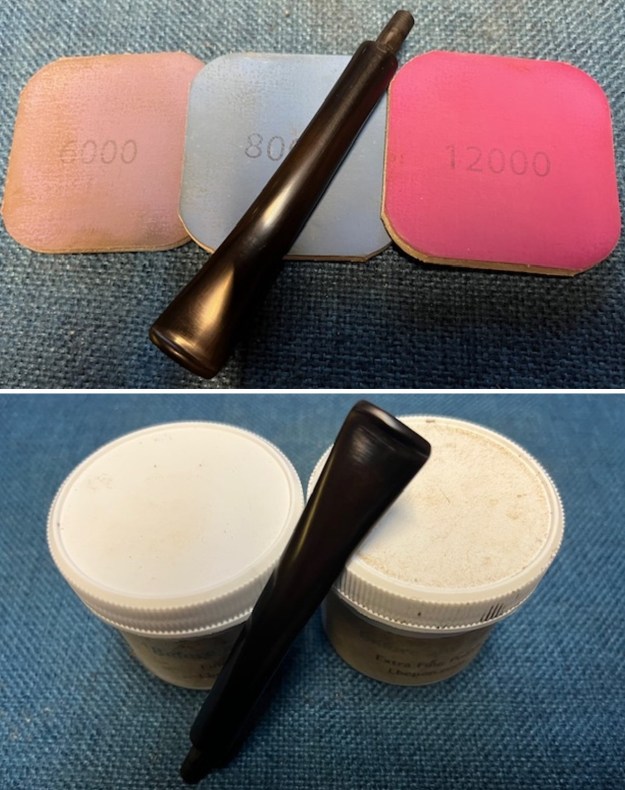
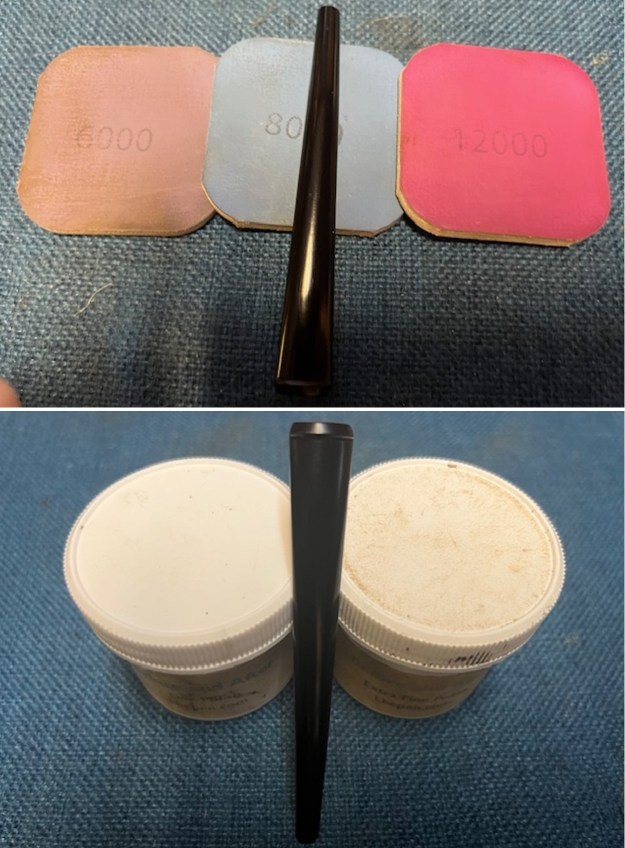
At that point in the process I went to work on the stem. I sanded the stem with medium grit foam back sanding pad to remove the oxidation. I used a Bic lighter and ran it over the surface of the stem to remove the oxidation on the surface. Once that was finished I sanded the stem with 320 grit sandpaper to remove the scratches and the marks in the stem. I also worked on the taper as there were some tooth dents in the surface of the stem that had changed the flow of the taper in front of the button. Once I had removed the scratches with the sandpaper I then used the micromesh sanding pads. I wet sanded with 1500, 1800 and 2400 grit micromesh and then scrubbed the surface with the Maguiar’s Scratch X2.0. I wiped it off with a cotton pad and then dry sanded the stem with 3200, 3600 and 4000 grit micromesh pads. I then scrubbed it a second time with the Maguiar’s and then gave the stem a coat of Obsidian Oil. Once it was dry I sanded it with 6000, 8000 and 12,000 grit micromesh pads. I then coated the stem with another coat of Obsidian Oil and then several coats of carnauba wax.


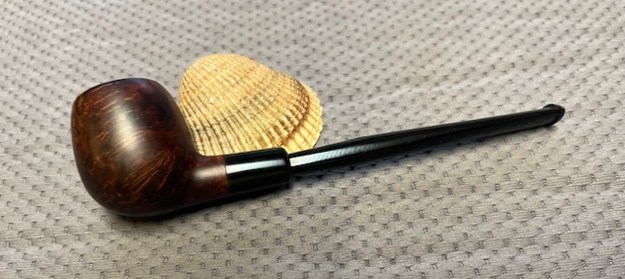
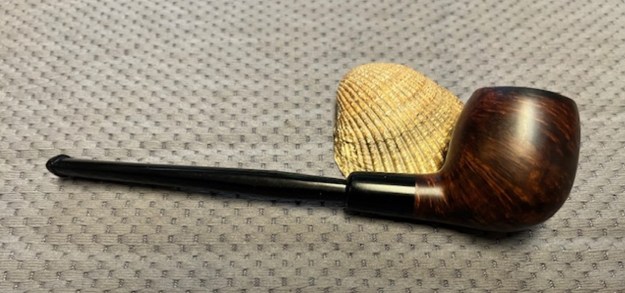
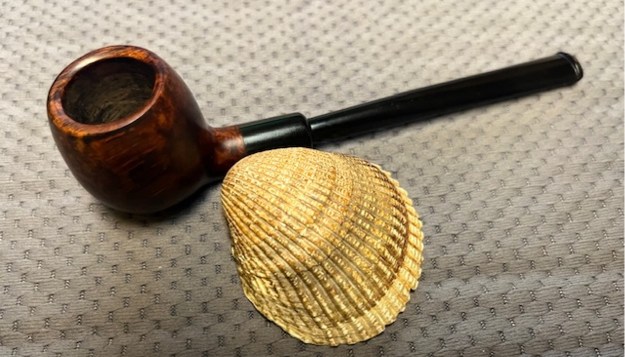
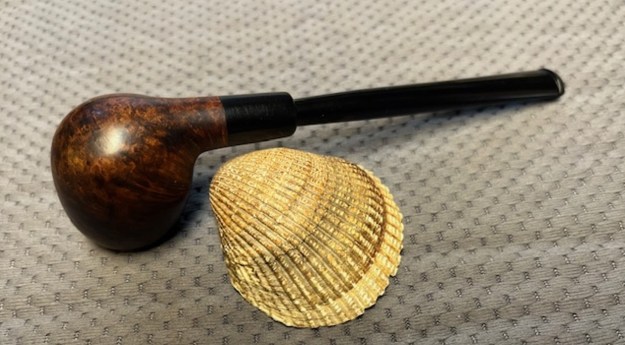
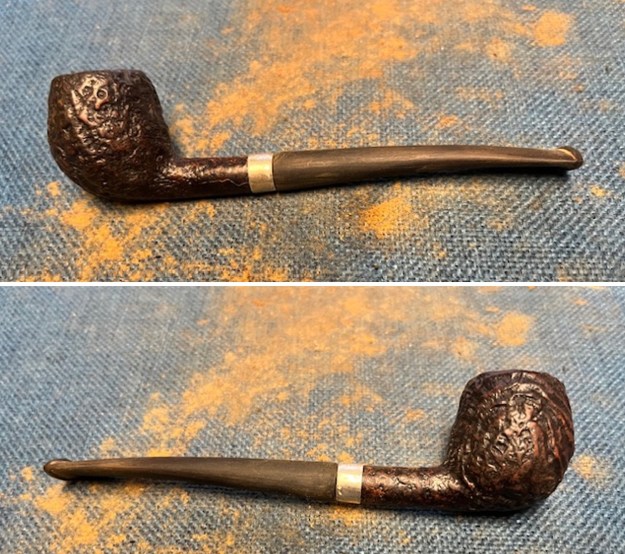
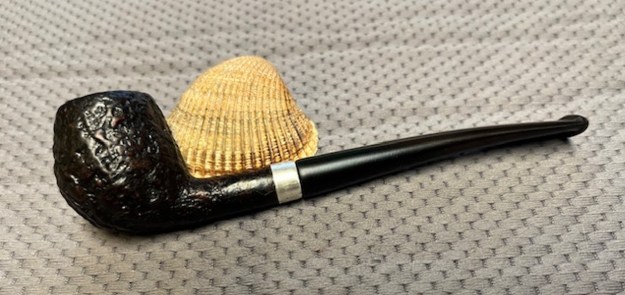
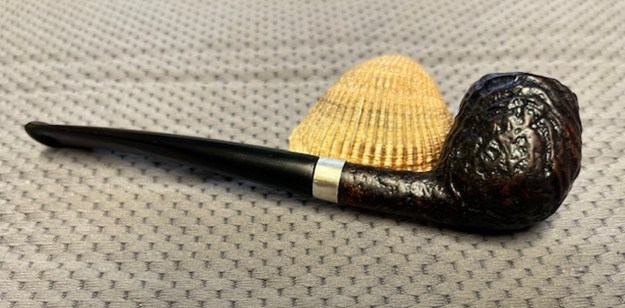
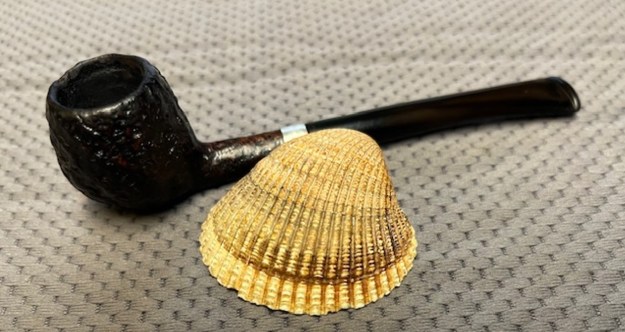
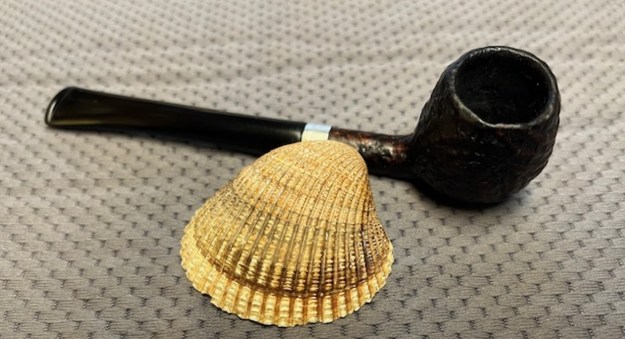
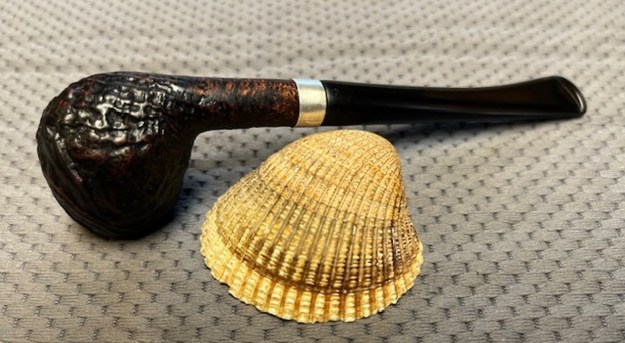
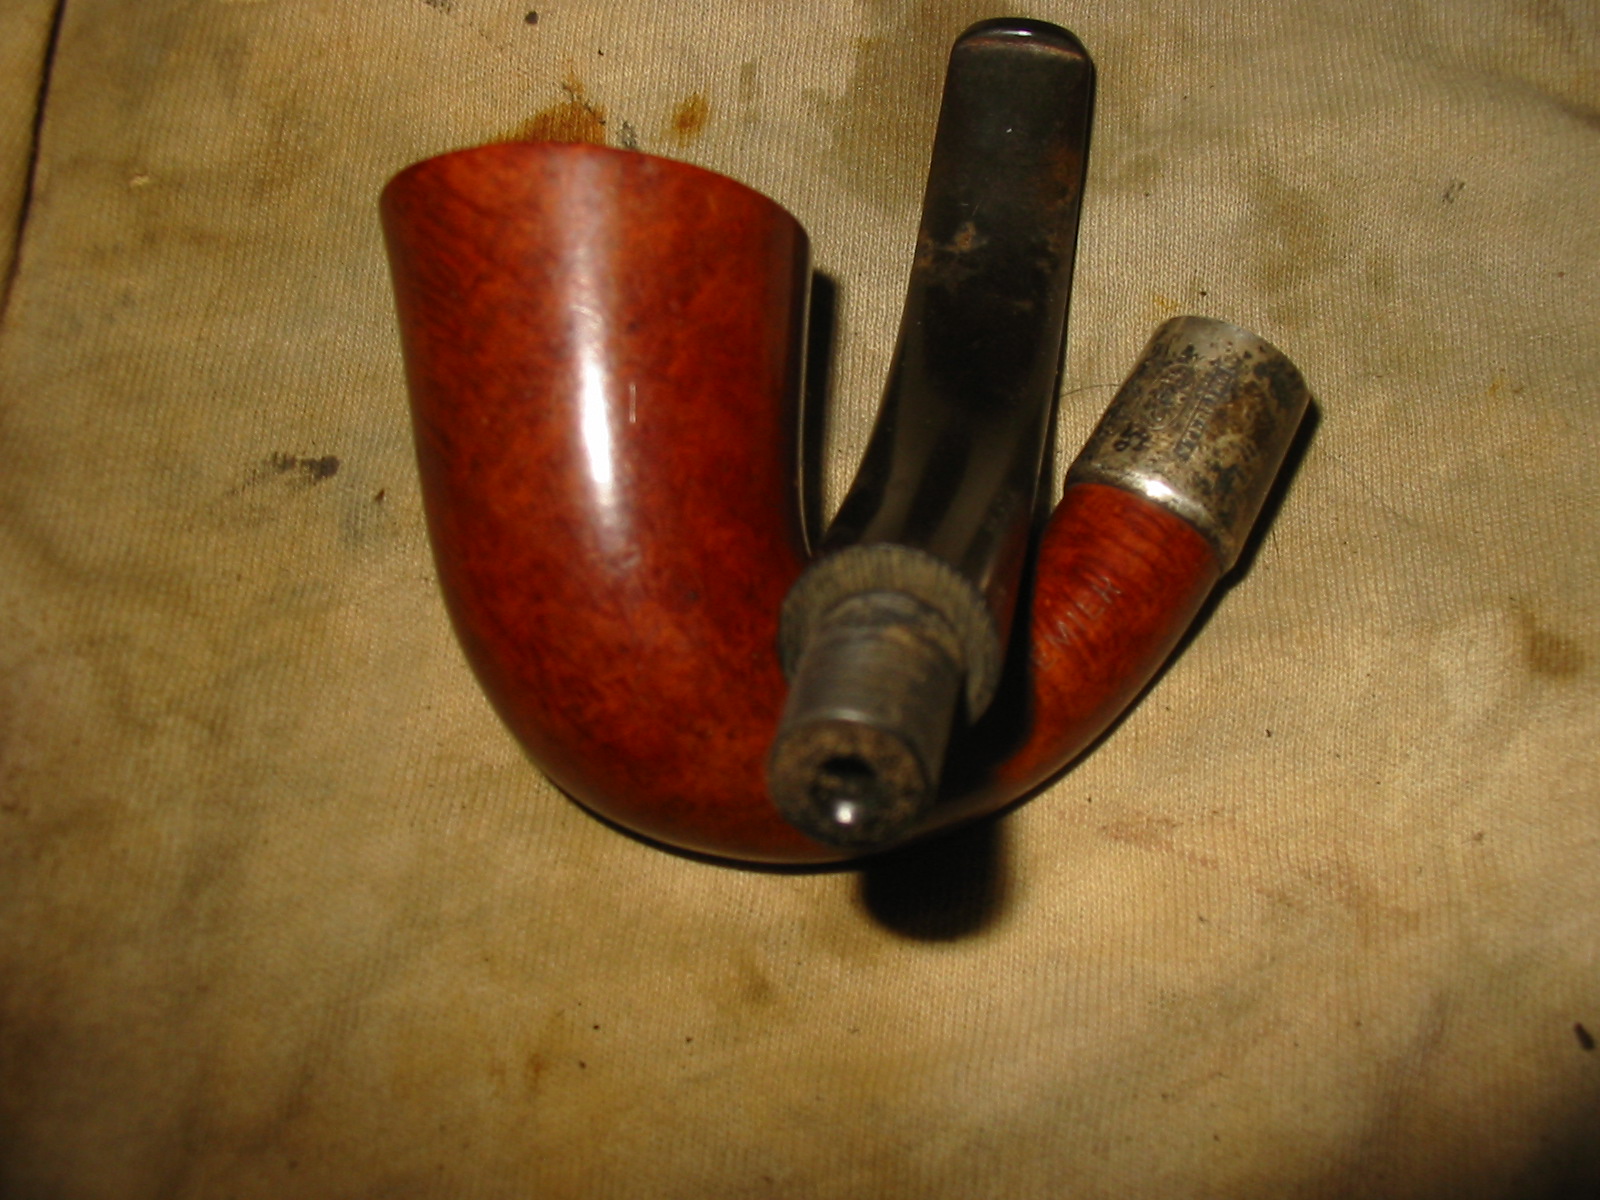
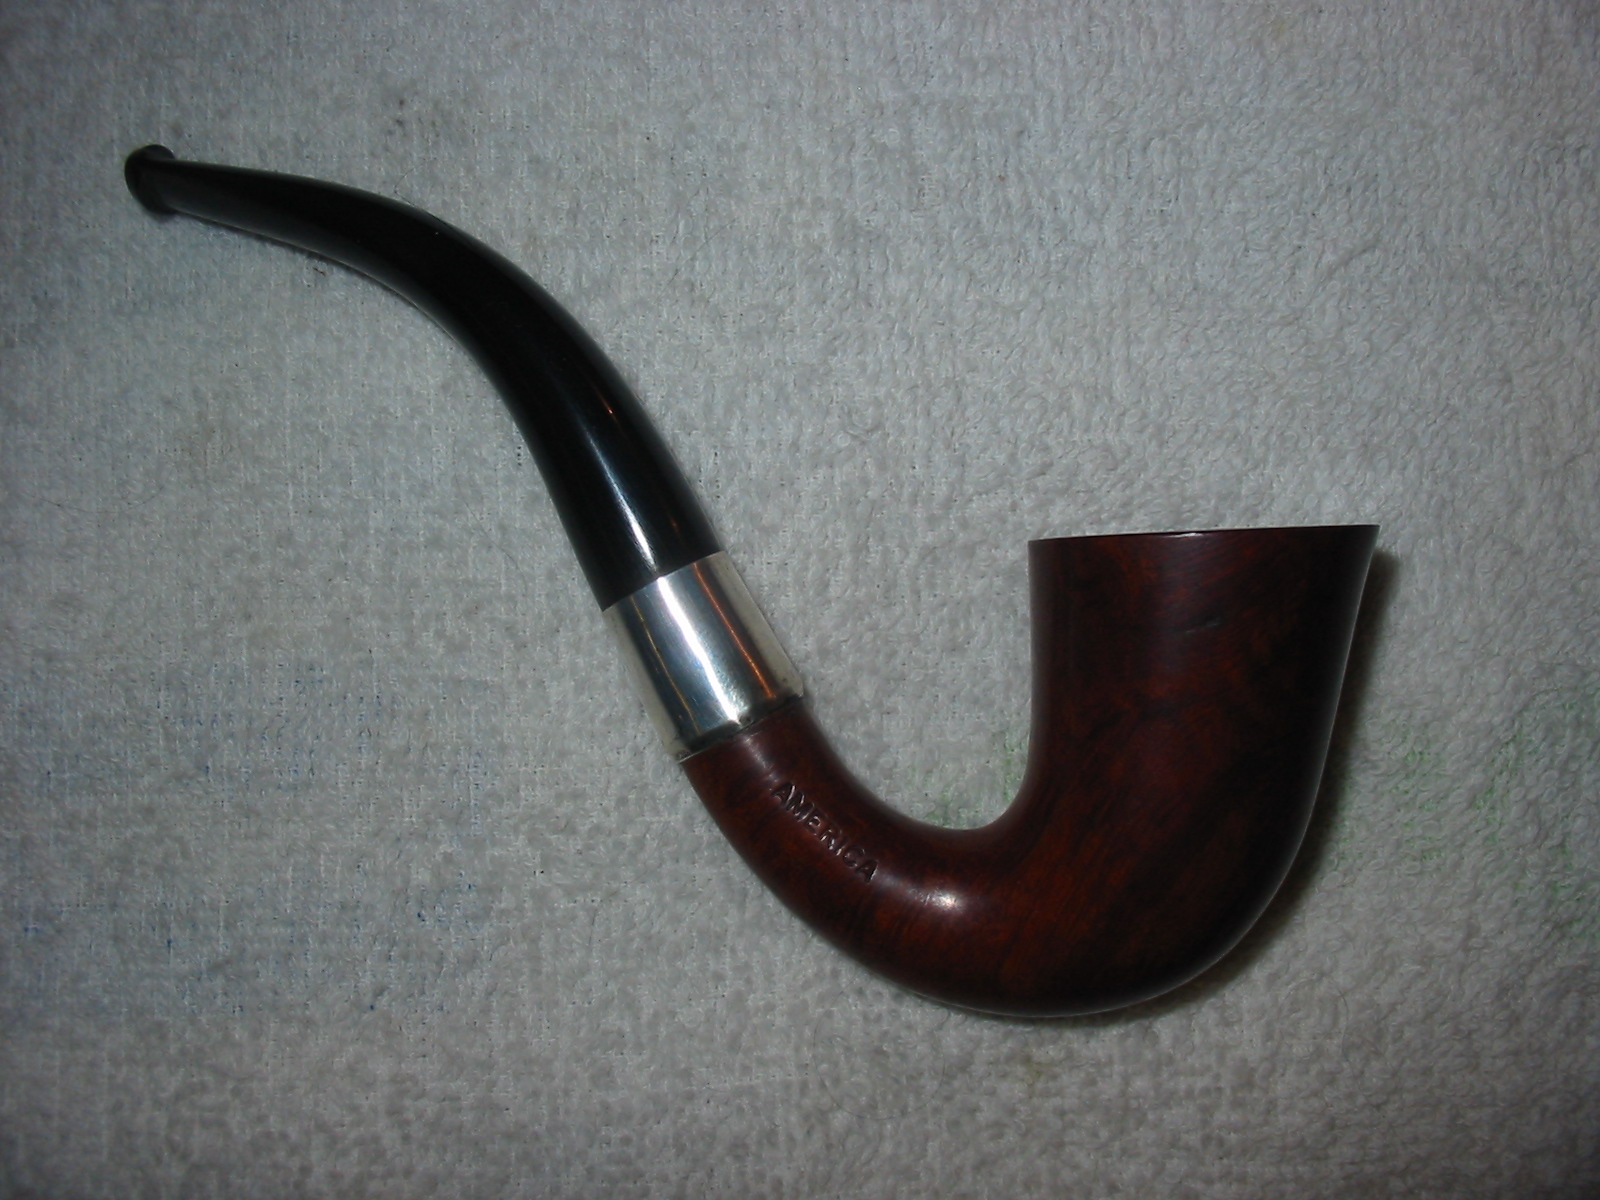
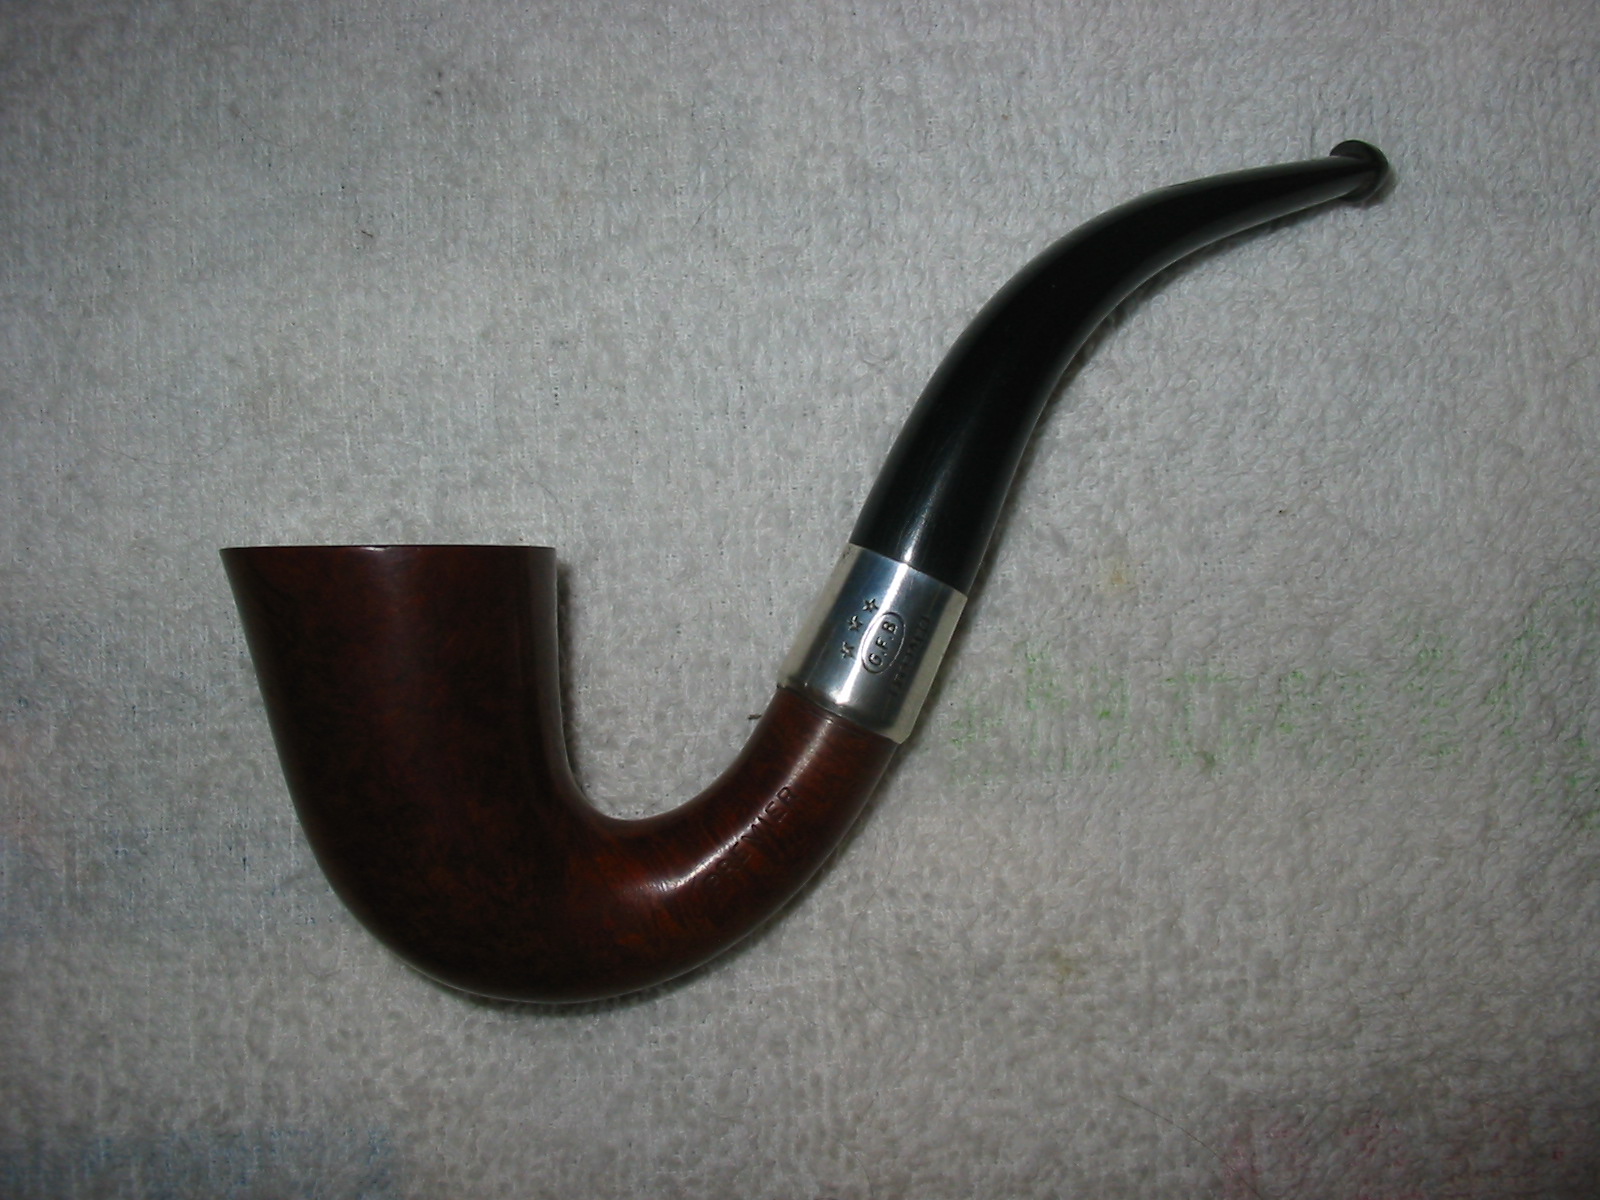
I then took the pipe to the buffer and buffed it with White Diamond before coating the entire pipe with carnauba wax. I gave it multiple coats of wax and then buffed it with a clean soft flannel buffing pad. I also polished the silver band with a jeweler’s cloth to remove any remaining tarnish and polish the silver. The four photos below show the finished pipe. It is ready to smoke and enjoy in all of its renewed life.


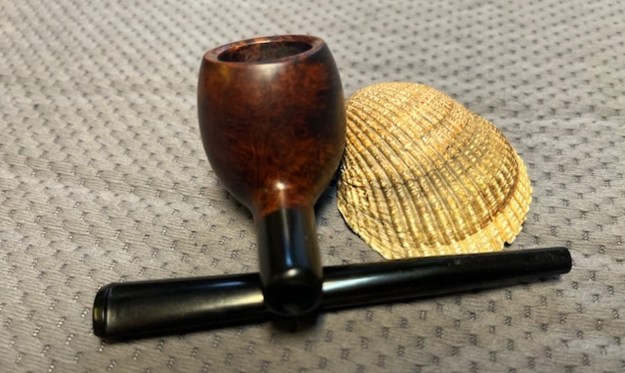
 I repaired the divot on the front of the bowl with some black CA glue and a little bit of briar dust. I flattened out the repair with 220 grit sandpaper to blend it into the surface of the briar.
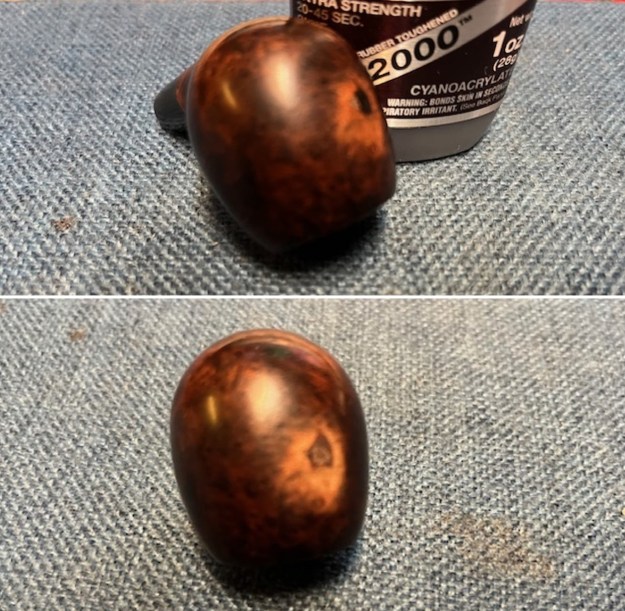 I wiped the bowl down with some isopropyl alcohol and cotton pads to remove the opacity of the stain and make it a bit more transparent. The grain began to stand through with a lot of clarity. I like the look of the grain around the bowl. The repair on the bowl was a bit lighter than the rest of the bowl and would need to be stained.
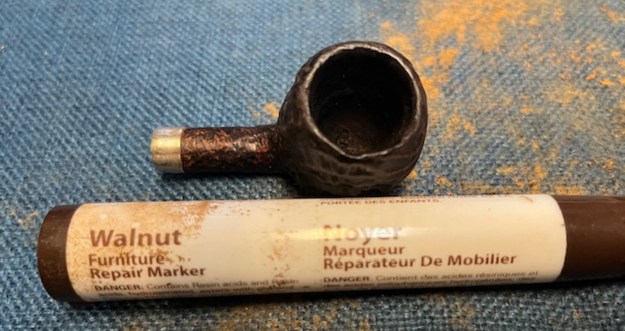
 I stained the repair on the front of the bowl with a Walnut stain pen. It blended into the surface of the bowl with the stain pen. The match was very good.
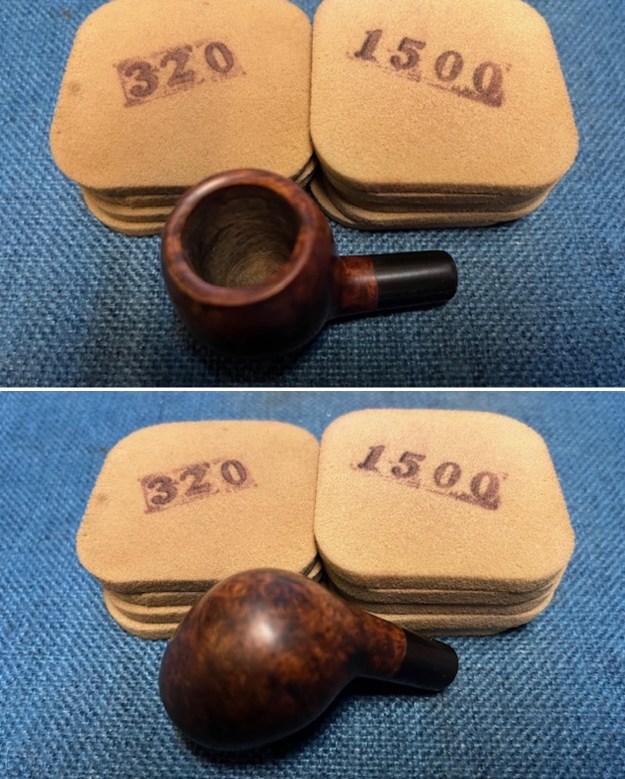
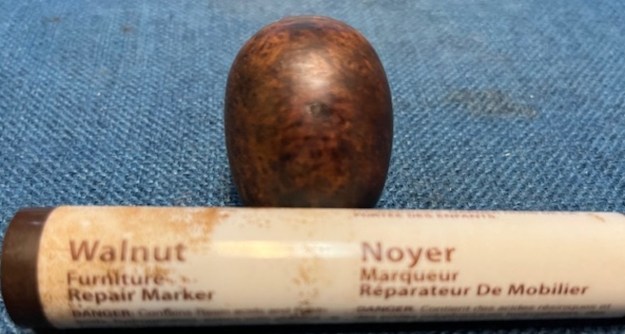 I sanded the briar with 320-3500 grit sanding pads. I wiped the bowl down with a damp cloth after each sanding pad.
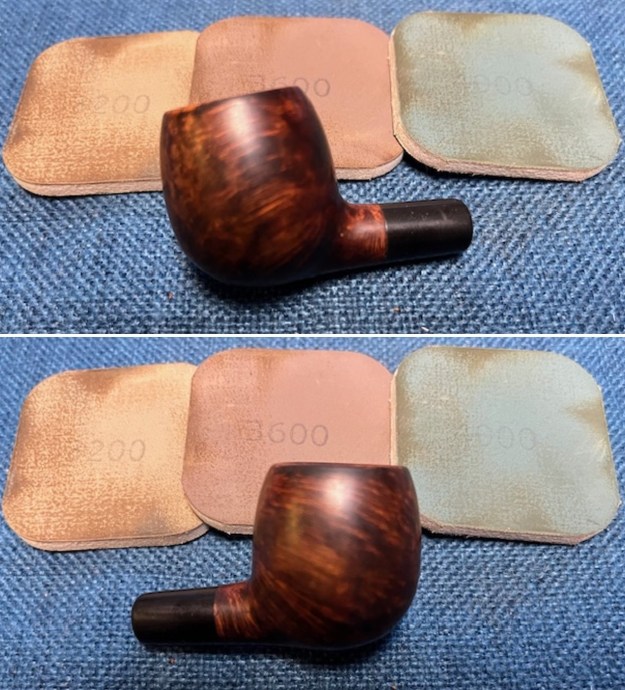
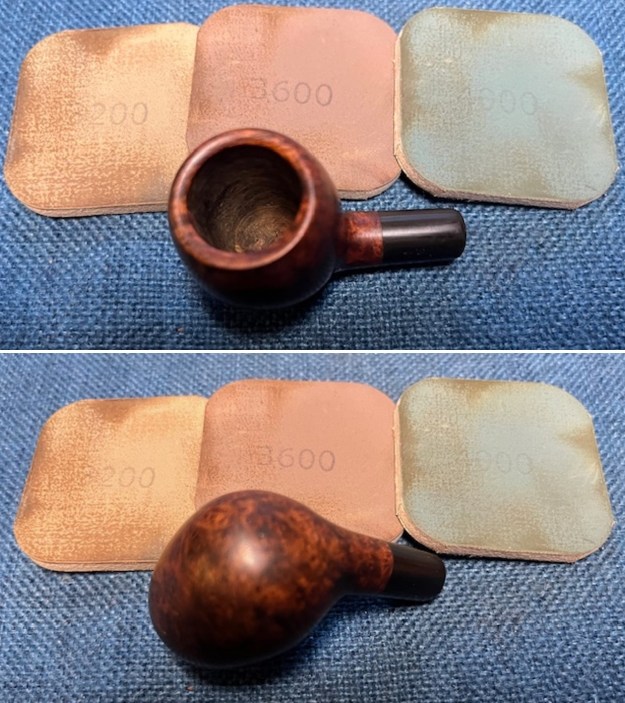
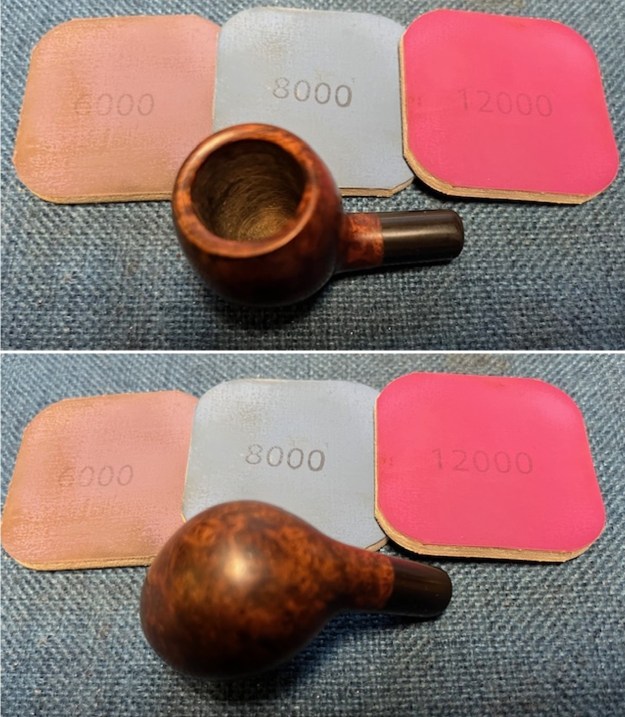
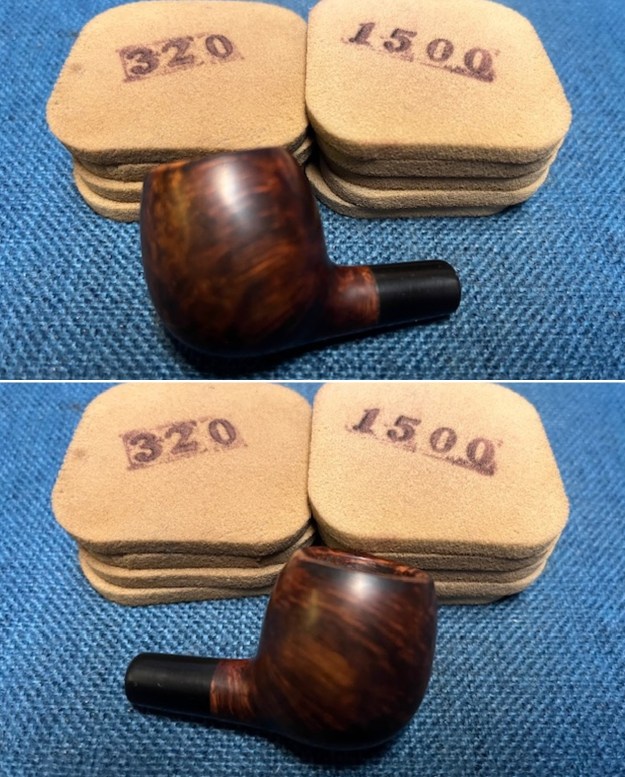
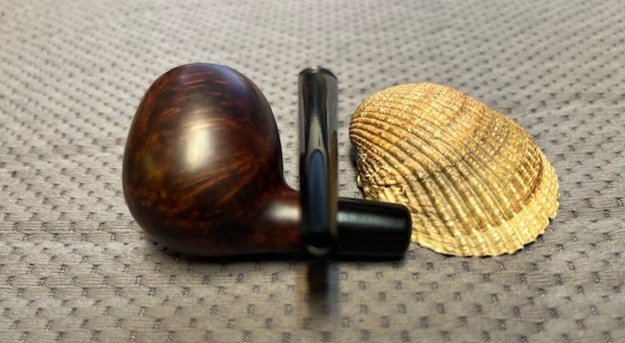
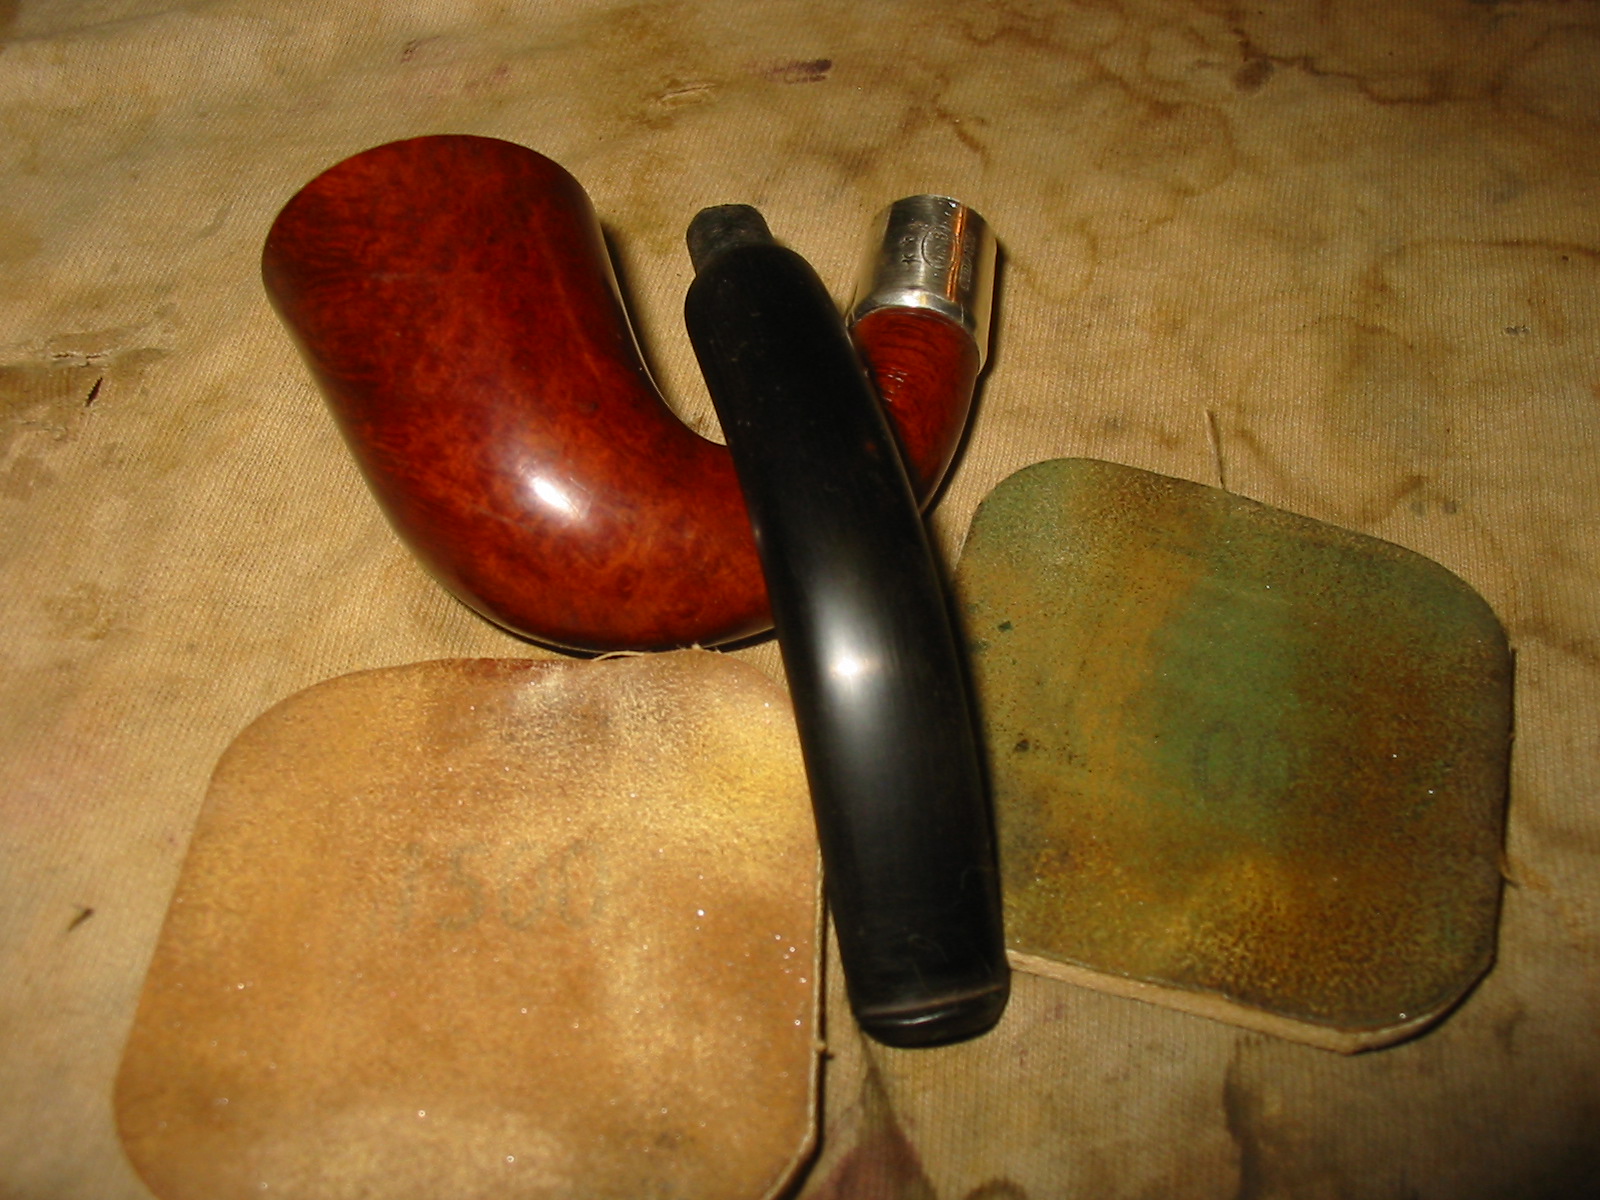
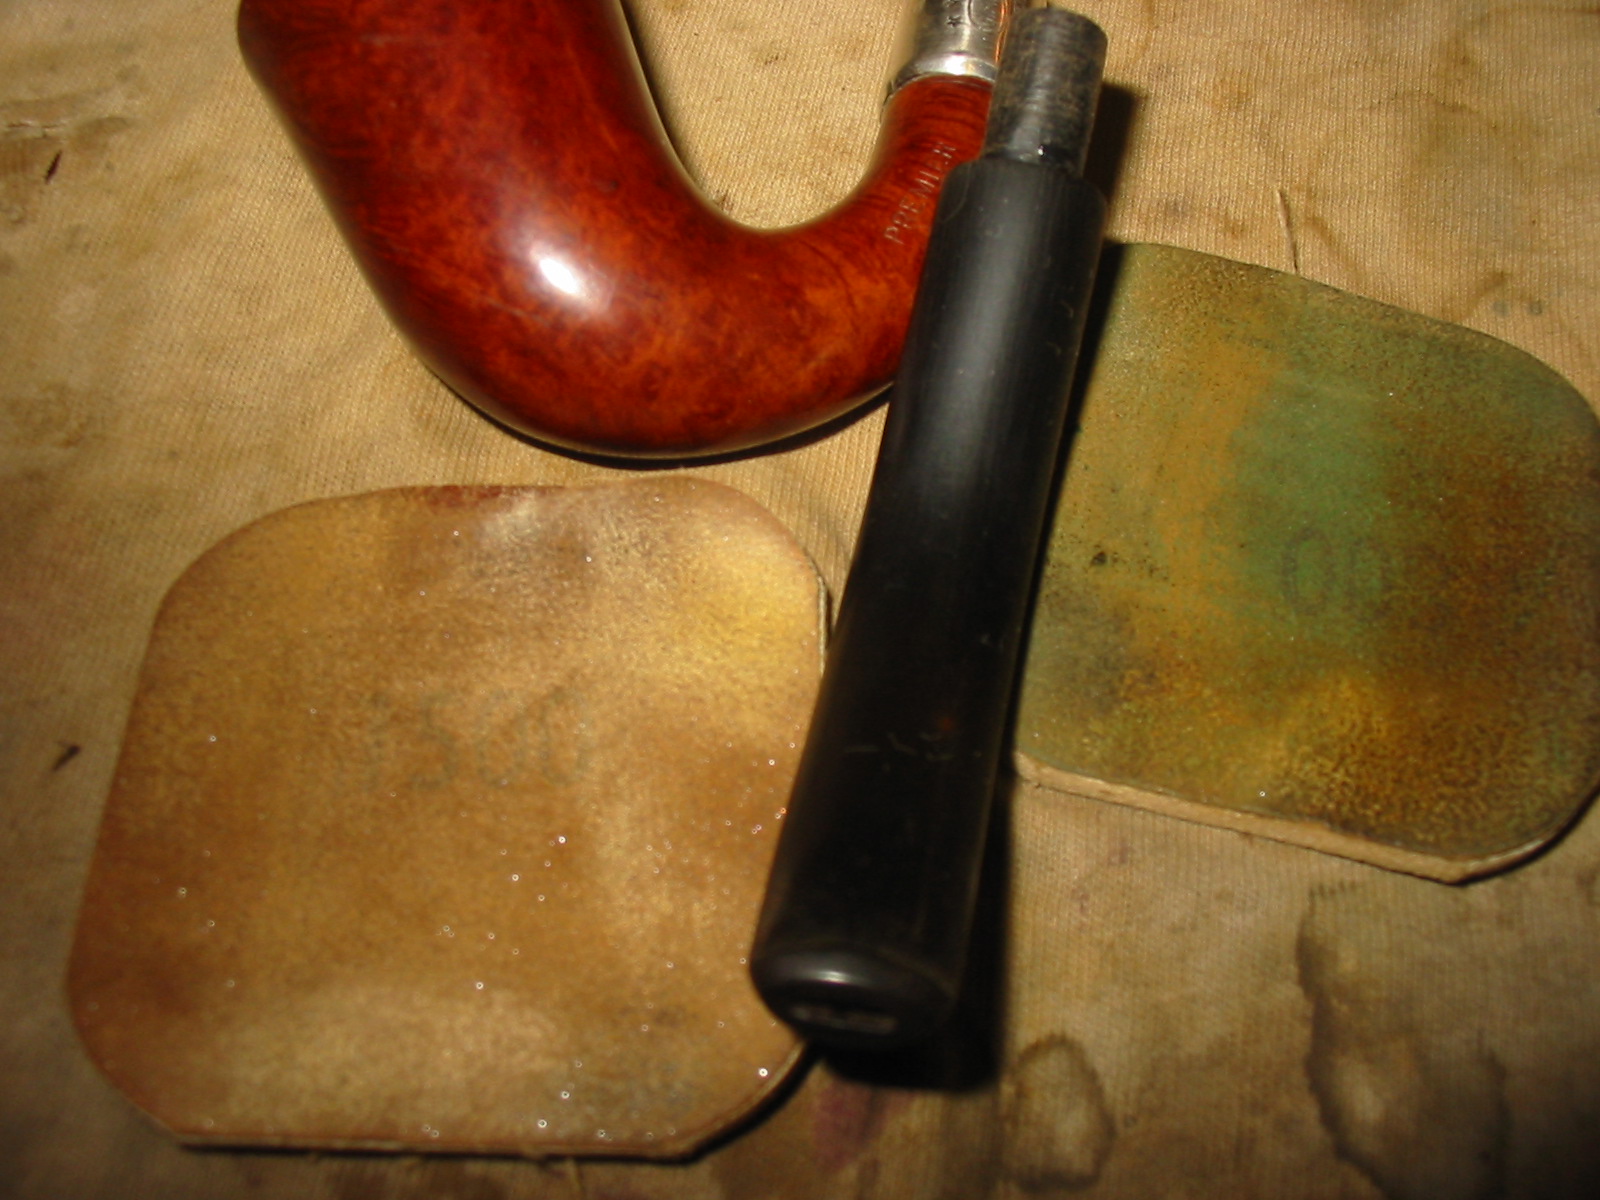
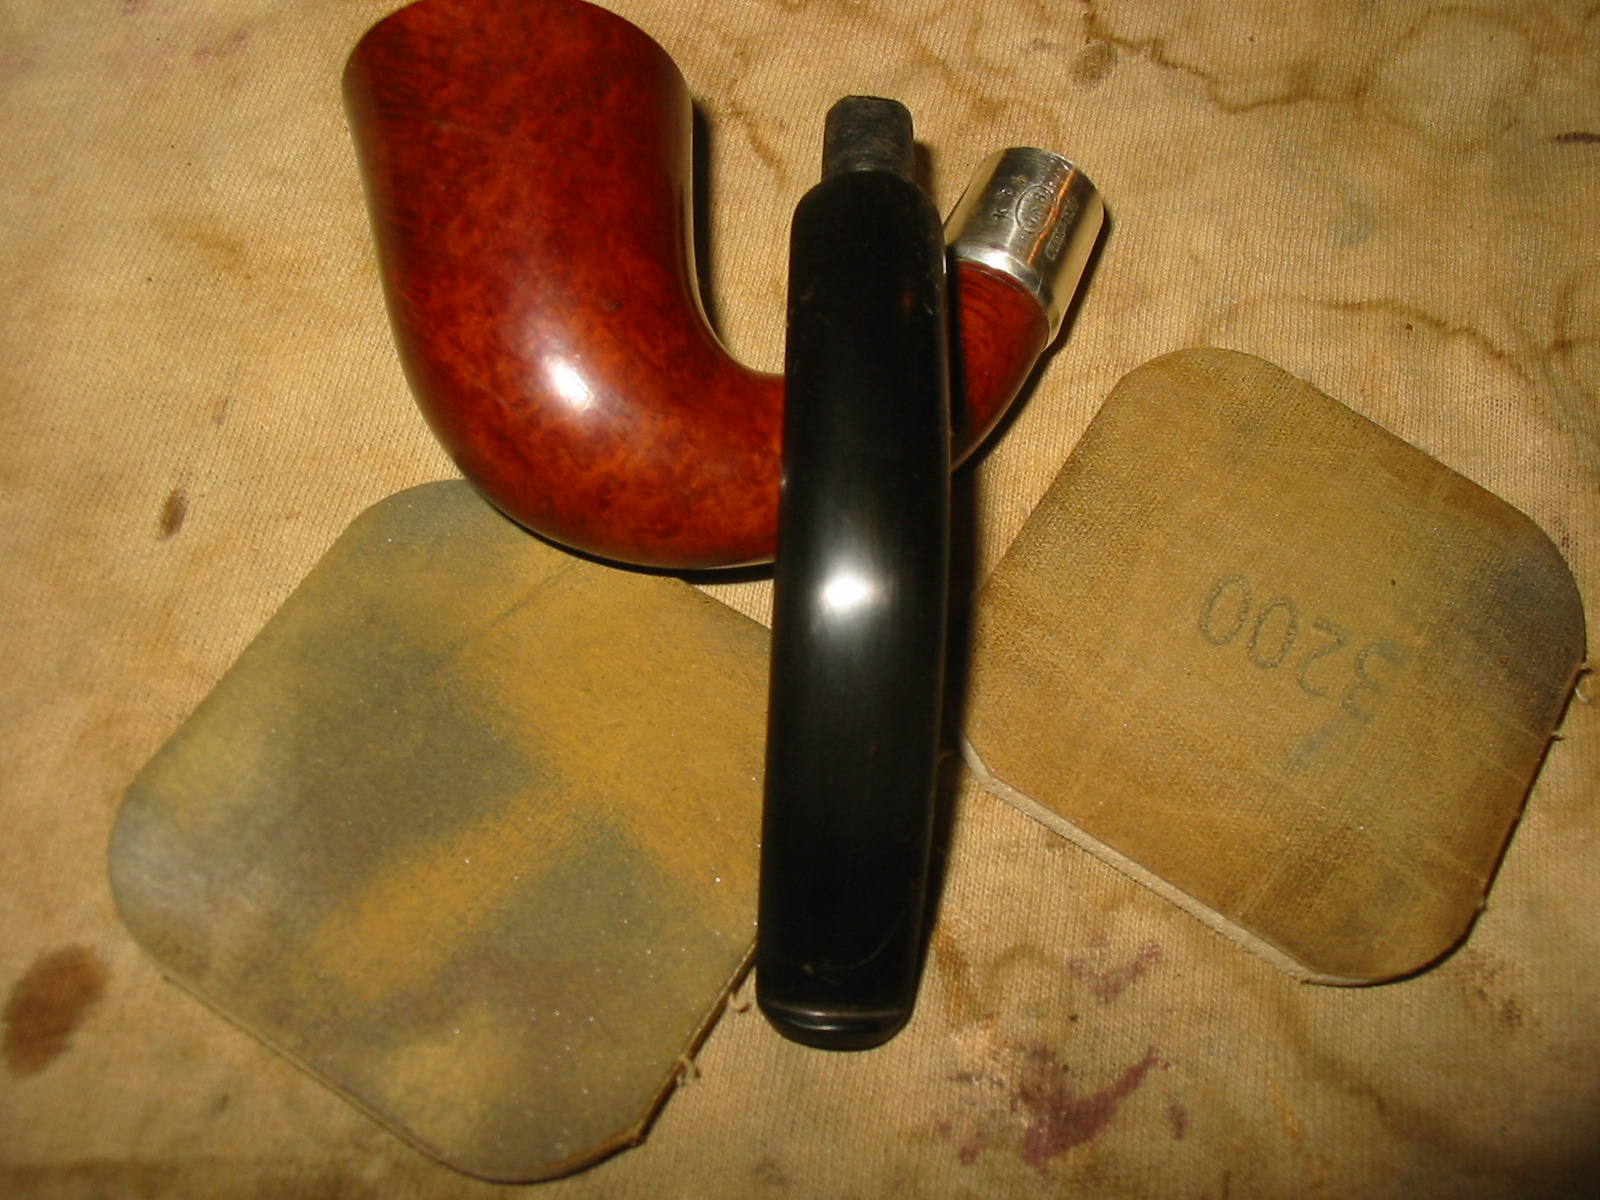
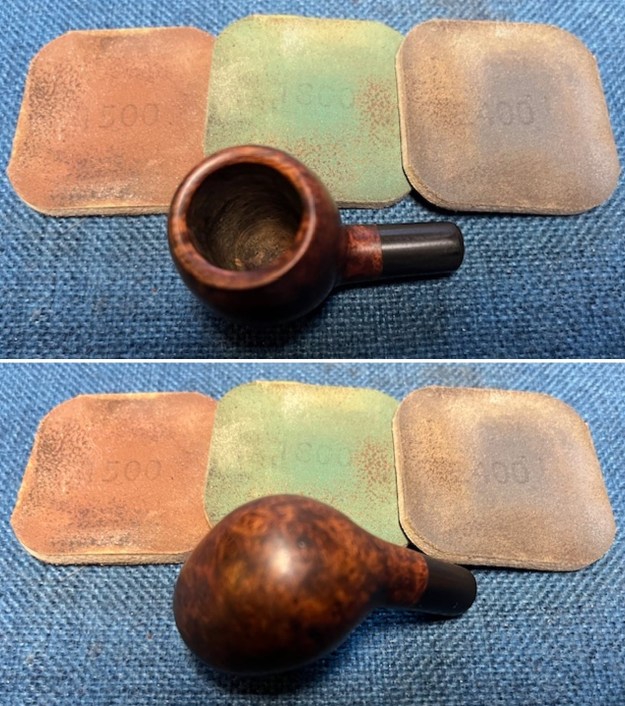
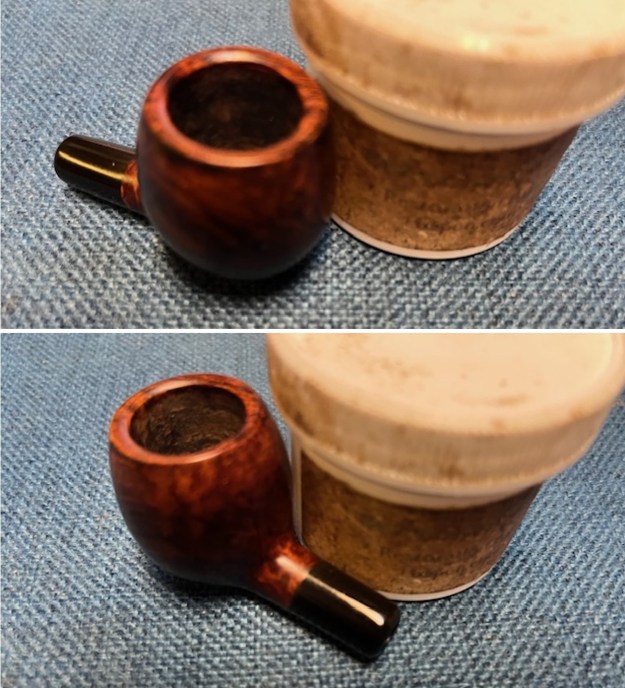
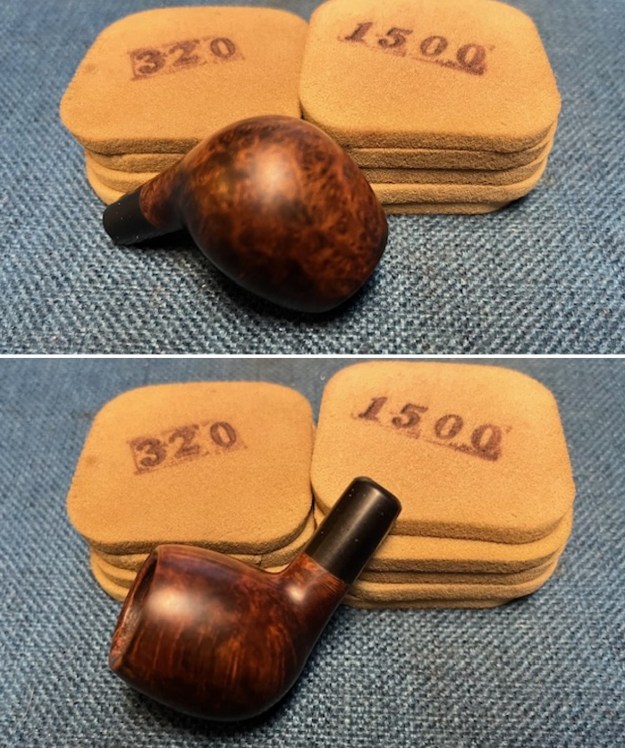 I polished the bowl with micromesh sanding pads – dry sanding with 1500-12000 grits sanding pads. Once again, I wiped it down with a damp cloth following each pad.
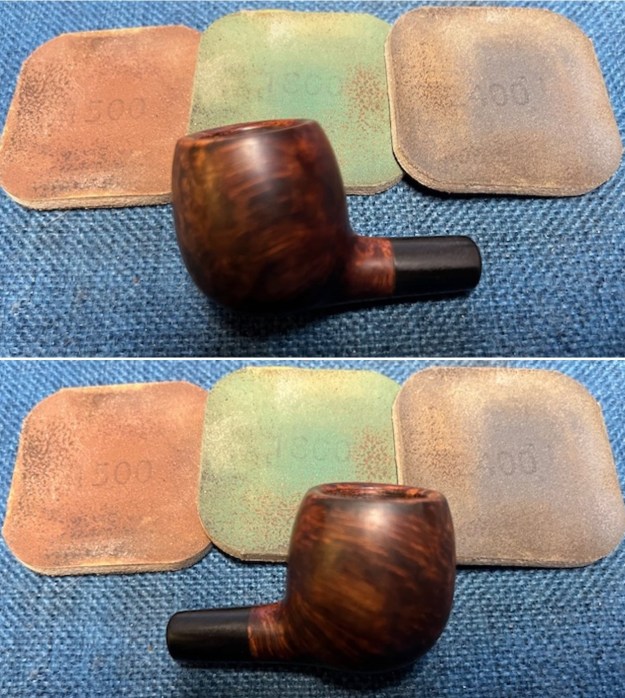

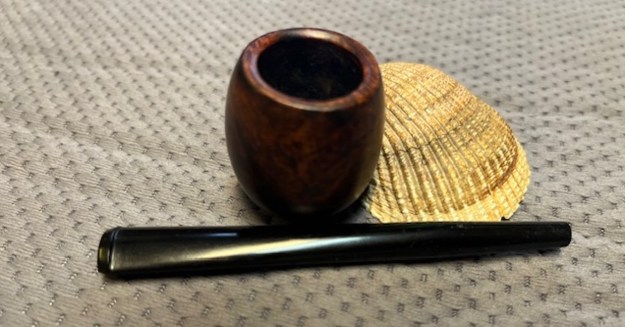
 I rubbed the bowl down with Before & After Restoration Balm. It is a paste/balm that works to deep clean the finish, enliven and protect the briar. I worked it into the briar with my finger tips to make sure that it covered every square inch of the pipe. I set it aside for 10 minutes to let it do its work. I buffed it with a cotton cloth. The briar really began to have a deep shine. The photos I took of the bowl at this point mark the progress in the restoration.
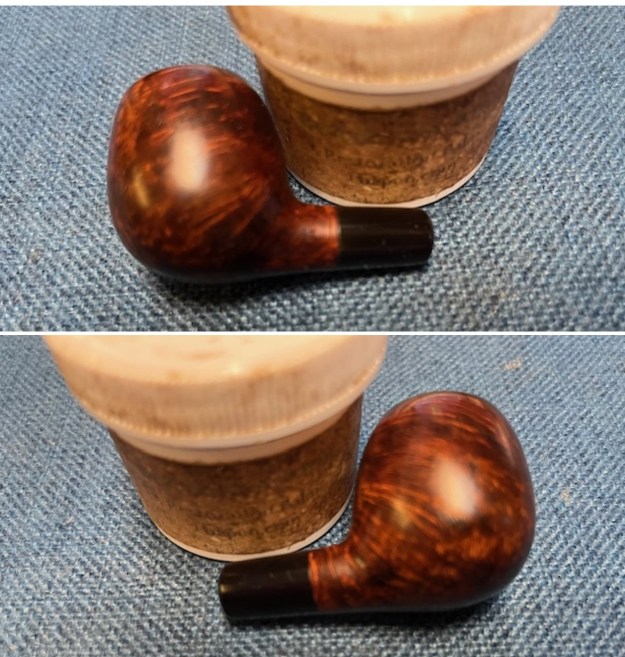
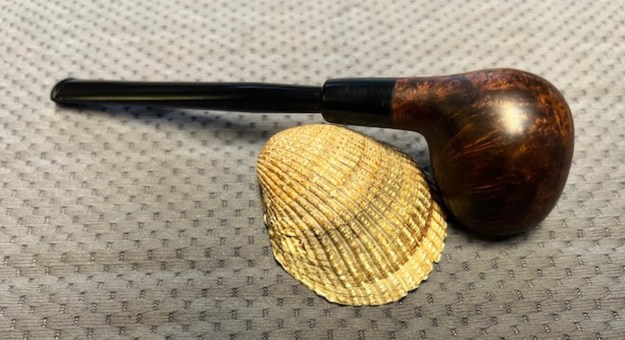
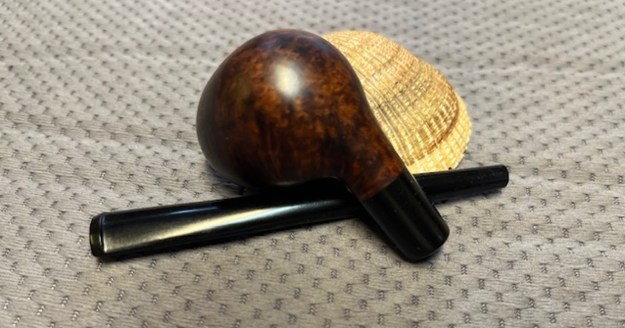
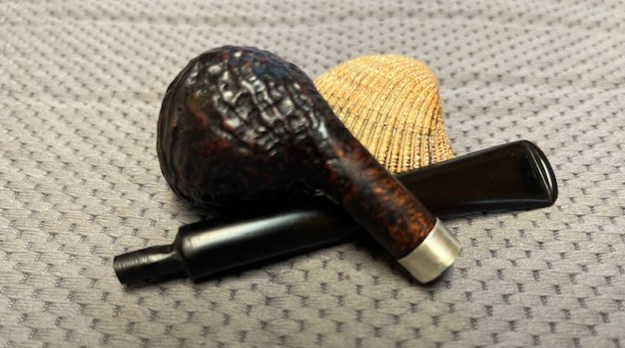
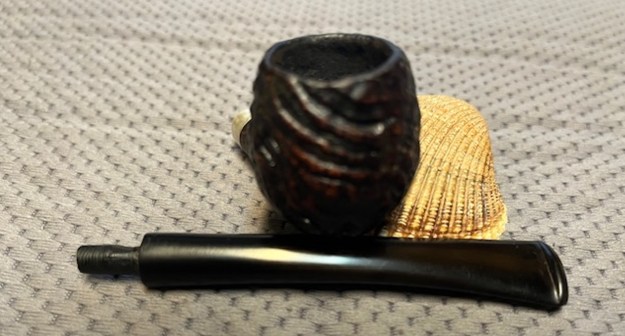
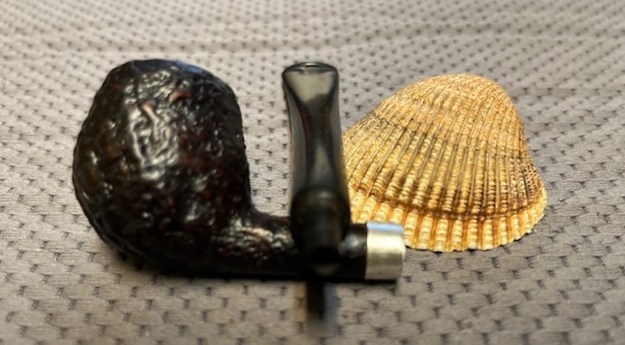
 I went through my stems here and found a nice looking military bit stem that would look great with the pipe.
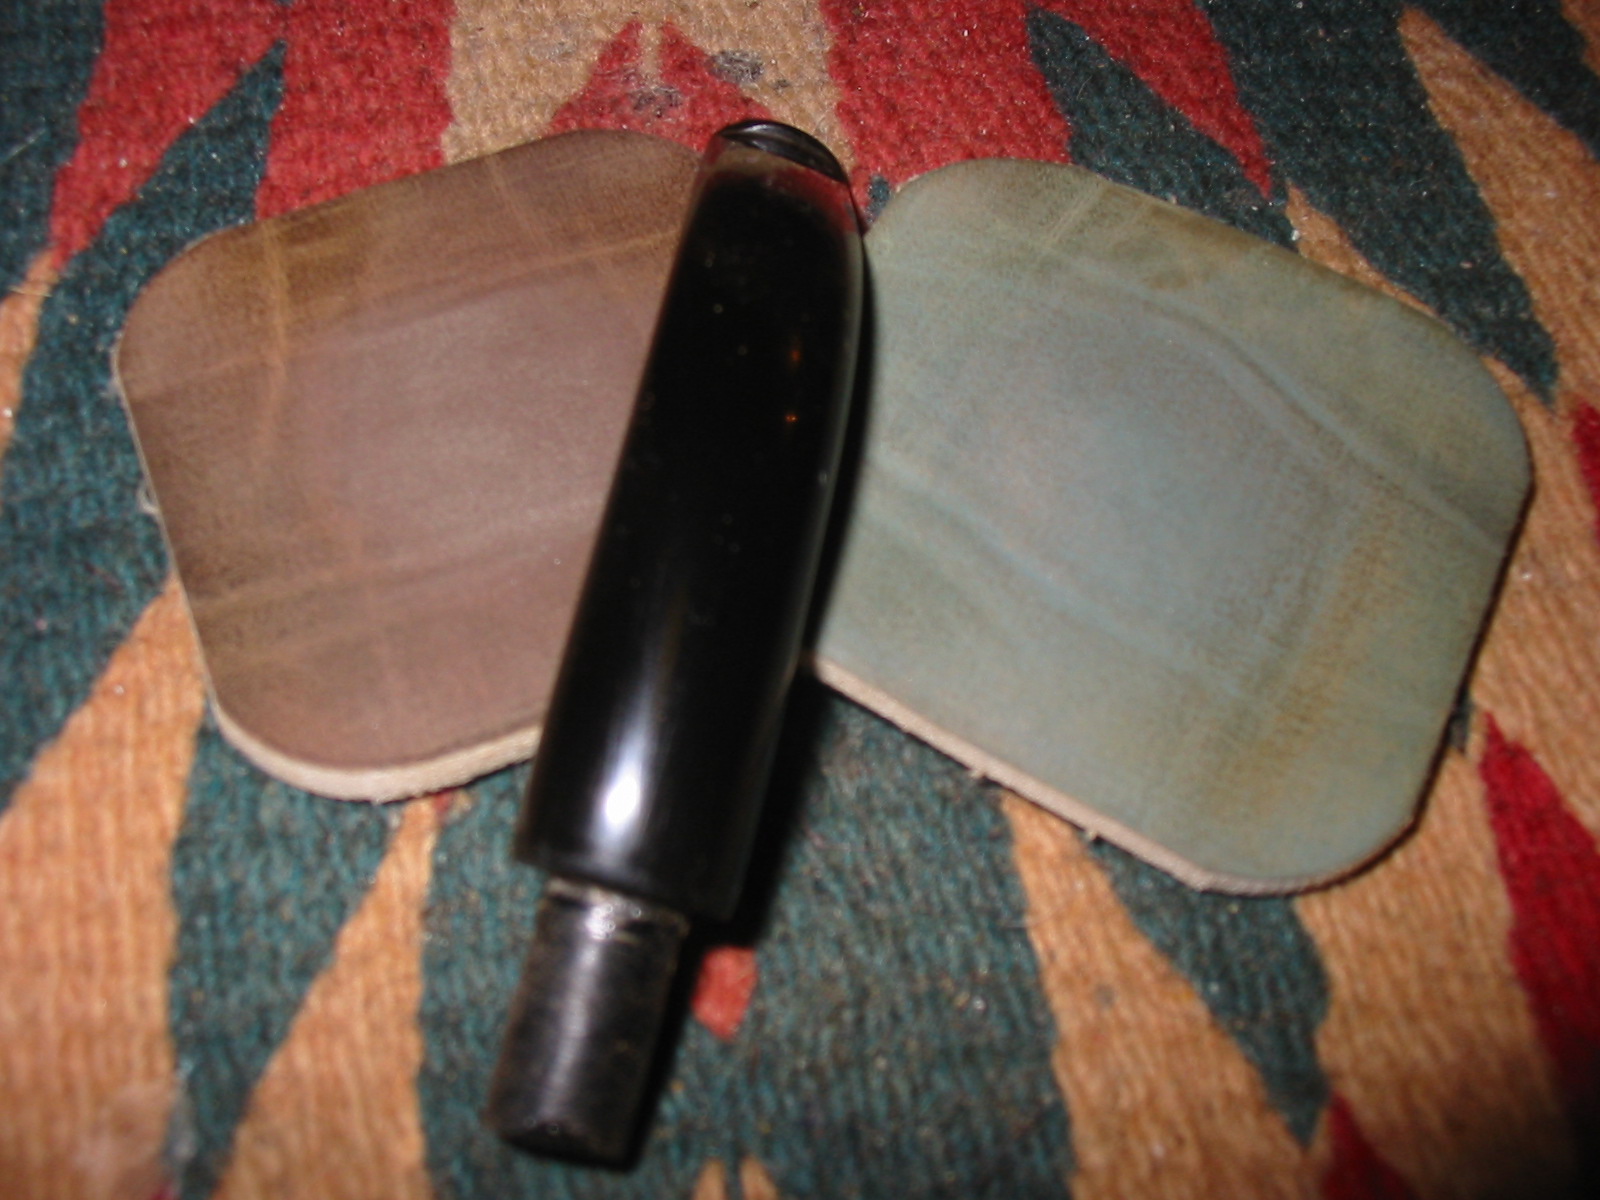
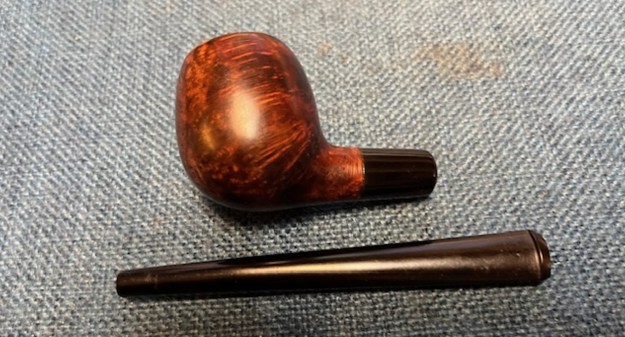 It was clean and unused so I only need to polish it. I did that with micromesh sanding pads – dry sanding with 1500-12000 grit pads. I wiped the stem down after each pad with Obsidian Oil. I polished it with Before & After Pipe Stem Polish – both Fine and Extra Fine. I gave a final wipe down with Obsidian Oil.
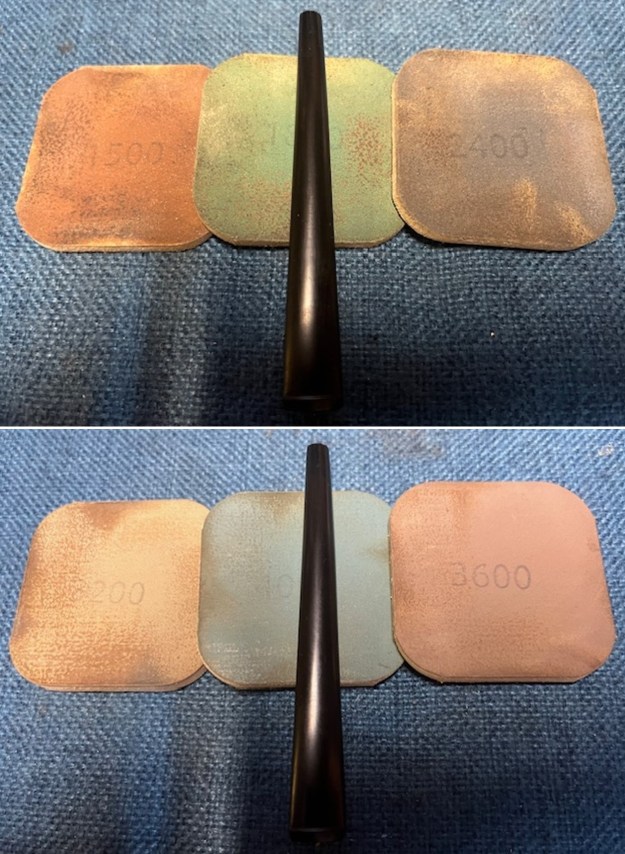
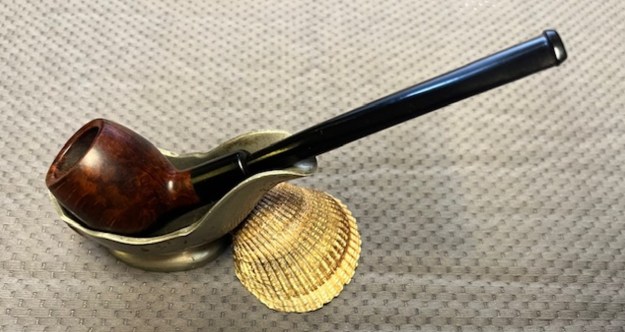
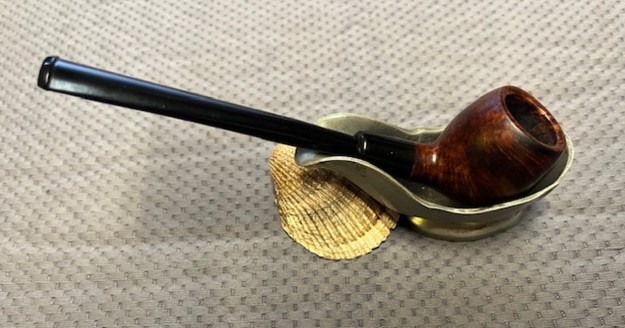
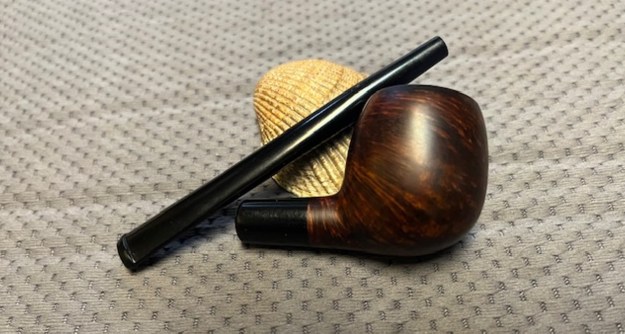
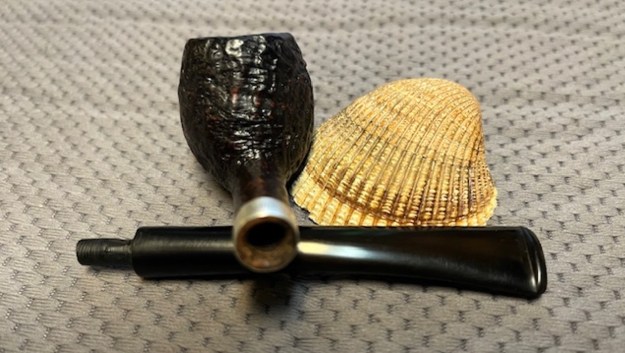
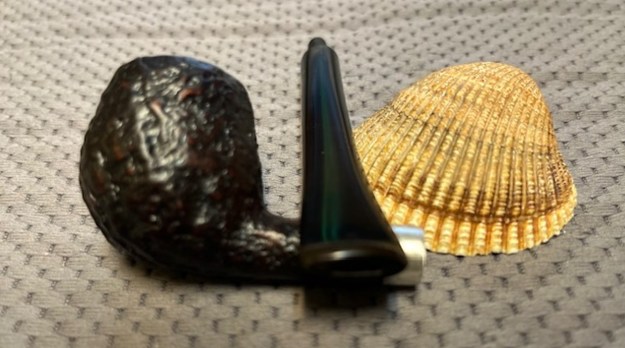
 I put the No Name Apple pipe together and took it to the buffer. I buffed both the bowl and the stem with Blue Diamond on the wheel and then gave both multiple coats of Carnuaba Wax. I buffed it with a clean buffing pad to raise the shine. I further polished it with a microfiber cloth to deepen the shine. It is a beautiful petite pipe that should be a great smoker. The dimensions of the pipe are Length: 5 ½ inches, Height: 1 3/8 inches, Bowl diameter: 1 inch, Chamber diameter: ¾ of an inch. The weight of the pipe is .67 ounces/19 grams. If you wish to add it to your collection let me know. I will be putting it in the rebornpipes store shortly in the American Pipe Makers Section. Thanks for taking time to read this restoration and restem. As always I appreciate questions and comments.