Blog by Steve Laug
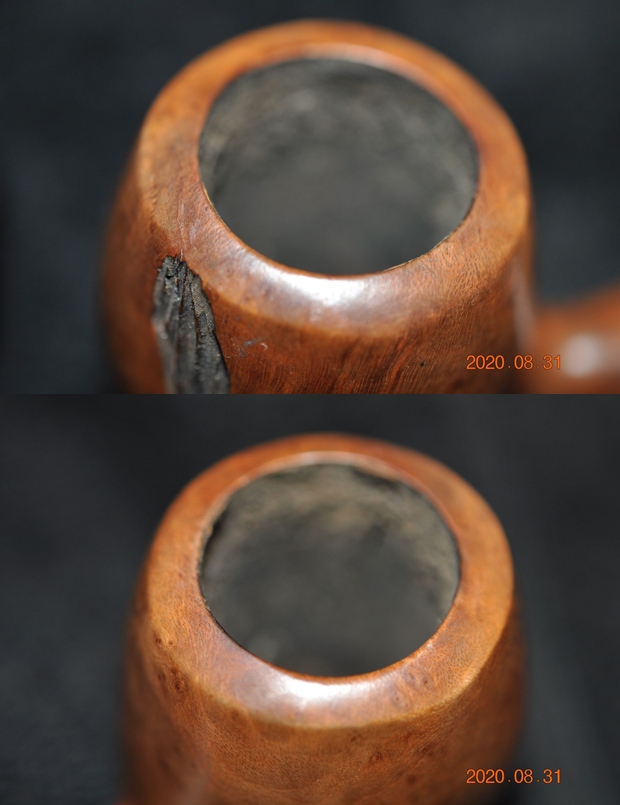
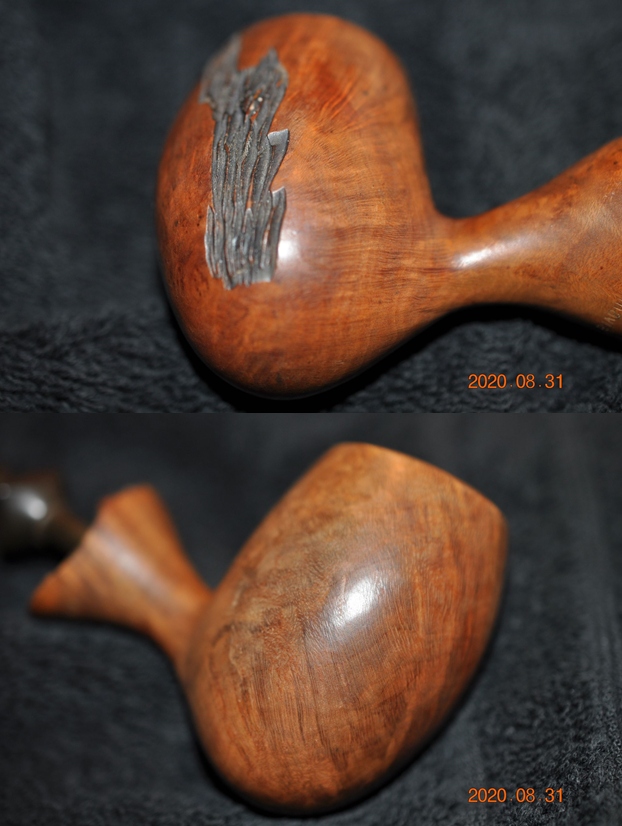
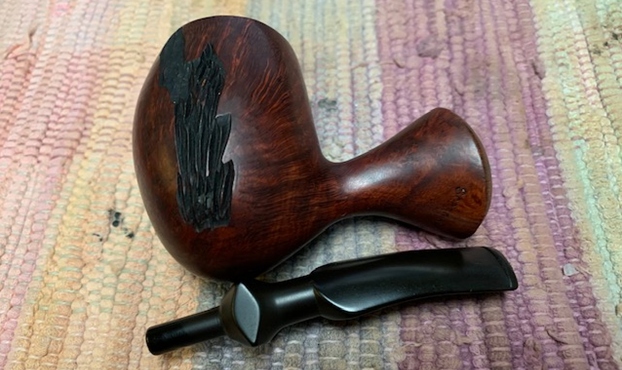
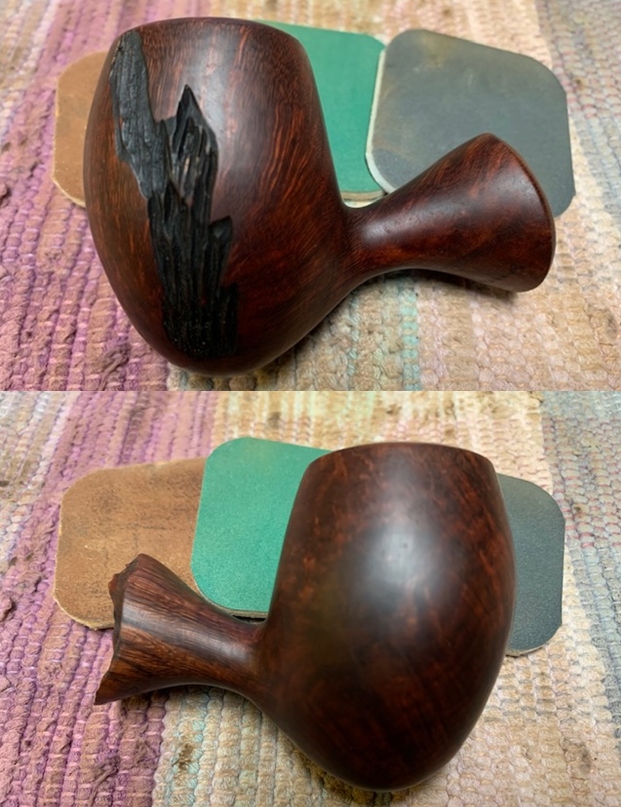
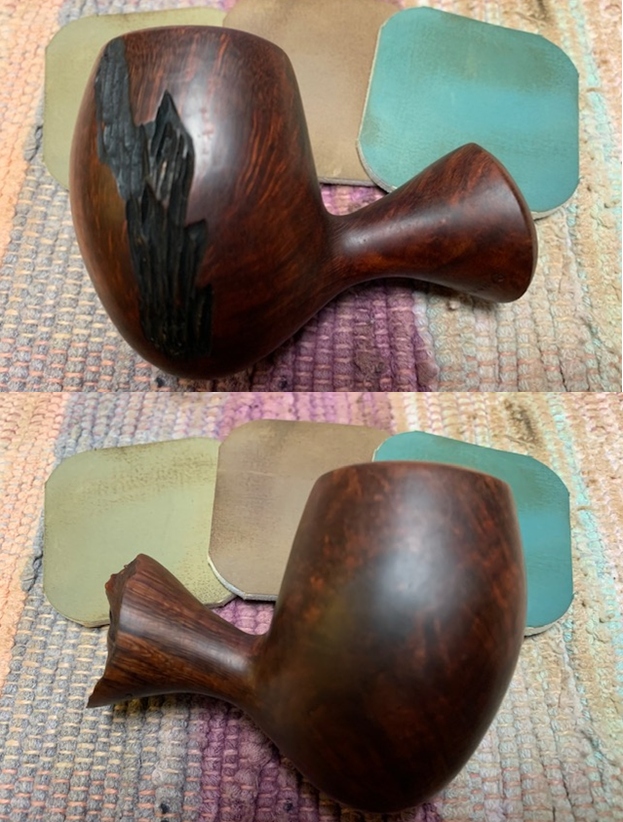
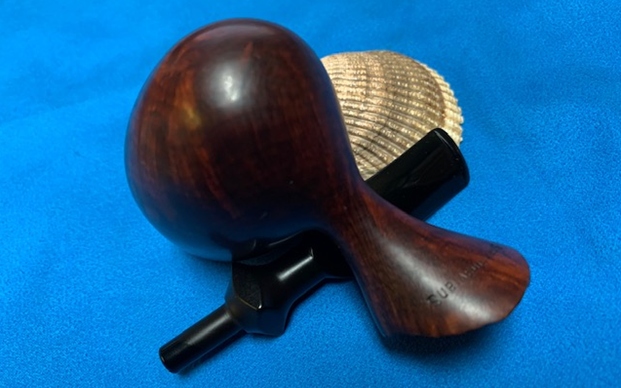
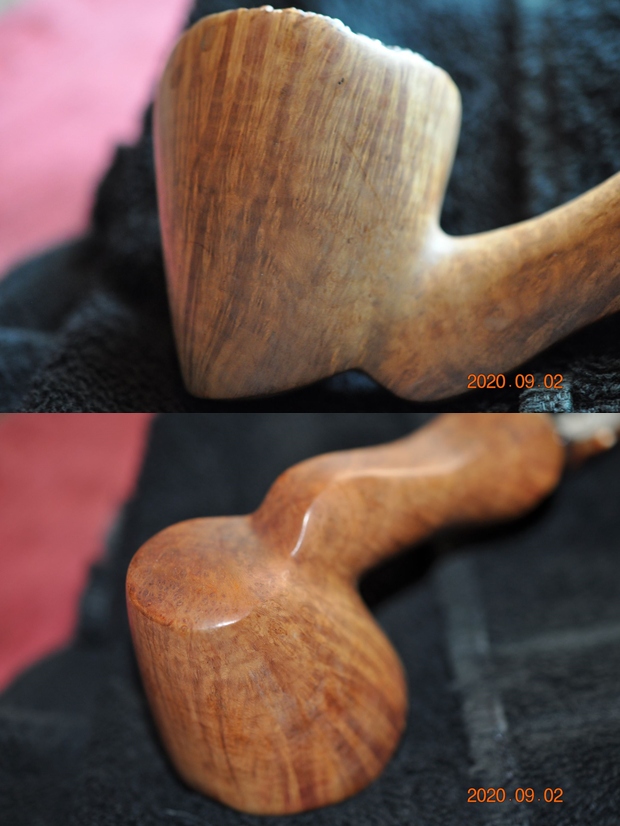
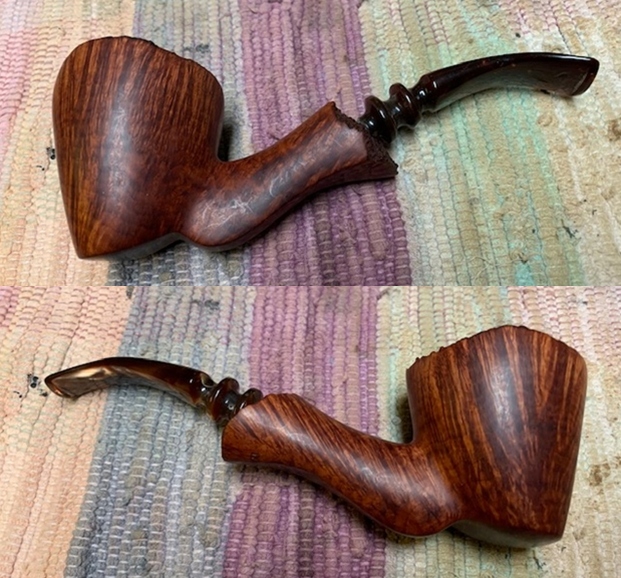
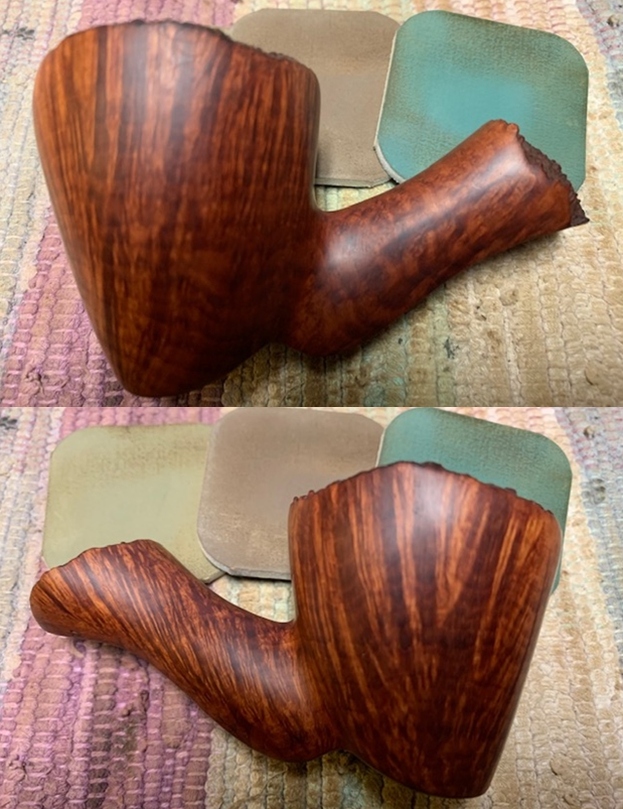
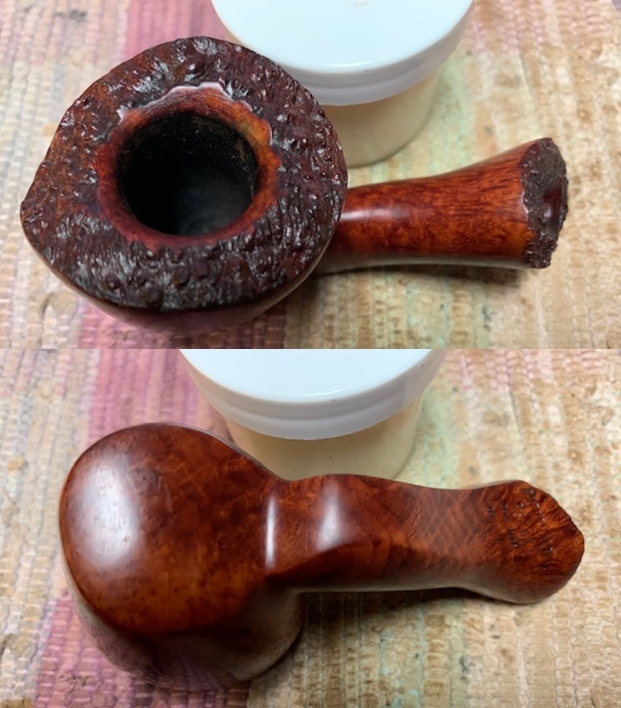
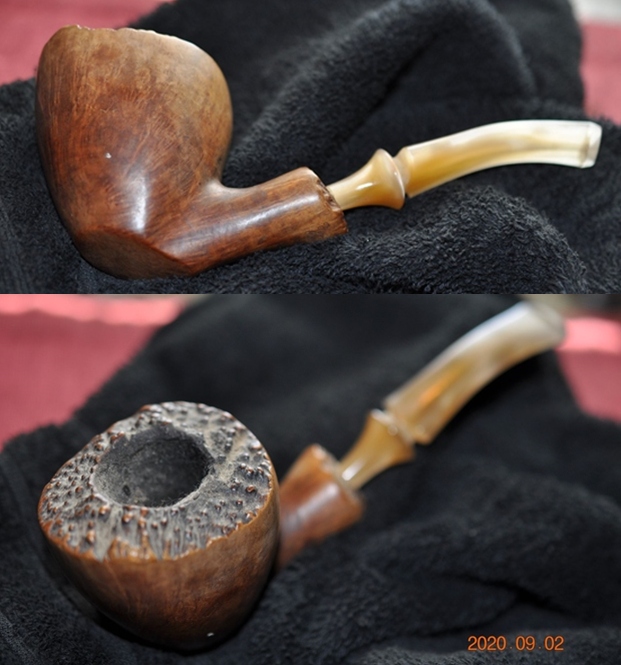
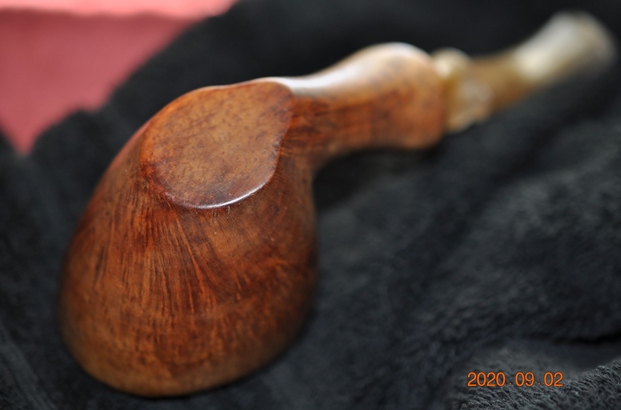
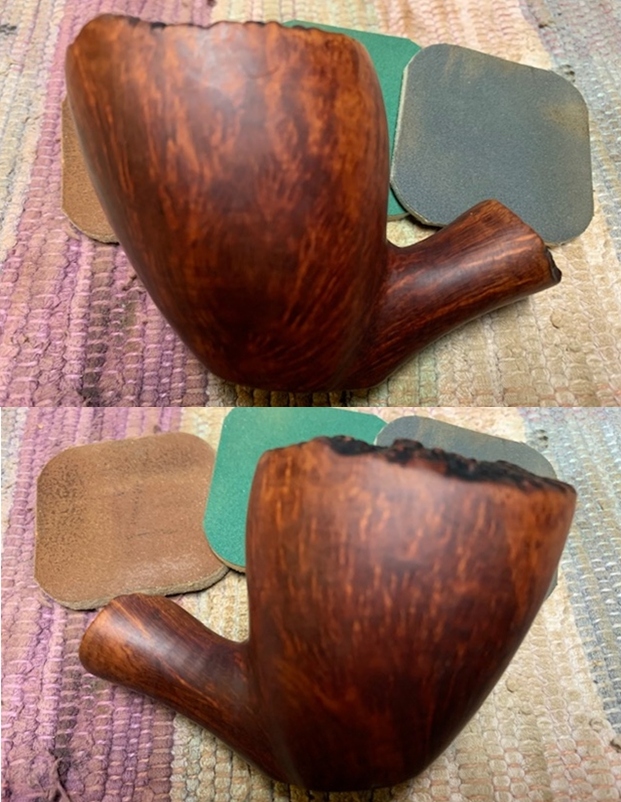
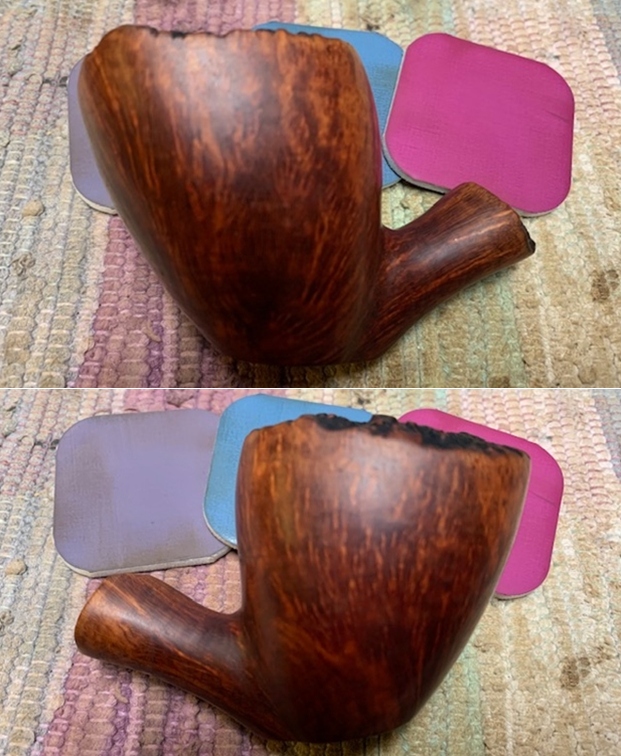
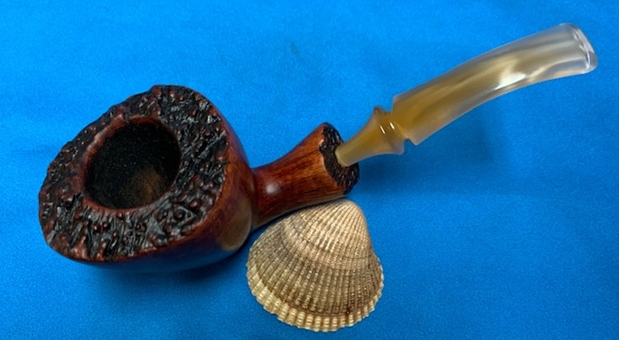
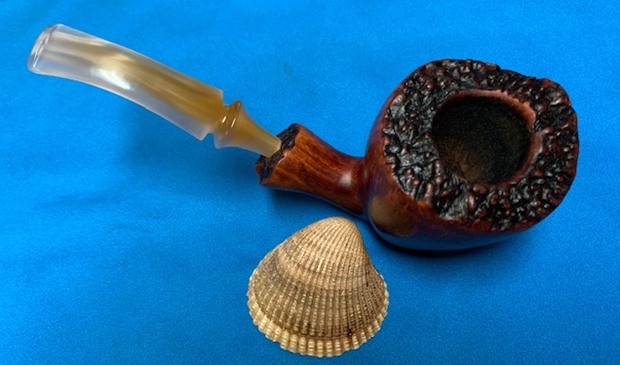
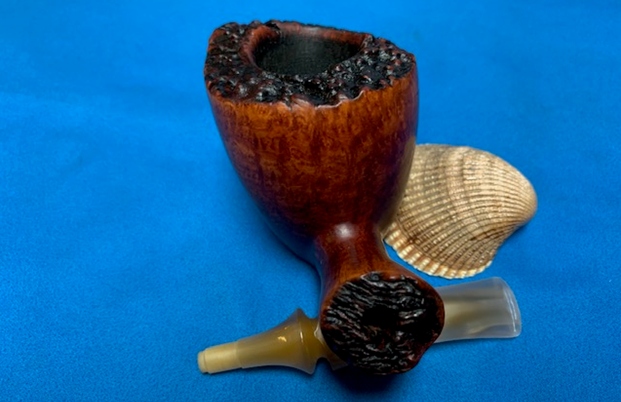
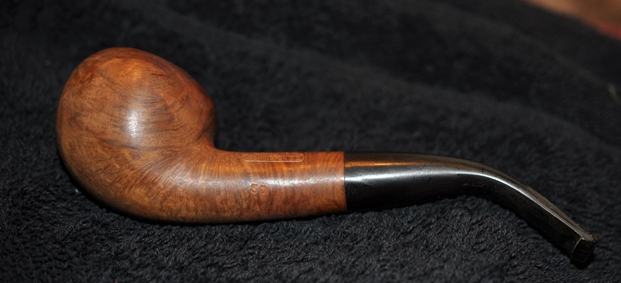
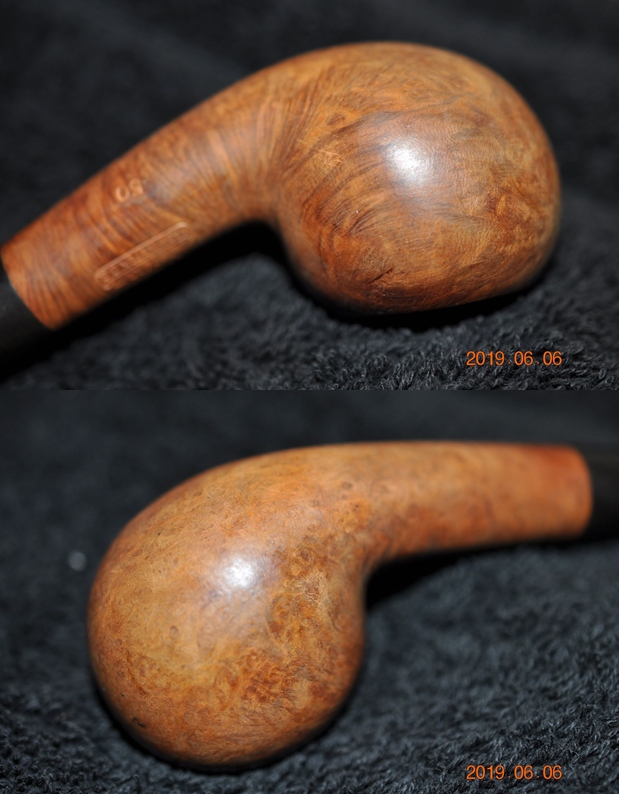
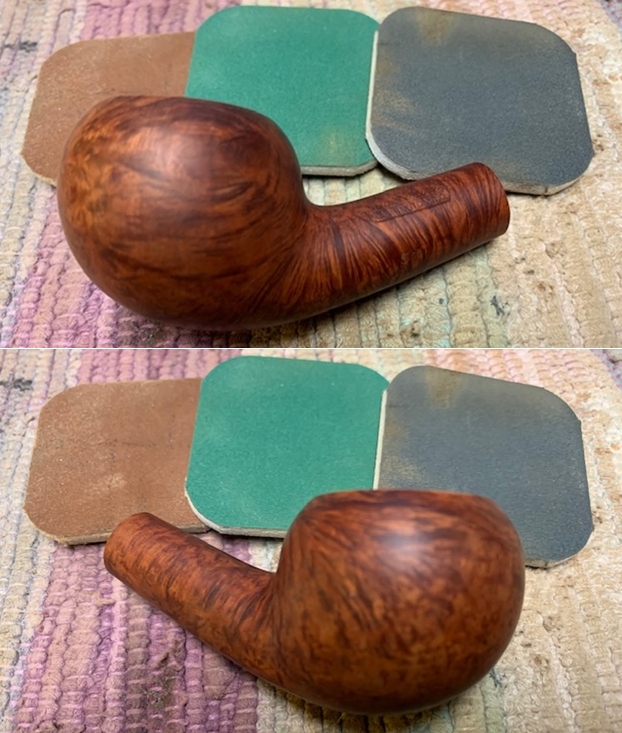
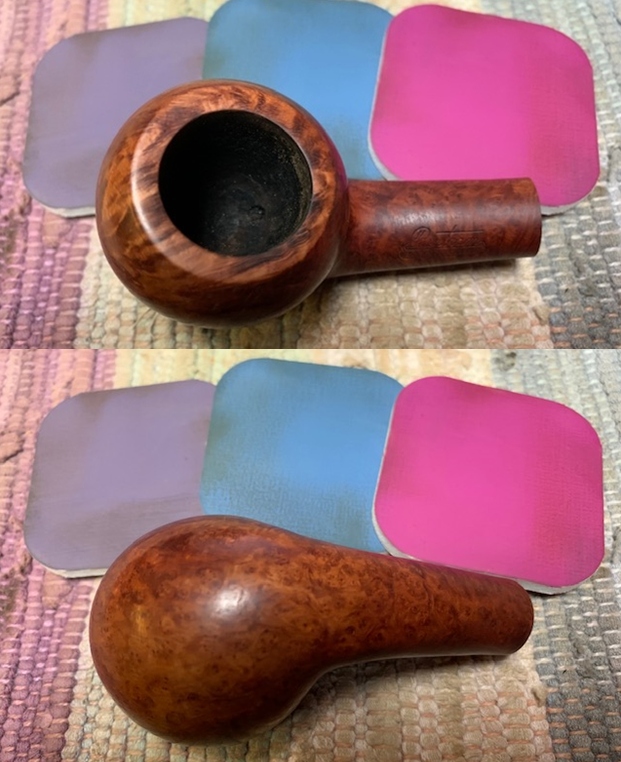
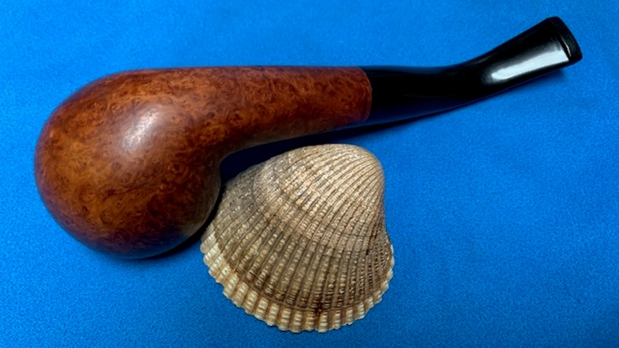
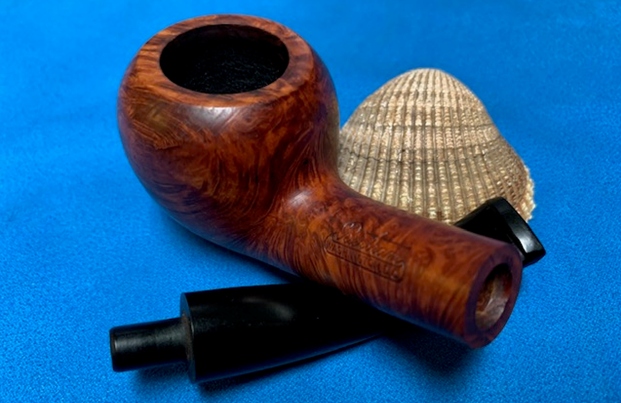
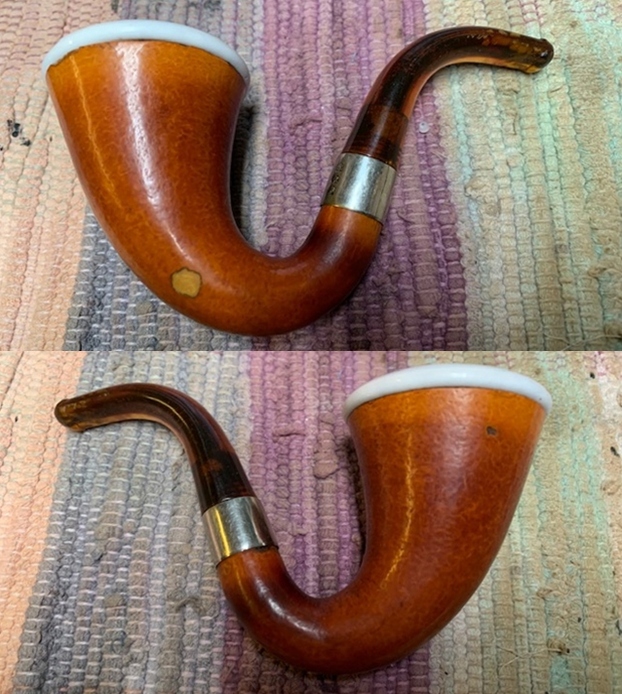
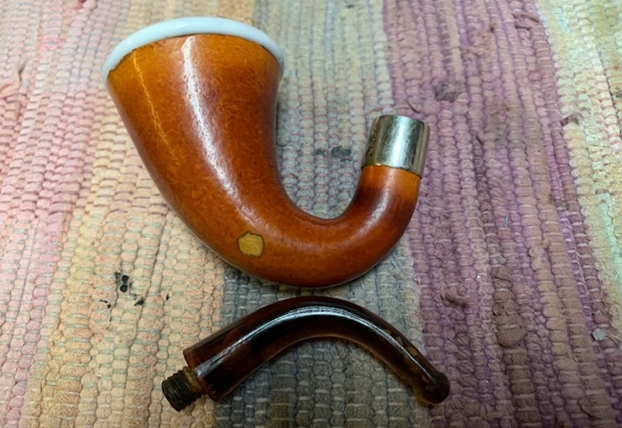
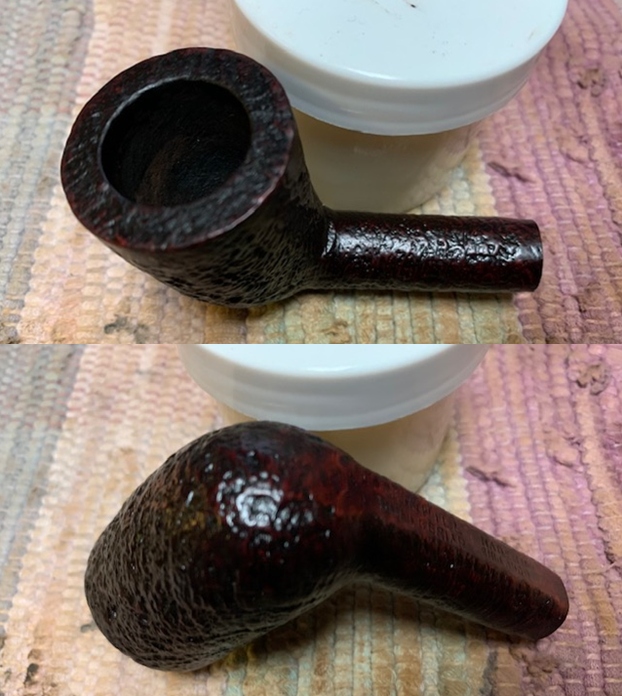
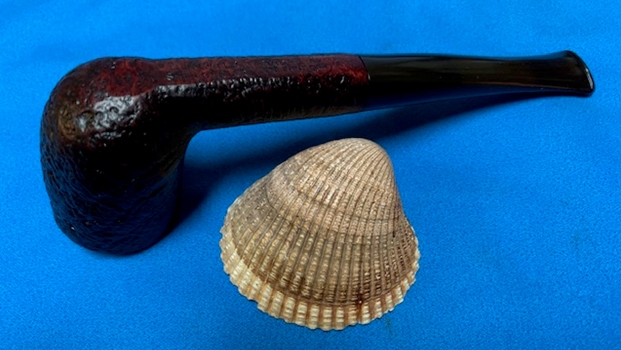
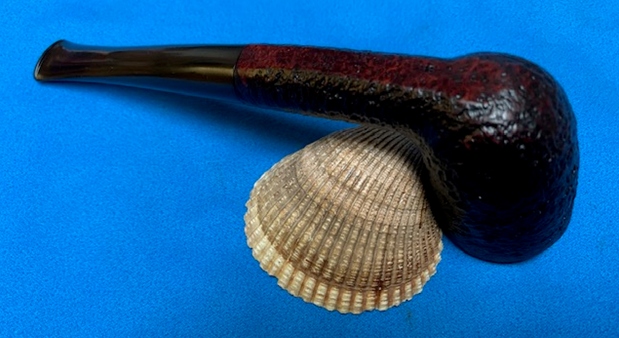
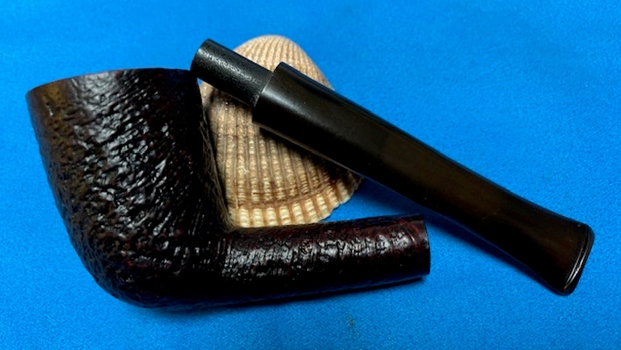
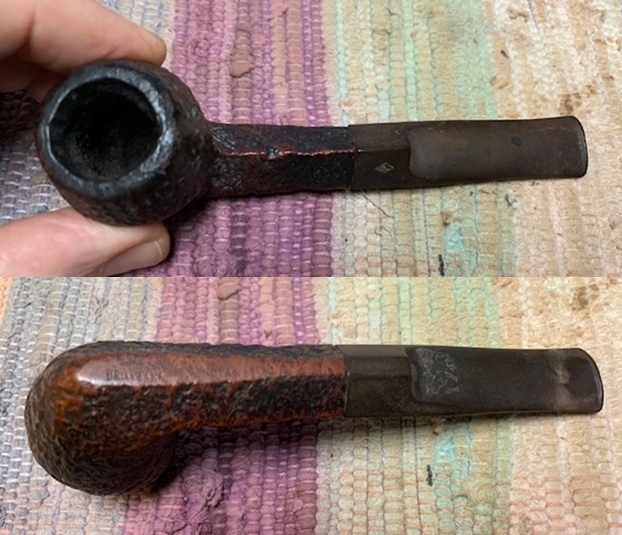
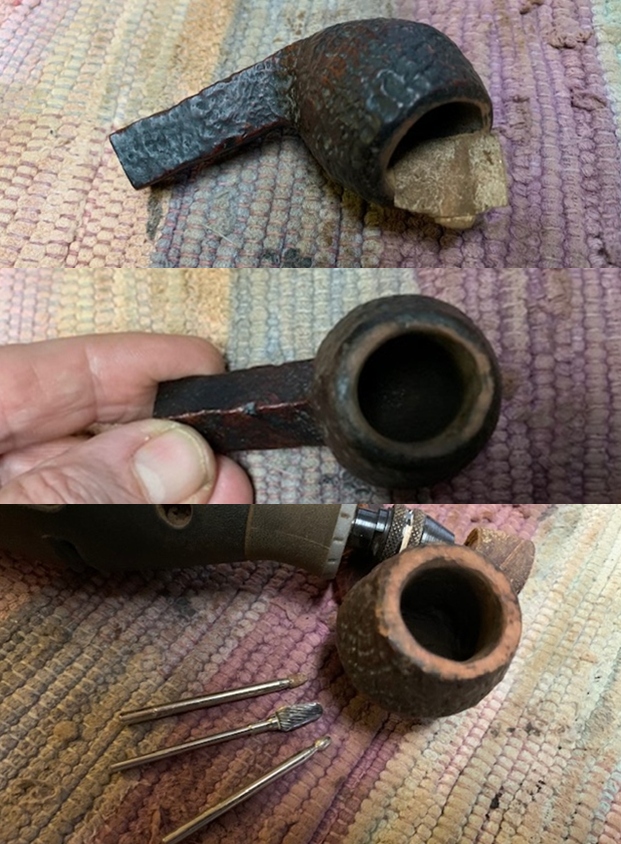
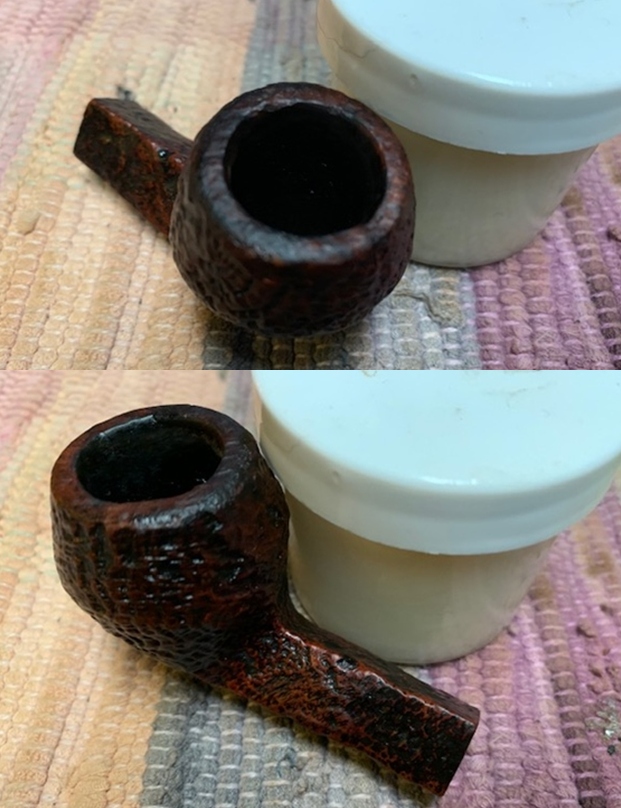
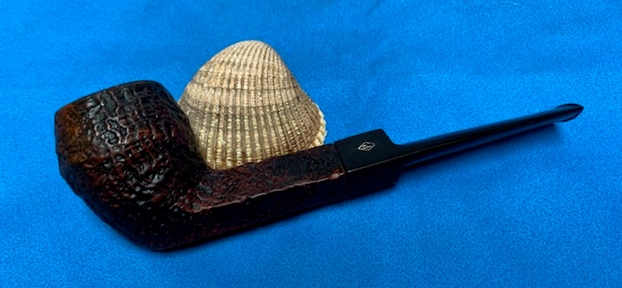
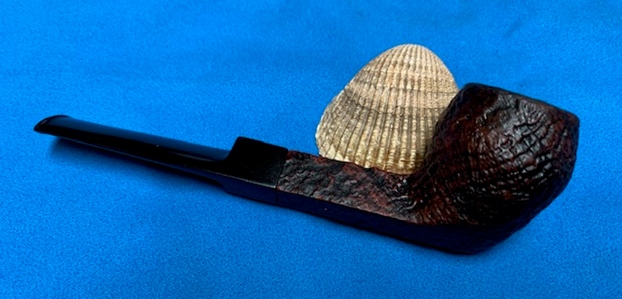
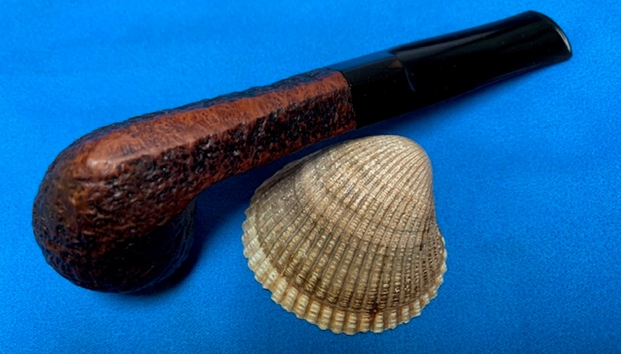
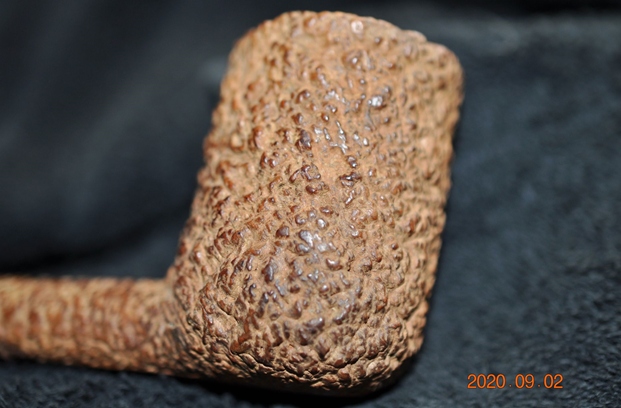
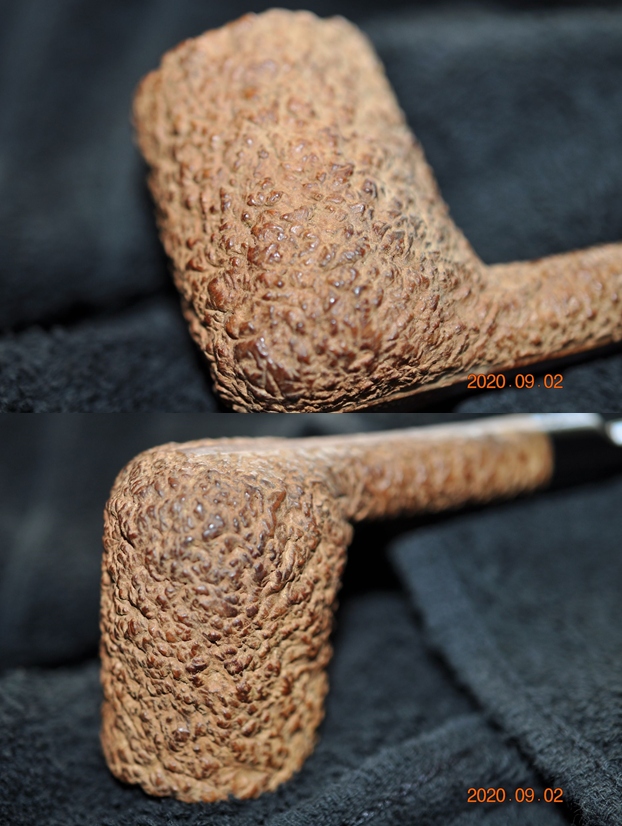
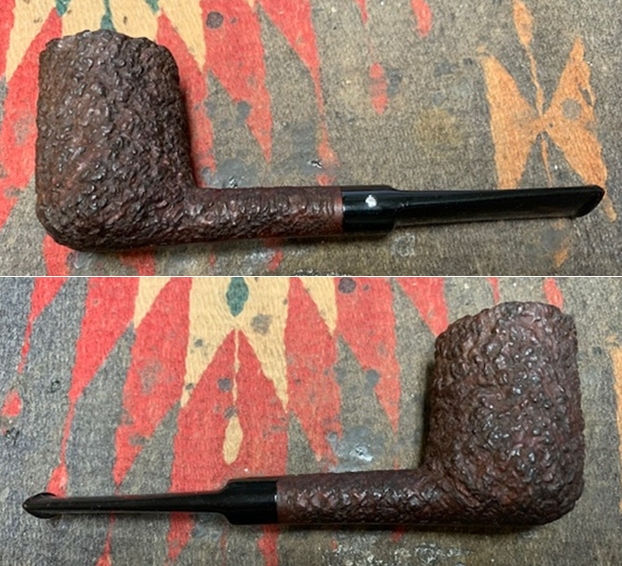
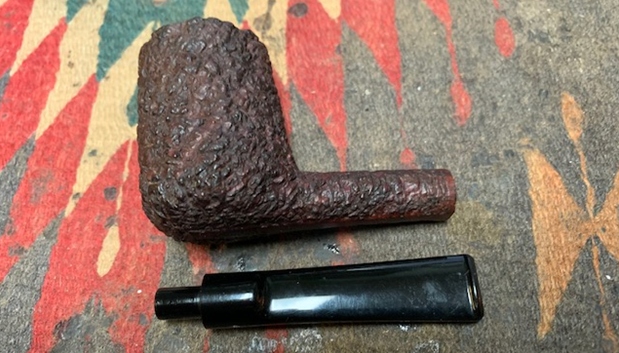
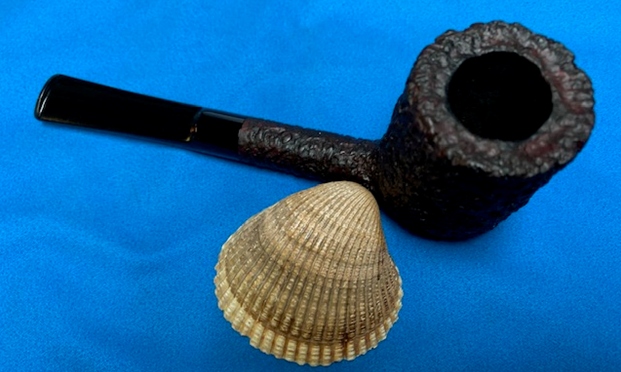
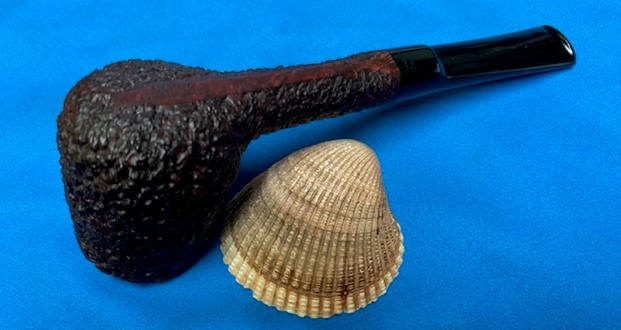
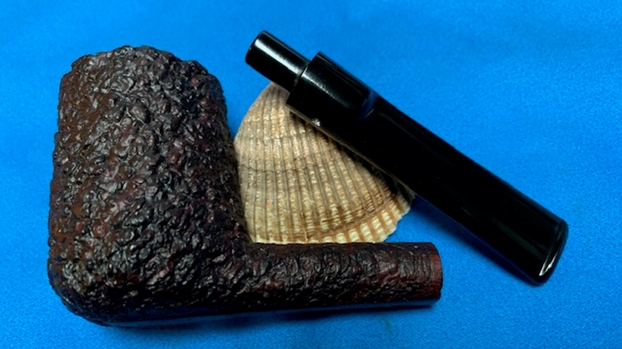
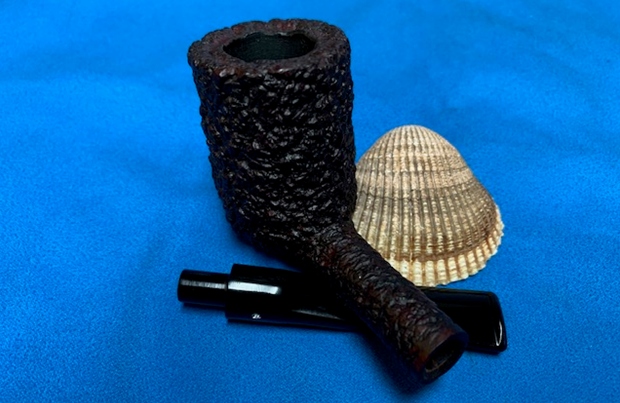
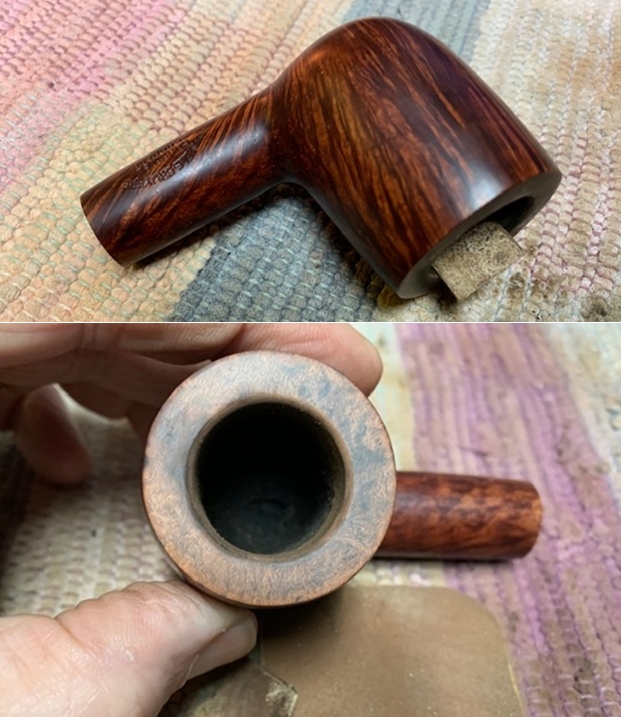
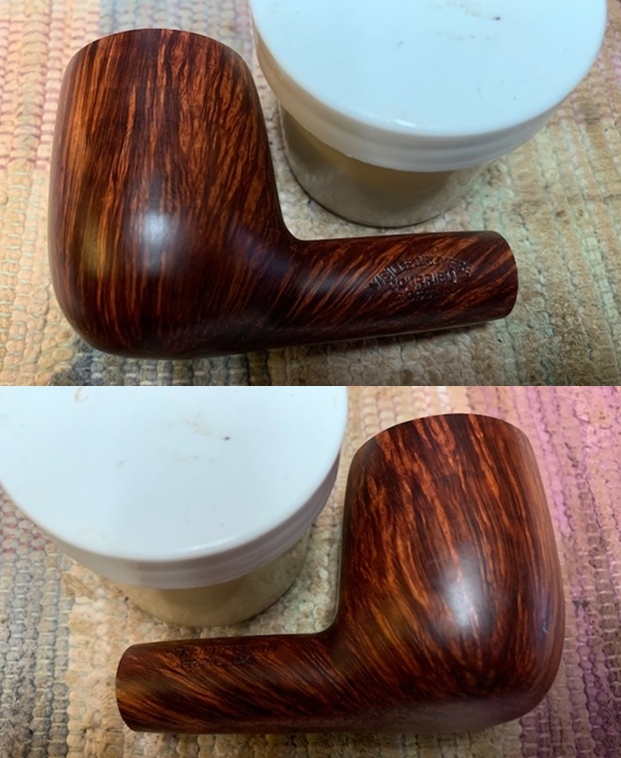
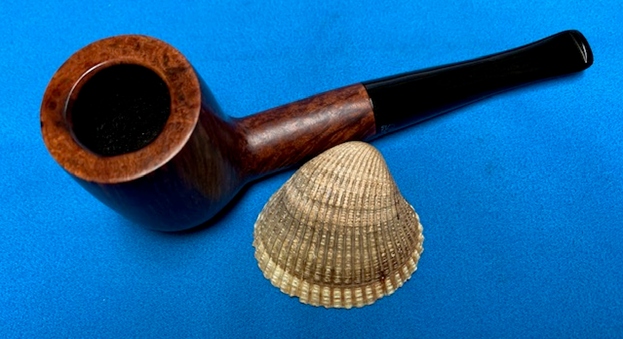
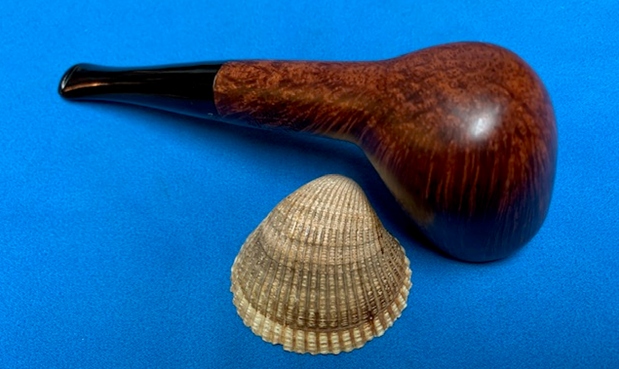
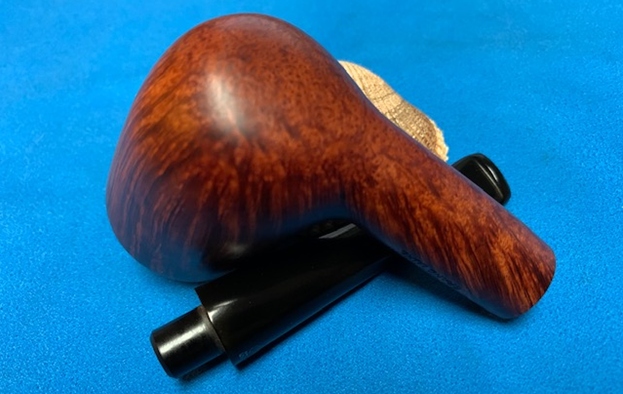
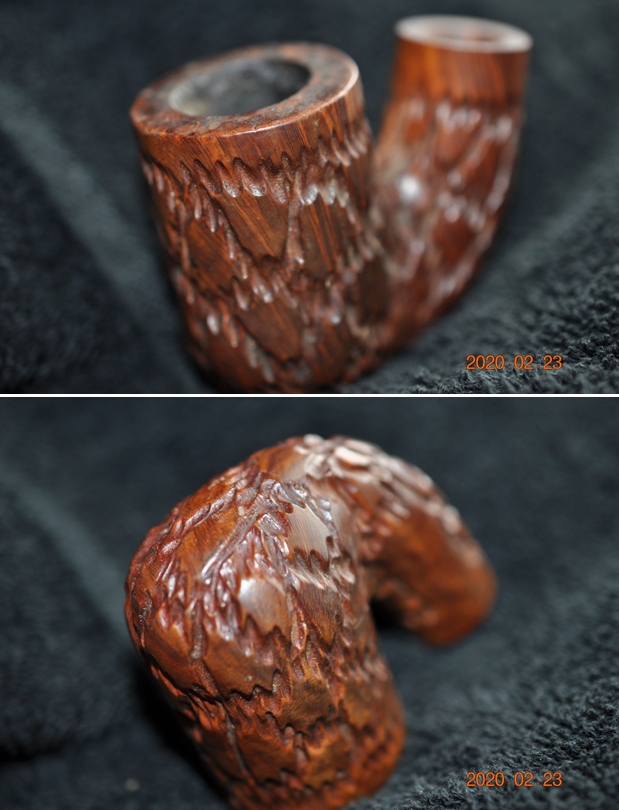
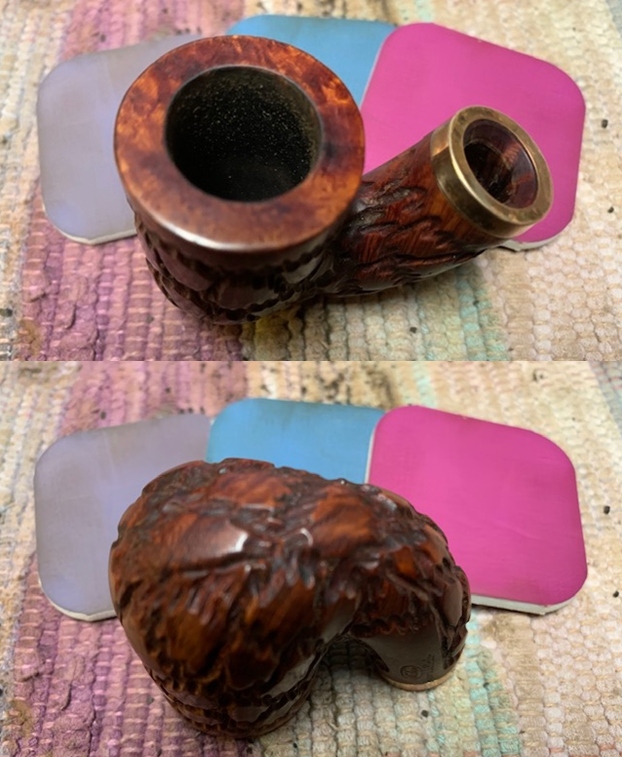
The next pipe on the table came to us from a pipe hunt Jeff and I did in Washington earlier this year. We picked this Weber Imported Briar Bowl sans stem at an Antique Mall along the way of the hunt. The rusticated finish was unique and allowed some nice flame and straight grain to come through in the smooth portions of the bowl. On the right side of the shank it was clearly stamped with the Weber oval logo [over] Imported Briar. The finish is smooth other than the rusticated or carved portion on the left side of the bowl toward the front. The rim top and first ¼ inch of the bowl side below the rim top is smooth as is the shank end. The pipe bowl was filthy with grime and oil ground into the briar of the bowl and shank sides. There was a lot of dust in the carvings on the bowl sides. The bowl had a thick cake and a thick overflow of lava on the rim top. The rim edges – both outer and inner – looked very good. Jeff took some photos of the bowl to show its overall condition and shape before he started his cleanup work.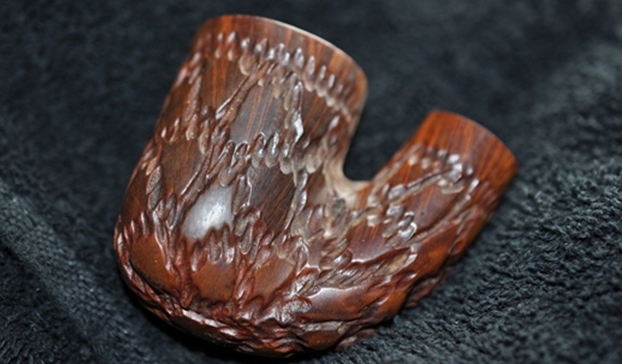
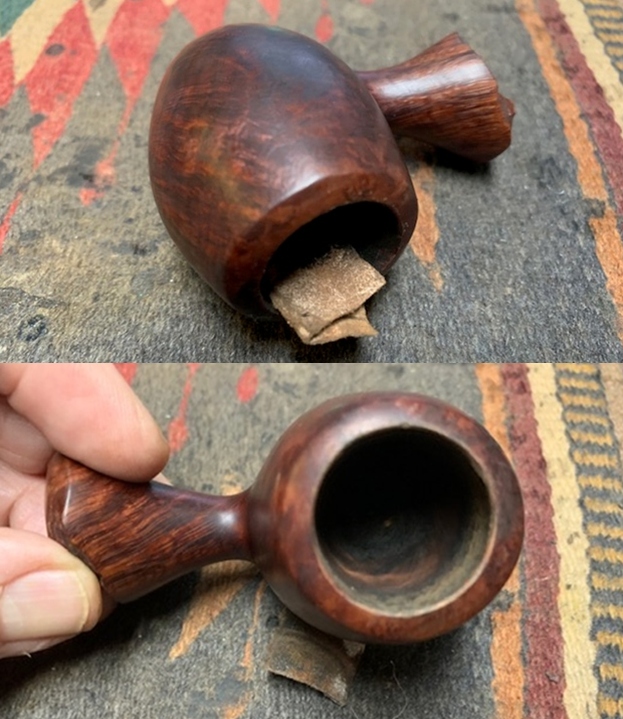
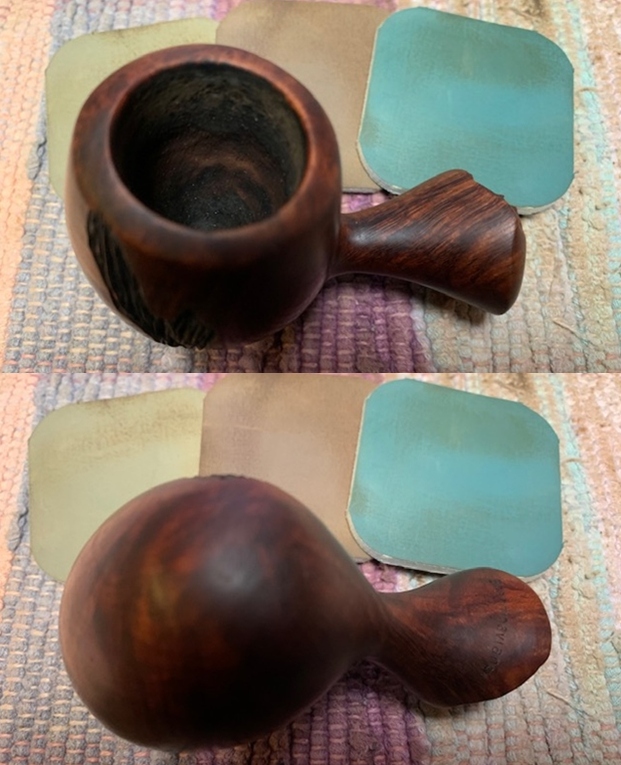
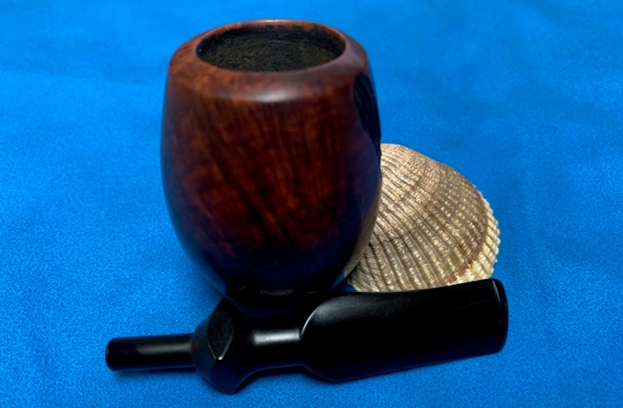
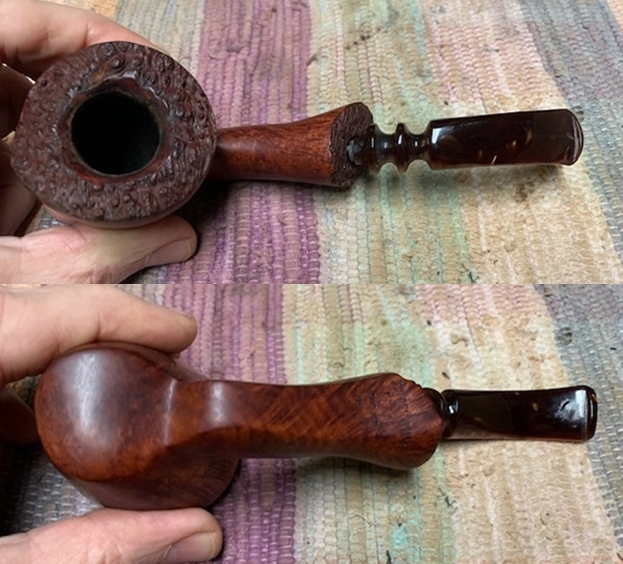
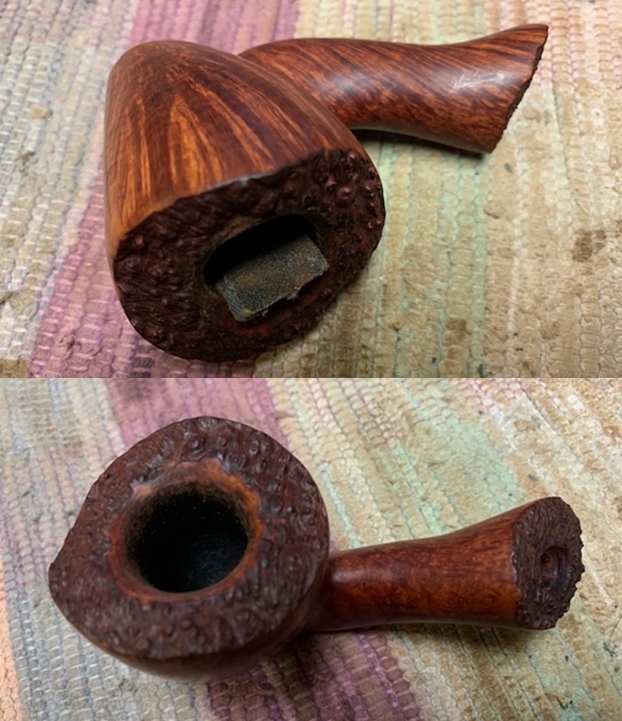
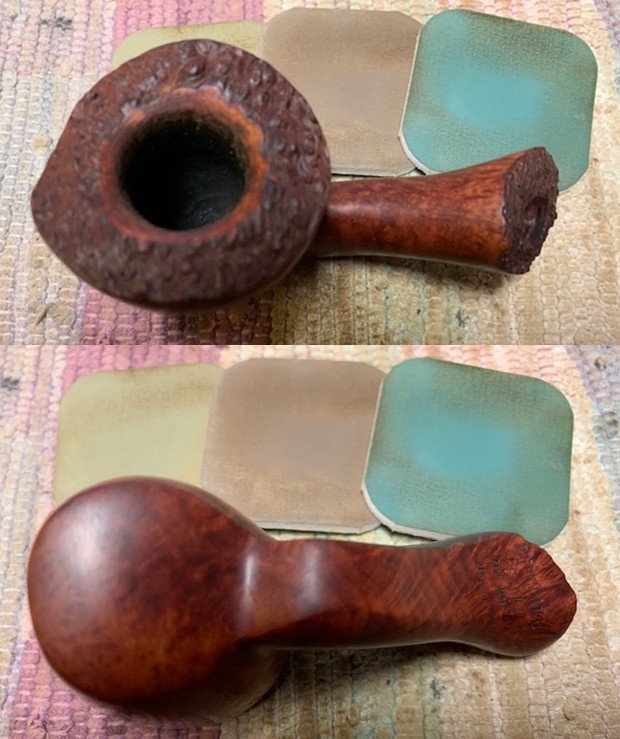
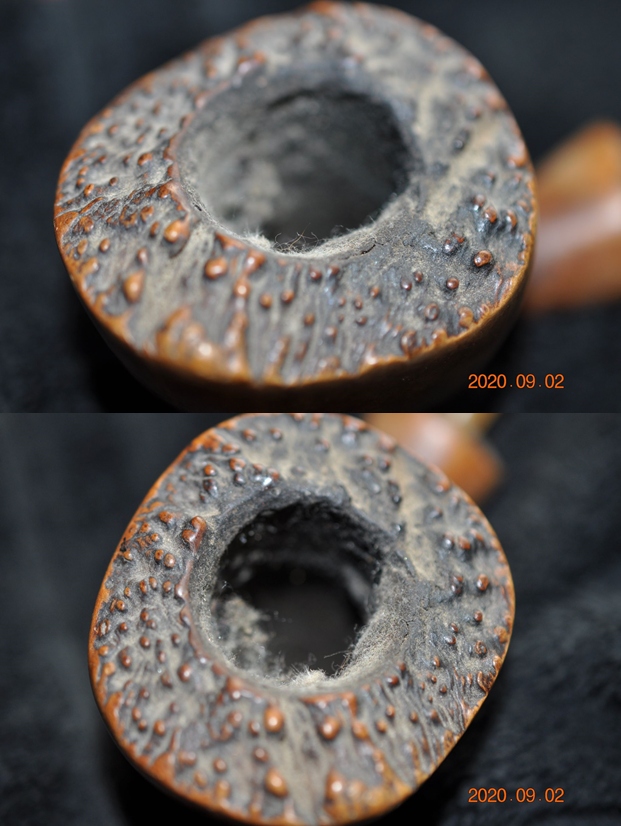
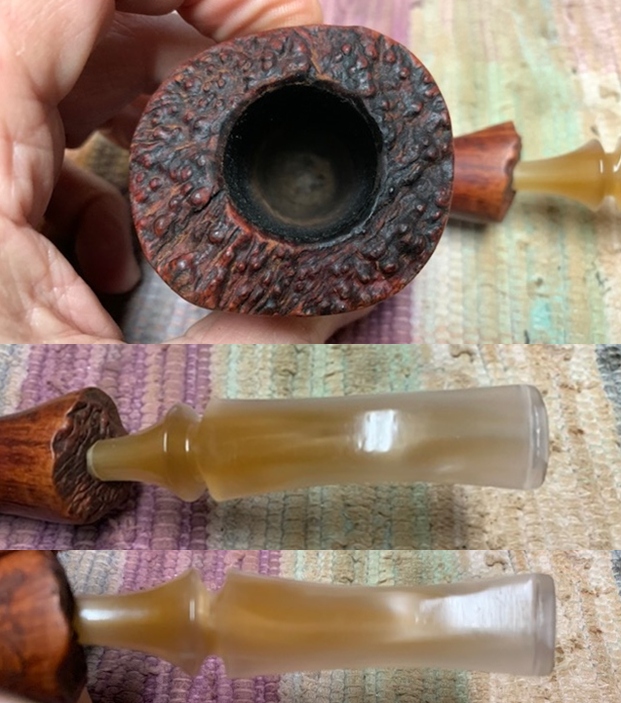
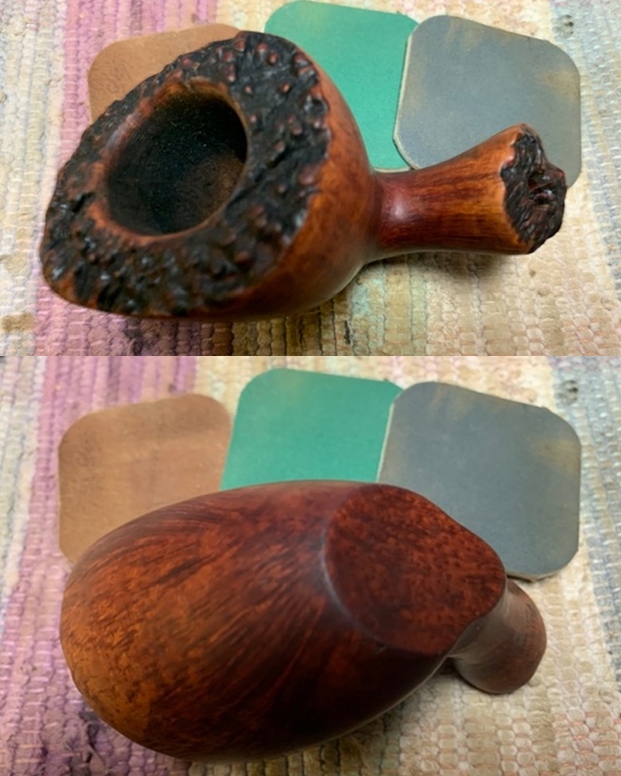
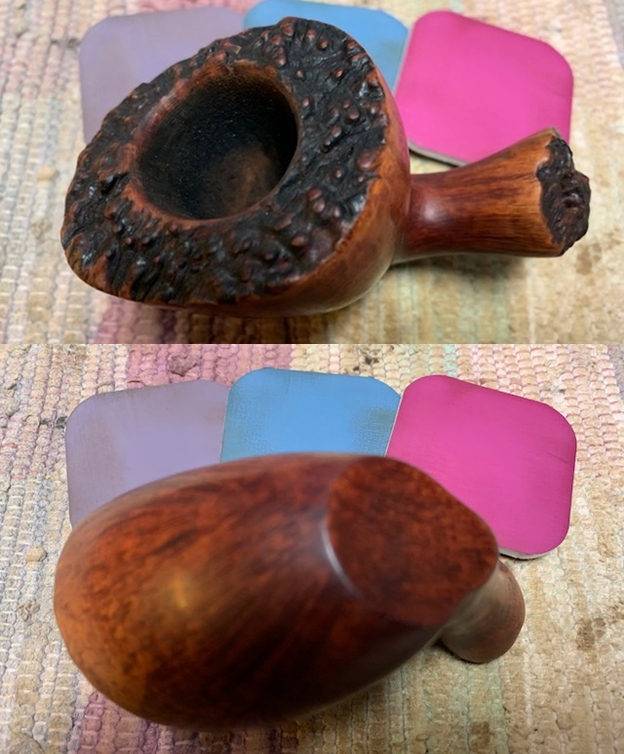
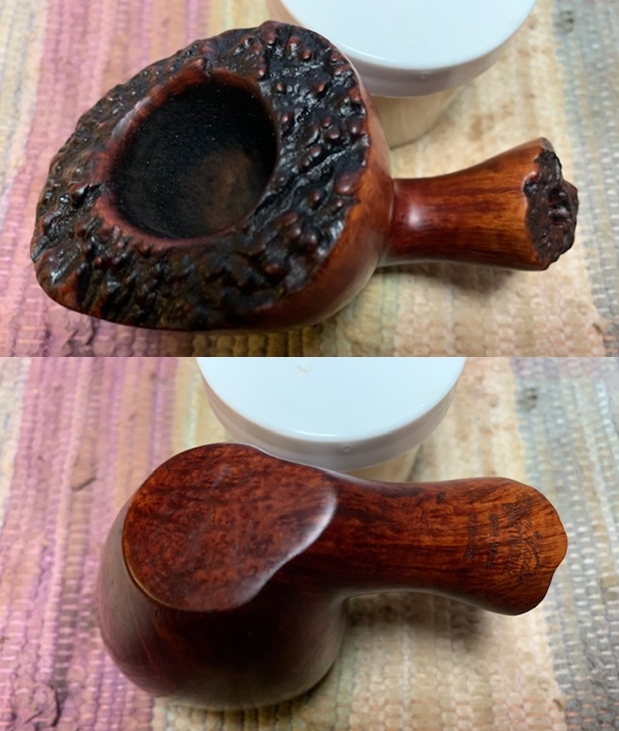
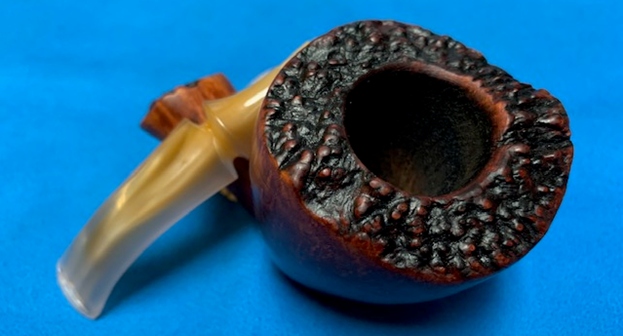
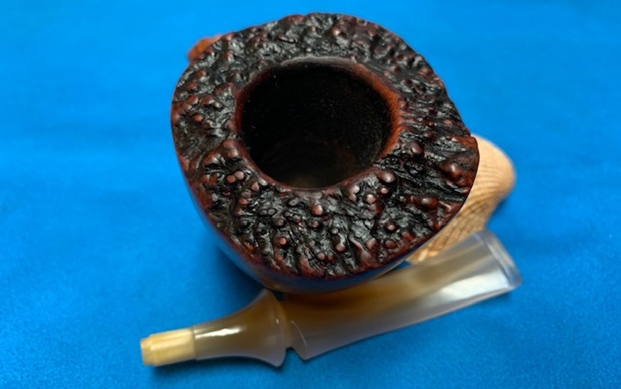
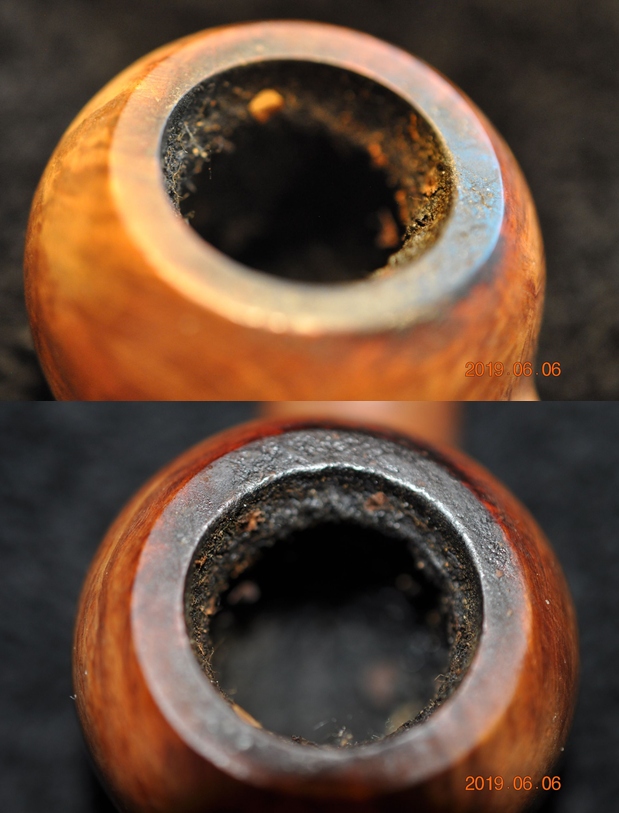
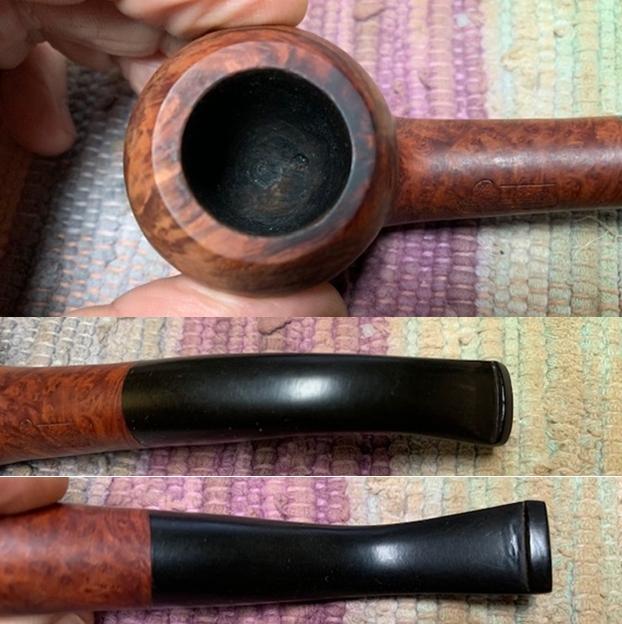
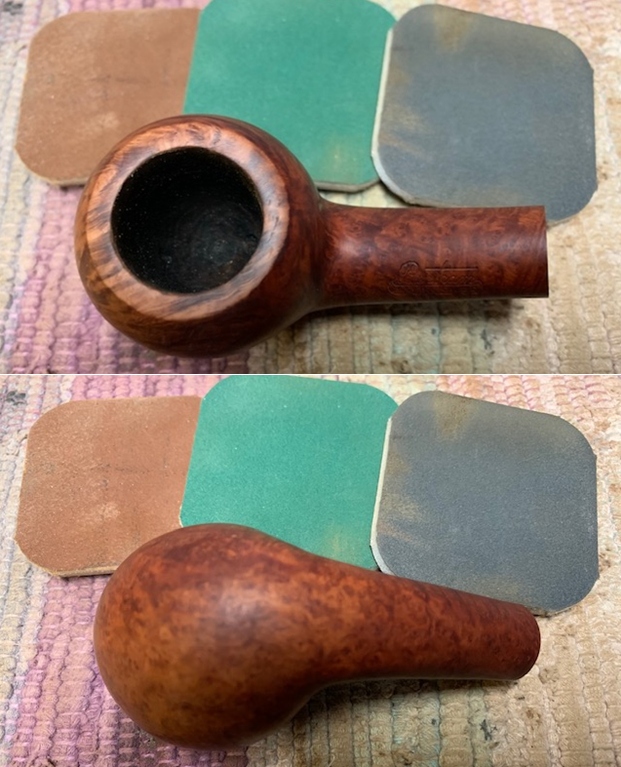
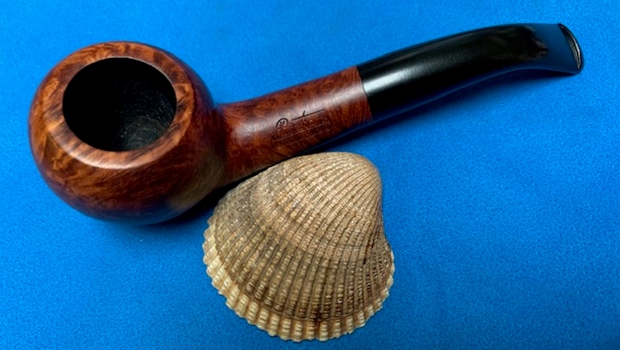
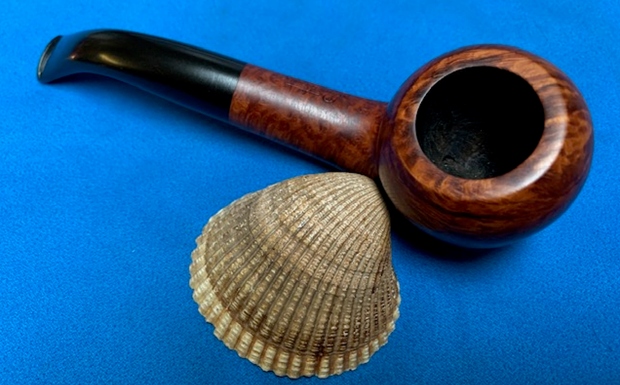
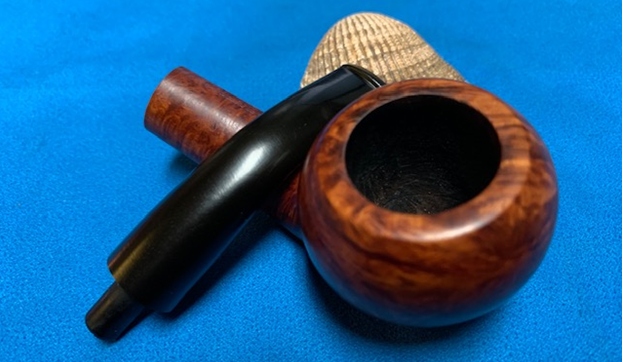
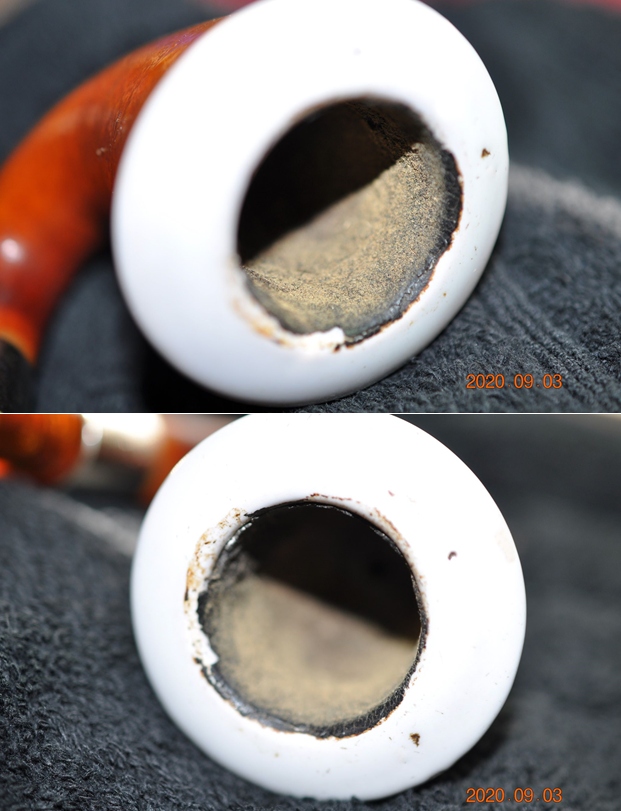
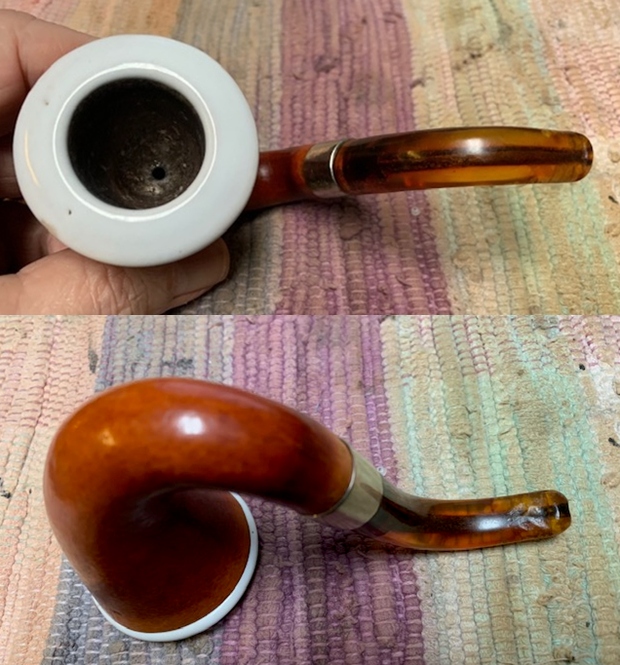
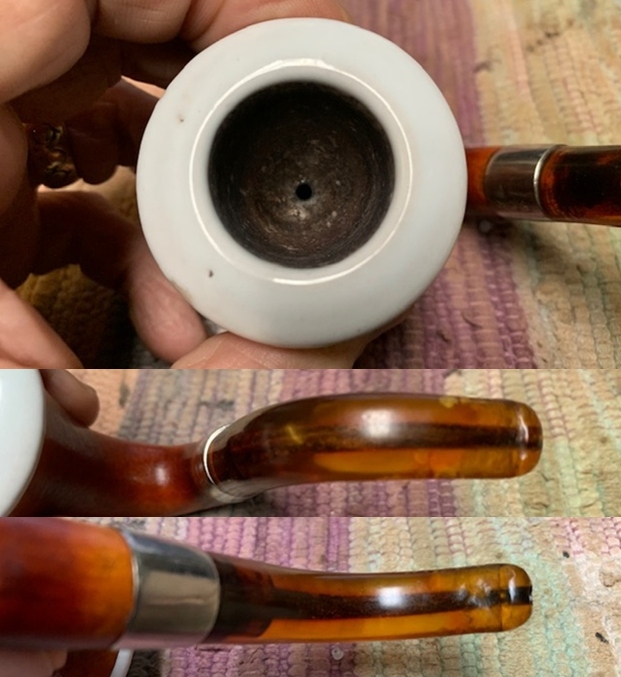
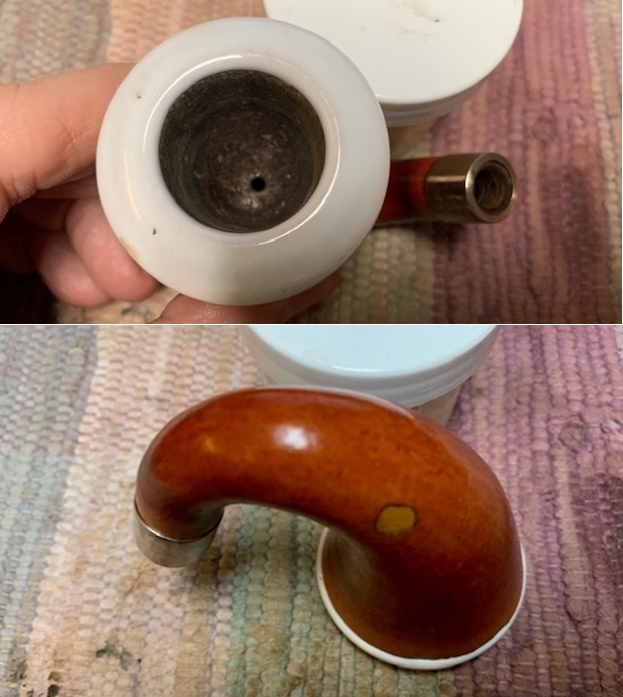
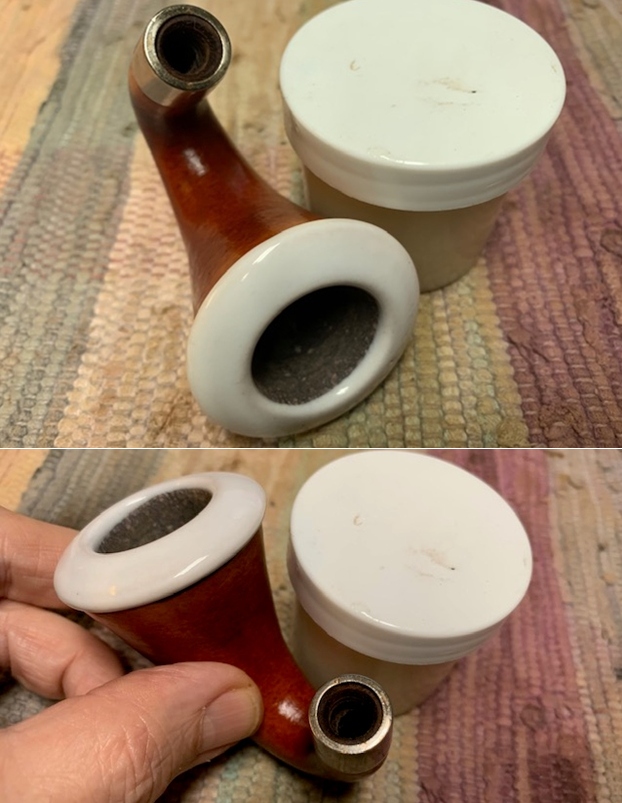
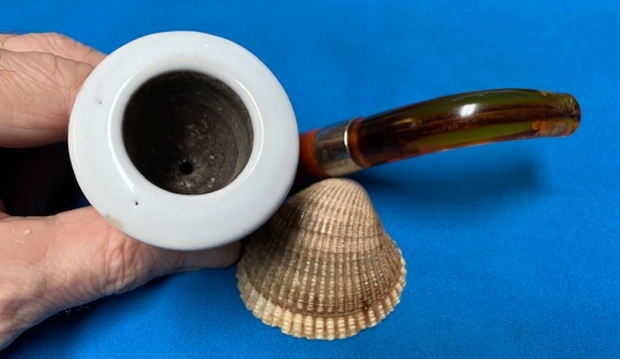
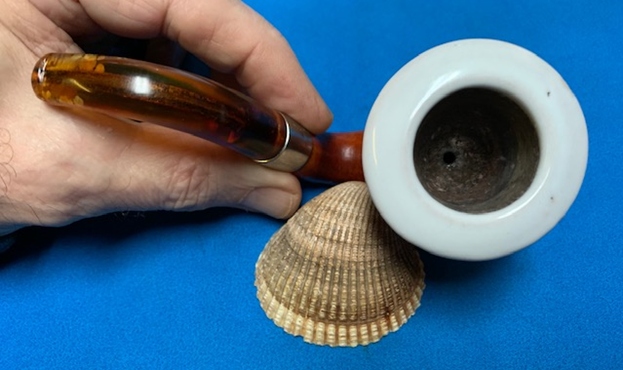
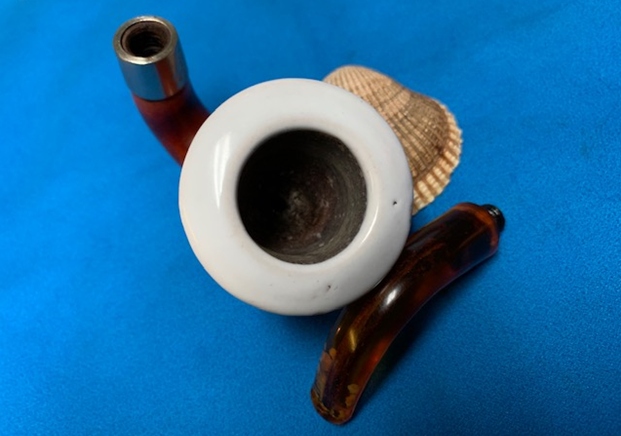
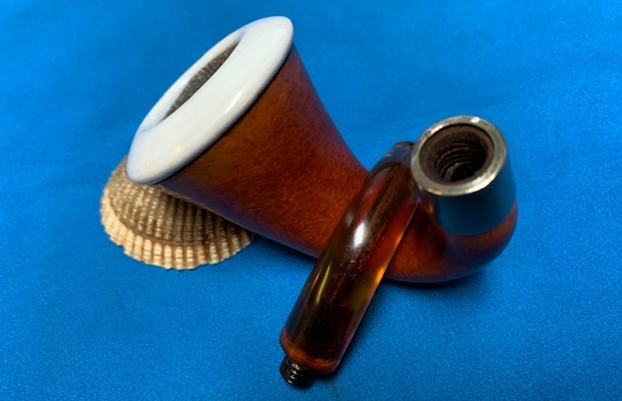
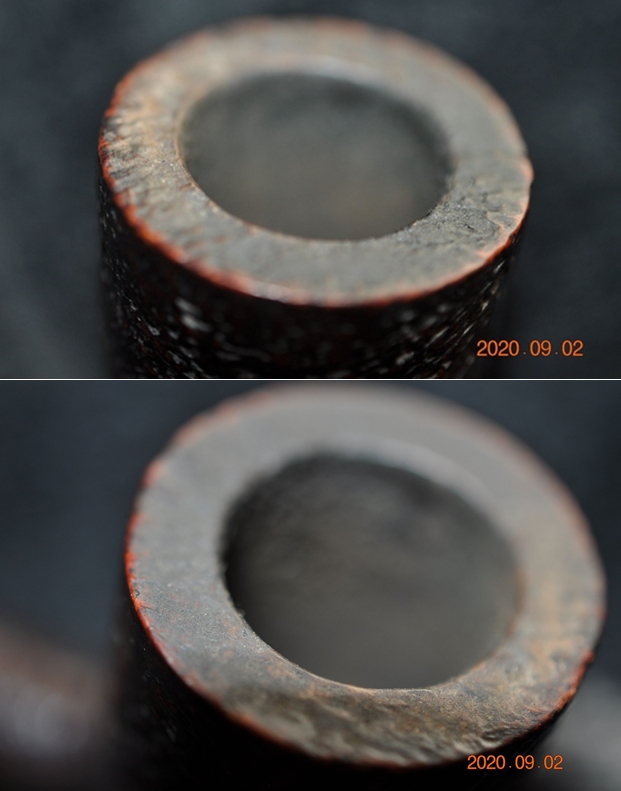
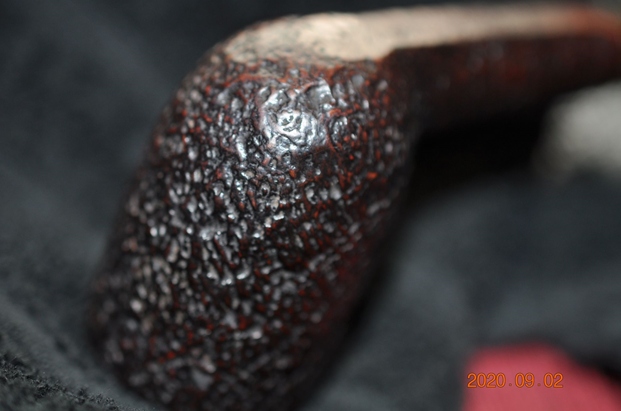
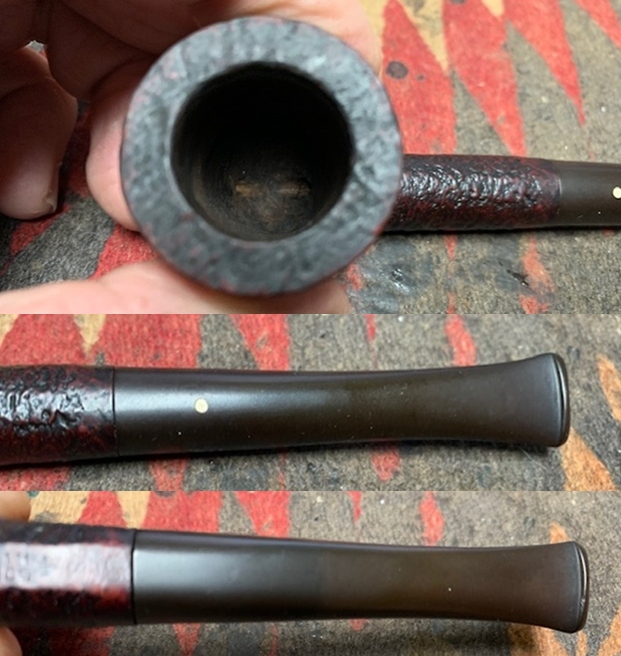
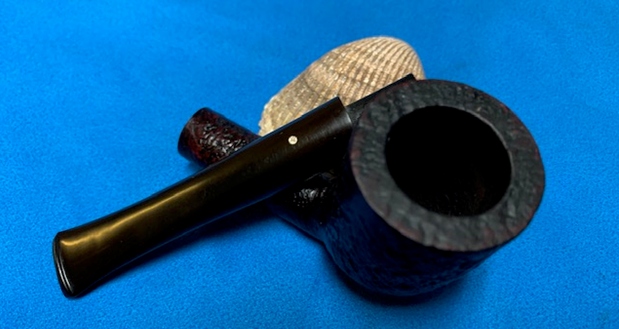
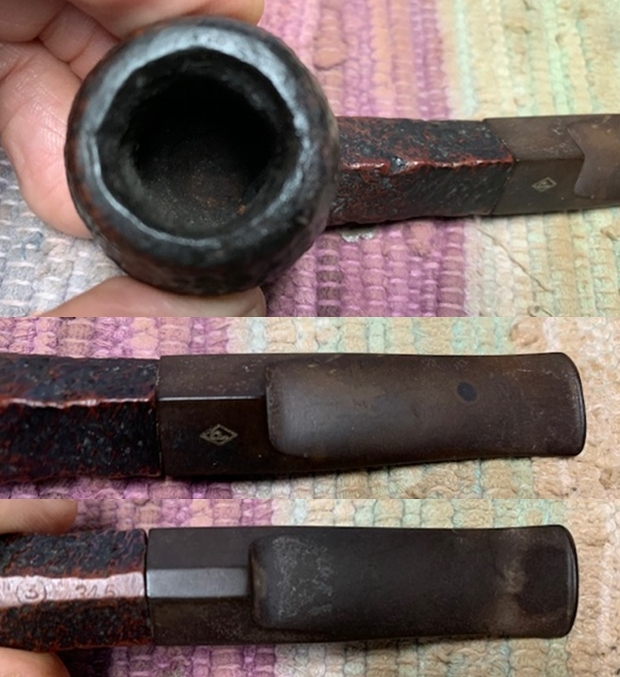
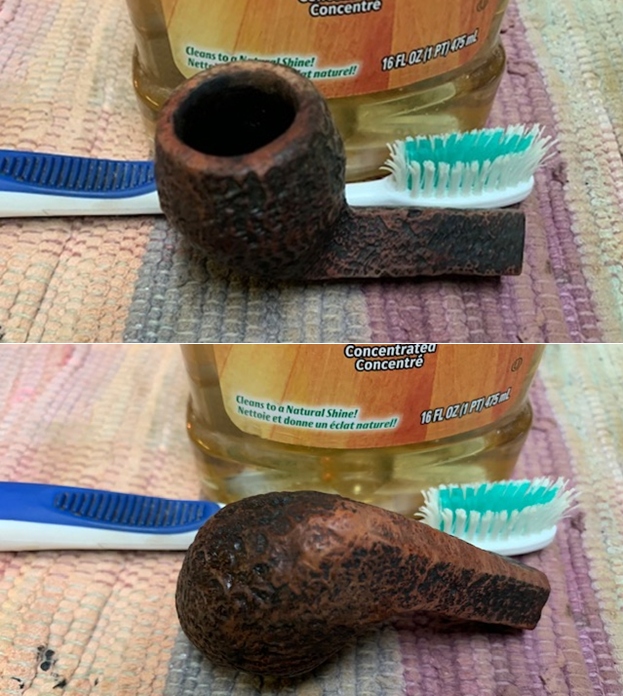
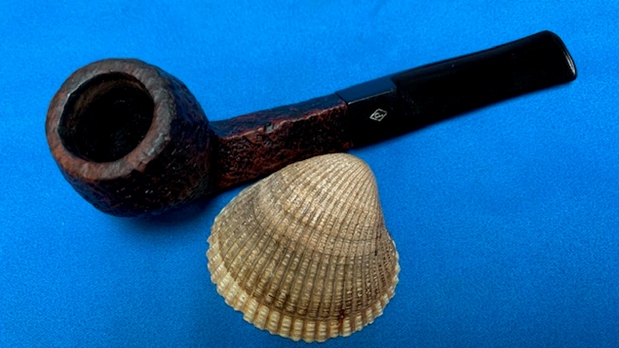
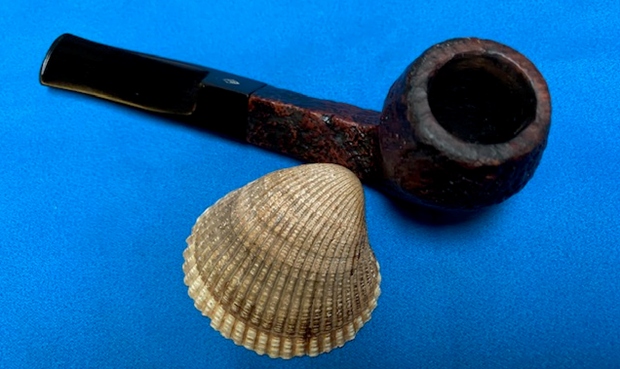
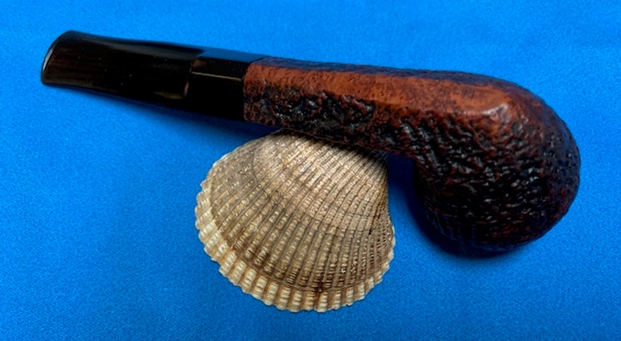
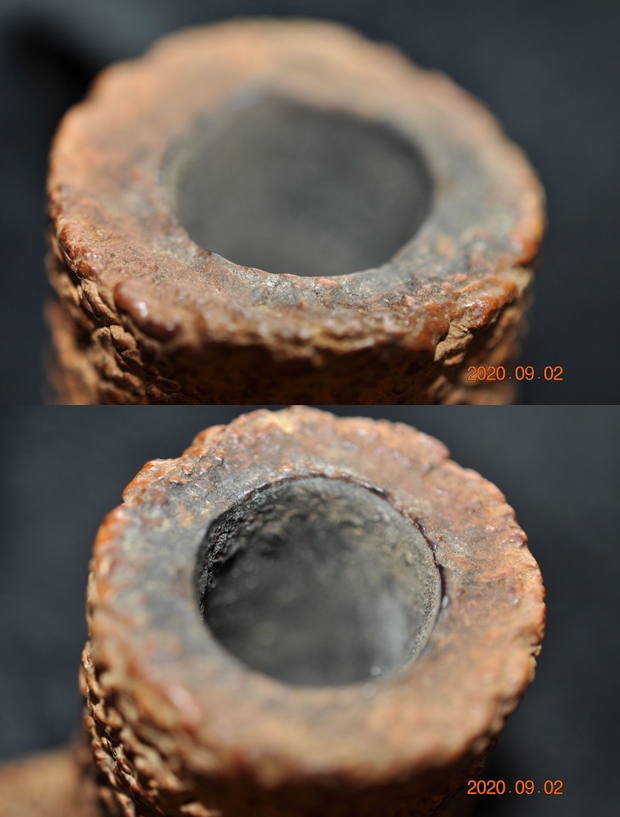
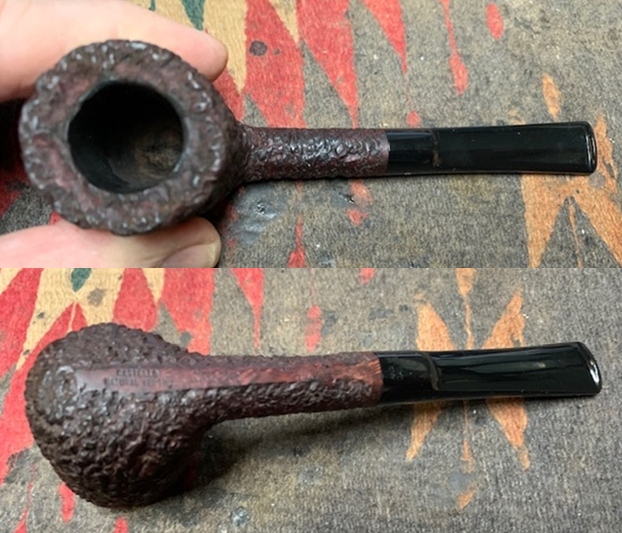
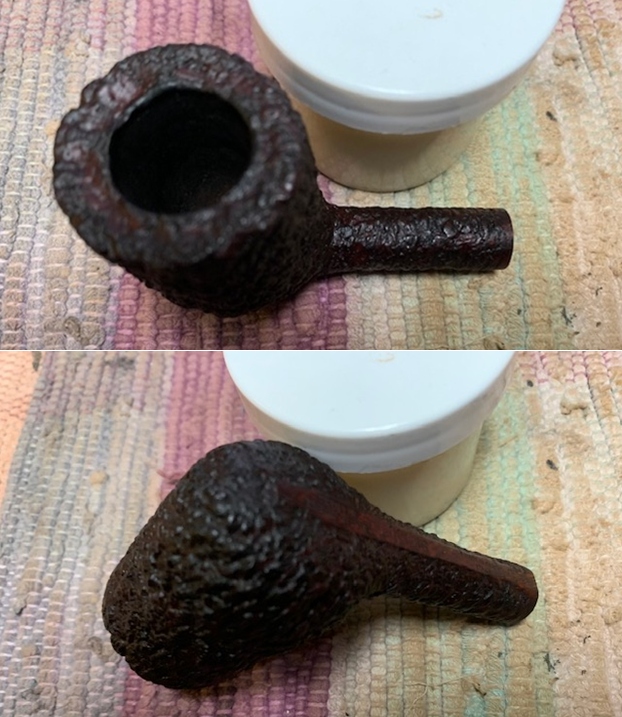
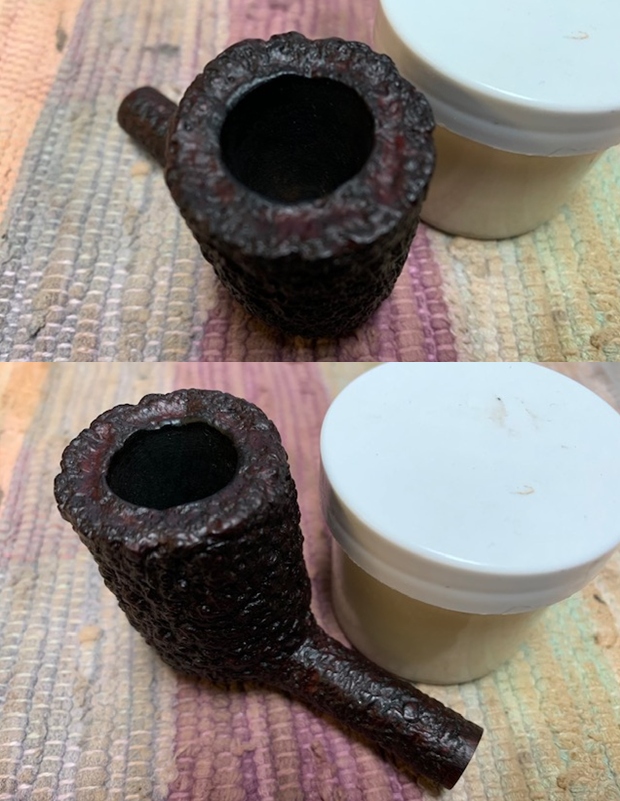
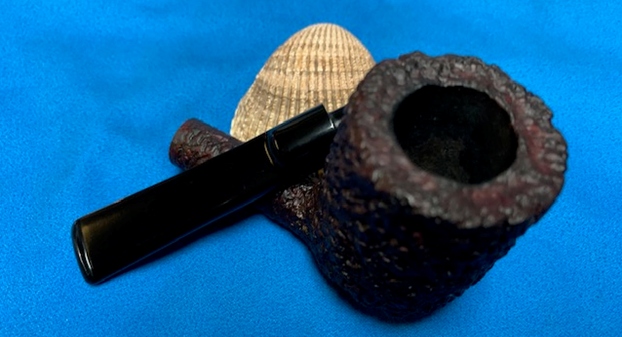
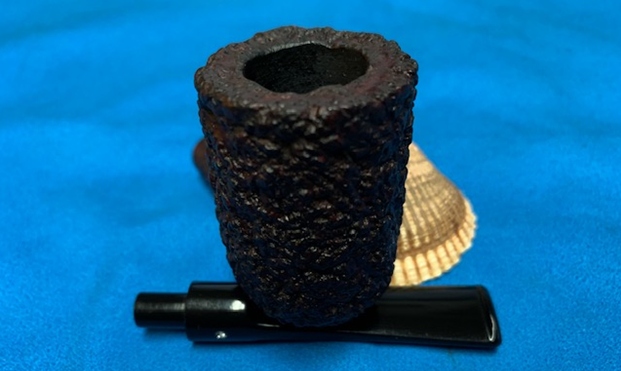
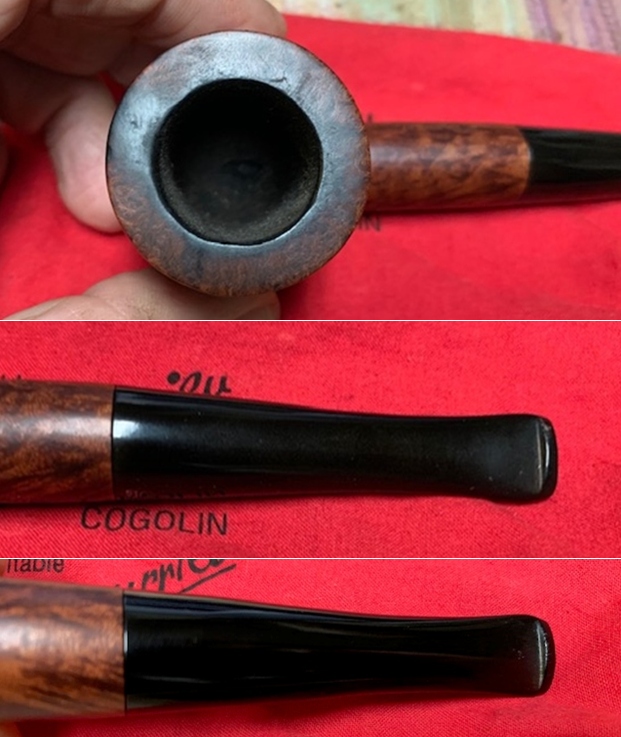
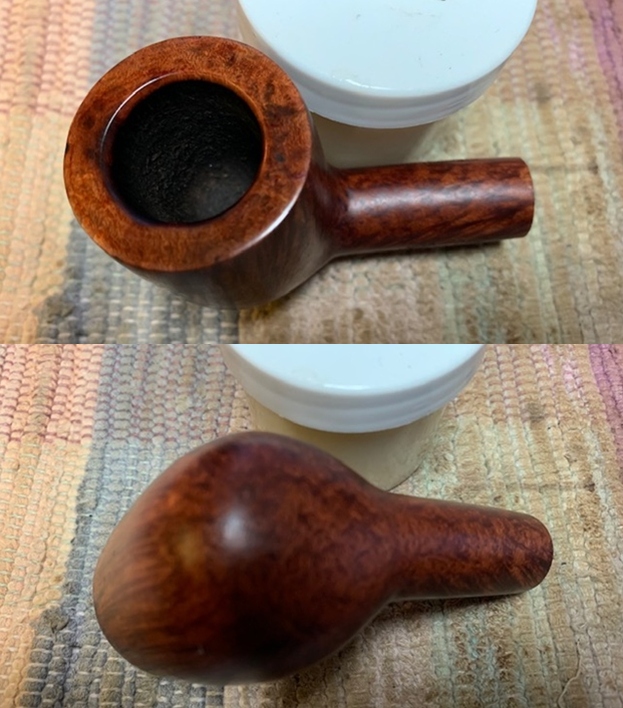
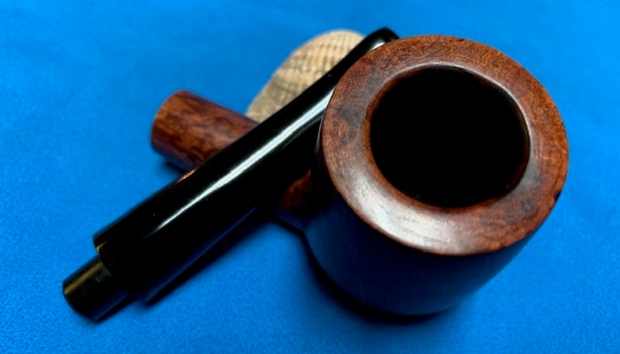
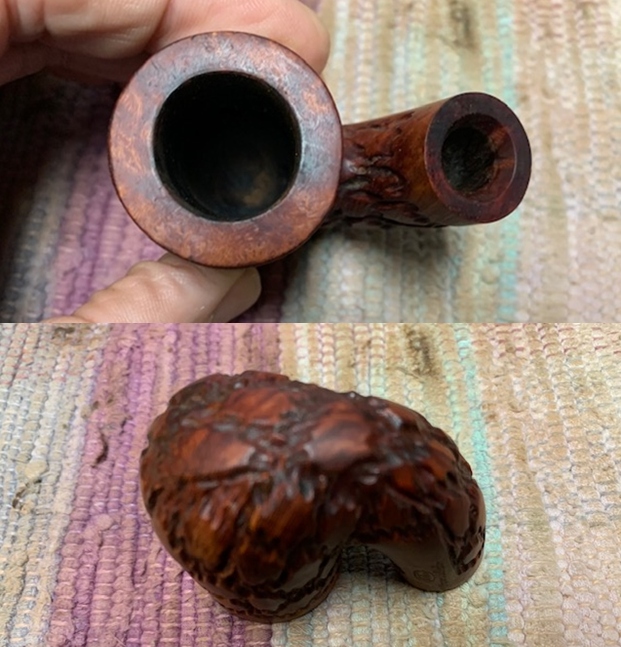
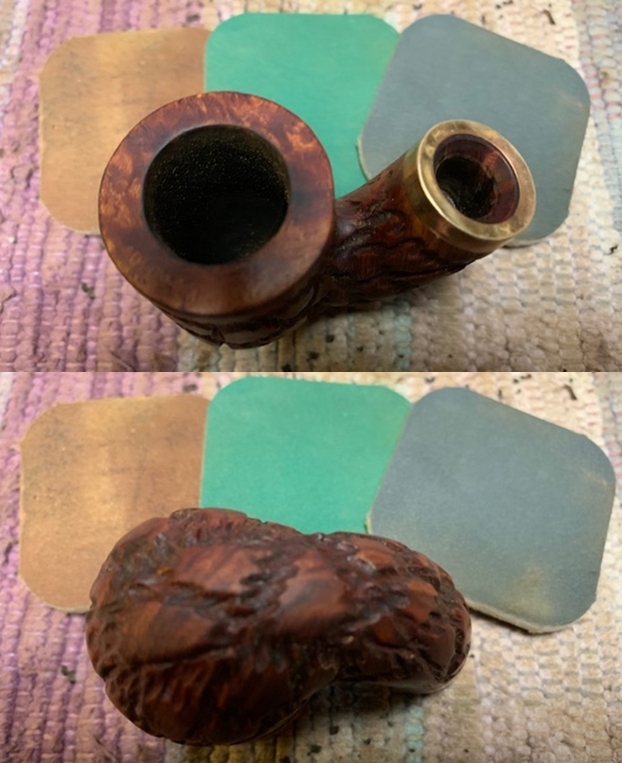
 He took photos of the rim top and bowl to give a clear picture of the thickness of the cake and the lava on the rim top.
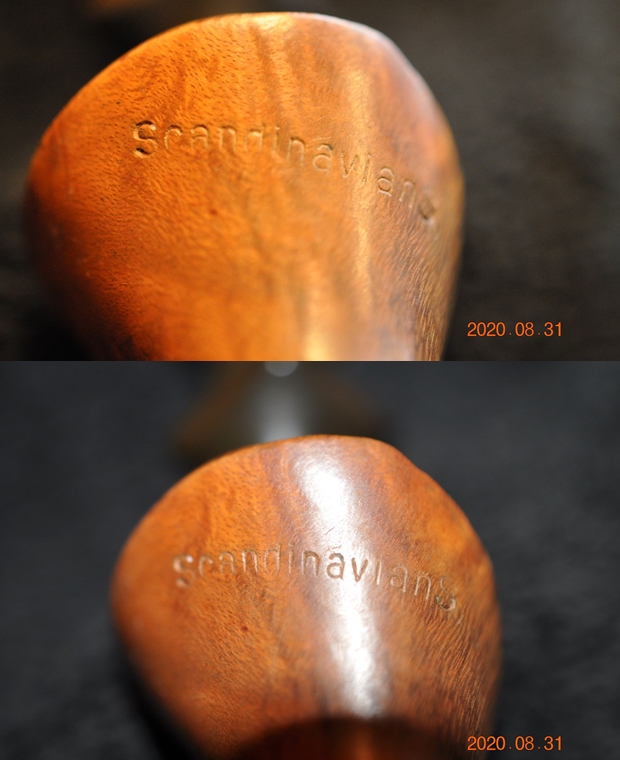
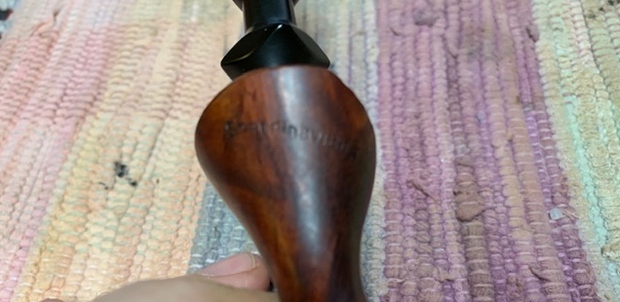
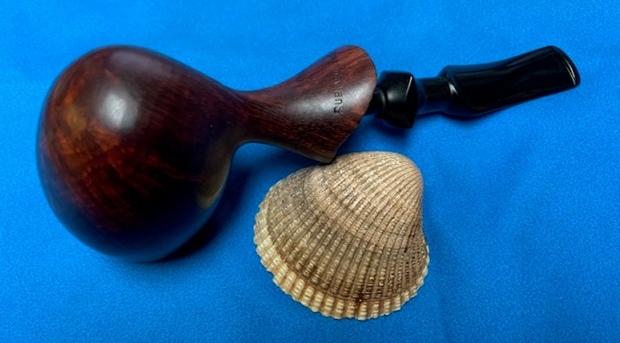
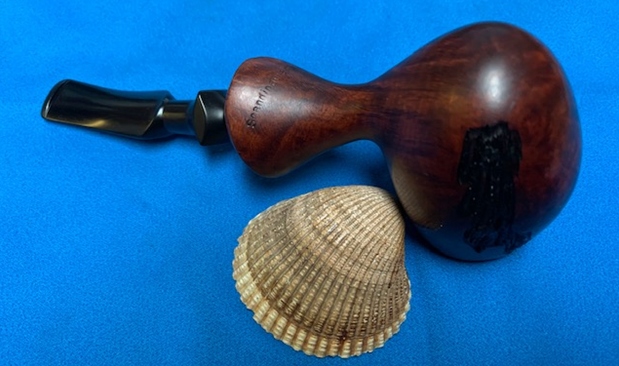
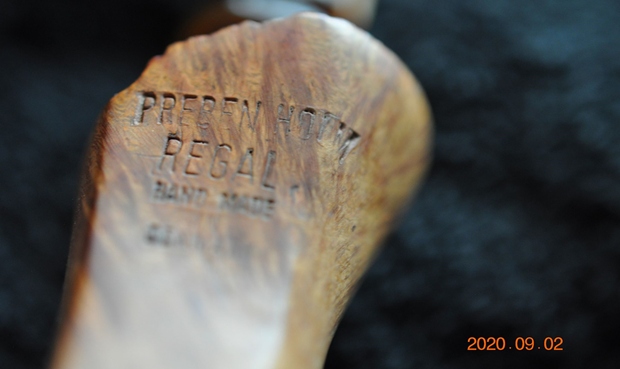
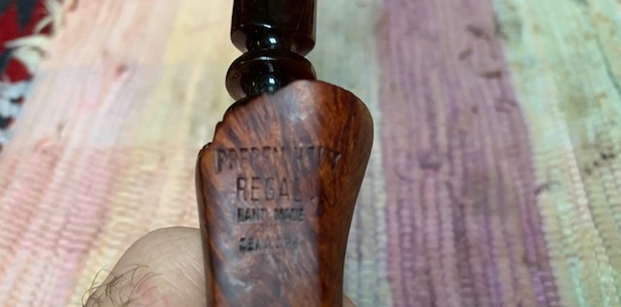
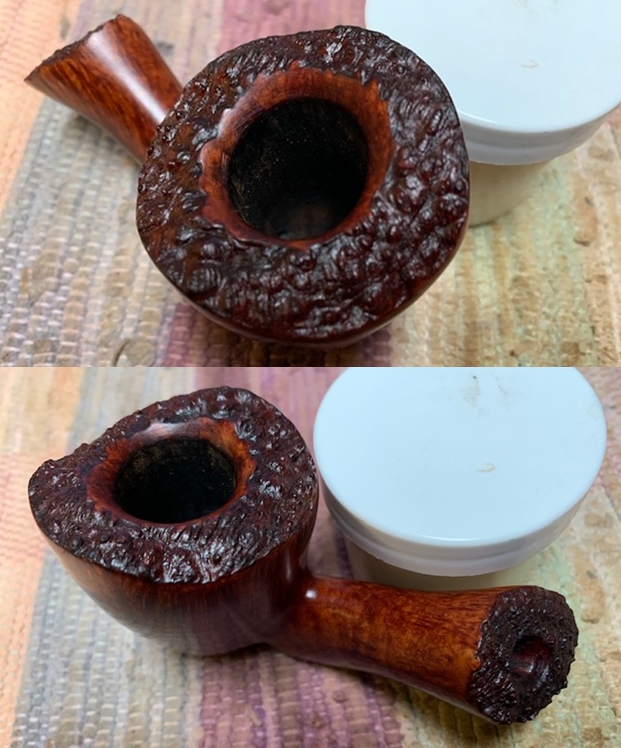
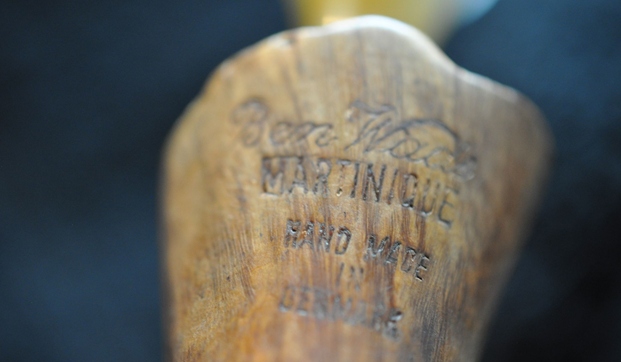
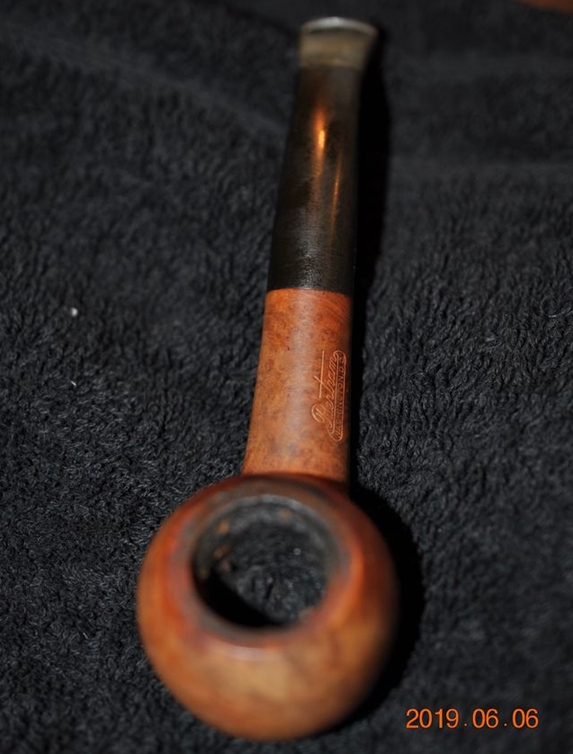
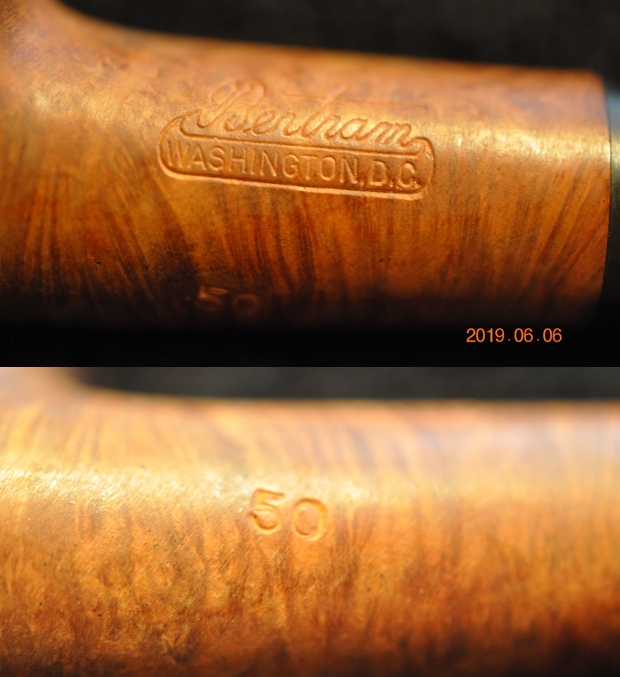
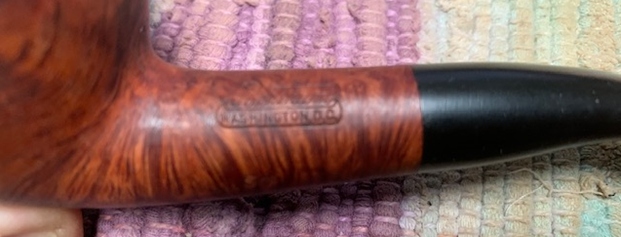
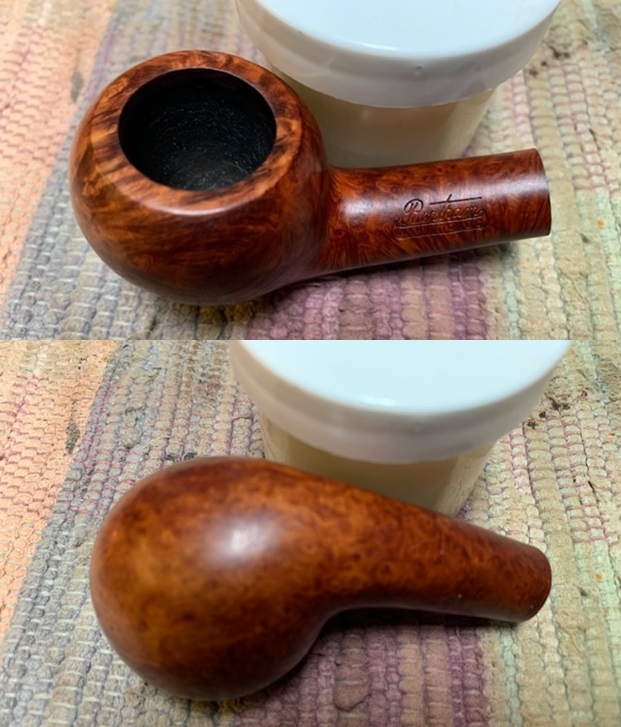
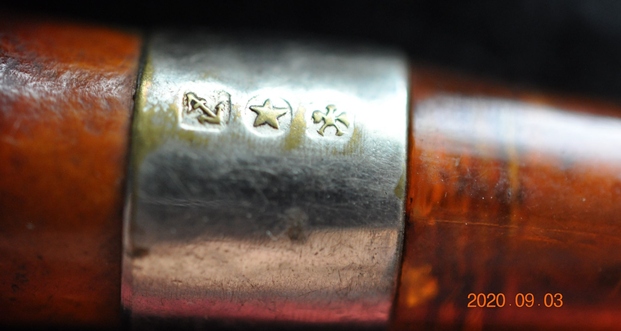
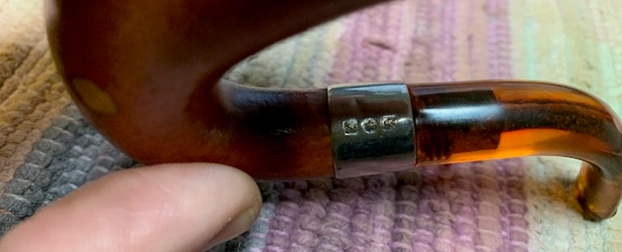
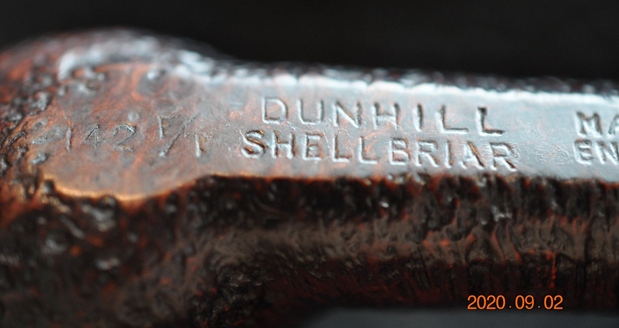
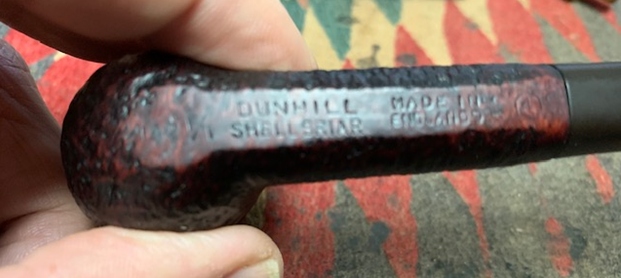
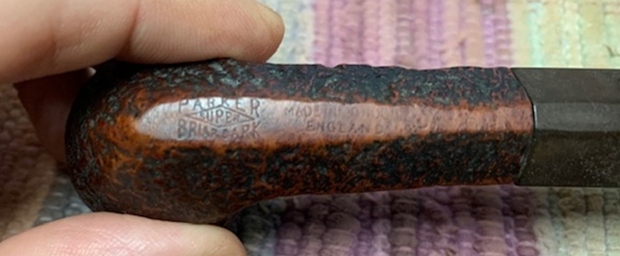
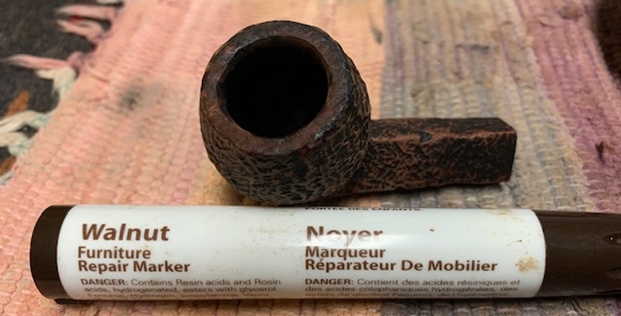
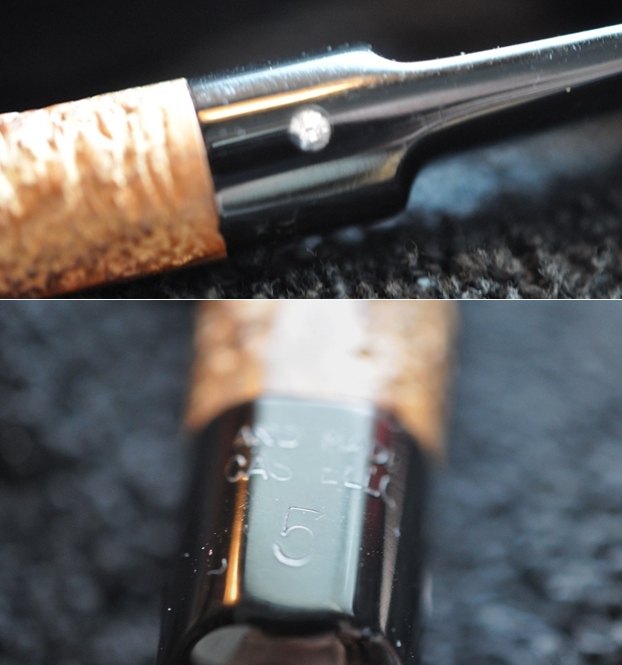
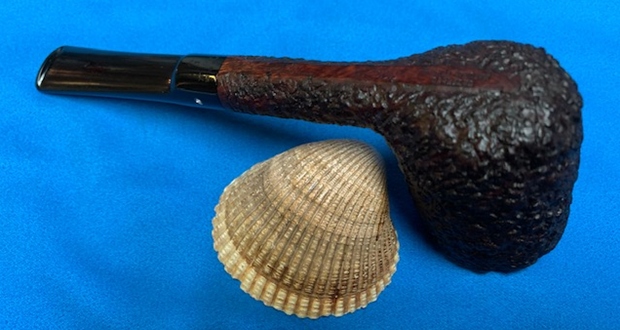
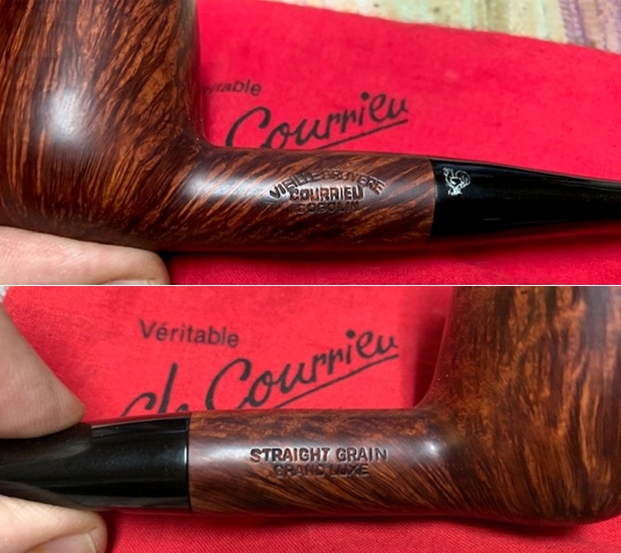
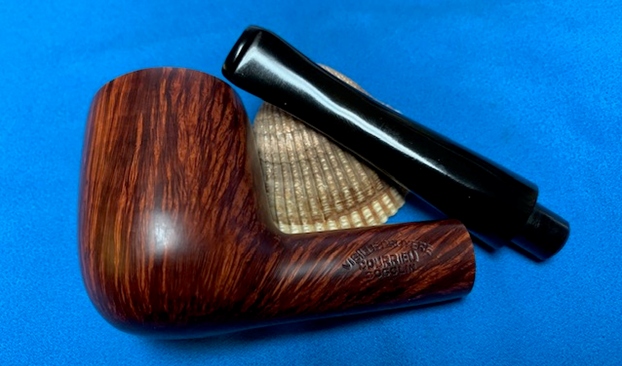
 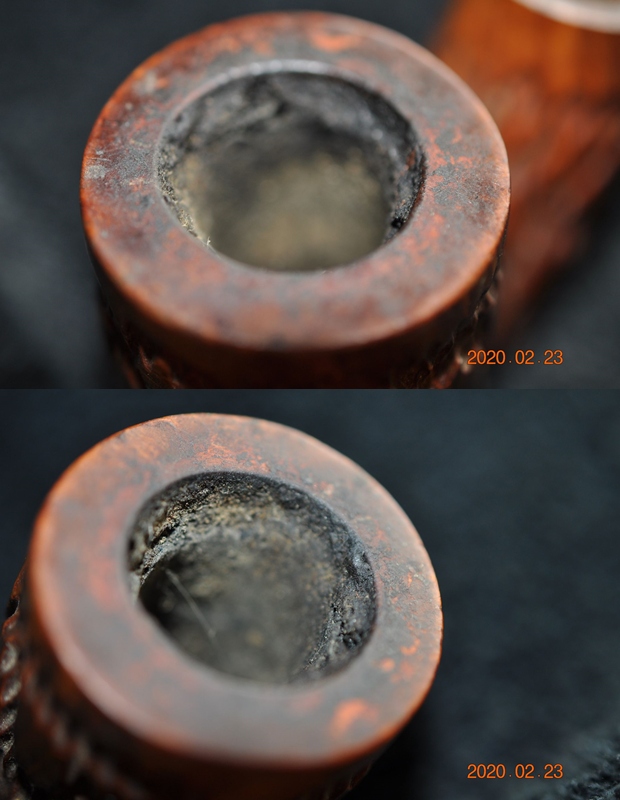 He took photos of the stamping on the shank. It reads as noted above and is clear and readable.
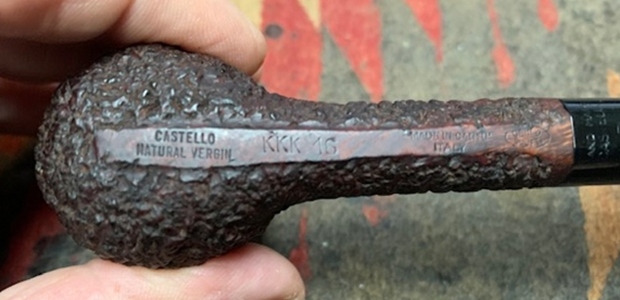
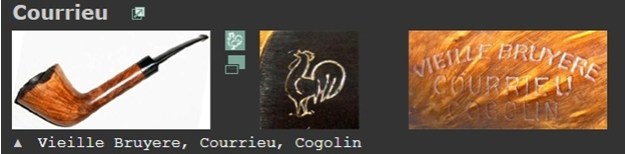
 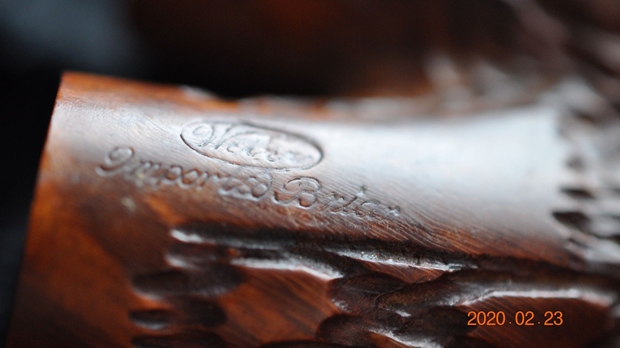 I turned to Pipedia to see if I could figure out the stamping on the pipe and found a good article on the history of the brand (https://pipedia.org/wiki/Weber_Pipe_Co.). I quote from that article below.
Carl B. Weber was a German from Bavaria. Aged 21 he emigrated to the USA in 1911. In 1938 he established Weber Briars Inc. in Jersey City, New Jersey. Later renamed in Weber Pipe Co..
The firm grew to be one of the giants of American pipe industry focusing itself in the middle price and quality zone. Trademark: “Weber” in an oval. Beside that Weber – especially in the years after 1950 – was a most important supplier for private label pipes that went to an immense number of pipe shops. Alone in New York, exactly the same pipes were found at Wilke’s, Barclay Rex, Trinity East, Joe Strano’s Northampton Tobacconist in Ridgewood, Queens, Don-Lou in Bensonhurst, Brooklyn… Nearly all pipes for Wilke were unstained and many models, for example the “Wilke Danish Bent”, could hardly deny originating of Weber.
Among others well reputed pipemaker Anthony Passante¹ worked for Weber.
Weber Pipe Co. owned and manufactured Jobey pipes – when mainly sold in the USA by The Tinder Box from 1970’s – 80’s. In addition Jobey / Weber bought Danish freehands from Karl Erik (Ottendahl). These pipes were offered as Jobey Dansk. Ottendahl discontinued exports to the United States in 1987 and in the very same year – obviously only as a ghost brand – Jobey was transferred to Saint-Claude, France to be manufactured by Butz-Choquin.
Carl B. Weber is the author of the famous book “Weber’s Guide to Pipes and Pipe Smoking”.
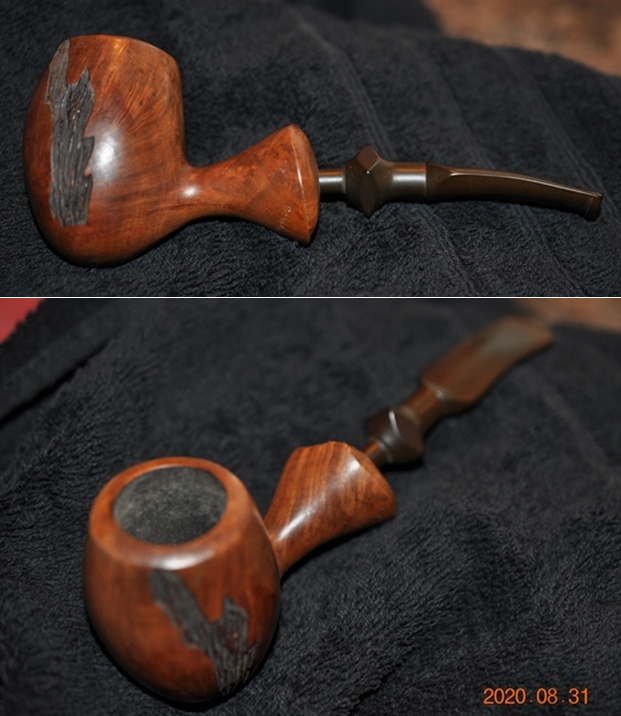
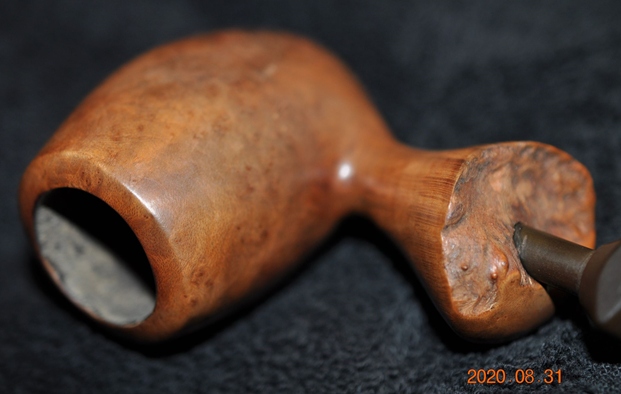
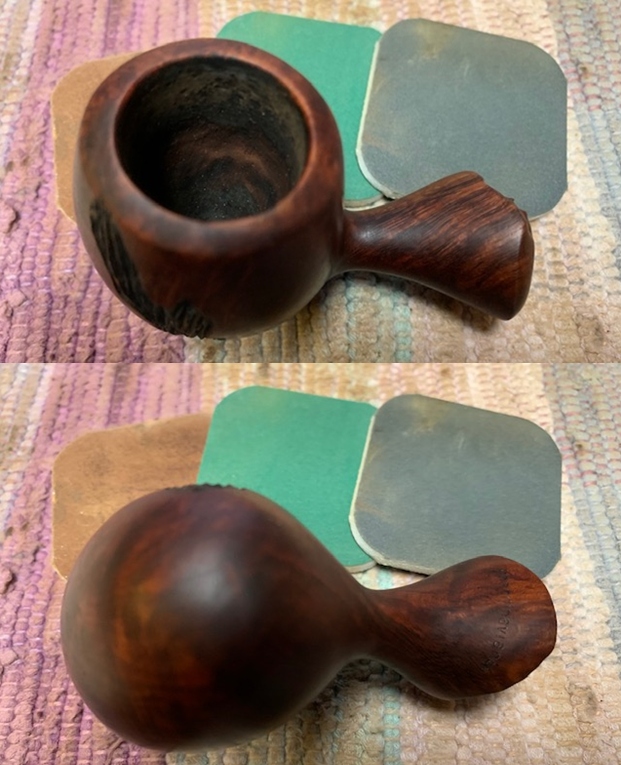
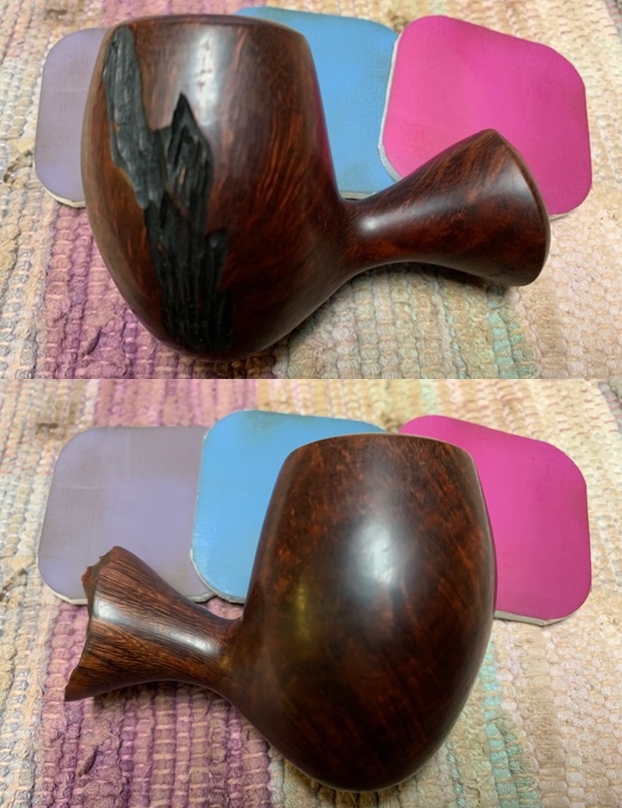
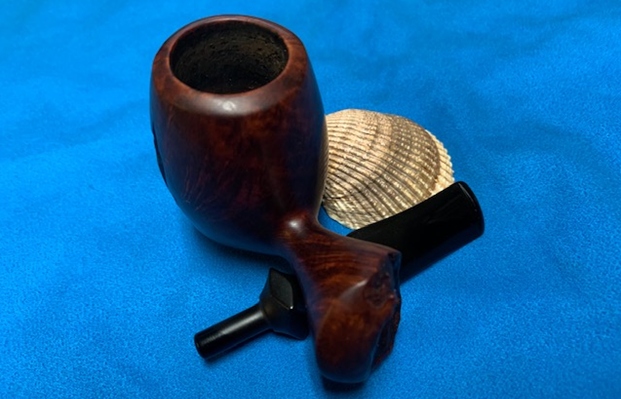
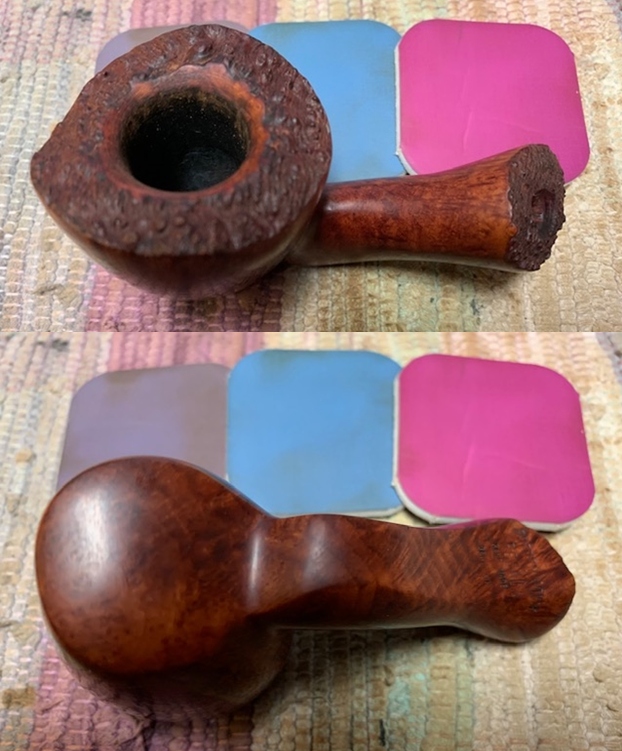
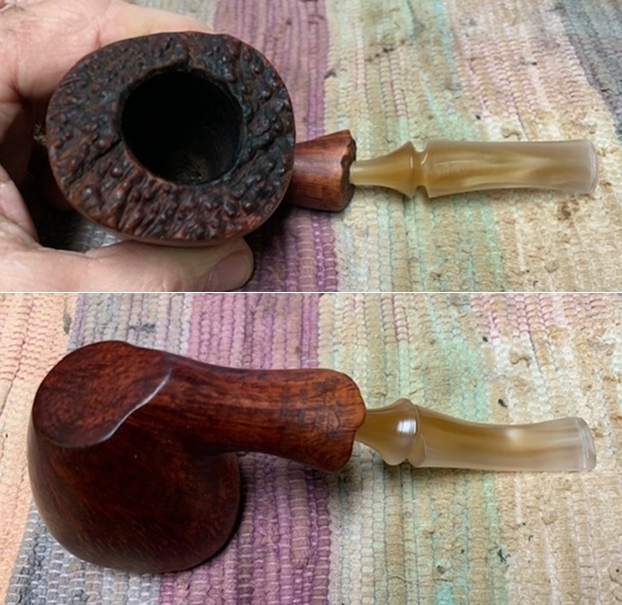
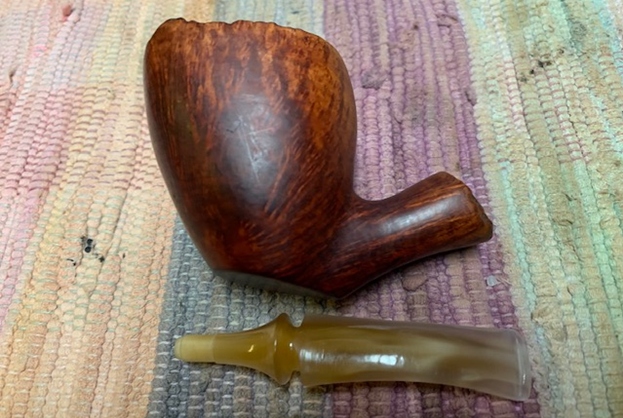
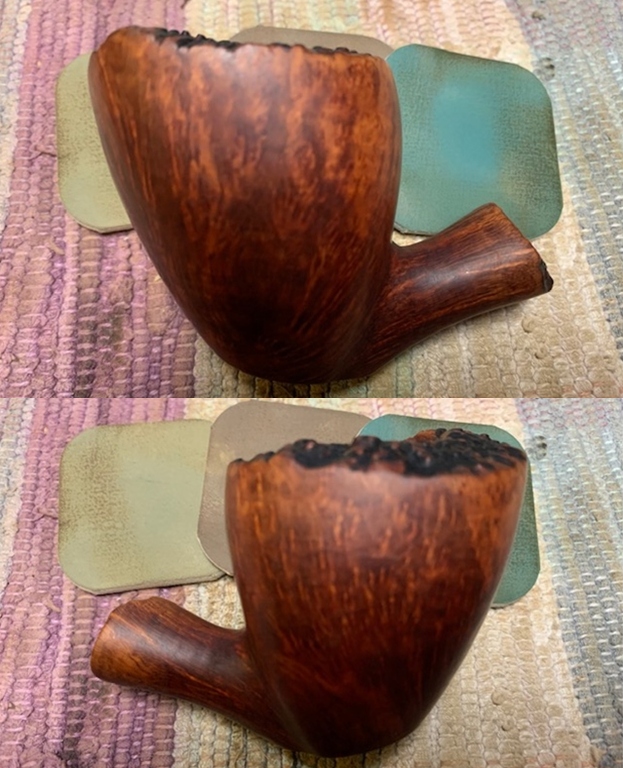
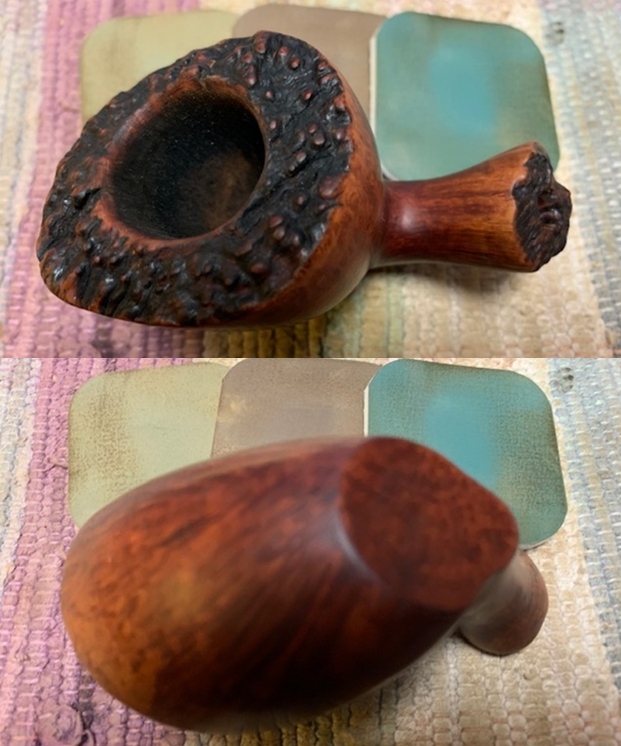
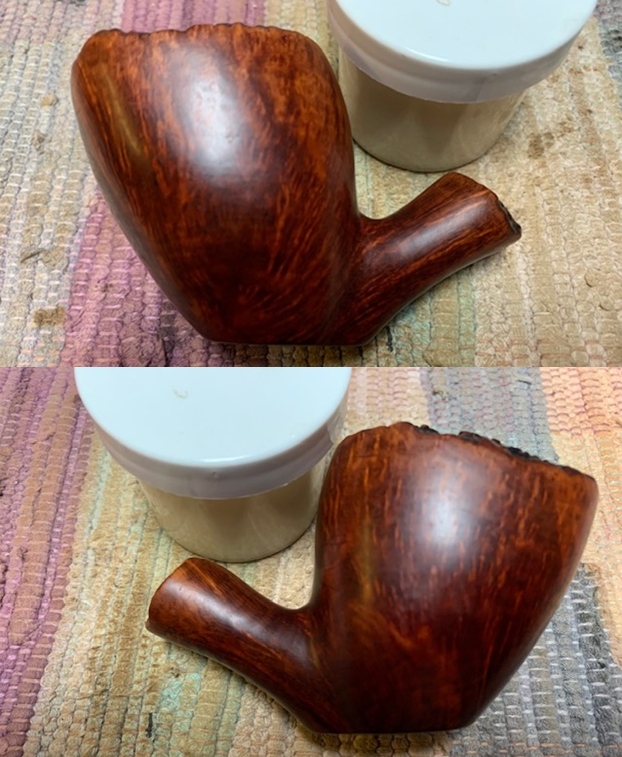
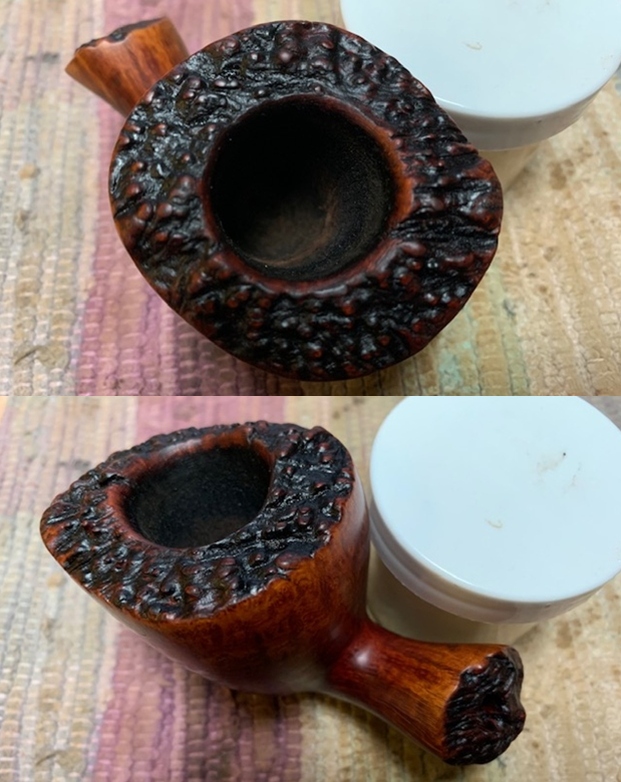
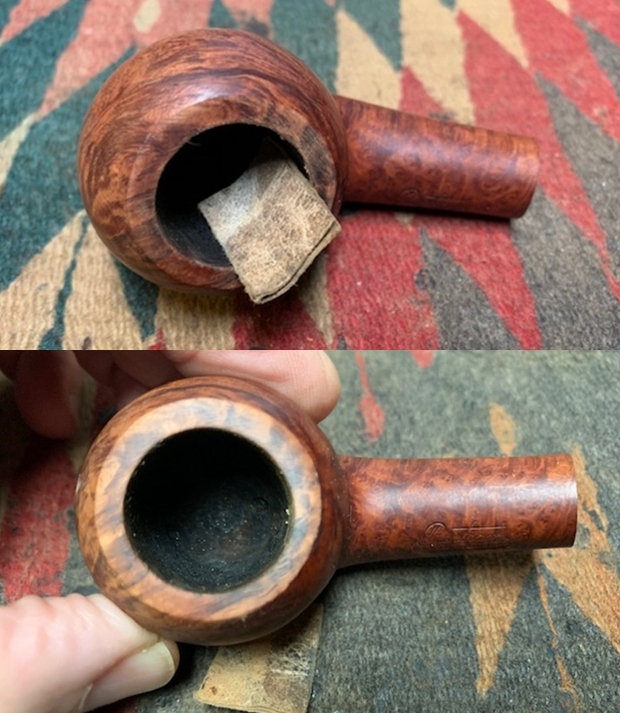
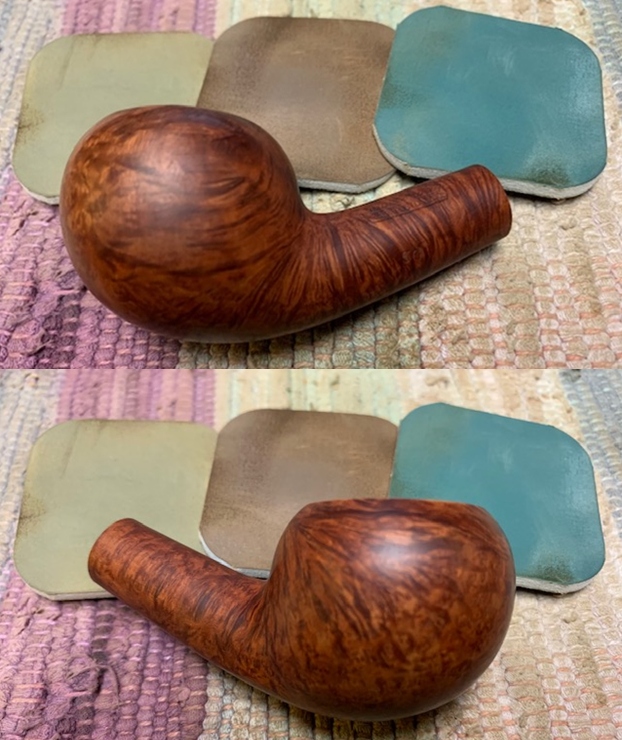
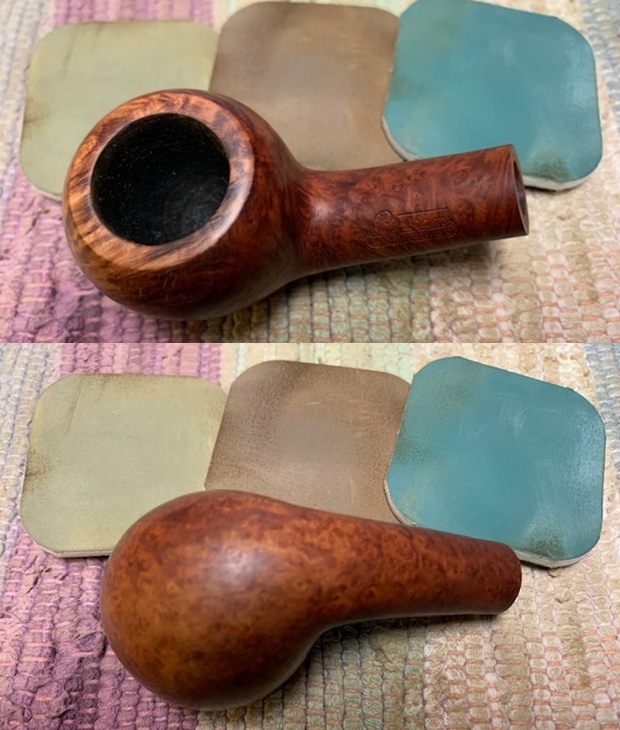
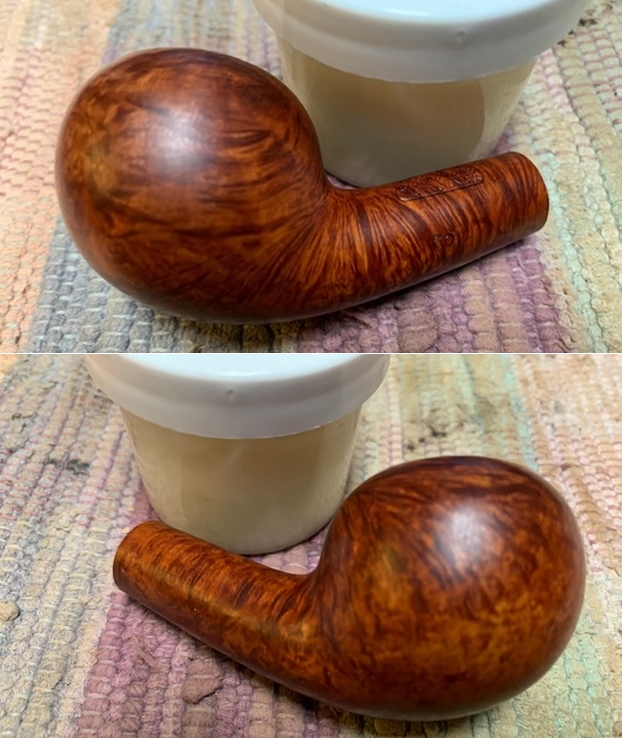
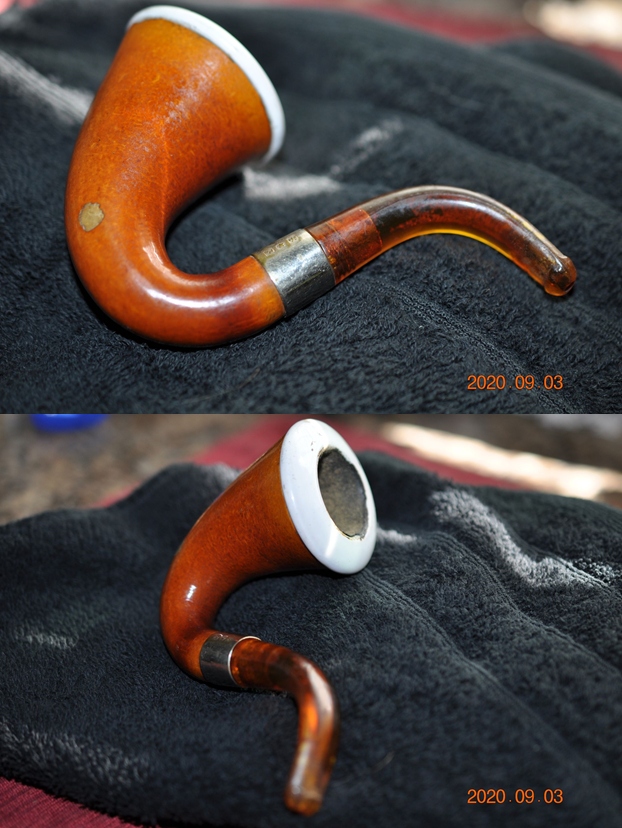
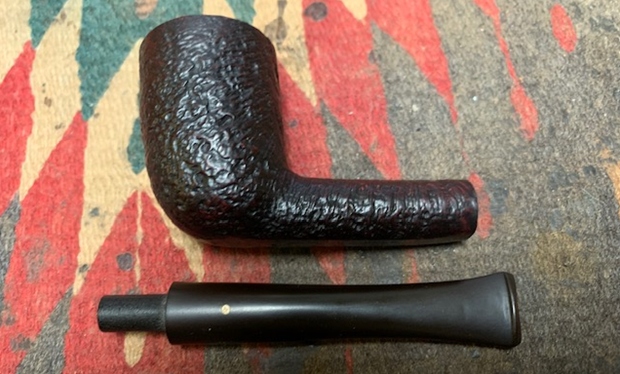
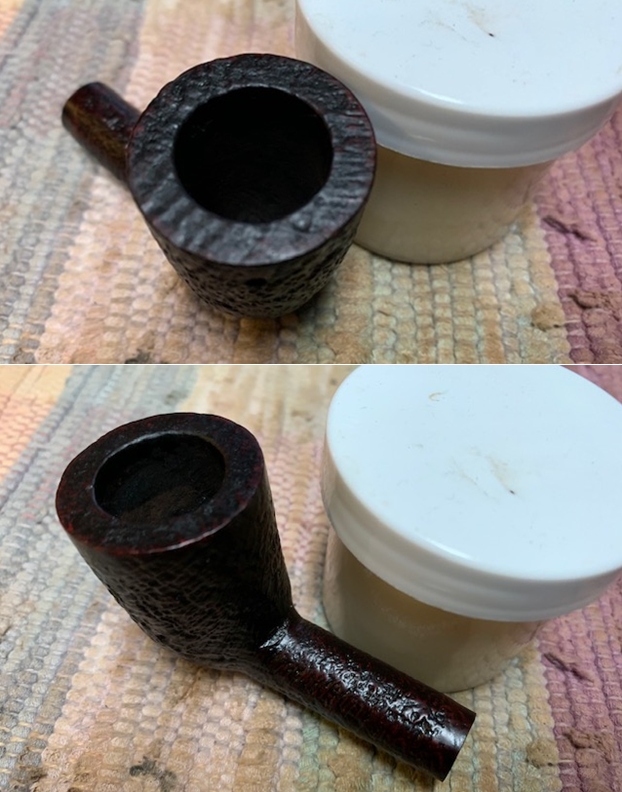
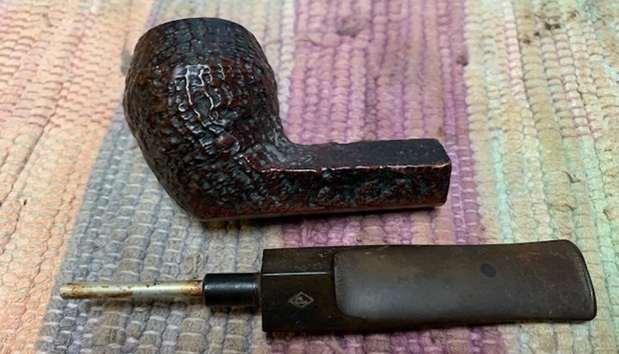
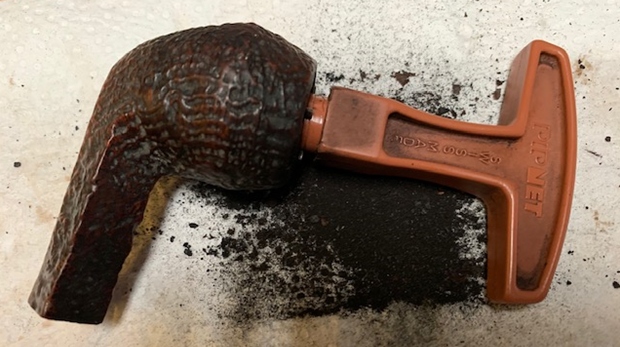
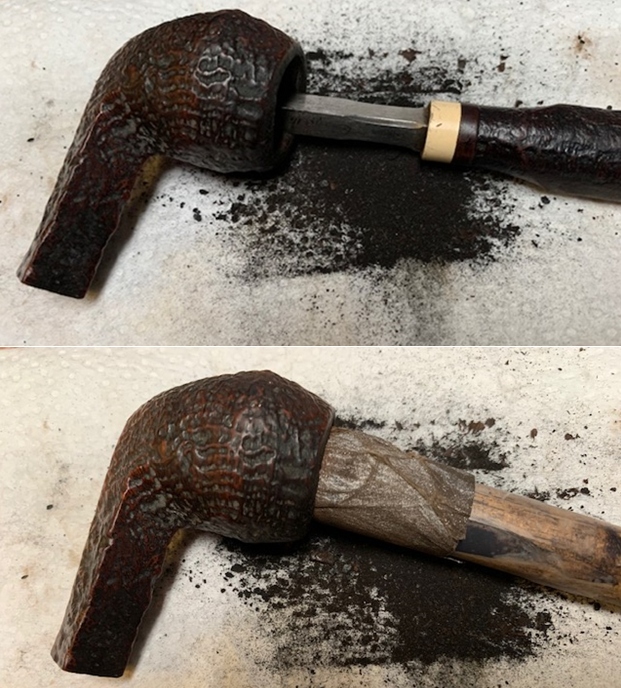
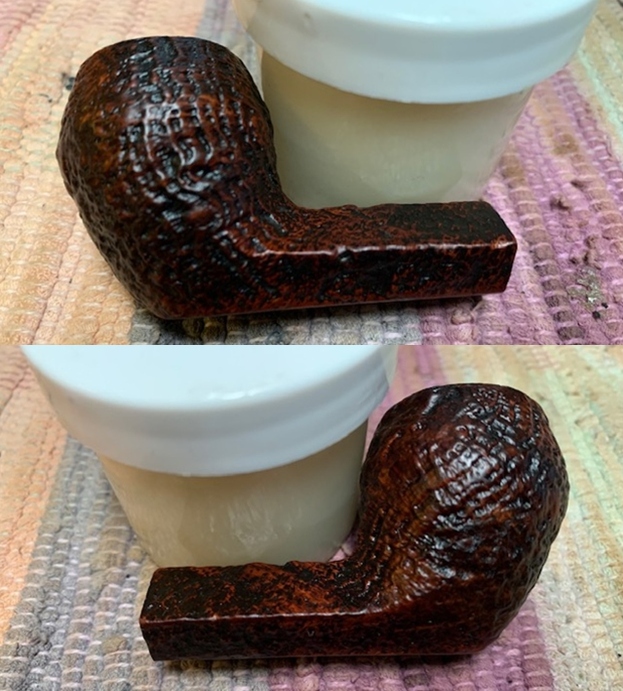
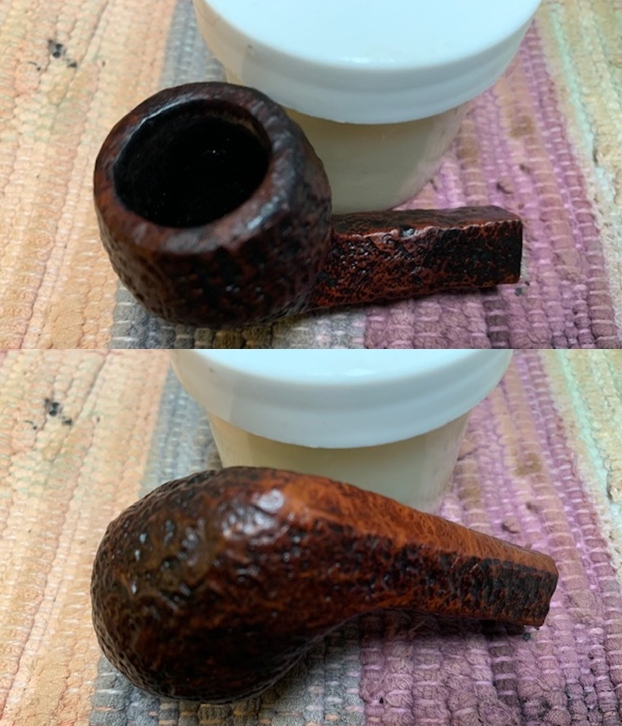
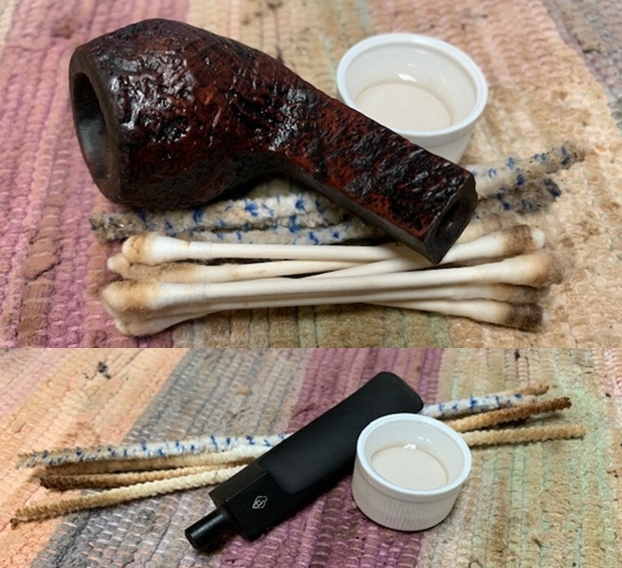
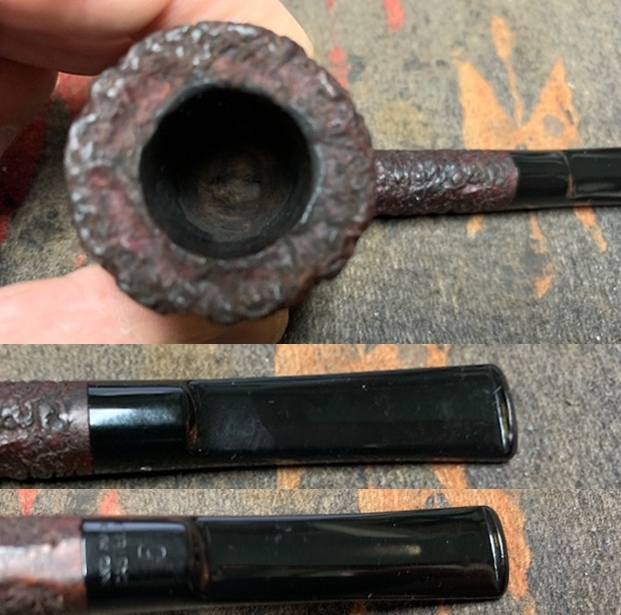
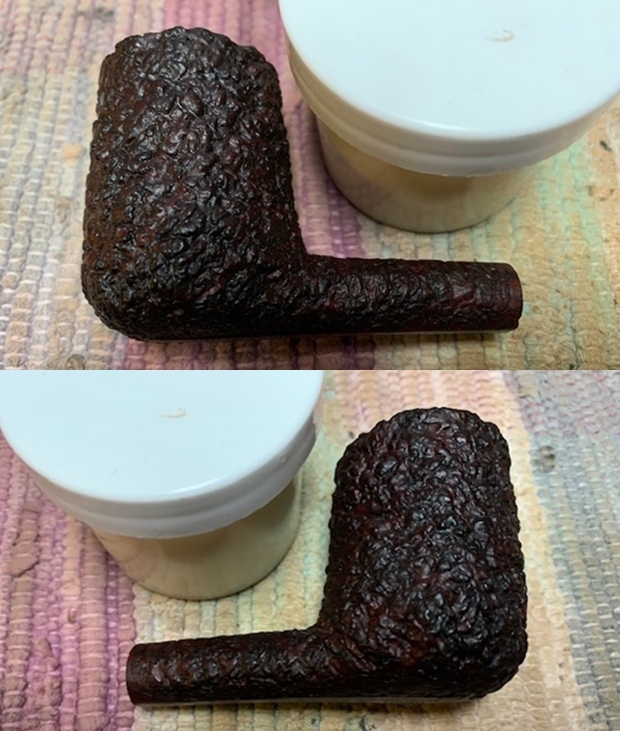
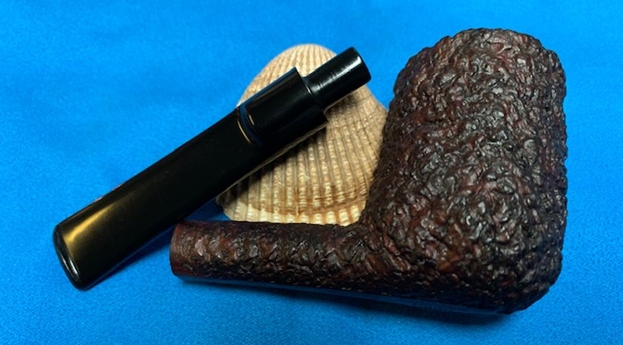
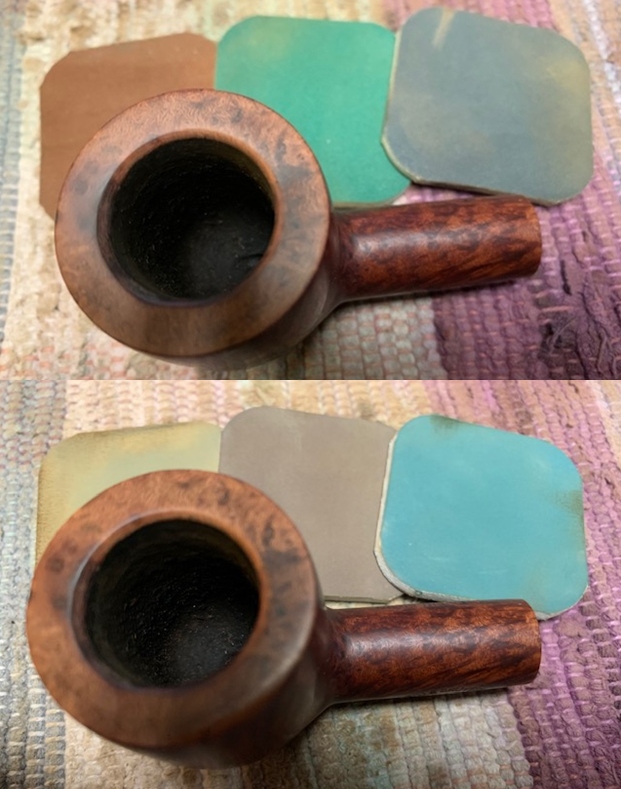
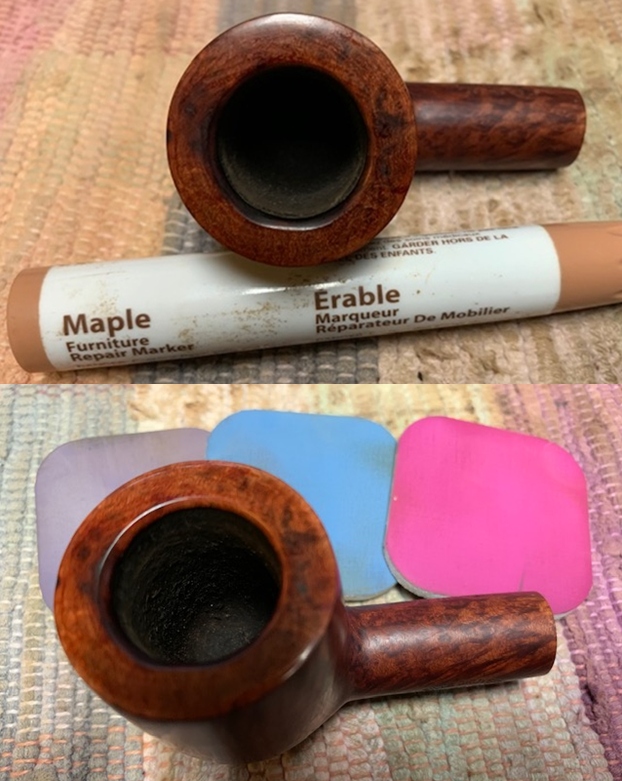
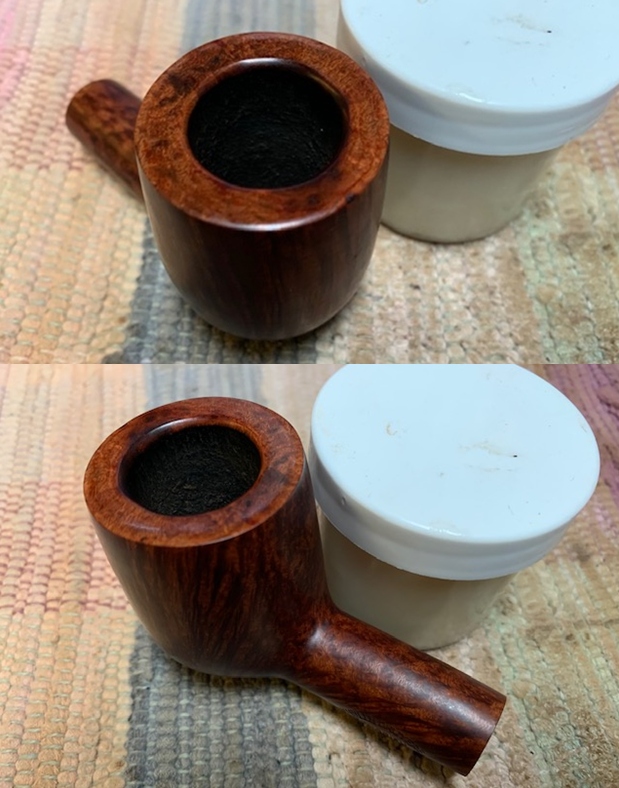
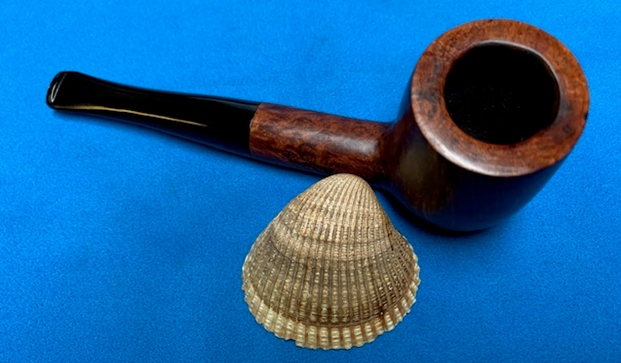
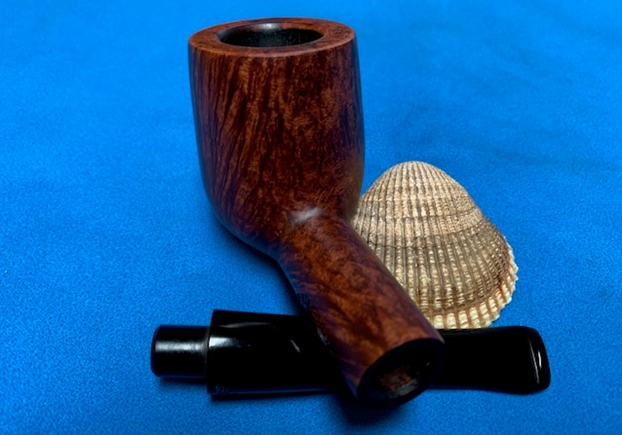
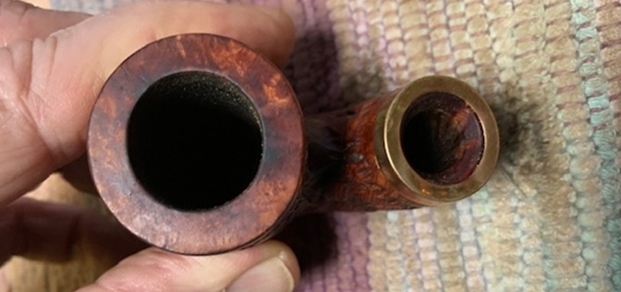
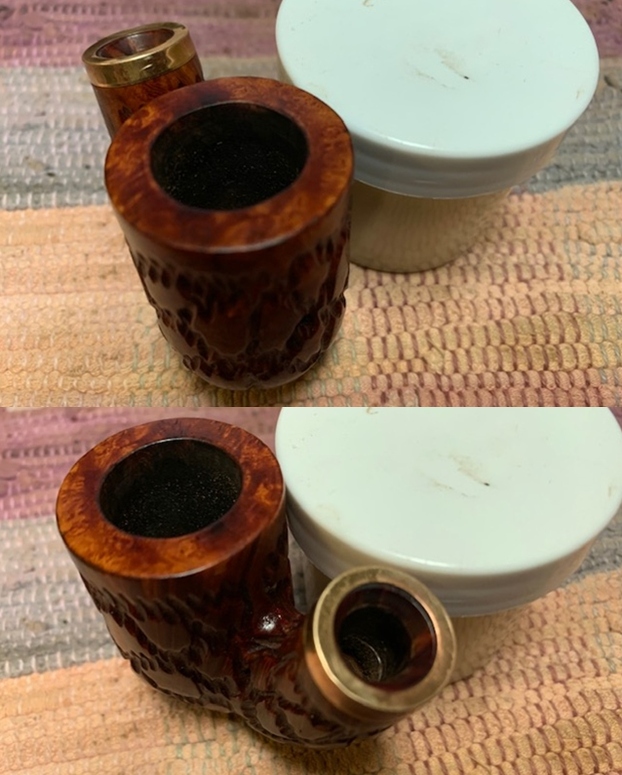
It was time to work on the pipe. Jeff had cleaned up the pipe with his usual penchant for thoroughness. He reamed the pipe with a PipNet Pipe Reamer and cleaned up the remnants with a Savinelli Fitsall Pipe Knife. He scrubbed the bowl with undiluted Murphy’s Oil Soap with a tooth brush. He rinsed it under running warm water to remove the soap and grime. He cleaned out the inside of the shank with alcohol, cotton swabs and pipe cleaners. I took photos of the pipe bowl once I received it. 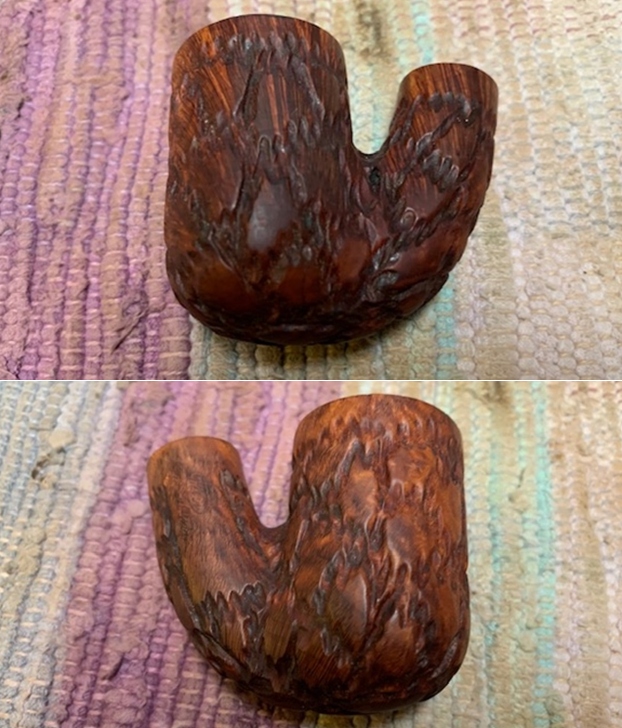
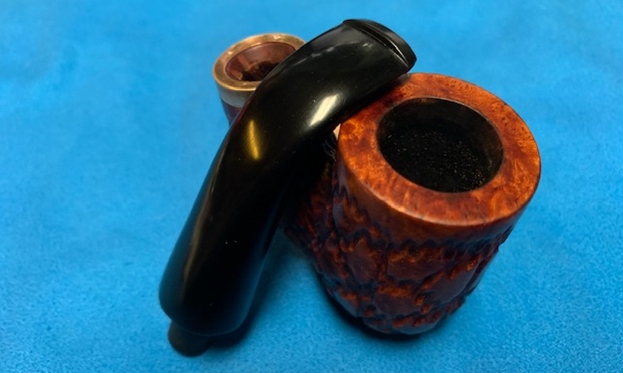
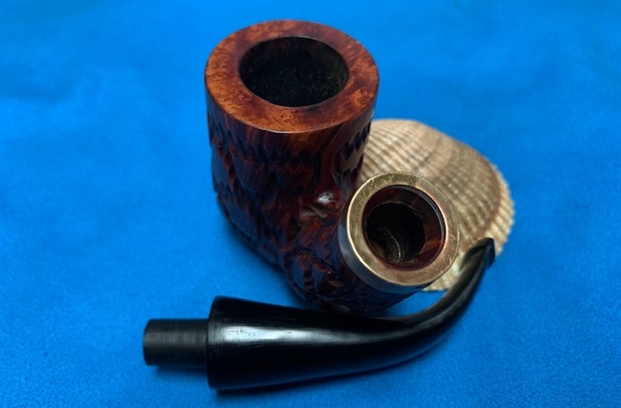
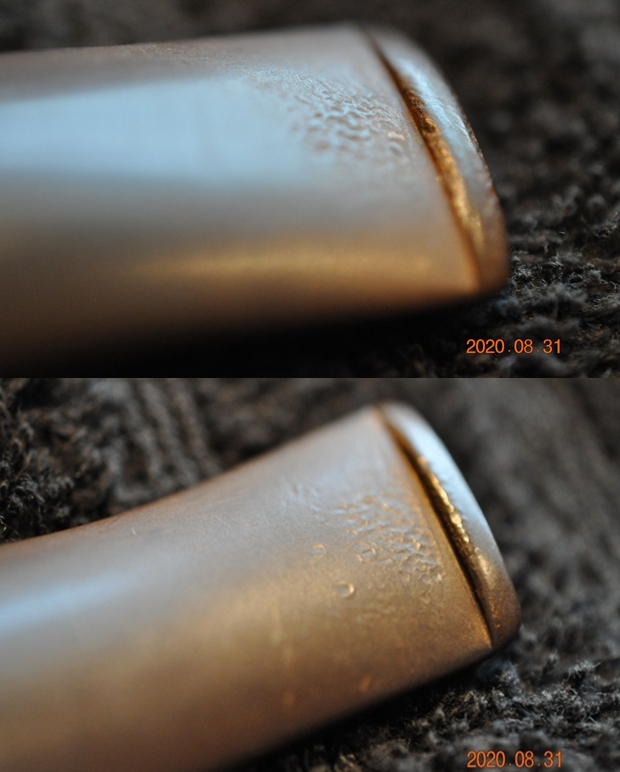
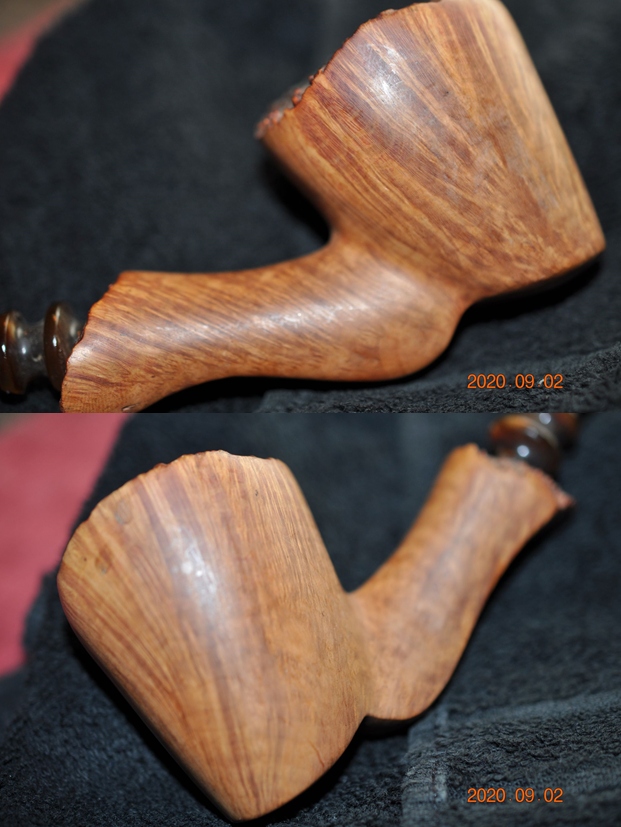
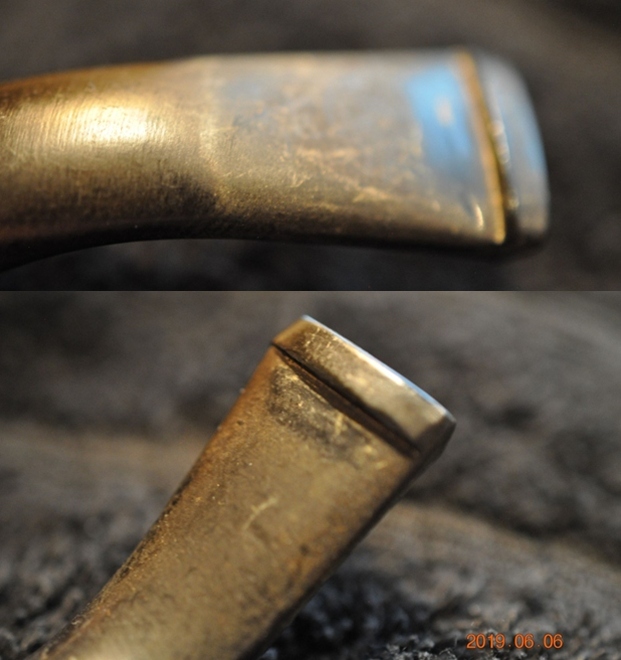
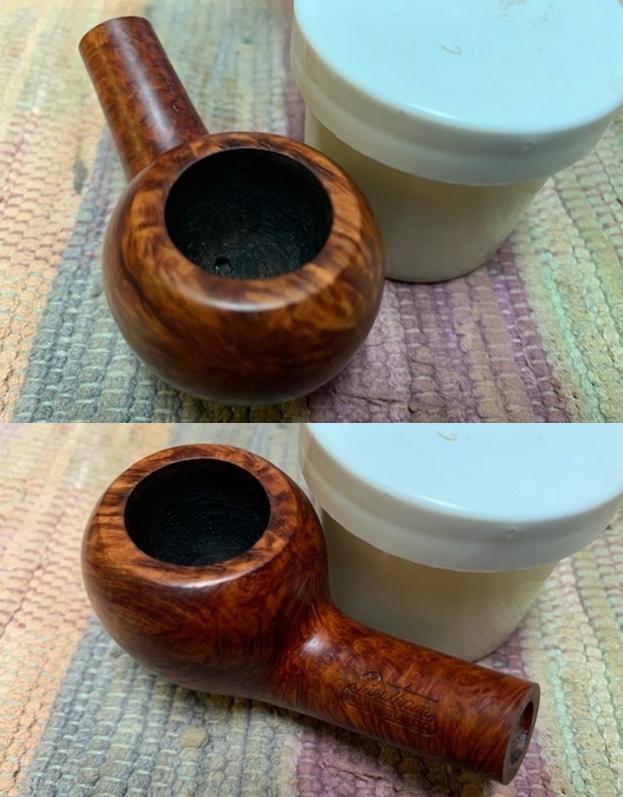
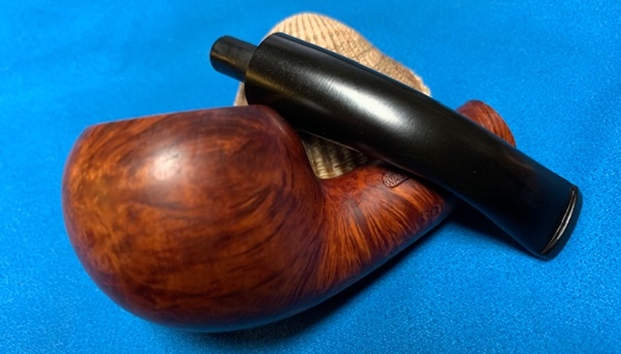
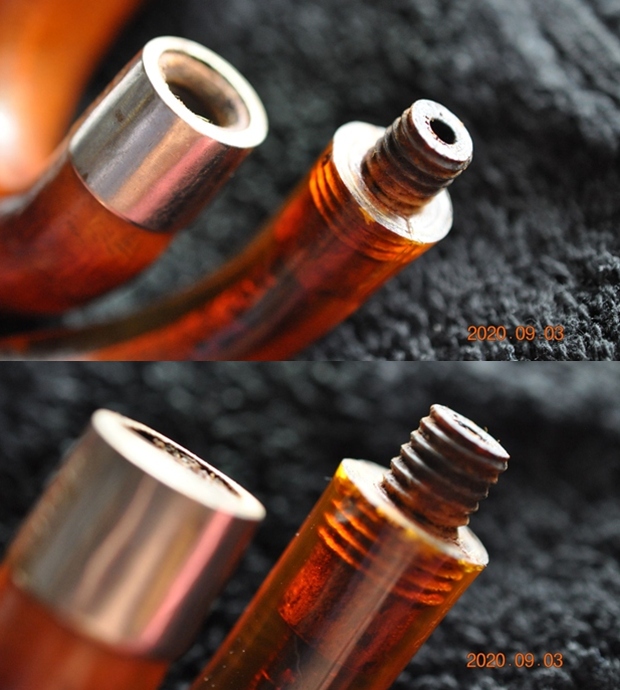
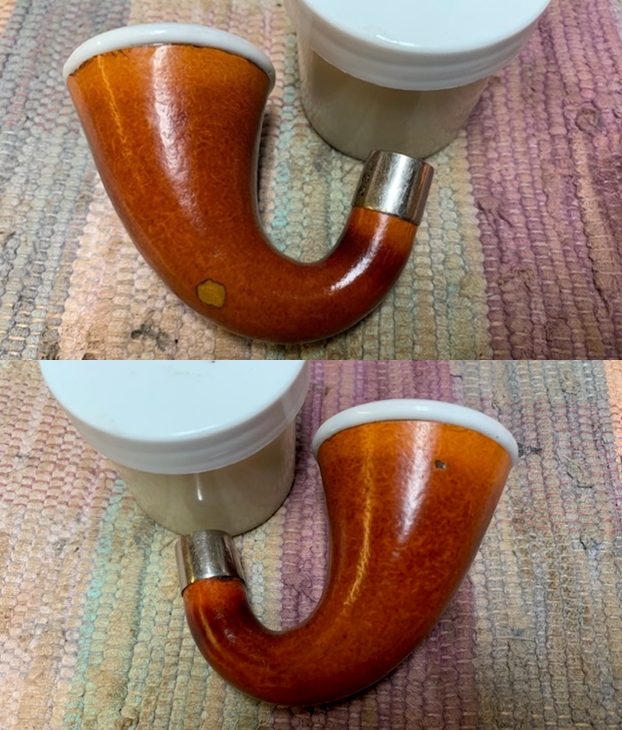
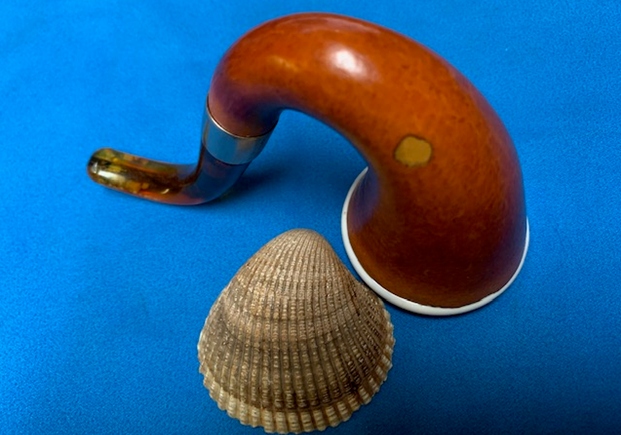
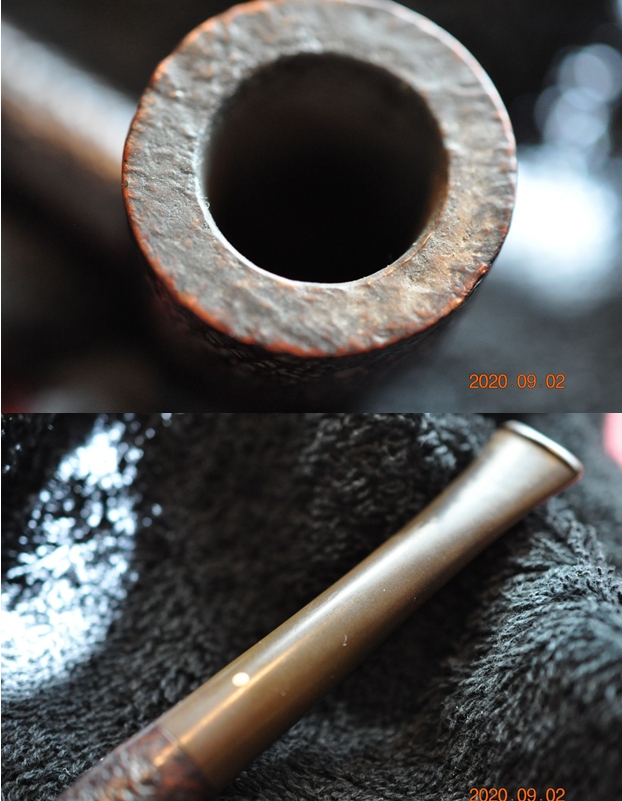
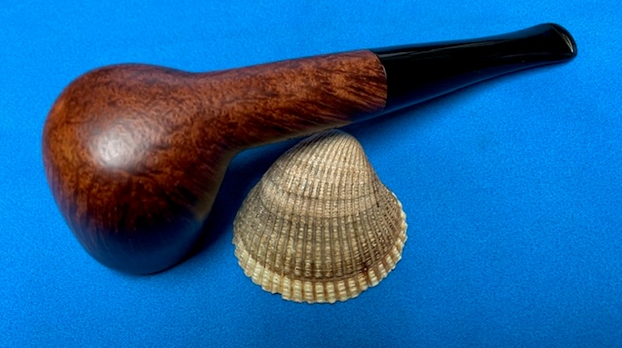
 I decided to put a brass shank band on the pipe because I really like the look of a thin band between the wood and the bent stem on an Oom Paul. I just sold and English made one that I had done that with and really liked the looks. It is purely cosmetic as there are no cracks. I smoothed out the shank end with 220 grit sandpaper and polished it lightly with a 1500 grit micromesh pad. I pressed the band in place on the shank end and took some photos to show how it looked.
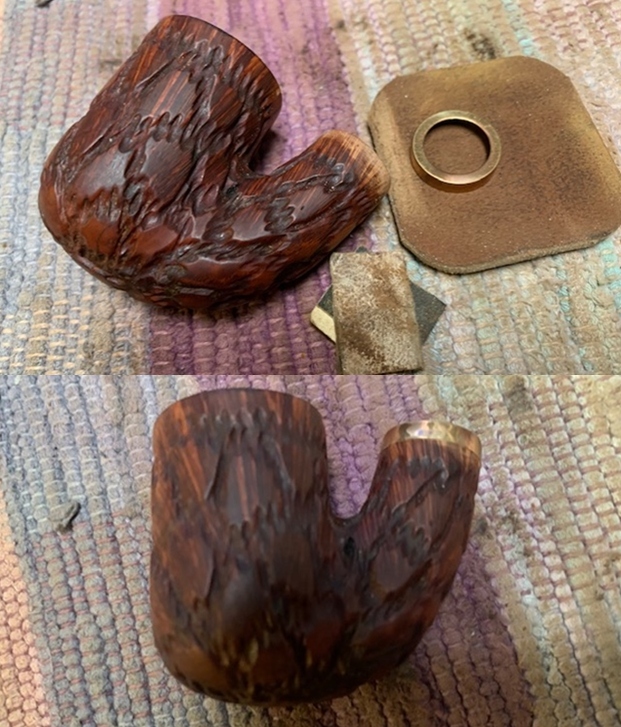
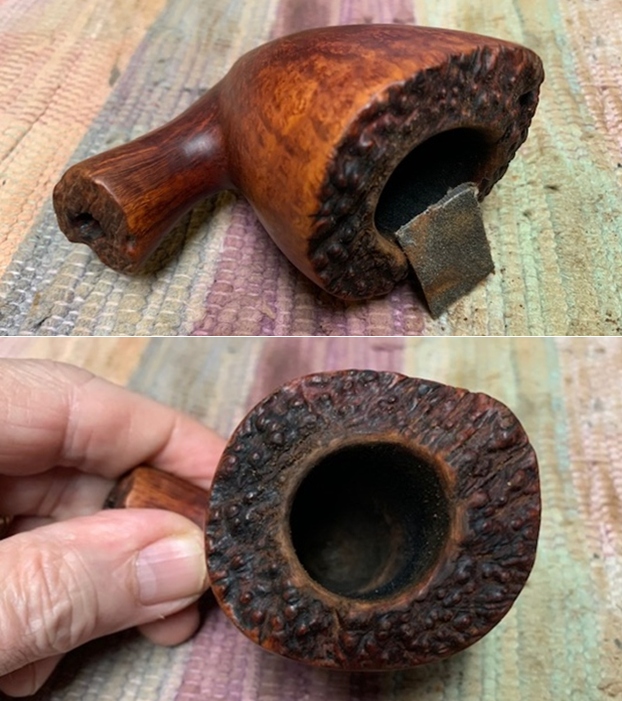
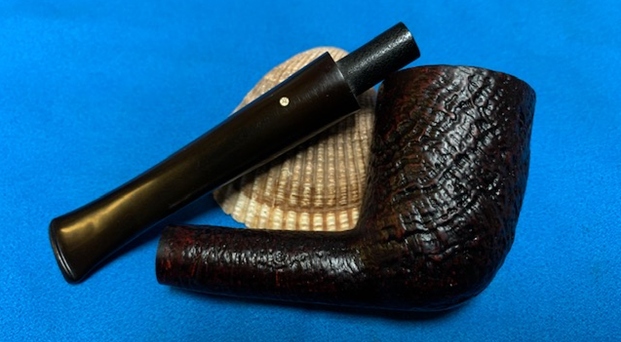
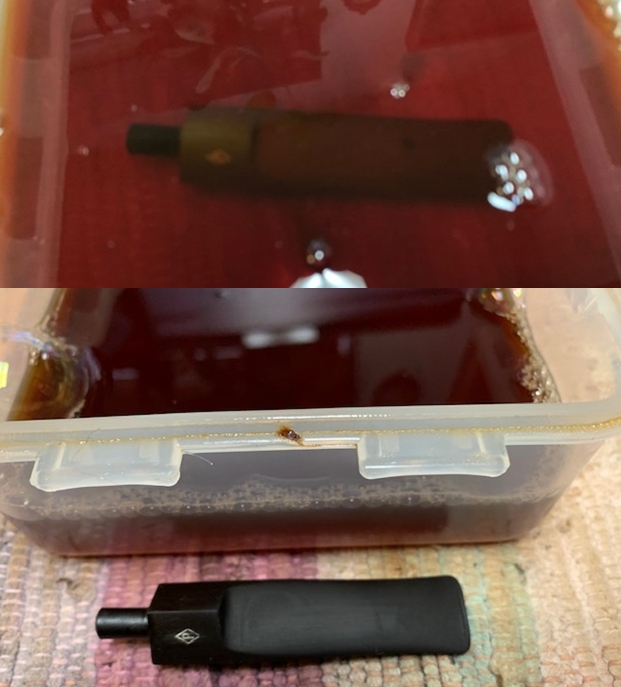
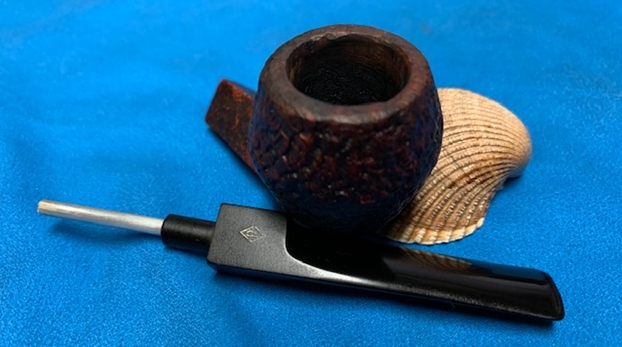
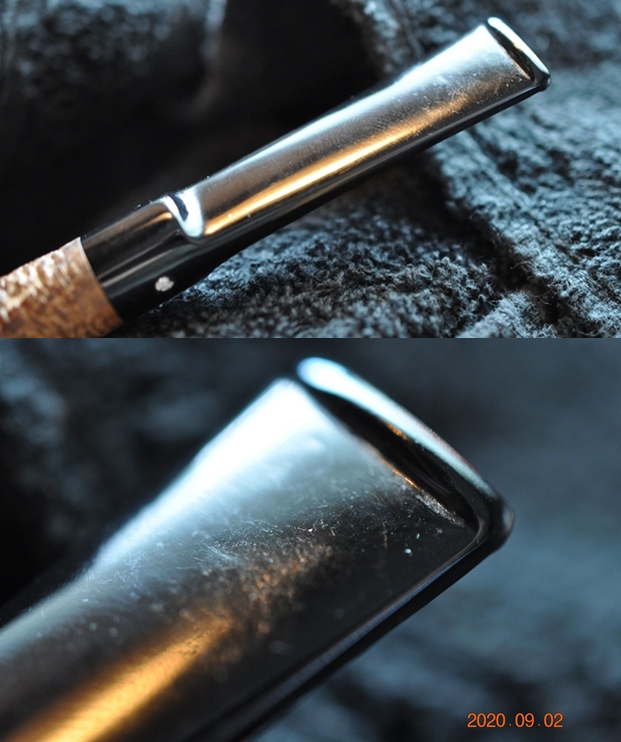
 I went through my stem and chose two stems that would work with the pipe. The first one was a saddle stem. I had been drilled for a filter and was quite shiny. I was not sure if it was rubber or if it was plastic. I sanded the tenon down so that it would fit the pipe.
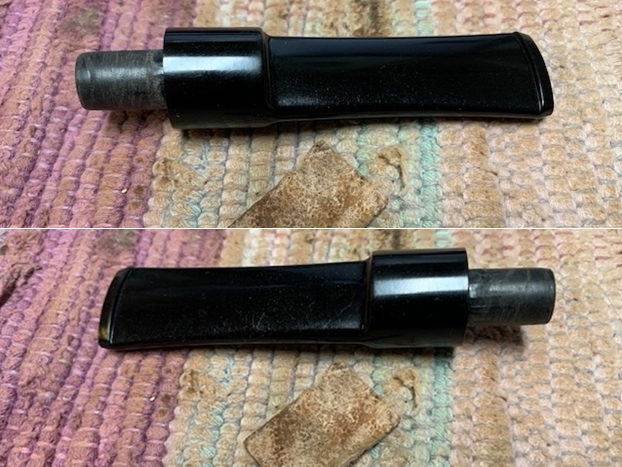 I put it on the pipe and took photos. It was slightly smaller in diameter than the band on the shank but it did not look too band.
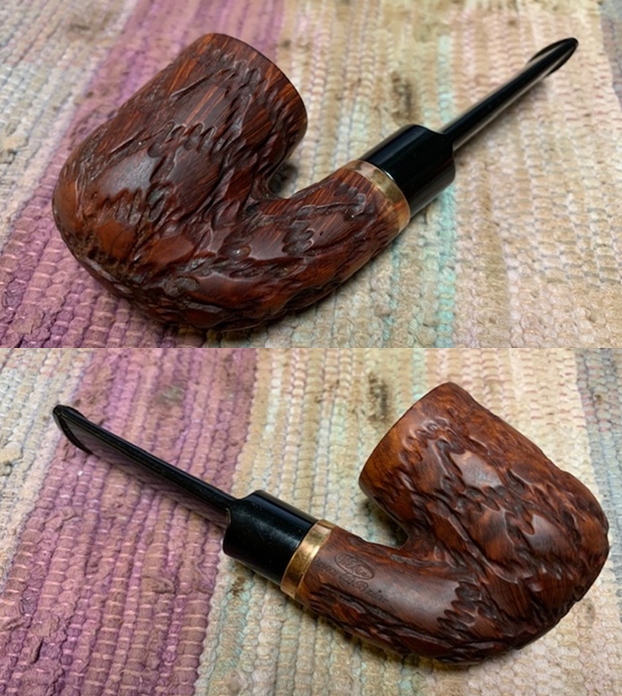
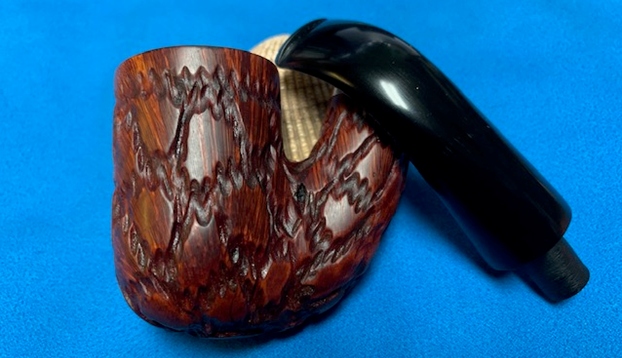
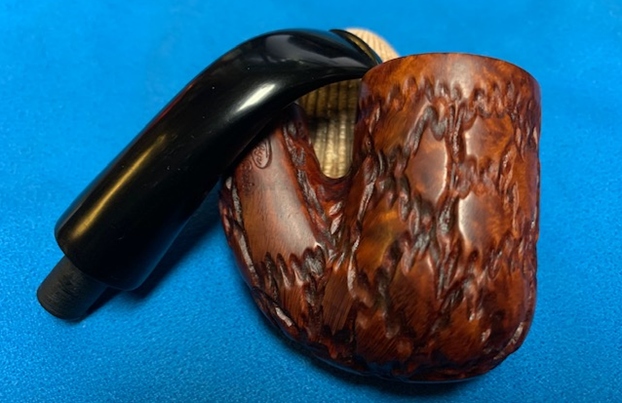
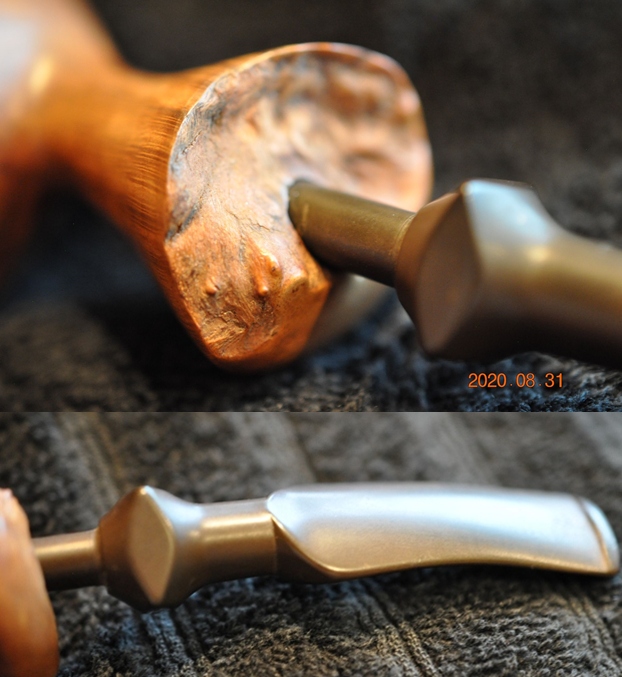
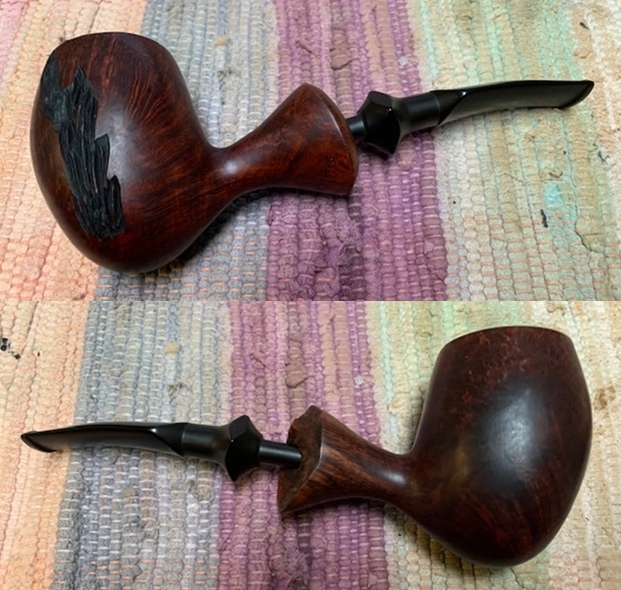
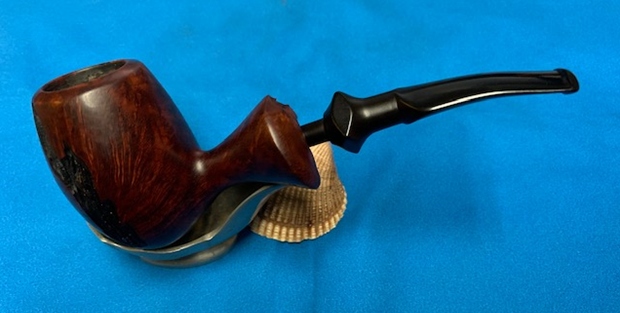
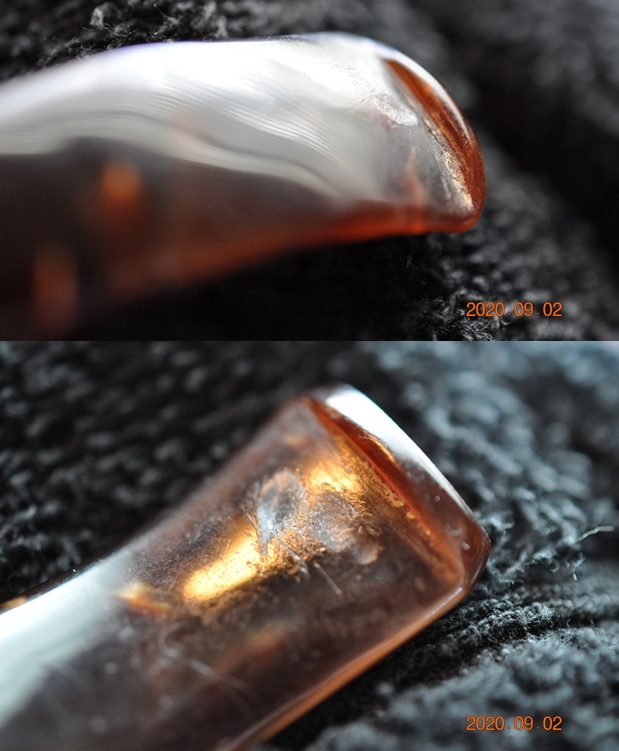
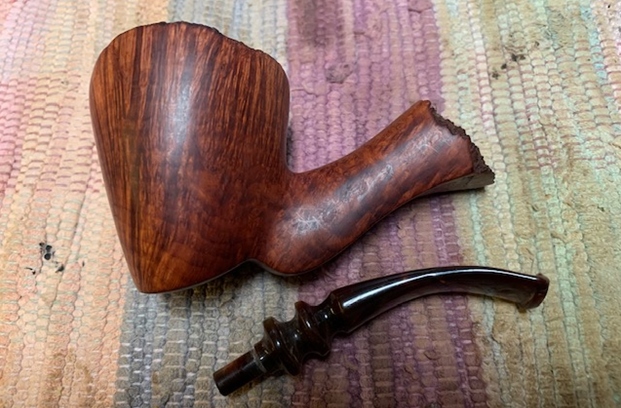
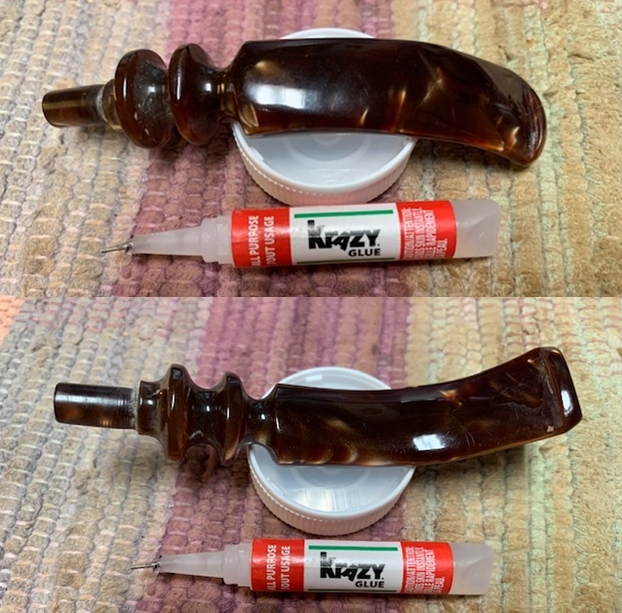
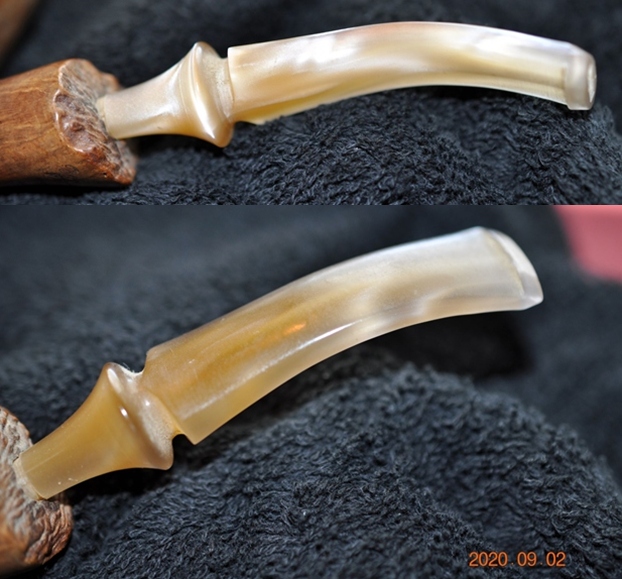
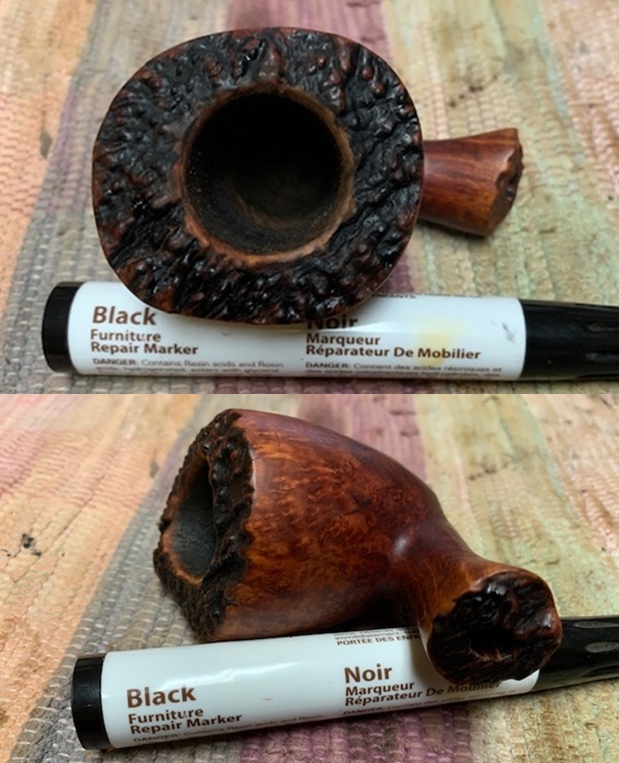
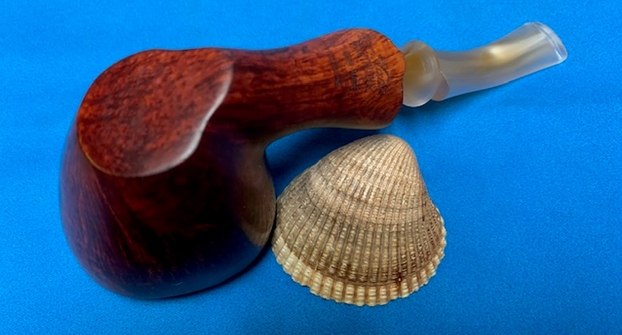
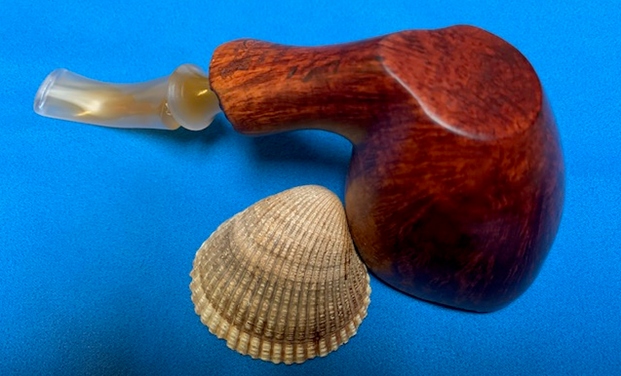
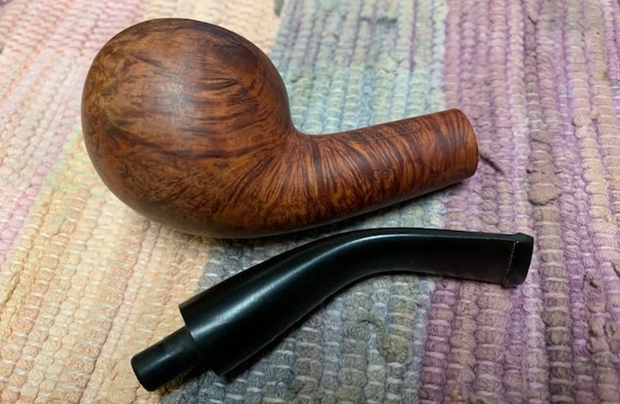
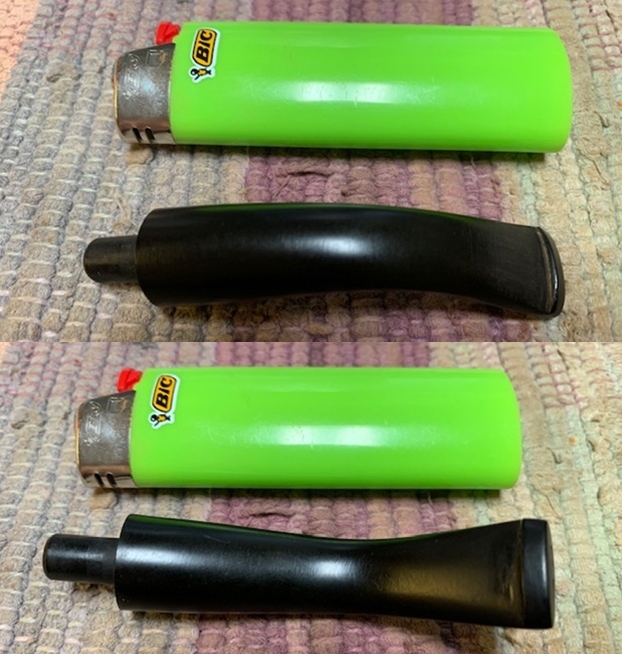
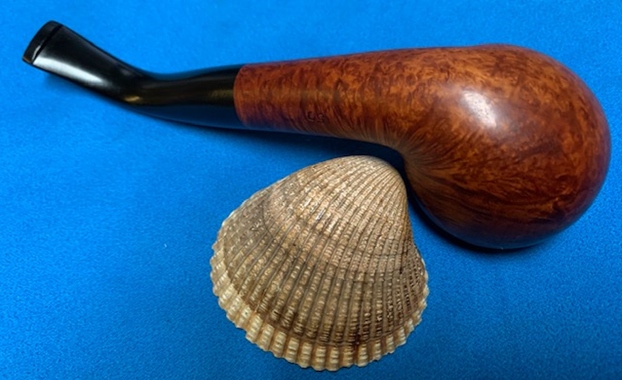
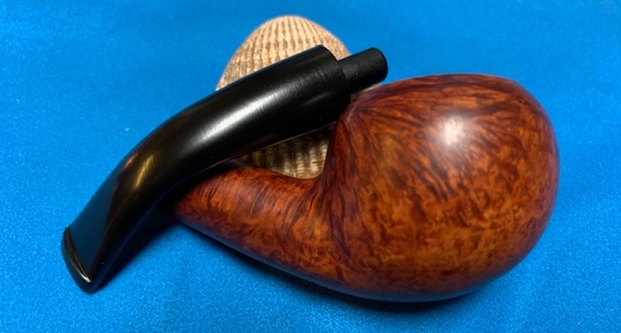
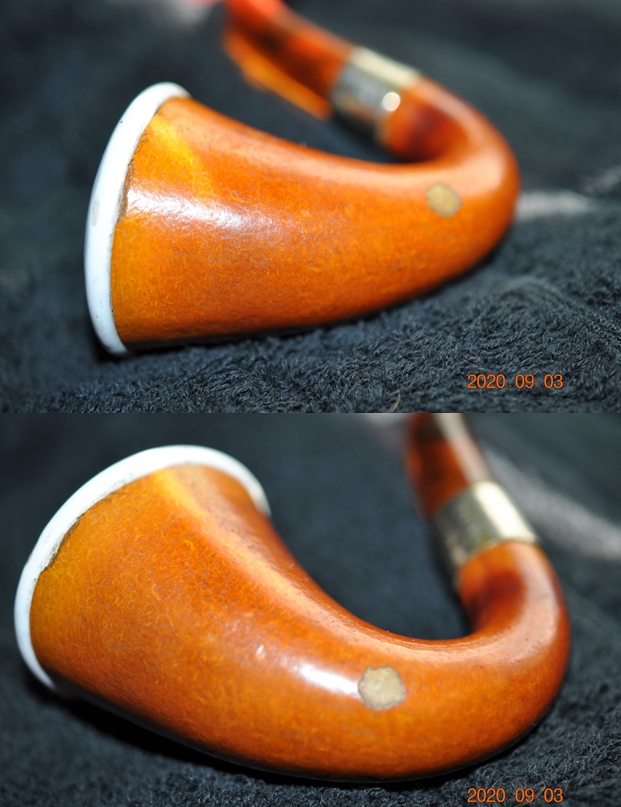
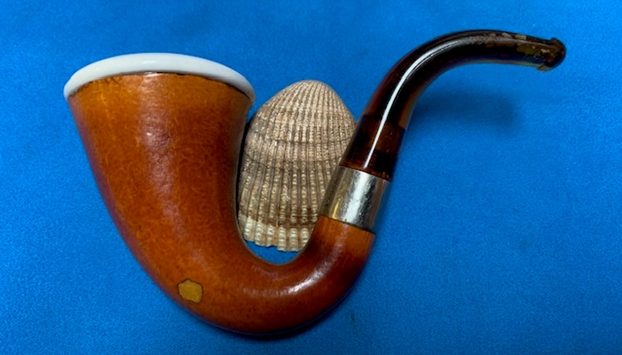
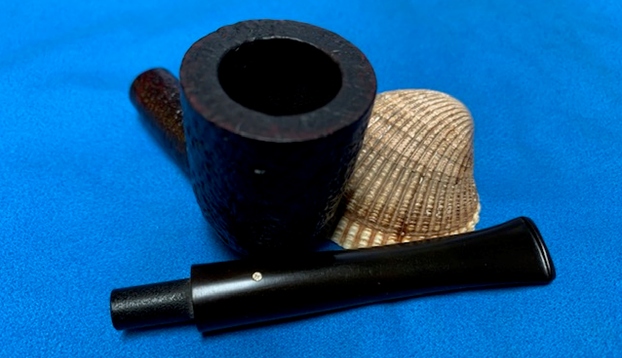
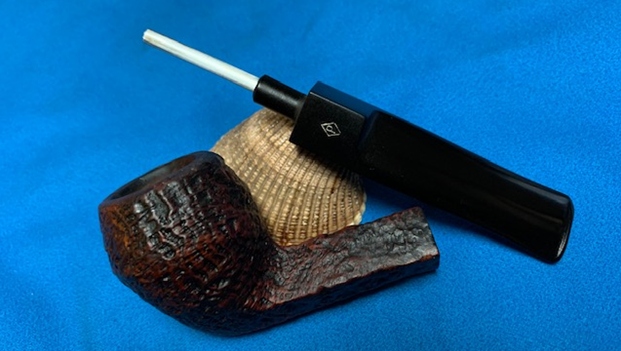
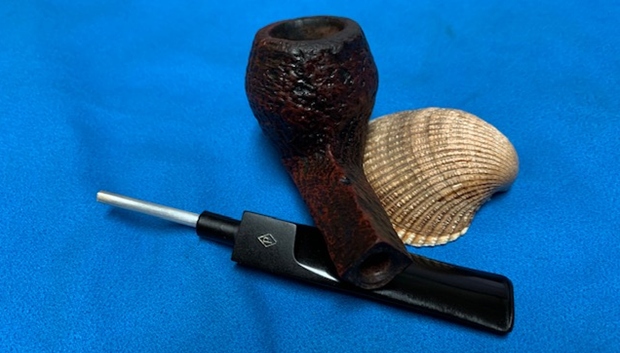
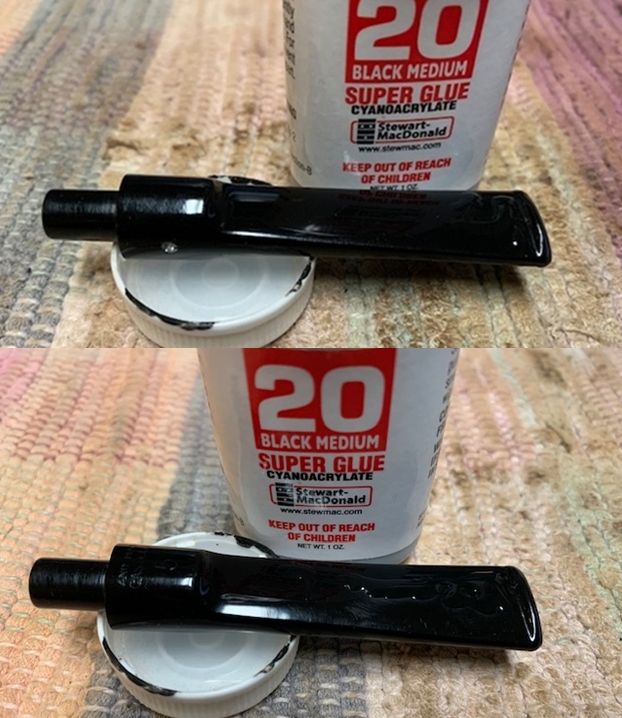
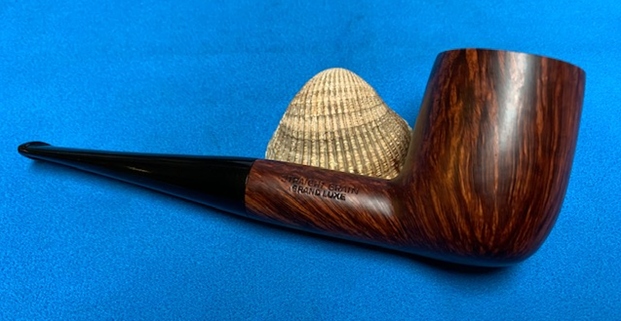
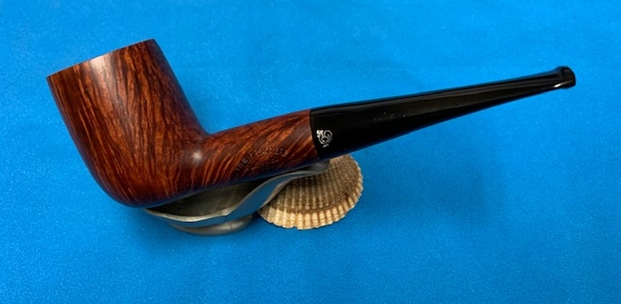
 I liked the overall look of the pipe with this stem. I set up my heat gun to bend the stem. I inserted a pipe cleaner in the airway and started heating the stem surface. I checked it regularly and found that the surface of the stem had split the length of the underside on the airway. I pitched the stem and went back to the work table to fit the second stem. This time I would use a rubber cast stem that had a taper rather than a saddle. It was also virtually the same diameter as the shank end with the band. I put it on my PIMO tenon turning tool and took the tenon down to where it almost fit the shanks and sanded it by hand for the snug fit I was looking for.
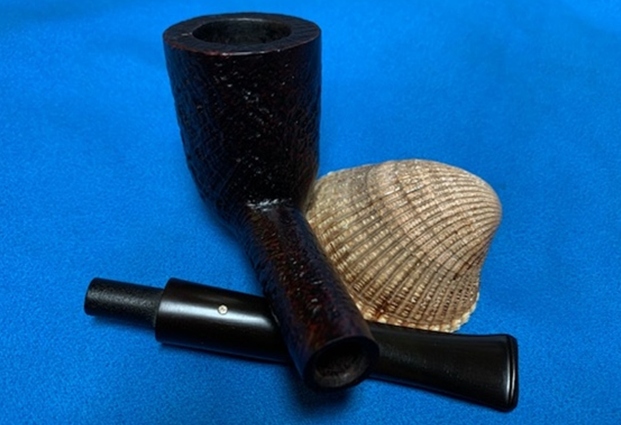
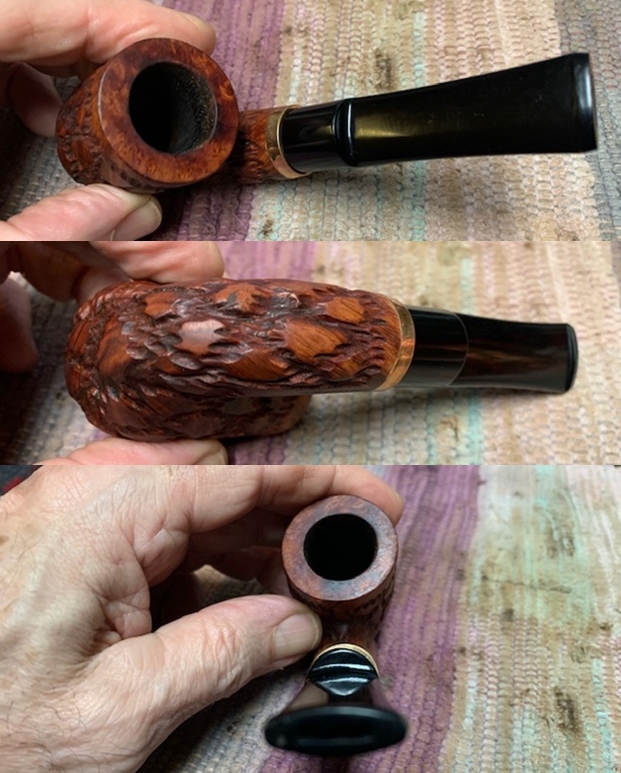
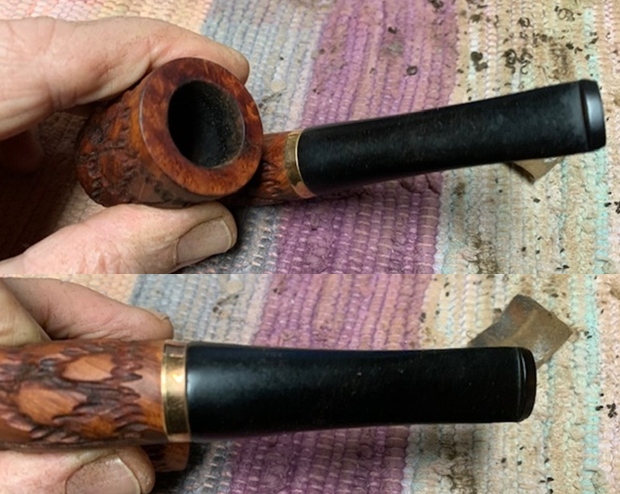
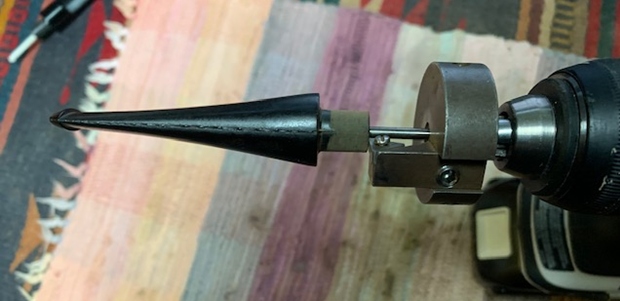 I sanded the casting marks on the sides of the stem with my Dremel and sanding drum to smooth them out. I put the stem on the bowl and took photos. I would need to remove some of the vulcanite on the top of the stem to match the diameter of the shank. I liked the overall look of the new stem.
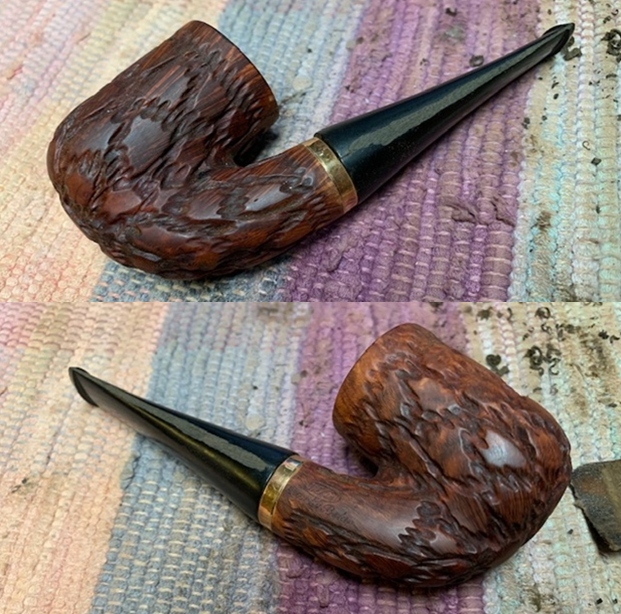
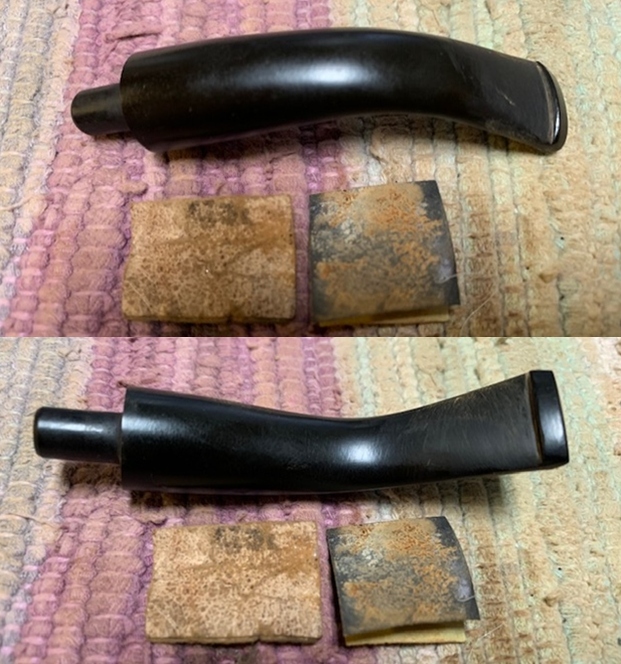
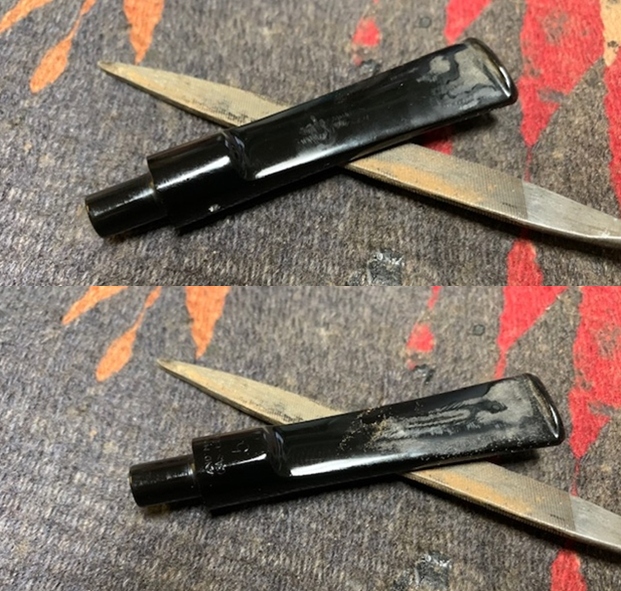
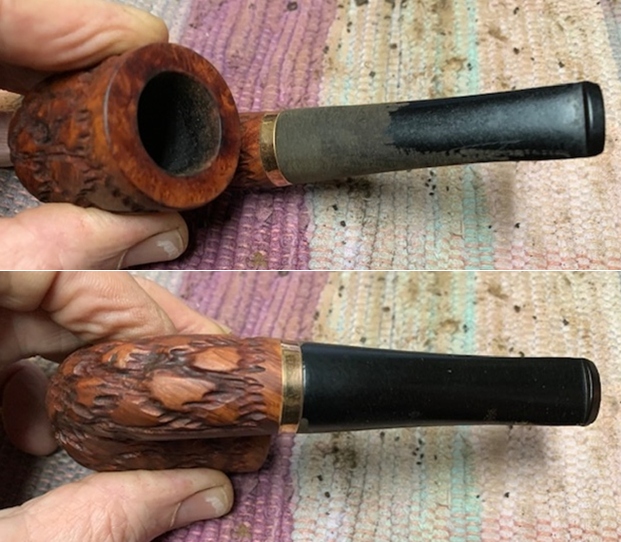
 I used the Dremel and sanding drum to remove the excess vulcanite from the top part of the stem to match the shank.
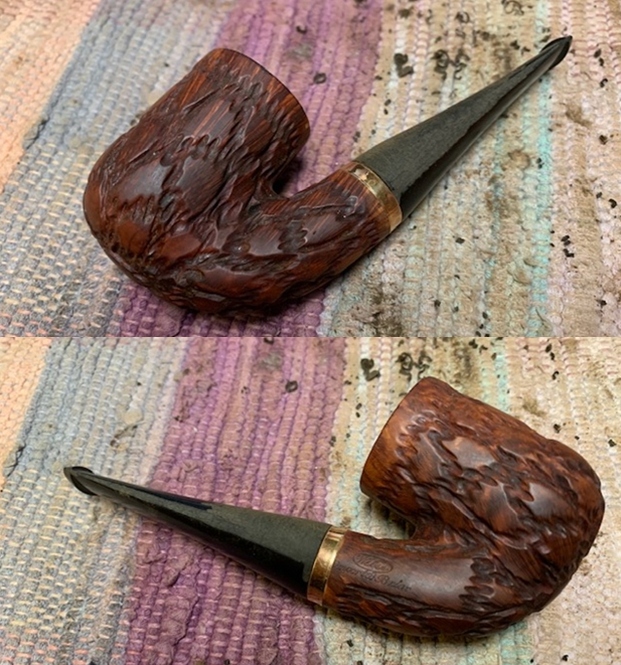
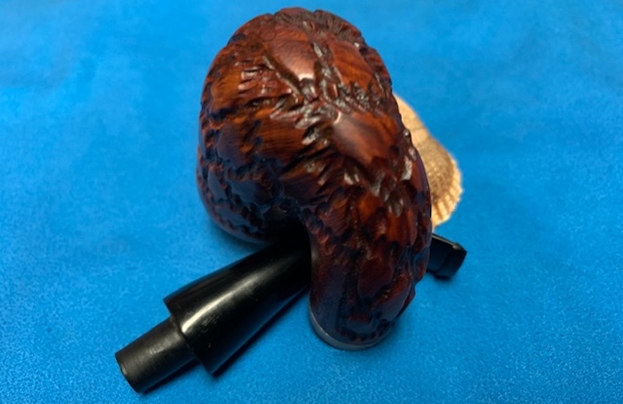
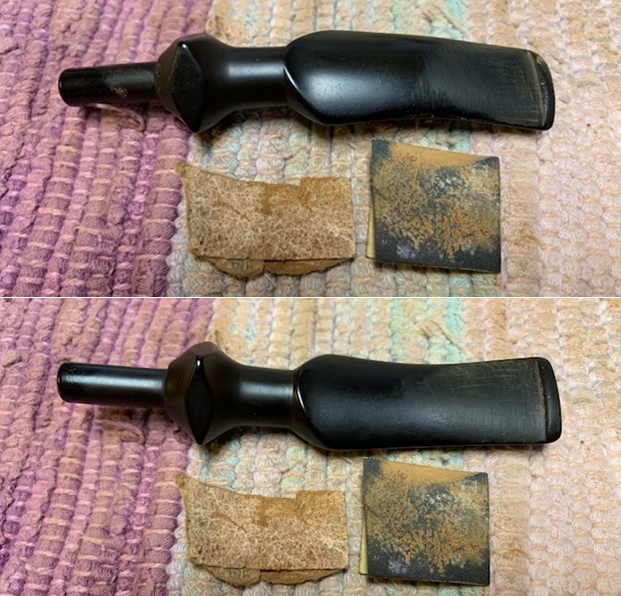
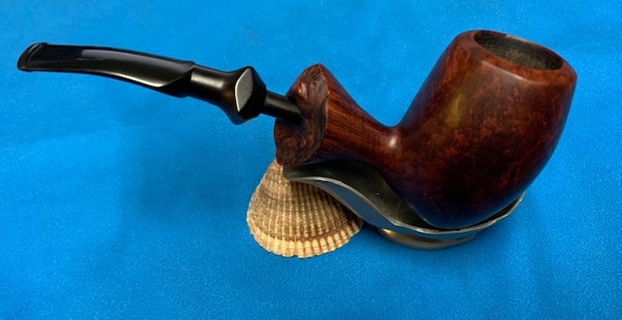
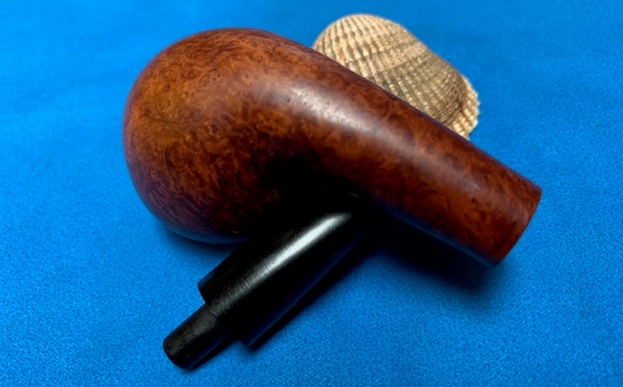
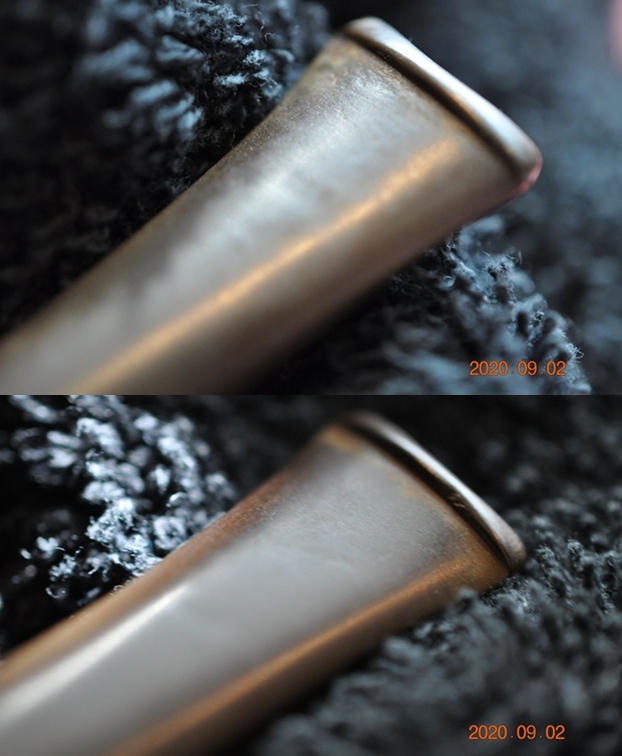
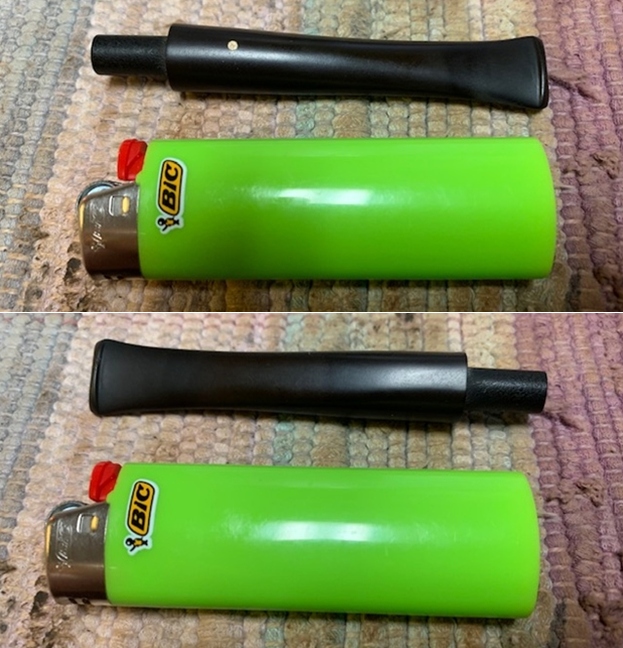
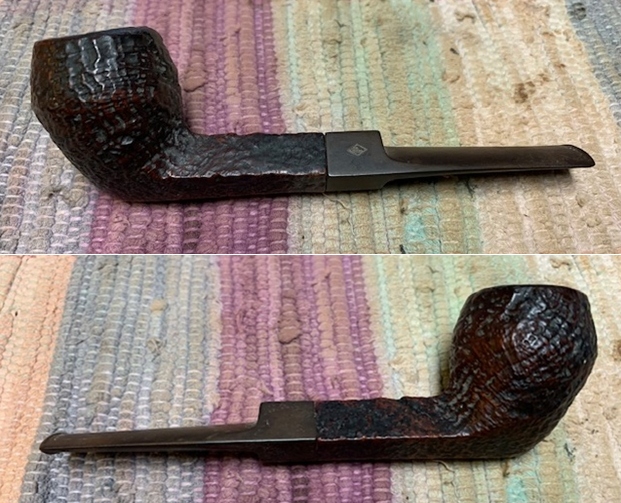
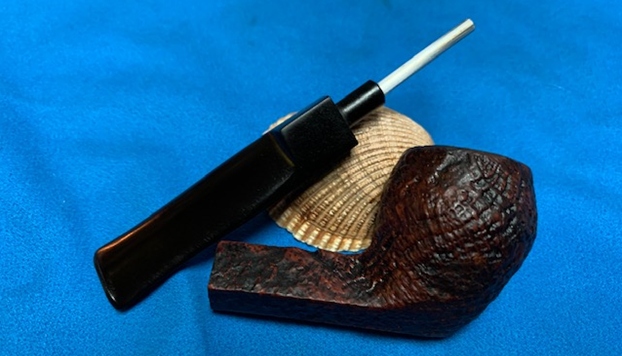
 I put a pipe cleaner in the stem and heated it with the heat gun until the vulcanite was flexible. I bent it so that the pipe would sit comfortably in the mouth and hang nicely.
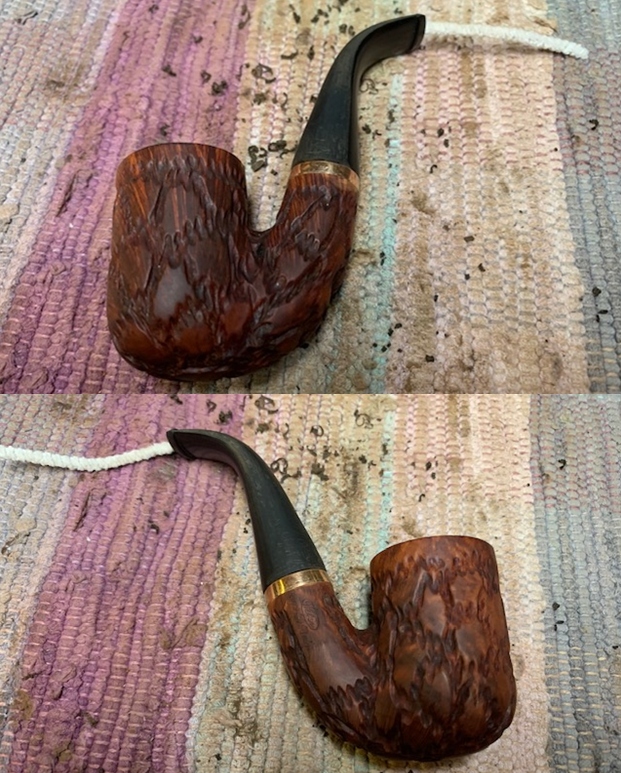
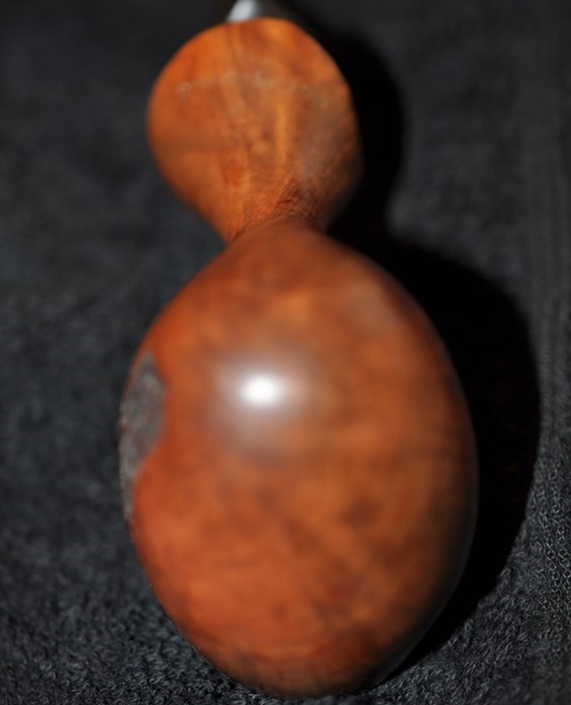
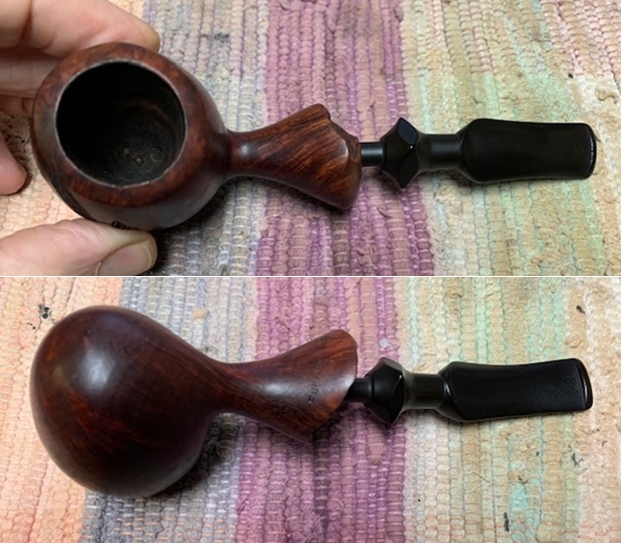
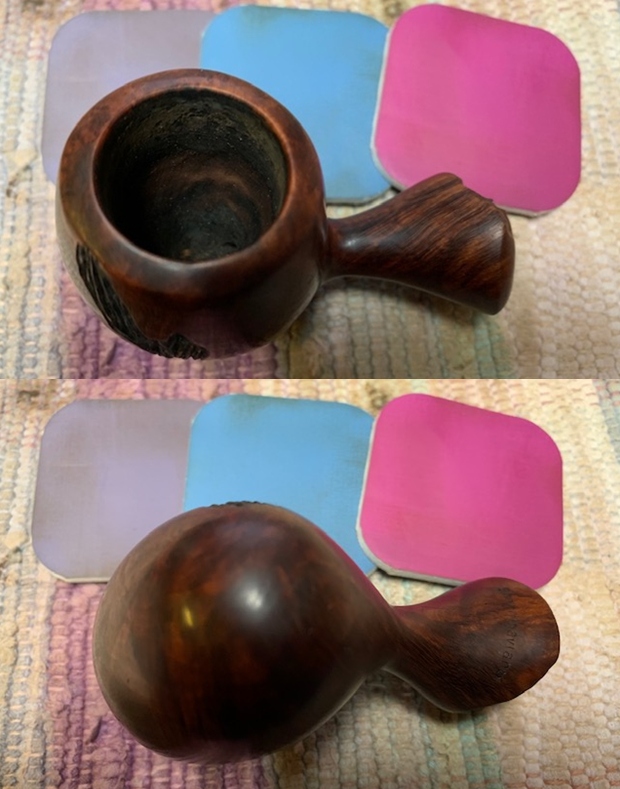
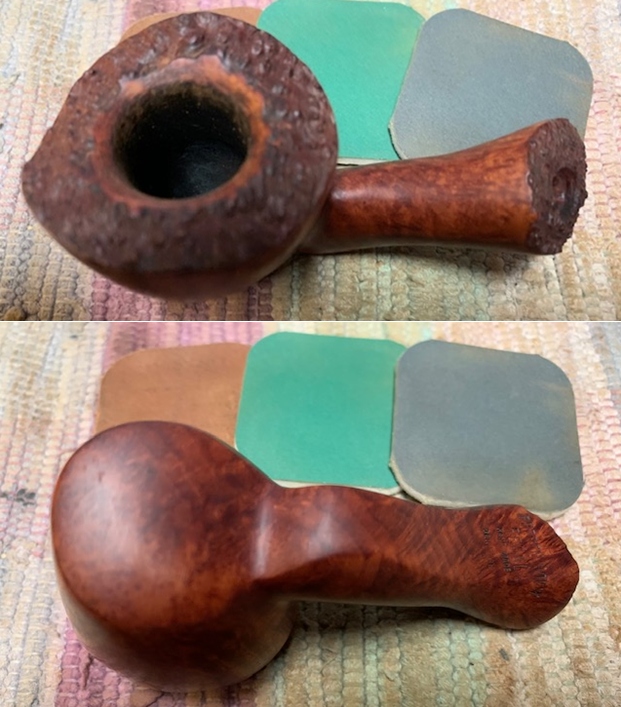
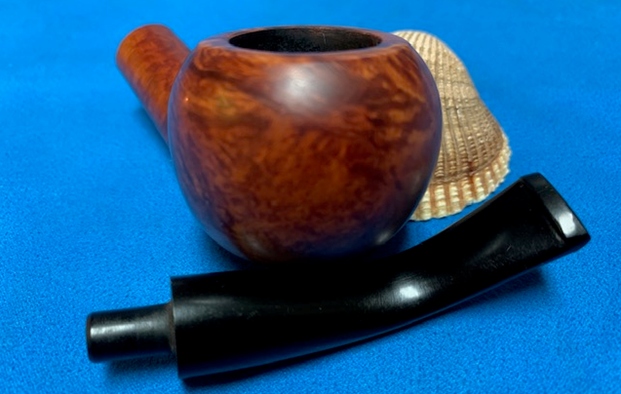
 I removed the new stem and turned my attention to the bowl for a while. I would come back to polishing the stem shortly. I polished the briar with micromesh sanding pads – 1500-12000 grit pads. I wiped the bowl down after each pad with a damp cloth.
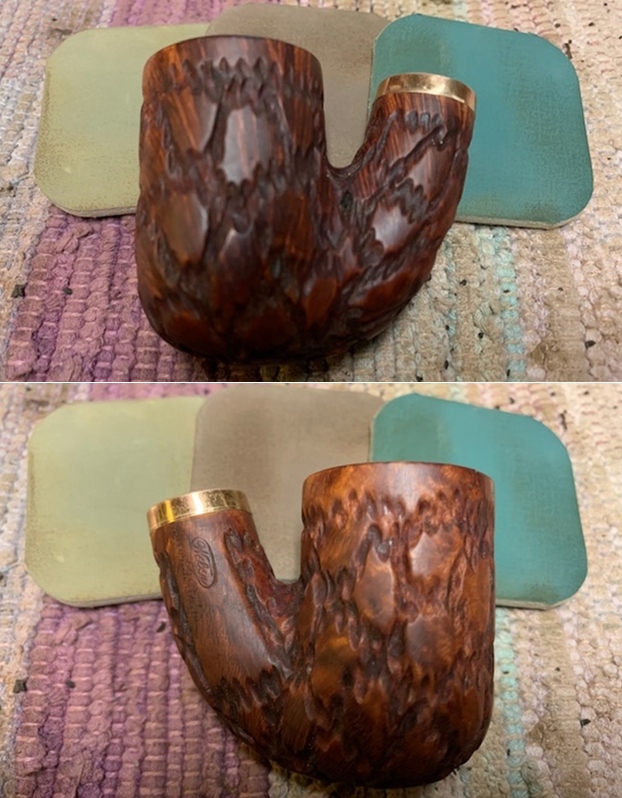

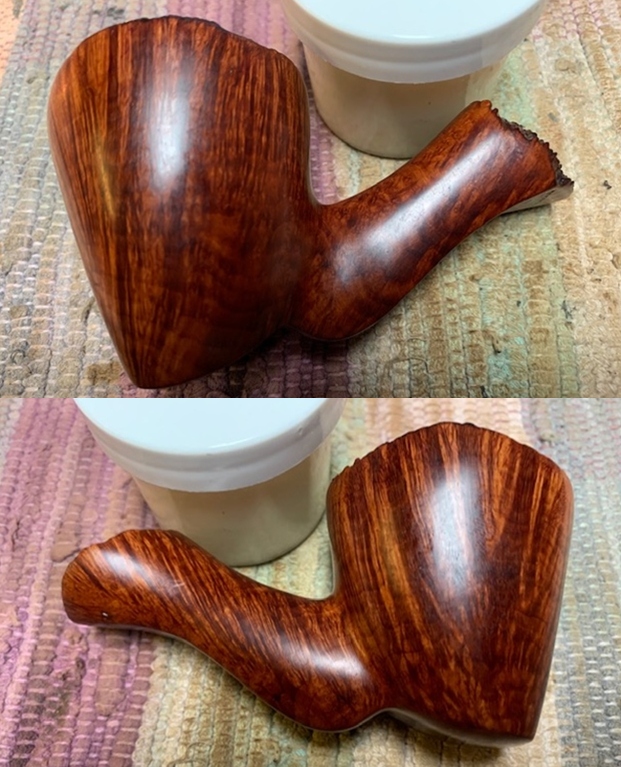
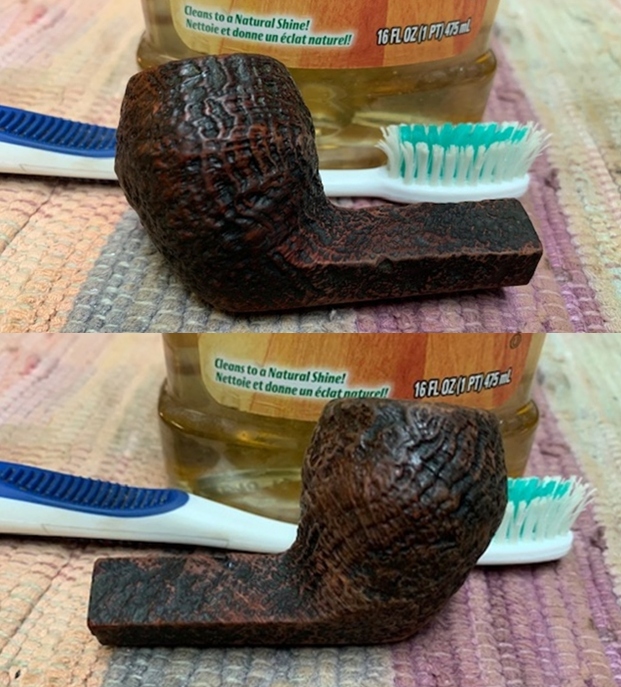
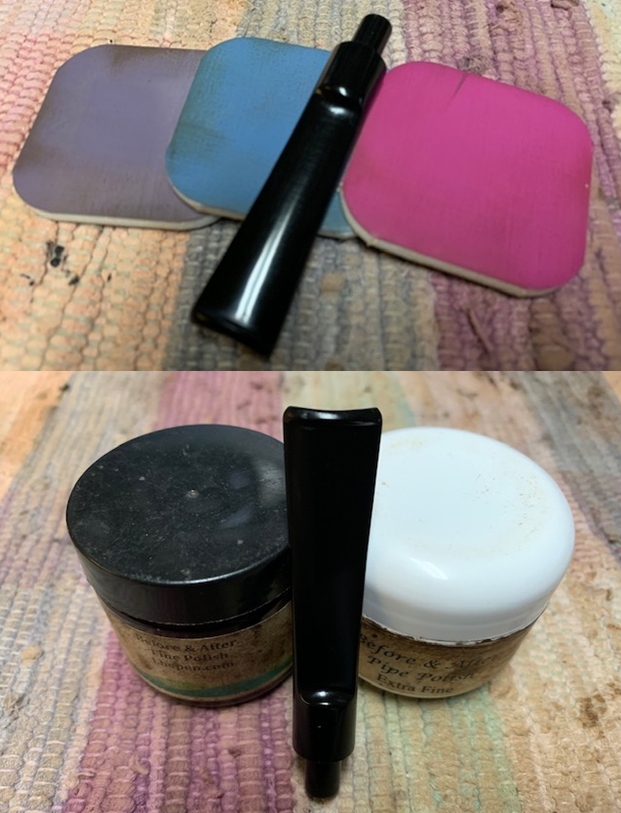
 I rubbed the bowl and shank down with Before & After Restoration Balm. I worked it into the surface of the bowl sides and shank with my fingertips and into the carvings around the bowl with a horsehair shoe brush. The product works to clean, enliven and protect the briar. I let the balm sit for 10 minutes and then buffed with a cotton cloth to raise the shine.

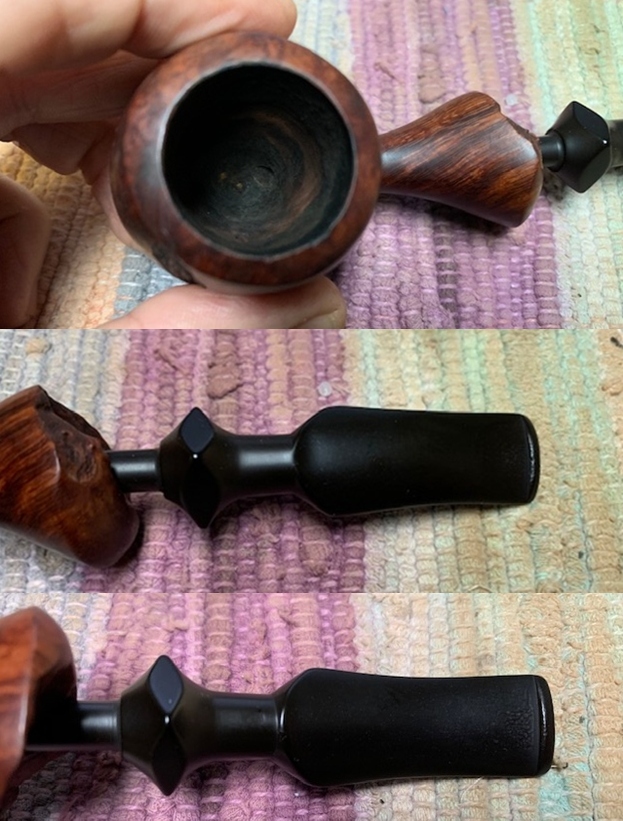
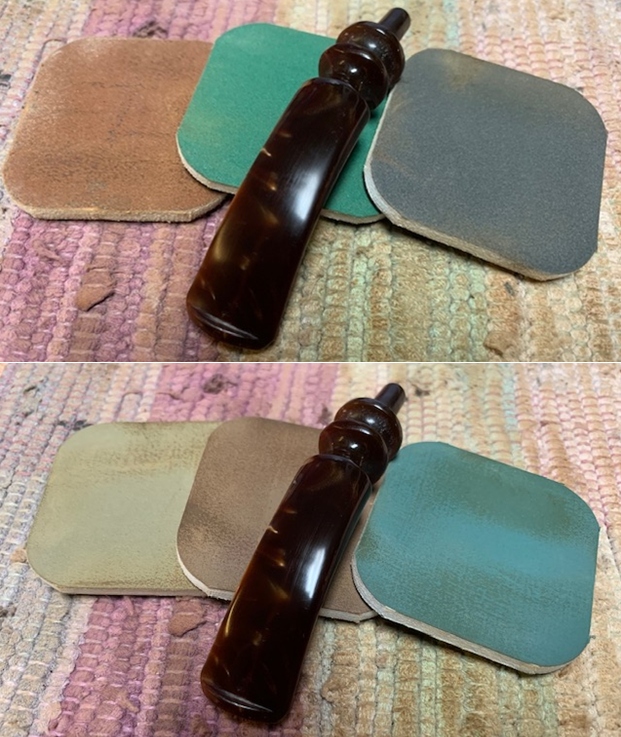
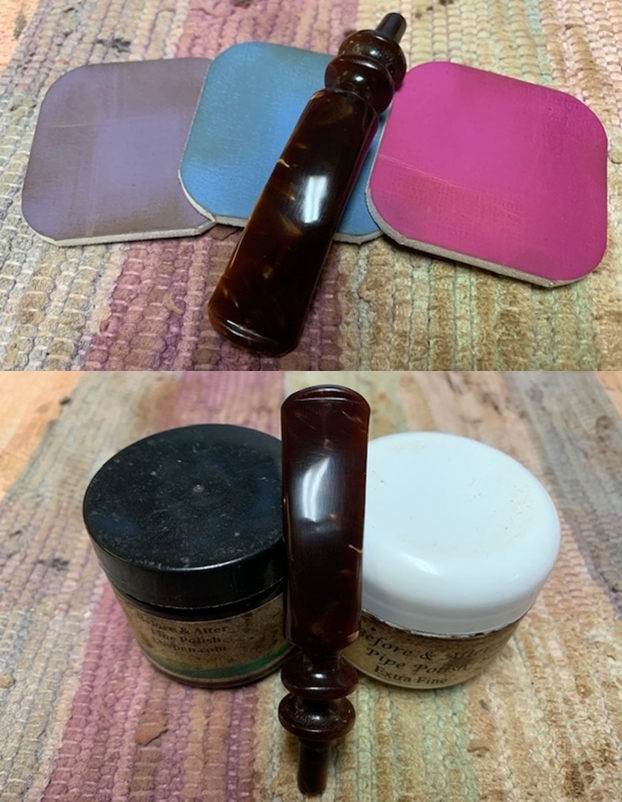
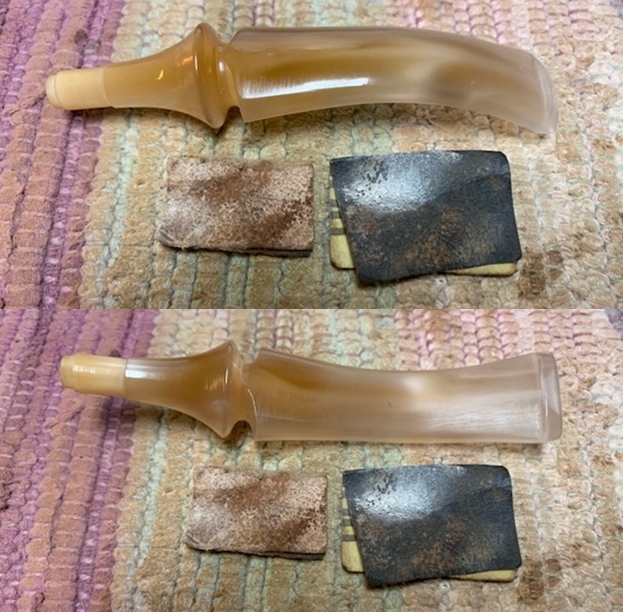
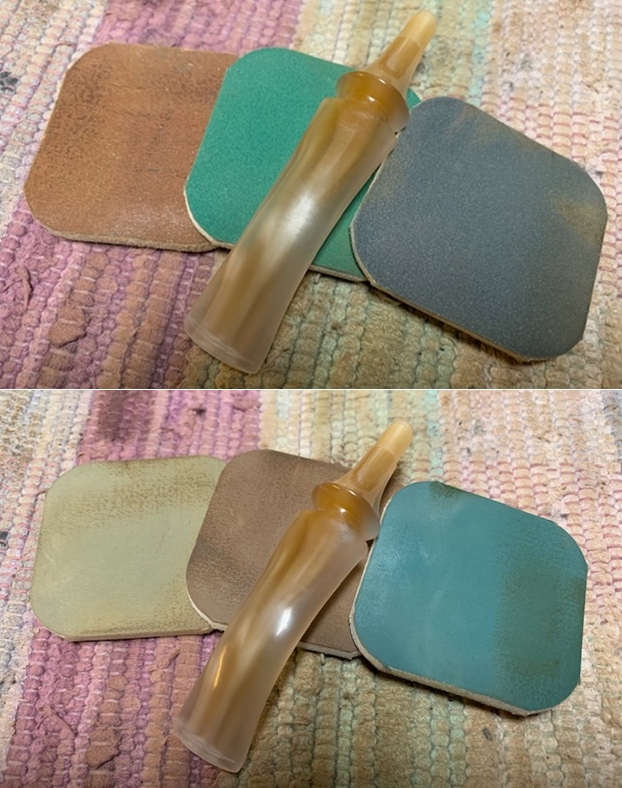
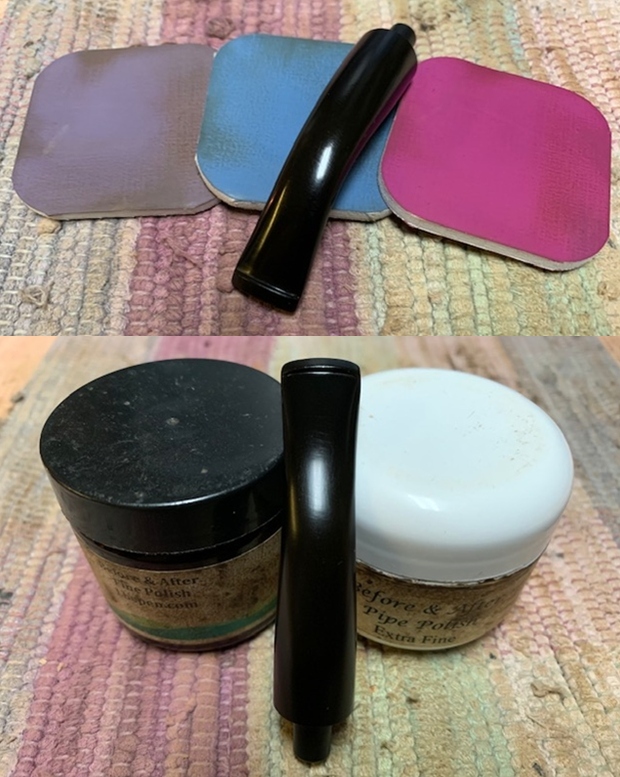
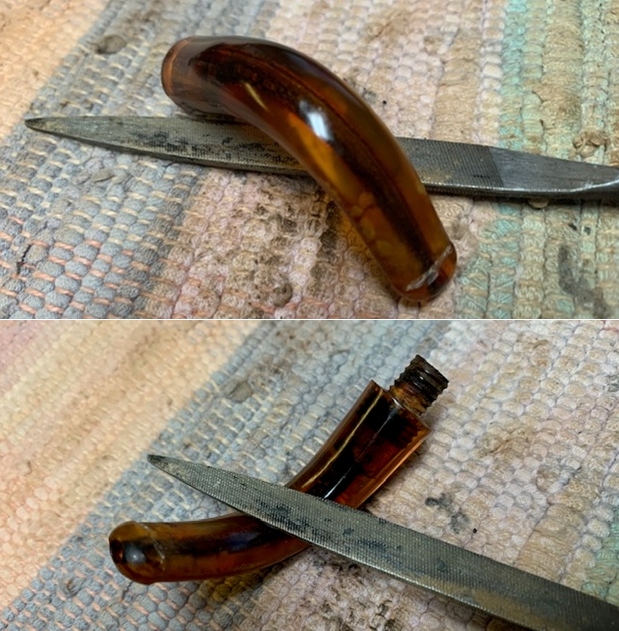
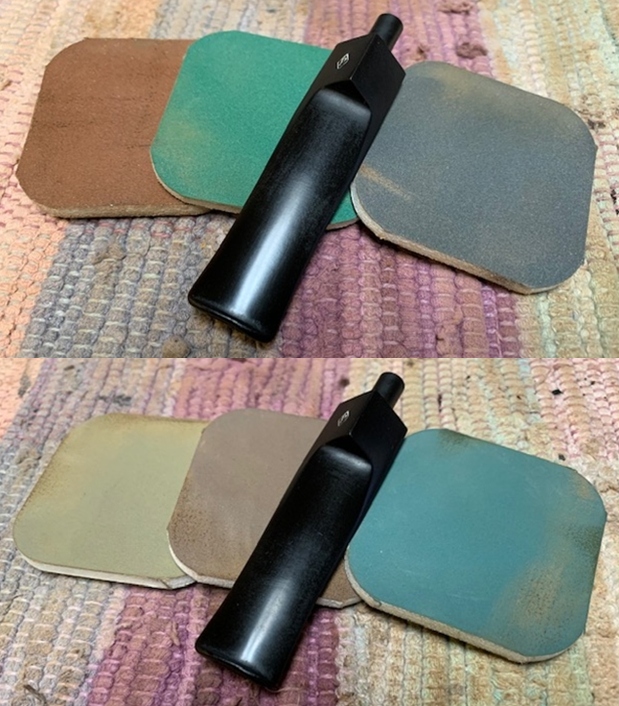
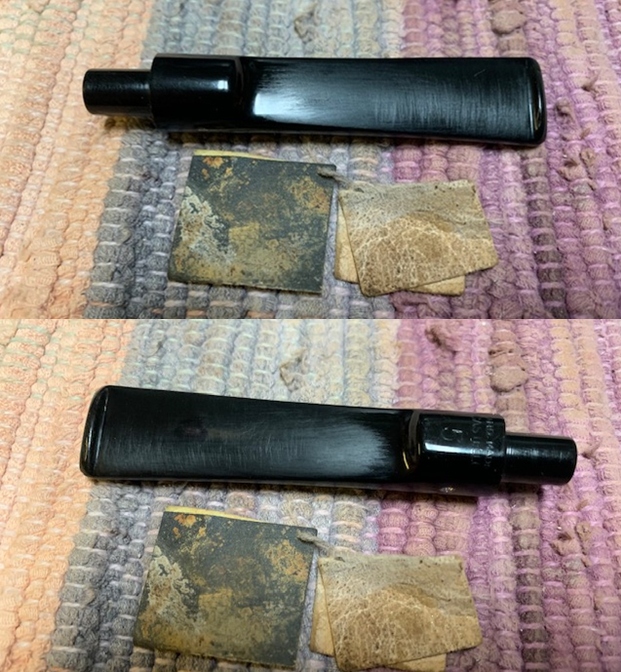
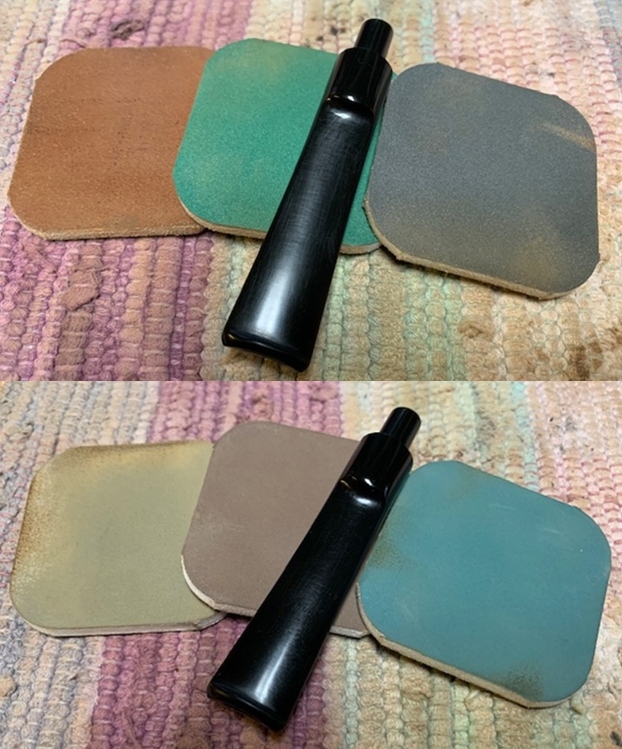
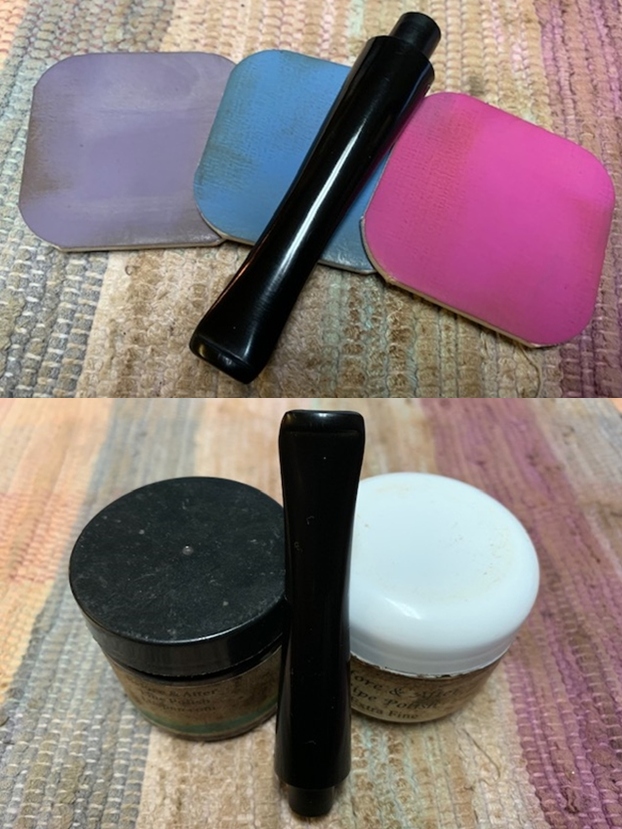
 I set the bowl aside and turned to work on the stem. I sanded the stem surface to remove the scratches, Dremel marks and casting marks and blend them into the surface of the vulcanite with 220 grit sandpaper and started the polishing of the stem with 400 grit wet dry sandpaper.
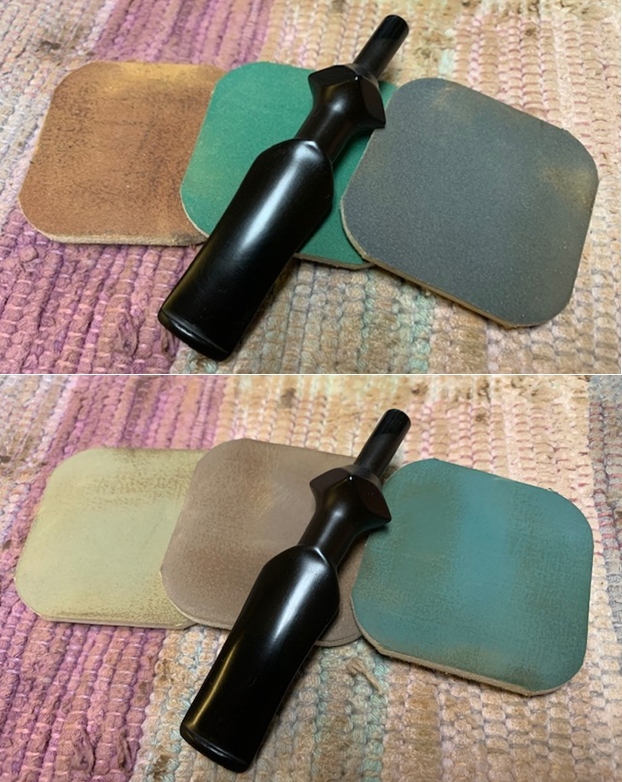
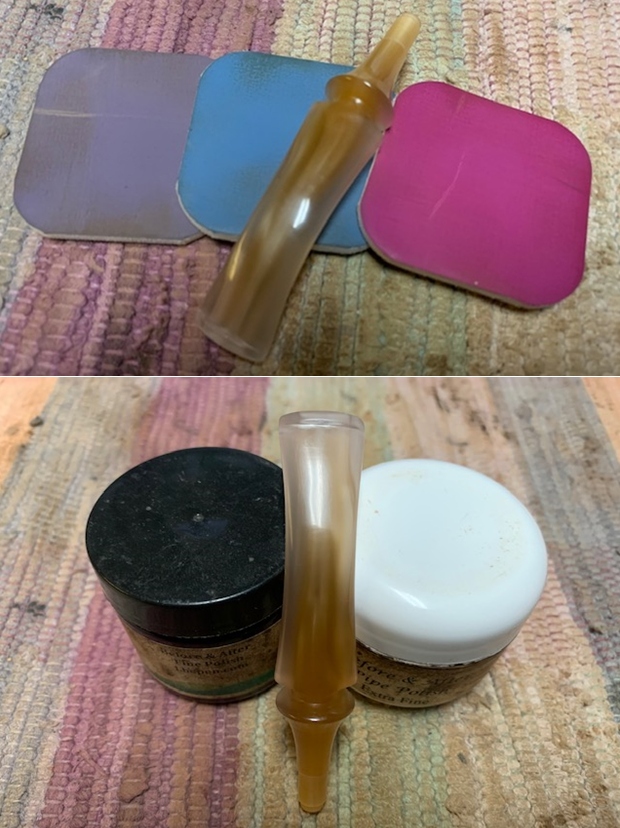
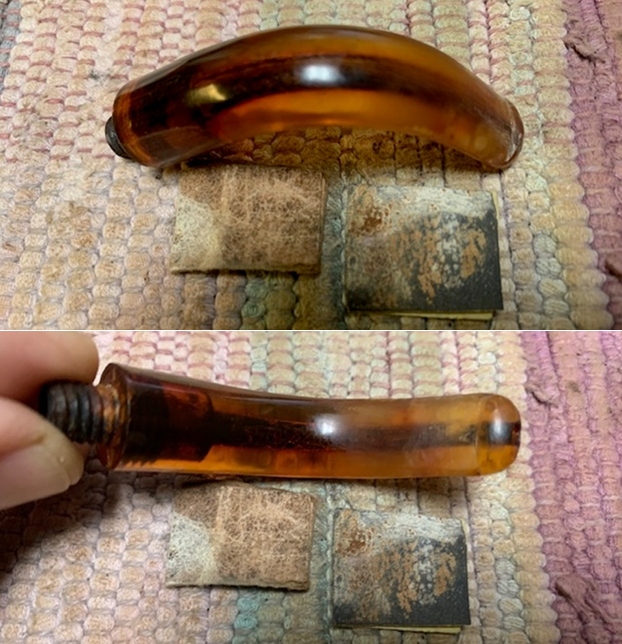
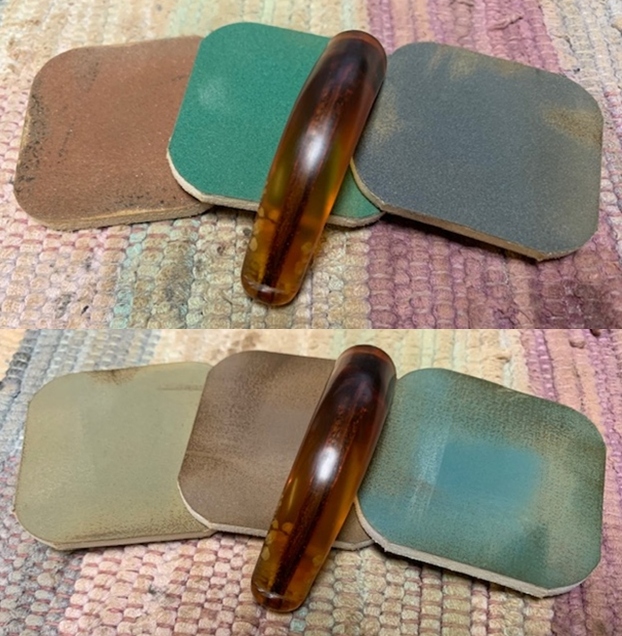
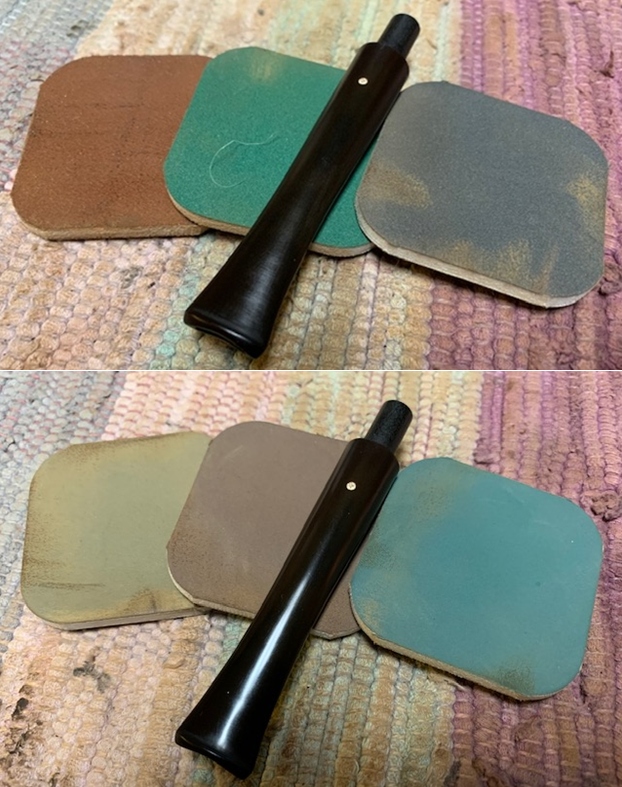
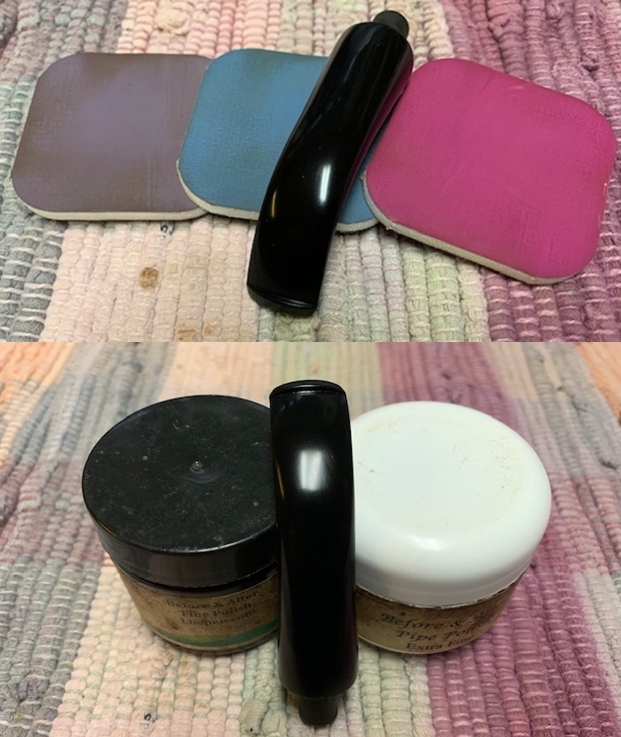
 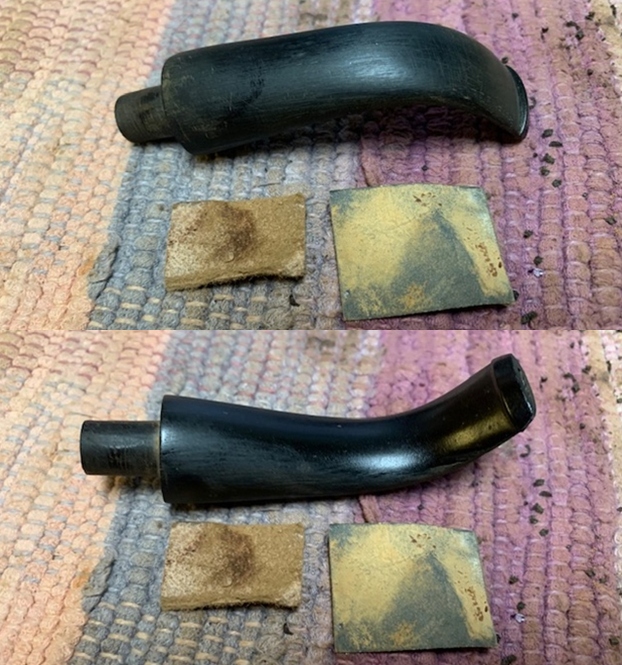 I polished the vulcanite stem with micromesh sanding pads – 1500-12000 grit pads. I wiped it down with a damp cloth after each sanding pad. I used Before & After Pipe Polish – both Fine and Extra Fine to further polish the stem.
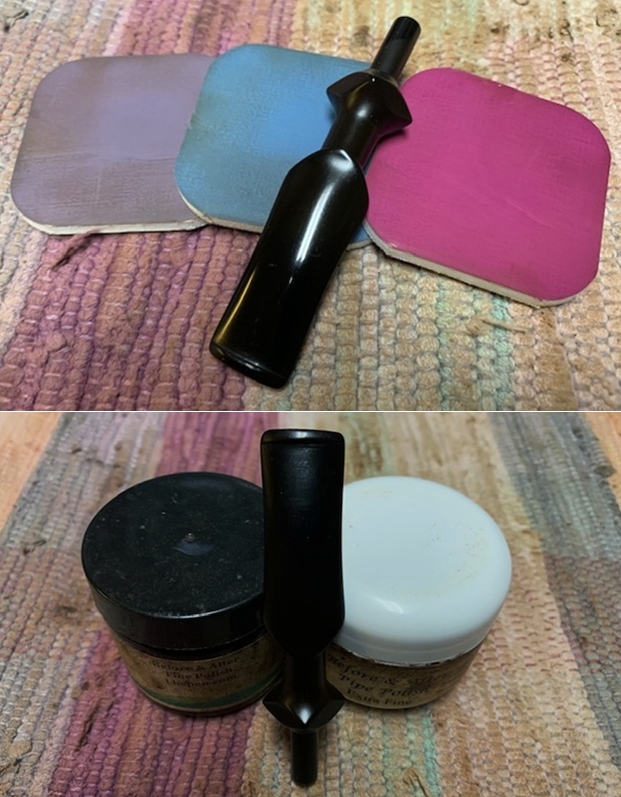
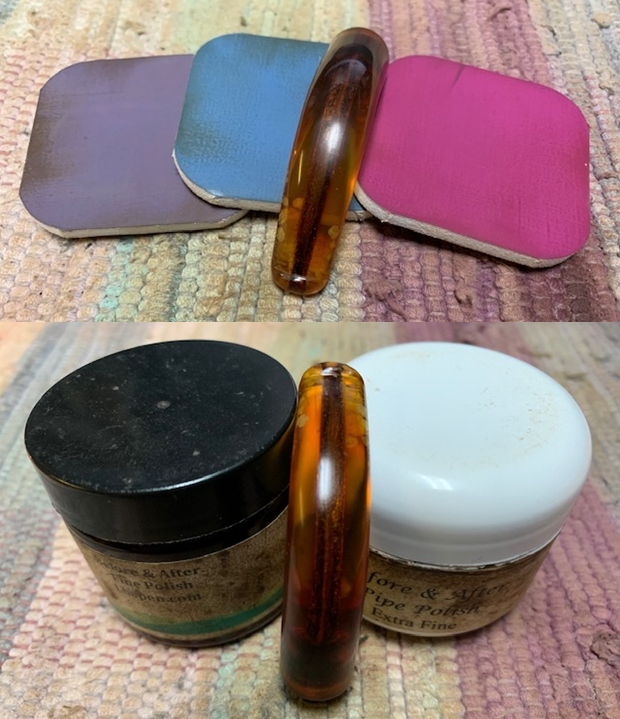
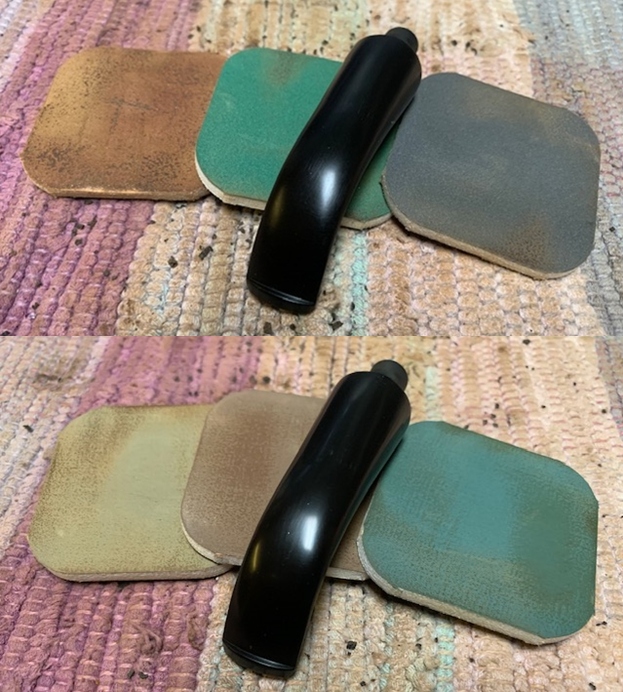
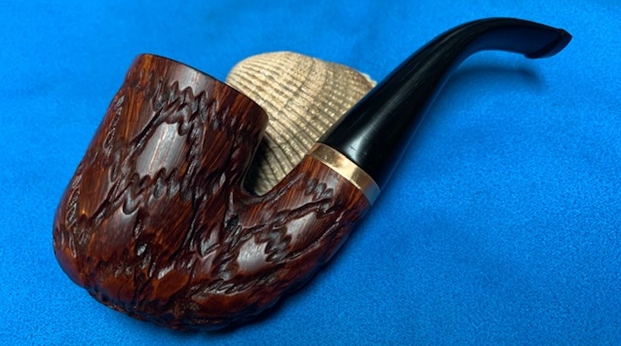
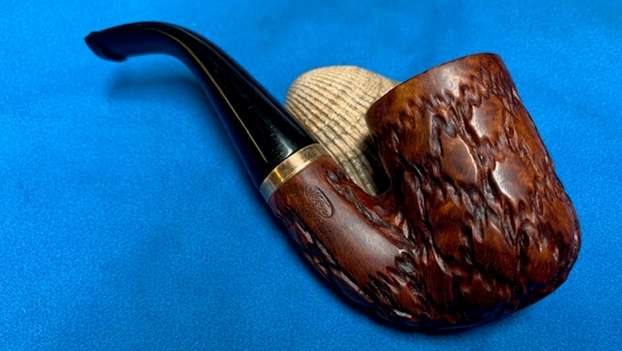
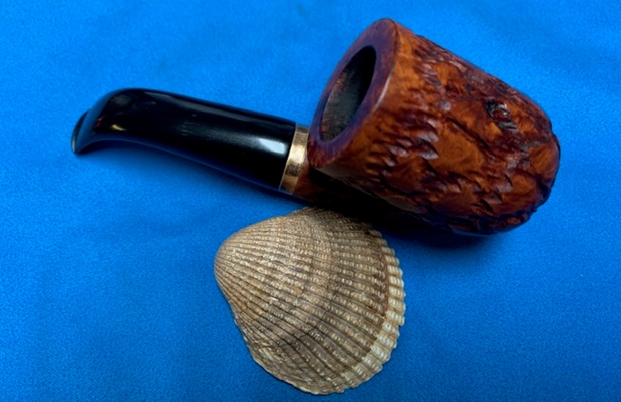
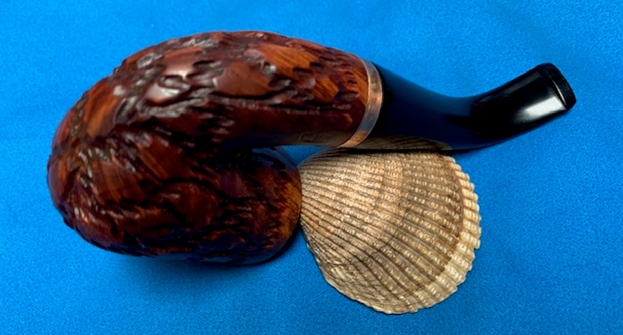
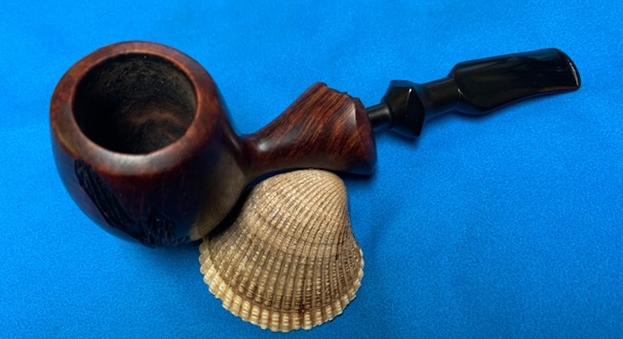
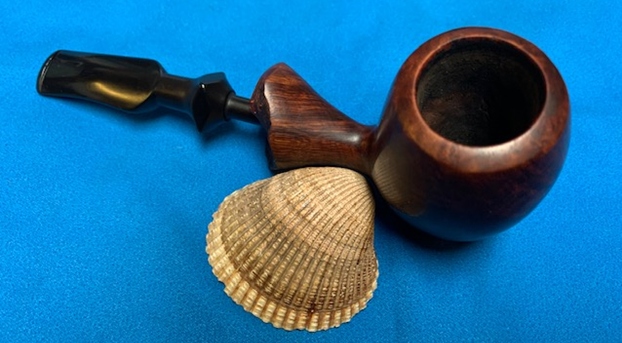
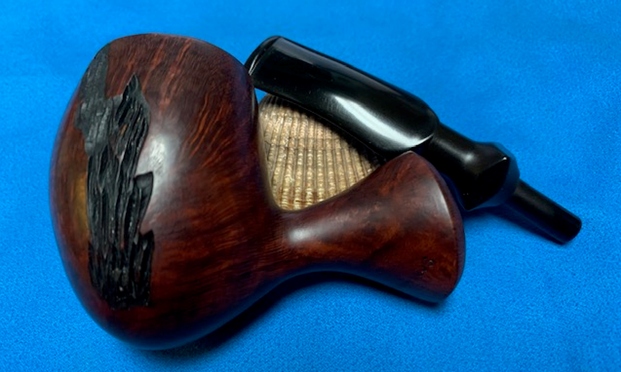
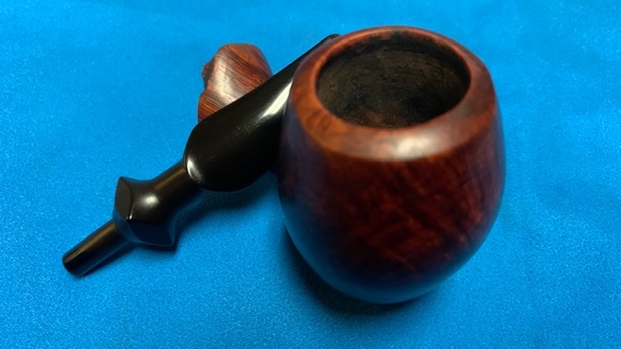
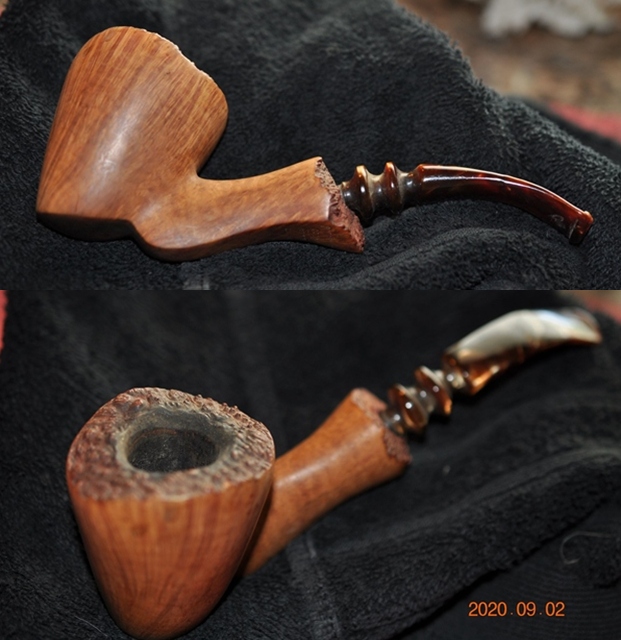
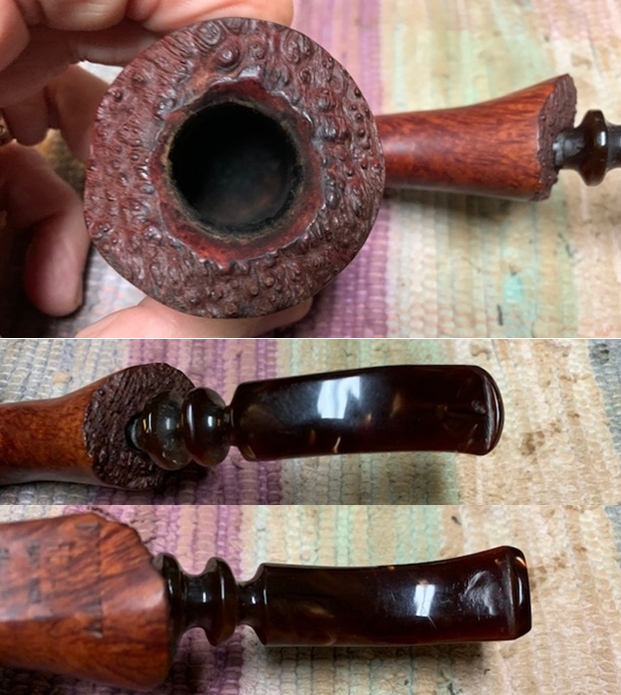
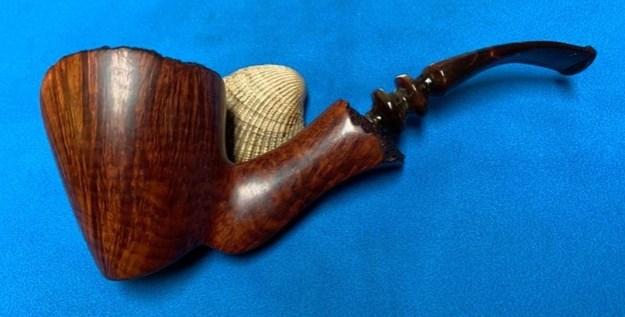
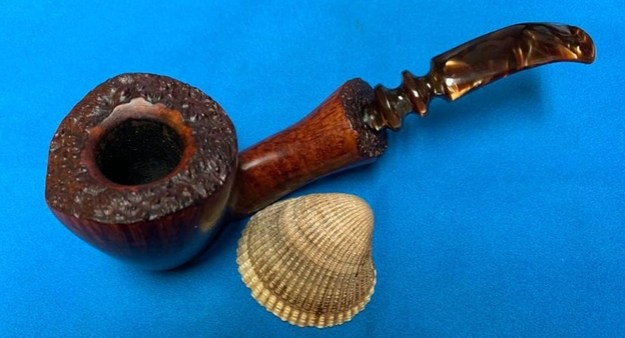
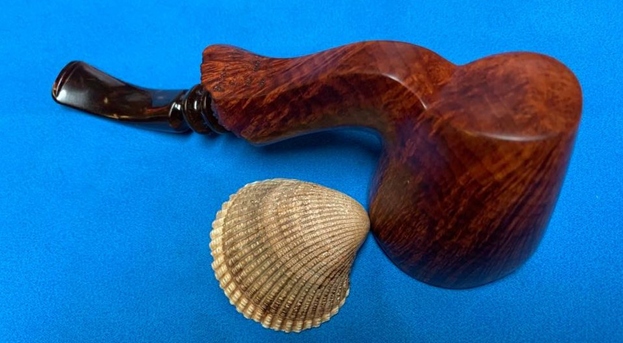
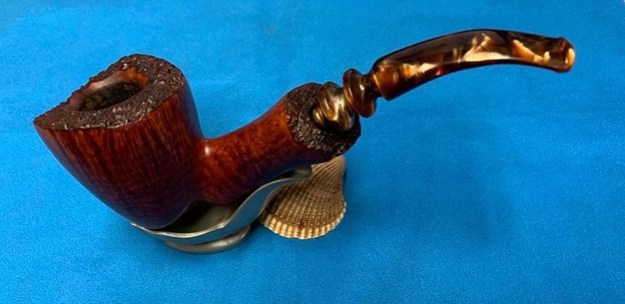
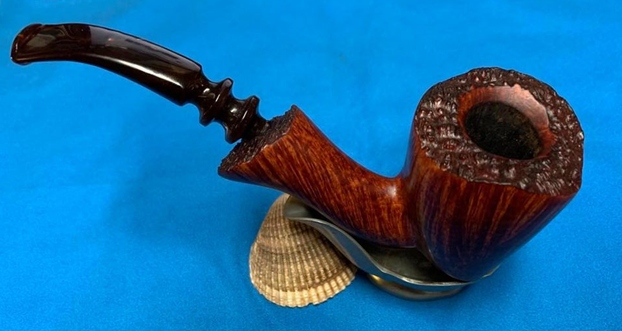
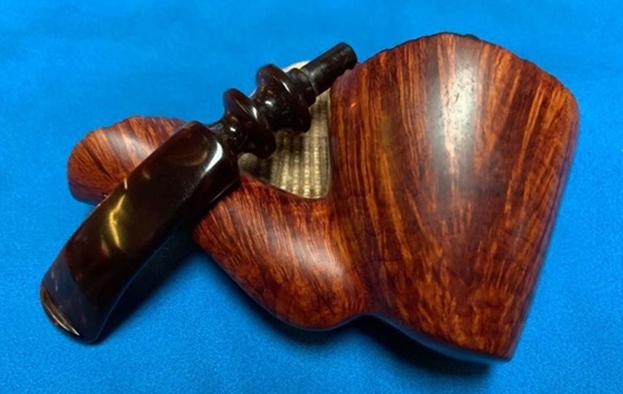
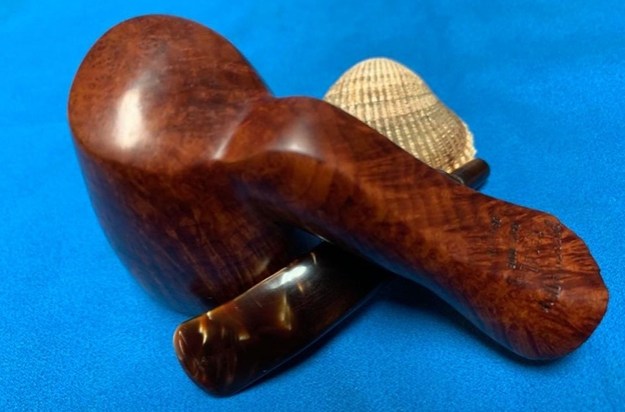
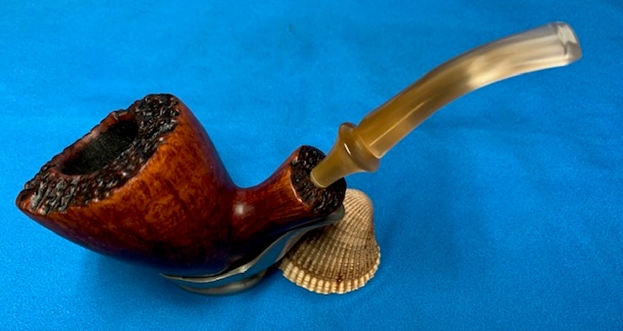
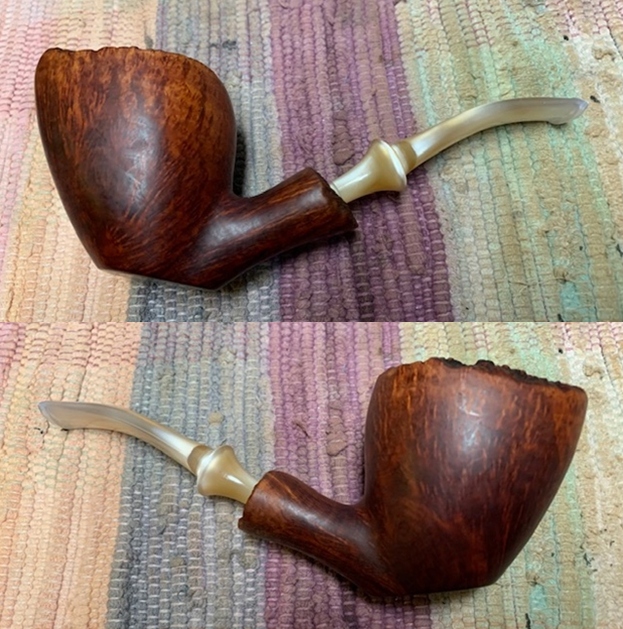
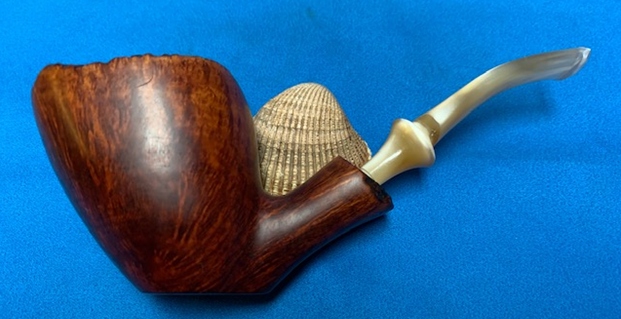
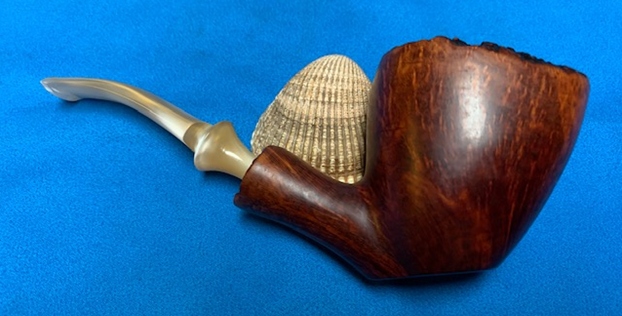
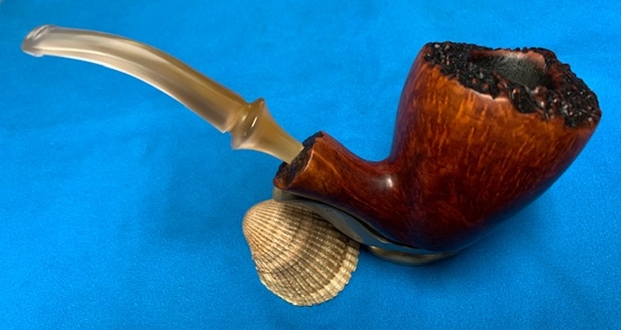
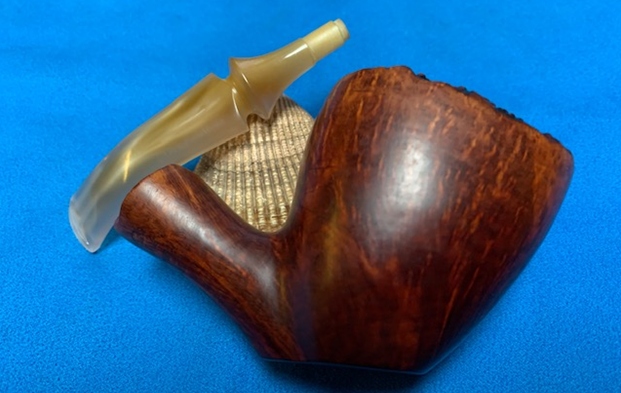
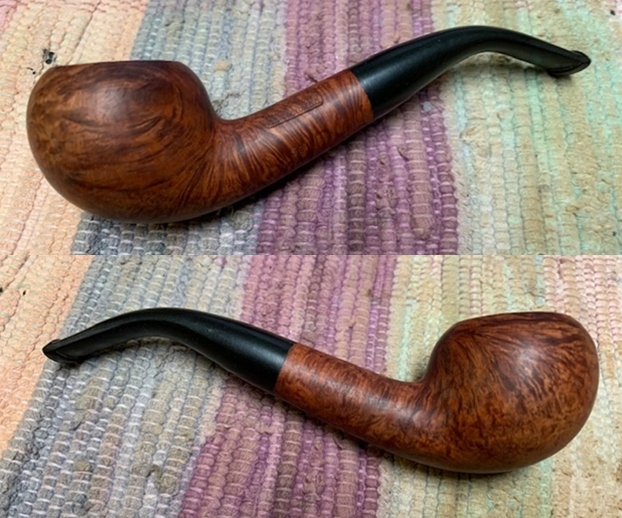
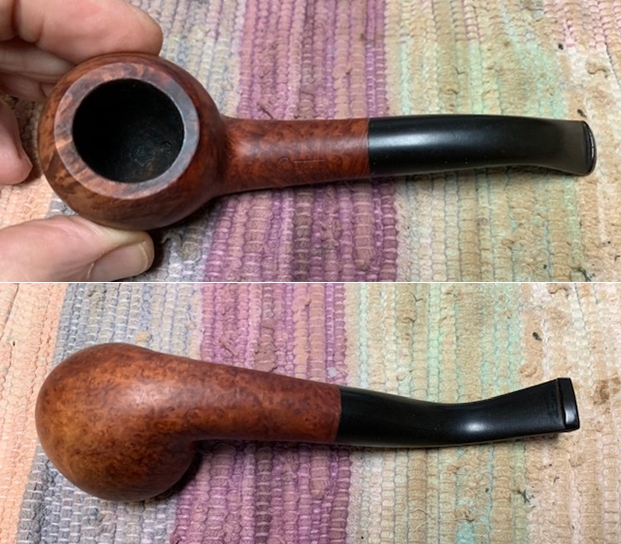
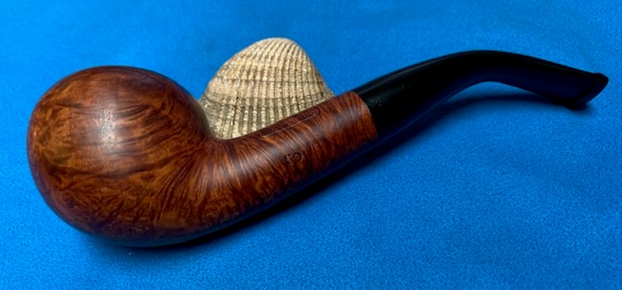
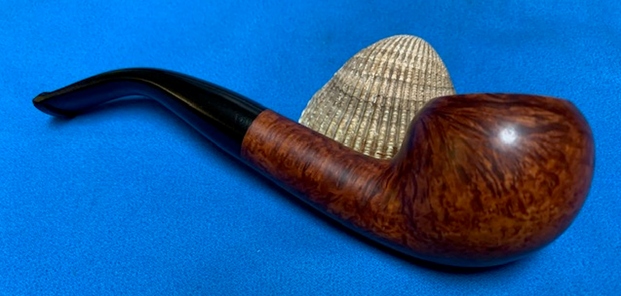
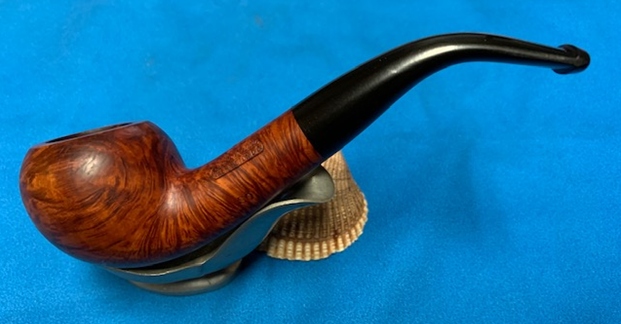
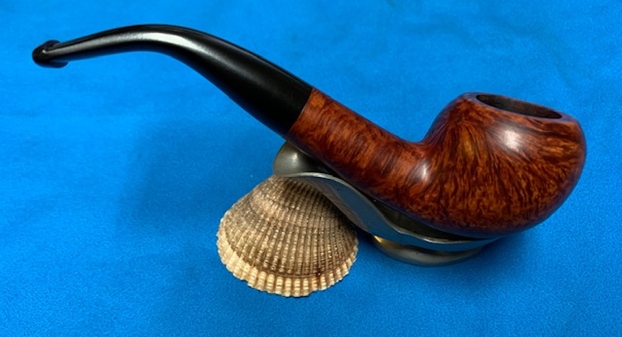
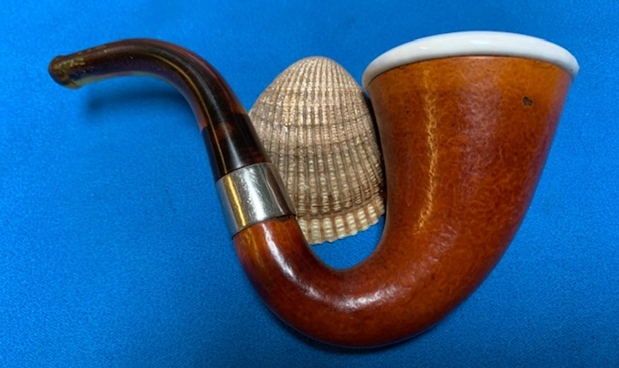
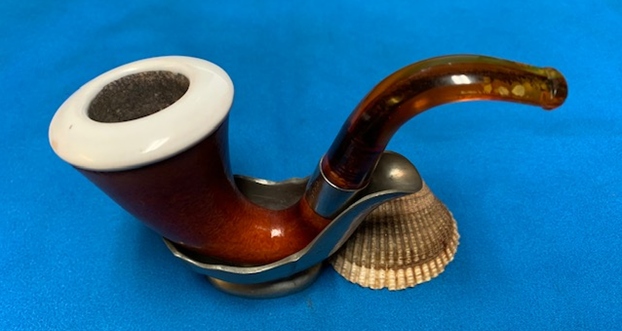
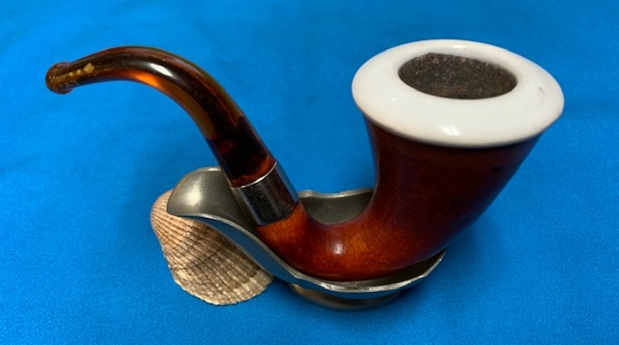
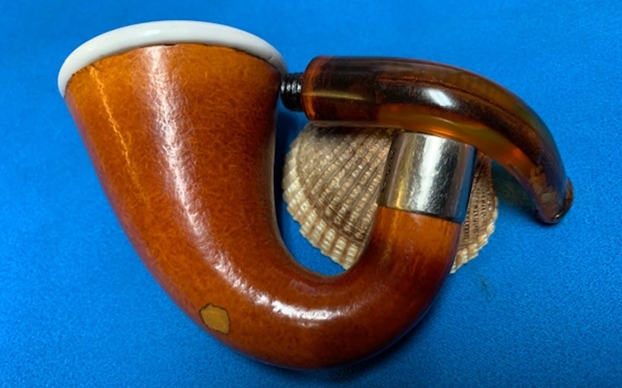
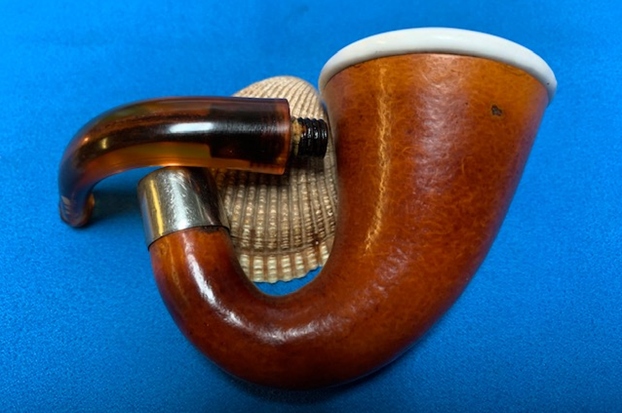
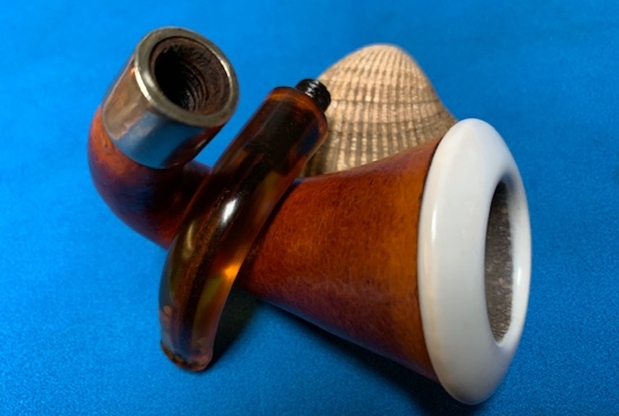
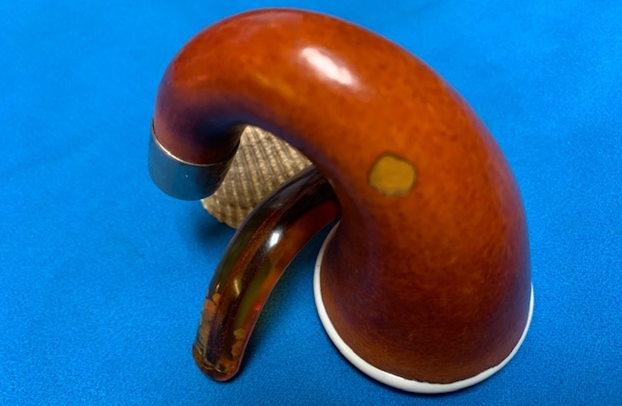
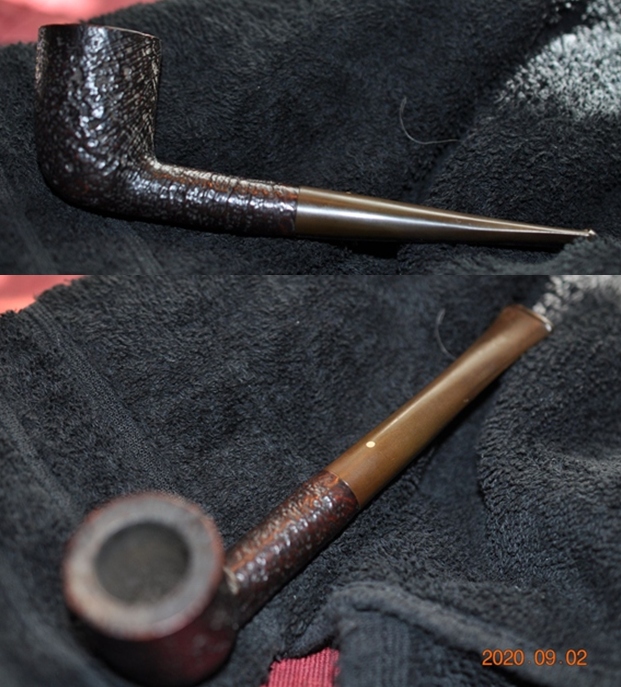
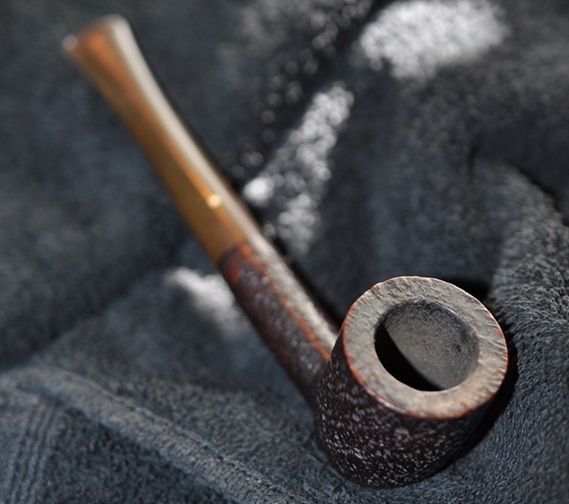
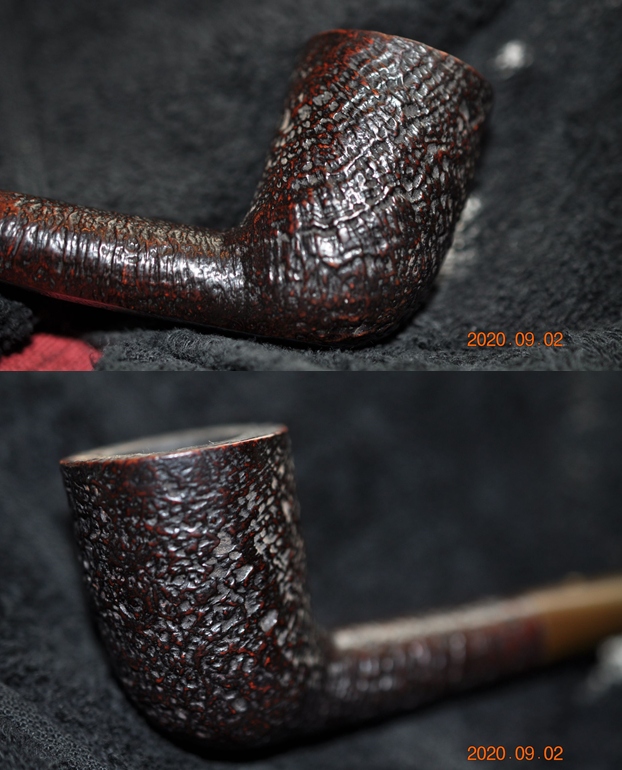
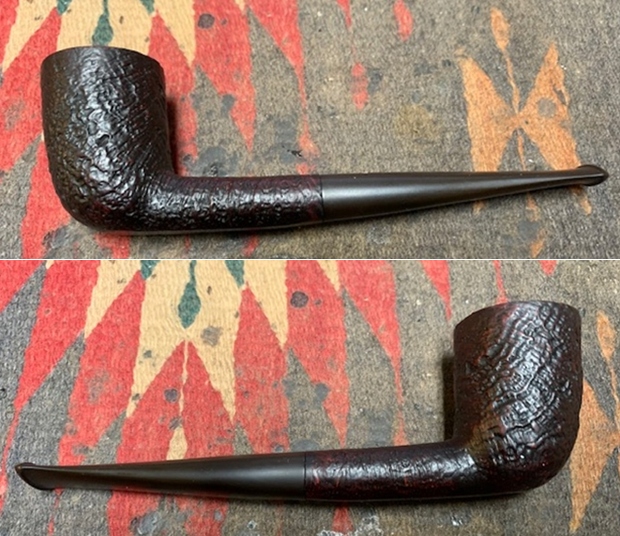
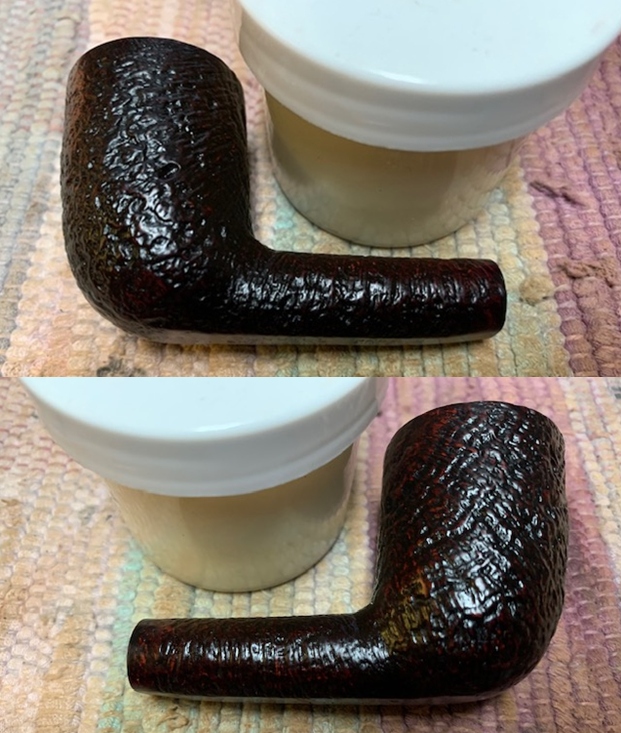
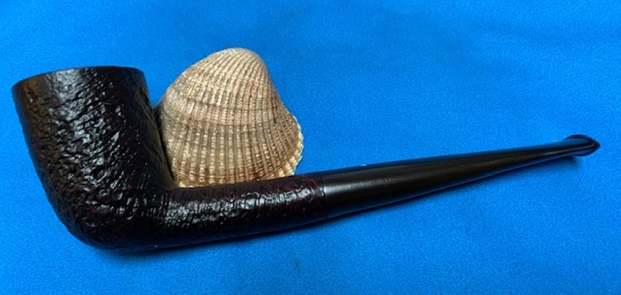
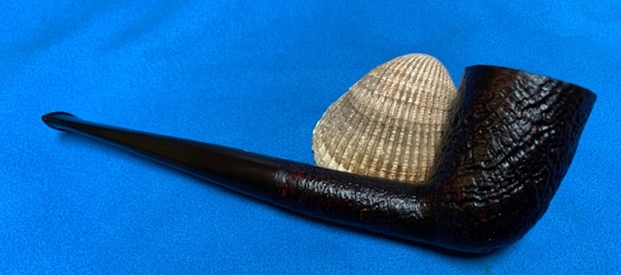
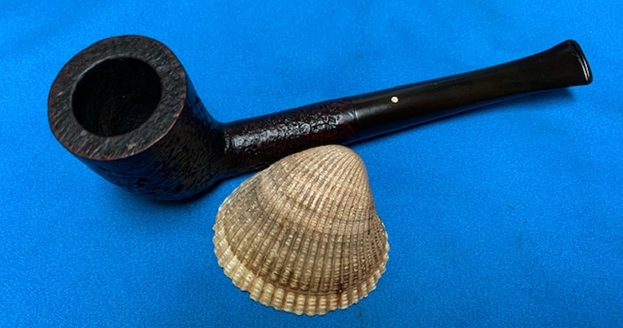
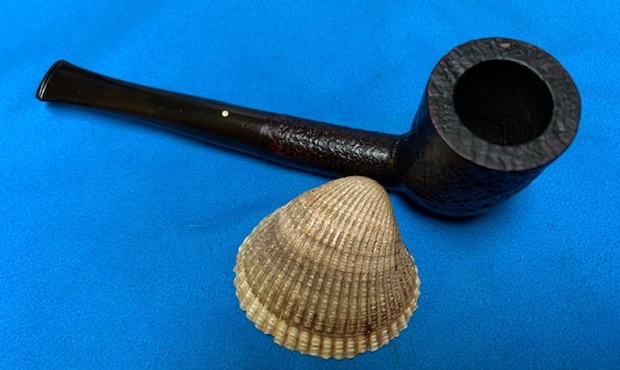
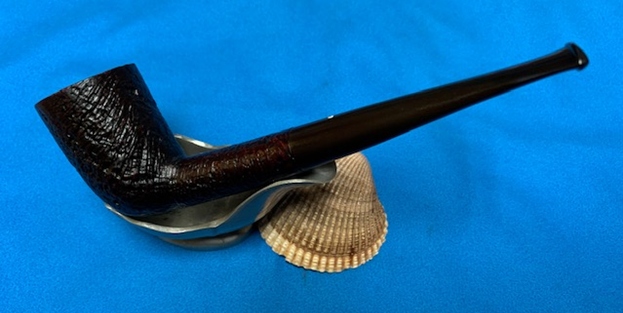
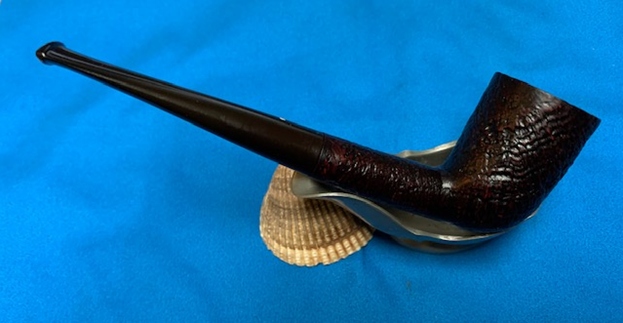
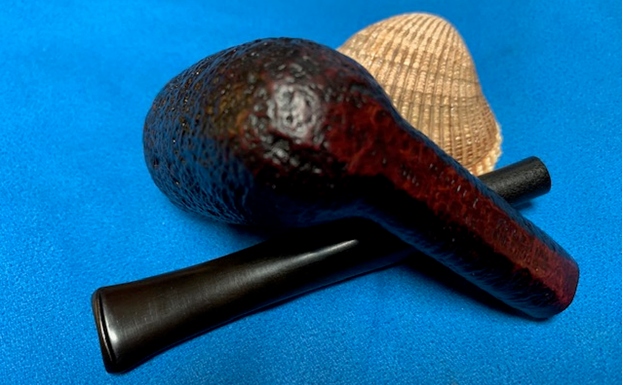
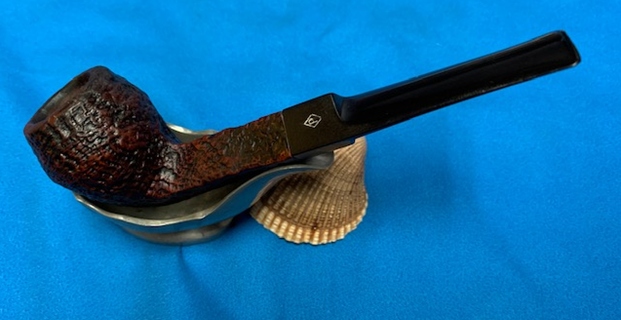
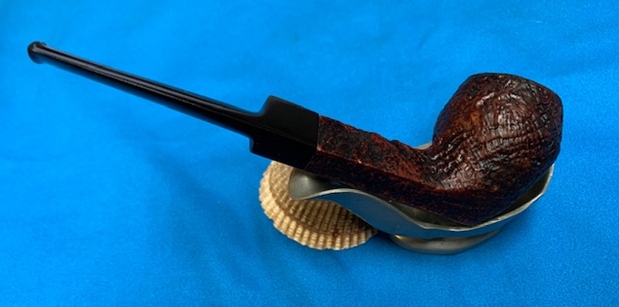
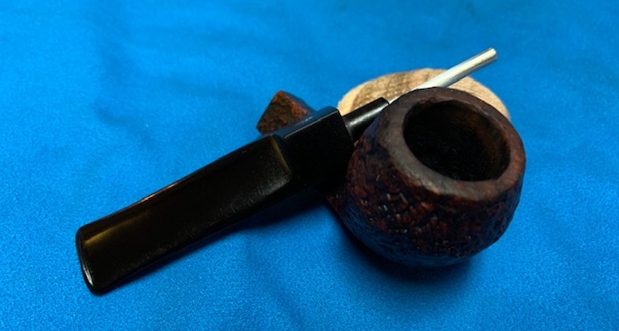
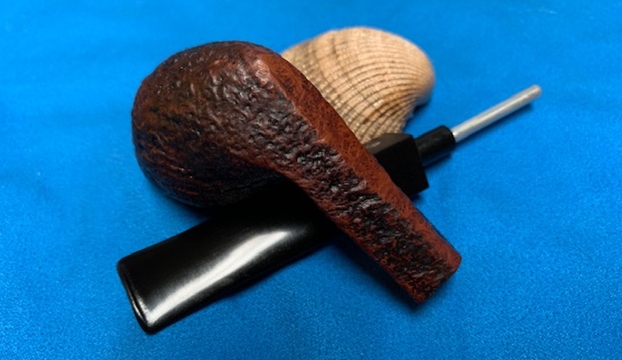
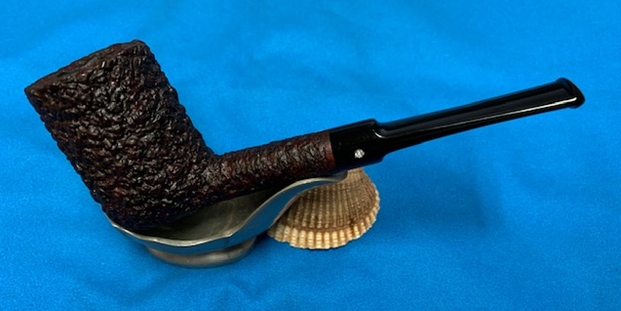
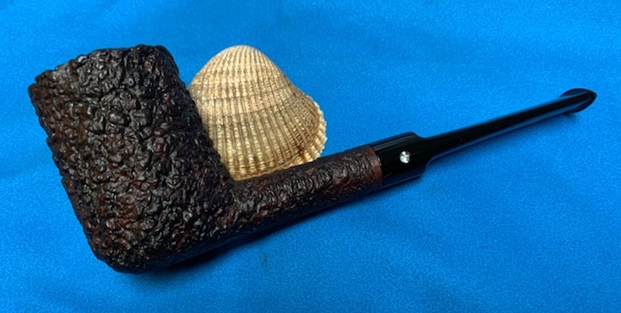
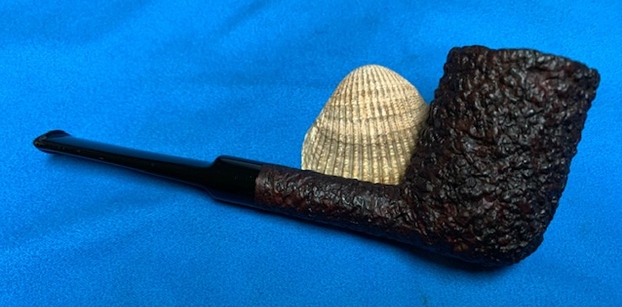
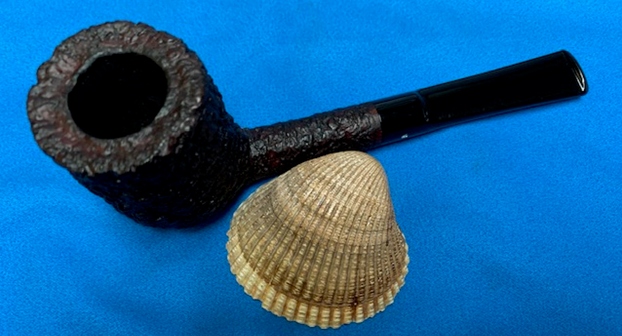
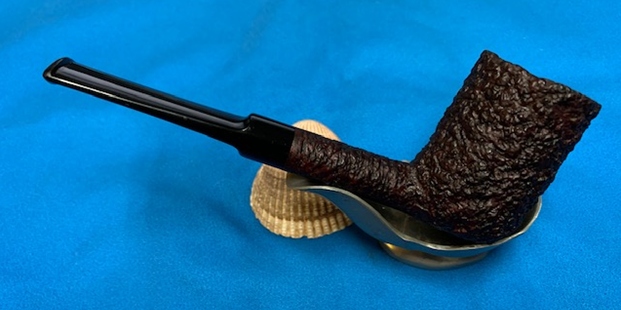
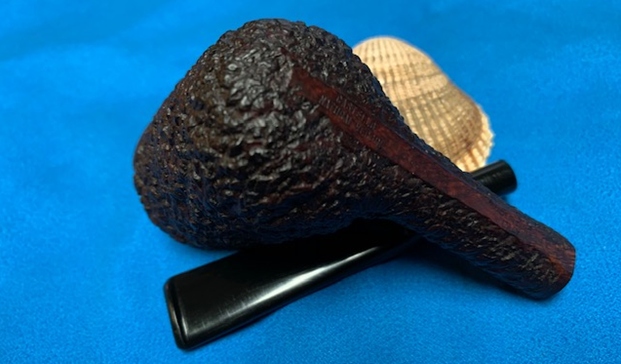
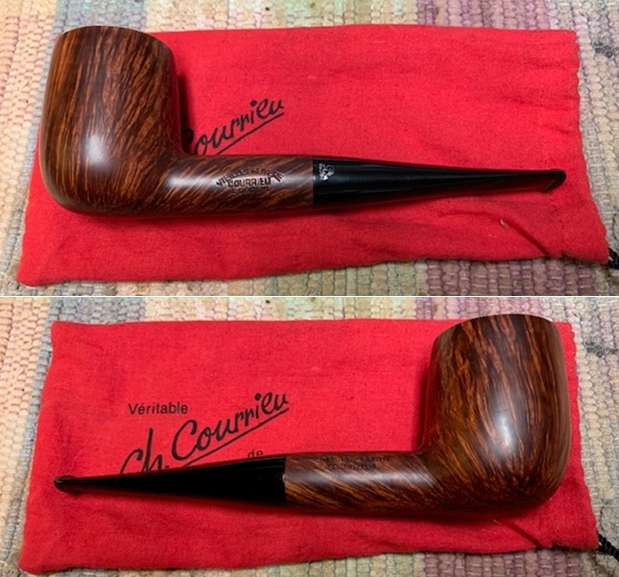
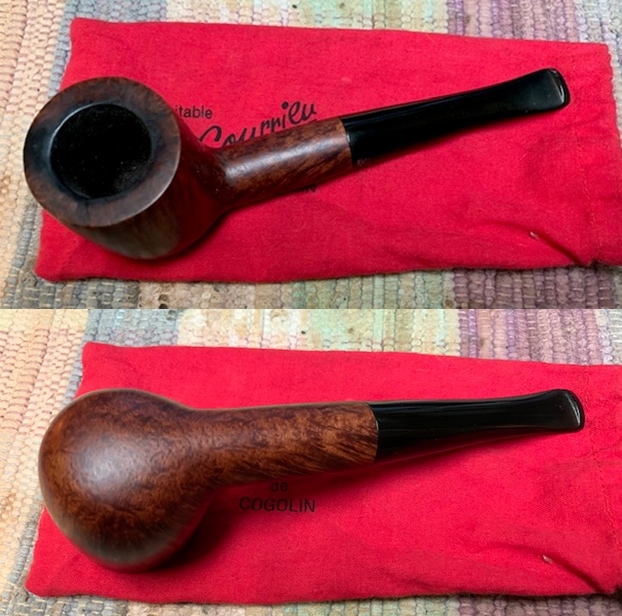
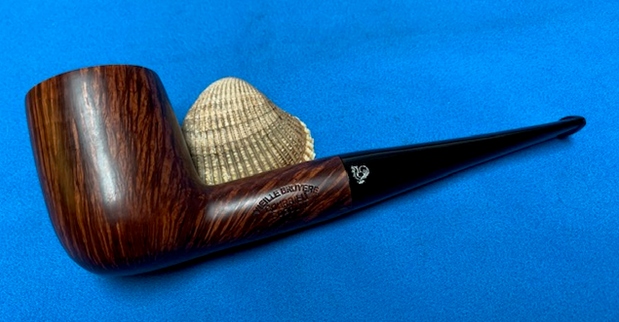
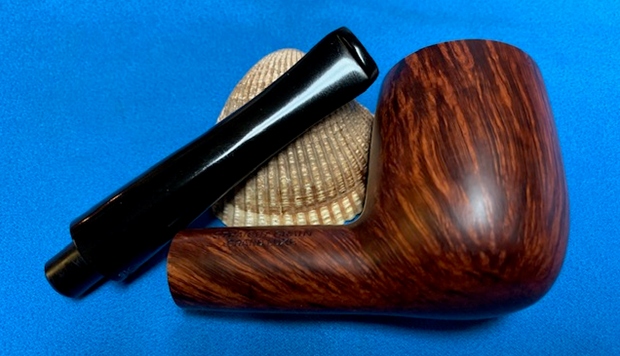
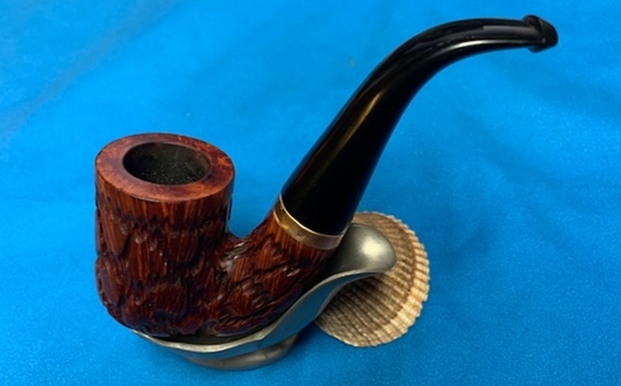
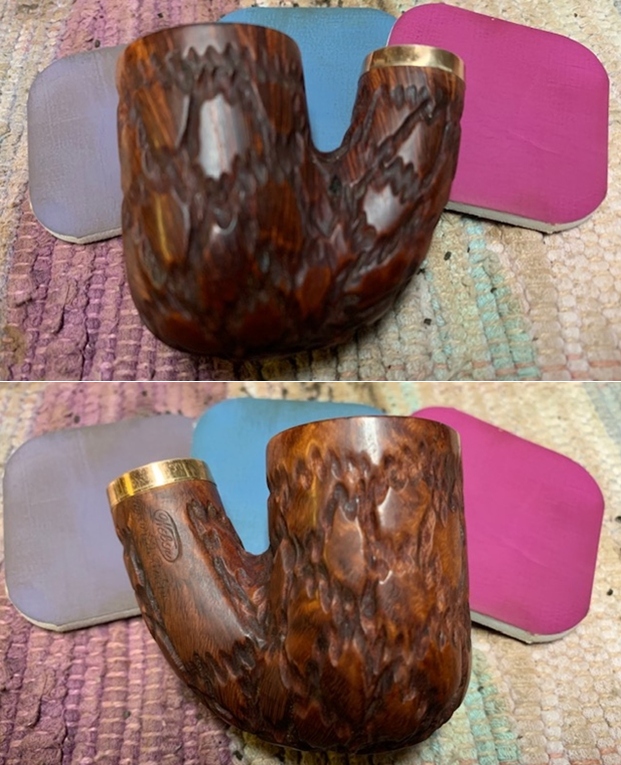
 This Weber Imported Briar Rusticated Oom Paul came out really well with the brass band and the new stem. The briar and vulcanite stem taper make for a great looking pipe now that it has been restored and restemmed. I put the stem back on the bowl and carefully buffed the pipe with Blue Diamond on the buffing wheel using a light touch on the briar. I gave the bowl and the stem multiple coats of carnauba wax on the buffing wheel and followed that by buffing the entire pipe with a clean buffing pad. I hand buffed the pipe with a microfiber cloth to deepen the shine. The finished Weber Oom Paul fits nicely in the hand and hangs well in the mouth. Once it is packed with tobacco and fired up I am sure that it will feel great. Give the finished pipe a look in the photos below. The dimensions of the pipe are Length: 5 inches, Height: 2 inches, Outside diameter of the bowl: 1 ¼ inches, Chamber diameter: ¾ of an inch. If you are interested in adding this pipe to your collection send me a message or an email. Thanks for reading this blog and my reflections on the pipe while I worked on it. There are many more to come!