by Steve Laug
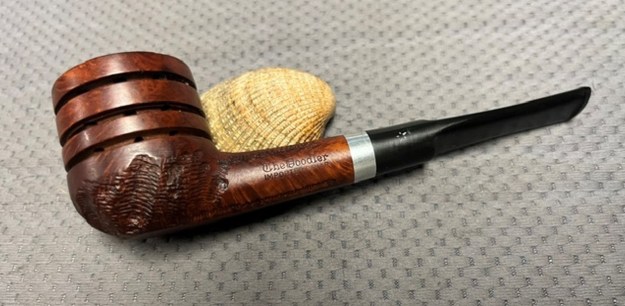
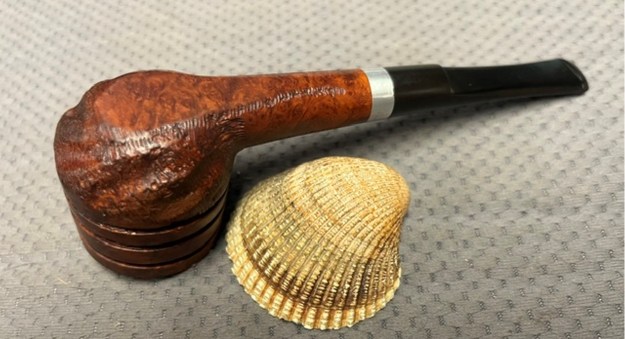
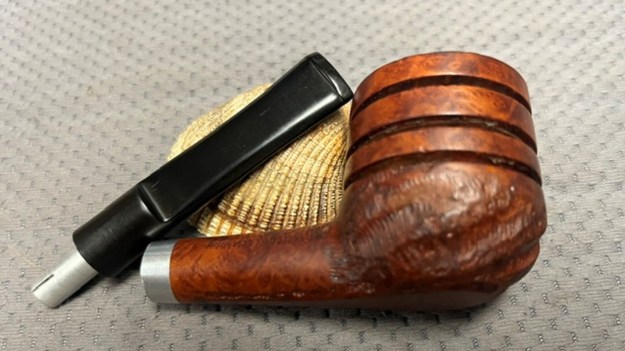
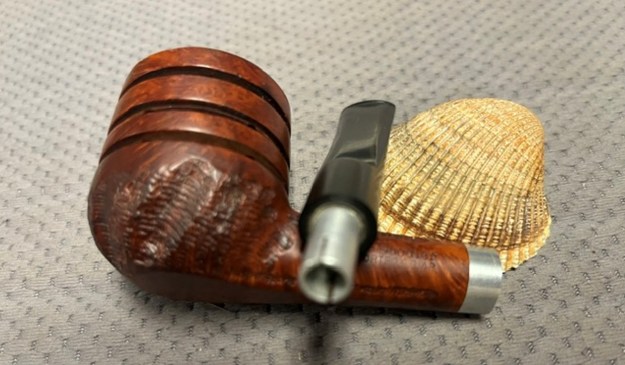
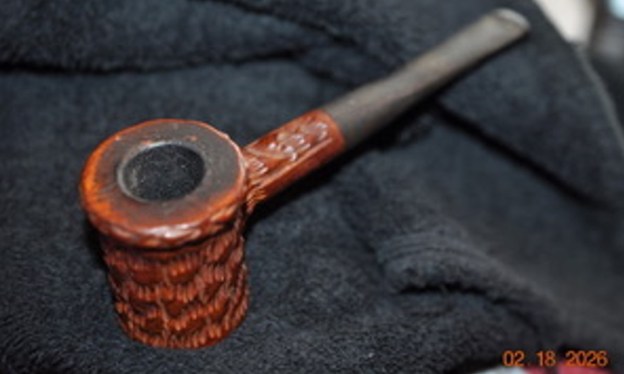
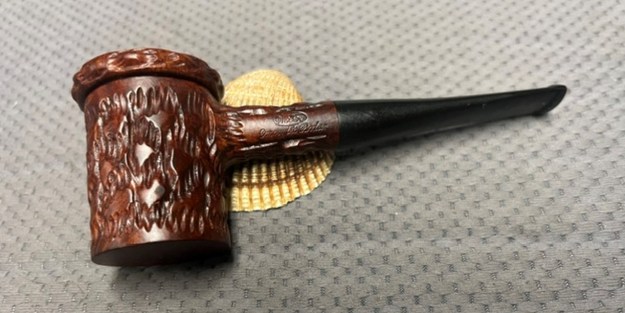
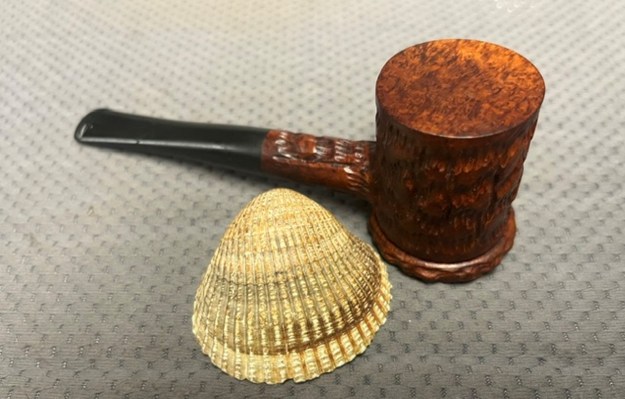
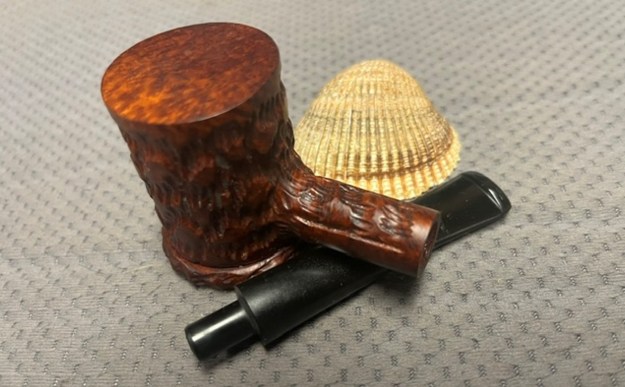
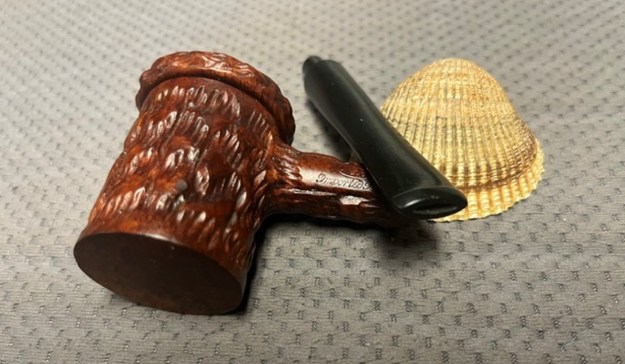
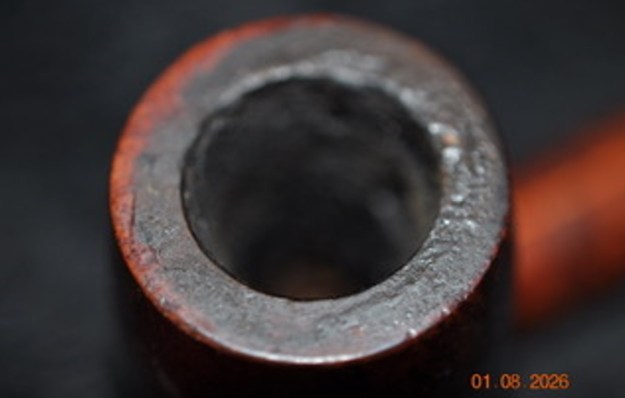
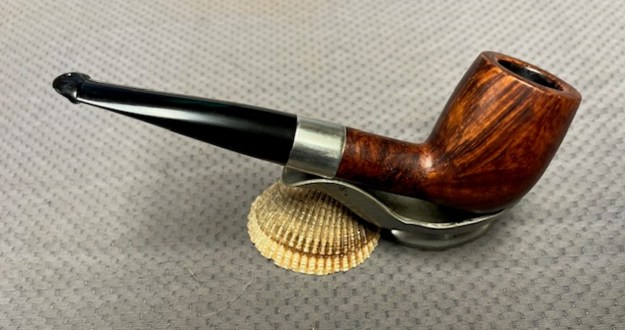
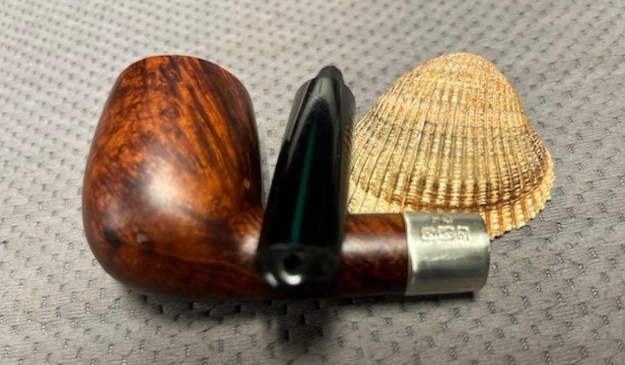
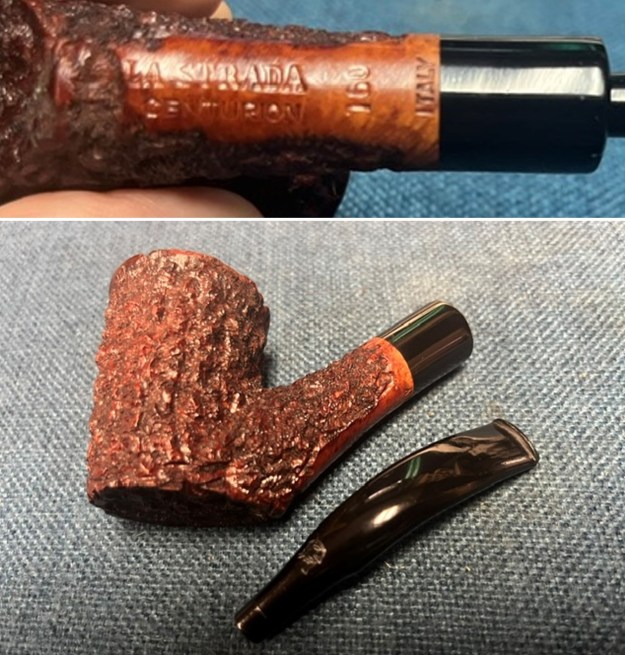
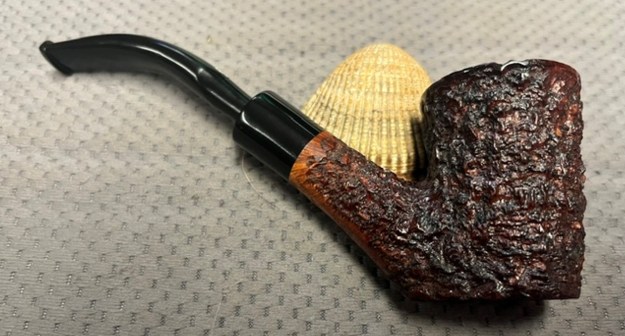
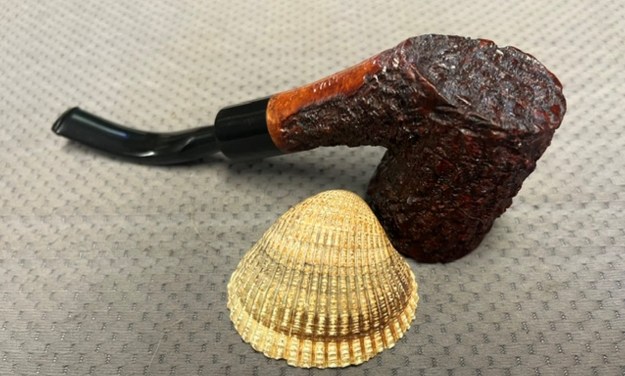
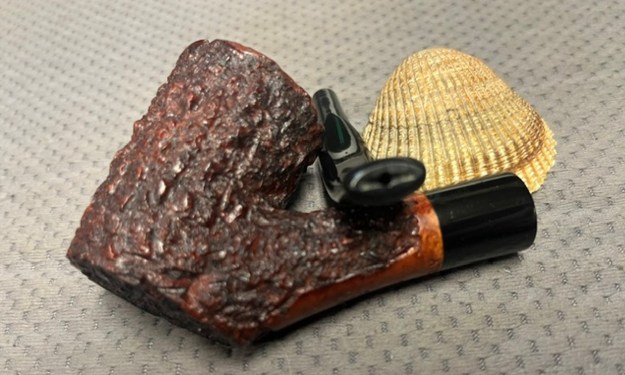
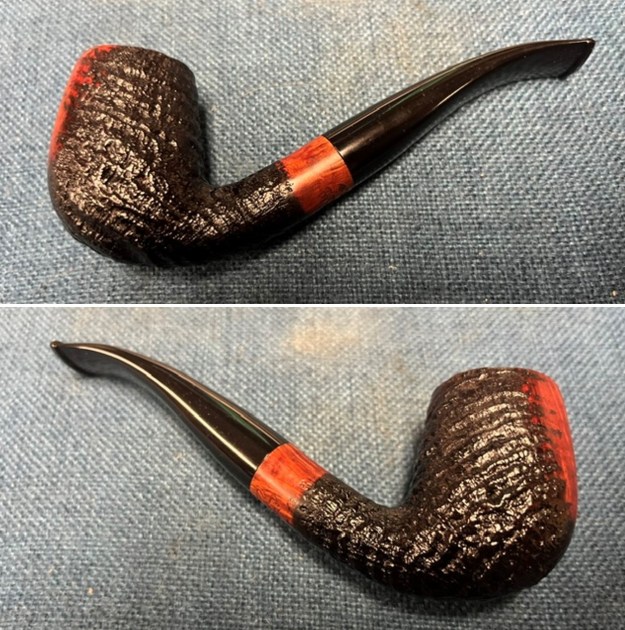
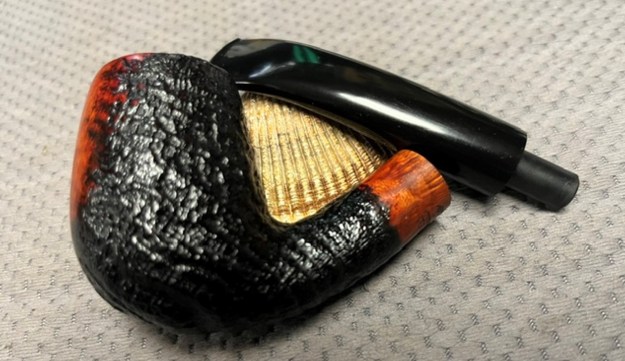
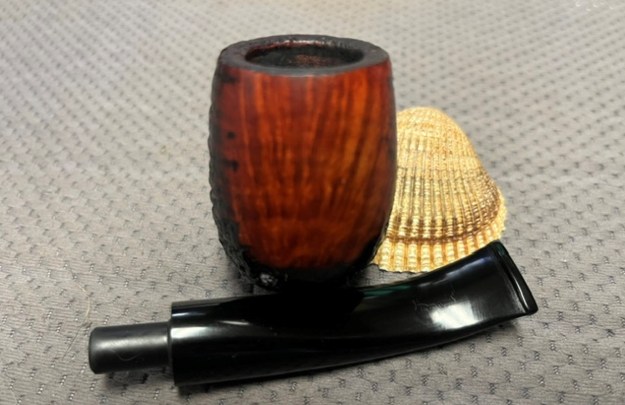
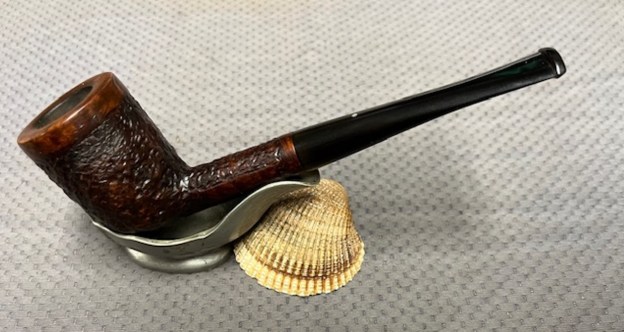
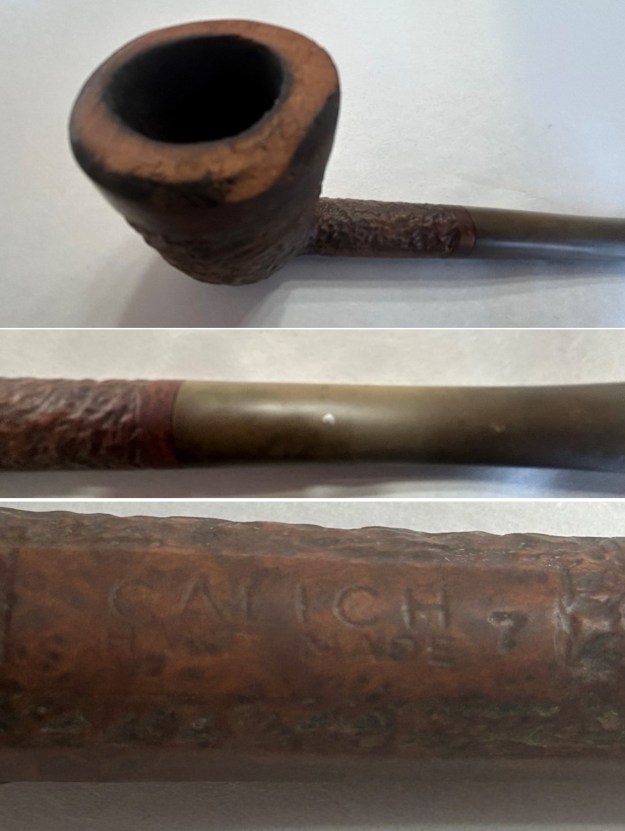
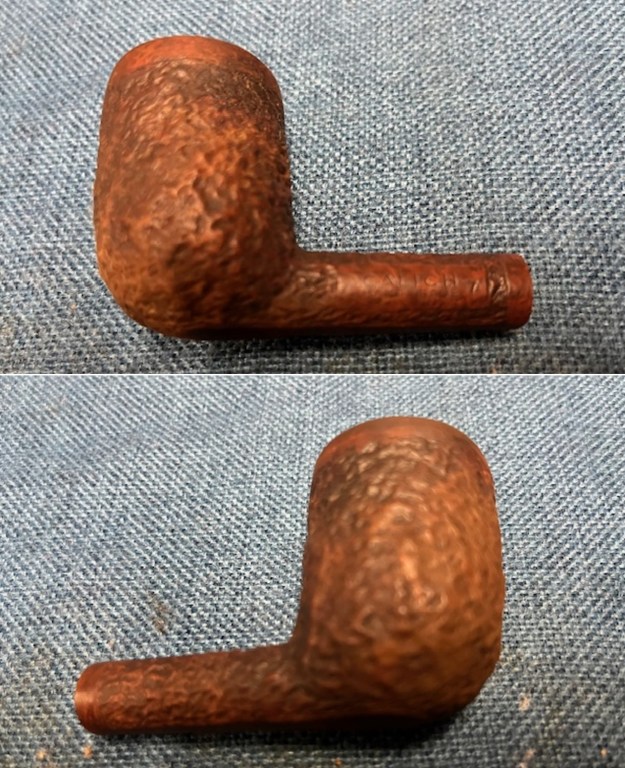
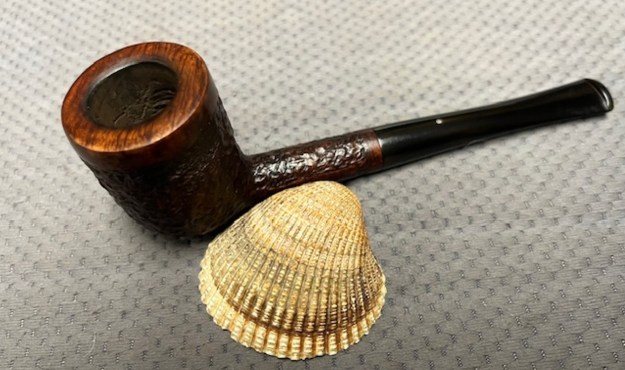
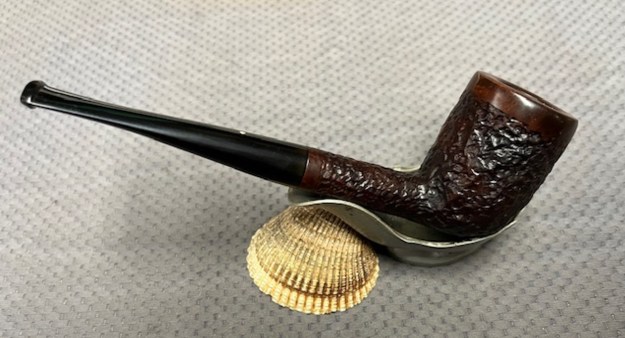
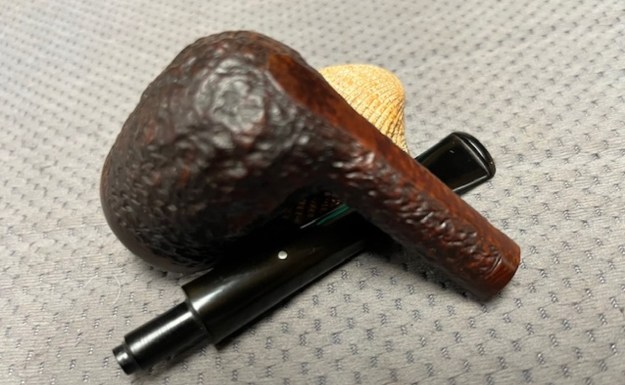
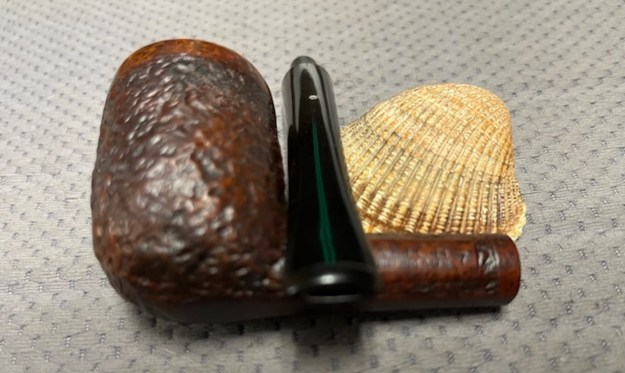
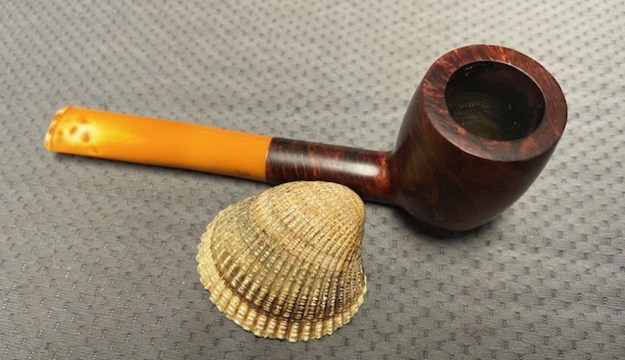
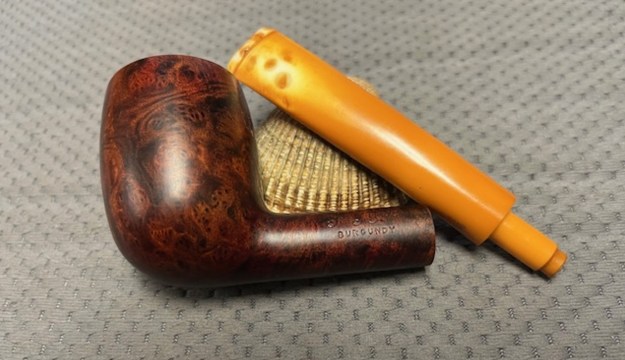
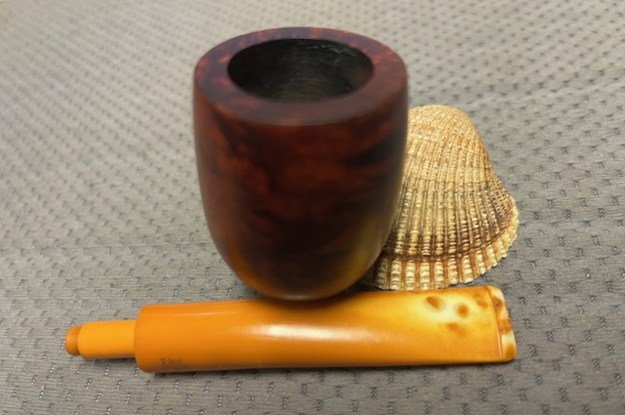
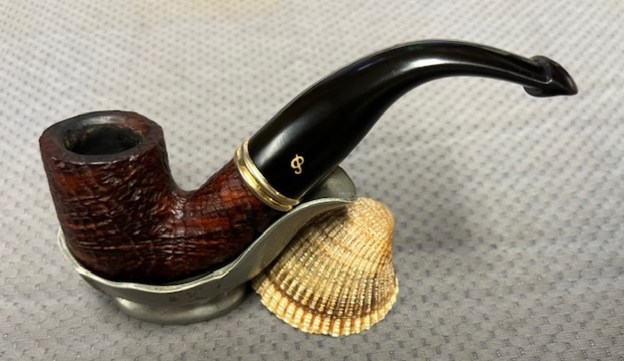
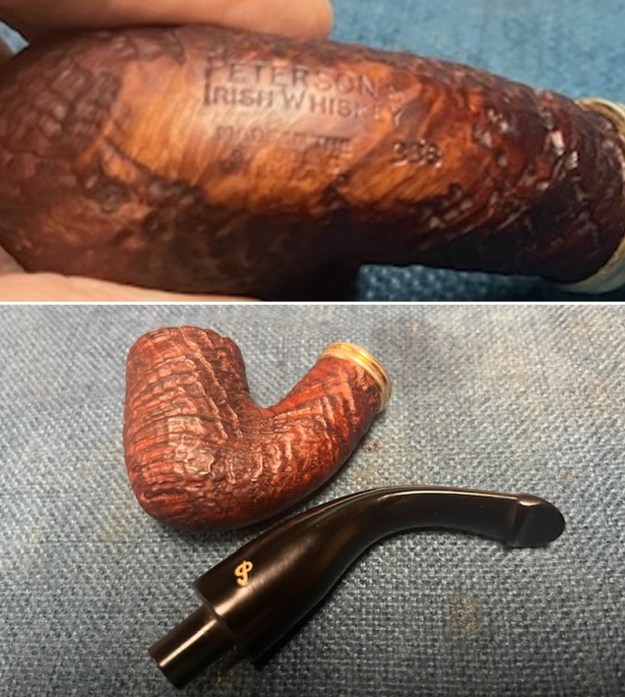
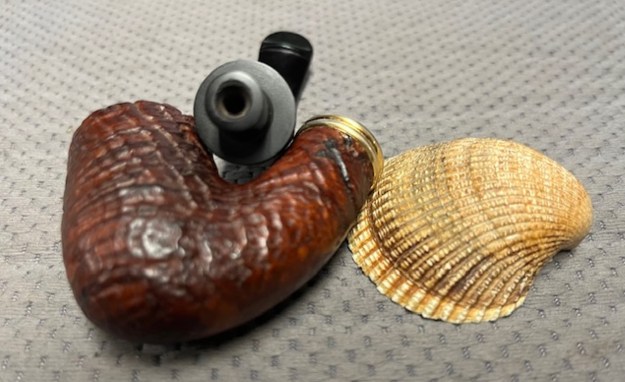
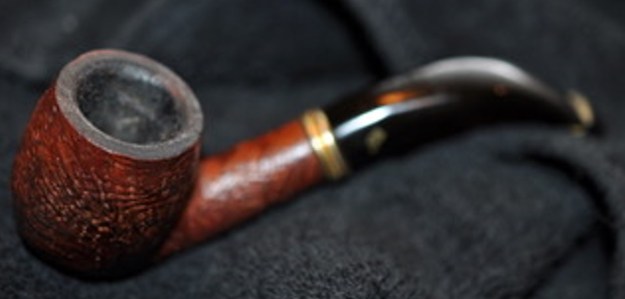
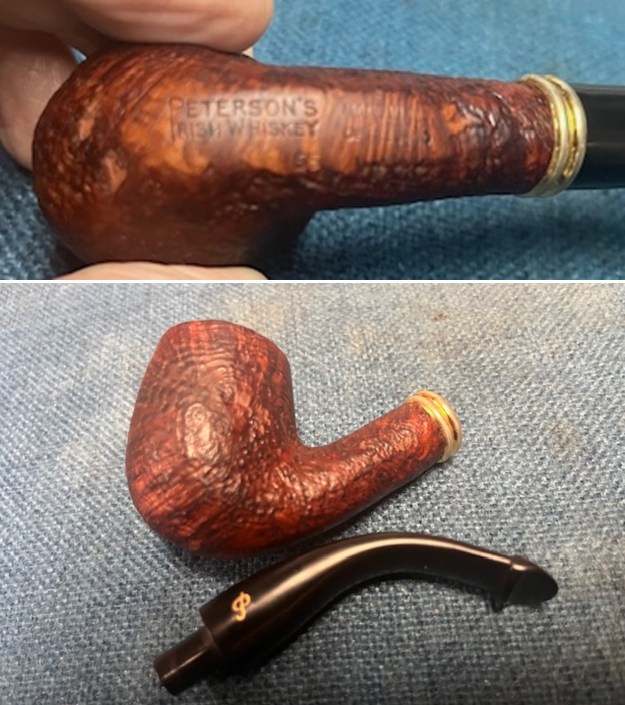
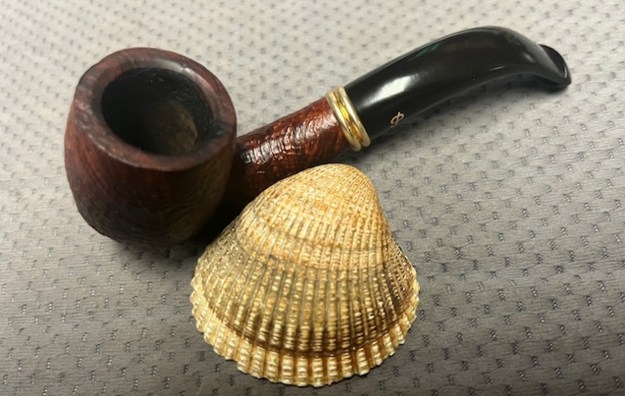
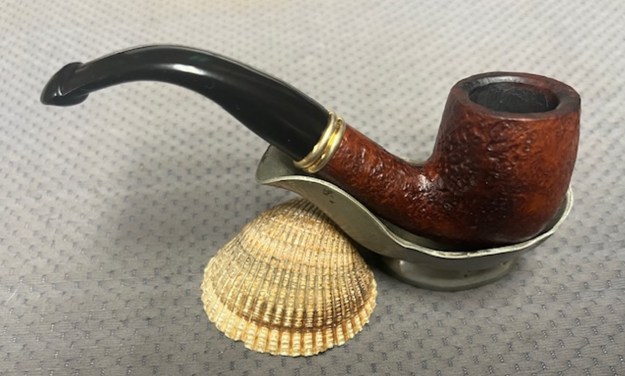
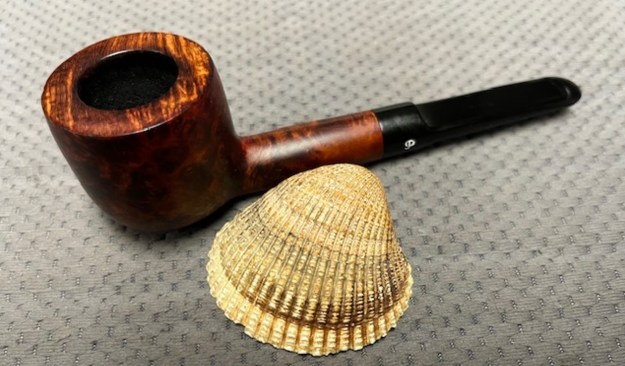
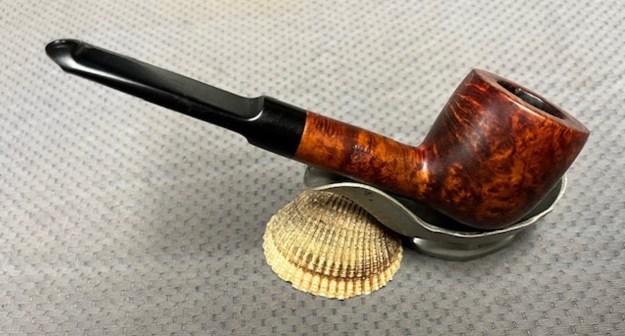
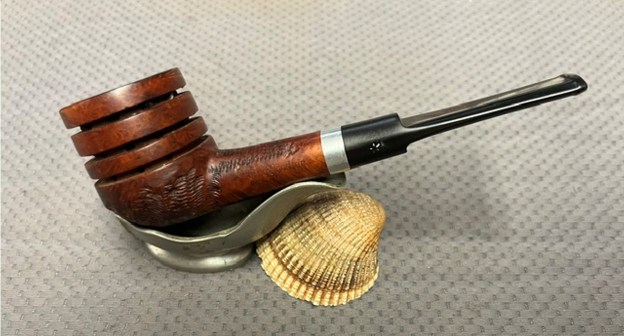
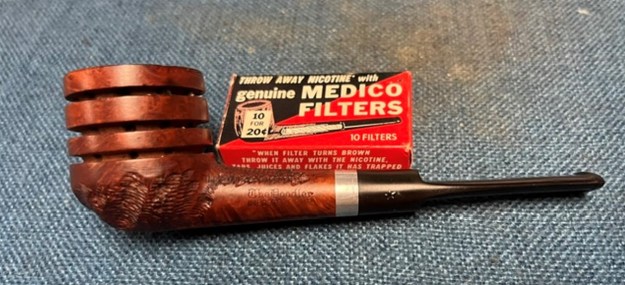
This darker beautifully grained saddle stem pot was purchased on 08/10/2025 from a seller in Livingston, New Jersey, USA. It is a great looking Pot with a rusticated finish on the bowl and shank. The stem is a vulcanite saddle stem made for a Medico style filter. There is also a nickel band on the shank for decorative purposes. The bowl is stained with a contrast of various browns that highlight the grain around the bowl and shank. It is stamped on the left side of the shank and reads The Doodler [over] Imported Briar. The bowl had a thick cake and an overflow of lava on the inner edge and rim top the unique Doodler bowl. There was grime ground into the grooves and bands around the bowl sides which left the finish looking quite dull. The vulcanite saddle stem was oxidized, calcified and had tooth marks and chatter on both sides of the stem at the saddle area and ahead of the button. Jeff took photos of the pipe before he started his work on it. 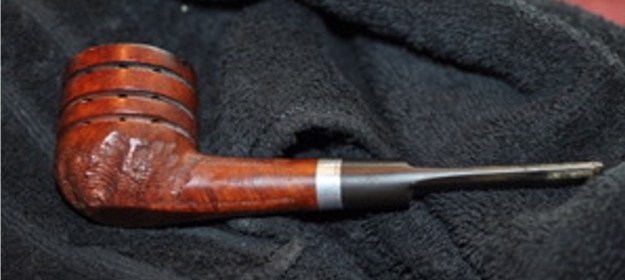
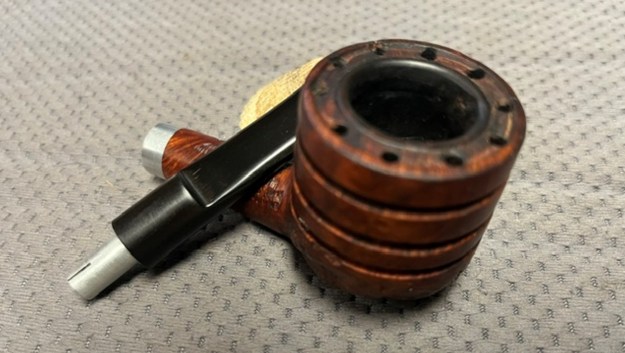
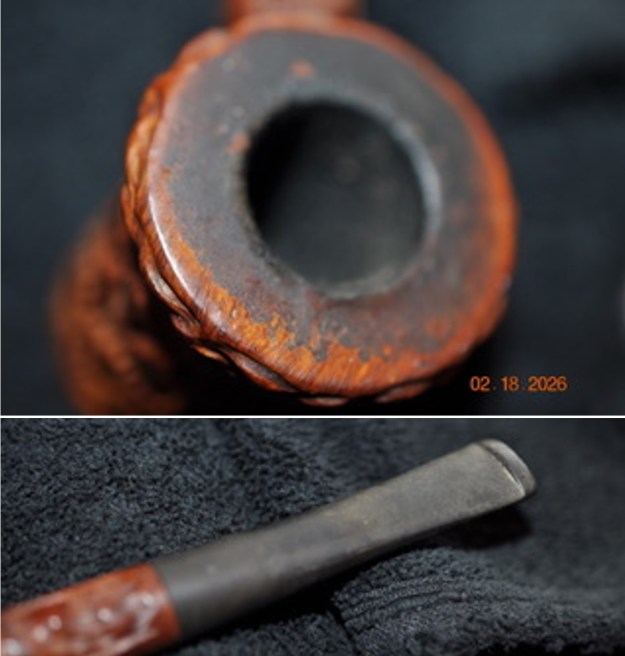
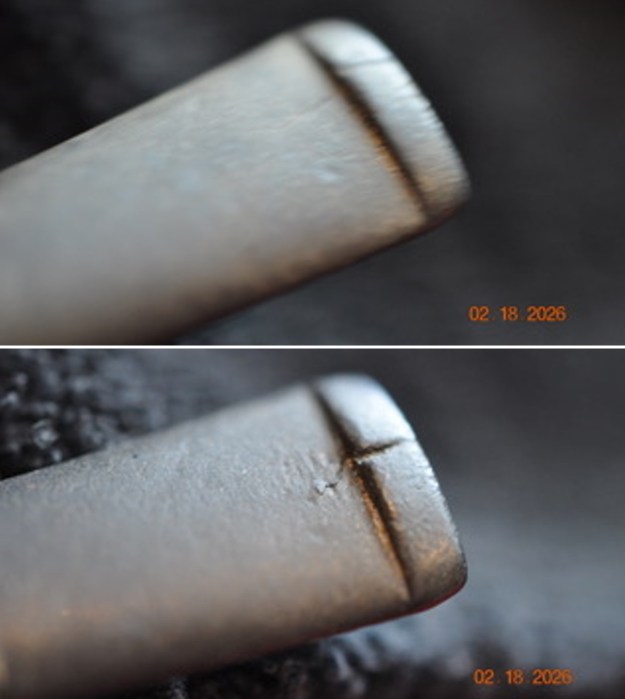
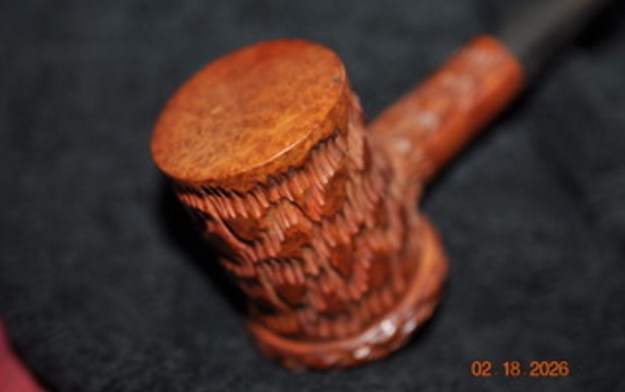
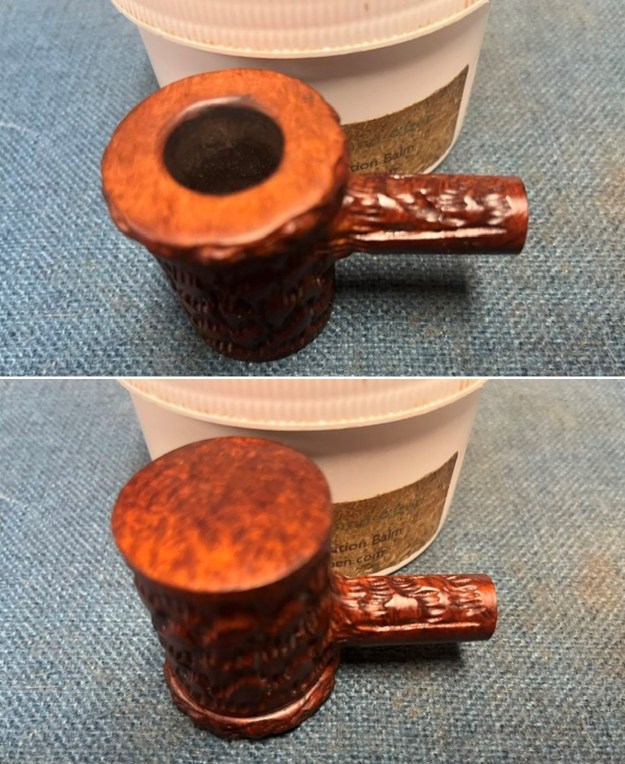
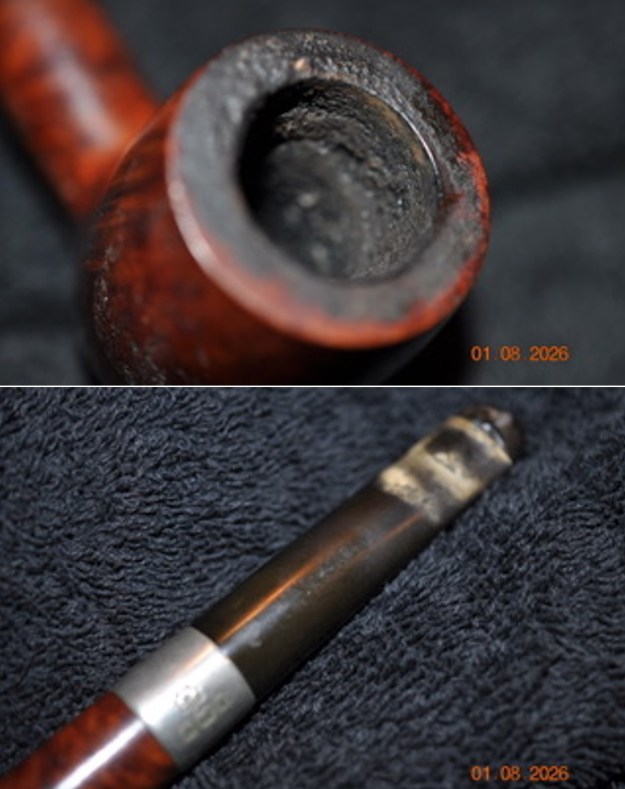
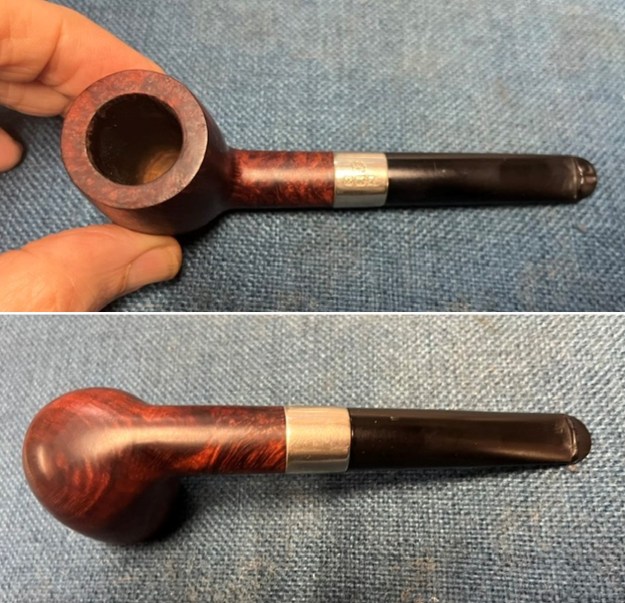
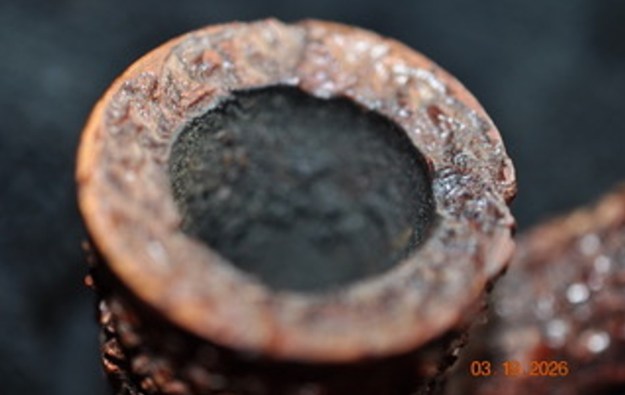
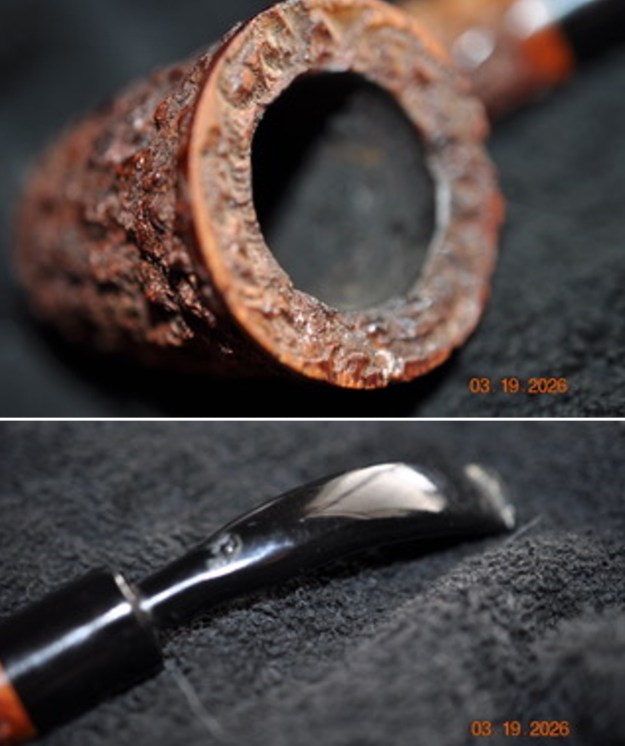
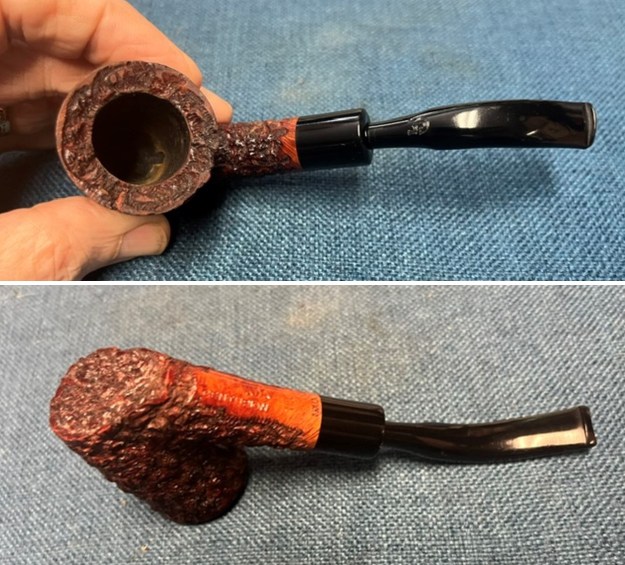
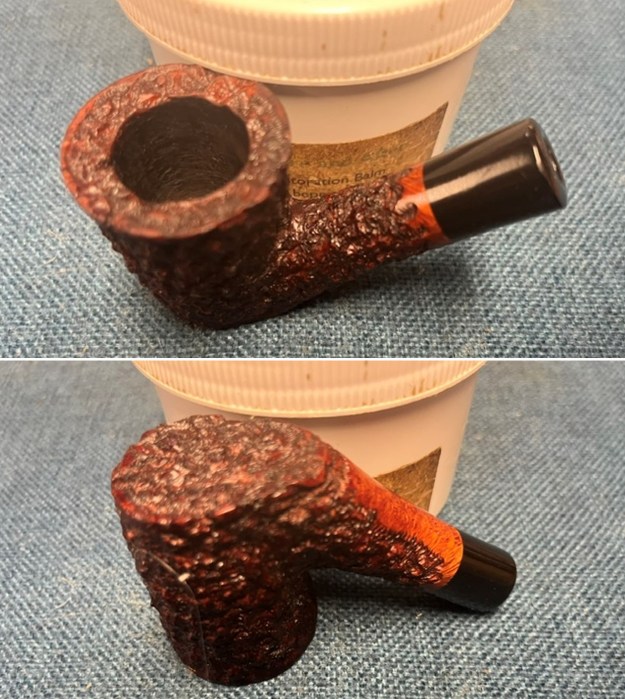
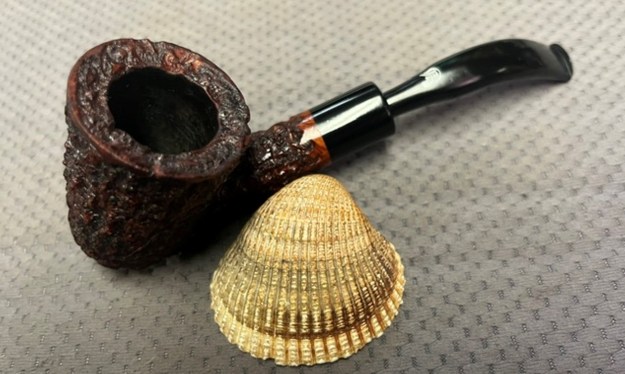
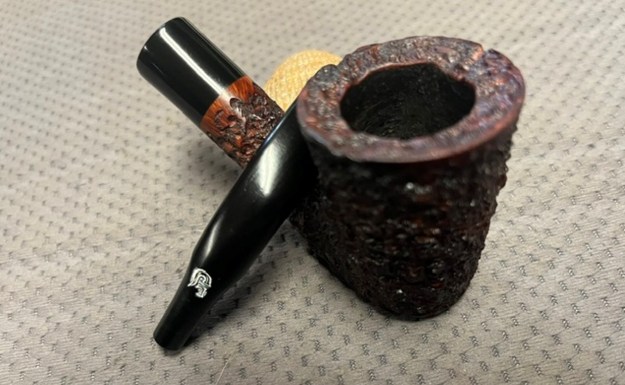
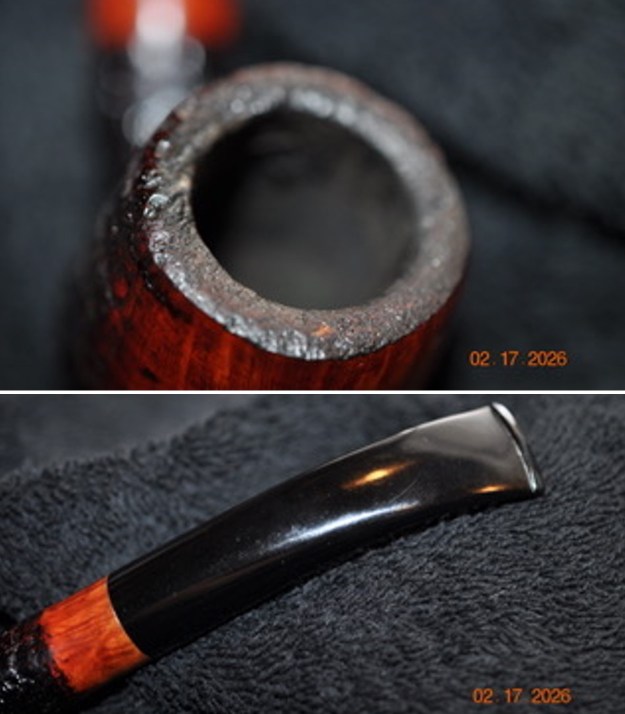
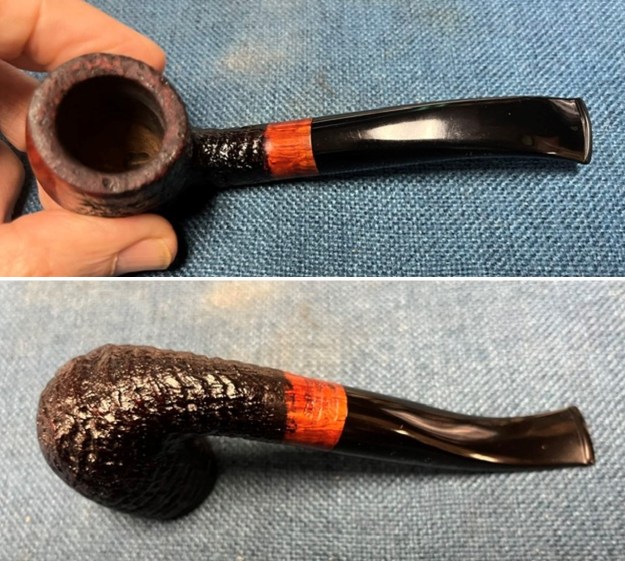
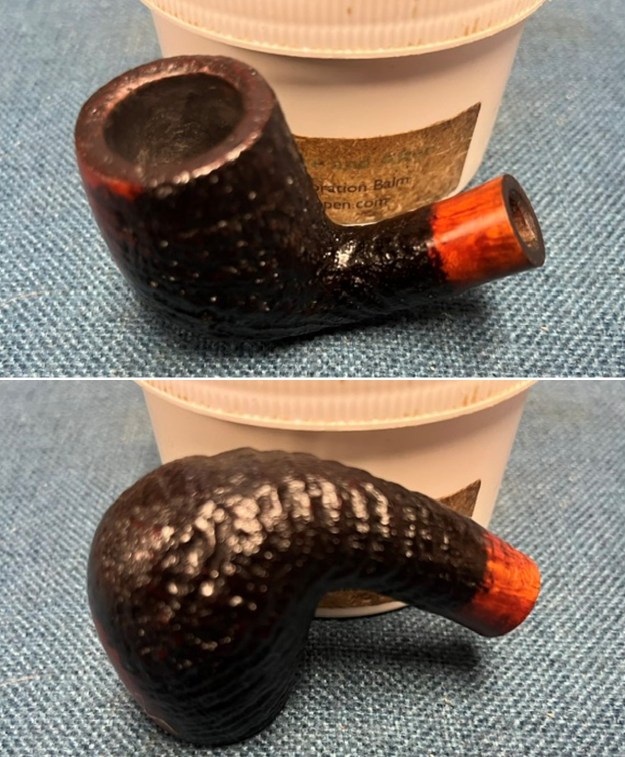
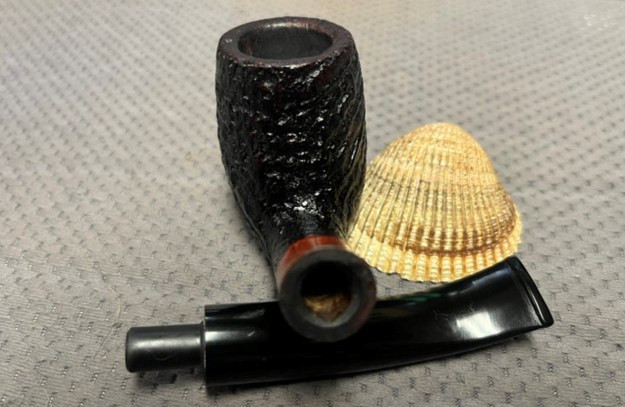
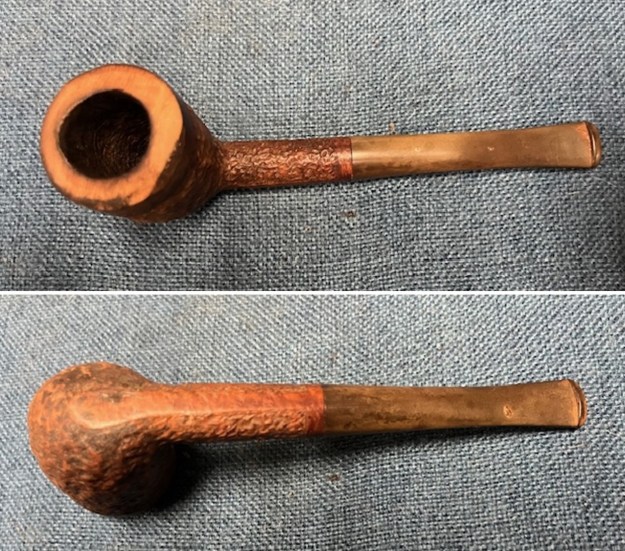
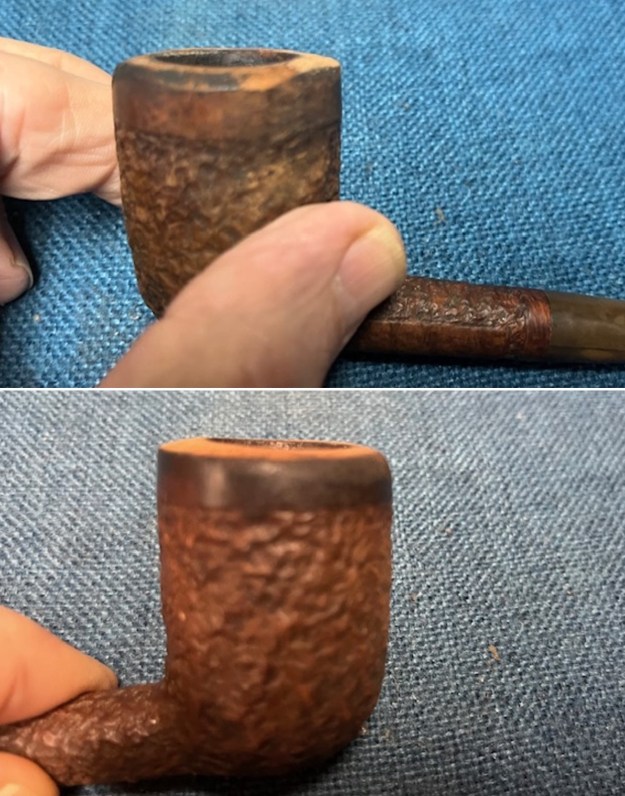
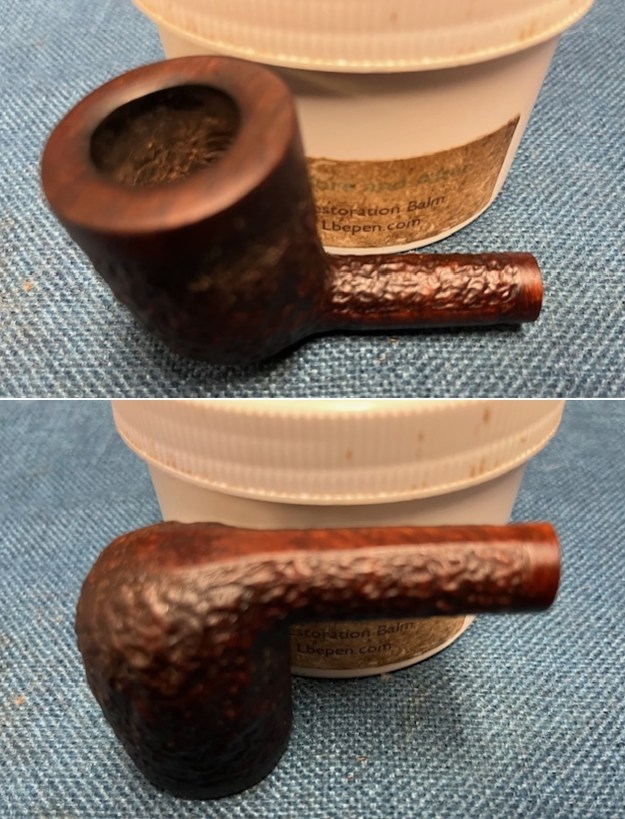
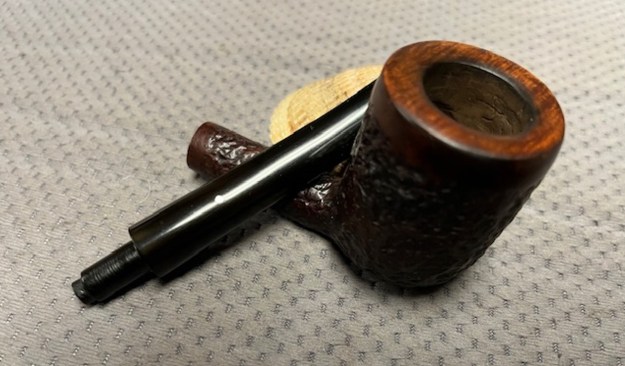
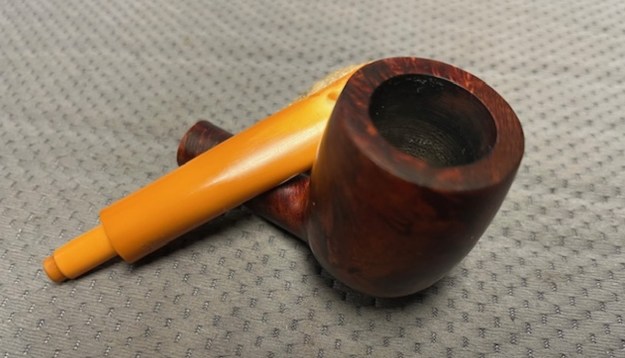
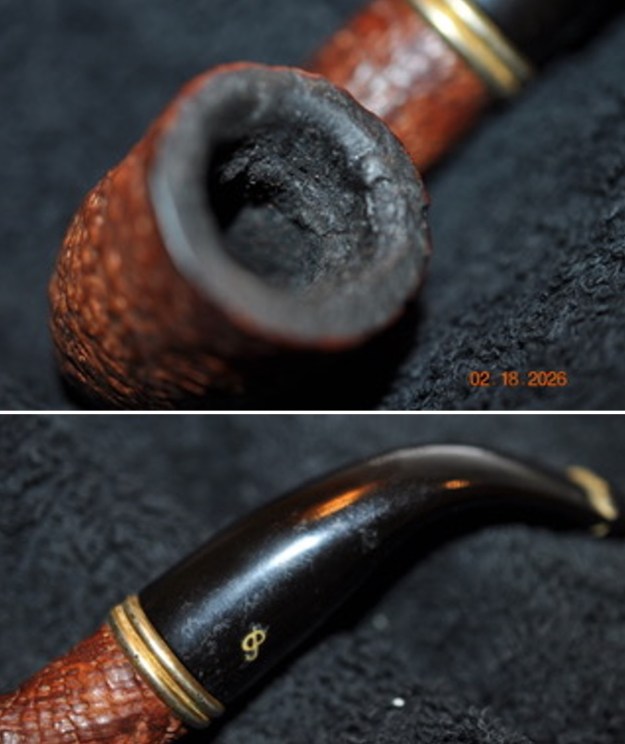
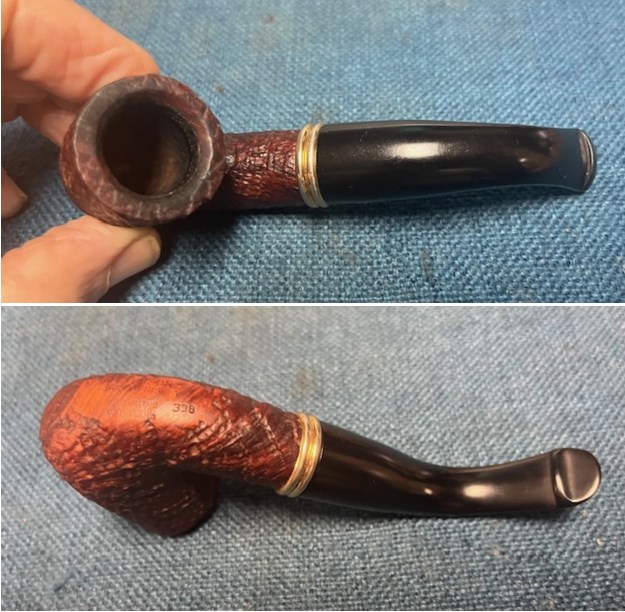
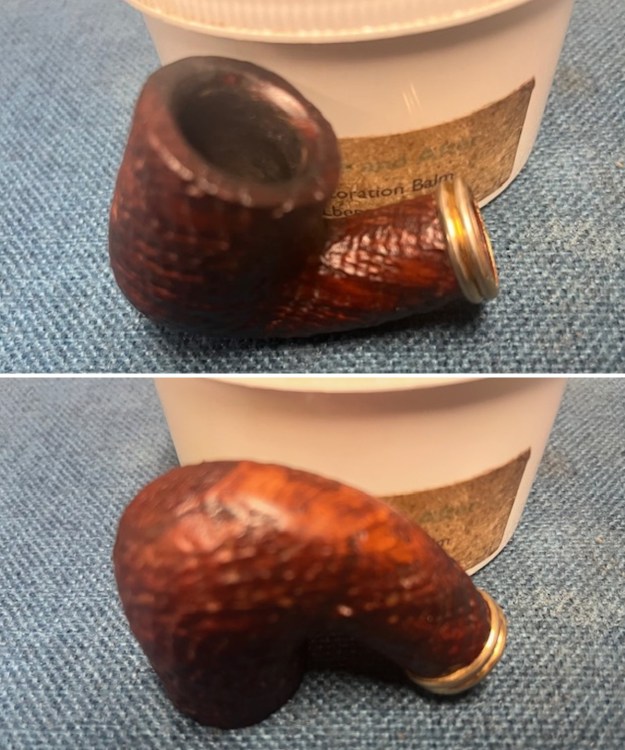
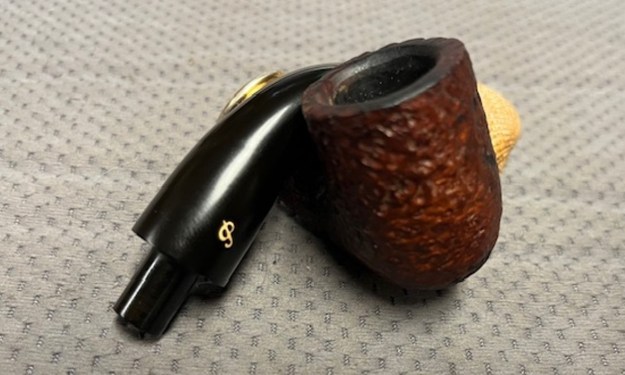
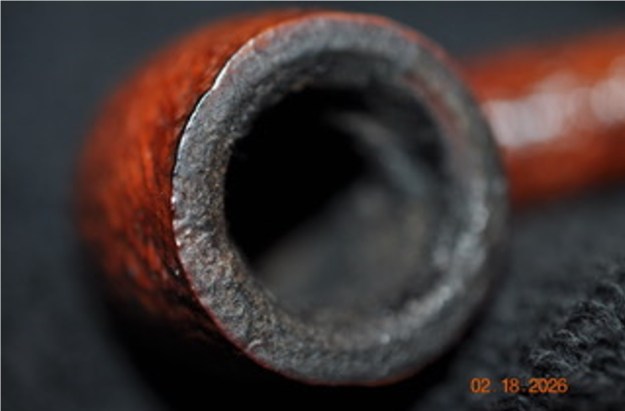
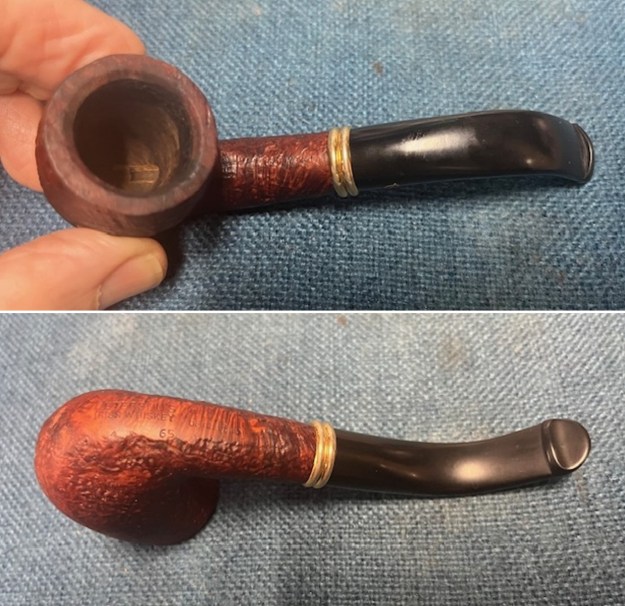
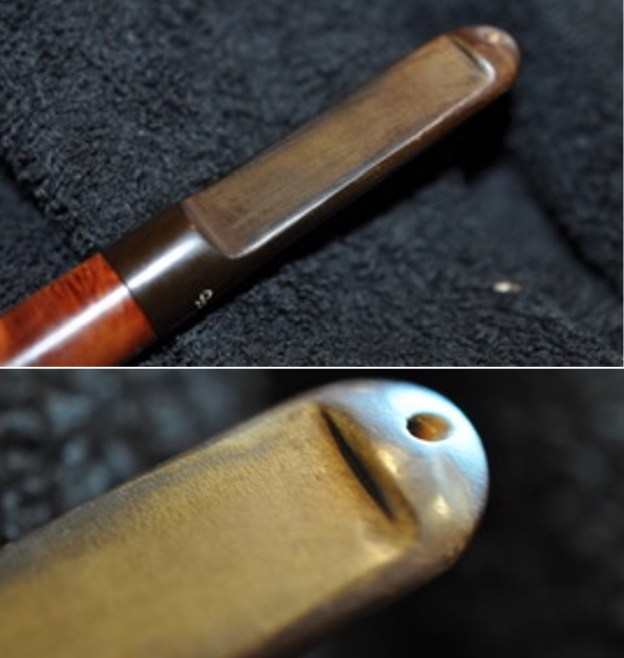
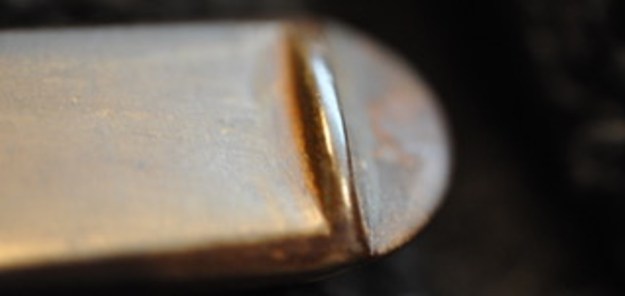
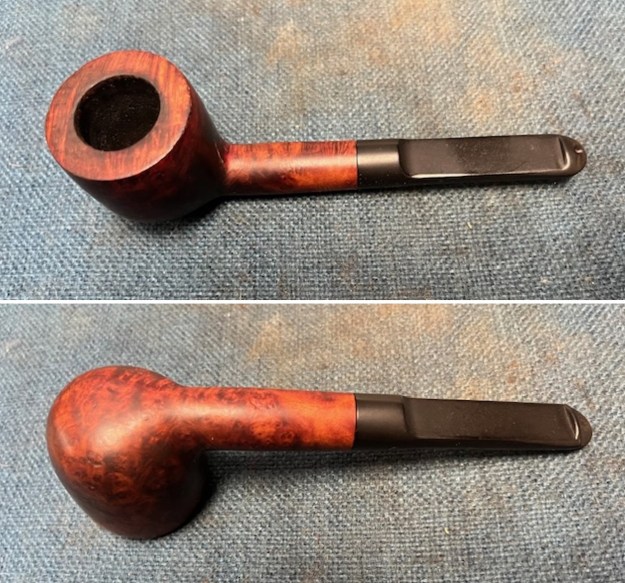
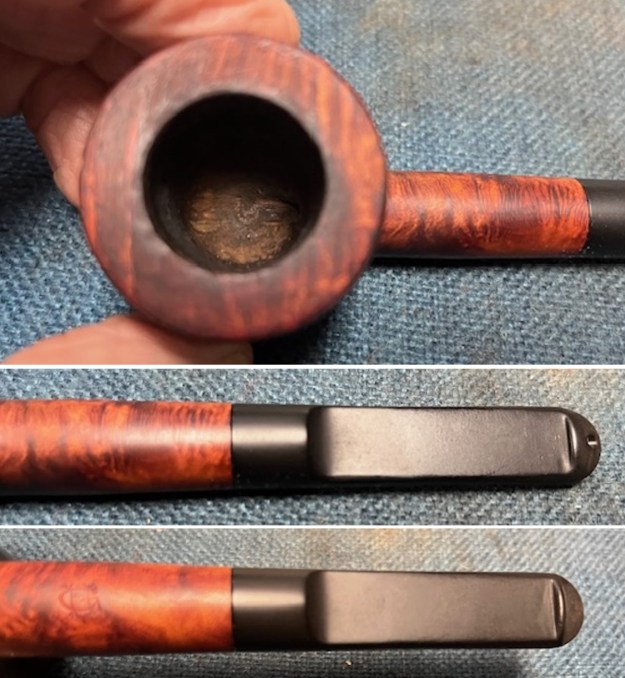
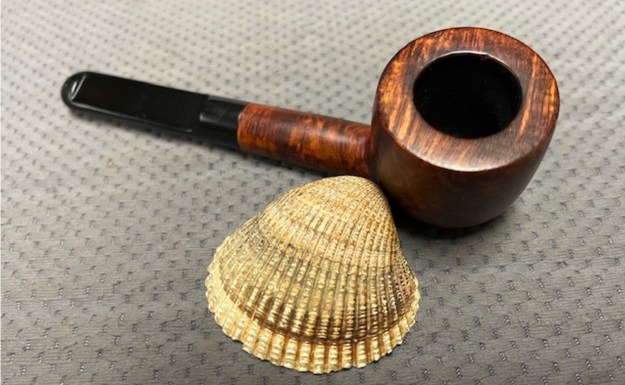
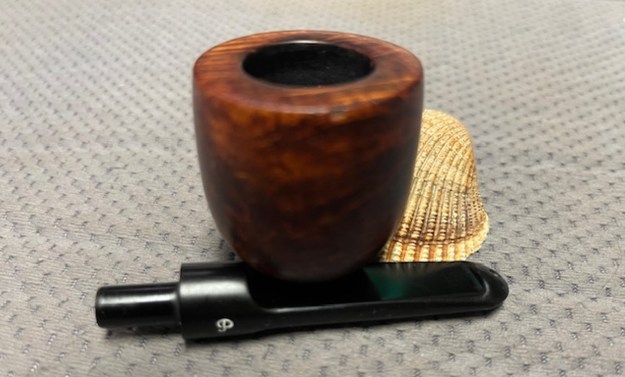
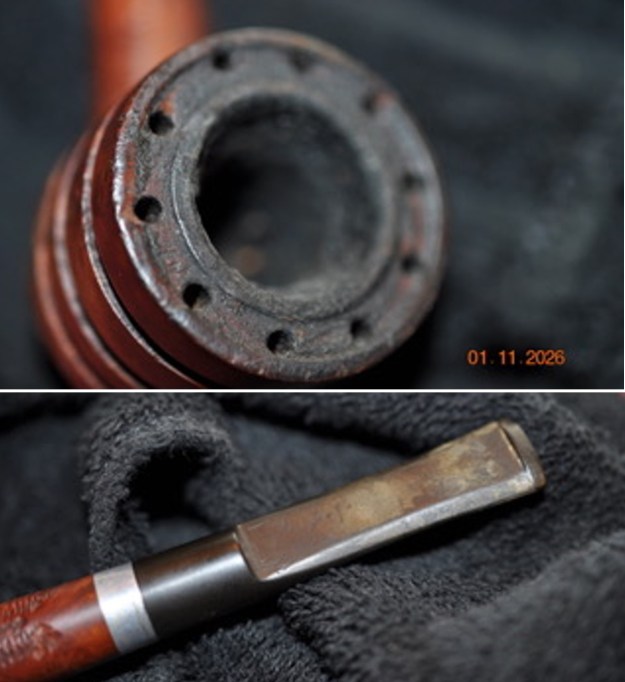
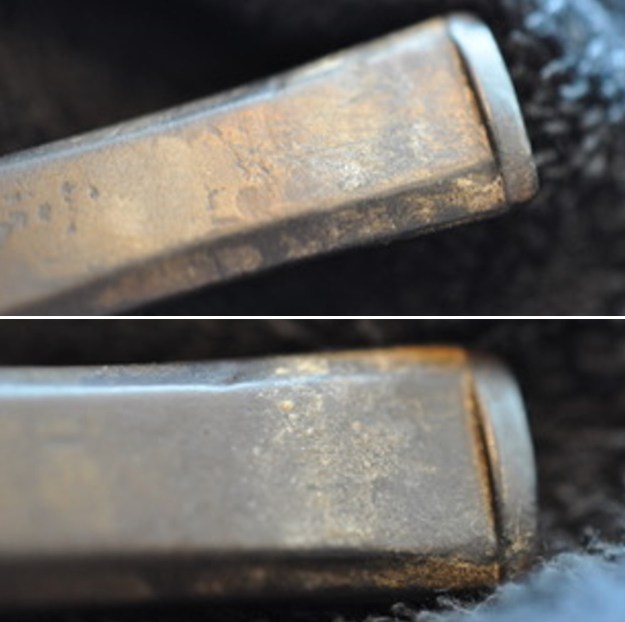
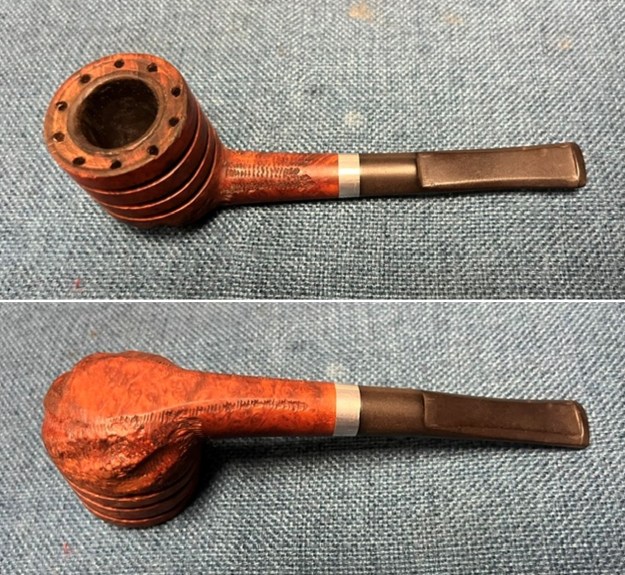
 He took photos of the rim top to show the condition of the top and edges of the bowl. It is dull but quite clean with no lava. It is uniquely a beautiful pipe. The stem had light tooth marks and chatter on both sides ahead of the button.
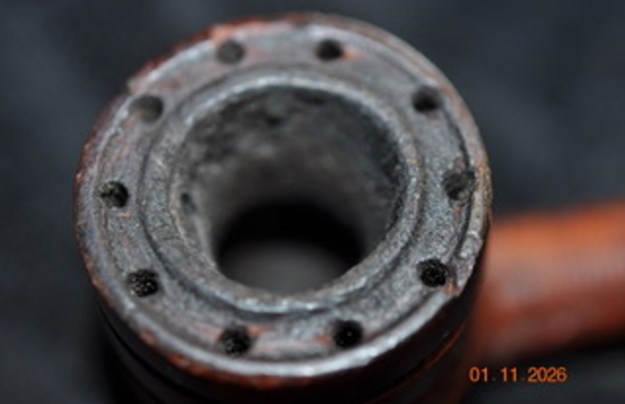
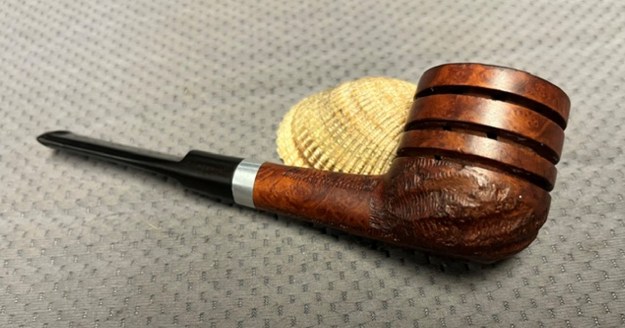
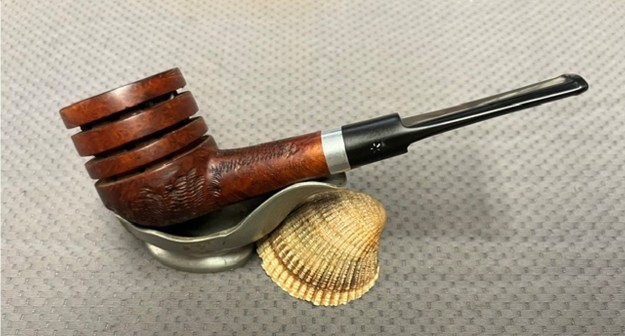
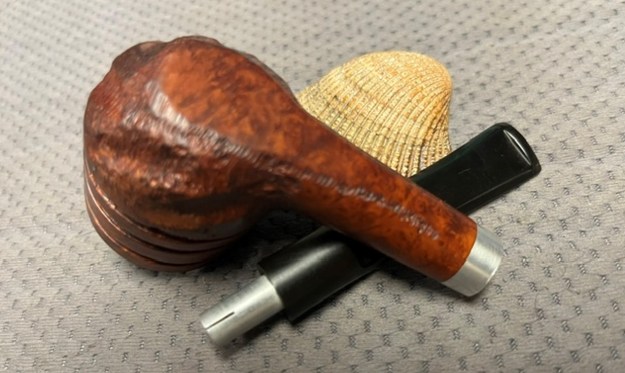
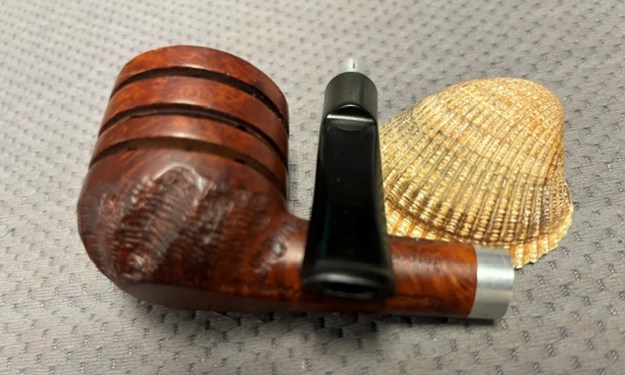
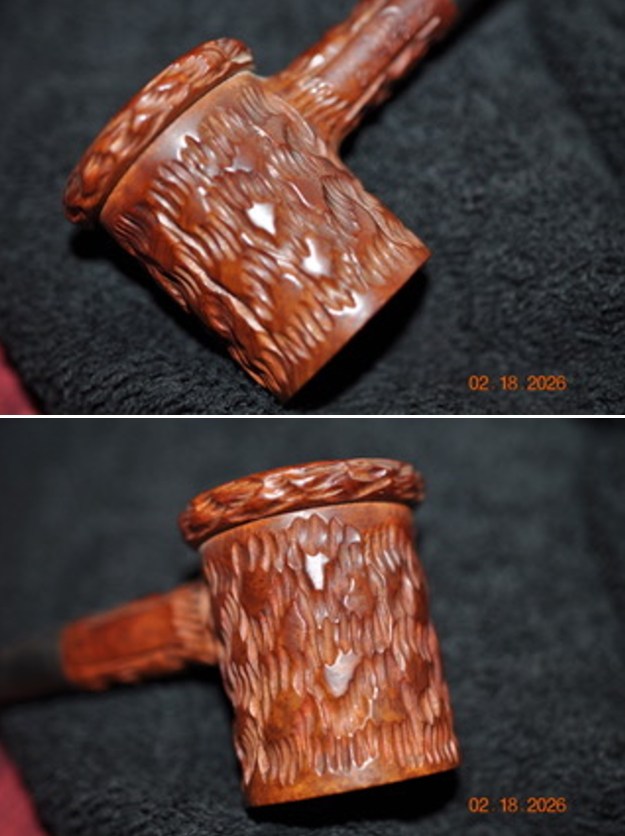
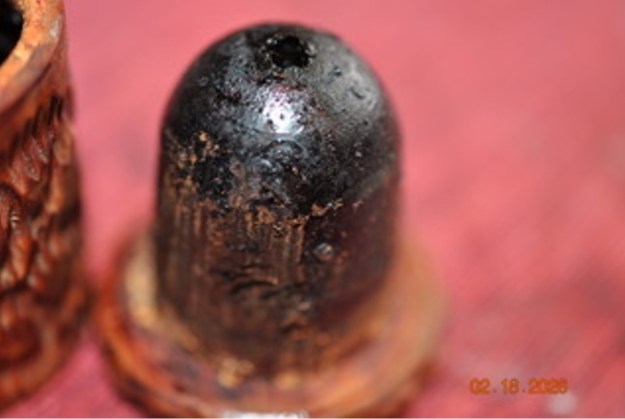
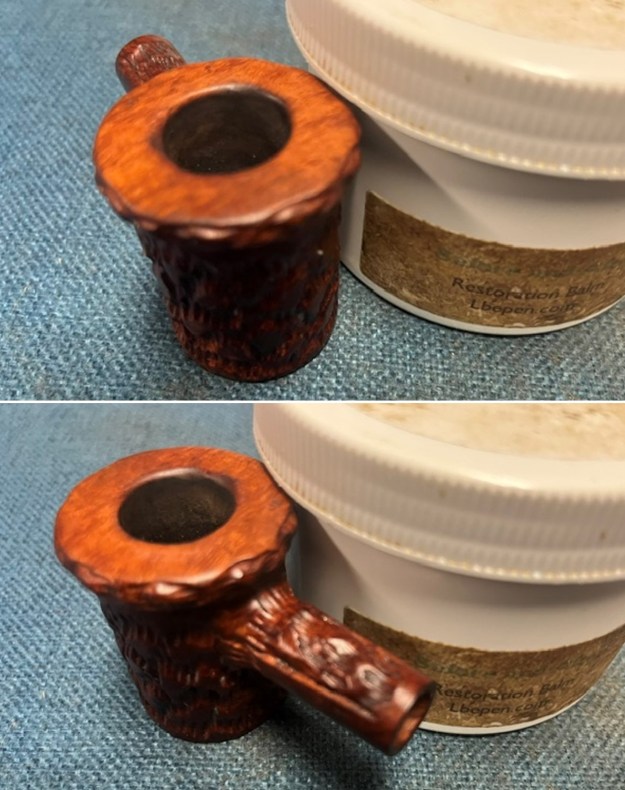
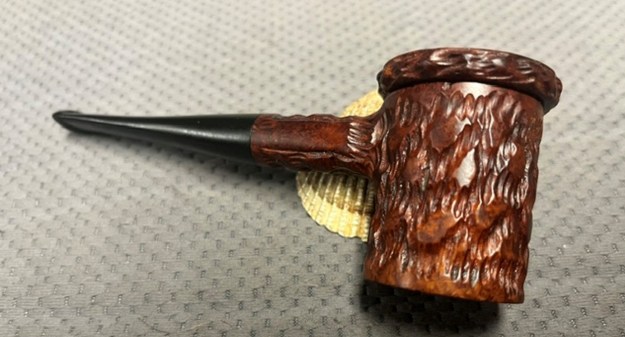
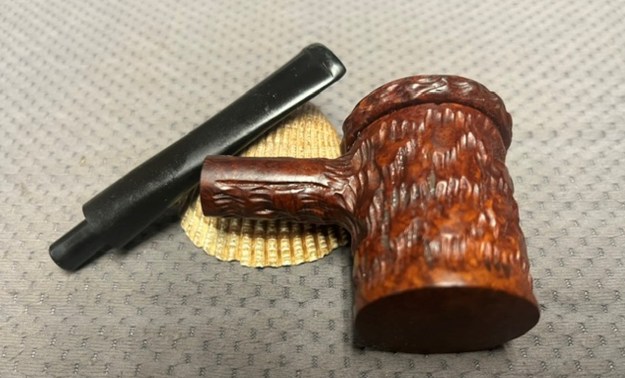
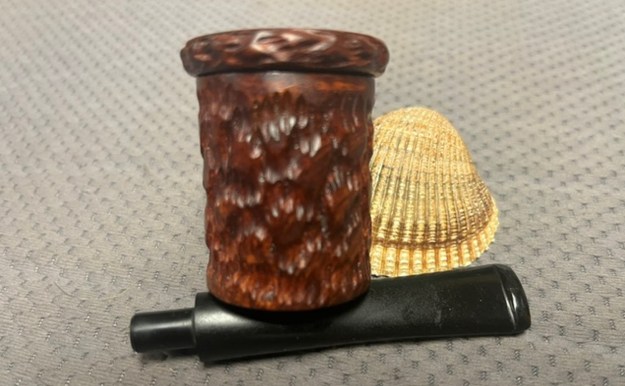
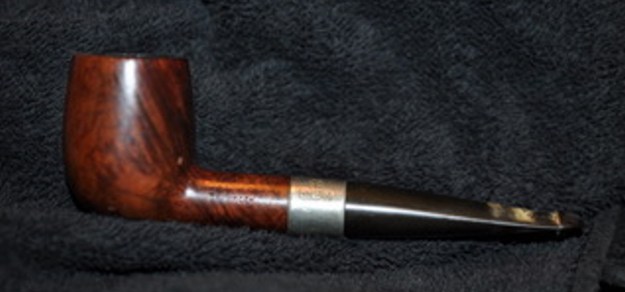
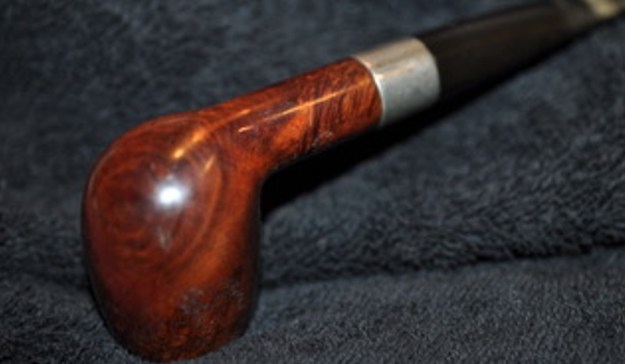
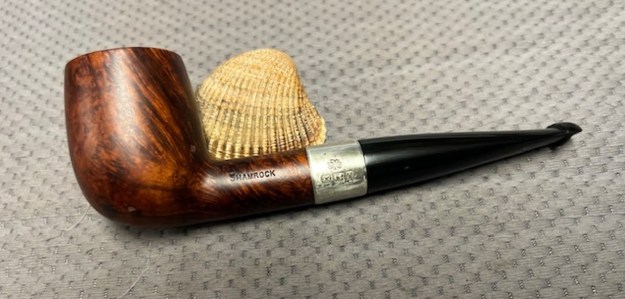
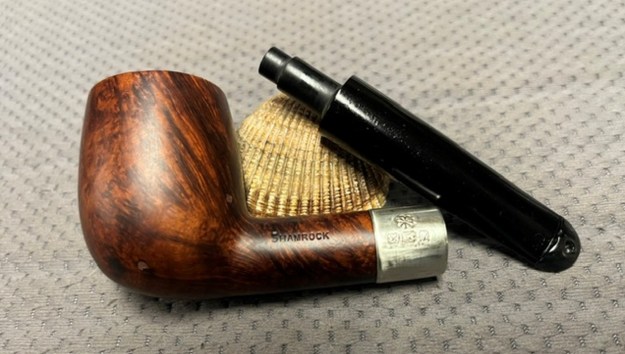
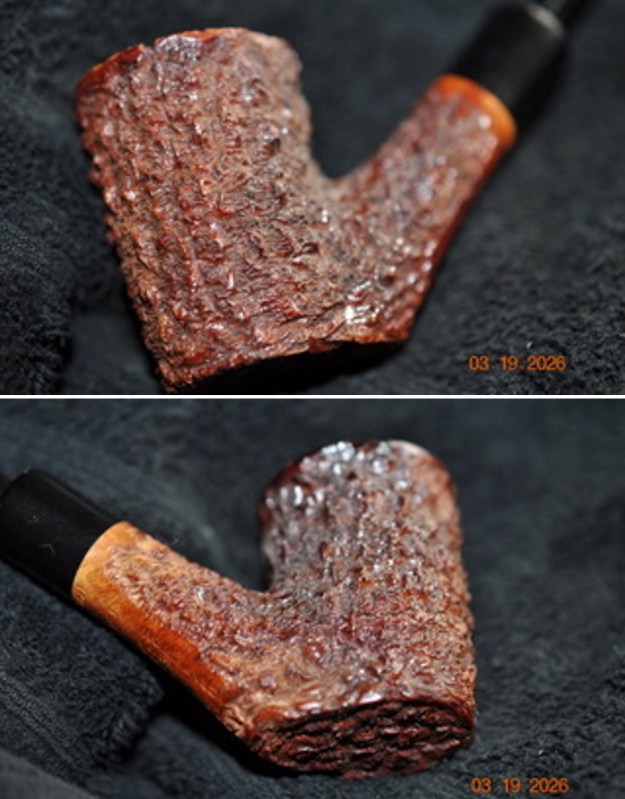
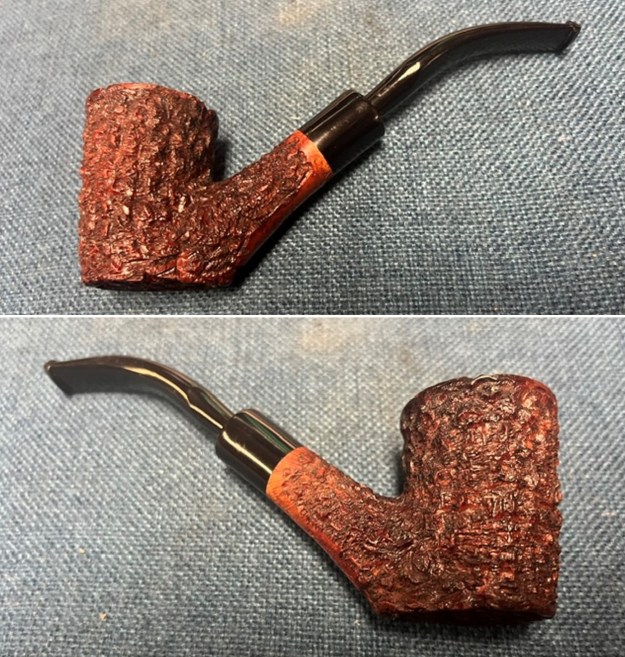
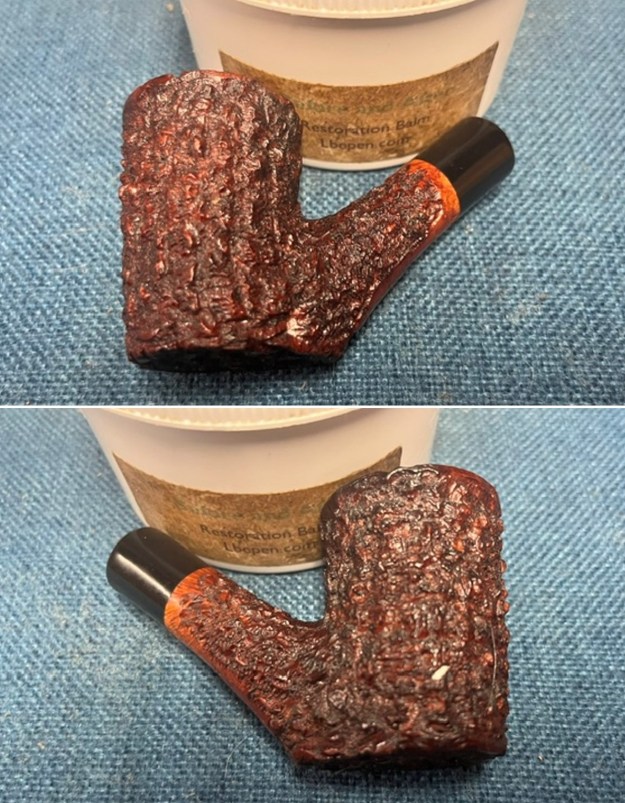
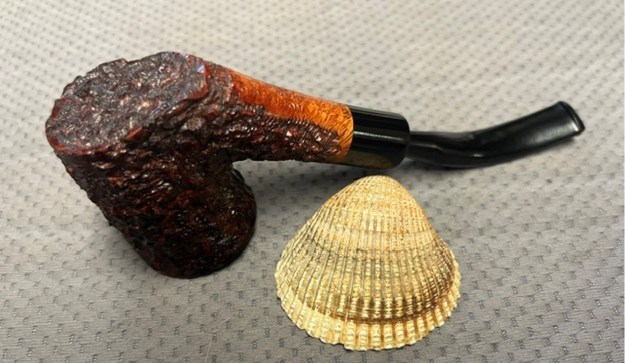
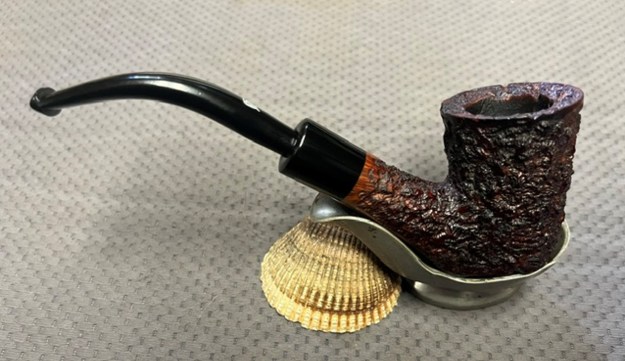
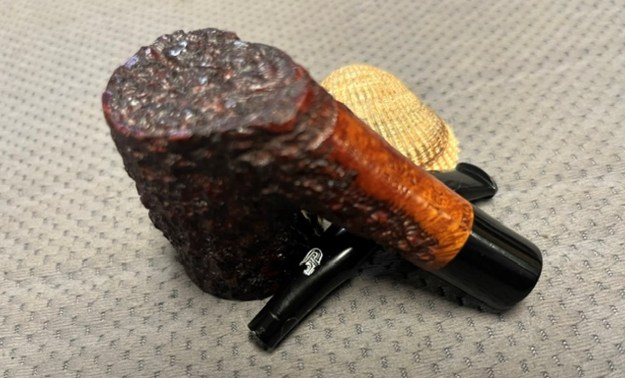
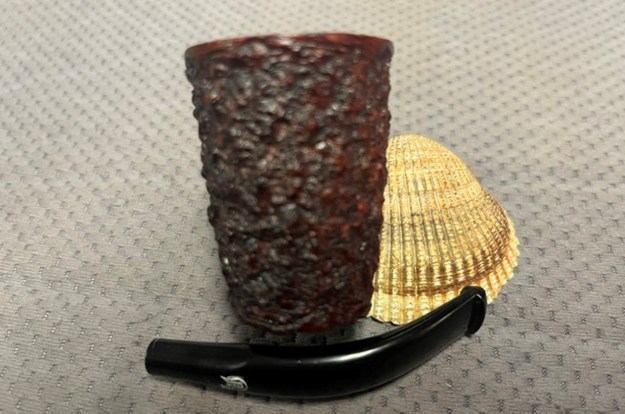
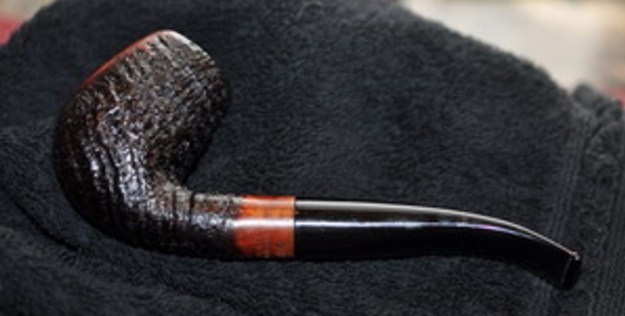
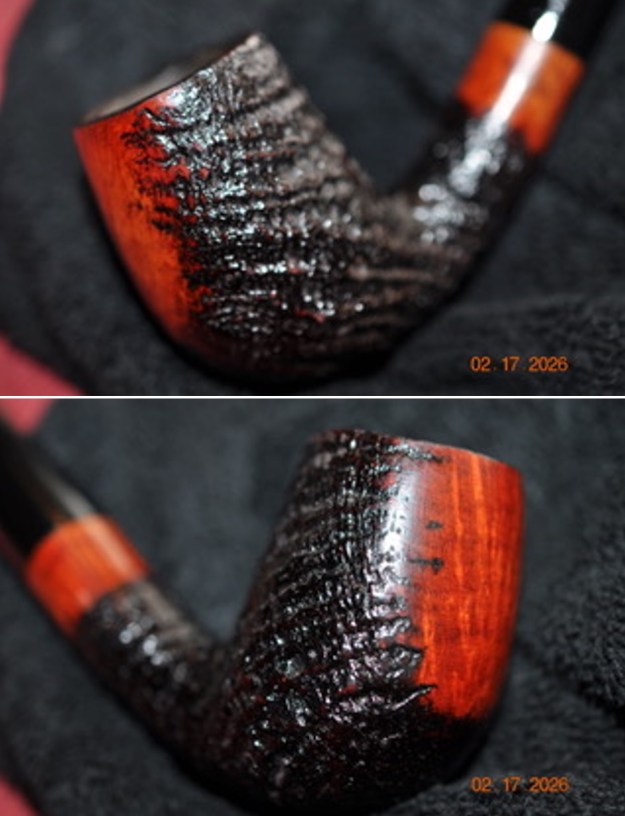
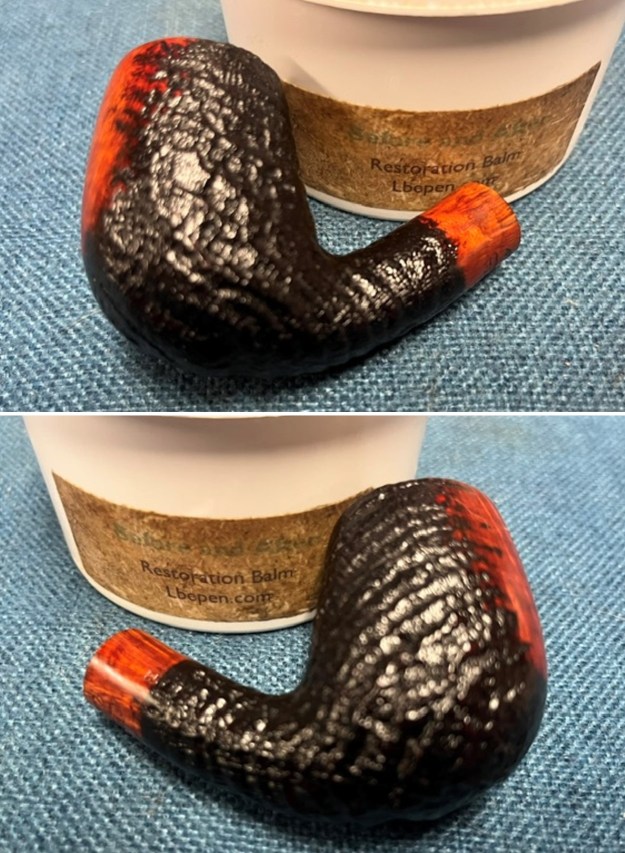
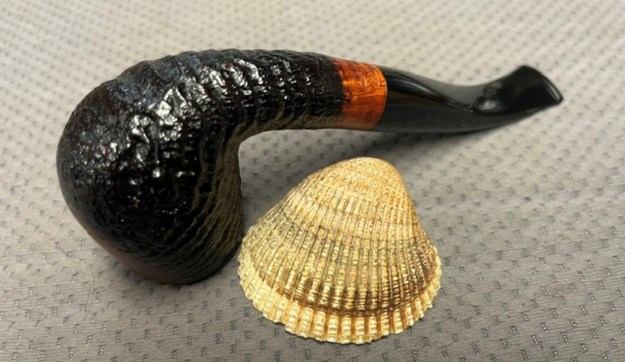
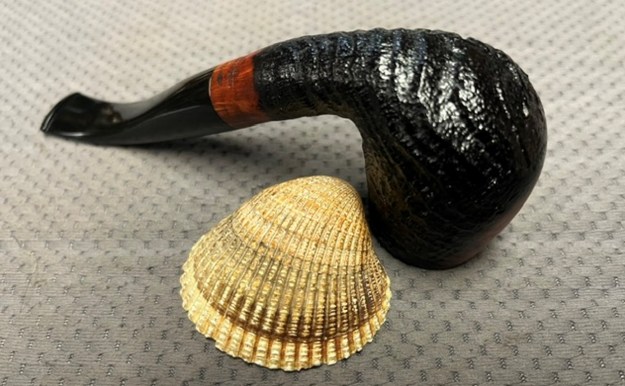
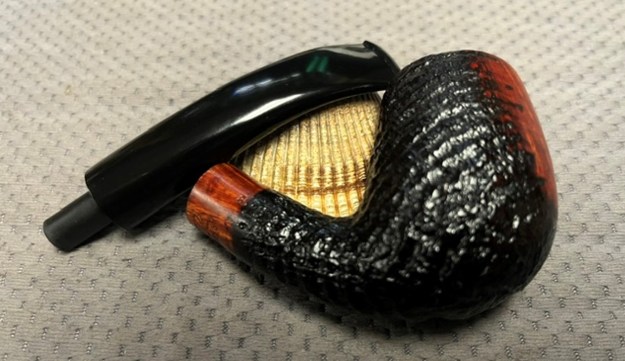
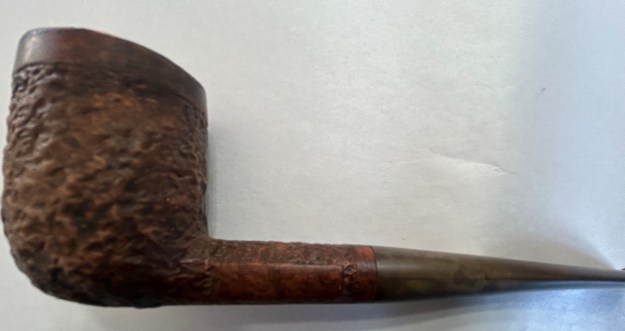
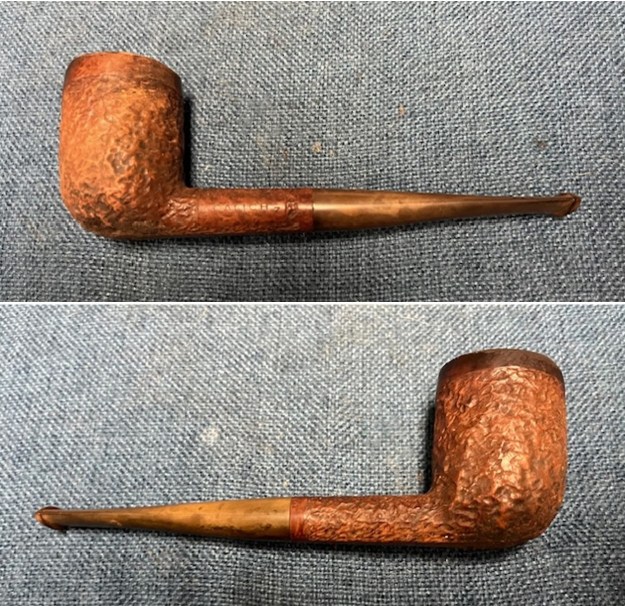
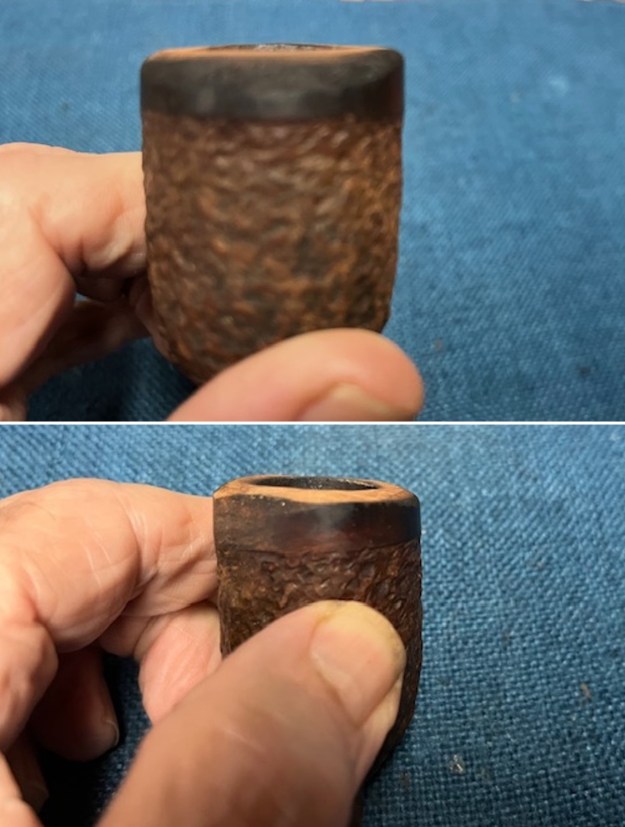
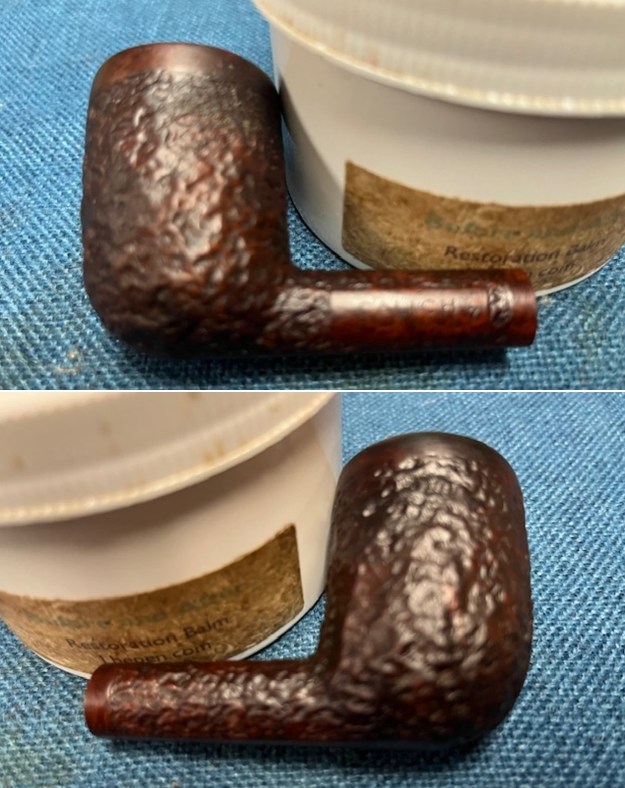
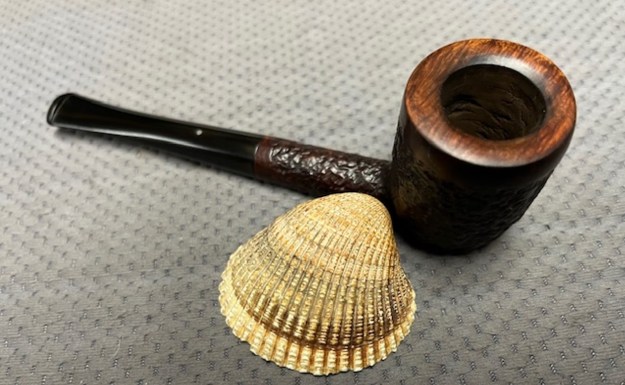
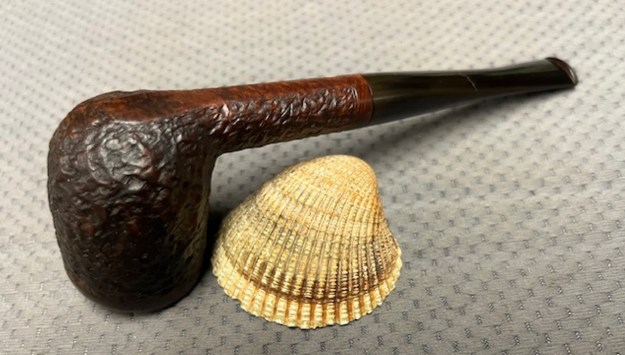
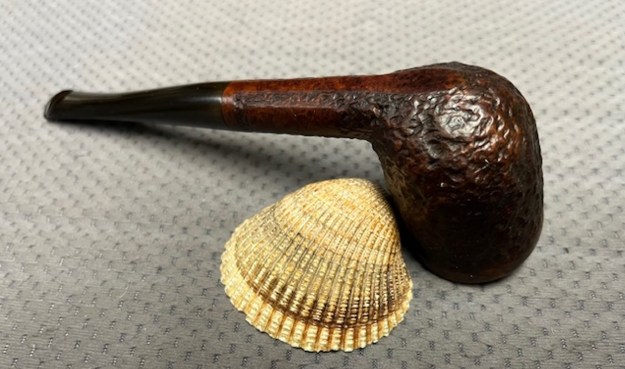
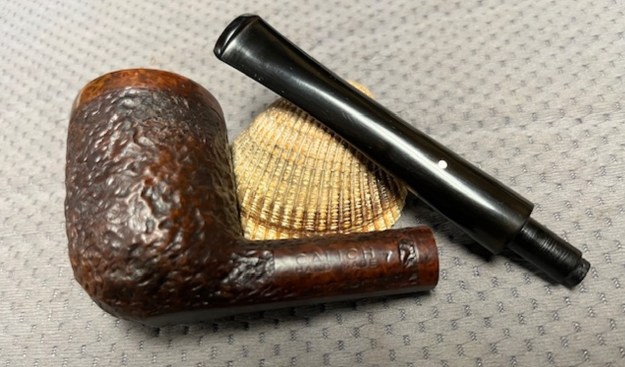
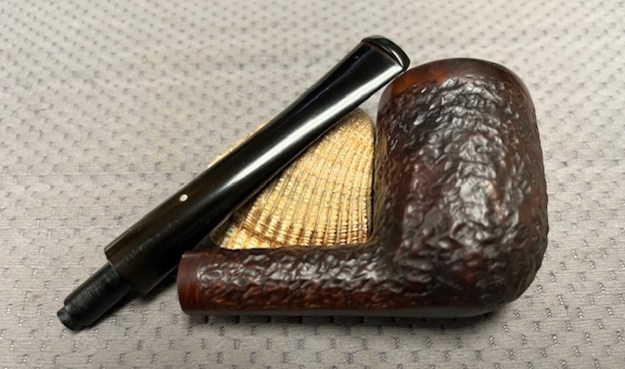
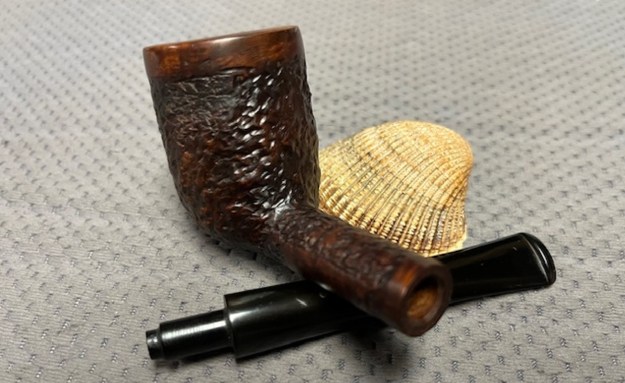
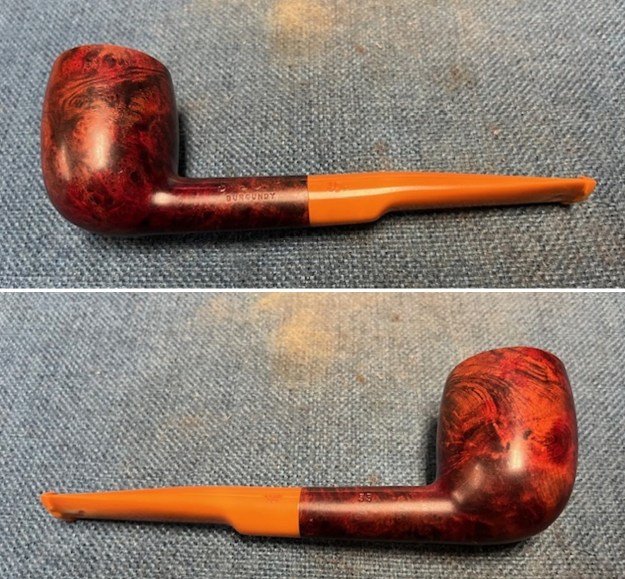
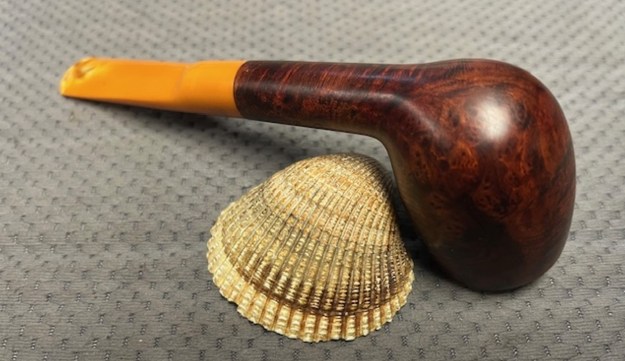
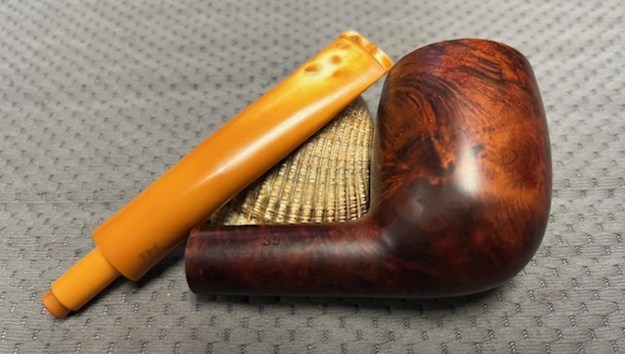
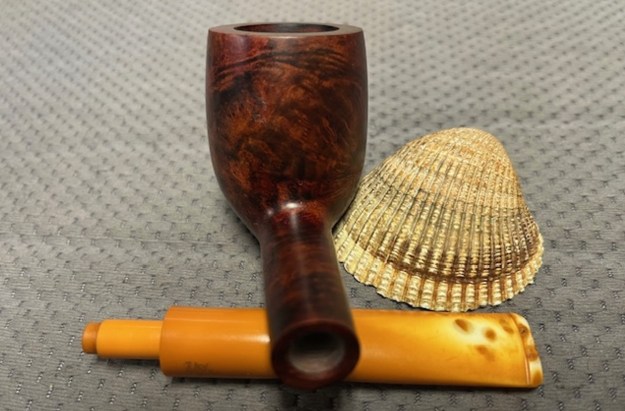
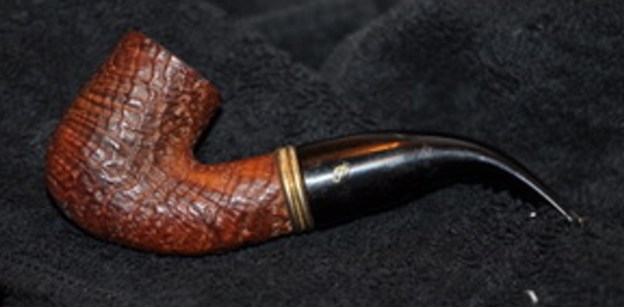
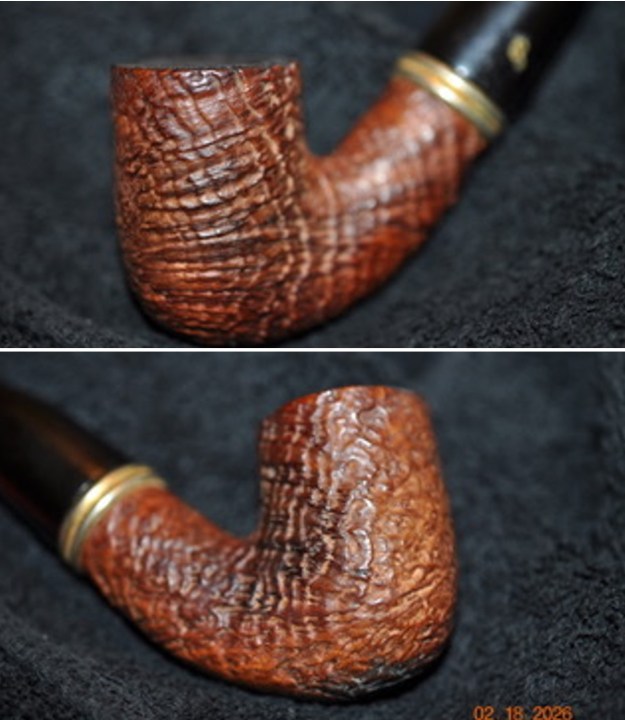
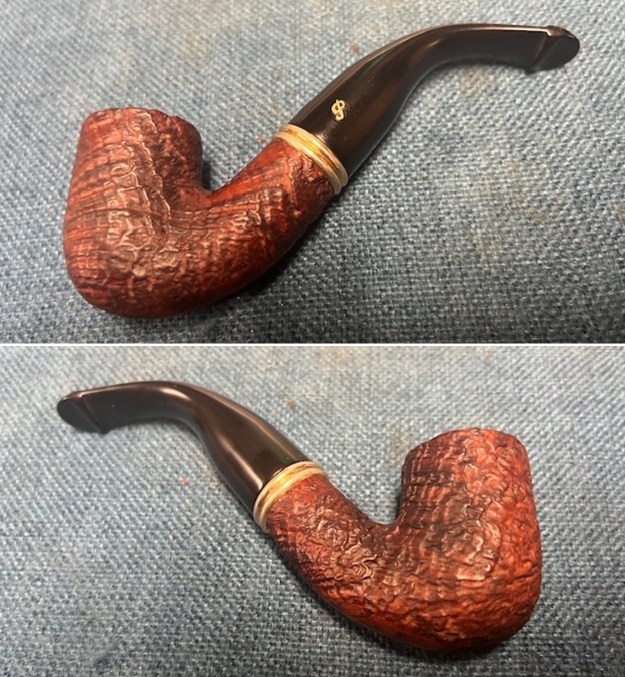
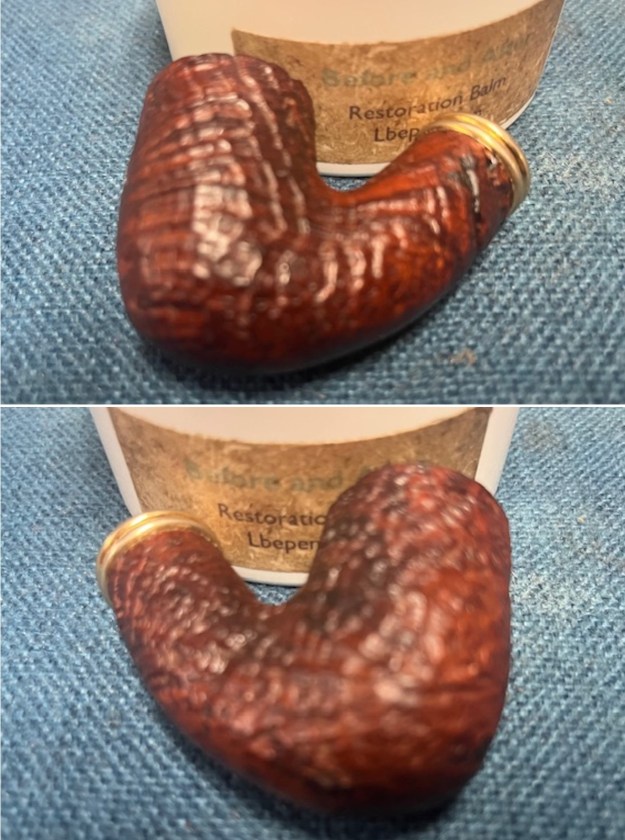
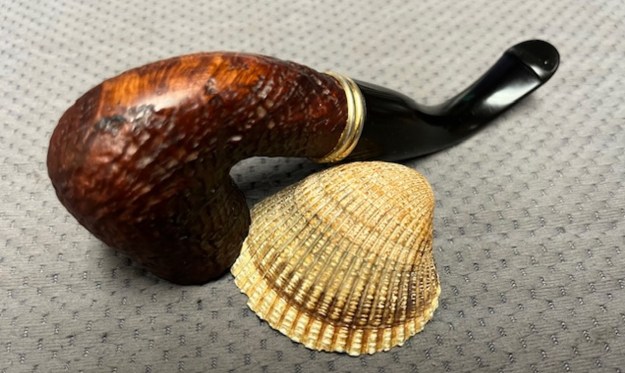
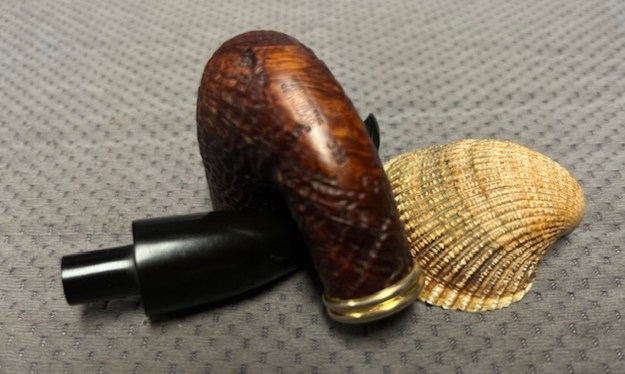
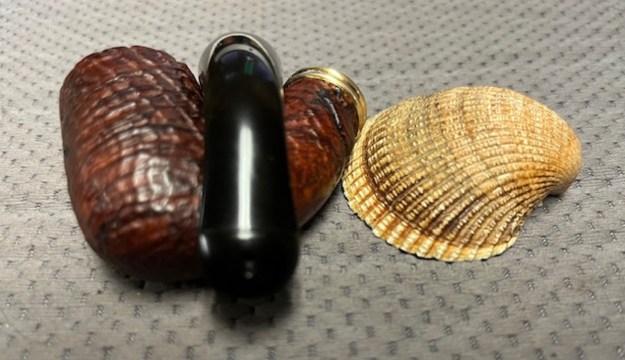
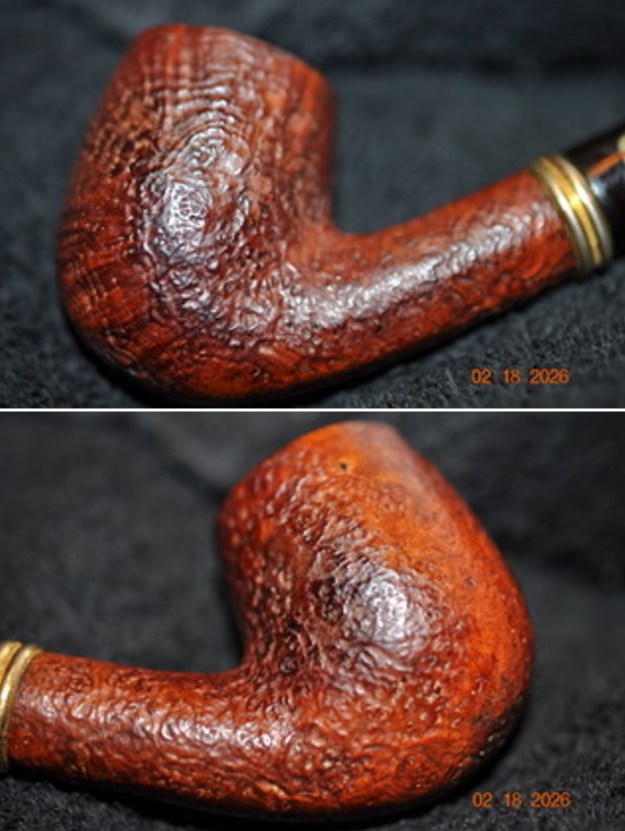
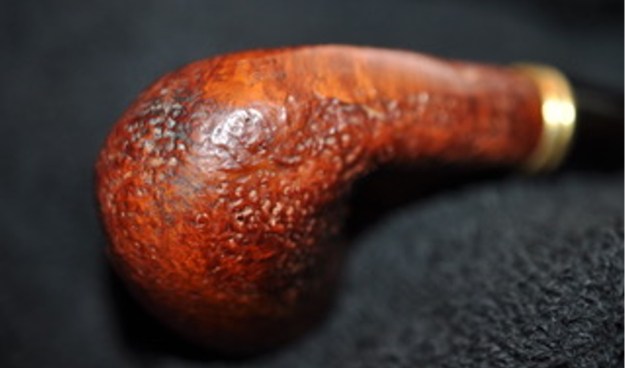
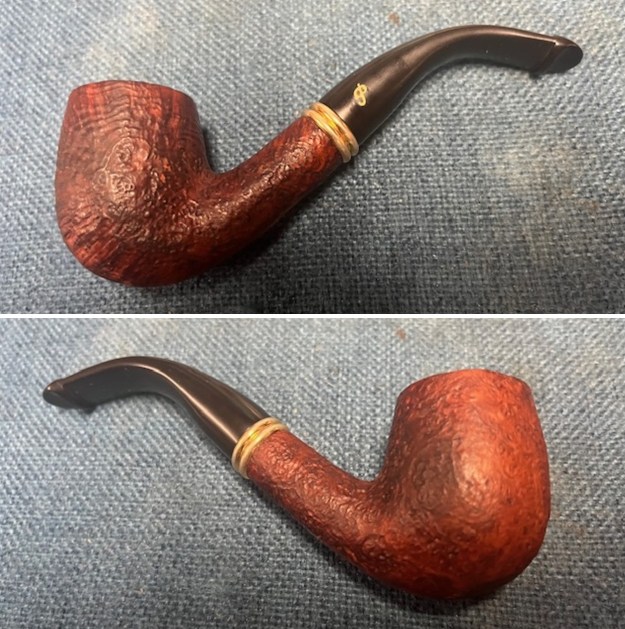
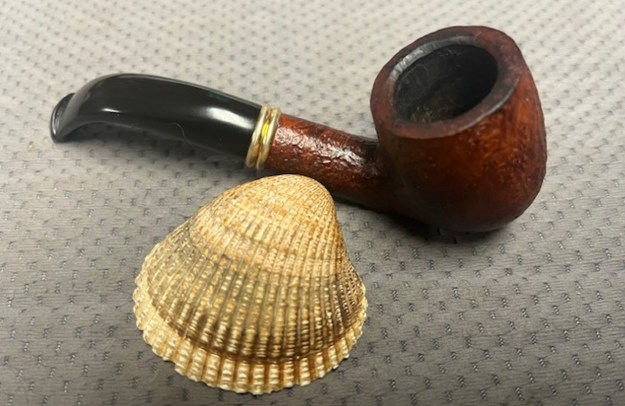
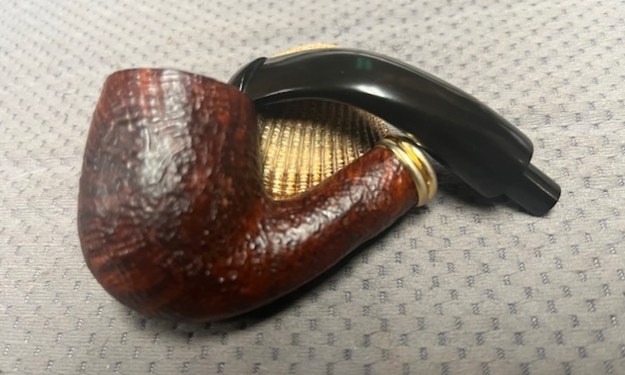
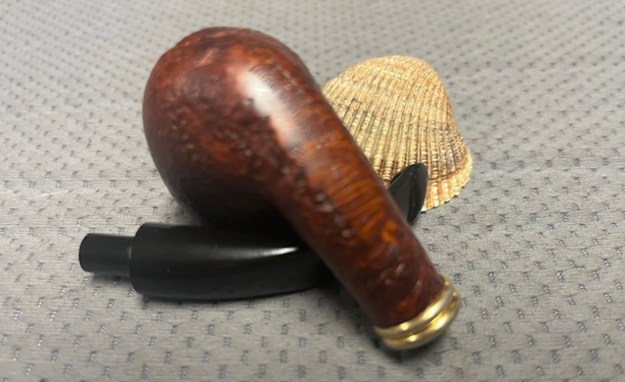
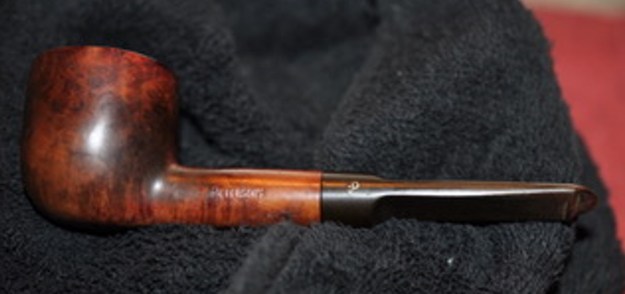
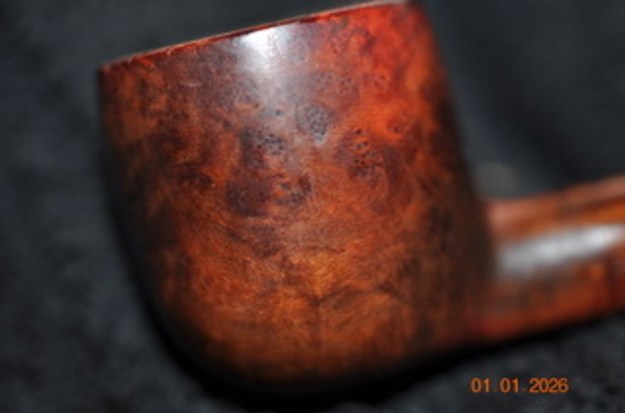
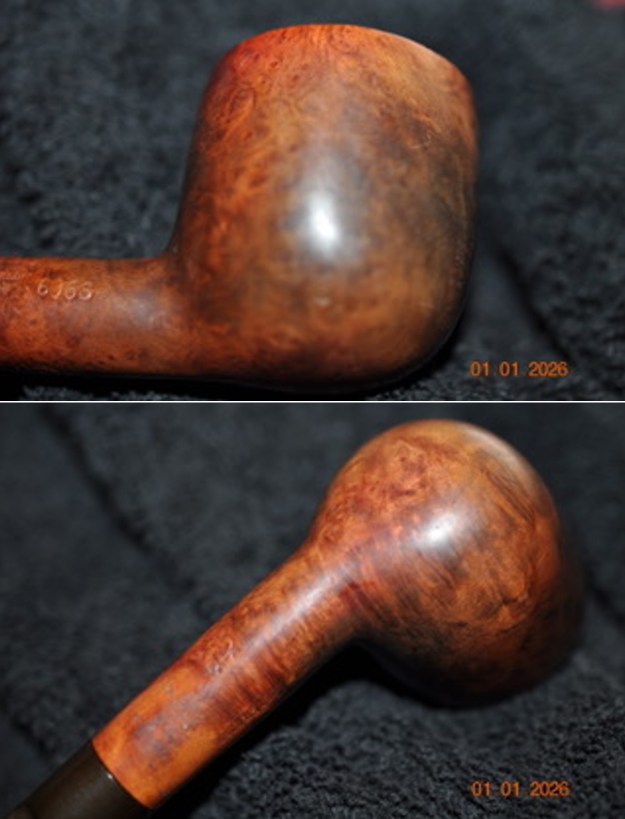
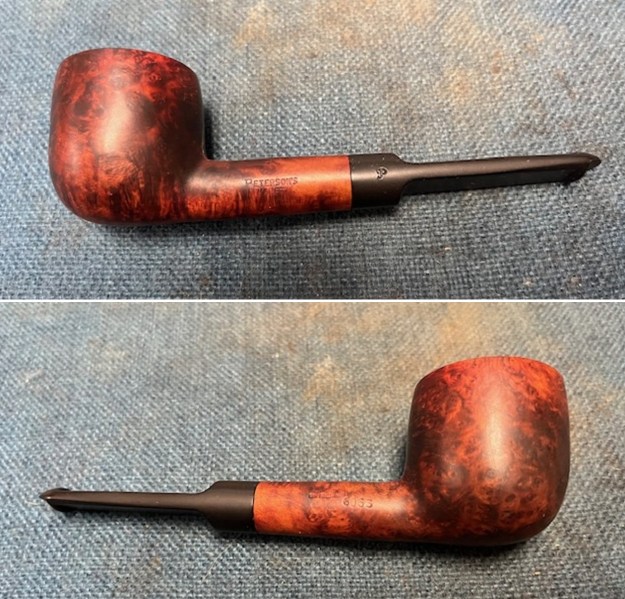
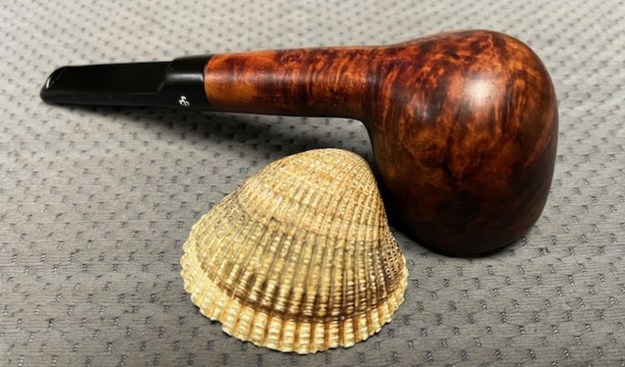
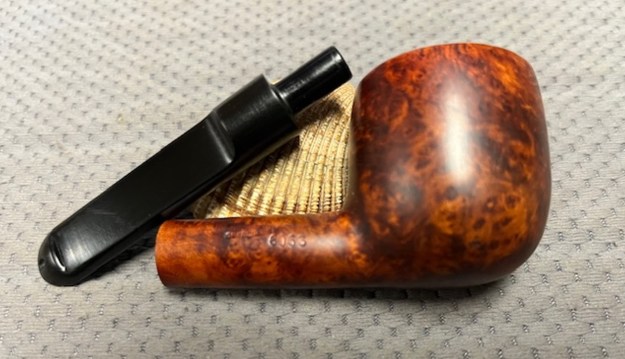
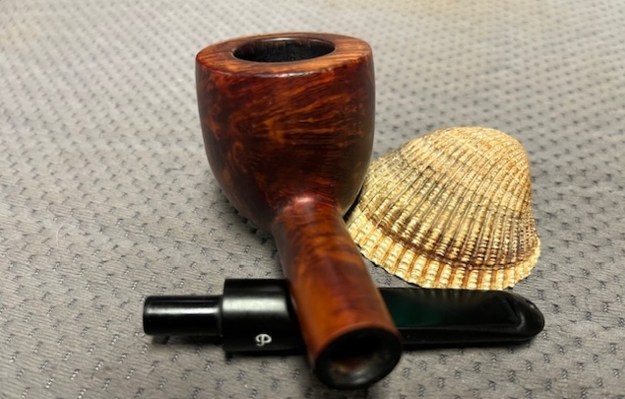
 He took photos of the sides and heel of the bowl to show the finish around the bowl and the condition of the pipe. You can see the grime ground into the surface of the briar. The stain combination really makes the grain stand out. I look forward to seeing it once it is clean and polished.
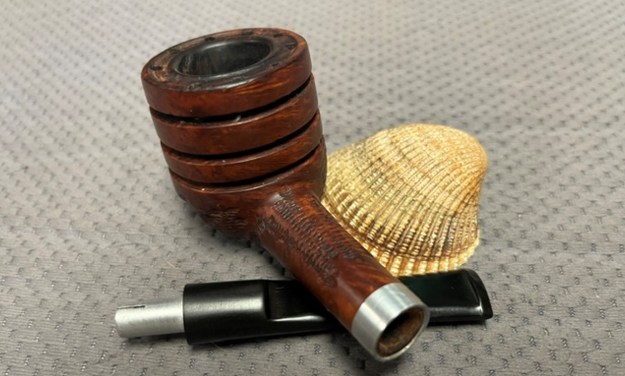
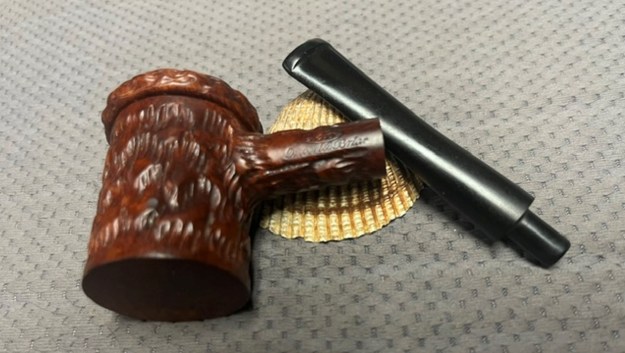
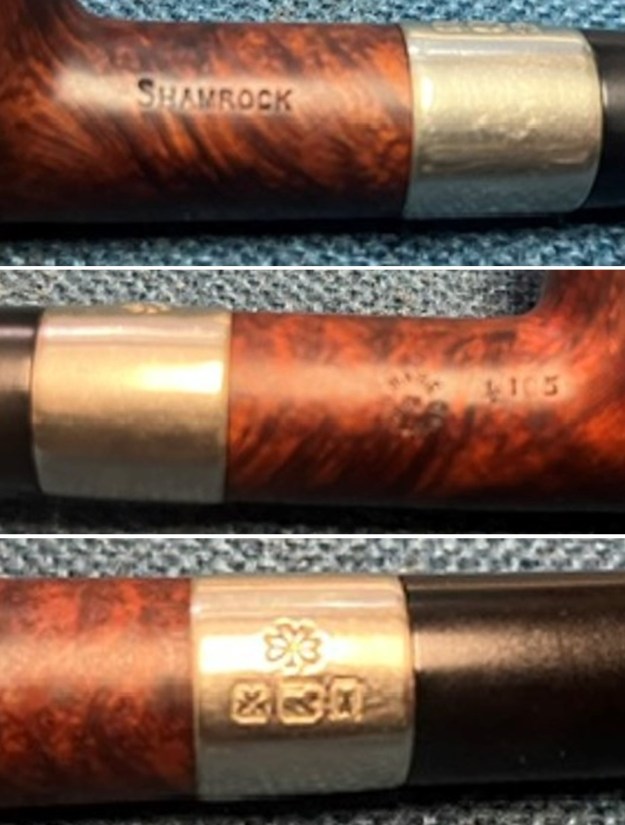
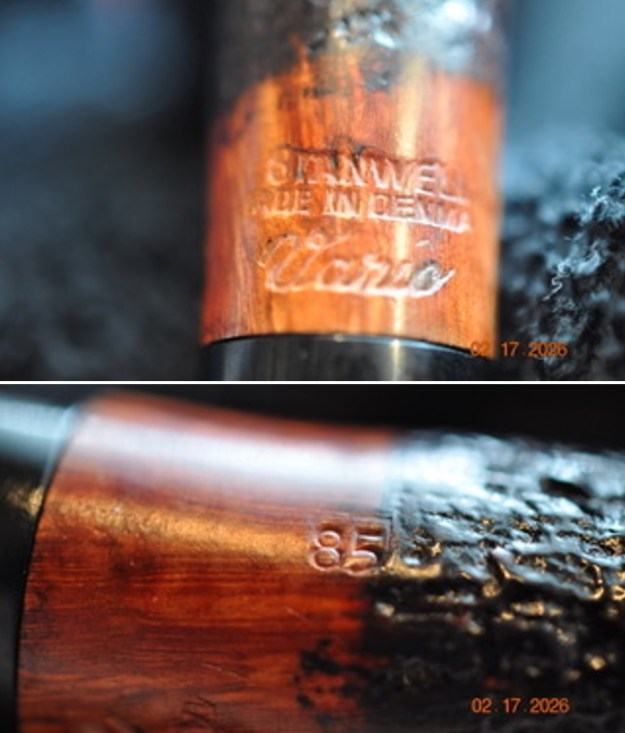
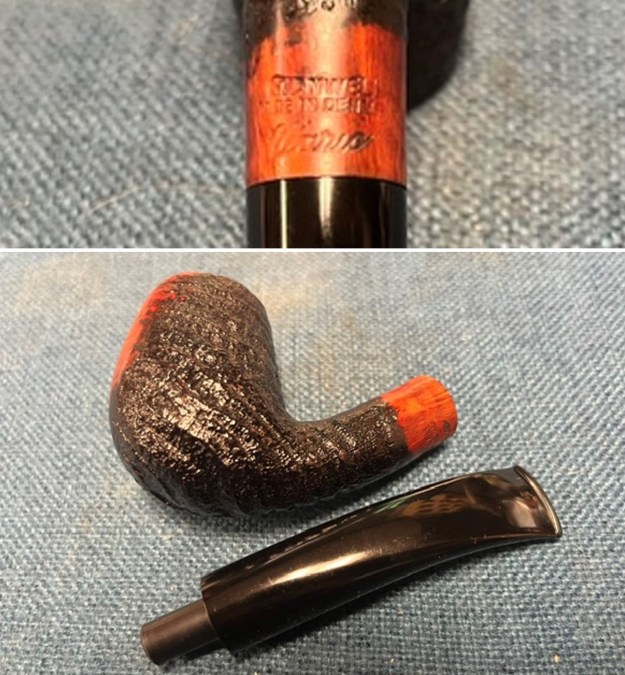
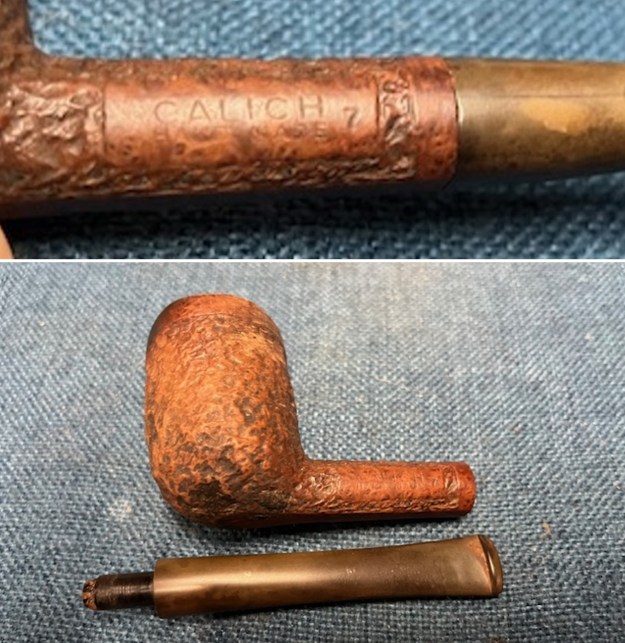
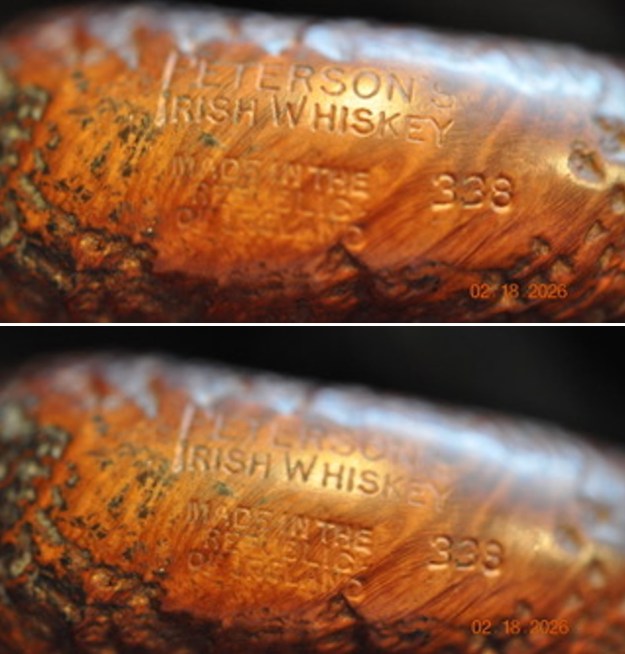
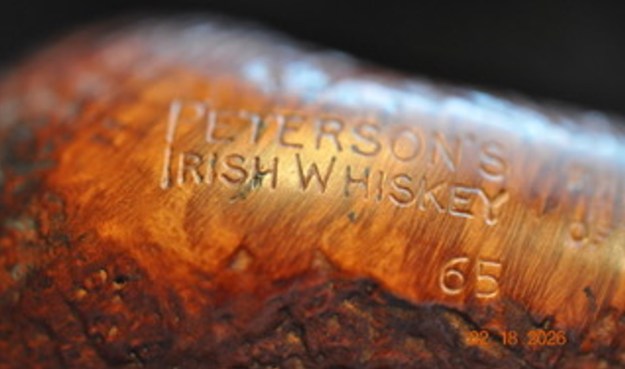
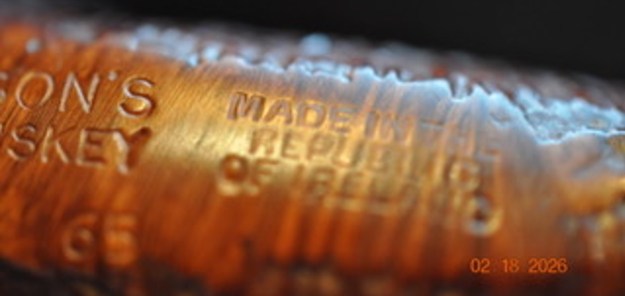
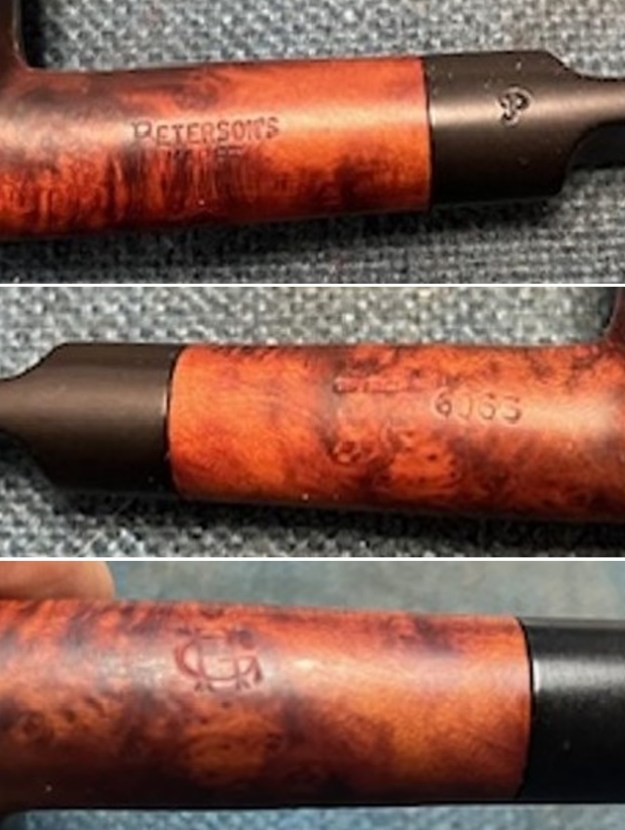
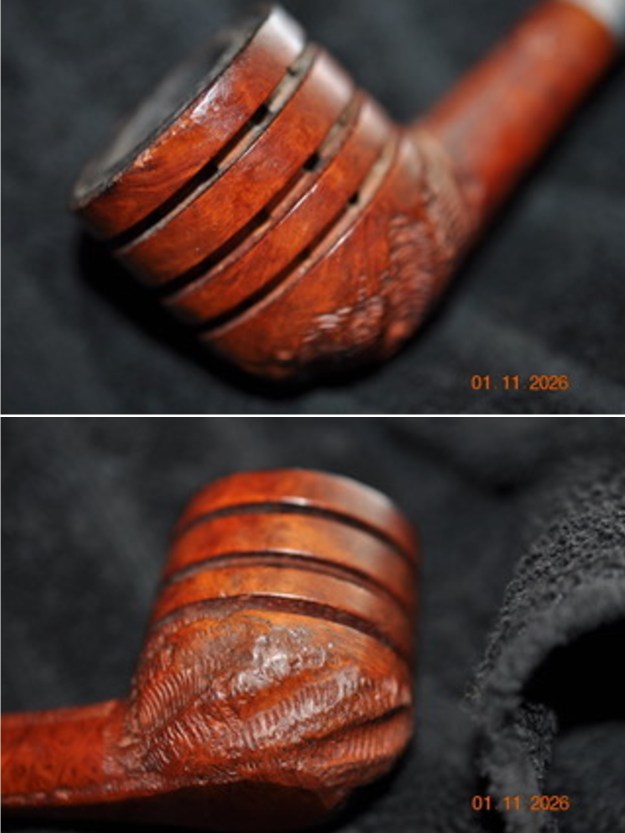 He took photos of the stamping on the sides of the shank. It is clear and readable as noted above.
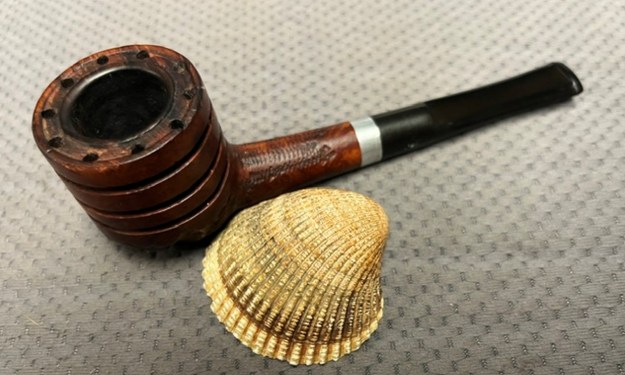
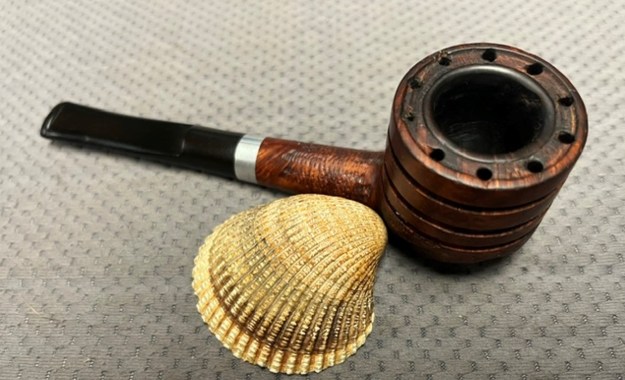
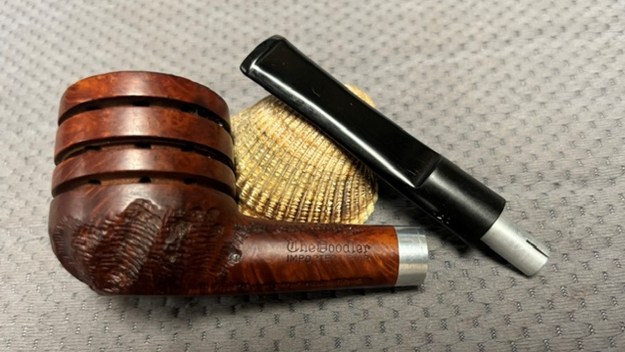
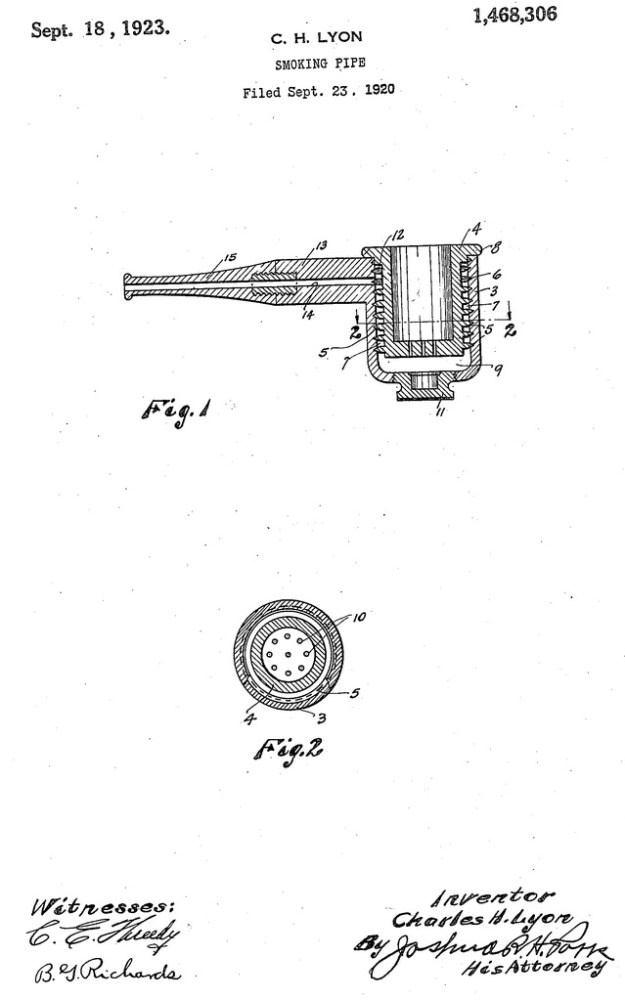
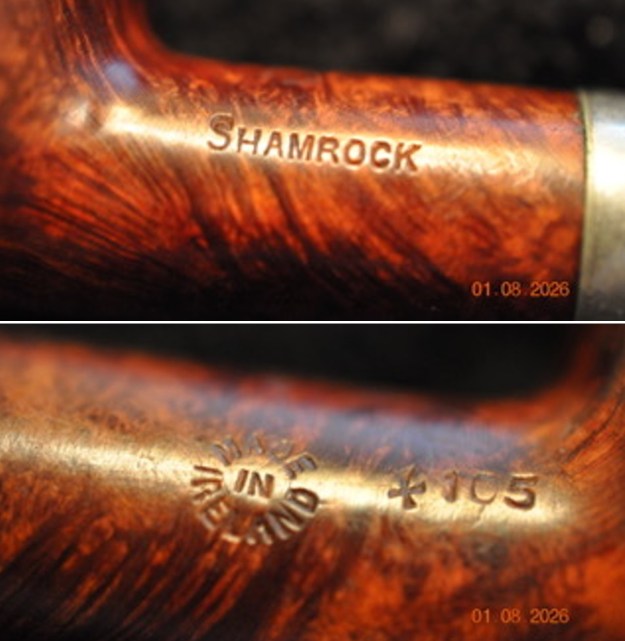
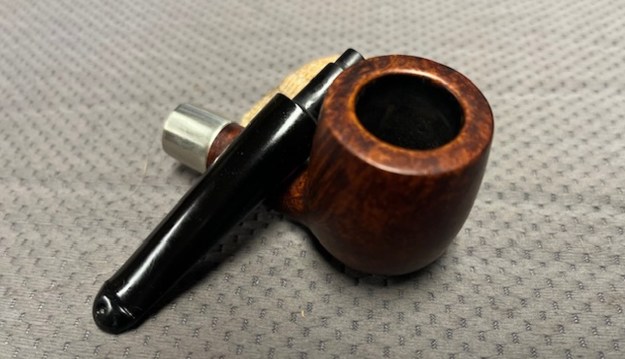
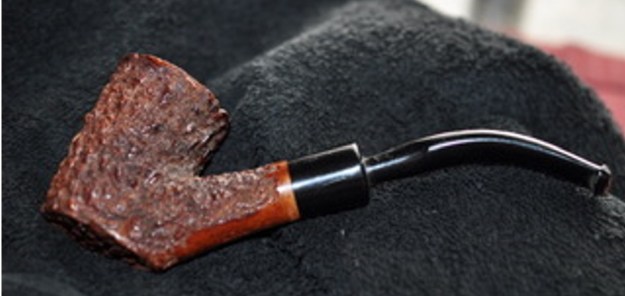
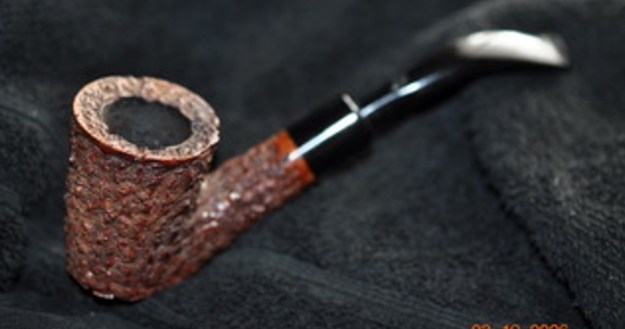
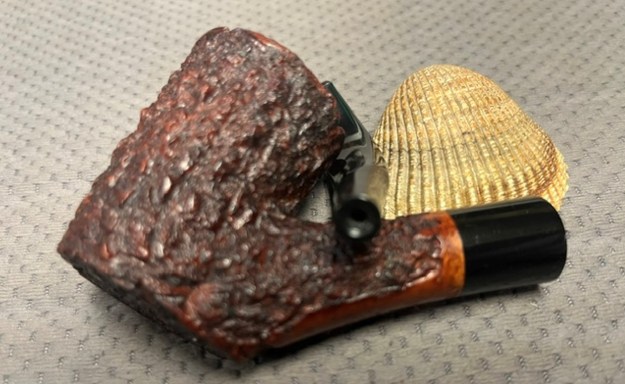
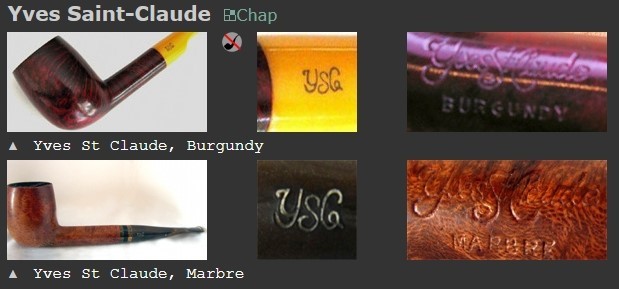
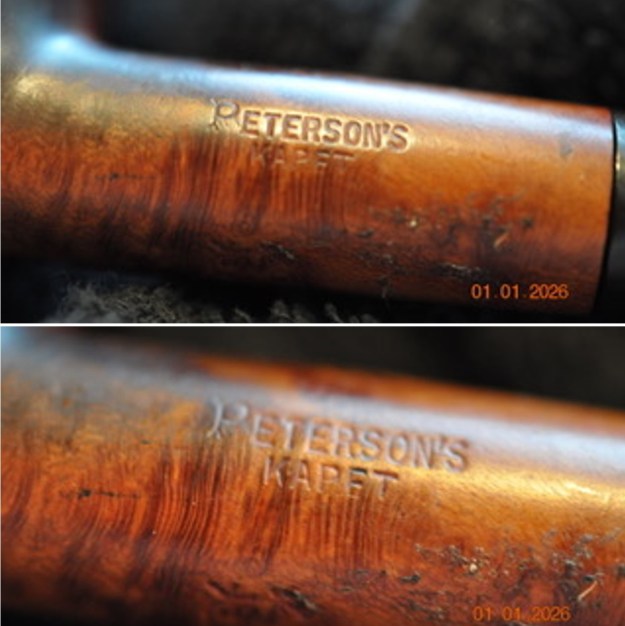
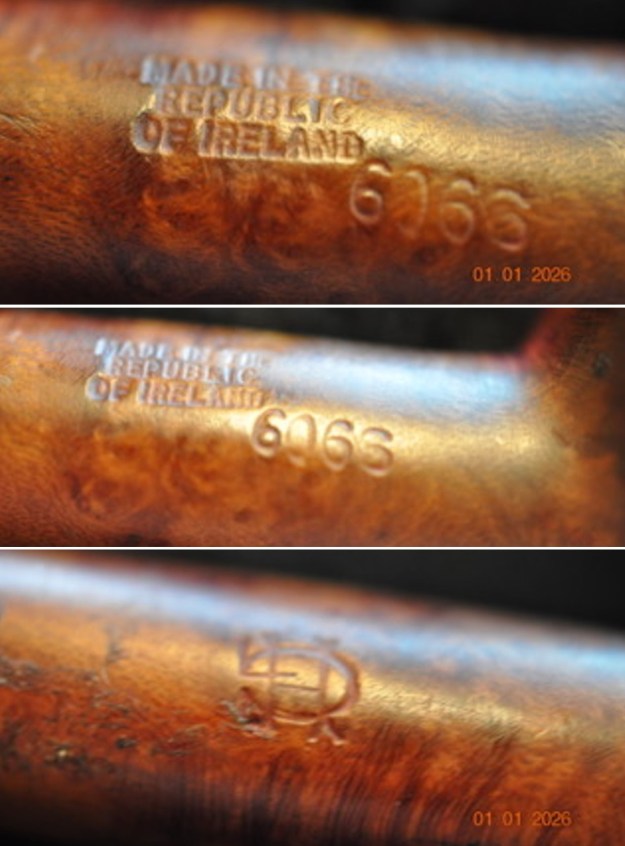
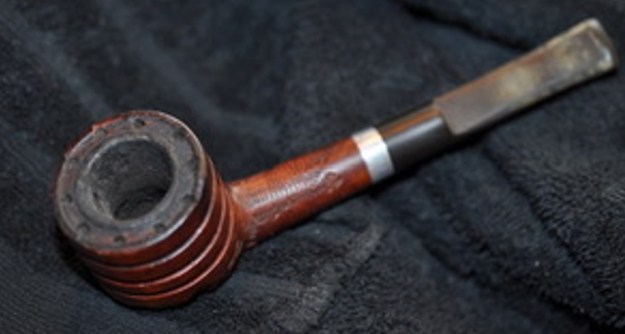
 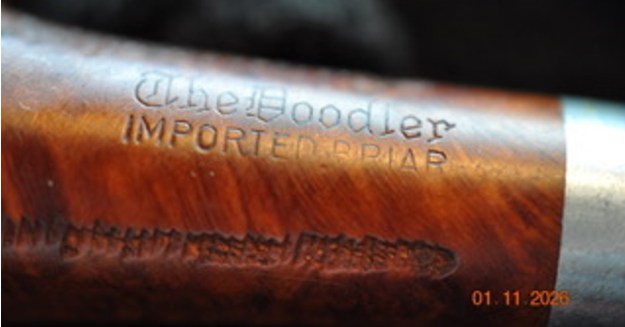 The Doodler pipe designed and made by Tracey Mincer of Custombilt/Custom Bilt fame has always intrigued me. It may be the oddity of the design that first caught my attention. The rusticated bowl with one, two or three grooves around the circumference of the bowl and then holes drilled vertically connecting the rim to the bottom of the last ring just had my attention. I continue looking for them, both on eBay and on my treasure hunts through antique malls and thrift shops. When I had seen the drawings and photos in Bill Unger’s book on Custombilt pipes I picked up some of them. I enjoy the look and the smoking of them. If you are a pipeman you should at least give one a smoke and see what you think.
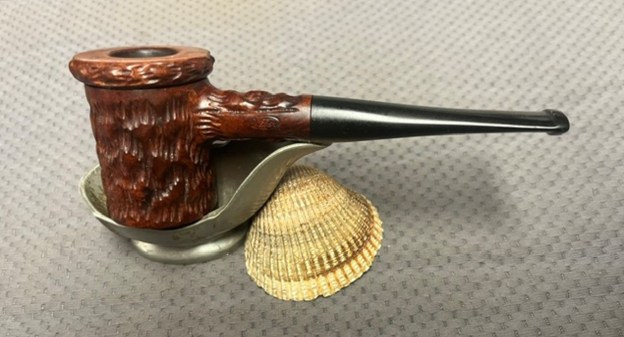
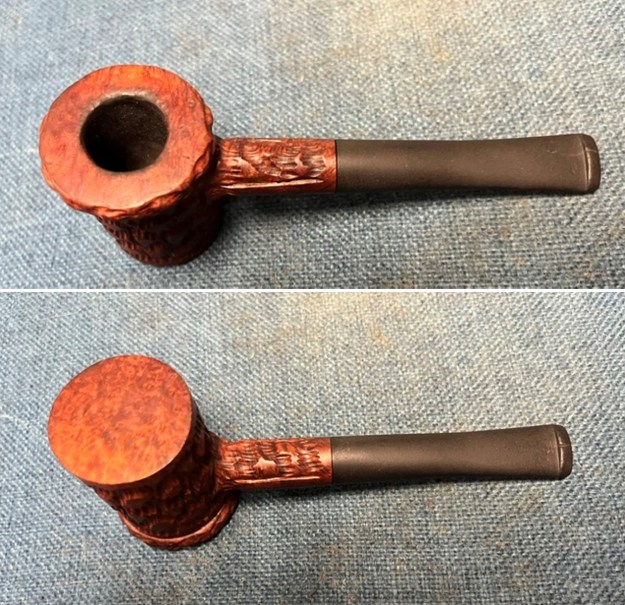
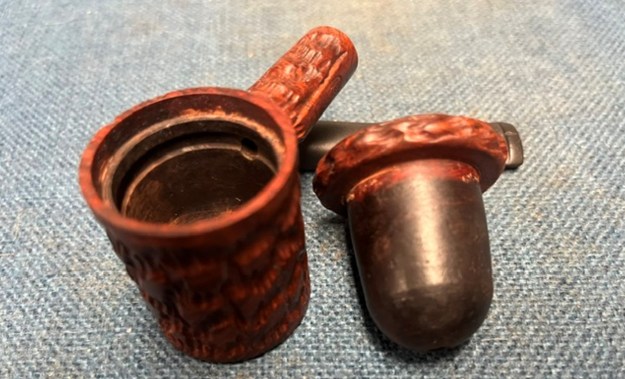
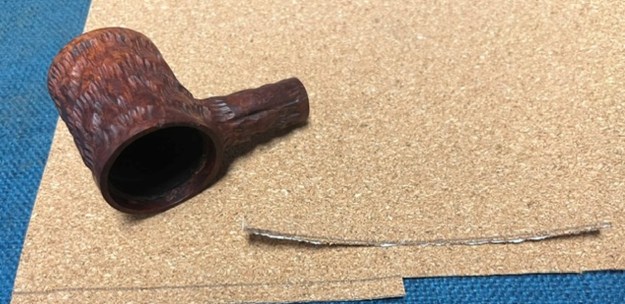
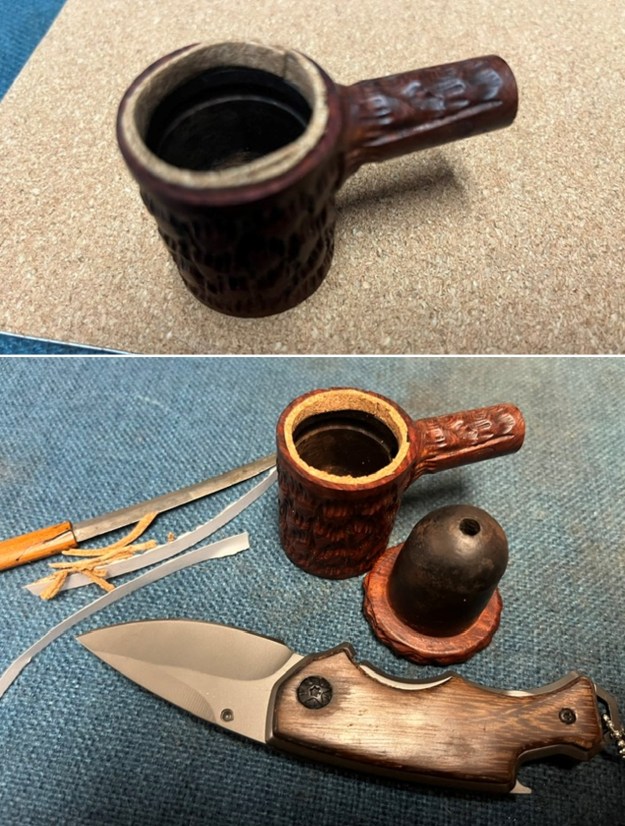
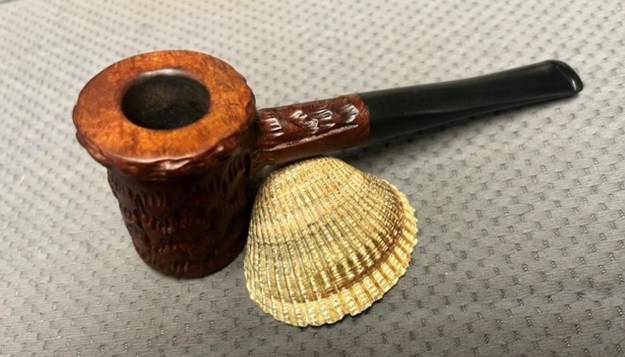
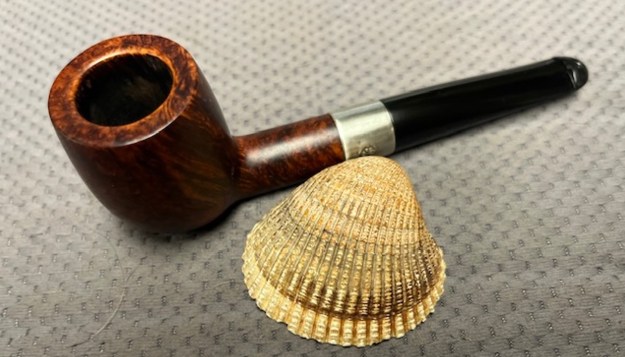
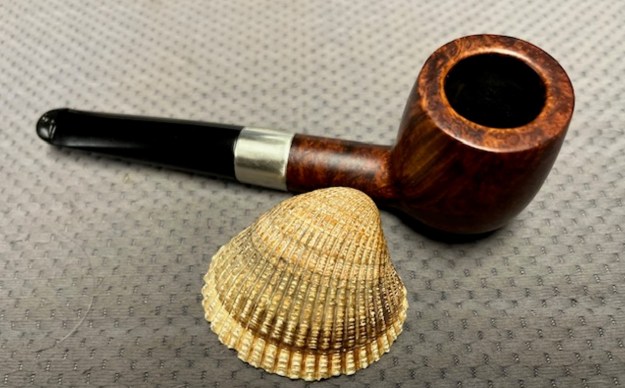
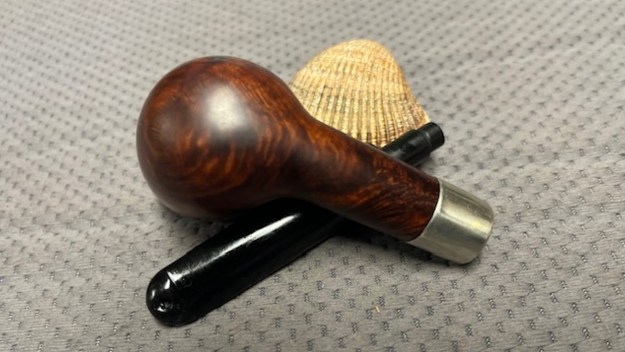
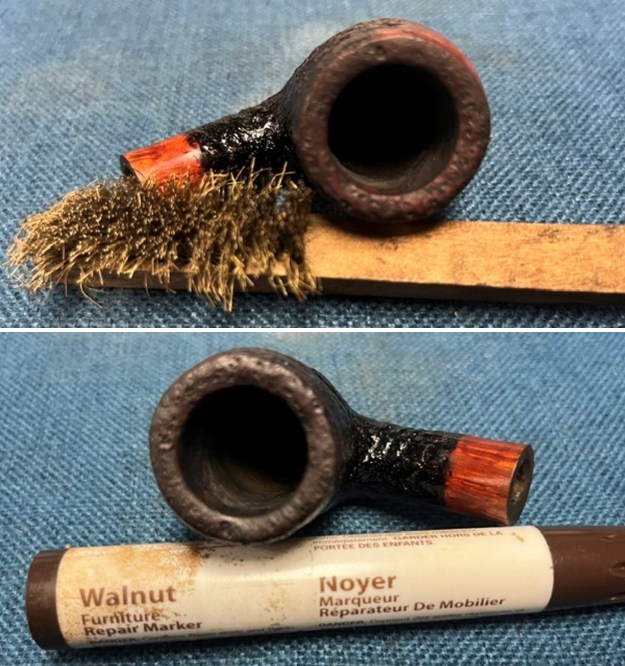
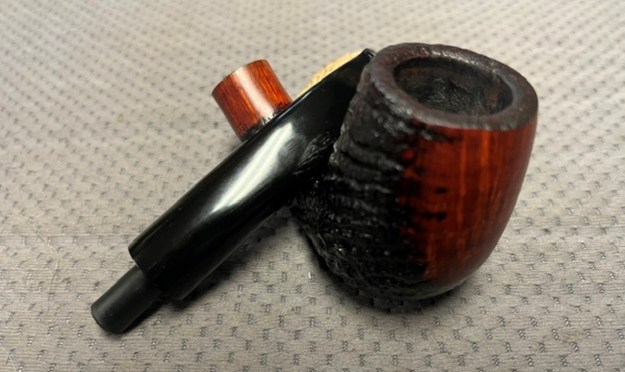
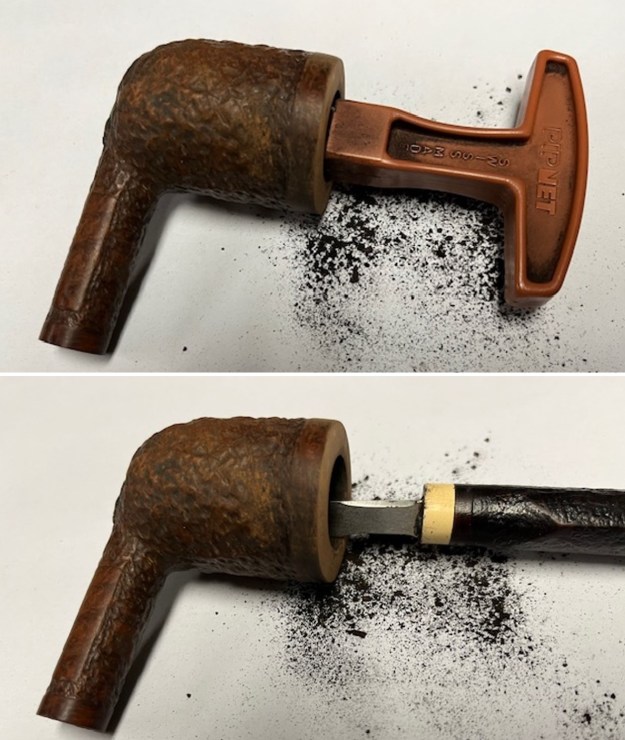
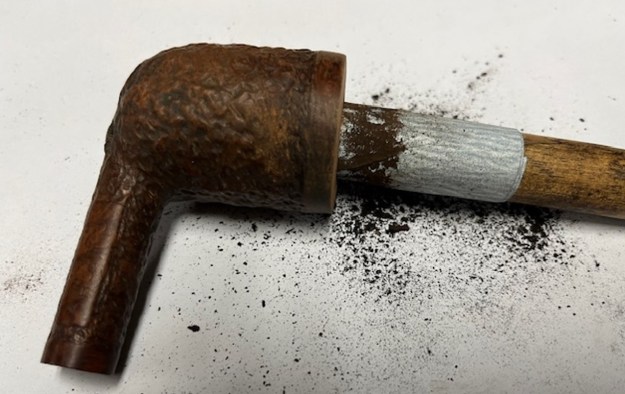
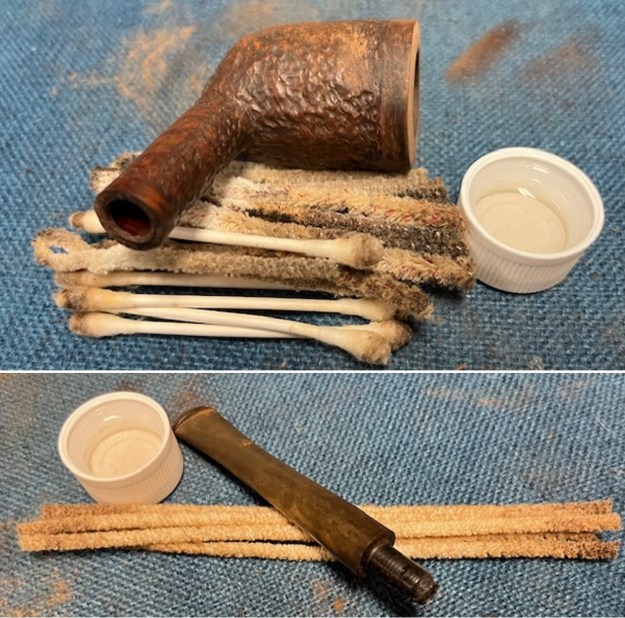
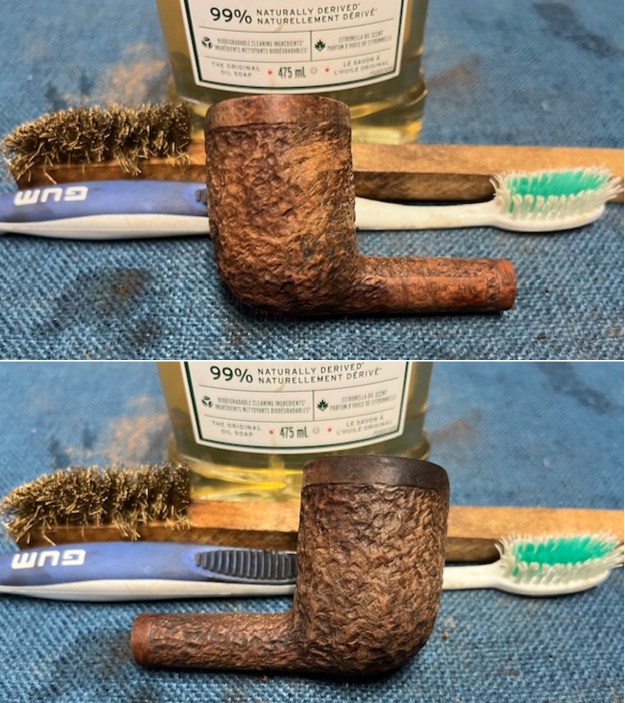
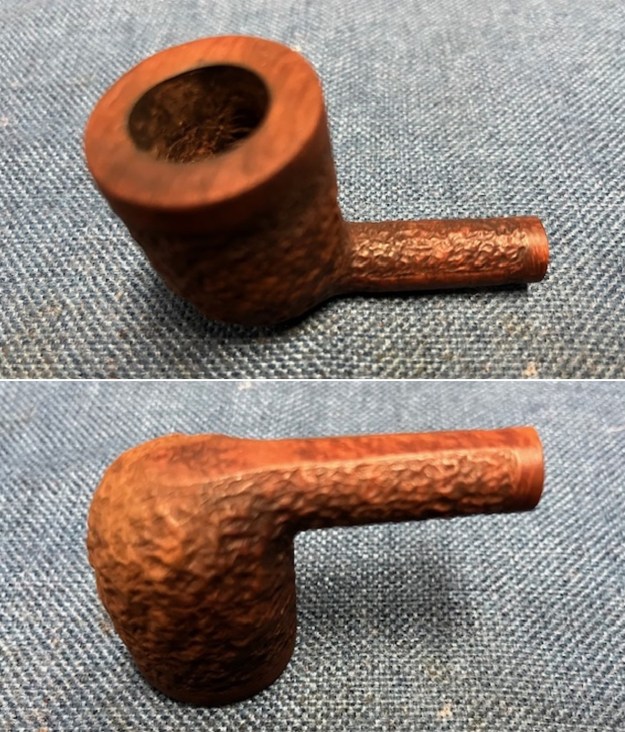
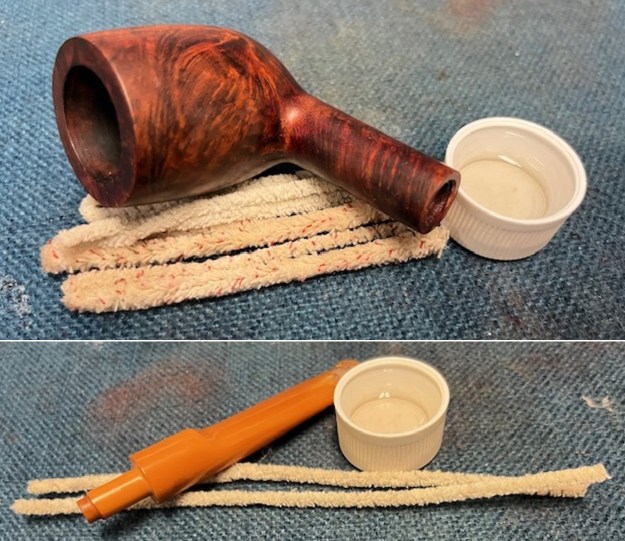
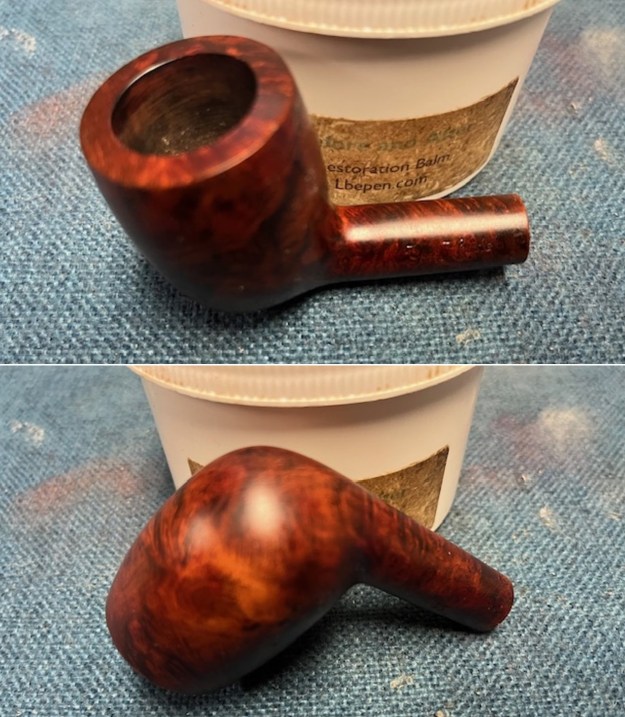
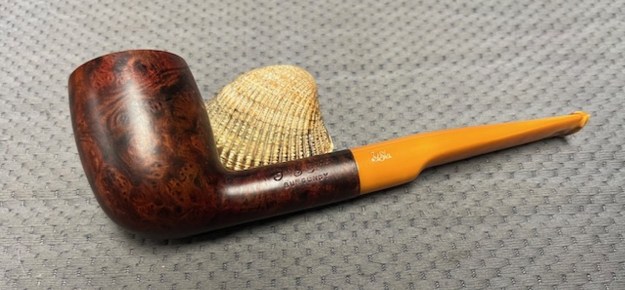
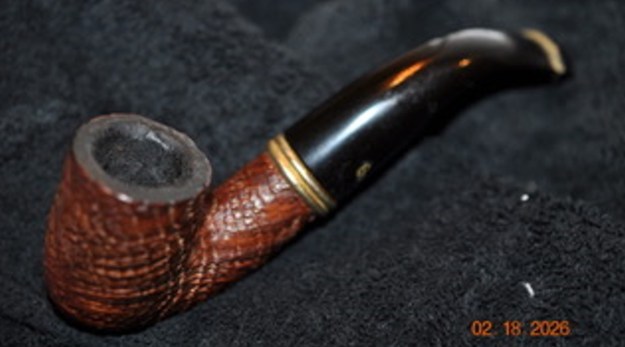
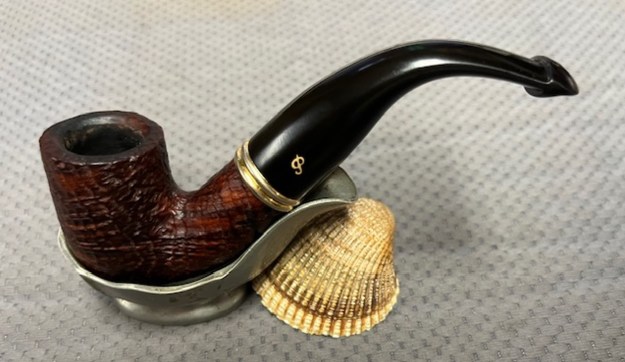
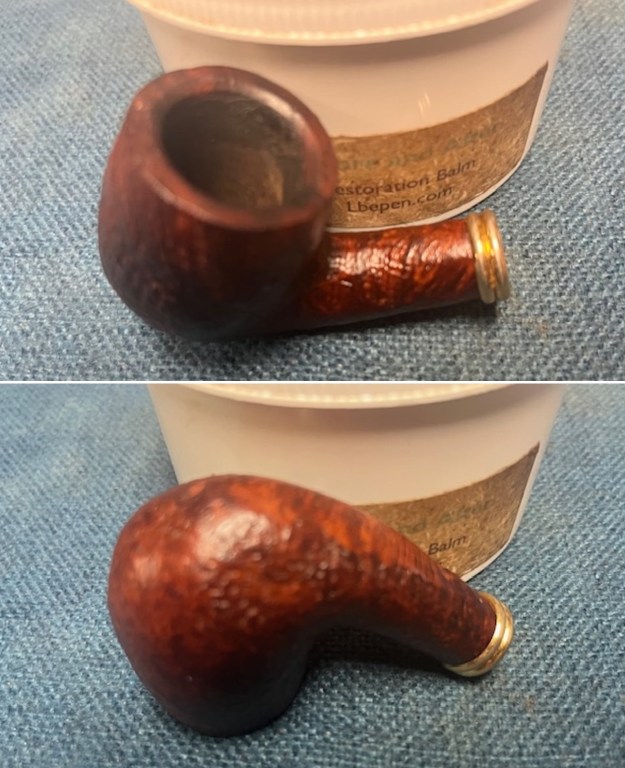
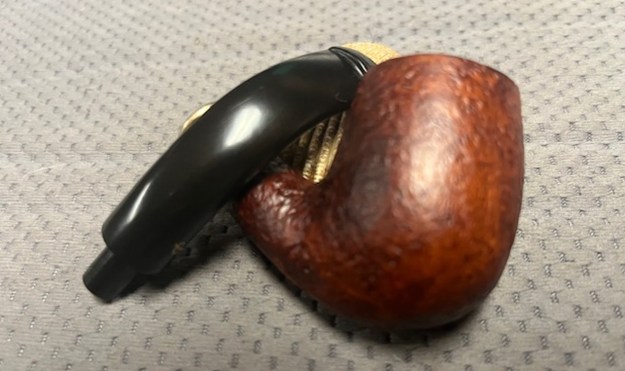
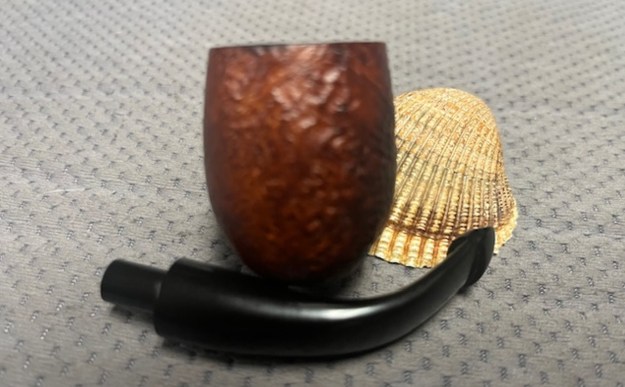
Jeff carefully reamed this Doodler with a PipNet pipe reamer and then cleaned up the inside of the bowl with a Savinelli Fitsall Pipe Knife. He scrubbed the briar with undiluted Murphy’s Oil Soap and a tooth brush to remove the grime on the rim top and bowl sides. He scrubbed the internals of the shank and stem with pipe cleaners, cotton swabs, shank brushes and alcohol until the airways were clean and the pipe smelled fresh. He scrubbed the stem with Soft Scrub to remove the oxidation and then let it soak in Briarville’s Pipe Stem Deoxidizer. He rinsed it with warm water when he took out of the soak. The pipe looked much better once the bowl and stem were clean. Before I started my part of the work I took photos of the pipe. It is a pretty pipe.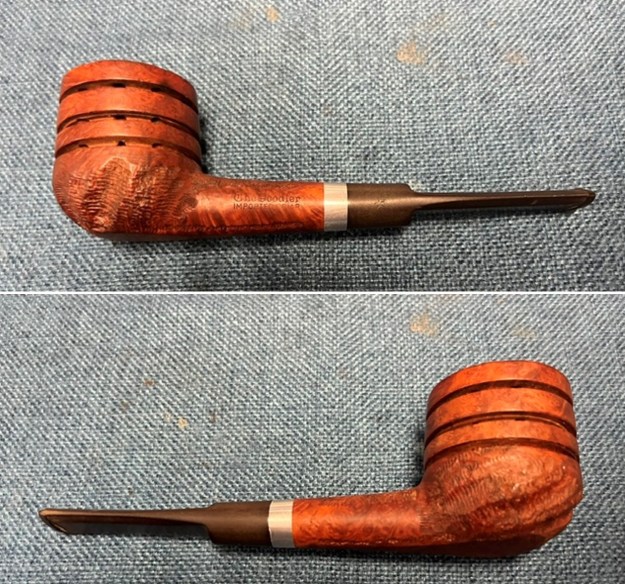
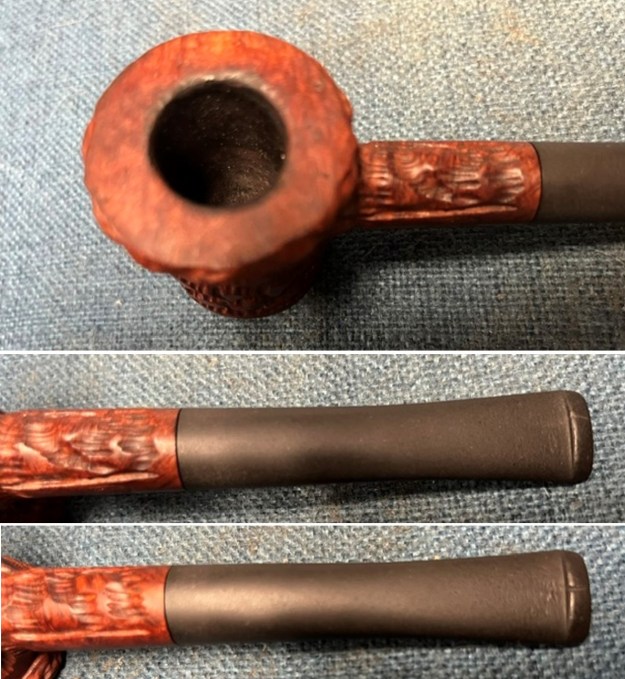
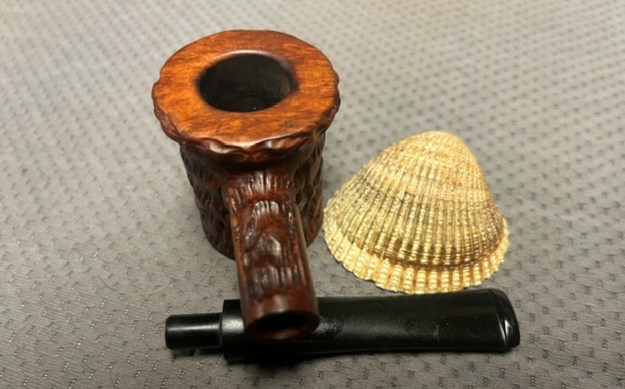
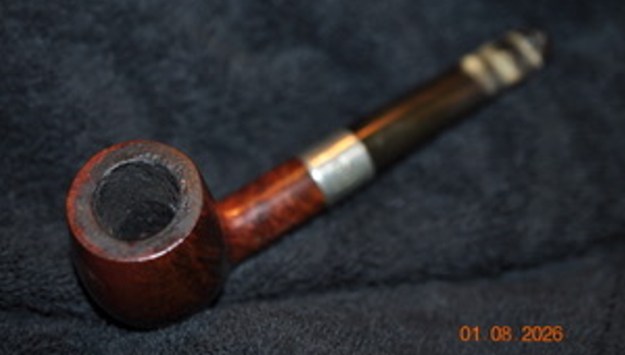
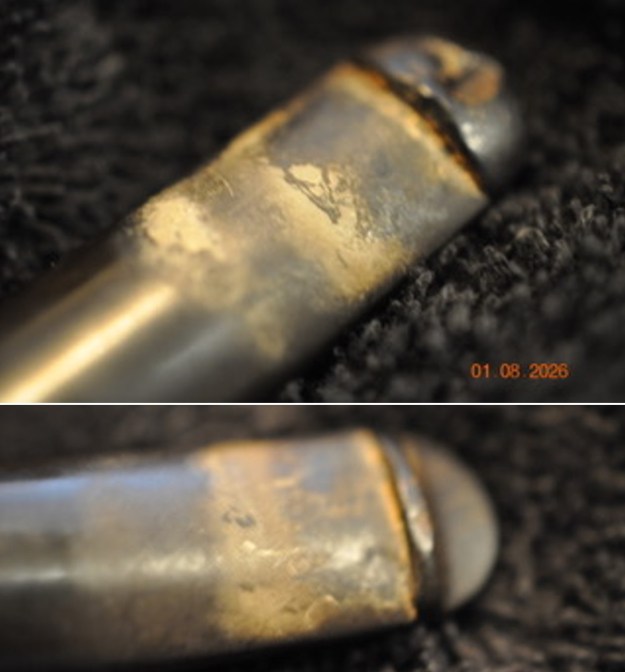
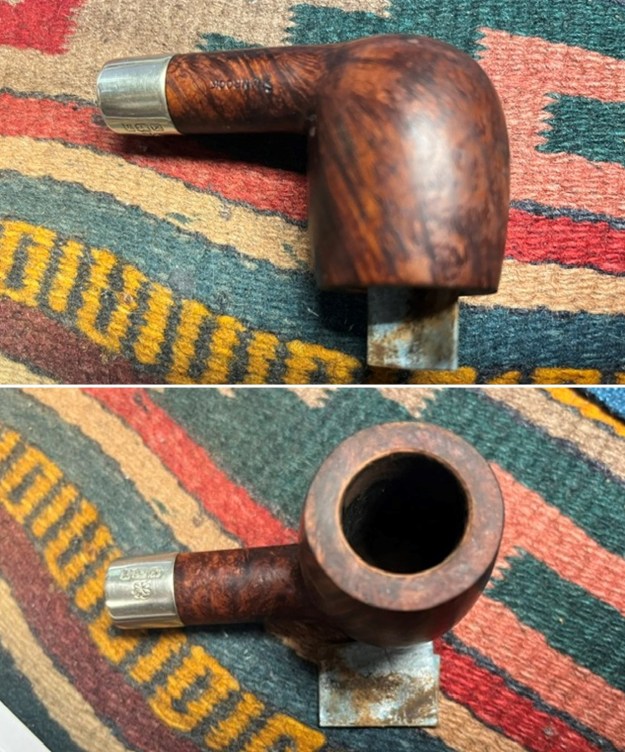
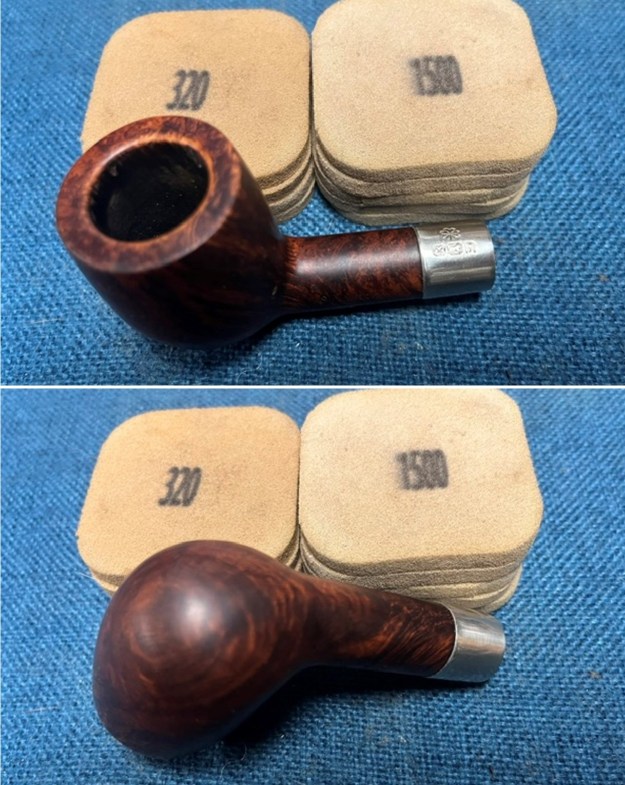
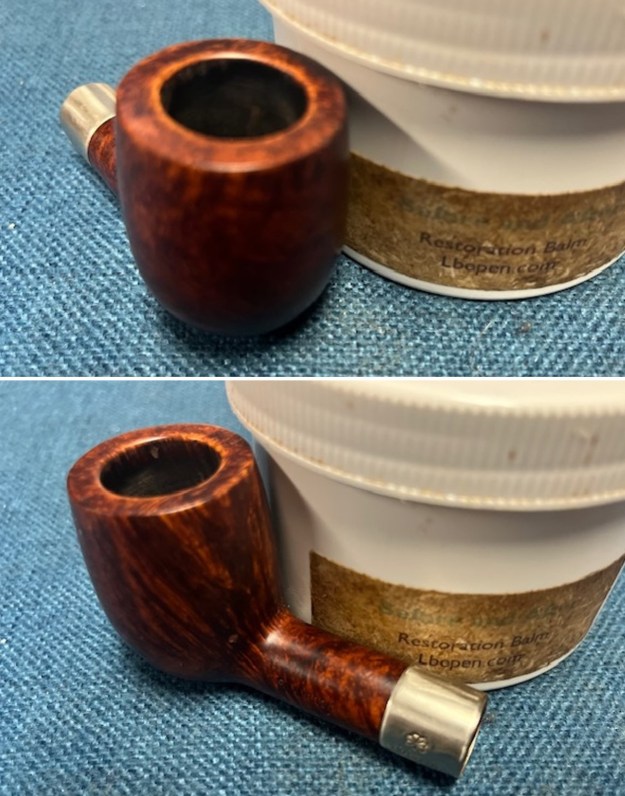
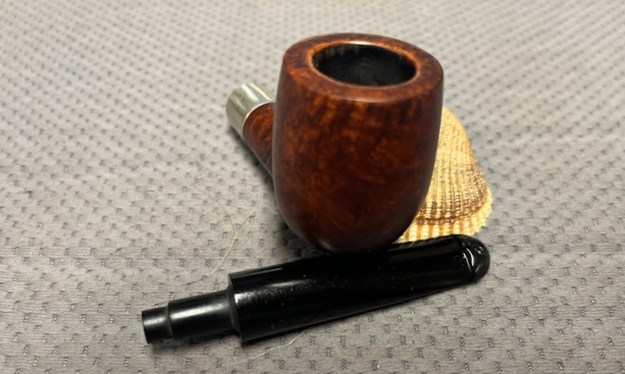
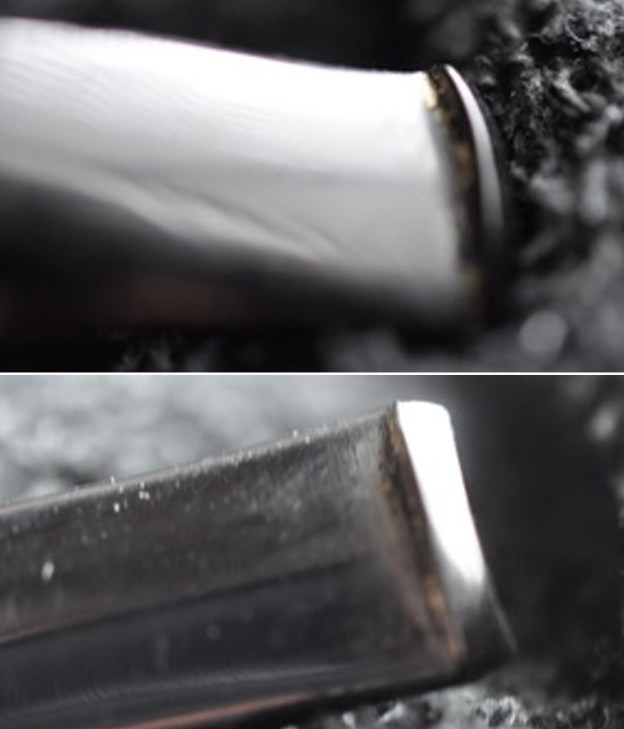
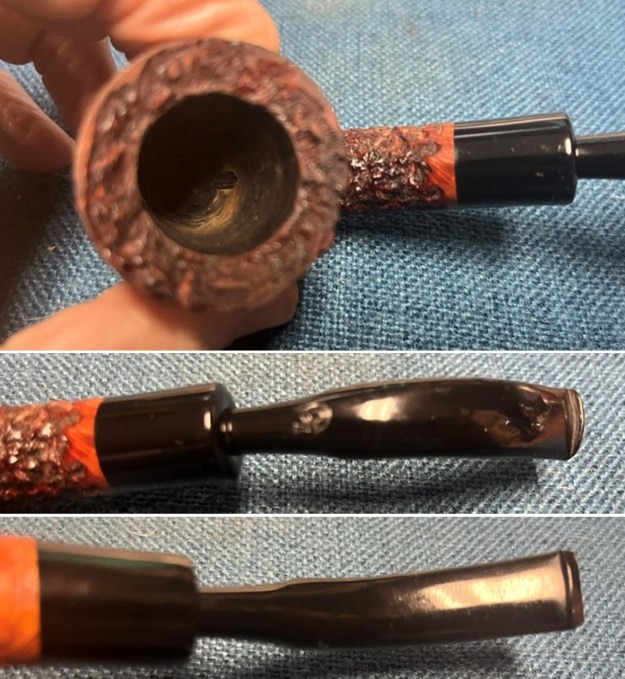
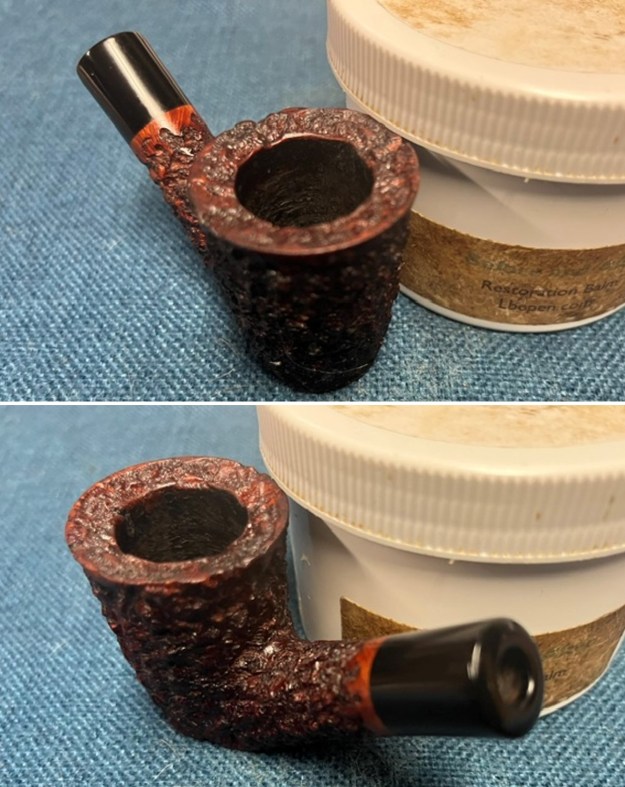
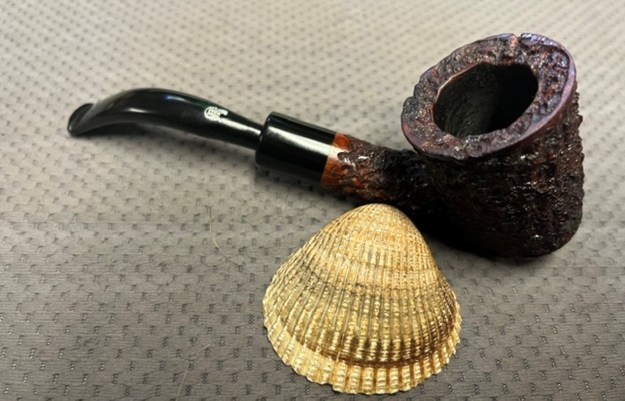
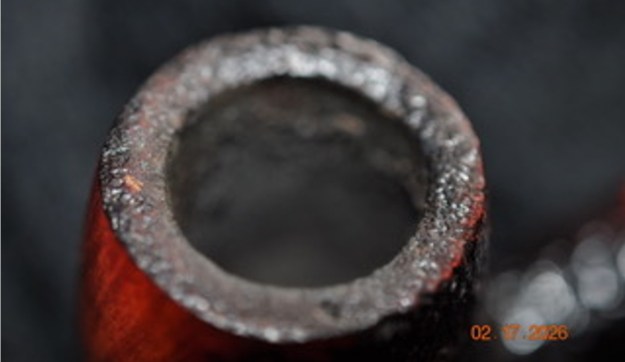
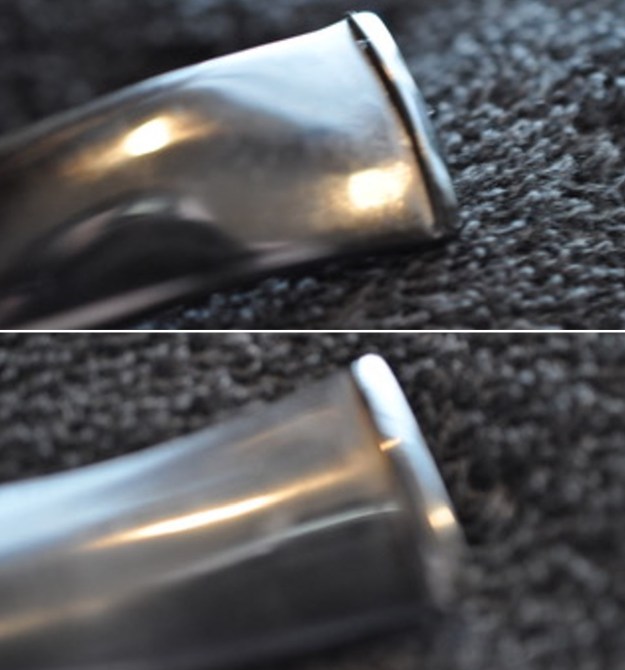
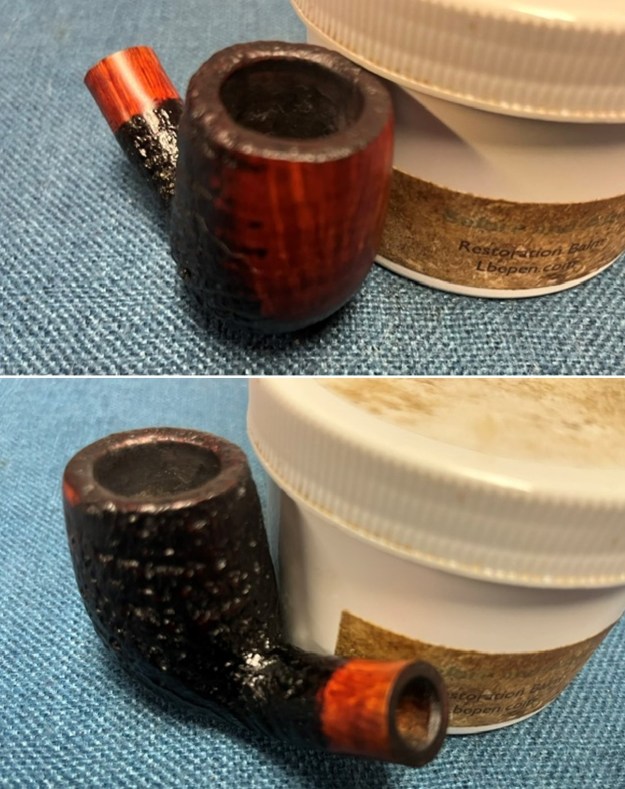
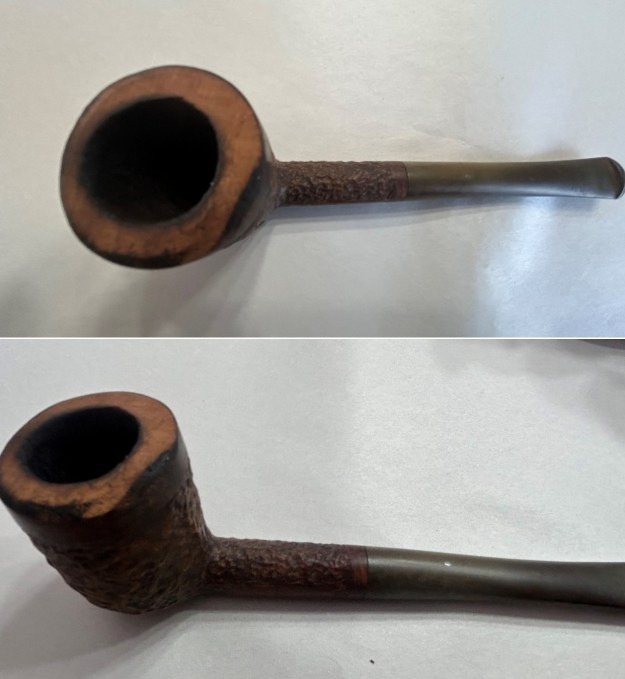
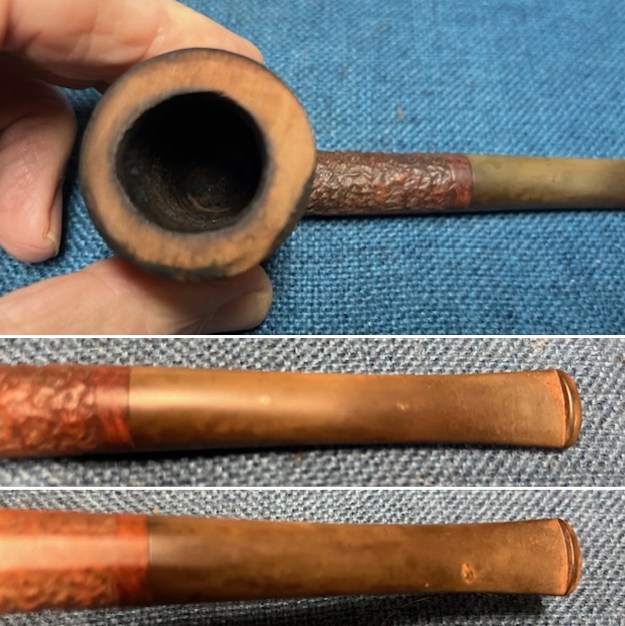
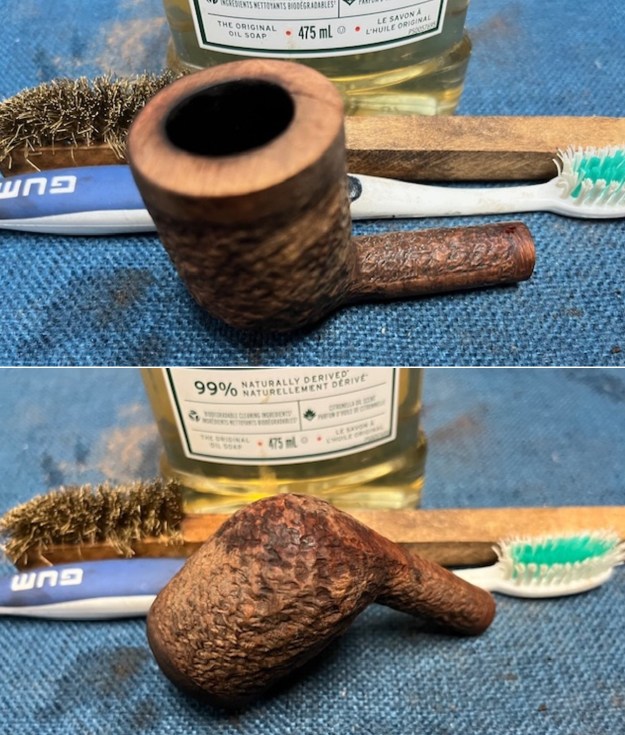
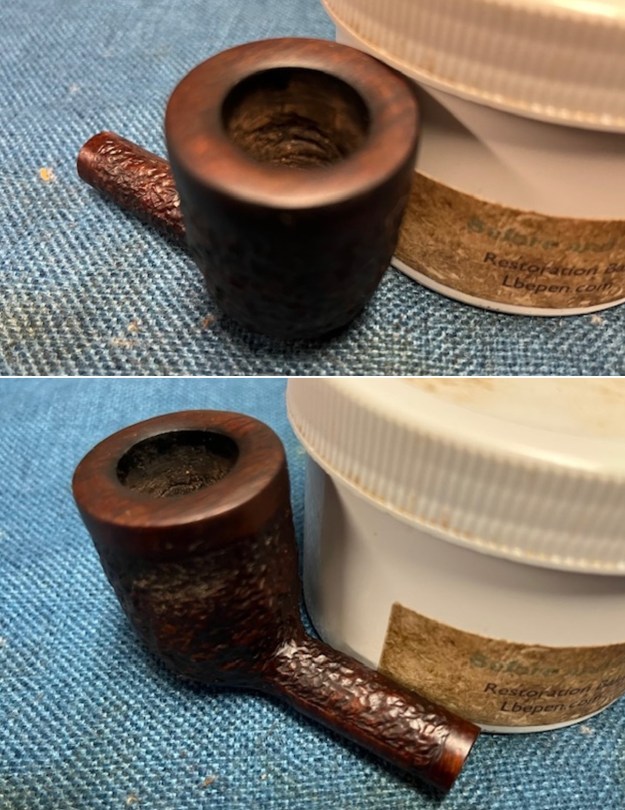
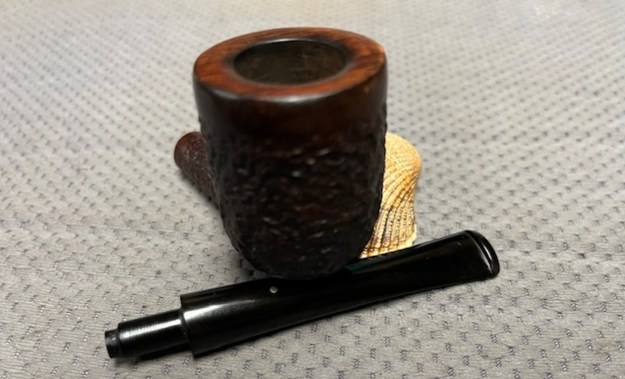
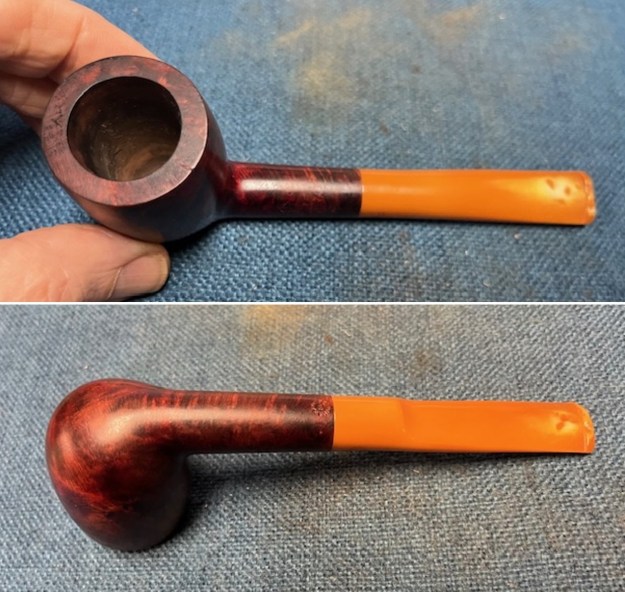
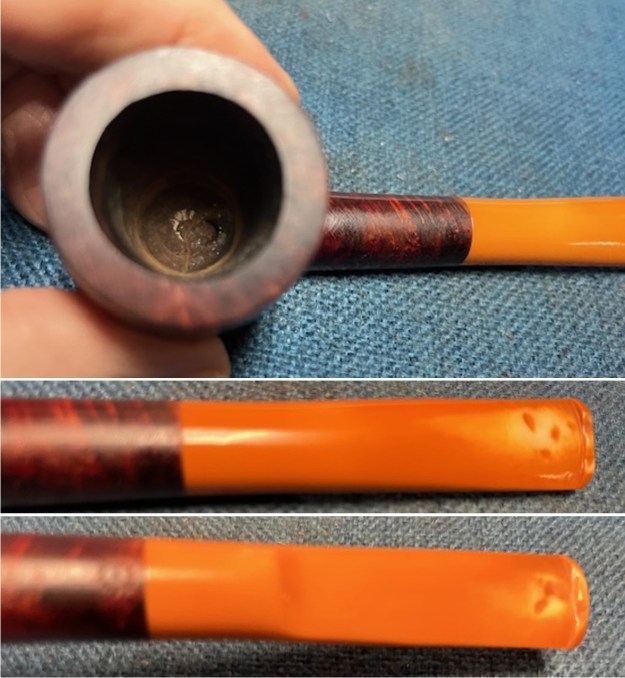
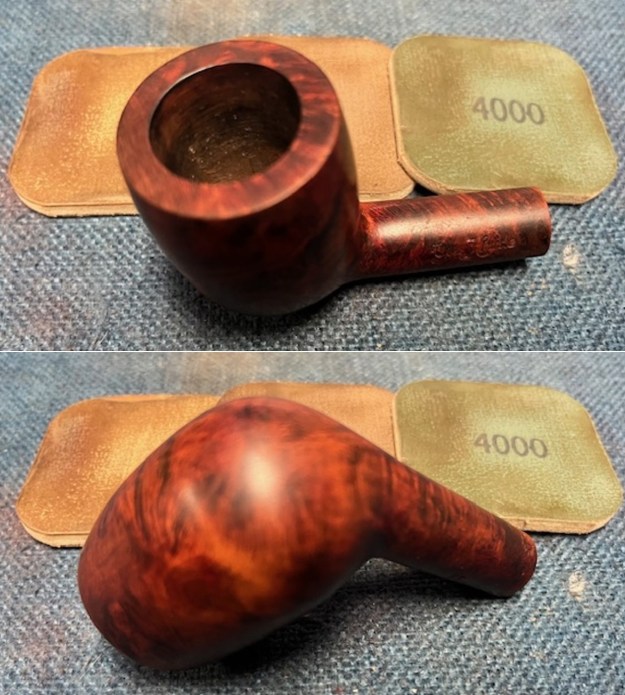
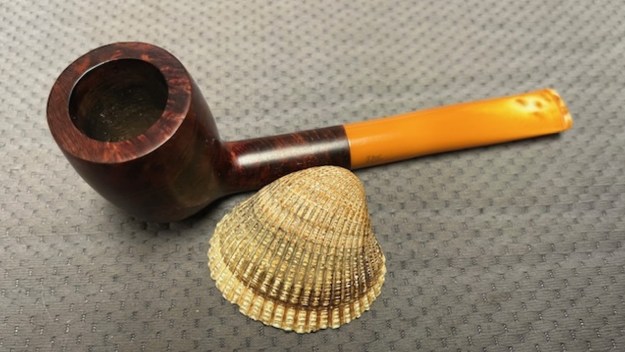
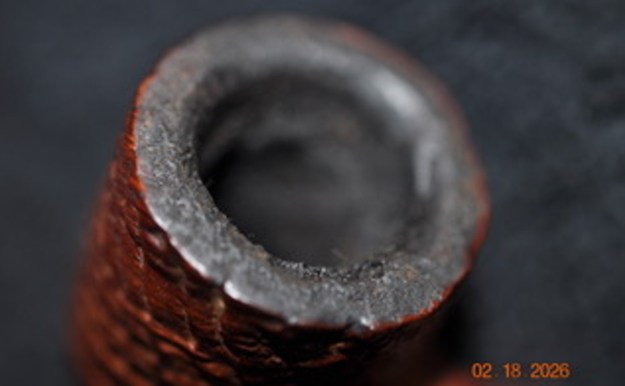
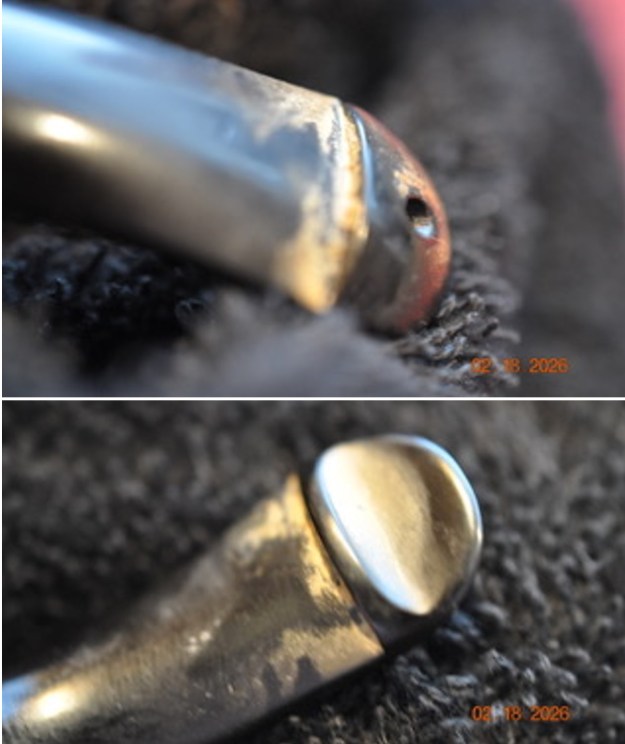
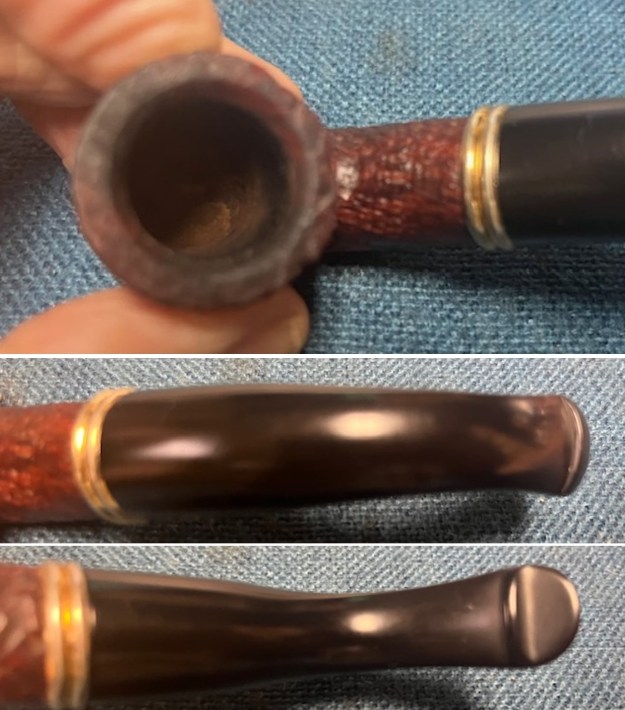
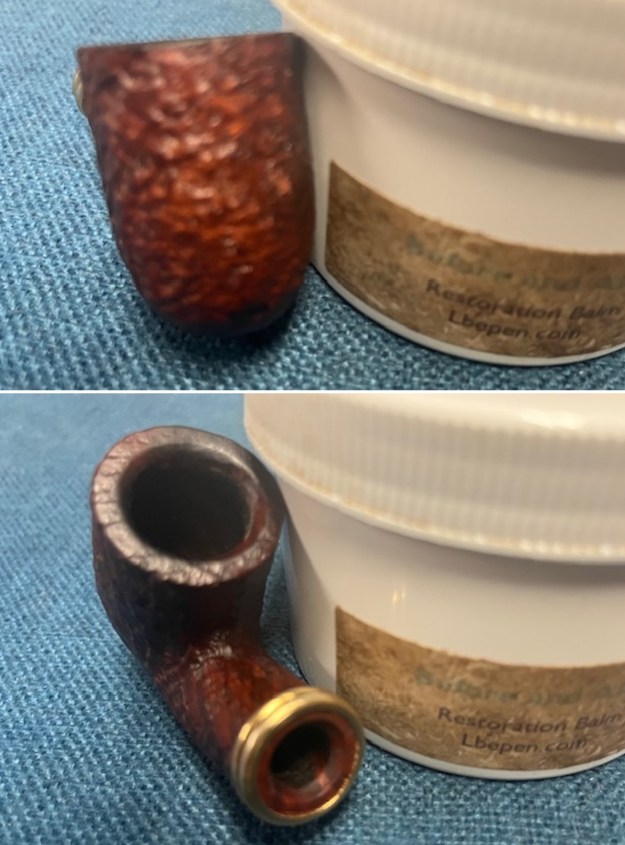
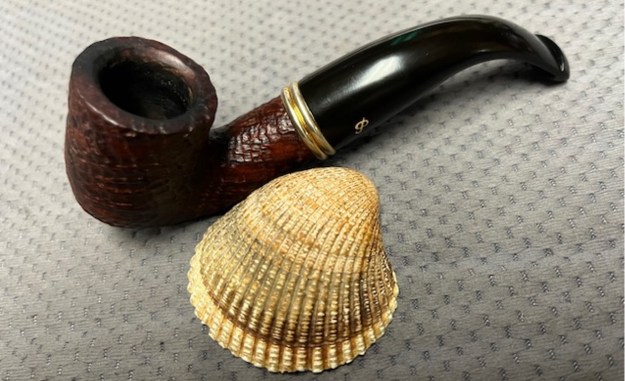
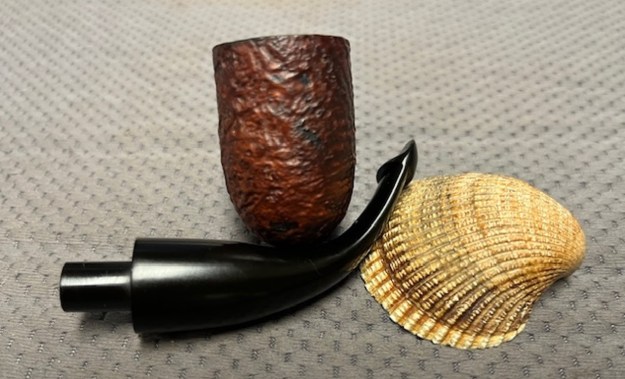
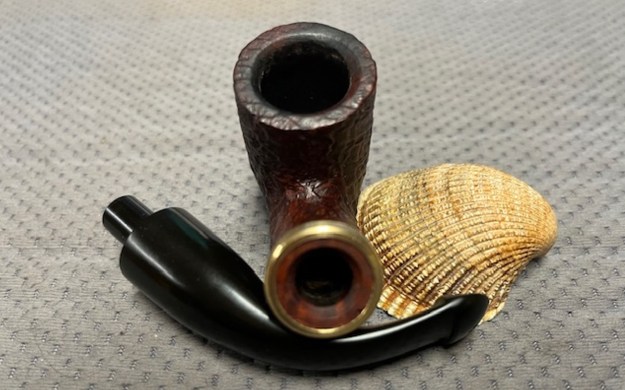
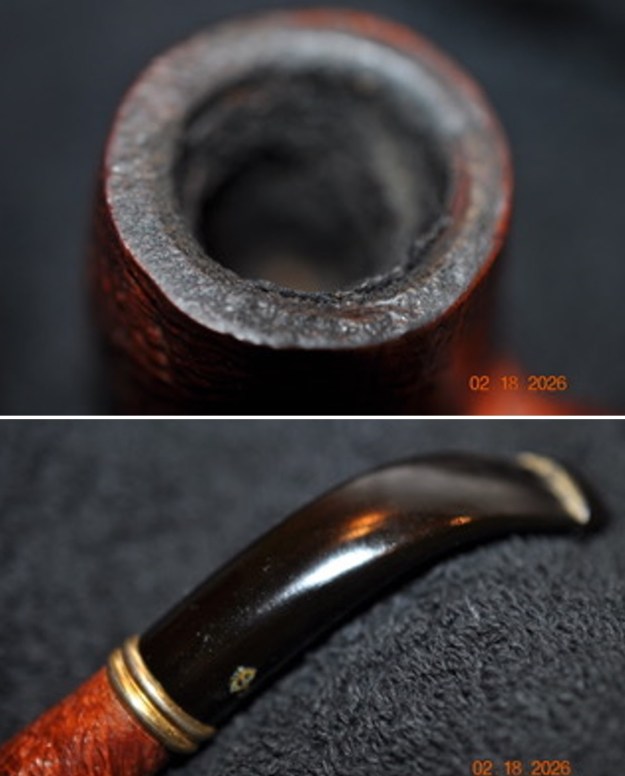
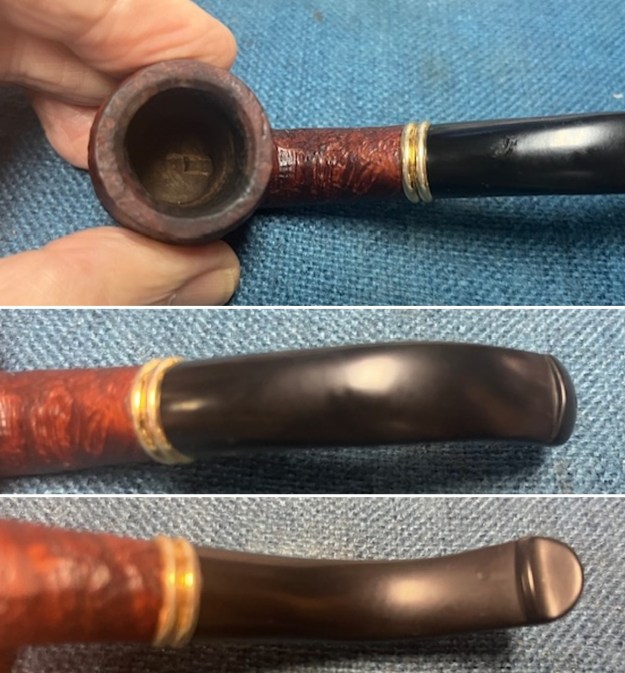
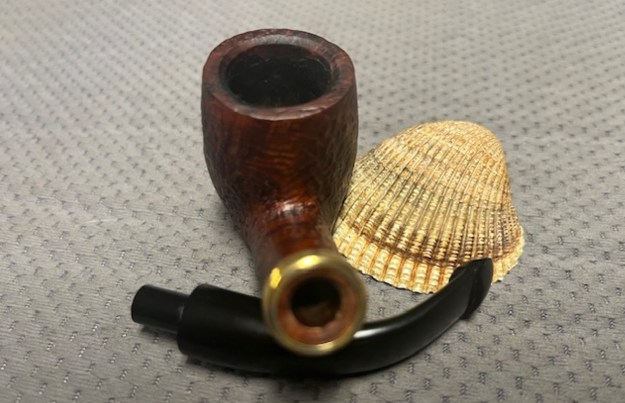
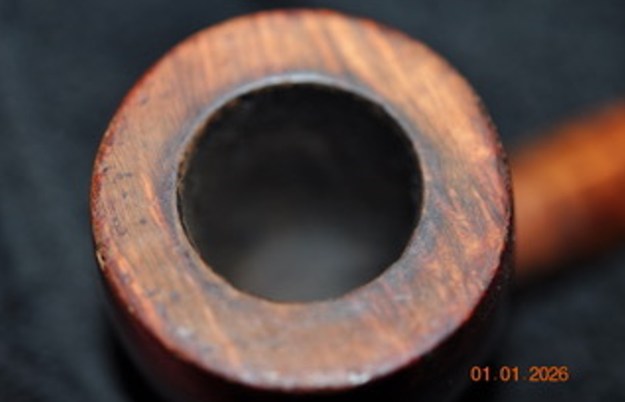
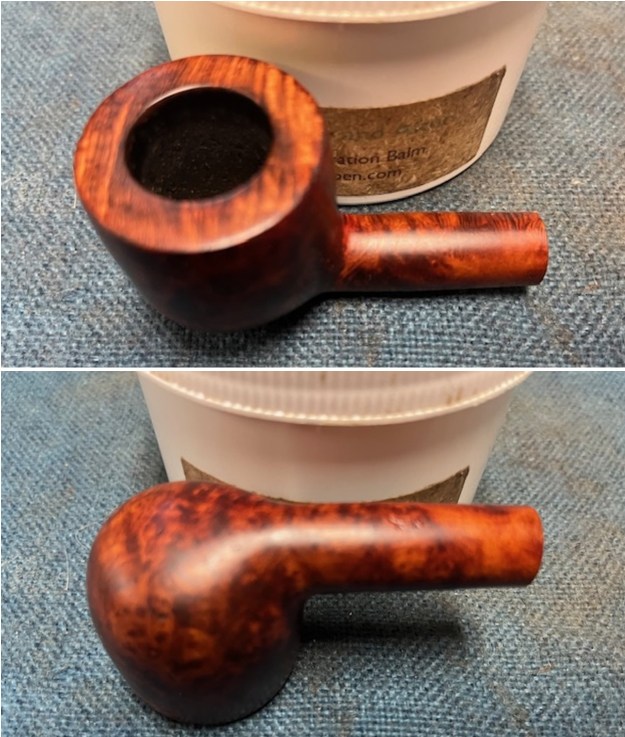
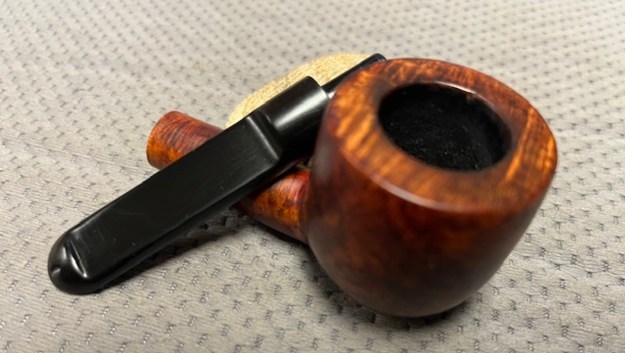
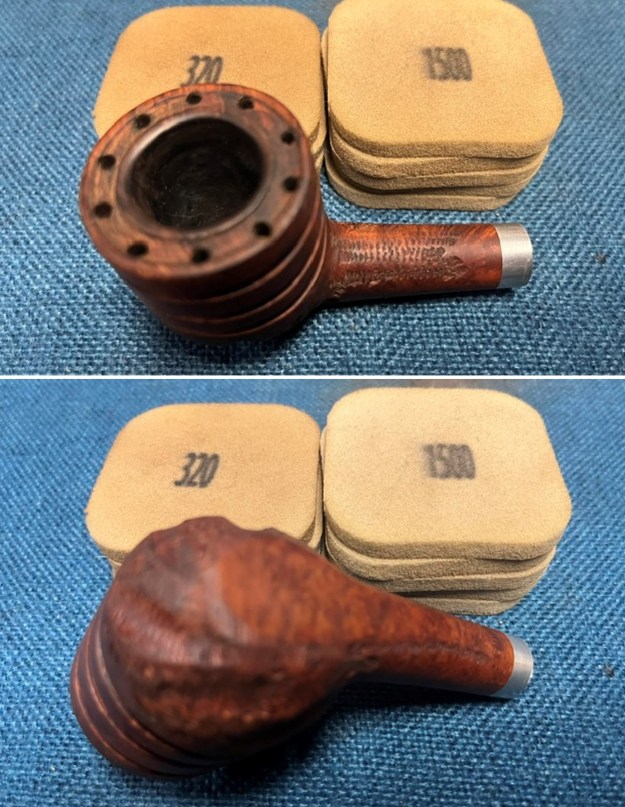
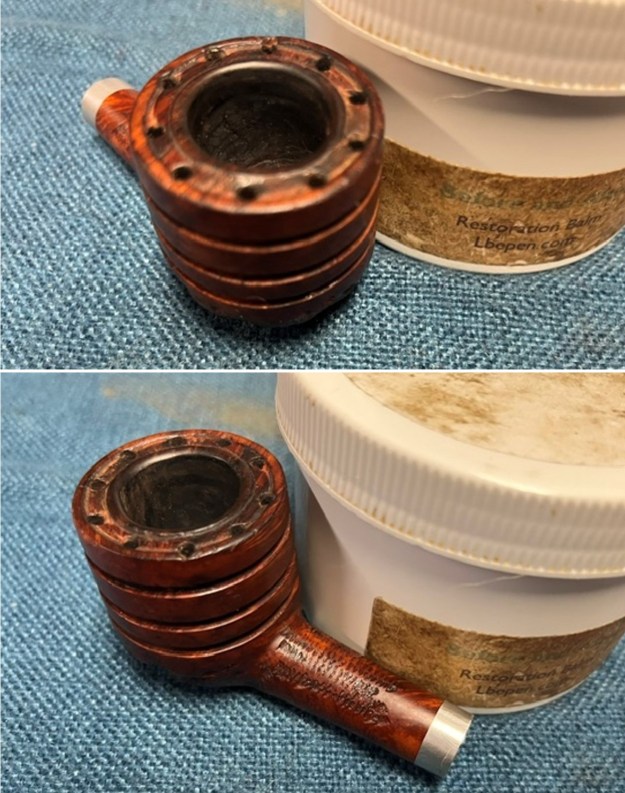
 I took close up photos of the bowl and the rim top to show the condition. It looked better and the inner edge and top were in very good condition. I also took photos of both sides of the stem to give a sense of the condition of both sides at the button. There were light tooth marks on both sides ahead of the button.
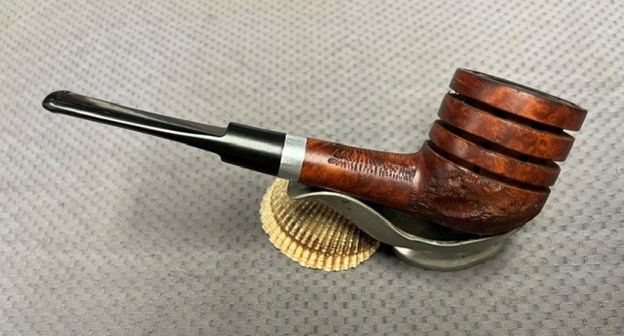
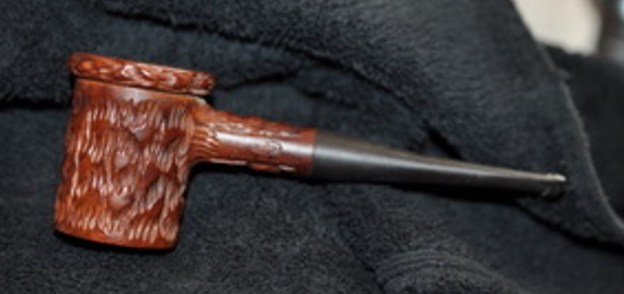
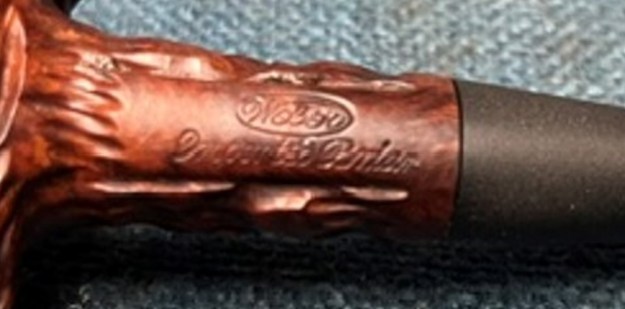
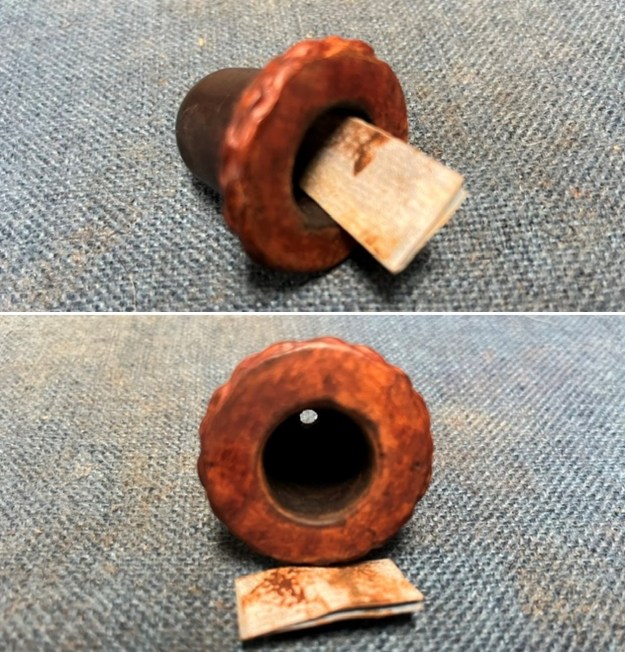
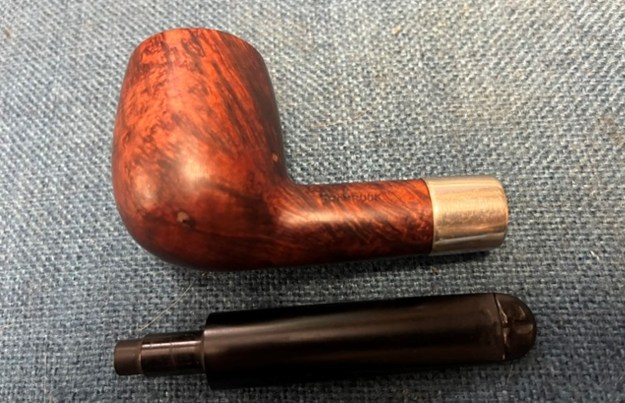
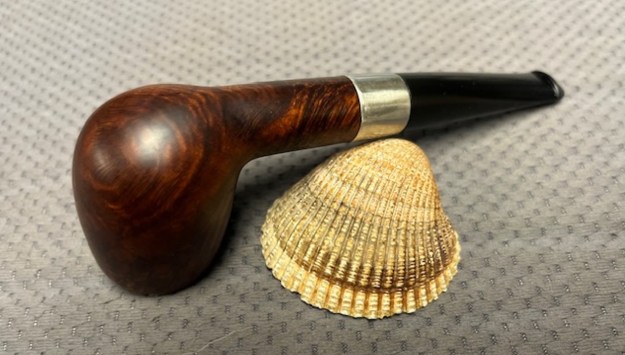
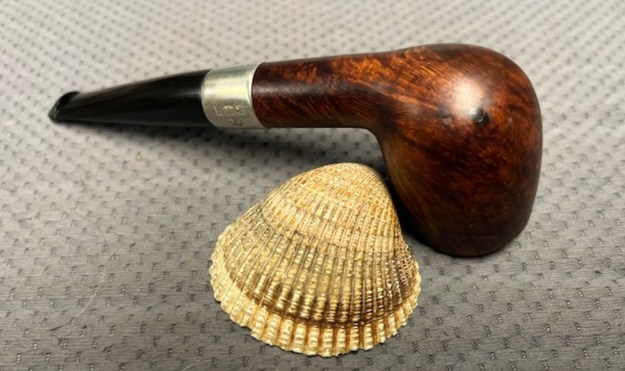
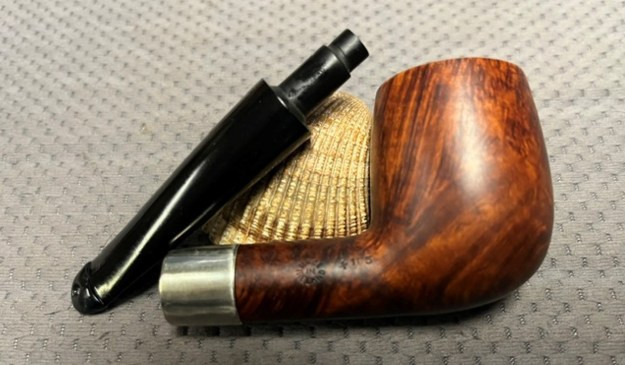
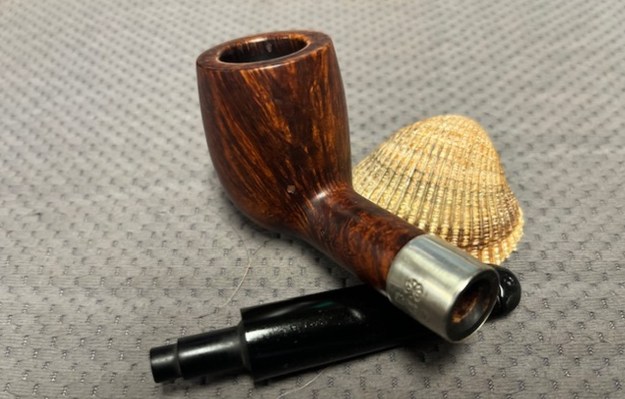
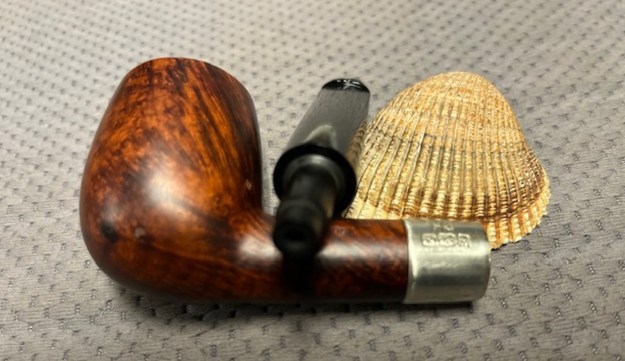
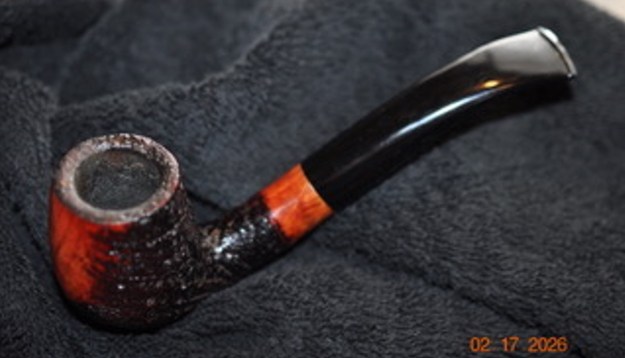
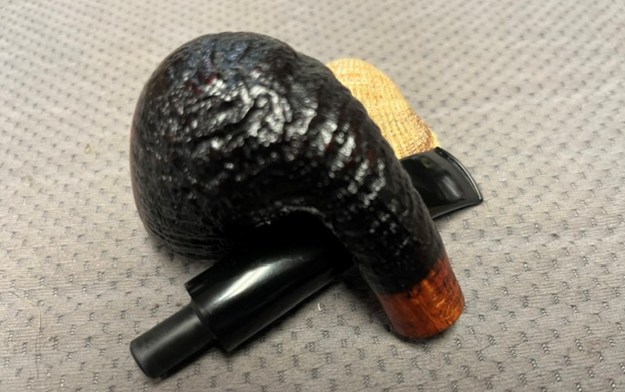
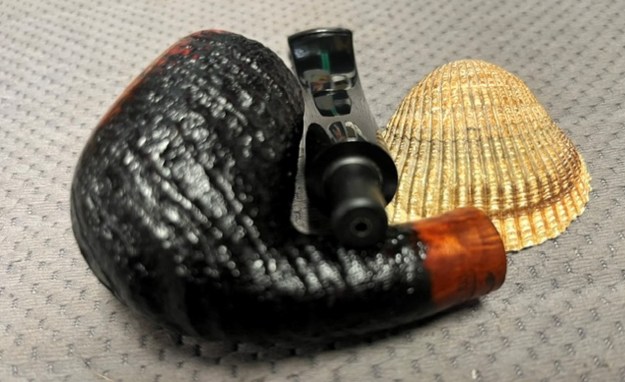
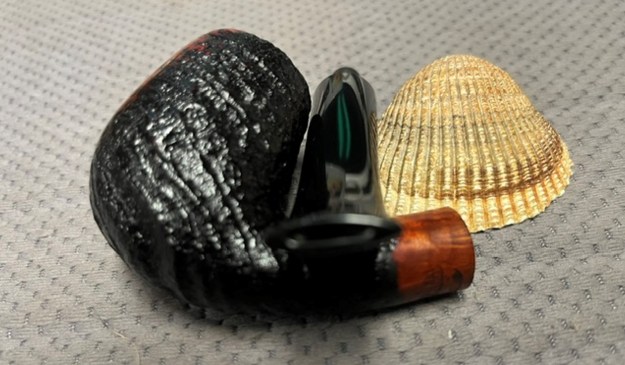
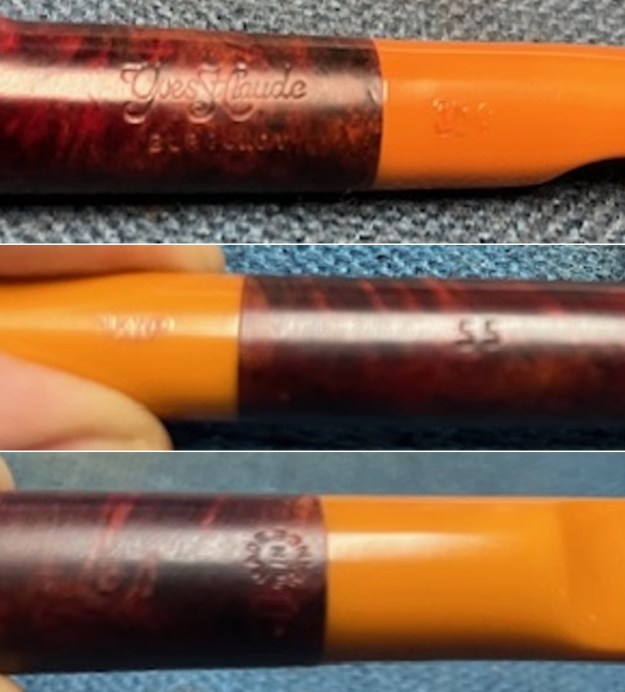
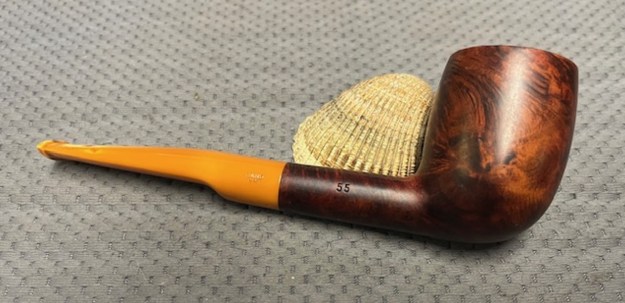
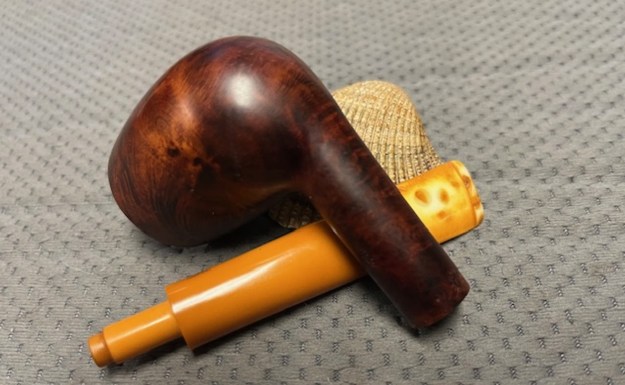
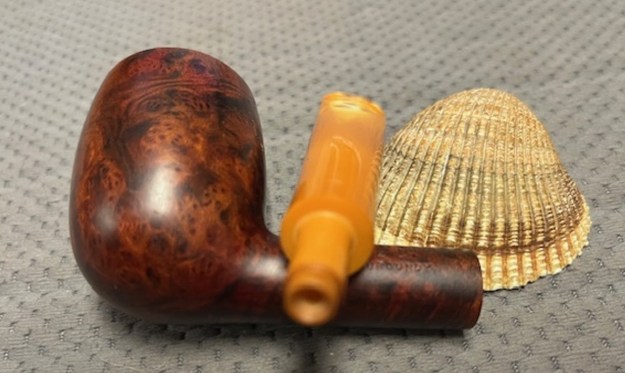
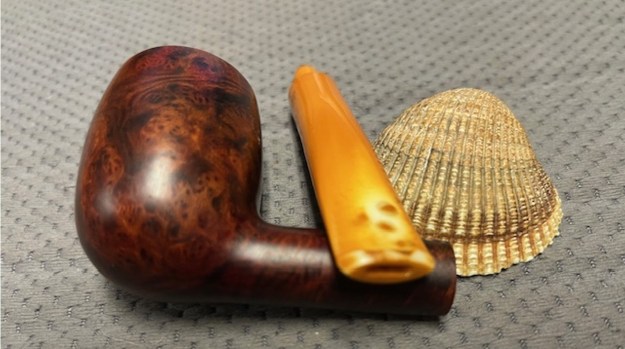
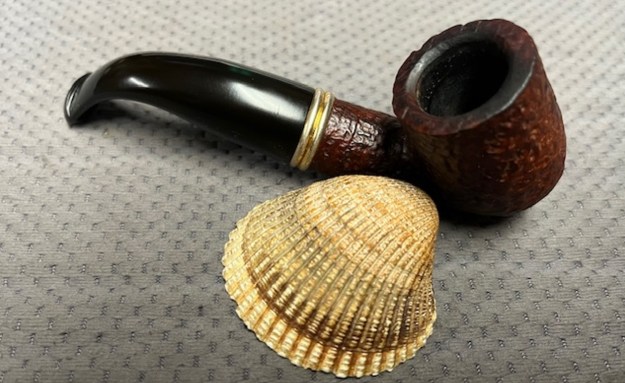
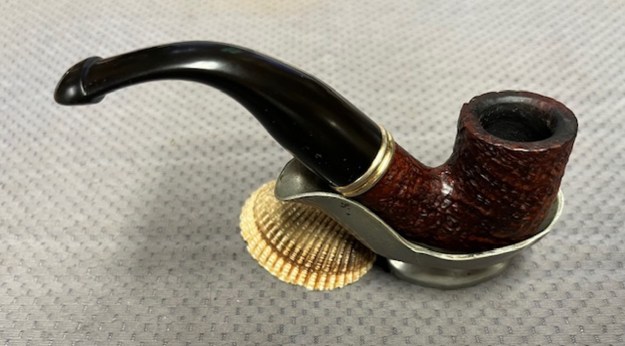
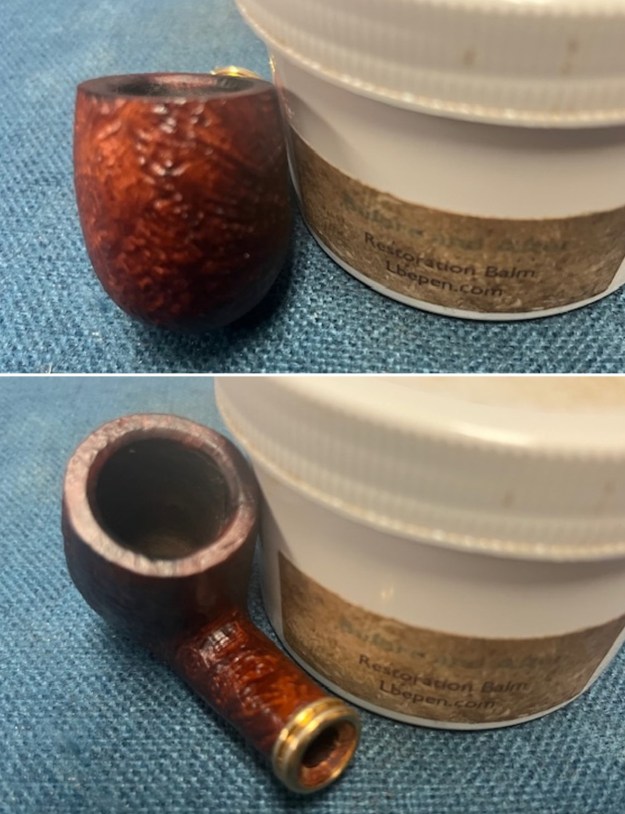
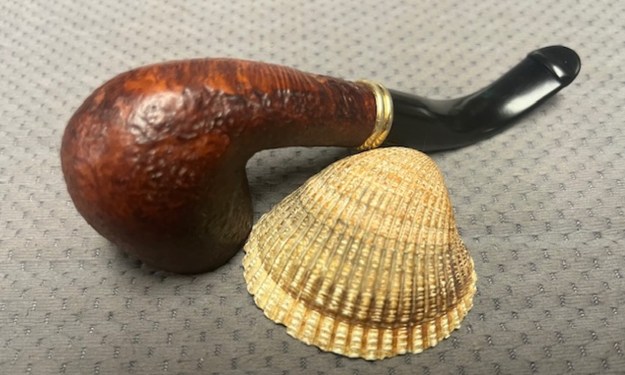
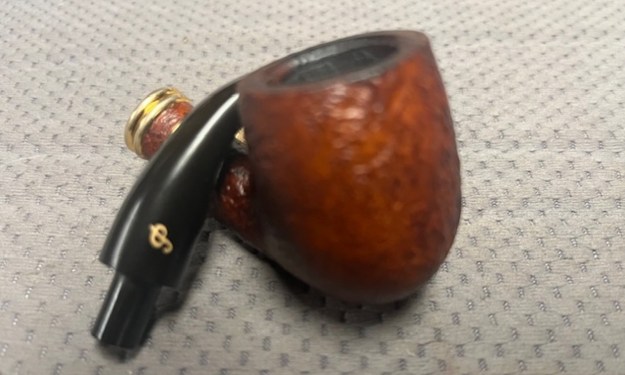
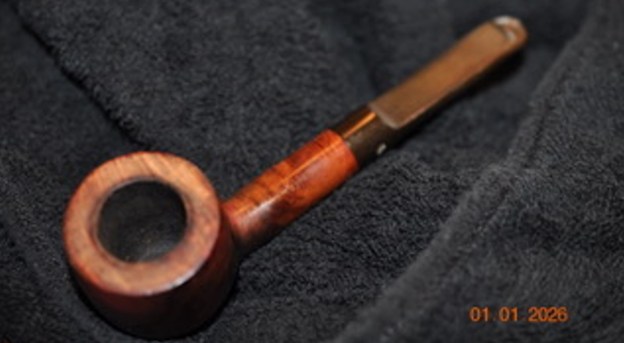
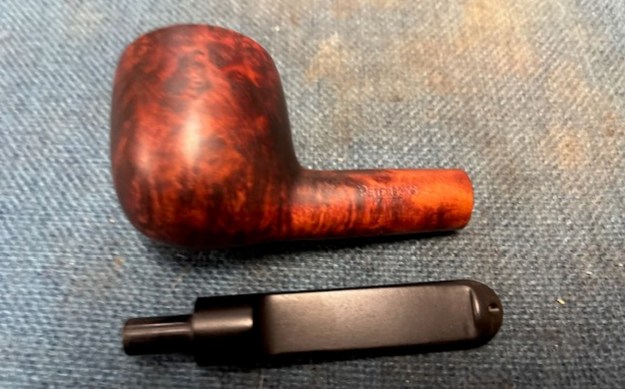
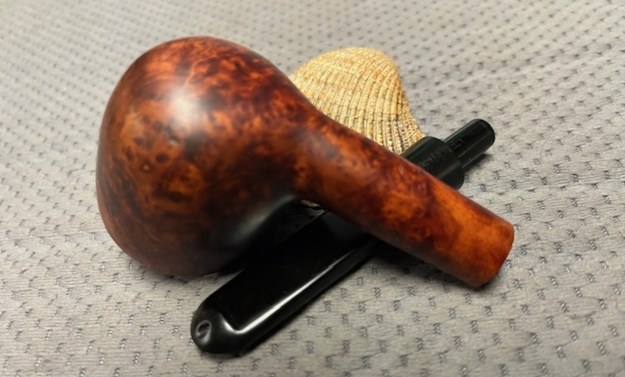
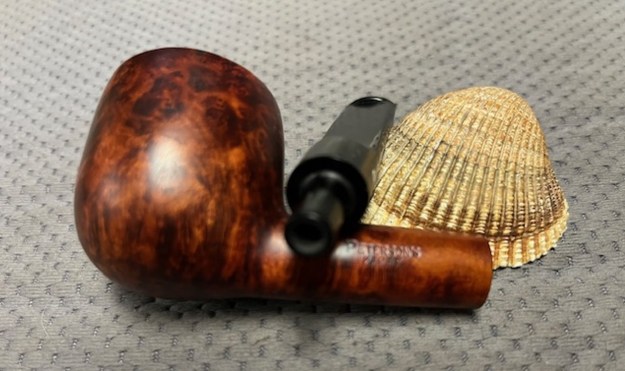
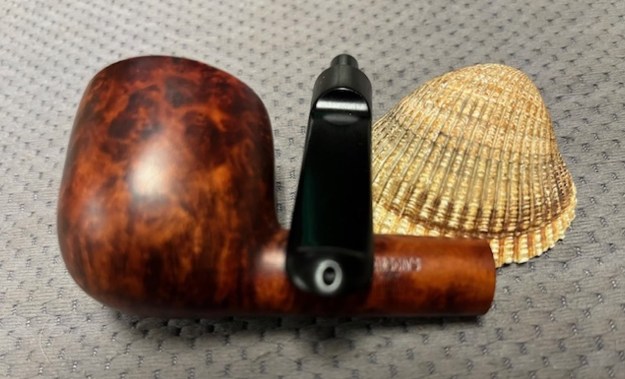
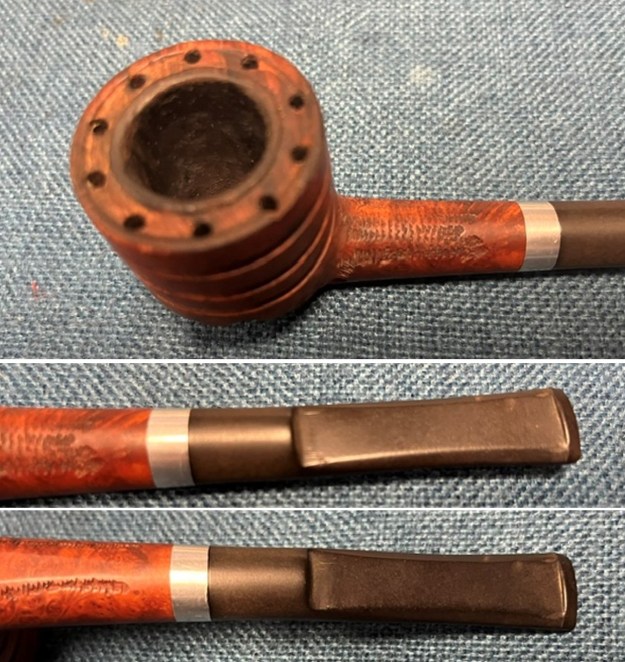 I took photos of the stamping on the sides of the shank and stem. It reads as noted above and is very clear and readable. The circle B logo on the stem is faded but should be easy to repair. I took the stem off the shank and took photos of the pipe to give a sense of its beauty and proportions.
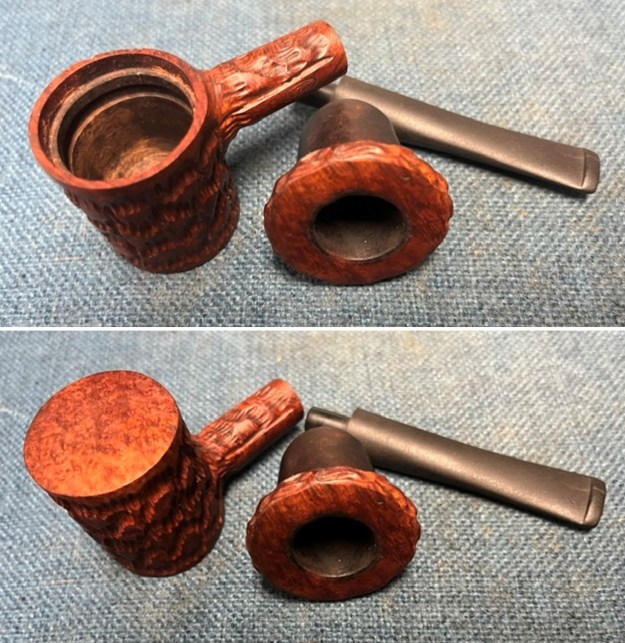
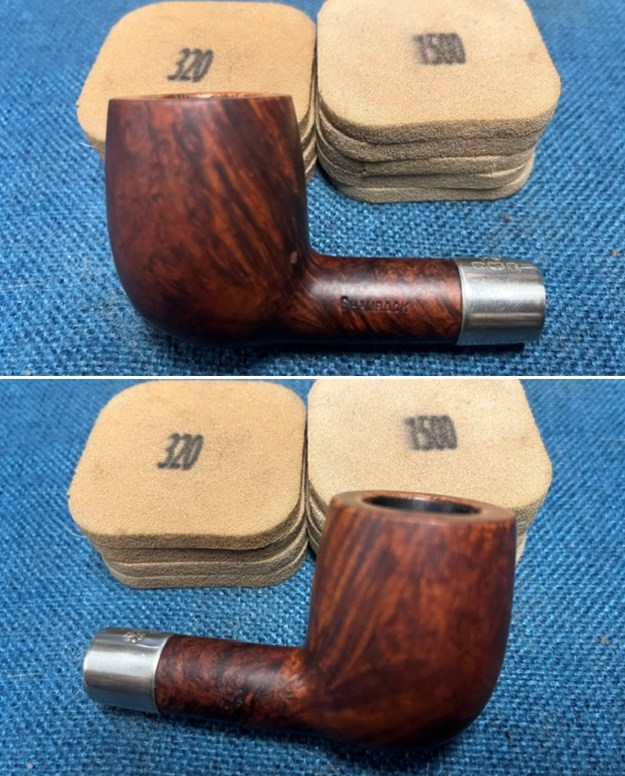
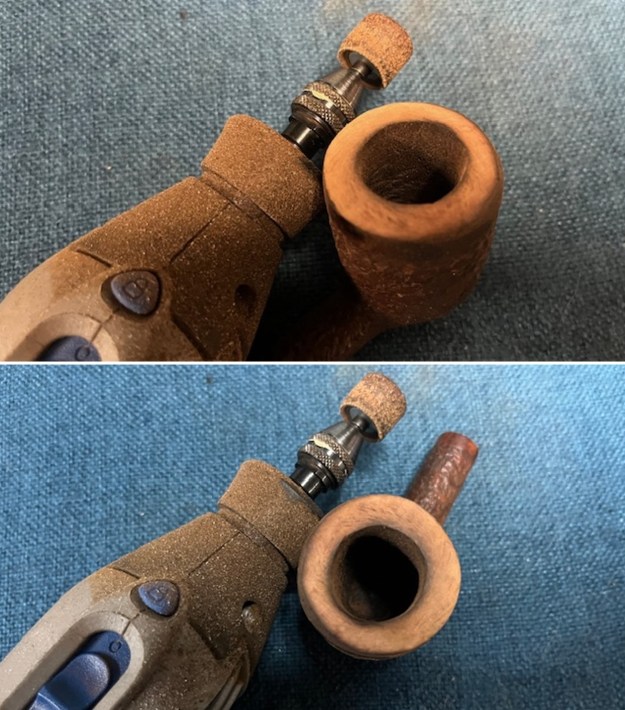
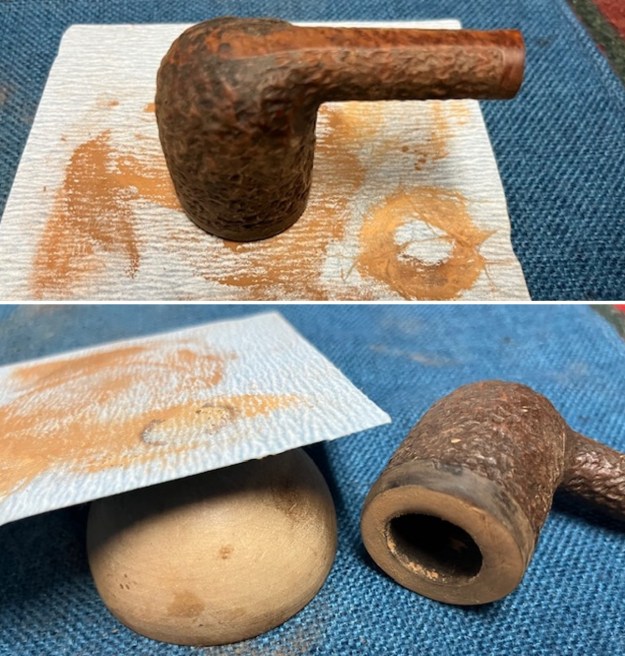
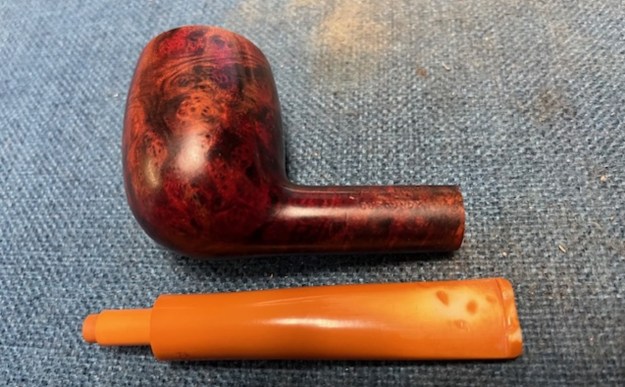
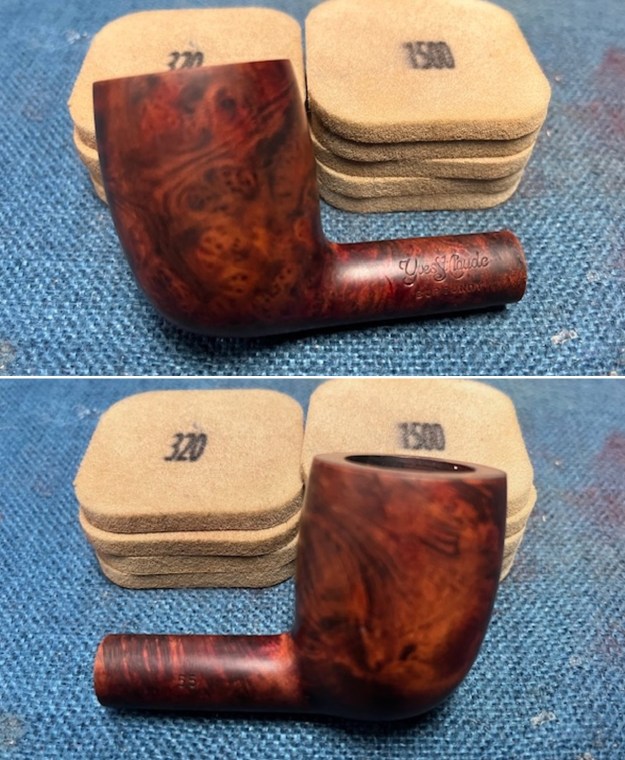
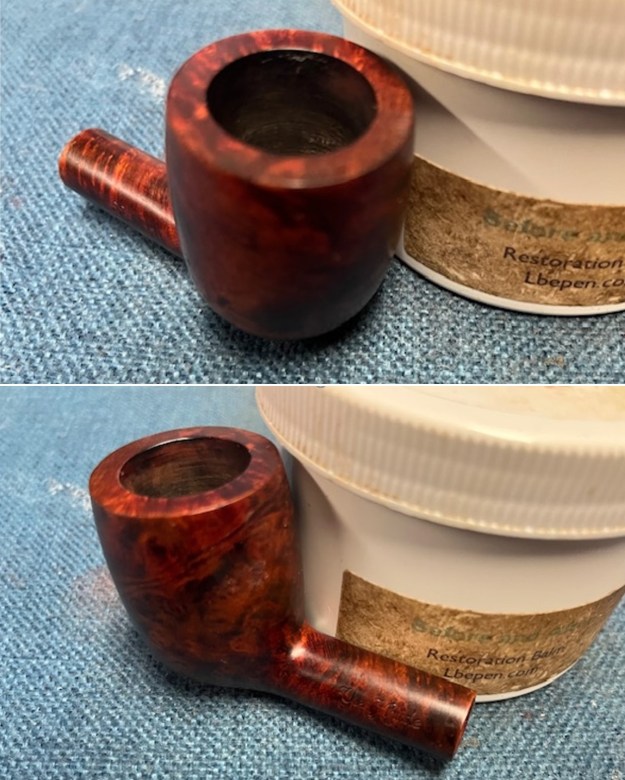
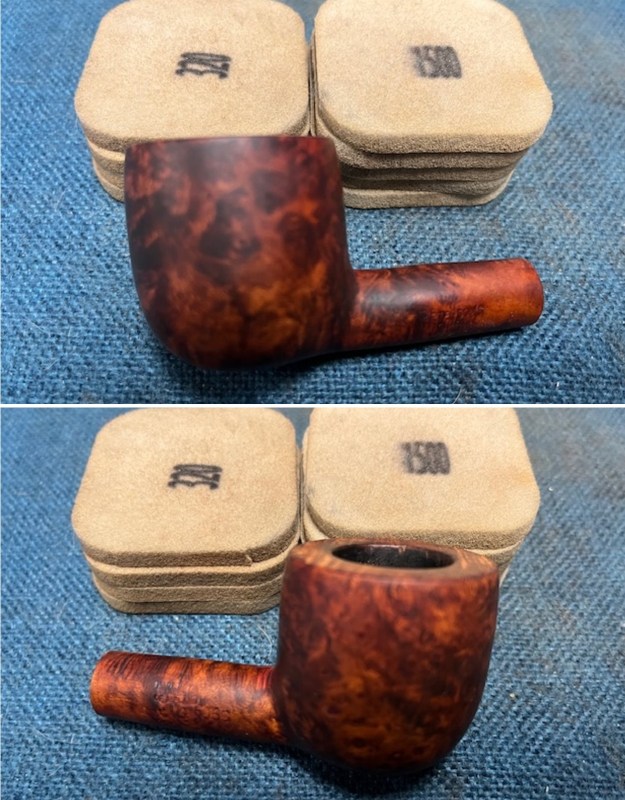
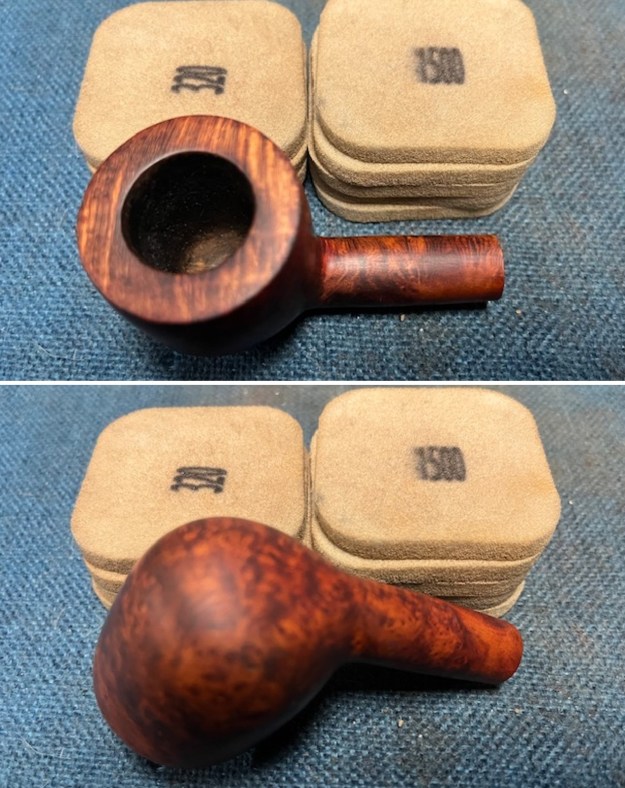
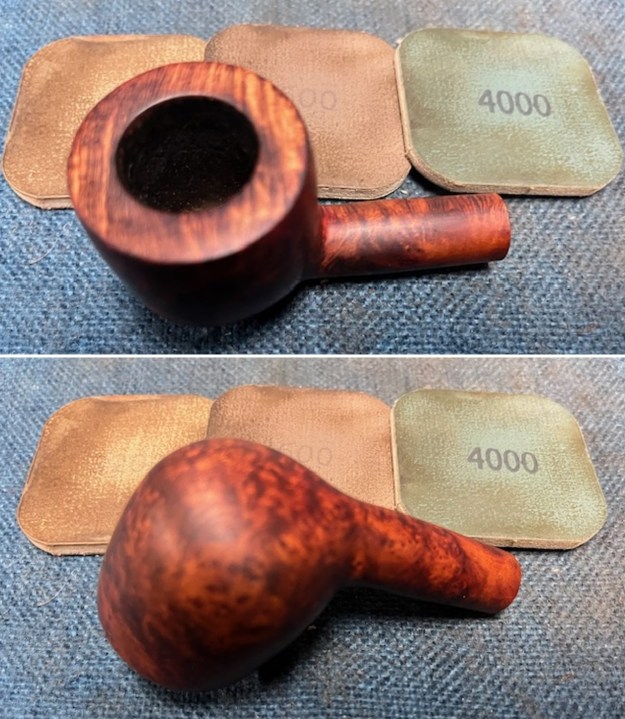
  I worked over the darkening on the rim top and rings on the bowl with a folded piece of 220 grit sandpaper. It cleaned it up and it looked much better.
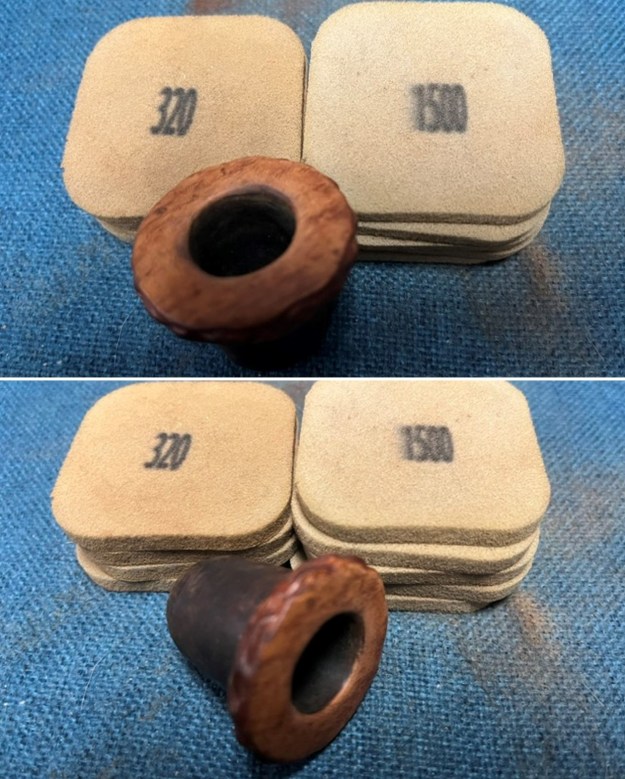
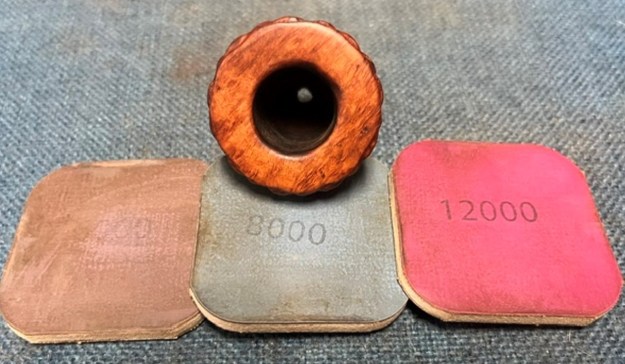
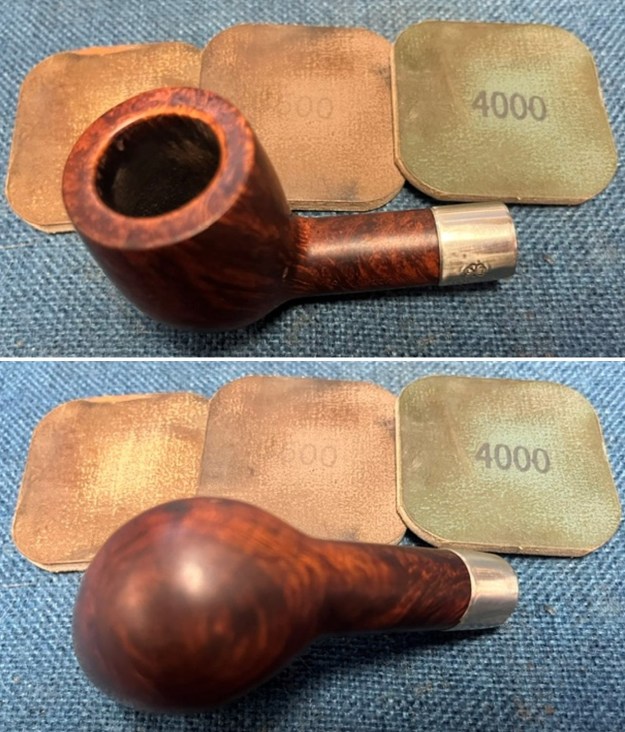
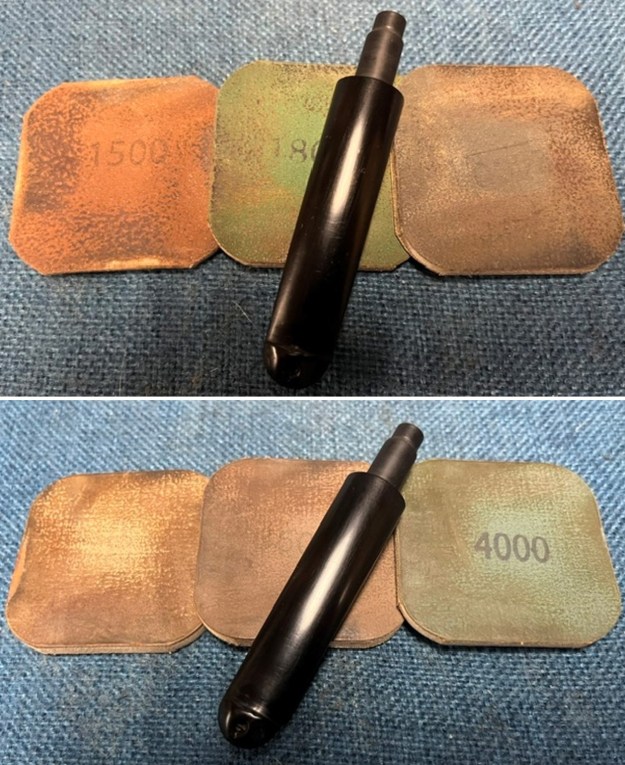
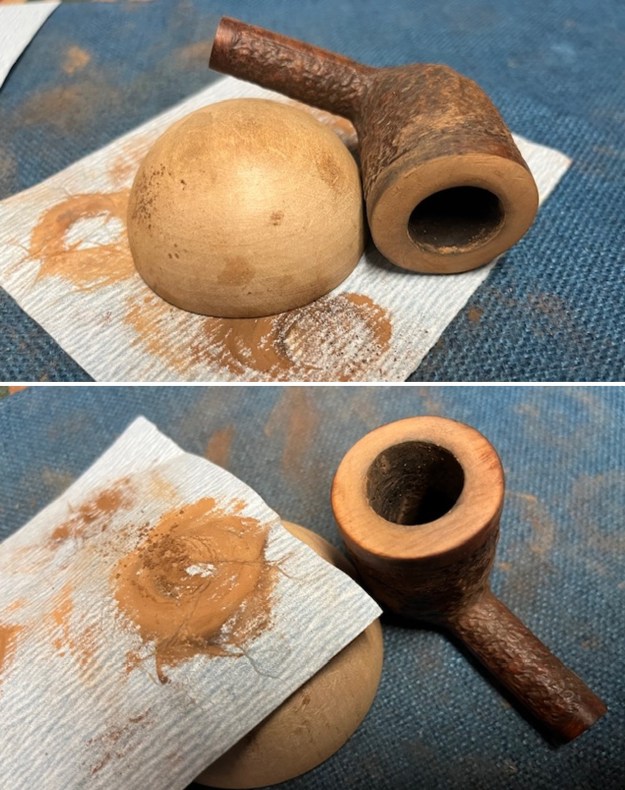
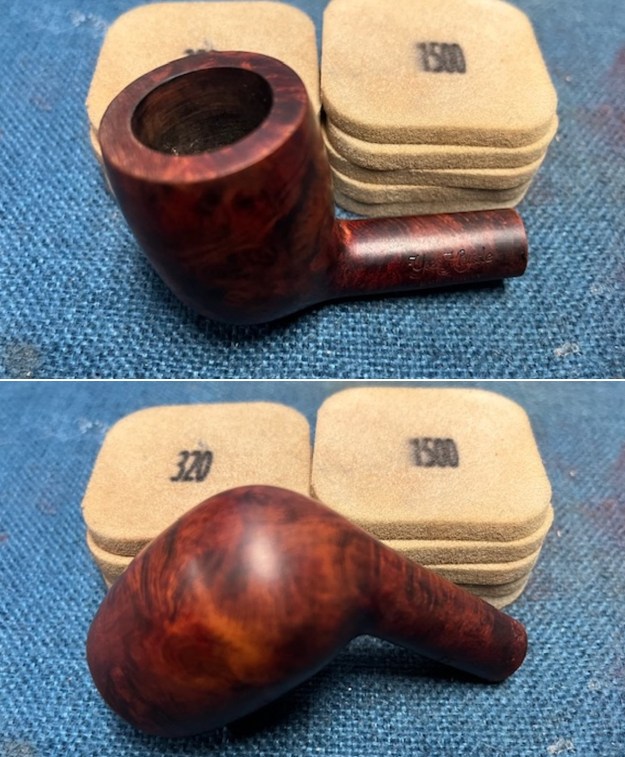
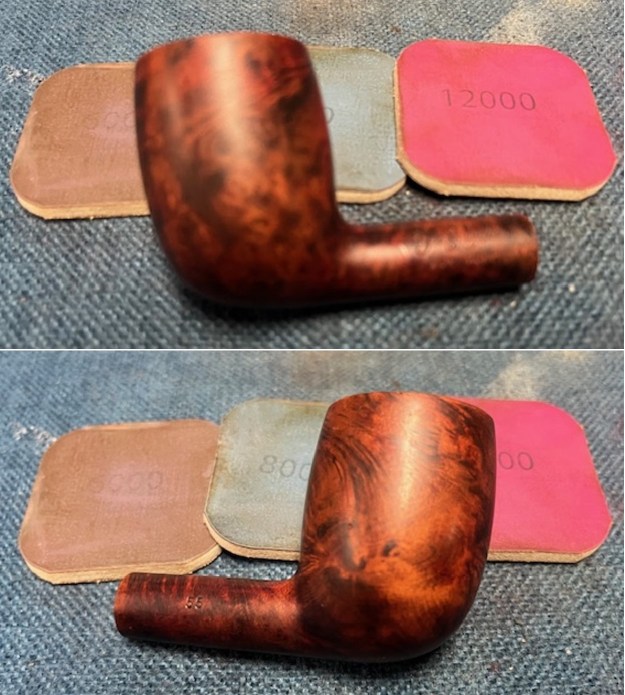
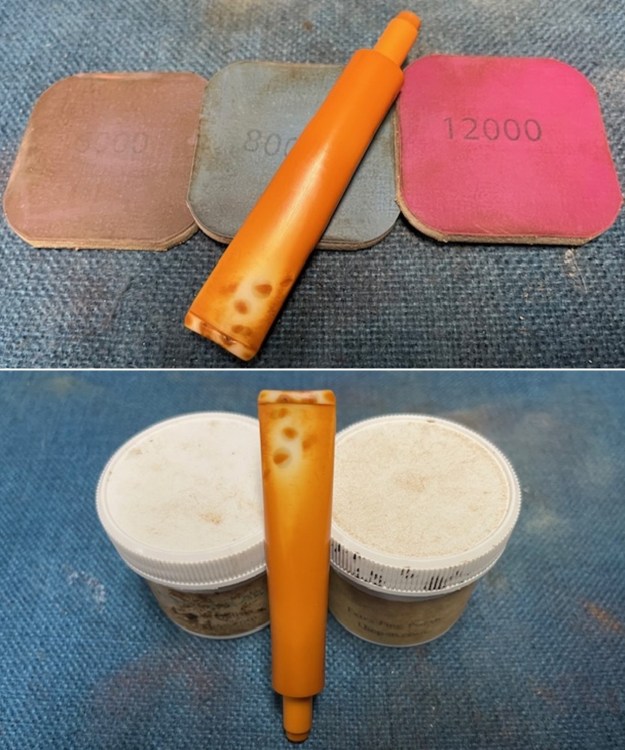
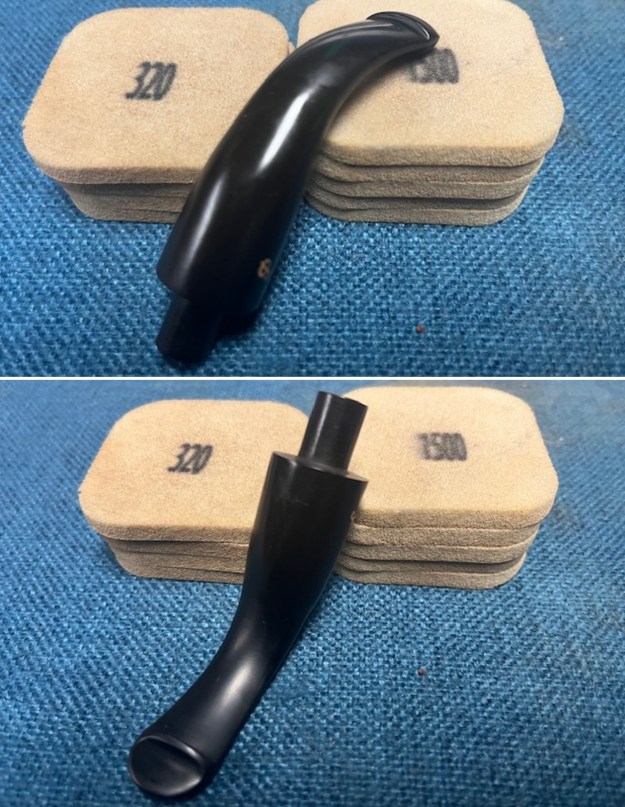
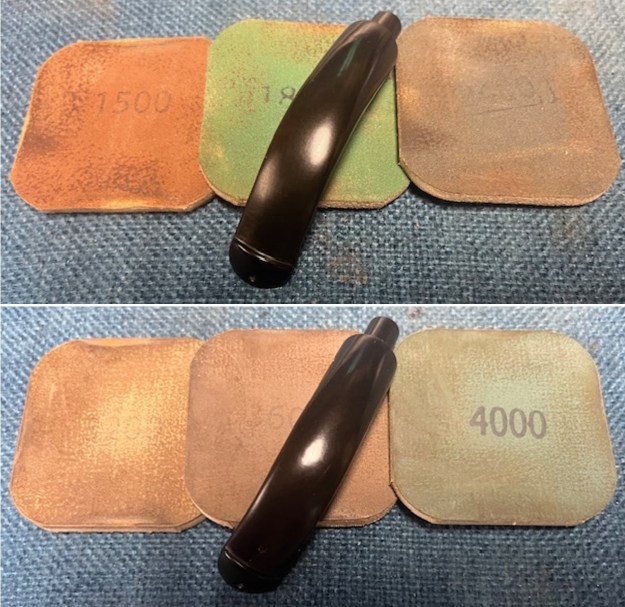
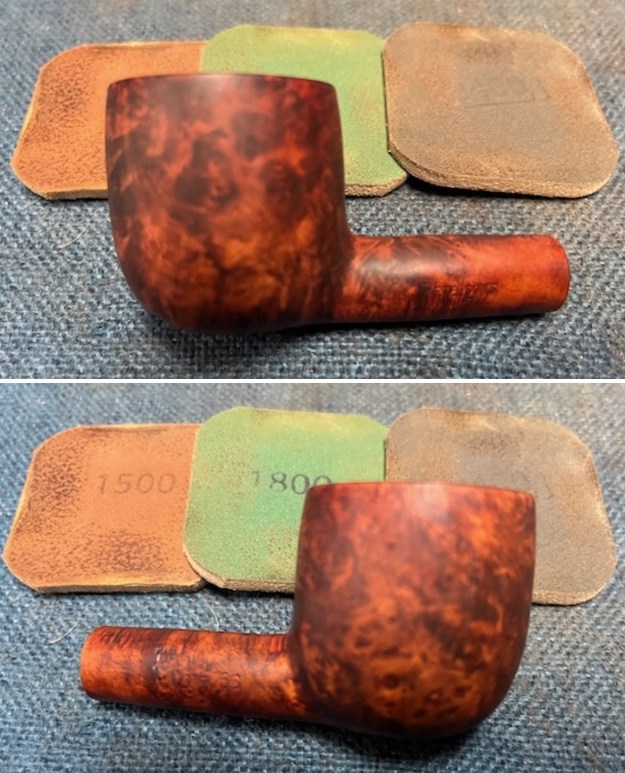
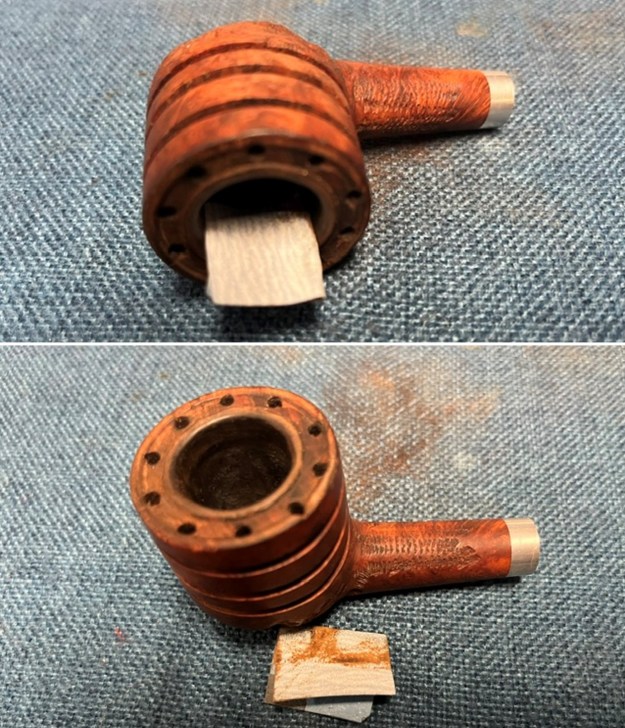 I sanded the smooth parts of the bowl and rim with 320-3500 grit 2×2 inch sanding pads. I wiped the briar down after each pad to remove the sanding debris. It looked much better.
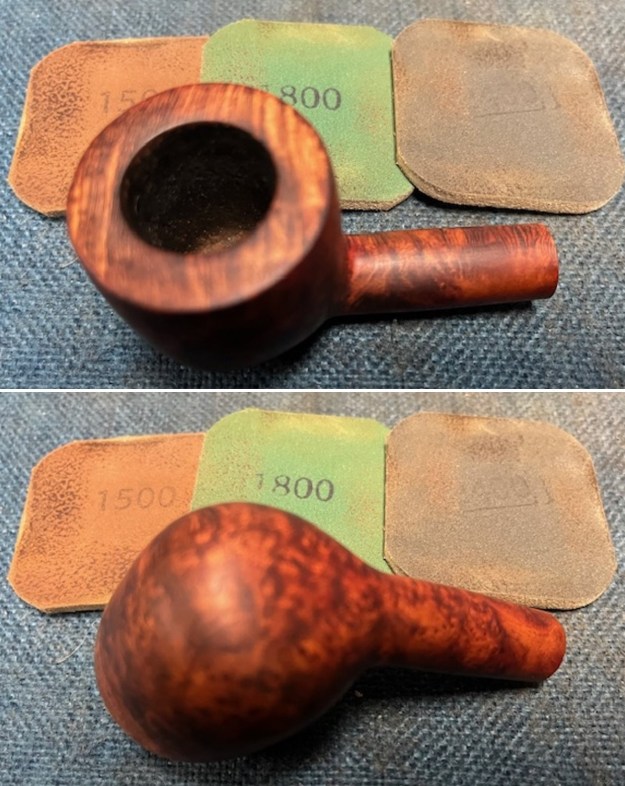
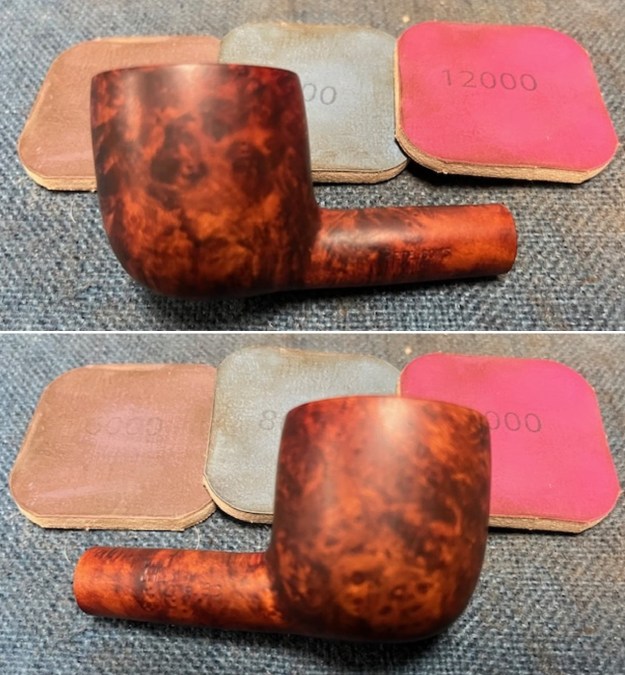
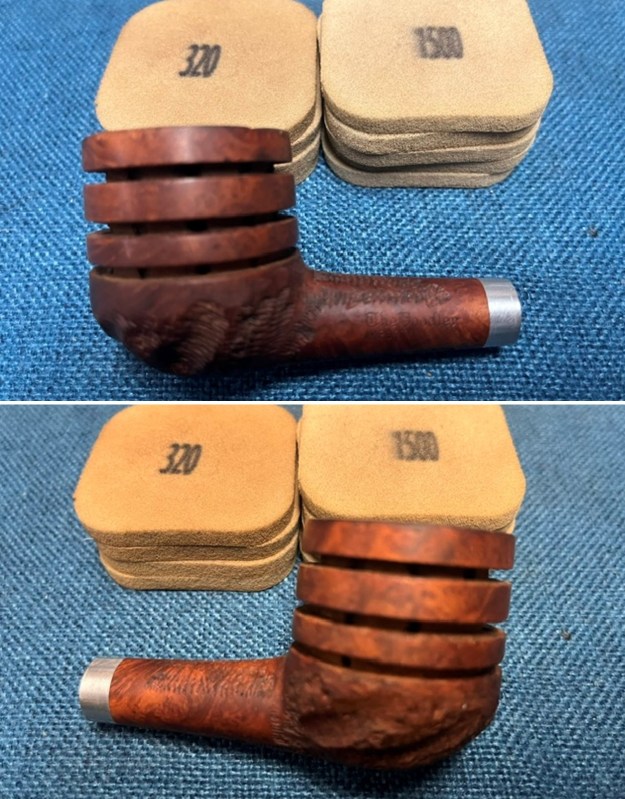
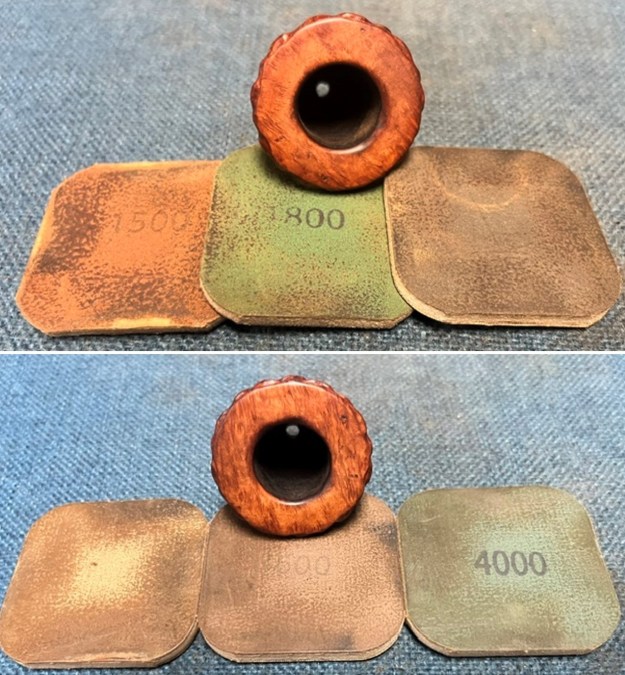
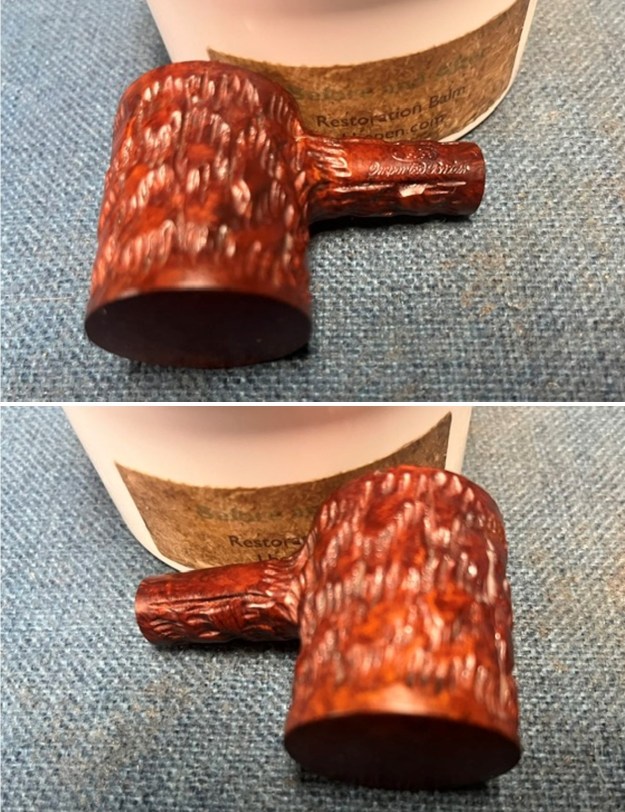
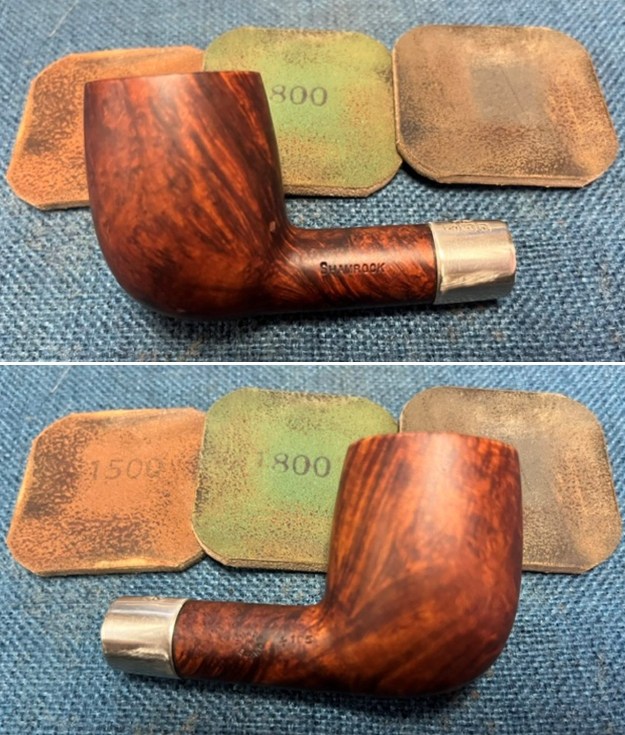
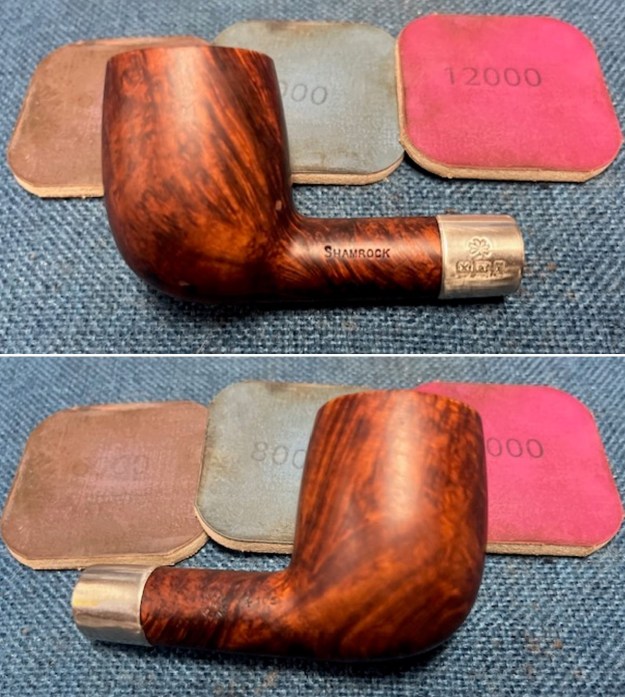
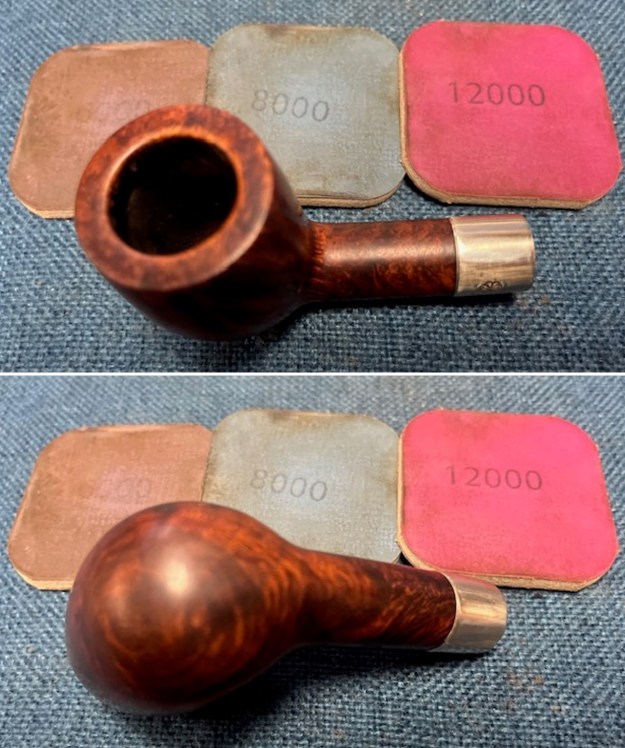
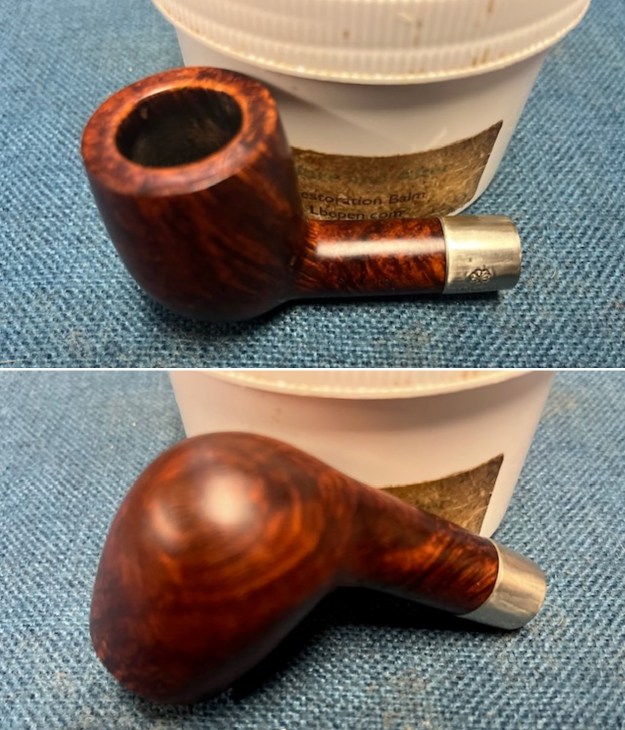
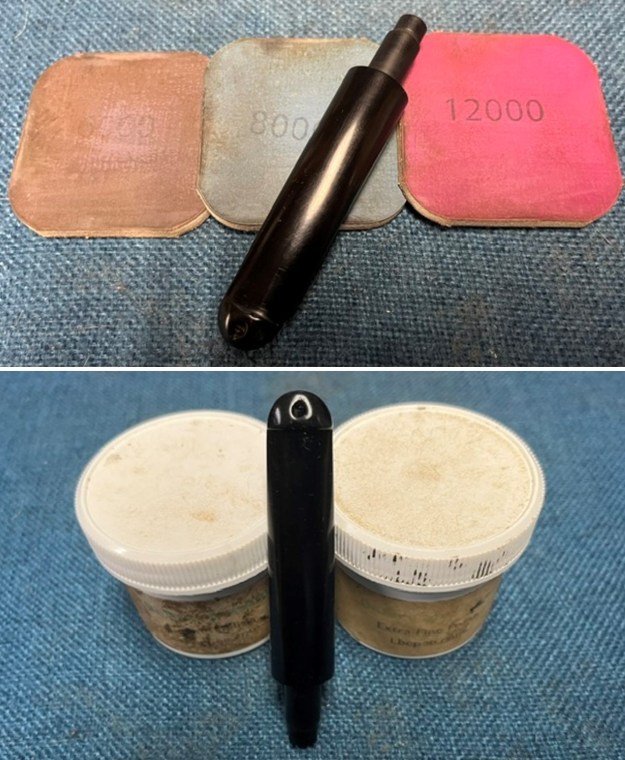
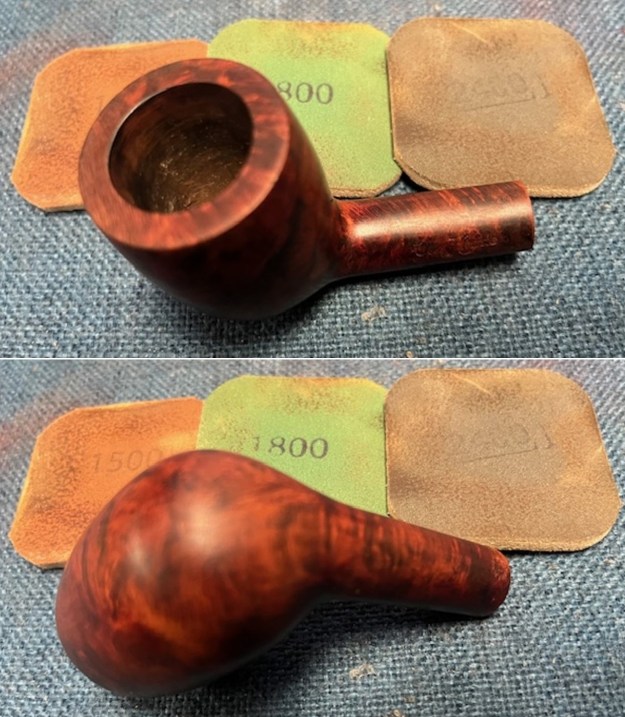
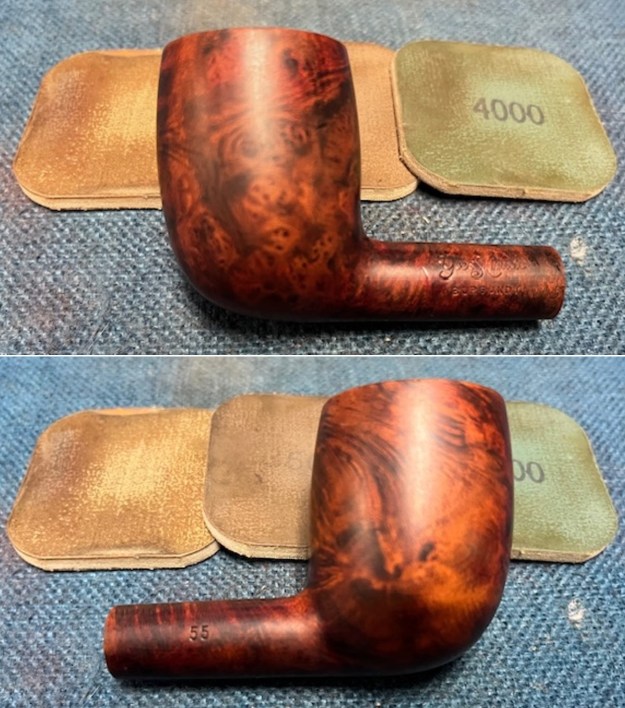
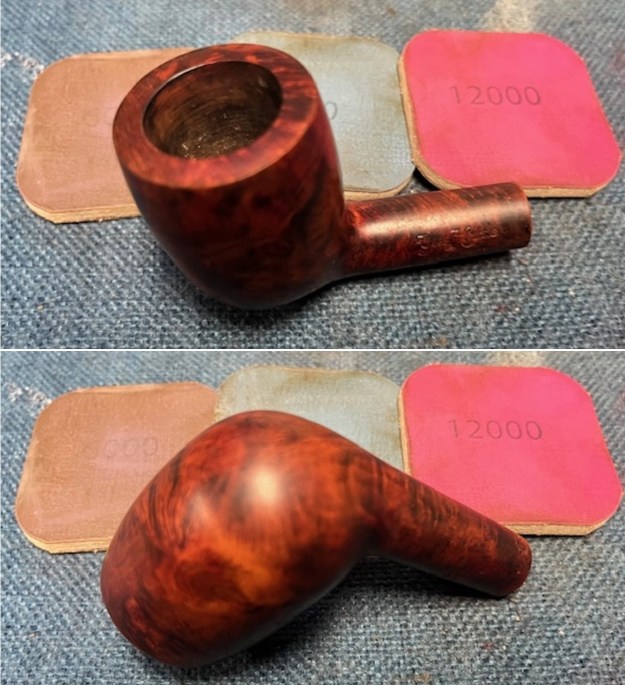
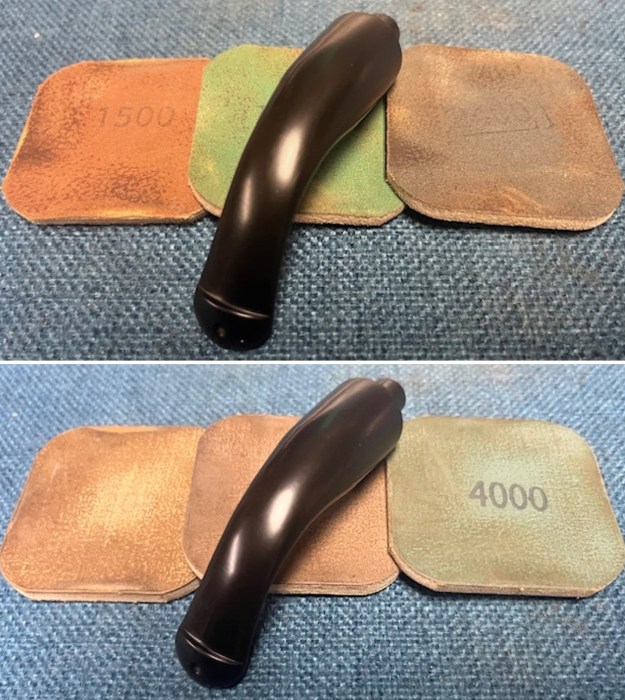
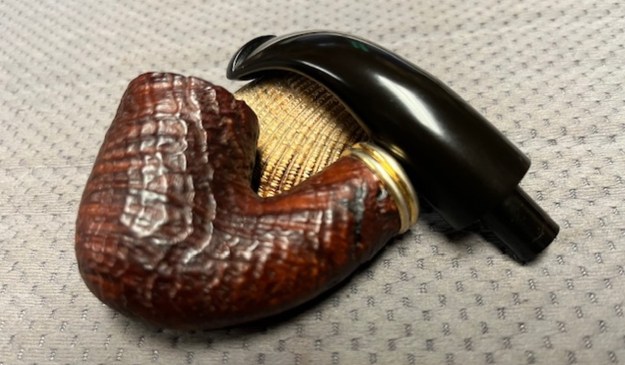
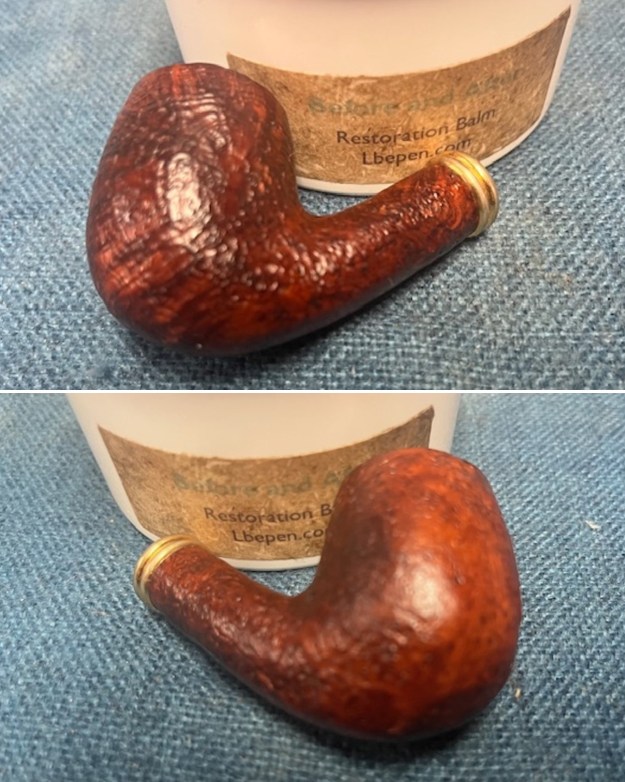
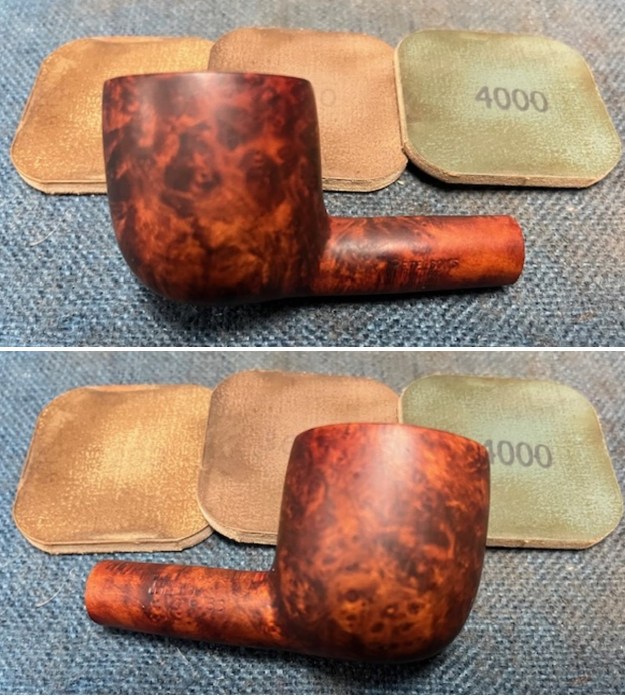
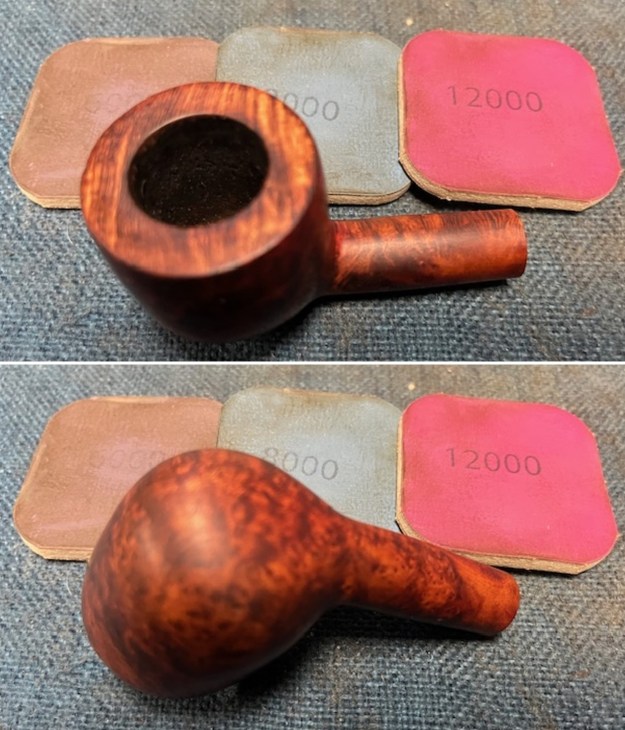
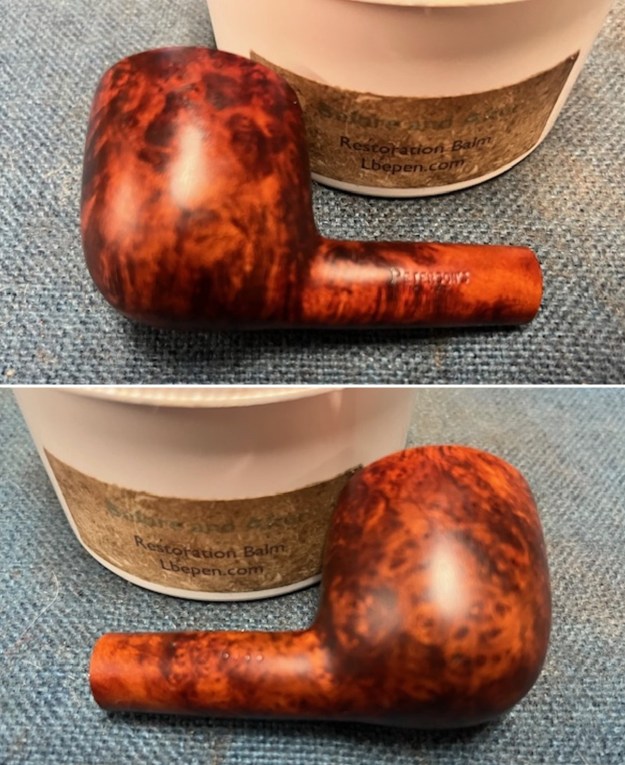
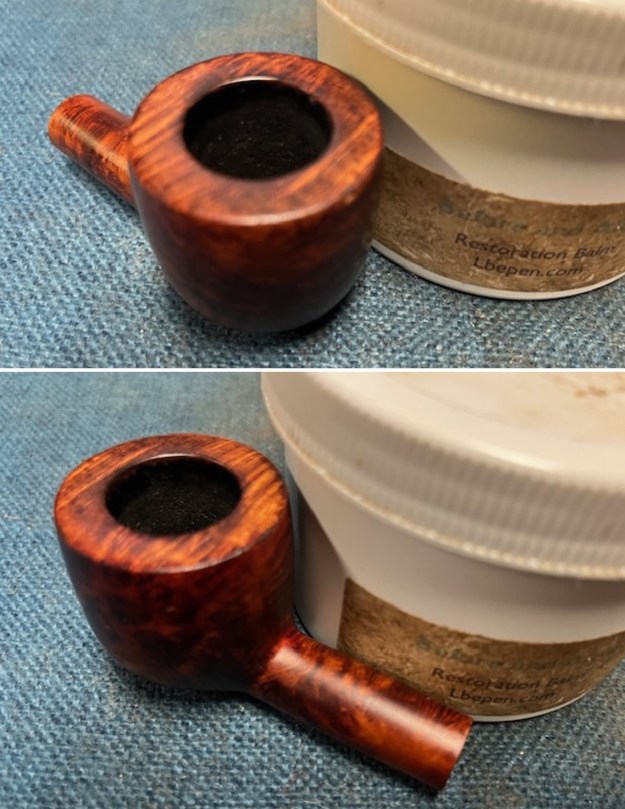
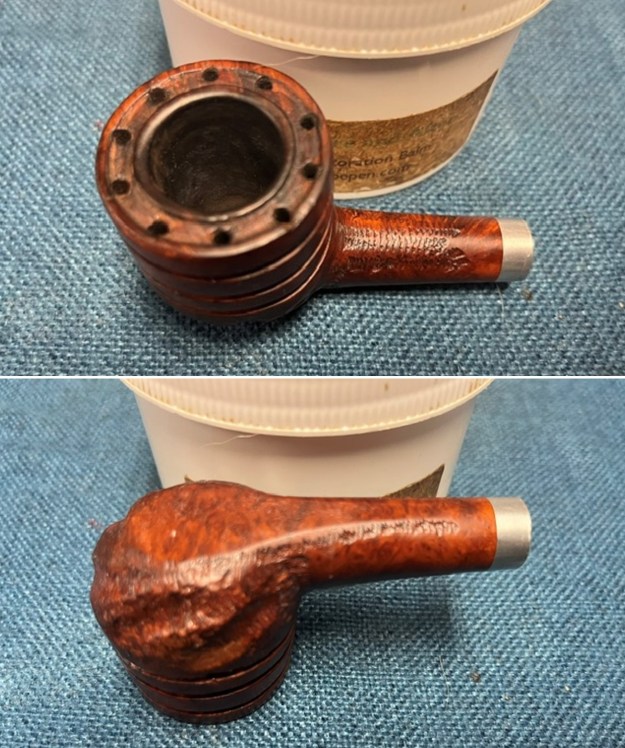
 I polished the bowl and rim top with micromesh sanding pads – dry sanding with 1500-12000 grit pads and wiped down the bowl down with a damp cloth after each sanding pad. The finish looked very good (forgot to take photos). I rubbed the bowl and shank down with Before & After Restoration Balm. I worked it into the surface of the bowl sides and shank with my fingertips to get it into the grain. The product works to clean, enliven and protect the briar. I let the balm sit for a little while and then buffed with a cotton cloth to raise the shine. The Balm did its magic and the grain stood out.
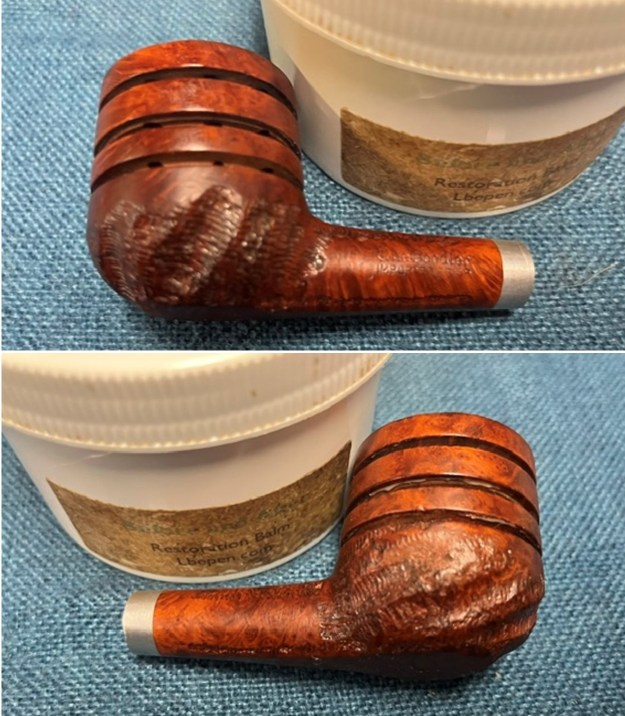
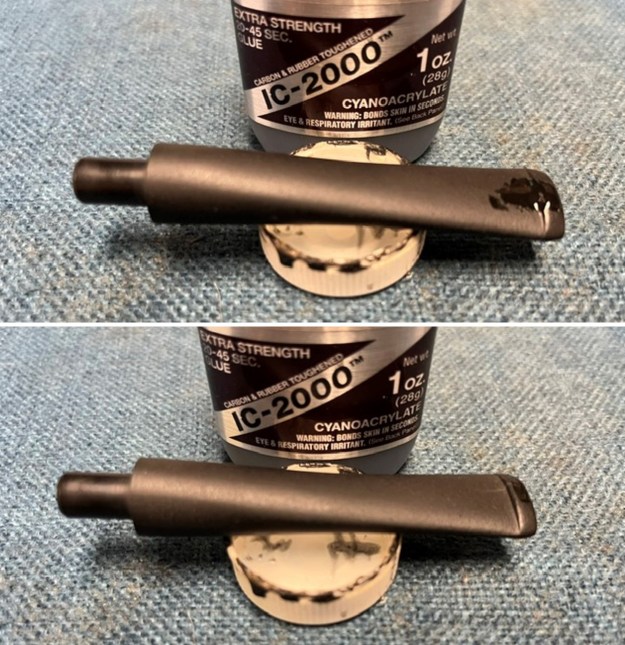
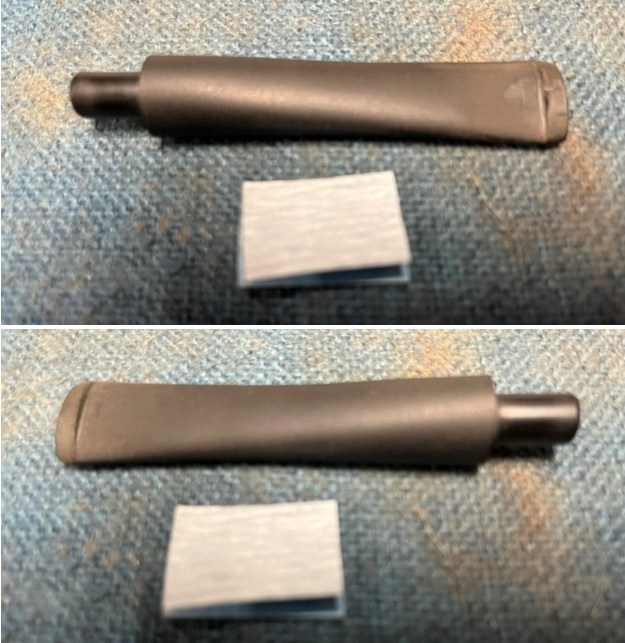
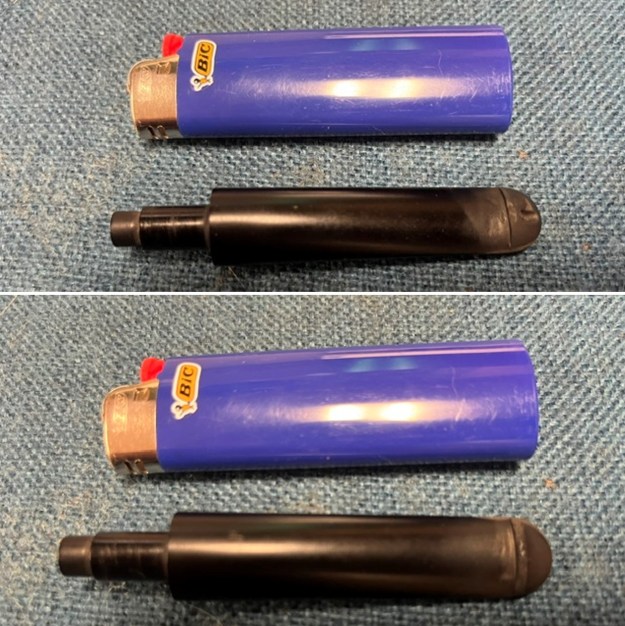
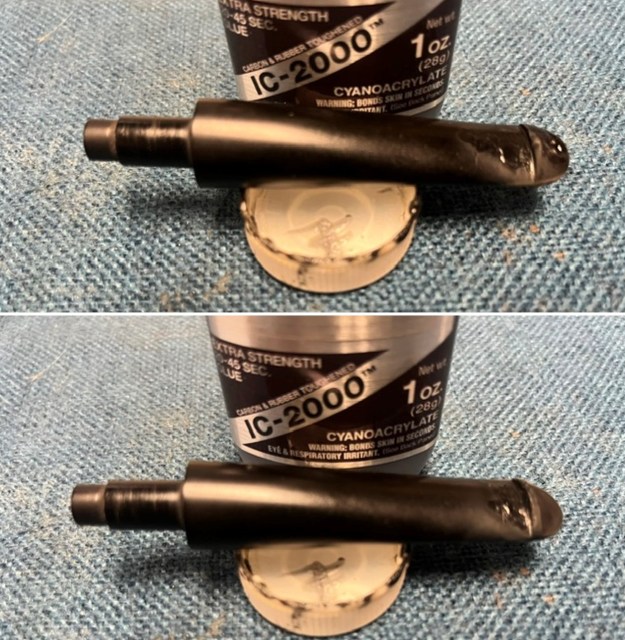
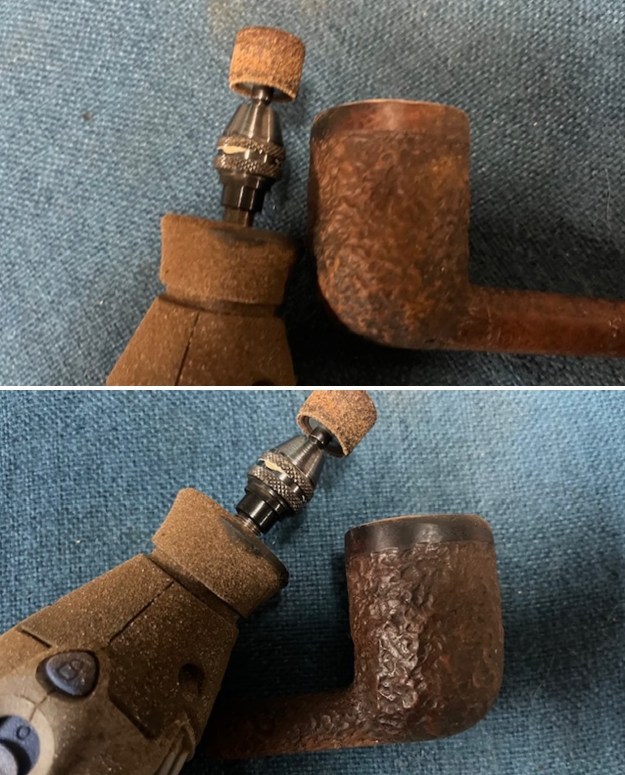
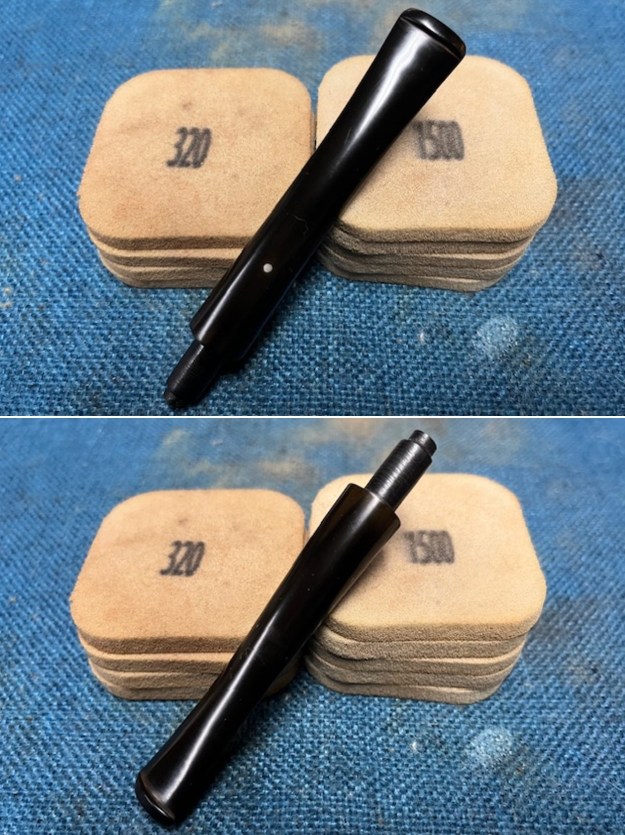
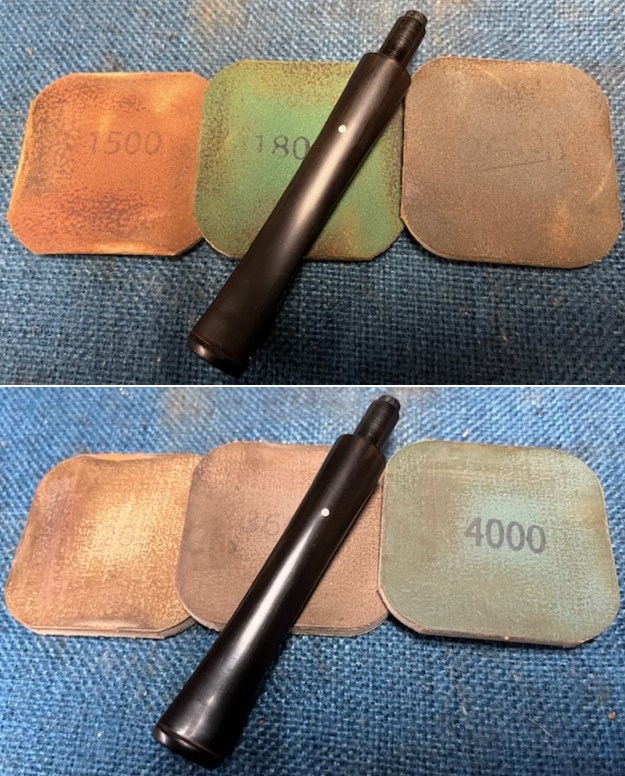
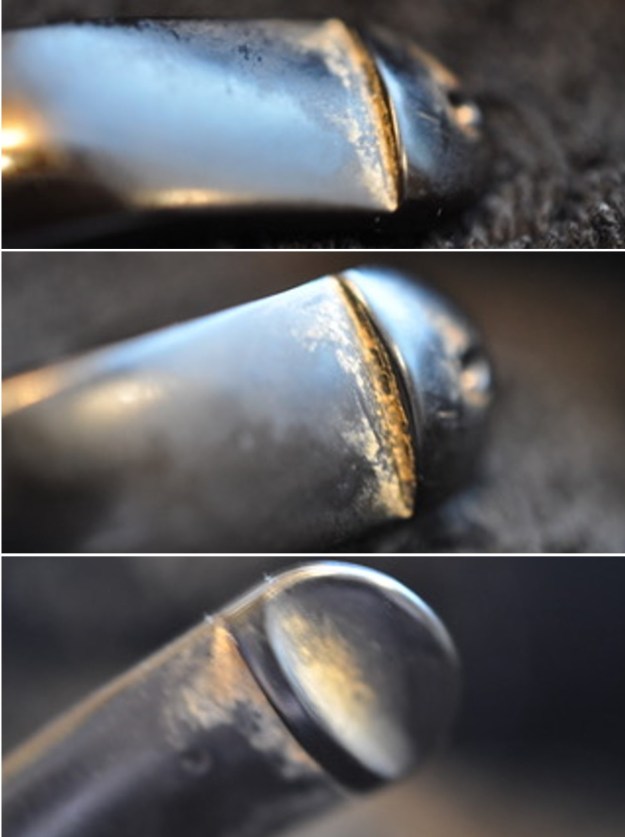
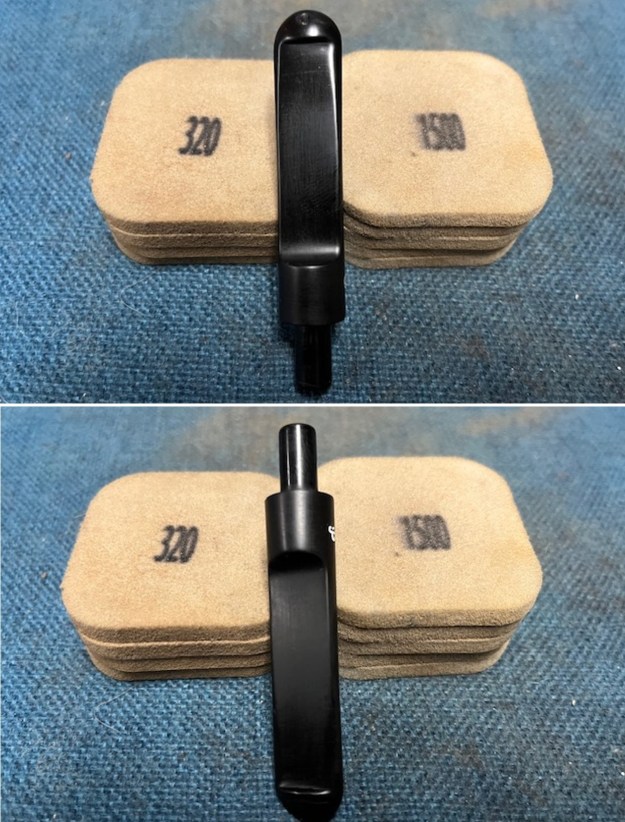
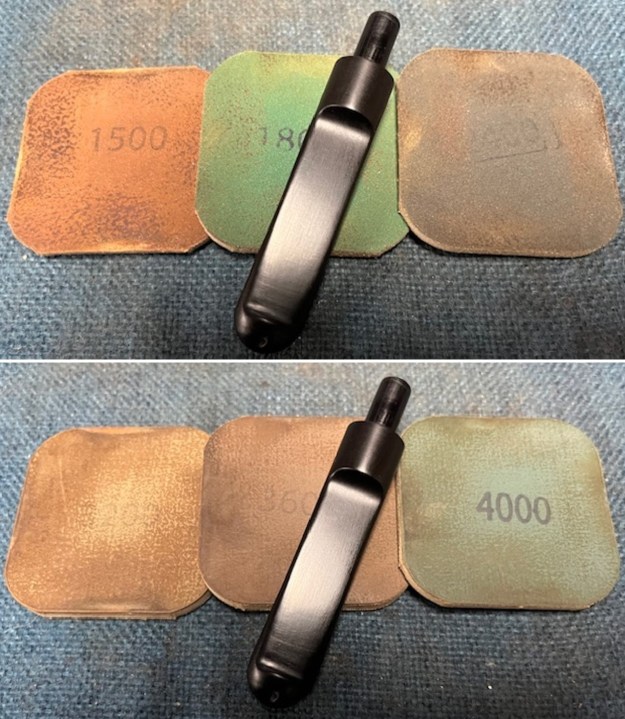
 I sanded the stem to remove the chatter and tooth marks with a folded piece of 220 grit sandpaper. There were marks on the top and underside against the button and also against the saddle stem. There were also marks on the bevelled edges of the stem surface.
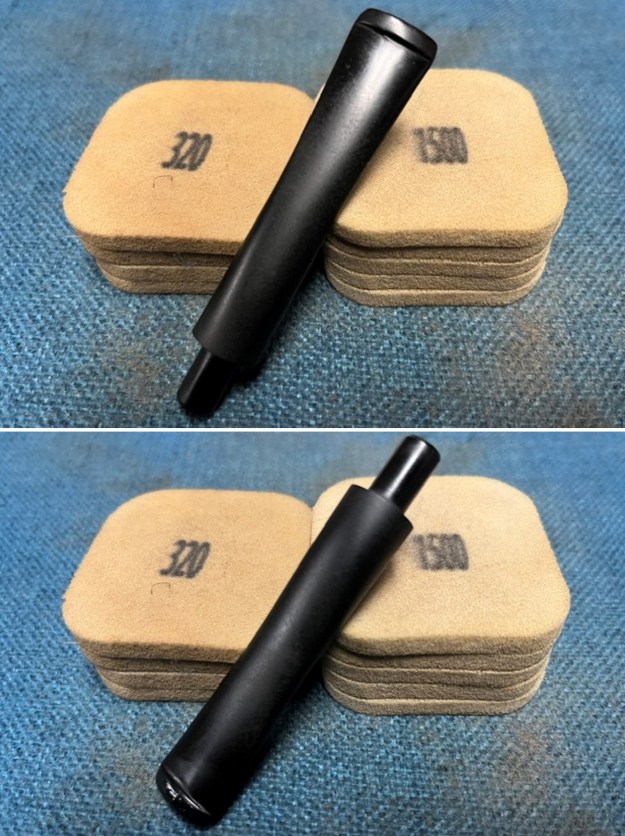
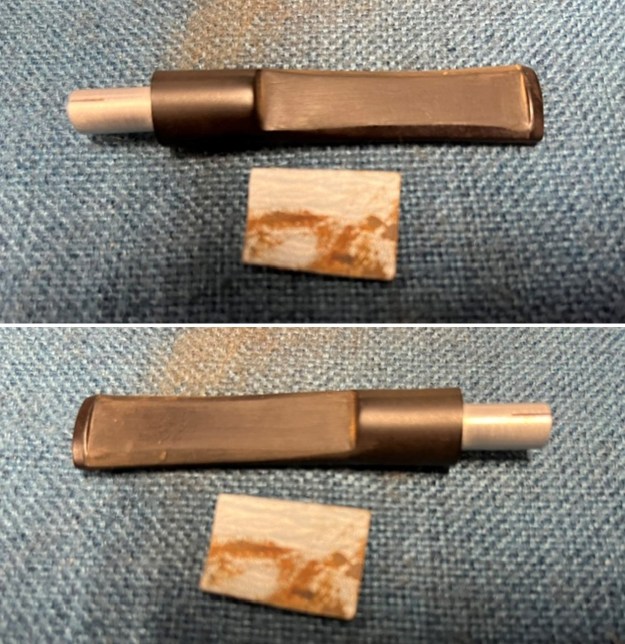 I sanded the stem with 320-3500 grit 2×2 inch sanding pads to start the blending process. It looks significantly better at this point. I wiped it down with an Obsidian Oil cloth after each sanding pad.
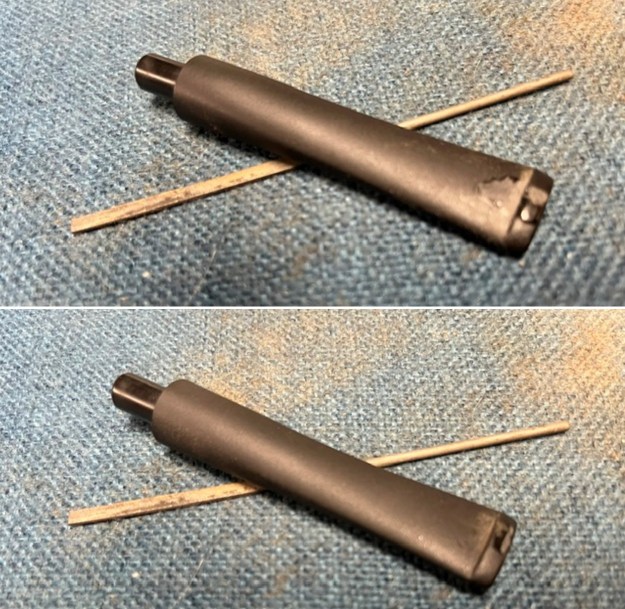
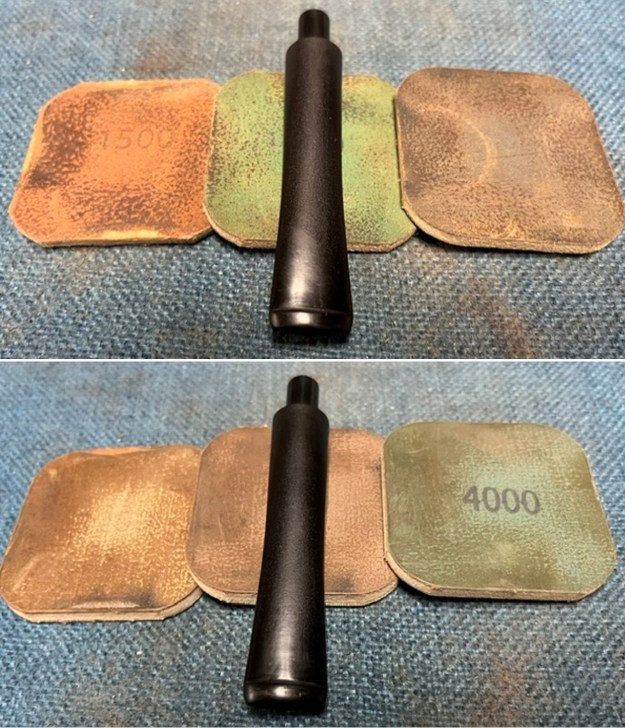
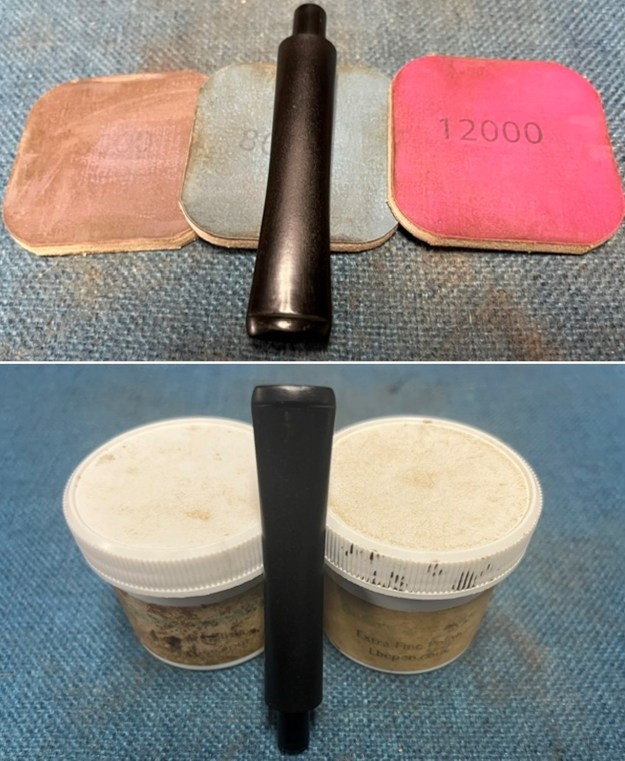
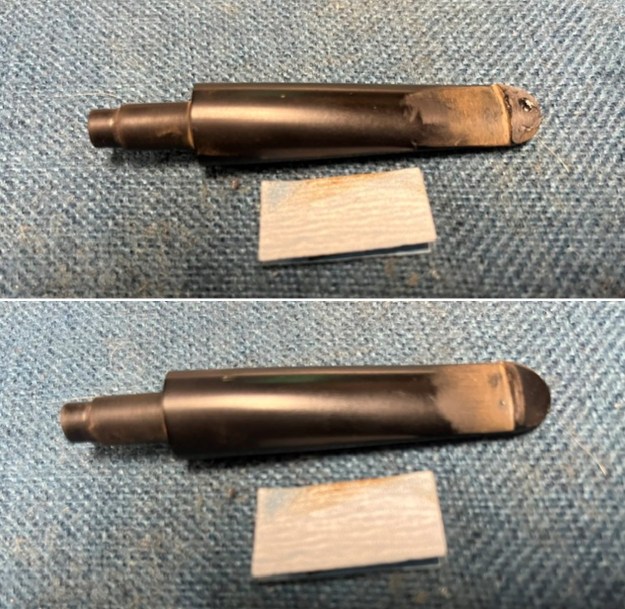
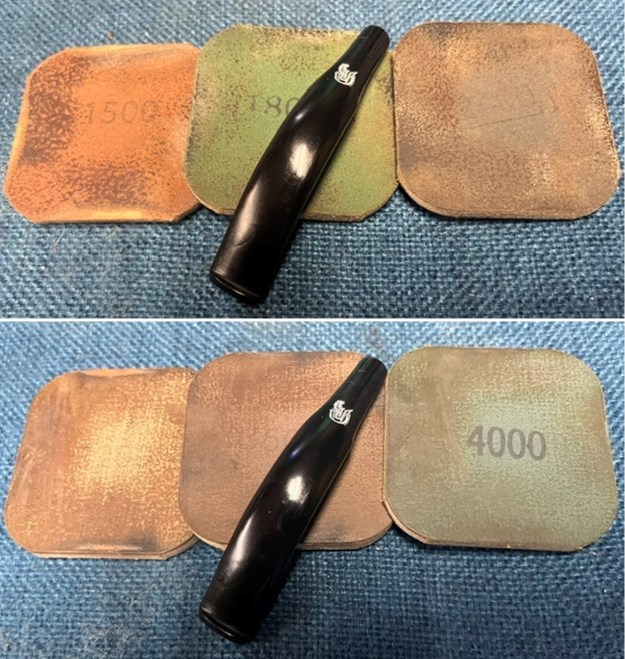
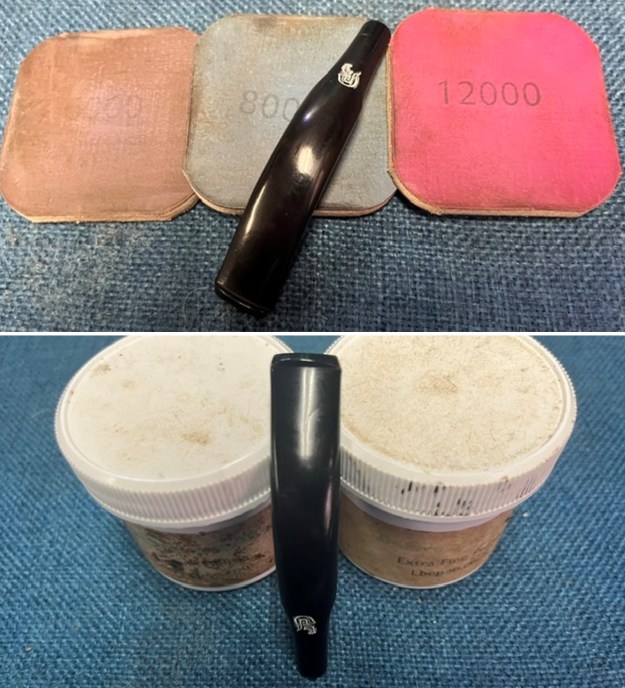
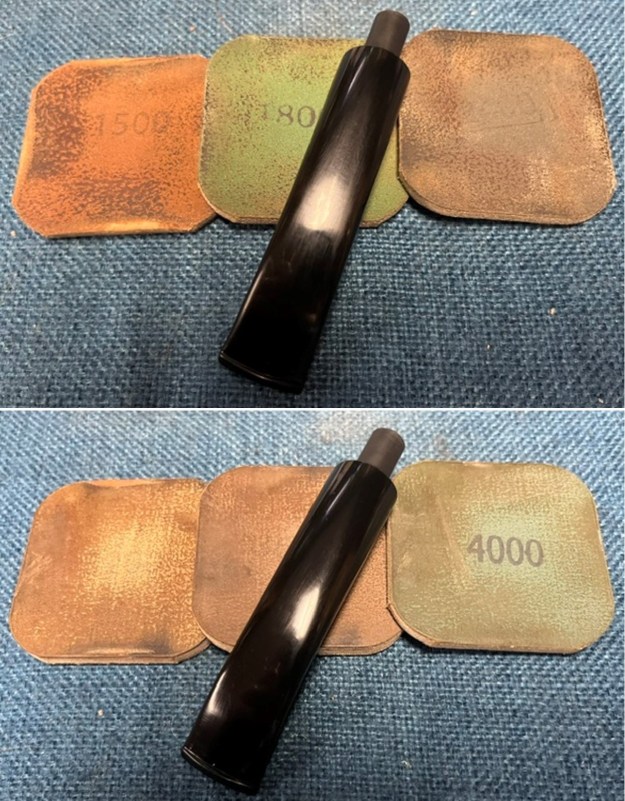
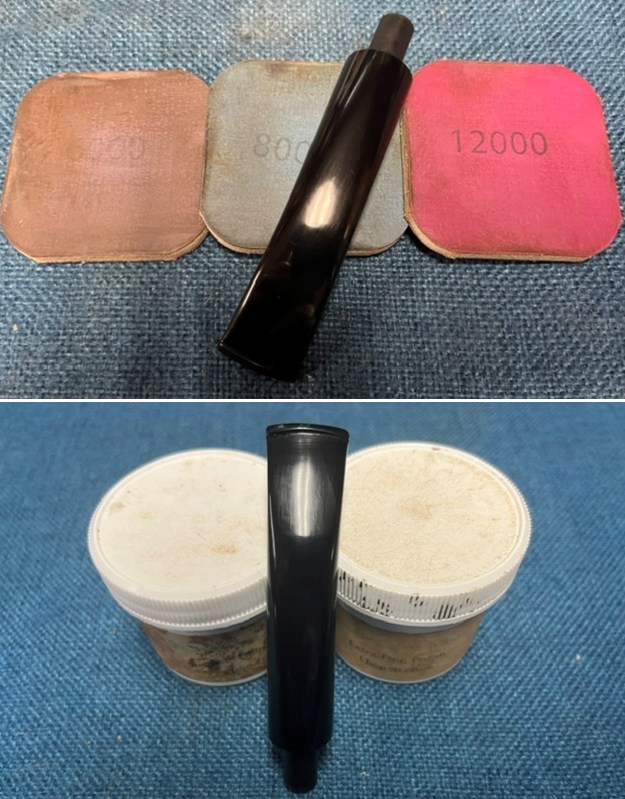
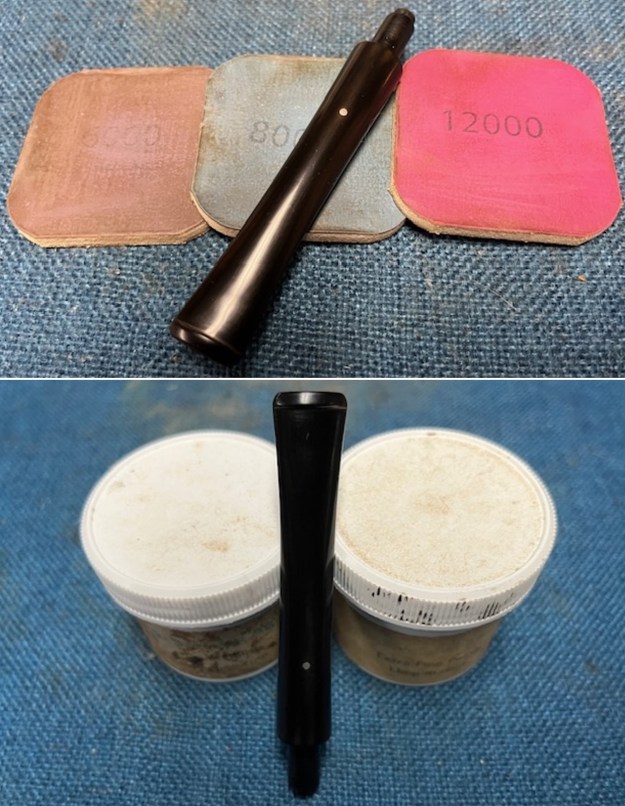
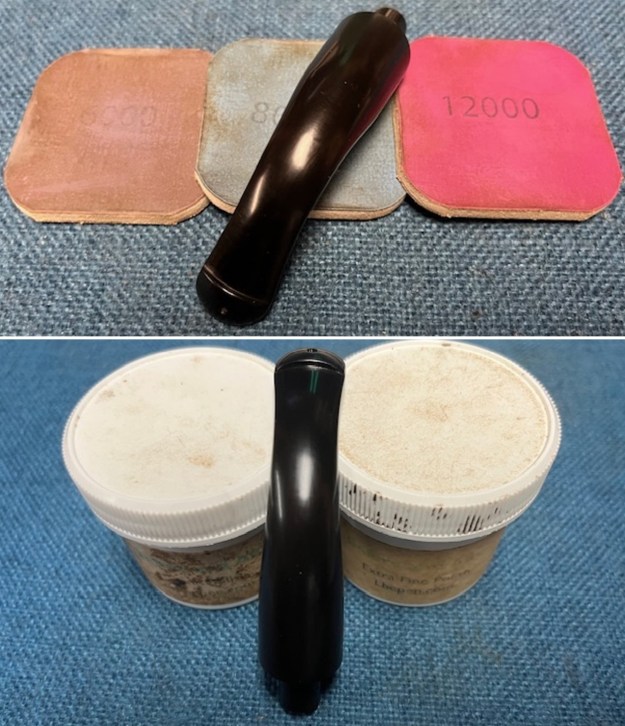
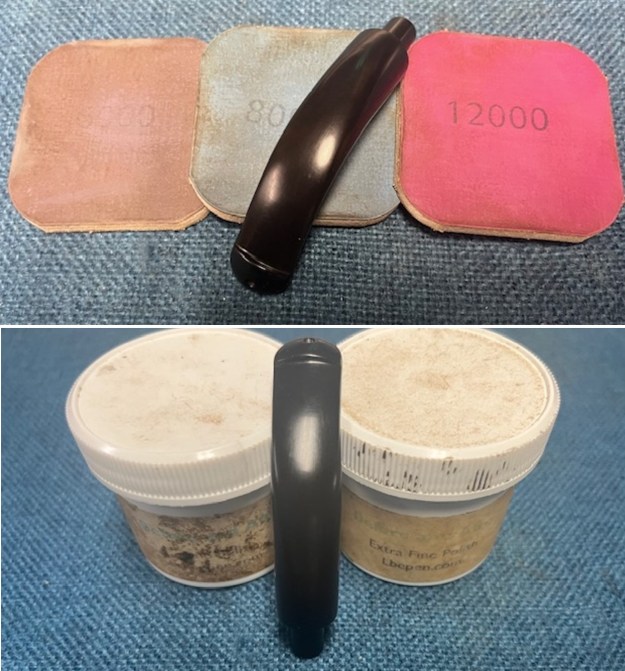
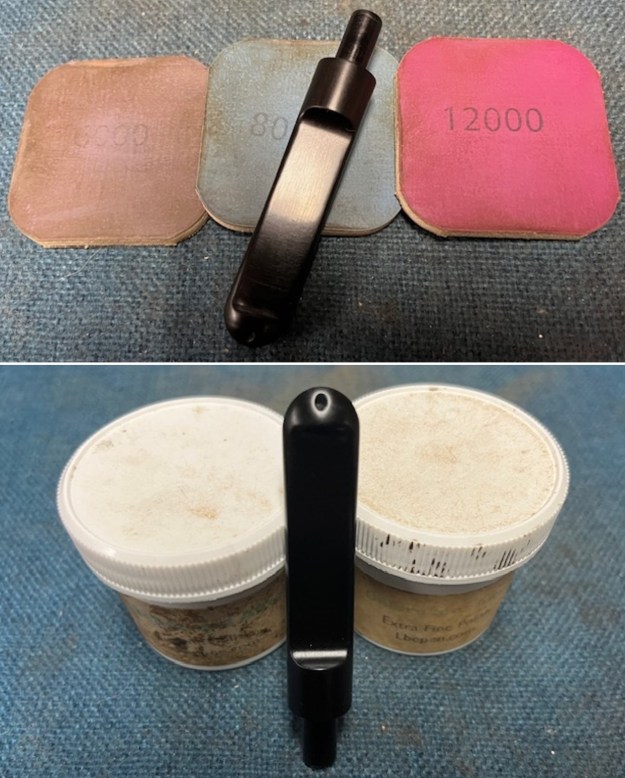
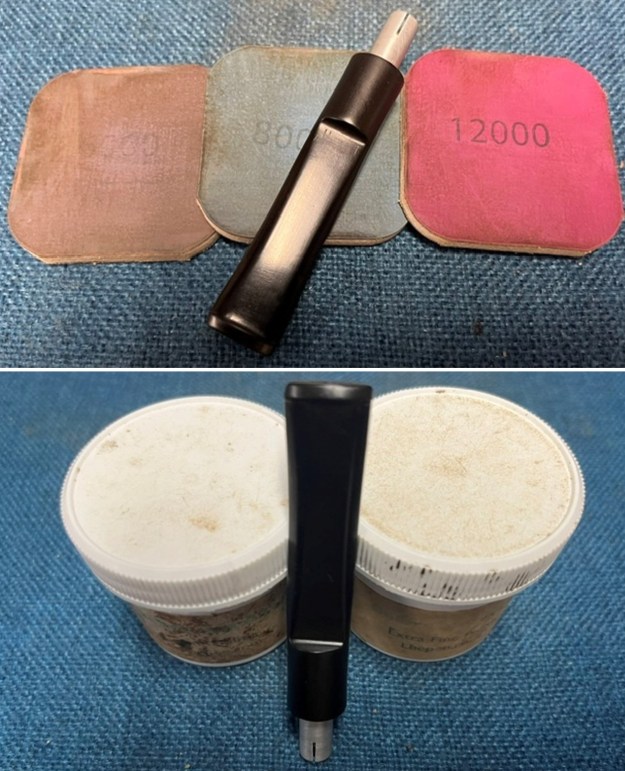
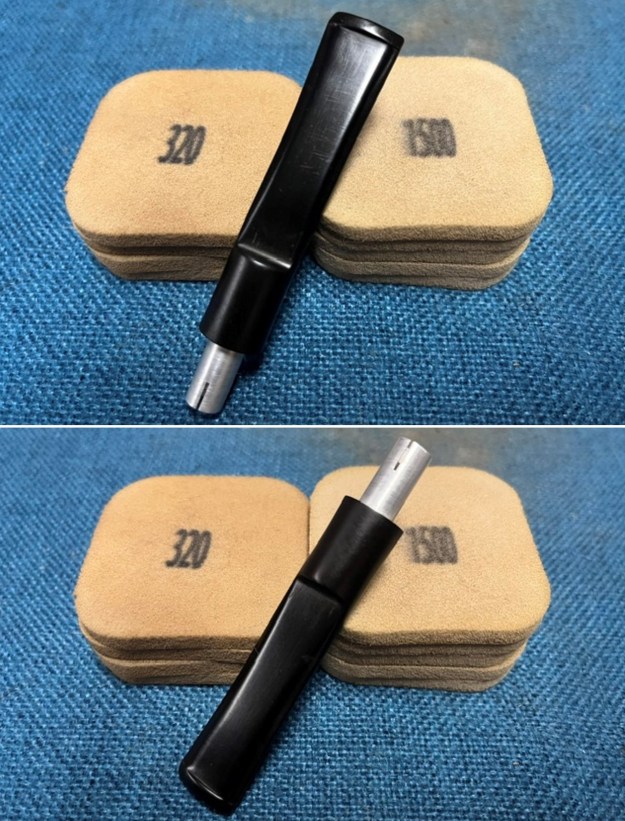 I polished the stem with micromesh sanding pads – dry sanding with 1500-12000 grit sanding pads. I wiped it down after each sanding pad with Obsidian Oil. I polished it with Before & After Pipe Stem Polish – both Fine and Extra Fine. I gave it another coat of Obsidian Oil and set it aside to dry.
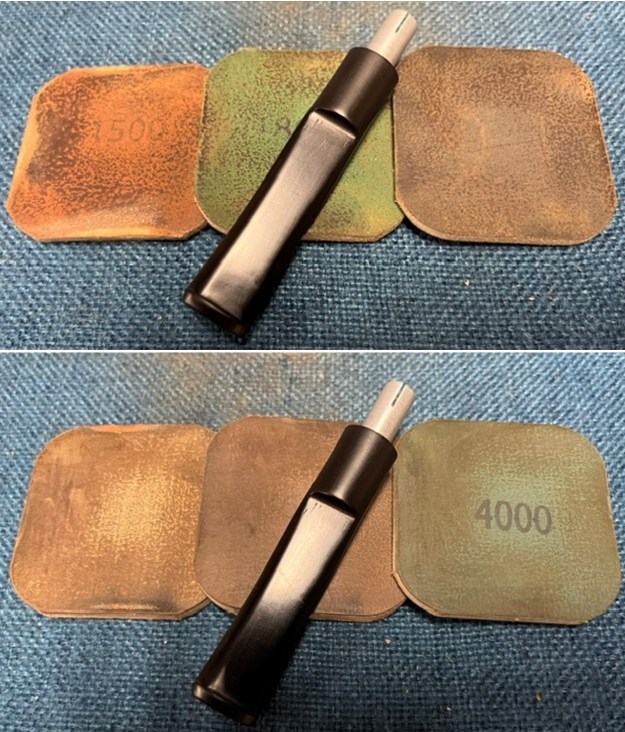
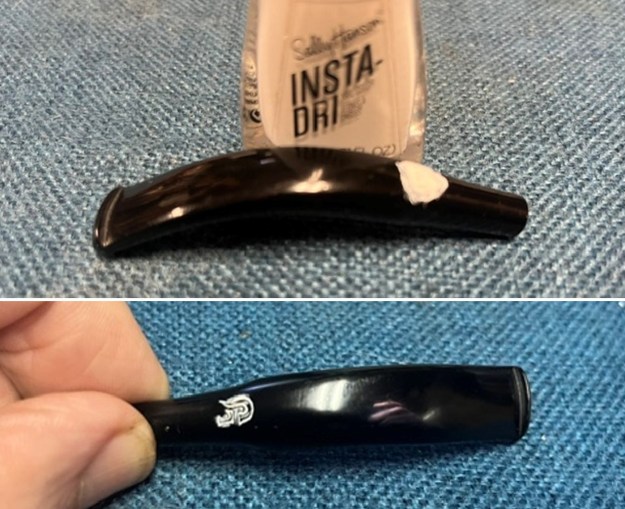
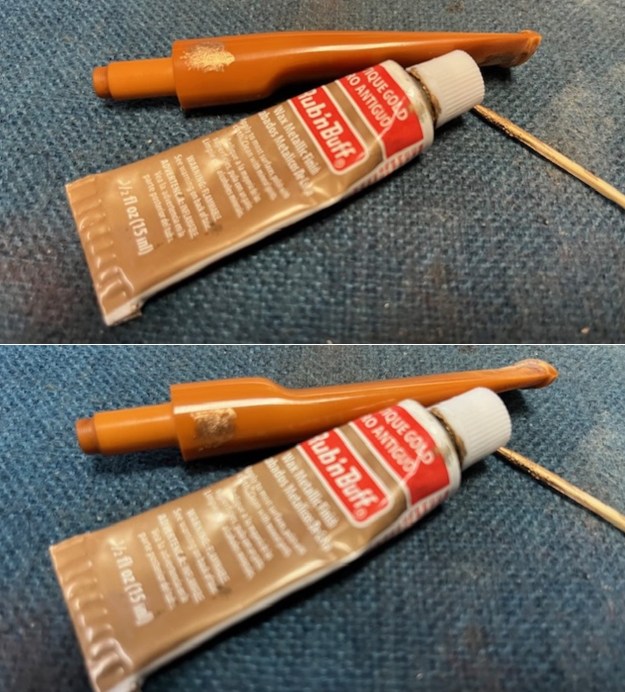
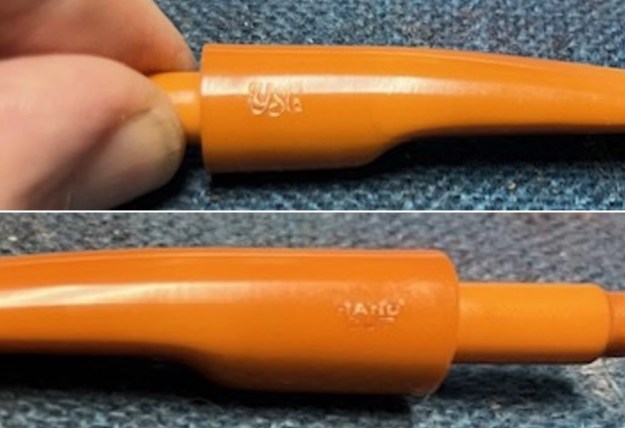
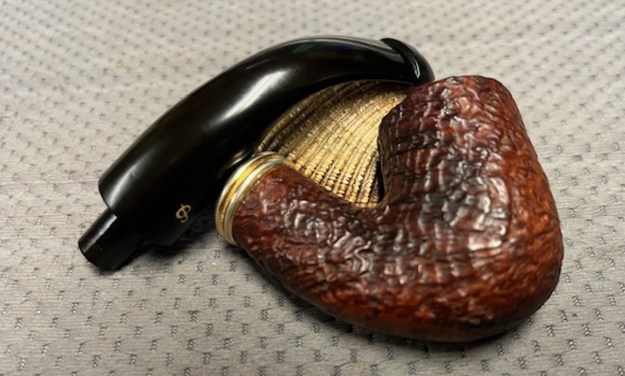
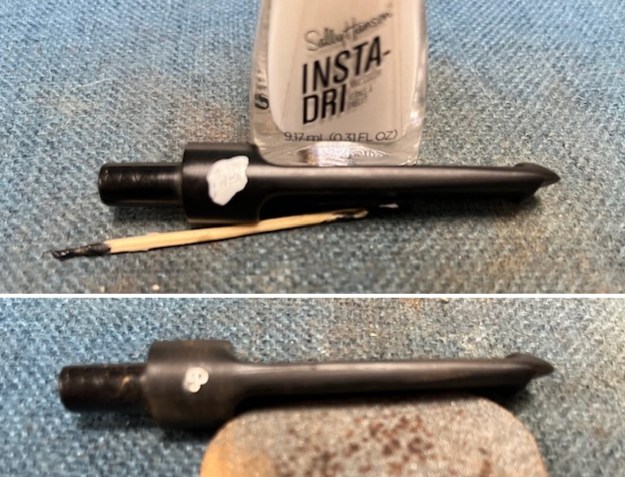
 I used some white acrylic fingernail polish to touch up the faint star logo on the left side of the saddle stem. I scraped off the excess white acrylic and buffed it clear. It is faint but slightly visible on the left side.
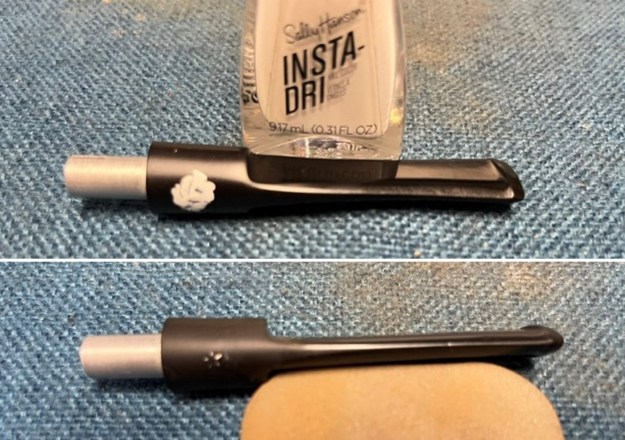 I fit the metal tenon with a Medico paper filter and put the pipe back together. It looks quite good at this point.
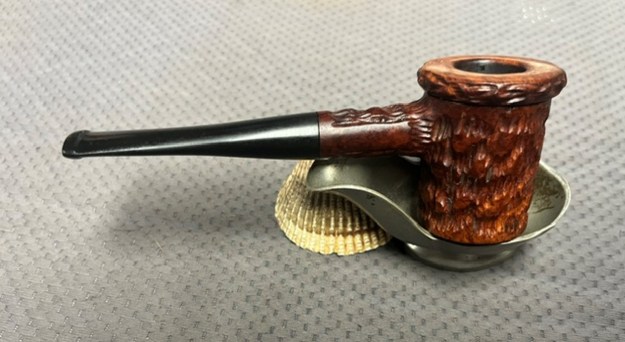
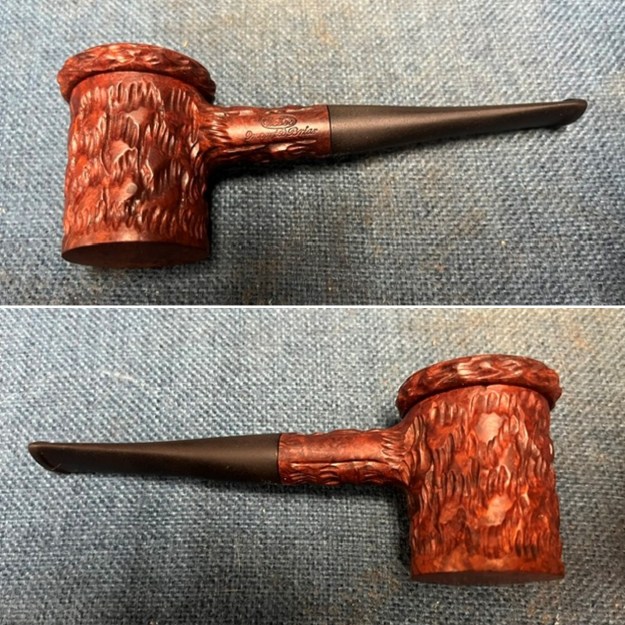
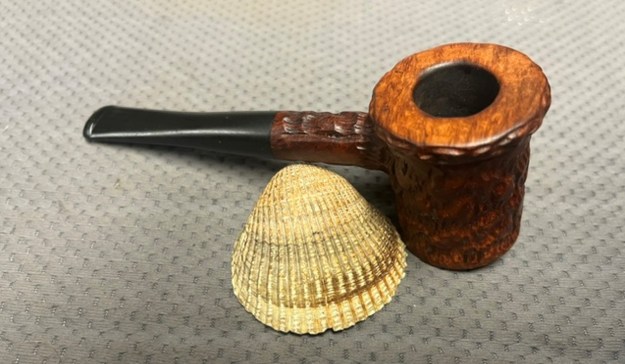
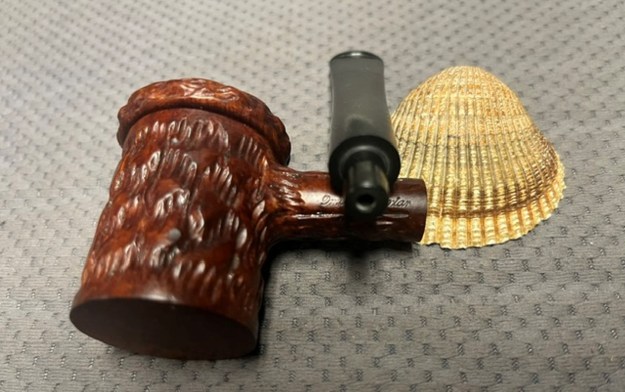
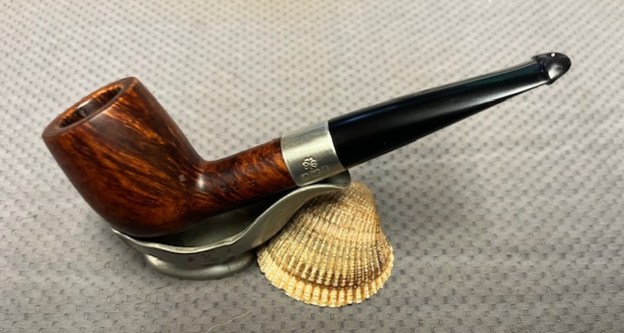
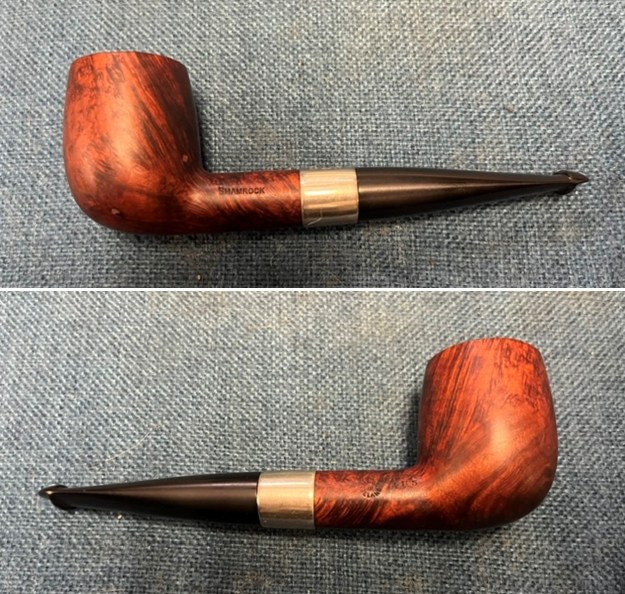
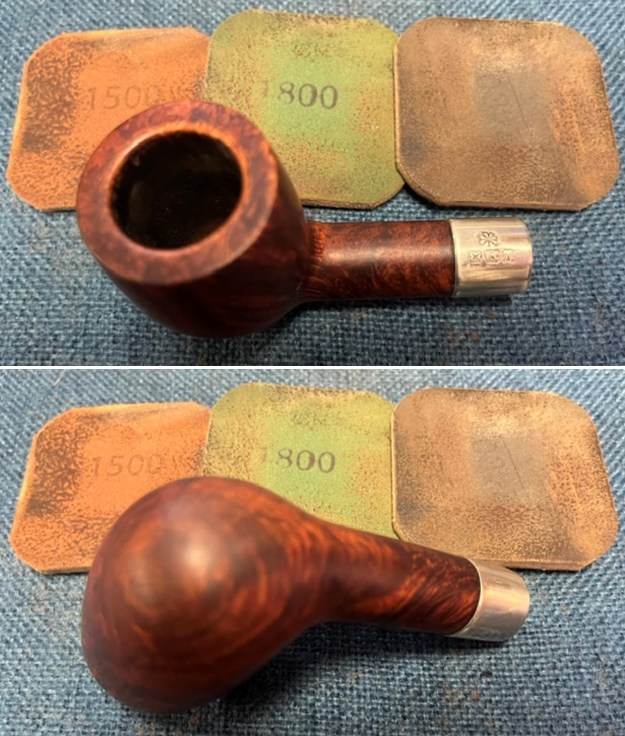
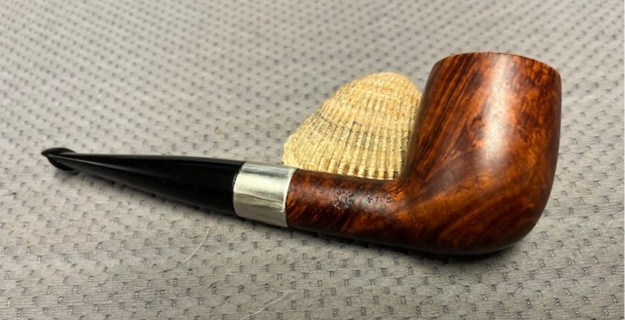
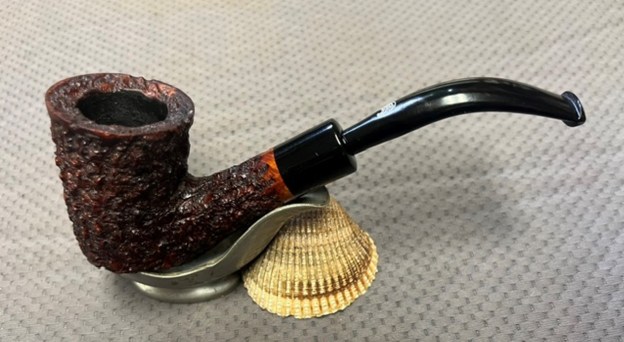
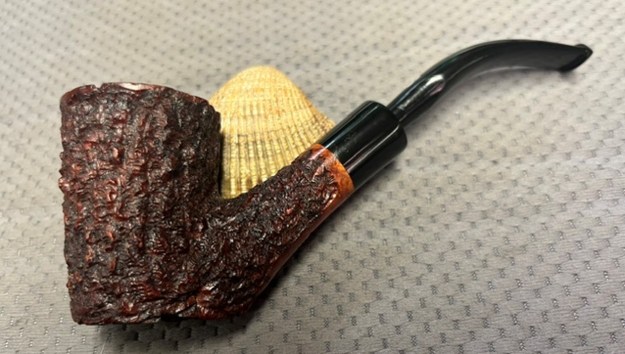
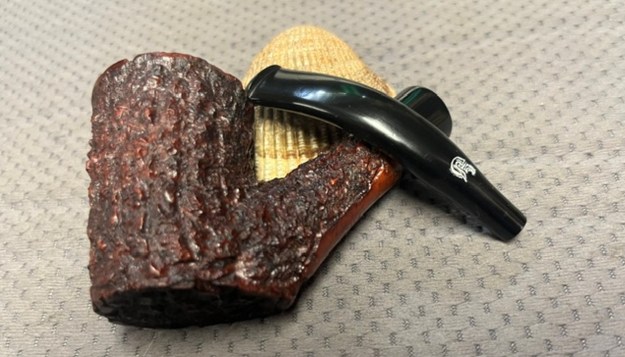
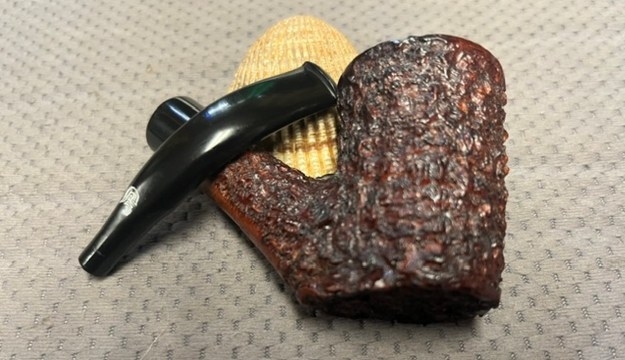
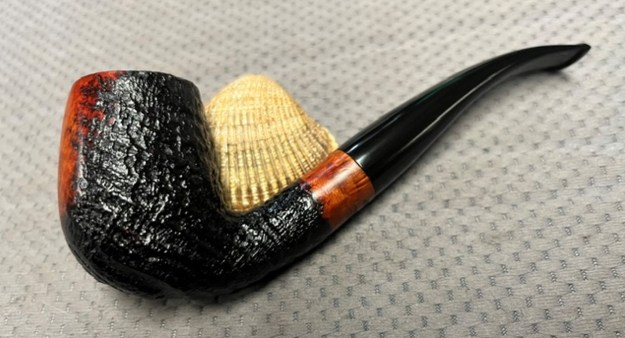
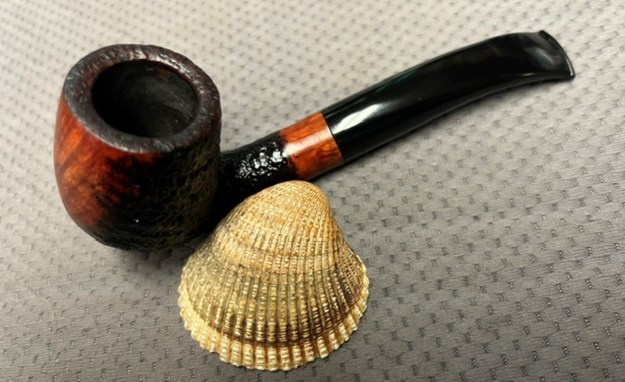
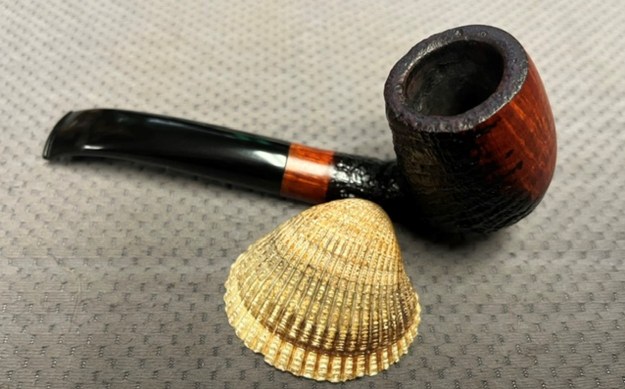
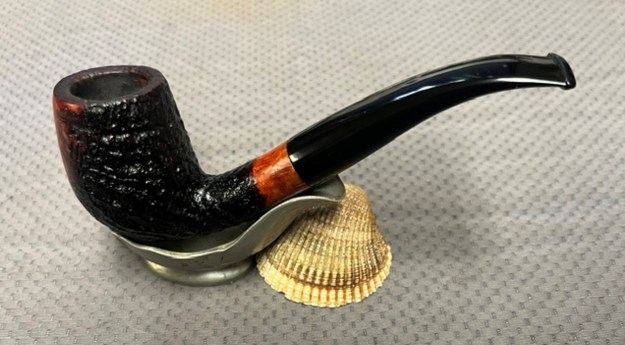
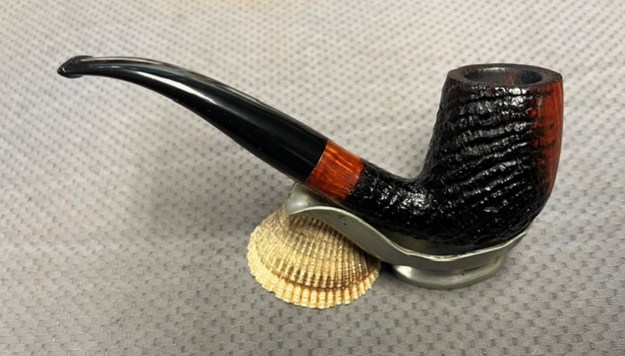
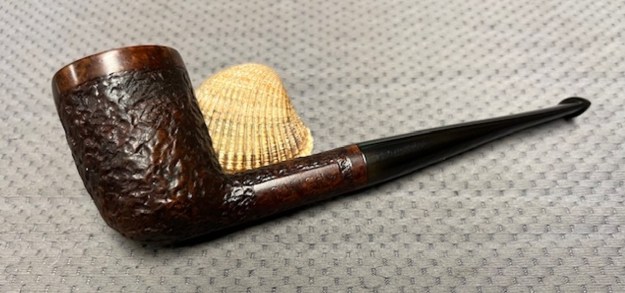
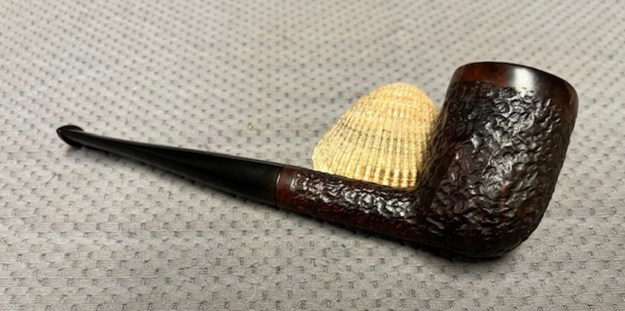
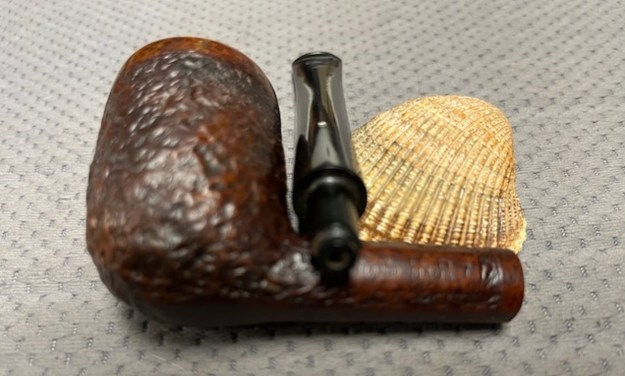
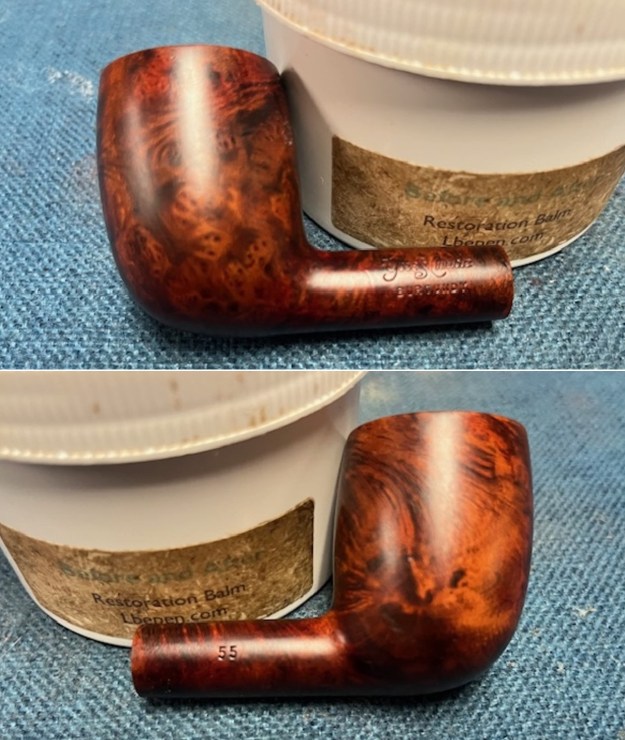
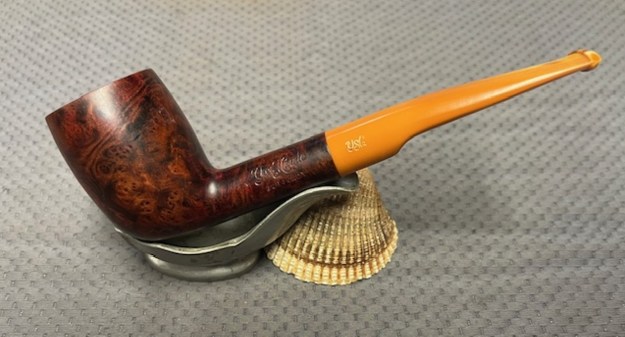
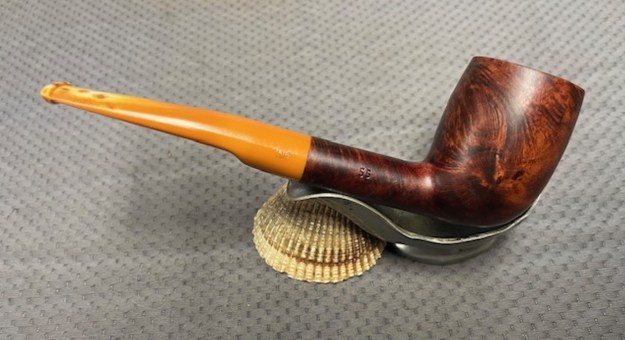
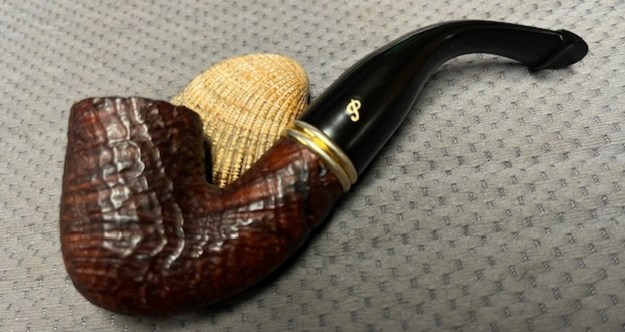
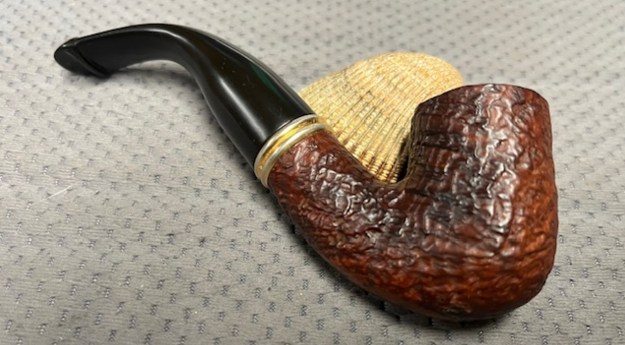
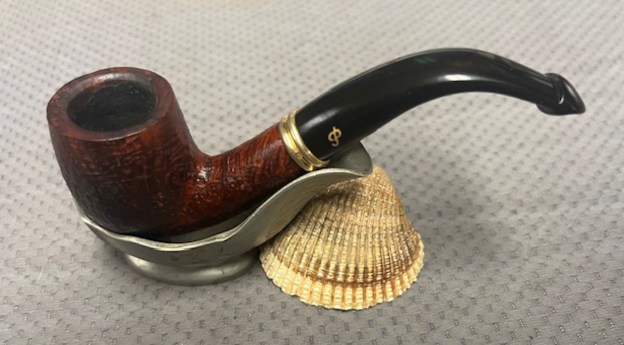
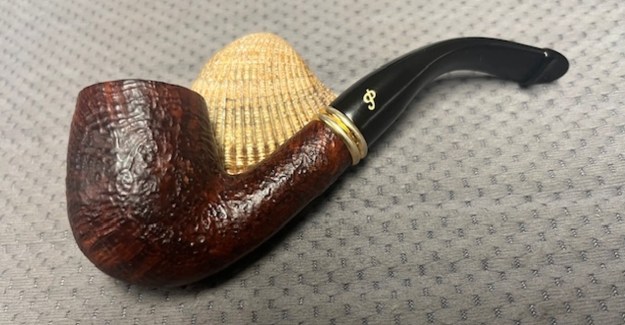
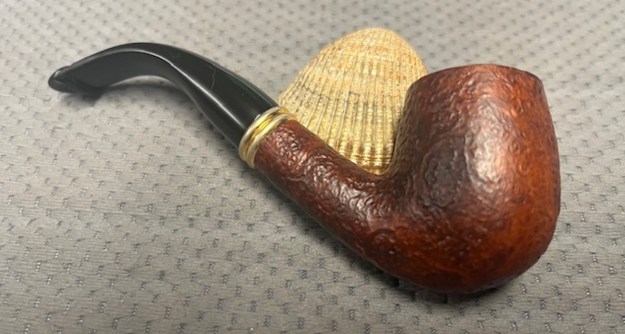
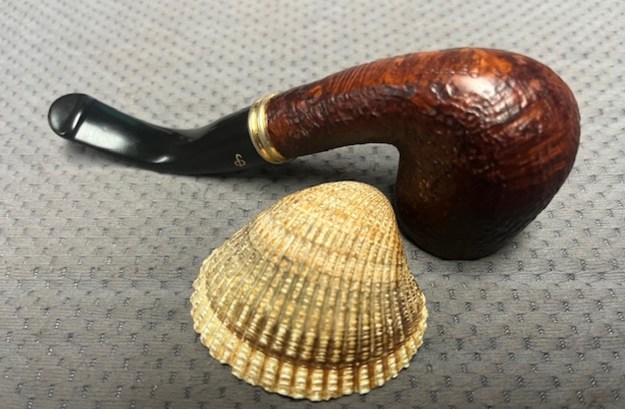
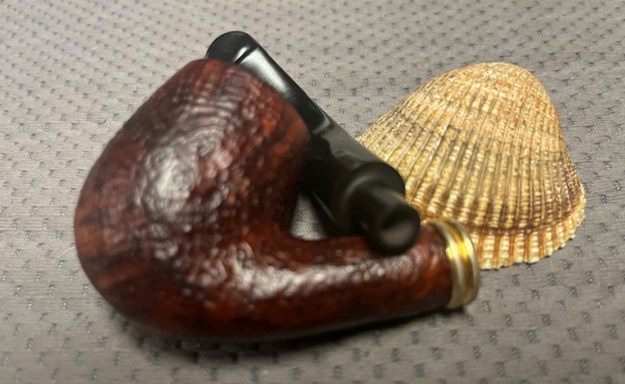
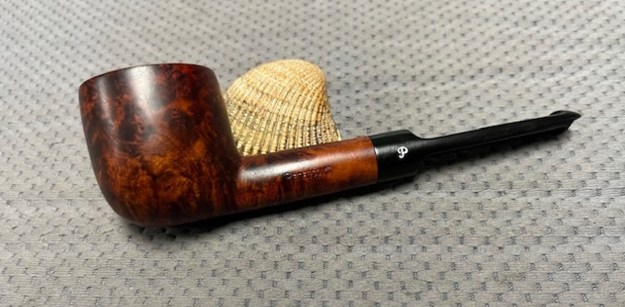
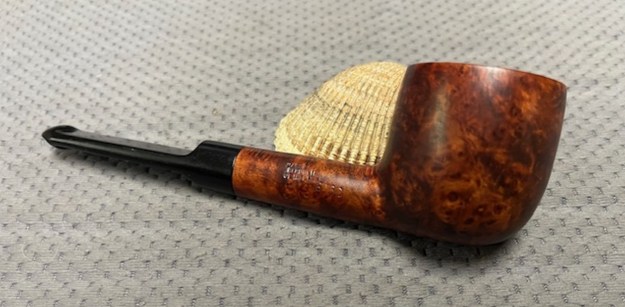
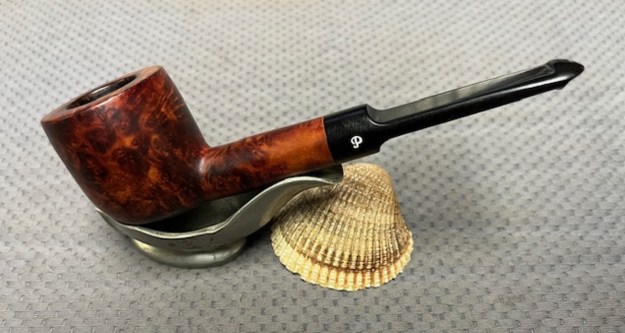
 I am excited to put the final touches on this interesting piece of the Tracer Mincer story. It is a beautiful Three Ring The Doodler Imported Briar Billiard shaped pipe with a vulcanite filter stem. I put the pipe back together and buffed it with Blue Diamond on the buffing wheel. I gave the bowl and the stem multiple coats of carnauba wax. I hand buffed the pipe with a clean buffing pad to raise the shine. It is fun to see what the polished bowl looks like with beautiful grain on the bowl sides, top and bottom. The polished black vulcanite stem combined with the bowl to make a stunning pipe. This Three Ring The Doodler Imported Briar Billiard is great looking and the pipe feels great in my hand. It is light and well balanced. Have a look at it with the photos below. The dimensions are Length: 6 inches, Height: 1 ¾ inches, Outside diameter of the bowl: 1 ½ inches, Chamber diameter: 7/8 of an inch. The weight of the pipe is 42 grams/1.45 ounces. I will be adding it to the Americsn Pipemakers Section of the rebornpipes store shortly. If you want to add it to your collection let me know. Thanks for walking through the restoration with me as I worked over this pipe. Thanks to each of you who are reading this blog.