by Steve Laug
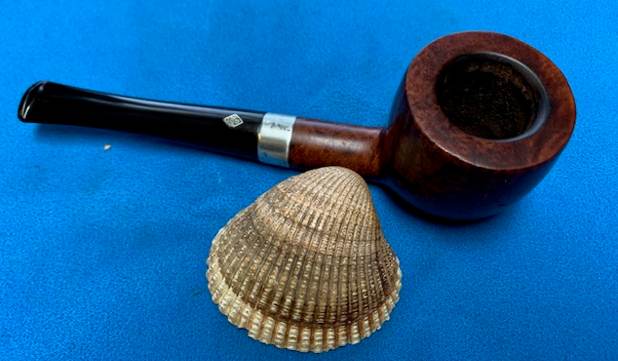
The next pipe on the work table is a BBB pipe with a silver shank band and a vulcanite taper stem. We picked the pipe up from a seller in Ogden, Utah, USA on 12/12/2024. It is stamped on the left side of the shank and reads BBB in a Diamond with Own on the left side of the Diamond and Make on the right side. On the right side of the shank it is stamped Made in London [over] England [over] 636. The silver band is stamped Sterling Silver under BBB in a Dimaond on the left side of the band. It is oxidized and scratched. The finish is a reddish-brown colour that really highlights the grain around the bowl and shank. The bowl colour is a stark contrast to the silver band and the black taper stem. There is a BBB Diamond brass logo inlaid on the top of the stem. The bowl was moderately caked and there was some lava on the inner bevelled edge of the rim and the top. The vulcanite stem had some oxidation and some chatter and light tooth marks on the top and underside of the stem near the button. It also looks like it had a softee bit on the stem at one time as it left a defined line. Jeff took some photos of the pipe to show the general condition of the pipe before he started his clean up.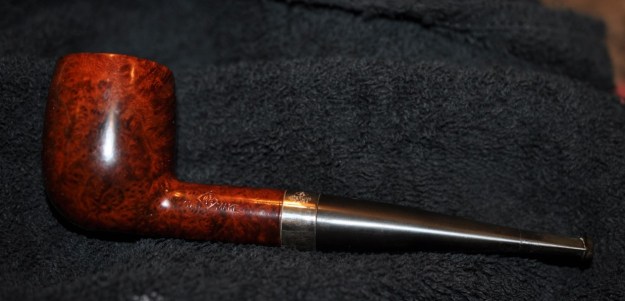
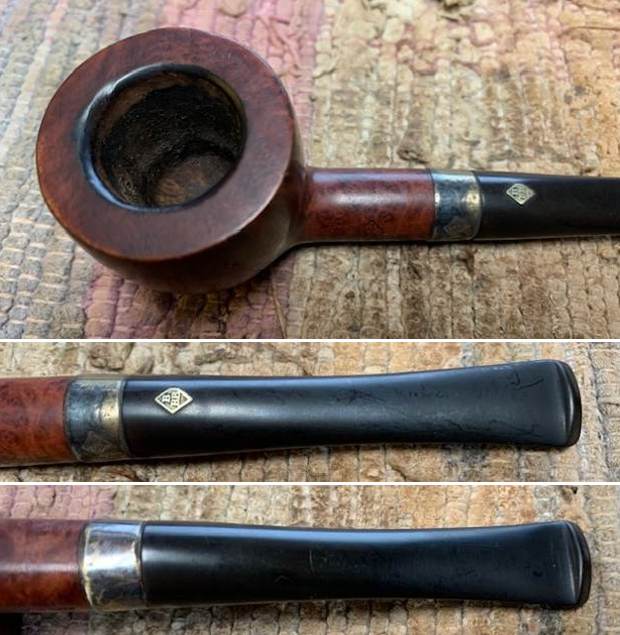
 He took some photos of the rim top and bowl from various angles to give me a clear picture of the condition of the rim top and bowl. You can see the moderate cake in the bowl and the lava on the rim edge and top. The next photos show the top and underside of the stem. It is oxidized and appears to have had a Softee bit on it at one time.
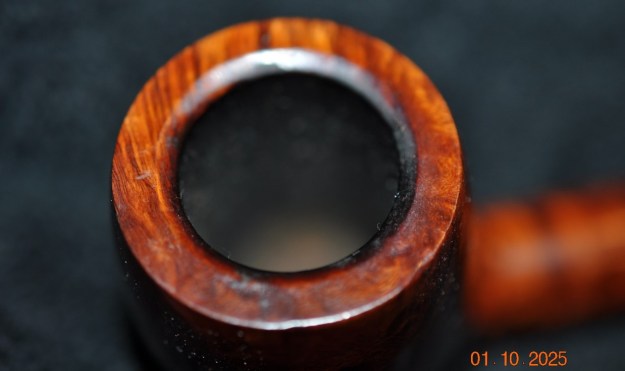
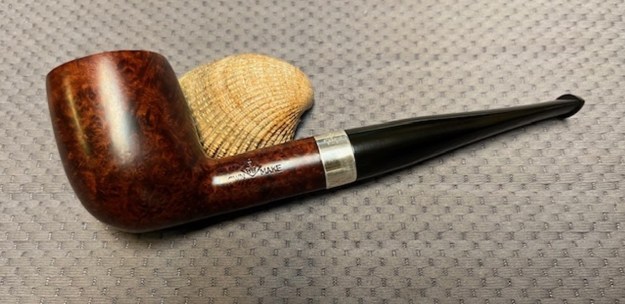
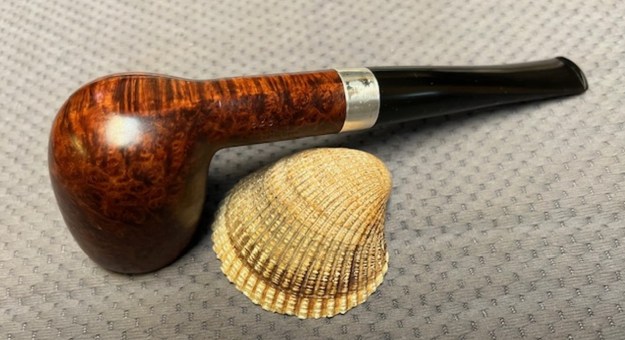
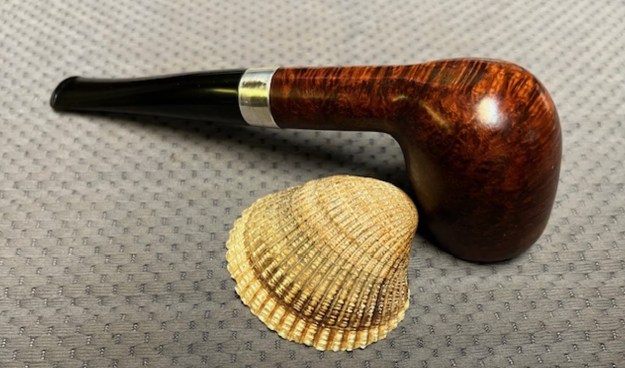
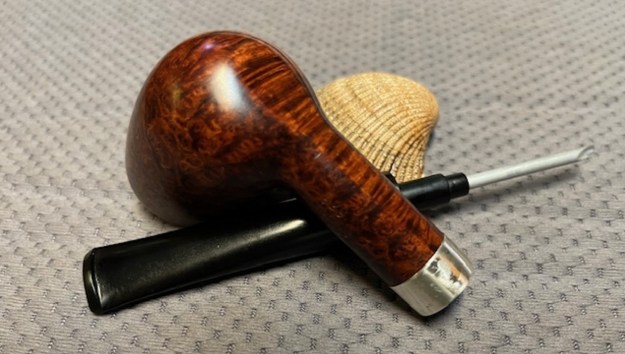
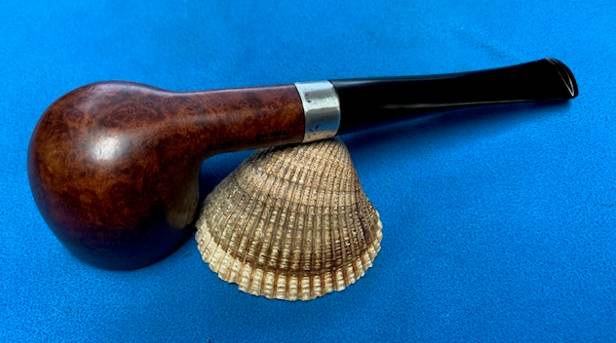
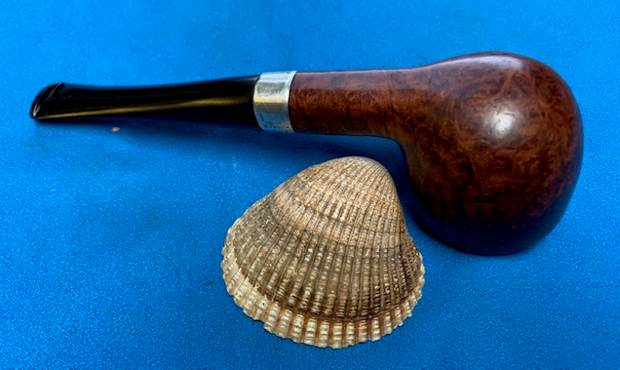
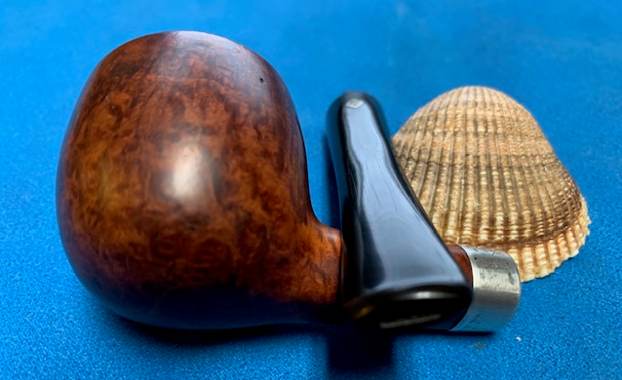
 Jeff took photos of the sides of the bowl to show the condition of the finish on the pipe. The photos showed some great grain. It is a pretty piece of briar.
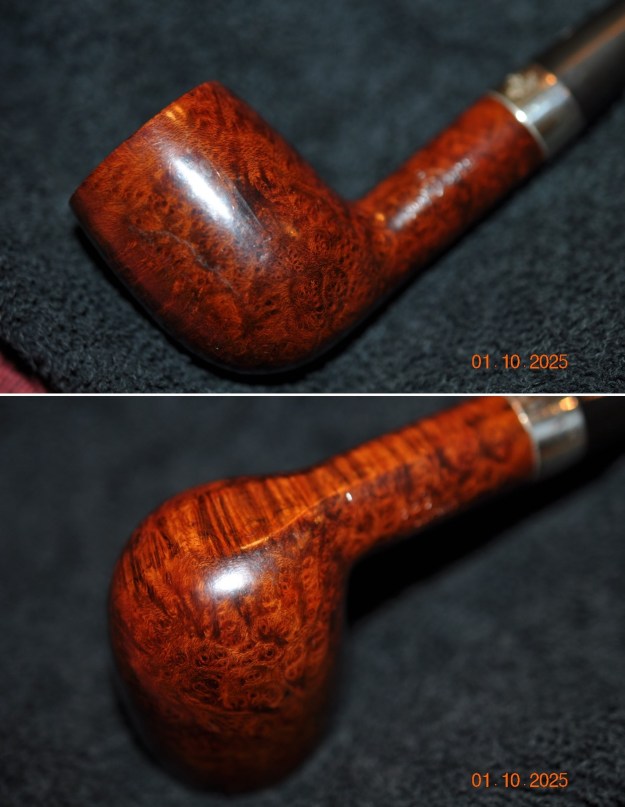
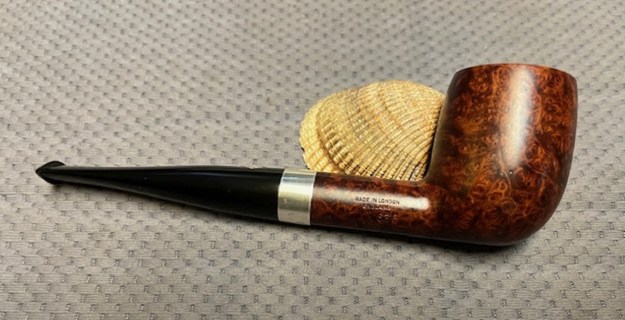
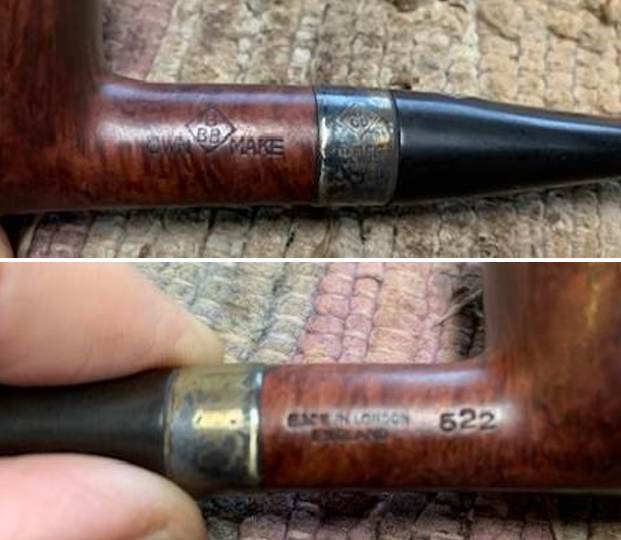
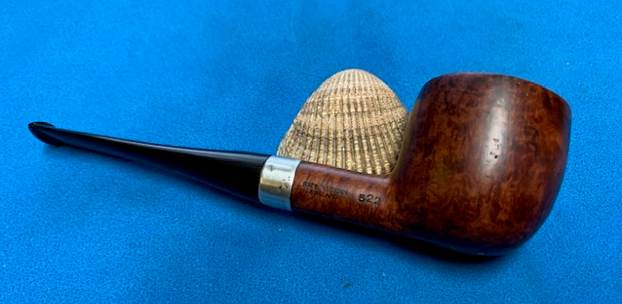
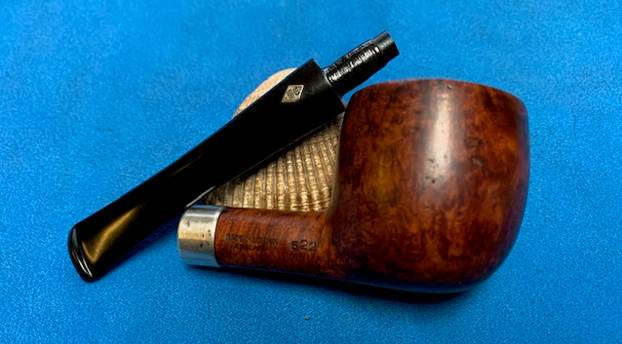
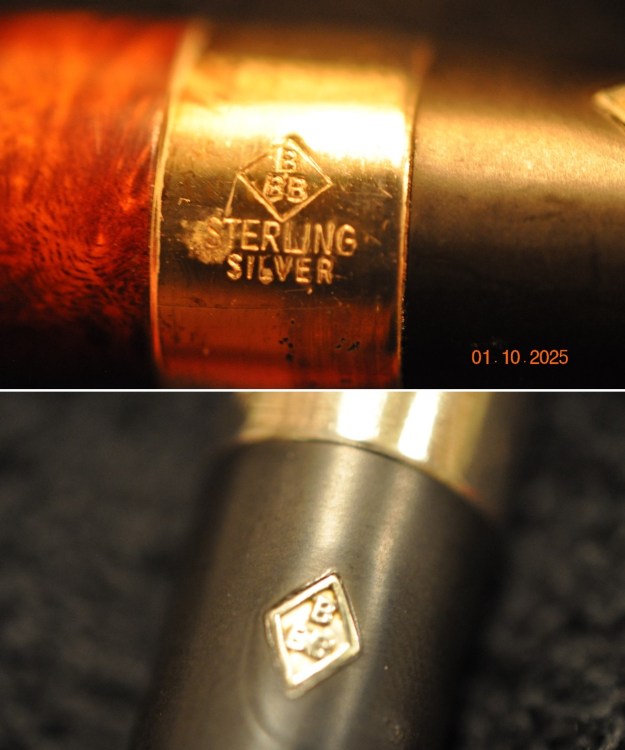
 He took some photos of the stamping on the underside of the shank and the Sterling Silver band. The stamping was clear and readable on both shank sides and the band as noted above. He also took a photo of the BBB logo on the topside of the taper stem.
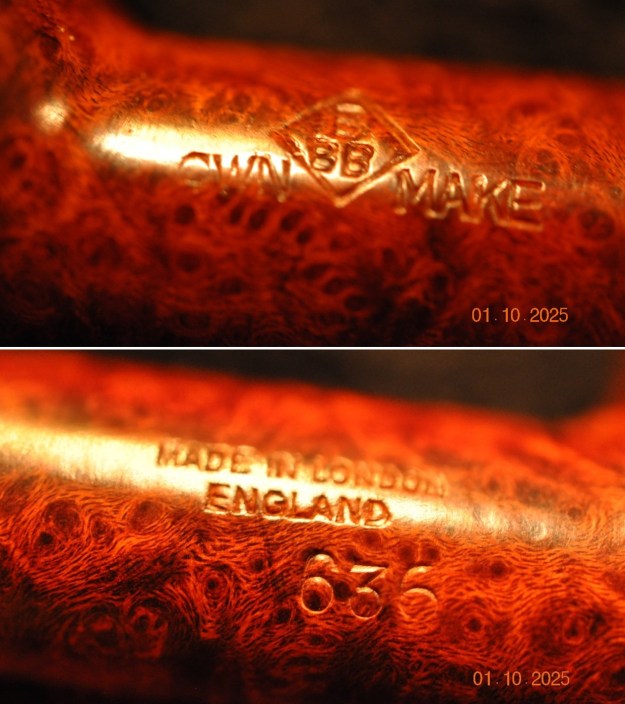
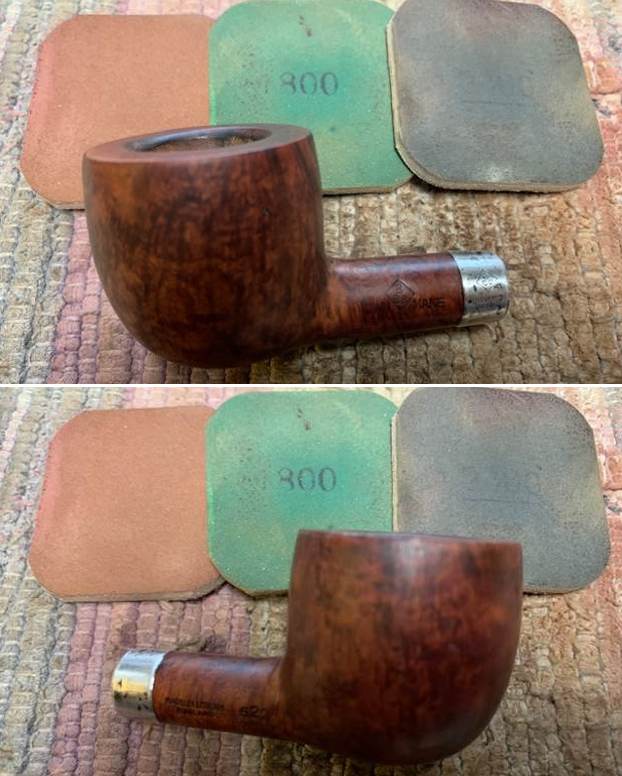
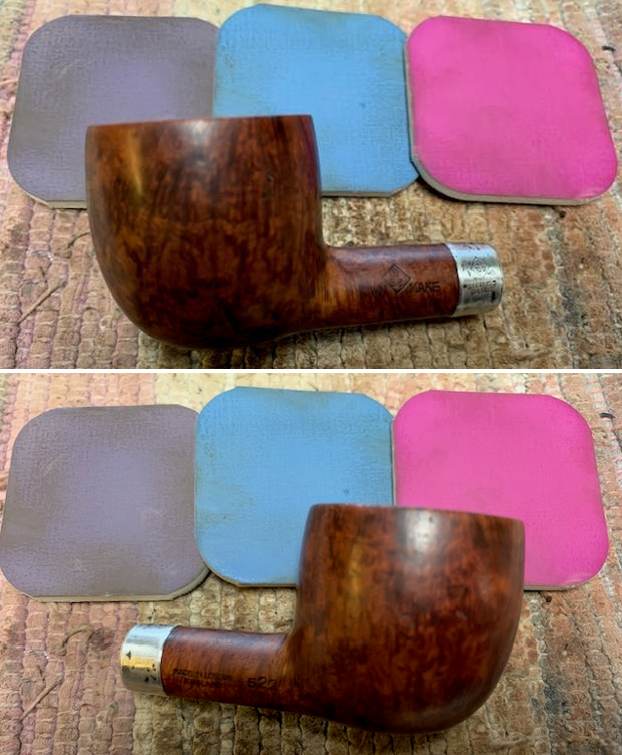
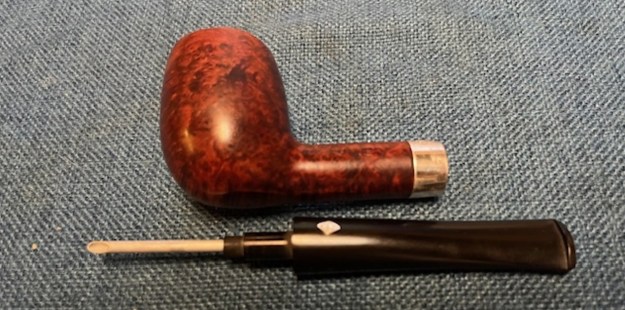
 Jeff did his usual thorough job cleaning the pipe which I really appreciate because of the freedom it gives me in dealing with pipes. He reamed it with a PipNet pipe reamer and got rid of the cake. He cleaned up the reaming with a Savinelli Fitsall Pipe Knife so that we could see the walls of the bowl and assess for damage. He cleaned the internals of the shank and stem with alcohol, pipe cleaners and alcohol. He scrubbed the exterior with undiluted Murphy’s Oil Soap and a tooth brush. He rinsed the pipe under warm water. He dried it off with a cloth and then let it air dry. The stem was scrubbed with Soft Scrub and had a soak in Before & After Deoxidizer to remove the oxidation. One it was rinsed off, it came out looking very good. The finish on the bowl and the rim top cleaned up nicely. I took pictures of the pipe to show how it looked when I unpacked it.
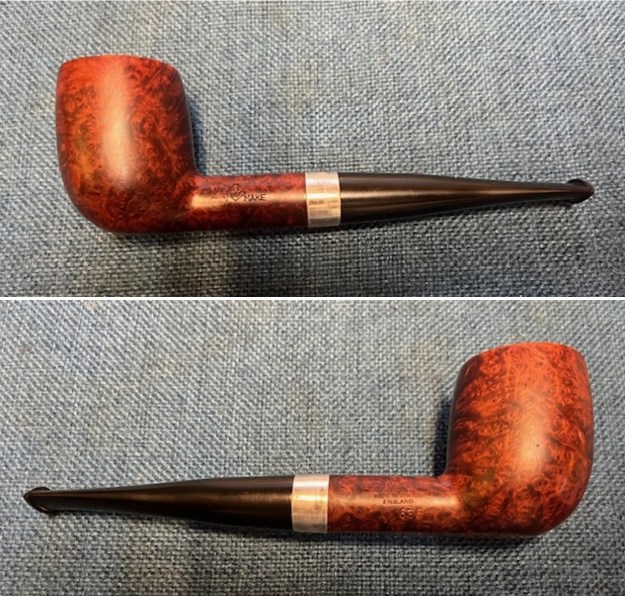
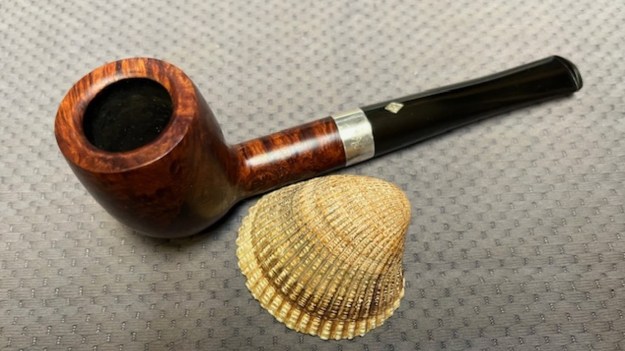
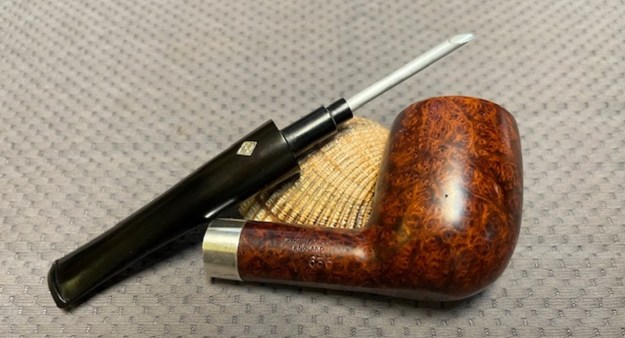
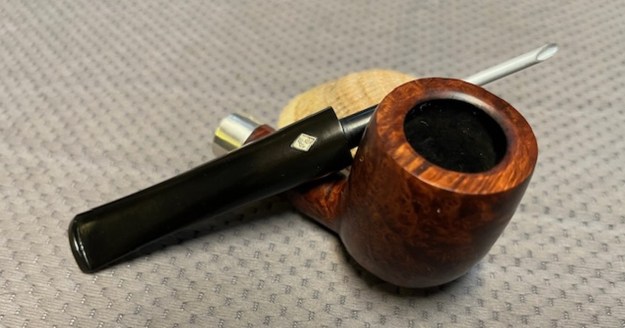
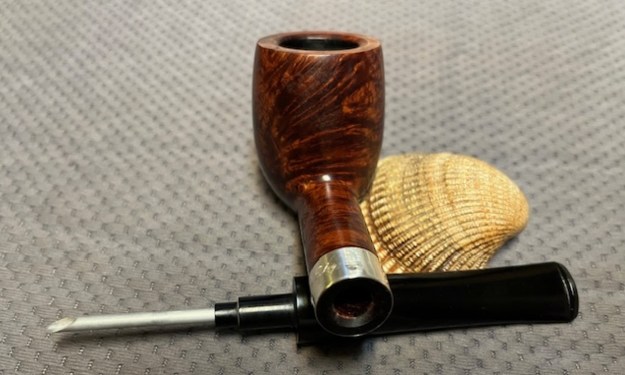
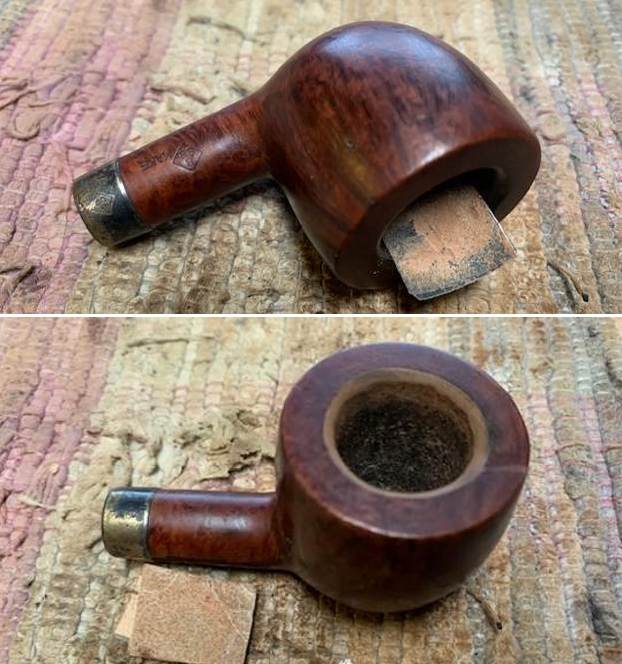
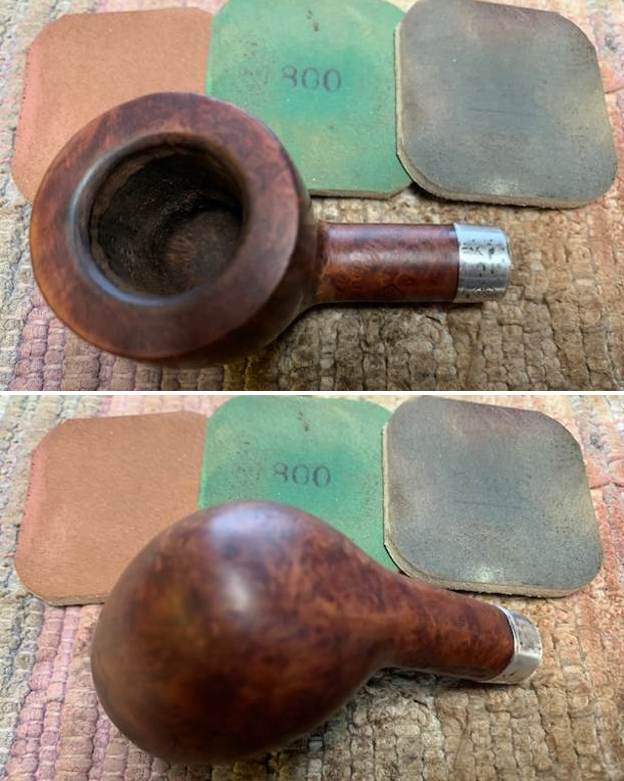
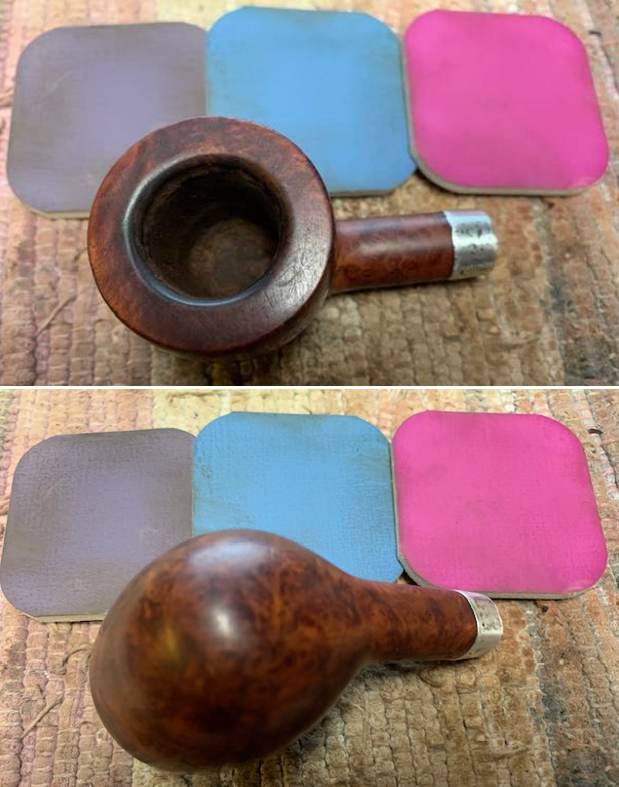
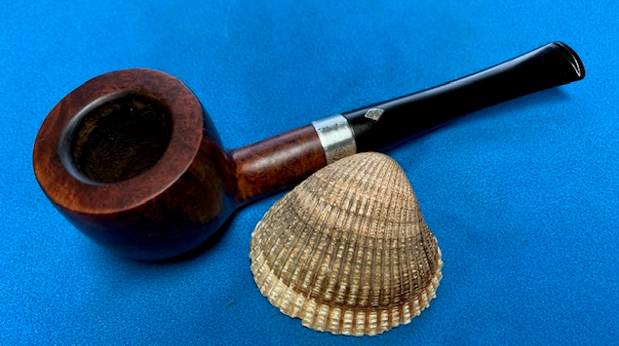
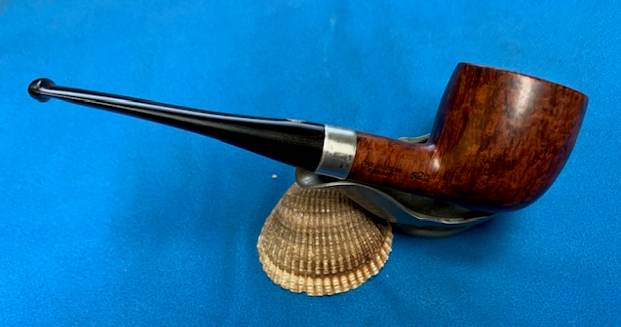
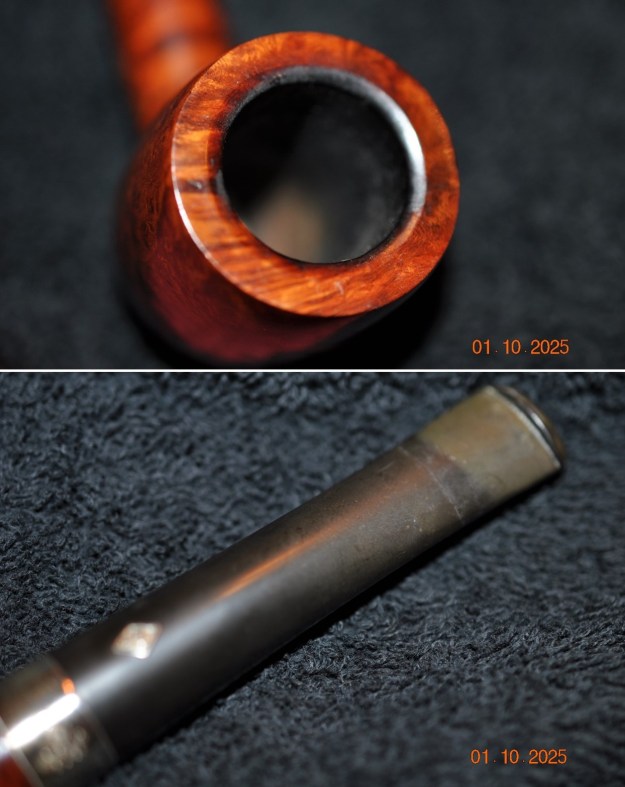
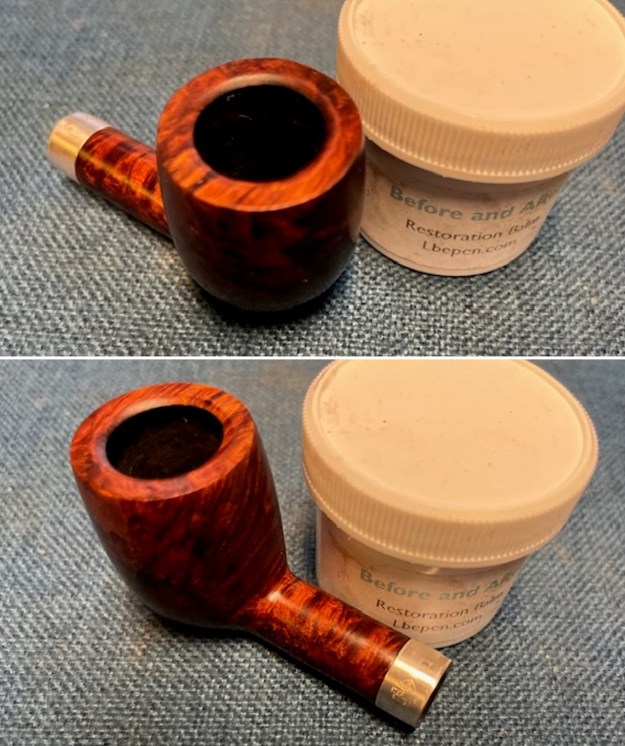
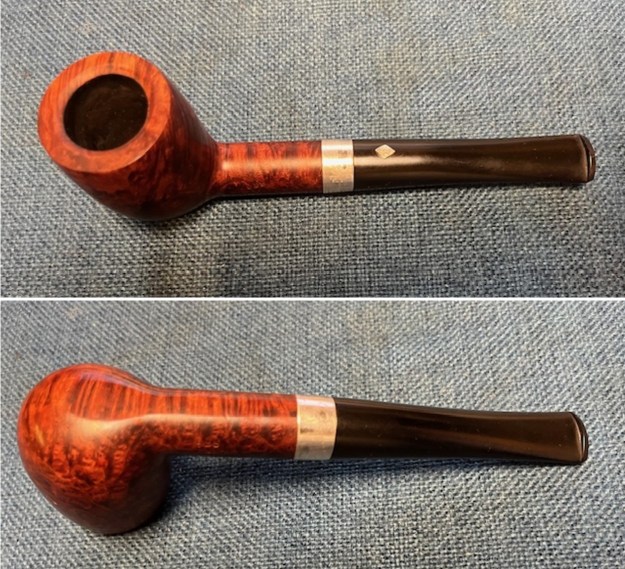 I took a close up photo of the bowl and rim top to show how clean the pipe was. The bowl was very clean and showed that the inner tube sitting in the bottom of the bowl. The stem looked good with very light tooth marks and chatter. Overall the pipe is a beautiful looking piece.
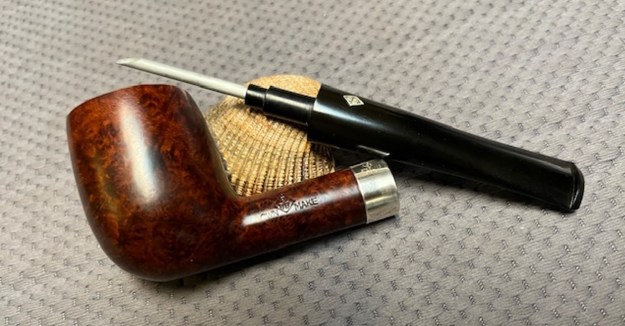
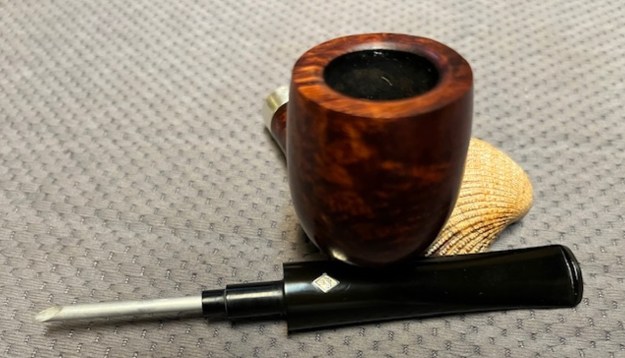
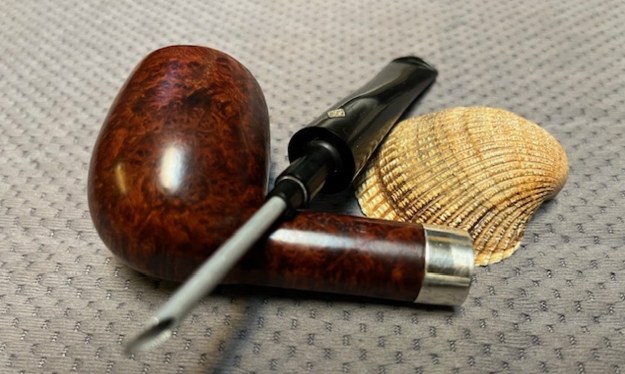
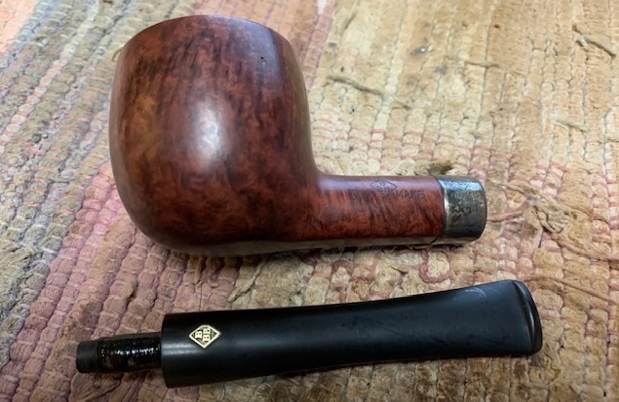
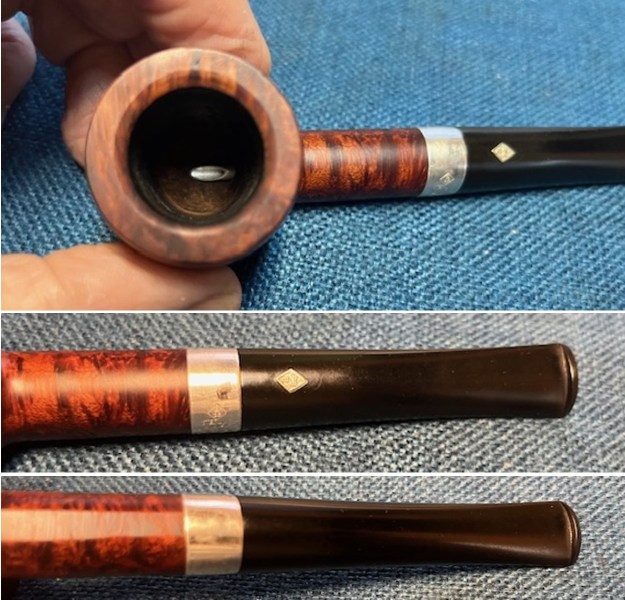 I took photos of the stamping on the sides of the shank. It read as noted above. It is very clear and readable. I also removed the stem from the shank and took photos of the pipe to show the look of the parts.
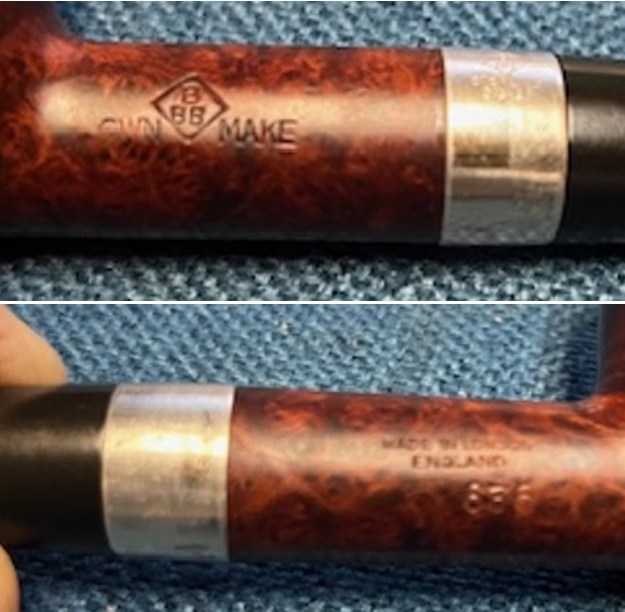
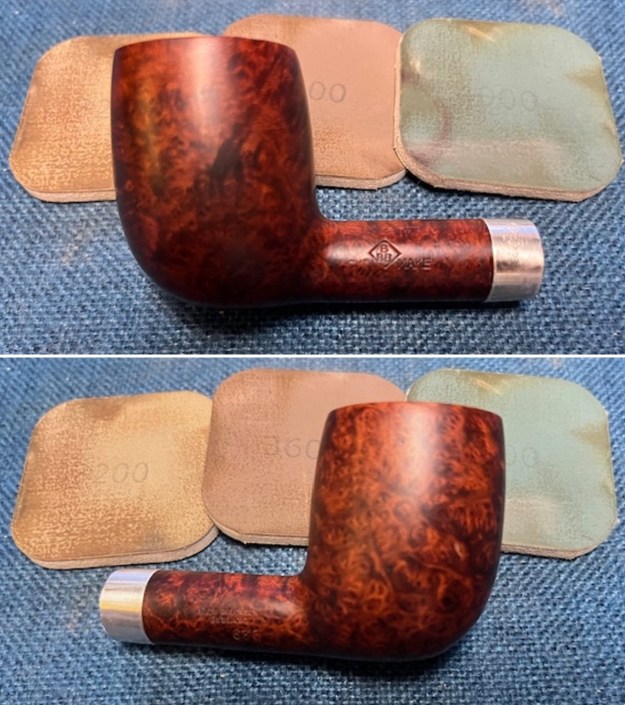
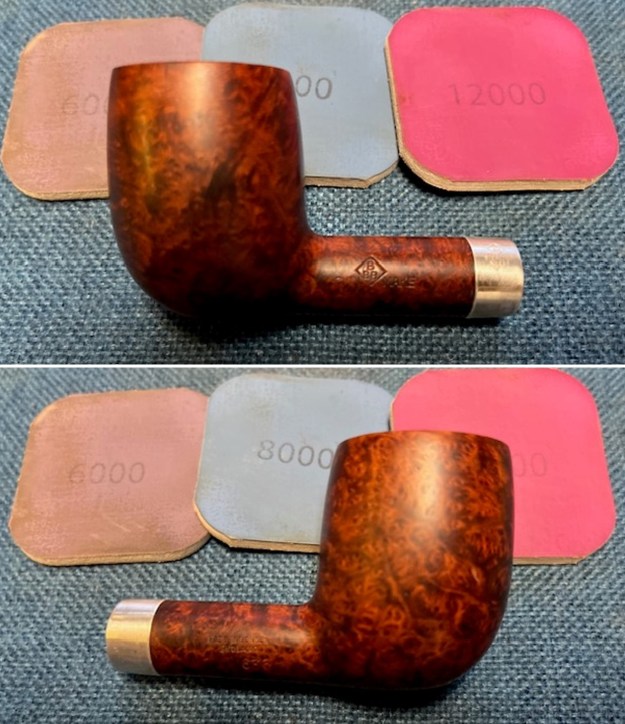
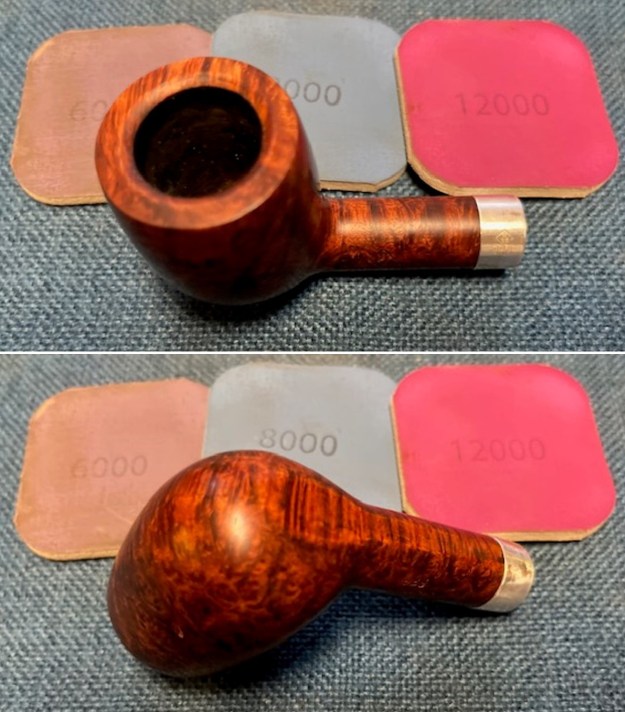
 I decided to start my work on the bowl by polishing the rim top and the briar with micromesh sanding pads – dry sanding with 1500-12000 grit pads. I wiped the bowl down with a damp cloth after each sanding pad to remove the dust and debris.
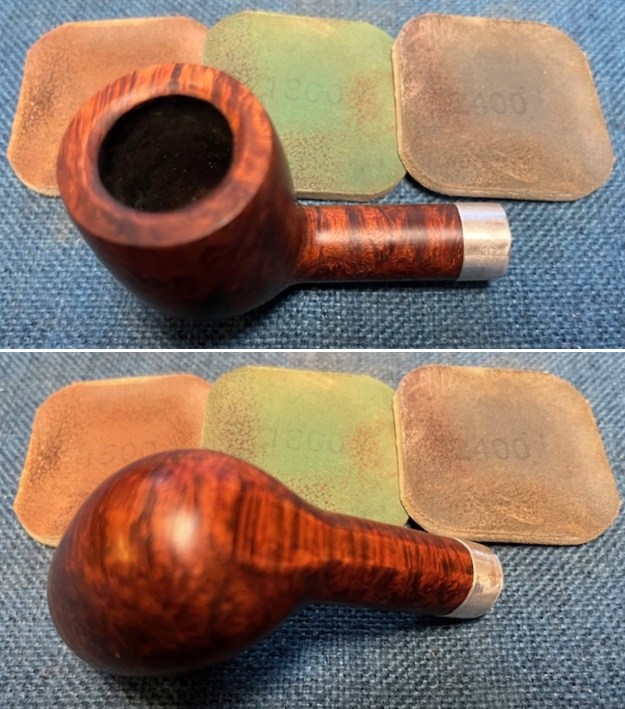

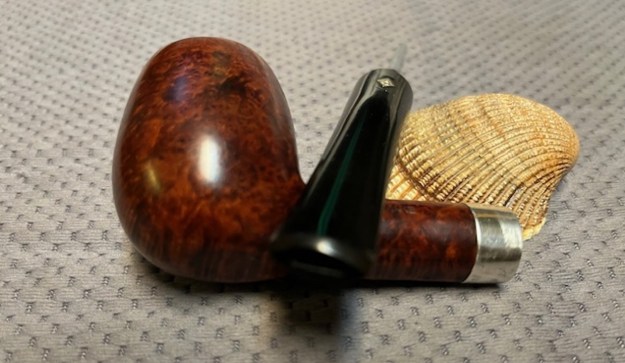
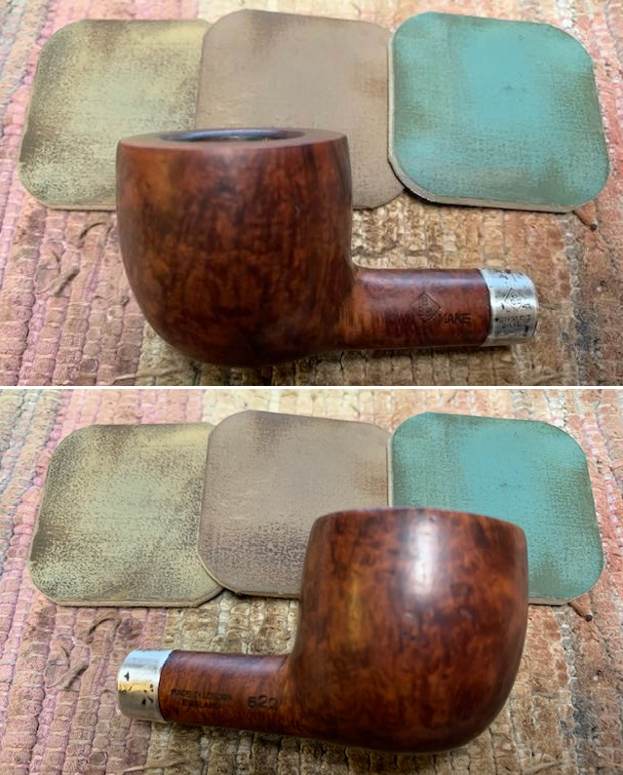
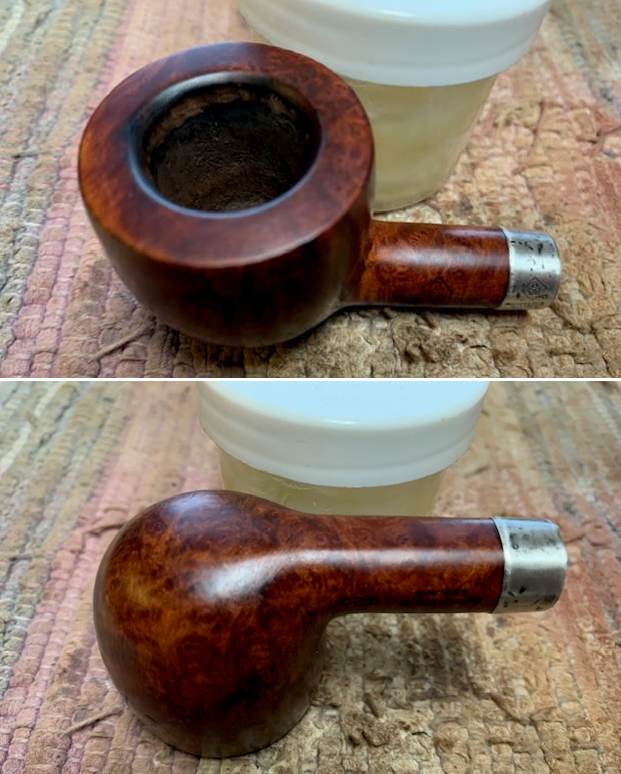
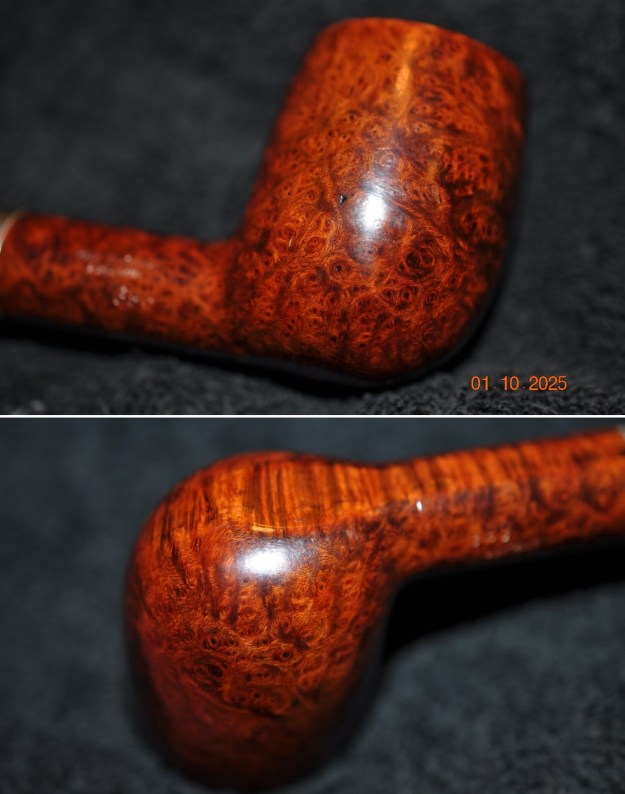
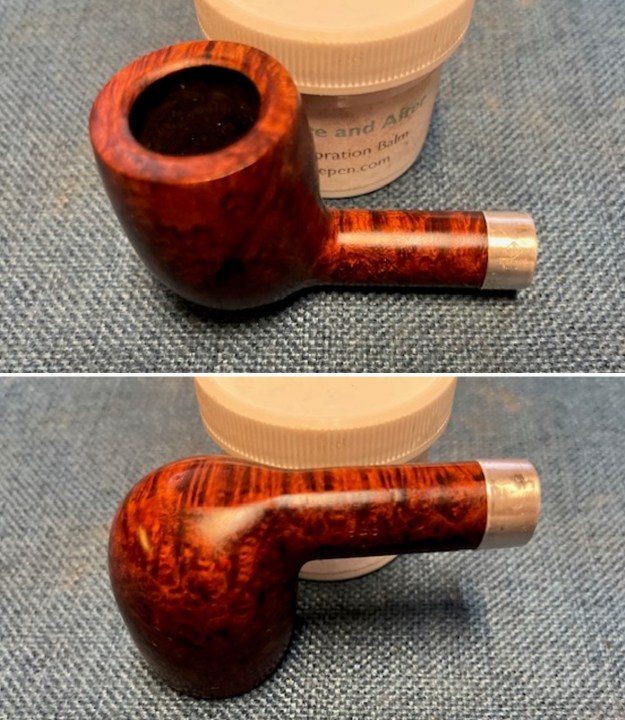
 I gave the bowl and shank a coating of Before & After Restoration Balm. I worked it into the surface of the briar with my fingertips to clean, enliven and protect the briar. I let the balm sit for 15 minutes and then buffed with a cotton cloth to raise the shine. The photos show the bowl at this point in the restoration process.
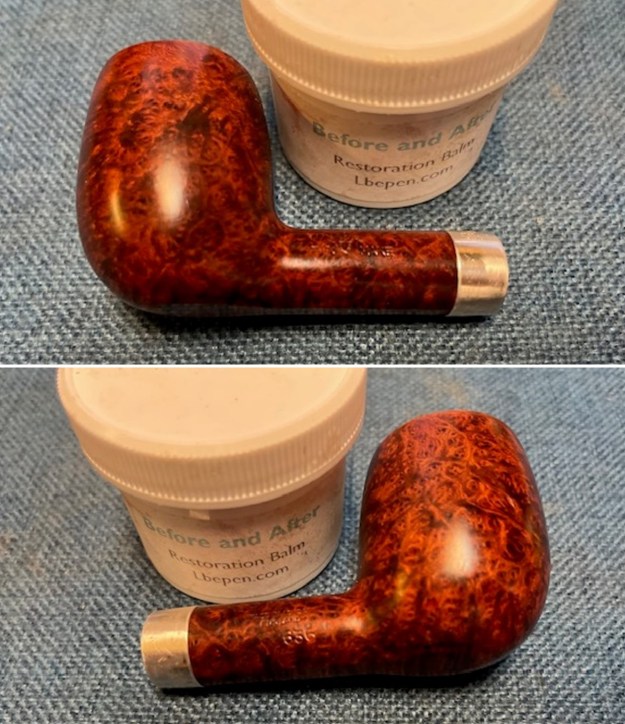
 I polished the silver band with a jeweller’s cloth to remove the tarnish and oxidation. It took some elbow grease but the cloth works to clean and protect the silver from further tarnishing. It looks significantly better than when I started.
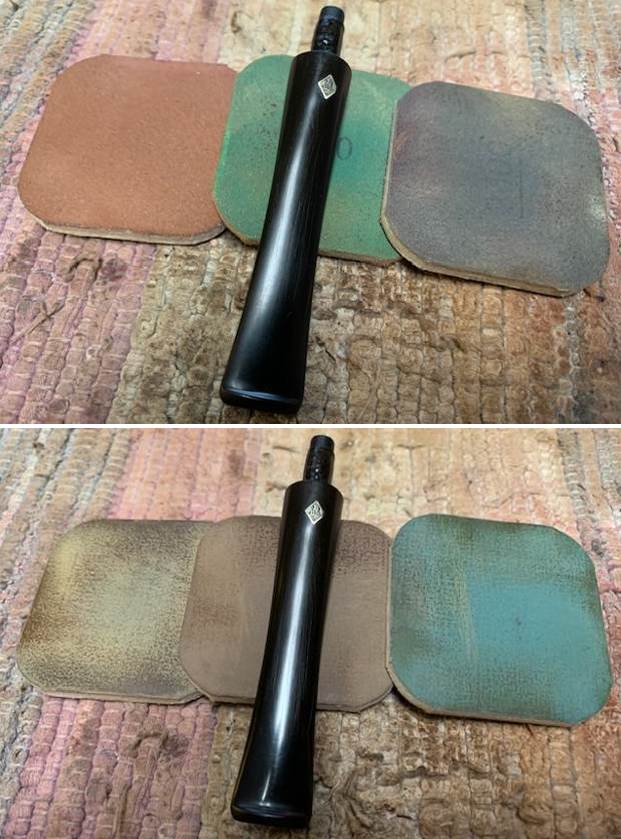
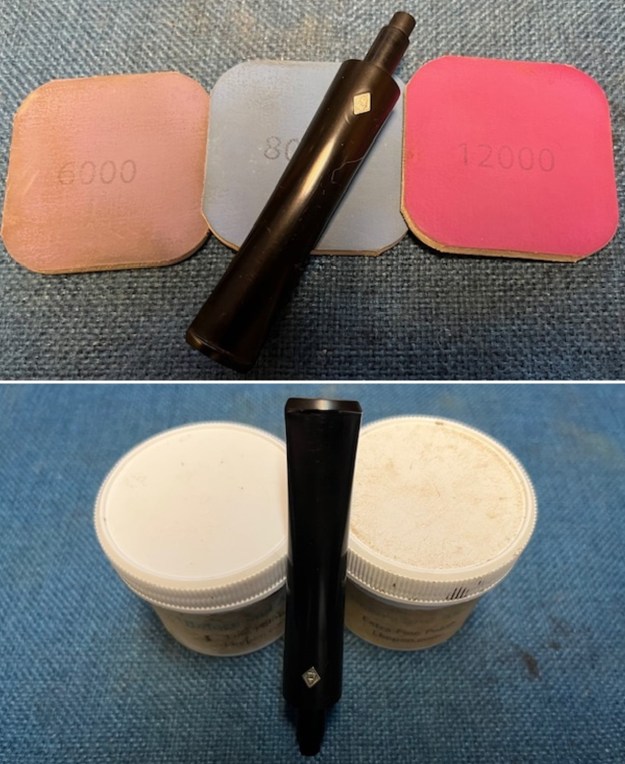
 I set the bowl aside and turned my attention to the stem. I polished it with micromesh sanding pads – 1500-12000 grit sanding pads and water to wet sand the stem. I wiped it down after each sanding pad with Obsidian Oil on a cotton rag after each sanding pads. After finishing with the micromesh pads I rub the stem down with Before & After Fine and Extra Fine stem polish as it seems to really remove the fine scratches in the vulcanite. I finished polishing the stem with a final coat of Obsidian Oil and set the stem aside to let the oil absorb. This process gives the stem a shine and also a bit of protection.
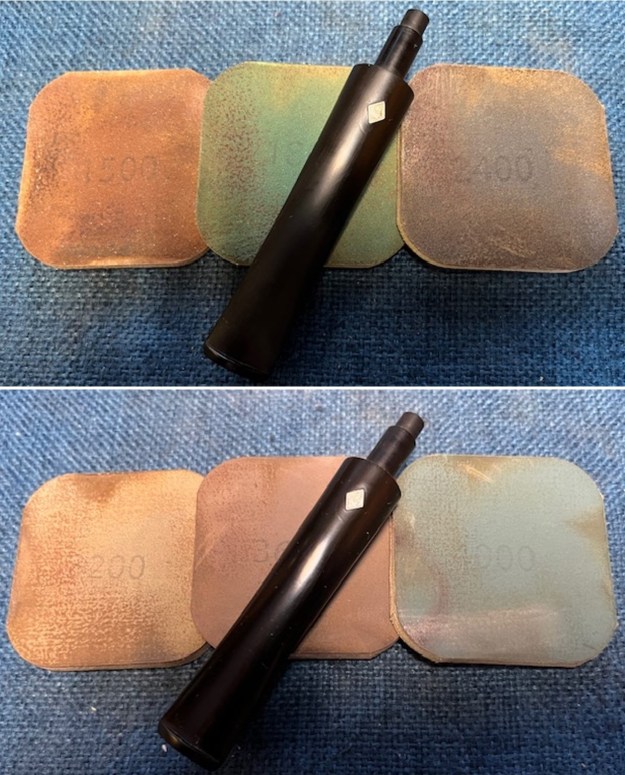
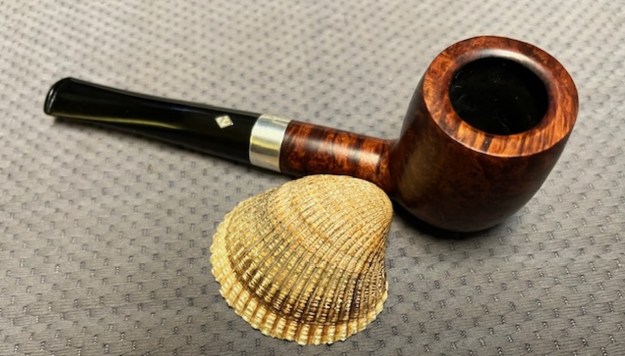
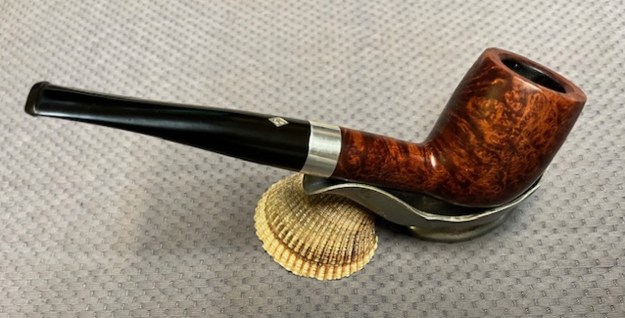
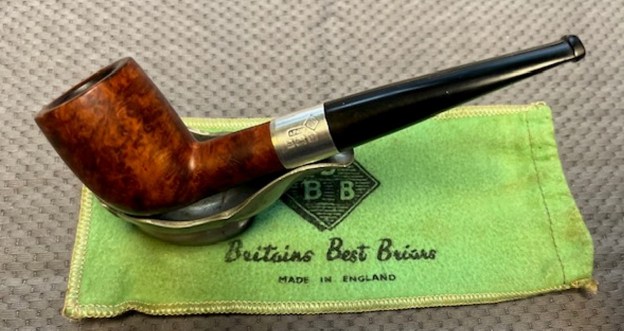
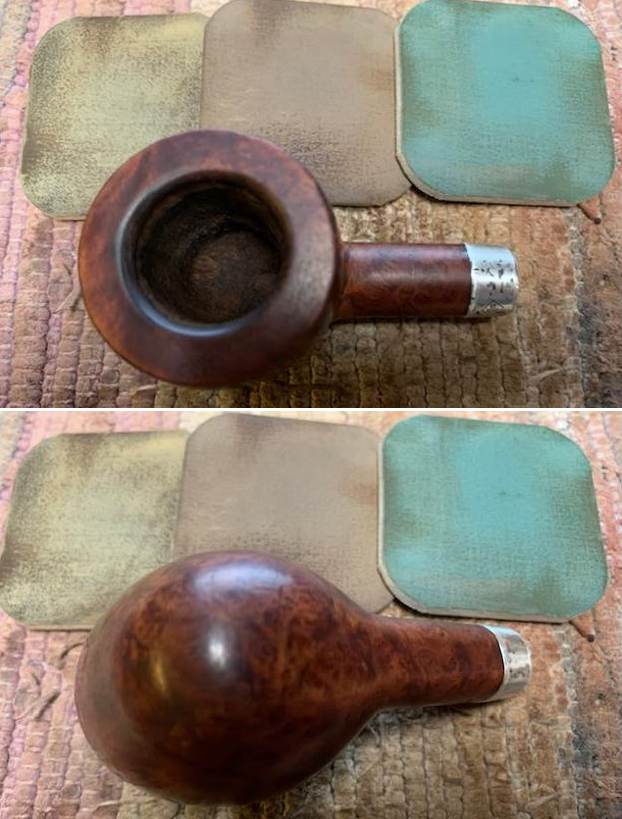
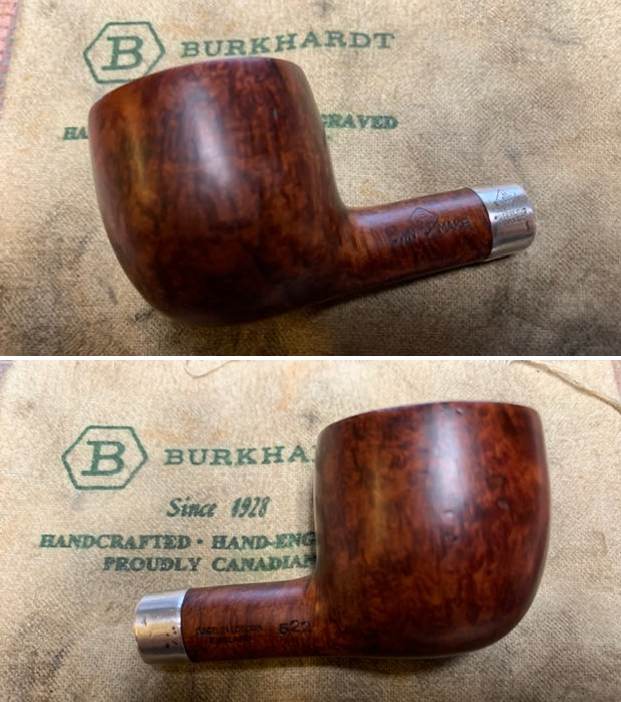
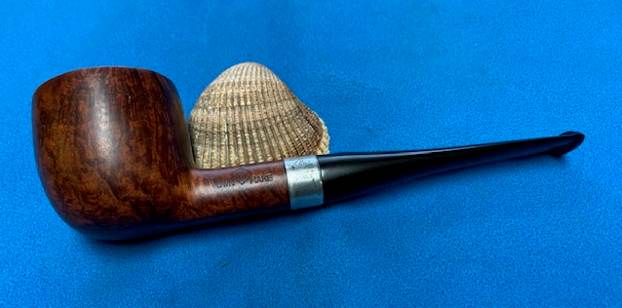
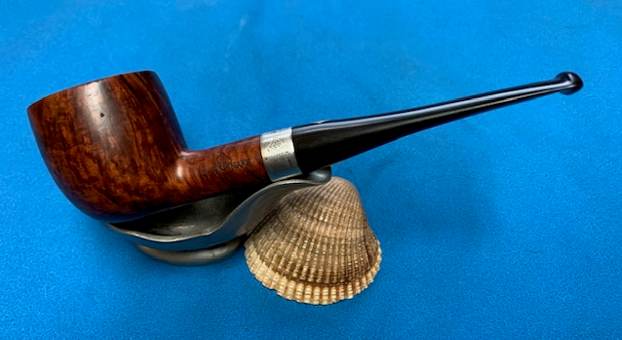
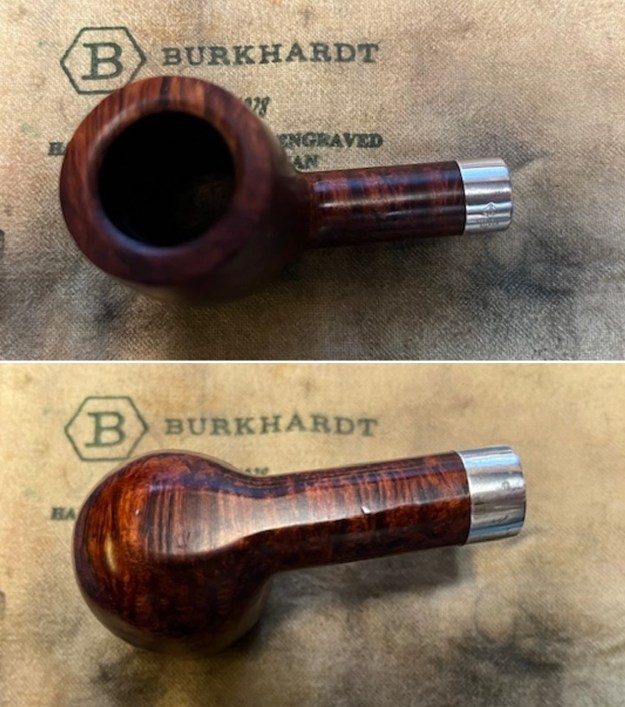
 This BBB Own Make 636 Made in London England Billiard turned out to be a great looking pipe. With polishing, the grain shines through clearly. The black vulcanite stem is in excellent condition and works great with the polished briar. The polished silver is a touch of class. I put the stem back on the bowl and carefully buffed the pipe with Blue Diamond on the buffing wheel using a light touch on the briar. I gave the bowl and stem multiple coats of carnauba wax on the buffing wheel and followed that by buffing the entire pipe with a clean buffing pad. I hand buffed the pipe with a microfiber cloth to deepen the shine. The finished BBB Own Make 636 Billiard fits nicely in the hand and feels great. Give the finished pipe a look in the photos below. The dimensions of the pipe are Length: 6 inches, Height: 1 ¾ inches, Outside diameter of the bowl: 1 ¼ inches, Chamber diameter: ¾ of an inch. The weight of the pipe is 43 grams/1.52 ounces. It is a great looking pipe that I will soon be adding it to the rebornpipes store in the British Pipemakers Section. If you are interested in adding it to your collection let me know Thanks for reading this blog and my reflections on the pipe while I worked on it.