Blog by Steve Laug
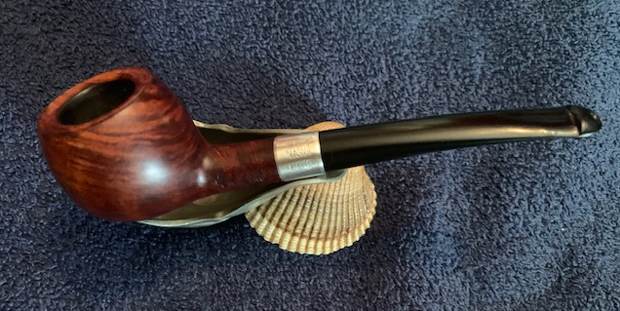
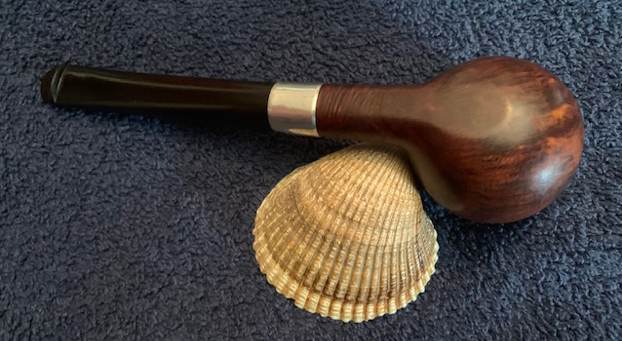
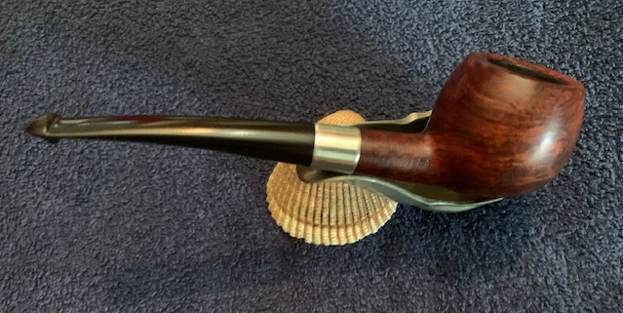
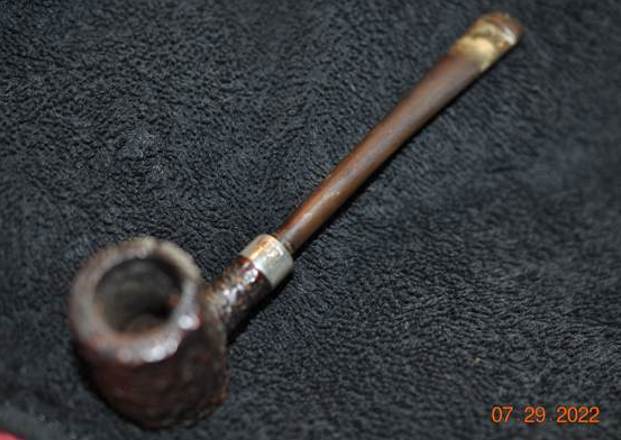
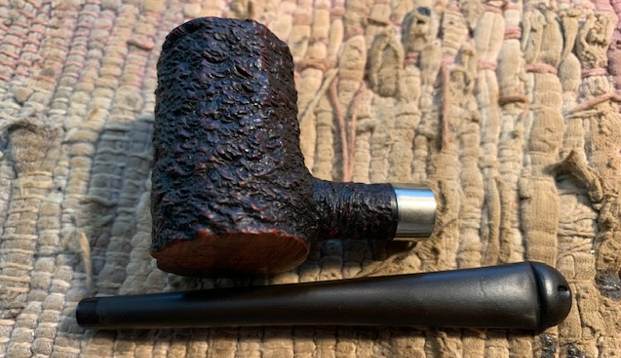
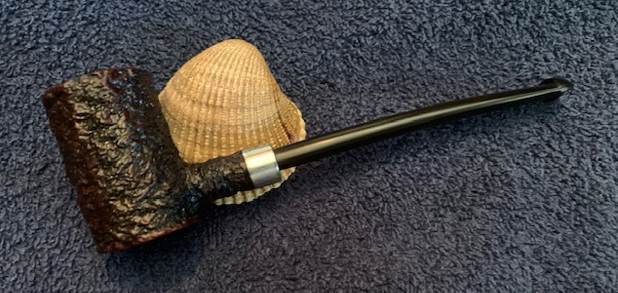
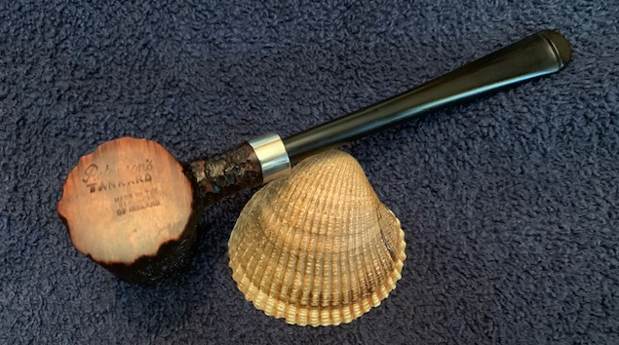
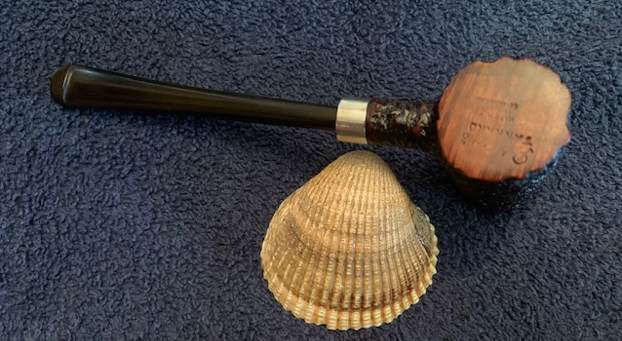
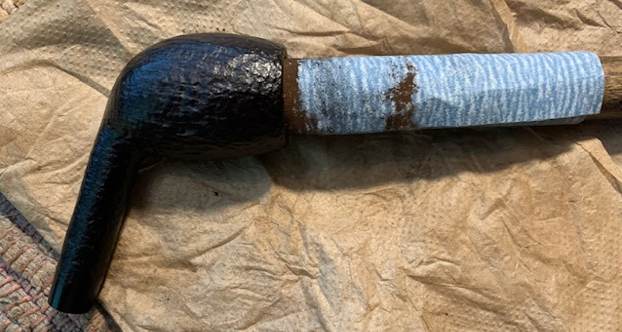
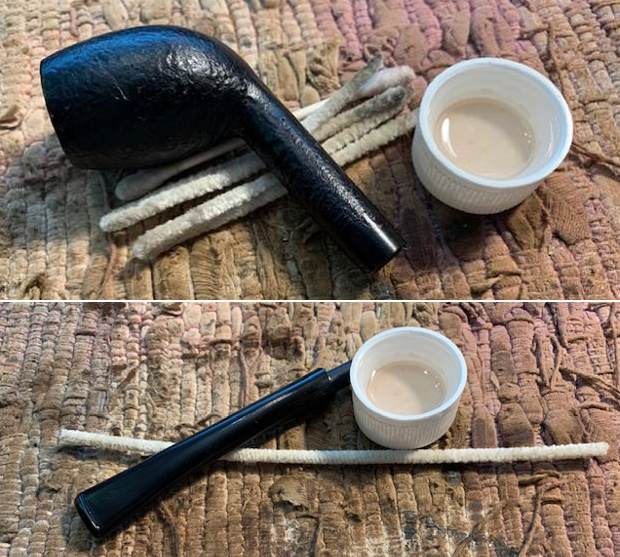
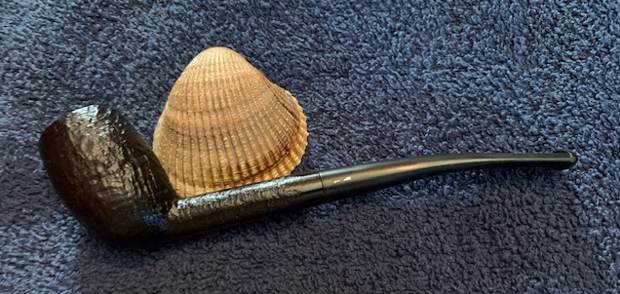
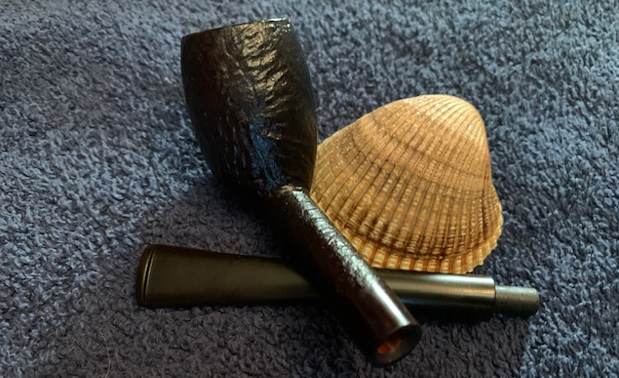
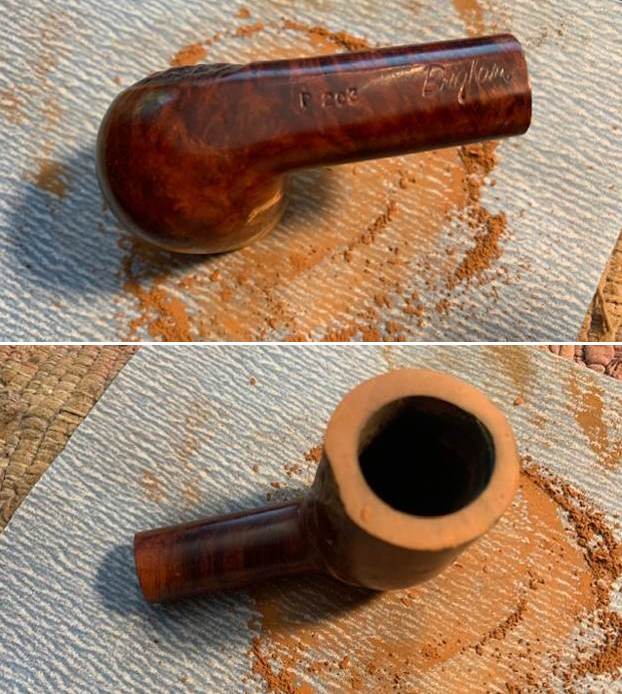
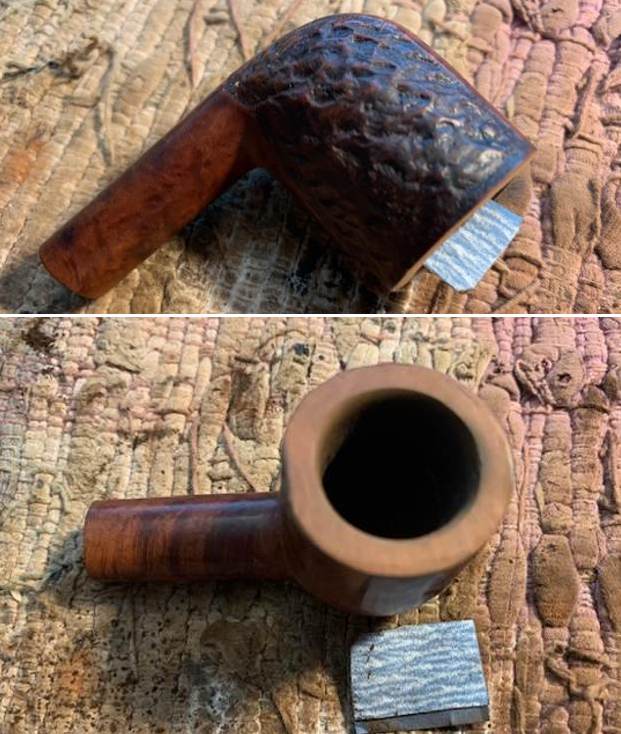
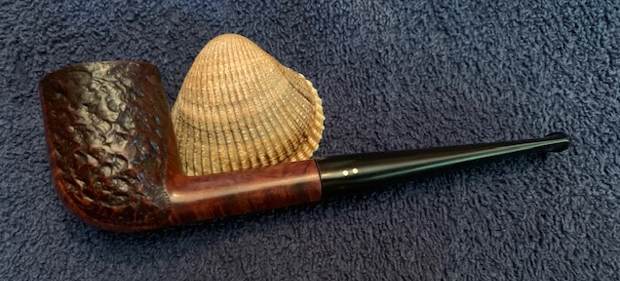
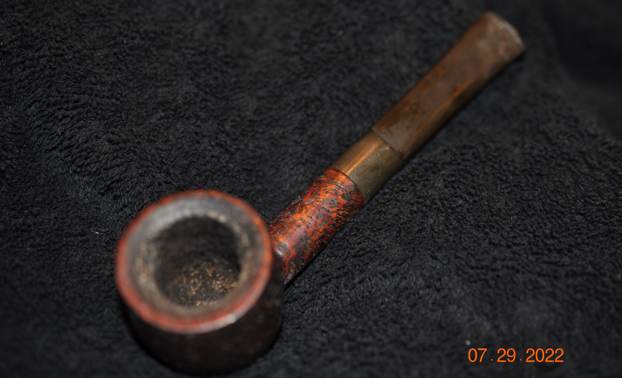
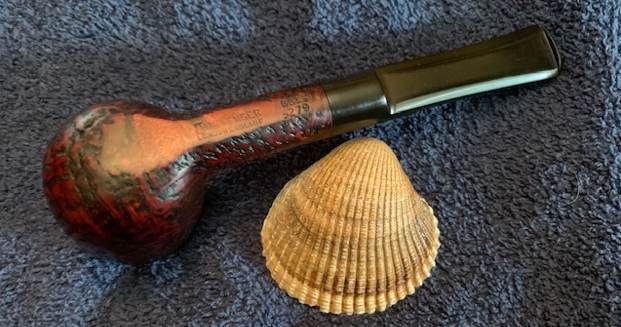
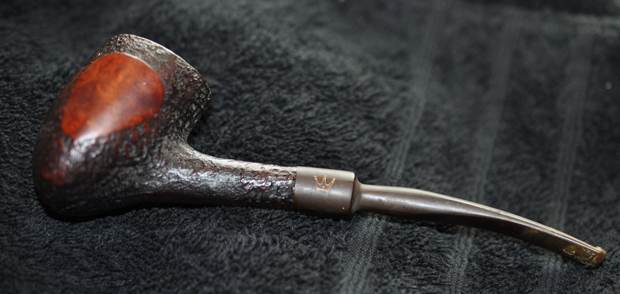
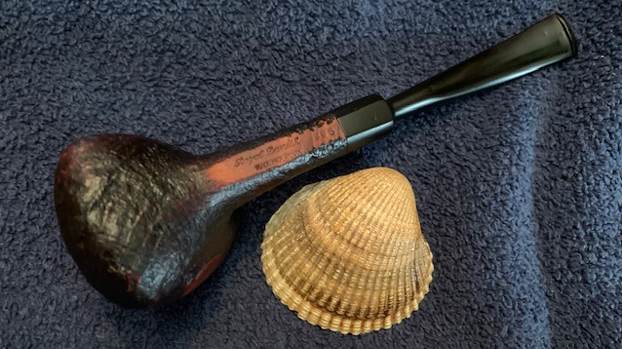
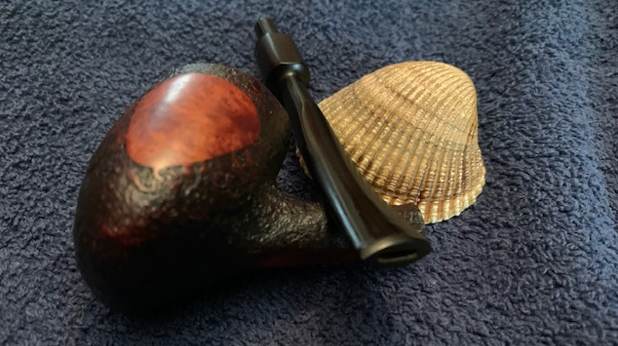
The next pipe I have chosen to work on is a Peterson’s Sterling Prince. The pipe was purchased on 06/24/22 from an online auction in Manorville, New York, USA. It has a Sterling Silver band around the shank that is tarnished and oxidized. The bowl heavily caked with a moderate lava overflow on the rim top. The inner edge of the bowl had some damage but also had cake on the edges. The outer edge looked to be in good condition. The finish on the bowl was filthy with grime ground into the surface but the mixed grain was quite nice. The stem was lightly oxidized, calcified and also has tooth marks and chatter on both sides ahead of the button. The pipe was stamped on the left side of the shank and read Peterson’s [over] Sterling. On the right side it is stamped with the Made in Ireland in two lines followed by the number 406 identifying the shape. It is an interesting pipe. That should clean up very well. Jeff took photos of the pipe before he started his clean up work. 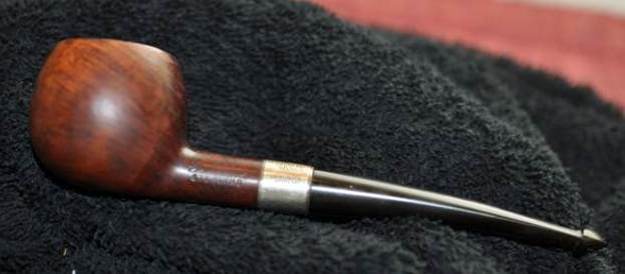
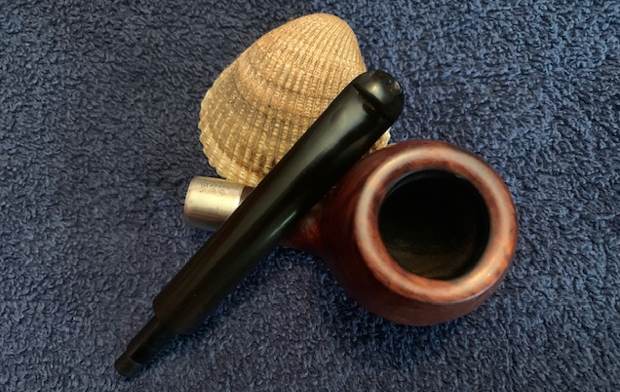
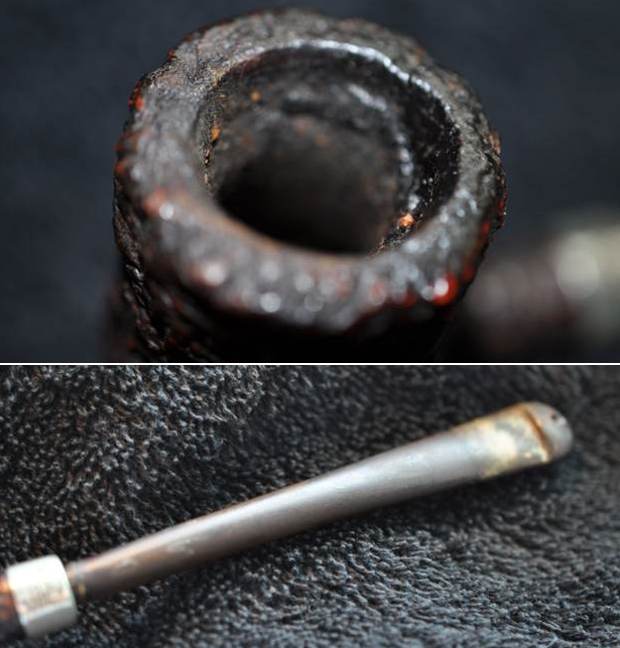
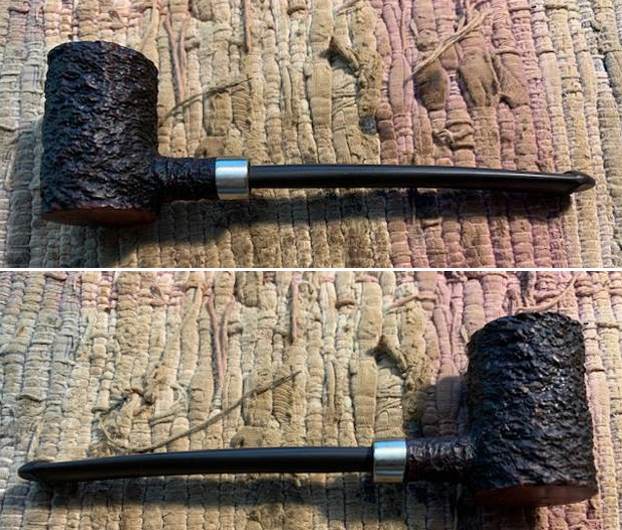
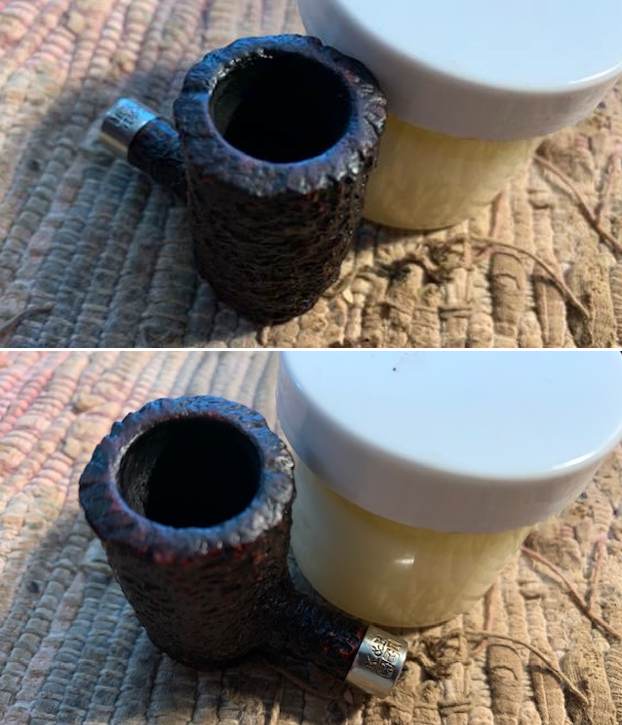
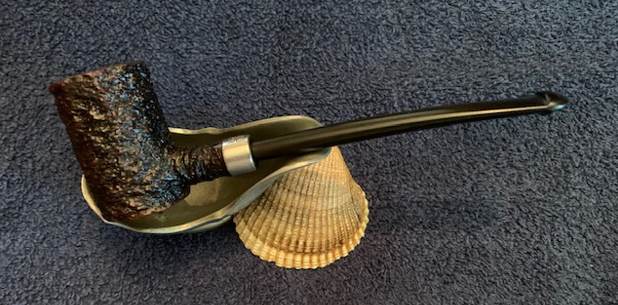
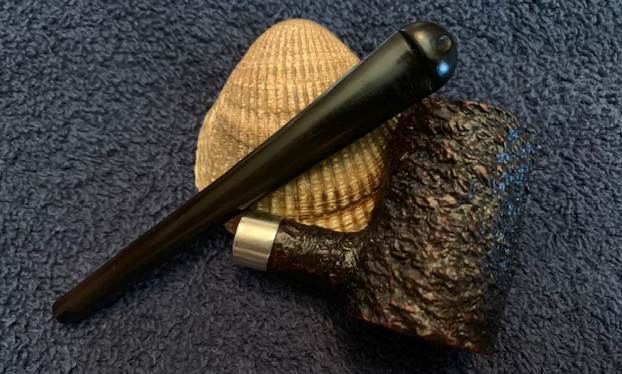
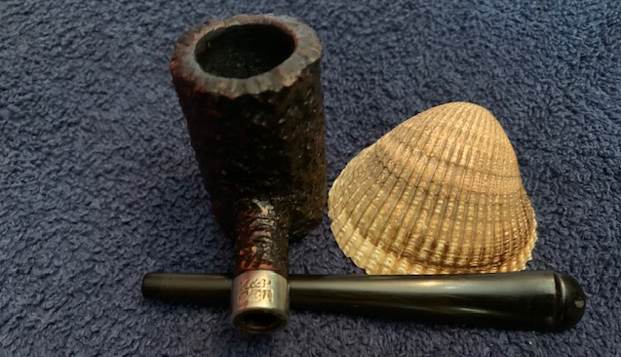
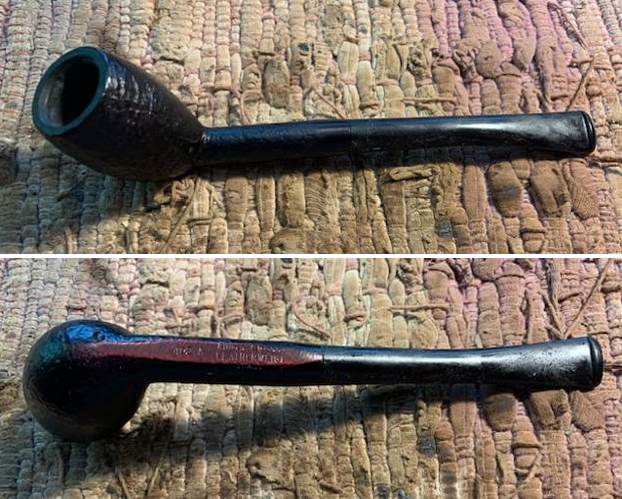
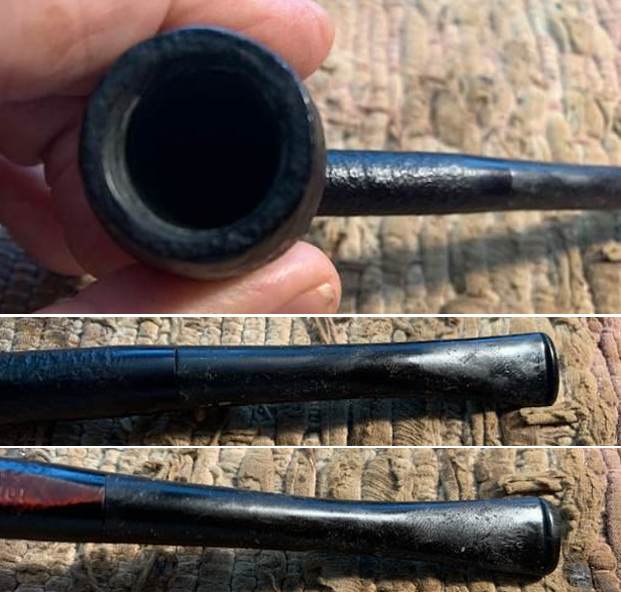
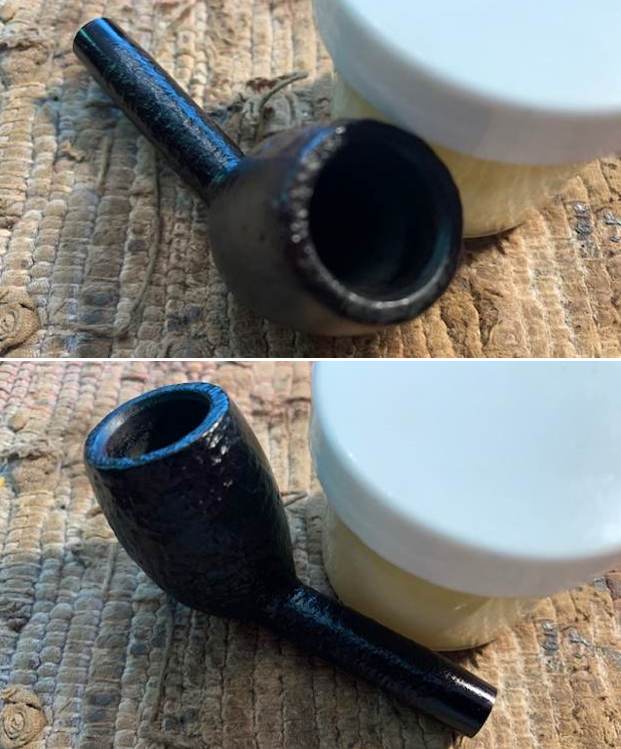
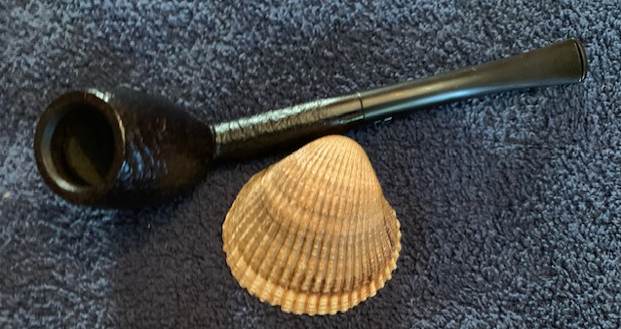
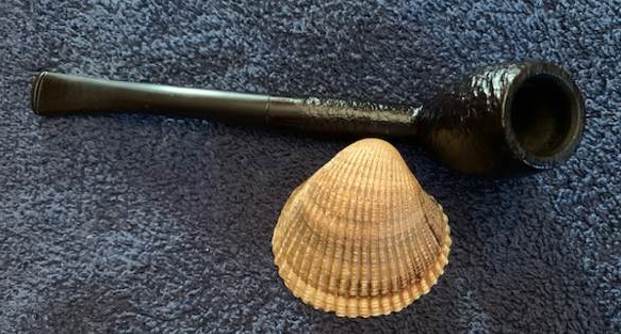
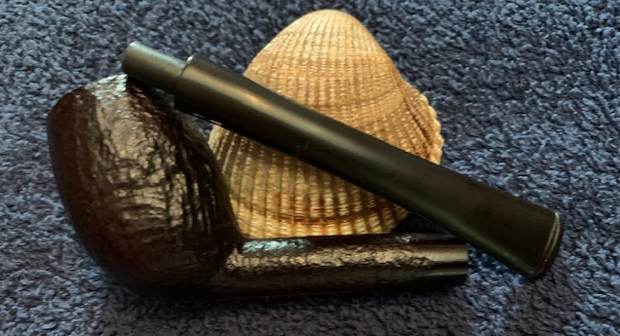
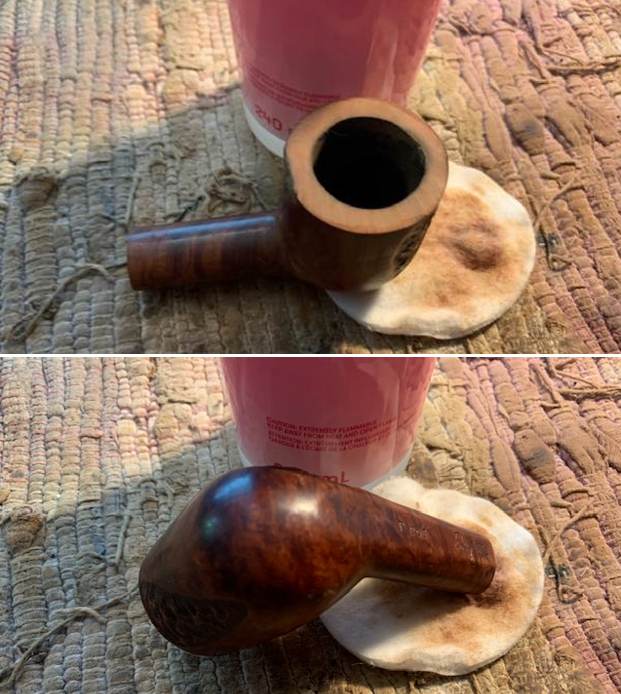
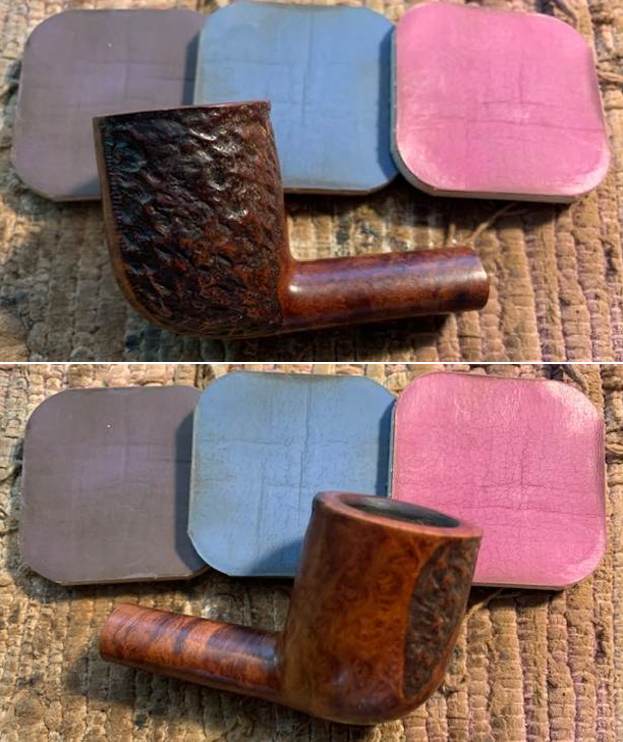
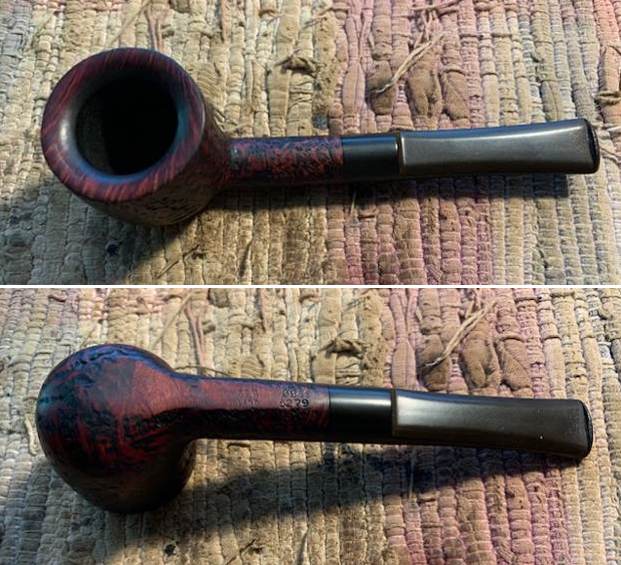
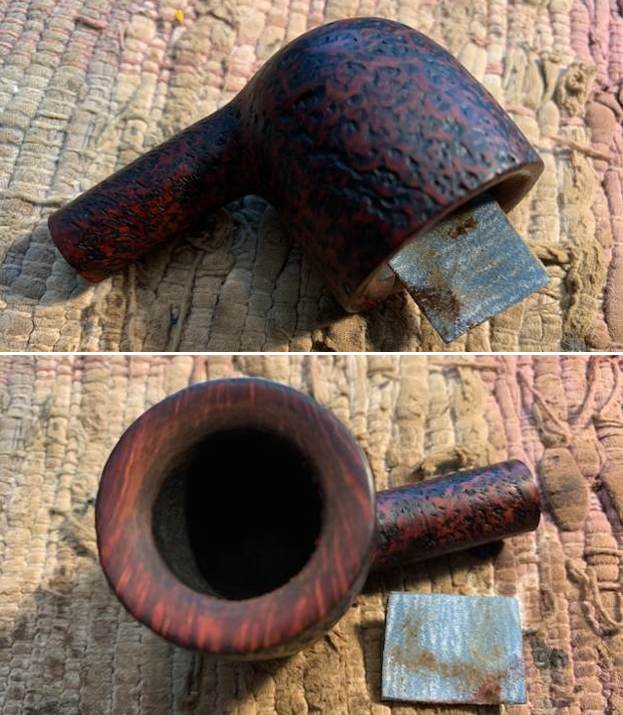
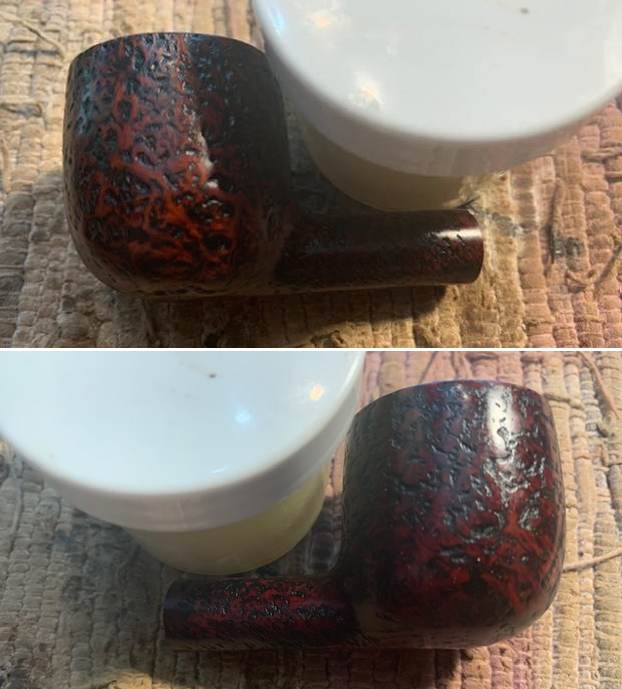
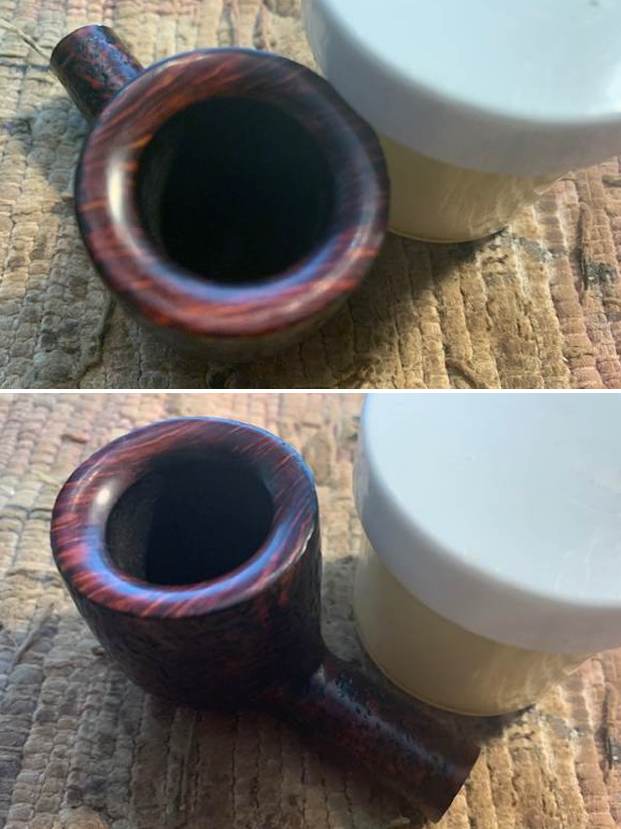
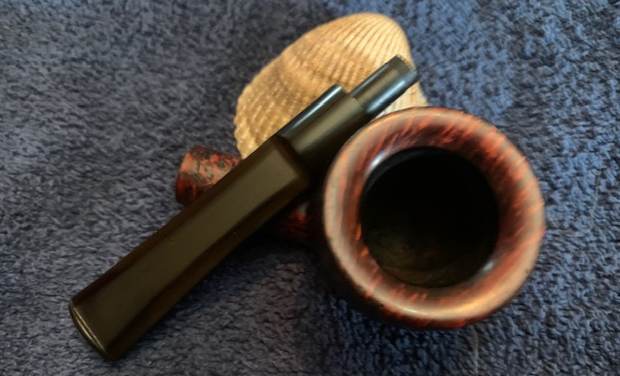
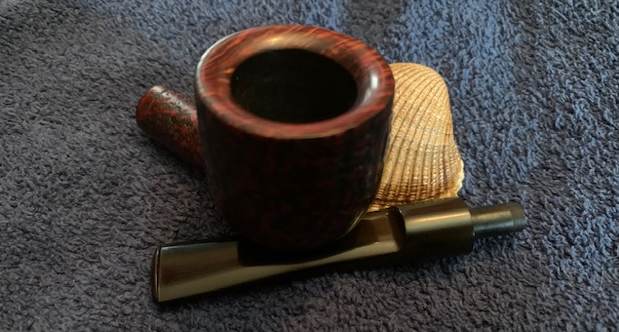
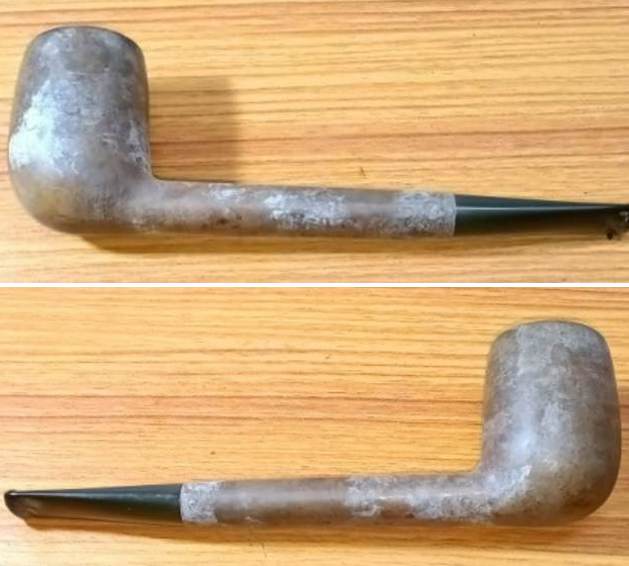
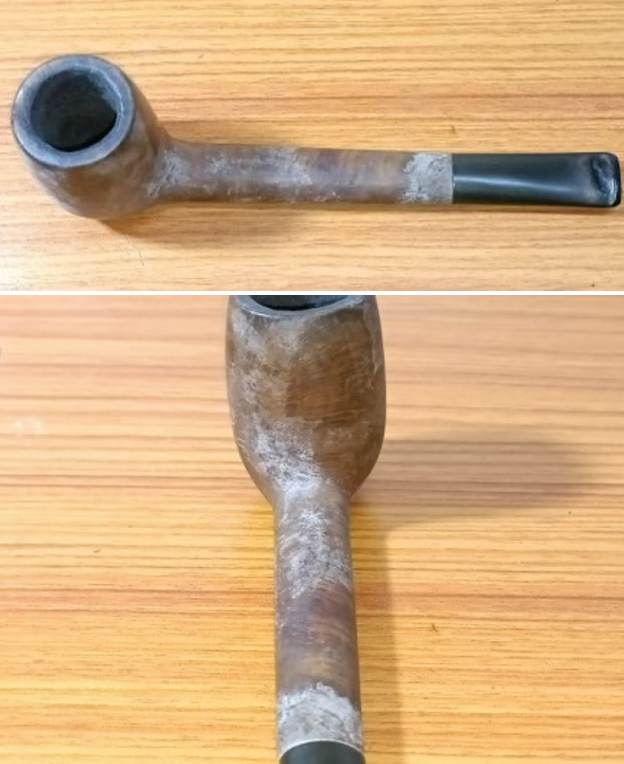
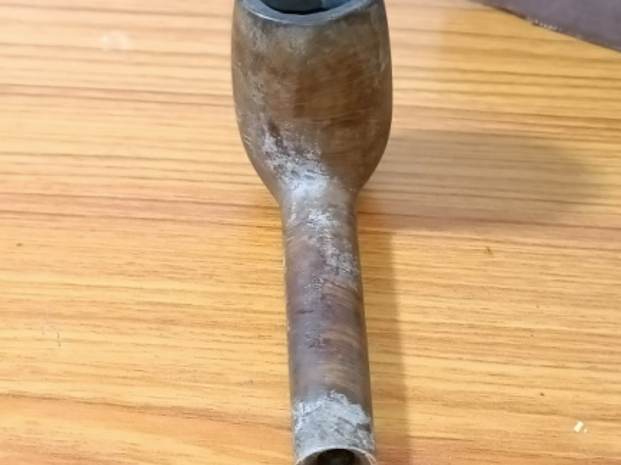
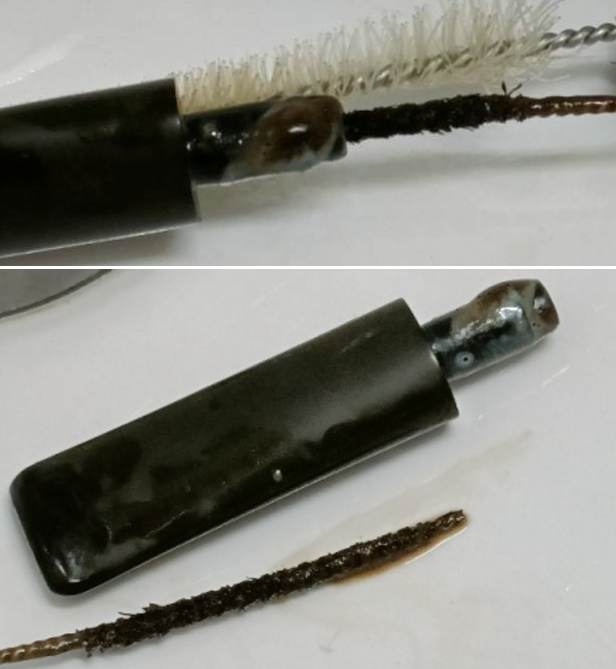
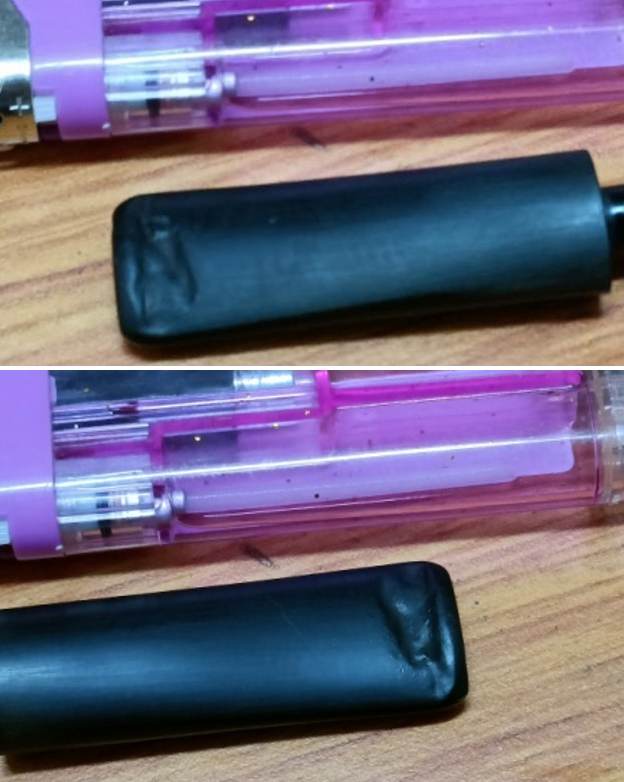
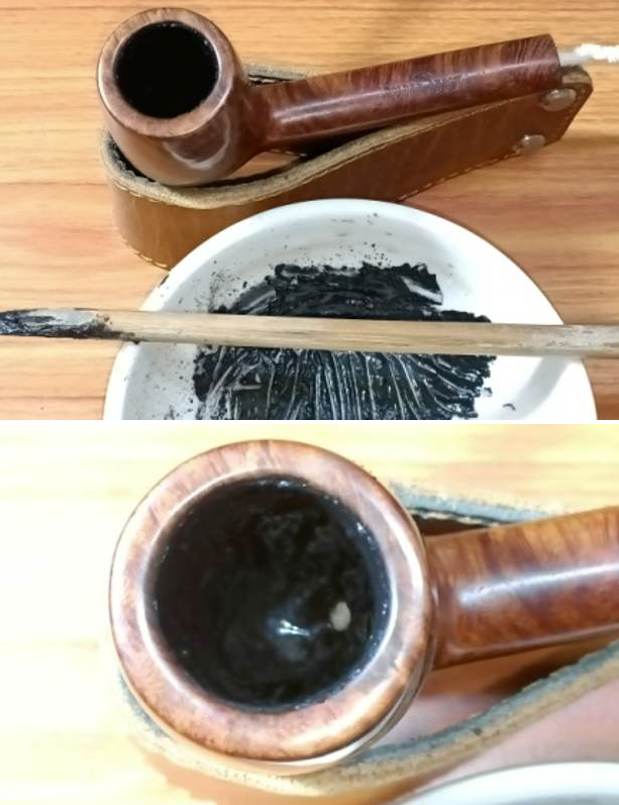
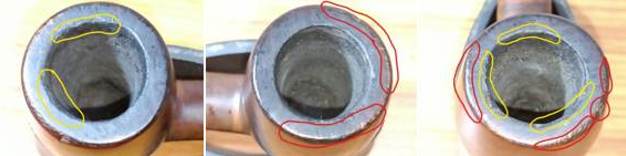
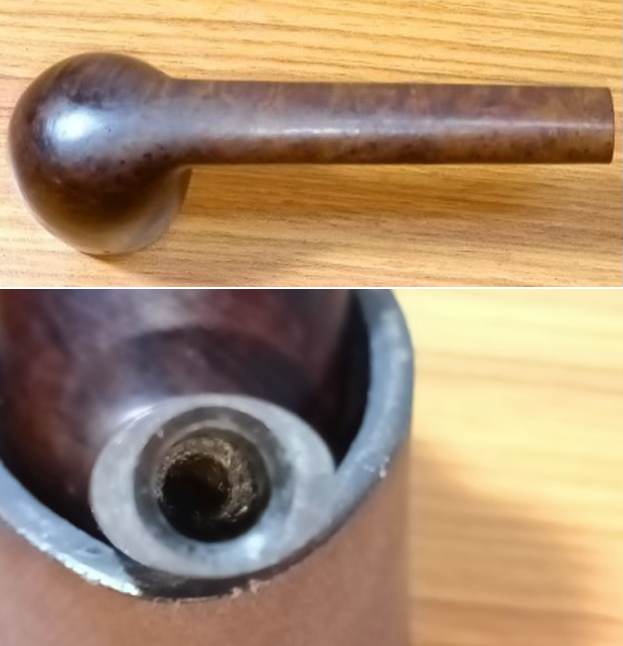
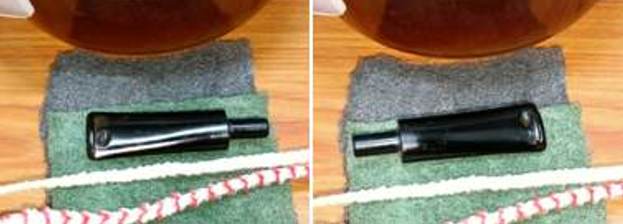
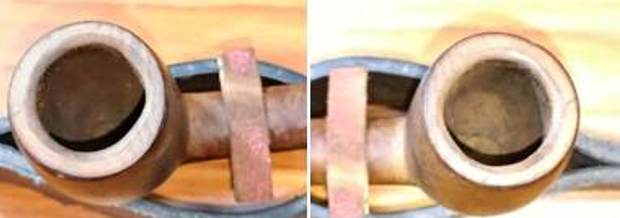
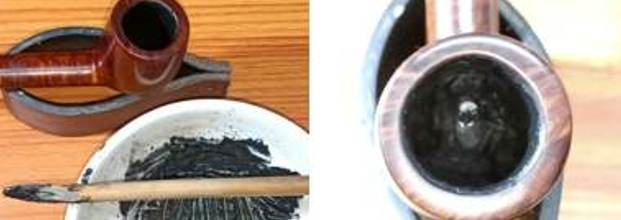
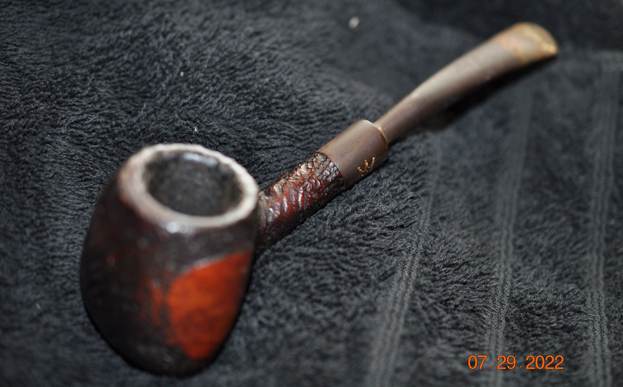
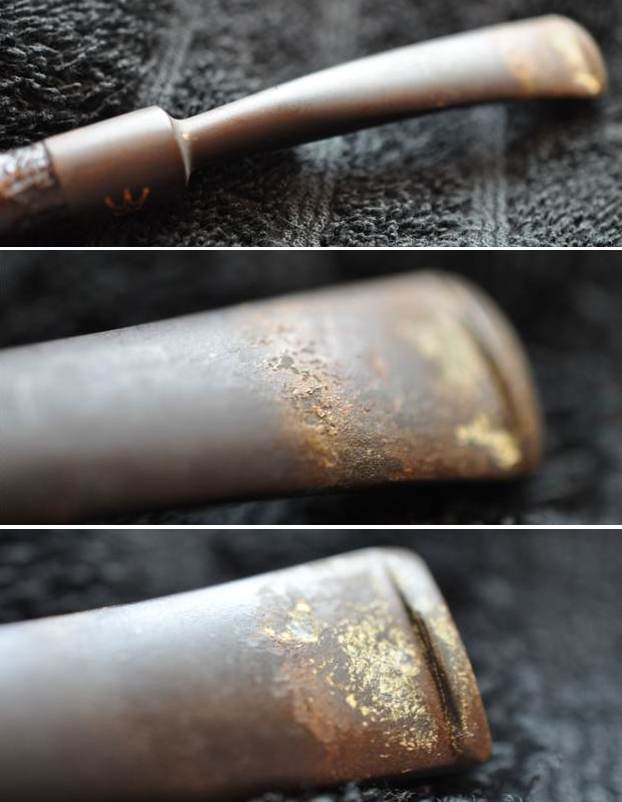
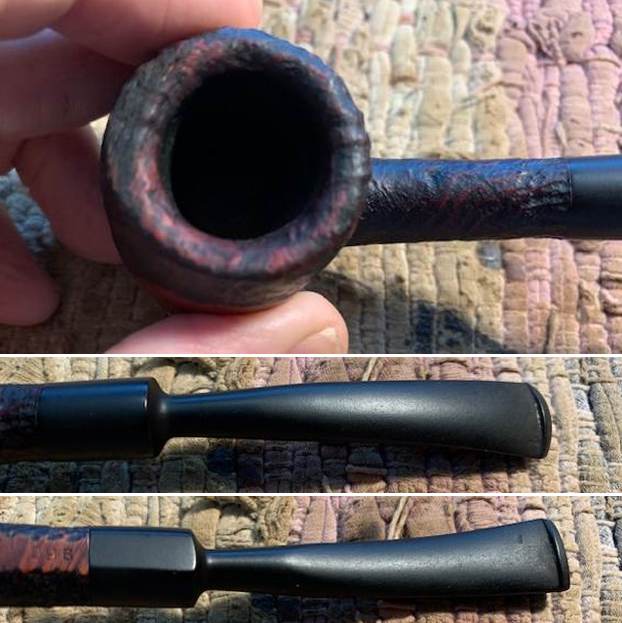
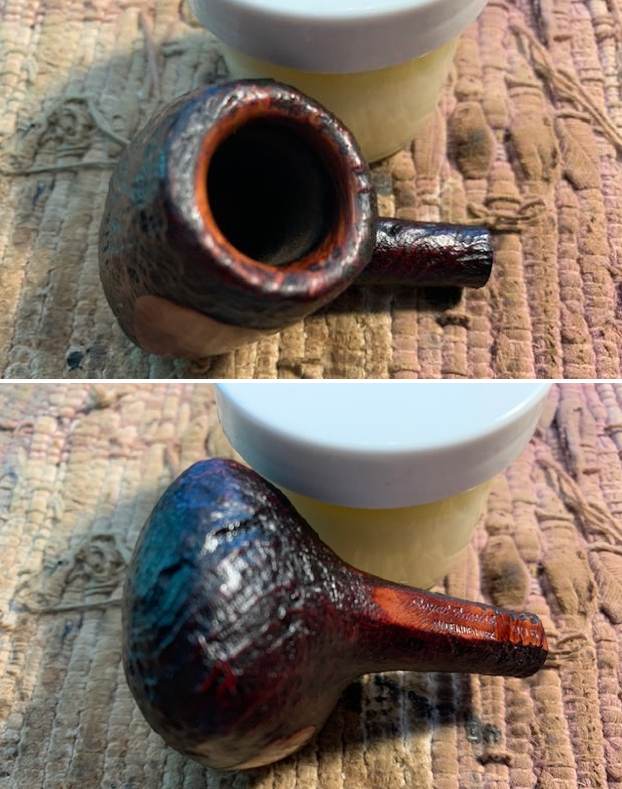
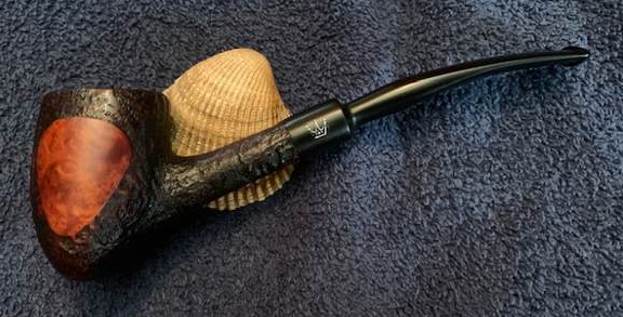
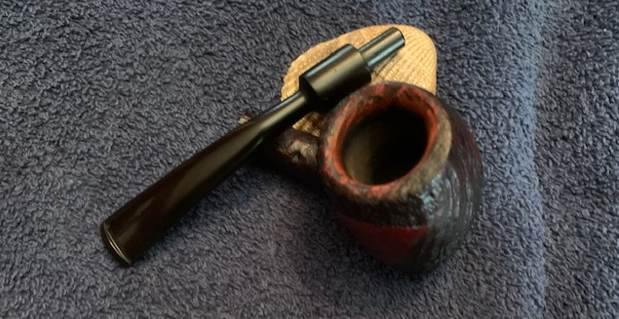
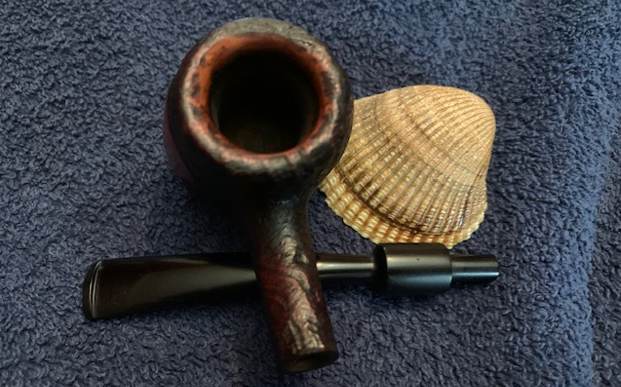
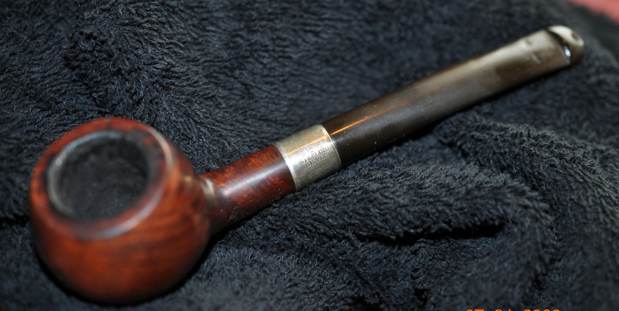 Jeff took photos of the rim top and stem to show the general condition of the pipe. The bowl is heavily caked and the rim top and edges have a thick lava overflow on the edges and top of the bowl. The stem is oxidized, calcified and has tooth marks and chatter on the top and underside near the button.
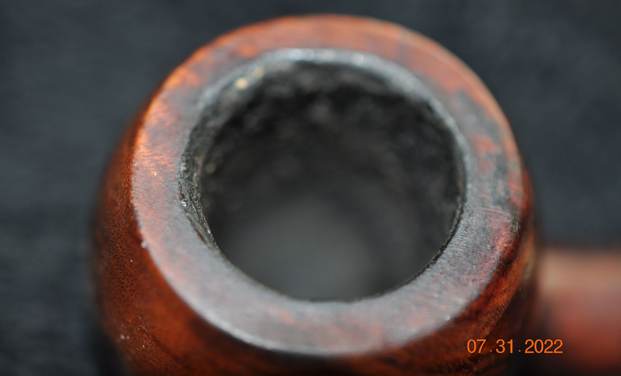

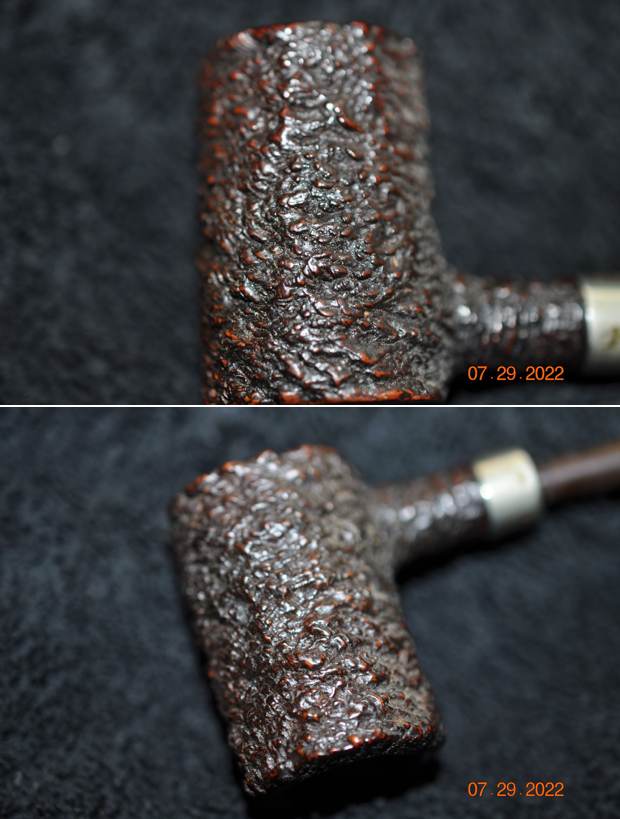
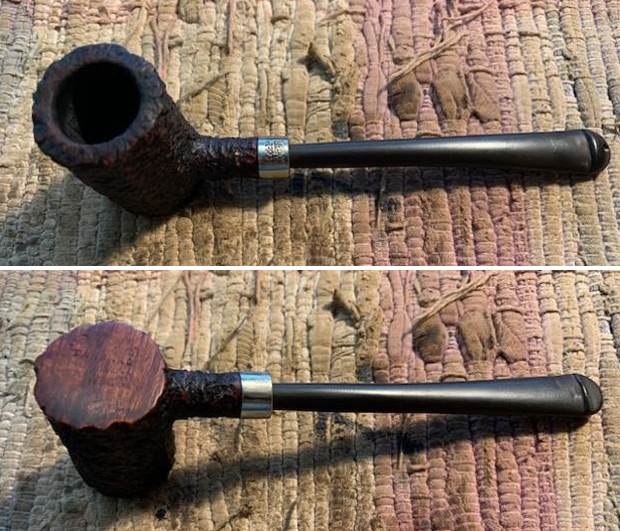
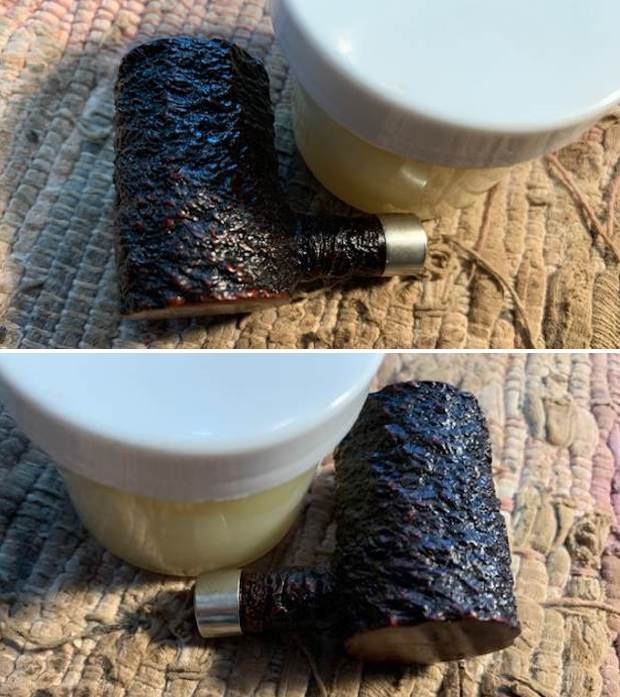
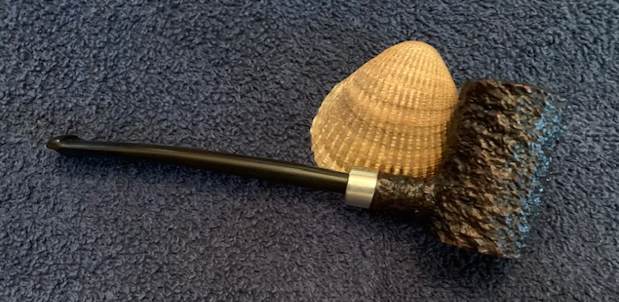
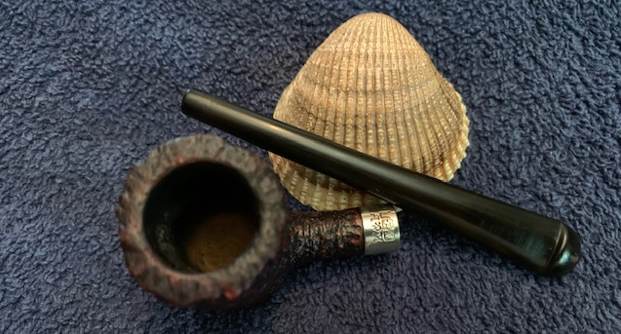
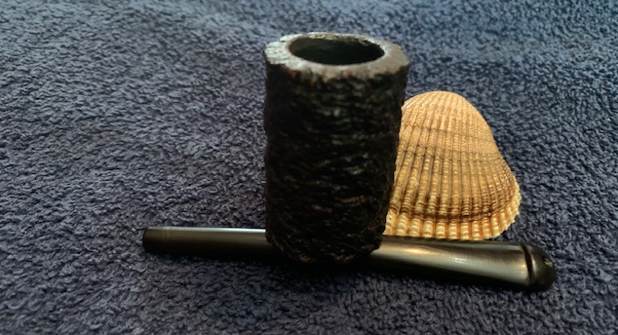
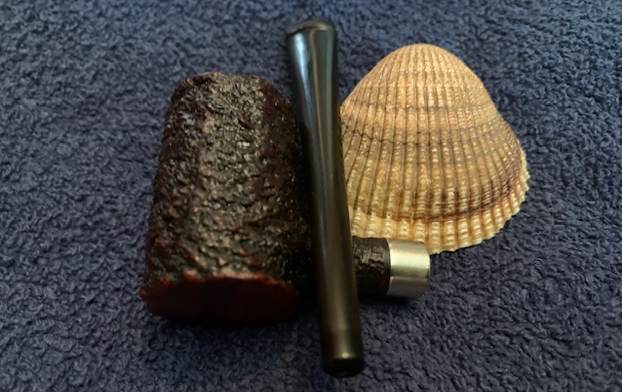
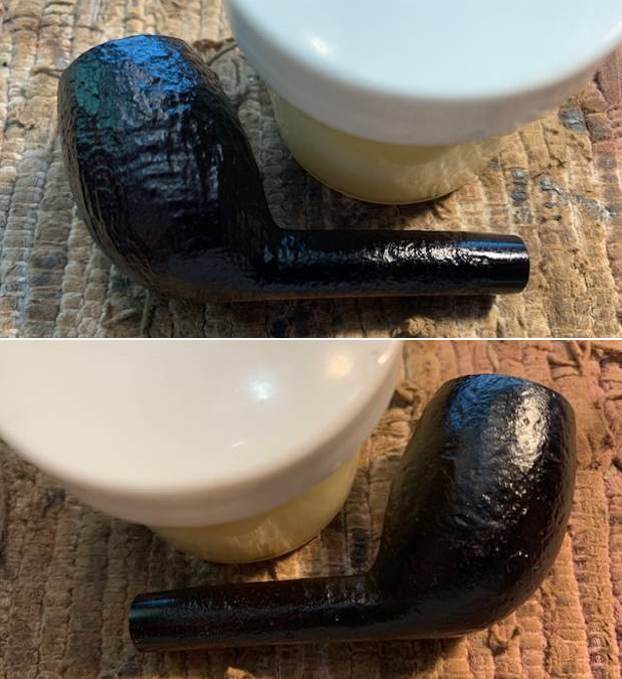
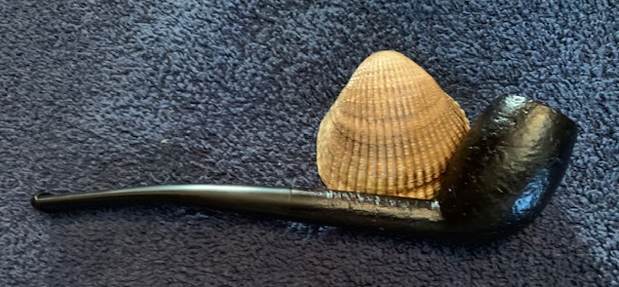
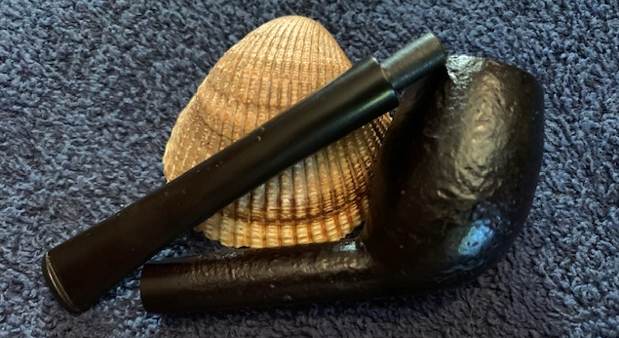
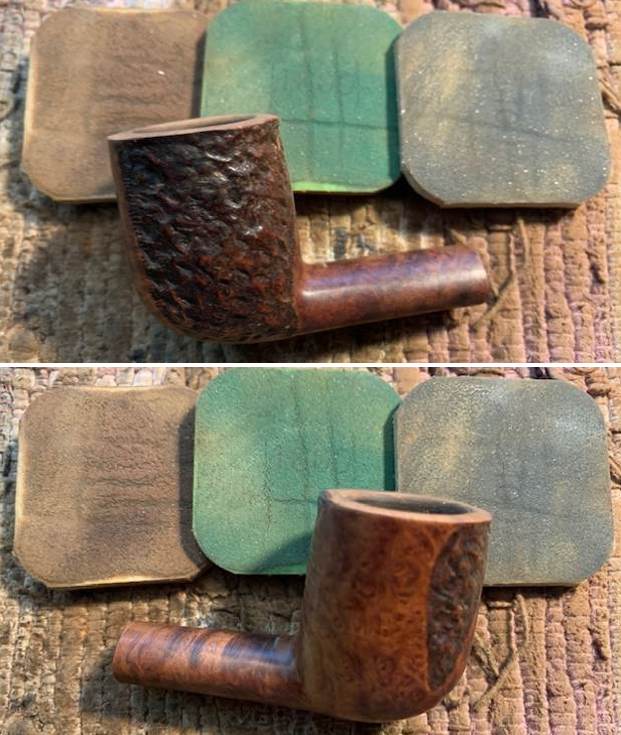
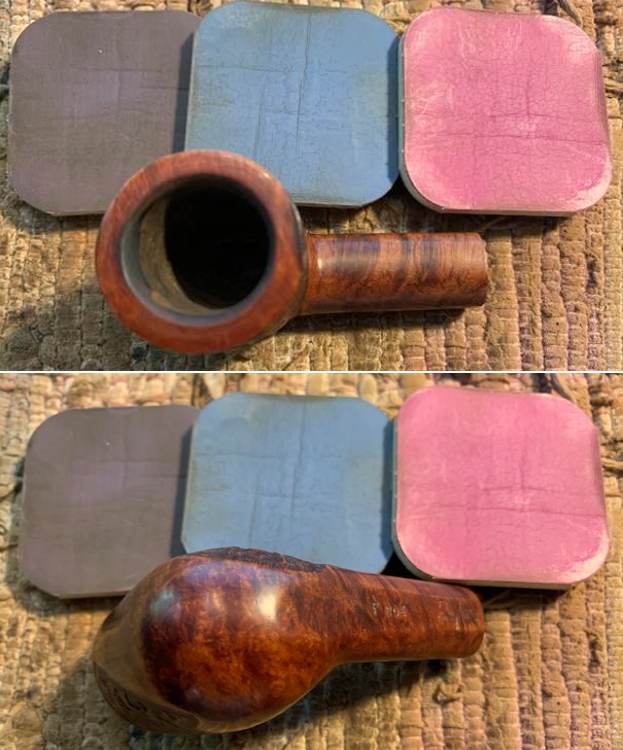
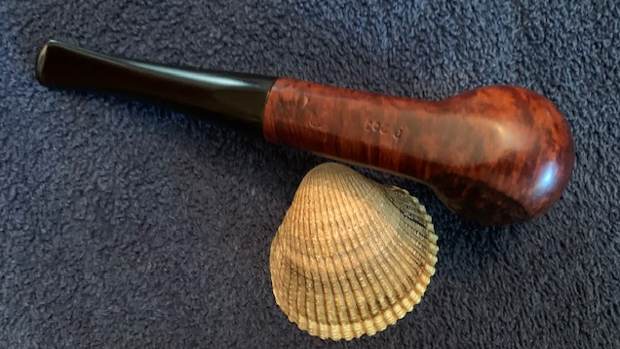
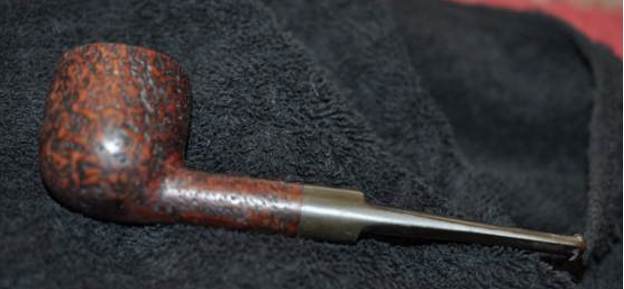
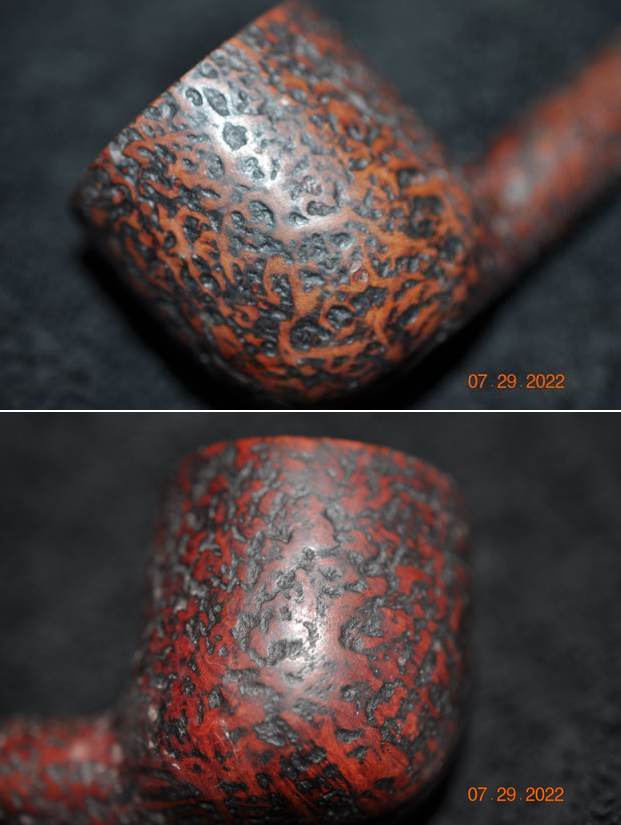
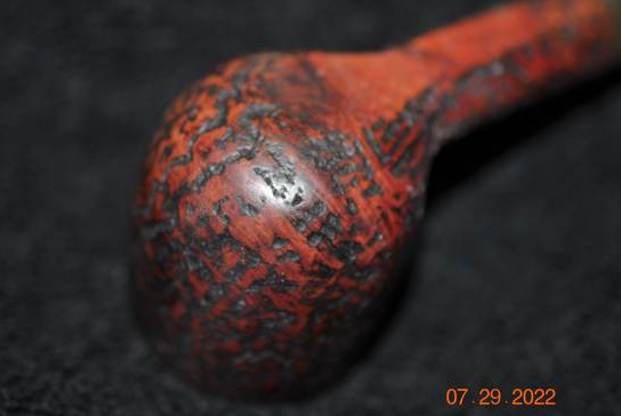
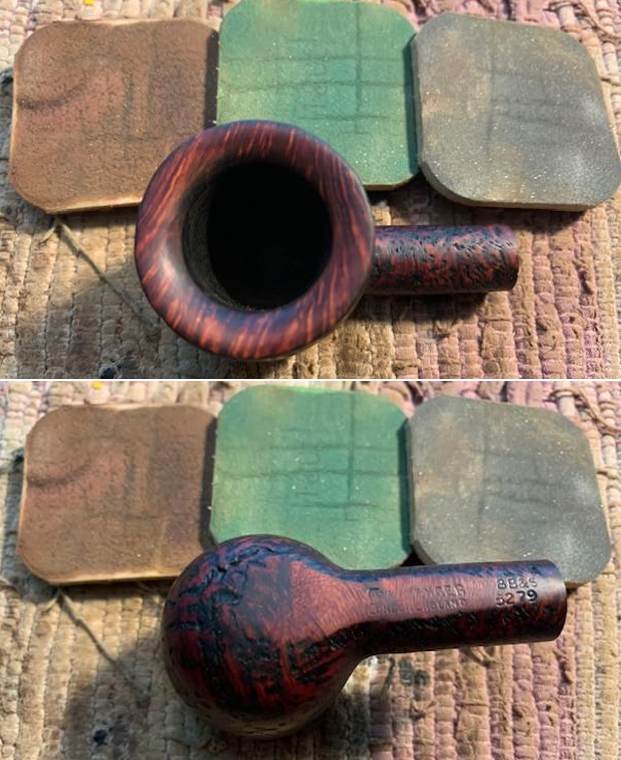
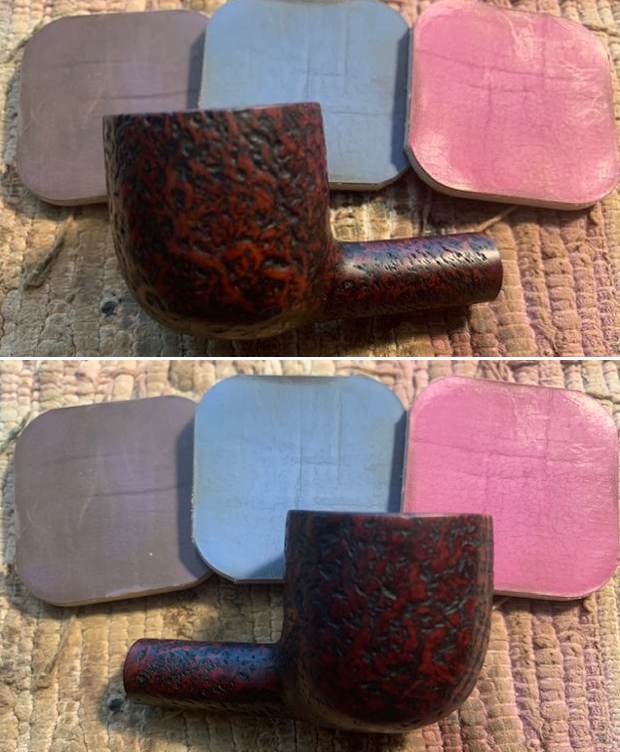
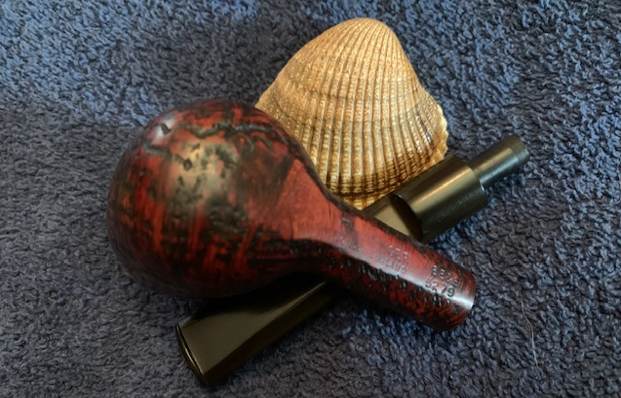
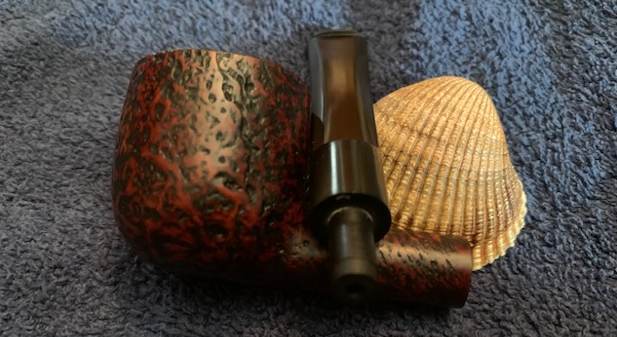
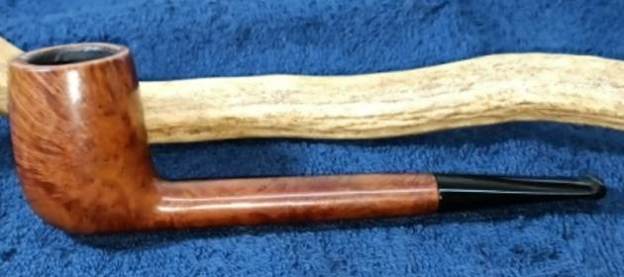
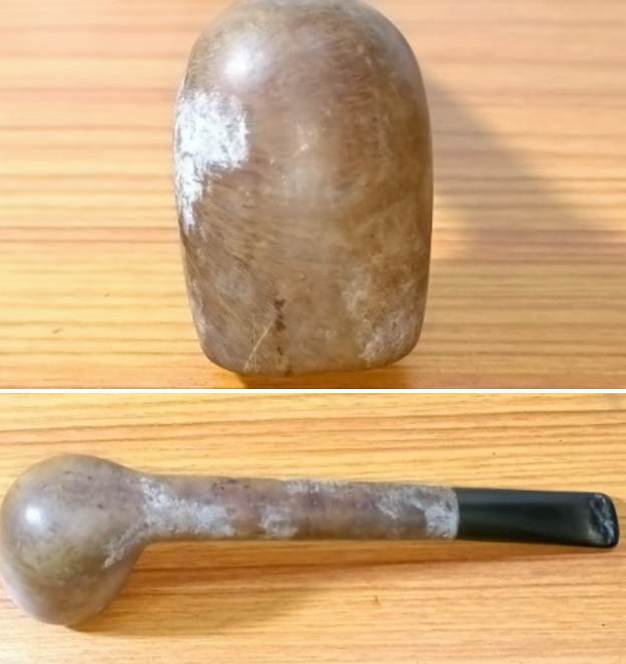
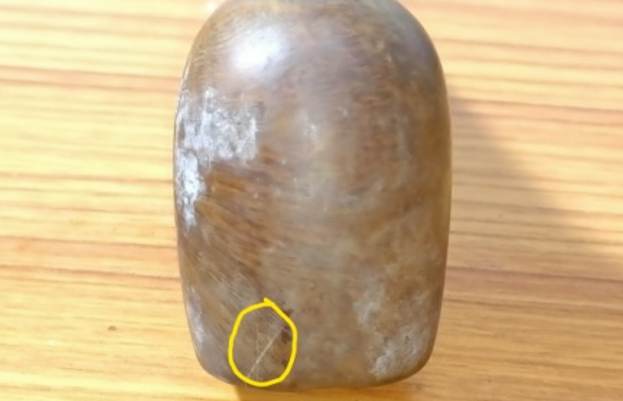
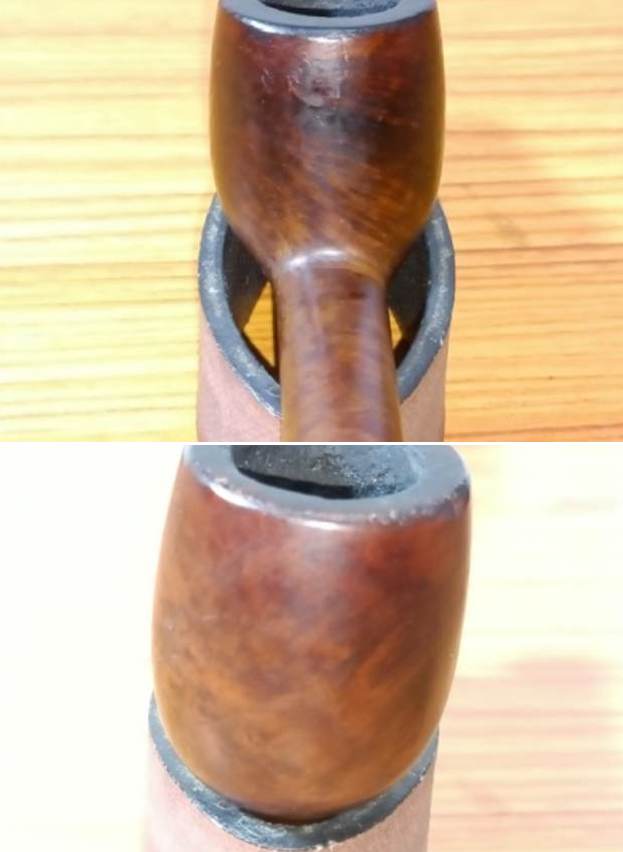
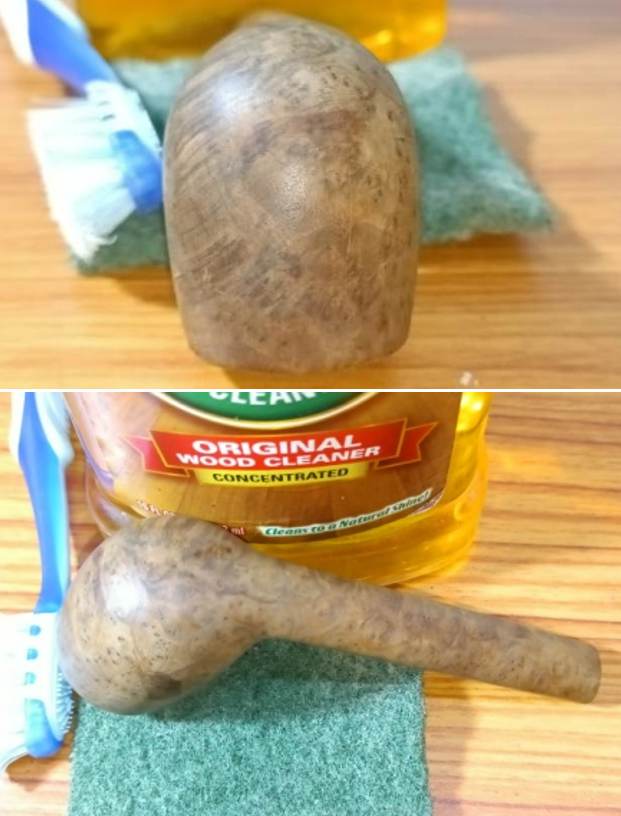
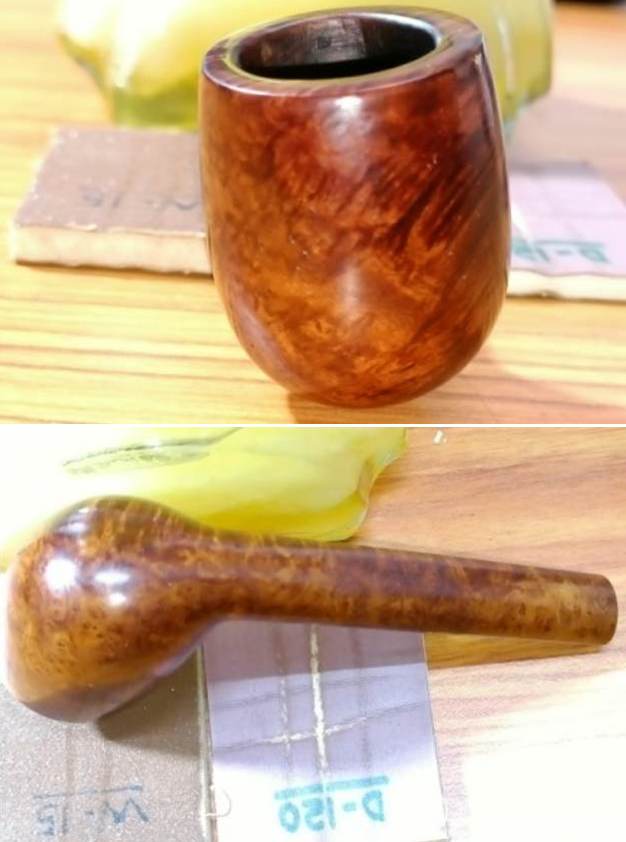
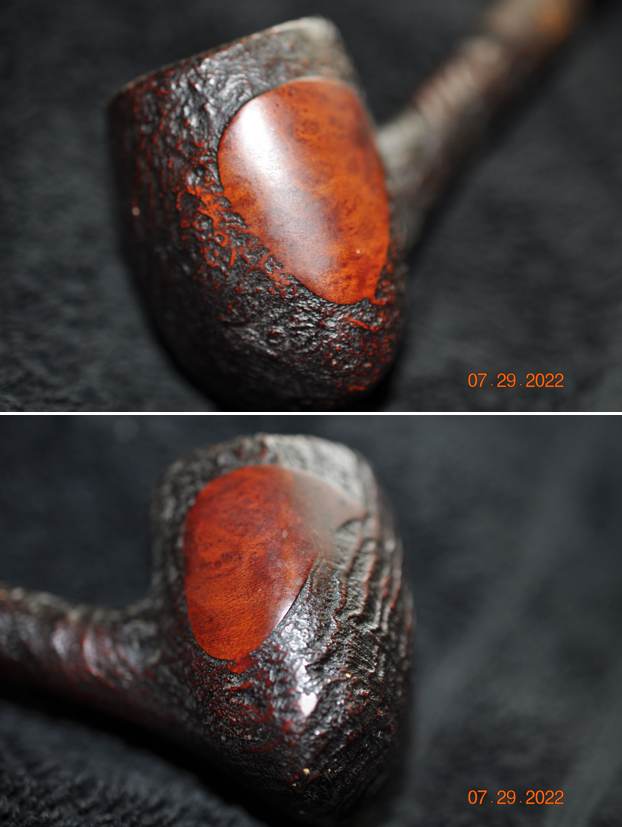
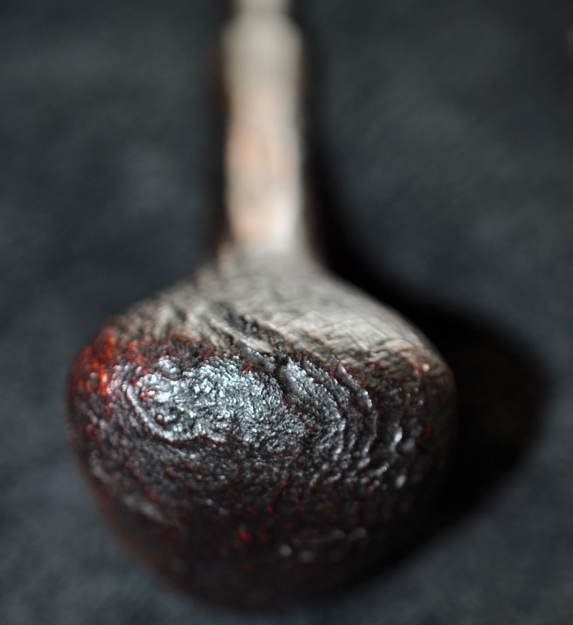
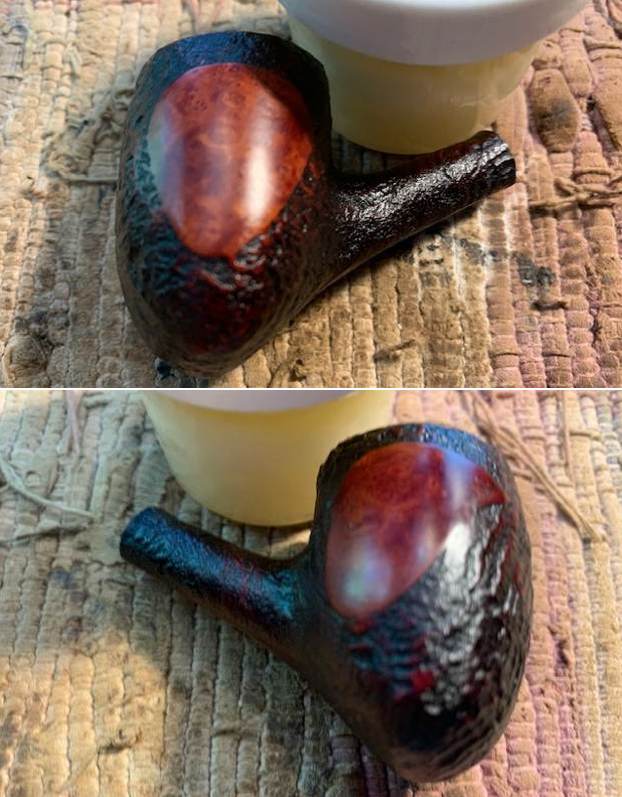
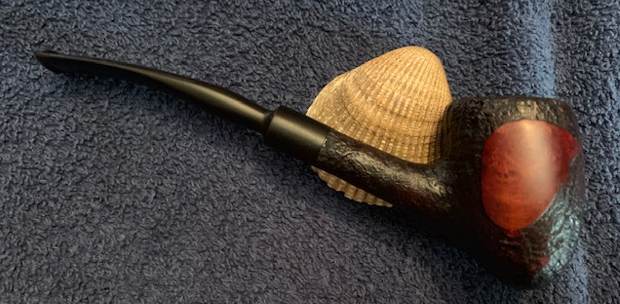
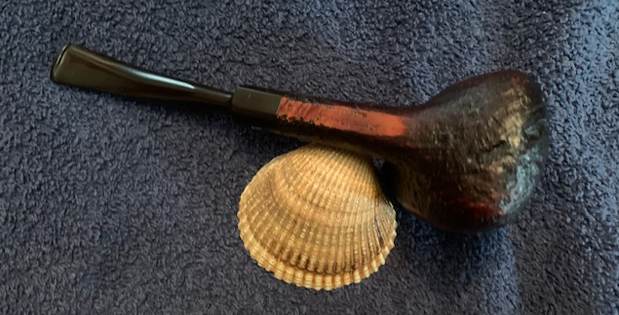
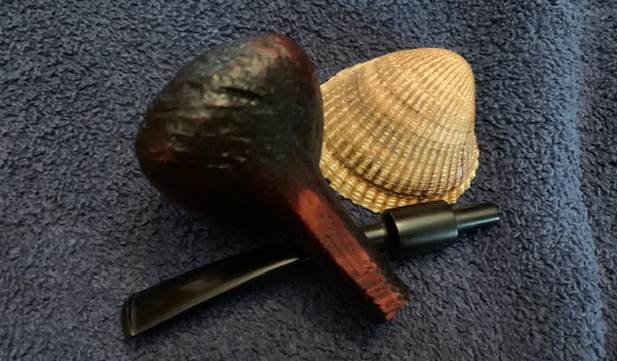
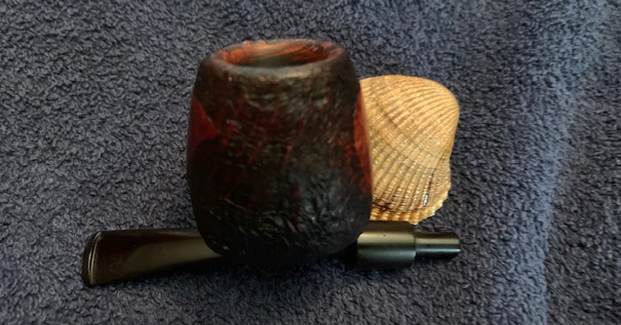
 Jeff took some photos of the bowl sides and heel to show the grain that was around this bowl. It is a nice looking pipe under the grime on the outside of the bowl.
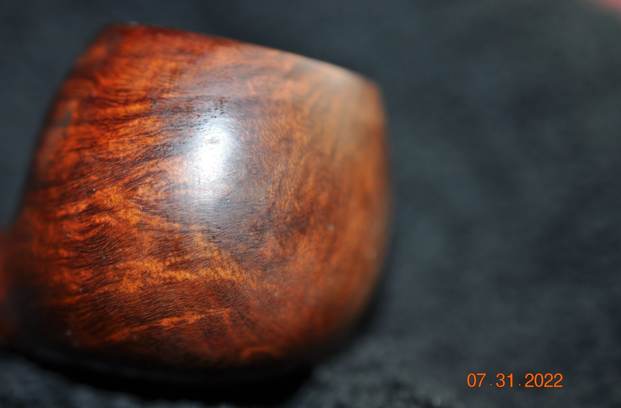
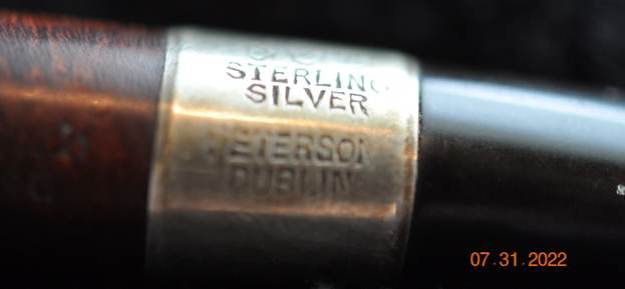
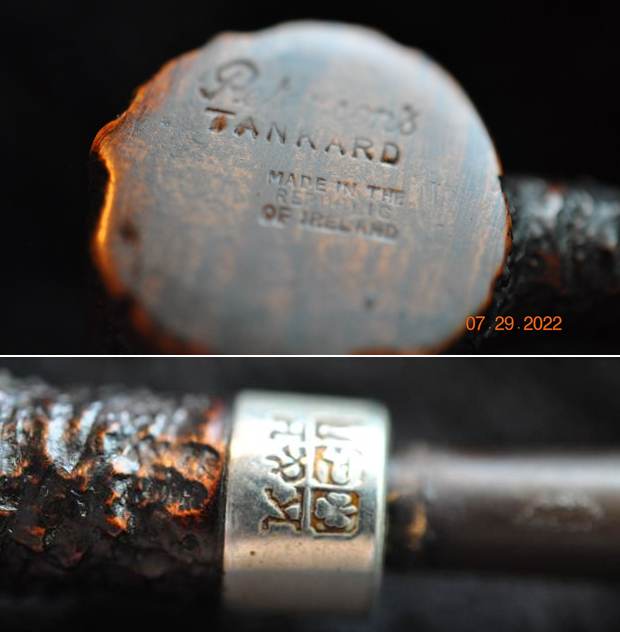
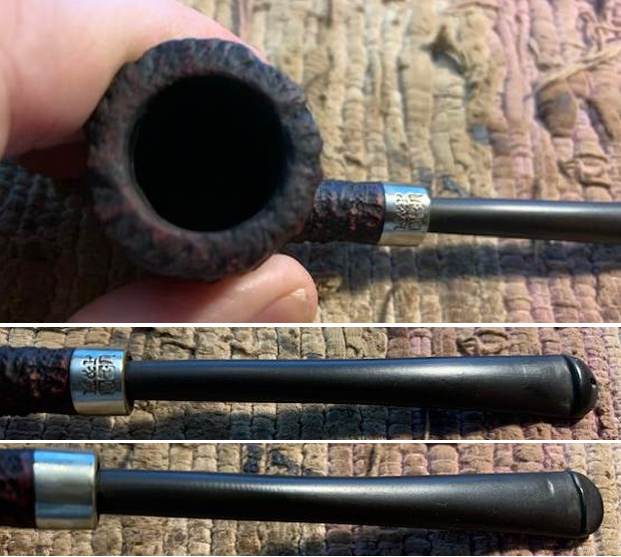
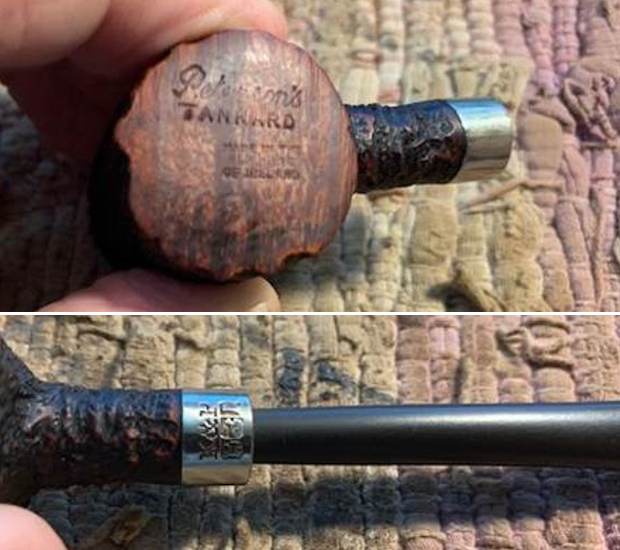
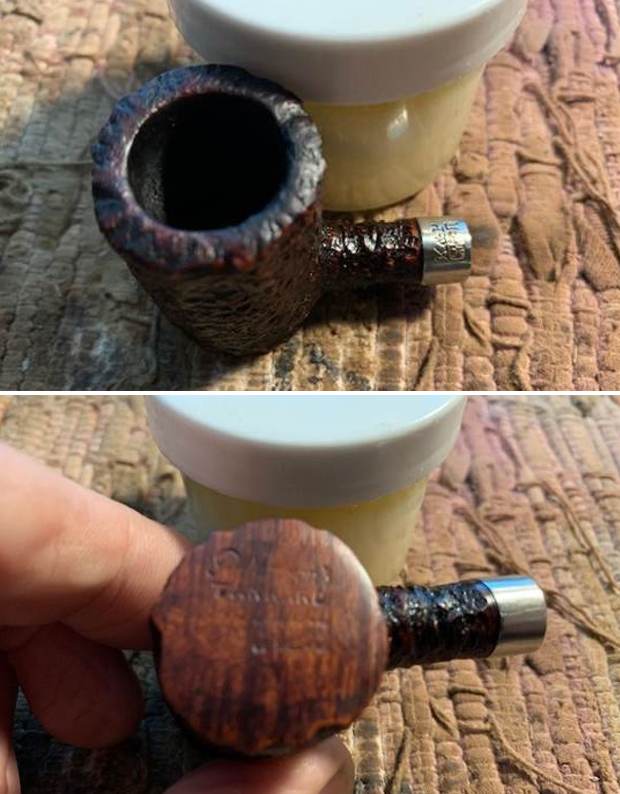
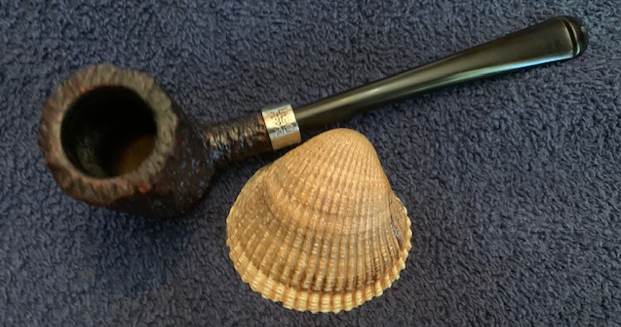
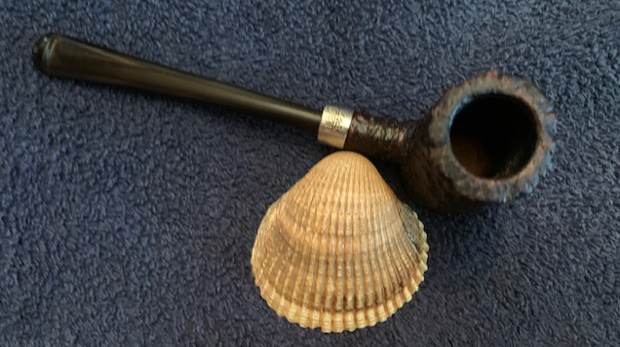
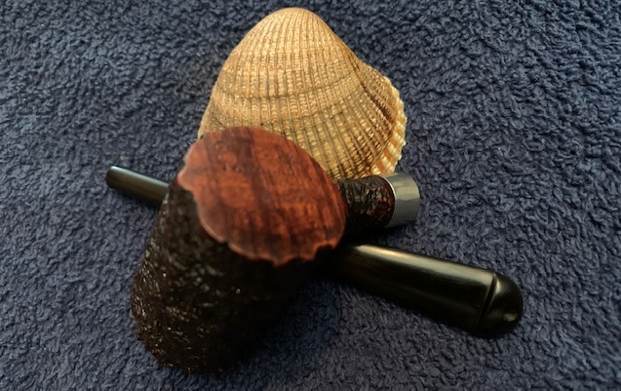
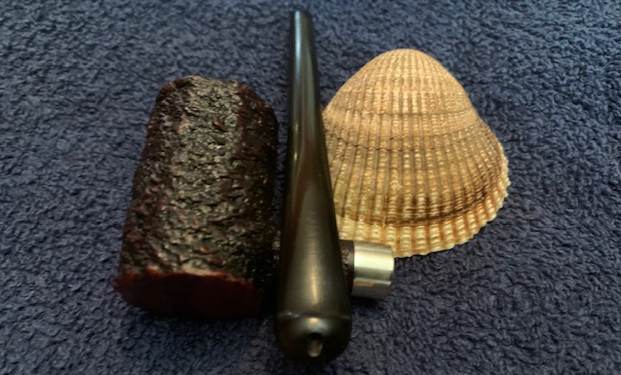
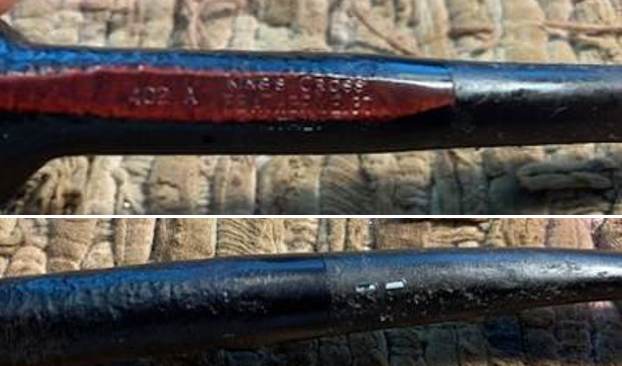
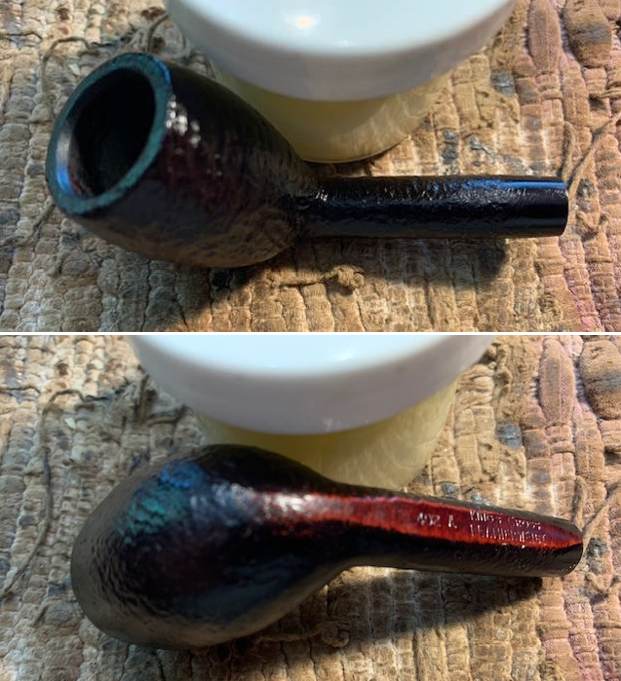
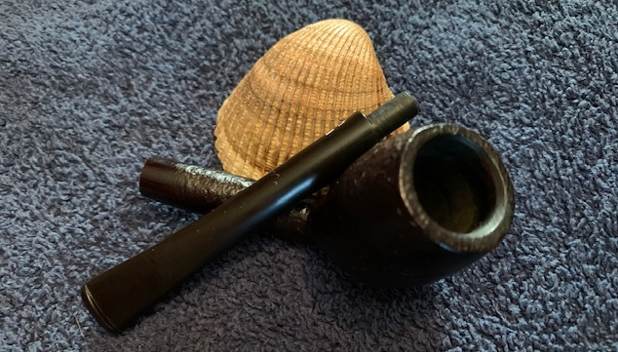
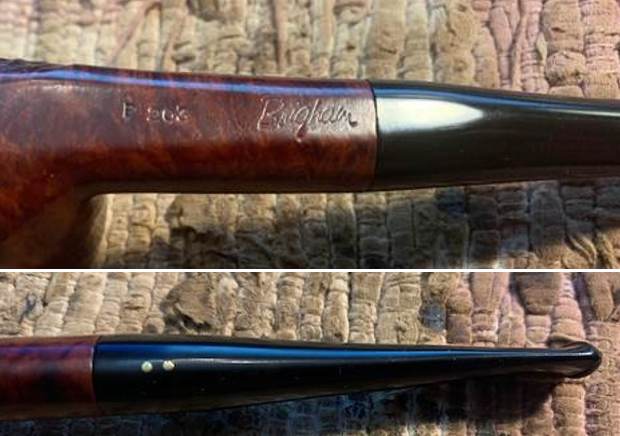
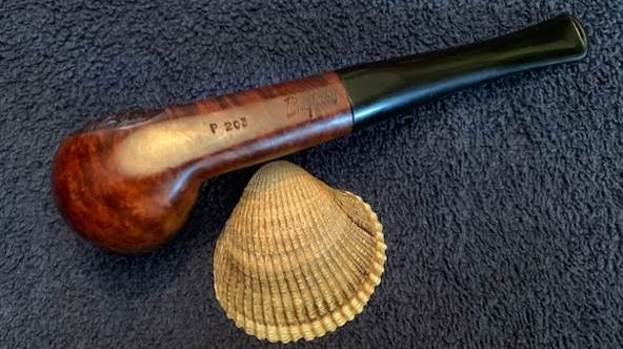
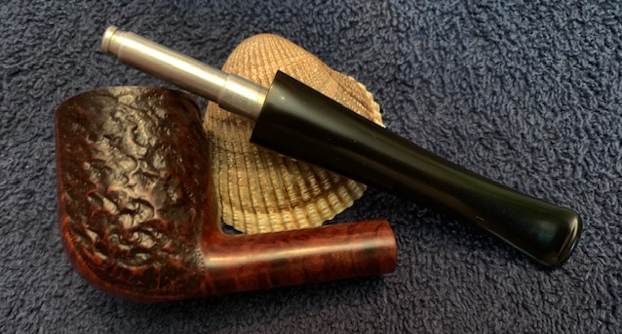
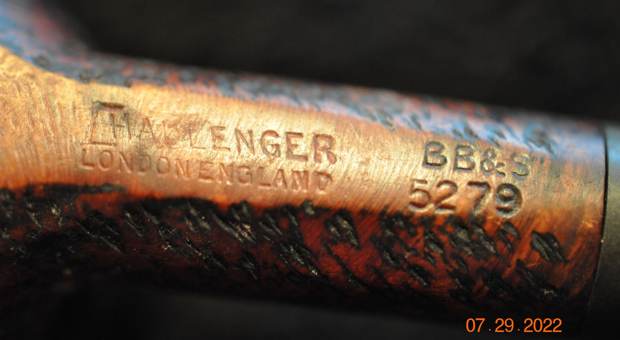
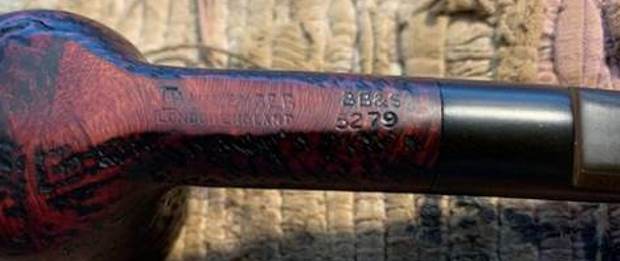
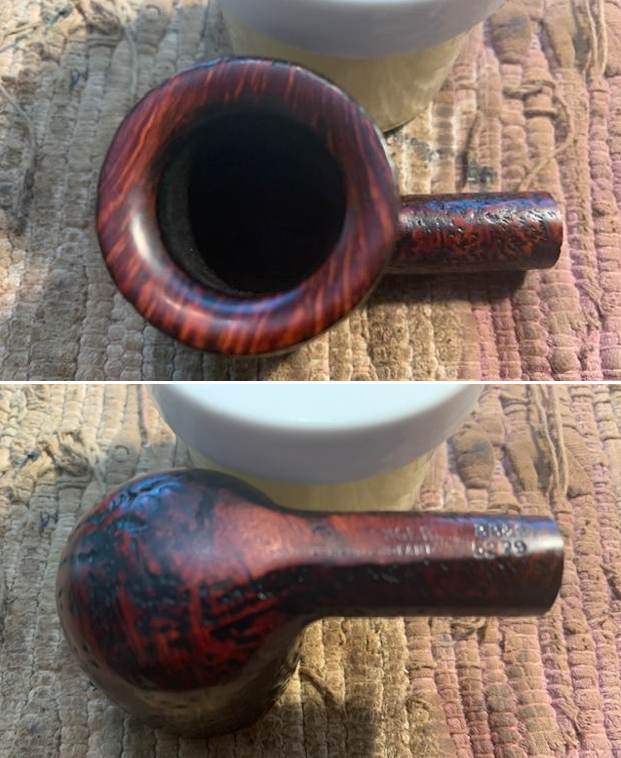
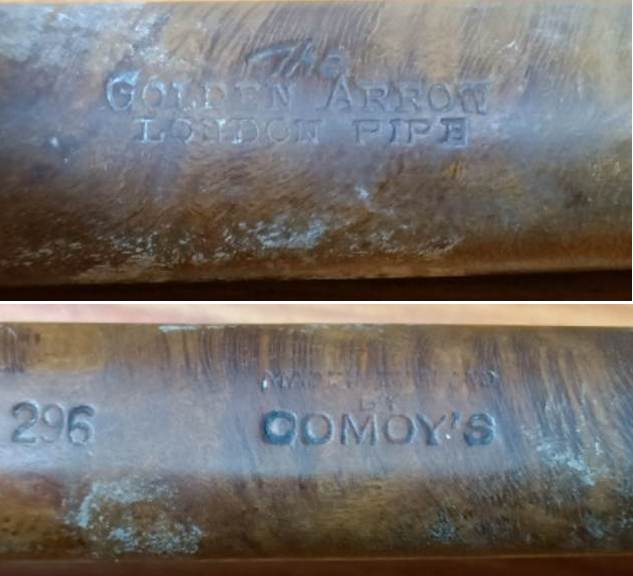
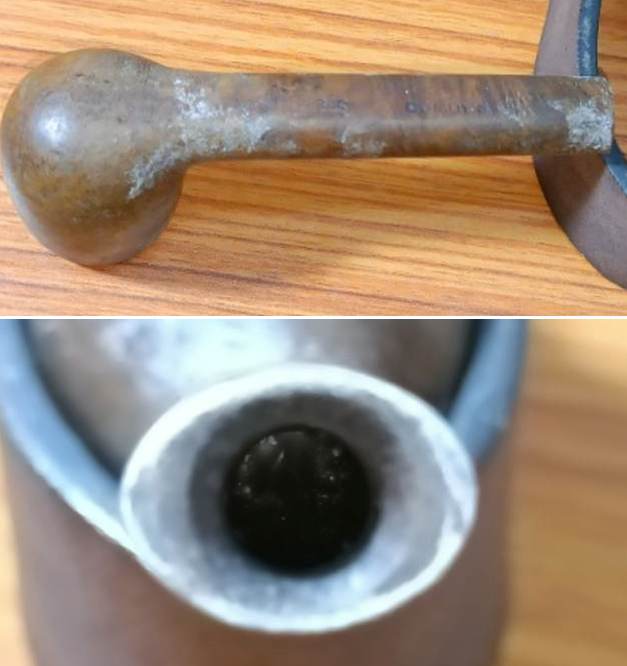
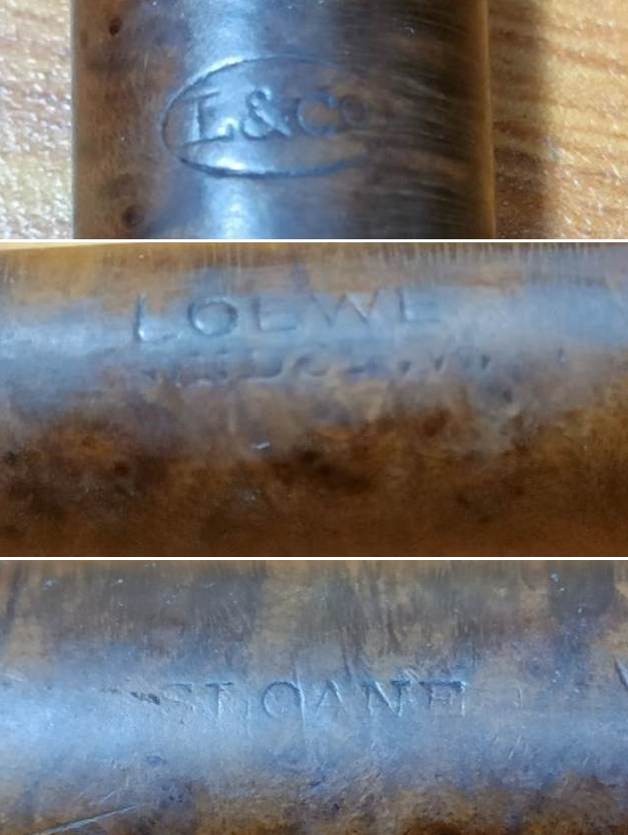
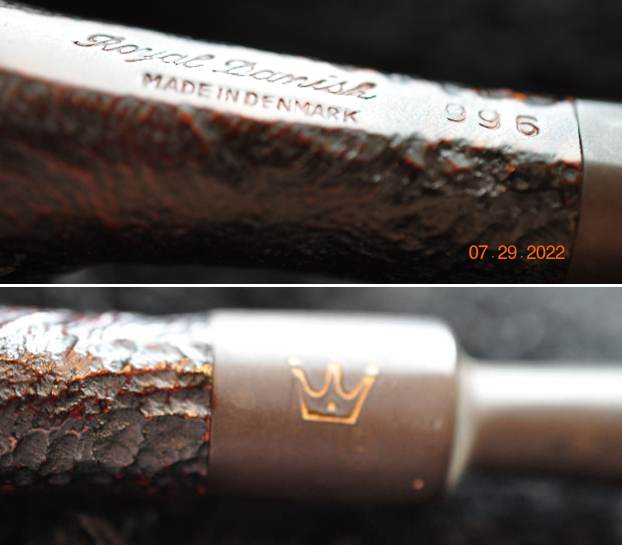
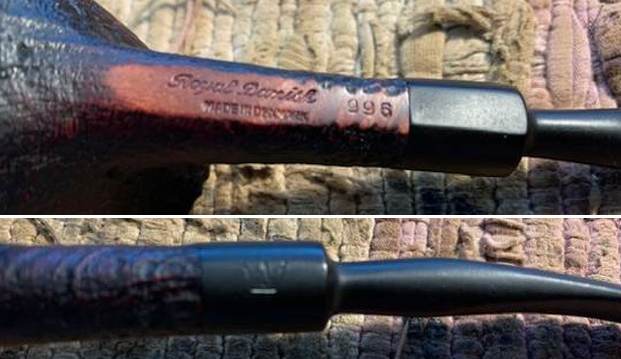
 He took photos of the sides of the shank to show the stamping. The stamping is readable in the photos below and is as noted above. He also took a photo of the band.
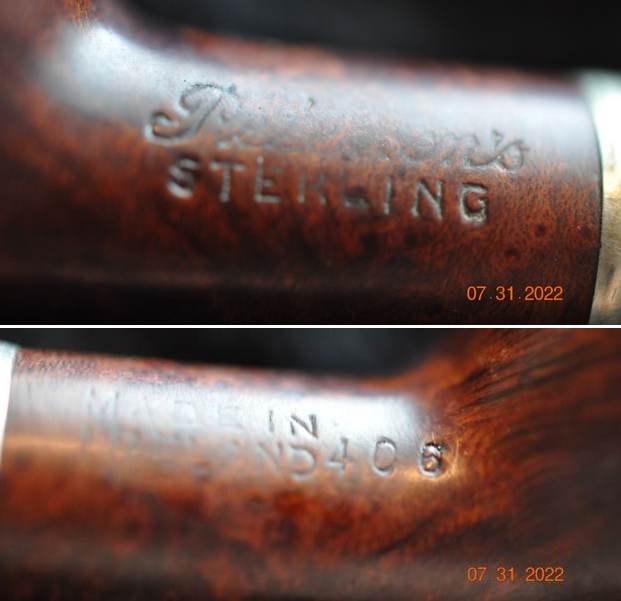
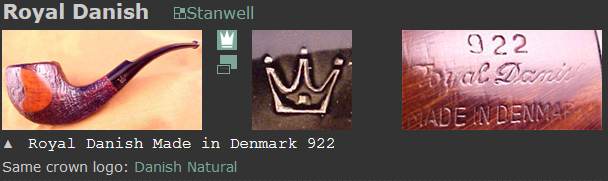
 I checked on Pipephil’s website to see what I could learn about the stamping on the pipe. I found the following information that I quote:
The country of manufacture stamp changed from “Made in Eire” to “Made in Ireland” (In circle) about 1945. Later (1947-49) it became “MADE IN IRELAND” (block letters) stamped in one or two lines (http://www.pipephil.eu/logos/en/logo-peterson.html).
I turned to Pipedia’s article on Peterson pipes to see what I could garner from that information. It is a great read in terms of the history of the brand (https://pipedia.org/wiki/Peterson#1950_-_1989_The_Republic_Era). In a section on
Prior to 1920 it was rare for a country of origin to be stamped on the pipe, just Peterson’s Dublin on the band. After 1921/22 if it is stamped “MADE IN IRELAND” and the “Made in” is stacked over “Ireland” or “MADE IN EIRE” or several other forms, it was made between 1922 and 1938. A considerable number of Peterson pipes were stamped “Irish Free State”. From about 1930 to 1949, most of the pipes (those which were stamped) were stamped “Made in Ireland”.” If the stamp reads “MADE IN IRELAND” in a circle, the pipe was made between 1939 and 1948. These are all “prerepublic” pipes.
I then turned to the book I should have consulted first, The Peterson Pipe, by Mark Irwin and Gary Malmberg. On page 155 I found some information on the line.
Peterson’s US distributor during the early Republic era was Rogers Imports, Inc., a New York firm whose catalogs offered all varieties of smoker’s products. Rogers was the exclusive wholesale dealer for several prominent European pipe manufacturers, they also marketed accessories under their own name. On behalf of Kapp & Peterson they registered the Killarney, Shamrock and Sterling trademarks with the US Patent Office in the 1950s, and their catalogs also featured the System, Premier Selection and Supreme.
On page 156-157 in the same book there is a catalogue page with the Sterling shown on it. It sold for $7.50 in 1953. It read:
 As the name implies the Sterling quality of this fine pipe is distinguished in a careful selection of its fine Mediterranean Bruyere, its careful workmanship and sparkling finish. Banded with a Sterling Silver band – a Hallmark of quality – the pipe is available in a handsome natural or dark rich walnut finish. Patent P-lip stem. Individually boxed.
With that information in hand I knew what I was dealing with in terms of the stamping on the pipe. It is a late Pre-republic era or early Republic era pipe. The Made in Ireland in two lines stamp on the right side of the shank tells me it was made between 1922-1938.
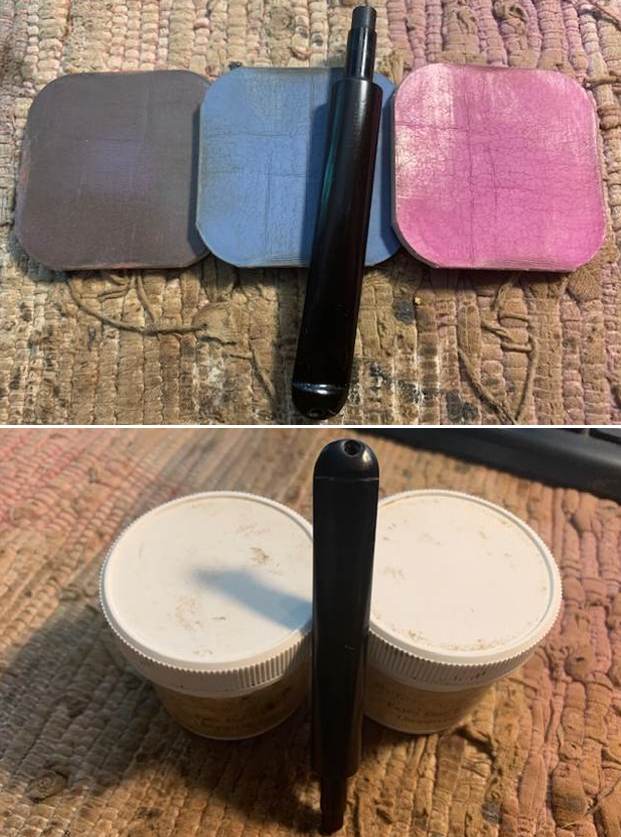
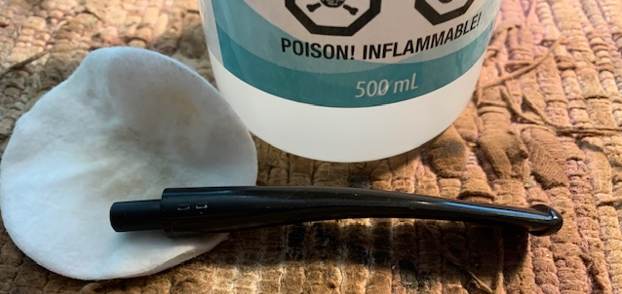
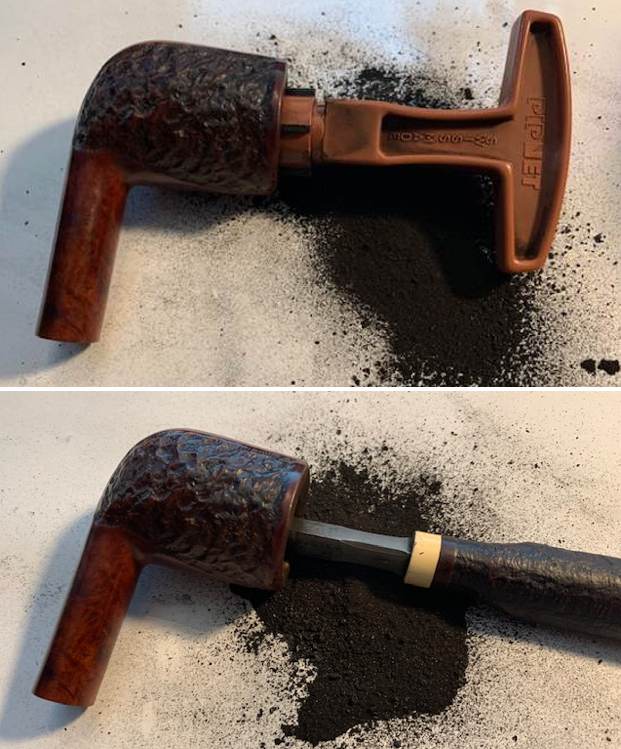
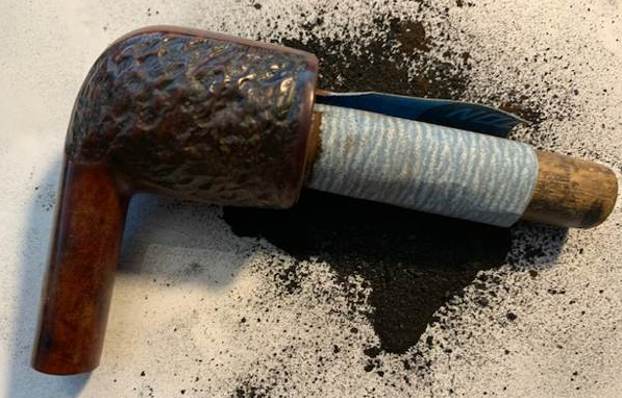
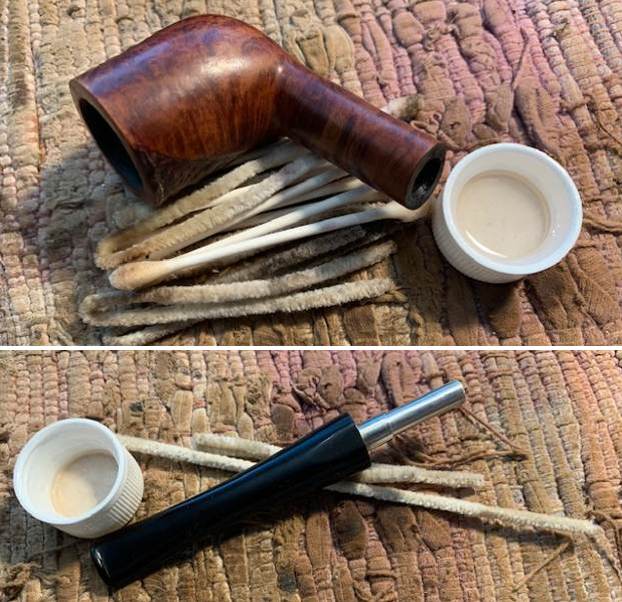
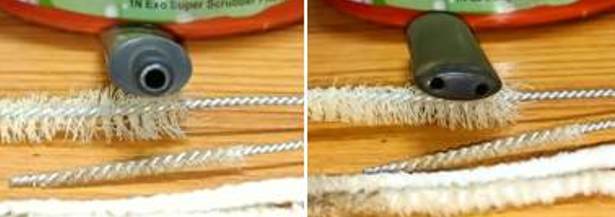
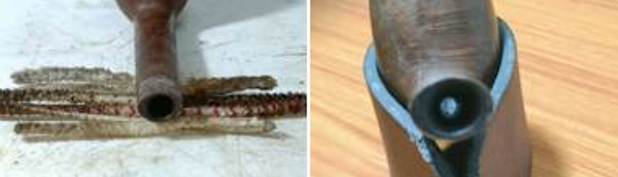
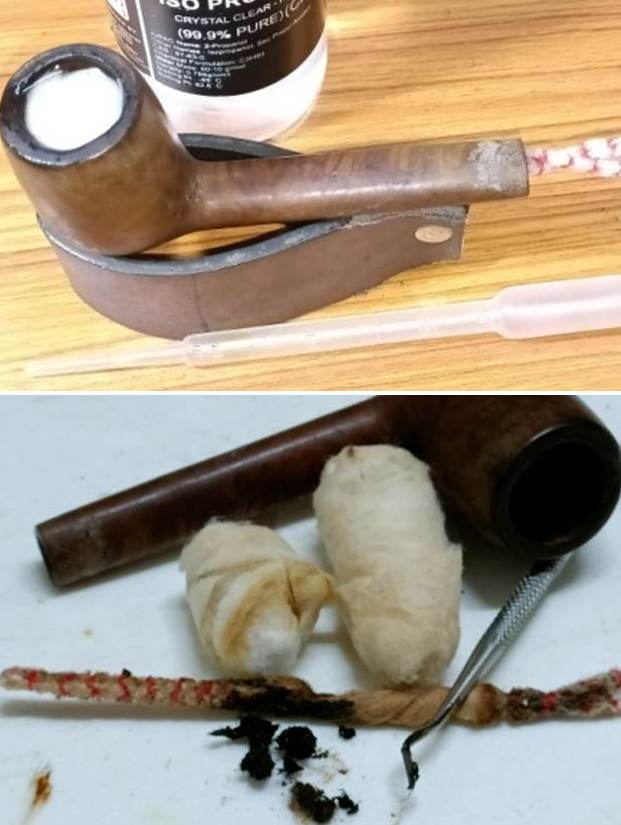
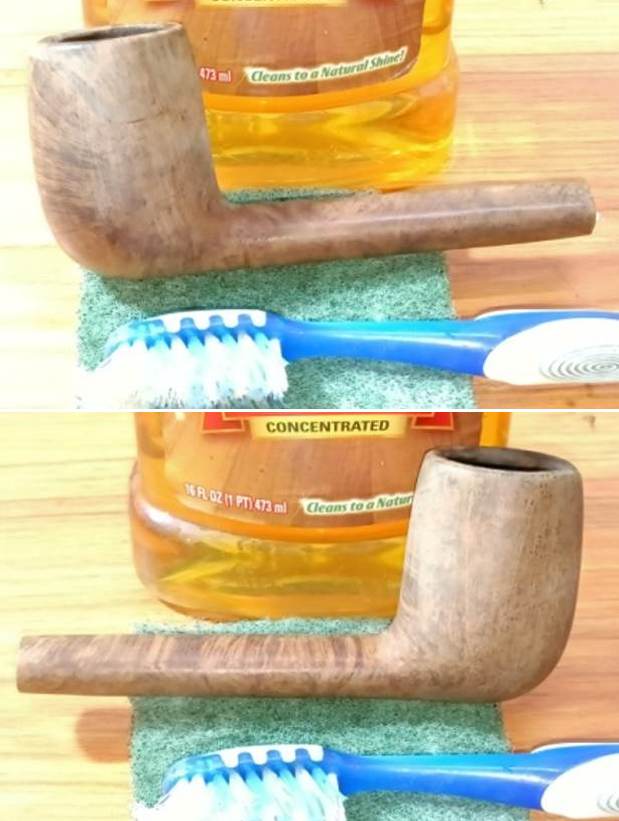
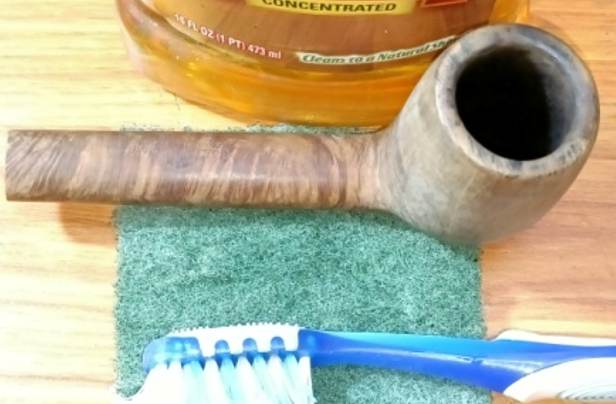
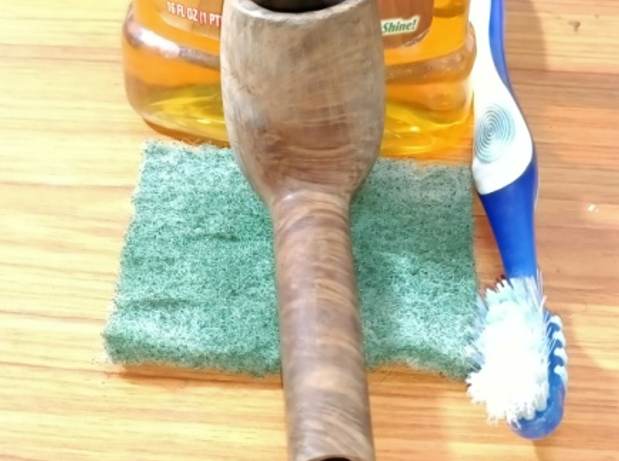
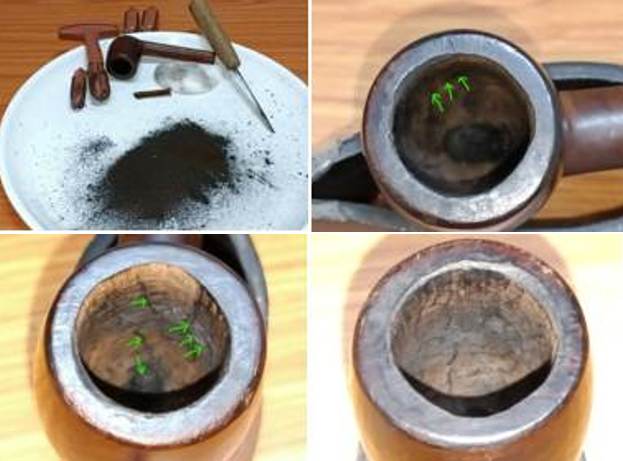
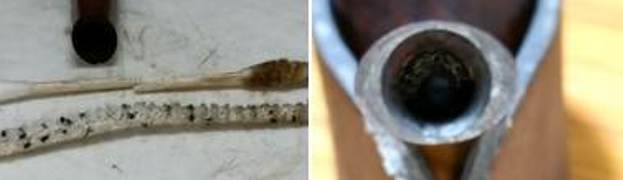
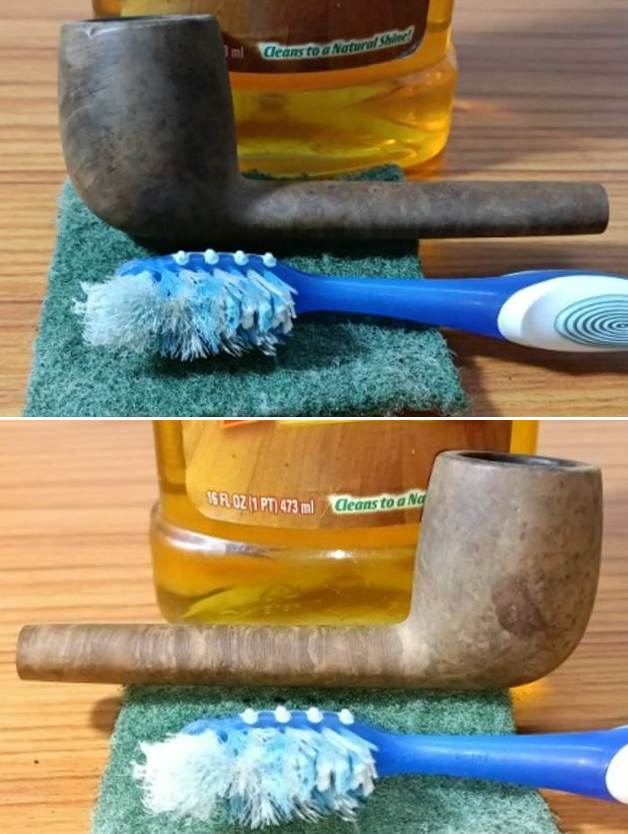
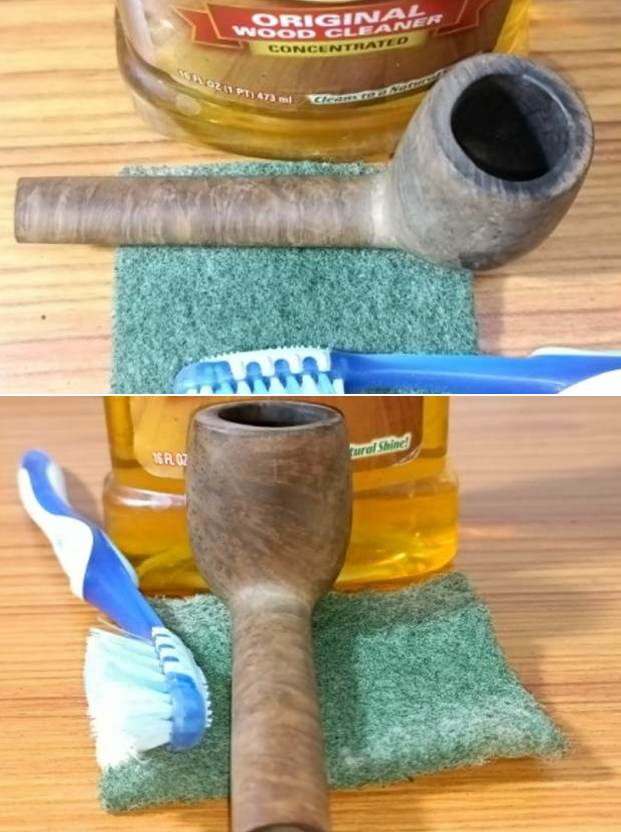
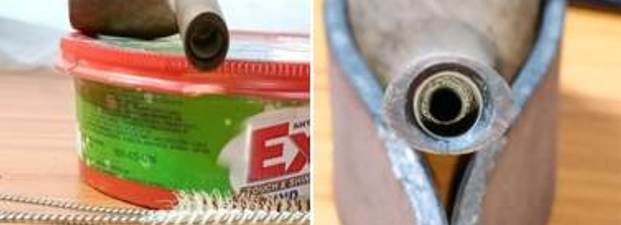
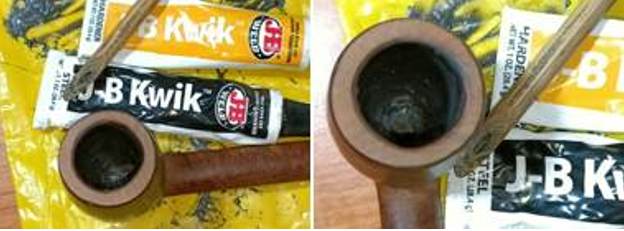
Now, on to the restoration of this beautifully grained Peterson’s Sterling 406 Prince. Jeff had done a great job cleaning up the pipe as usual. He reamed the pipe with a PipNet reamer and cut back the cake back to the bare briar. He cleaned up the walls with a Savinelli Fitsall Pipe Knife. He scrubbed the interior of the bowl and shank with pipe cleaners, cotton swabs and alcohol to remove the tars and oils. He scrubbed the exterior of the pipe with Murphy’s Oil Soap and a tooth brush to remove the grime from the finish. He worked on the rim top lava and darkening with the soap and tooth brush. He scrubbed the inside of the stem with alcohol and pipe cleaners. He scrubbed the exterior with Soft Scrub and then soaked it in Before & After Deoxidizer. He washed it off with warm water to remove the Deoxidizer. The pipe looked far better when it arrived. 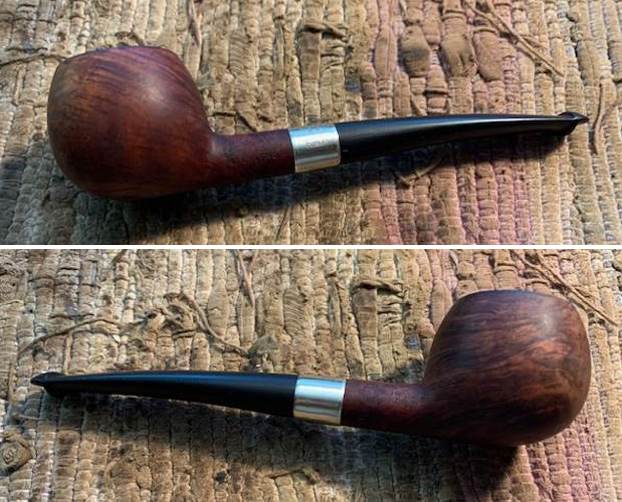
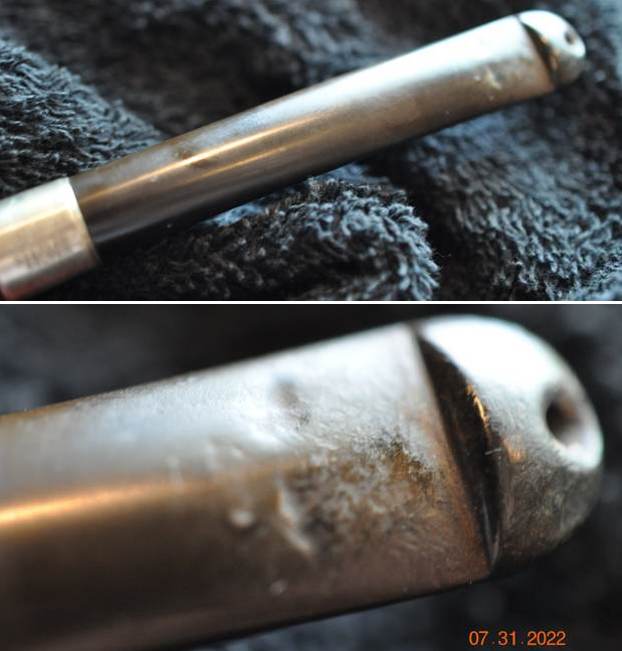
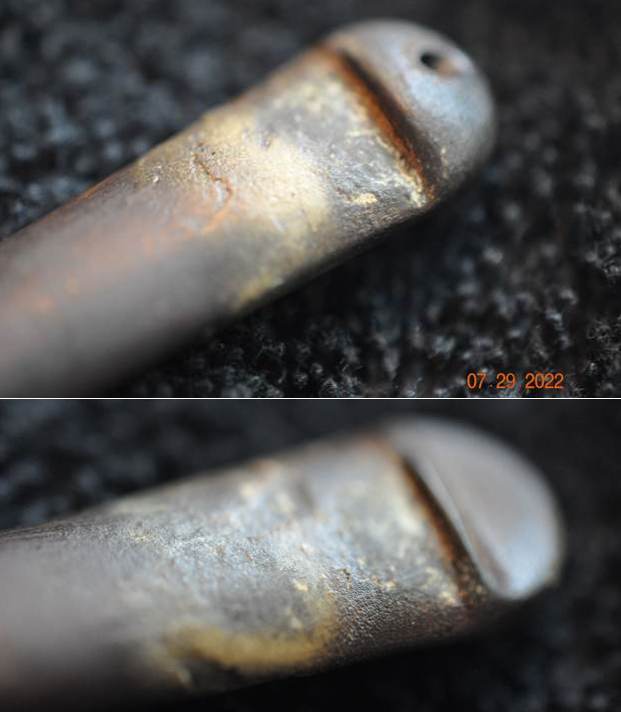
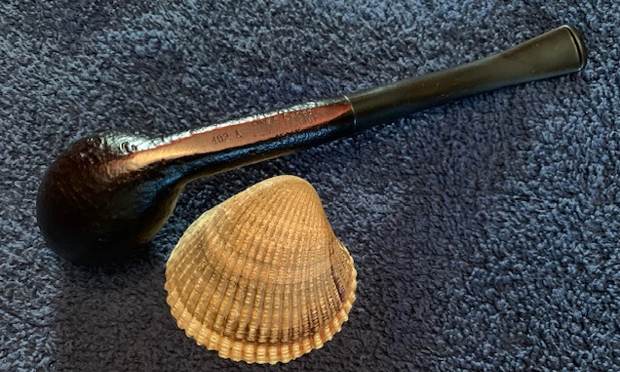
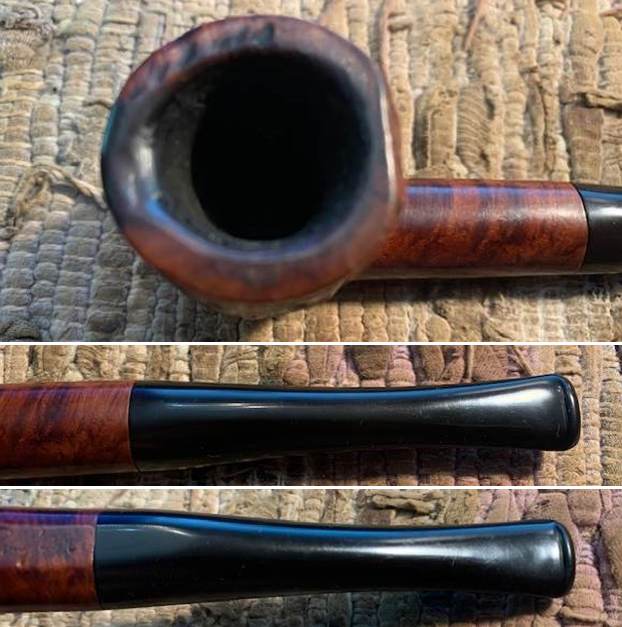
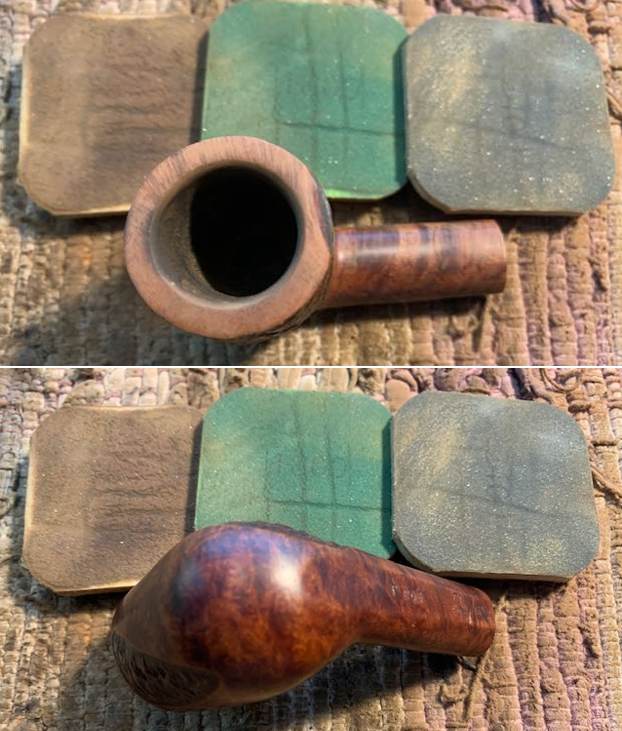
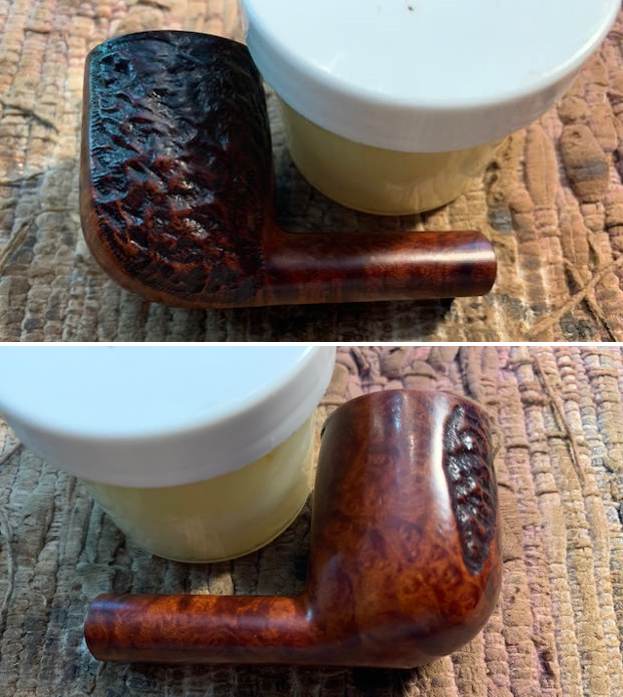
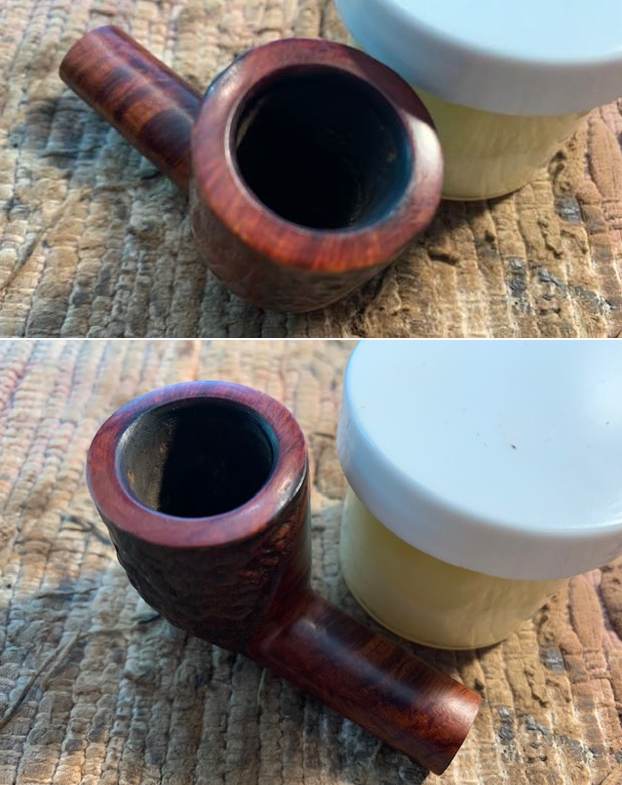
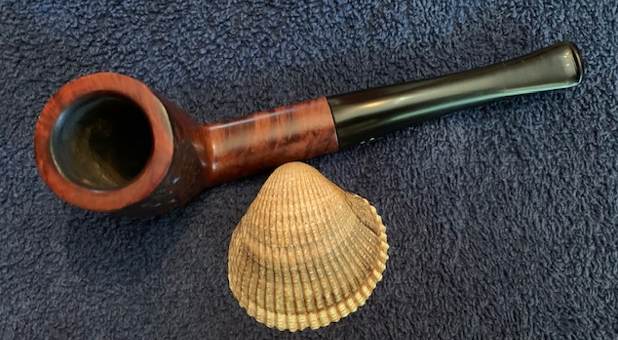
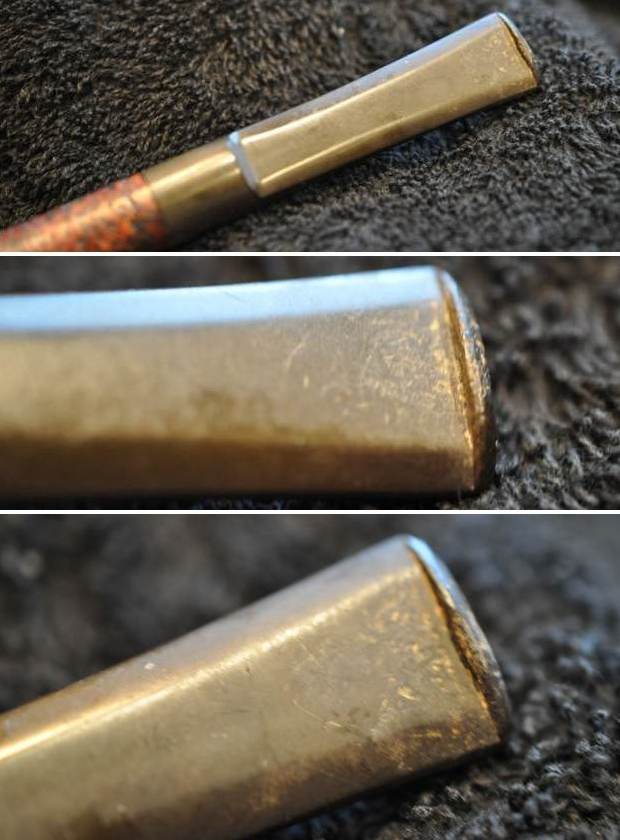
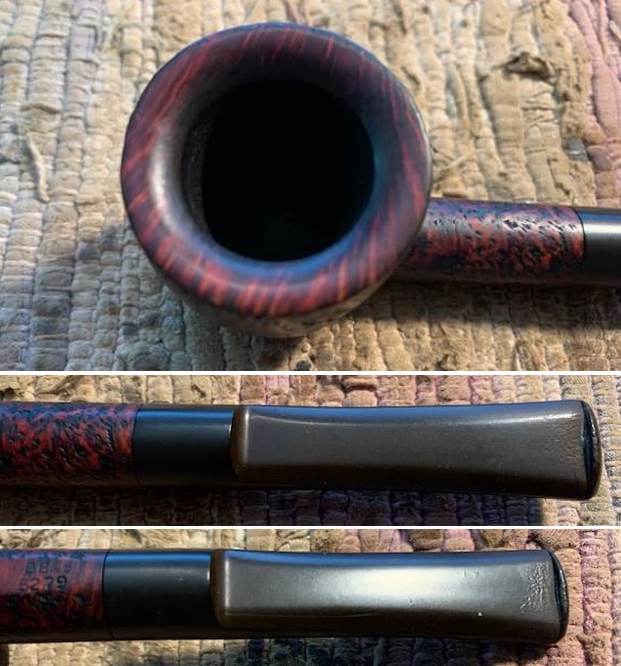
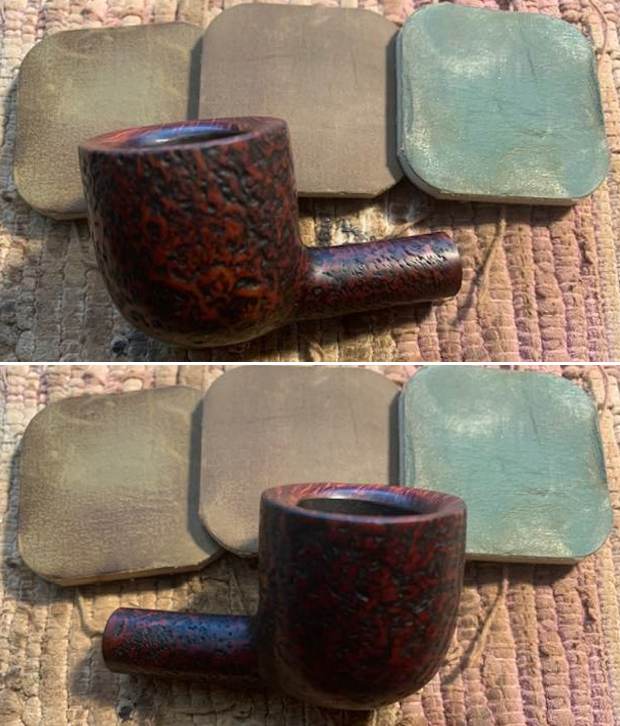
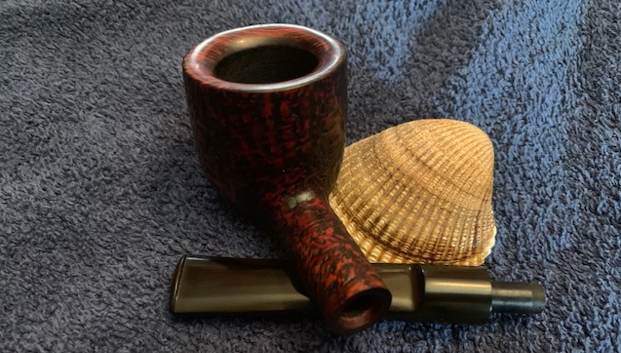
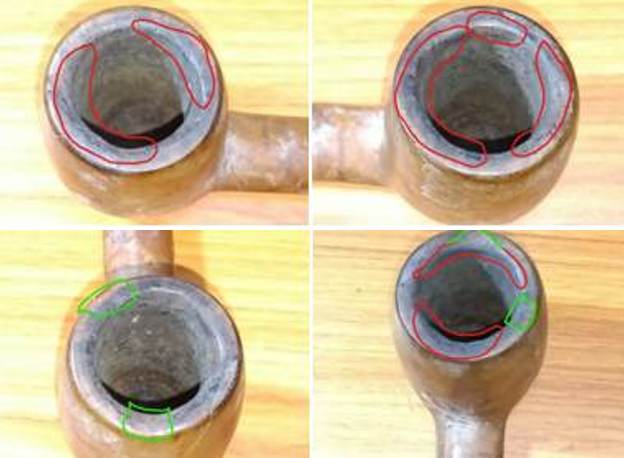
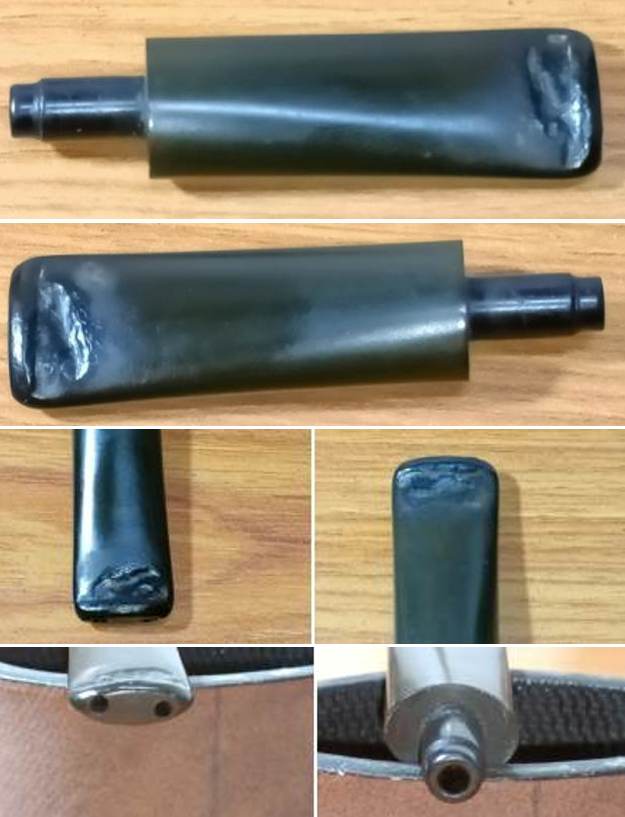
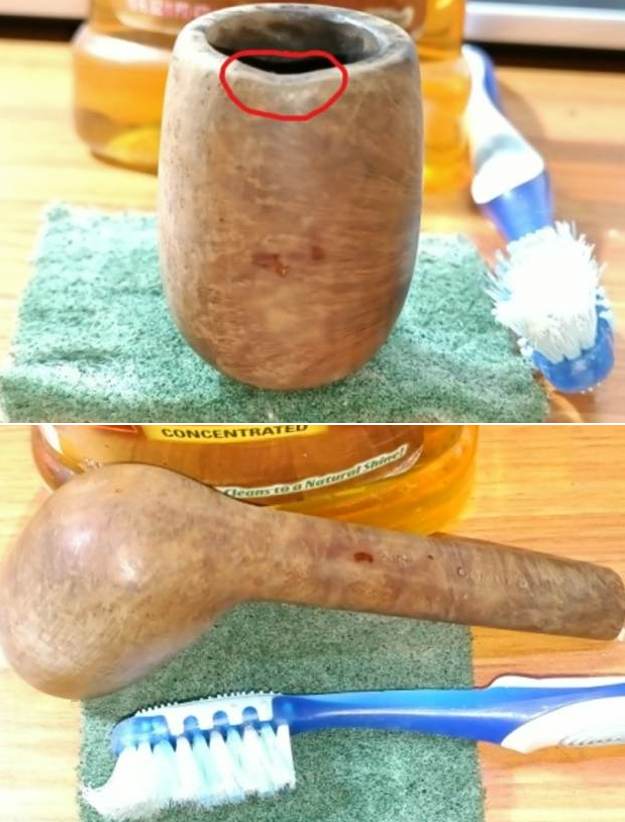
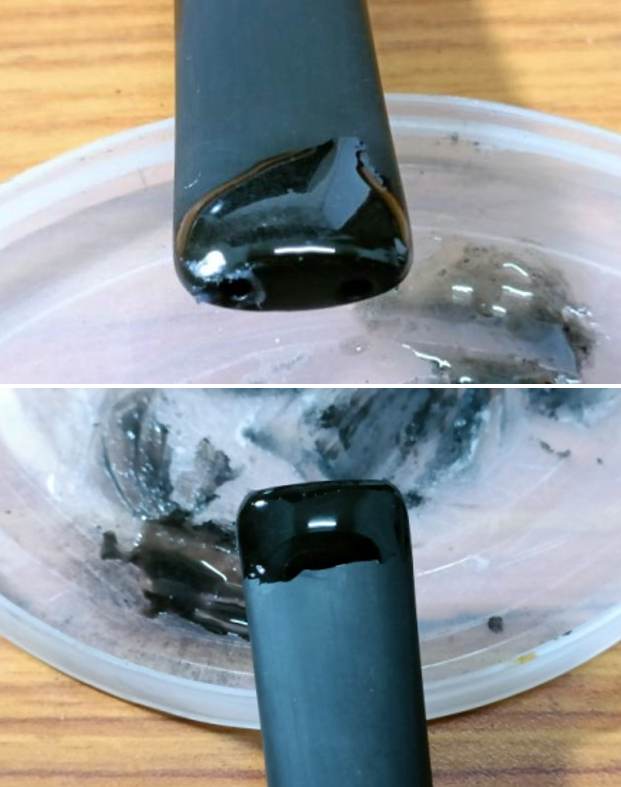
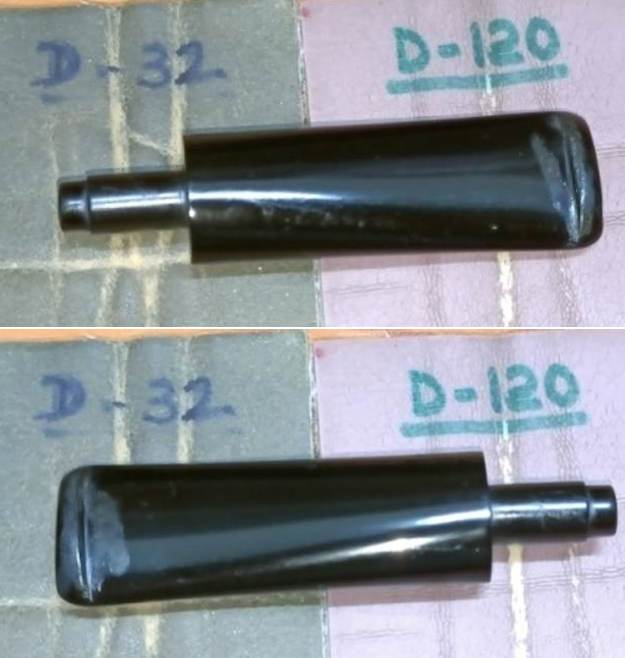
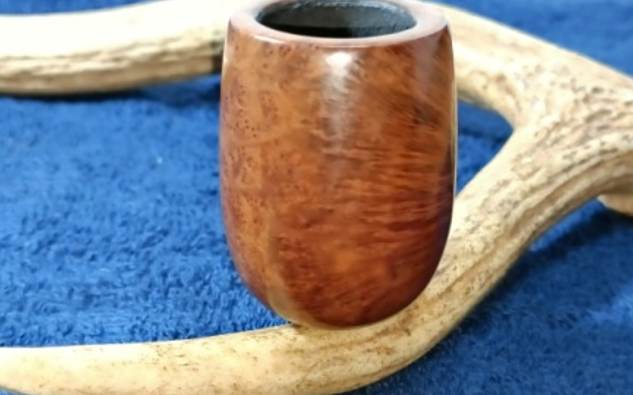
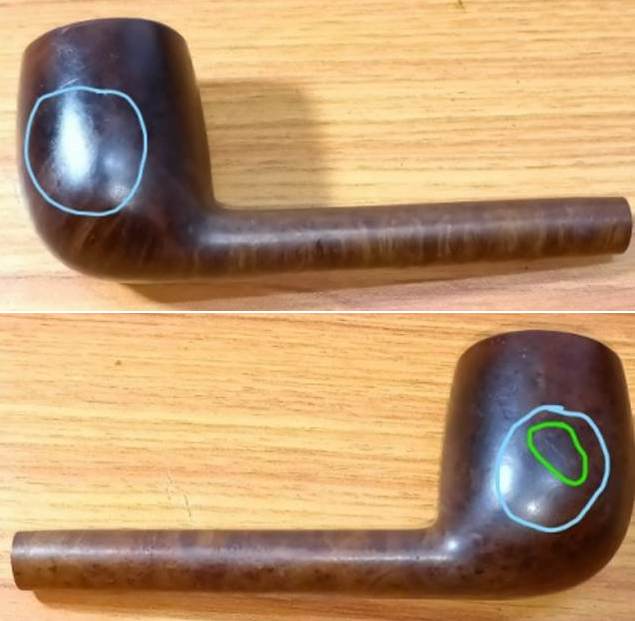
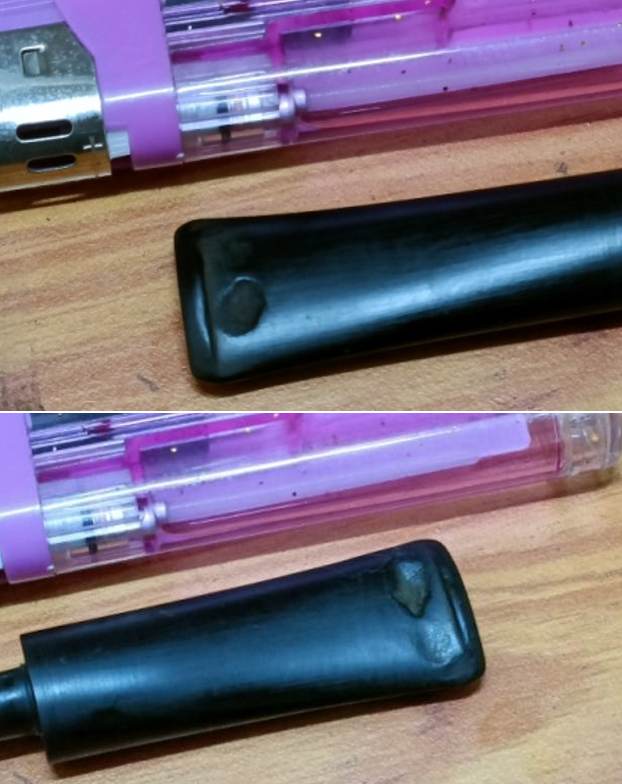
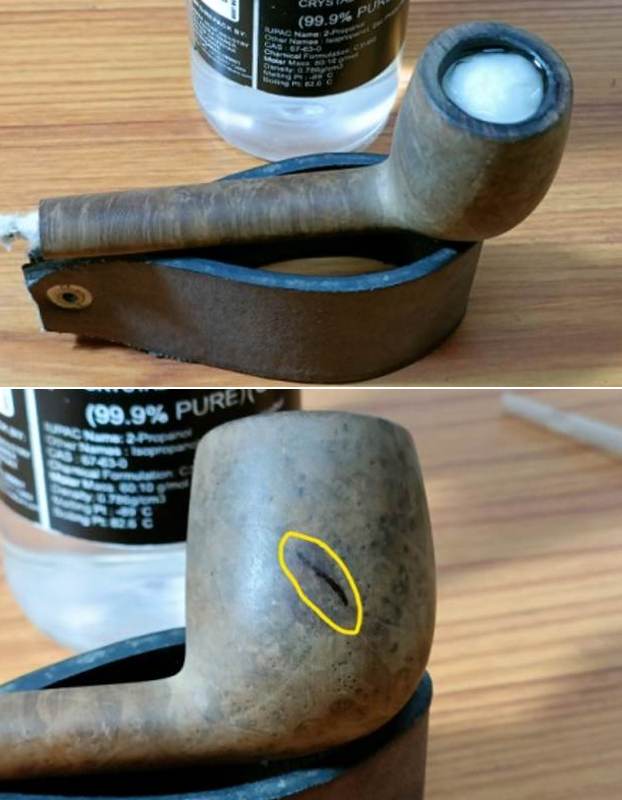
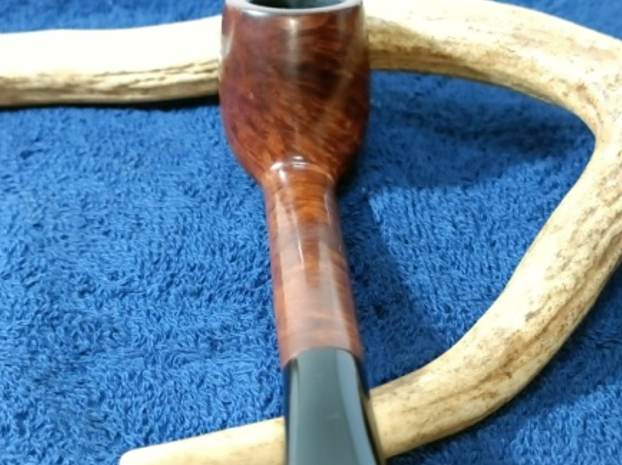
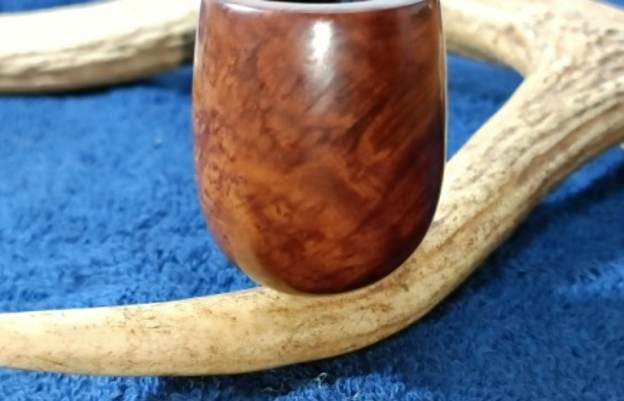
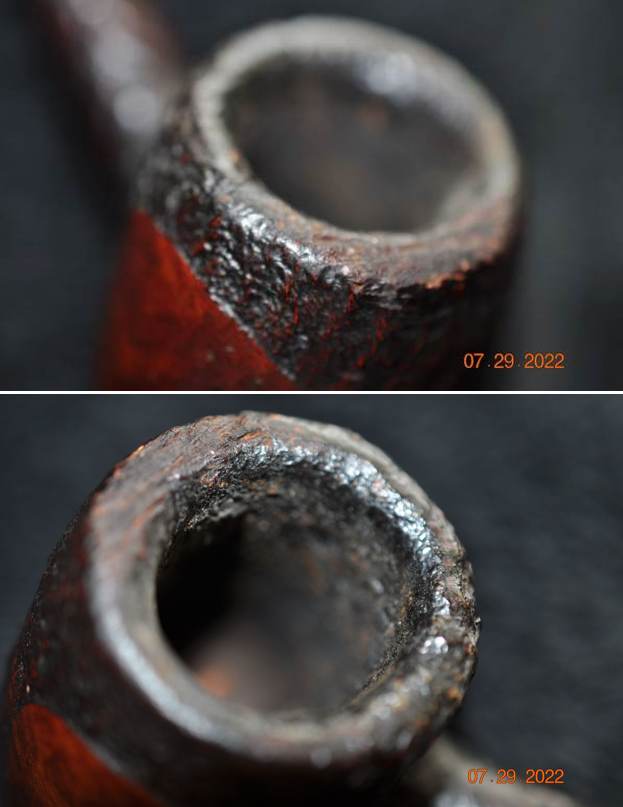
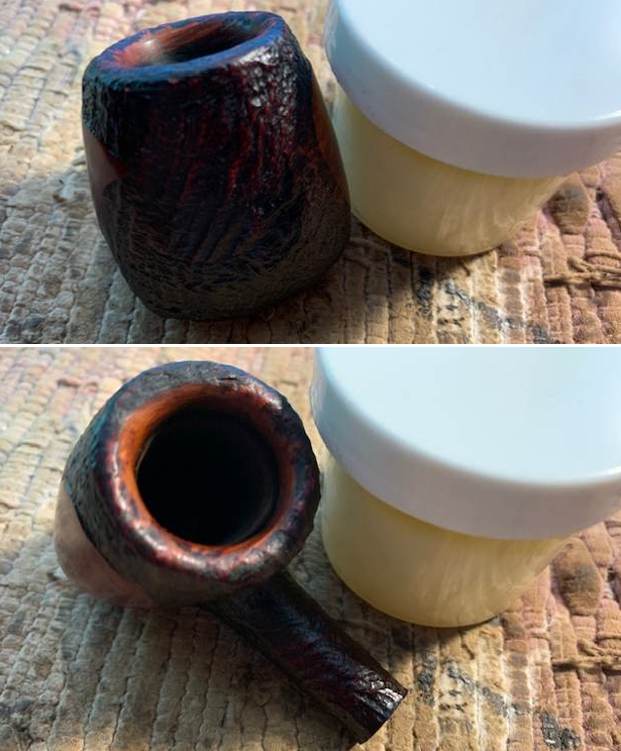
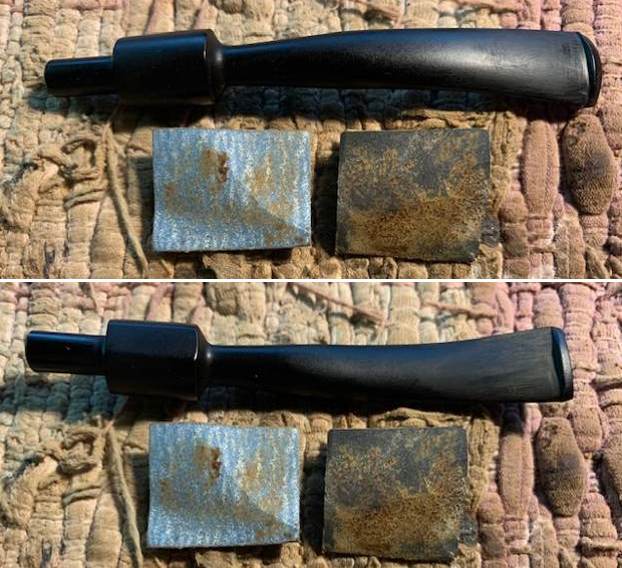
 I took some close up photos of the rim top and also of the stem surface. I wanted to show how well it had cleaned up. The rim top looked good. There was some damage on the inner edge with burn damage and some darkening that was heavier on the front of the bowl. I also took close up photos of the stem to show the tooth marks and chatter on the surface near the button.
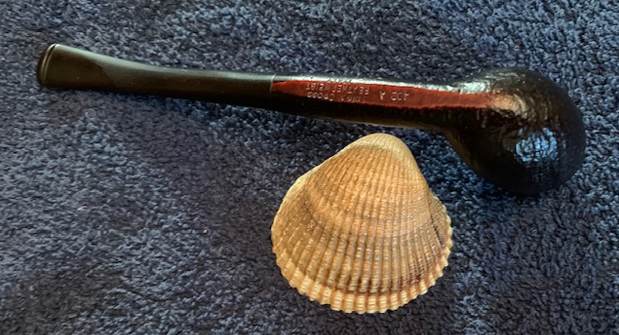
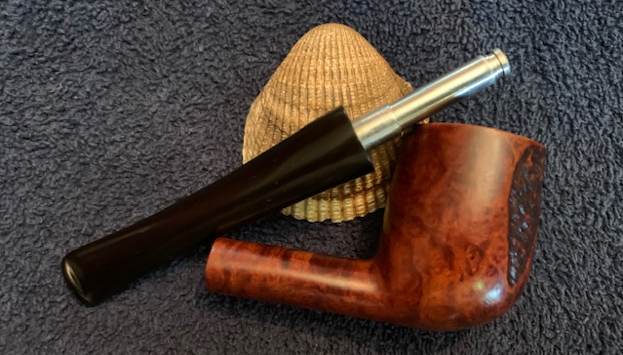
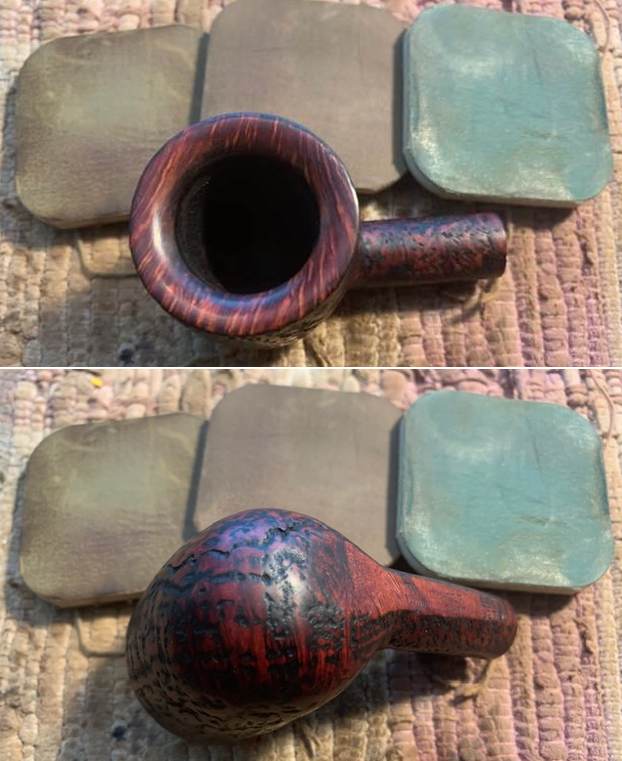
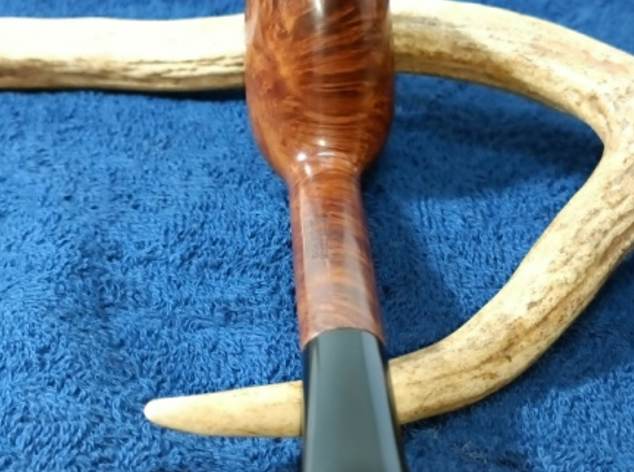
 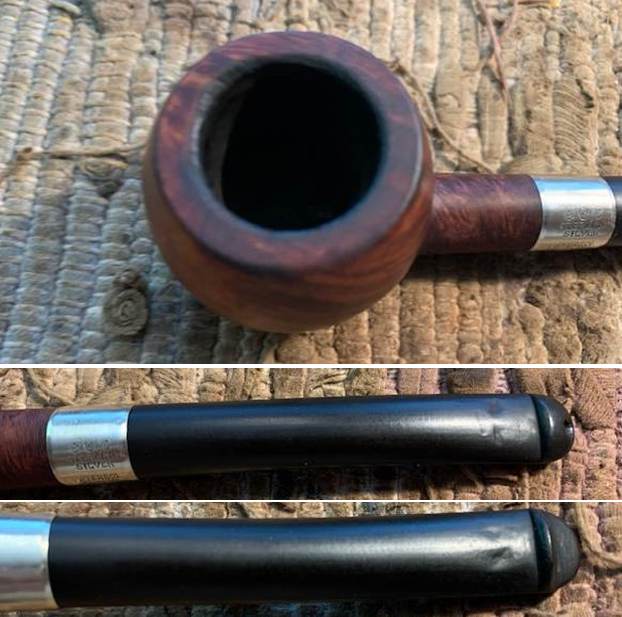 I took photos of the stamping on sides of the shank. You can see that it is stamped as noted above and is clear and readable. The stamping on the band is also visible.
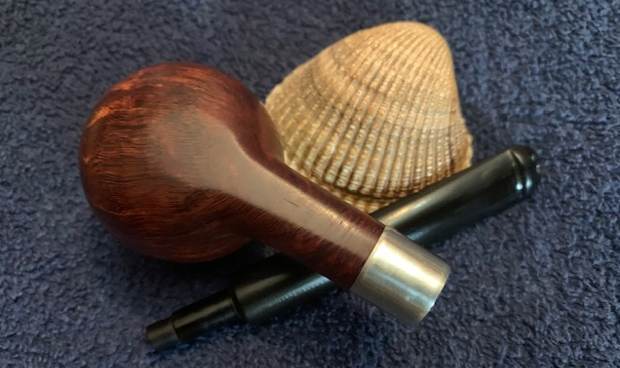
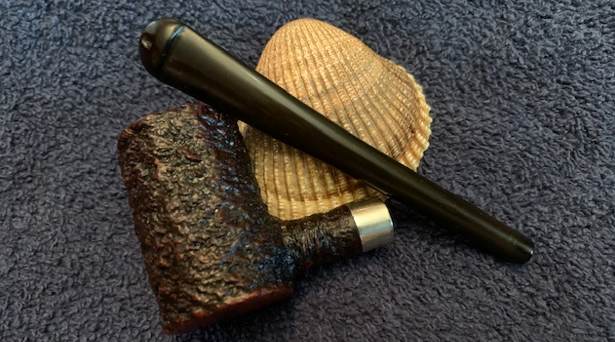
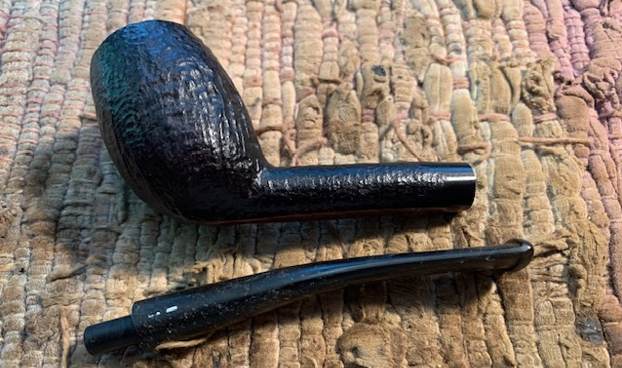
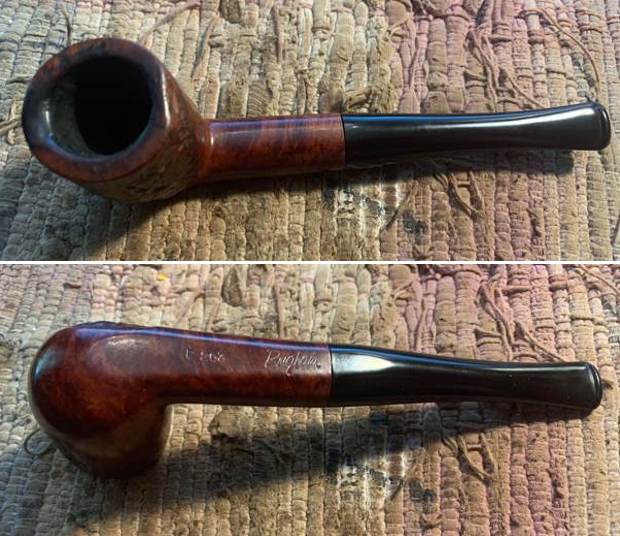
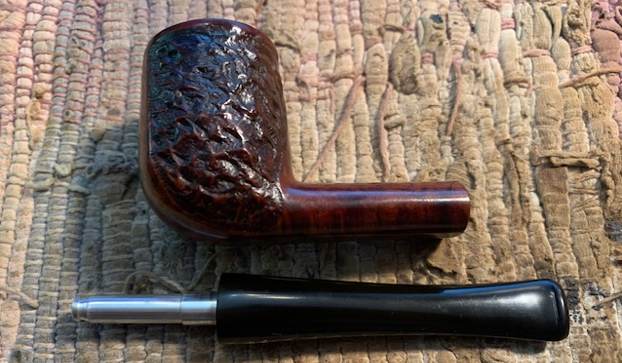
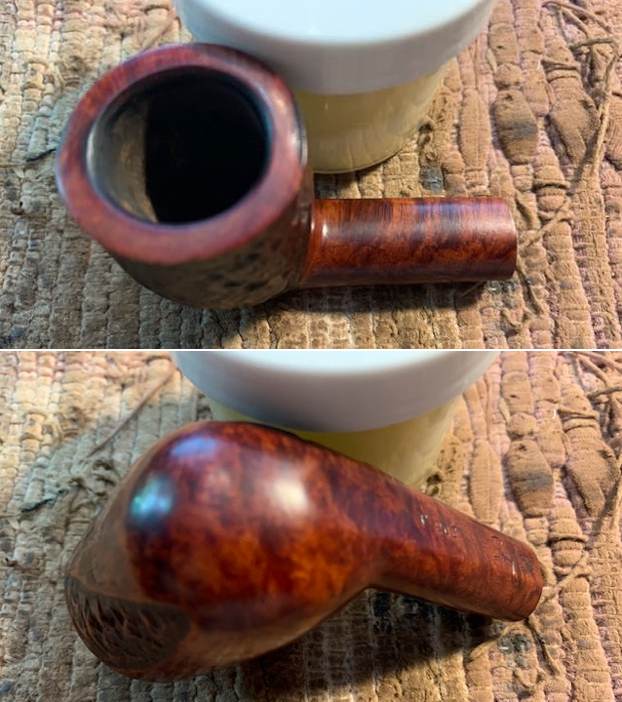
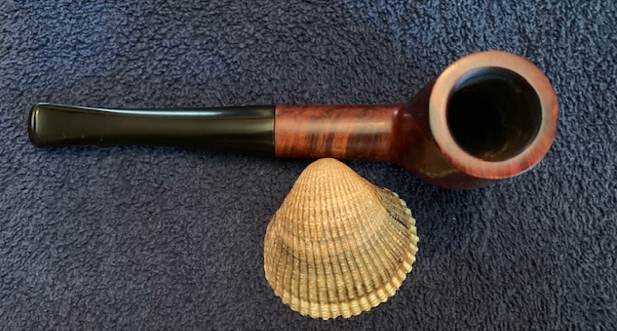
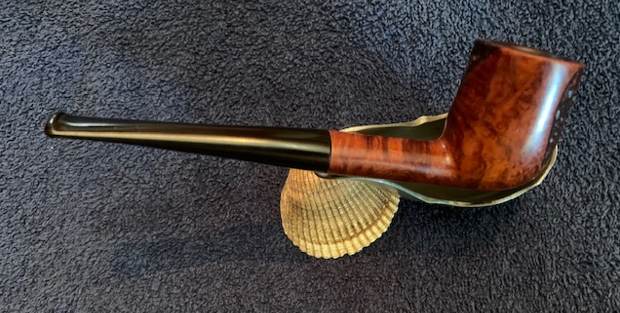
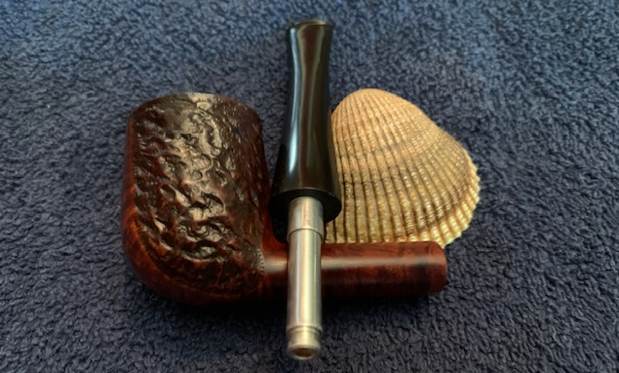
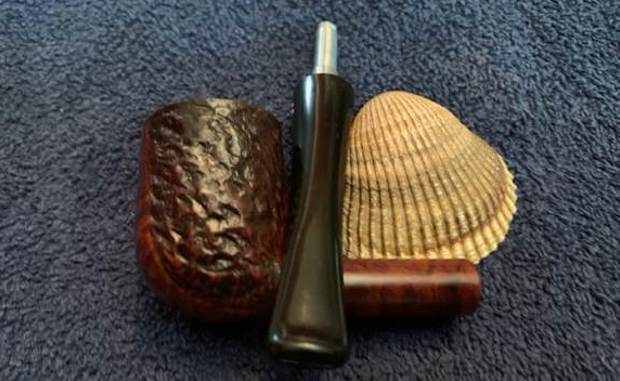
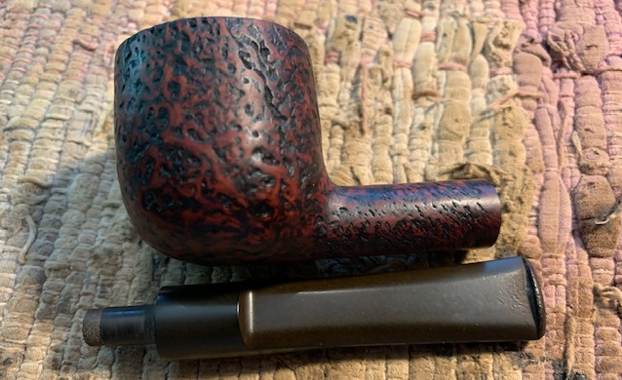
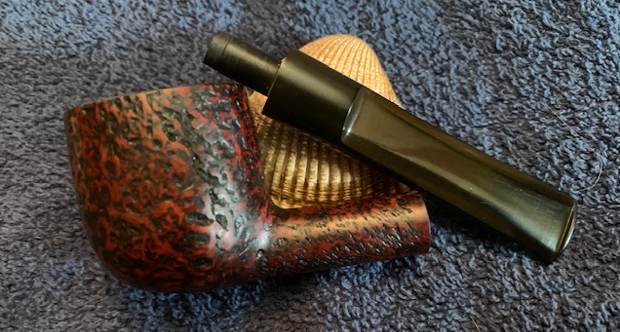
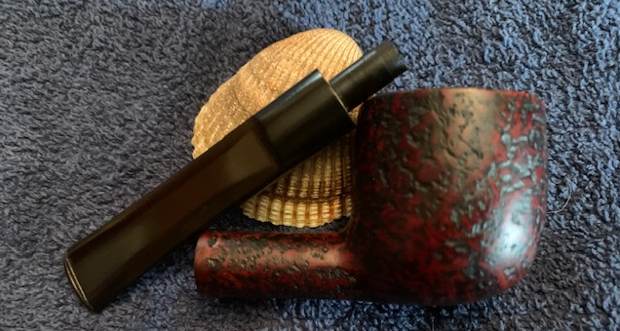
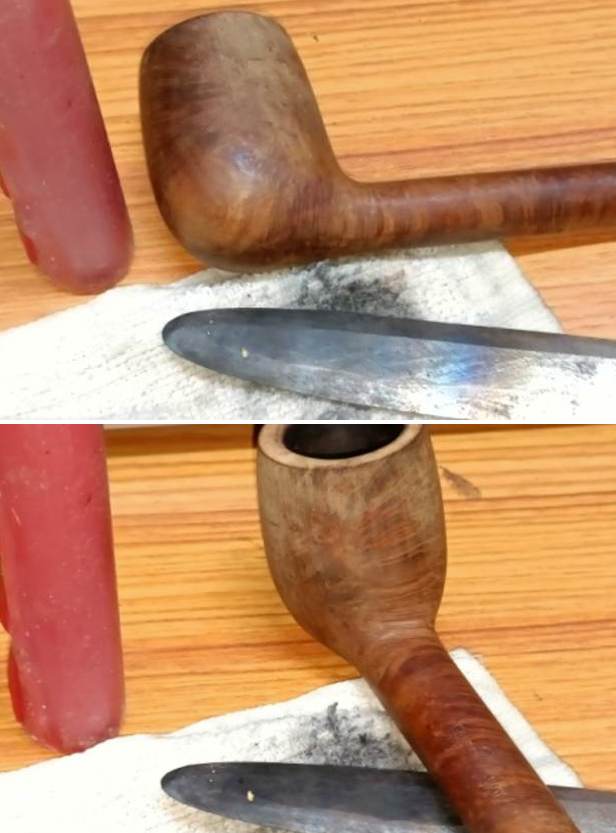
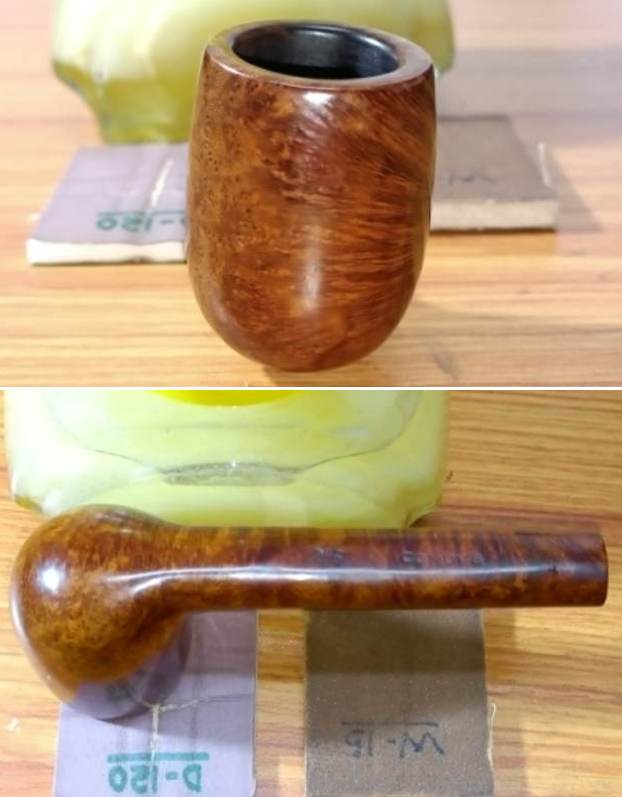
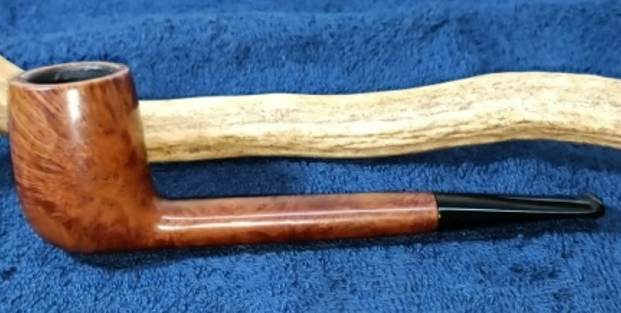
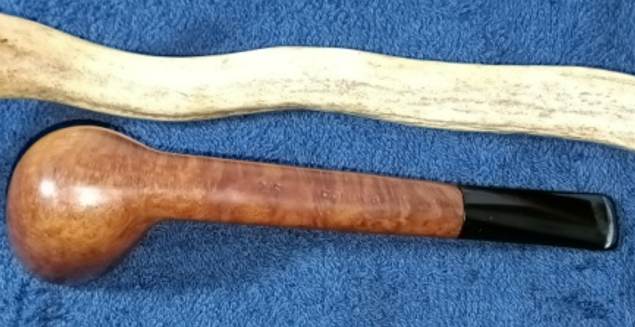
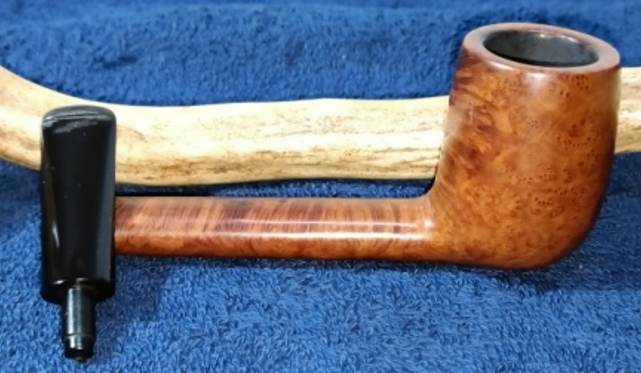
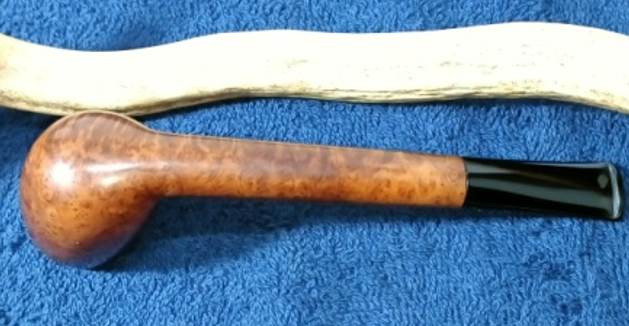
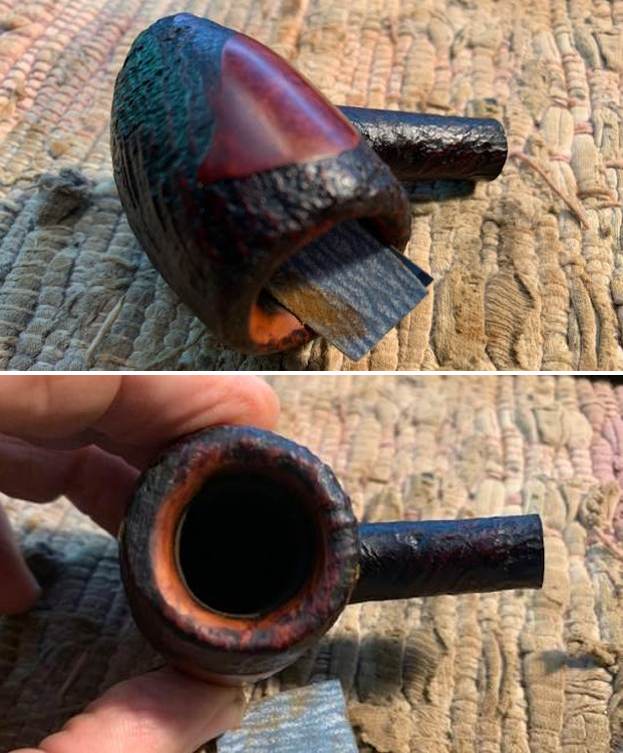
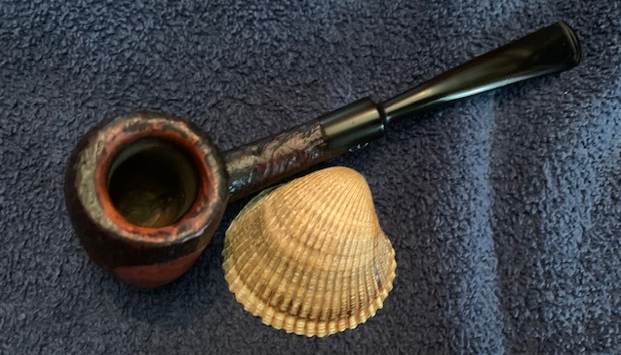
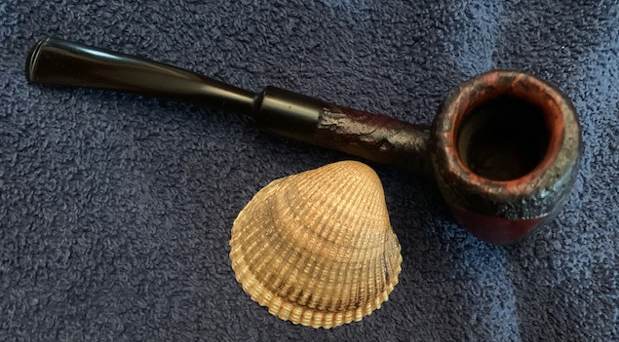
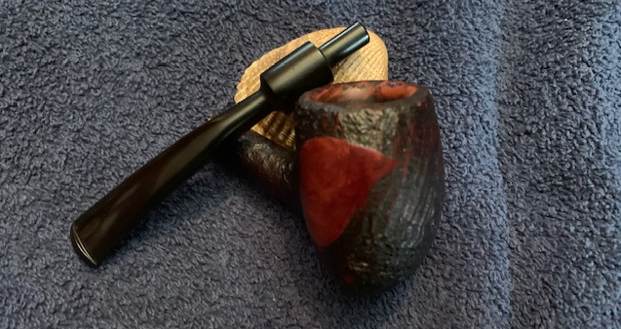
 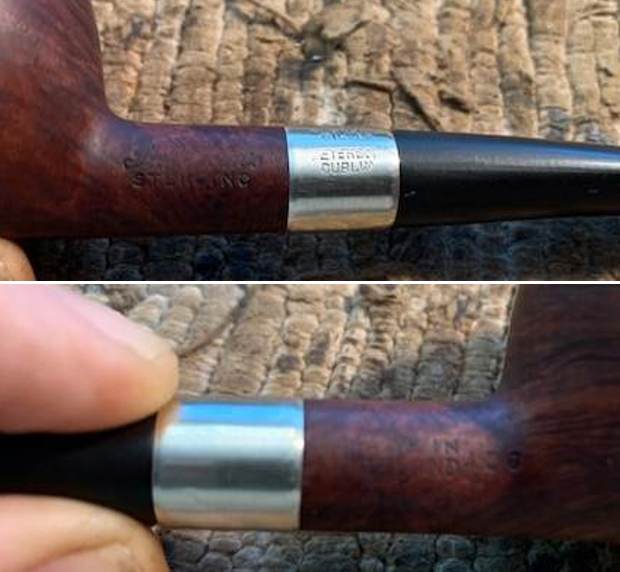 I took the pipe apart and took a photo of the pipe. It is a good looking pipe and has Nice mixed grain around the bowl.
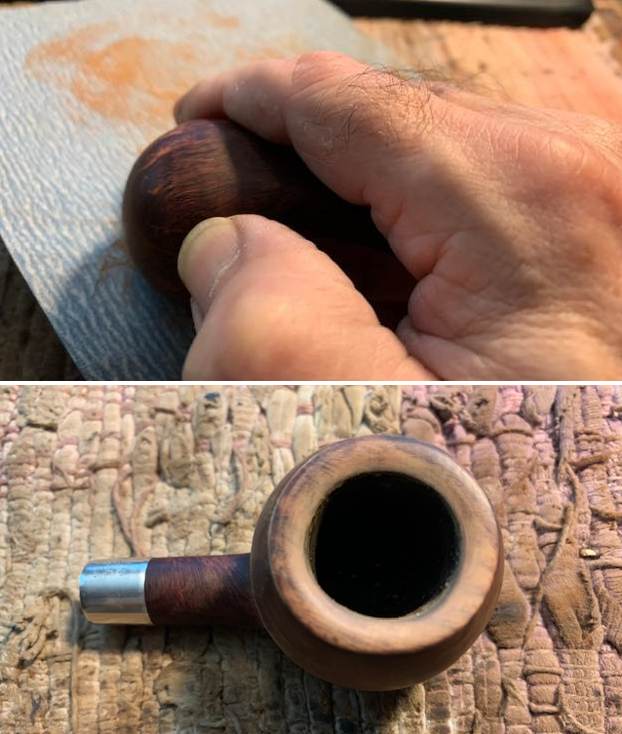
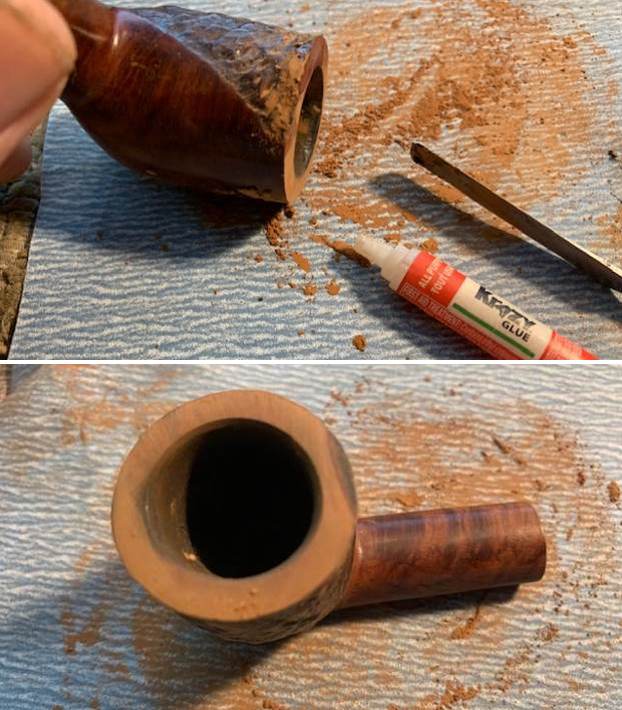
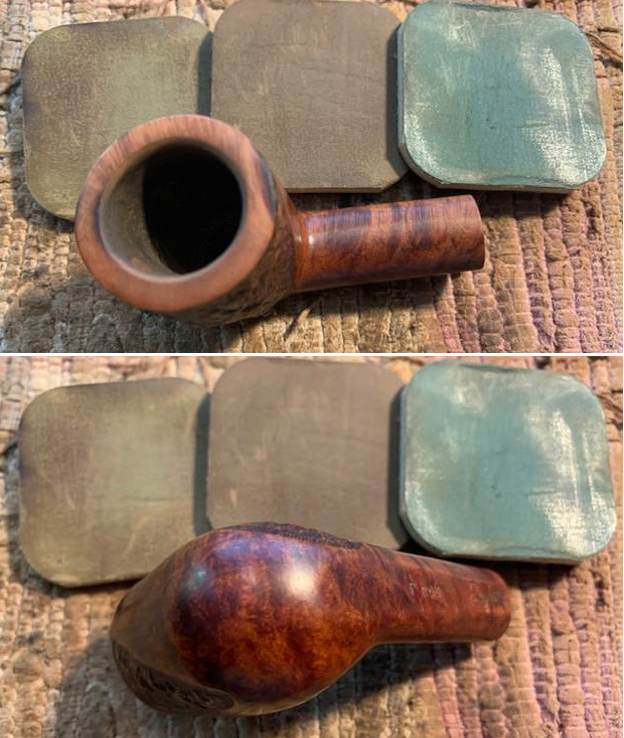
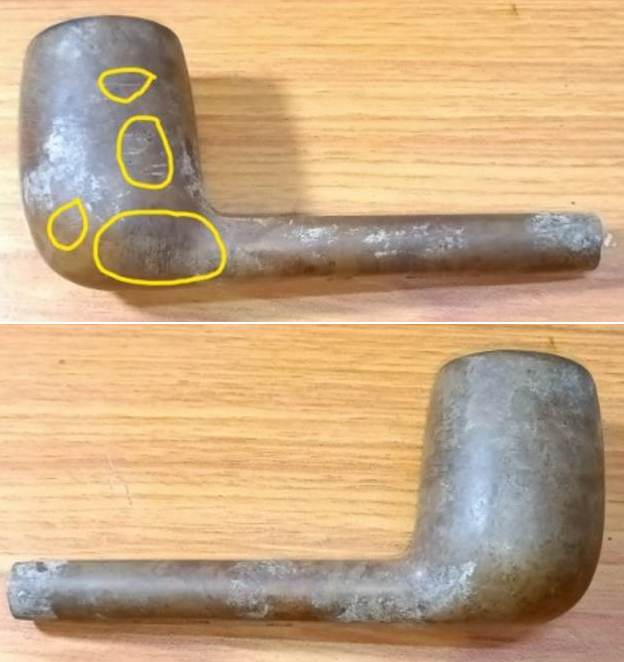
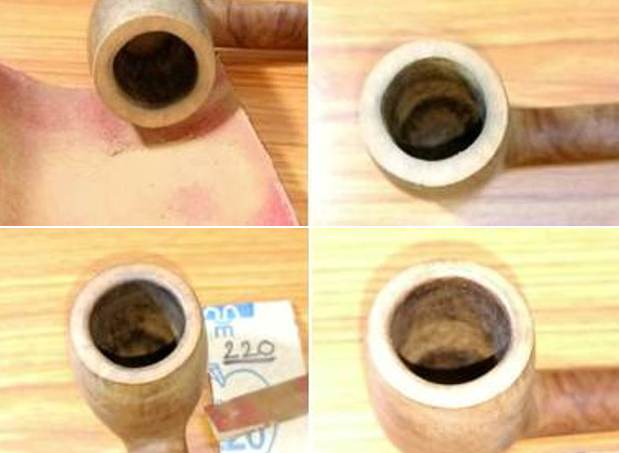
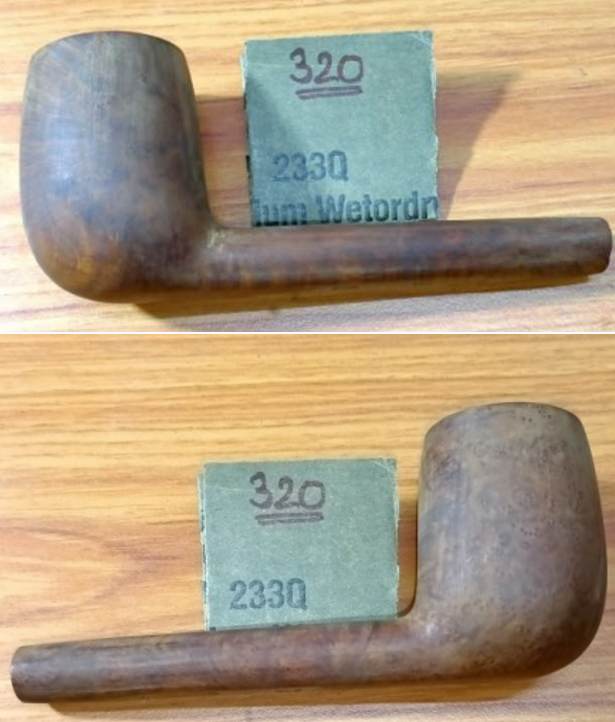
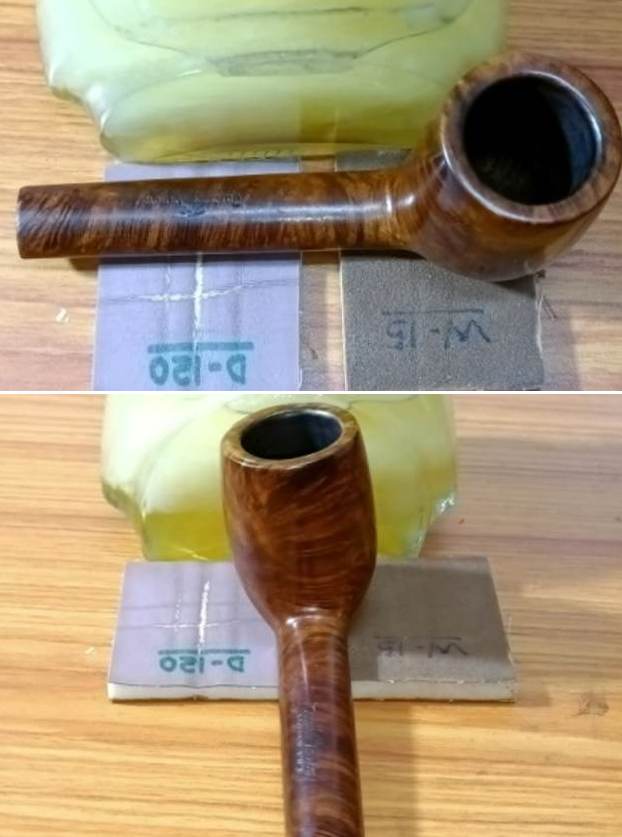
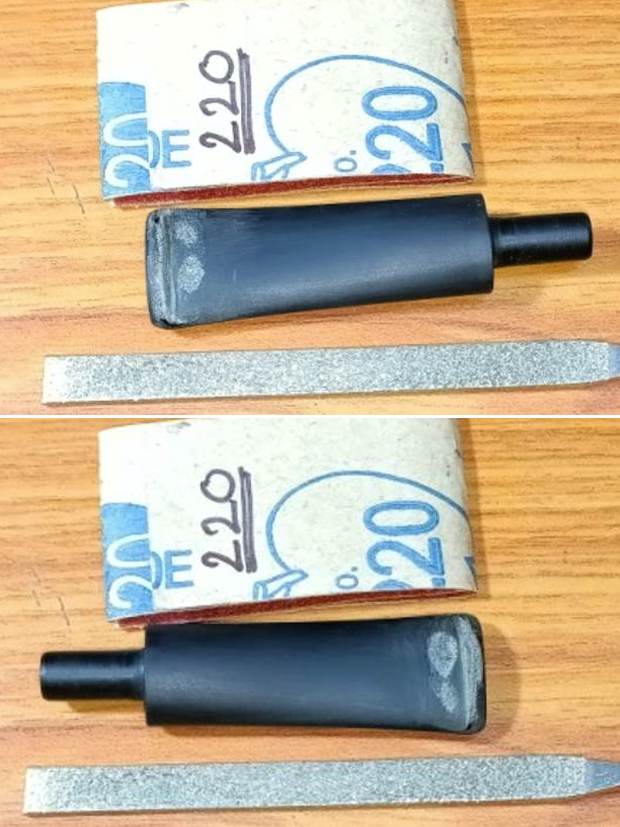
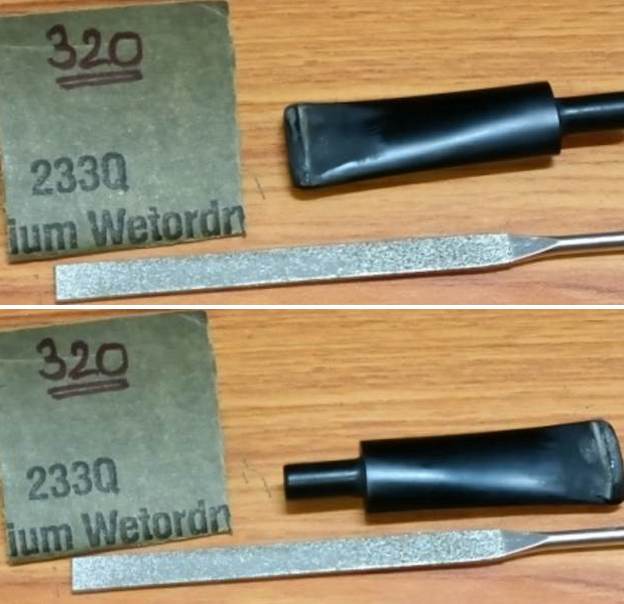
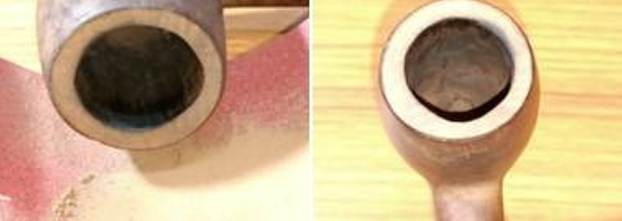
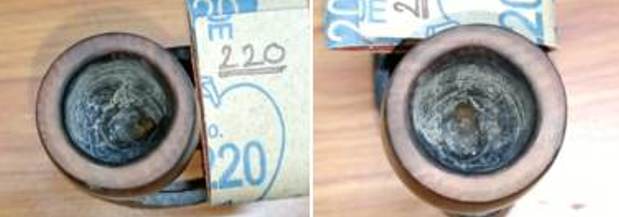
 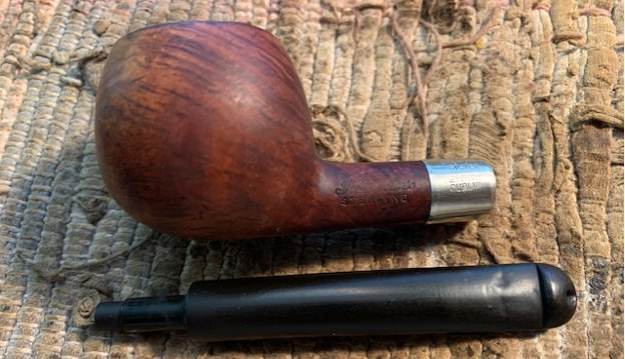 I decided to start the process by addressing the damage on the rim top and the inner edge of the bowl. I used a folded piece of 220 grit sandpaper to sand the top and to give the edge a slight bevel and clean up the darkening and the damage on the edge. When I finished there was still damage on the right front that needed a little more work. I used a wooden ball and 220 grit sandpaper to increase the angle of the bevel and to even out the edges. It is looking much better.
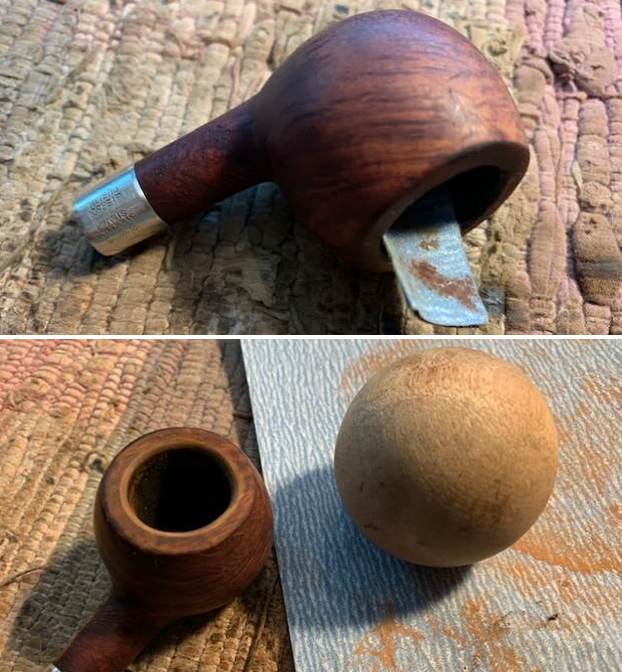
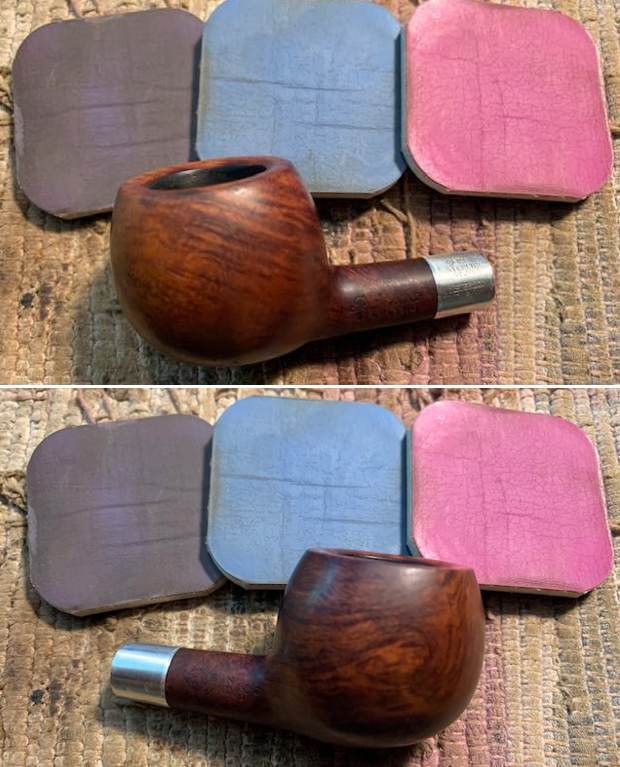
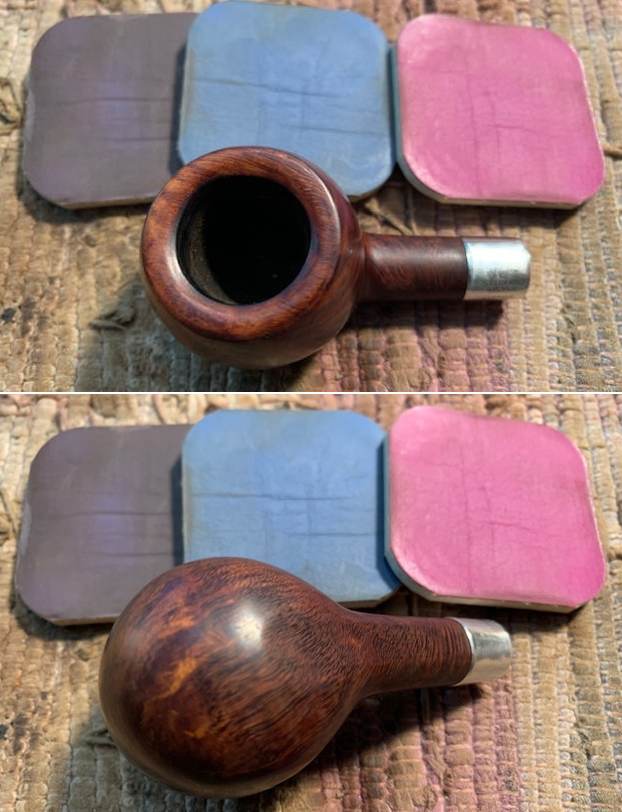
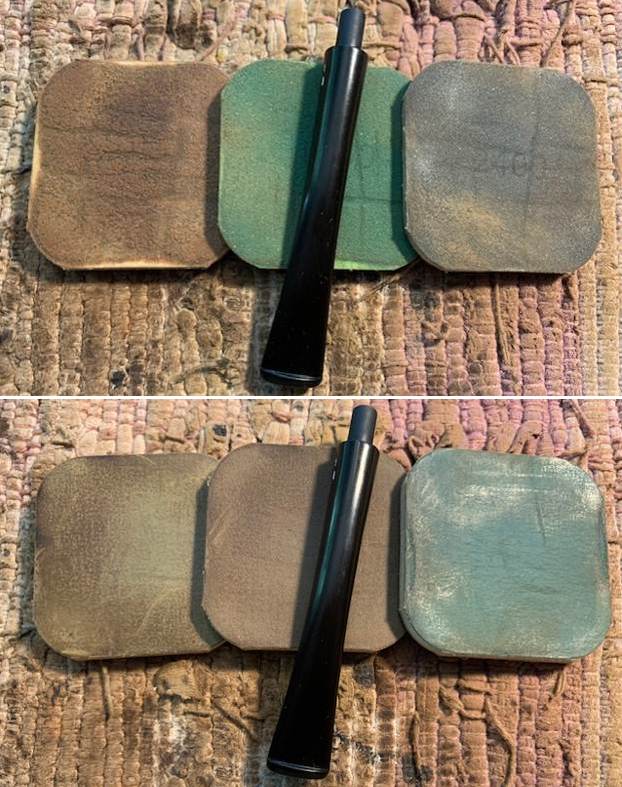
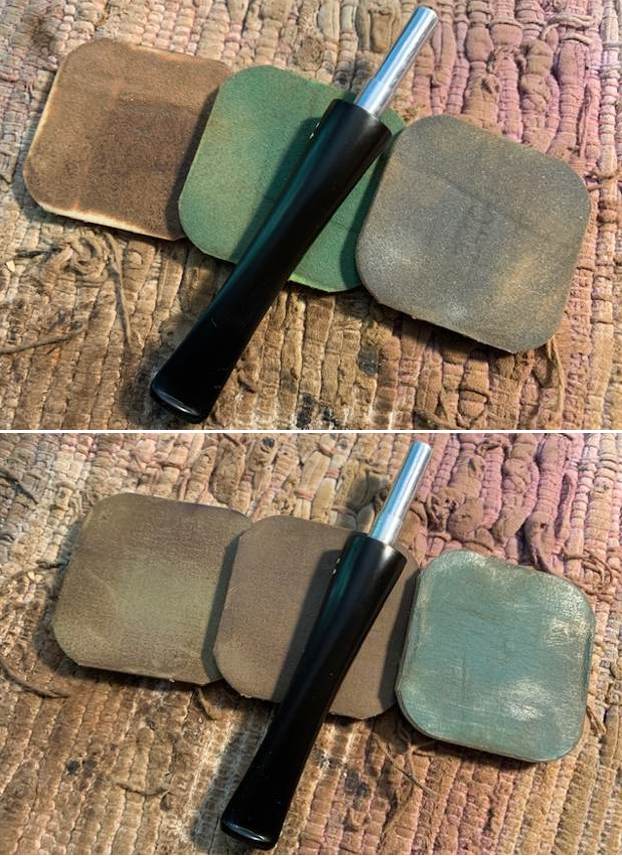
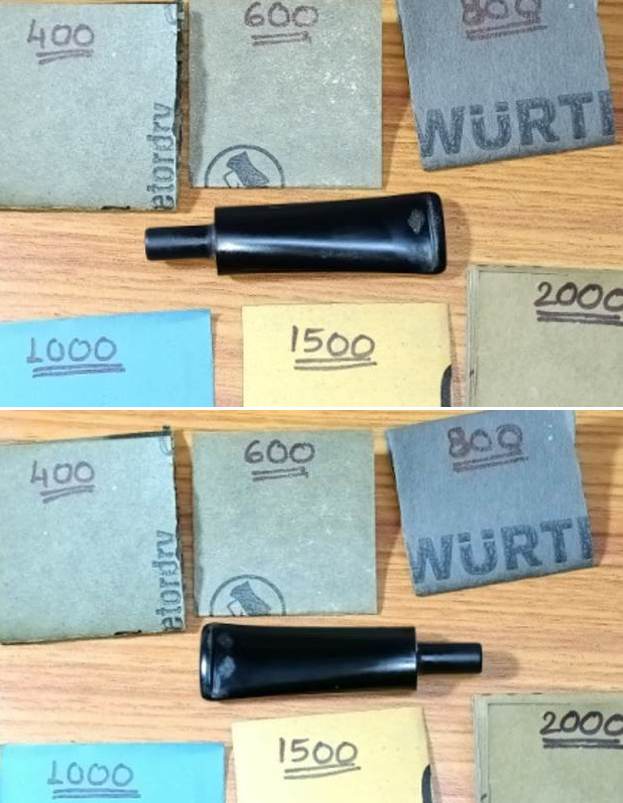
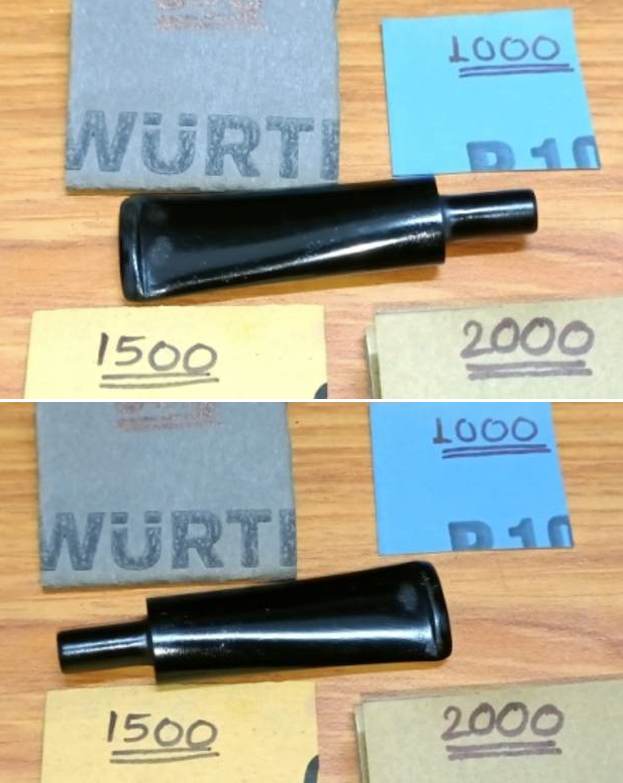
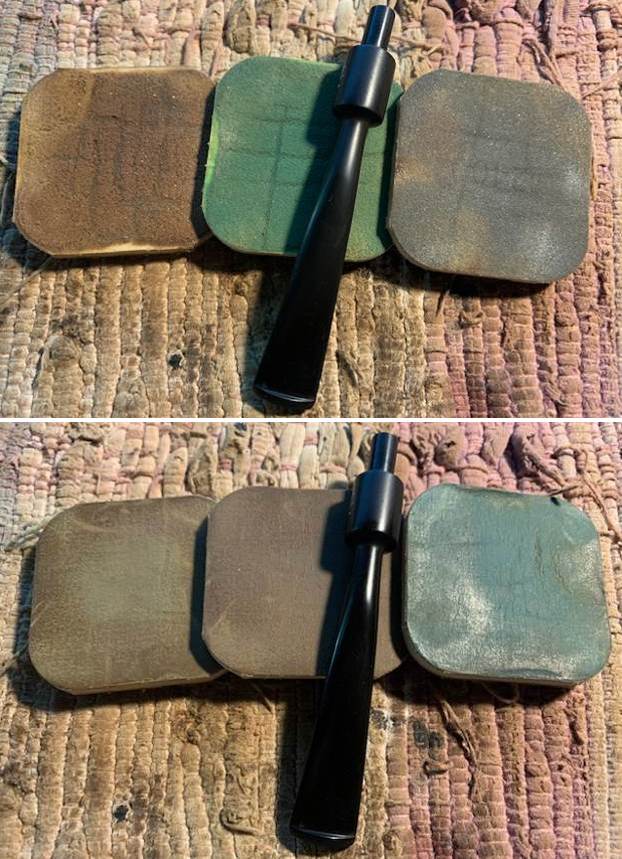
 I polished the briar with micromesh sanding pads – dry sanding it with 1500-12000 grit sanding pads. I wiped the bowl surface down with a damp cloth to remove the sanding dust. Once I finished the exterior of the briar looked much better and had taken on a shine.
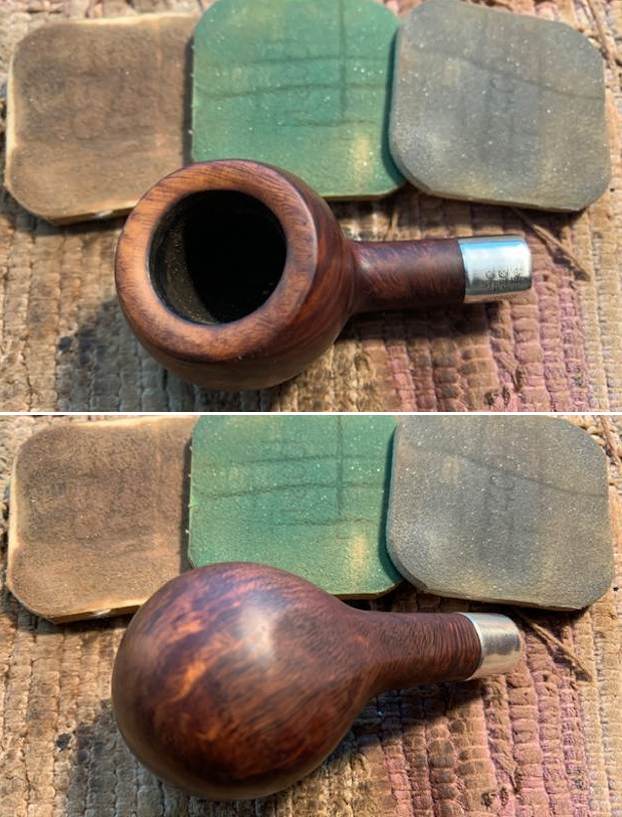
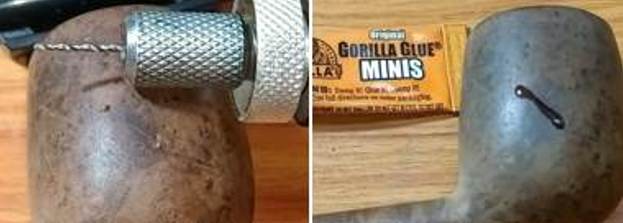
 I paused in the polishing at this point to touch up the stain on the rim top. I used a Cherry stain pen and was able to match the rest of the bowl. I then picked up the polishing again with the last three micromesh pads.
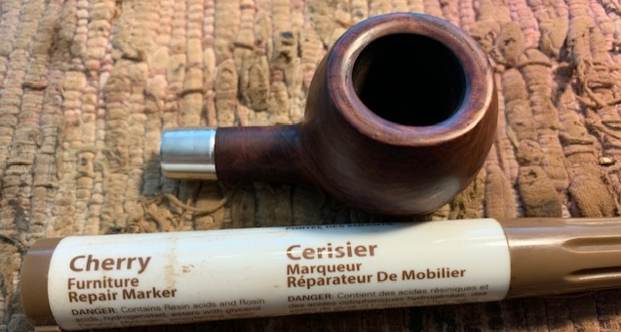
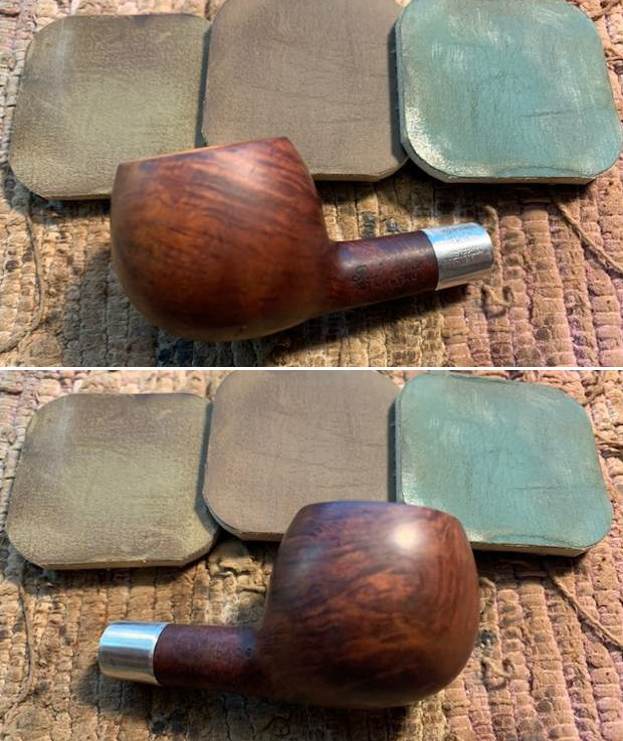
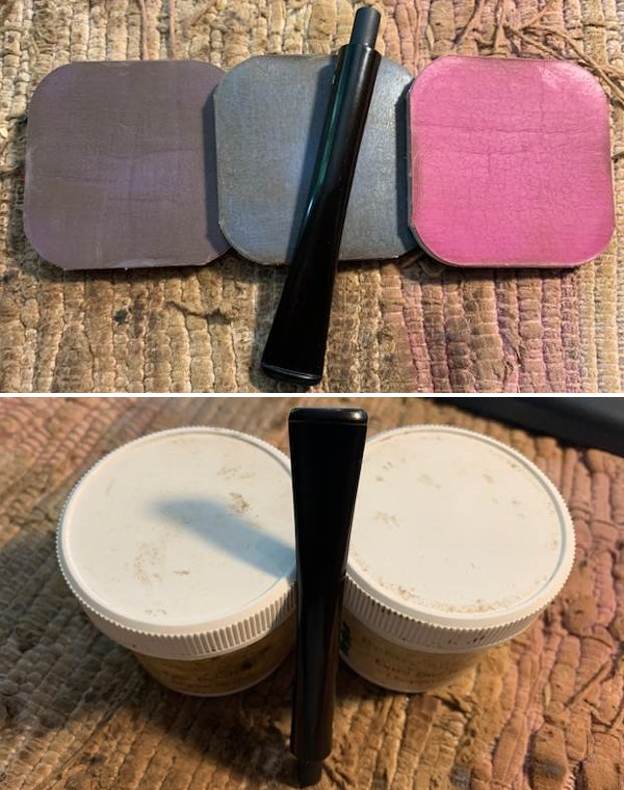
 I rubbed the bowl down with Before & After Restoration Balm. I worked it into the surface of the briar with my fingertips to clean, enliven and protect it. I let the balm sit for 15 minutes and then buffed with a cotton cloth to raise the shine. Mark Hoover’s Balm is a product that I have come to appreciate and one I use on every pipe I have been working on.
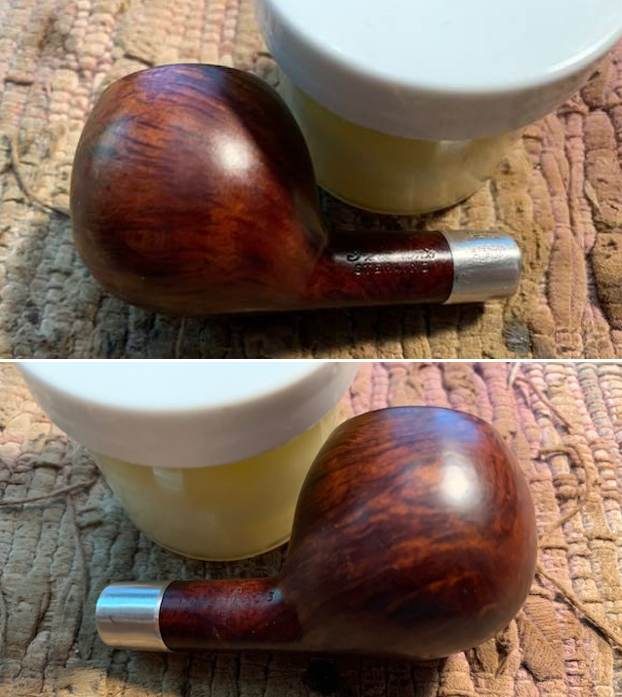

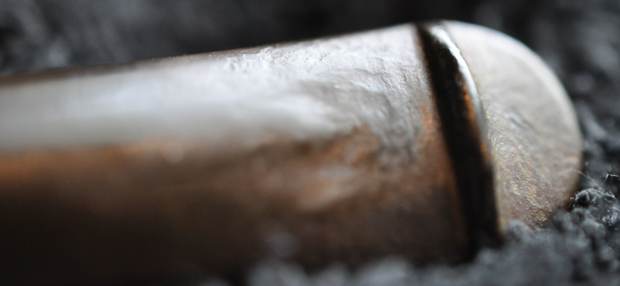
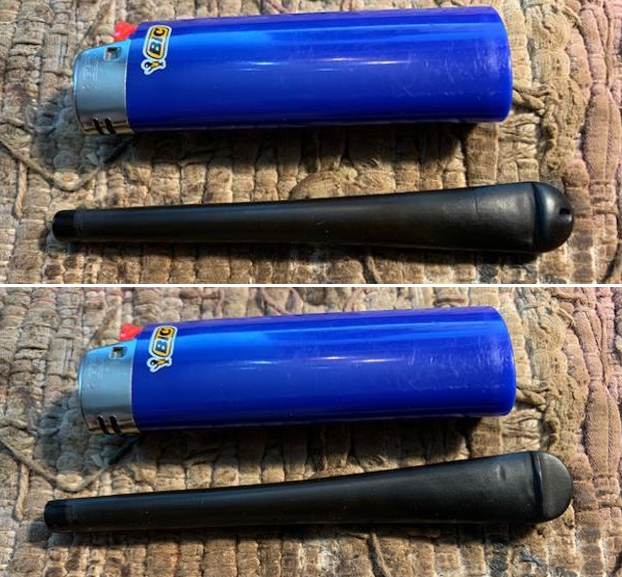
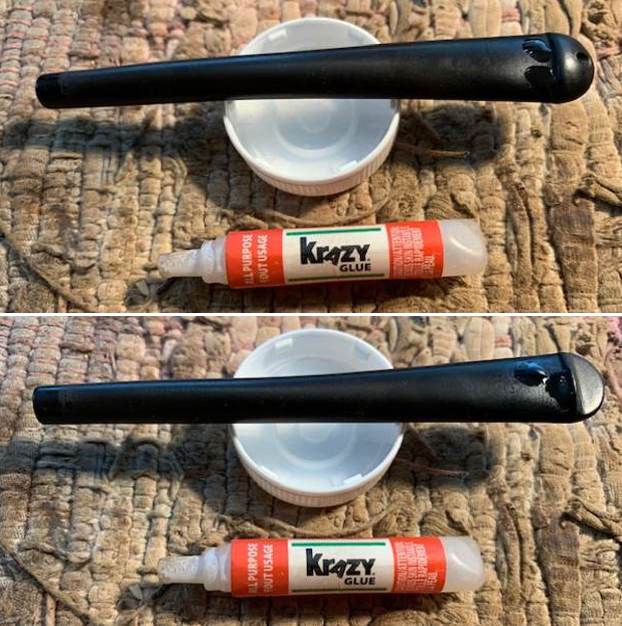
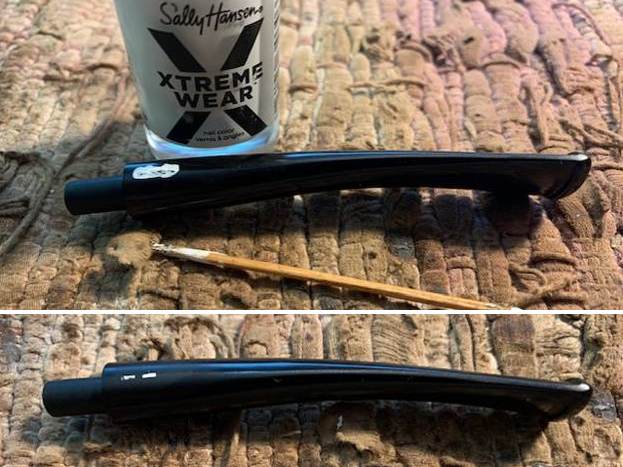
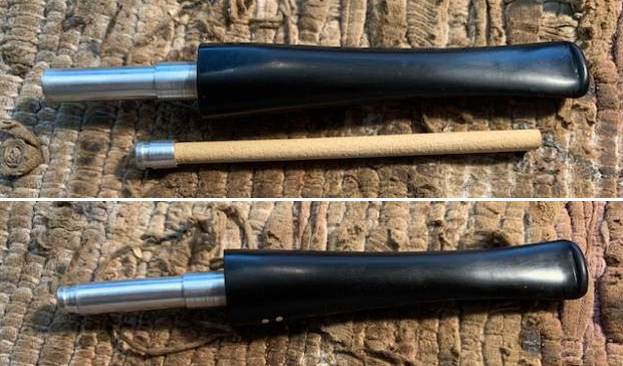
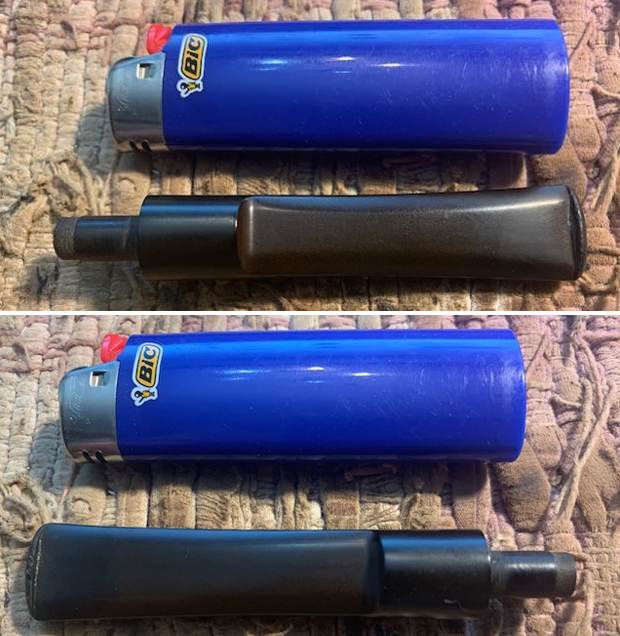
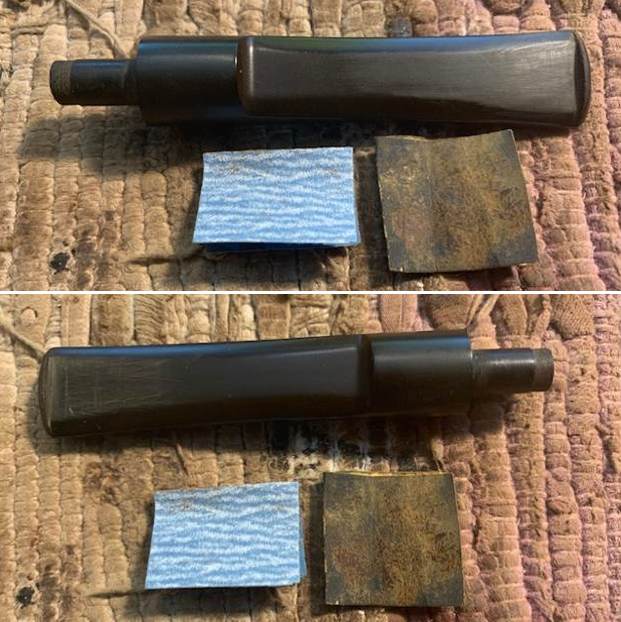
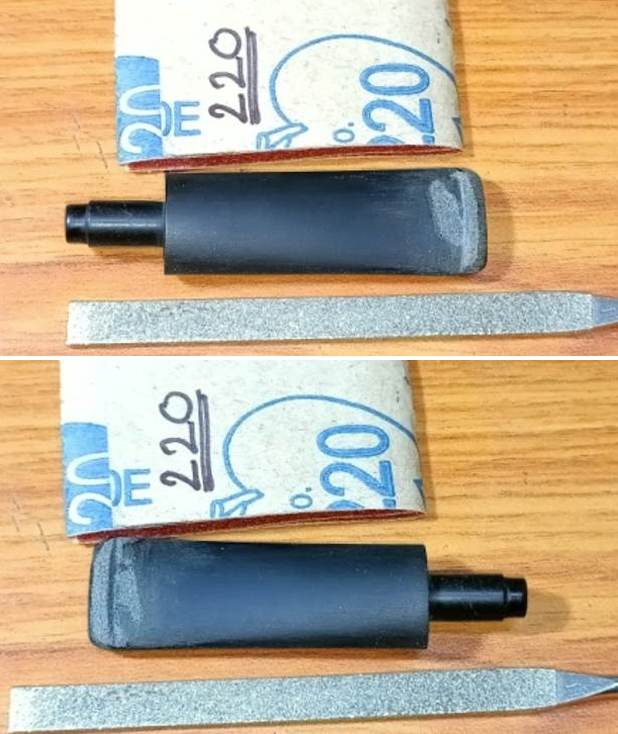
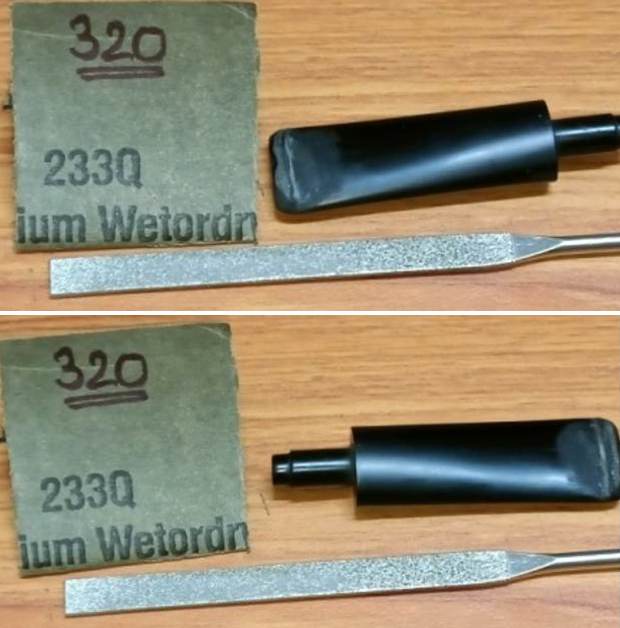
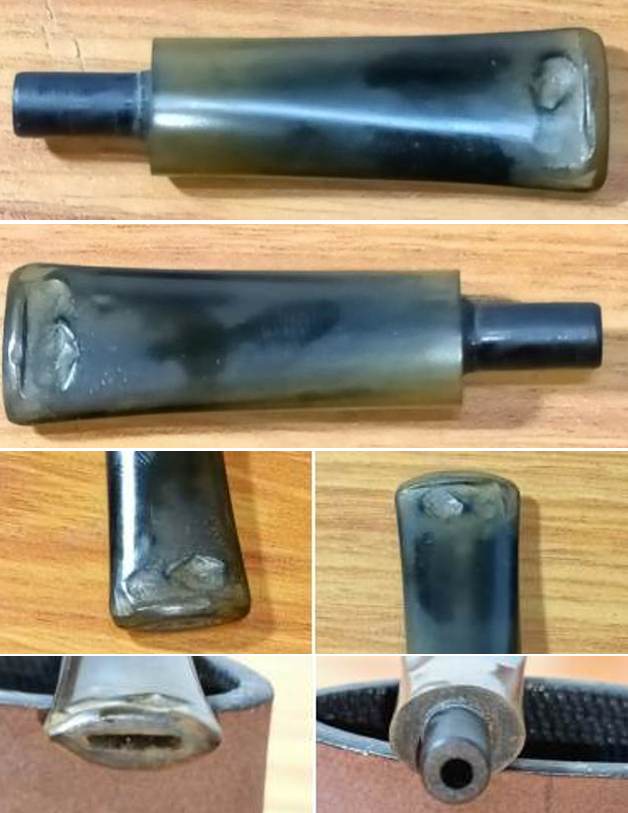
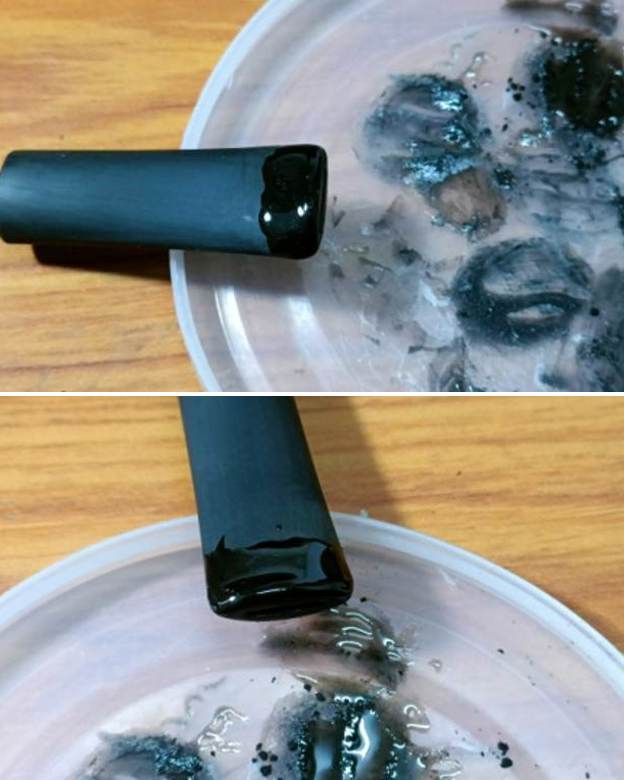
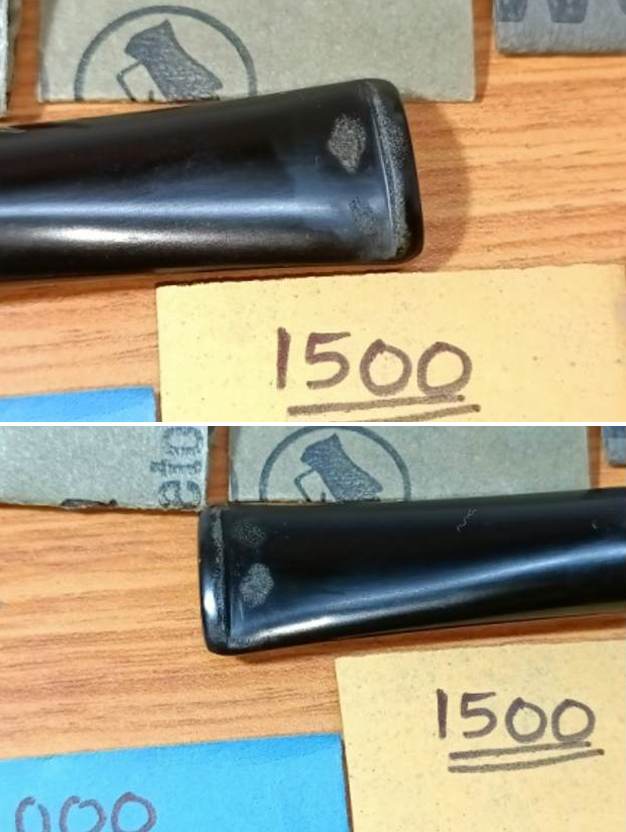
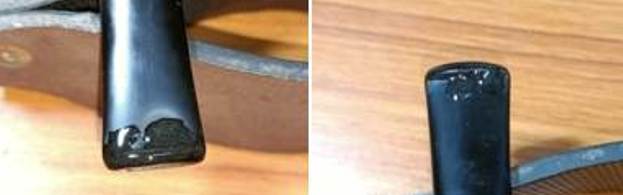
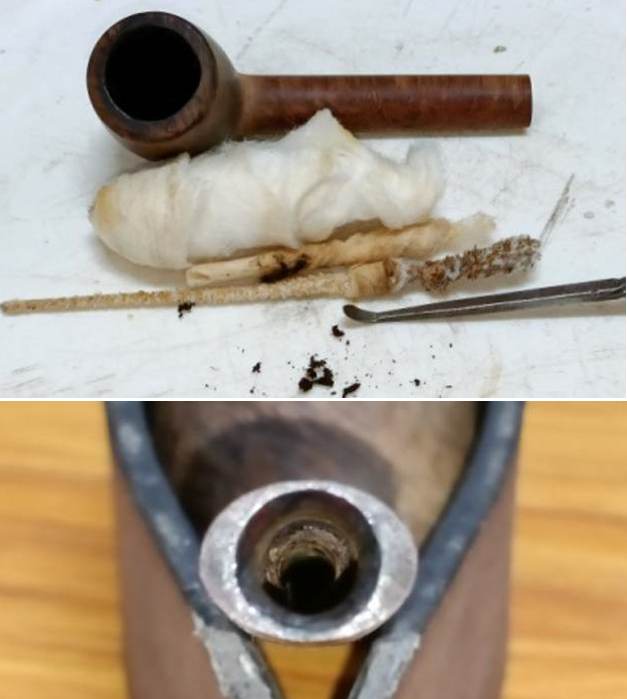
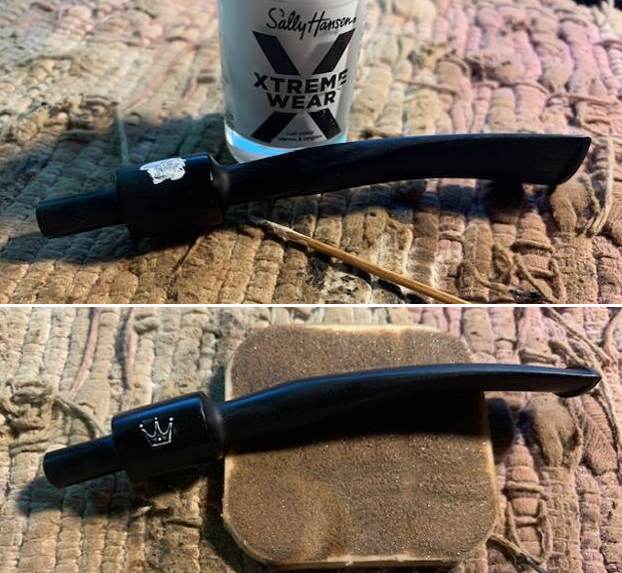
 I set the bowl aside and turned my attention to the stem. I “painted” the surface of the stem with the flame of a lighter to lift the tooth marks. I was able lift many of them. I filled in the remaining marks with clear CA glue. I set the stem aside to cure. Once it cured I flattened the repairs with 220 grit sandpaper.
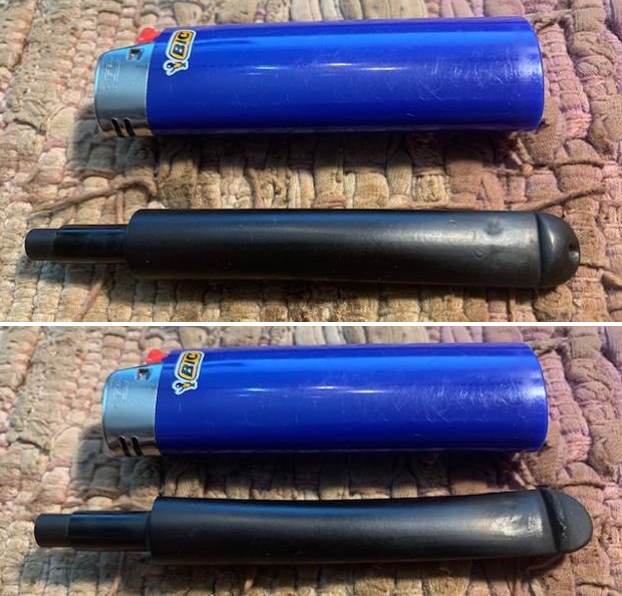

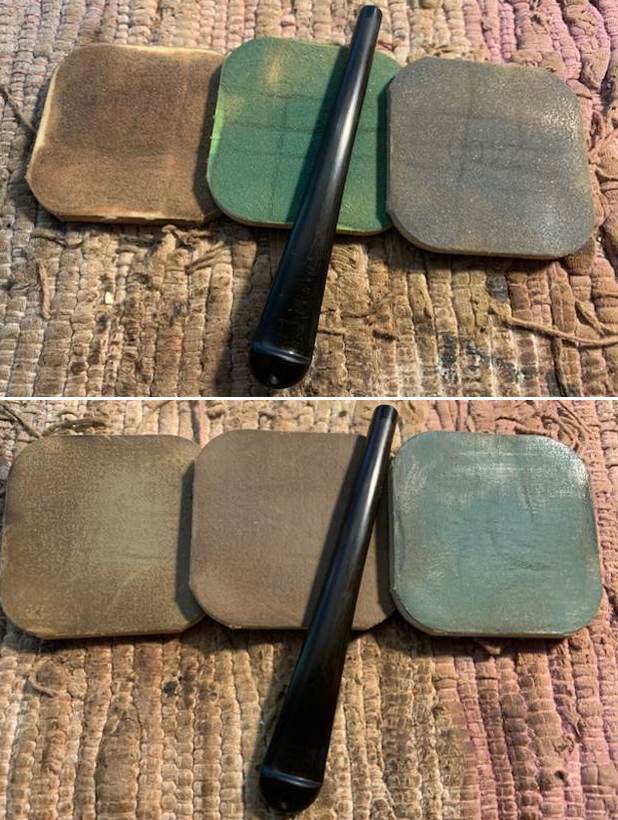
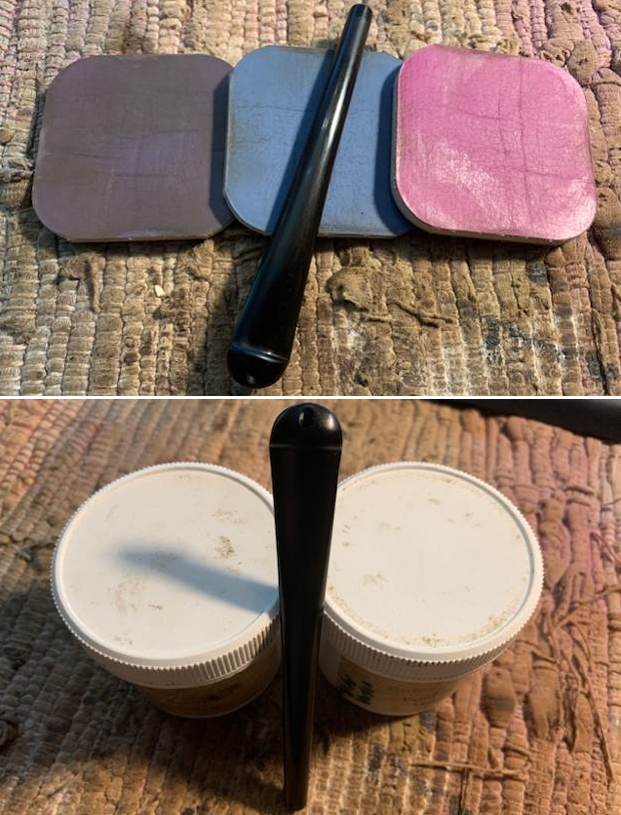
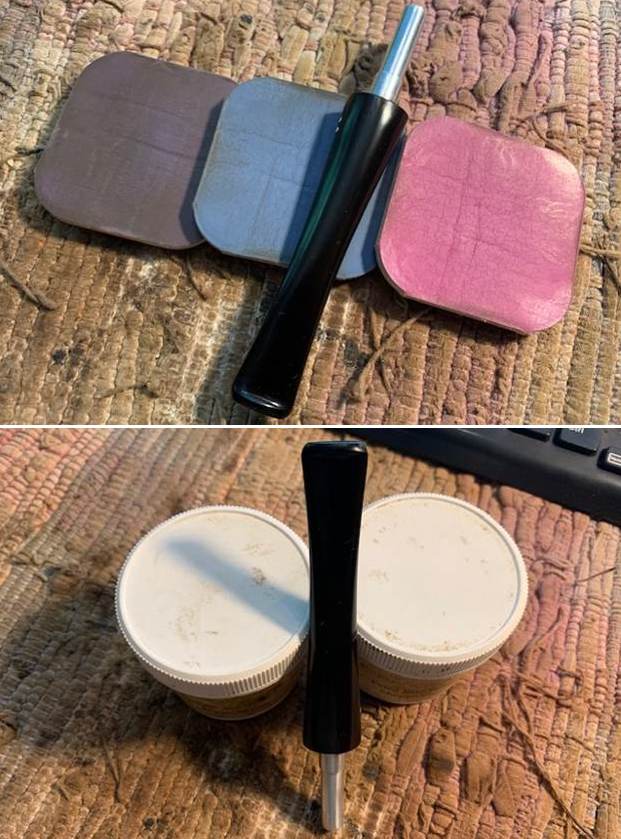
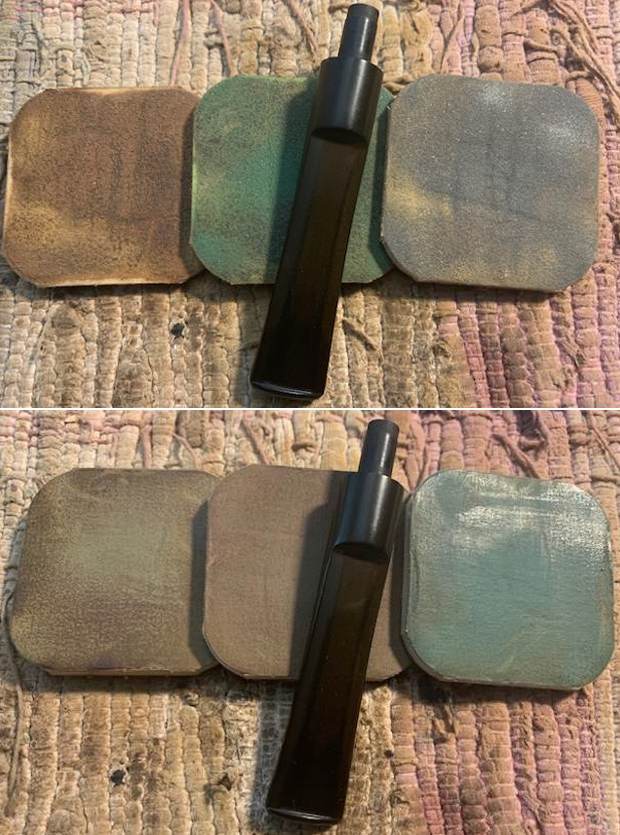
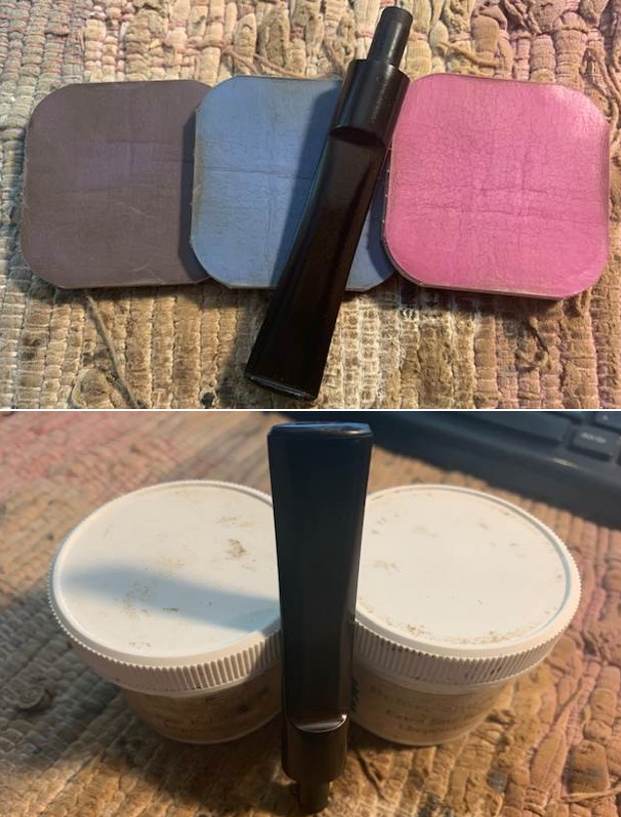
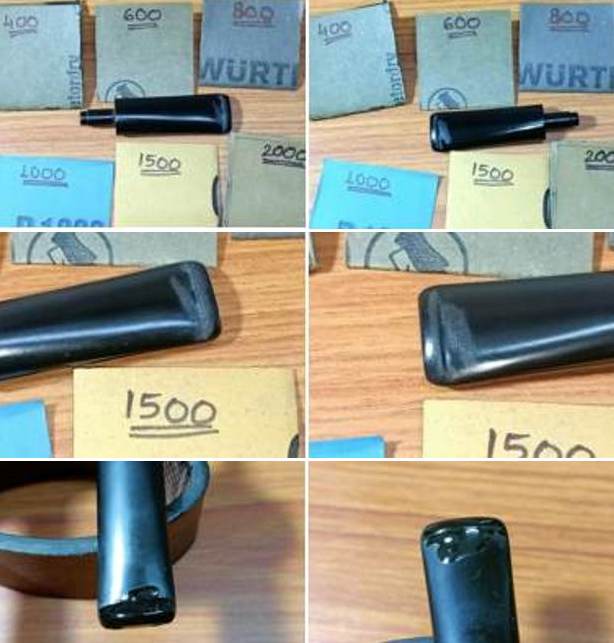
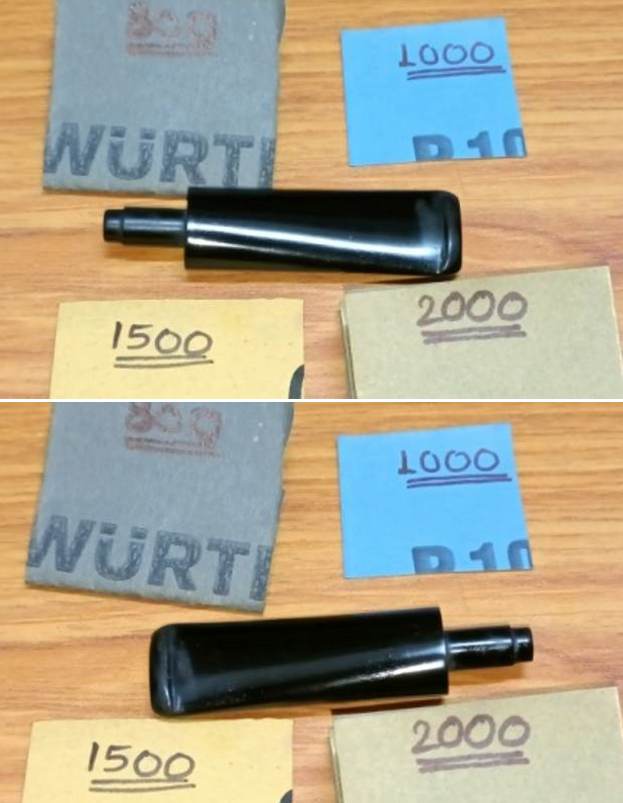
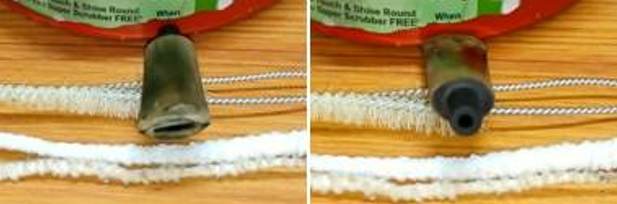
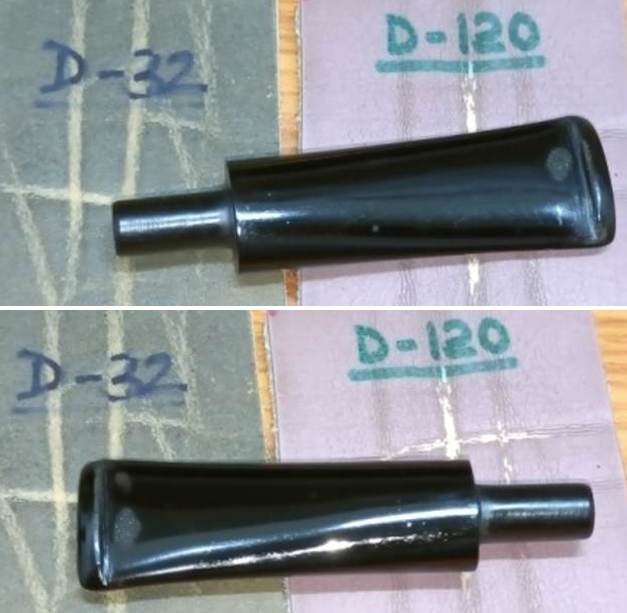
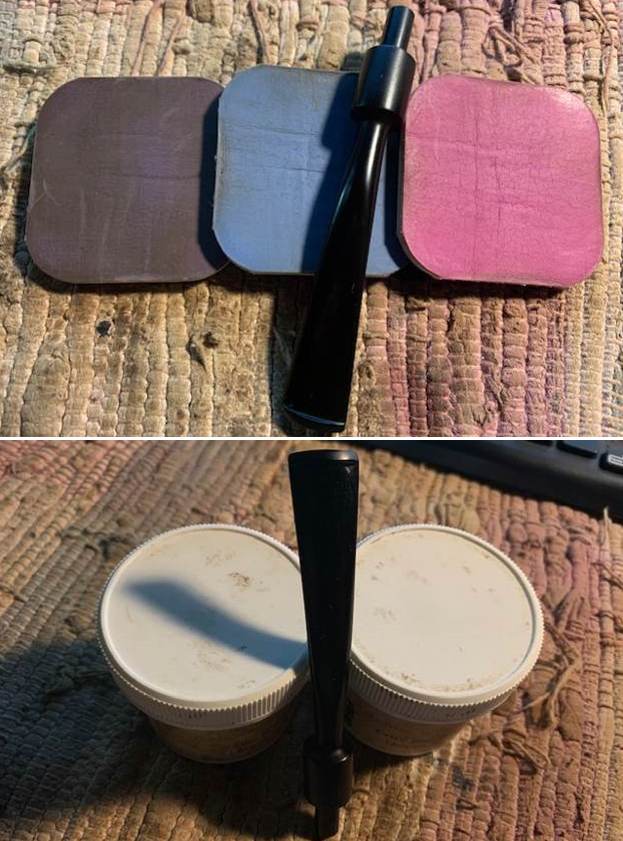
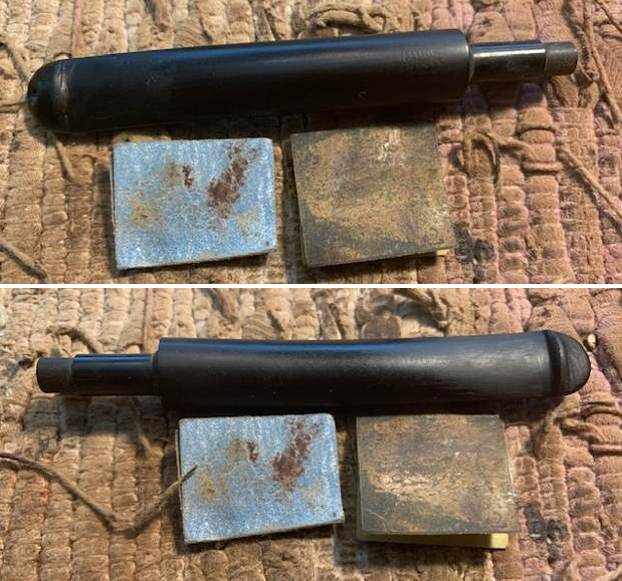 I polished the stem with micromesh sanding pads – wet sanding with 1500-12000 grit pads. I wiped the stem down after each sanding pad with Obsidian Oil. I polished it with Before & After Pipe Stem Polish – both Fine and Extra Fine. Once I had finished the polishing I gave it final coat of oil and set it aside to dry.
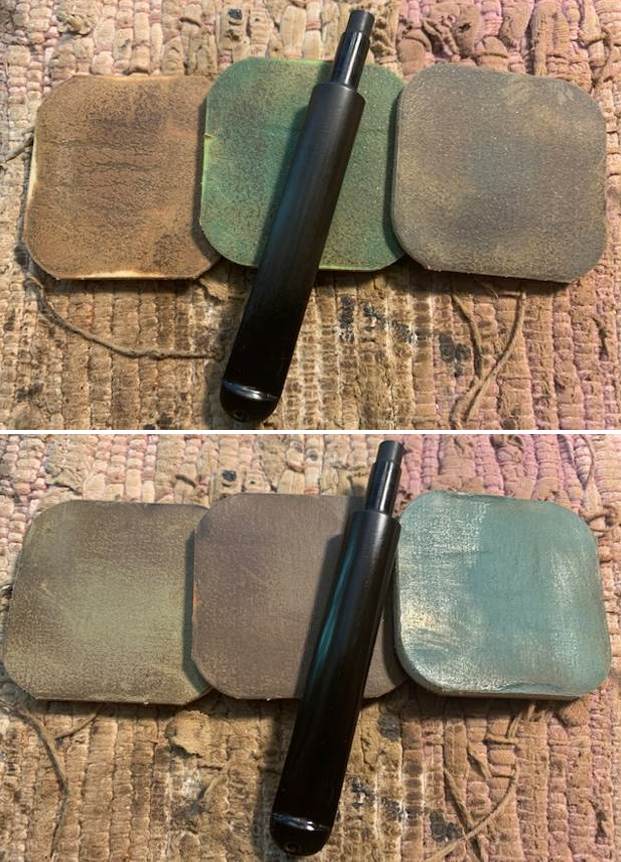
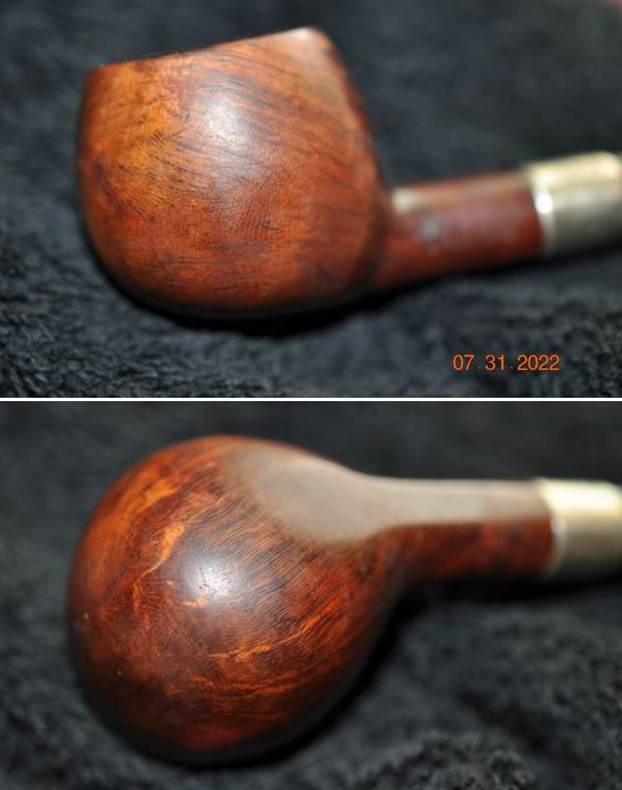
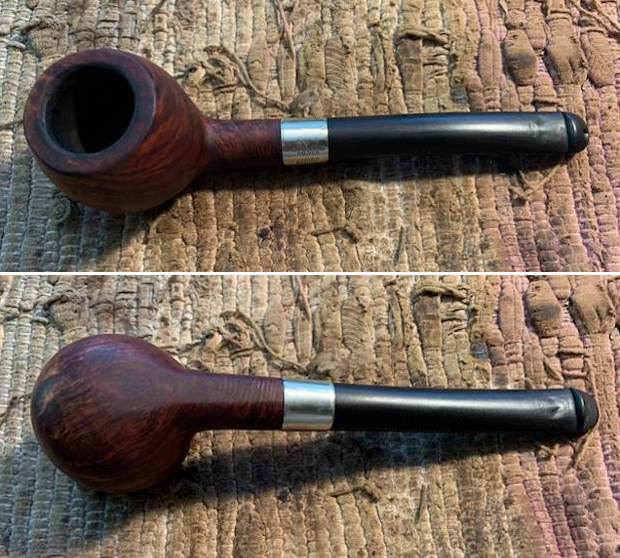
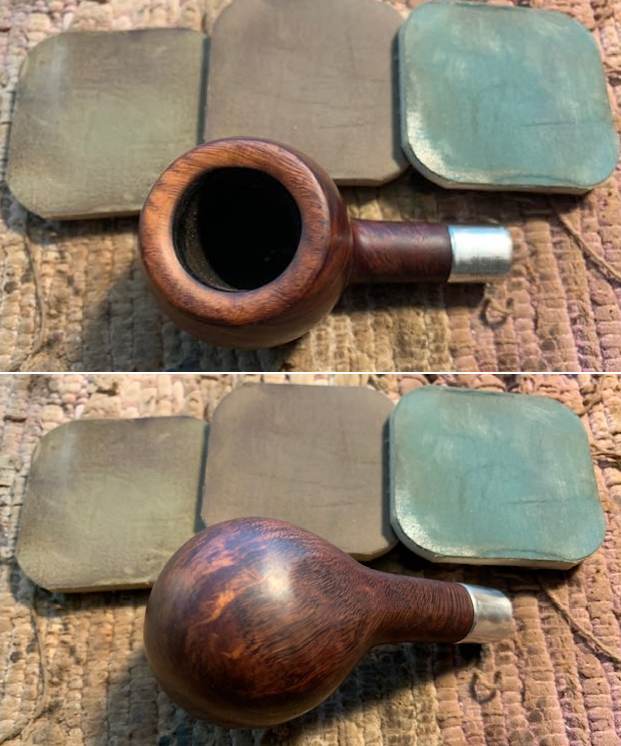
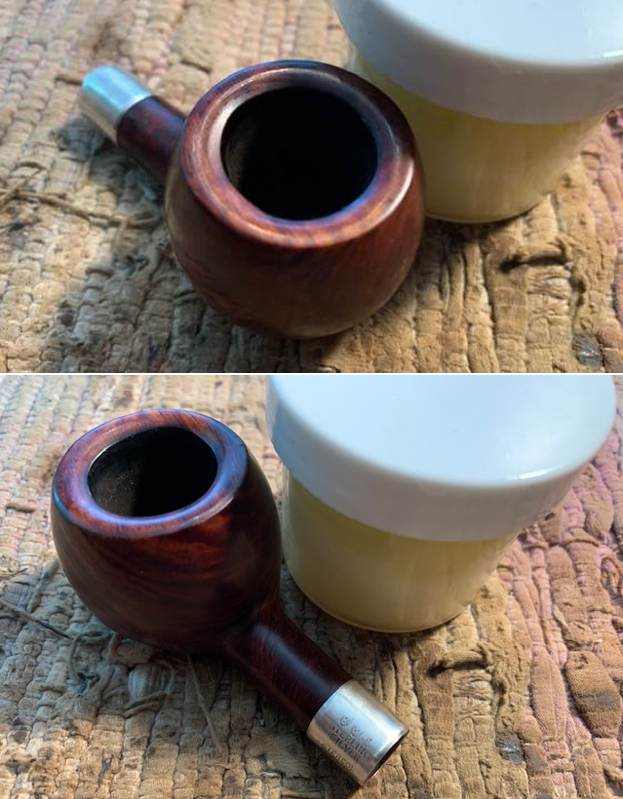
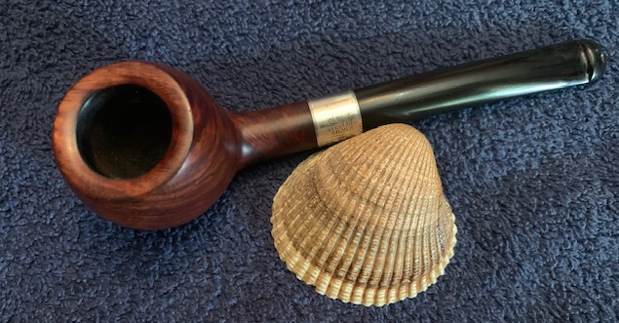
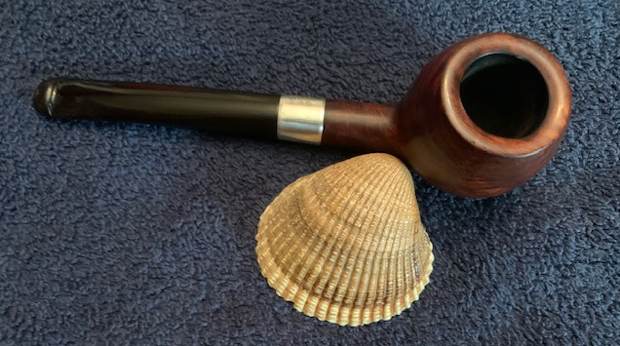
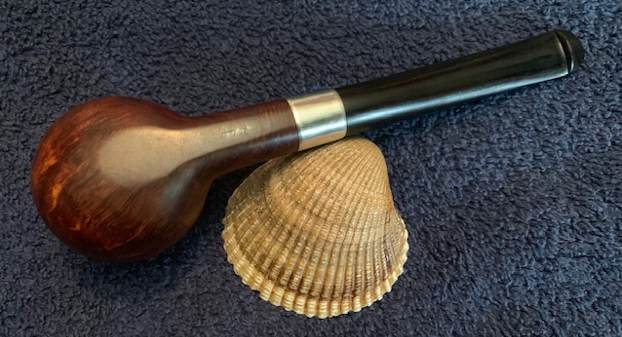
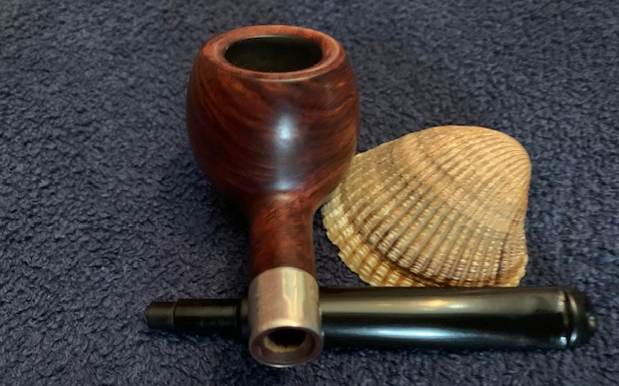
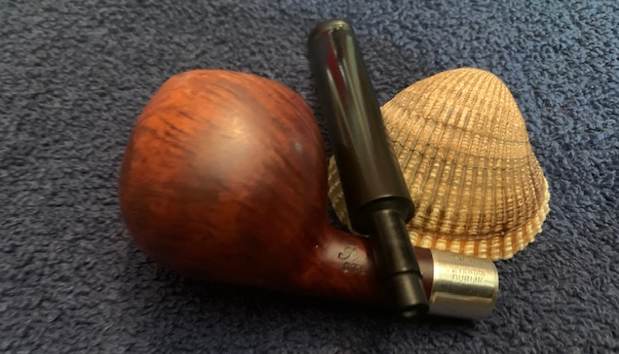
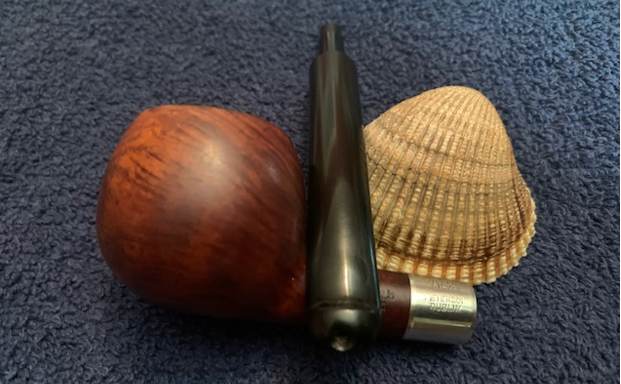
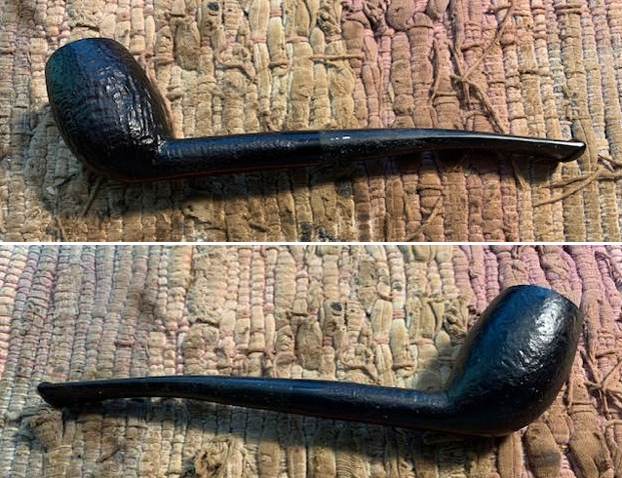
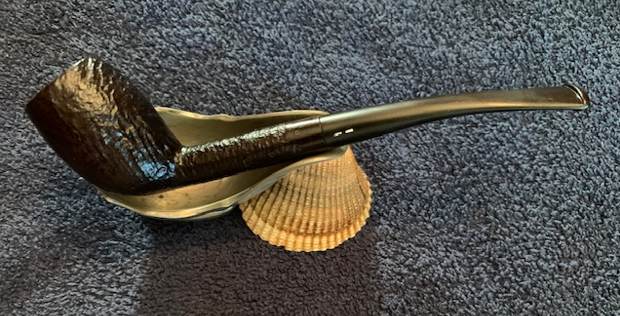
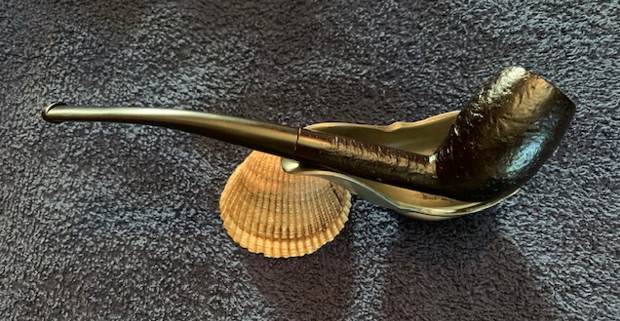
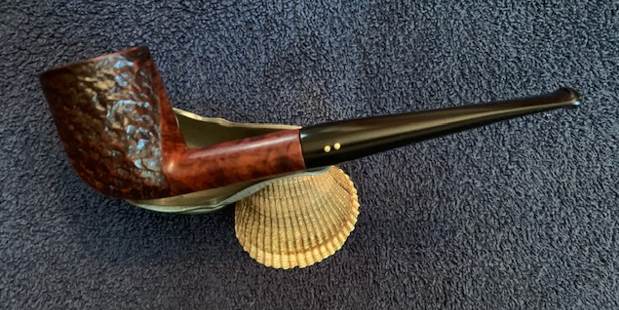
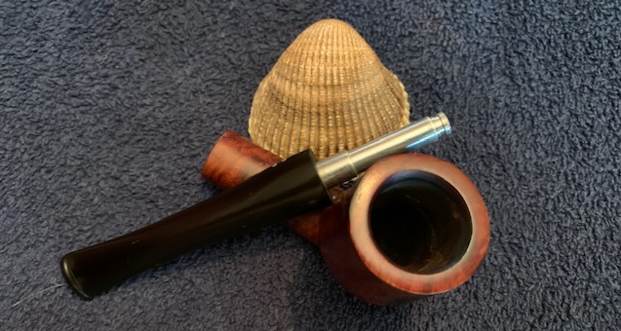
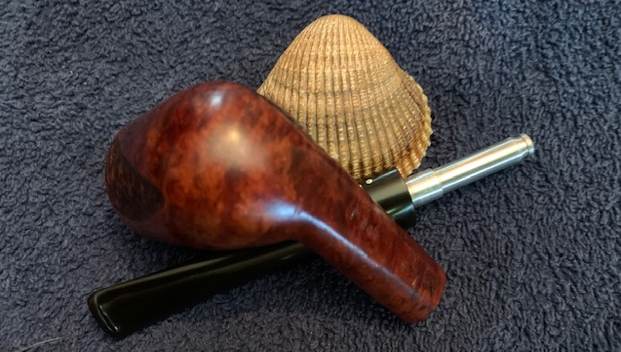
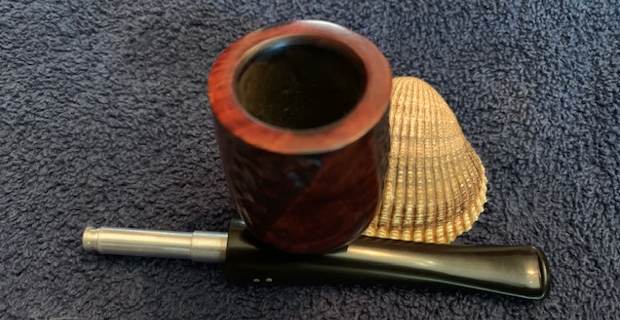
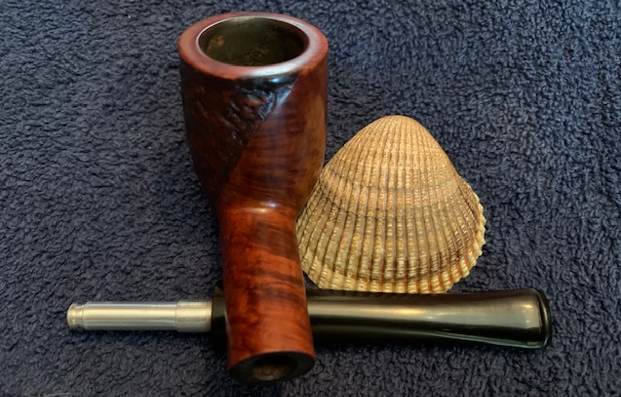
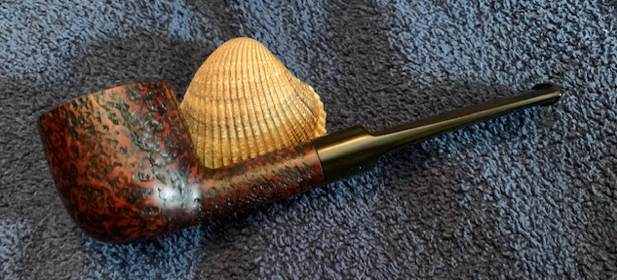
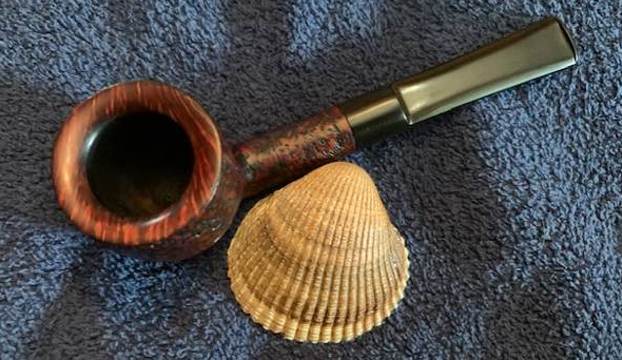
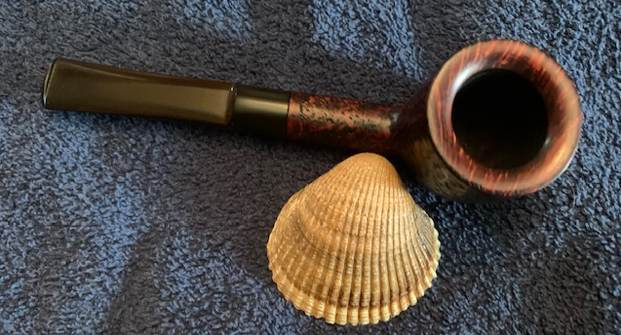
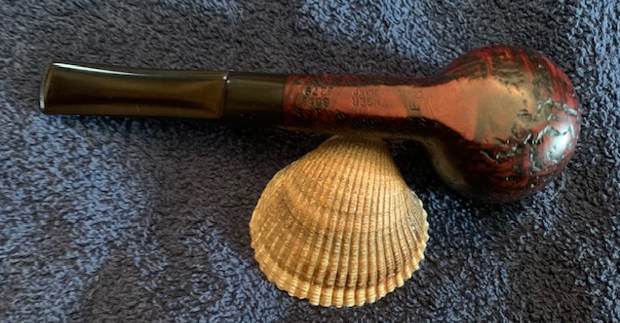
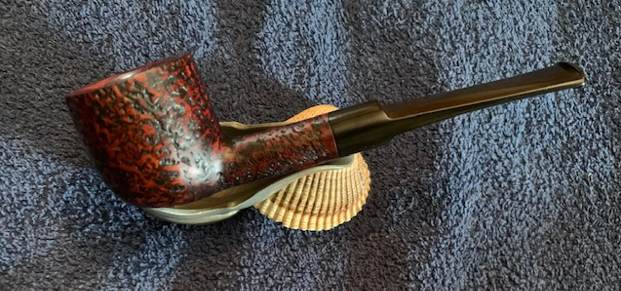
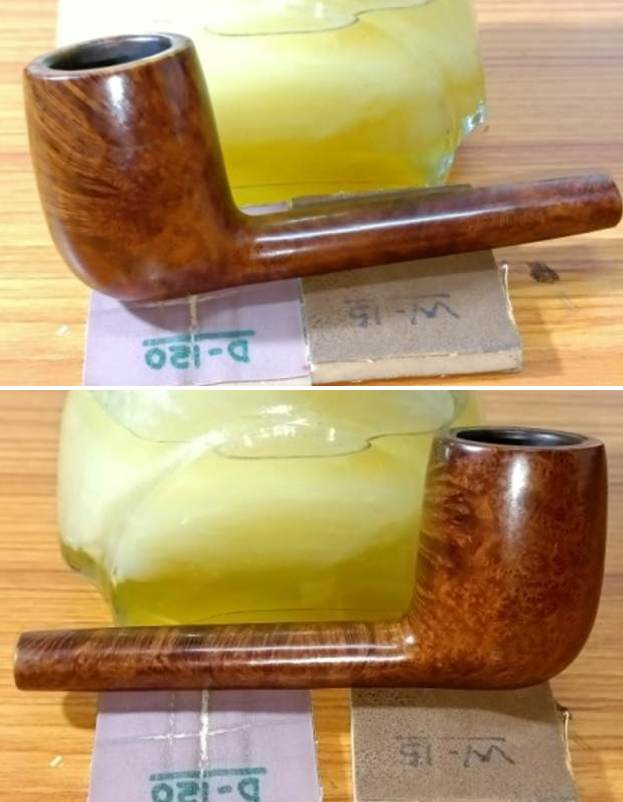
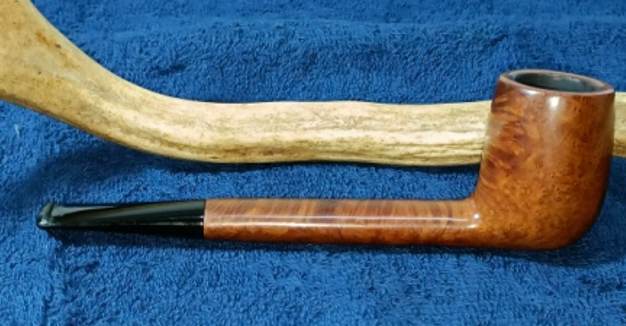
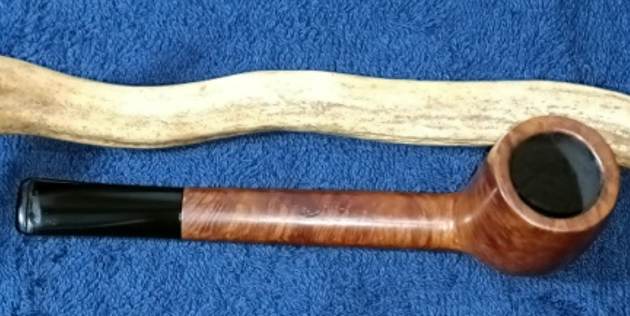
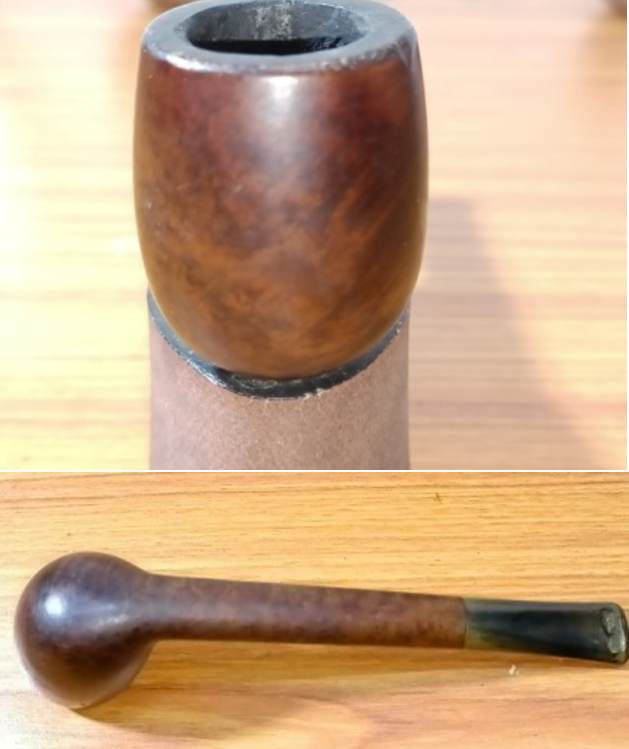
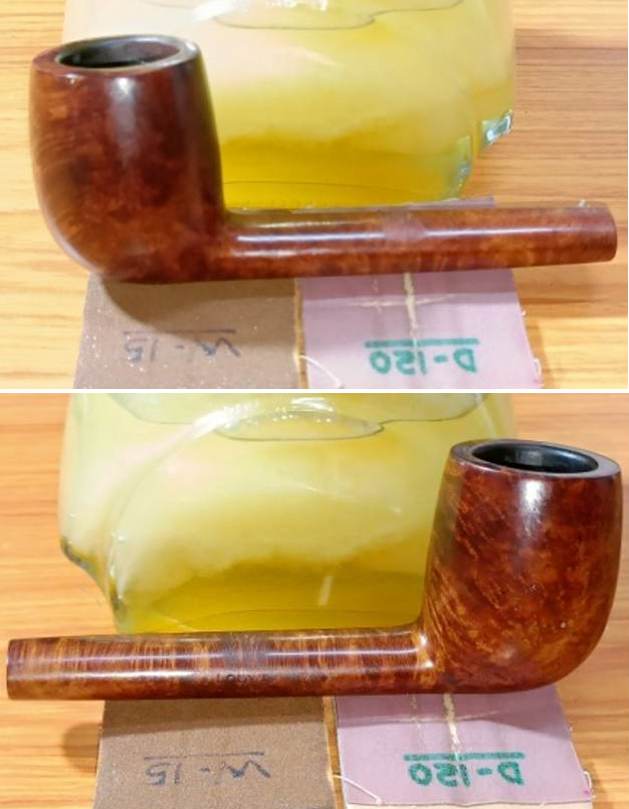
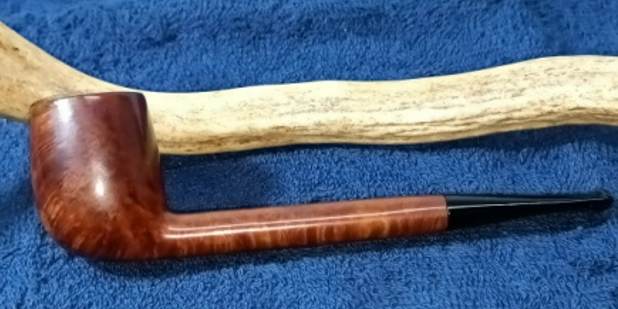
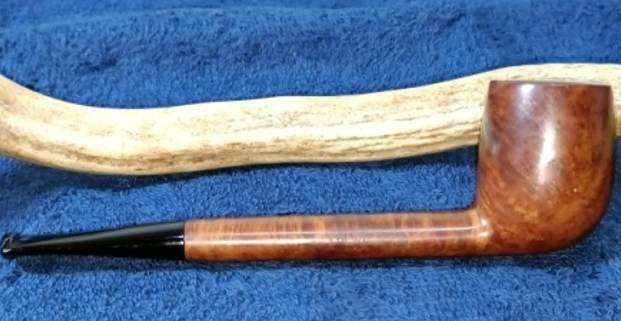
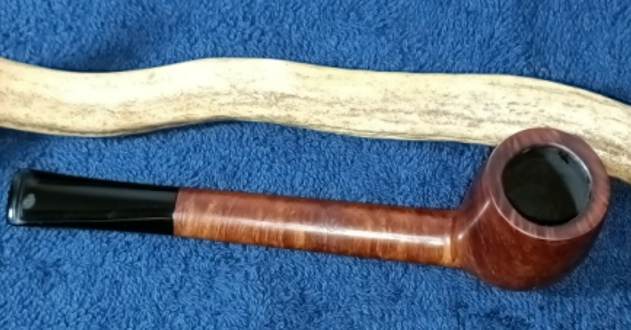
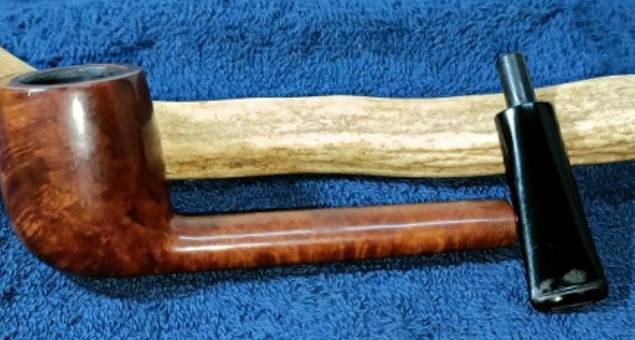
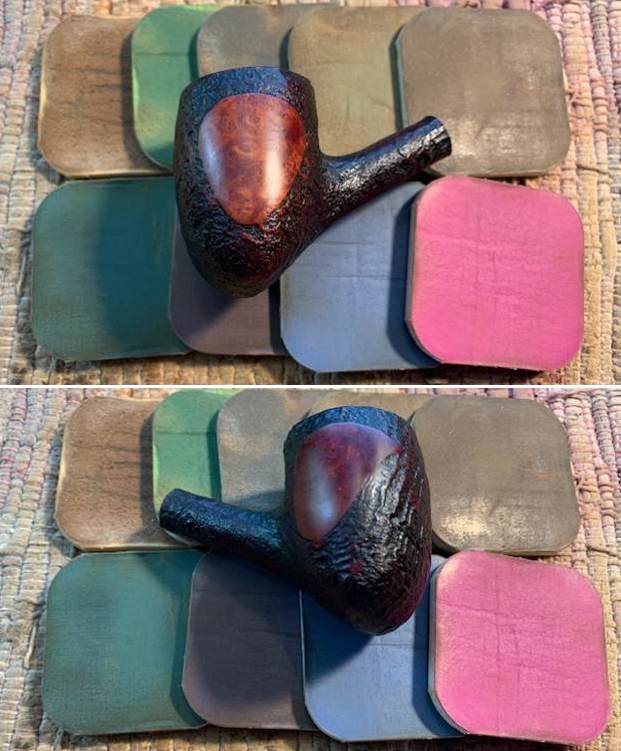
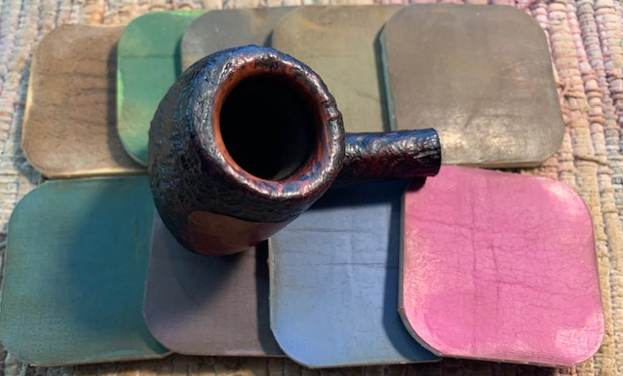
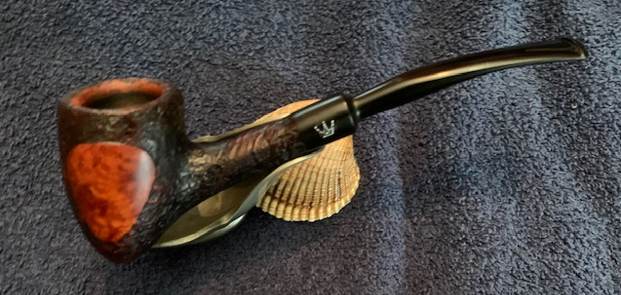
 As usual at this point in the restoration process I am excited to be on the homestretch. I look forward to the final look when it is put back together, polished and waxed. I put the Made In Ireland Peterson’s Sterling 406 Prince back together. I polished the bowl and stem with Blue Diamond to polish out the scratches in the briar and the vulcanite. I gave the bowl and the stem multiple coats of carnauba wax. I buffed the pipe with a clean buffing pad to raise the shine. I hand buffed it with a microfiber cloth to deepen the shine. I polished the silver with a jeweler’s cloth. The pipe polished up pretty nicely. The grain really pops with the wax and polish. The shiny black vulcanite stem is a beautiful contrast to the browns of the bowl. This Peterson’s Sterling Prince was a great pipe to spruce up. It is a very comfortable pipe to hold in the hand. The finished pipe is shown in the photos below. The dimensions of the pipe are Length: 5 ¾ inches, Height: 1 ½ inches, Outside diameter of the bowl: 1 ¼ inches, Chamber diameter: ¾ of an inch. The weight of the pipe is 37grams/1.31 ounces. This pipe will be going on the rebornpipes store in the Irish Pipe Makers Section if you would like to add it to your collection and be the first to smoke it. Thanks for reading this blog and my reflections on the pipe while I worked on it. This is an interesting estate to bring back to life.


