
by Steve Laug
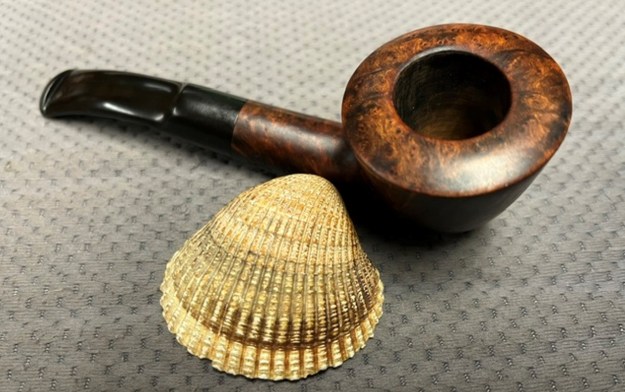
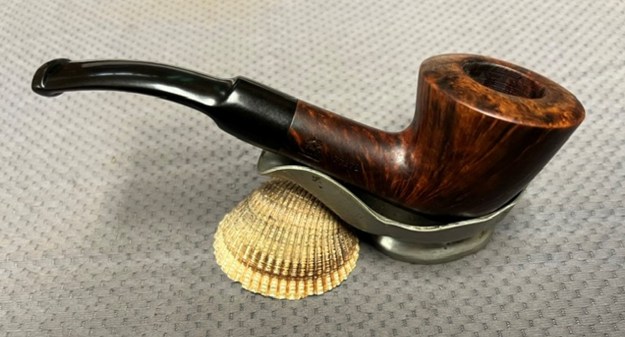
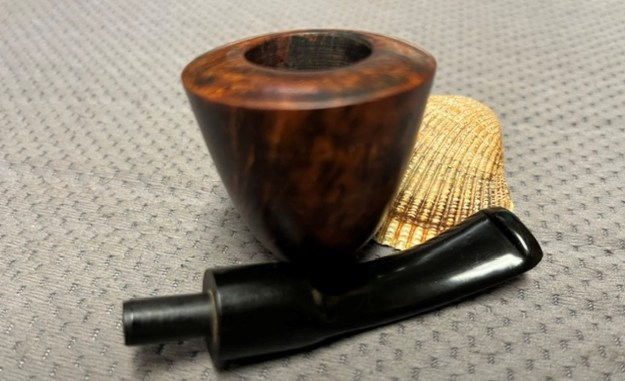
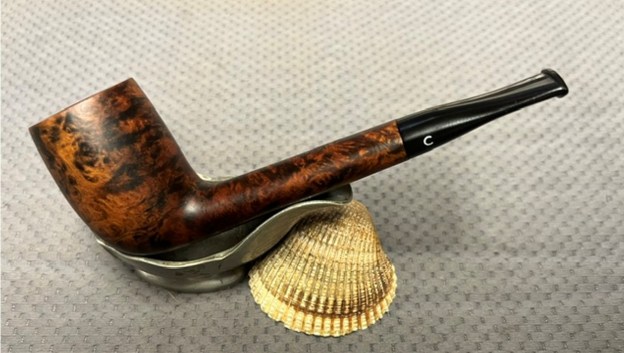
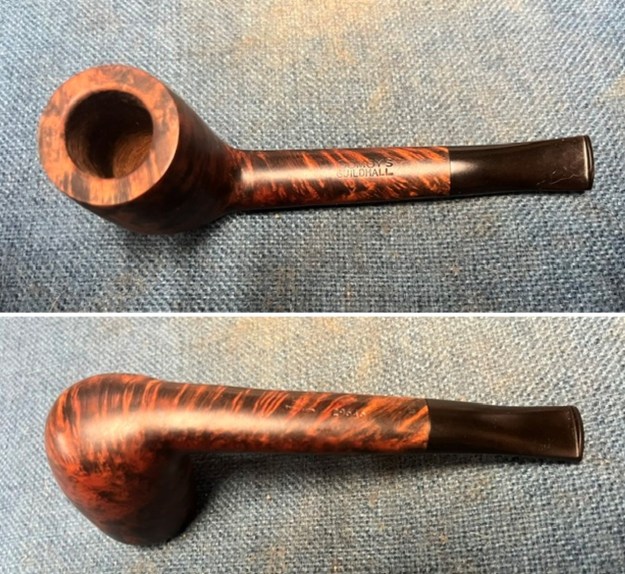
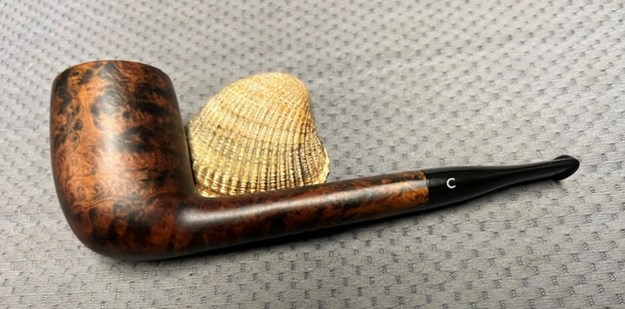
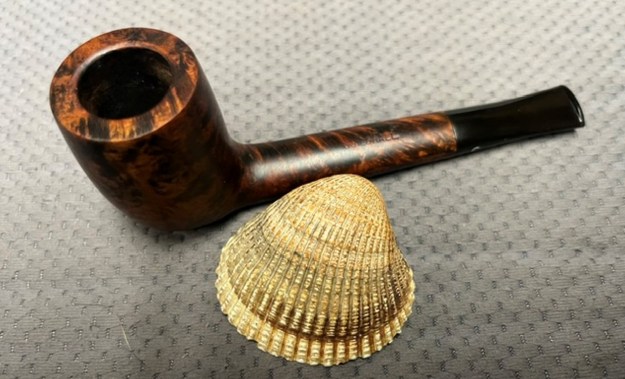
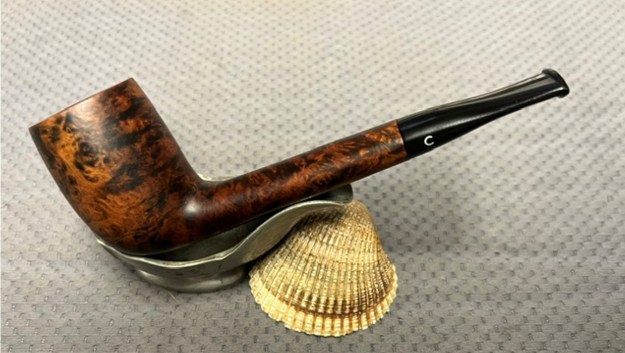
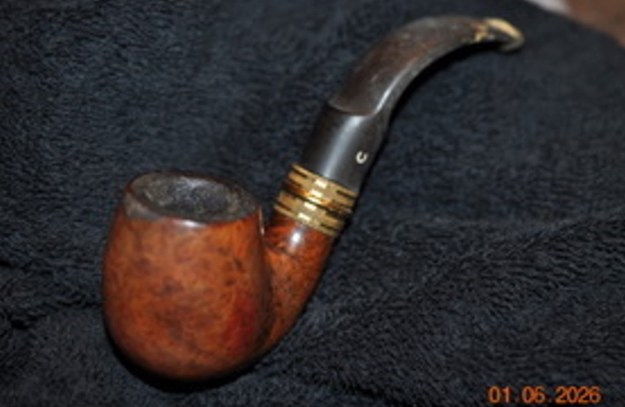
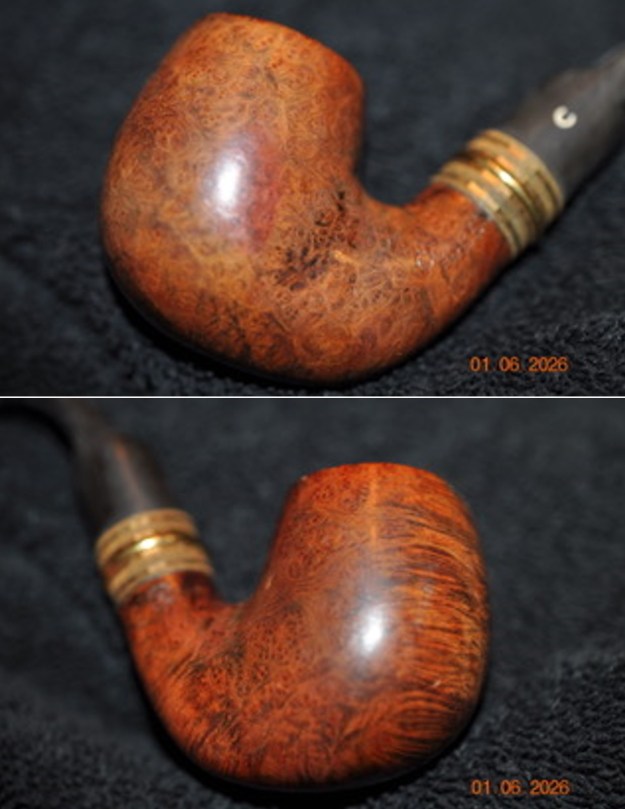
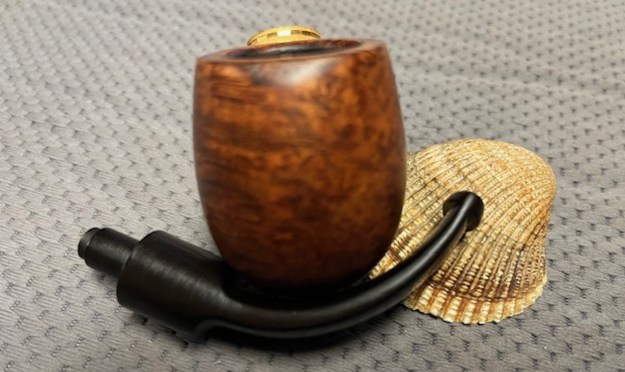
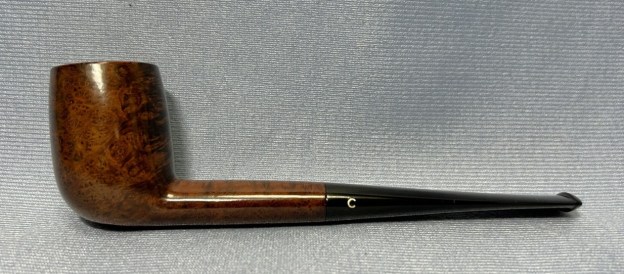
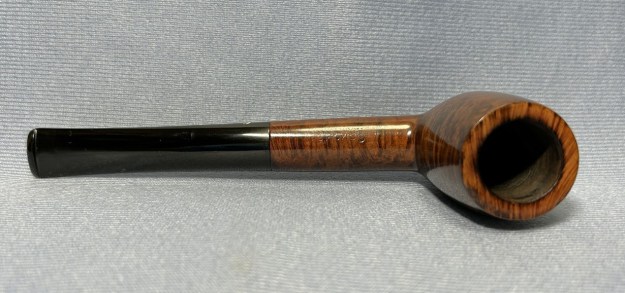
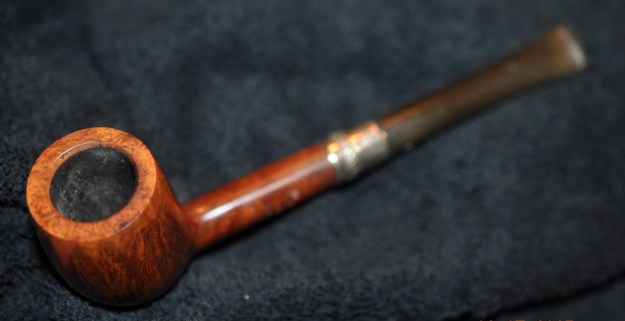
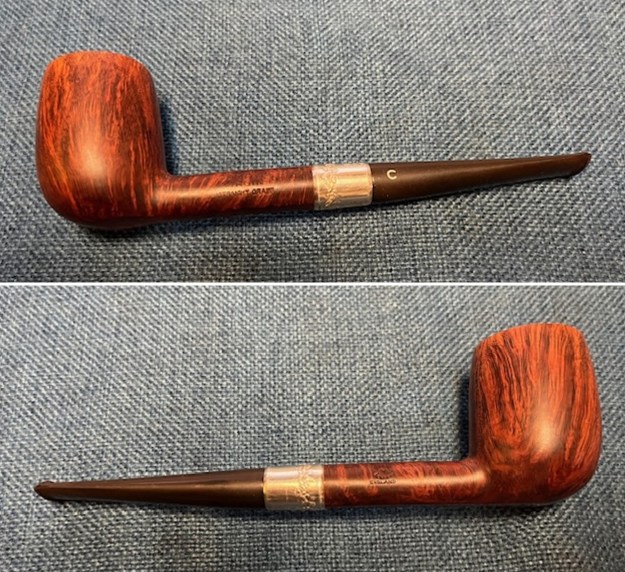
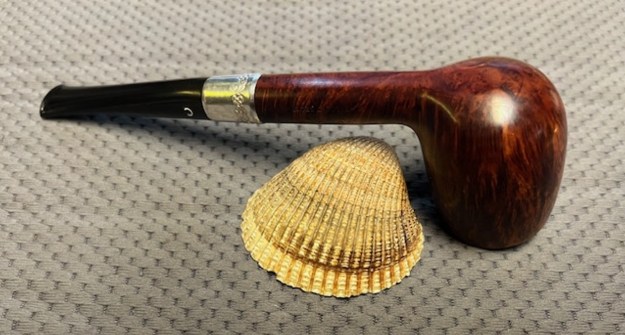
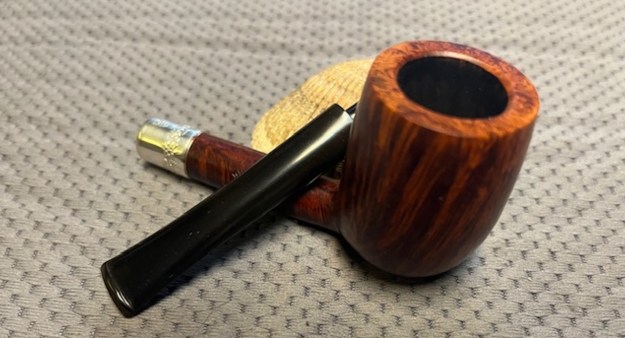
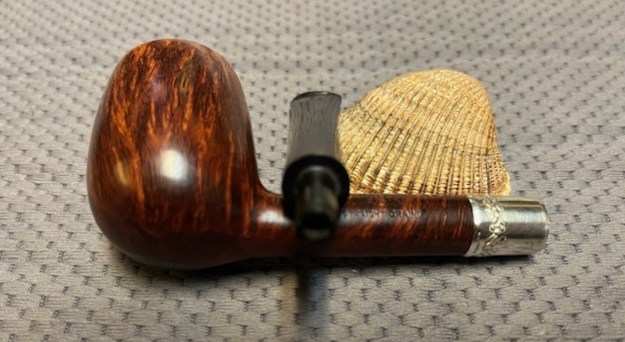
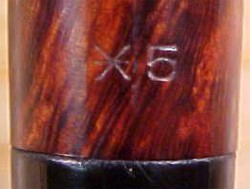
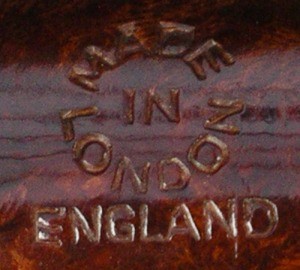
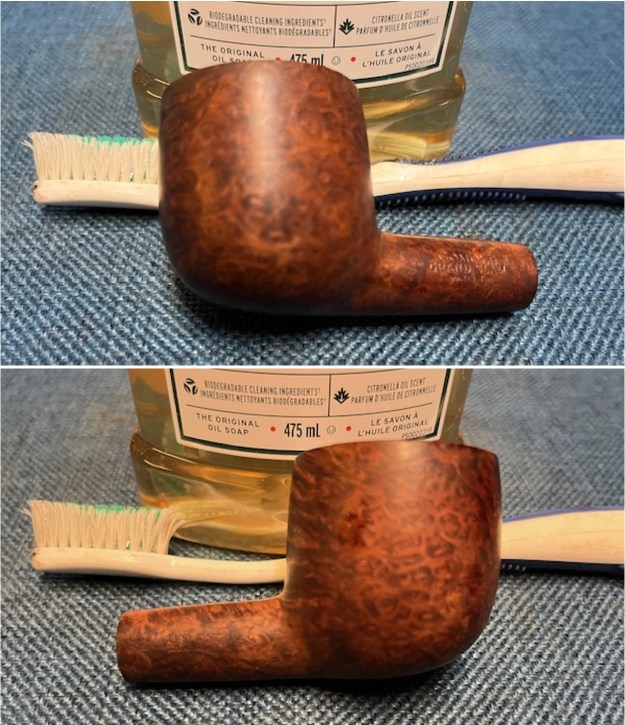
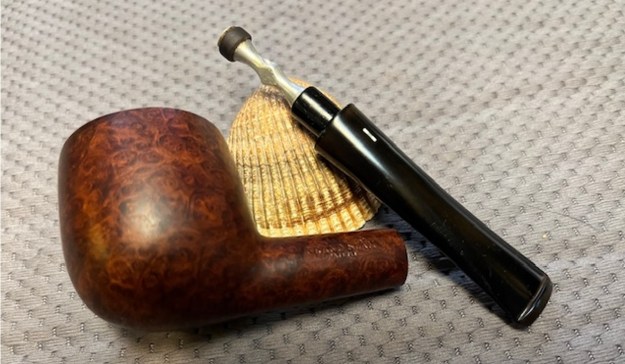
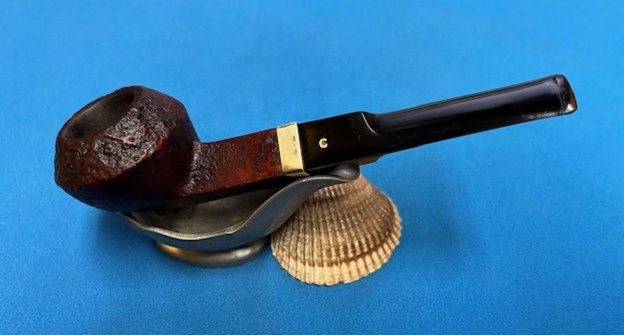
This darker smooth Dublin was purchased on 01/20/2026 from a Facebook seller in Quaker Town, Pennsylvania, USA. It is a great looking Dublin with a dark, smooth finish. The stem is a vulcanite saddle stem. The bowl is stained with a contrast of blacks and browns that highlight the grain around the bowl and shank. It is stamped on the left side of the shank and reads Comoy’s [over] Guildhall, both in upper case letters. This is distinct from a line of seconds that Comoy’s put out called The Guildhall. The right side of the shank is stamped with Made in London in a circle over England followed by the shape number 77278. The bowl had a thick cake and some tobacco debris on the walls. There was an overflow of lava on the rim top that was heavier toward the back of the bowl. There was grime ground into the finish which left the finish looking quite dull. The vulcanite saddle stem has a thin Comoy’s C logo on the left side. It is hard to tell if it is the three part C. There are light tooth marks and chatter on both sides of the stem ahead of the button. Jeff took photos of the pipe before he started his work on it. 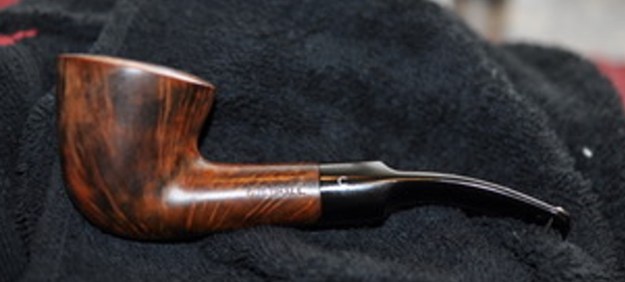
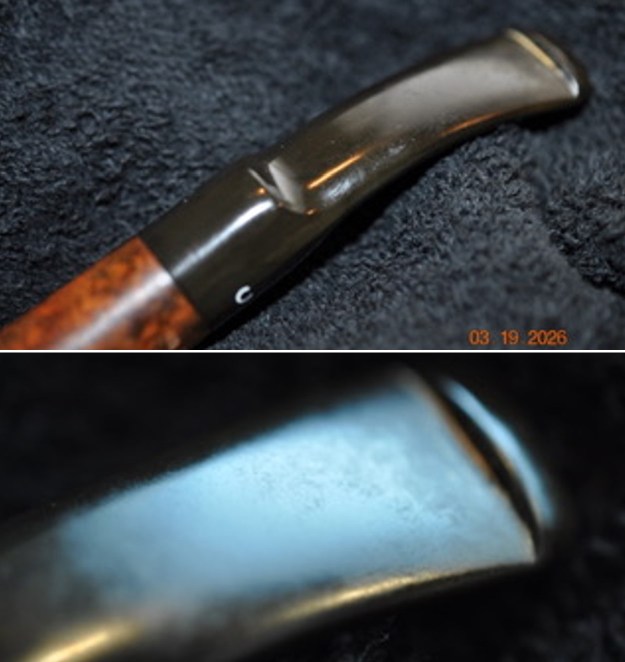
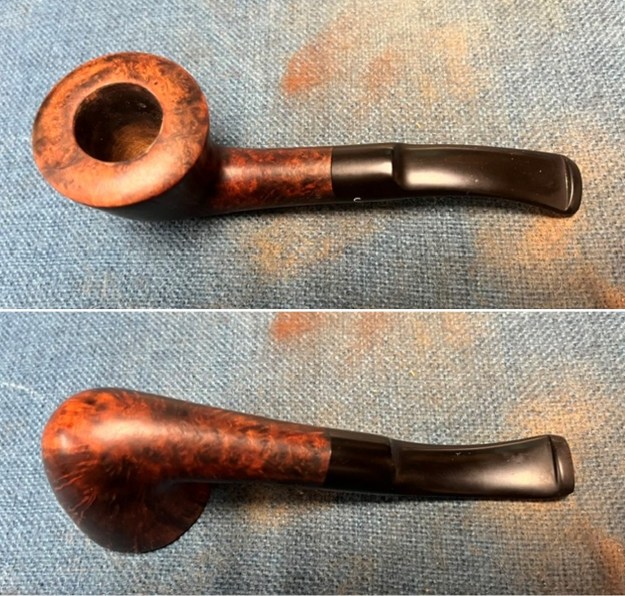
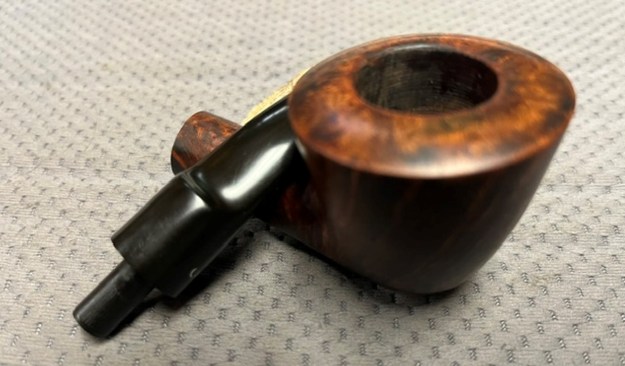
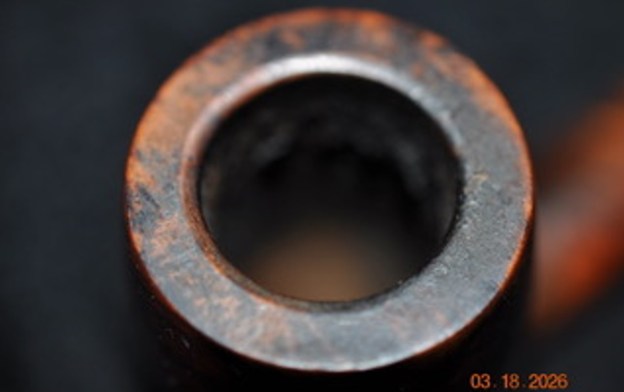
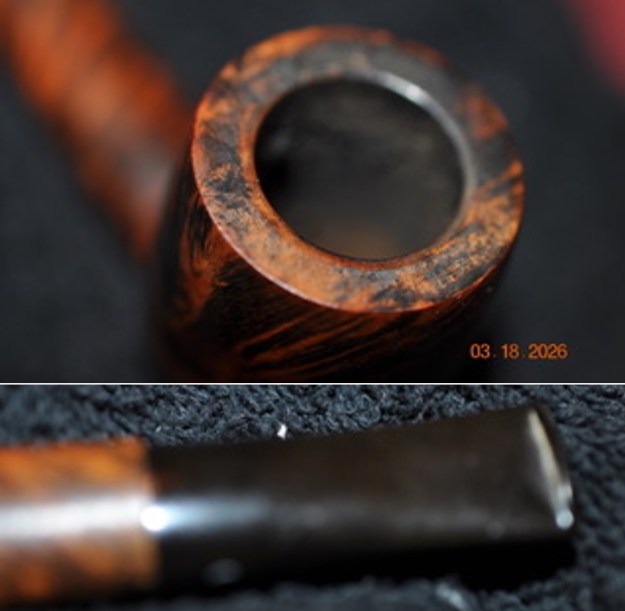
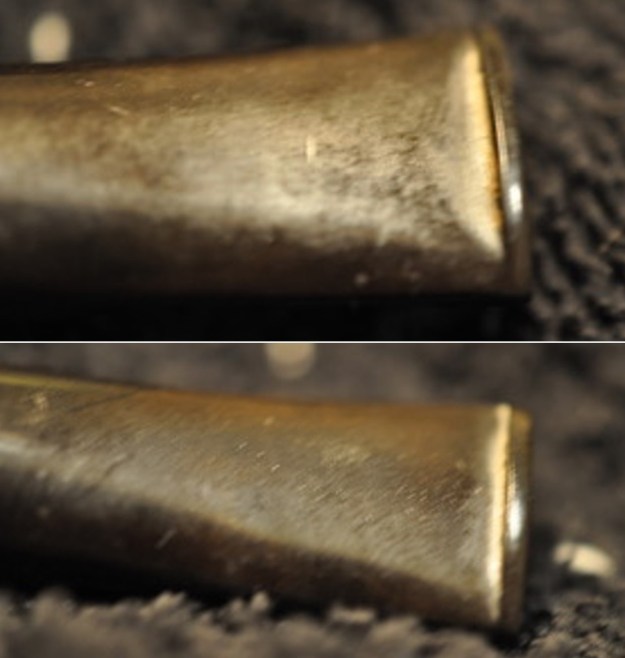
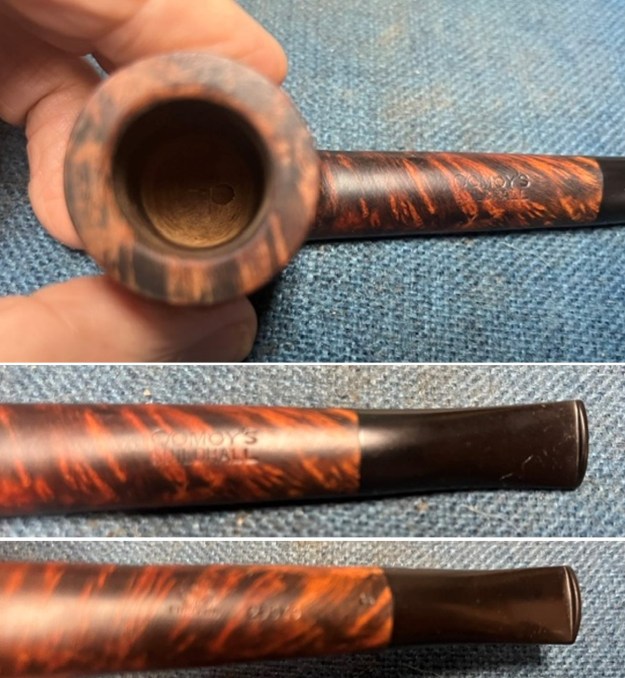
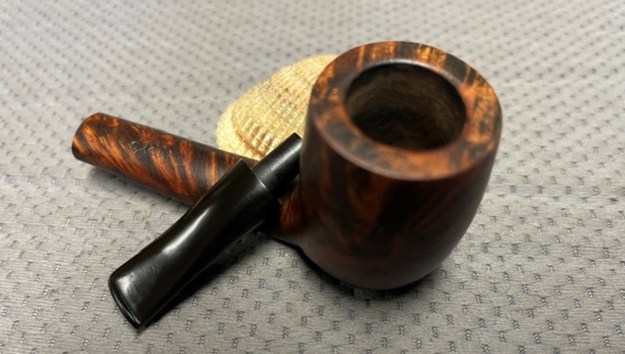
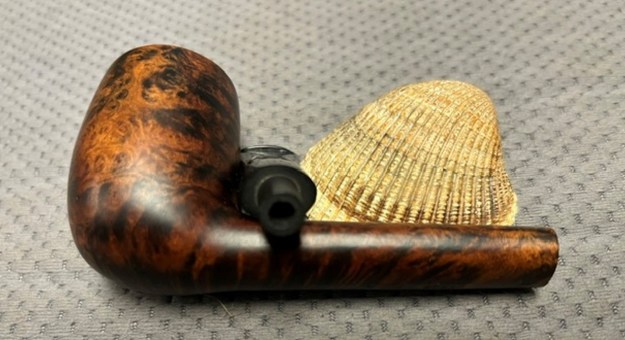
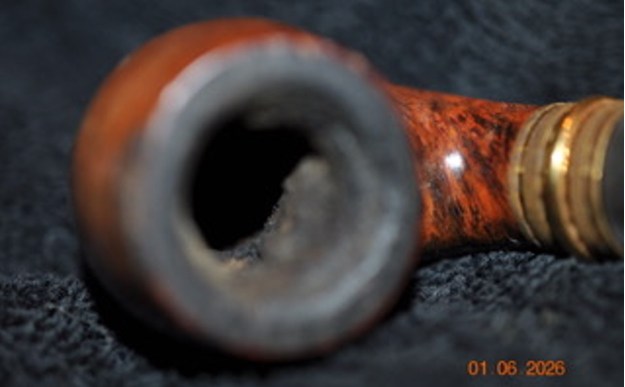
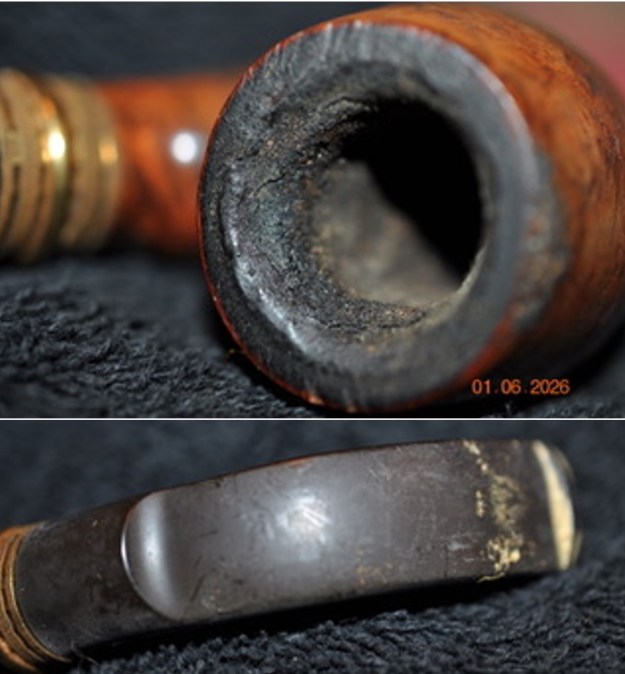
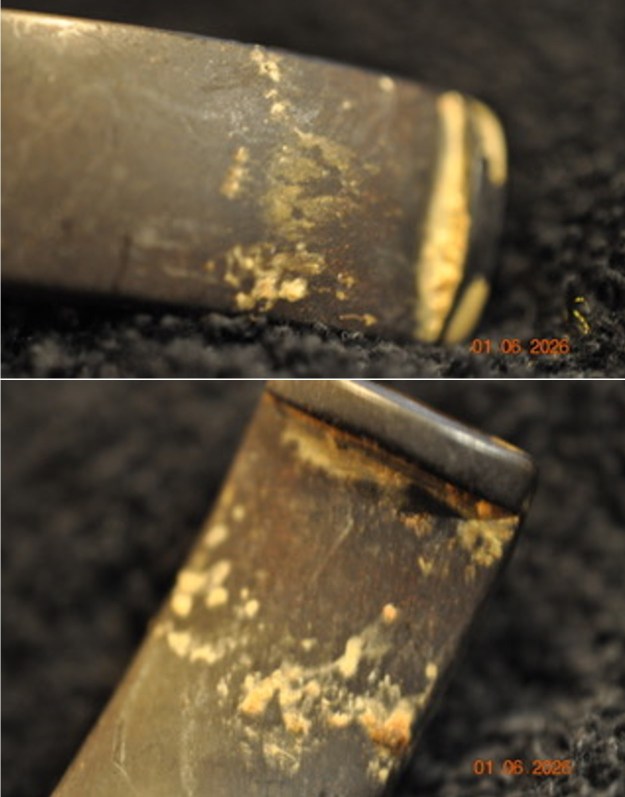
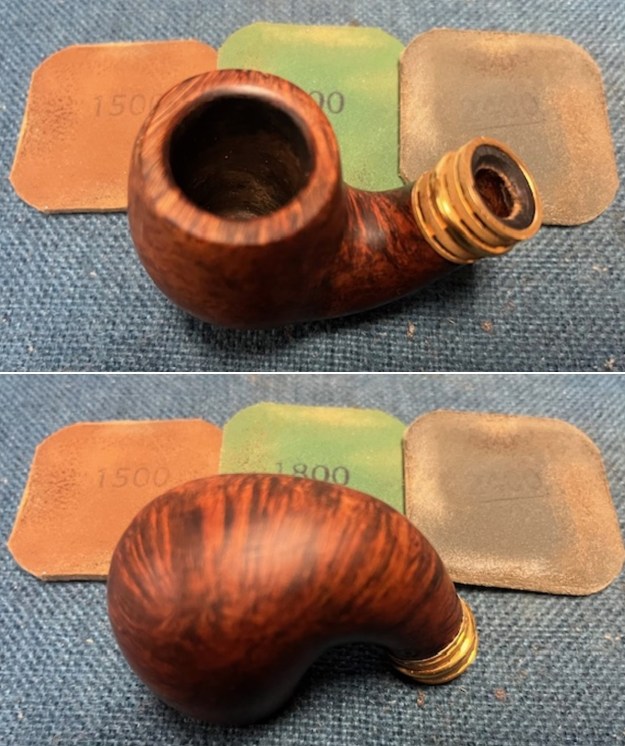
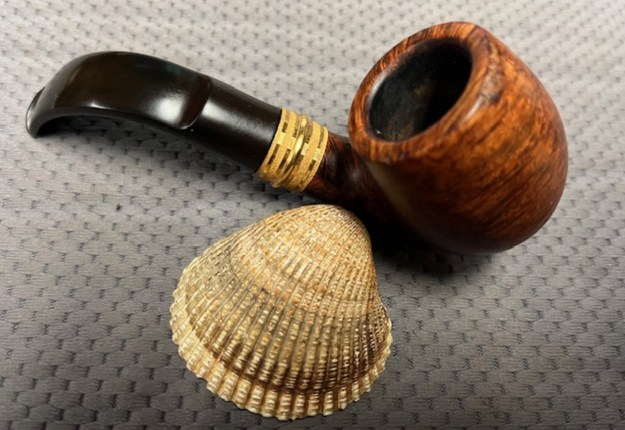
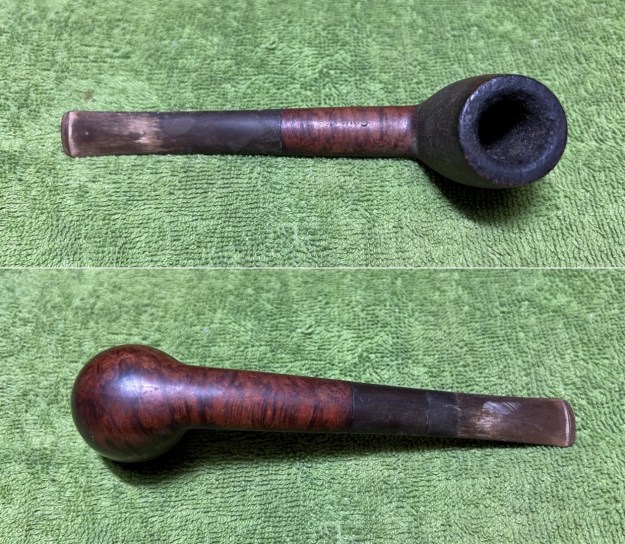
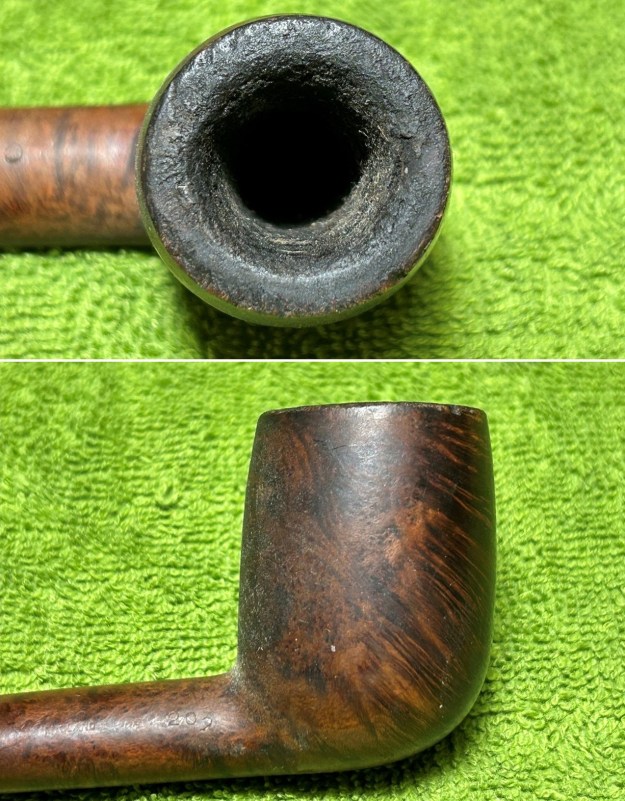
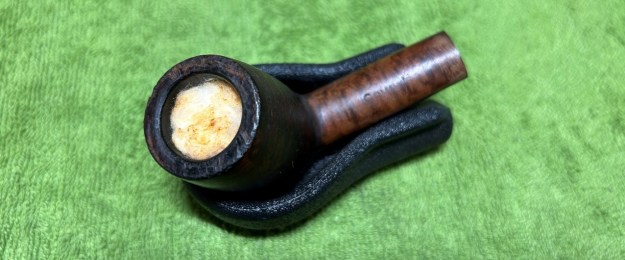
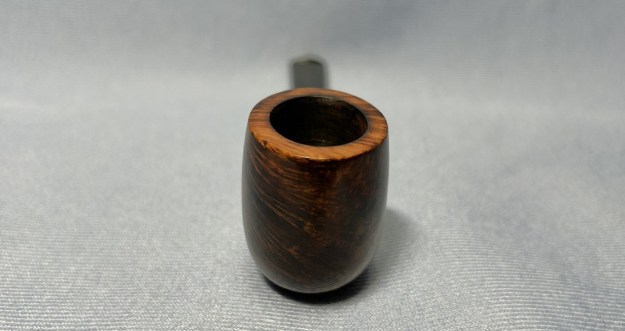
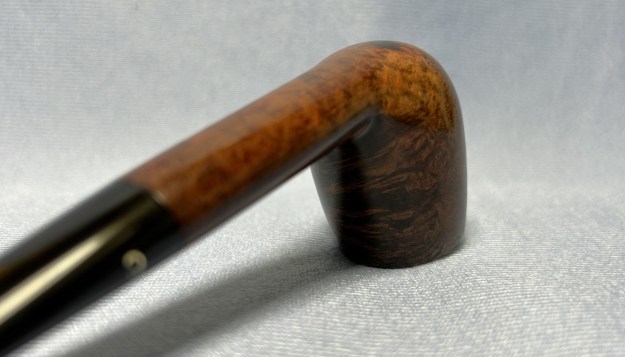
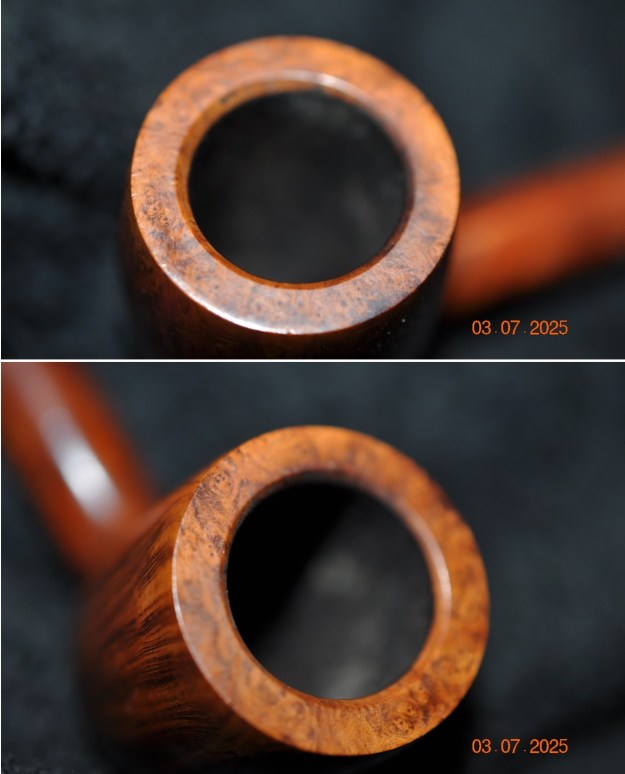
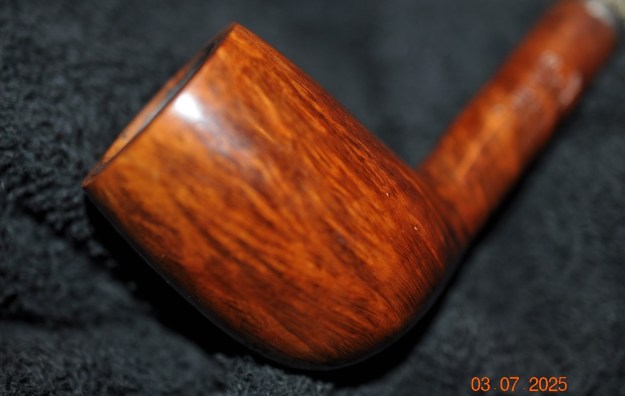
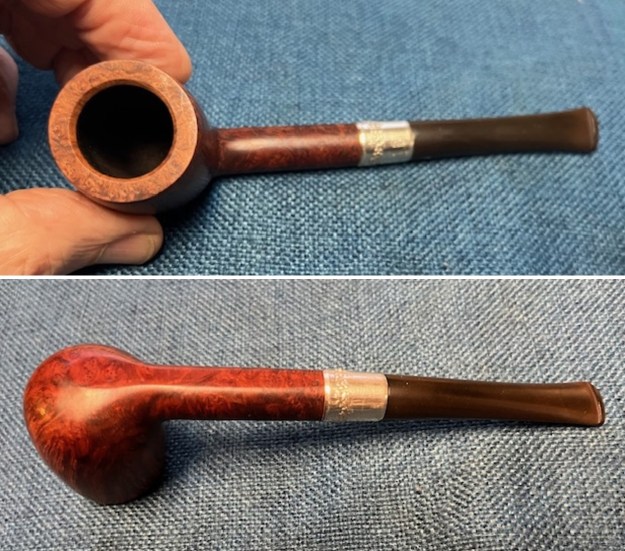
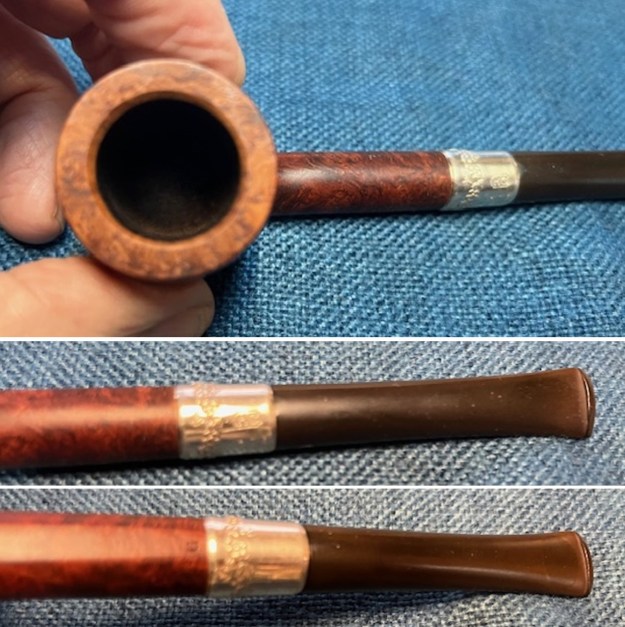
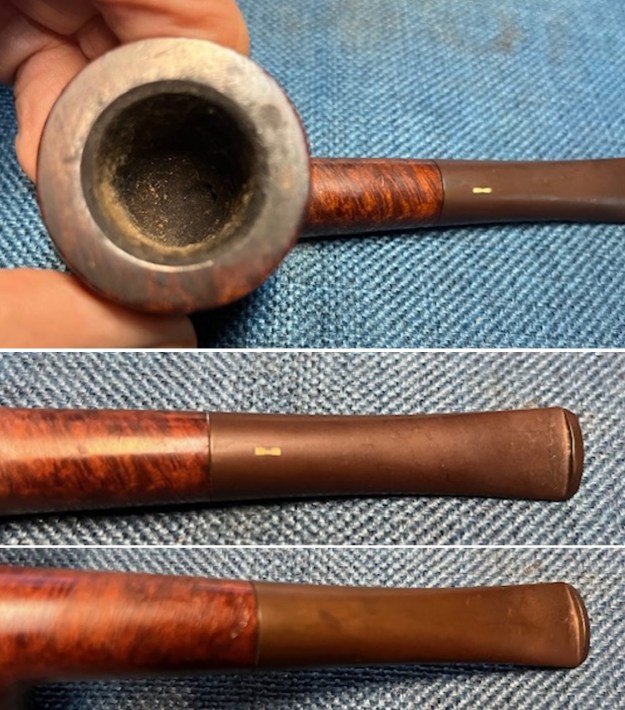
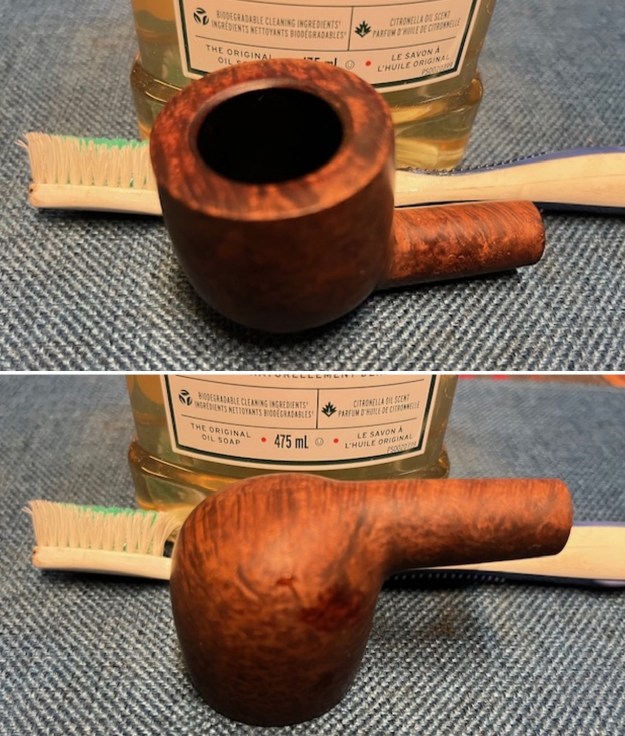
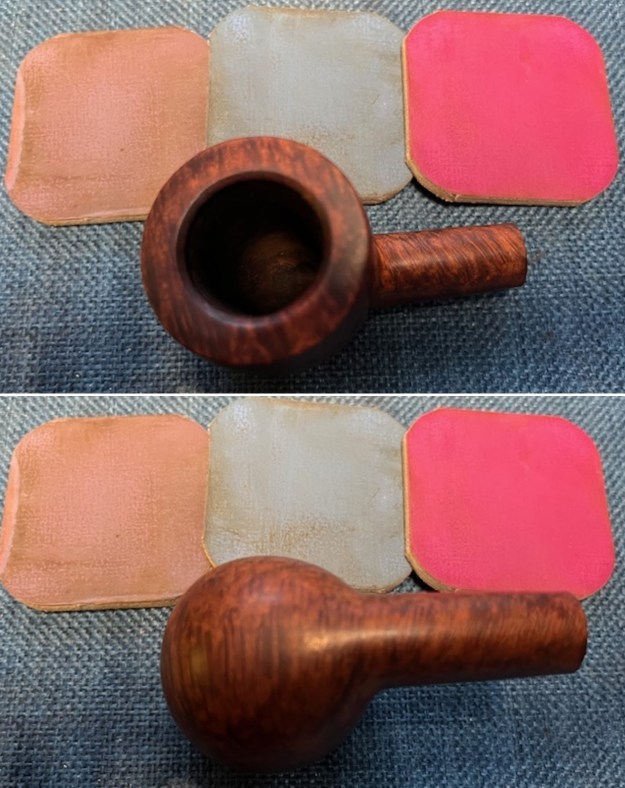
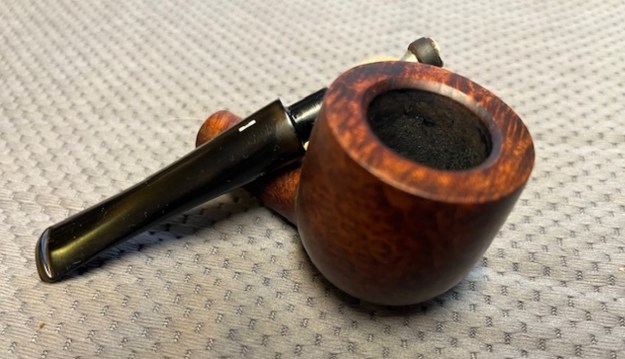
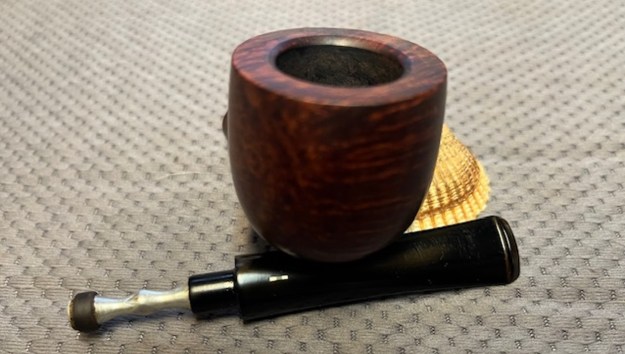
 He took photos of the rim top to show the condition of the top and edges of the bowl. It is dull and has the lava on the rim top and bevelled edge of the rim. It is uniquely a beautiful pipe. The stem had light tooth marks and chatter on both sides ahead of the button.
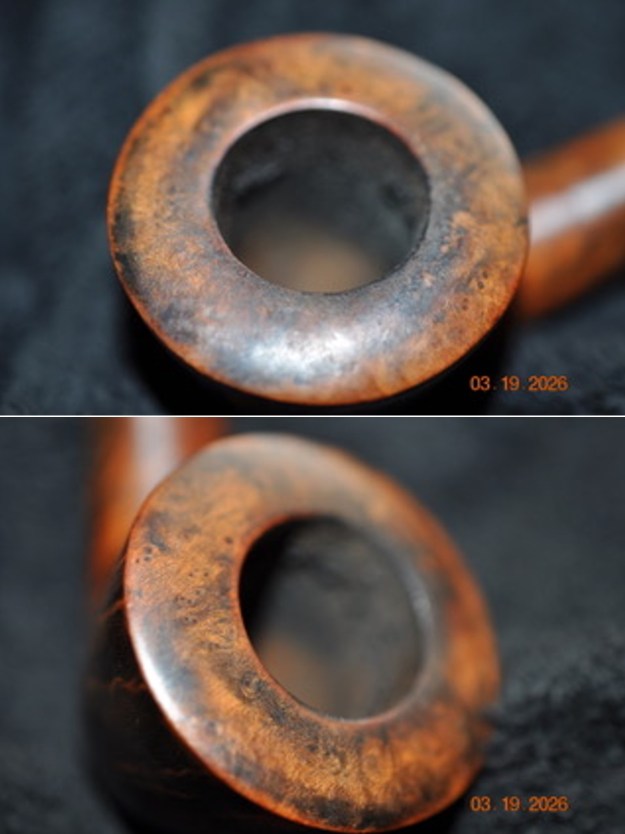
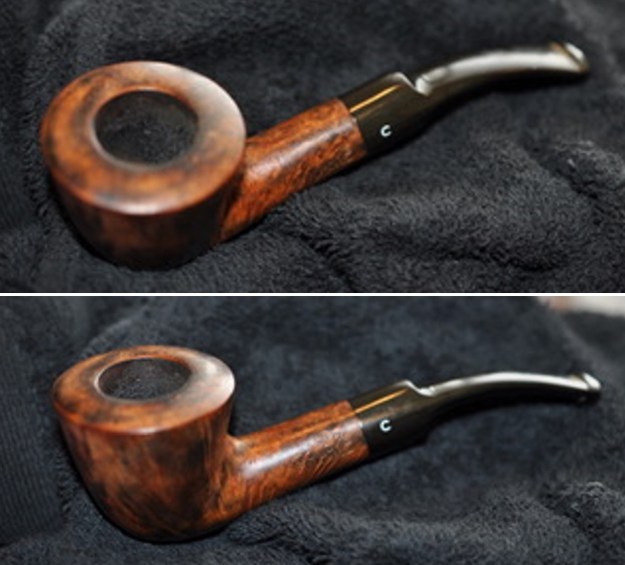
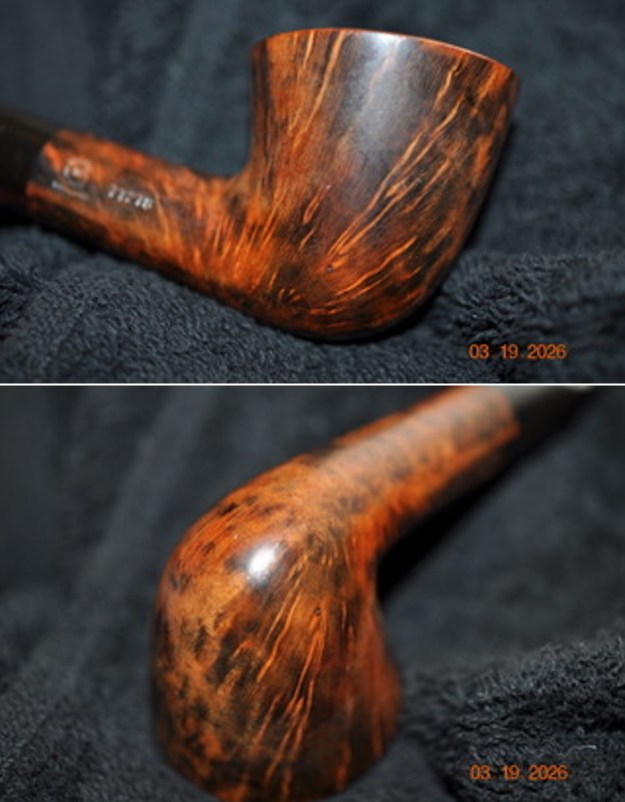
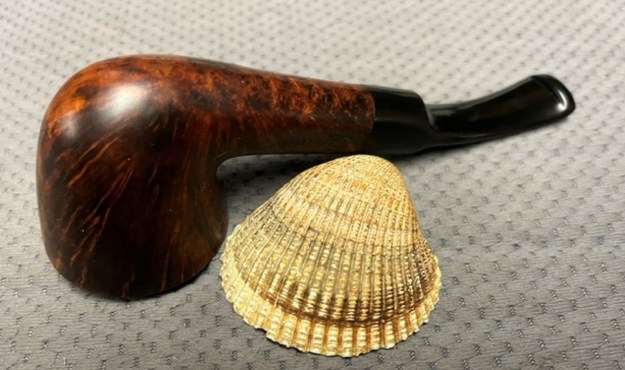
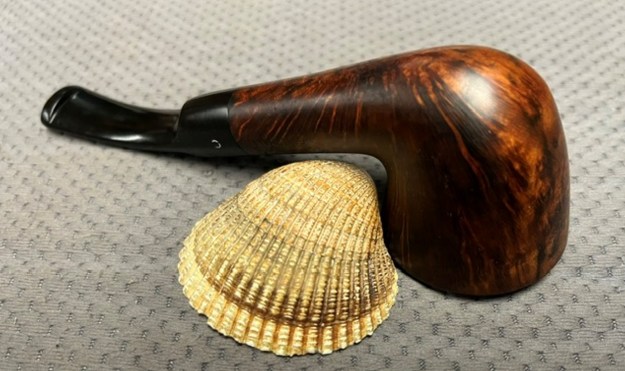
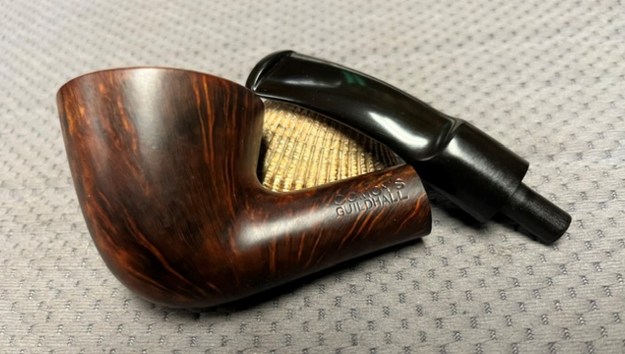
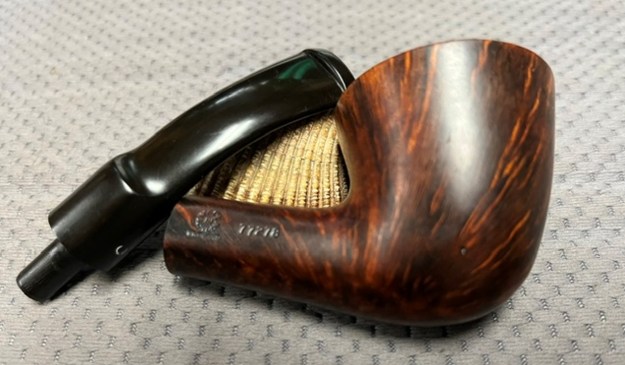
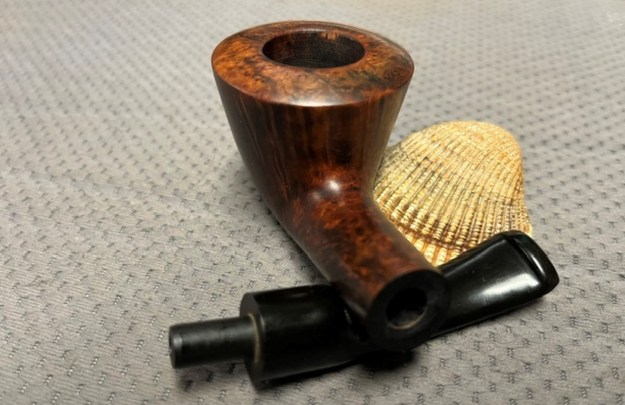
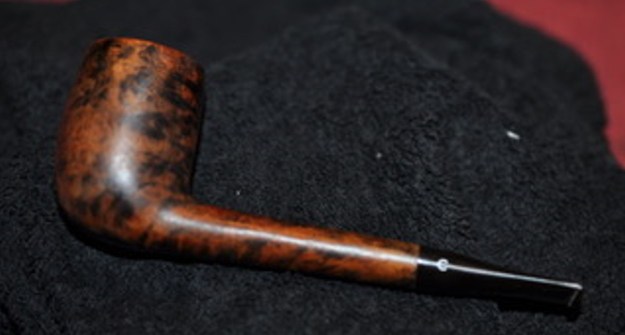
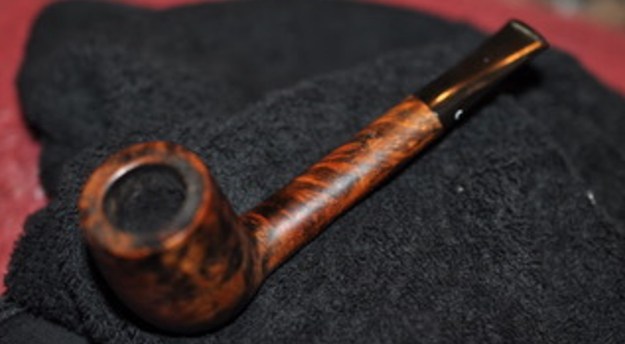
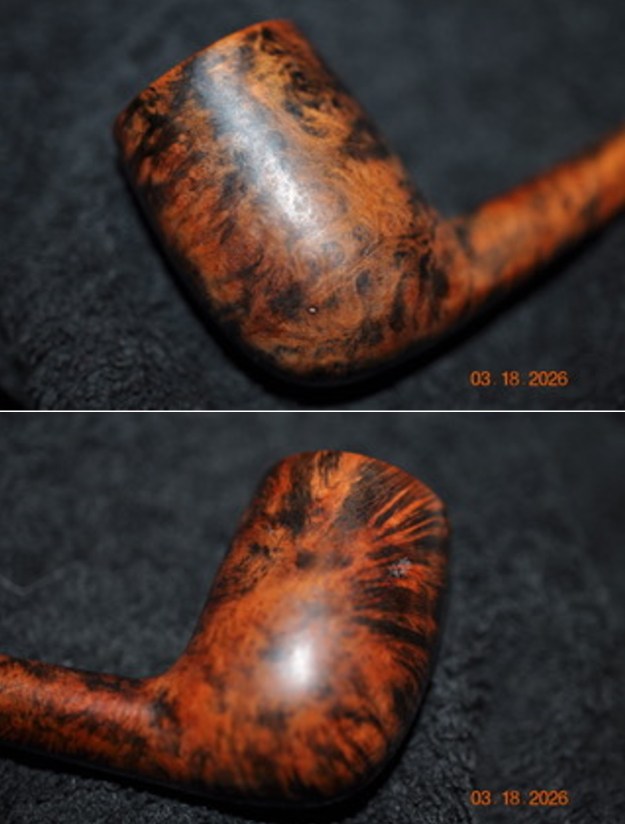
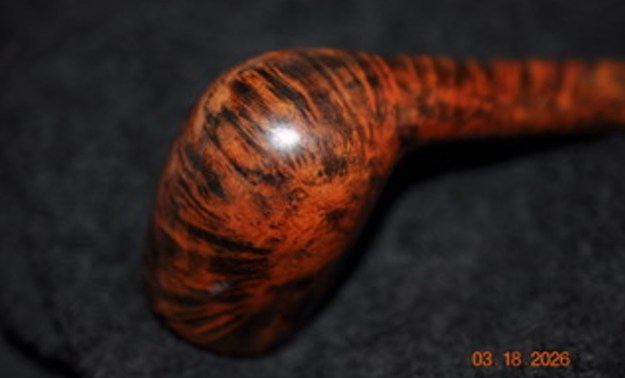
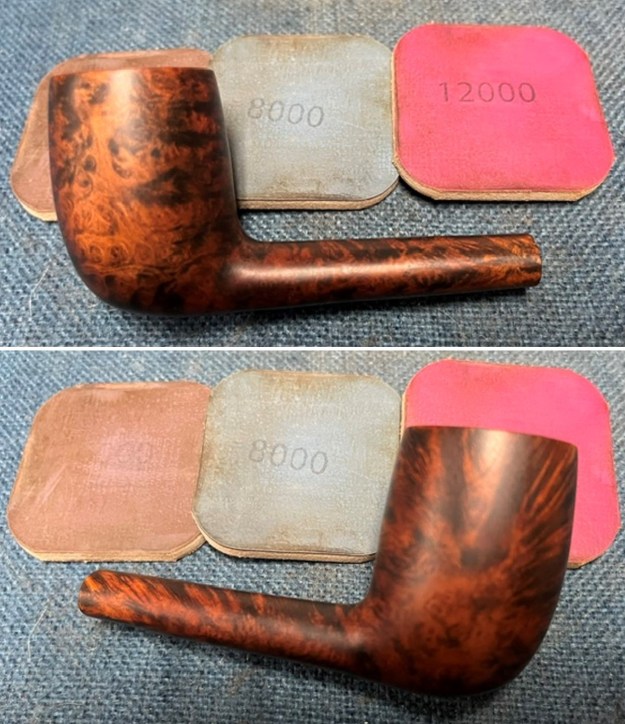
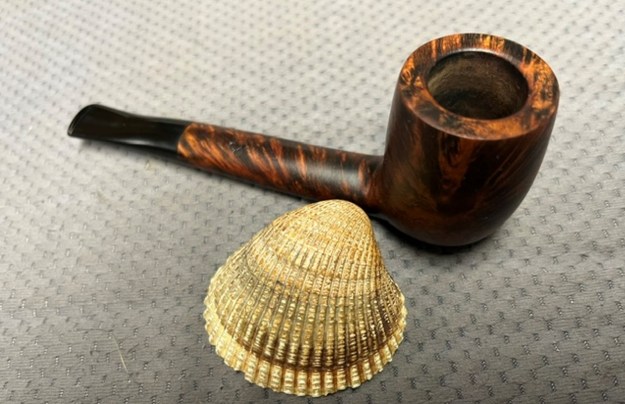
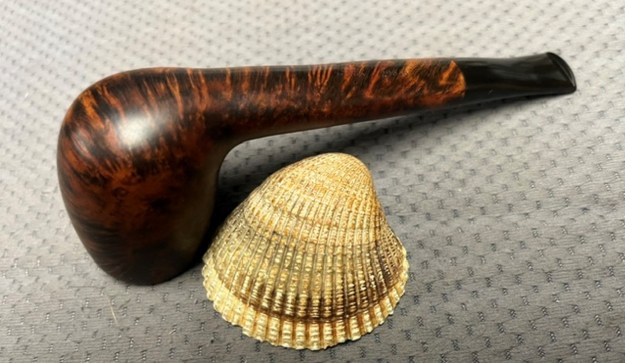
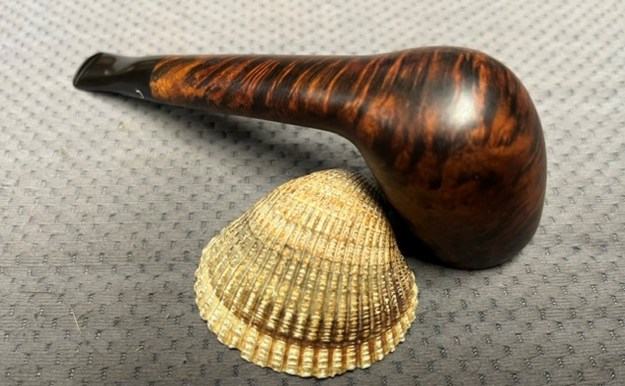
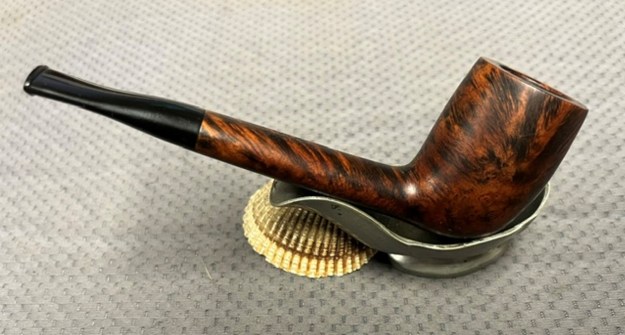
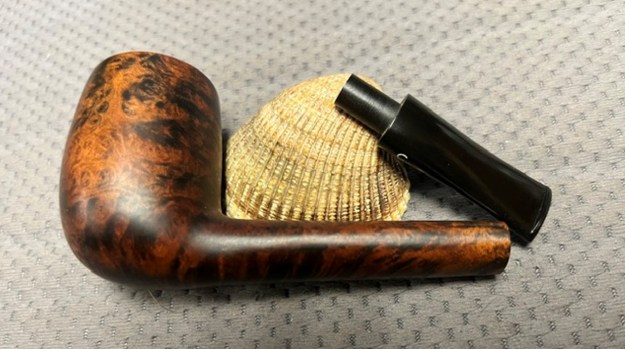
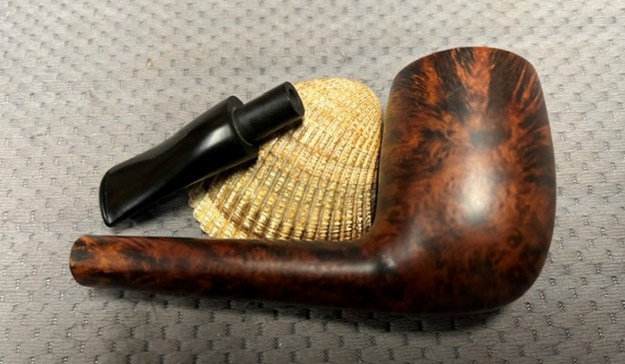
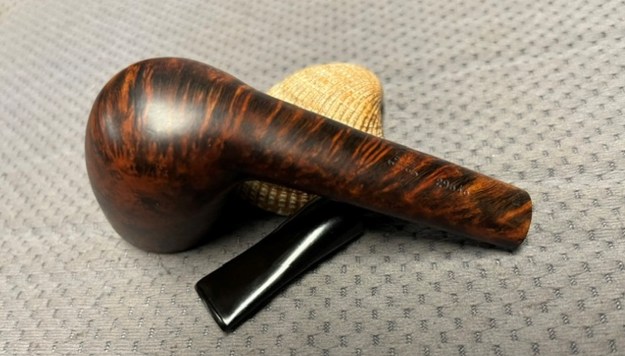
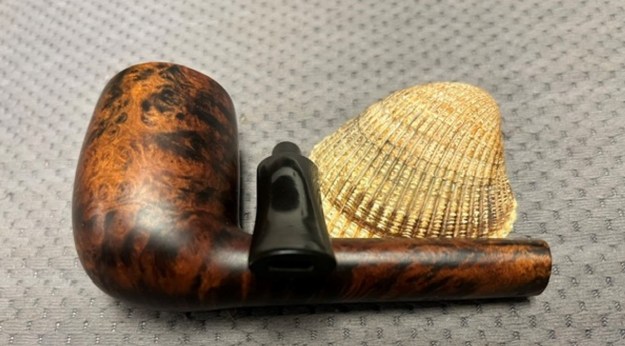
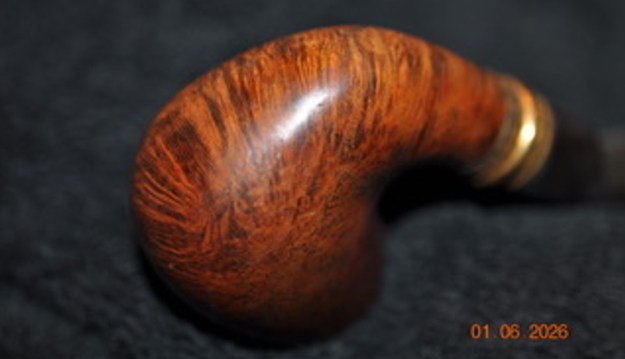
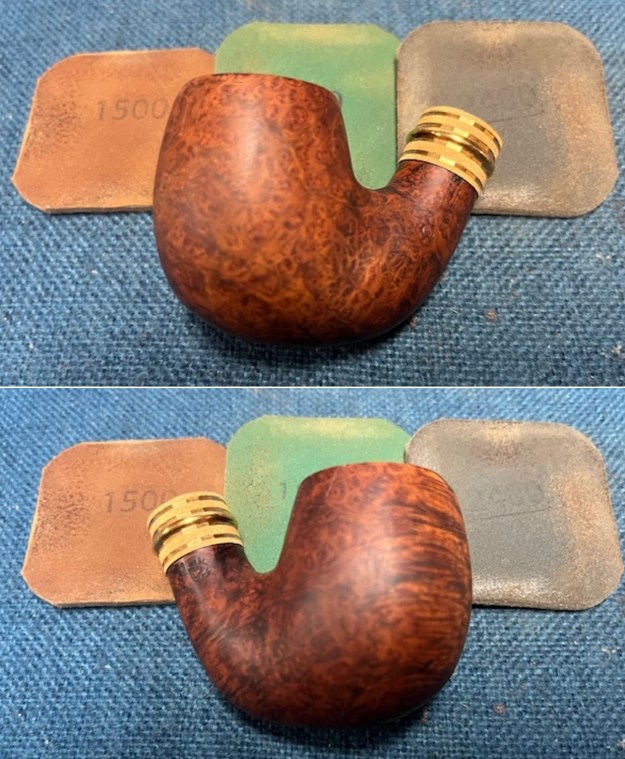
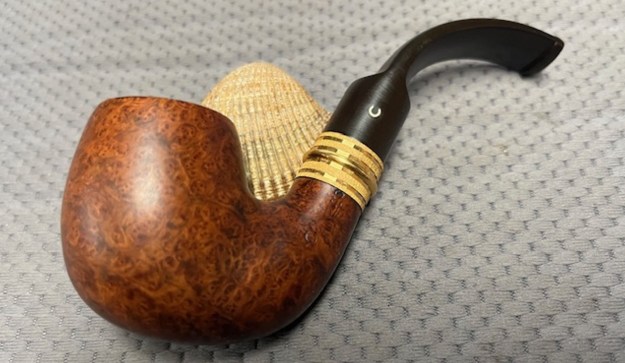
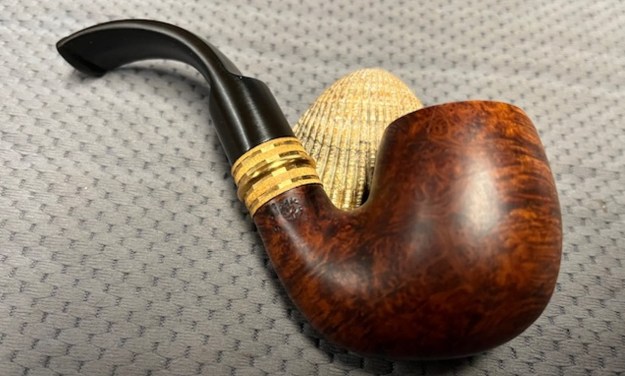
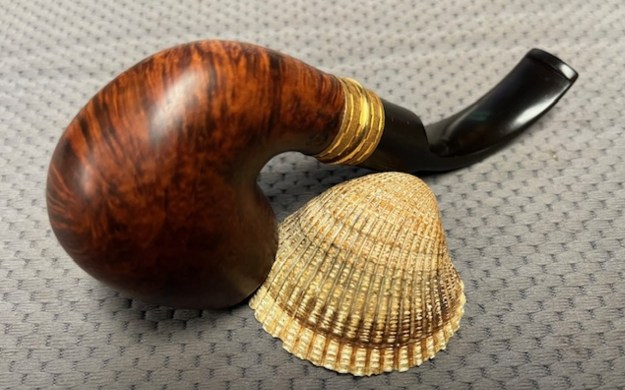
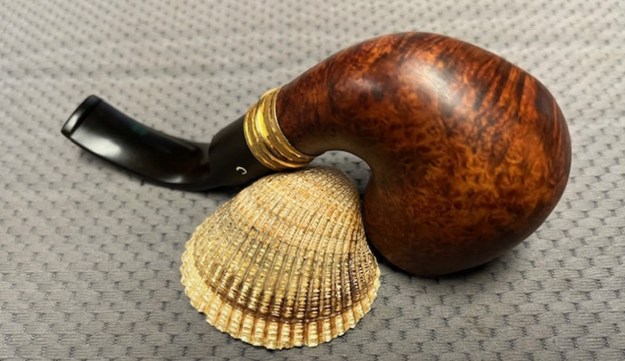
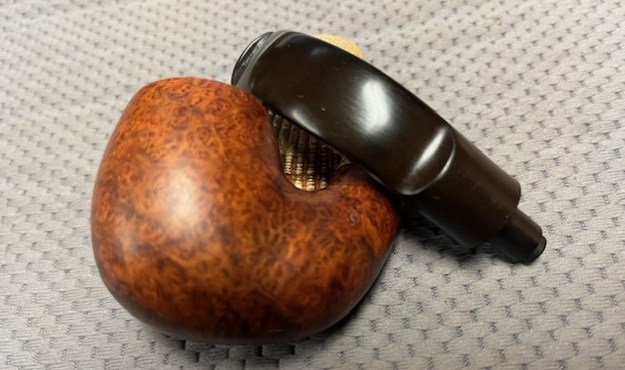
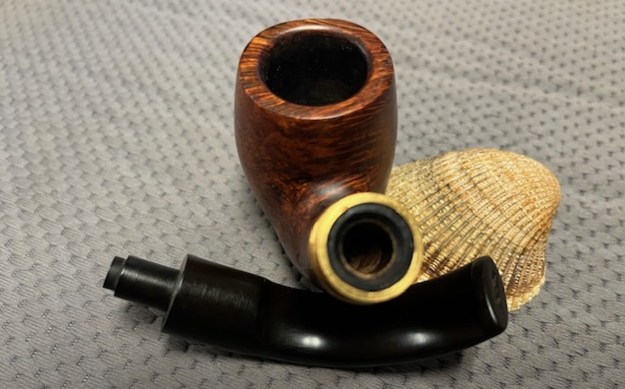
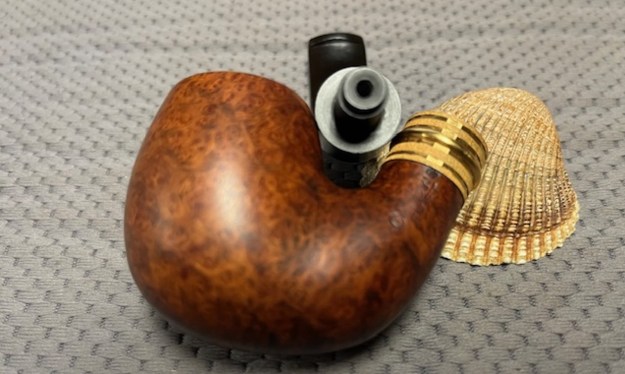
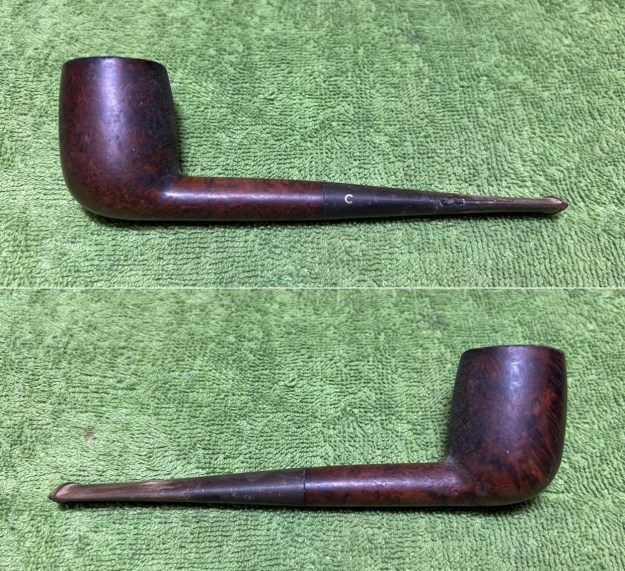
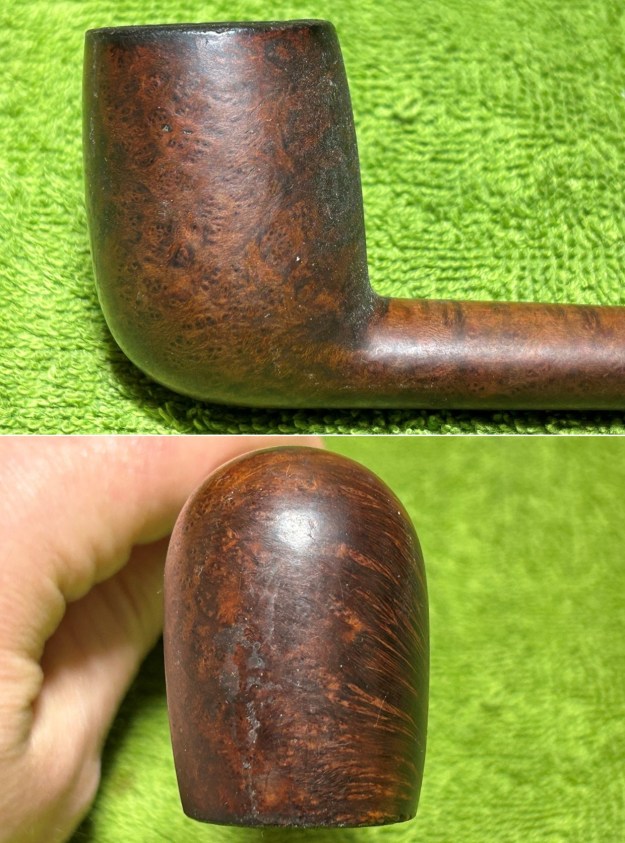
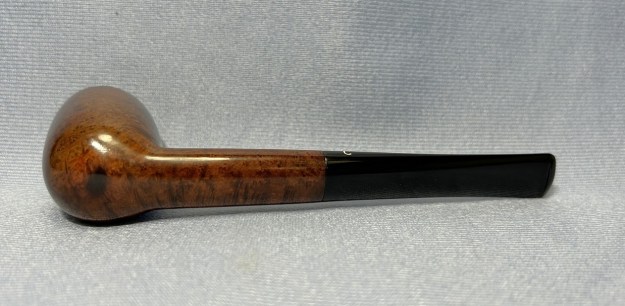
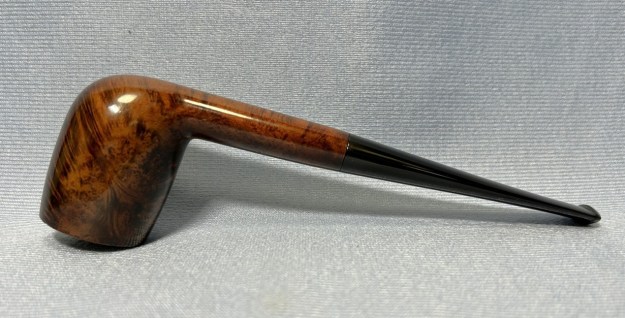
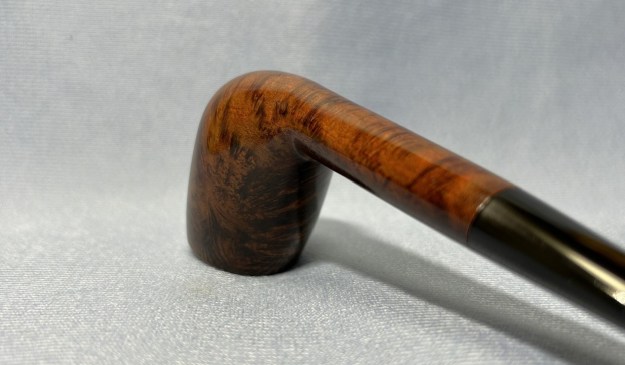
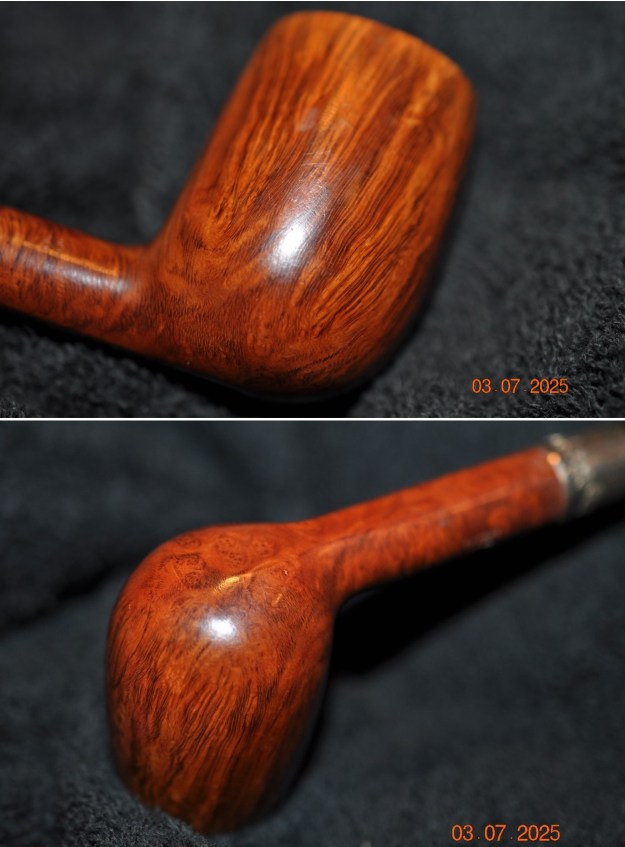
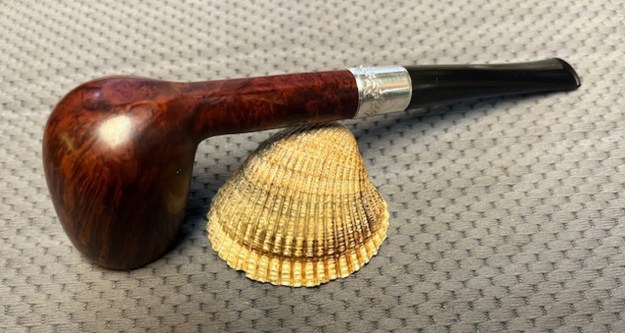
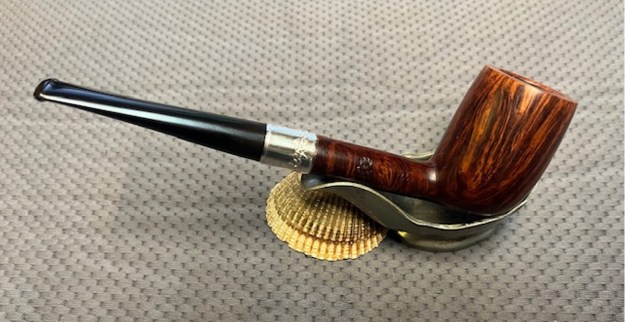
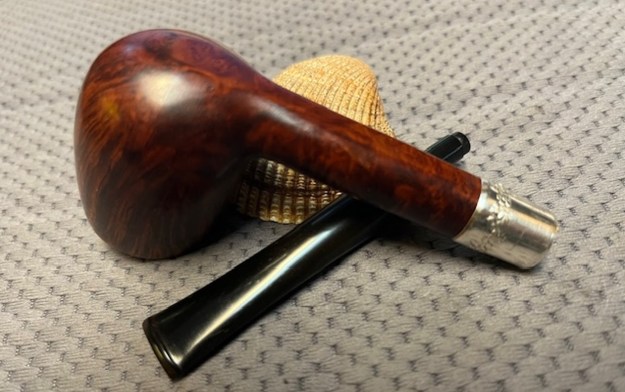
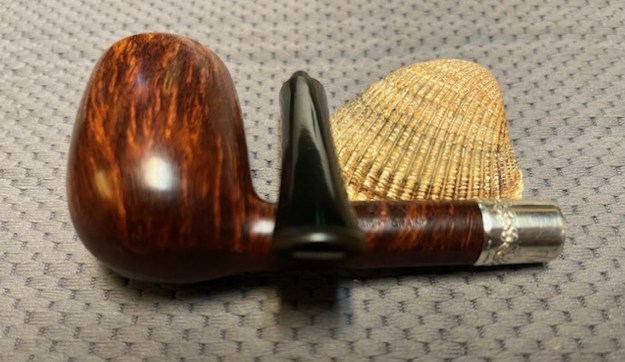
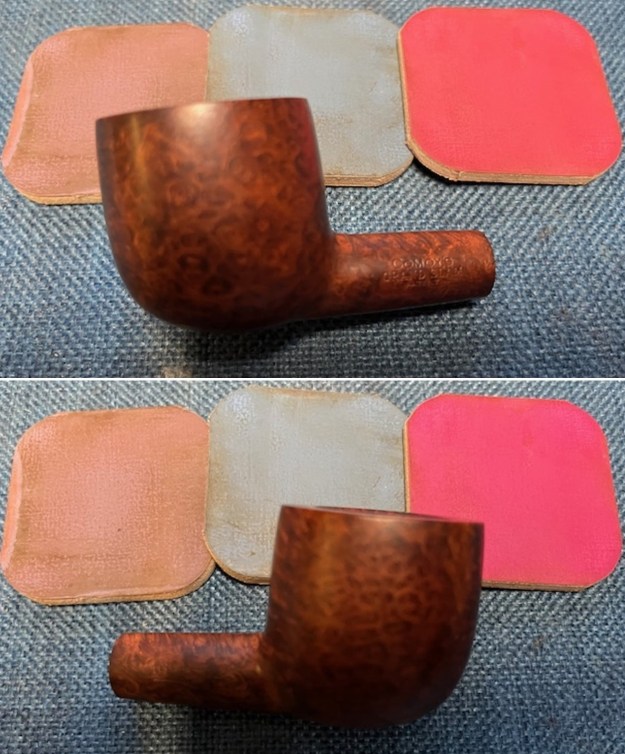
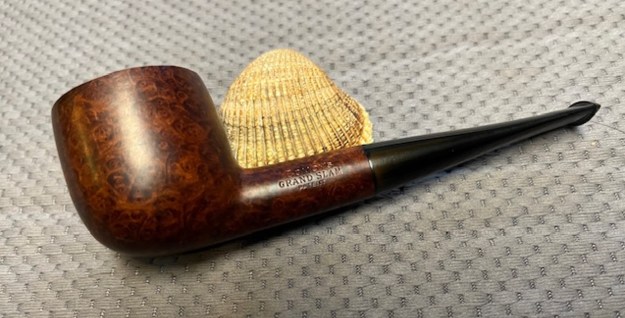
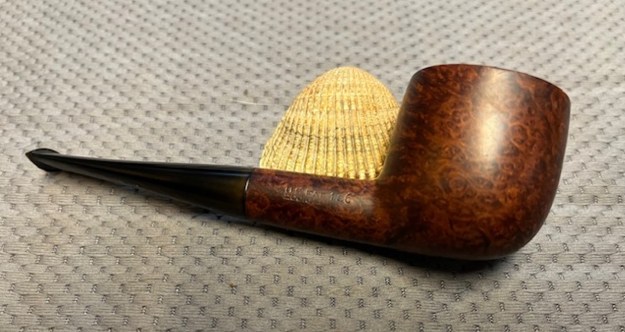
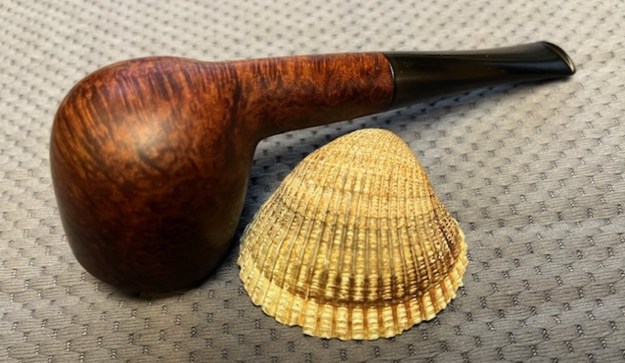
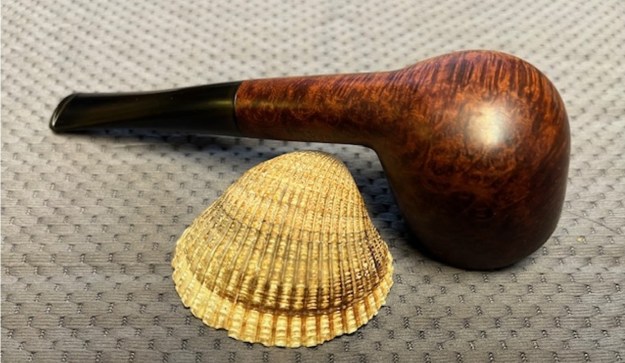
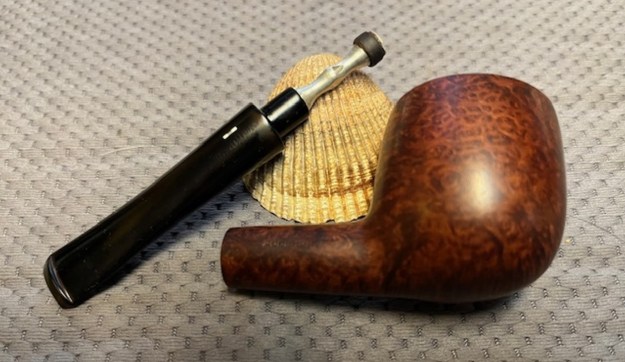
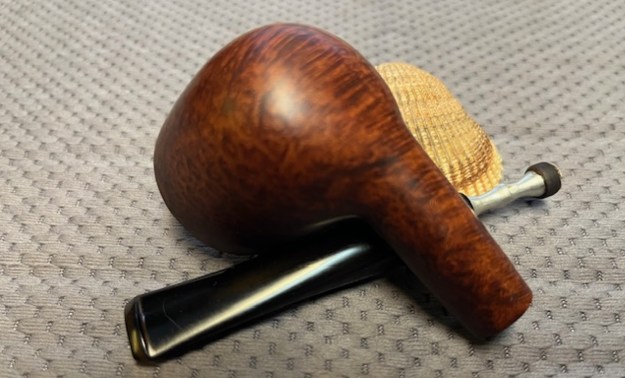
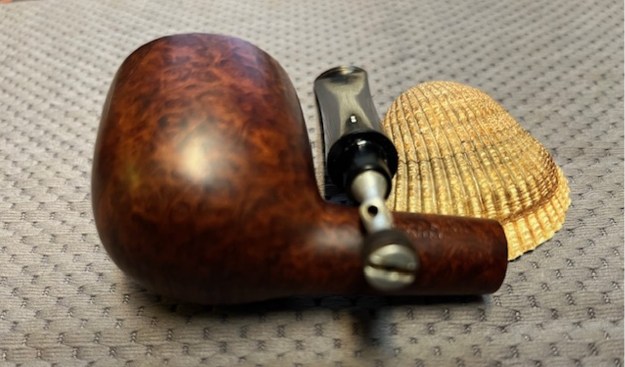
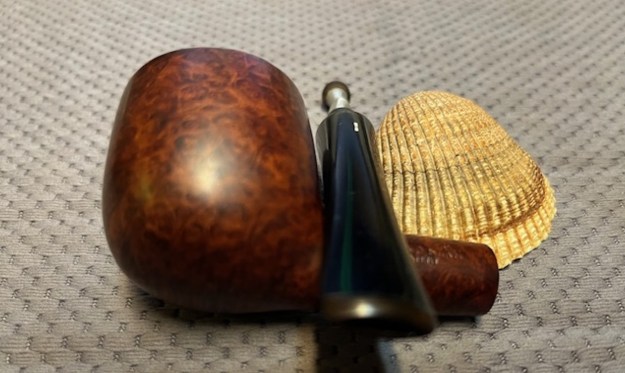
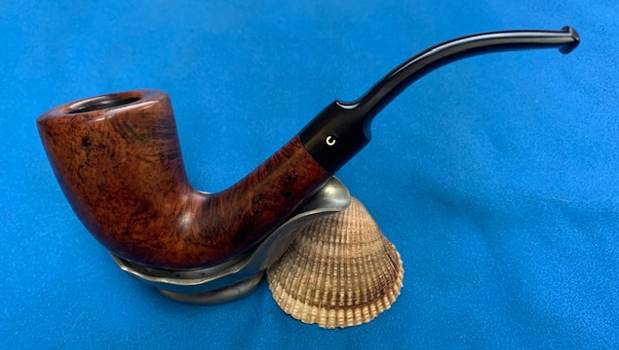
 He took photos of the sides and heel of the bowl to show the finish around the bowl and the condition of the pipe. You can see the grime ground into the surface of the briar. The stain combination really makes the grain stand out. I look forward to seeing it once it is clean and polished.
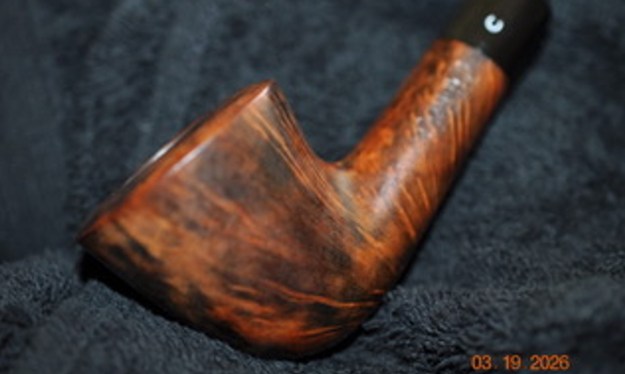
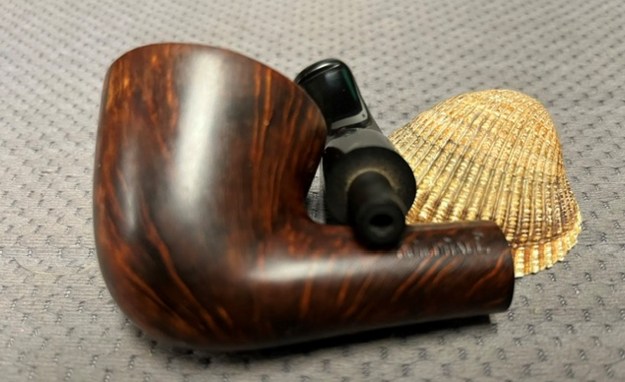
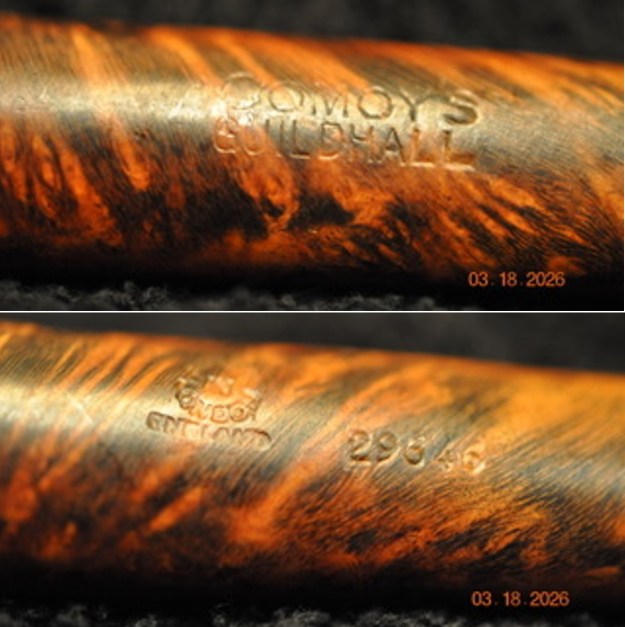
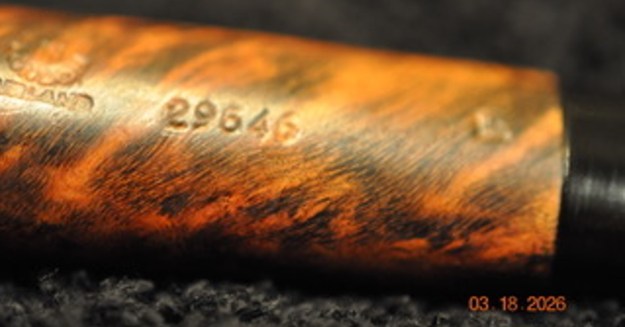
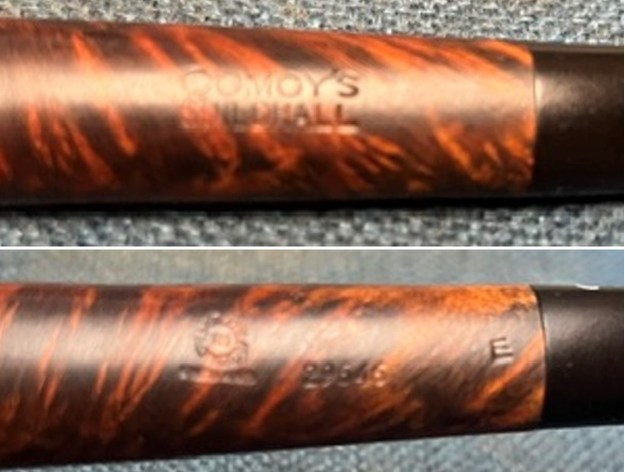
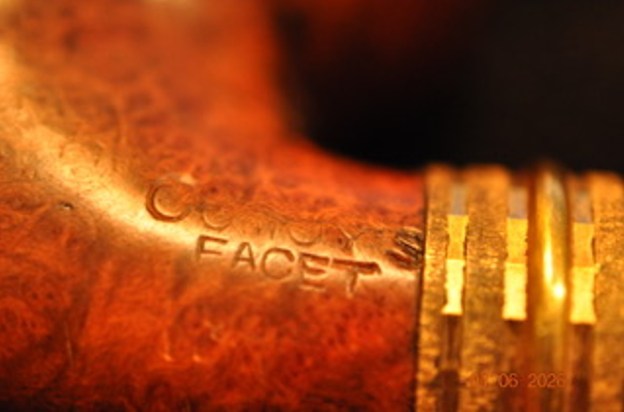
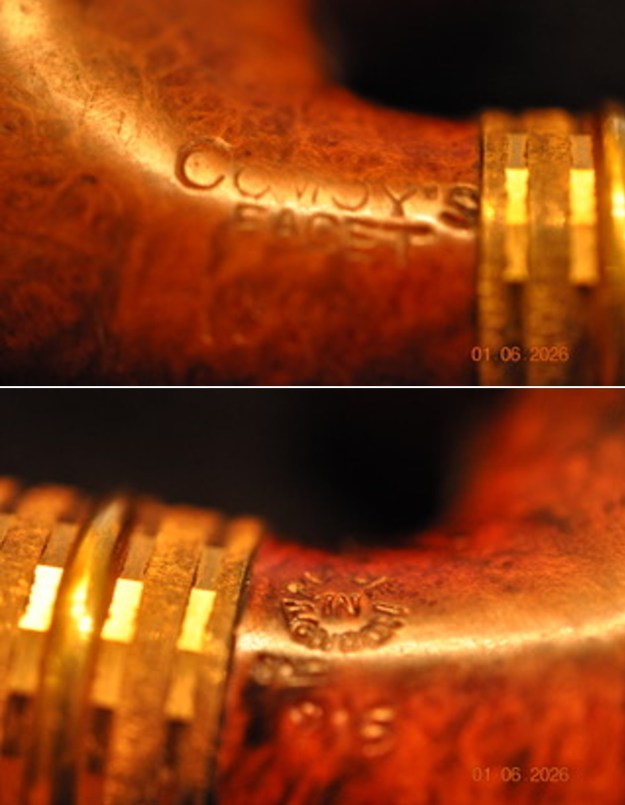
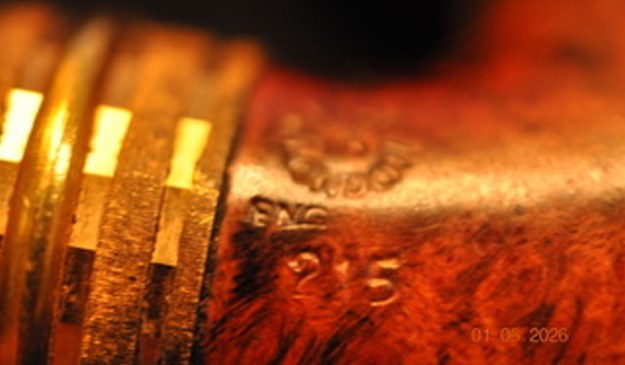
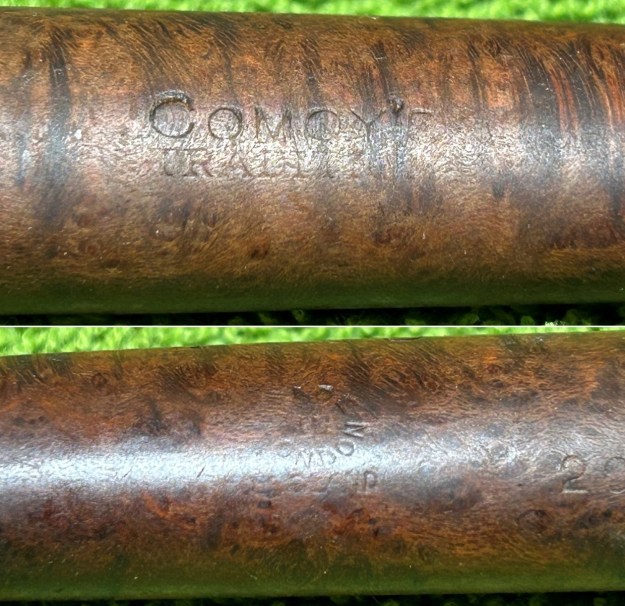
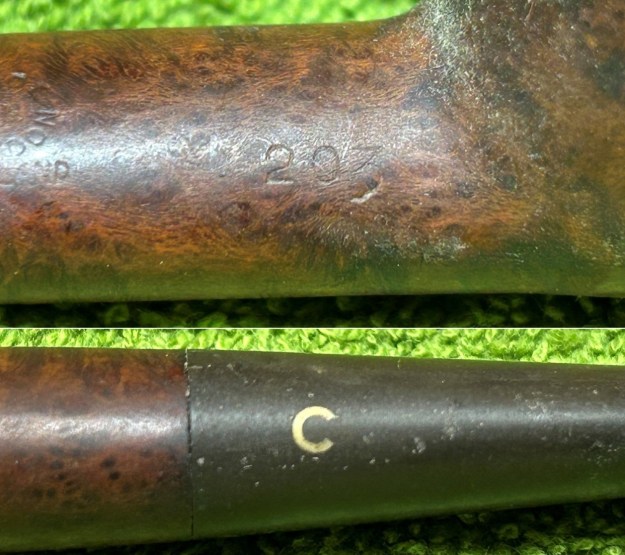
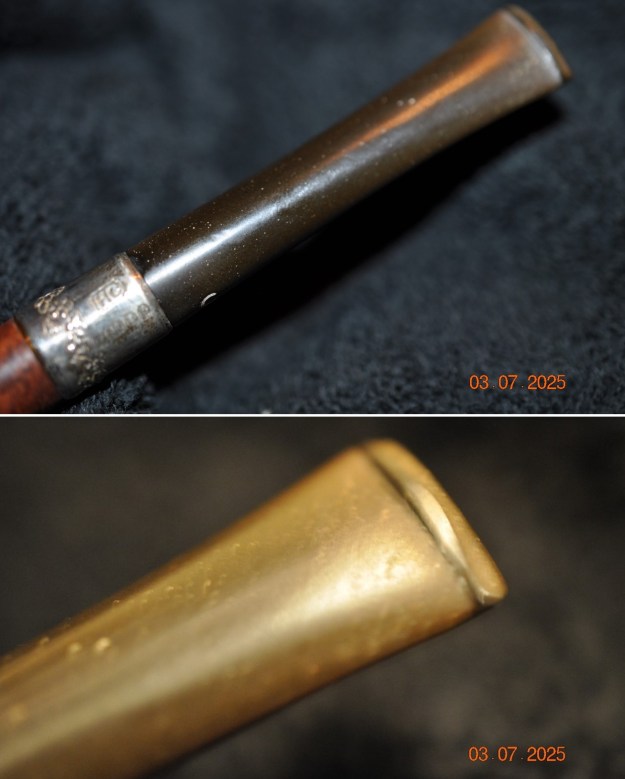
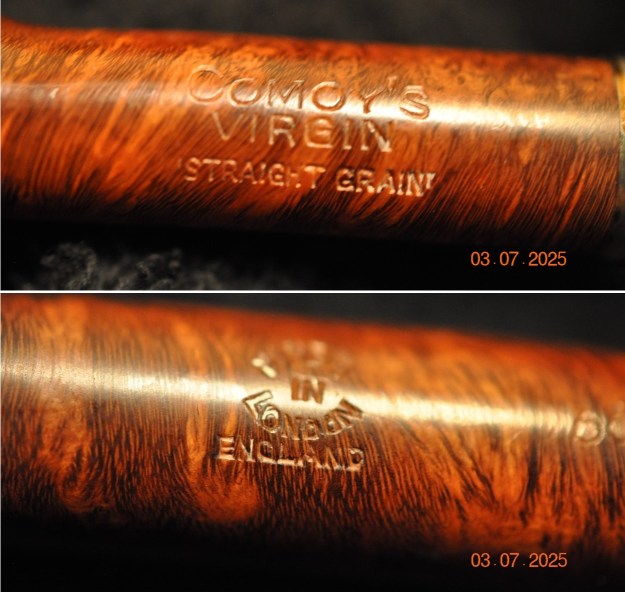
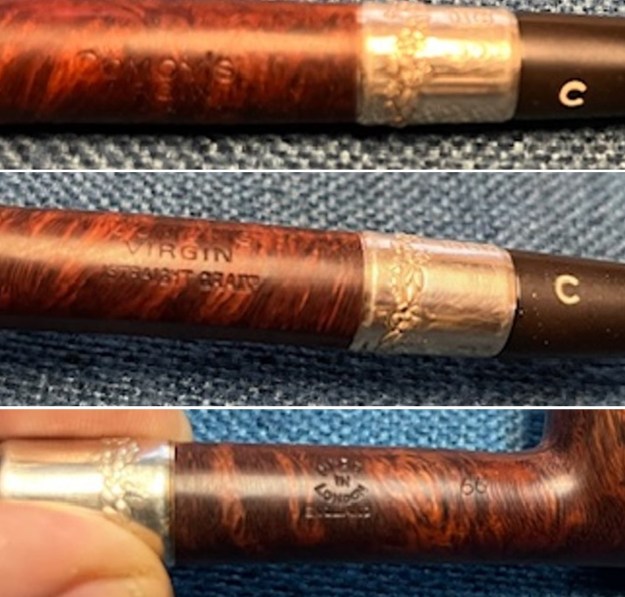
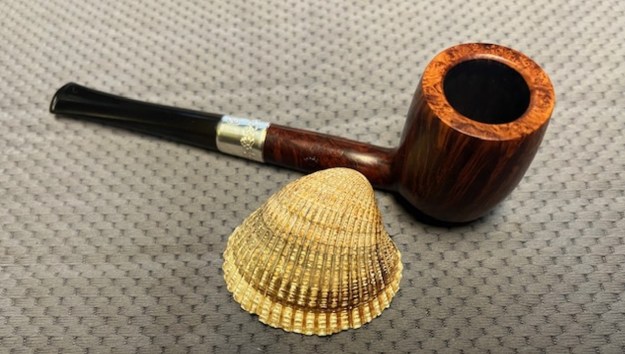
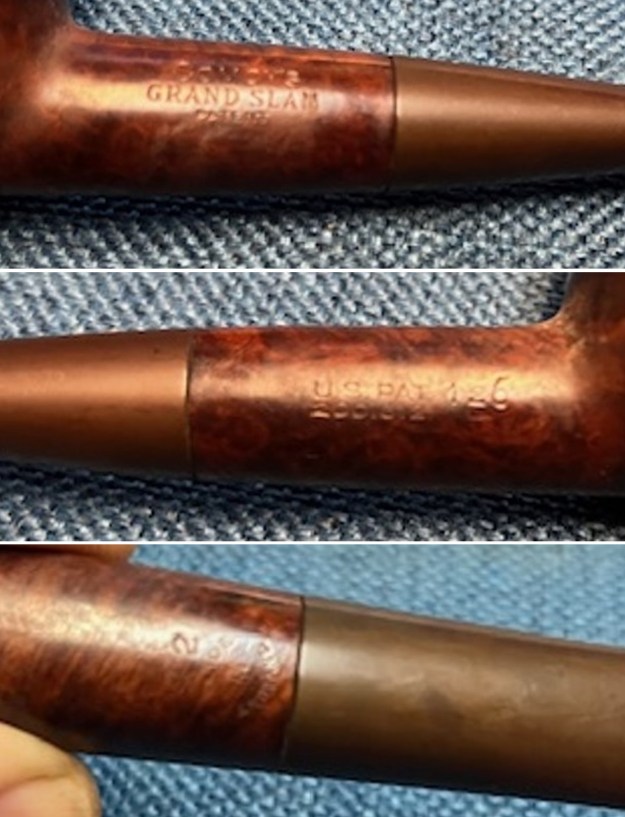
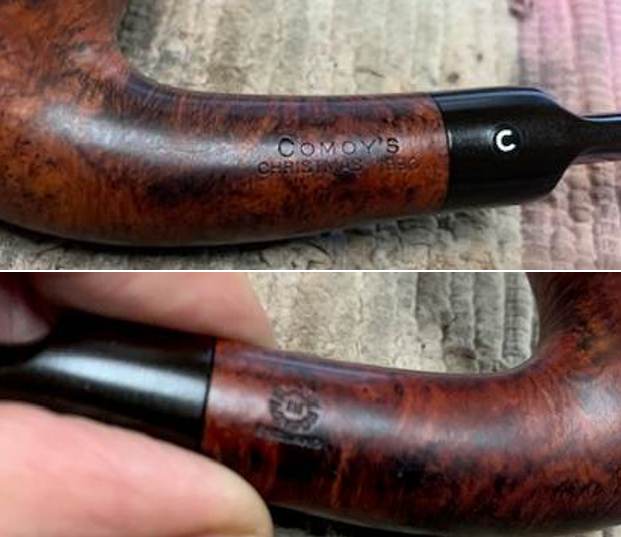
 He took photos of the stamping on the sides of the shank. It is clear and readable as noted above. The inlaid C stamp on the left side of the stem is also clear and readable.
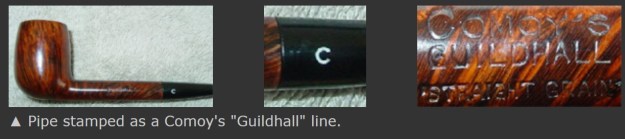
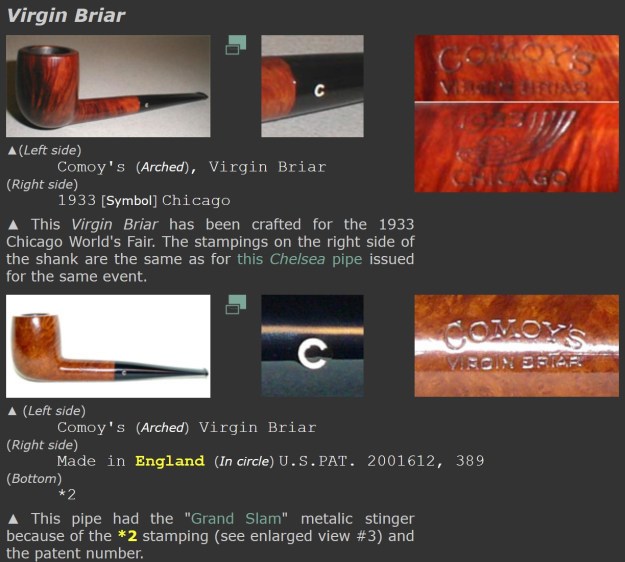
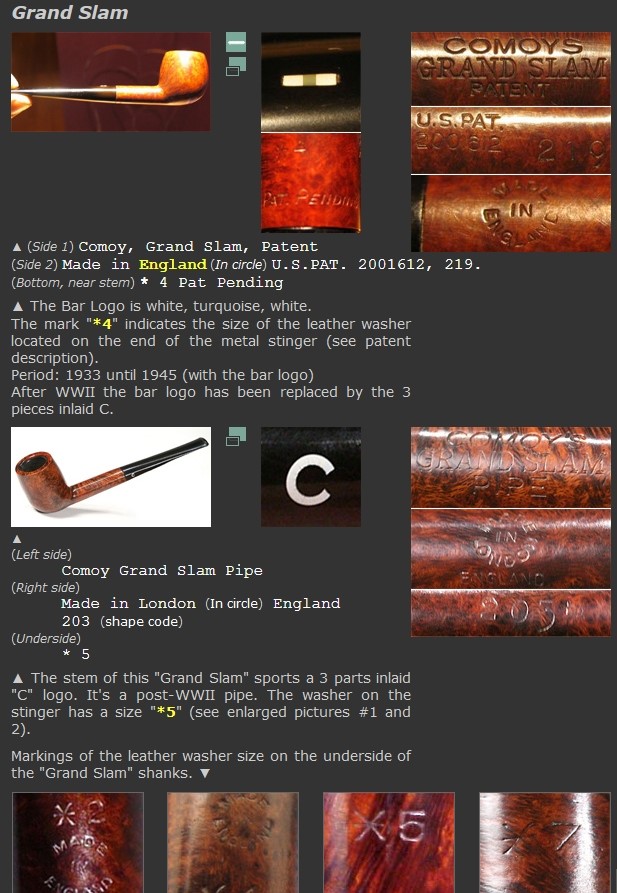
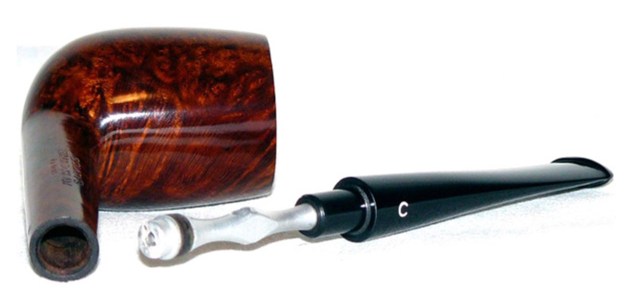
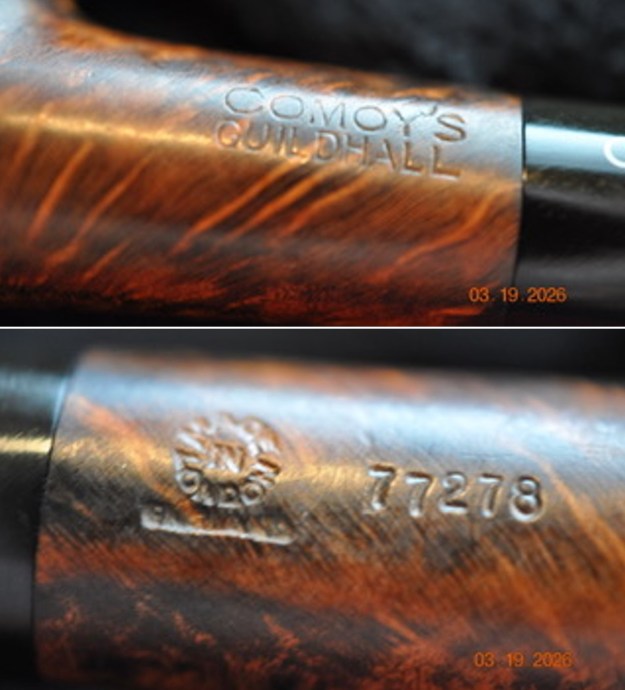 Before I started work on the pipe I wanted to try to understand the stamping. I have worked on many Comoy’s Made “The Guildhall” pipes but this is the first one I have worked on that is stamped Comoy’s Guildhall. I have worked on many that have the circular COM stamp so I knew this one was a pre-Cadogan made pipe by that stamp. The shape number also was a bit a anomaly to me. I am used to two and three digit shape number stamps but I am unfamiliar with the five digit stamp. I knew that 772 was the shape number for a ¼ Bent Dublin. I was not clear what the final two numbers meant. I turned first two Pipephil’s site to see if I could find information o the pipe in hand (http://www.pipephil.eu/logos/en/logo-g6.html#guildhall). I found a pipe pictured that is similar and has the same stamping. It has the same stamp Comoy’s Guildhall. The C on the stem is identical as well. It identifies that the pipe is from the Comoy’s Guildhall line. There was no further information. I have included the screen capture below.
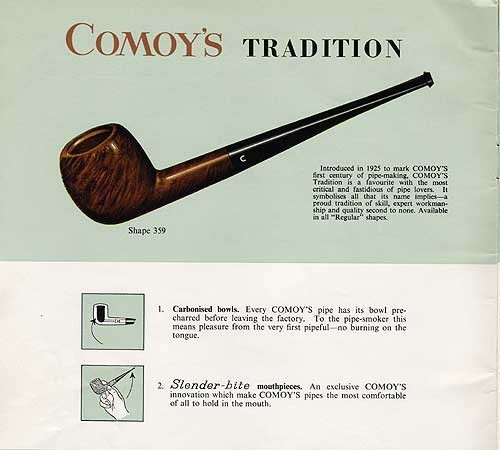
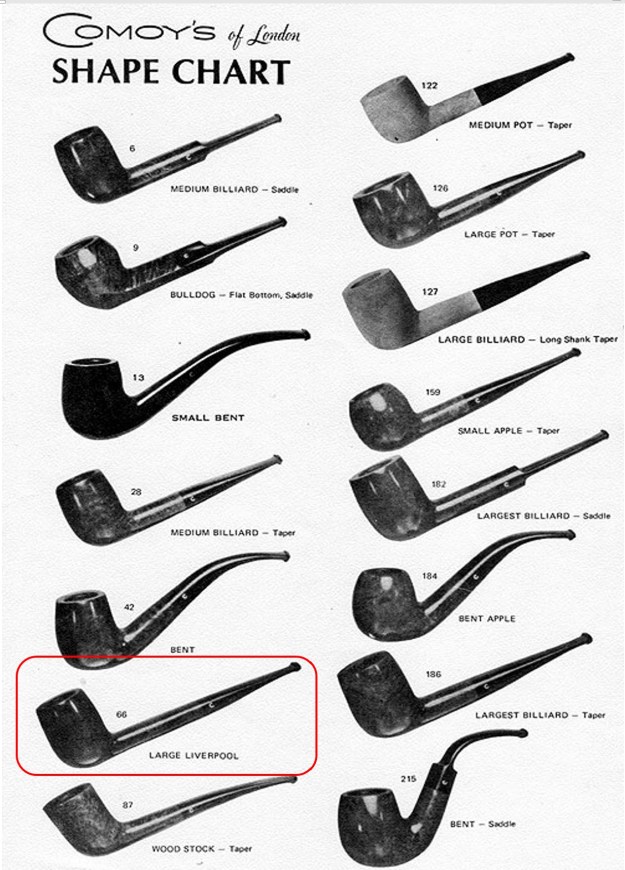
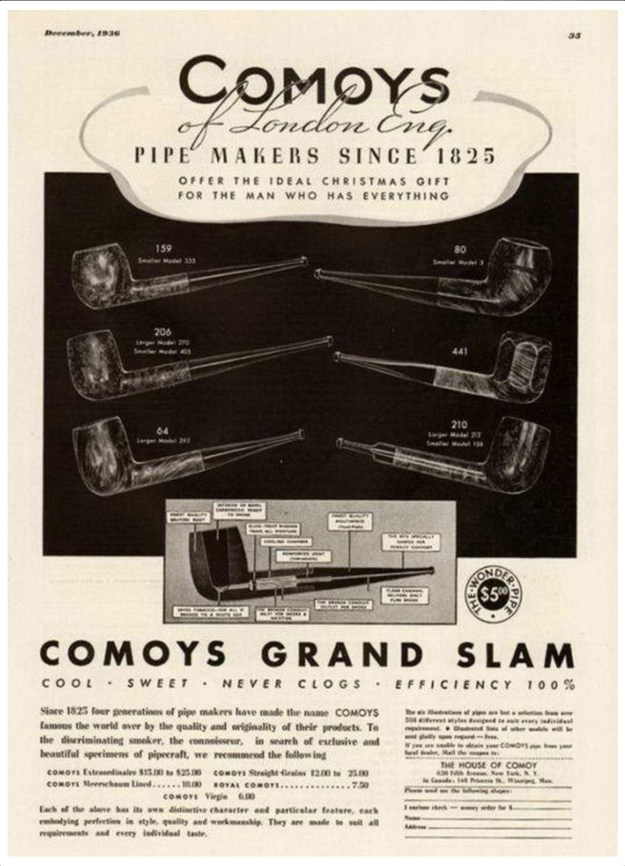
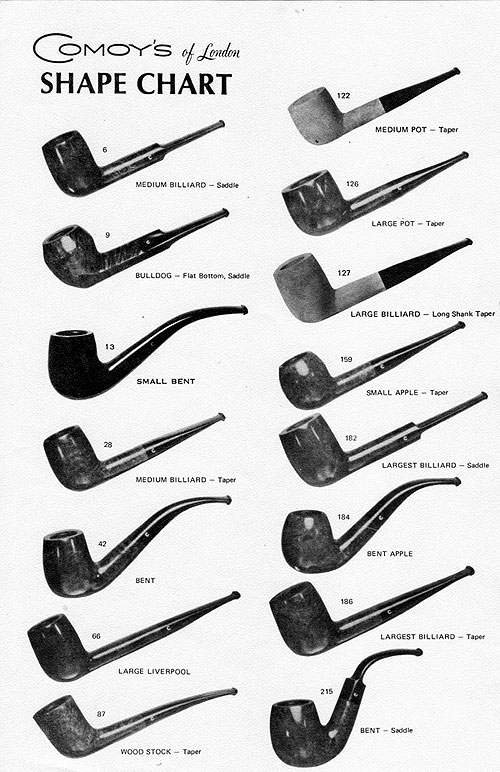
 From there I turned to Pipedia to see if there was any information listed on the Comoy’s article (https://pipedia.org/wiki/Comoy%27s). There was a flyer on the site that has Guildhall listed on it and gives a brief description of the pipe. Have a look. Besides other information it says that Guildhall pipes are “especially selected for distinctive grains.” The pipe I am working on certainly has distinctive grain. I have included a screen capture of the flyer below.
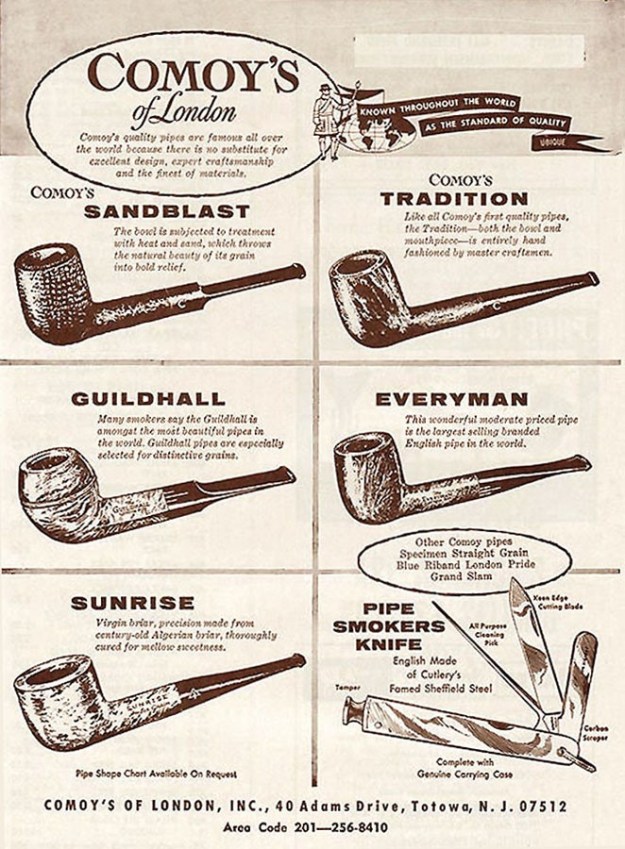 I did a bit more digging on Google and found that Charles Lemon of dadspipes had written a blog on his restoration of a Guildhall 28 Billiard (https://dadspipes.com/2018/12/14/freshening-a-pre-cadogan-comoys-guildhall-28-billiard/). I quote from that blog below. I have highlighted some pertinent portions.
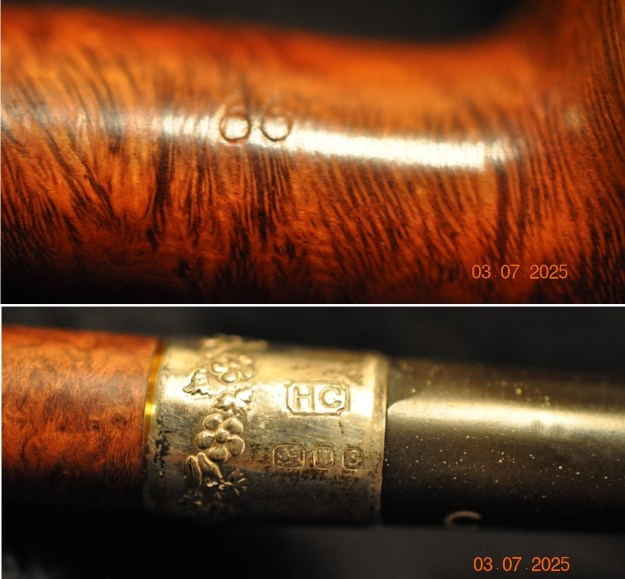
The pipe is marked “COMOY’S” over “GUILDHALL” on the left flank, and “28” on the right flank along with a circular “MADE IN LONDON” over “ENGLAND” Country of Manufacture (COM) stamp. There is also an “F” stamped on the underside of the shank near the junction with the stem, which bears the classic Comoy’s three-piece C logo inset on its left flank.
These stamps tell me that this Guildhall was made sometime after World War II and before Comoy’s merged with Cadogan in 1980. The “F” stamp indicates a Fishtail bit.
One side note here – Do not confuse this Comoy’s Guildhall with the seconds line of similar name. “Comoy’s Guildhall” was a bona fide series within the Comoy’s lineup for a time, while the “Guildhall” seconds line was distinguished by a lack of the Comoy’s name and three parallel silver bars inset in the stem, similar to those of “The Everyman” seconds pipes.
I knew that Guildhall was a higher grade early pipe and was made after WWII and prior to the merger with Cadogan in 1980. It is also clear that it is a separate line from the Comoy’s The Guildhall pipes.
I also found a link to vkpipes that gave a little more information. I have included the link below as well as short quote on the line (https://vkpipes.com/pipeline/comoys-guildhall-giant-309/).
An amazing Comoy’s product made during the last pre-Cadogan period (1950-70’s). Among others Comoy’s brands and subbrands Guildhalls are always an object of a special interest and attraction of collectors from many countries – who knows, because of the glory and authority of the manufacturer or because of a mysterious aura of the three metallic stripes?
I now knew that Guildhall was a line of Comoy’s pipes put out that was made at the latest the late 1970s. I could not find any information on the five digit shape number.
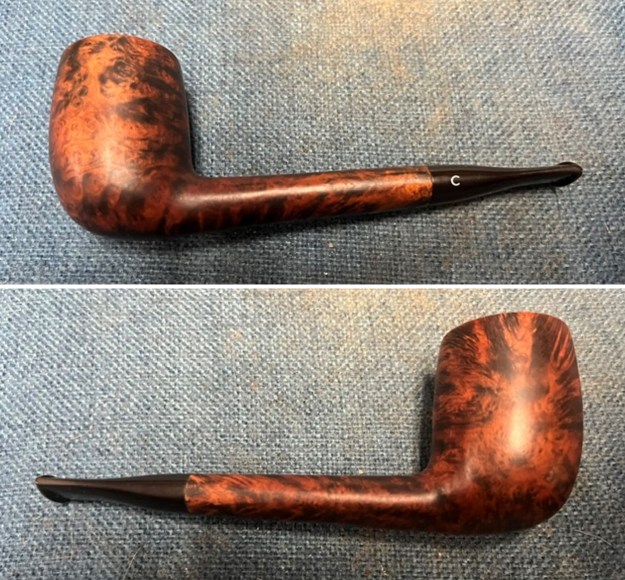
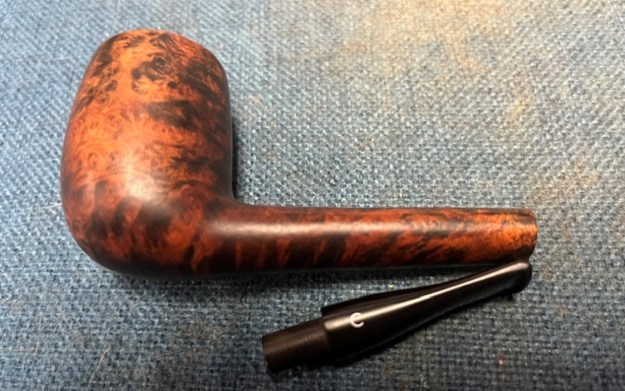
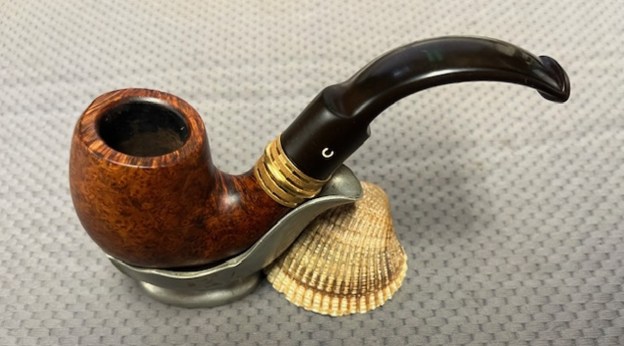
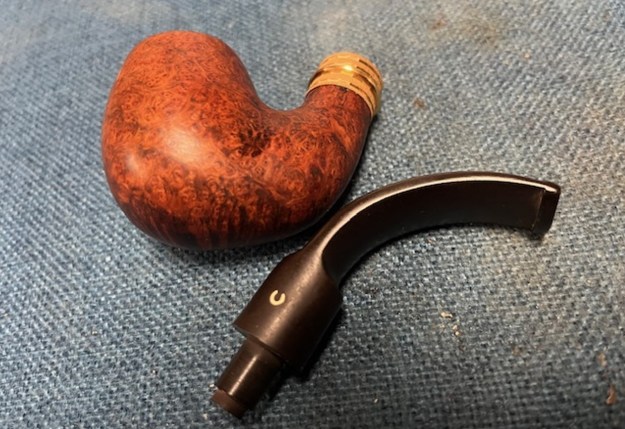
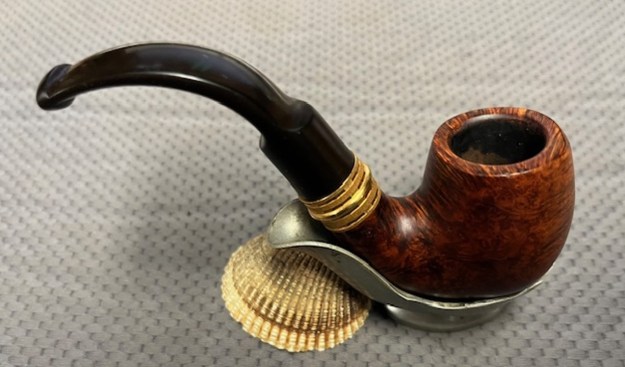
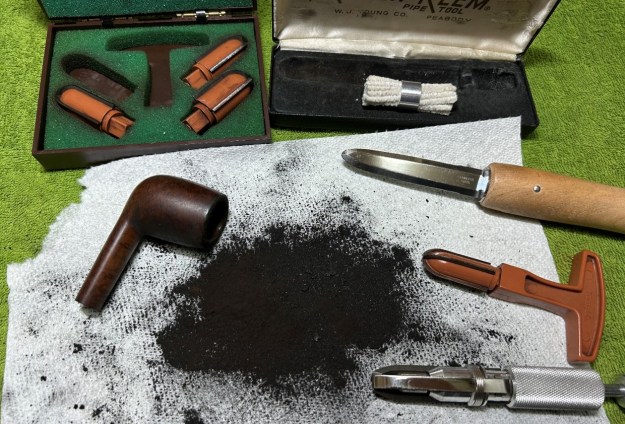
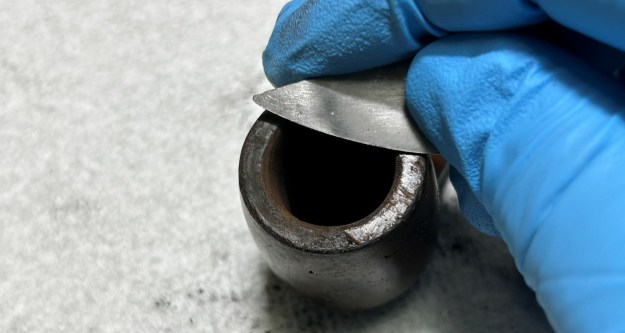
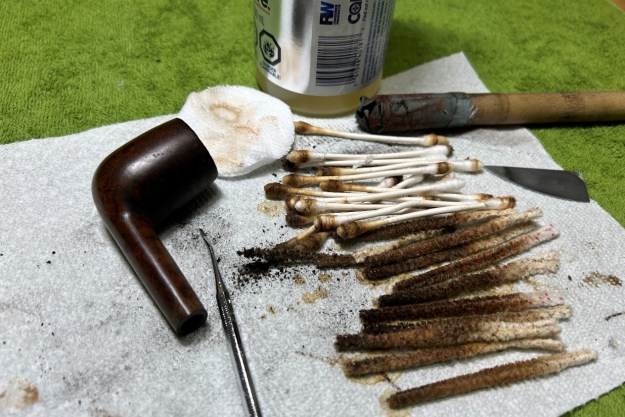
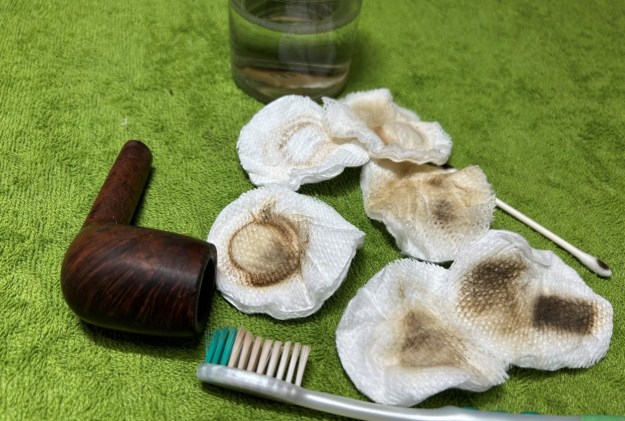
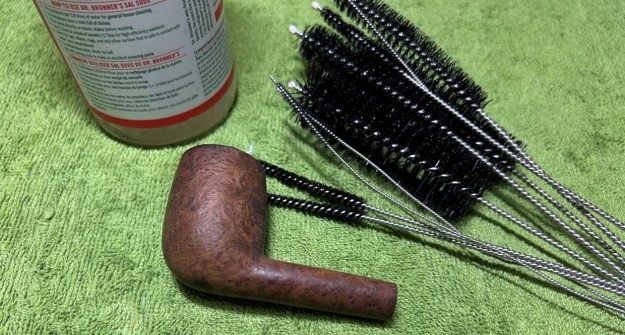
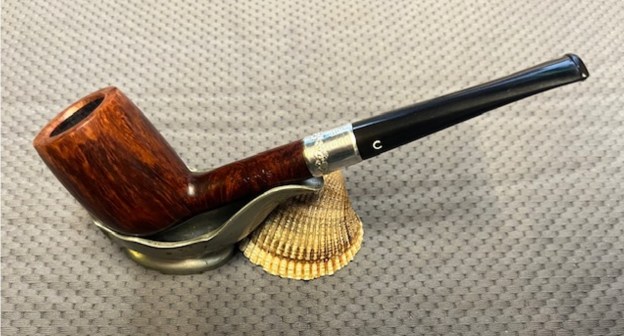
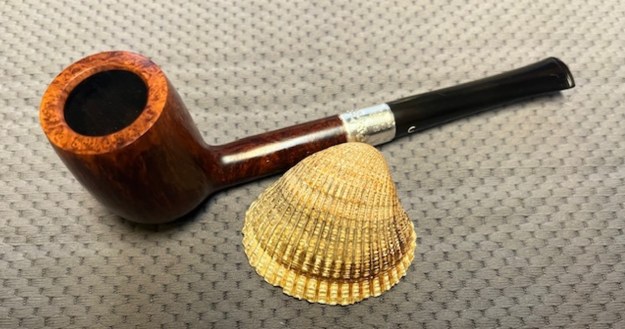
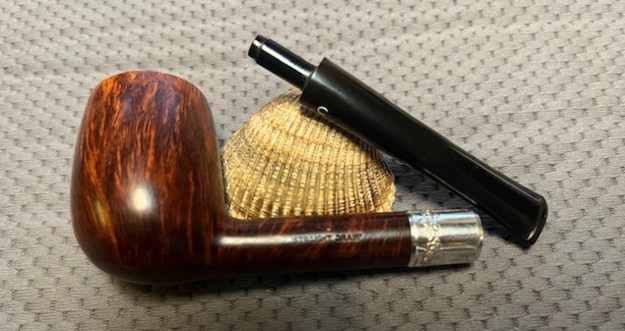
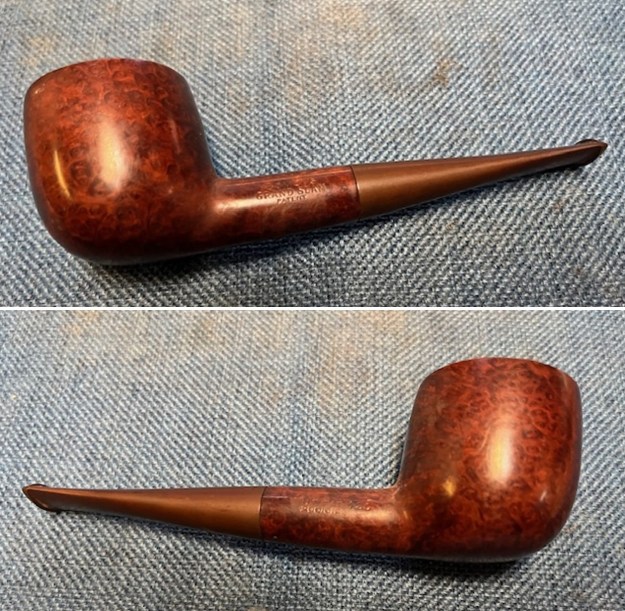
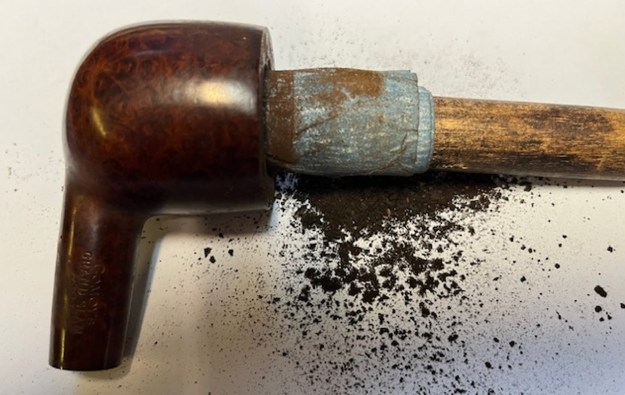
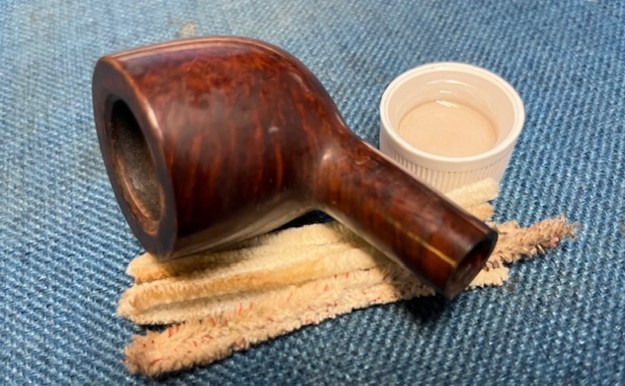
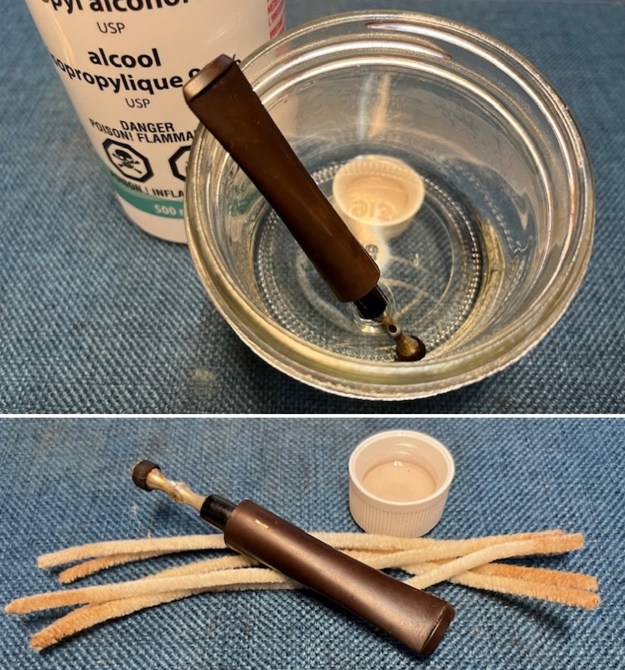
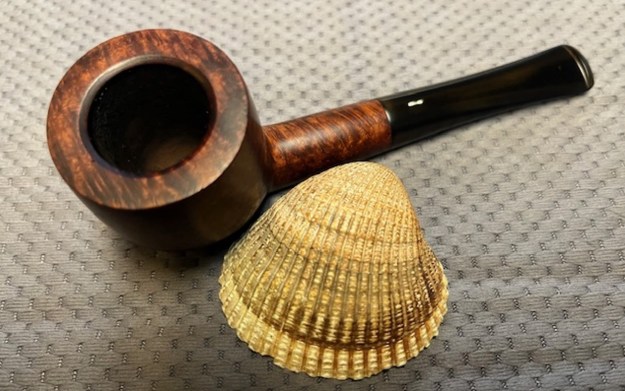
Jeff carefully reamed this Comoy’s Guildhall Dublin with a PipNet pipe reamer and then cleaned up the inside of the bowl with a Savinelli Fitsall Pipe Knife. He scrubbed the briar with undiluted Murphy’s Oil Soap and a tooth brush to remove the grime on the rim top and bowl sides. He scrubbed the internals of the shank and stem with pipe cleaners, cotton swabs, shank brushes and alcohol until the airways were clean and the pipe smelled fresh. He scrubbed the stem with Soft Scrub to remove the oxidation and then let it soak in Briarville’s Pipe Stem Deoxidizer. He rinsed it with warm water when he took out of the soak. The pipe looked much better once the bowl and stem were clean. Before I started my part of the work I took photos of the pipe. It is a pretty pipe.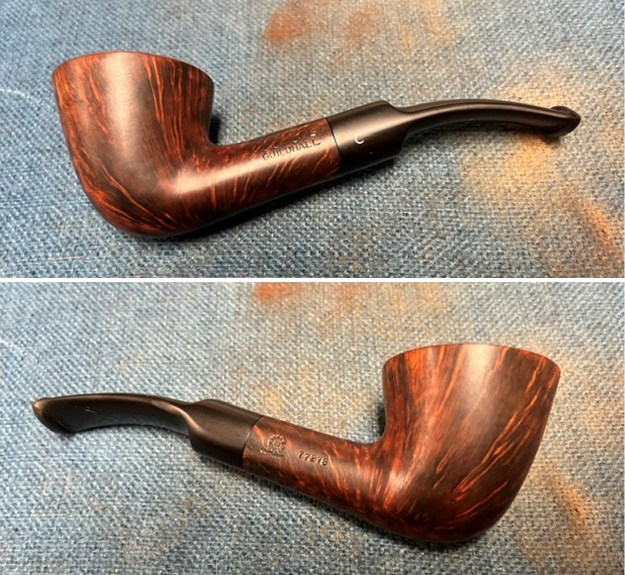
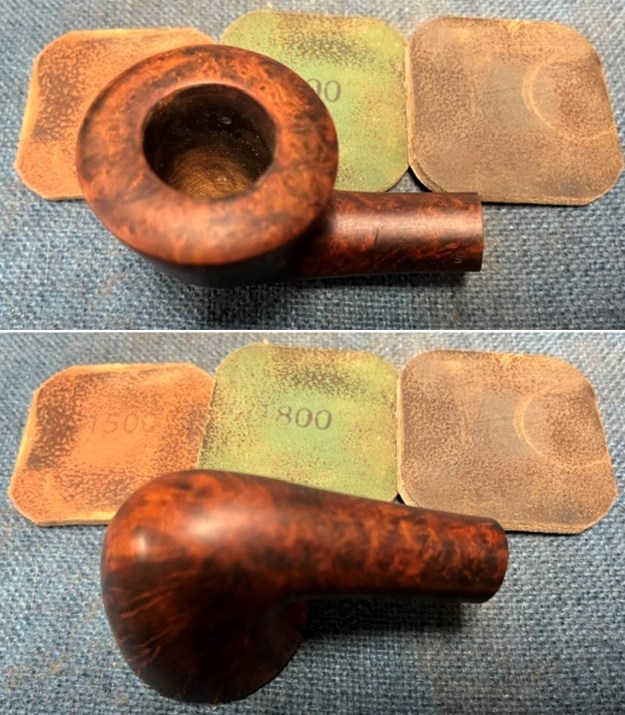
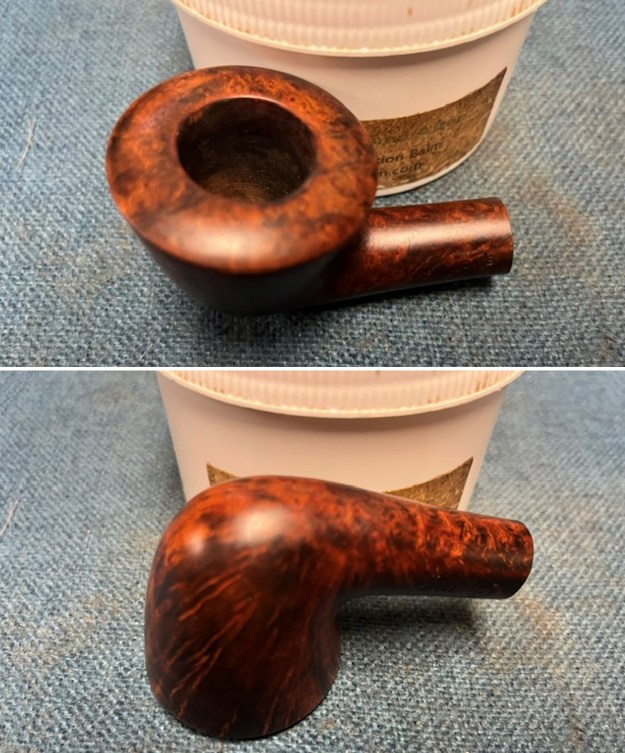
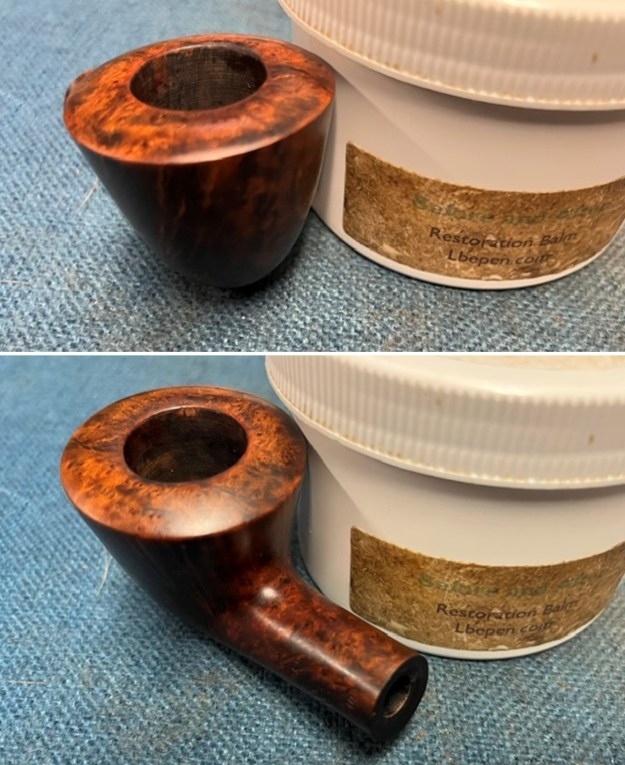
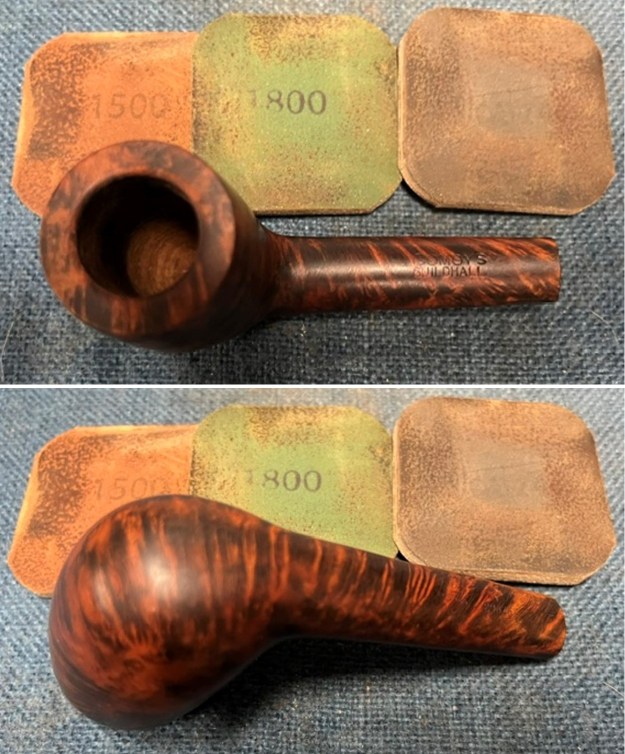
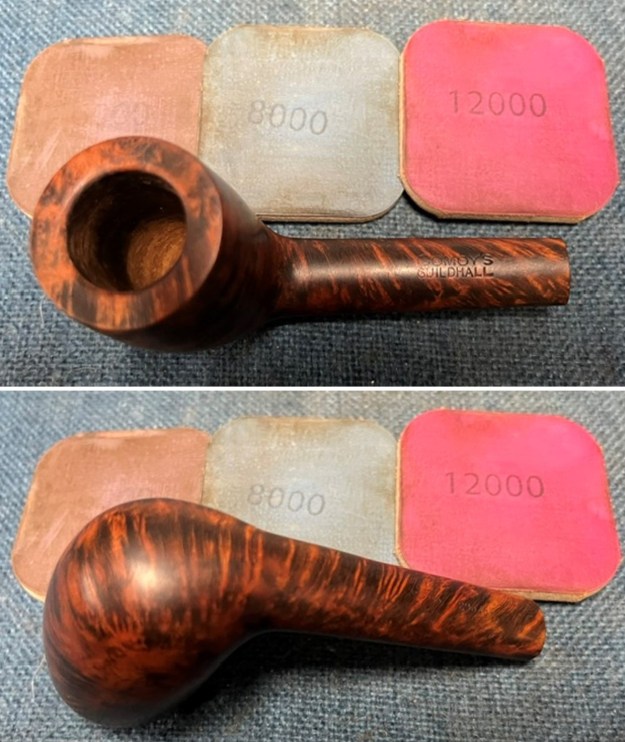
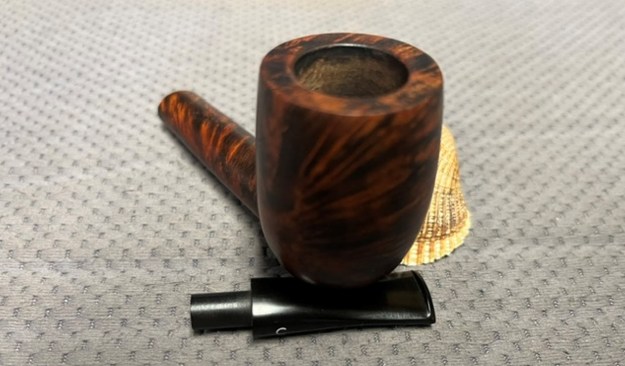
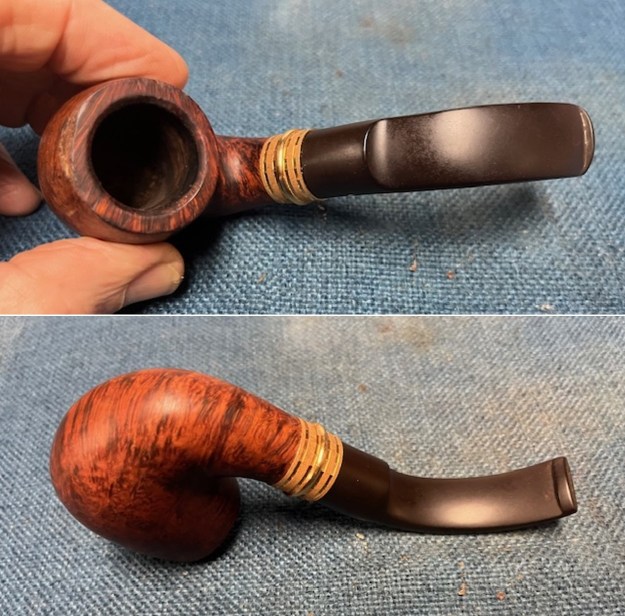
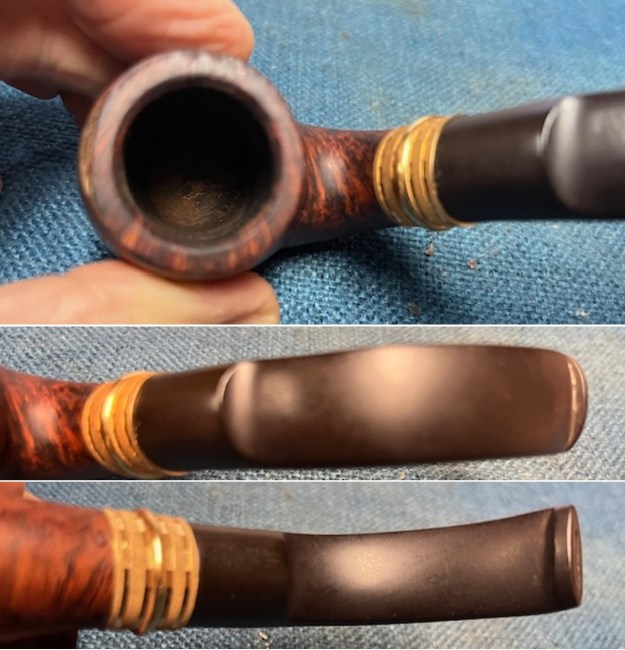
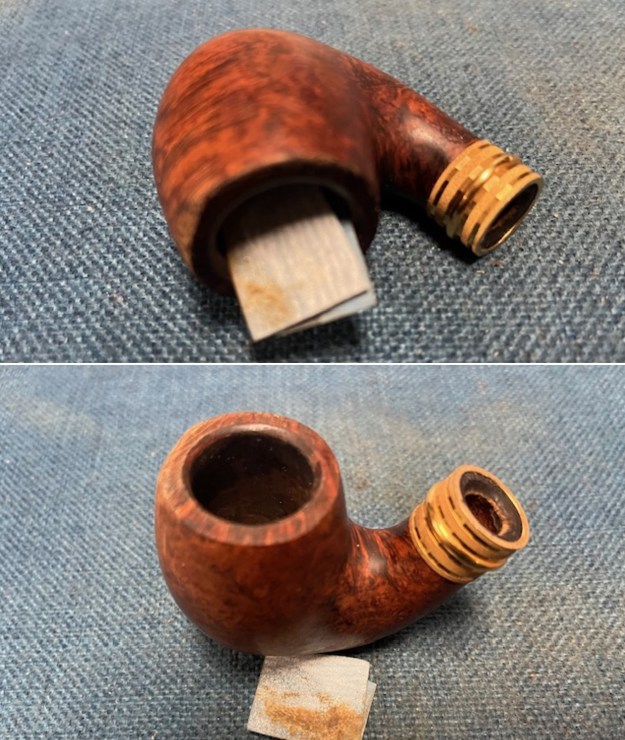
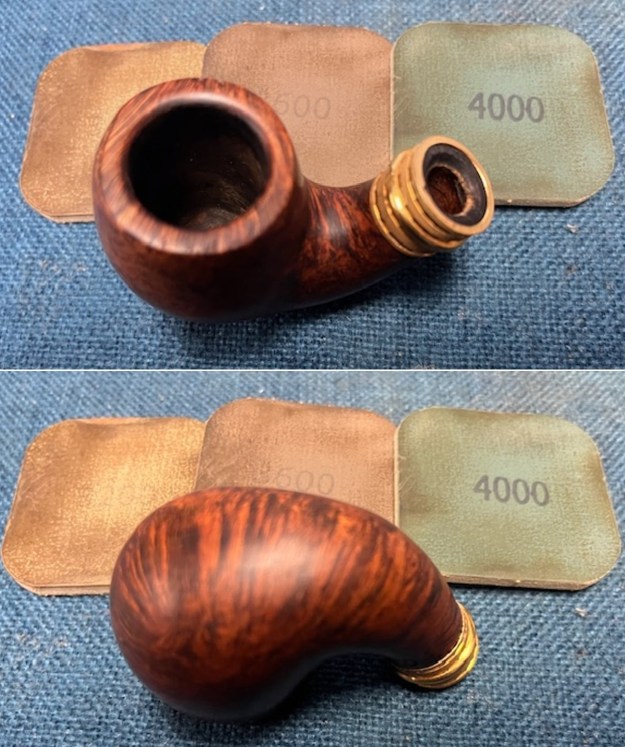
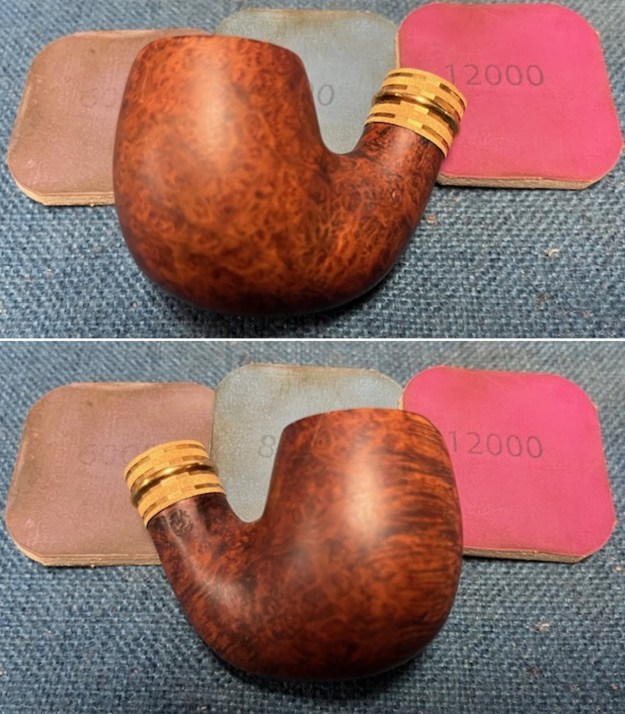
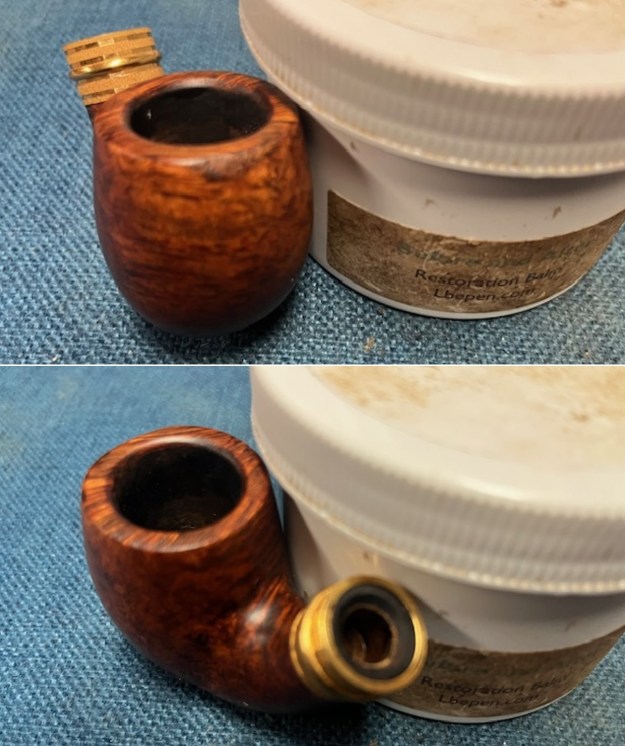
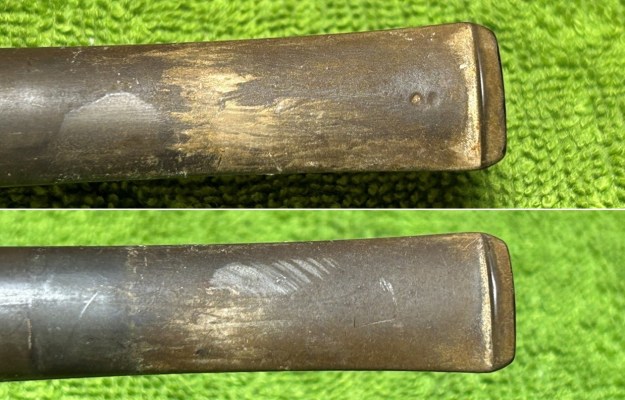
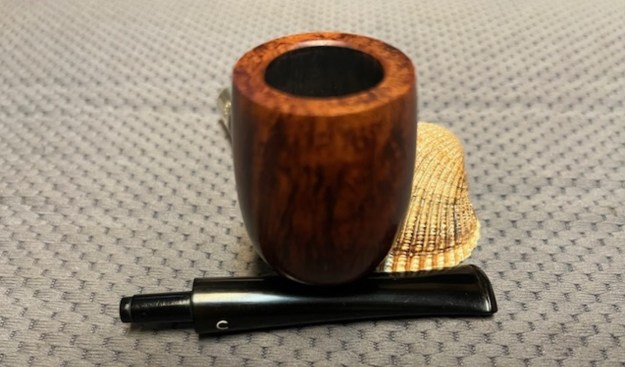
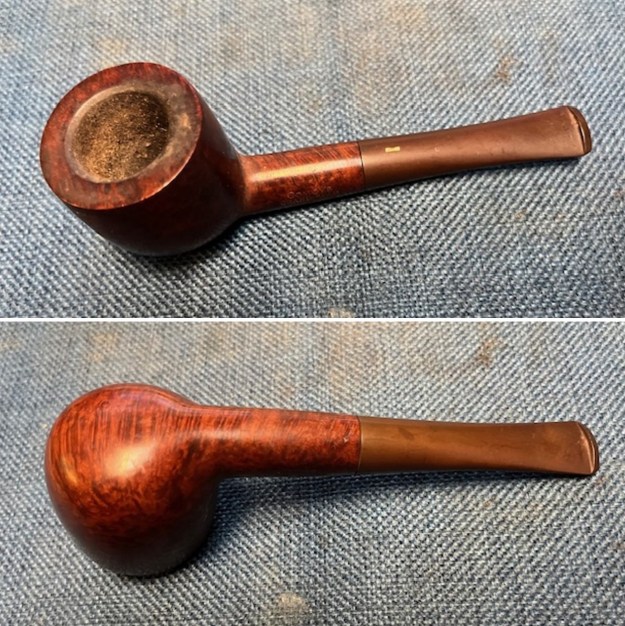
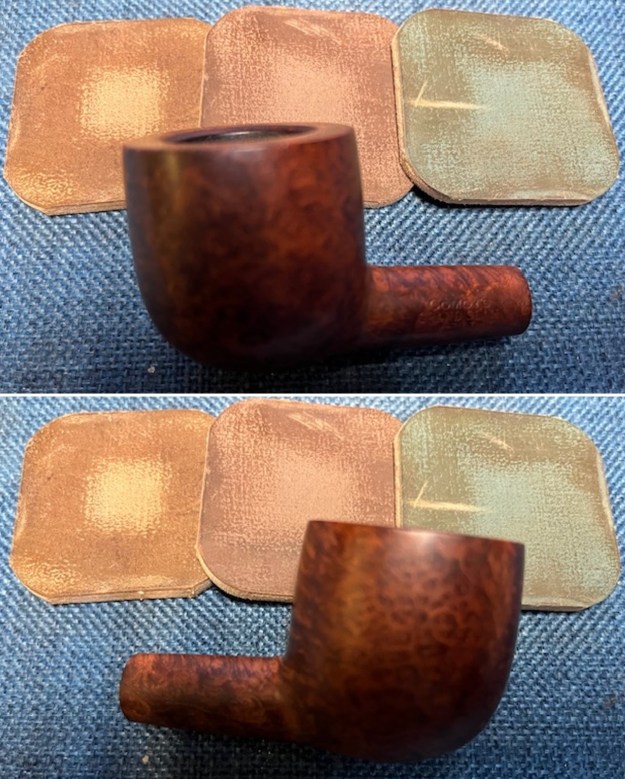
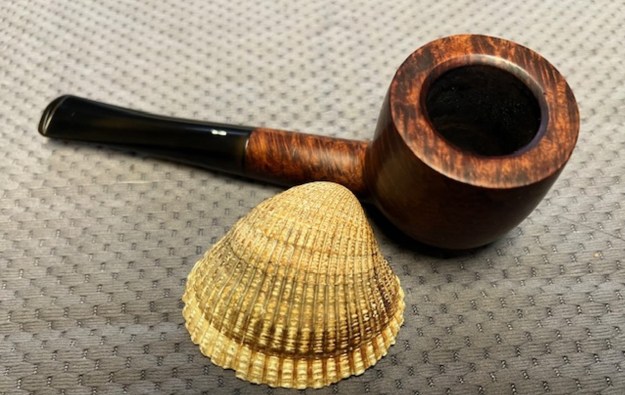
 I took close up photos of the bowl and the rim top to show the condition. It looked better and the inner edge and top were in very good condition. I also took photos of both sides of the stem to give a sense of the condition of both sides at the button. There were light tooth marks on both sides ahead of the button.
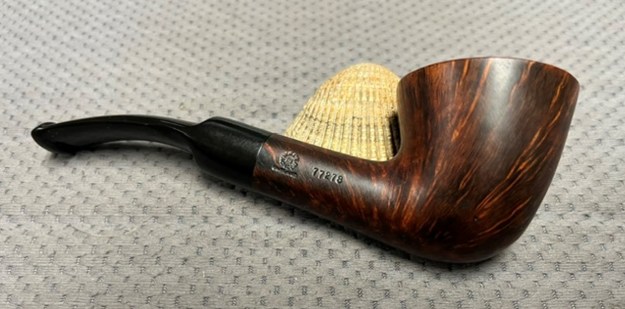
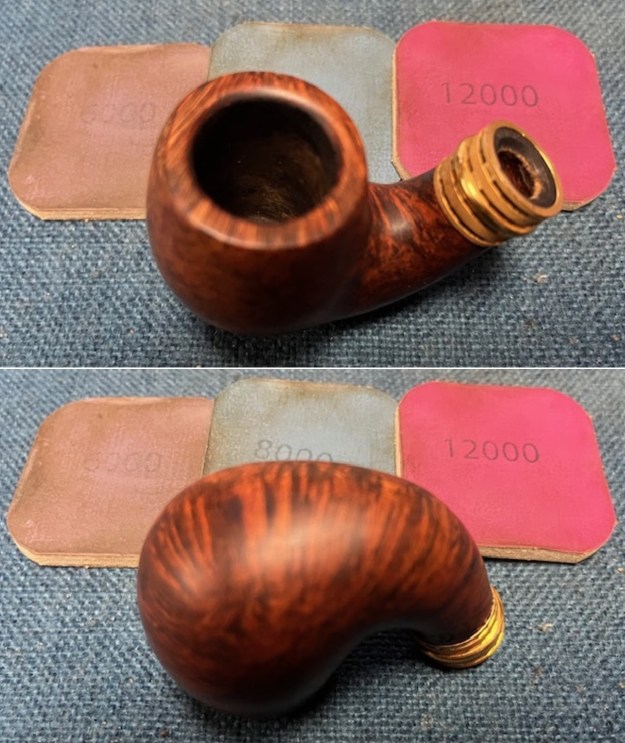
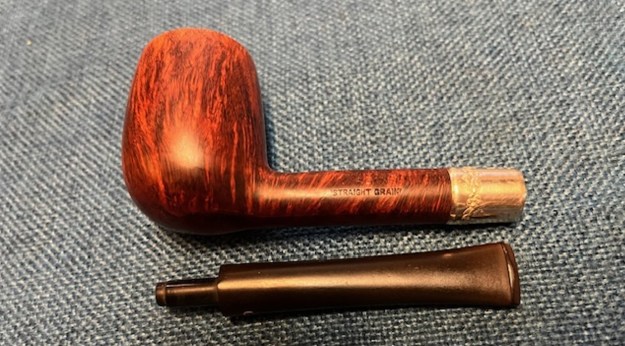
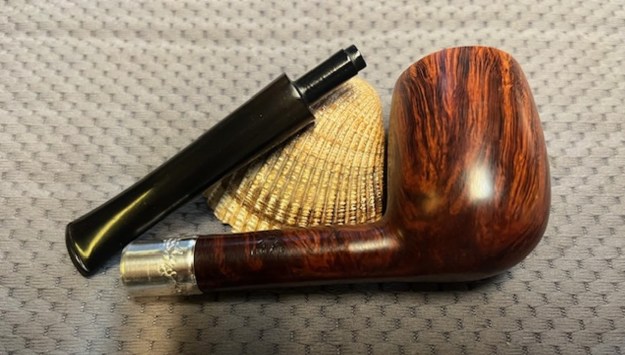
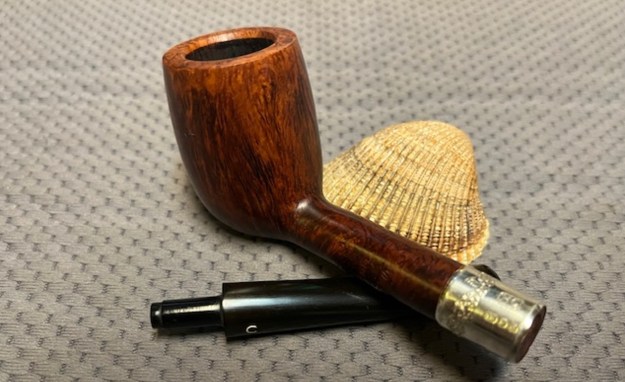
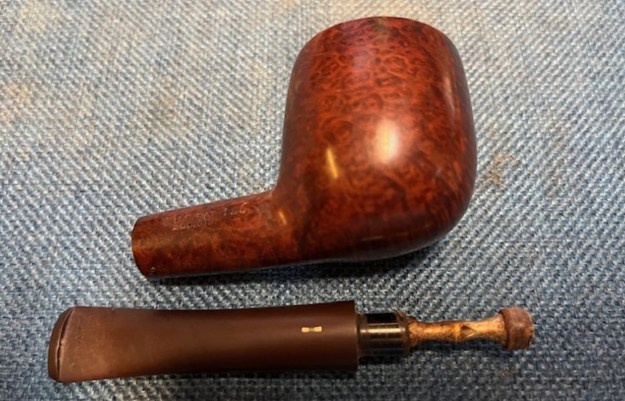
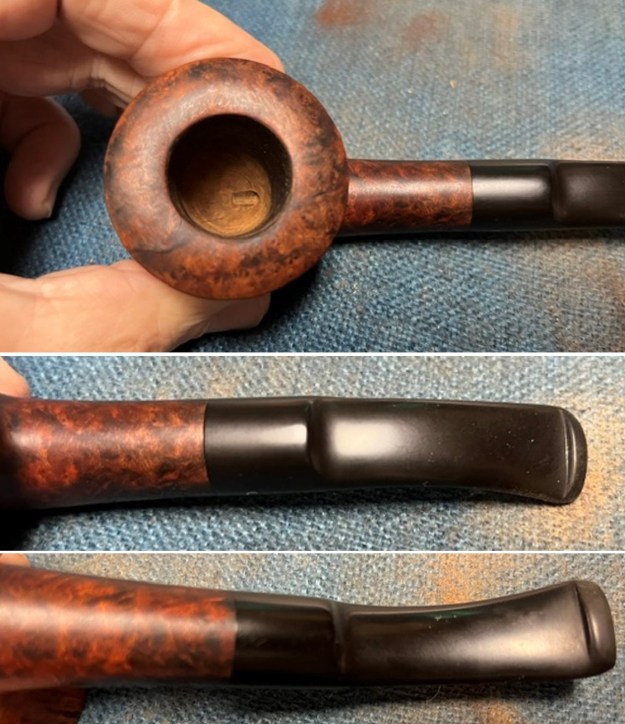 I took photos of the stamping on the sides of the shank and stem. It reads as noted above and is very clear and readable. The C logo on the stem is in excellent condition. I took the stem off the shank and took photos of the pipe to give a sense of its beauty and proportions.
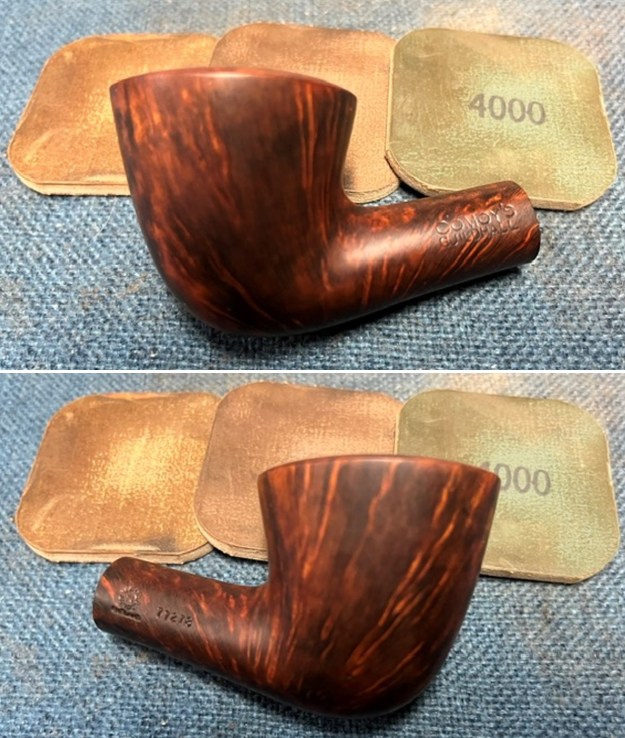
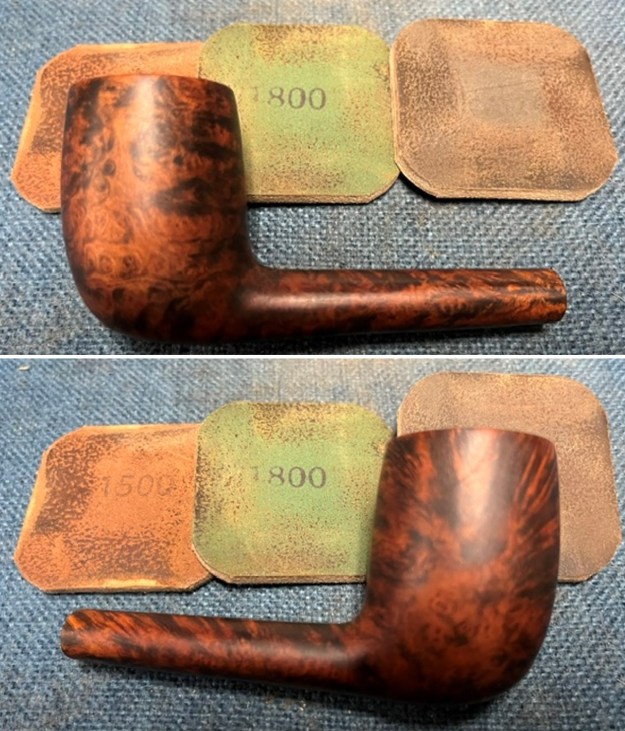
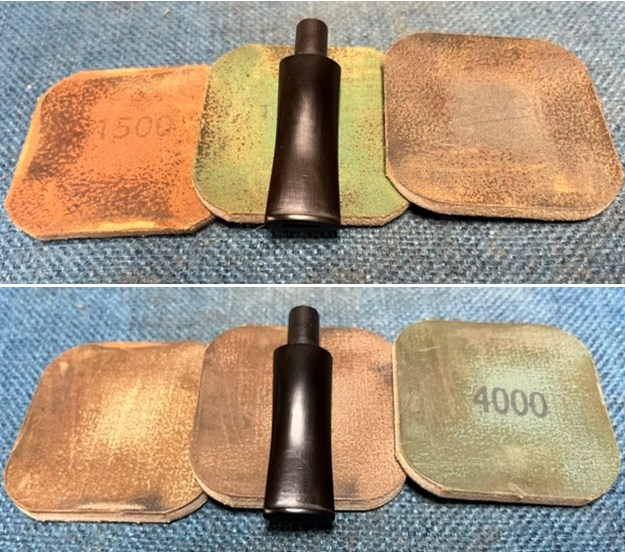
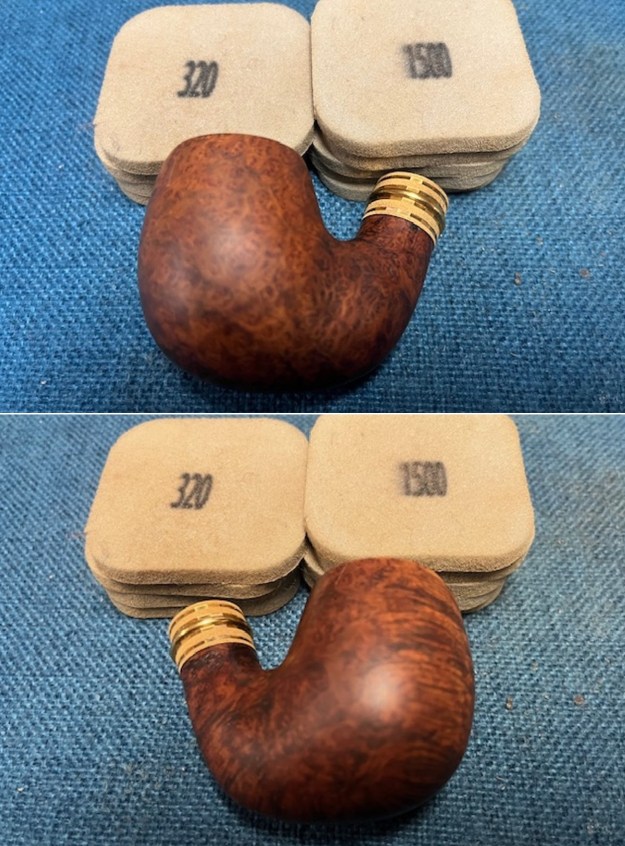
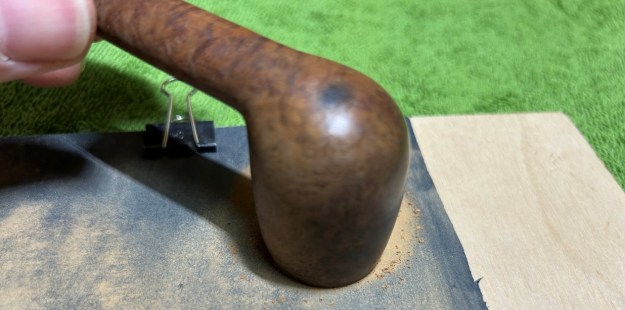
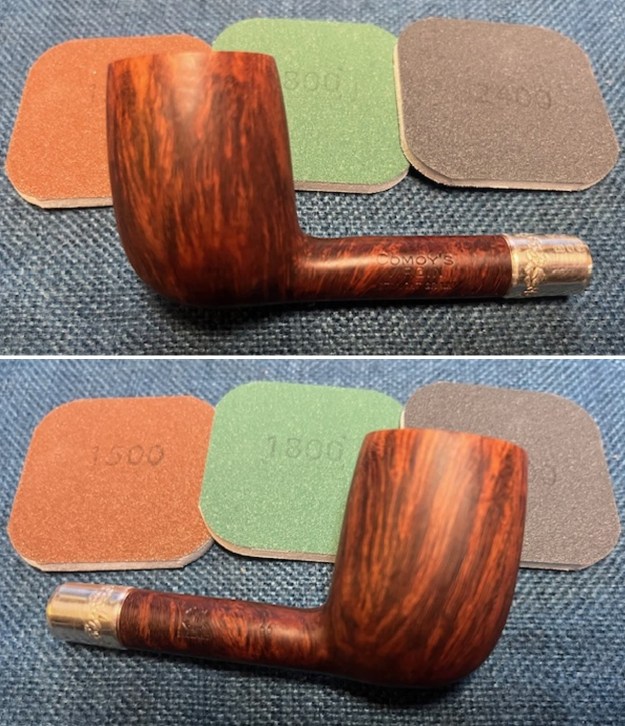
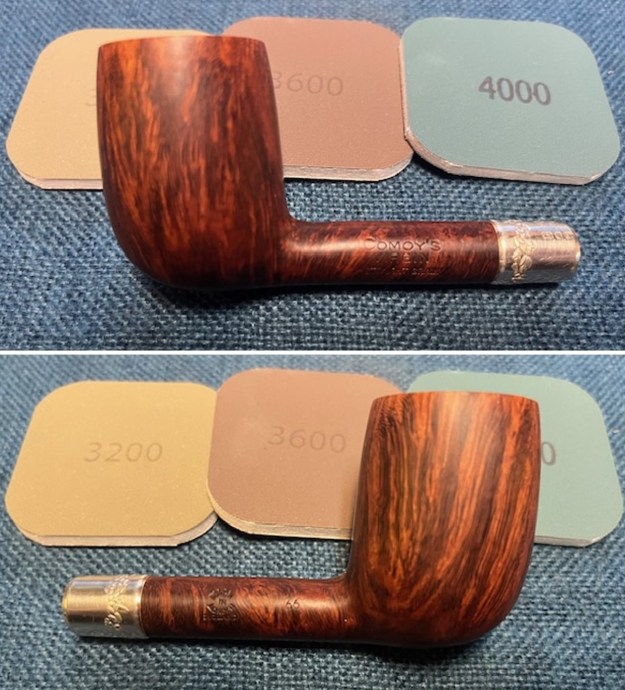
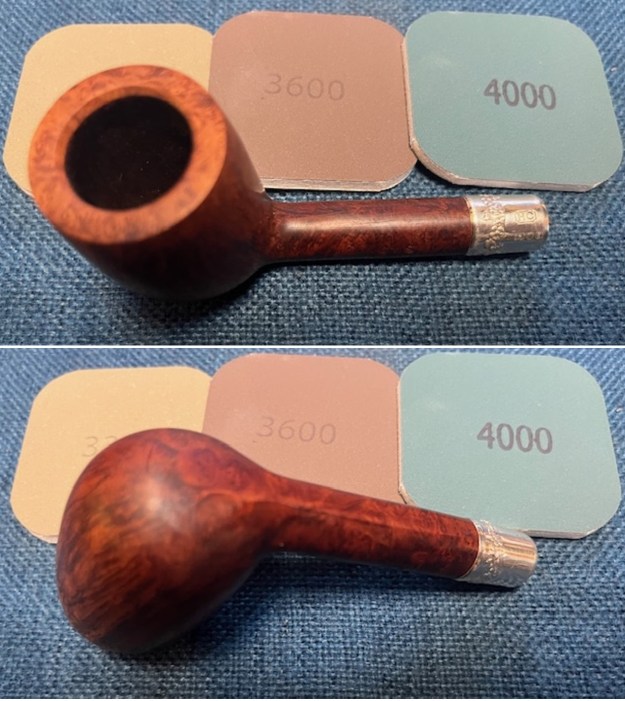
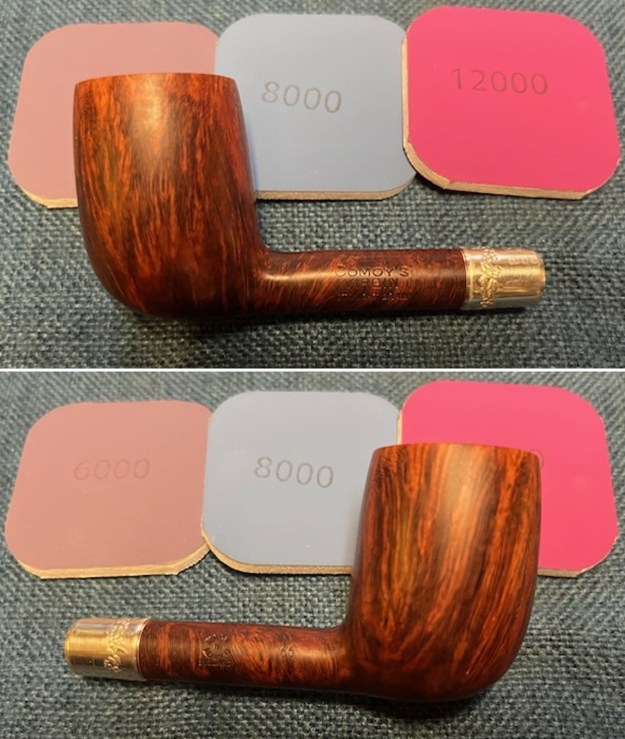
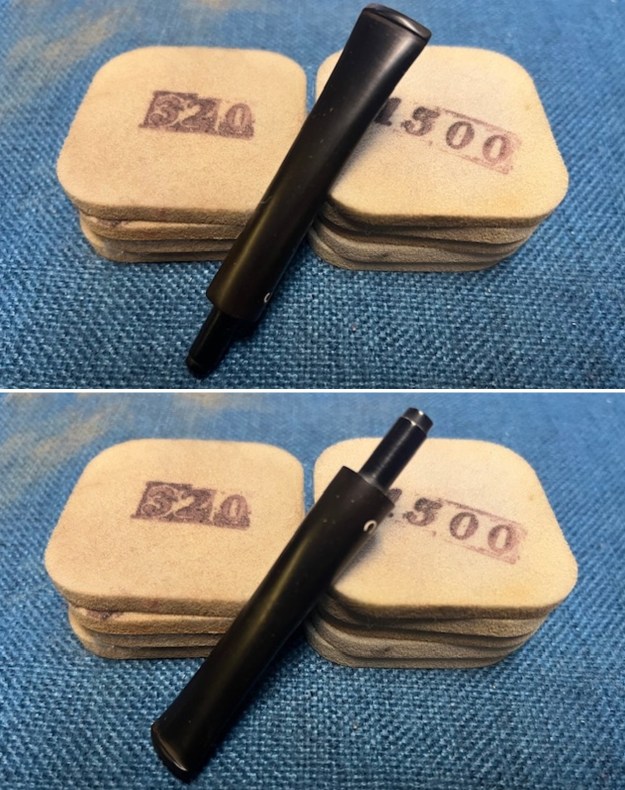
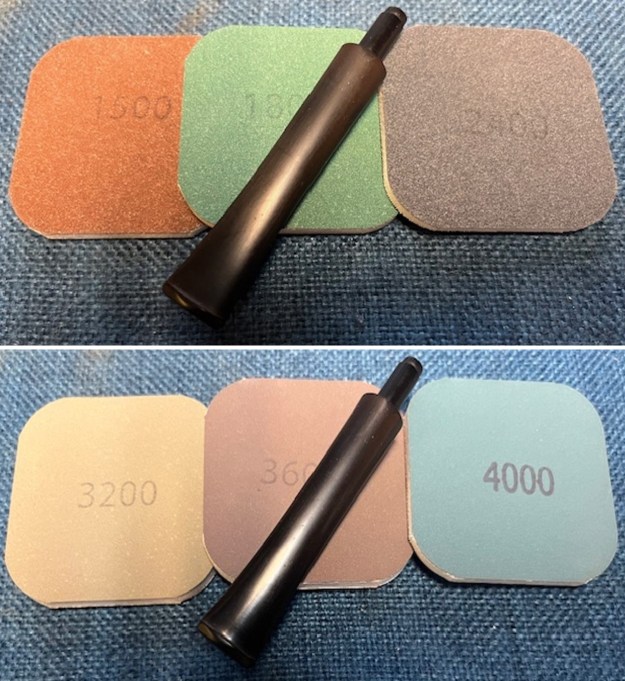
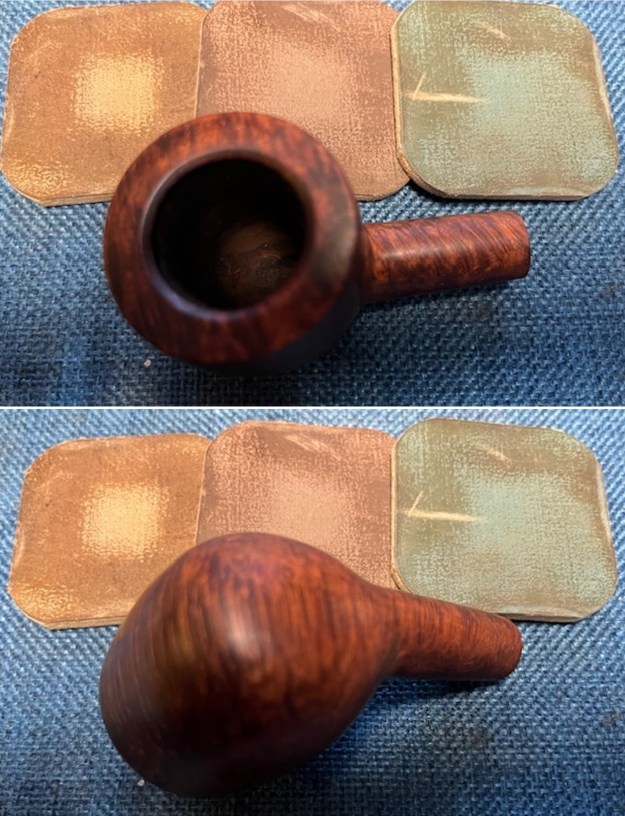
 I polished the bowl and rim top with micromesh sanding pads – dry sanding with 1500-12000 grit pads and wiped down the bowl down with a damp cloth after each sanding pad.
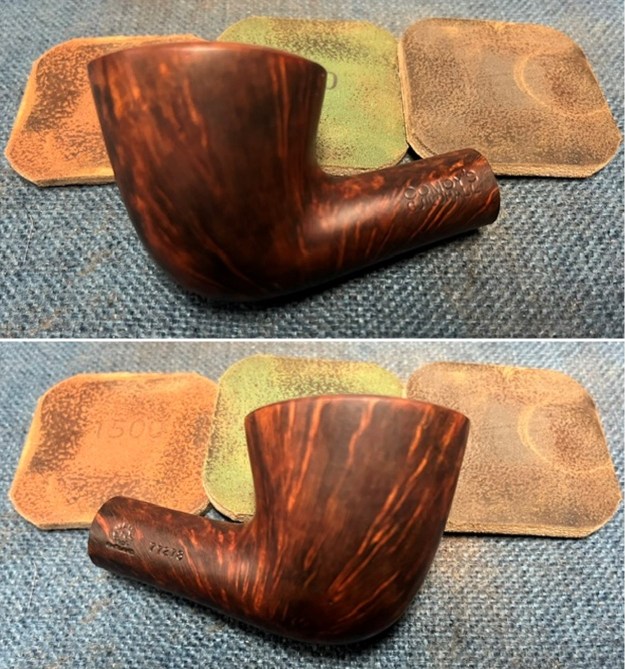

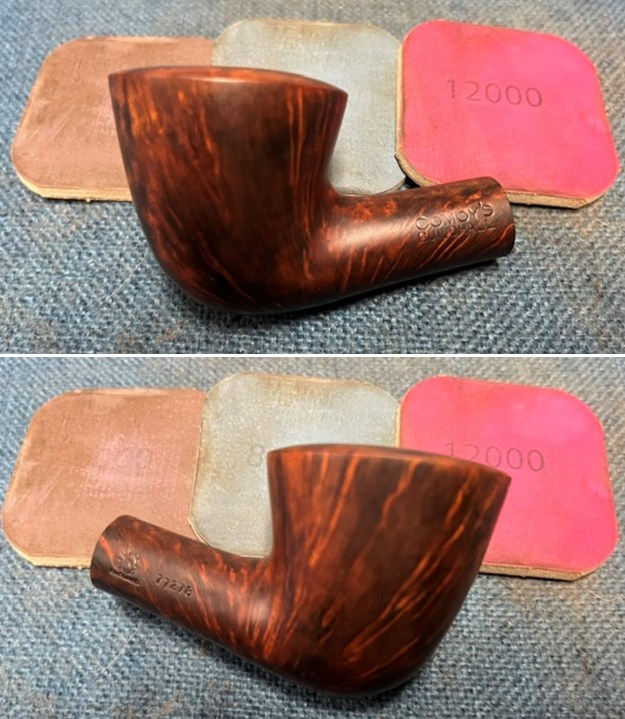
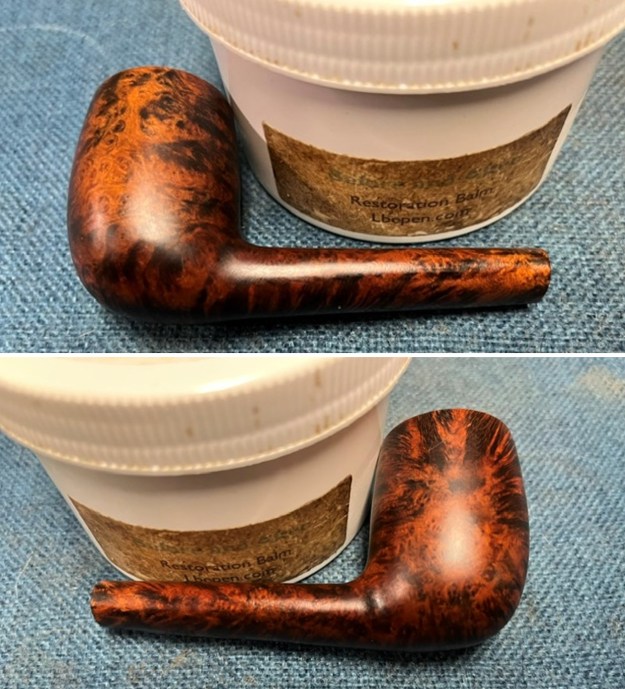
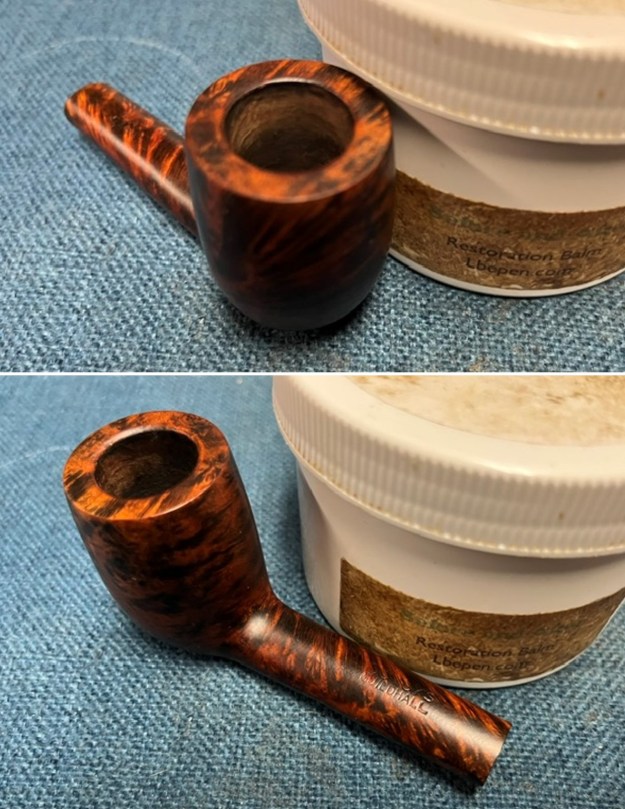
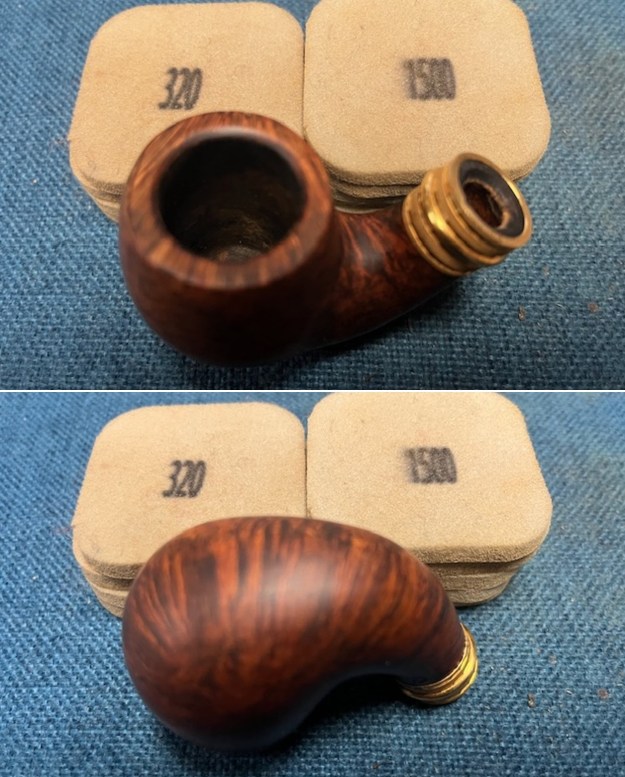
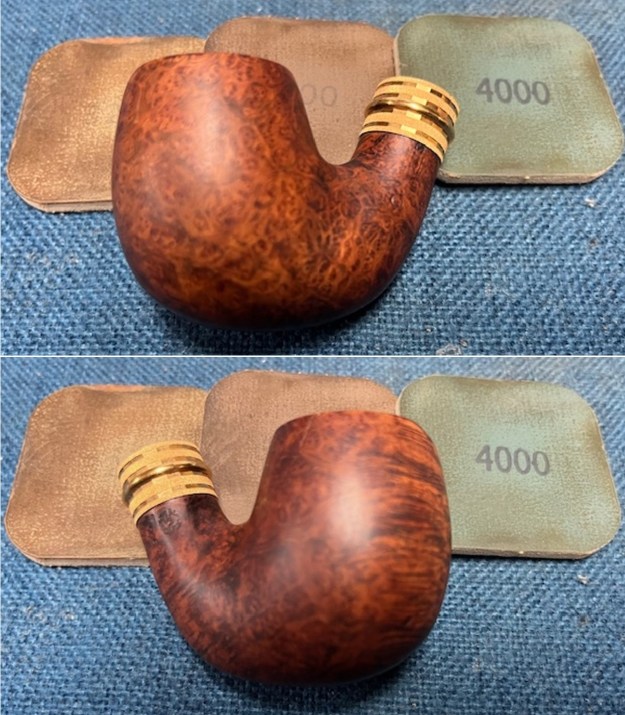
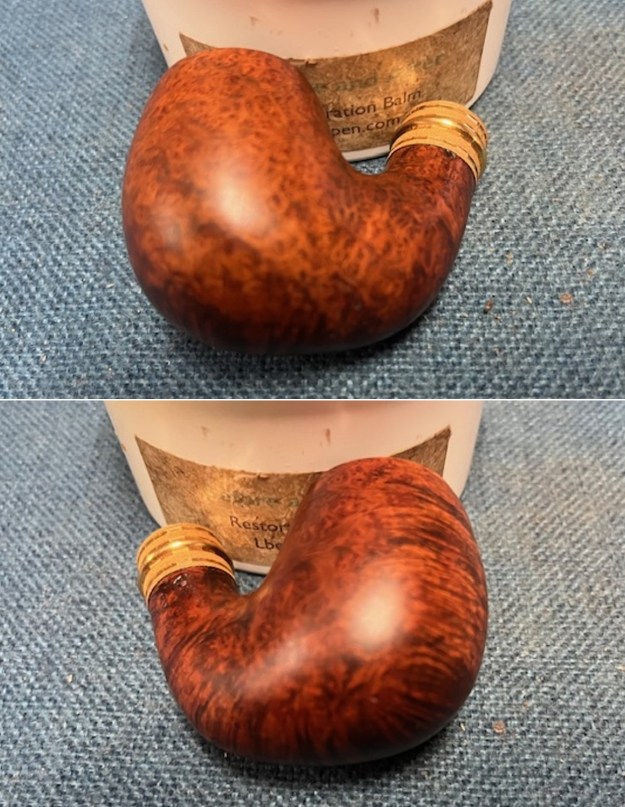
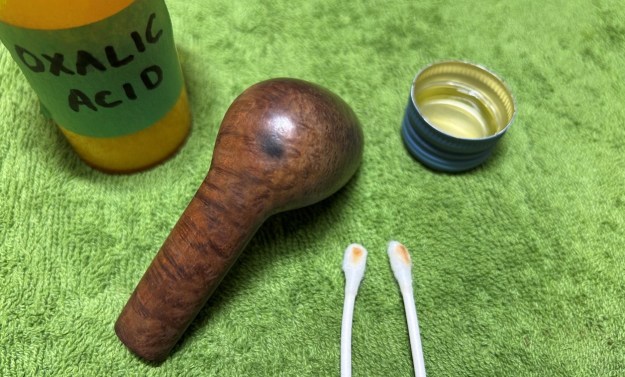
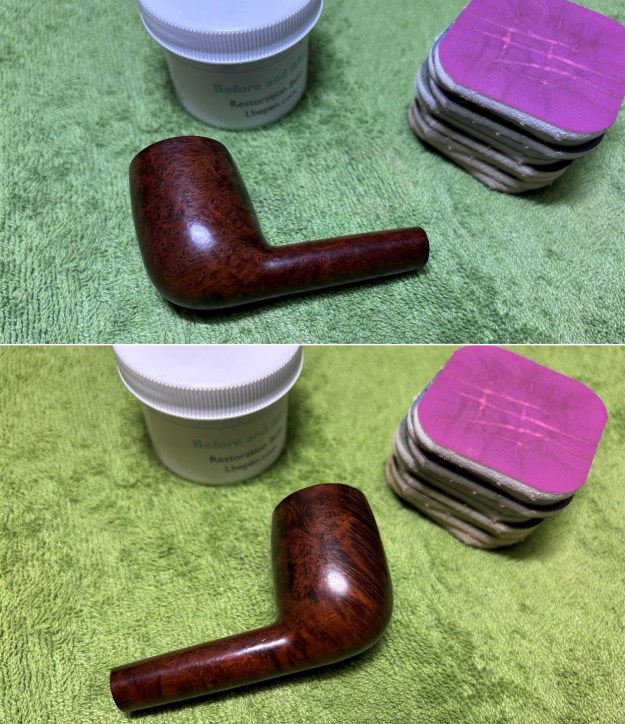
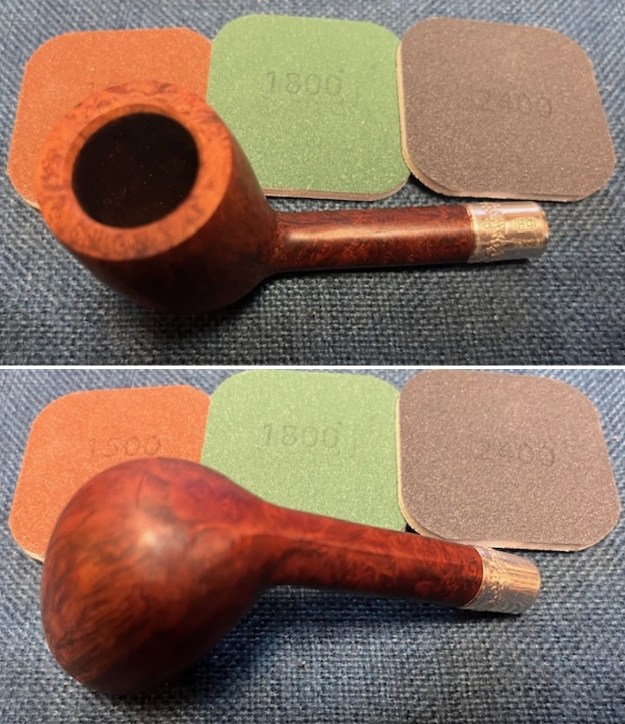
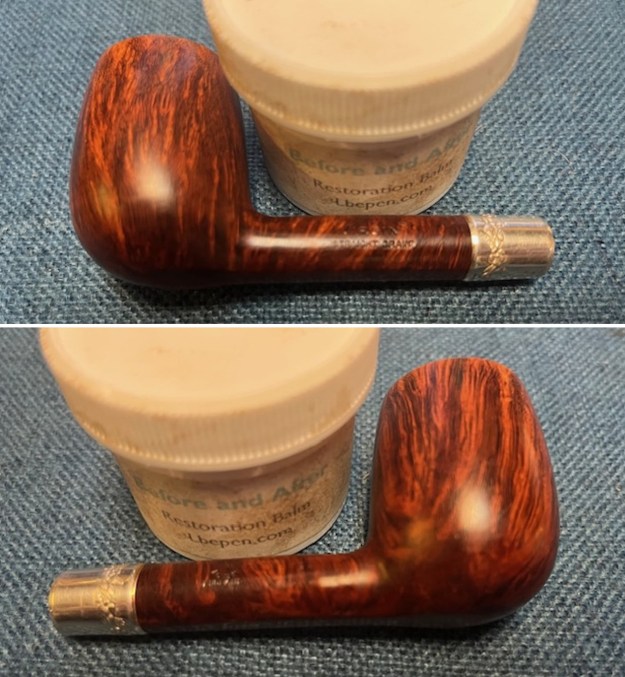
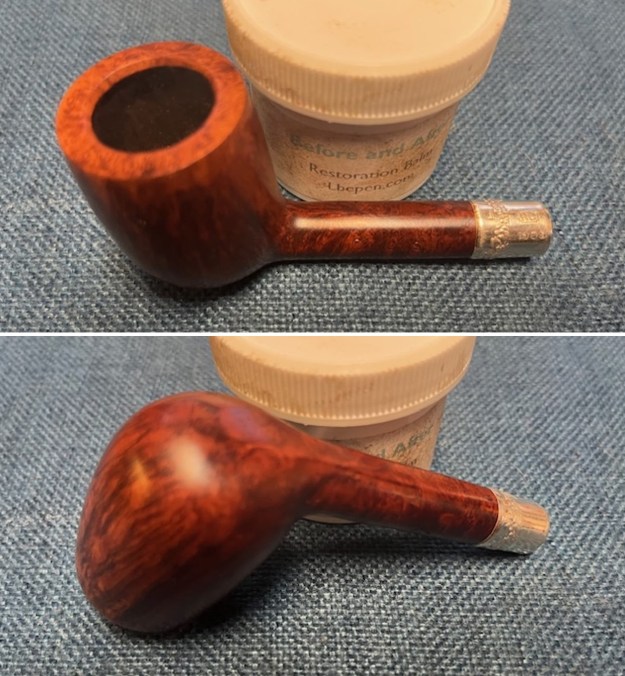
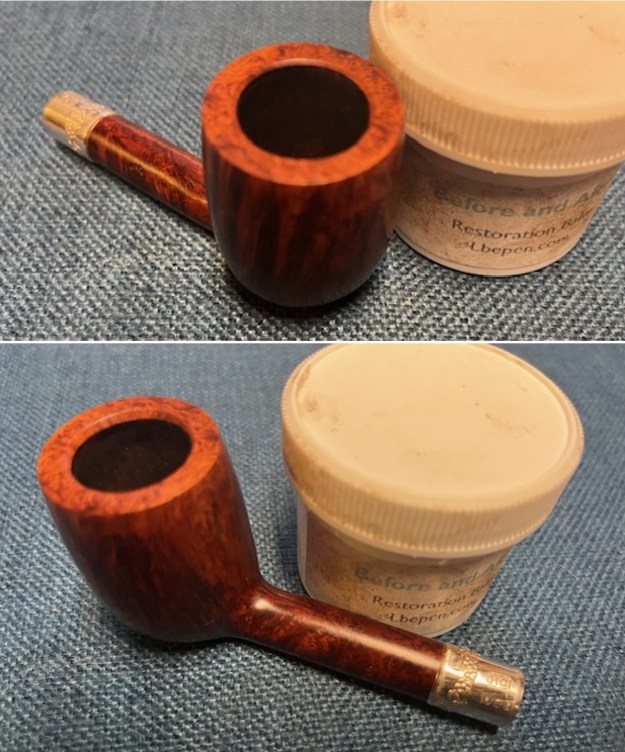
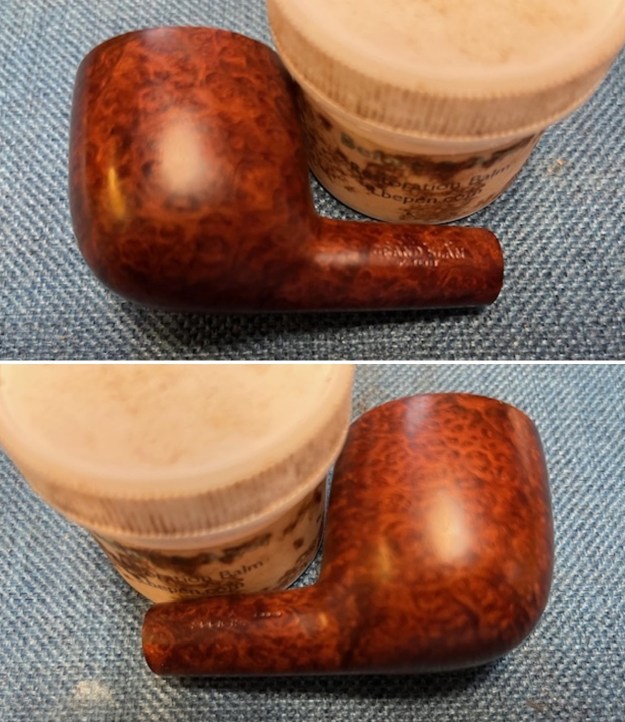
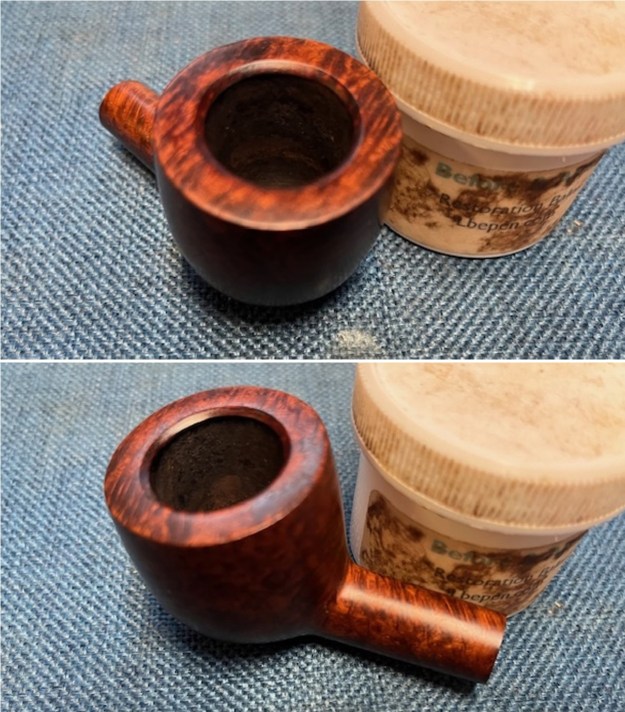
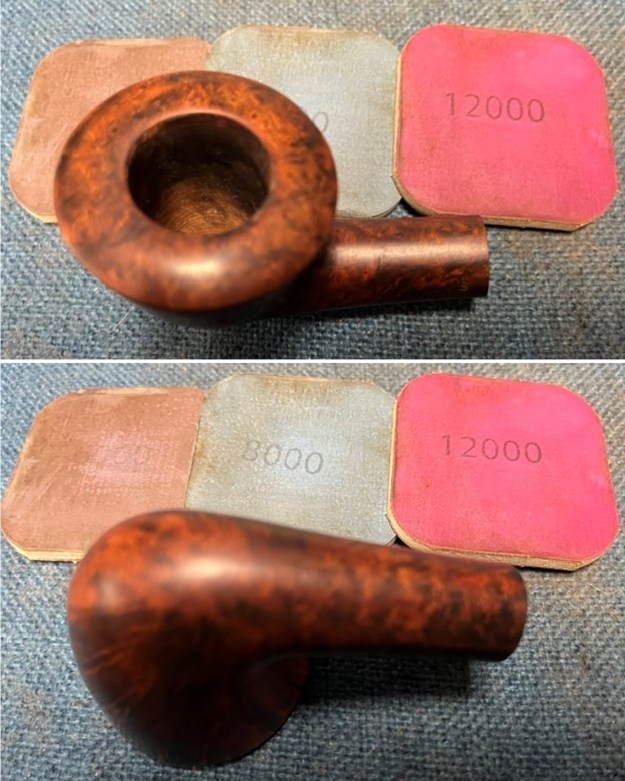 I rubbed the bowl and shank down with Before & After Restoration Balm. I worked it into the surface of the bowl sides and shank with my fingertips to get it into the grain. The product works to clean, enliven and protect the briar. I let the balm sit for a little while and then buffed with a cotton cloth to raise the shine. The Balm did its magic and the grain stood out.
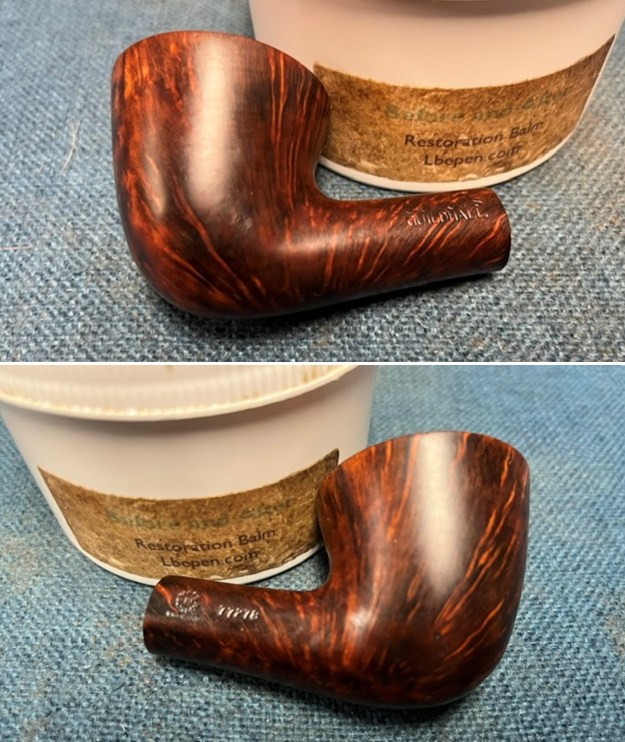
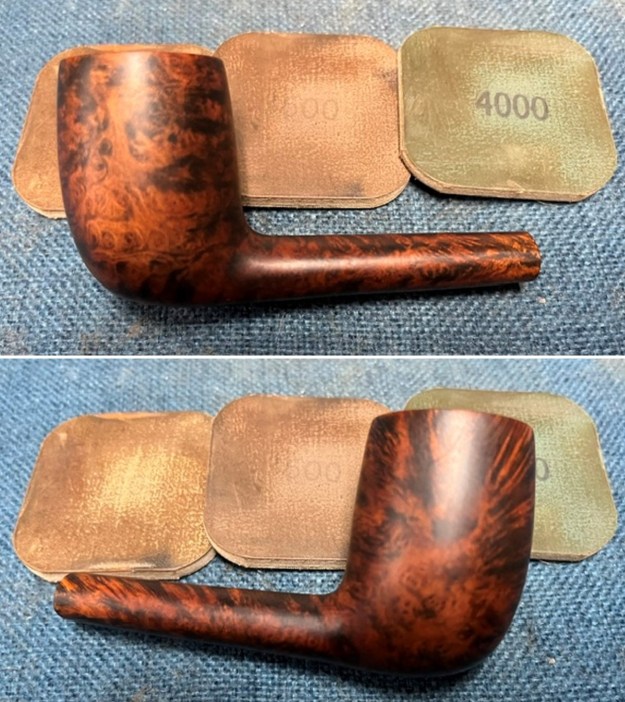
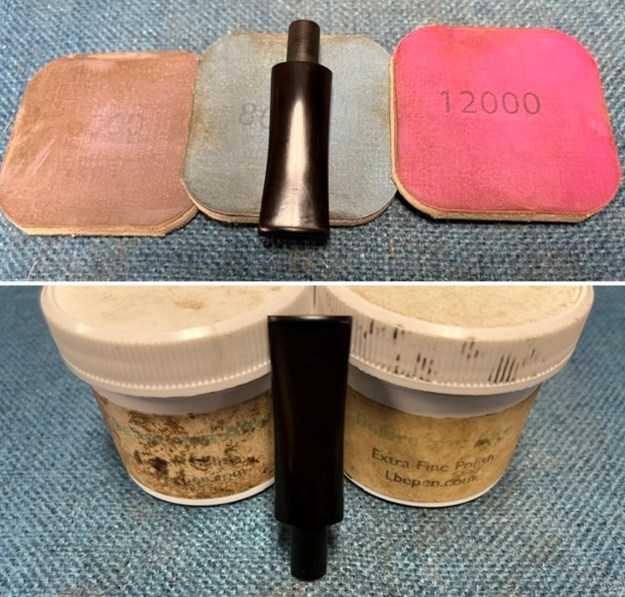
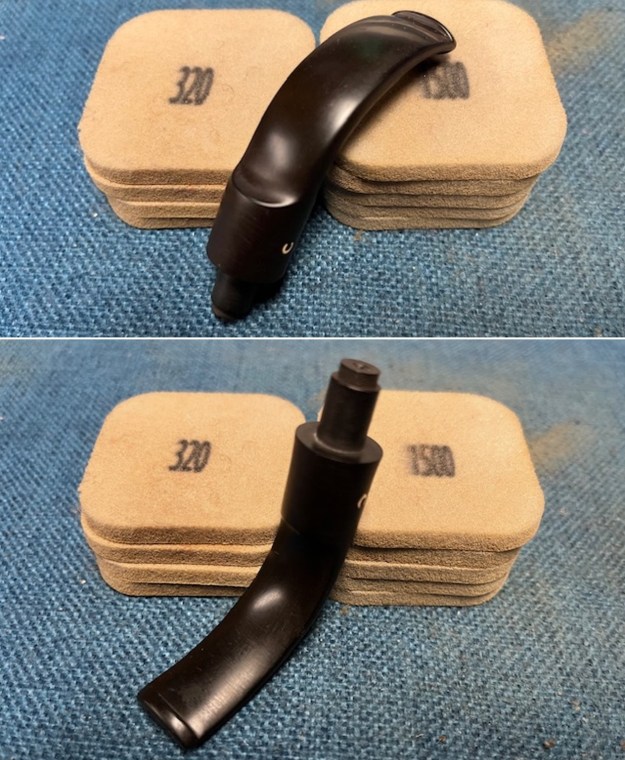
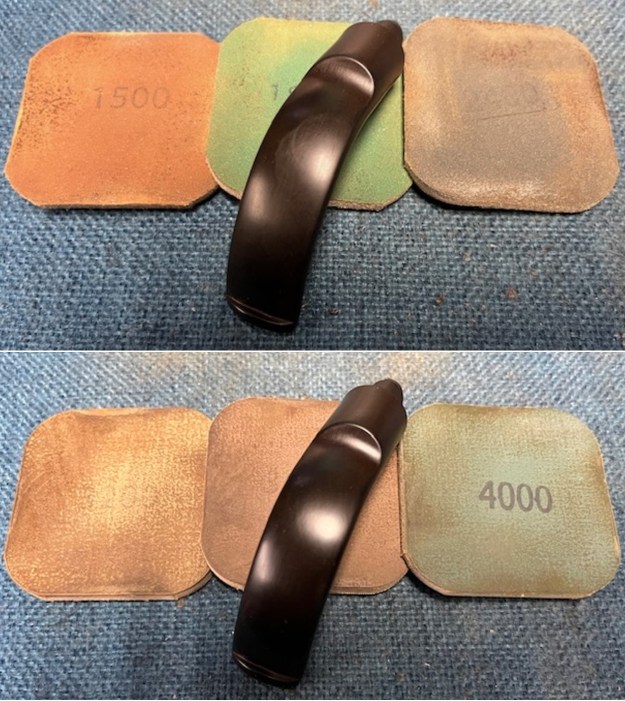
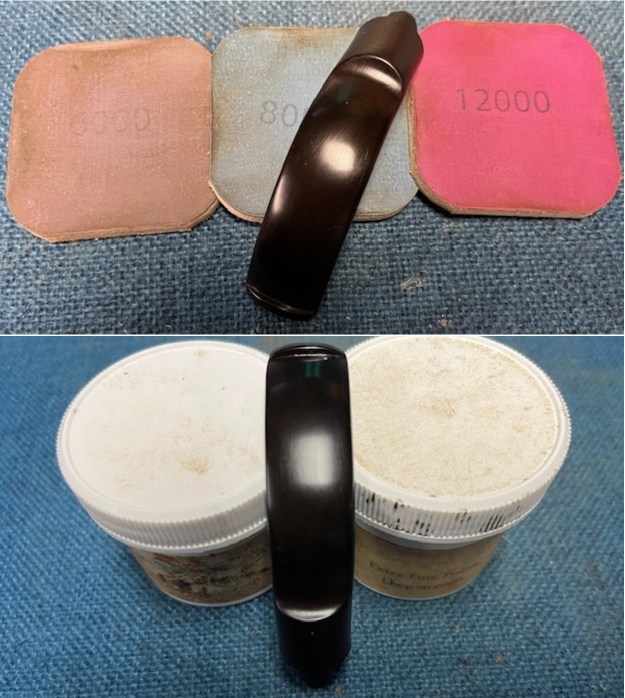
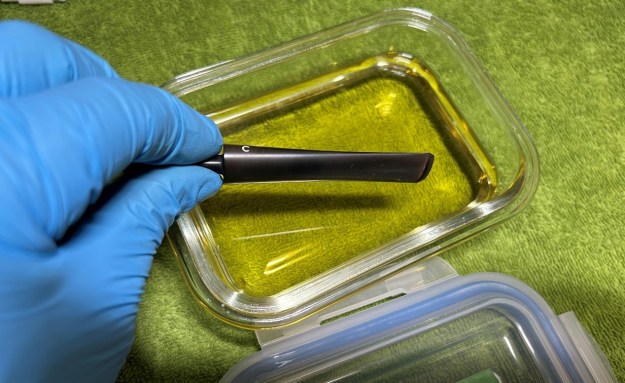
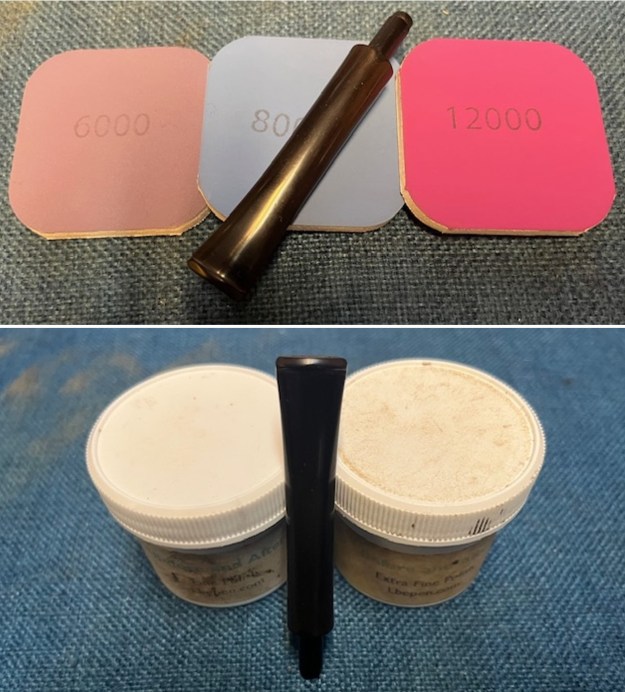
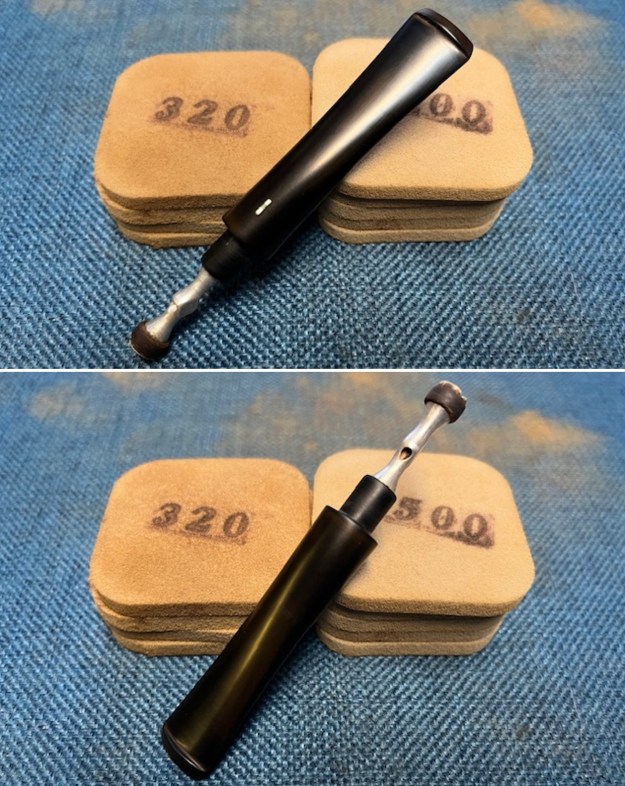
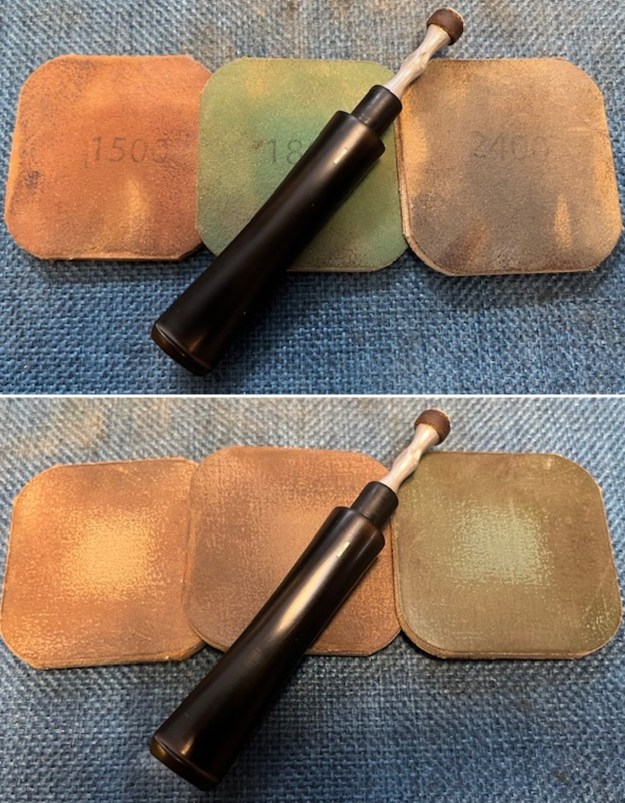
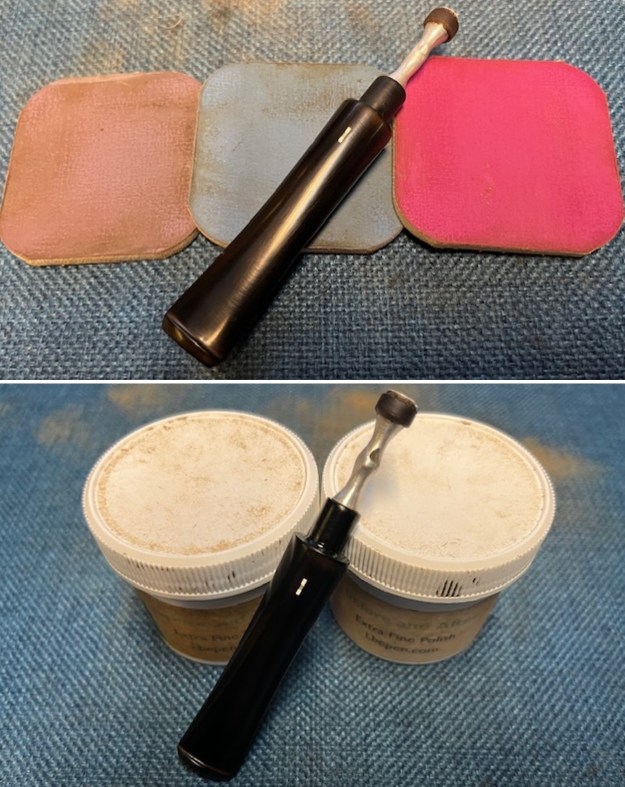
 I set the bowl aside and turned to the stem. I polished it with micromesh sanding pads – dry sanding with 1500-12000 grit sanding pads. I wiped it down after each sanding pad with Obsidian Oil. I polished it with Before & After Pipe Stem Polish – both Fine and Extra Fine. I gave it another coat of Obsidian Oil and set it aside to dry.
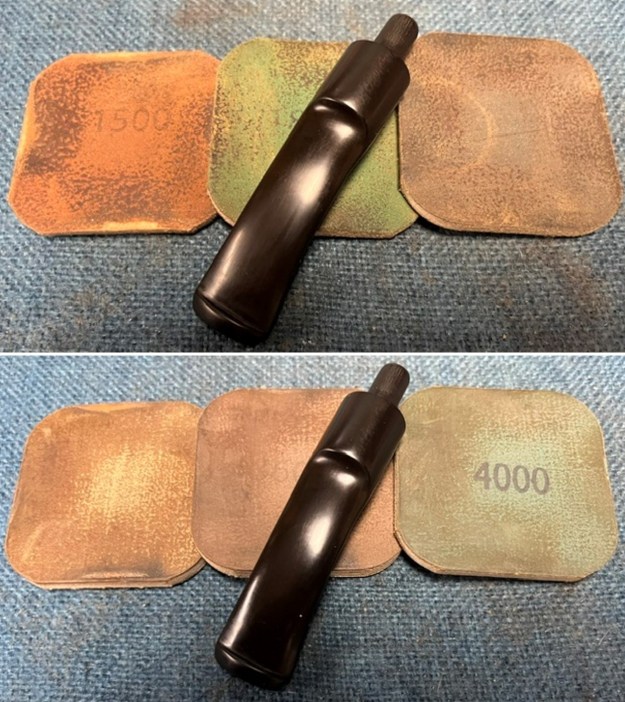
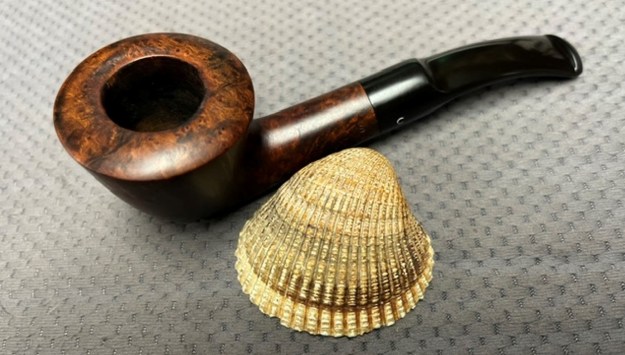
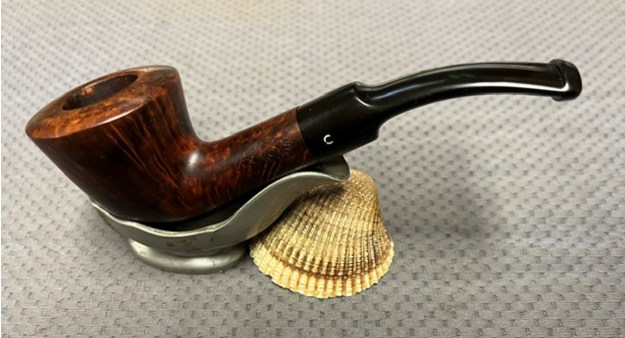
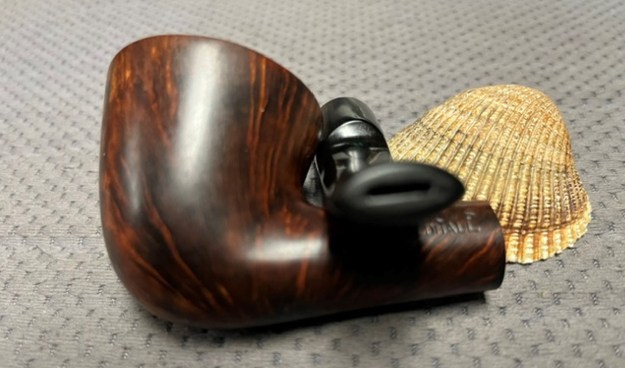
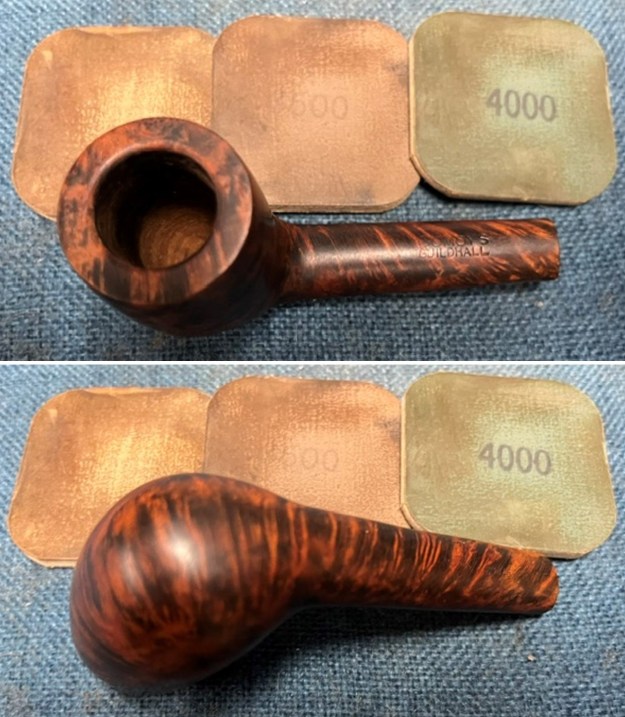
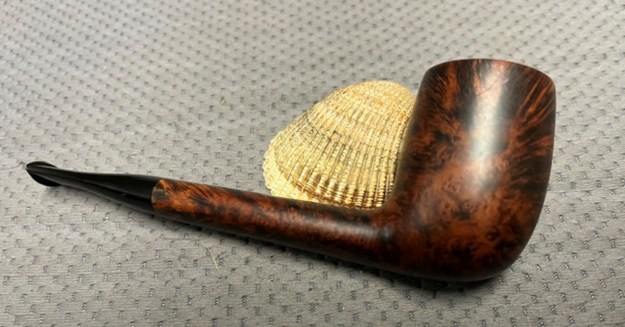
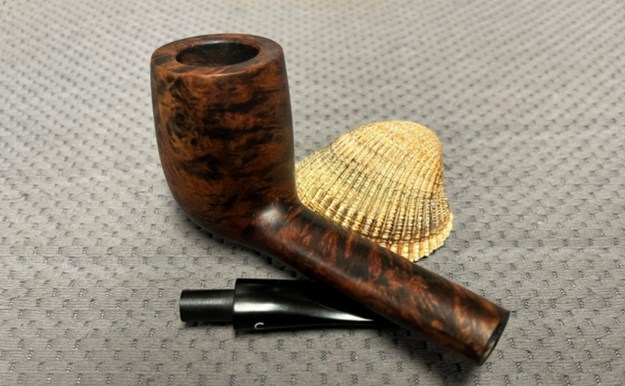
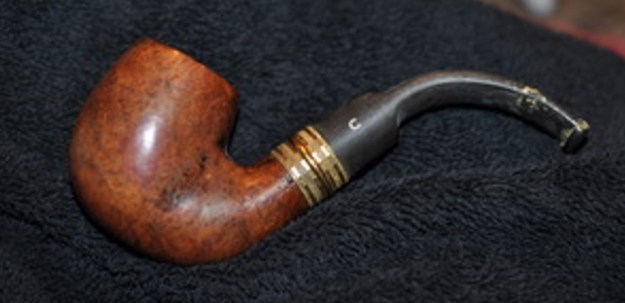
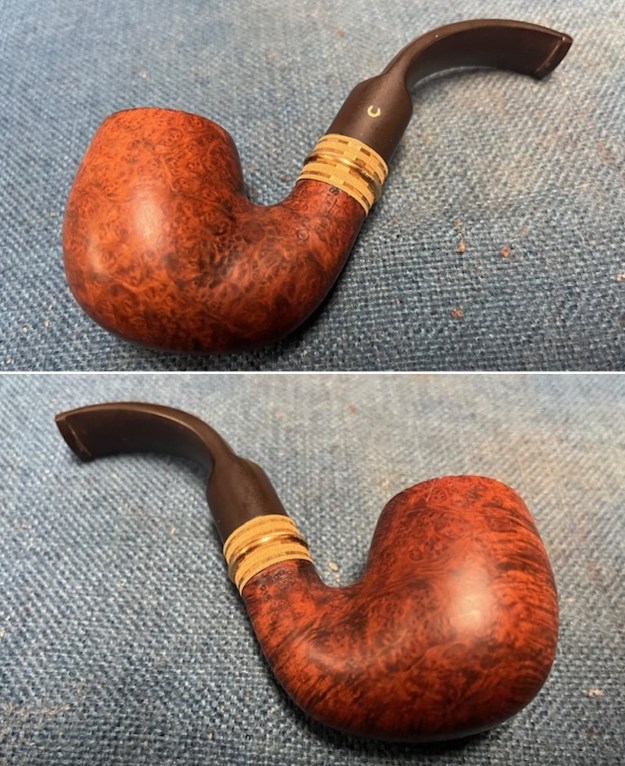
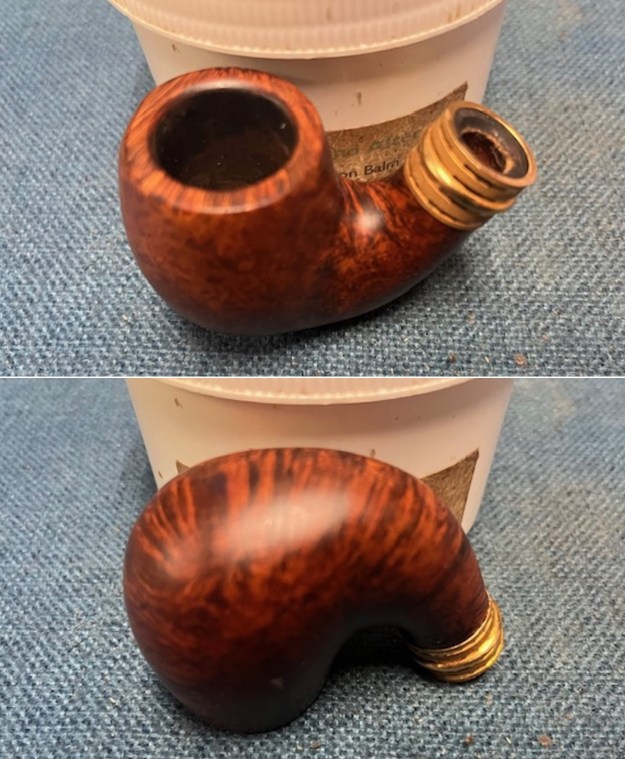
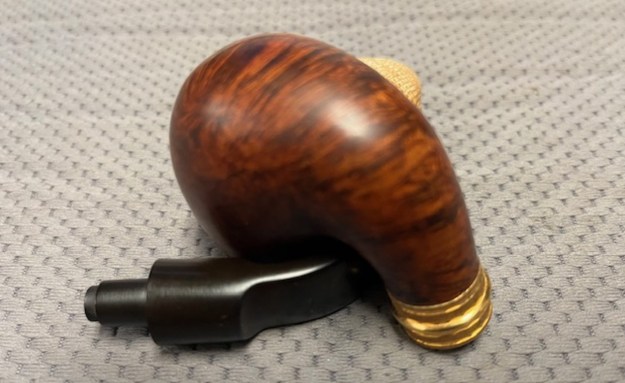
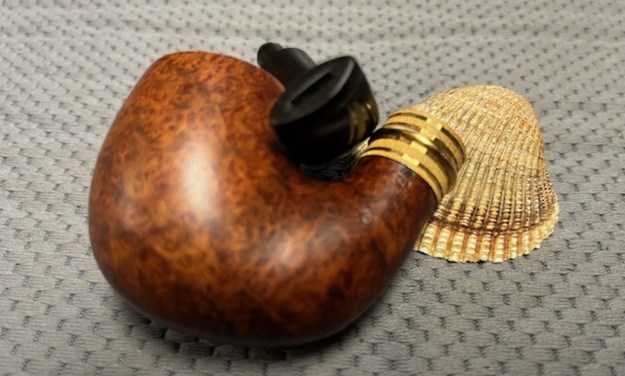
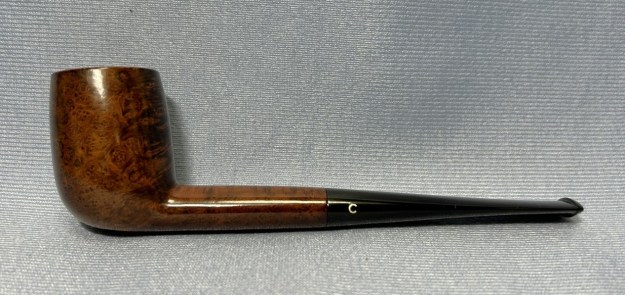
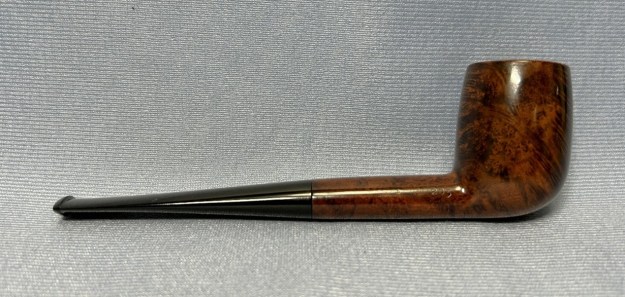
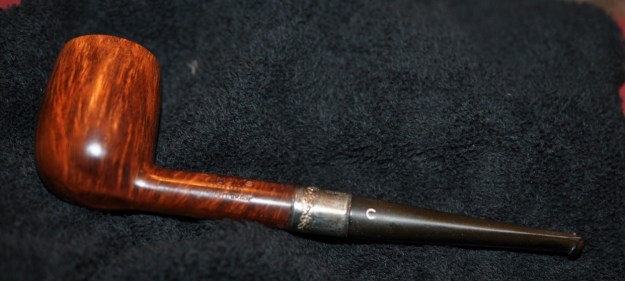
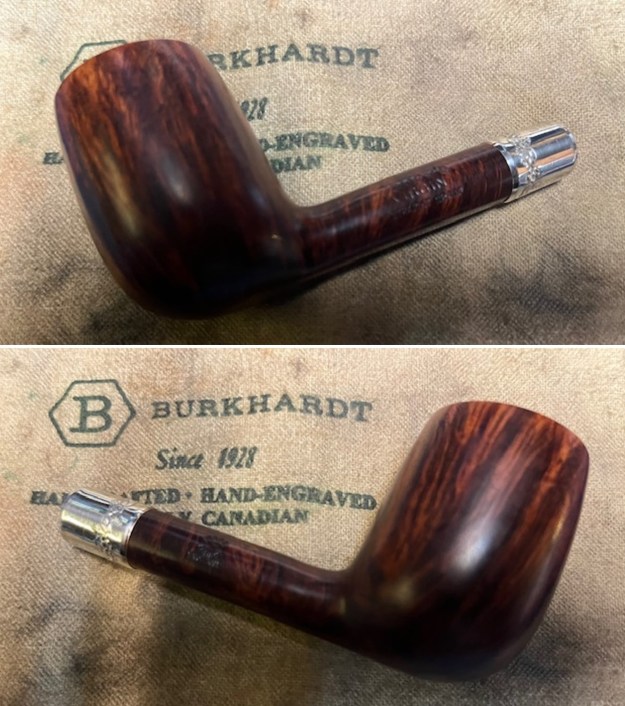
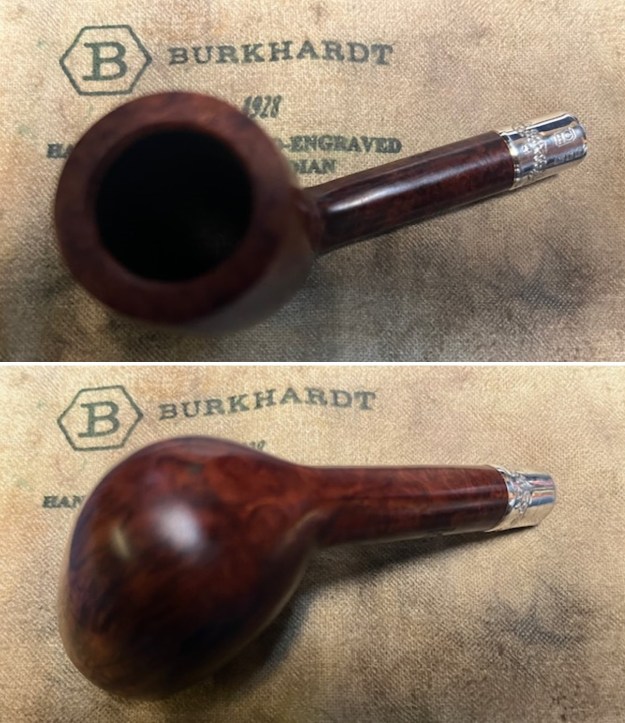
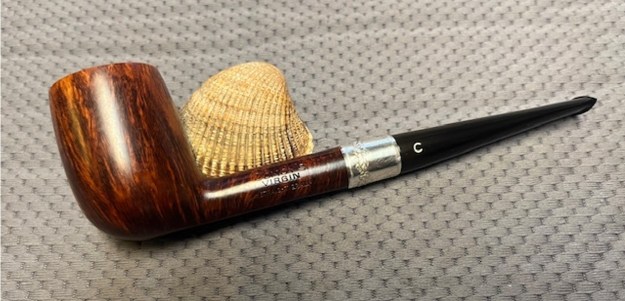
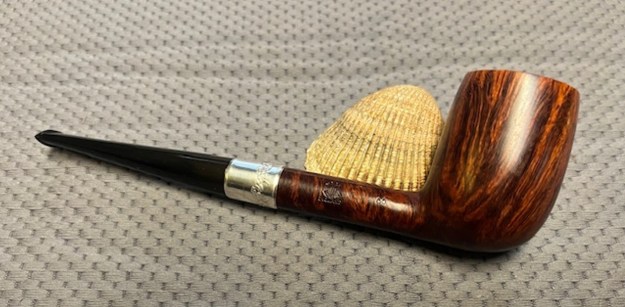
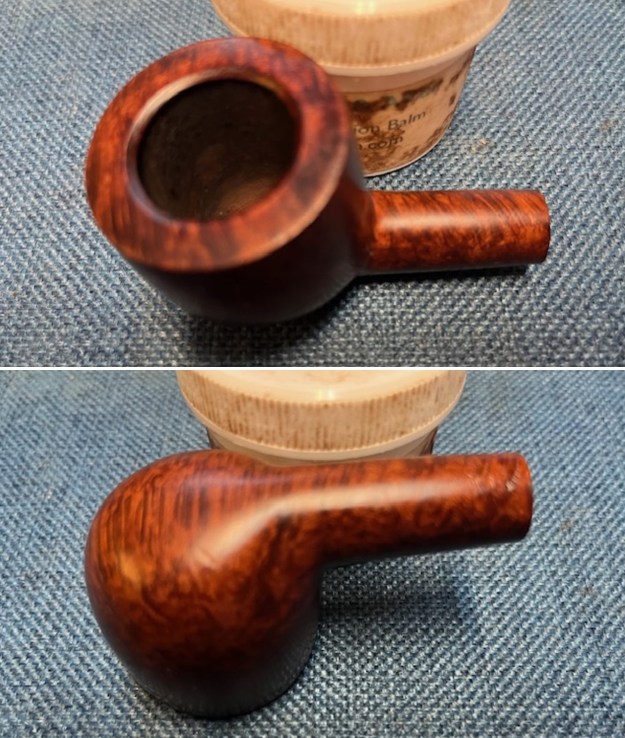
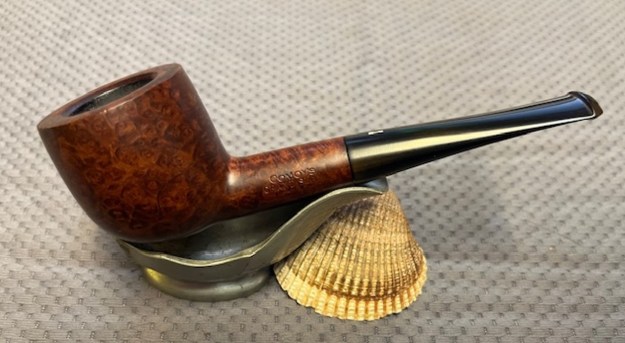
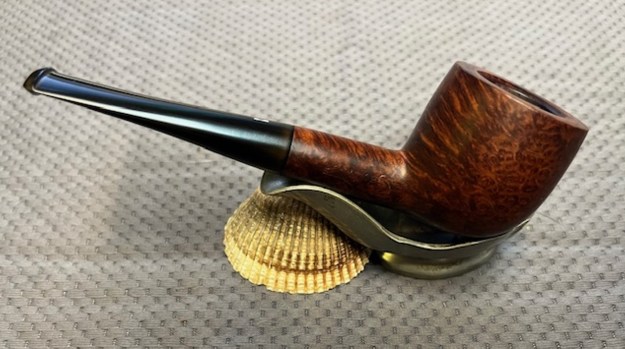
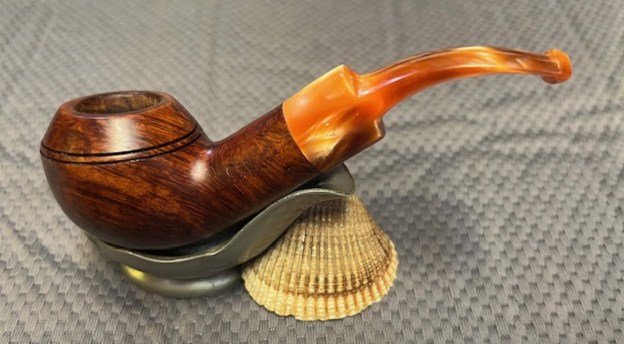
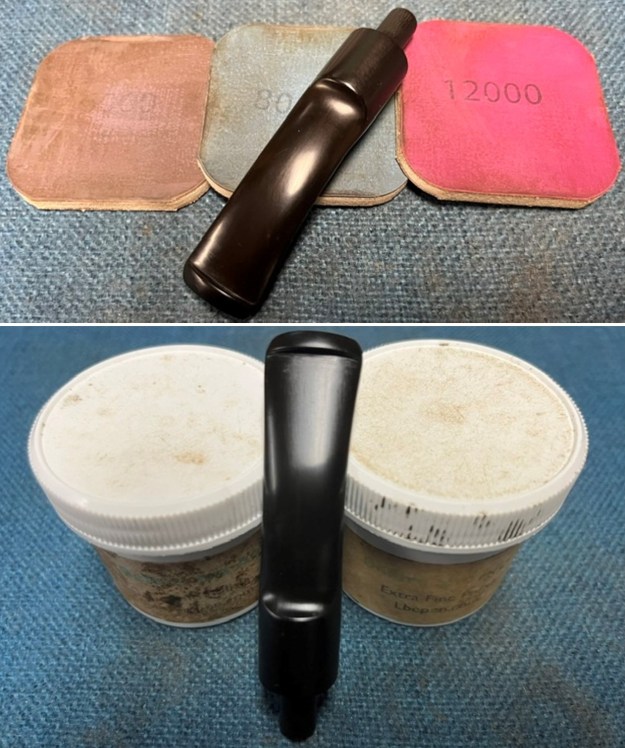 I am excited to put the final touches on this interesting piece of Comoy’s Pipe History. It is a beautiful Comoy’s Guildhall 77278 Dublin shaped pipe. I put the pipe back together and buffed it with Blue Diamond on the buffing wheel. I gave the bowl and the stem multiple coats of carnauba wax. I hand buffed the pipe with a clean buffing pad to raise the shine. It is fun to see what the polished bowl looks like with beautiful grain on the bowl sides, top and bottom. The polished black vulcanite stem combined with the bowl to make a stunning pipe. This older Comoy’s Guildhall 77278 Dublin is great looking and the pipe feels great in my hand. It is light and well balanced. Have a look at it with the photos below. The dimensions are Length: 5 ½ inches, Height: 1 ¾ inches, Outside diameter of the bowl: 1 ¾ inches, Chamber diameter: ¾ of an inch. The weight of the pipe is 47 grams/1.66 ounces. I will be adding it to the British Pipemakers Section of the rebornpipes store shortly. If you want to add it to your collection let me know. Thanks for walking through the restoration with me as I worked over this pipe. Thanks to each of you who are reading this blog.
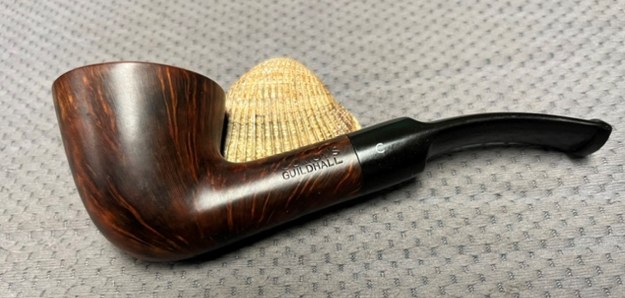


