by Steve Laug
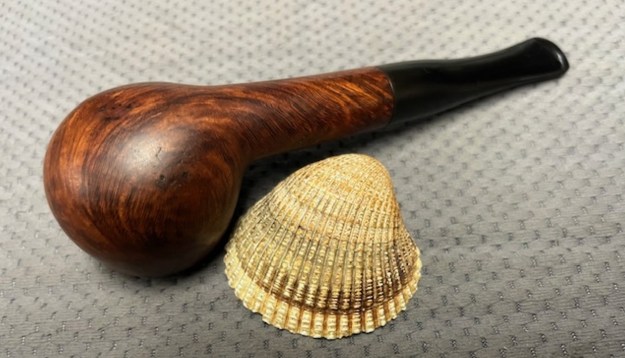
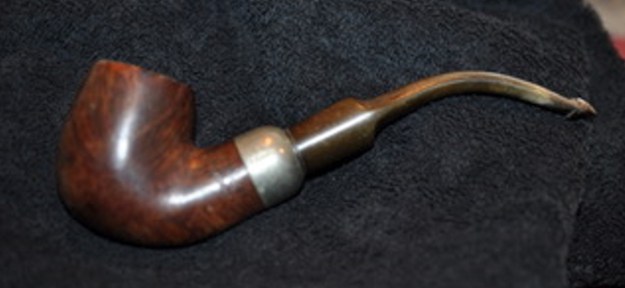
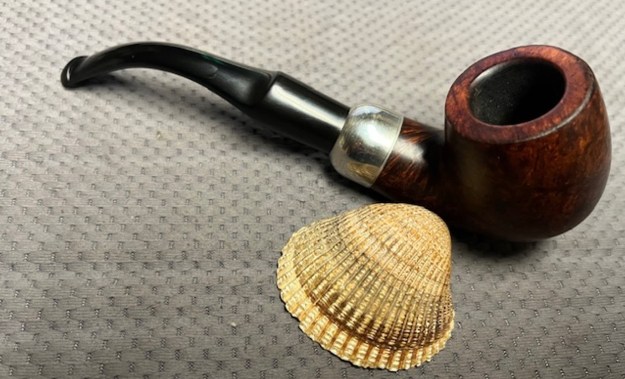
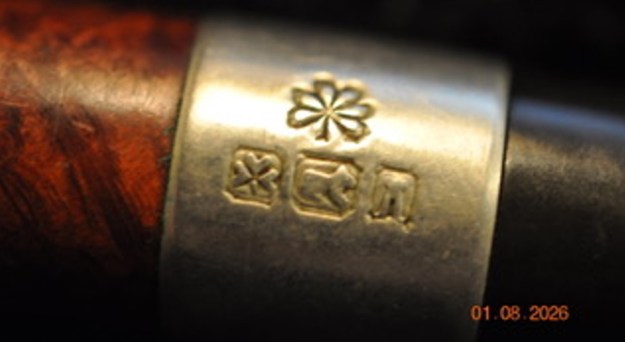
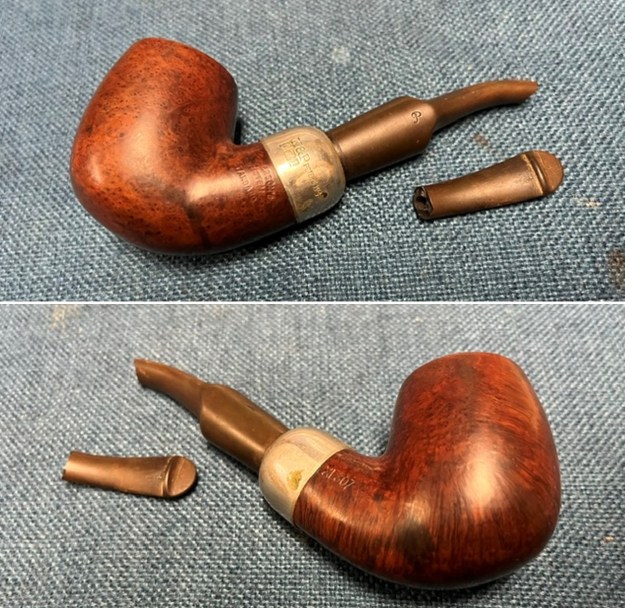
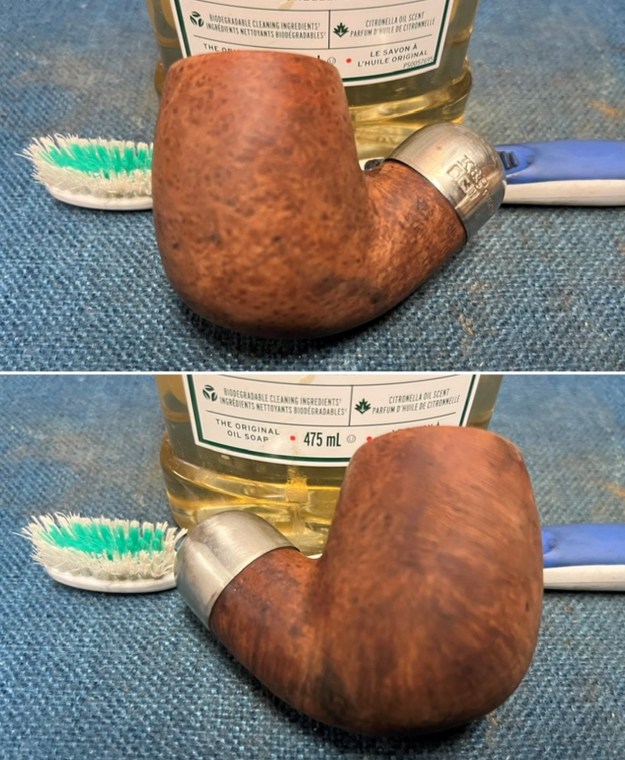
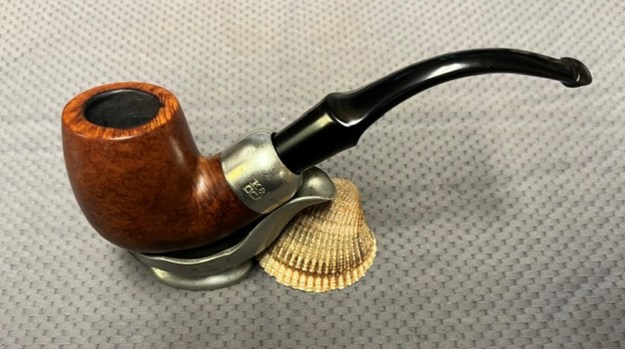
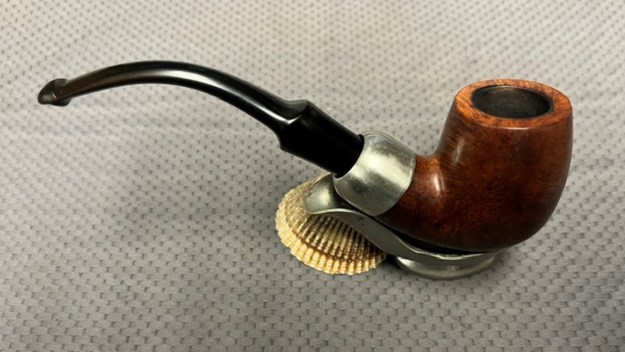
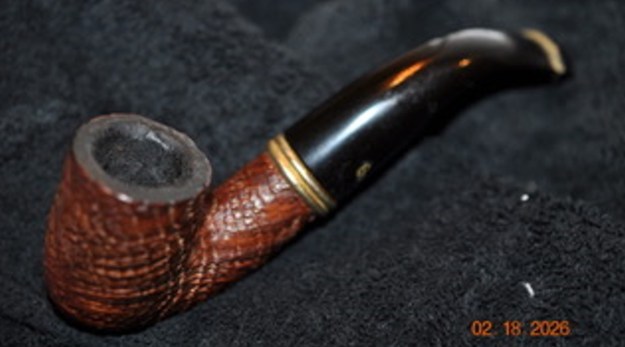
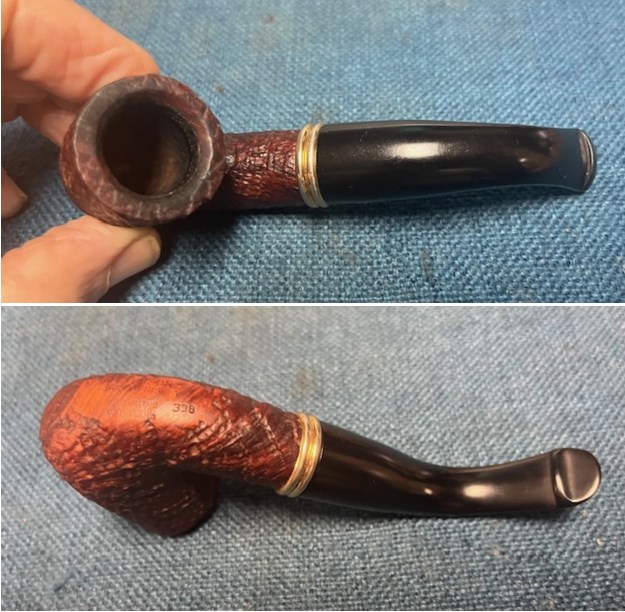
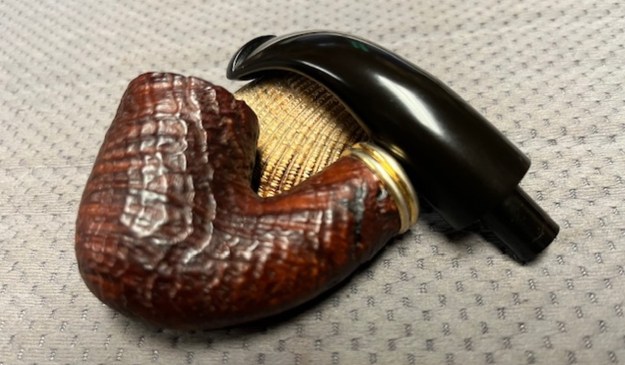
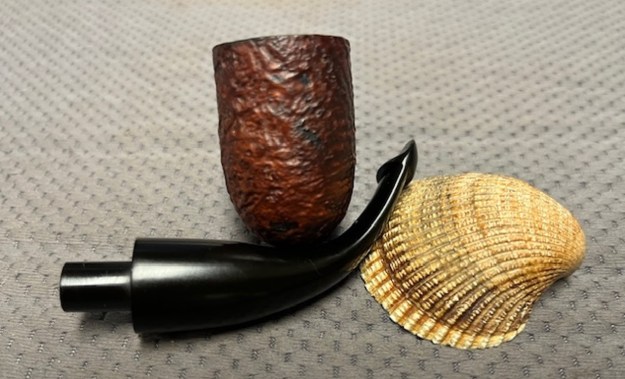
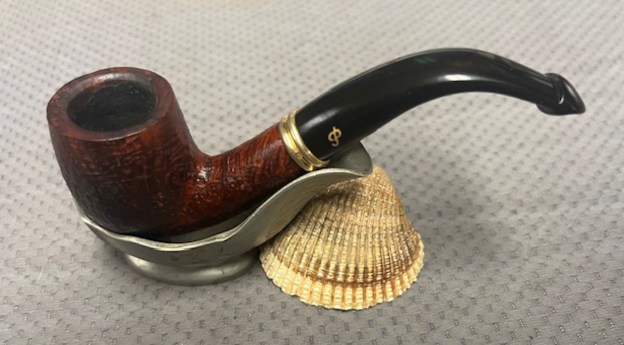
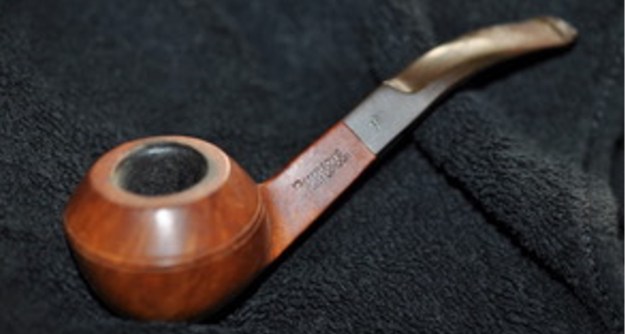
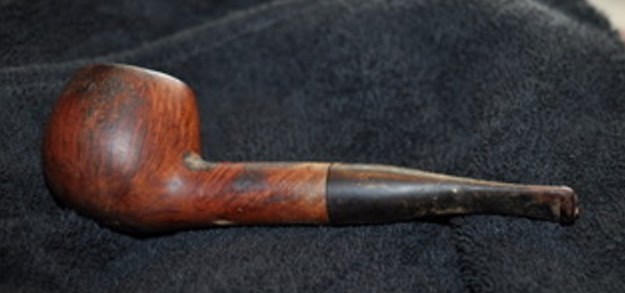
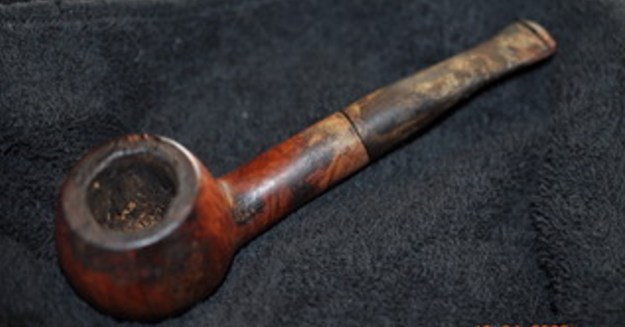
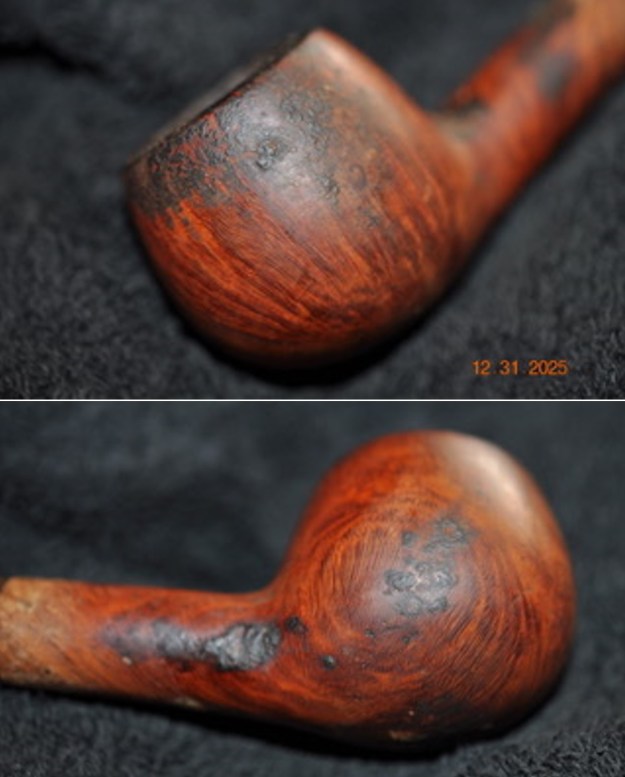
The next pipe was a mess and one that obviously had been “ridden hard and put away wet”. The finish and condition were filthy. It was definitely a stranger to any cleaning! This one is a smooth Billiard that has a rich coloured finish around the bowl sides and shank under the grit and grime of years. This pipe was purchased from an antique mall on 08/31/2024 in Hillsboro, Oregon, USA. The finish is dark and dull, so dirty that it obscures the grain in the finish. It was stamped on the left side of the shank and read SHAMROCK. It was stamped to the right of the shank and reads MADE IN IRELAND (in a circle) with the shape number 105 preceded by what looks like a Maltese Cross. Together they are next to the bowl. It was filthy when Jeff brought it to the table. There was a thick cake in the bowl and lava on the rim top and the inner edge of the bowl. There were nicks in the inner edge all the way around. The polished nickel band was stamped with a Shamrock [over] three faux hallmarks – a shamrock, an Irish Wolfhound and a tower with a door. The vulcanite stem was oxidized, calcified and had tooth marks and chatter on the top and underside ahead of the button. Jeff took photos of the pipe before his cleanup work.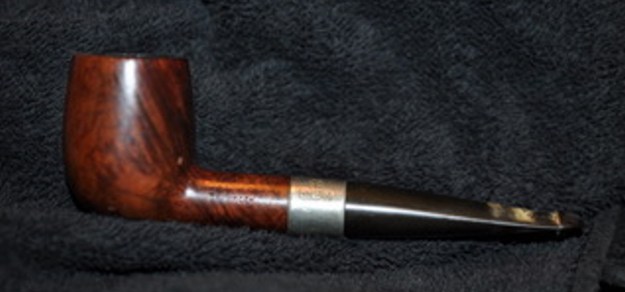
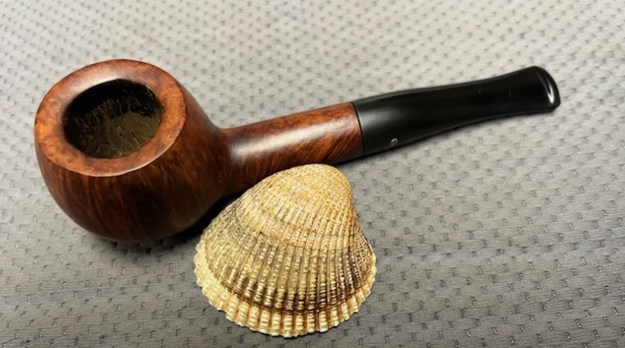
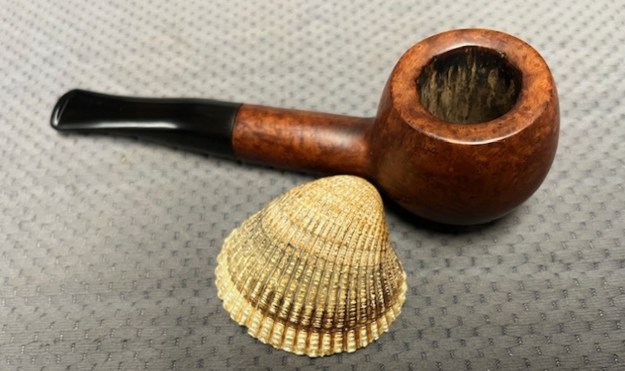
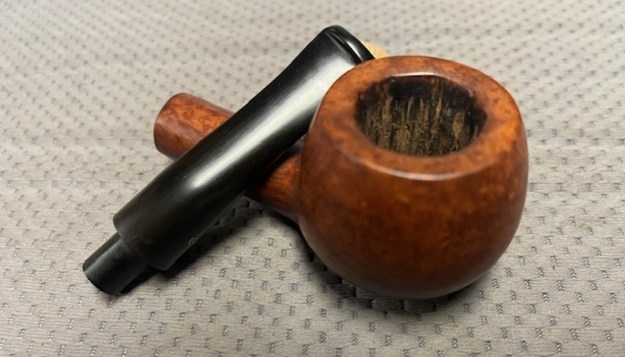
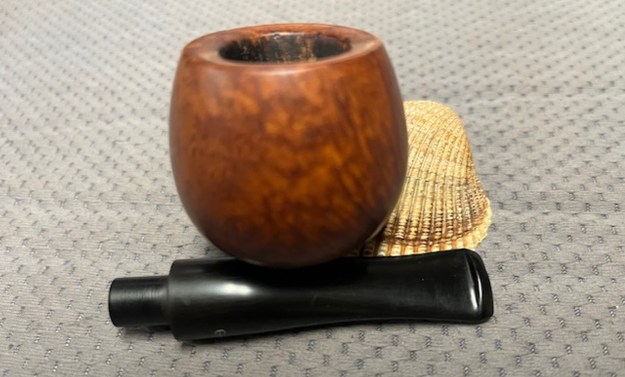
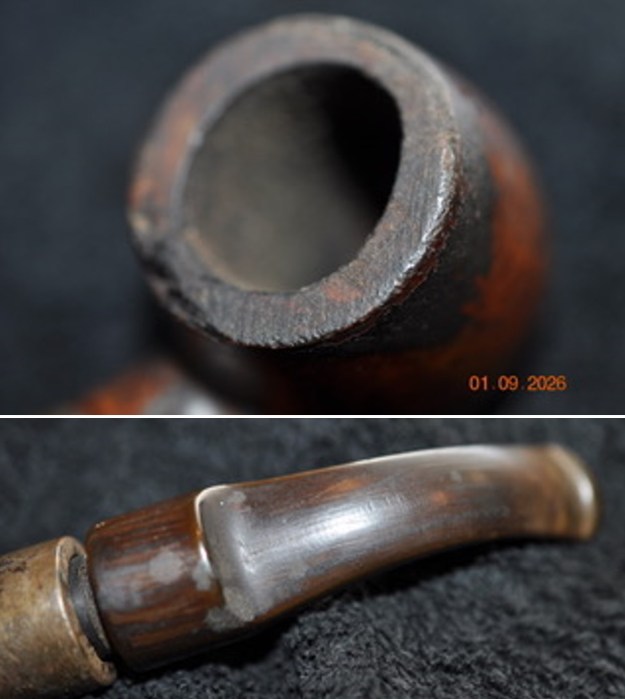
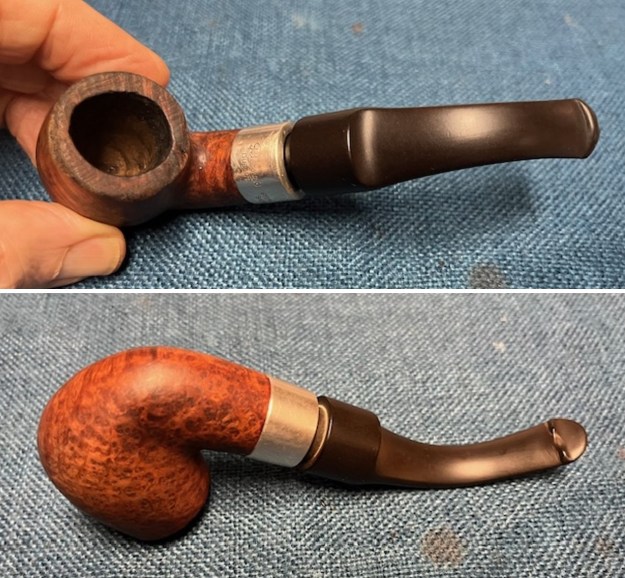
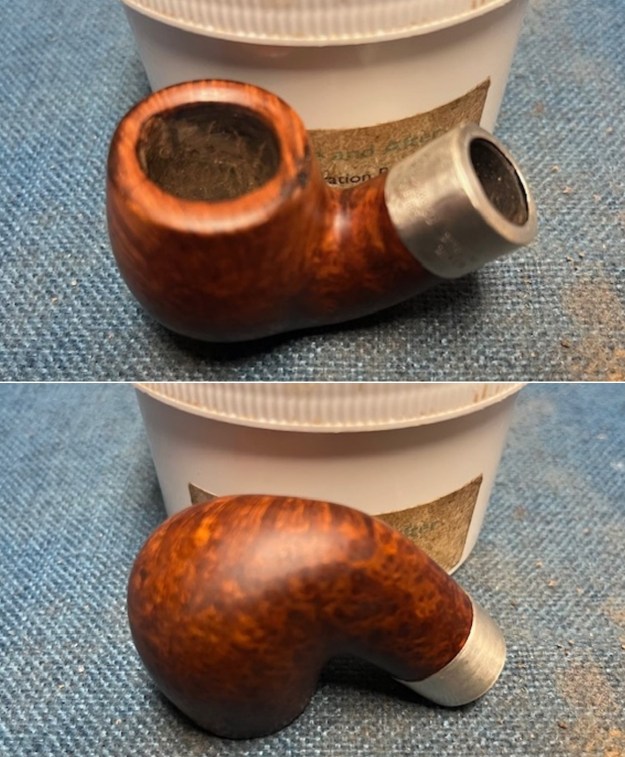
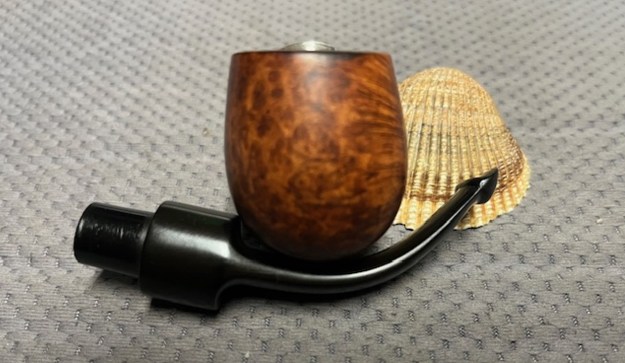
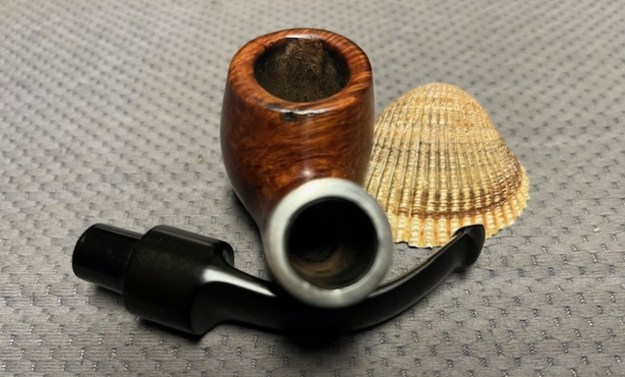
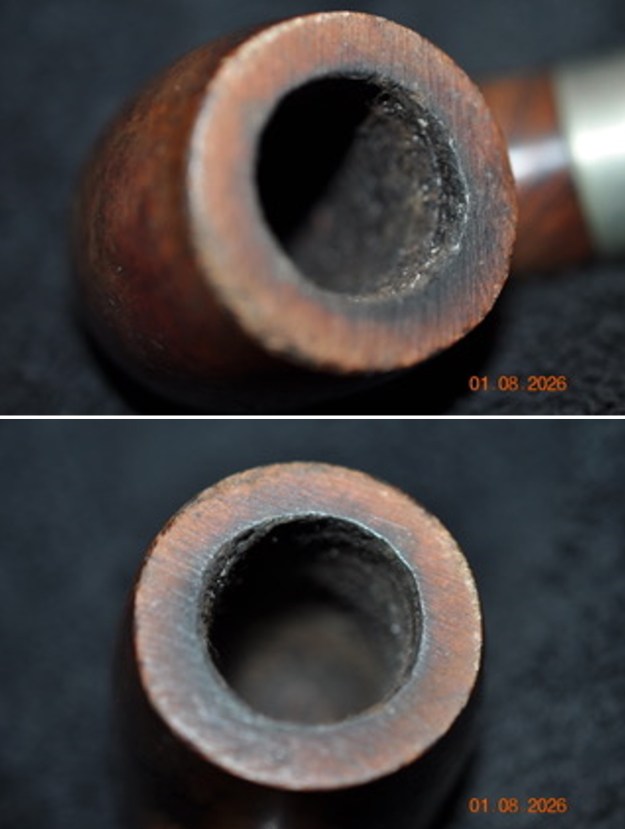
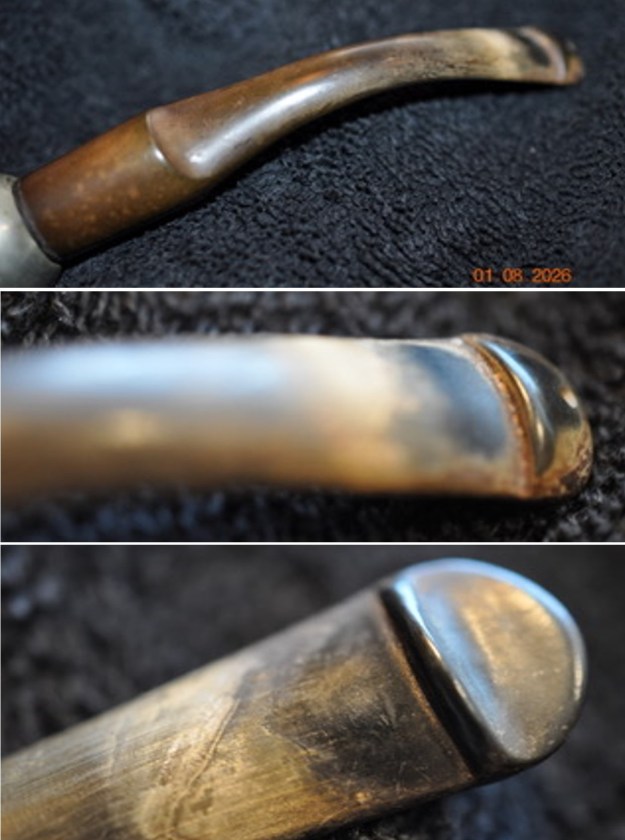
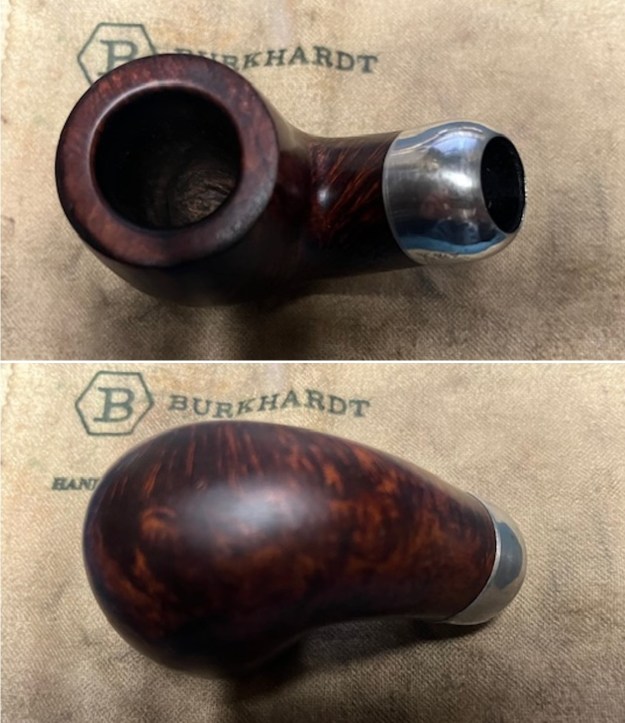
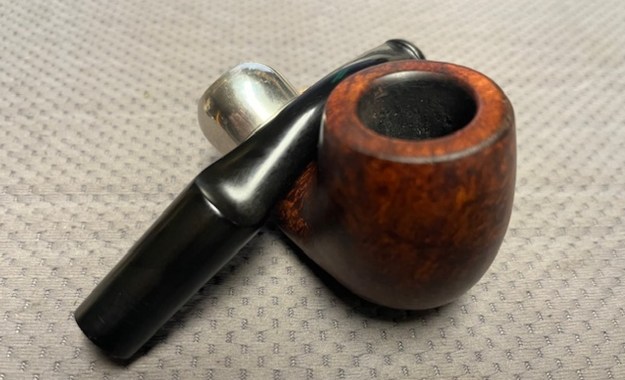
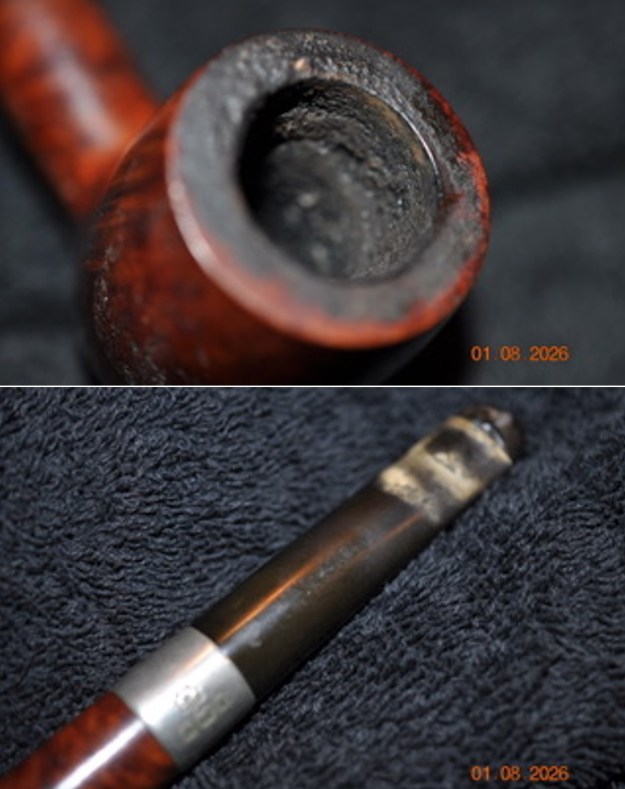
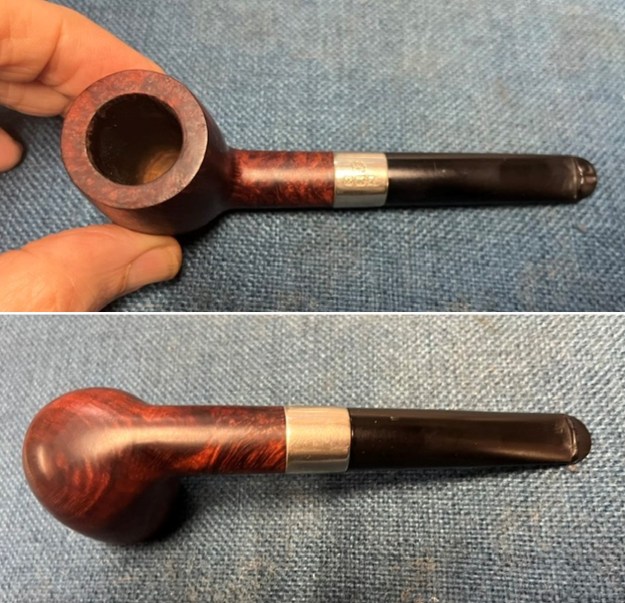
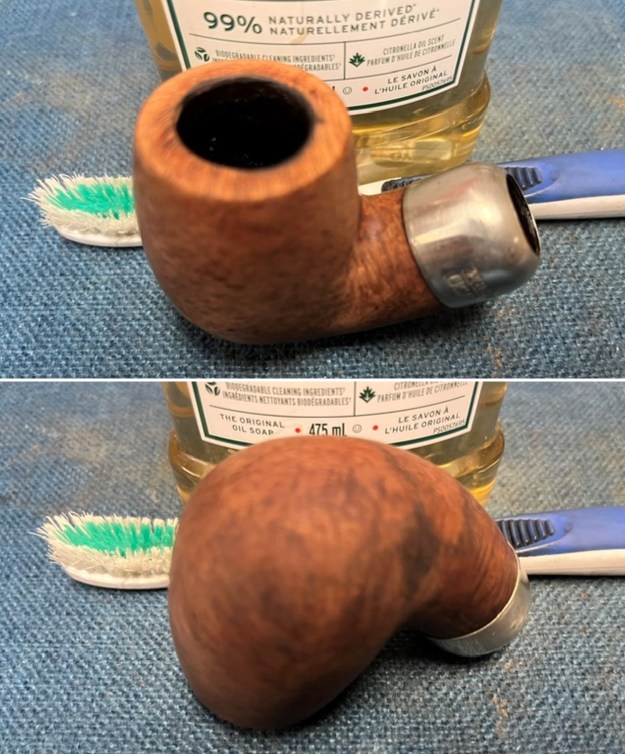
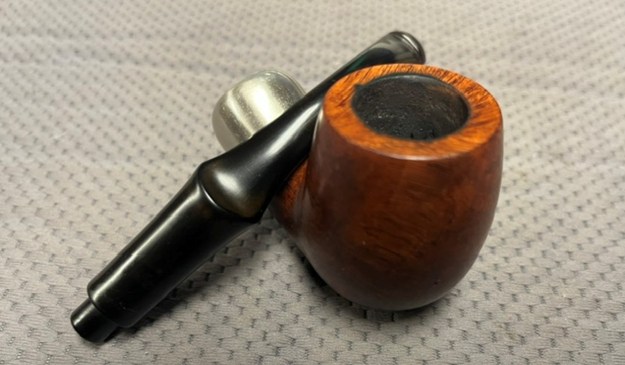
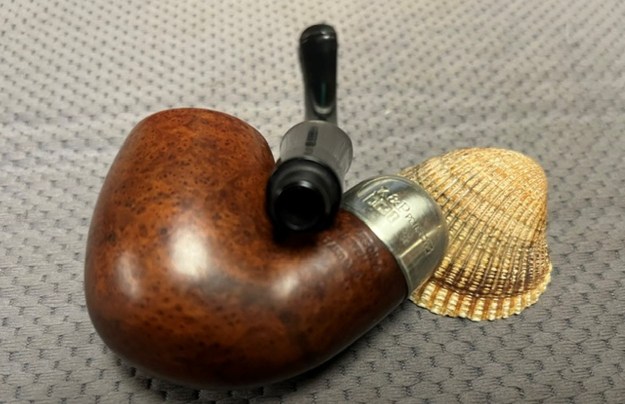
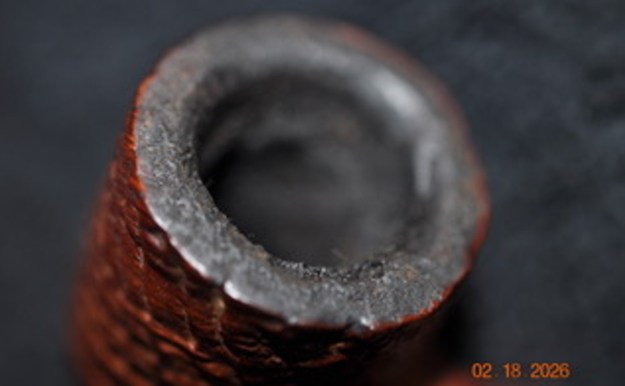
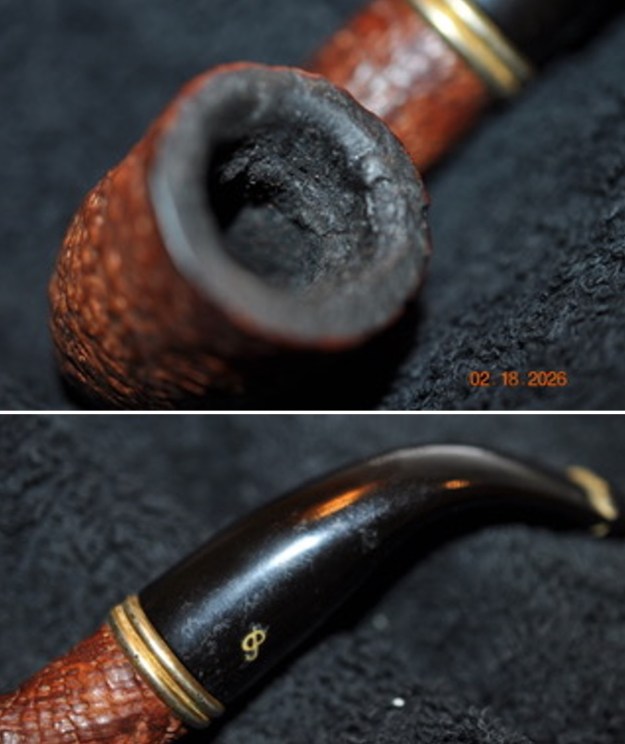
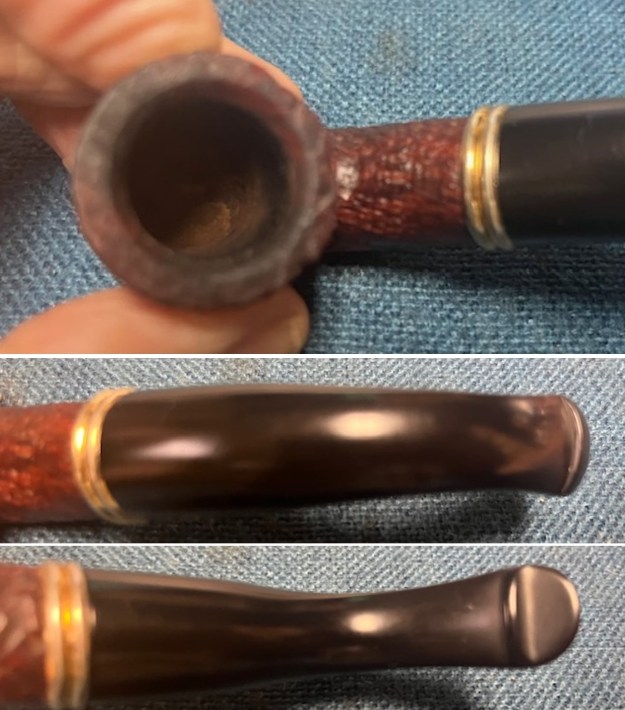
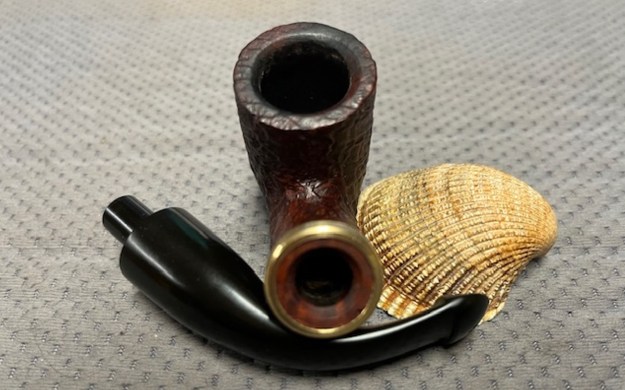
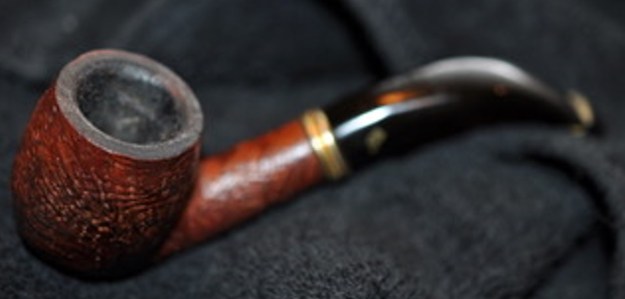
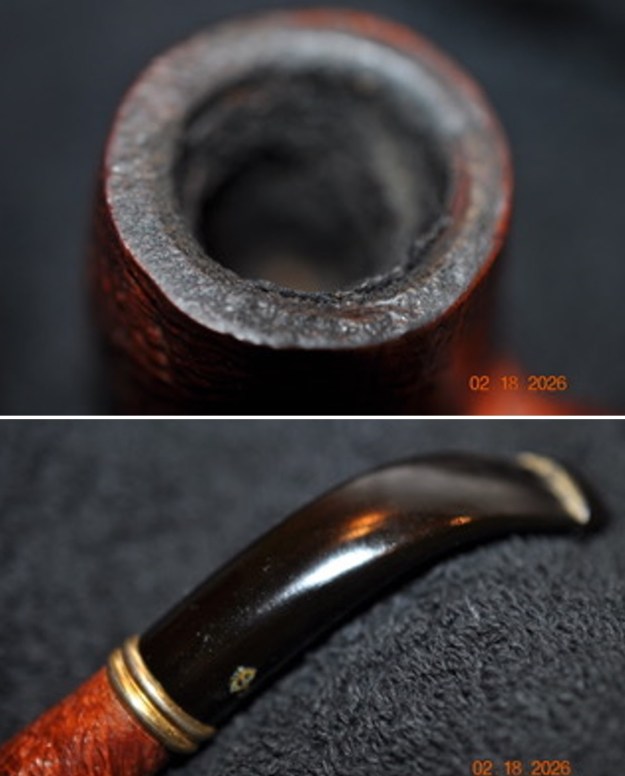
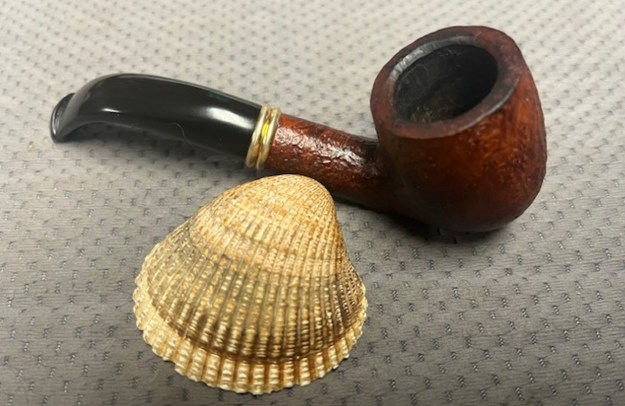
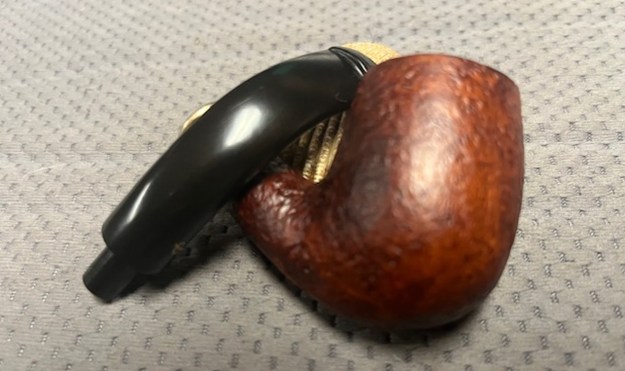
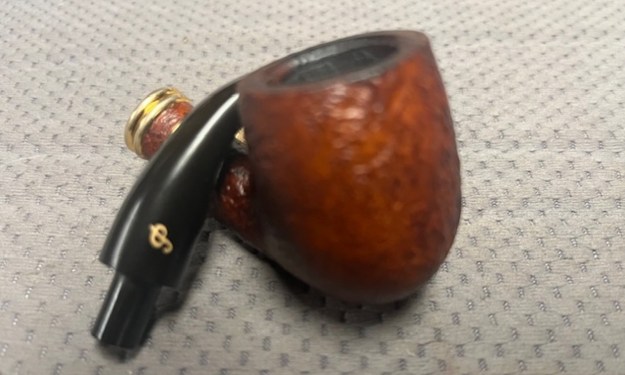
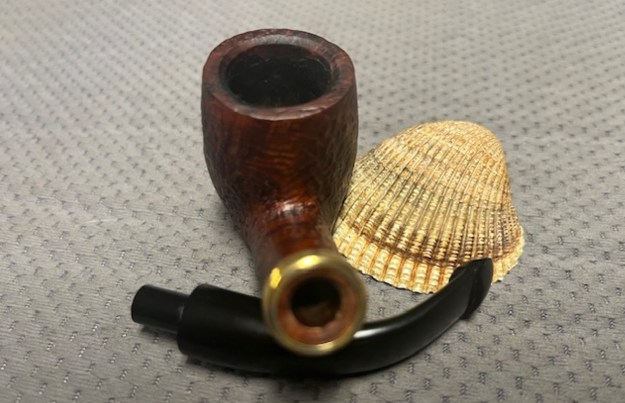
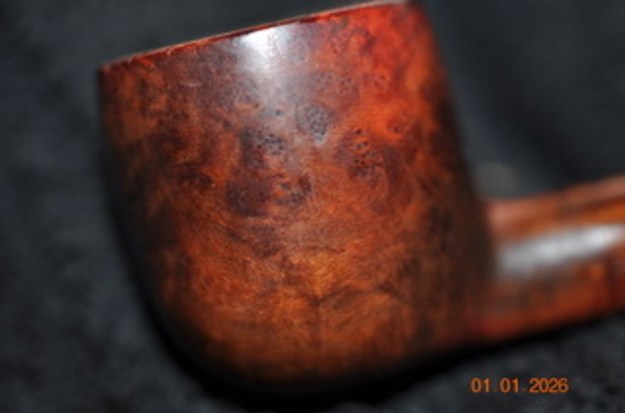
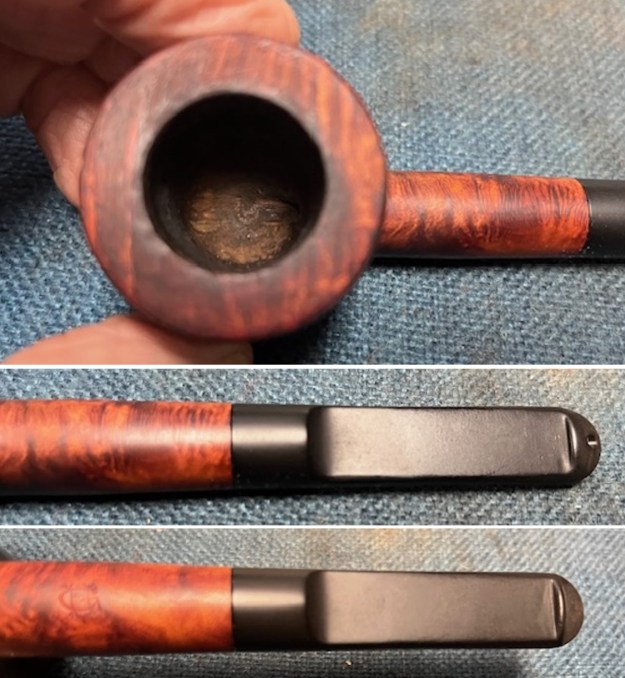
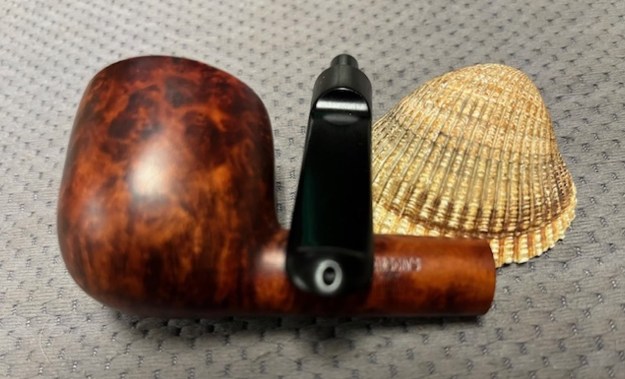
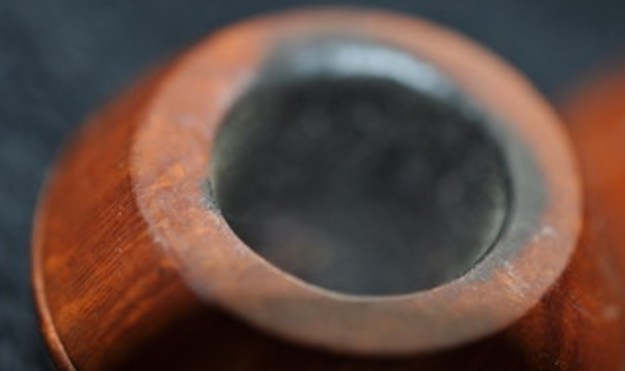
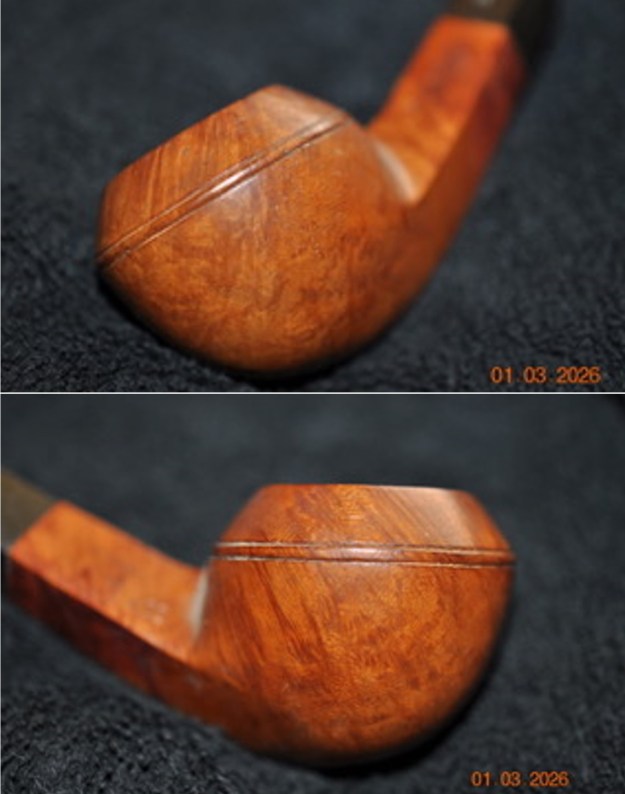
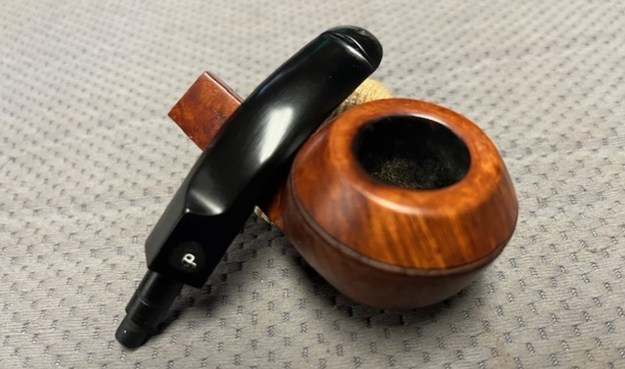
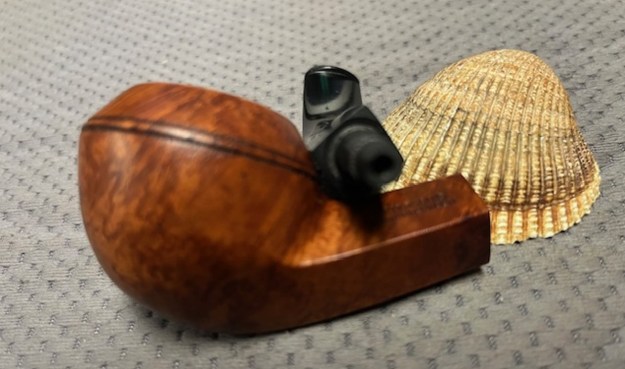
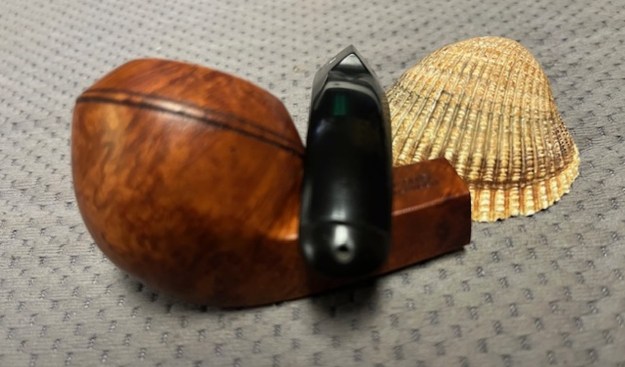
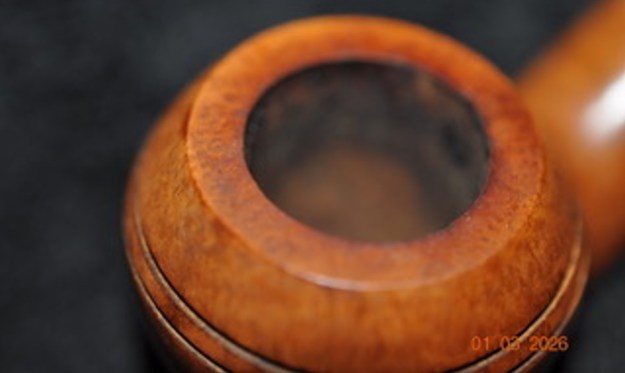
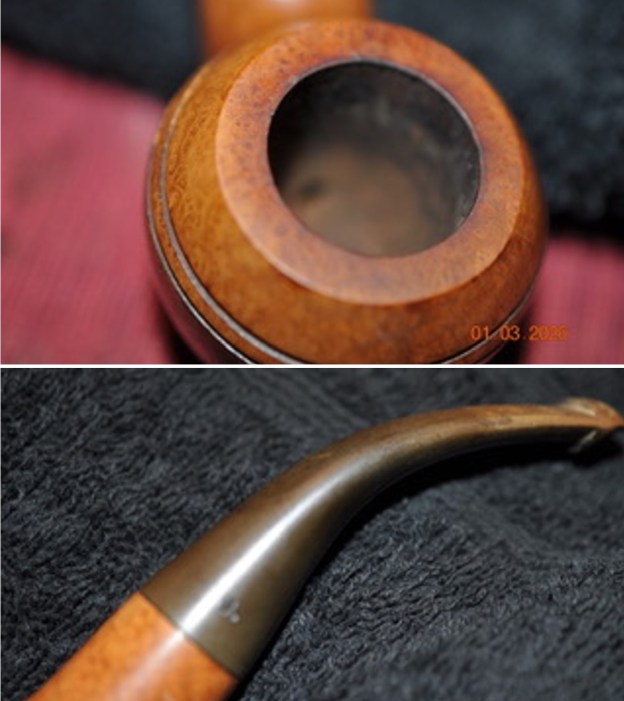
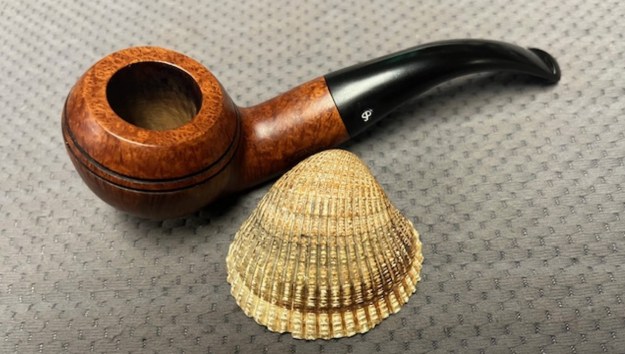
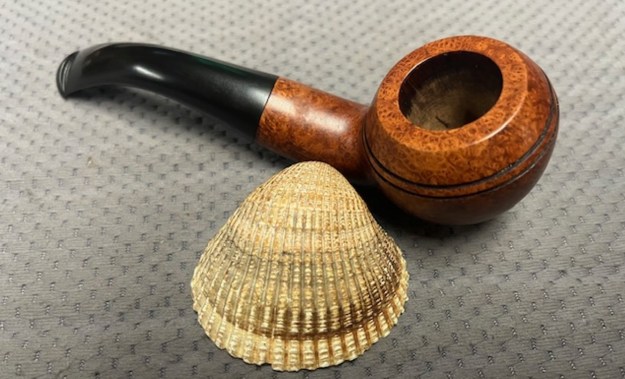
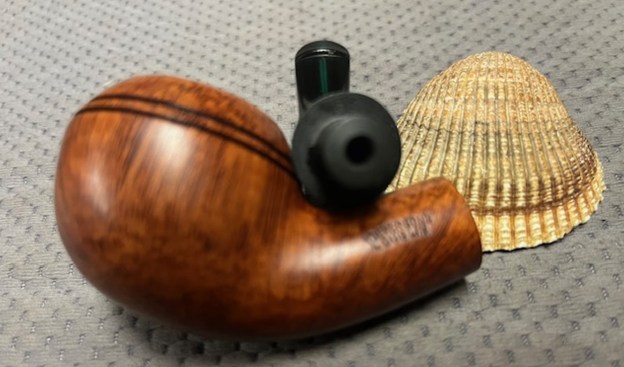
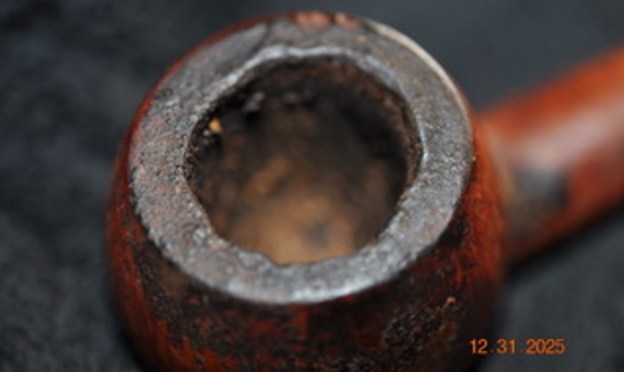
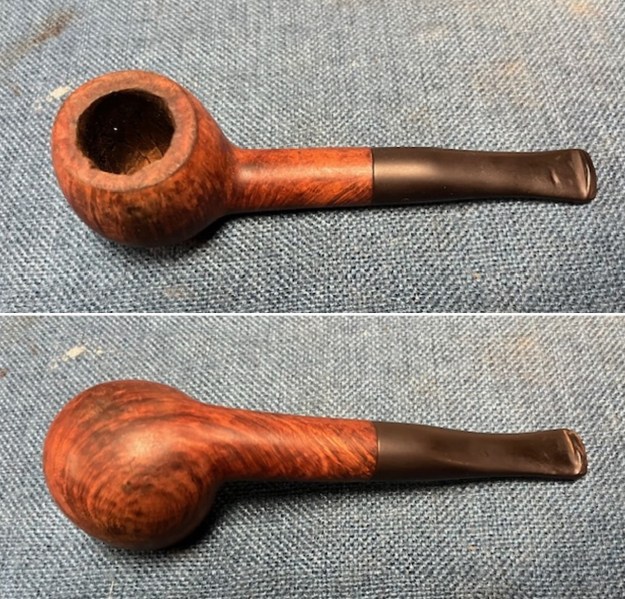
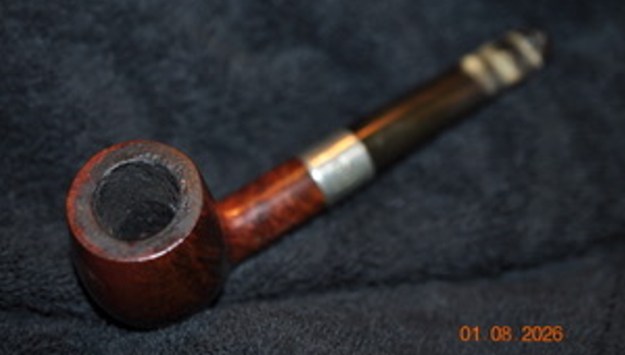 Jeff took photos of the rim top and stem to show the general condition of the pipe. The bowl is heavily caked so it is hard to know the condition of the edges under the lava overflow. The stem was oxidized, calcified and had tooth marks on the top and underside.
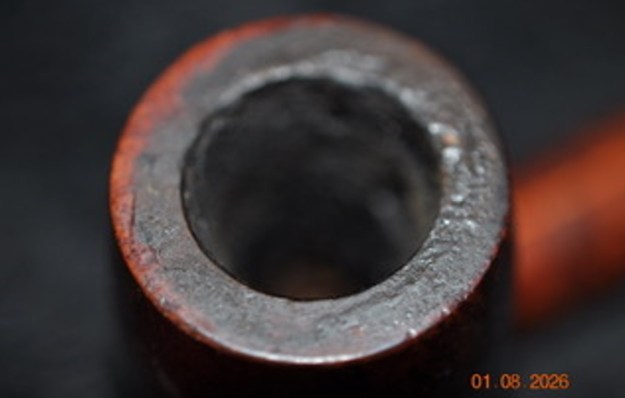
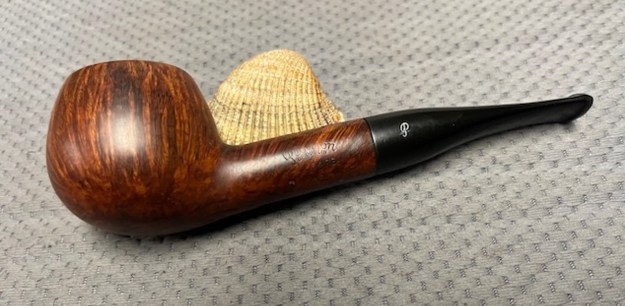
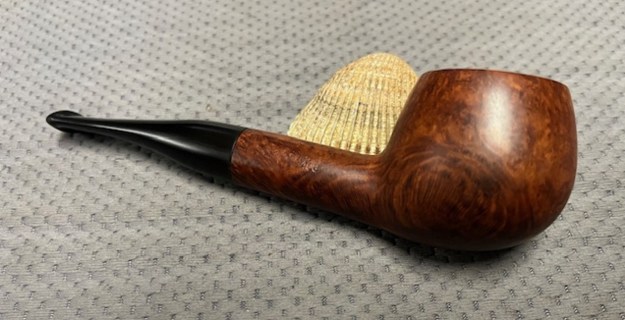
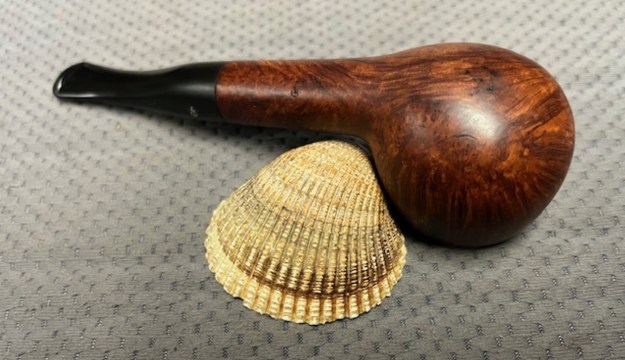
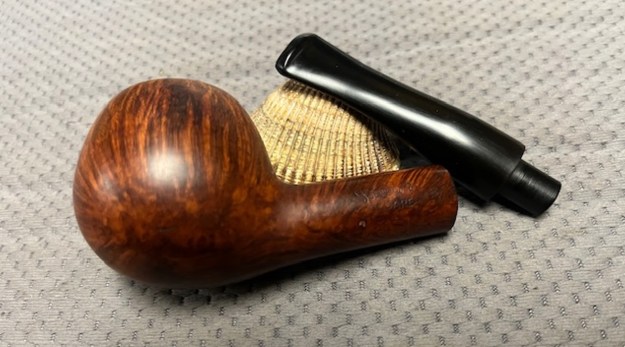
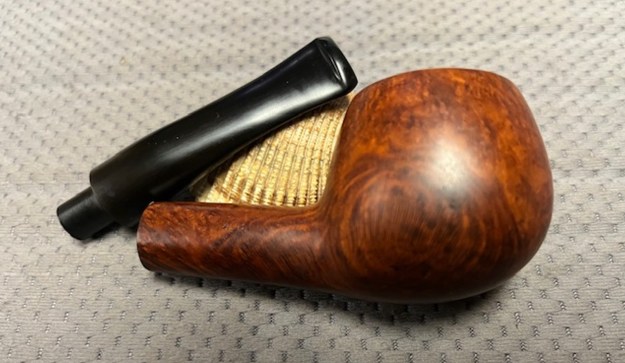
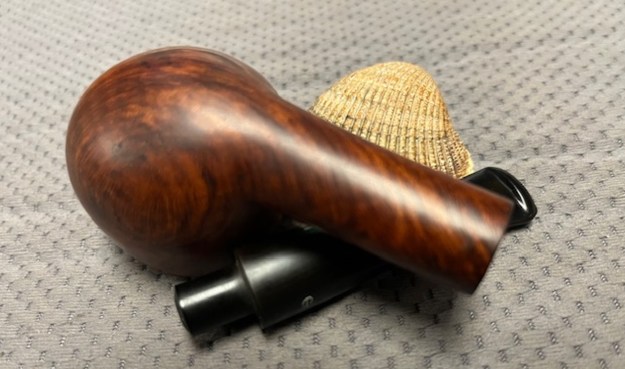
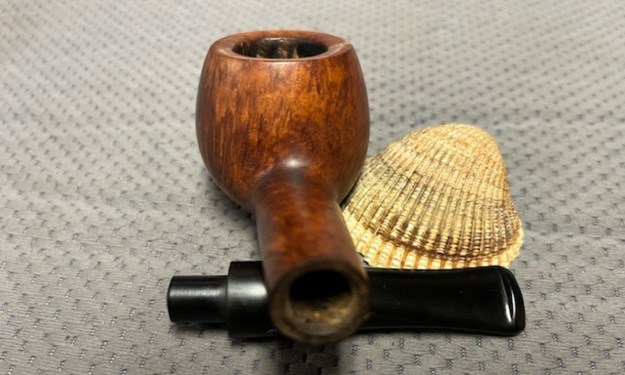
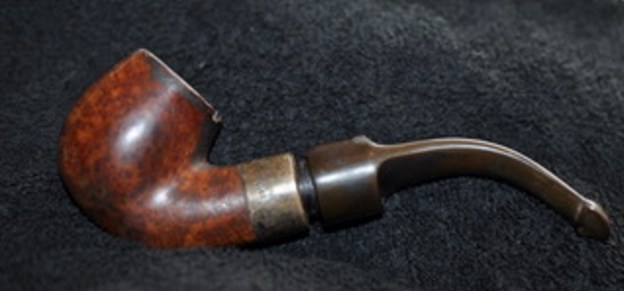
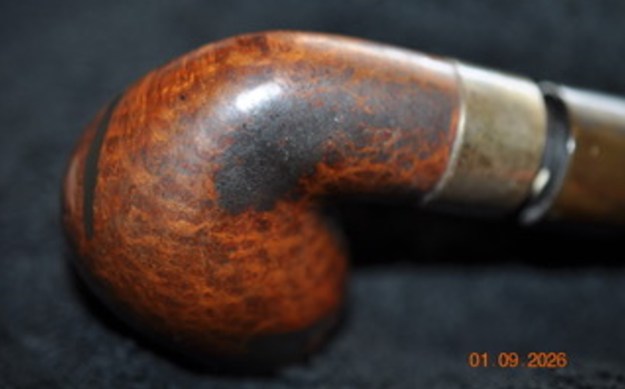
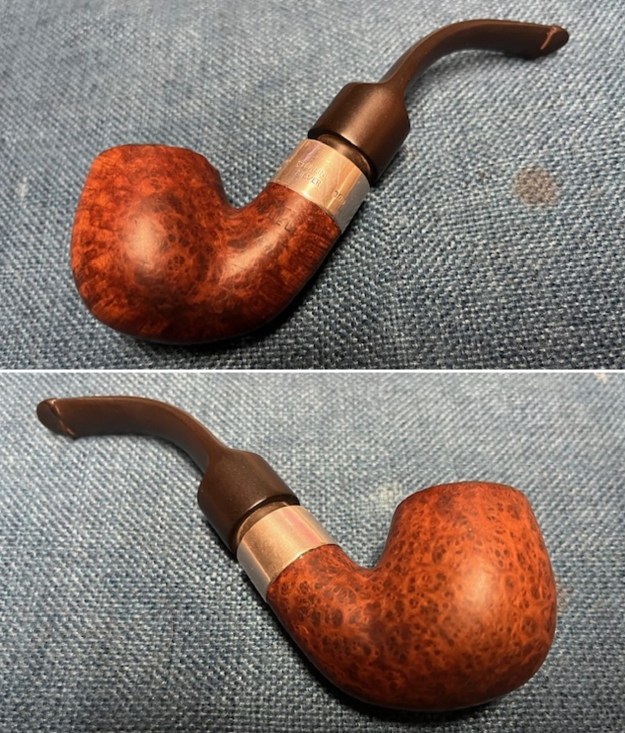
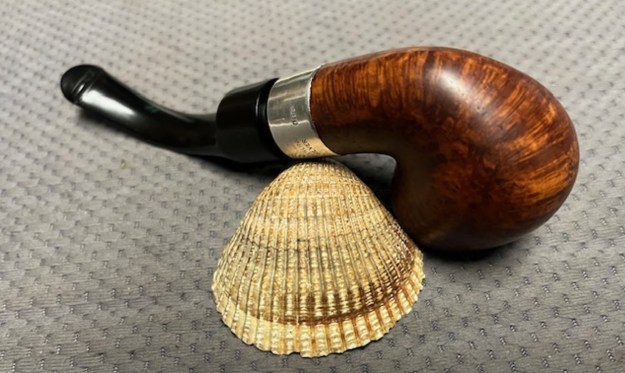
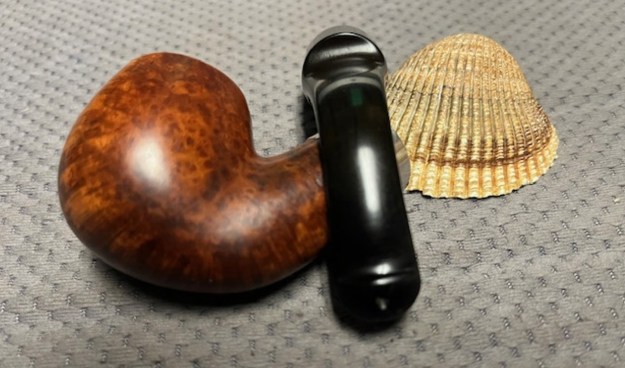
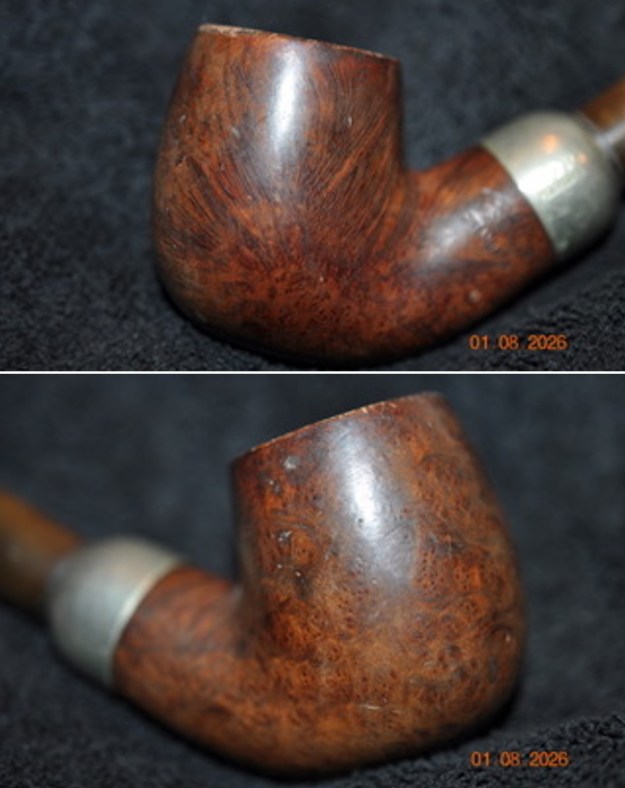
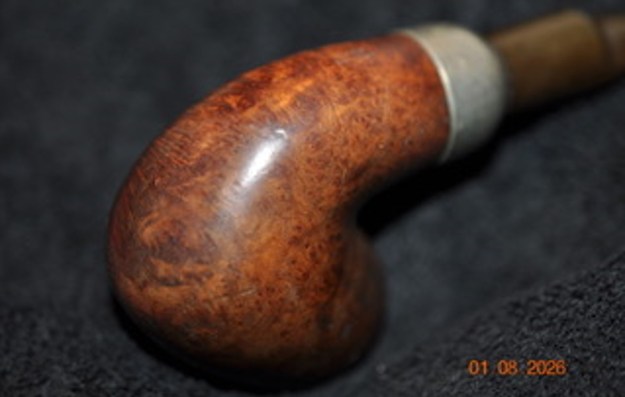
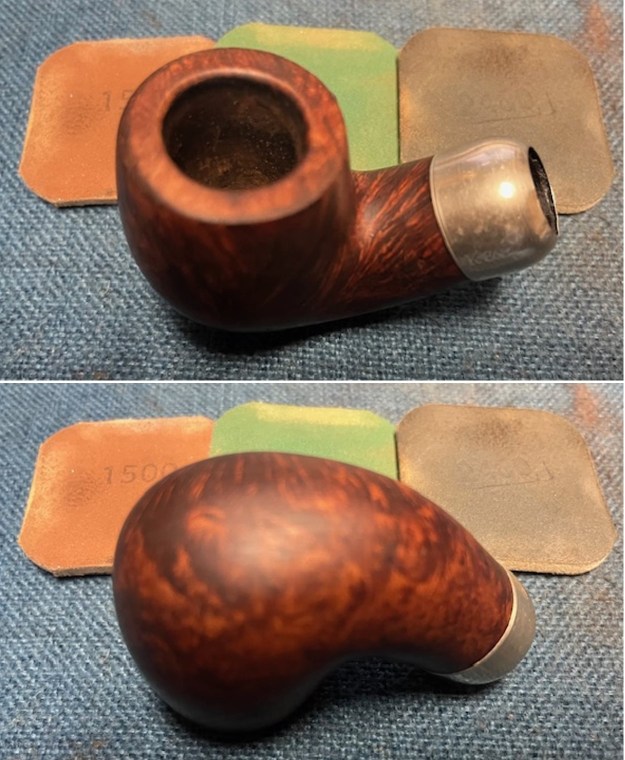
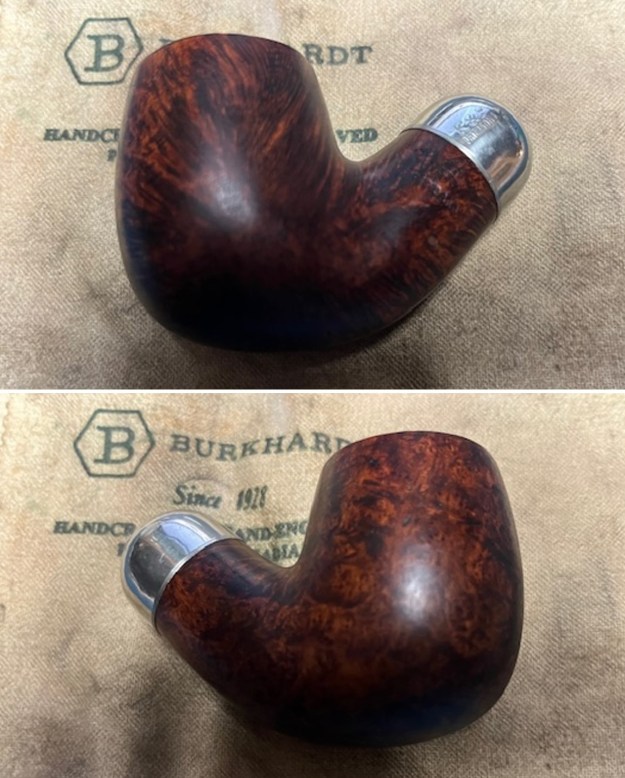
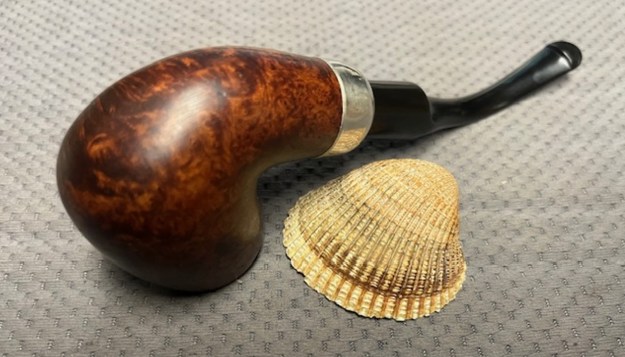
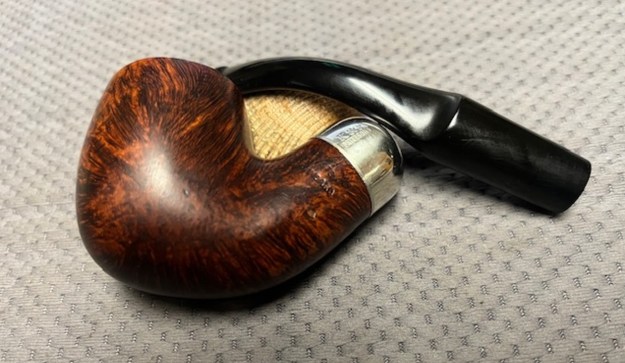
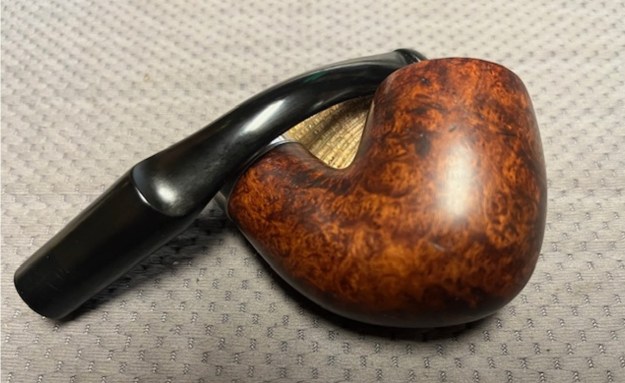
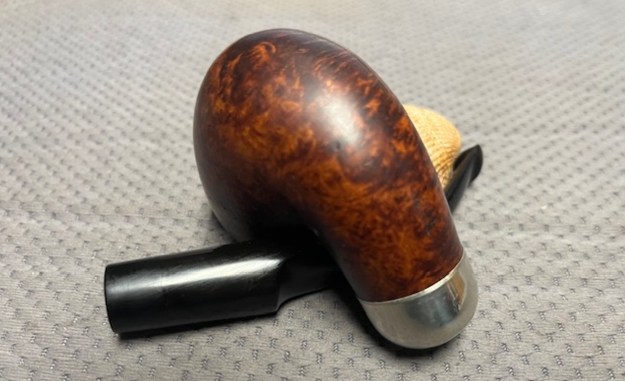
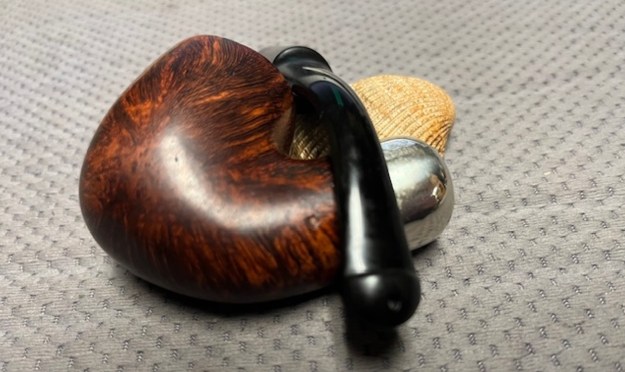
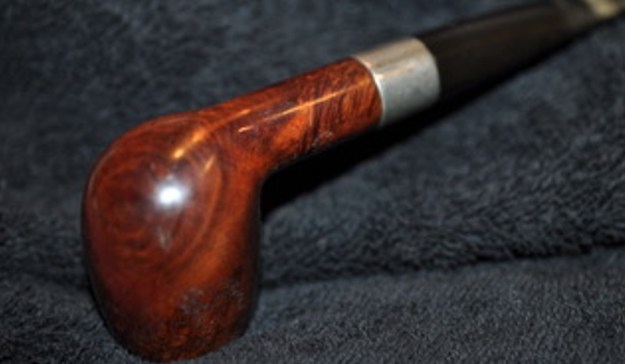
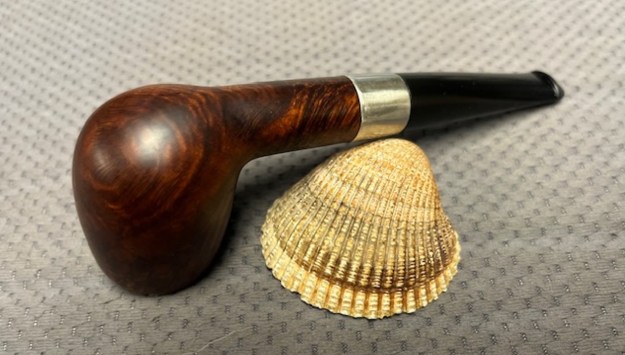
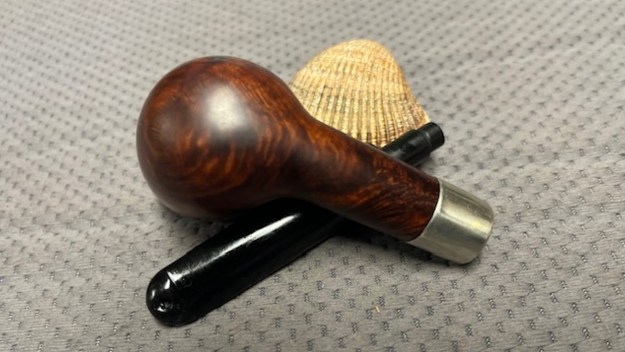
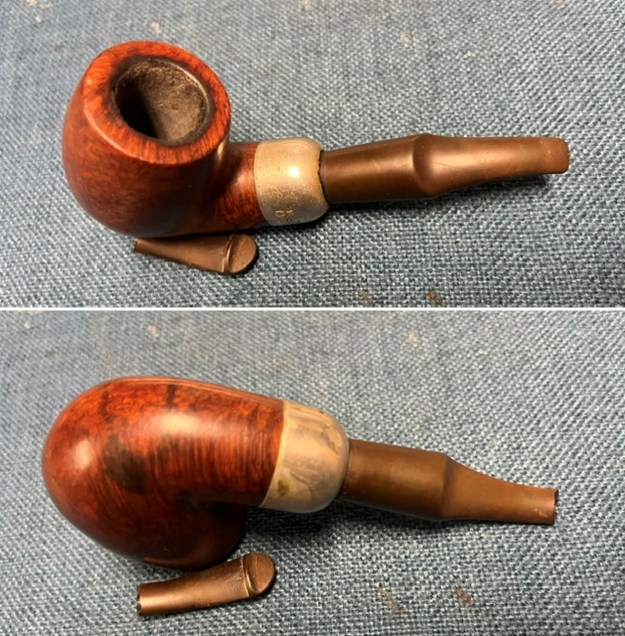
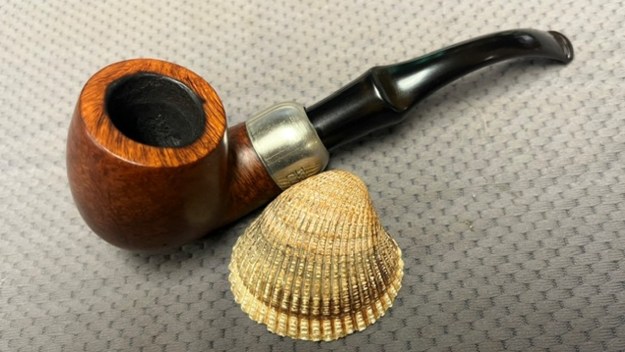
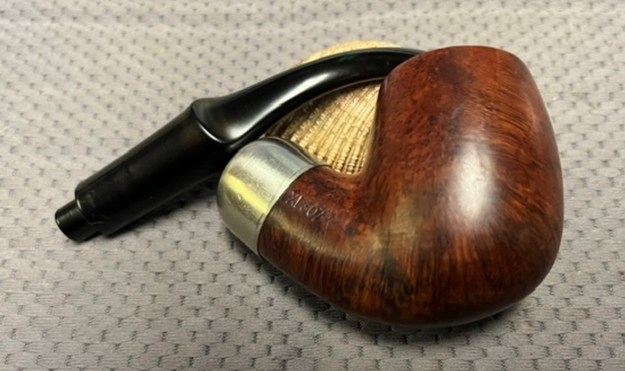
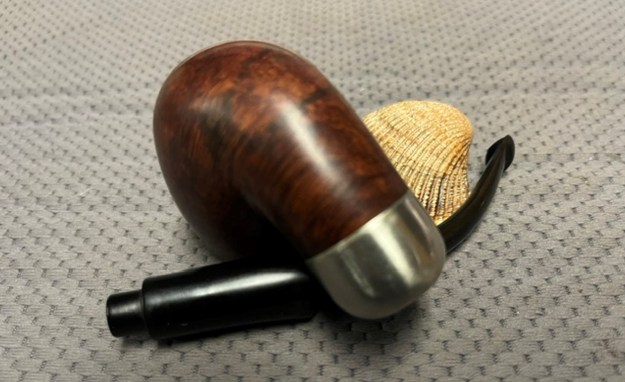
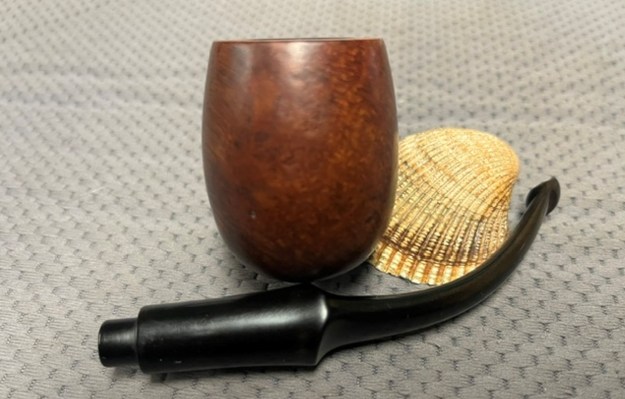
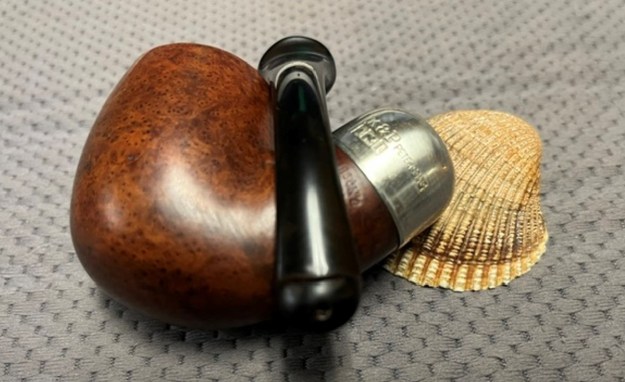
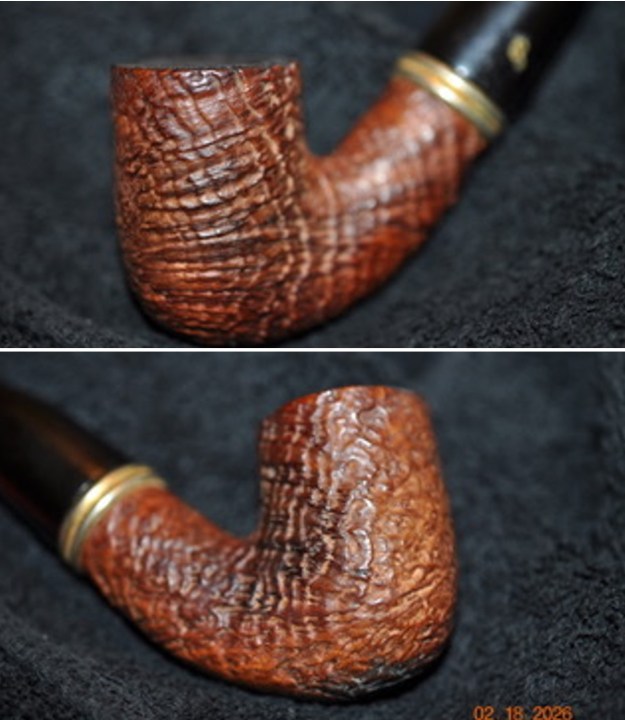
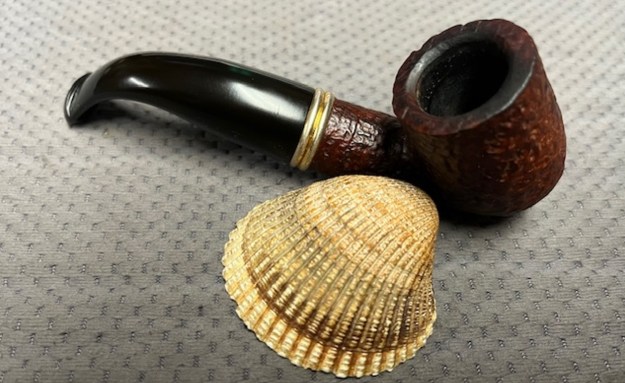
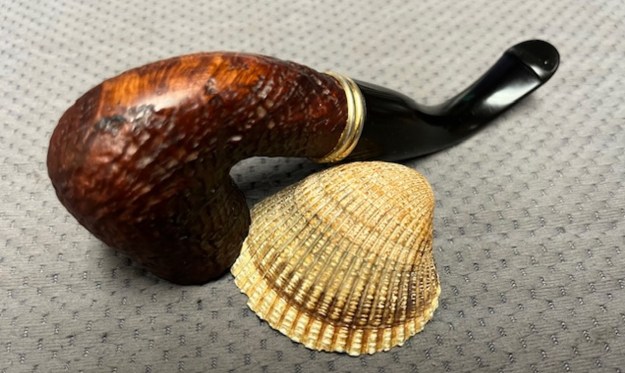
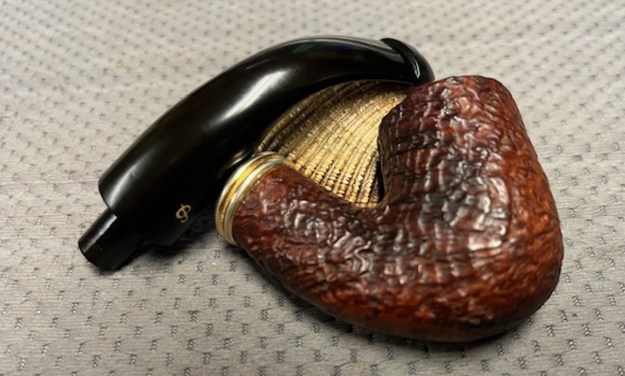
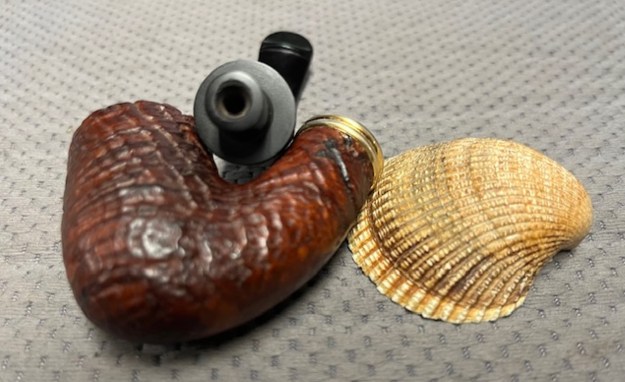
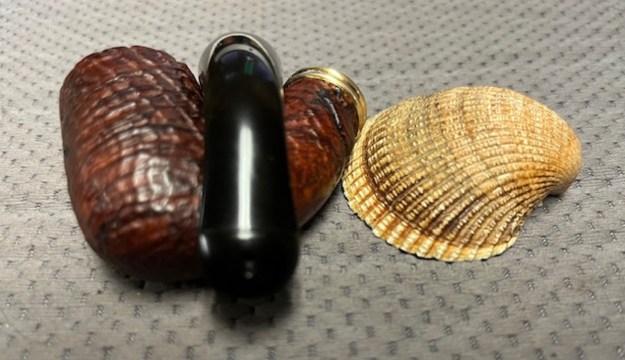
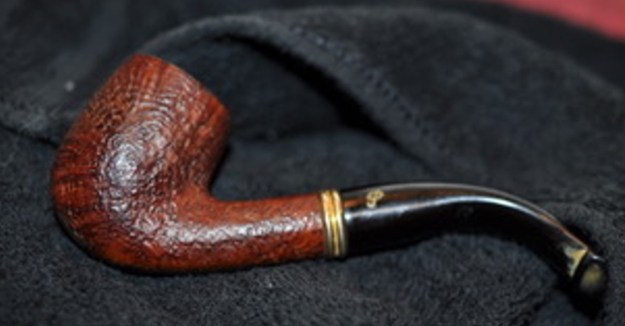
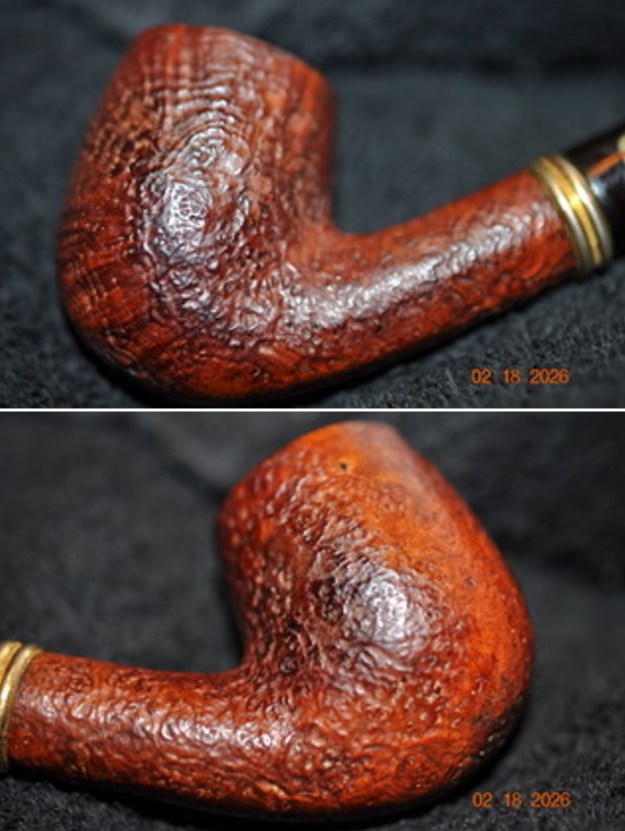
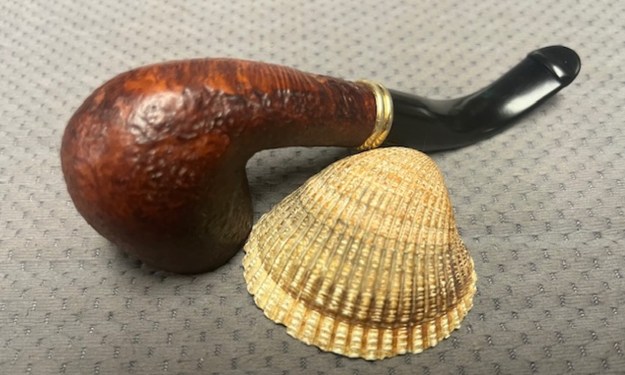
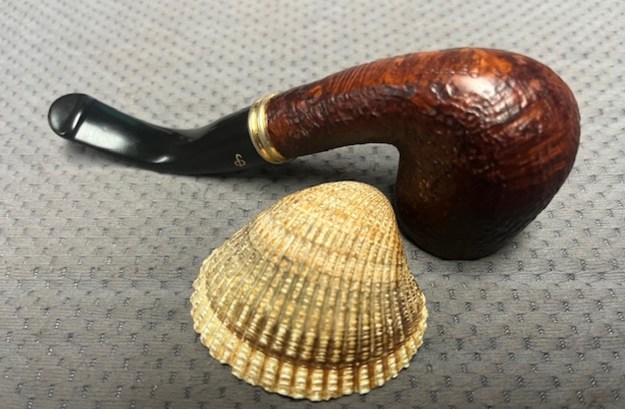
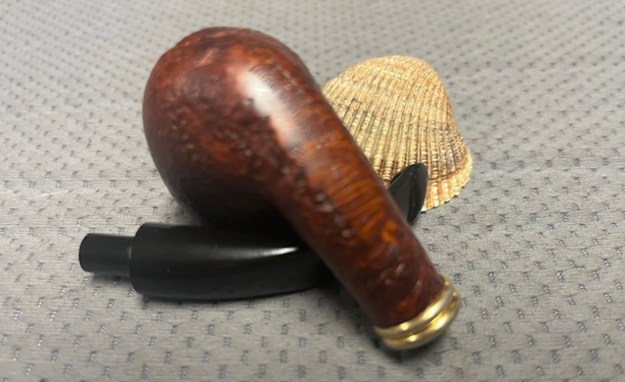
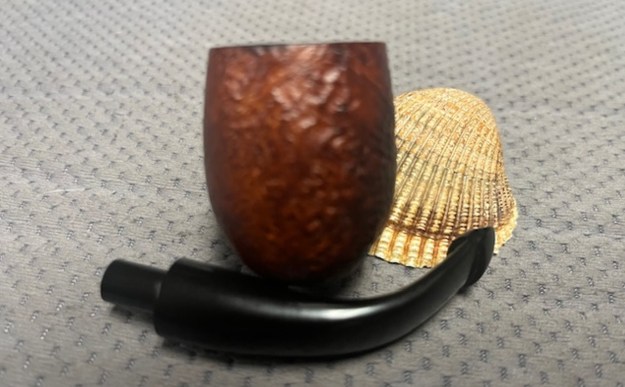
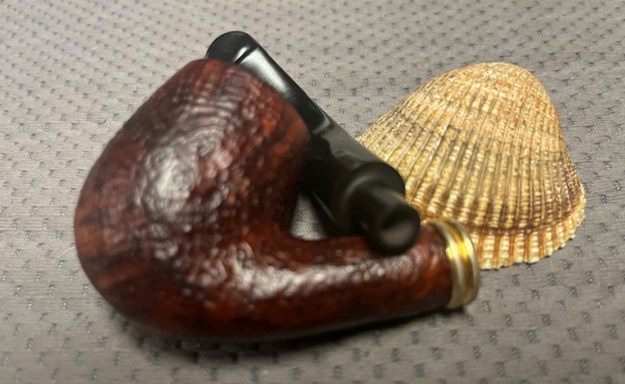
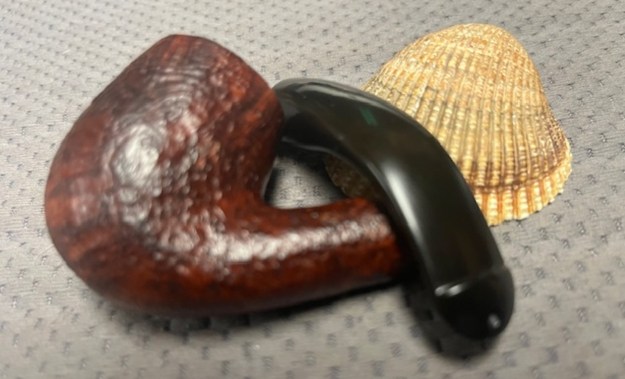
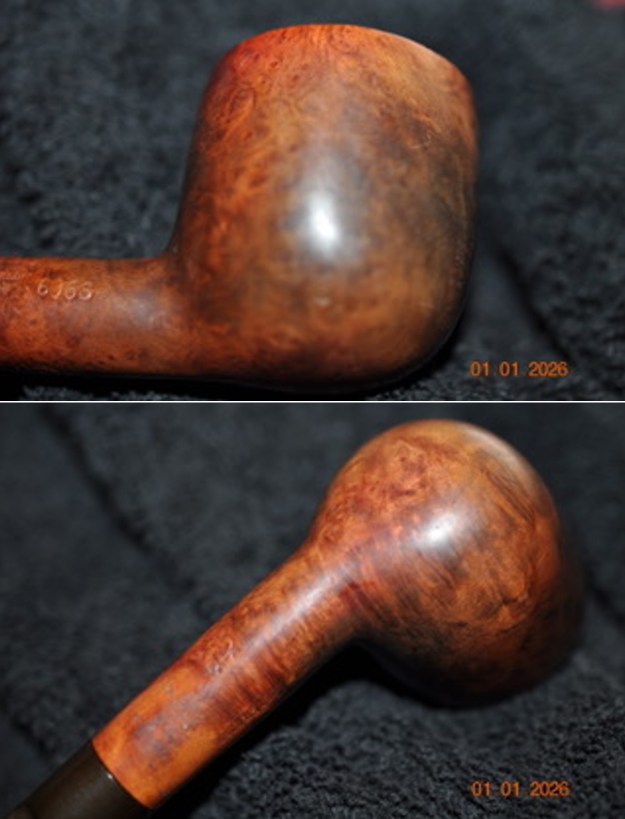
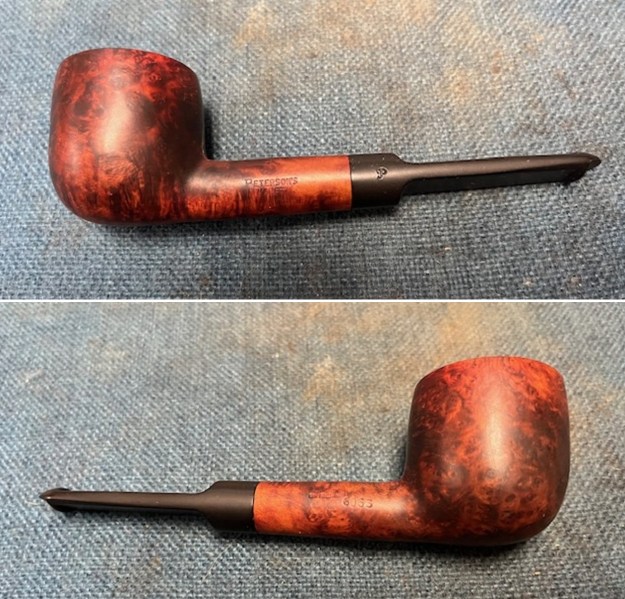
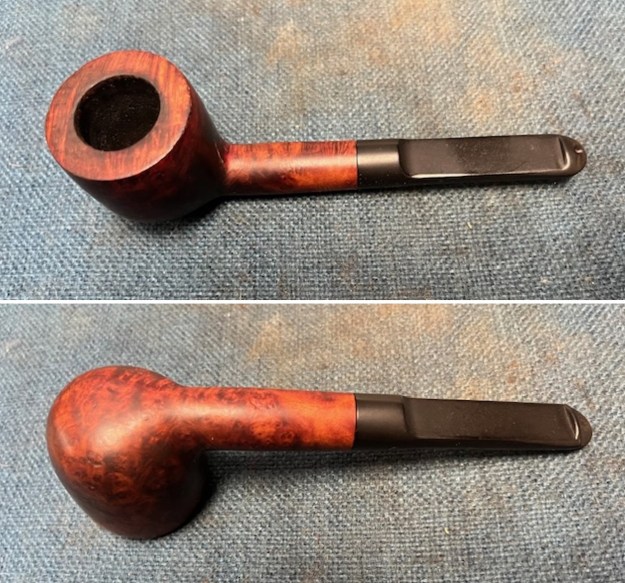
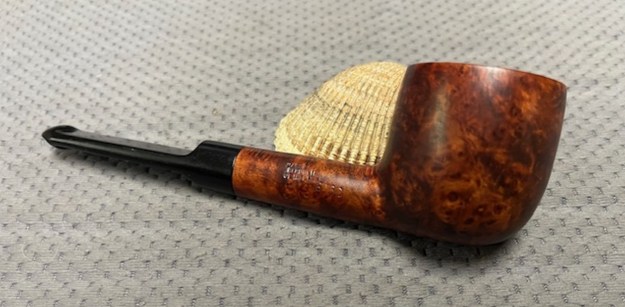
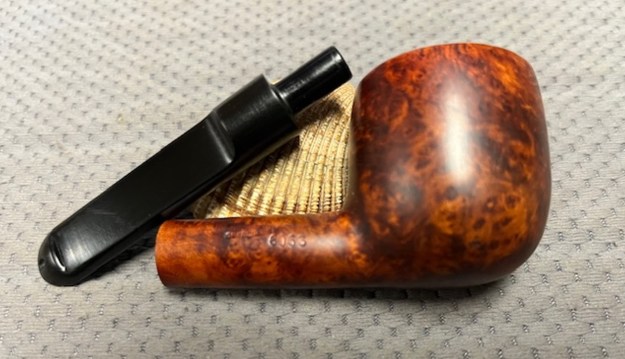
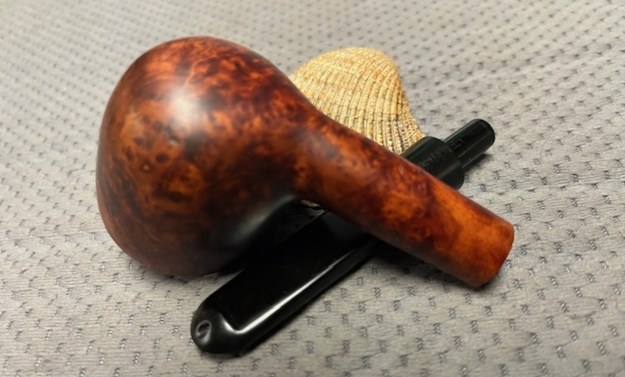
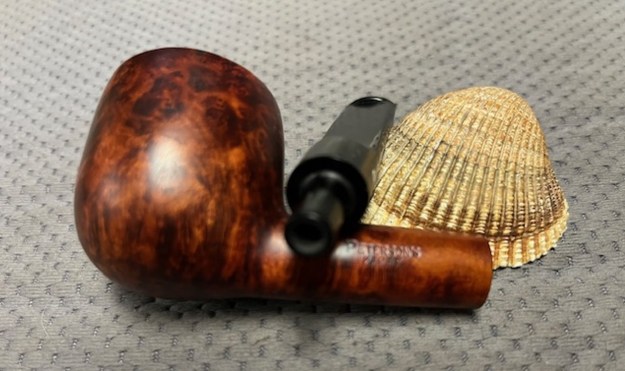
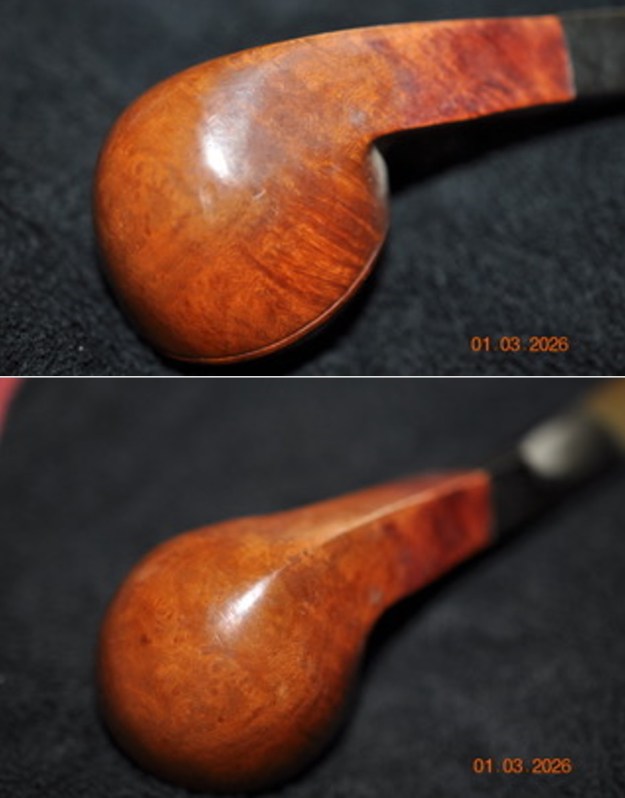
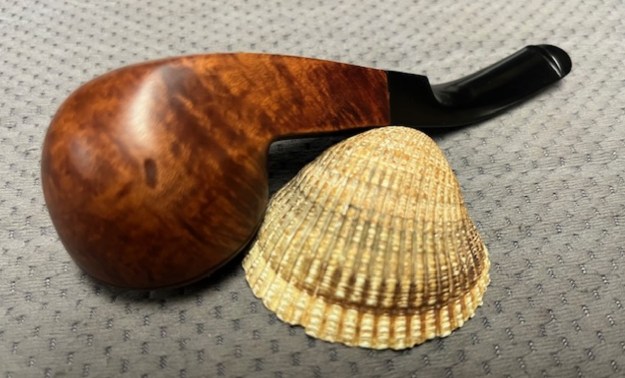
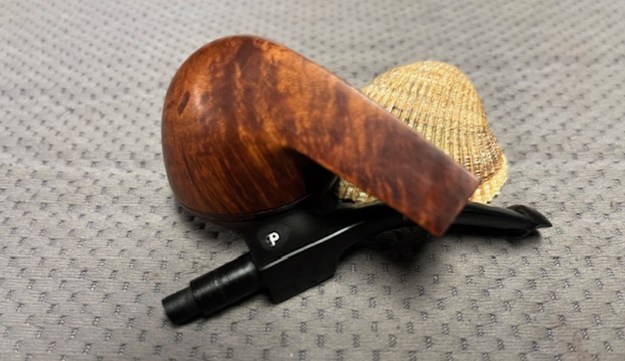
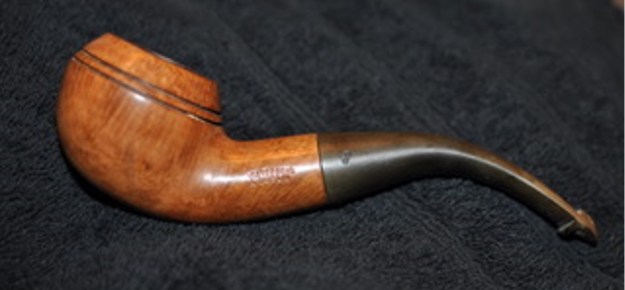
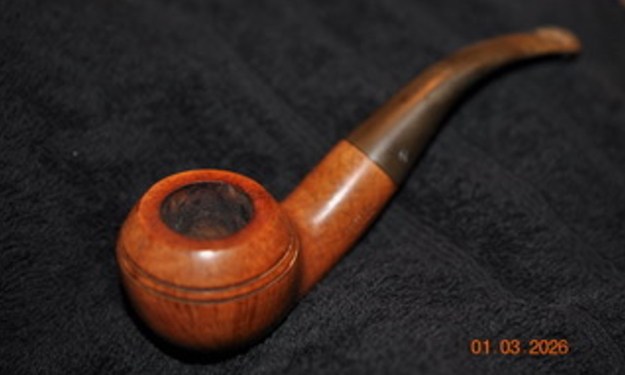
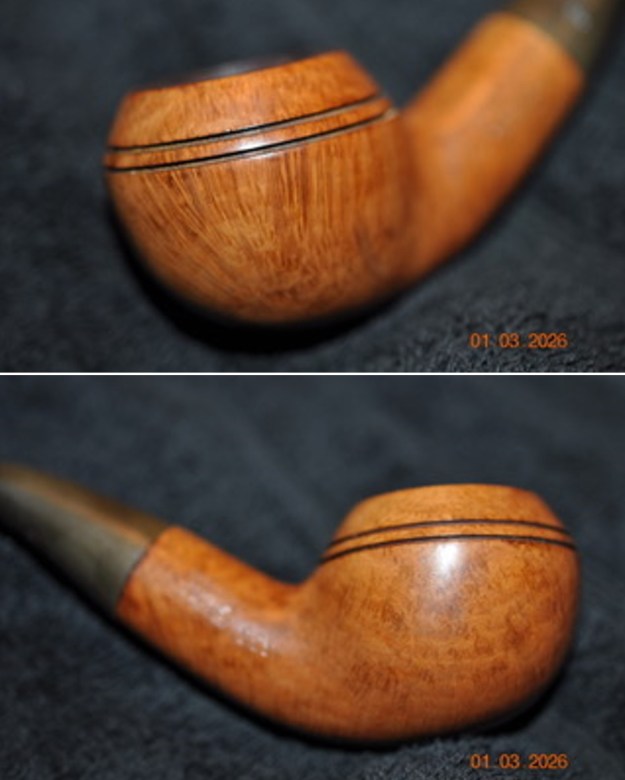
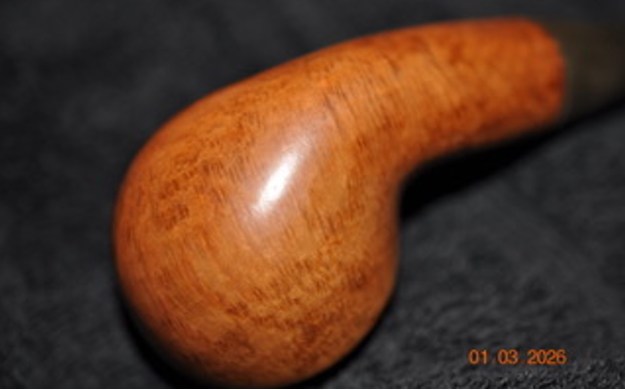
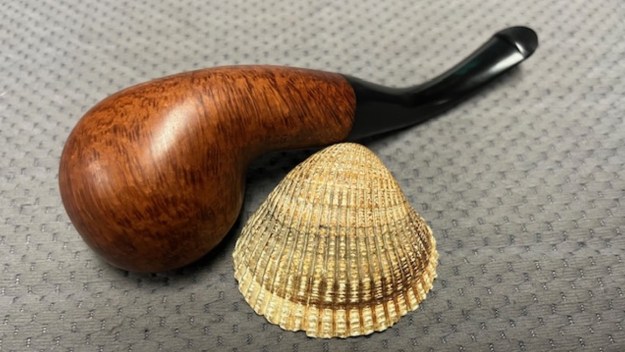
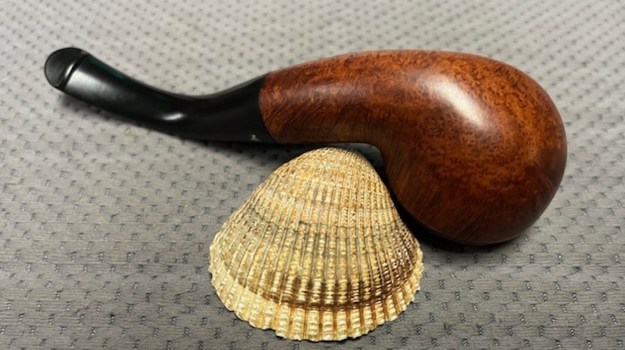
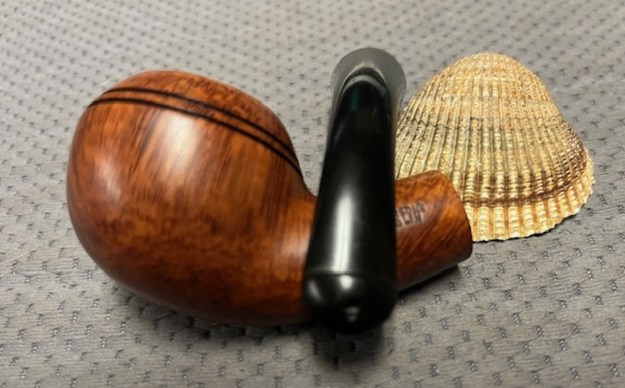
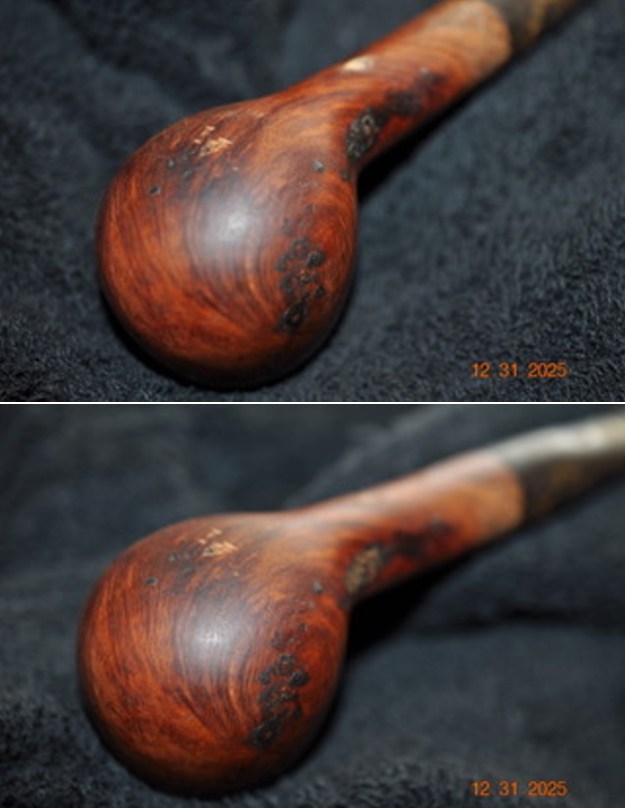
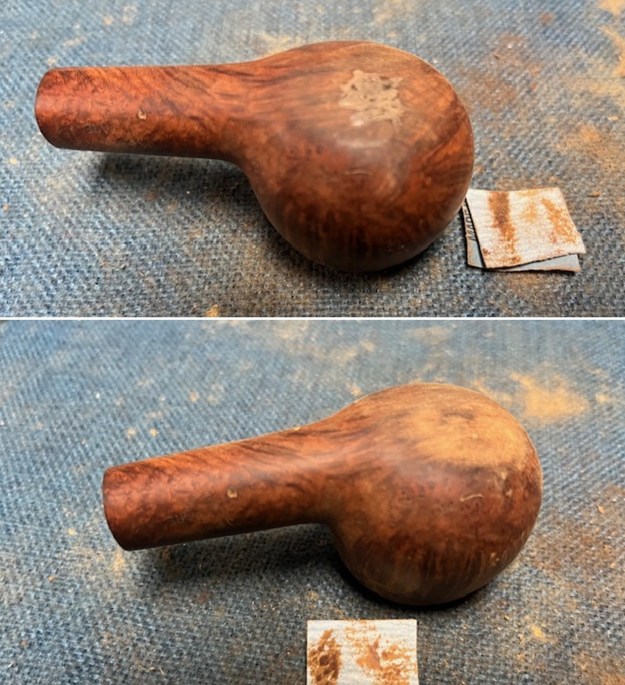
 Jeff took photos of the bowl sides and heel to show the grain that was around this bowl. You can see the mix of grain and the small sandpits in the finish in the photos below. Even so, it is a nice looking pipe.
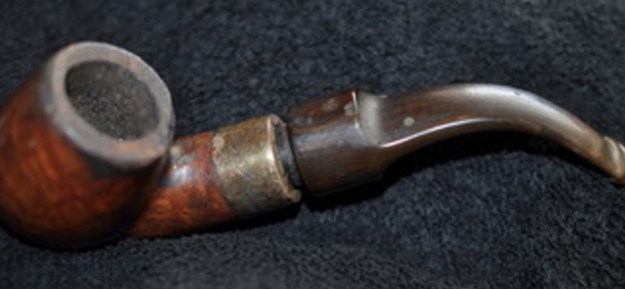
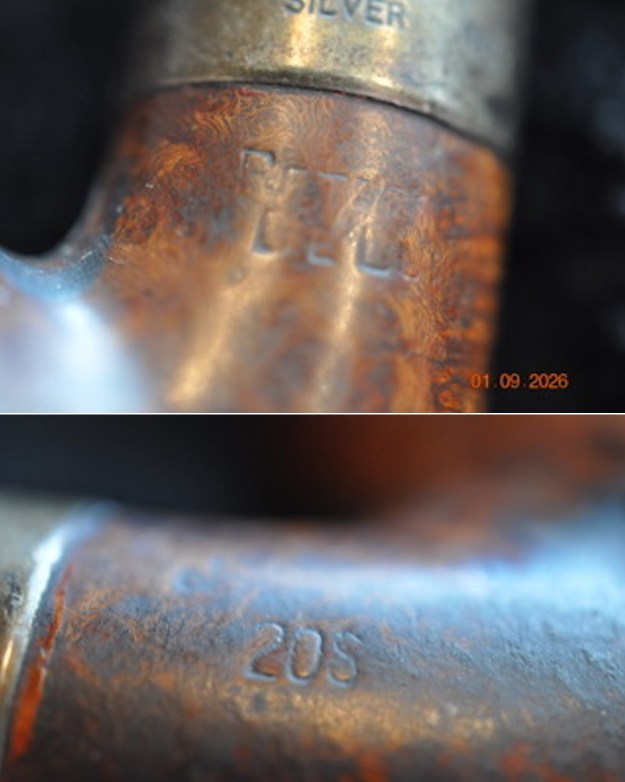
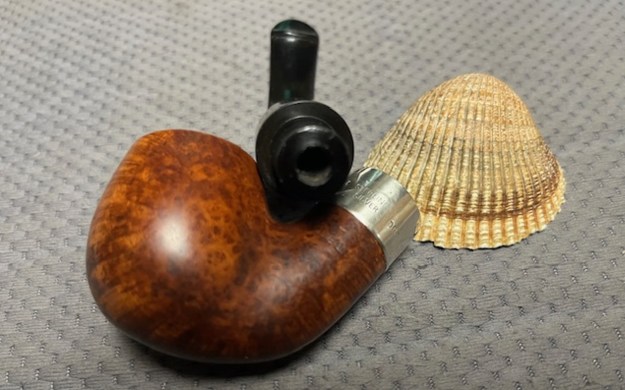
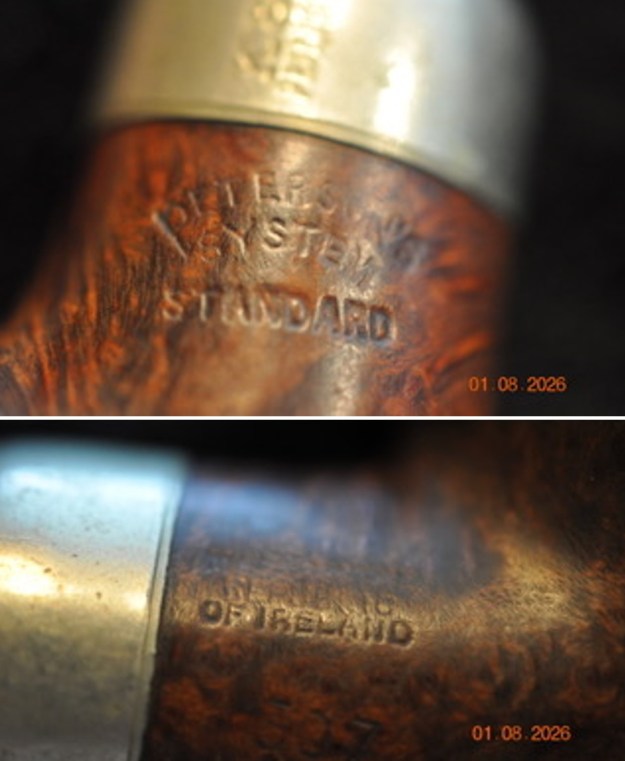
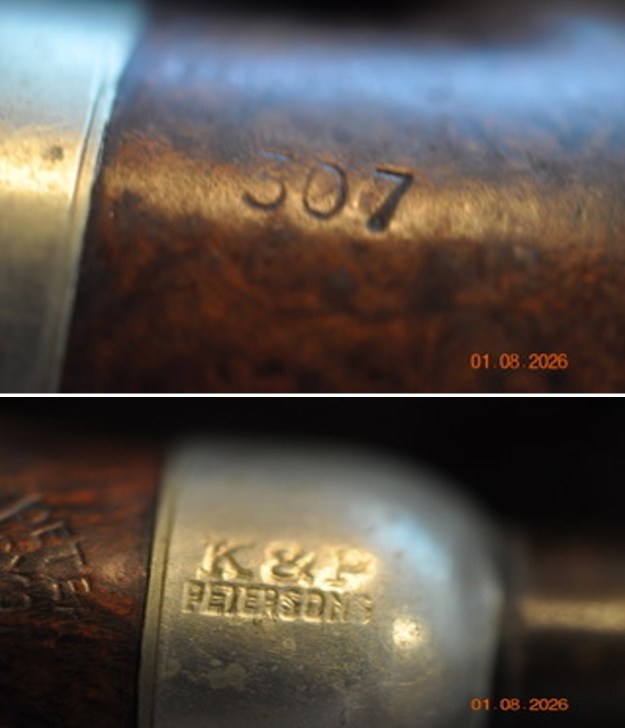
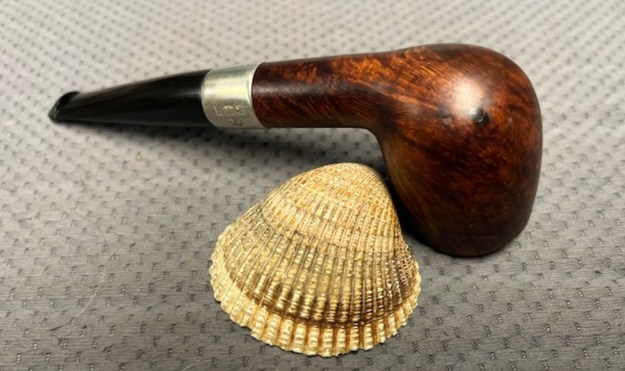
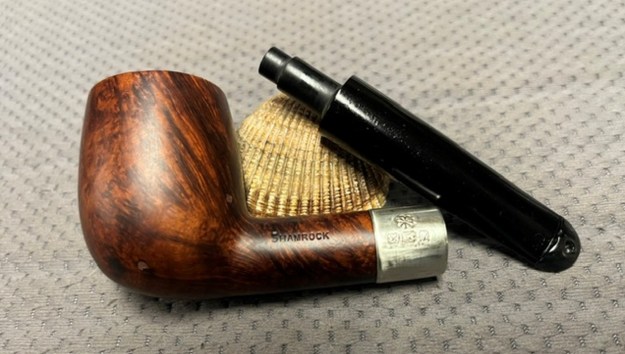
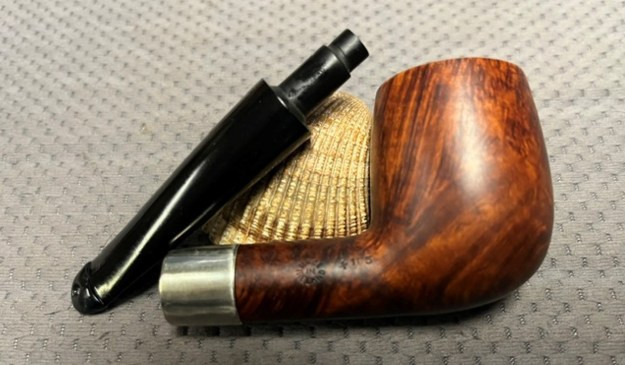
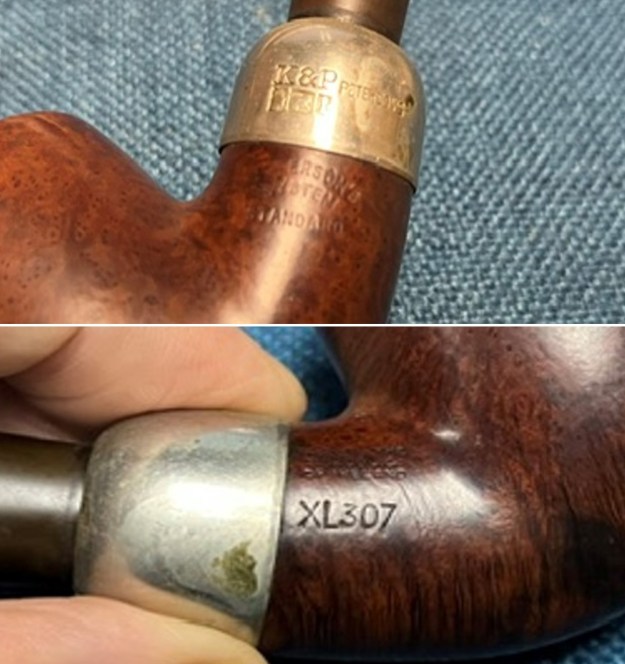
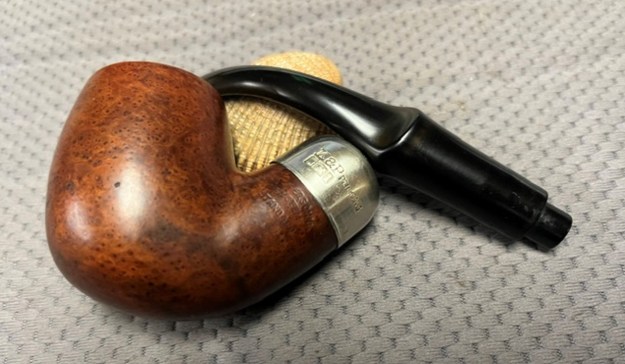
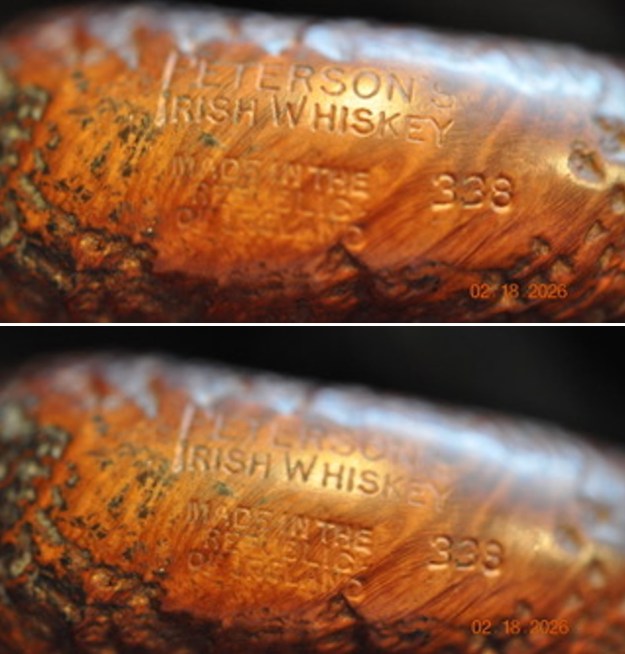
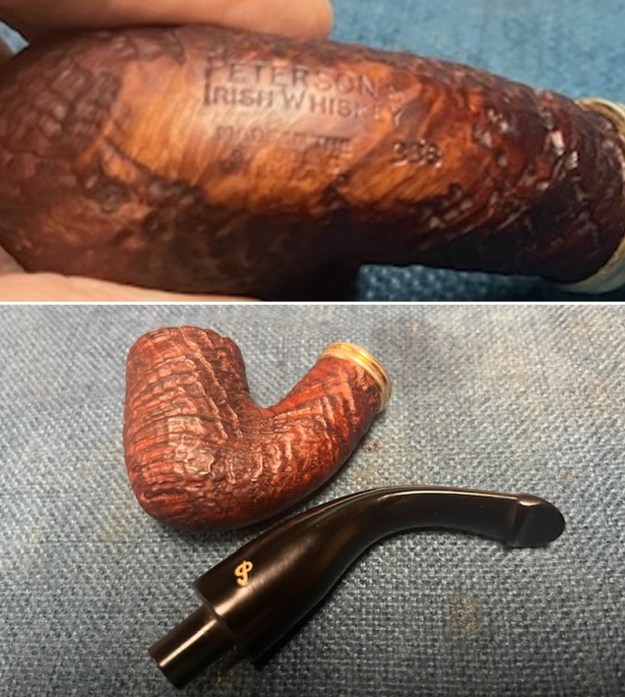
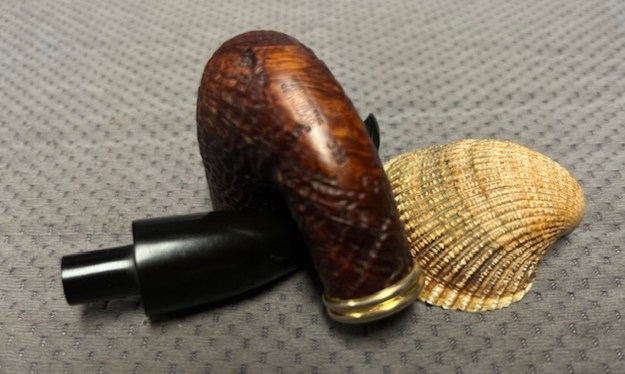
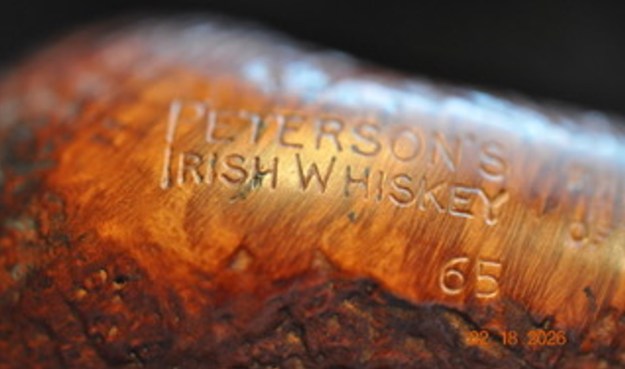
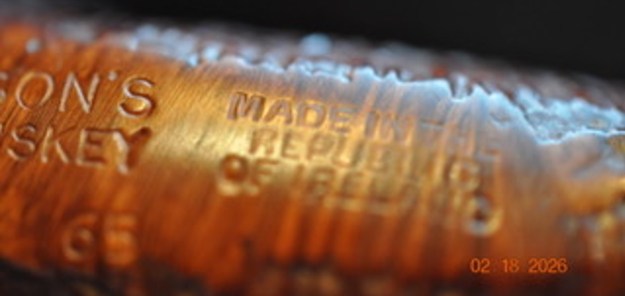
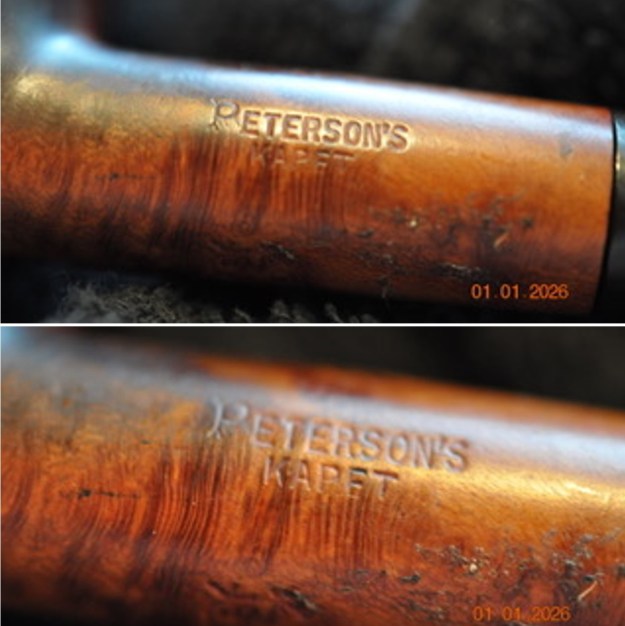
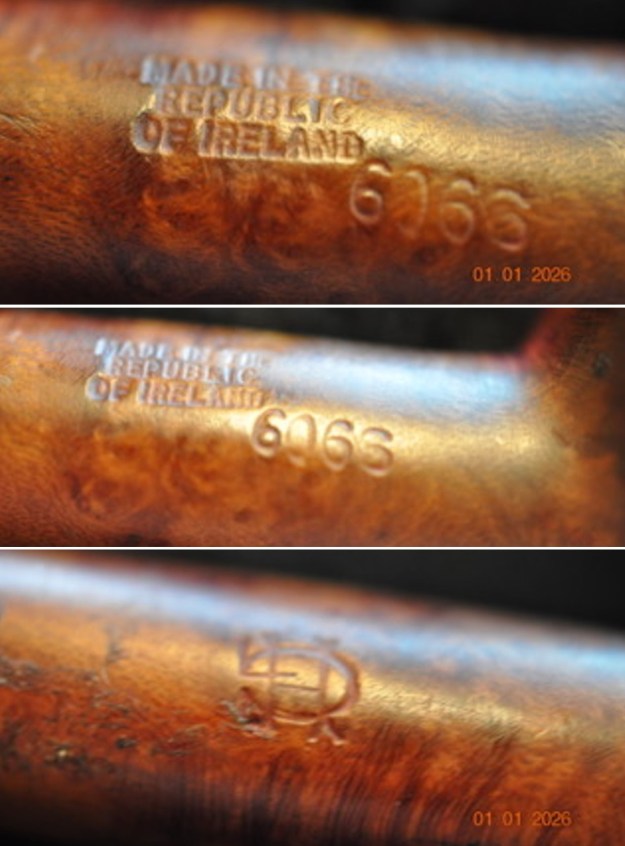
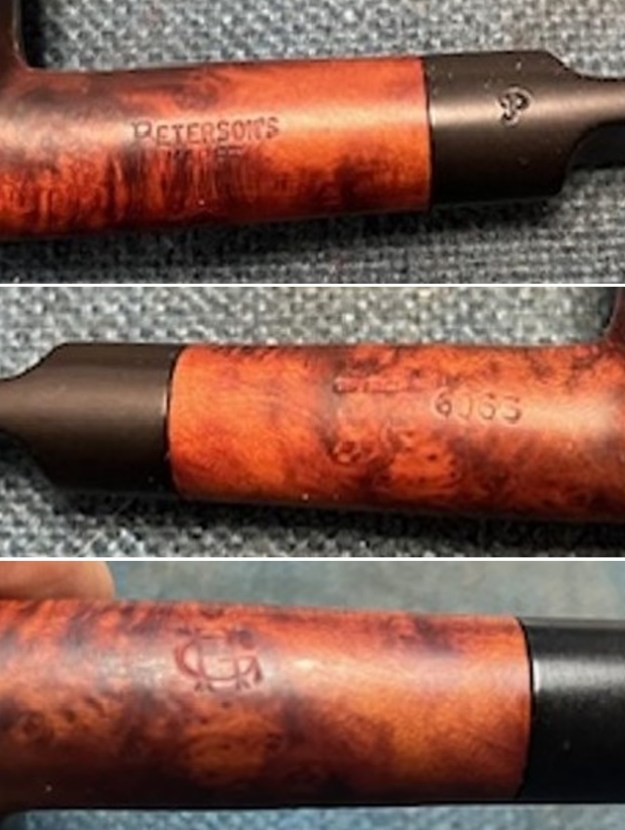
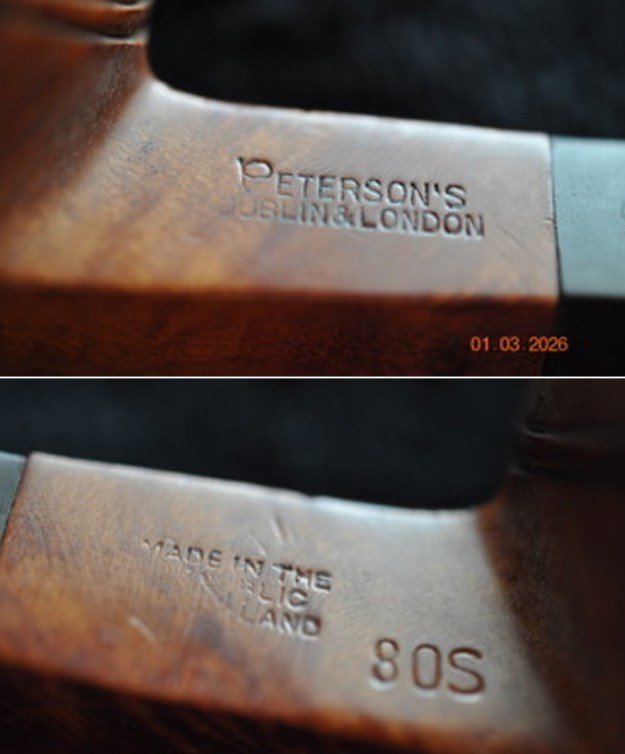
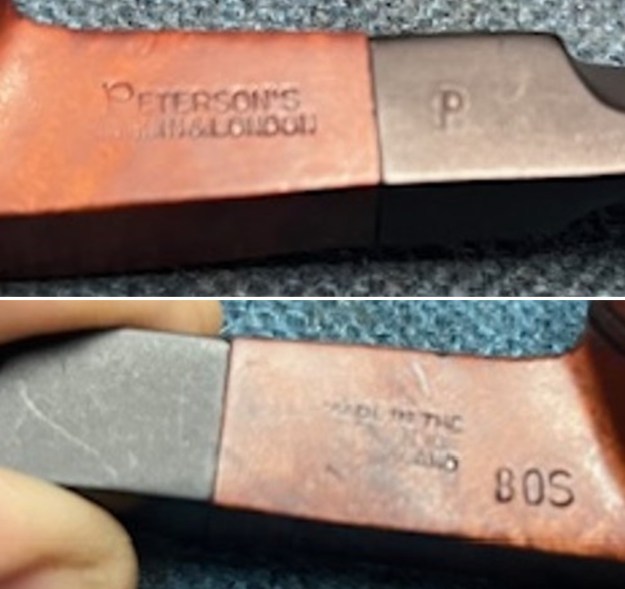
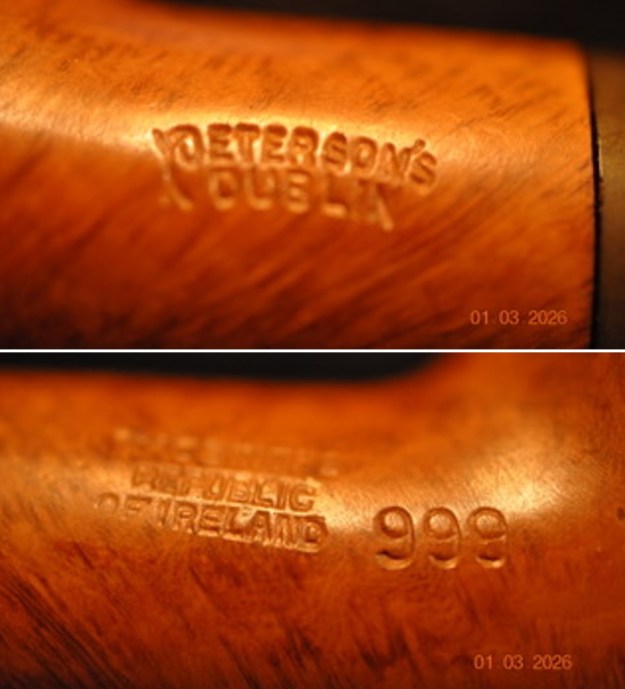
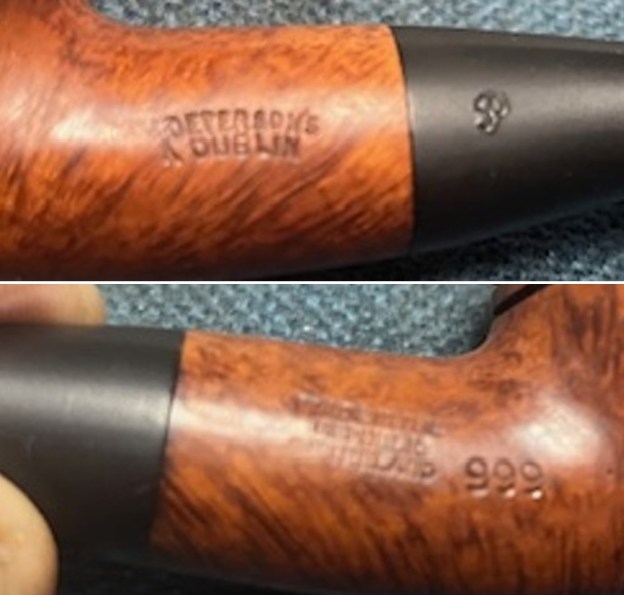
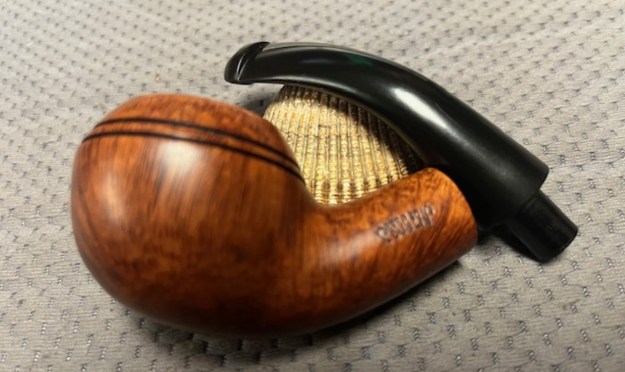
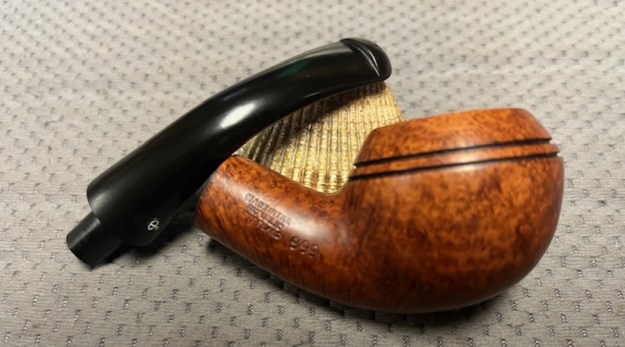
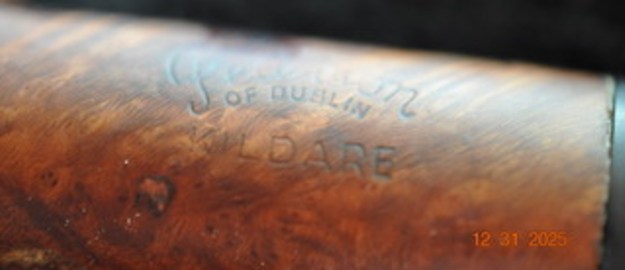
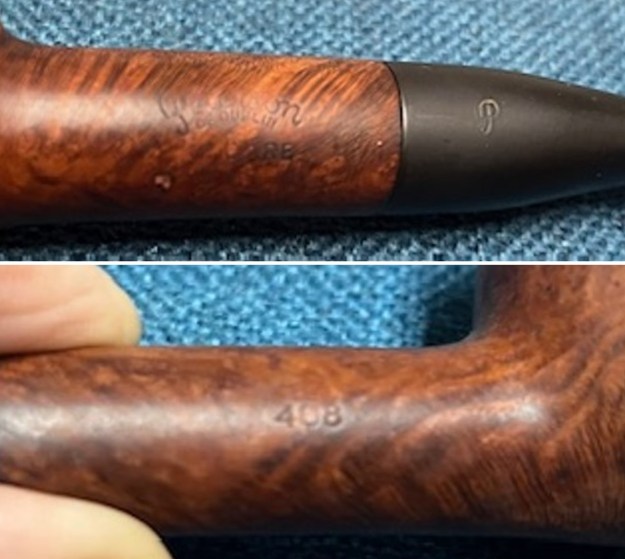
 He took a photo of the sides of the shank to show the stamping. The stamping is clear and readable as noted above. He also captured the stamping on the polished nickel band on the shank. It is also very clear.
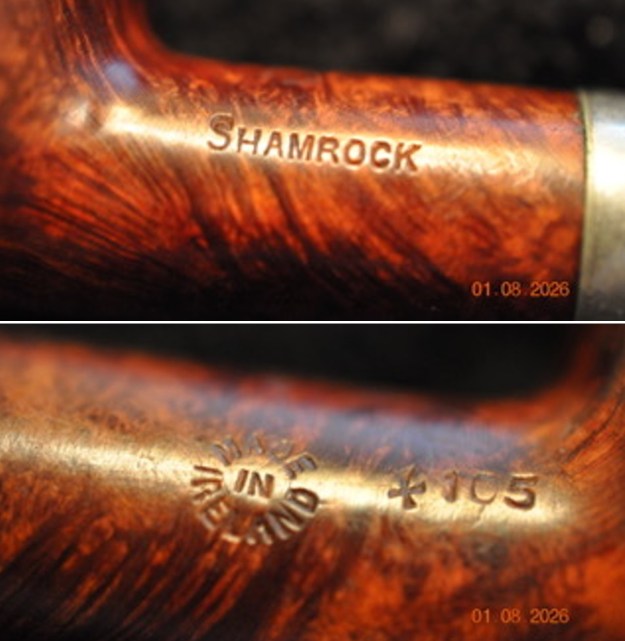
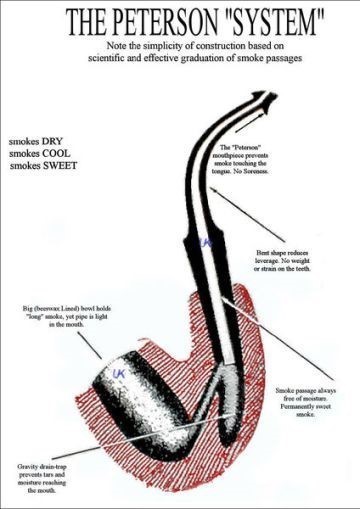
 I always try to research the brand and the stamping on a pipe so I can better understand its background and history before I start my work on it. The stamping on this pipe have a rich history that I wanted to understand. I am including the link to the Pipedia’s article on Peterson pipes. It is a great read in terms of the history of the brand (https://pipedia.org/wiki/Peterson).
I turned to “The Peterson Pipe” by Mark Irwin and Gary Malmberg to get some background on the Peterson’s Shamrock Pipe. On page 312 it had the following information.
Shamrock (c1941-2009) Originally stamped SHAMROCK with no brand name, an inexpensive line first described in George Yale (New York) mail order booklet in 1941, imported by Rogers Import. The line was actively promoted beginning in ’45, aggressively promoted in US by Rogers from early ‘50s when they registered the Shamrock logo with US Patent Office, claiming propriety since ’38. Over the years offered with P-lip or fishtail mouthpiece, with or without nickel band, with or without Shamrock logo on the band, with or without S stamped in white or later in gold on mouthpiece. Appearing in 2008 as unstained smooth and rustic, fishtail mouthpiece with gold impressed P on the stem. COMS of MADE IN over IRELAND (C1945-1965), MADE IN IRELAND forming a circle (c1945-1965), “A PETERSON’S PRODUCT” over MADE IN IRELAND (c1945-1965), MADE IN THE over REPUBLIC over OF IRELAND9c1948-1998). Model is always difficult or impossible to date.
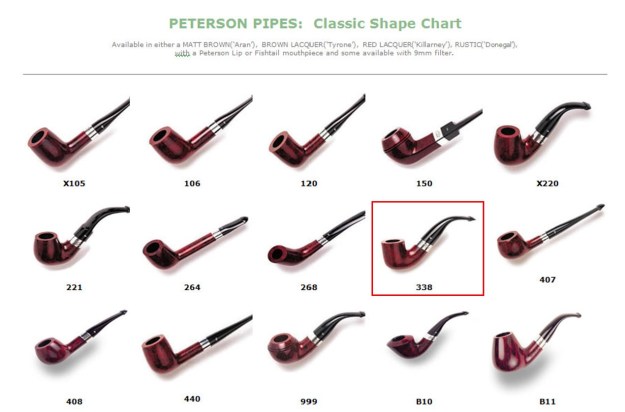
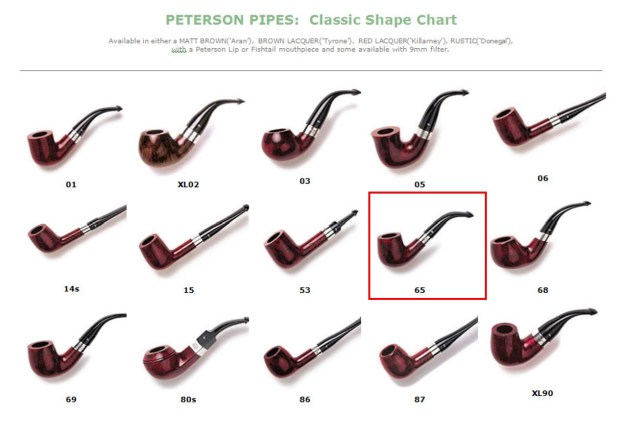
Judging from the description above, the pipe I am working on is stamped with the stamp noted in red above. Made in Ireland in a circle which narrows the date to between approximately 1945-1965. It is just stamped SHAMROCK with no brand name and no stamping on the stem.
From there I turned to page 302 in the above book to unpack the stamping on the nickel band on the shank. There was a listing on the nickel mounted markings such as those used on the band on the shank of this pipe. I quote:
Nickel-Mount Markings. Often called faux hallmarks or faux marks by Peterson collectors, this set of three little images of a shamrock, an Irish wolfhound and a round tower appear within rectangular shapes as decorations on nickel mountings. Very early nickel mounts (1891-c. 1920) had no such decorations, only the same stamps used on sterling but without the hallmarks. As a stamp, the set of decorations began to appear at the beginning of the Irish Free State era, sometimes alone but often under K&P and over block lettered PETERSON over DUBLIN, although the three emblems appeared on K&P’s Irish Carving Shamrocks pipes since 1896. The stamp was used until about 1963, when hand soldered nickel bands and ferrules were replaced by pressed ferrules and premade bands…The shamrock is the emblem of Ireland; the Irish wolfhound has long been used for both hunting and protection, and is an emblem of strength; the round tower a symbol of Ireland’s early religious power. These decorations were stamped at the factory on non-sterling mounts only, and the assay office has nothing to do with them…
I have also included the following photo of the stamping on the nickel band below. It is as described above.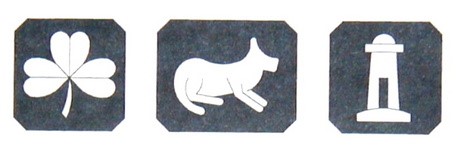 That still not cover the Maltese Cross on the right side of the shank ahead of the shape number 105. I have seen these before but I wanted to document what I had found on Peterson’s Pipe Notes blog. I have included that below (https://petersonpipenotes.org/276-kps-pipes-for-the-illuminati-na-heireann/). I quote:
Two of the foremost researchers among the P.G. (Peterson Geeks) Irregulars are Lance Dahl and Scott Forrest, who independent of one another came up with compelling evidence regarding an unknown stamp on a number of pipes in their collections. The stamp looks like a Maltese cross and appears either singly or doubled on pipes from the Patent era through the Éire and Early Republic. Because pipemen can sometimes be quite dogmatic about what they read in a forum or imagine the case to be (“don’t confuse me with the facts, my minds made up”), I should let everyone know that Scott’s background is in historical research and Lance worked in government intelligence before his retirement, giving them that “Thinking Man” spirit we routinely find in our fellow CPGs…
… SCOTT: It’s crazy to speculate on the such scanty information, but since that’s what pipe smokers do almost every day regarding the origin of their pipes, here’s my take. This wasn’t an auxiliary of the Irish republicans. The Maltese cross is always thought of first as a symbol of protection, although to be sure numerous religio-political military organizations attached themselves to its use (like the Order of St. John, but there’s dozens of them). I say that because of what we know Charles Peterson’s own political views. But his cousin Conrad wasn’t adverse to using violence to bring about political change and neither was his own wife, right? So who knows? But it’s interesting that the Maltese cross pops up in these “Peace” advertisements in the 1910s, isn’t it?
… LANCE: I think I’d have to agree with Scott’s theory, based on the text at St. Patrick’s. The motives and purpose of the group seem outside the normal purview of the Irish republicans. While the book is about anti-Papal groups, but the two paragraphs on this group don’t say they were anti-Catholic per se so much as suggest they should be considered anti-Catholic because they were motivated by some kind of tolerance or pacificism like we find in the Mennonites of Ukraine, the Moravians, Quakers, Molokons or whoever. But the use of the Maltese crosses (three), the all-seeing Eye and the shamrock is interesting, isn’t it? Obviously the “watching” thing is there, the idea of enlightenment or secret understanding. Then there’s the symbol of Ireland, which is also a symbol of the Trinity used in the St. Patrick legend. The last line of the text from the seminary reads Hic coetus doctrinam suam non a Patriciis, sed a Sanctis Celticis habere videtur, something like “the society takes its spiritual doctrine not from Patrick but the Celtic saints before him.” So I don’t know, at least not until something more turns up.
The blog also includes a lot more information on the Maltese Cross or Crosses on Peterson’s Pipes. Give it a read as it very interesting. Now it was time to work on the pipe.
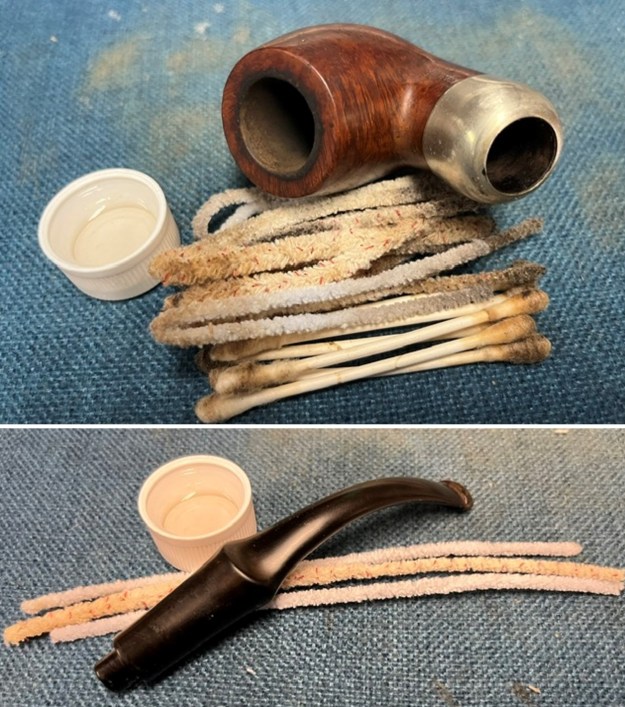
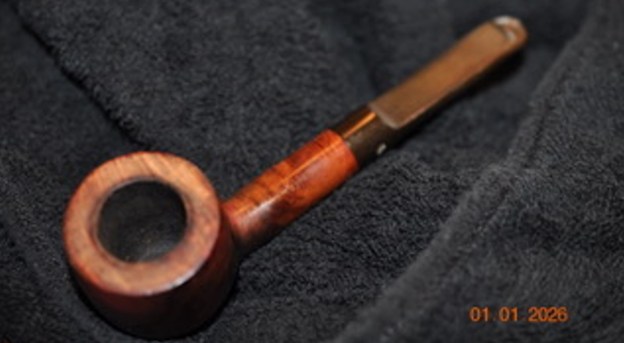
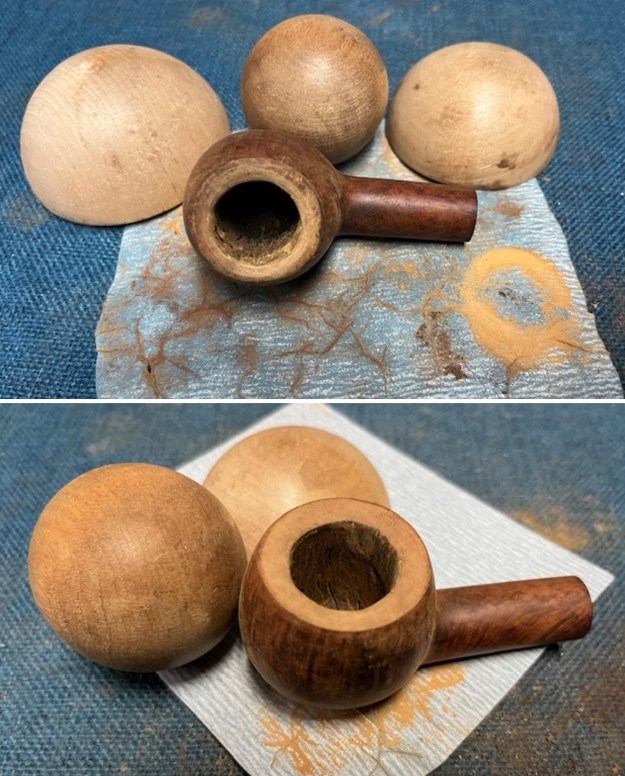
I was utterly surprised when I took this pipe out of the box and compared it to the before photos. Jeff had done a great job cleaning up the pipe as usual. He reamed the pipe with a PipNet reamer and cut back the cake back to the bare briar. He cleaned up the walls with a Savinelli Fitsall Pipe Knife. Surprisingly the walls looked unscathed from the heavy cake. He scrubbed the interior of the bowl and shank with pipe cleaners, cotton swabs, shank brushes and alcohol to remove the tars and oils. He scrubbed the exterior of the pipe with Murphy’s Oil Soap and a tooth brush to remove the grime from the finish. He worked on the rim top lava and darkening with the soap and tooth brush. He scrubbed the inside of the stem with alcohol and pipe cleaners. He scrubbed the exterior of the stem with Soft Scrub and then soaked it in Briarville’s Deoxidizer. He washed it off with warm water to remove the Deoxidizer. The pipe looked far better when it arrived.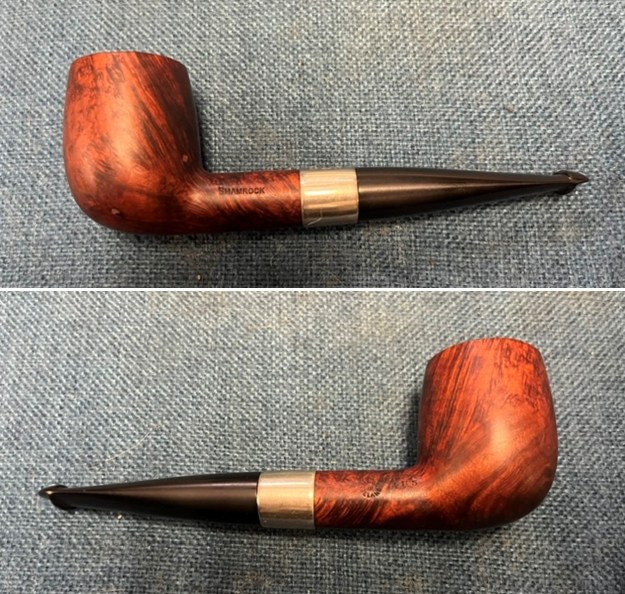
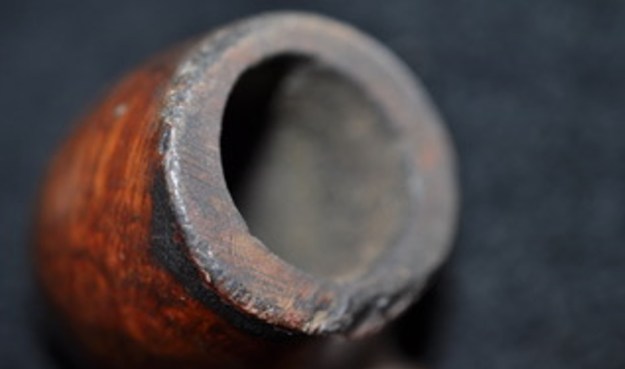
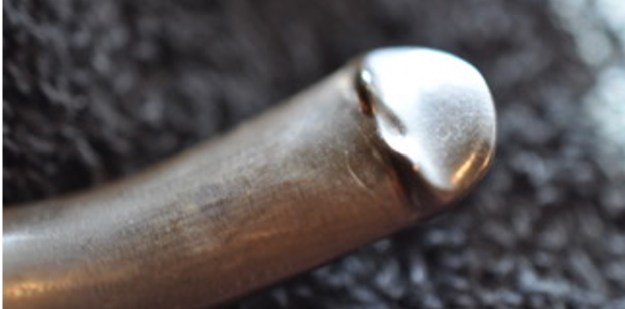
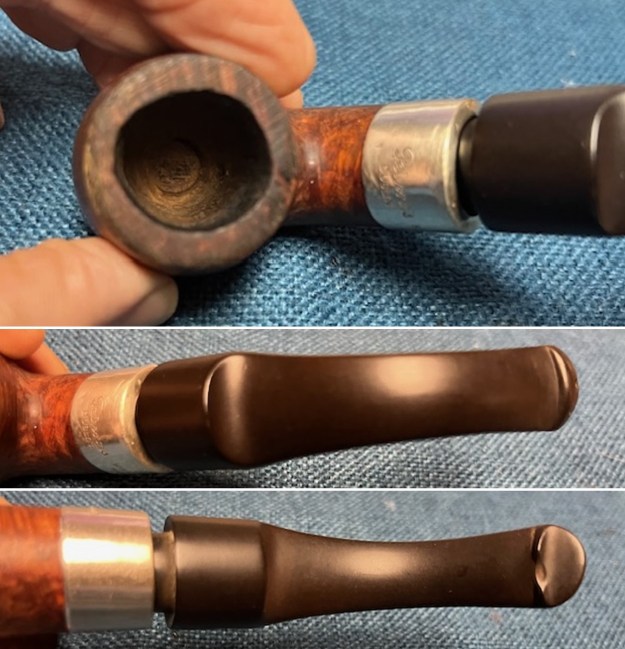
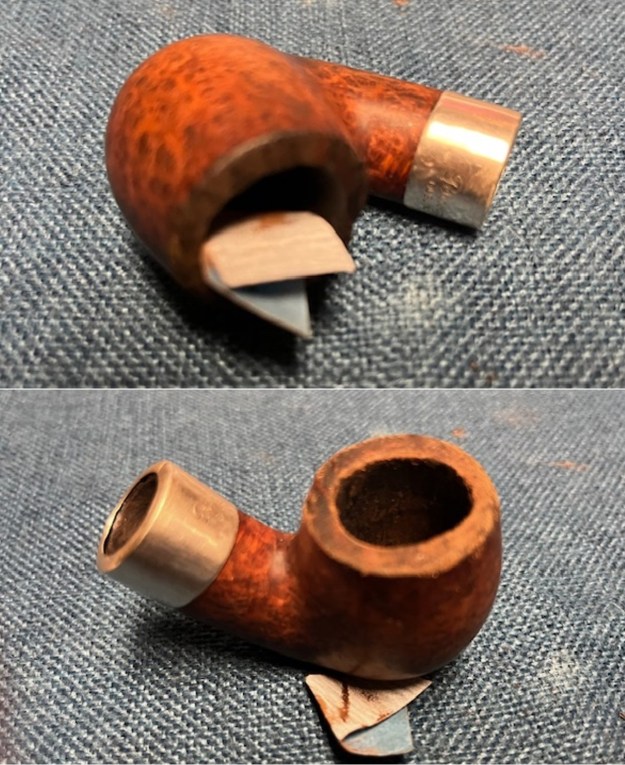
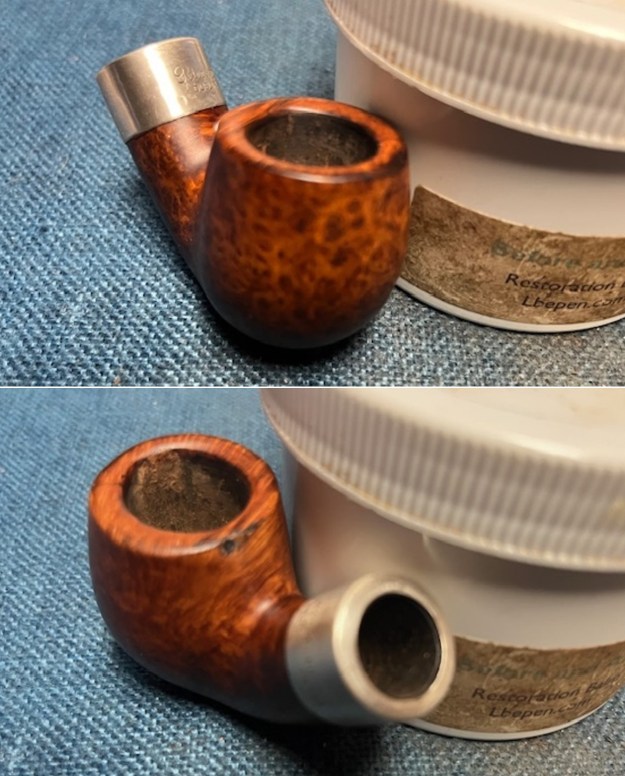
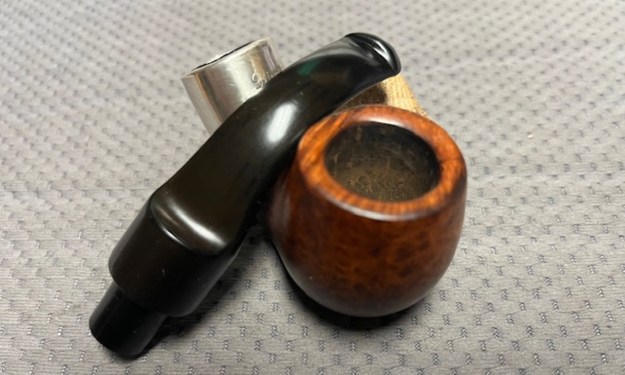
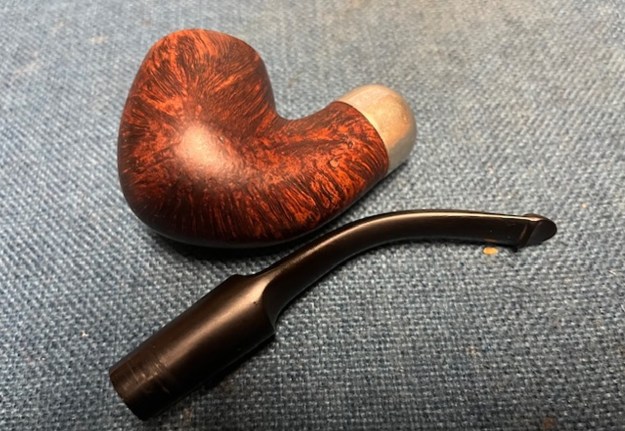
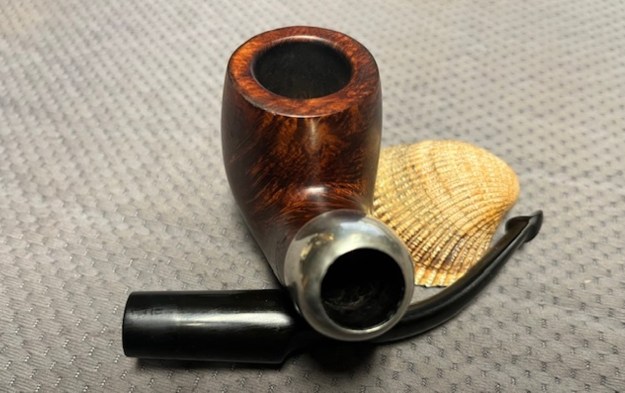
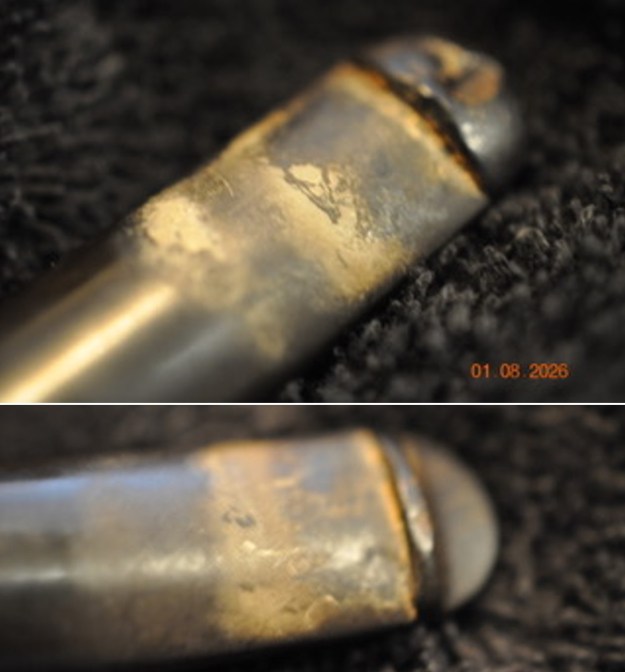
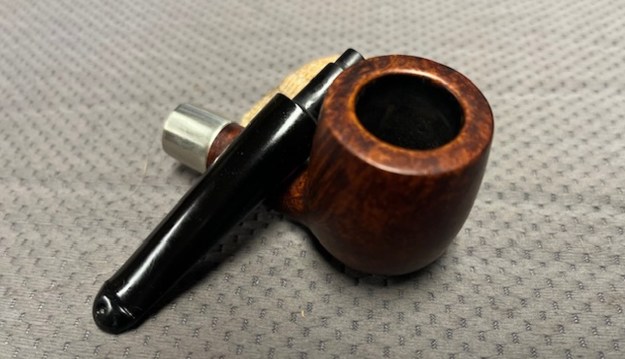
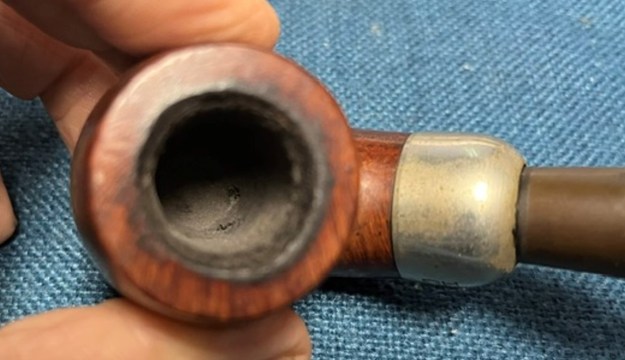
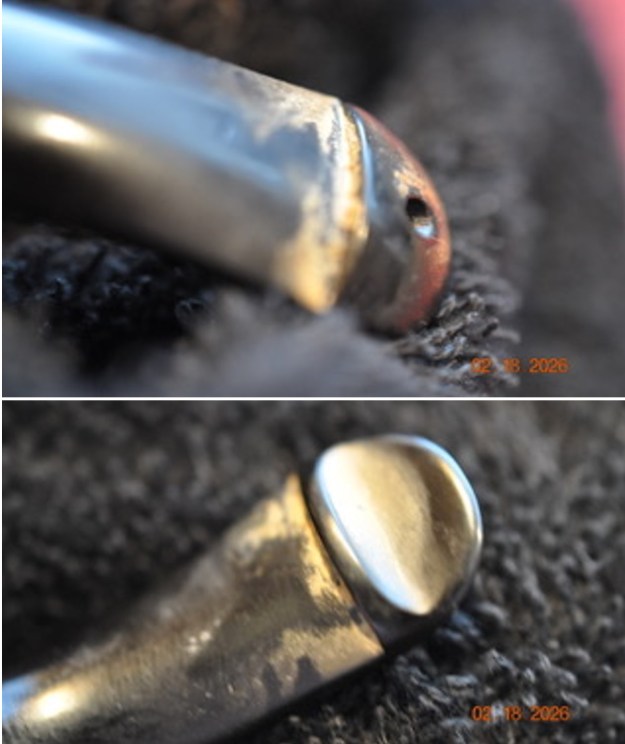
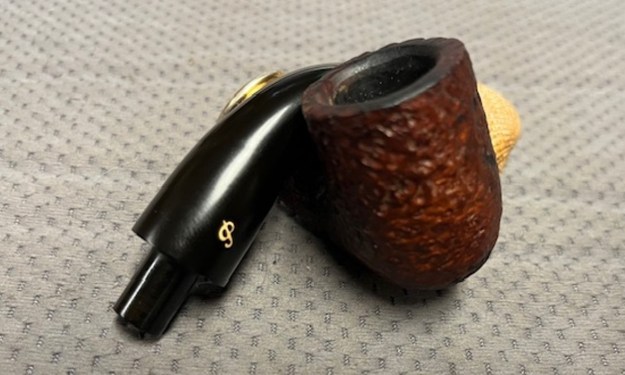
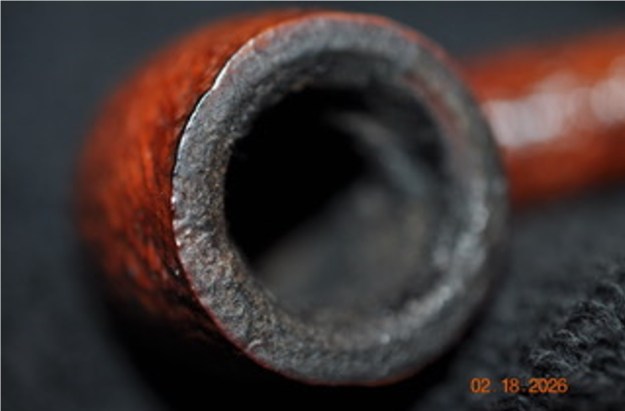
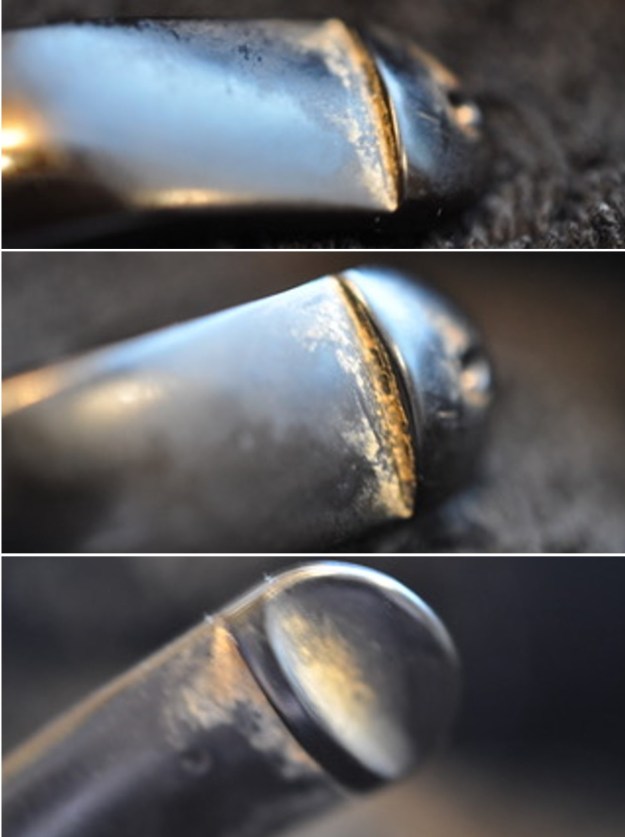
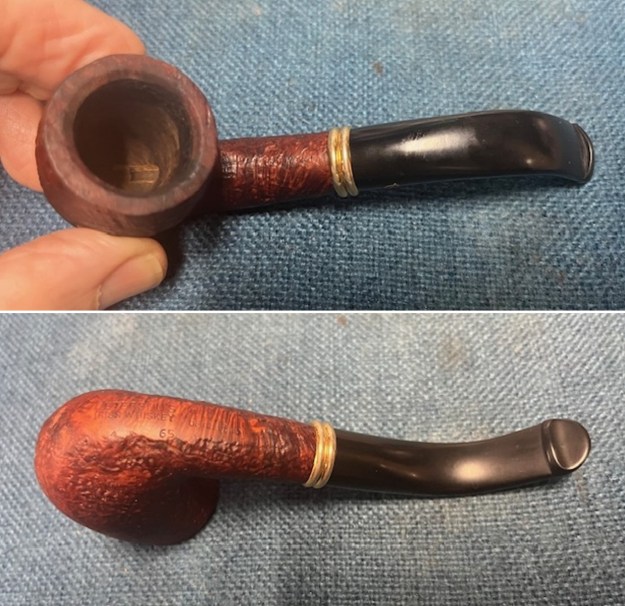
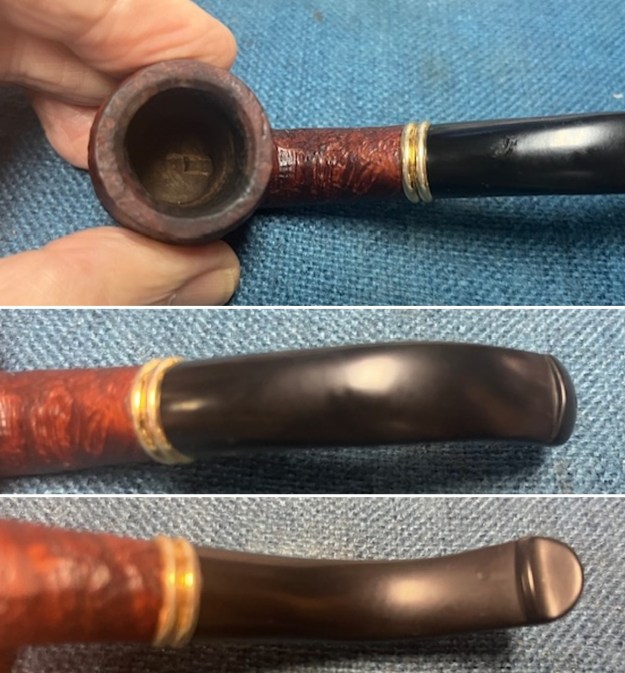
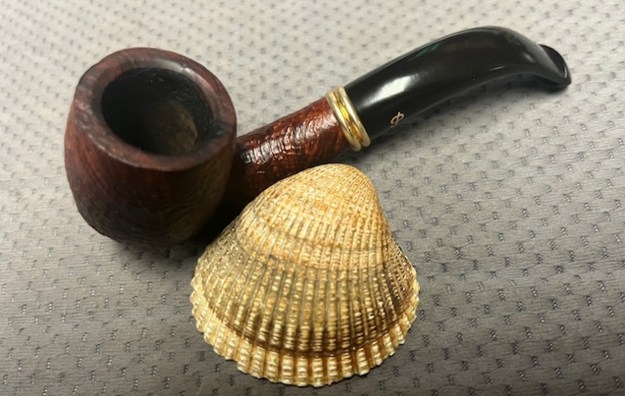
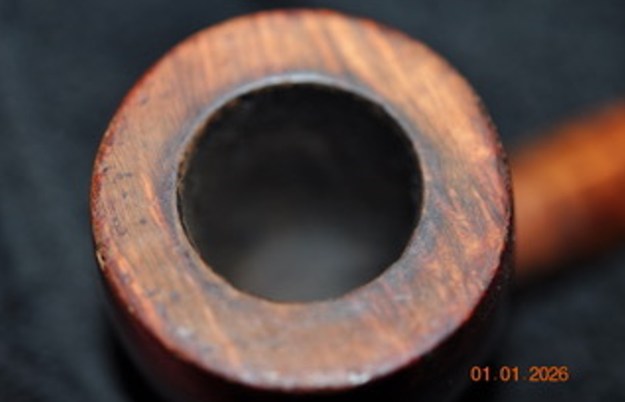
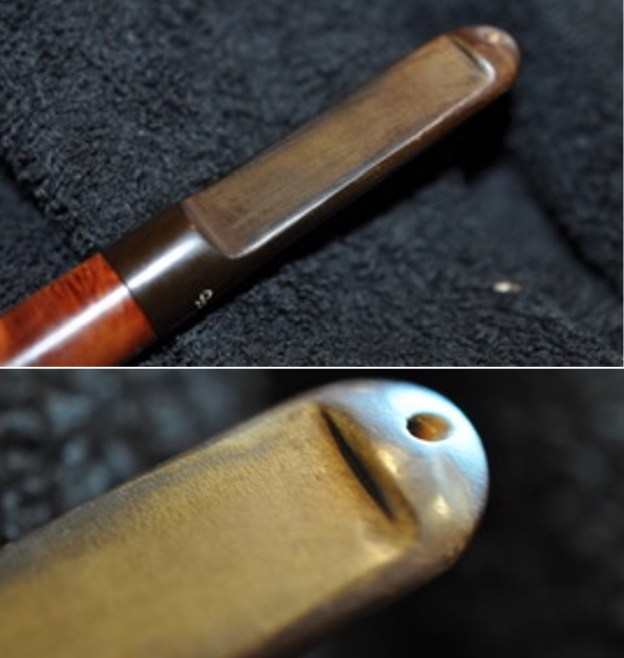
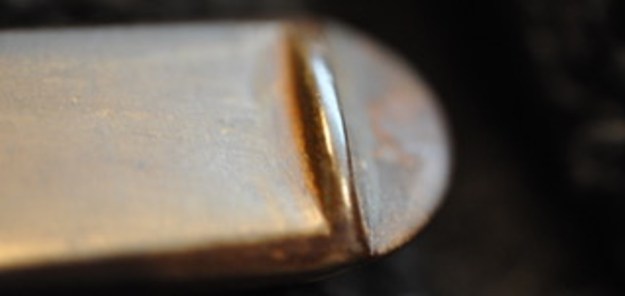
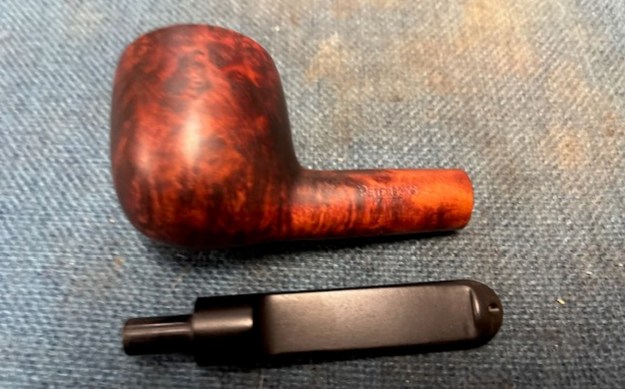
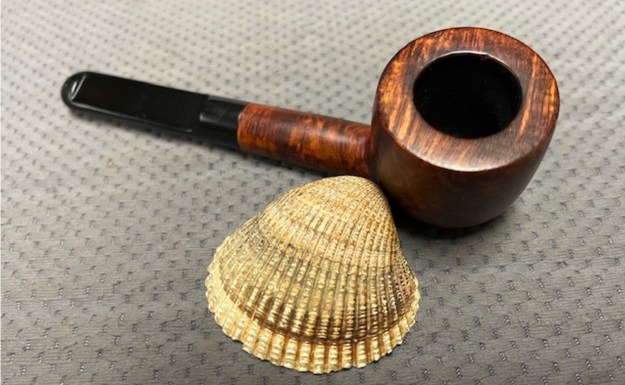
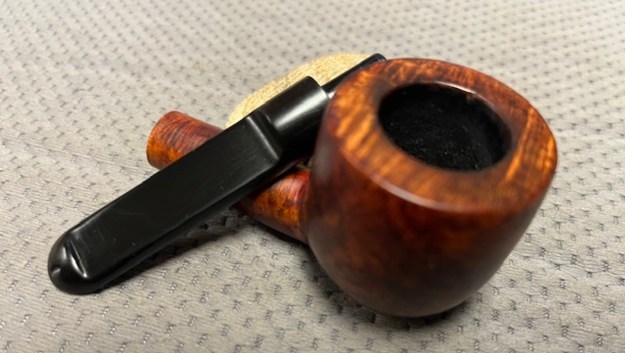
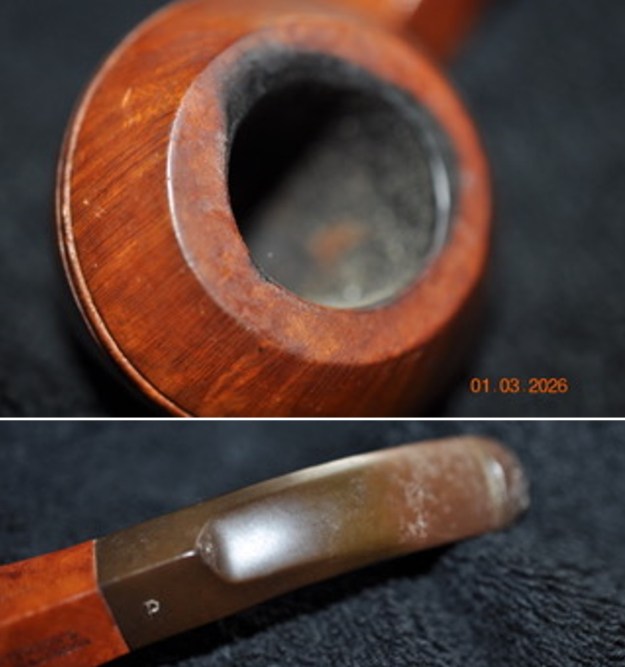
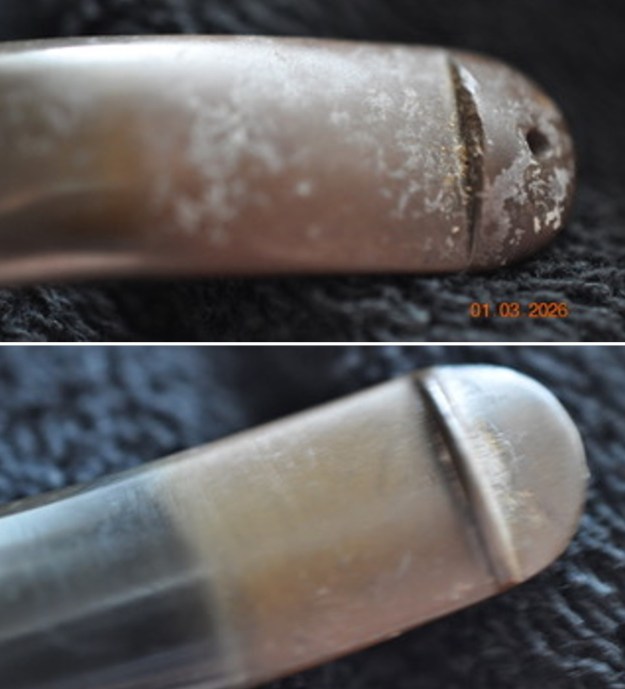
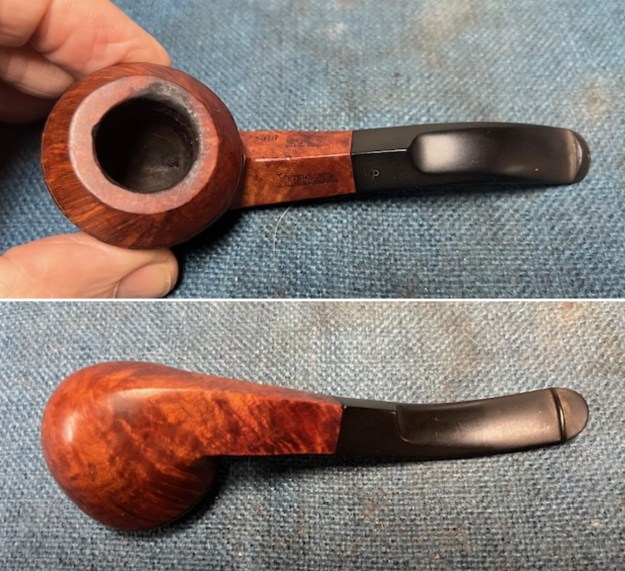
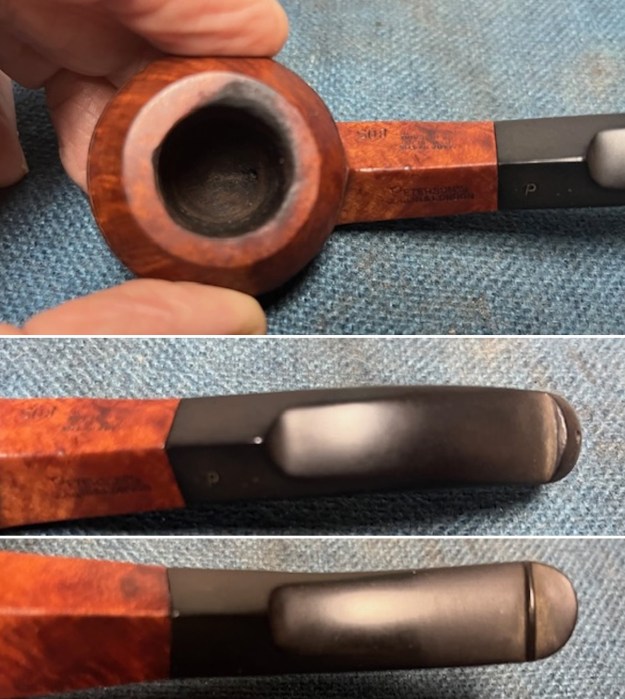
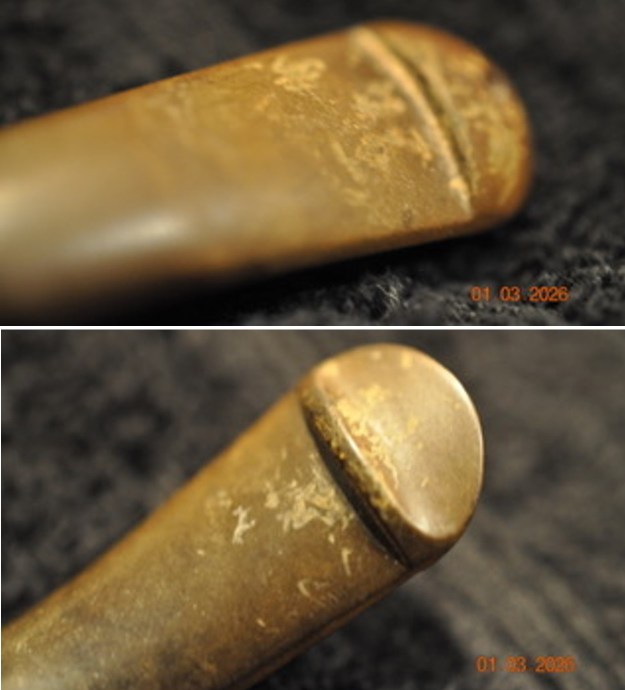
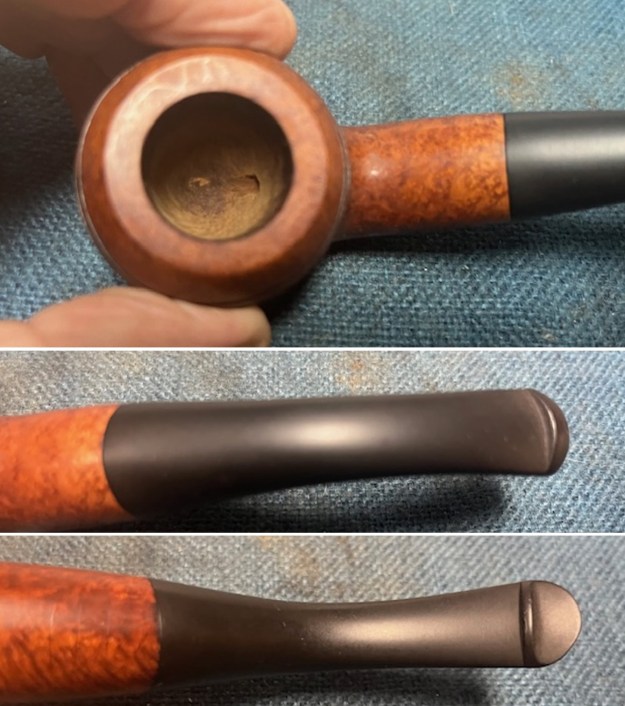
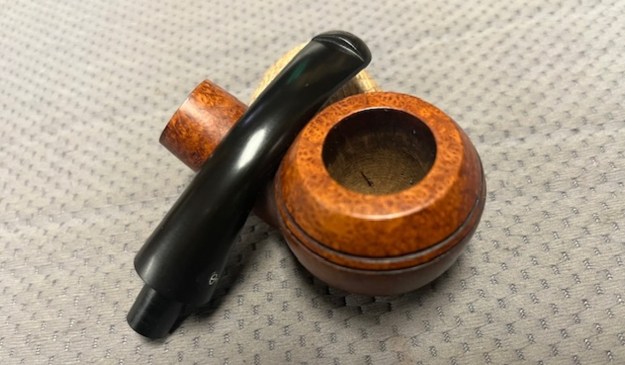
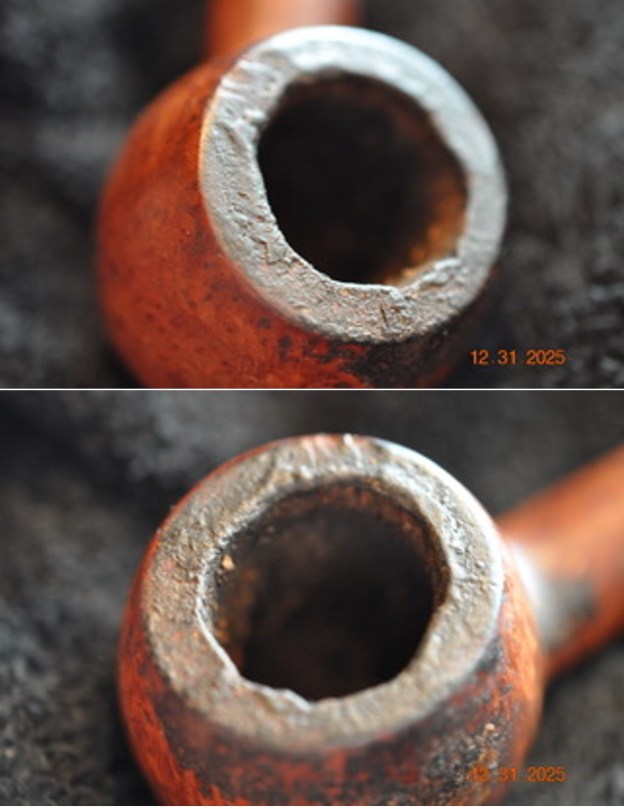
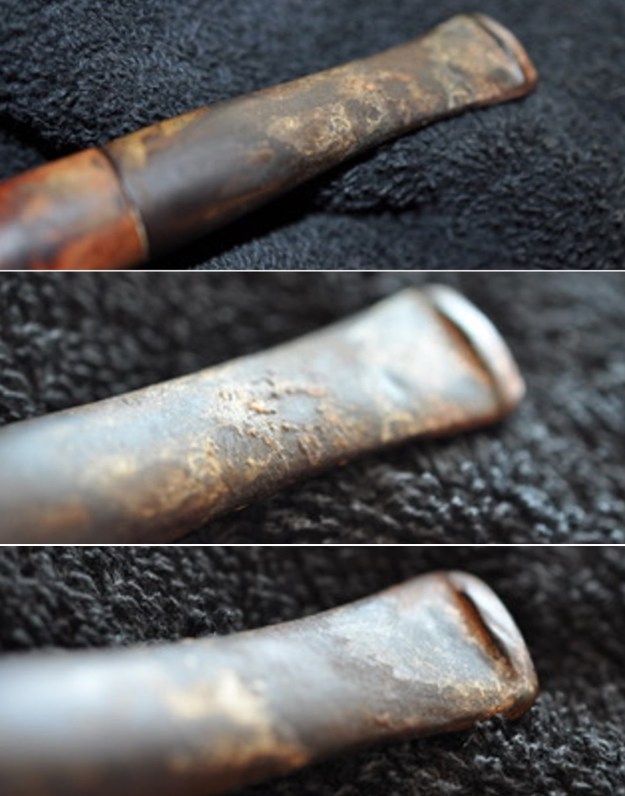
 The cleaned up rim top revealed very damaged inner edge and the top. There were nicks in the surface of the rim and the edges. I took some close up photos of the rim top and the stem to show the condition of both. You can see the deep tooth marks and damage to the button edges on both sides.
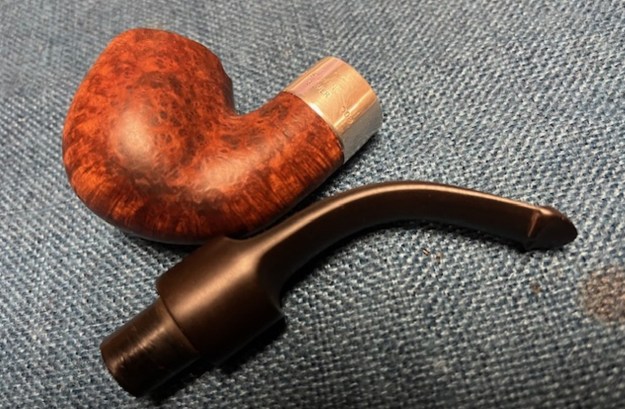
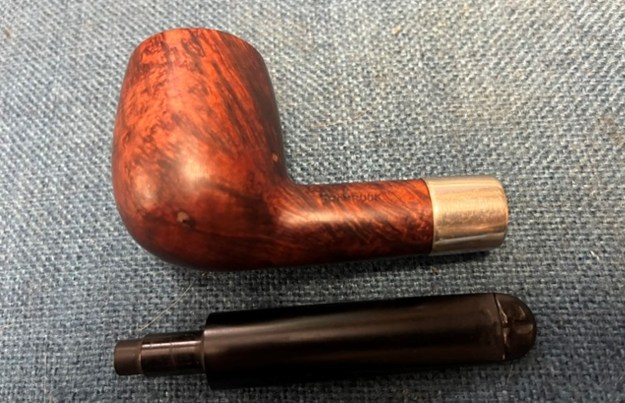
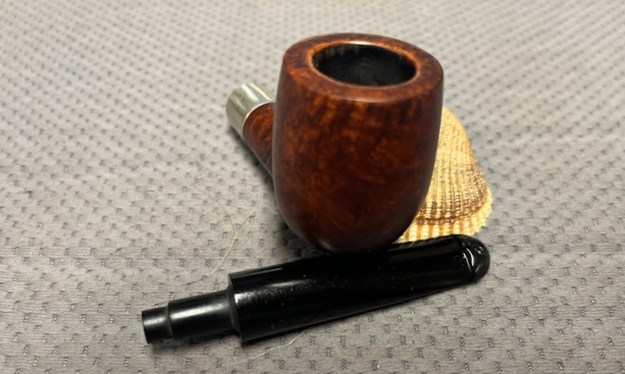
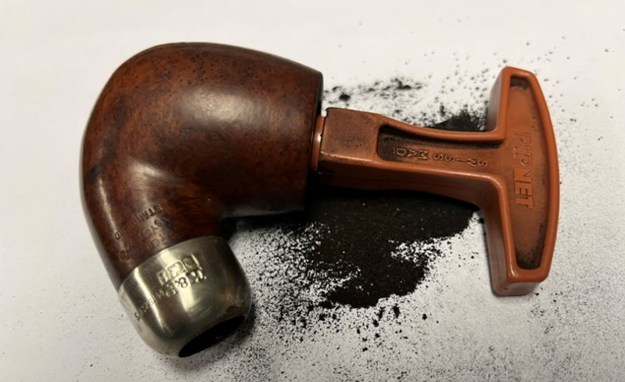
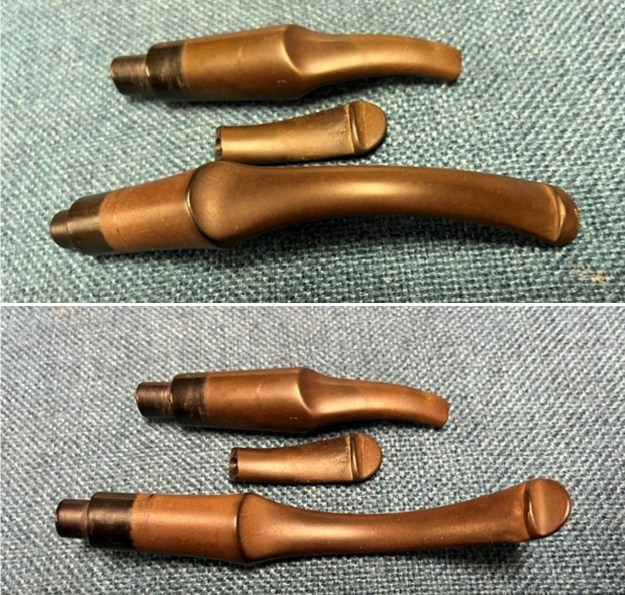
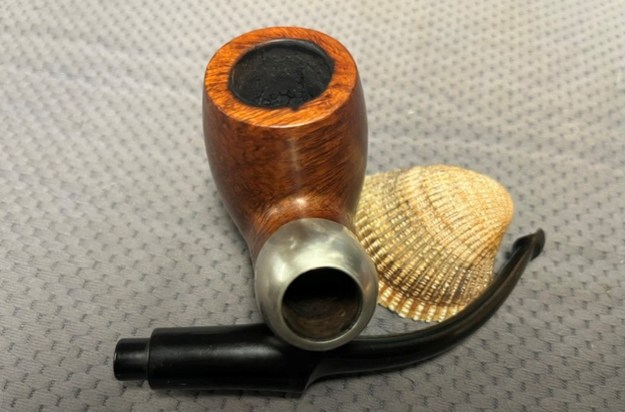
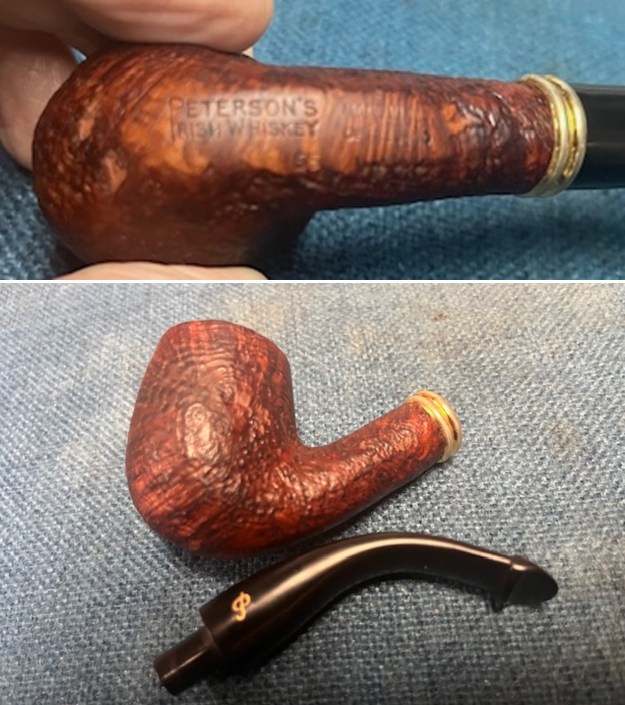
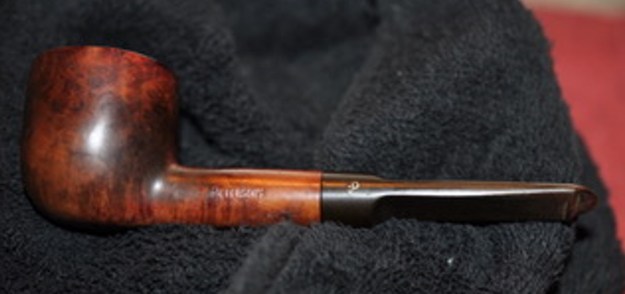
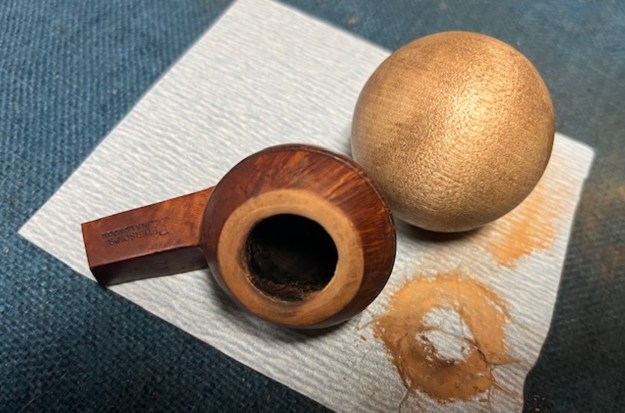
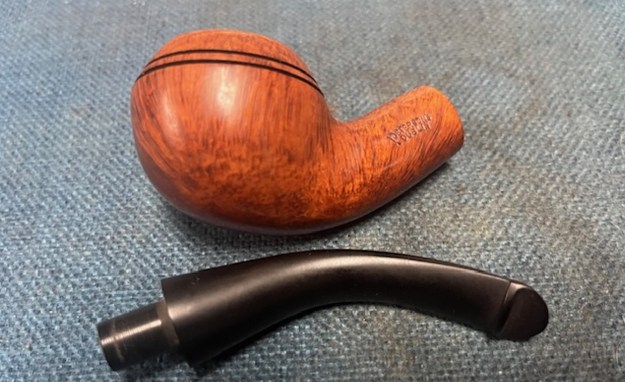
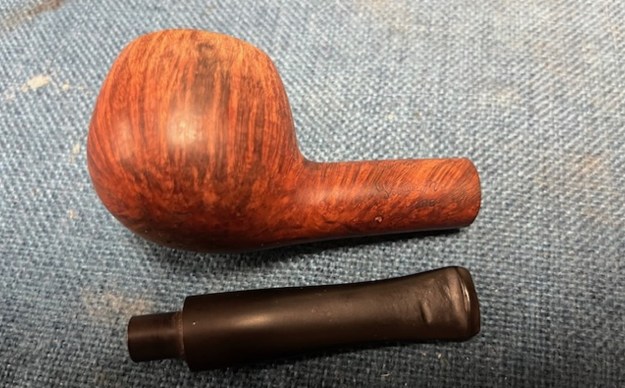
 I took photos of the stamping on the sides of the shank. It is faint but still readable. It reads as noted above. I took a photo of the stamping on the shank. It is clear and readable. I removed the stem and took a photo of the pipe to have a look at the parts and overall look.
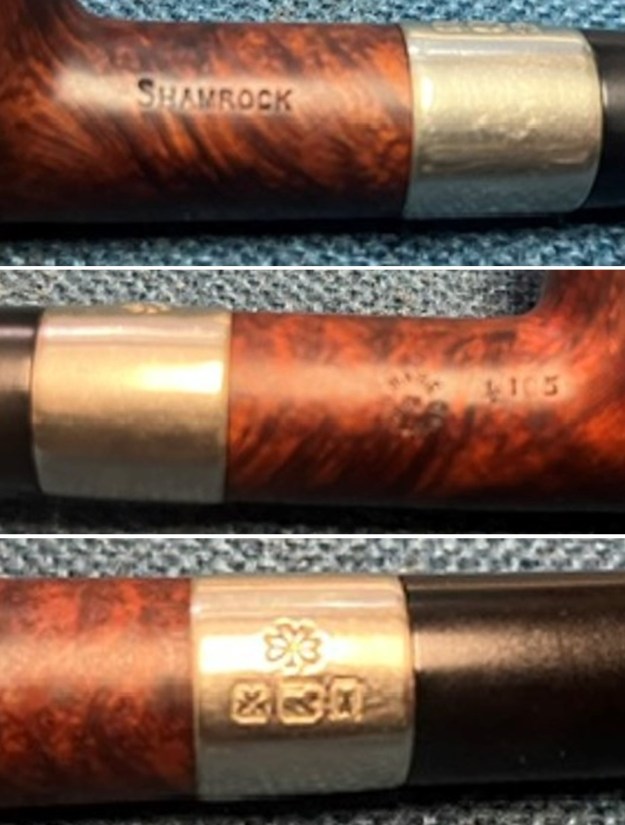
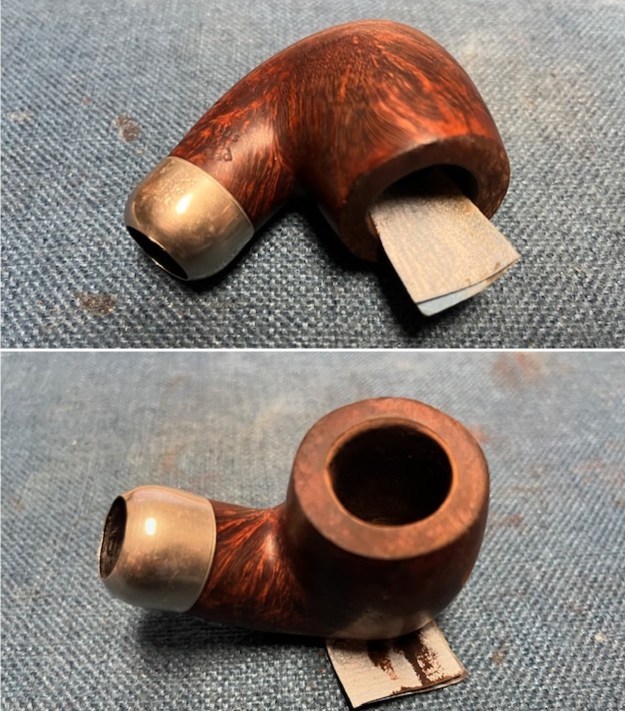
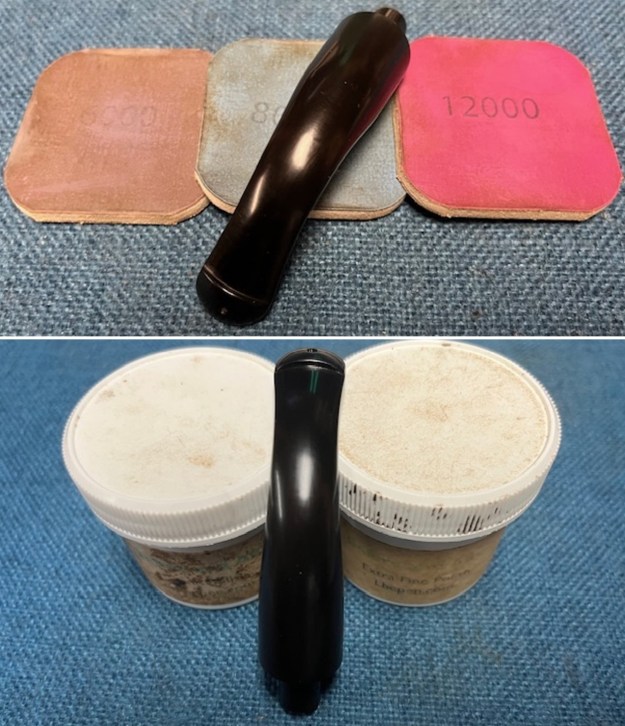
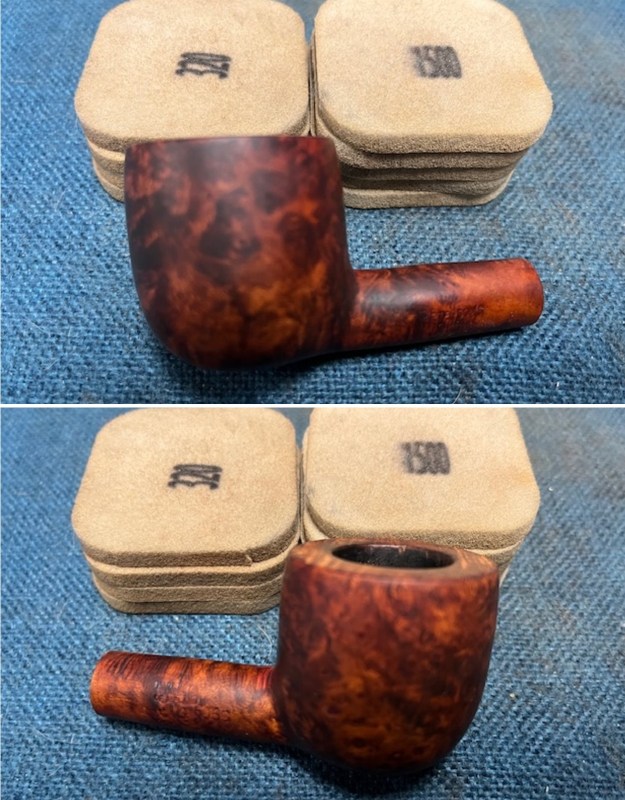
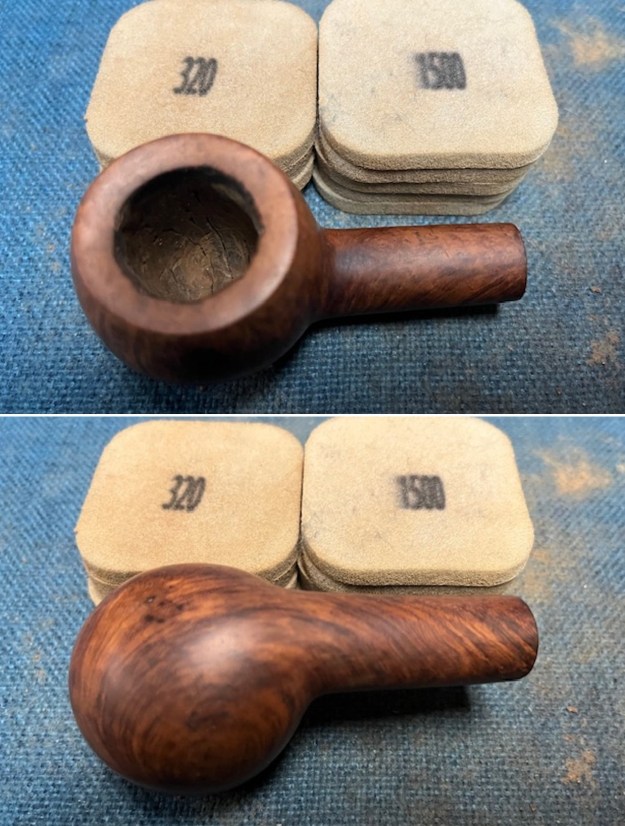
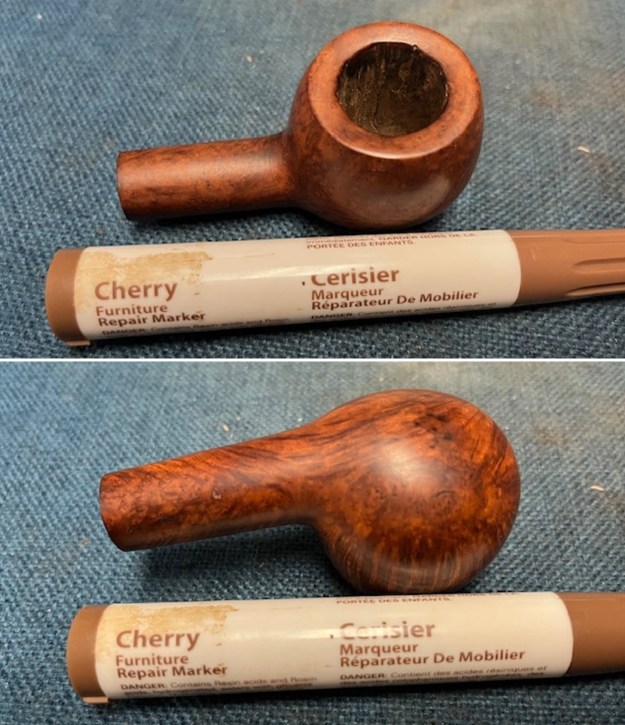
 I used a folded piece of 220 grit sandpaper to clean up the inside edge of the bowl and smooth out the damage on the rim top. I gave it a slight bevel to minimize the damage.
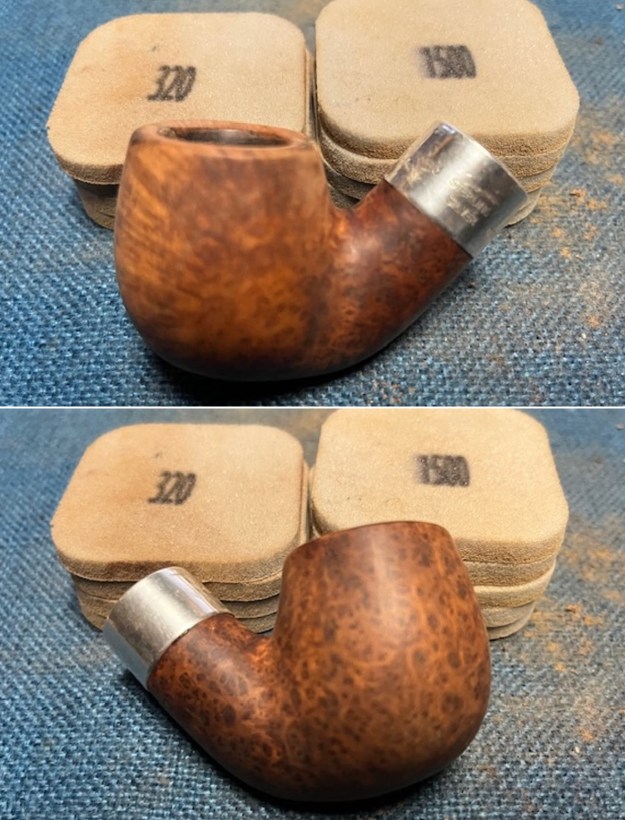
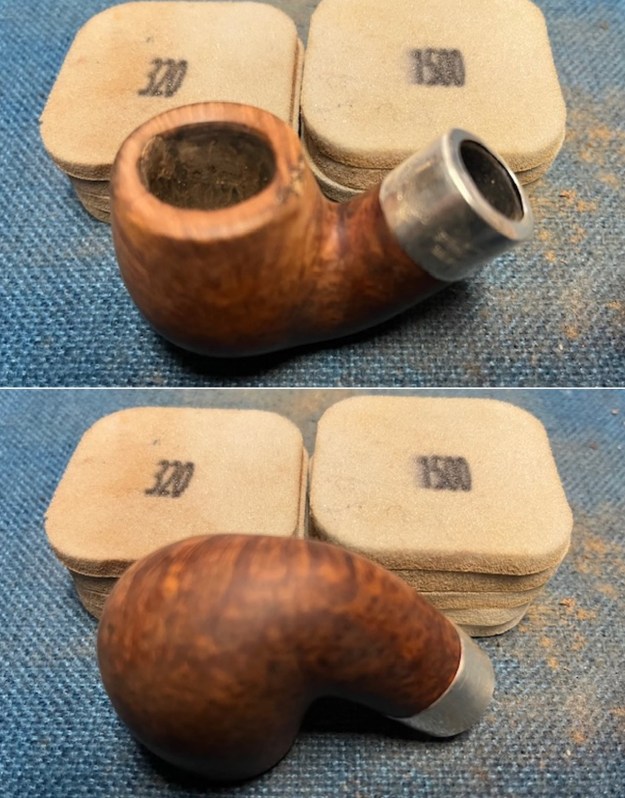
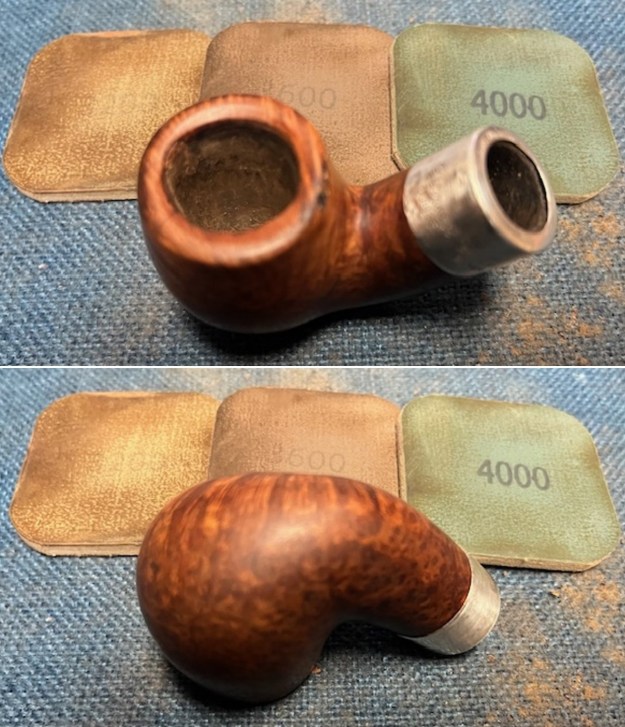
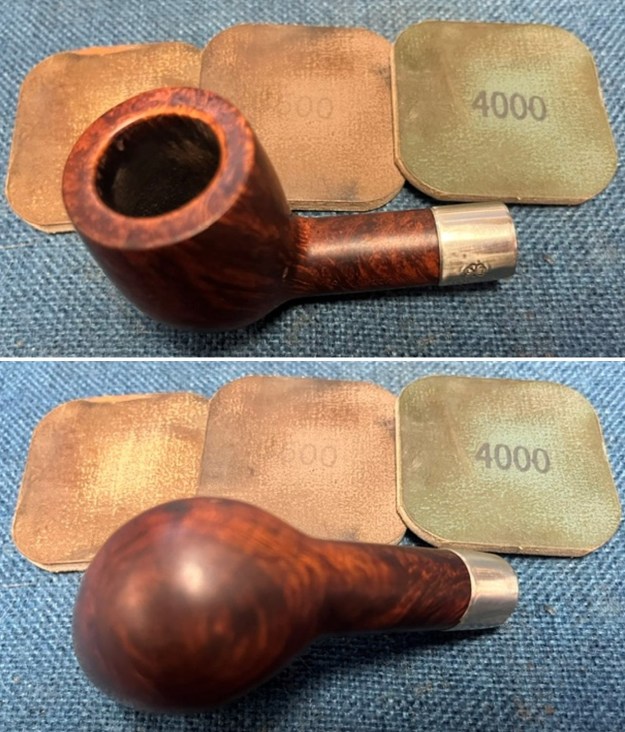
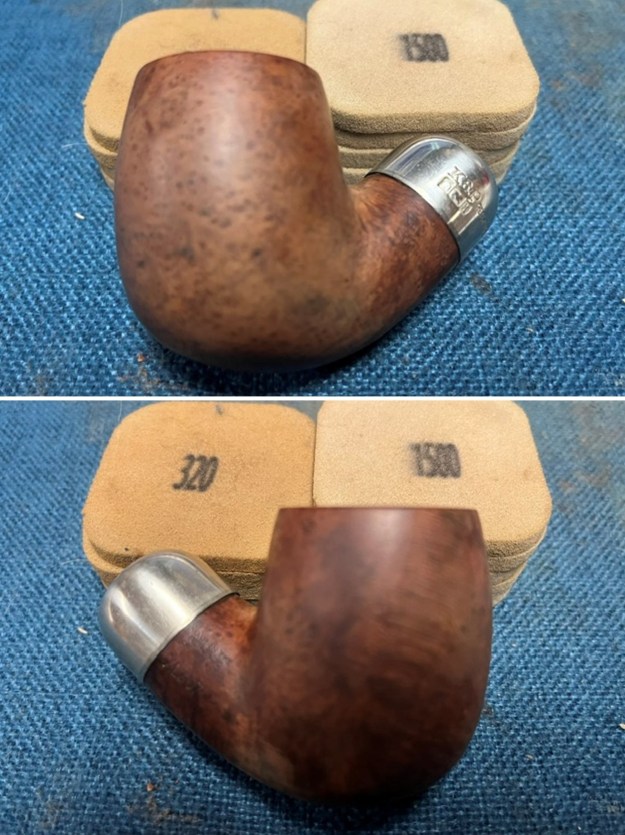
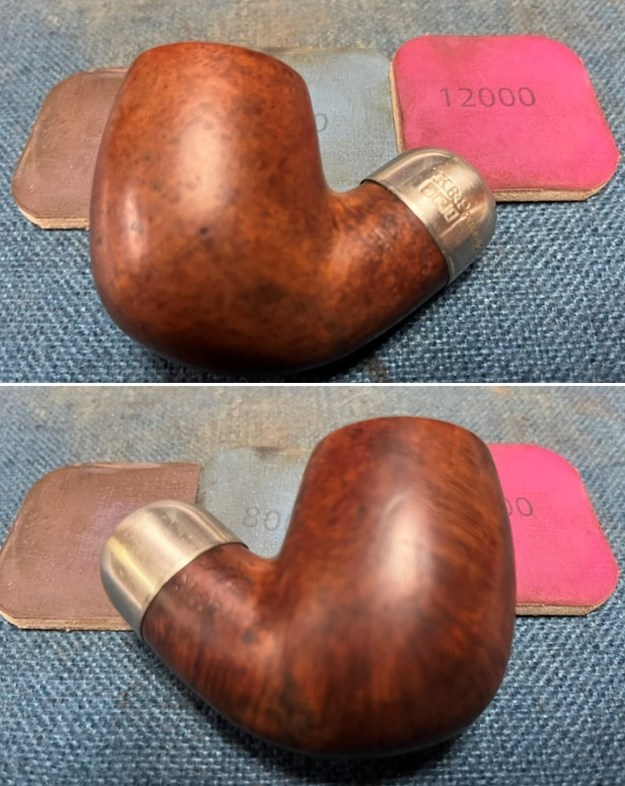
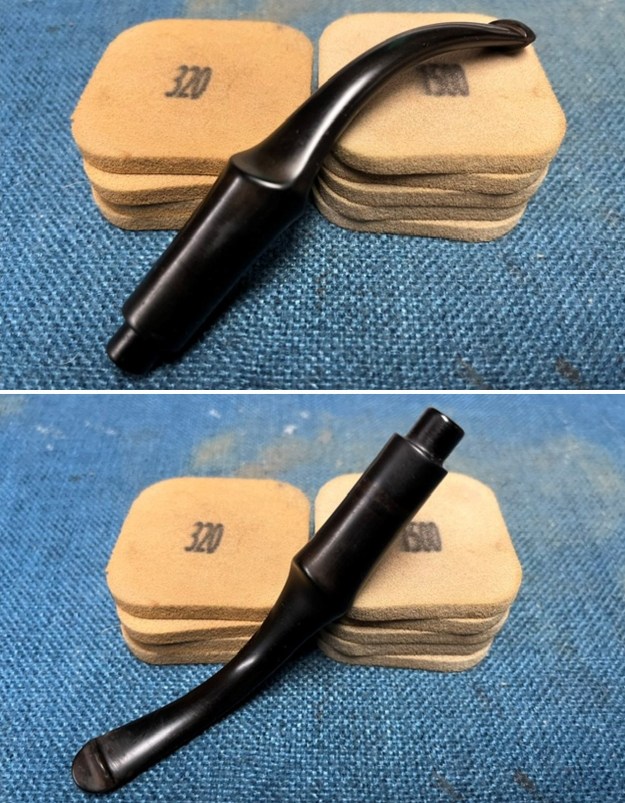
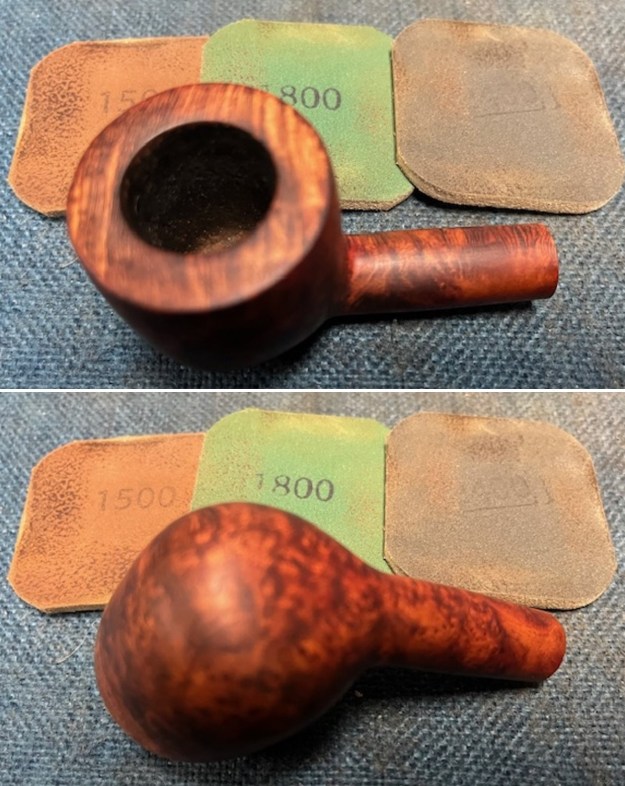
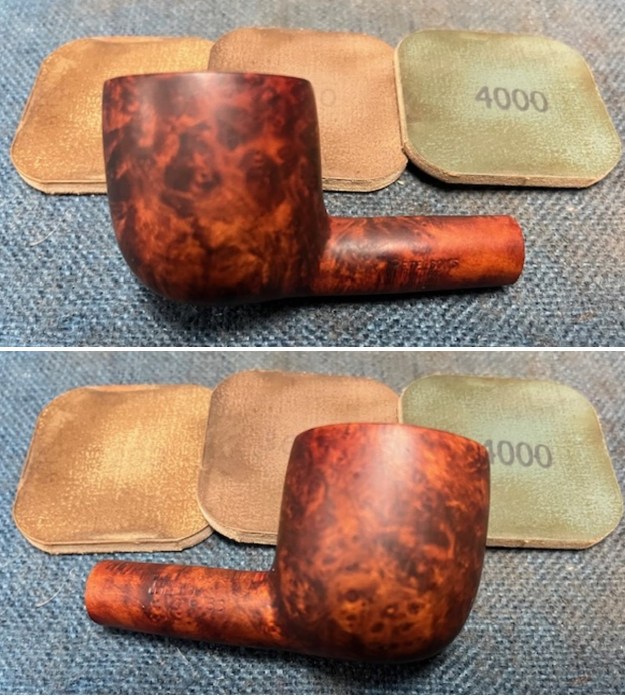
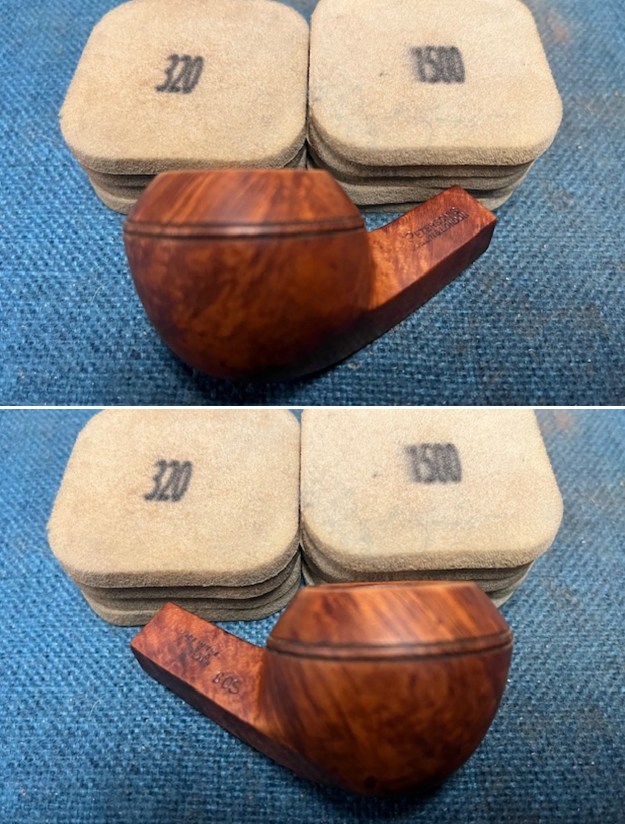
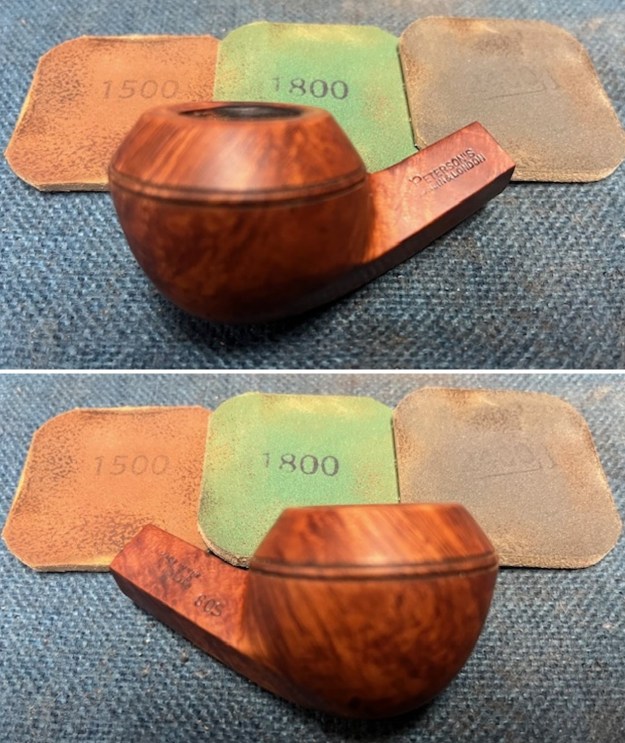
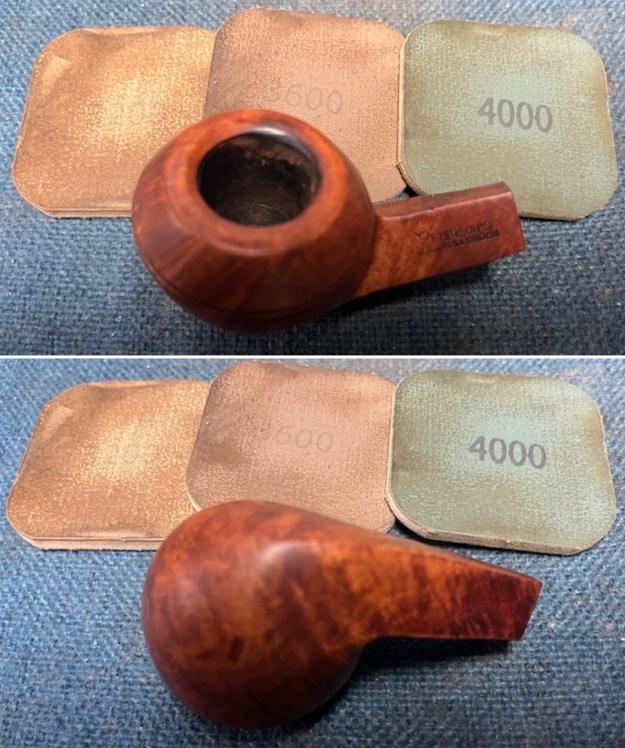
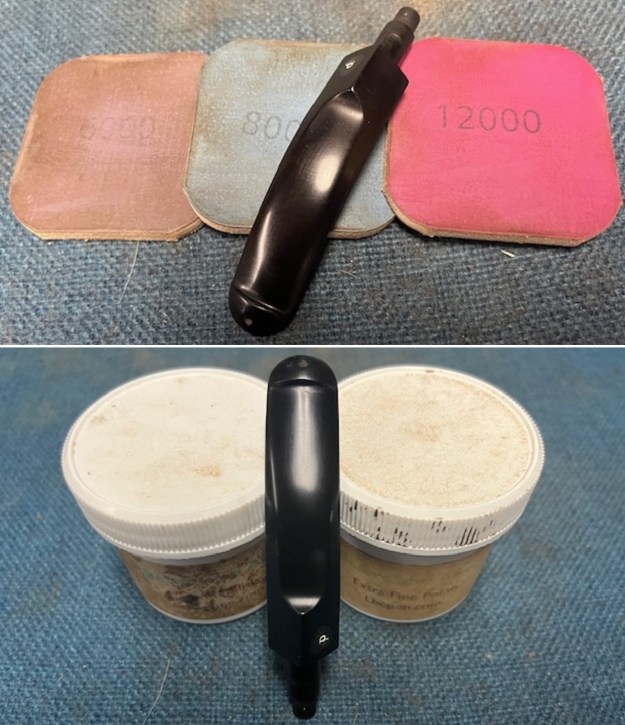
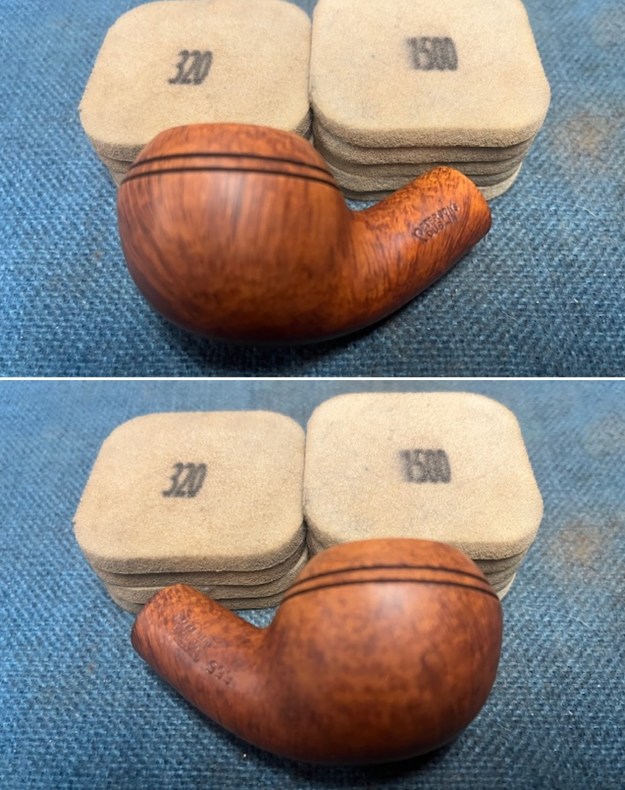
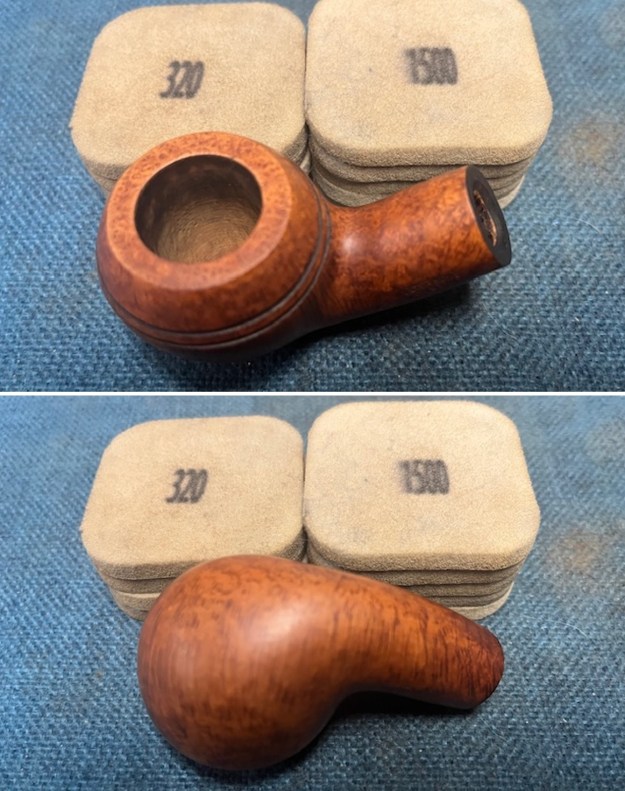
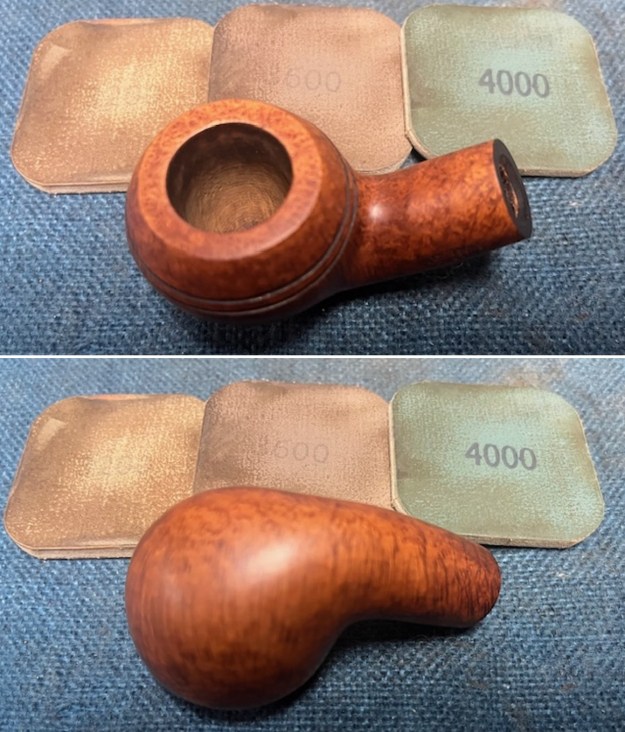
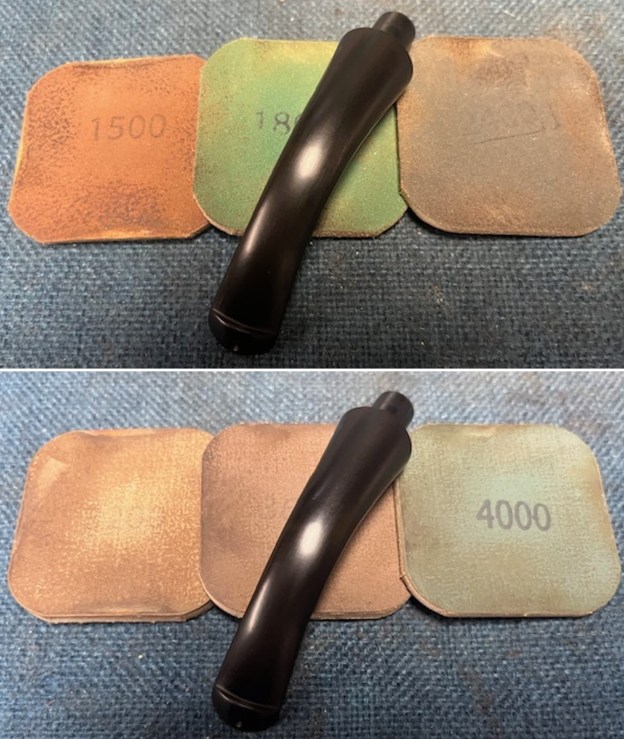
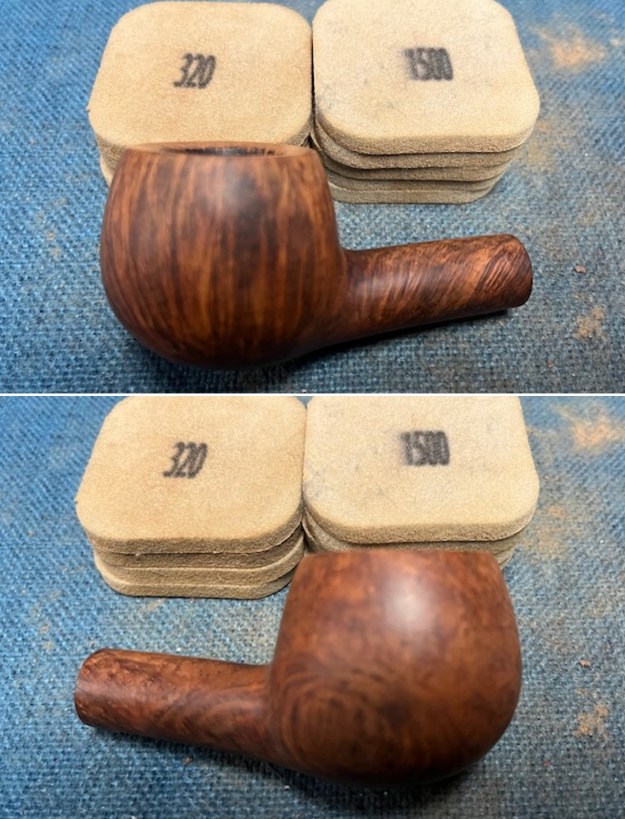
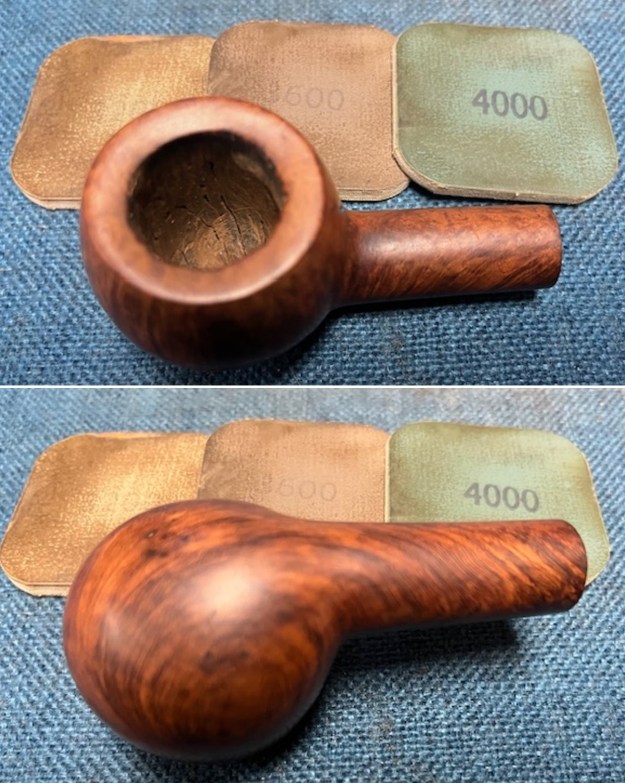
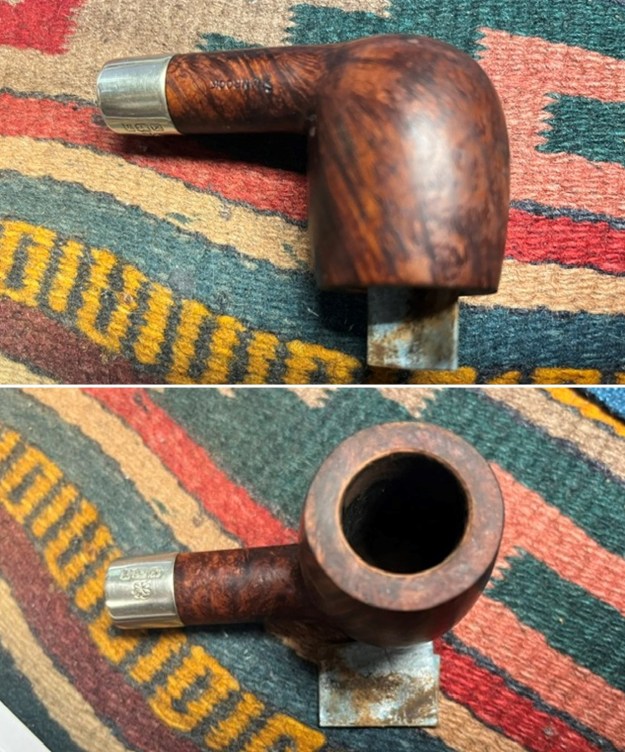 I sanded the bowl and rim with 320-3500 grit 2×2 inch sanding pads. I wiped the bowl down with a damp cloth after each pad to remove the sanding debris. It began to take on a shine by the final pad.
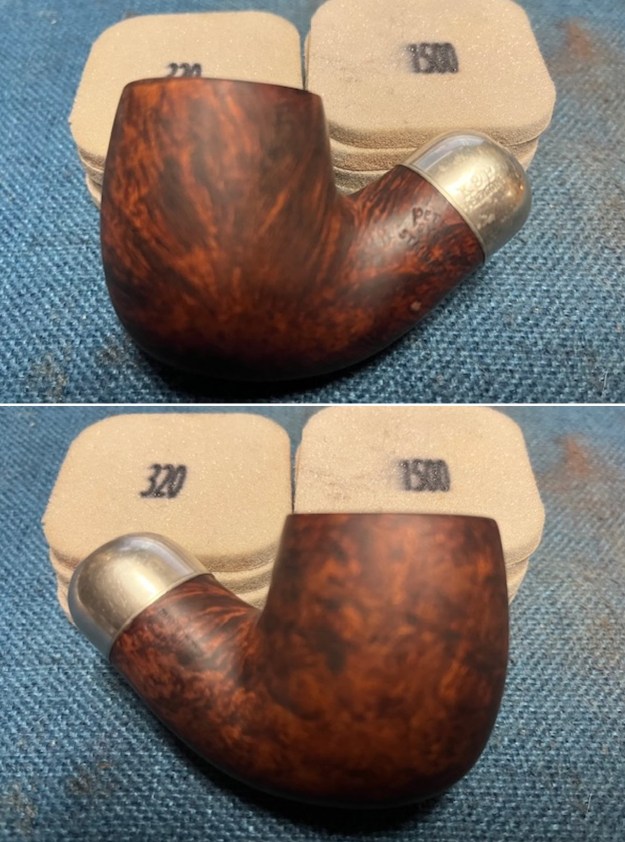
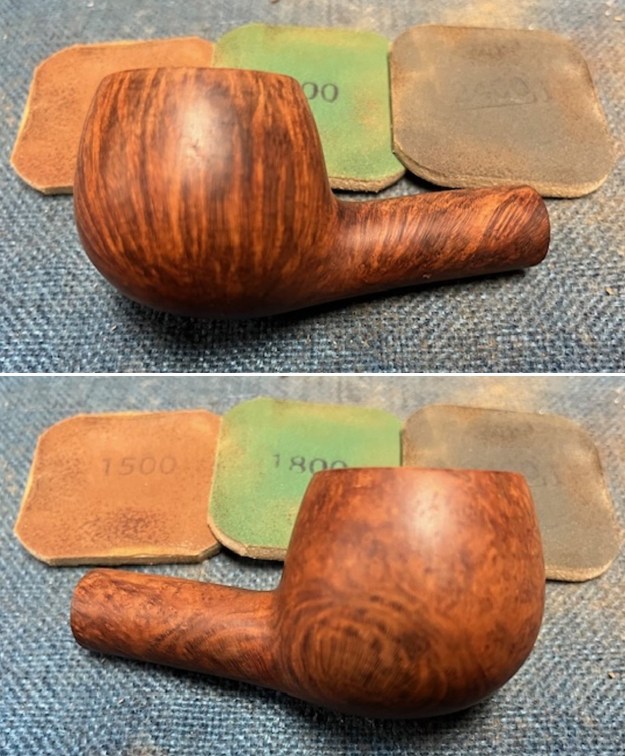
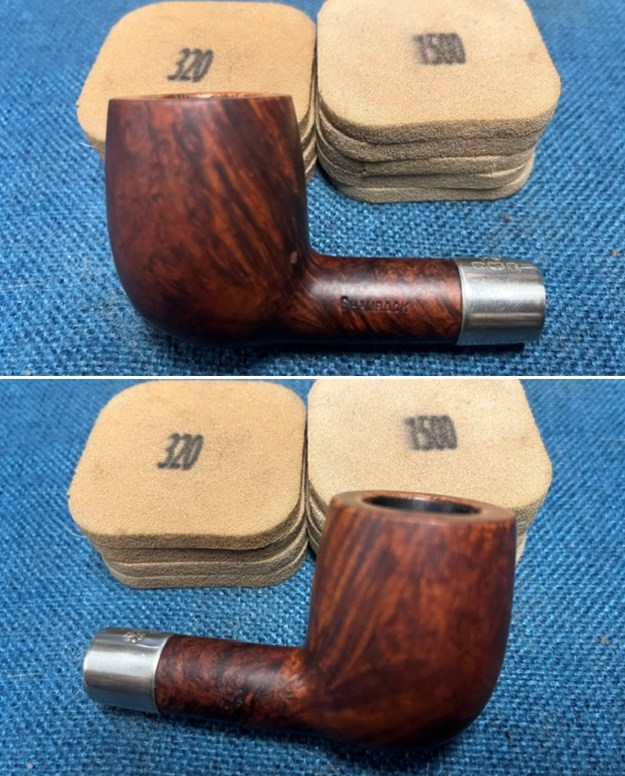
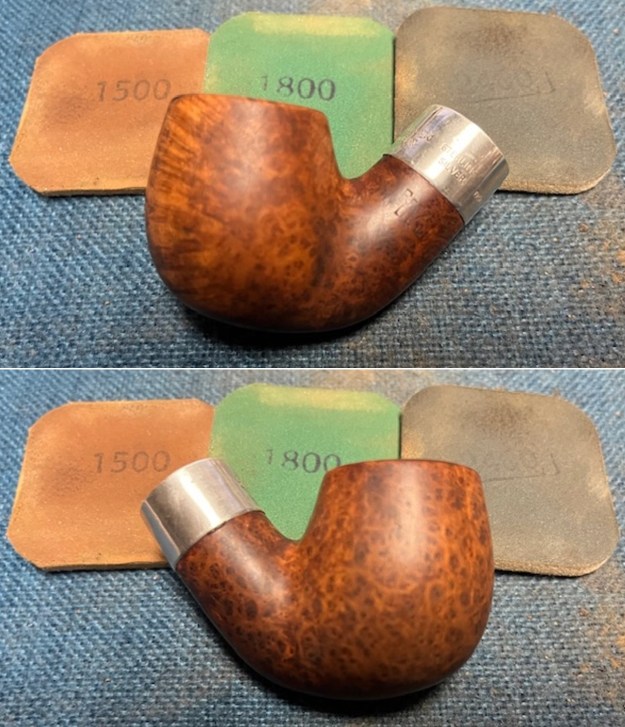
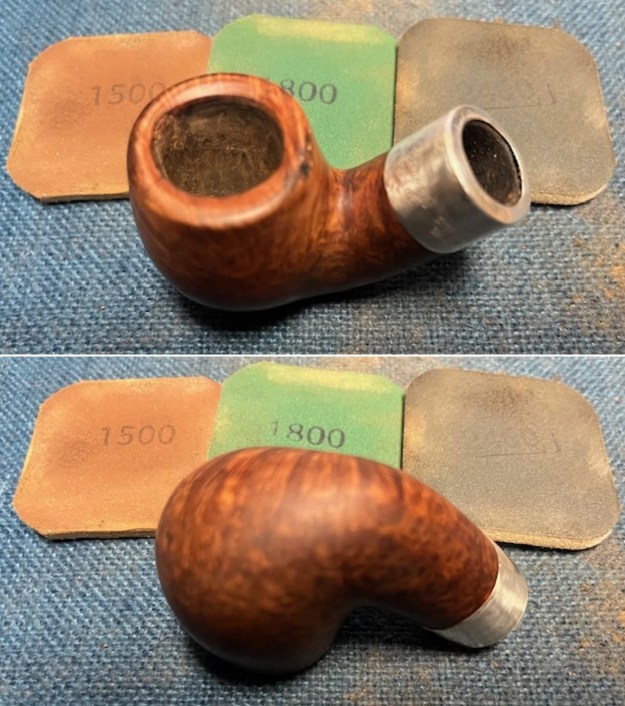
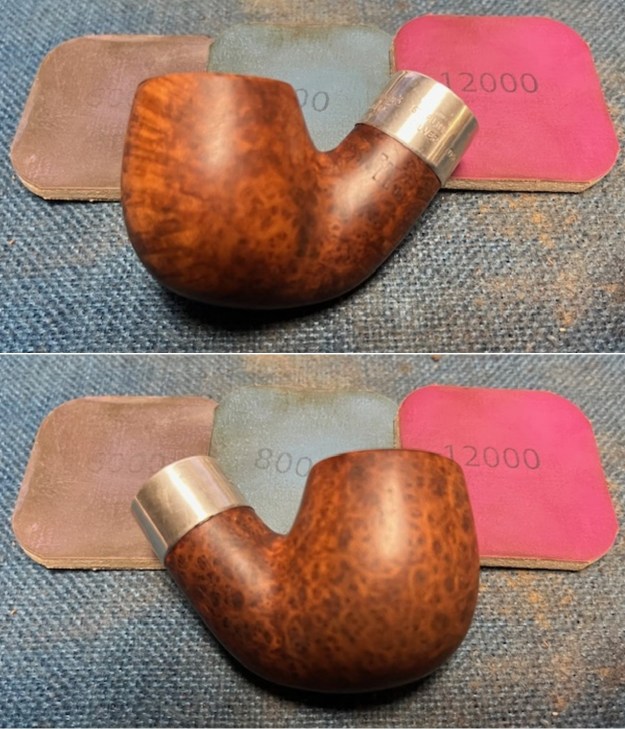
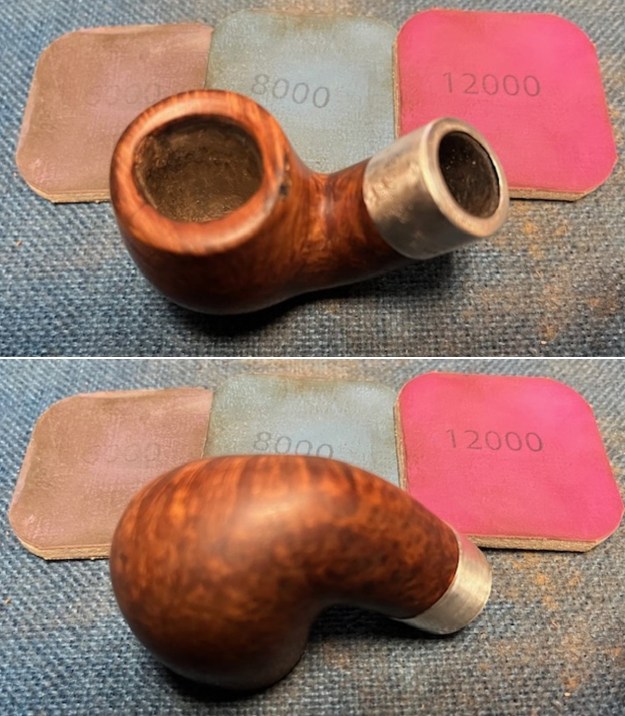
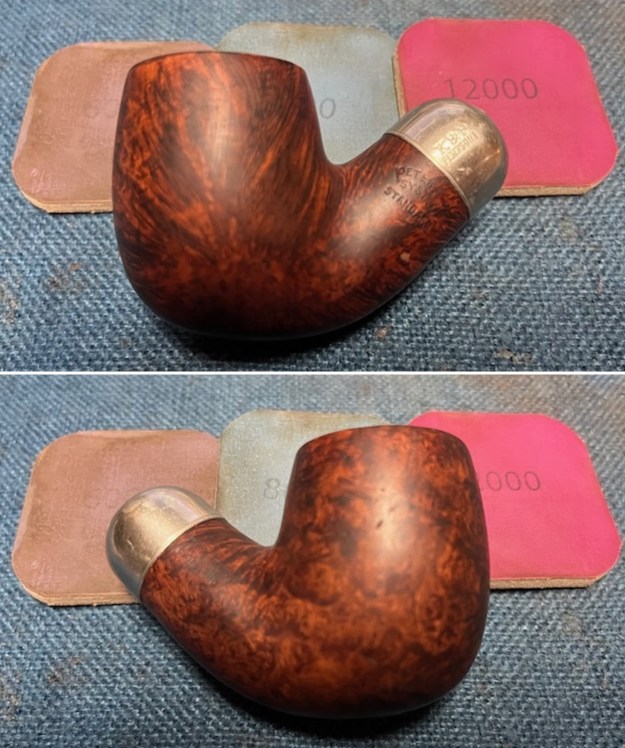
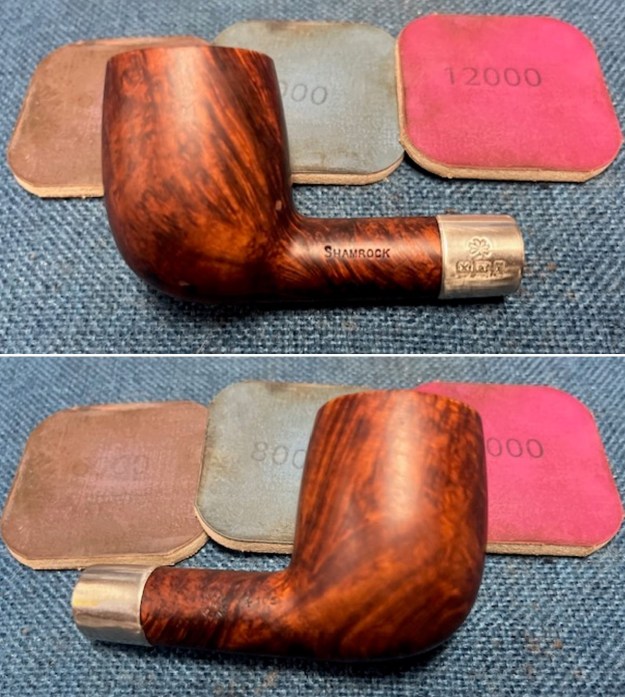
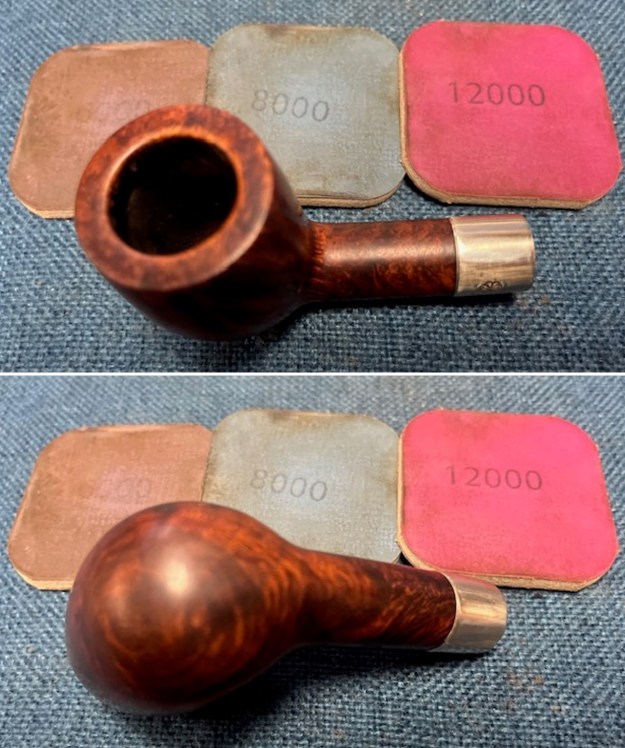
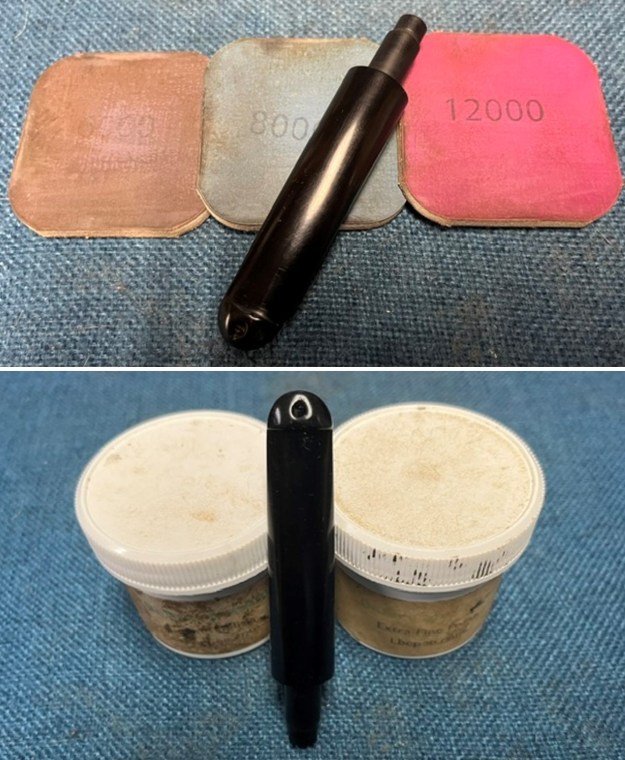
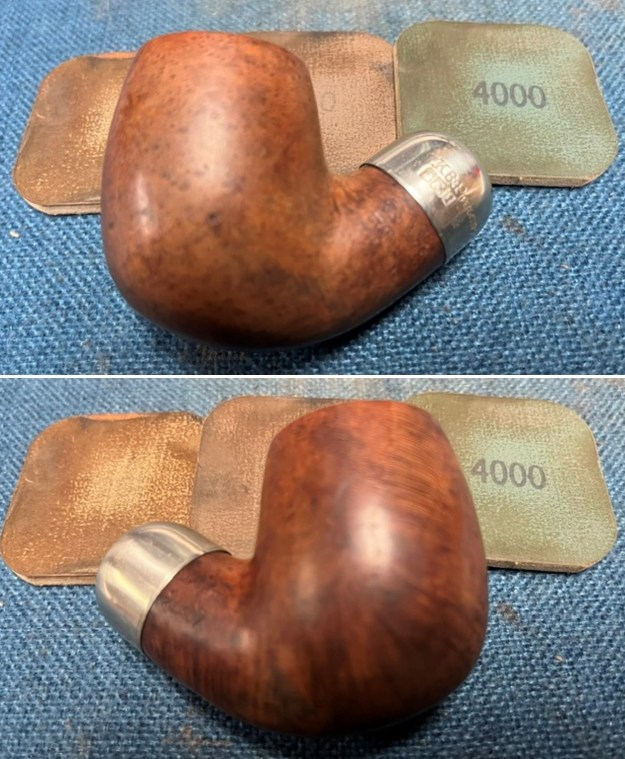
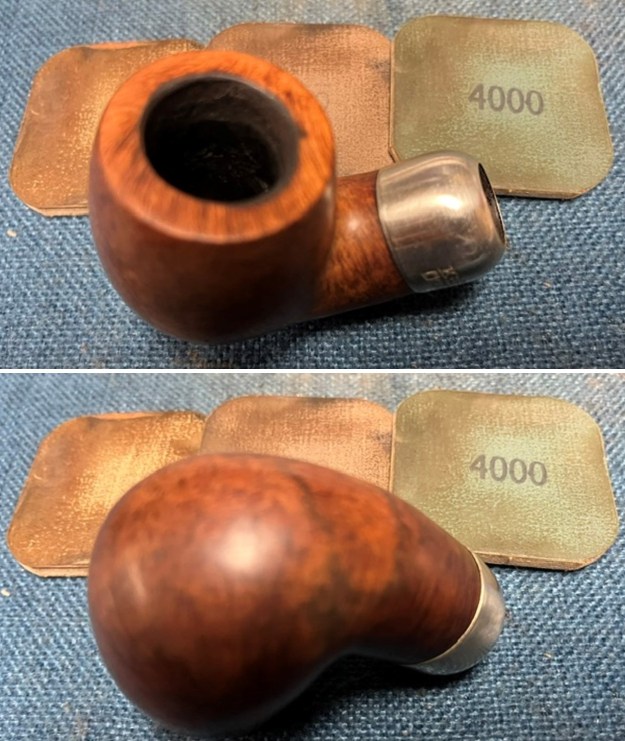
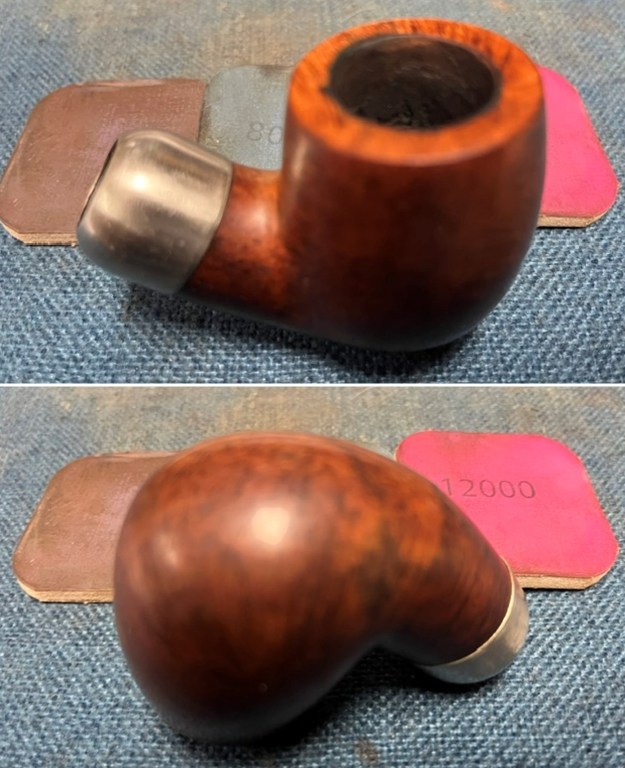
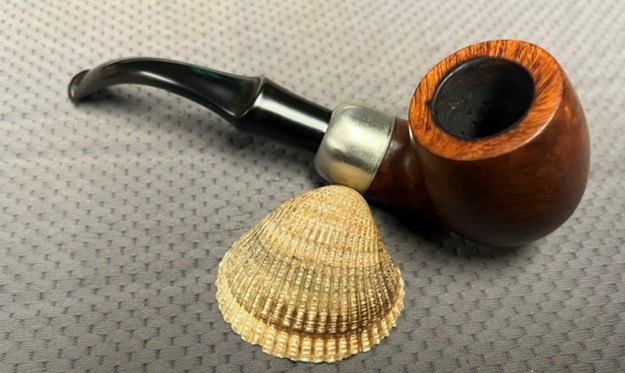
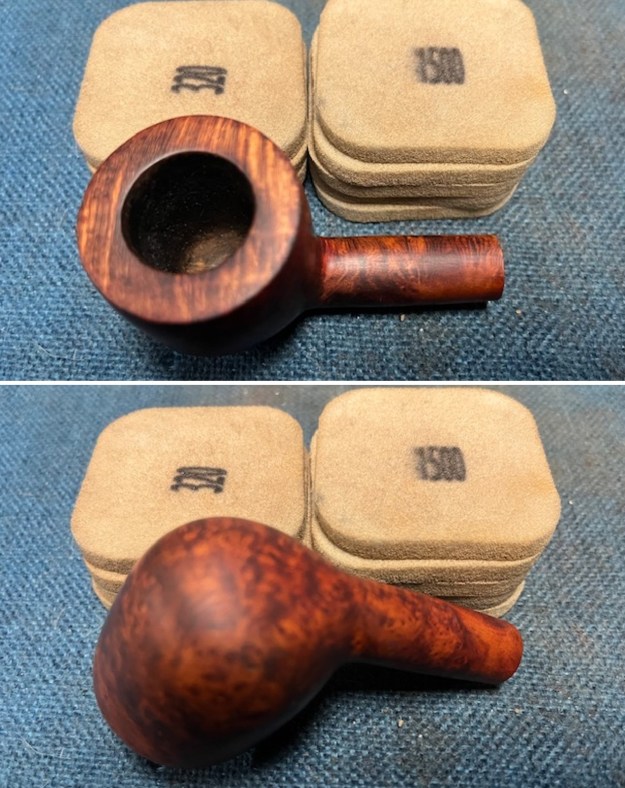
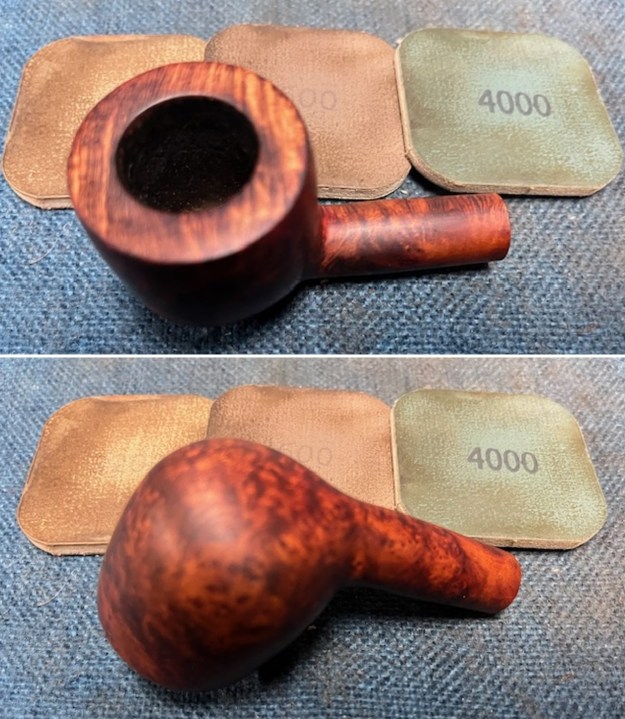
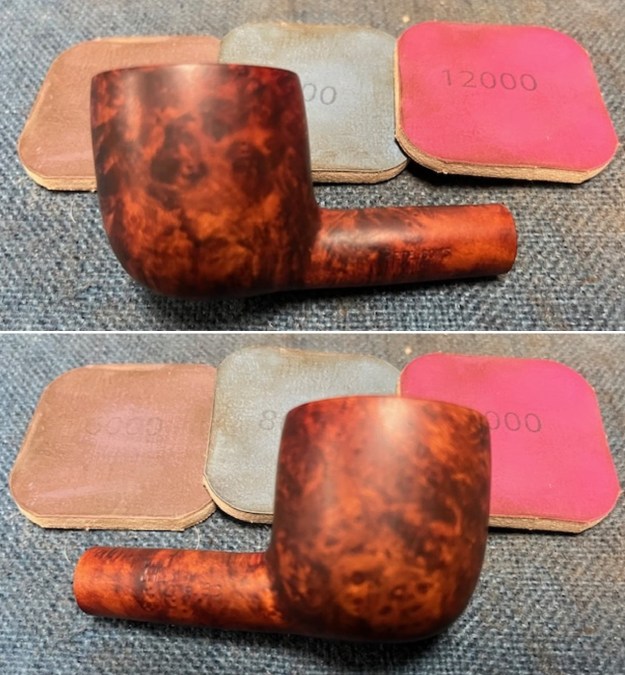
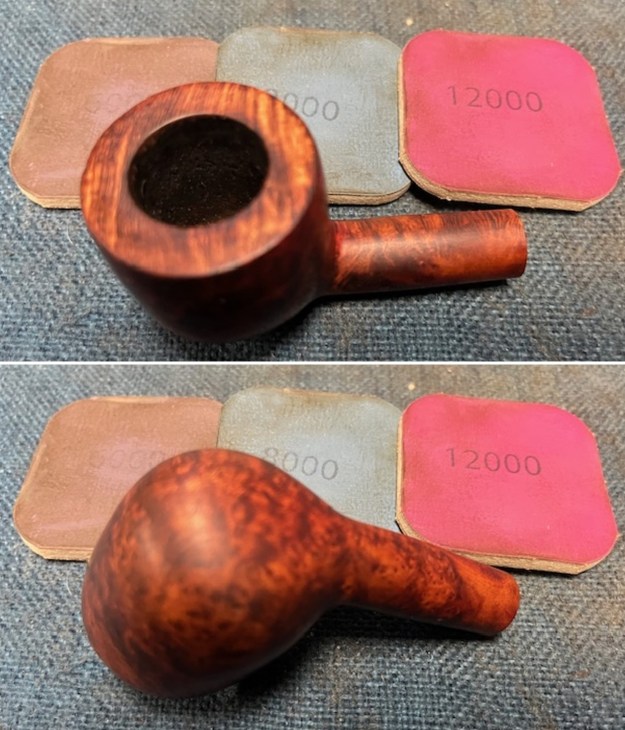
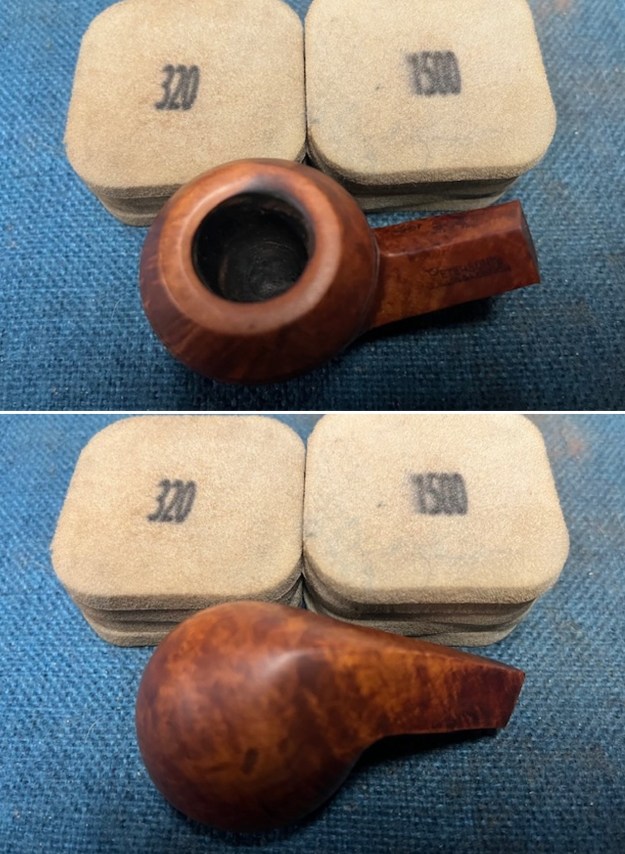
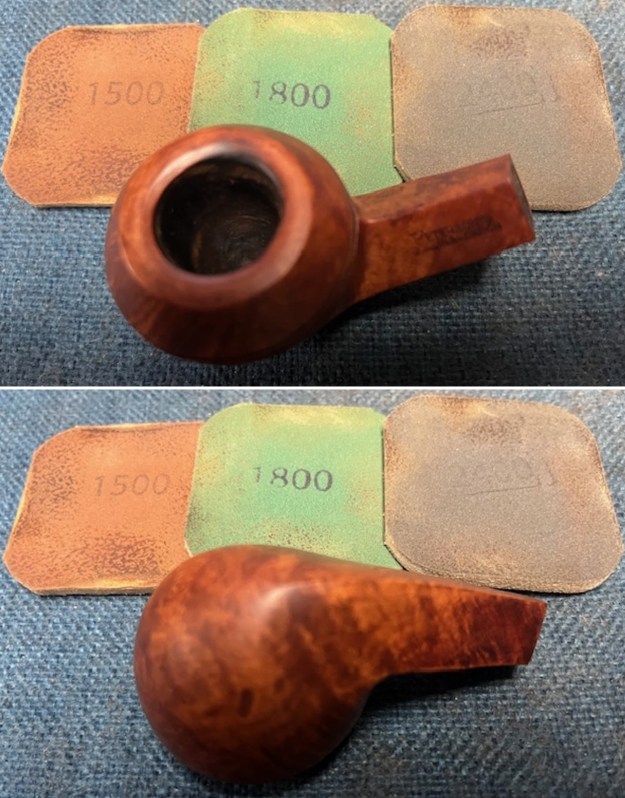
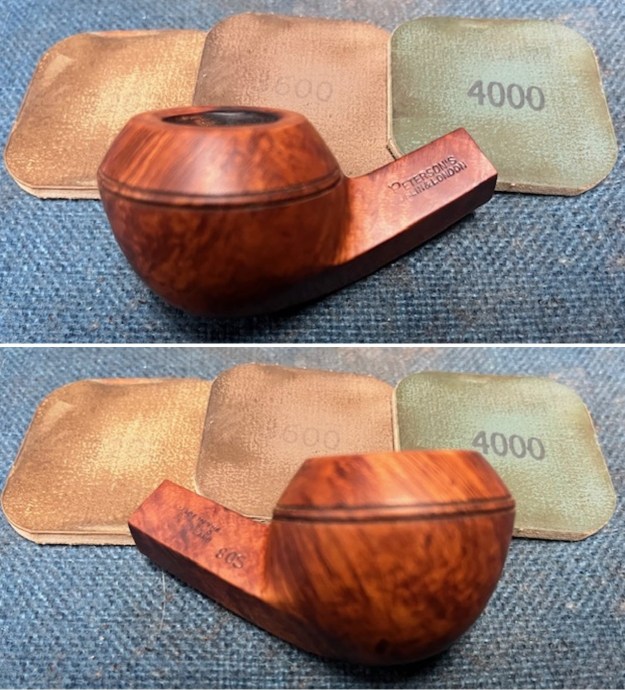
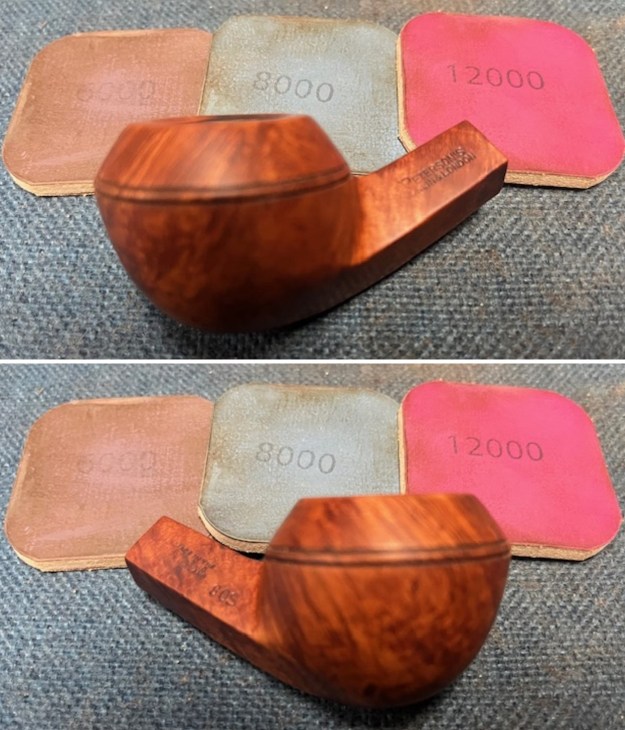
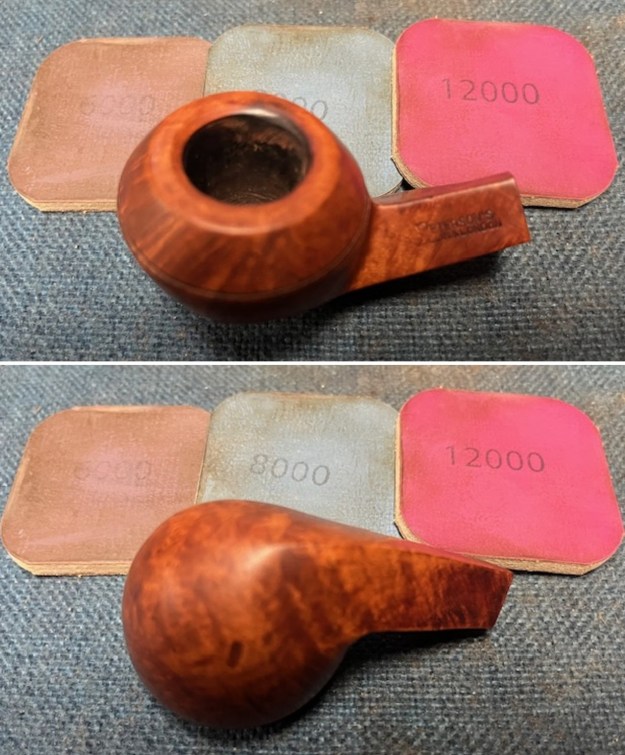
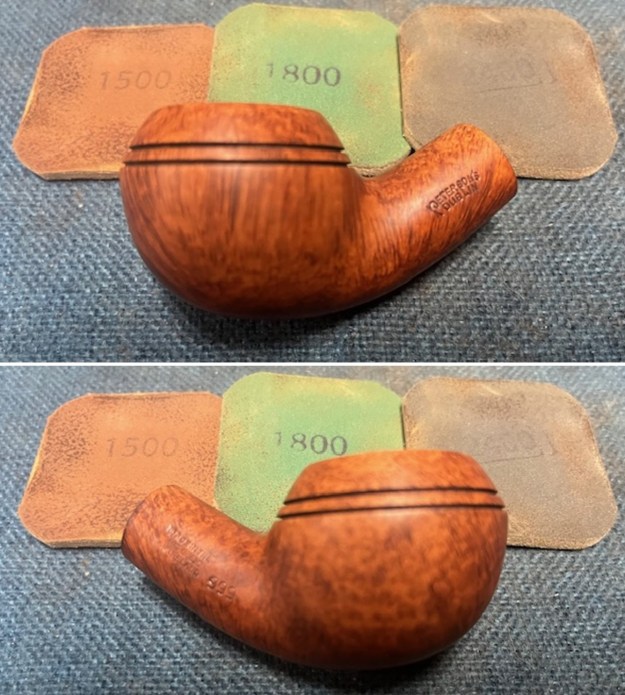
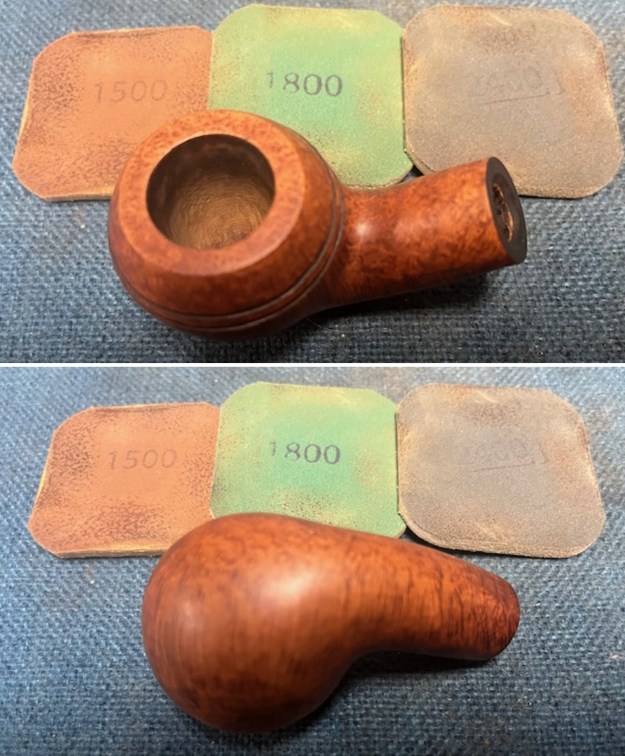
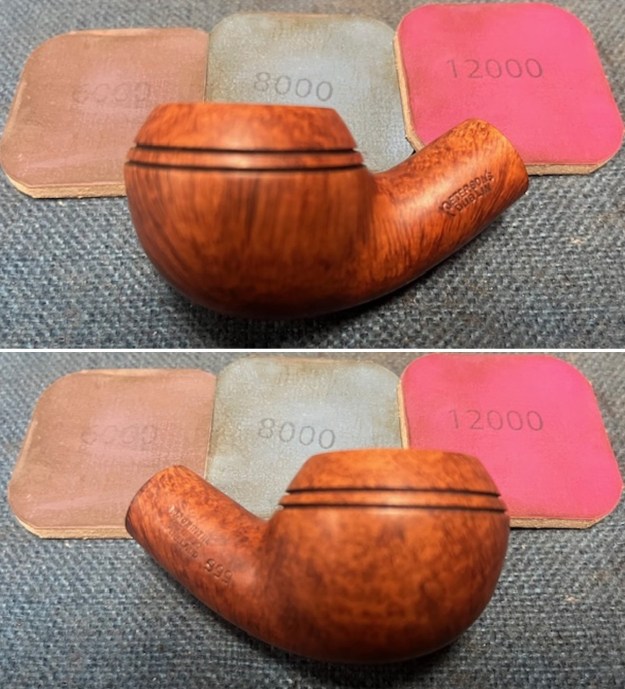
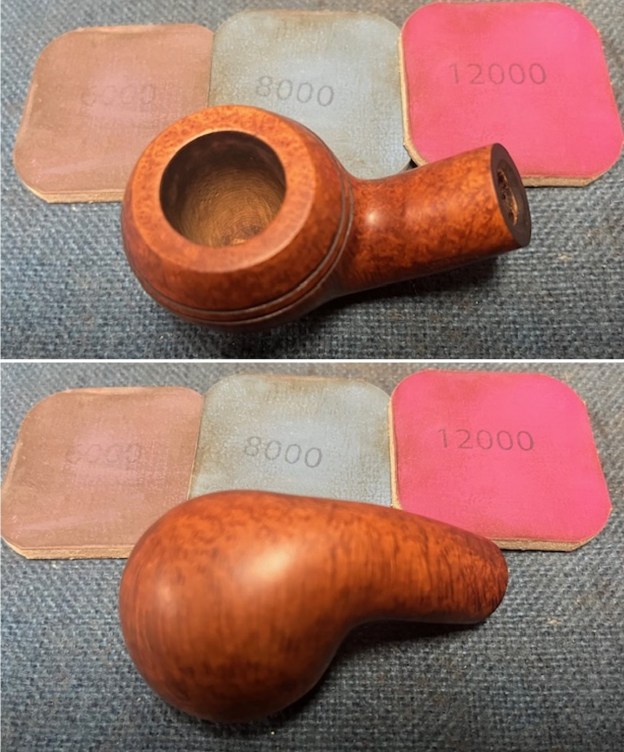
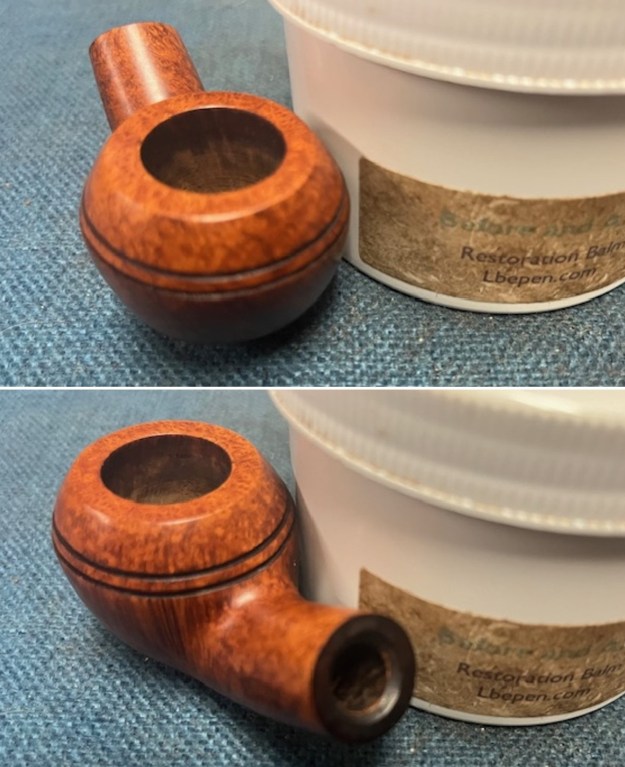
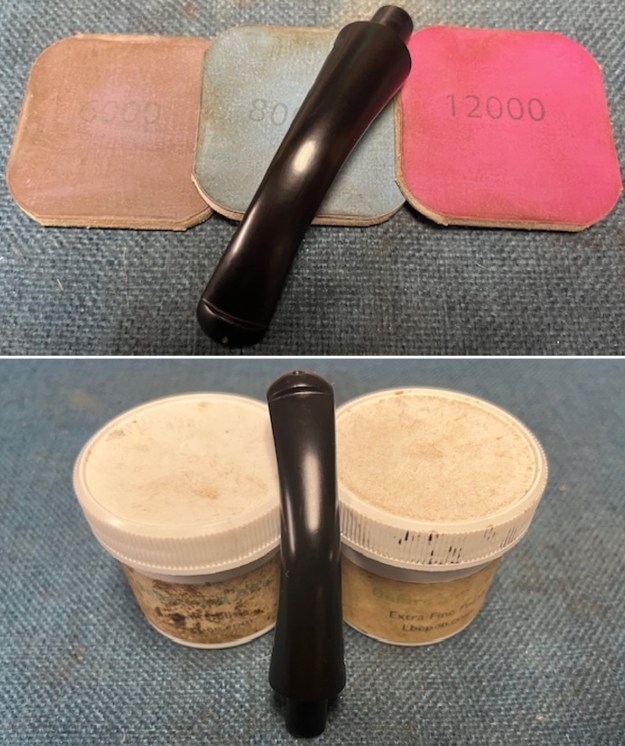
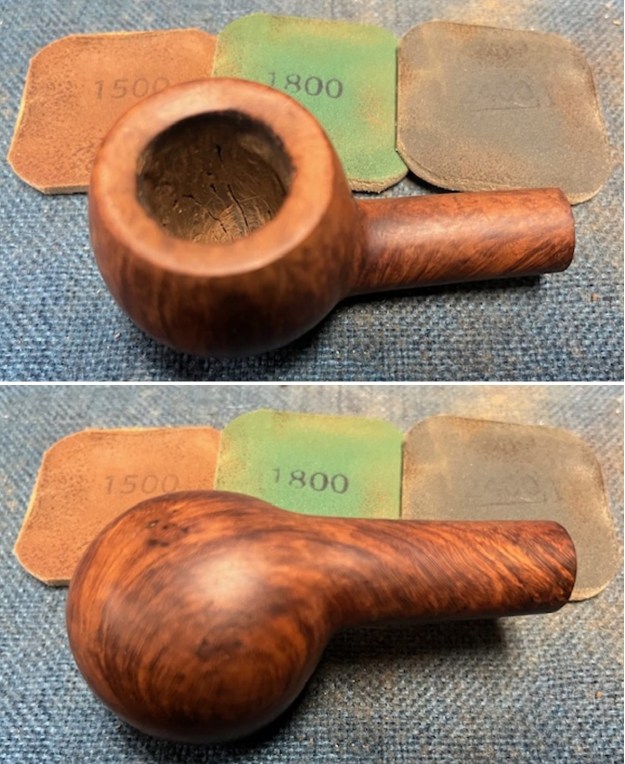
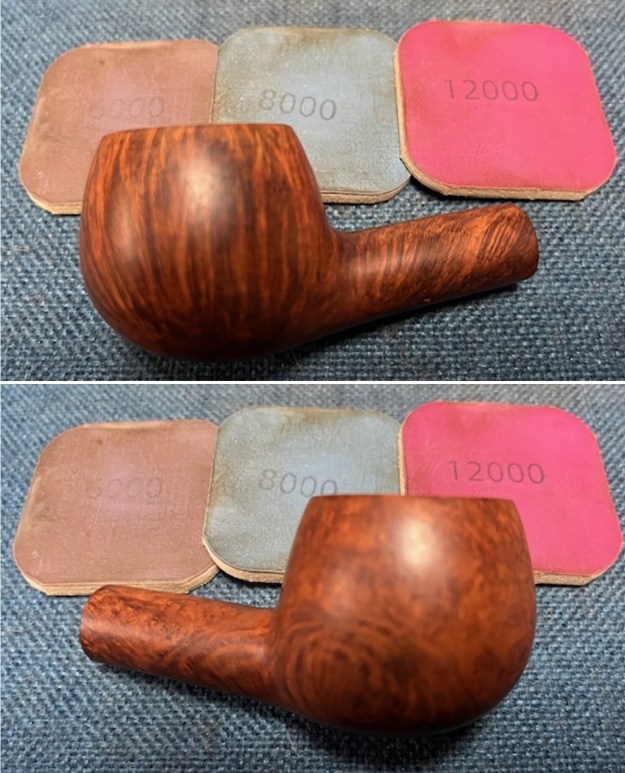
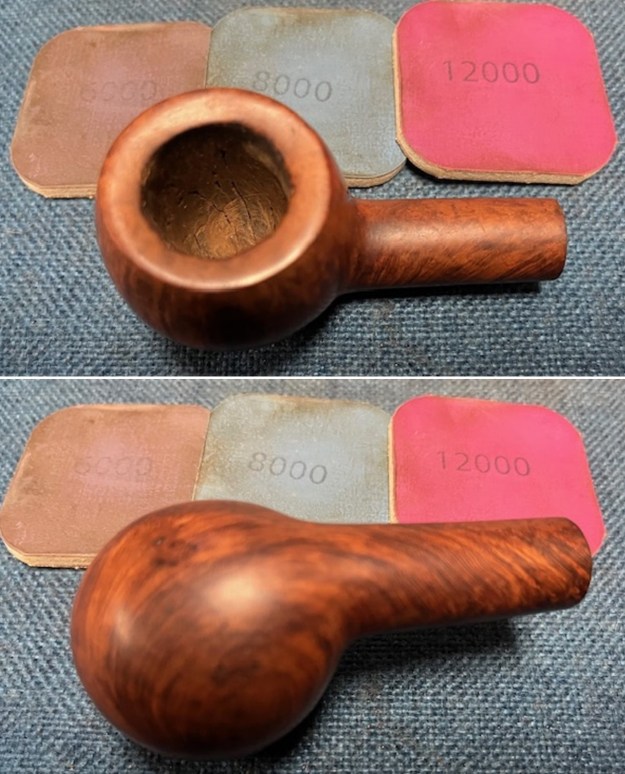
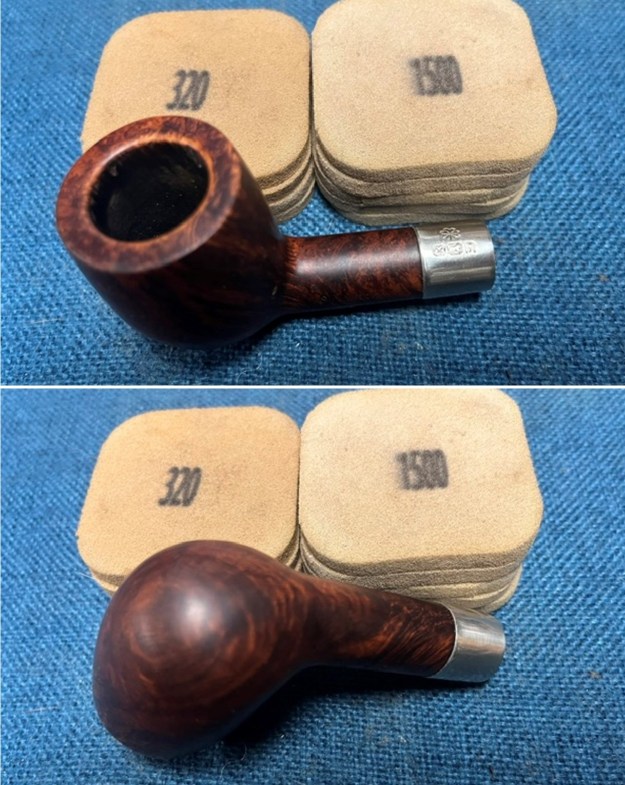 I polished the briar with micromesh sanding pads – dry sanding with 1500-12000 grit sanding pads. I wiped the bowl down with a damp cloth after each sanding pad. The bowl developed a rich shine.
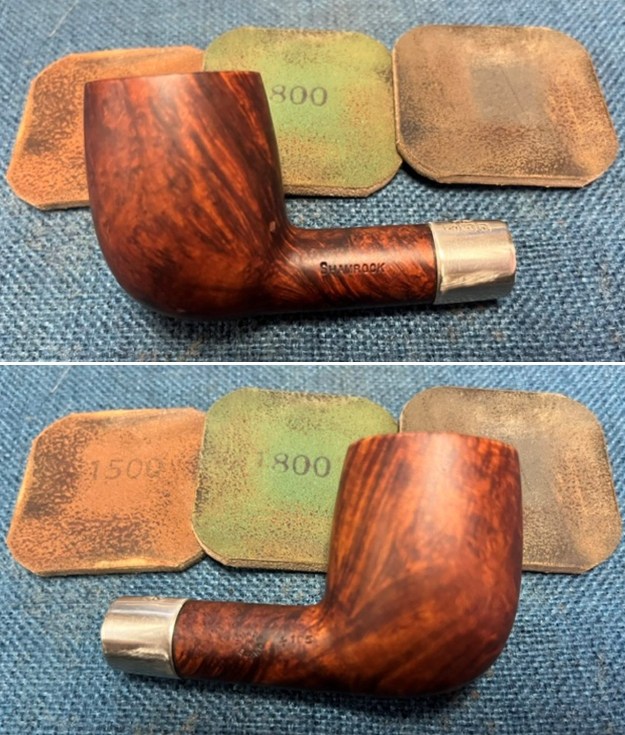
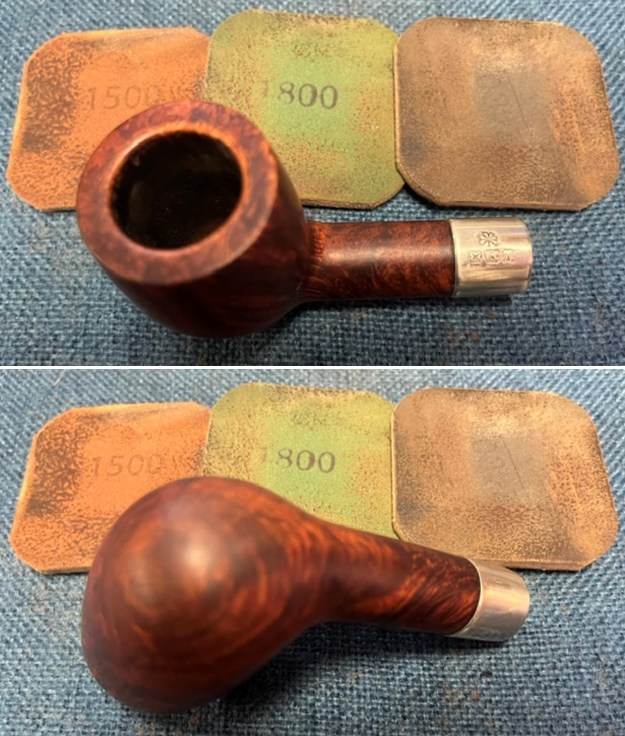

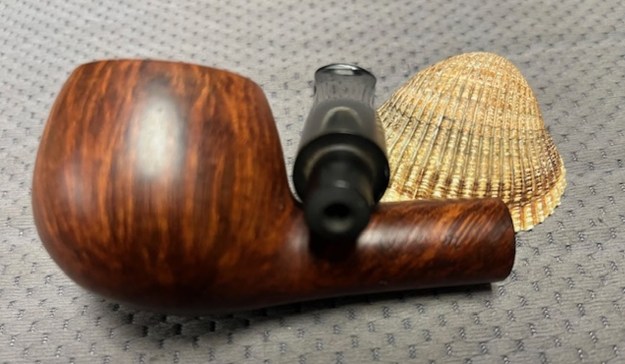
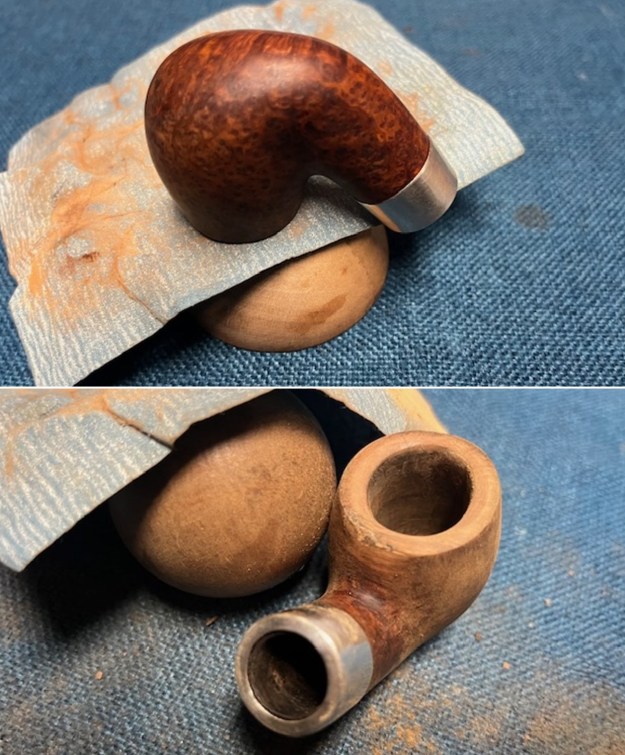
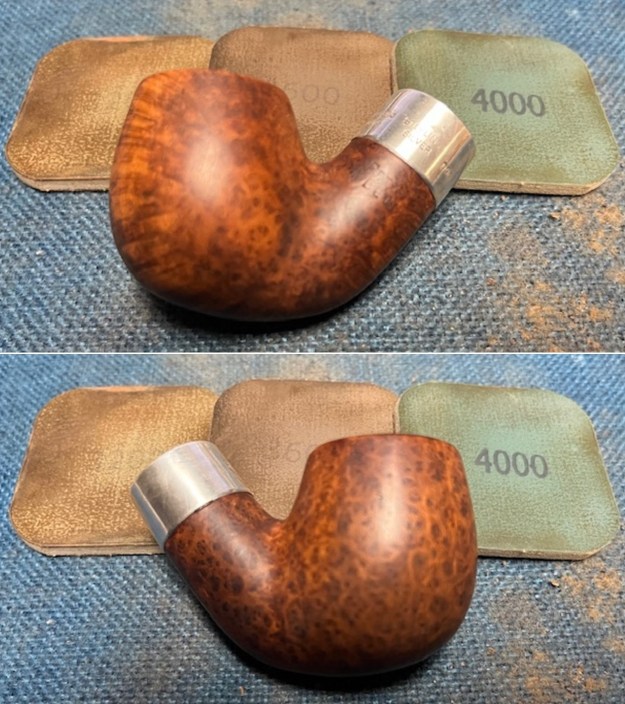
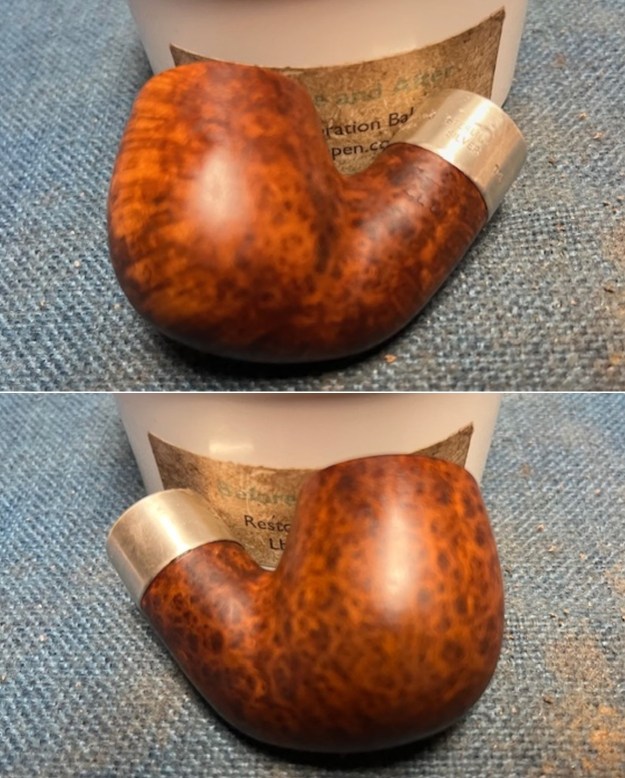
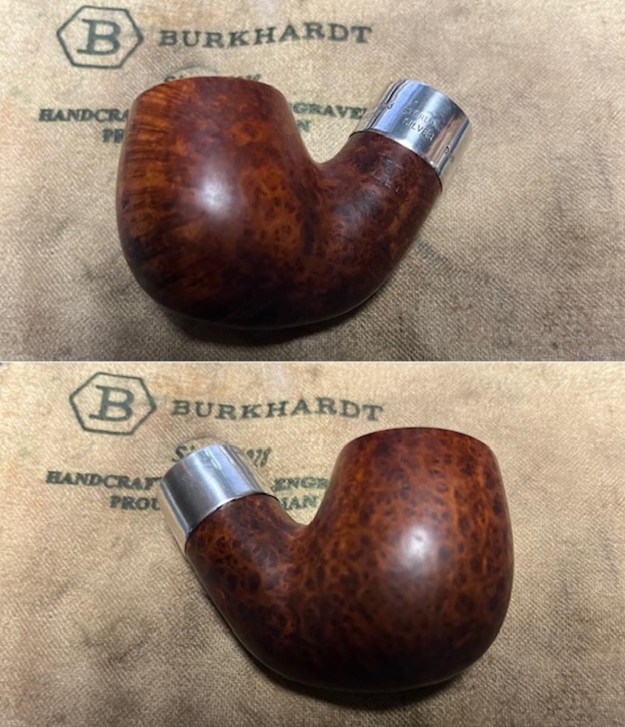
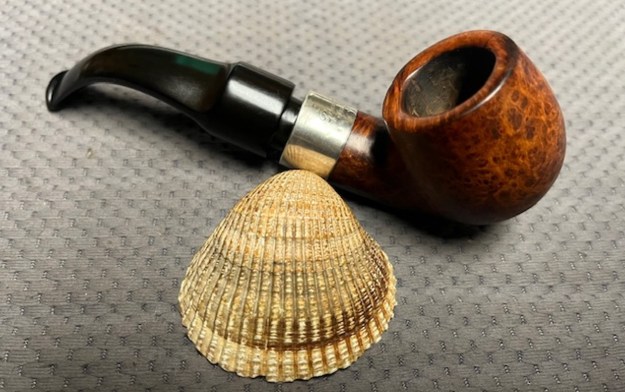
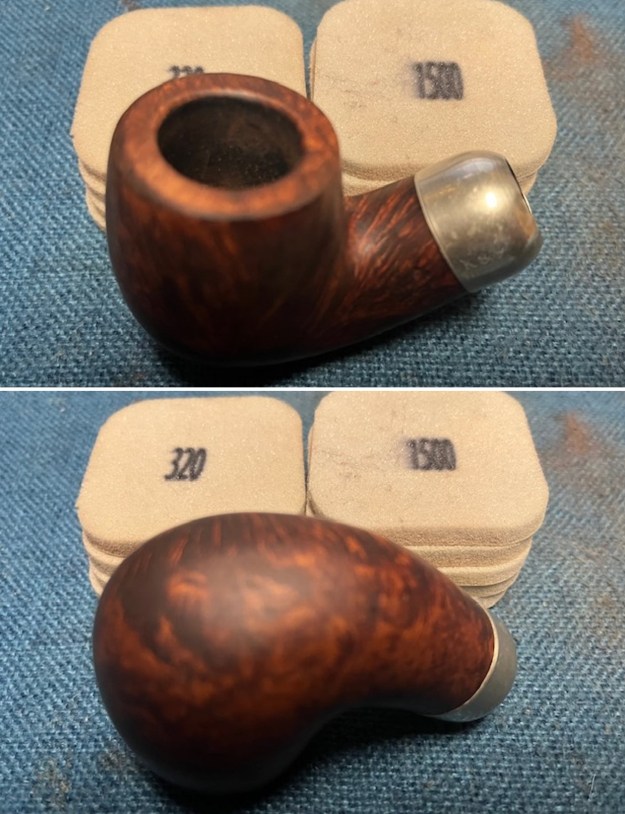
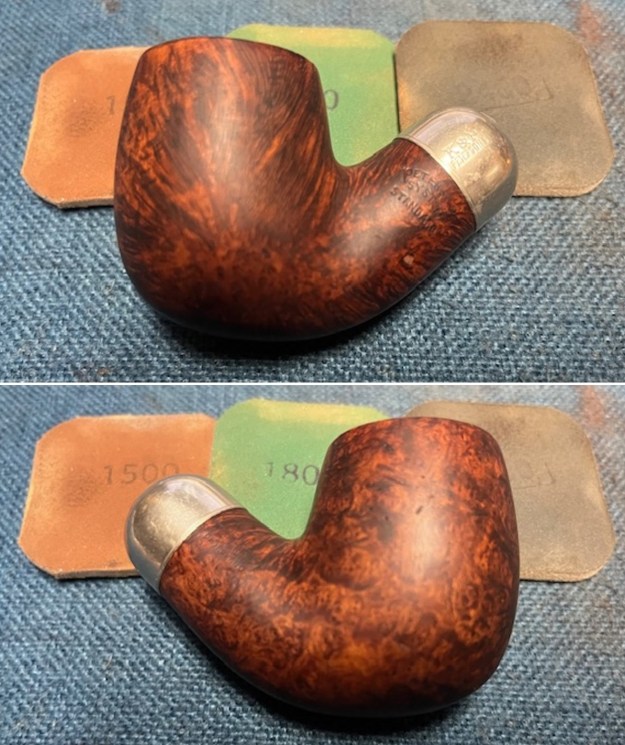
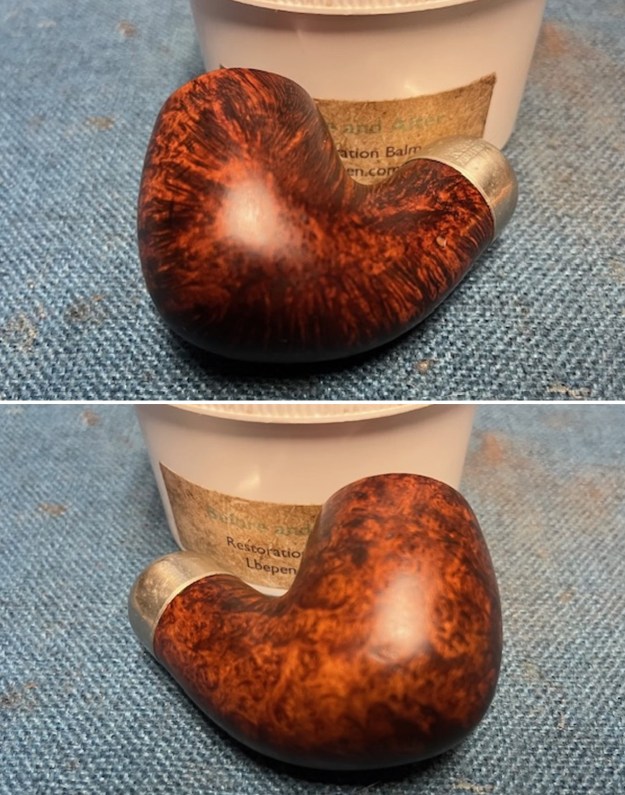
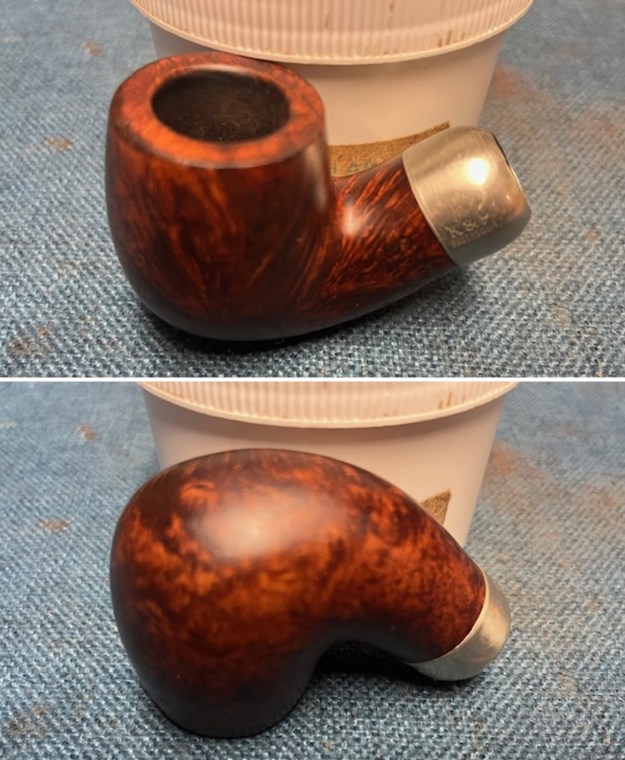
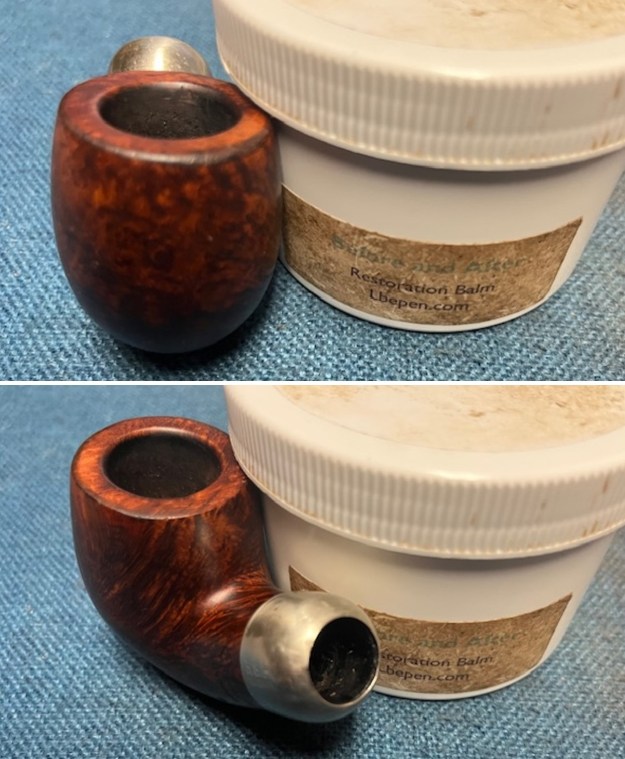
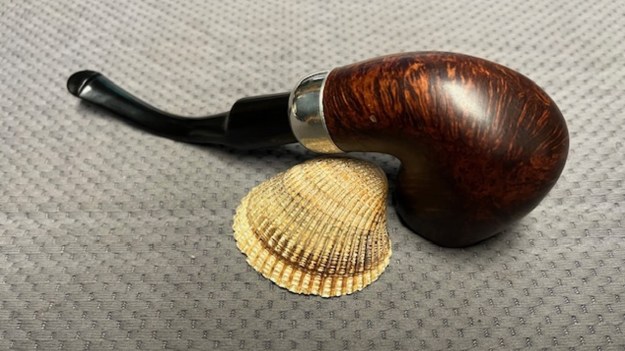
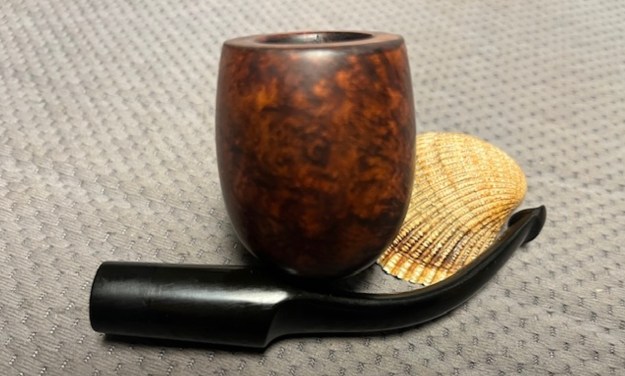
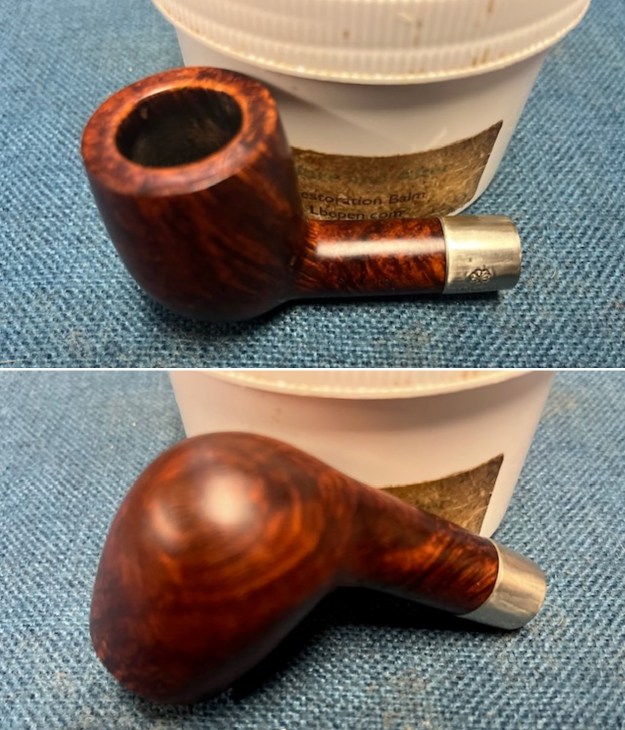
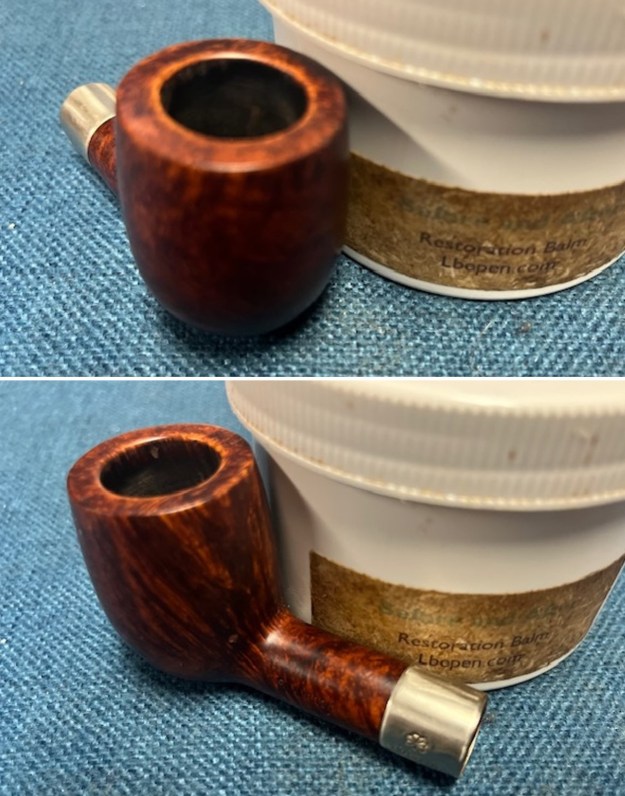
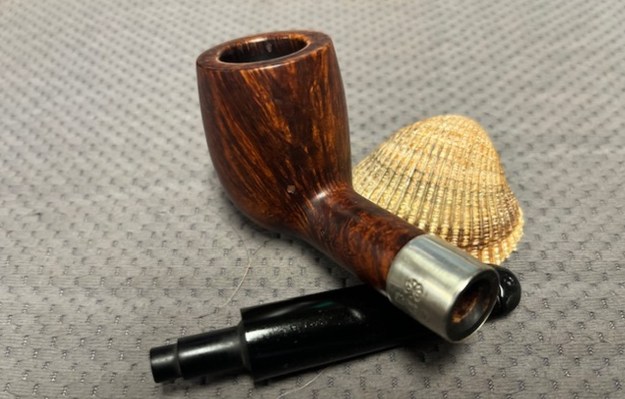
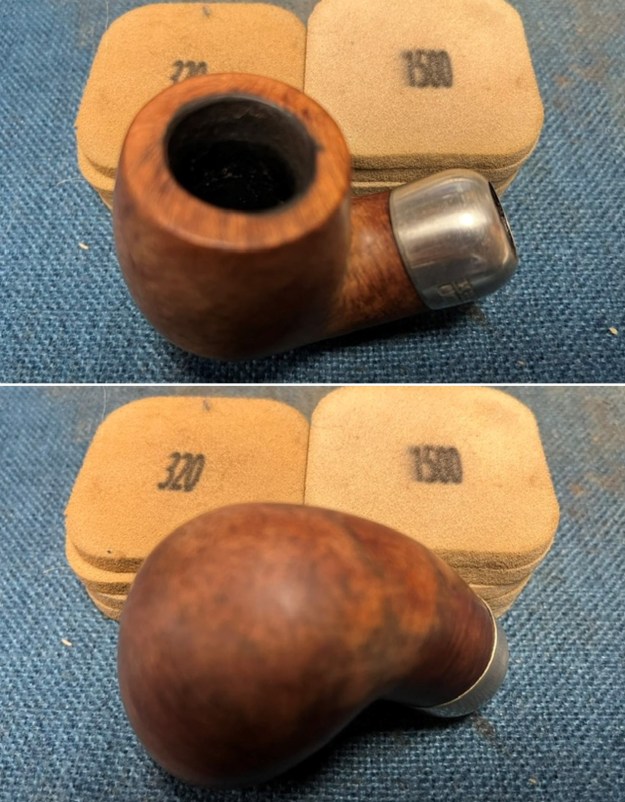
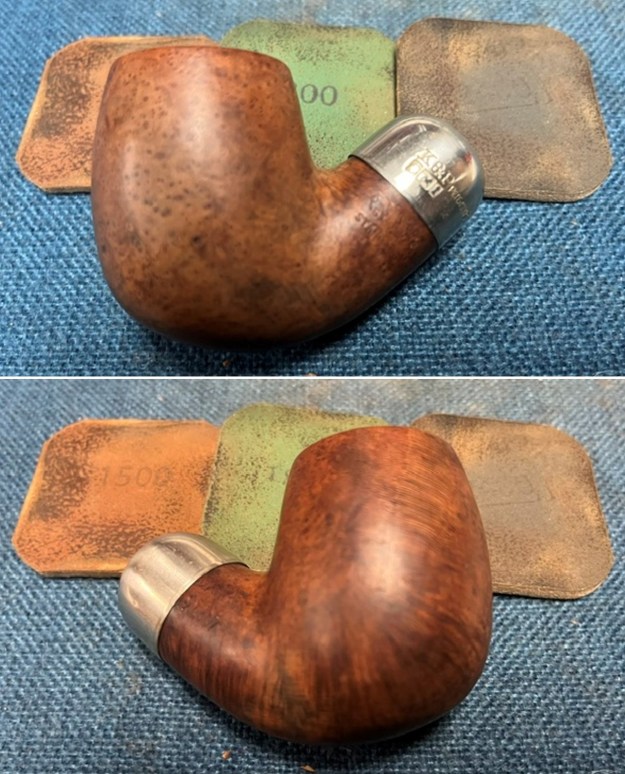
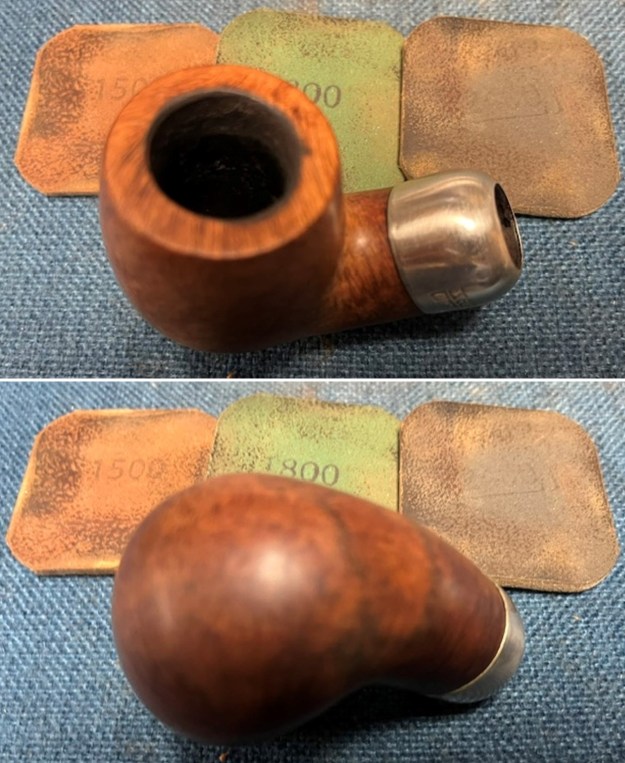
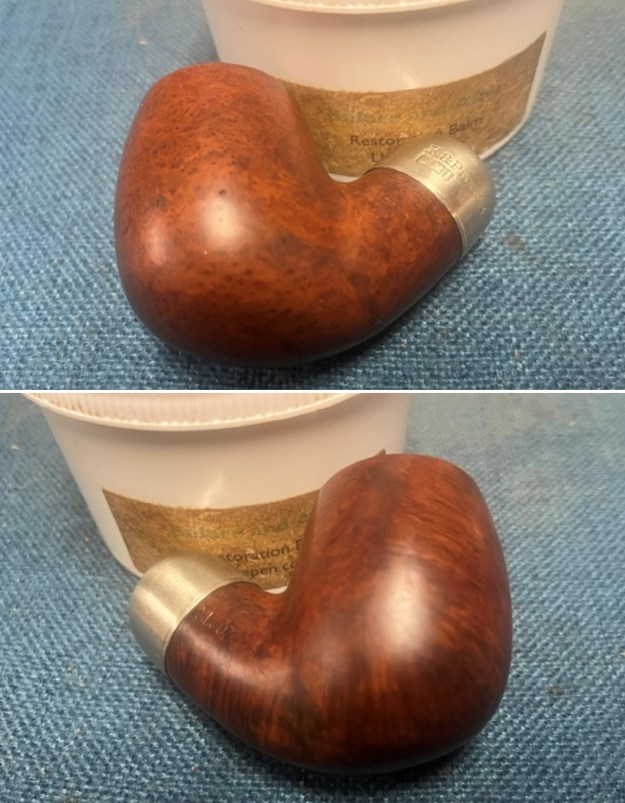
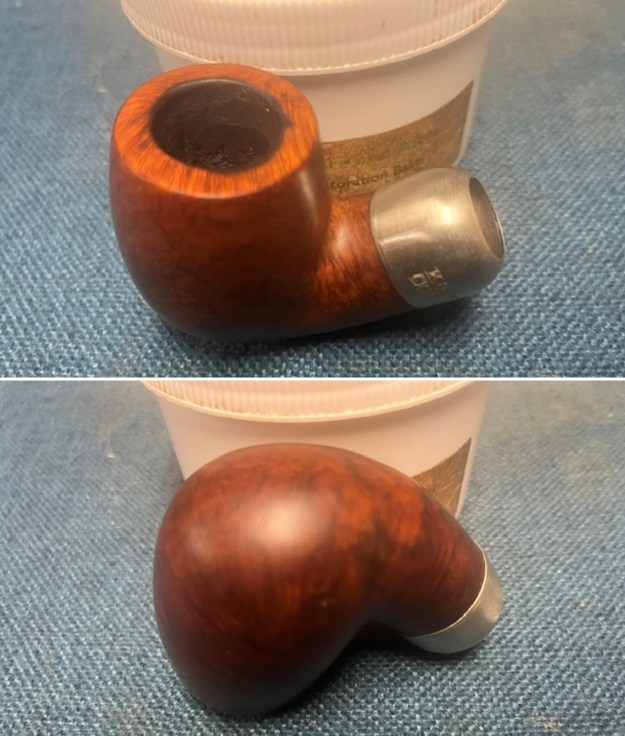
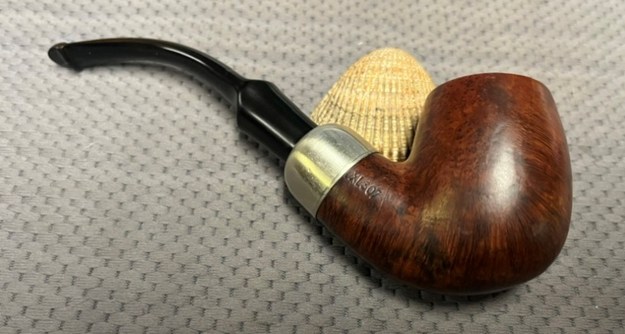
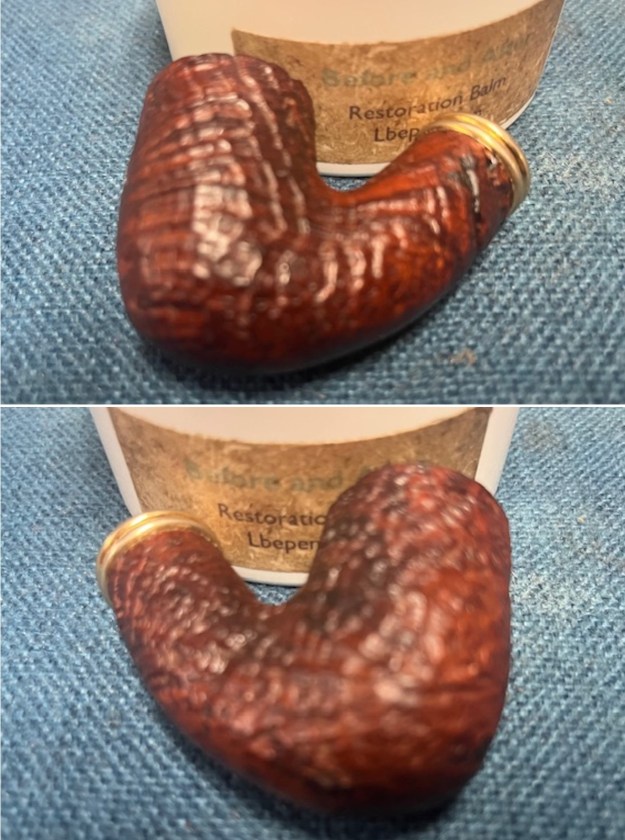
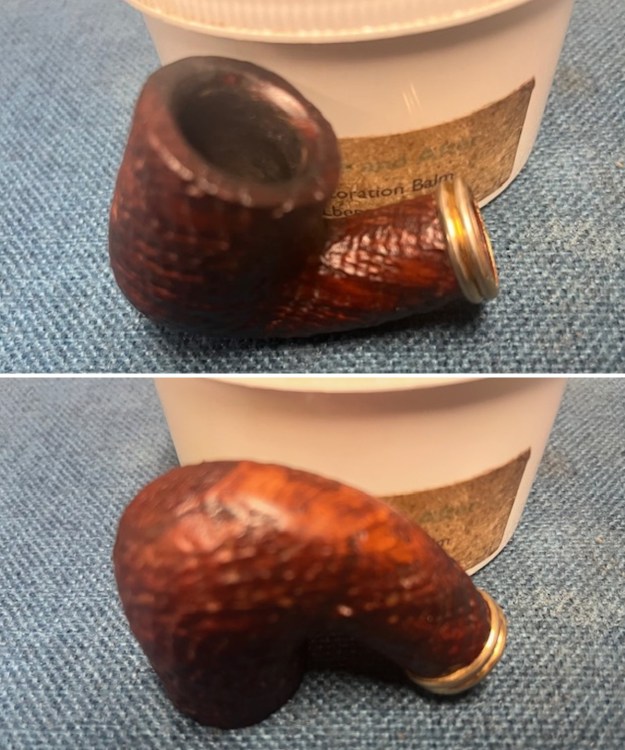
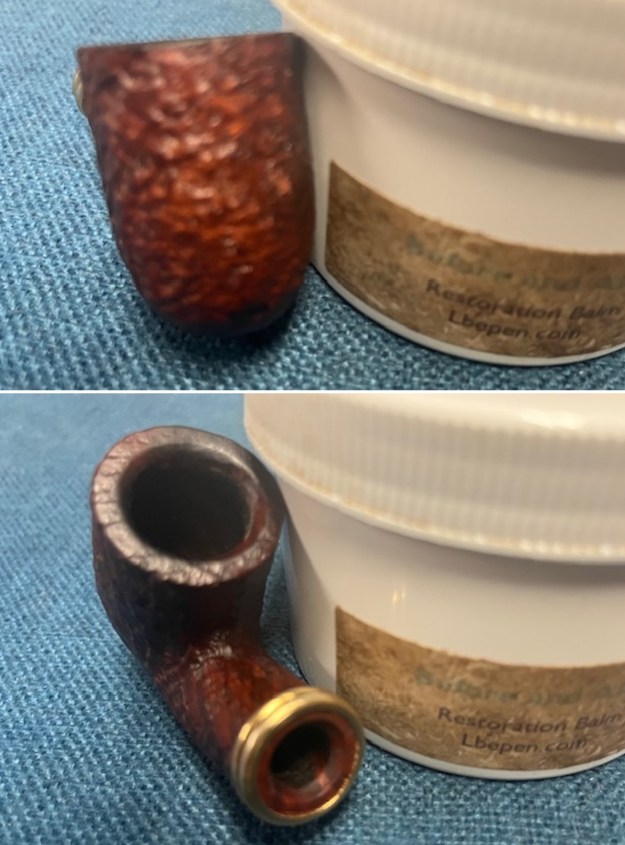
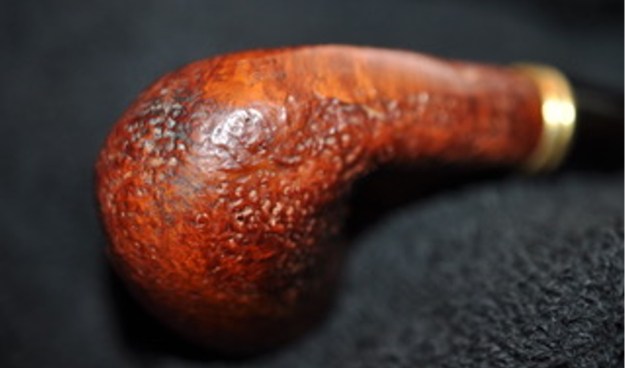
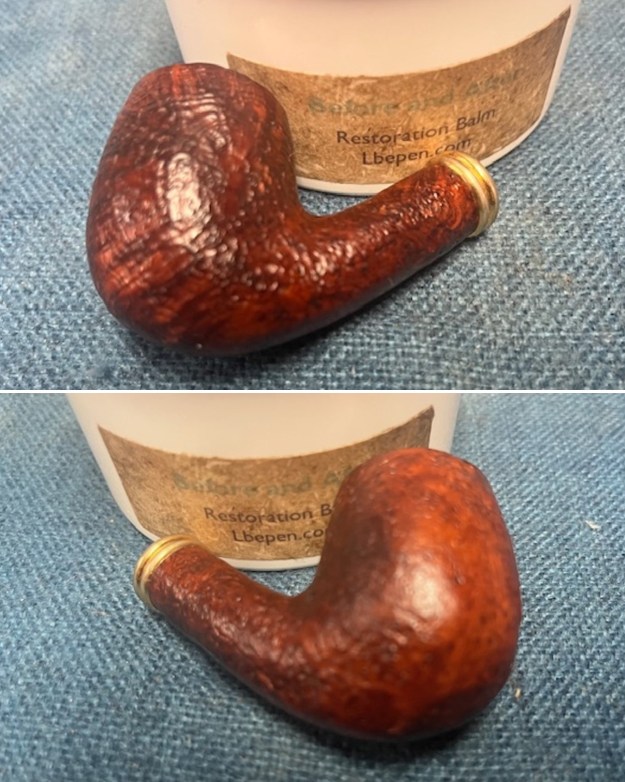
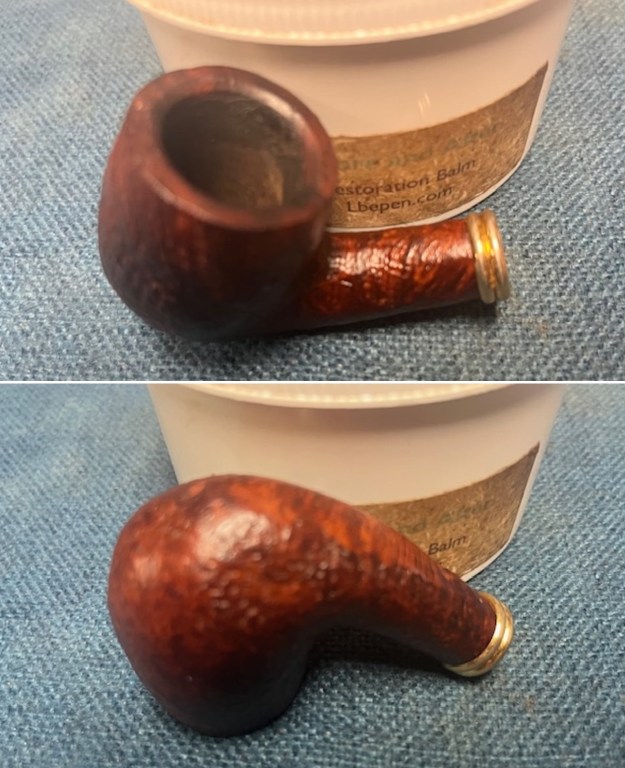
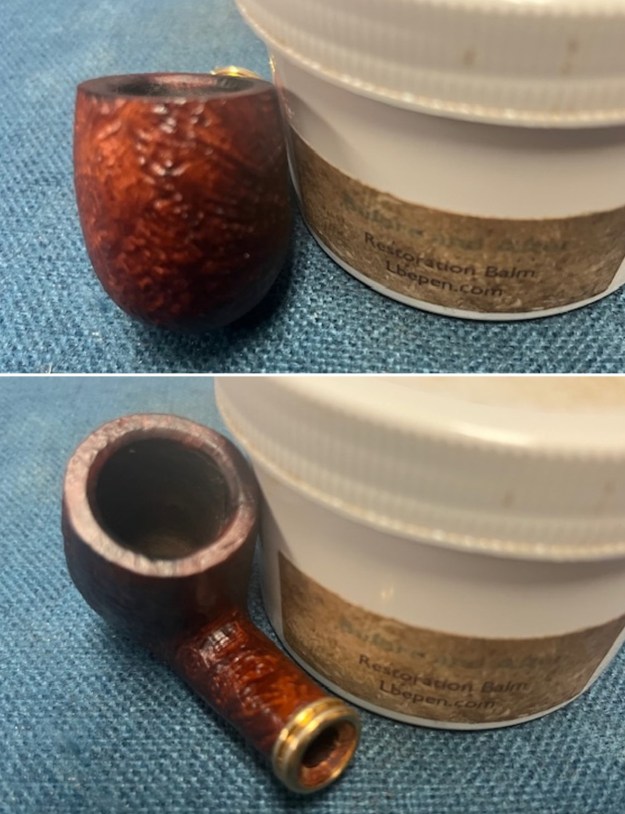
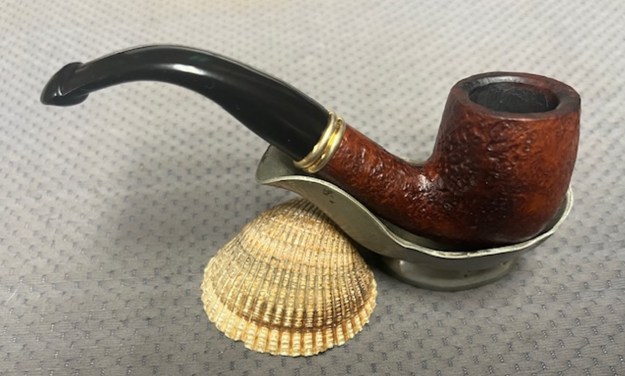
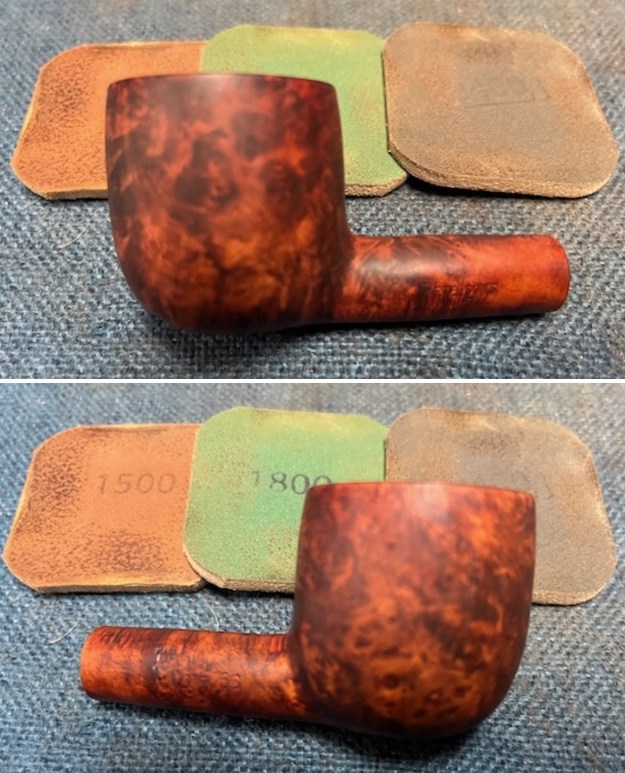
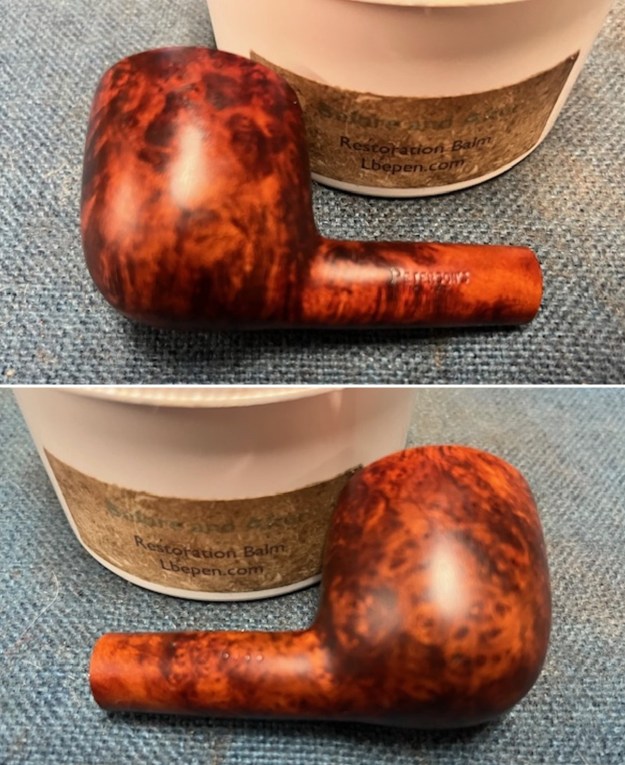
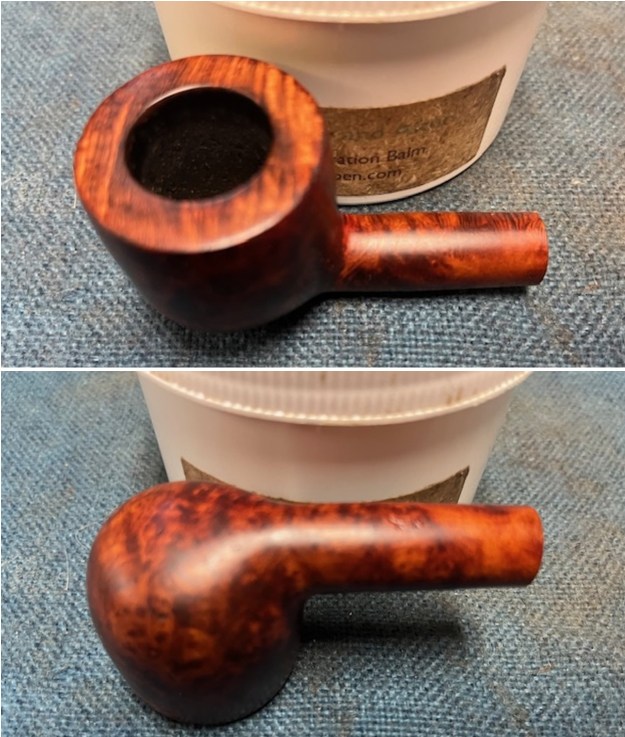
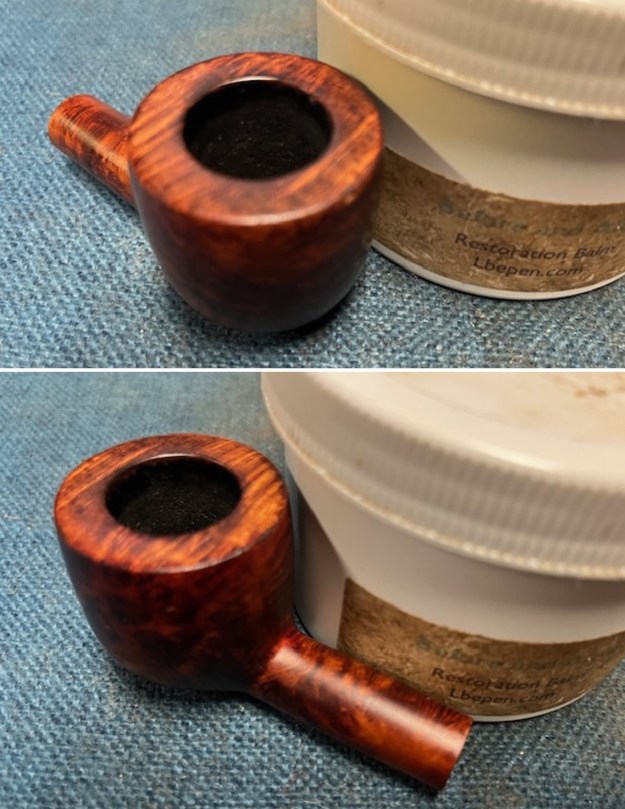
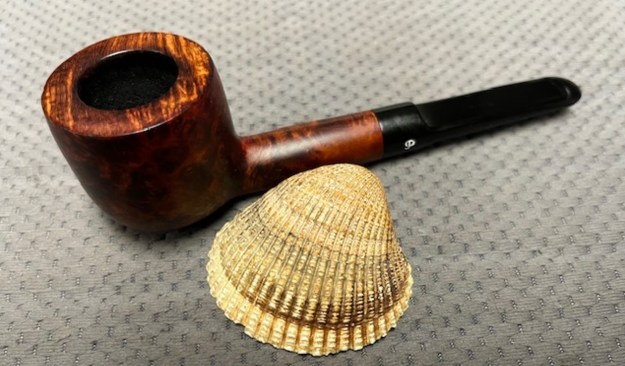
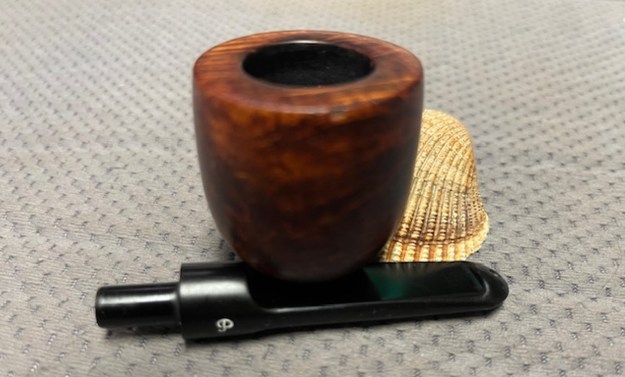
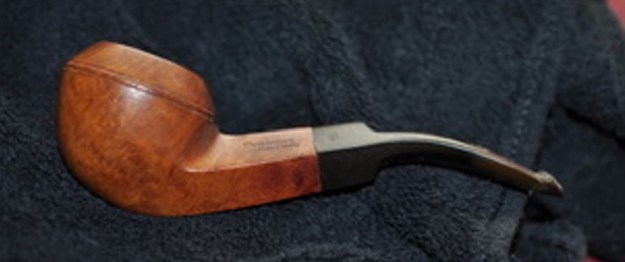
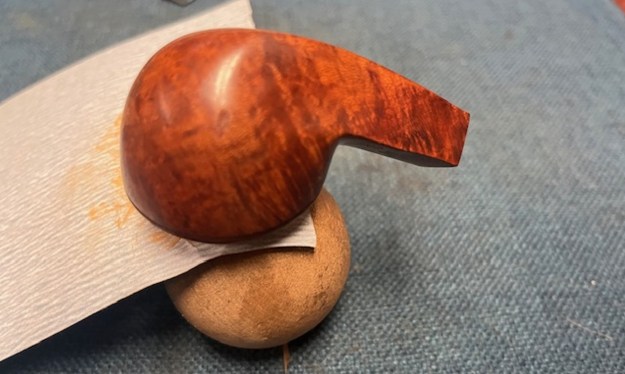
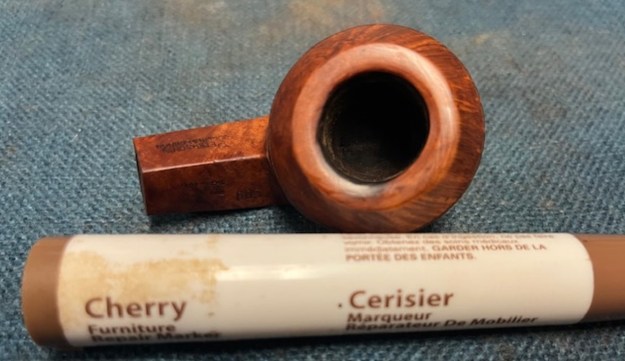
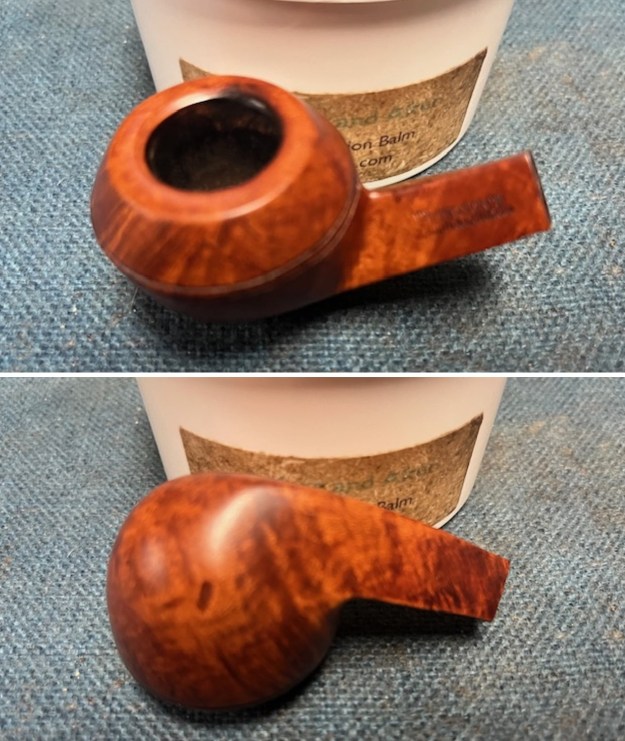
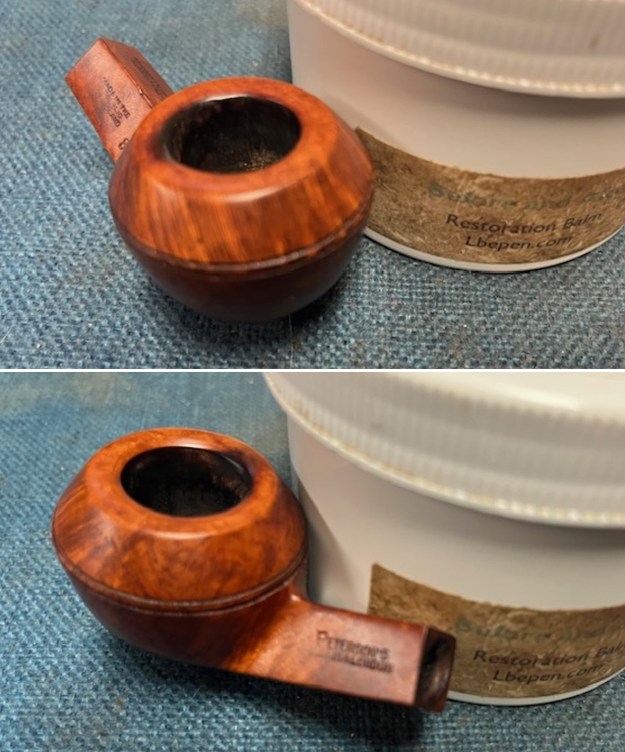
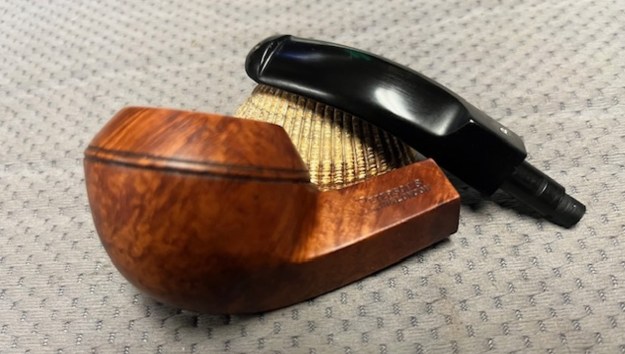
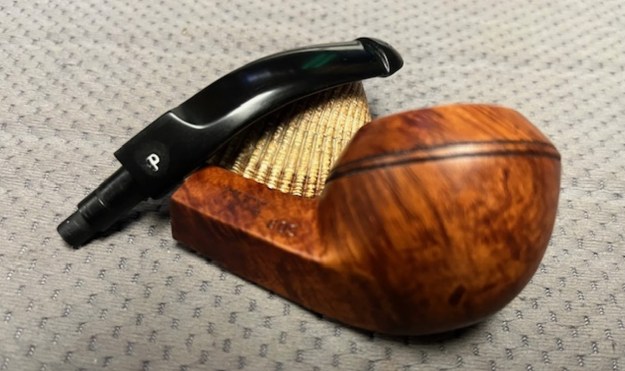
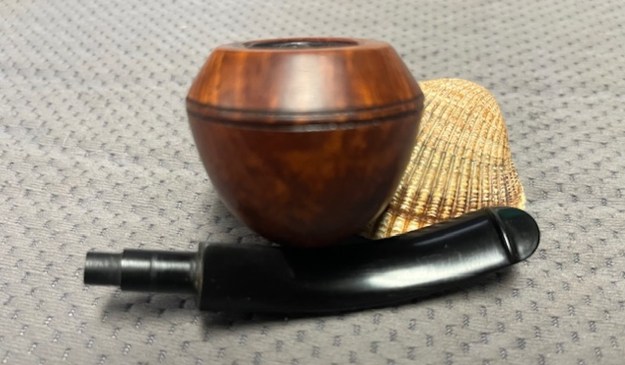
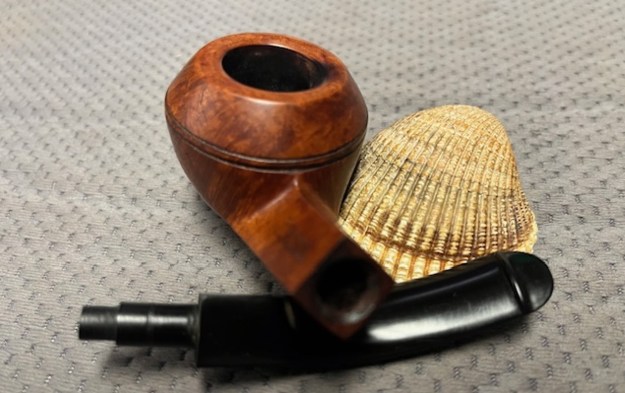
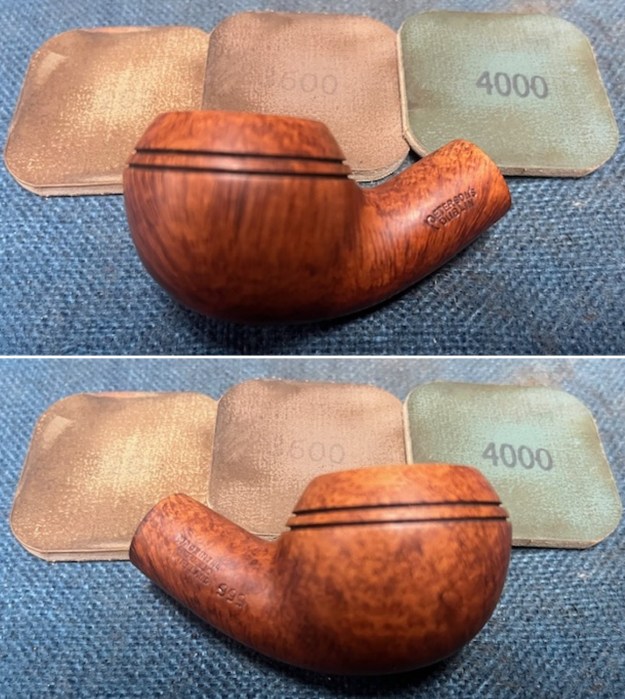
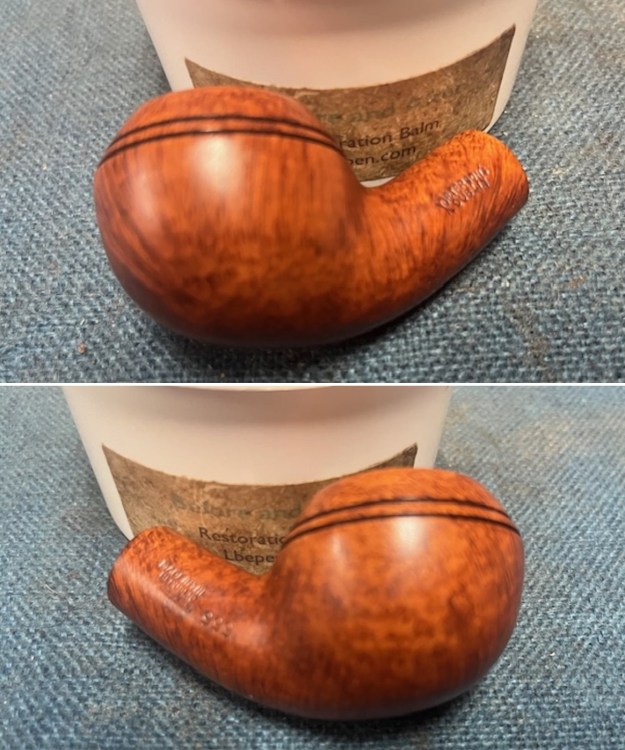
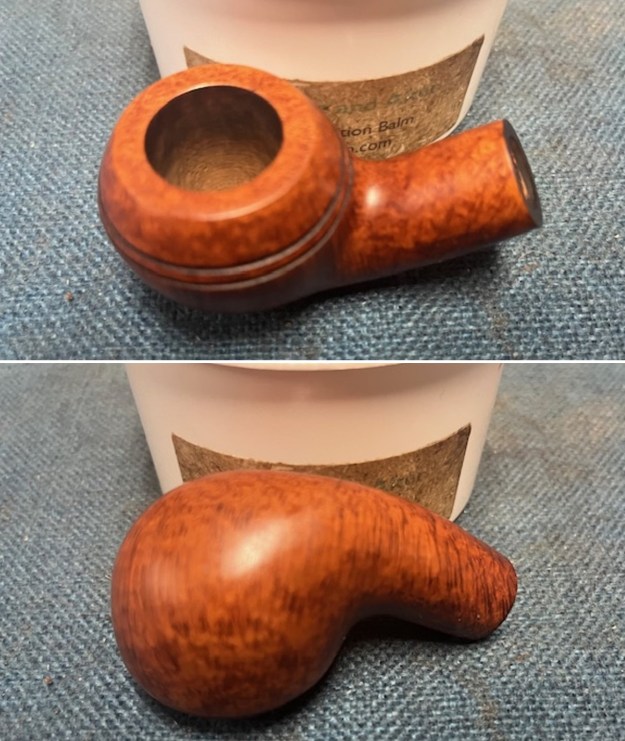
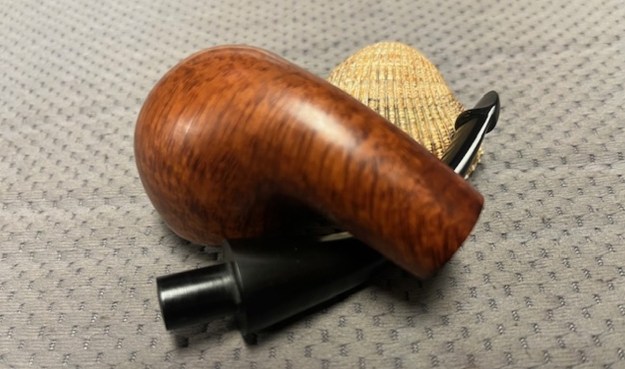
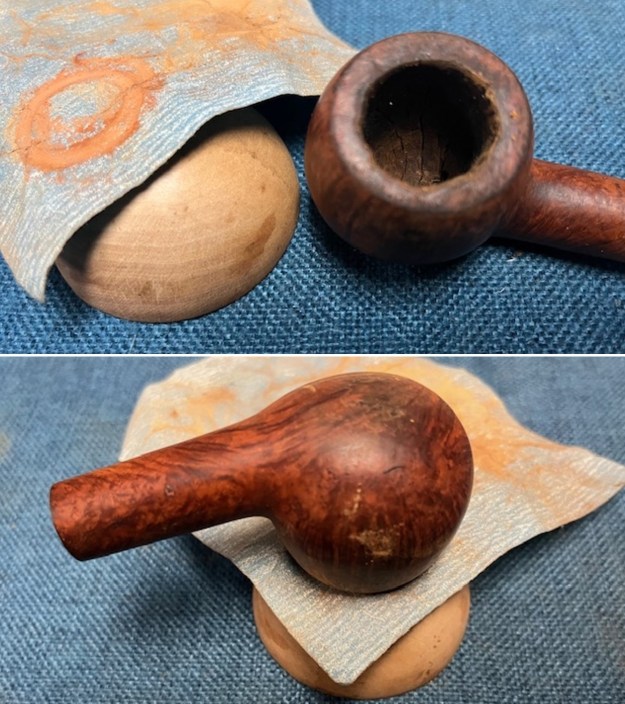
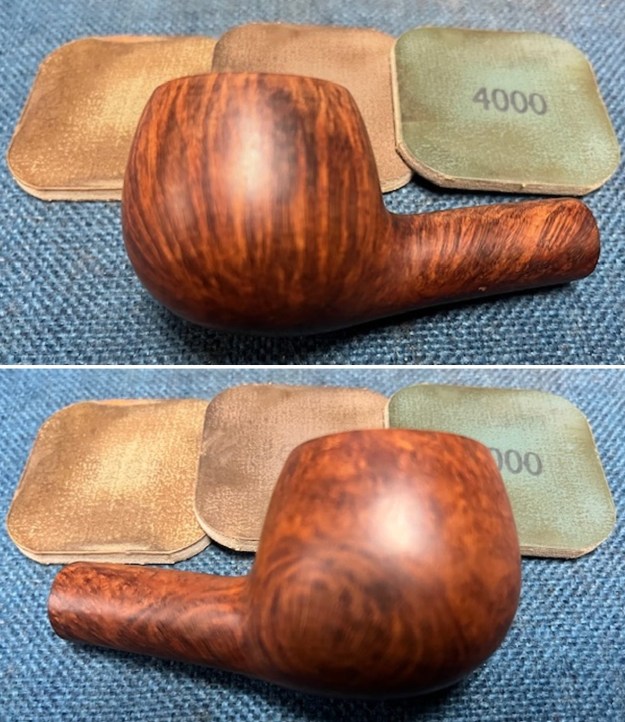
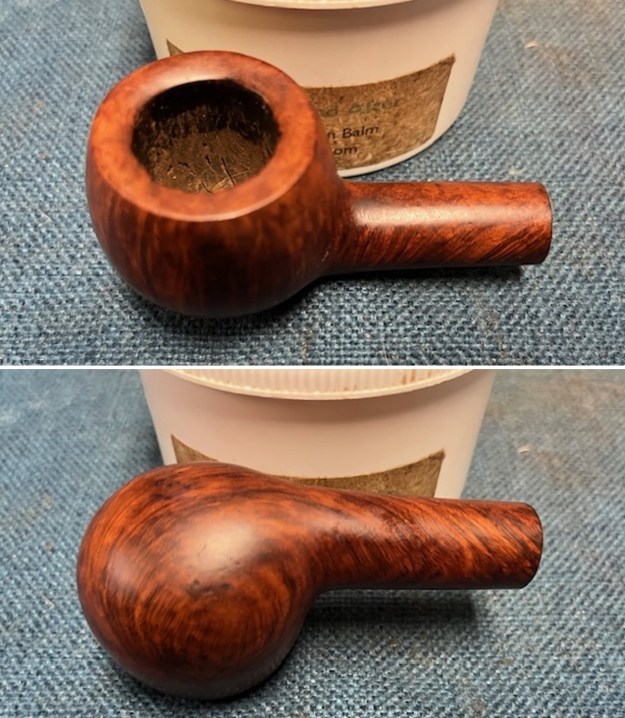
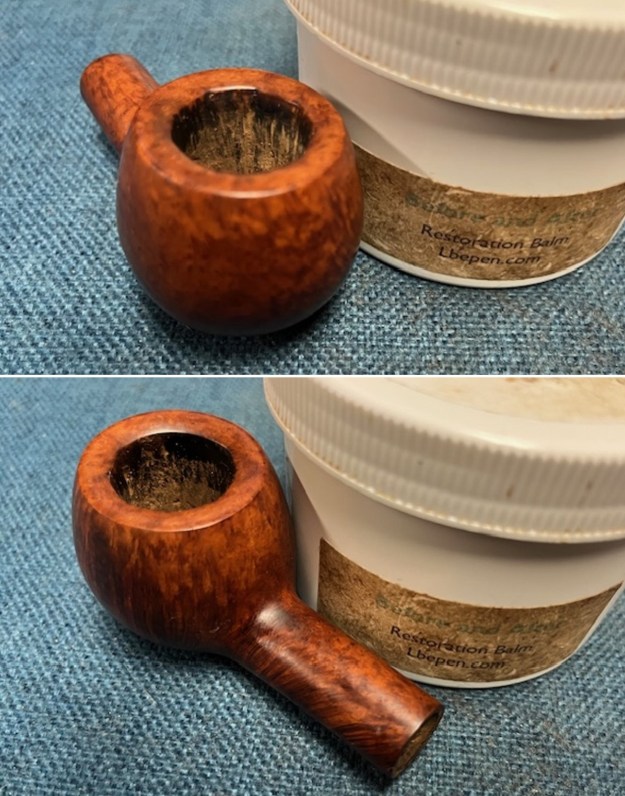
 I worked some Before & After Restoration Balm into the surface of the briar with my fingertips to clean, enliven and protect the briar. I let the balm sit for 15 minutes and then buffed with a cotton cloth to raise the shine. The photos show the bowl at this point in the restoration process.
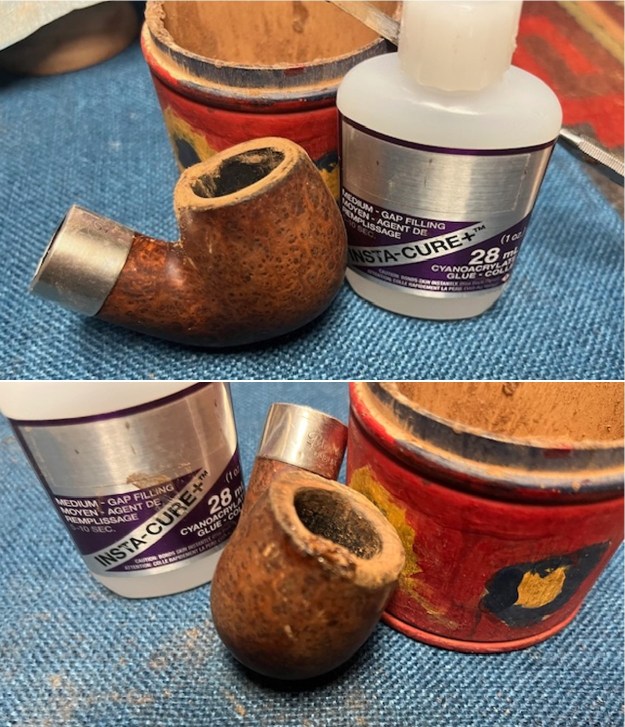
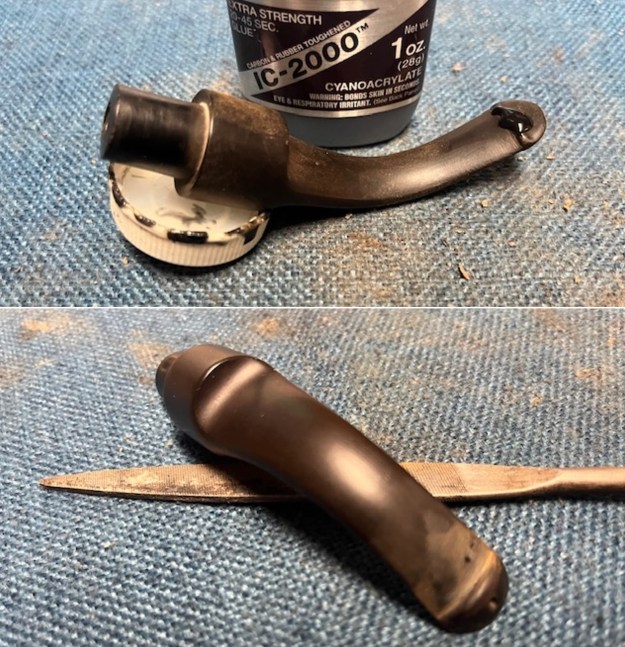
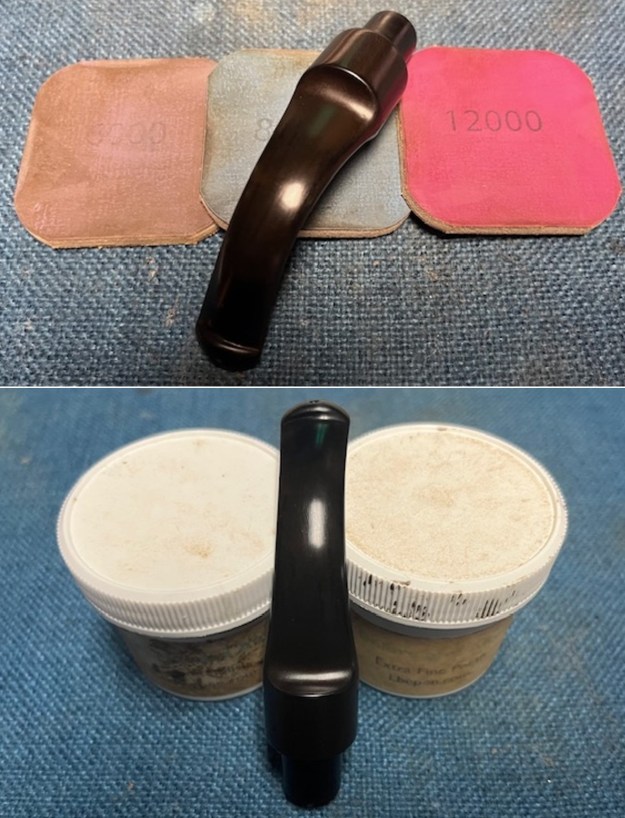
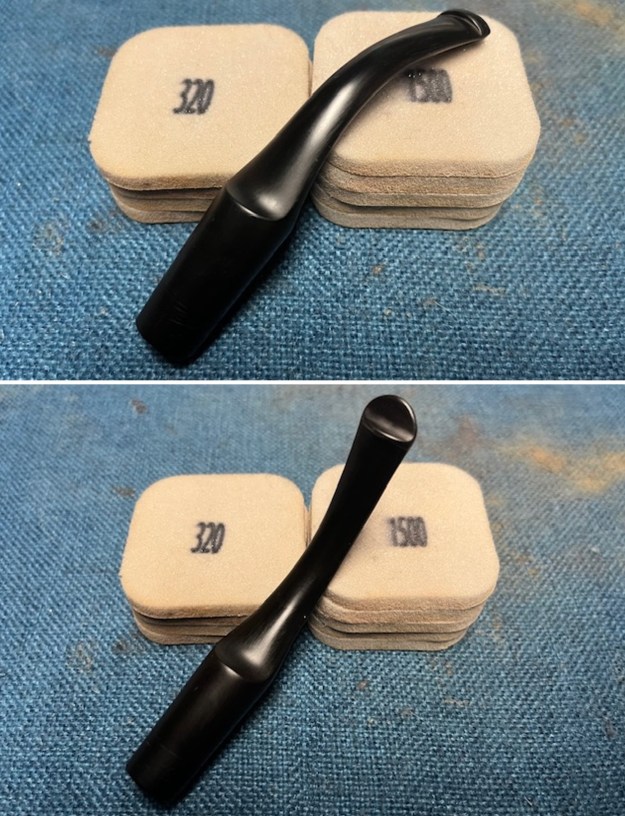
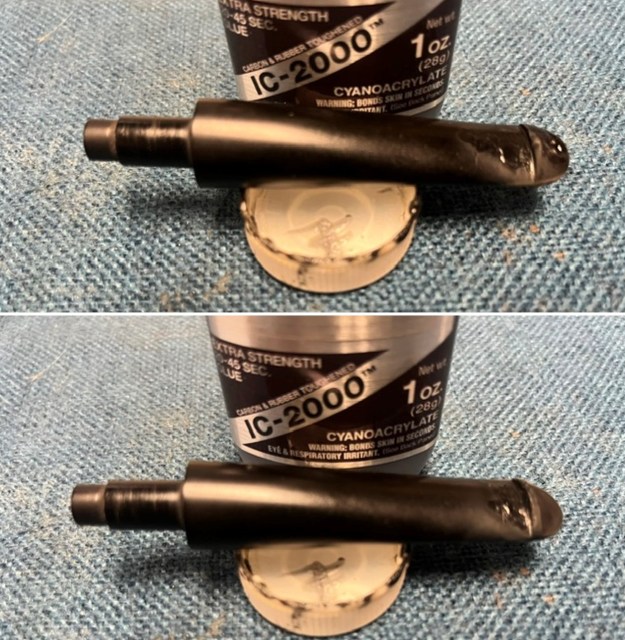
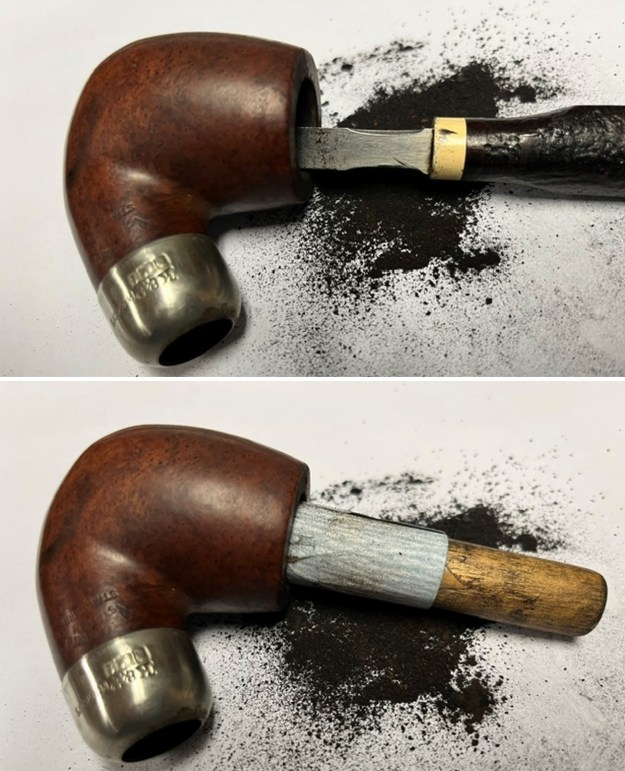
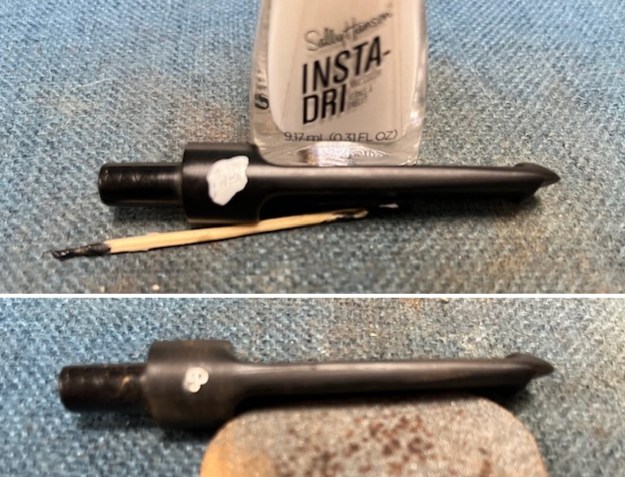
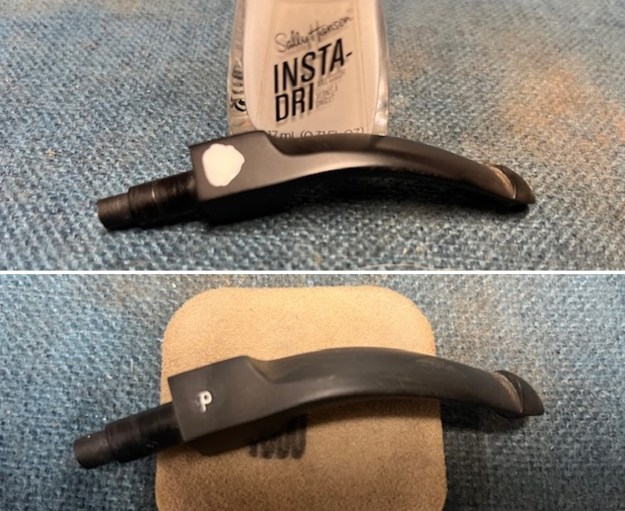
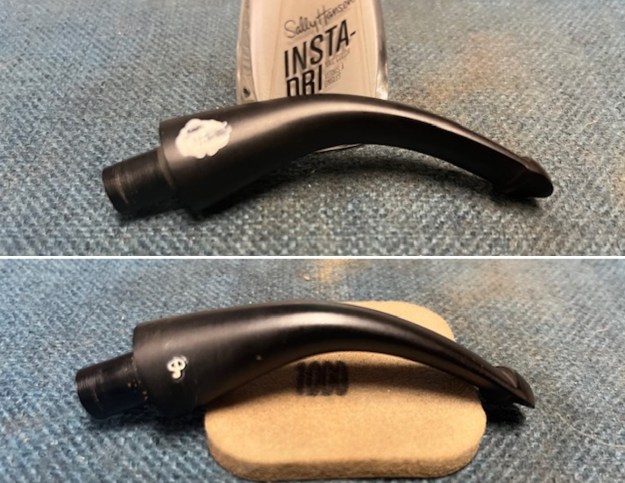
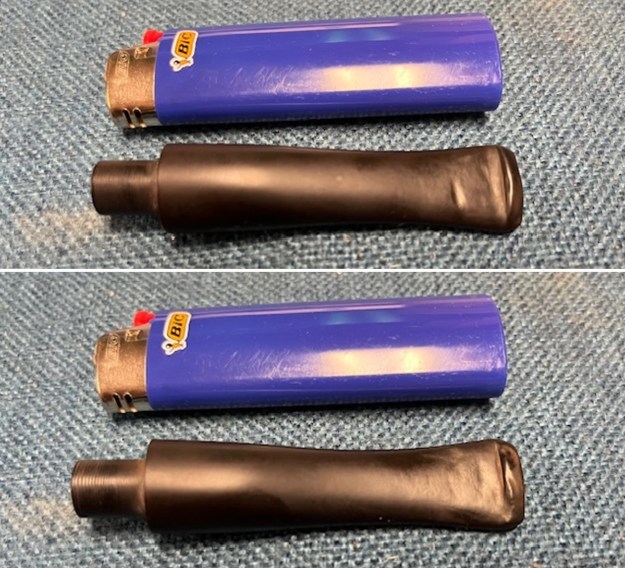
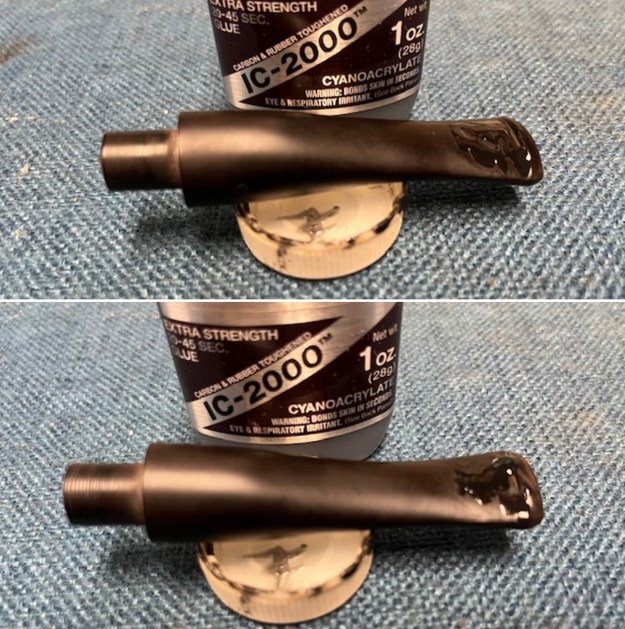
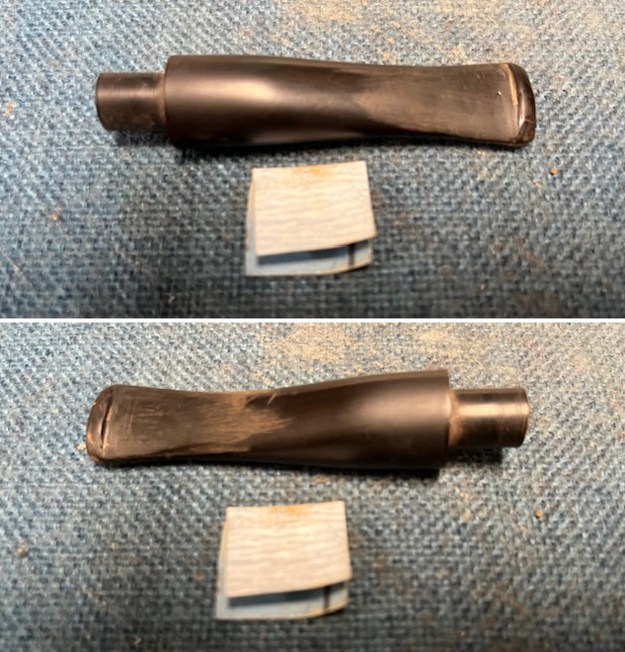
 I set the bowl aside and turned to the stem. I “painted” the stem surface with the flame of a lighter to lift the tooth marks. I was able to lift some of them. I filled in the remaining marks in the surface with extra strength, rubberized CA glue. I set it aside to cure. I sanded the marks smooth with a folded piece of 220 grit sandpaper.
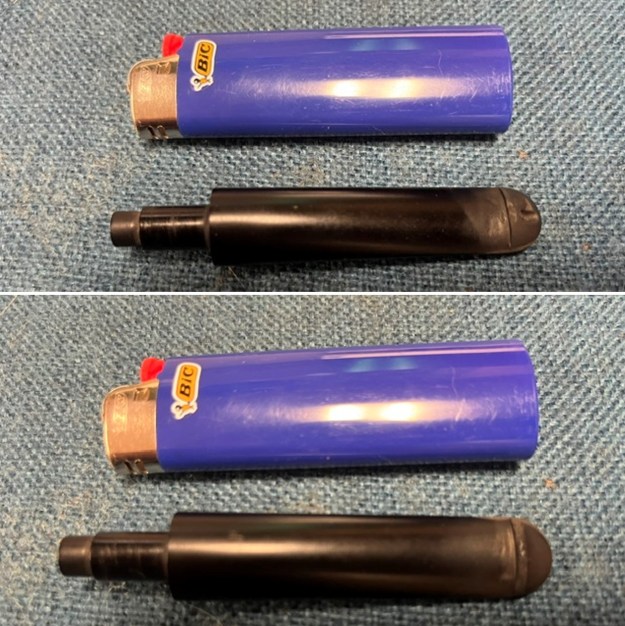
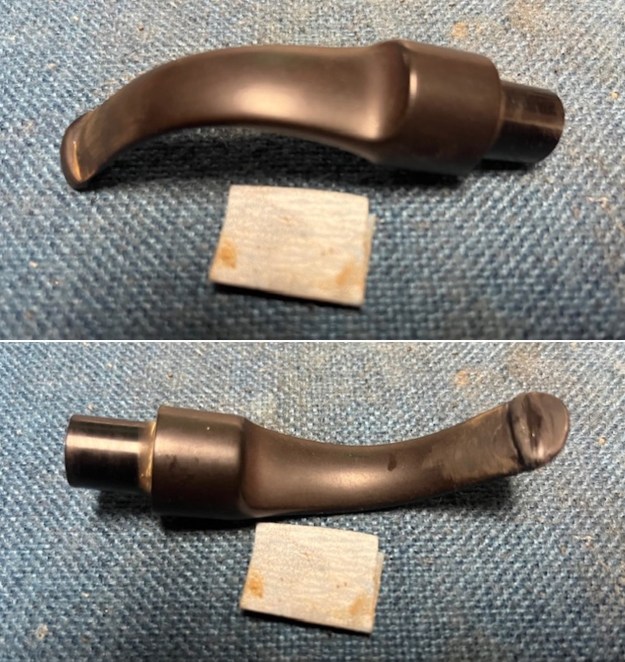
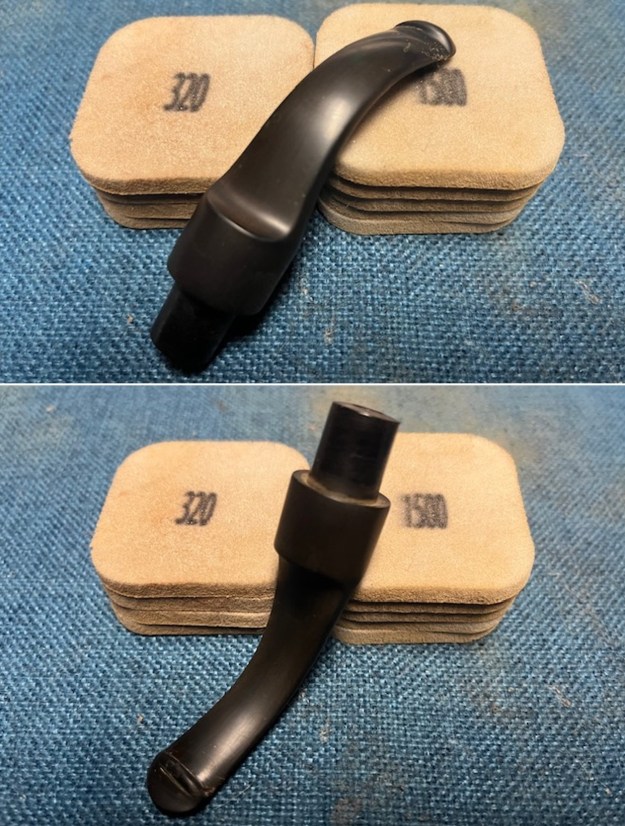
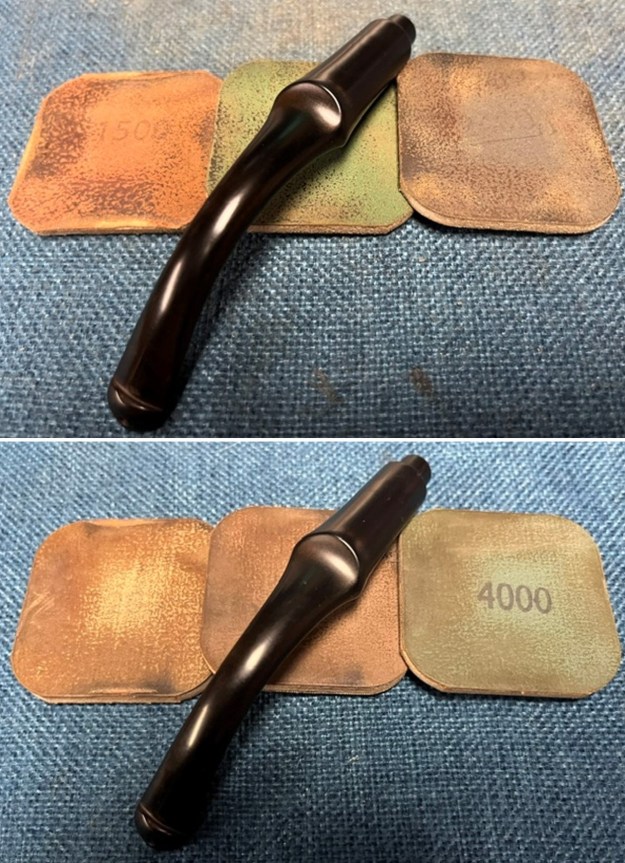
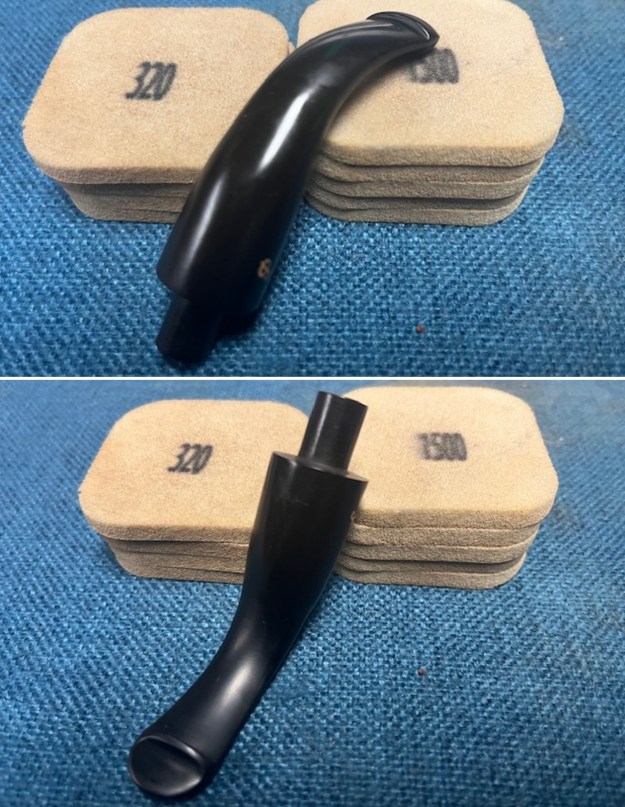
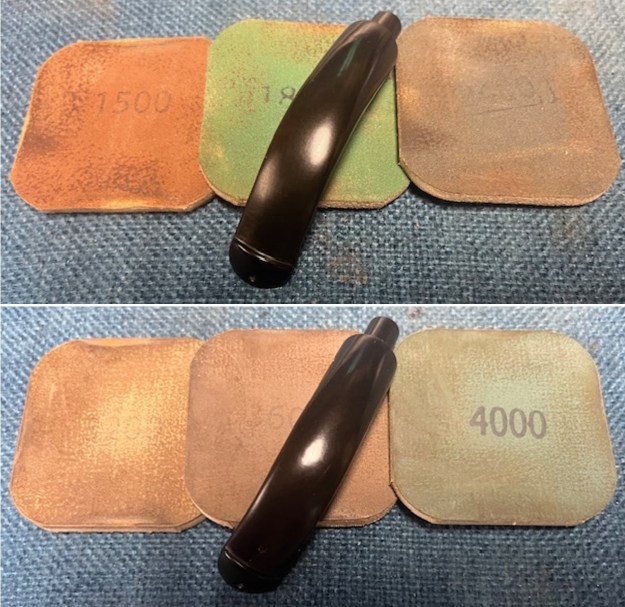
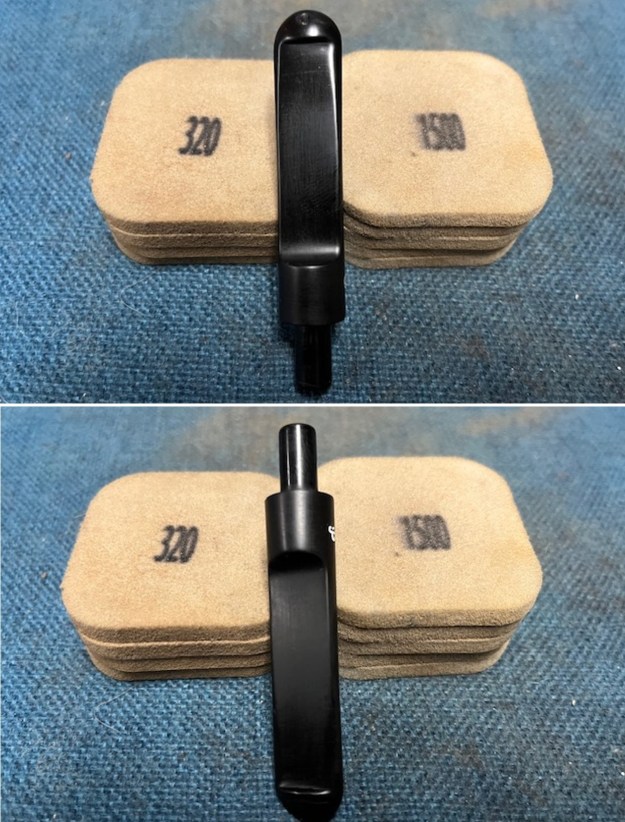
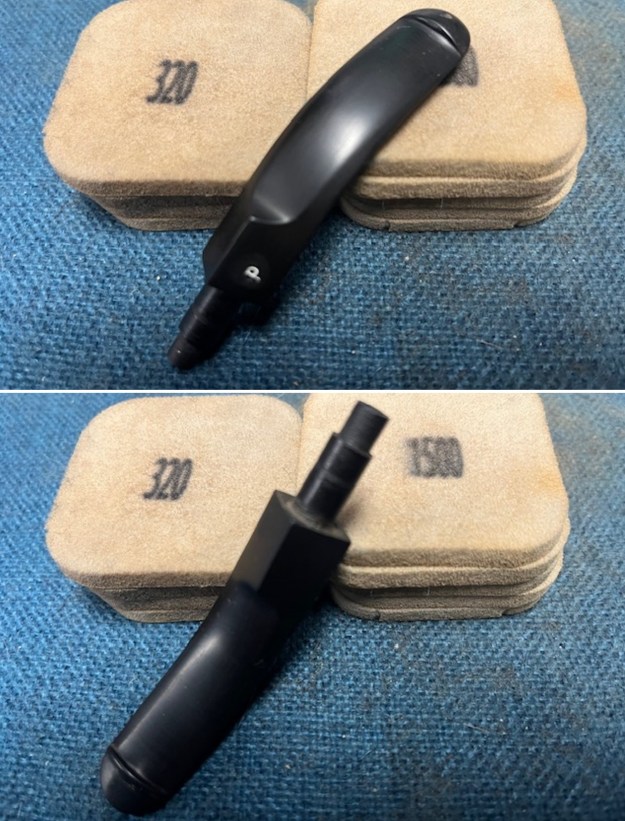
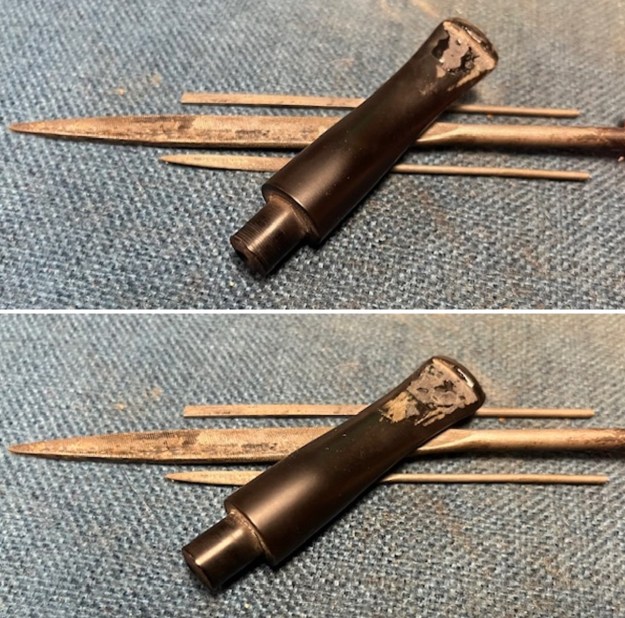
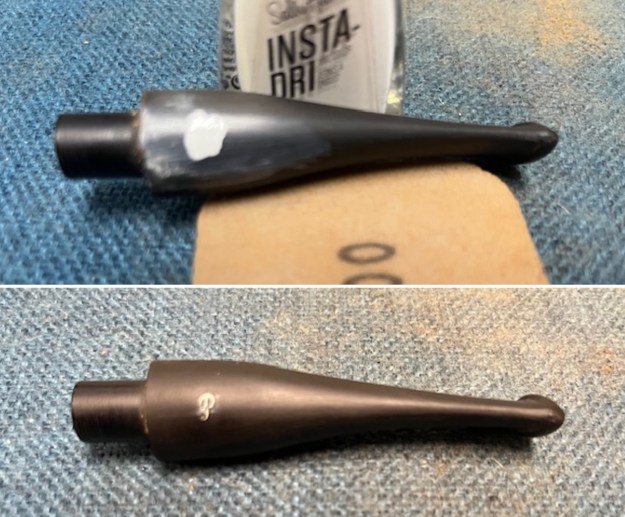
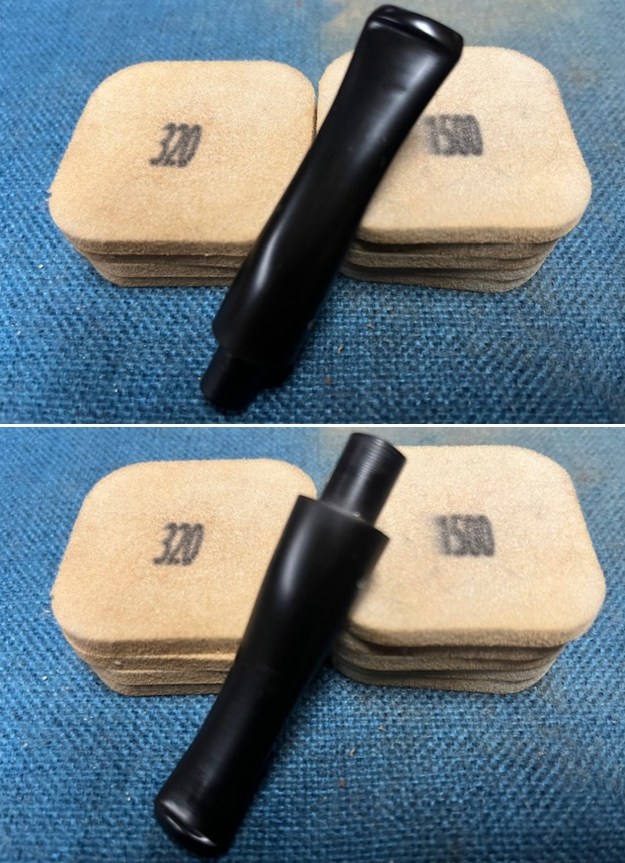
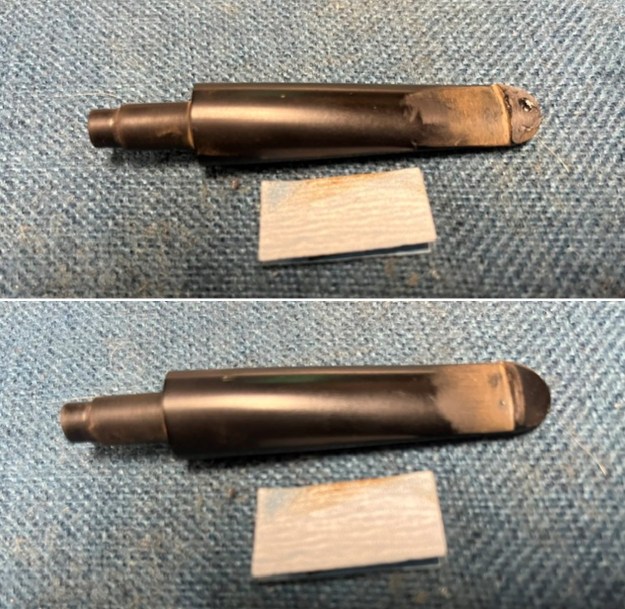 I sanded the stem with 320-3500 grit sanding pads to further blend the repairs into the stem. I wiped the stem down after each pad with an Obsidian Oil cloth. It began to look much better.
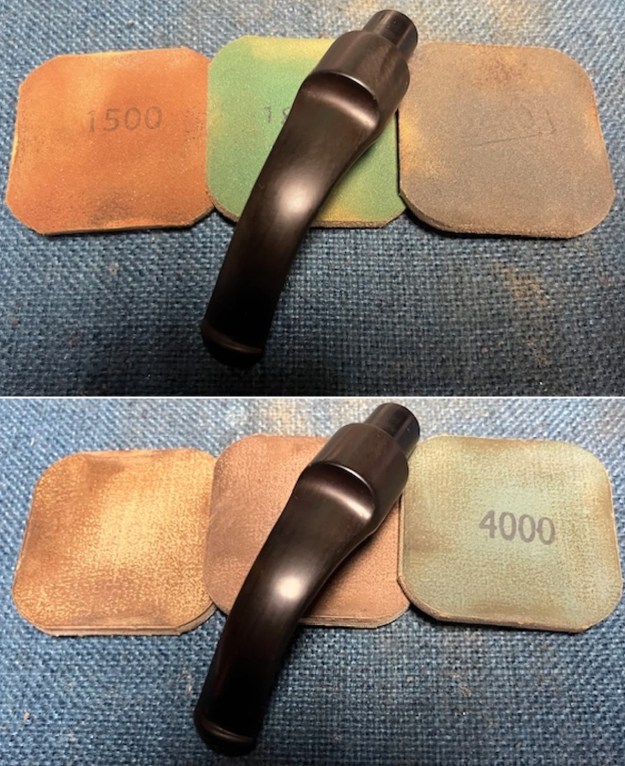
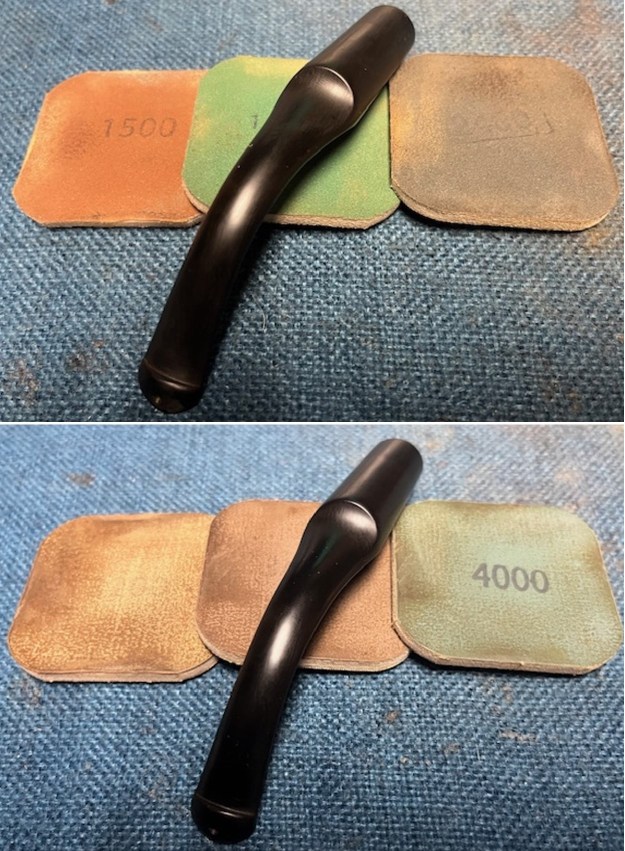
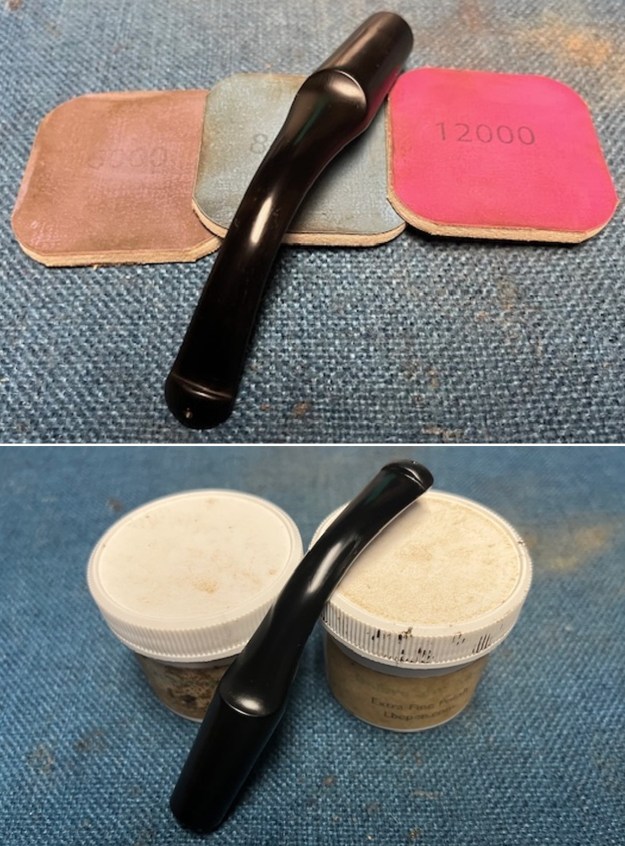
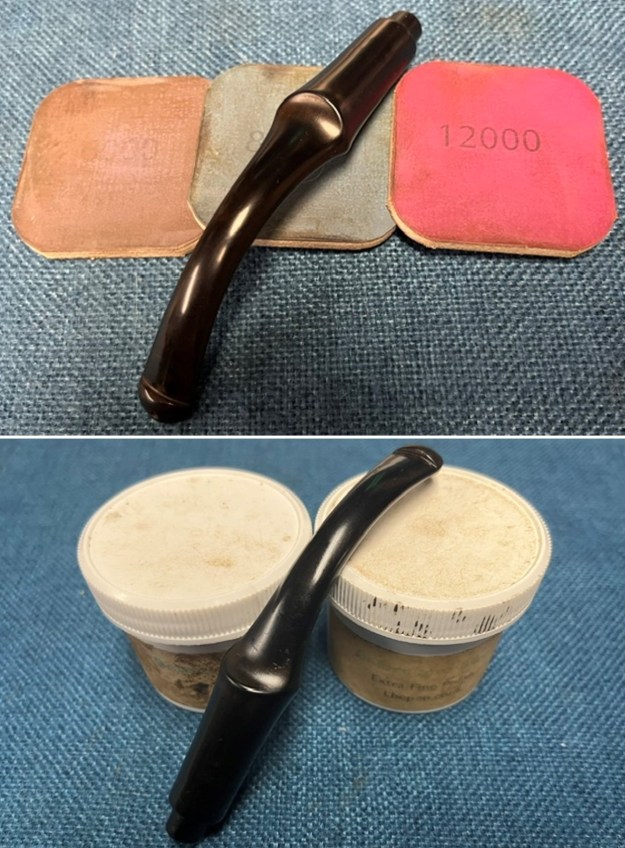
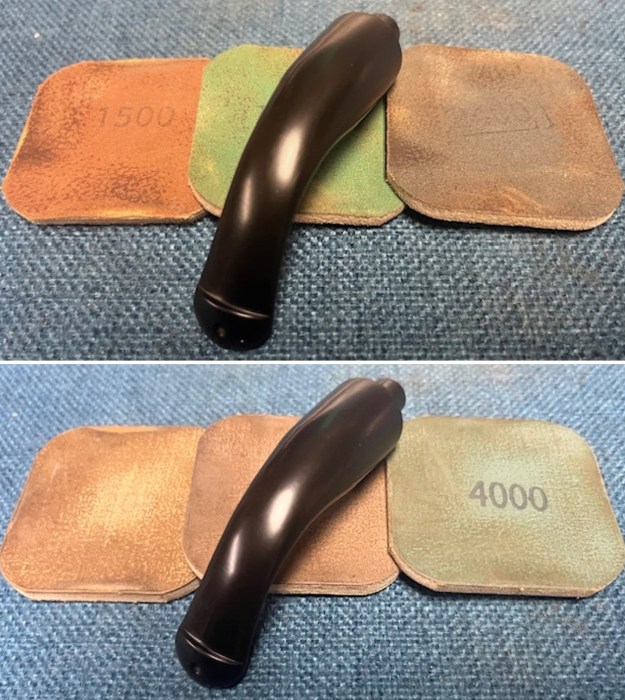
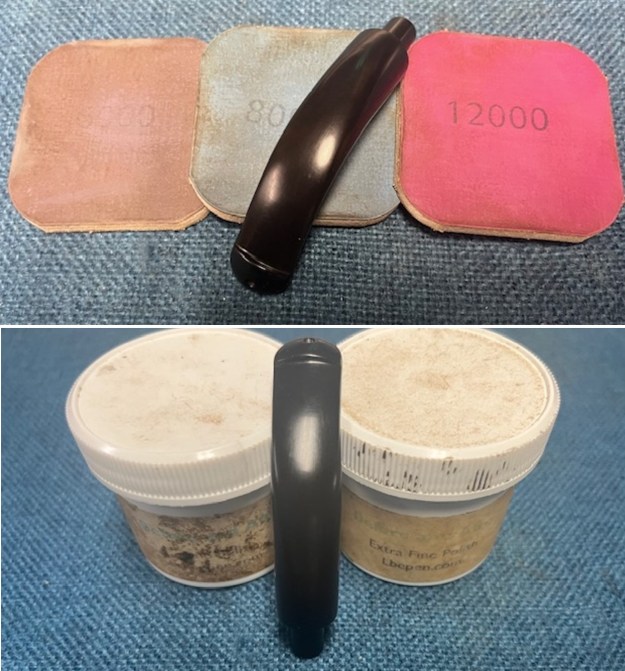
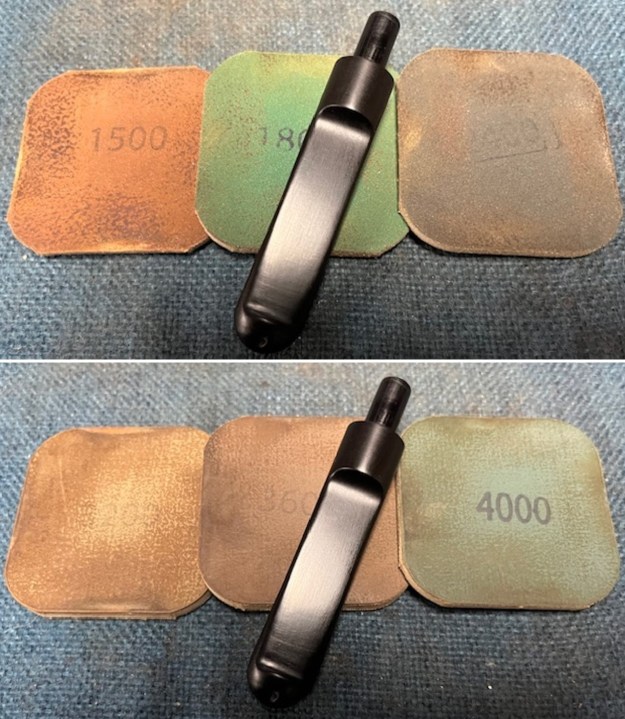
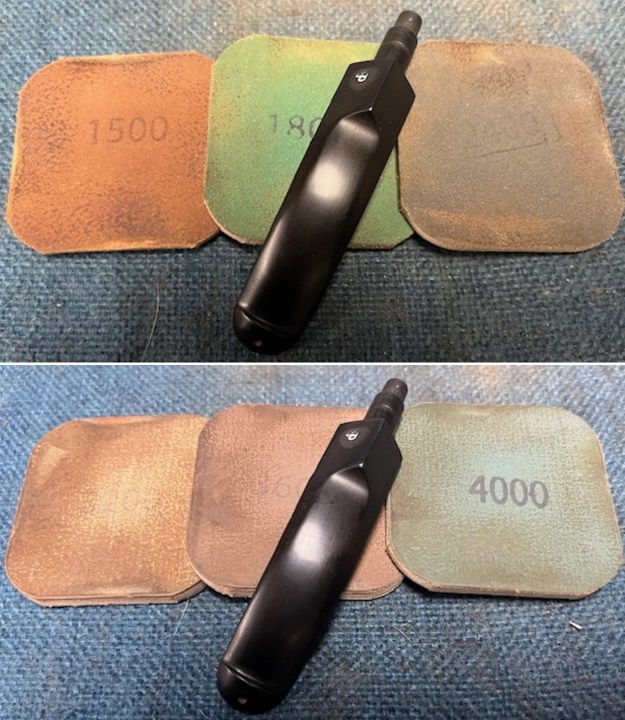
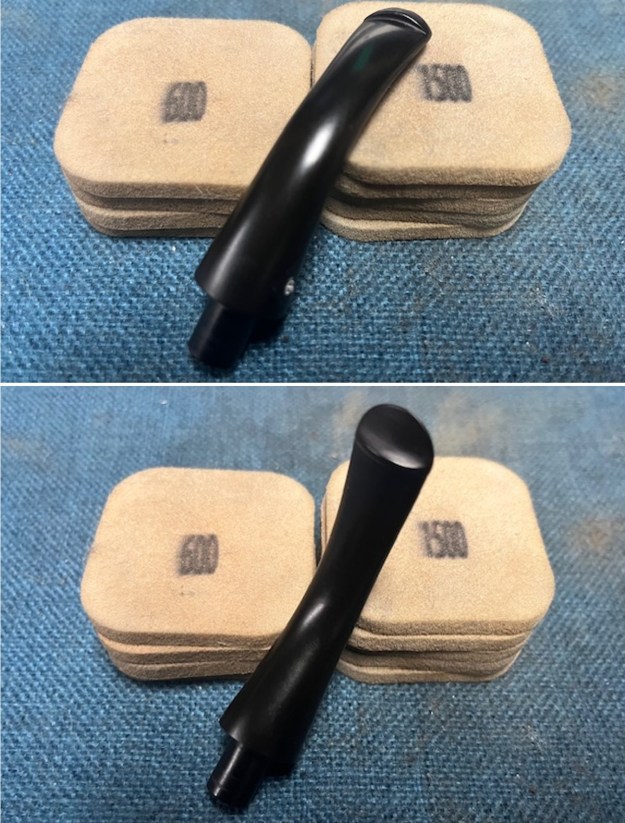
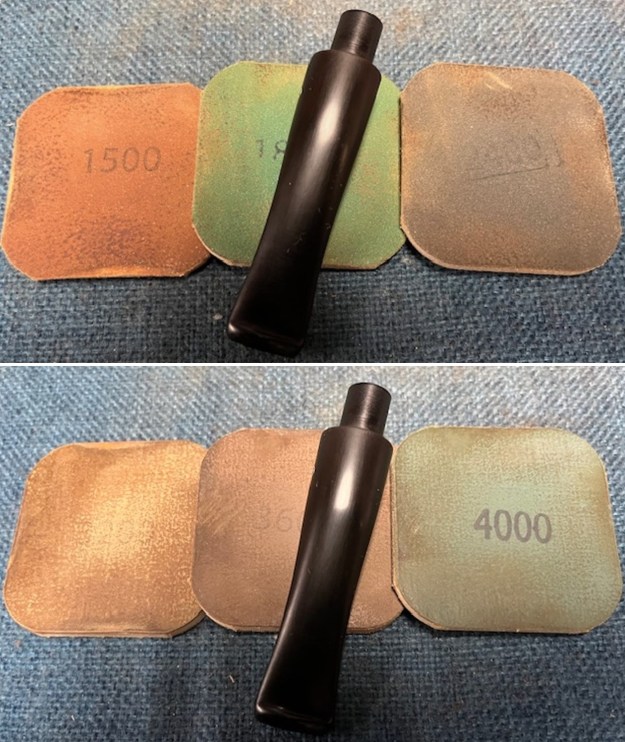
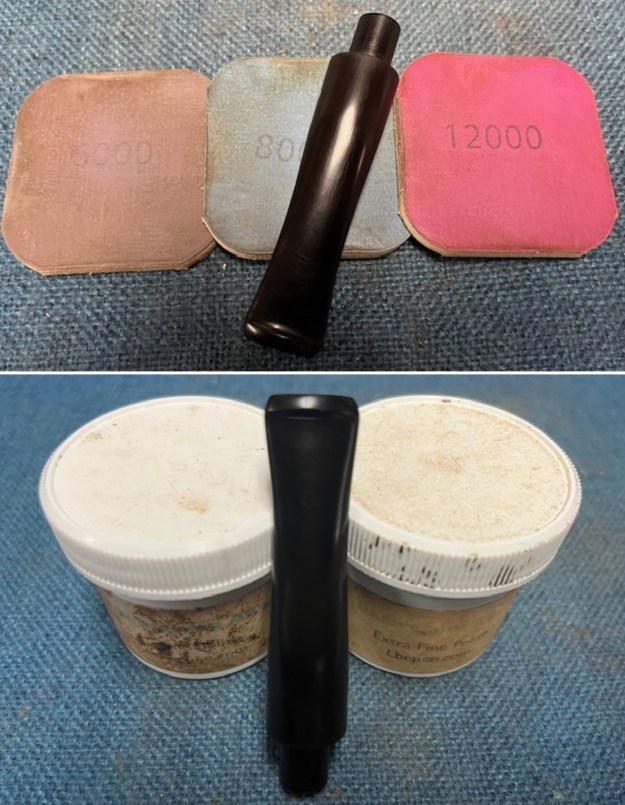
 I polished the stem with micromesh sanding pads – wet sanding with 1500-12000 grit sanding pads. I wiped it down after each sanding pad with Obsidian Oil. I polished it with Before & After Pipe Stem Polish – both Fine and Extra Fine.
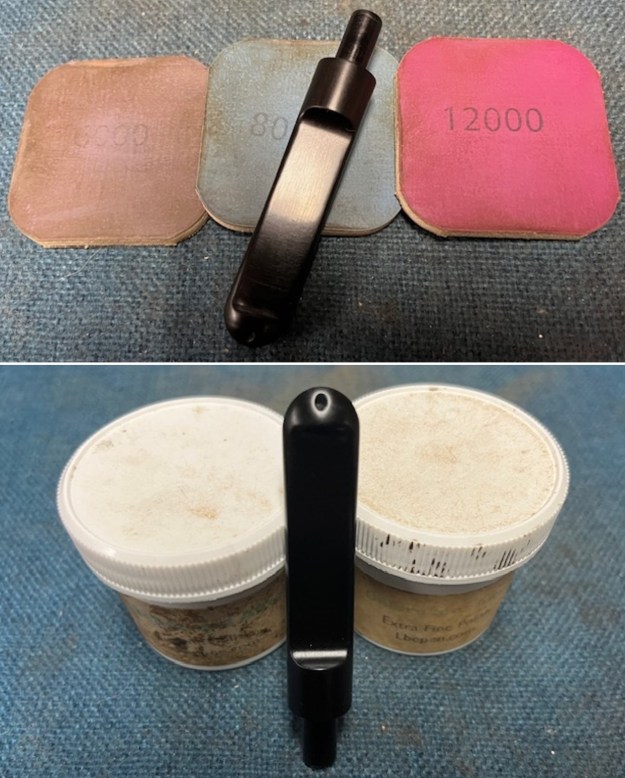
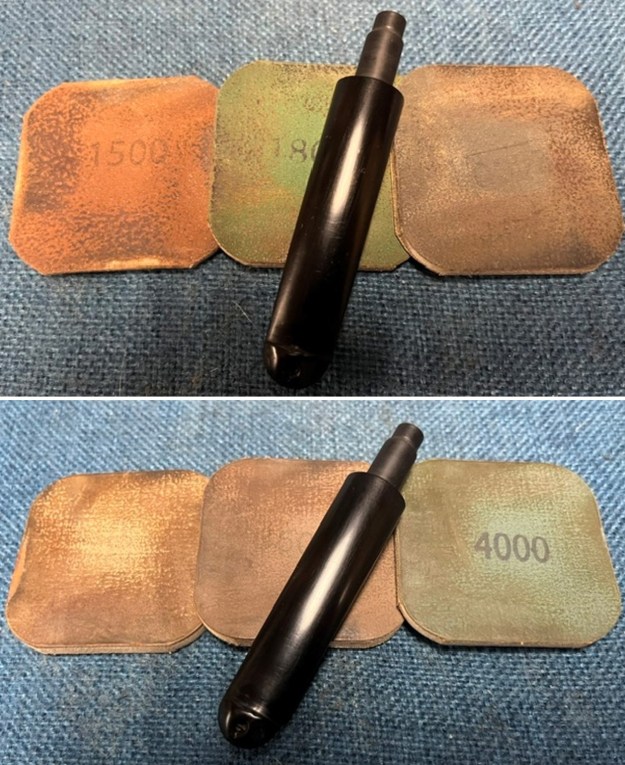
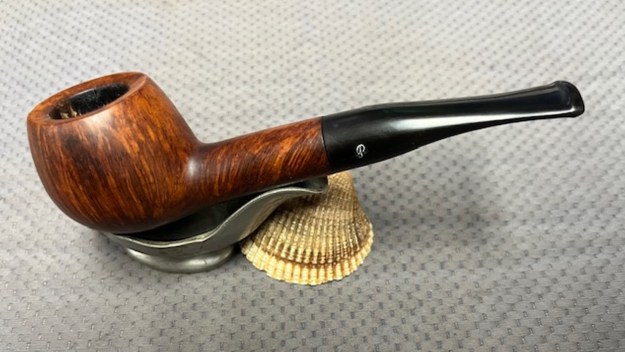
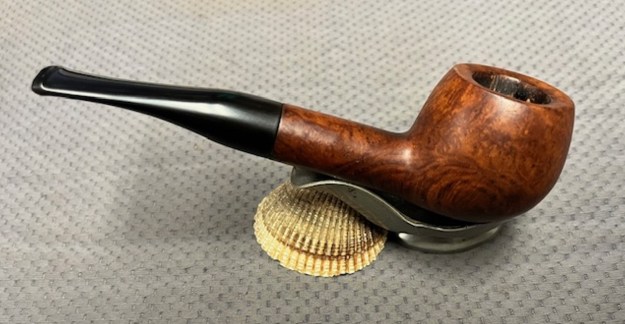
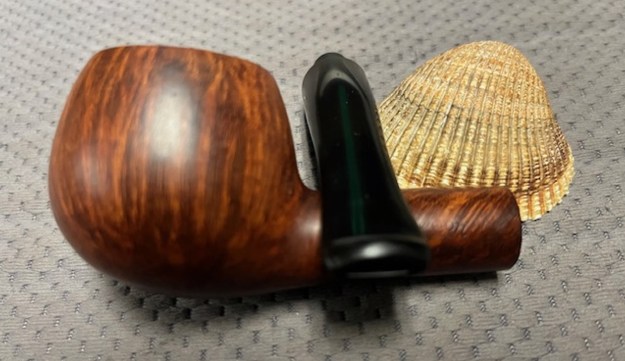
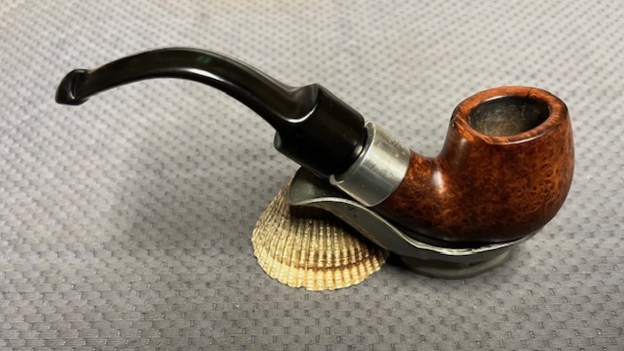
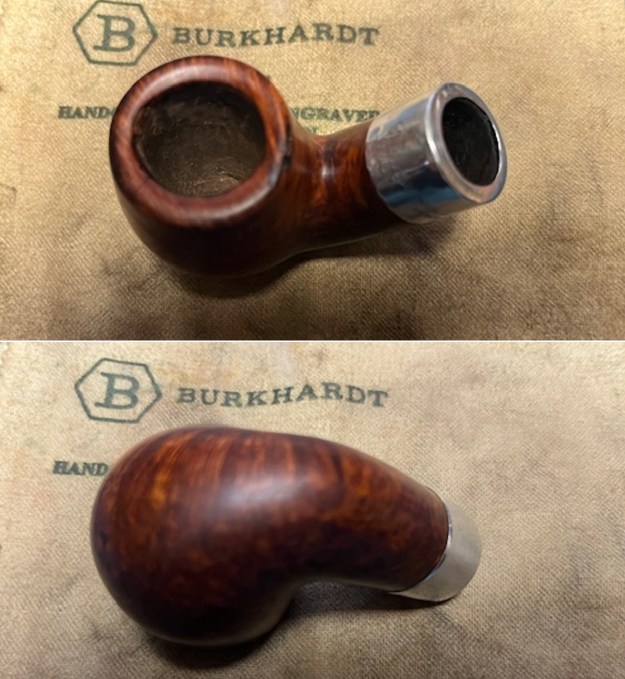
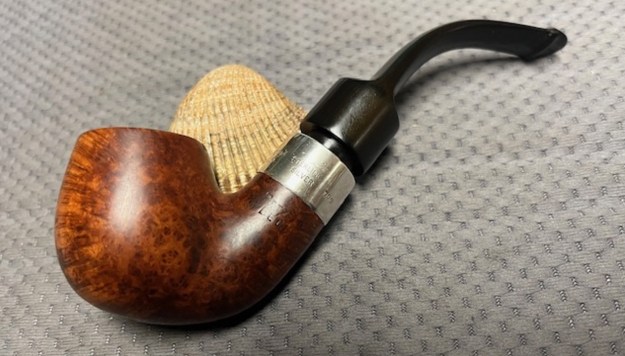
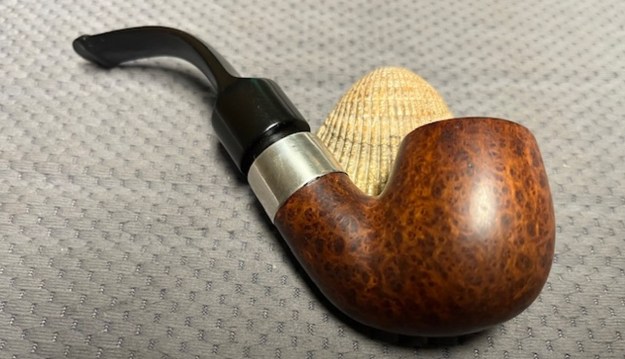
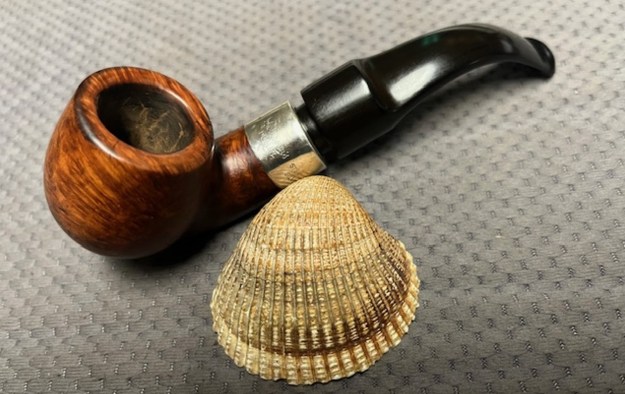
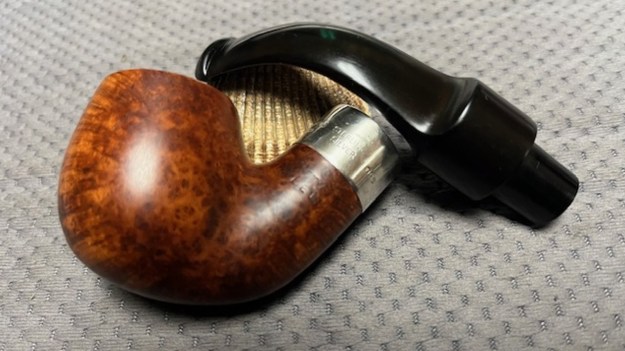
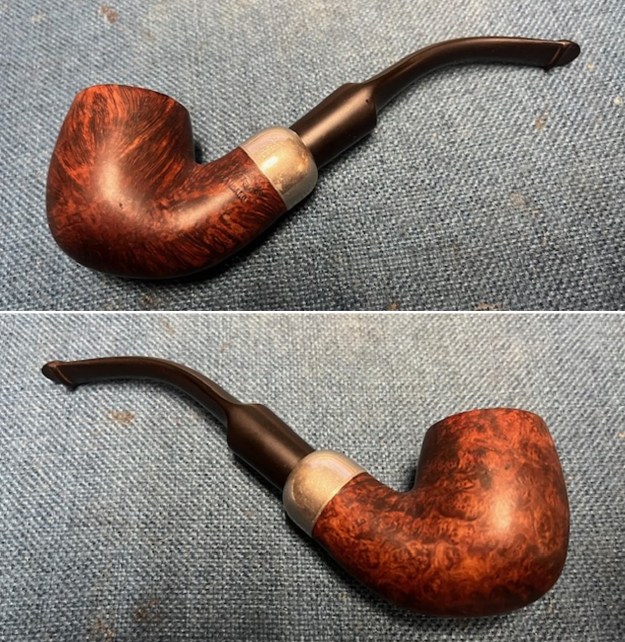
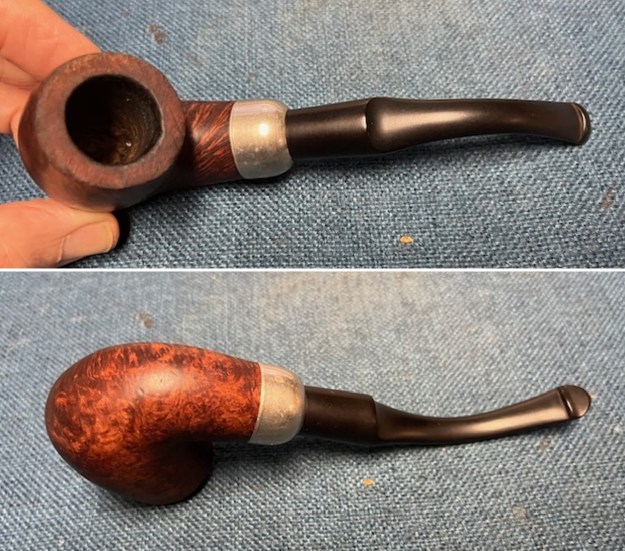
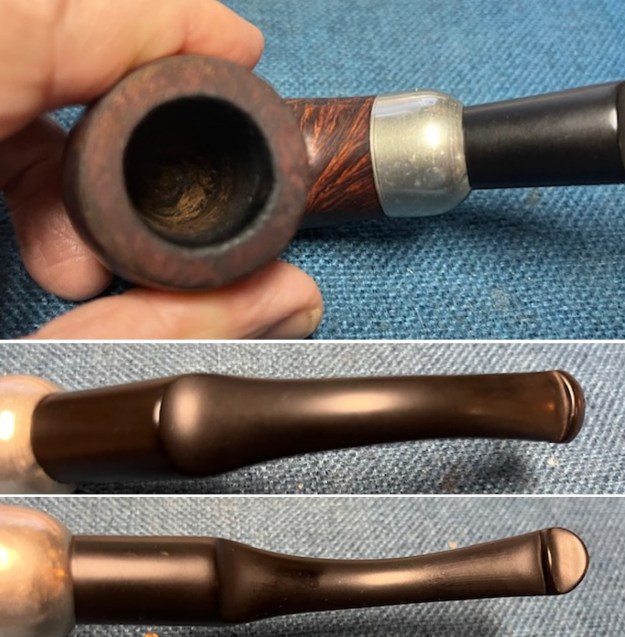
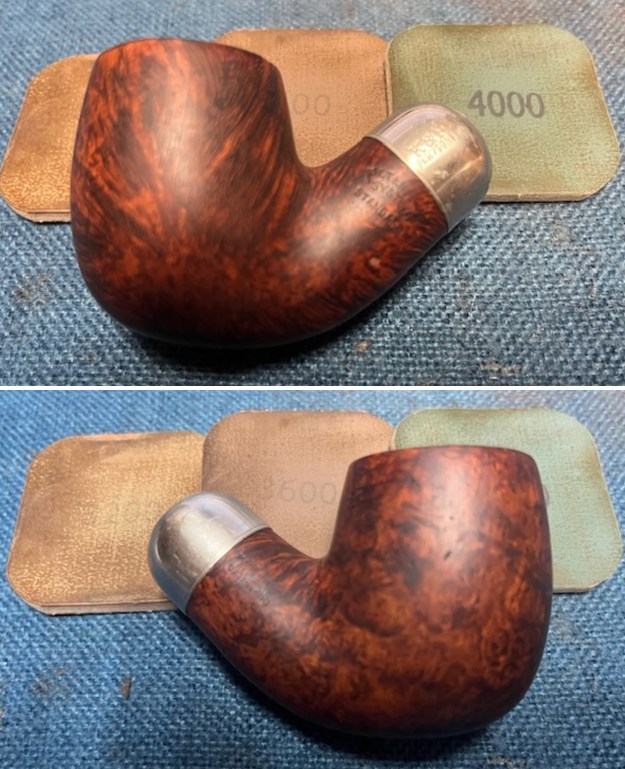
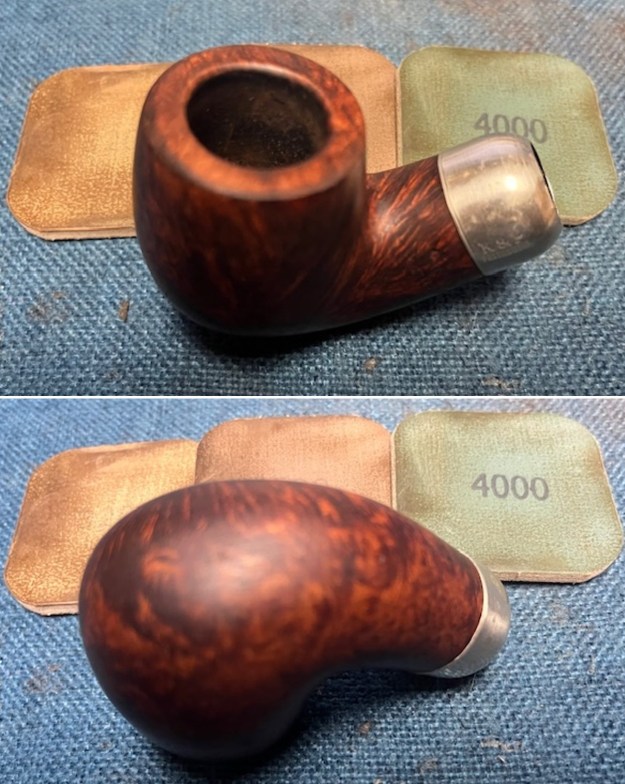
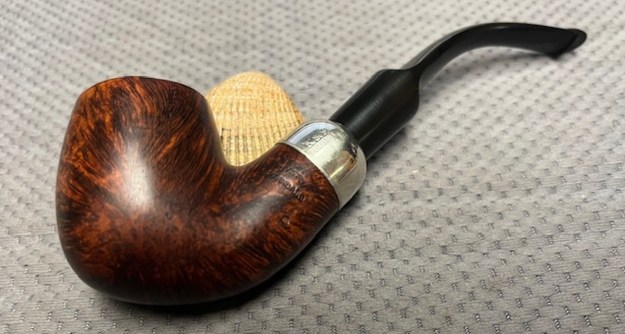
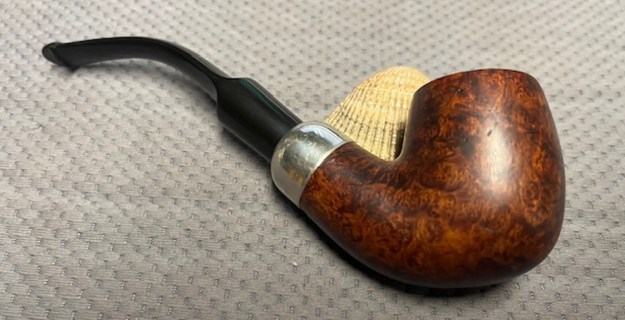
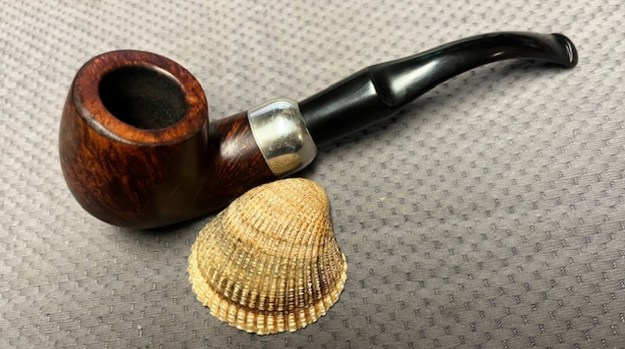
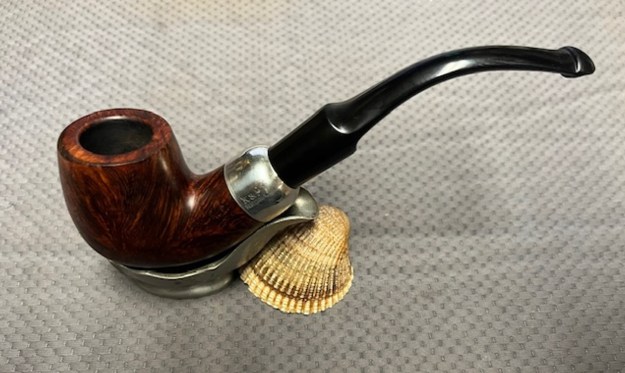
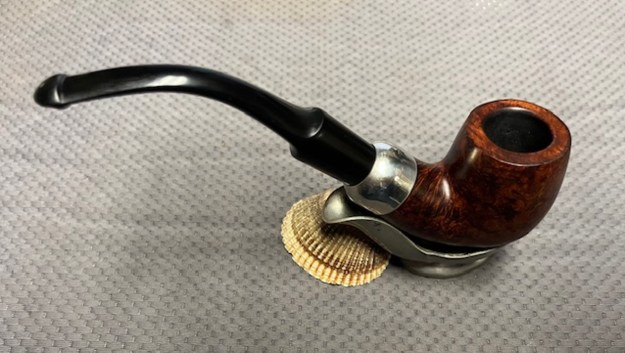
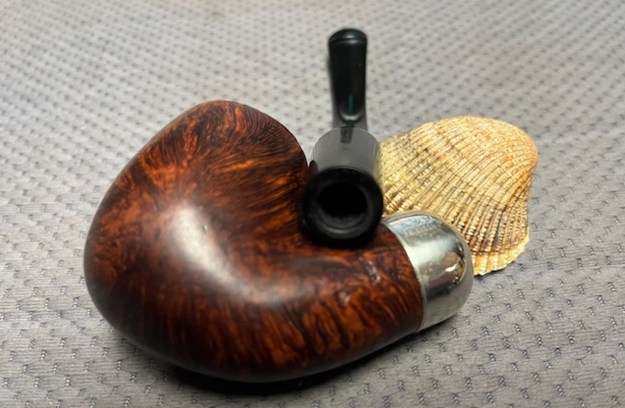
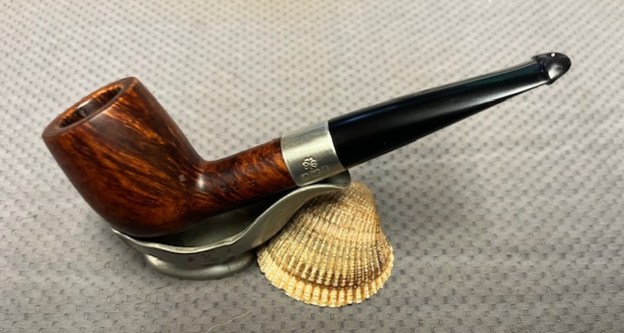
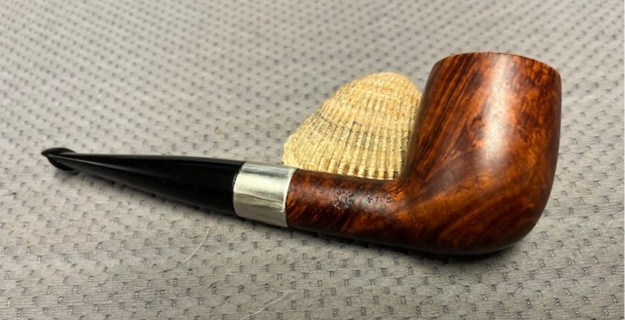
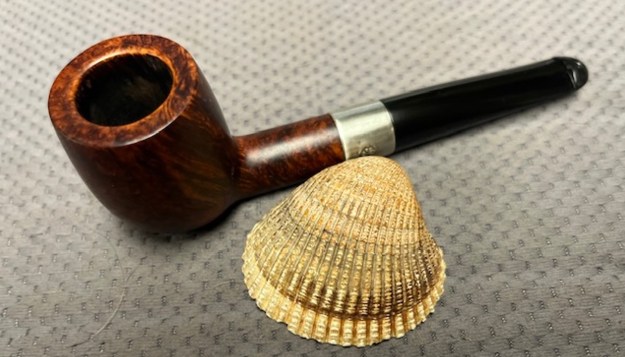
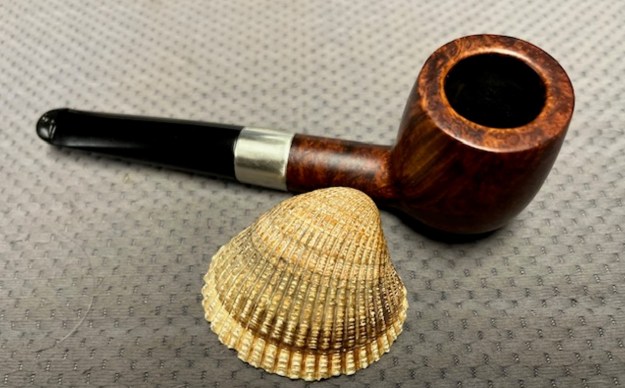
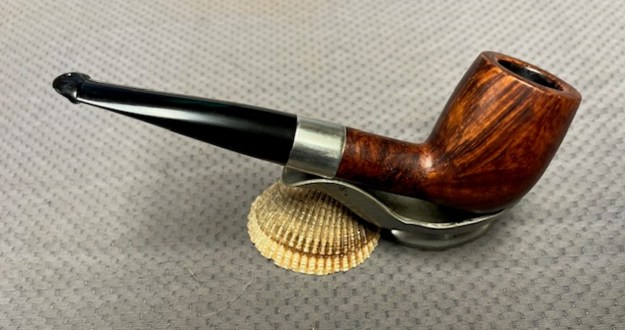
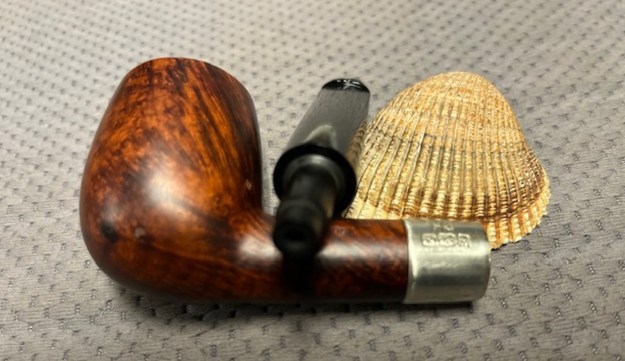
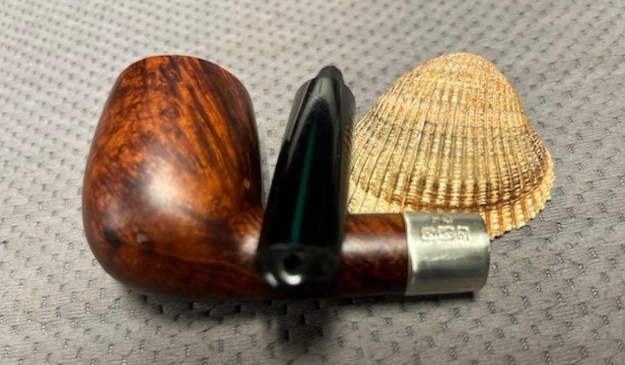
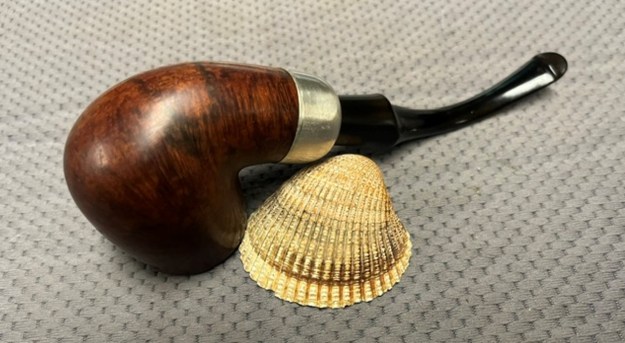
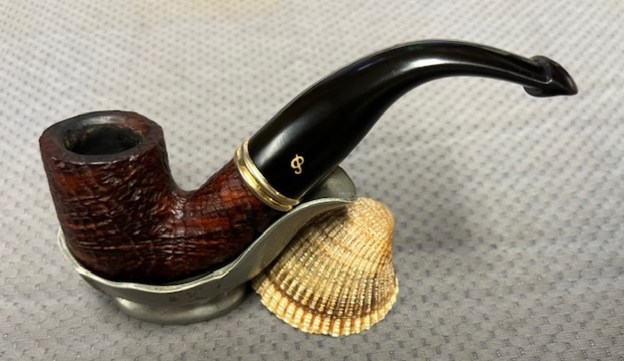
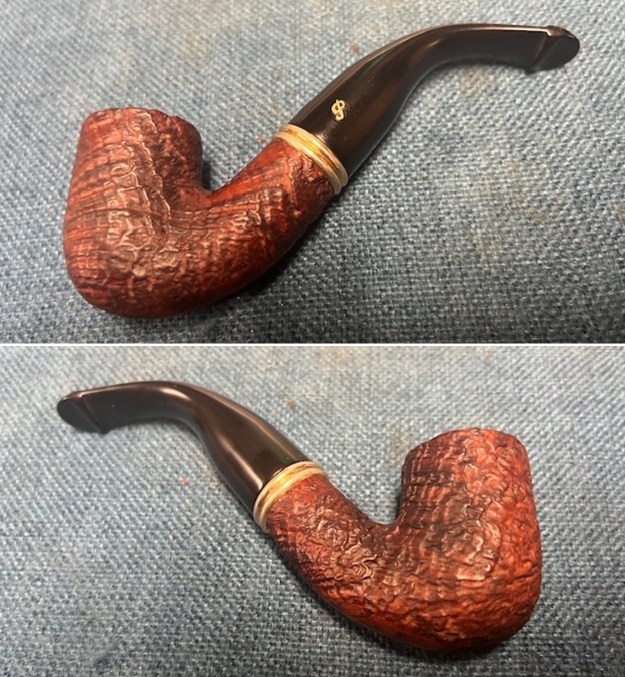
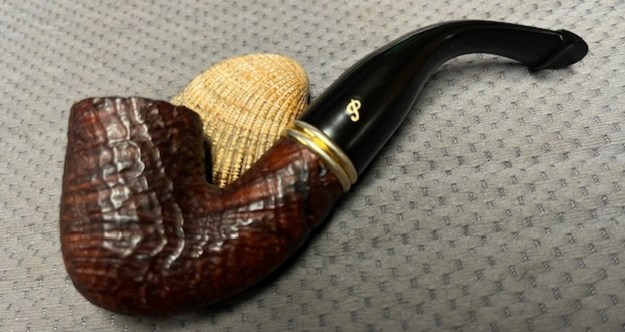
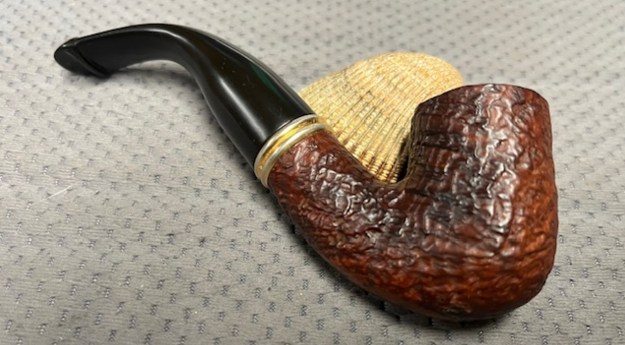
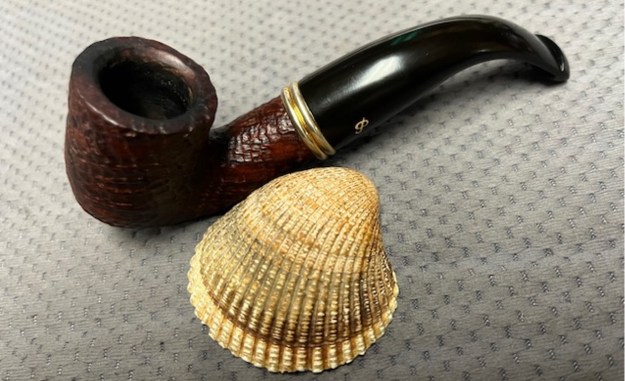
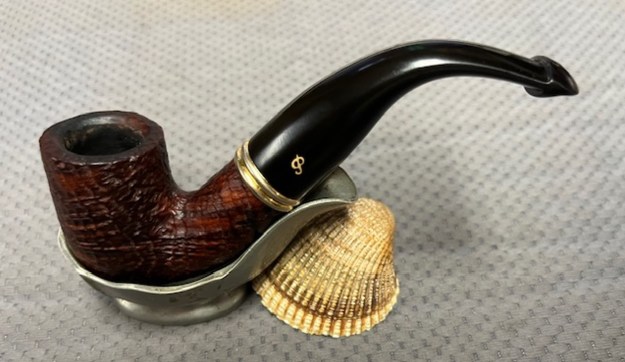
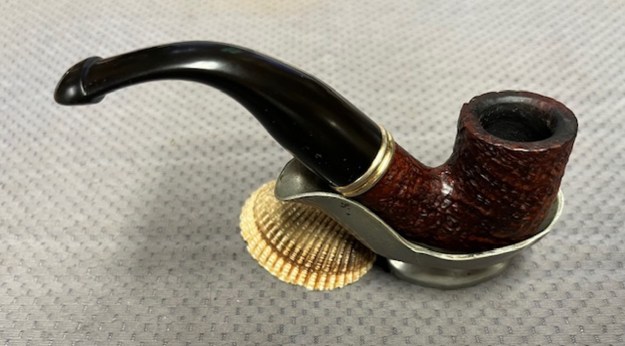
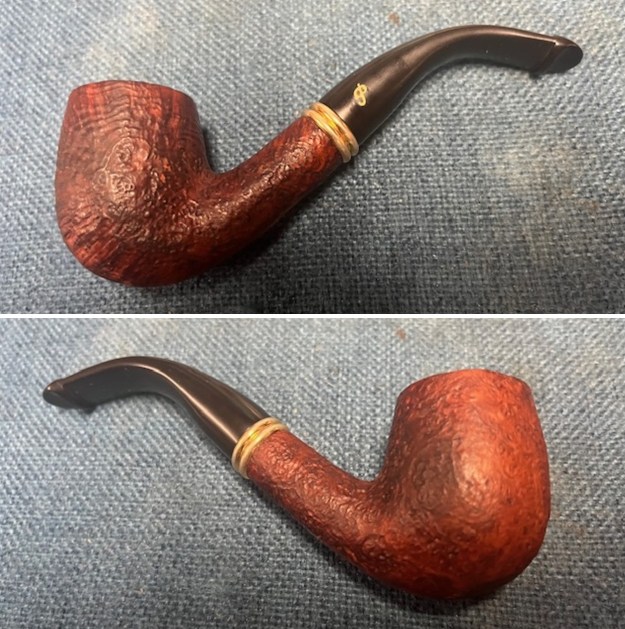
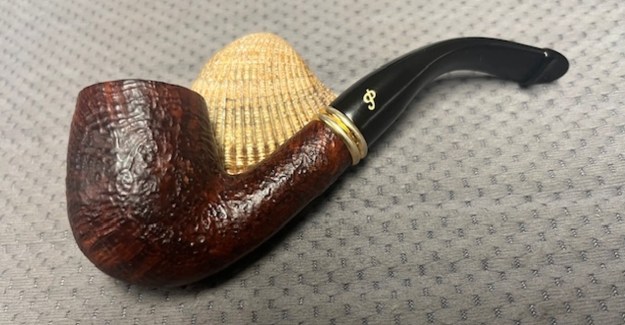
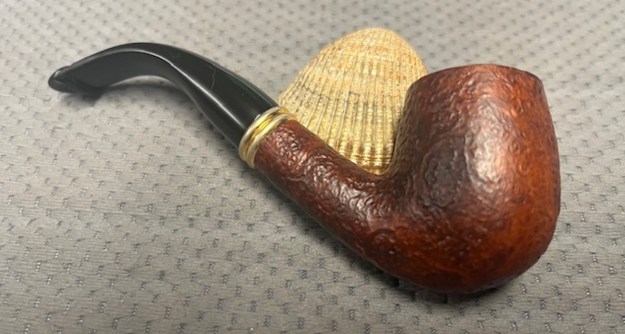
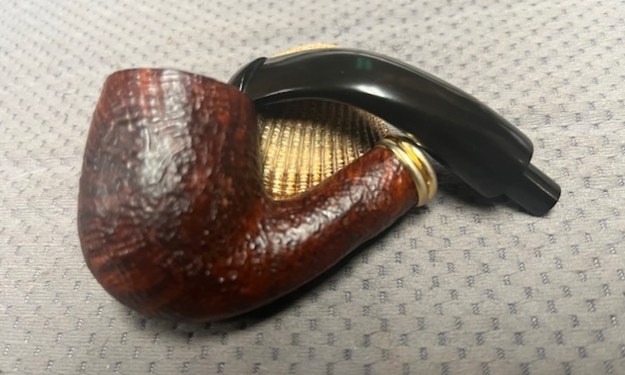
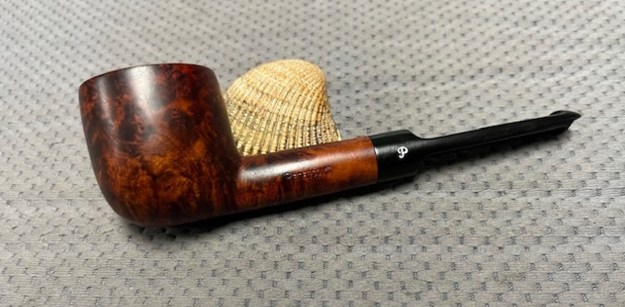
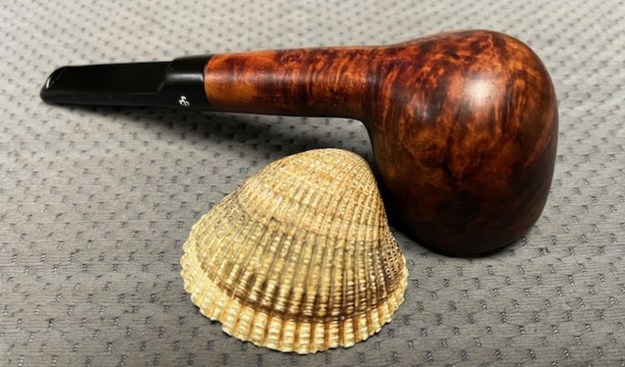
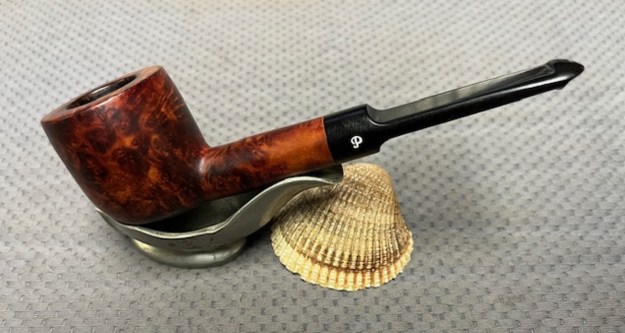
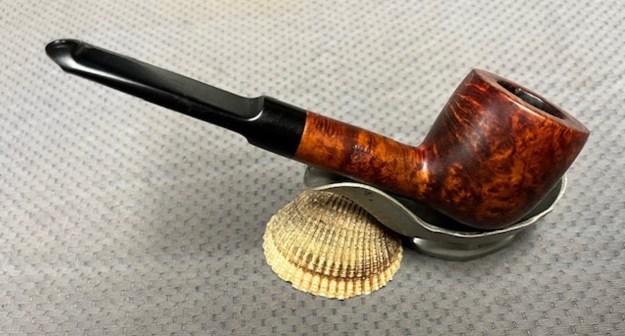
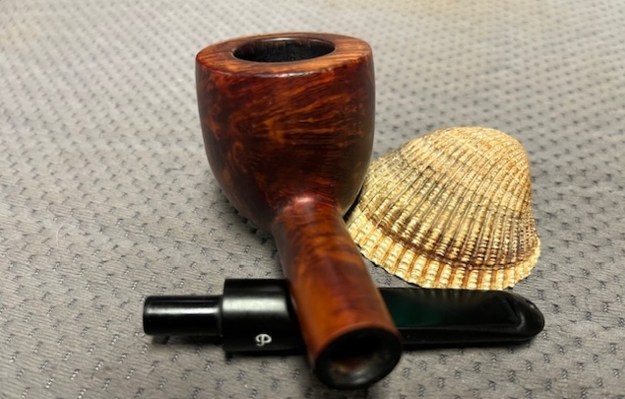
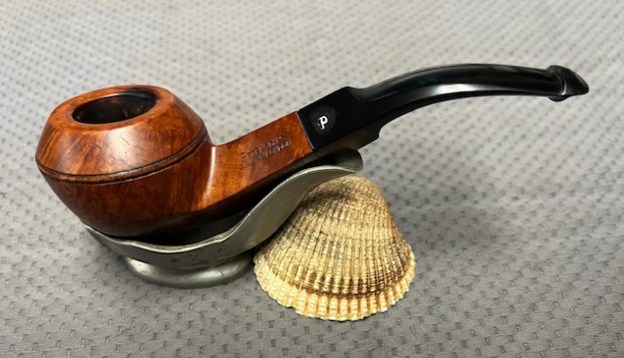
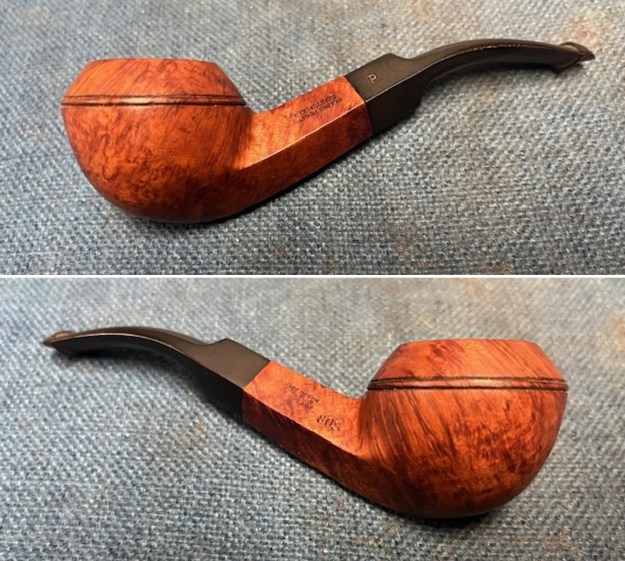
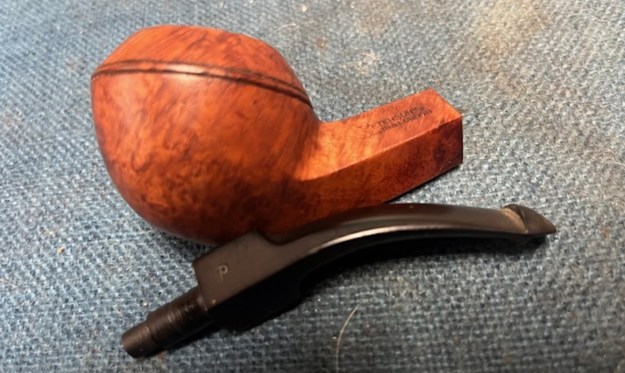
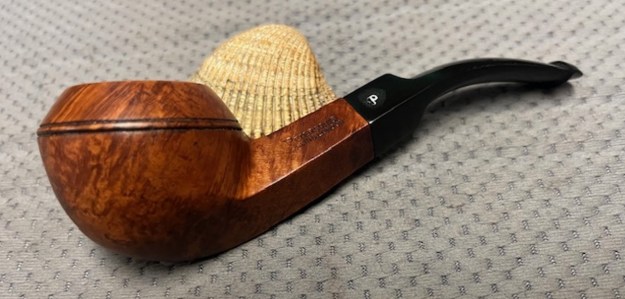
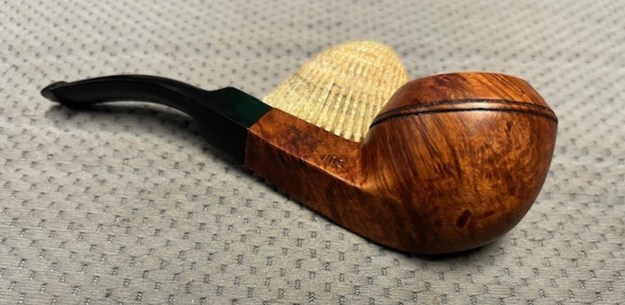
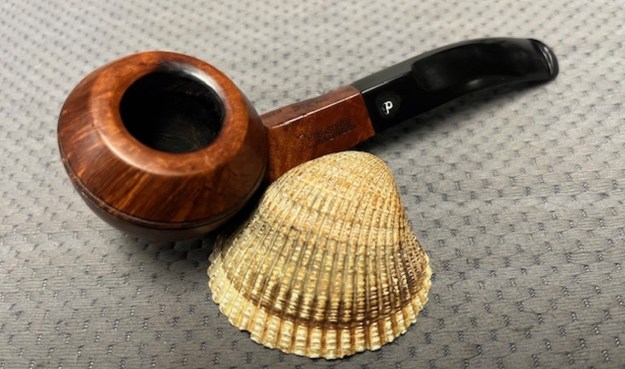
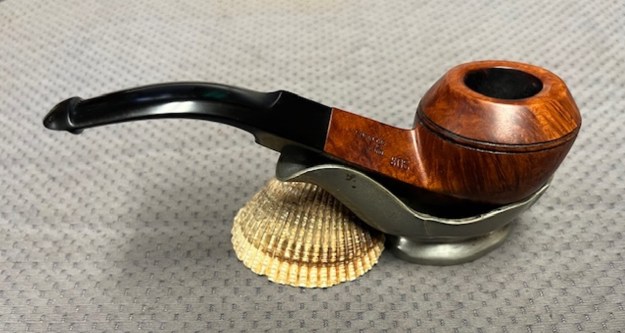
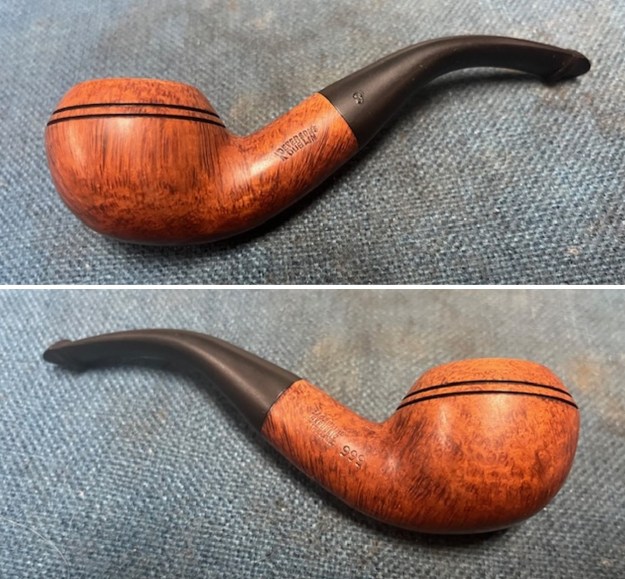
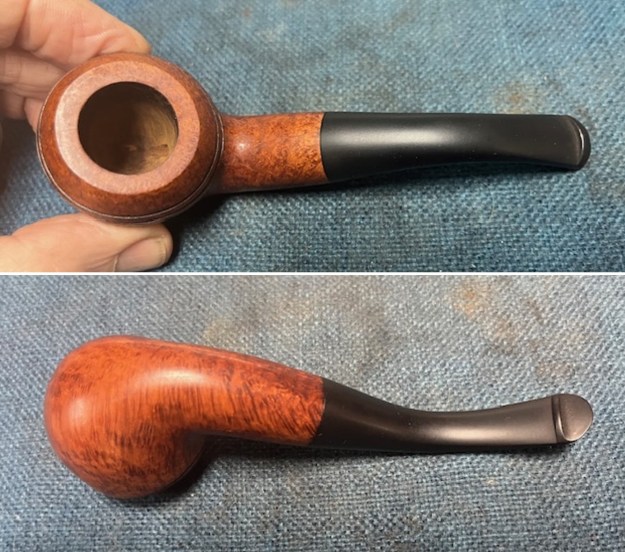
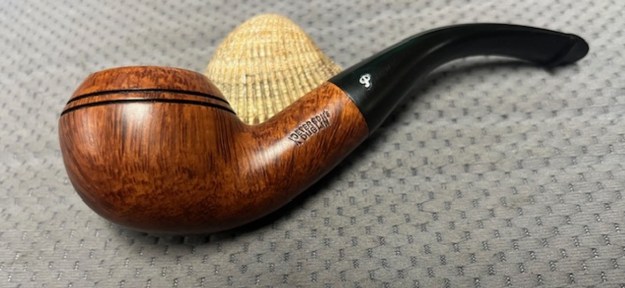
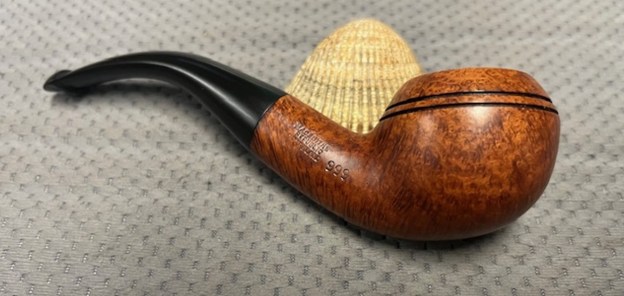
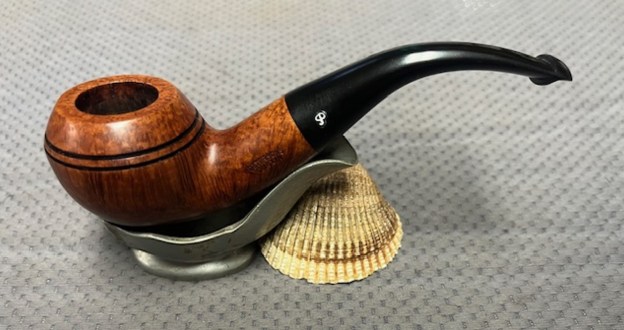
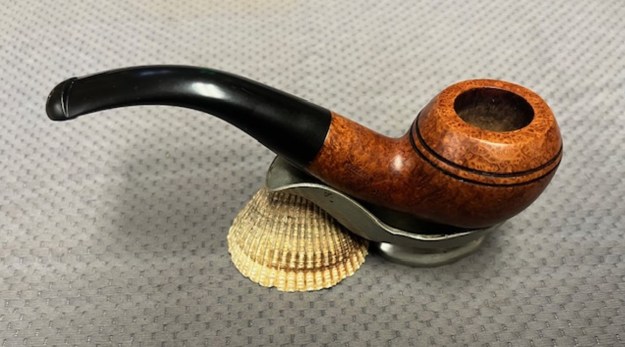
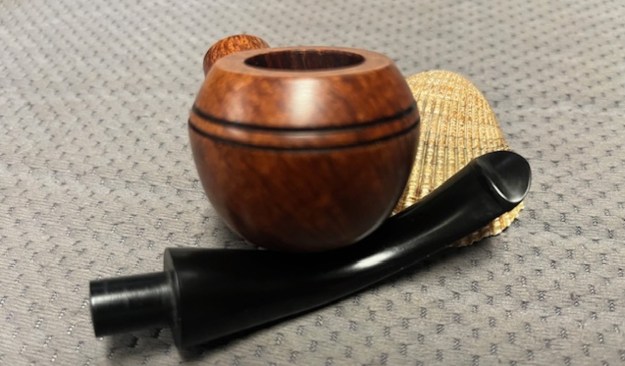
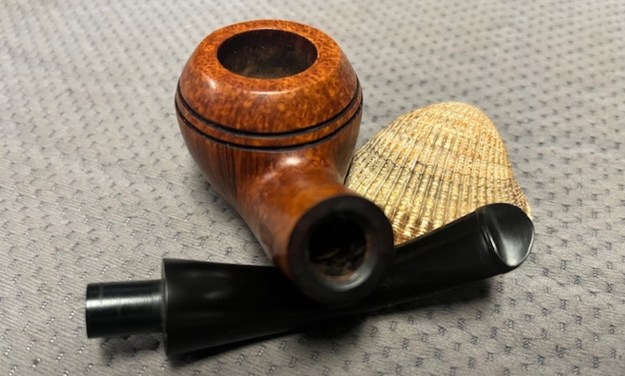
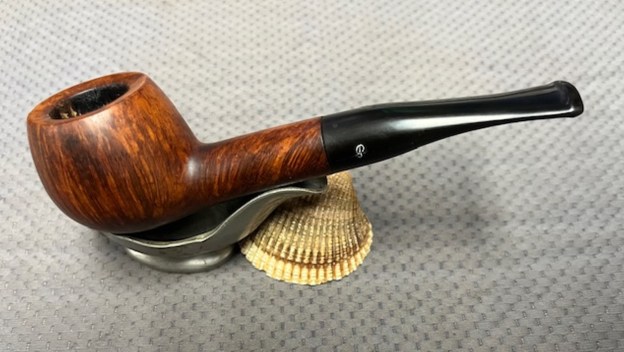
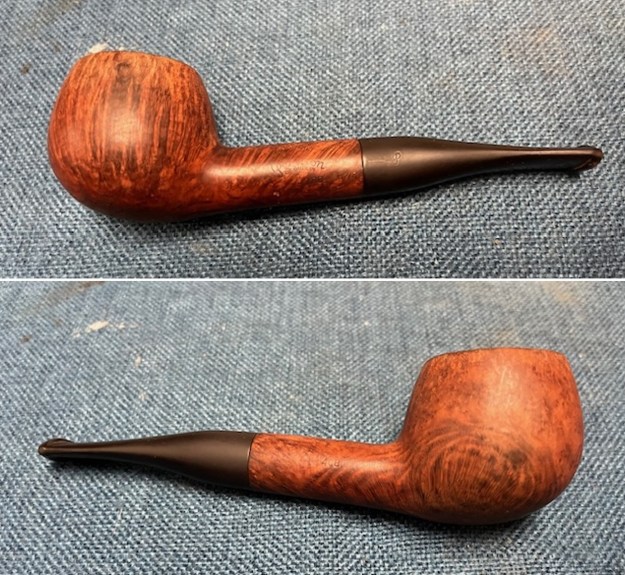
 I am excited to finish this Older Made in Ireland Shamrock 105 Maltese Cross Billiard. I put the pipe back together and buffed it with Blue Diamond on the buffing wheel. I gave the bowl and the stem multiple coats of carnauba wax. I hand buffed the pipe with a clean buffing pad to raise the shine. It is fun to see what the polished bowl looks like with beautiful mixed grain all around it, looks great with the new black vulcanite stem. This smooth Classic Shamrock 105 Maltese Cross Billiard is great looking and the pipe feels great in my hand. It is light and well balanced. Have a look at it with the photos below. The dimensions are Length: 5 ½ inches, Height: 1 ¾ inches, Outside diameter of the bowl: 1 ¼ inches, Chamber diameter: ¾ of an inch. The weight of the pipe is 42 grams/1.48 ounces. It turned out to be a beautiful pipe. I will be putting on the rebornpipes store in the Irish Pipe Makers Section. Thanks for walking through the restoration with me. Any questions or observations are always welcome.
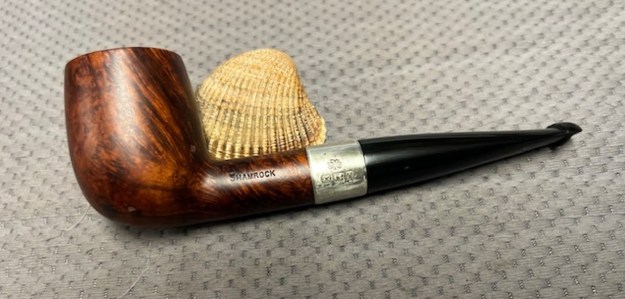


 I
I