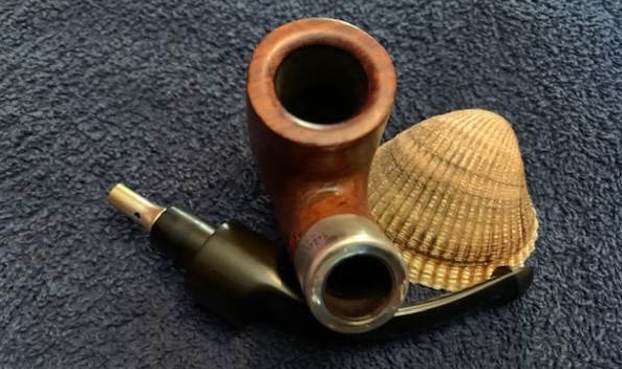
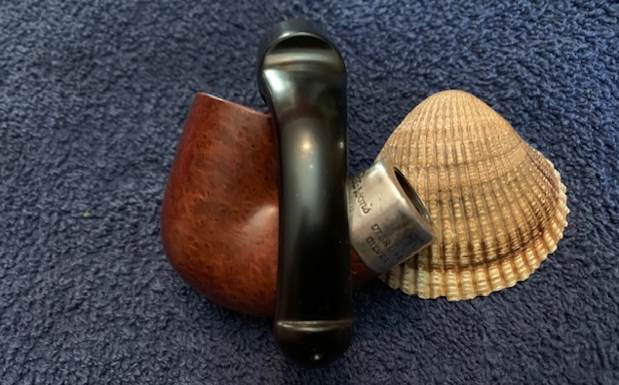
Blog by Steve Laug
I originally wrote this blog for the Peterson’s Pipe book that Mark Irwin and Gary Malmberg coauthored and just published. Parts of it have been included in the Peterson book but I am including it here so that it can be kept with the blogs of other pipes that I have restored. Part of the reason for rebornpipes is a repository for my learning of this restoration art. It is a beautiful pipe that I am enjoying today after my work on it. Thanks Mark for including it in the book. – Steve
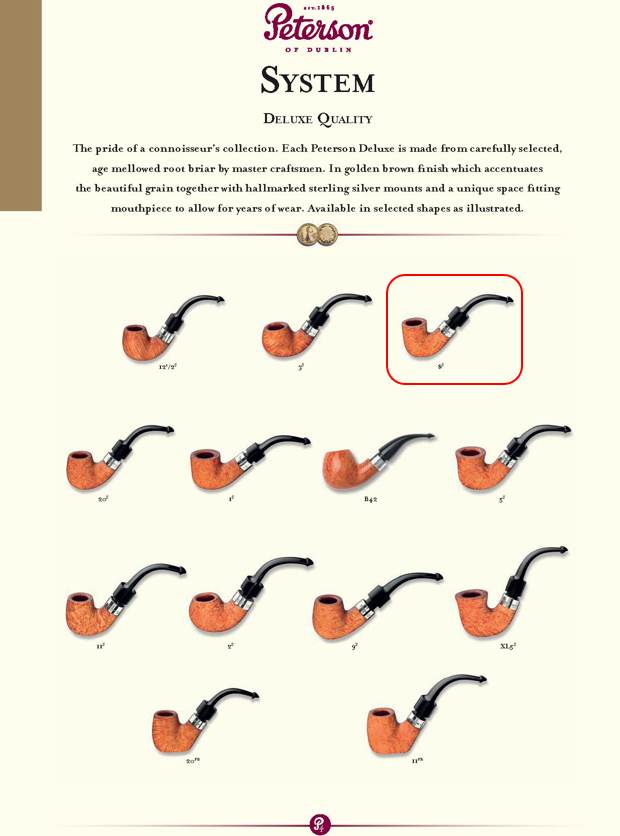
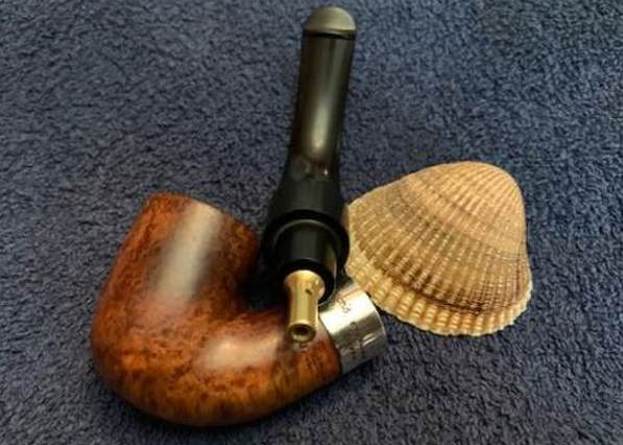
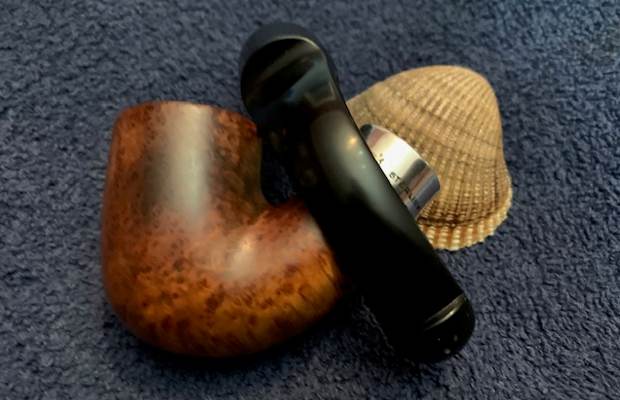
The second Peterson pipe that is up for restoration is a Deluxe 11S. As I did with the first pipe, I detail Mark’s comments below in italics and follow that with my own observations once the pipe arrived on my work table. Before I begin any restoration or refurbishing of a pipe I take time to look it over and get an idea of what the work will entail. I do a thorough analysis of the pipe to determine both the time it will take to restore it and what challenges I will face in the process. This old Peterson came with some interesting challenges on the stem and very few on the bowl.
Preliminary Observations:
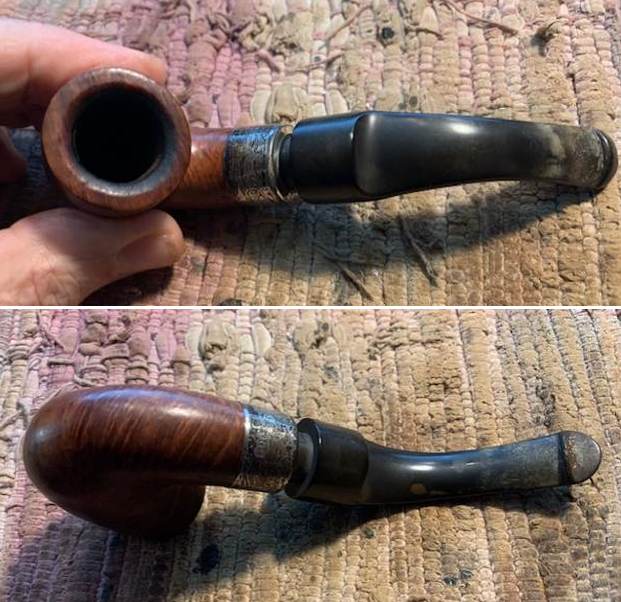
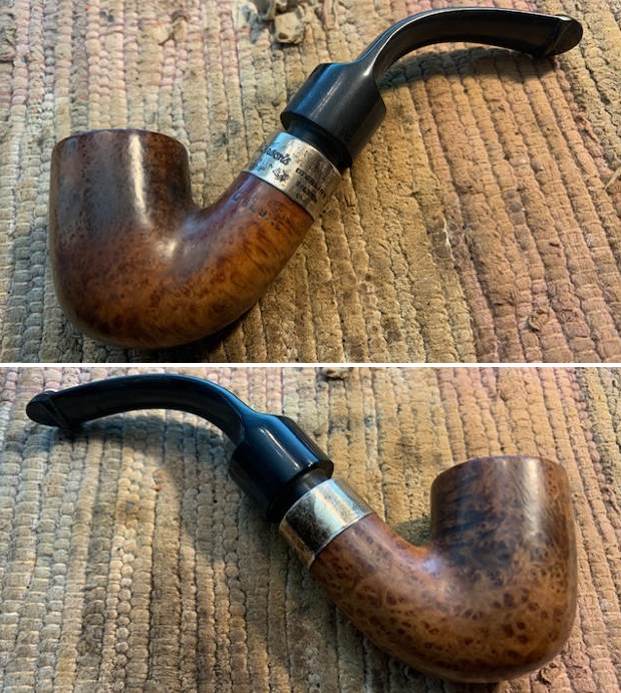
Pipe #2. An 11S System billiard from 1973, hand cut stem, really tired. Interesting stem and button problems—none too severe. The sterling band has been removed and reglued (old glue marks still plainly visible) slightly higher; band top bent down all around mortise to allow stem to appear closer to stummel—a bit of “retro” nostalgia, perhaps. Carbon build up on rim and in bowl commensurate with pipe’s age. Bowl dark from long use and little care.
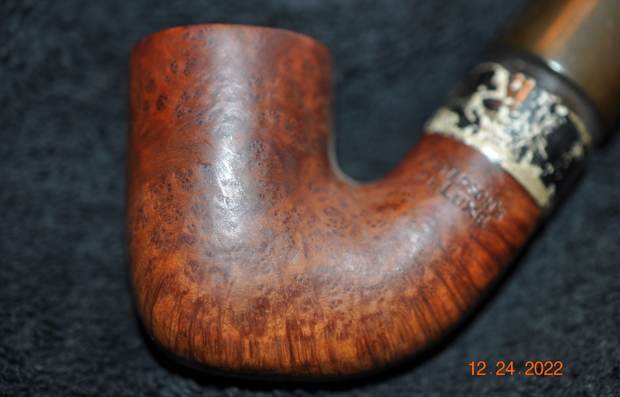
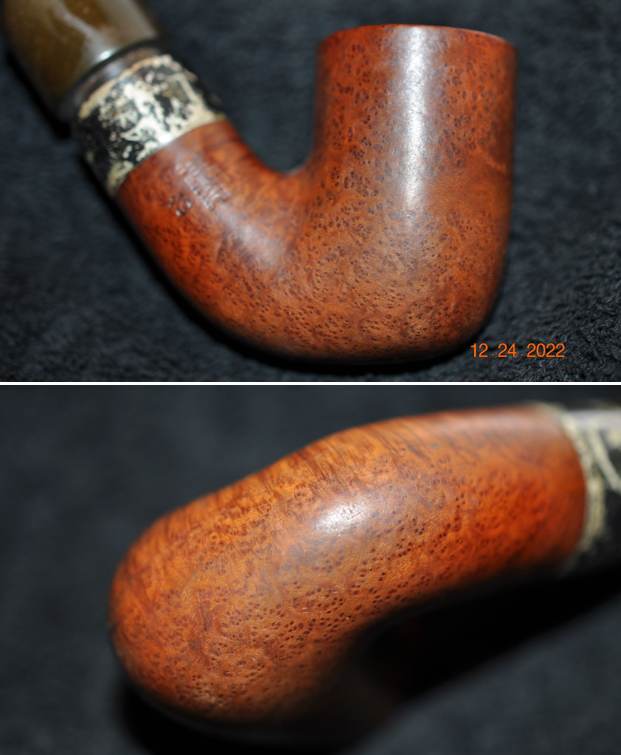
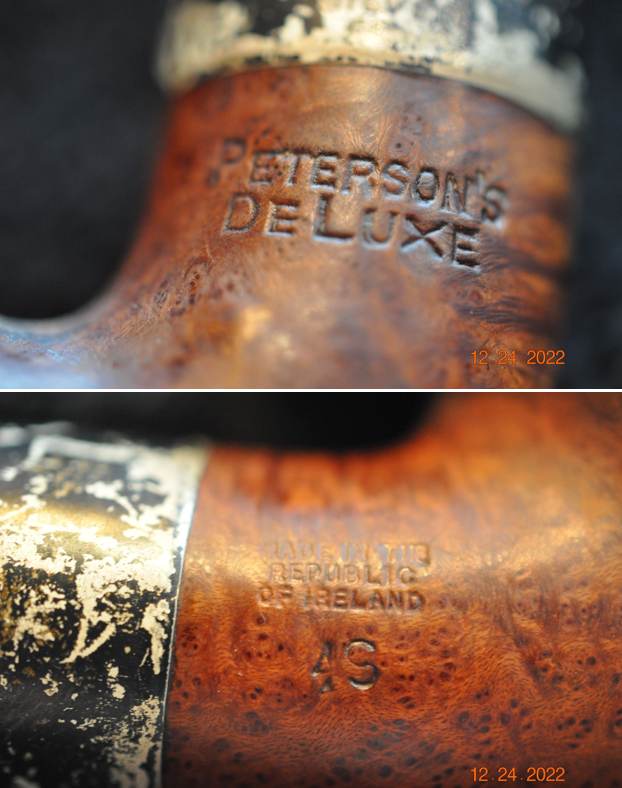
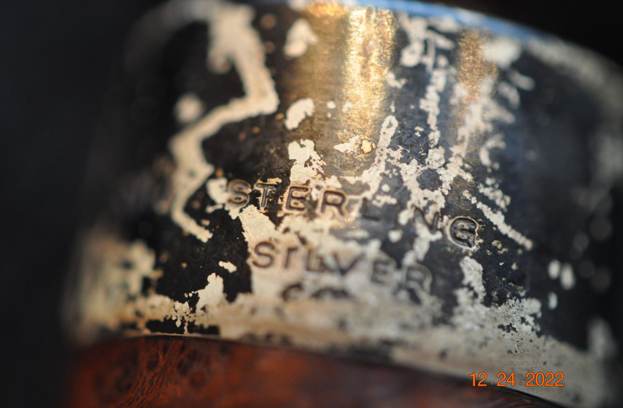
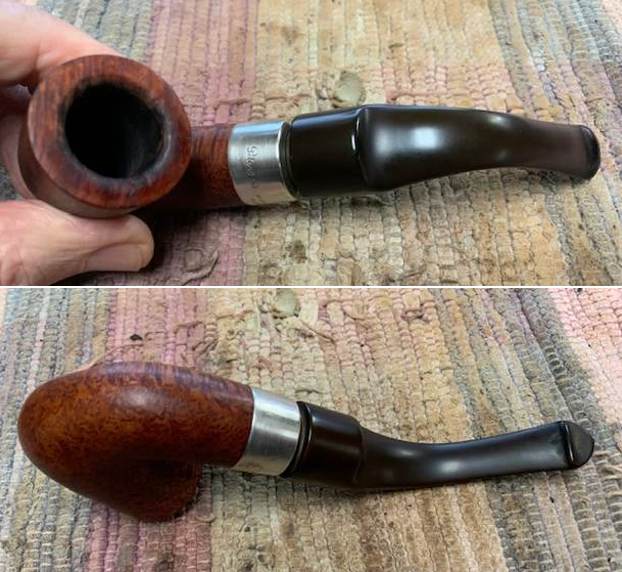
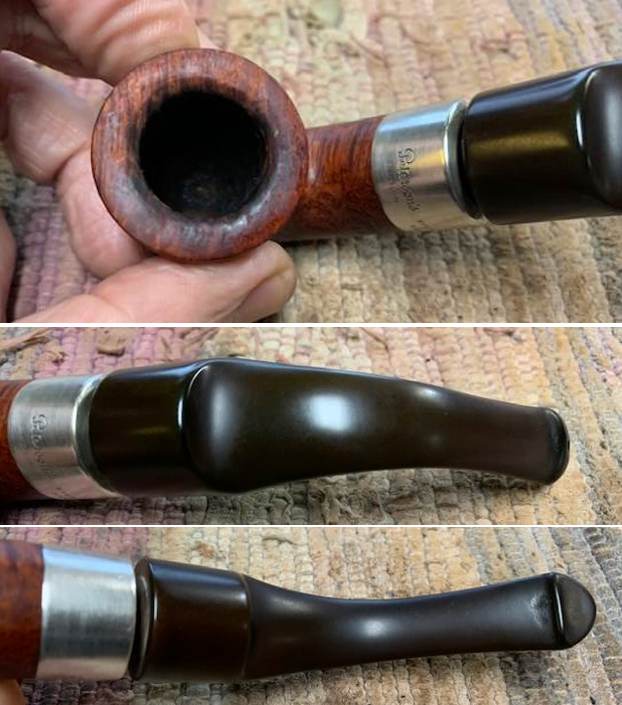
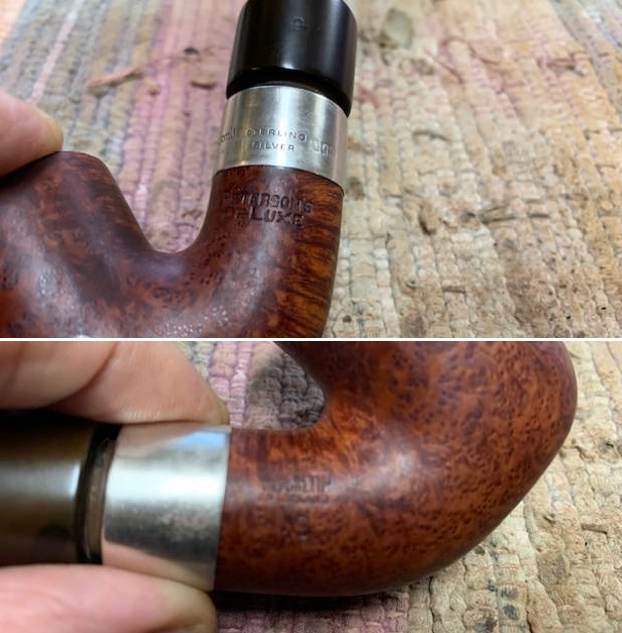
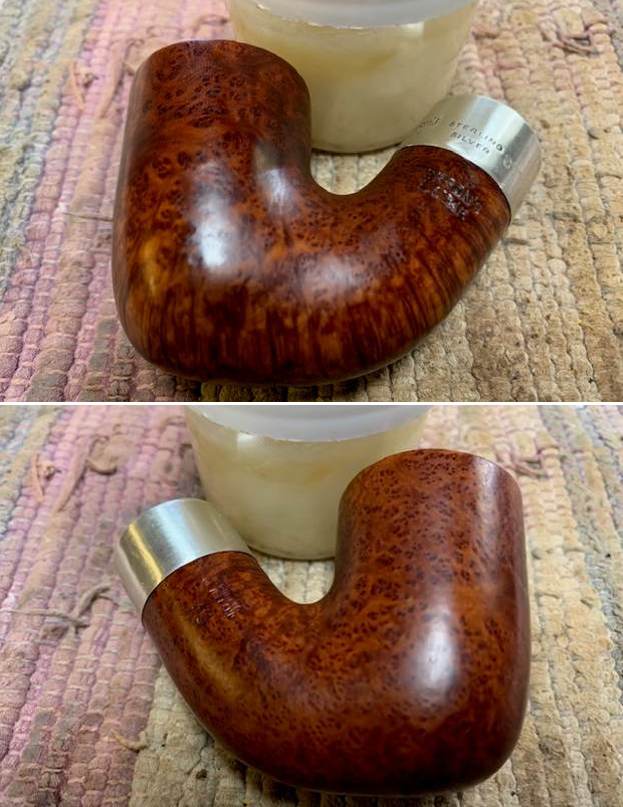
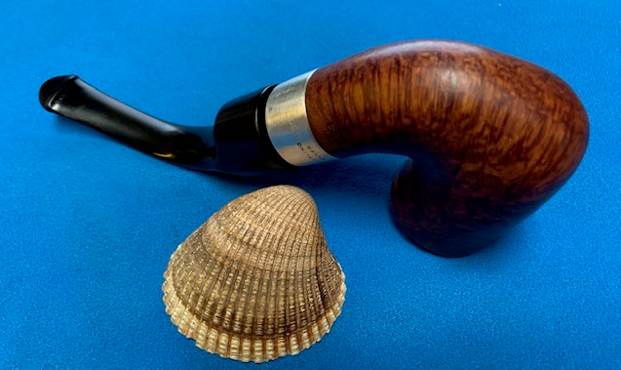
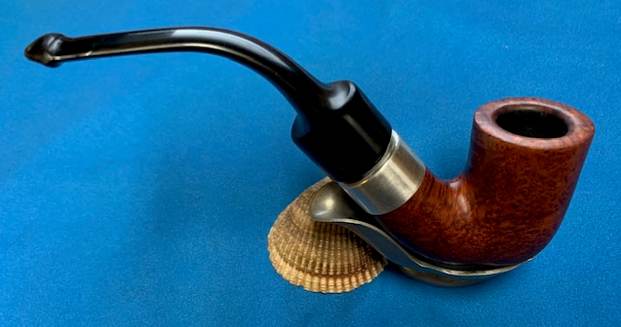
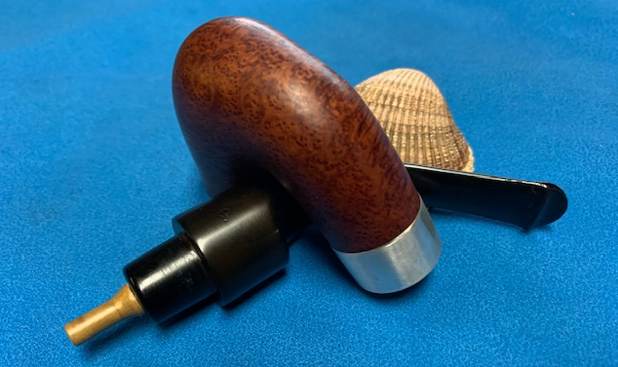
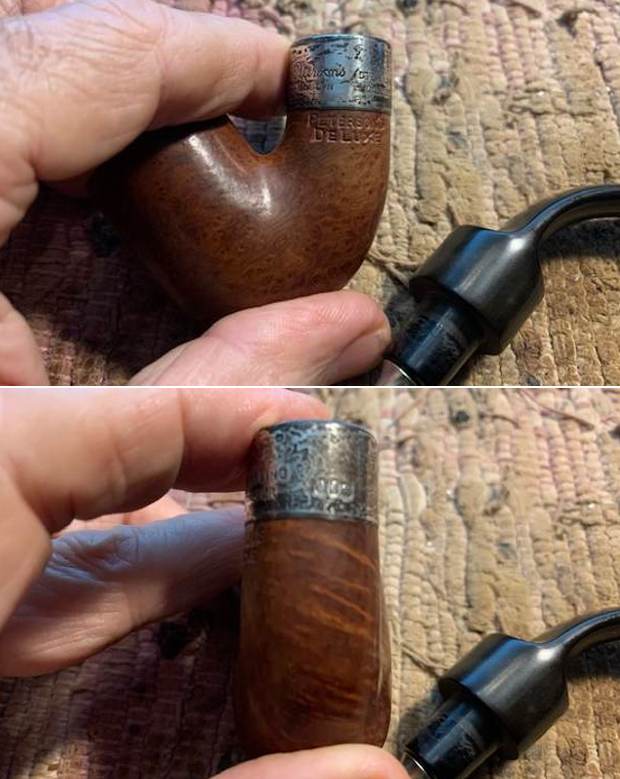
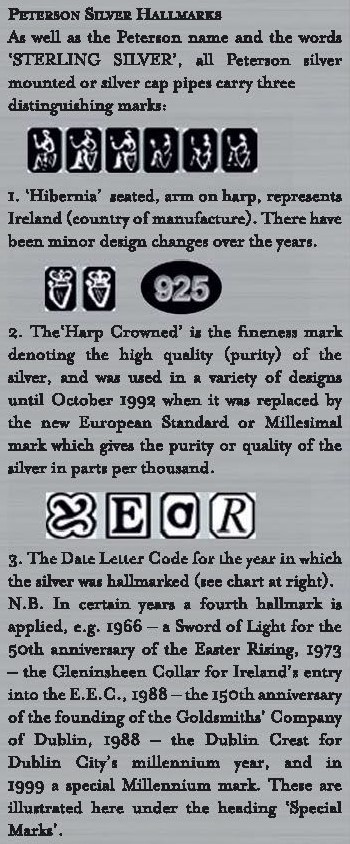
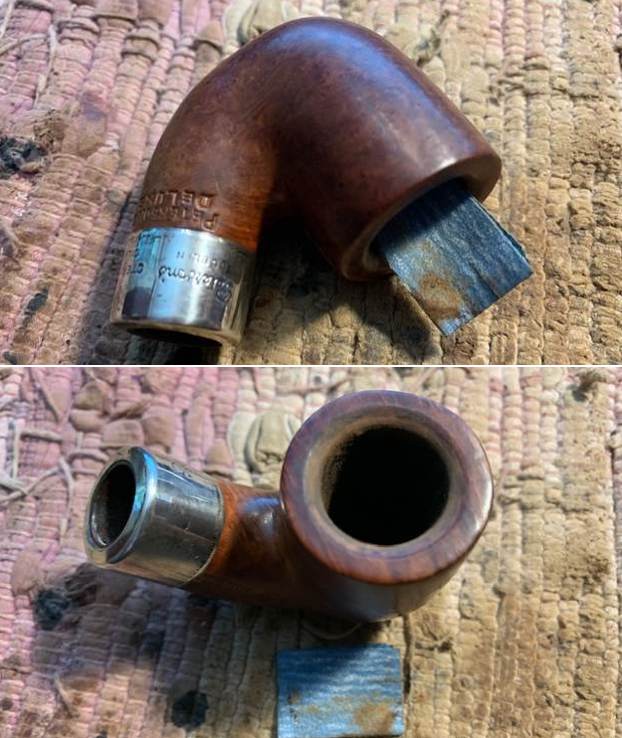
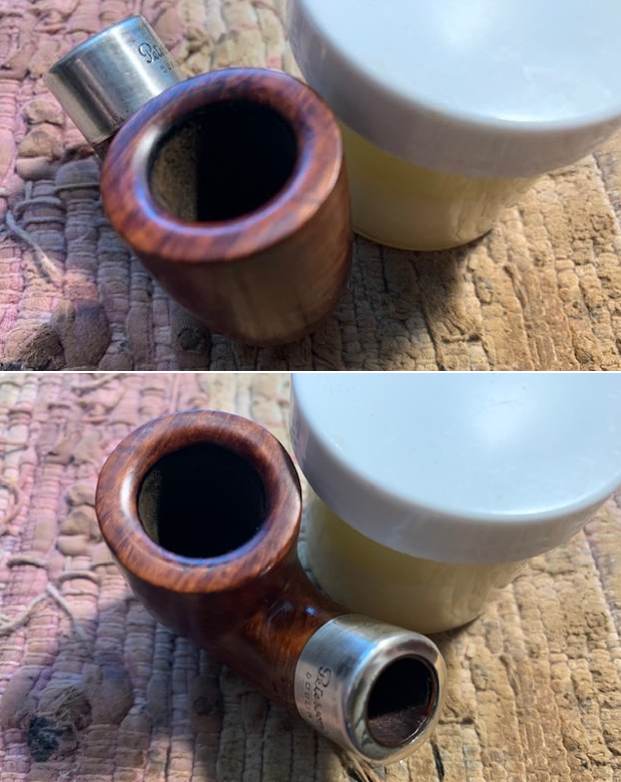
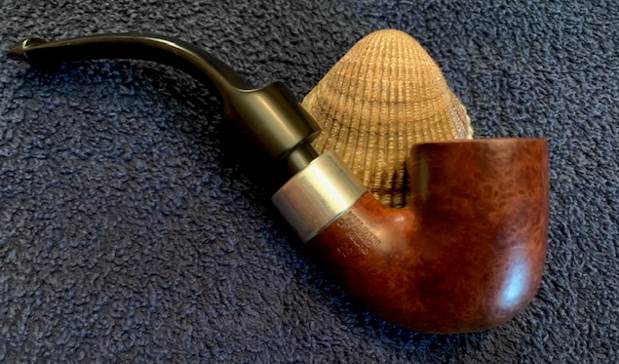
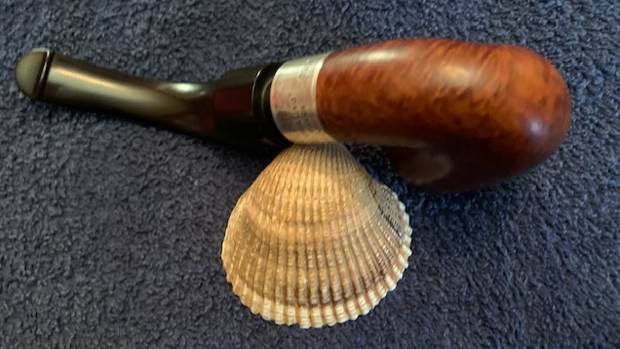
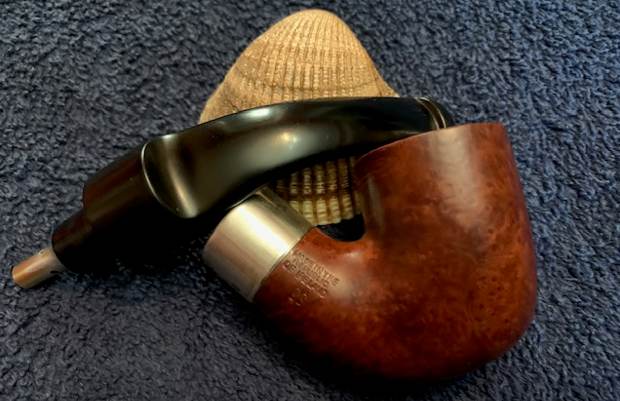
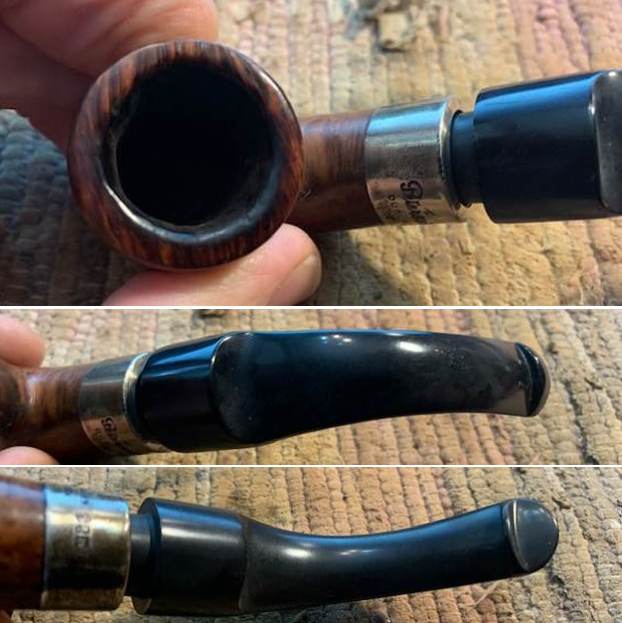
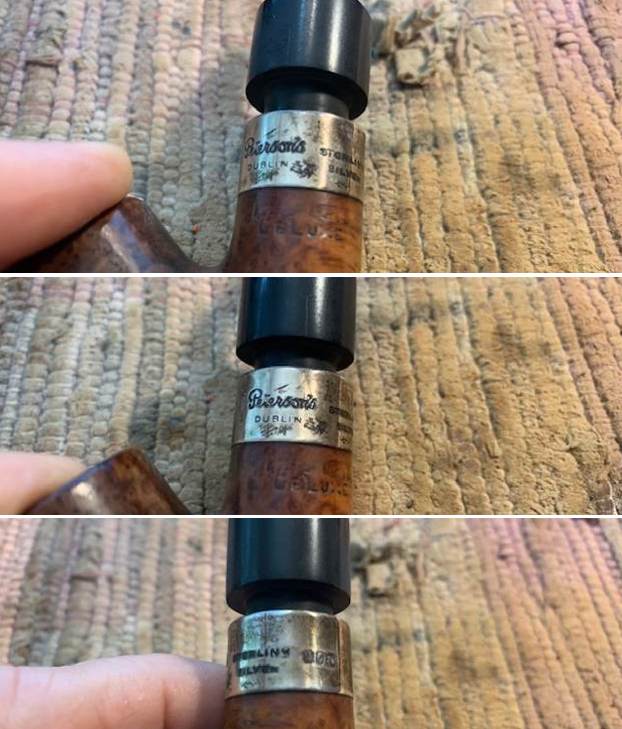
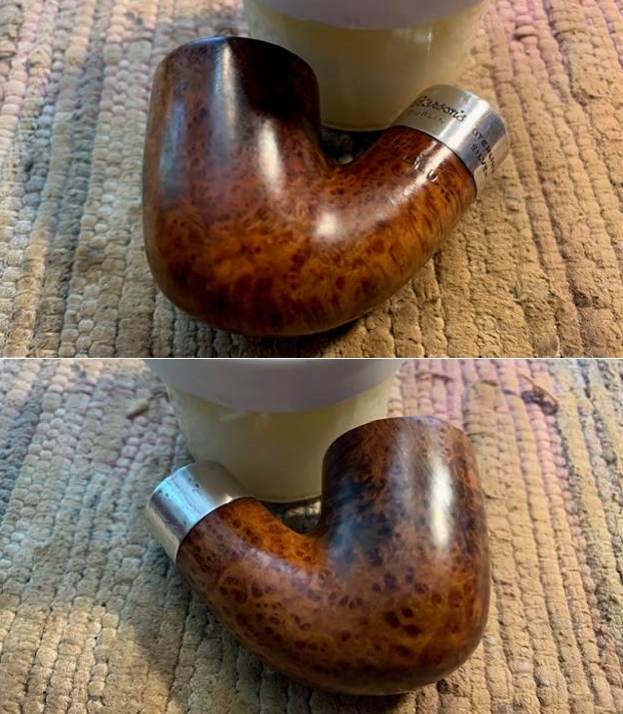
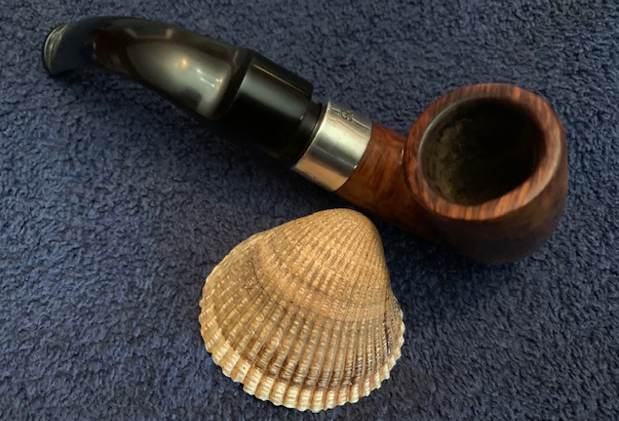
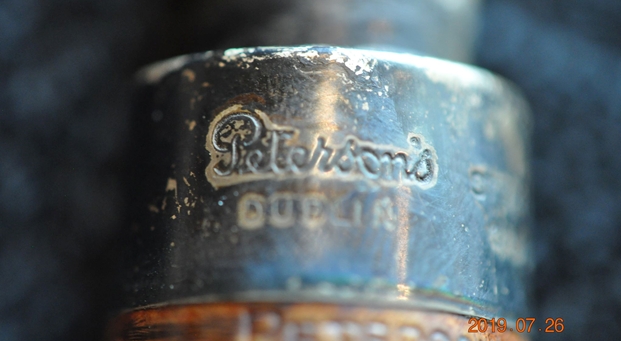
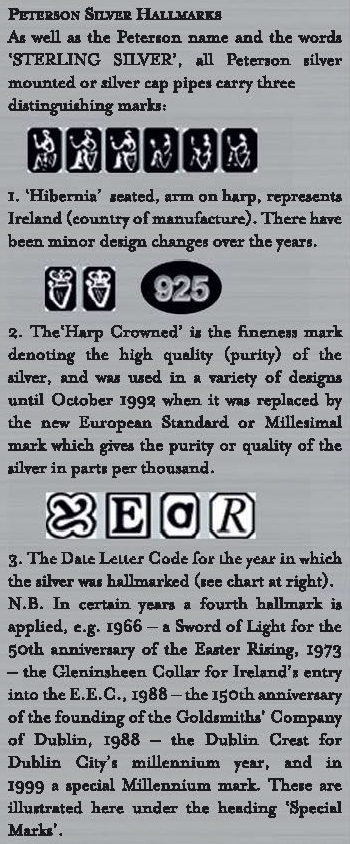
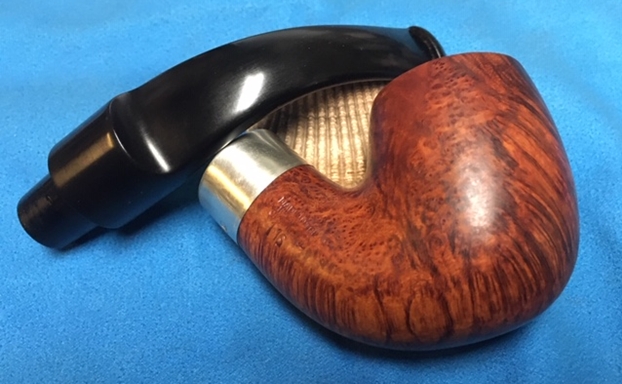
Pipe #2.The pipe is stamped on the left side of the shank Peterson’s Deluxe. On the right side it is stamped Made in the Republic of Ireland and the shape number 11S. The silver band is stamped Peterson’s over Dublin on the left side. Next to that is the stamp Sterling over Silver. On the underside it bears the three hallmarks, the last of which is a lower case “d” which dates the pipe as having been made in 1971 as opposed to the date of 1973 Mark noted above. A first pass over the pipe showed that the finish was in quite good shape. I was dirty and a thin coat of grime and oily dirt had dulled the finish of the bowl. The stain looked to be in excellent shape under the grime. There were no serious dents or scratches on the bowl or rim (Photos 1 – 2). As Mark noted the silver band had been removed and reglued. Not only the old glue marks showed that but also the spillage of over filled glue and the gap between the folded shank end of the silver and the briar inside the band. The gap accounted for the difference between the old glue and the new. In examining the band it appears to be beveled inward rather than bent inward to appear closer to the stummel. The band had also been put on incorrectly in terms of the alignment of the stamping. It was turned to the right about a 1/8 turn so that the Peterson’s stamp was not aligned as it was in the pictures that I looked at for comparison. The silver had one significant dent in it on the right top edge – a slight pucker outward on the side and inward on the top of the shank. I was also very tarnished, a blue black in colour making it hard to read the hallmarks. Moving to the rim I was pleased to see that it had been well cared for. The inner and the outer edge of the rim were both undamaged. The slight chamfer on the inner rim was also undamaged. The cake was broken and full of pits and holes. The back edge of the rim had a build up on it that was not too thick and would quite easily be remedied.

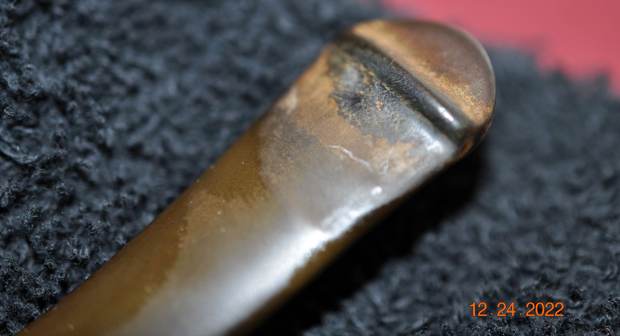
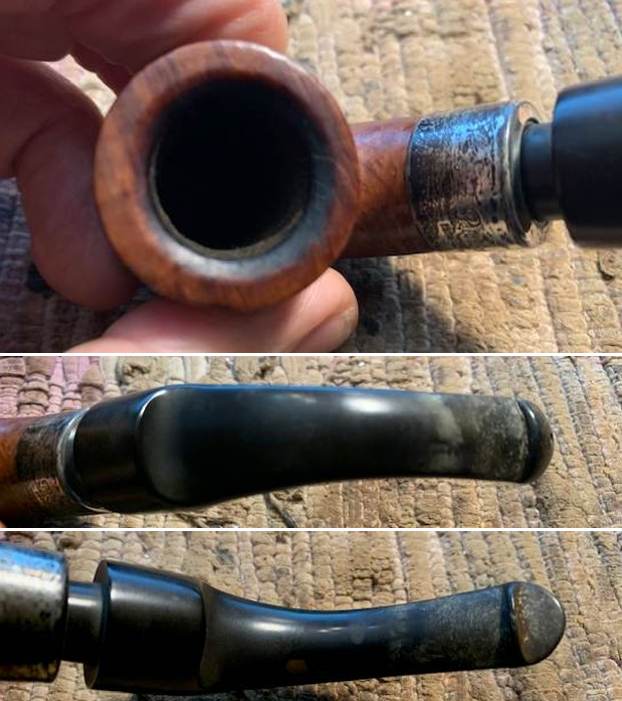
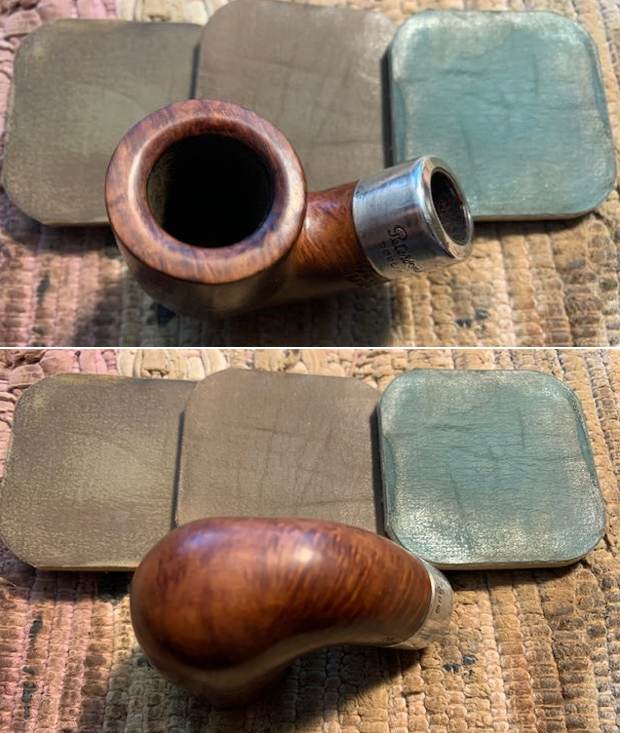
Photo 1 Left Side View
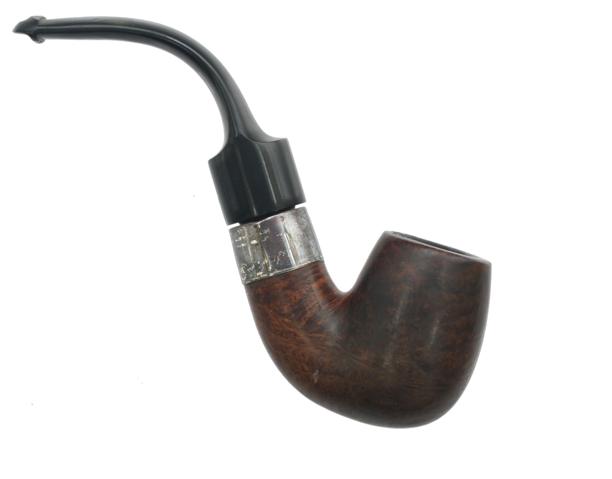
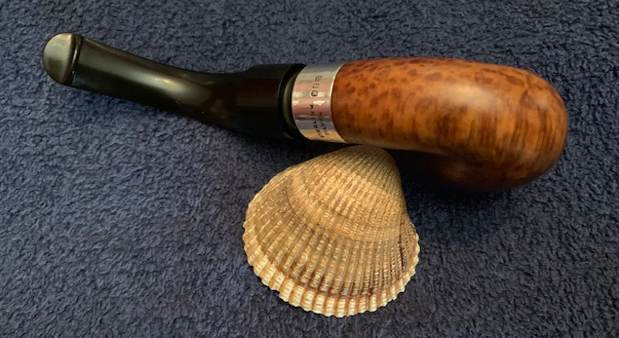
Photo 2 Right Side View
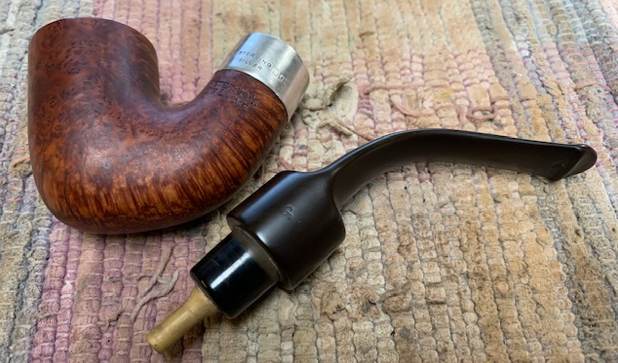
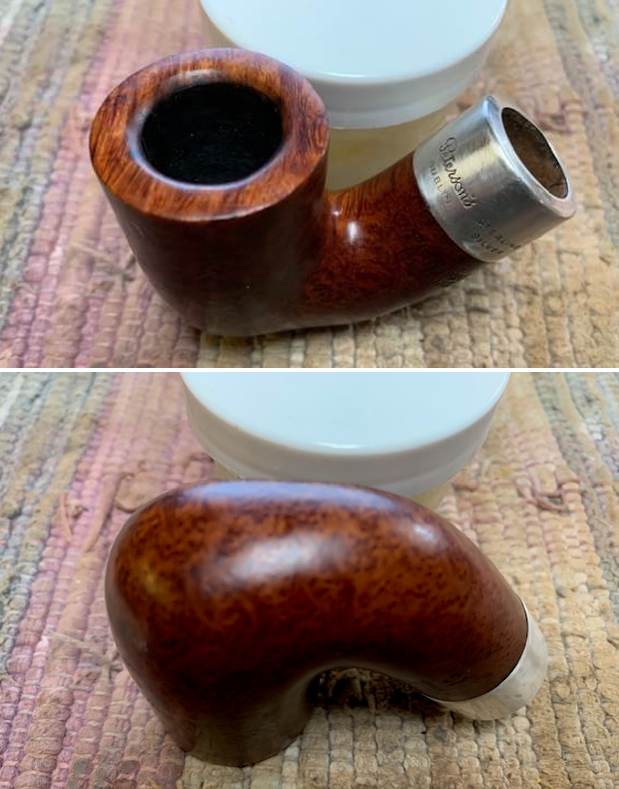
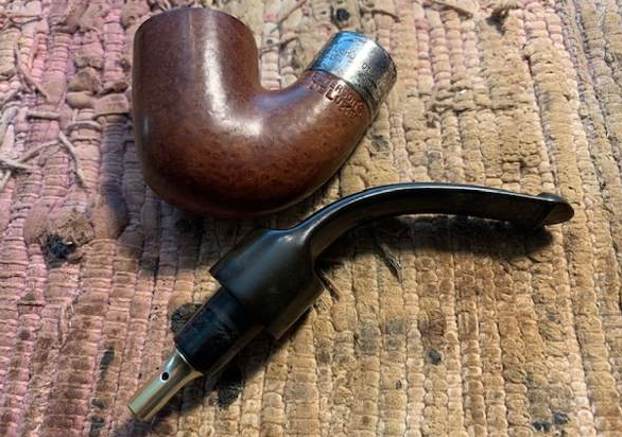
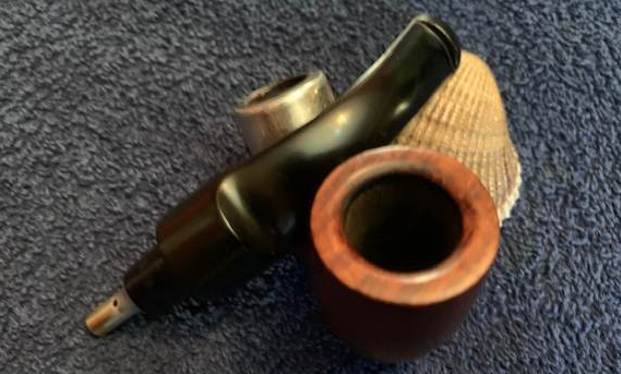
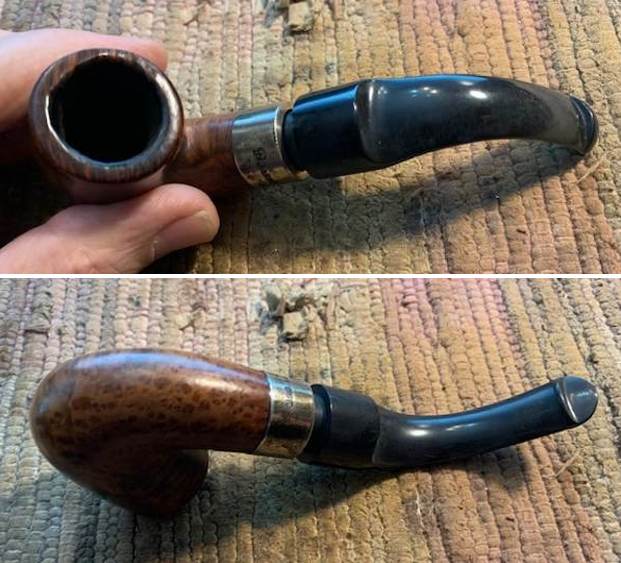
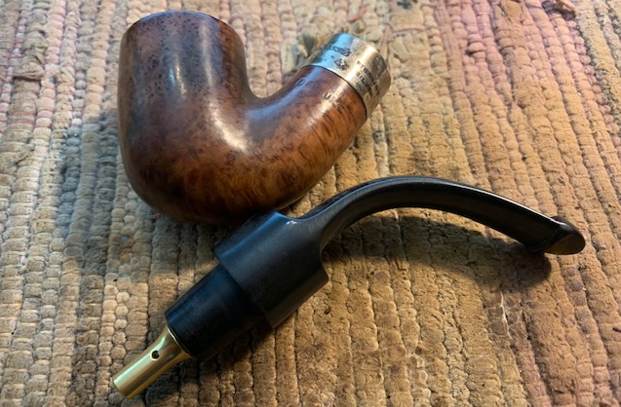
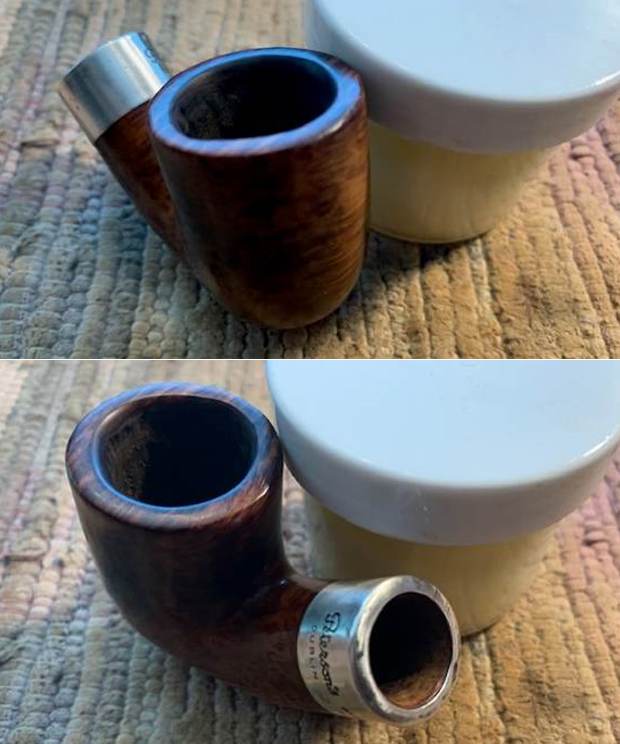
Removing the stem I could see a gap between the top of the shank and the folded top edge of the silver band. It matched the distance between the bottom of the band and the glue line on the shank. That explained the gap. The band had been reglued higher on the shank, possibly to accomplish what Mark noted above – to bring the stem closer to the shank. The interior of the mortise and the sump was actually pretty clean. There was no grime or tarry buildup in the shank or sump. I was quite surprised. It looked as if it had been recently cleaned. The bowl smelled of latakia and strong English tobacco (Photo 3 – 4). The stem itself was good at the insert end. The screw in plastic tip that is on the Deluxe Peterson pipes was in place and in good shape. There was one flattened spot on it but it easily unscrewed from the tenon. The top side and underside of the stem near the button were dented with tooth marks. The ones on the underside were quite shallow. On the top surface there were 6 dents and several were quite deep, several actually had broken the surface of the vulcanite rather than denting it. The 90 degree top edge of the button had been flattened by tooth marks. There was a large piece missing. It was no longer sharp and distinct. There were also several tooth marks cutting into the edges of the air hole in the button. The stem was not too badly oxidized and should clean up quite easily (Photo 5 – 6). The underside of the stem is stamped Hand Cut. The photos below highlight the areas of concern that would need to be addressed in a restoration/refurbishment.

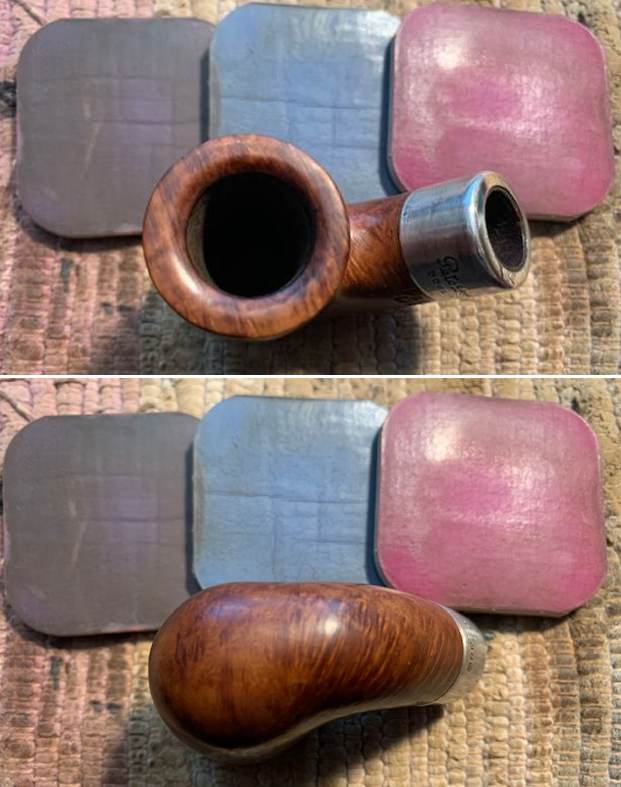
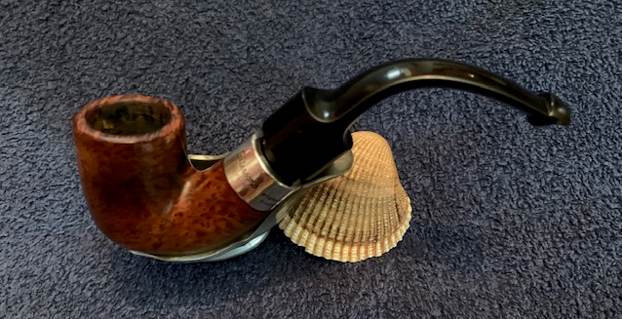
Photo 3 Top view of the bowl and the metal cap/band

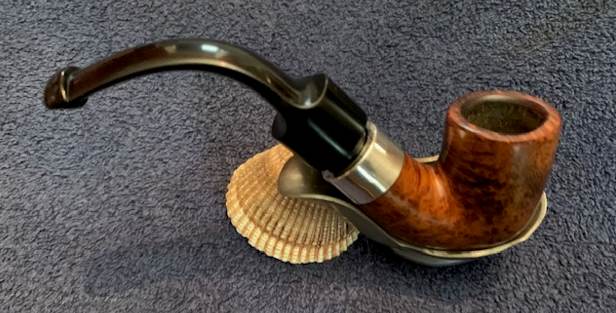
Photo 4 Bottom view showing the inner chamfering of the end of the band/cap
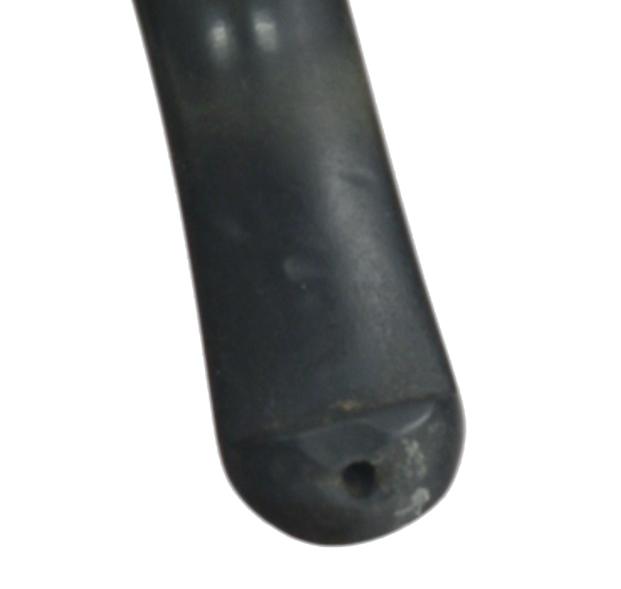
Photo 5 Top view of stem damage

Photo 6 Underside view of the stem
I began the restoration, as has become a natural rhythm, by cleaning the internals of the pipe. I reamed the bowl with a PipNet reamer. It is pictured in Photo 7 as a T handle and 4 different cutting heads. I generally start with the smallest head or the one that fits most easily into the bowl. I am careful to hold the head straight up and down while I am working on the bowl as it is easy to misalign the reamer and cut the bowl out of round. I work from the smallest head that fits until I get to the one that takes the cake back until the briar is bare. When I am working on a pipe that I intend to keep for myself I like to remove the cake and start over. Photos 8 – 10 show the process of the reaming with the PipNet and the finished bowl after reaming.

Photo 7 Pip Net set and Peterson 11S before reaming

Photo 8 Peterson Bowl with #1 Pip Net head inserted

Photo 9 Peterson Bowl with #2 Pip Net head inserted
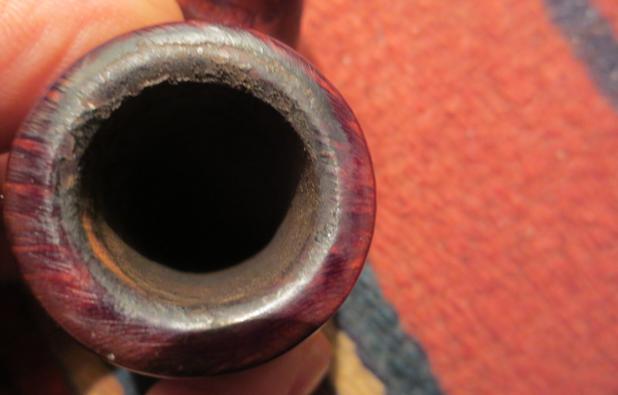
Photo 10 Peterson Bowl after reaming
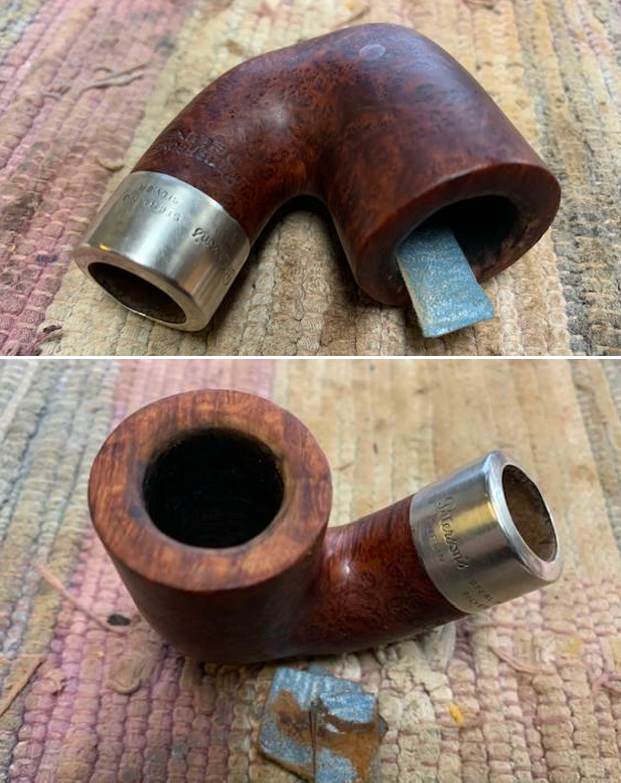
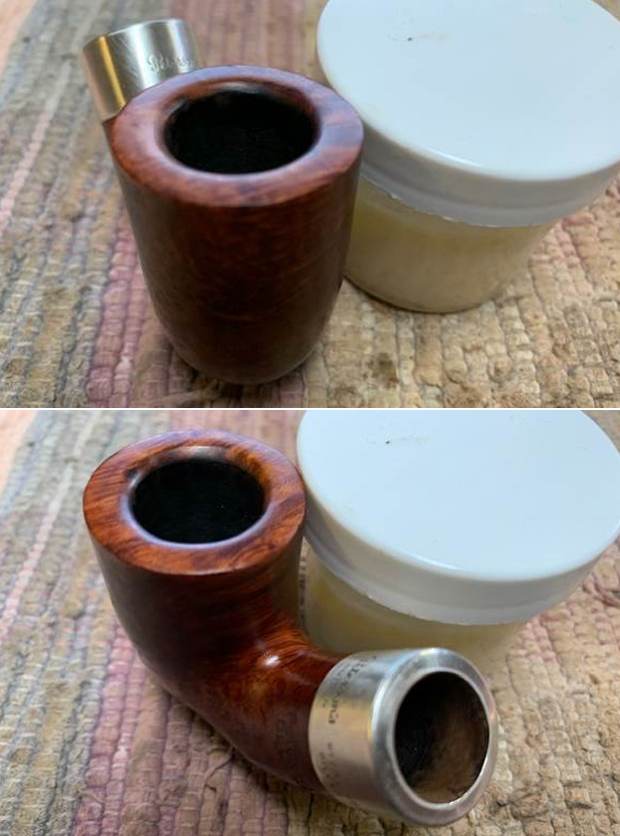
Sometimes at this point I will clean the internals but the band bothered me so I decided to address that issue next. It was not only lifted about a 1/8 inch leaving a gap between the end of the shank and the end of the cap, it was also turned in such a way that the stamping was not aligned as it originally had been (Photos 11 – 12). The band was turned about a 1/8 turn to the right. I found photos of the 11S on the internet that showed the original position of the band and I wanted to bring this band back to match the position shown in the photos. I heated the band with my heat gun to soften the glue so that I could turn the band to the correct position and also press it back into place on the end of the shank (Photos 13 – 17). Eventually I wanted to flatten he beveled edge of the band to make the surface flush once again but would do that a little later in the process.

Photo 11 Gap between end cap/band and the end of the shank

Photo 12 Heating the band to adjust and reset it

Photo 13 Heating the band
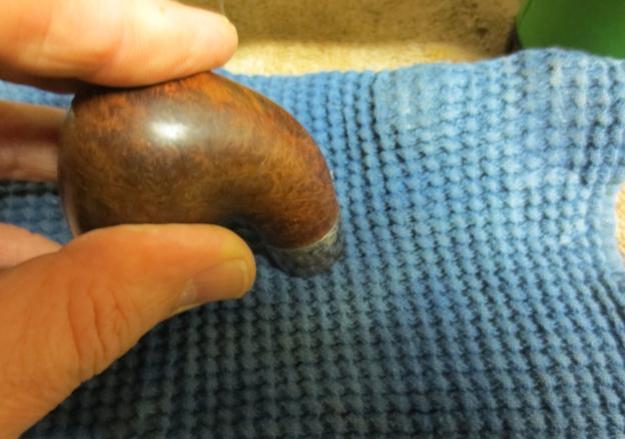
Photo 14 pressing the band into place
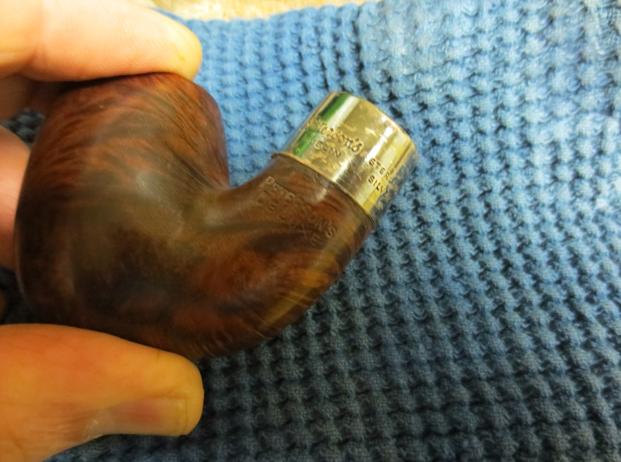
Photo 15 Adjusting the stamping on the band – putting it in place
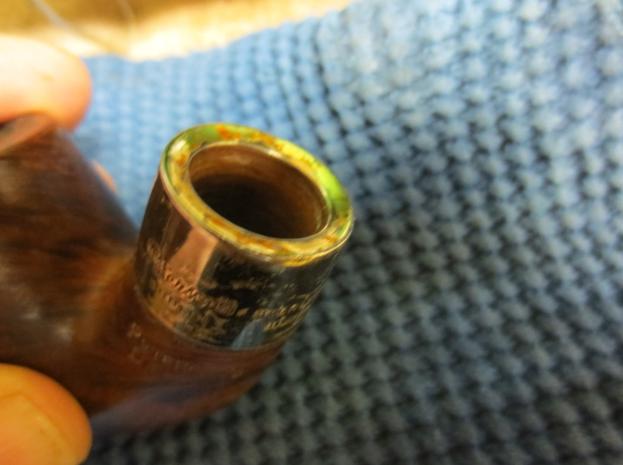
Photo 16 The gap is closed
Photo 17 End view of the closed gap
I decided to clean up the band with silver polish and remove the tarnish from the surface. All of this was preparatory for the work I would do later to flatten the end of the band against the shank. In order to do that correctly I needed to clean off any of the build up so that as I flattened the band it would not have ripples or added dents in the surface (Photos 18 – 21). I use Hagerty Tarnish Preventive and Silver Polish to clean up a band as badly tarnished as this one. The jeweler’s cloth is far more labour intensive and this polish really cuts the tarnish and raises a shine. I apply it with a finer and rub it into the surface and then scrub it off with a cotton pad. Once I have removed the tarnish I finish by wiping down the band with the jeweler’s cloth.
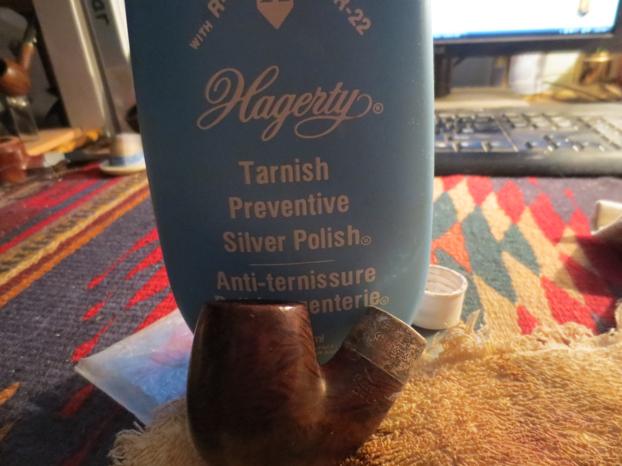
Photo 18 Polishing the silver

Photo 19 Polishing the silver
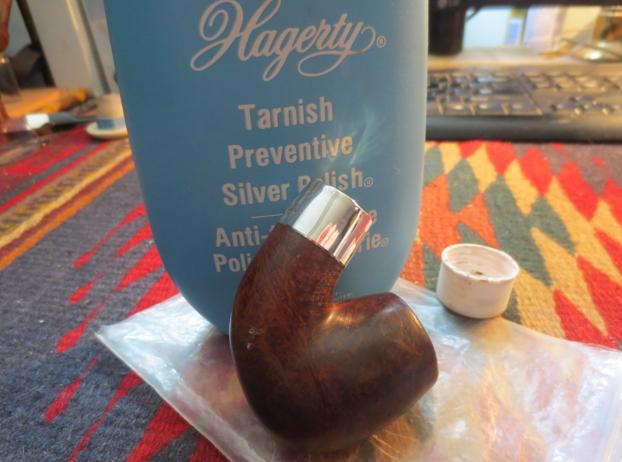
Photo 20 Polishing the silver
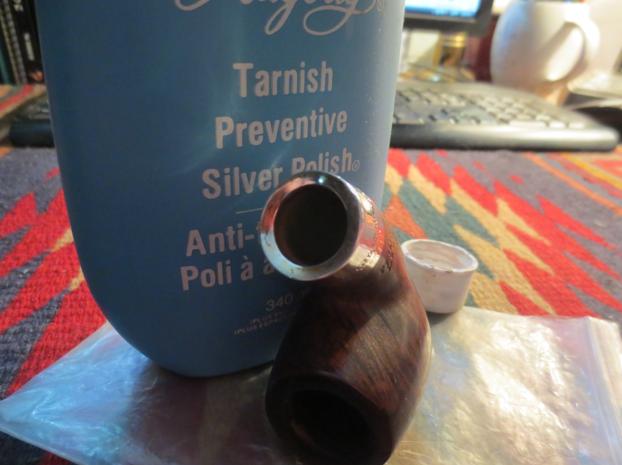
Photo 21 Polishing the silver
To clean up the exterior of the bowl I use Everclear on a cotton pad. I wetted the pad with Everclear and wiped down the exterior of the bowl to remove the grime and build up. I have found that the alcohol removes the grit and grime as well as the wax that has been used on the bowl but does not damage the stain like an acetone wipe would. For the rim I scrubbed it down with the Everclear and then used a fine grit sanding sponge to loosen the hard tars that remained. I scrubbed, sanded and scrubbed until the rim was smooth and clean. This scrub down gives a clean surface to work with when doing the repair on the band (Photos 22 –27). When I had finished the cleaning both the bowl and the band the dents in the band were very visible and I knew clearly what I was working with in the upcoming repair.

Photo 22 Wiping down the rim with Everclear

Photo 23 Wiping down the rim with Everclear
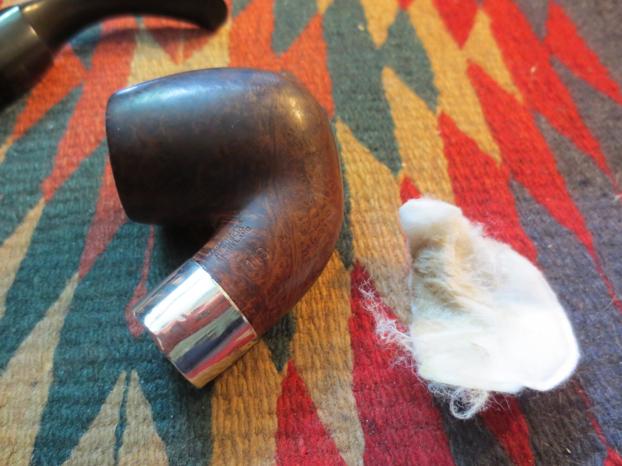
Photo 24 Bowl after cleaning with Everclear
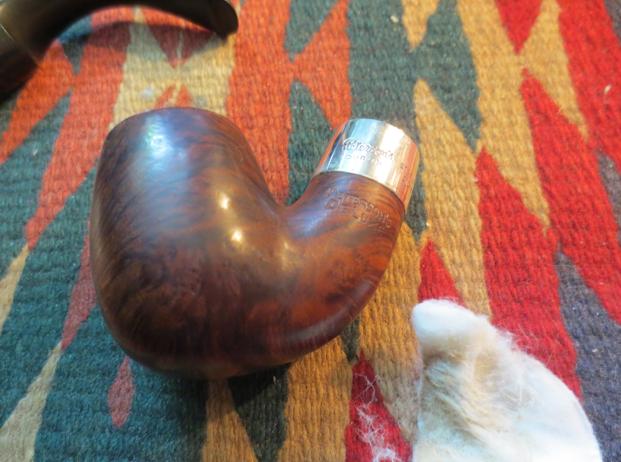
Photo 25 Bowl after cleaning with Everclear

Photo 26 Rim after cleaning with Everclear
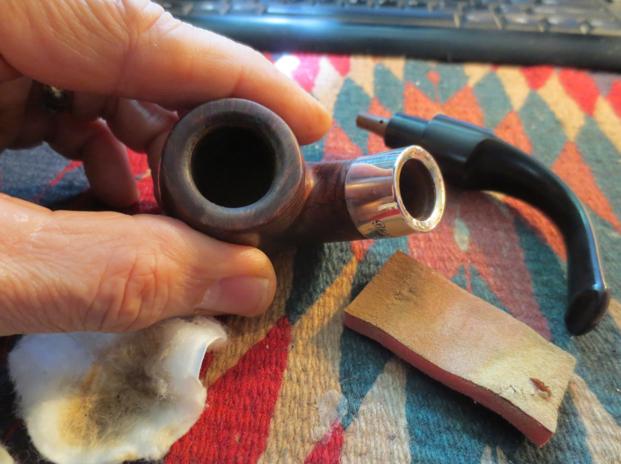
Photo 27 Rim after cleaning with Everclear
I then cleaned out the shank and sump area to remove the tars and oils. I wanted to do this prior to heating the end of the band/cap with the heat gun. I have found that if I do not clean it prior to heating the oils and tars melt with the heat and make a huge mess of the work area. I used Everclear and cotton swabs to clean the shank and sump. It generally takes many swabs before the shank is clean (Photos 28 – 29).
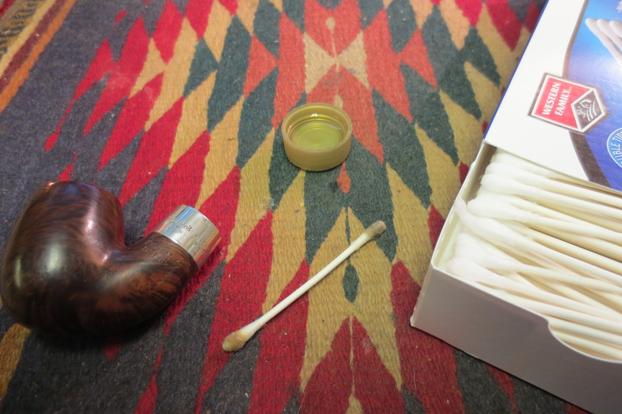
Photo 28 Cleaning the shank and reservoir prior to heating
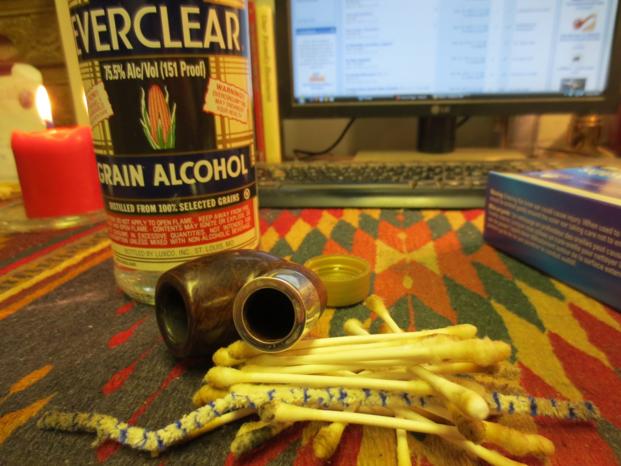
Photo 29 Shank and reservoir cleaned and ready
I took the pipe bowl to my heat gun and held the bowl shank down over the heat source. At this point I wanted to both soften the glue a second time and also soften the silver in order to be able to press it flat (Photo 30). I held it in position as long as I was able, took a break to cool the fingers and then did it a second and third time. I wanted silver very pliable. Once it was heated I pressed hard against a steel plate that I use for pressure fitting bands into place (Photo 31). I repeated the heating and the pressing until the end of the band was once again flat against the end of the shank. Photos 32 and 33 show the end of the band/cap after pressing it flat the first time.
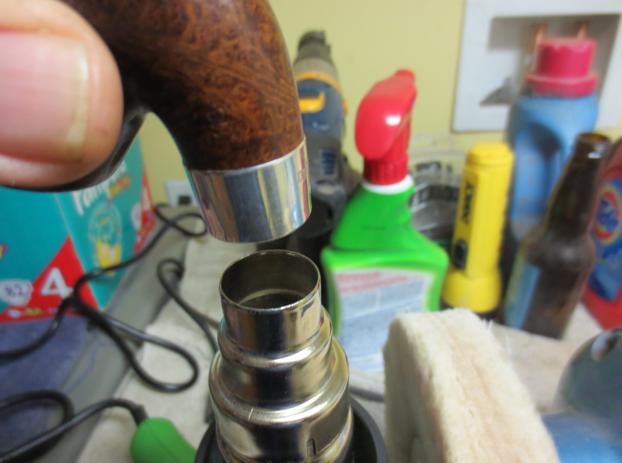
Photo 30 Heating the end of the cap

Photo 31 pressing the cap on a steel plate to flatten it

Photo 32 After pressing it flat the first time
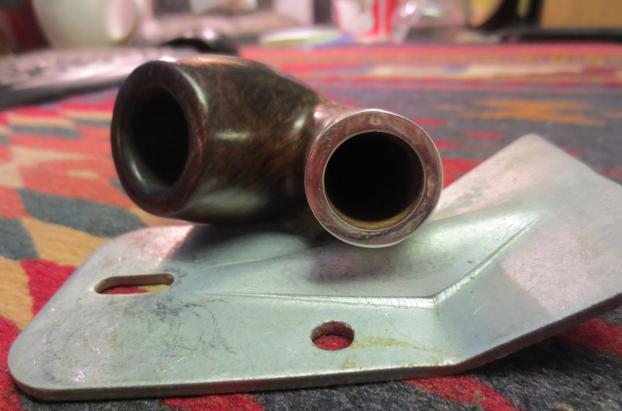
Photo 33 End view after pressing it flat
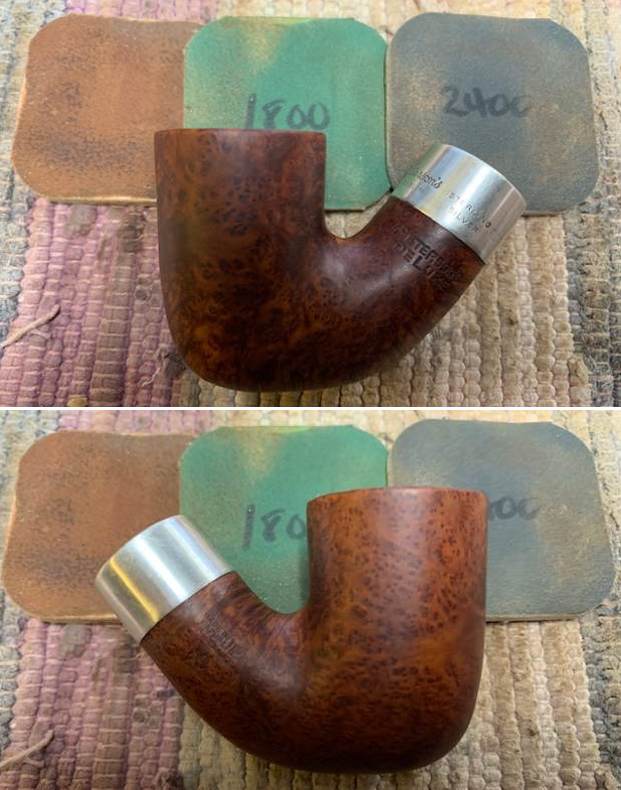
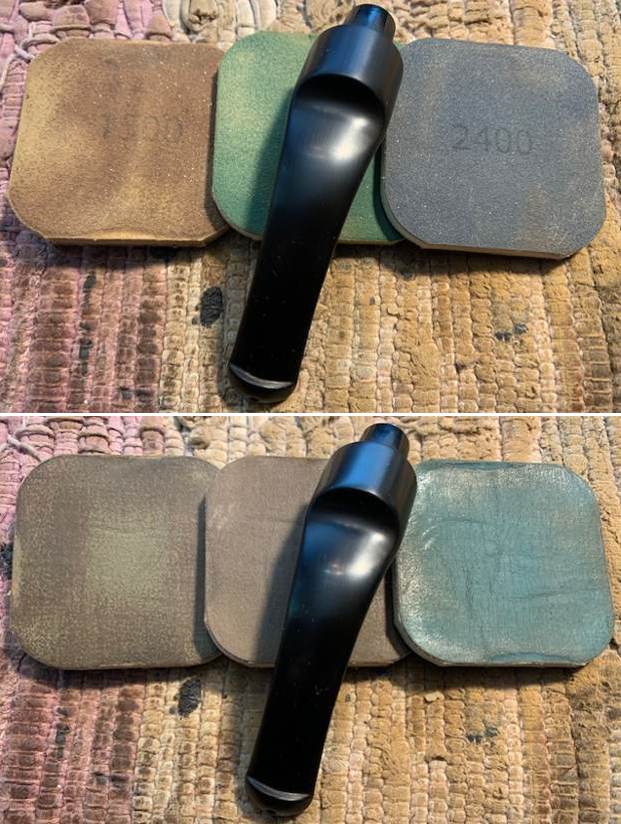
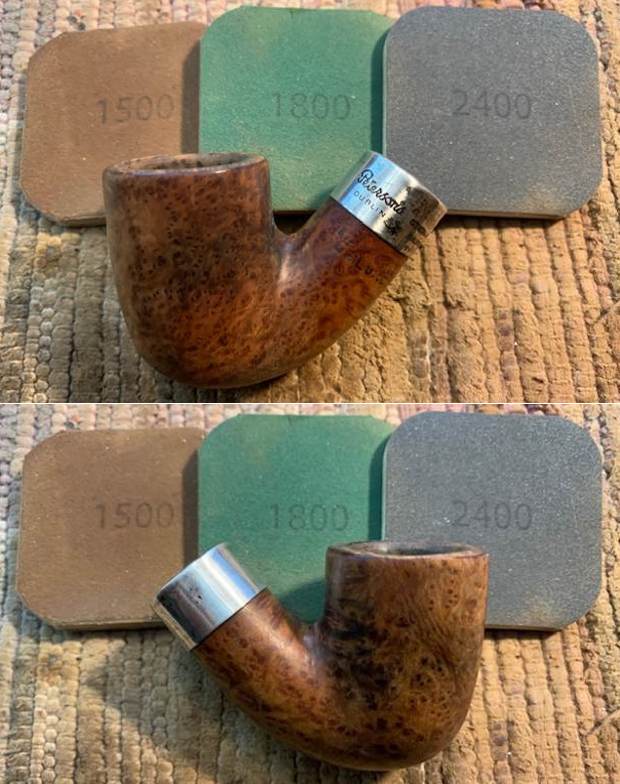
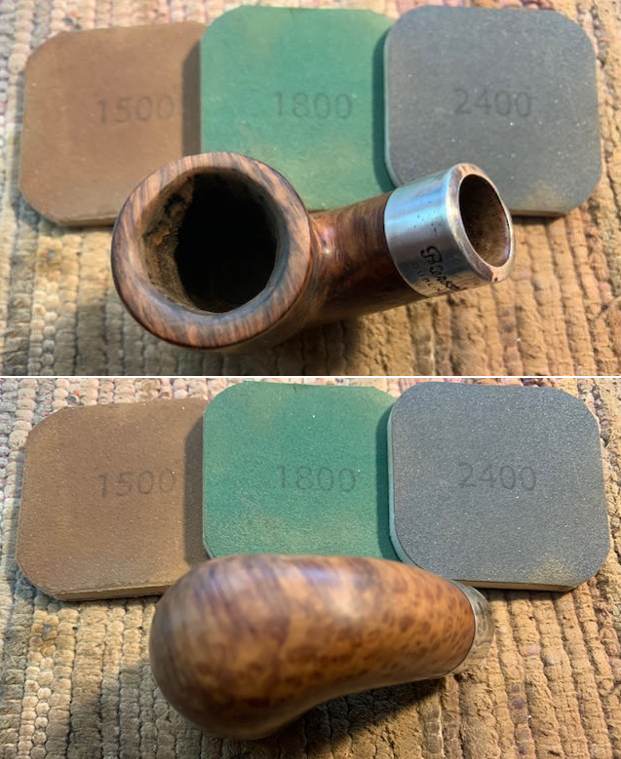
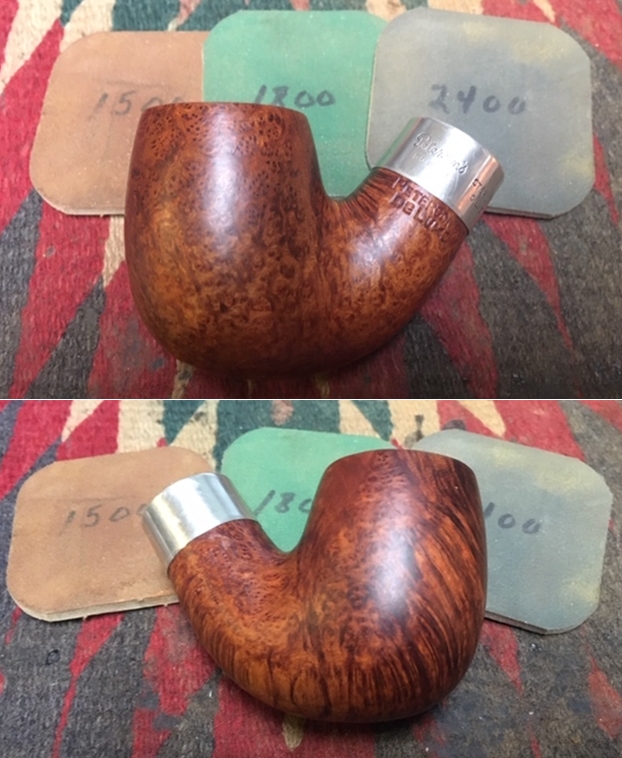
I then sanded the band surface with micromesh sanding pads. I started with 1800 grit and then polished the end with each successive grit of micromesh from 2400-12,000 (Photos 34 – 35). By the end of the sanding and polishing process the surface of the band is flat and relatively smooth. I was able to remove many of the dents with the repeated heating and pressing against the steel surface. In Photo 35 you can still see the few remaining dents that I was not able to remove. The overall look is greatly improved and with the stem in place the pipe looks as it supposed to in terms of the gap between the end cap and the stem.
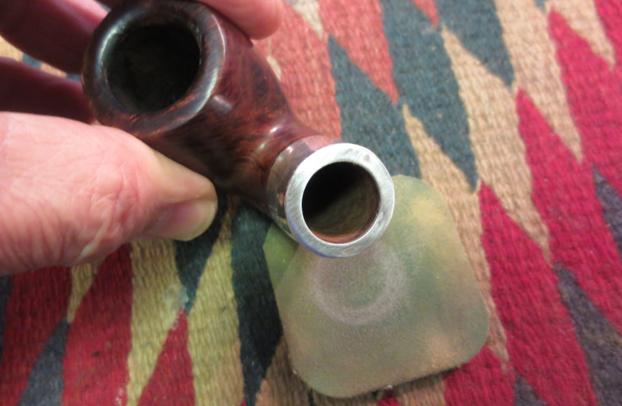
Photo 34 Polishing the silver end cap with micromesh
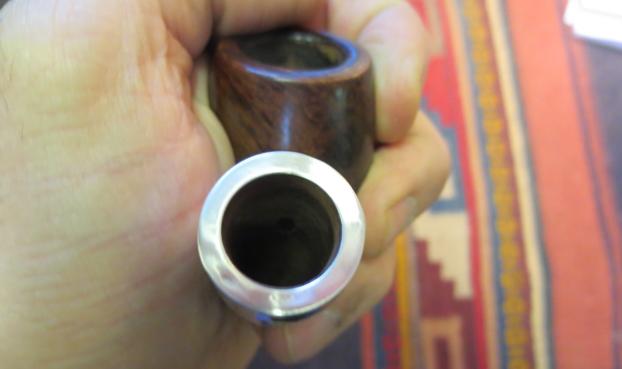
Photo 35 End view after polishing
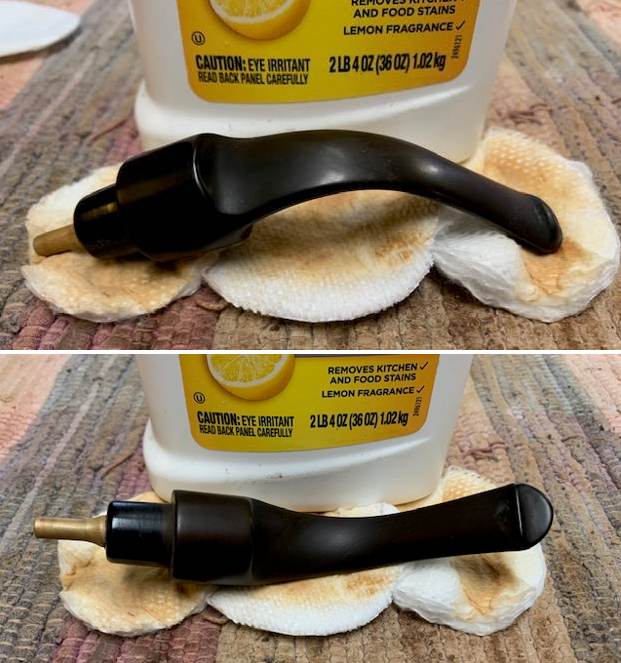
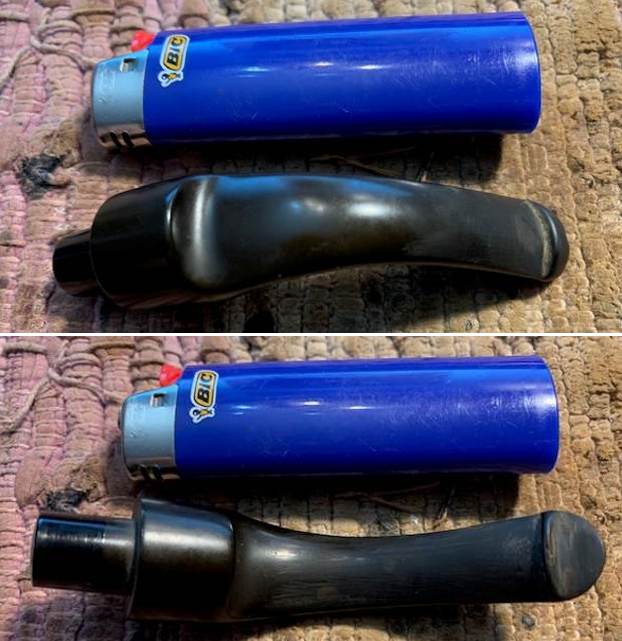
With the work on the bowl finished to this point, I gave the silver band a quick polish with the jeweler’s cloth and rubbed down the bowl with some Conservator’s Wax and hand buffed it. I set it aside and turned my attention to the stem. The condition of the stem would make it necessary to use several of the tricks I have learned over the years to deal with dents, tooth marks and bite marks. Dents are always relatively easy and can be dealt with by heating the stem surface with either a Bic lighter or a heat gun to lift the vulcanite back into place. Vulcanite has memory so heat causes the surface to expand back to fill the dents and some of the shallow tooth marks. Bite marks are another problem all together. The surface of the stem has actually been cut and no amount of heat will lift the surface. A different method needs to be used to repair this kind of damage. This stem had both problems (Photos 36 – 37). There were also some divots or missing parts of vulcanite on the top edge of the button and around the opening into the airway on the button. This would need to be addressed in a different way.

Photo 36 View of the tooth mark on the underside of the stem
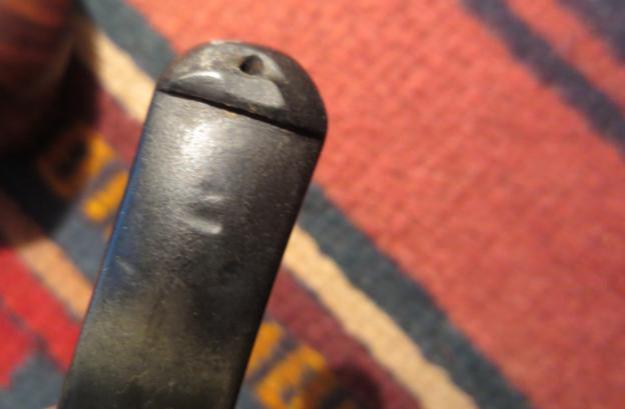
Photo 37 View of the tooth damage on the top side of the stem
I heated the top and underside of the stem with a Bic lighter. The key in this process is moving the flame of the lighter quickly across the surface of the vulcanite. Never leave it in one place as it will burn the vulcanite and cause more damage. Move the flame across the surface until it is heated. The lesser damaged areas will lift with this kind of heat very easily and then will need to be lightly sanded to remove the damage (Photos 38 – 39). A heat gun will be used to lift the larger dents.

Photo 38 Tooth marks after heating with a Bic lighter to lift the dents
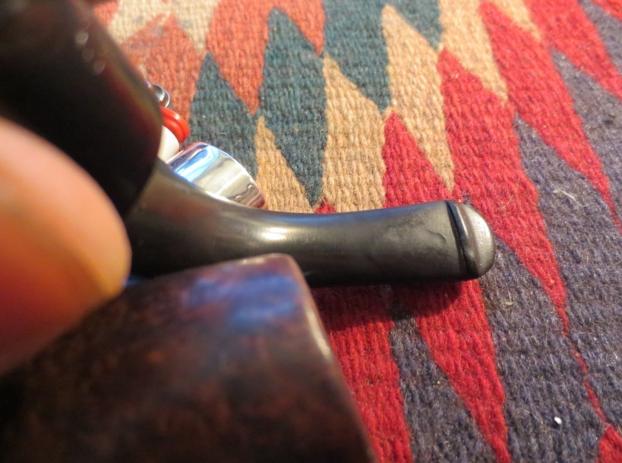
Photo 39 Underside of the stem after heating with a Bic lighter to lift the dents
I followed up the heating with the lighter by sanding the surface of the stem with 220 grit sandpaper. Sanding has a dual purpose – it removes the signs of the small dents and at the same time highlights the areas that will need to be addressed with other methods. Photo 40 shows the top of the stem after sanding. There are three large spots that are actually both dents and cuts in the surface. The divot on the button is also very clear in this photo. Photo 41 shows the underside of the stem and the two remaining shallow dents that more heat will lift and remove.

Photo 40 Tooth marks after sanding with 220 grit sandpaper
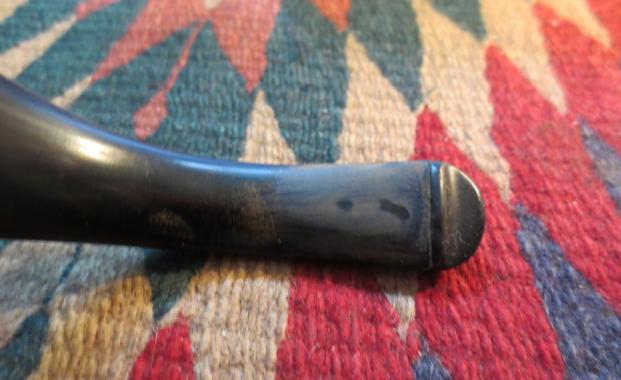
Photo 41 Tooth marks on the underside of the stem after sanding with 220 grit sandpaper
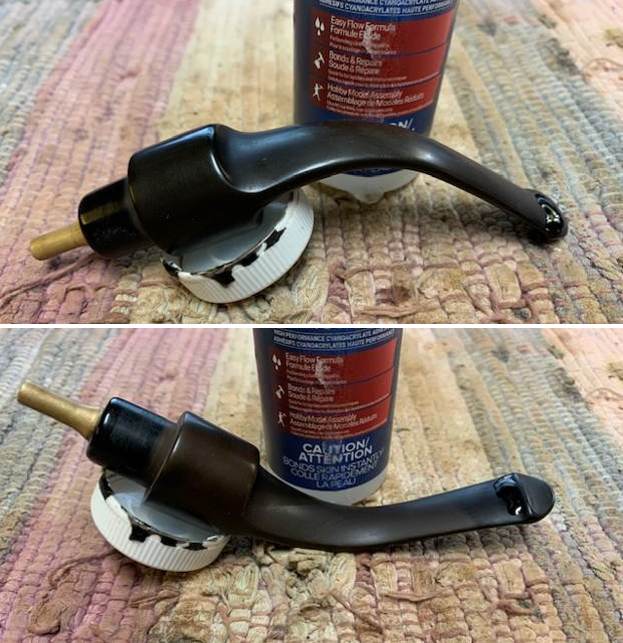
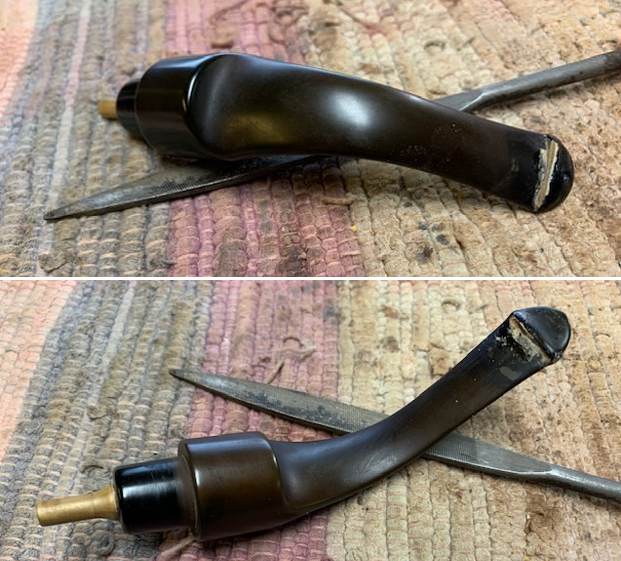
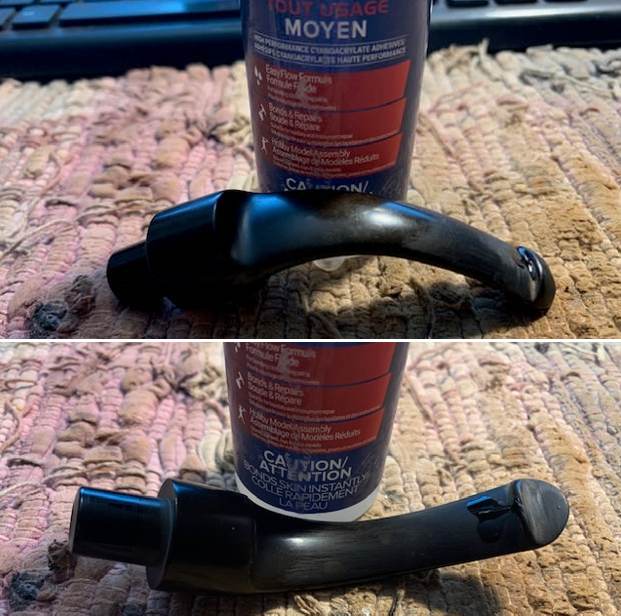
To further work on the tooth marks I took the stem to the heat gun. I held the stem surface1-2 inches above the tip of the gun (Photo 42). Again the idea is to keep the stem moving over the heat. If it is held still in one place too long the vulcanite burns and the damage that occurs is worse than the dents. The heat lifted the remaining small dents on the underside of the stem and they were invisible after sanding. The dents on the top of the stem lifted considerably but not totally. The smaller ones only needed a little sanding to disappear. The large cut area I filled in with black super glue. I used black super glue to also build up the divot area on the button and the deeper dents and divots around the airhole (Photos 43 – 44). Once the glue was in place I set the stem aside in an upright position so that the super glue would dry and not run off the surface. Drying generally takes 6-8 hours to dry to touch. Once it is dry to touch I sand the excess away and add a second coat in the places that need more building up (Photos 45 – 46). Photo 47 shows the side profile of the button after the superglue has dried and the surface has been sanded.
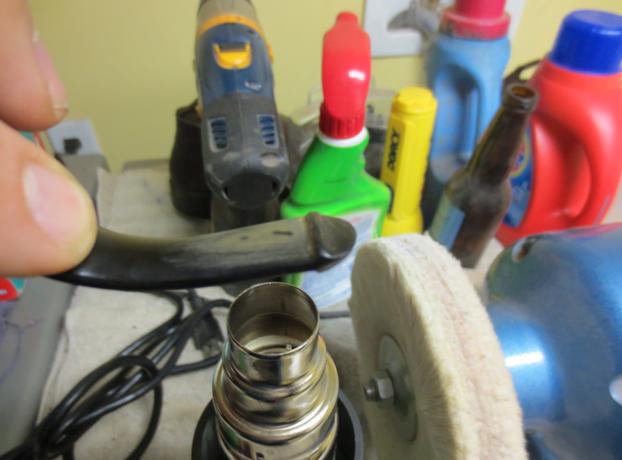
Photo 42 Heating the dents with a heat gun

Photo 43 Building up the divot on the button with black superglue

Photo 44 Black super glue build up on the button

Photo 45 Super glue cleaned up with sand paper. Second coat applied to the divot area
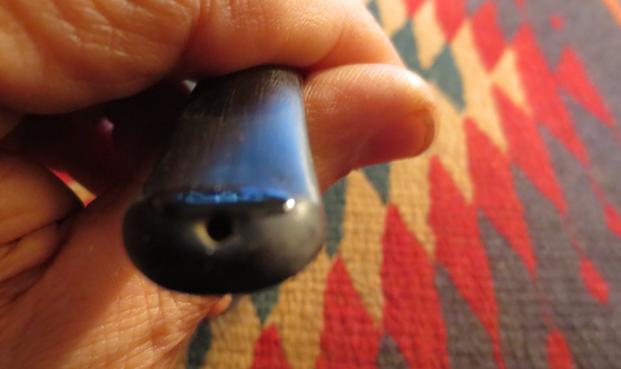
Photo 46 second coat of superglue on the divot on the button

Photo 47 Stem profile after building up with black super glue
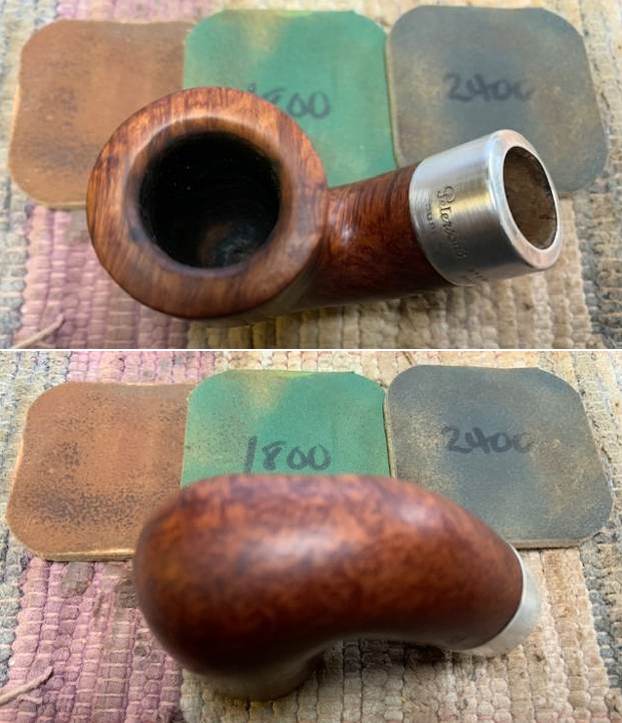
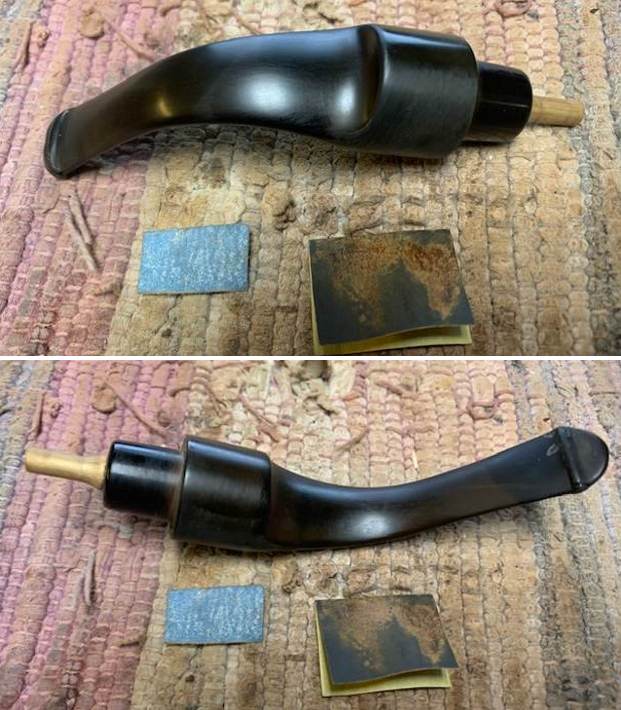
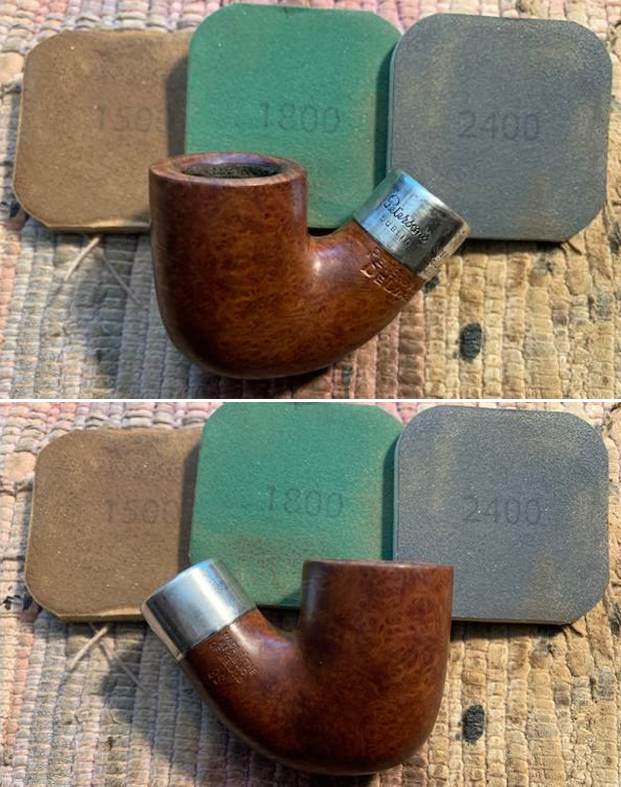
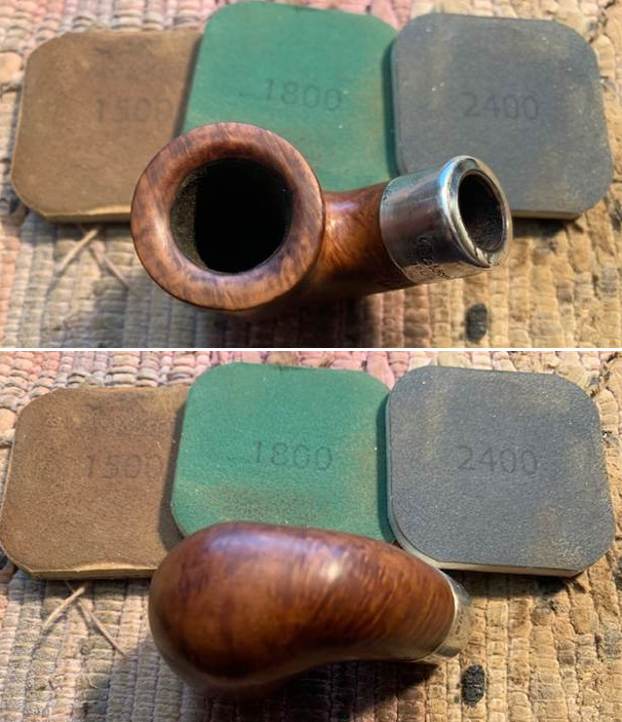
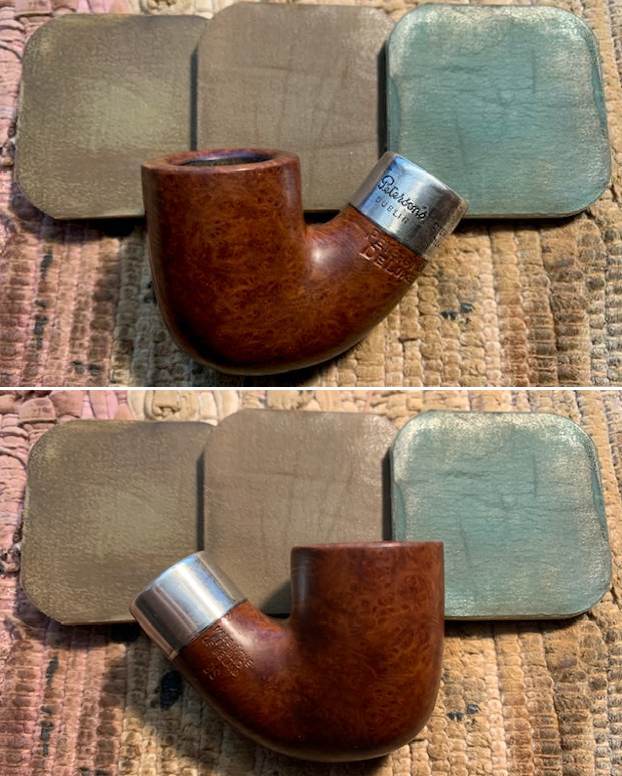
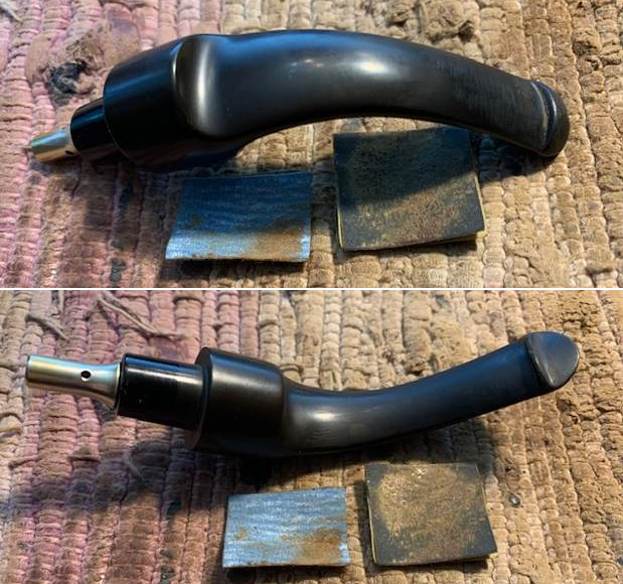
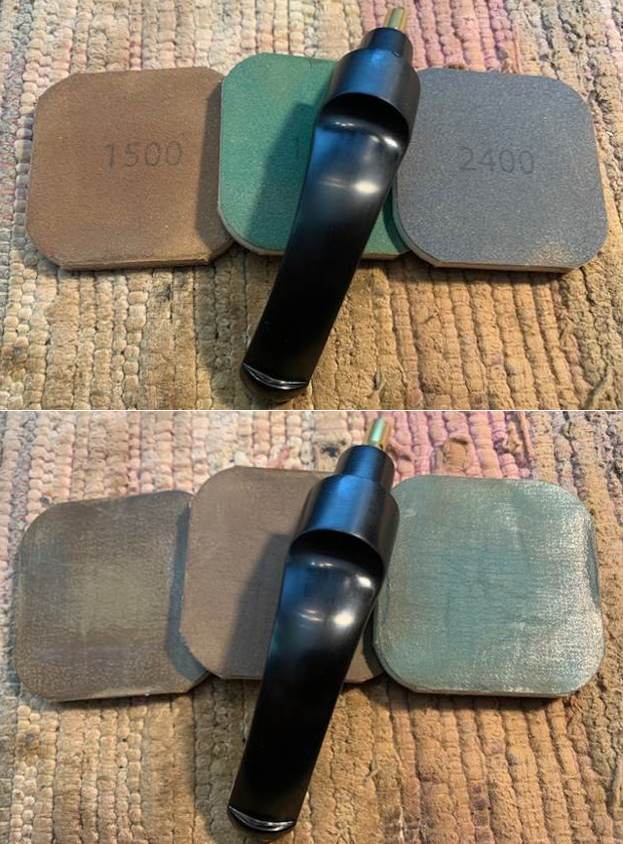
After I have reshaped the button and repaired the divots and cut areas on the stem it was time to sand the whole stem with the micromesh sanding pads. The sanding process blends in the repaired areas with the rest of the stem surface. I started sanding the stem with 1500 grit micromesh and worked on the edges of the button on the top side and also the ridge on the underside. I wanted these sharp edges to be clearly defined so I spent extra time with the coarser grit in order to sharpen these edges (Photos 48 – 49). I sanded with 1800 grit micromesh and further defined the edges and blended the patches into the stem surface (Photos 50 – 51).
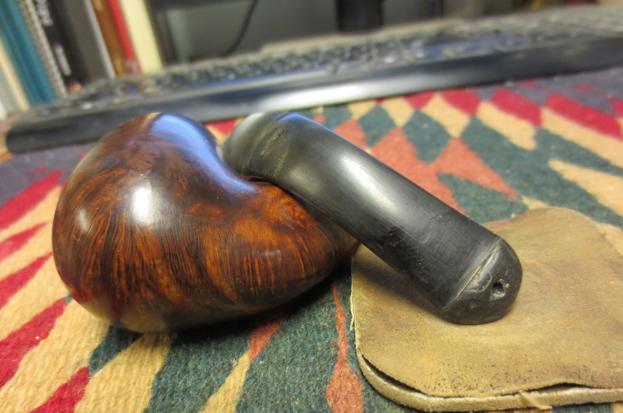
Photo 48 Superglue repair after sanding with 220 grit sandpaper and 1500 grit micromesh. Tooth marks are also gone

Photo 49 the underside of the stem – sans tooth marks
Photo 50 – sanding the top of the stem with 1800 grit micromesh

Photo 51 sanding the underside of the stem with 1800 grit micromesh
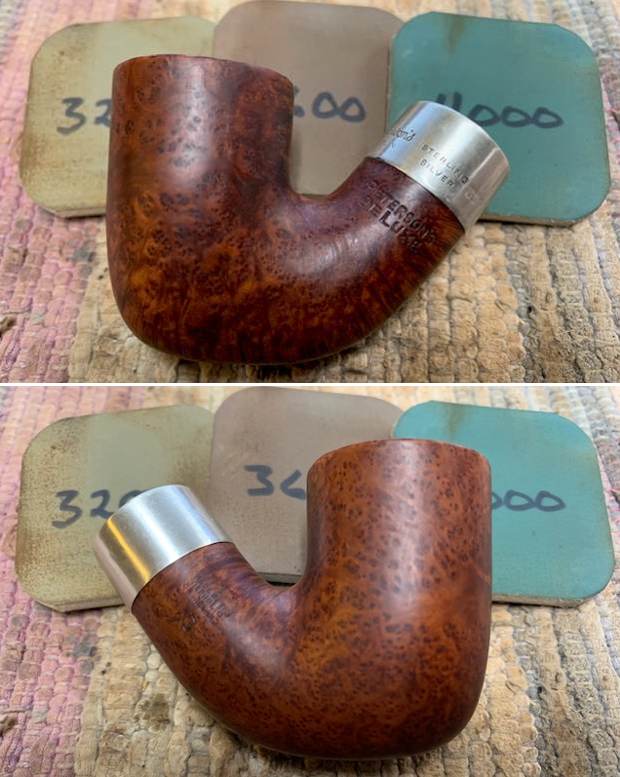
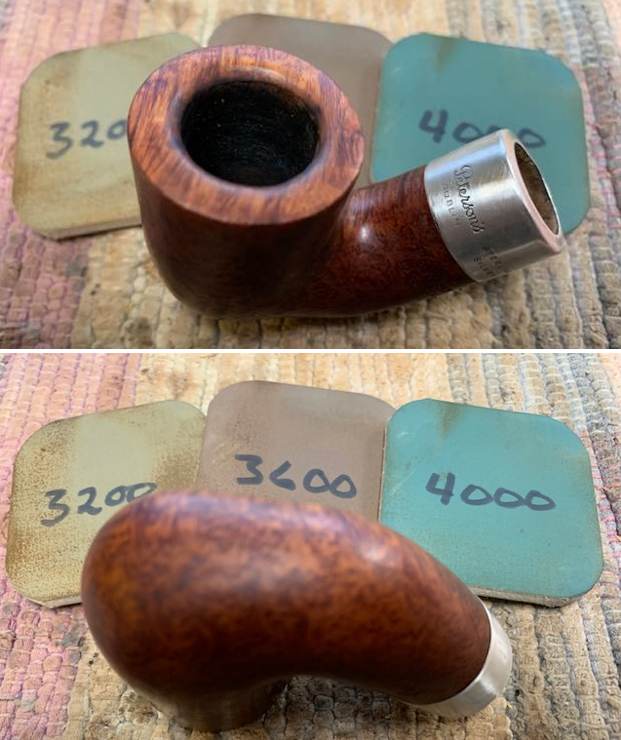
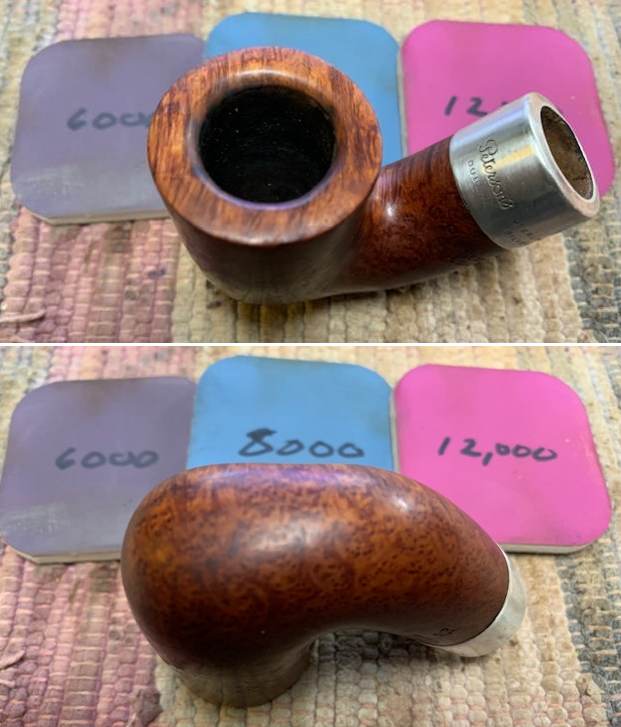
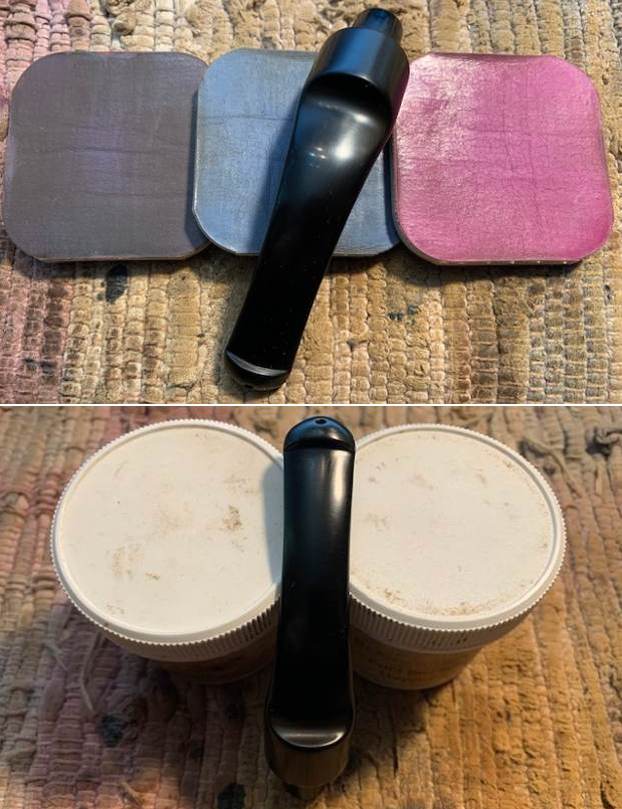
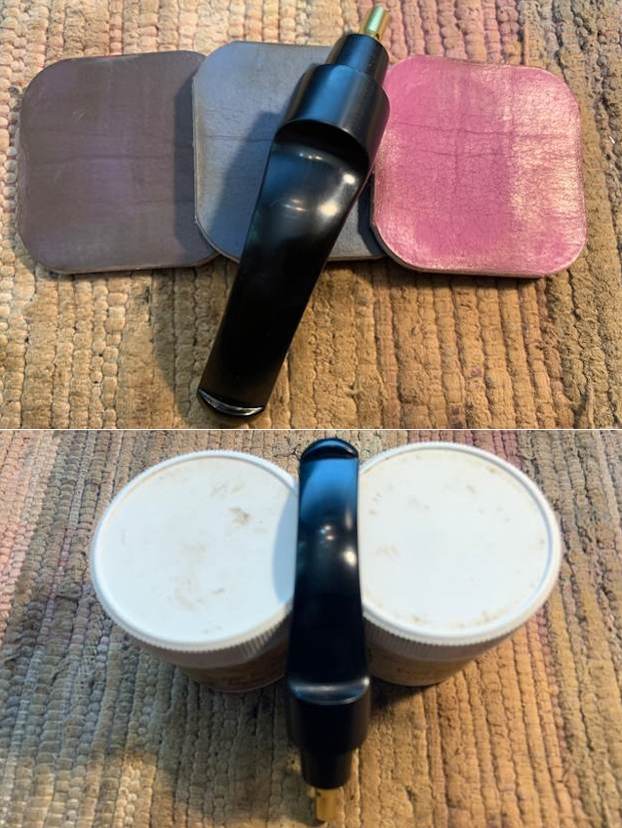
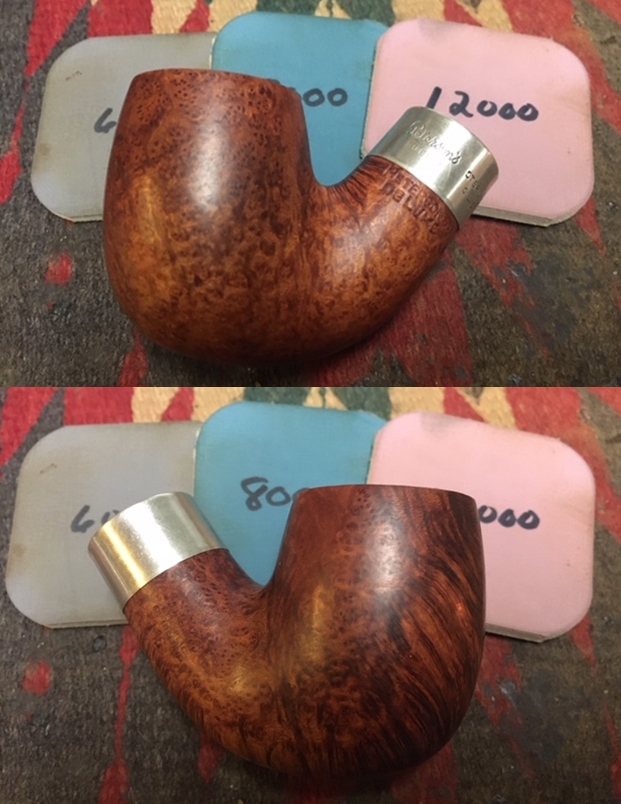
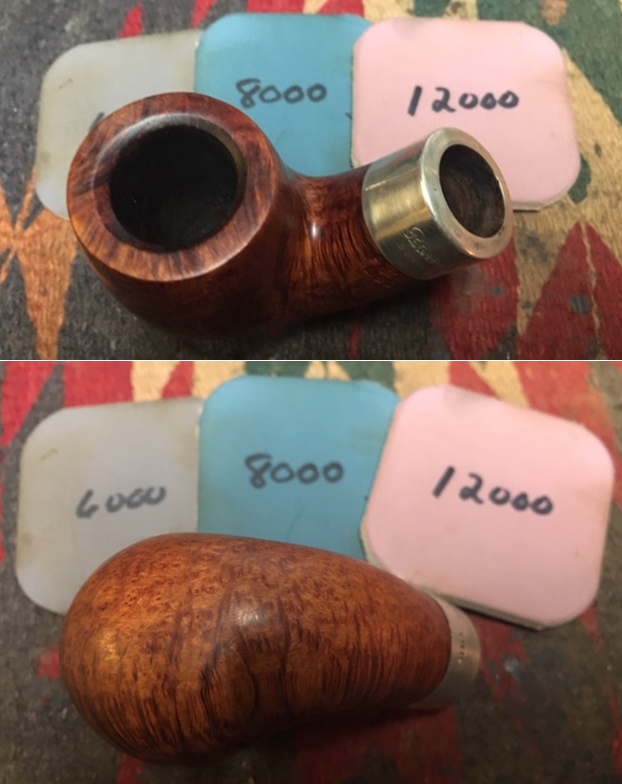
The next series of photos (Photos 52 – 58) shows the progressive shine that the micromesh sanding pads bring to the surface of the vulcanite. Each of the successive grits of micromesh gives a deeper polish and a higher sheen. It always is amazing to me to see the difference in shine between the last four grits – 4000, 6000, 8000 and 12,000. Each one takes the shine to another level. When the sanding is completed all that remains is to buff the stem with White Diamond on the buffing wheel and then give it multiple coats of wax to protect the shine and prevent oxidation.

Photo 52 Sanding with 3200 and 3600 grit micromesh
Photo 53 sanding with 3200 and 3600 grit micromesh

Photo 54 sanding with 4000 and 6000 grit micromesh

Photo 55 sanding with 4000 and 6000 grit micromesh
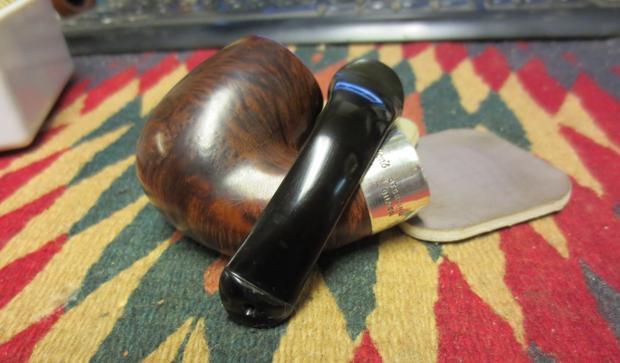
Photo 56 sanding with 8000 and 12,000 grit micromesh

Photo 57 sanding with 8000 and 12,000 grit micromesh

Photo 58 End view of the button after sanding
I rubbed down the pipe with the Conservationist’s Wax and set it aside to dry for a few moments while I cleaned up the sanding pads. Once it was dry I hand buffed it with a soft cotton cloth to give it an initial shine and to highlight any areas that had scratches that I needed to sand some more before buffing it on the buffer (Photo 59).

Photo 59 Coated with Conservationist’s Wax
After hand buffing, I took the pipe to the buffing wheel and buffed it with White Diamond. The next series of photos shows the pipe after buffing with White Diamond (Photos 60 –65).

Photo 60 right side after buffing with White Diamond

Photo 61 left side after buffing with White Diamond
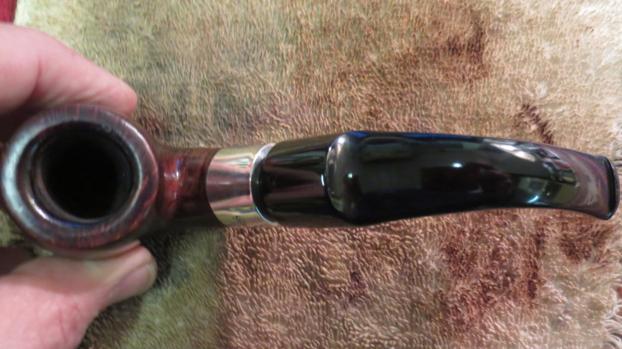
Photo 62 top view after buffing with White Diamond. Note how the patch on the stem surface is blended into the shine
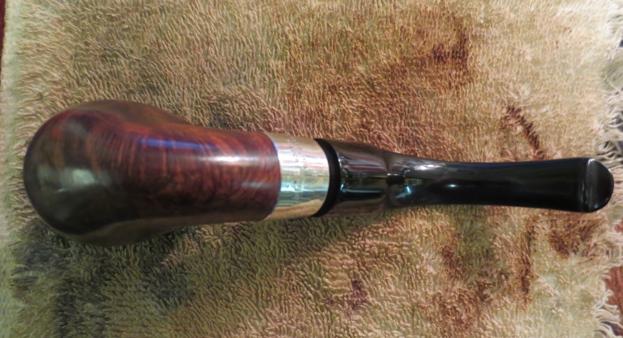
Photo 63 bottom view after buffing with White Diamond
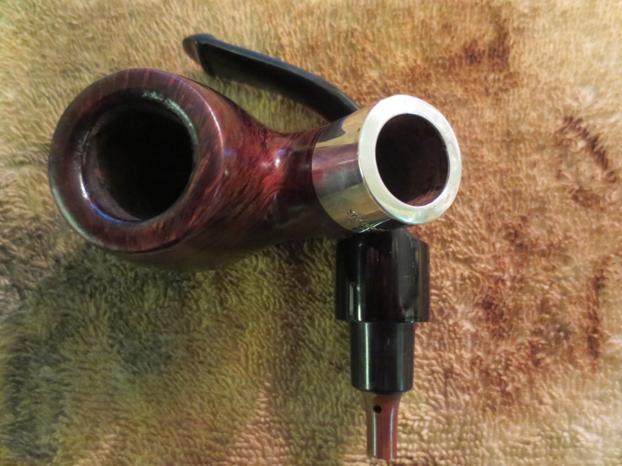
Photo 64 pipe in pieces after buffing with White Diamond

Photo 65 pipe in pieces after buffing with White Diamond
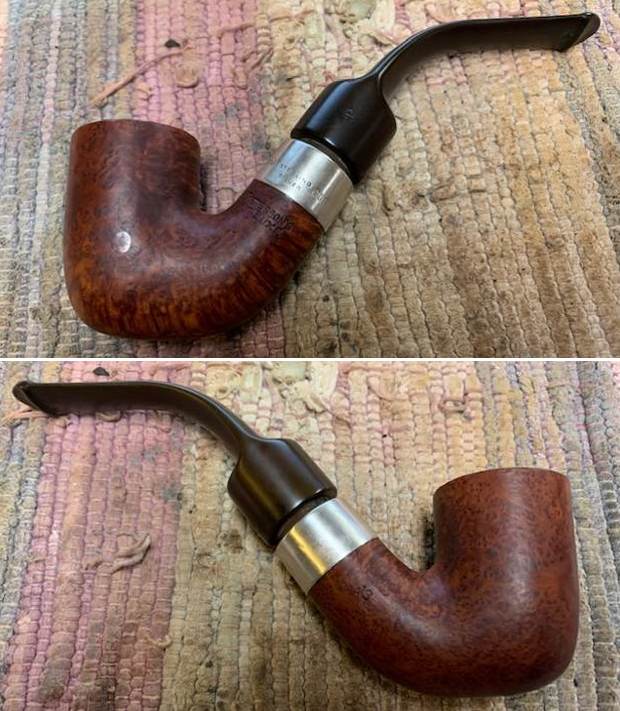
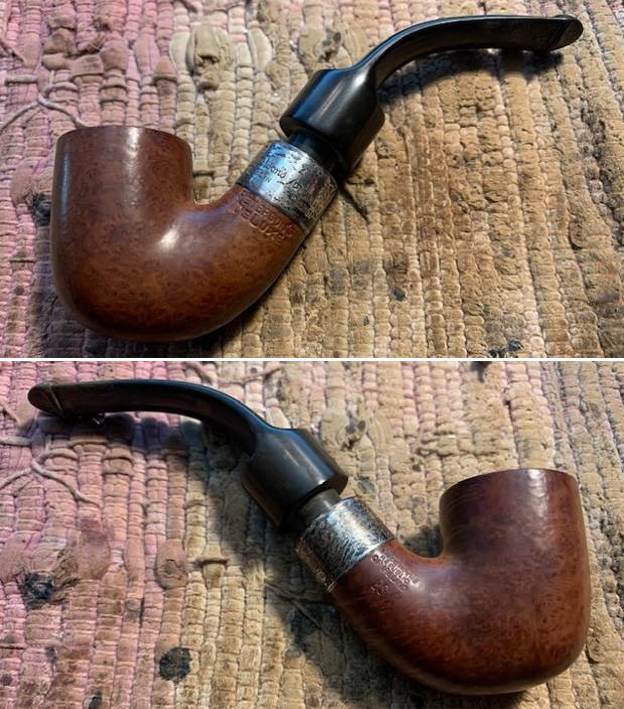
The next five photos show the finished pipe after several coats of carnauba wax and a buff with a clean flannel buffing pad on the buffer. The stem looks new and the shine is deep and rich. The silver has a warm glow and the briar is clean and fresh looking. The top of the band on the shank is smooth with just a few small dents that could not be removed. The rim has been cleaned and restored. It is polished but it is not flawless, it does show its age but it shows it well.

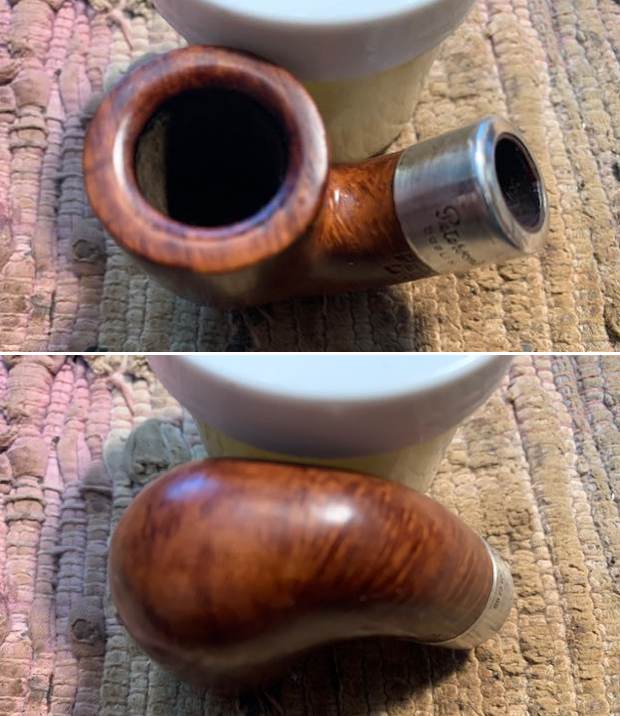
Photo 66 The finished view of the left side of the pipe
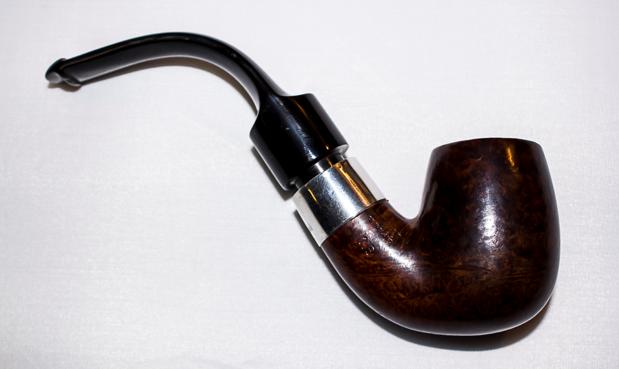
Photo 67 The finished view of the right side of the pipe

Photo 68 Bottom side view of the finished pipe. The stem is undented and looks new

Photo 69 Top side view of the finished pipe
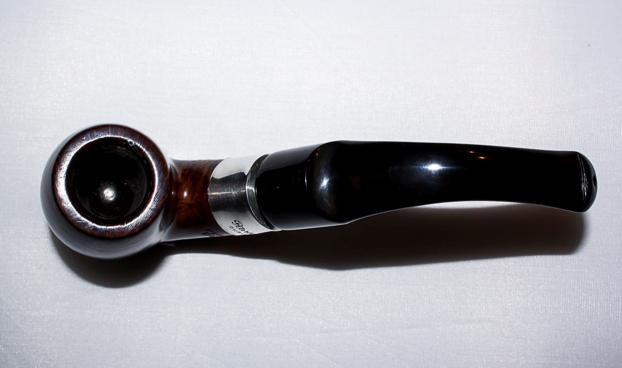
Photo 70 Another top side view of the finished pipe


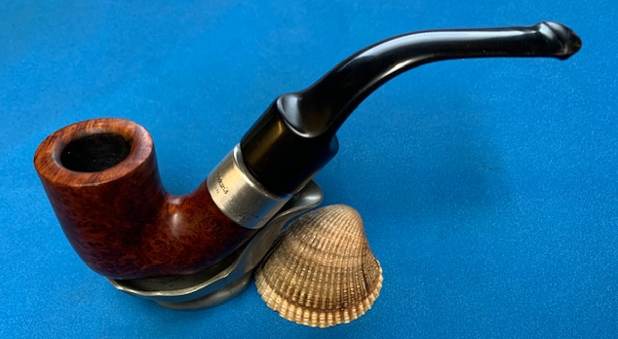
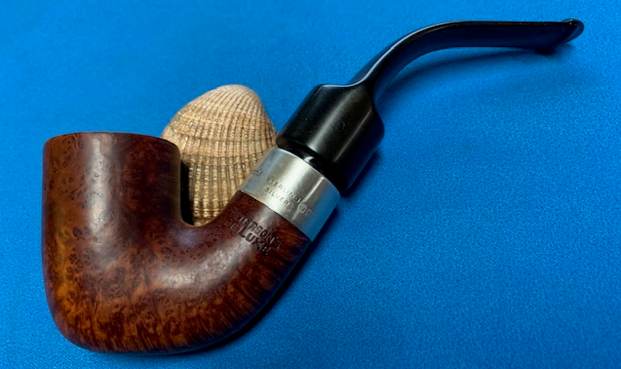
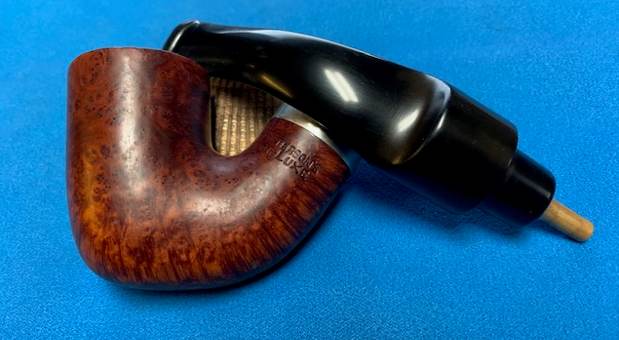
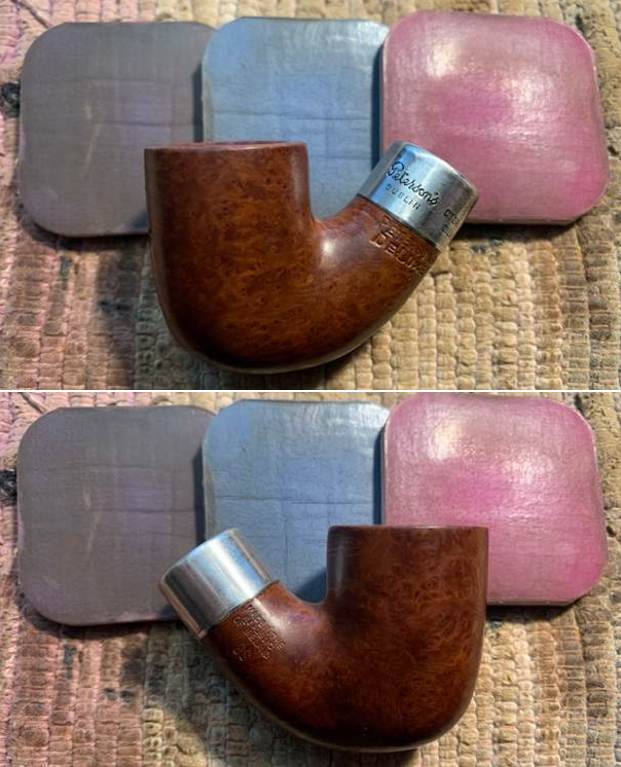
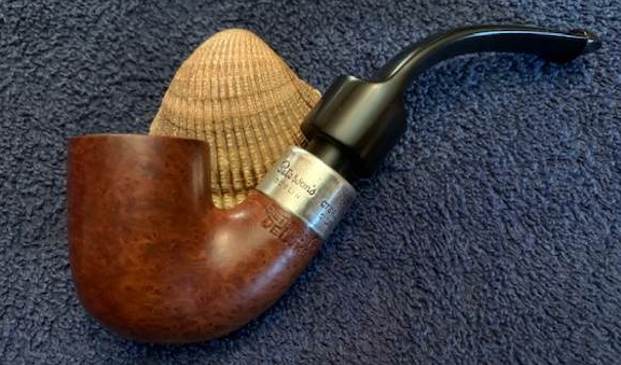
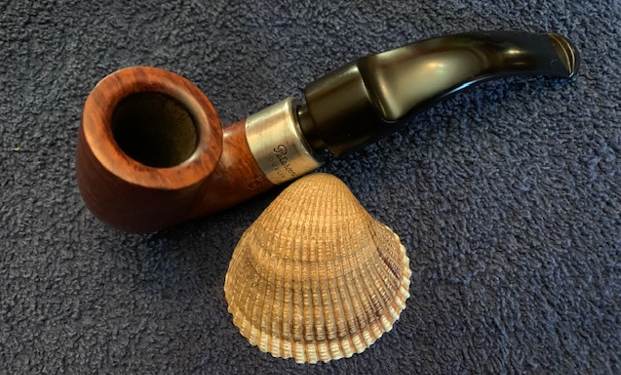
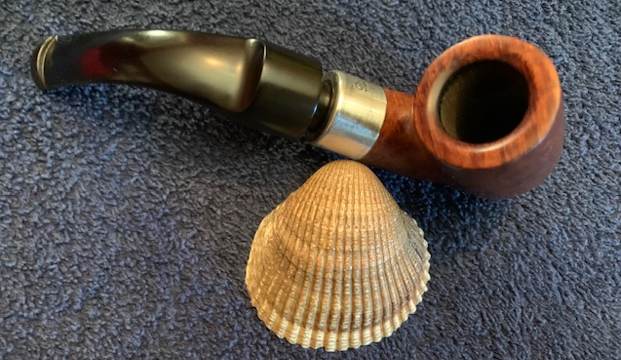
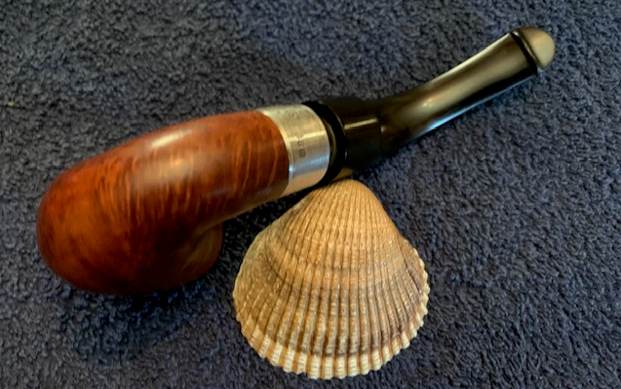
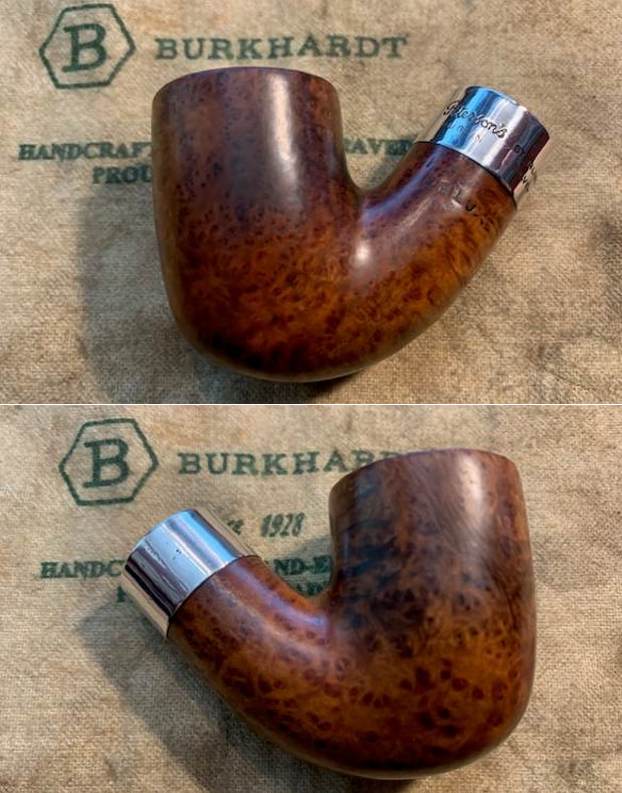
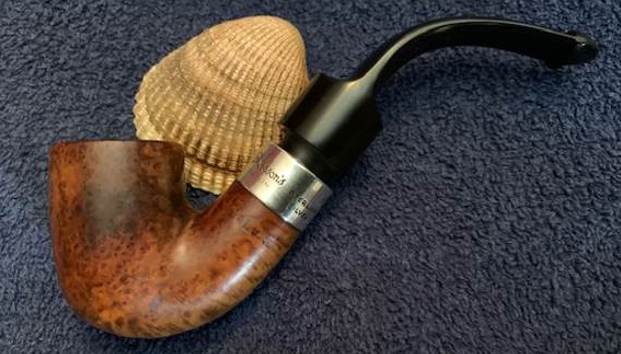
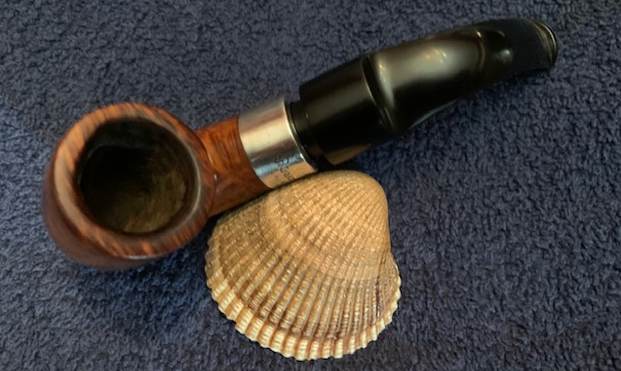
 The pipe is a Peterson Deluxe 595 bulldog. It’s a really handsome pipe — very classic-looking, well-smoked, and well-cared for. The markings on the pipe read Peterson’s [over] DeLuxe on the left of the shank. On the right side is Made in the [over] Republic [over] of Ireland, and next to that, the shape number 595. On the left side of the stem is the beautiful, stylized P of the Peterson company. That P must have had some colouring in it at some point, but it was long gone.
 It was hard to find any information about the 595. I was trying to research it and ended up circling around to a blog post that Steve did in 2020 about a 595 he worked on. That pipe and this pipe are very similar, but there are two crucial differences which I’ll mention in a moment. In Steve’s article of May 2020, he quotes from some email correspondence he had with Peterson expert, Mark Irwin, from Peterson Pipe Notes. I quote Irwin here regarding the 595:
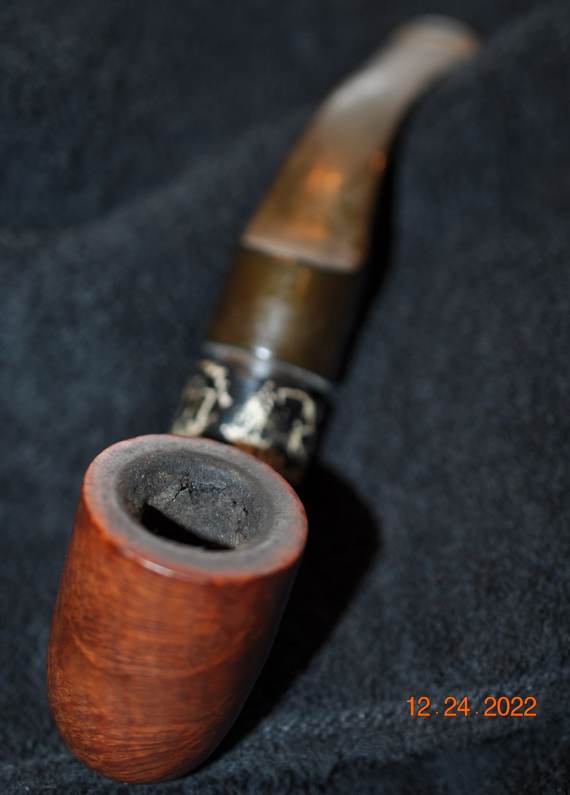
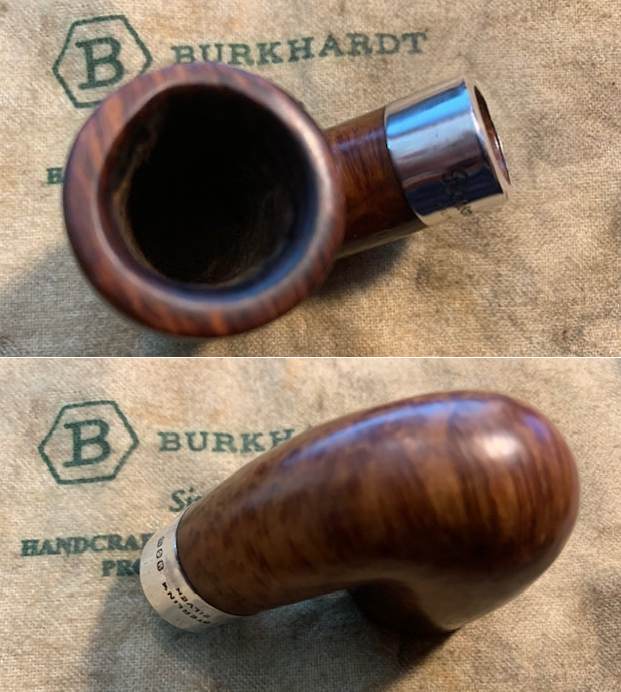
 Let’s have a look at the pipe. The stem had several tooth marks, plus some oxidation and calcification. Also, an extra bit of the end of the tenon was broken – I’d have to take a closer look at that. The stummel was in nice condition, no real scratches or damage — except on the rim. That had lots of lava, and what looked like considerable burning, but I’d have to check more closely later. Inside the bowl was a good amount of cake that would need to be cleaned out.


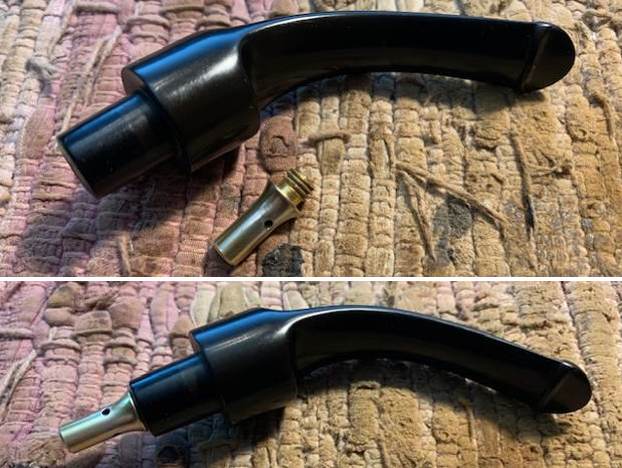
 On to work – I started with a BIC lighter and ‘painted’ the stem with its flame in order to lift the few bite marks and dents. This was not particularly successful in raising the damage, but did help a little.
 Next, I took a closer look at the broken tenon end. I’m not sure what happened there, but it was badly damaged and the only reasonable option was to remove it, as it could cause further problems. I then sanded down the end of the tenon to make it smooth and flat.
 Then I wiped the outside down with Murphy’s Oil Soap on some cotton pads and the inside with pipe cleaners and lemon-infused isopropyl alcohol.
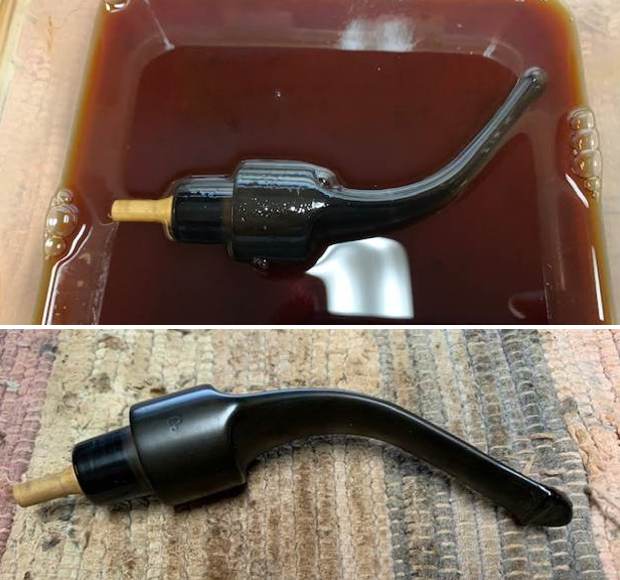
 Once this process was done, the stem went for an overnight soak in the Pipe Stem Oxidation Remover. The next day, I wiped down the stem with SoftScrub cleaner and some cotton rounds to remove surface oxidation.
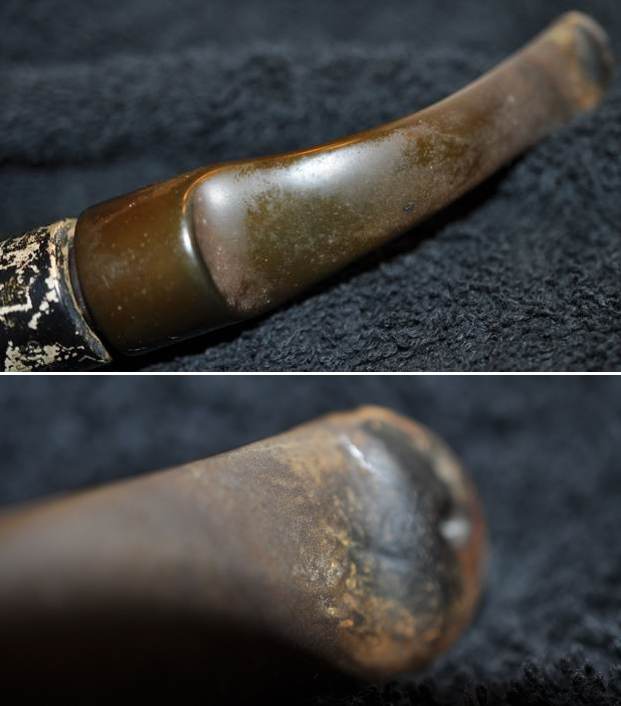
 After that, I used some gold Rub’n’Buff to fill in the P on the stem. This P would have been gold coloured originally.
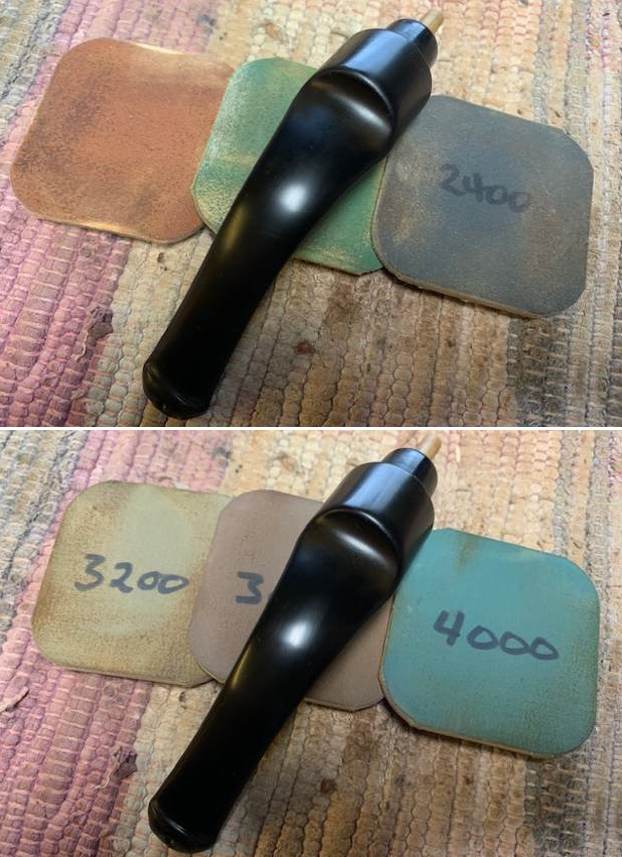
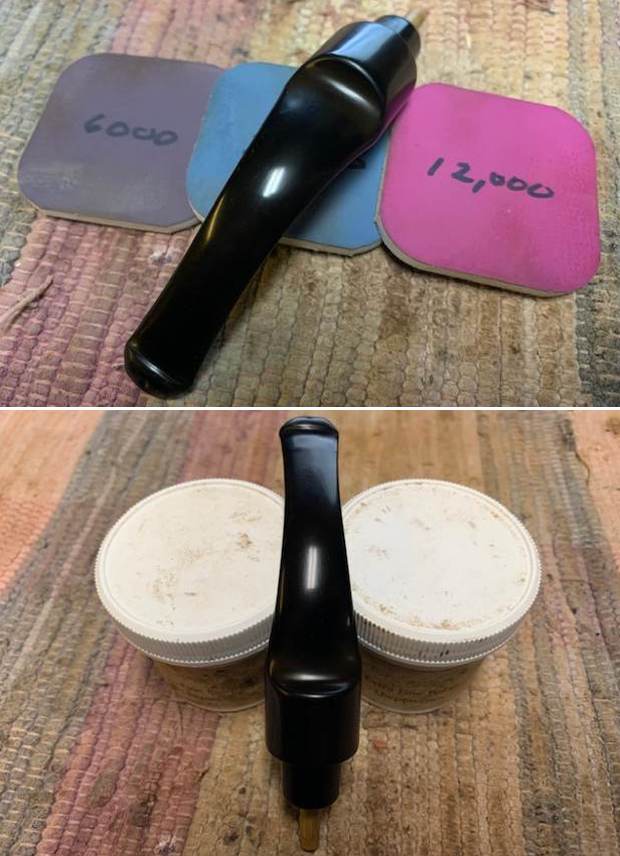
 I also built up the tooth dents (pun intended) on the stem with cyanoacrylate adhesive and let them fully cure. I then sanded the adhesive down – first with a small file, then with 400-grit sandpaper to meld seamlessly into the stem. I then used all nine Micromesh pads (1,500 through 12,000 grit) to bring out the lovely black lustre on the stem. I also used Obsidian Pipe Stem Oil in between each pad scrubbing.

 Moving on to the stummel, I used the PipNet Reamer to remove the built-up cake and followed that with 220-grit sandpaper taped to a dowel to eliminate as much as I could. I took the chamber down to bare briar, as I wanted to ensure there were no hidden flaws in the wall. Fortunately, there were none.
  Next, I took a dental tool and gently ran it along the grooves of the outside of the bowl to clear out any filth in there.
  In order to save as much of the rim as possible, I used a piece of machine metal to very delicately scrape away as much burnt material as I could. I do this before automatically jumping to my topping board; this gentle scraping revealed far more burn damage than I had anticipated, so it would need more work later.
 For now, I proceeded to clean out the insides of the shank with Q-tips, pipe cleaners, and lemon-infused isopropyl alcohol. There was quite a bit of filth inside this stummel and it took a fair amount of cotton to get it clean.
  That done, I decided to de-ghost the pipe in order to remove any lingering smells of the past. I thrust cotton balls into the bowl and the shank and saturated them with 99% isopropyl alcohol. I let the stummel sit overnight. This caused any remaining oils, tars and smells to leach out into the cotton. The bowl was nice and clean after this.
 I followed that up by cleaning the outside with Murphy’s and the insides with some Castile soap and tube brushes.
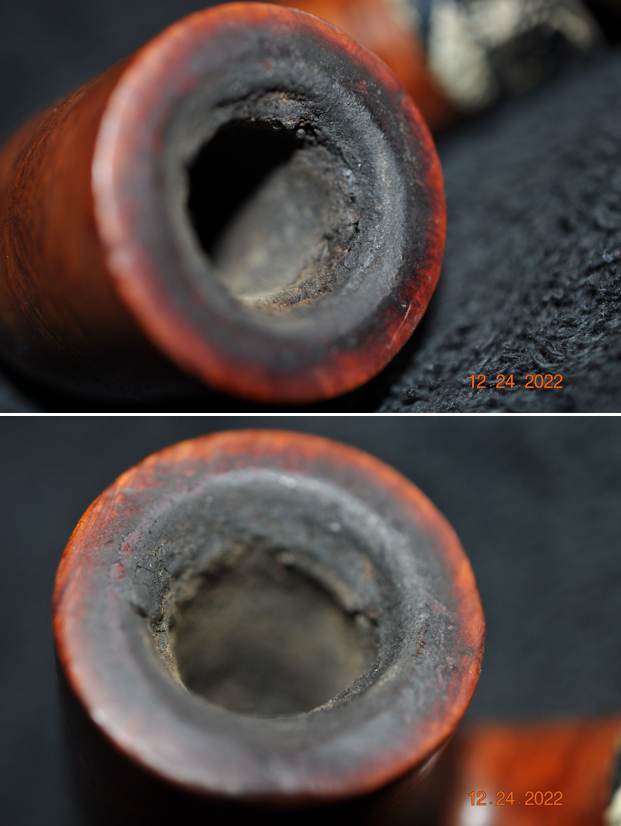
  After all this cleaning, I took a closer look at the damage to the rim. As the photo shows, the damage was considerable. At this point, I asked the owner if he wanted me to remove all the burn marks, which would entail significant removal of briar, or simply deal with the surface damage and leave the wood intact. He opted for the latter (correctly, in my view). The burns would remain on this pipe, but they are part of its story – and that is just fine.
 In order to remove some remaining burns on the rim, I did ultimately “top” the pipe – that is to say, I gently and evenly sanded down the rim on a piece of 220-grit sandpaper. This effectively removed the surface damage, without altering the look of the pipe.
 I also took a wooden sphere, wrapped a piece of 220-grit sandpaper around it, and sanded the inner side of the chamber. This achieved two things: first, it removed some of the burn marks on the inner edge of the rim; and second (and more importantly), the circular shape and motion of the sphere gradually returned the edge to a perfect circle.
 With all that done, I polished it up with all nine of my Micromesh pads. After that, a light application of Before & After Restoration Balm brought out the best in the stummel’s grain.


 Of course, the final step is buffing with some White Diamond and a few coats of carnauba wax.
 This is a beautiful pipe with an interesting history. I was delighted and honoured to be a part of it! I hope you enjoyed reading the story of this pipe as much I as I did restoring it. If you are interested in more of my work, please follow me here on Steve’s website or email me directly at kenneth@knightsofthepipe.com. The approximate dimensions of the pipe are as follows: length 5¼ in. (134 mm); height 1½ in. (37 mm); bowl diameter 1½ in. (39 mm); chamber diameter ¾ in. (18 mm). The weight of the pipe is 1⅛ oz. (34 g). Thank you very much for reading and, as always, I welcome and encourage your comments.