Tag Archives: refinishing a bowl

Undressing a Stanwell Black Diamond


Blog by Greg Wolford

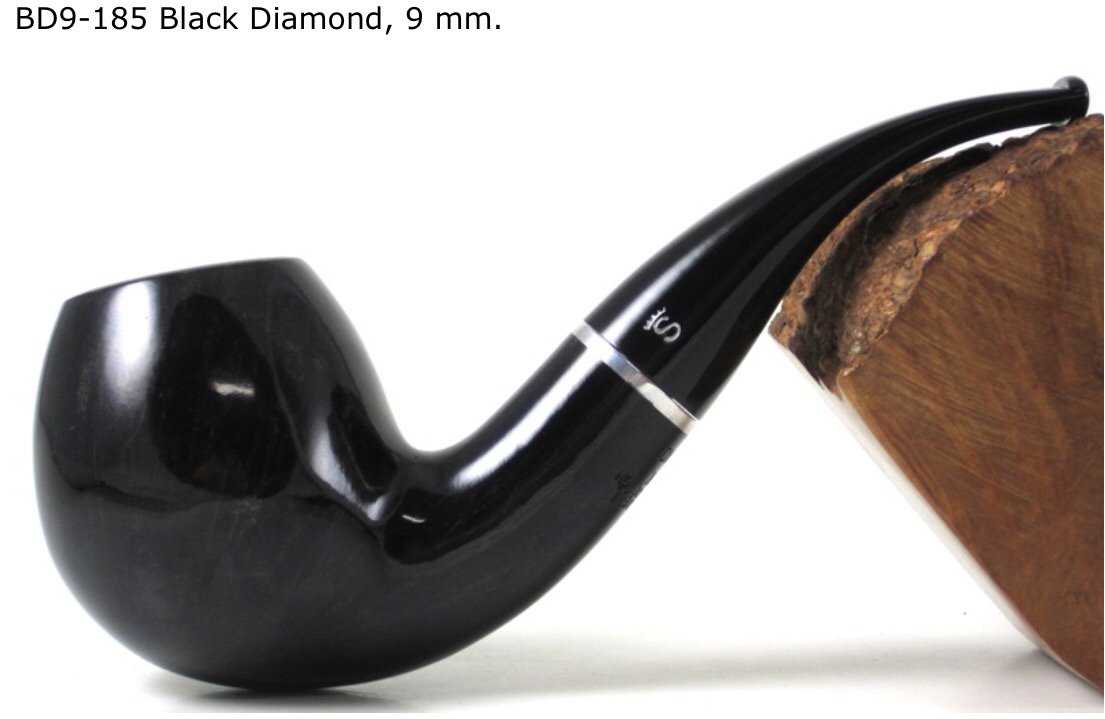
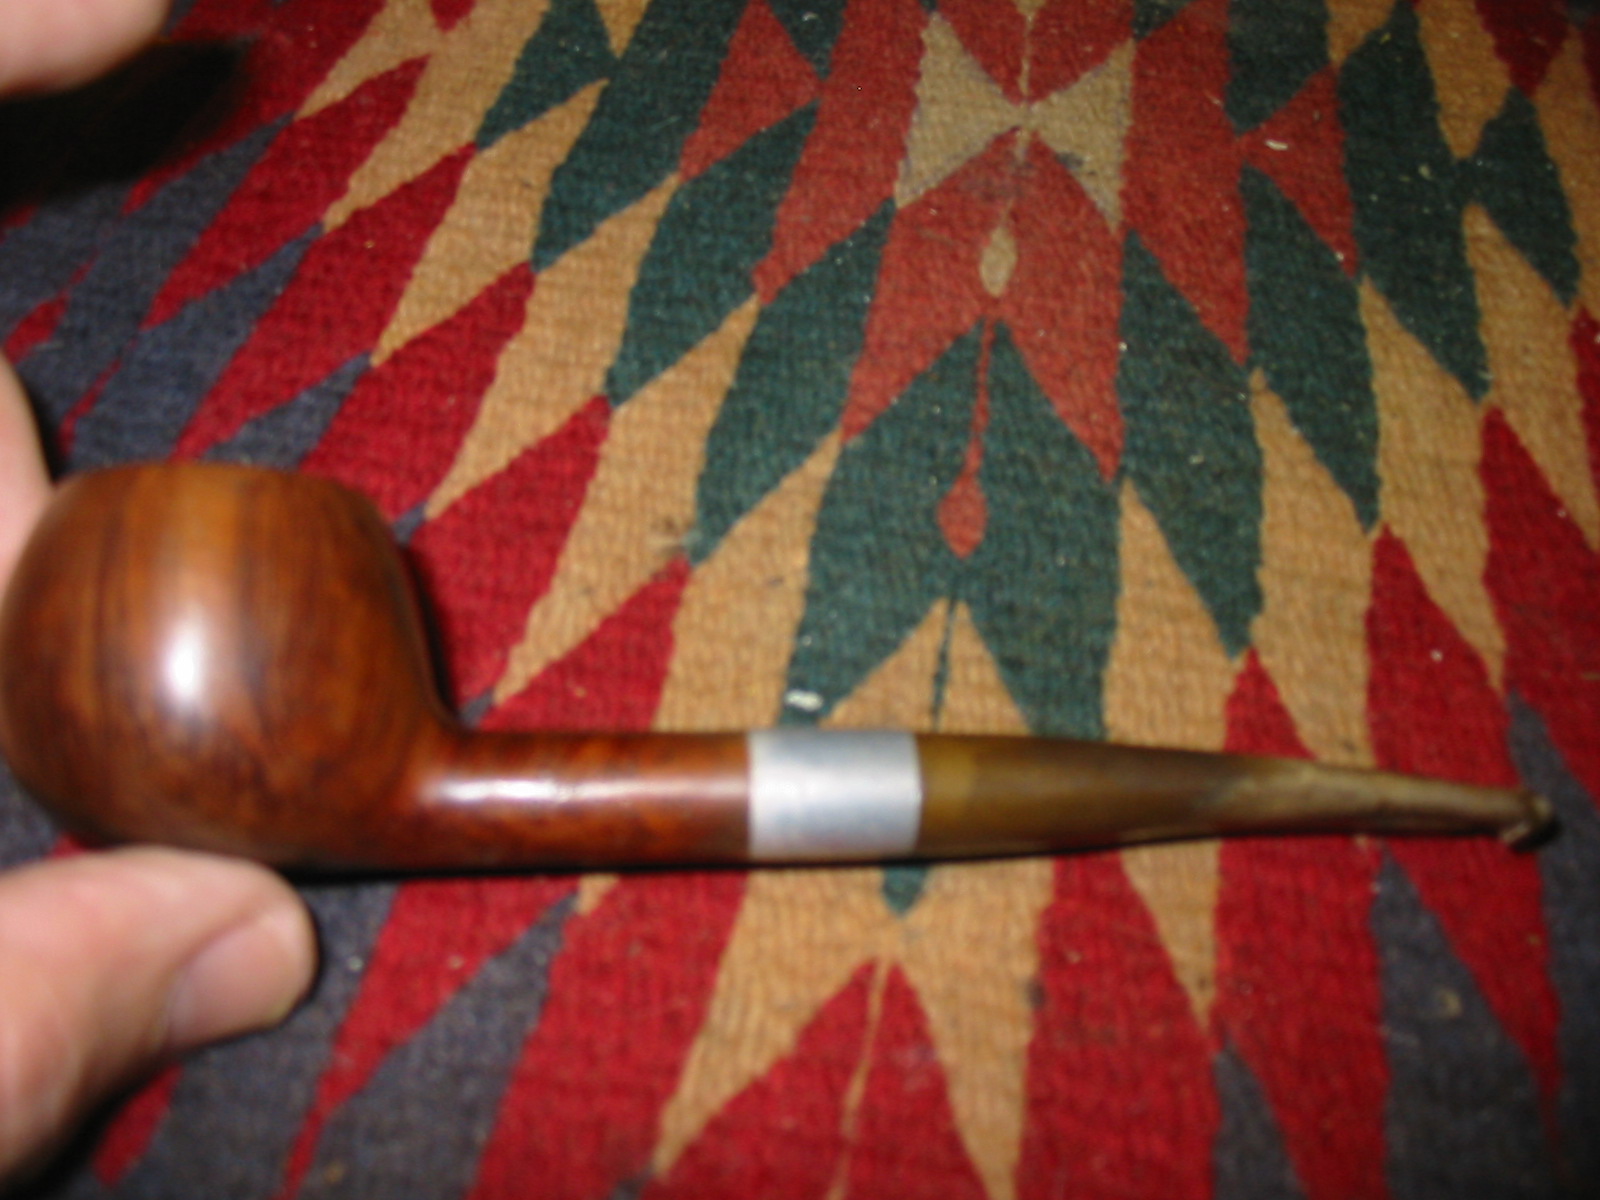
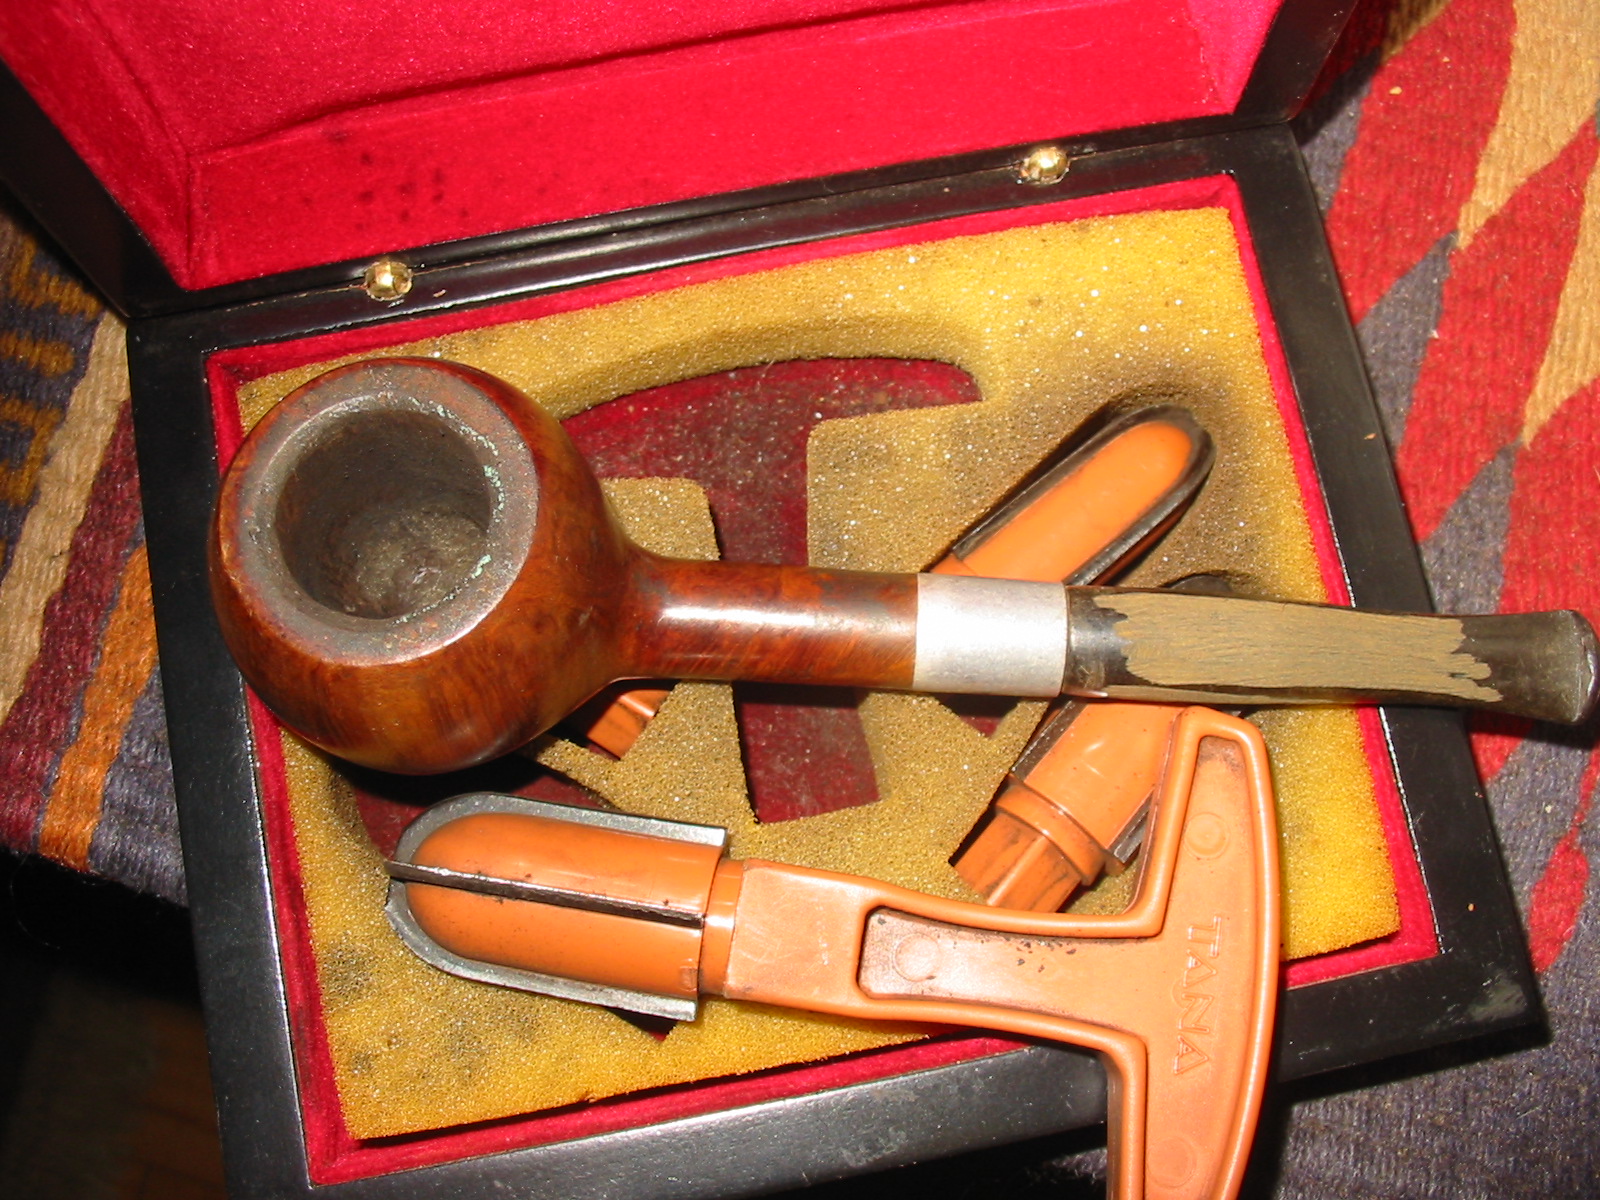
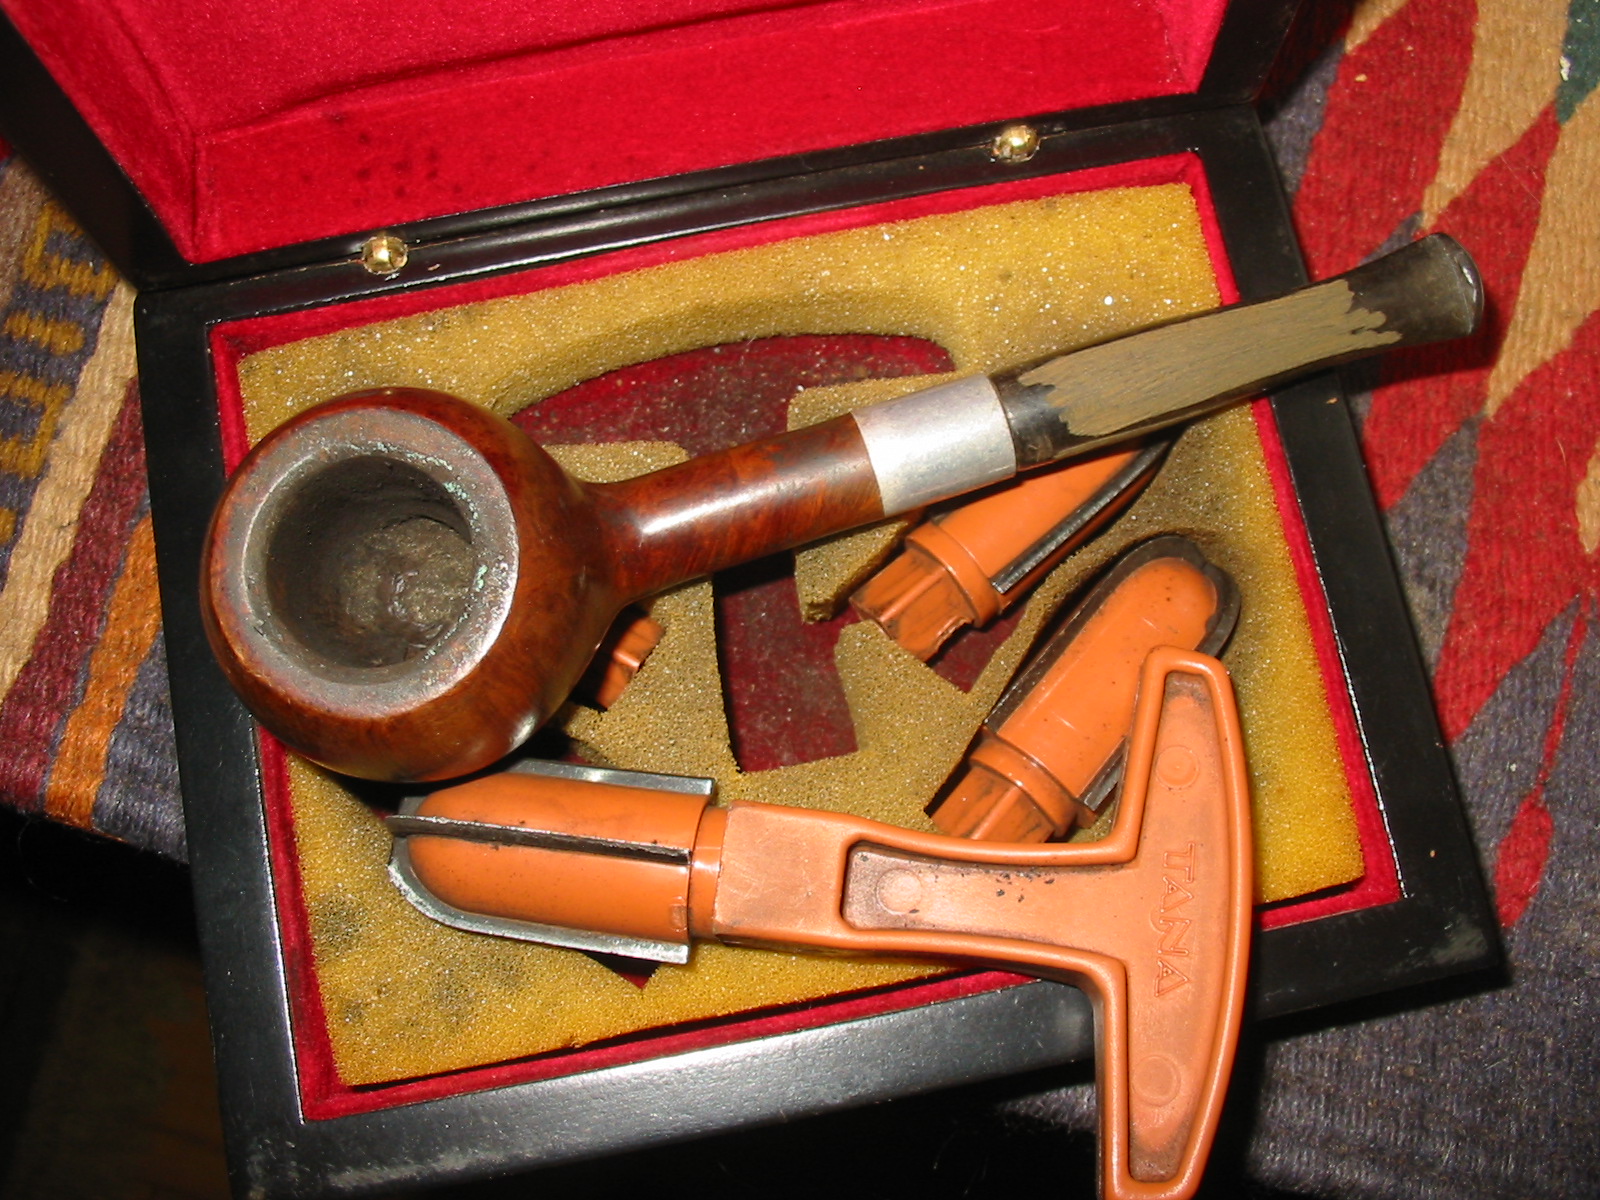
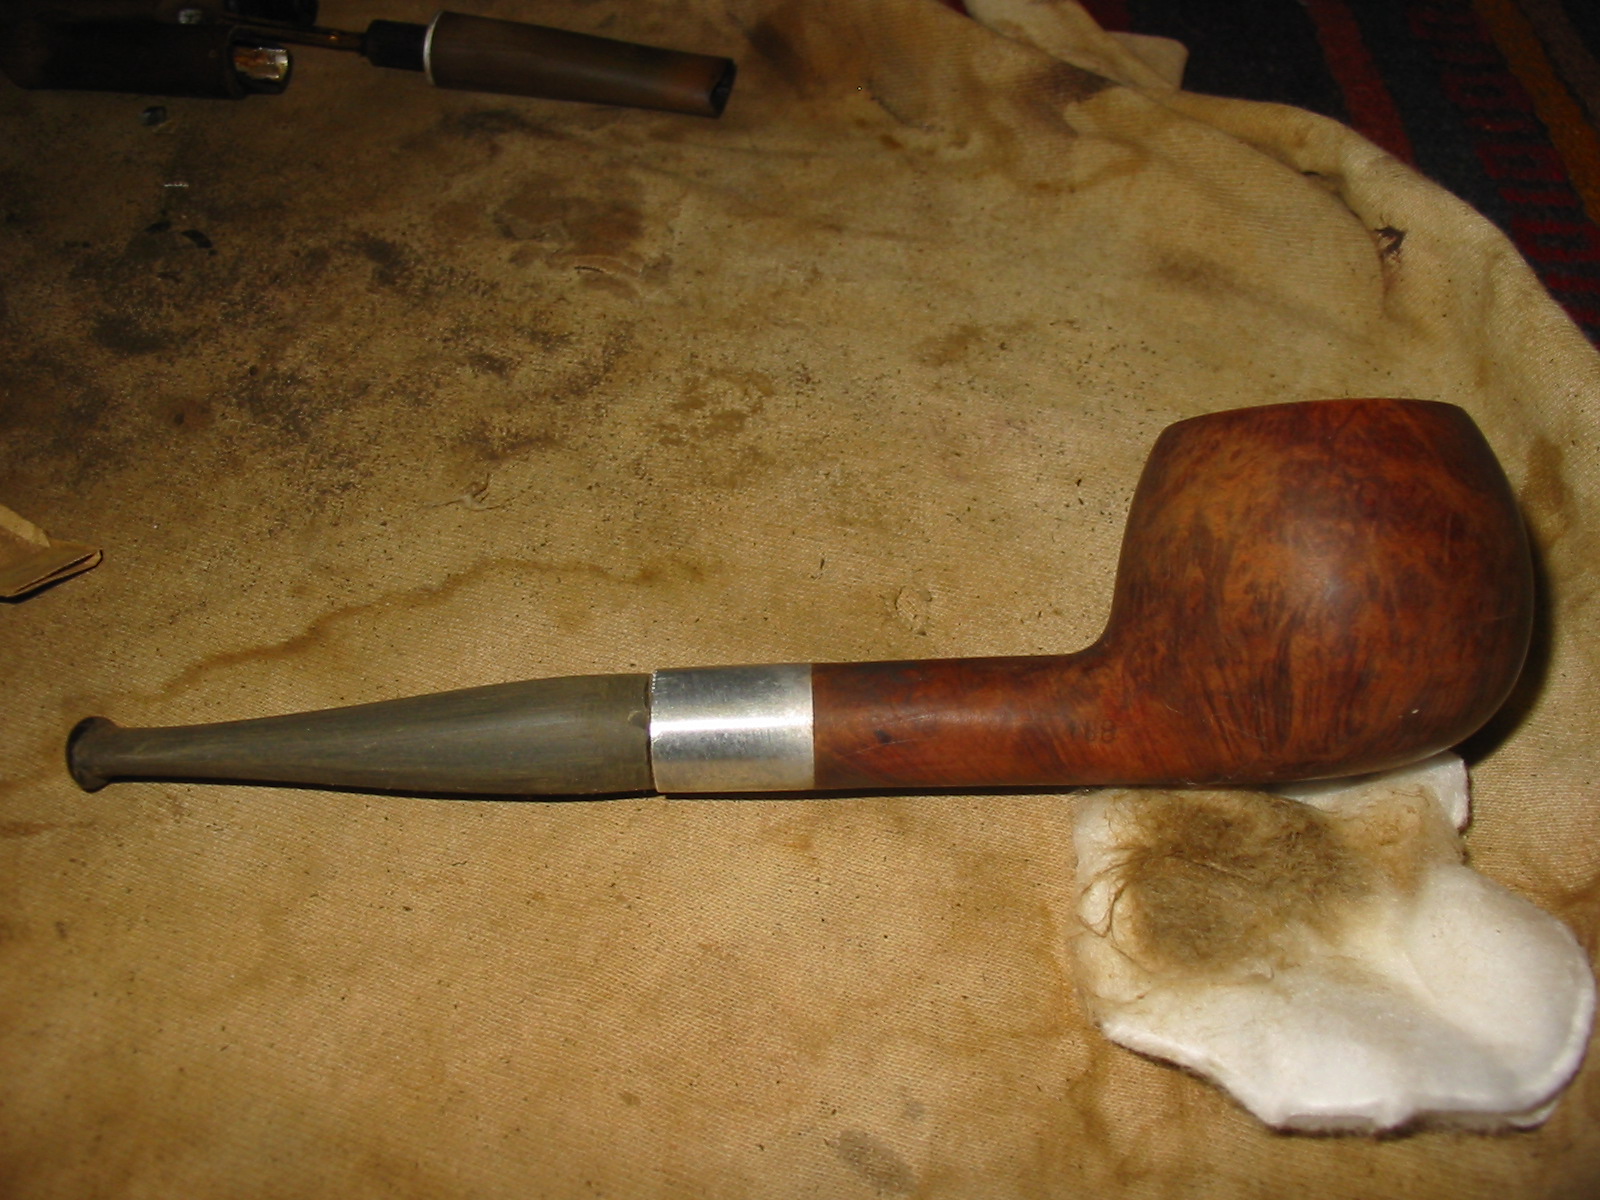
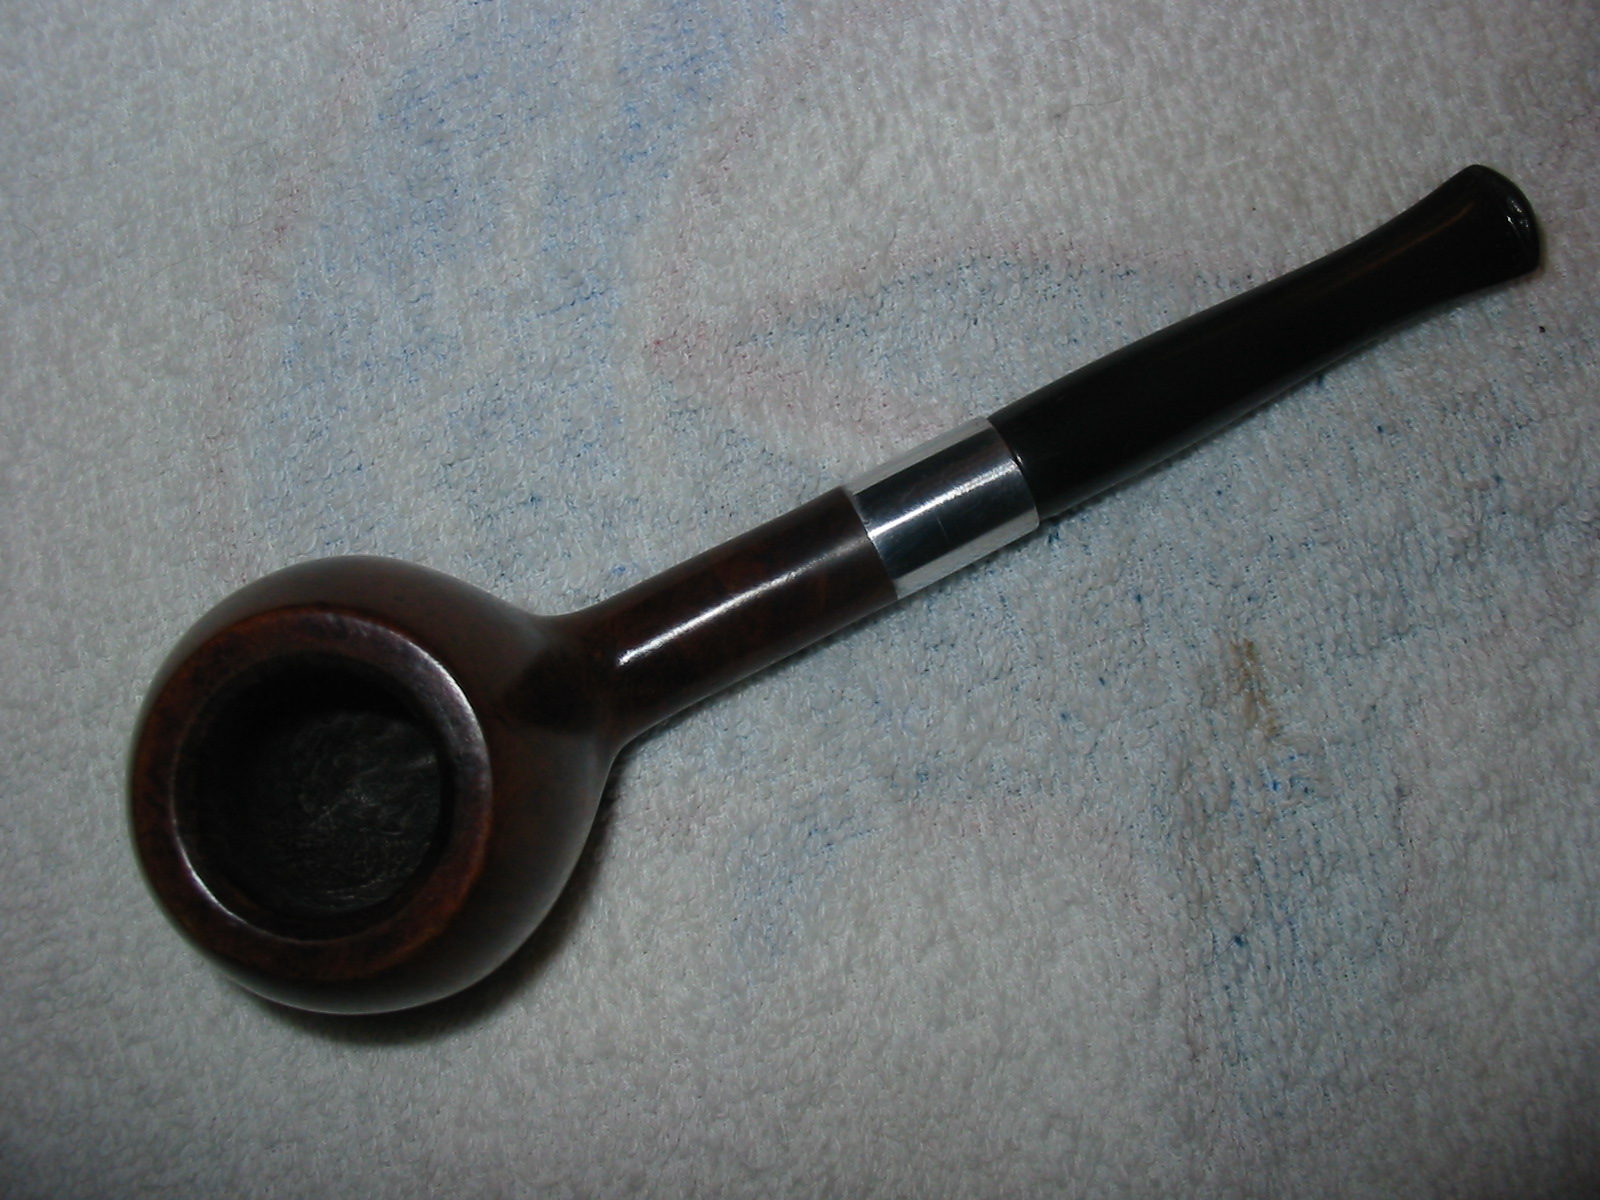
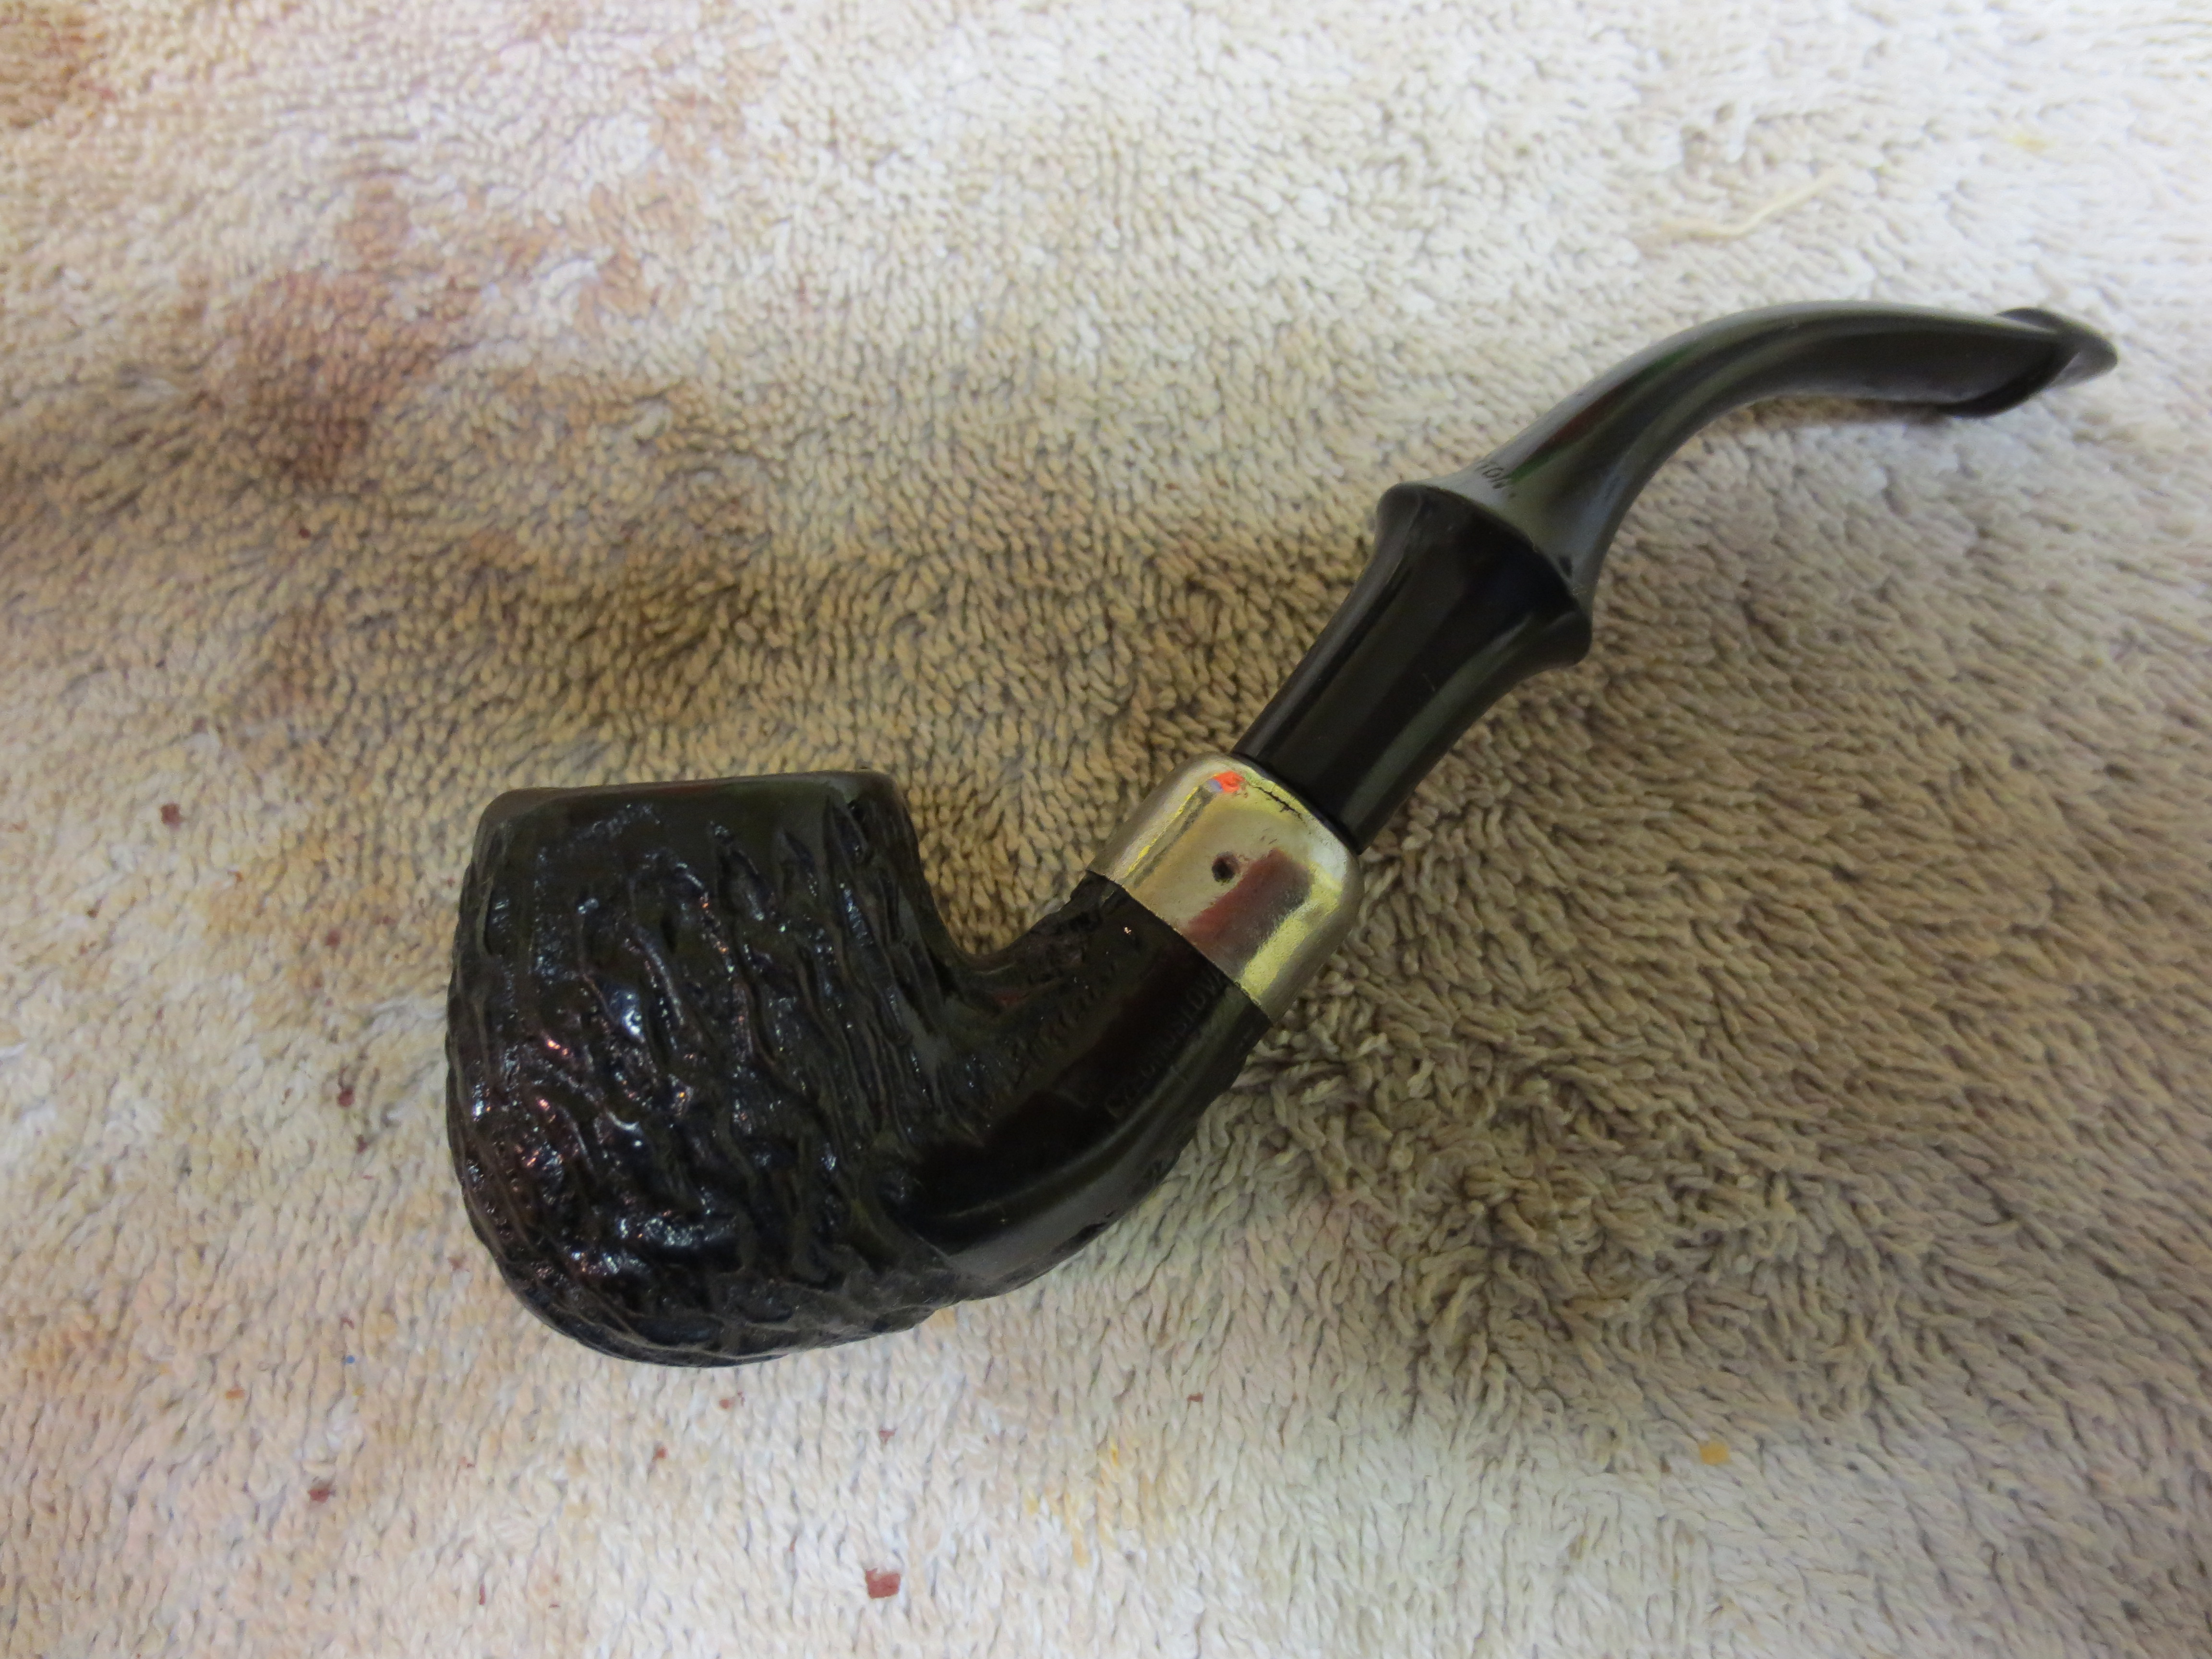
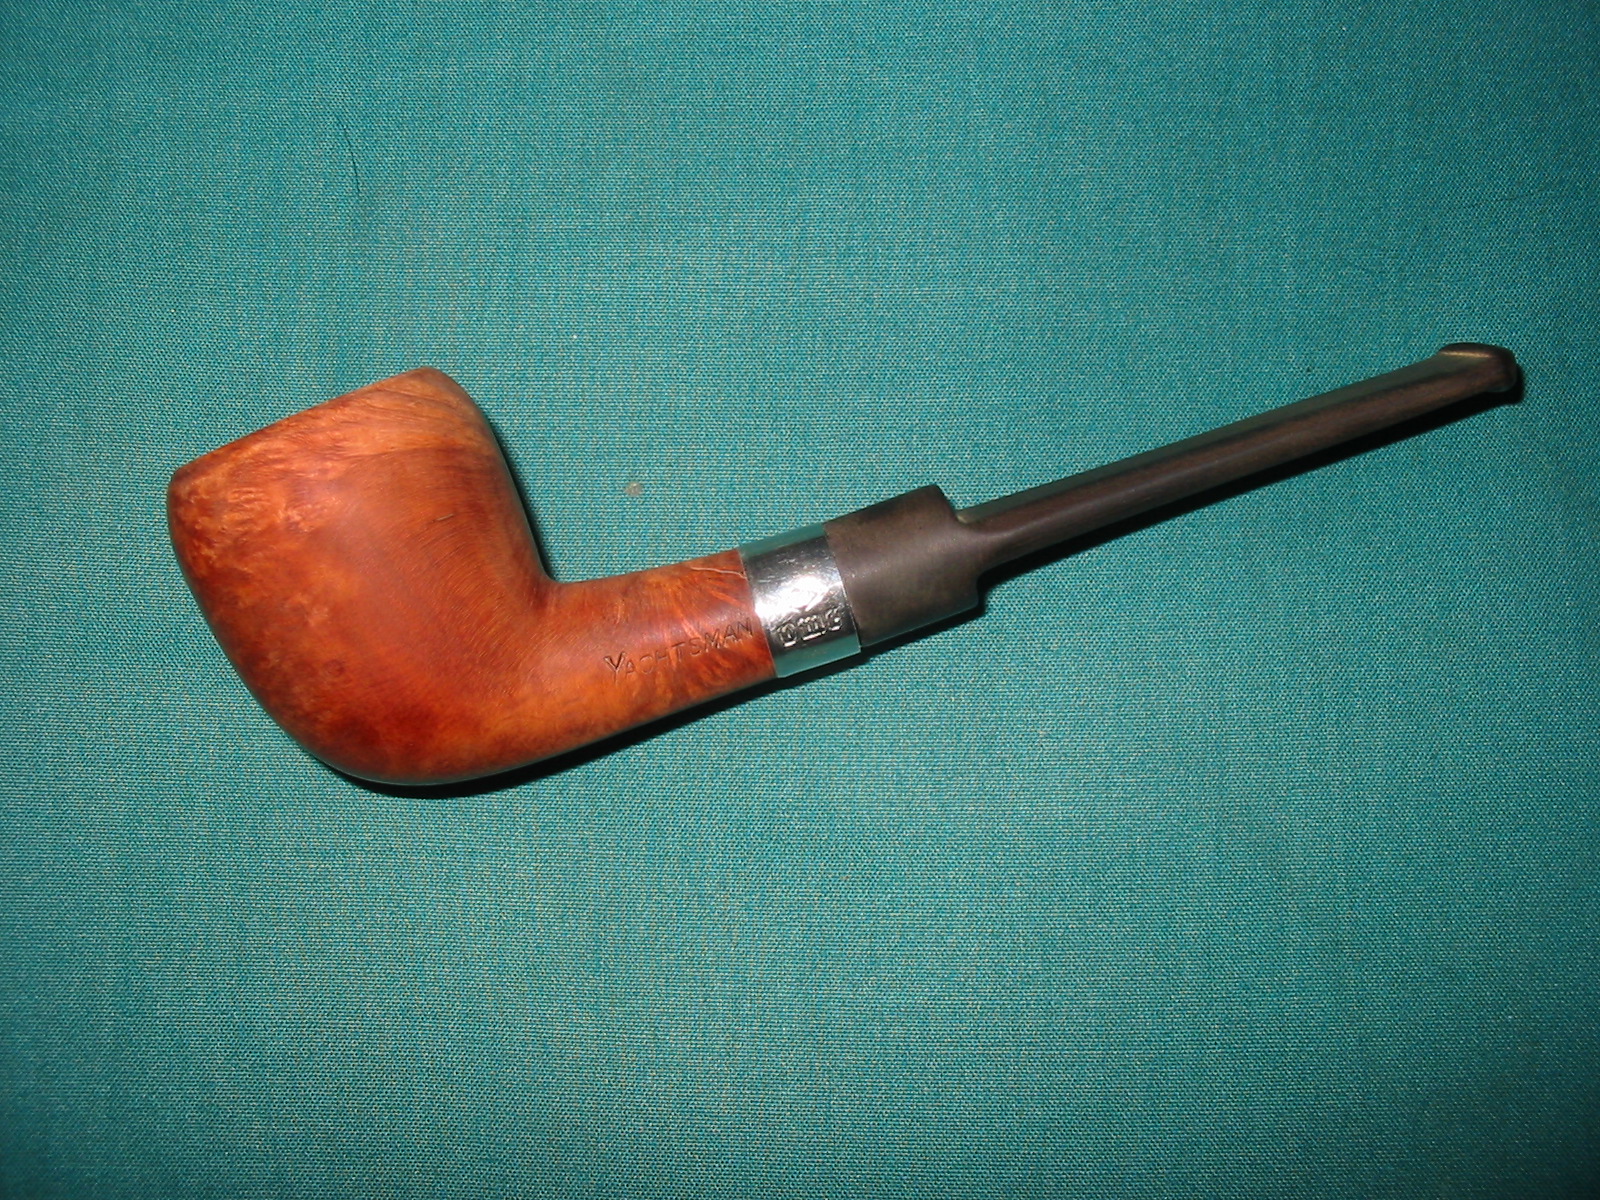
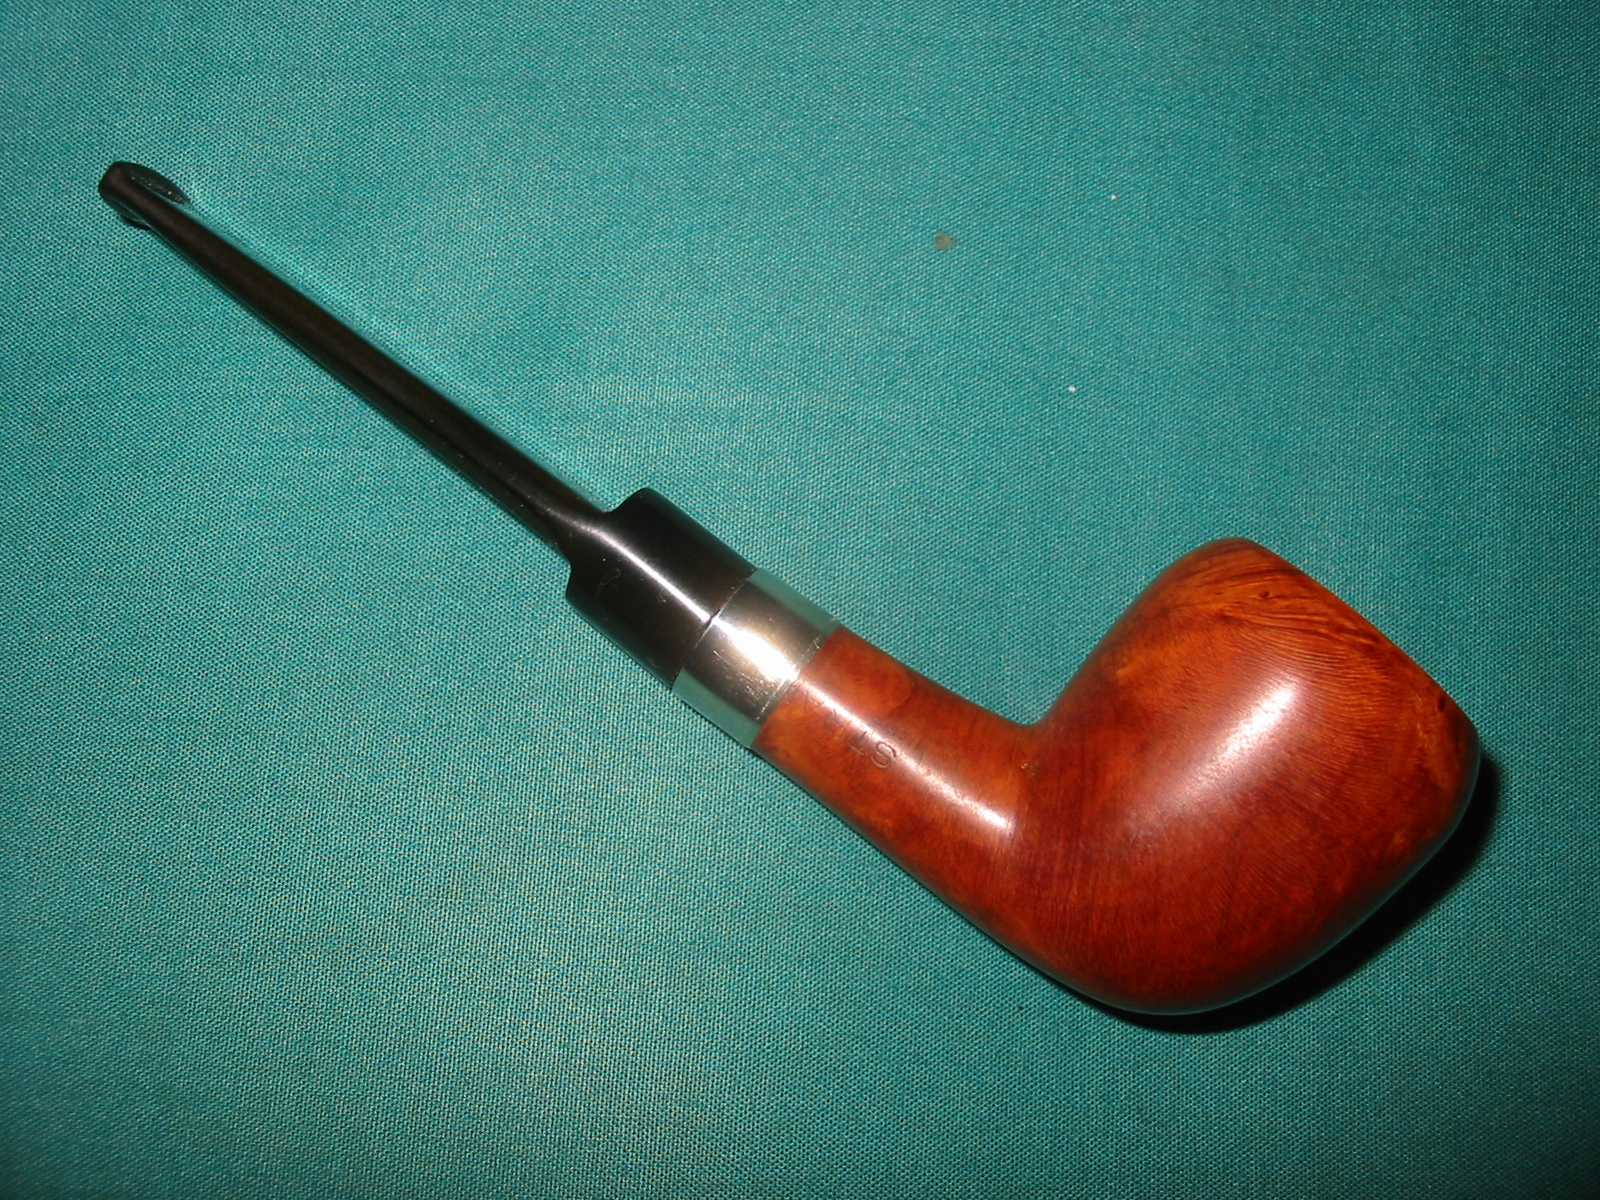
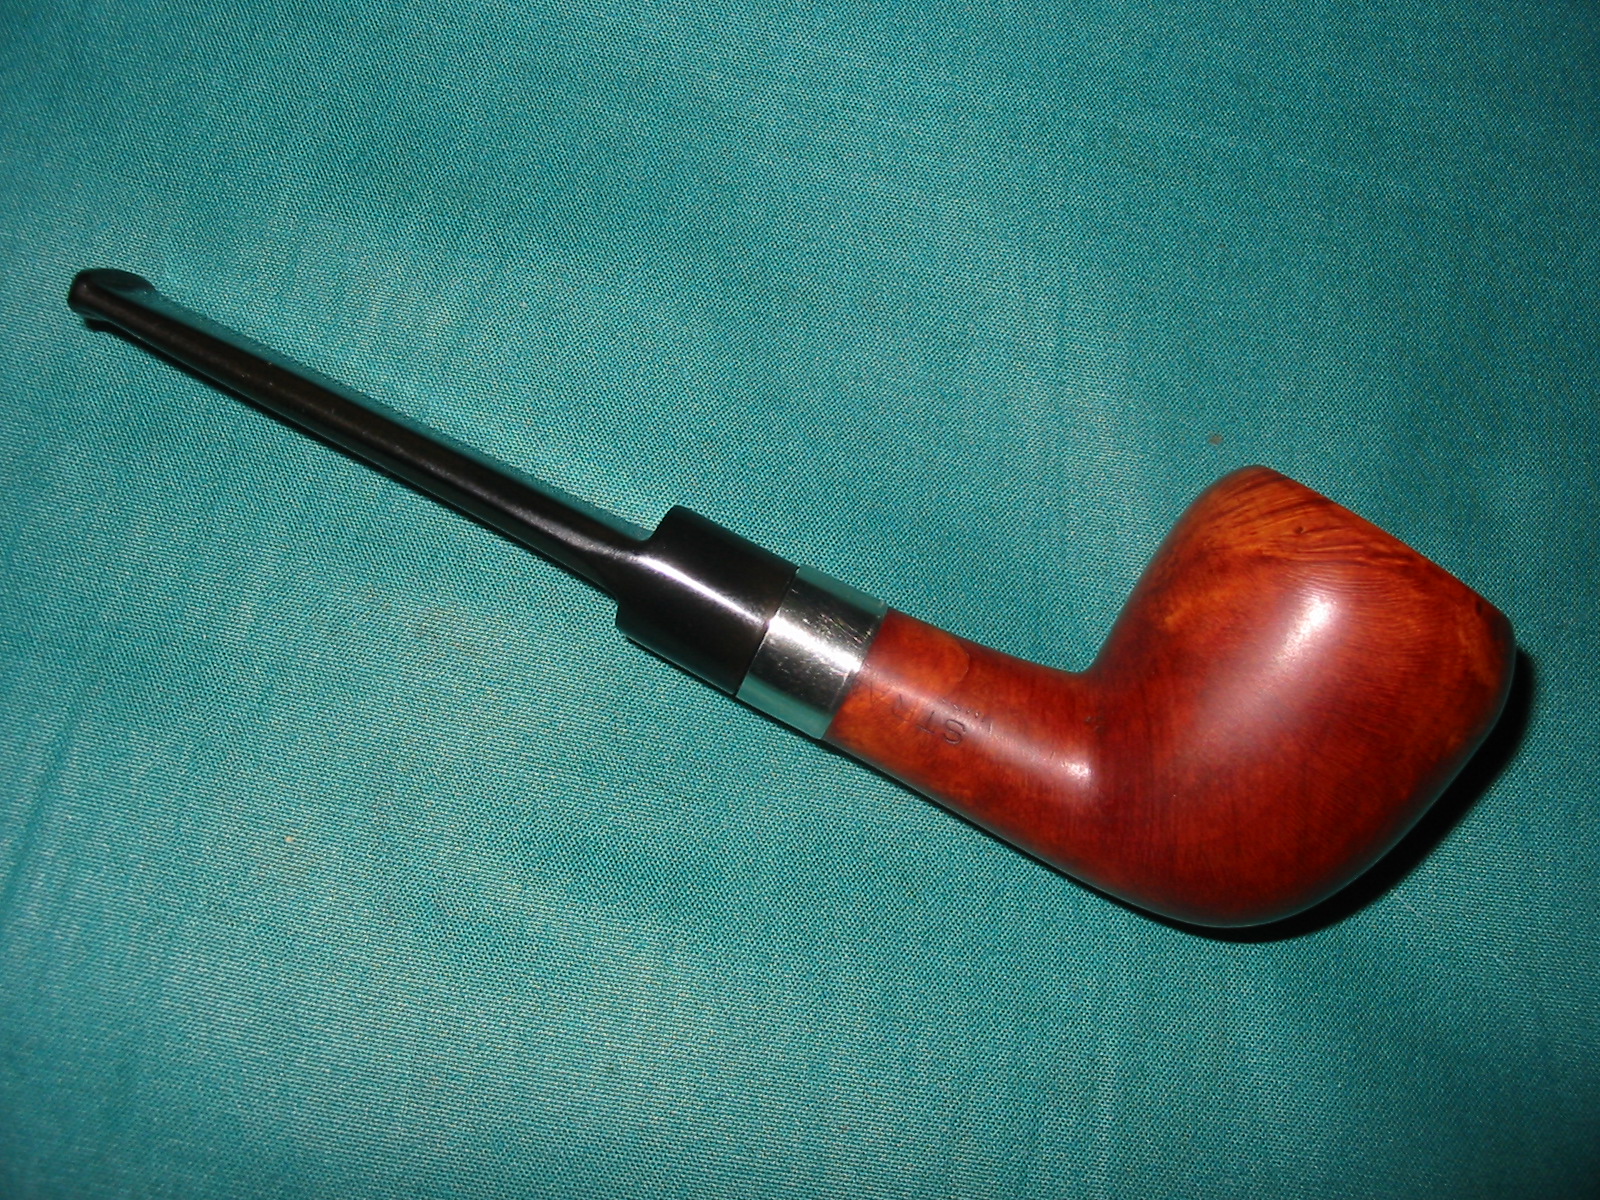
A few days ago I received a Stanwell Black Diamond shape 185 in the mail, gifted to me from an Instagram friend. It was a pipe he’d bought as an estate and hadn’t touched. When it arrived it was a “dress black” pipe, covered with a matte black opaque finish that needed some TLC: the rim was a bit uneven from being bumped or tapped out, the finish was “thin” in a few spots, with the briar peeking through, and needed to be cleaned internally. I thought I was going to do a quick clean up and smoke it but the story developed into something more soon. So I didn’t plan on all that I ended up doing and didn’t take photos. I even forgot to take a before picture so I’m using a “stock” picture of this model.

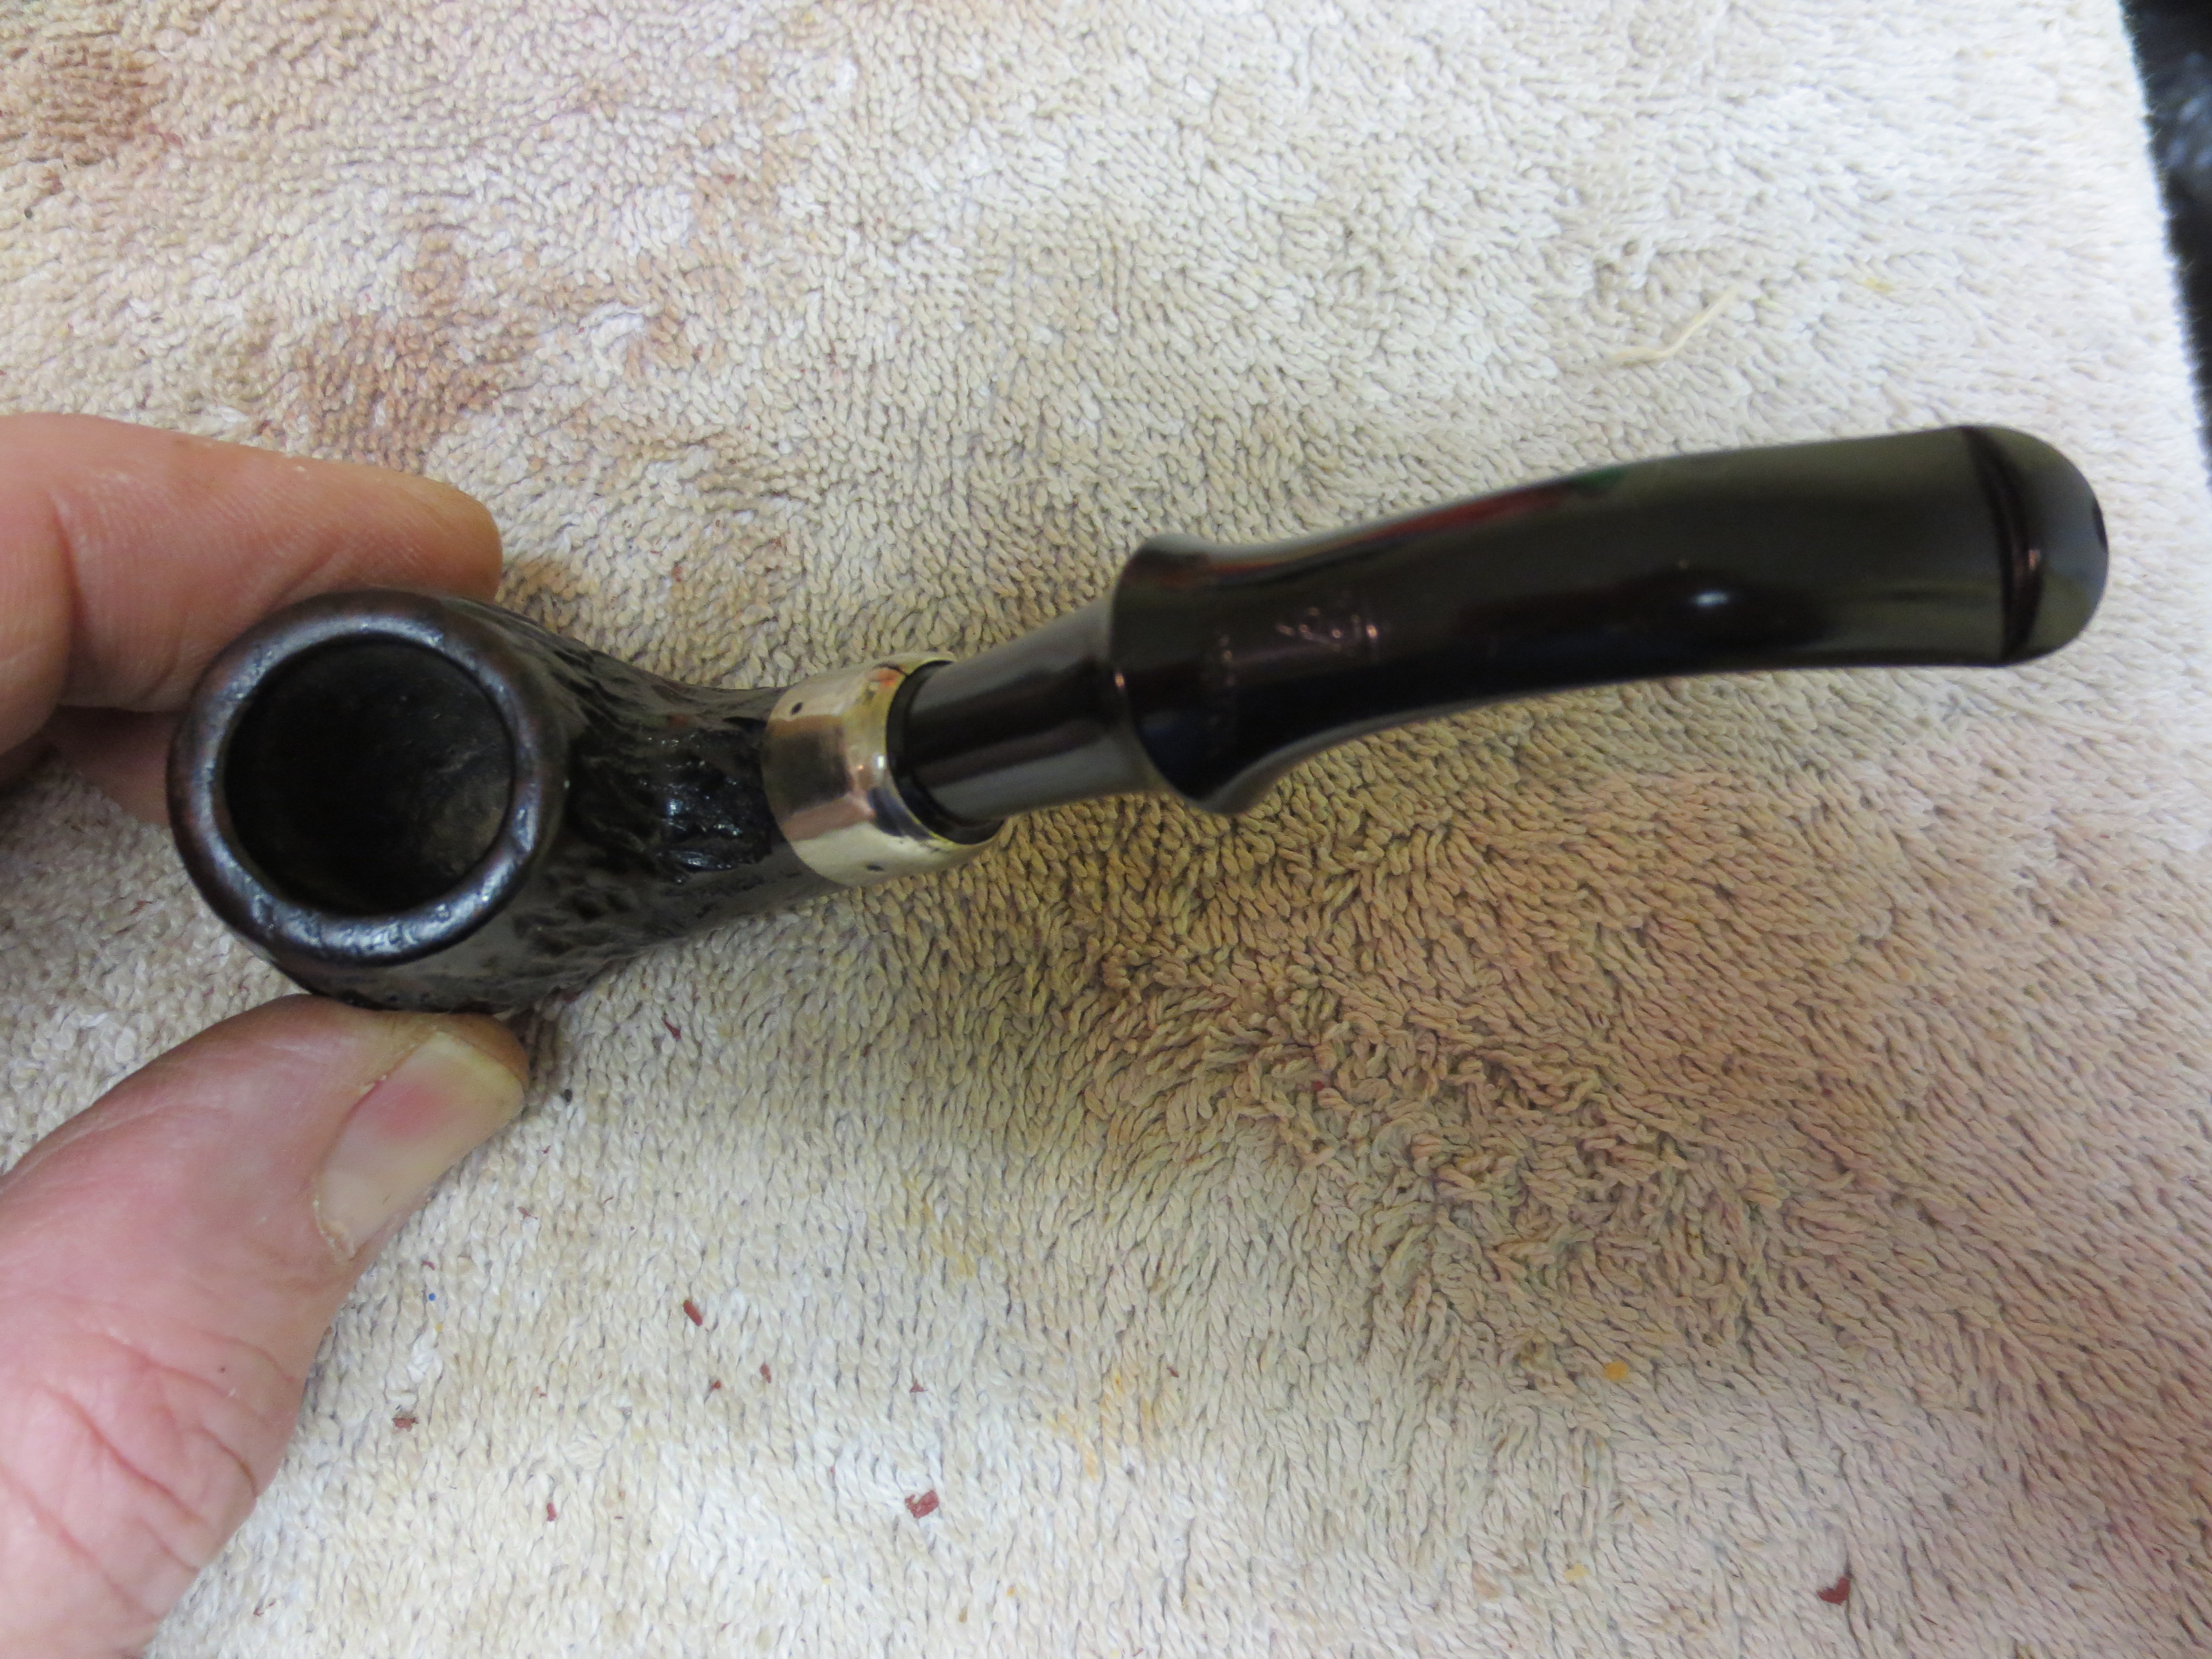
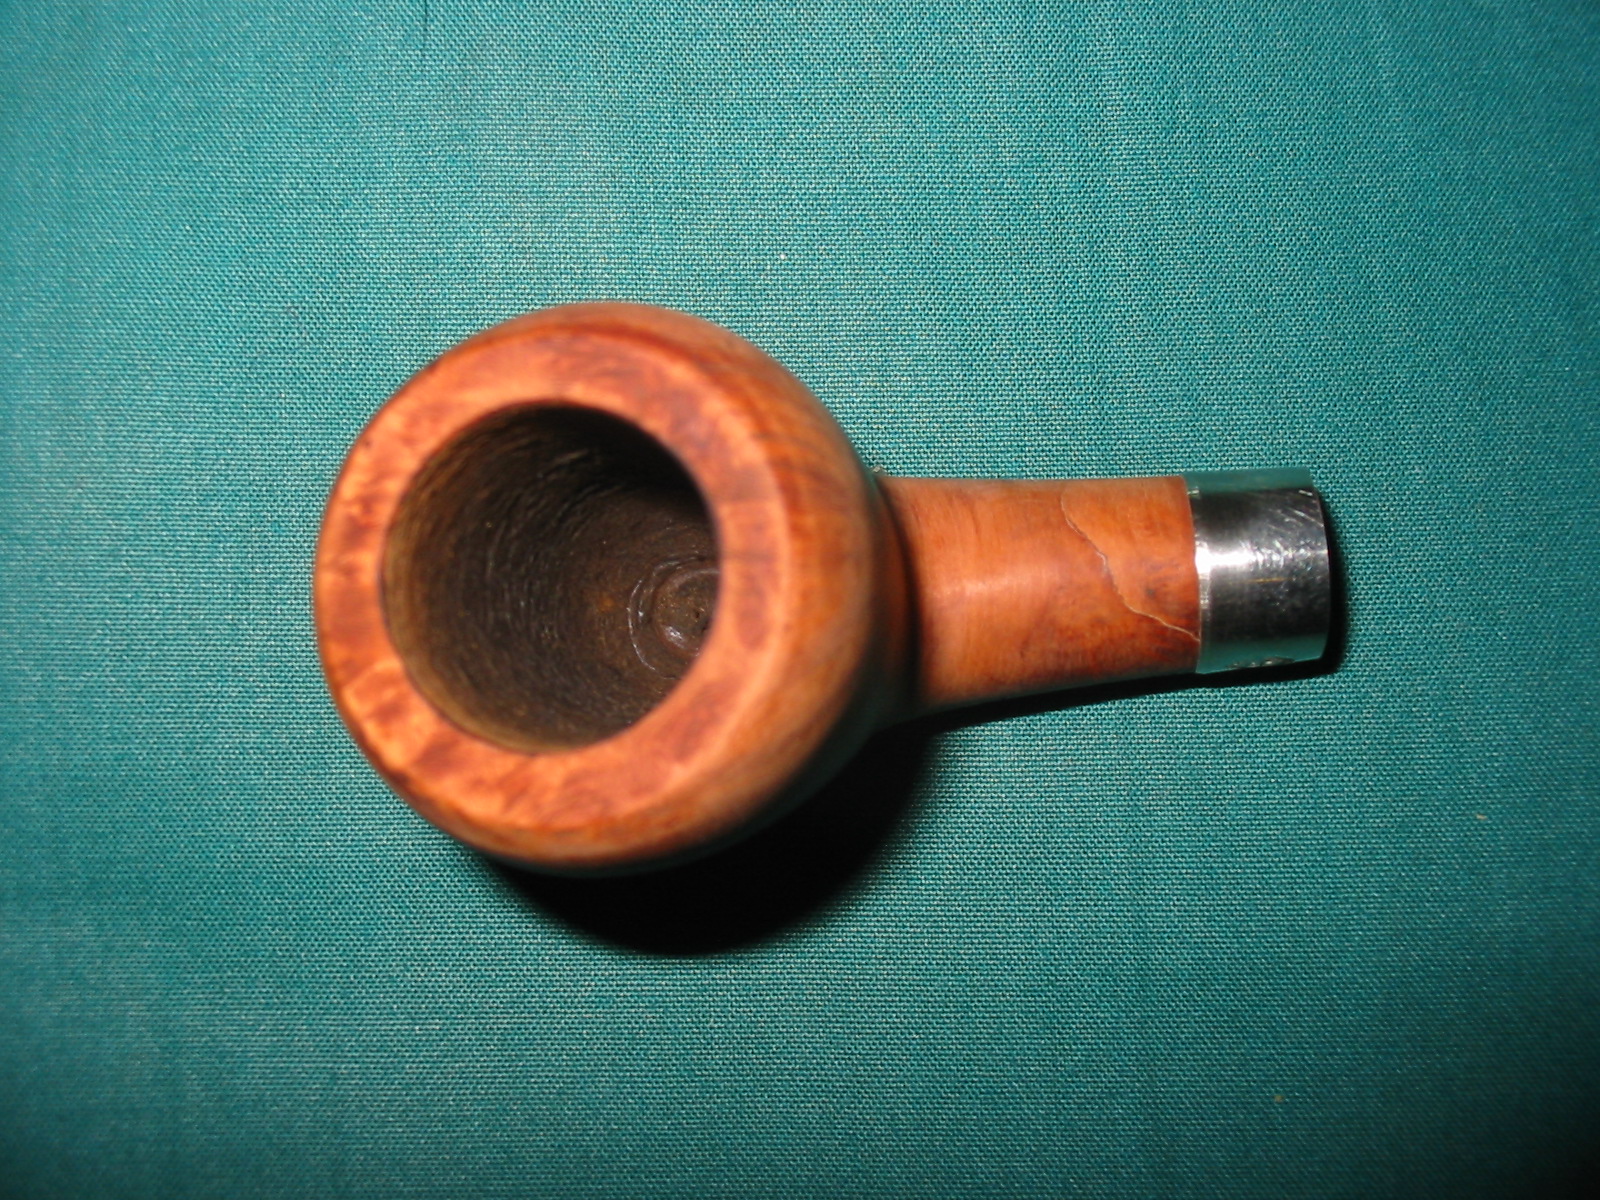
I cleaned the bowl, stem and shank first. This pipe had almost no cake and was not very dirty at all; it took only half dozen or so pipe cleaners to get it done. As I said before, I thought this was be a really fast job when I saw how little use the pipe had had. But it, of course, didn’t turn out quite so simple.

I wiped the stummel down with alcohol to clean off the surface and prepare it for a treatment with a new idea I had: colored wax. Some time back, Steve had mentioned to me about a product that Hobby Lobby carried that was a rub on/rub off wax that comes in different colors and might be good to highlight stem or shank nomenclature. I picked up a tube of black and have tried it once or twice with less than great results. But I thought it might be just the thing to touch up the black finish on this pipe and shine it up, too. The alcohol removed a little of the black coat but not too much as I cleaned it so I knew the finish was removable at this pint, in case the idea didn’t work. After the briar dried I rubbed the ebony wax onto the pipe, let it haze and buffed it off by hand. I did about three coats of the wax and wasn’t really thrilled with the pipe, even though the color “took”.

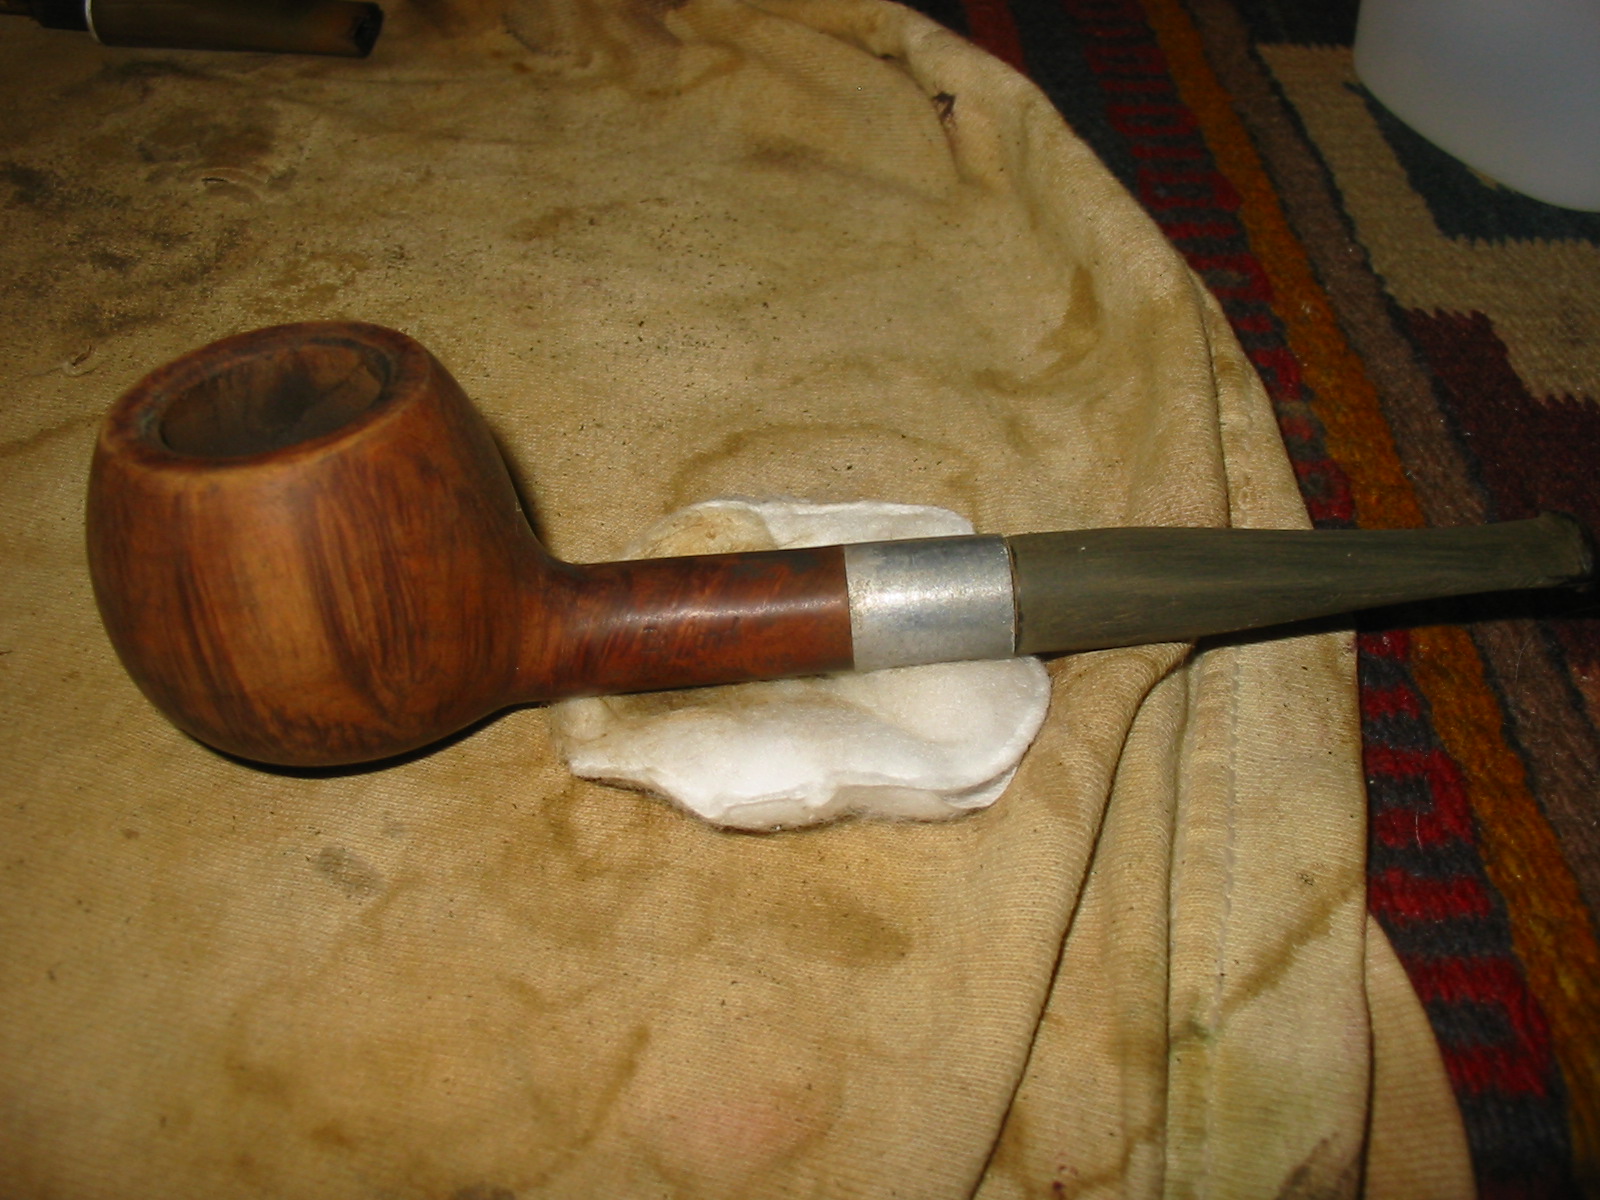
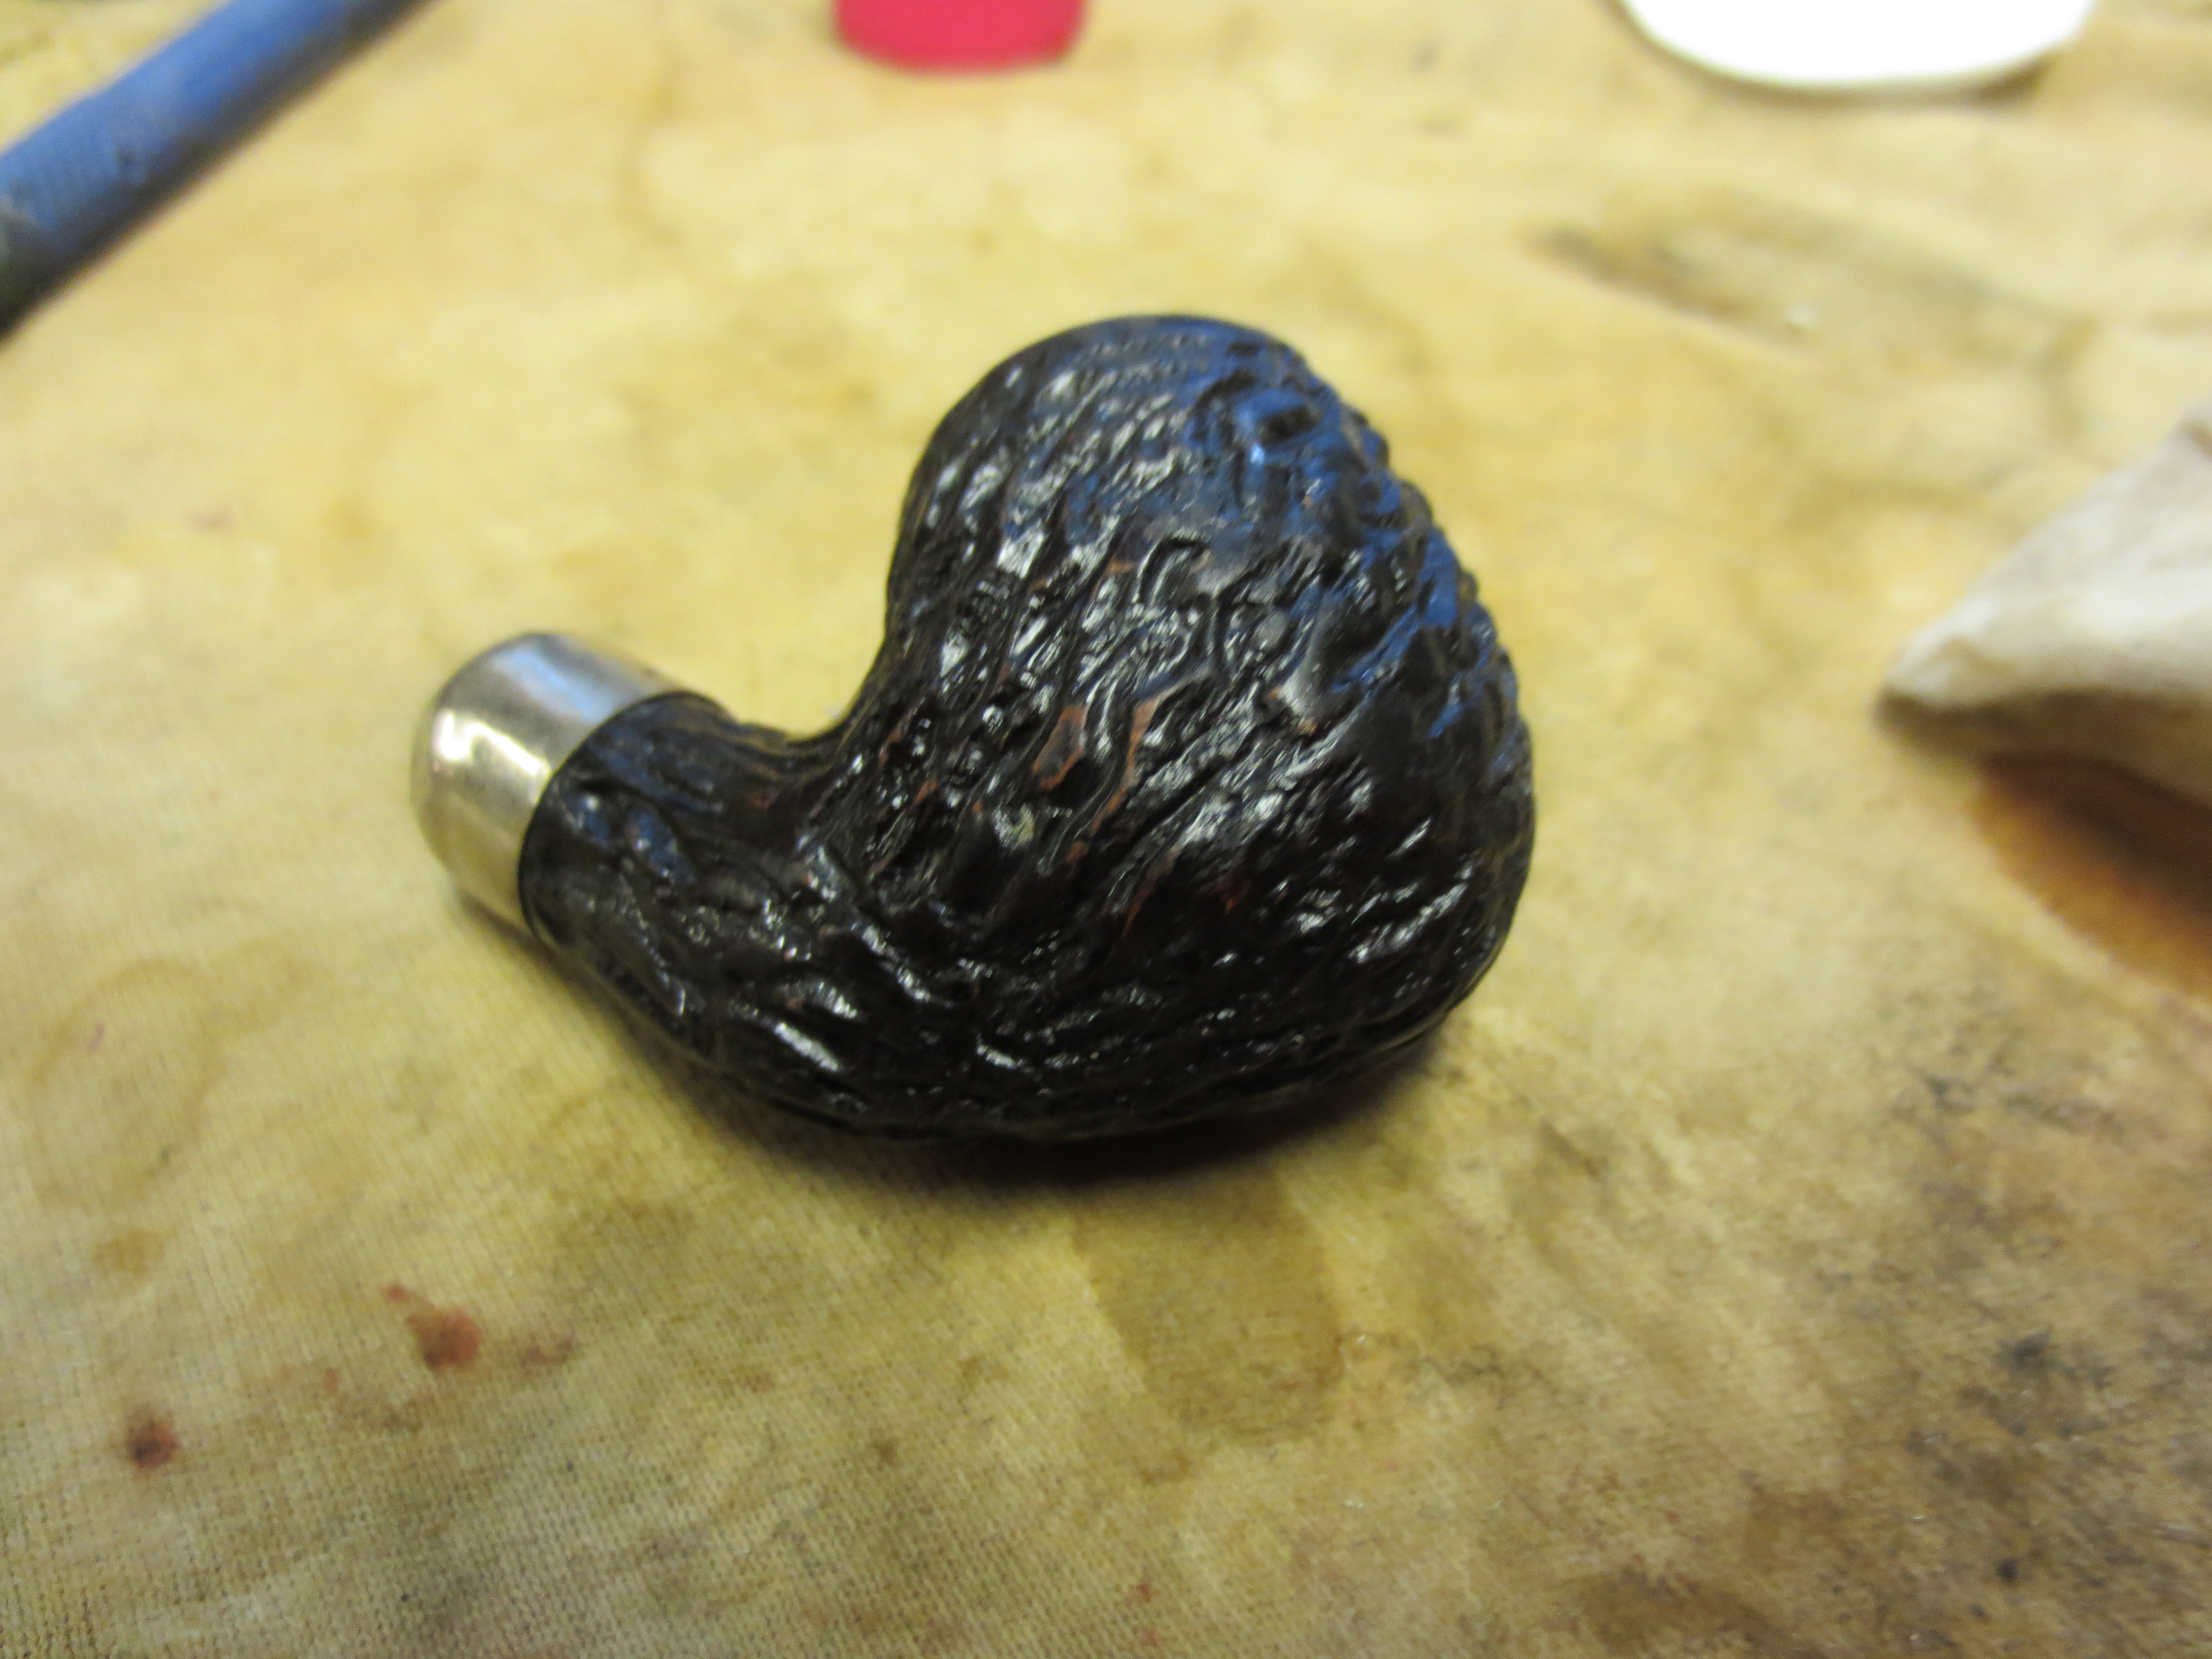
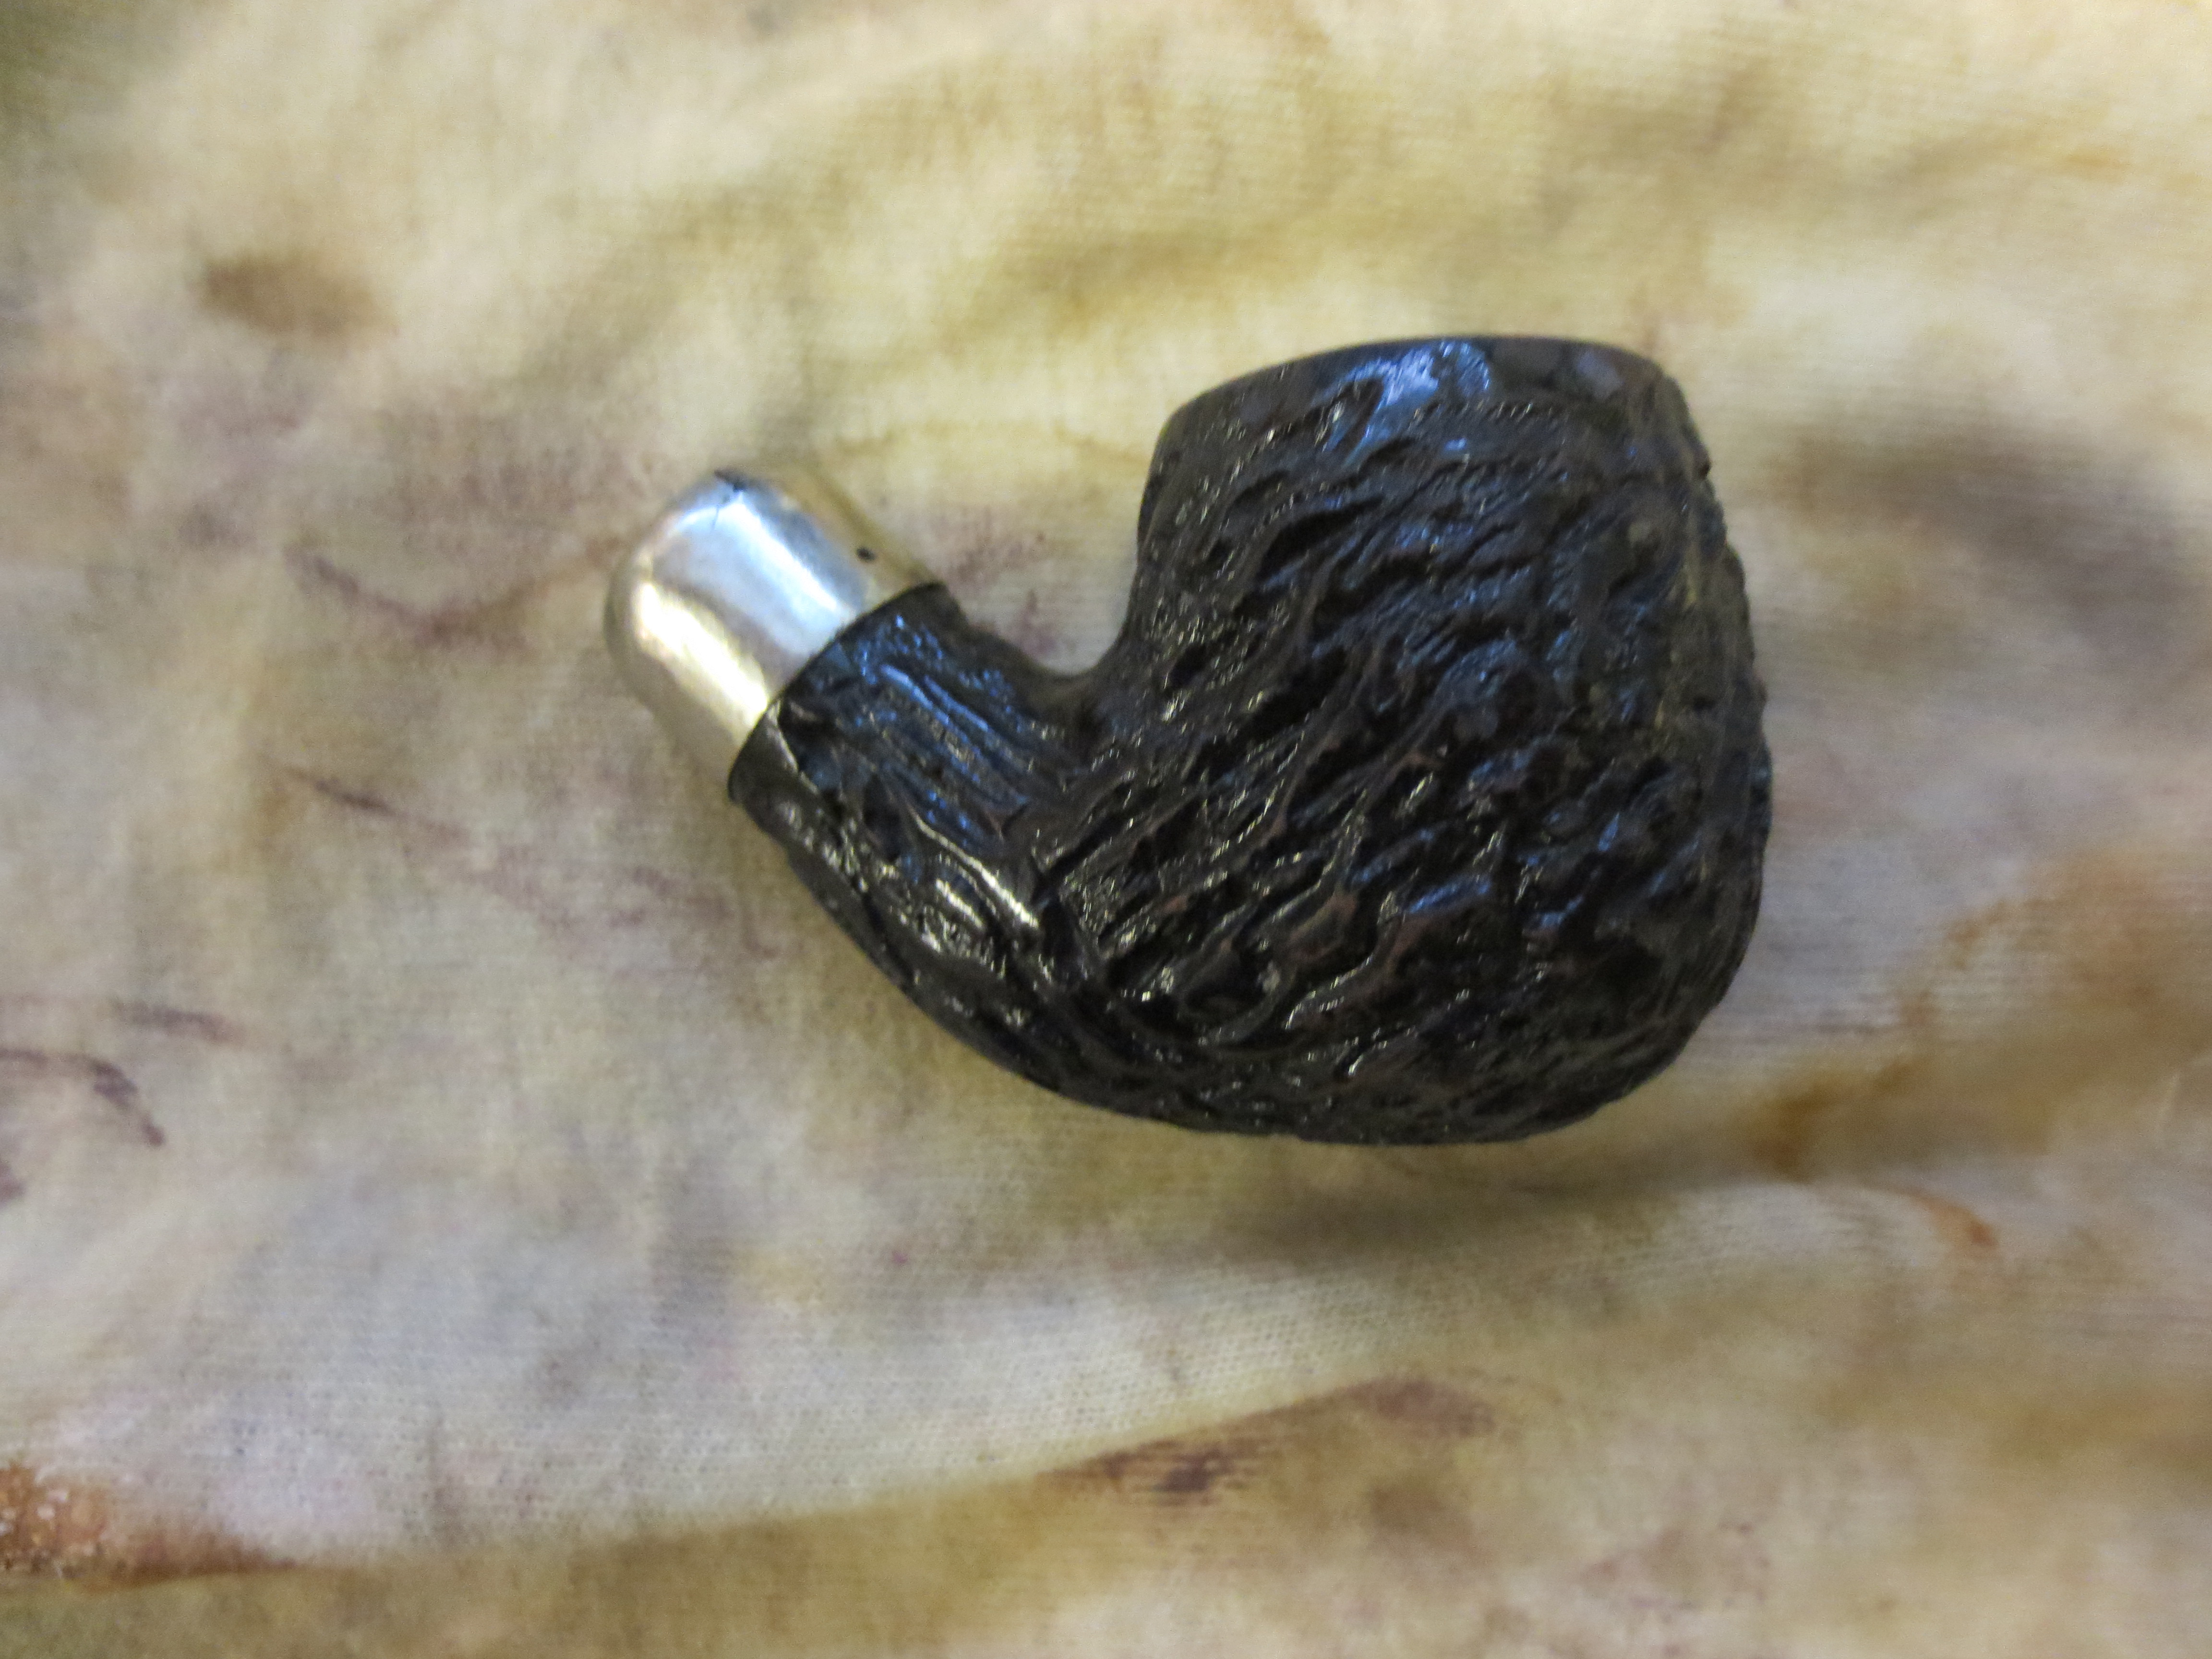
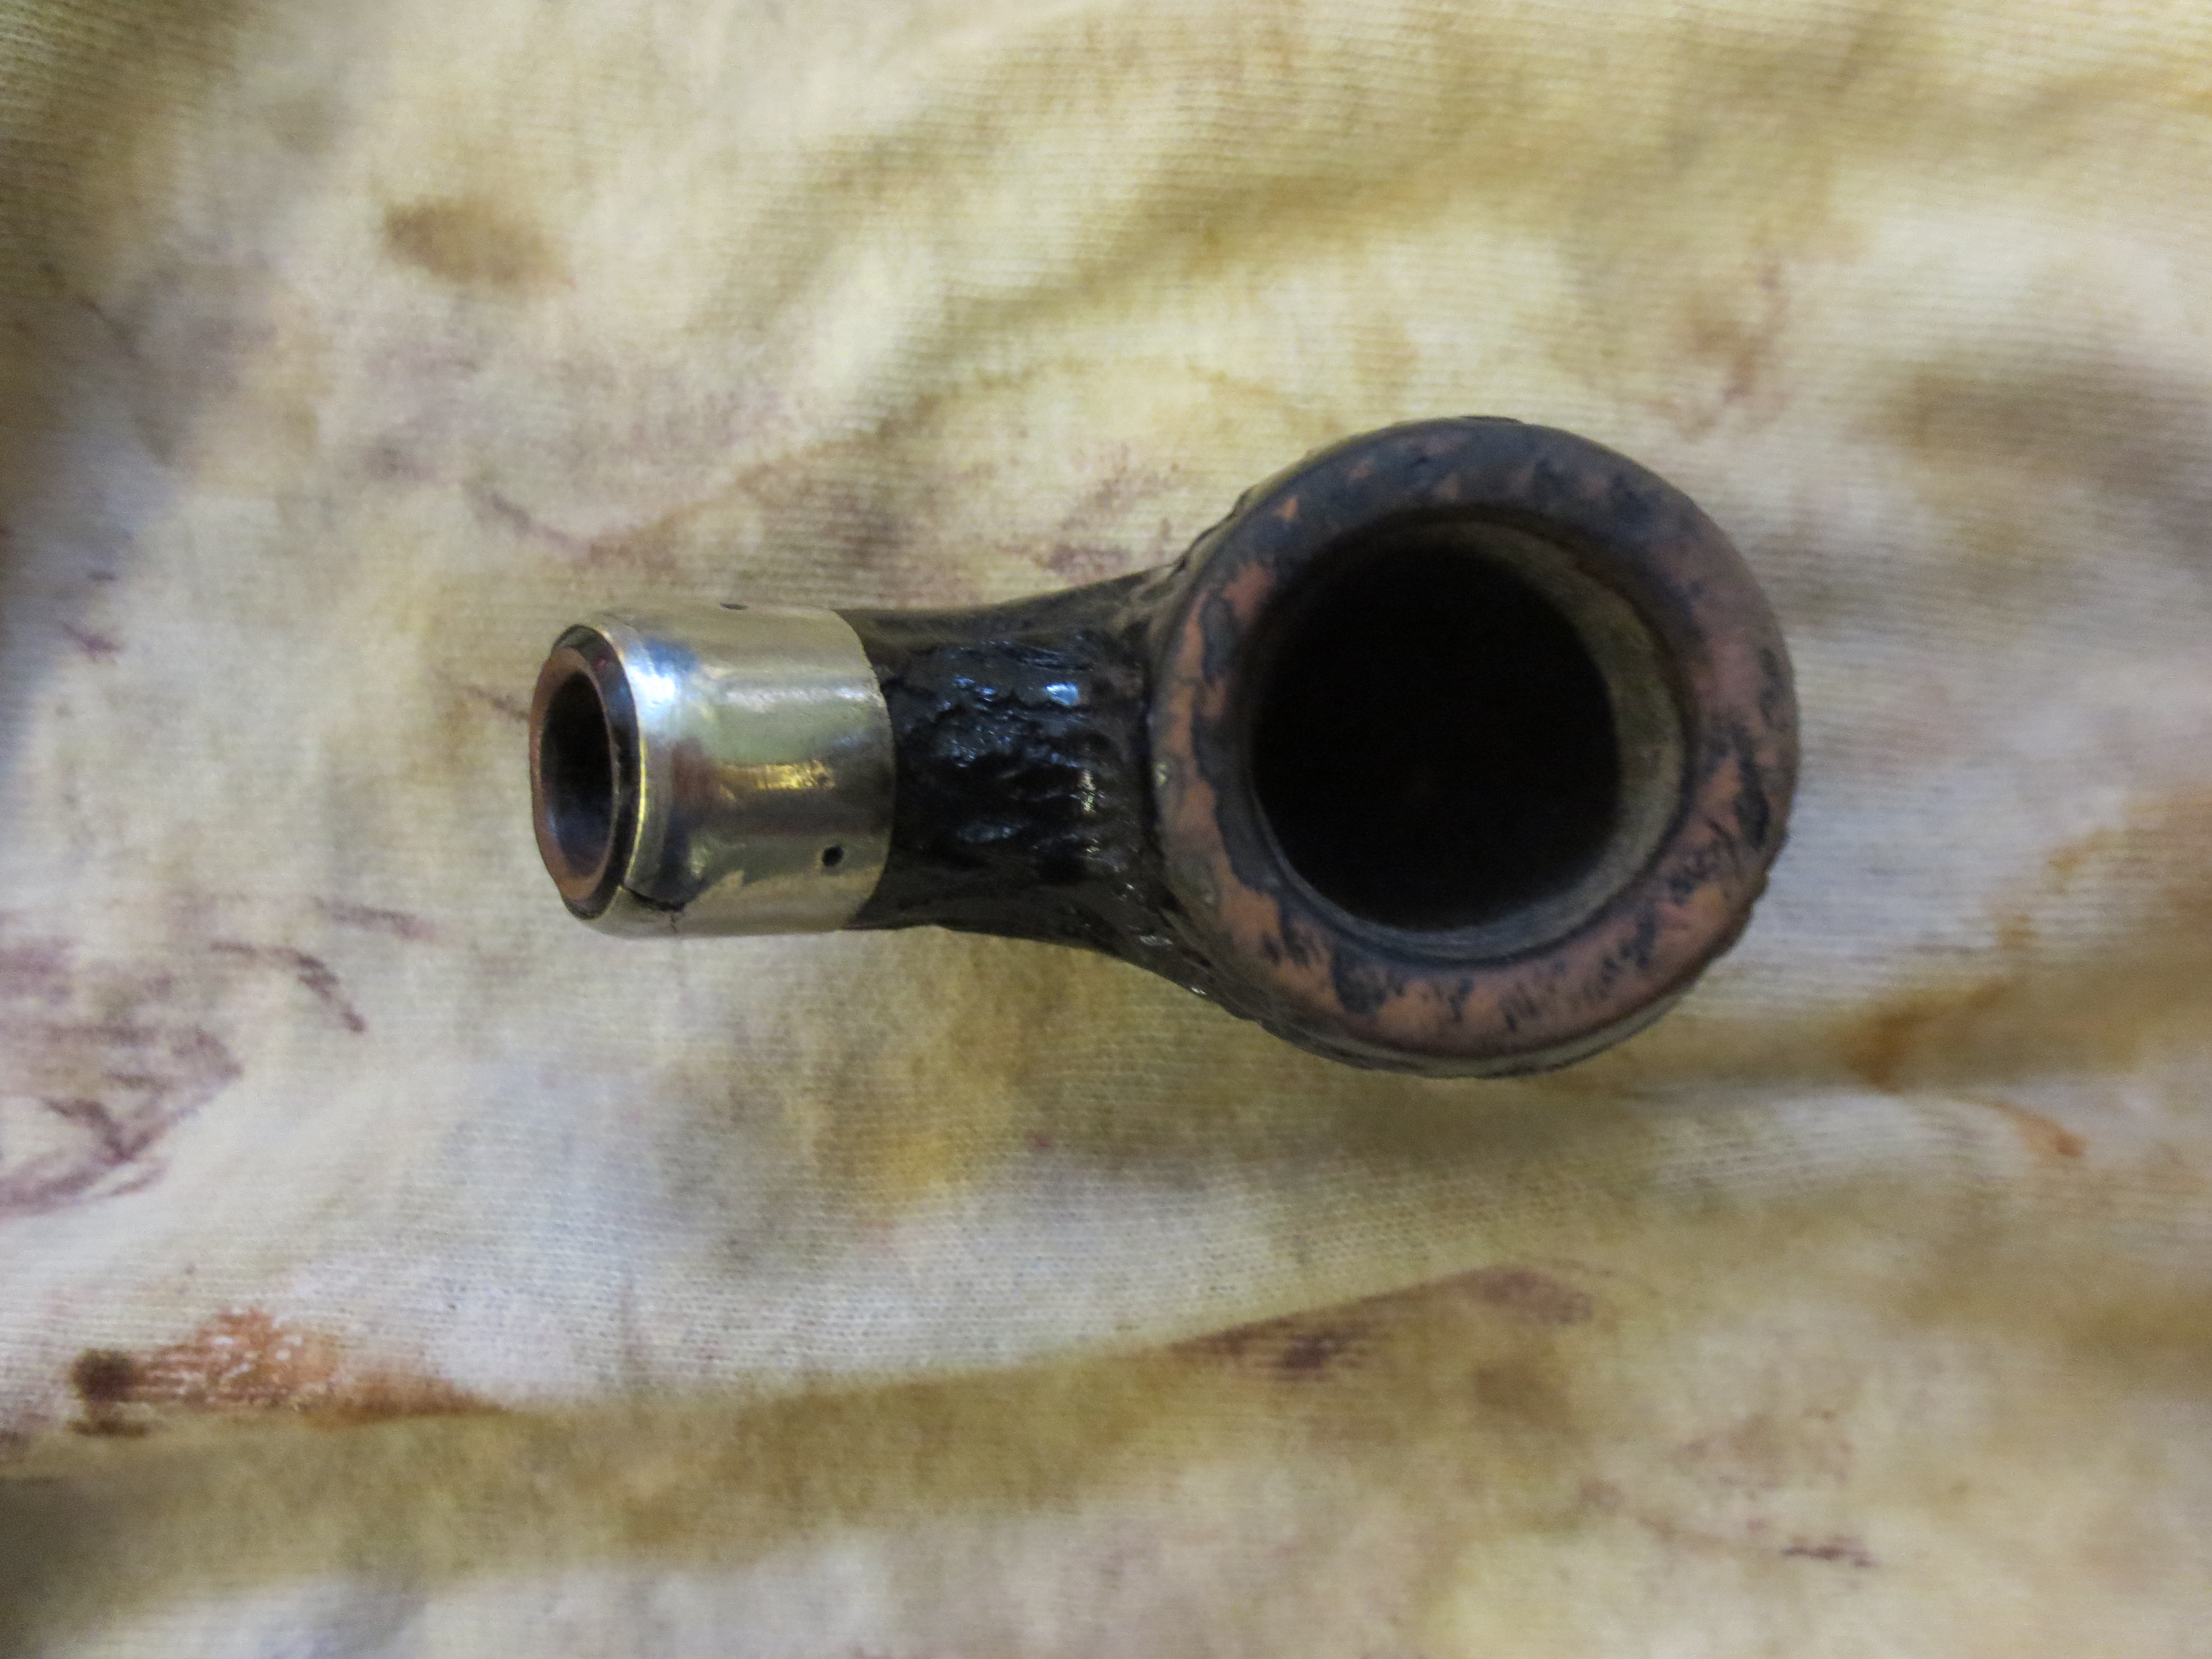
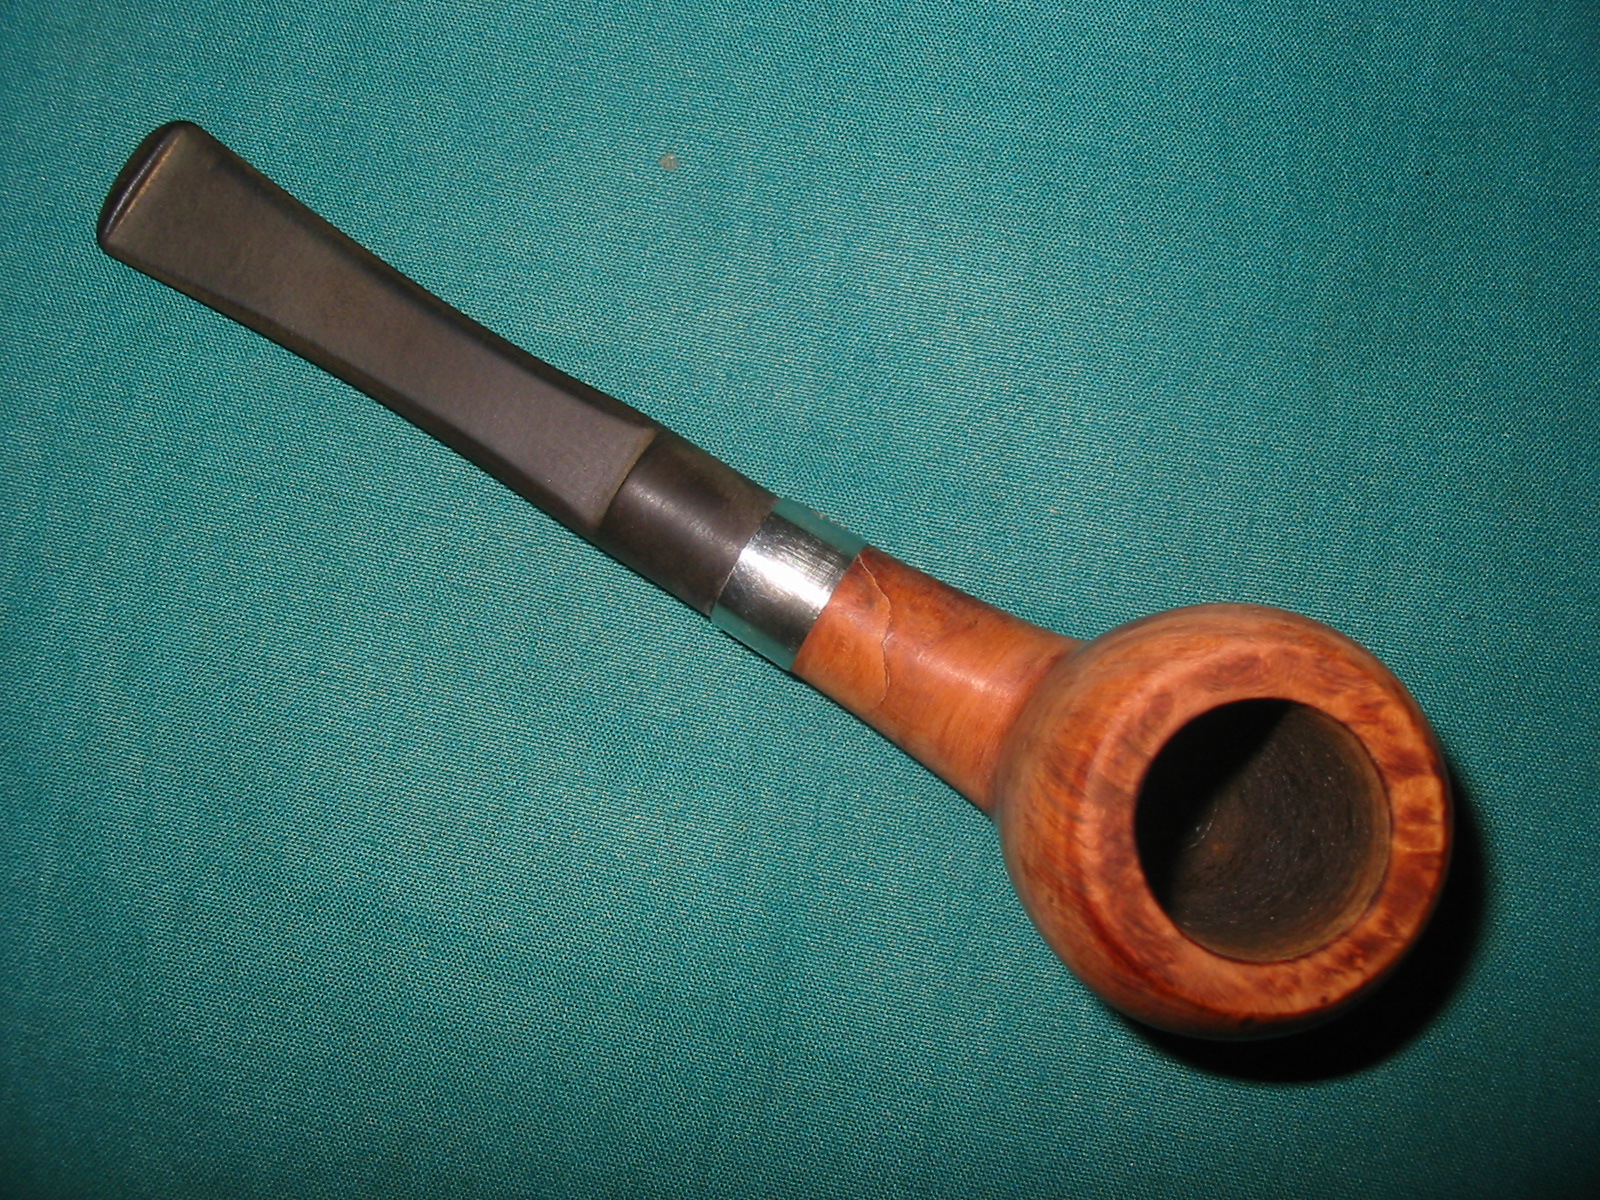
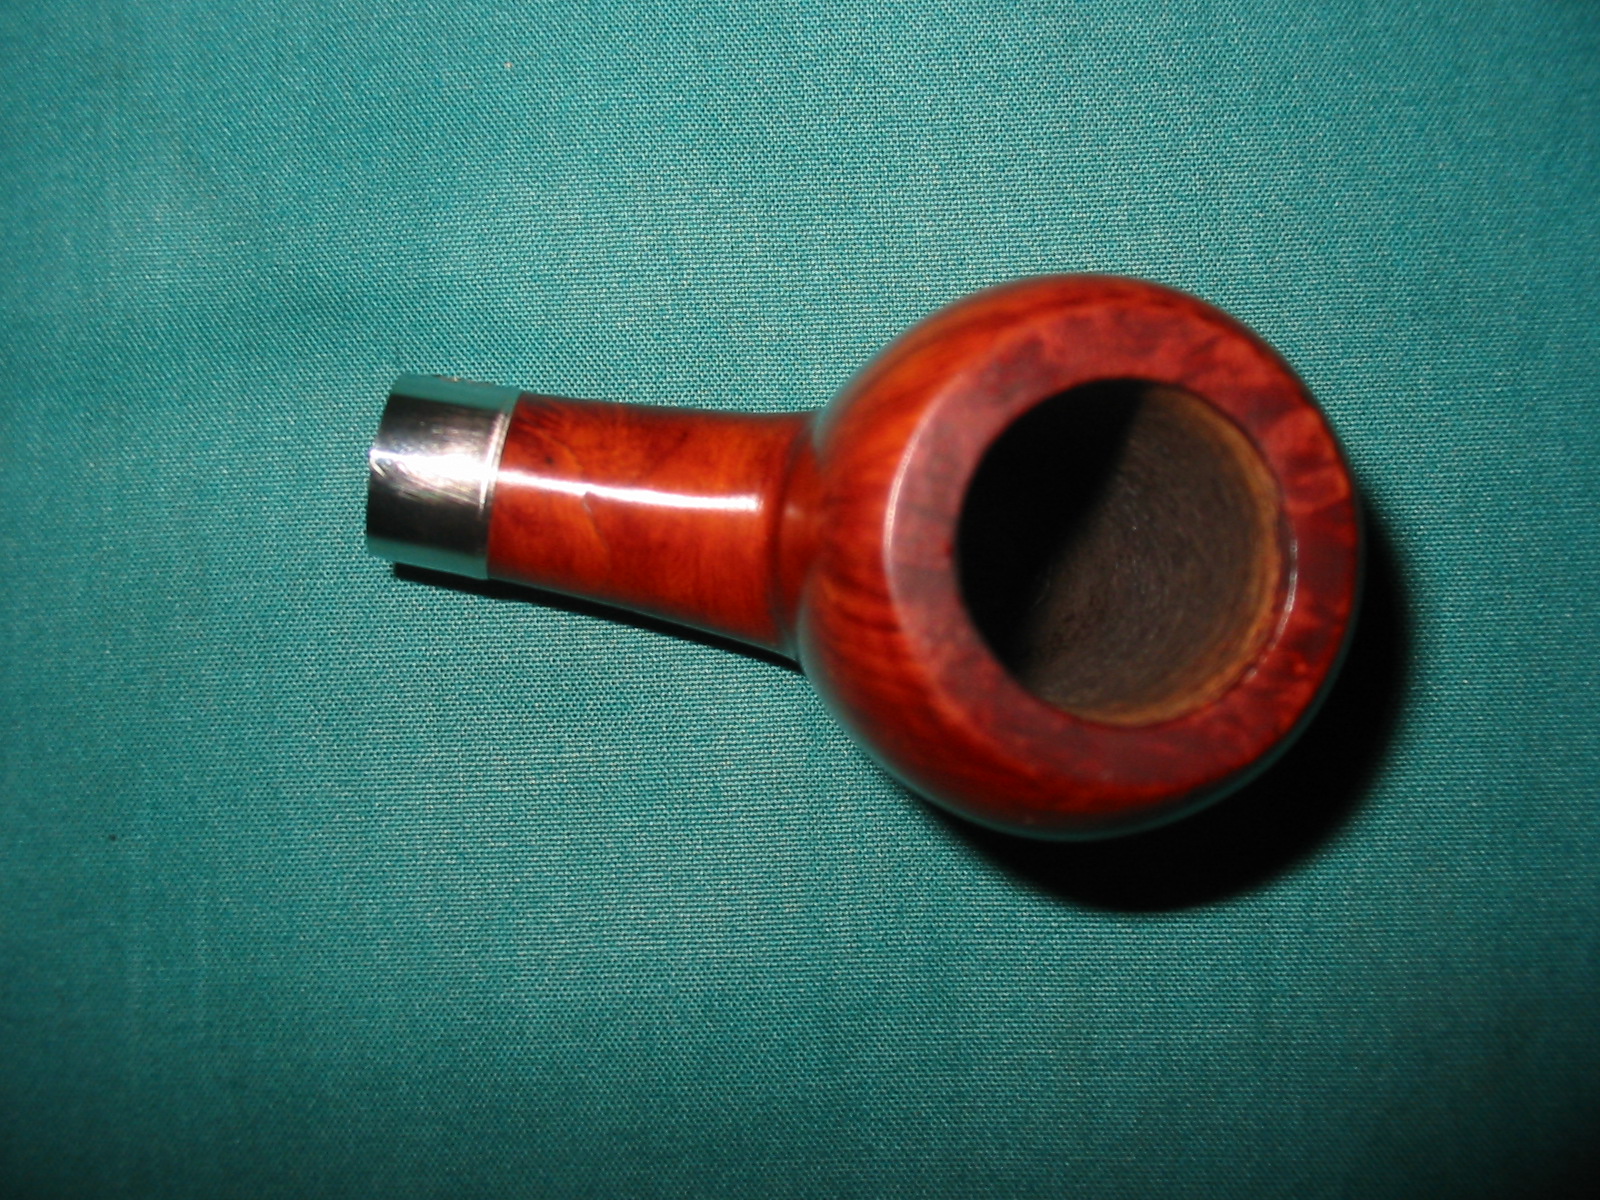
The bumpy rim was irritating to me and I knew it would continue to be a distraction. Although I was worried about what lay under the opaque finish, I decided to top the bowl and go from there. The newly smooth rim pleased me and I couldn’t help but wonder what was under that black coat. So I began to sand the black away to see.

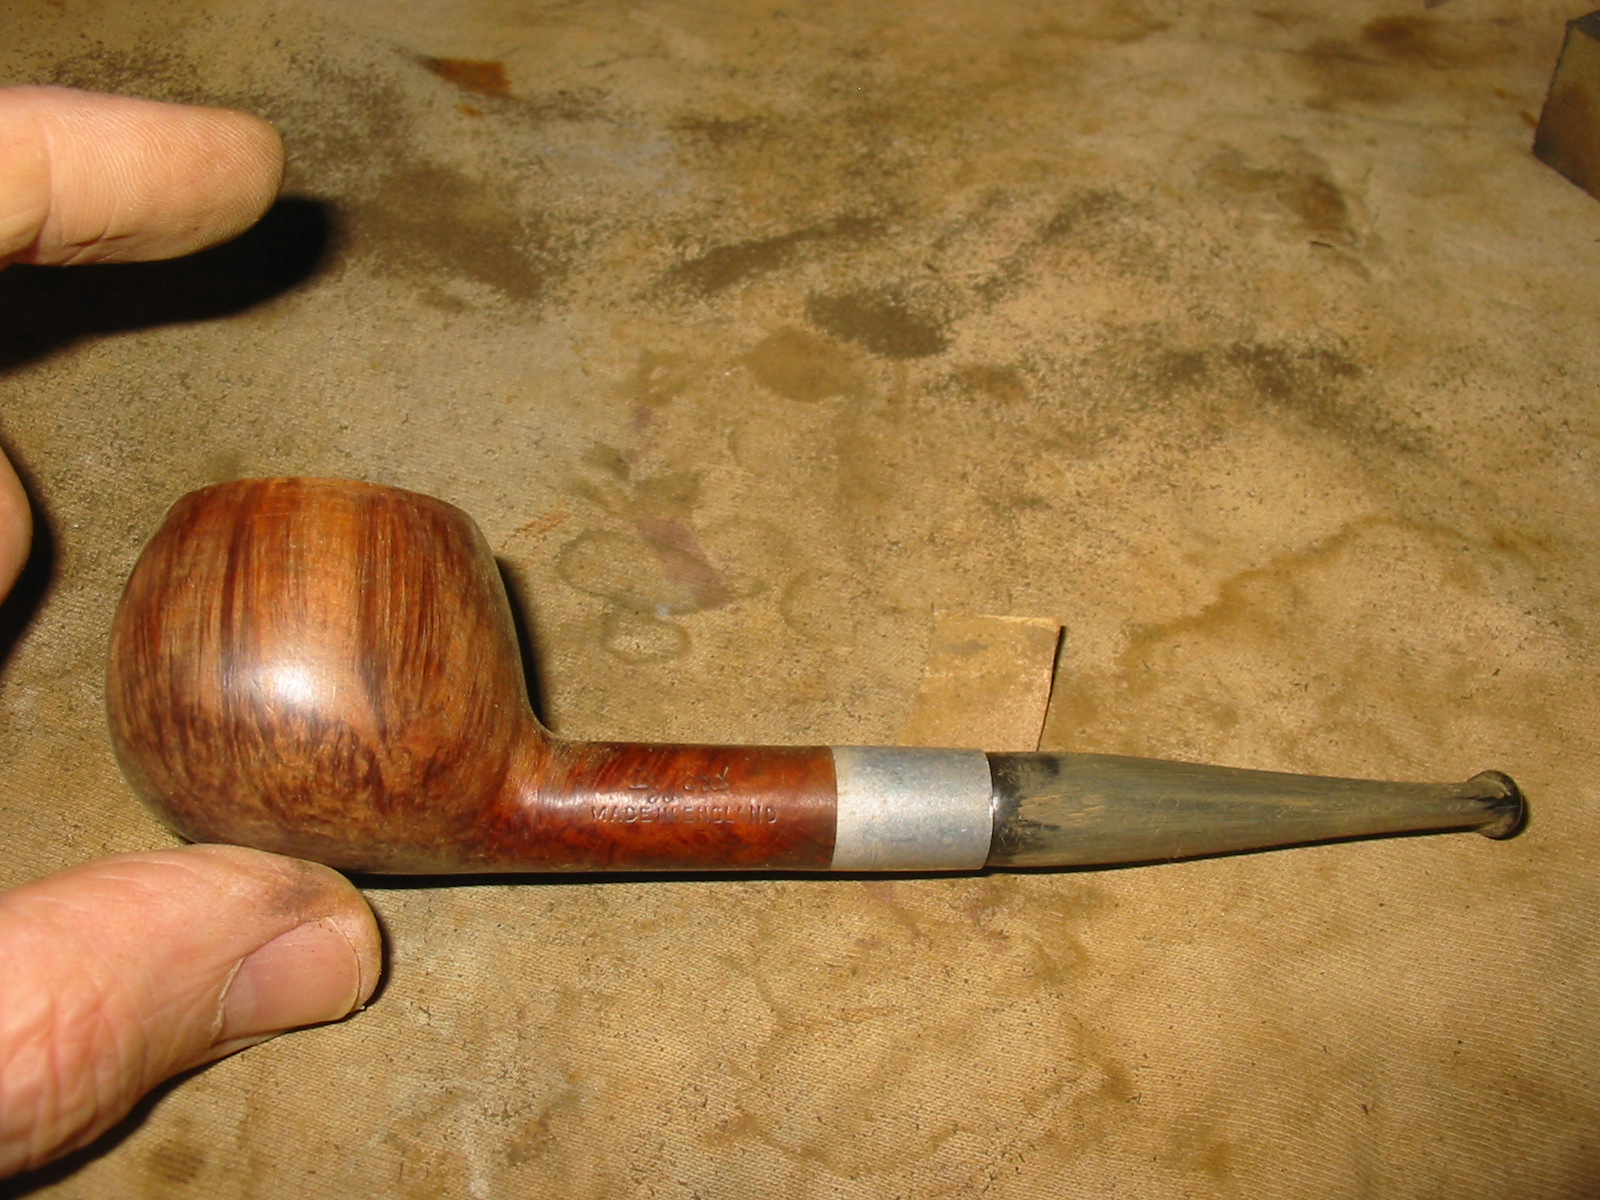
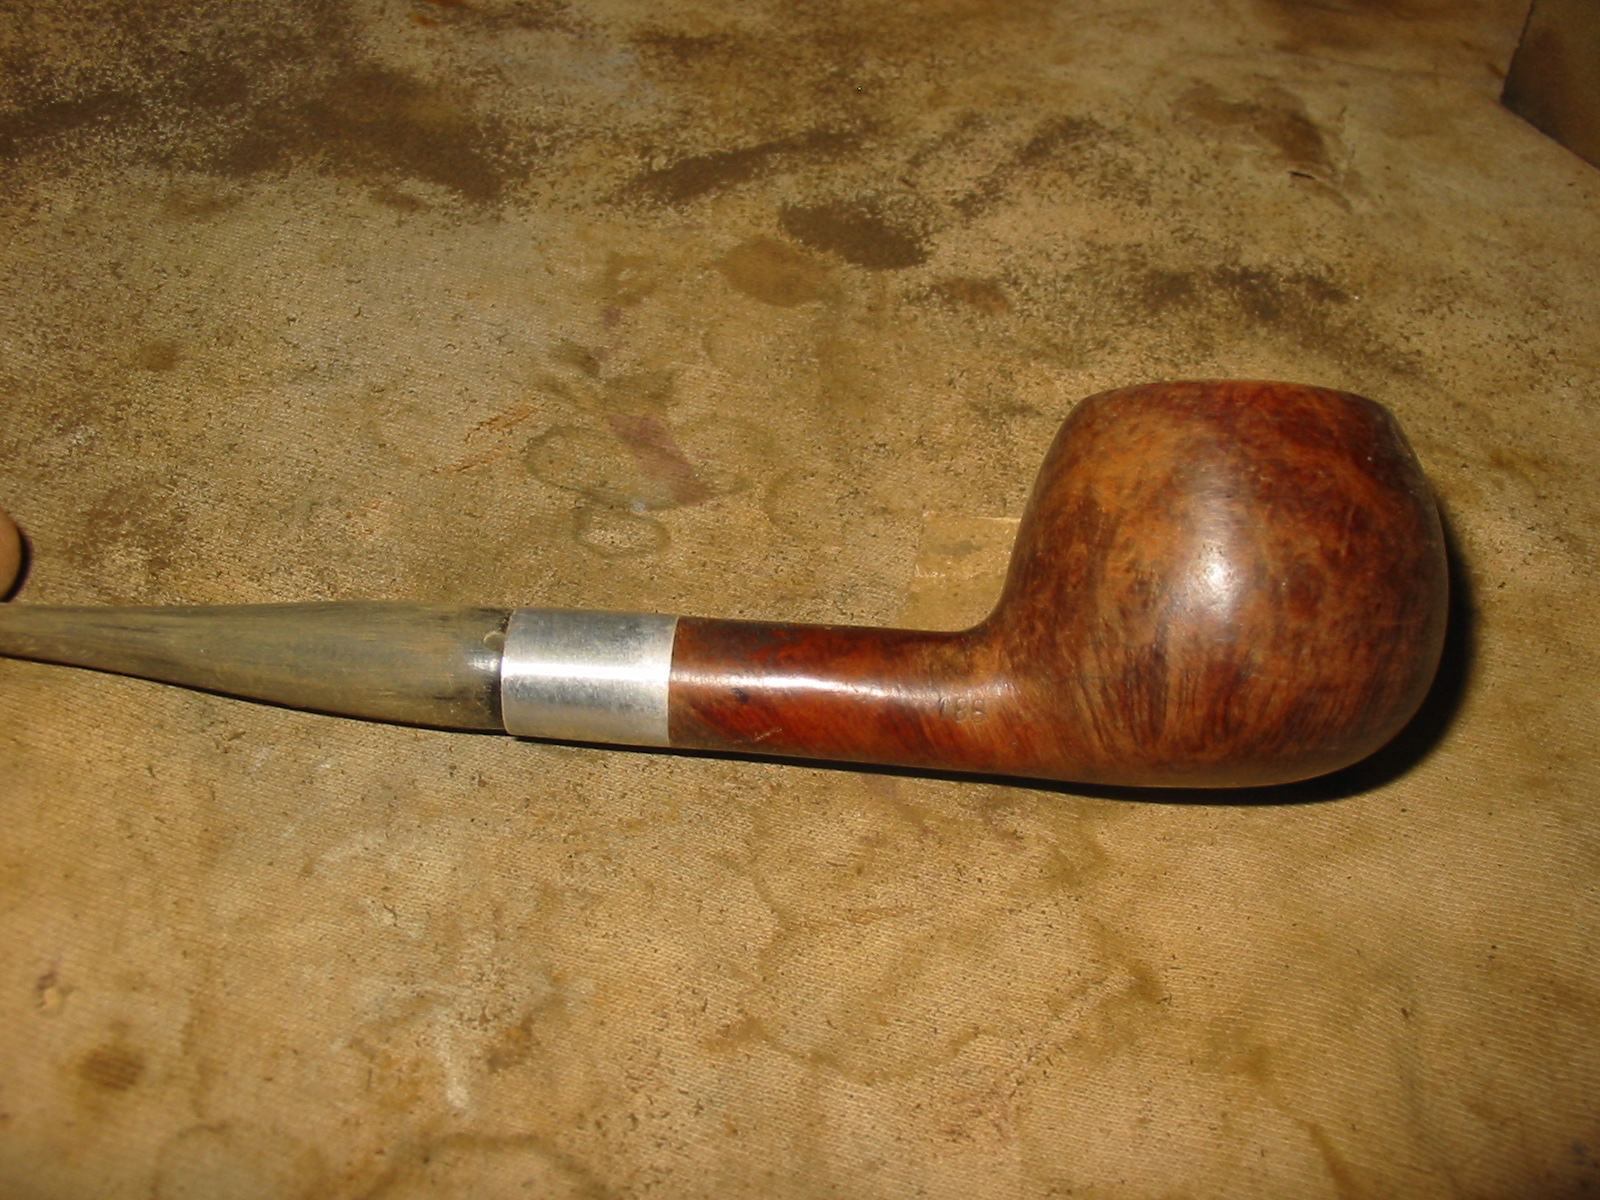
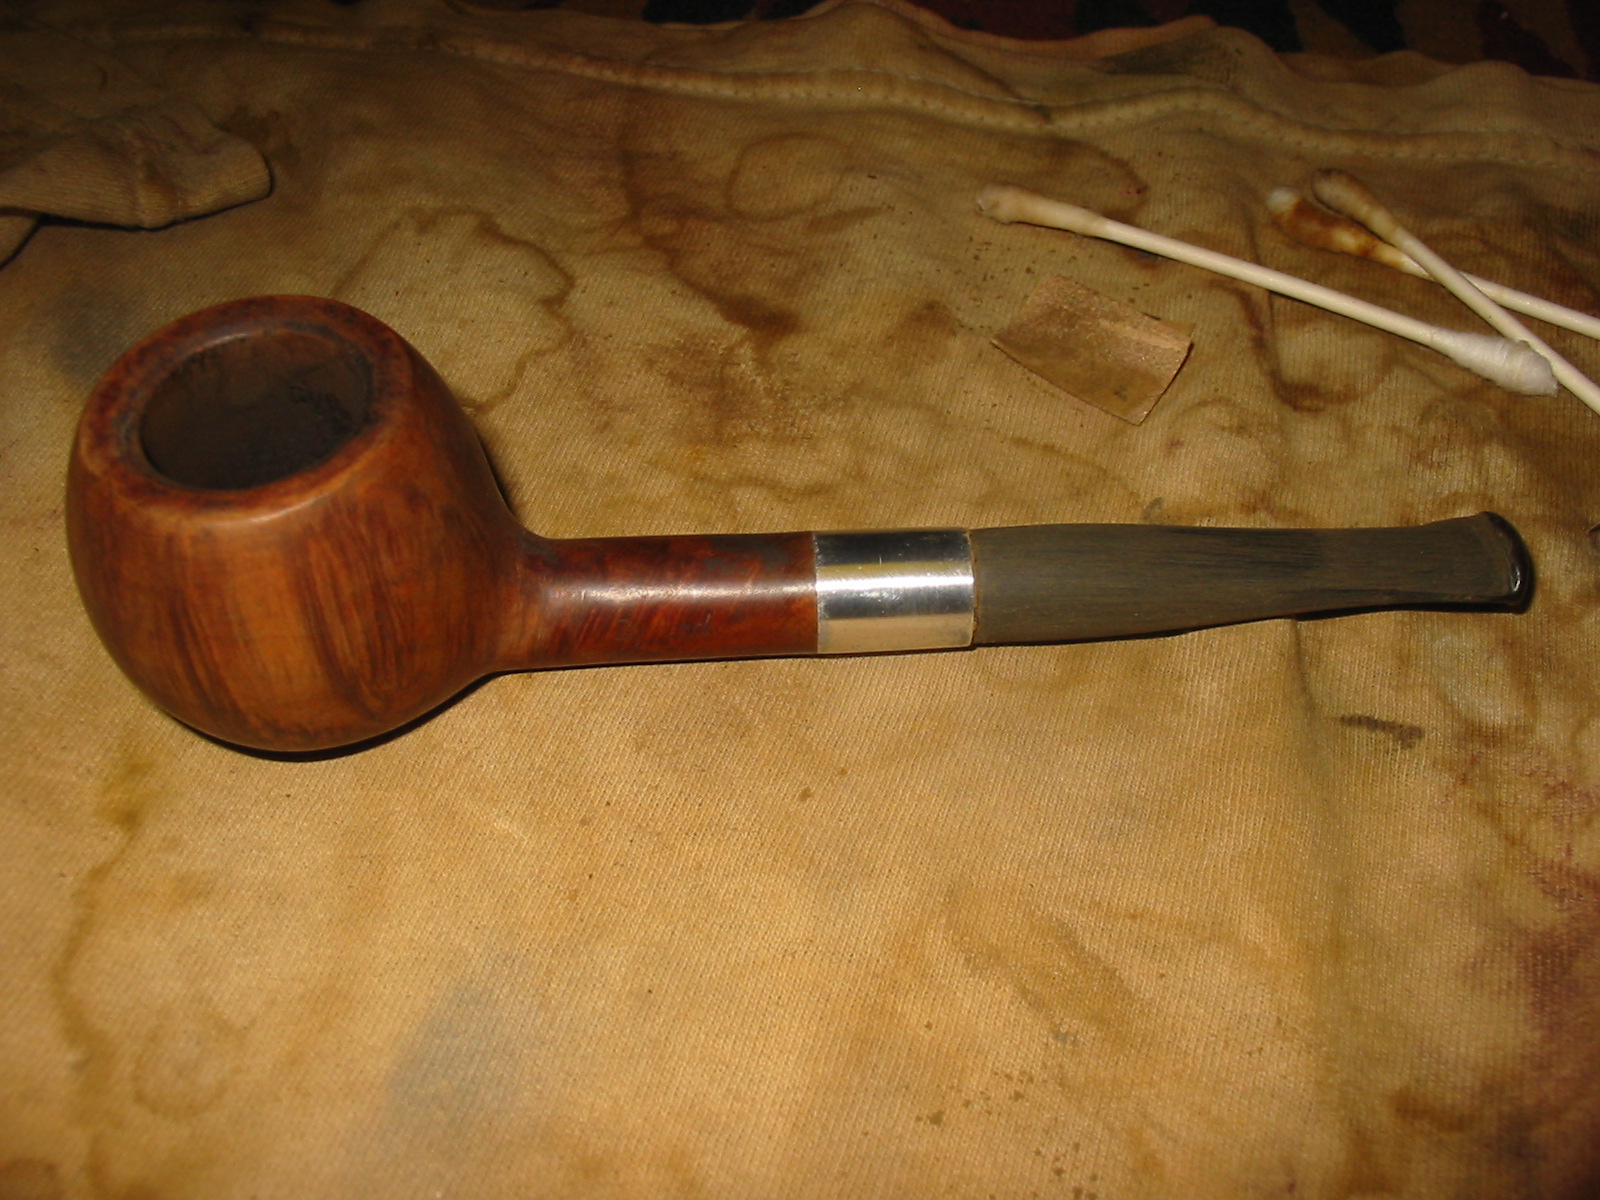
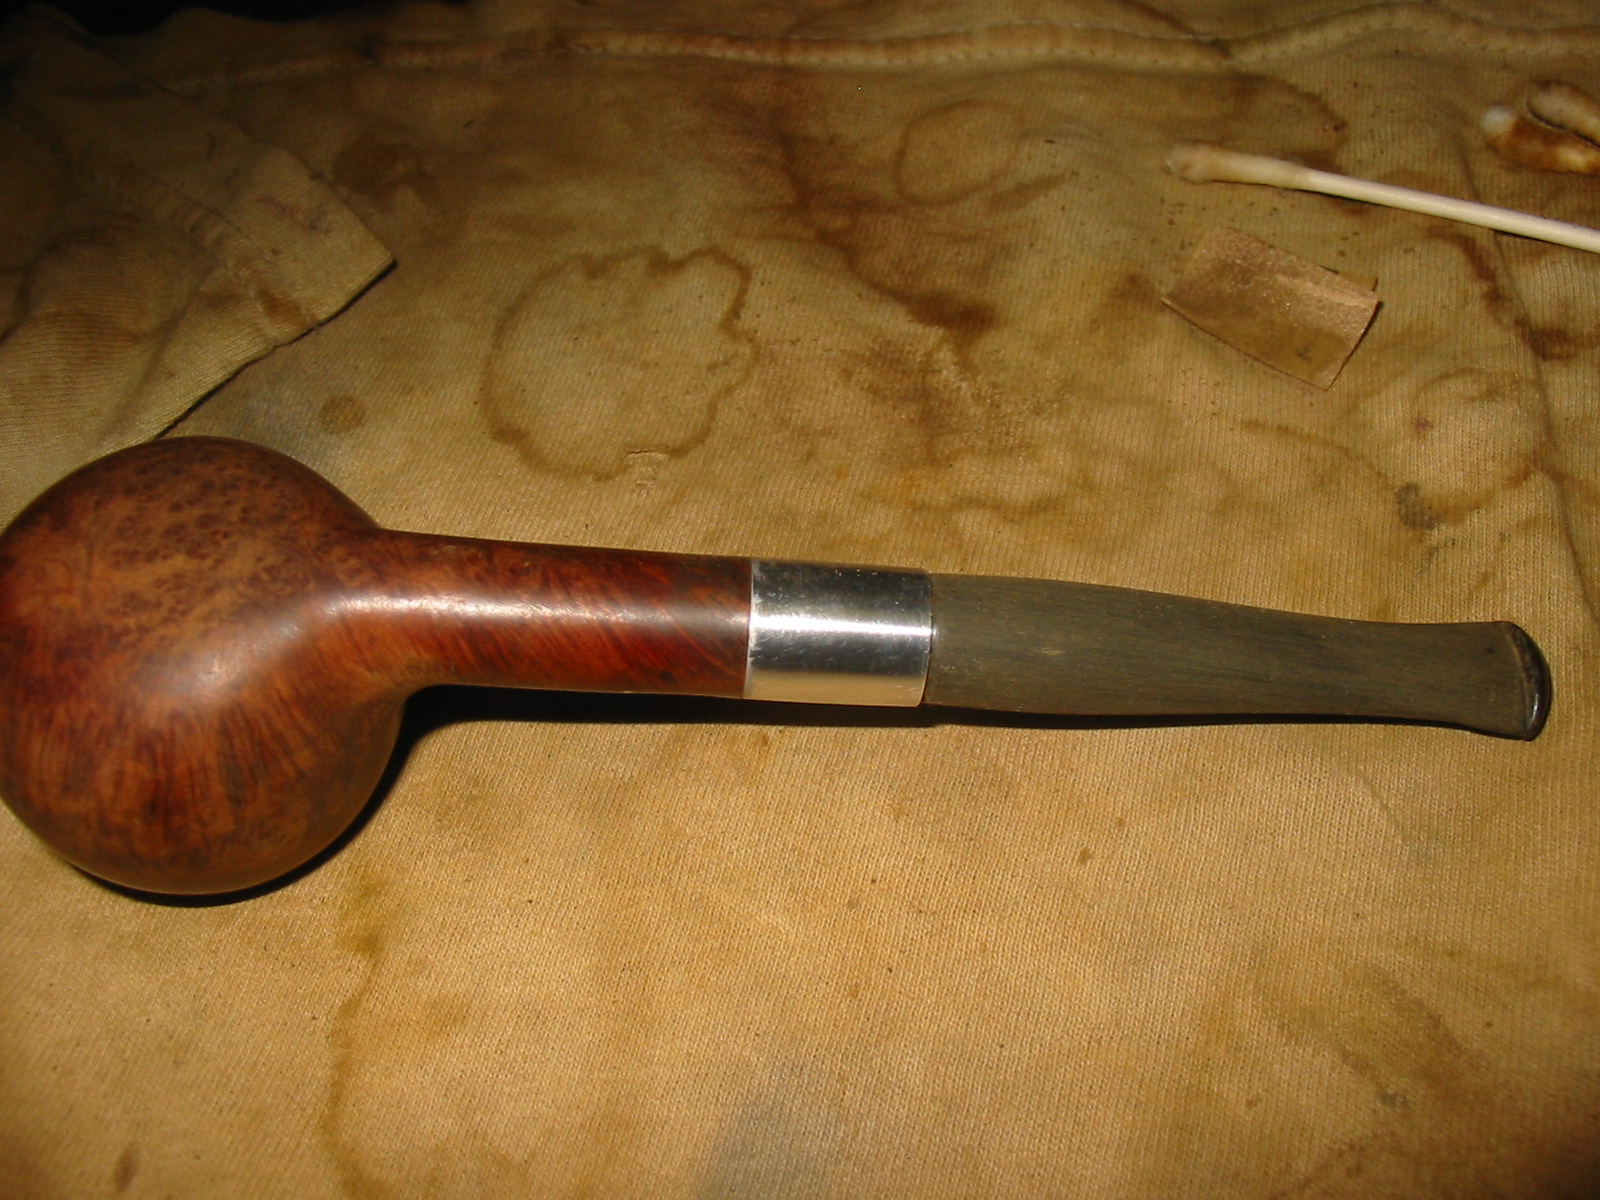
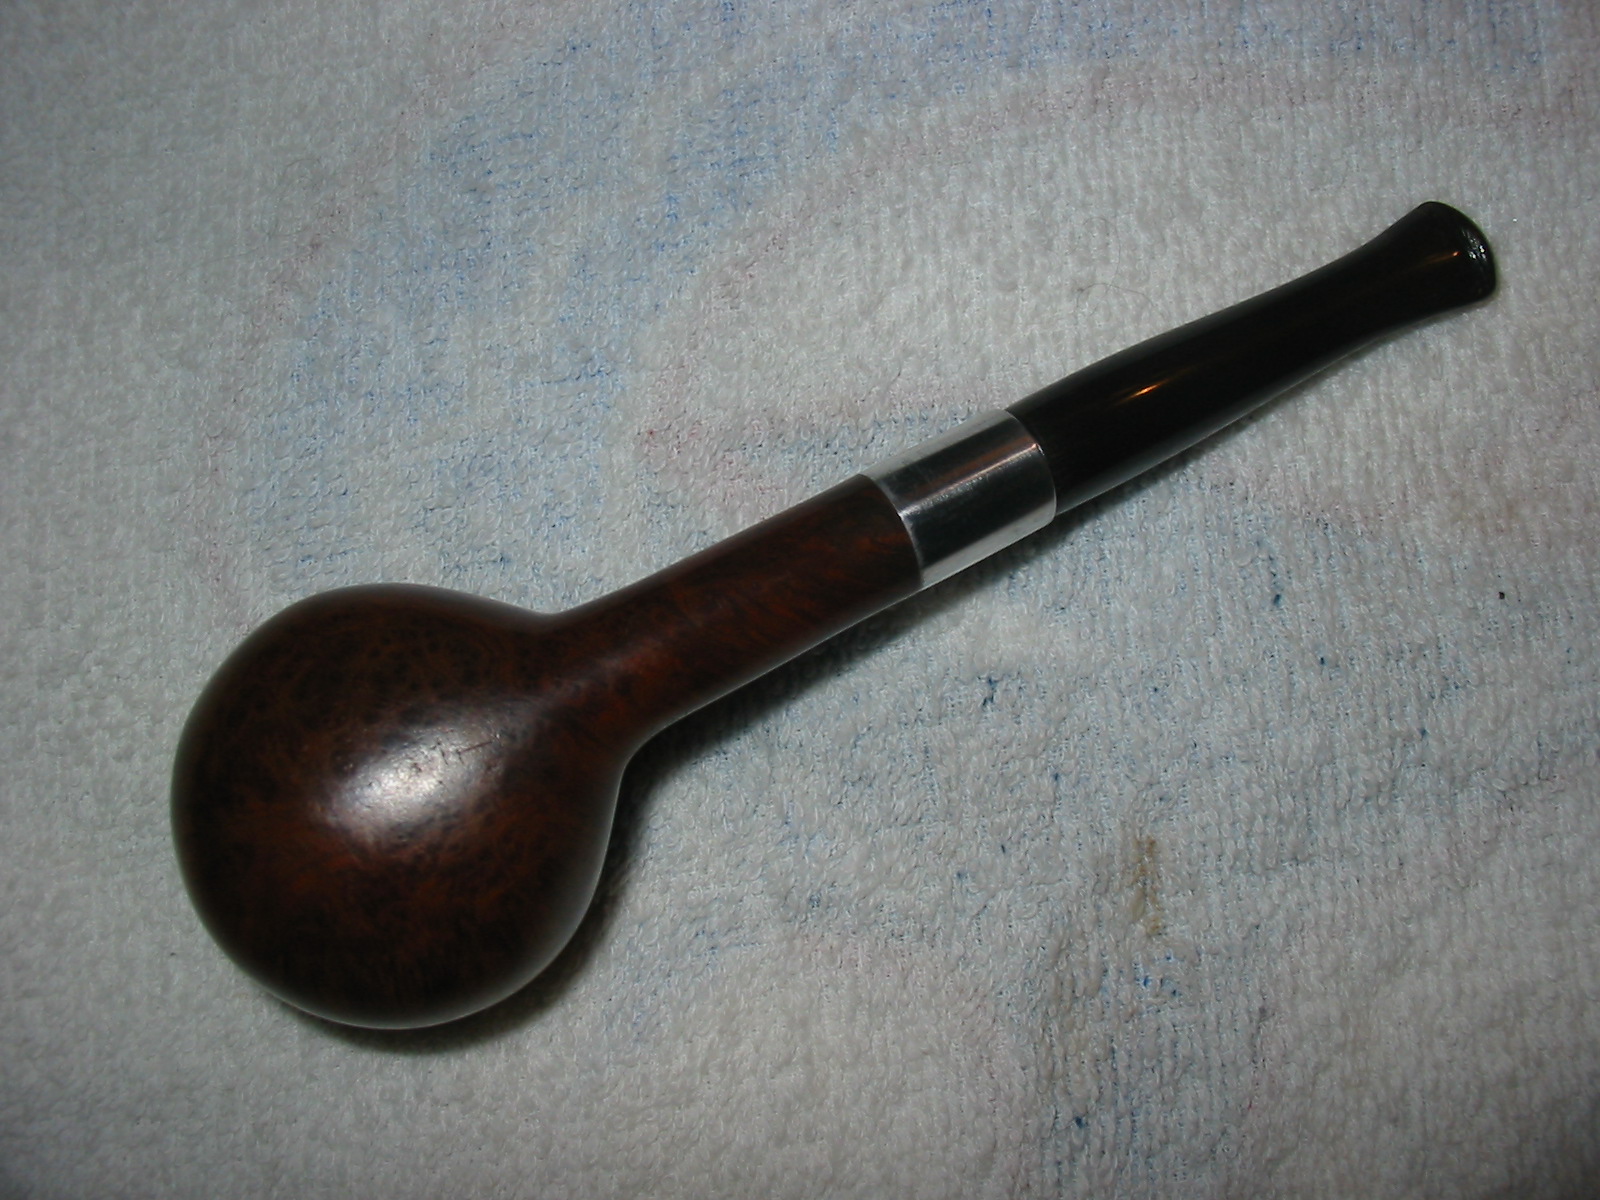
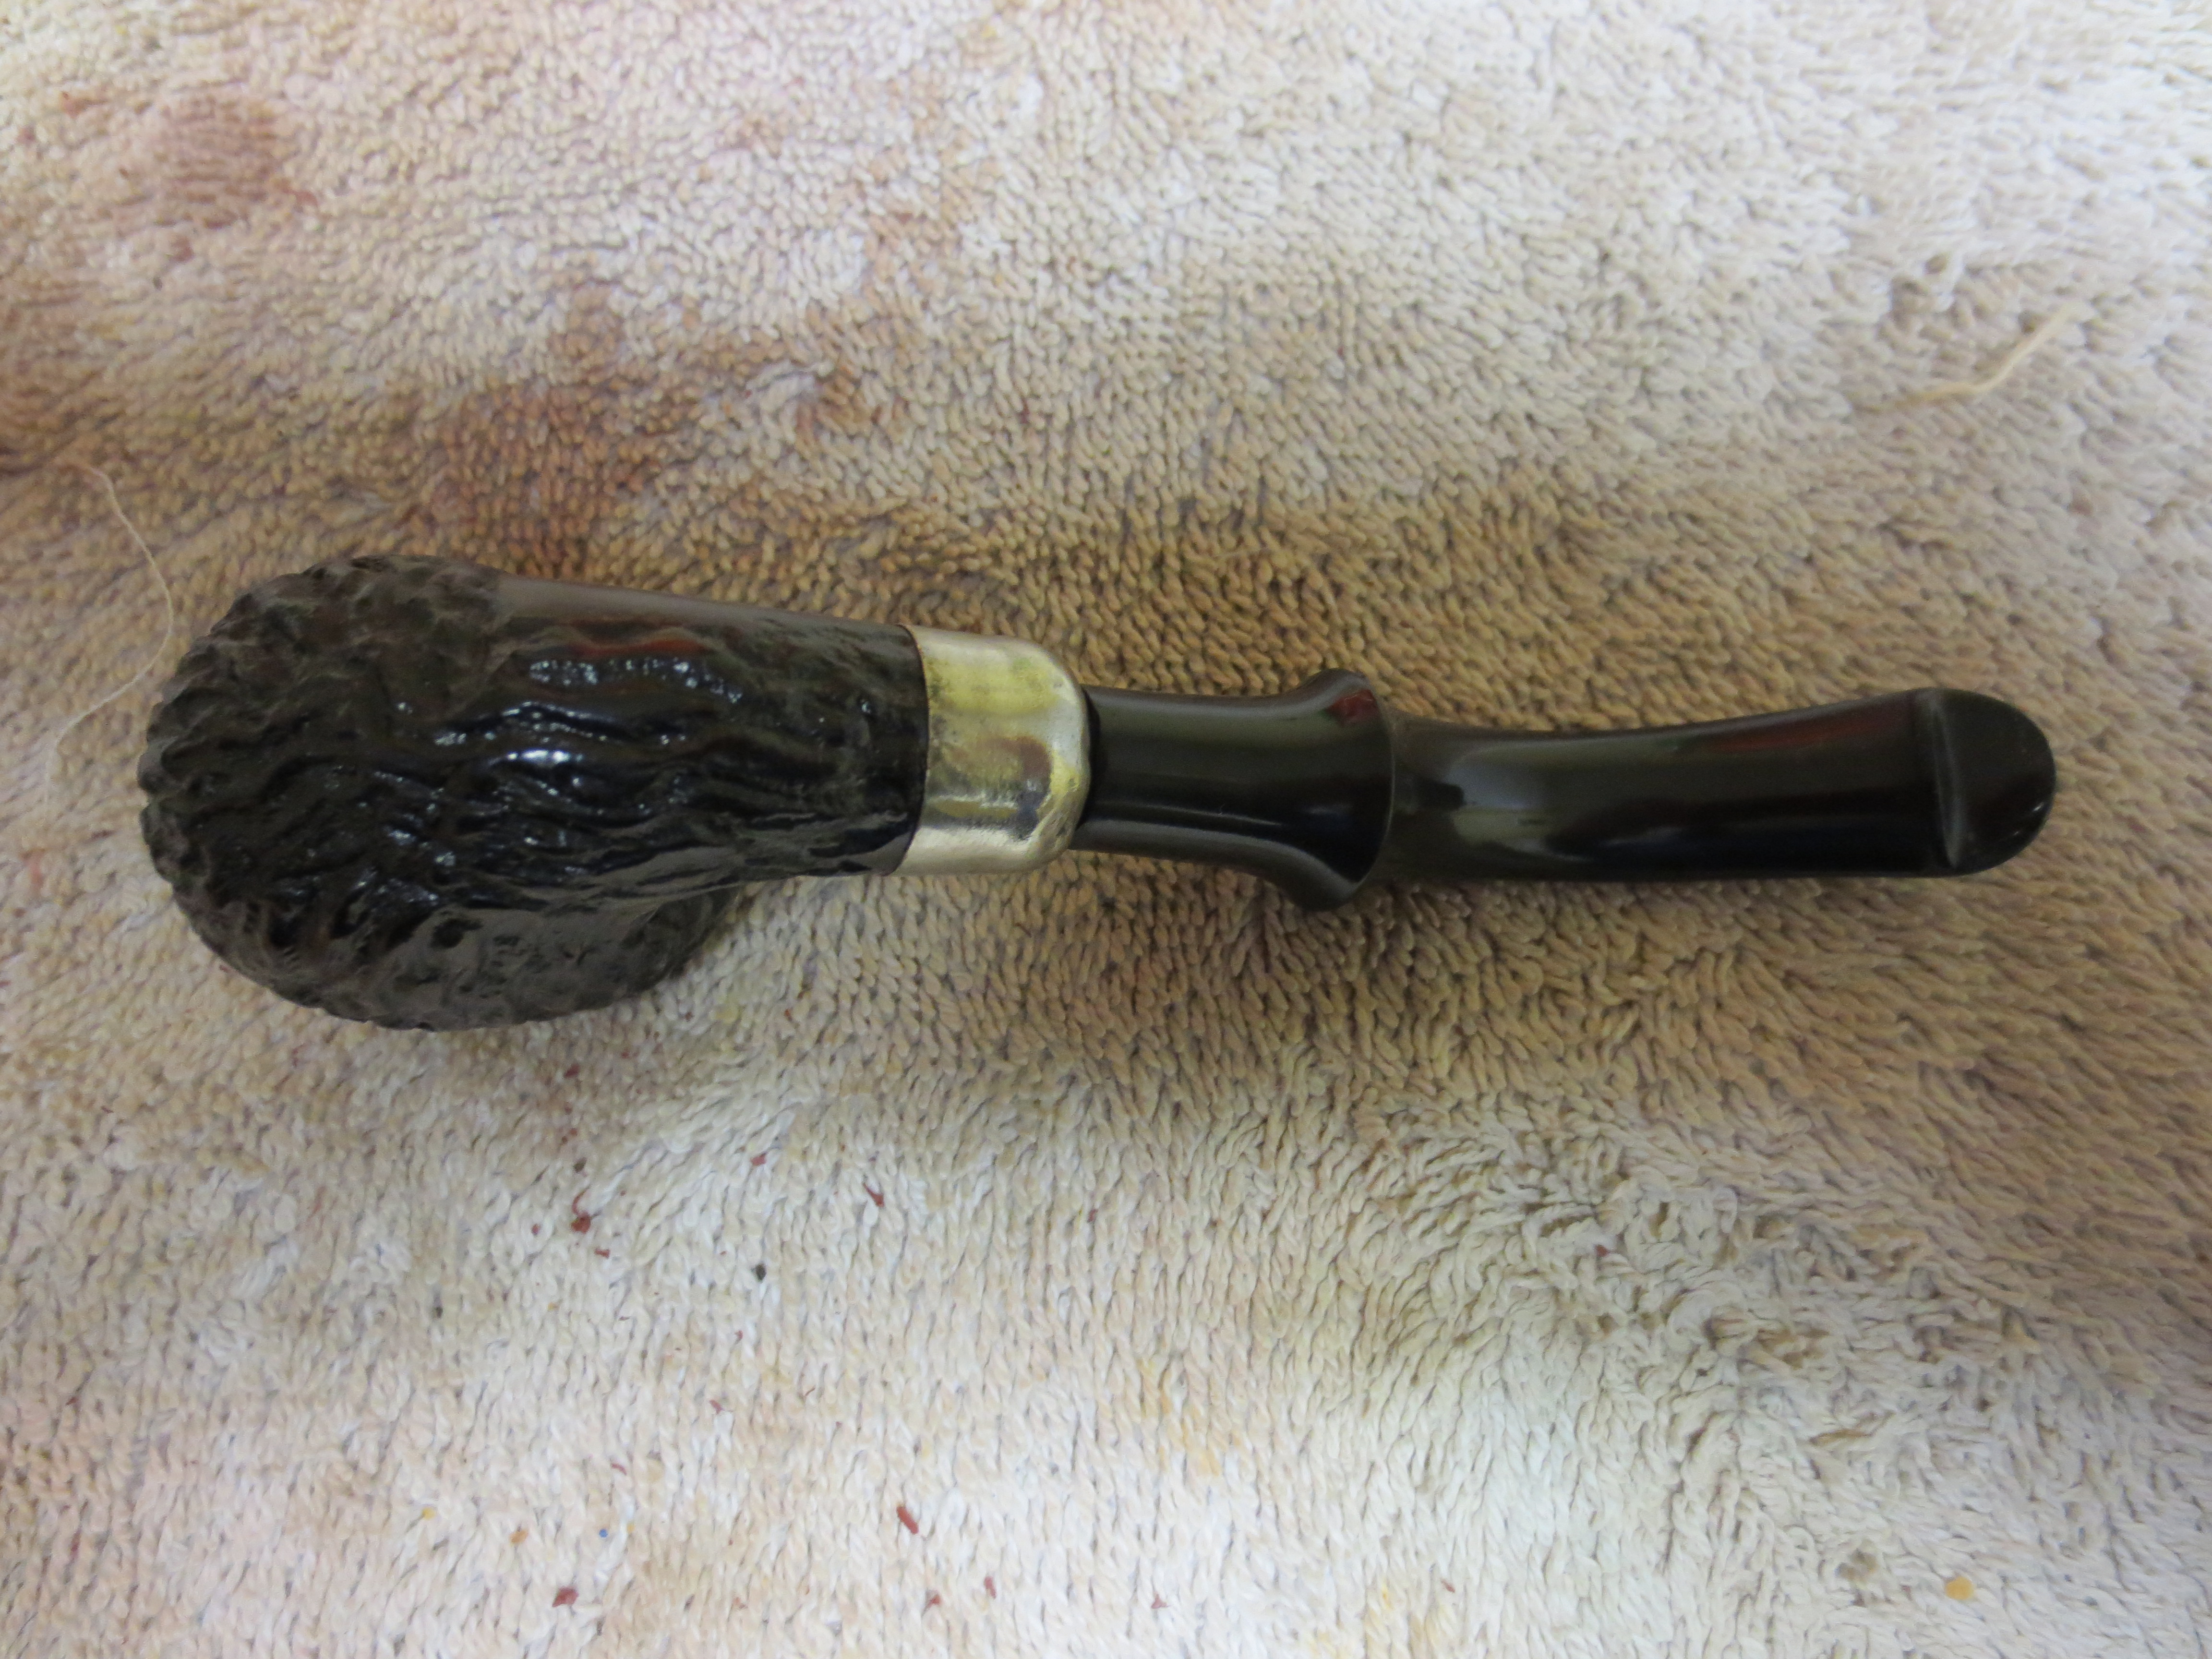
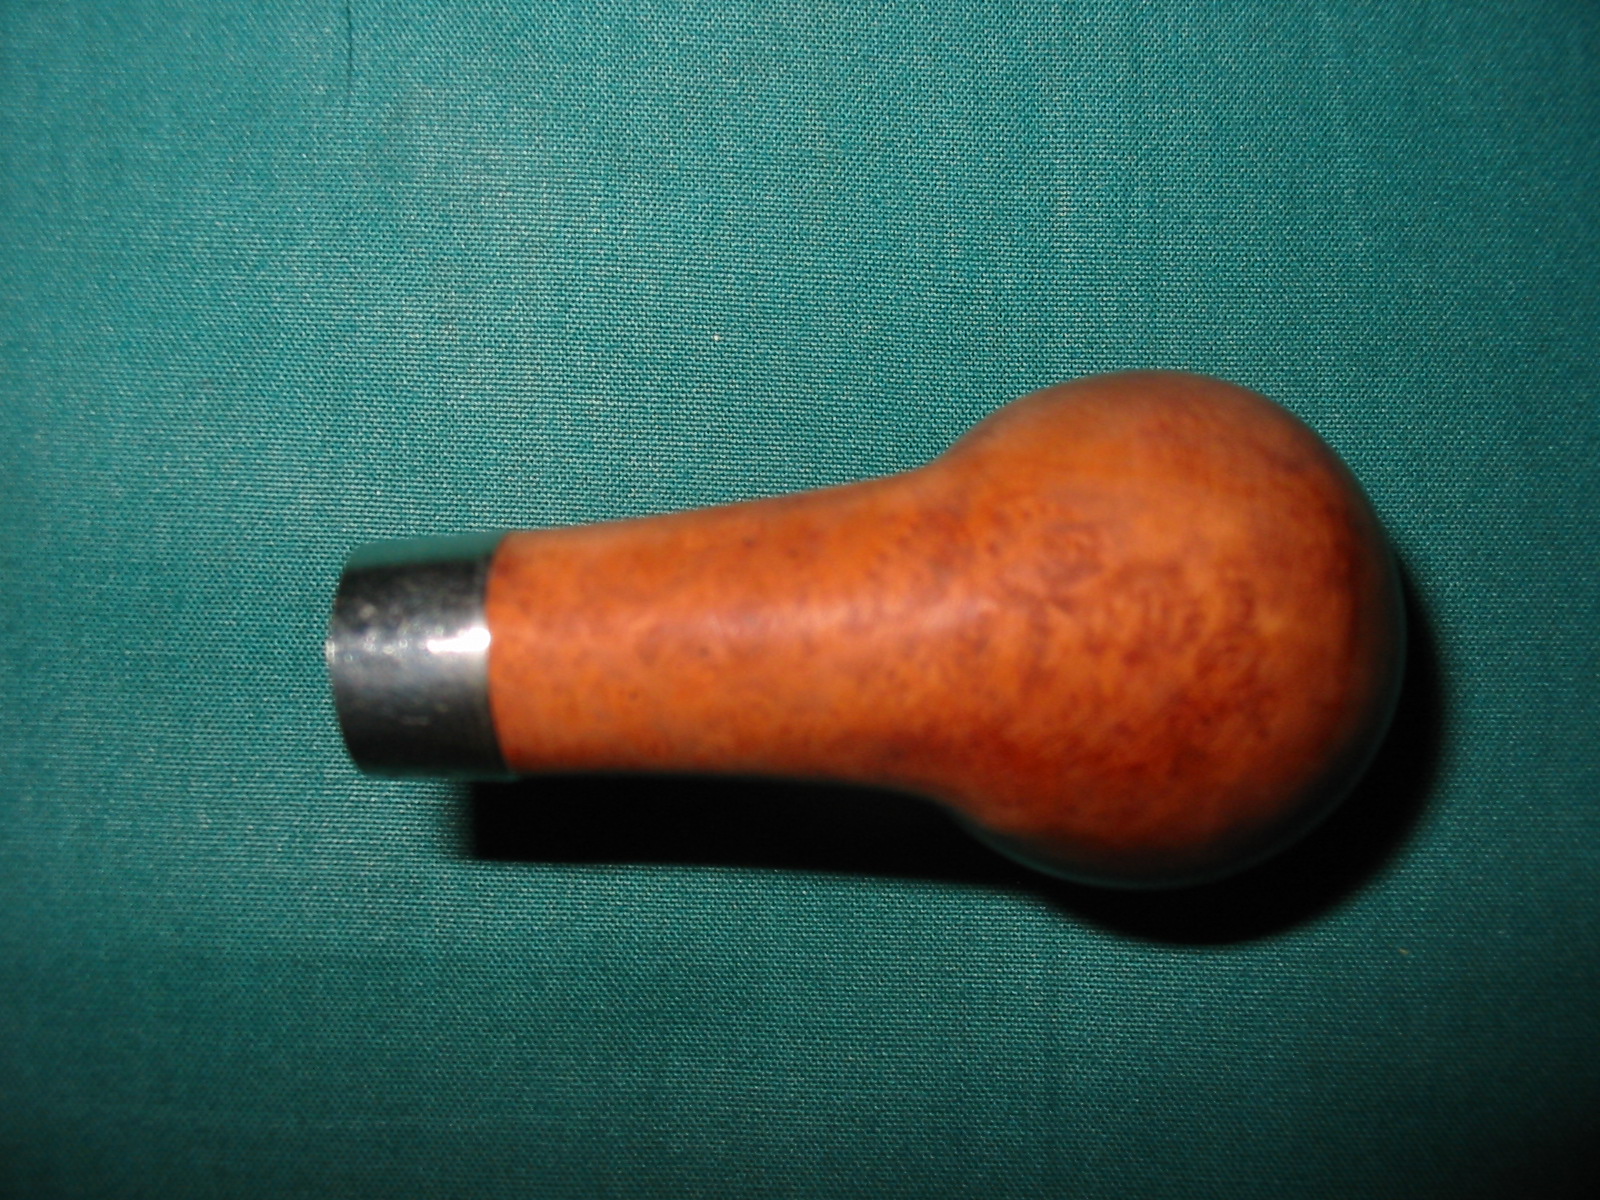
The coating was fairly thick and took some time to remove. I sanded with 220 grit paper until the black was mostly gone. It was a pleasant surprise that no fills were under that coat. In fact, the grain was pretty nice. So I moved on to 400 grit paper and then buffed the briar with tripoli to see how it looked; it was nice and the black would make a great contrast stain. I wiped the pipe down with alcohol again to remove the wax and dust and started sanding with 600 grit paper. After I was happy with the smooth surface of the pipe I removed the tape I’d applied earlier to the stamping to protect it and began to work gently around the black patches under the tape to make as little damage as possible to the nomenclature but break up the black.

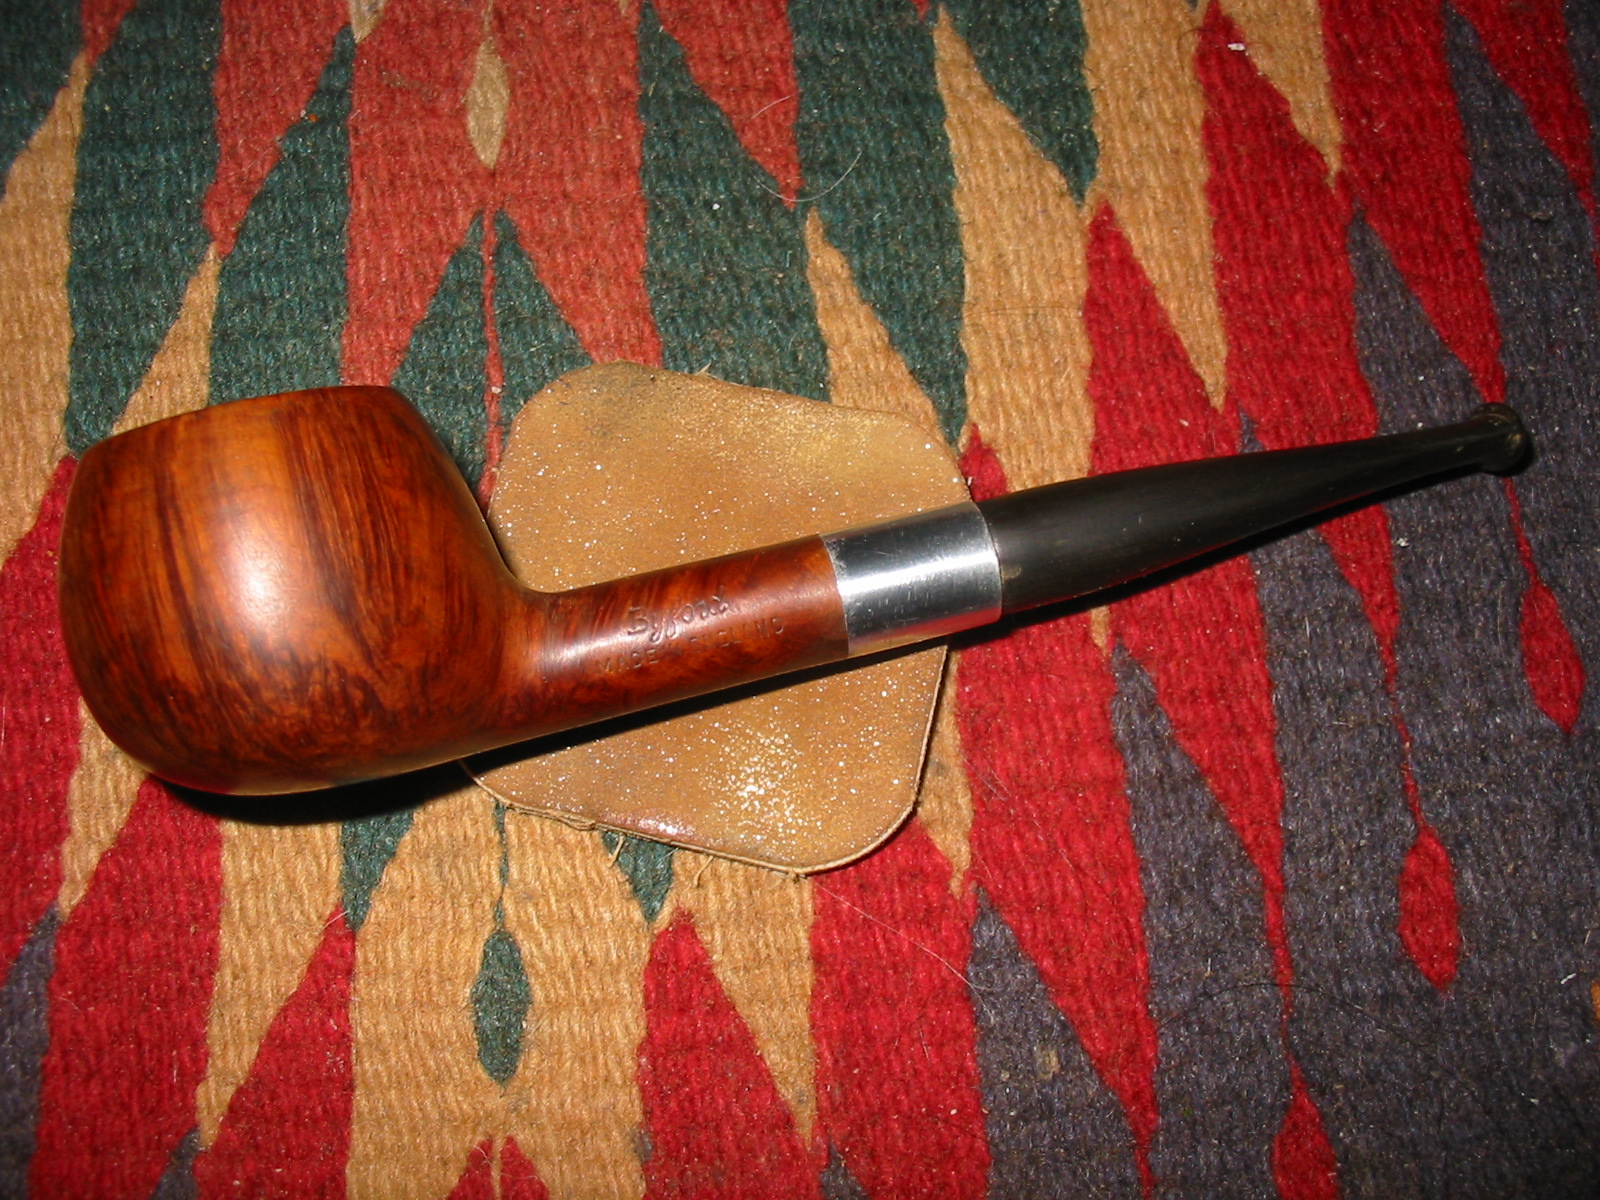
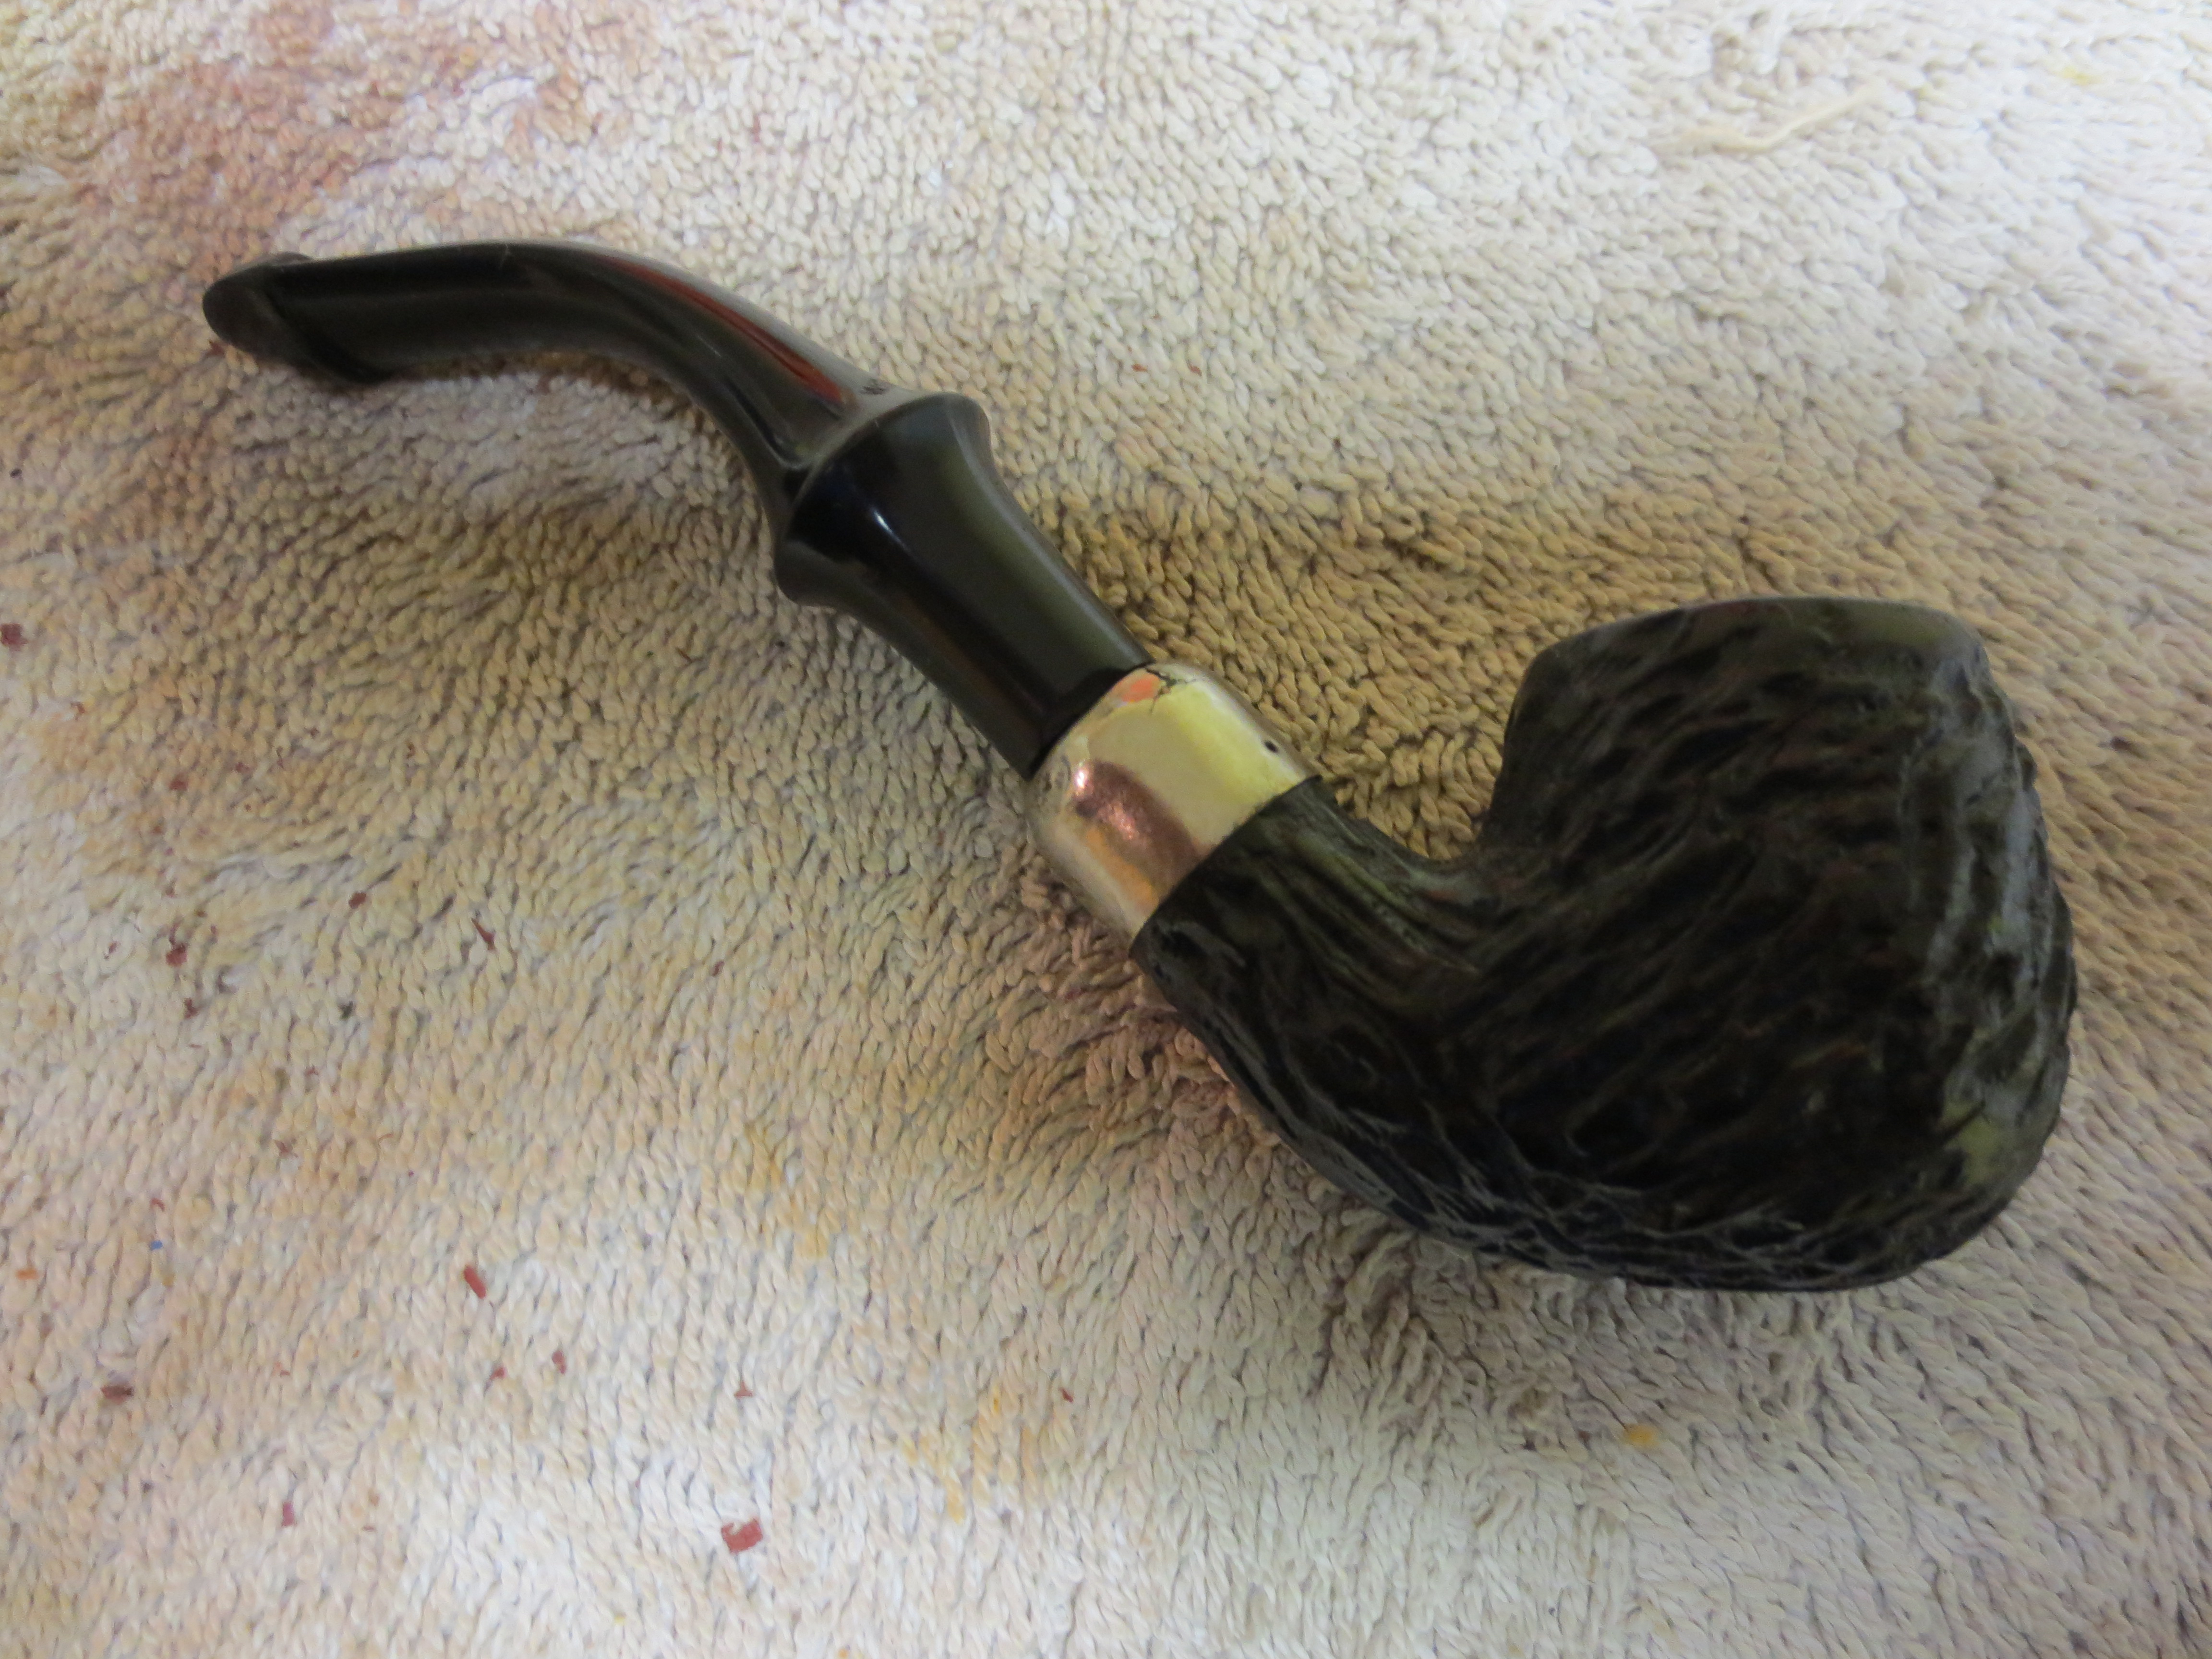
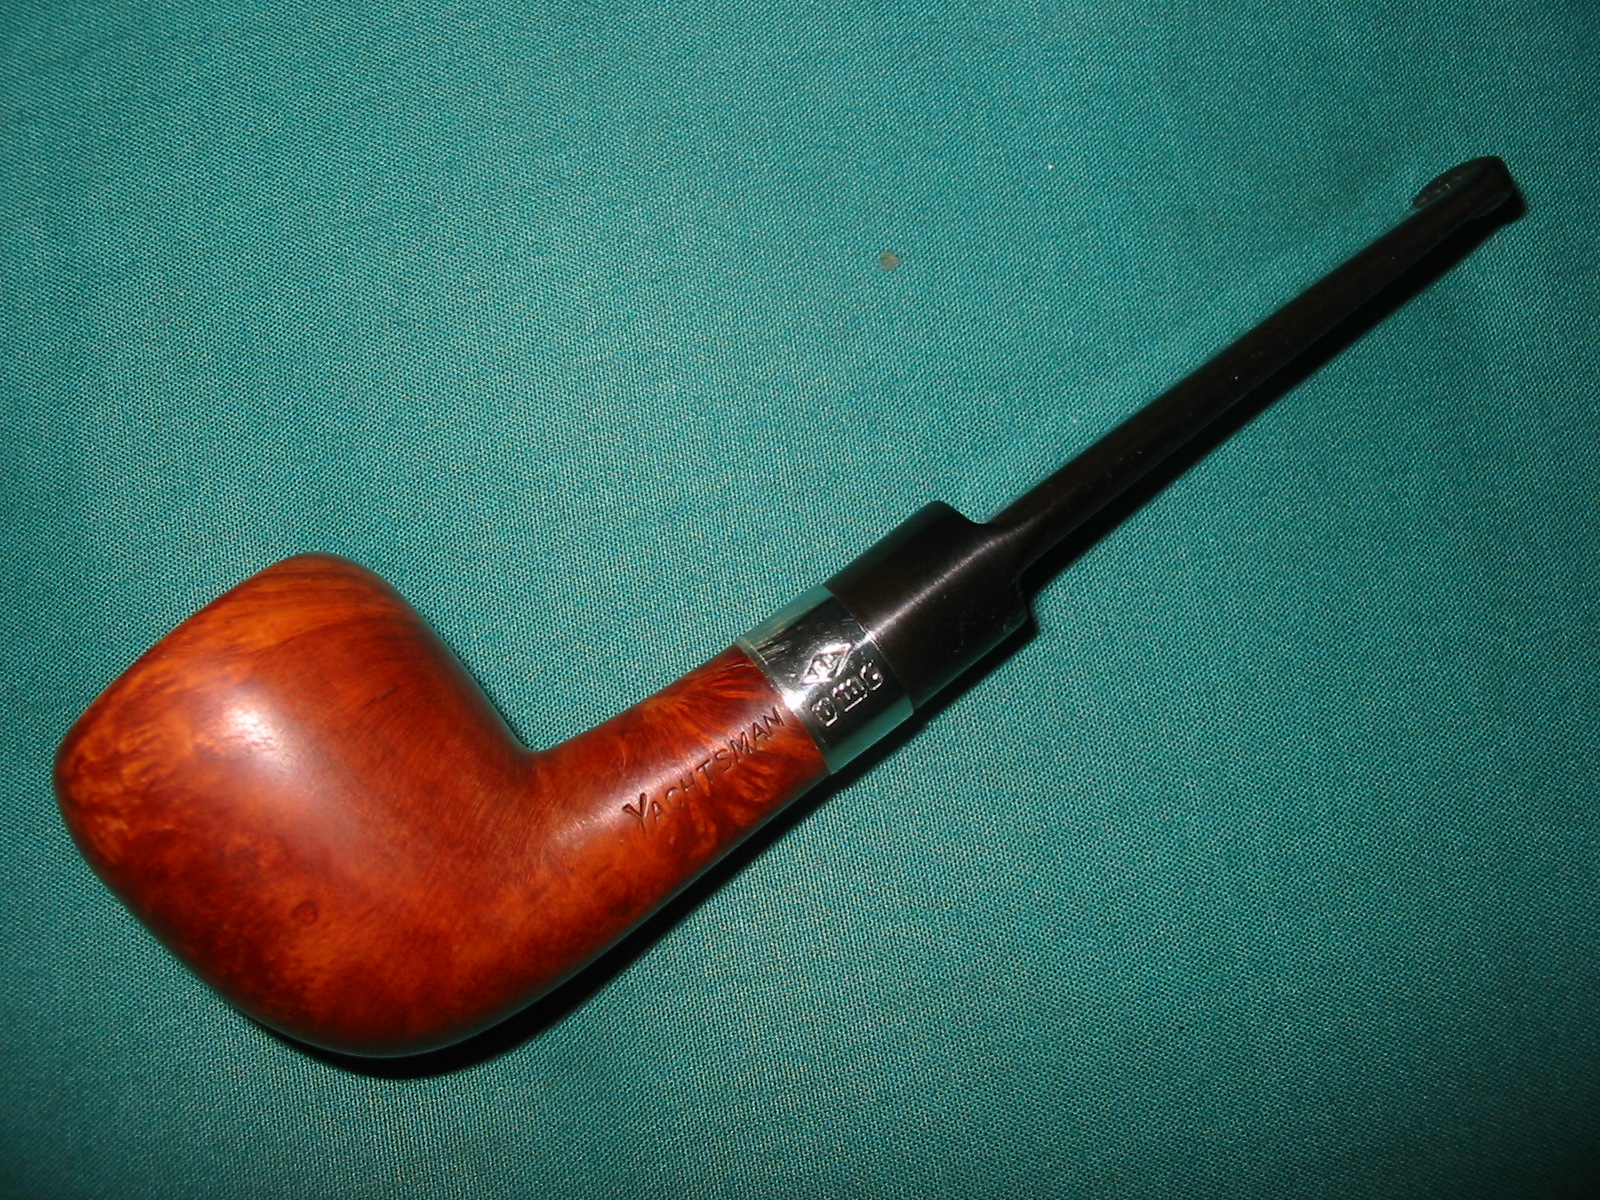
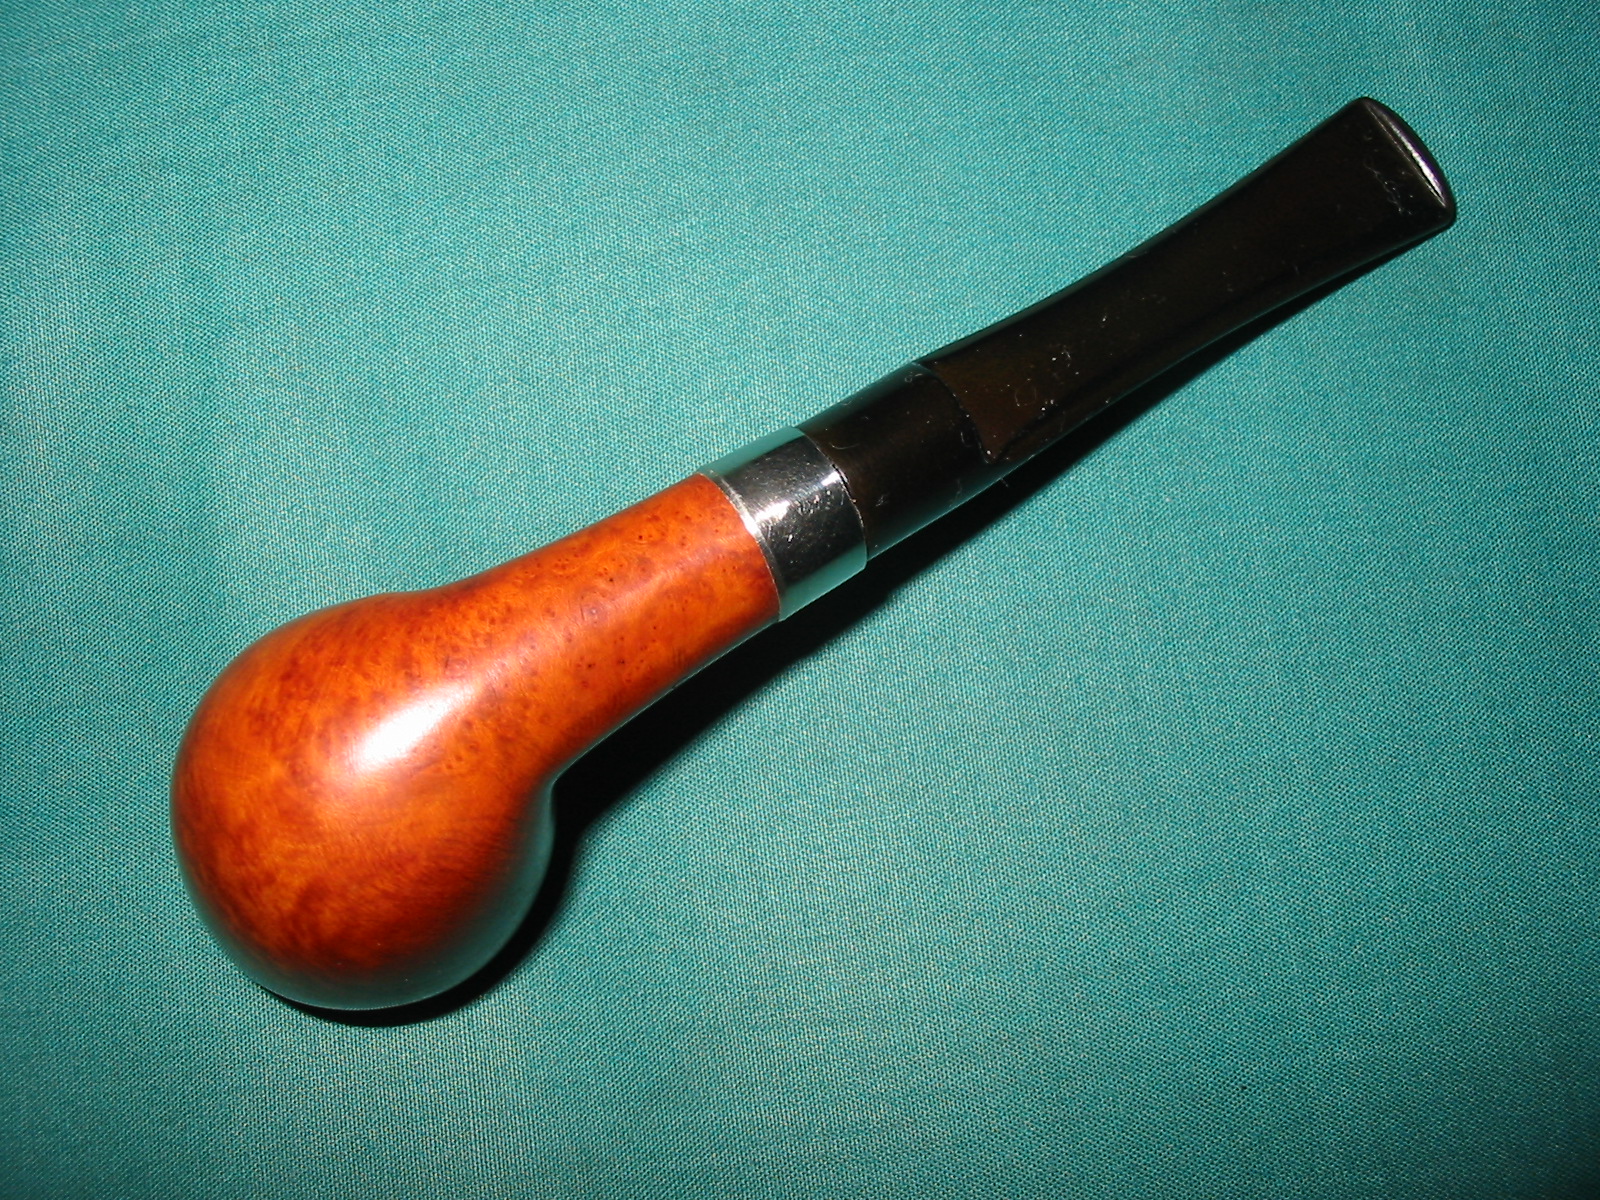
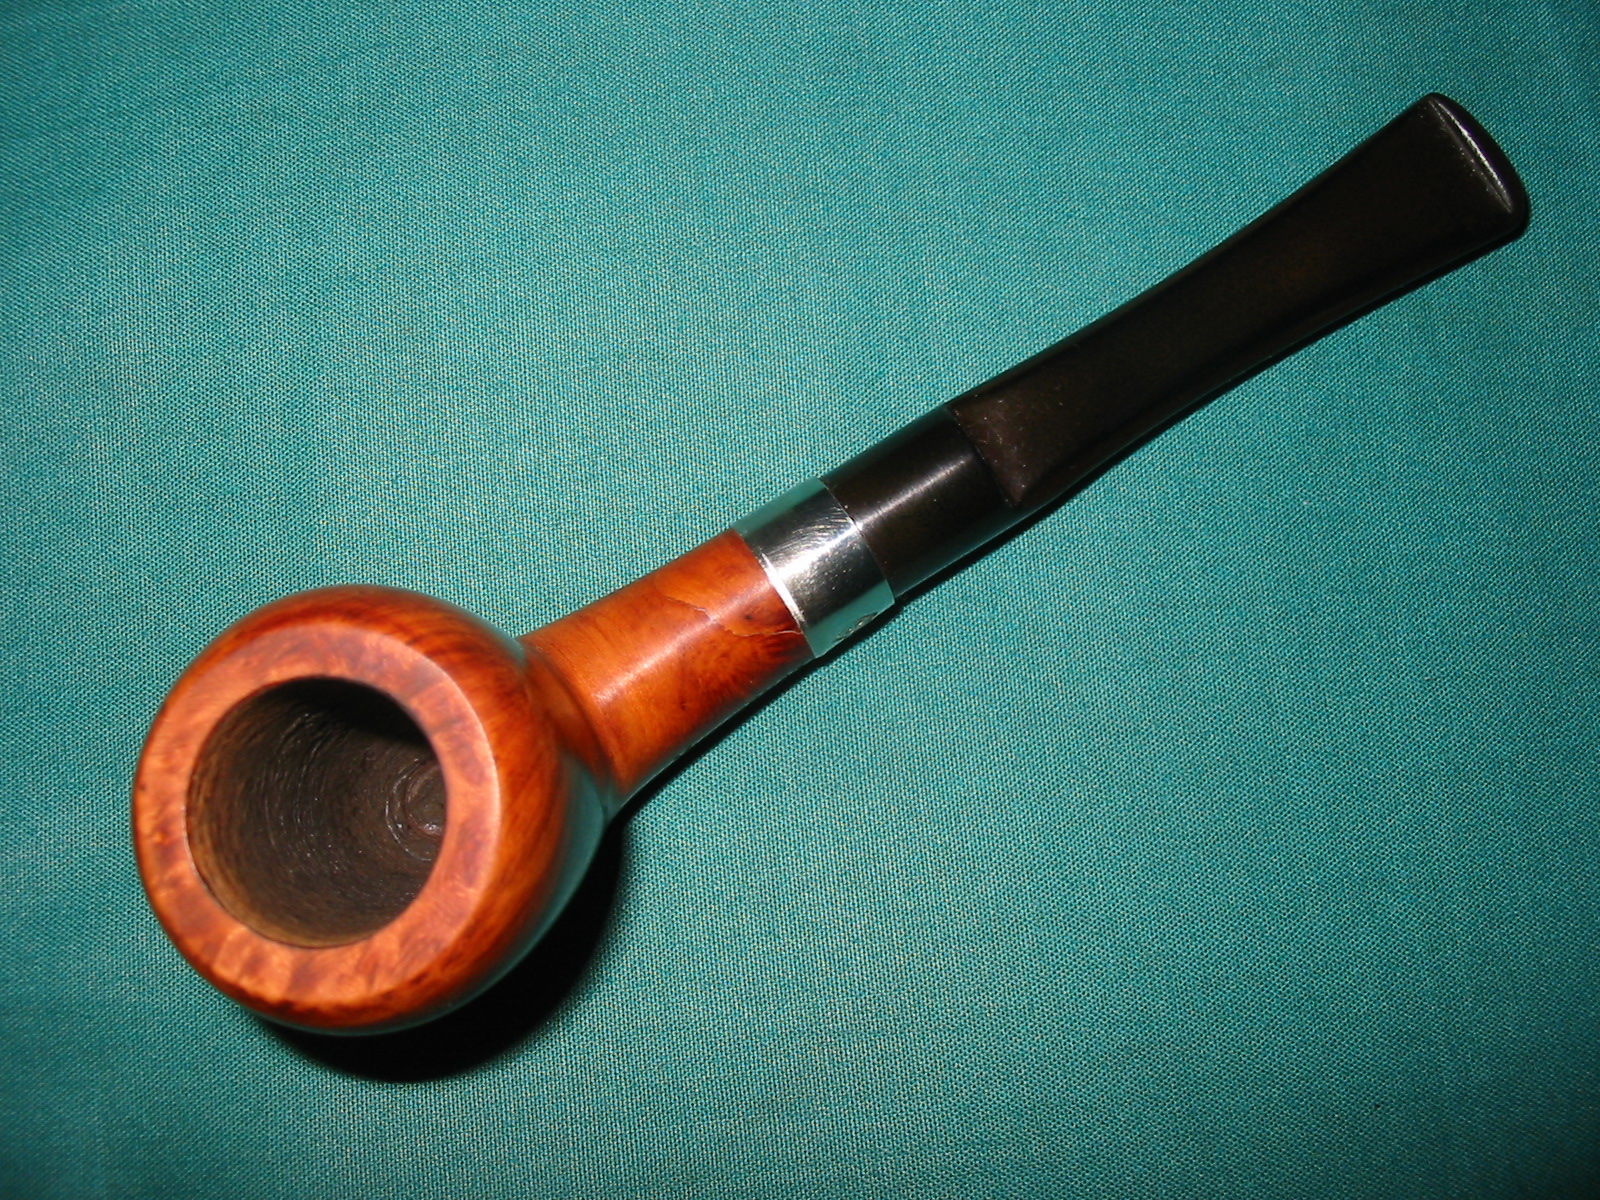
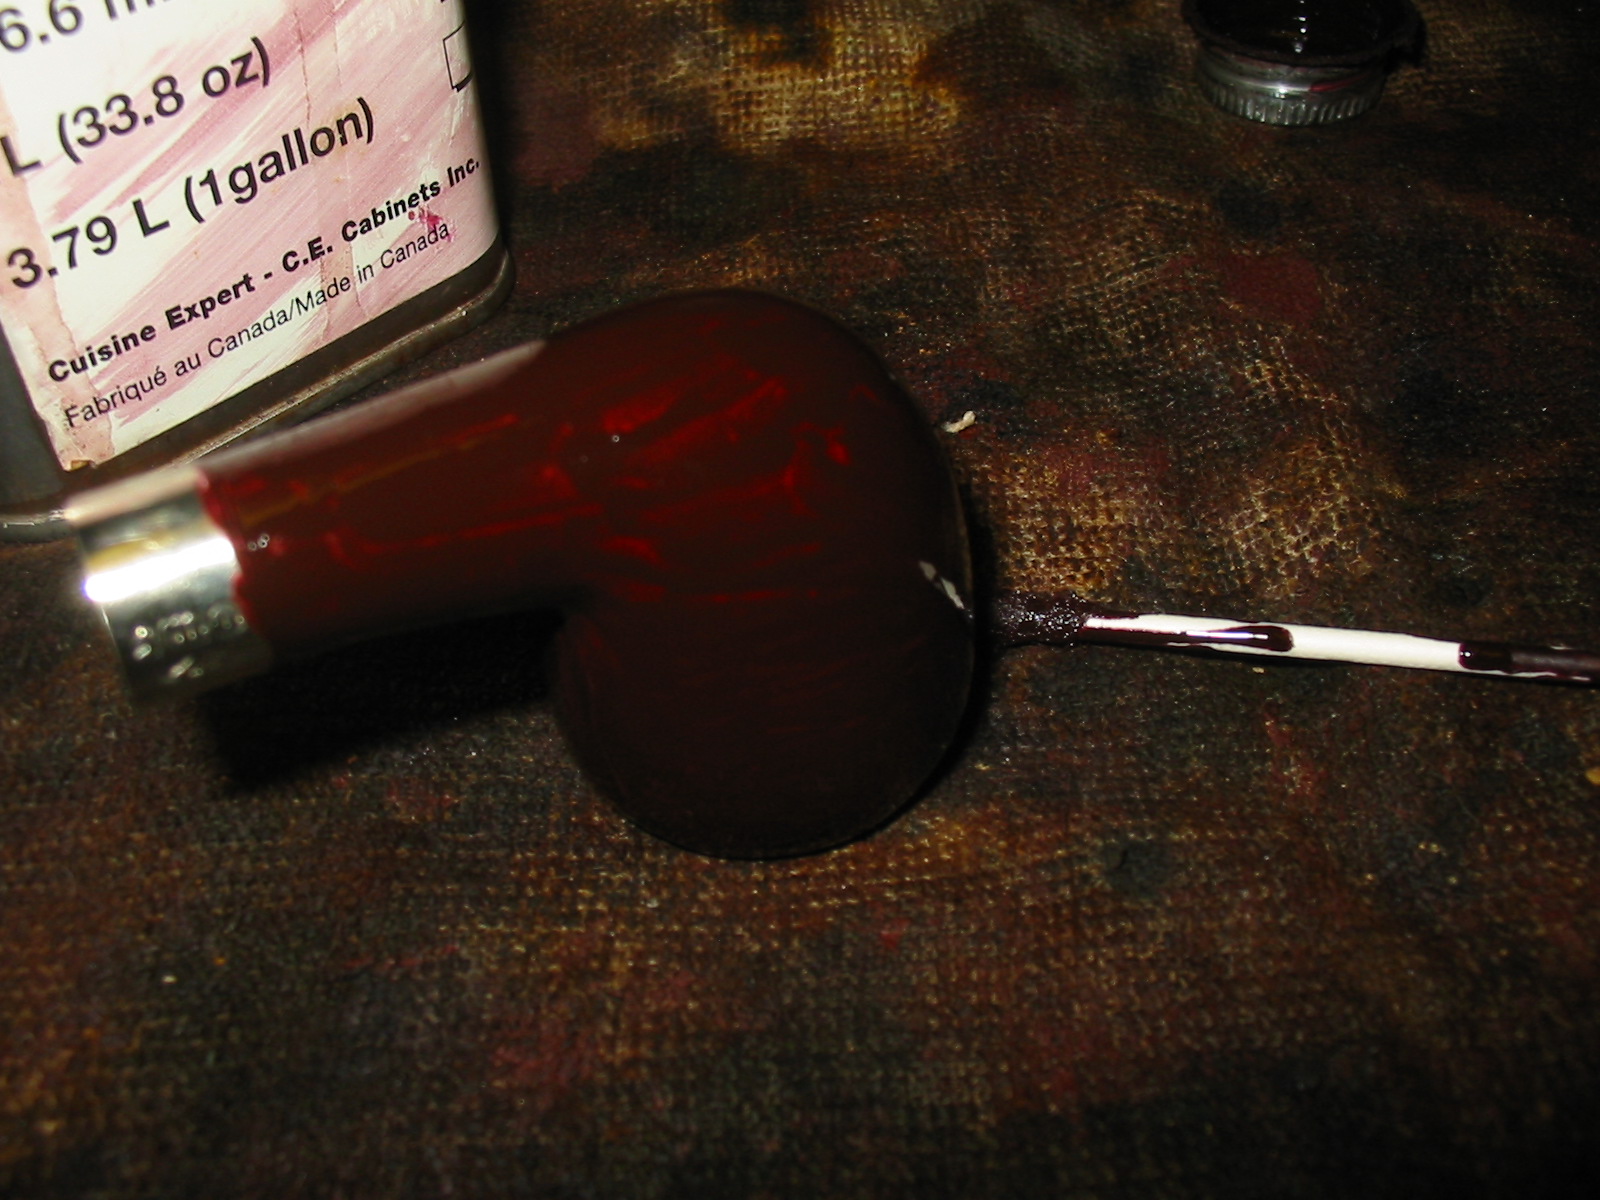
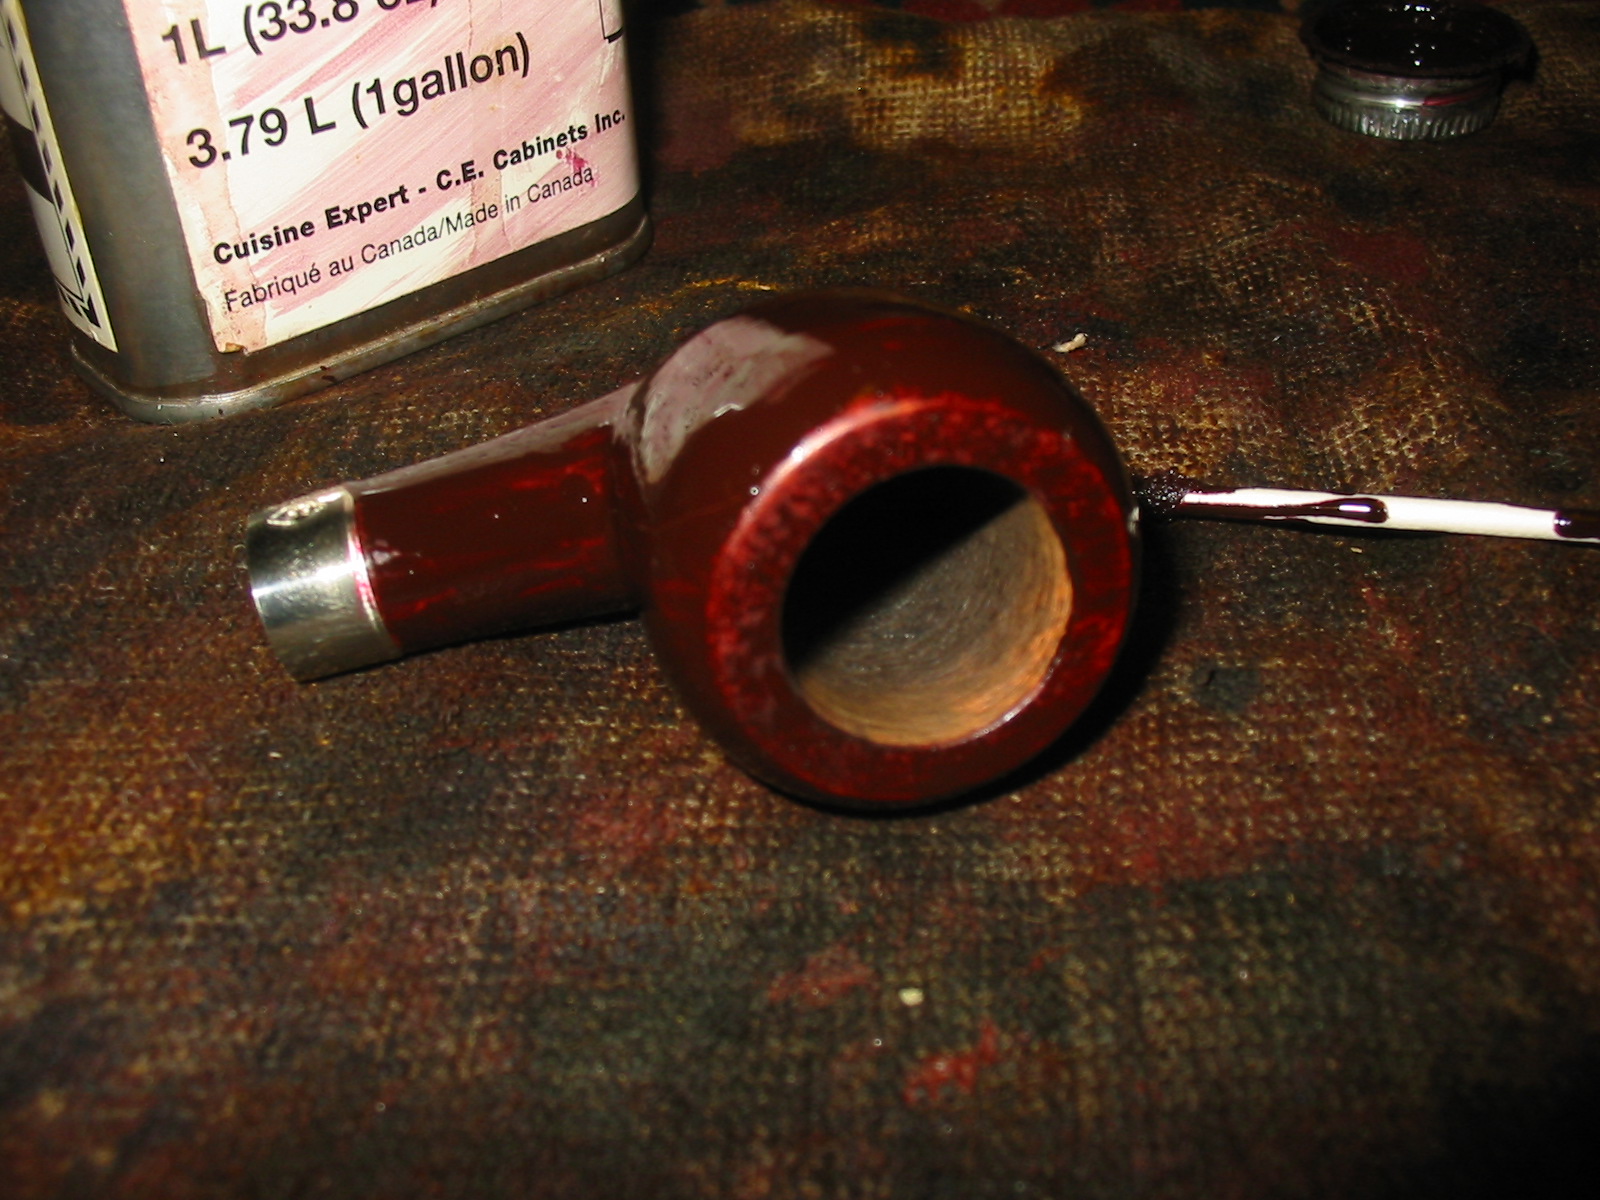
I mixed up some Fiebing’s dark brown leather dye with isopropyl alcohol in a 1:3 ratio. I applied and flamed the stain several times to get a nice, even coat. Then I wiped the bowl down with alcohol wetted pads until I removed enough due to see the grain well. I moved to the buffer where I buffed with tripoli and white diamond before laying the stummel aside to deal with the stem.

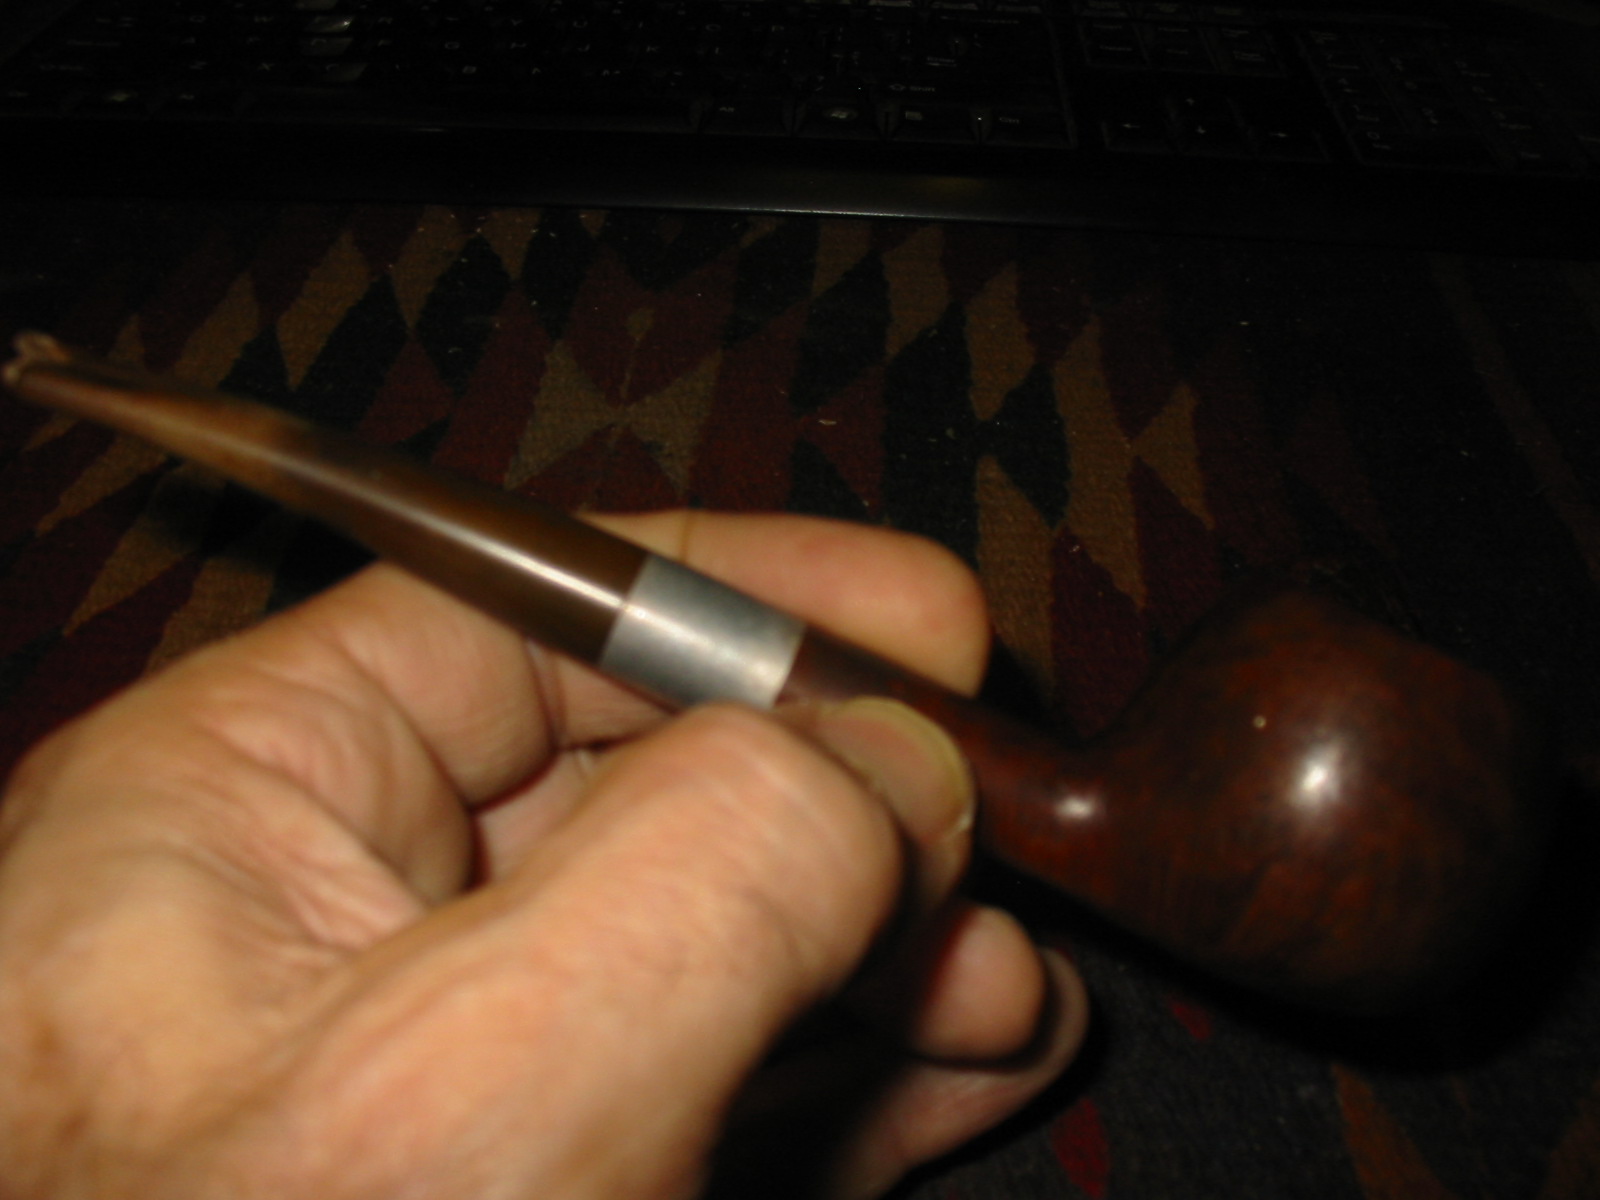
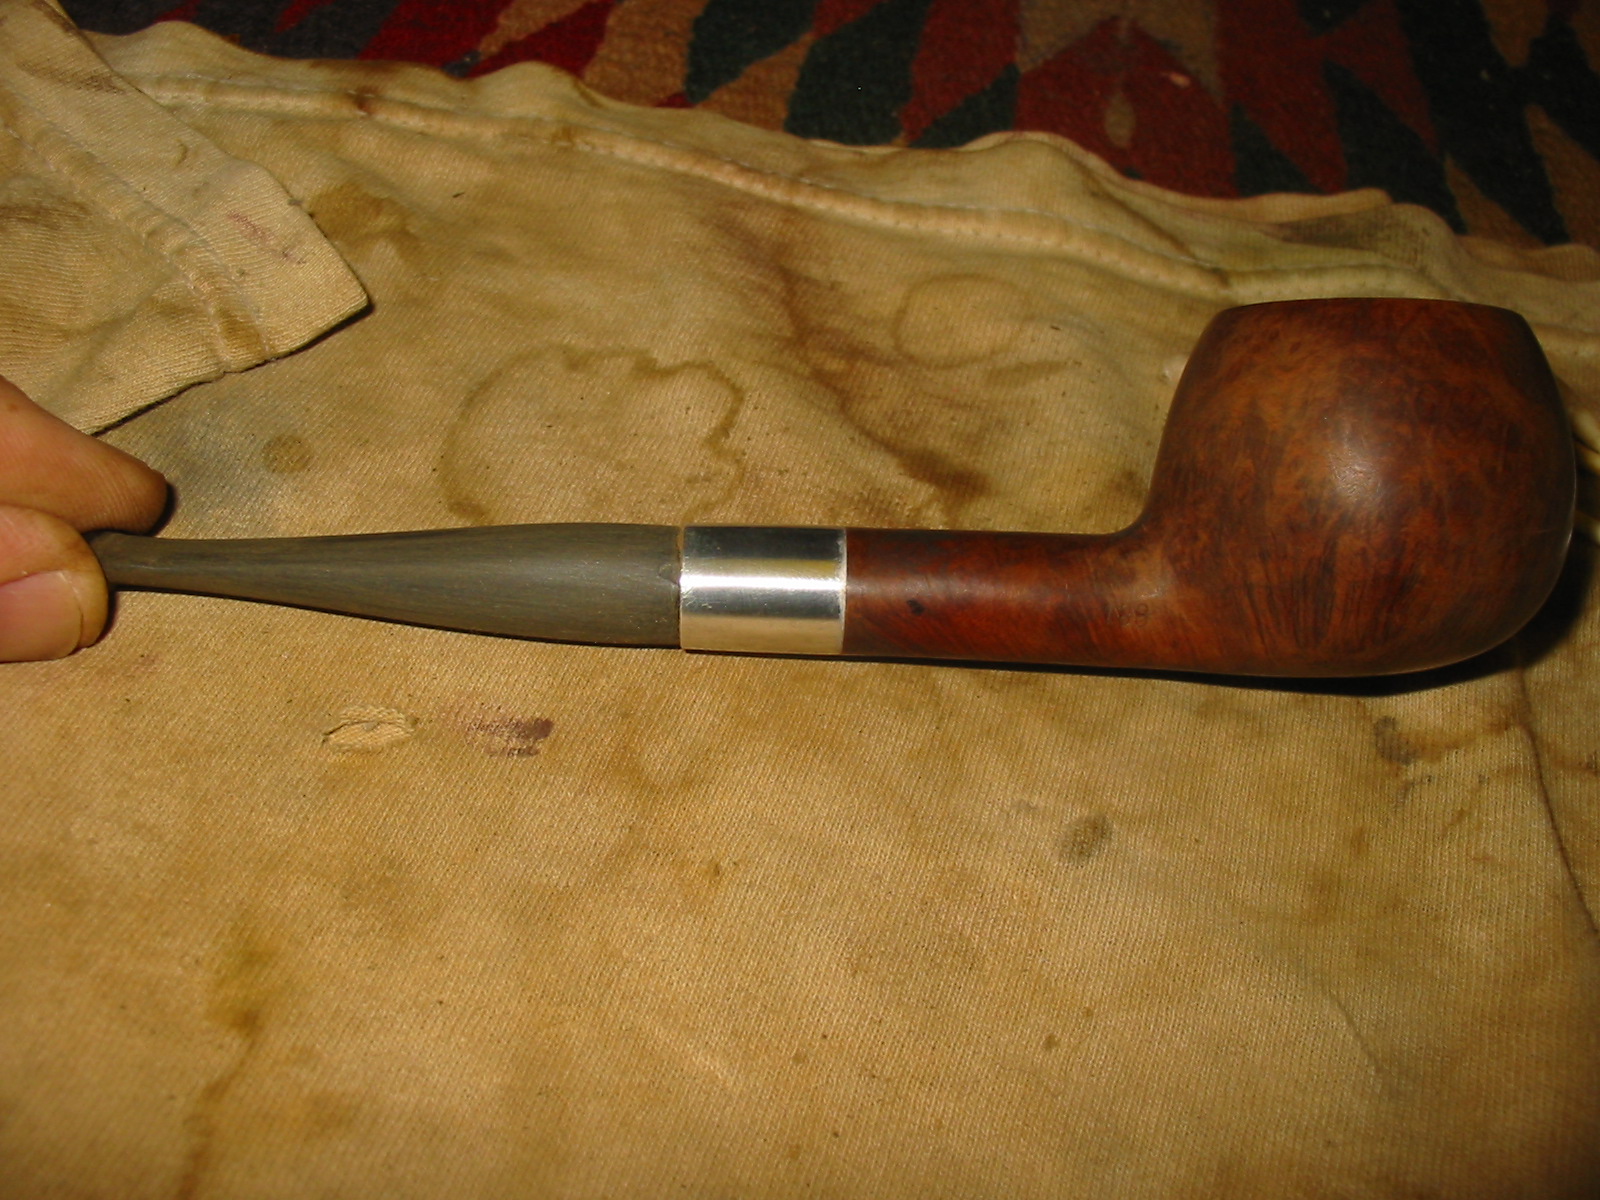
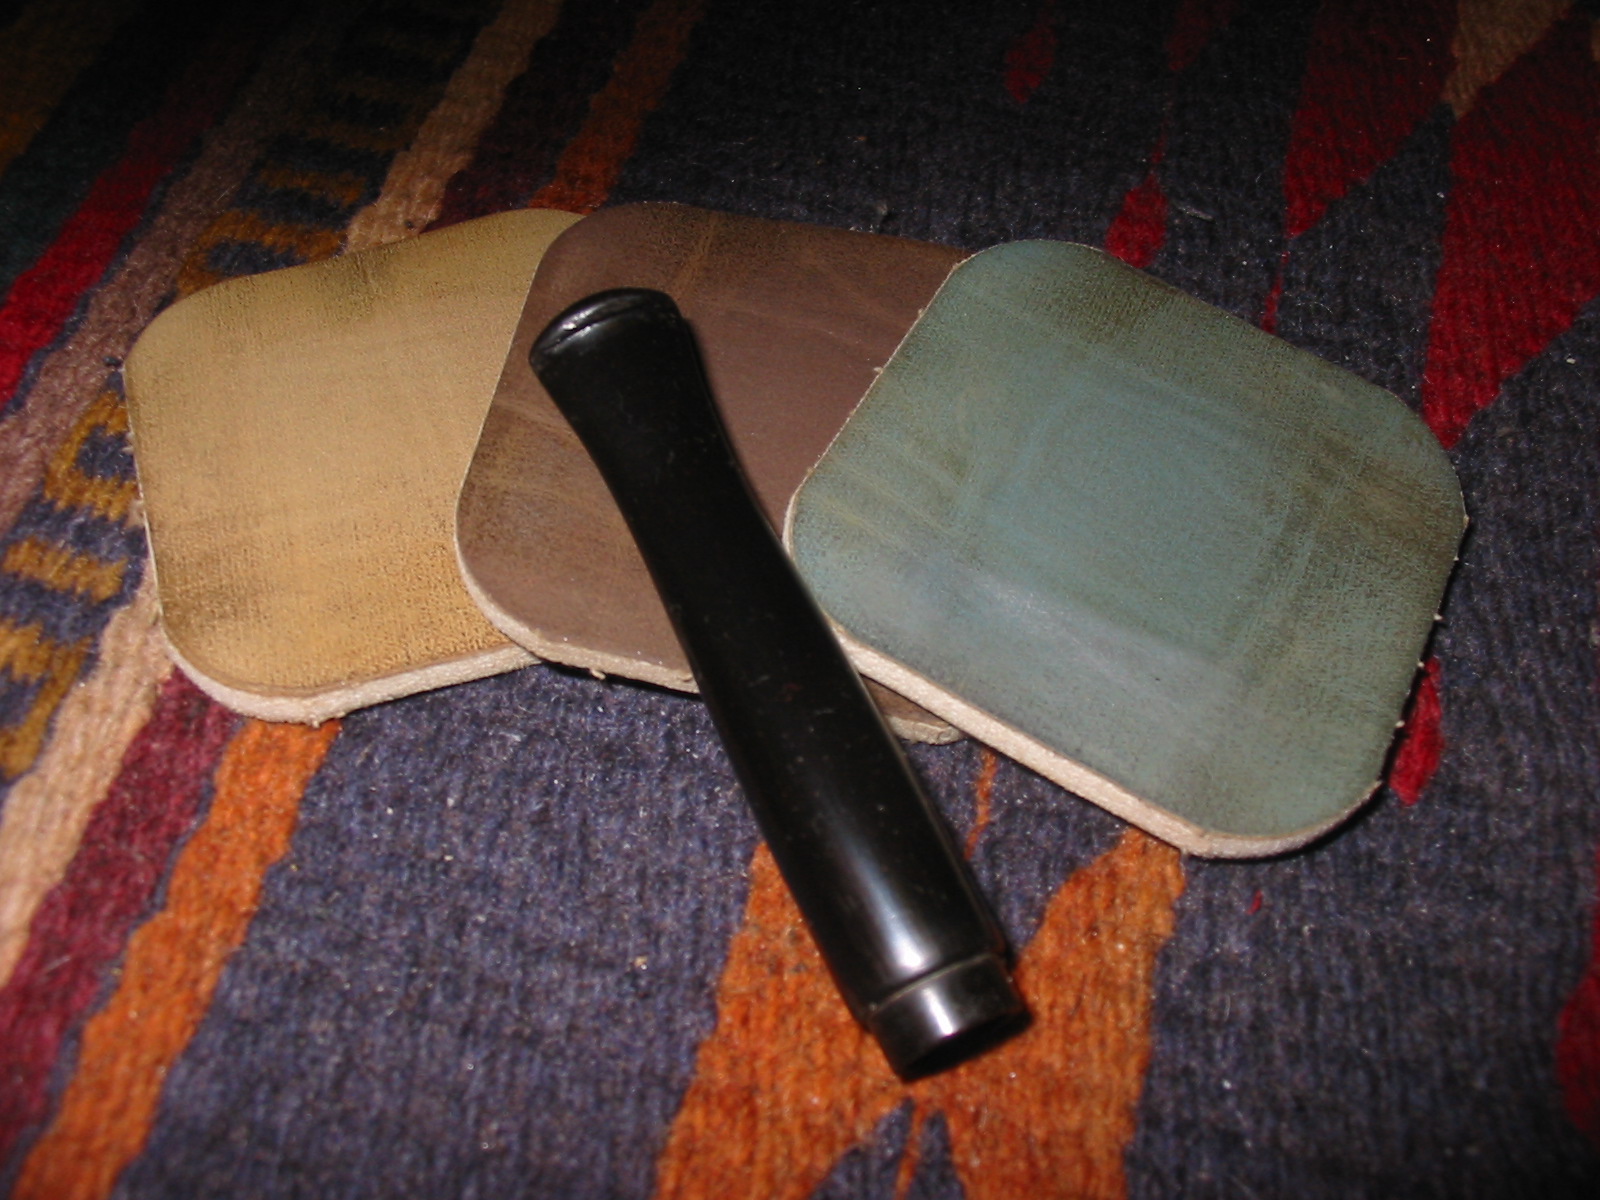
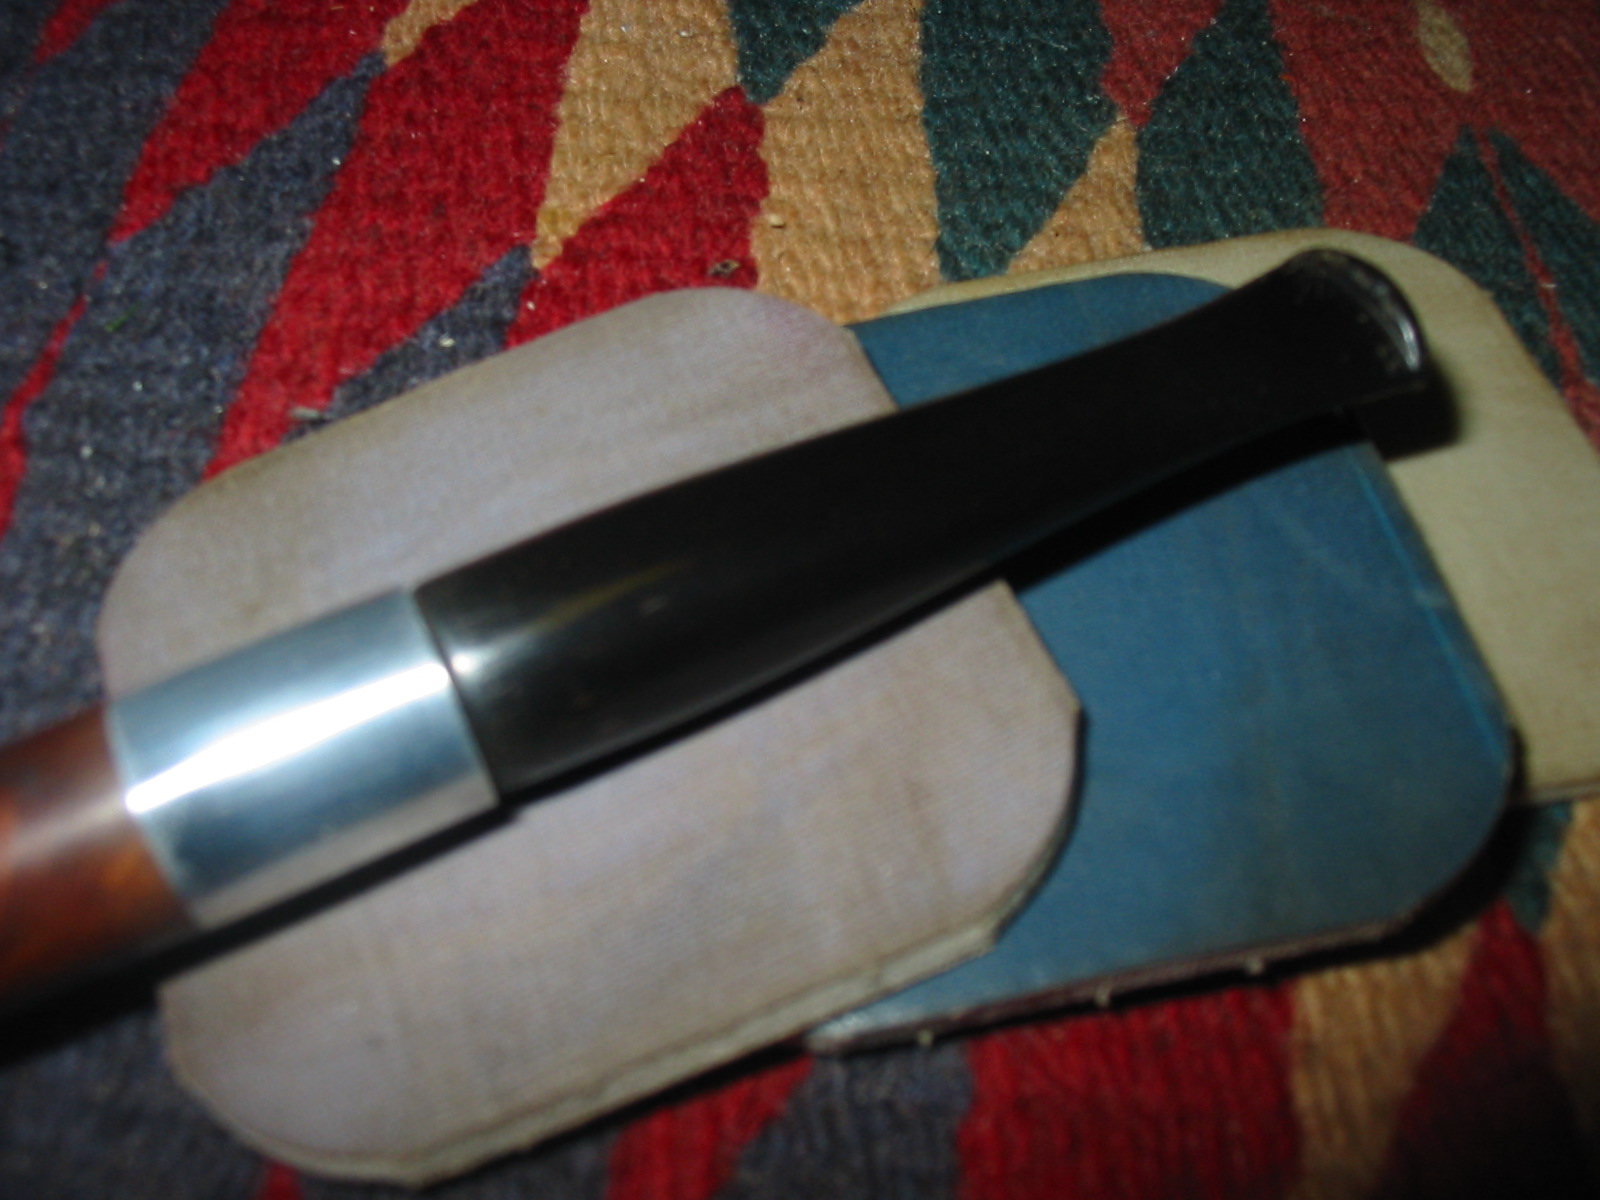
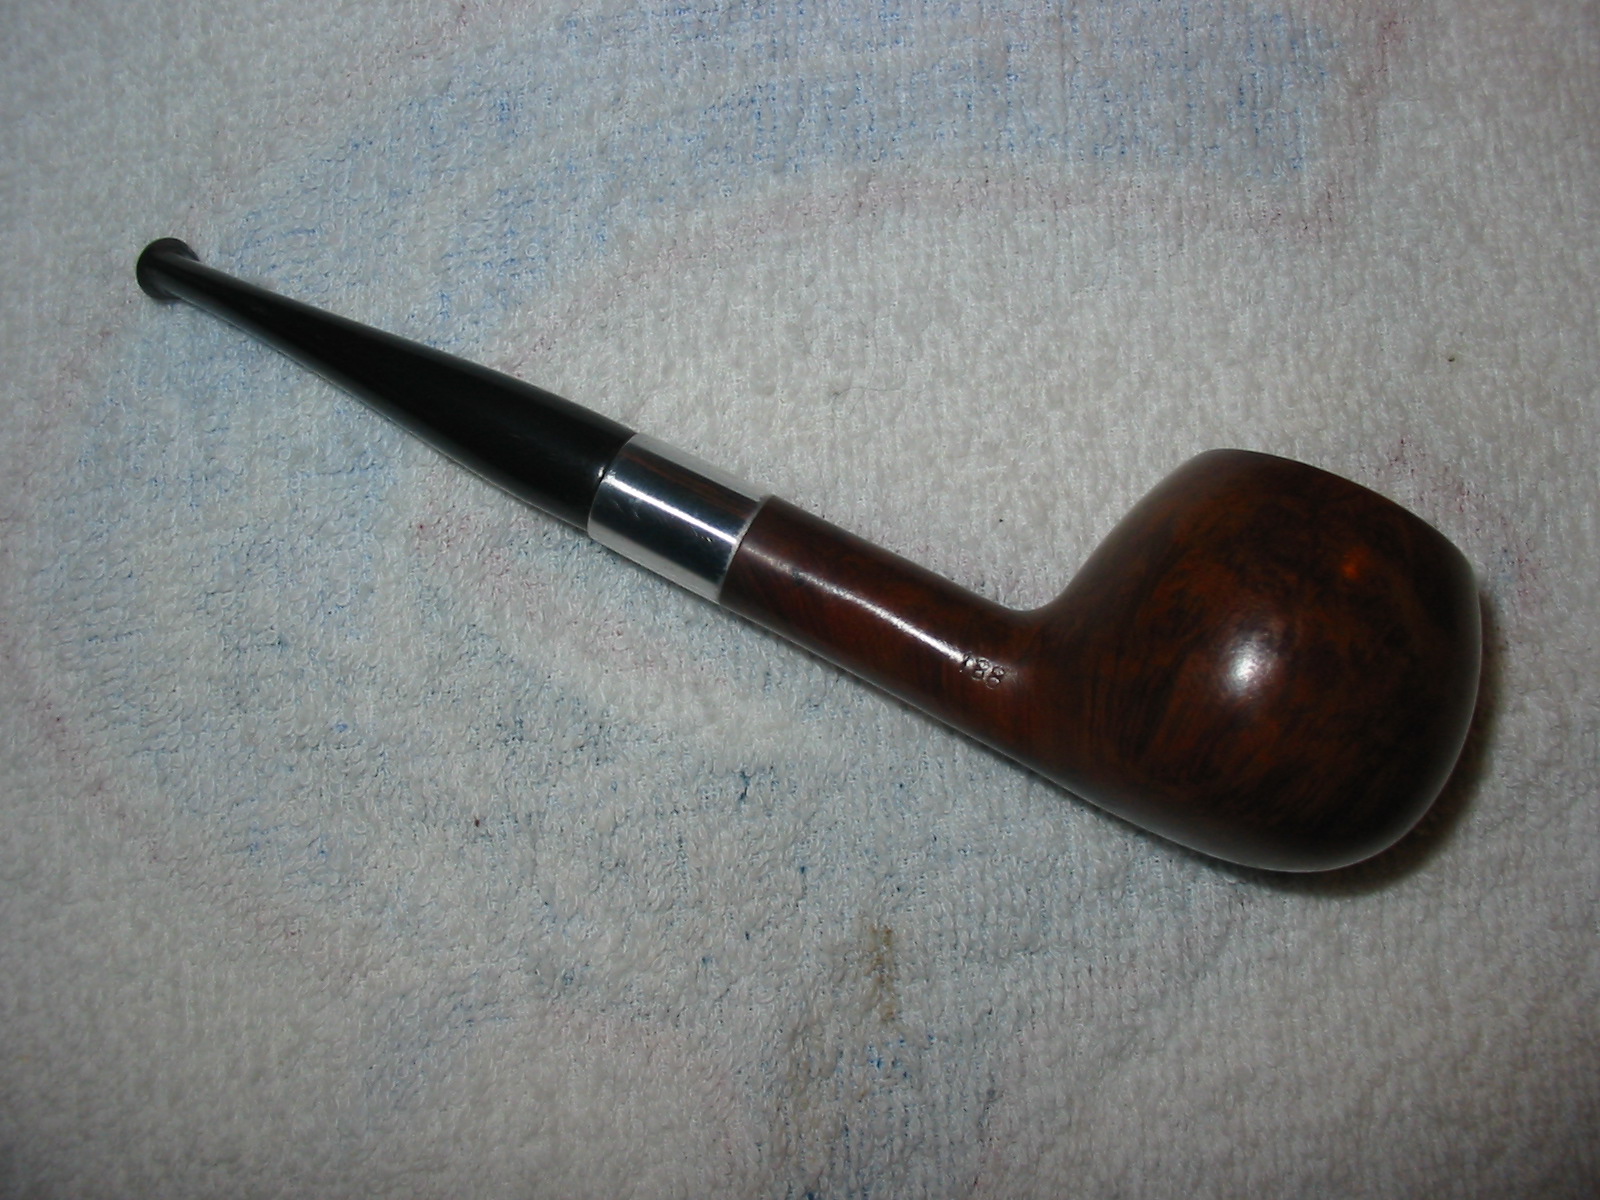
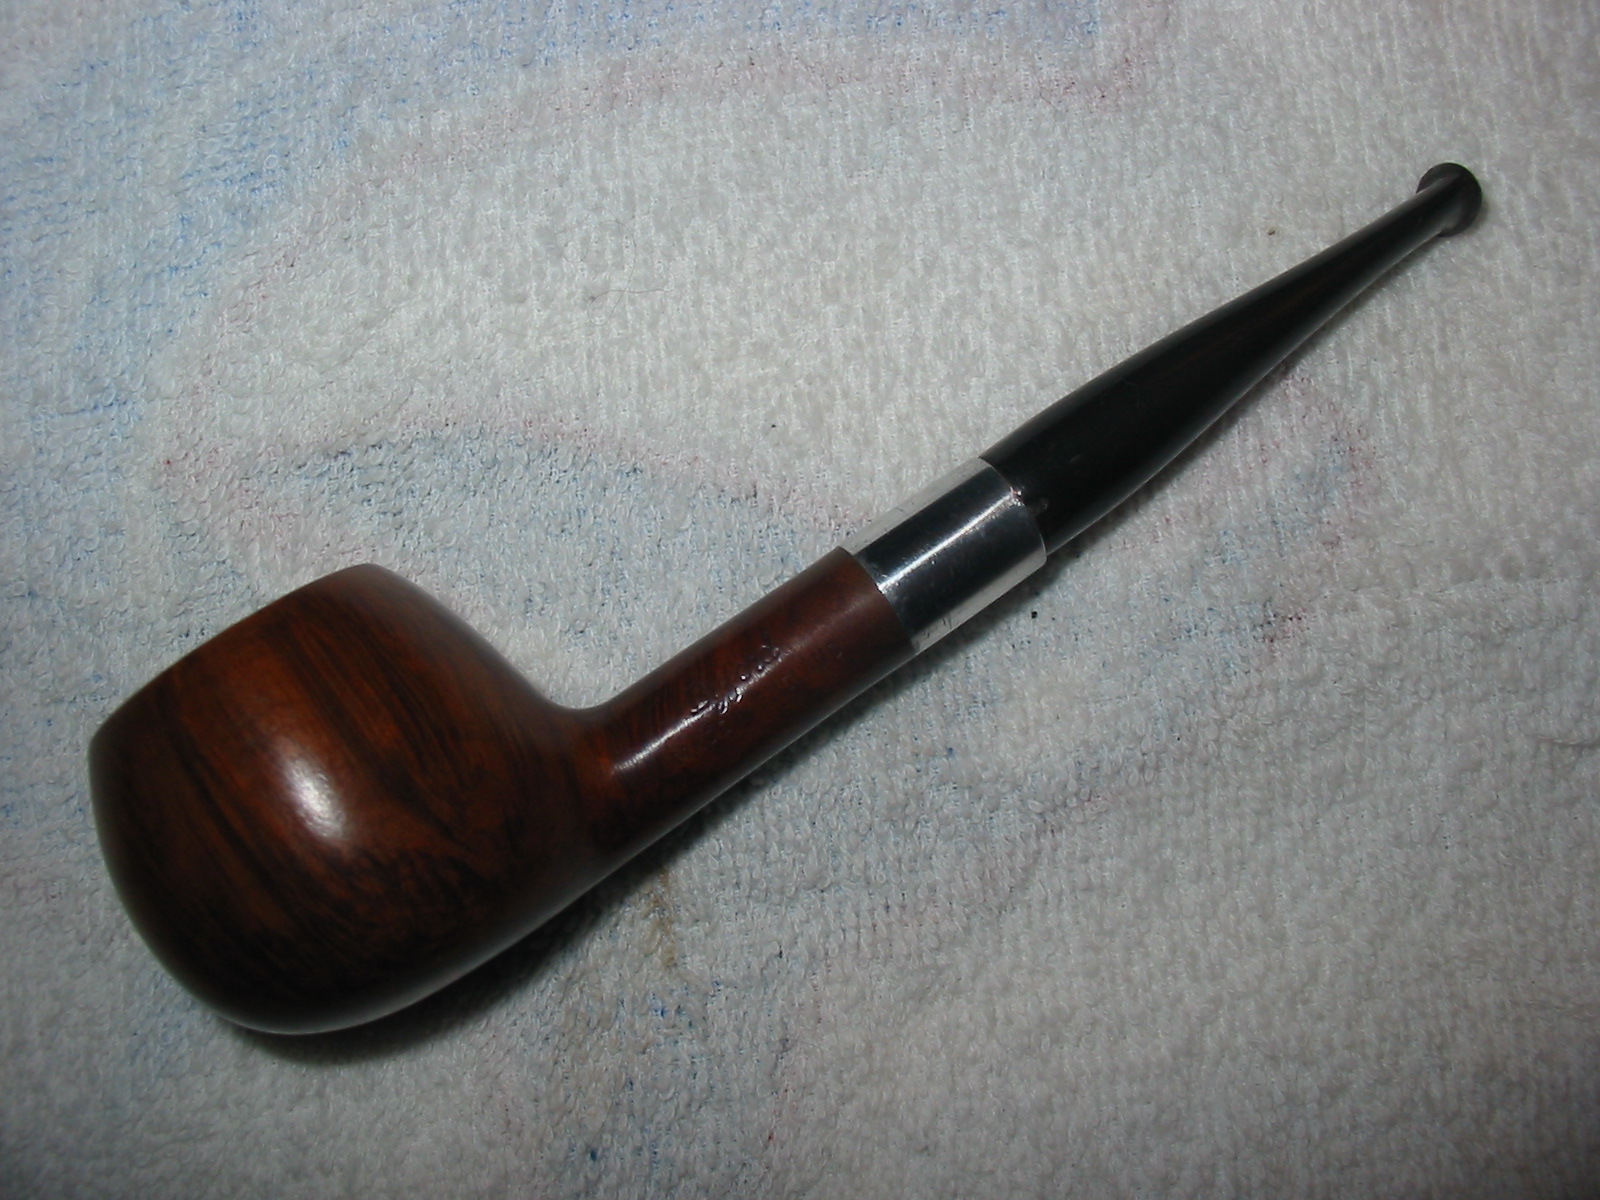
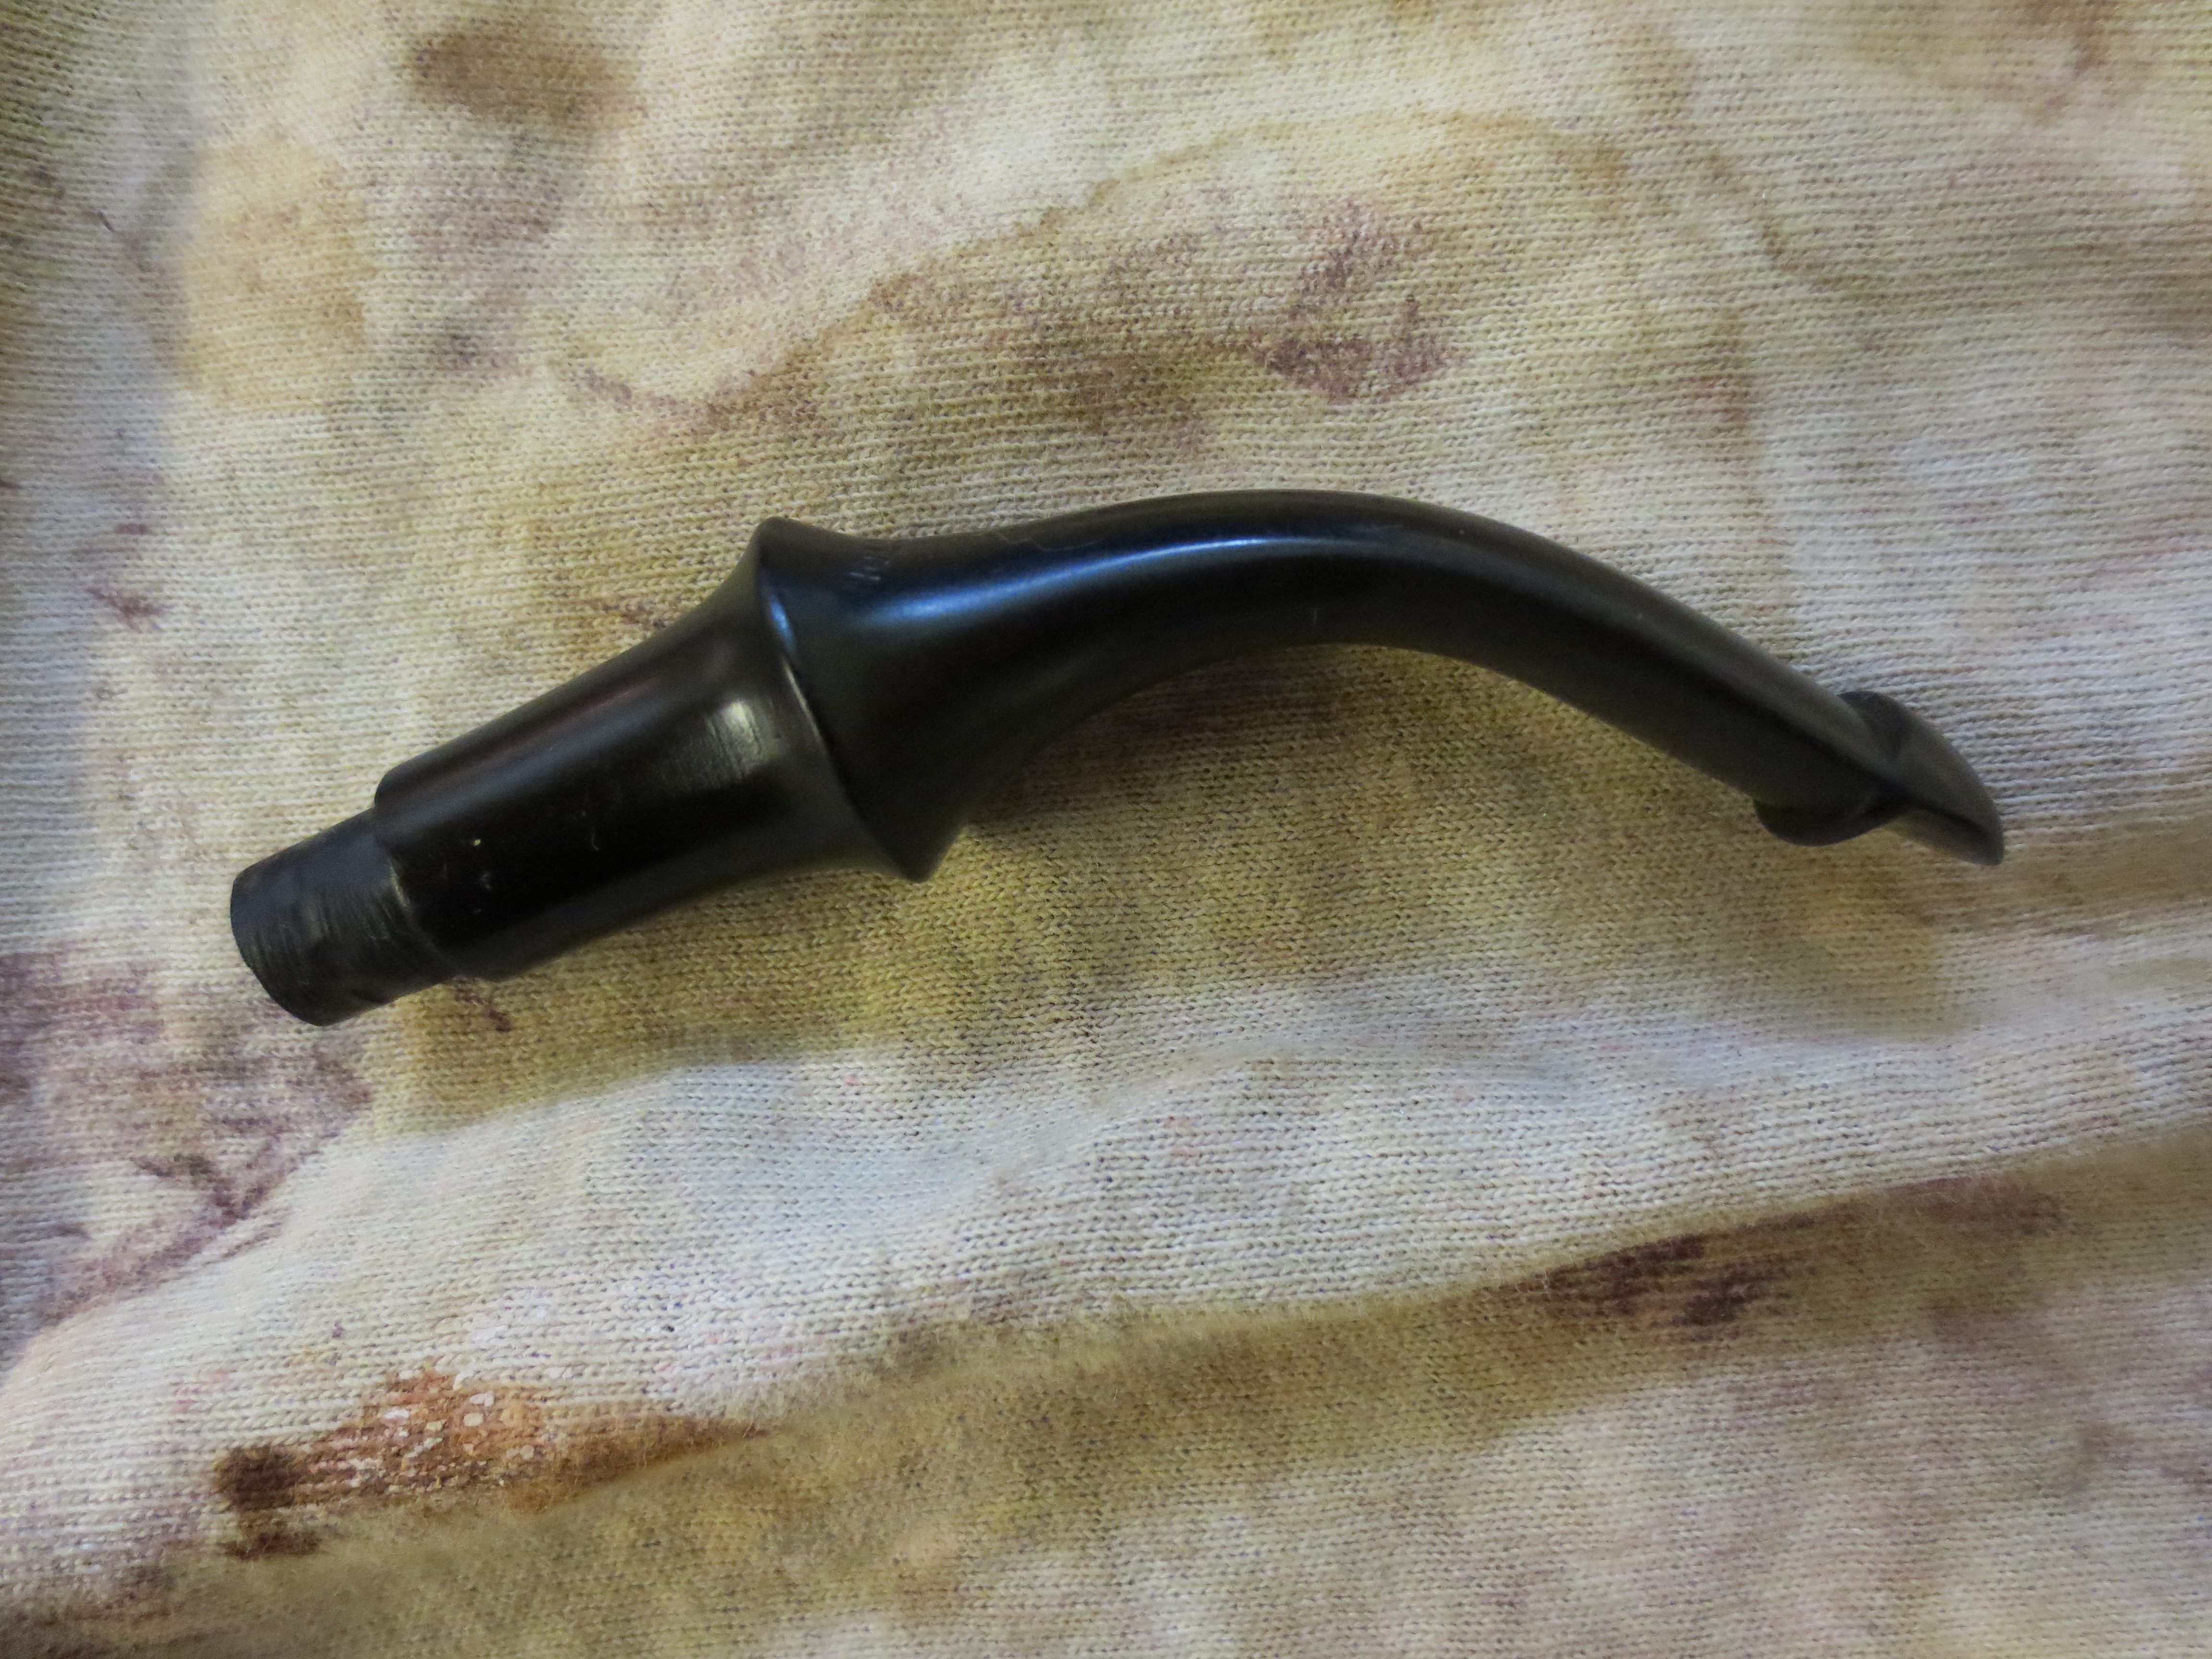
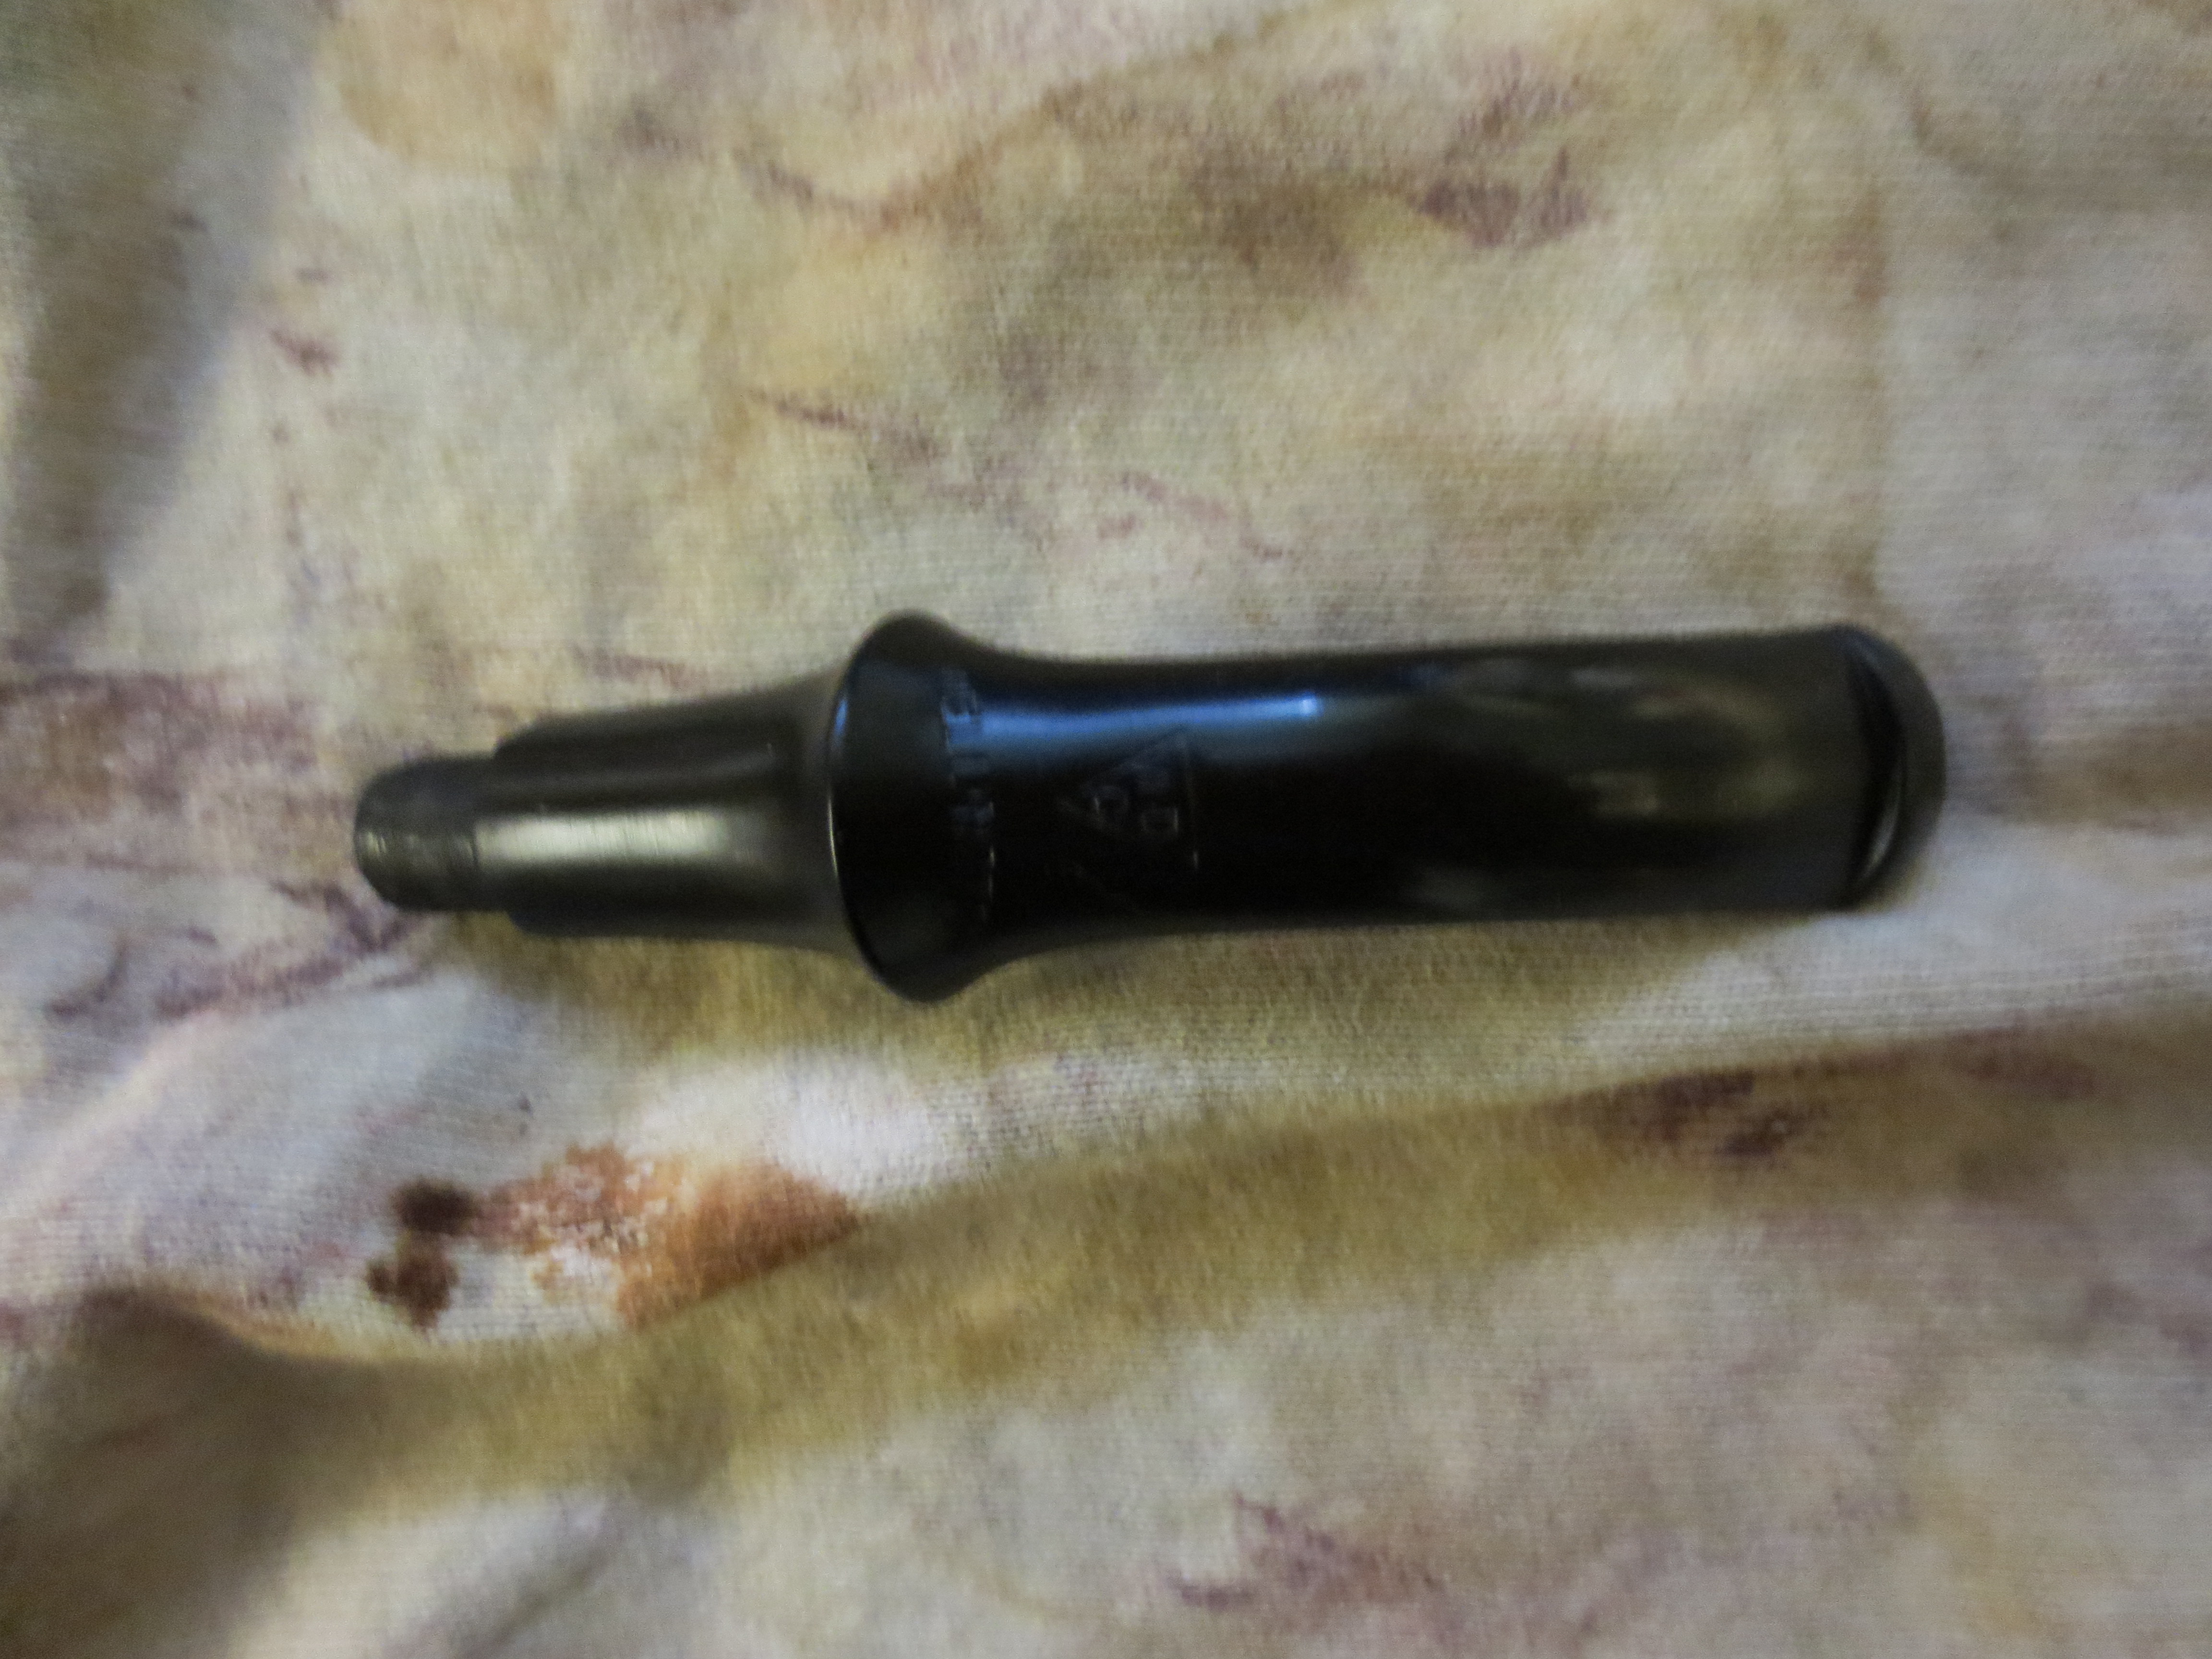
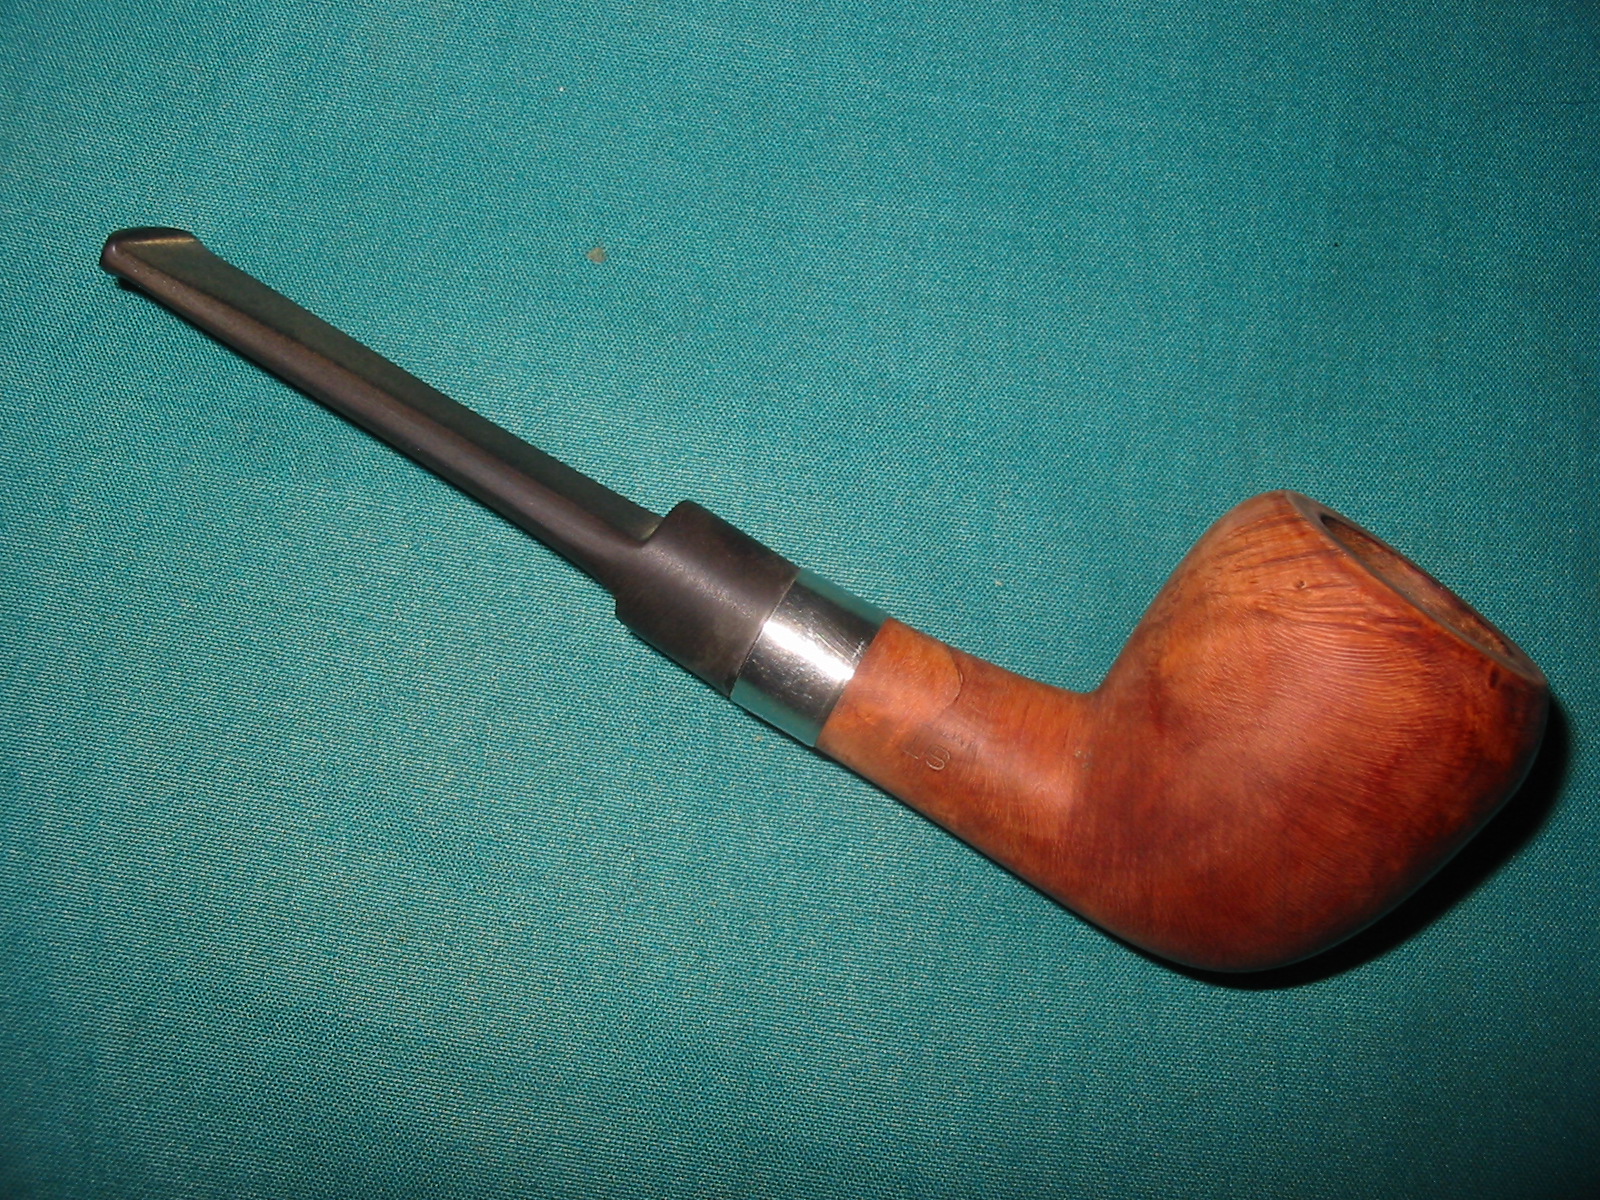
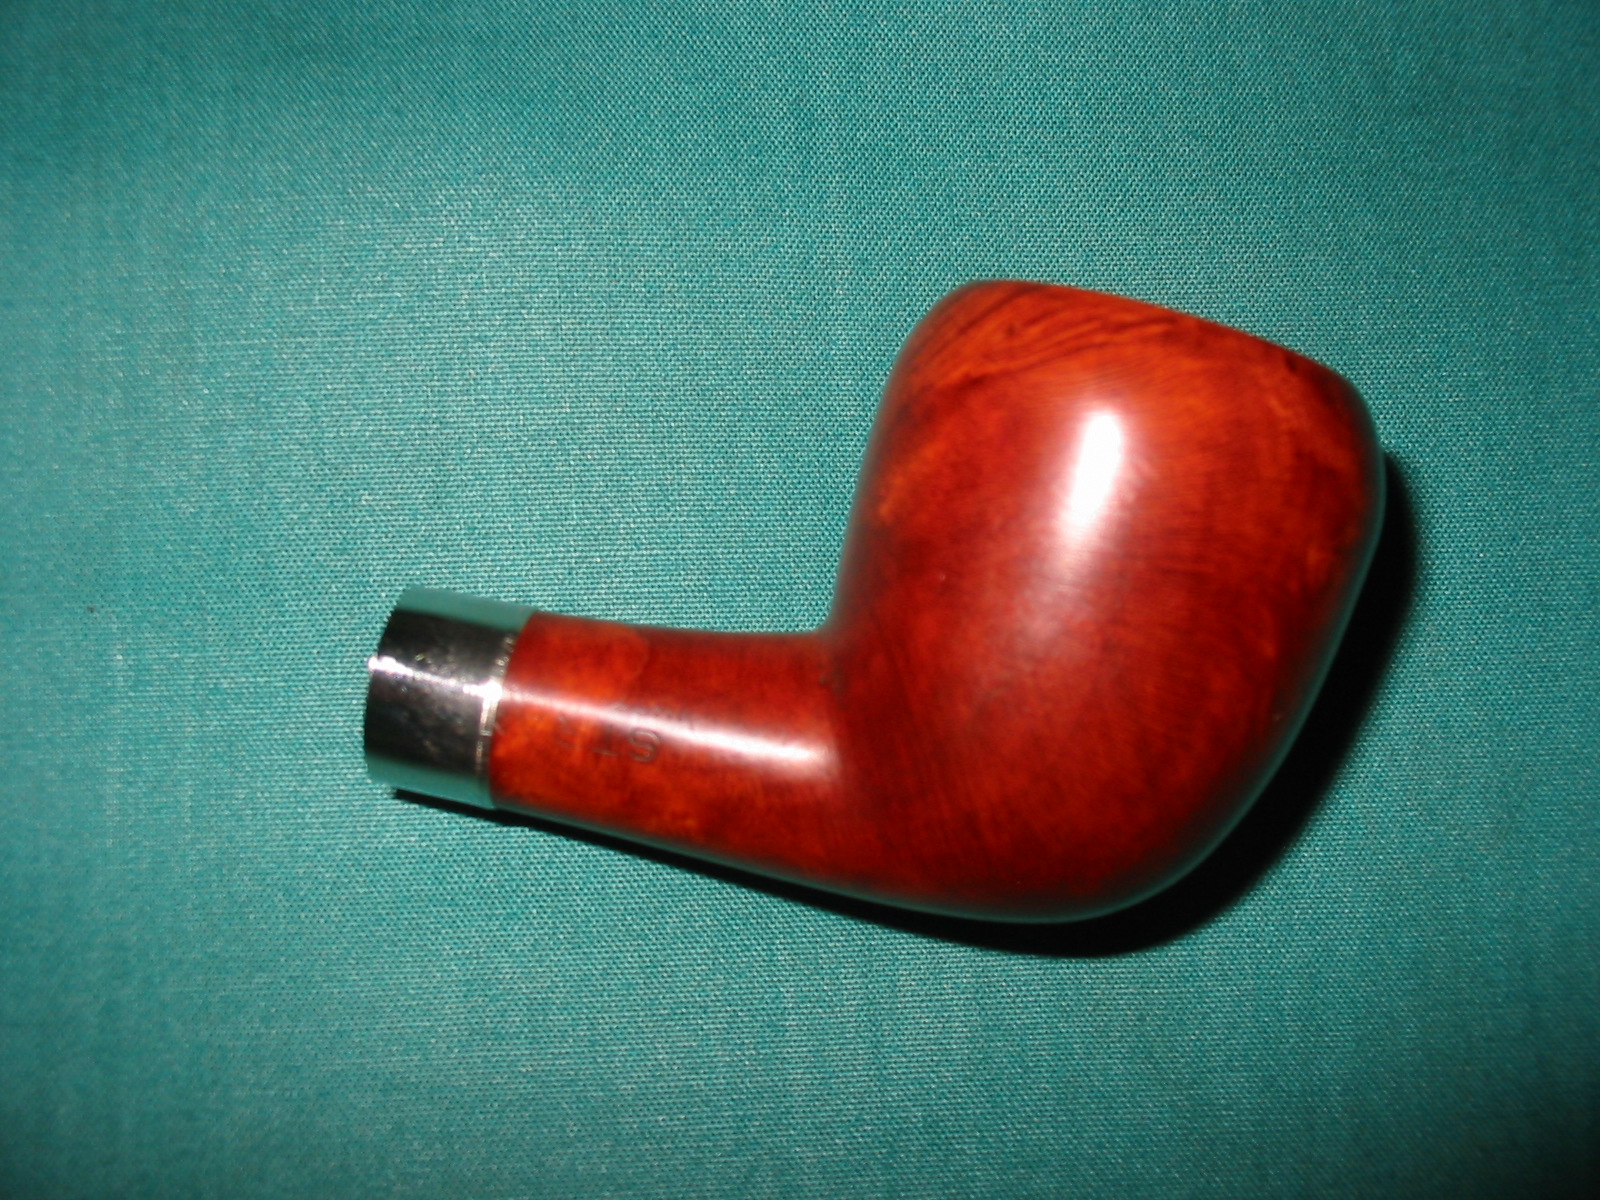
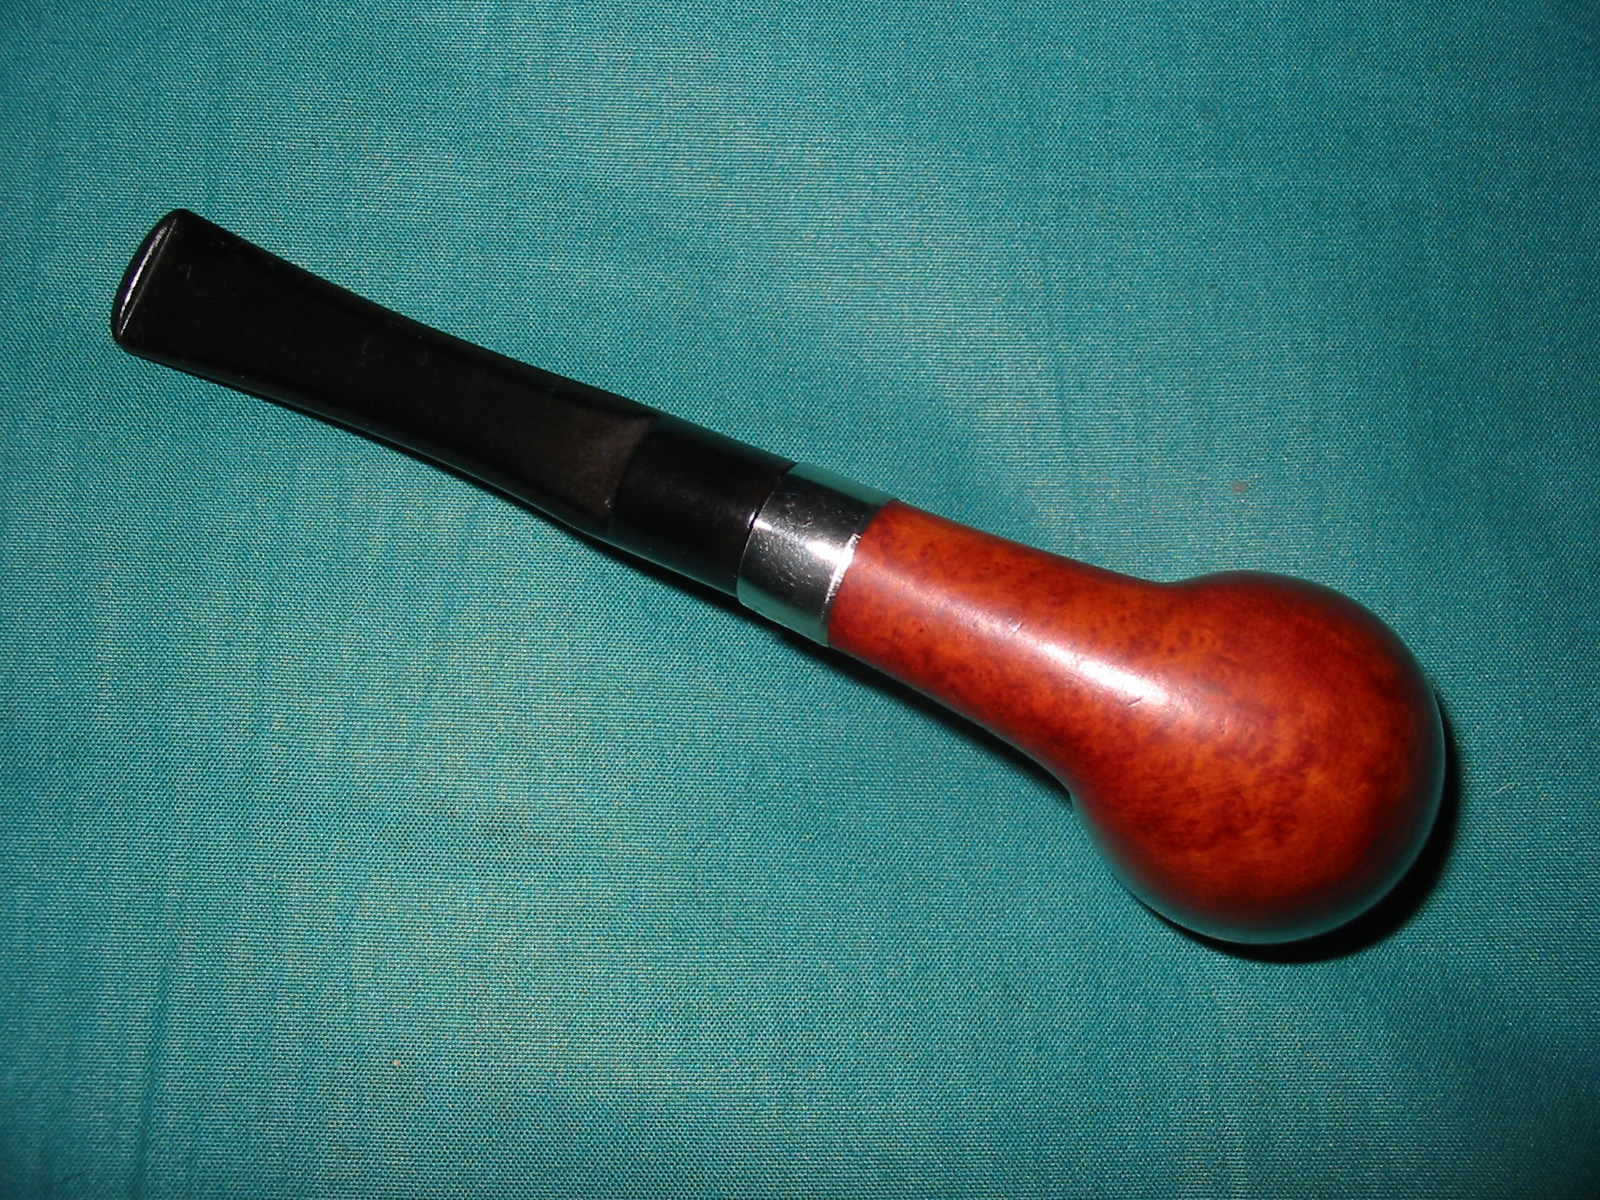
The stem on this pipe is acrylic and was in good shape; there were no major scratches or tooth dents so I polished it with plastic polish and then reassembled the pipe. Then the entire pipe got several coats of carnauba wax and buffed to a shine on a clean flannel buff and then a bit more by hand with a microfiber cloth.

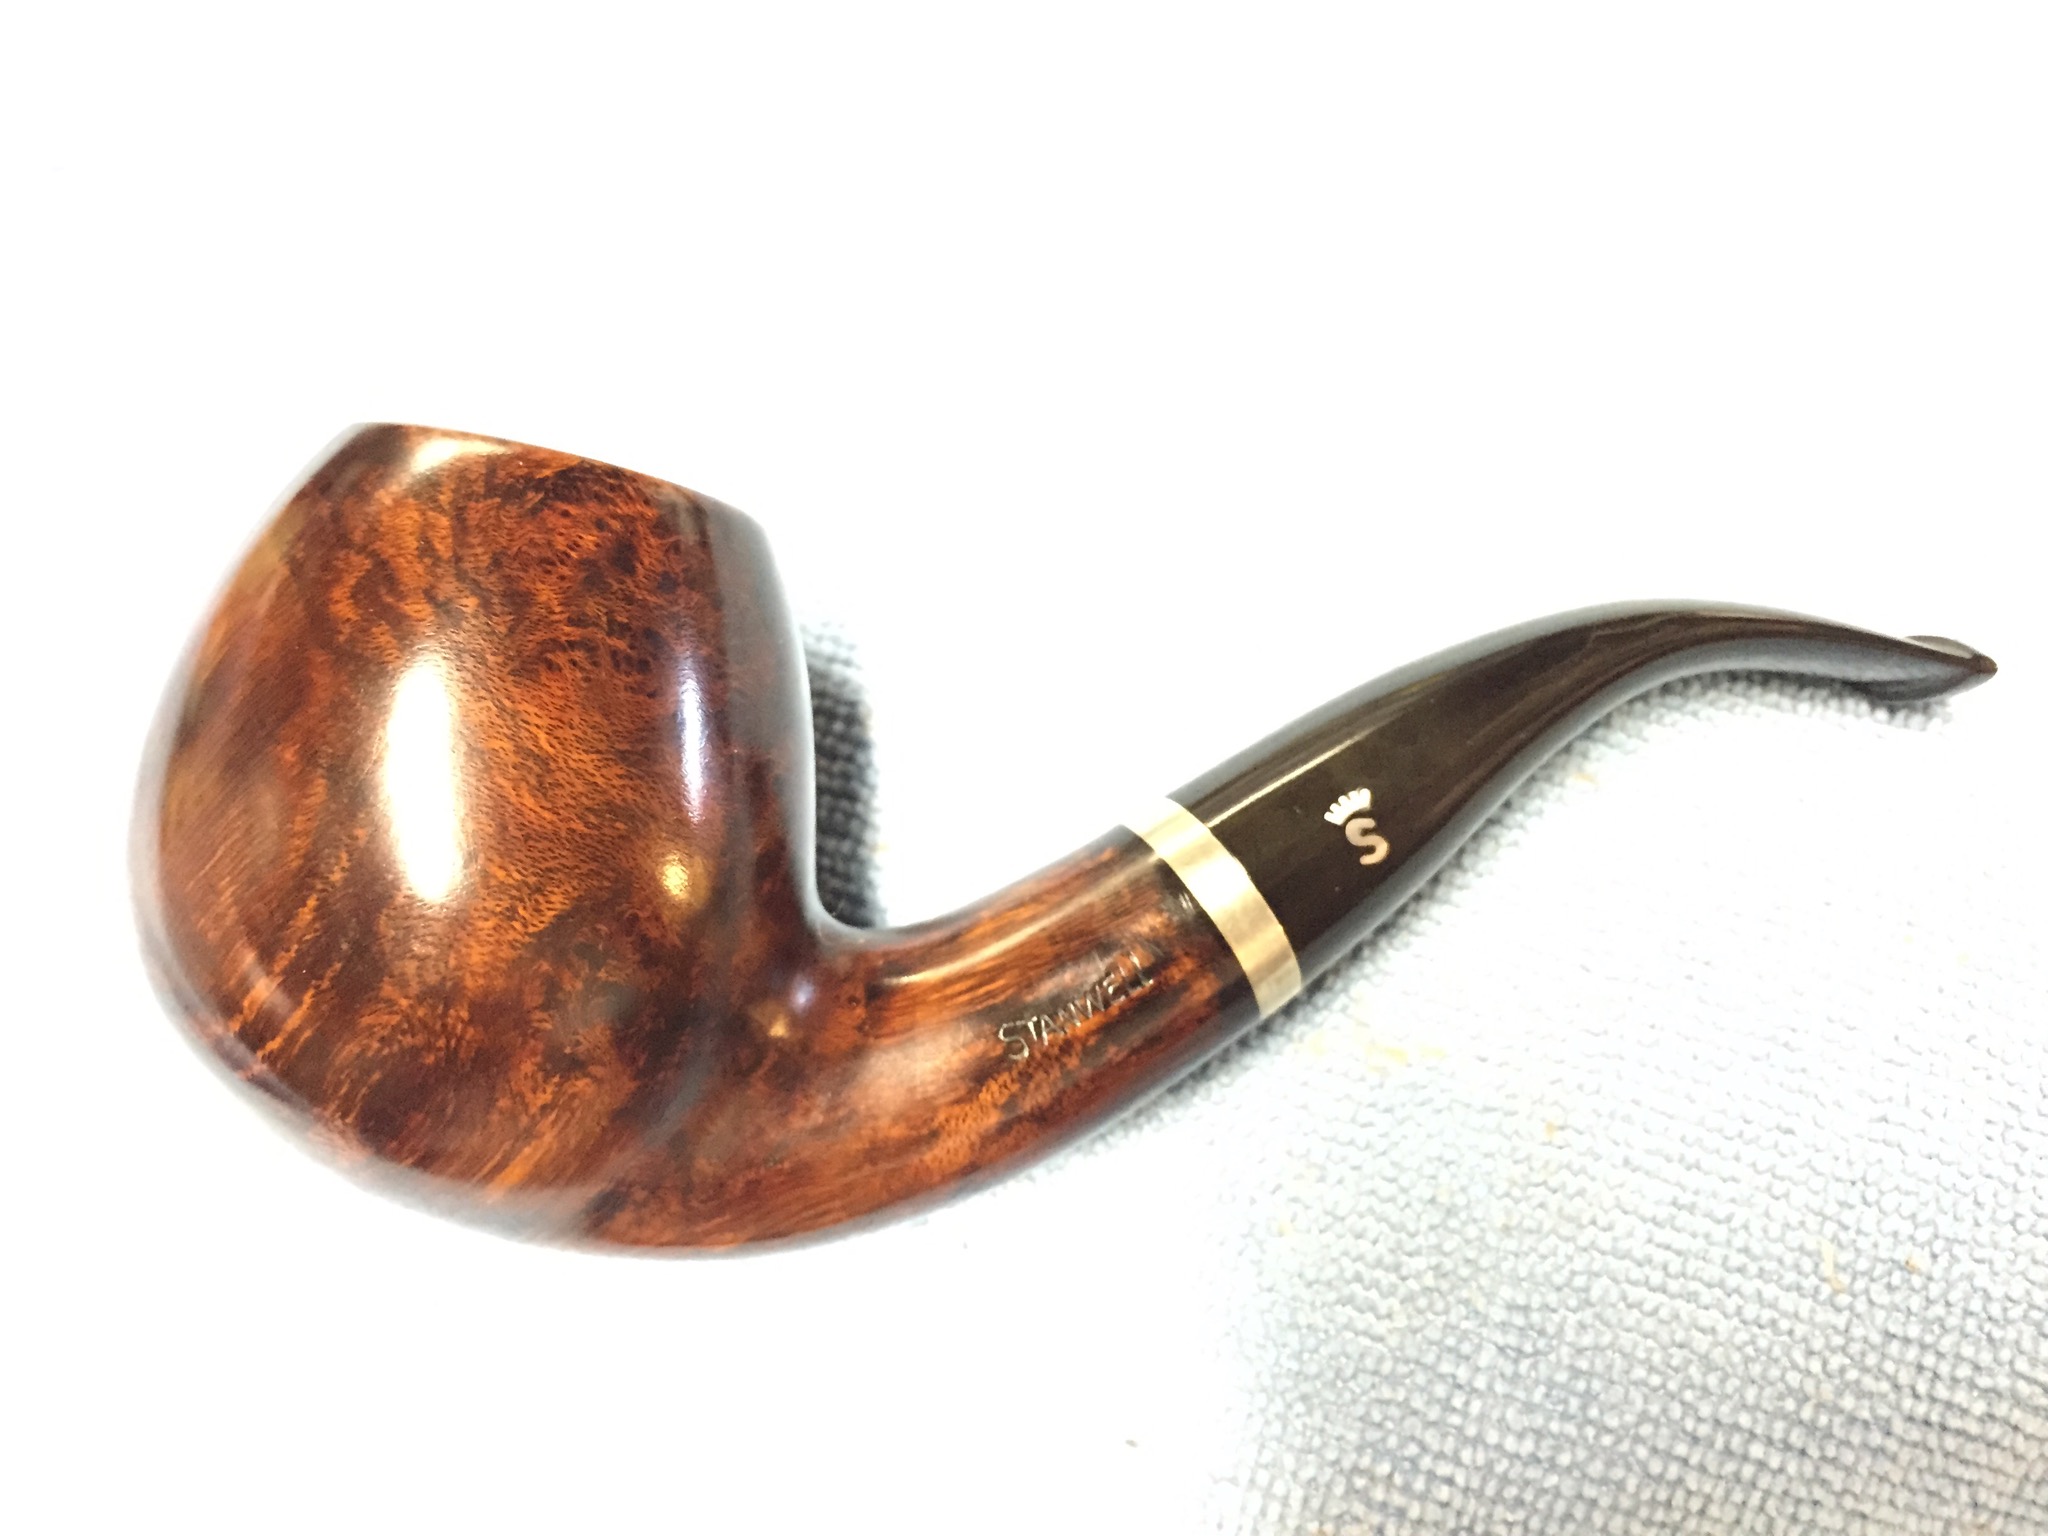
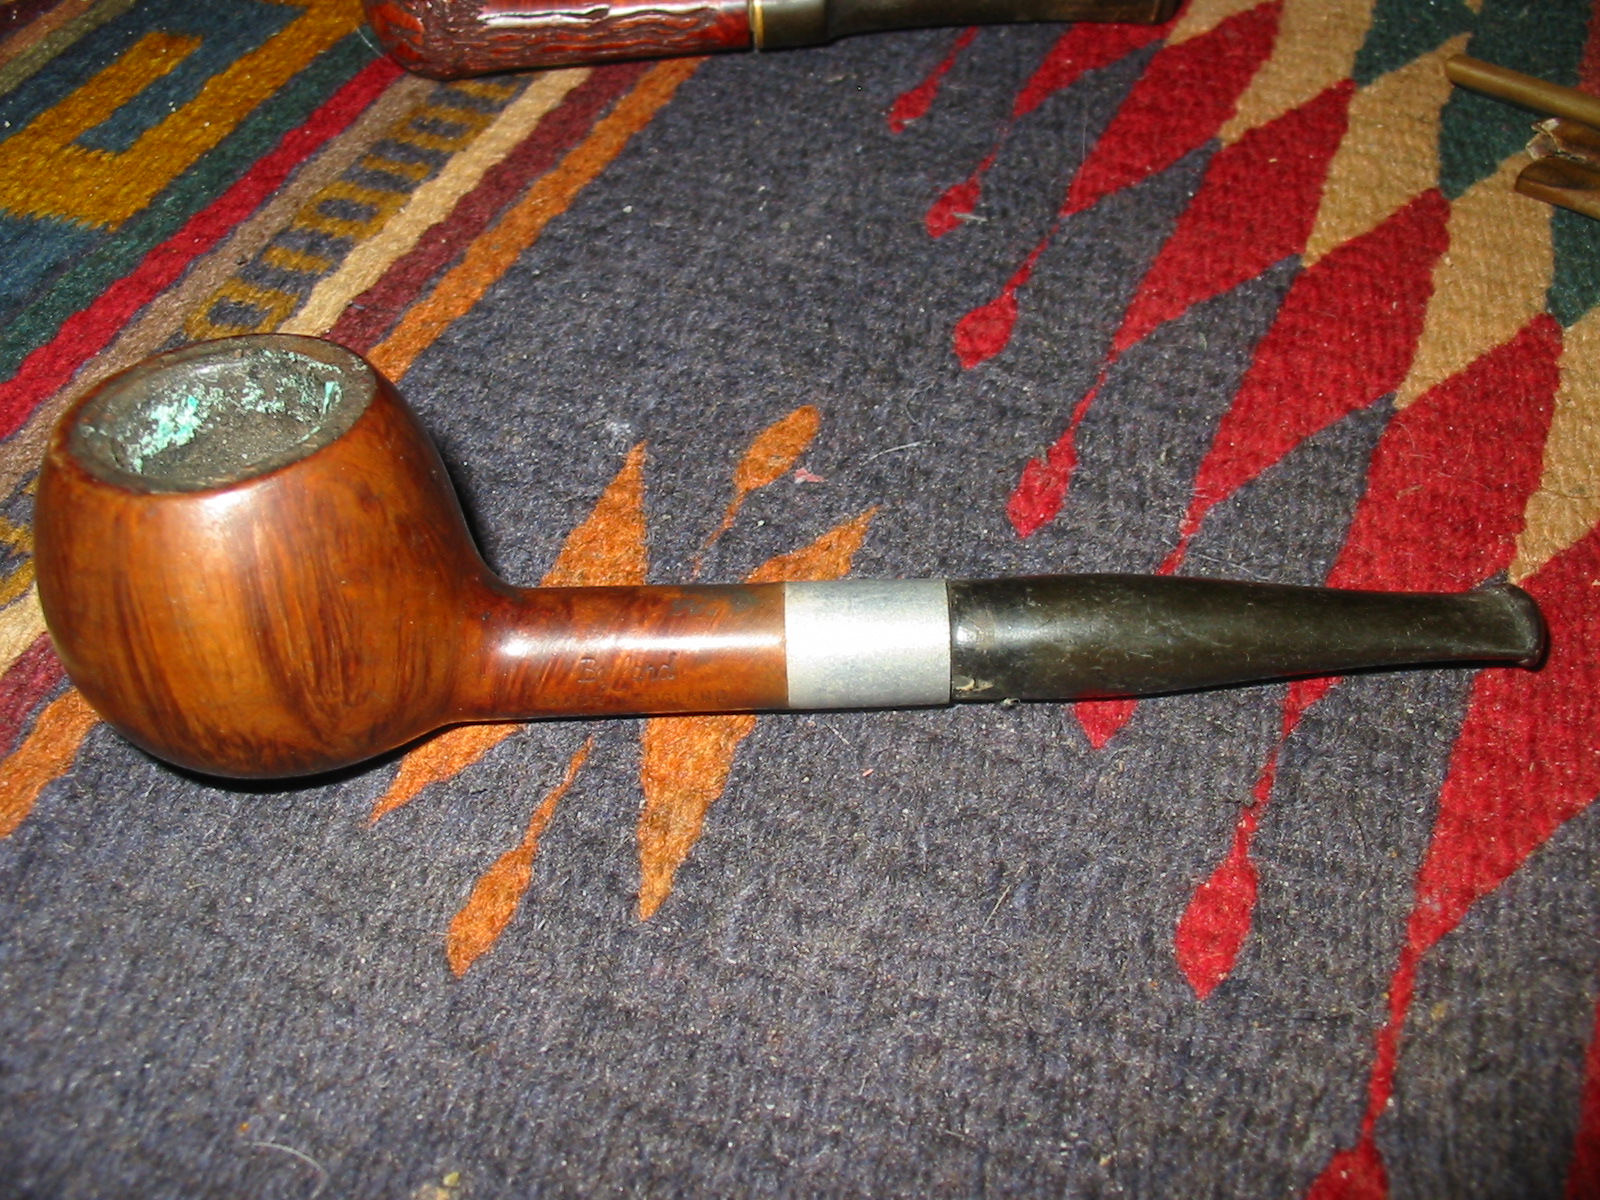
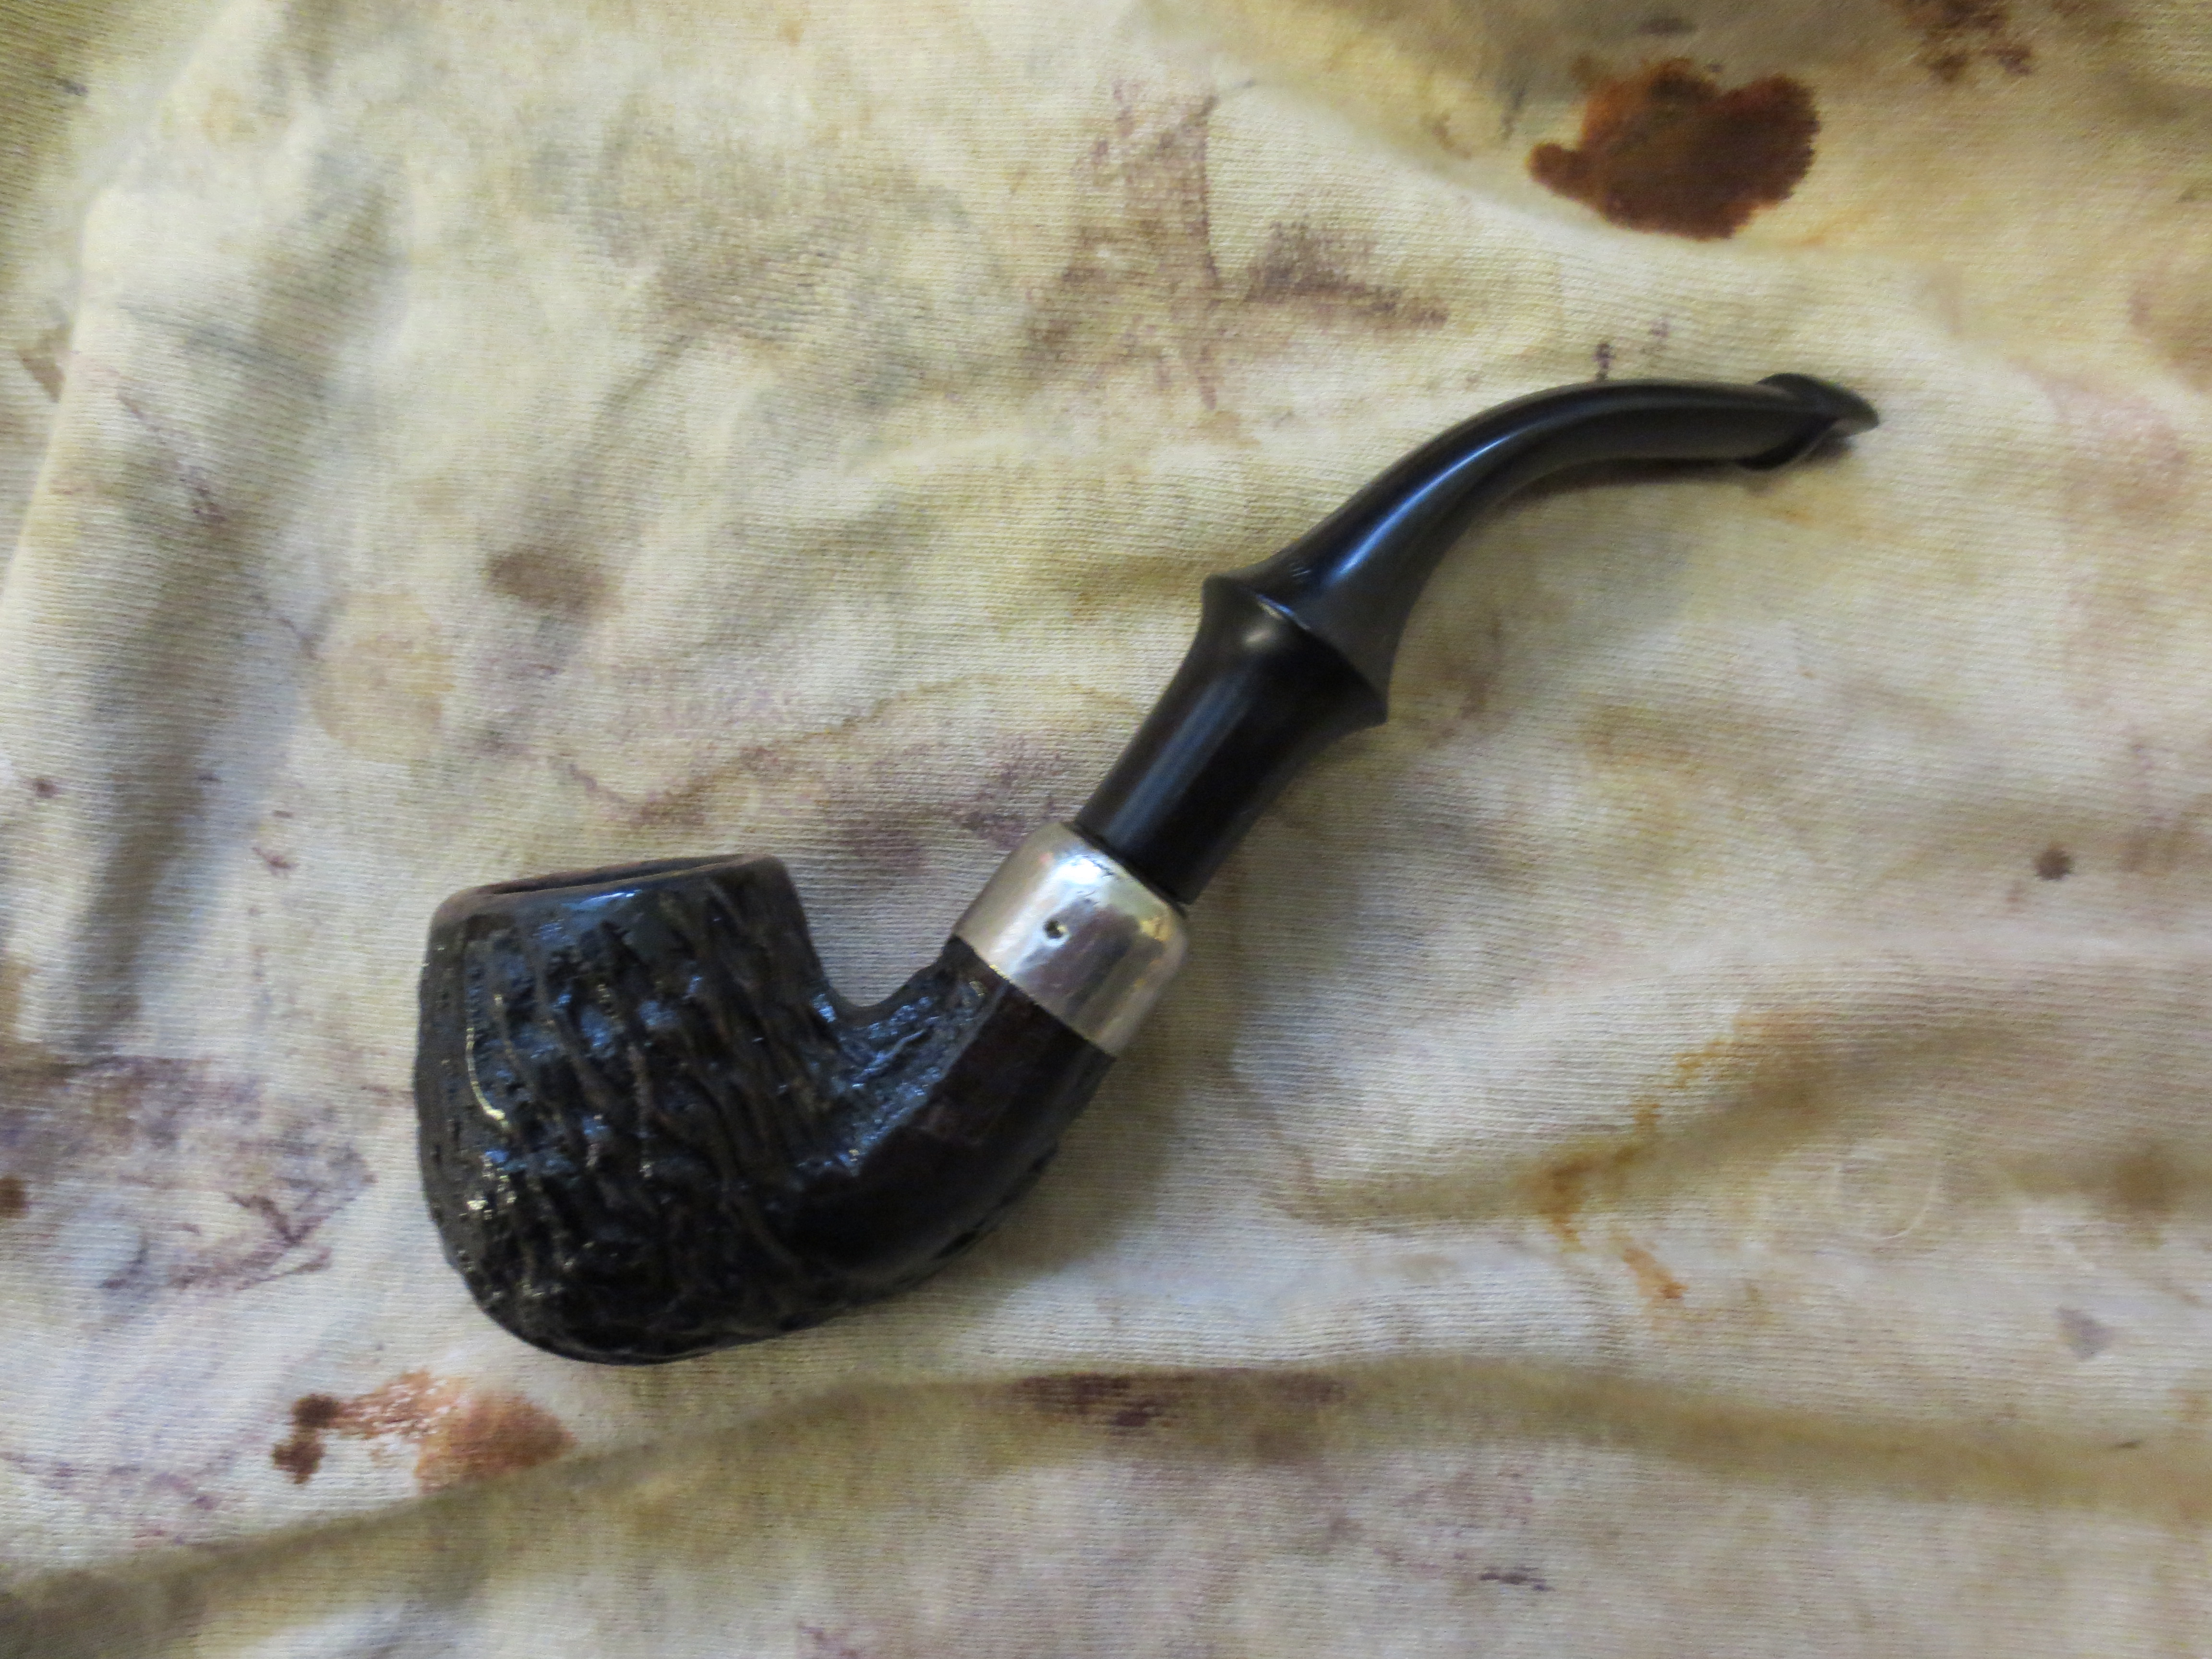
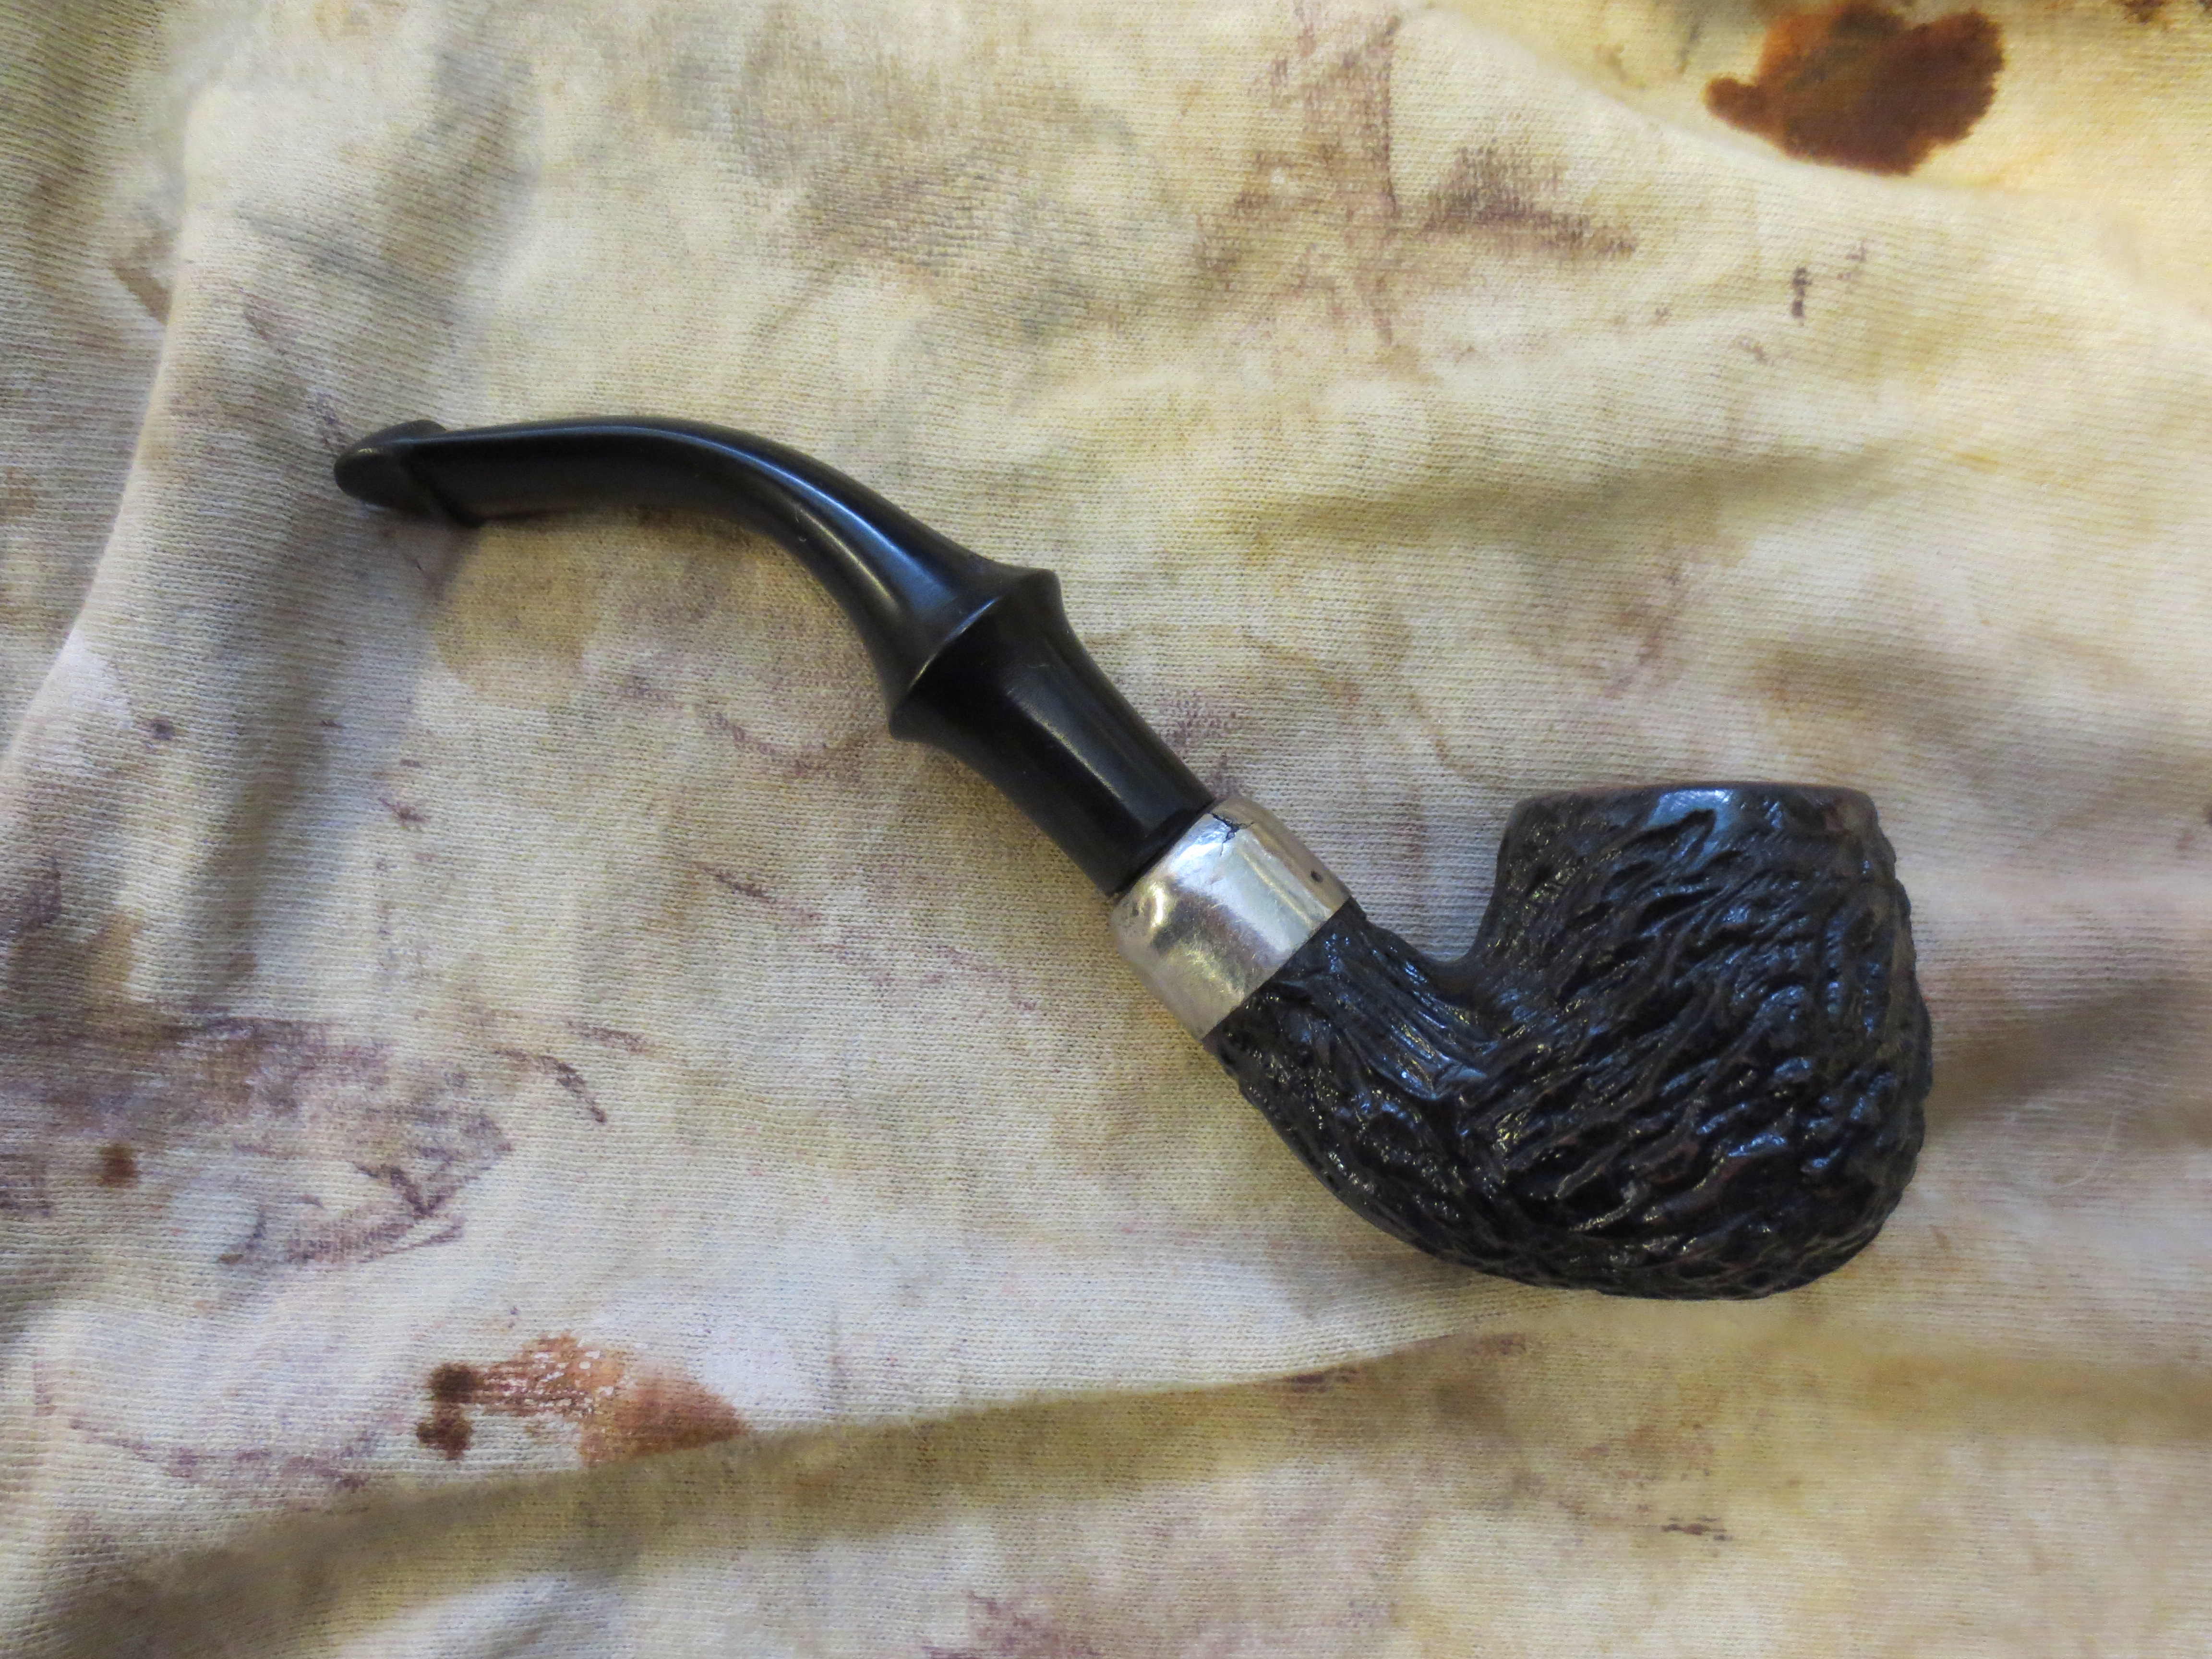
I’m really pleased with the “undress” pipe. And I’m relieved that the briar under the “coat” was as nice as it is. This large, heavy pipe will now have a spot on my rack, to be used and enjoyed, something that it hasn’t had much of in its life. IMG_0986.PNG

IMG_0982.JPG

Kaywoodie Ruf-Tone


I thought I would share this post on a blog I follow by reserected pipes. In it he comments on using a grinding tip on his Dremel to remove a heavy finish on the old KW spiral. He did a great job on it and I want to direct you to have a look at his work. Thanks.

ReserectedPipes

I found this Kaywoodie on eBay a couple of months ago and have been trying to decide what to do with it. It showed OK in the pictures and when I received it it had showed promise.

You can see by the shape of it, the thread style, that it had several different layers of finish on it. The cake in the bowl was irregular but not too bad. The rim is tarred and looked like it had been scraped.

The  first thing I did was to remove the cake and use salt and alcohol to clean it. The rim needed a lot of attention so I sanded it on a table top with 320 grit sand paper.

Next, I took the bowl and soaked it in an alcohol bath to loosen the finish.

Once it came  out of the bath I had to use various means to get the…

View original post 228 more words

Restoring and Reclaiming a Byford Prince


I was gifted three old pipes by a friend on Smokers Forums. The first that caught my attention was an older Byford Prince. It was pretty worn but the wood was in good shape under the wear and tear. The stem was shot. It had a split along the stop side and was missing a few pieces. When I removed it I found that it was quite brittle. Once I took the stem off I found the most interesting system inside. The shank had an aluminum attachment which held two metal tubes inside of it. On the inside of the broken stem was a third metal tube. These formed three concentric, nested circles which wicked out the moisture of the smoke while not hampering the flow of air in the pipe from bowl to button. The photo below shows magnified picture of the interior of the stem and shank.

Byford Pipes

The stem was so broken and damaged that I was not sure how the flow of the angles on the taper was supposed to look. I did not know what the button and the stem were supposed to be like. I did a search on the internet and found this photo of a Byford stem that showed the proper angles on the stem. I used the stem in the photo as a template for my replacement stem. I made one modification which I will speak about in the explanation of the restemming below.

Byford stem

The next photo shows the interior of the stem and shank – the system part of the pipe. The tube in the stem sits between the other two tubes in the shank creating three rings on the inside of the shank and stem. It looked like this stem apparatus would be a bear to clean up. I would have to used cotton swabs, folded pipe cleaners and whatever I could to get in between the layers.

Byford2

The bowl was badly caked with a broken cake. It was soft rather than hard. There was also a buildup of some blue substance on the bowl. I am not sure what it was but it smelled suspiciously like a mold. The stem as you can see in the poor quality pictures below was damaged beyond repair. The aluminum band or shank end was oxidized and rough. Underneath all of the grime it was a beautiful piece of briar. The shape is a well executed prince. The old stem seemed a bit long to my liking so the new one would be slightly shorter and accommodate the lines of the one in the photo.

IMG_1012

IMG_1013

IMG_1014

I removed the old stem and went through my box of stem and found what I was looking for. The drilling on this had to be very wide to accommodate the apparatus on the system of the Byford pictured above. This older style stem had exactly the right fit. It slipped into place and looked good. It was a bit flared on each side and on the top and bottom so that would need to be sanded back to a flush angle. In the photo below you can see the fit of the new stem before I did any shaping on it. You can also see the blue/green substance on the bowl.

IMG_1019

I used a Dremel with a sanding drum to remove the excess vulcanite and shape the stem to the proper angles. I reamed the bowl with a PipNet reamer starting with the smallest head and working up to the third head which took the cake back to bare wood. I wanted to remove the cake and whatever the buildup on the bowl and rim that was there.

IMG_1024

IMG_1025

IMG_1026

After reaming the bowl back I sanded the rim and inner edge with a fine grit sanding sponge to remove the remaining blue/green substance. I also sanded the inside of the bowl smooth to remove any thing that was buildup on the inside edges. I sanded the stem with 220 grit sandpaper to remove the scratches caused by the Dremel and sanding drum. I sanded the exterior of the bowl and the oxidized aluminum on the shank end with the fine grit sanding sponge as well. The next three photos below show the state of the bowl and stem at this point in the process.

IMG_1031

IMG_1032

IMG_1033

I wiped the bowl down with an acetone wetted cotton pad to remove the grime and the old finish. The next two photos show the bowl at this point. The cotton pad is below the bowl to show the amount of finish and grime that came off. I find that the acetone will even out the finish and clean up any remaining grime.

IMG_1034

IMG_1035

I continued to sand the stem with 220 grit sandpaper and also cleaned out the shank apparatus with Everclear and cotton swabs. That was a challenge! The grime that built up in the concentric tubes took some bends and twists of cotton swabs and pipe cleaners to remove from the shank. I also scrubbed down the interior of the bowl with Everclear on the cotton swabs and then scoured it out with 0000 steel wool. I did not want any remnants of the blue/green stuff. While the bowl was wet with the alcohol I also flamed the inside with a lighter. The alcohol burns quickly and should destroy whatever remnants of the sludge that may have been resident in the briar. I sanded the aluminum with 1500 grit micromesh sanding pads to remove the oxidation and crust that had built up at the junction of the aluminum and the briar.

IMG_1036

IMG_1037

The next two photos show the stem after the pipe and stem have been cleaned and after I had finished shaping the stem with the 220 grit and 340 grit sandpaper. The angles matched the photo above that I was trying to duplicate.

IMG_1038

IMG_1039

At this point it was time to sand with the micromesh sanding pads. The next series of five photos show the progressive shine that comes through the micromesh. I wet sanded with 1500 and 1800 grit micromesh to remove the scratches and begin to give the stem a polish. I also sanded the bowl with these two grits as well. I followed up by dry sanding with the remaining grits of micromesh from 2400-12,000. I sanded the bowl, the aluminum shank end and the stem.

IMG_1040

IMG_1041

IMG_1042

IMG_1043

IMG_1044

Upon completing the sanding and polishing with the micromesh pads I took the pipe to the buffer and buffed the stem and bowl with White Diamond on the wheel. It brought out the shine and help highlight the grain. I wiped down the stem with Obsidian Oil to protect it and then gave the entire pipe several coats of carnauba wax and buffed it to a shine. The last series of four photos show the finished pipe.

IMG_1045

IMG_1046

IMG_1047

IMG_1048

ADDENDUM 03/07/15
Just recently I discovered this interesting piece on the Byford pipes. They were originally made by Orlik. Here is a page from their catalogue.
445px-Orlik_70S07

A Little Czech System Pipe Reborn


I had this little Czechoslovakian rusticated bowl in my box. I decided it was the day to work on it so I took it from the box and gave it the once over to see what needed to be done. The finish was a bit spotty, and the shiny varnish on it was peeling so I dropped it in an alcohol bath to try to break down the finish. The next three photos show the bowl after I had taken it out of the bath. While it was still wet I used a wire brush and some Everclear to scrub the surface of the bowl to remove the flaking finish and the varnish coat. I also topped the bowl to remove the damage that had been done to it from tapping it out. The fourth picture below shows the topped bowl

ImageImageImageImage

I went through my can of stems to find one that would fit. I had a nice p-lip style stem stamped WDC Wellington that came from a pipe of similar size and shape. I was able to sand it a little to make a good fit tight fit to the shank. I cleaned up the stem with micromesh sanding pads 1500-12,000 and then gave the stem a polish with Maguiar’s. I sanded it a final time with the 12,000 grit micromesh before wiping it down with Obsidian Oil. The two photos below show the finished stem.

ImageImage

I restained the bowl with dark brown aniline stain, flamed it, restained and flamed it a second time. The restained pipe is shown in the next two photos. Once it was dry I took it to the buffer and buffed the stem and the bowl with White Diamond.

ImageImage


I brought the pipe back to the work table and gave it multiple coats of the Halcyon II wax as I find it does a great job giving rusticated pipes a nice sheen. I also coated the stem with carnauba wax and hand buffed the entire pipe with a shoe shine brush. The hand buffing brought out a nice shine on the pipe.

ImageImageImageImage


Redeeming a Disaster – A Repair with a Happy Ending


On Christmas Eve I decided to start working on a little acorn shaped pipe bowl that I have had here for quite awhile. It sat in my repair box in wait for the right moment for me to take it to the work table. It needed a stem and the shank was set up for a metal screw in tenon. I did not have any metal threaded tenons that fit the shank well or I could have made a stem for the pipe and inserted the threaded tenon. The time was right and I wanted to try something a bit different on this one. It did not matter if it worked or not really as it was truly a disposable pipe. With that freedom in mind I decided to fit the bowl with a push tenon stem. To make that work involved removing the metal insert from the shank. I reamed the bowl and cleaned out the shank to get it ready for removing the insert. I tried to twist if out as I figured that it was screwed into the shank. No such luck. It was tight and I could not remove it after using heat or putting it into the freezer to cause it to contract and loosen. I made a decision at that moment that did not end well – at least in the short term.

I set up my cordless drill with a bit that would open up the shank. My thinking was that if I could not removed the insert I would drill it open and smooth so that it would take a regular push tenon with no problem. I started with a drill bit virtually the same size as the airway and then planned on moving up to larger drill bits as the work progressed. The initial drilling worked well and the threads were smoothed out. So far so good! I was pretty excited to watch the airway smoothing out and opening up. Then I changed the drill bit for the next size up and drilled it a second time. I progressed slowly holding the bowl in my hand as I drilled the shank. I have done this before and did expect any problems. You know the thinking right – it worked well in the past so I could expect it to work the same this time around. So with full confidence I worked away. Then disaster struck. A few moments after starting to drill with the slightly larger bit the shank literally shattered in my hand. I was left holding four pieces of broken briar in my hand. The bottom half of the shank remained intact but the upper half was in three pieces. The metal insert remained unmovable in the bottom portion of the shank.

I was a bit stunned and almost binned the broken briar. What had at first appeared to be a good idea was reduced to something that I was ready to throw away and write off as a learning experience. However, I stopped and looked at the pieces for awhile. I thought about cutting the shank off and adding a shank extension to do one of Piet’s Hot Rods. I weighed the pros and cons of that and still was not certain whether I wanted to go to that trouble for this pipe. I took the pieces and puzzled them together to see what the damage looked like when it was put back together. I examined it closely and could see that the break was at least very clean and the surface was not chipped or damaged. I used a dental pick to remove the metal insert from the shank. I decided to get out the super glue and put the pieces back together for a look. With all the pieces in place the pipe looked okay. I sanded off the excess glue from the shank and used some acetone to clean off the stain that was on the shank and bowl. It looked like there was some promise. I decided to strengthen the bond with a nickel band. I heated a nickel band with my heat gun and carefully pressure fit the band on the shank. The repaired pipe was going to be workable.

ImageImageImageImage

I sanded the bowl and the shank and wiped it down repeatedly with acetone. The idea was to remove all of the remaining lacquer finish and even out the stain. I wanted to get the bowl back to bare wood as much as possible before restaining. Once I had it clean I sanded it again with a fine grit sponge backed sanding pad. I continued to sand it with the micromesh sanding pads from 1500-12,000 grit to prepare it for staining.

I had an old saddle stem that would fit the shank dimensions in my box of scavenged stems. I turned the tenon to fit the newly cleaned shank and did the initial sanding to remove the oxidation on the stem. I used the same sponge back sanding pad I used on the bowl as it allows good access to the saddle areas of the stem. The photos below show the newly fit stem. I have quite a bit more work to do on the stem and bowl to bring the pipe to a finished condition but the promise is definitely there. In the second and third top view photo below you can see the repaired shank. I am pretty confident that it will be pretty well hidden by the staining.

ImageImageImage

Before restaining the bowl I decided to work on the stem and get it polished and smooth. I used the 1500 and 1800 micromesh pads to do the sanding and polishing before using the Maguiar’s polishing compound. I have started to use it after the first two or three micromesh sanding grits. I rub it on by hand and then scrub it with a soft cotton pads before wiping it off. I repeat this polishing process with the compound two times before proceeding to working through the remaining micromesh grits. I sanded the stem with 2400 and 3200 grit and took it to the buffer and used Tripoli to buff away the scratches and the oxidation that remained at this point in the process. I also buffed the bowl with the Tripoli. Once back to the work table I used 3600 and 4000 grit before giving the stem a rub down with Obsidian Oil. The four pictures below show the pipe as it looks at this point. The bowl is ready to stain and the stem is getting close to the finished look. There is still some oxidation around the saddle area that will need some more work.

ImageImageImageImage

I decided to use an oxblood coloured aniline stain on the pipe to try to minimize the visibility of the repair to the shank. I used a cotton swab to apply the stain, flamed it and then buffed it off with a soft cotton cloth before taking it to the buffer and buffing it with White Diamond. After buffing I waxed it with several coats of carnauba wax to give it a shine.

ImageImageImageImageImage

I also finished the polish on the stem using White Diamond on the buffer before finishing with the remaining three grits of micromesh pads – 6000, 8000 and 12,000. I gave it a final buff with White Diamond and then rubbed it down with some Obsidian Oil. I finished the stem with several coats of carnauba wax. The four photos below show the finished pipe. The repair to the stem is visible if you look closely but the redemption of this broken pipe is complete and it is ready to smoke.

ImageImageImageImage