
Blog by Steve Laug
My friend Alex stops by now and then with pipes that he has found on his pipe hunts in the city. Generally he has some very interesting pipes he picks up on these hunts. The other night when he came by he brought along a strange one made by Hilson after they had moved to Holland. It is called a Dromedary. I suppose it was named after the Arabian one-humped camel that was a light and swift breed trained for riding or racing. When I was in Jaipur, India I saw Dromedary camels pulling carts and wagons in the streets of the fabric district (see the photo to the left). The single hump clearly distinguishes them from the other 2 humped camel.
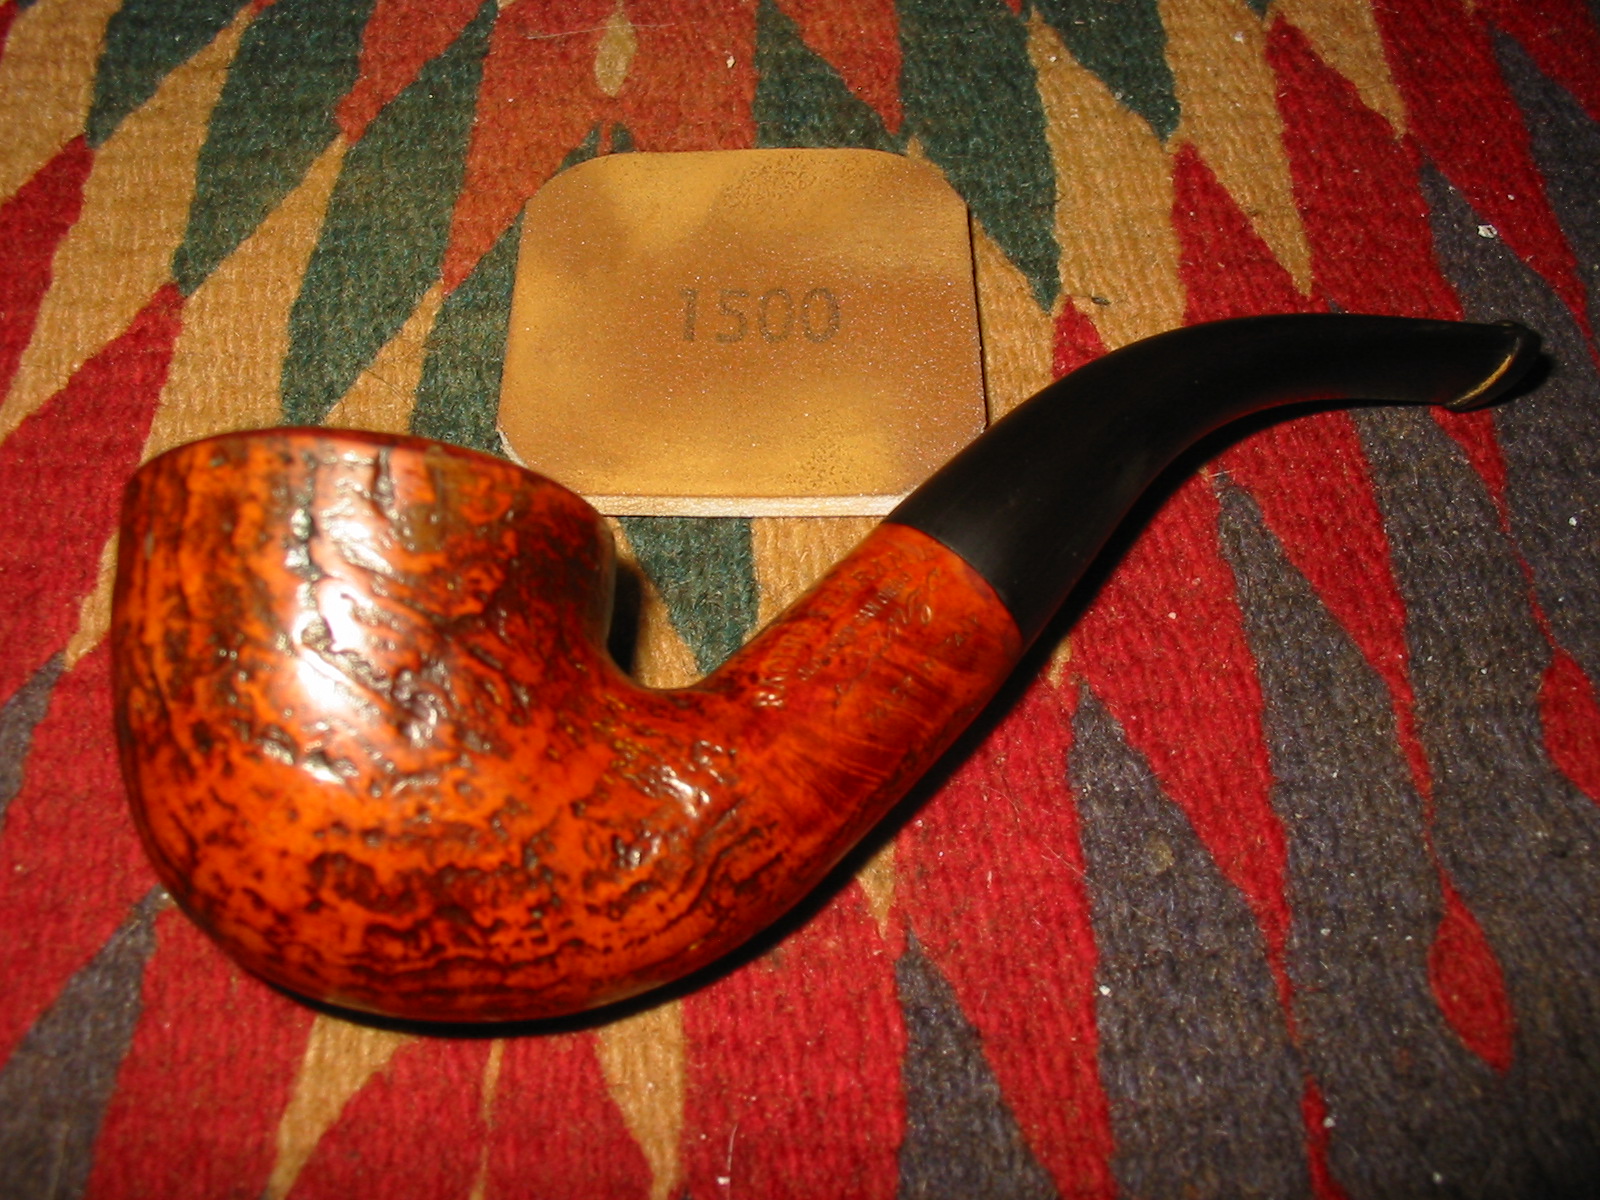
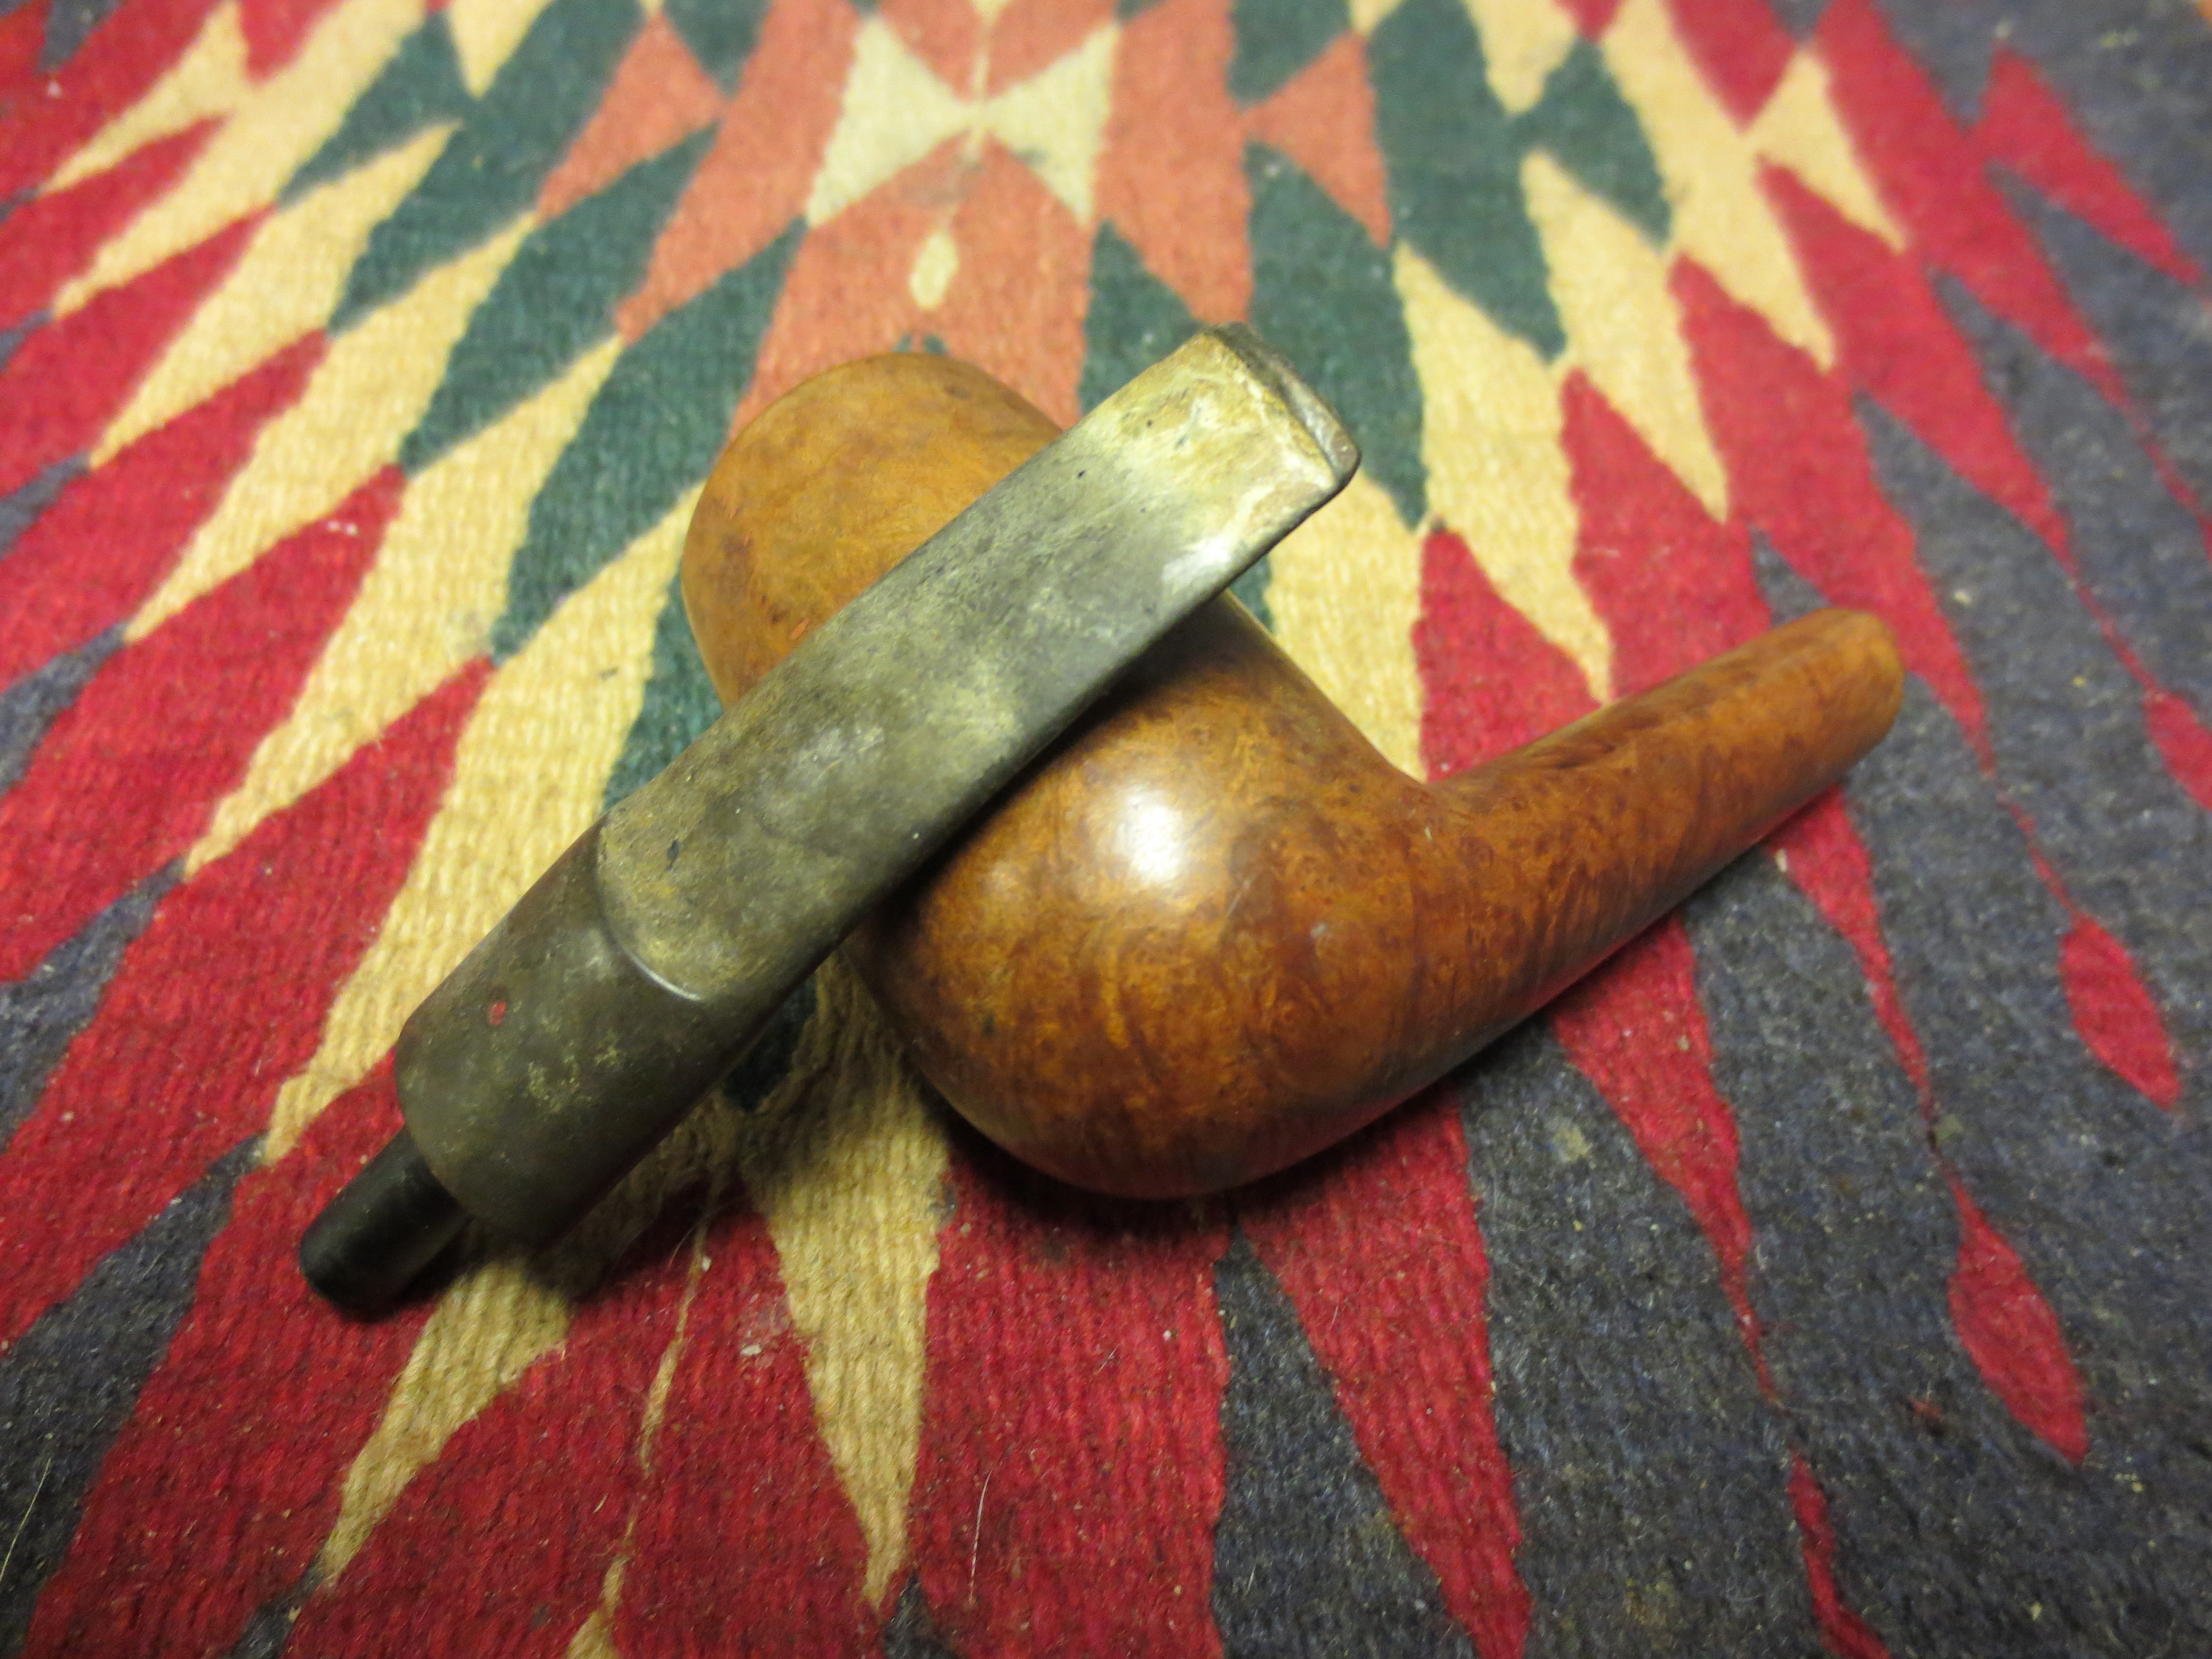
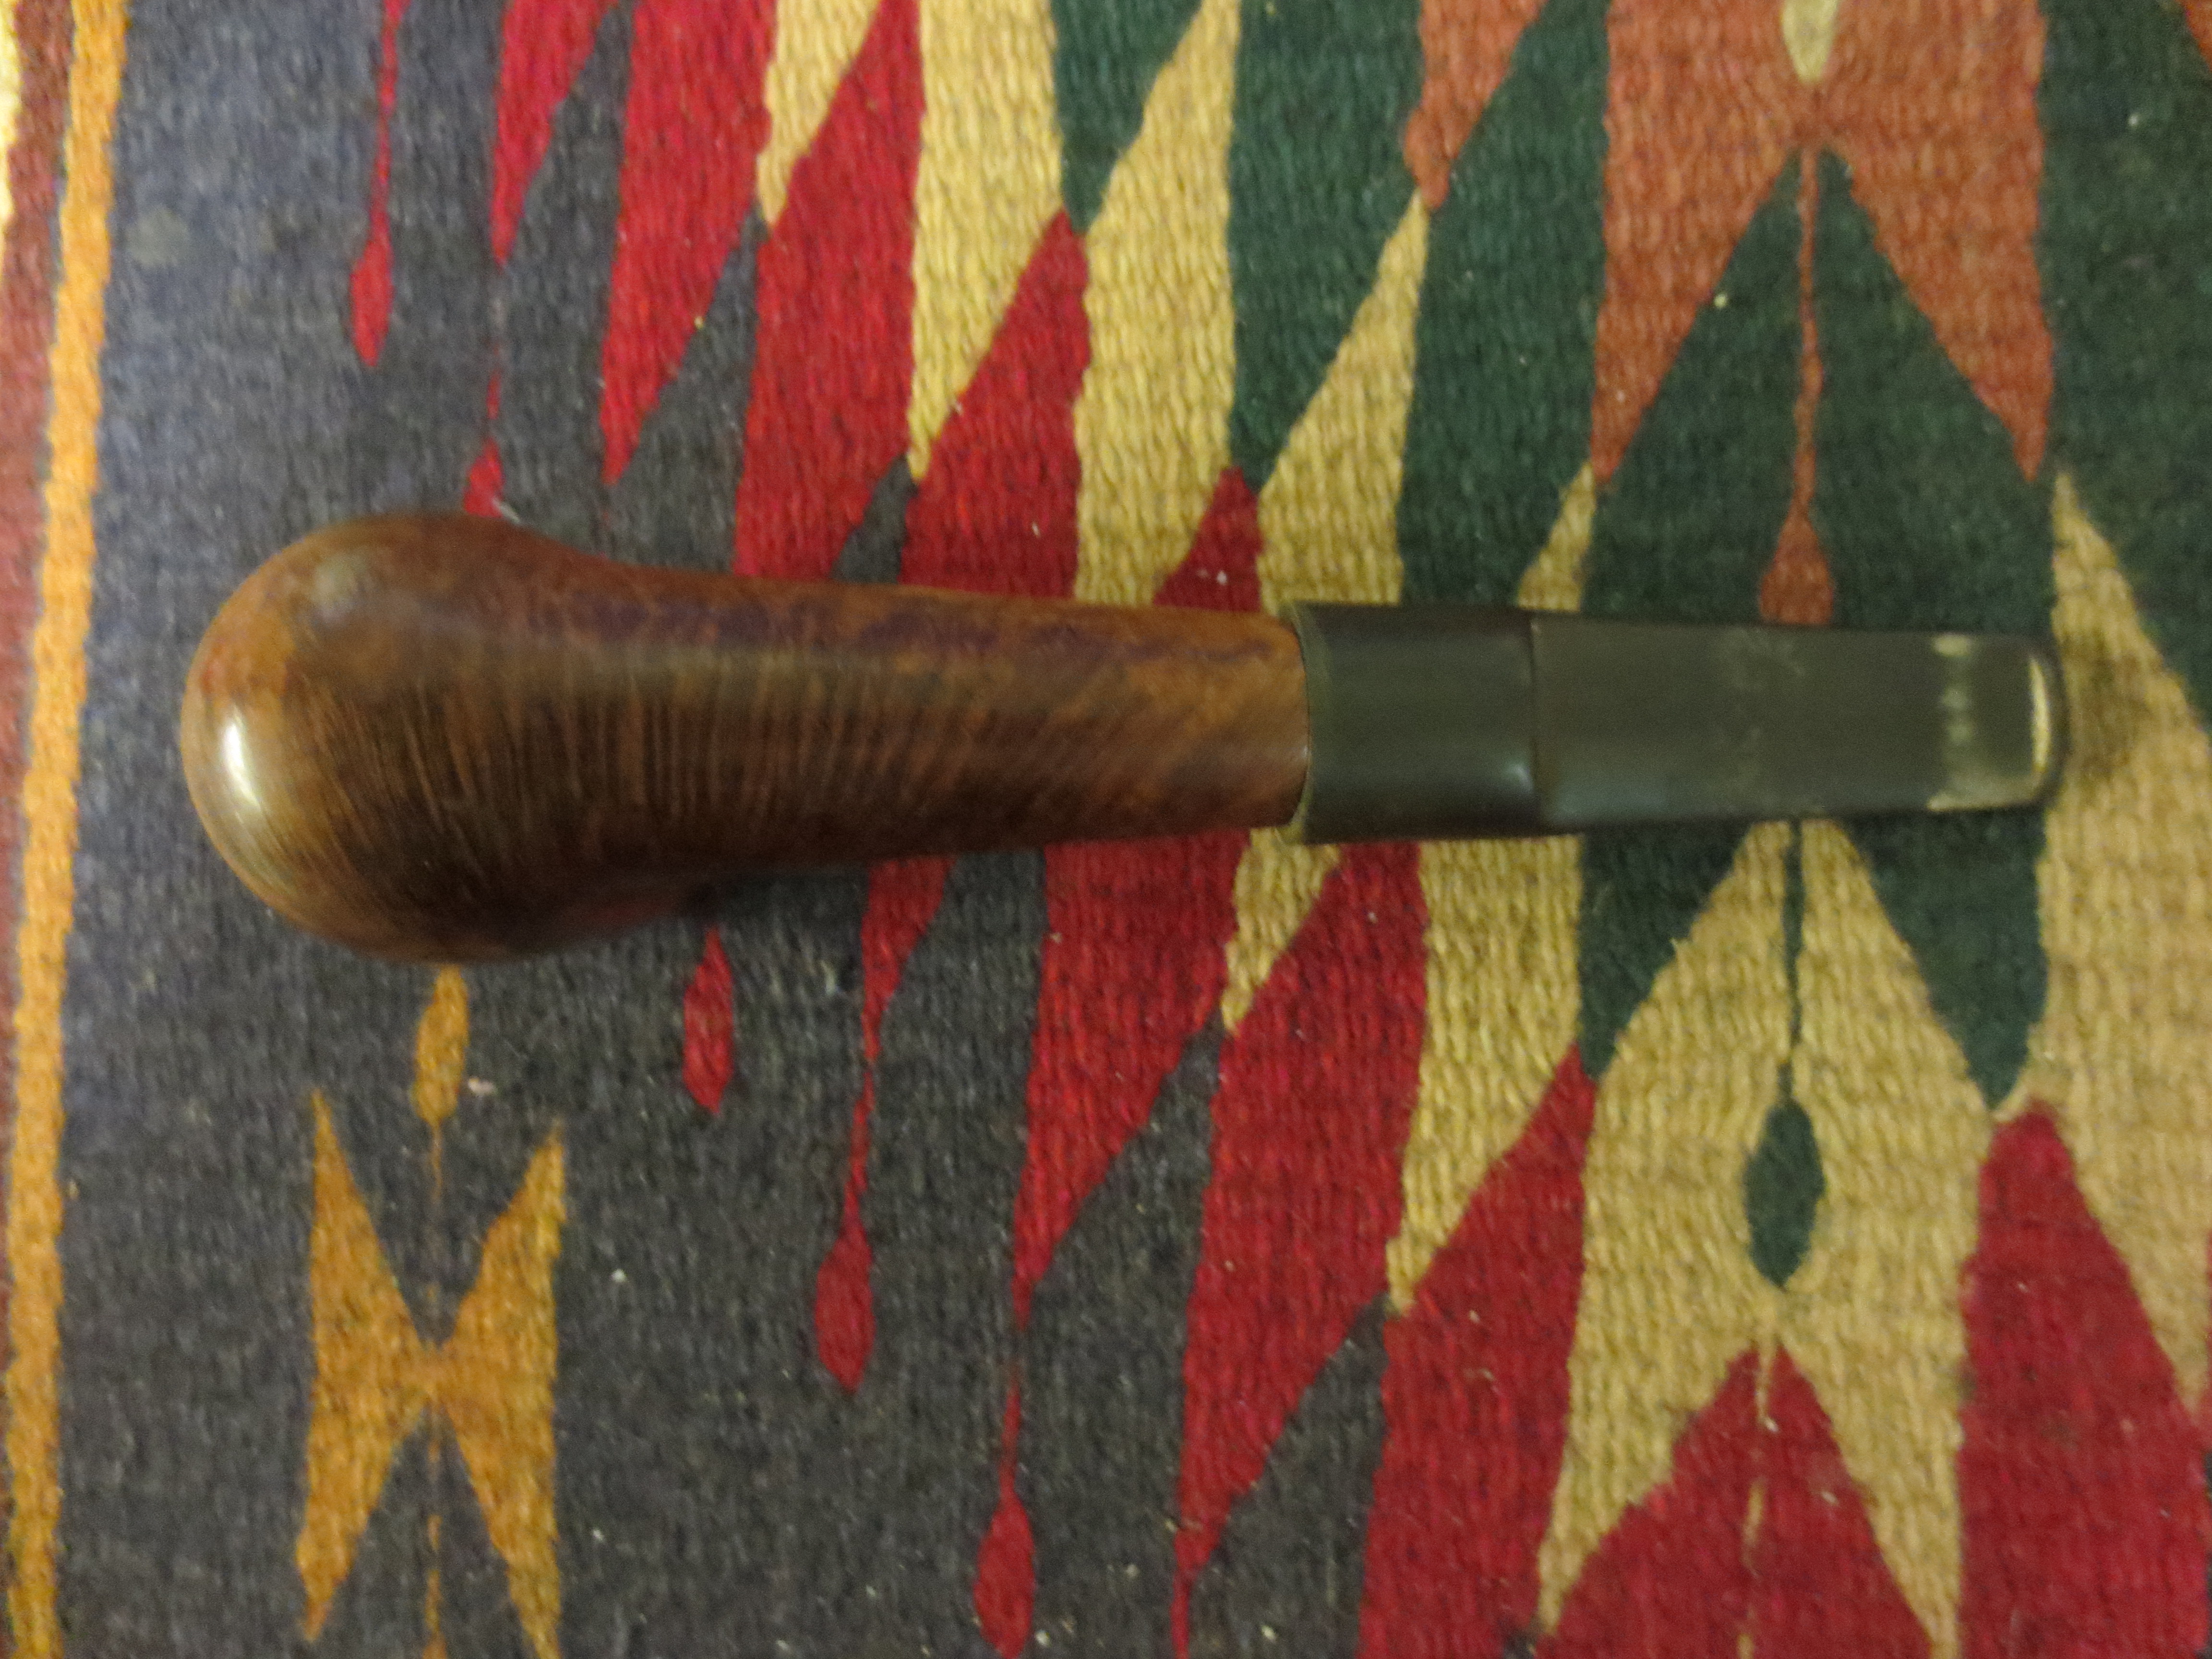
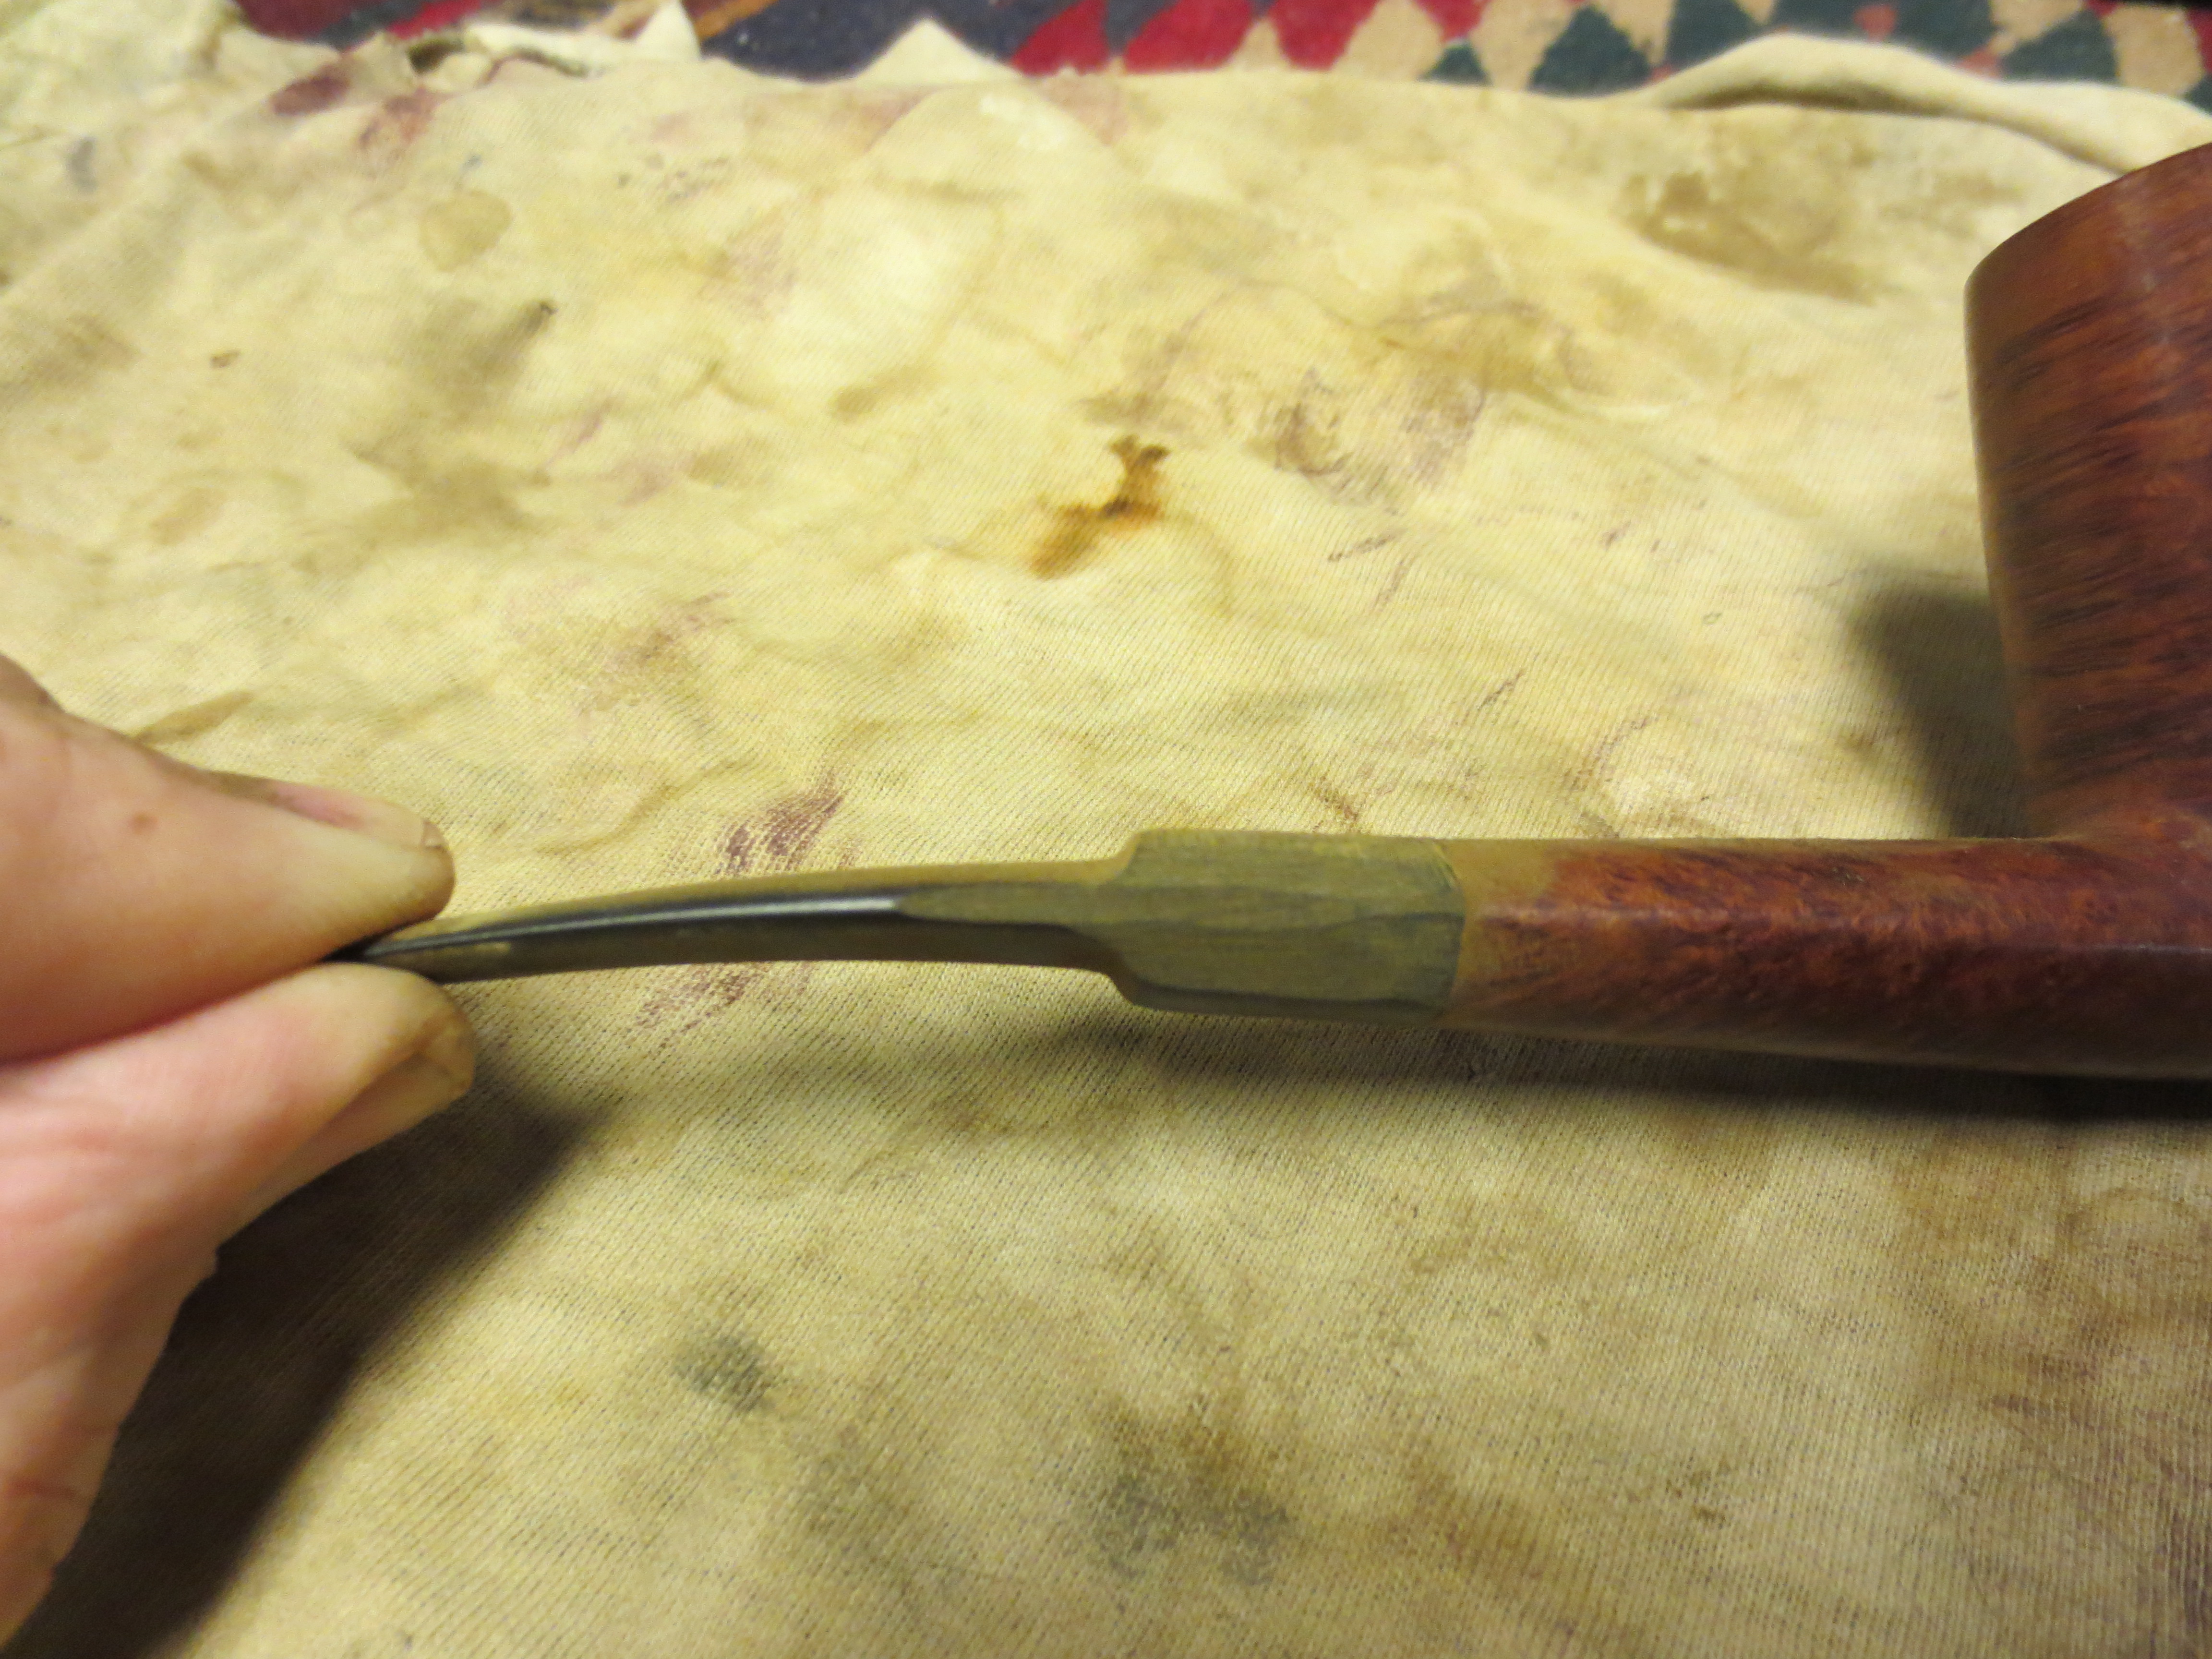
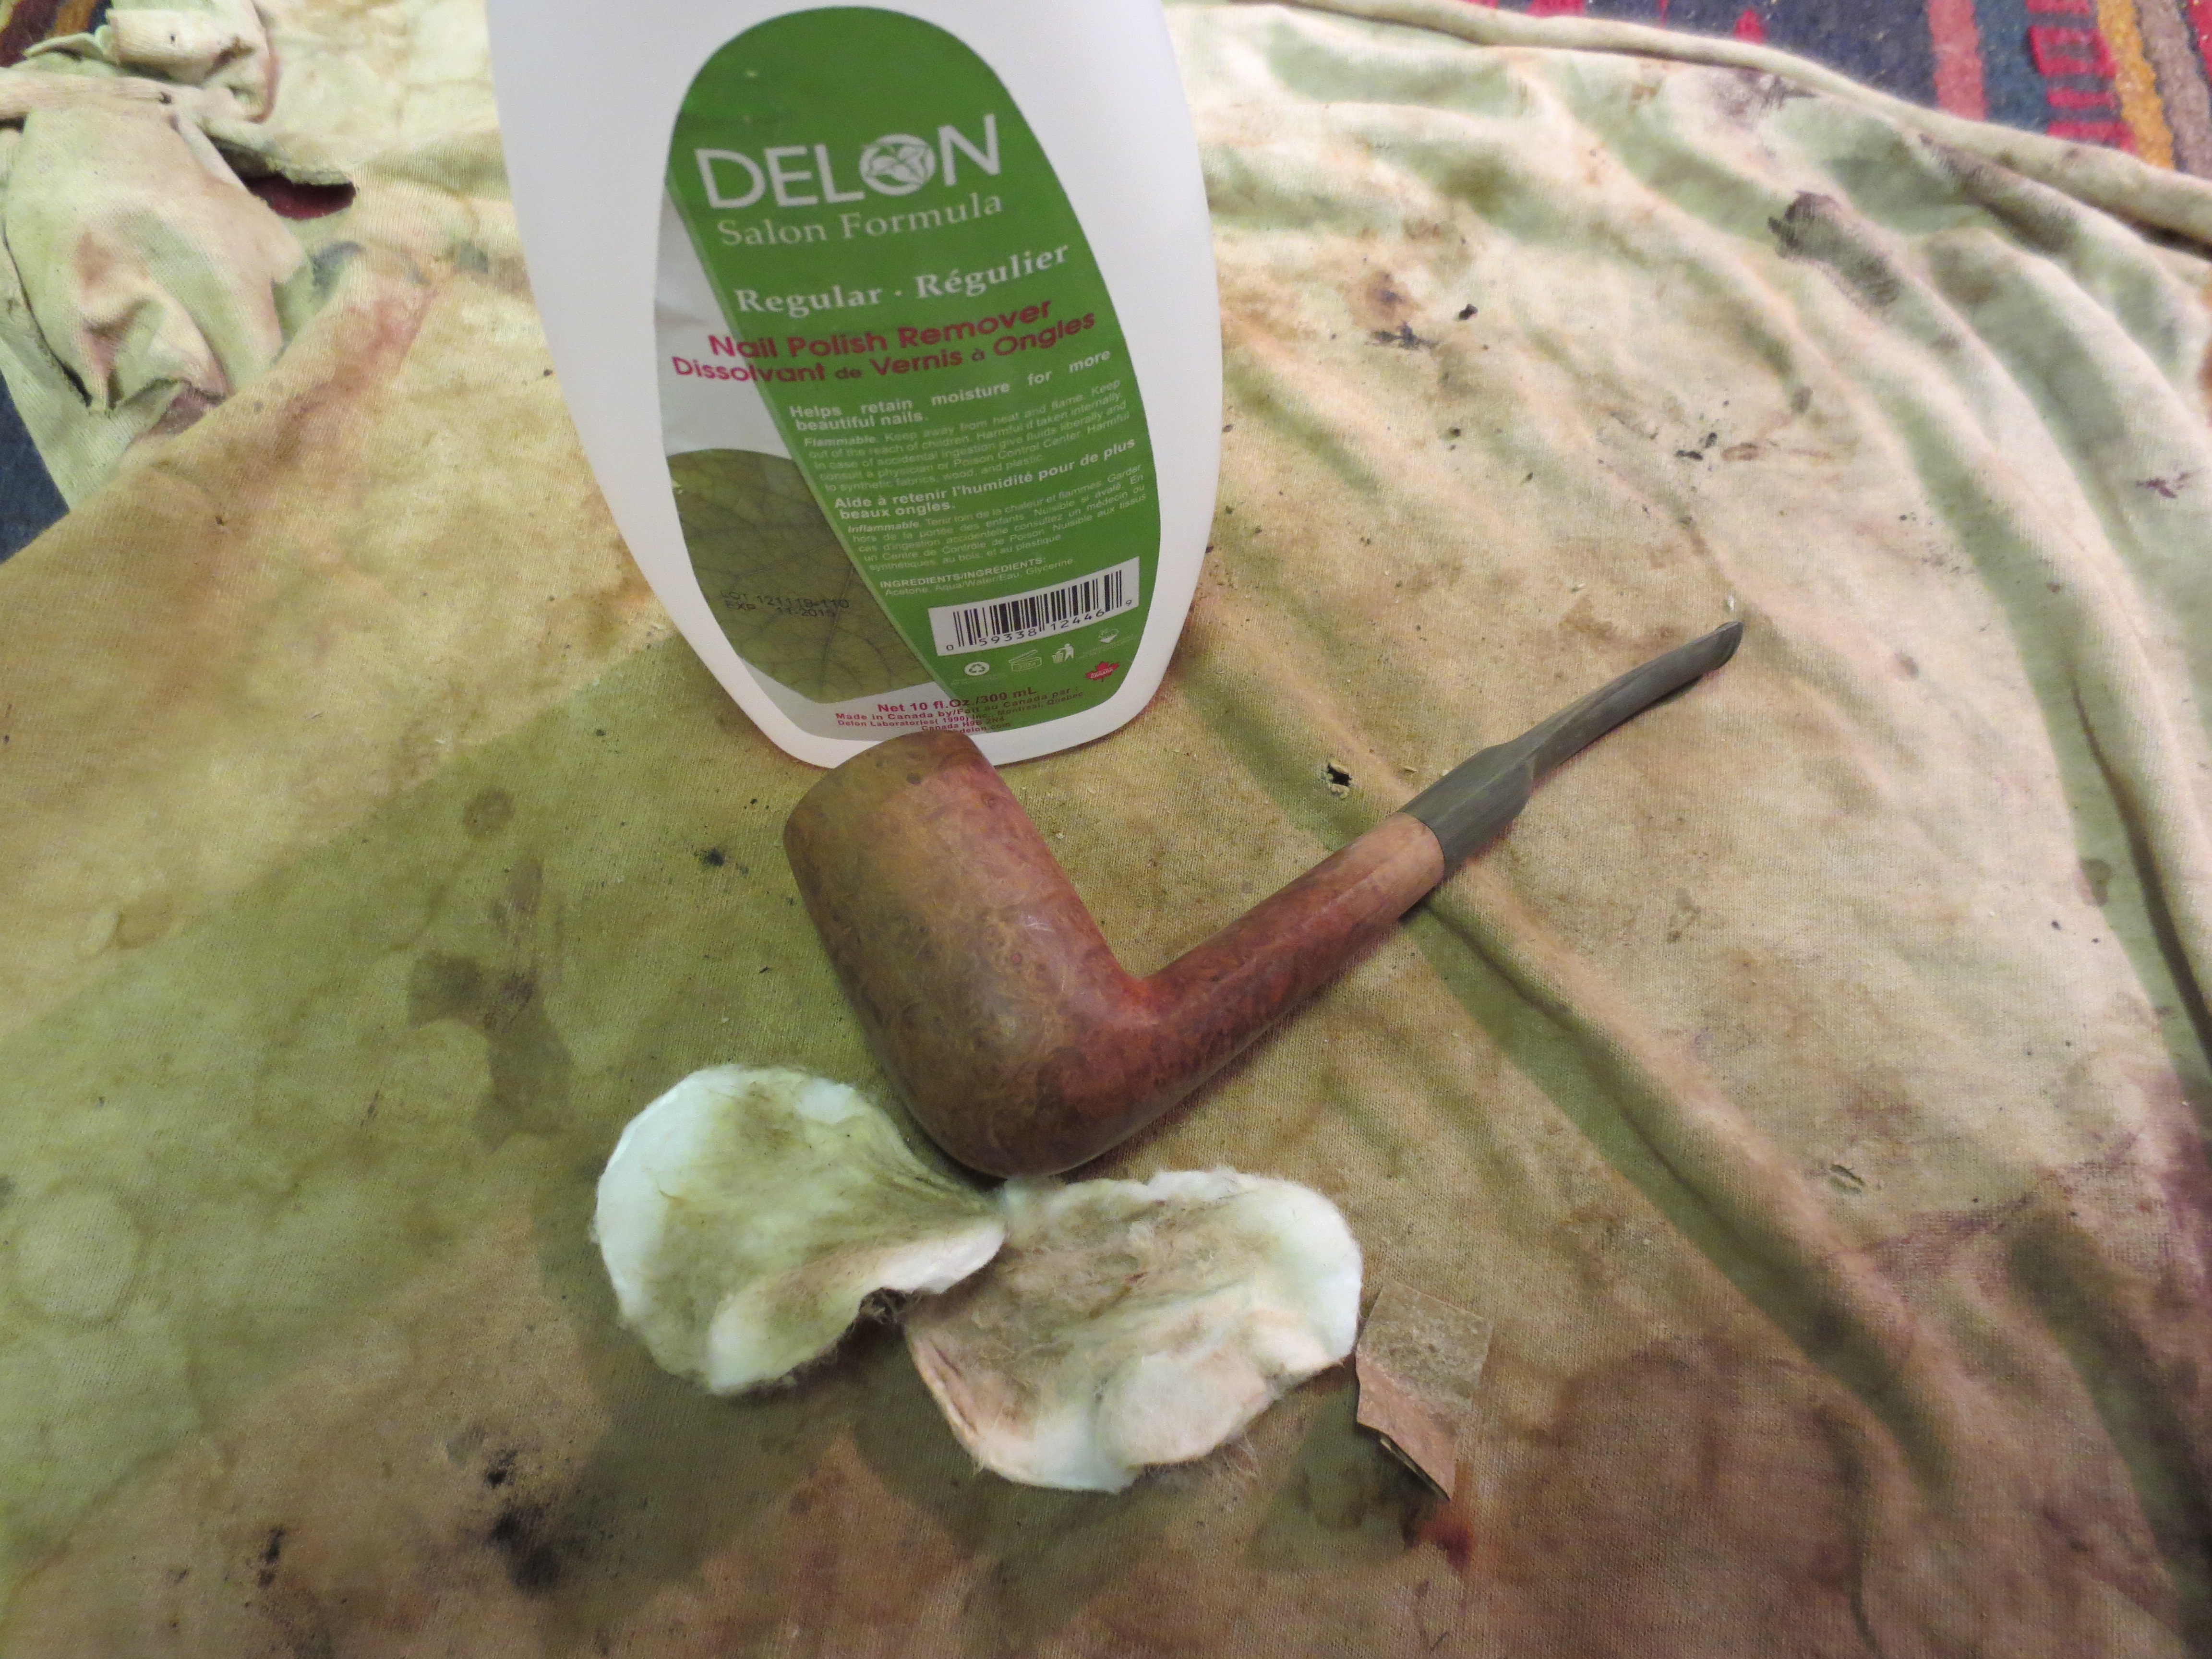
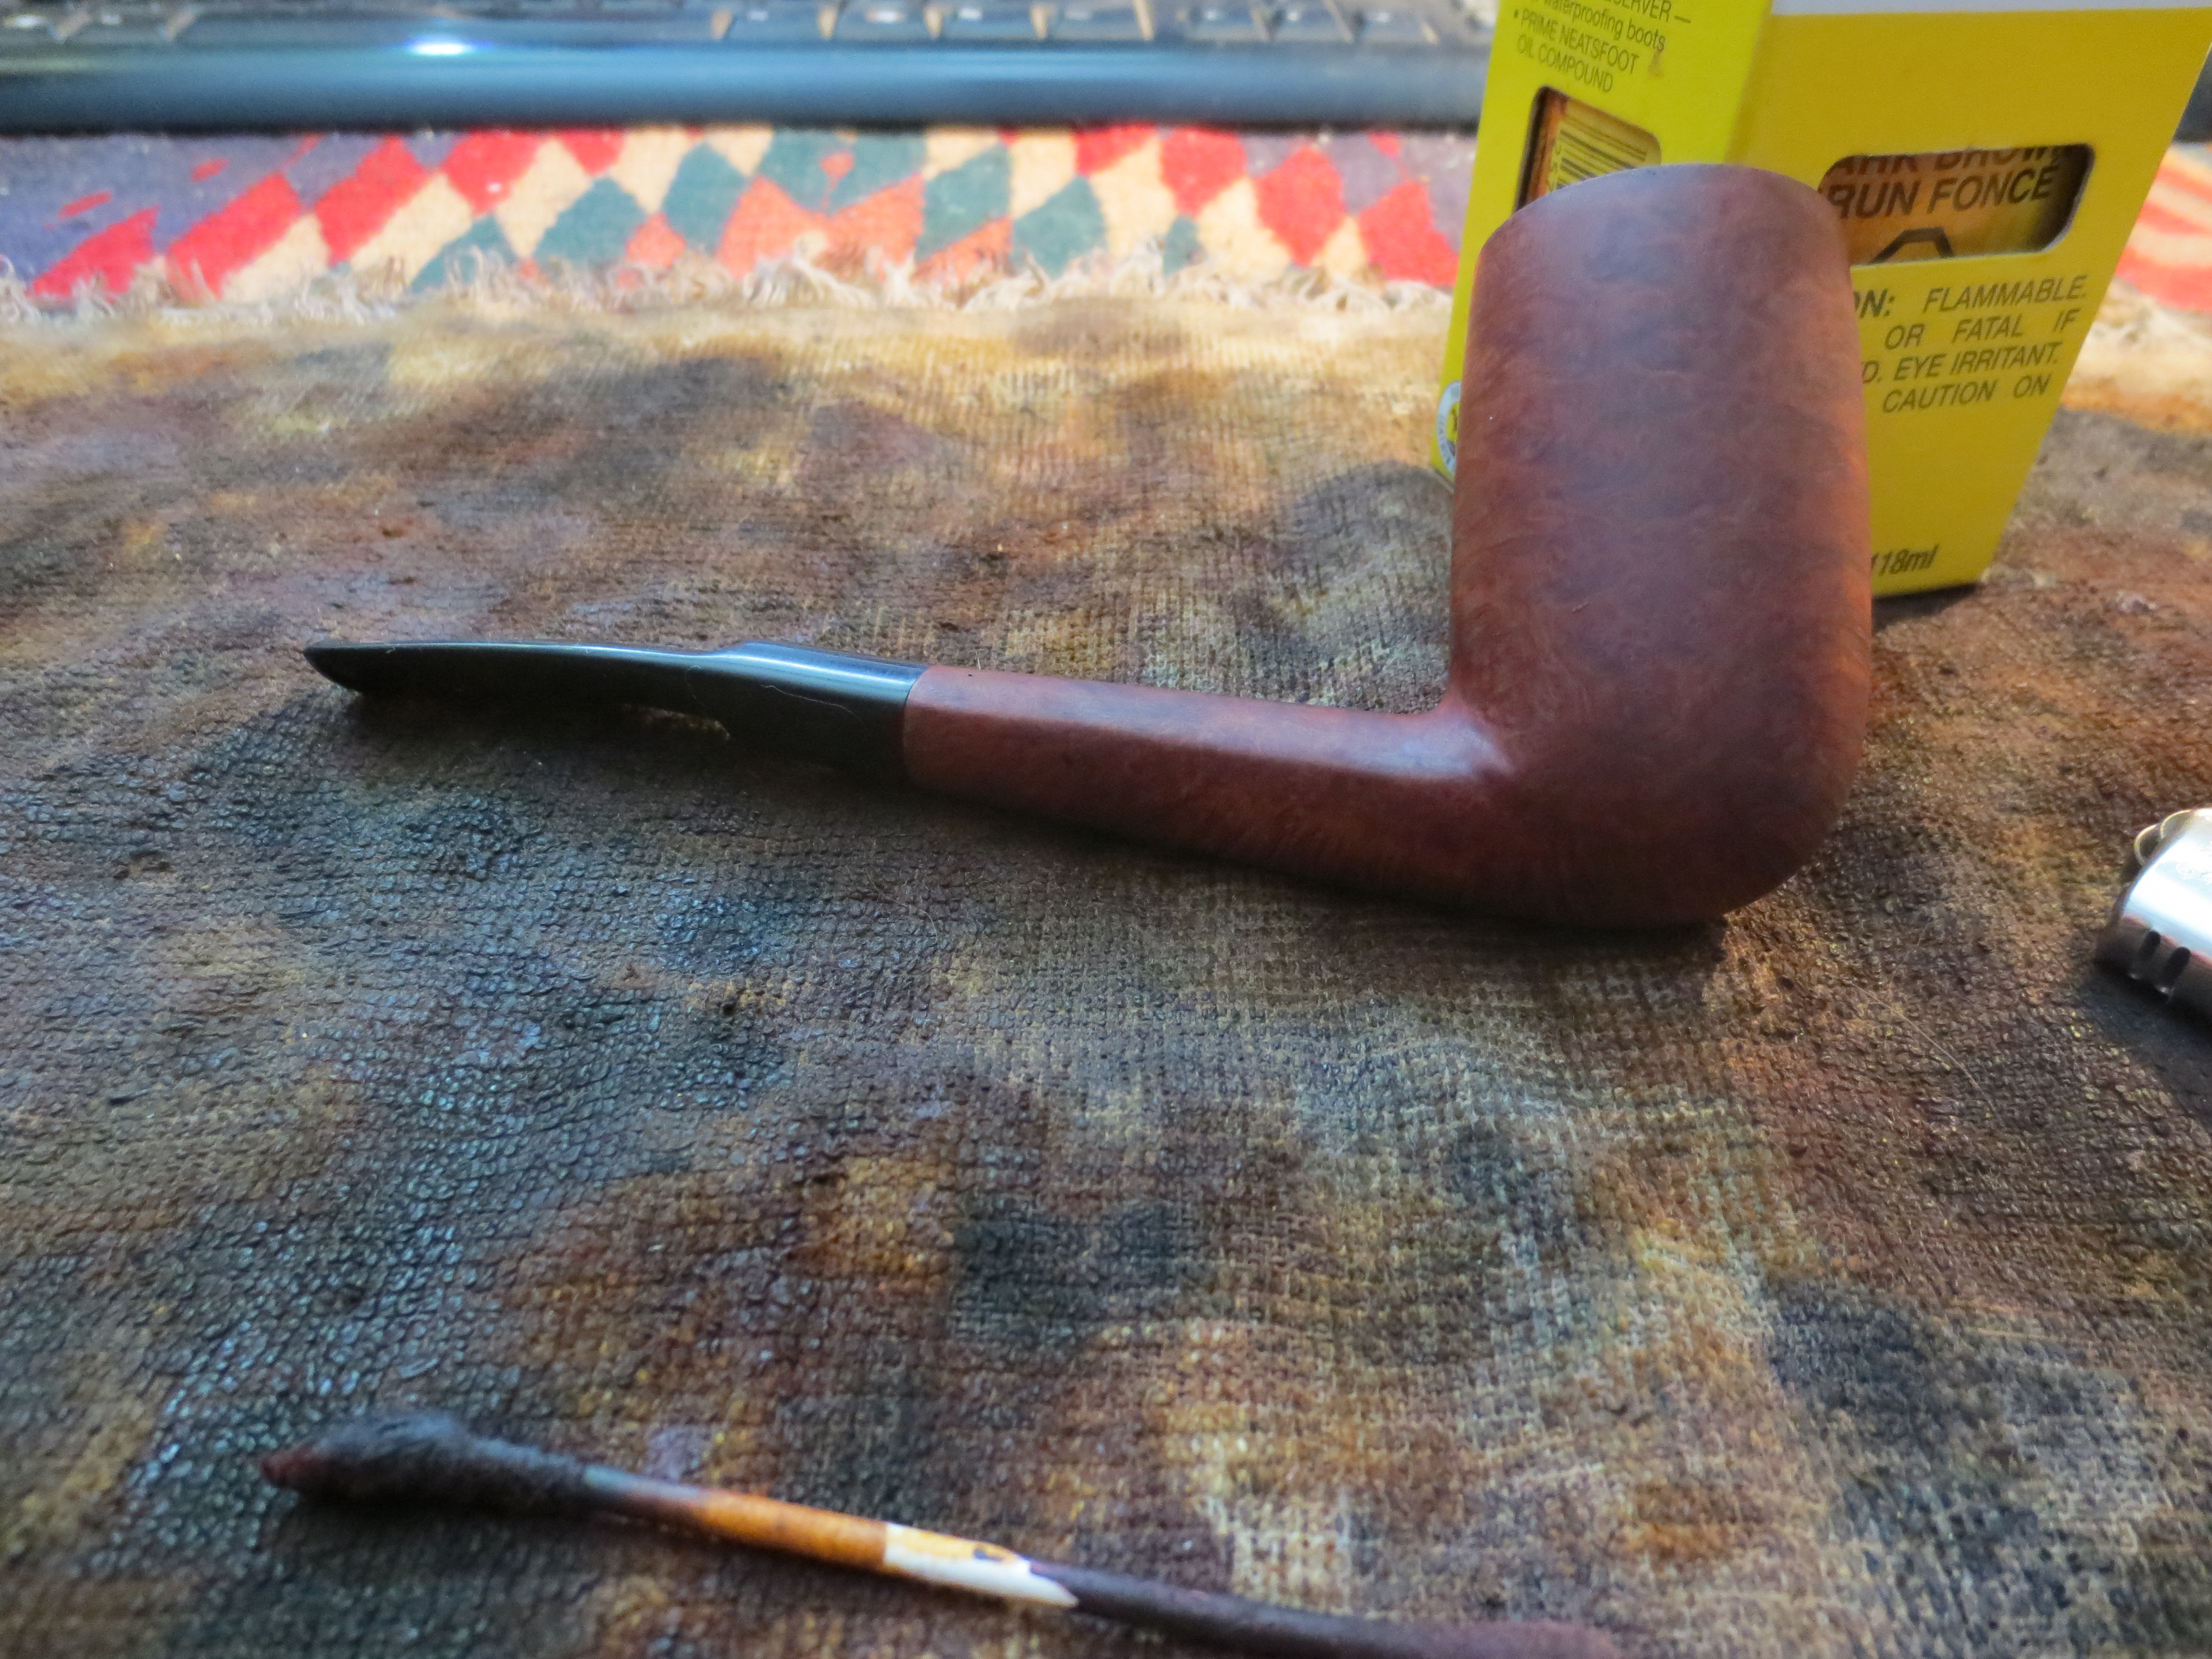
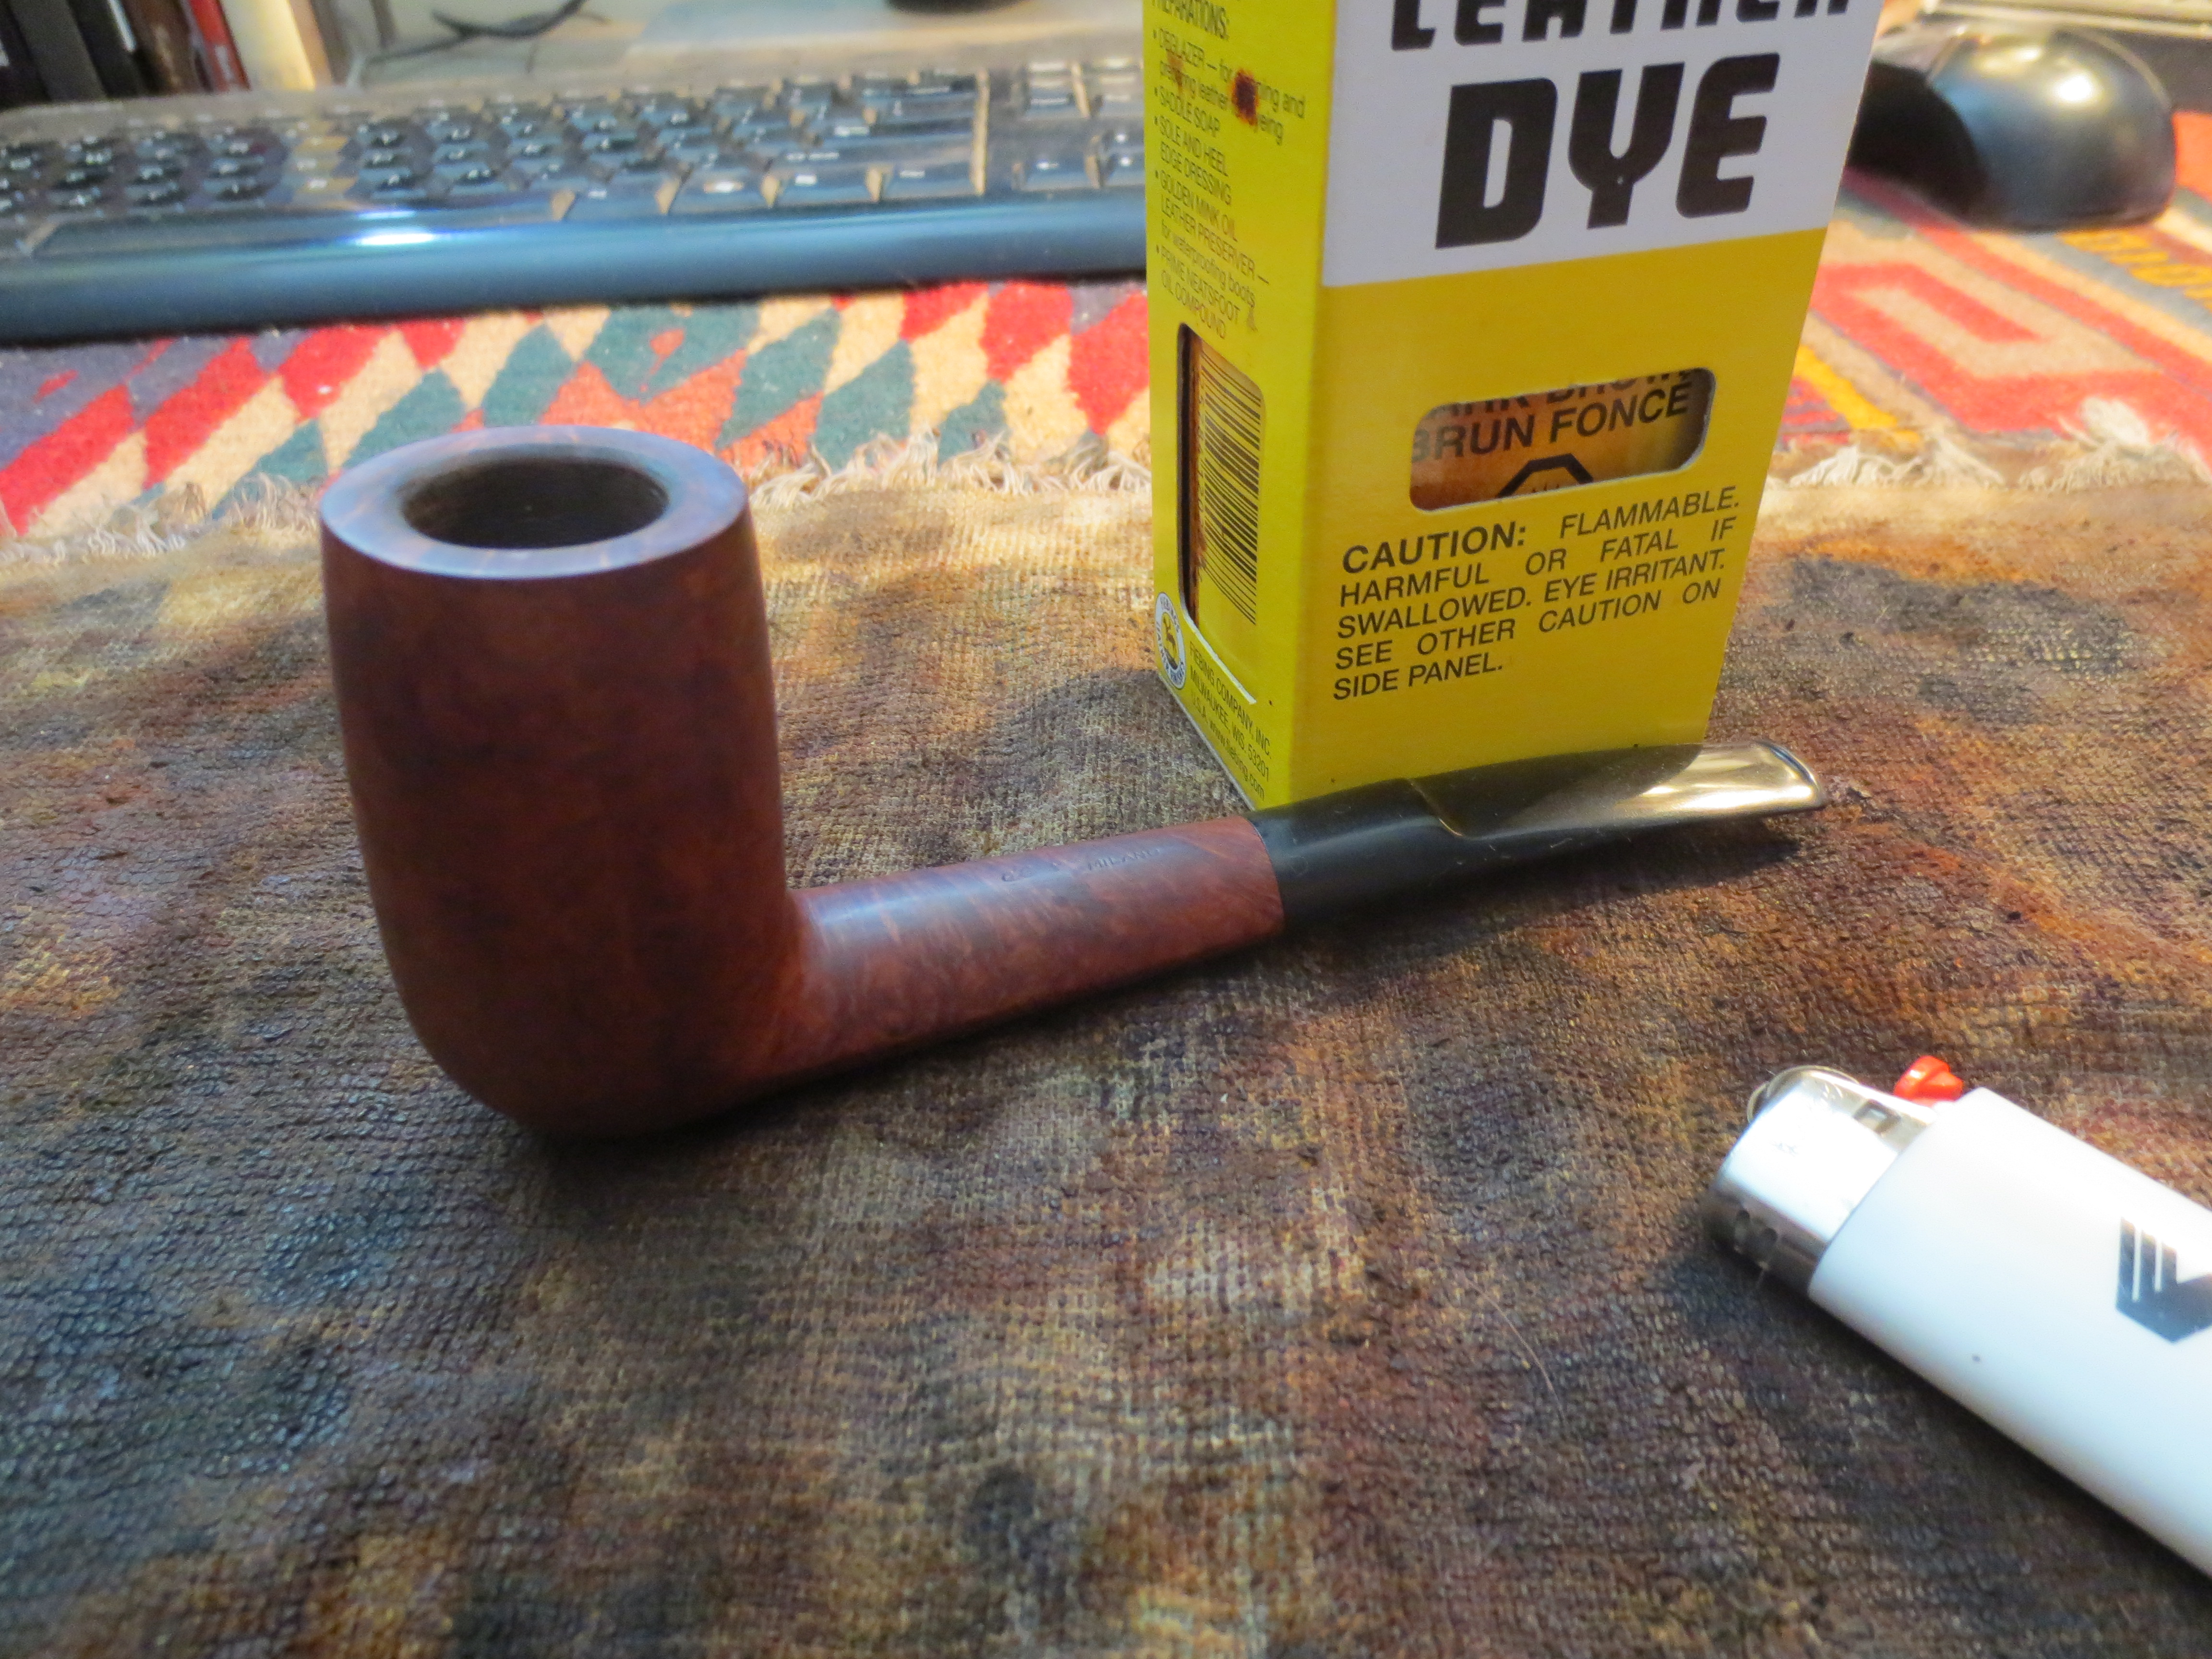
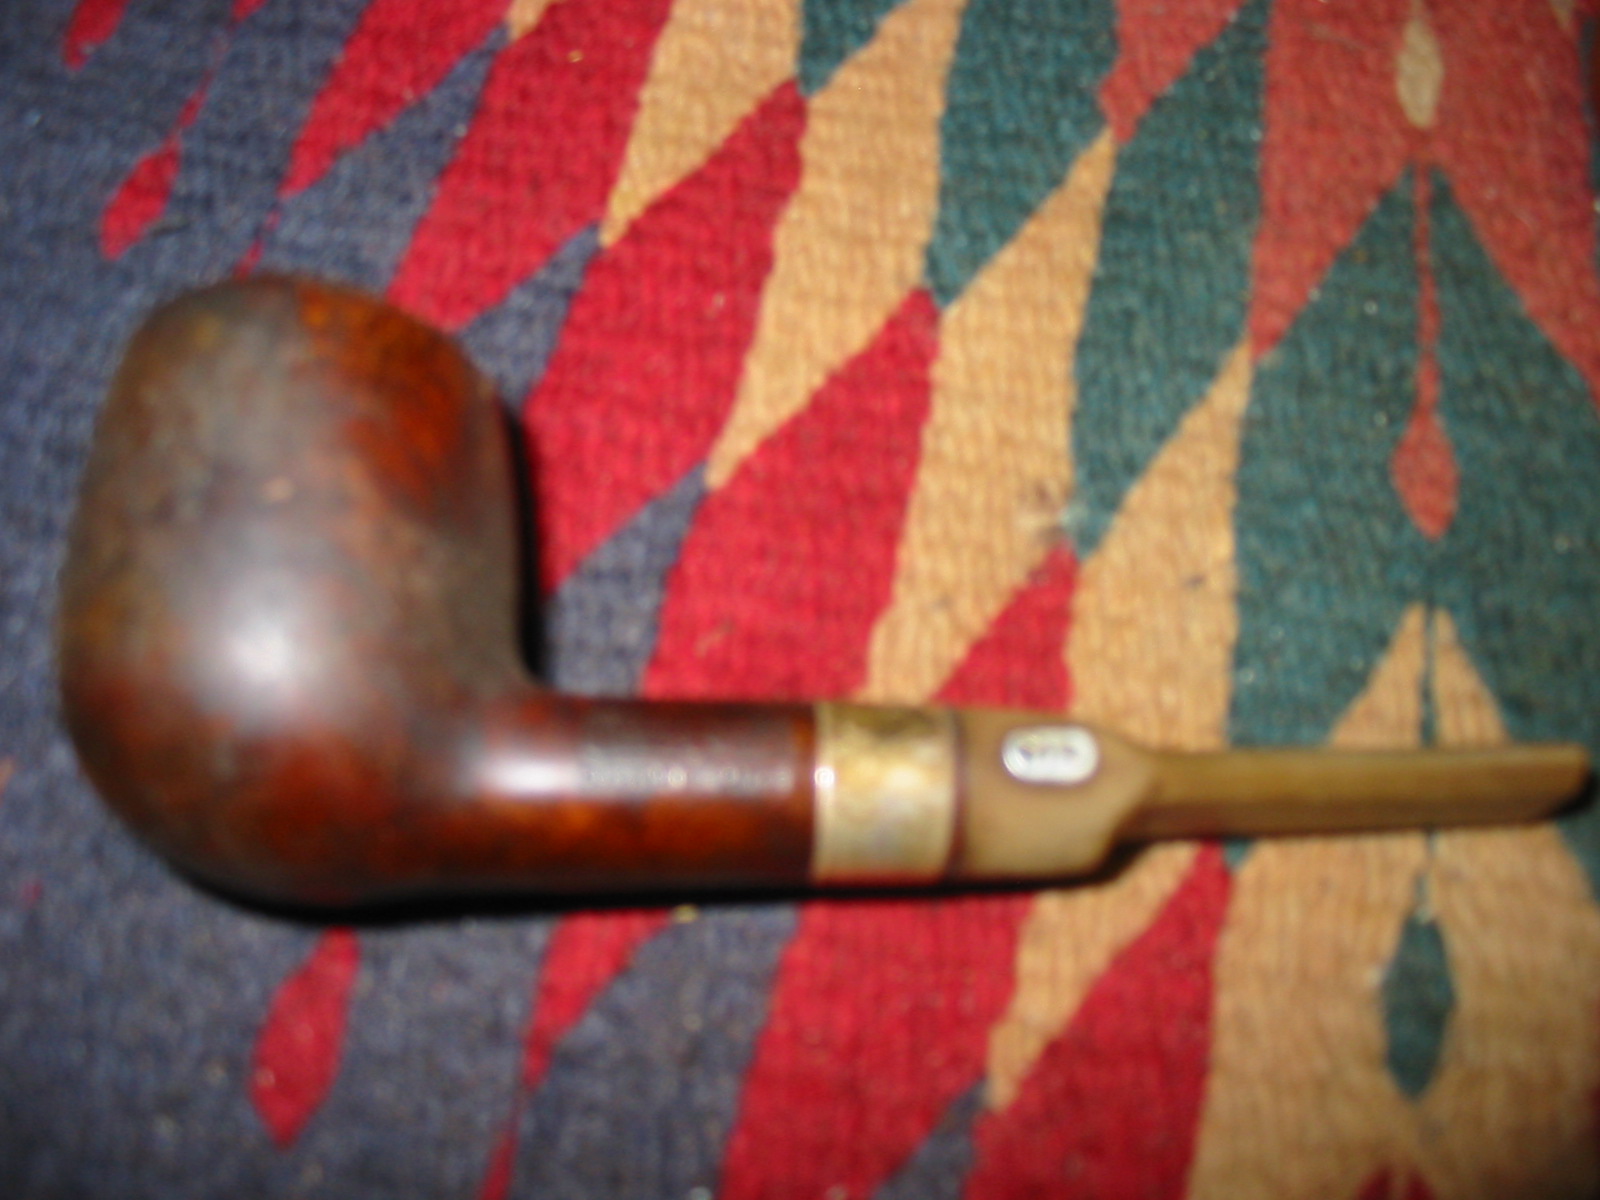
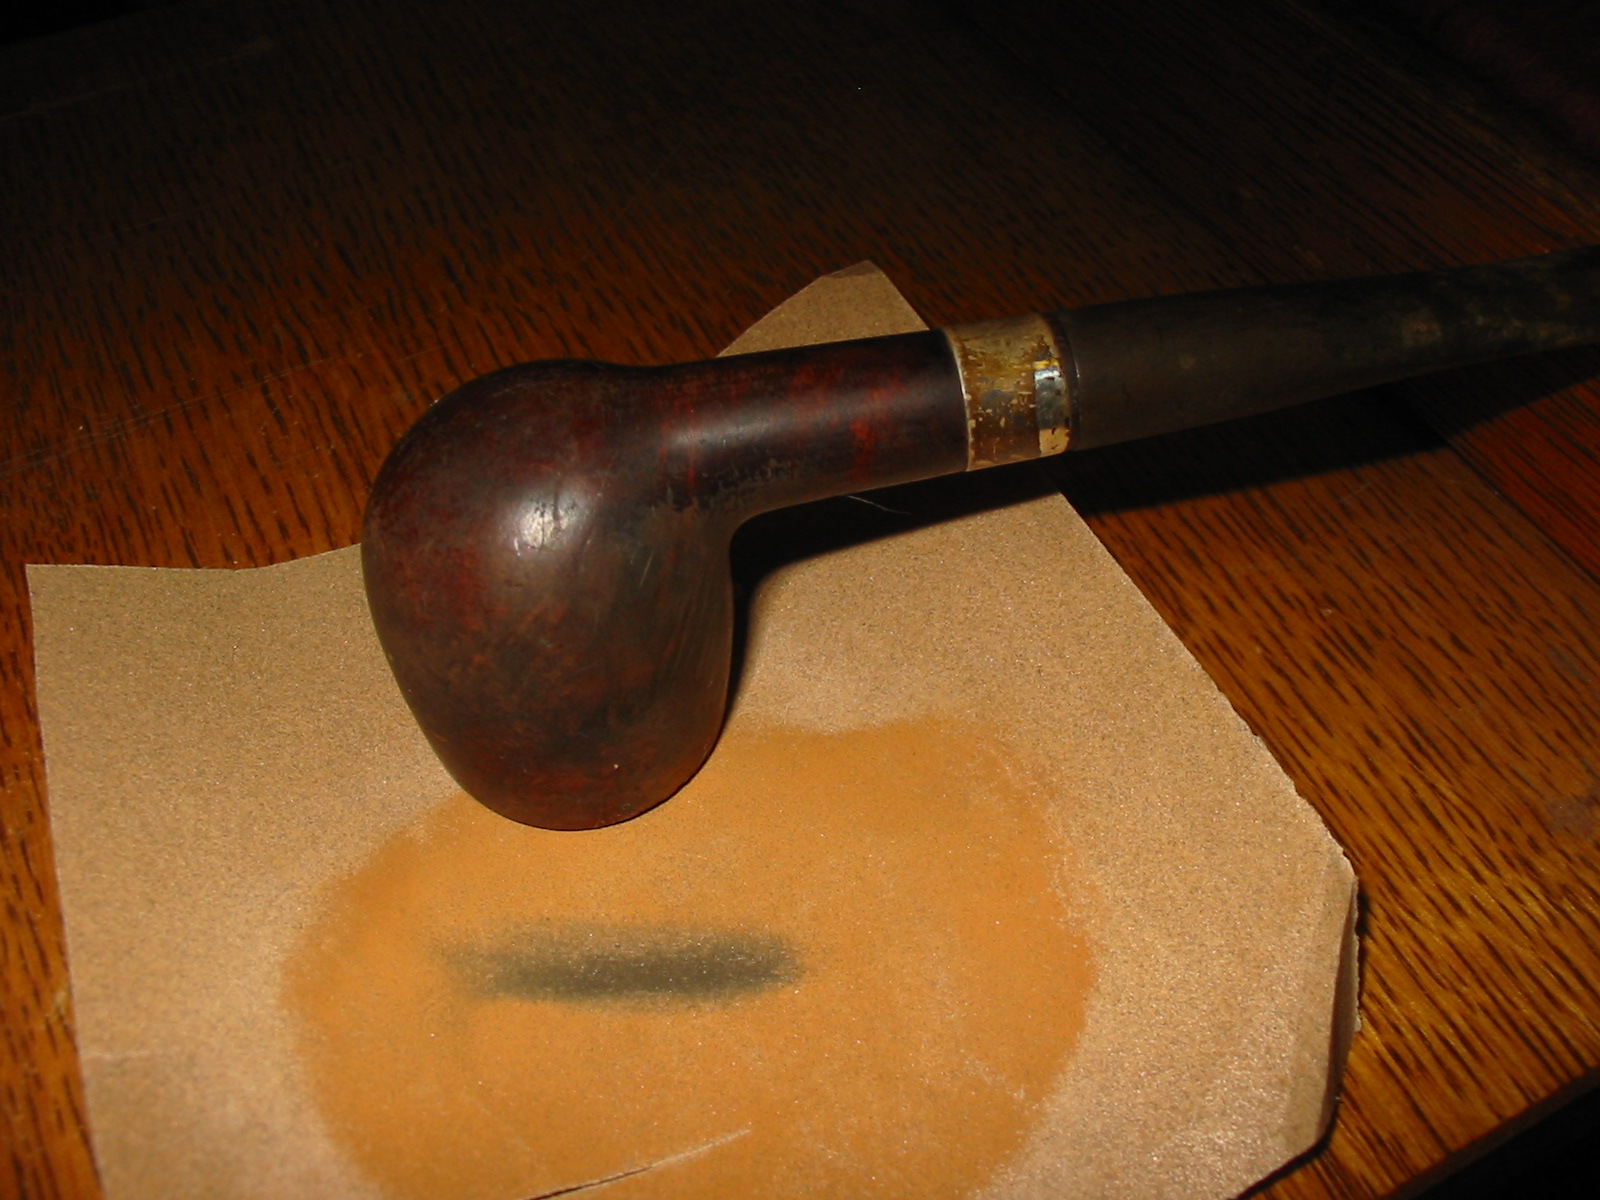
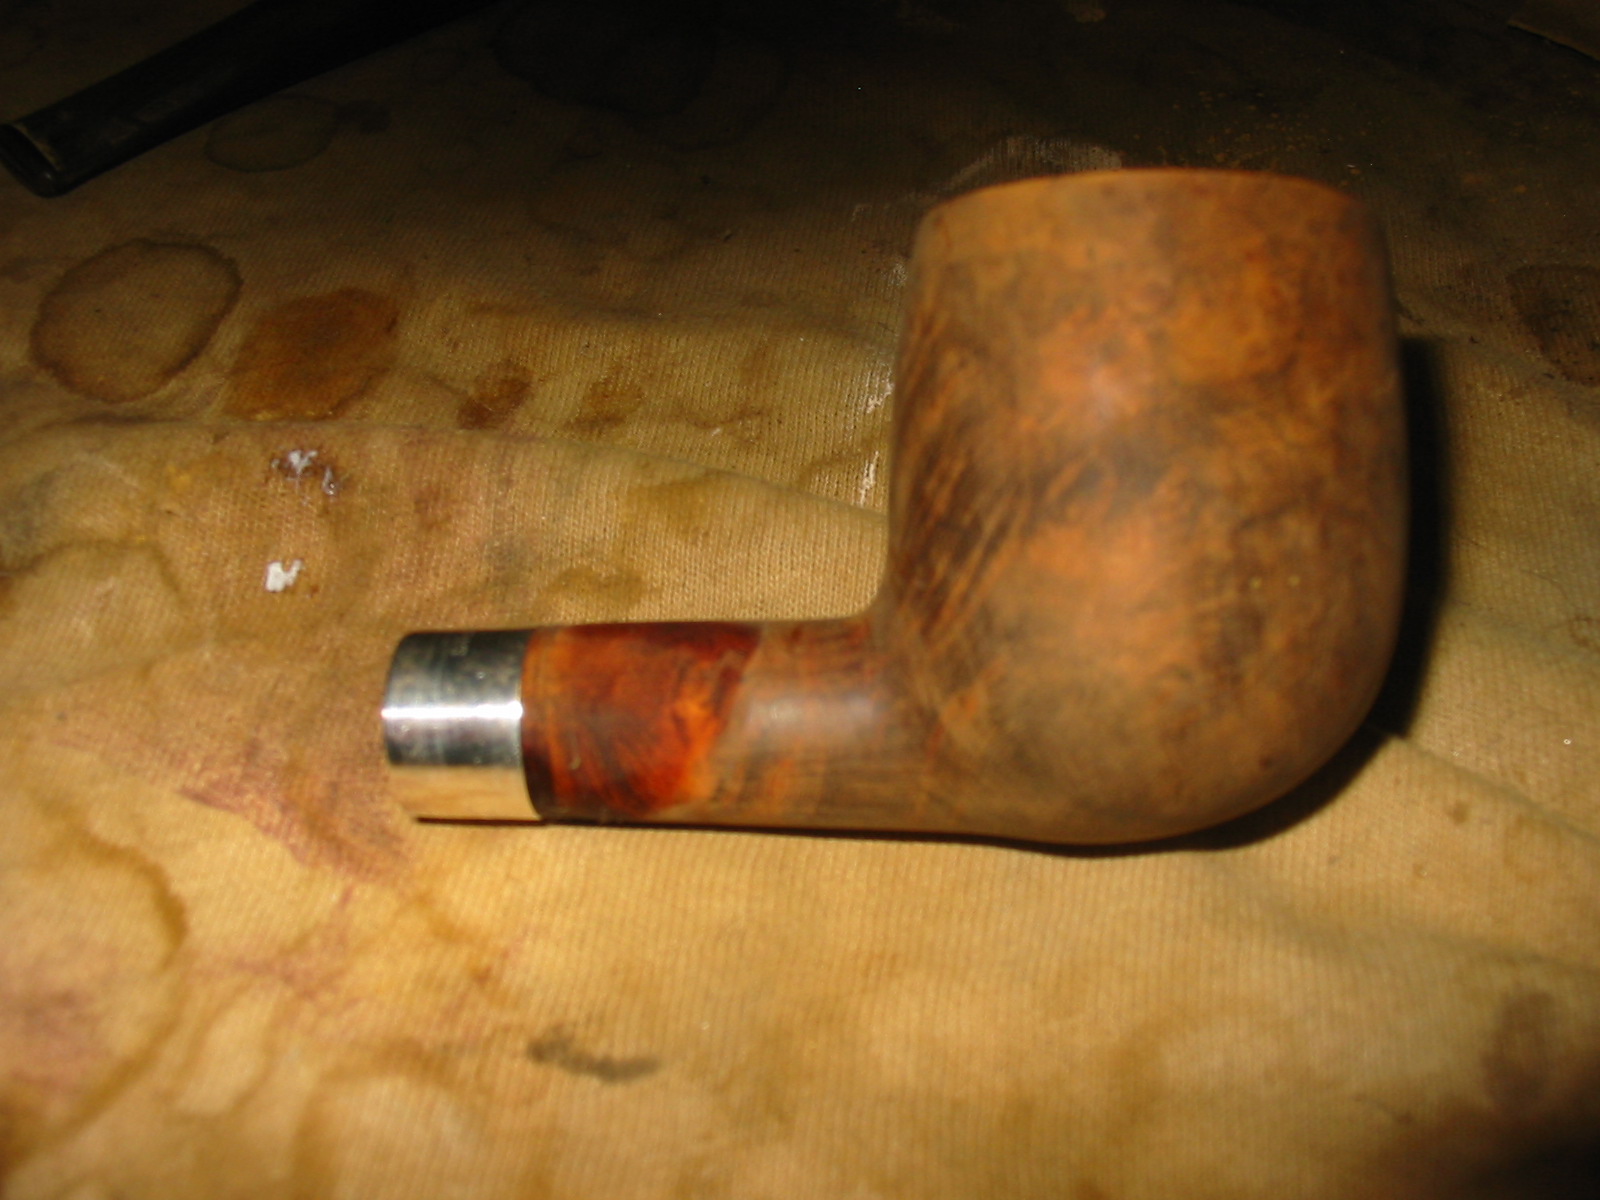
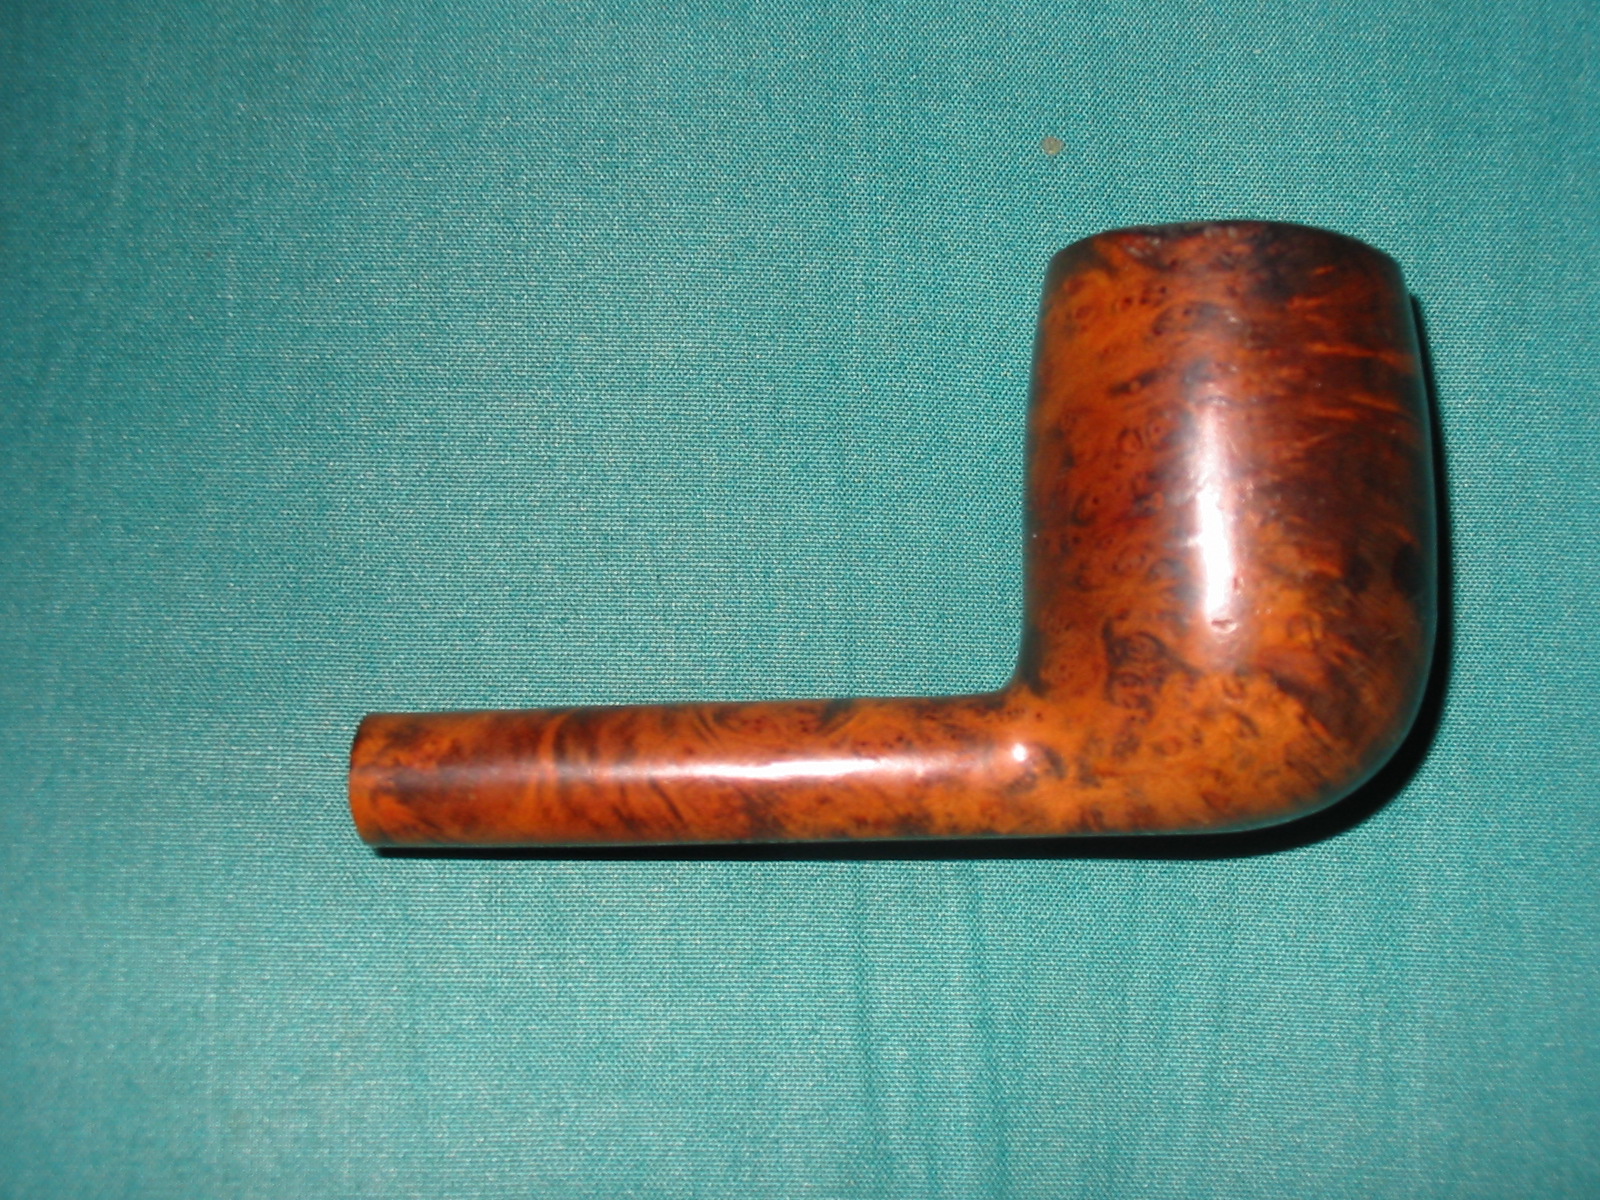
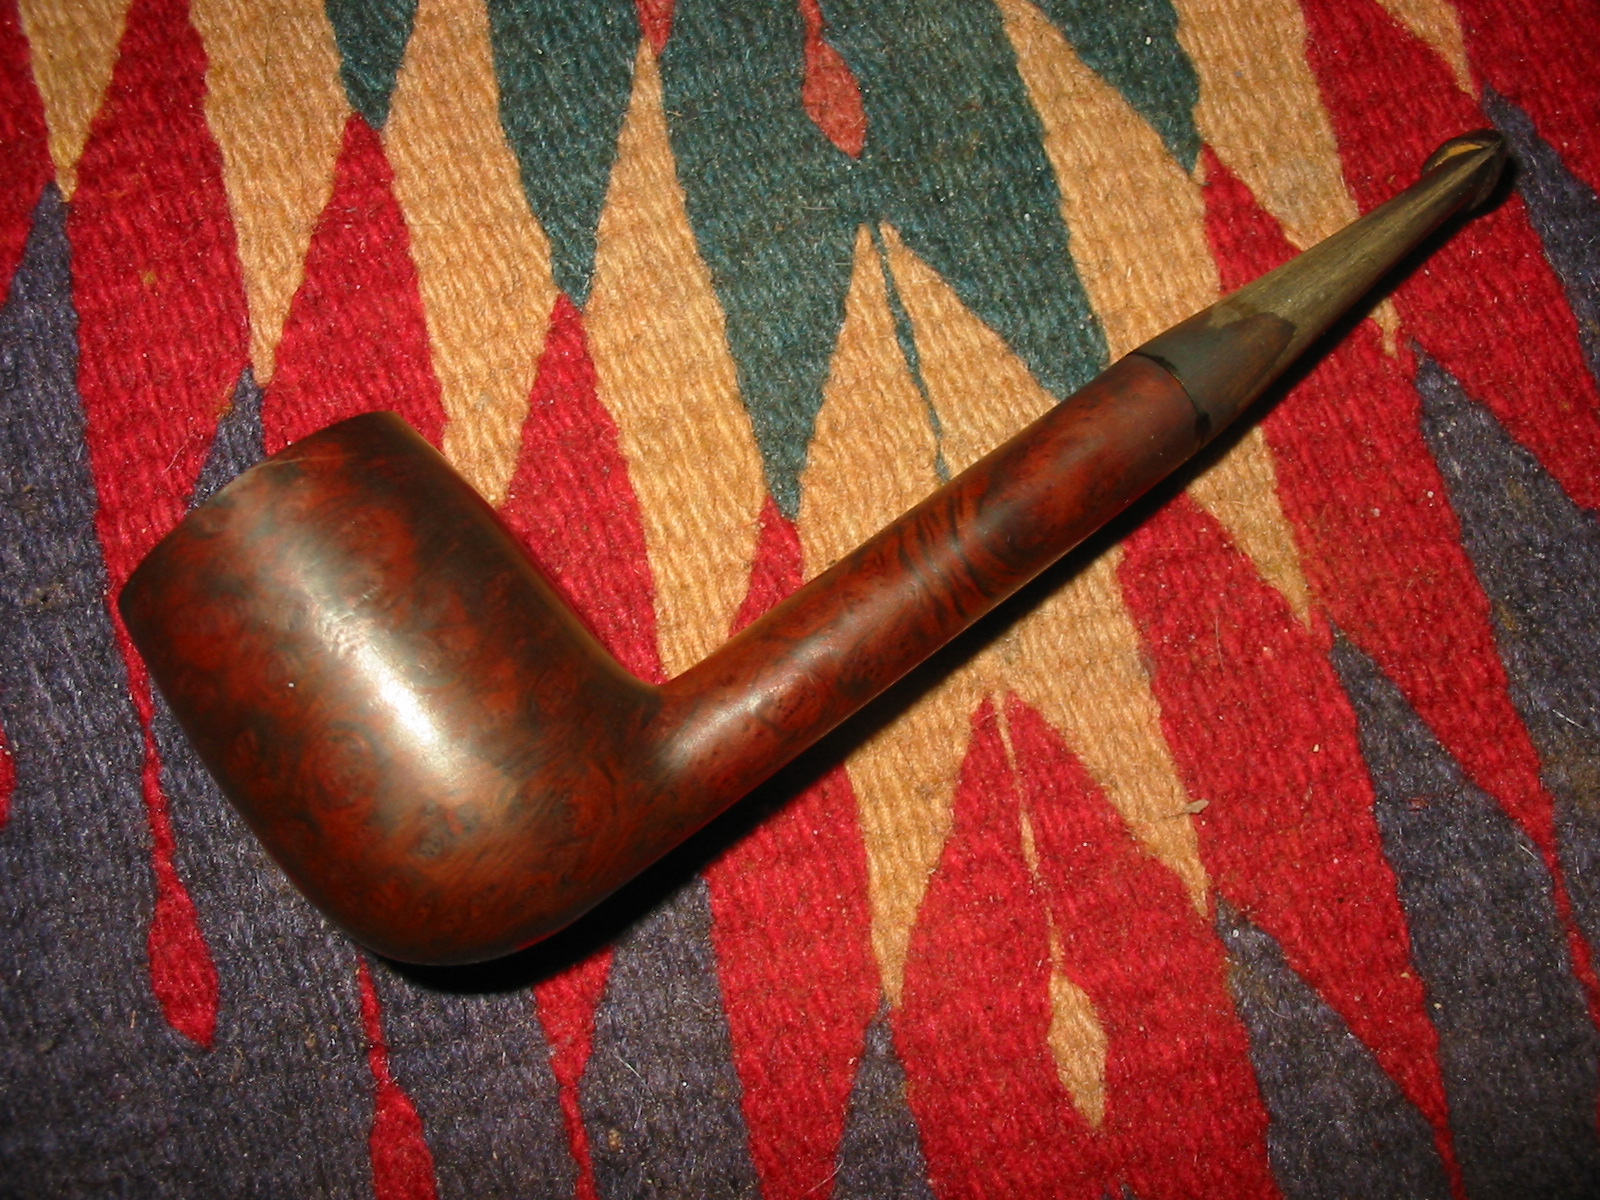
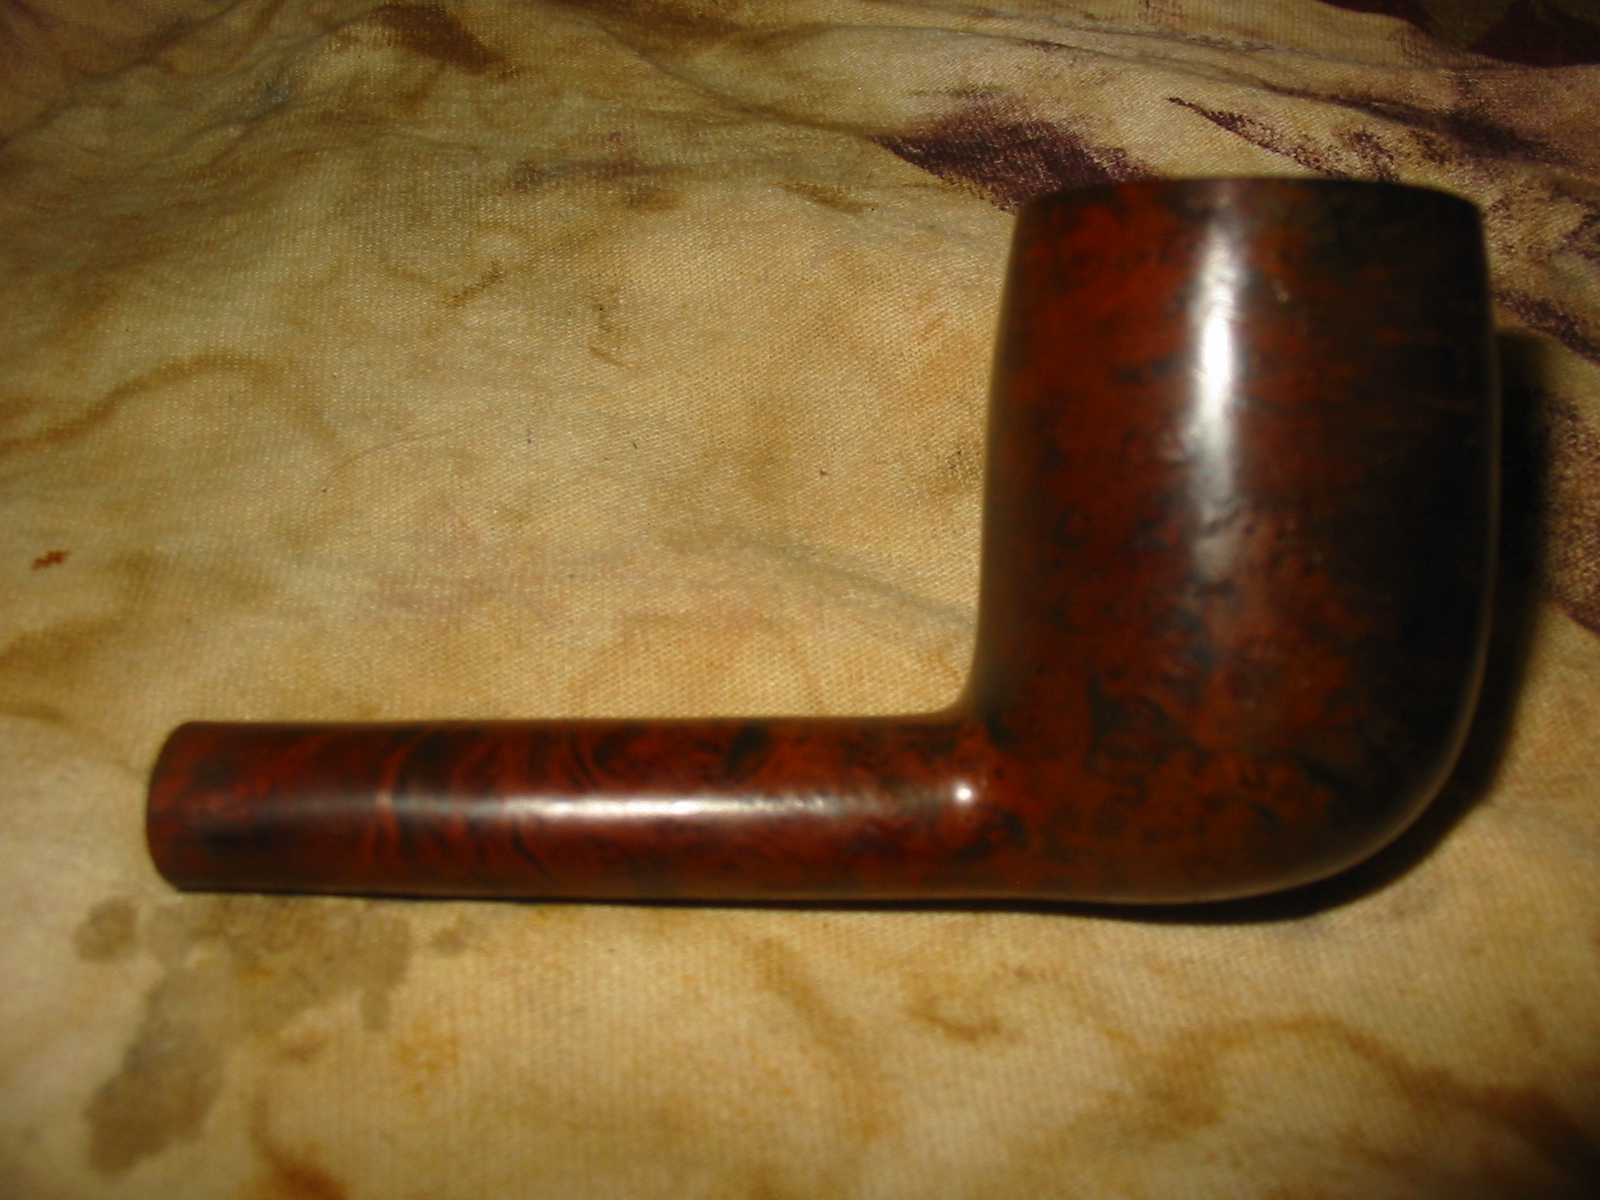
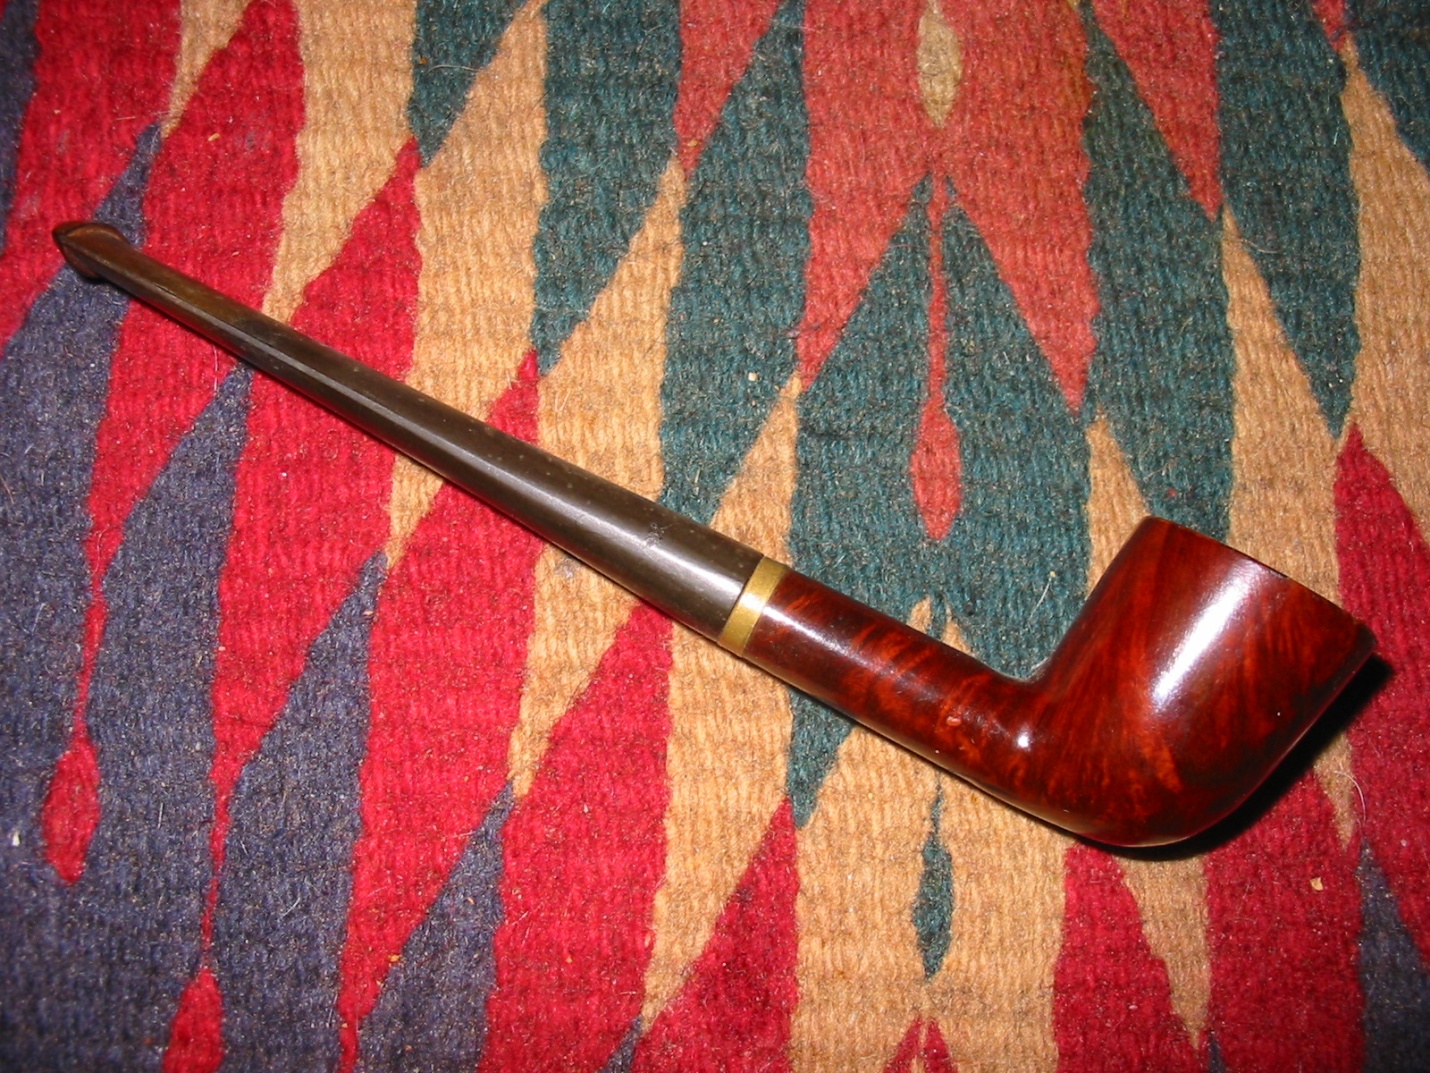
This Hilson was obviously named after that work animal from the East. The single hump on the shank while at first glance is ugly nonetheless fits nicely as a thumb rest for either right or left handed pipe smokers. I cannot find a timeline for the duration of the brand but I have seen them on EBay and other sale sites so I am assuming there are enough of them out there to still be in existence. It is the first one that I have had in hand and the first one that I have worked on. I took photos of the pipe before I started my cleanup work on it. They show the general condition of the pipe.
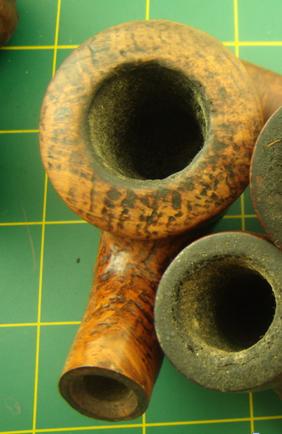
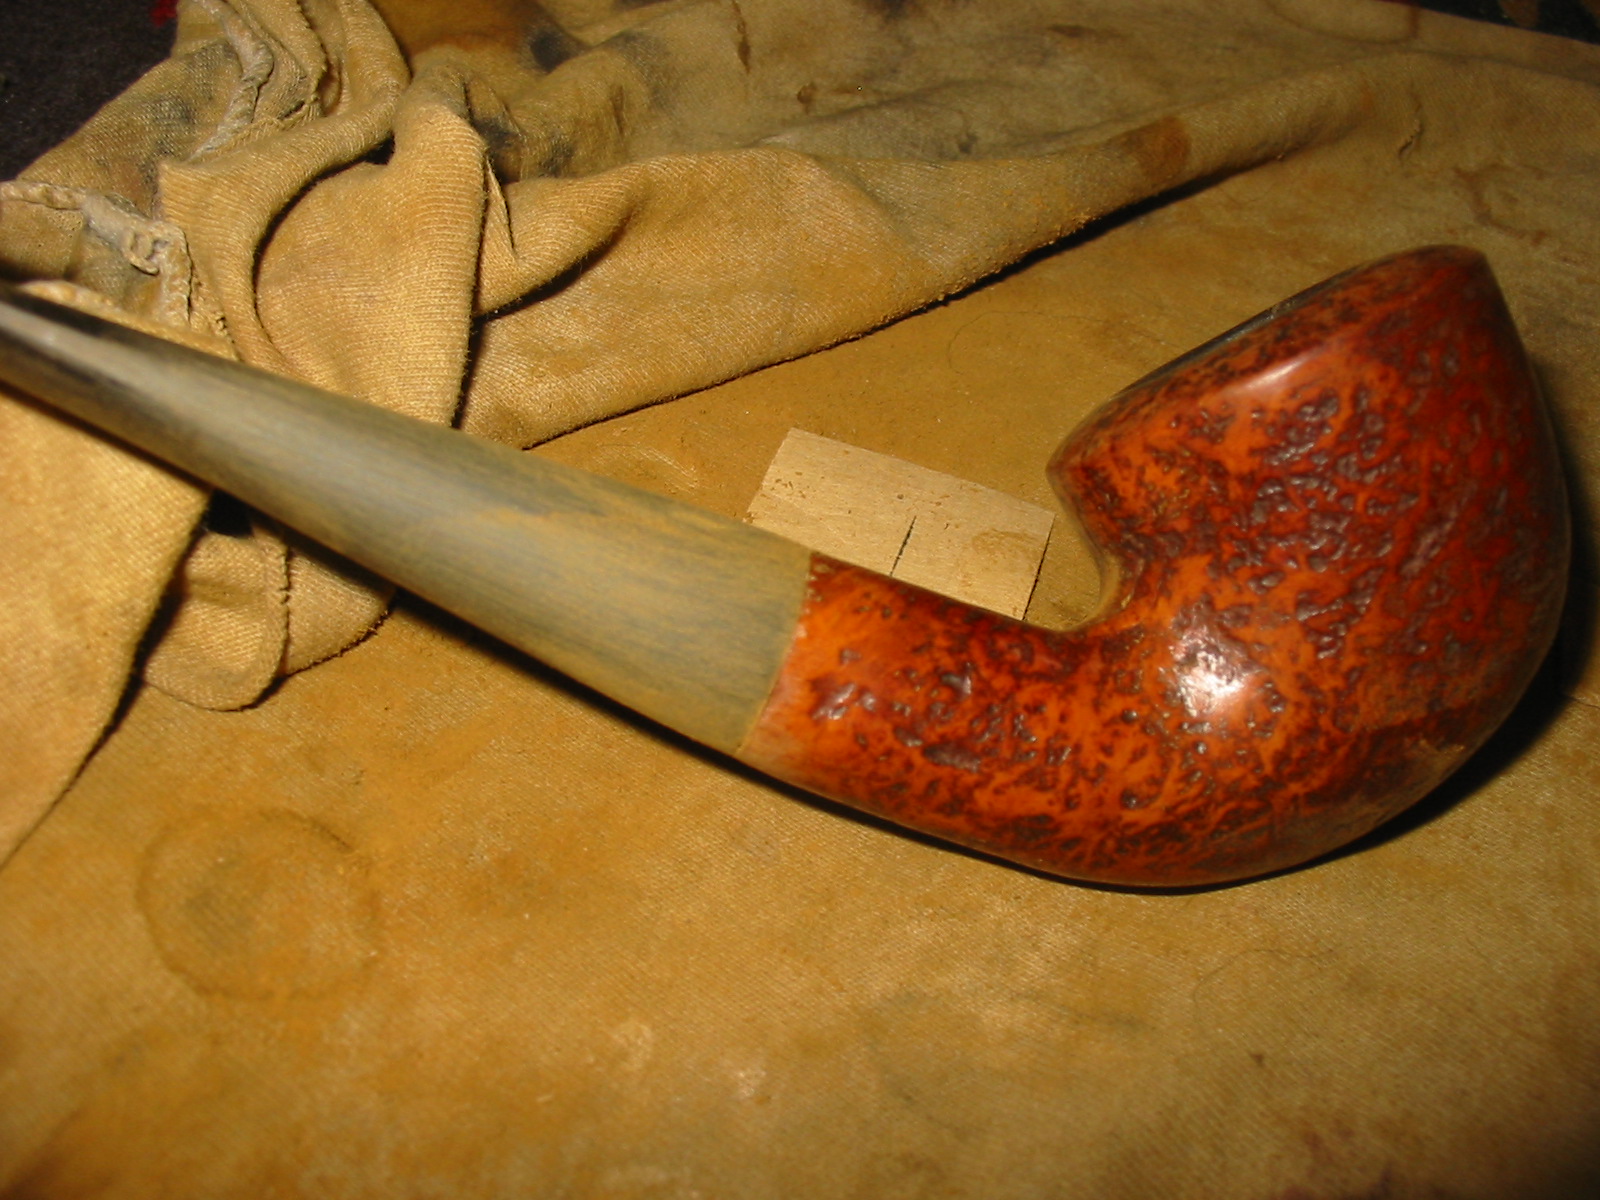
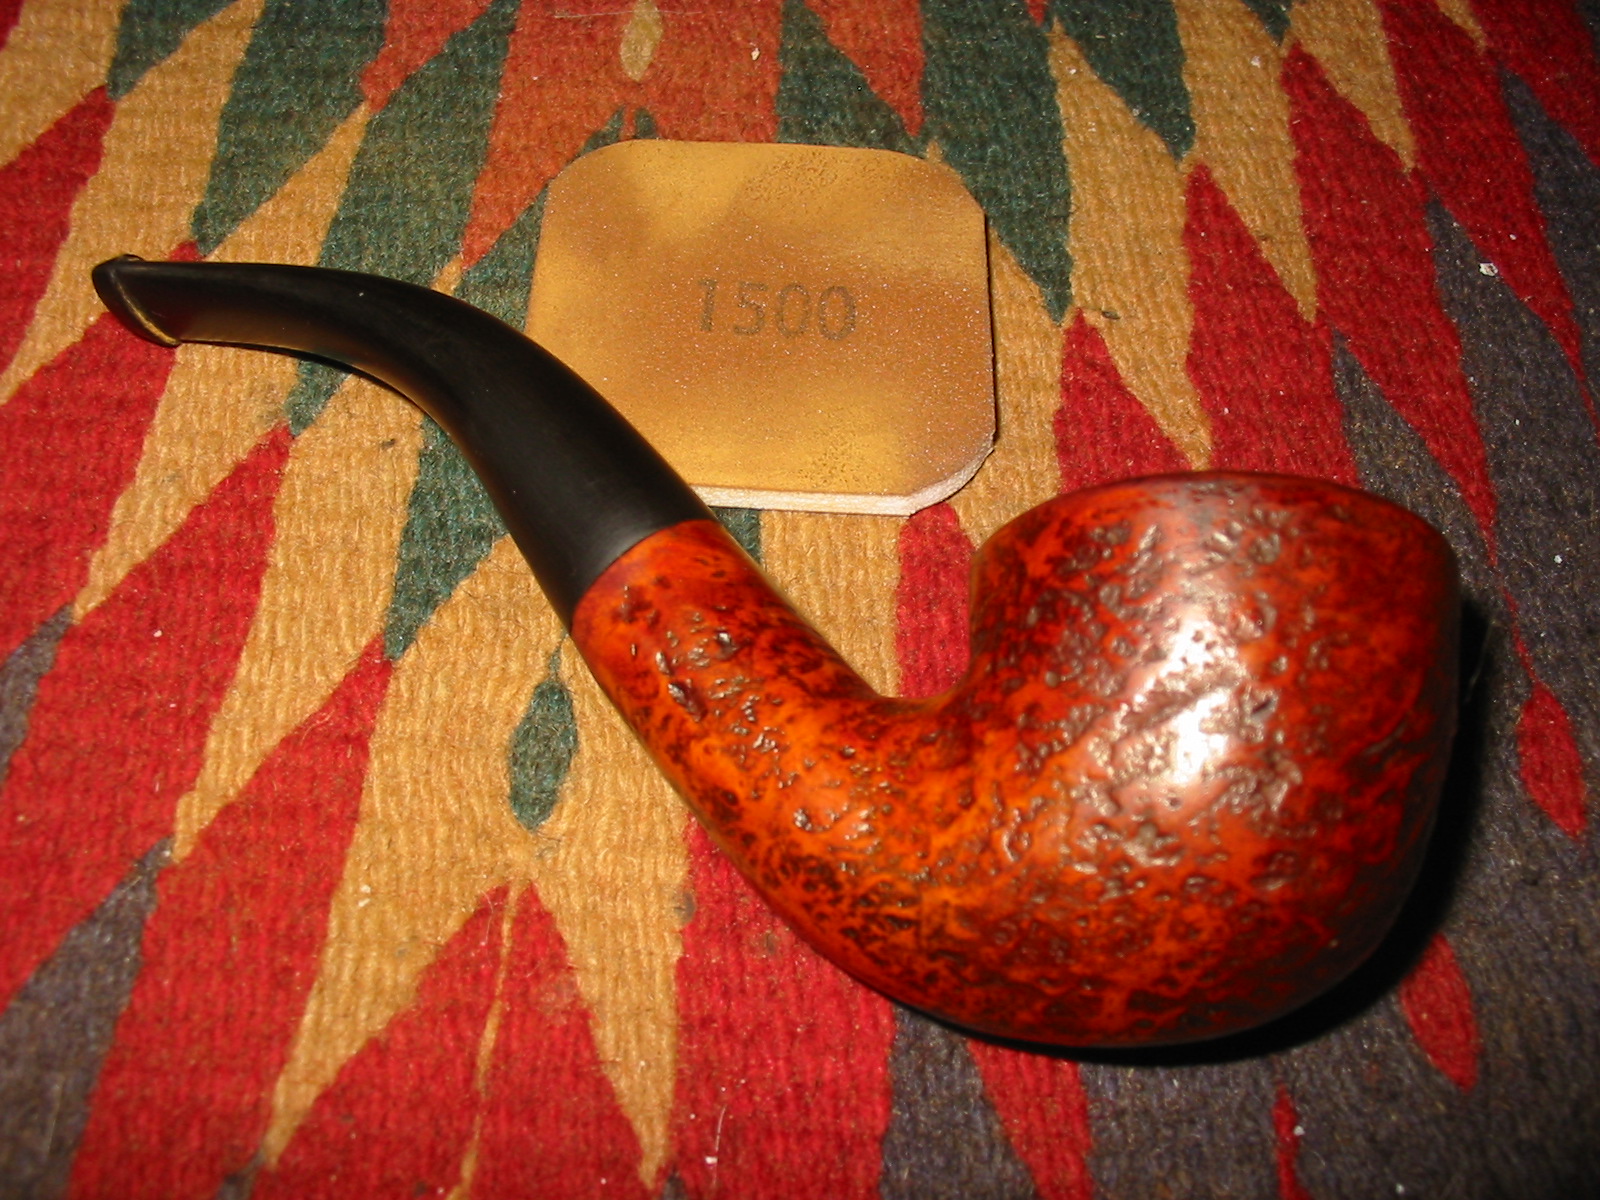
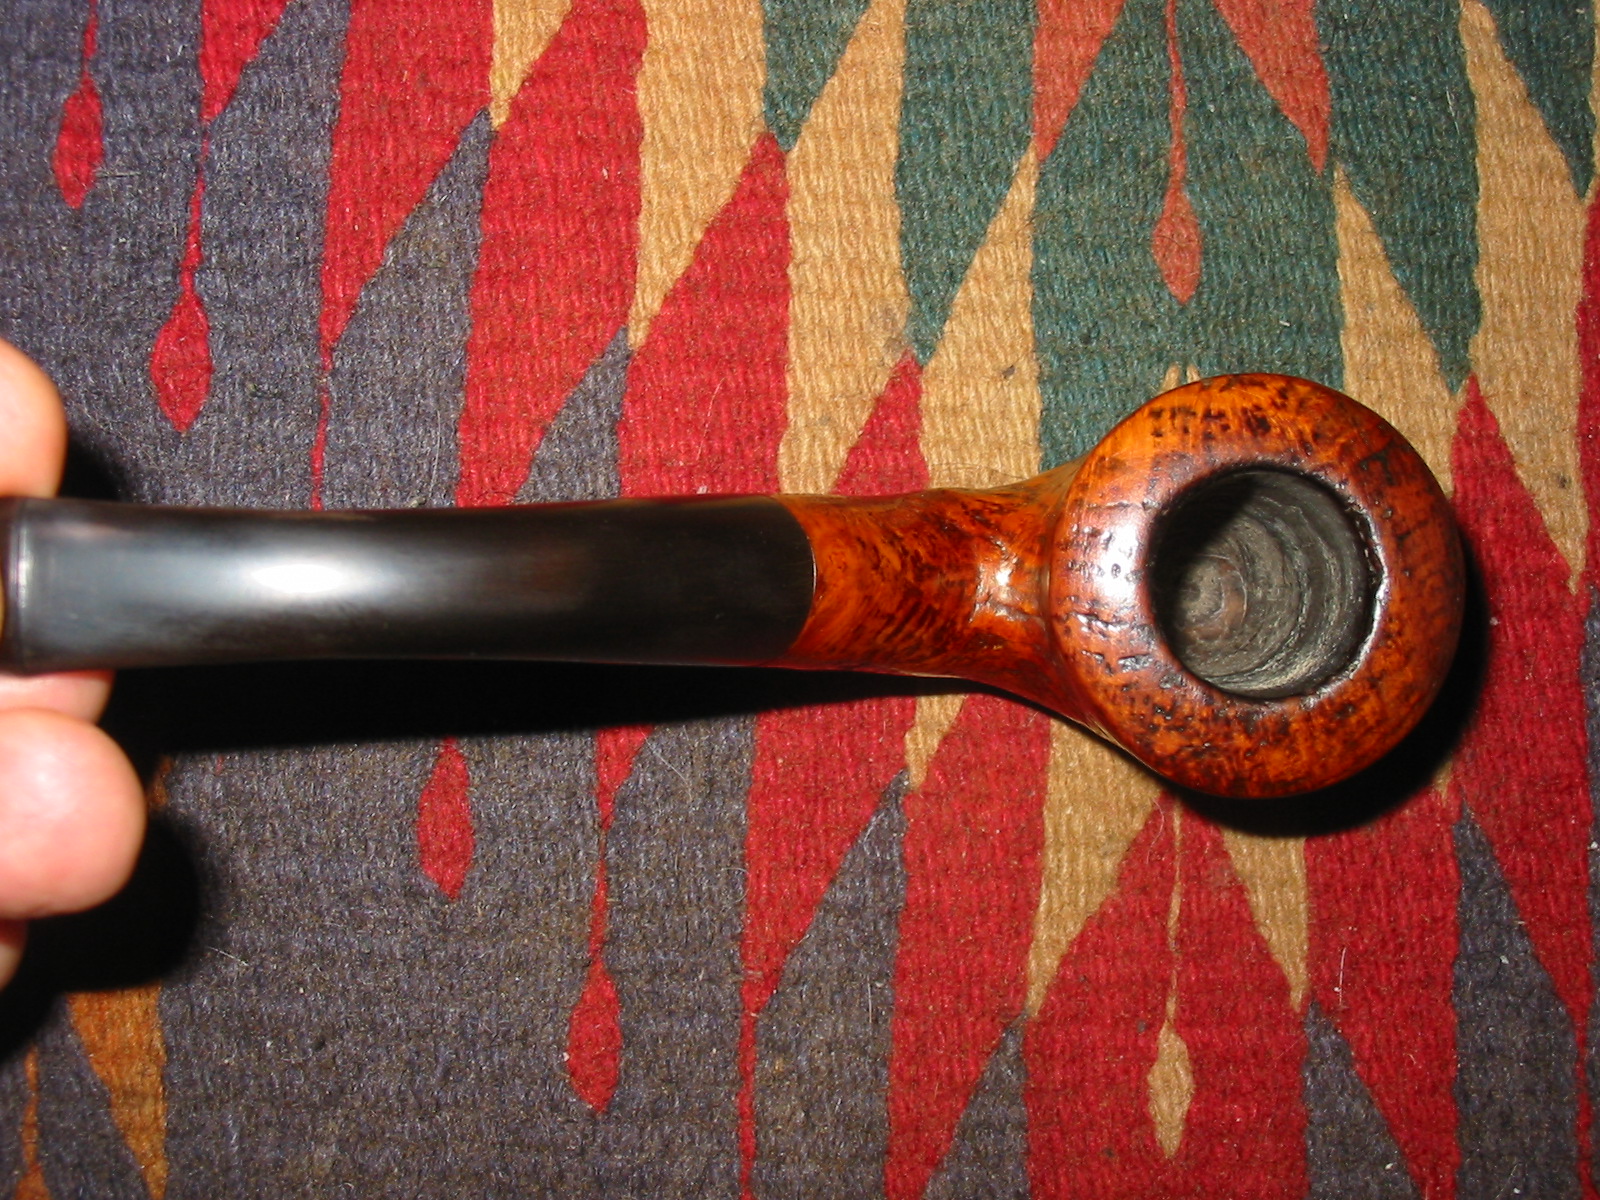
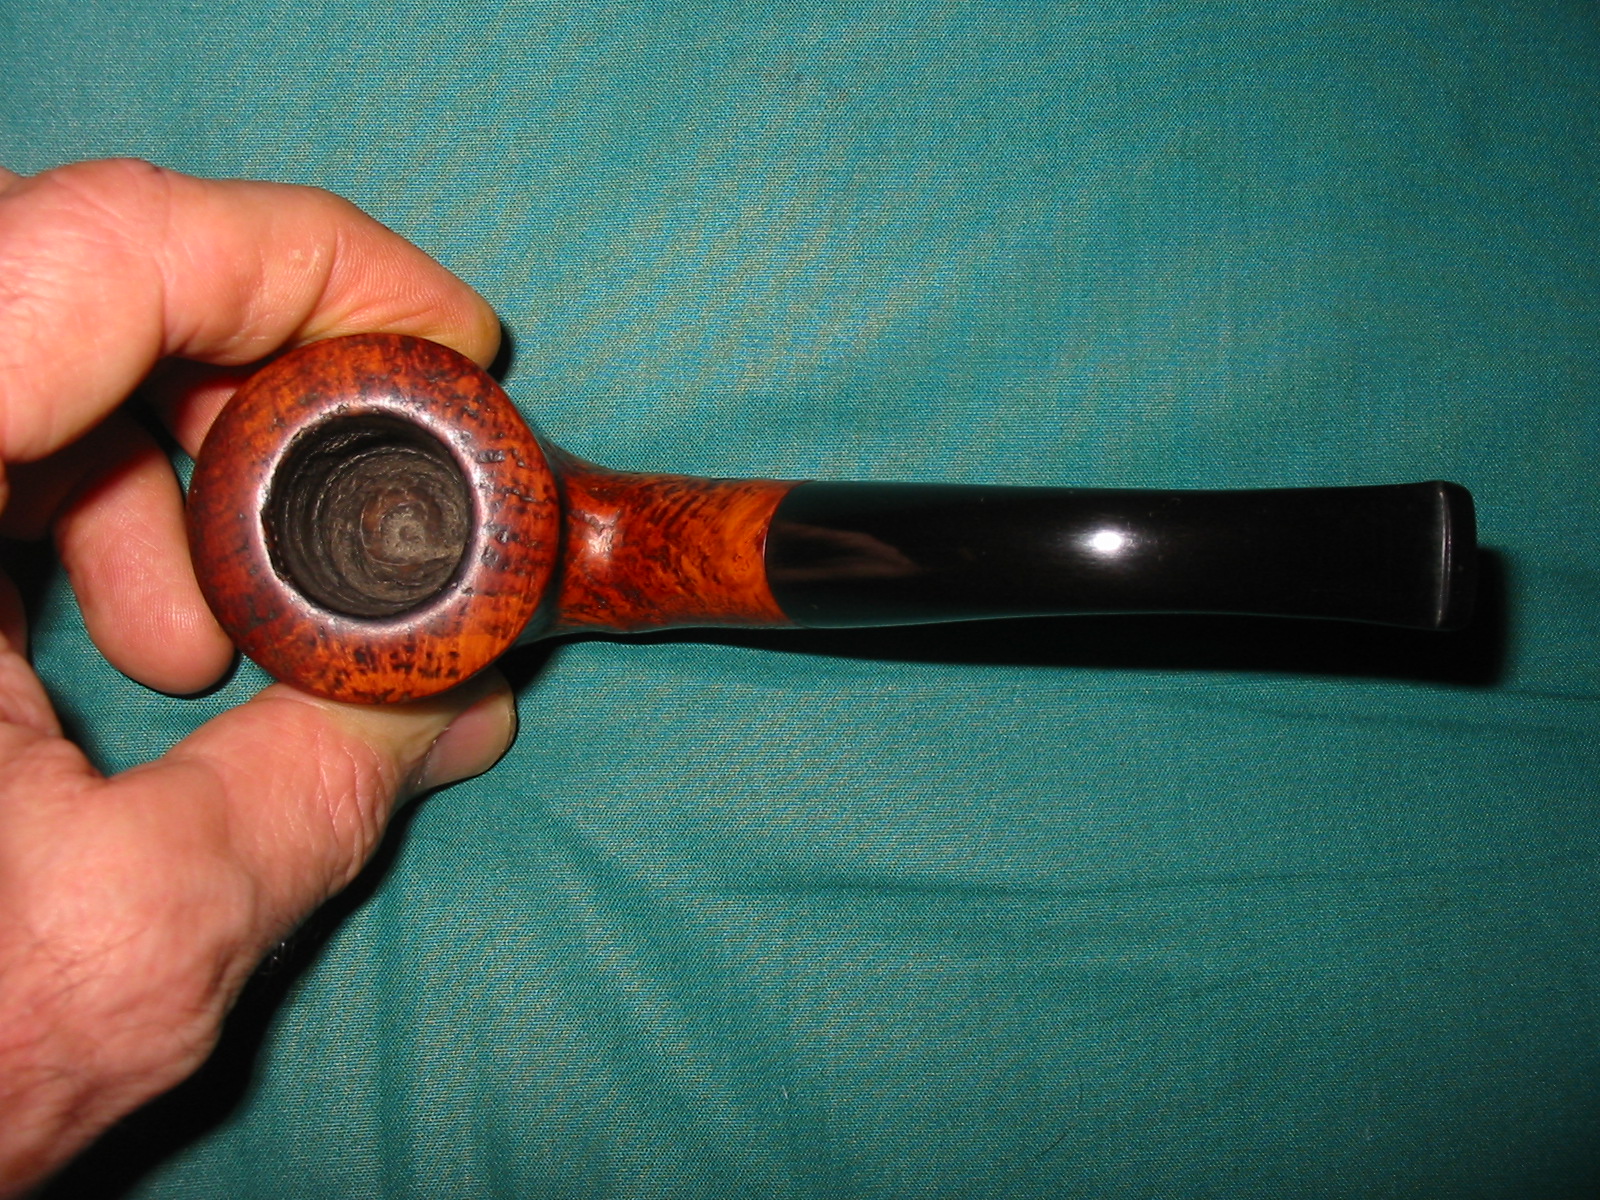
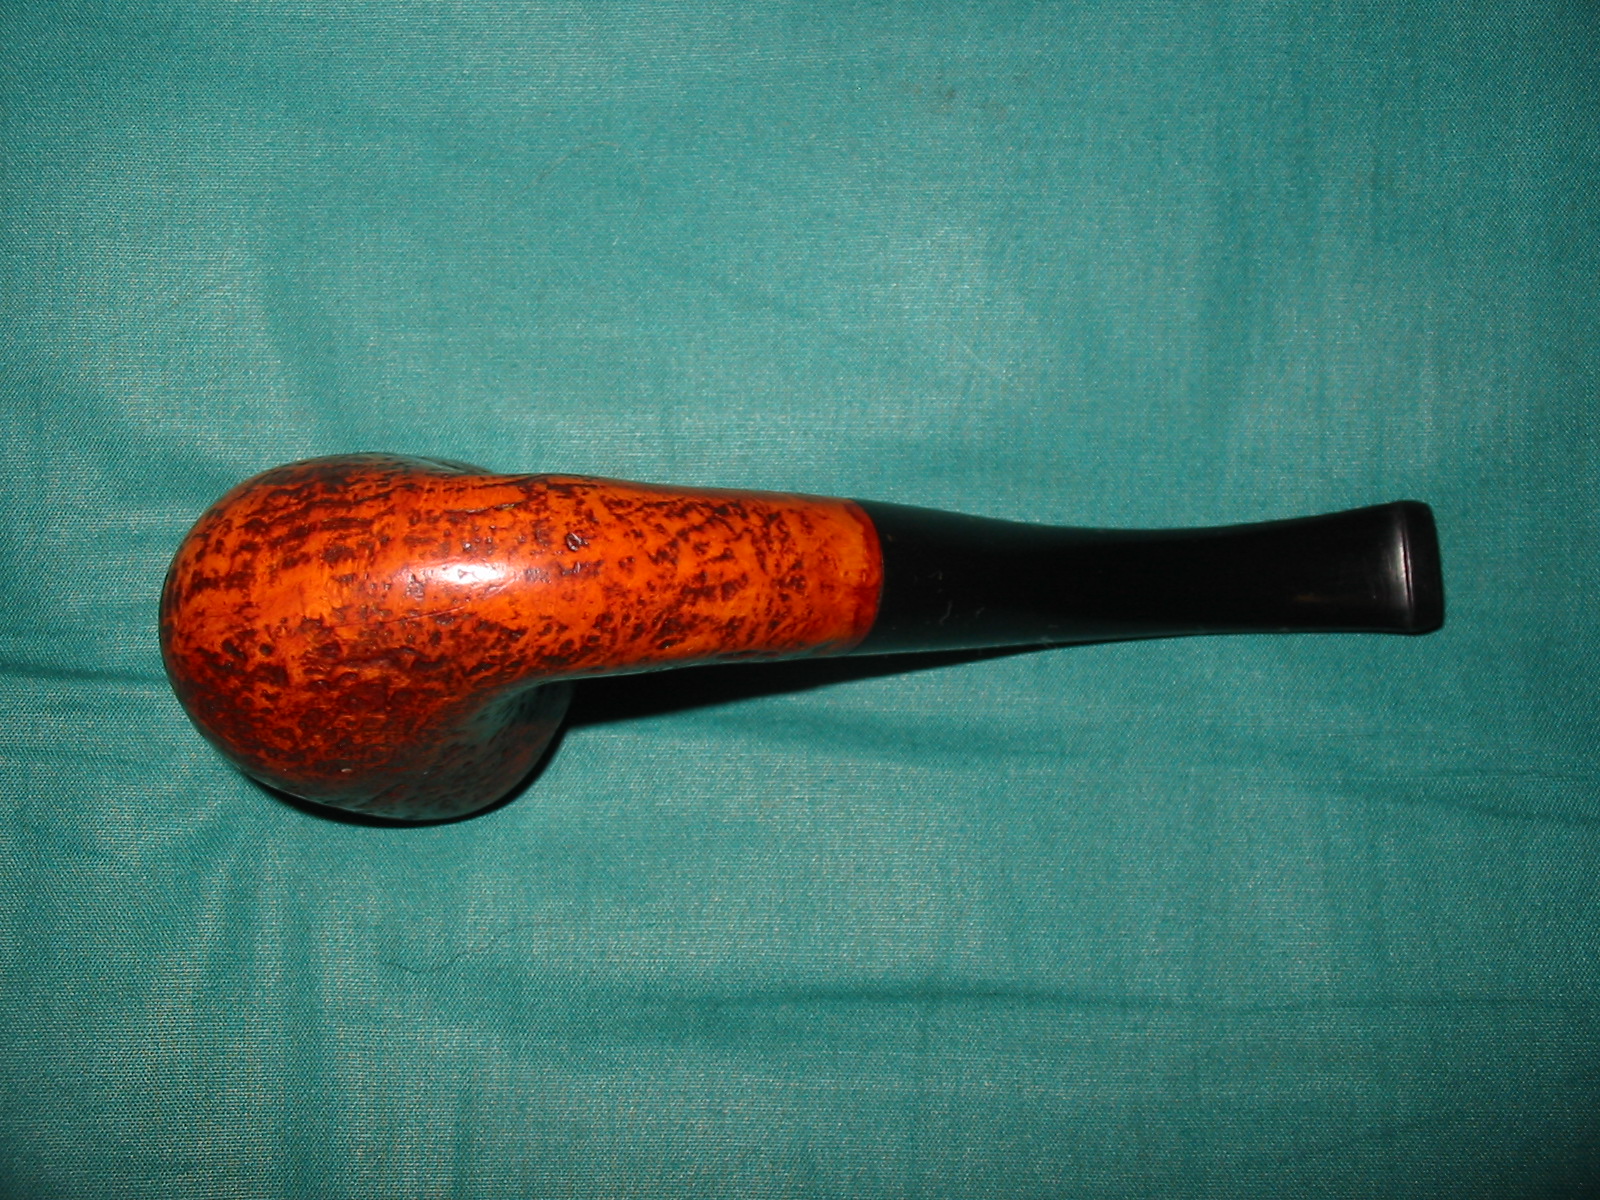
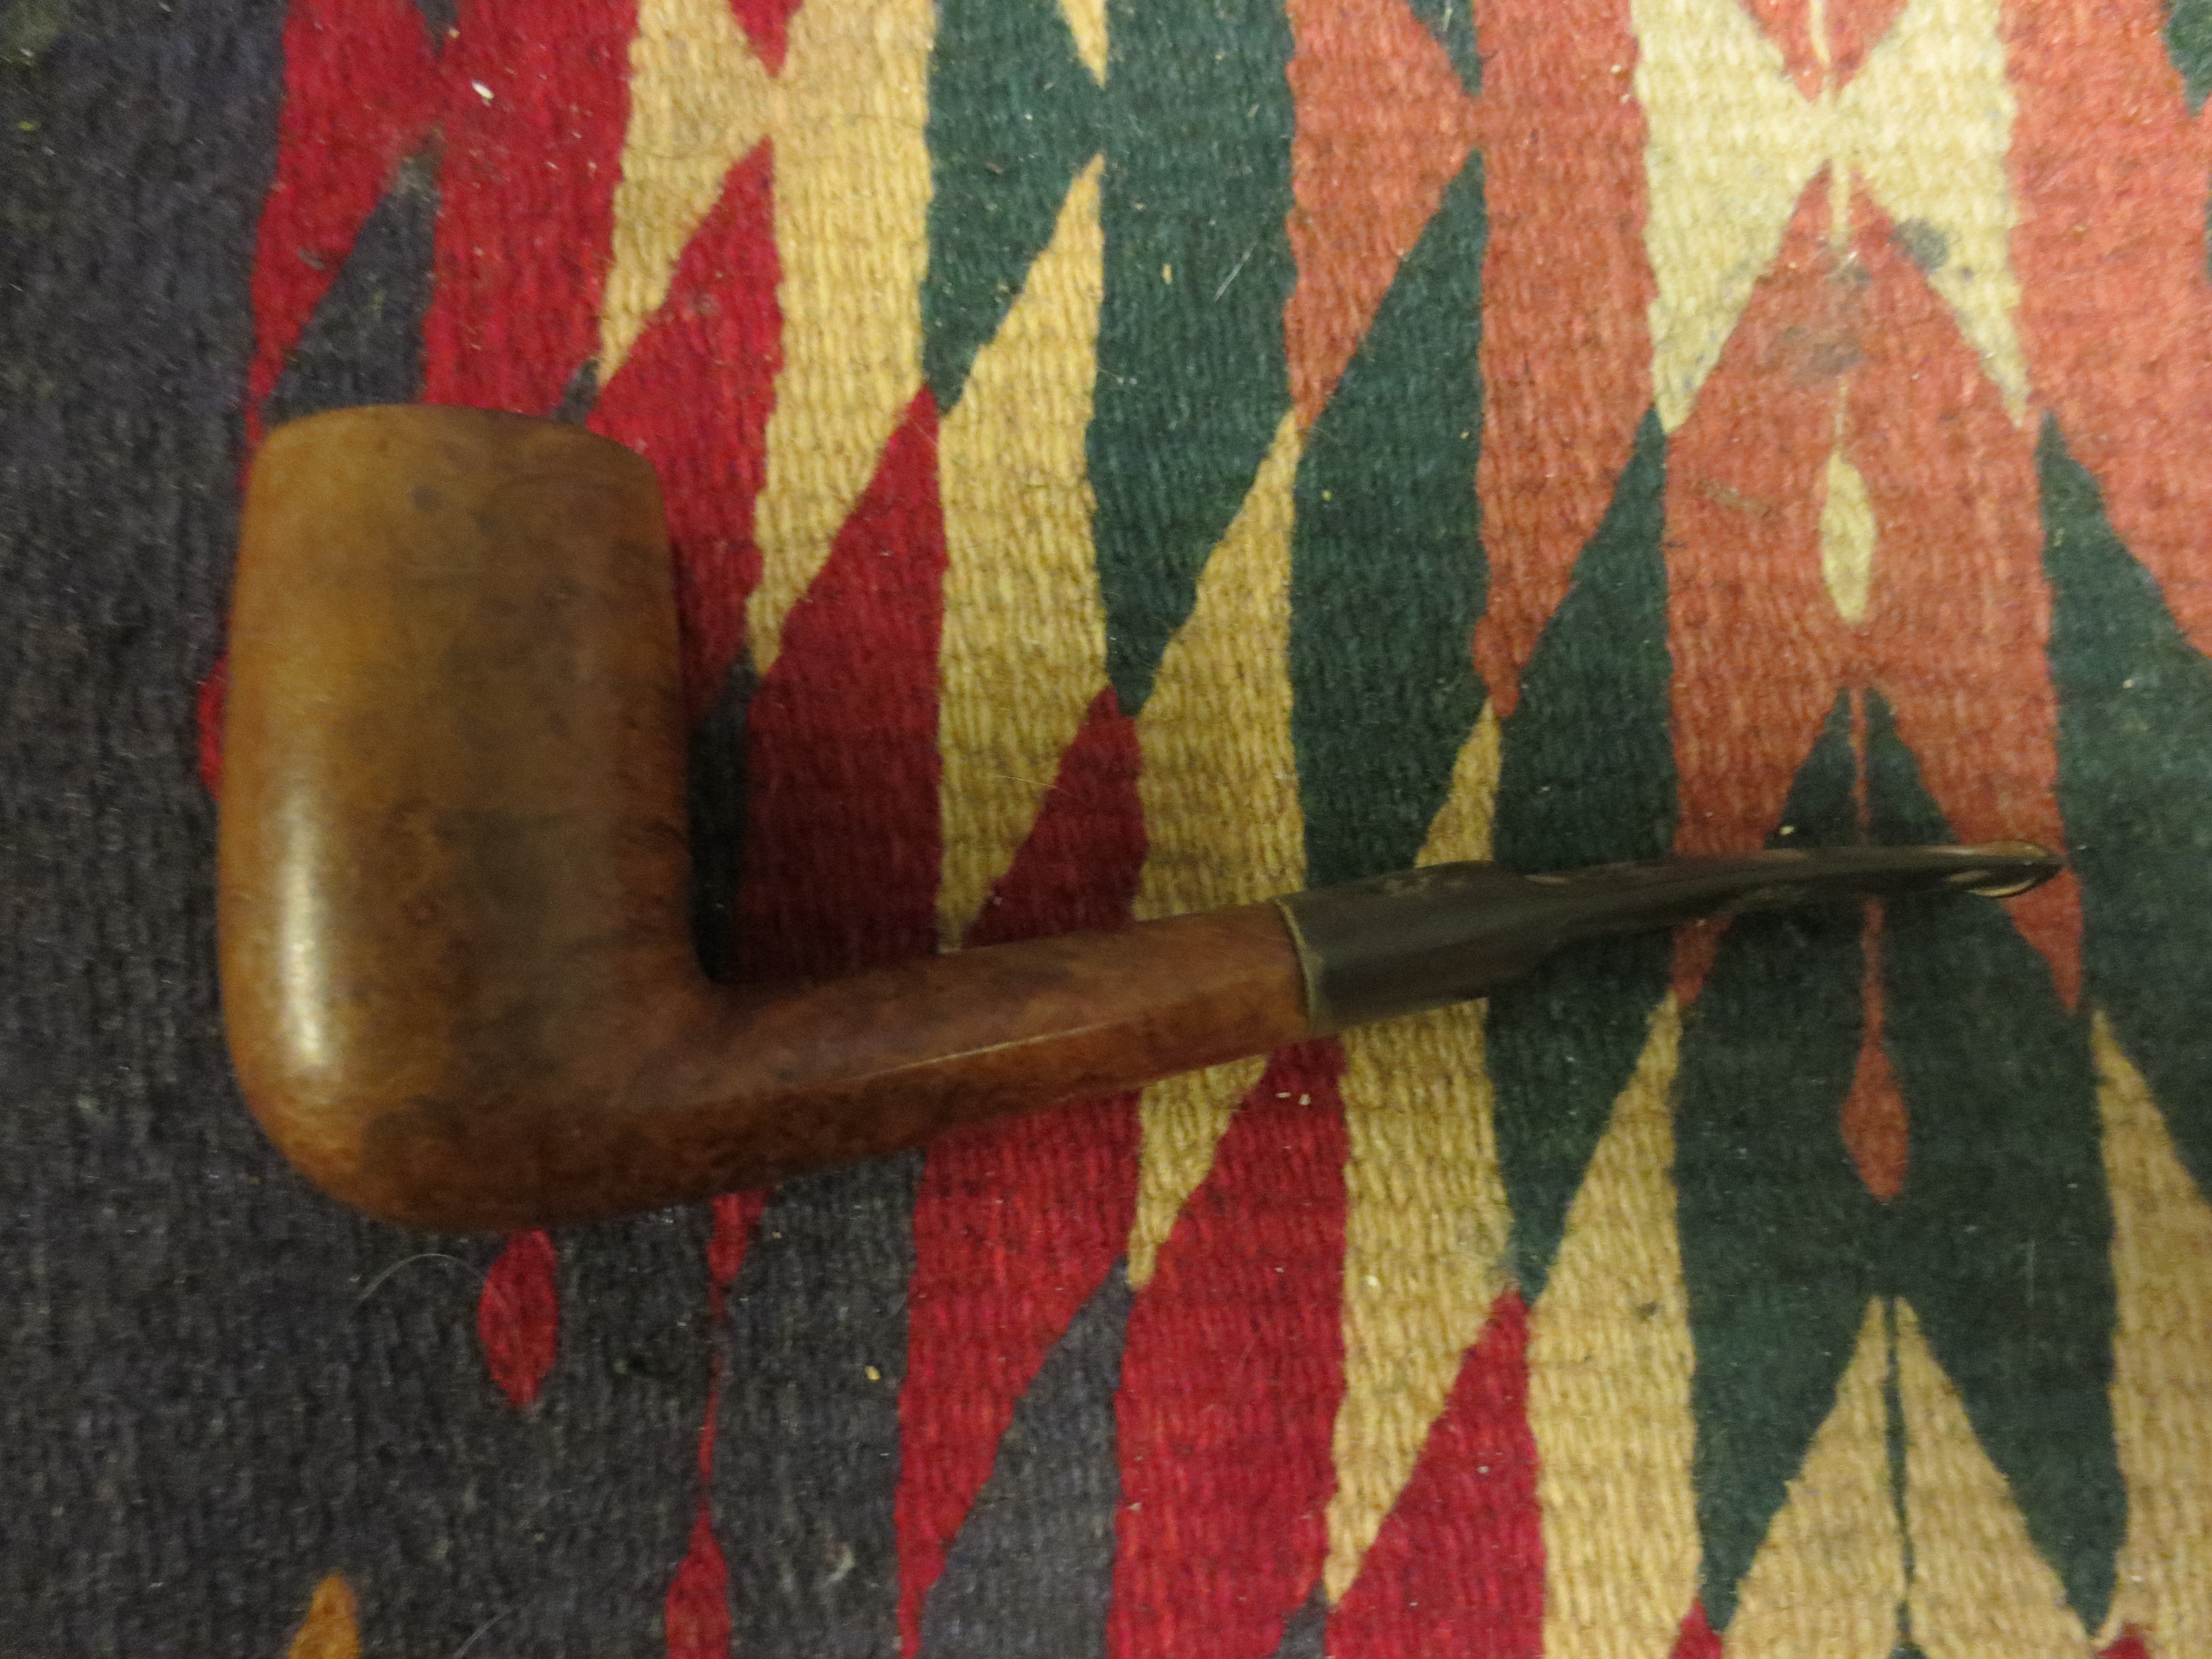
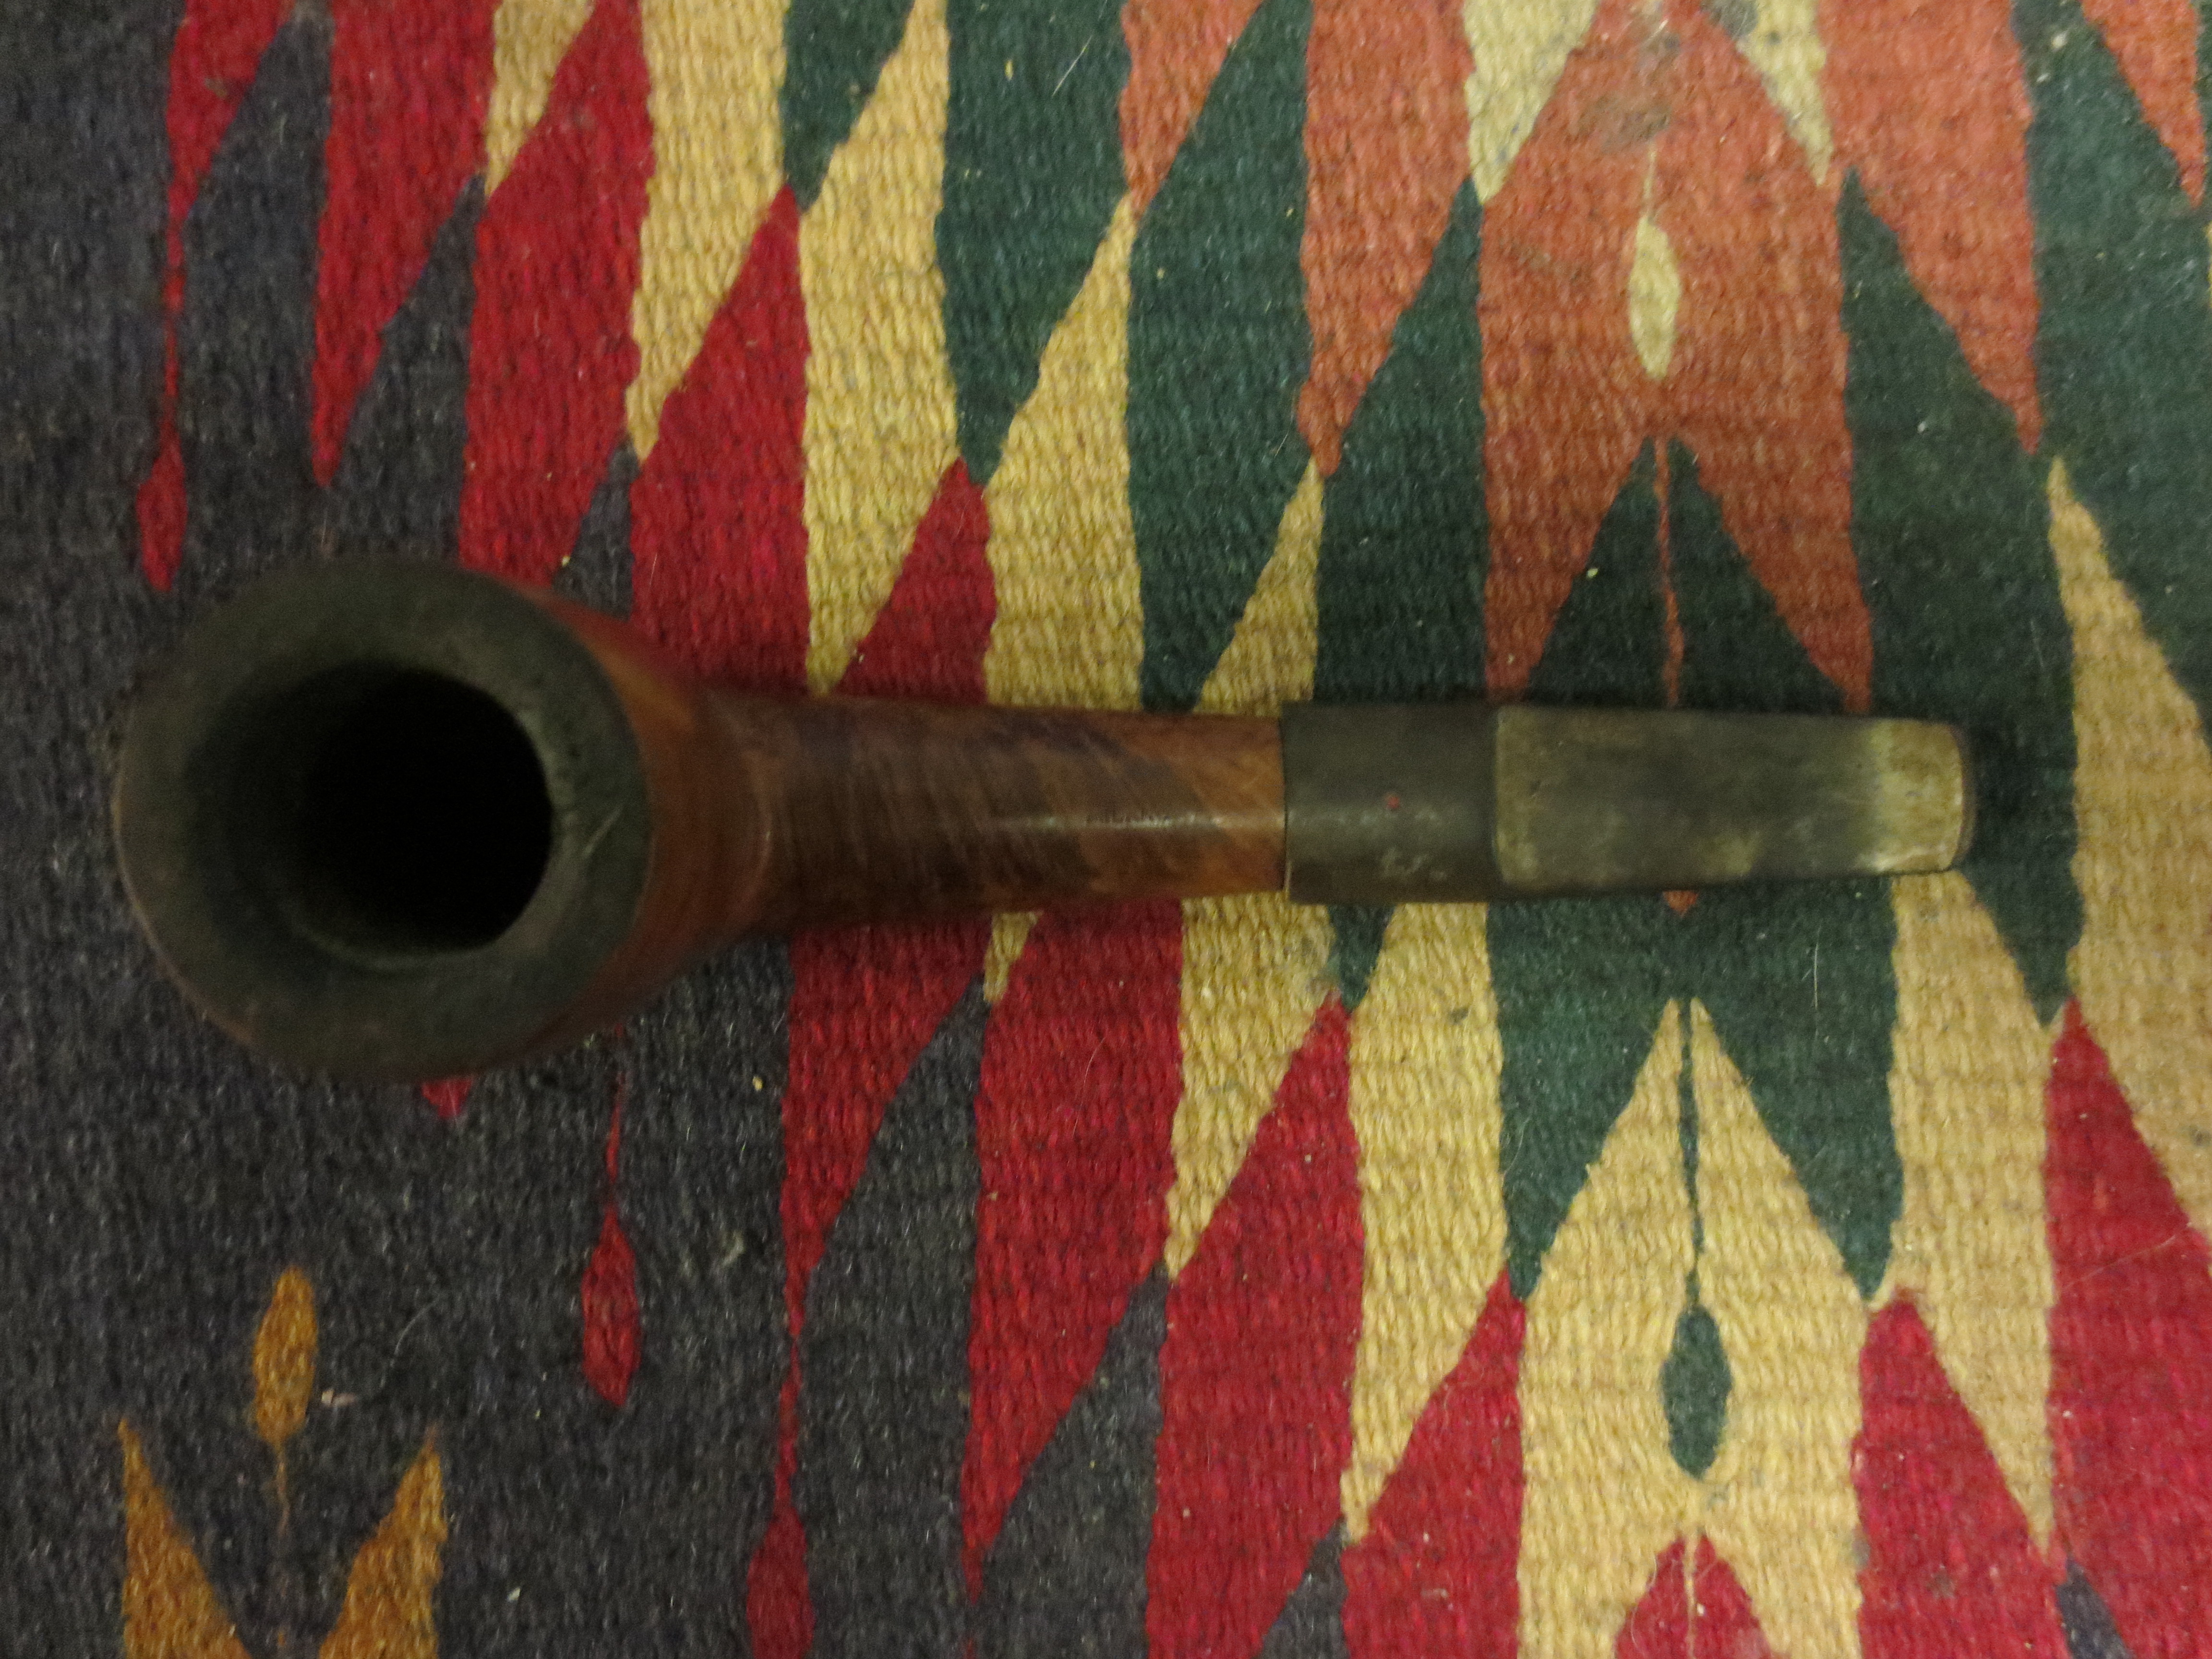
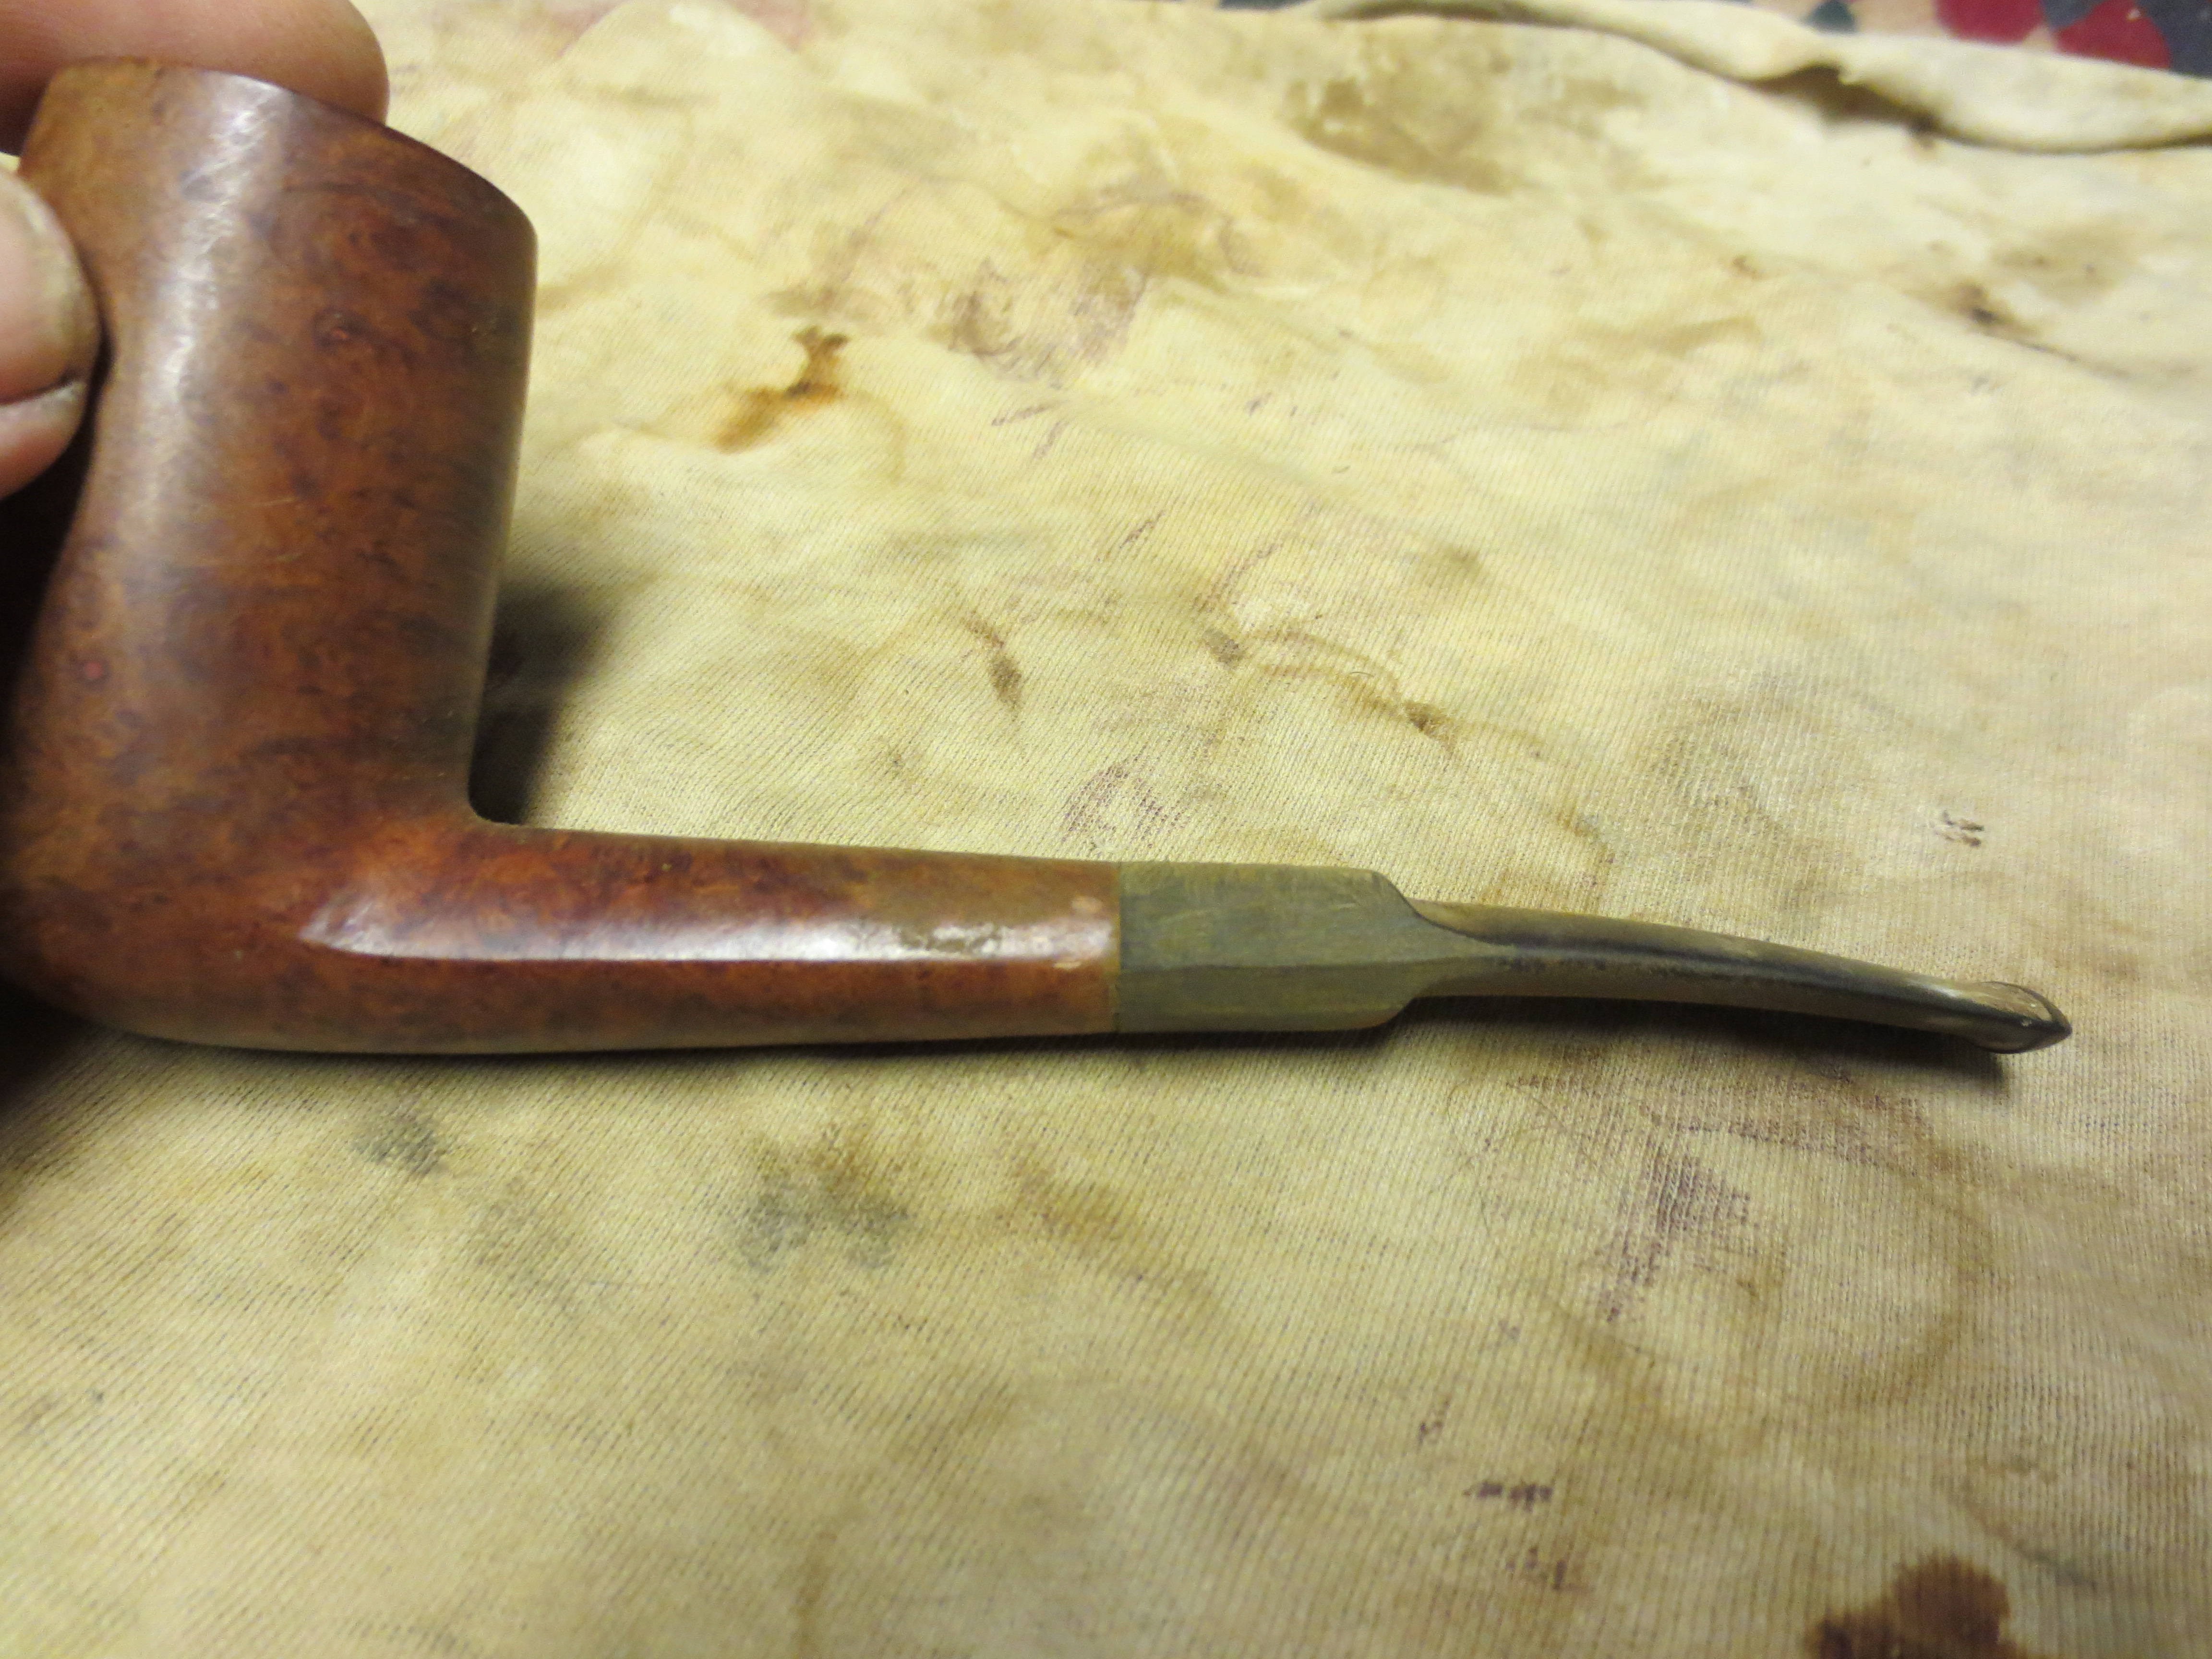
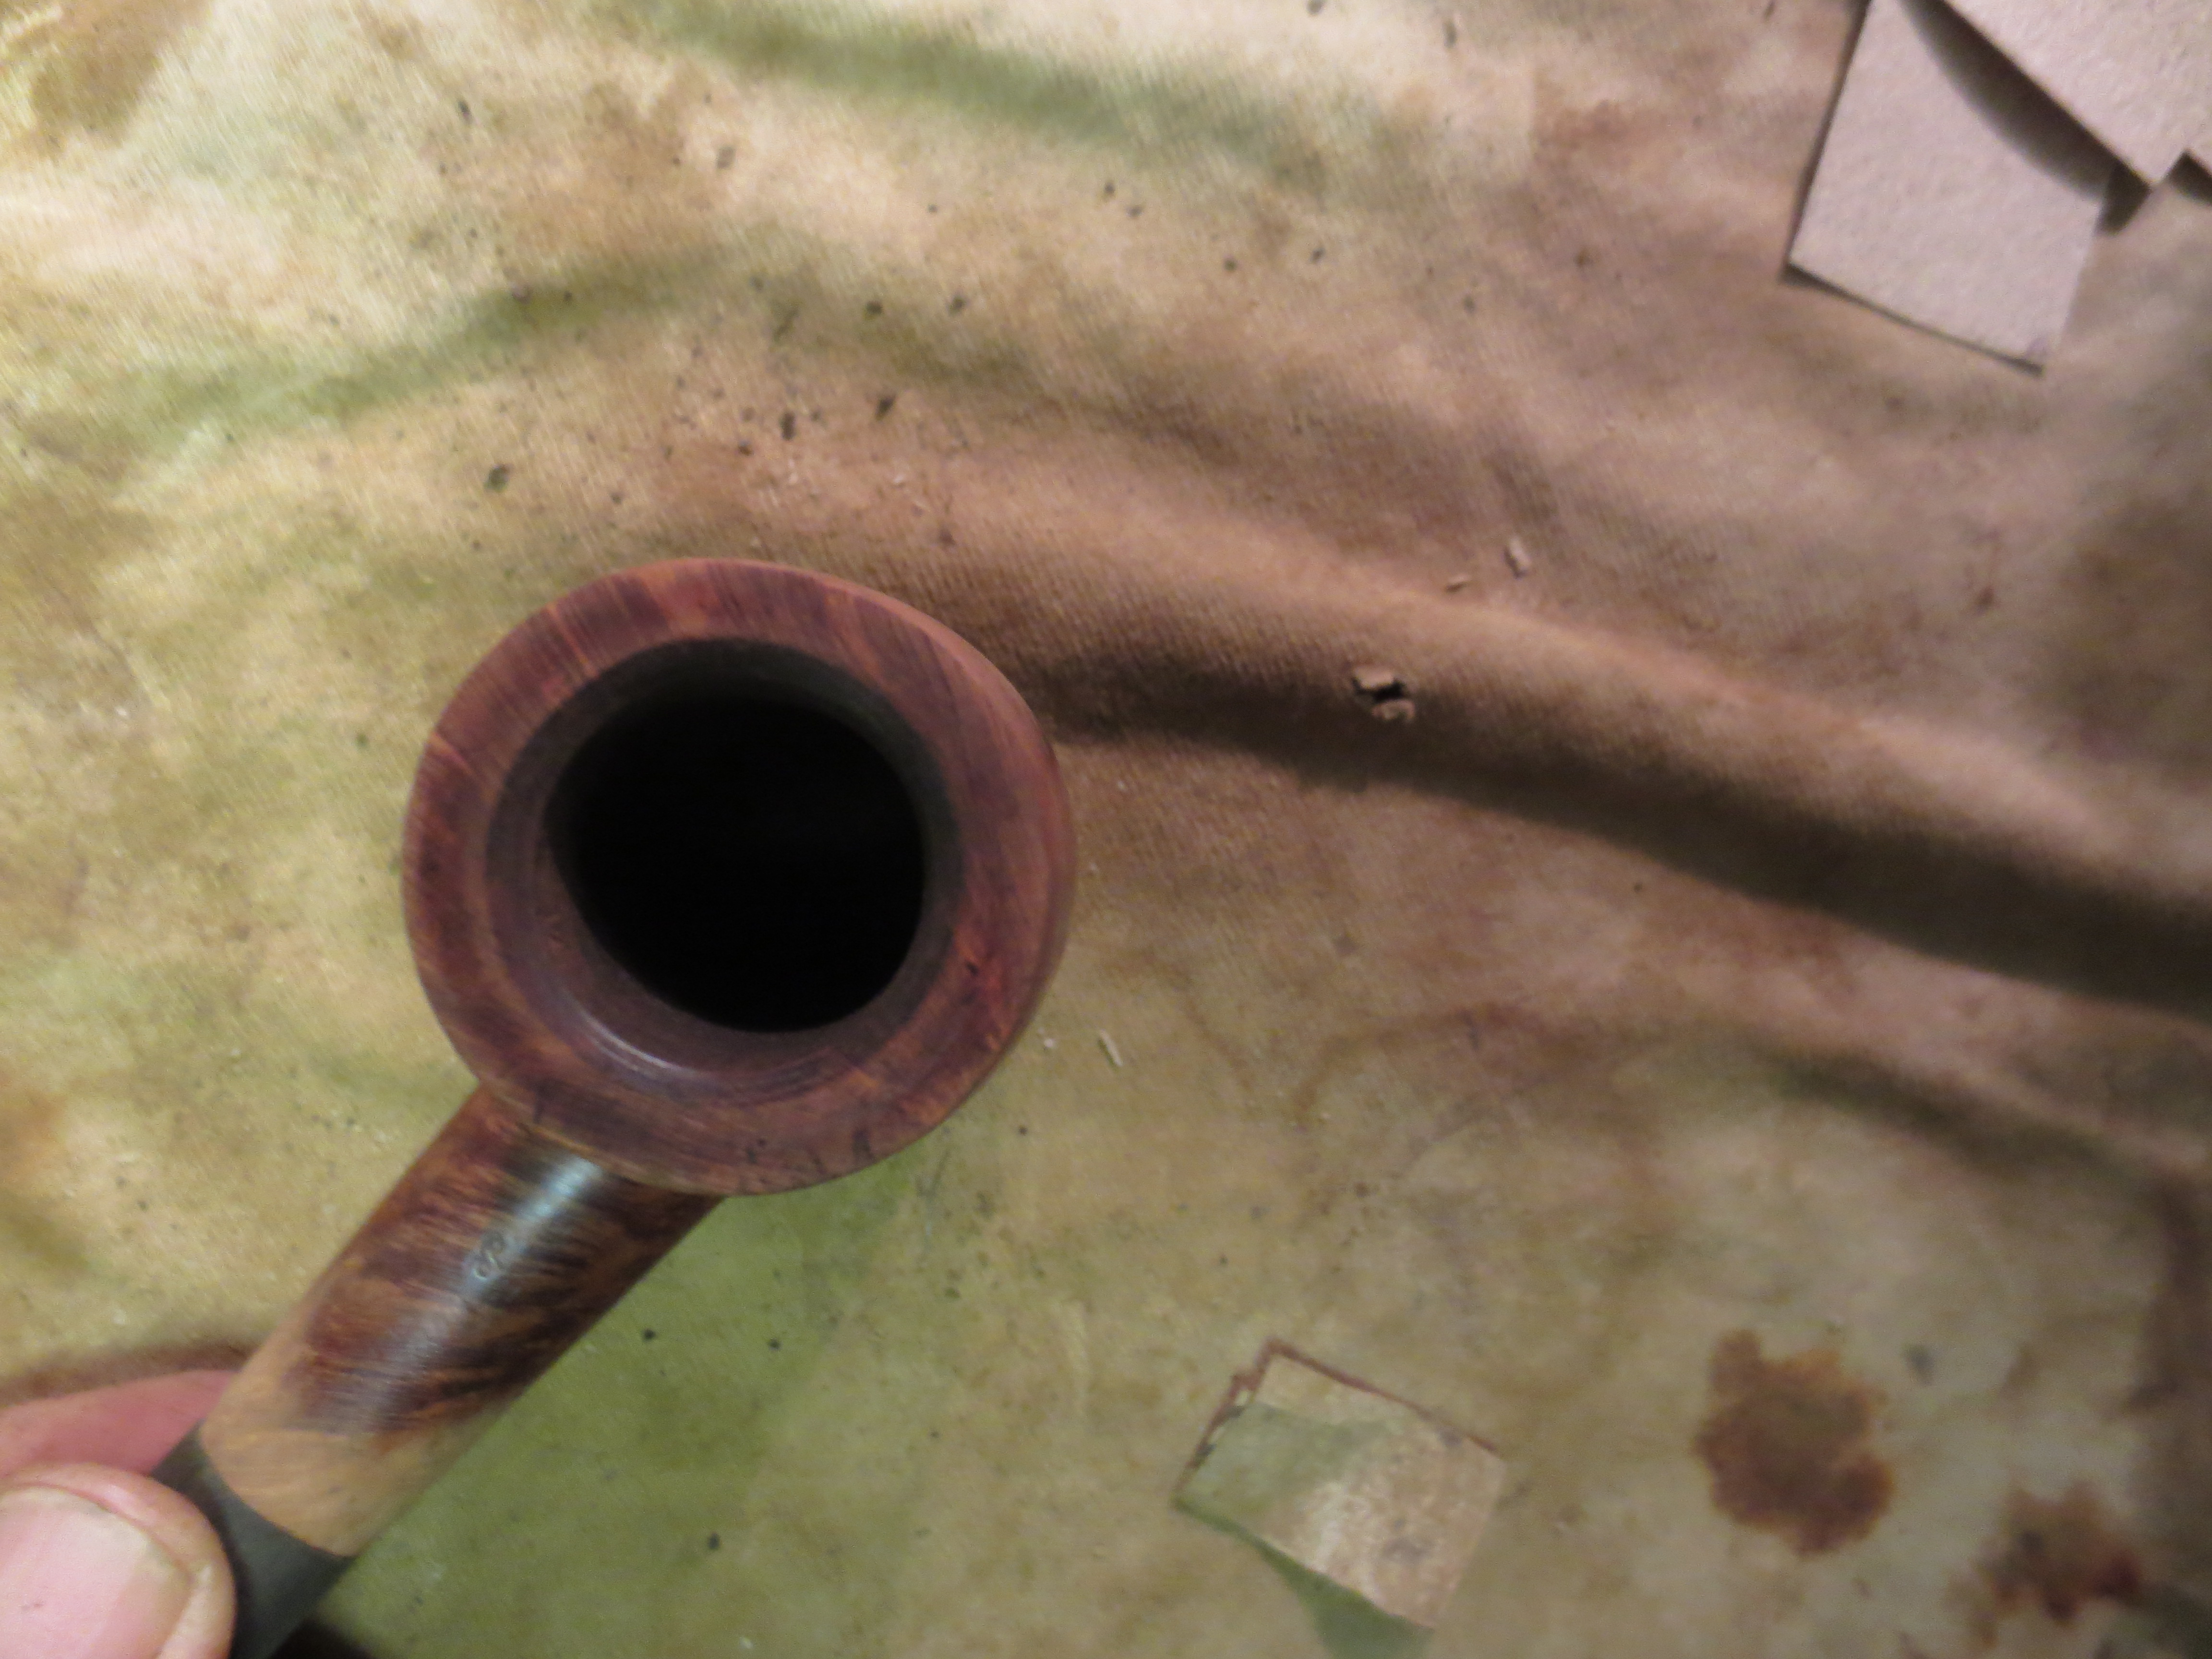
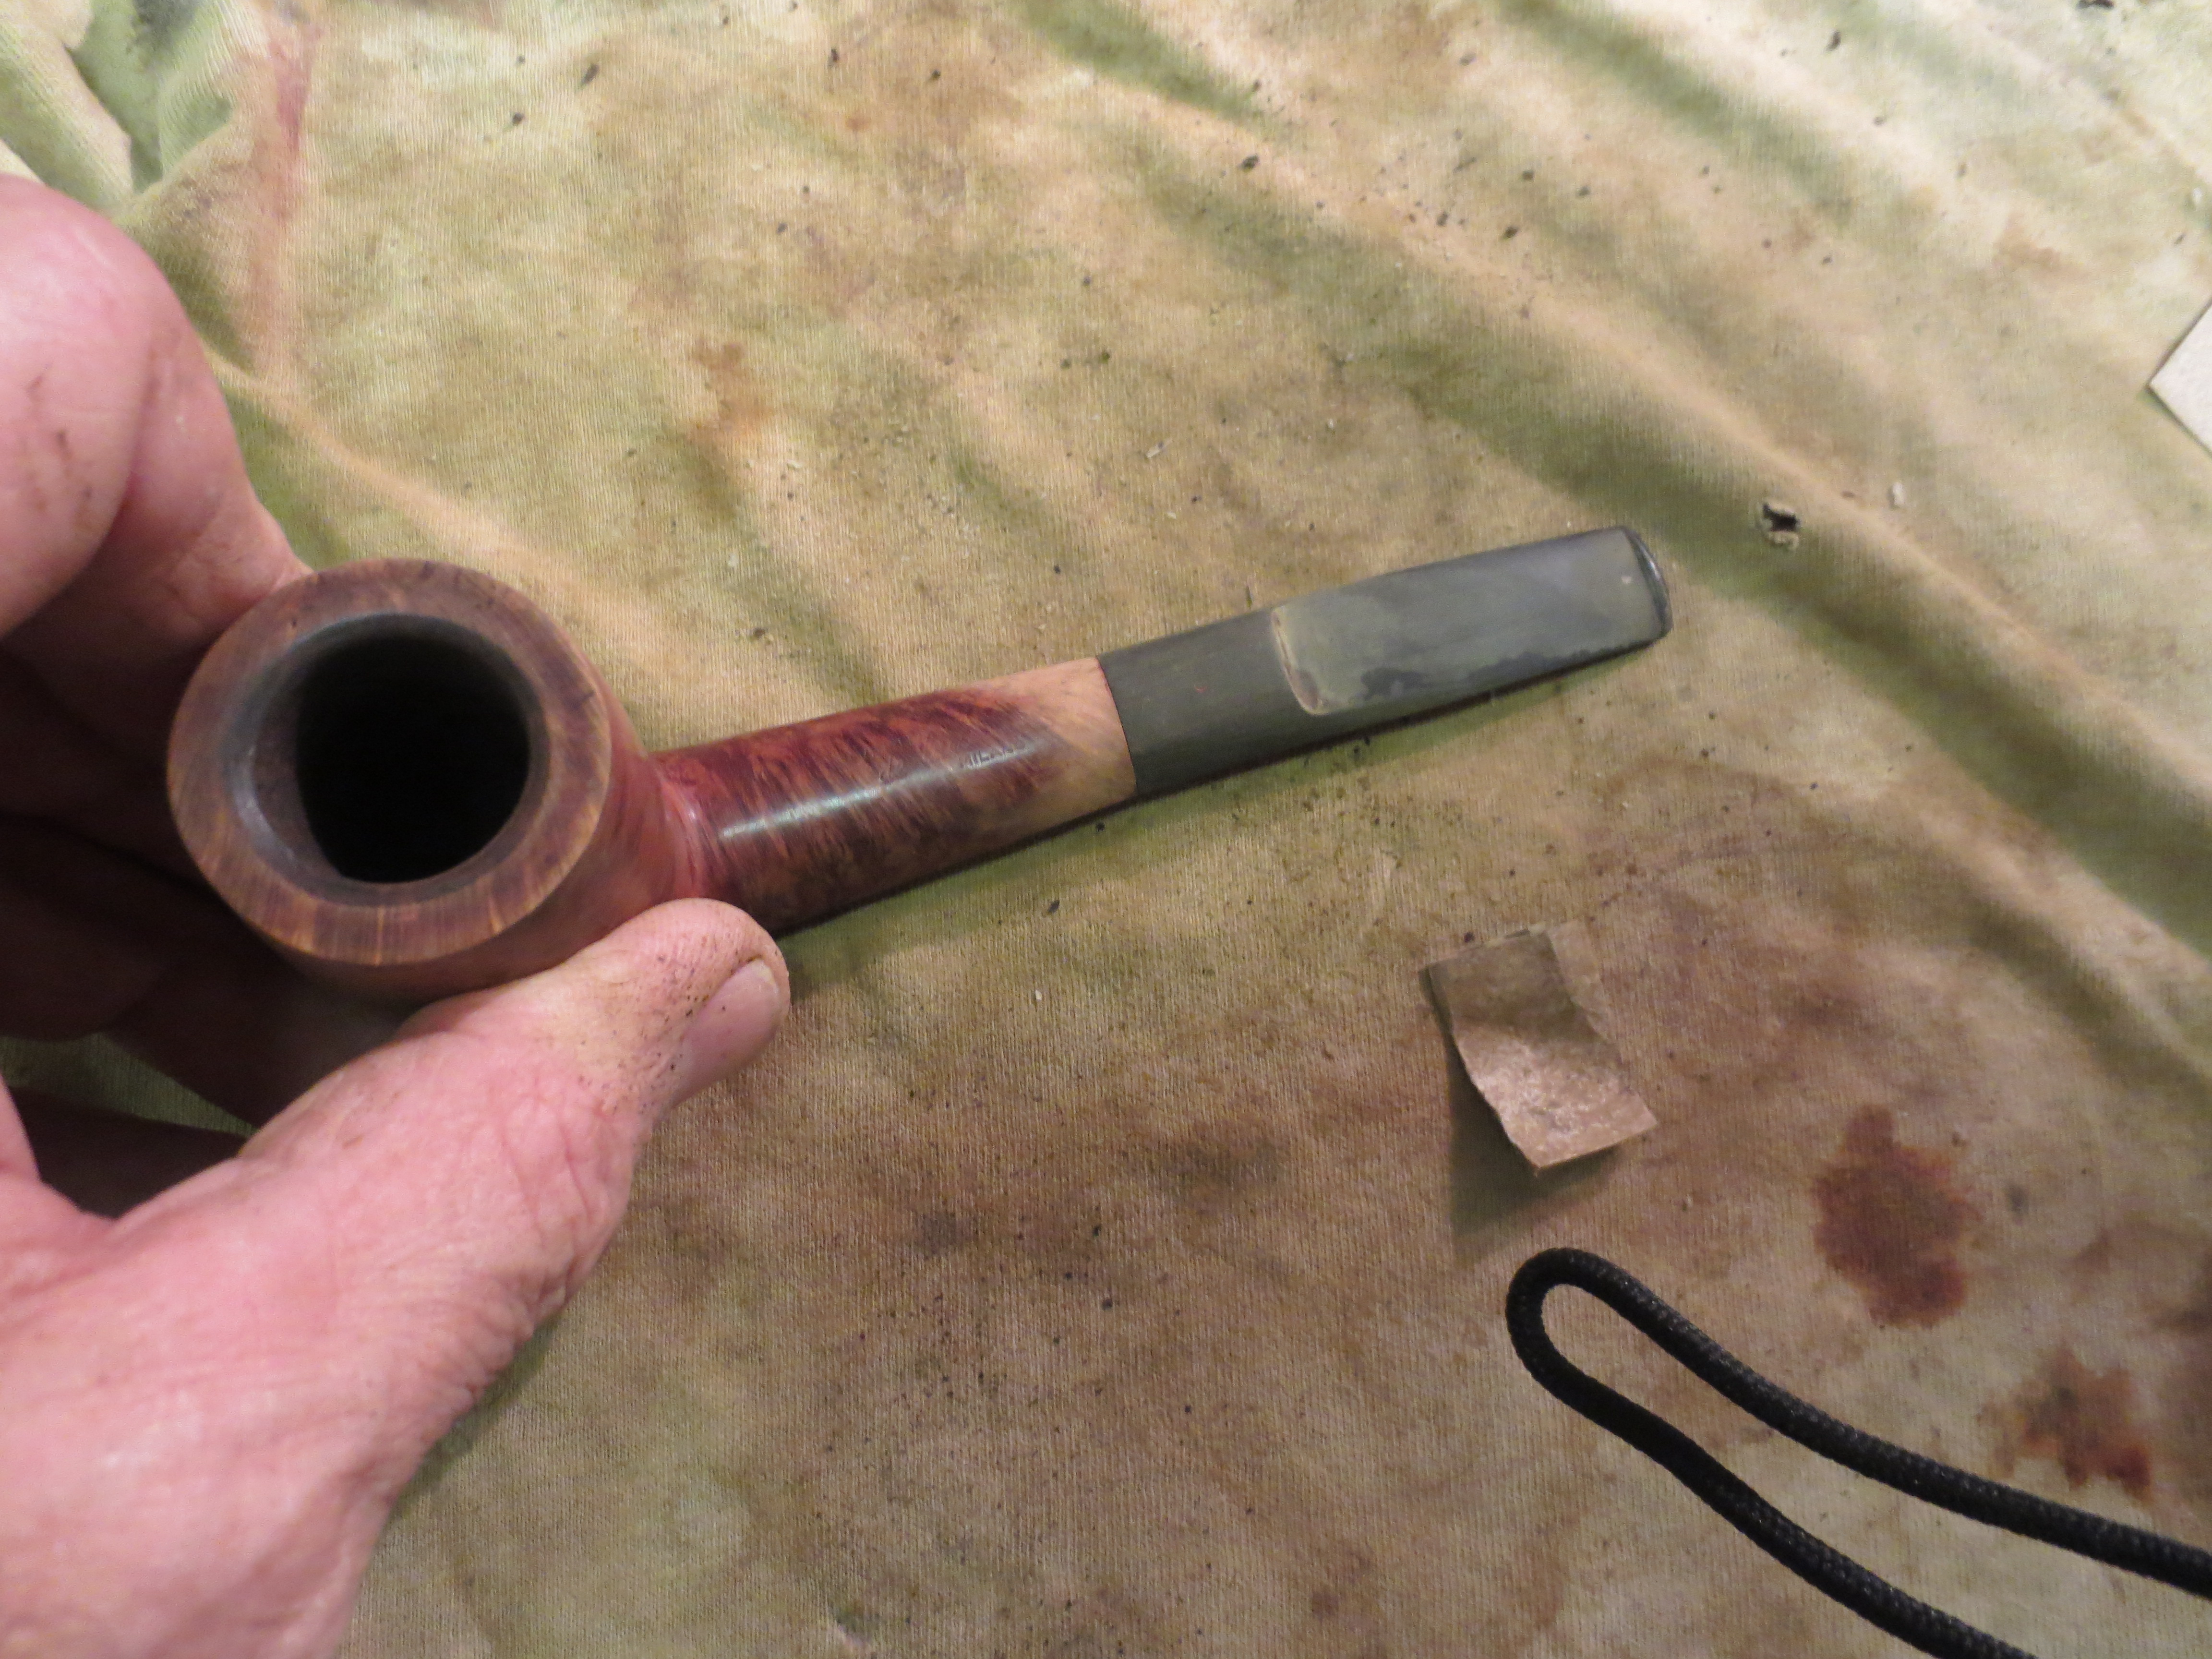
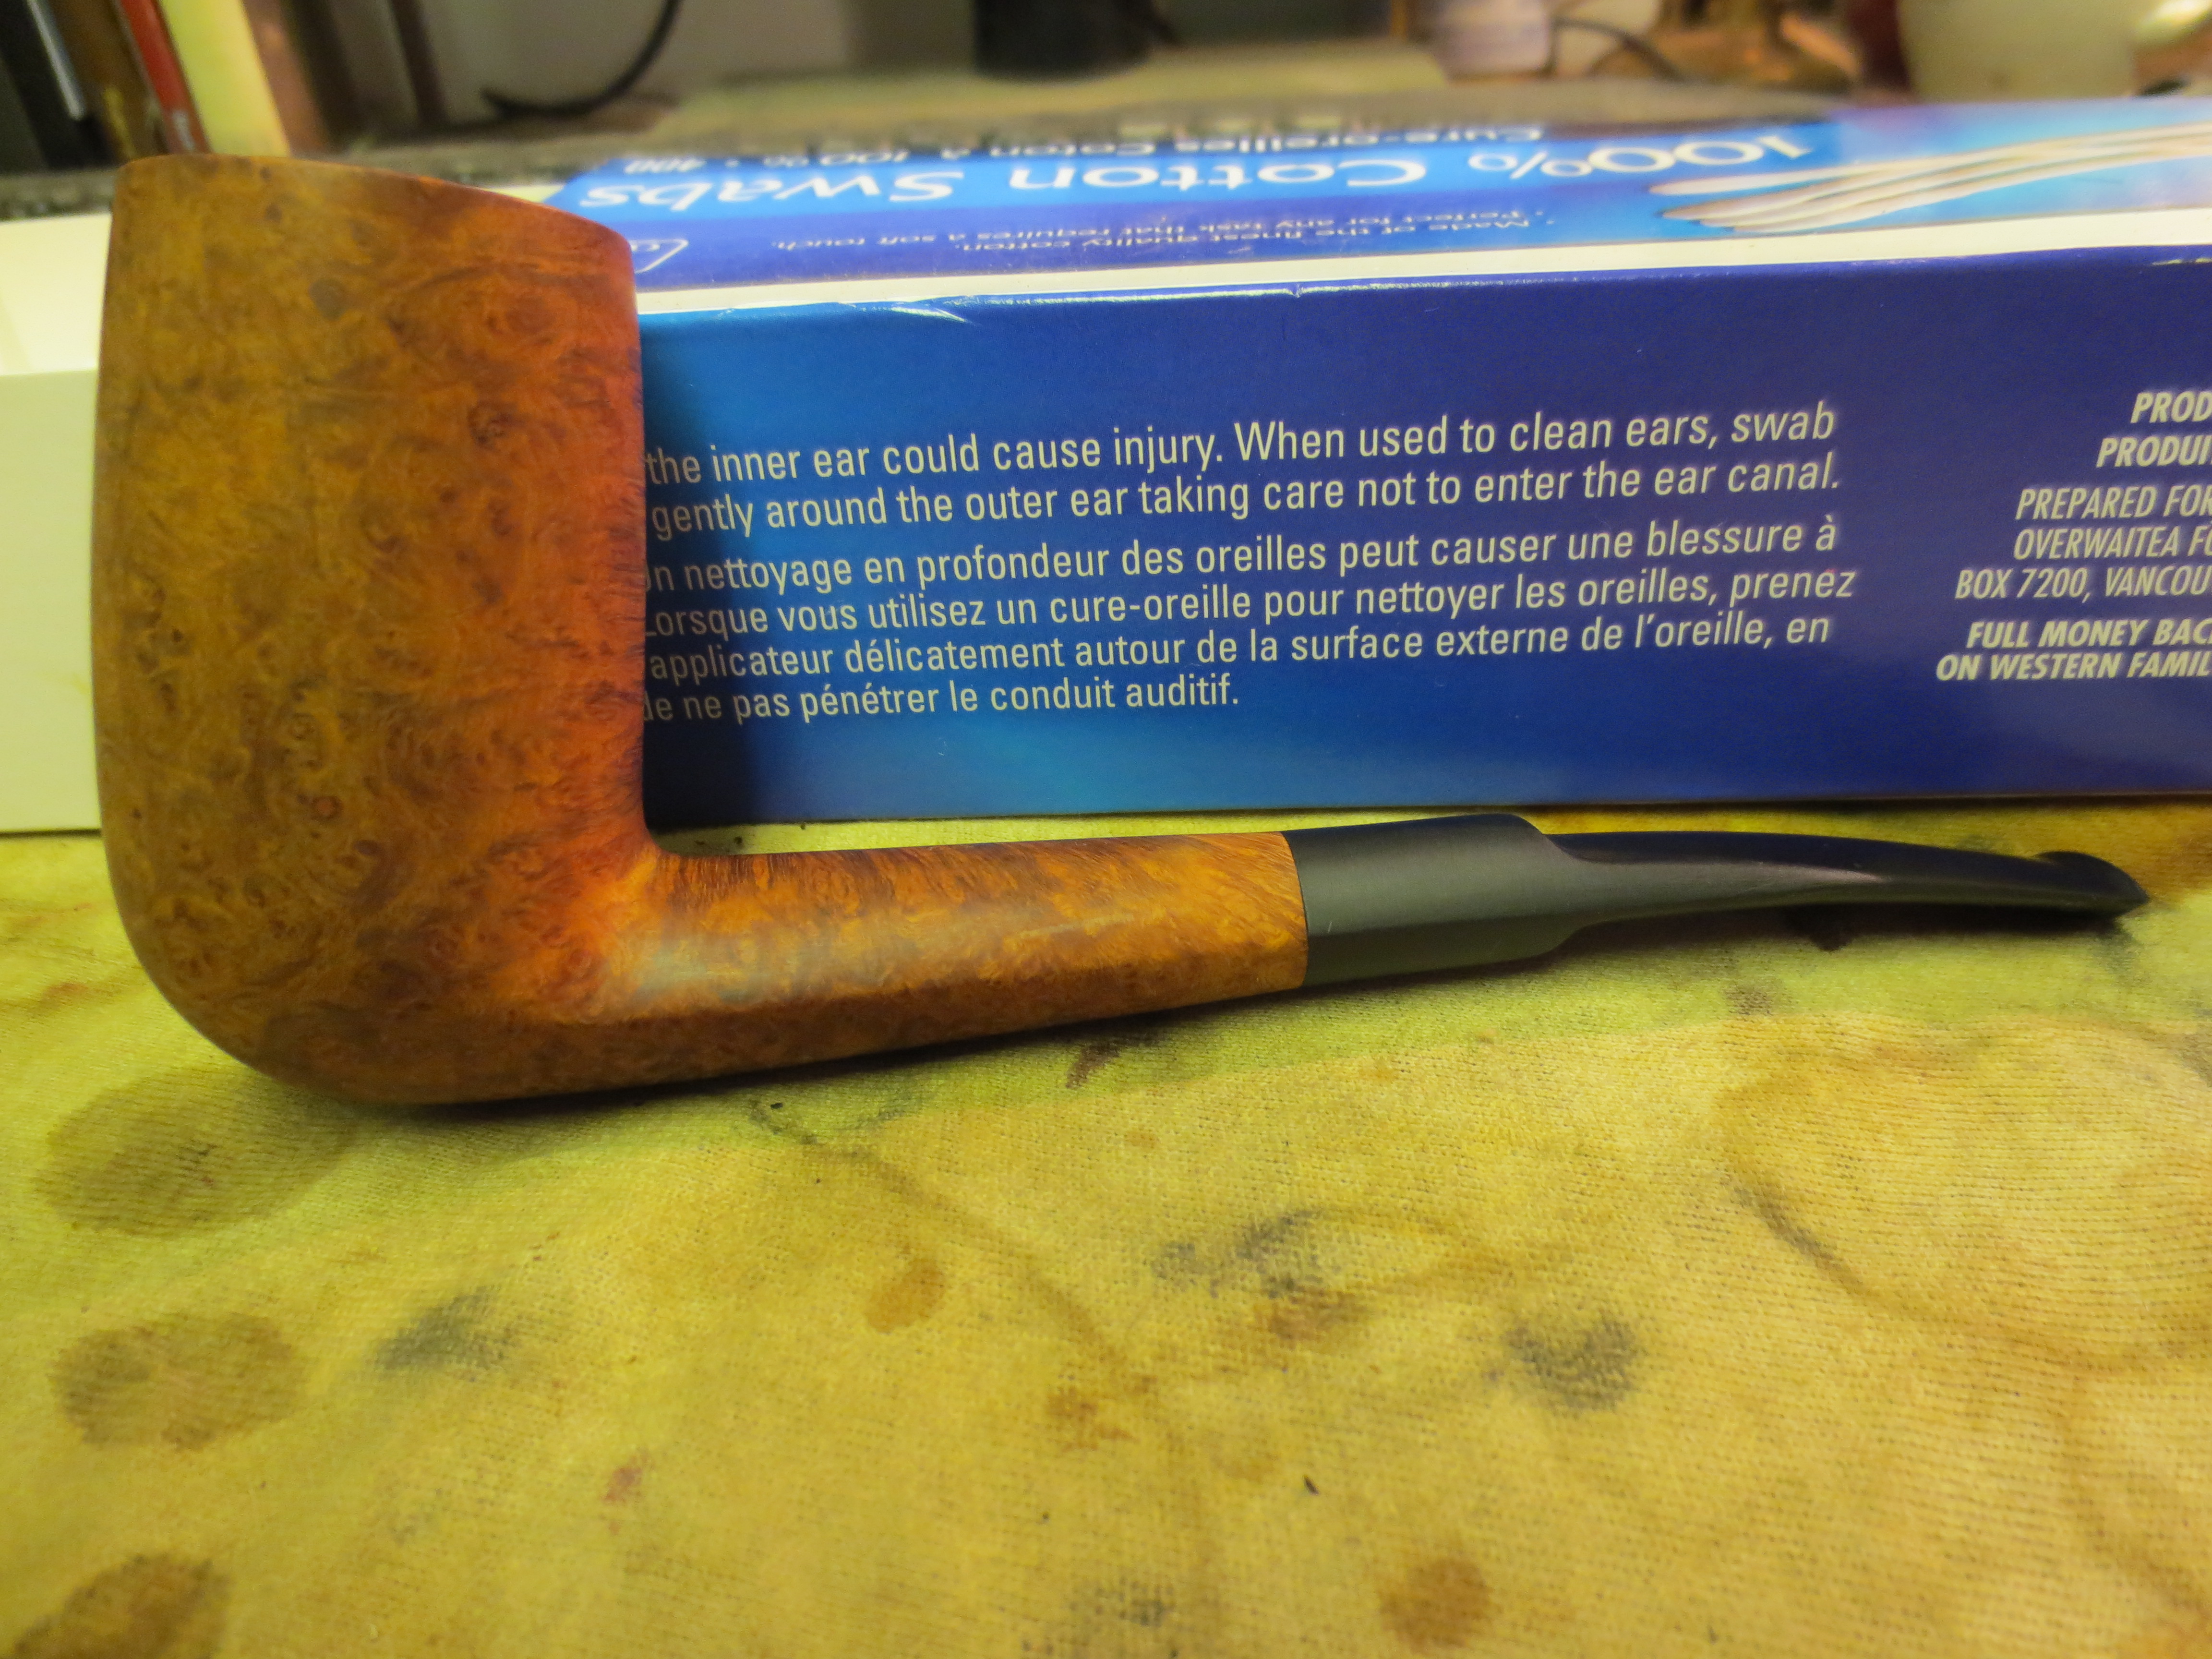
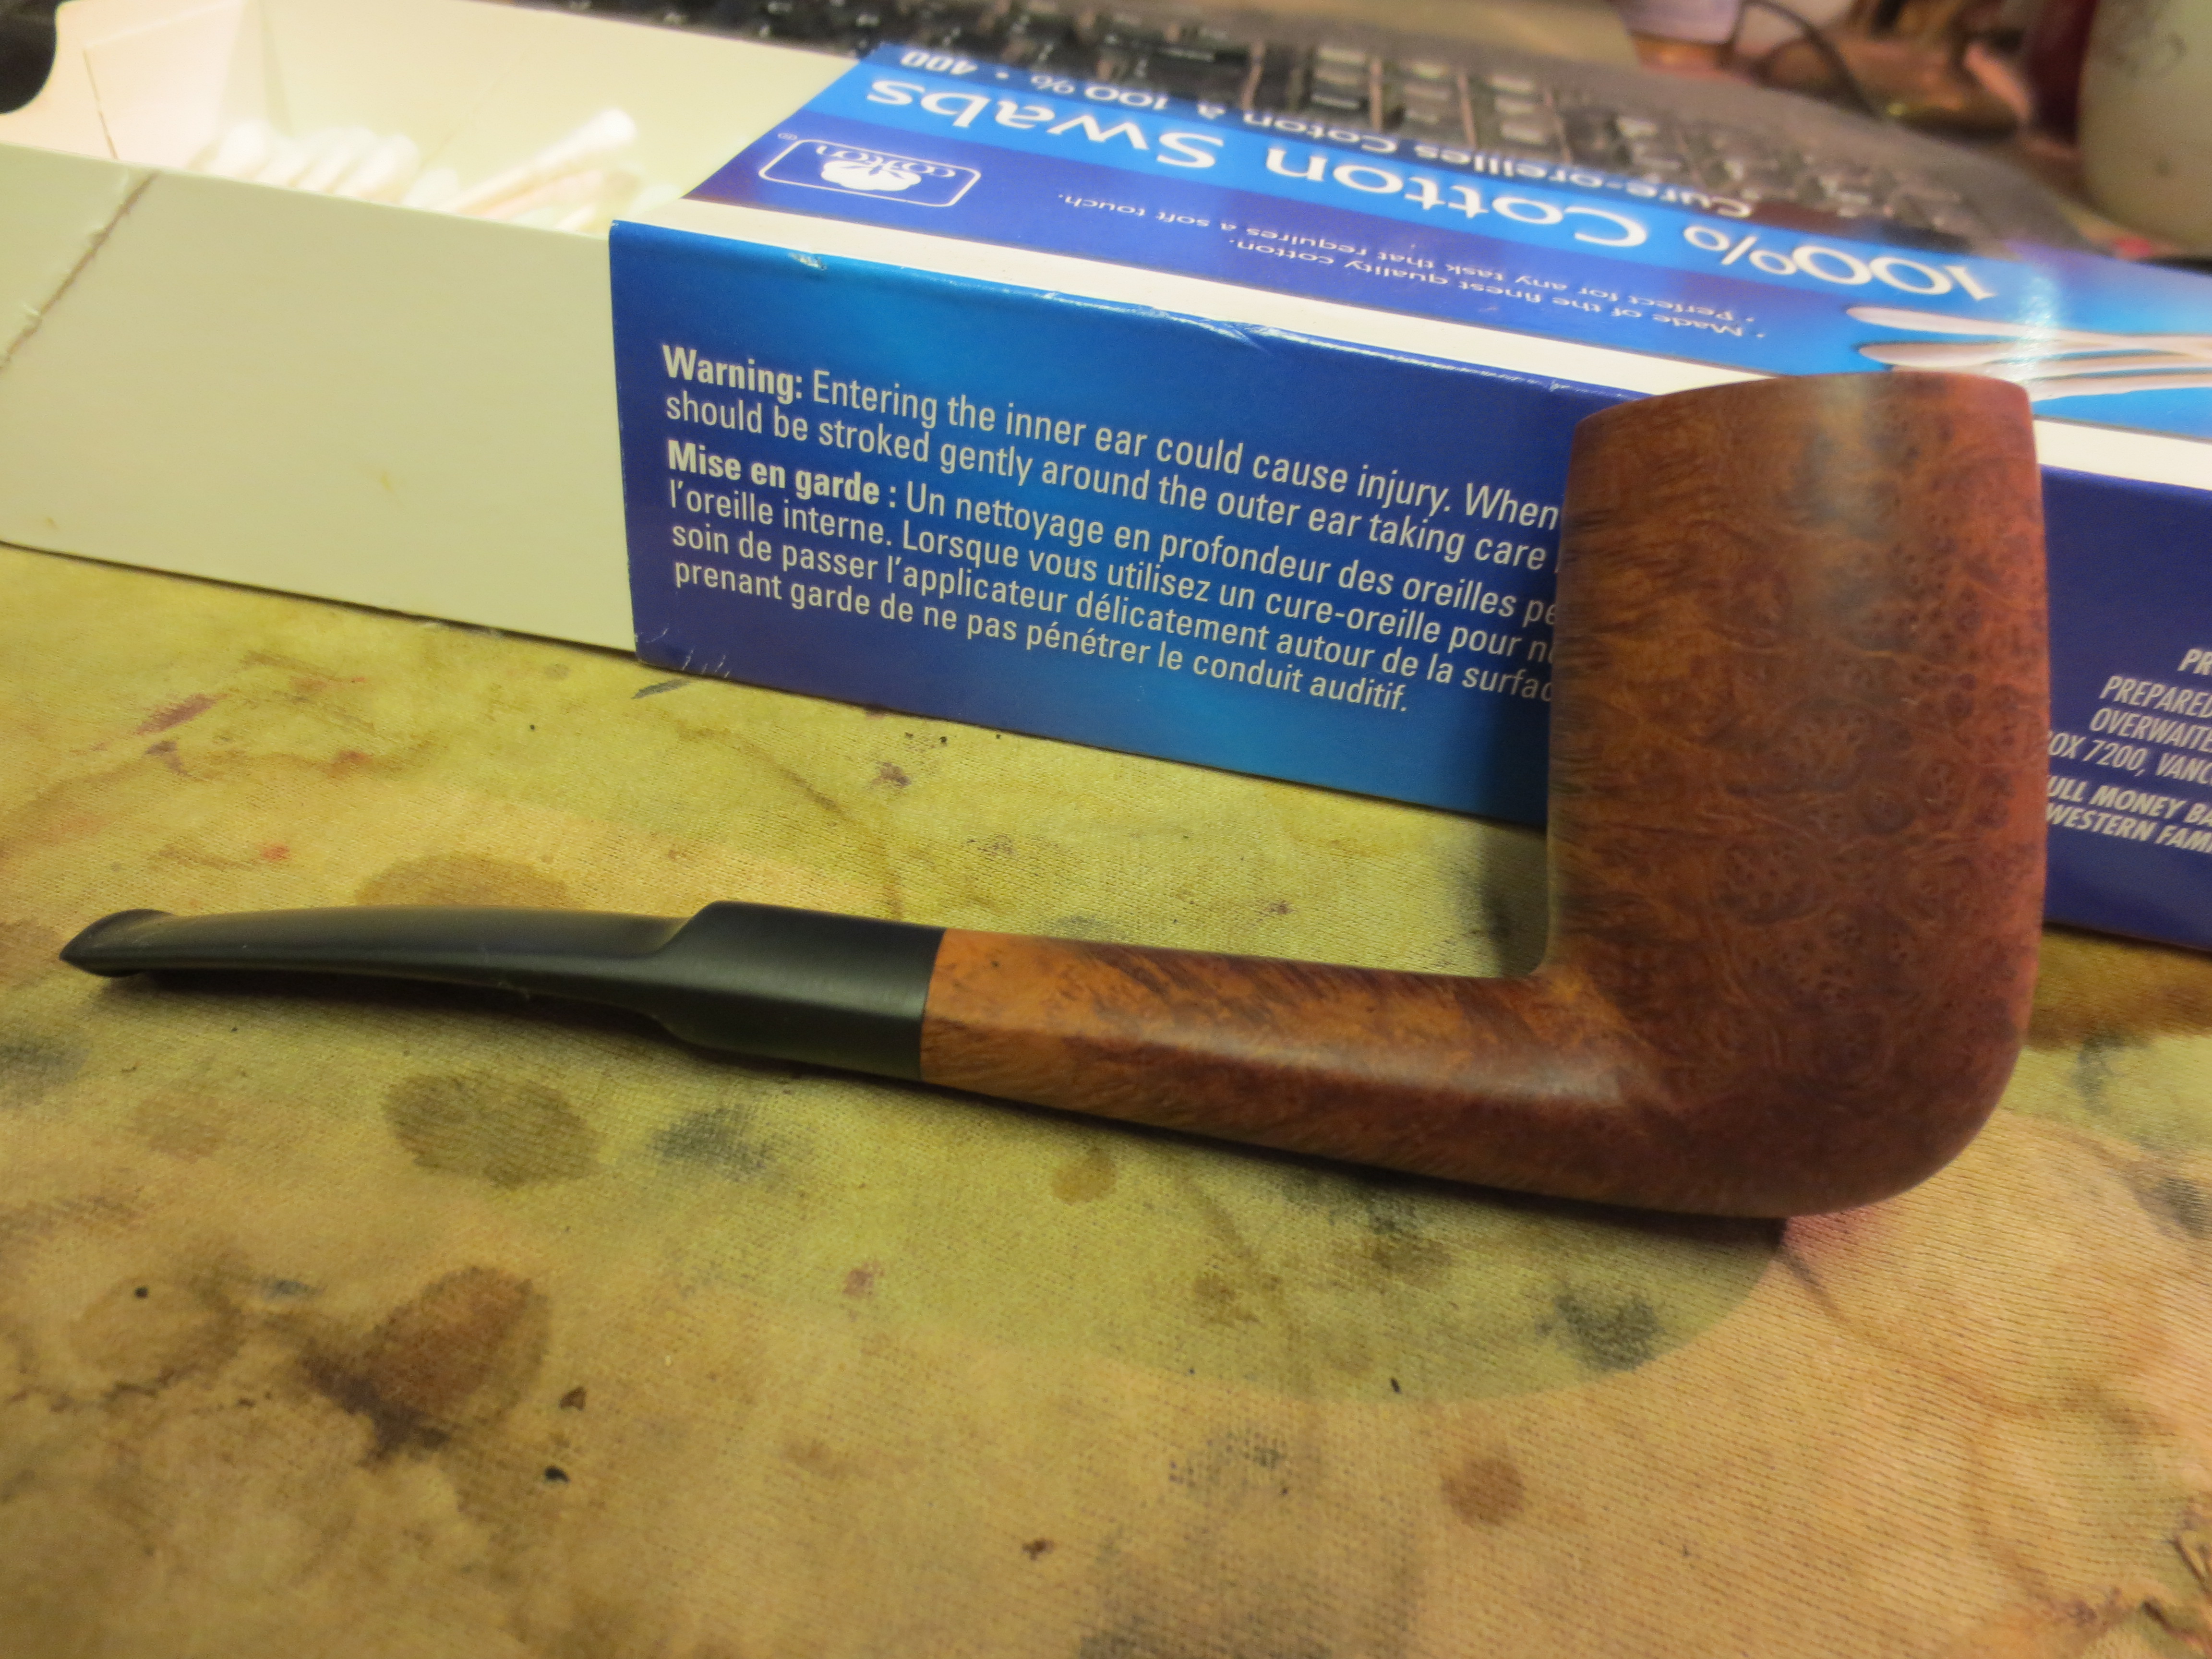
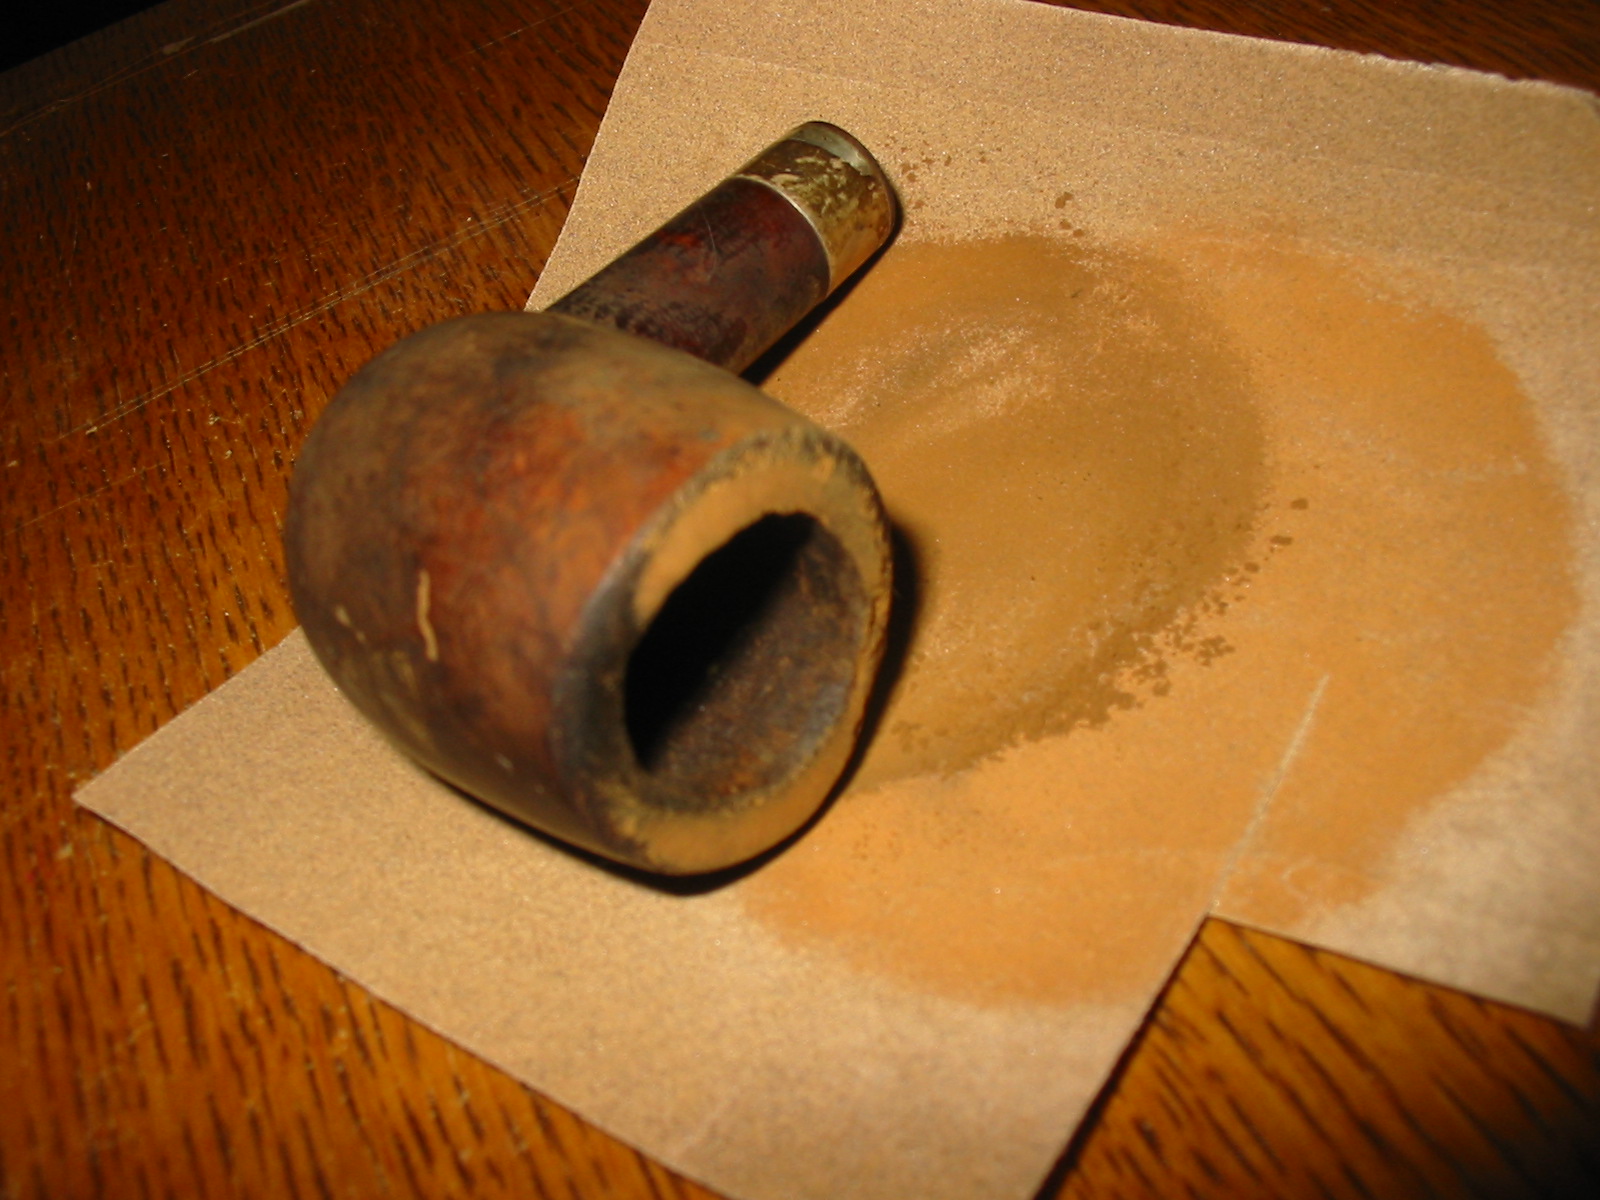
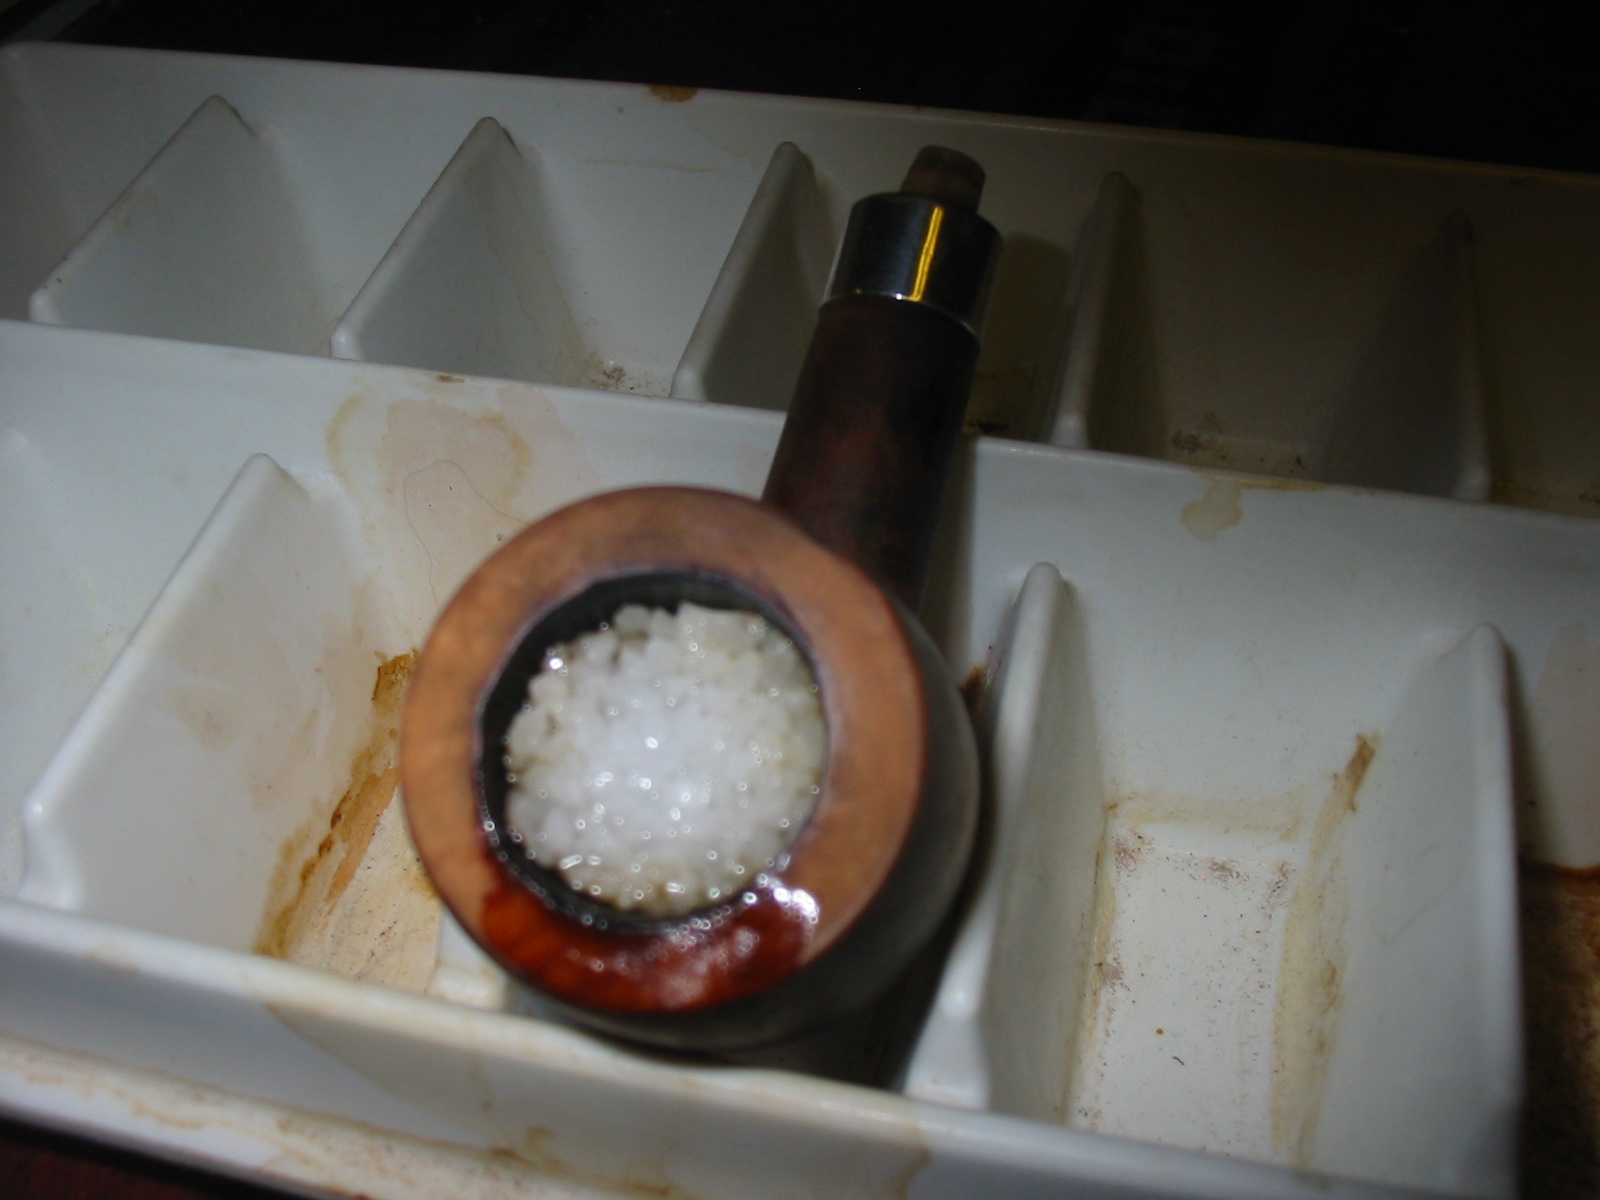
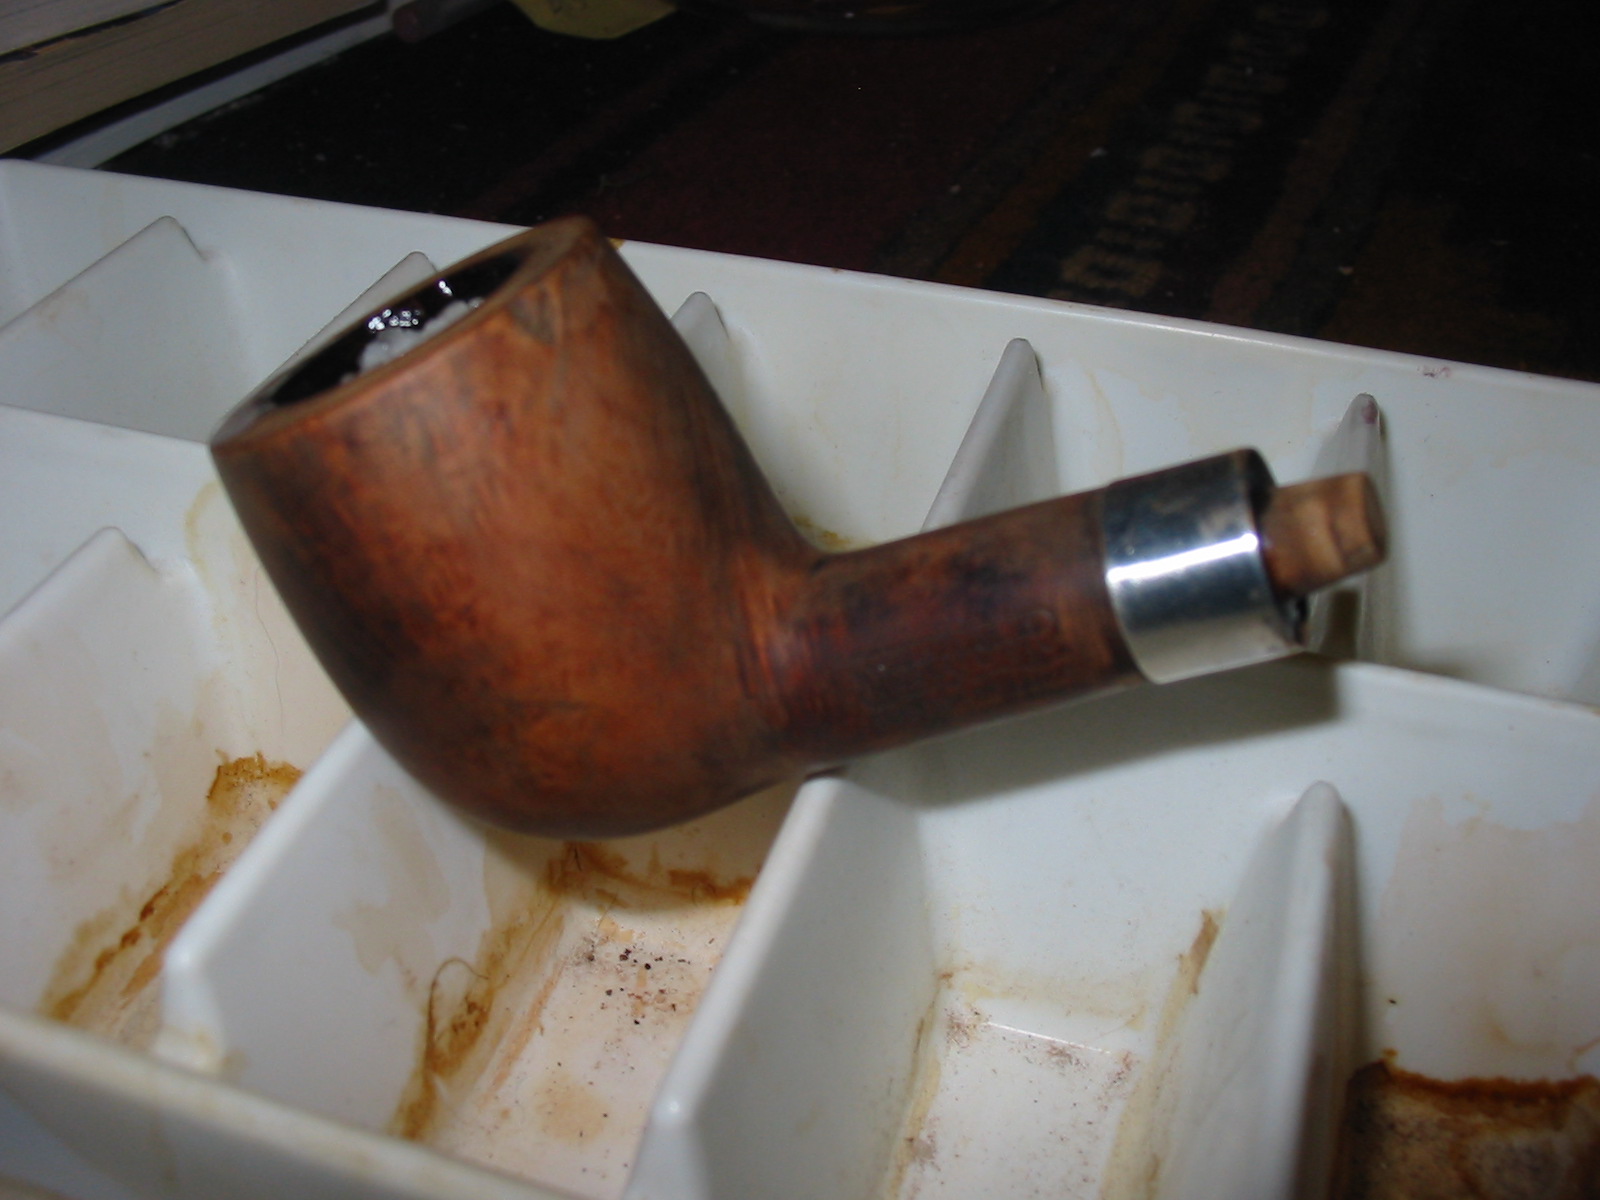
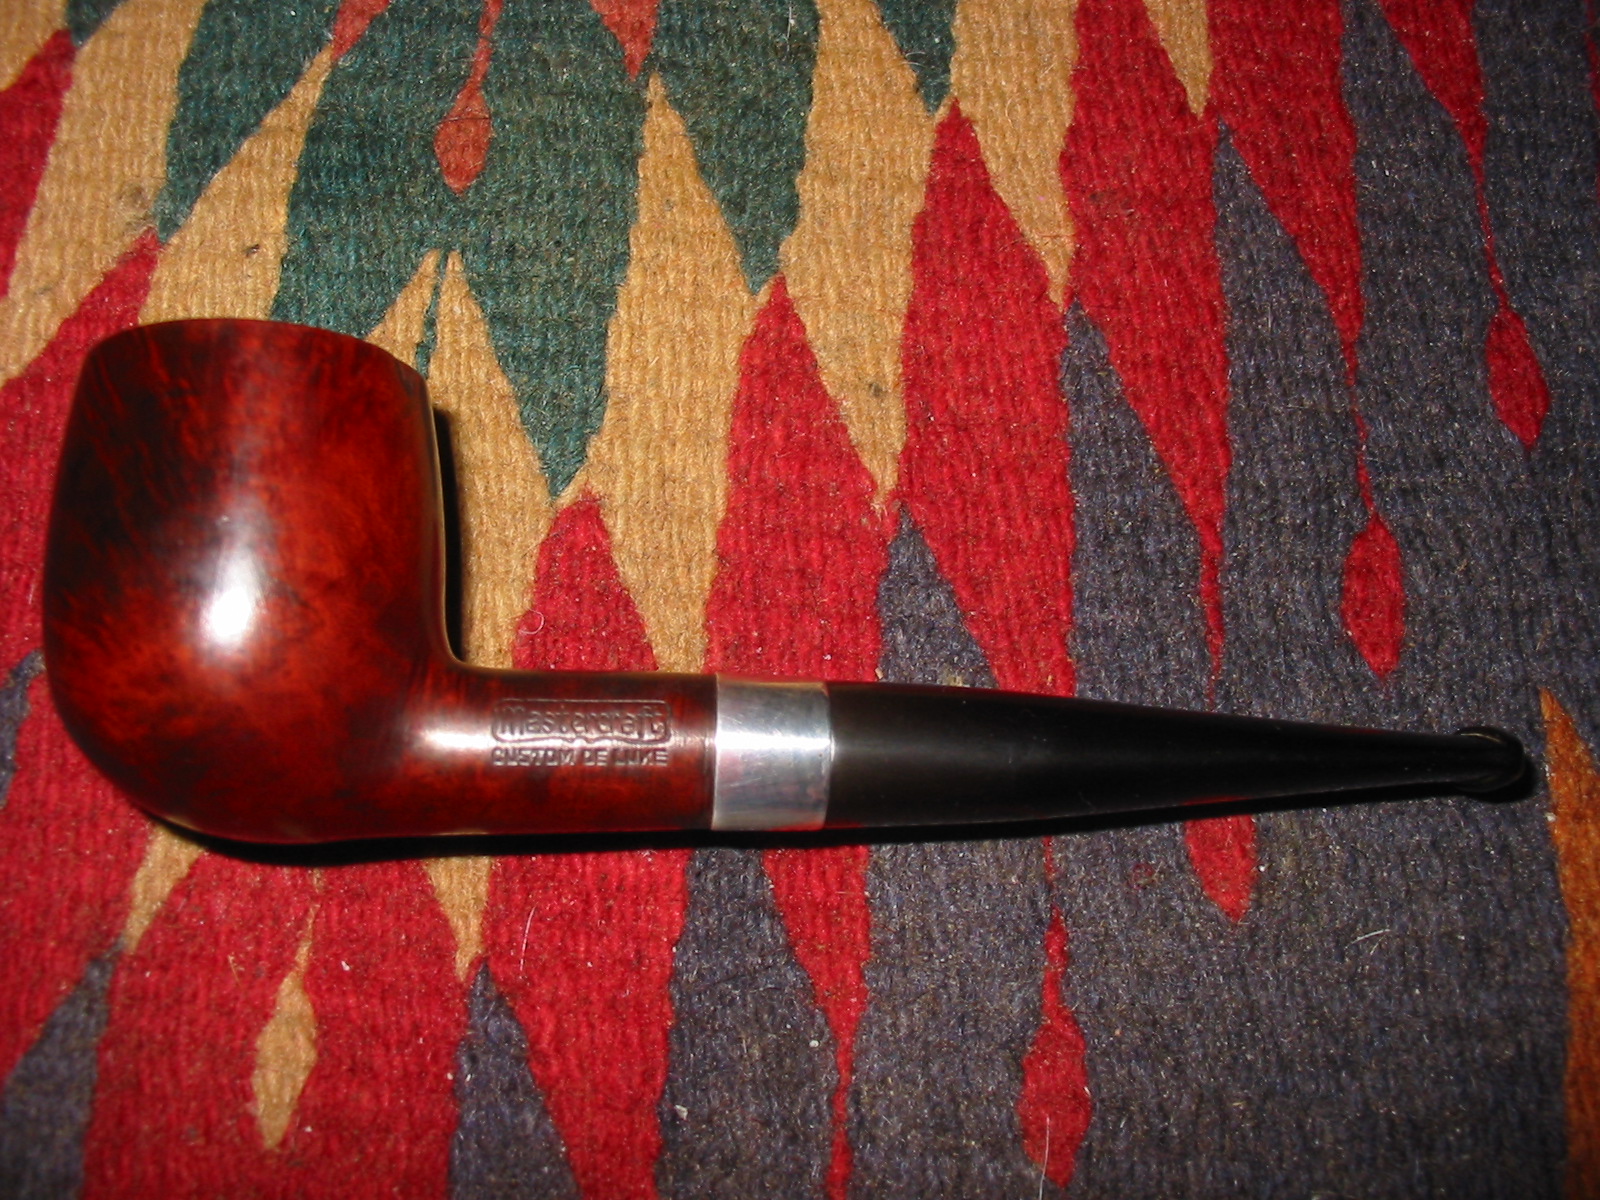
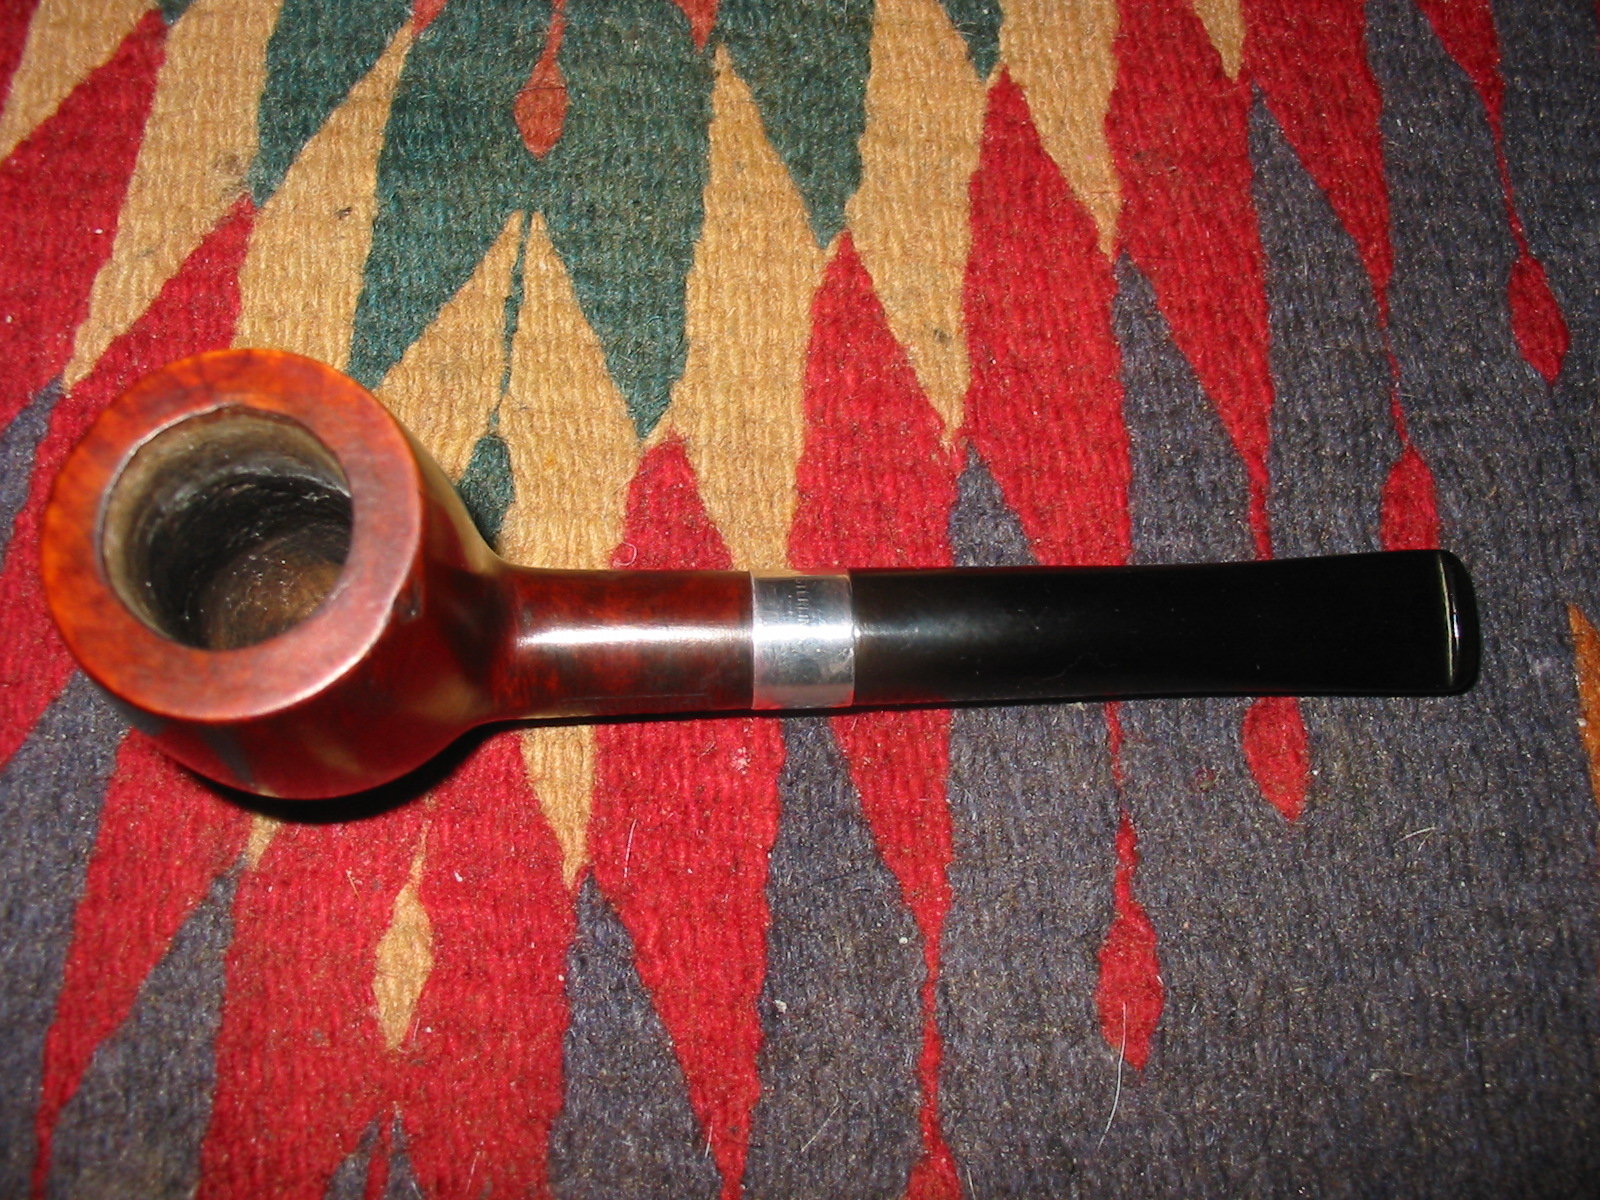
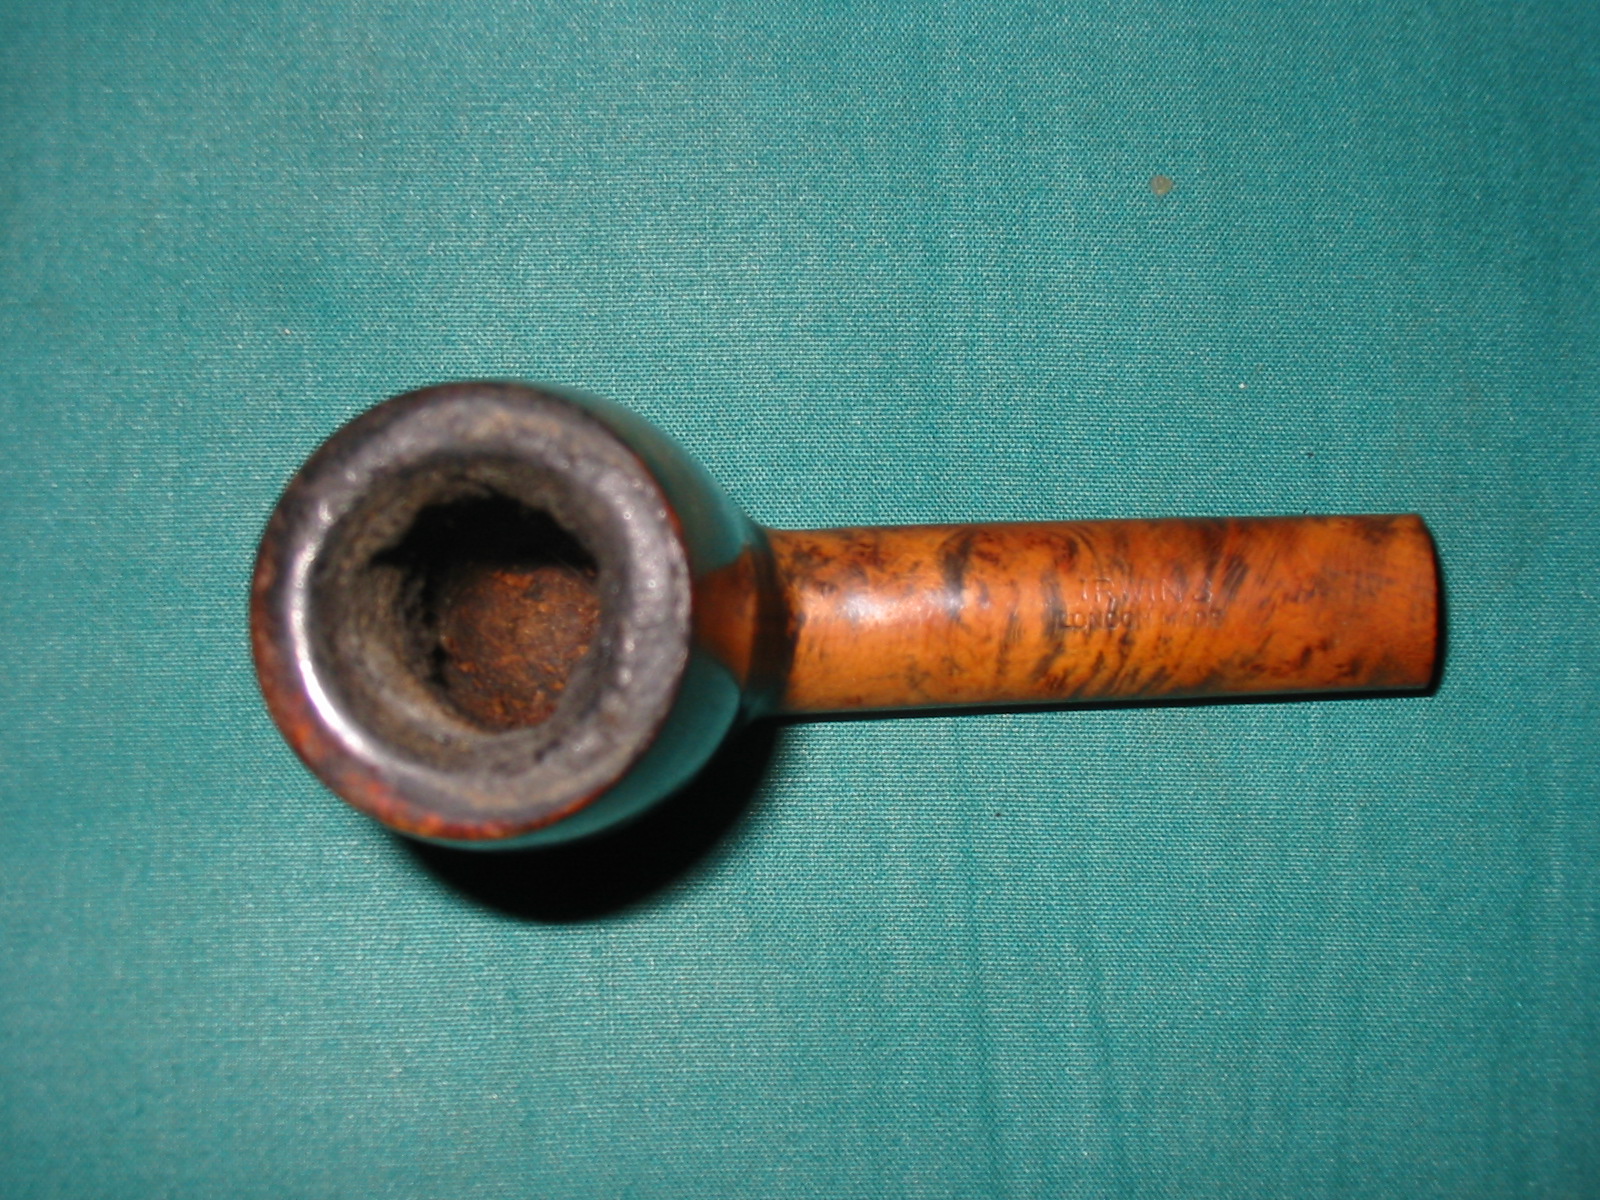
The finish on the bowl is very dirty and grimy but you can see some interesting cross grain left side of the bowl working down to the underside of the shank. The back of the bowl show some of the same grain and on the sides there is a mix of birdseye and swirled grain. On the right side there is a small fill that has come loose from the briar leaving behind a divot. The rim top is very dirty with a thick coat of lava overflowing from the bowl. It also shows some damage on the inner edge – it looks to have been reamed with a knife and the gouges show even under the grime. There is a burn mark on the back ride side of the rim and going down the back of the bowl about a ¼ inch. The bowl has a thick cake that is uneven all around the bowl. The stamping on the shank is readable and the area around it is very dark. The stem is oxidized and dirty. There is a slight H mark on the top side near the shank stem junction but it is pretty shallow in the vulcanite.


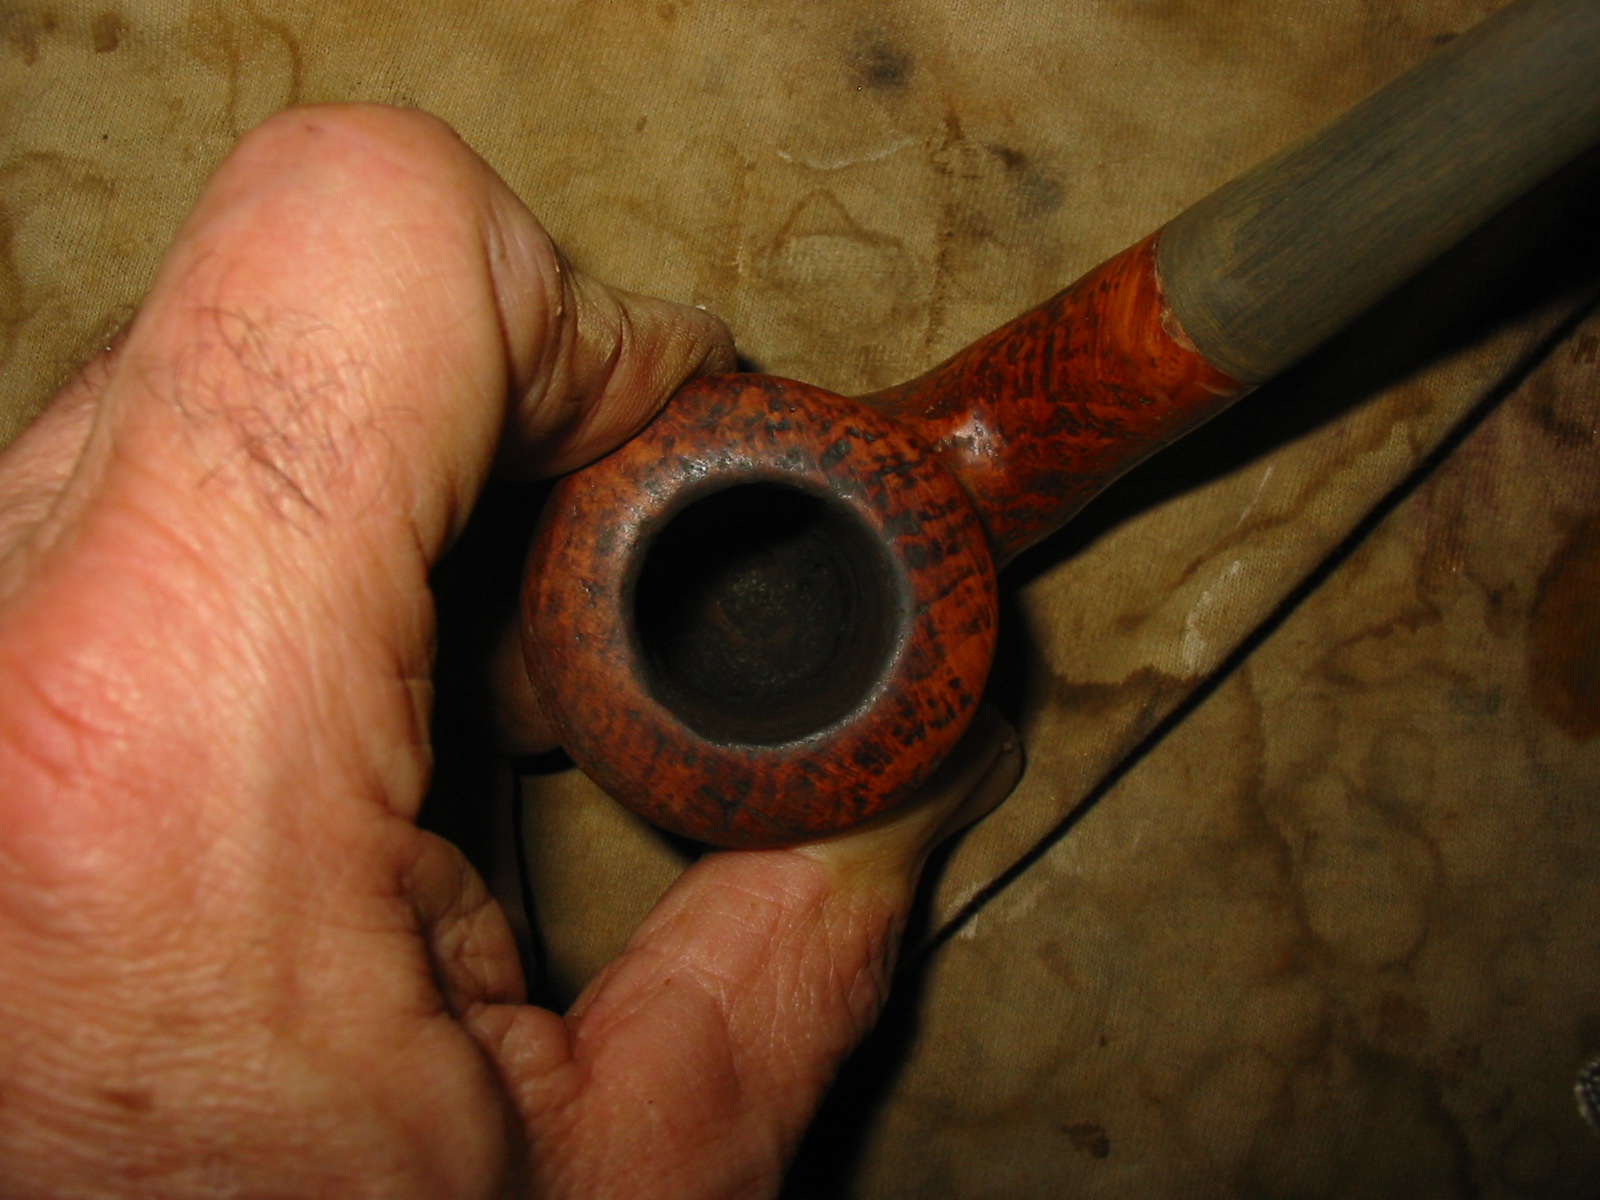
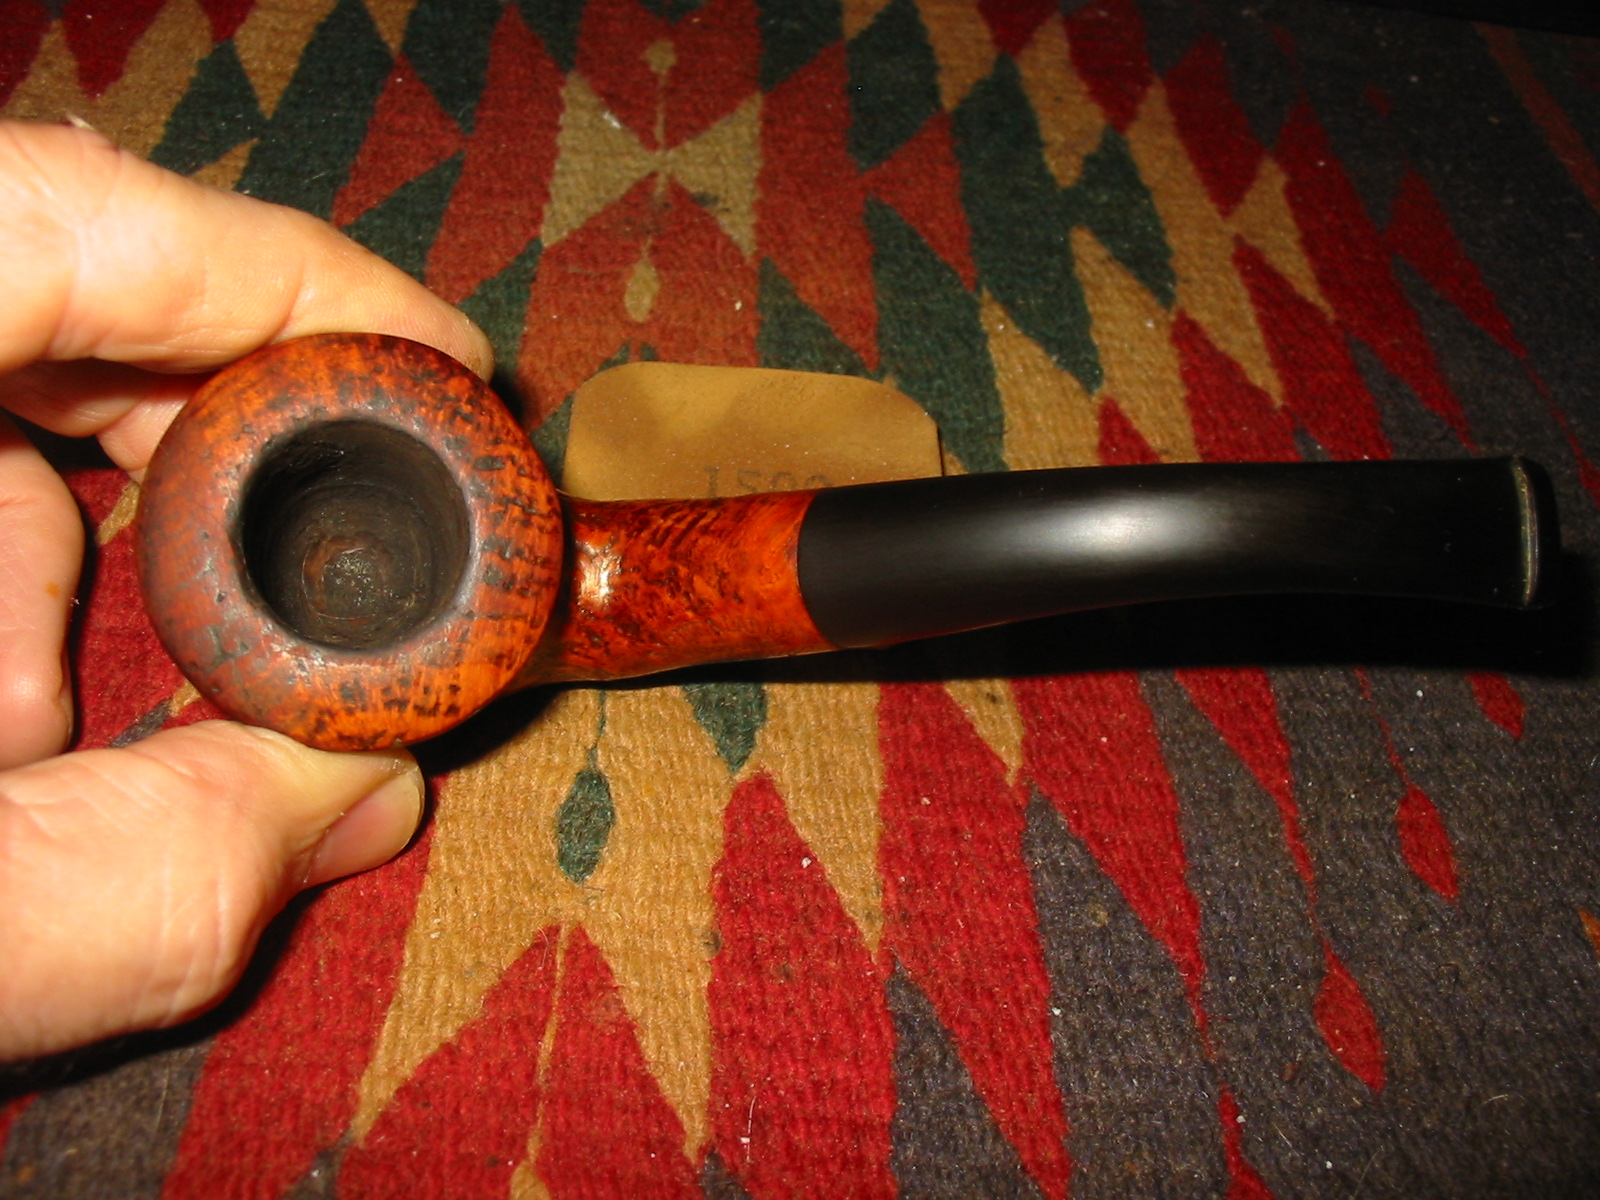
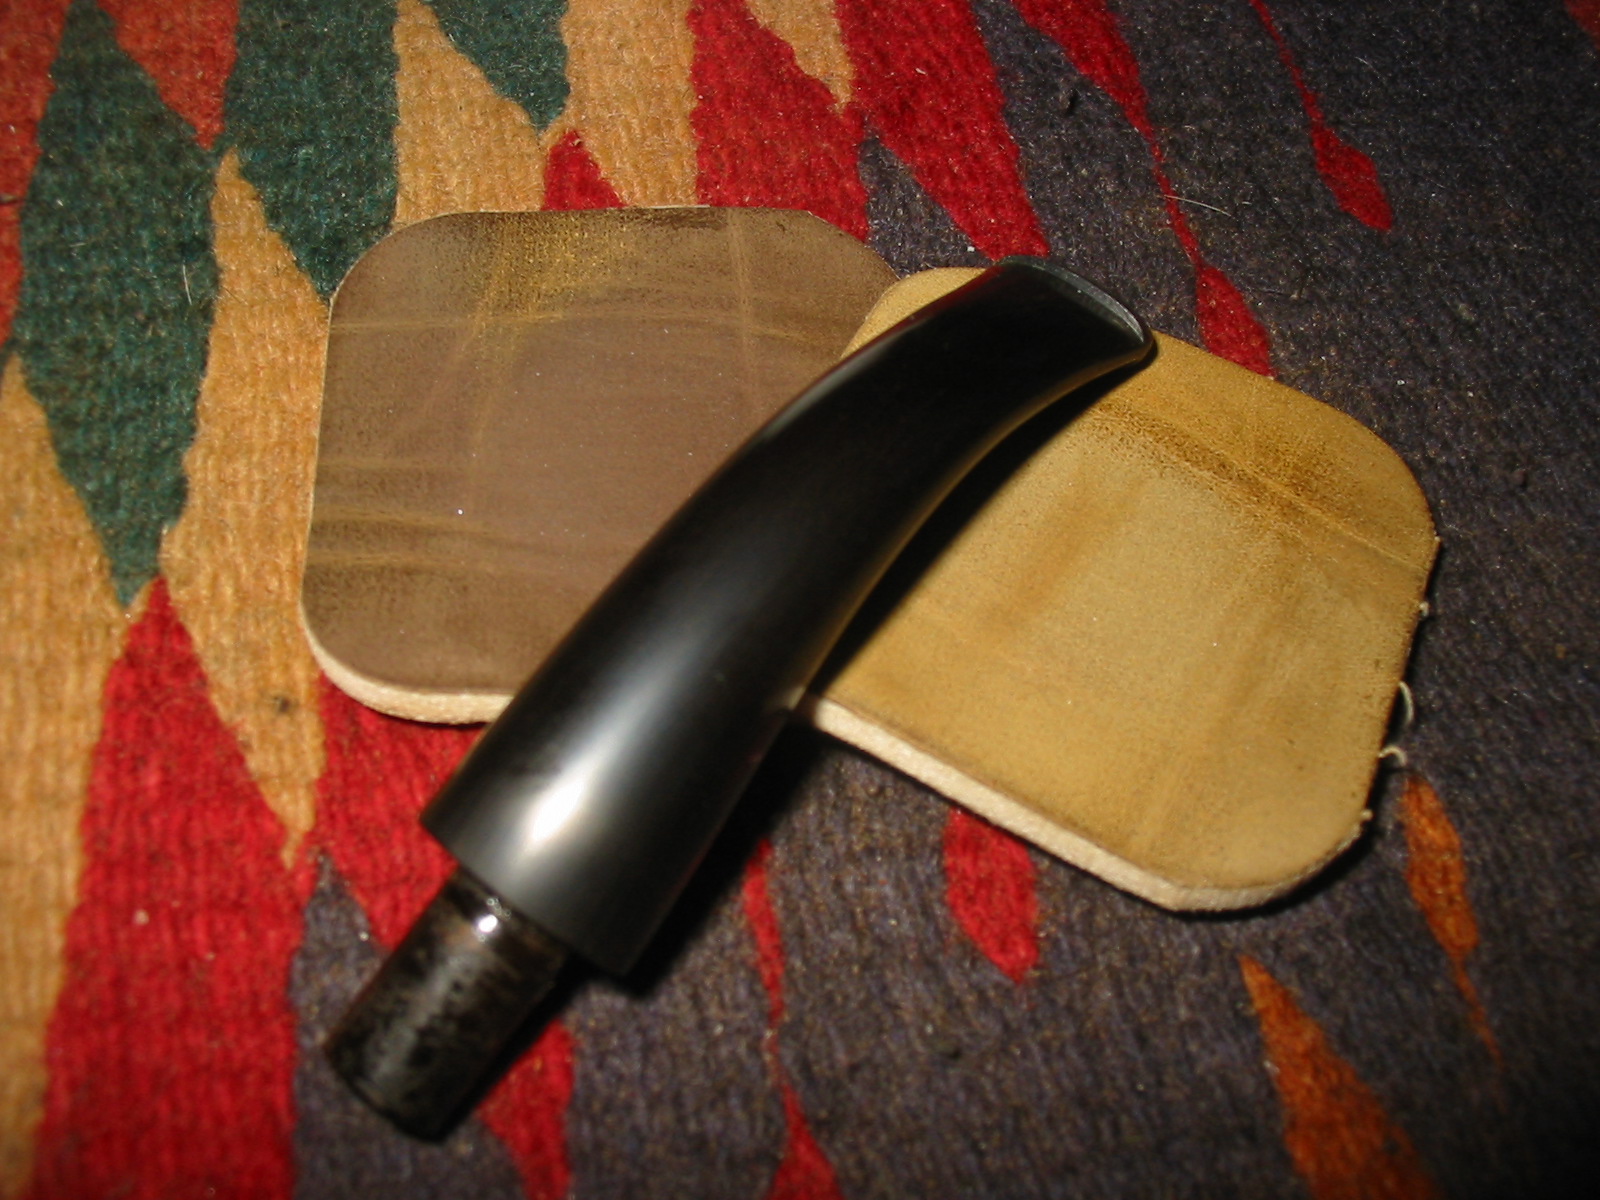
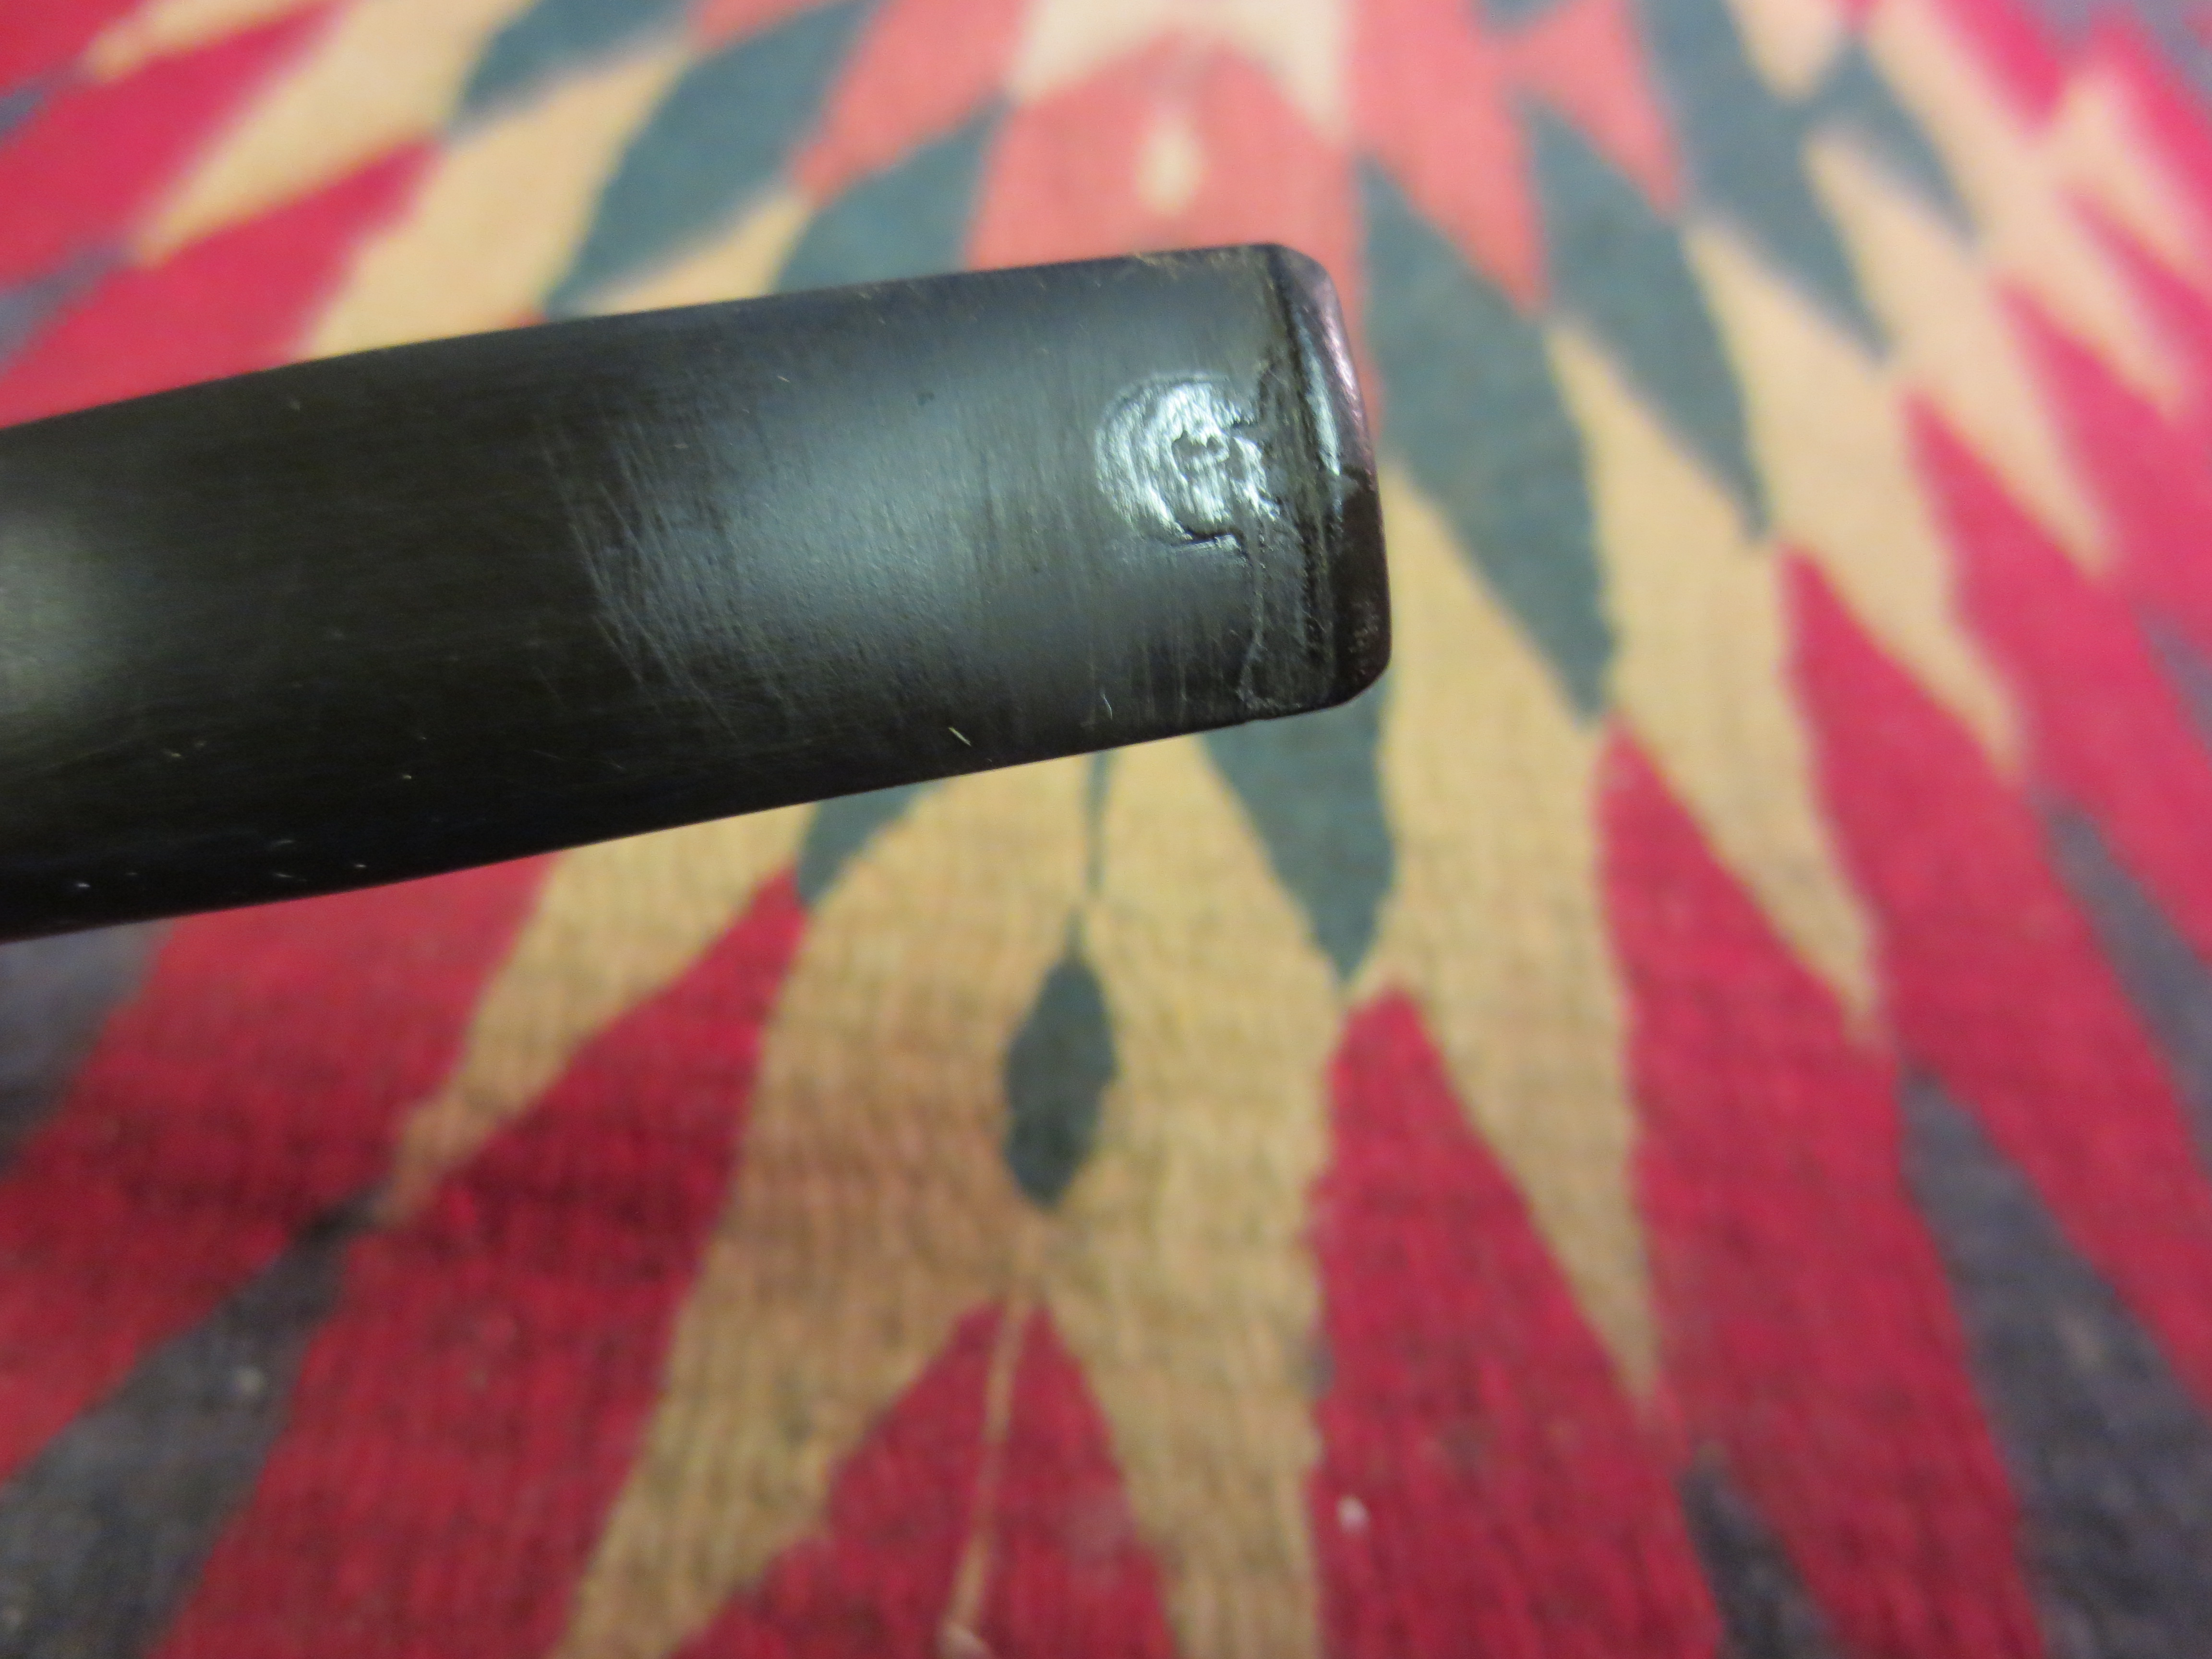
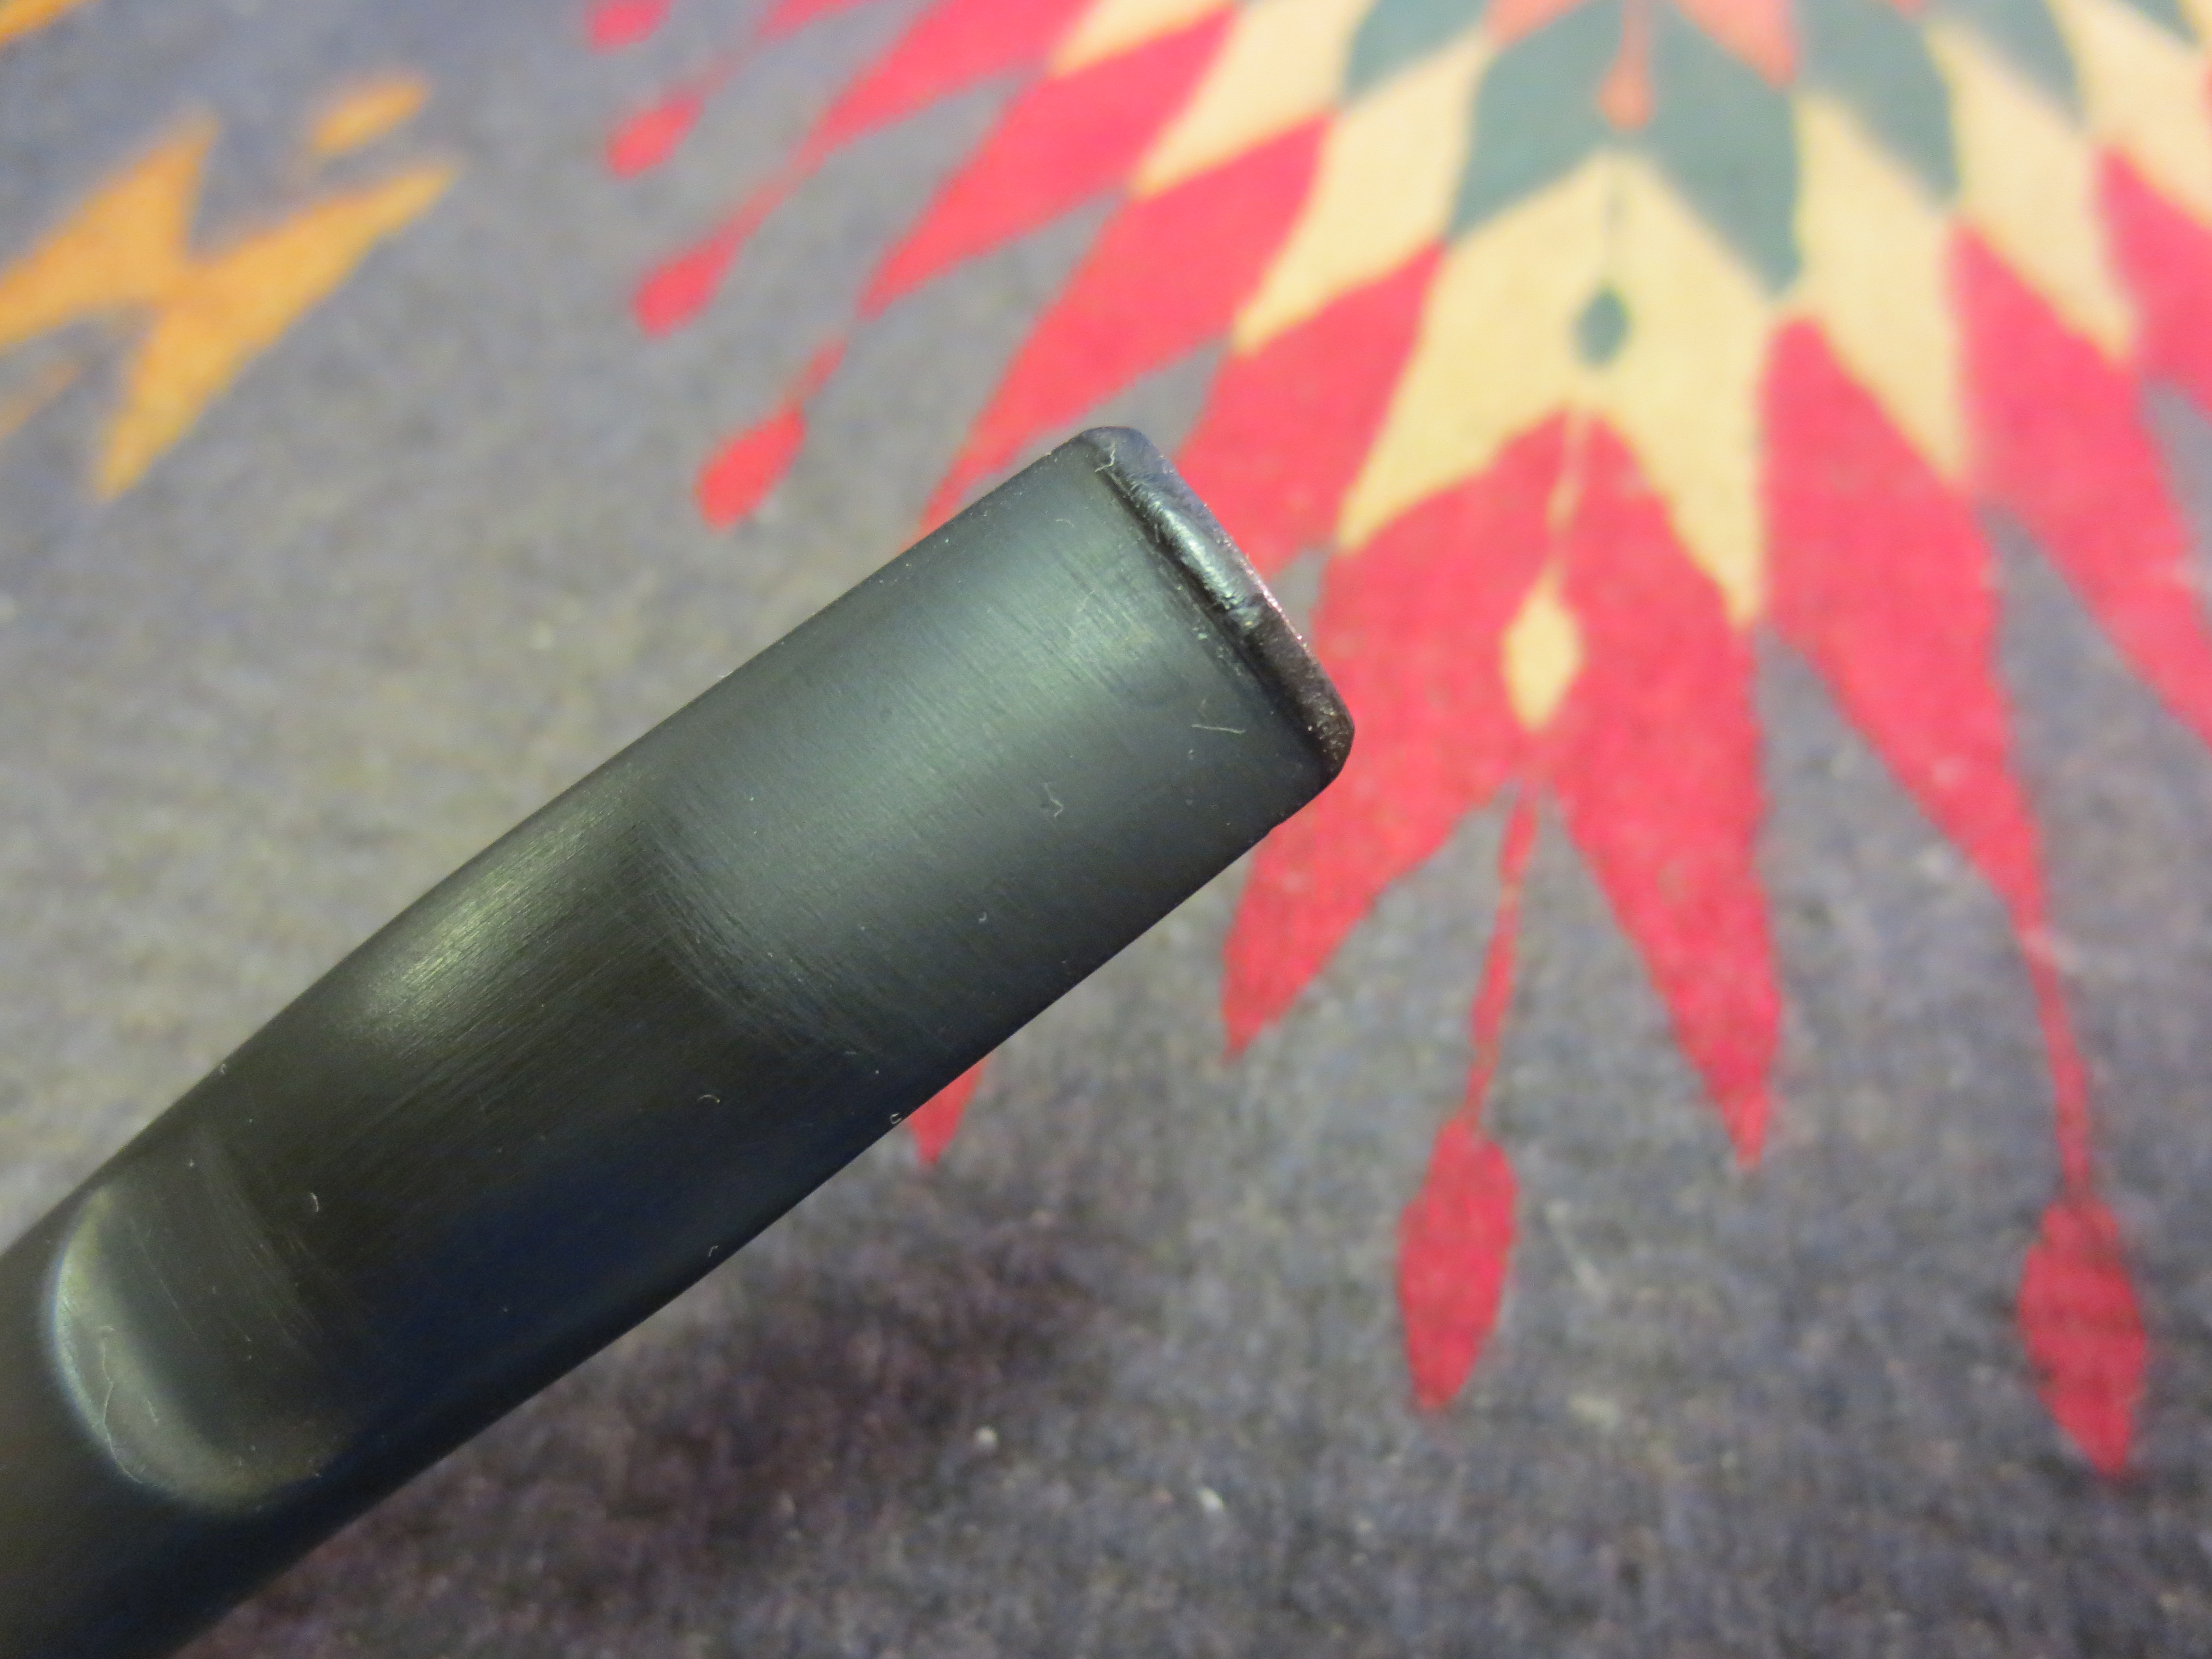
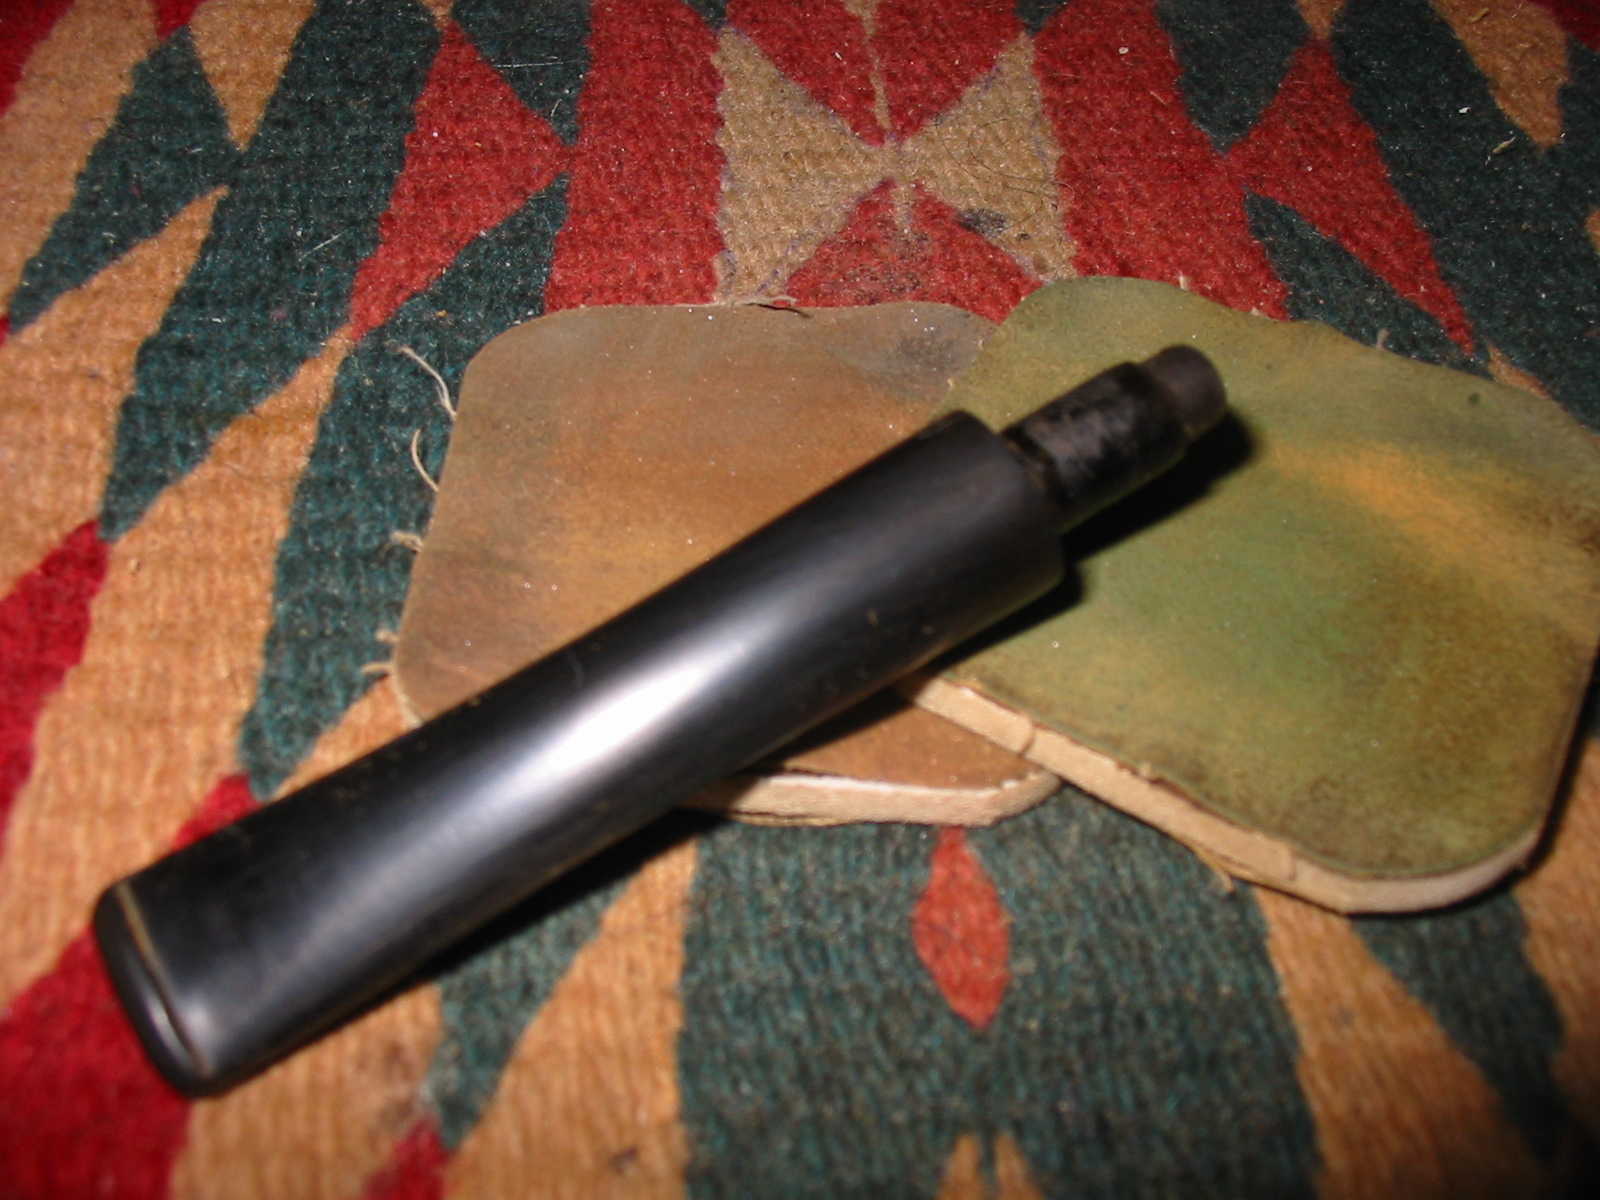
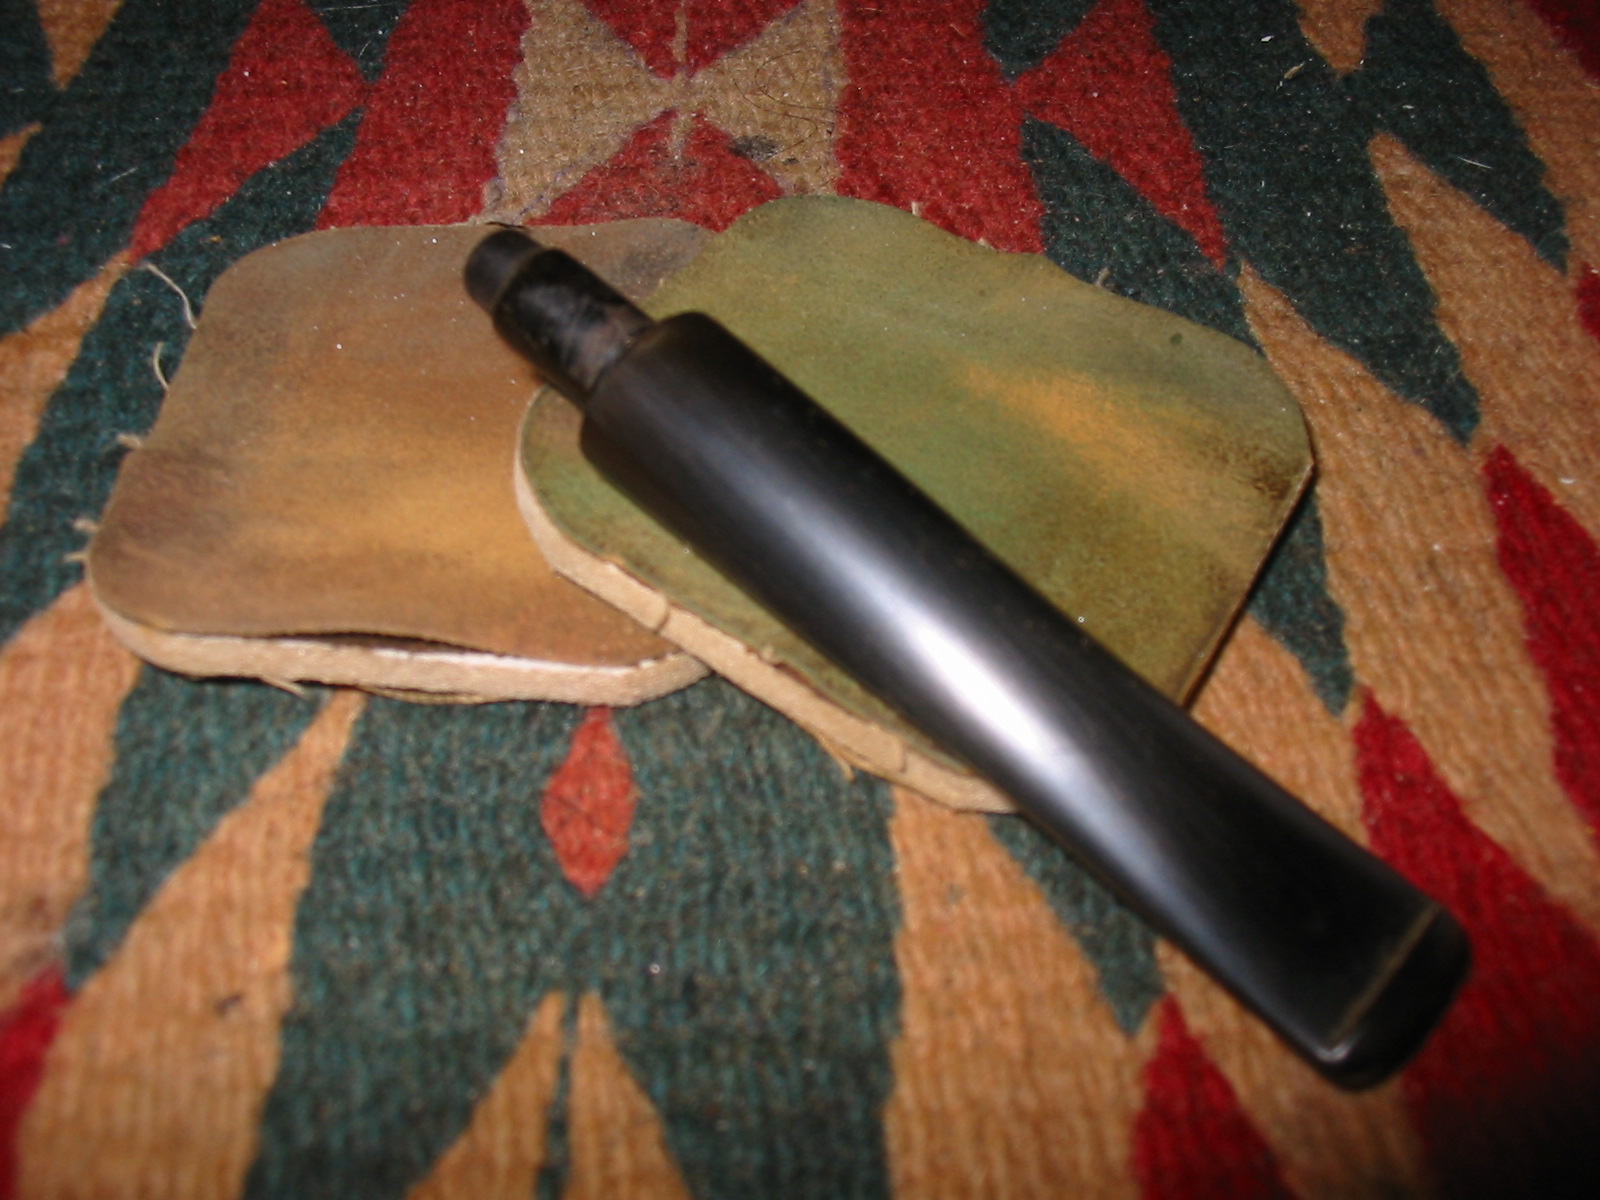
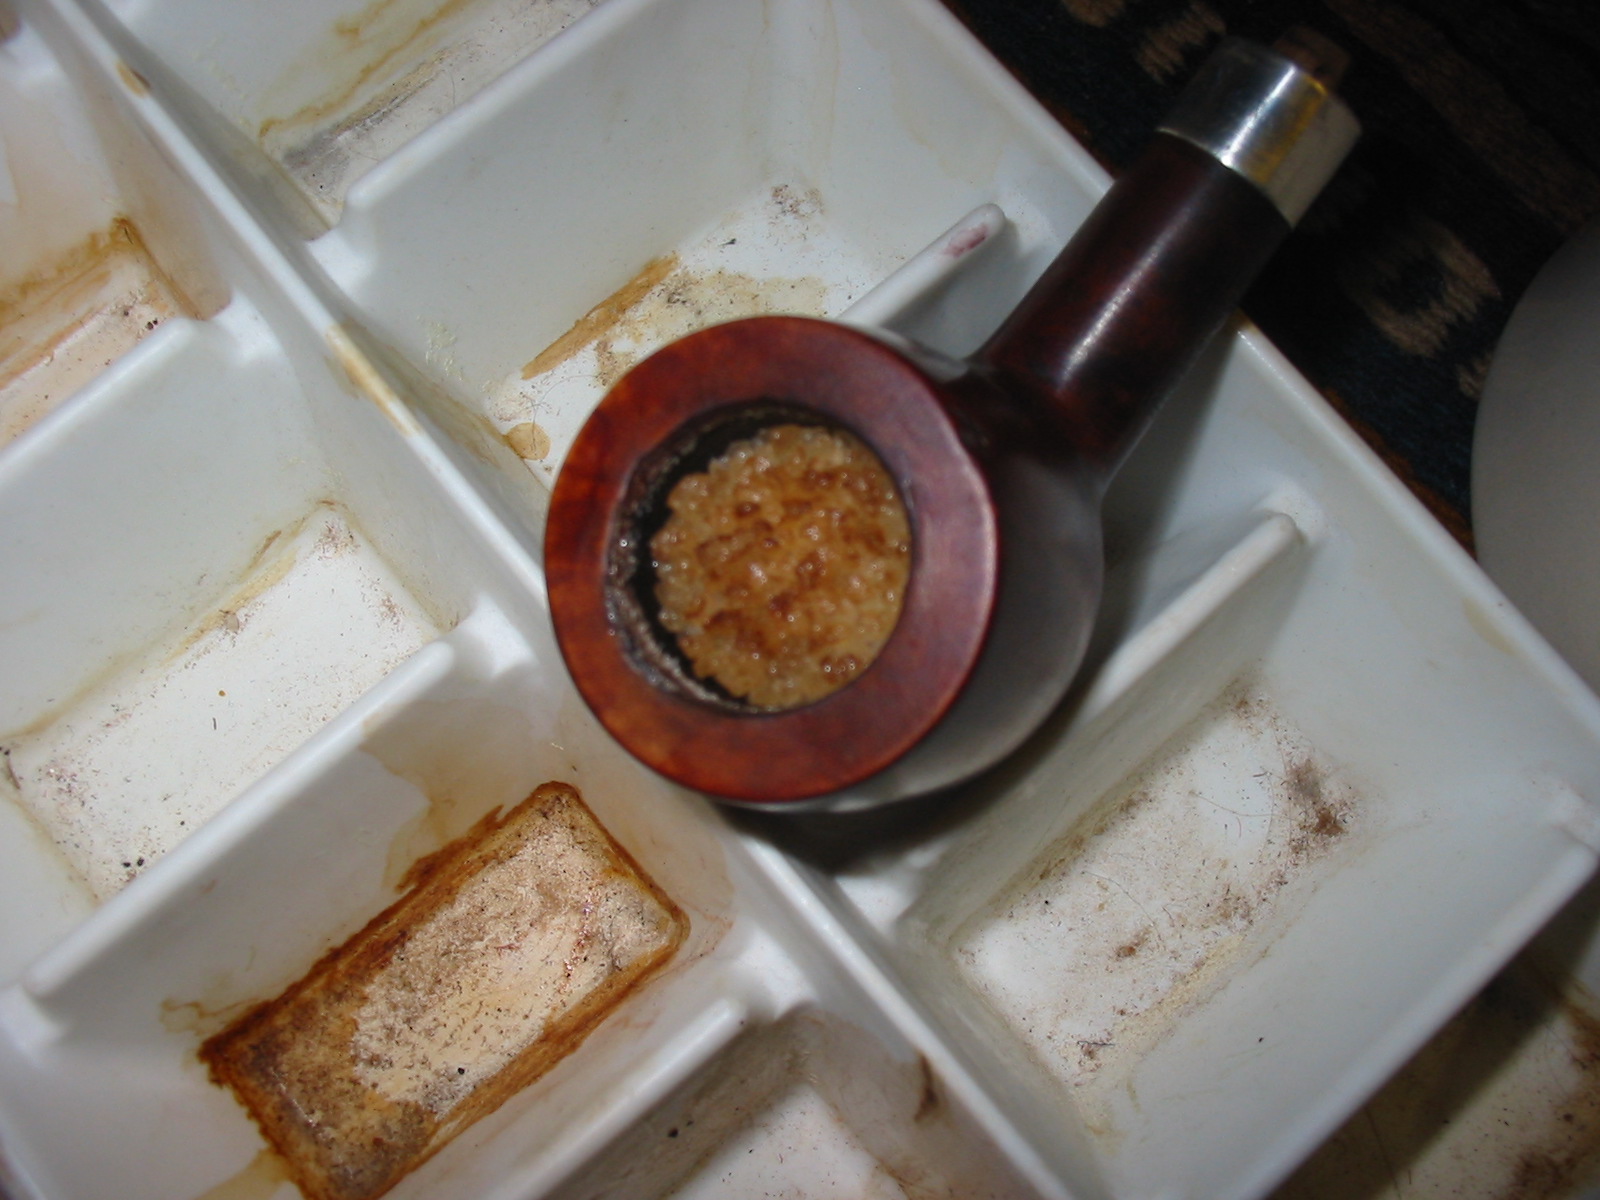
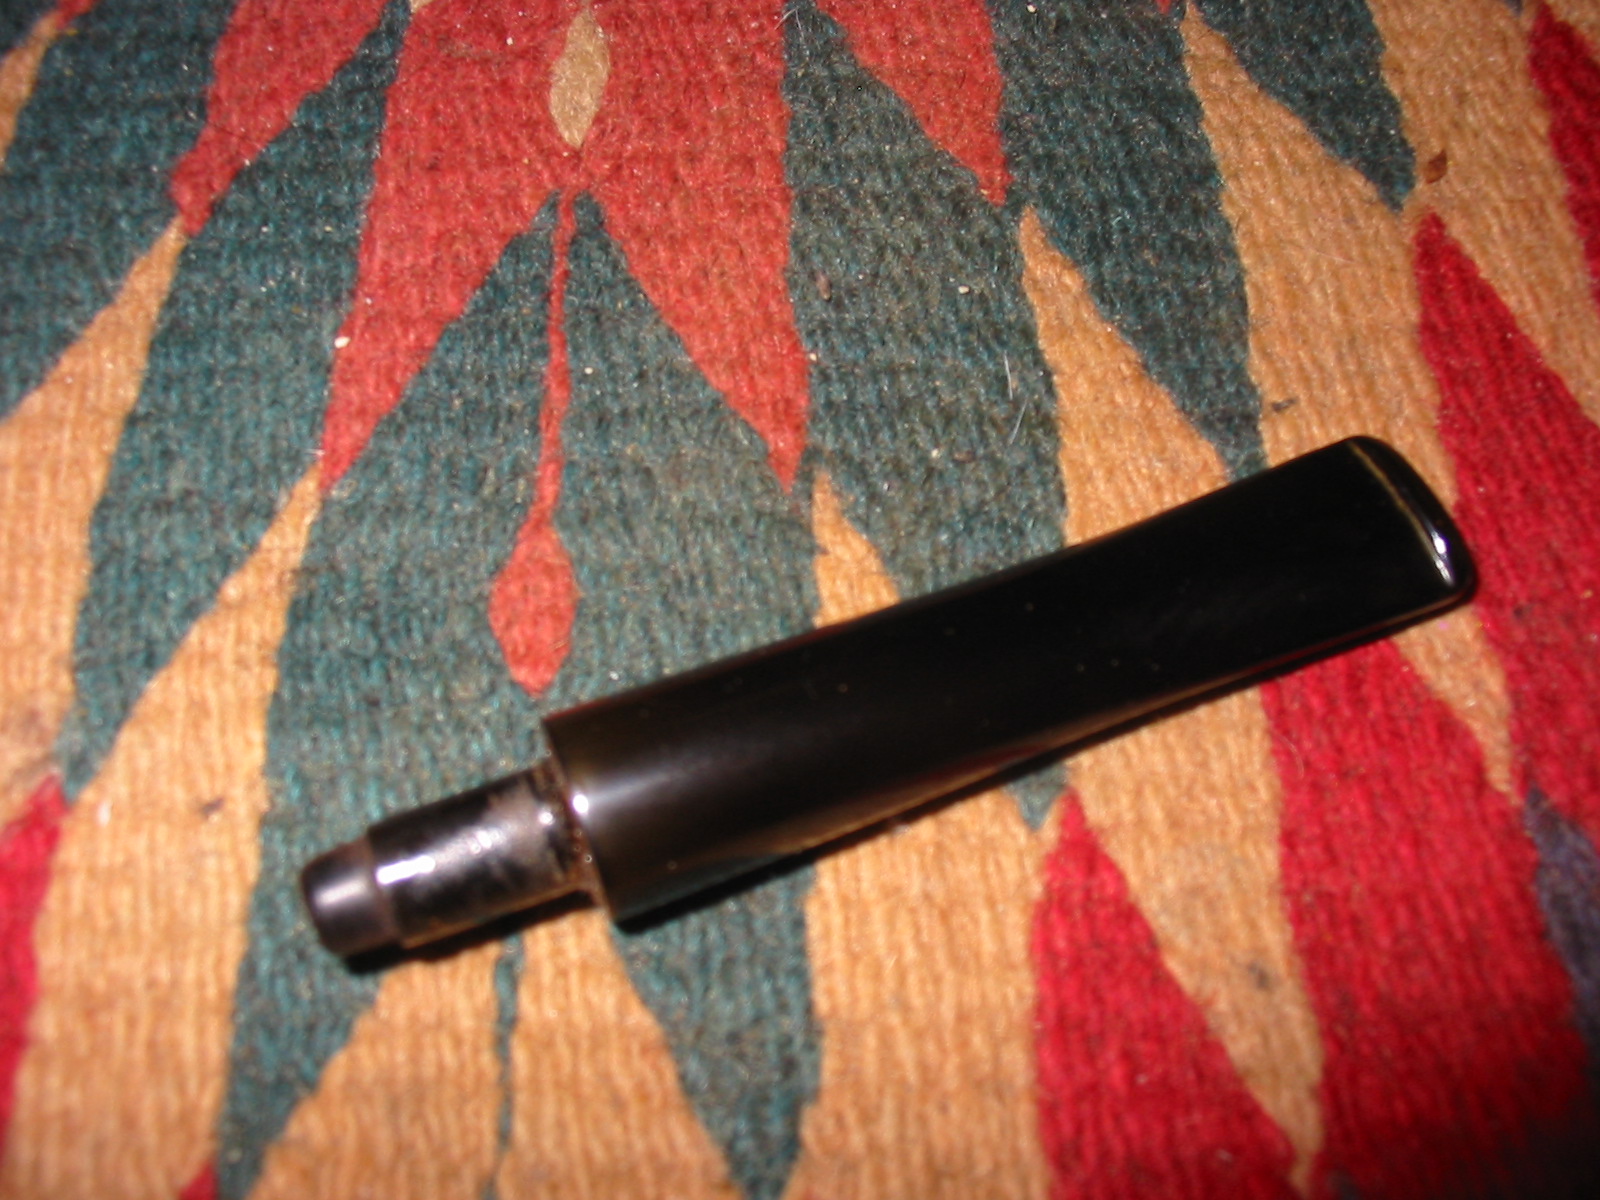
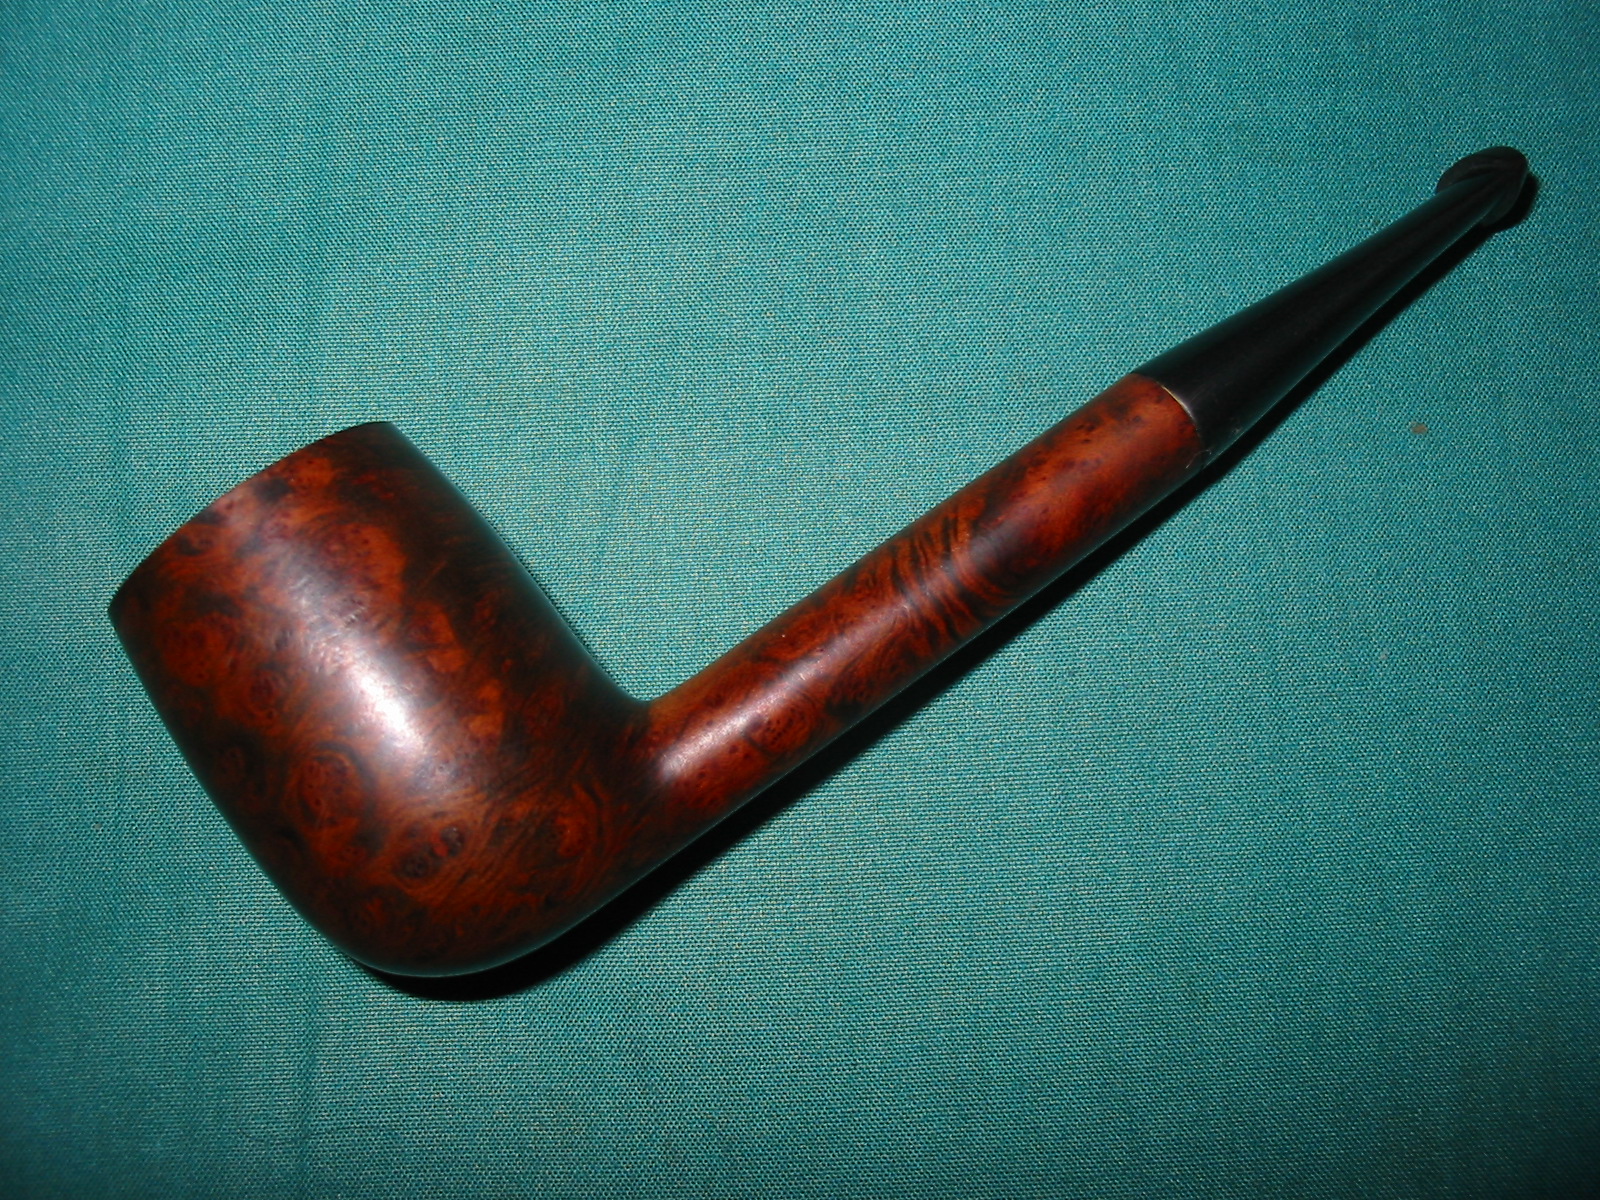
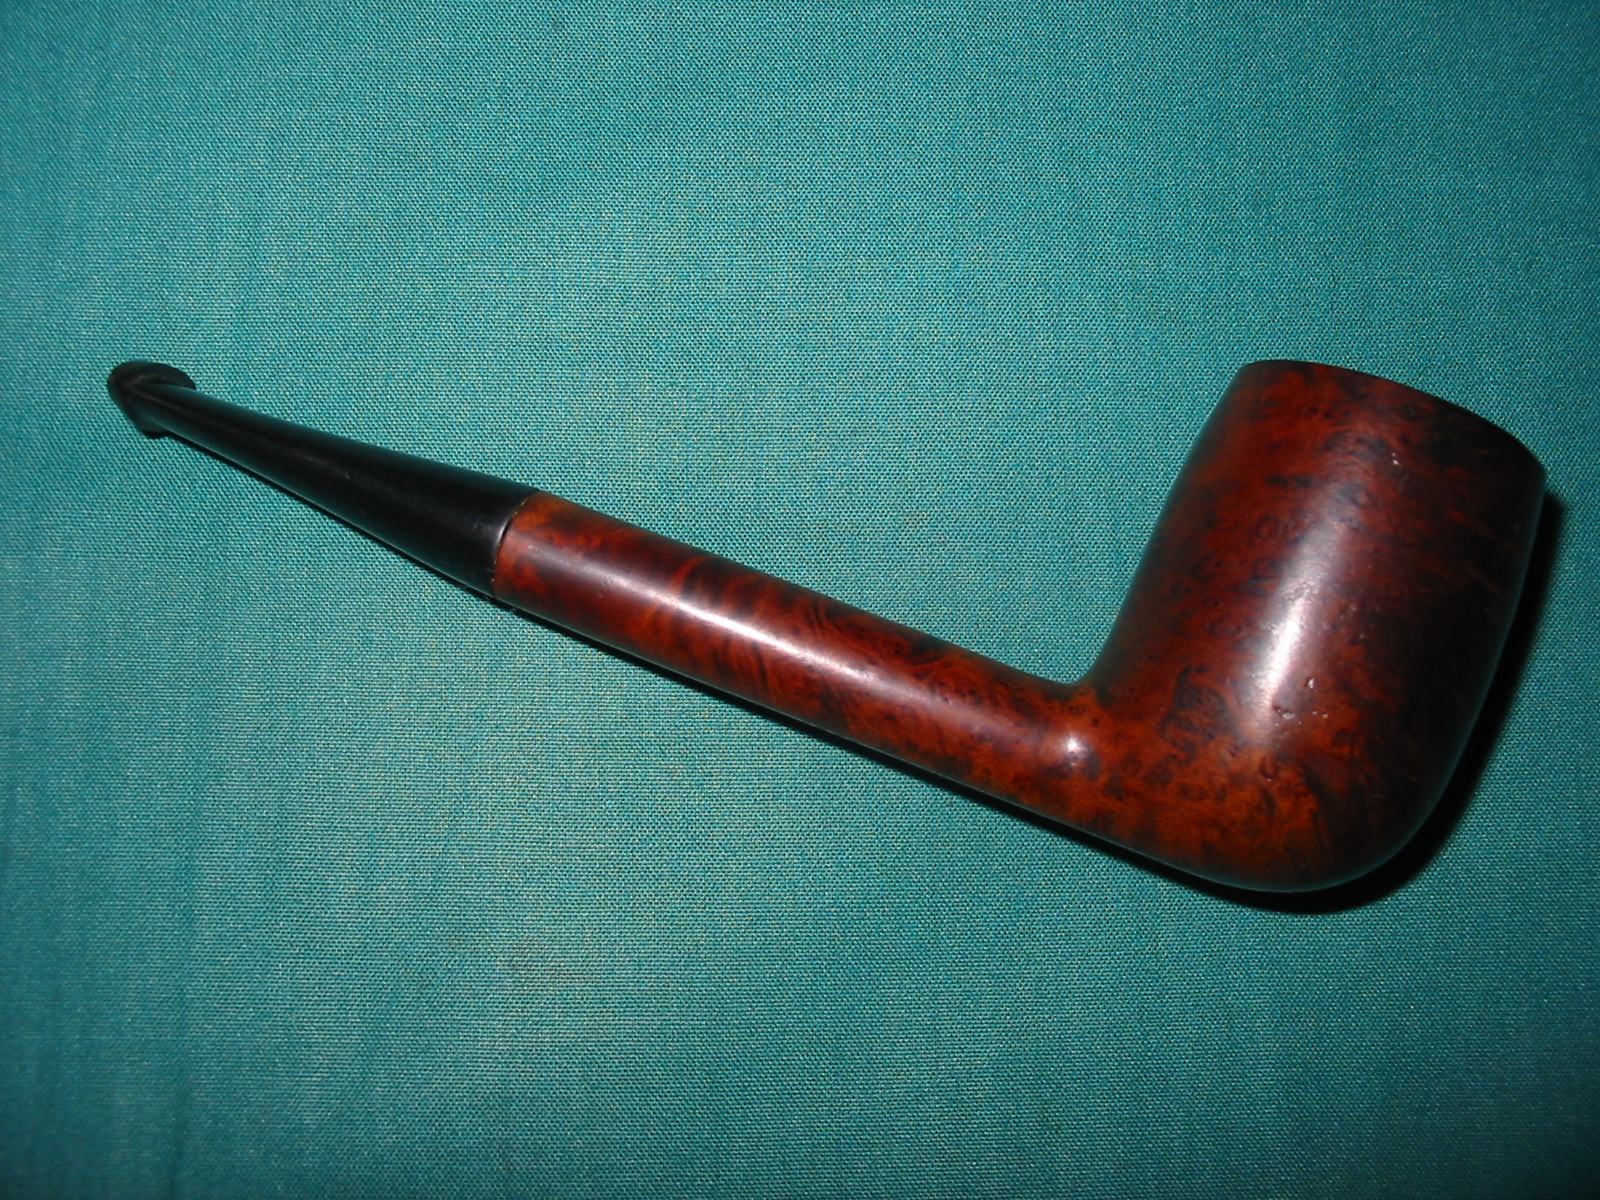
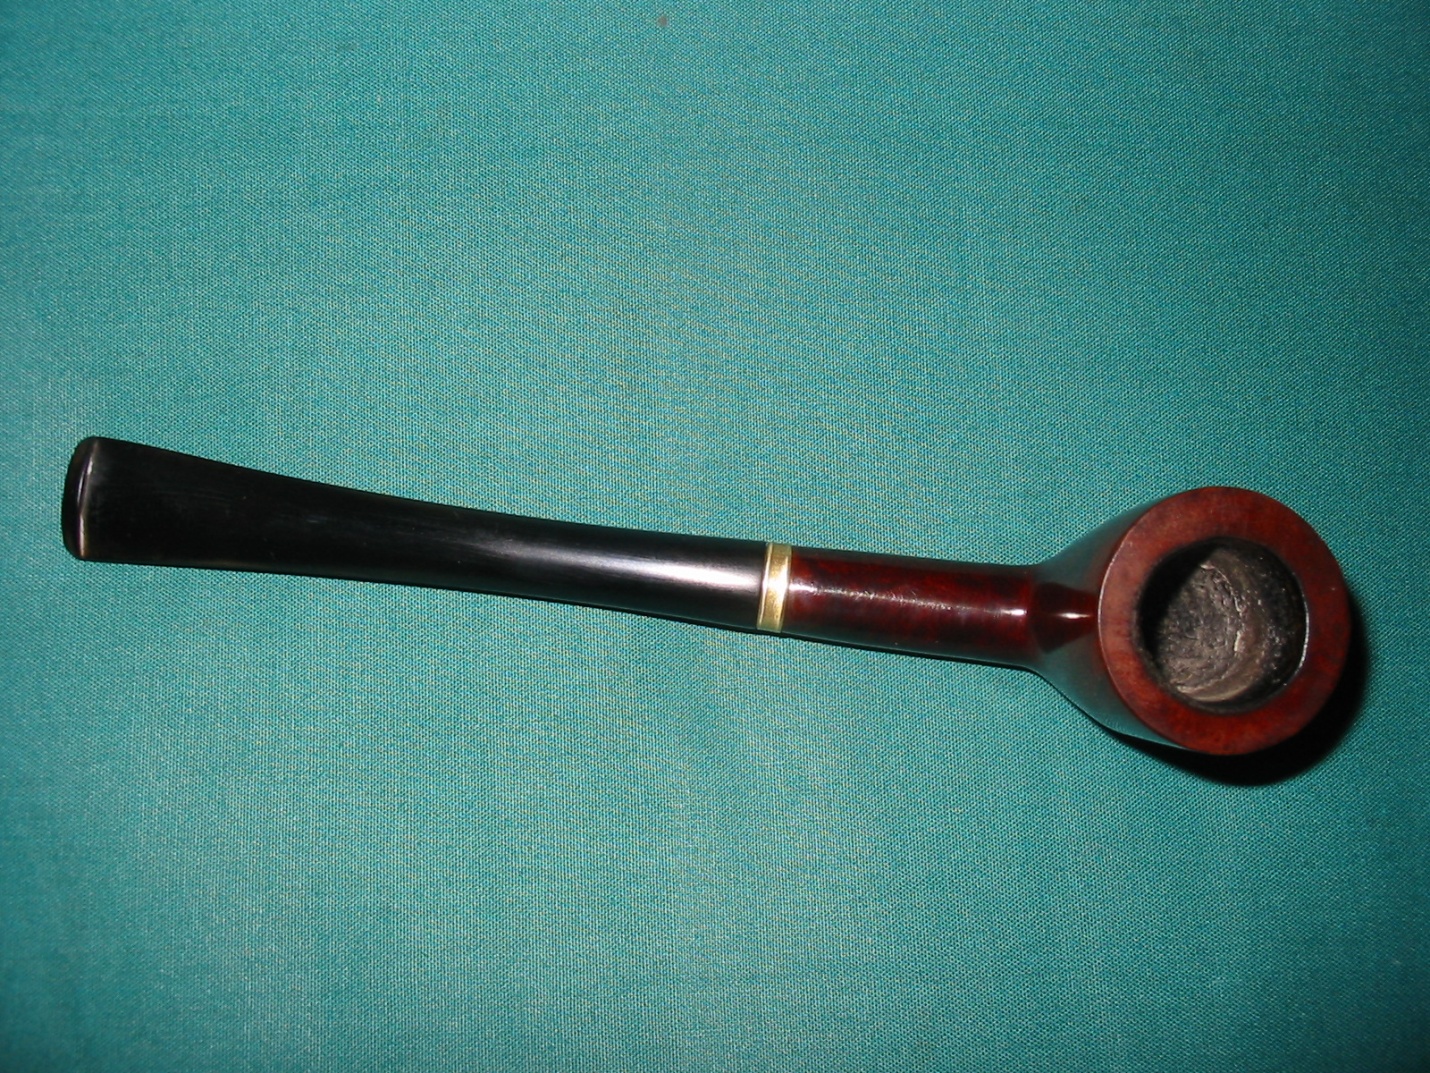
The next closeup photos of the bowl and stem truly show the condition of the pipe before I started.You can see the lava build up and damage to the rim top as well as the cake in the bowl. The bowl had a fairly thick cake overflowing onto the rim. The stem was very oxidized and spotty with tooth chatter and marks on both the top and underside of the stem near the button. There is a faint Hilson H logo stamped on the top of the oval stem. I do not know if it is deep enough to salvage.

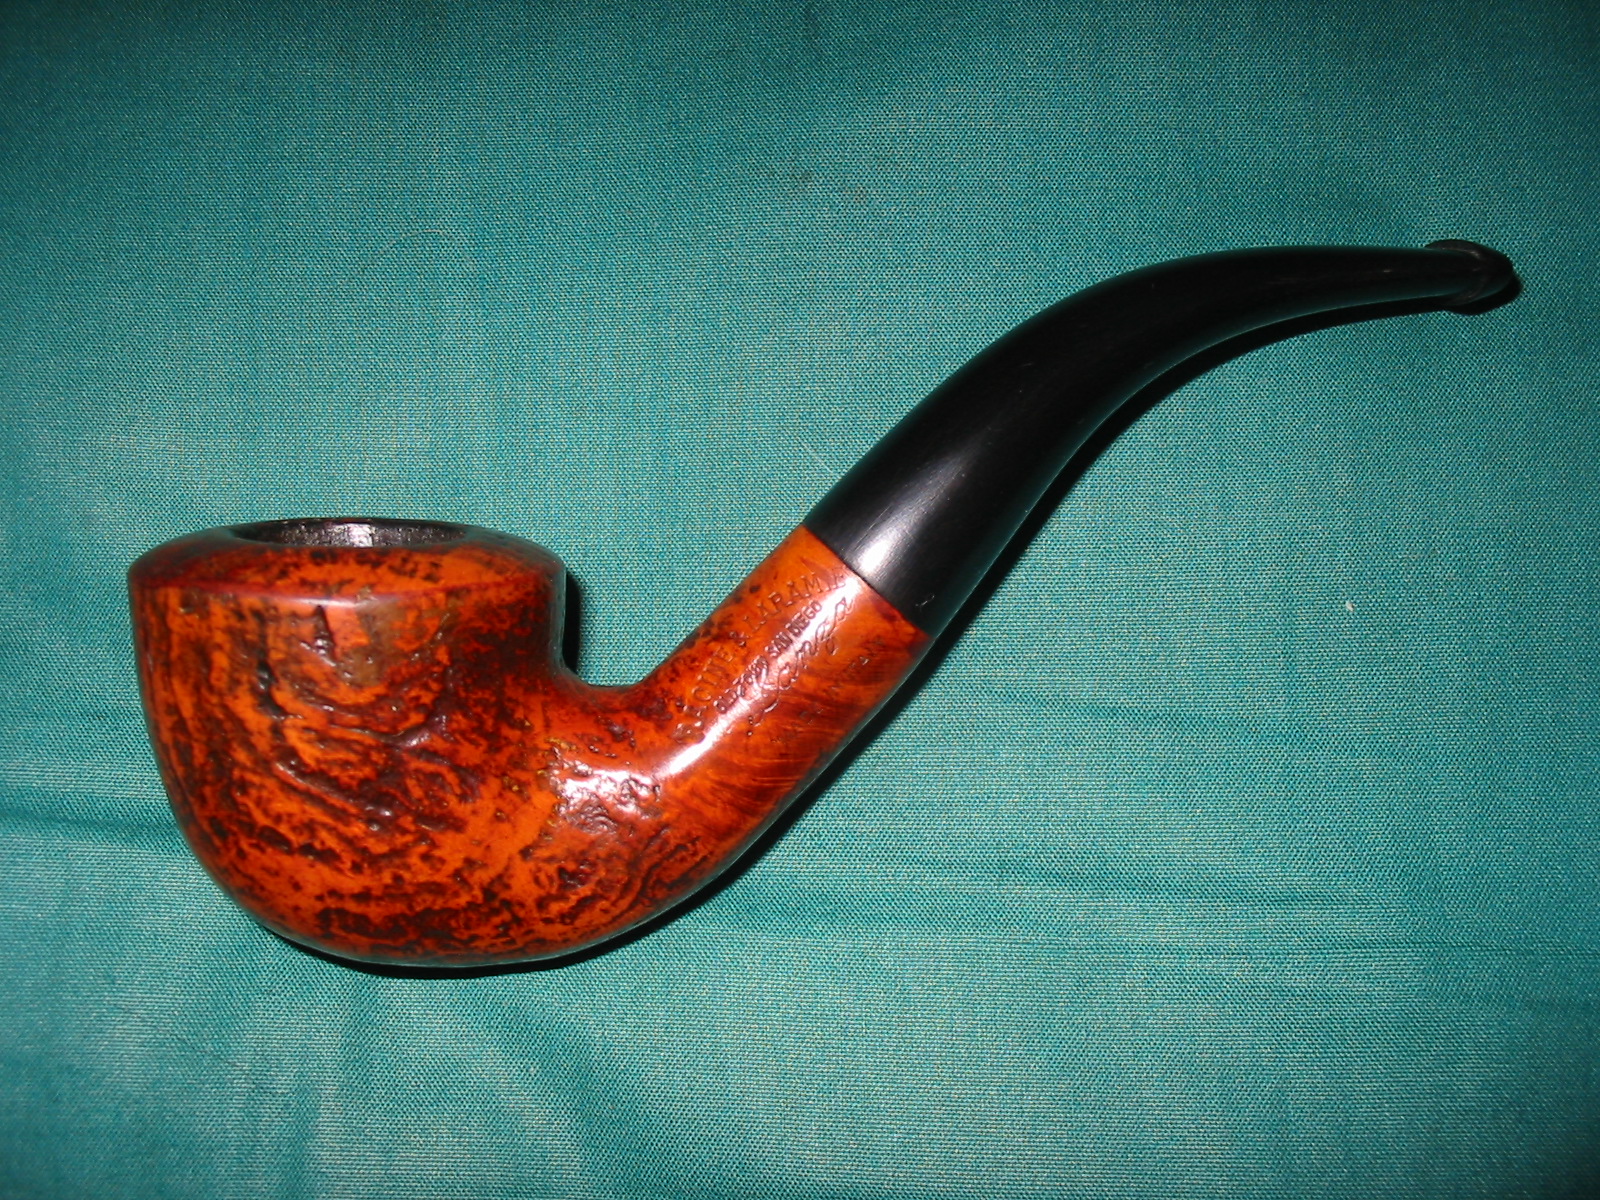
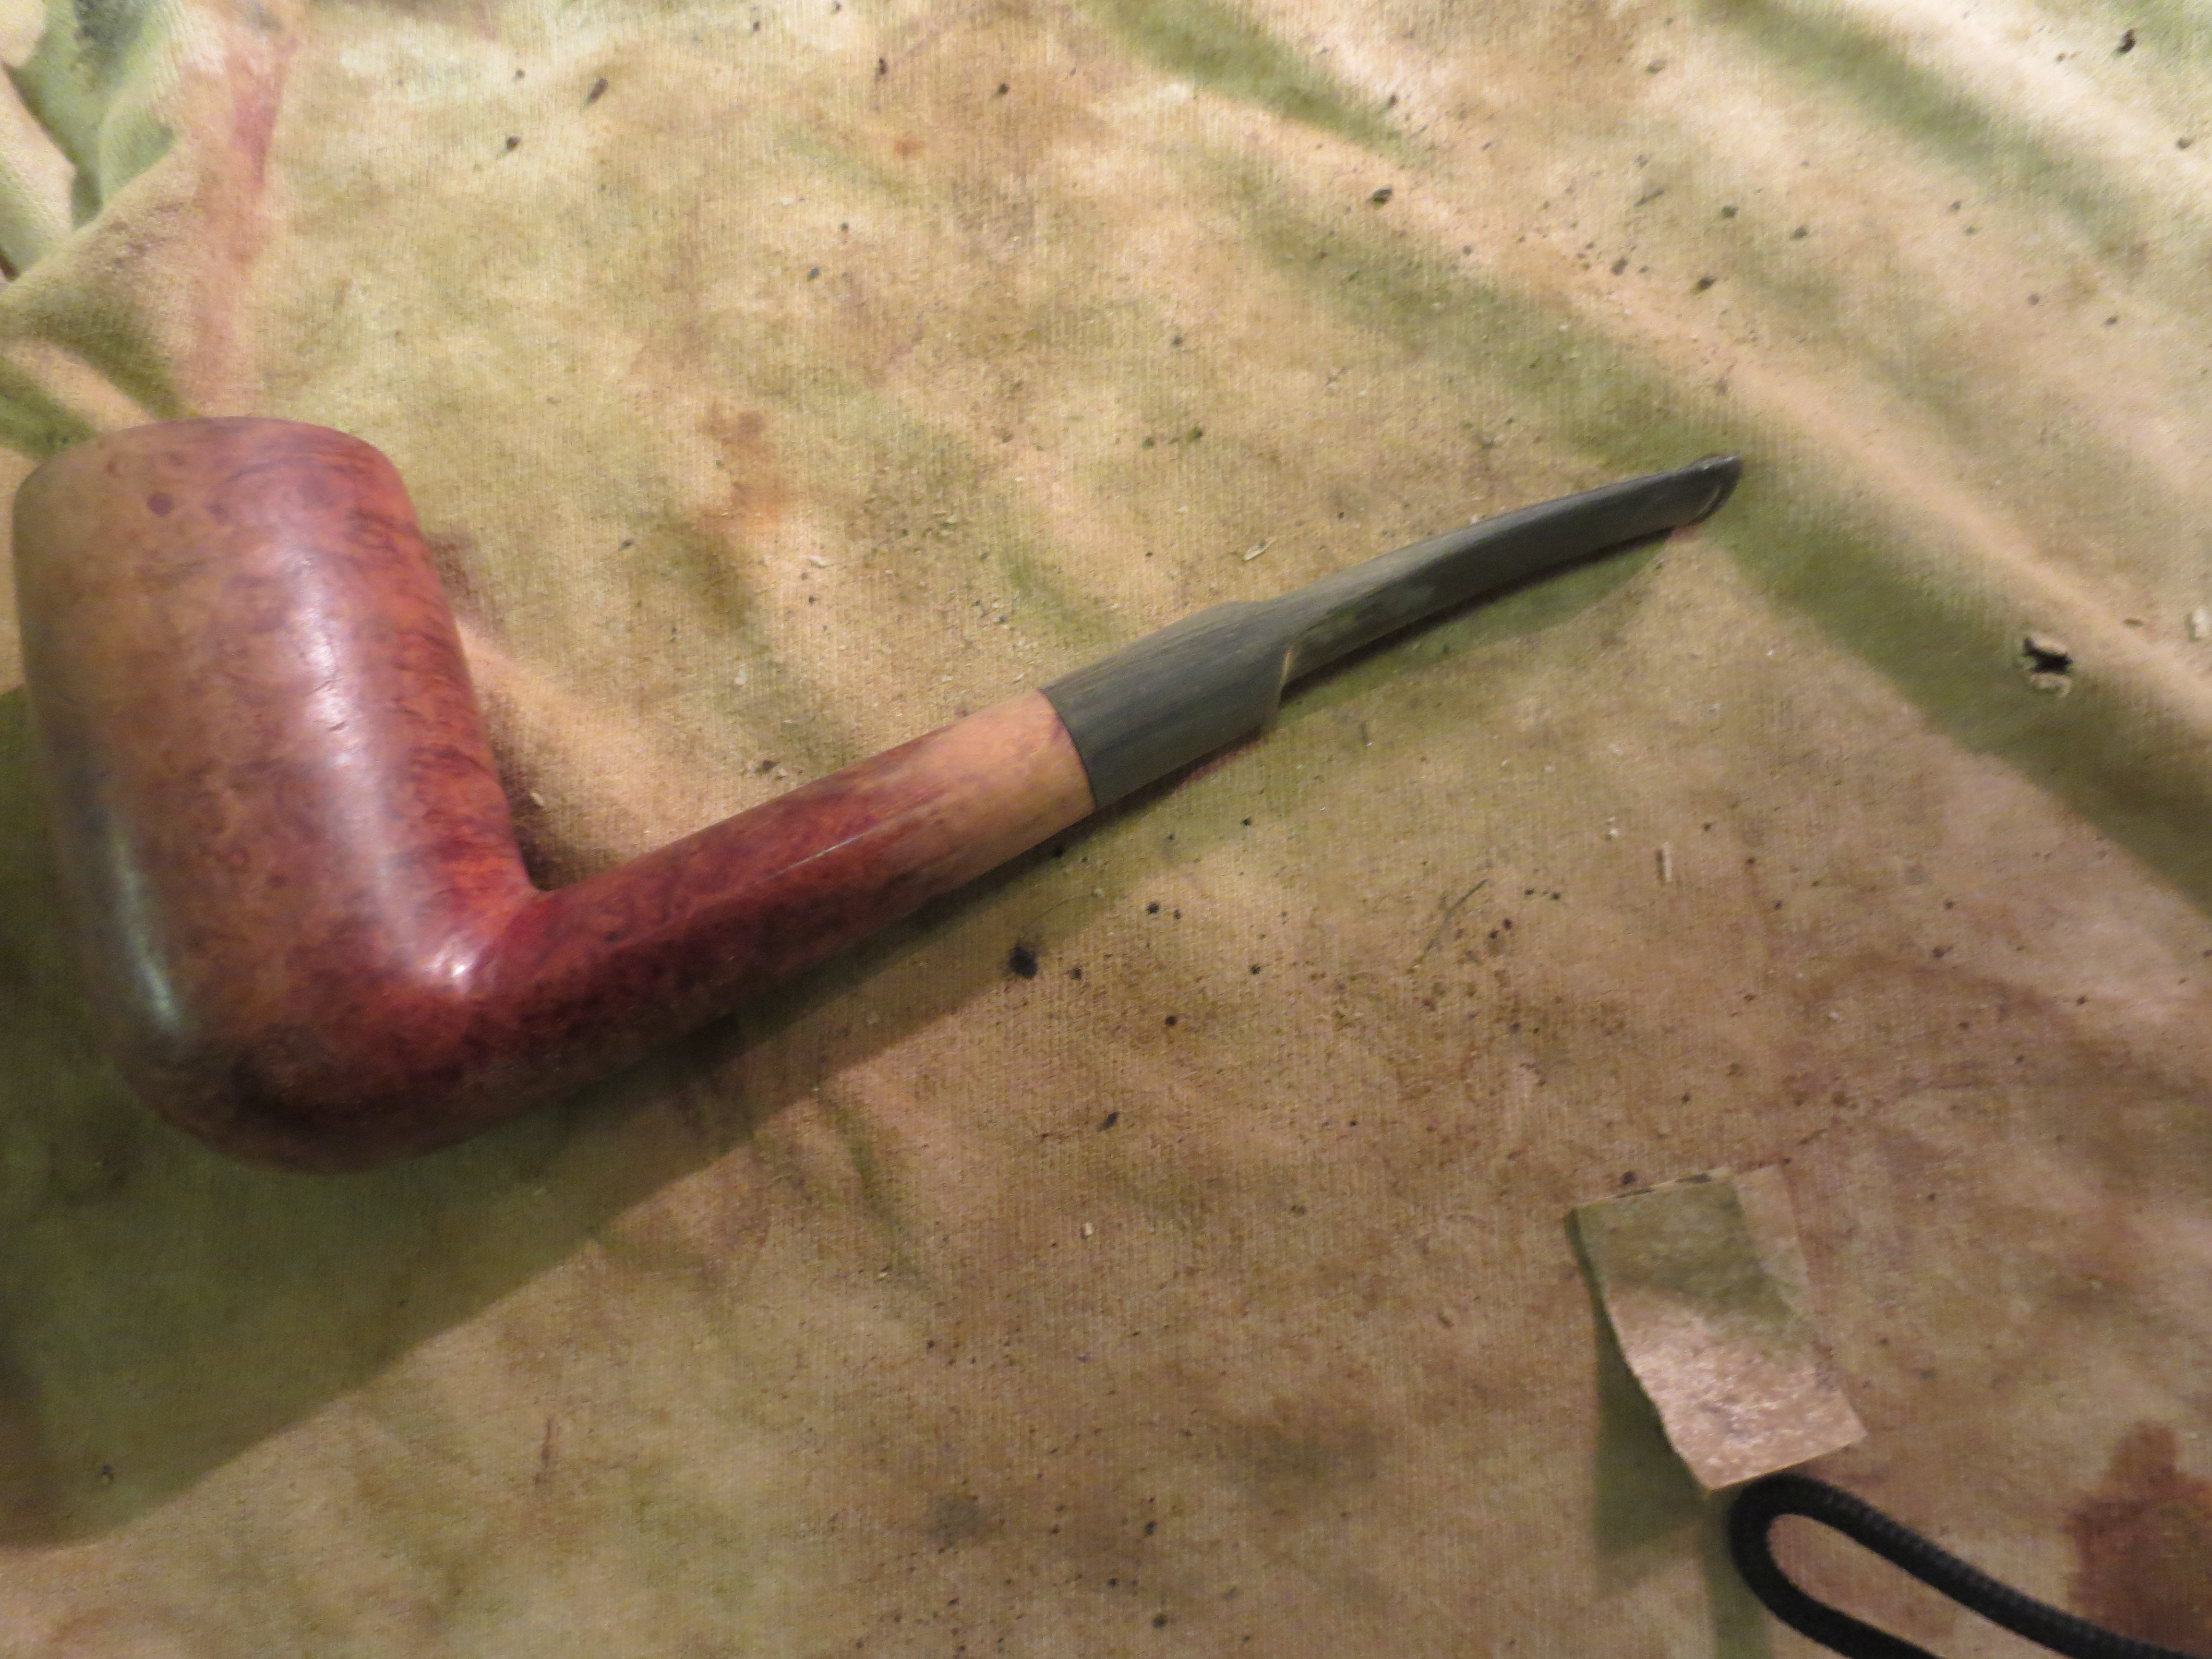
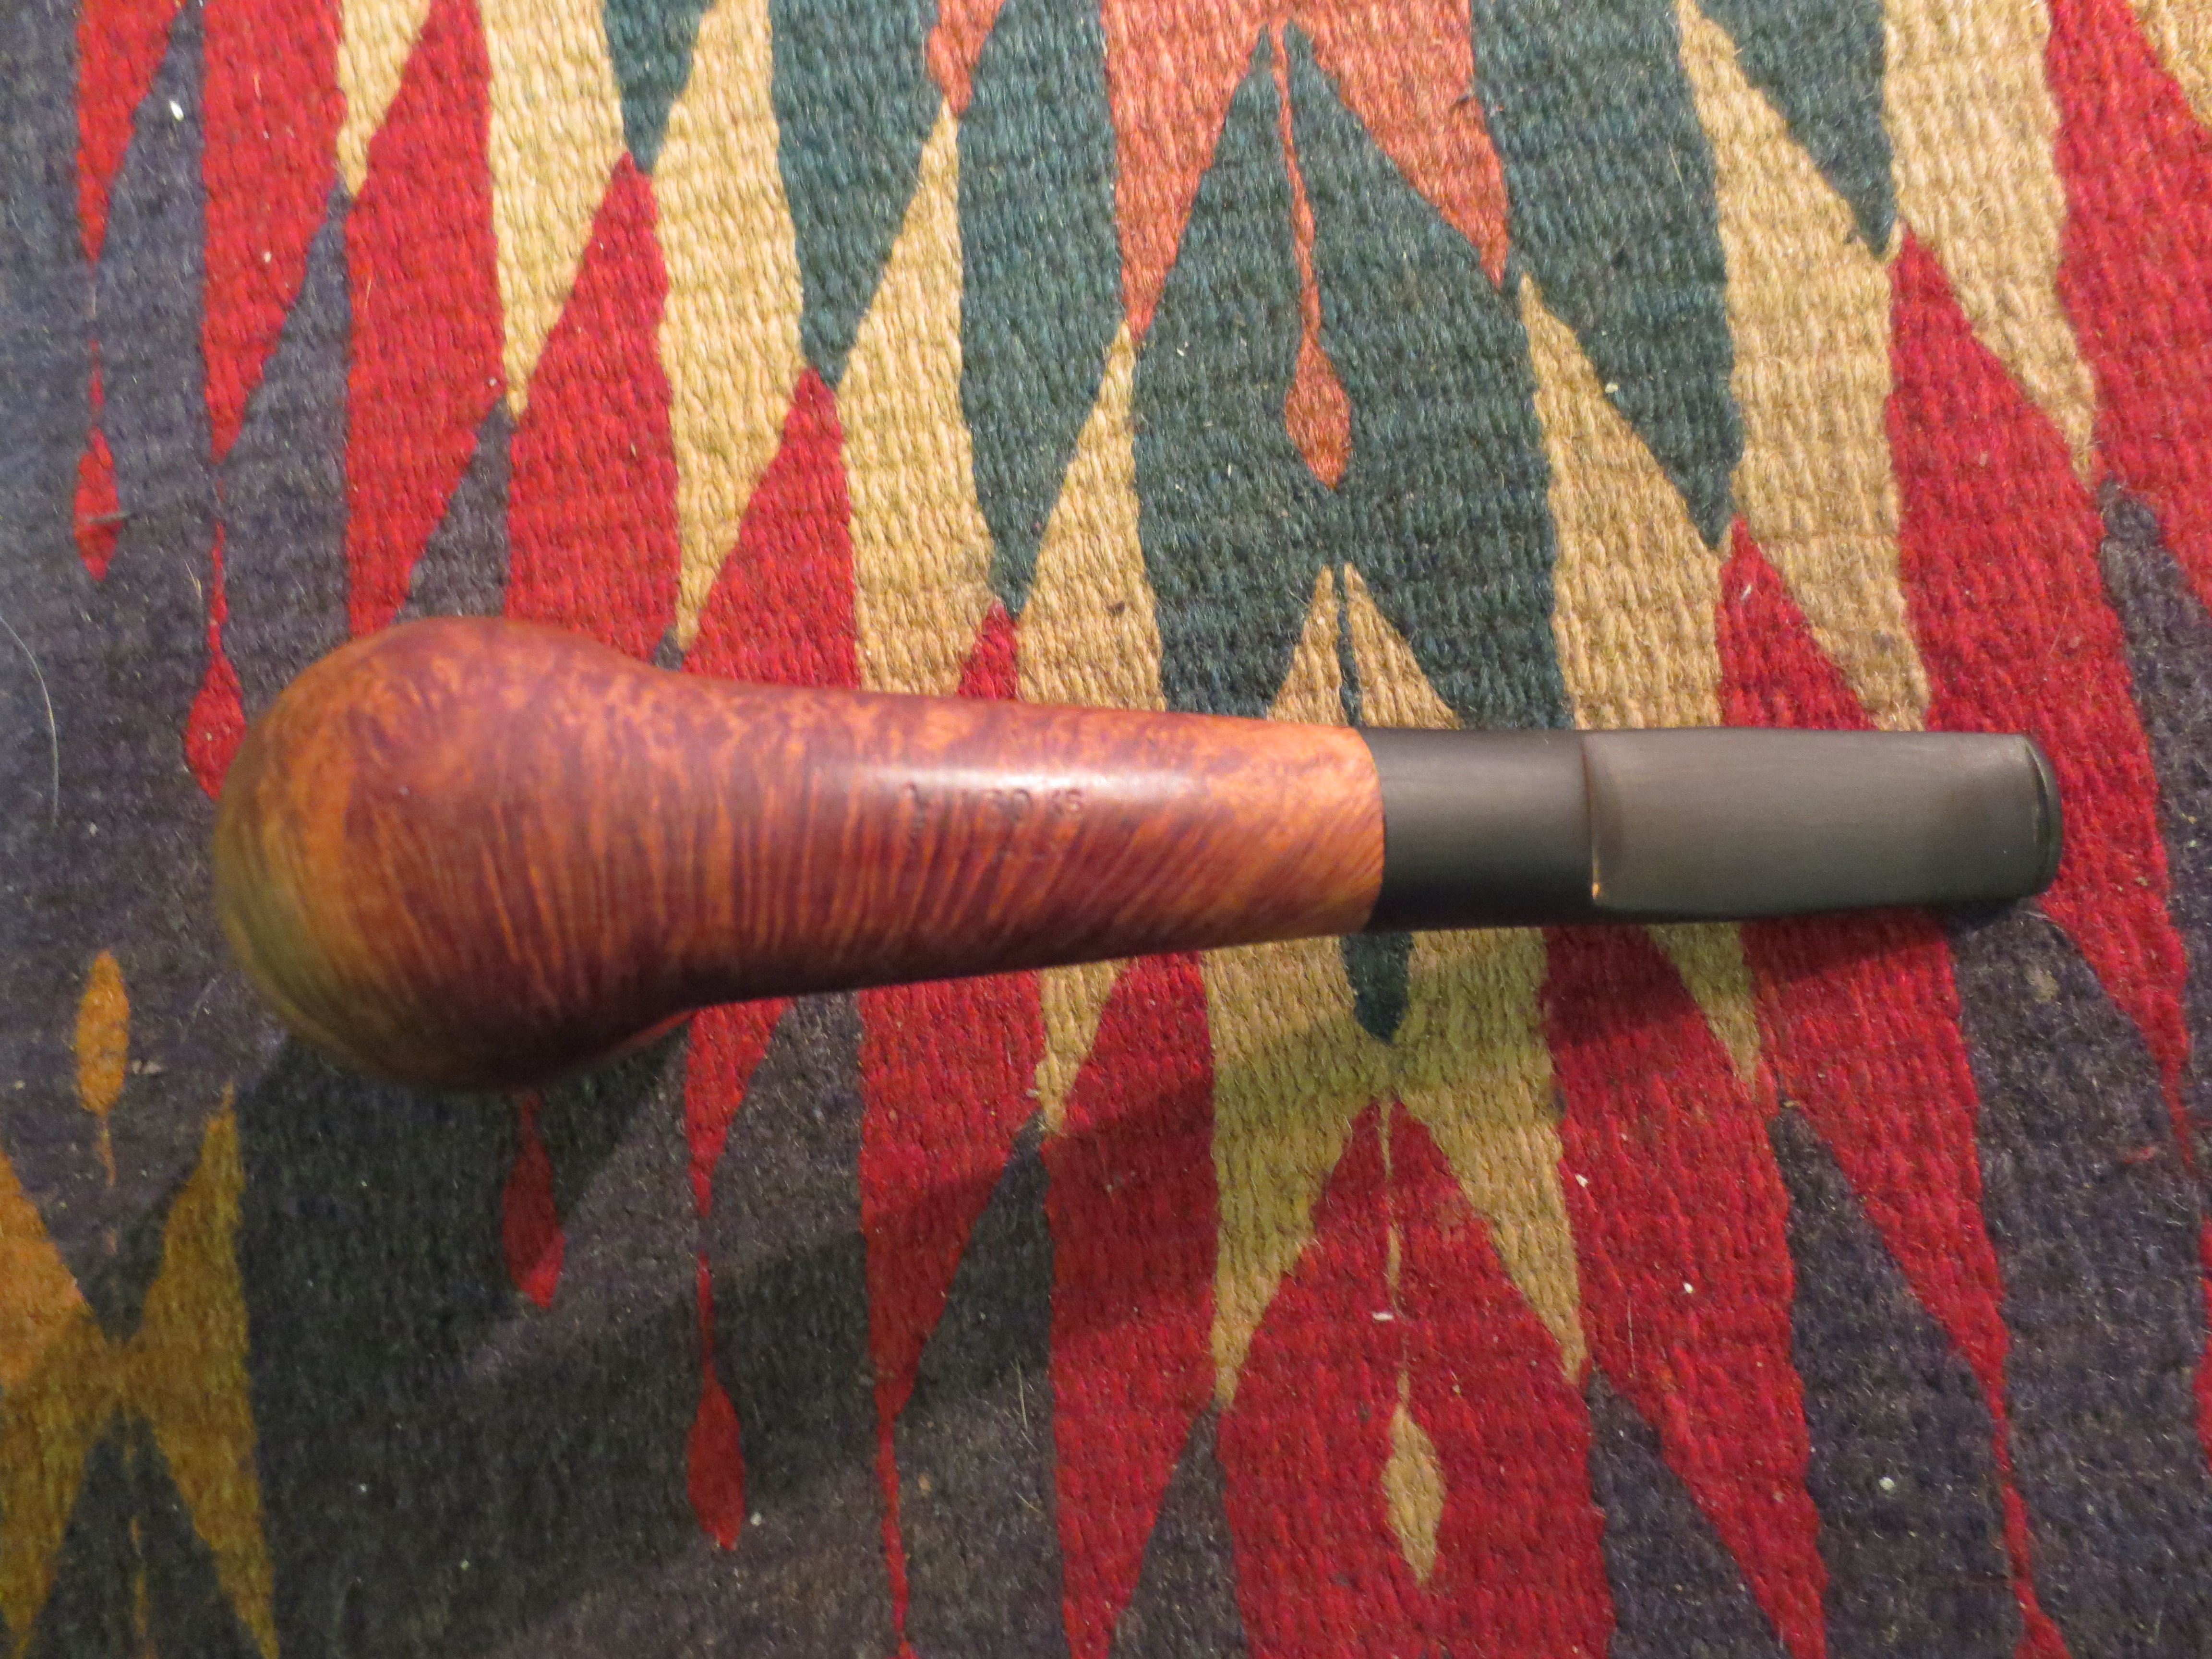
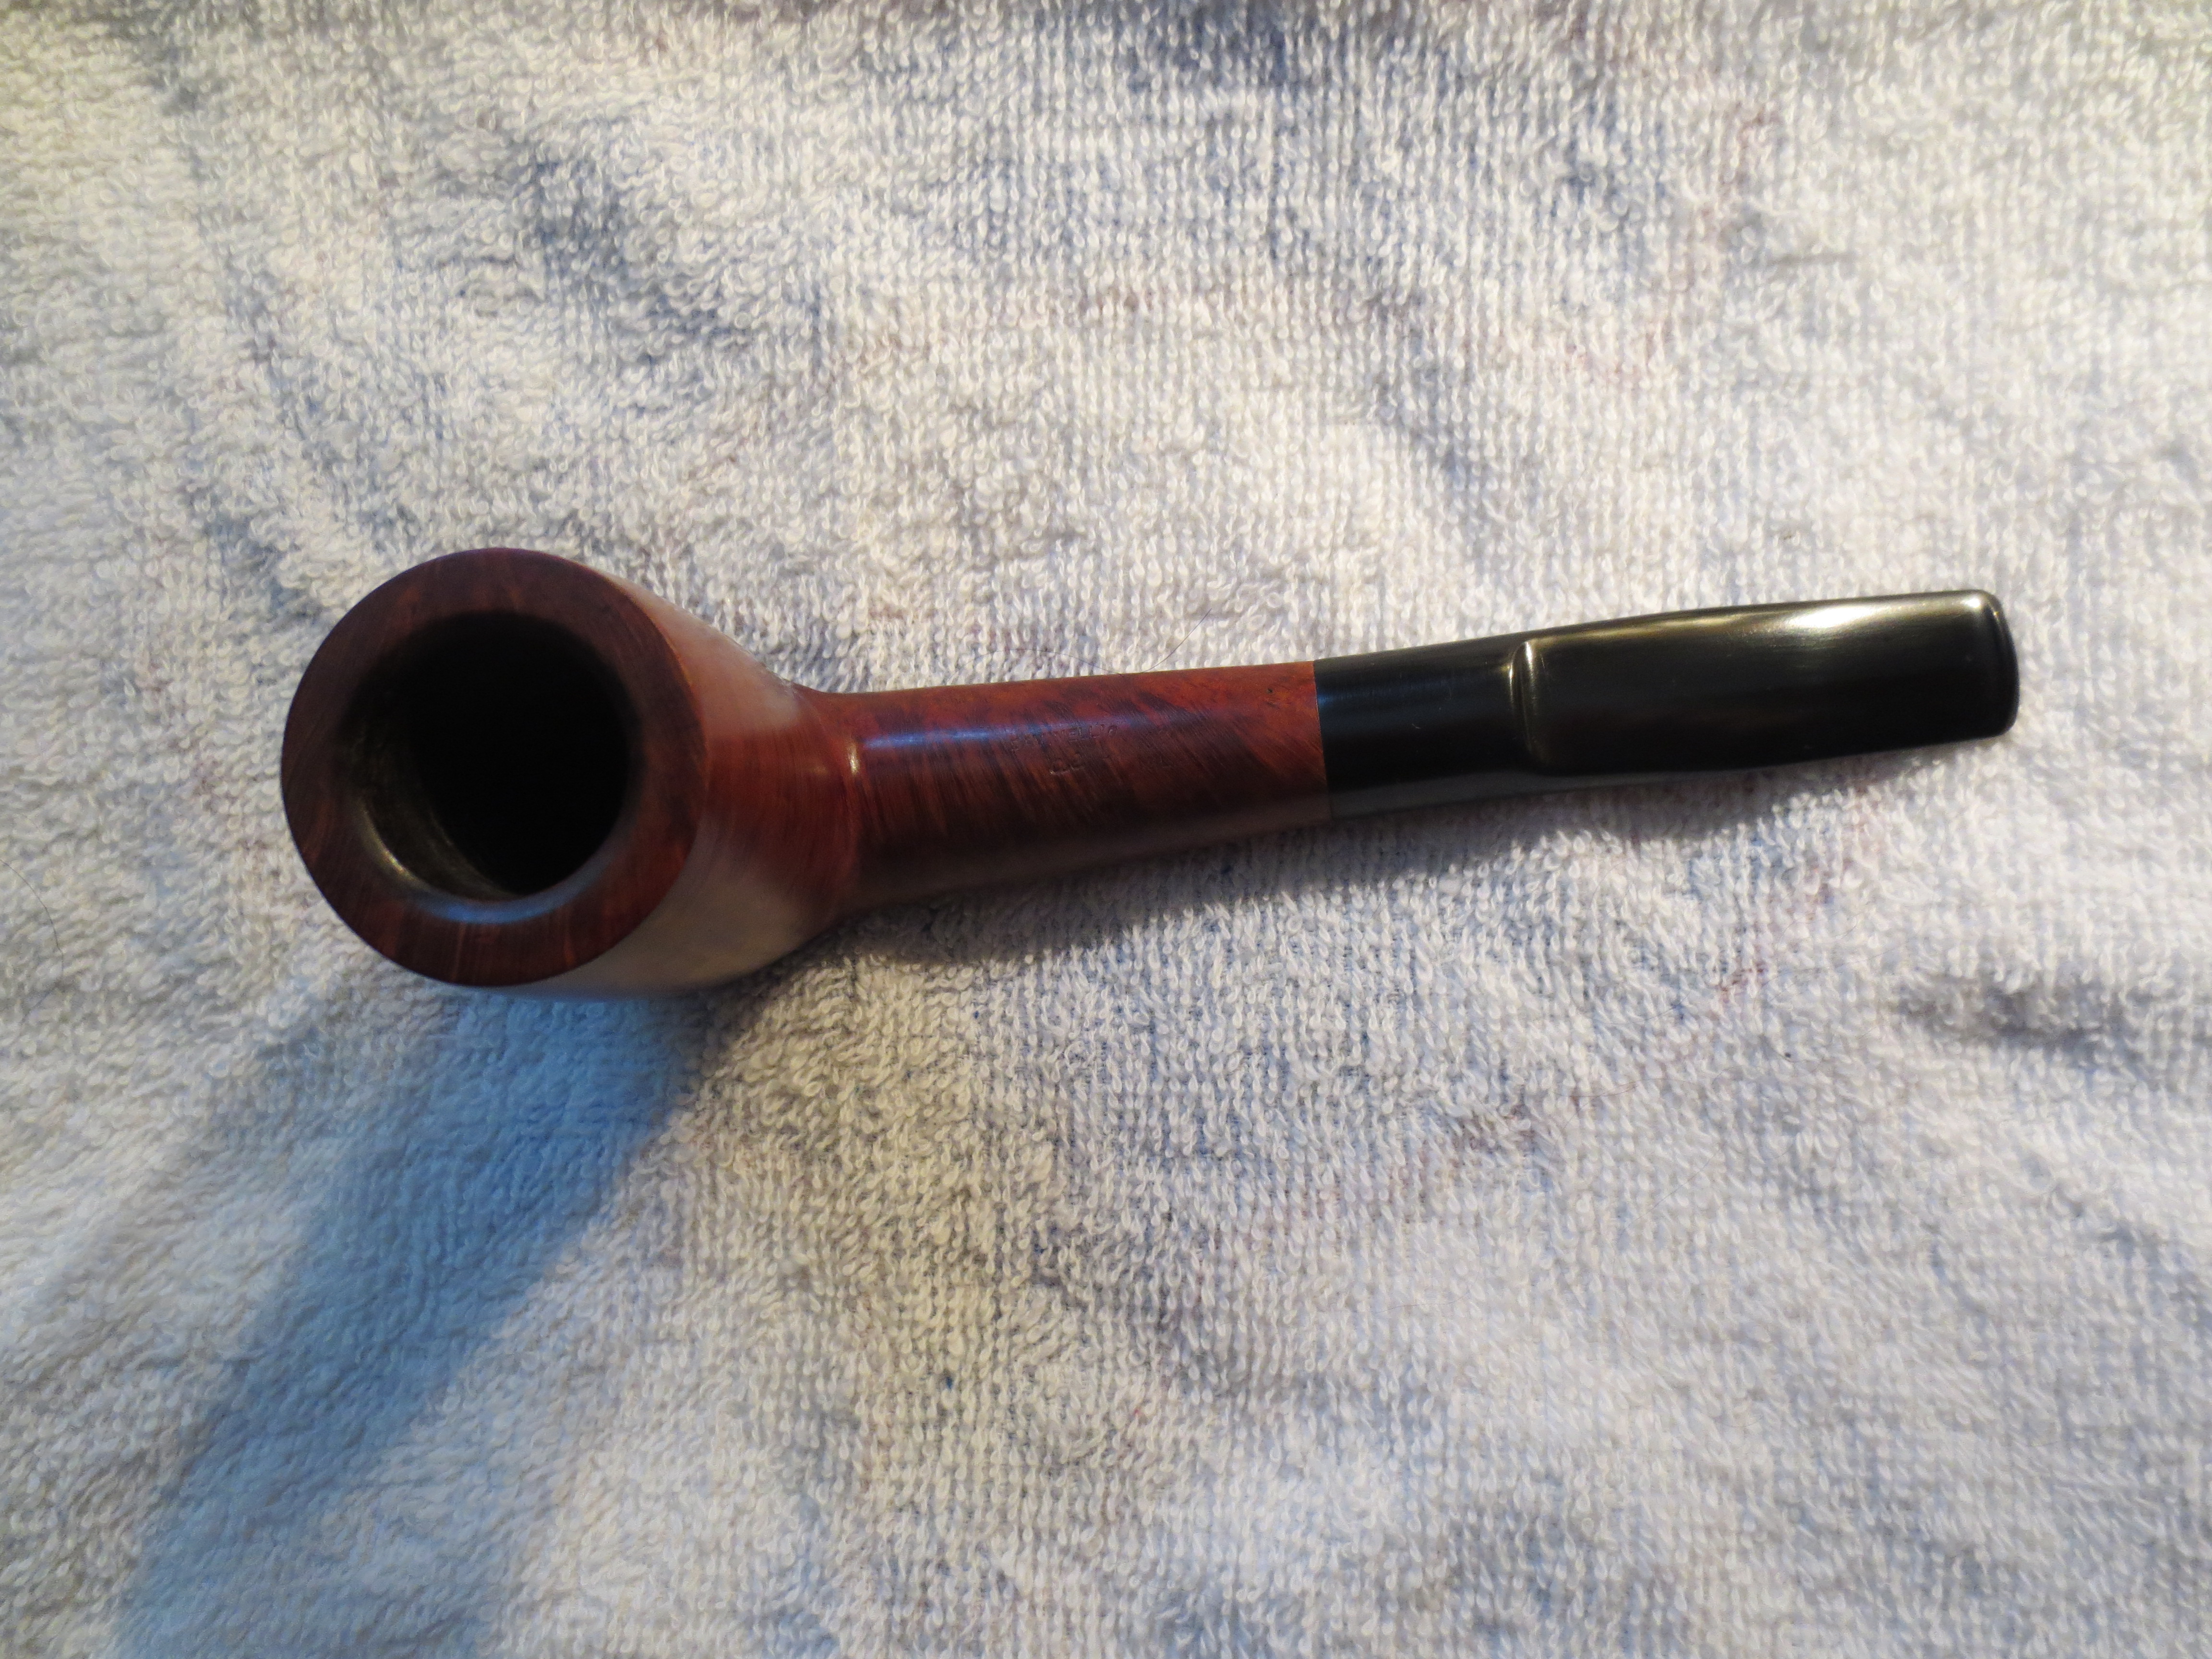
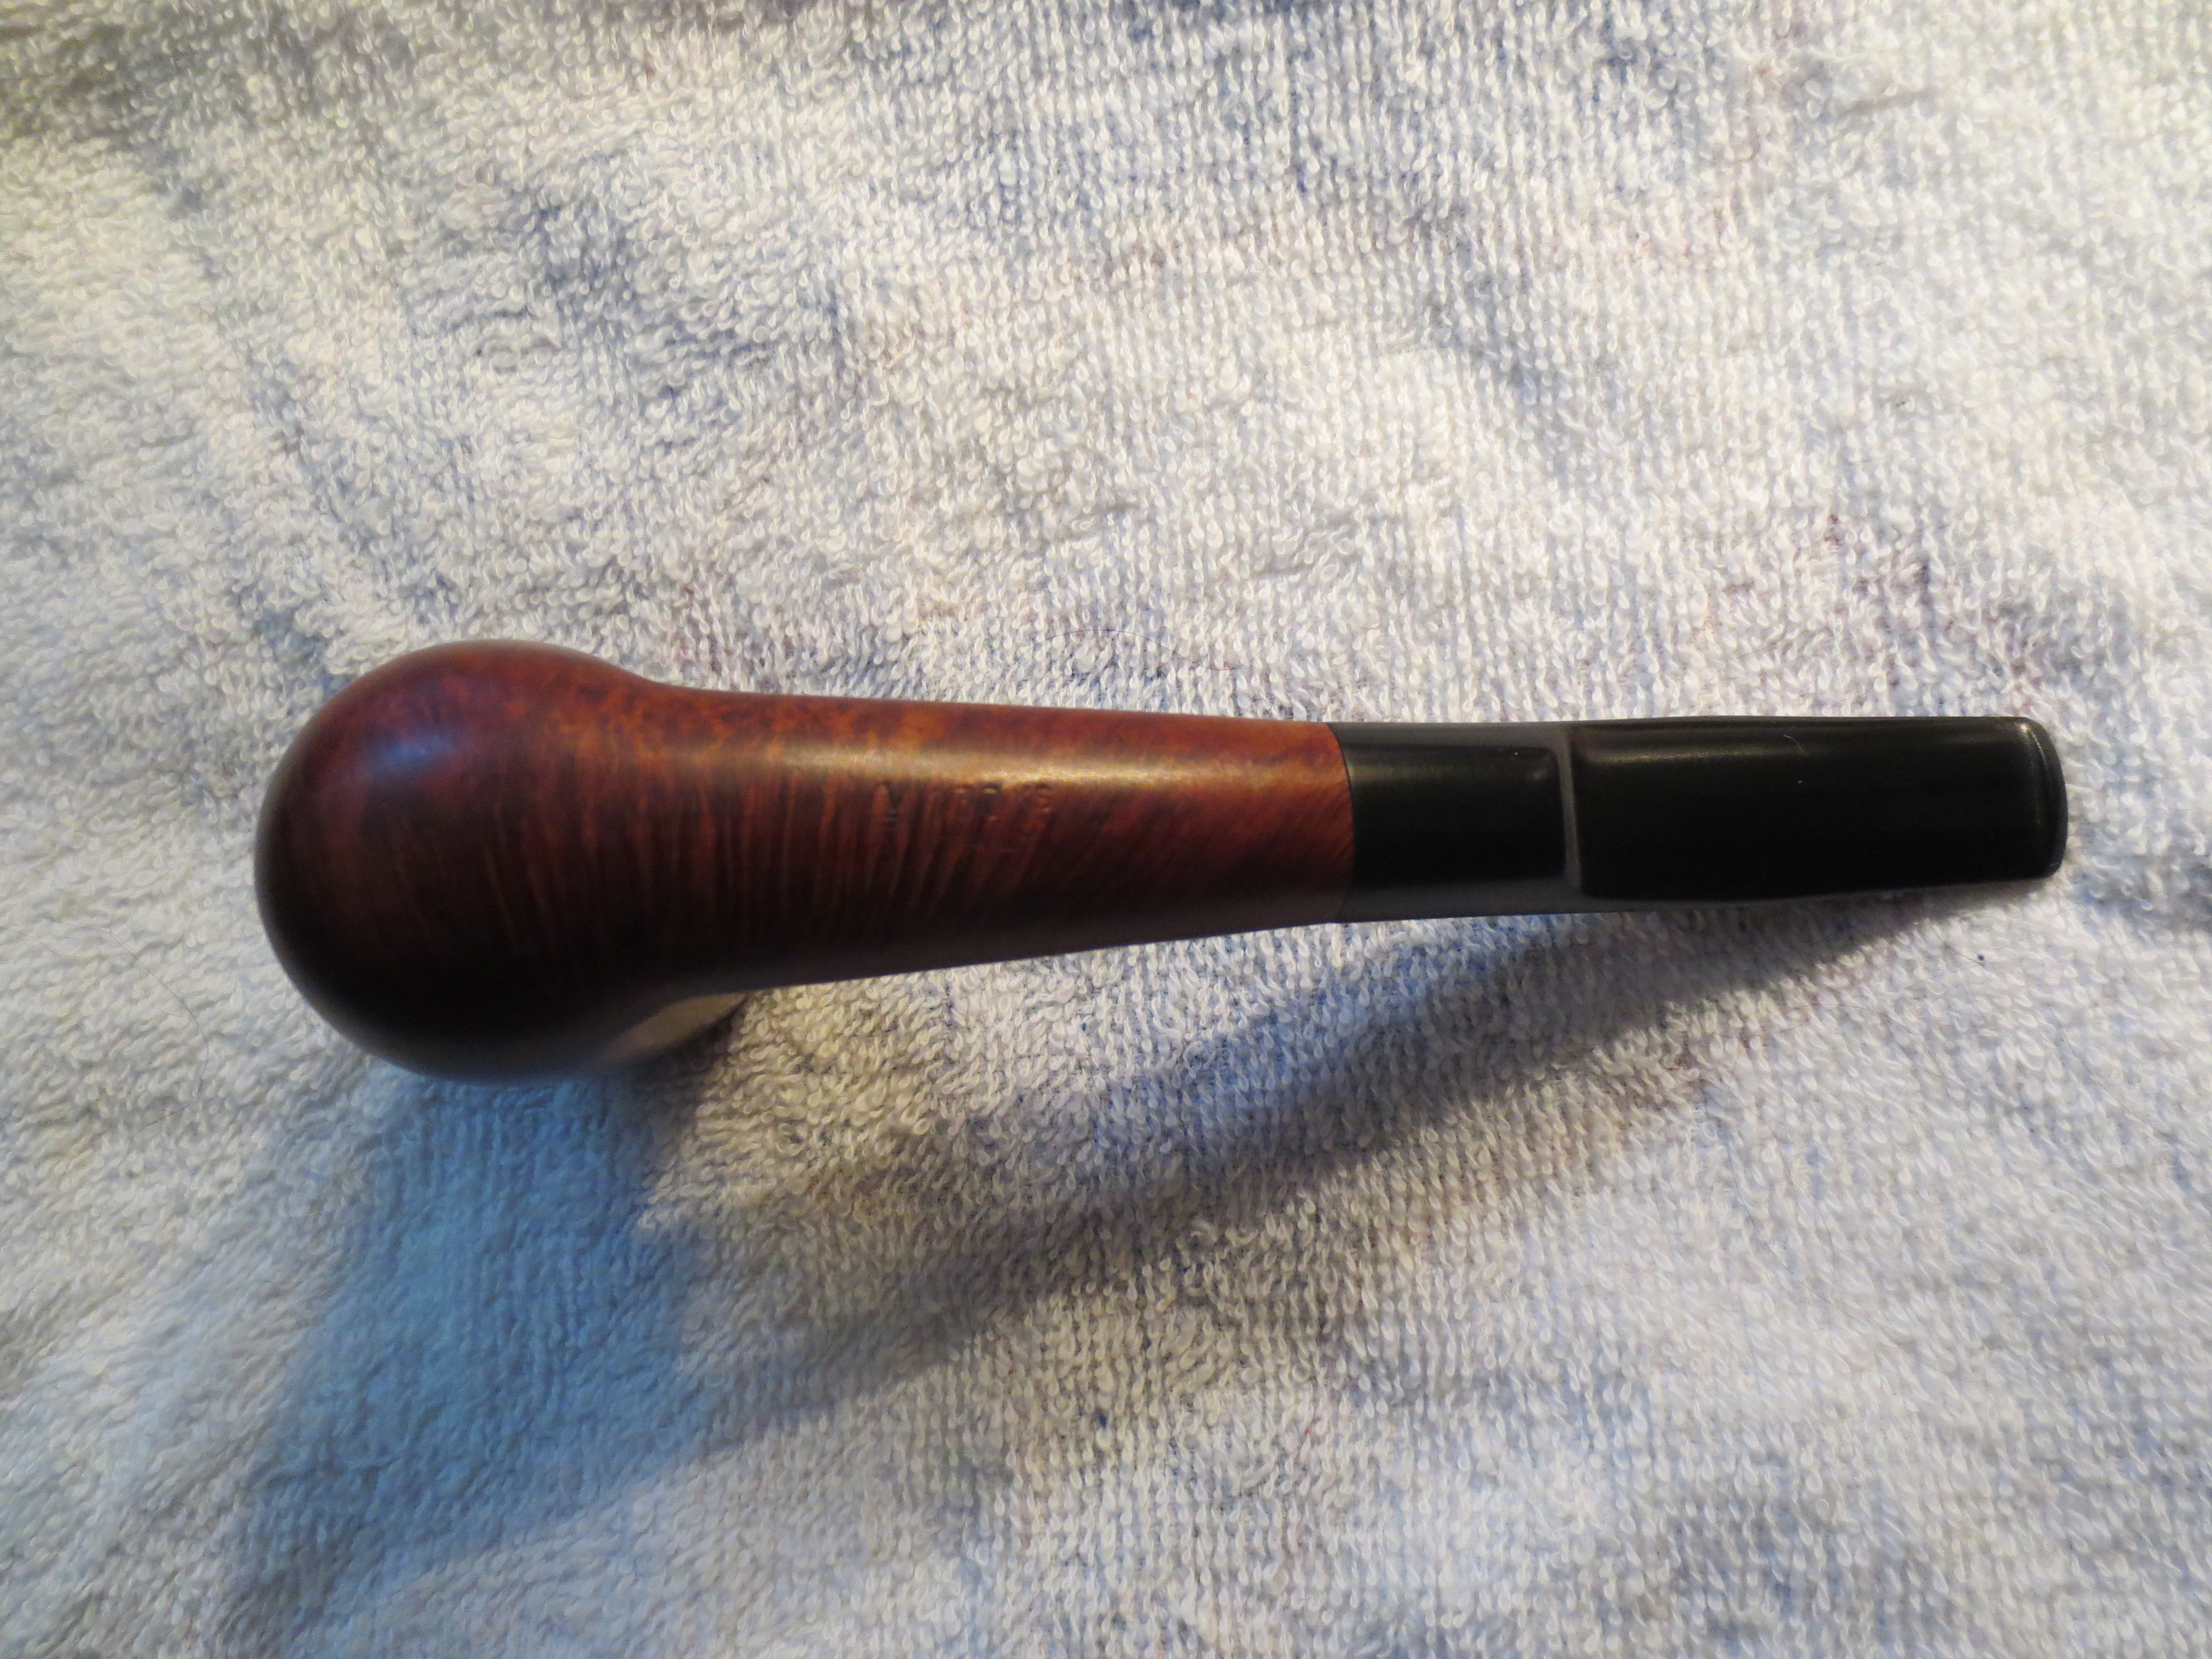
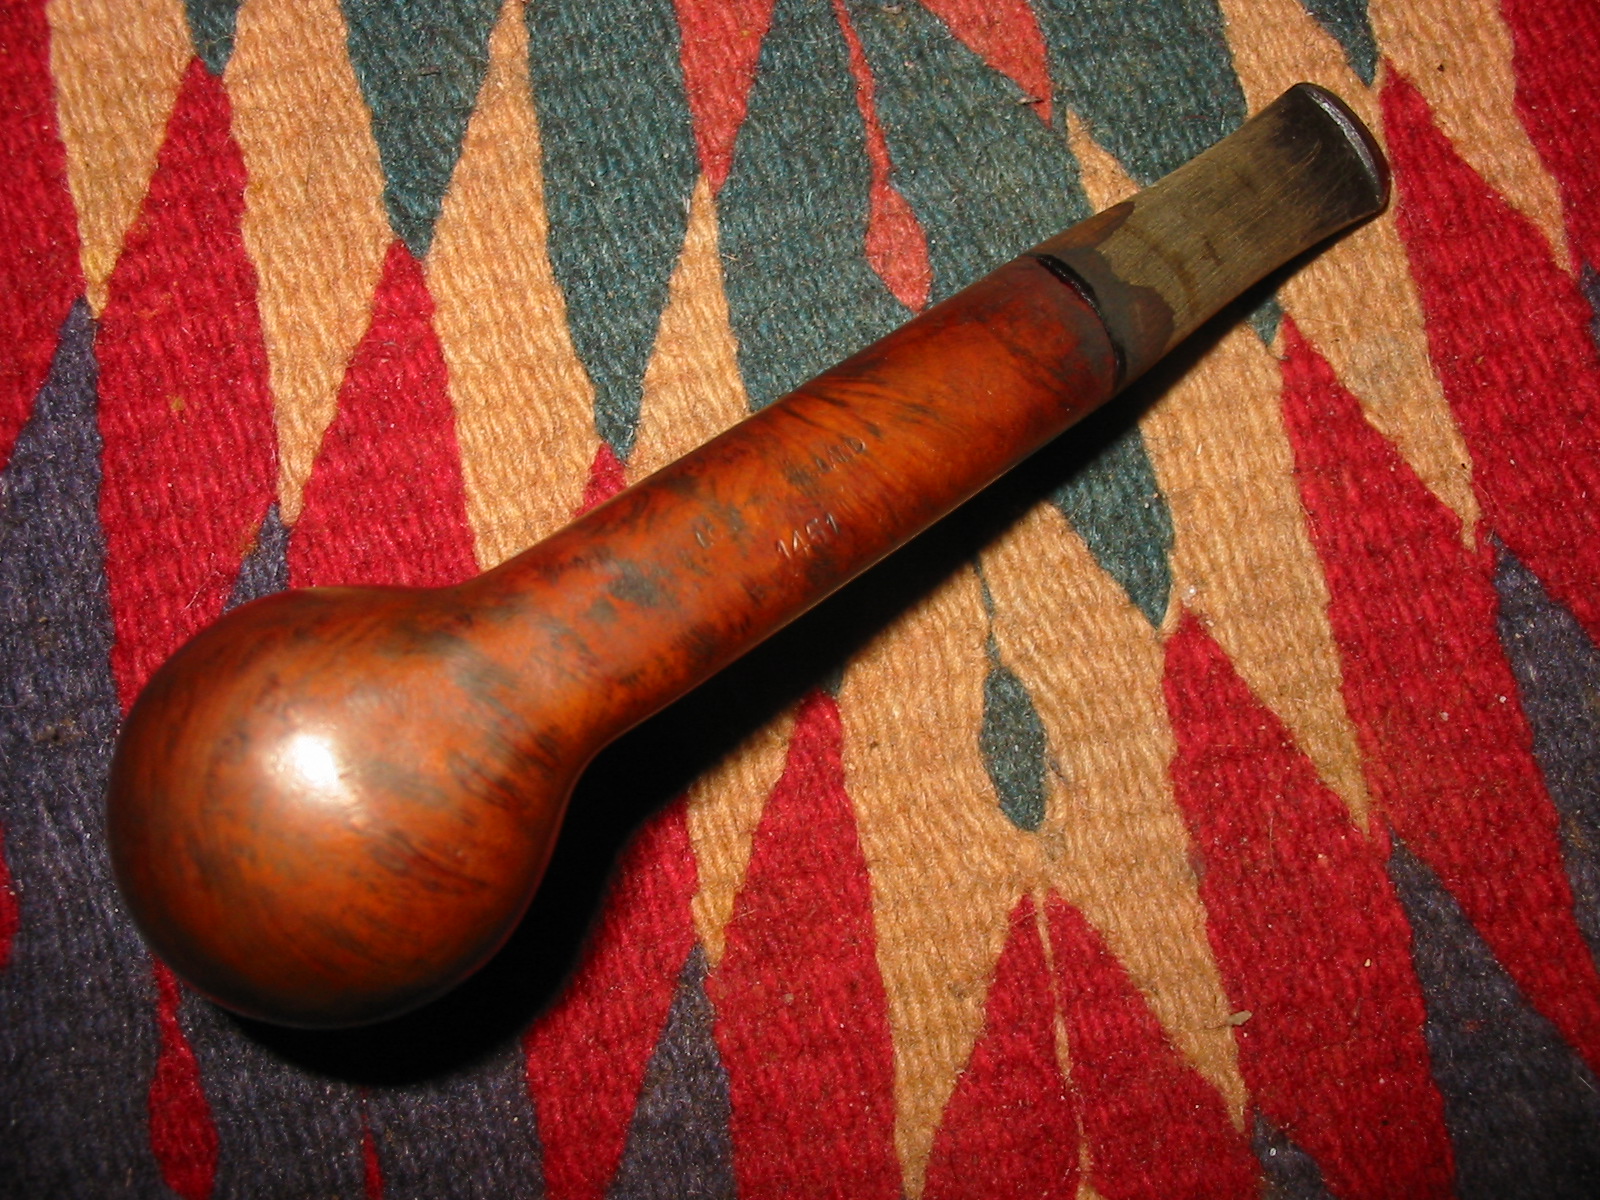
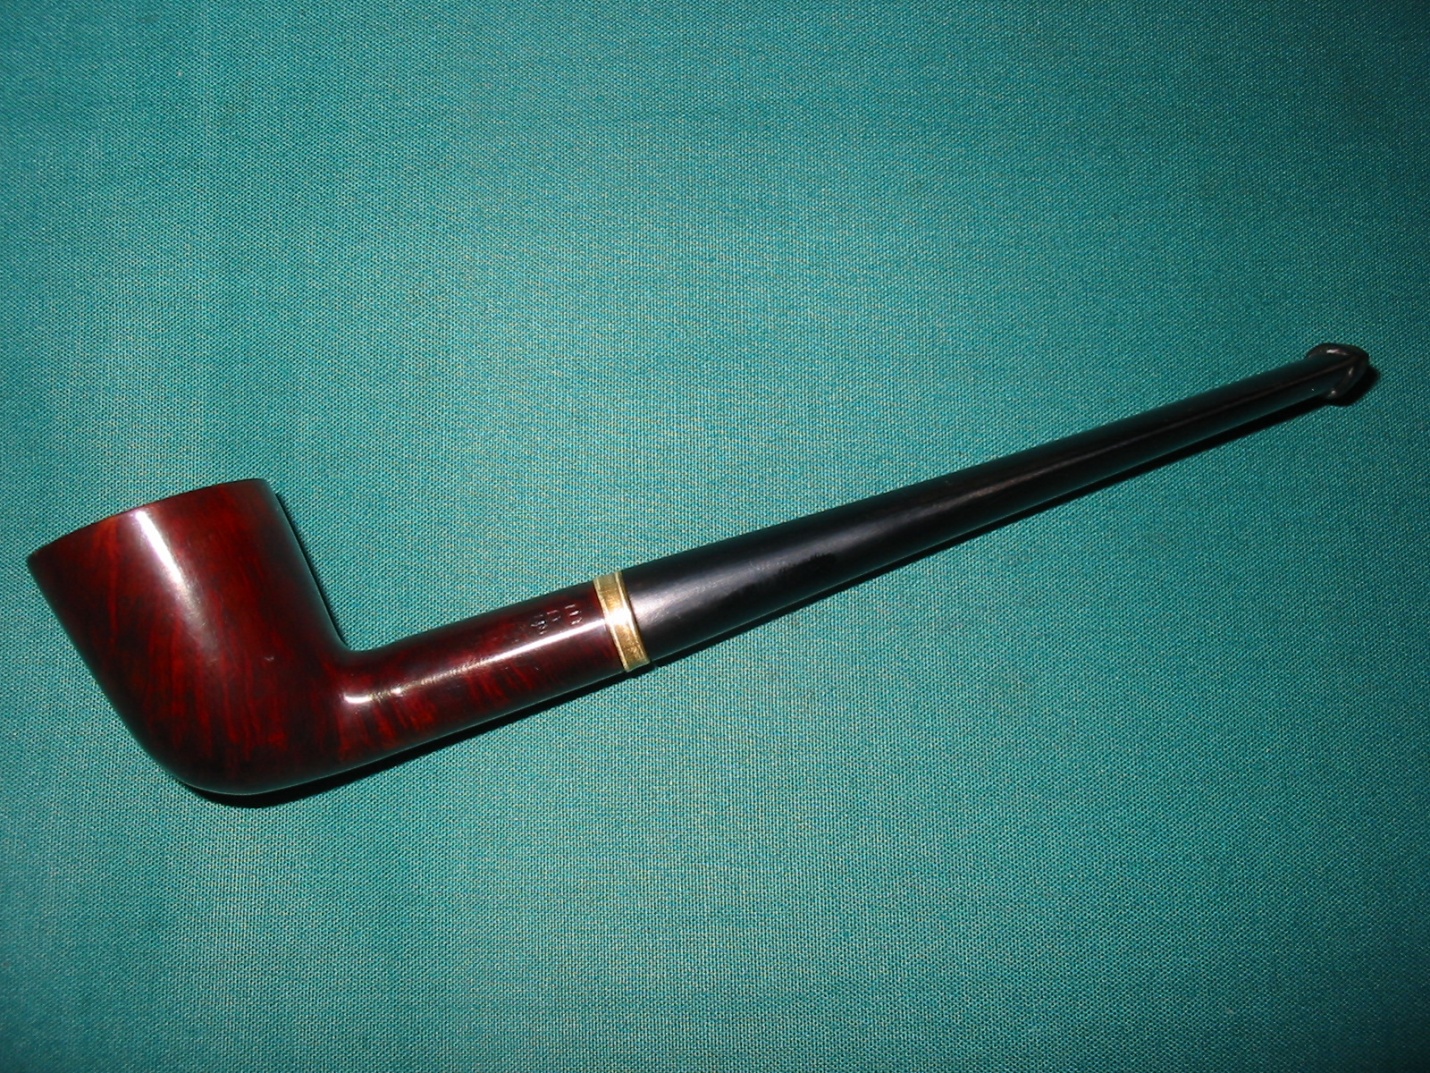
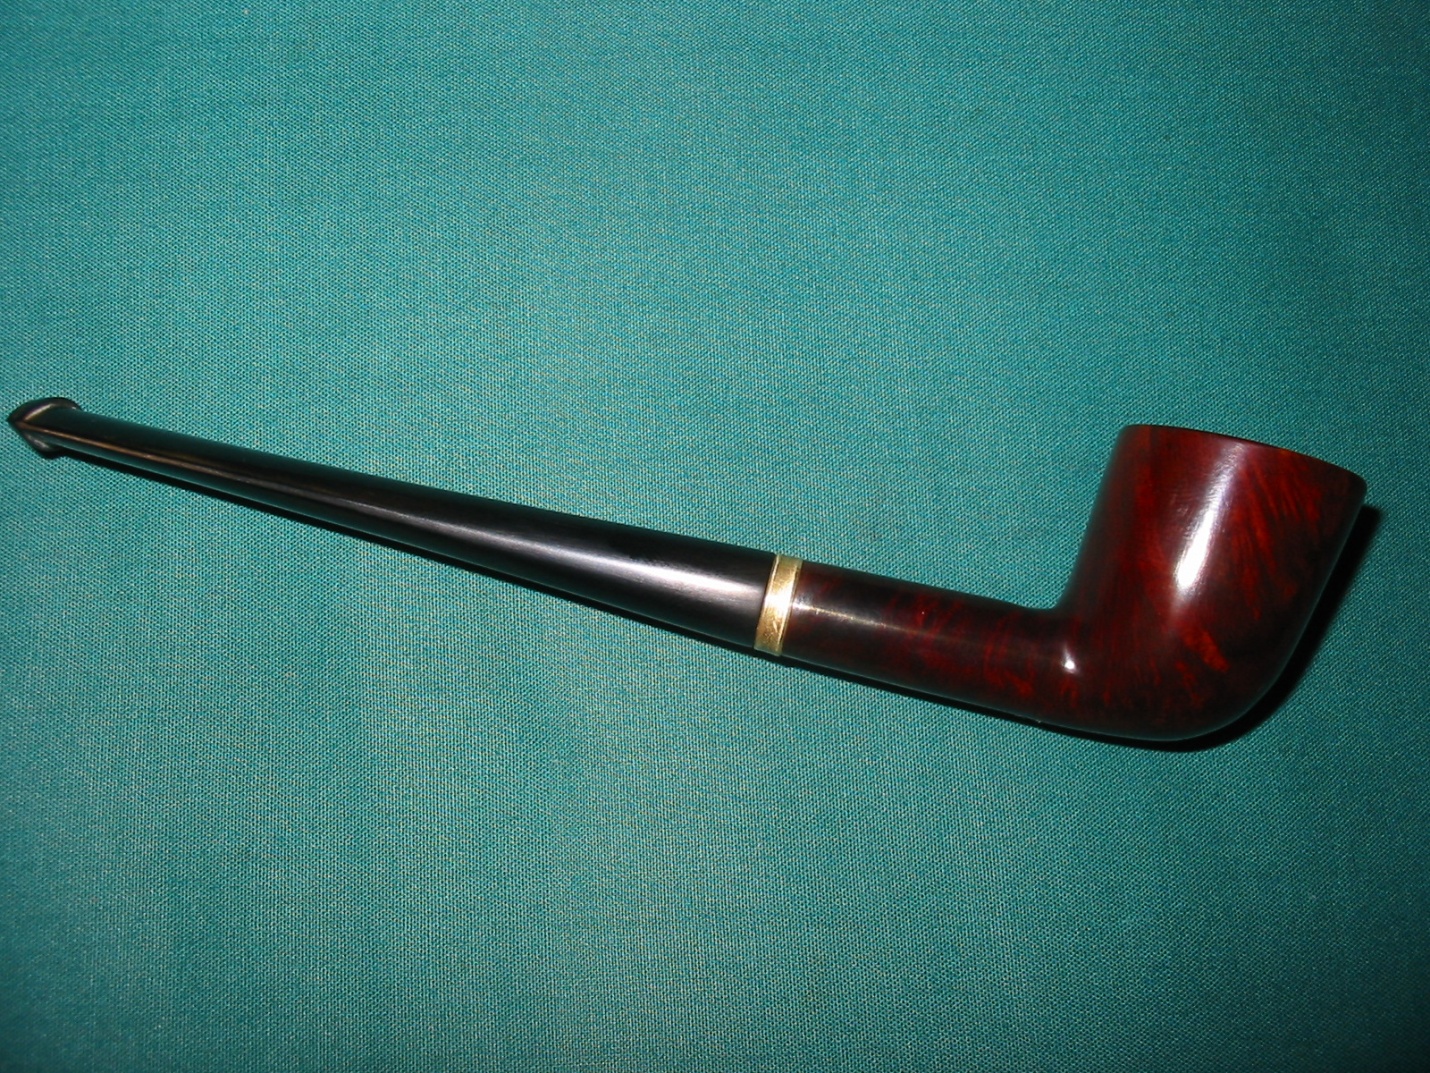
The pipe has some nice cross grain that is shown in the first photo of the left side of the bowl. The right side is a mix of grains – swirled, flame and cross grain. The top and underside of the bowl and shank show some interesting, almost undulating grain patterns. This is particularly visible on the top view moving up and over the hump. It is a great piece of briar that shows a lot of promise.


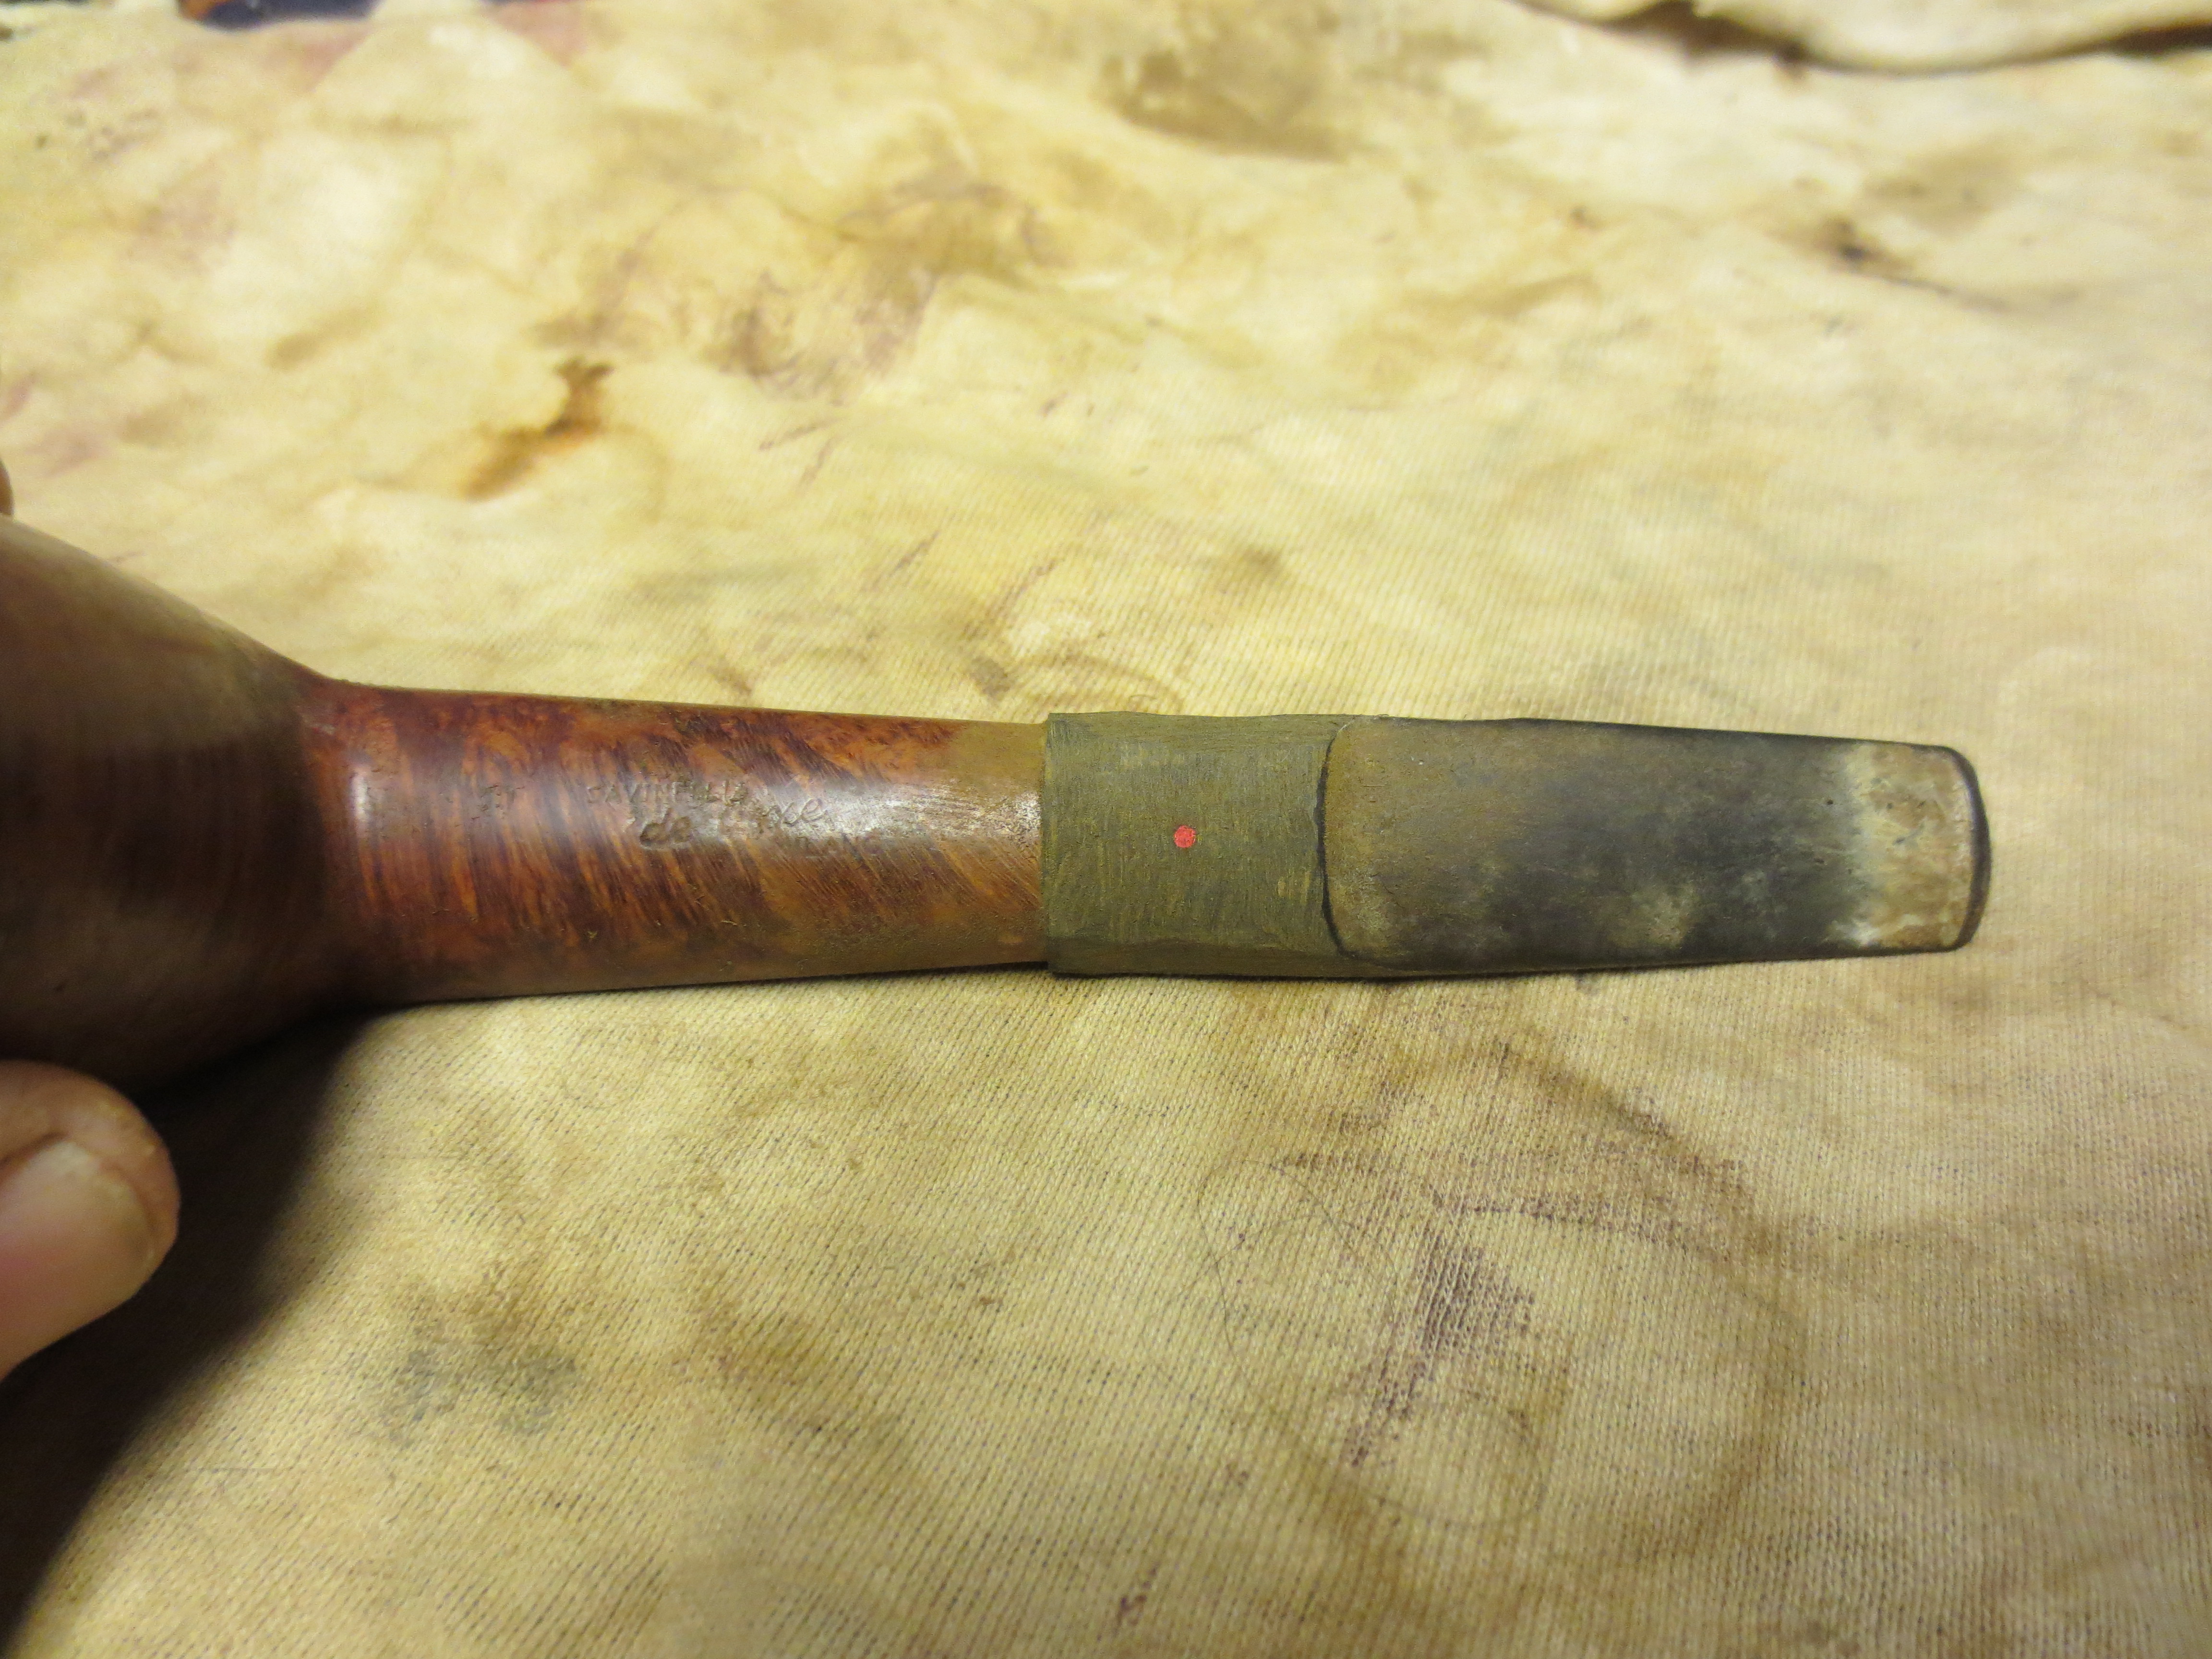
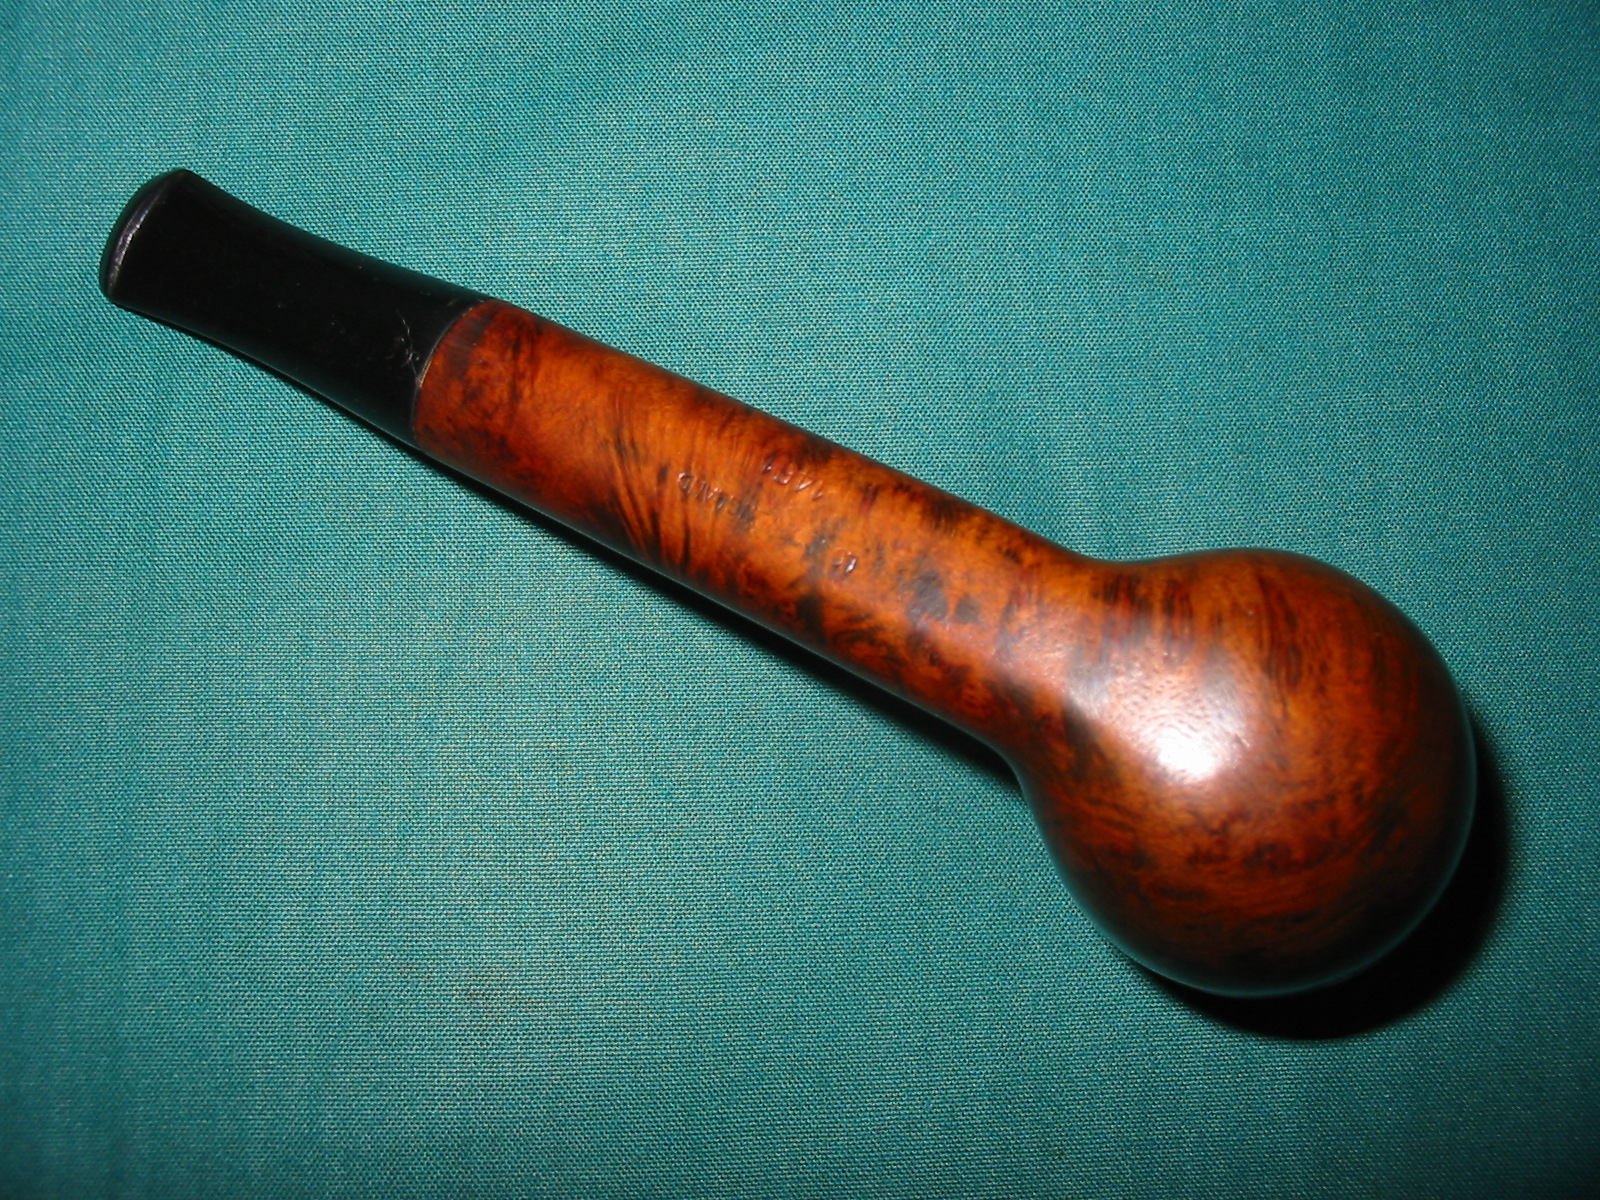
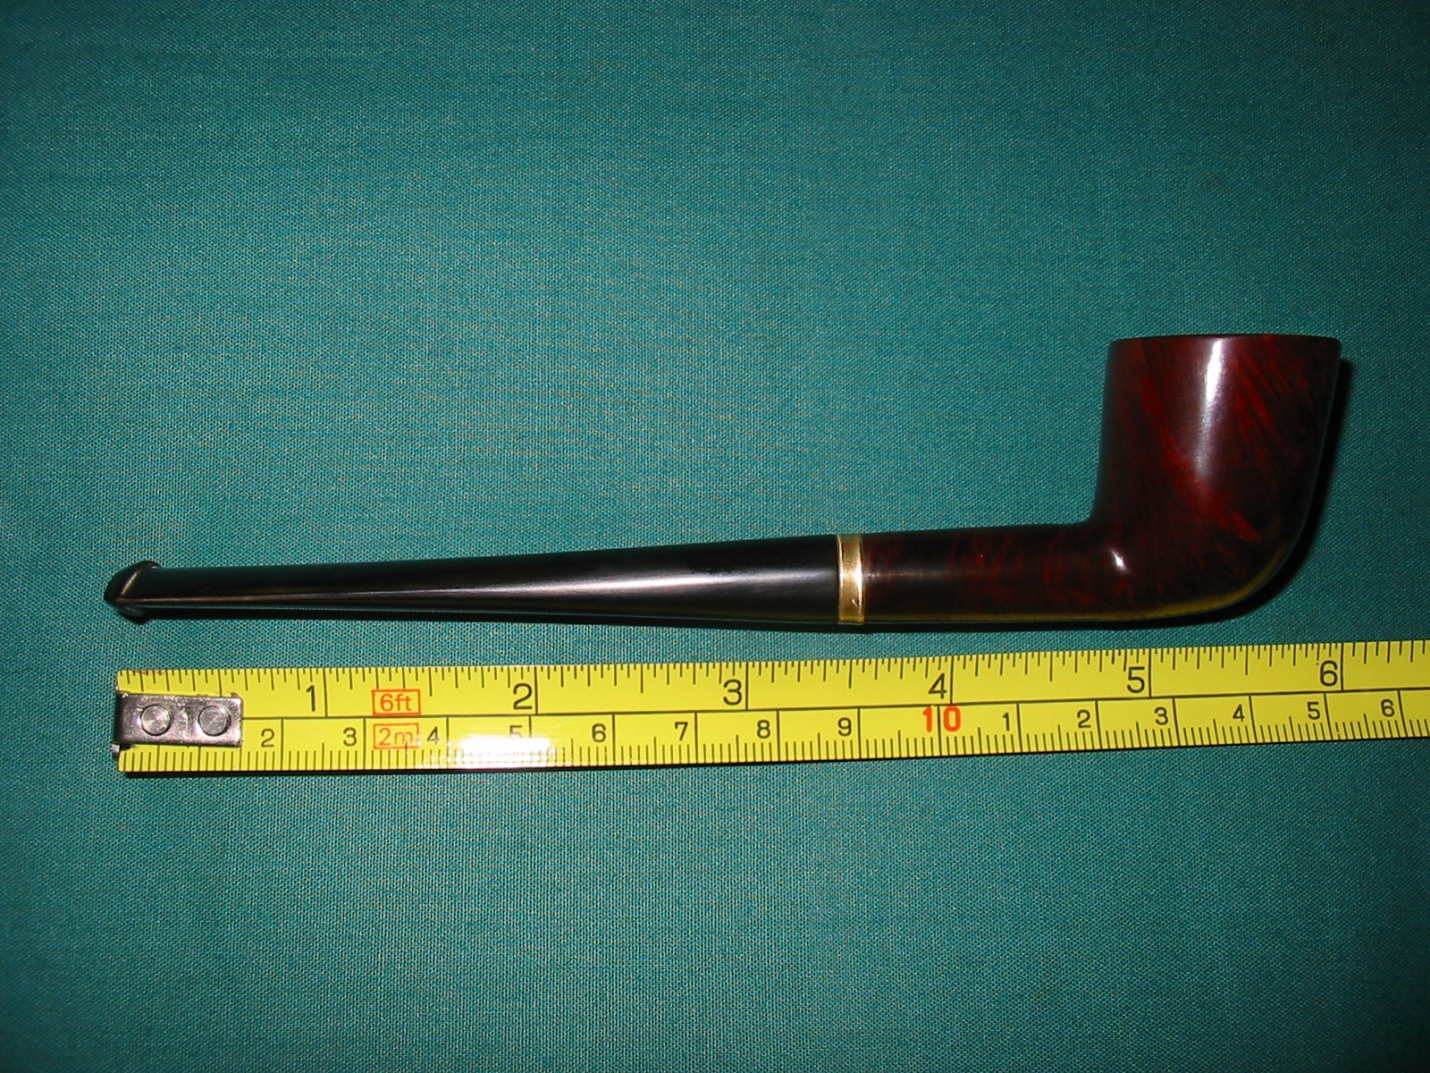
The pipe is stamped on the underside of the oval shank. It reads Hilson over Dromedary over Made in Holland. At the shank/stem junction it has the shape number stamp 712.The photo below shows that the stamping is readable. (The second photo shows the stamping after I had removed the dark stain and polished it carefully with the 1500-2400 micromesh sanding pads.)

It has been awhile since I worked on a Hilson so I did a quick review of the history of the brand. This always adds some value to my mind when I work on a pipe. I remembered at some point Hilson had been sold to Gubbels who made the Big Ben pipe. At that time, it moved from being a Belgian made pipe to being made in the Netherlands/Holland. I turned to Pipedia and read the entry on Hilson there(https://pipedia.org/wiki/Hilson)and to Pipephil’s site to read what he had for information (http://www.pipephil.eu/logos/en/logo-h3.html).I have combined and summarized the pertinent information from the two sites.

In 1846 a German named Jean Knödgen started to produce clay pipe in Belgium. In the late 19th century Jean Hillen who married into the Knödgen family took over the company and changed the firm in order to manufacture briar pipes. Jean Hillen had 2 sons: Jos Hillen was responsible for sales and Albert Hillen was responsible for the production.After WWII Albert founded the HILSON brand (Hillen and Son) and exported his pipes all over the world.
…In the 1960’s and still throughout the 1970’s the brand Hilson of Broers Hillen B.V. (Hillen Bros. Co.) was quite successful in many European countries. They produced large numbers of machine made pipes covering the whole range of shapes and finishes. The pipes were well respected for good quality and craftsmenship at very moderate prices.
…in 1980 Hillen faced major financial problems. After having gone bankrupt, the Belgian brand from Bree (Limburg) wastaken over by the Royal Dutch Pipe Factory. The owner, Elbert Gubbels used the favour of the hour and bought the company…The Hillen plant in Bree was closed down shortly after and ever since then Hilson pipes are manufactured in Roermond, NL.
Given that the plant in Bree, Belgium closed around 1980 after Gubbels had purchased the company, I knew that the pipe I was working on had been made after that time.The Made in Holland stamp on the underside of the shank gave that information.I am not sure that I can get any closer in terms of a date for the pipe.
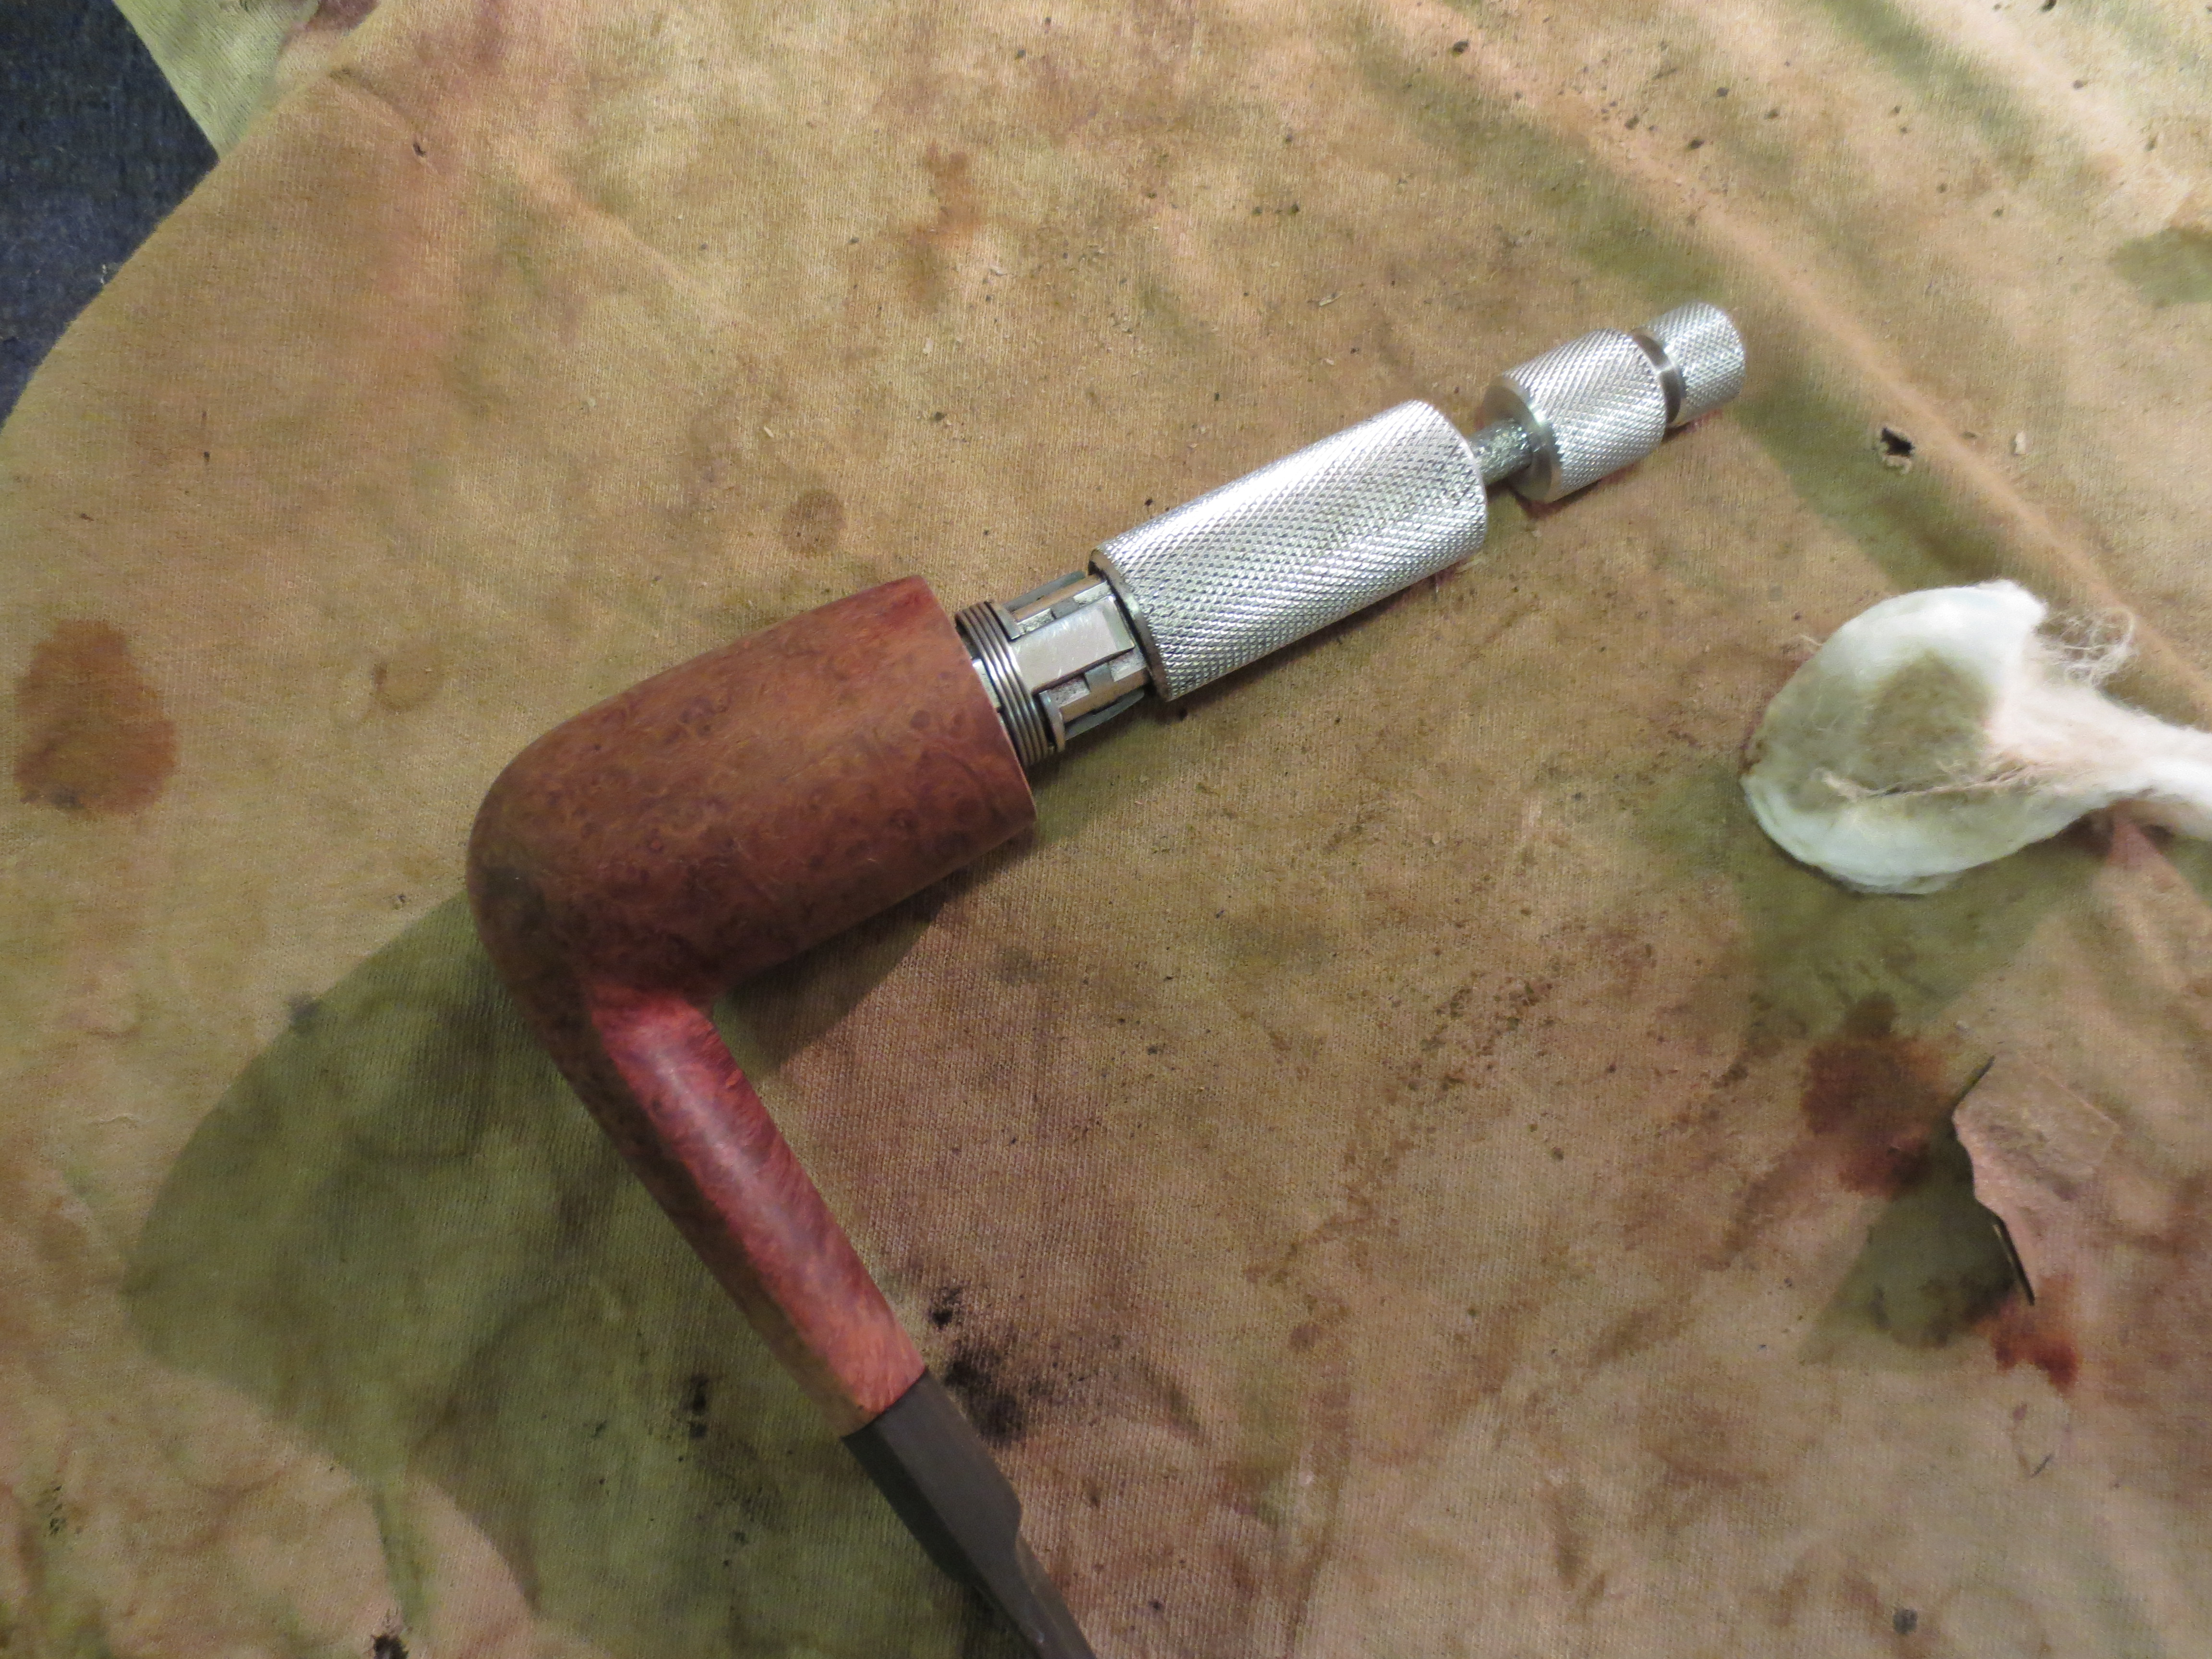
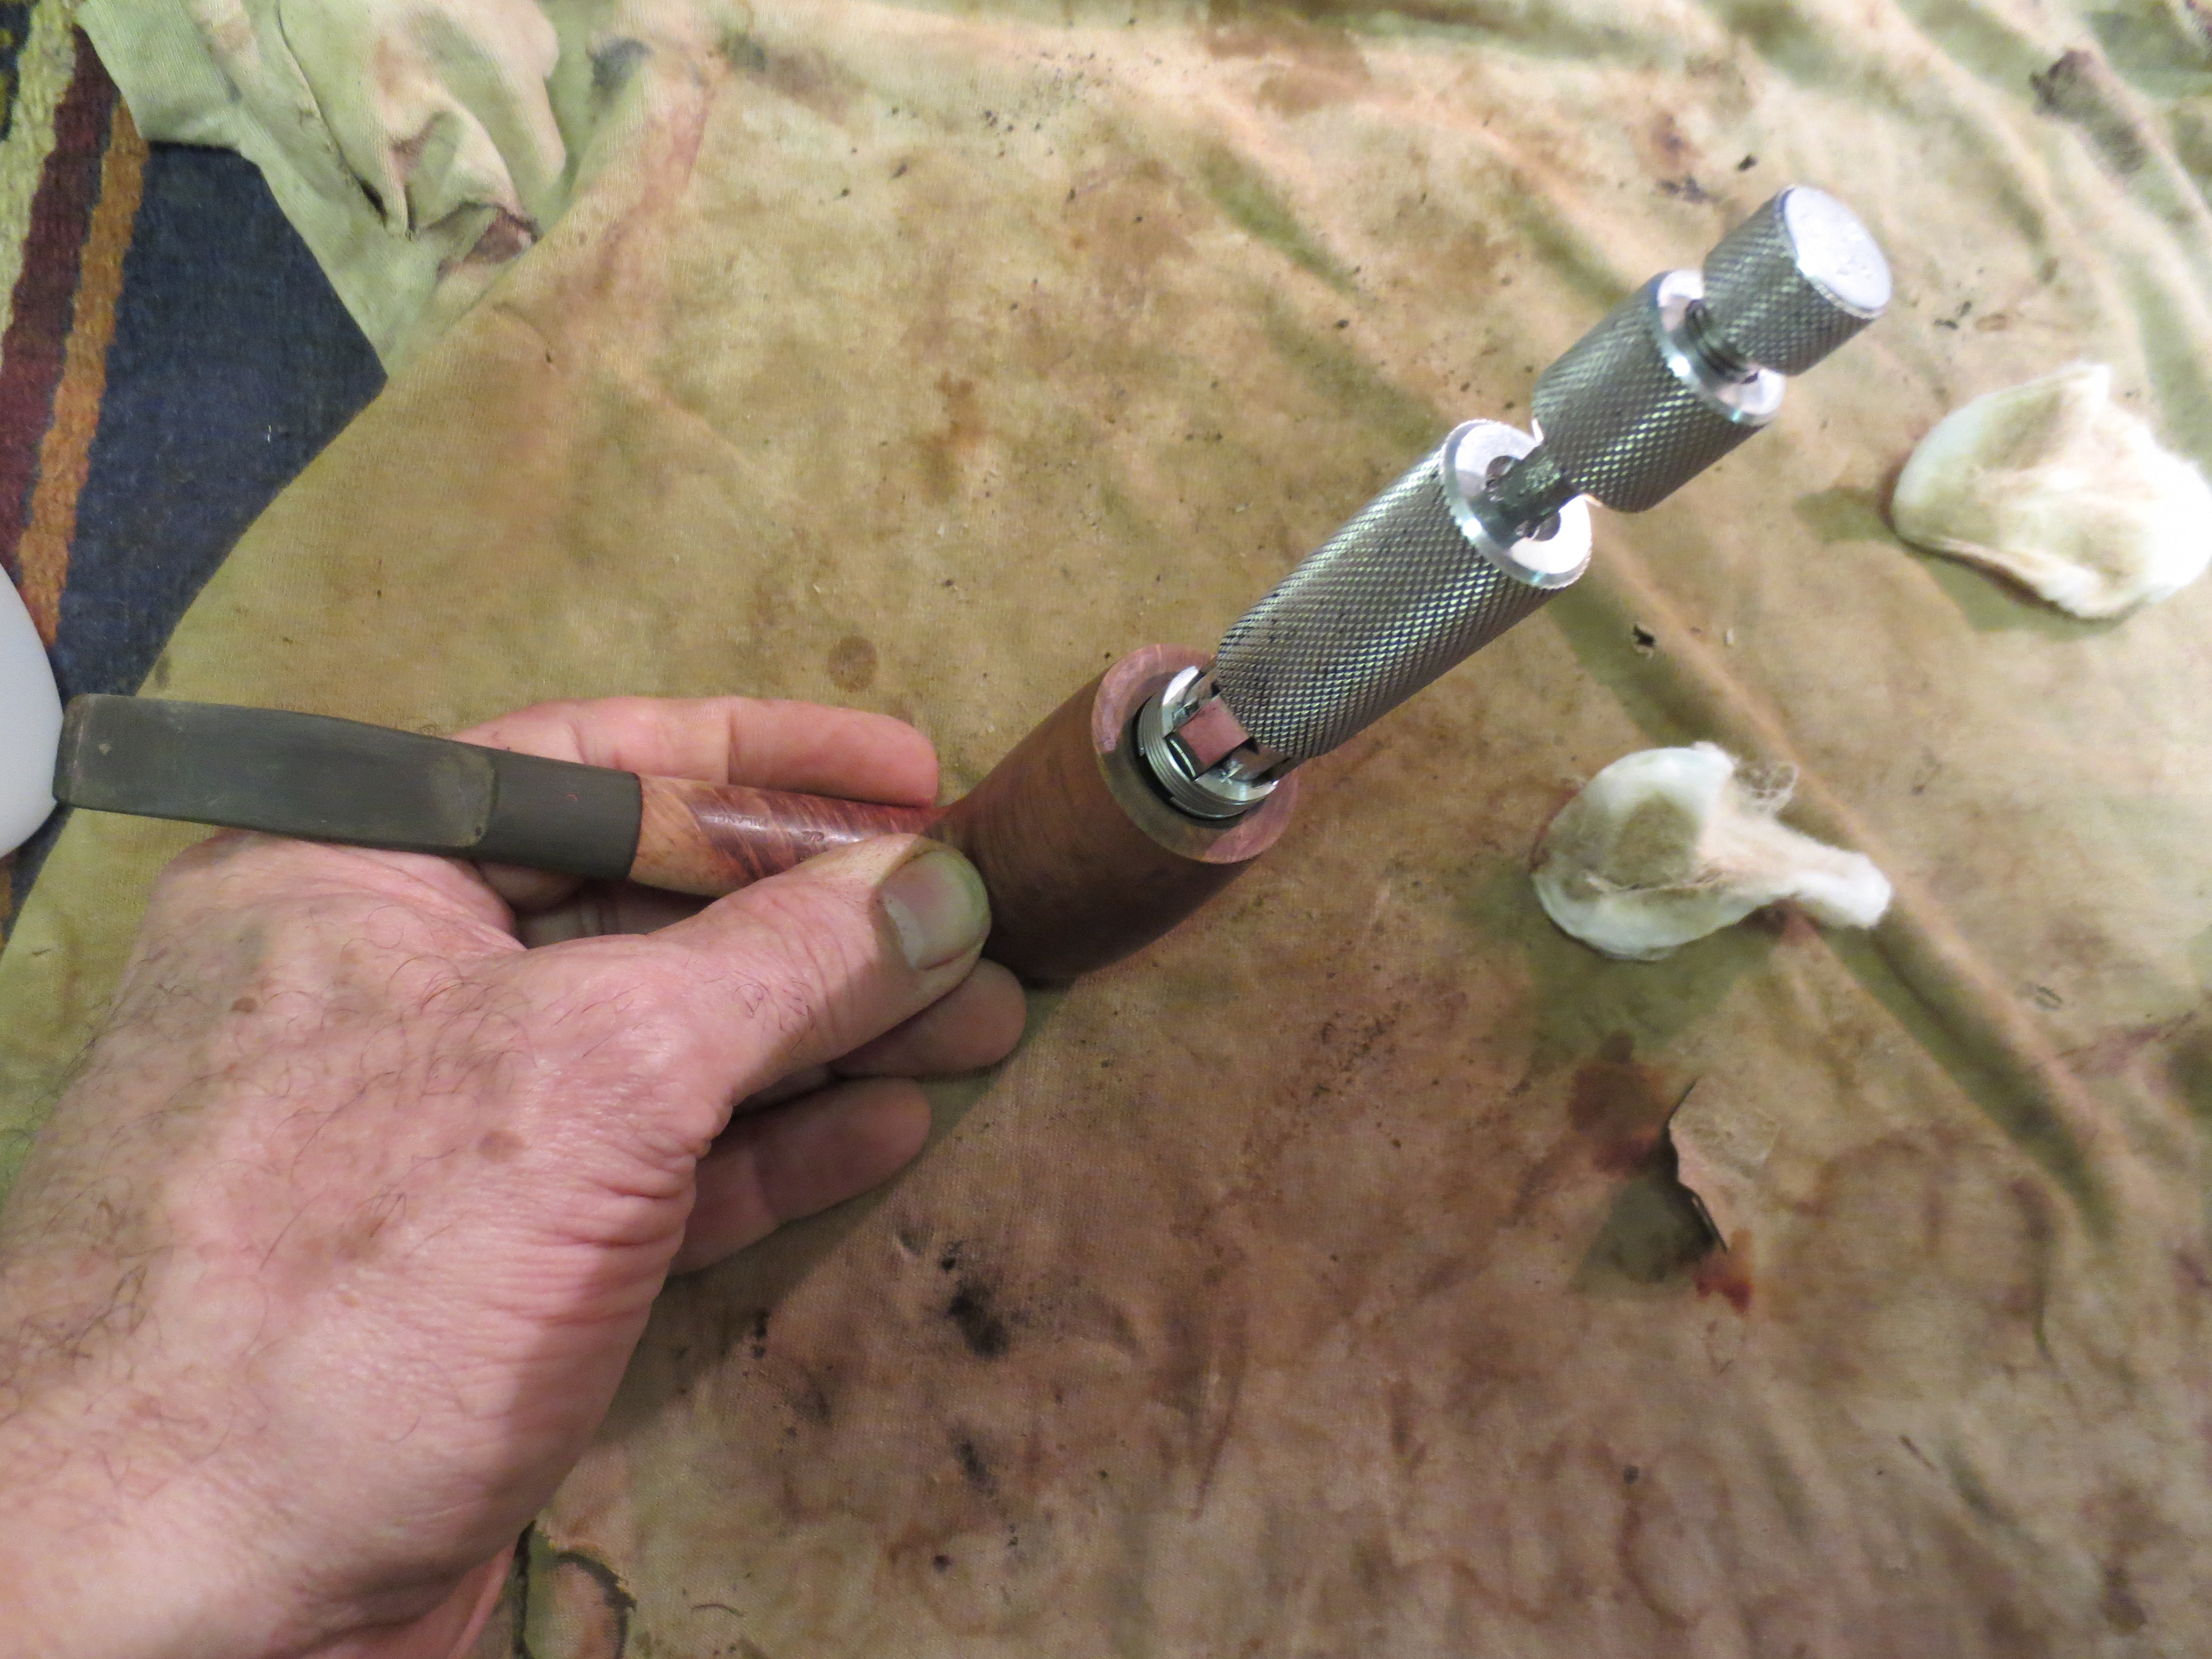
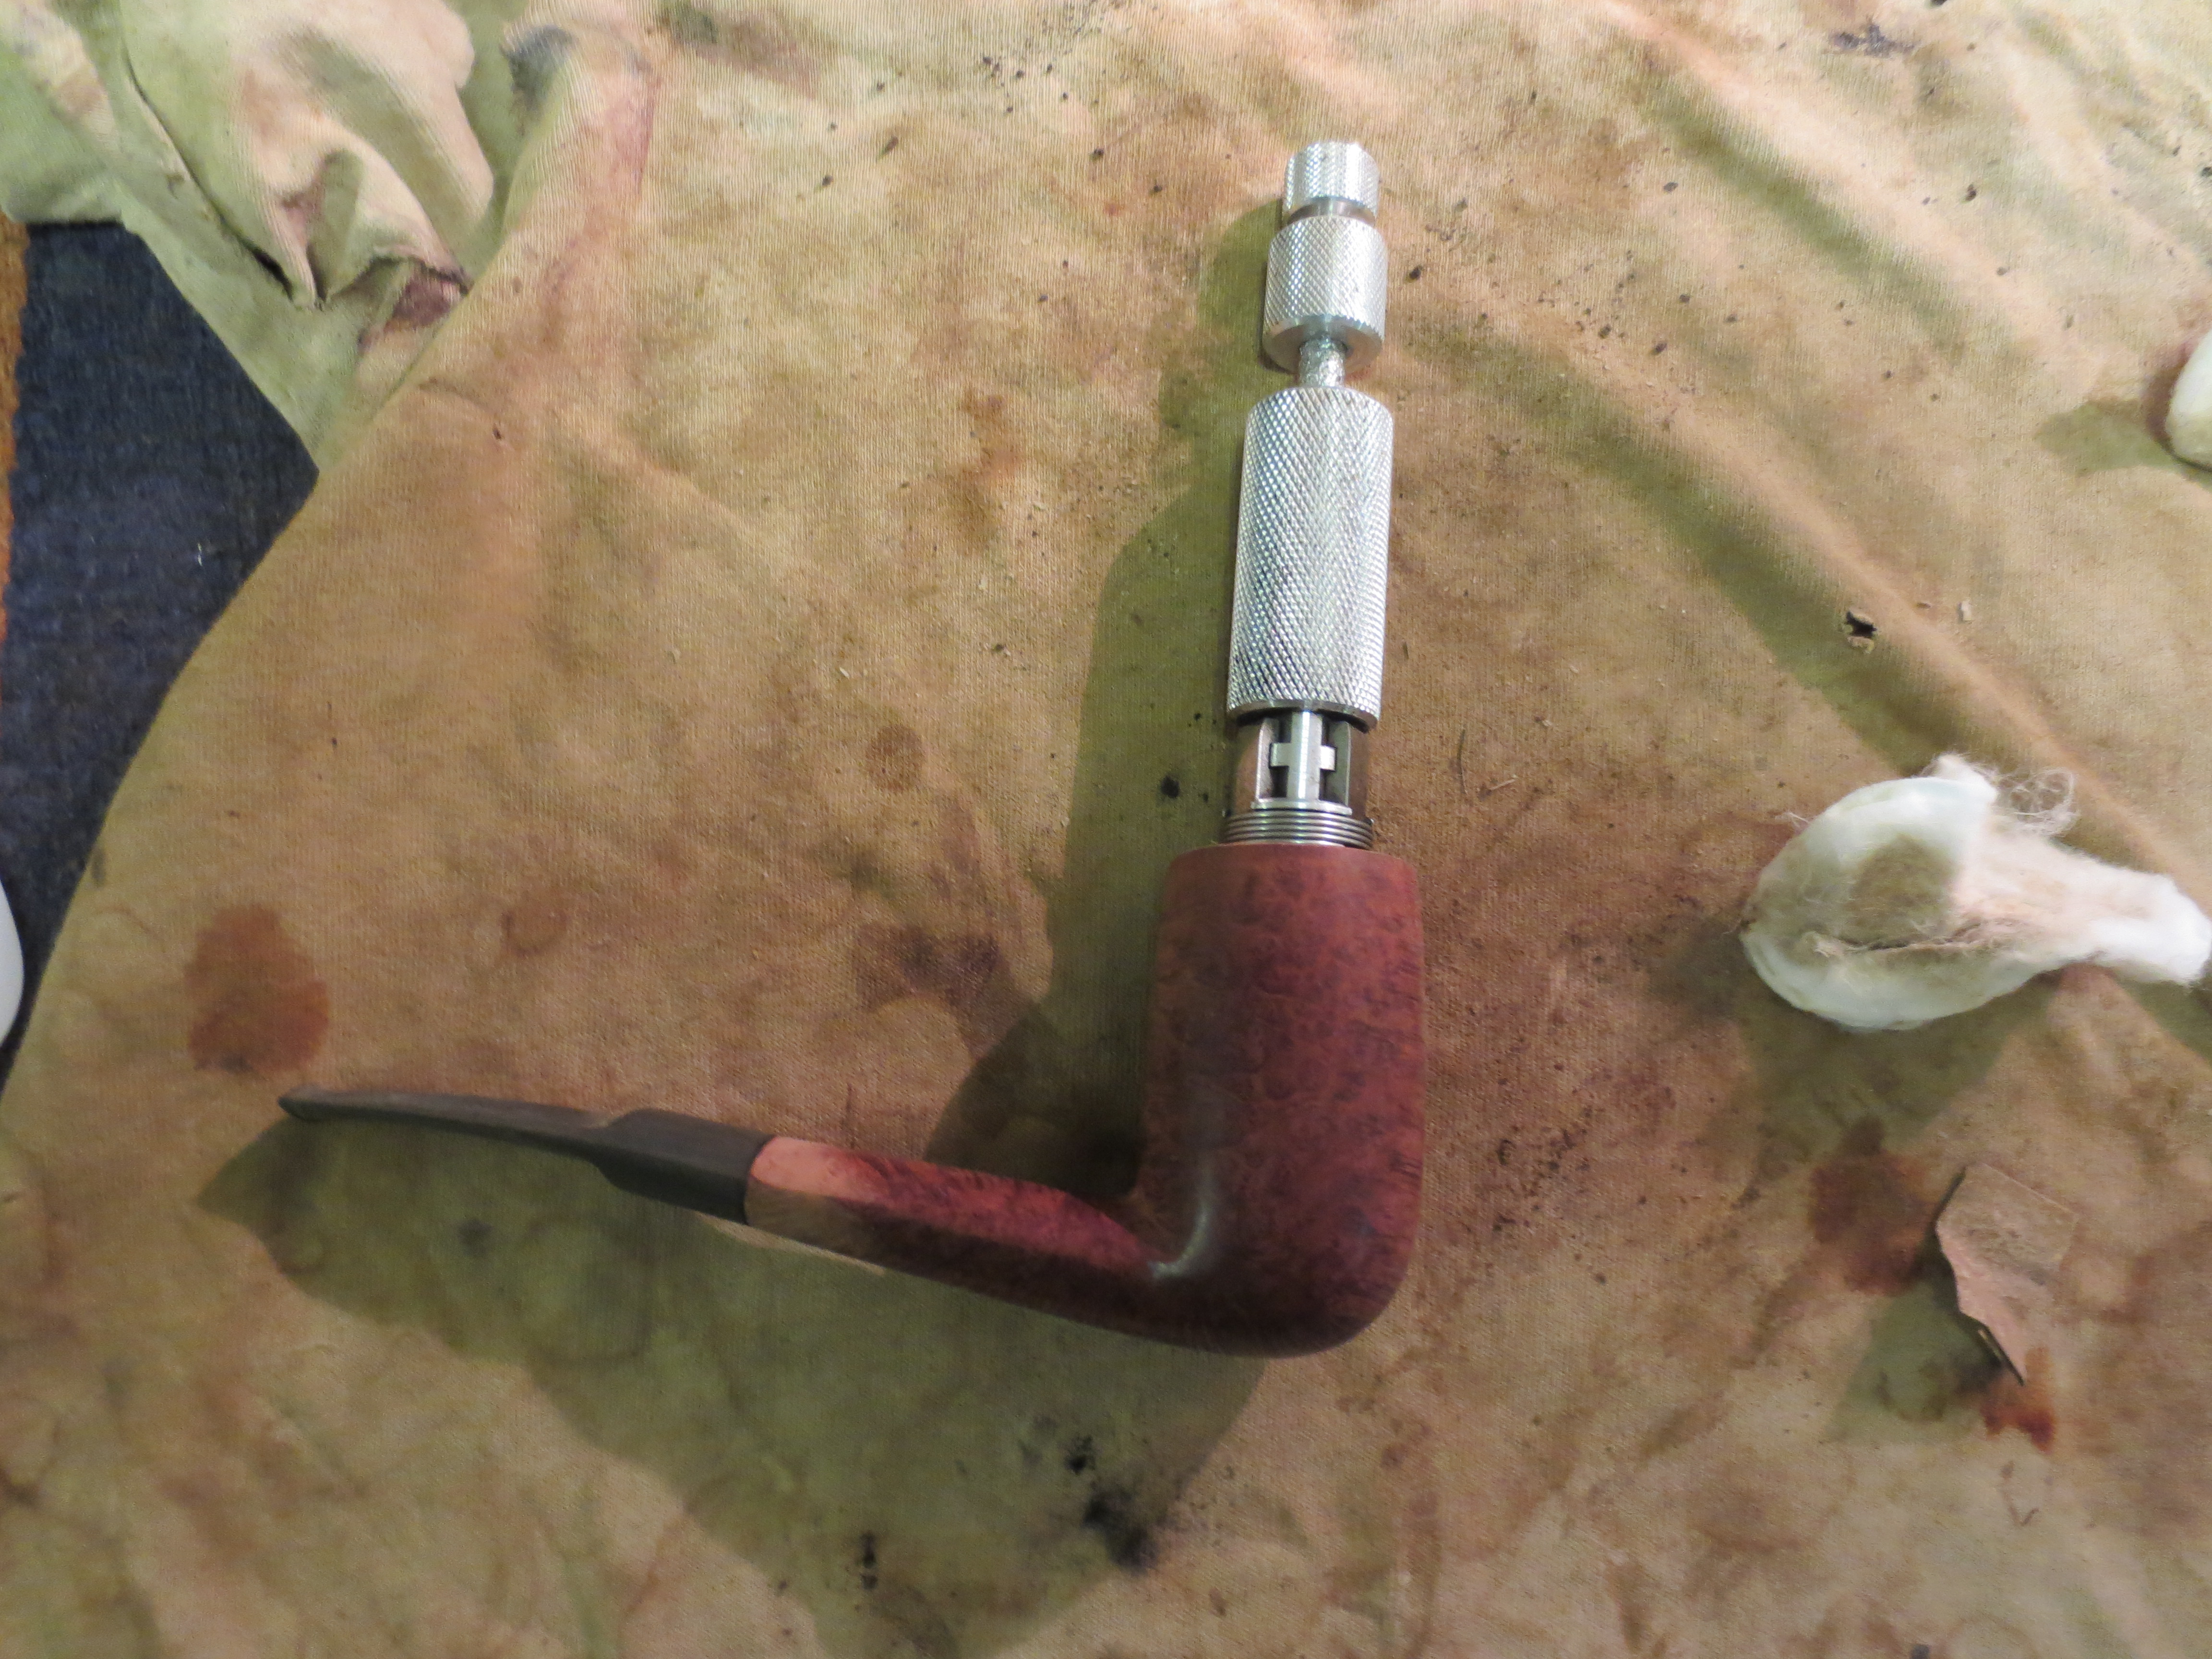
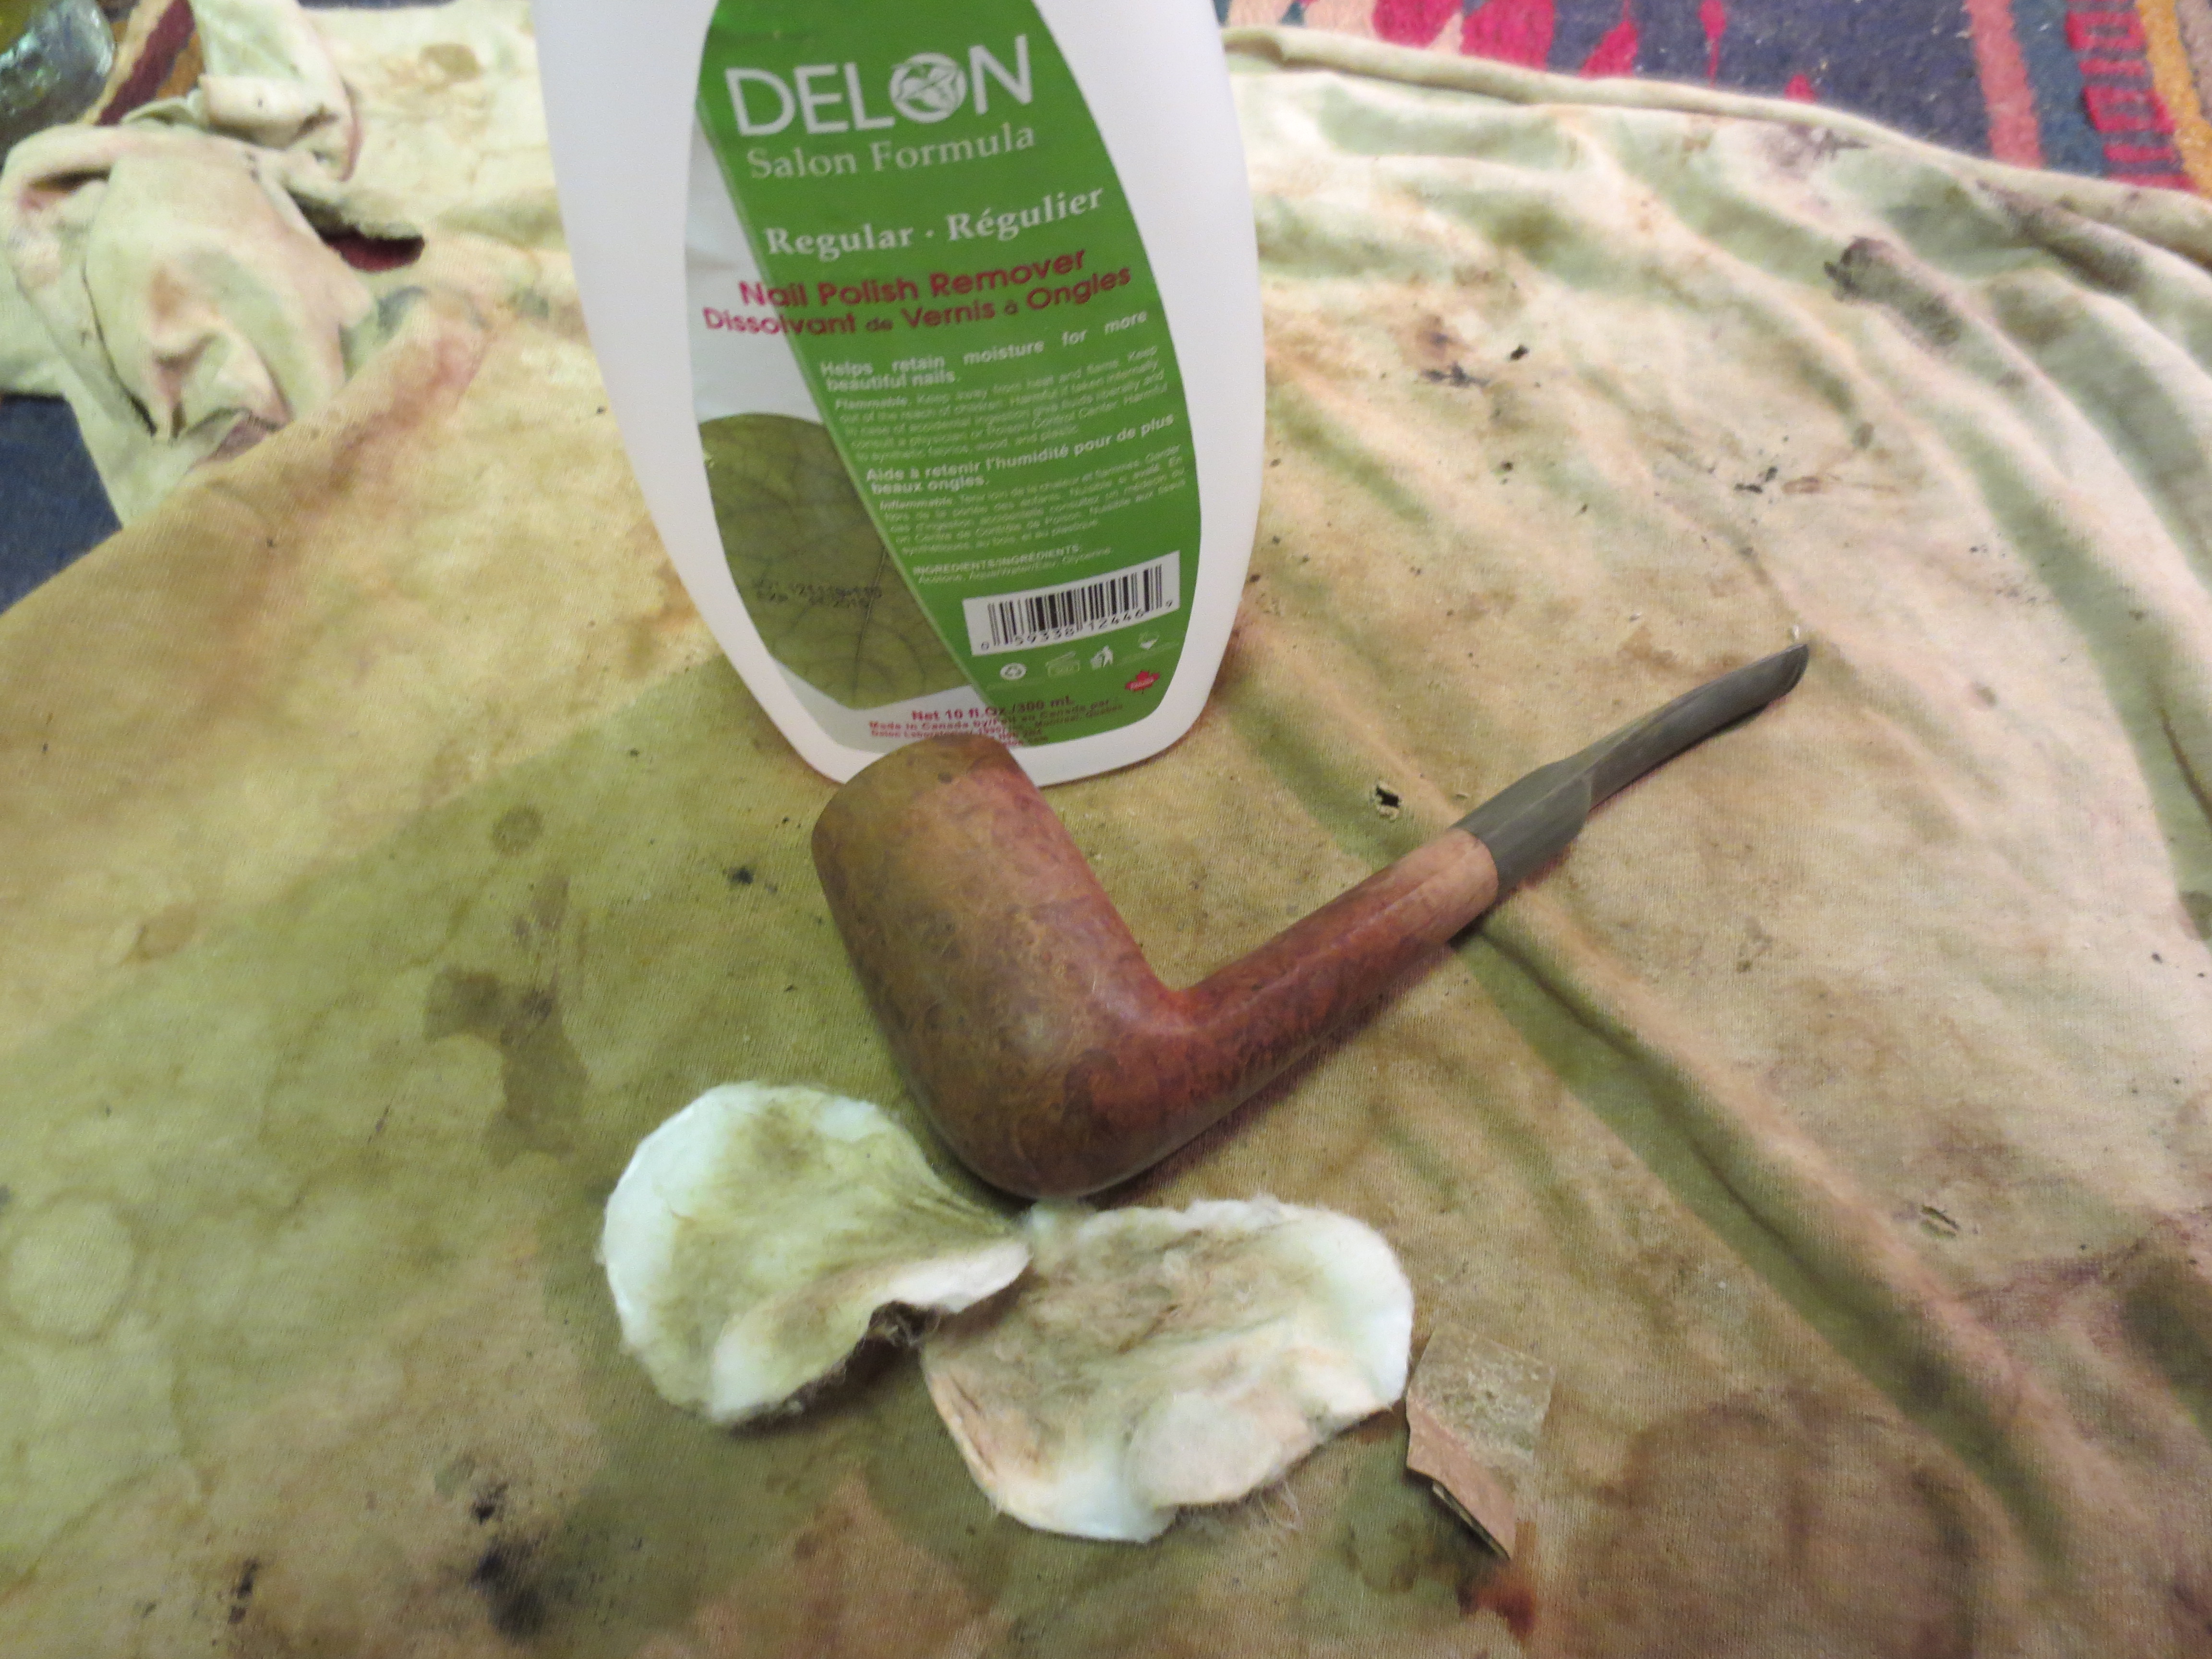
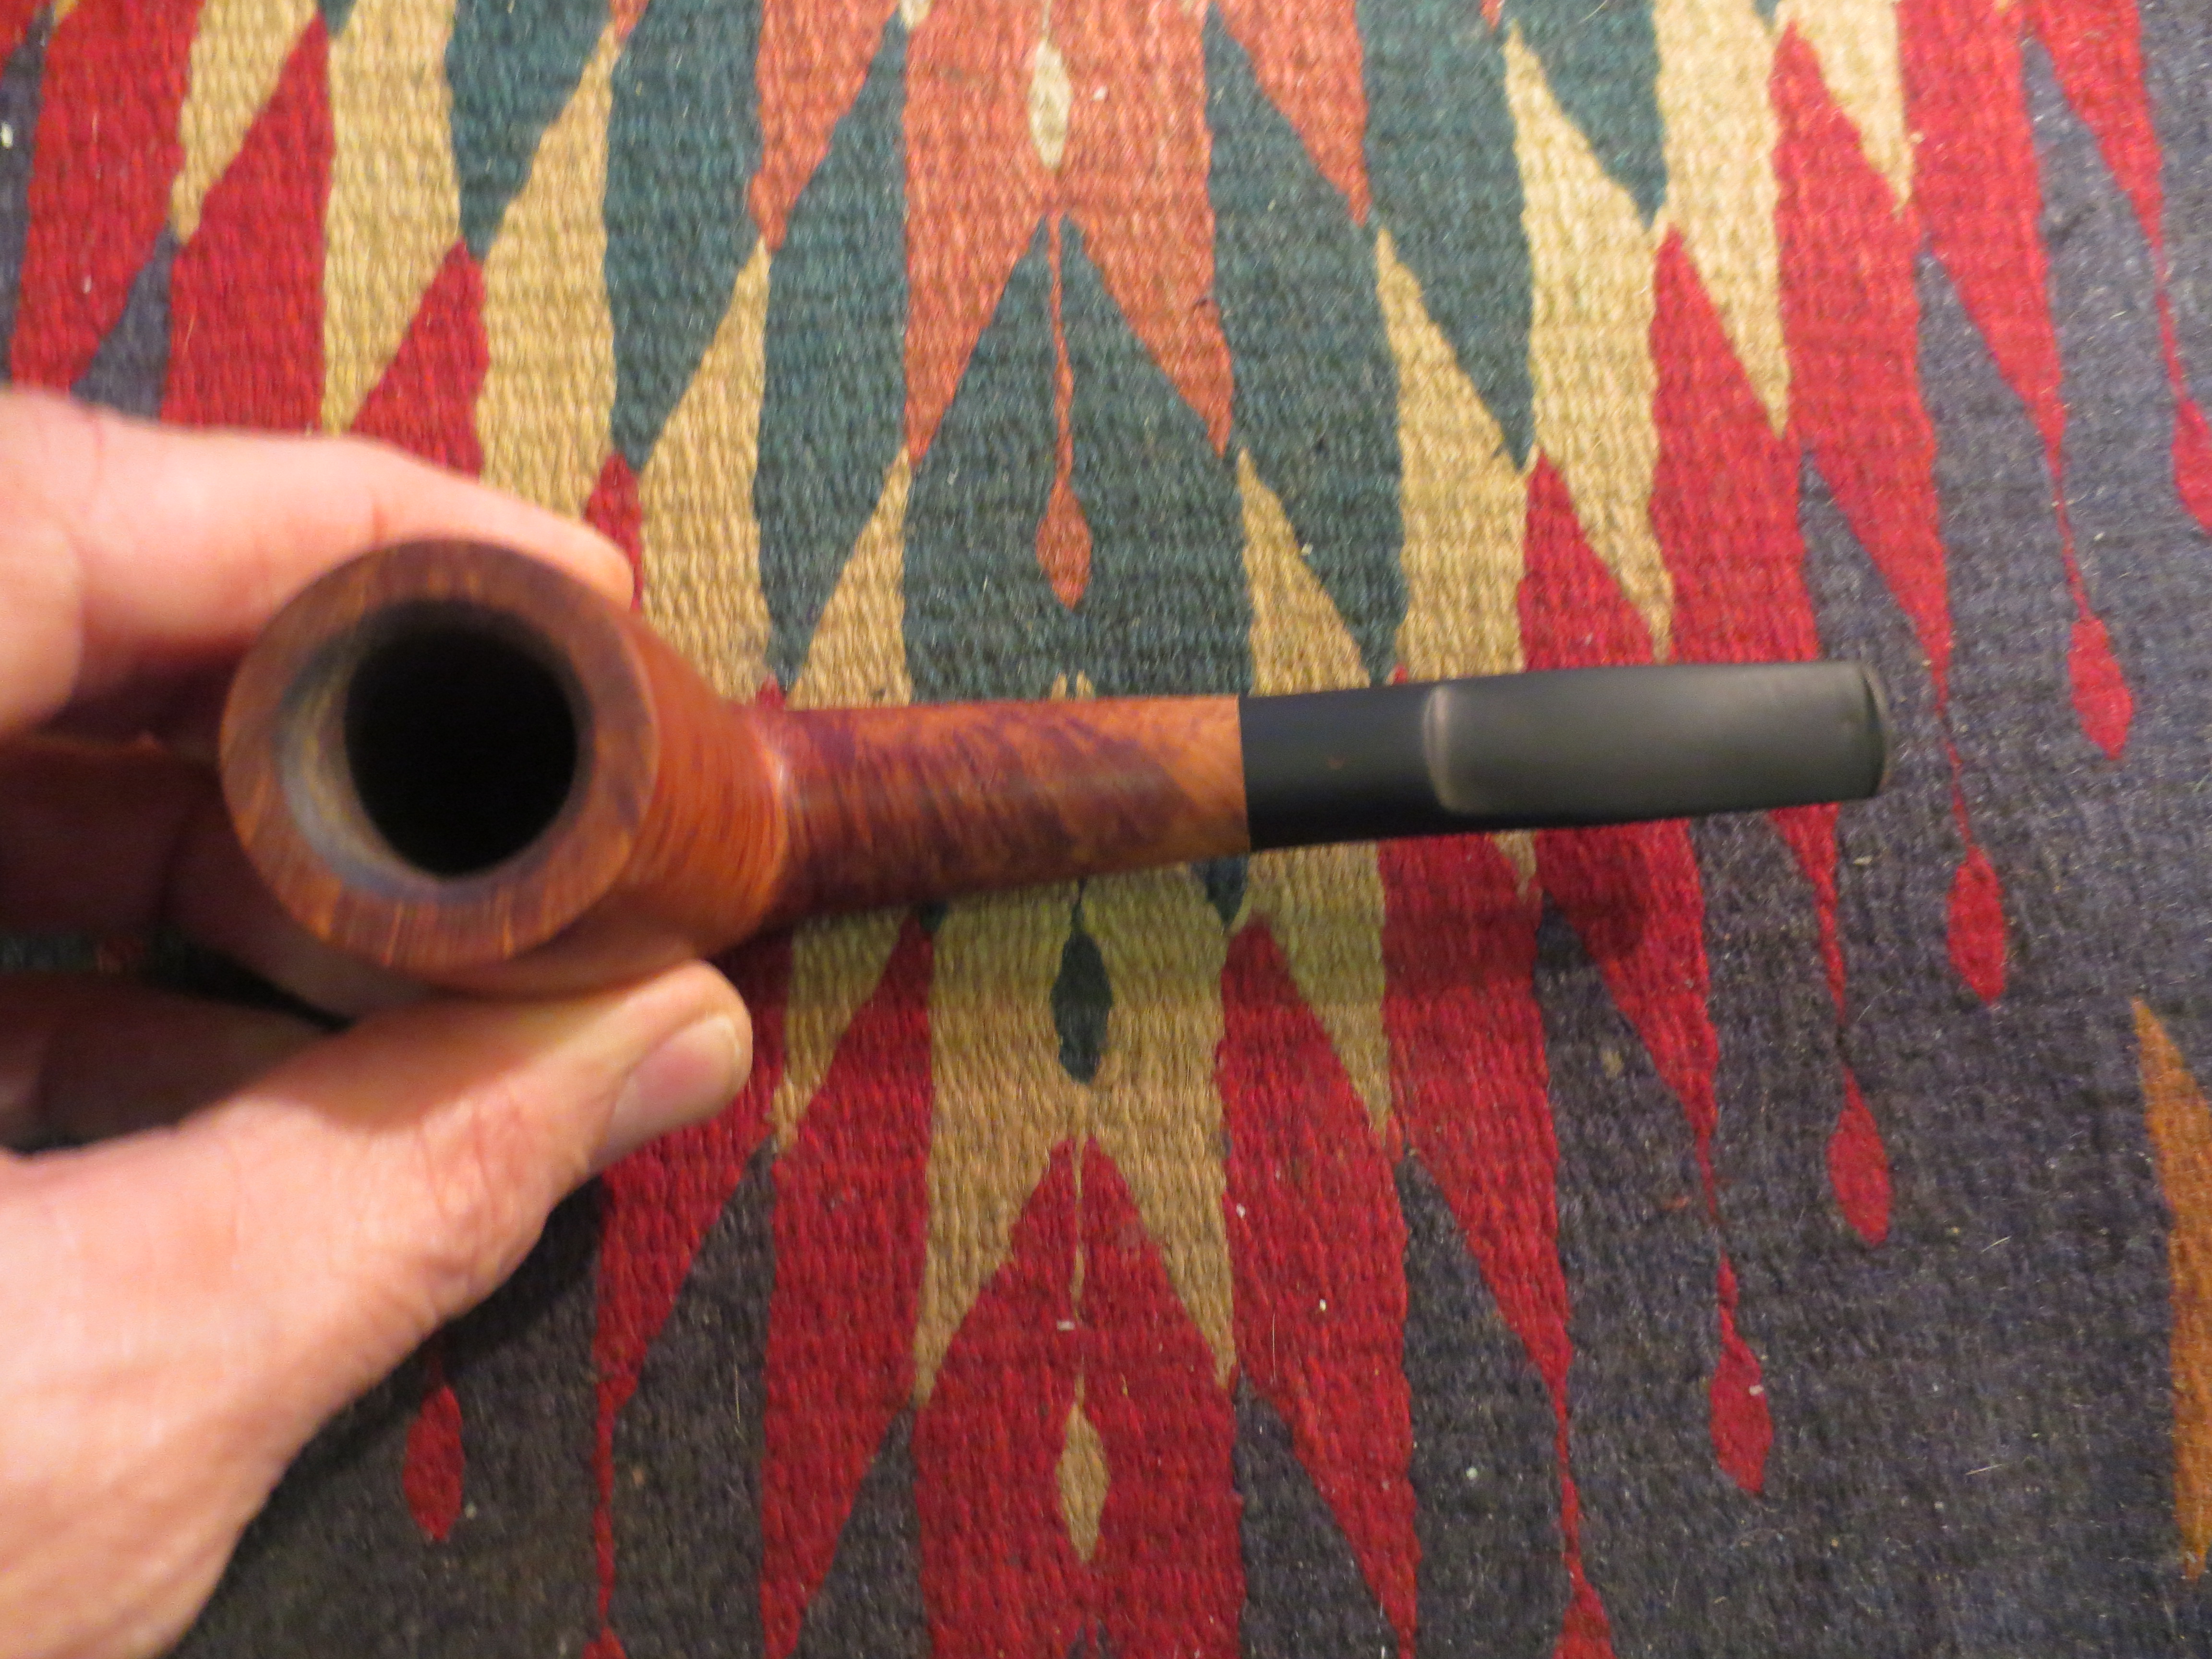
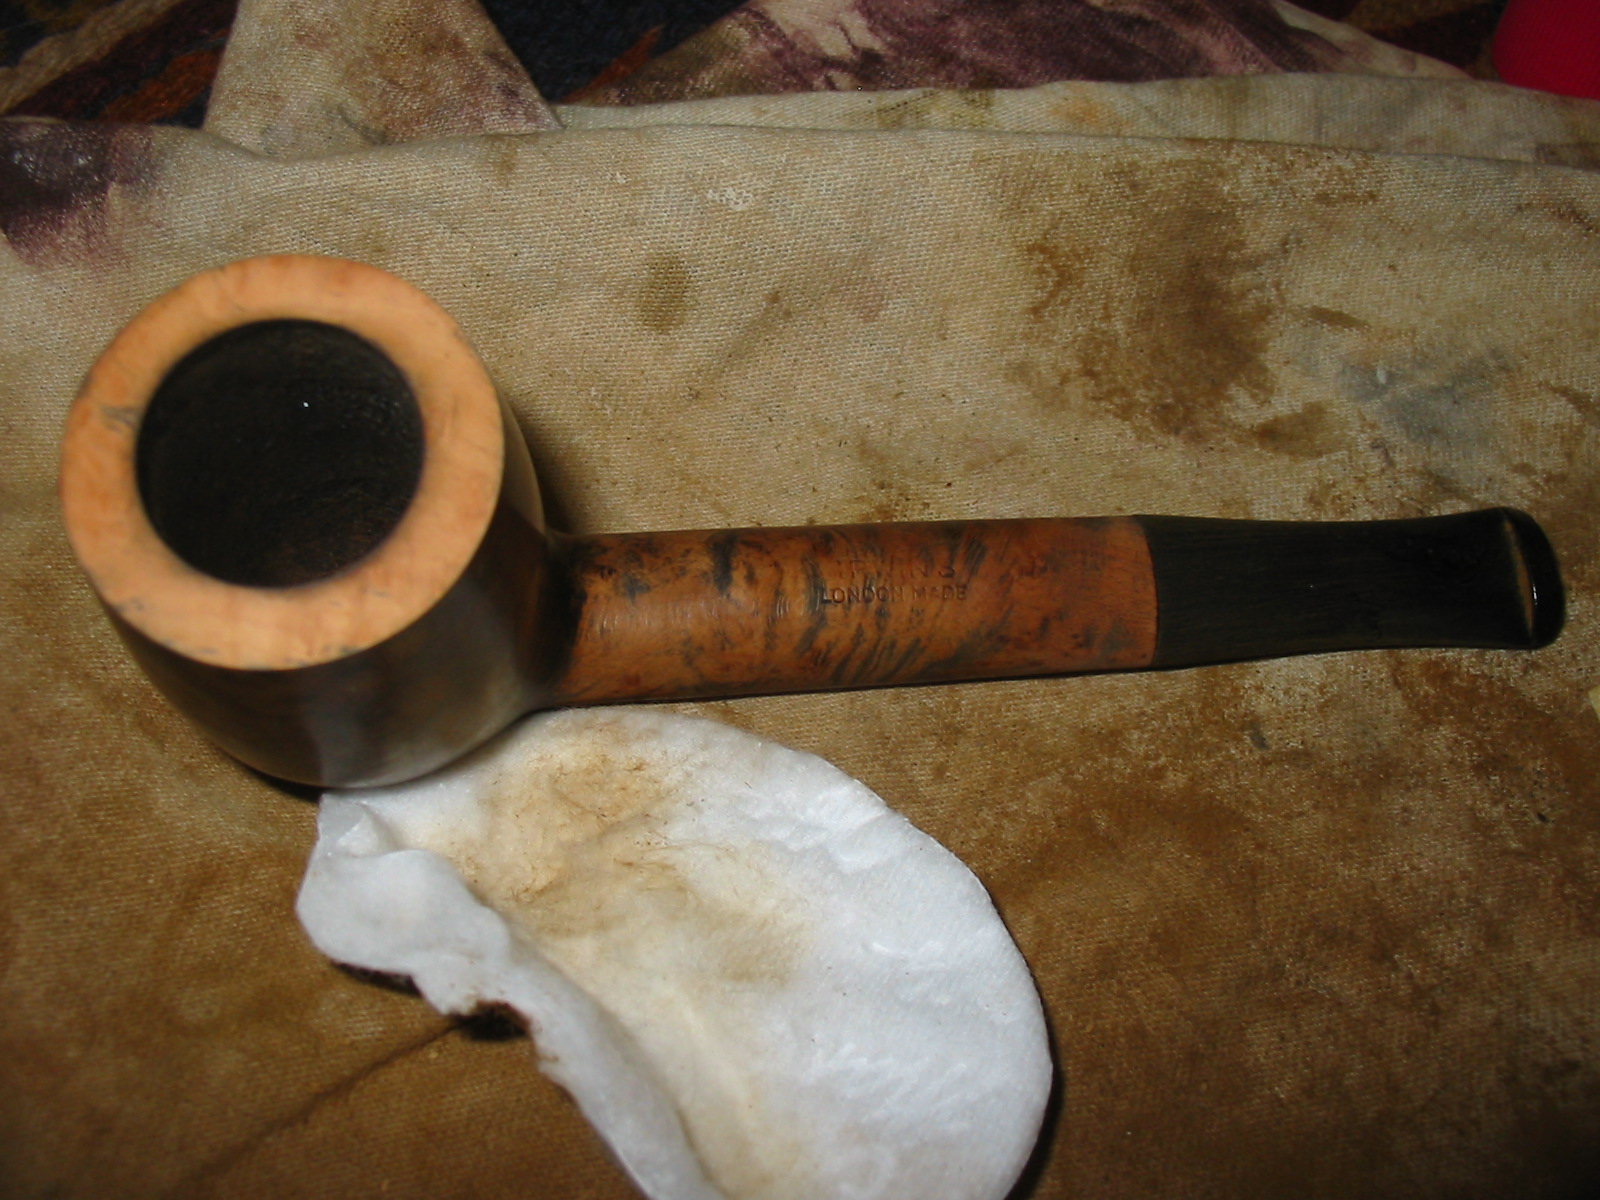
I reamed the bowl with a PipNet reamer to remove the cake and cleaned up after the reaming with a Savinelli Fitsall pipe knife (no photo, sorry!). I wrapped 220 sandpaper around a piece of dowel and sanded the inside of the bowl.

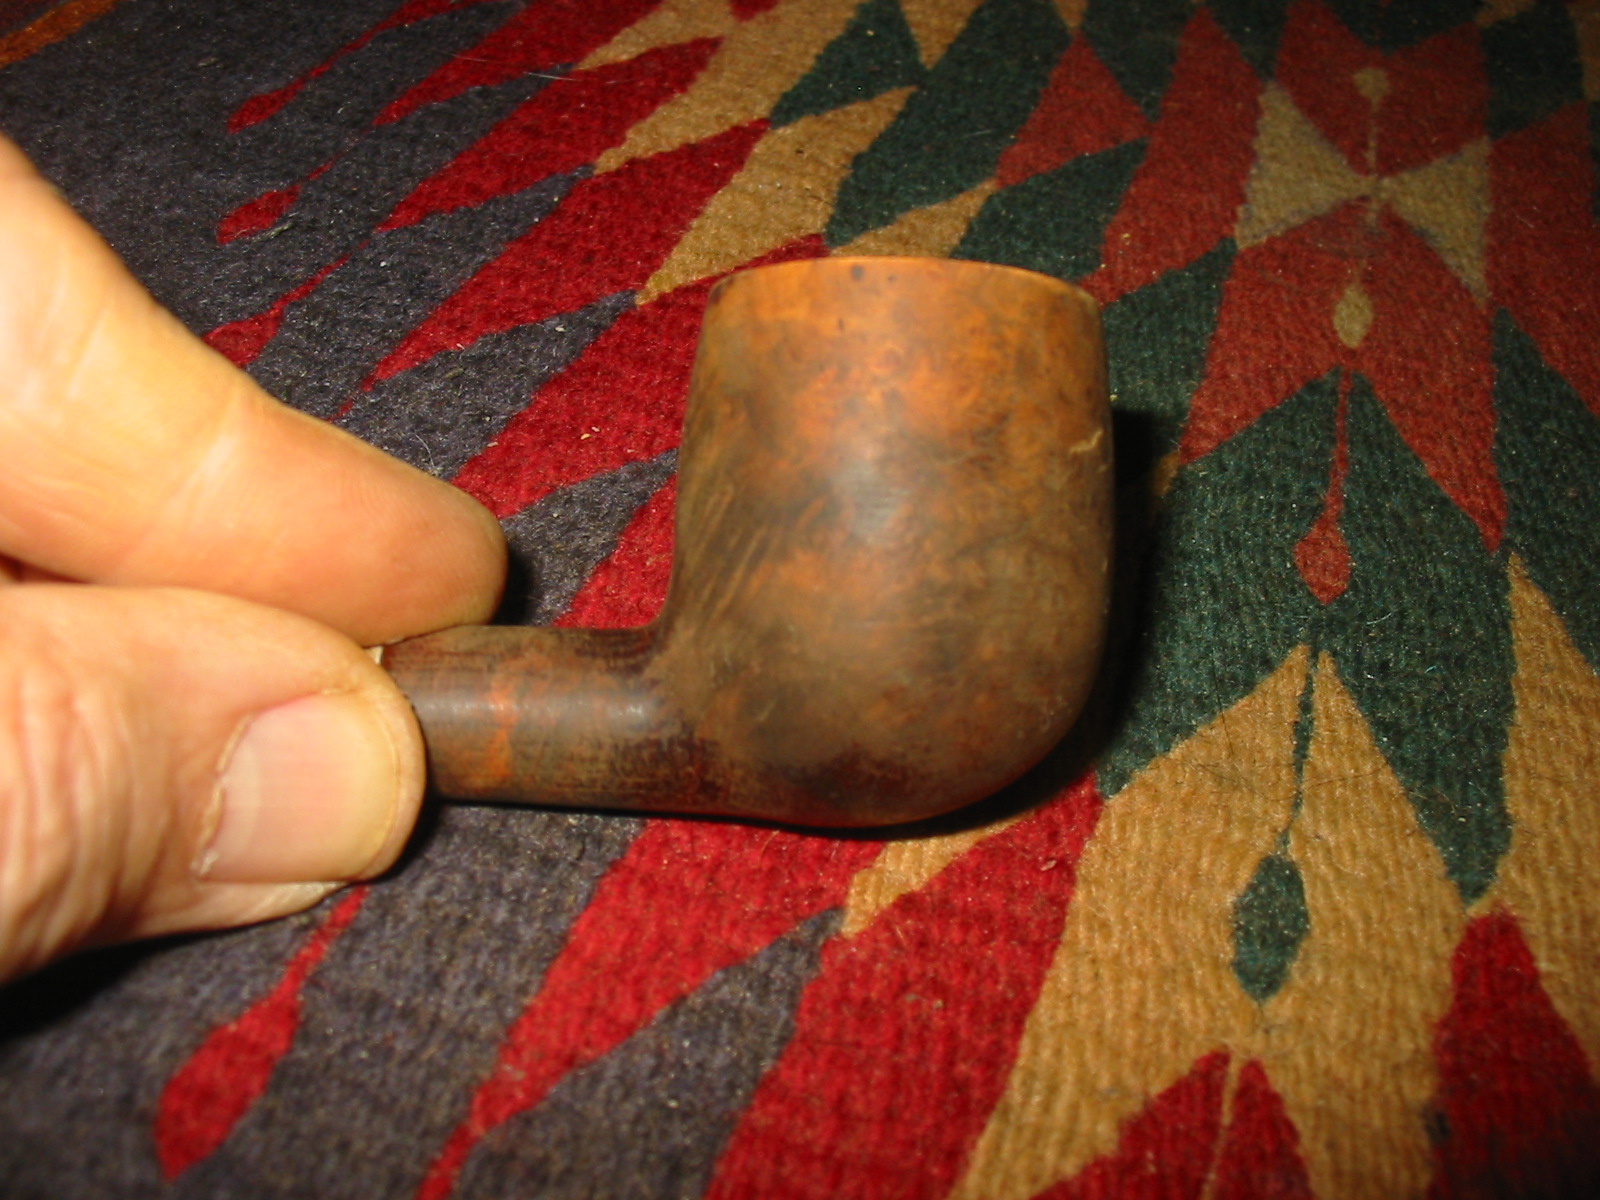
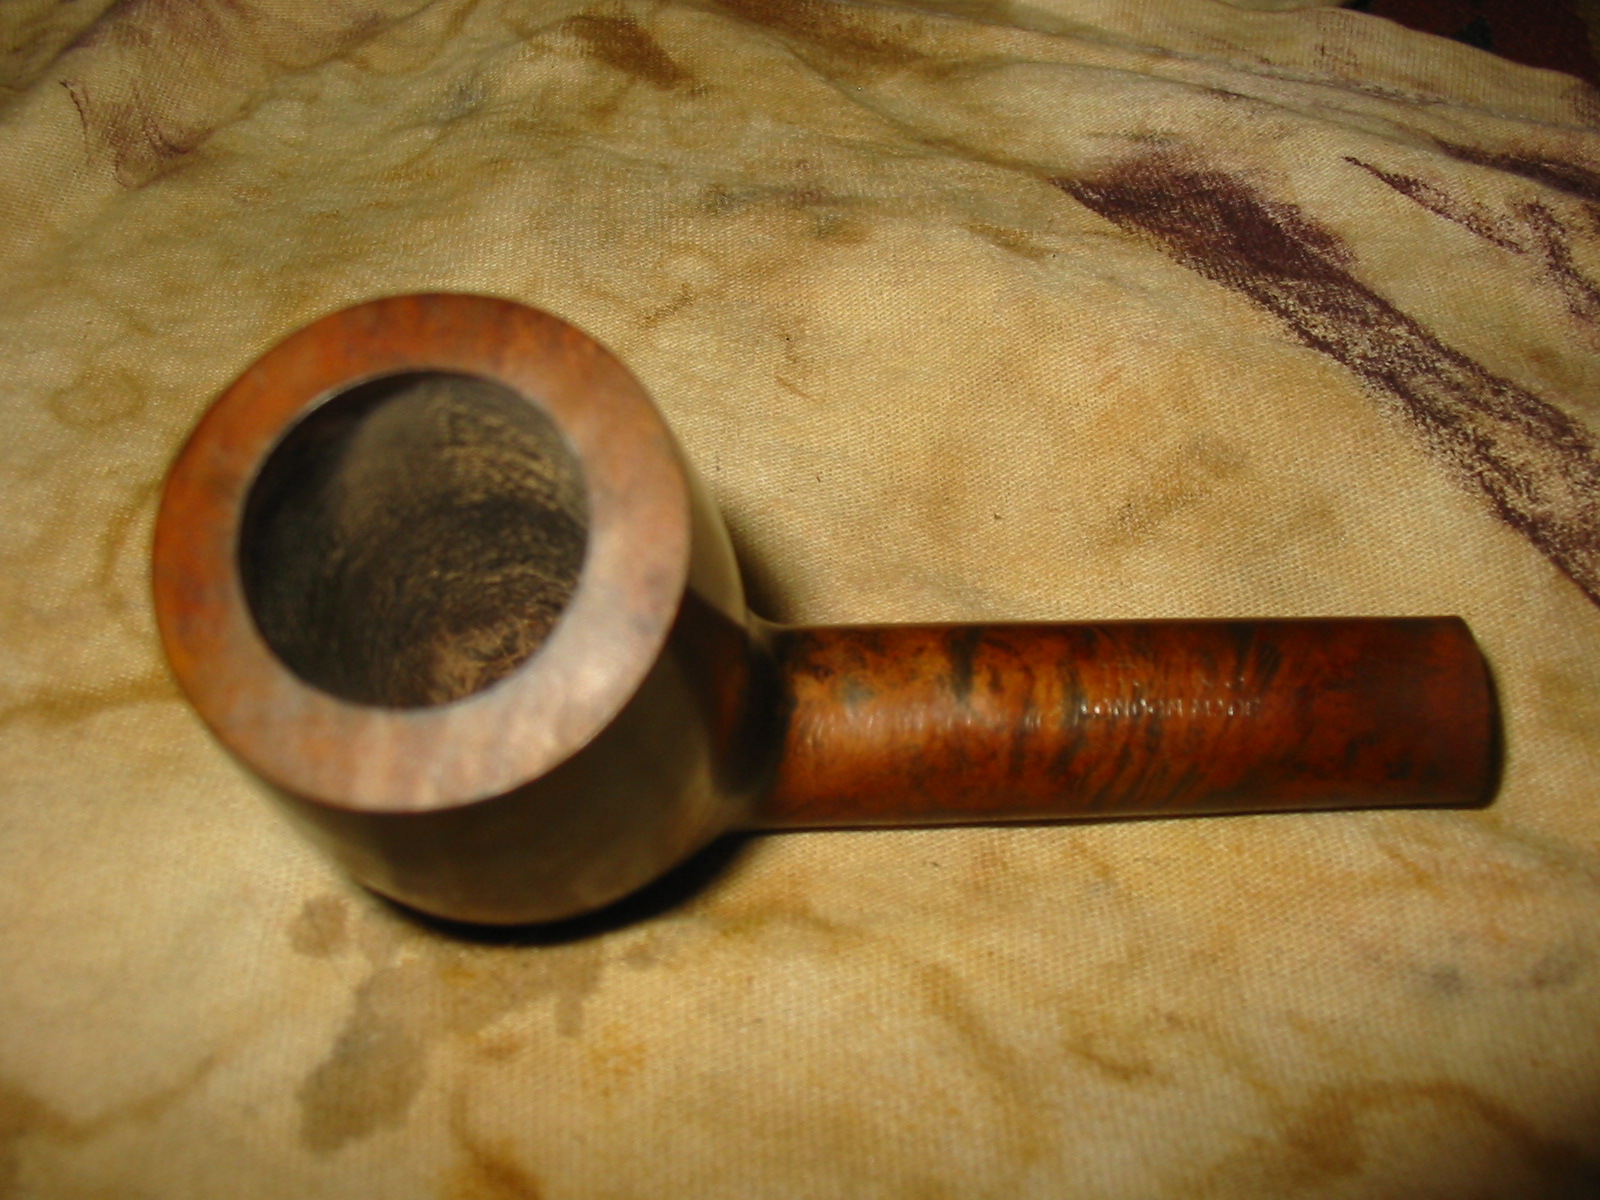
I topped the bowl on a piece of 220 grit sandpaper on the topping board. I scrubbed the finish with a cotton pad and Murphy’s Oil Soap to remove the grit and grime. I scrubbed the rim top at the same time to remove the sanding dust. I rinsed the bowl under running water and dried it off. The grain really is quite beautiful at this point in the process. There are some repairs that need to be done on the right side of the bowl but the bowl shows a lot of promise.


I sanded the burn mark on the back side of the bowl and filled in the damaged fill on the right side with a mix of super glue and briar dust. When the glue dried I sanded the repair with 220 grit sandpaper to blend the area into the rest of the briar surface. I apologize because I was on a roll so I forgot to take photos of the repairs. I wiped down the bowl with an alcohol dampened cotton pad to remove the sanding dust and smooth out the finish. The grain is looking really good. The burn mark, though still visible is better. The repaired area is also far better.


I polished the briar with micromesh sanding pads –wet sanding with 1500-2400 grit pads and dry sanding with 3200-12000 grit pads.I wiped the bowl down with a damp cotton pad after each grit of micromesh was finished. The bowl is beginning to take on a real shine and the grain is becoming more prominent.


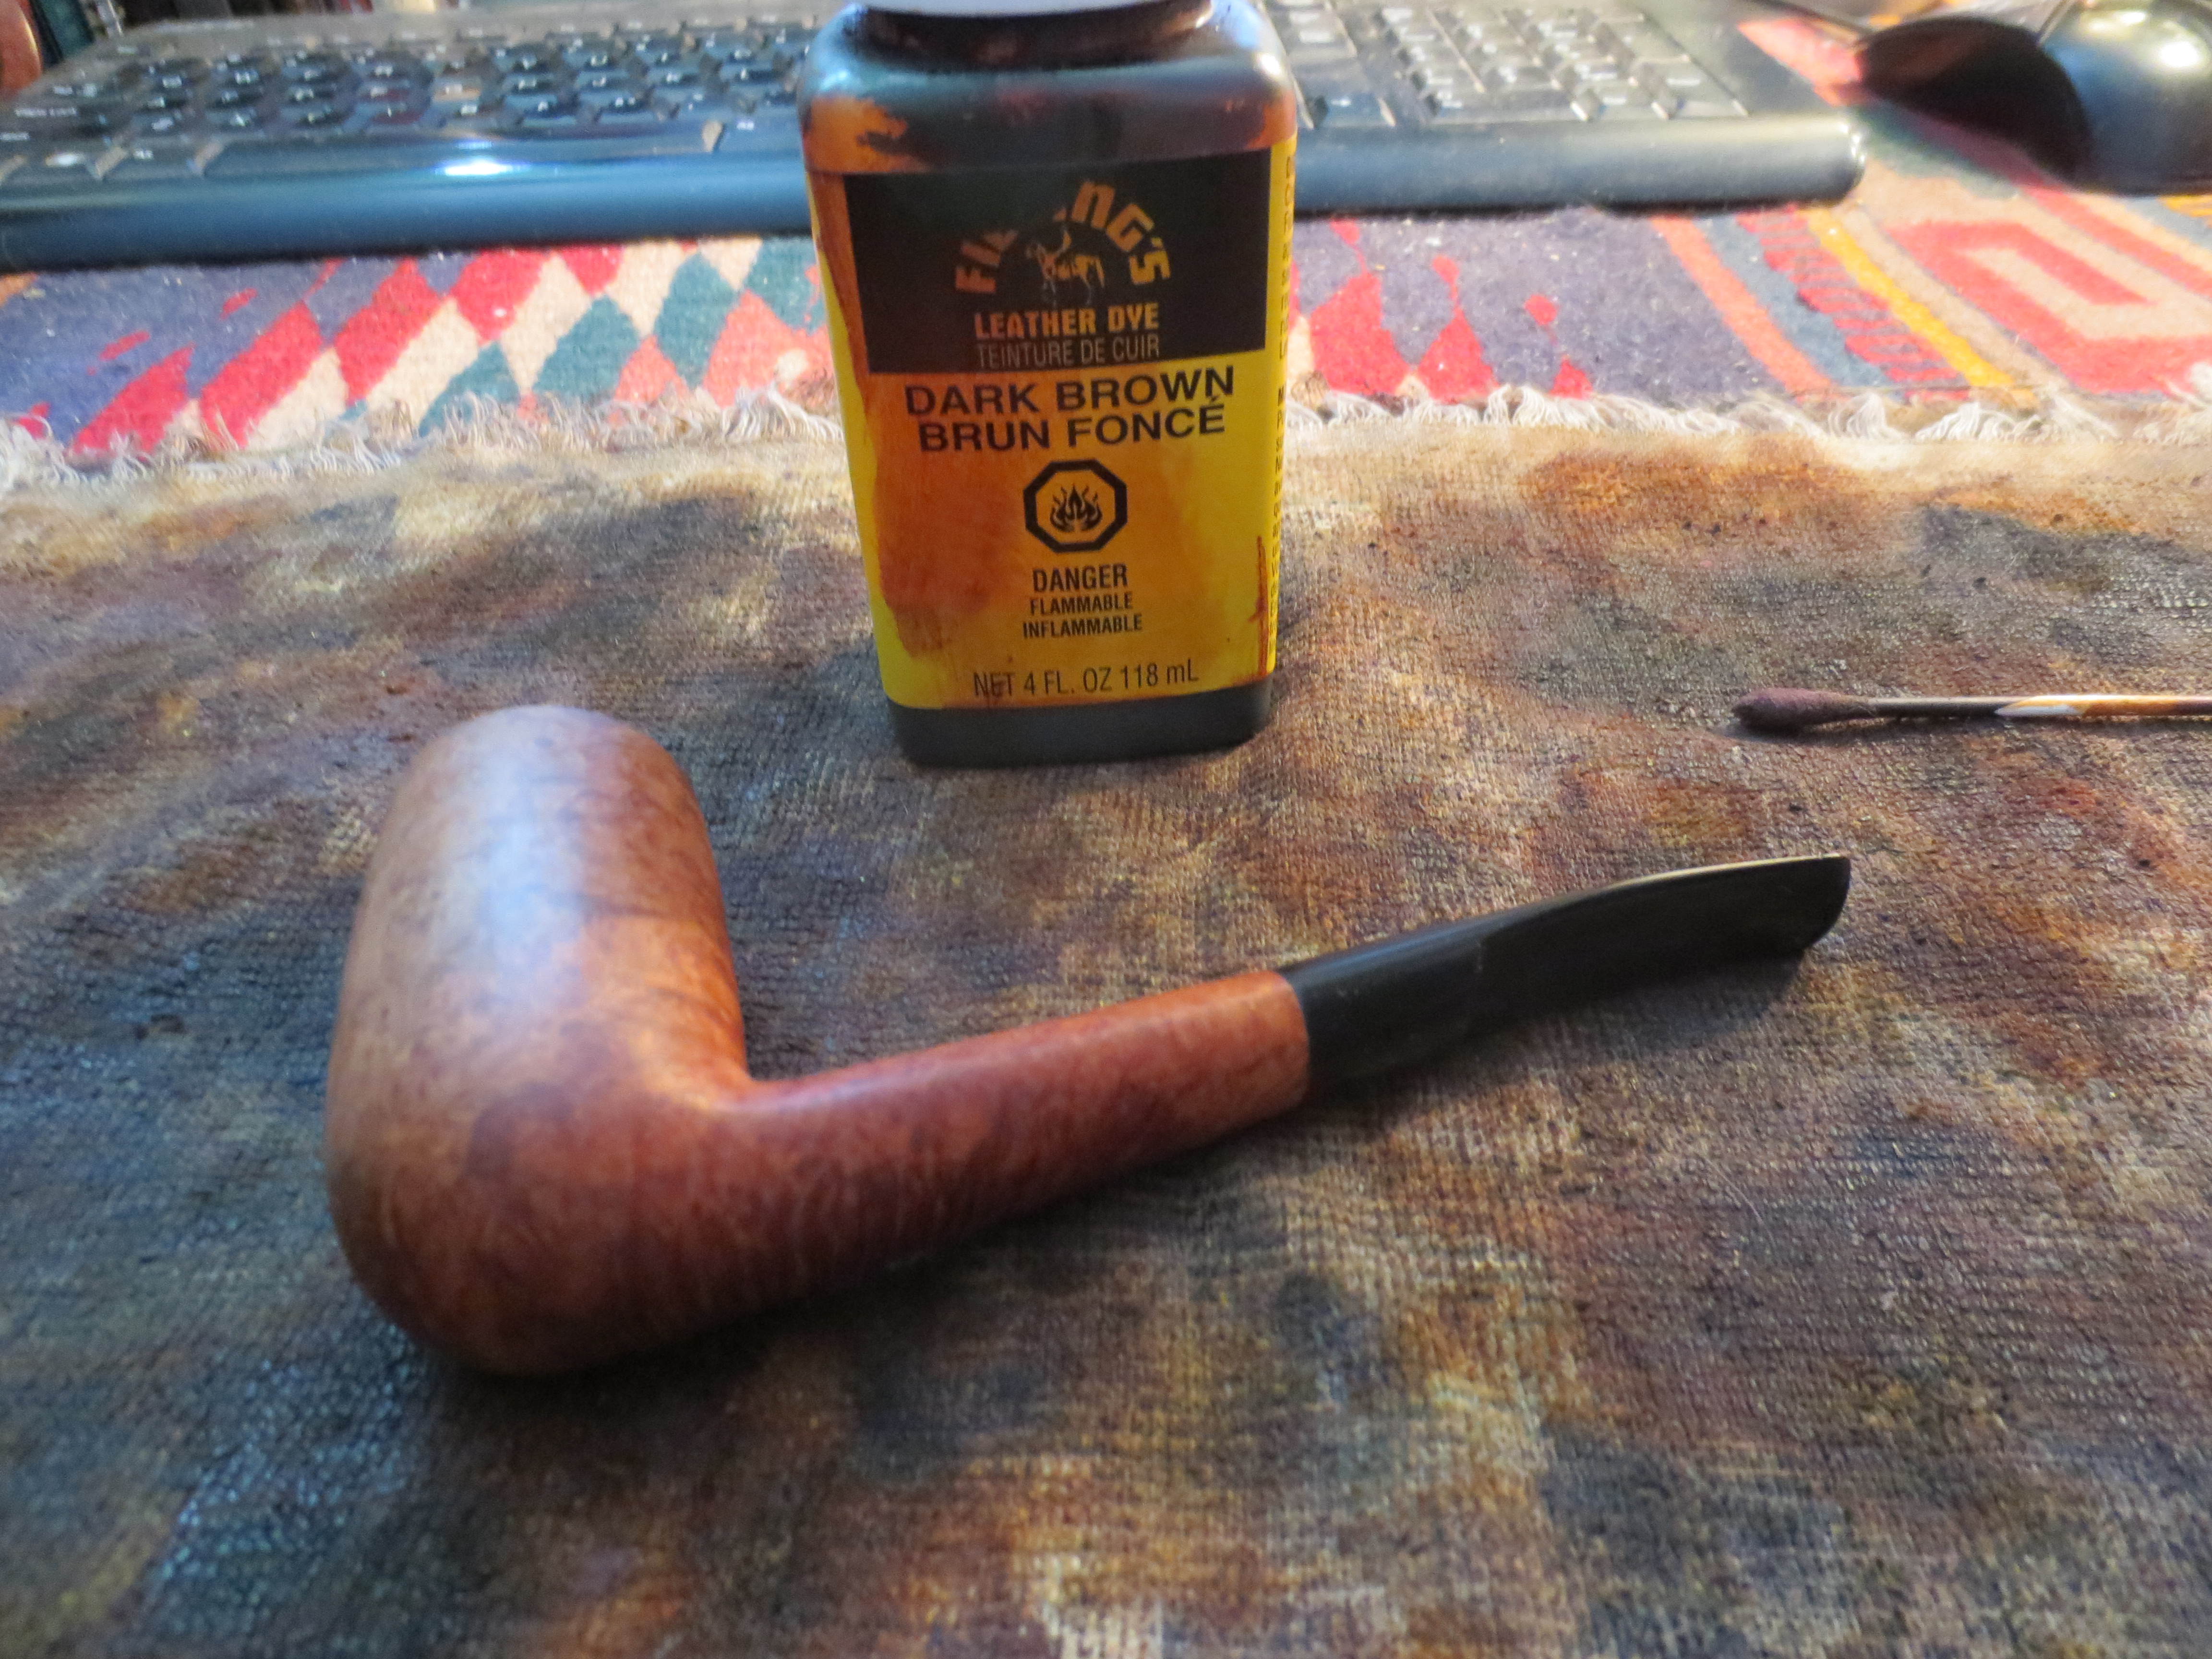
With the bowl polished it was time to address the lighter rim top and the repairs to the burn and the fill on the rear and right side respectively (result of sanding). I used an Oak Stain Pen to touch up the areas and darken them to match the rest of the bowl. Once the stain dried the match was really good and the pipe looked better.

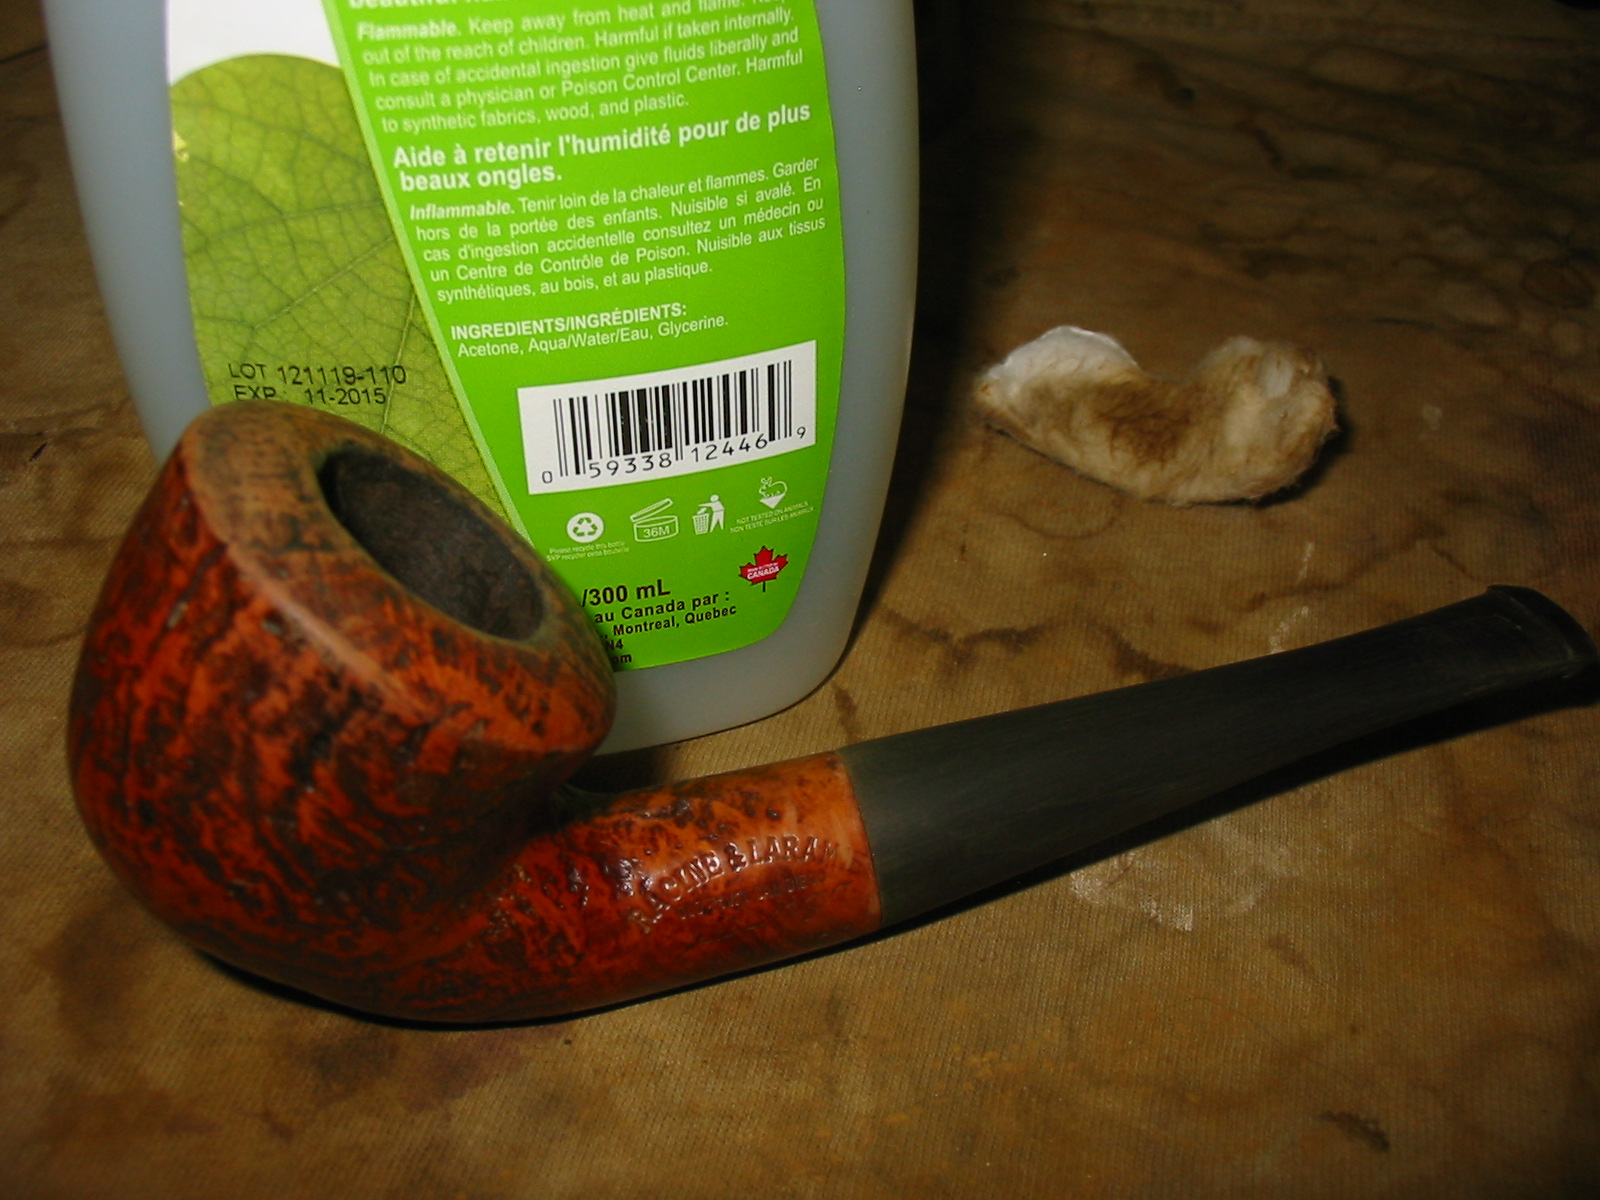
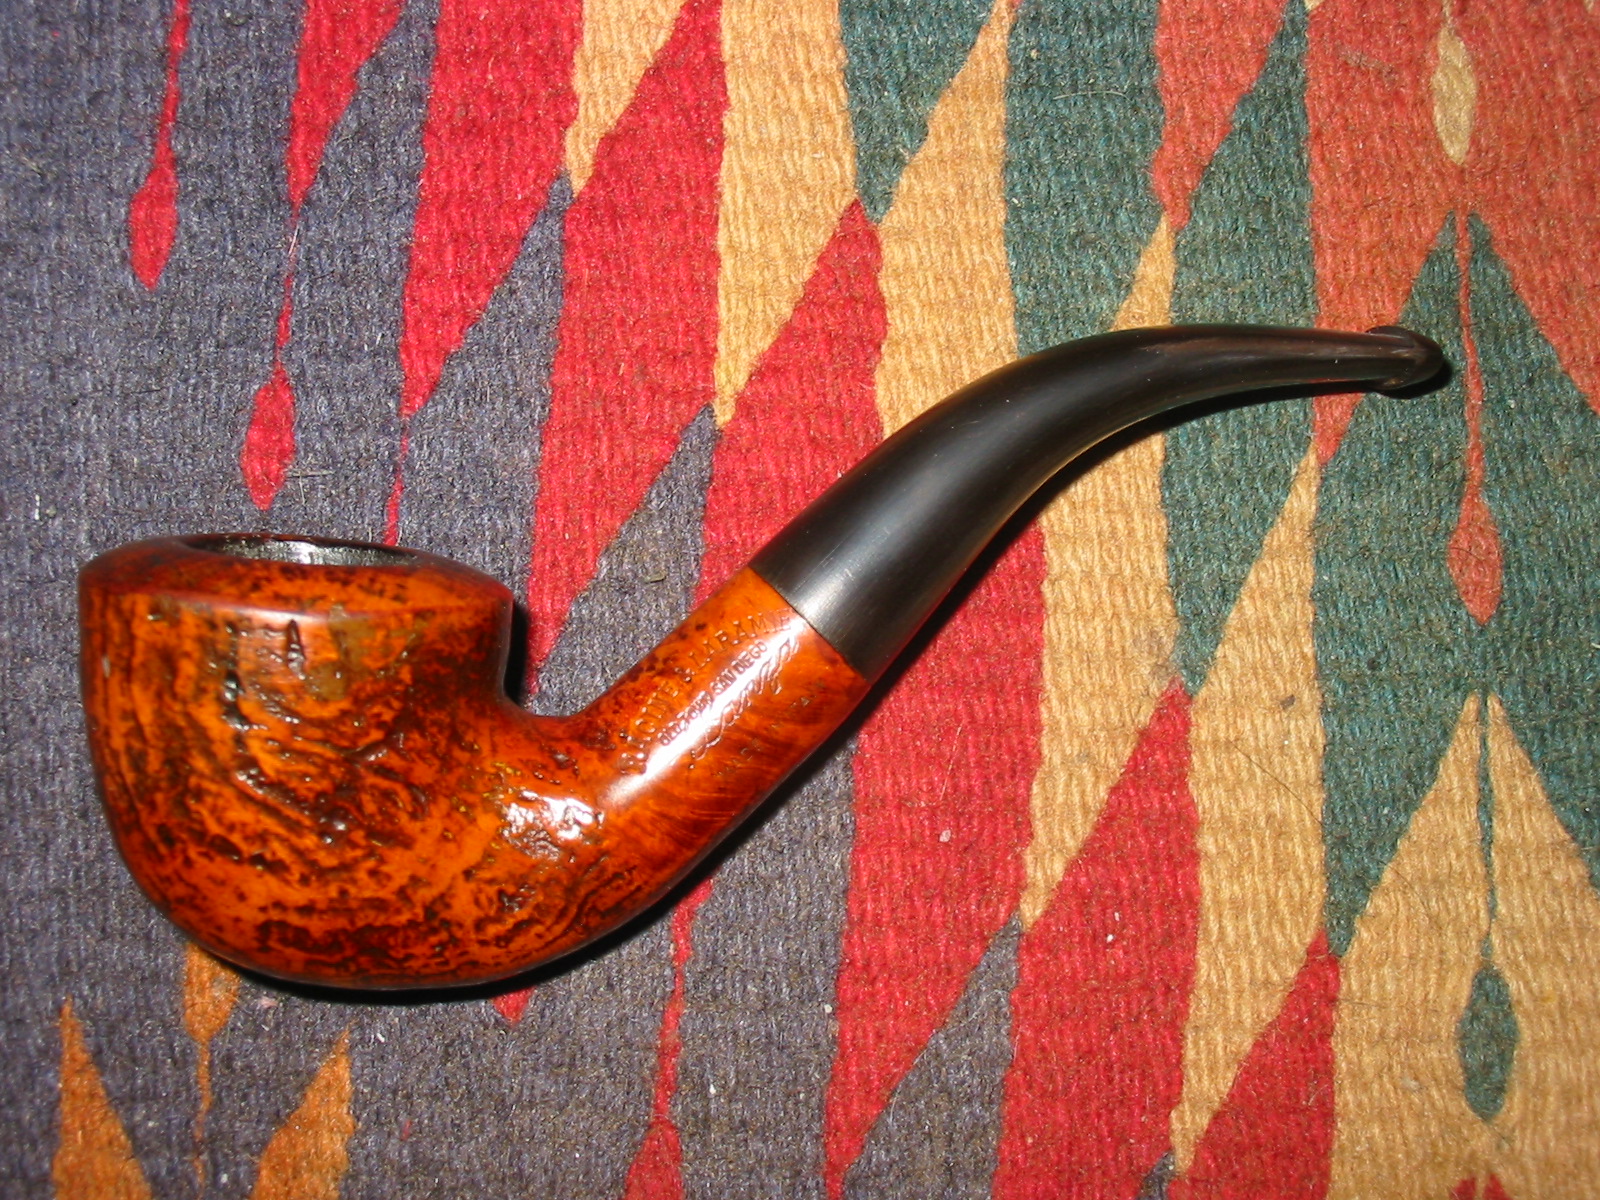
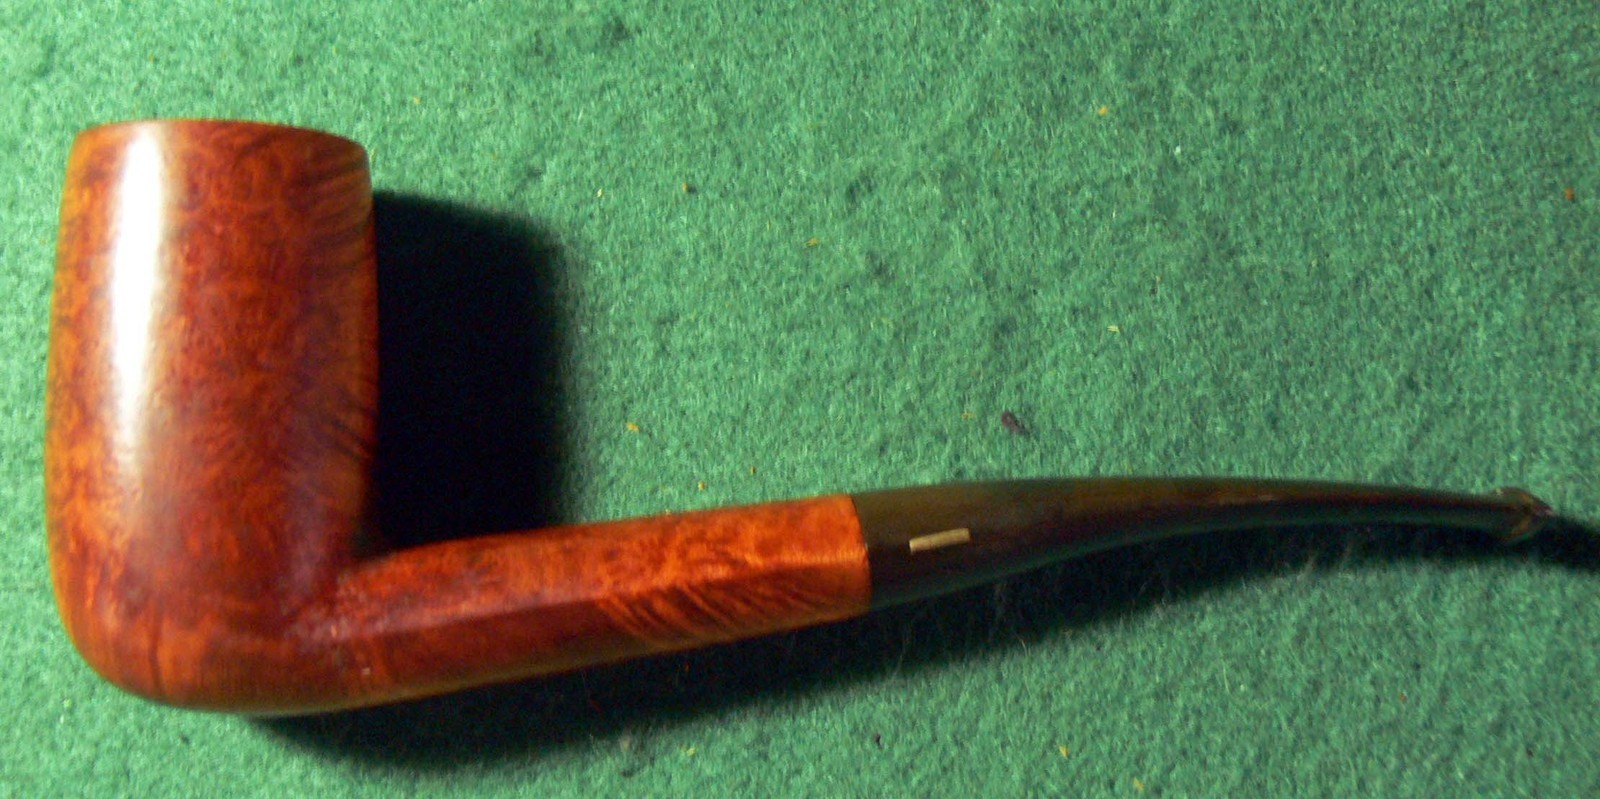
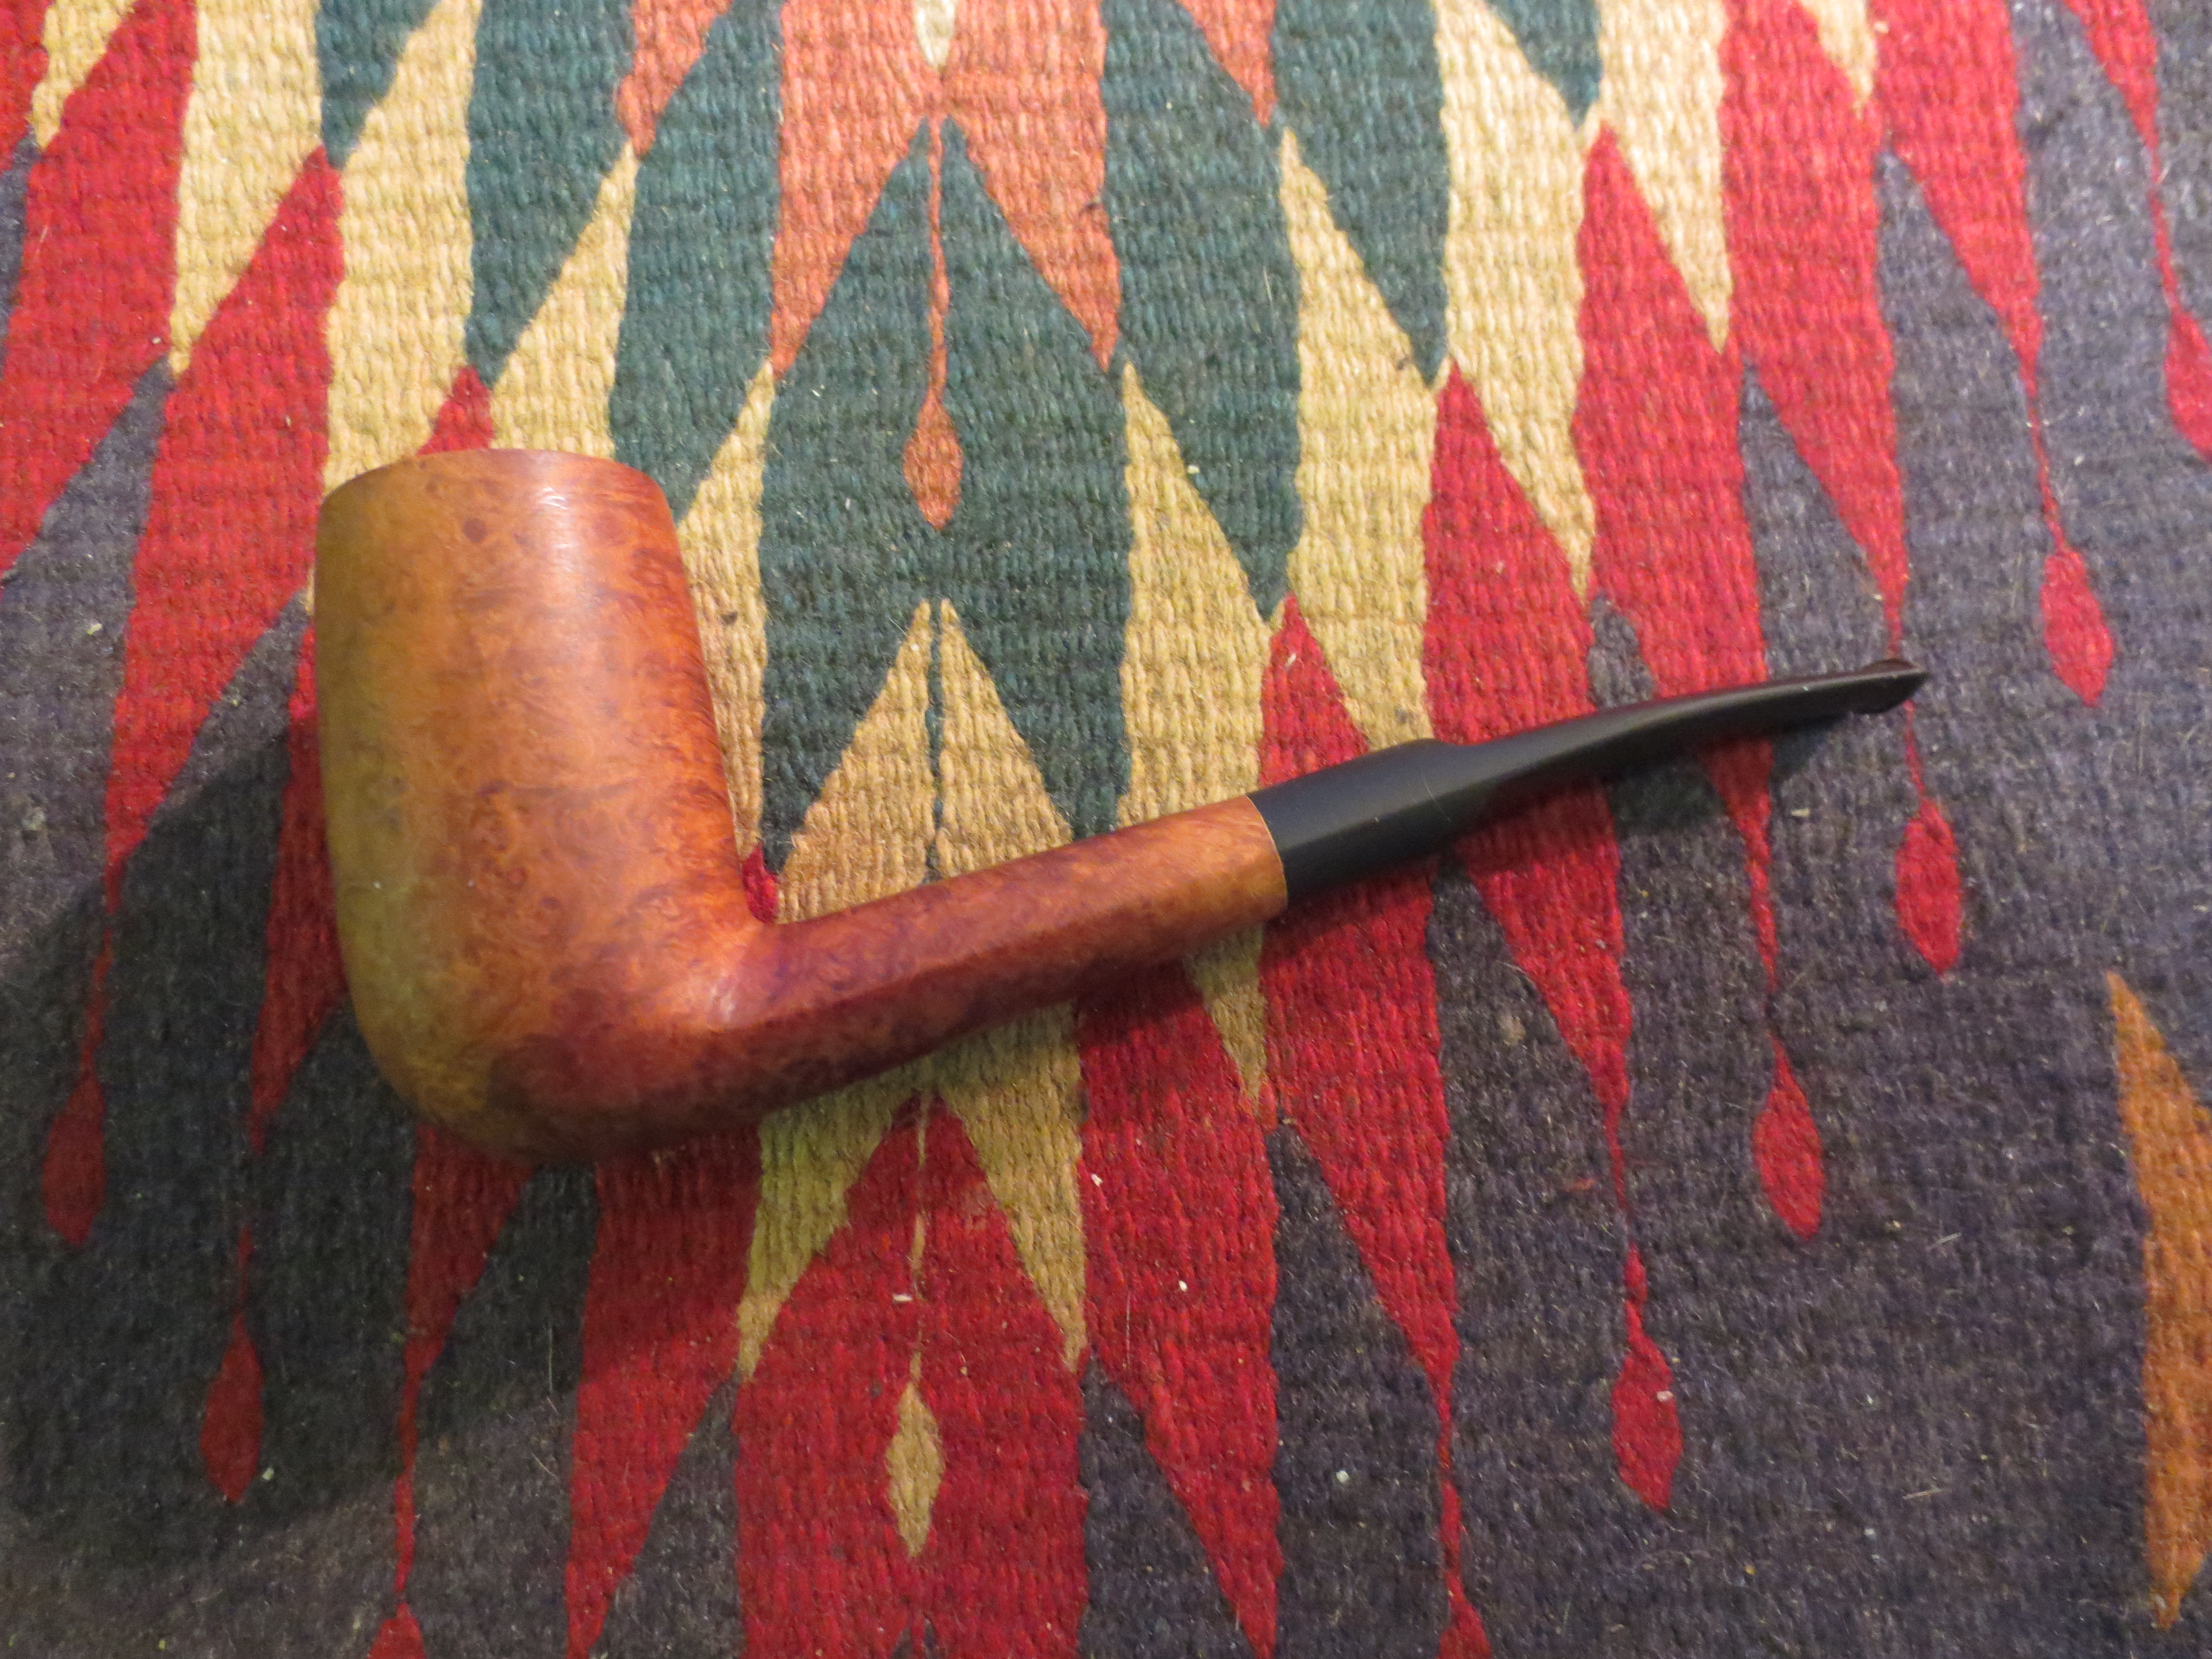
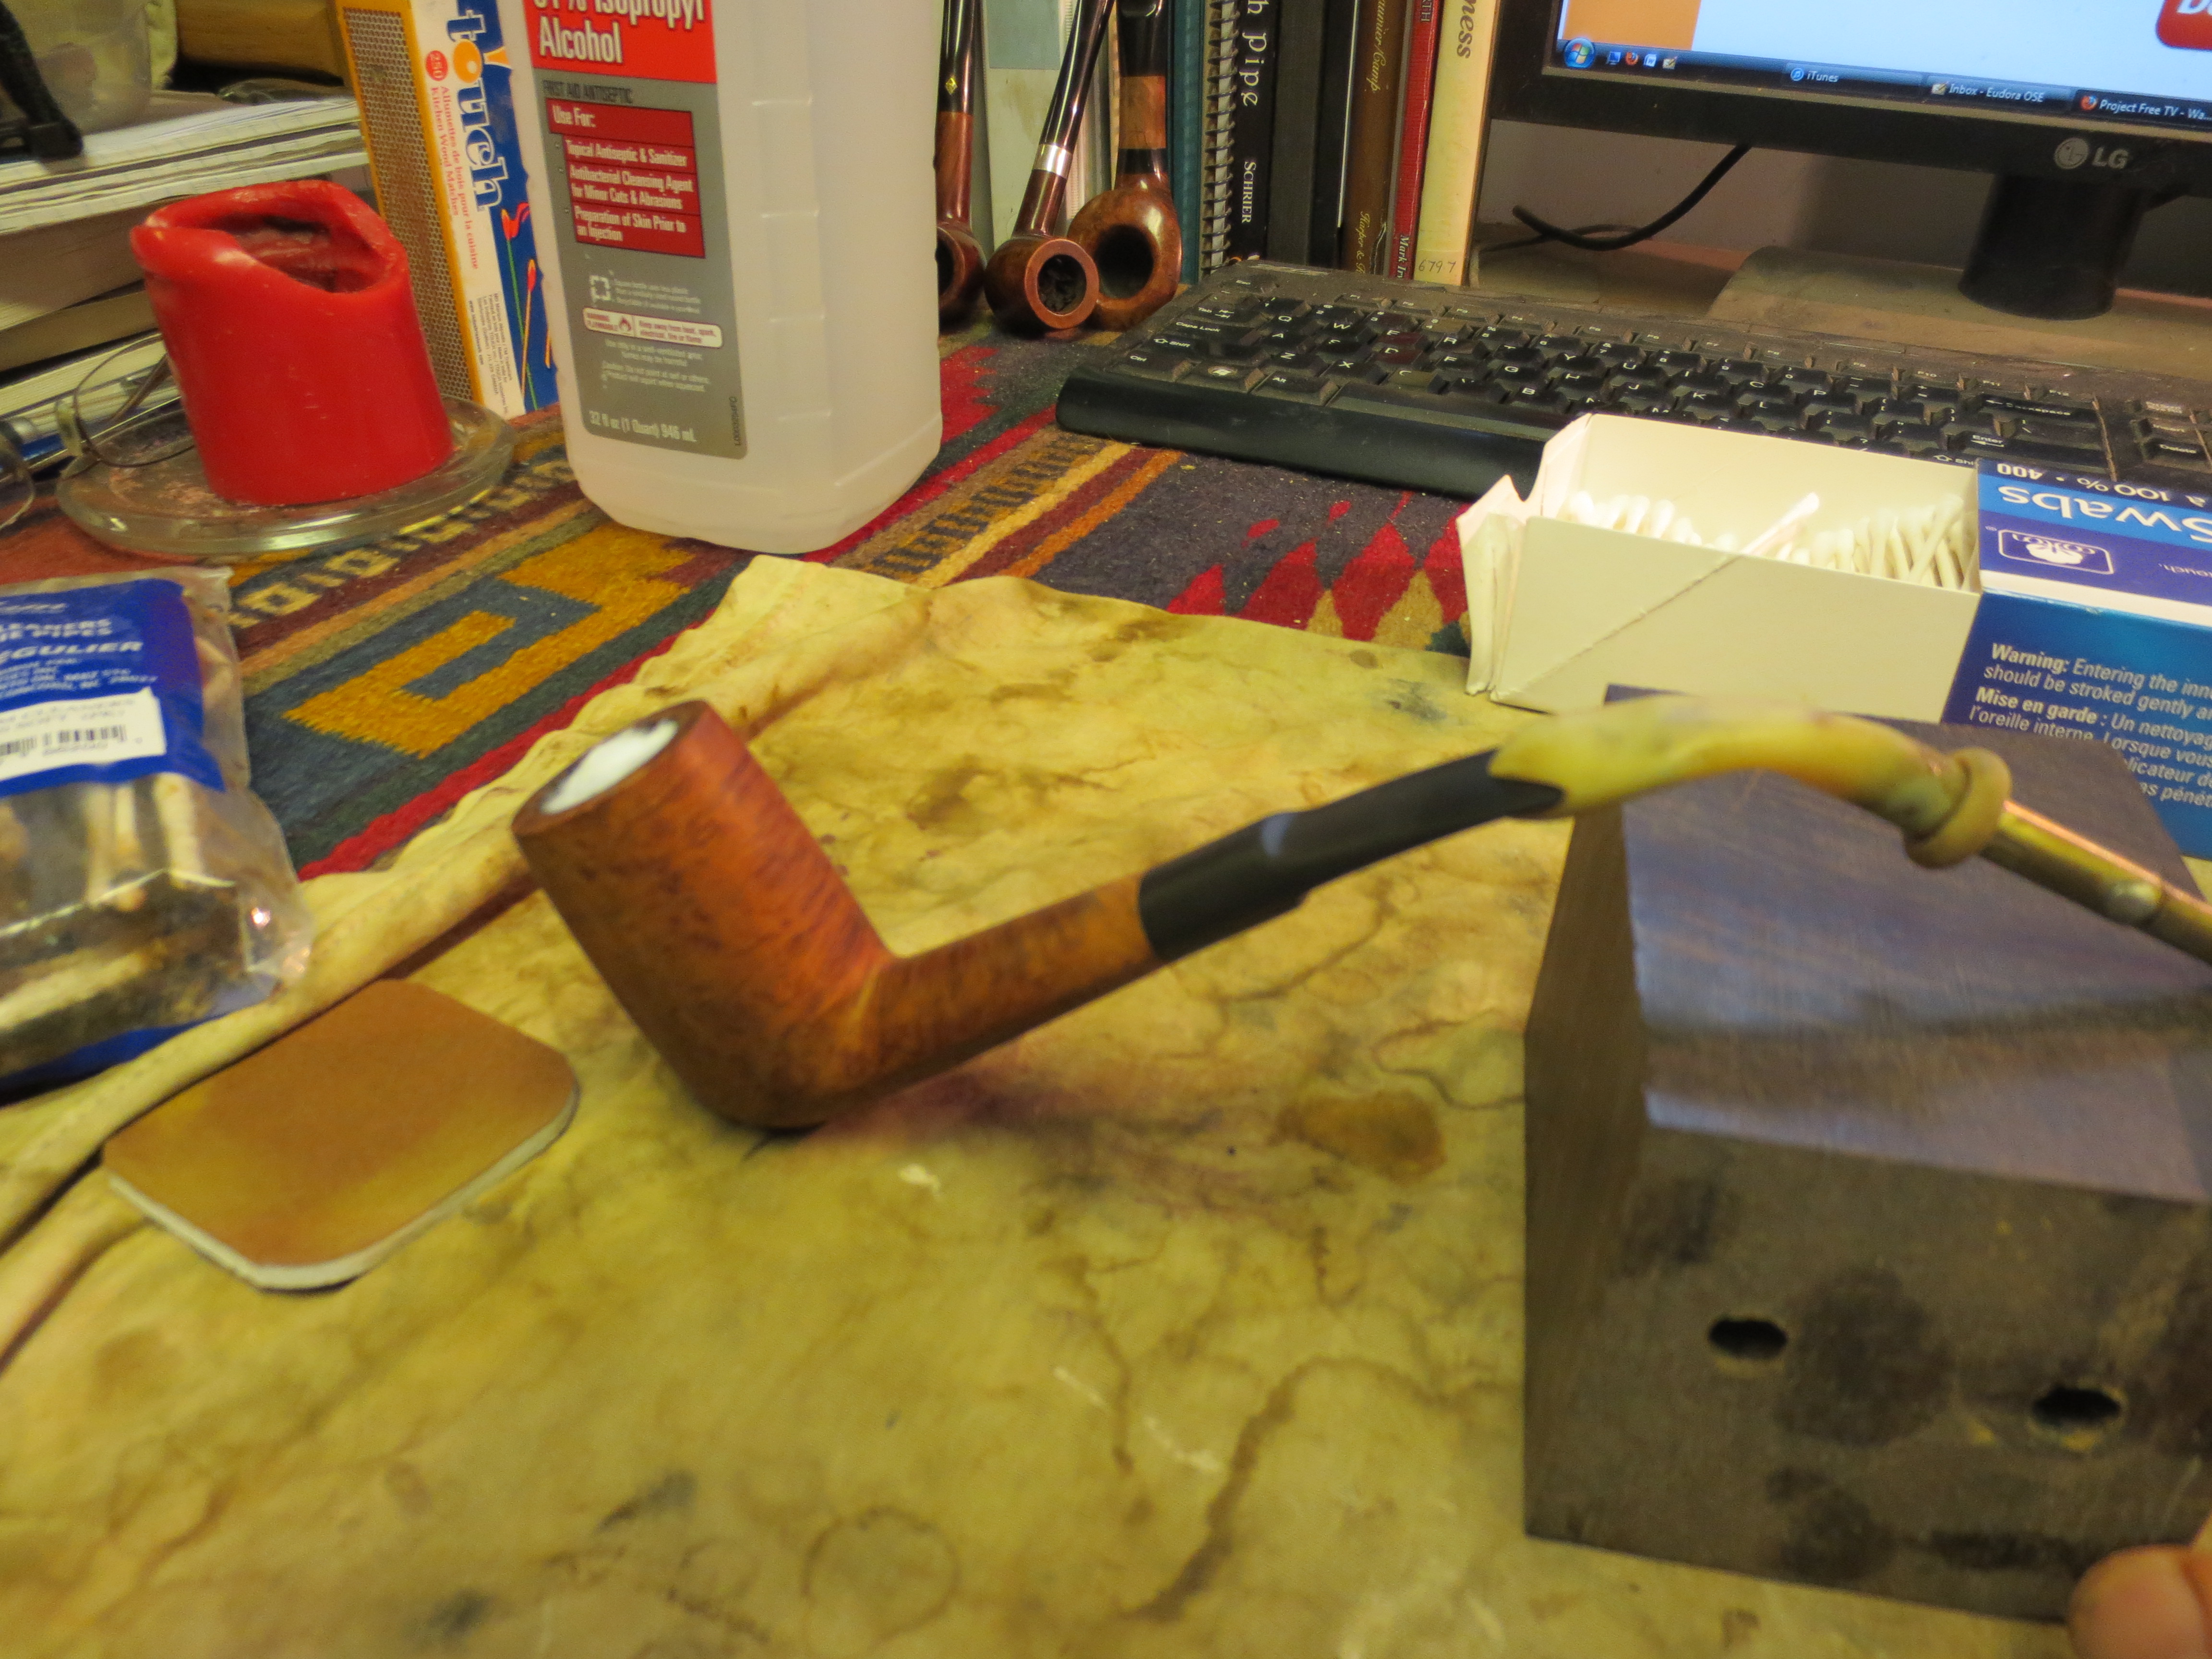
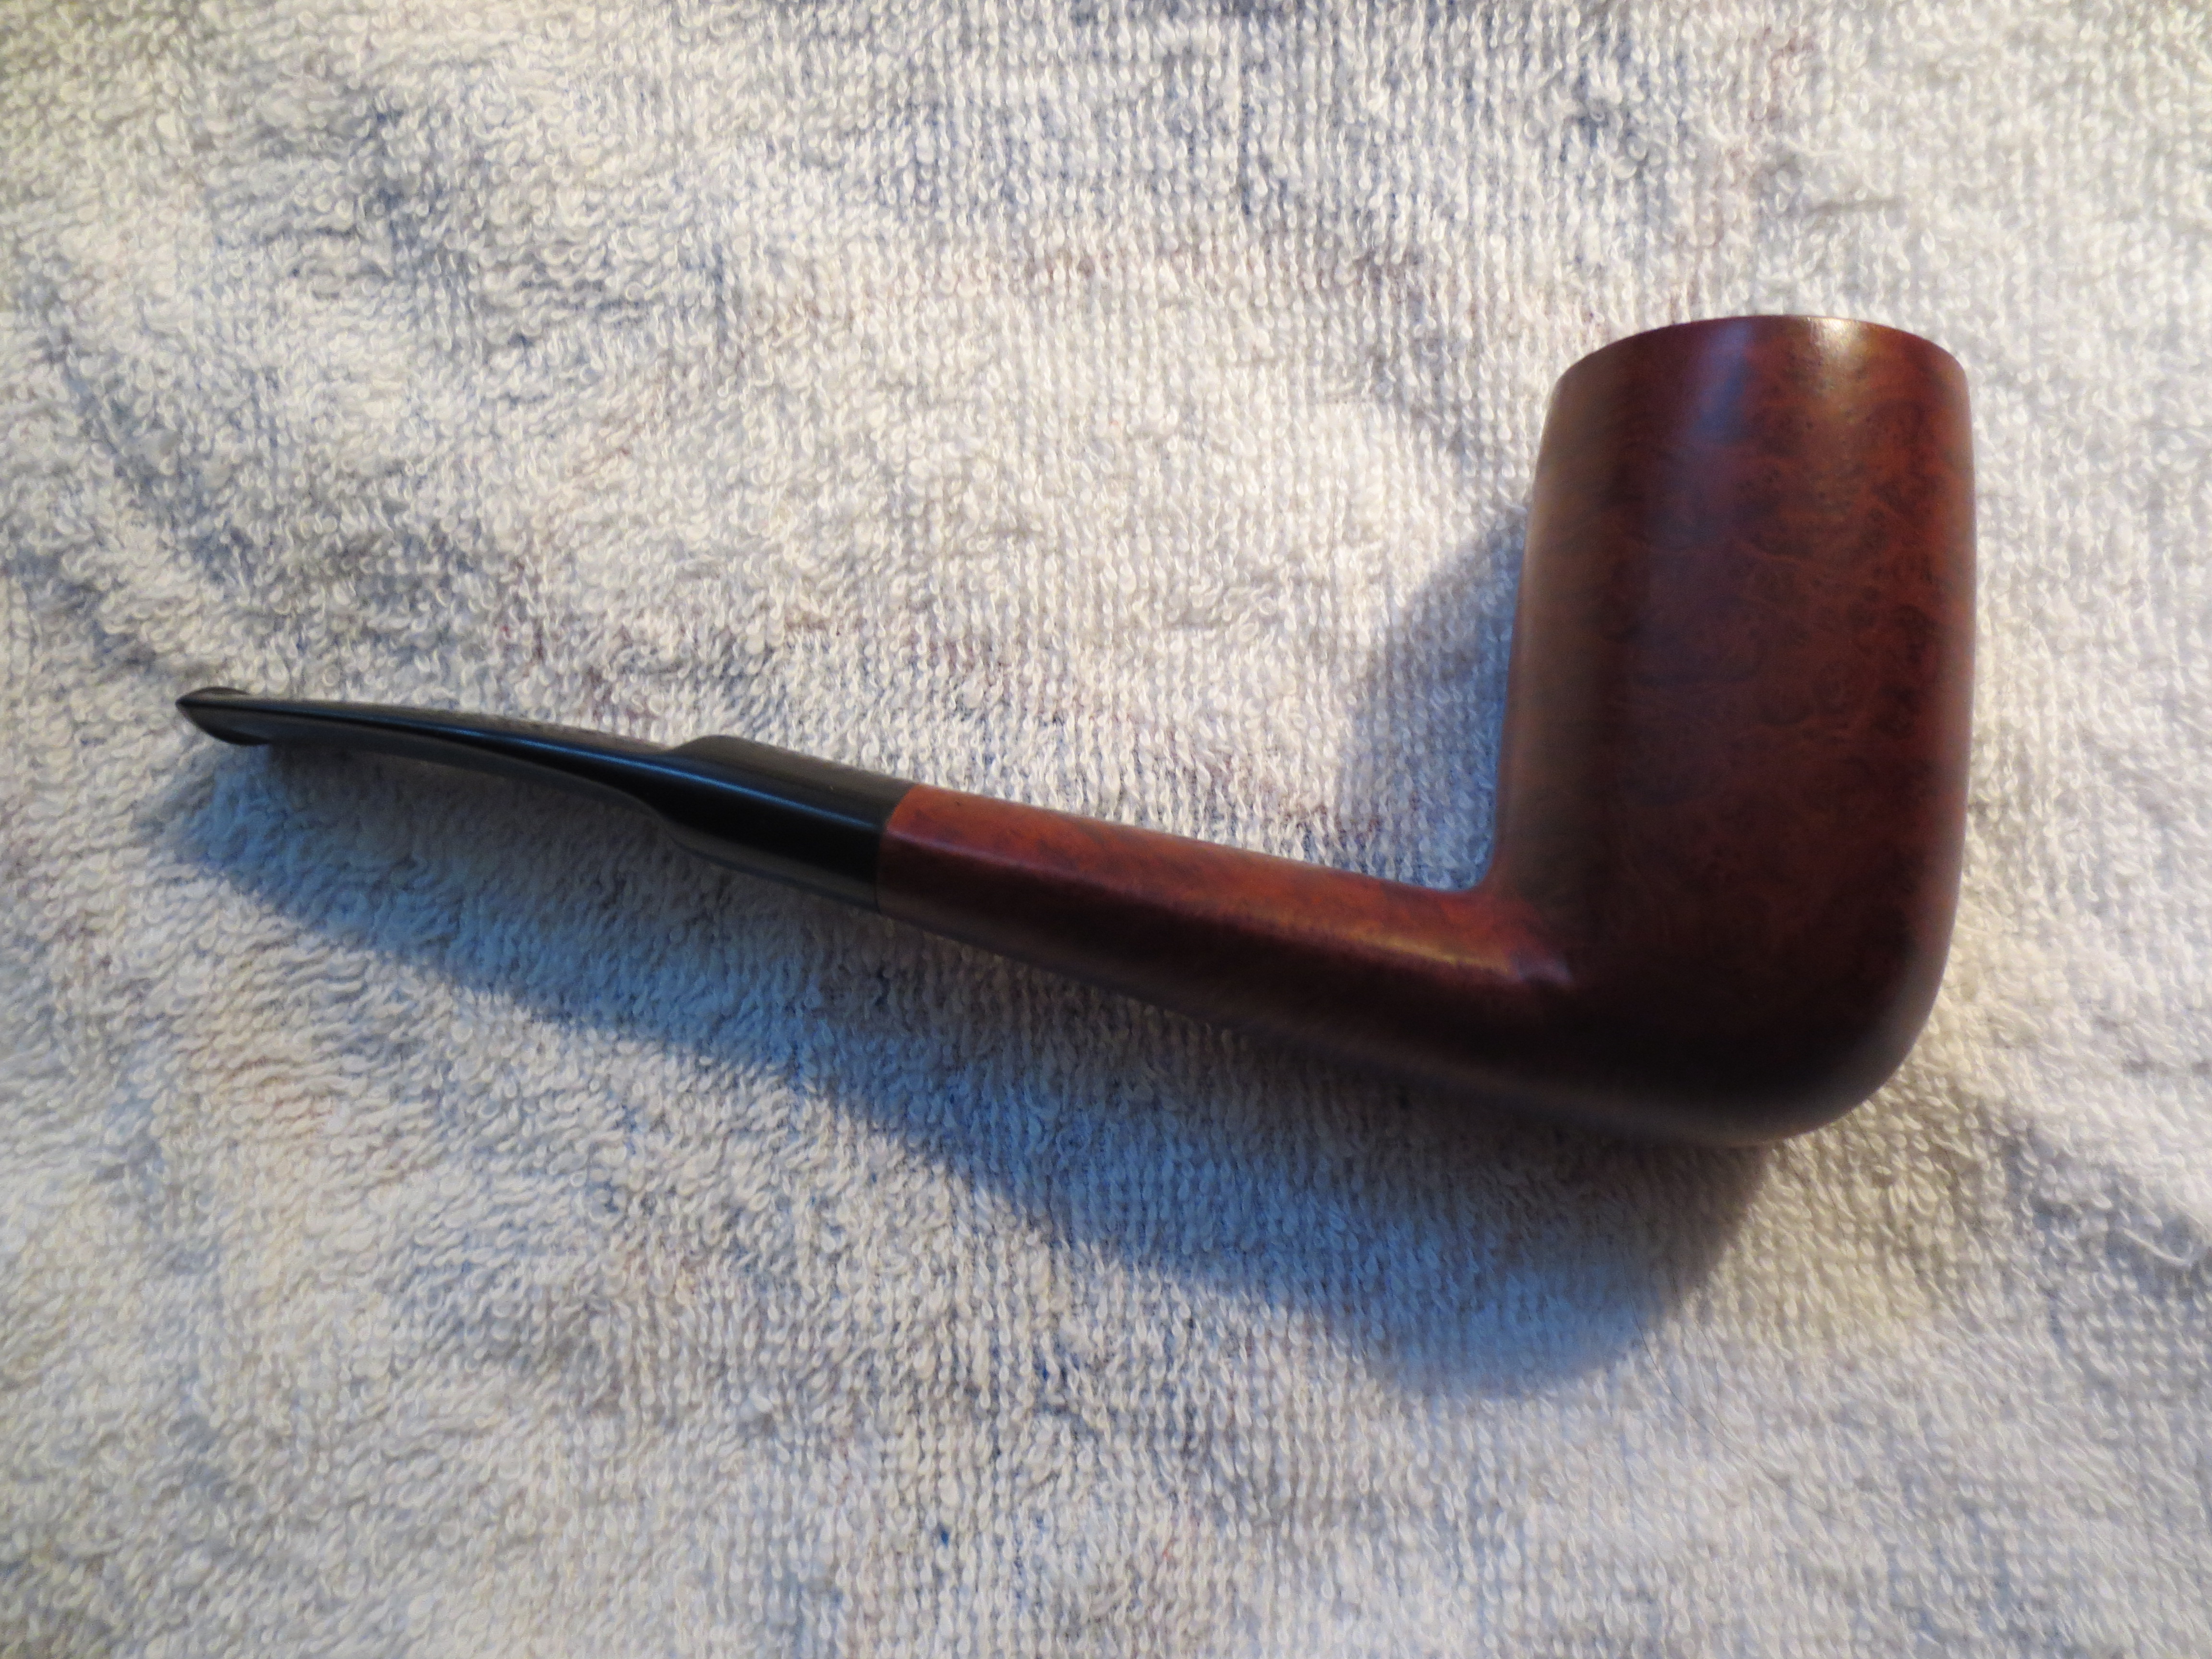
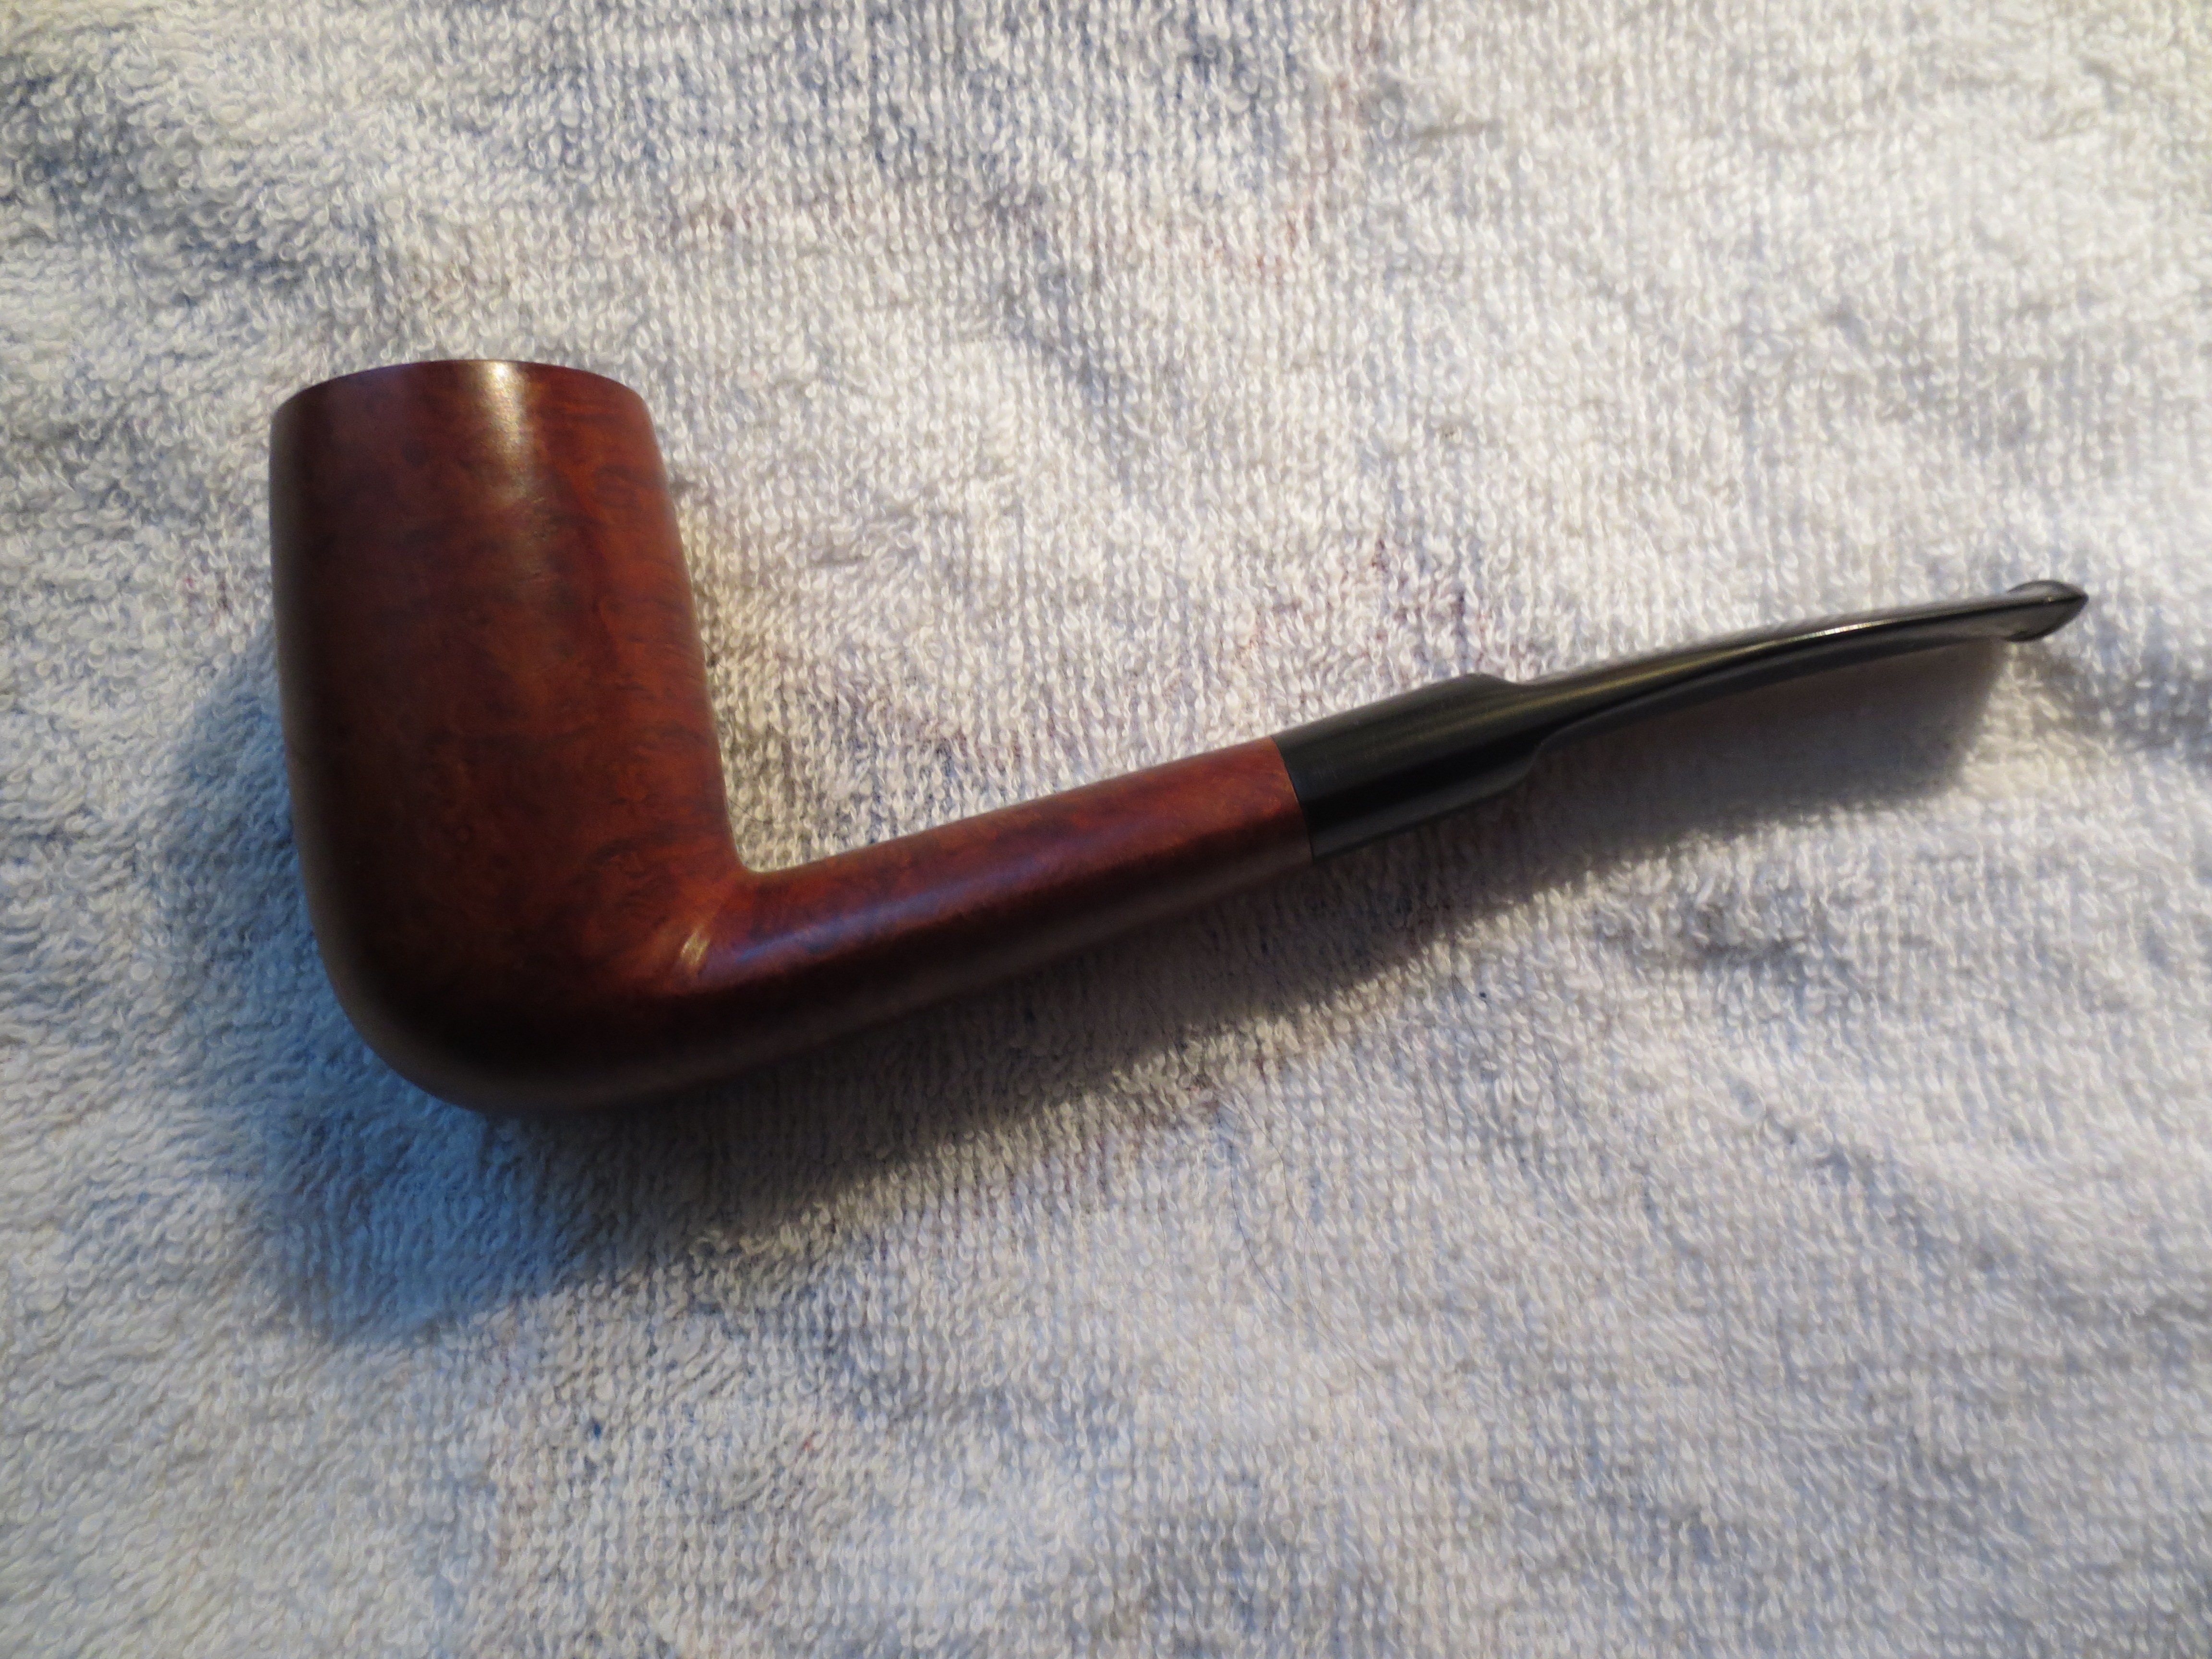
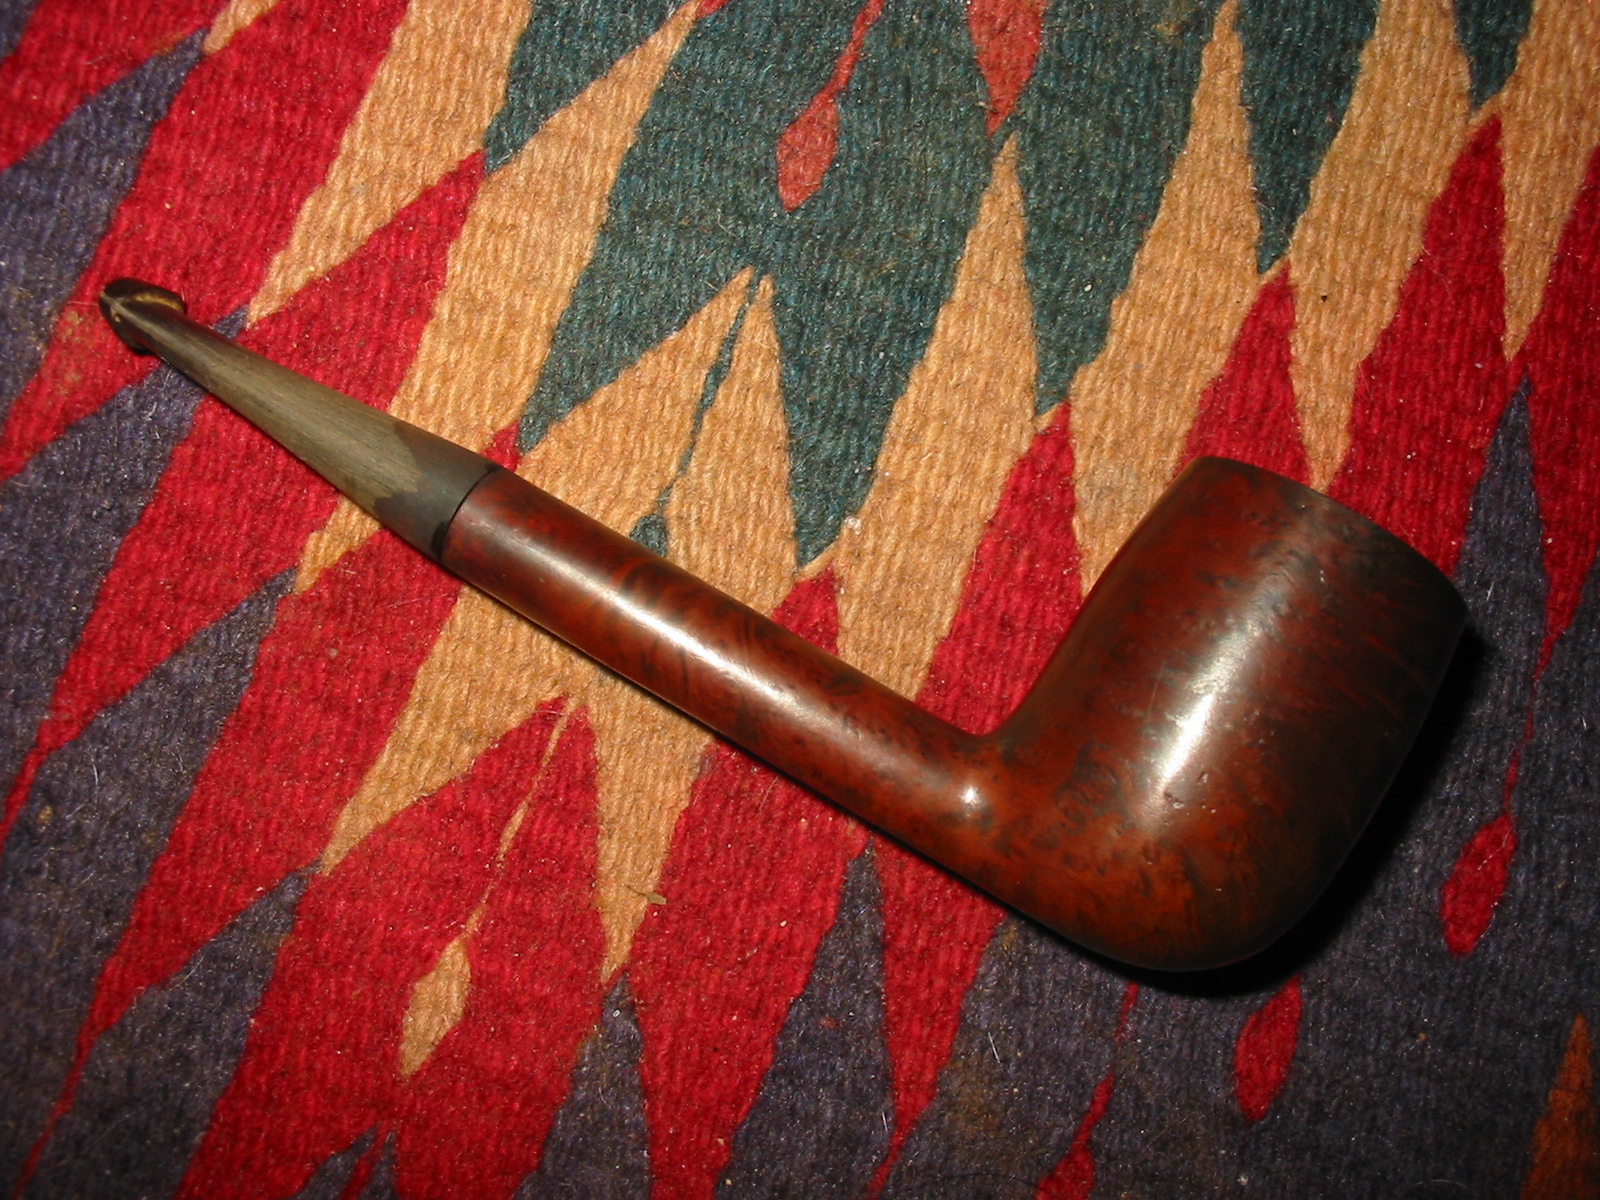
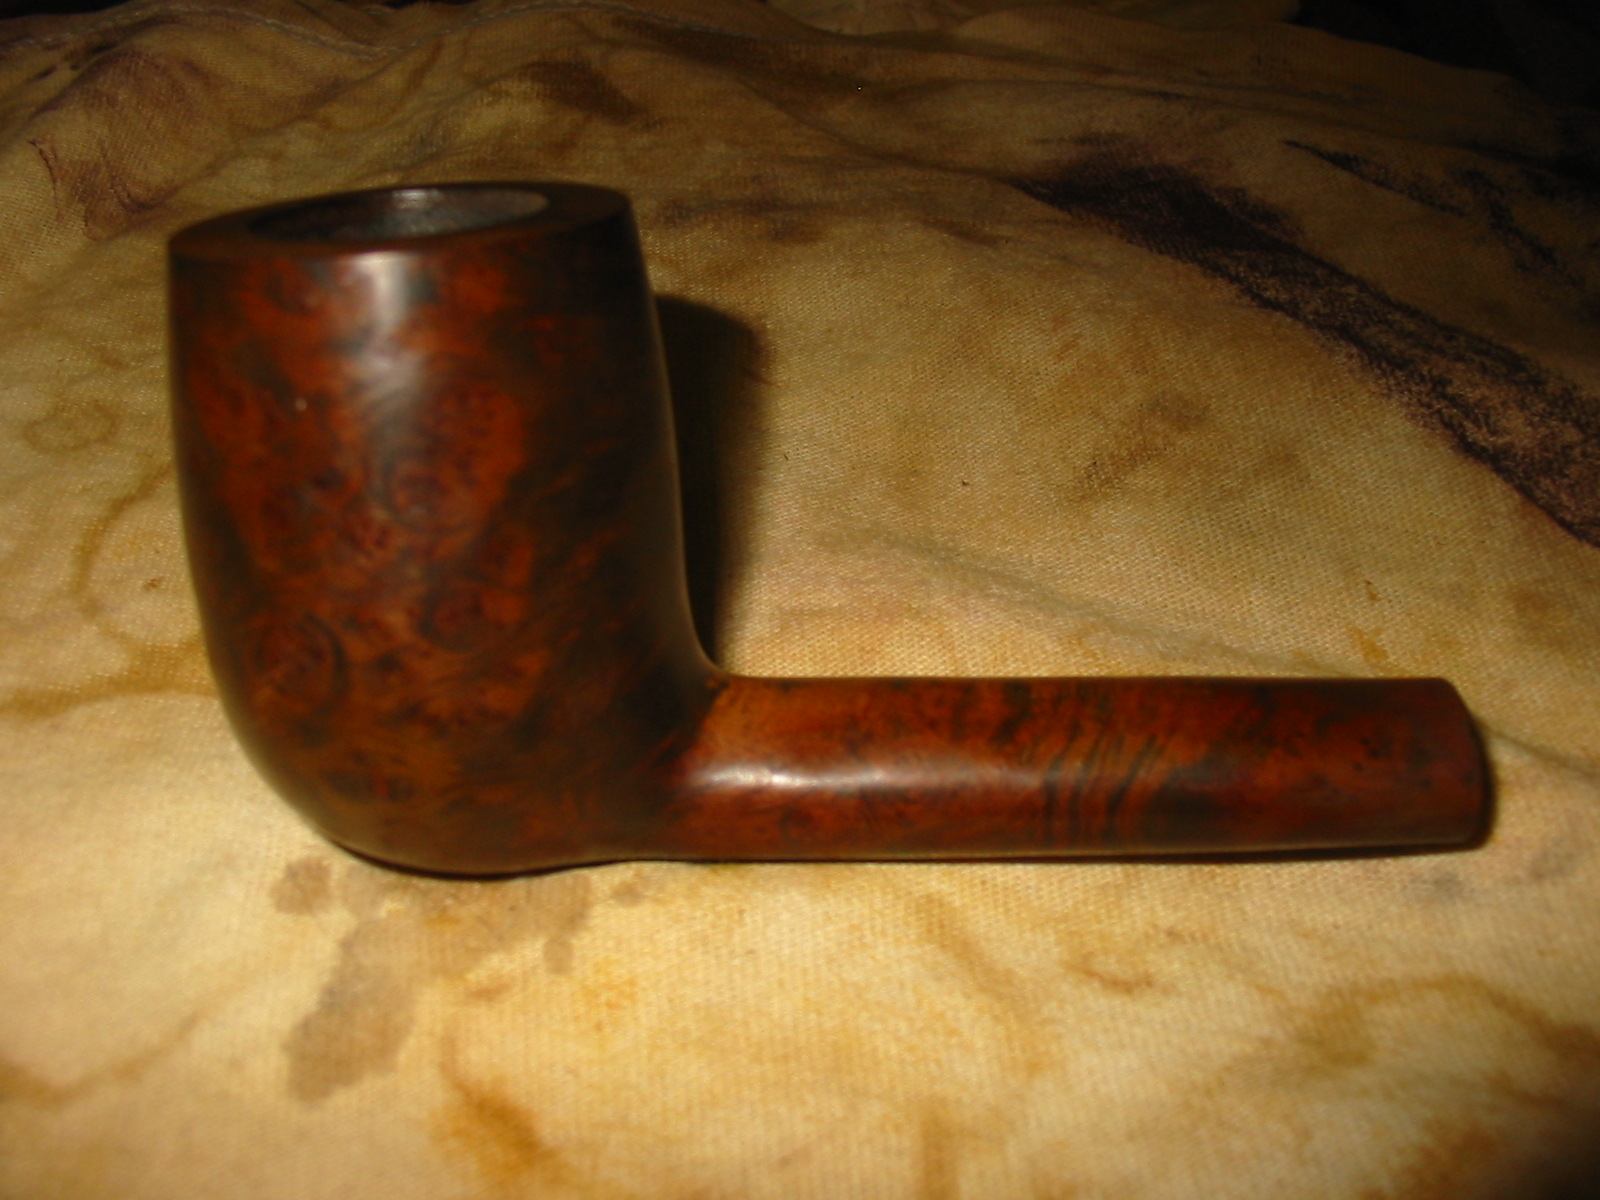
I worked Before & After Restoration Balm into the briar with my fingertips to clean, enliven and protect the wood. I let the balm sit for about 20 minutes and buffed it off with a soft cotton cloth. I took photos of the pipe at this point in the process to show what the bowl looked like. The grain is quite beautiful and the colour of the briar is perfect to highlight it. I am happy with the look of the pipe.


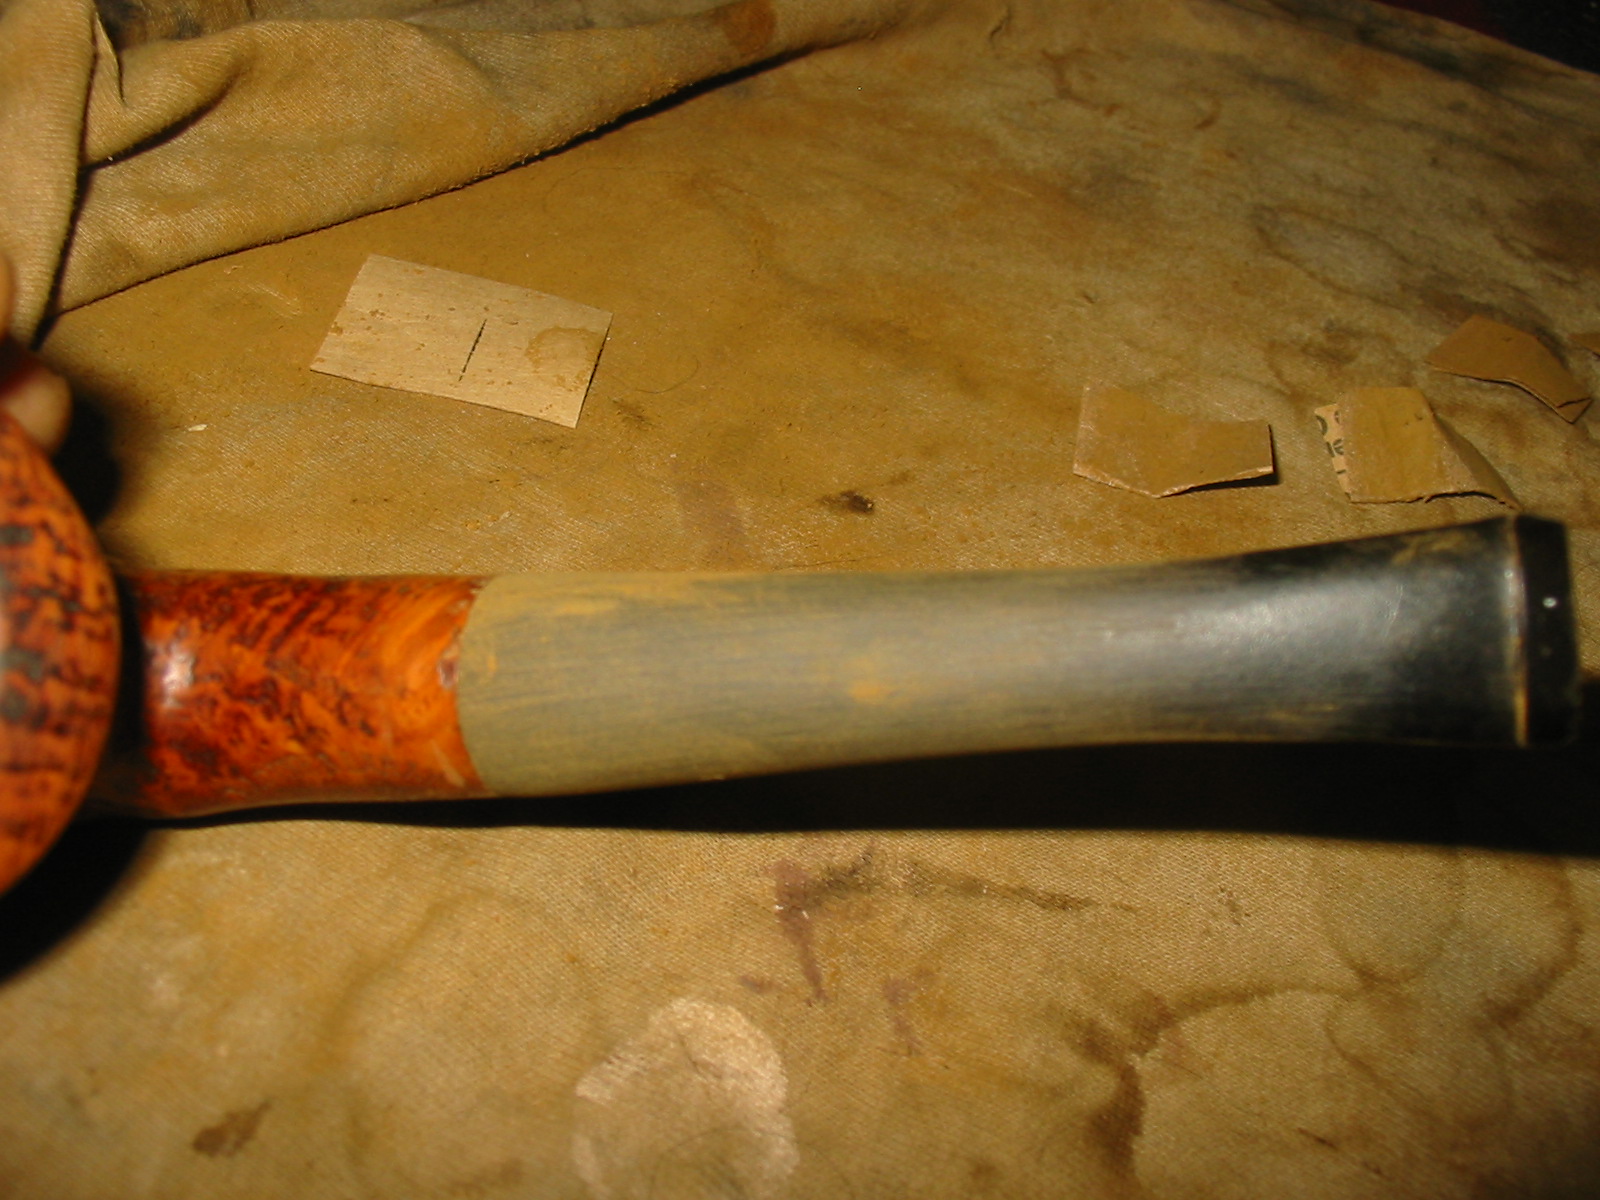
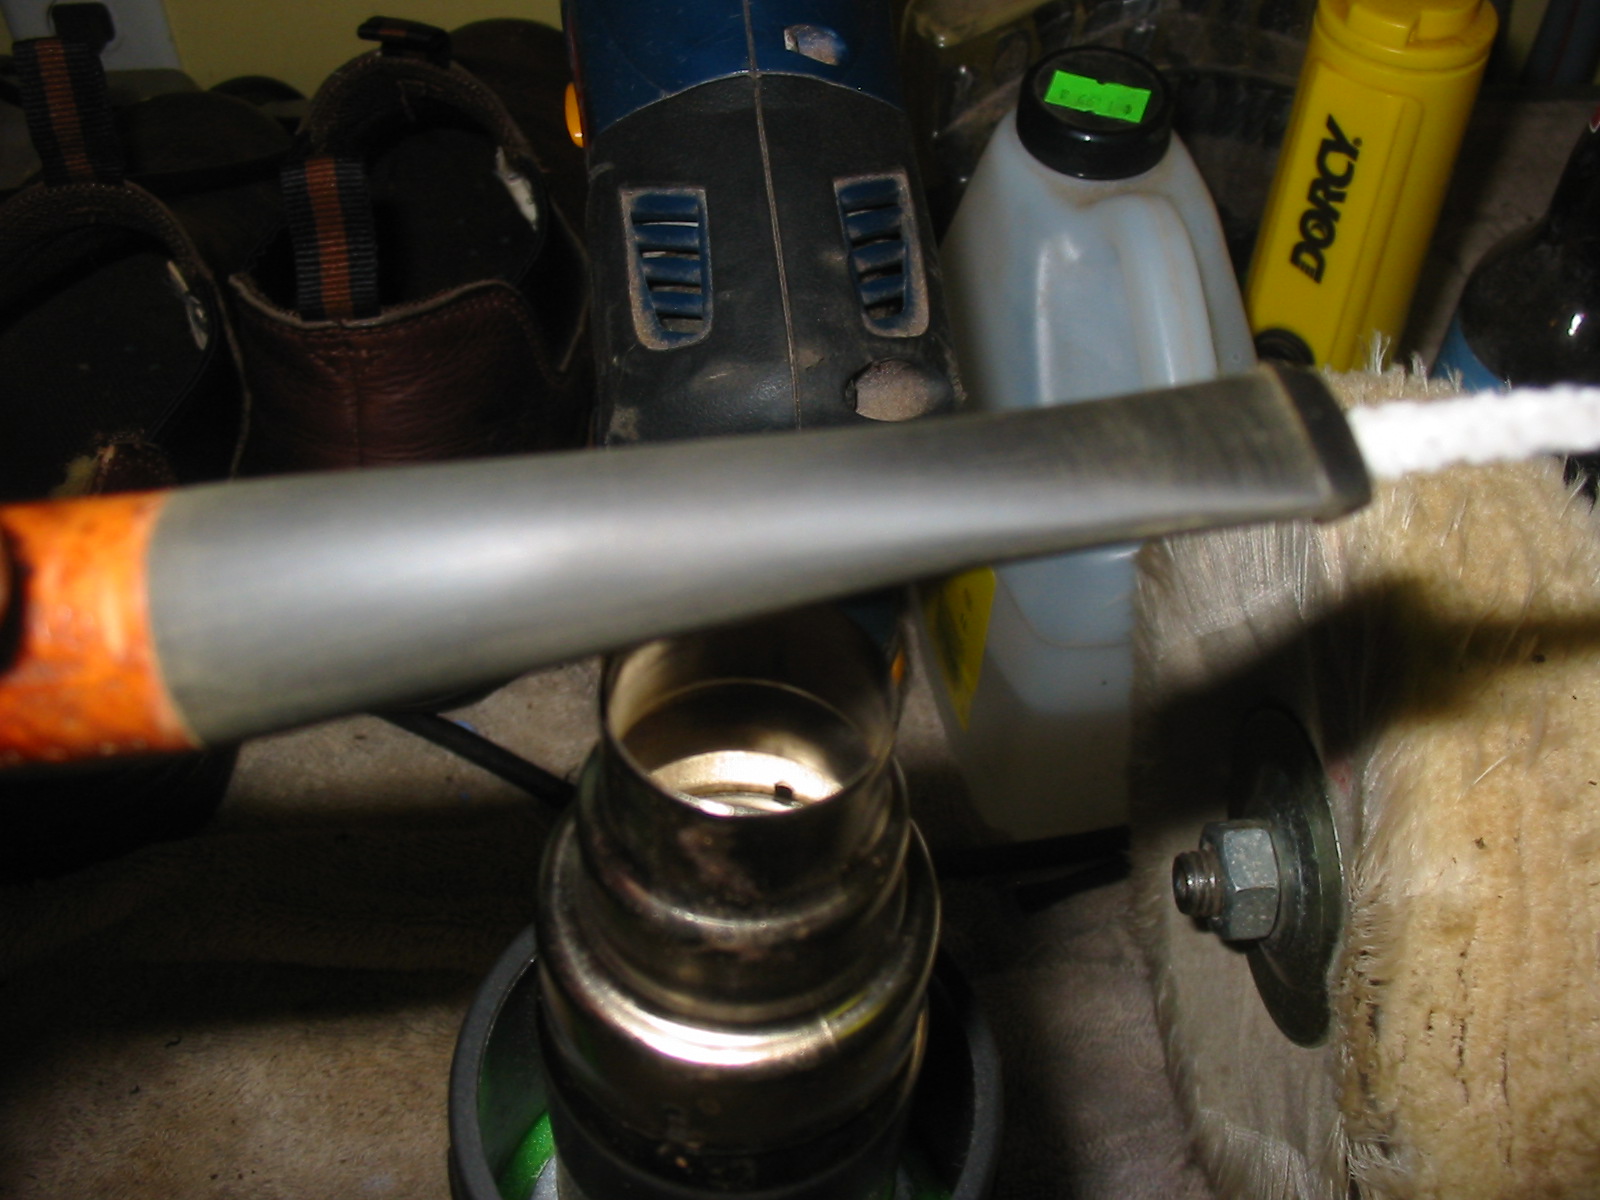
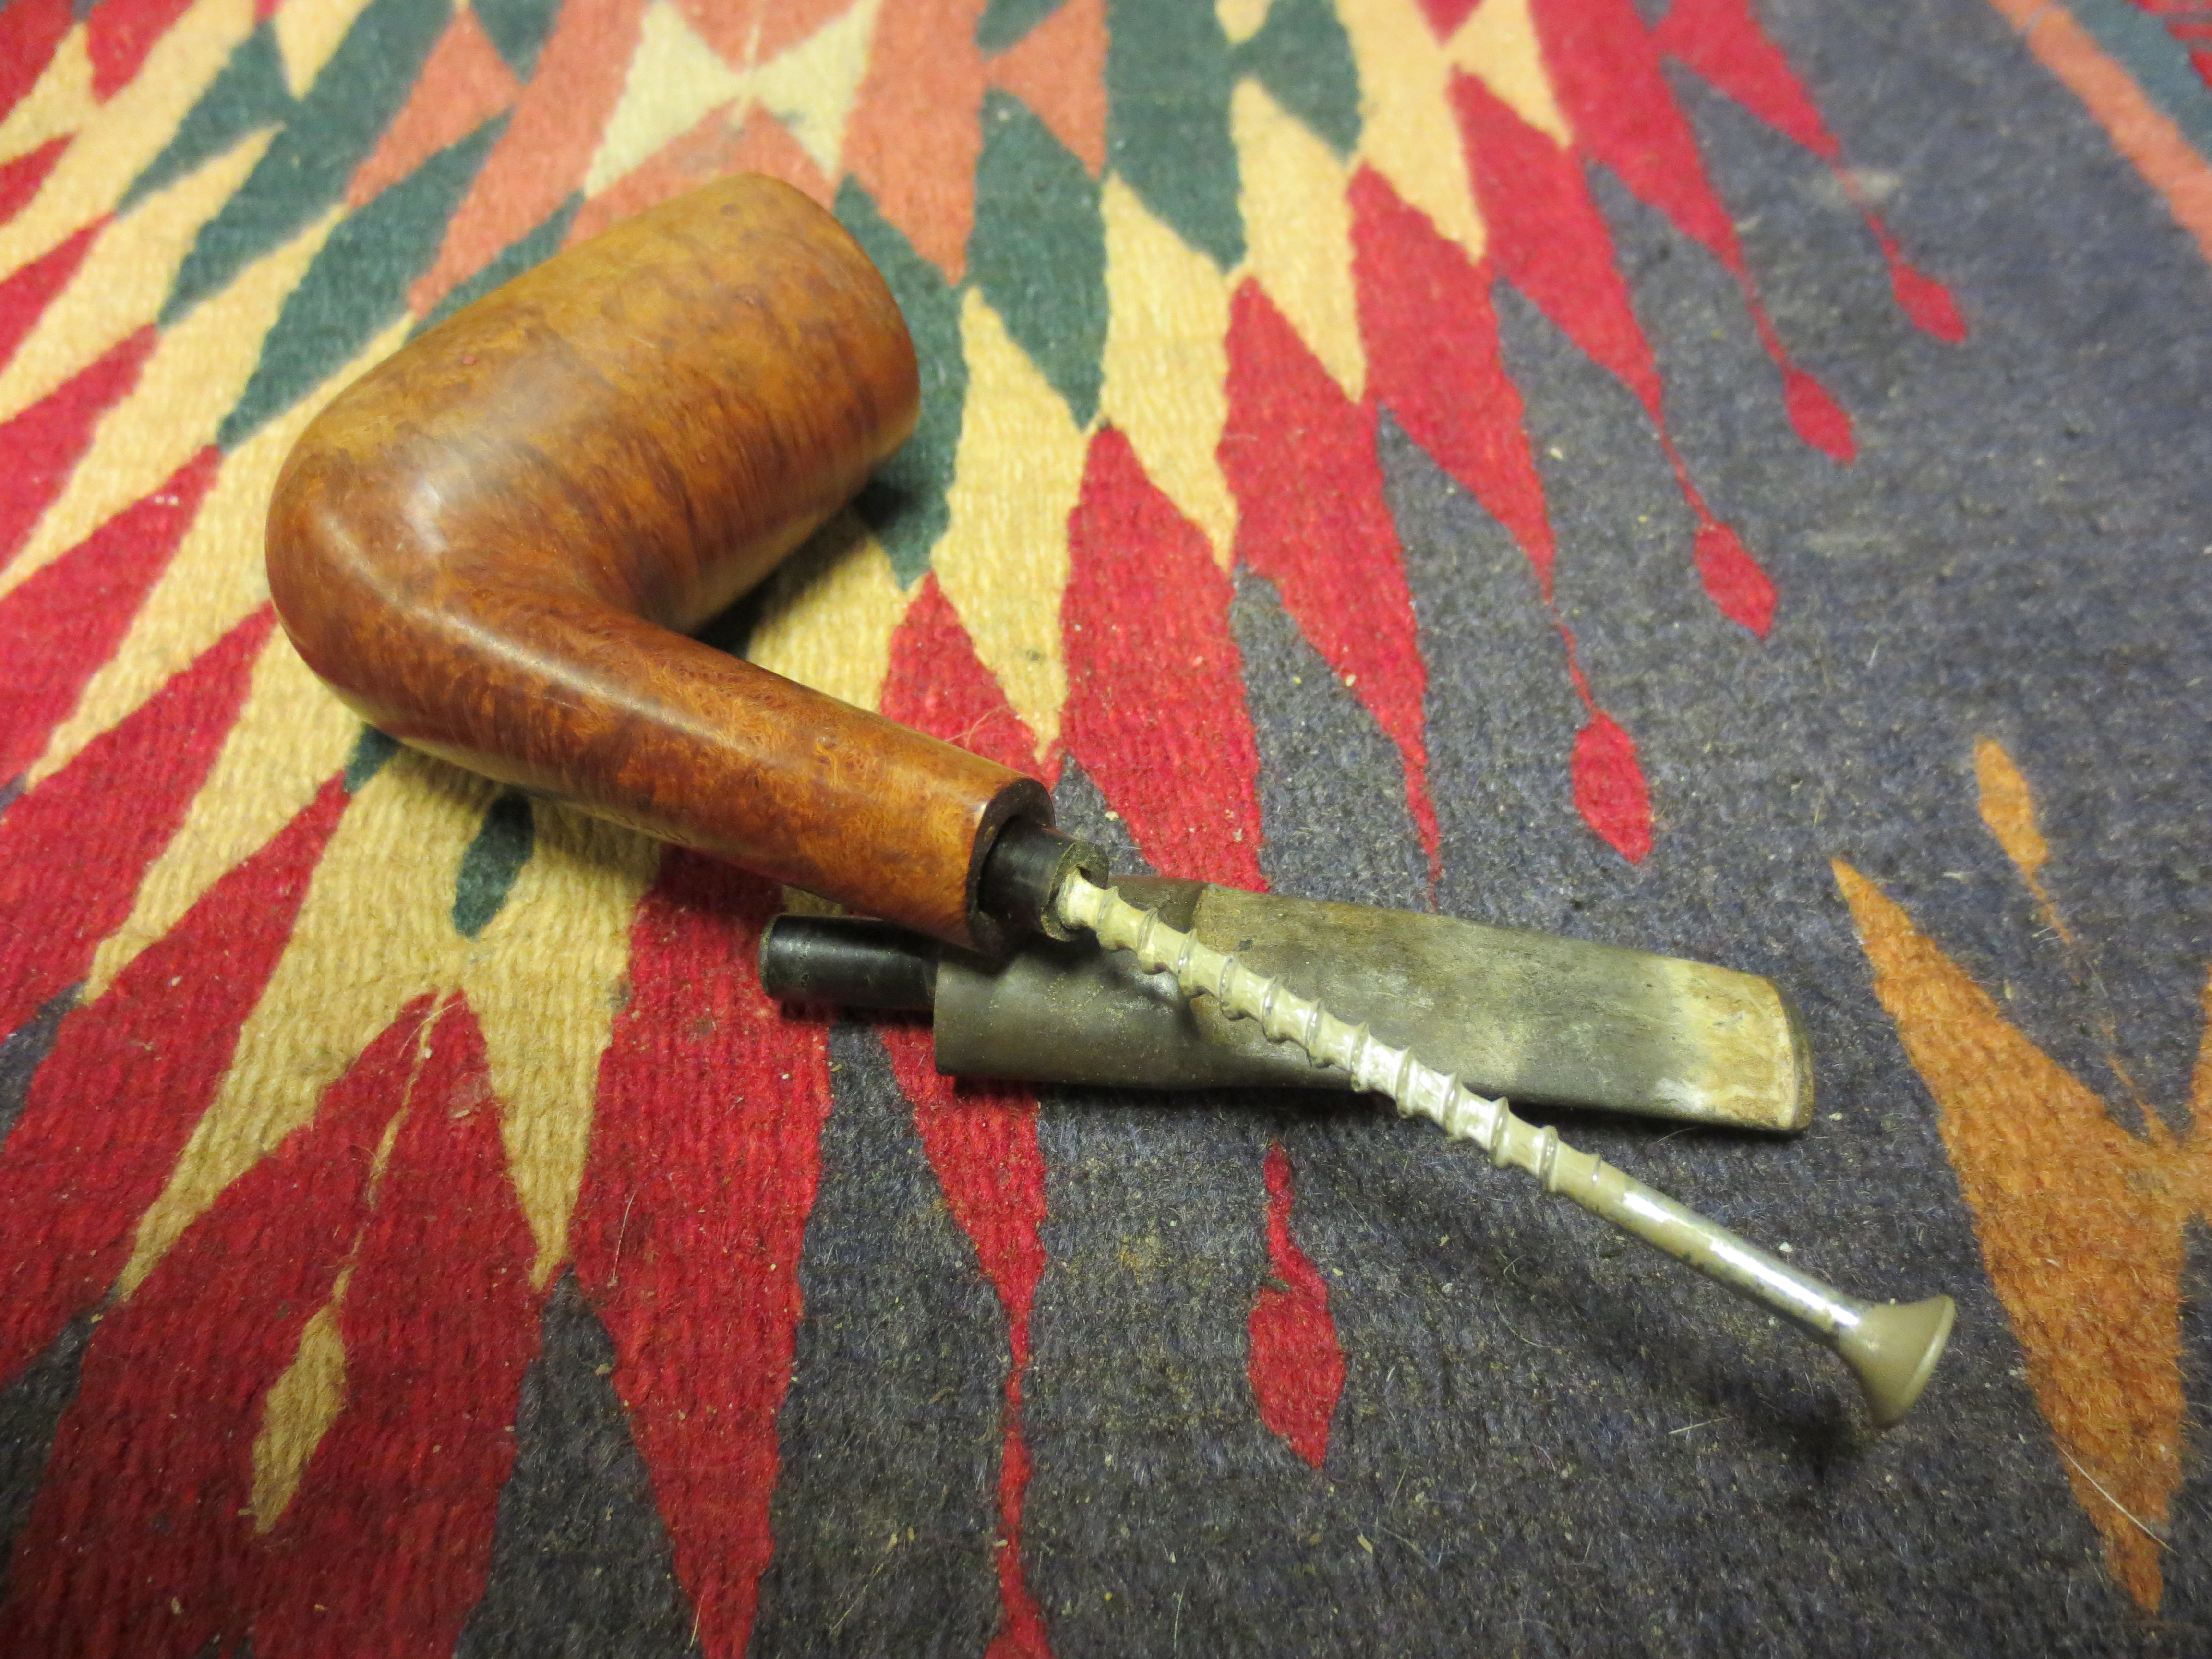
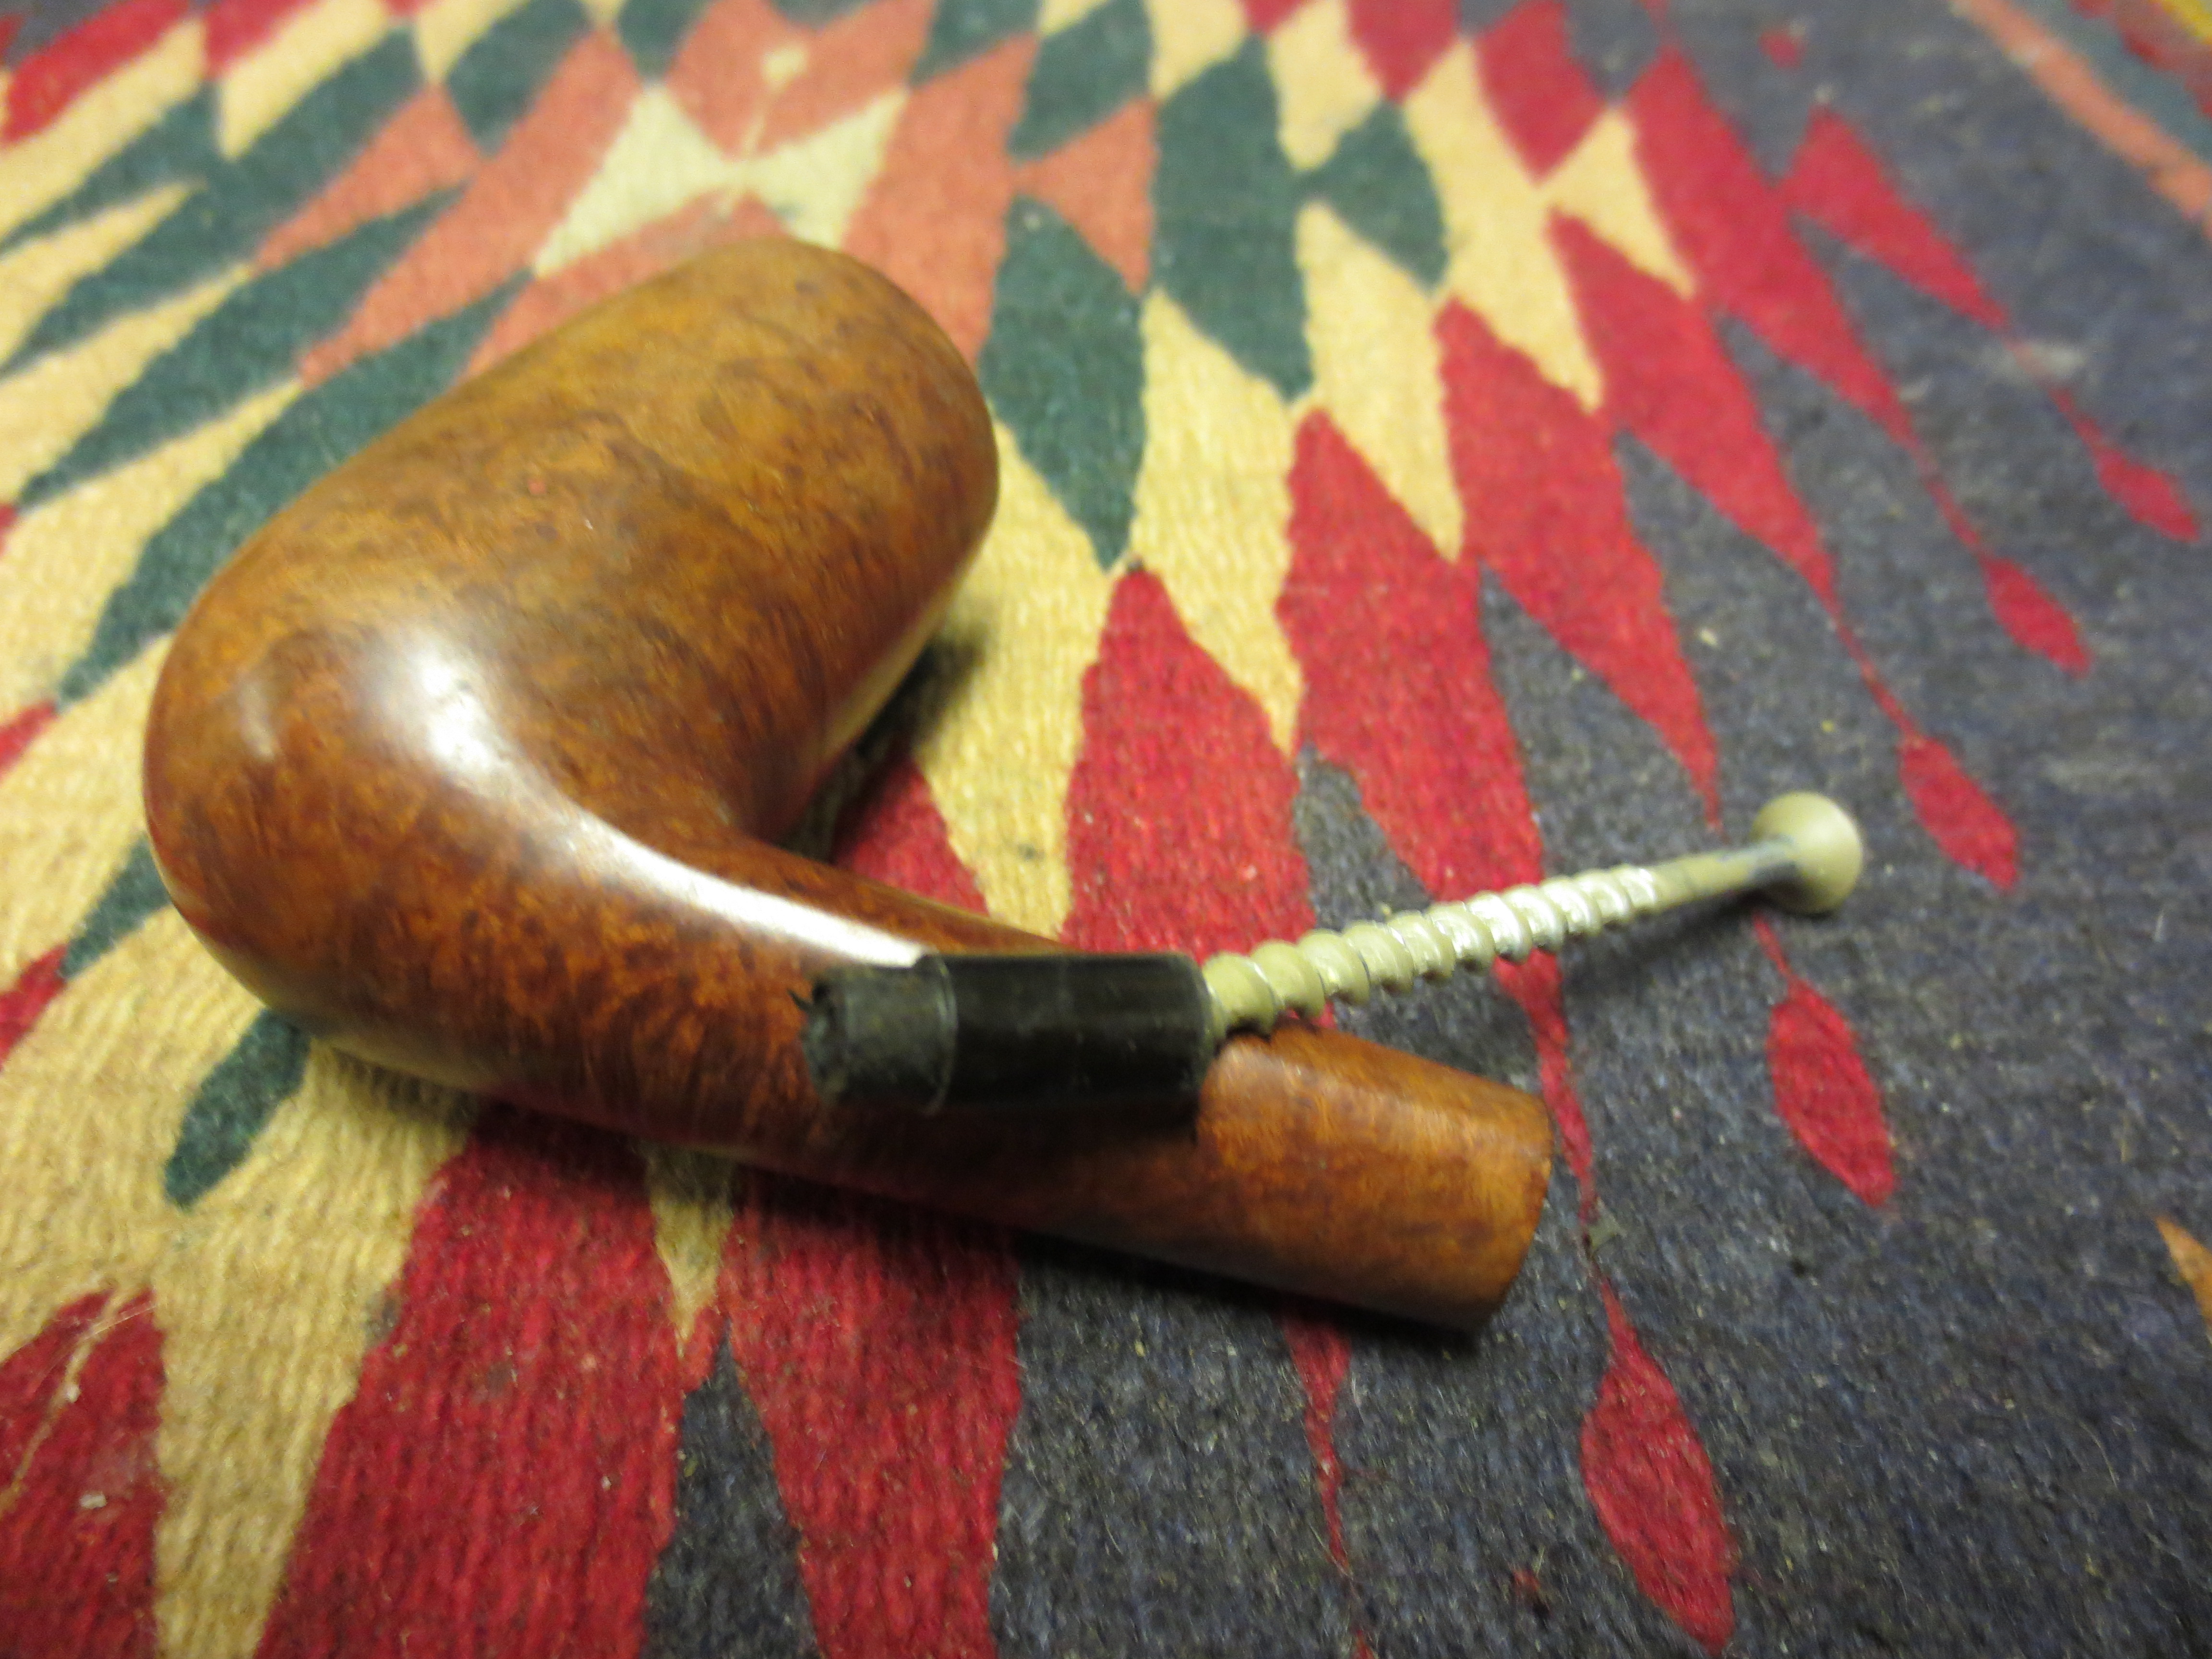
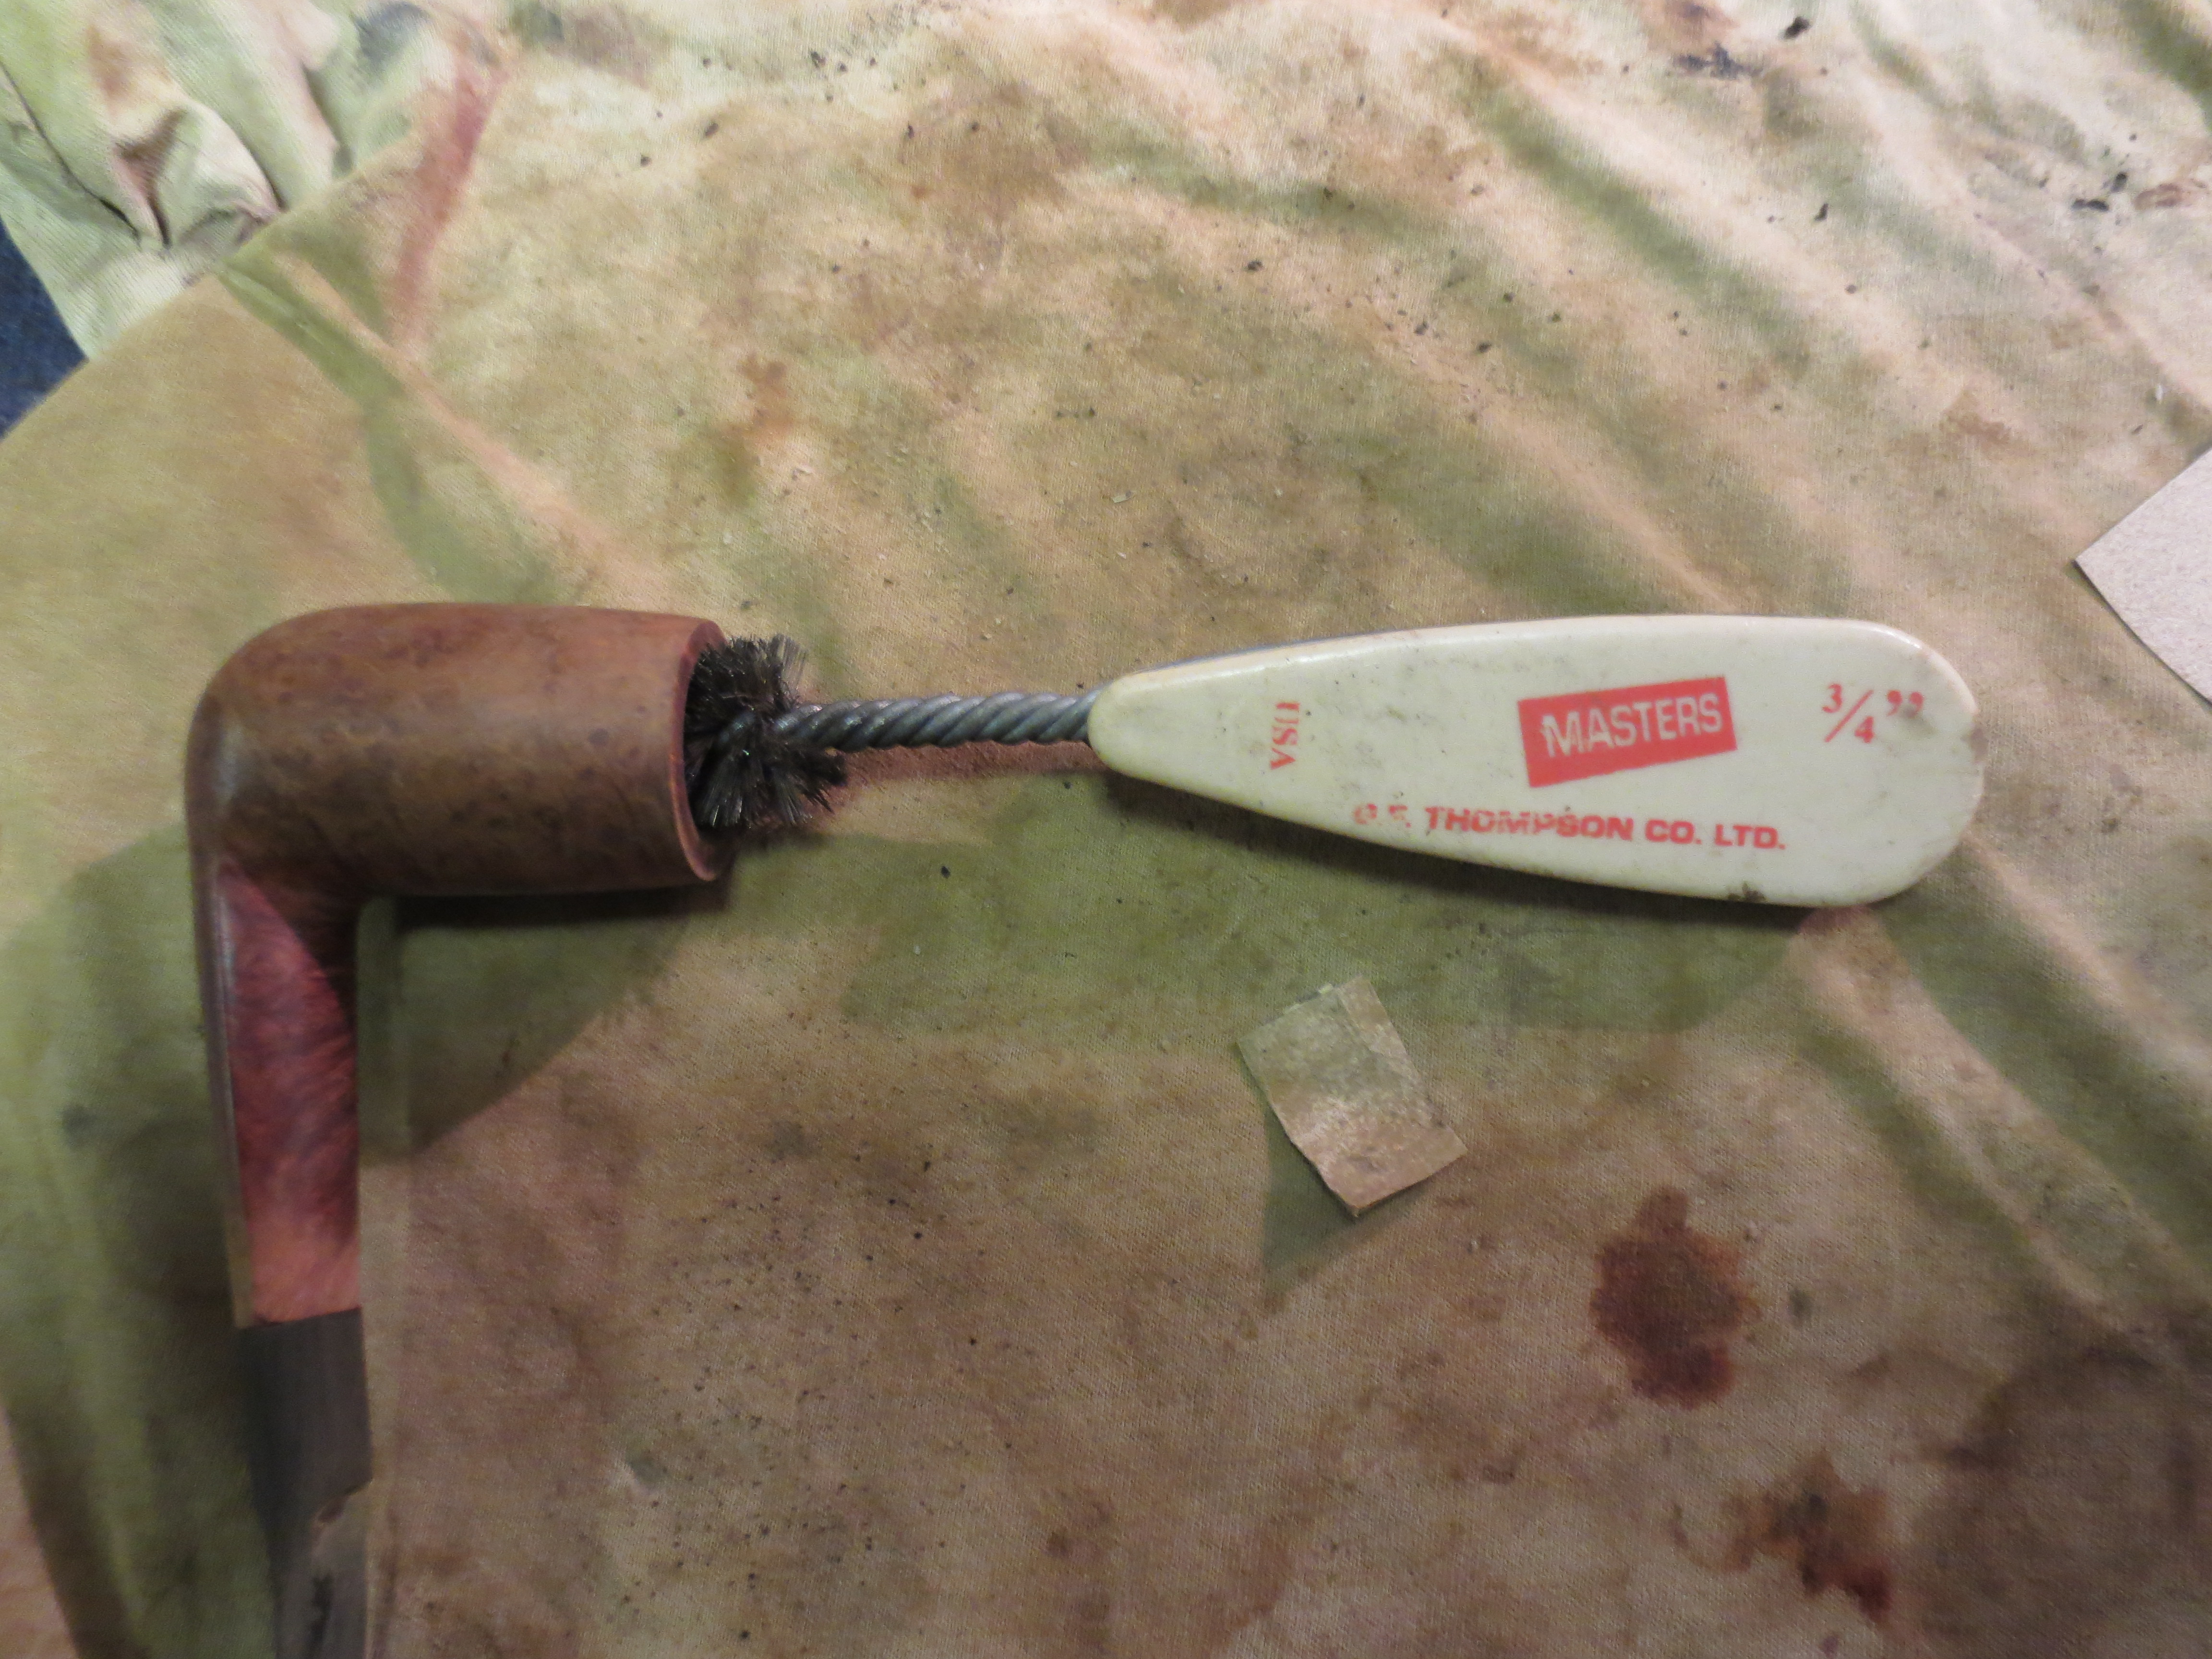
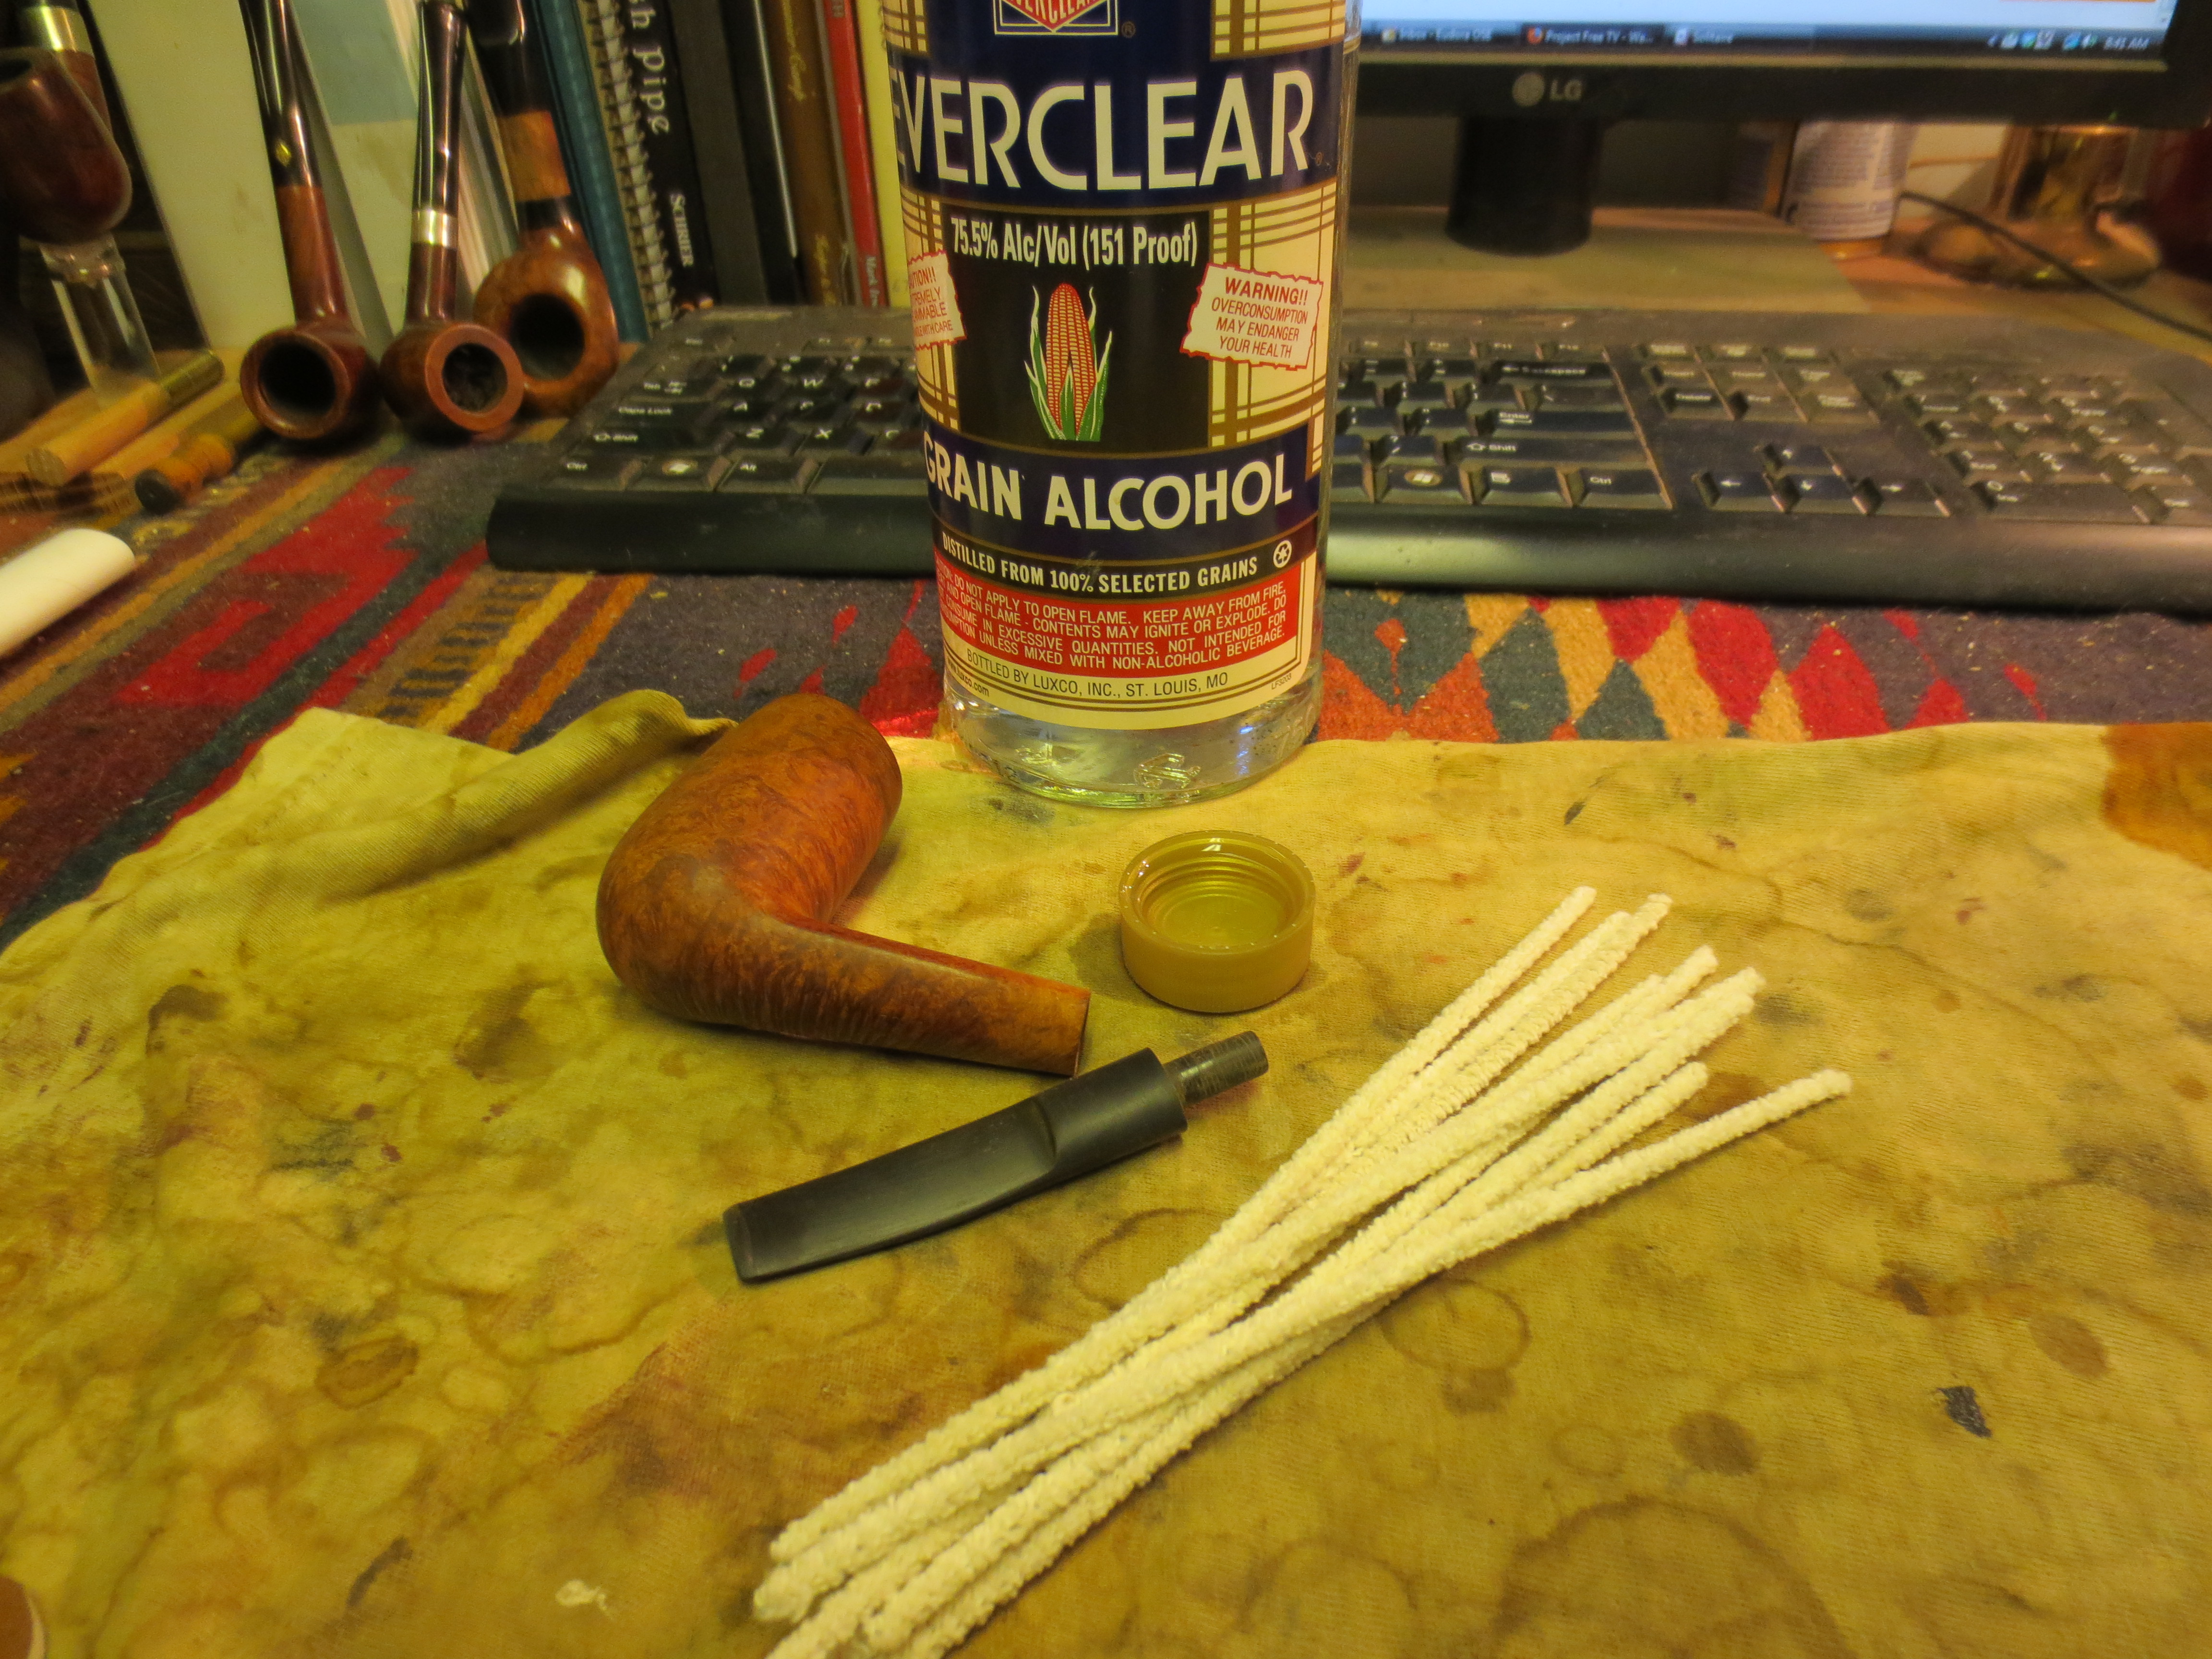
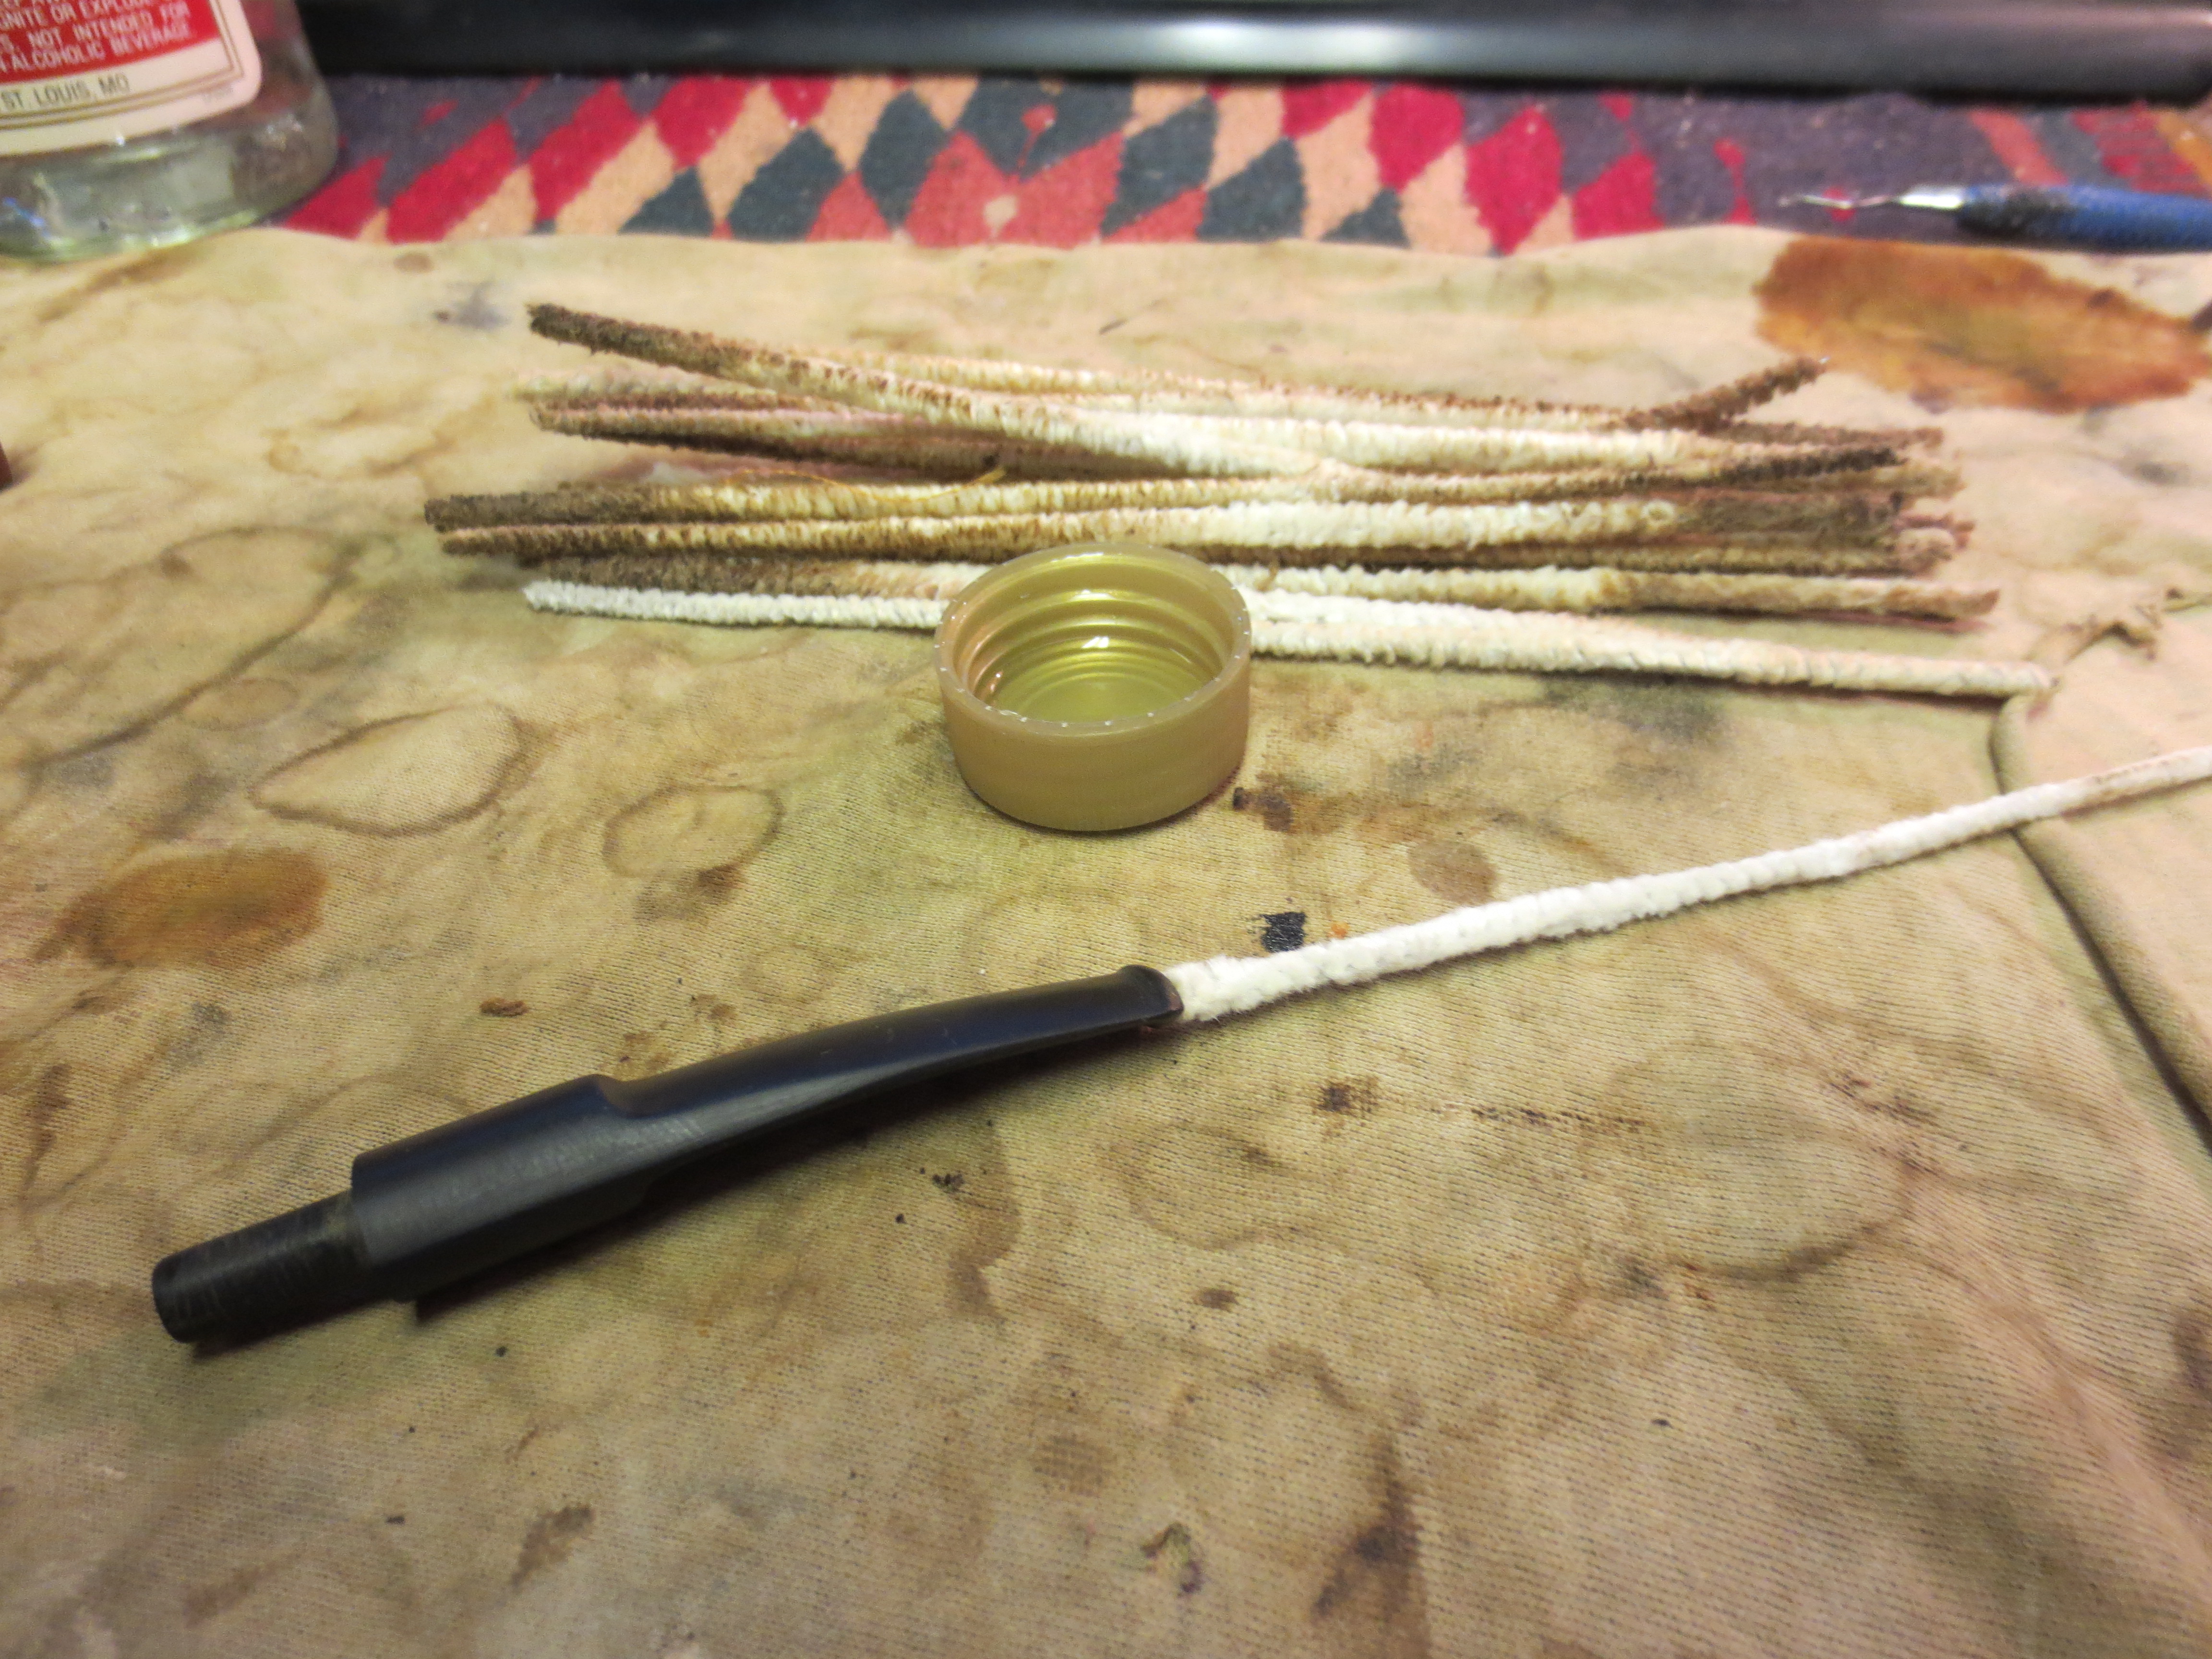
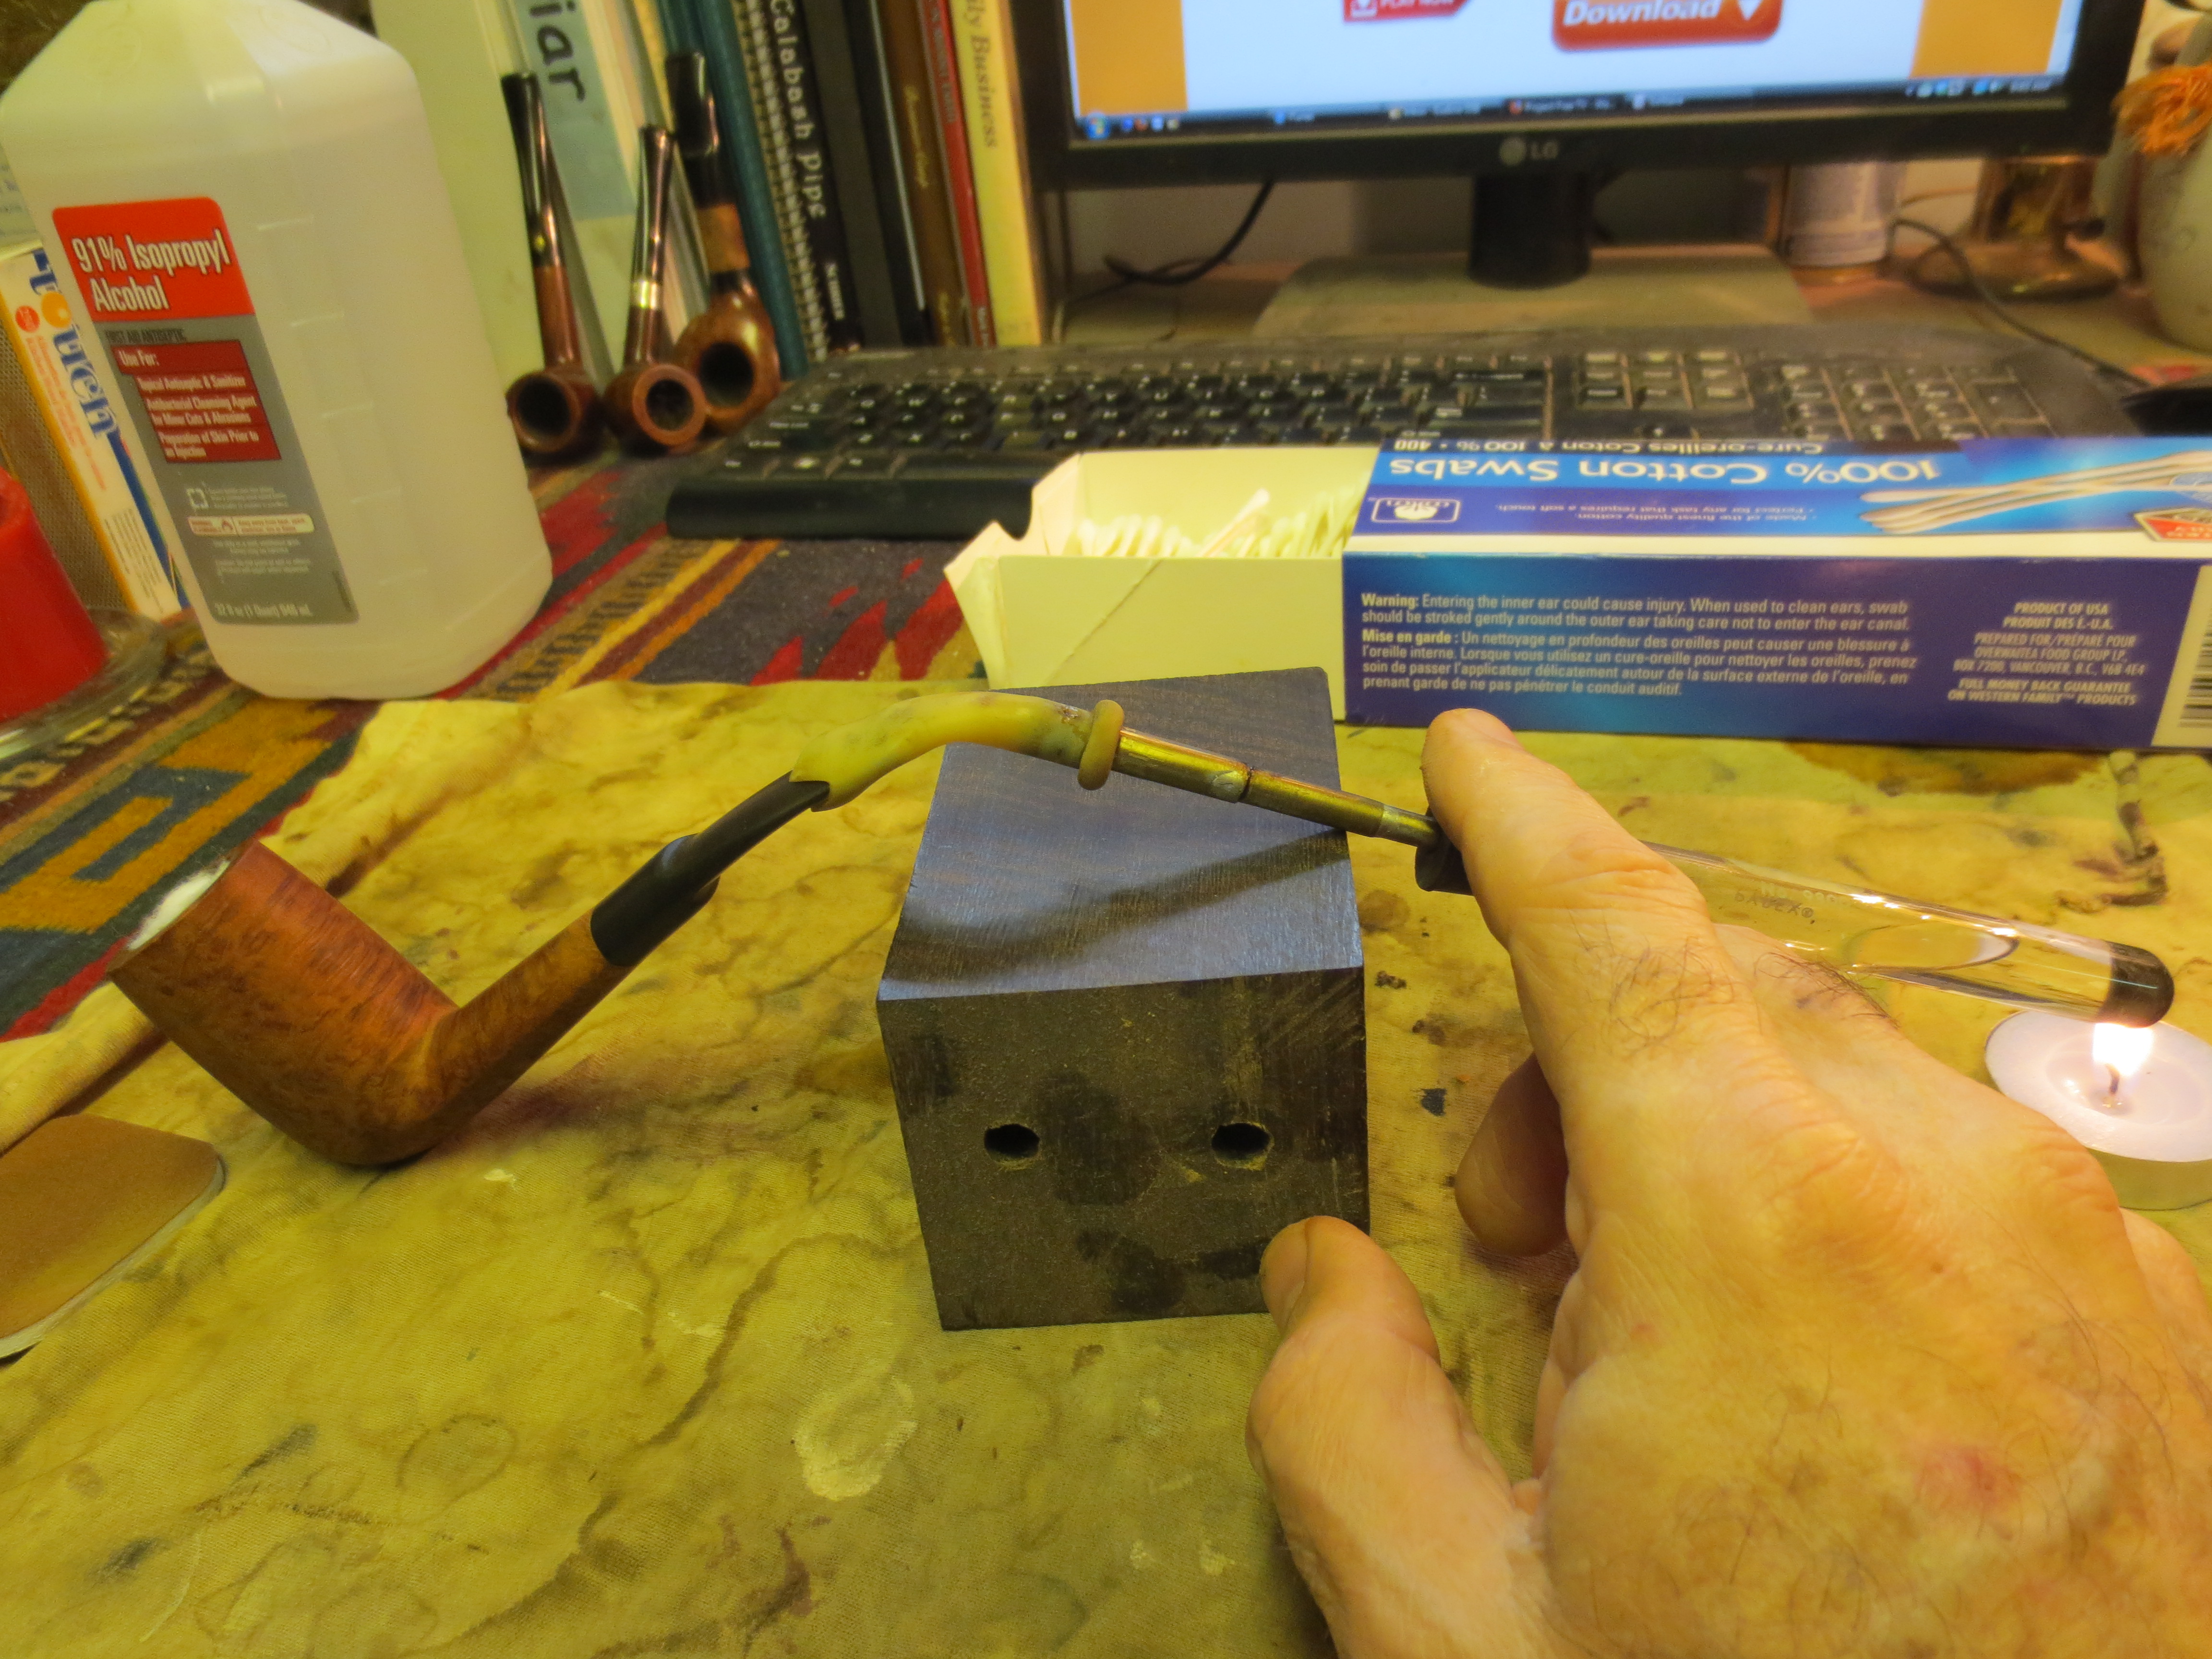
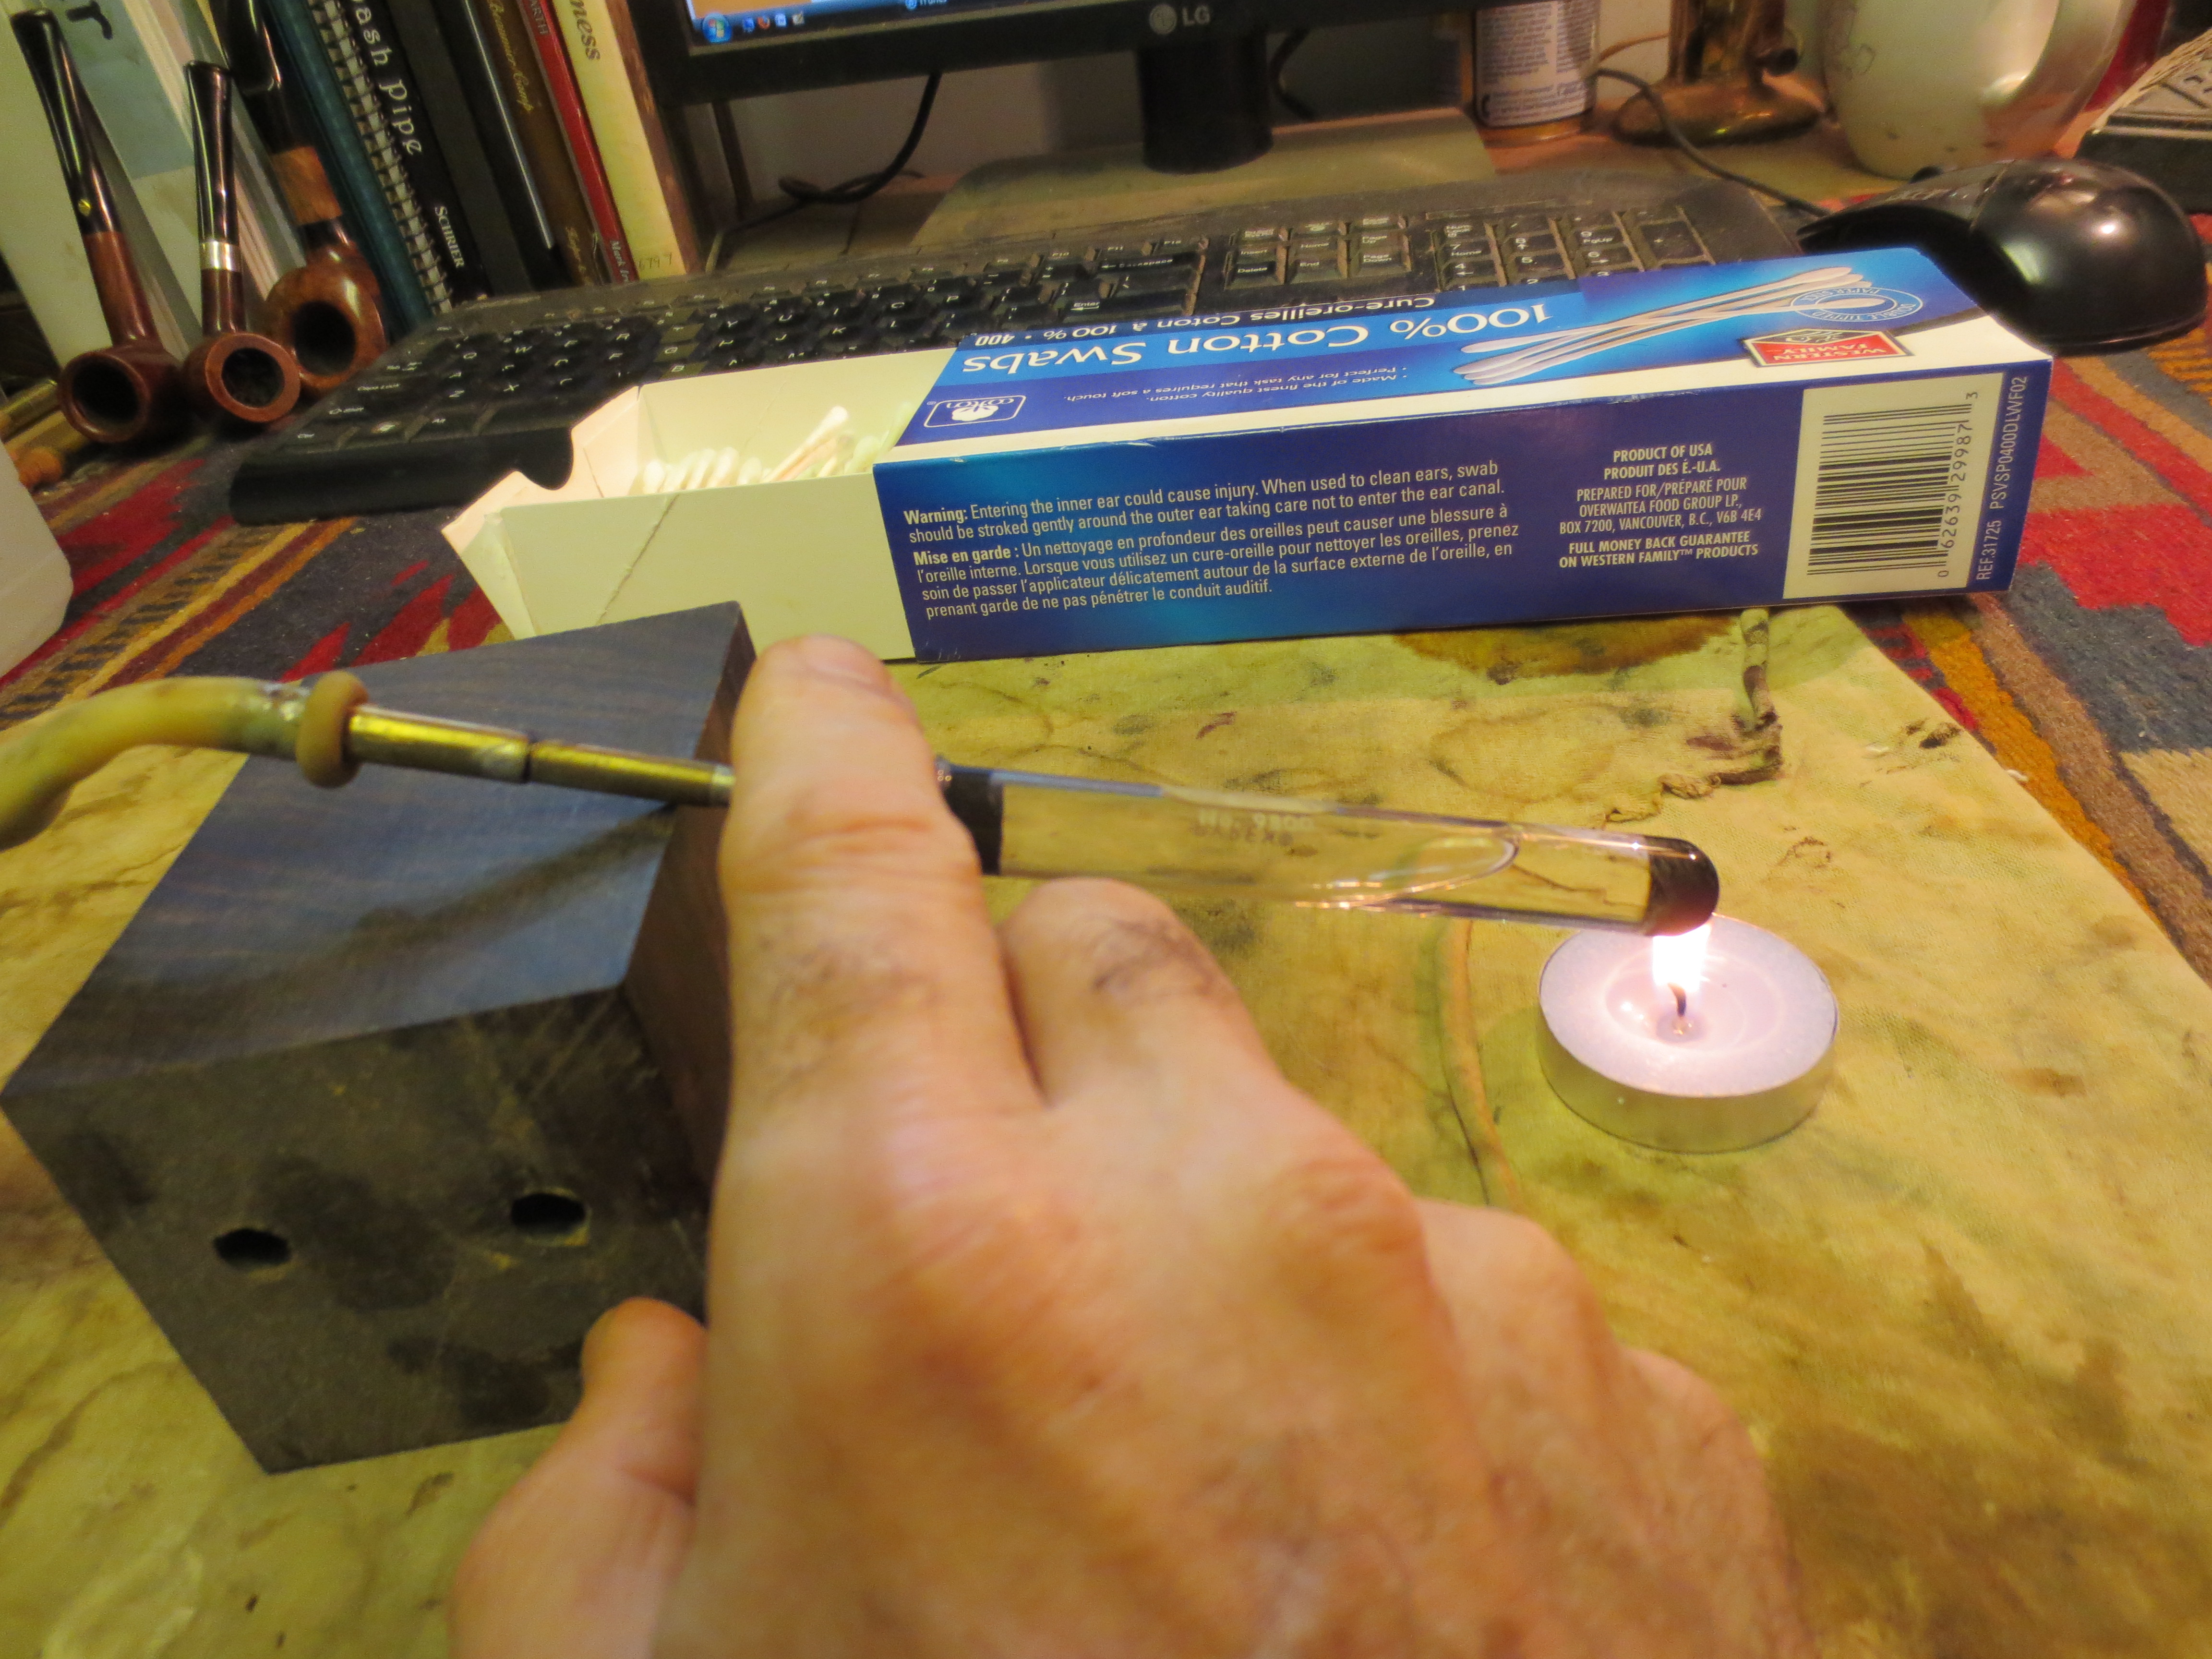
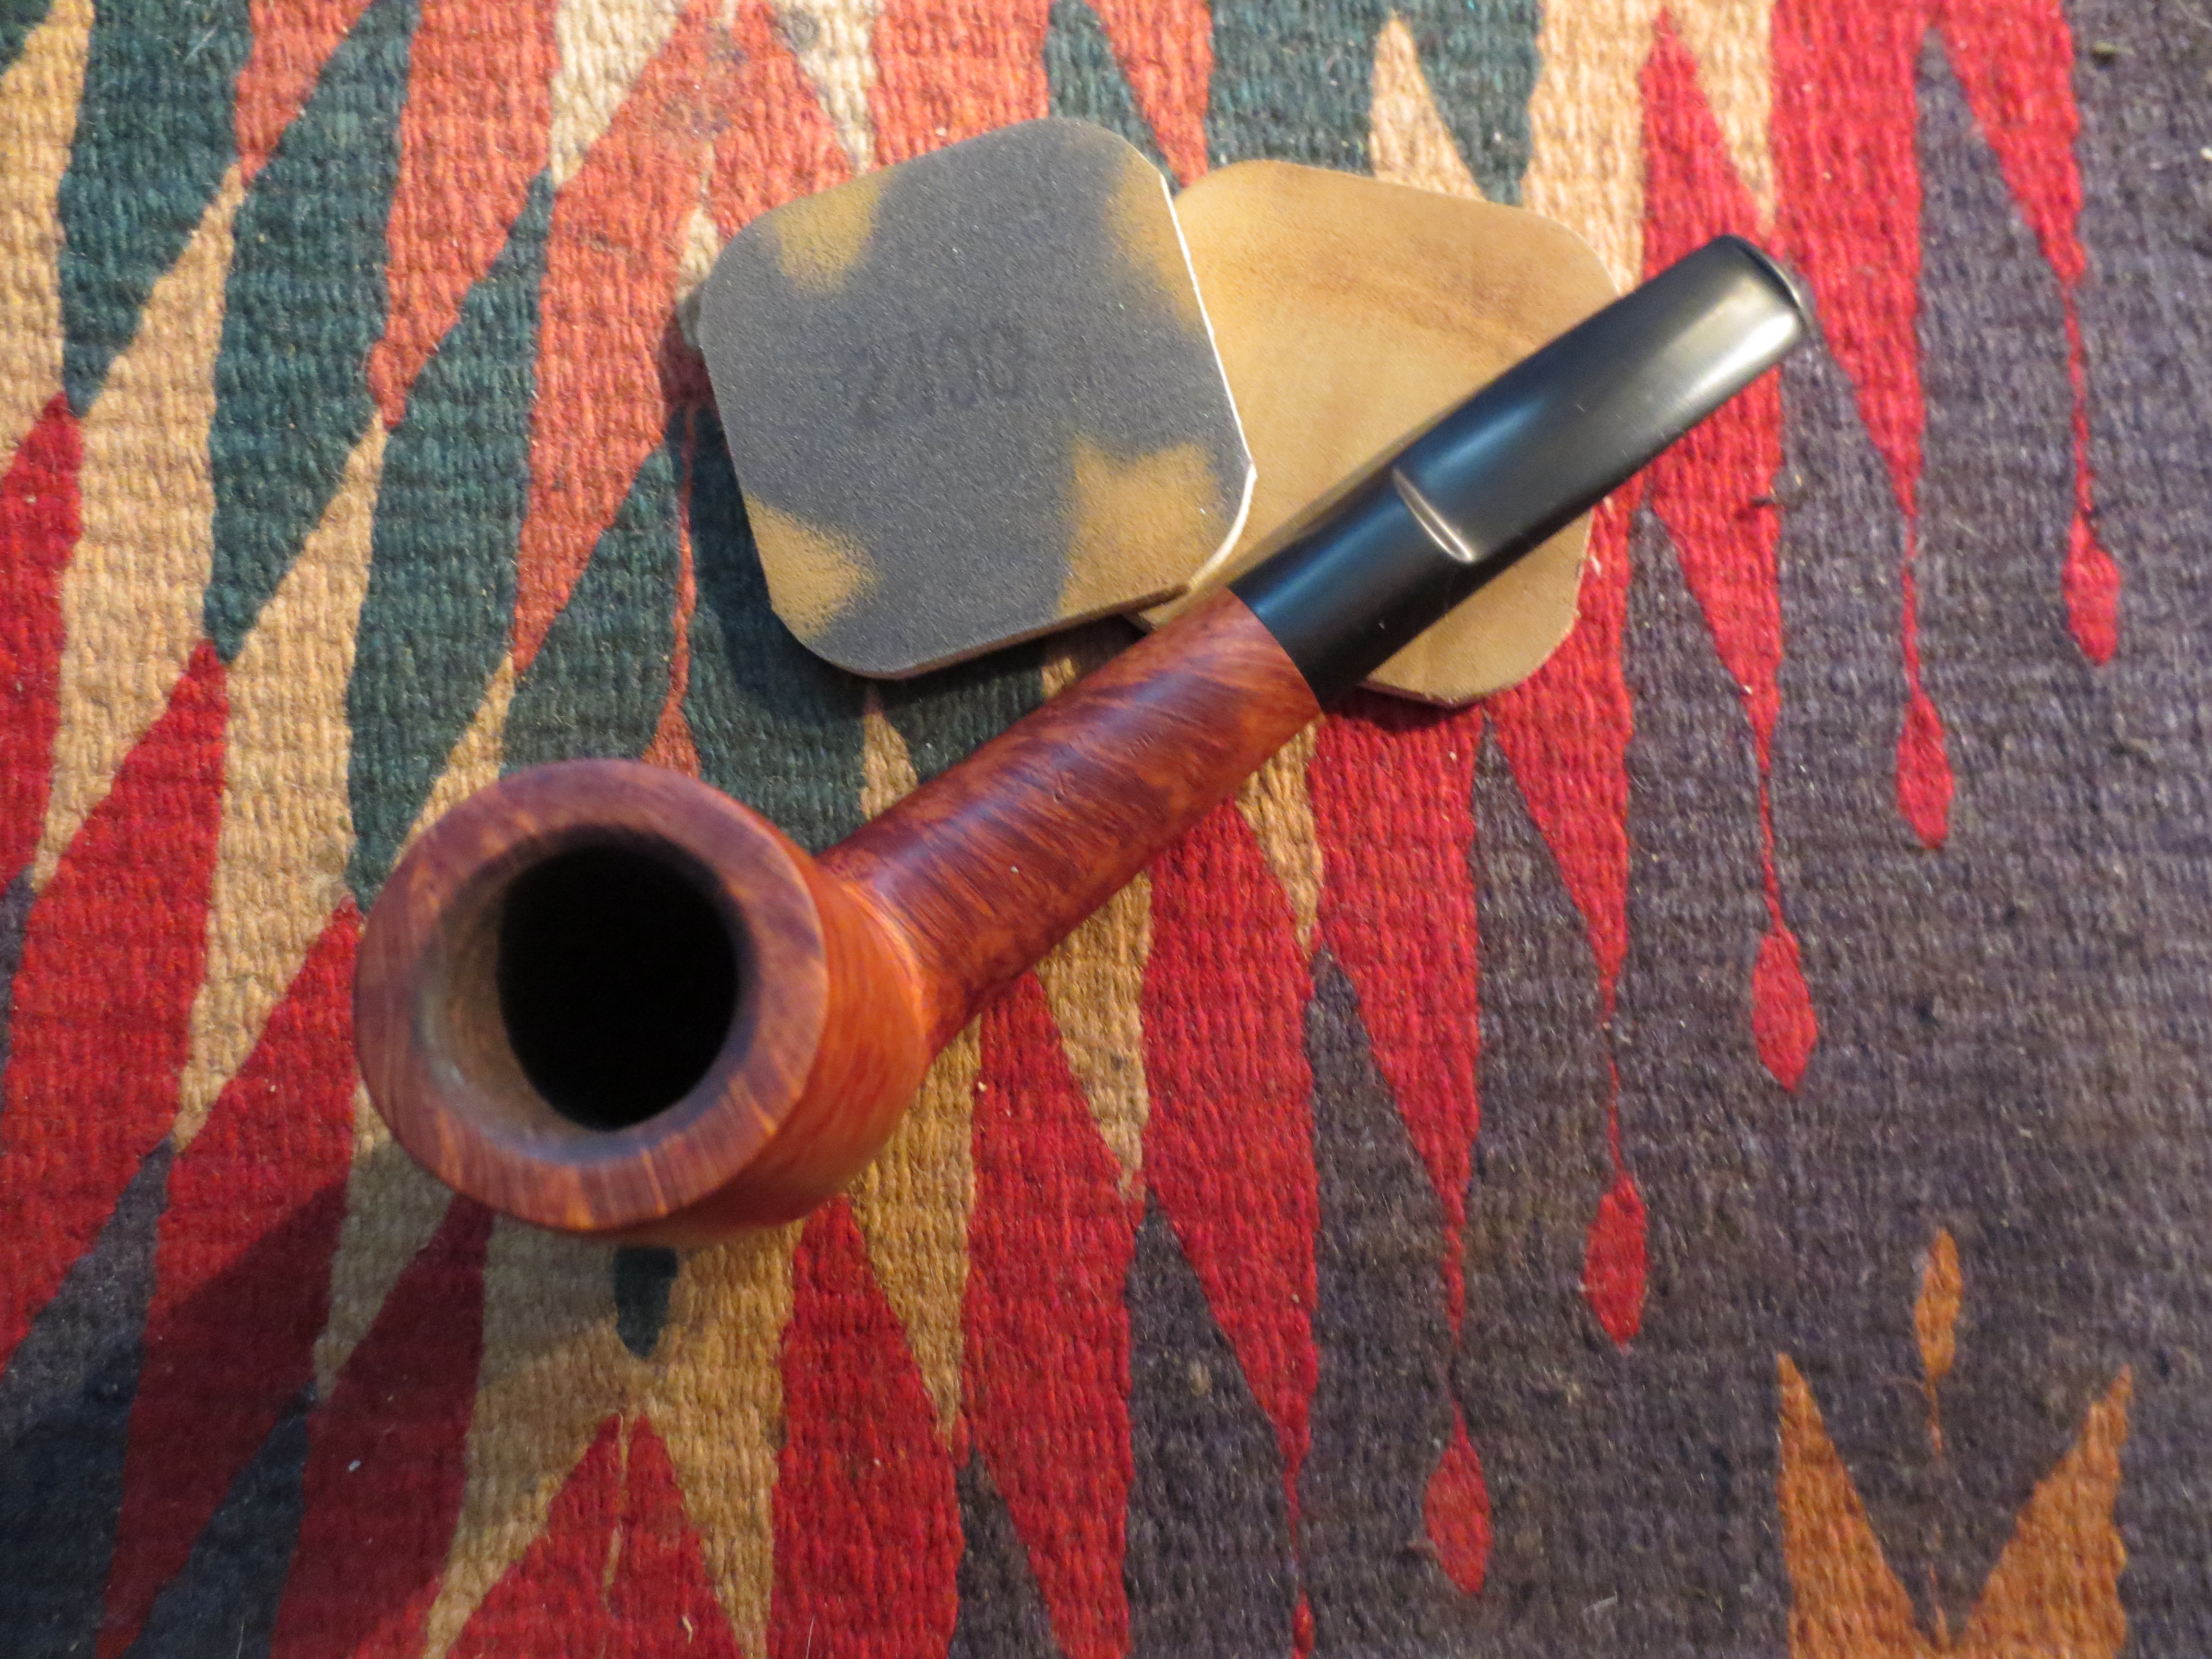
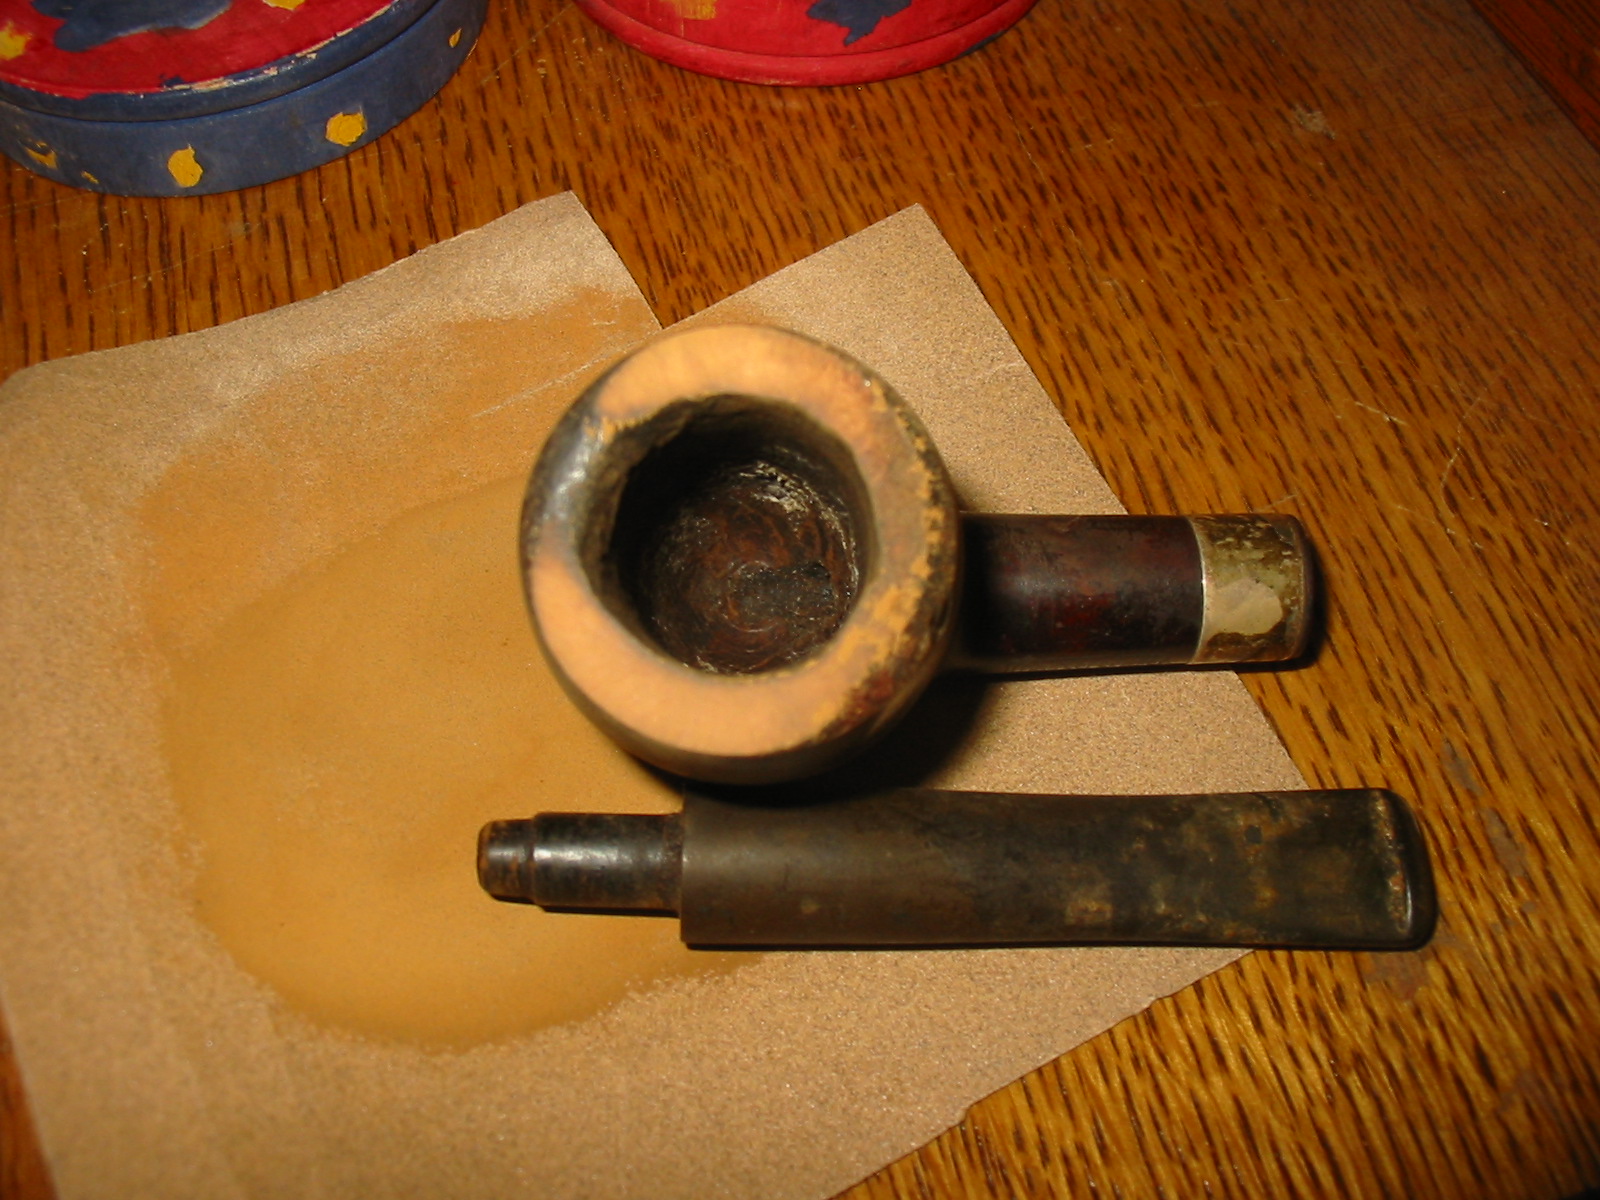
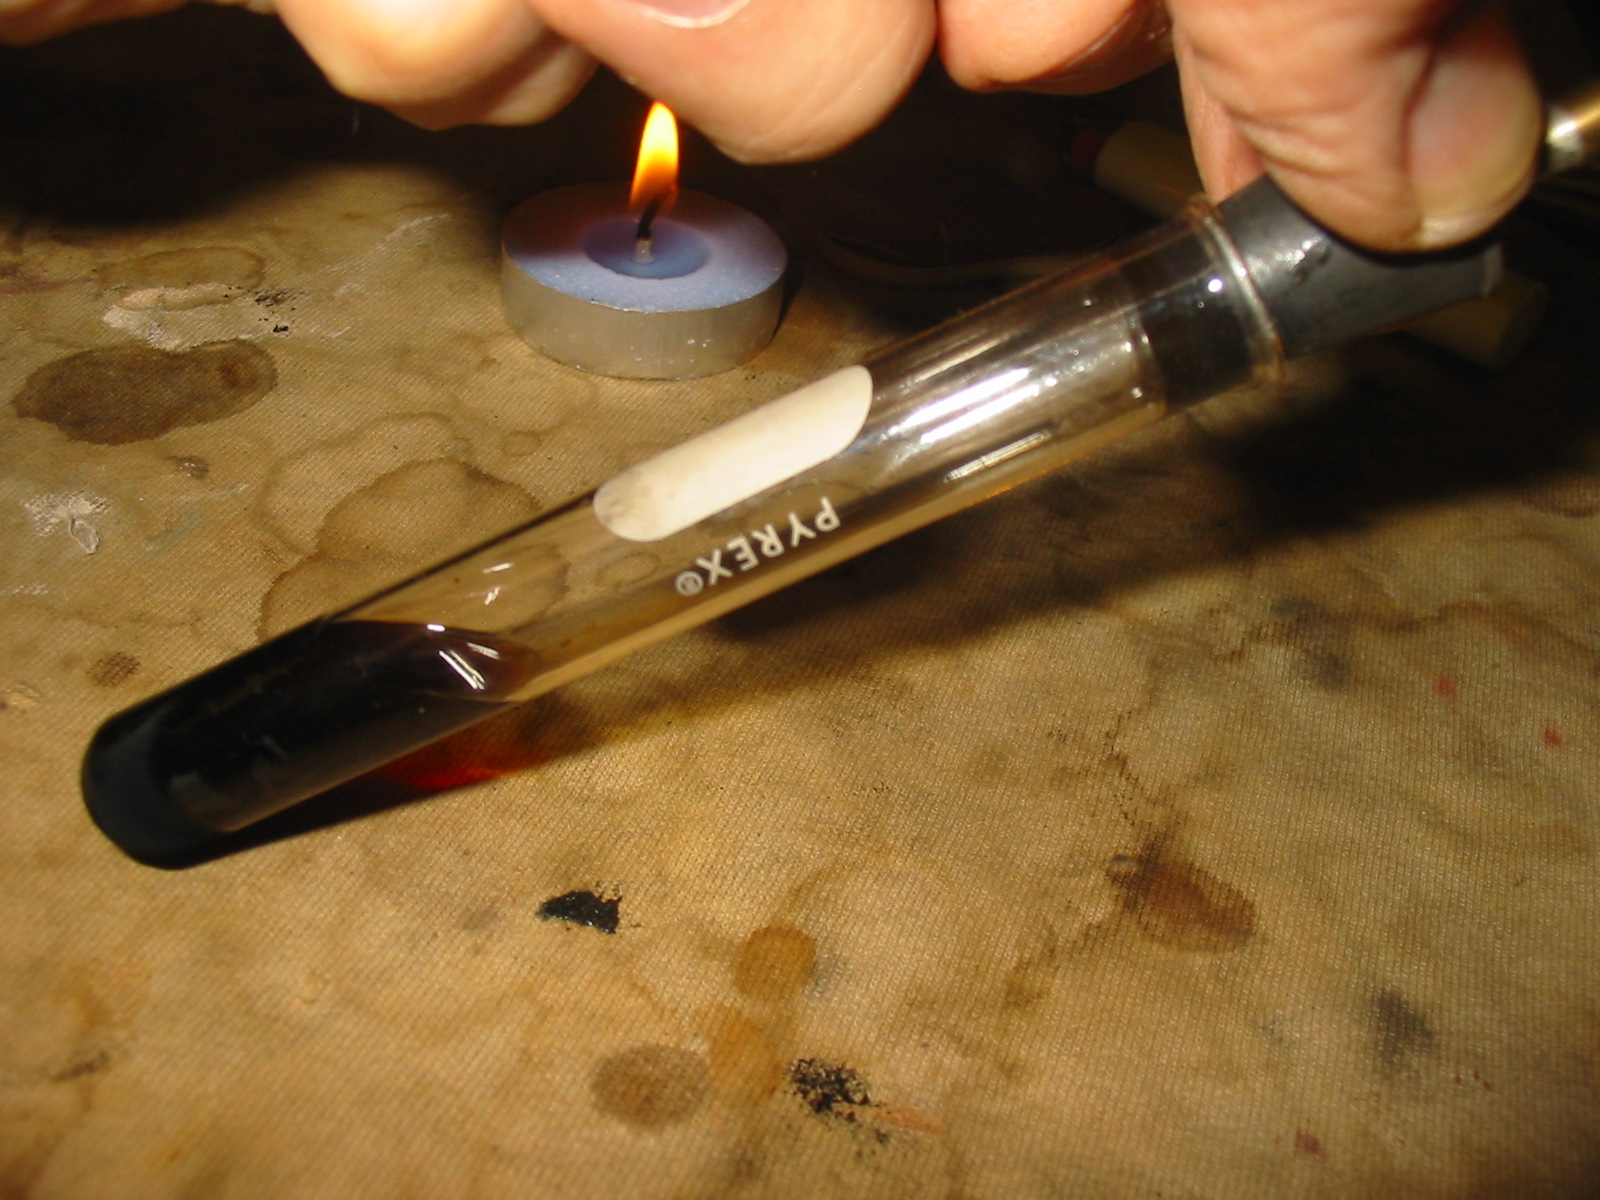
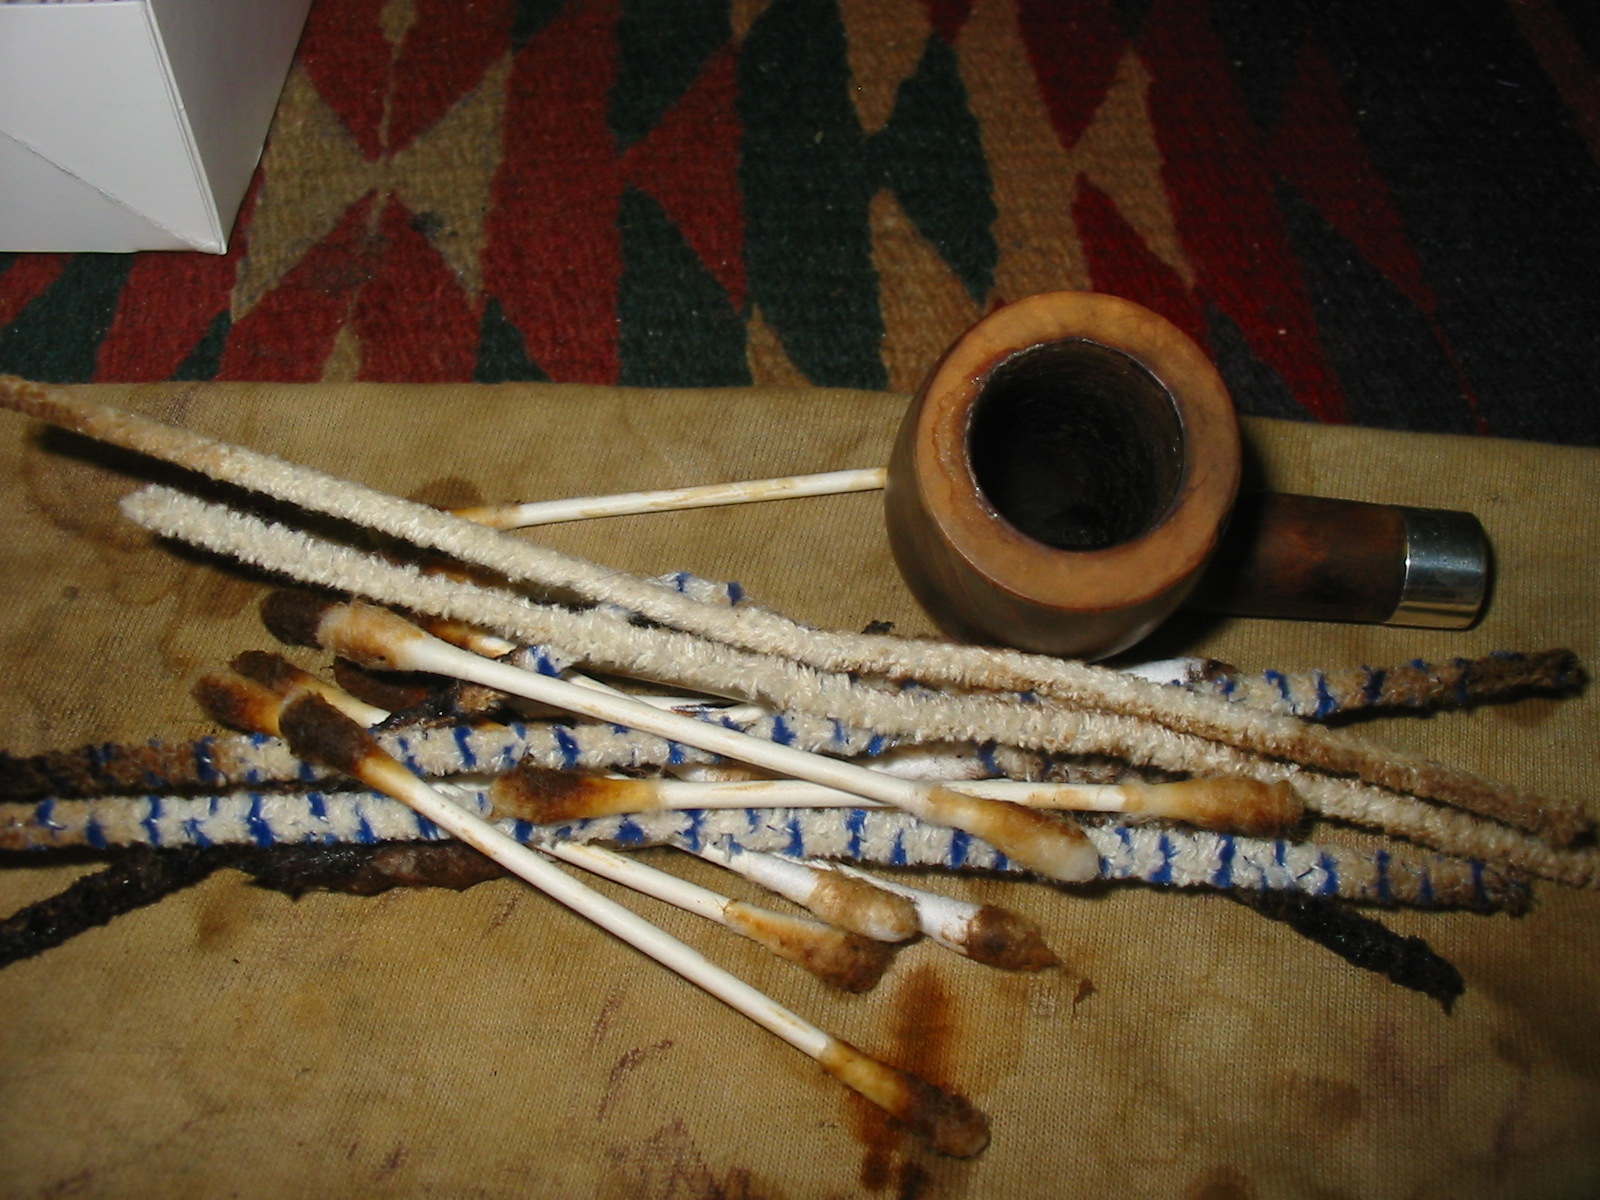
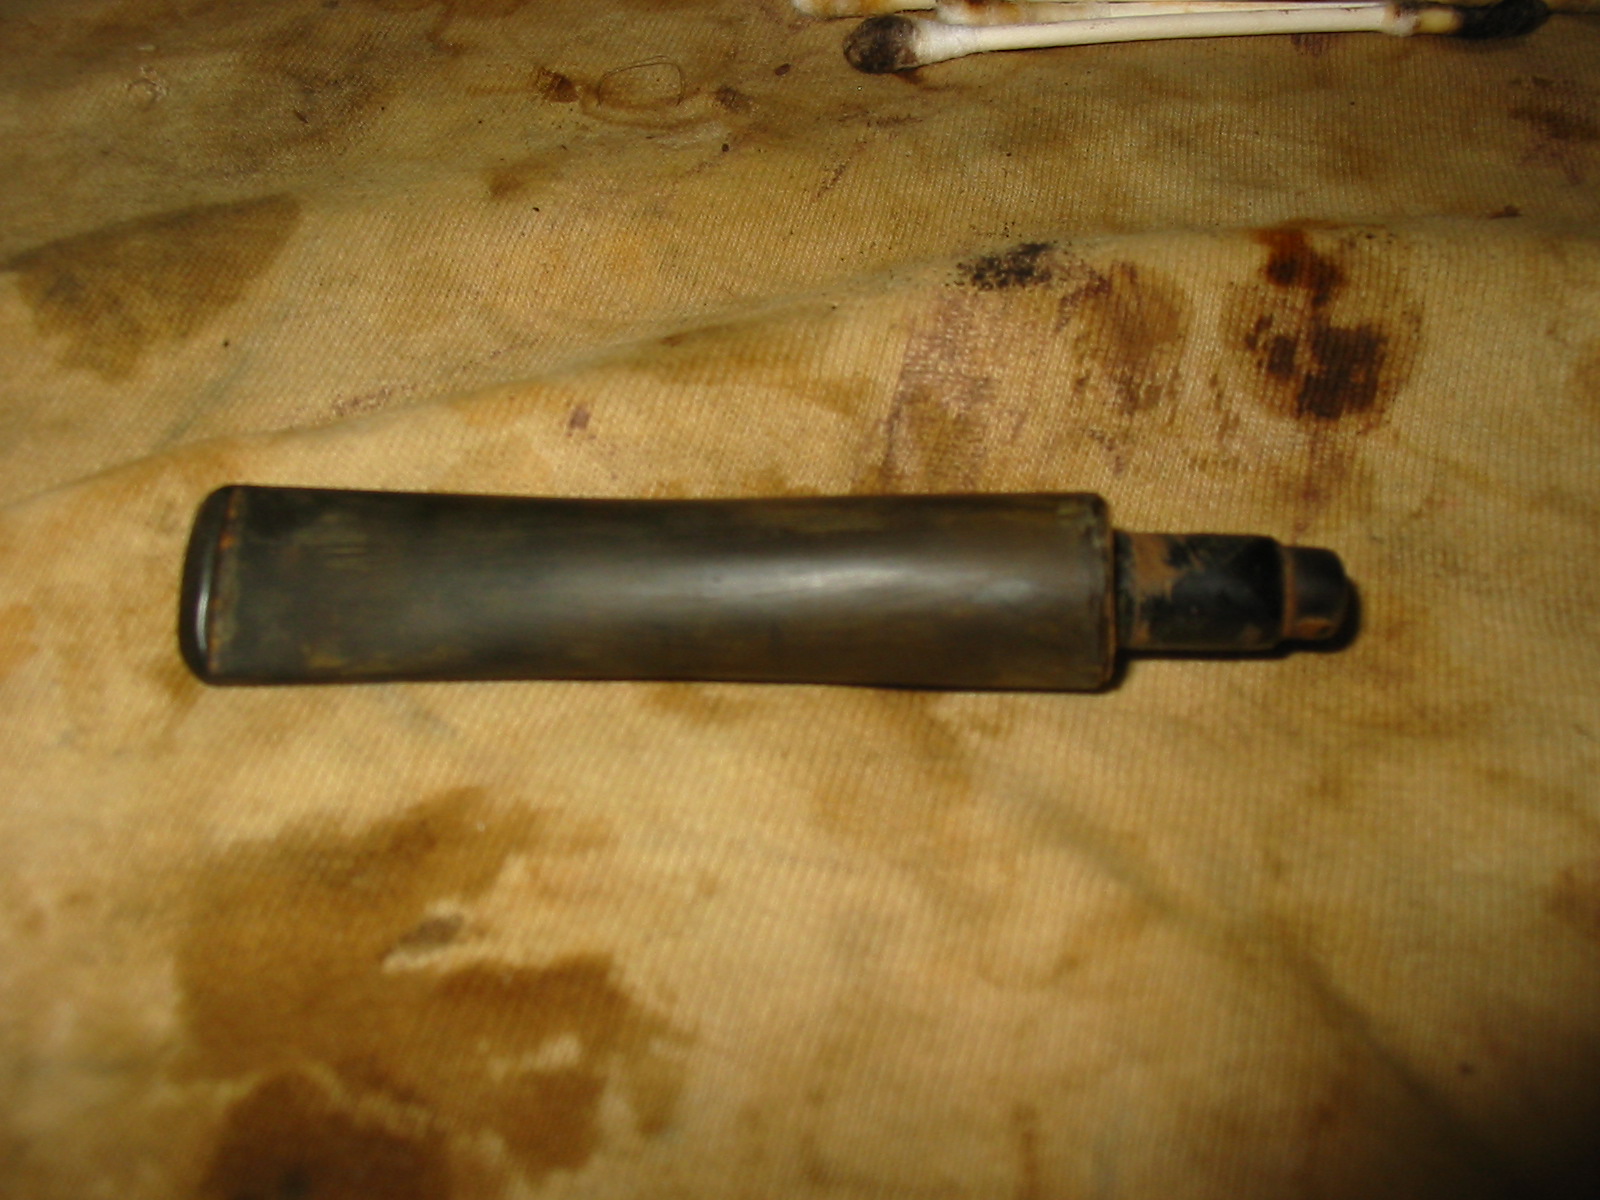
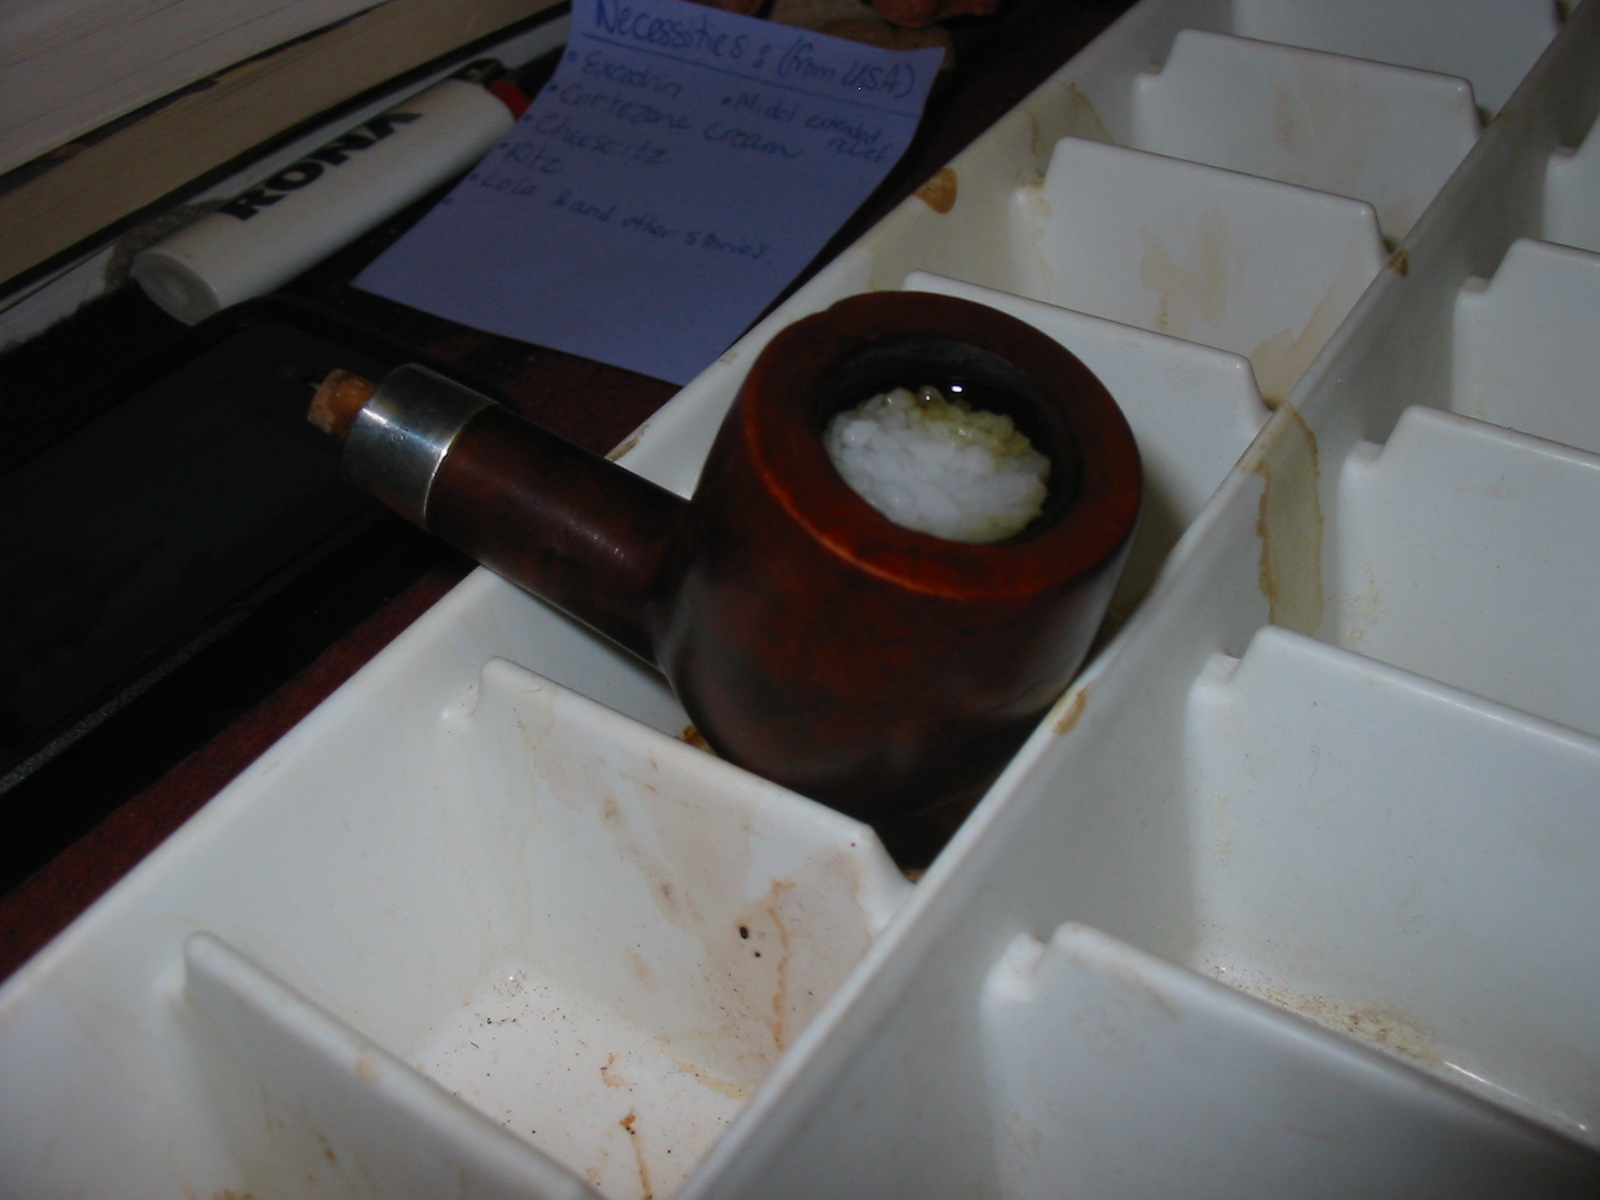
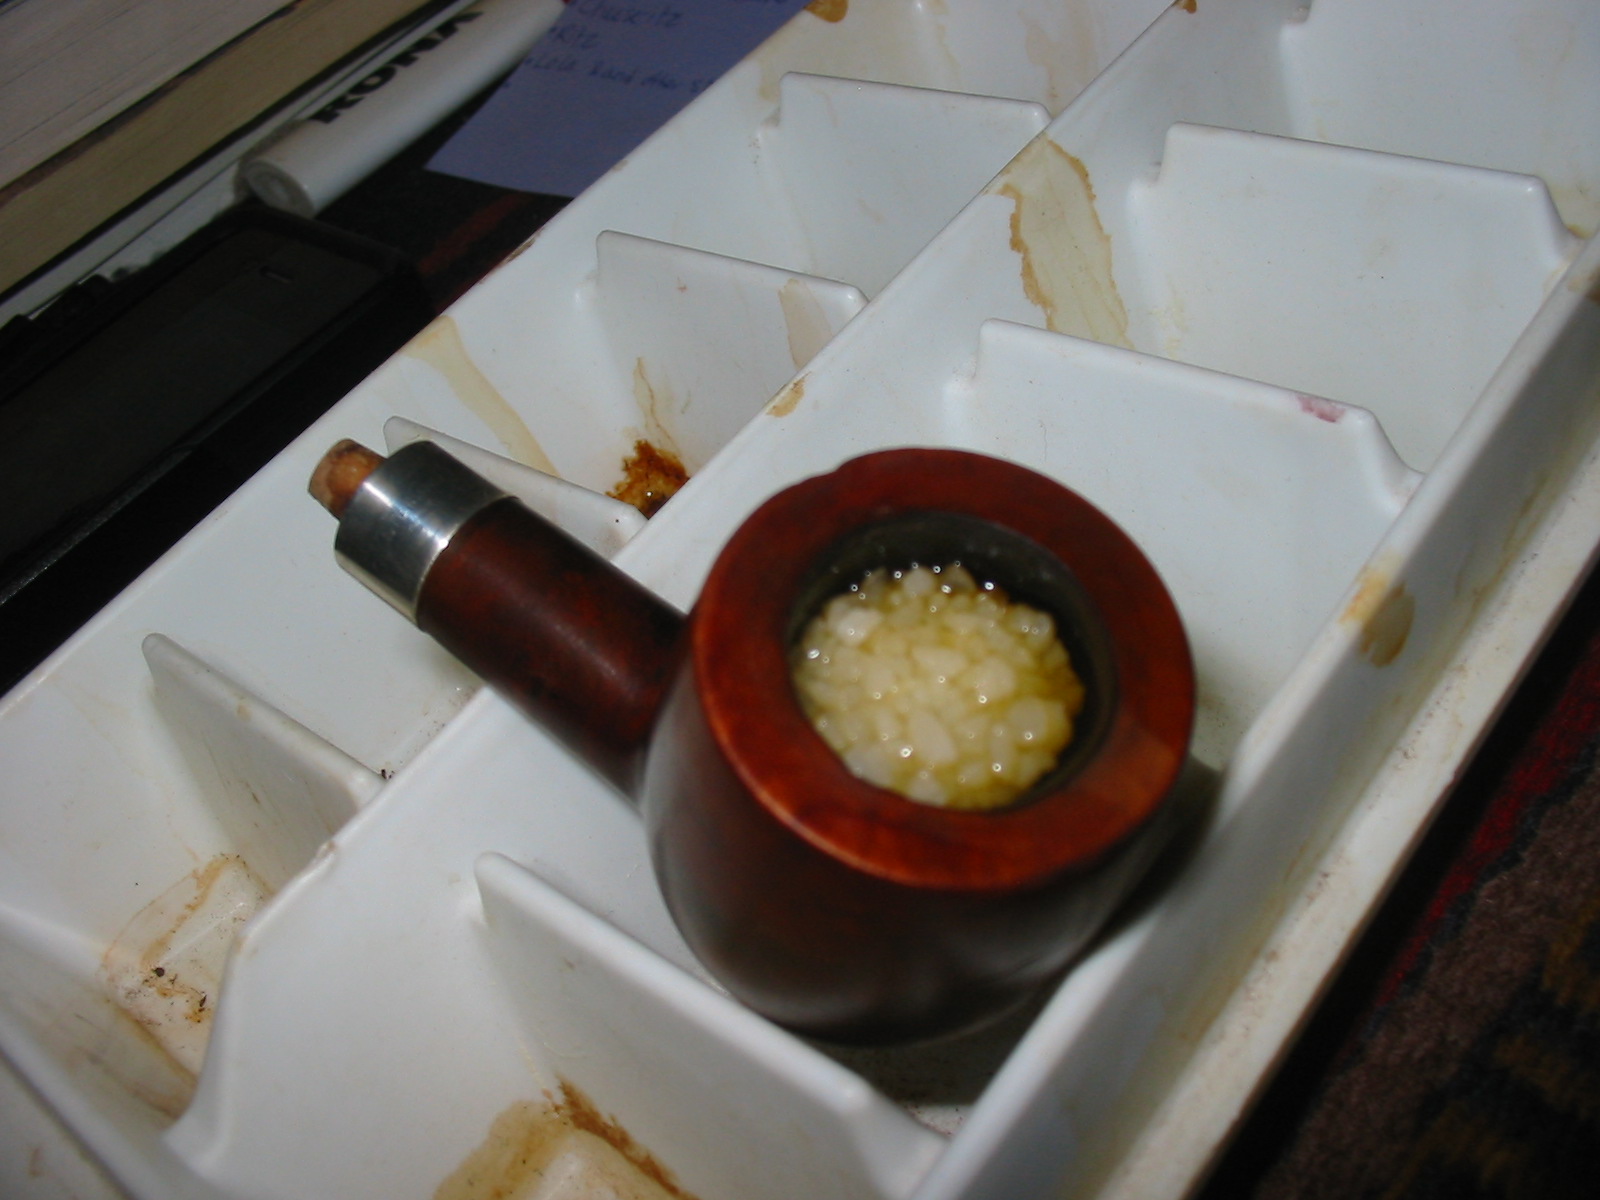
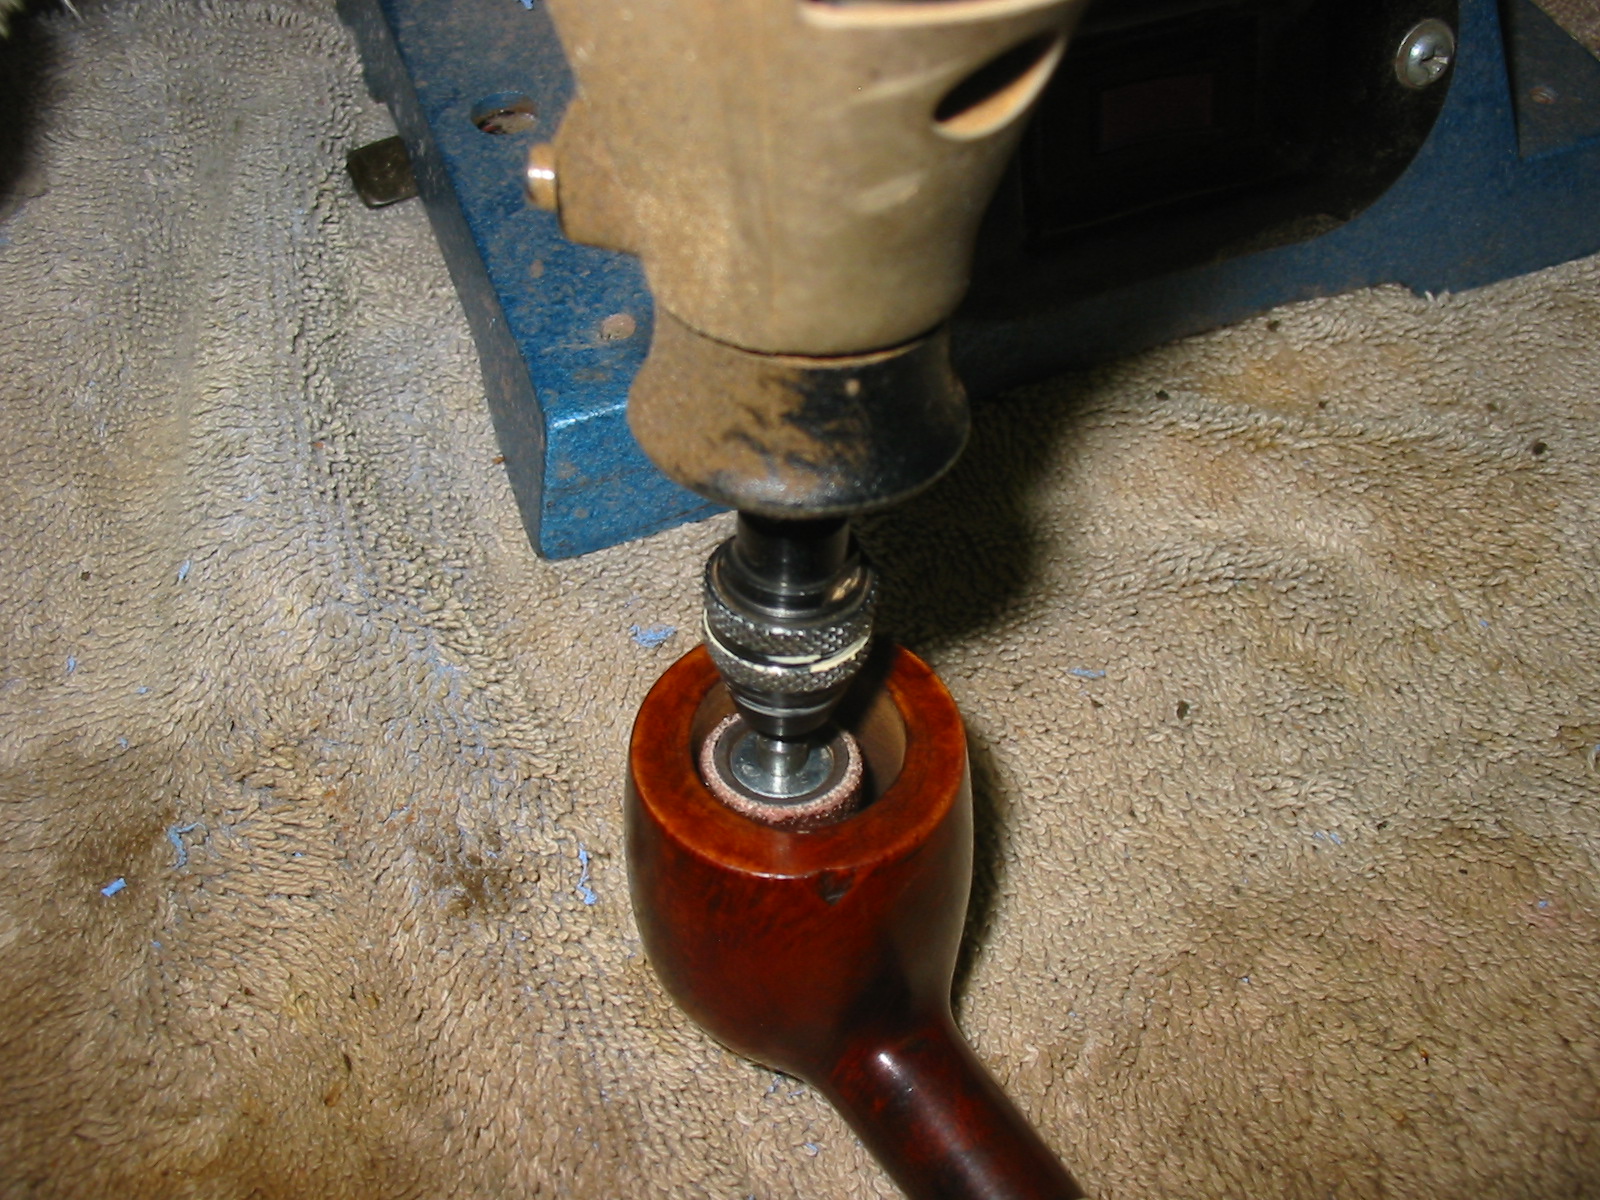
I set the bowl aside and turned my attention to the stem. It was pretty rough looking and would take some work. I sanded the surface carefully with 220 grit sandpaper to remove the tooth chatter, marks and oxidation. While I worked on it I noticed I had not cleaned the inside of the stem and went back and looked at the shank and bowl… my goodness I totally forgot to even touch that part after reaming the bowl. I brought the stem sanding to a halt and turned back to cleaning up the internals. I cleaned out the airway in the stem and shank as well as the mortise with alcohol, cotton swabs and pipe cleaners. It was really a mess. I picked out the crud in the corners of the stem with a dental pick. Here are some photos of the cleanup. I feel better about the pipe now! Whew I can’t believe I missed that… been a hard week.

I returned to sand the stem some more. I was able to remove all of the chatter and all but one of the deep tooth marks on the underside of the stem. I heated it a little to raise it then filled it in with some clear super glue and set it aside to cure.


When the repair had cured I used a needle file to flatten the repaired area. I smoothed out and blend it into the stem surface with 220 grit sandpaper.

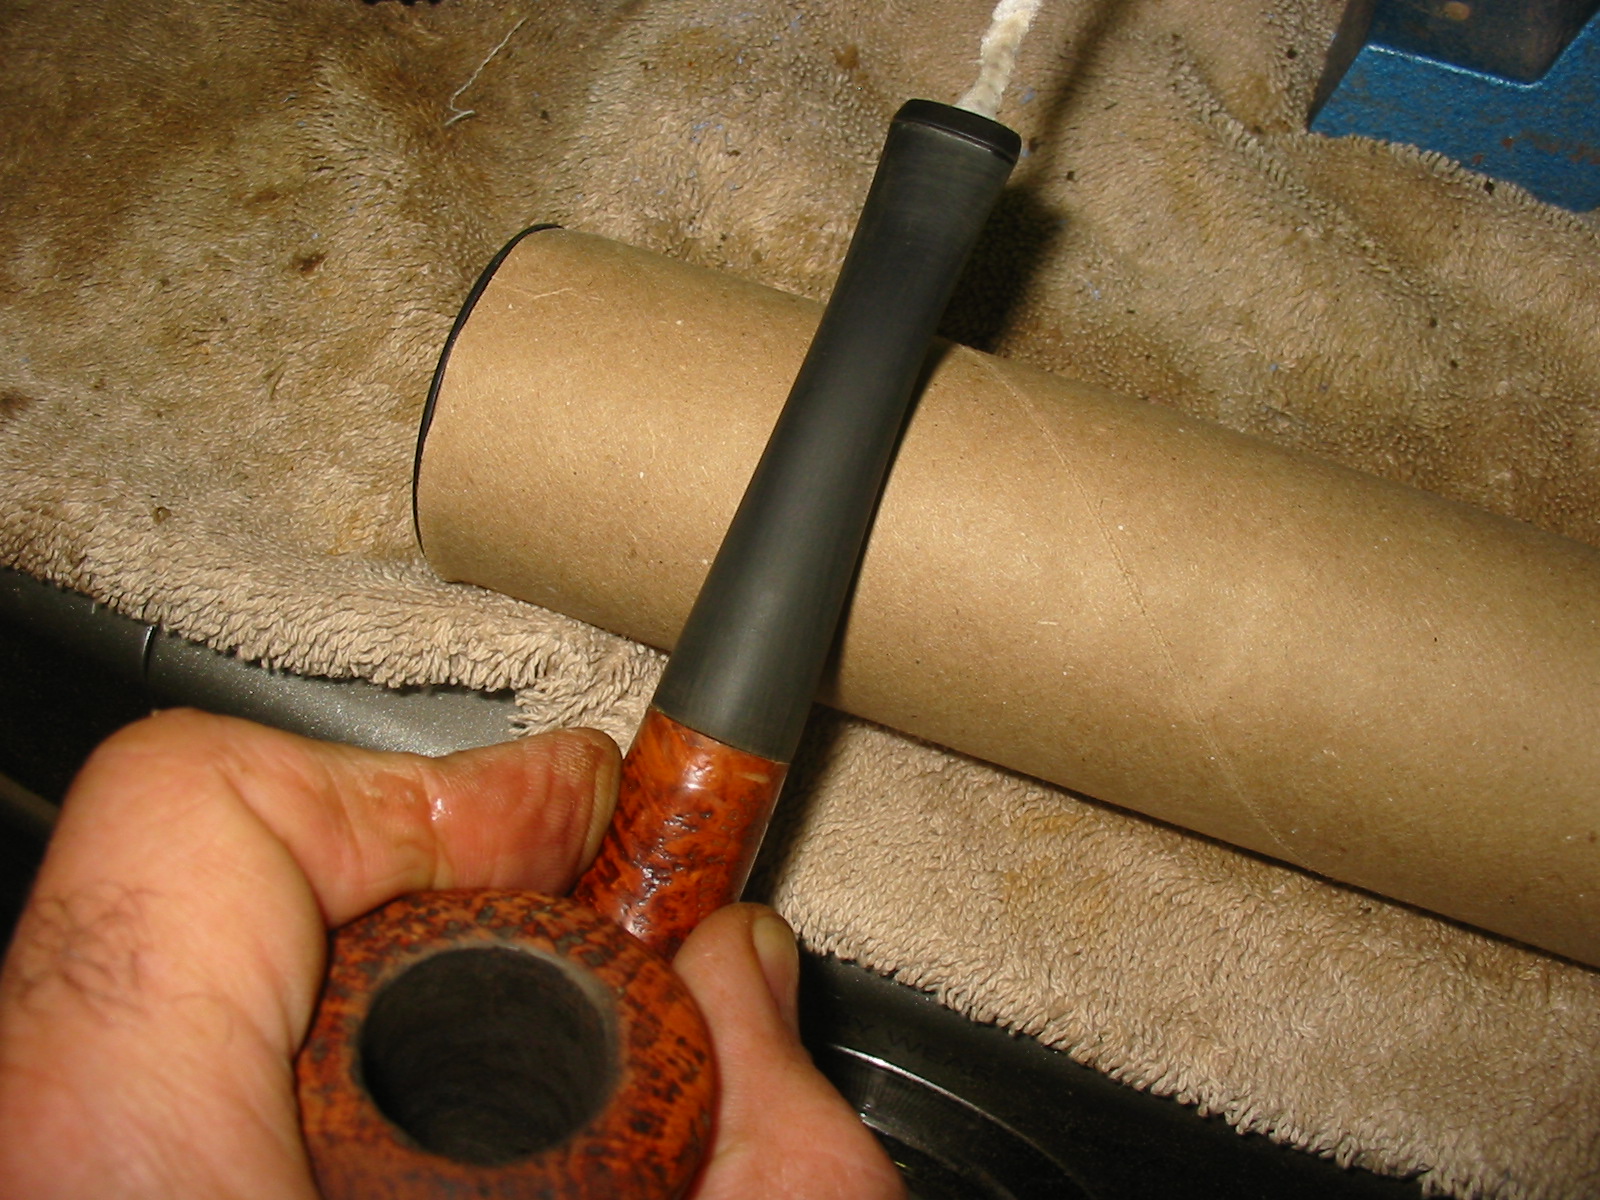
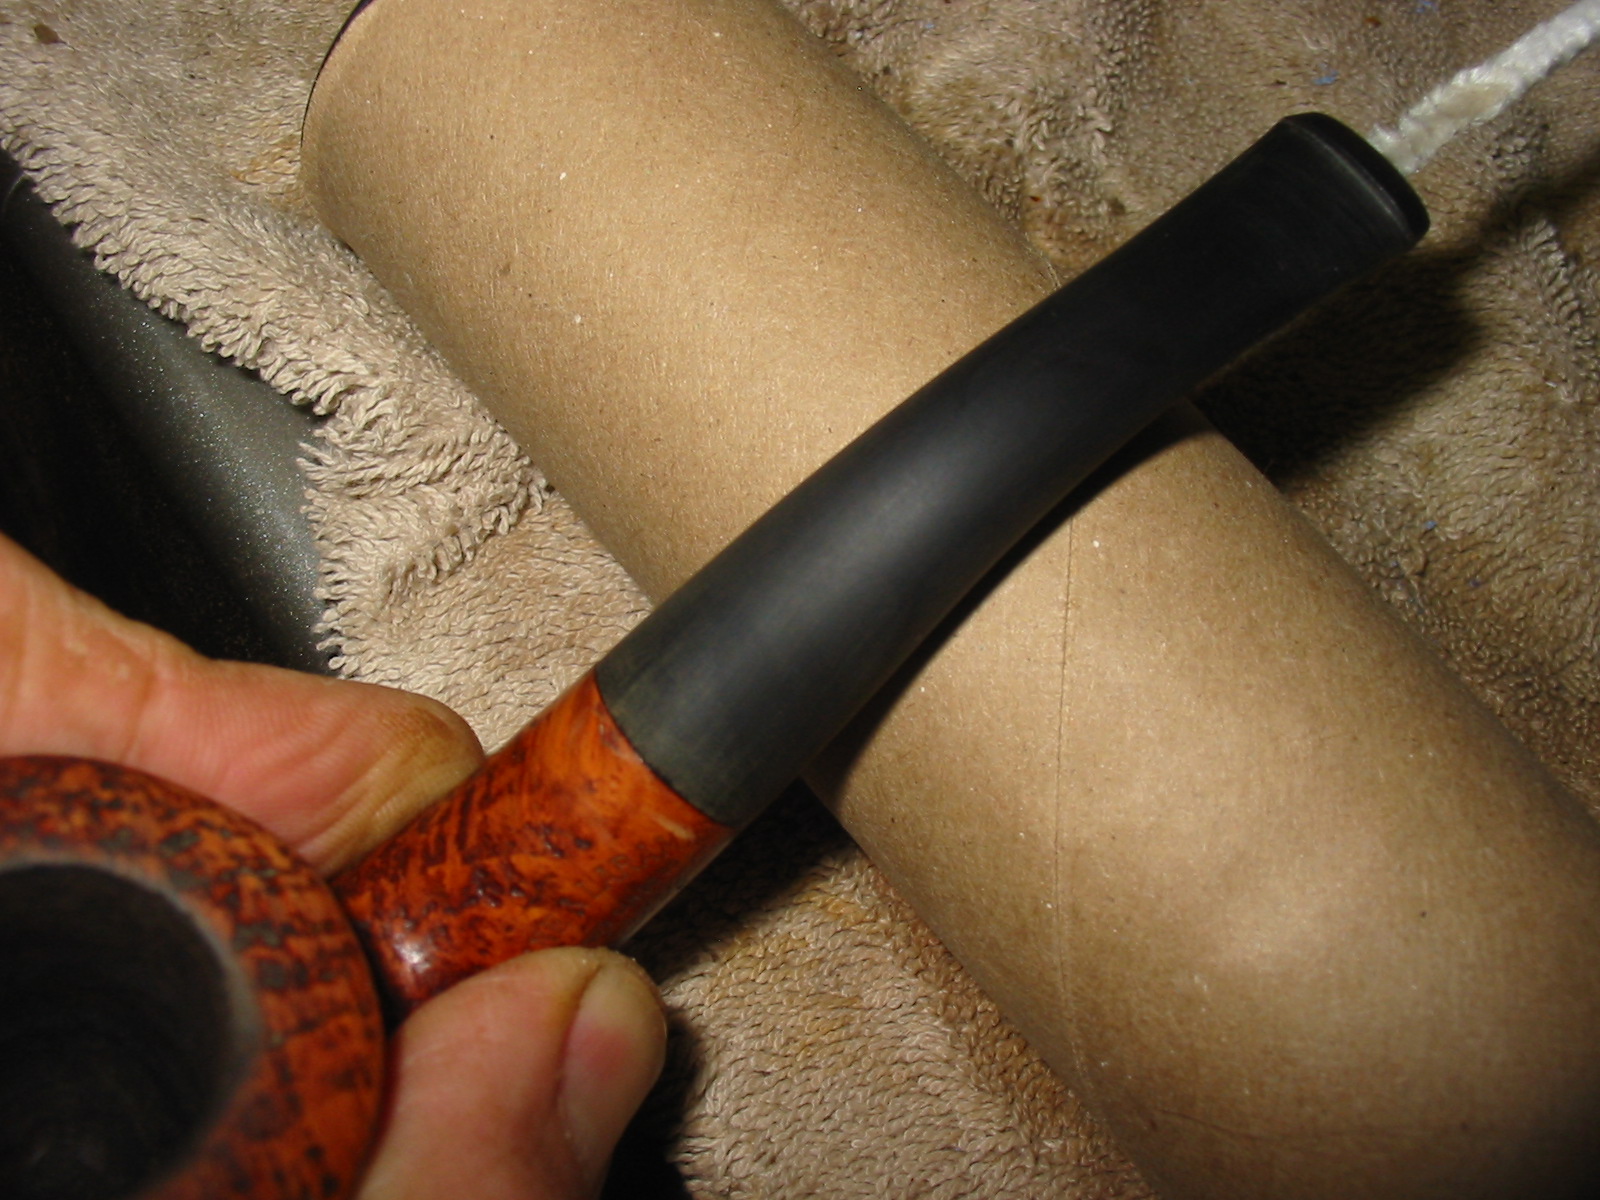
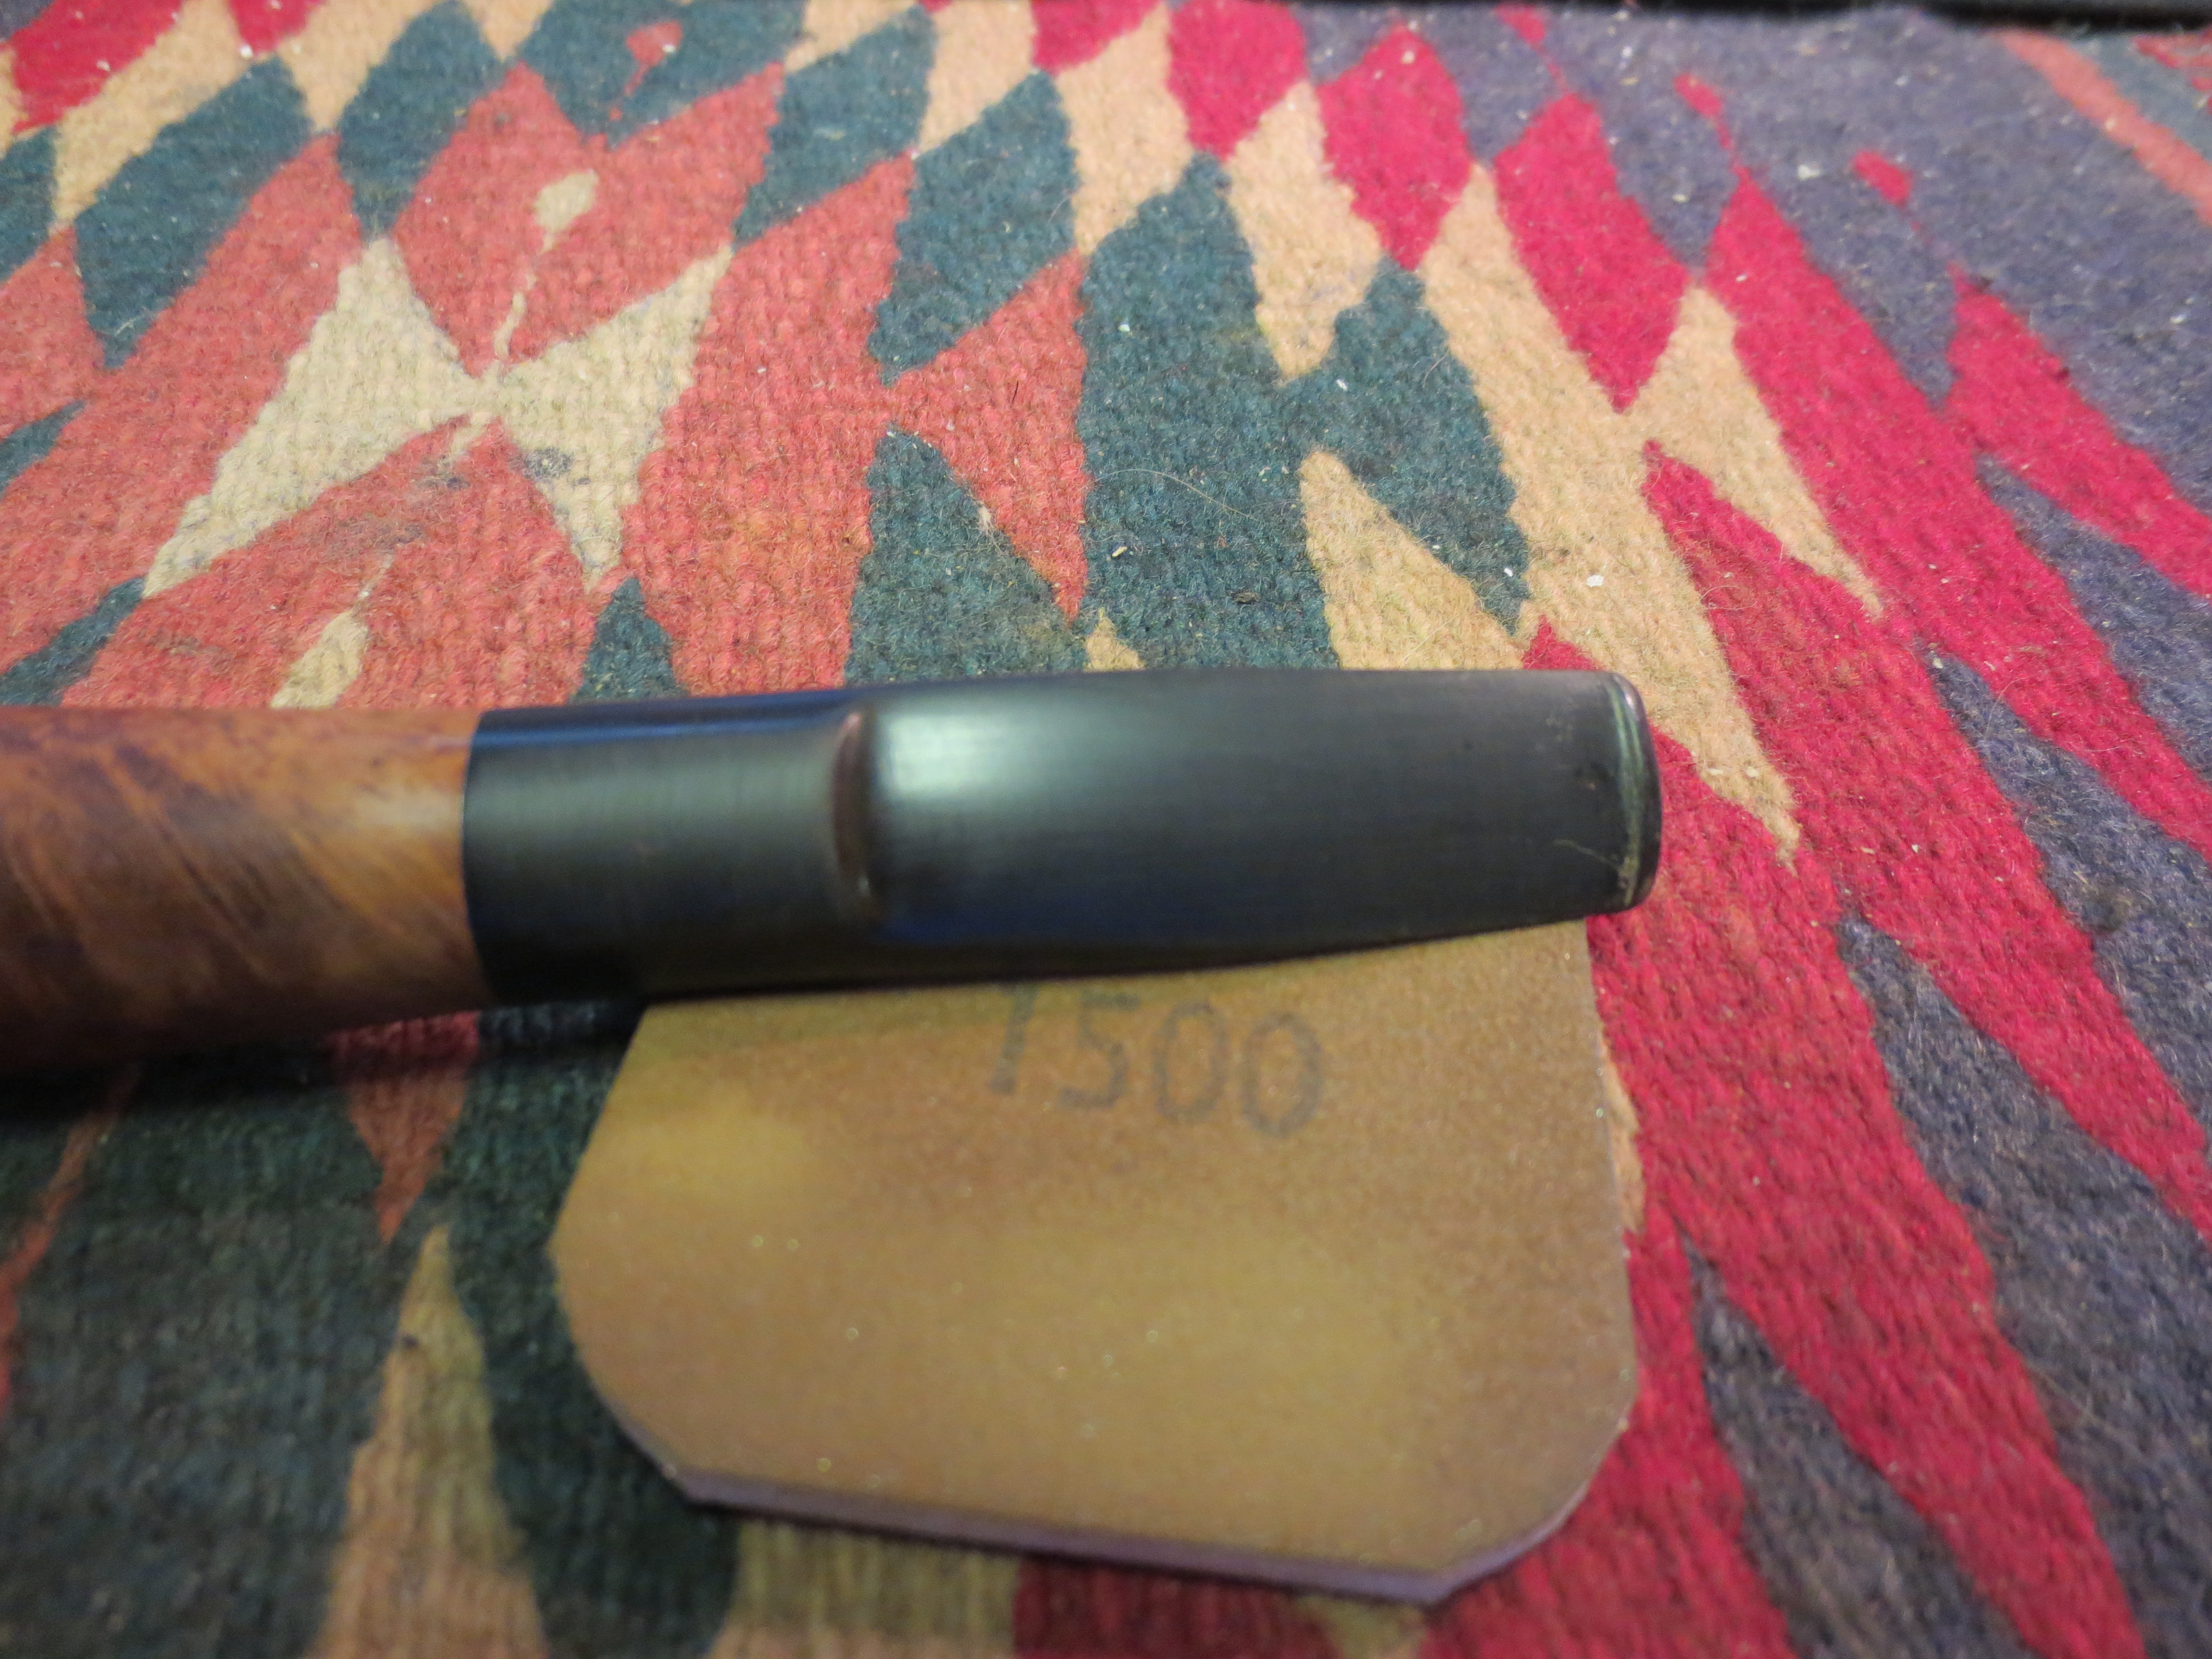
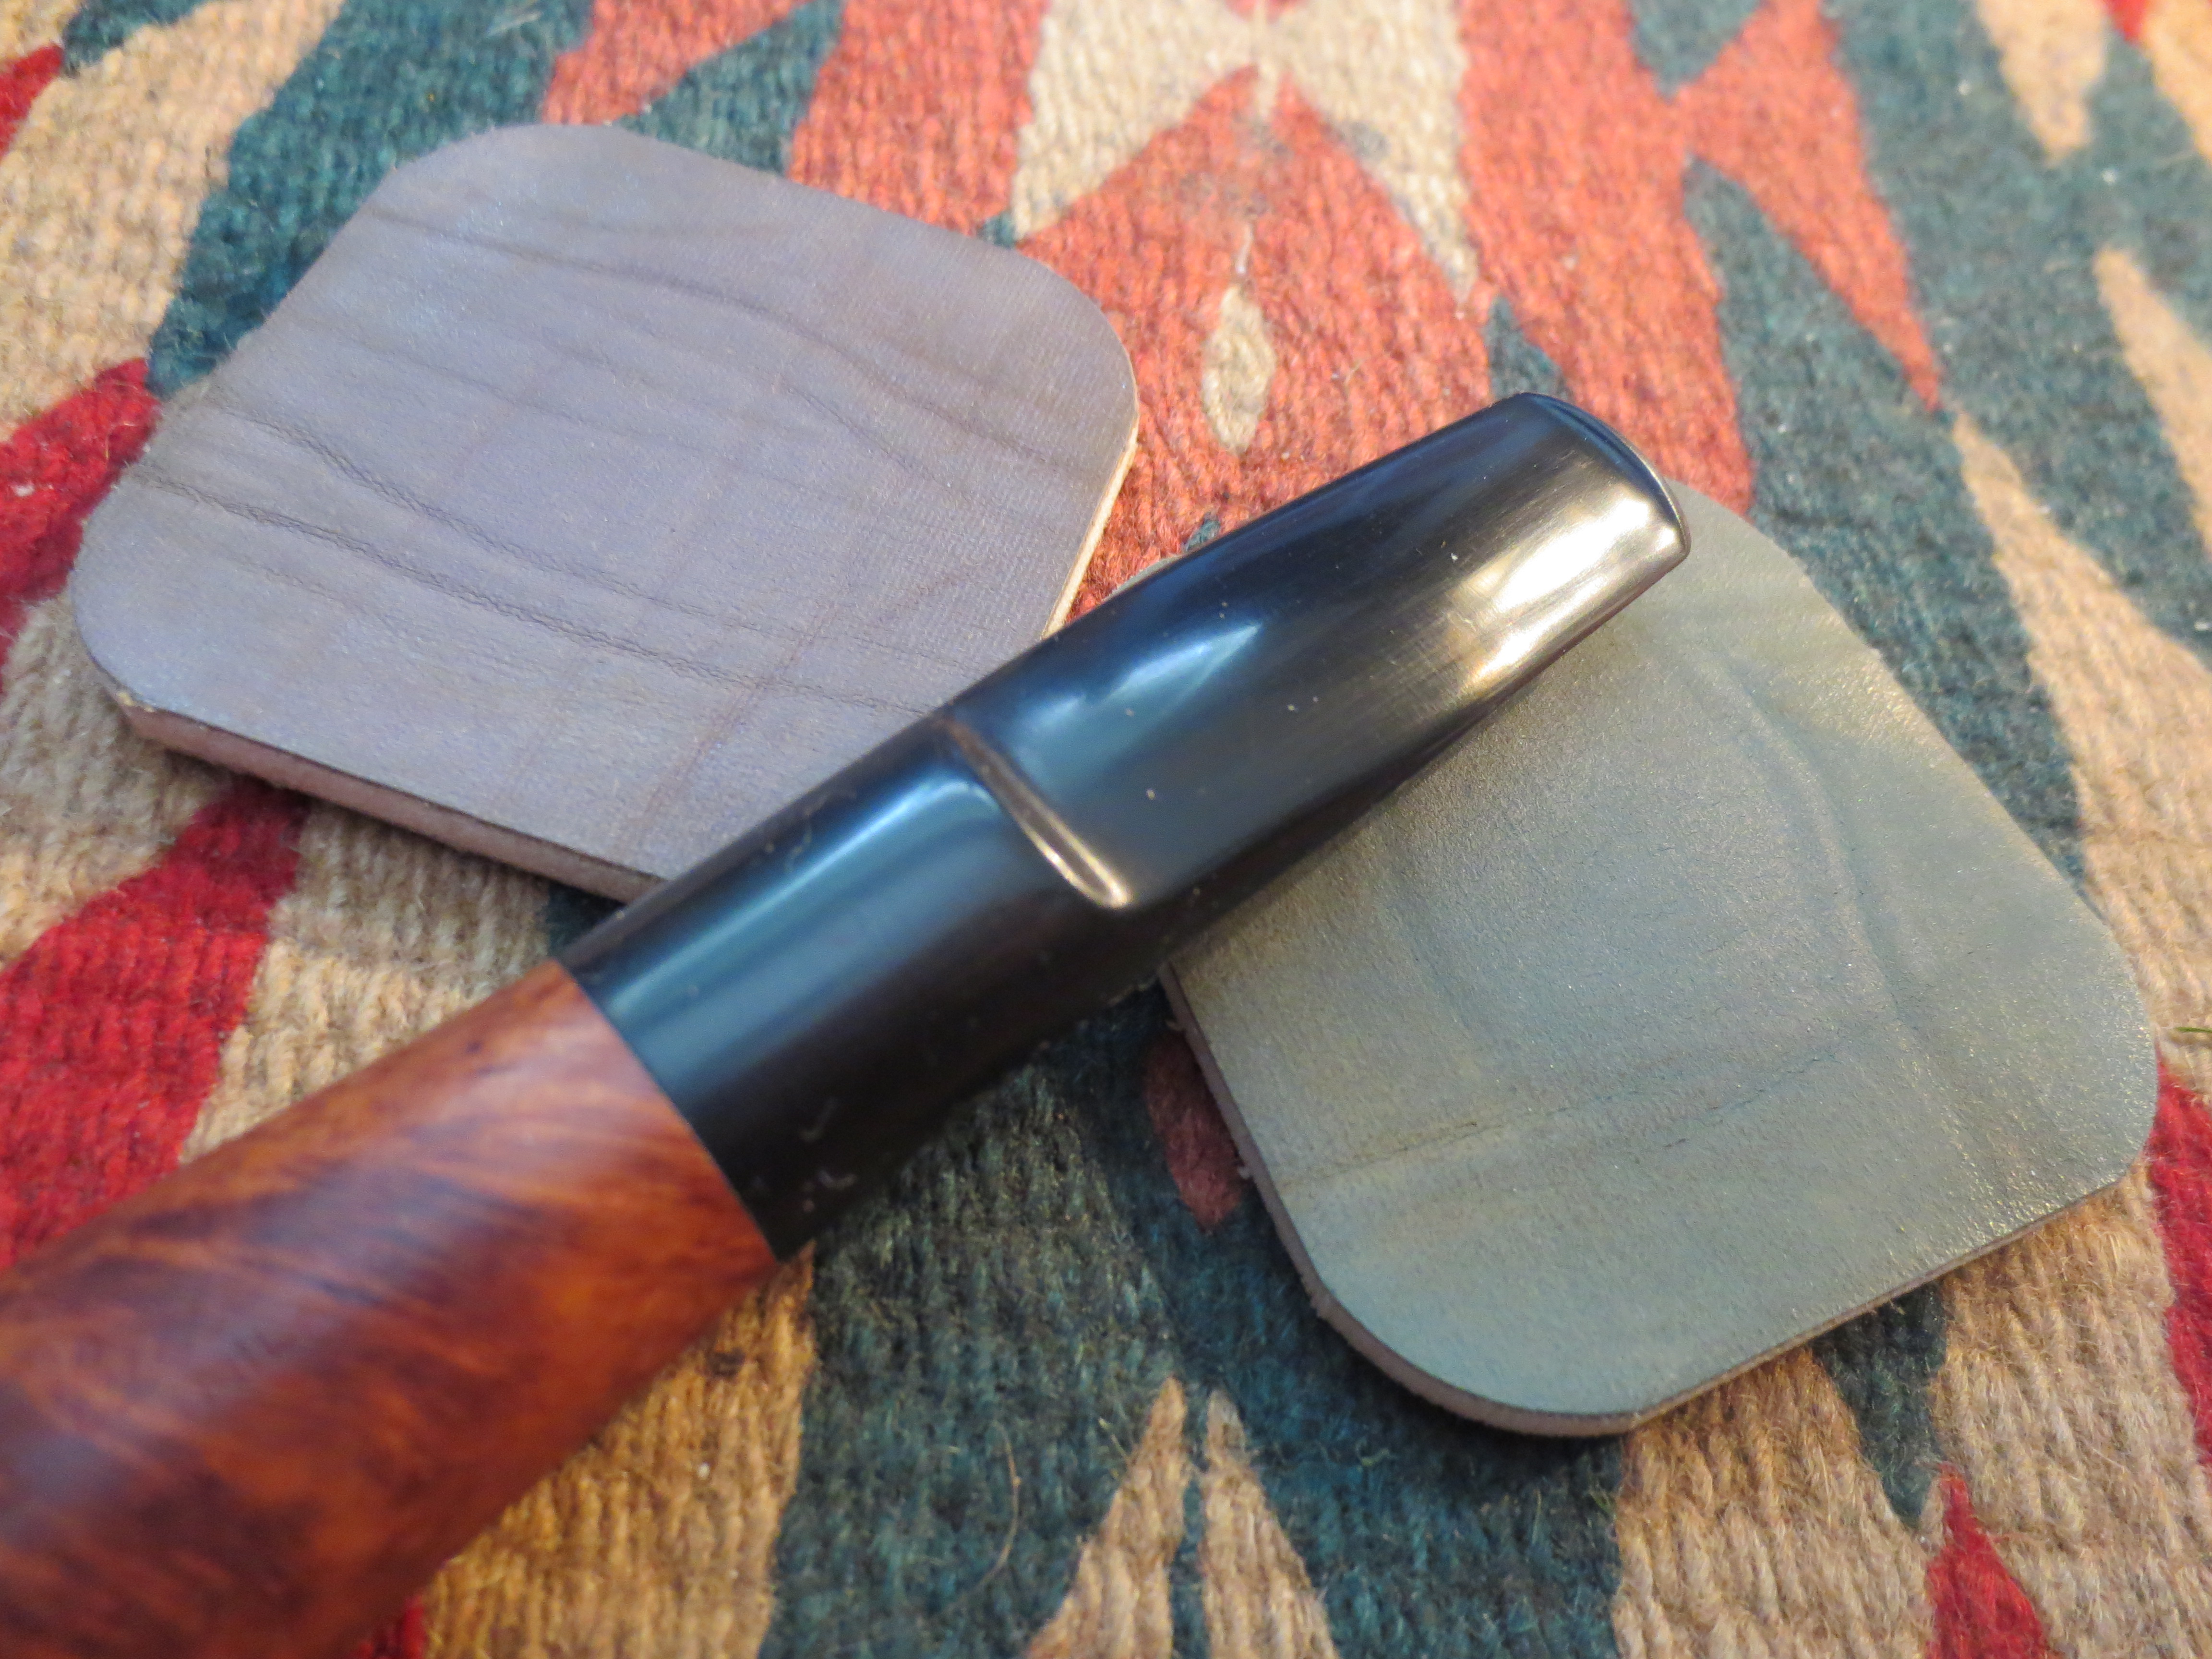
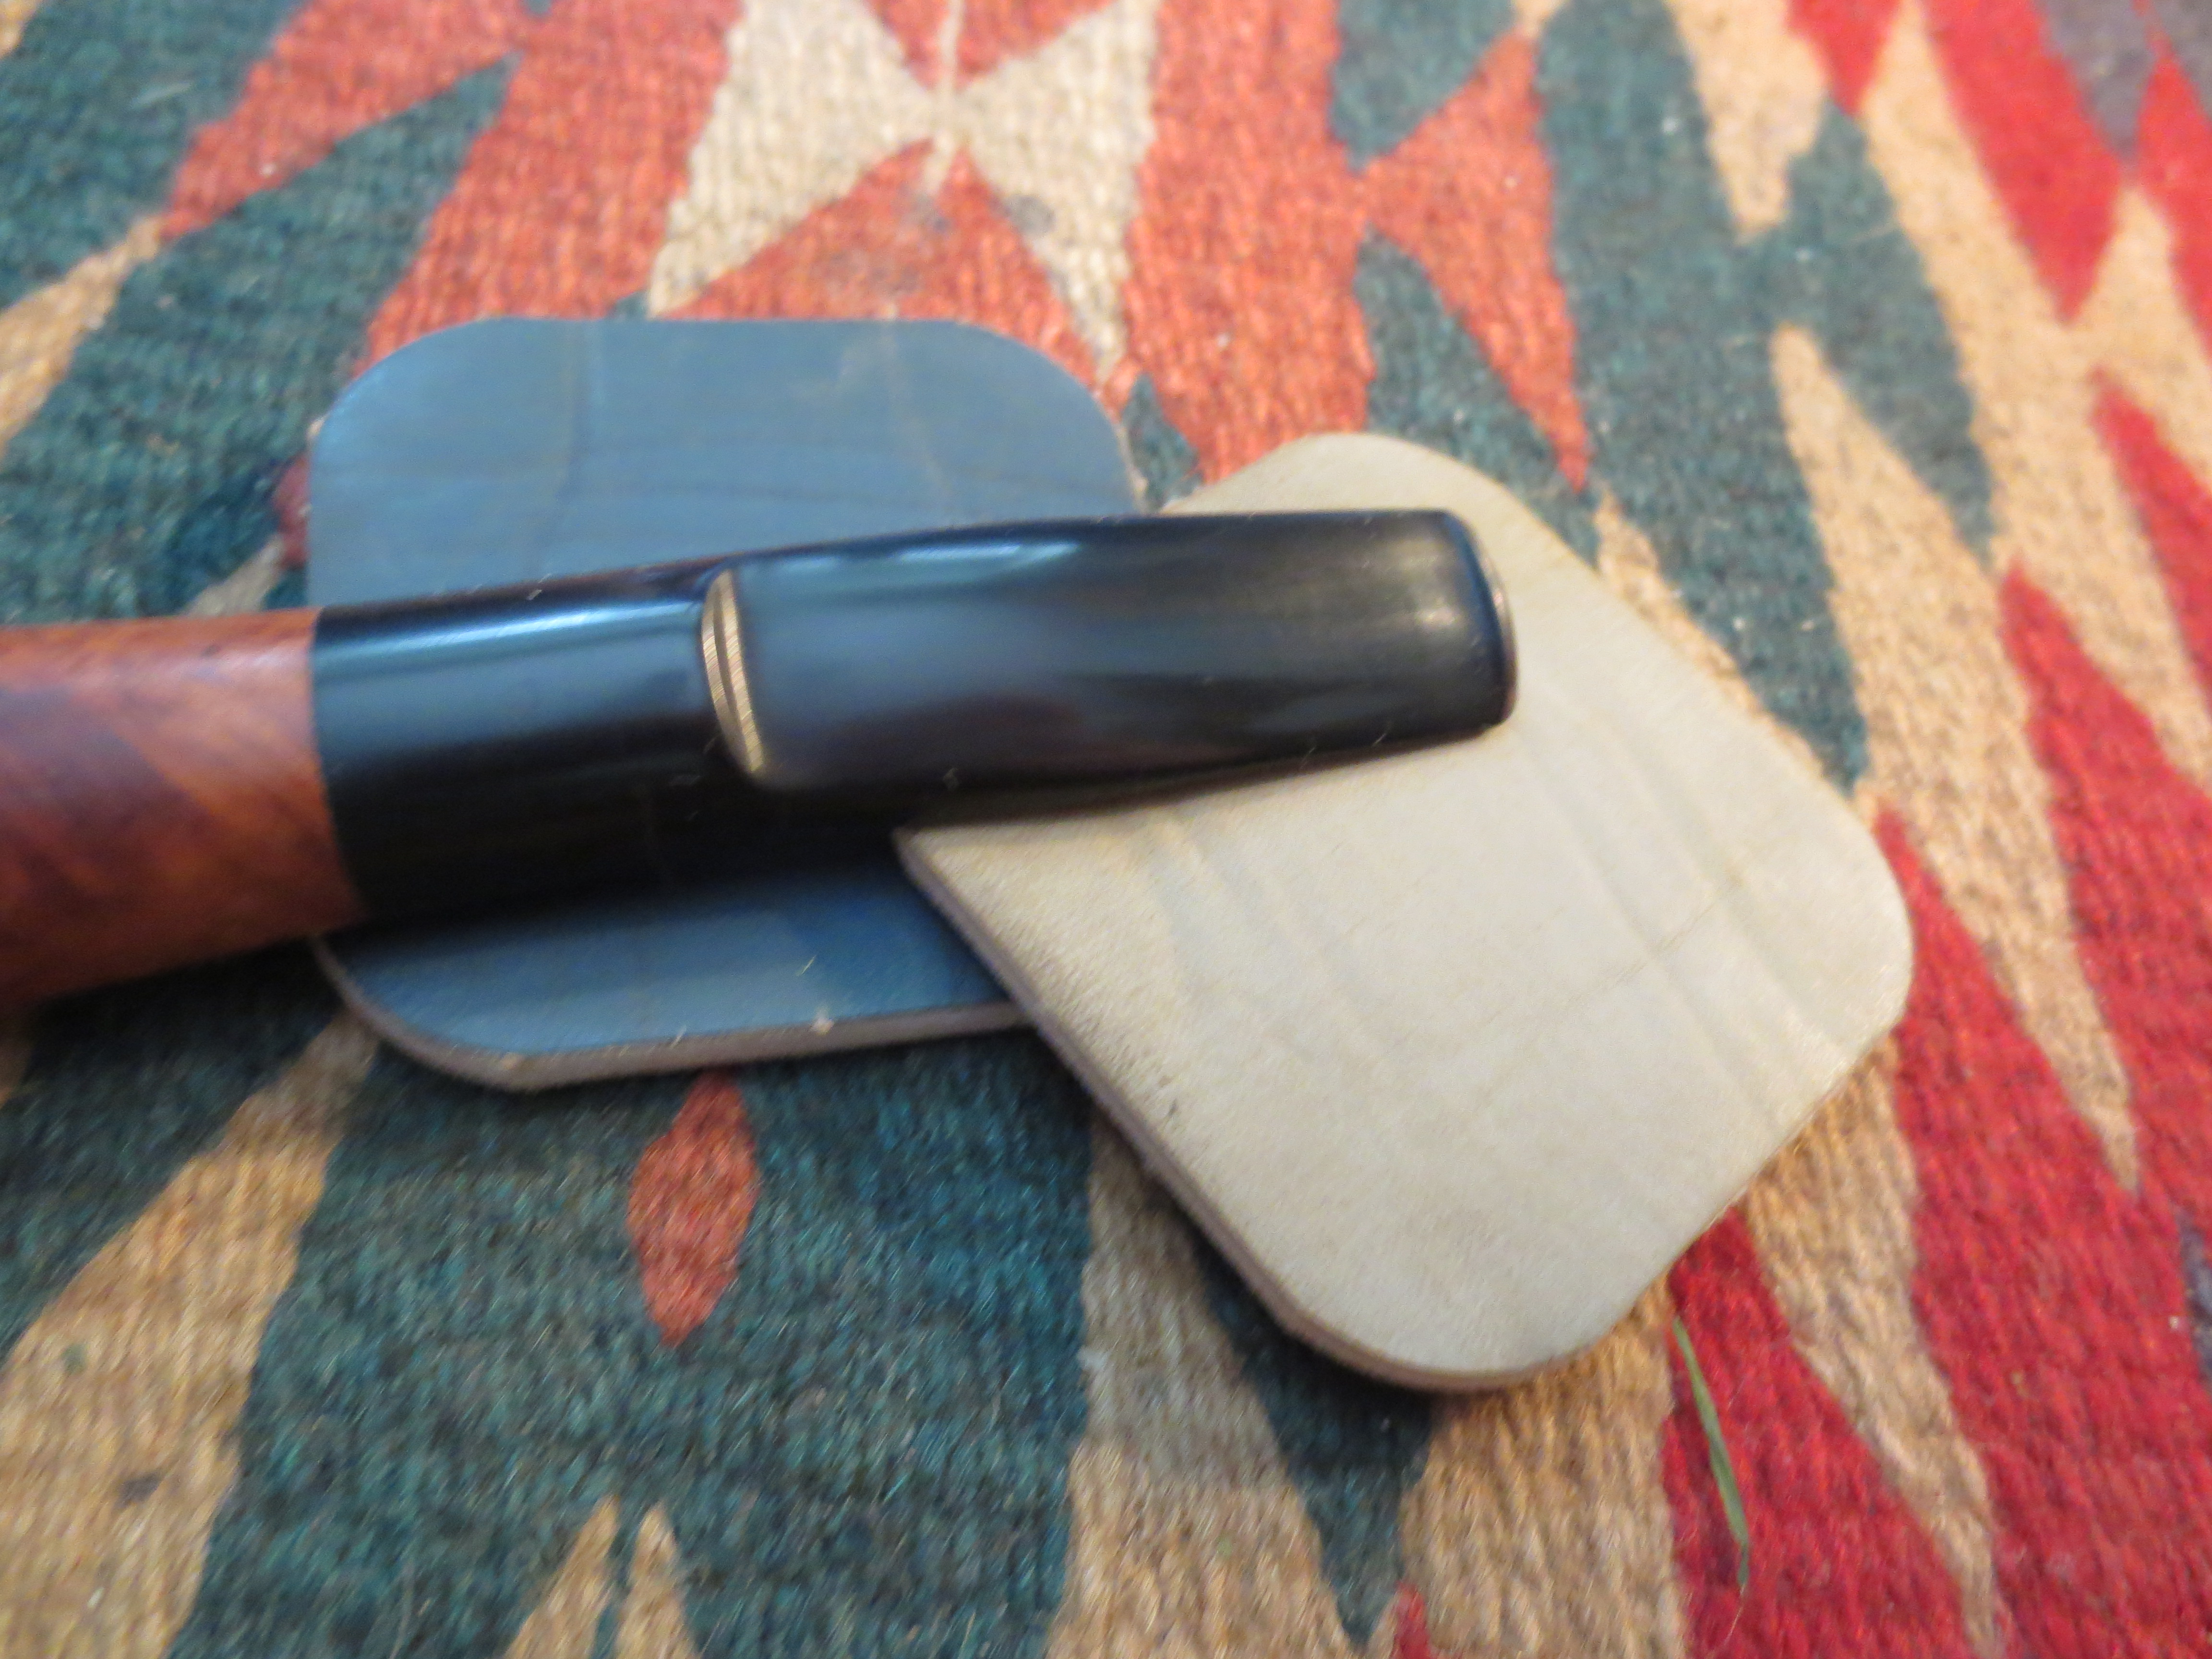
I polished the stem with micromesh sanding pads – wet sanding with 1500-2400 grit micromesh sanding pads and then polished it with Denicare Mouthpiece Polish.


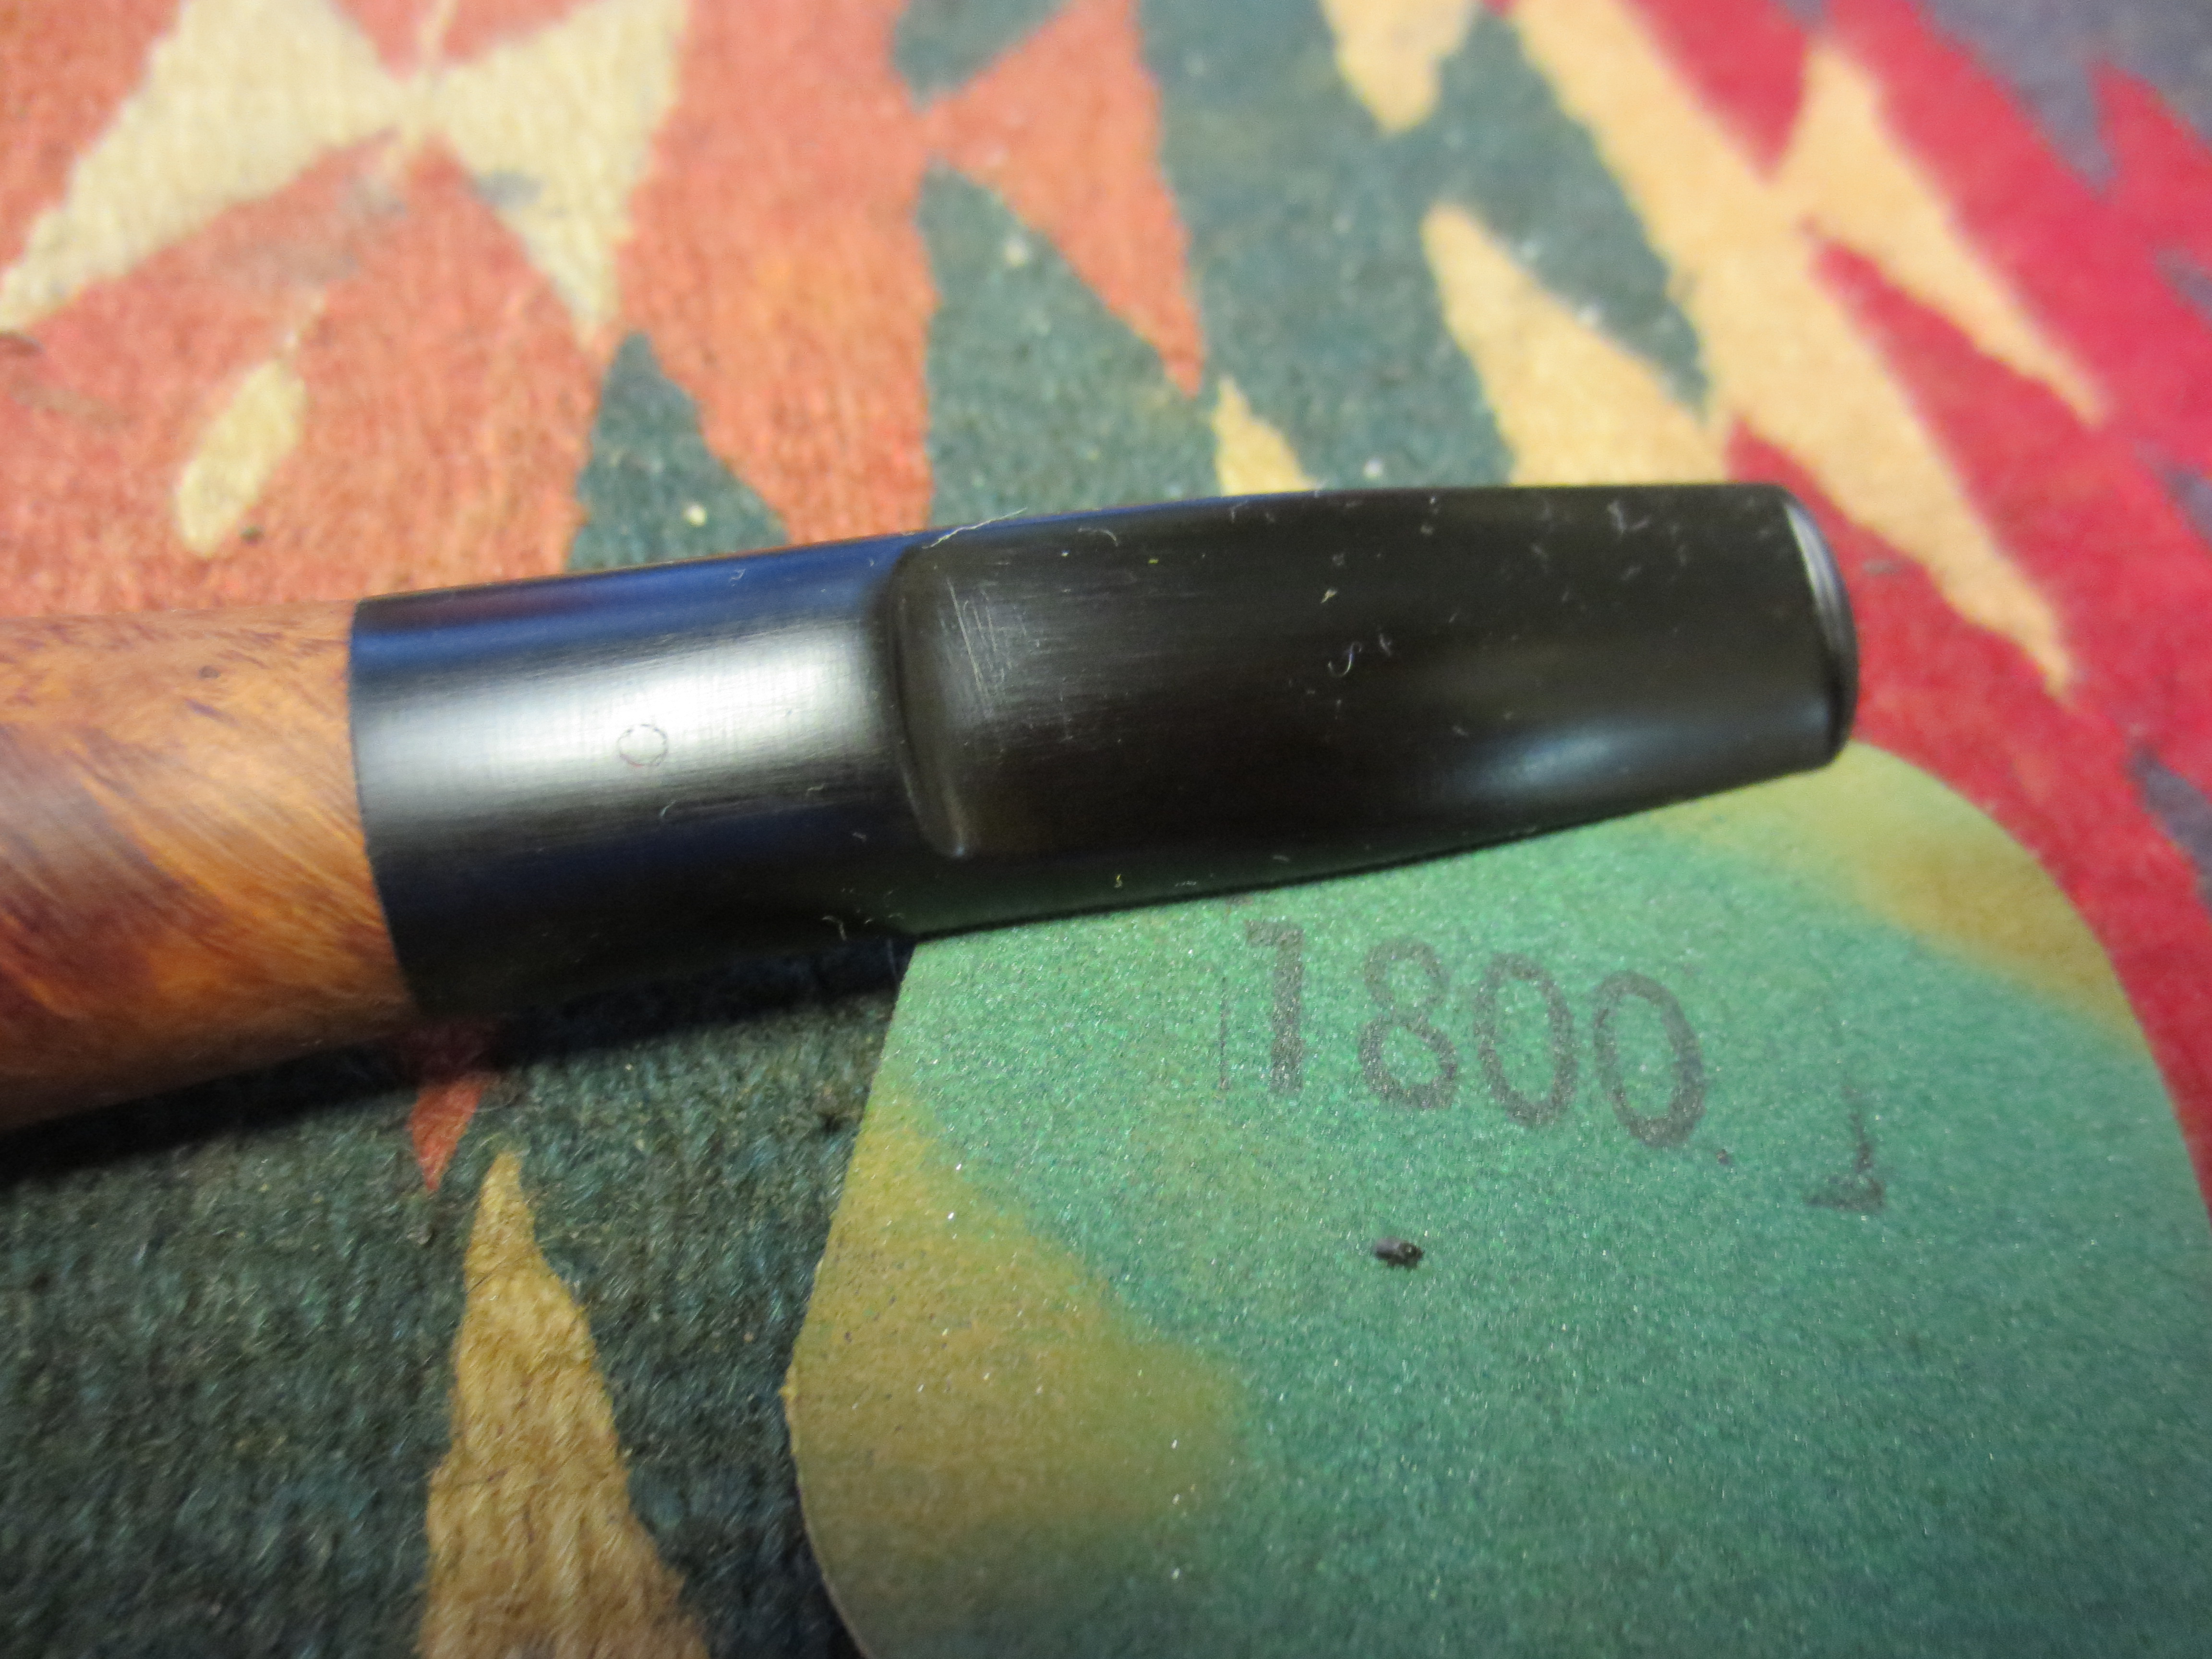
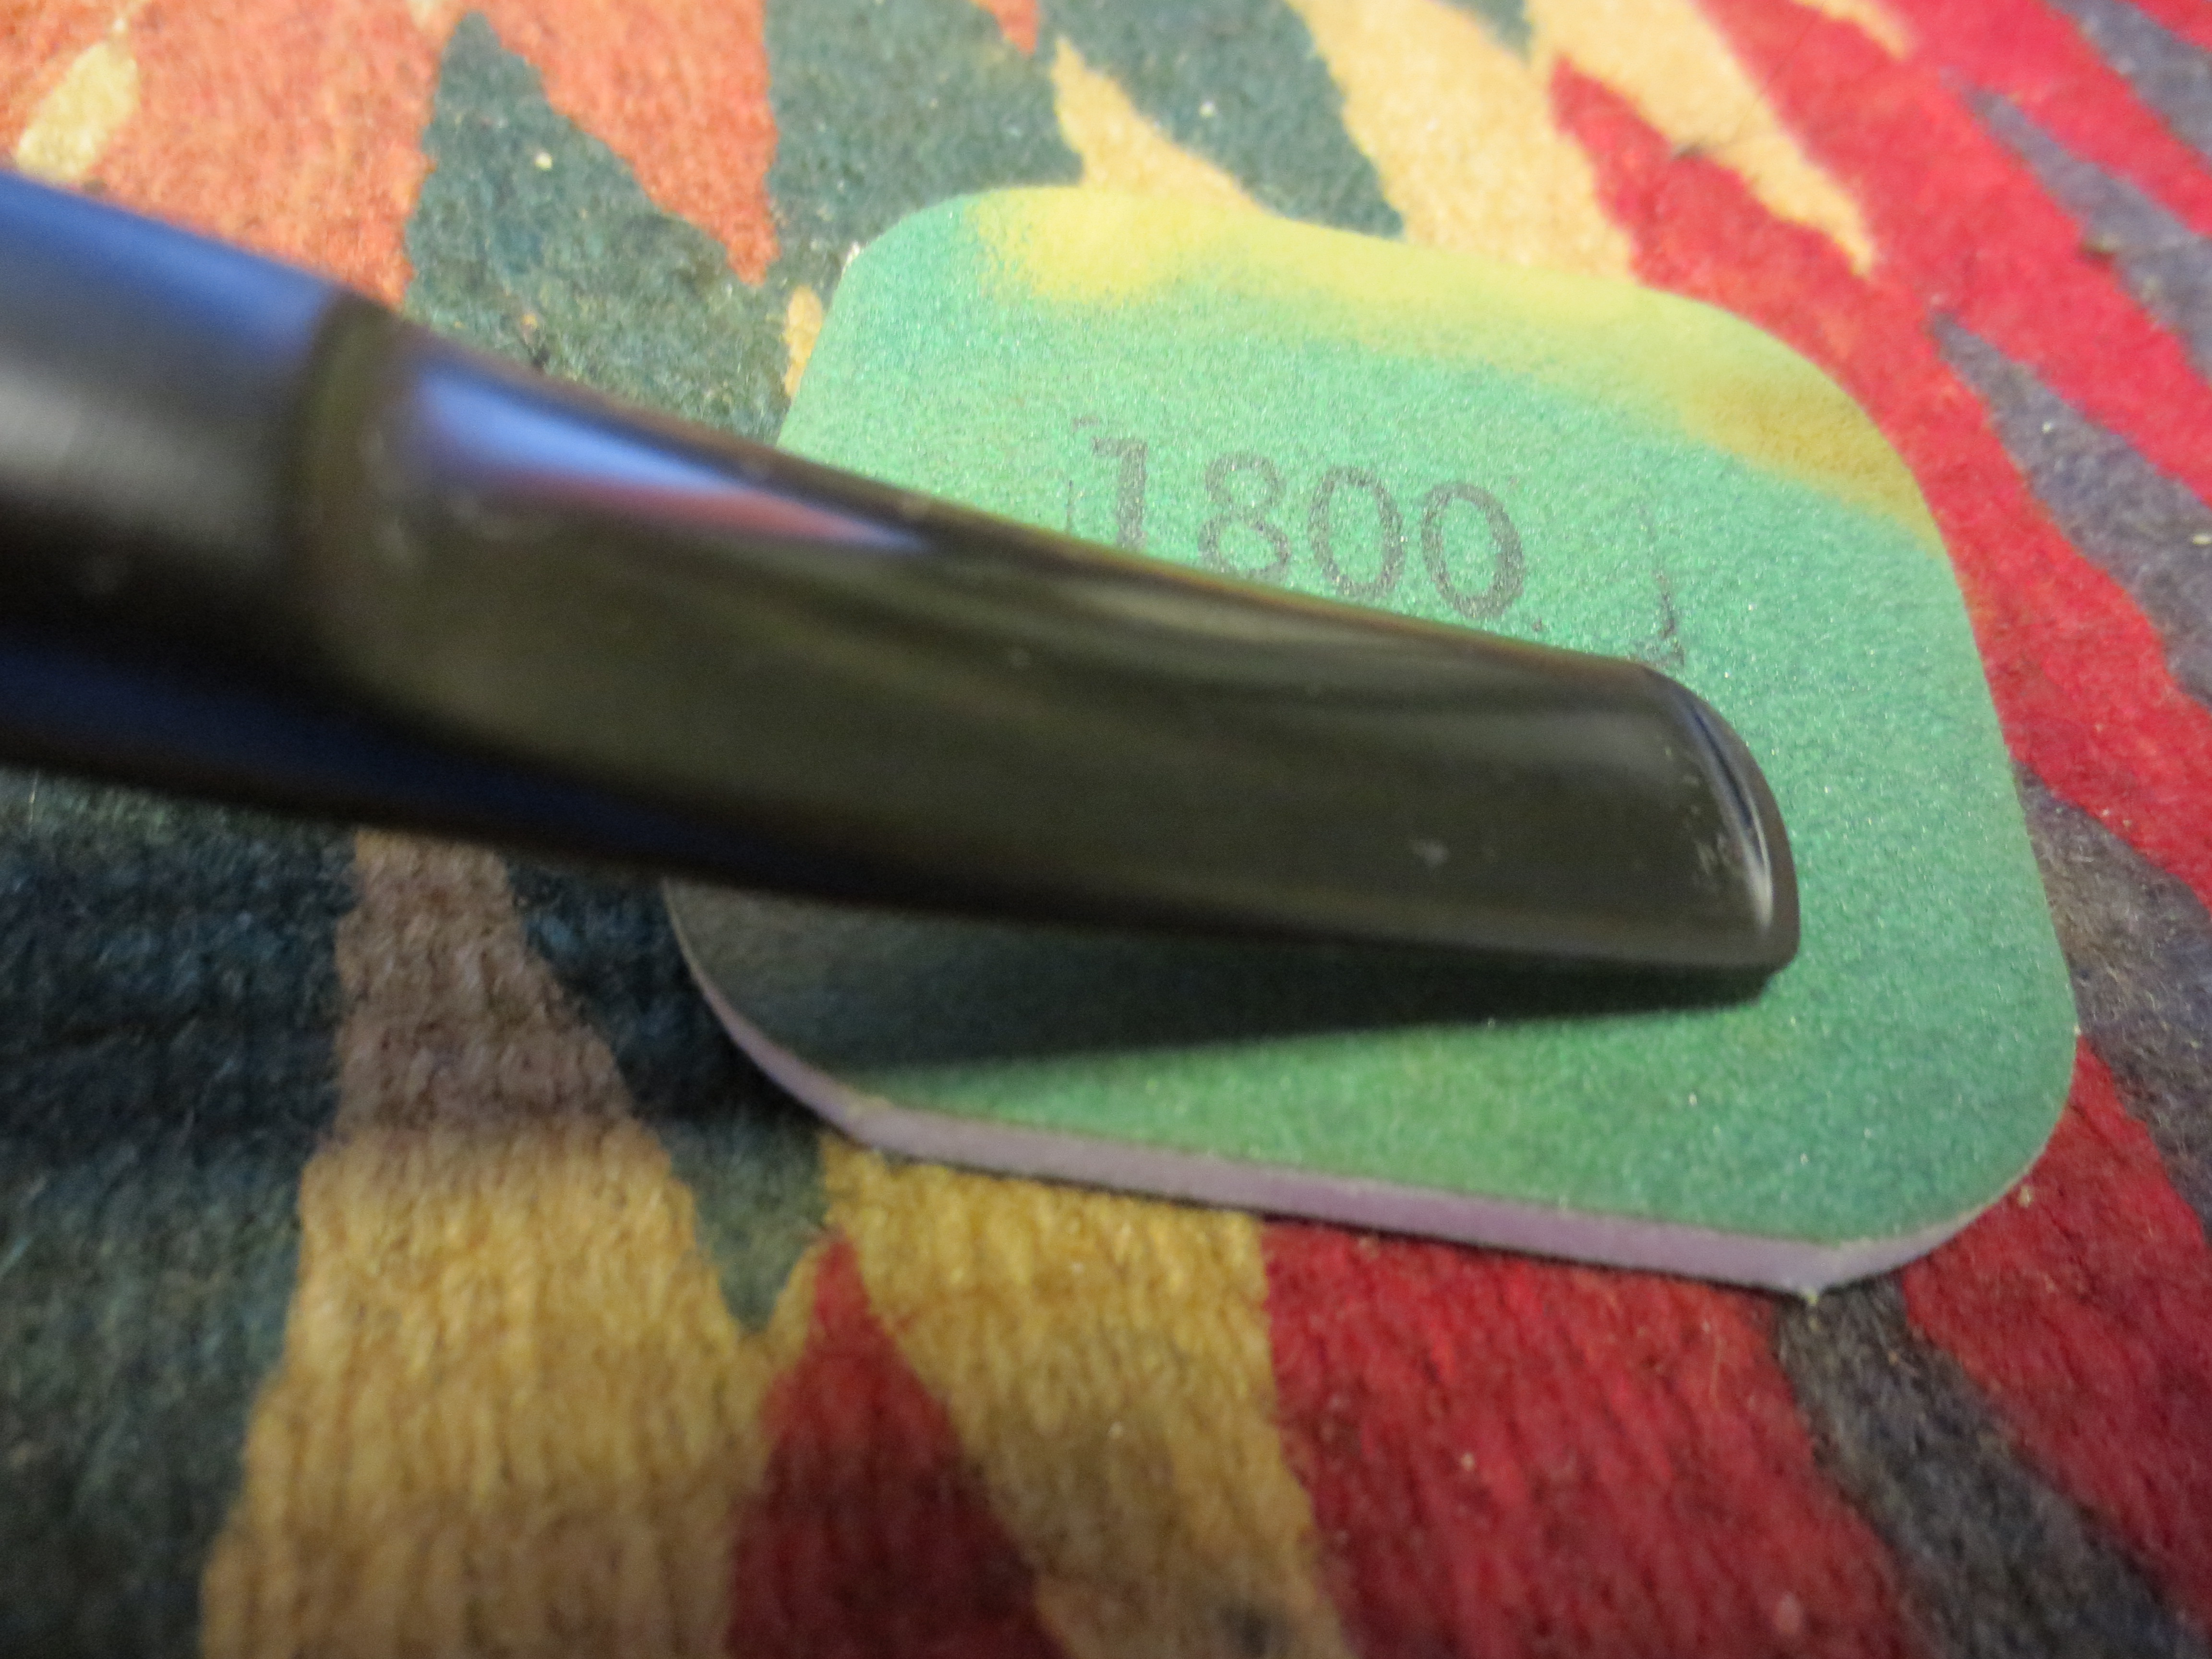
I dry sanded it with 3200-12000 grit pads. I rubbed the stem down with Obsidian Oil after each pad. I polished it further with Before& After Pipe Polish, using both the Fine and Extra Fine polishes to furtherprotect and polish out the scratches. When I finished with those I gave it afinal rub down with the oil and set it aside to dry.


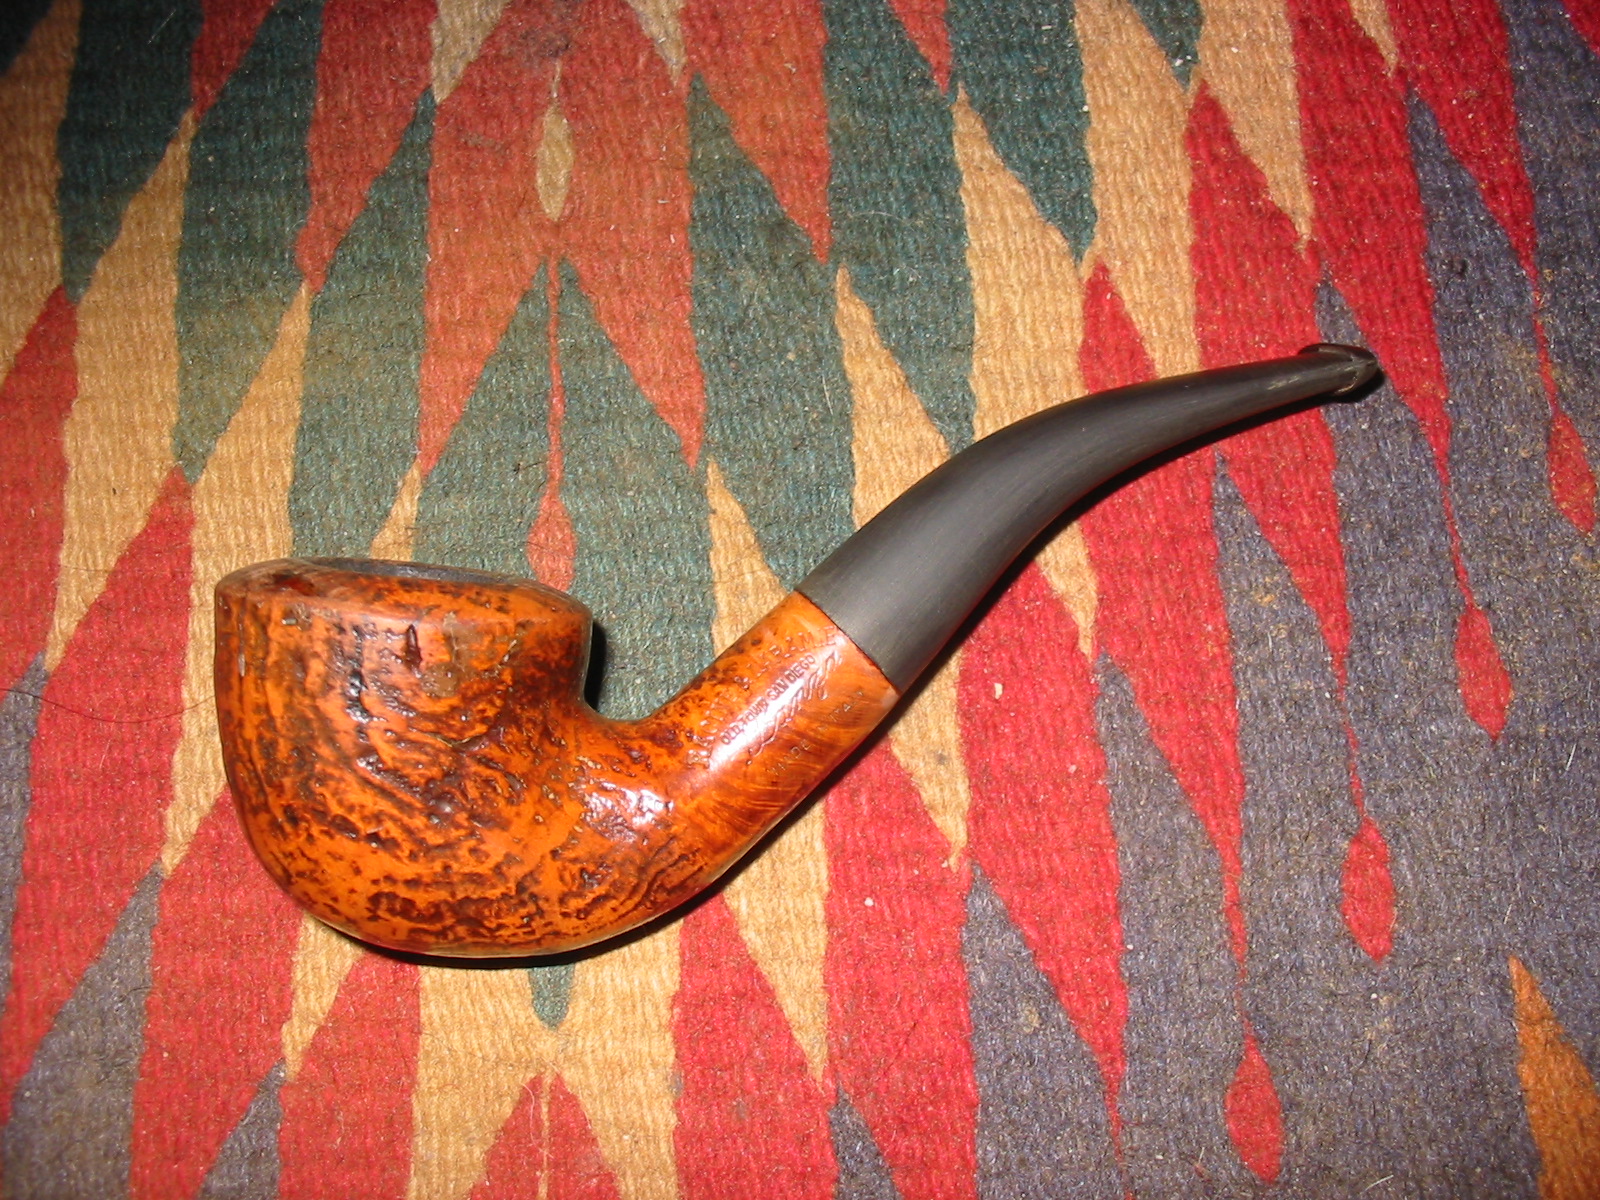
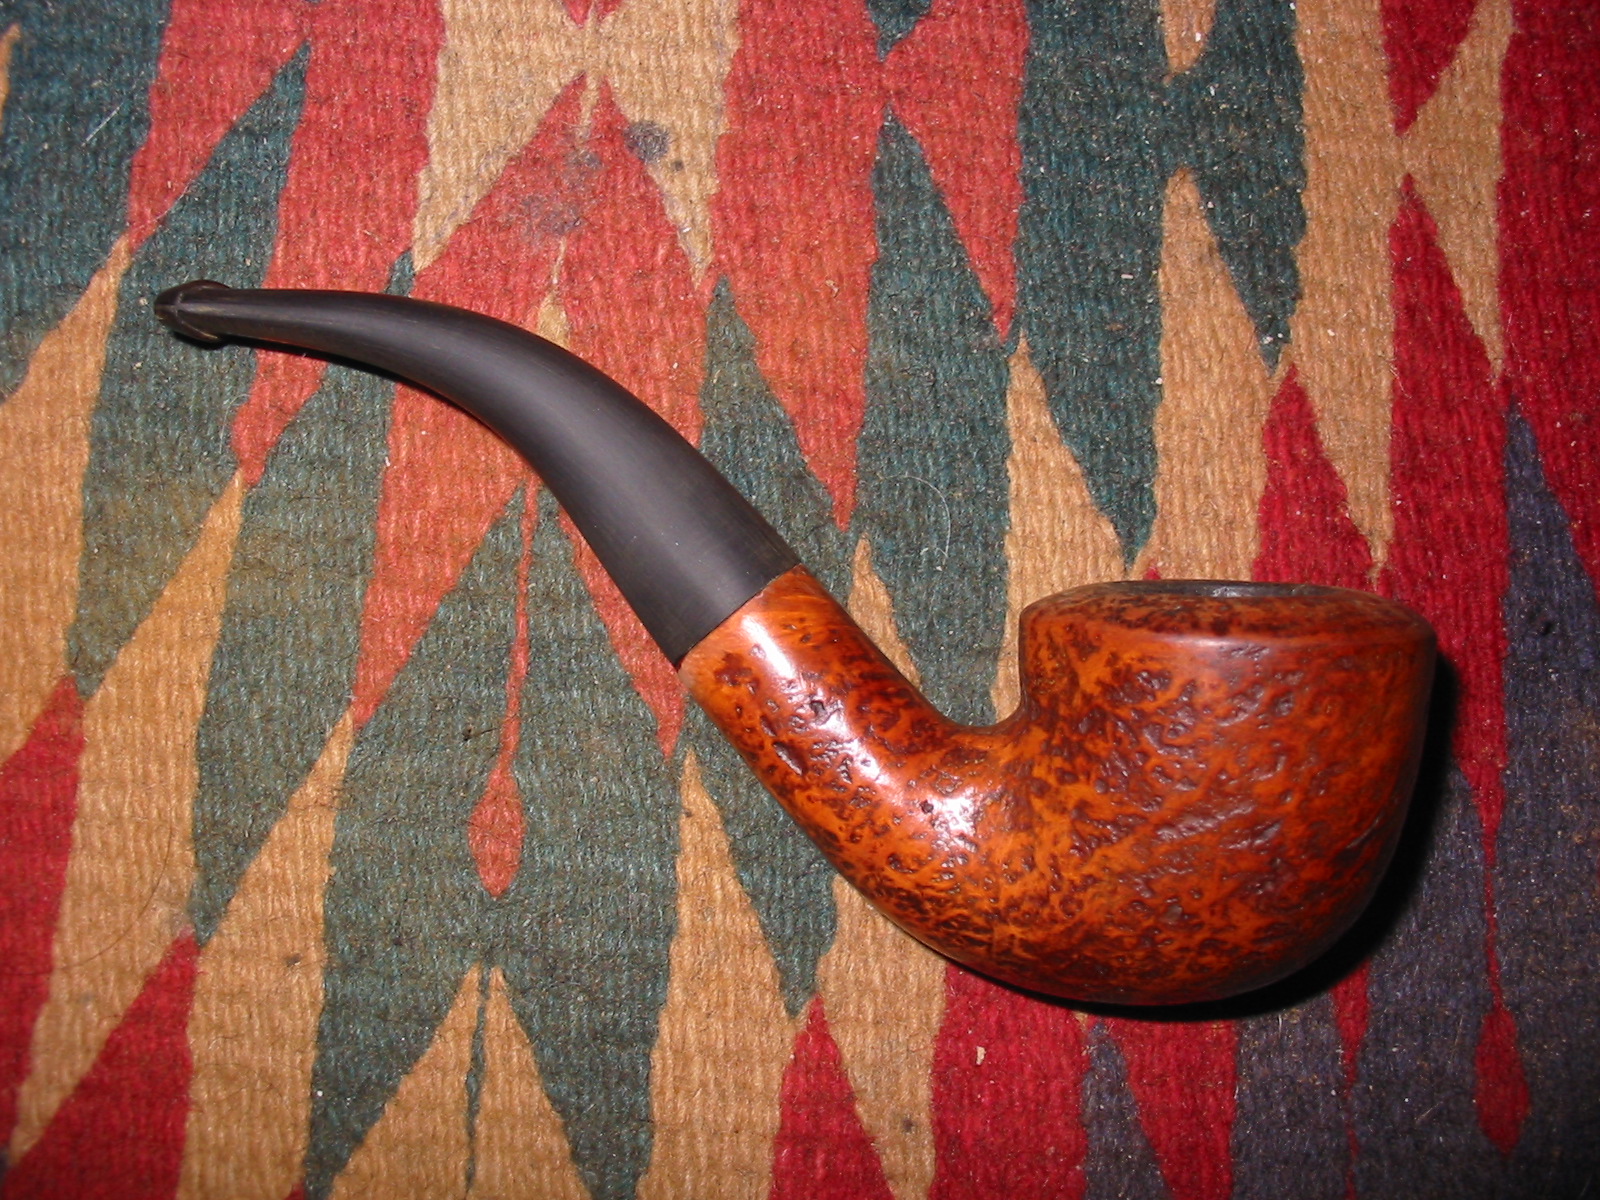
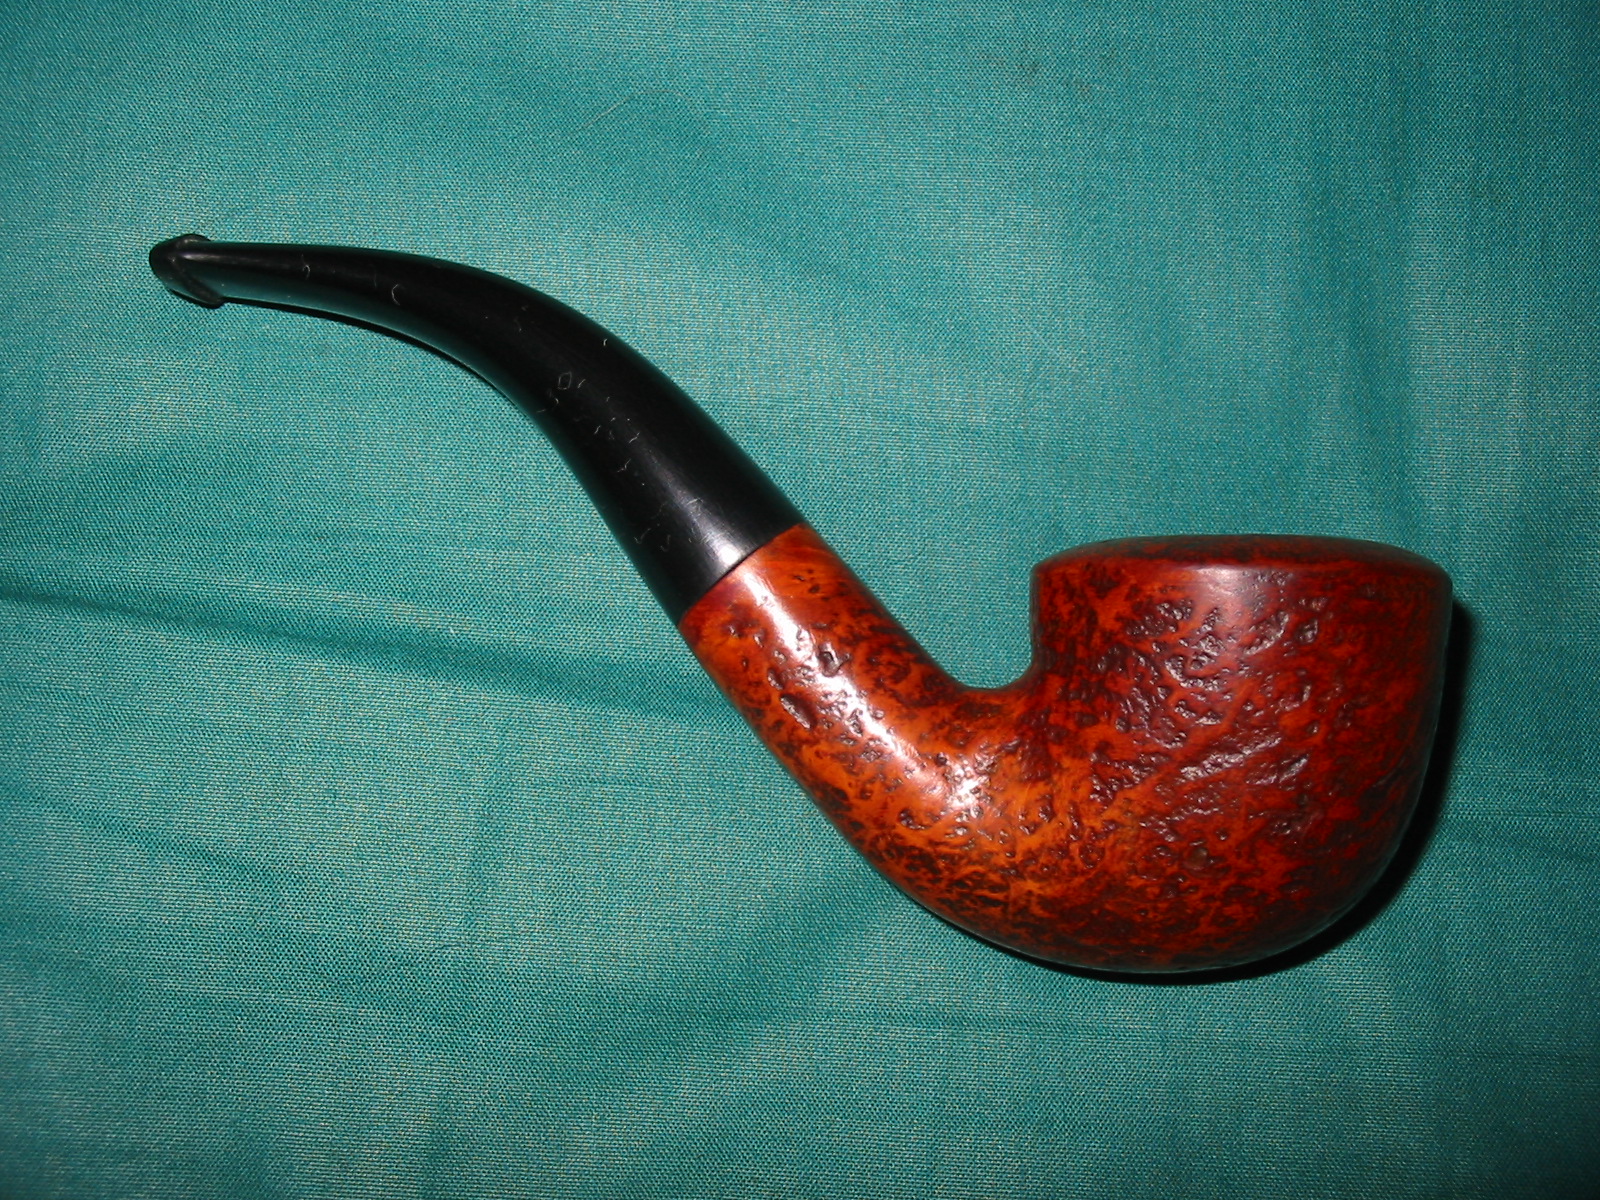
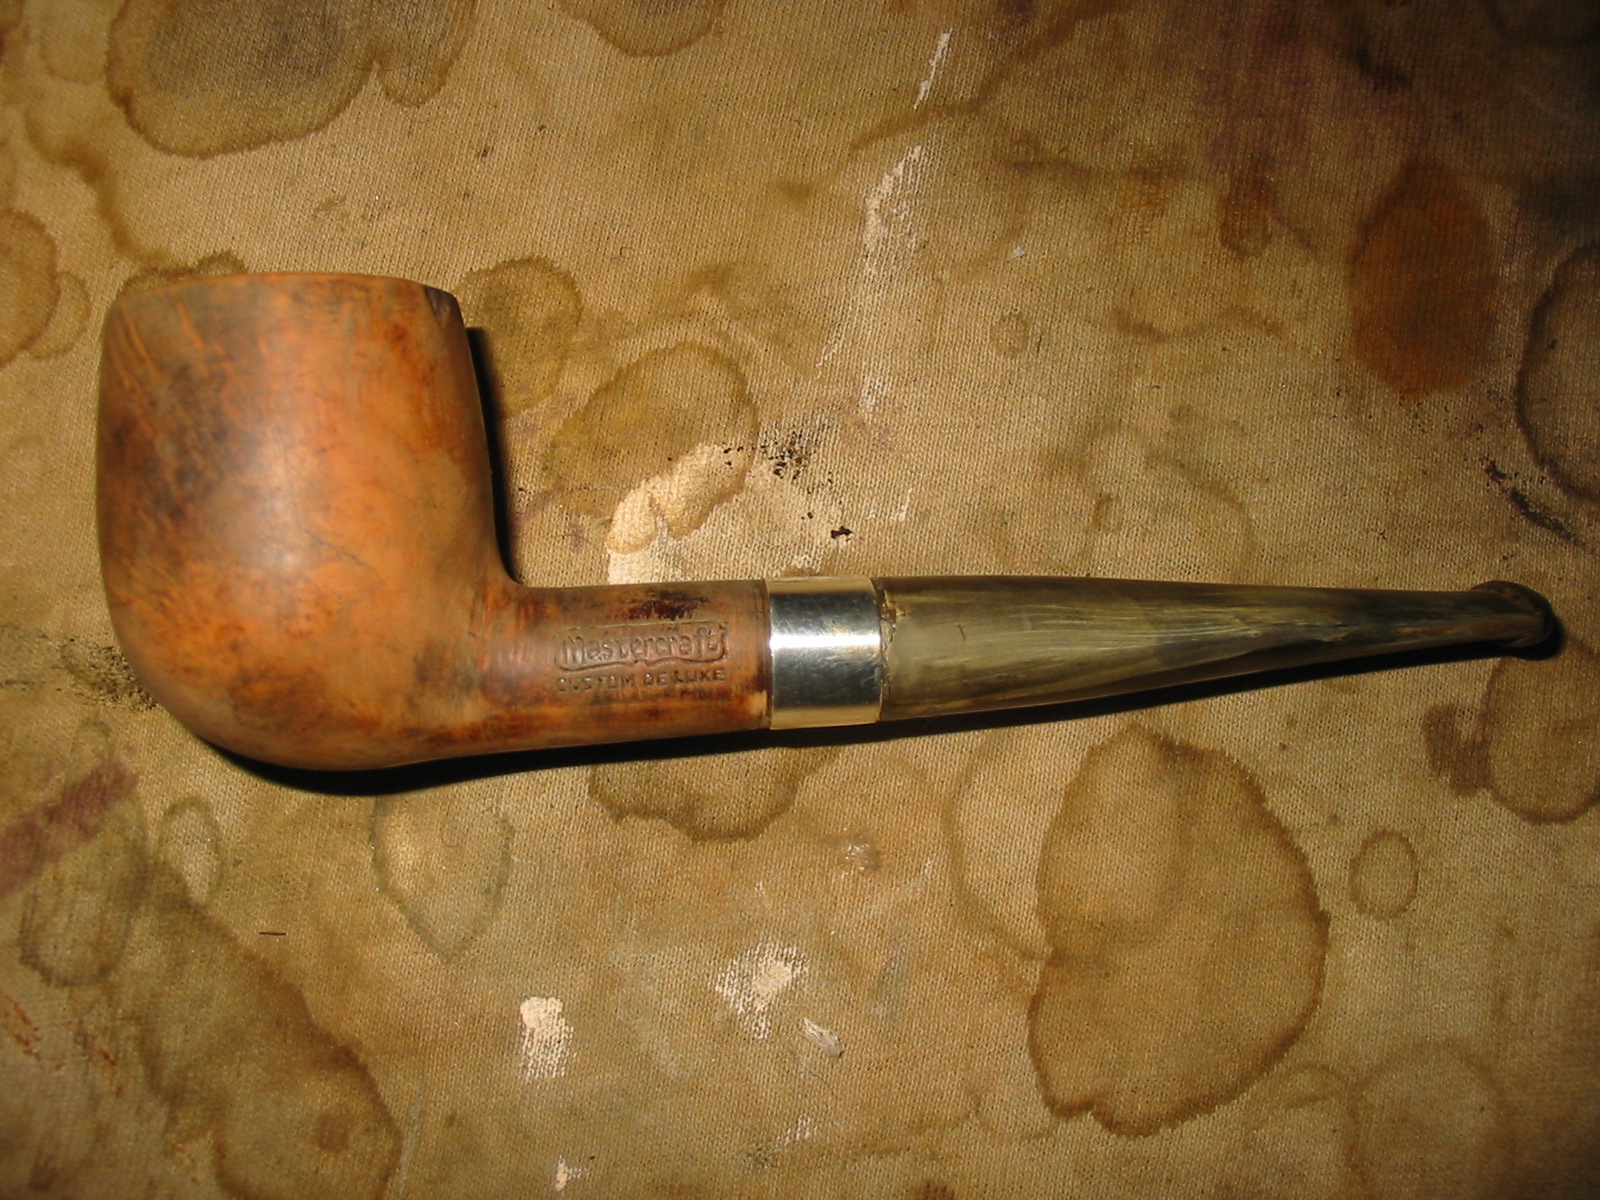
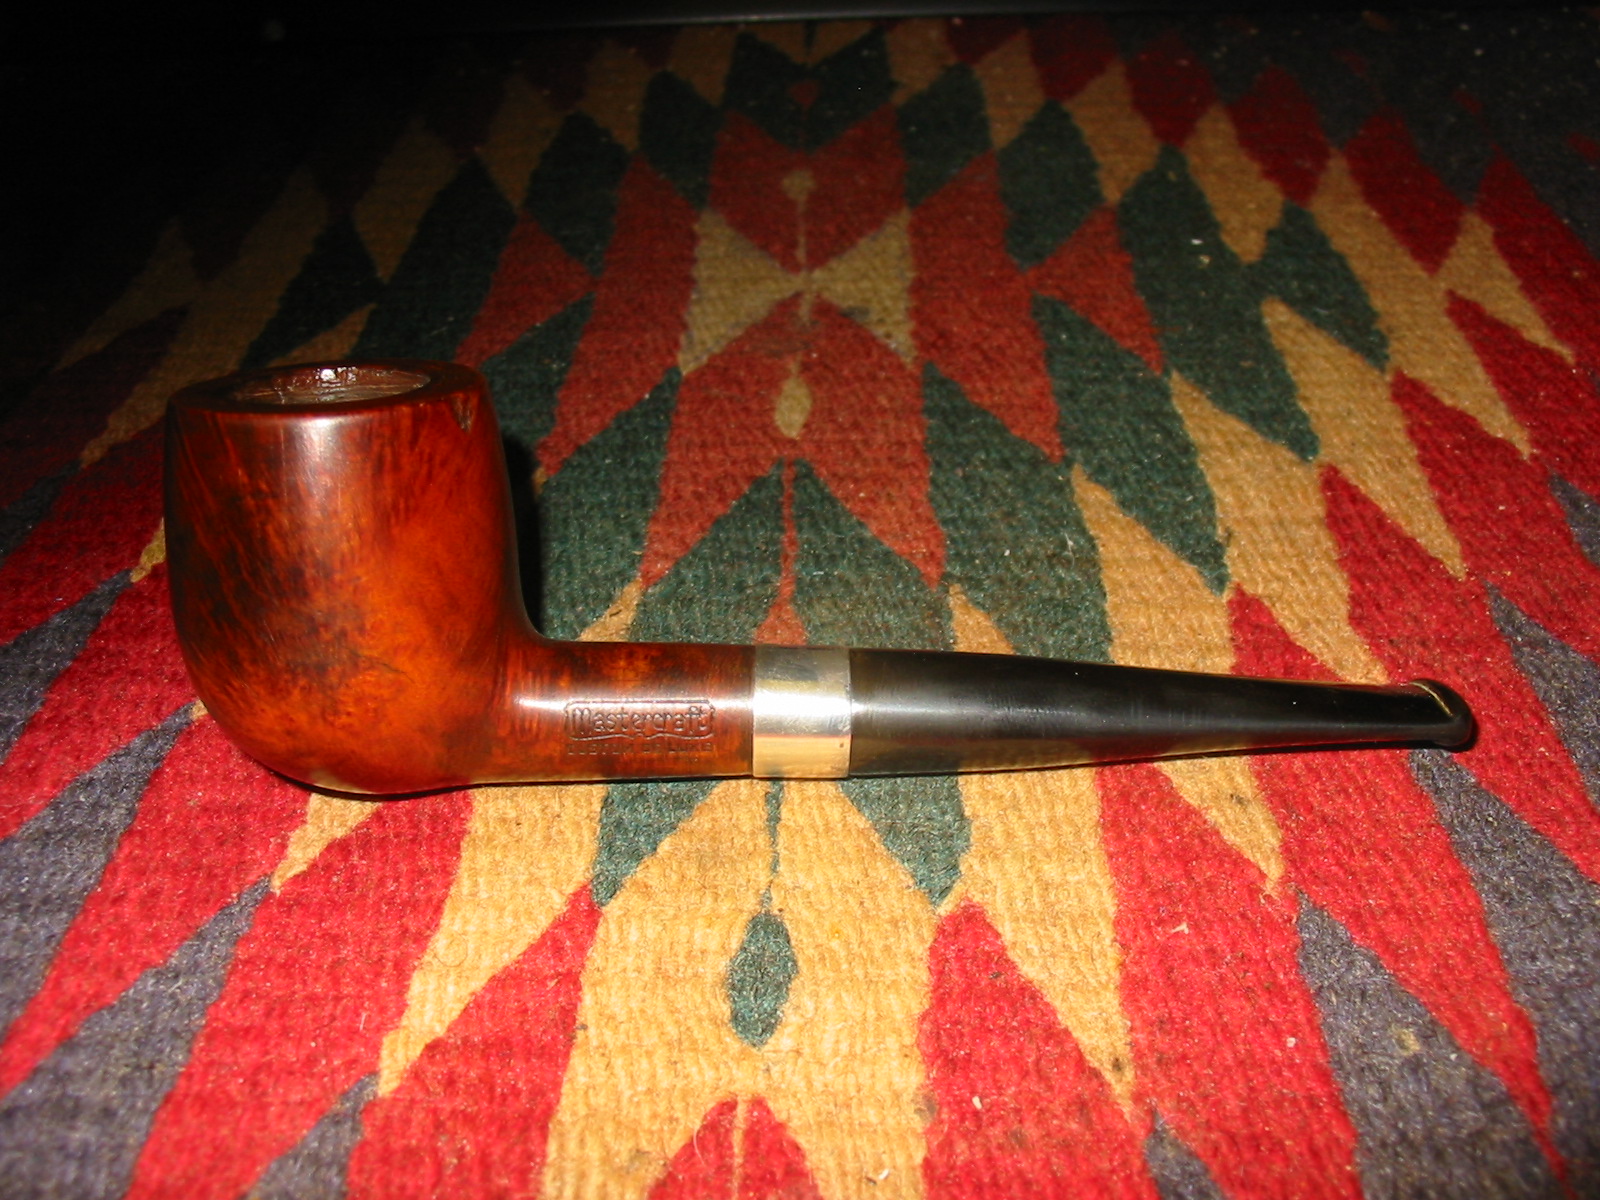
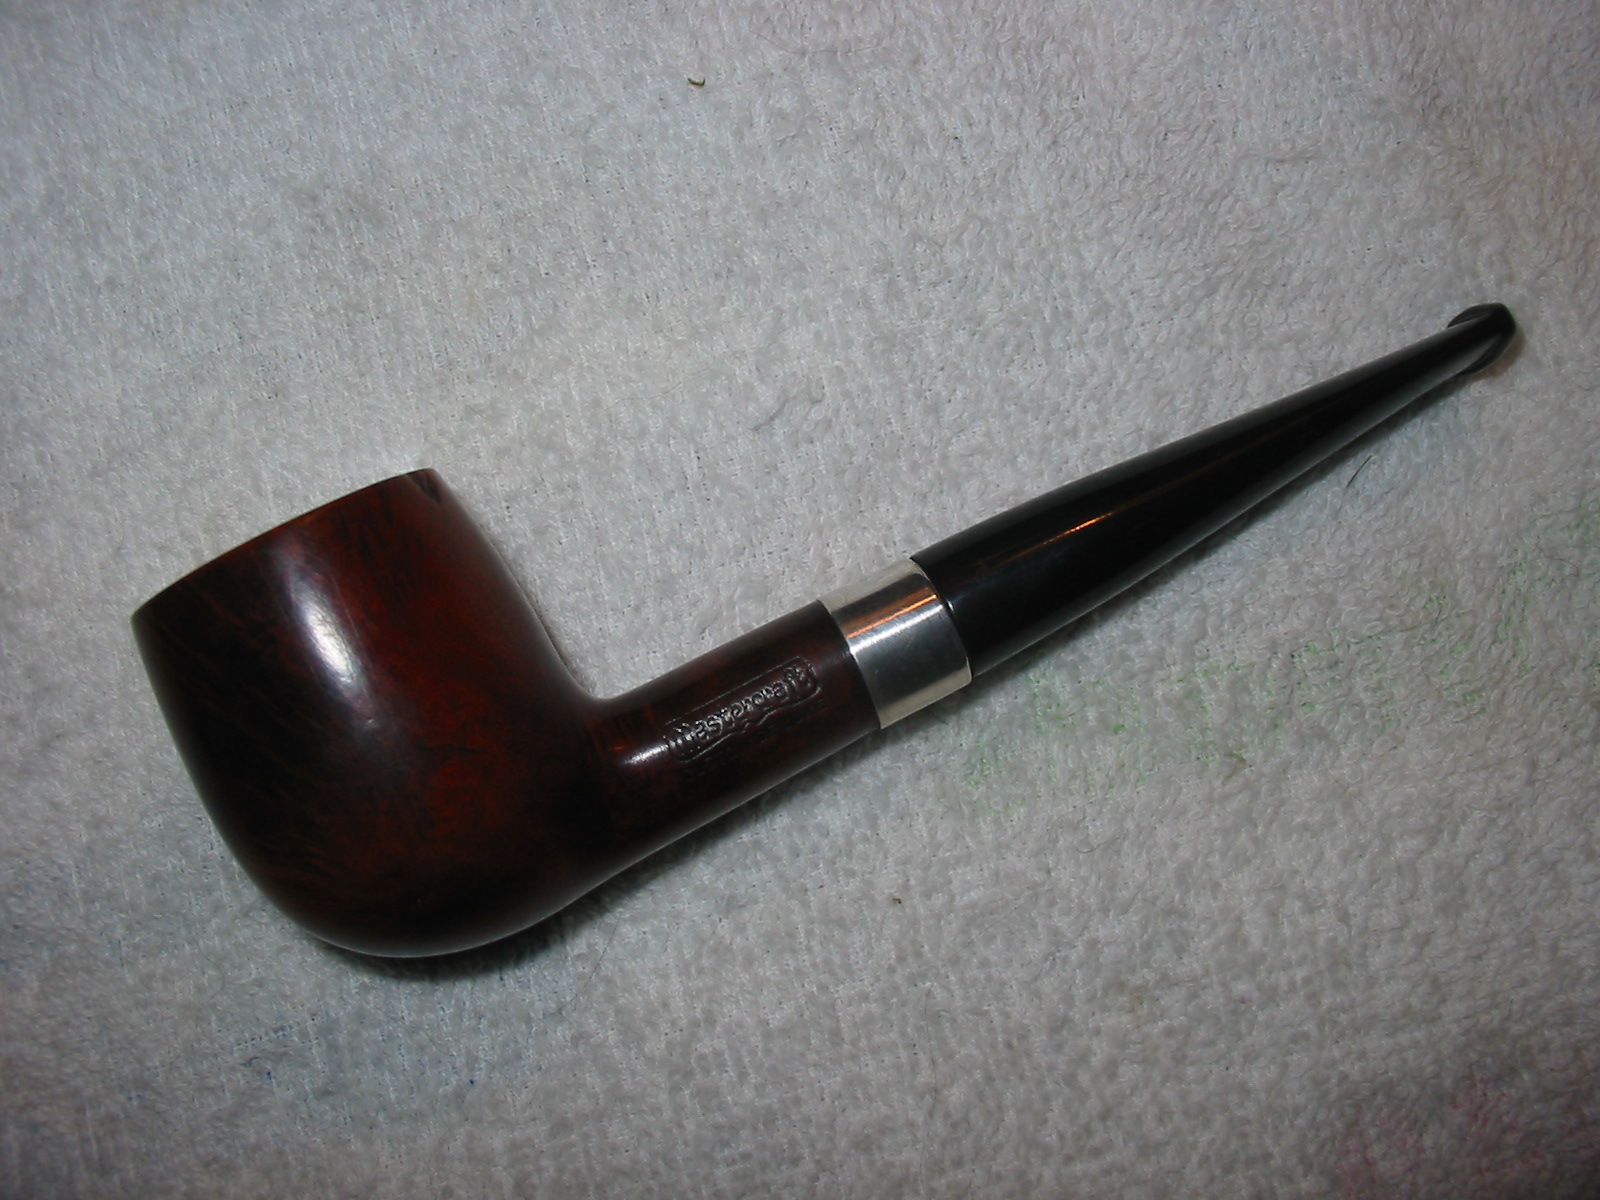
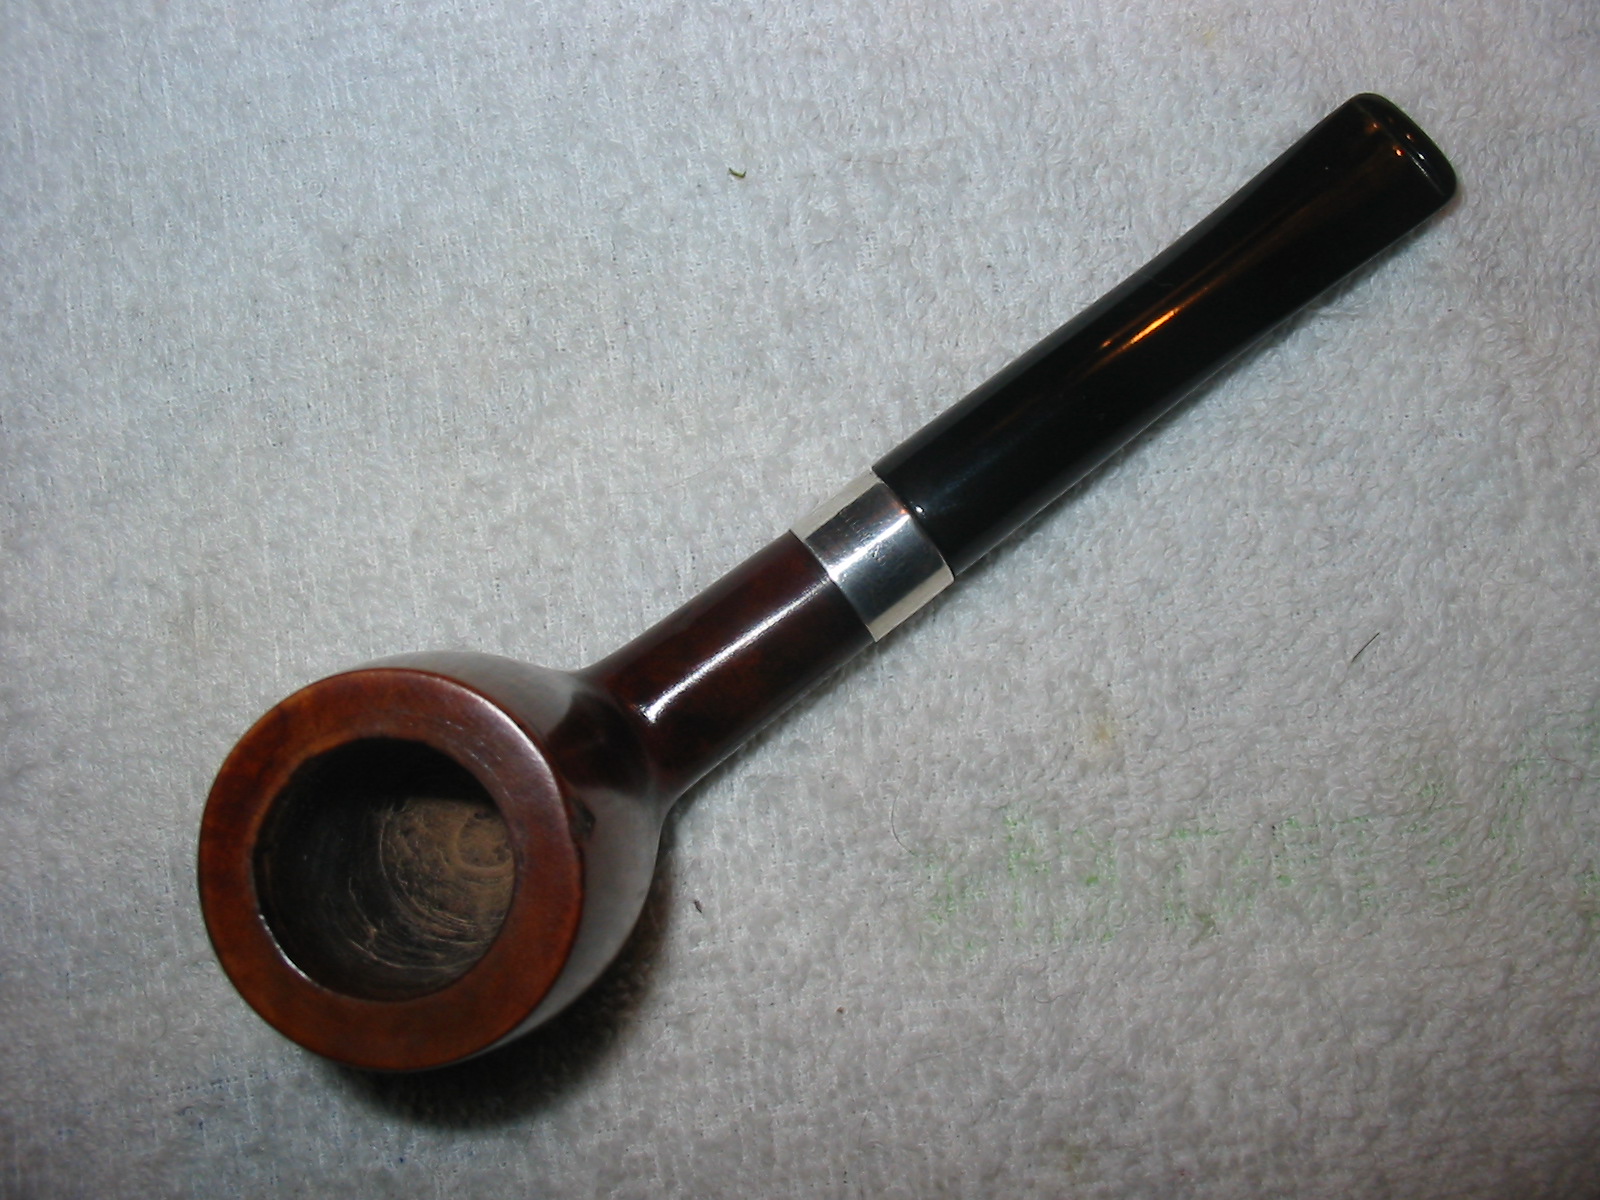
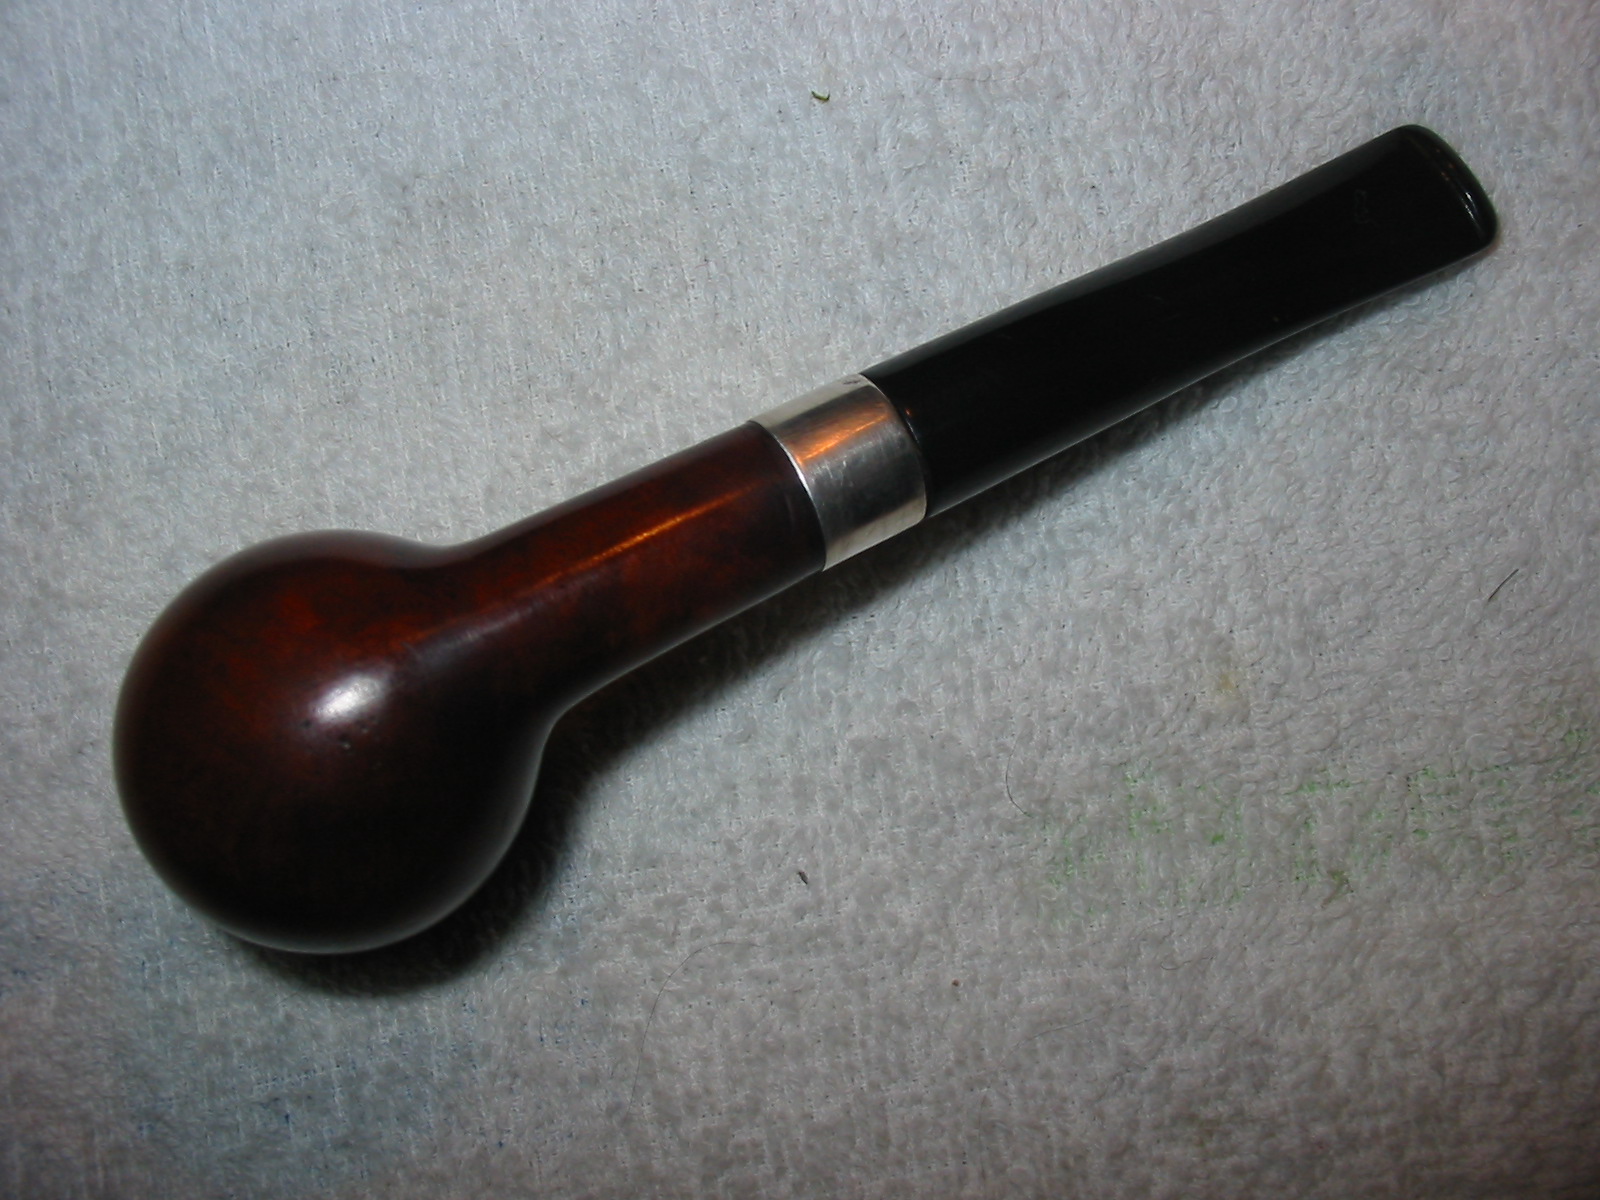
With the stem polished I put it back on the pipe and buffed the bowl and the stem with Blue Diamond. I gave the bowl several coats of Conservator’s Wax and the stem several coats of carnauba wax and buffed the pipe with a clean buffing pad to raise the shine. I hand buffed it with a microfiber cloth to deepen the shine. The pipe polished up pretty nicely. The finished pipe is shown in the photos below. This Hilson Dromedary 712 will soon going back to Alex. The dimensions are Length: 5 3/4 inches, Height: 1 3/4 inches, Outside diameter of the bowl: 1 1/4 inches, Chamber diameter: 7/8 inches. I am looking forward to seeing what Alex thinks of this one. I will be calling him soon to come and pick up the pair. Thanks for walking through the restoration with me as I worked over this old dromedary.