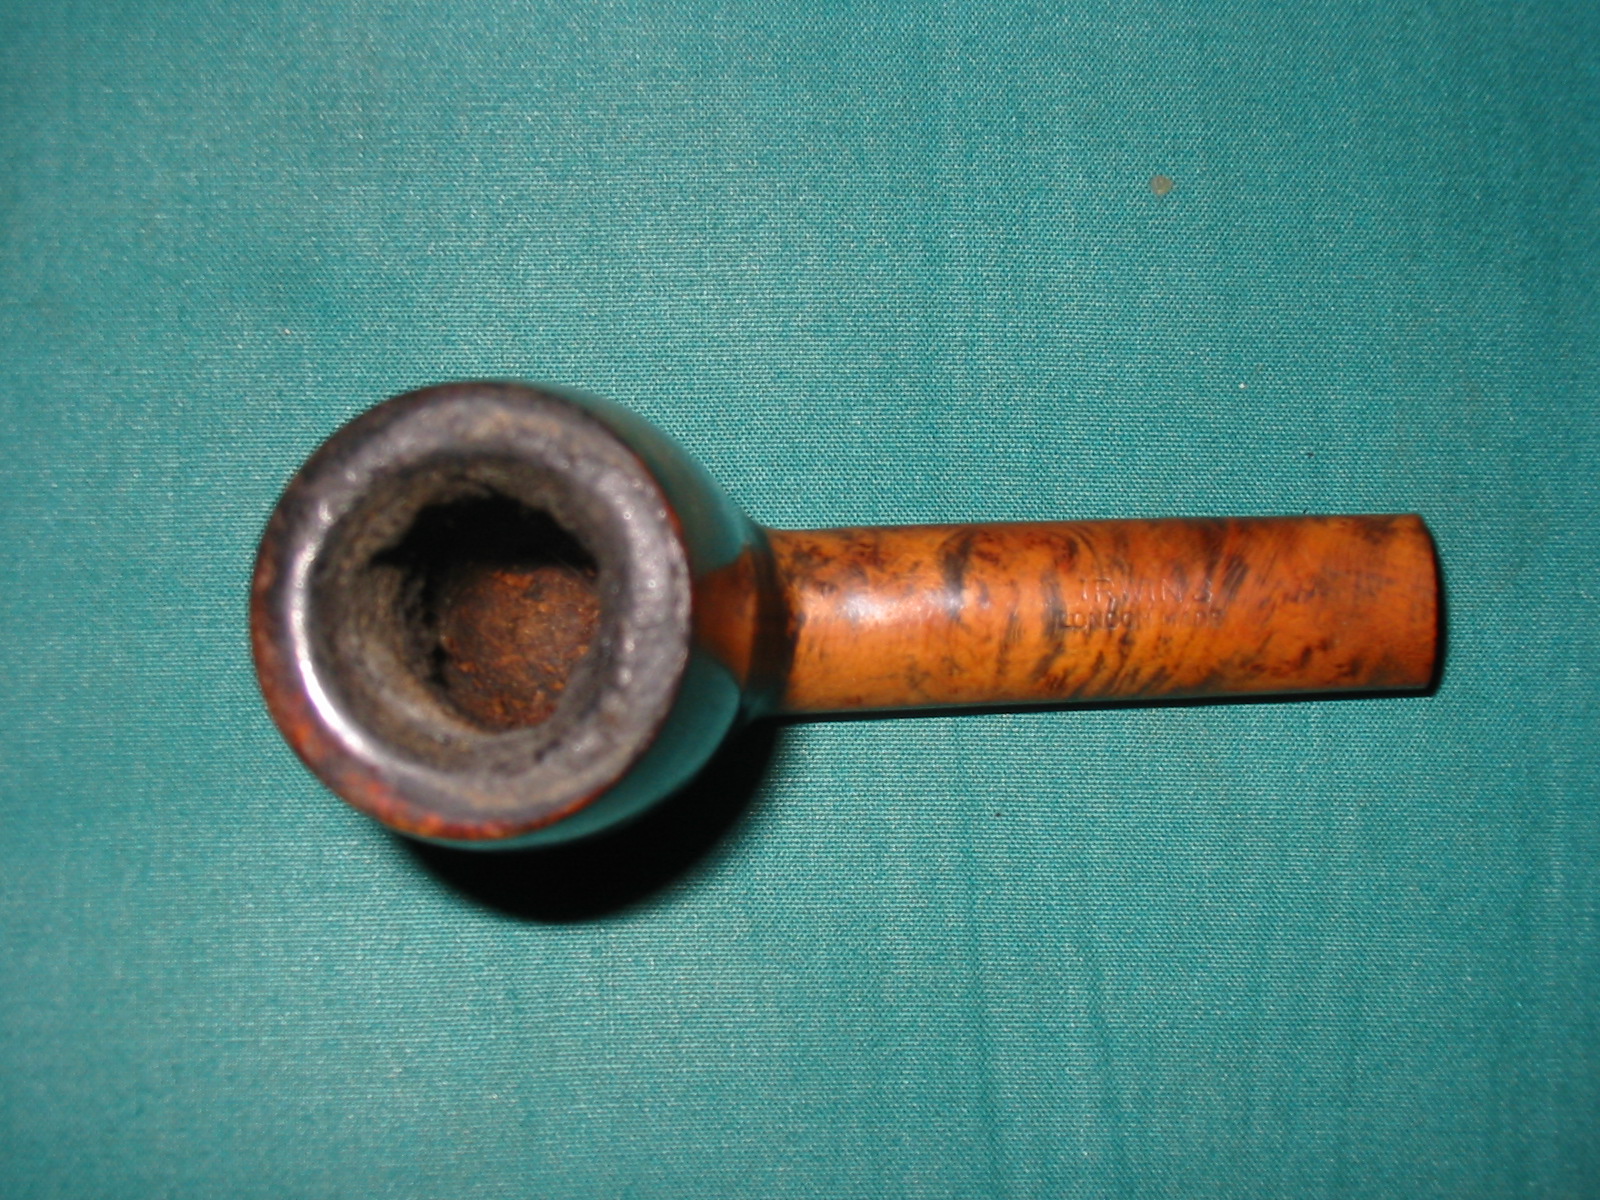
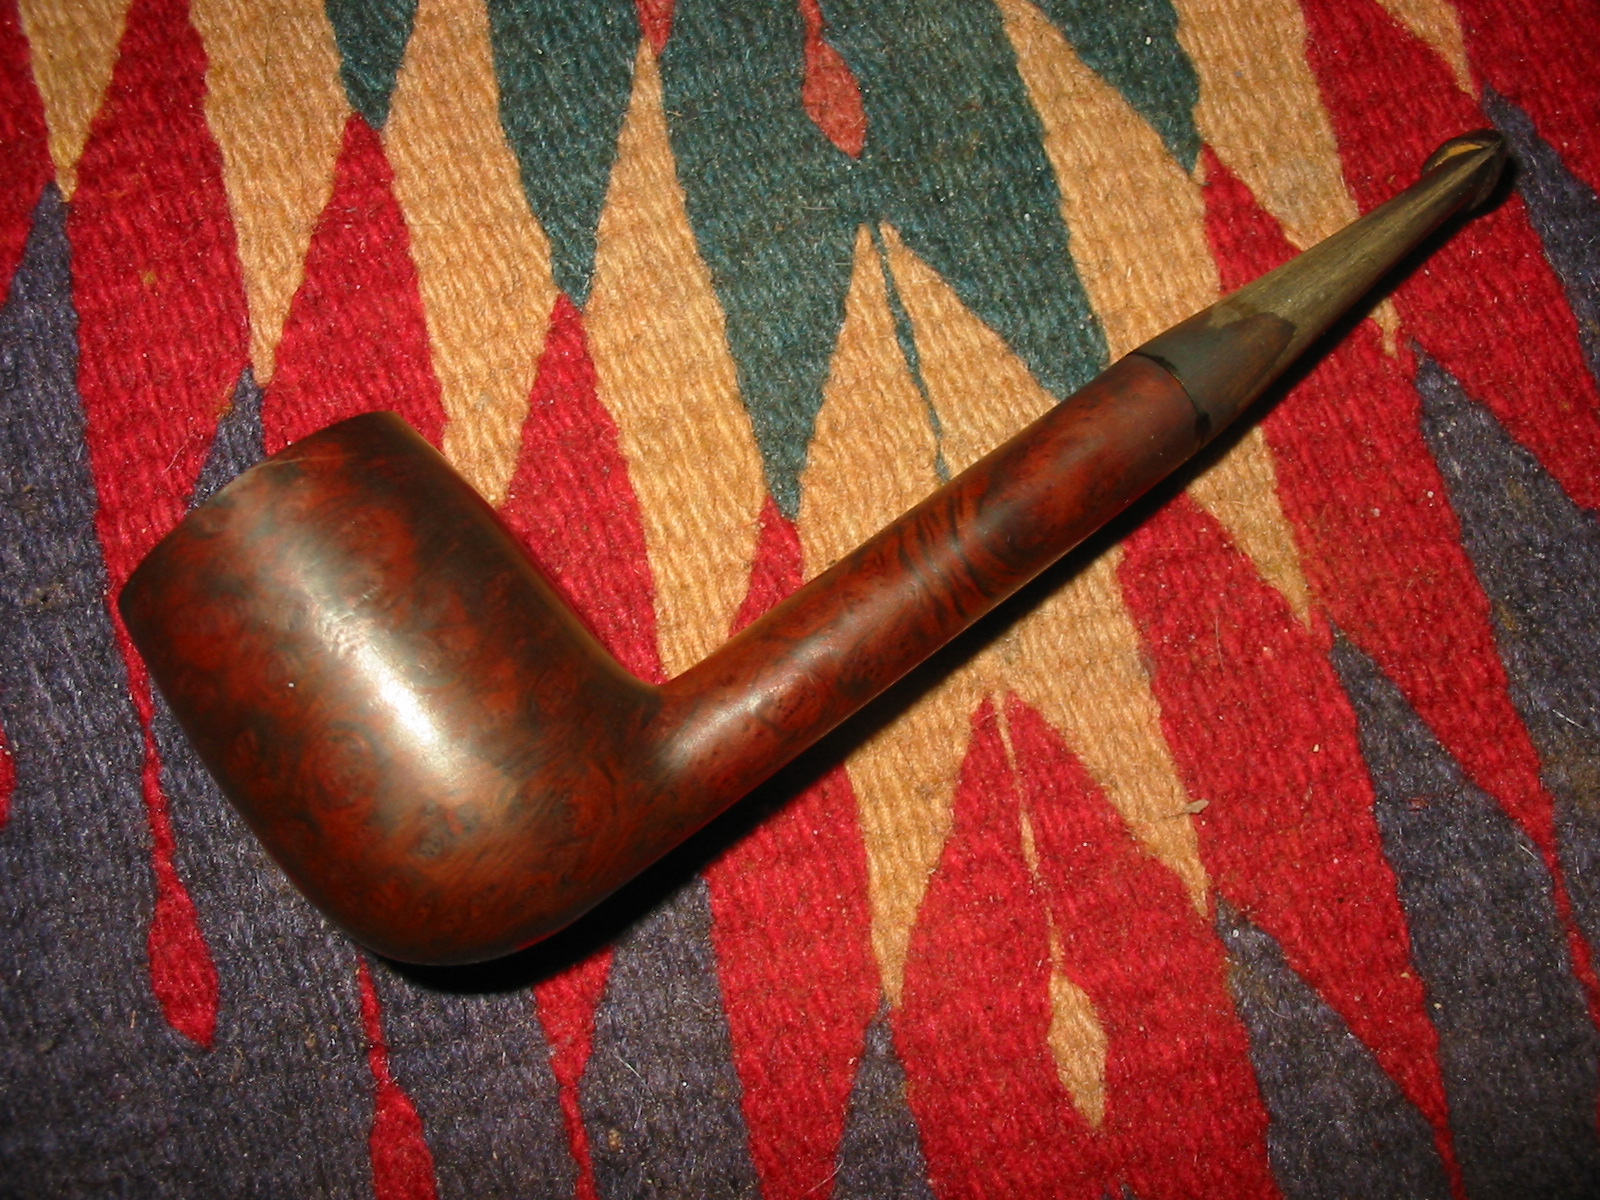
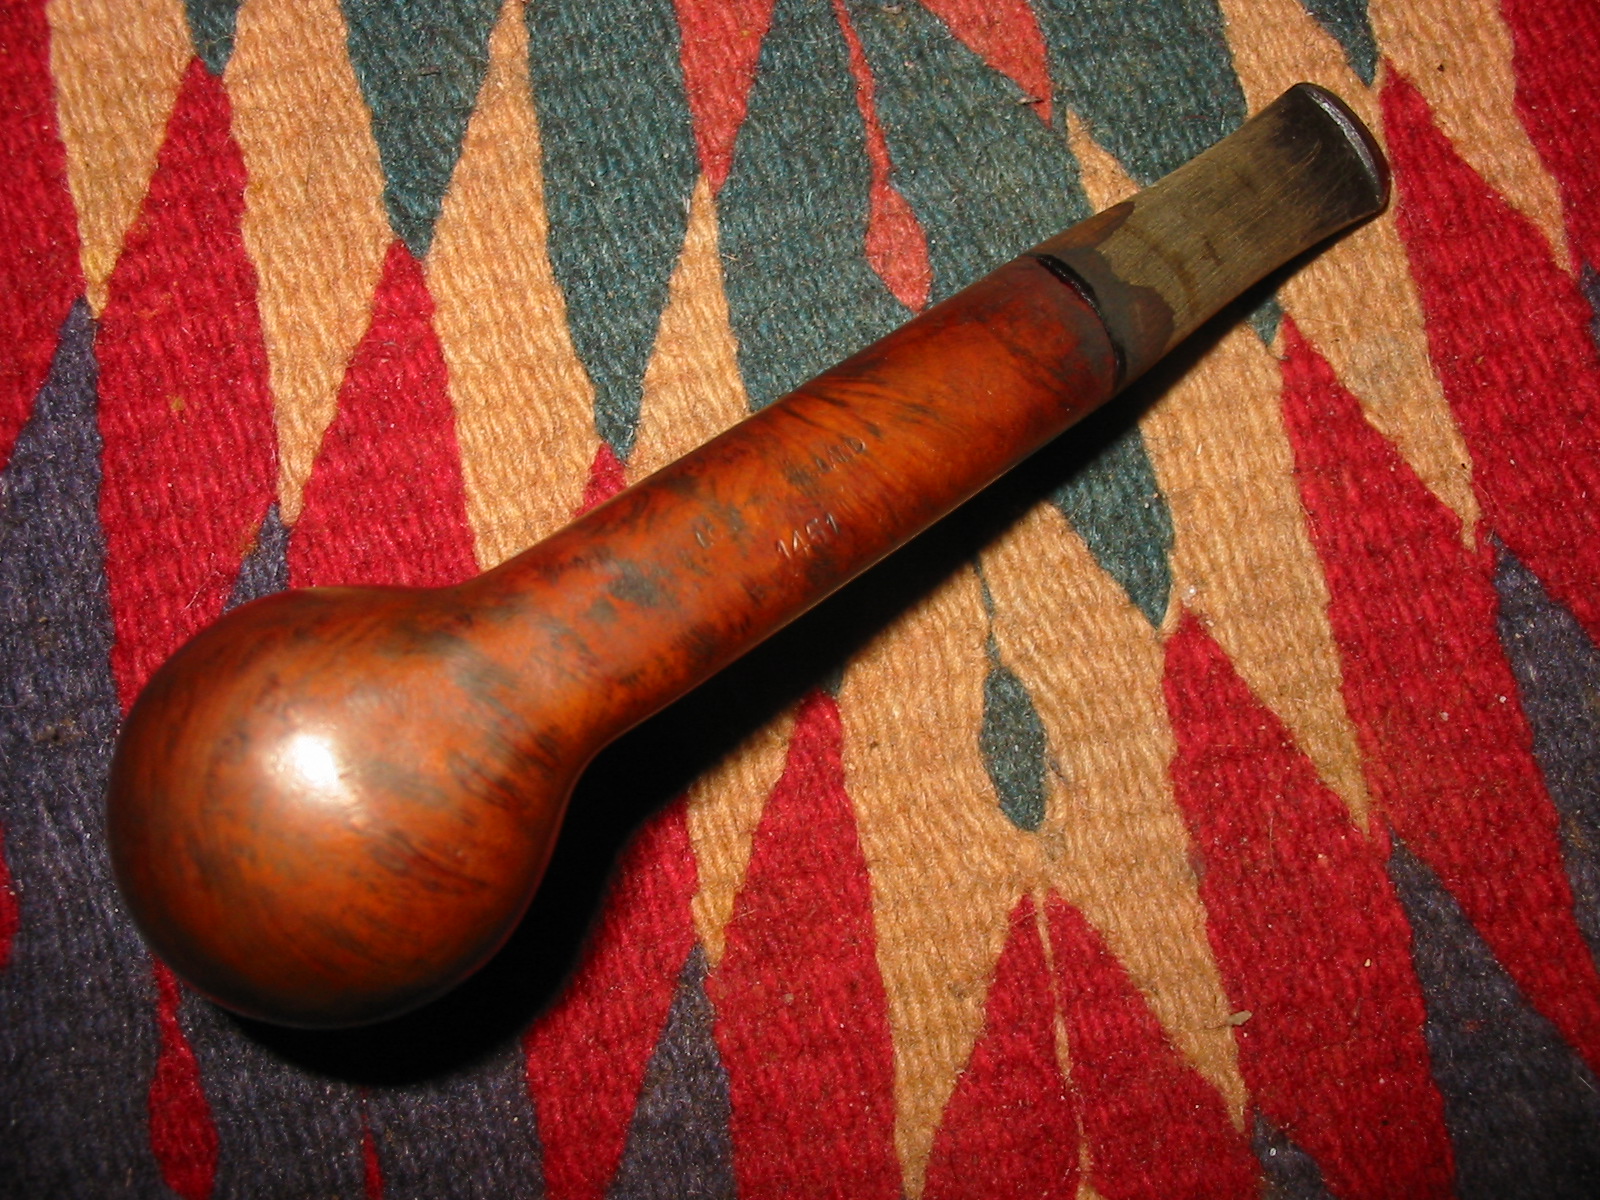
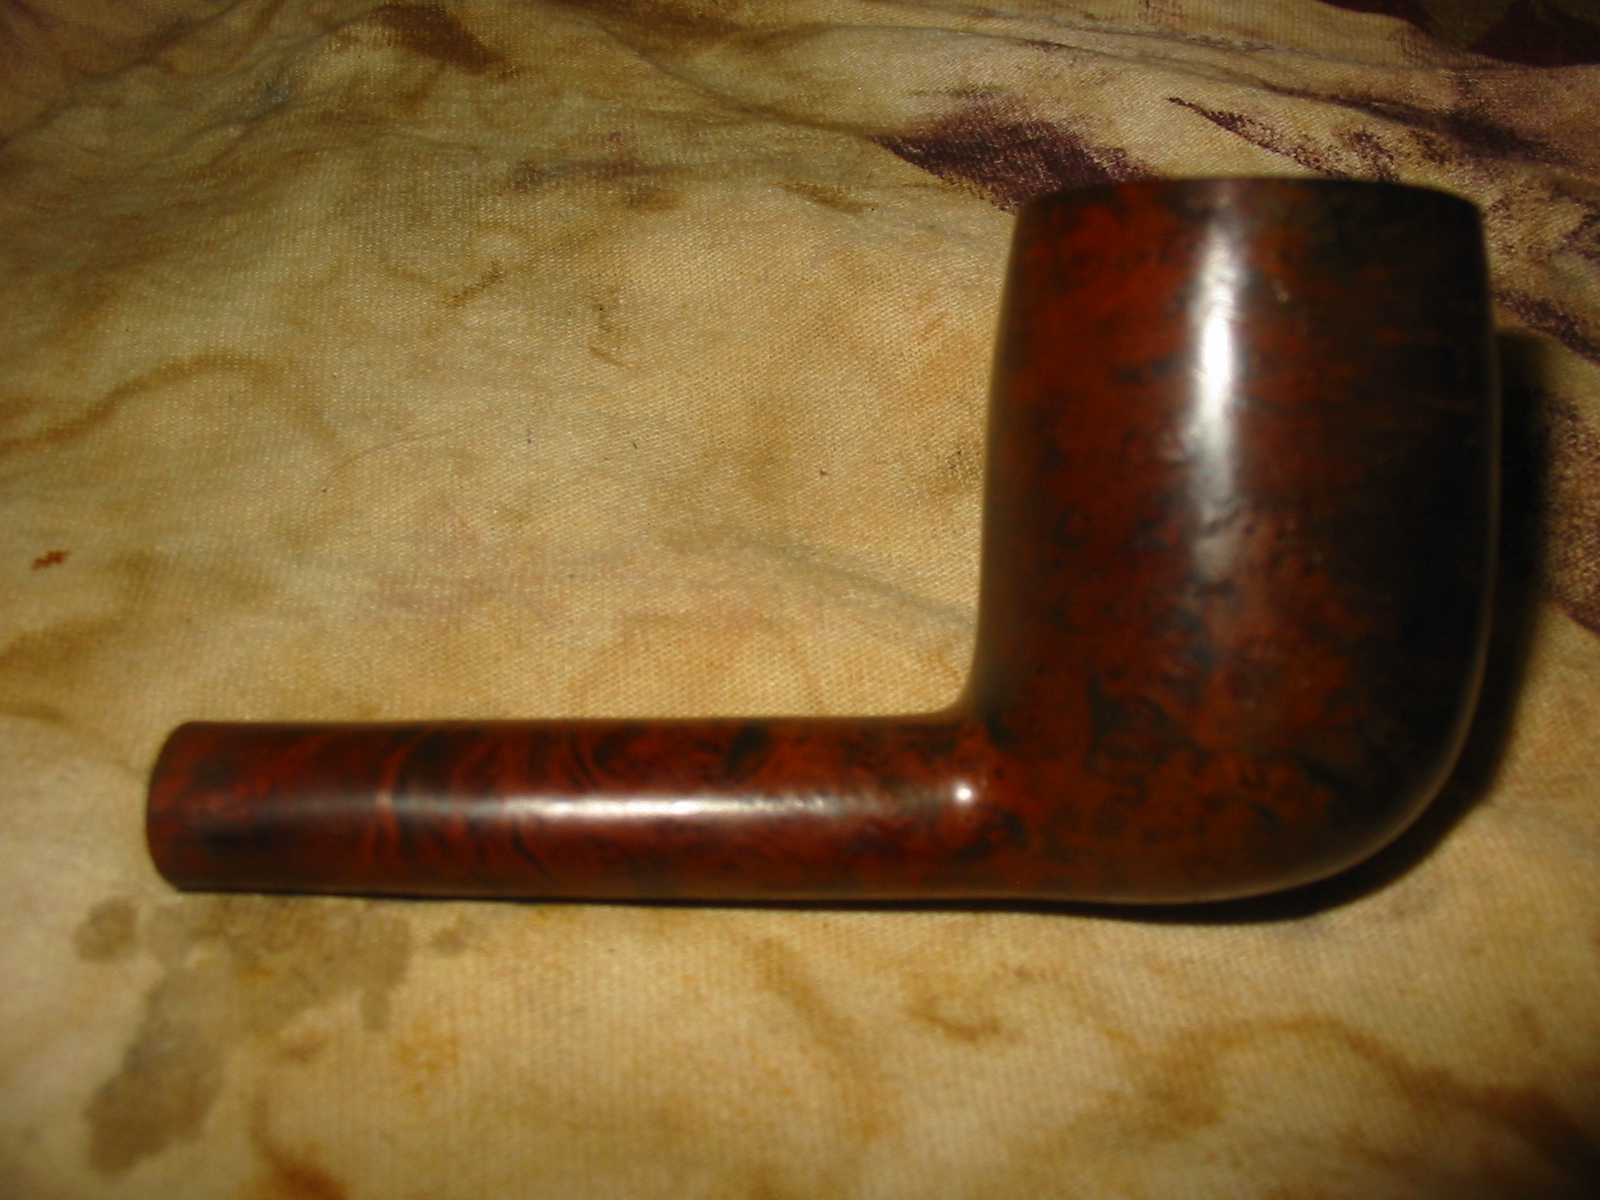
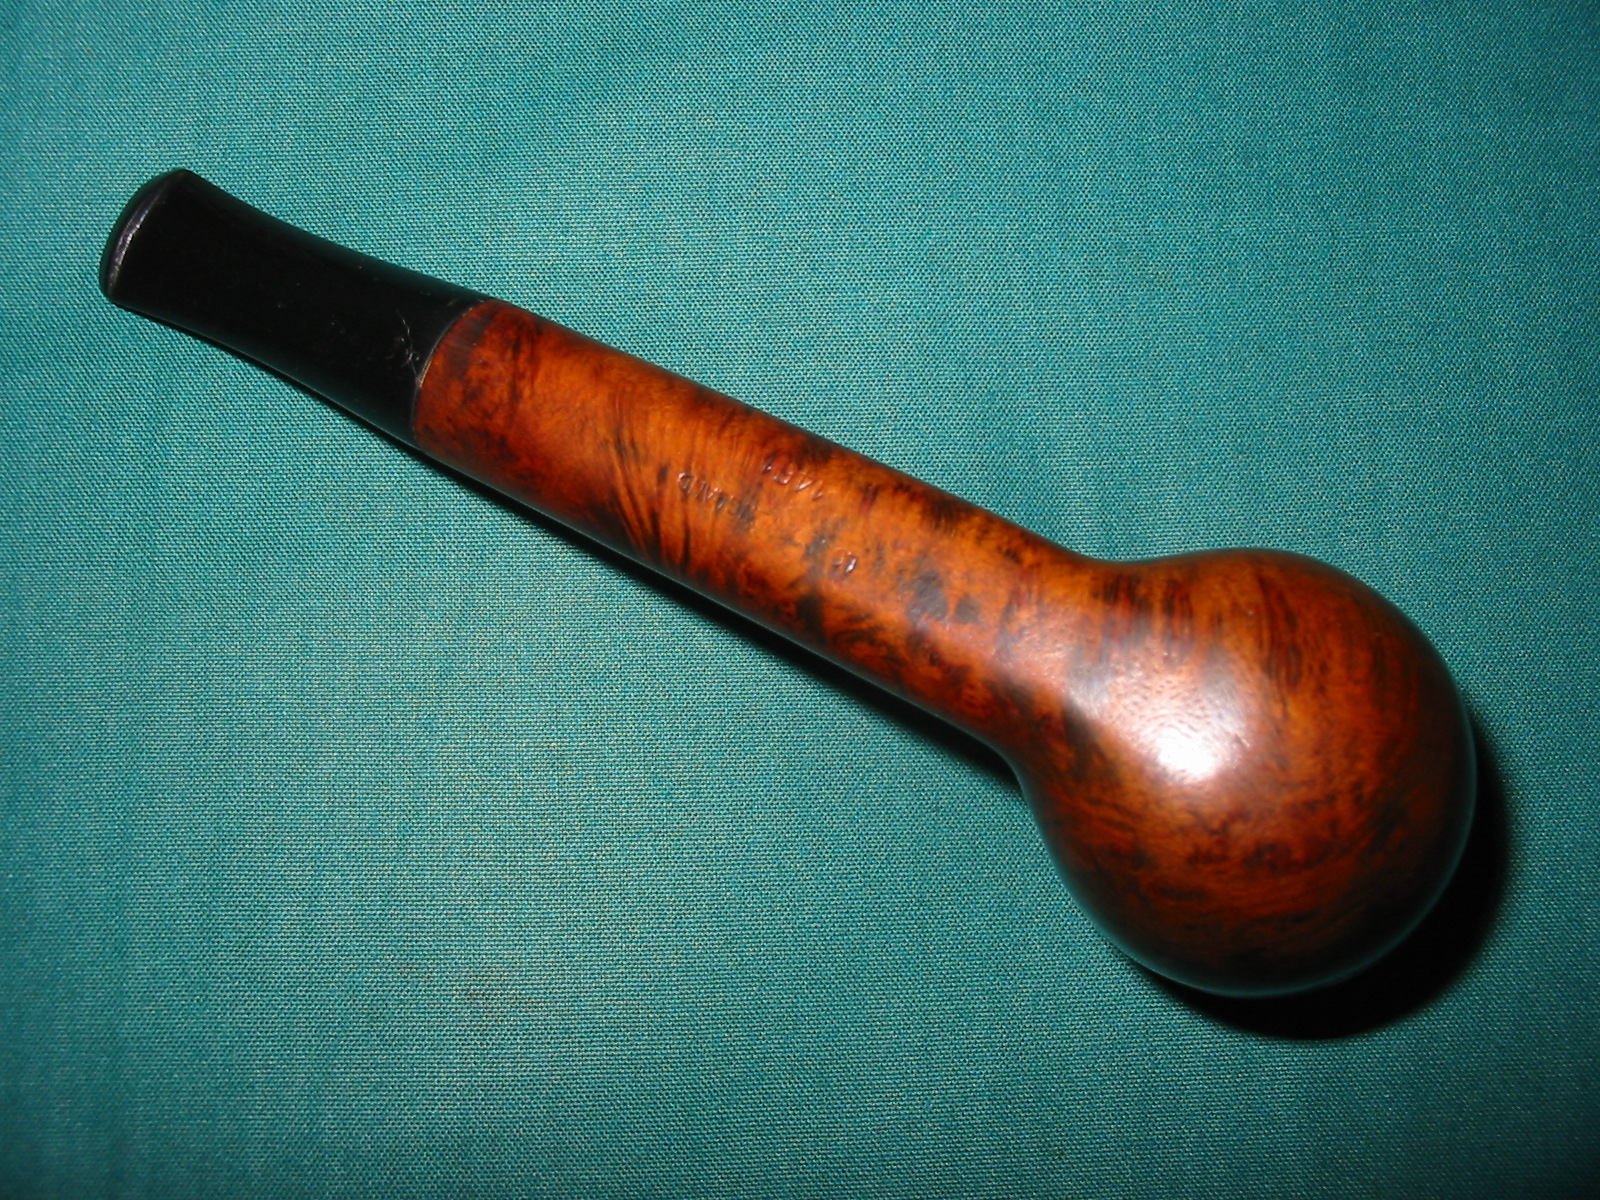
One of the six pipes I picked up in Washington was a Canadian bowl sans stem that is stamped IRWIN’S over London Made on the top of the shank and London England over 1451 on the underside of the shank. It had a tenon still stuck in the shank and the bowl top was rough from beating it out on an ashtray or something. Irwin’s is a GBD line (seconds??? Though this one has no fills or flaws to suggest that). The grain is quite nice and the contrast staining was also well done. It always makes me wonder what makes a pipe move from the first line to a second line. You can see from the series of photos below that the bowl was dirty on the sides and the top was damaged quite severely. There were no cracks in the shank or the bowl so that was a bonus. The bowl was unevenly caked and pretty dirty as well.

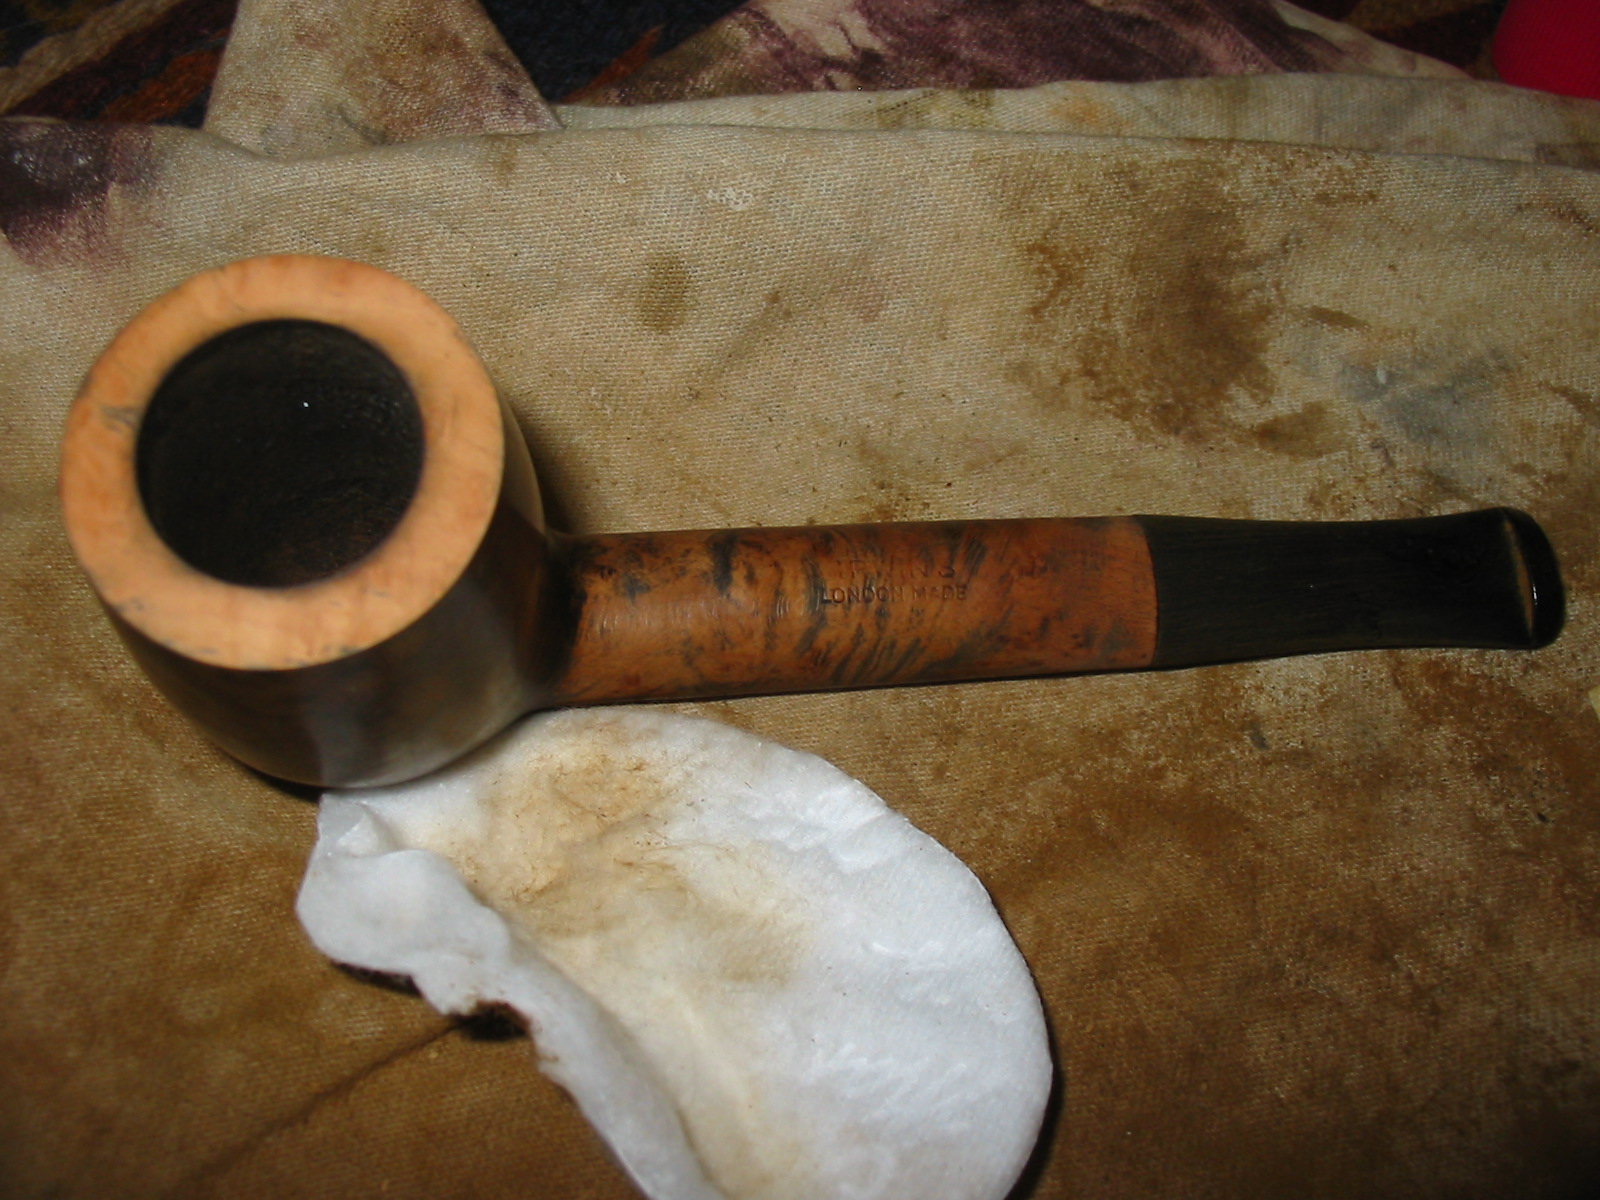
I reamed and cleaned the bowl and then used a screw to pull the broken tenon from the shank. Once I had that removed I cleaned out the shank with pipe cleaners and Everclear. Once the shank was clean I took a stem blank from my jar of stems and turned the tenon with the Pimo Tenon Turner until it was a close fit. Then I hand sanded the tenon until it was a good snug fit. I used the Dremel to take off the excess vulcanite and make a smooth transition between the stem and the shank. I then sanded the stem with medium grit Emery cloth to smooth out the surface of the scratches left behind by the Dremel sanding drum. From there I proceeded to use 220 grit sandpaper and also 340 grit sandpaper to further sand out the scratches. I wiped down the bowl with acetone to remove the dirt and grime and remnants of the top coat of stain. I wanted to prepare the surface for a new stain of diluted dark brown aniline. I also topped the bowl to remove the damage to the surface and clean up the edges of the bowl. The next two photos show the pipe with the stem fitting and the bowl cleaned and topped. It was ready for the staining once I sanded the rim top smooth with the micromesh sanding pads.

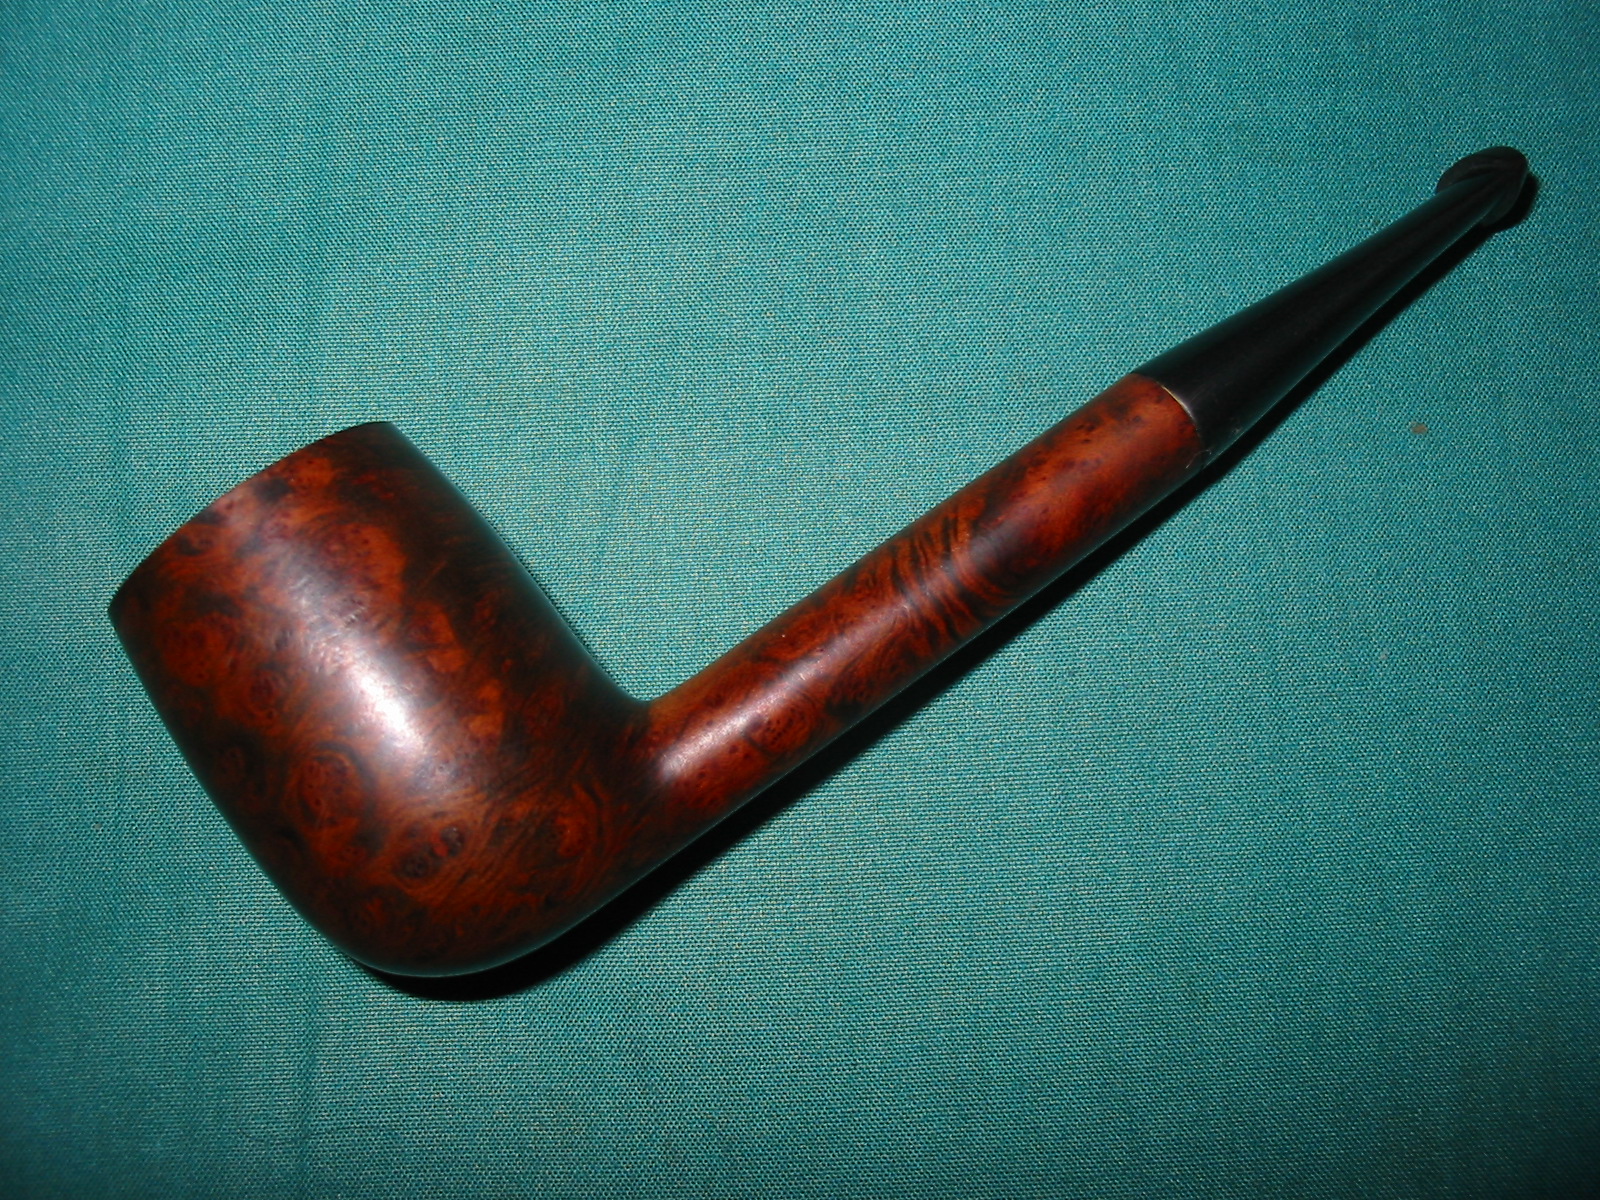
I diluted some dark brown aniline stain 3-1 with isopropyl alcohol and stained the bowl and rim. I flamed the stain and then restained it and flamed it again. I stained the rim two more times to darken the surface to match the bowl. I took it to the buffer and buffed the entirety with Tripoli and White Diamond. The four photos that follow show the pipe after staining. It was still too dark in my opinion to highlight the contrast of grains in the pipe so I took it back to my work table to deal with that.
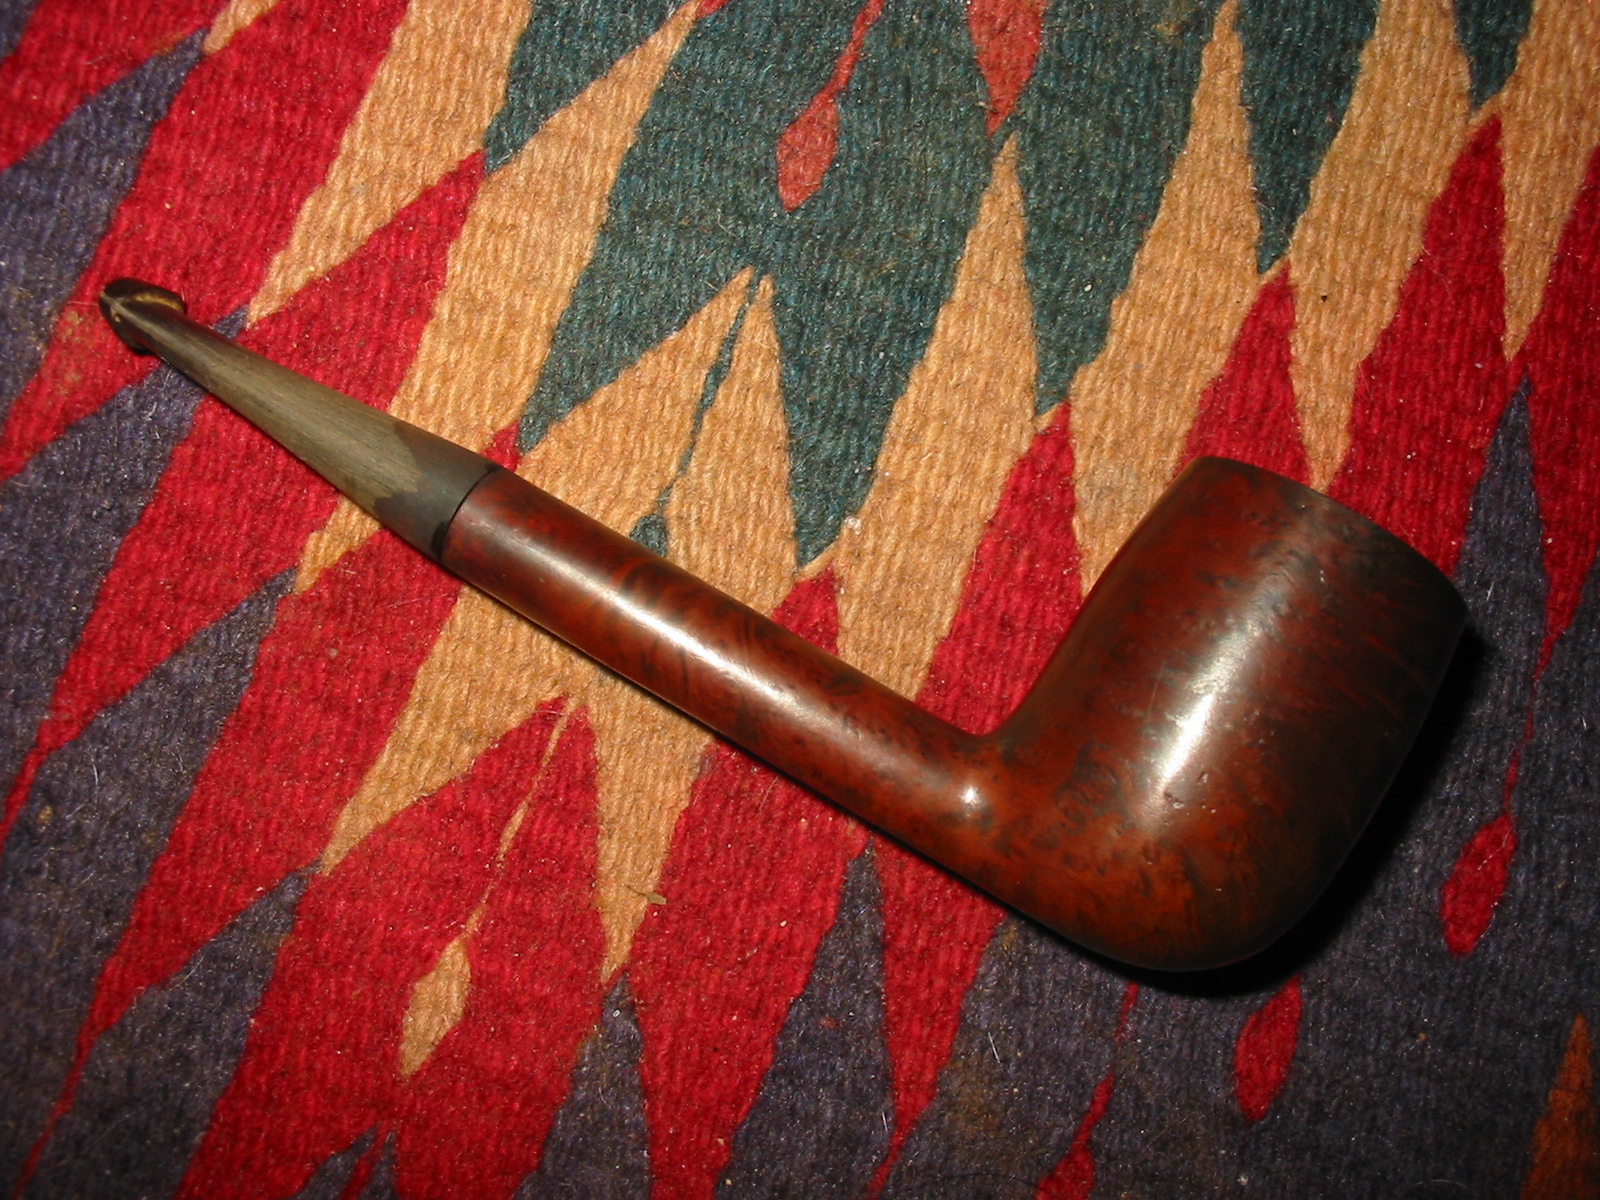

I wiped the bowl down with acetone to remove some of the stain and lighten the overall look of the pipe. It had to be wiped down several times to get the look I was after. The next series of photos show the bowl after repeated washings. I used a cotton pad soaked with acetone and scrubbed the surface to get the desired look. Once it was done I again took it to the buffer and buffed it with White Diamond.

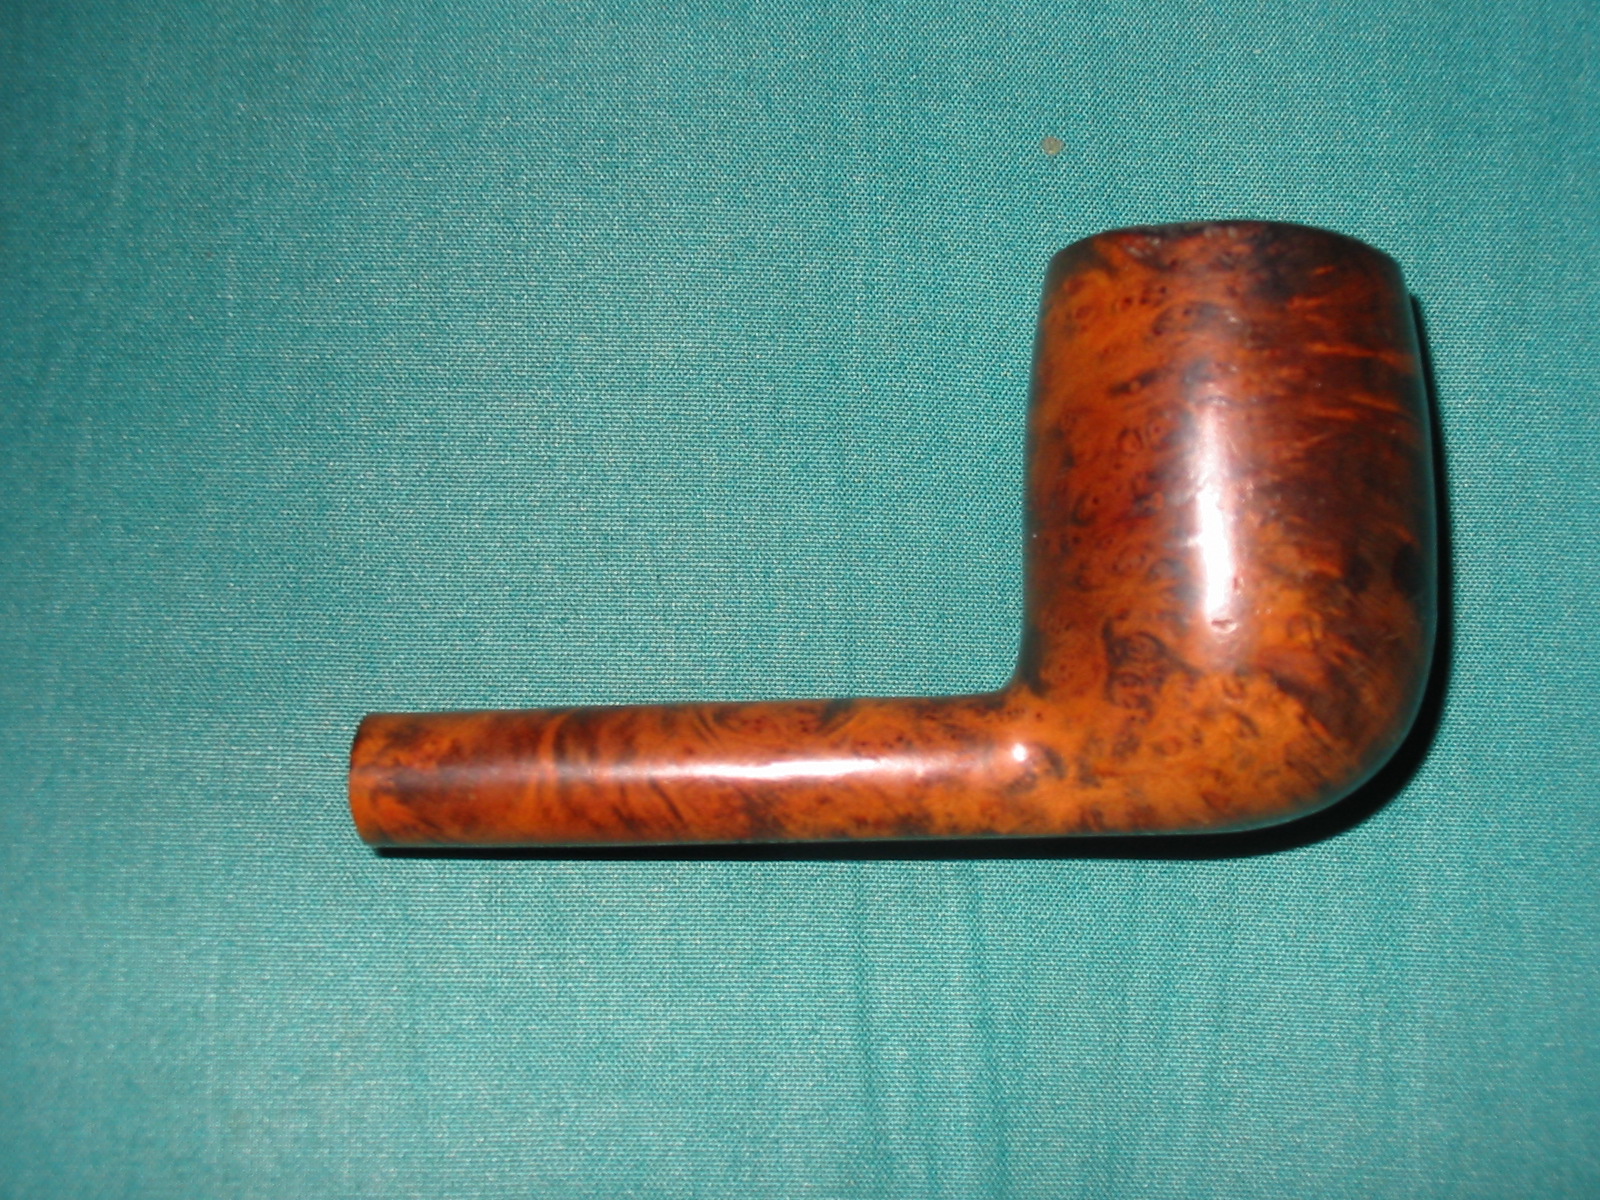
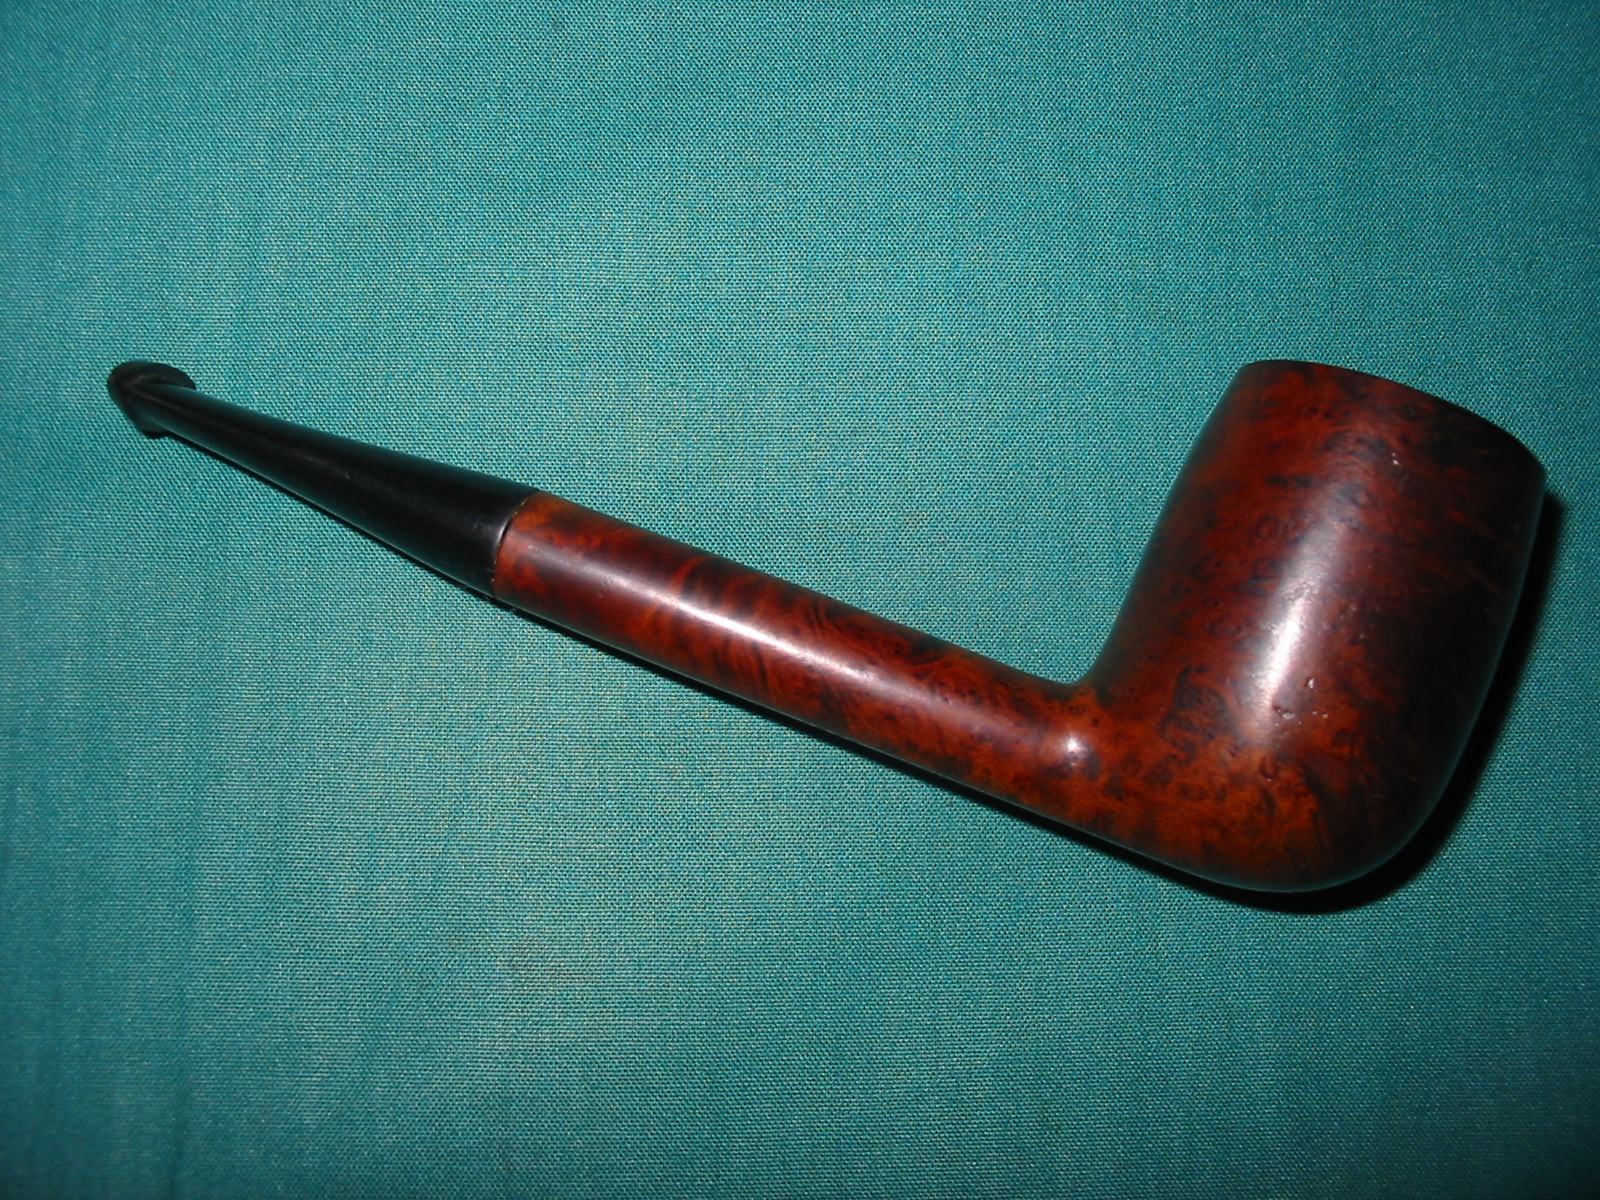
The stem still needed a lot of work to get it to the place of shiny newness. I continued to work on the stem with micromesh sanding pads – 1500-12,000 grit. The first three pads 1500-2400 I wet sanded the stem. The other 6 pads I dry sanded. After sanding with the pads through 4000 I used the Maguiar’s Scratch X 2.0 a second time and finished with the 6000, 8000 and 12000 grit sanding pads. I finished the polishing with a coat of Obsidian Oil and then buffed it with White Diamond a final time. I gave the entire pipe several coats of carnauba wax and buffed the pipe with a soft flannel buff. The next four photos show the finished pipe.


I have a question: I notice that you often use the micro mesh wet up to 2400-3000 then the rest of the grits dry, what is the reasoning for that? I’m new to using MM and just thought wet for all grits would be best. Thanks for the great essays and info, too, that you provide!
LikeLike
Hi Greg I use the wet sanding only in the first three grits because I find that is all I need to do. It removes the visible scratches. The remaining grits polish the stem and I have found that I don’t need to use them wet.
LikeLike
Thank you, sir, for the info (again). I’m going to give that a go this week and see how it works out. Refurbishing old pipes is a wonderful, if not addictive, hobby and I appreciate your incite.
LikeLike
Nice job. It is curious as to what characteristics designated a GBD 2nd line pipe.
LikeLike