Blog by Steve Laug
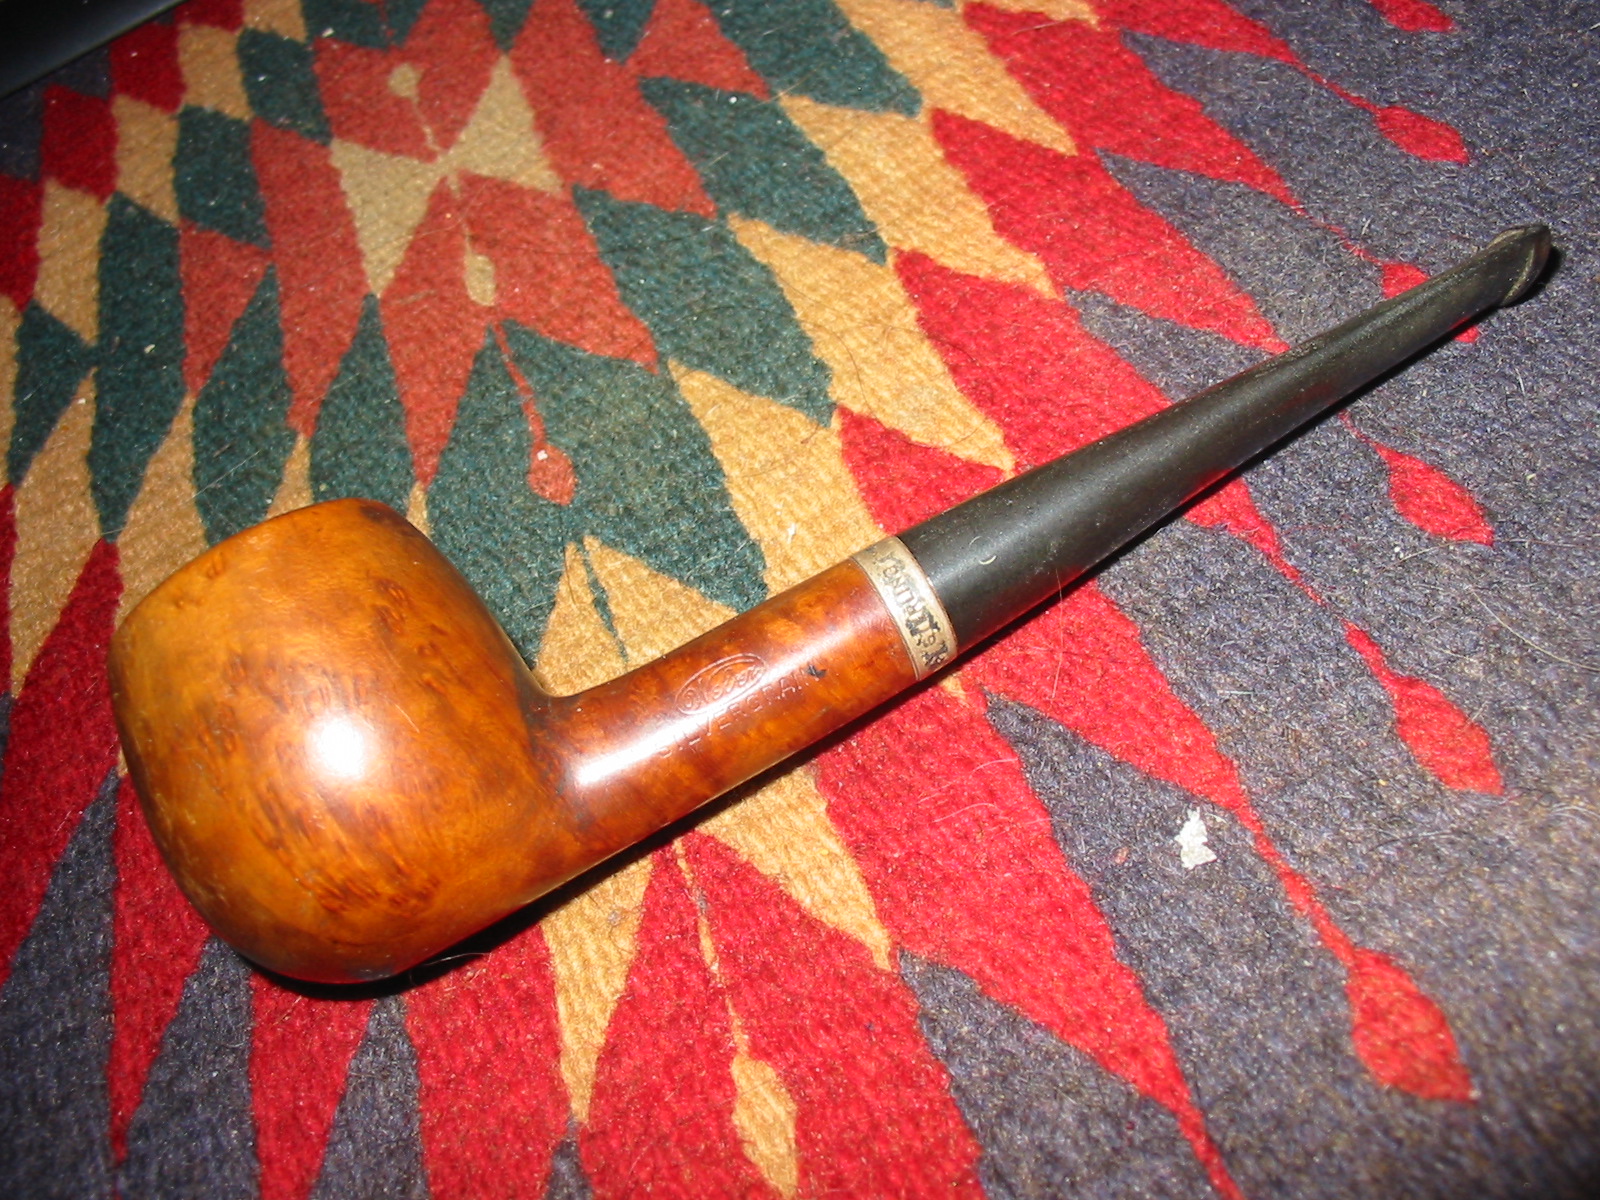
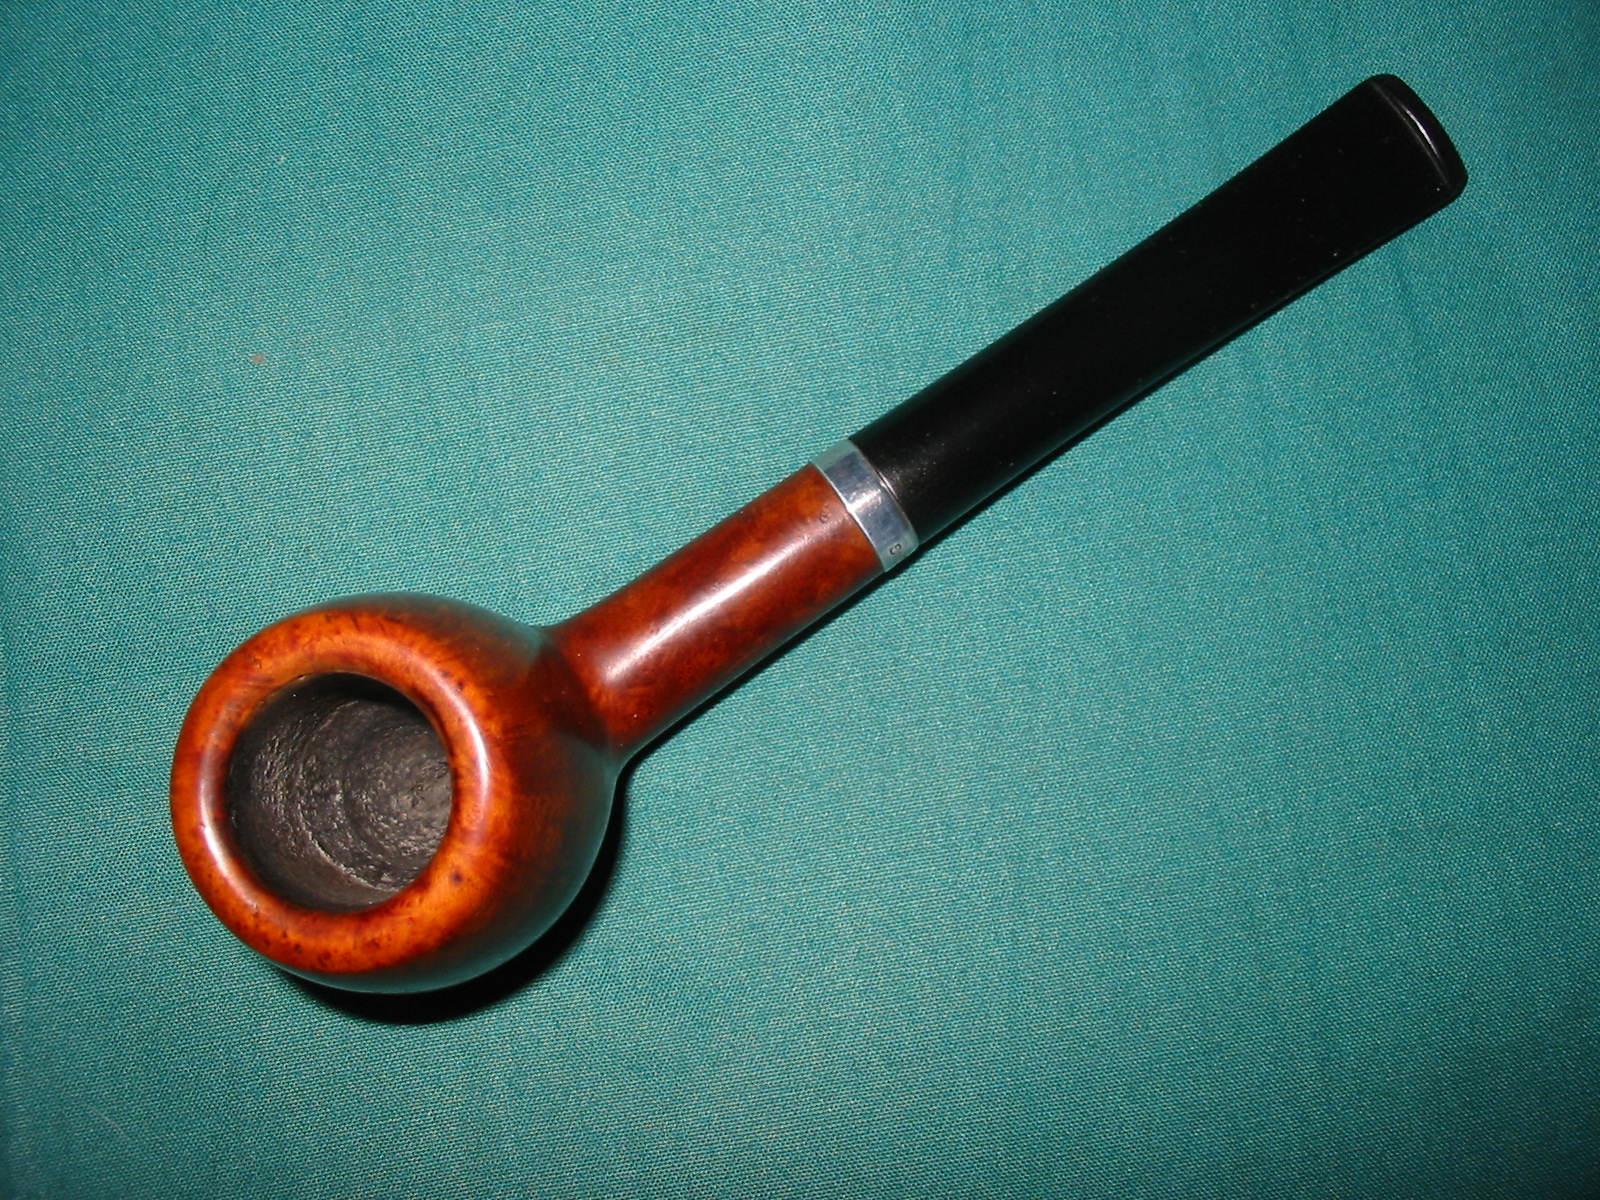
The fifth pipe of the six that I picked up in the antique malls in Washington State is a Weber Silver Grain Apple. It was probably the cleanest of the six in terms of work that would need to be done to bring it back to life and usefulness. The stem was oxidized and very pitted. The vulcanite was actually rough to touch. It was not the typical roughness I have come to expect in old vulcanite stems but more pitted with visible pits and ridges. There were two tooth marks – one on the top and one on the bottom of the stem about ½ inch above the edge of the button. The button itself was still very clean and the slot was the typical wide open oval that I have found on most of the older Weber pipes I have worked on. It was stamped Weber over SILVERGRAIN on the left side of the shank and IMPORTED BRIAR on the right side of the shank. On the underside of the shank there were some fairly deep gouges to the briar. The finish was not too bad just very dirty. The rim and inside lip of the bowl were very caked with tars and buildup and the bowl was caked with a light build up that was uneven around the sides of the bowl. There were also dings in the sides of the bowl that would need work. The W in a circle stamping on the stem was basically gone other than a small bottom edge of the circle. The silver band was dirty.


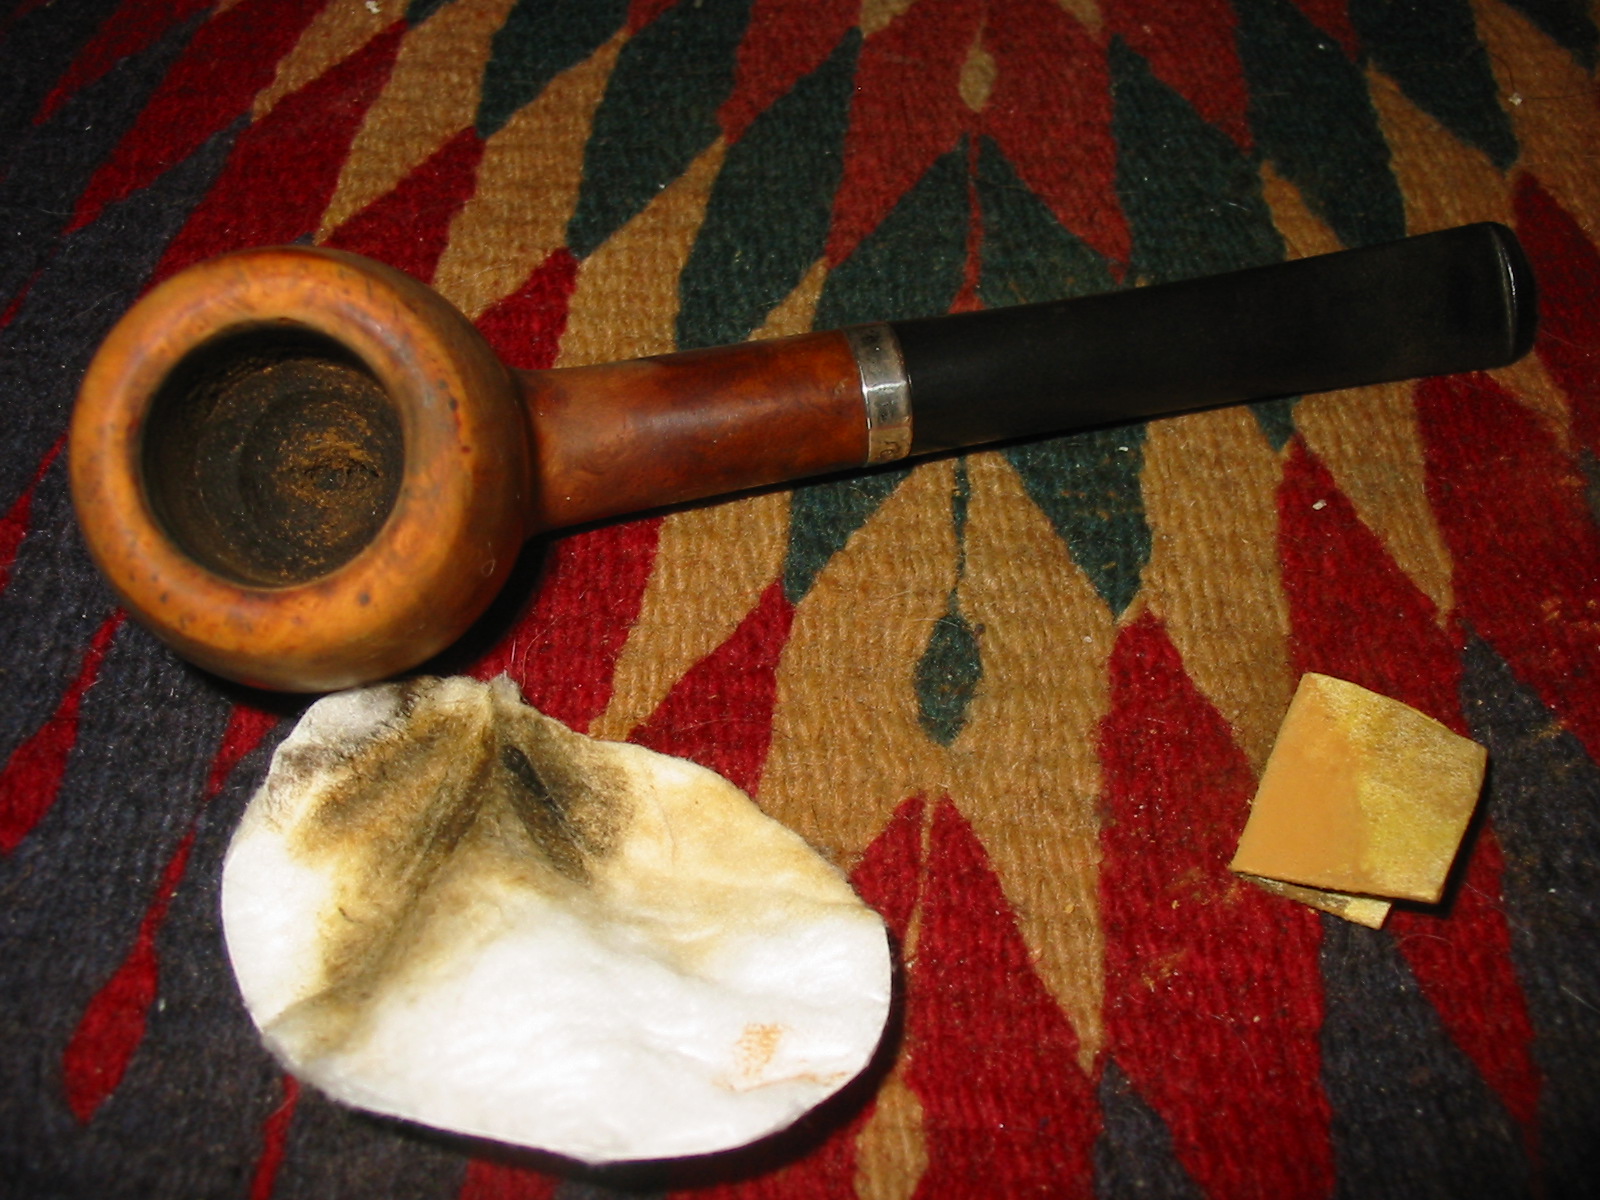
I decided to start work on this refurb by reaming the bowl and cleaning the bowl and shank. I used cotton swabs on the shank as it is a wide open drill from mortise to bowl. I believe this is because of the stinger apparatus that the Weber pipes used. It creates a chamber where the smoke swirls around the stinger and cools as it is then drawn to the stem and the mouth of the smoker. Once the bowl and shank were clean I worked on the outside of the bowl. I first lightly sanded the tars and buildup on the rim and the inner edge of the bowl to remove them. I used 320 grit sandpaper and lightly worked the area over to remove the buildup and to work on the inner edge. Once the rim was free of the tars and buildup I wiped the bowl and rim down with acetone on a cotton pad. The first wipe of that can be seen in the dark stains on the cotton pad in the pictures below. I also sanded the deep marks on the bottom of the shank. I steamed them a little to raise them and then sanded them to be as smooth as possible. I could not remove them entirely as the wood fibres were broken and would not rise totally. Sanding it to make it smooth would change the profile of the bottom of the shank so I brought is as far up as I could and smoothed out the roughness with the 320 grit sandpaper. I also cleaned the silver band with some tarnish remover and a jewelers polishing cloth. The band is stamped STERLING and came back to a clean shine.


Once I had removed the grime and tars from the bowl and shank I took it to the buffer and buffed the pipe with Tripoli and White Diamond. The resultant shine and colour was excellent so I decided not to restain the pipe at all but to leave it natural and give it some wax. The next series of photos show the bowl and shank when I had finished the buffing. The stamping is still crisp and sharp as I lightly buffed over those areas. I also buffed the stem to remove some of the roughness of the vulcanite and prepare it for sanding. I did a bit of sanding around the tooth marks and chatter in front of the button before buffing.


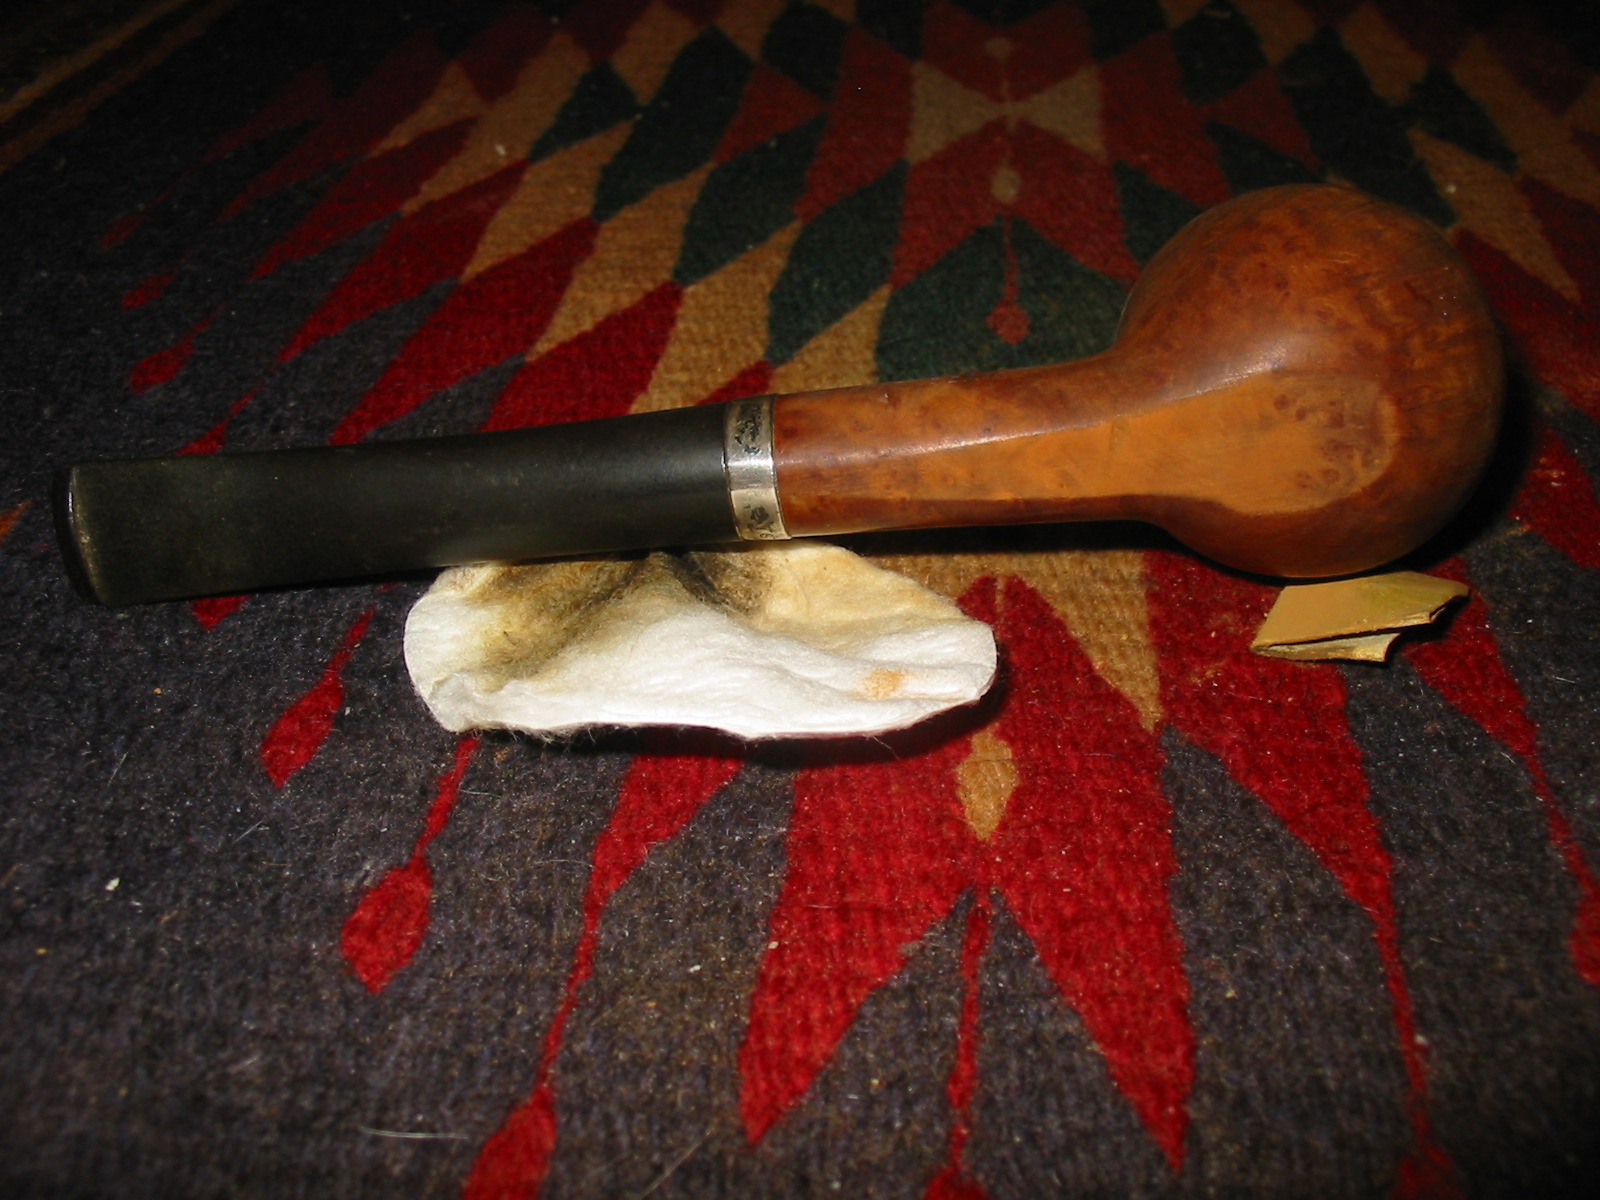
The stem was in need of quite a bit of work. I buffed it to begin with using Red Tripoli and then took it back to the work table to sand it with a medium grit sandpaper on a foam back to allow me to really work with the angles of the stem and button. I sanded with that sandpaper until the surface began to get smooth and I could feel the smoothness. I then progressed to the 320 grit sandpaper and worked on it longer. It took quite a bit of sanding to remove the ridges and pits. Once I had it to that point I decided to use the Maguiar’s Scratch X 2.0 and rubbed it on by hand and scrubbed the stem with a soft cotton pad to clean off the polish and the oxidation. I then worked with my micromesh sanding pads and wet sanded with the 1500-3200 grit pads. I then used another wipe down with Maguiar’s and then used the 3600-6000 grit pads on it. The next series of photos show the stem after all of the work described above and you can still see the roughness of the finish and the pitted oxidized state of the stem.


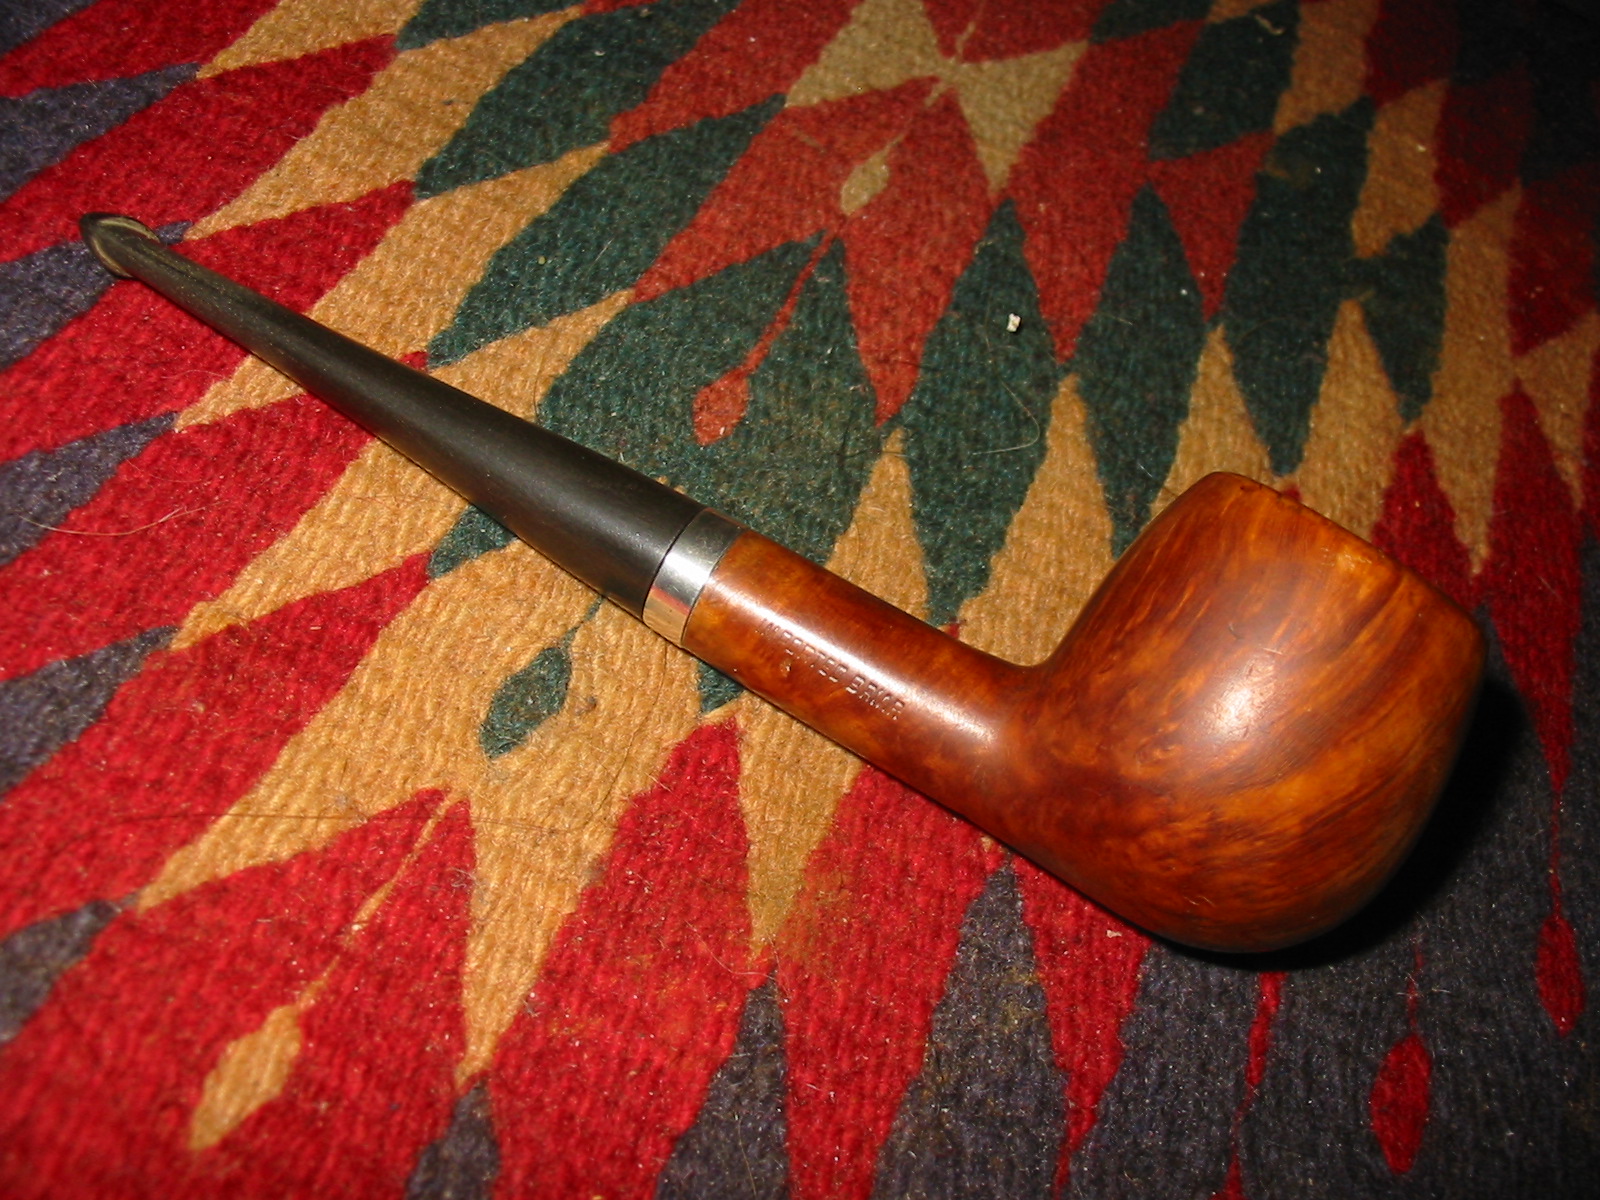
At this point in the process I started over with my sanding of the stem. I again used the medium grit foam back sanding sponge and broke up the finish. I wanted to smooth out the pits in the vulcanite. I sanded and buffed with red Tripoli and then sanded it once again with the foam back sanding sponge. I wiped it down with a damp cloth and could see that I was finally gaining some ground on the roughness of the stem. I then sanded it with some 320 grit sandpaper and dampened the stem before sanding. I sanded it until the stem was smooth to my touch. I again wiped it down with a cotton pad and was ready to move on to the 400 and 600 grit wet dry sandpaper. I sanded the entire stem with these two grits and then buffed it with White Diamond and was pleased to see that I had the oxidation beat and the pitting was minimized. I then wet sanded with 1500, 1800 and 2400 grit micromesh sanding pads, polished the stem with Maguiar’s Scratch X2.0 and then moved on to 3200-4000 grit micromesh pads. I dry sanded with these pads and then took the stem and pipe to the buffer again and buffed it with White Diamond. I brought it back to the work table and wiped it down with some Obsidian Oil and let it dry while I did a few other things. Once it was dry I finished sanding with 6000, 8000 and 12,000 grit micromesh pads. I used these dry and once I was finished I gave the bowl another coating of wax and the stem a coating of Obsidian Oil and then several coats of carnauba wax. The finished pipe is pictured in the next series of photos.


The bowl is only finished with multiple coats of carnauba wax and buffed and polished. I did not use any stain on the bowl. In the final photo above you can see the dent in the bottom of the shank that remains but the roughness of the edges has been minimized. The silver band was also coated with several coats of wax to slow down the tarnishing. I lightly buffed the whole pipe on my buffer with a soft flannel buffing pad.
