Daily Archives: January 25, 2013

Refurb – Jarl Ribbon Acorn


Blog by Steve Laug

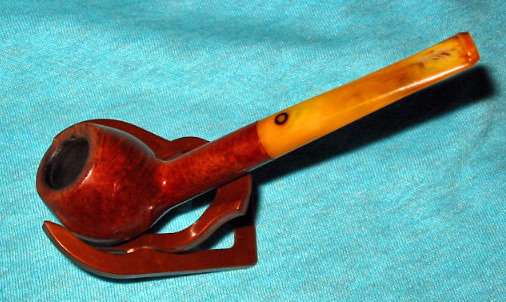
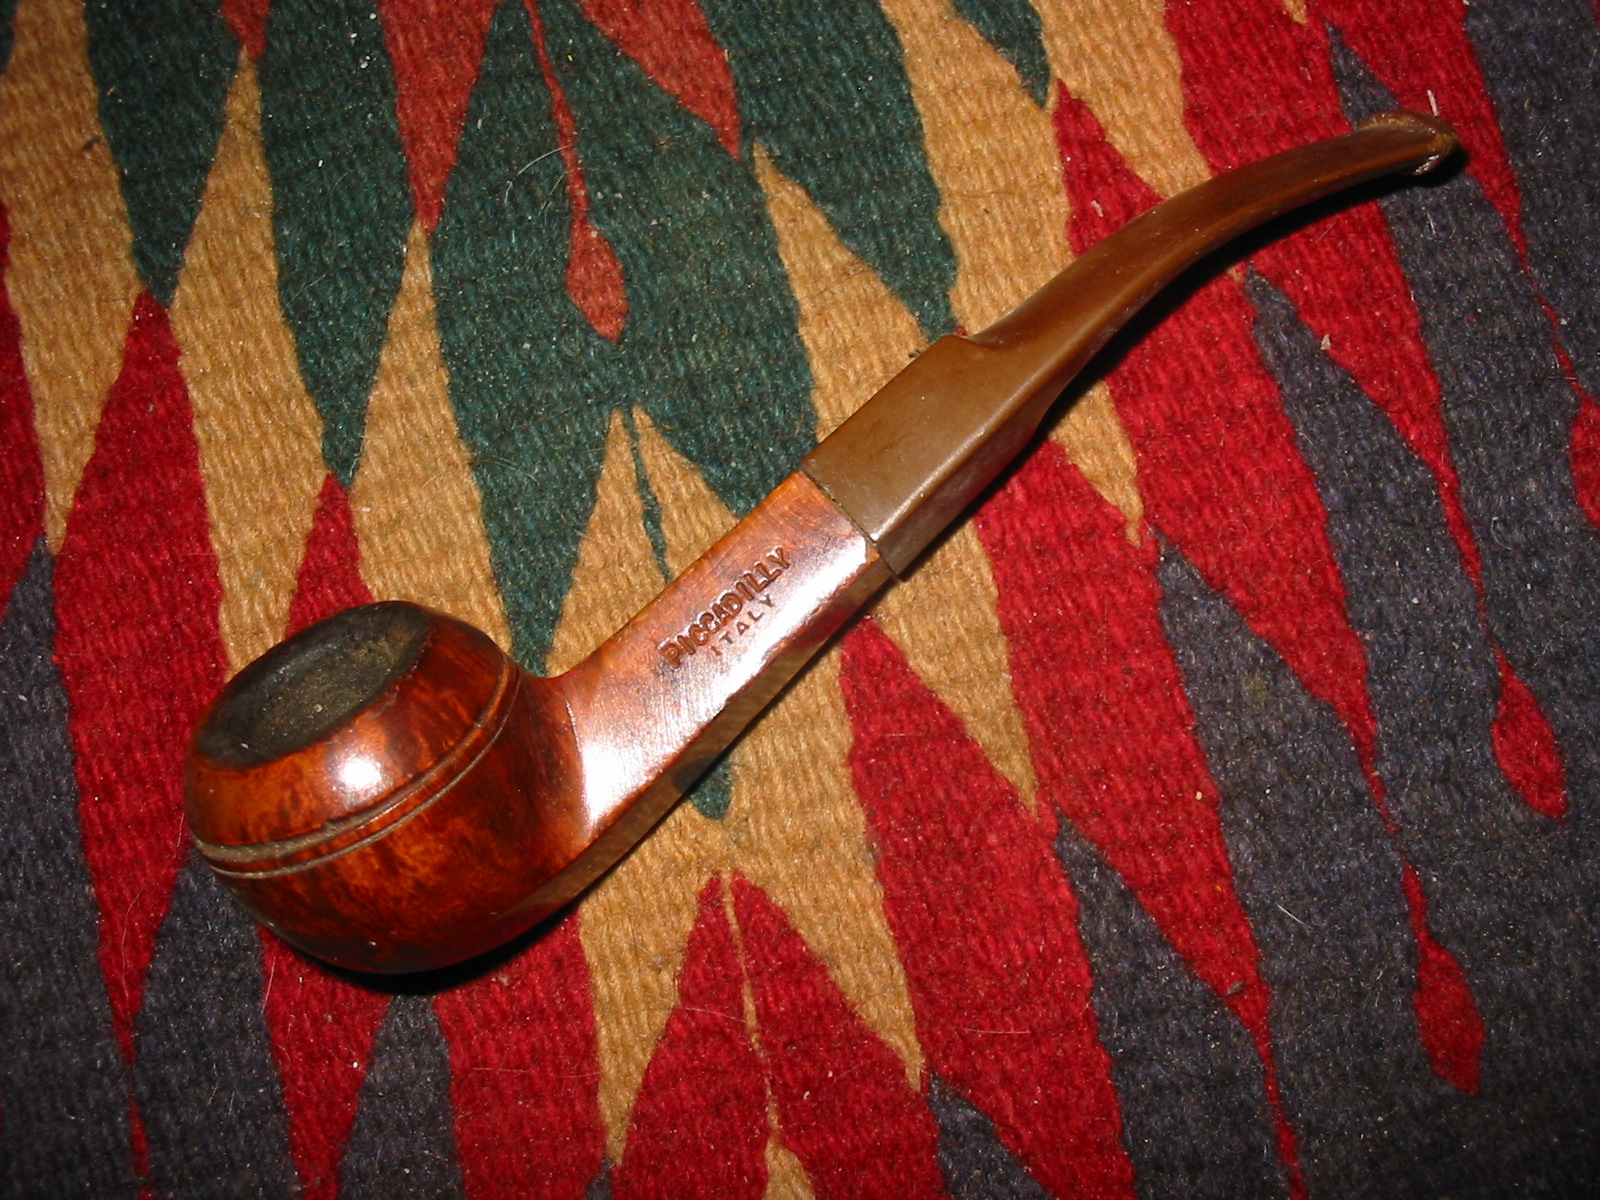
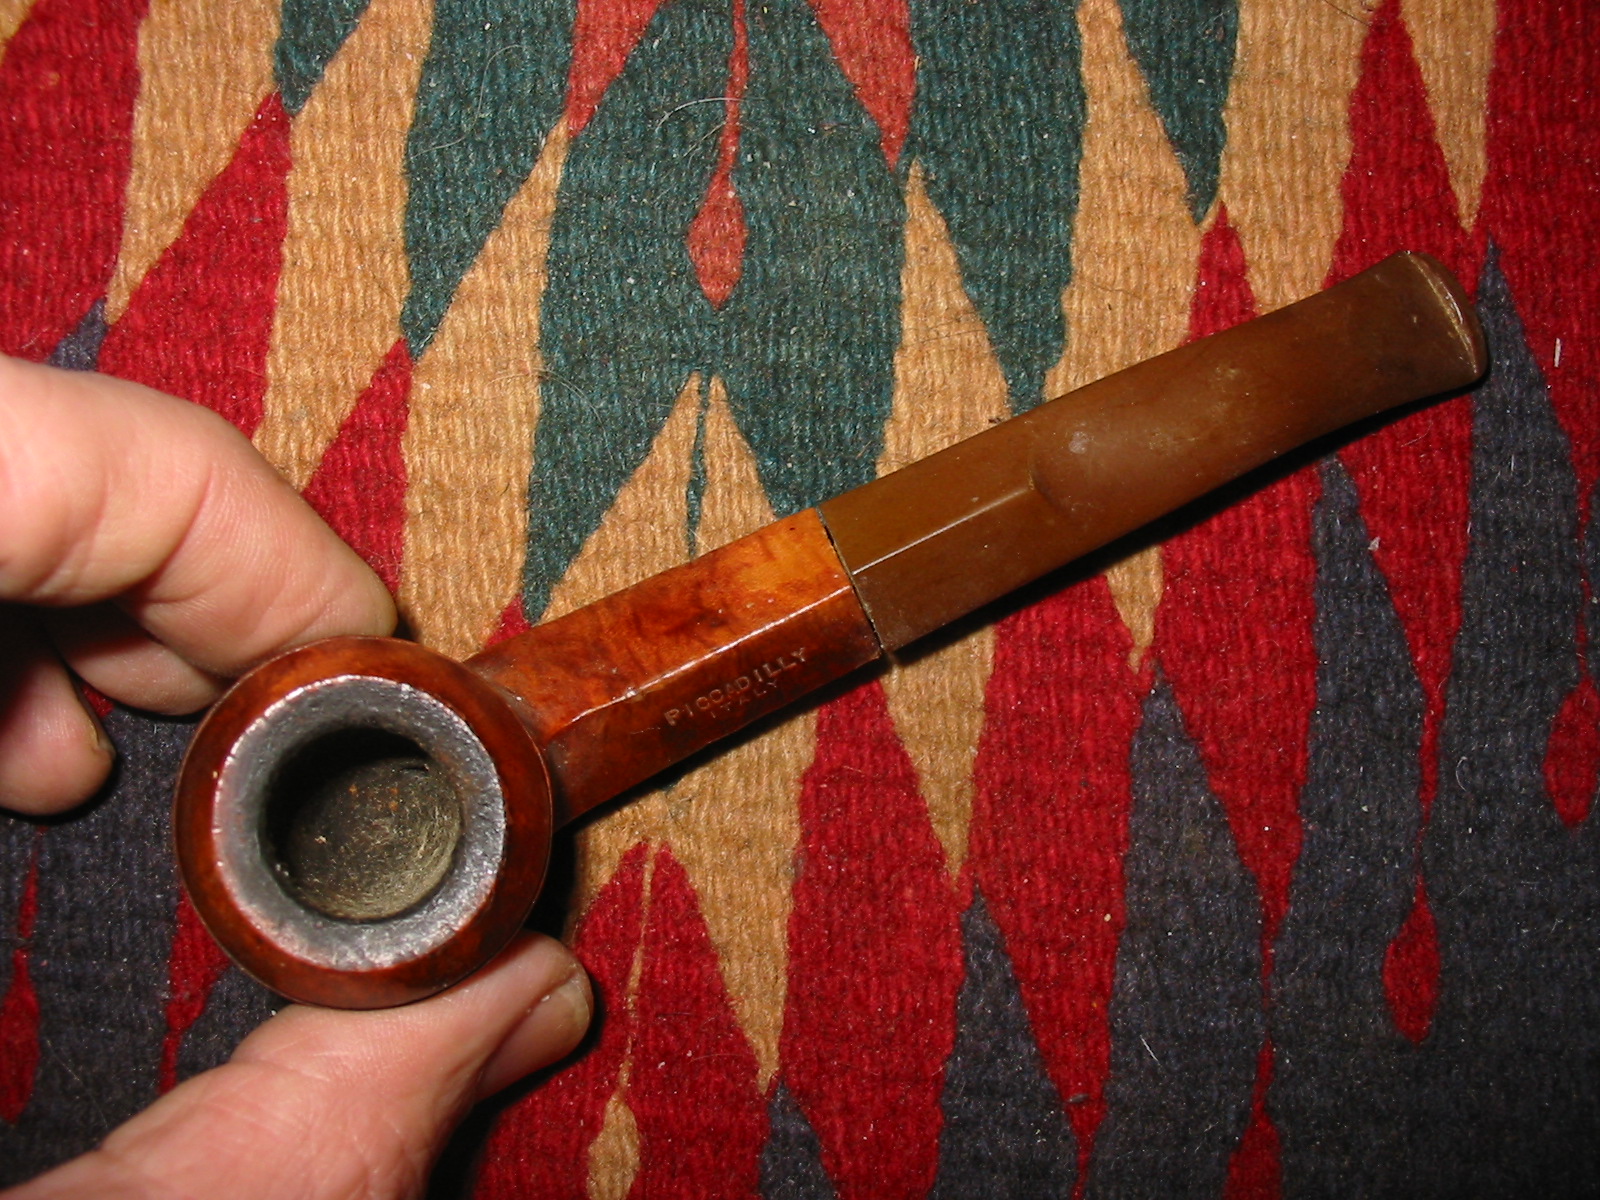
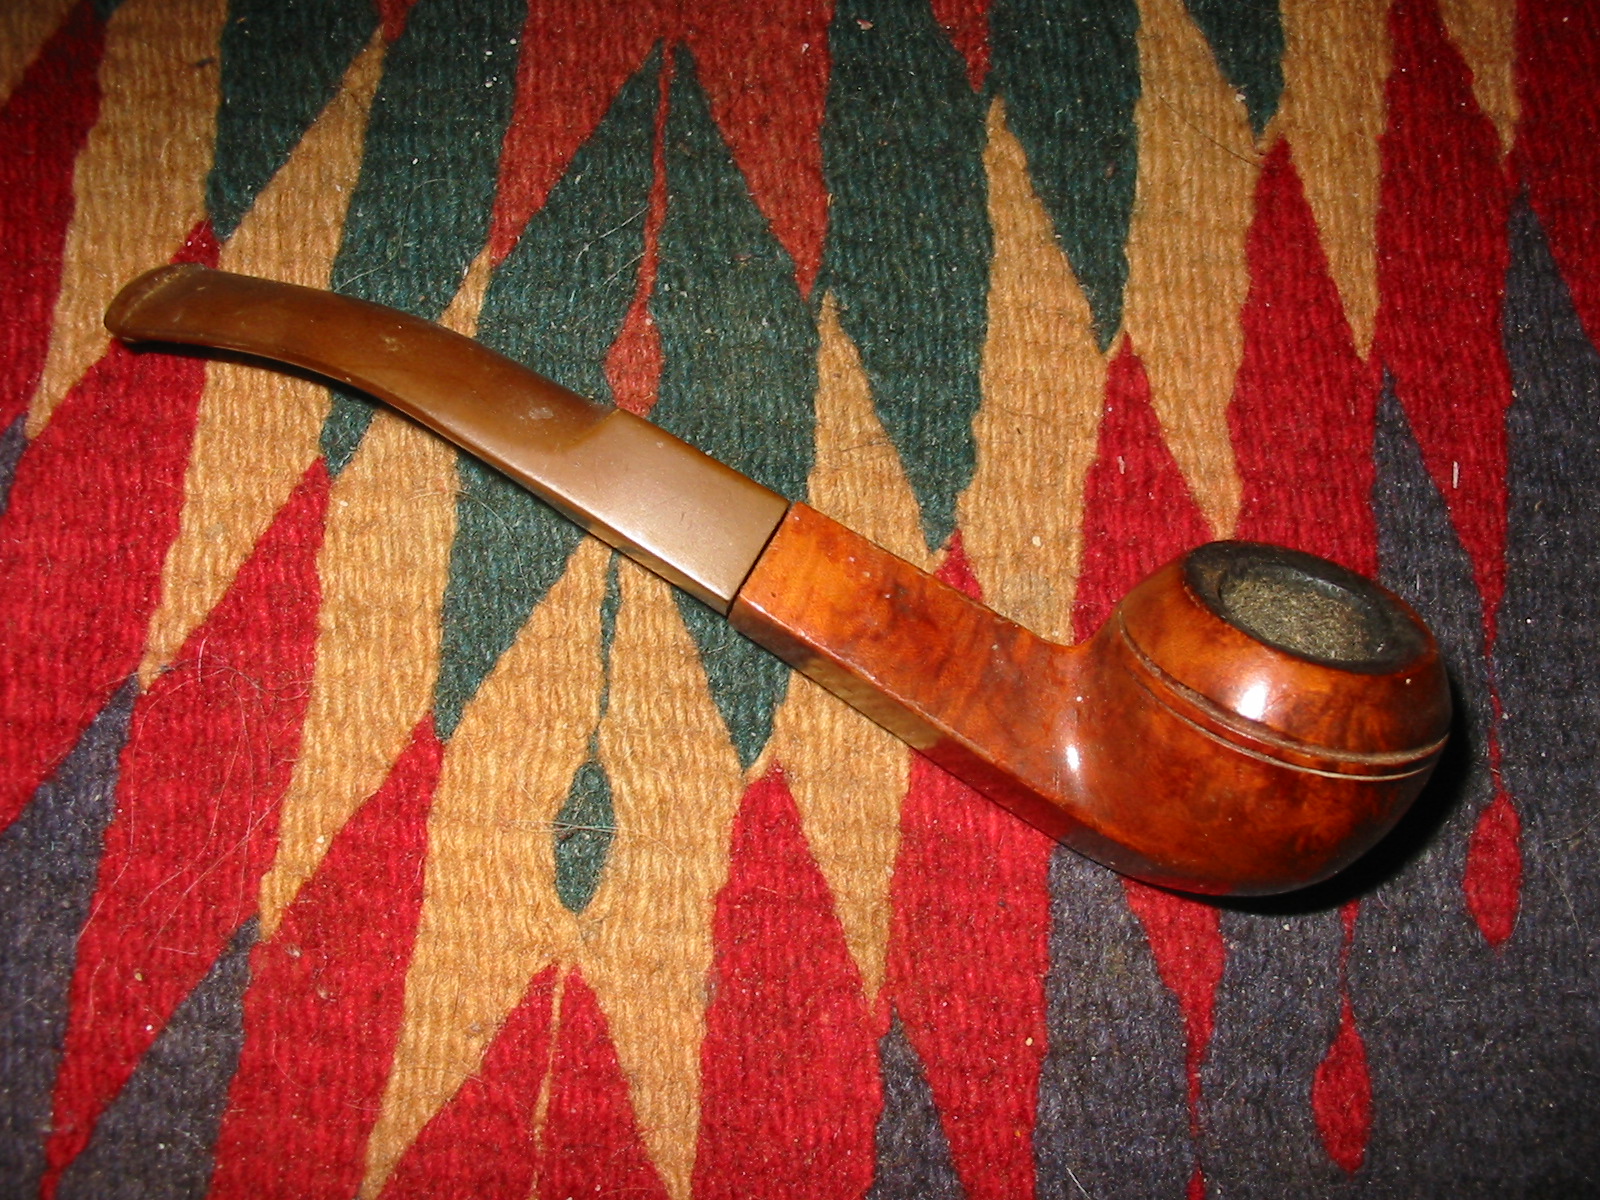
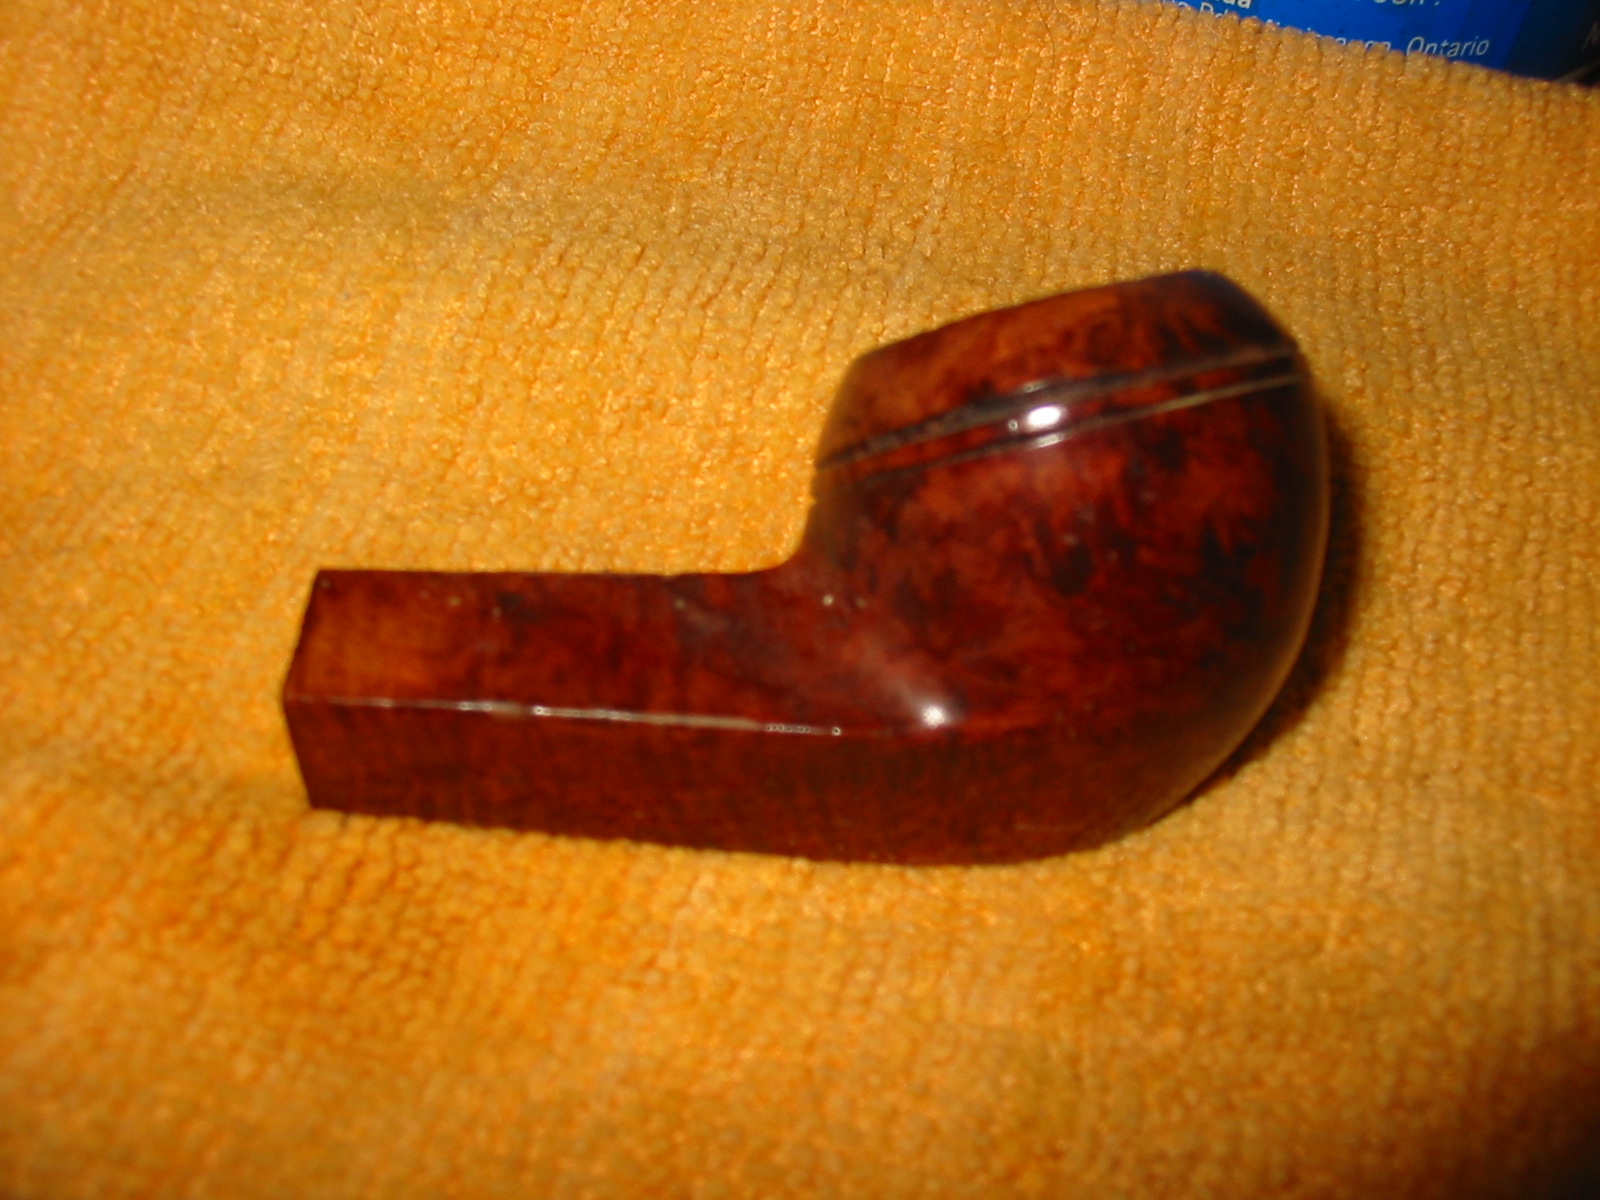
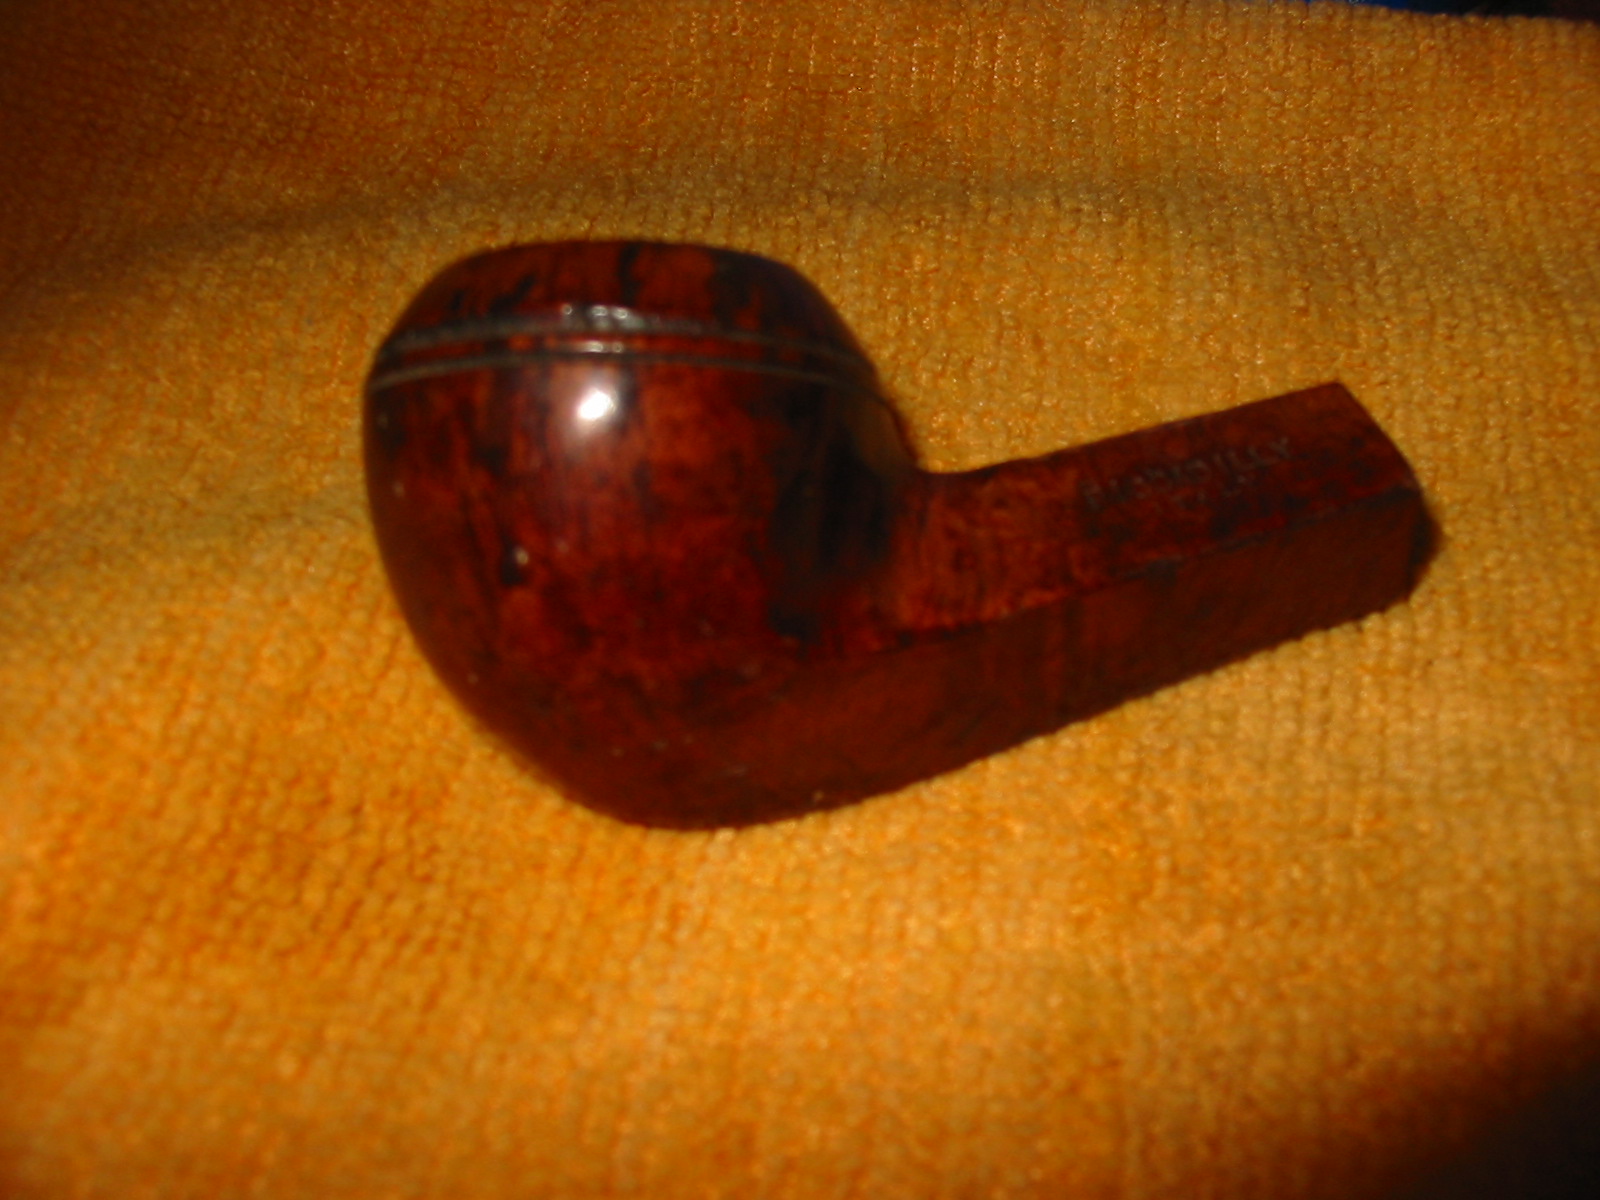
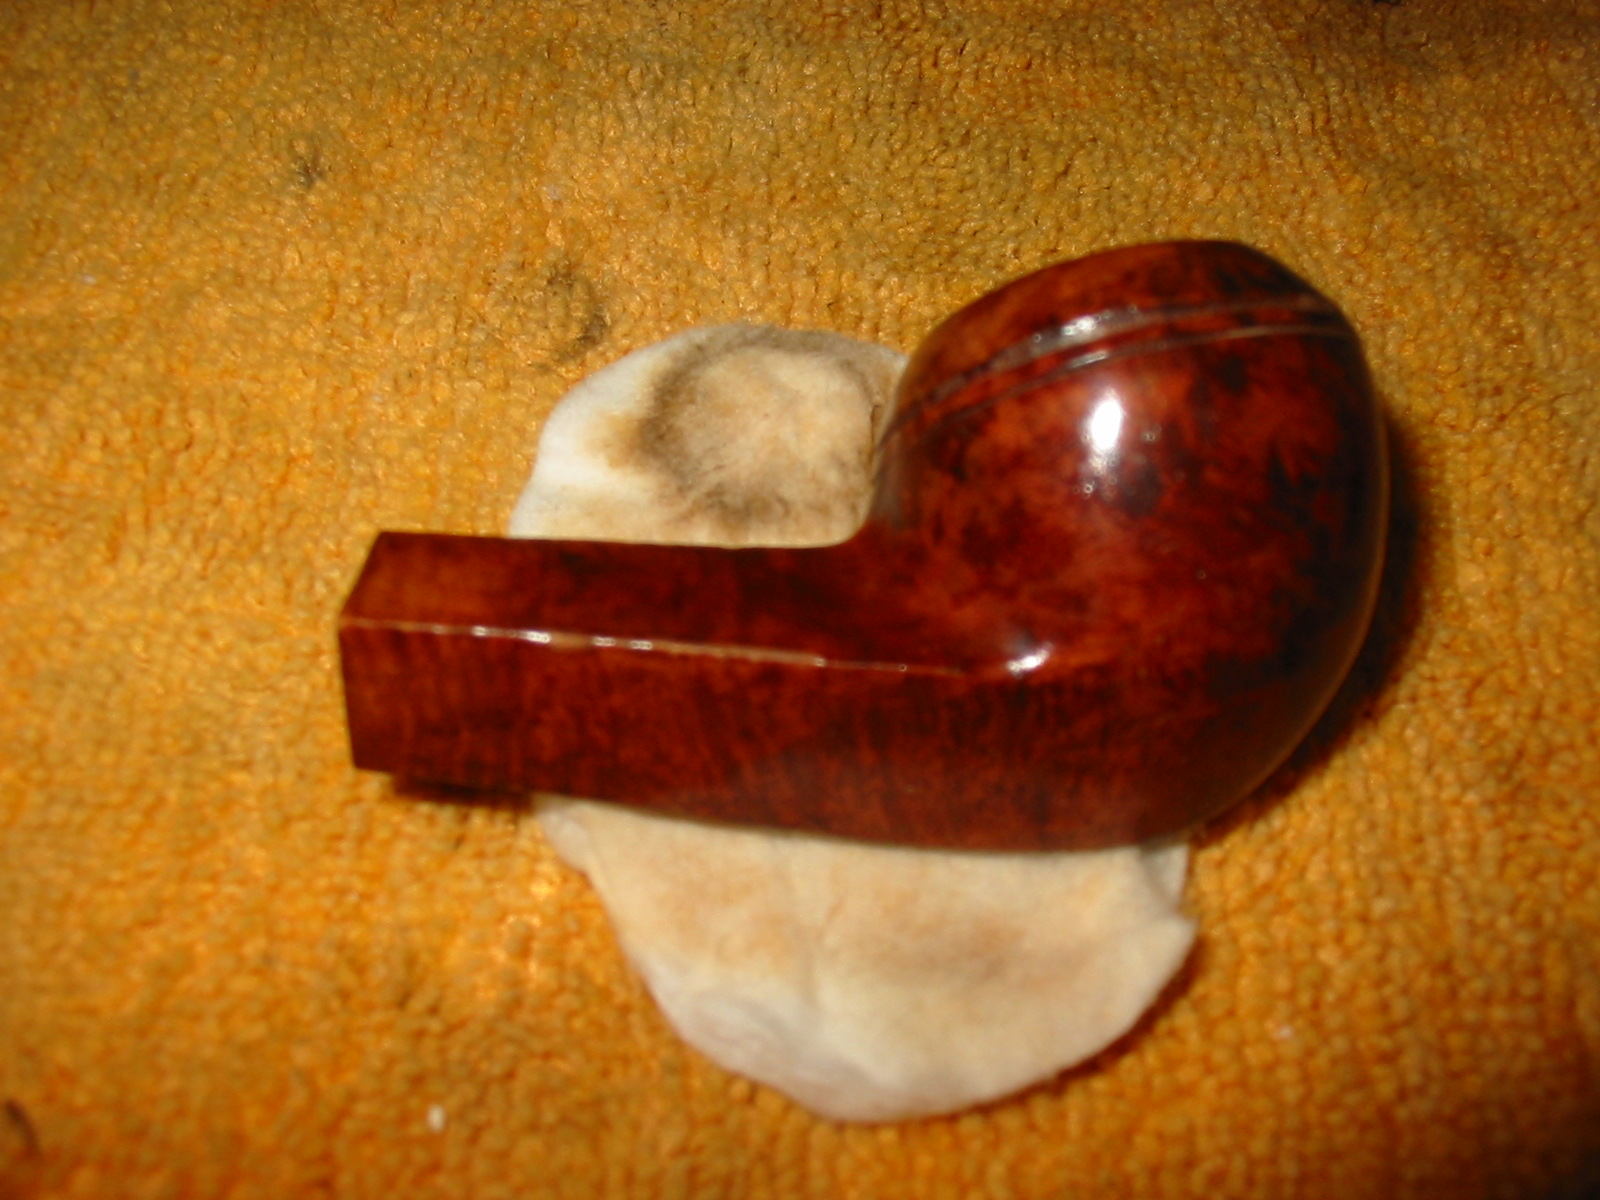
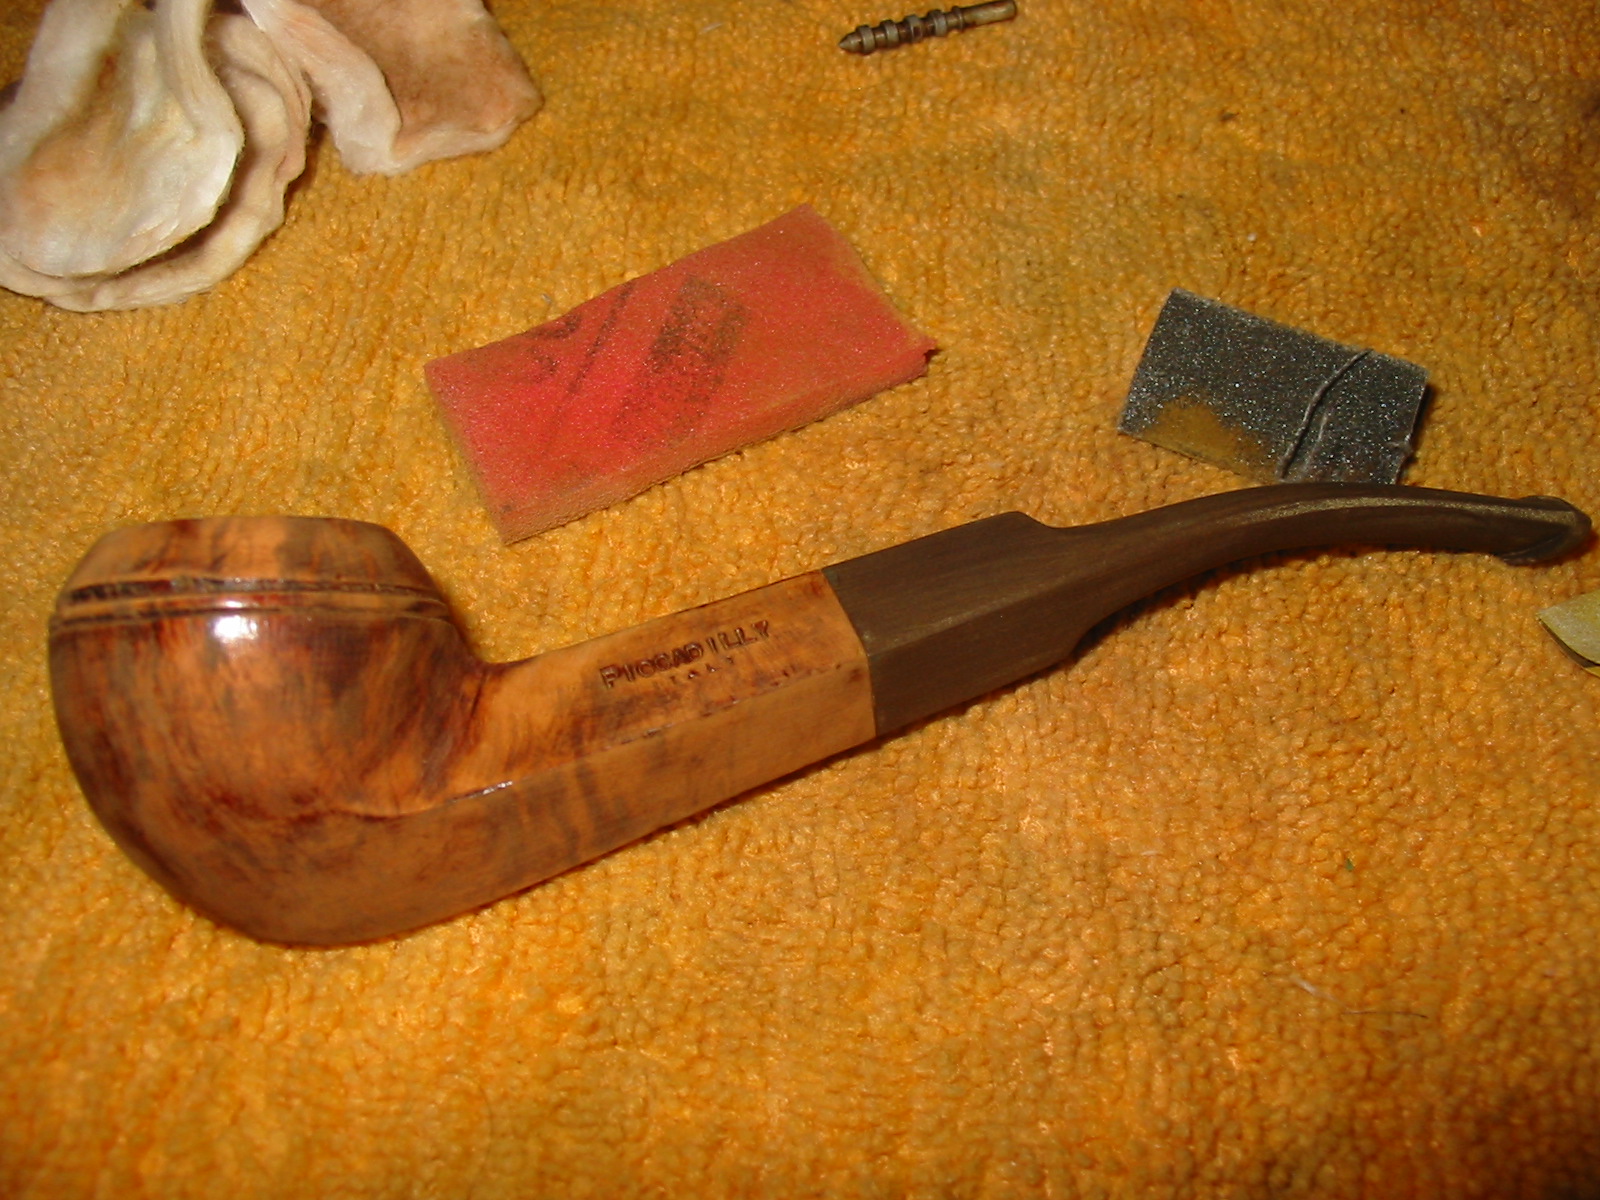
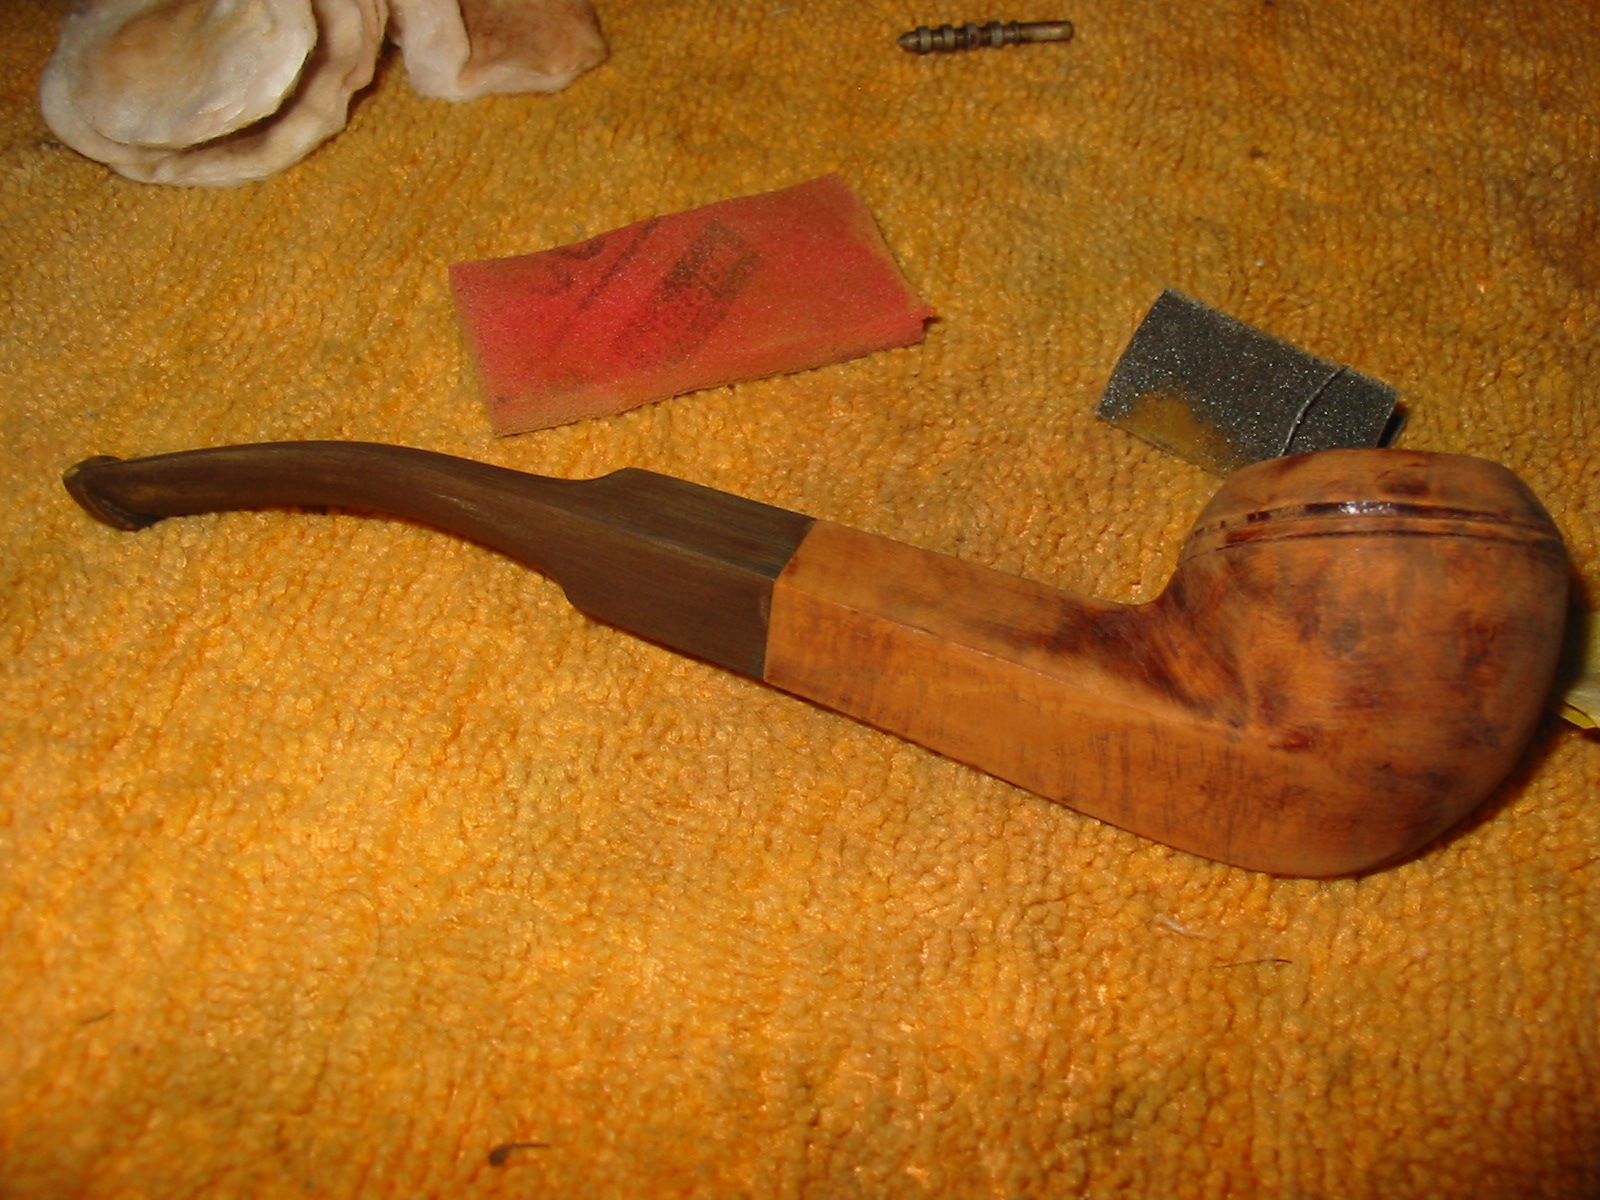
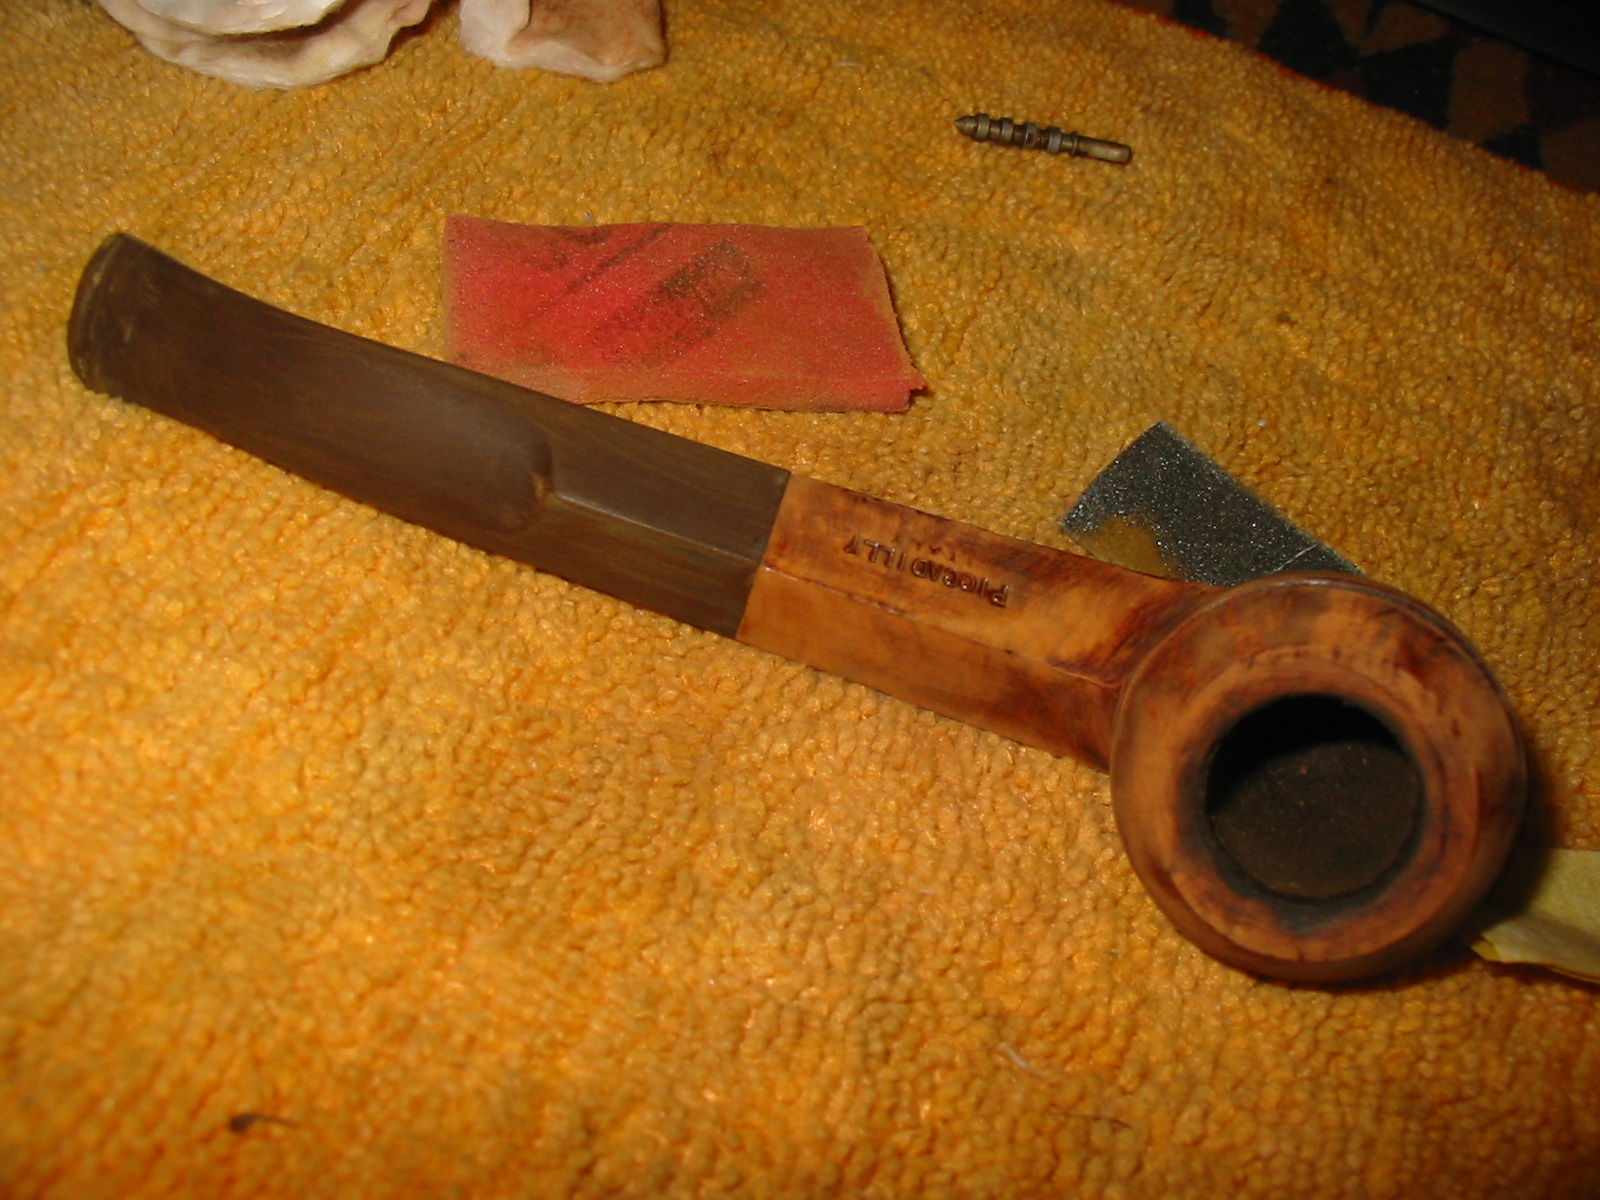
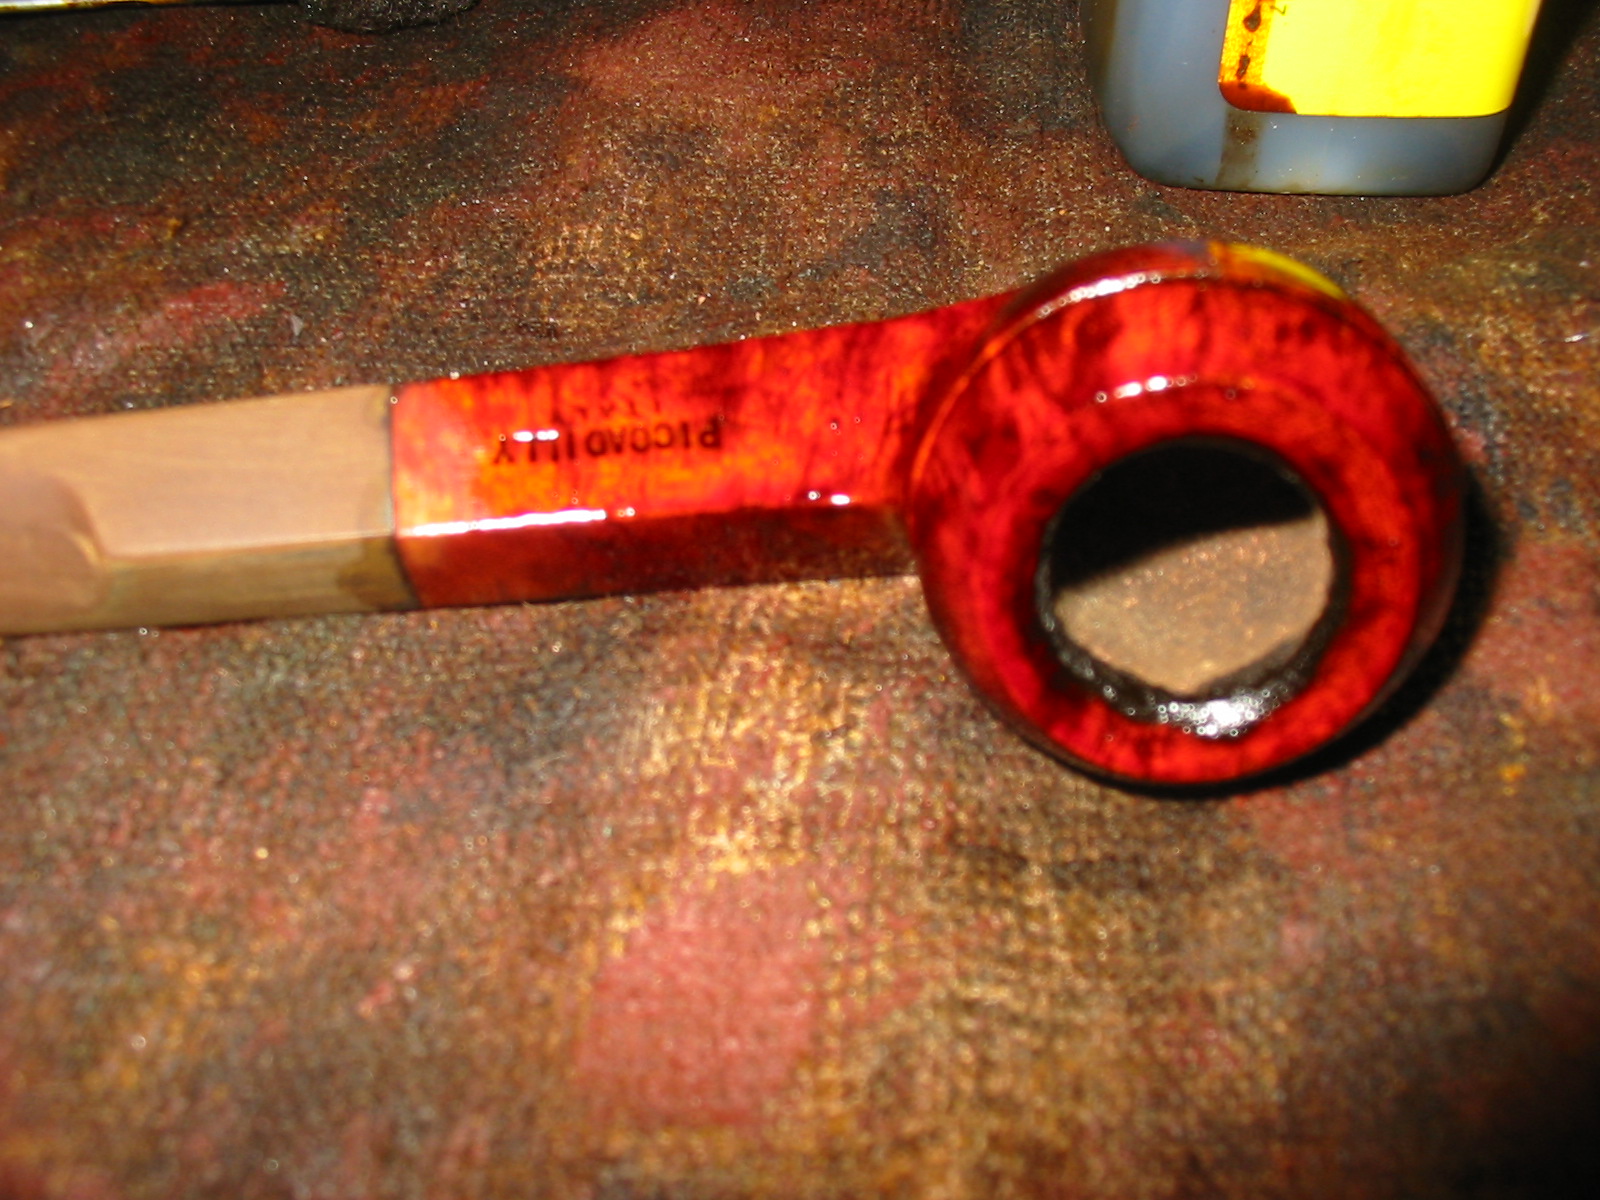
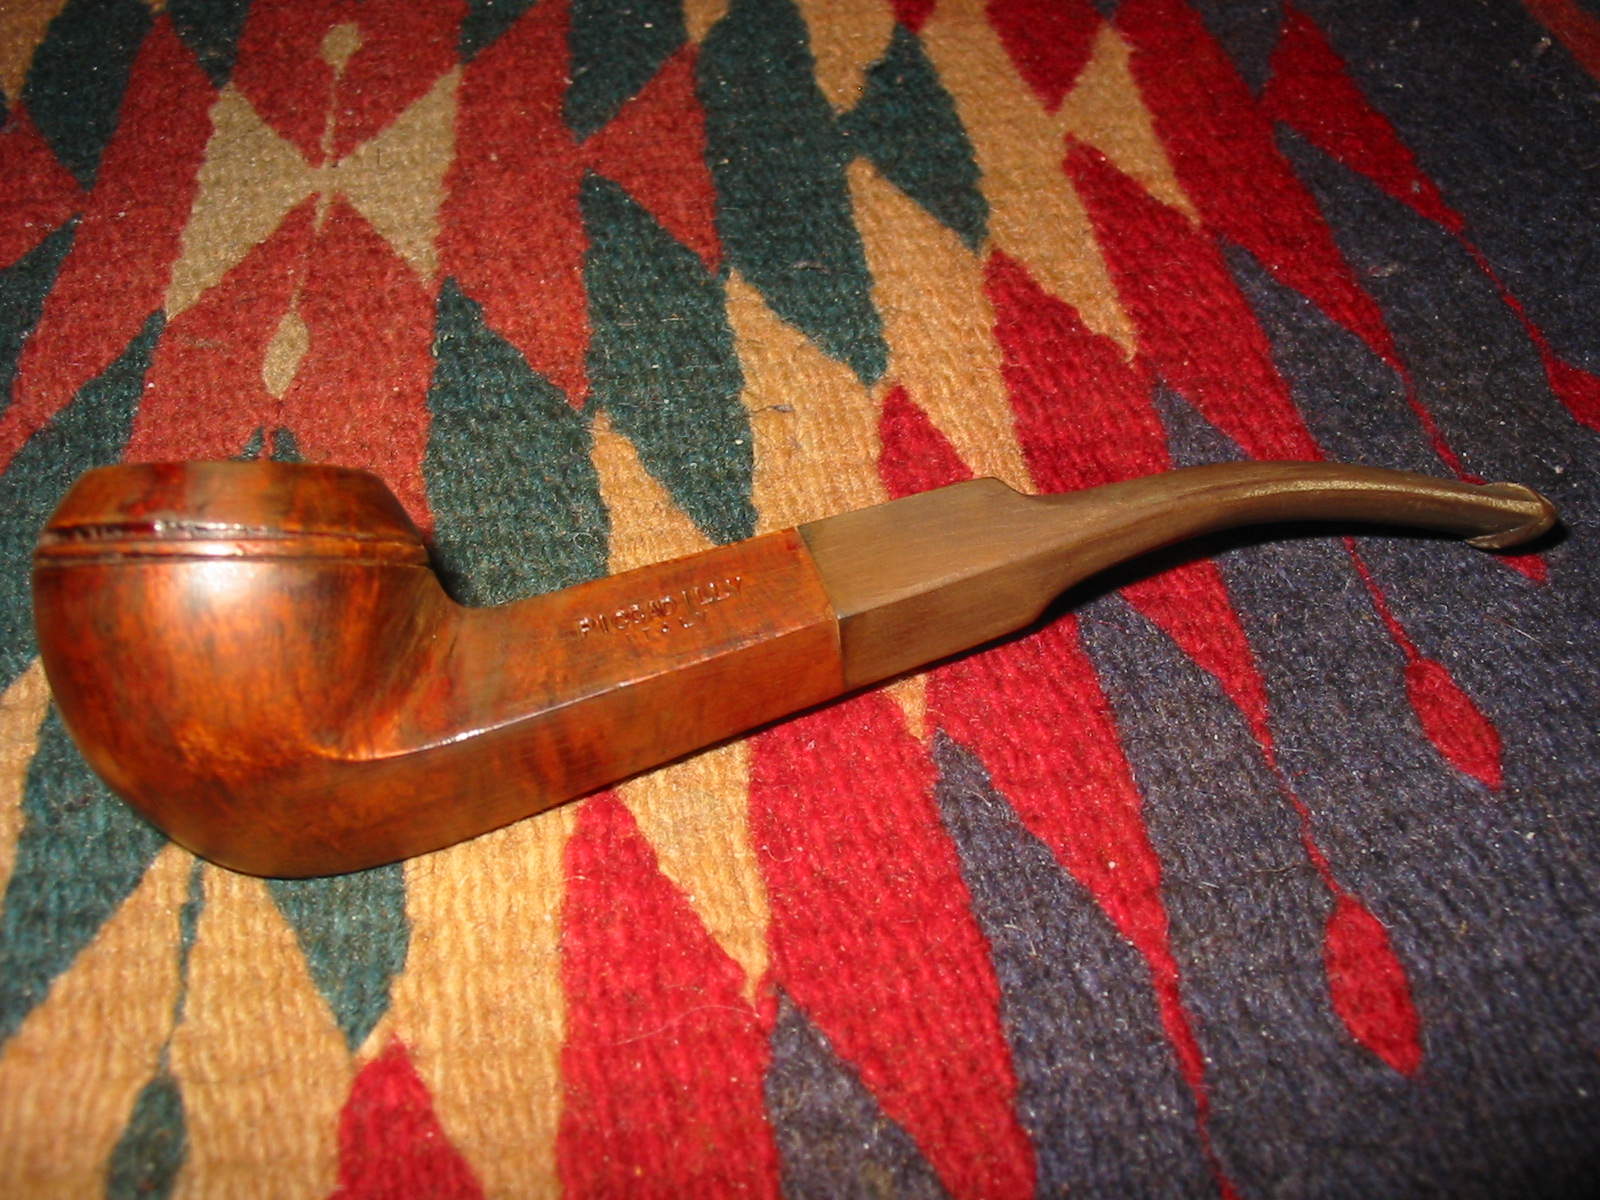
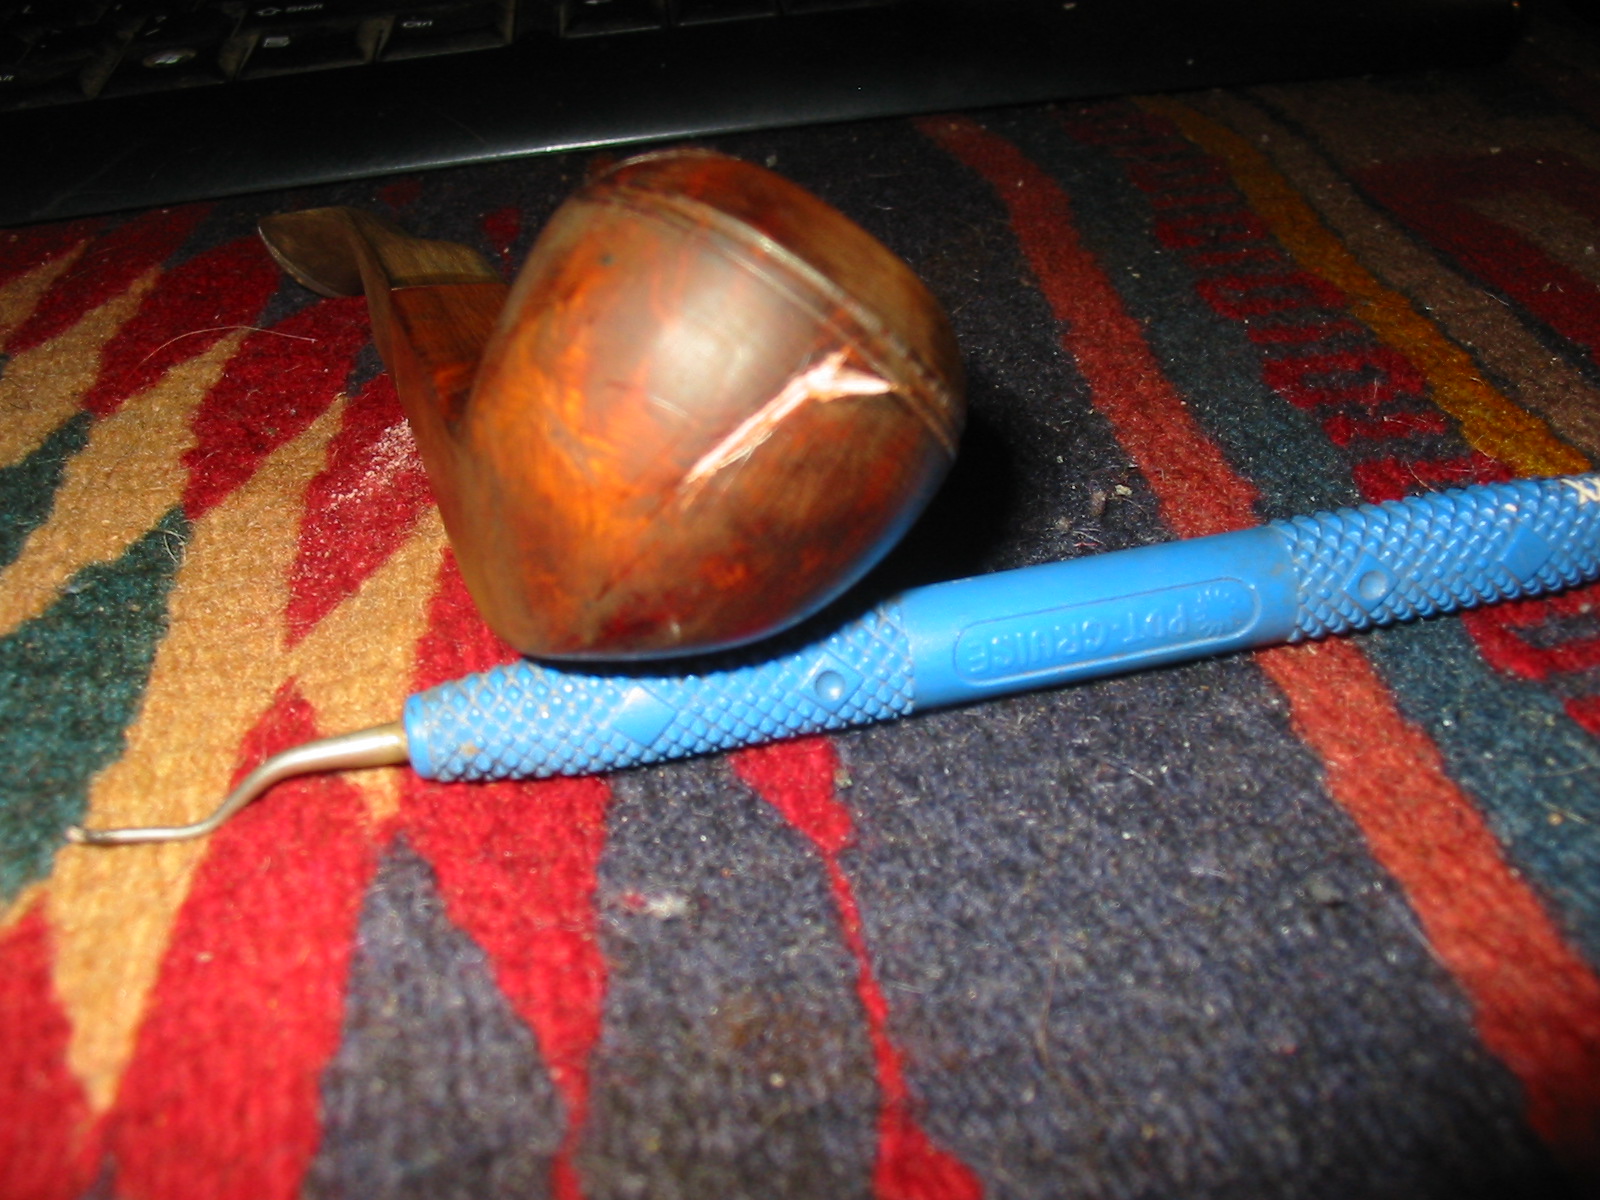
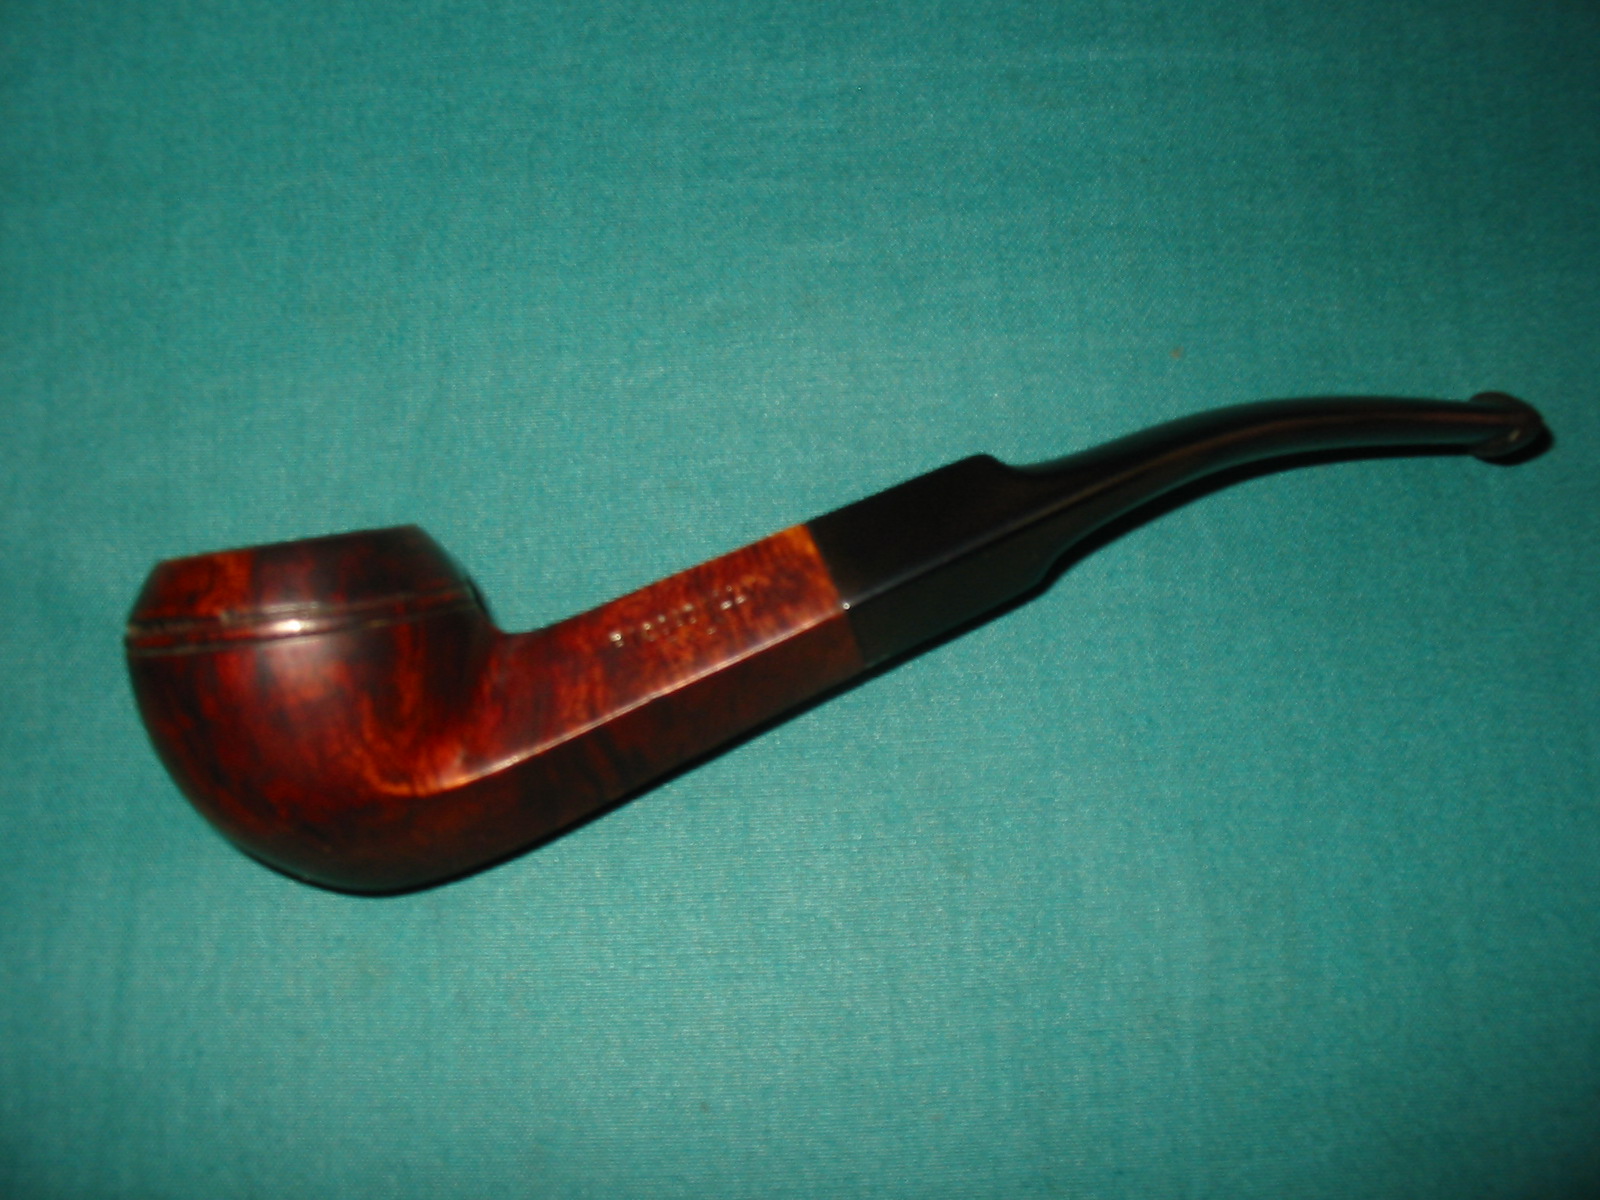
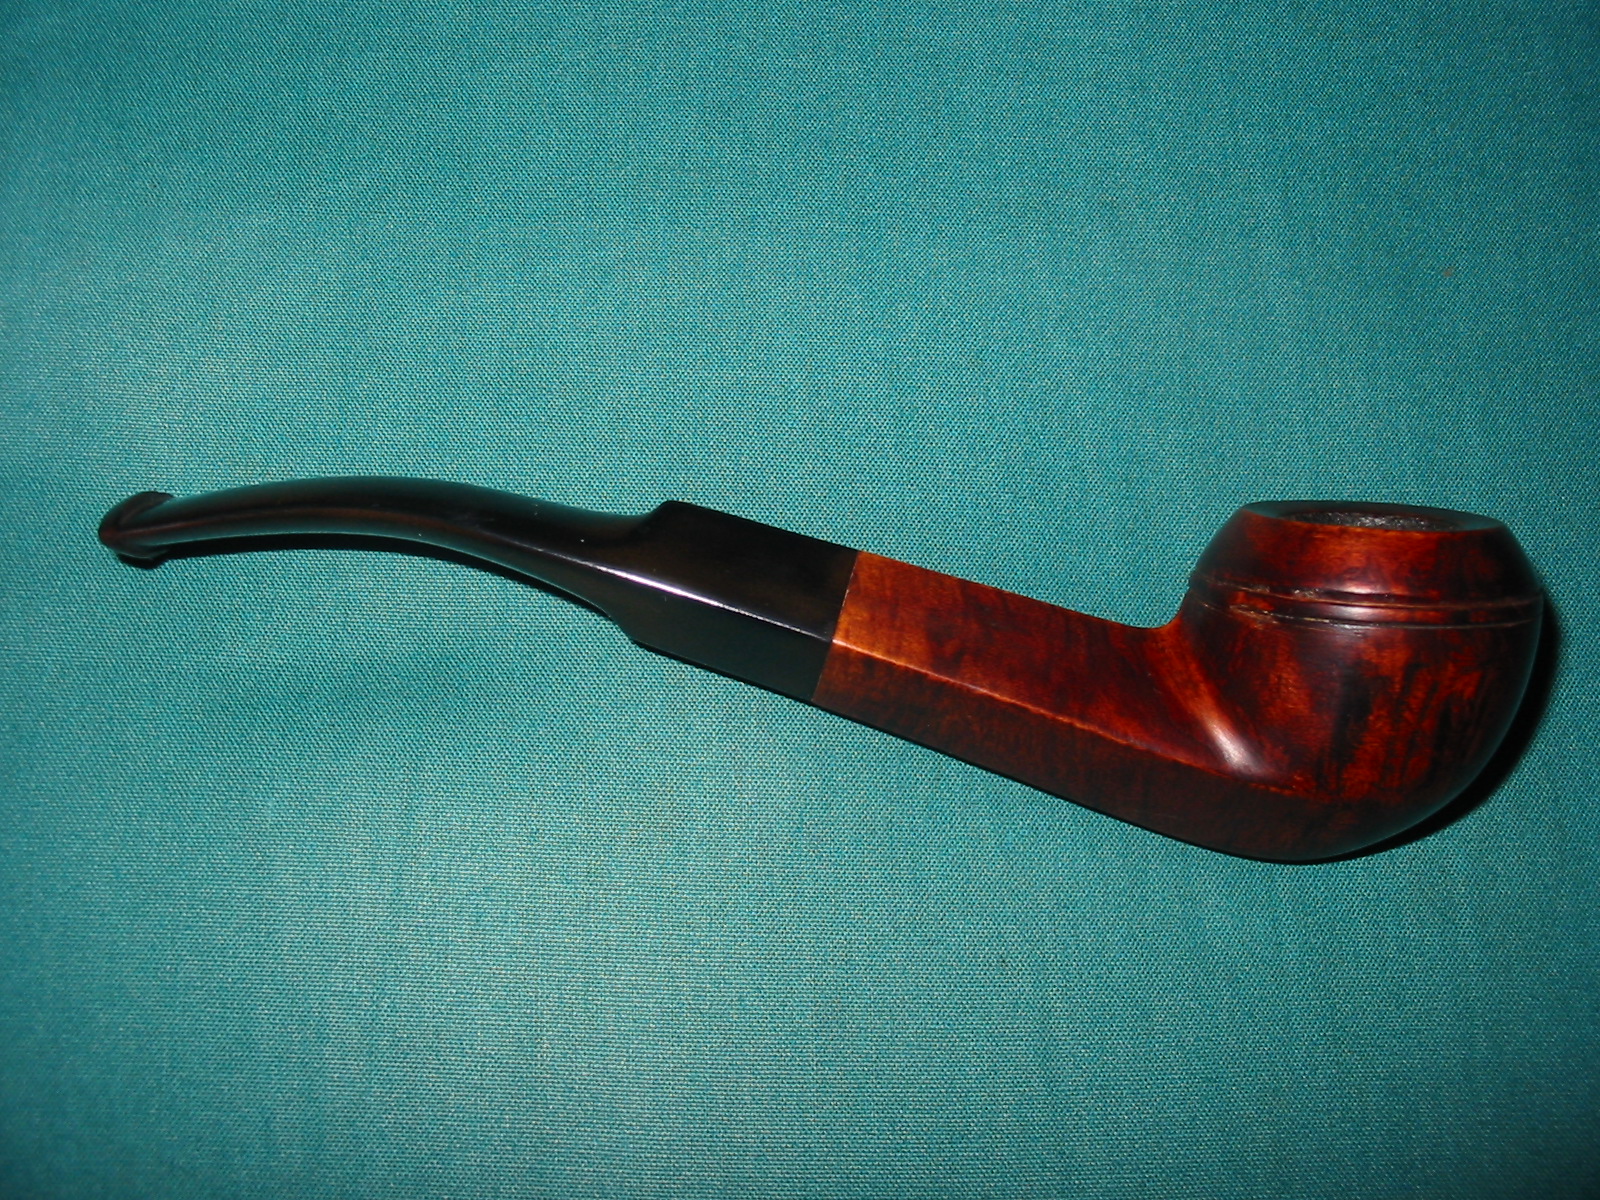
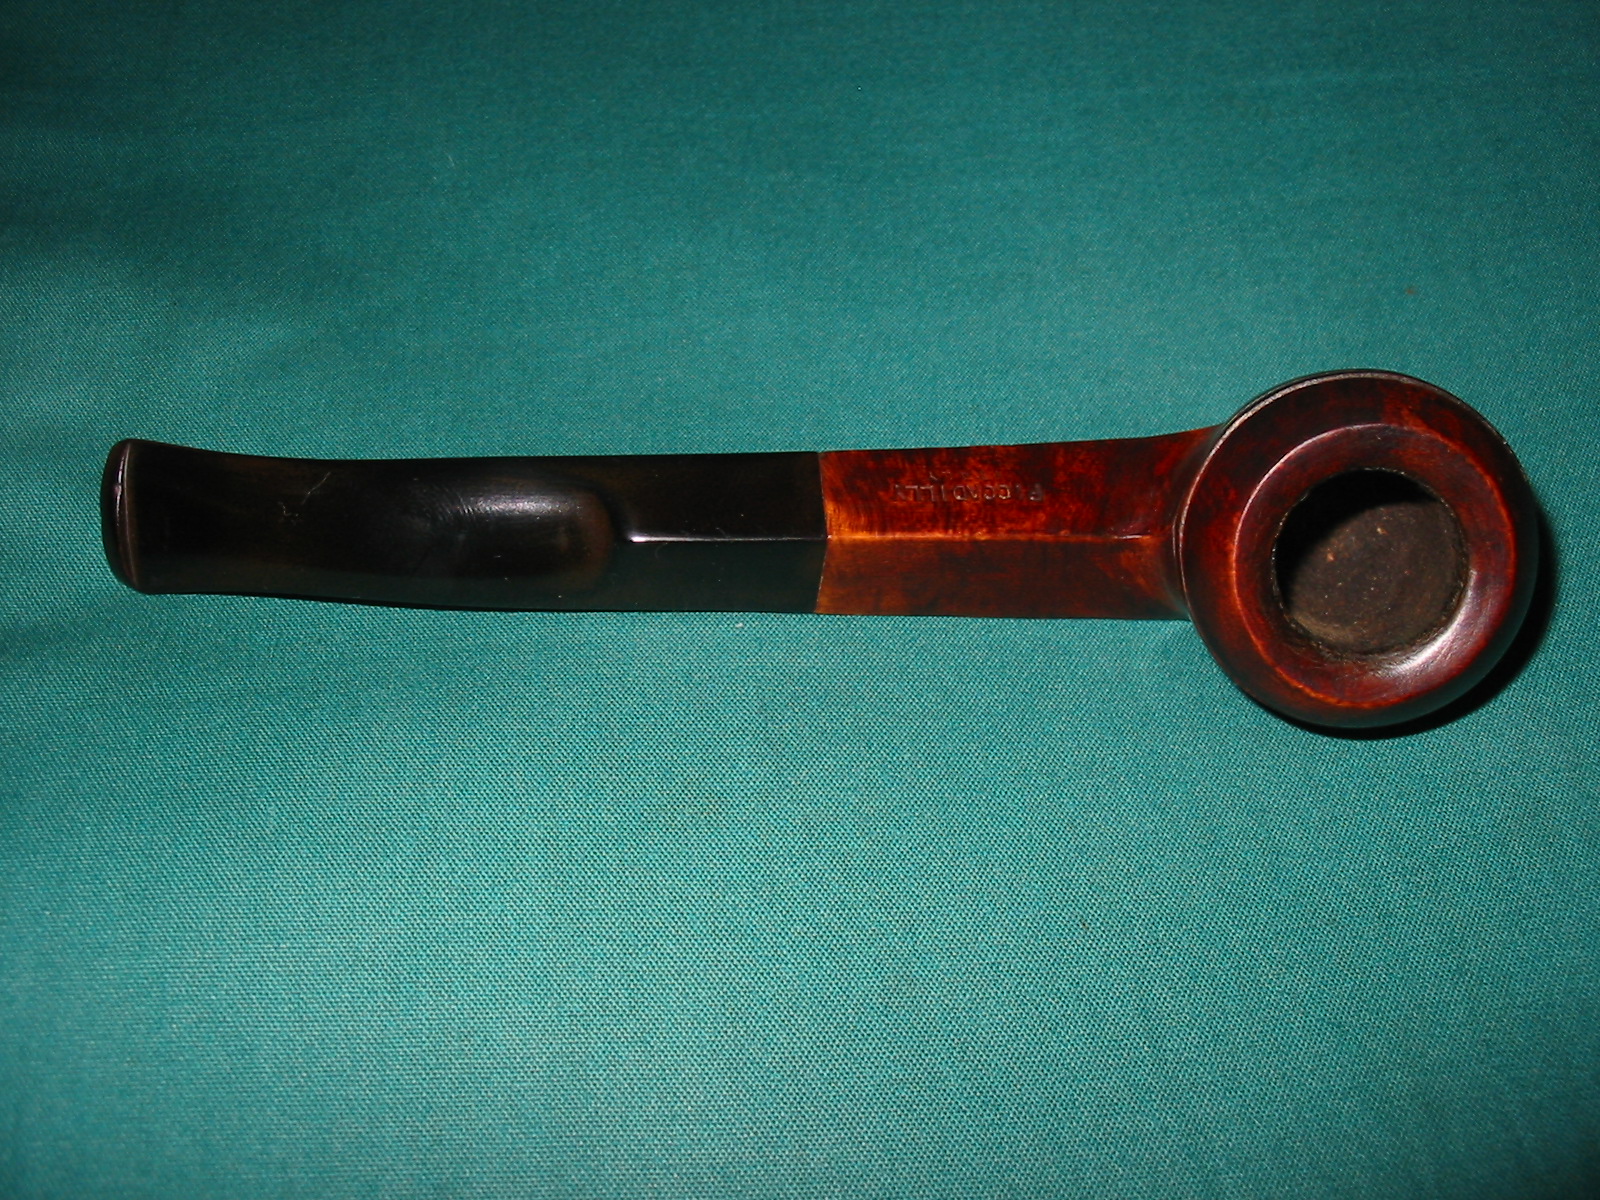
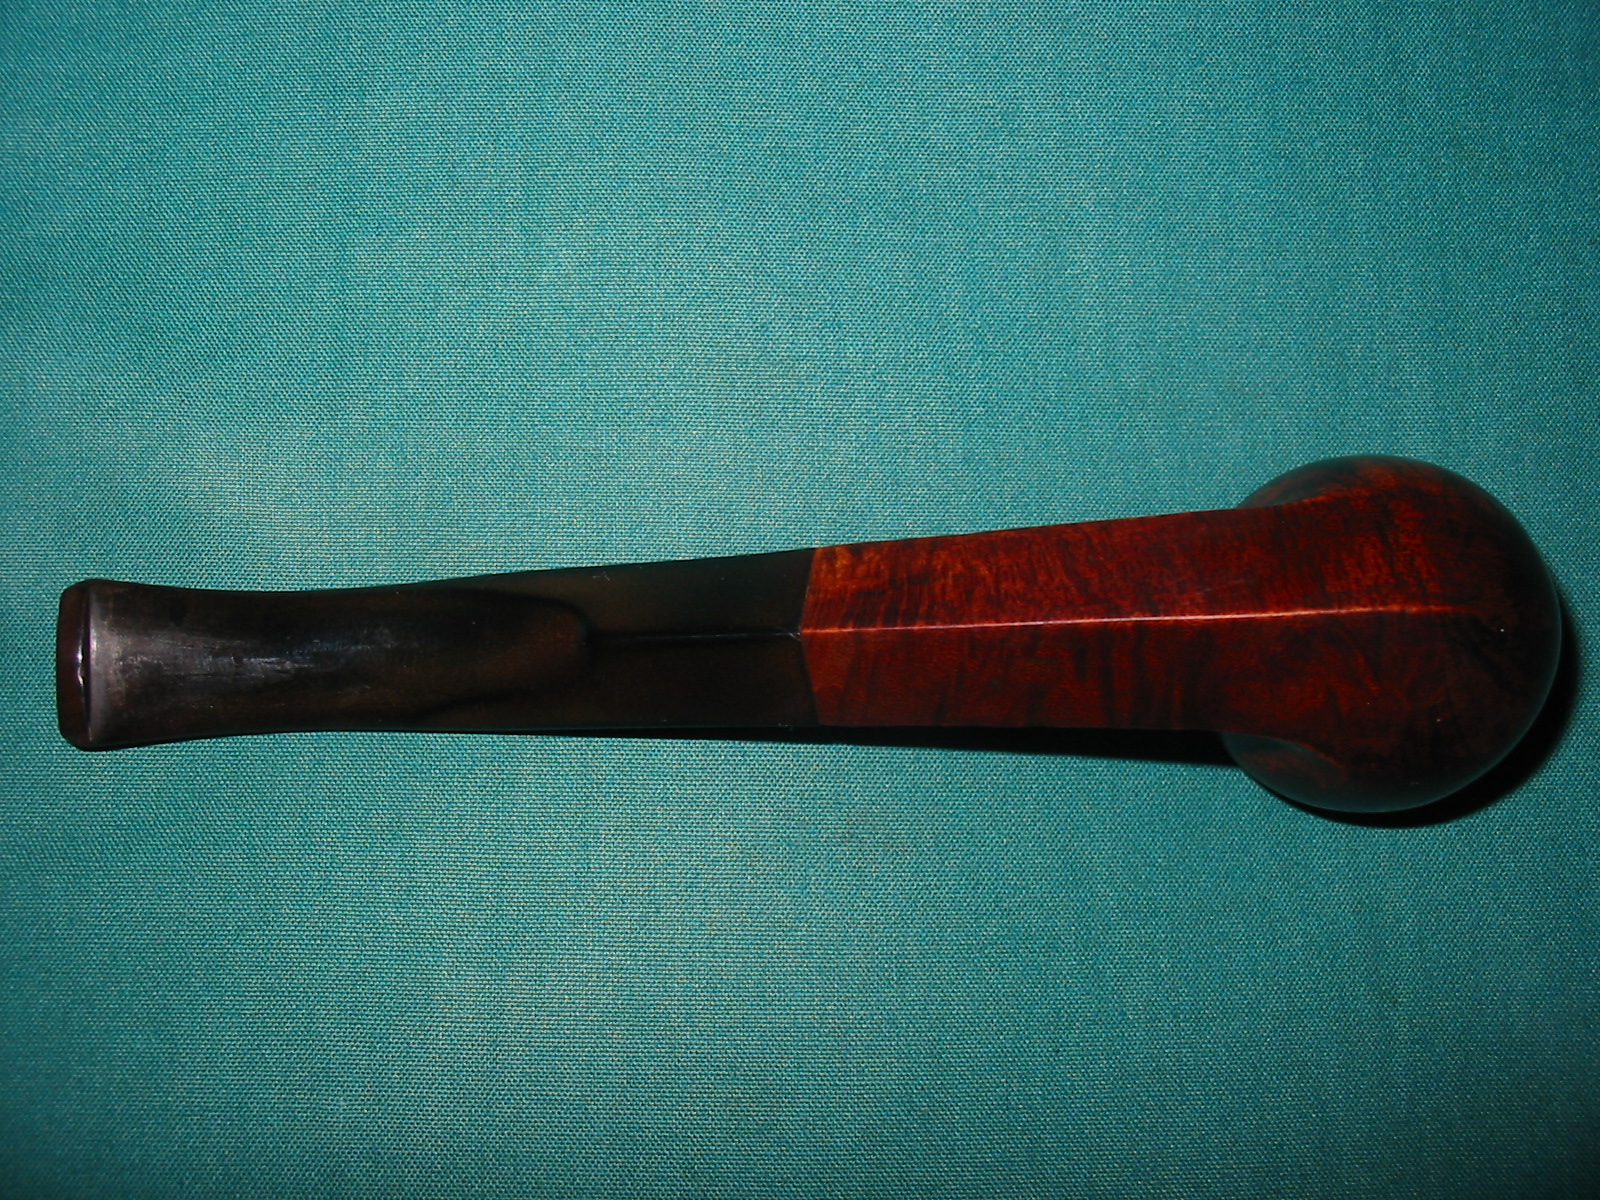
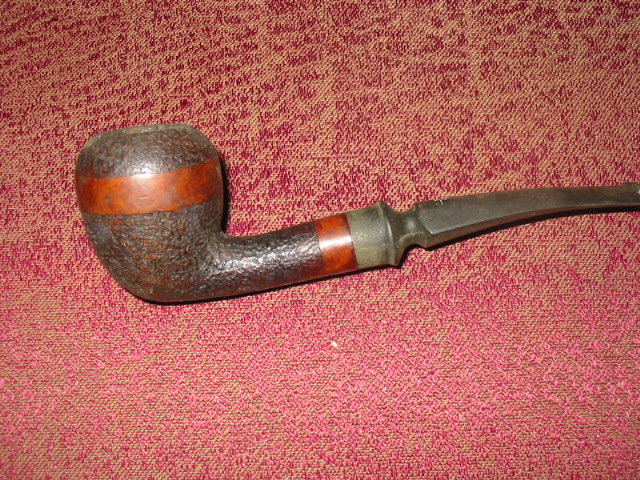
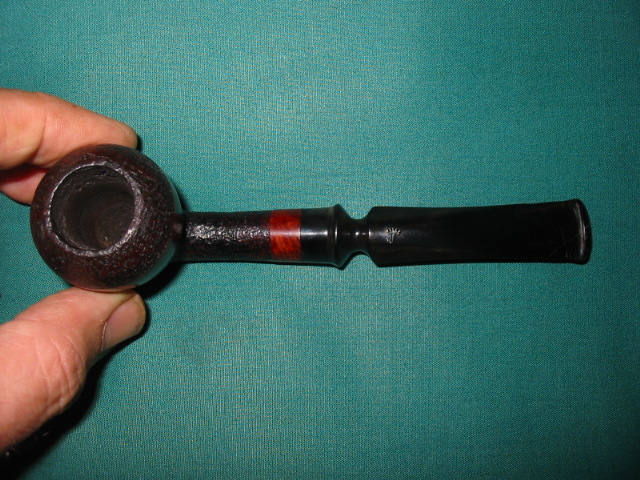
This little pipe caught my eye when I was going through my box of pipes to be refurbished. It is stamped Jarl and is in what they call their Ribbon finish. It an acorn shape with what for all intents and purposes looks like a Celius style stem on it. It is light and clean.

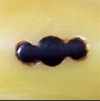
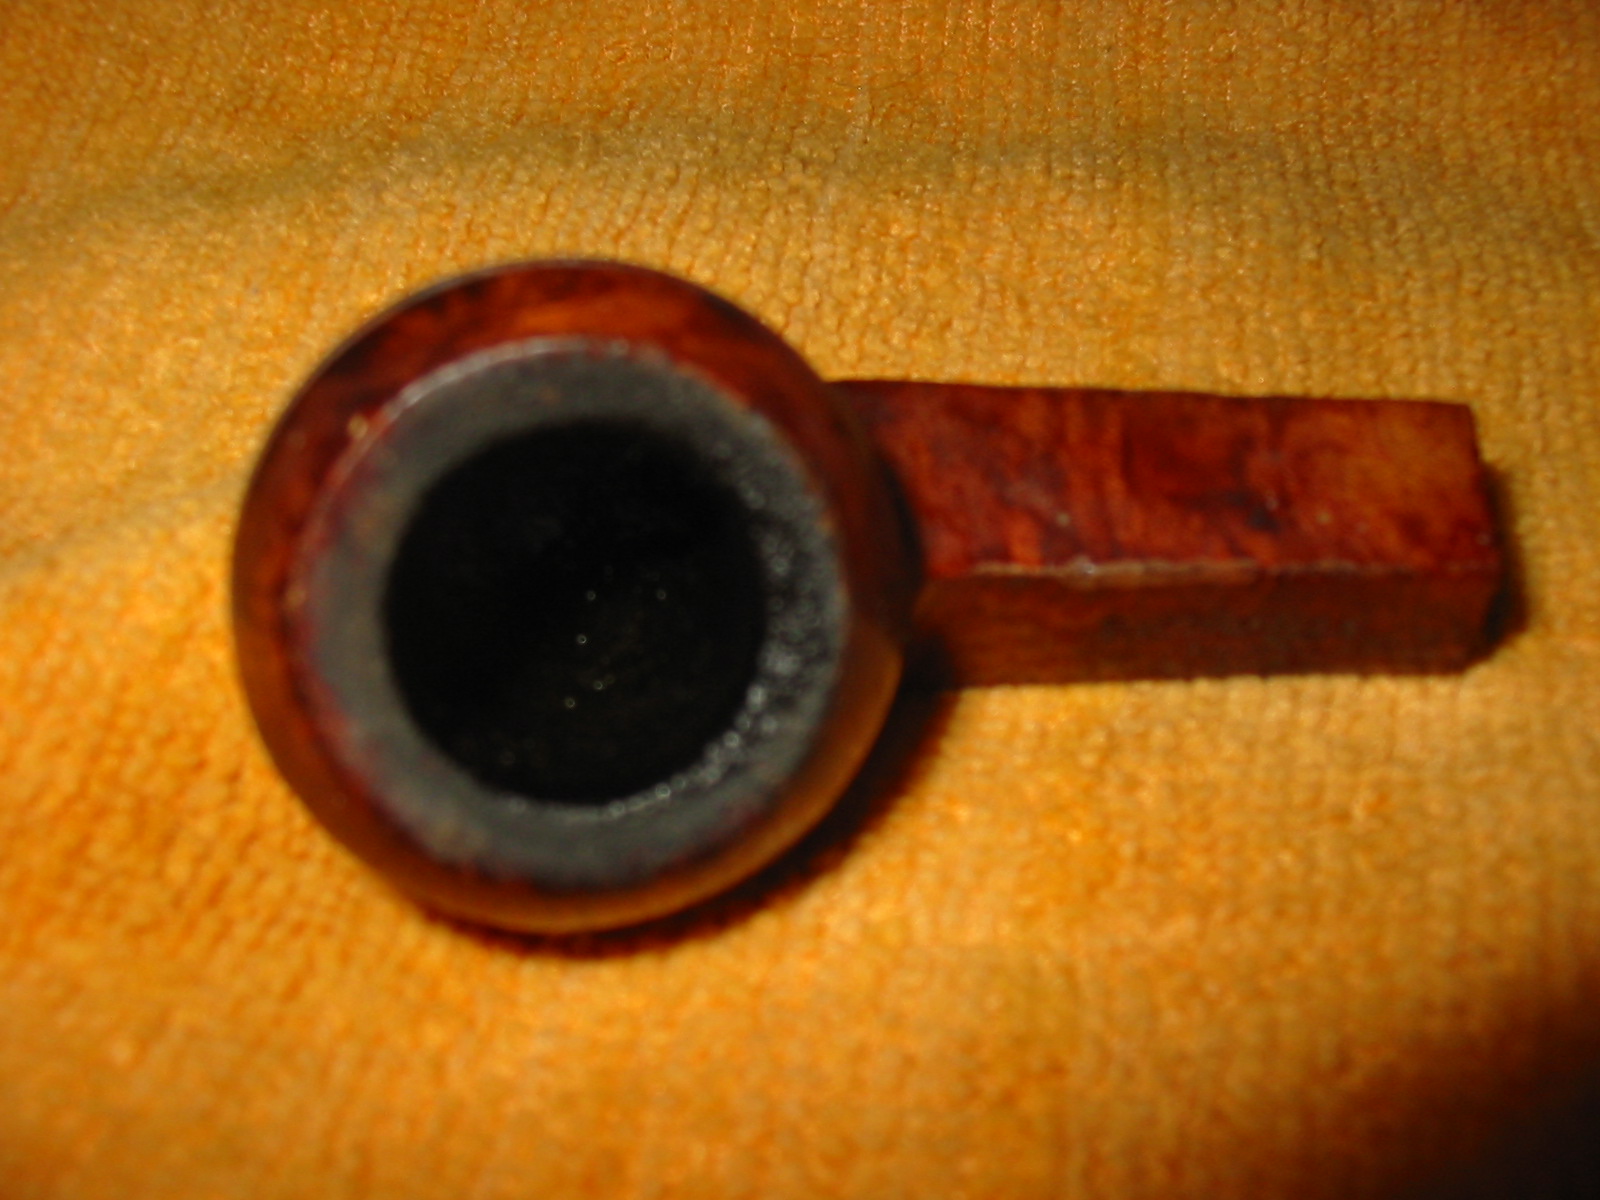
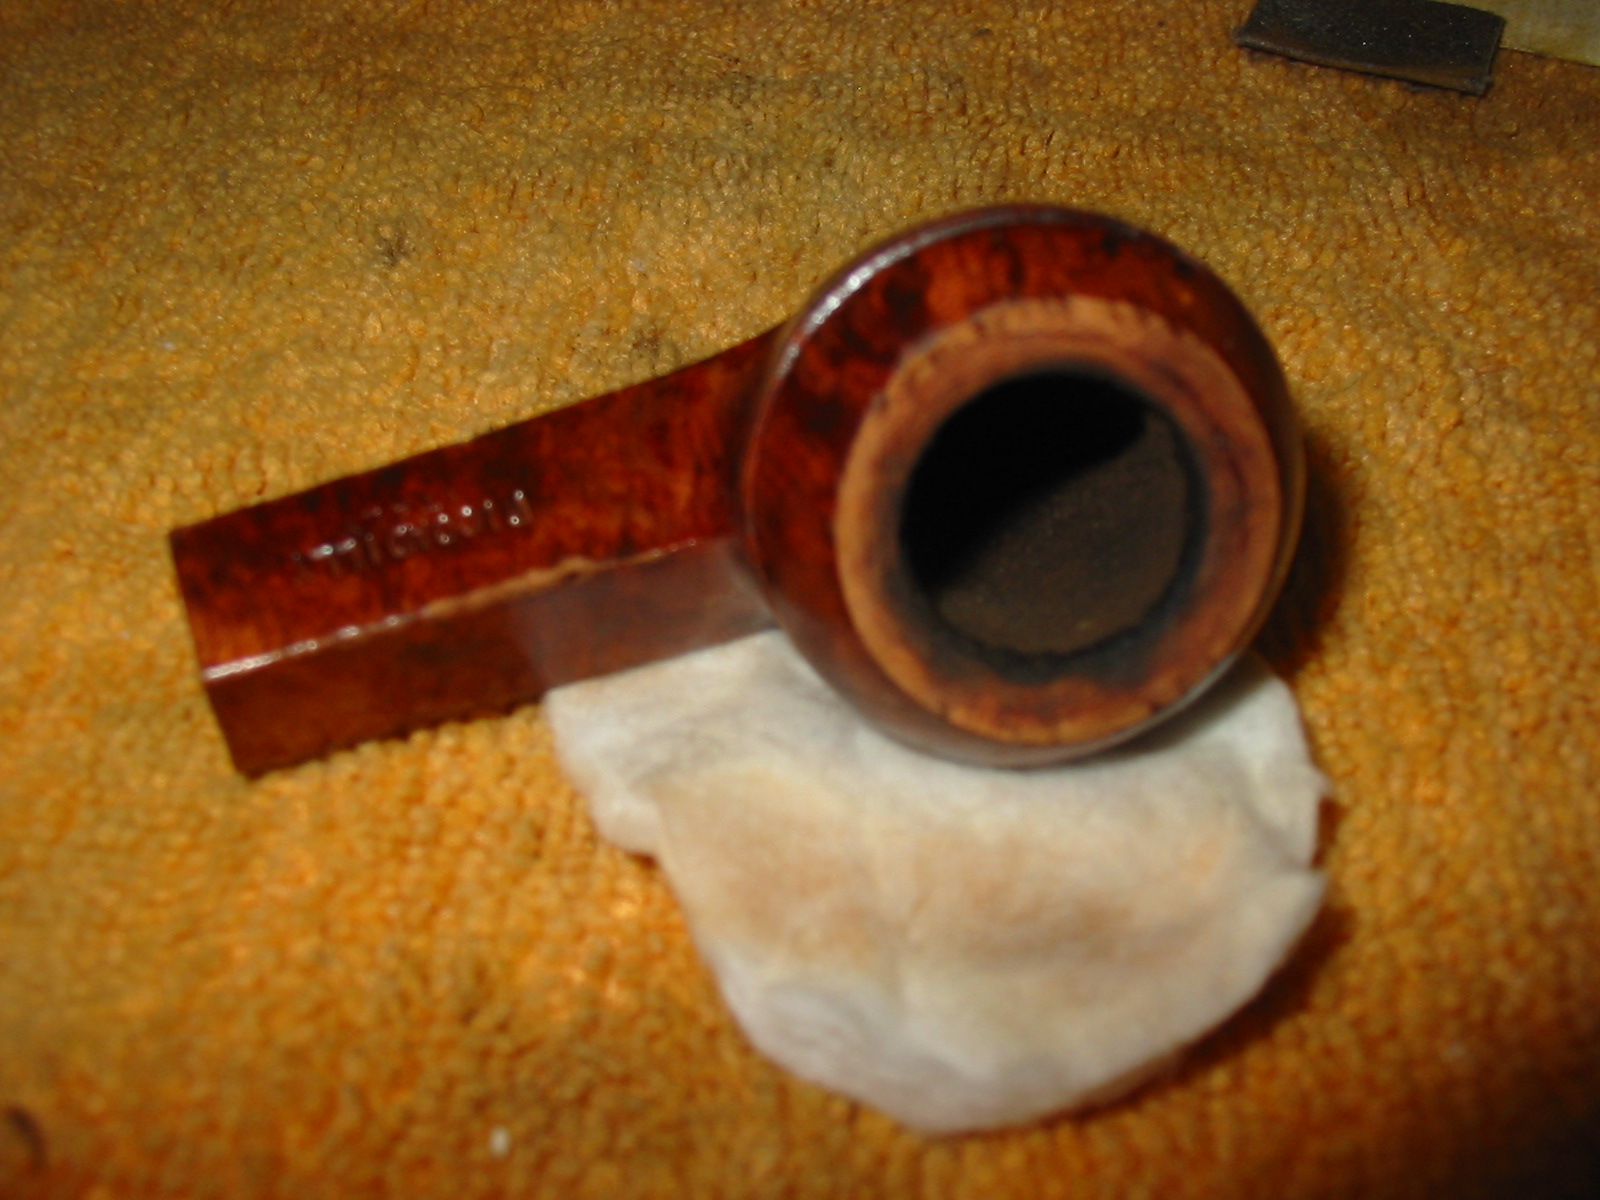
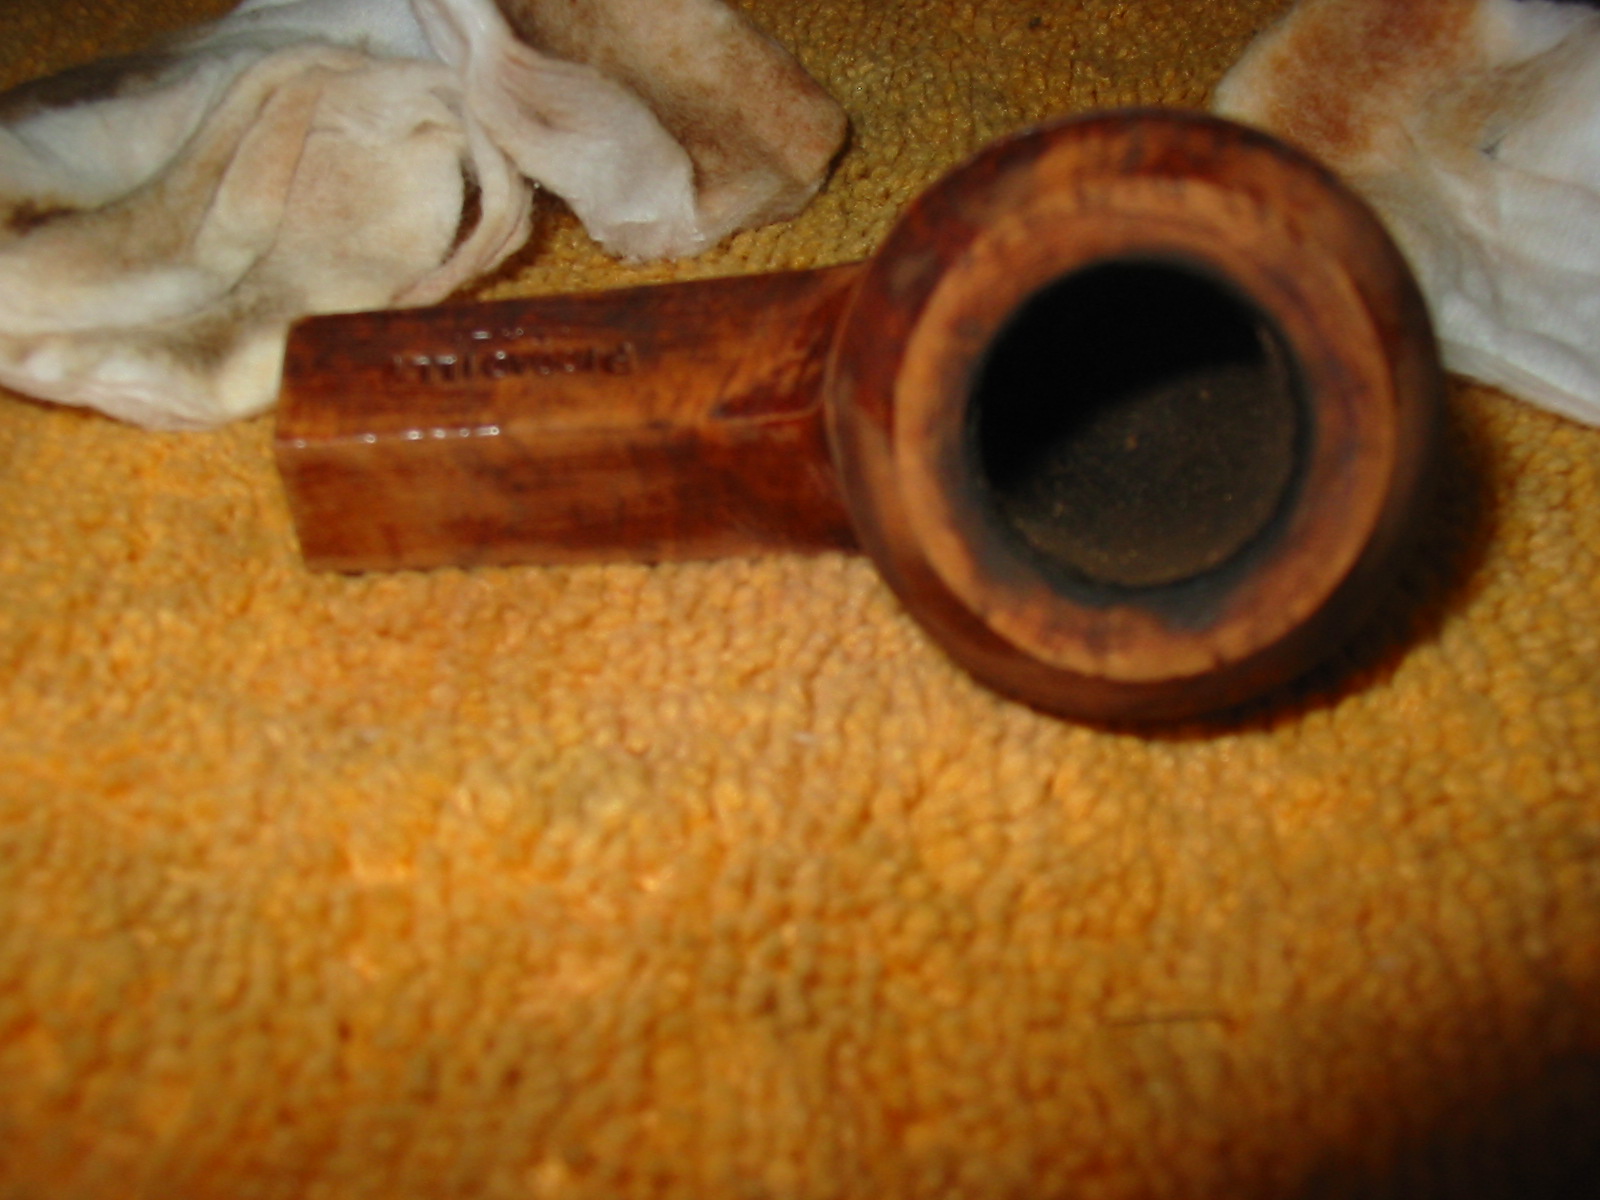
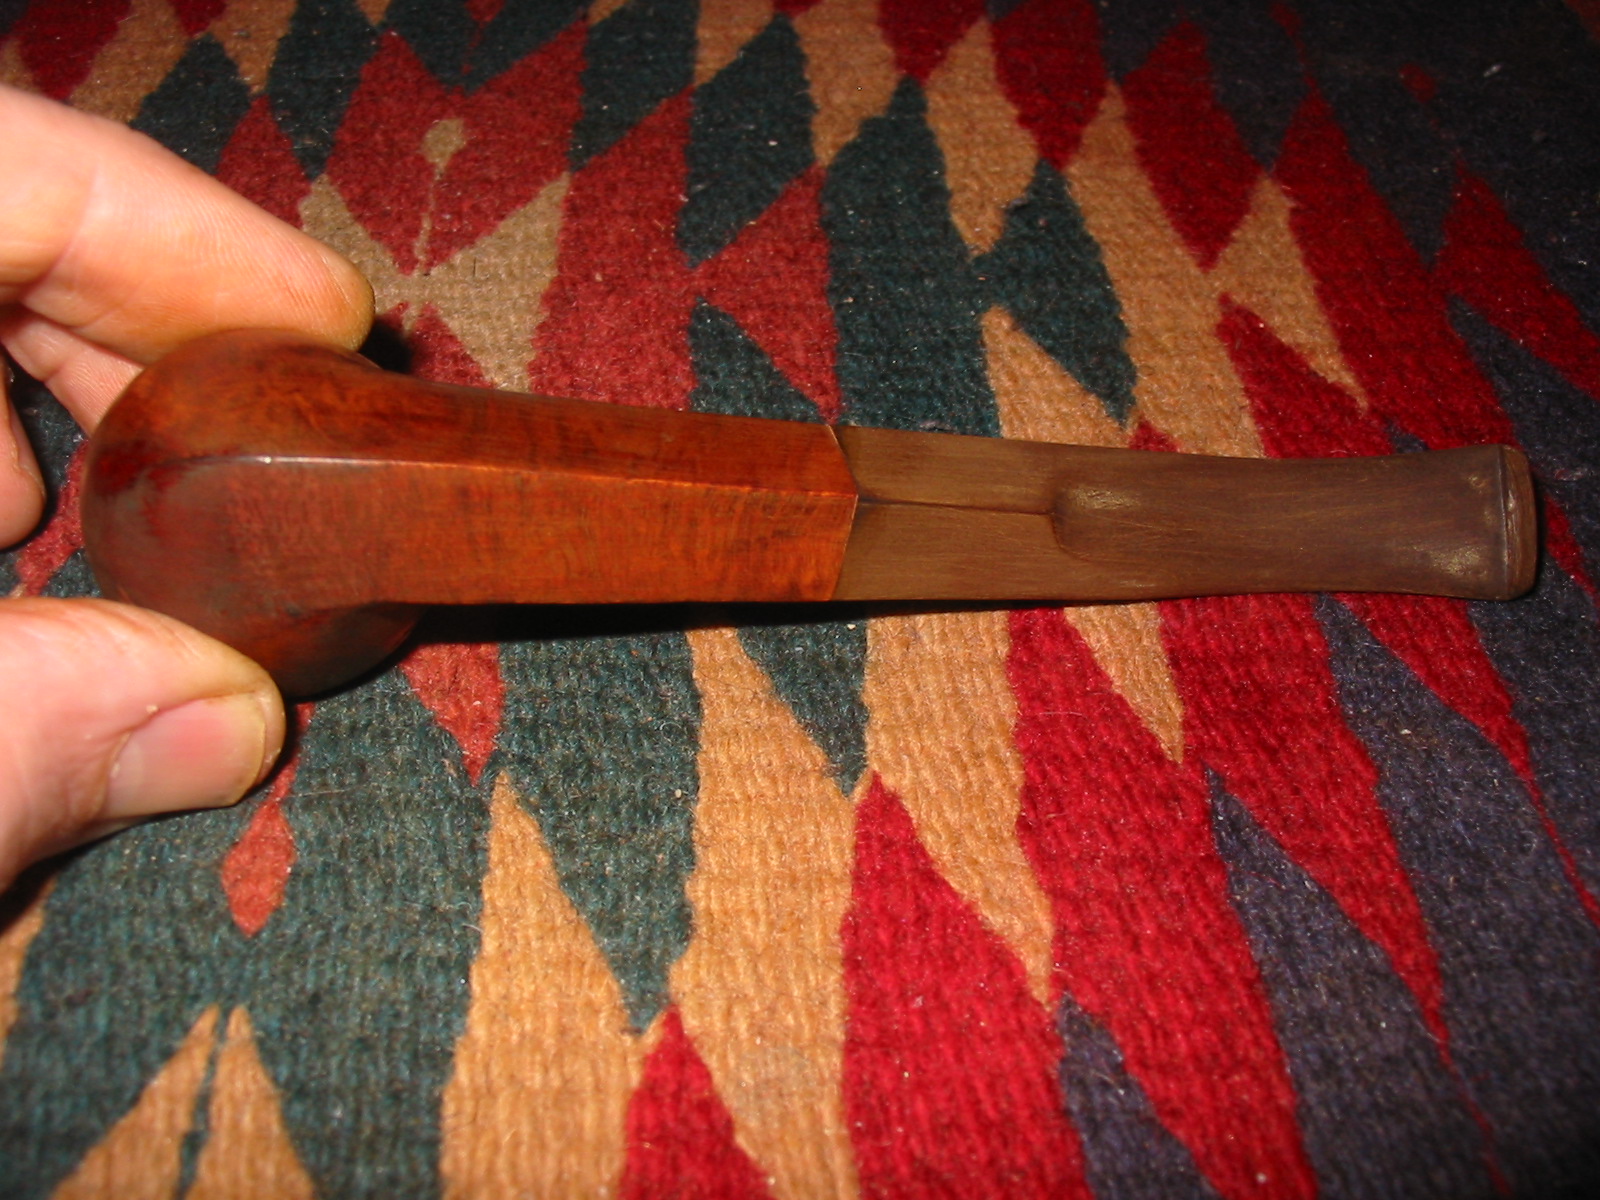
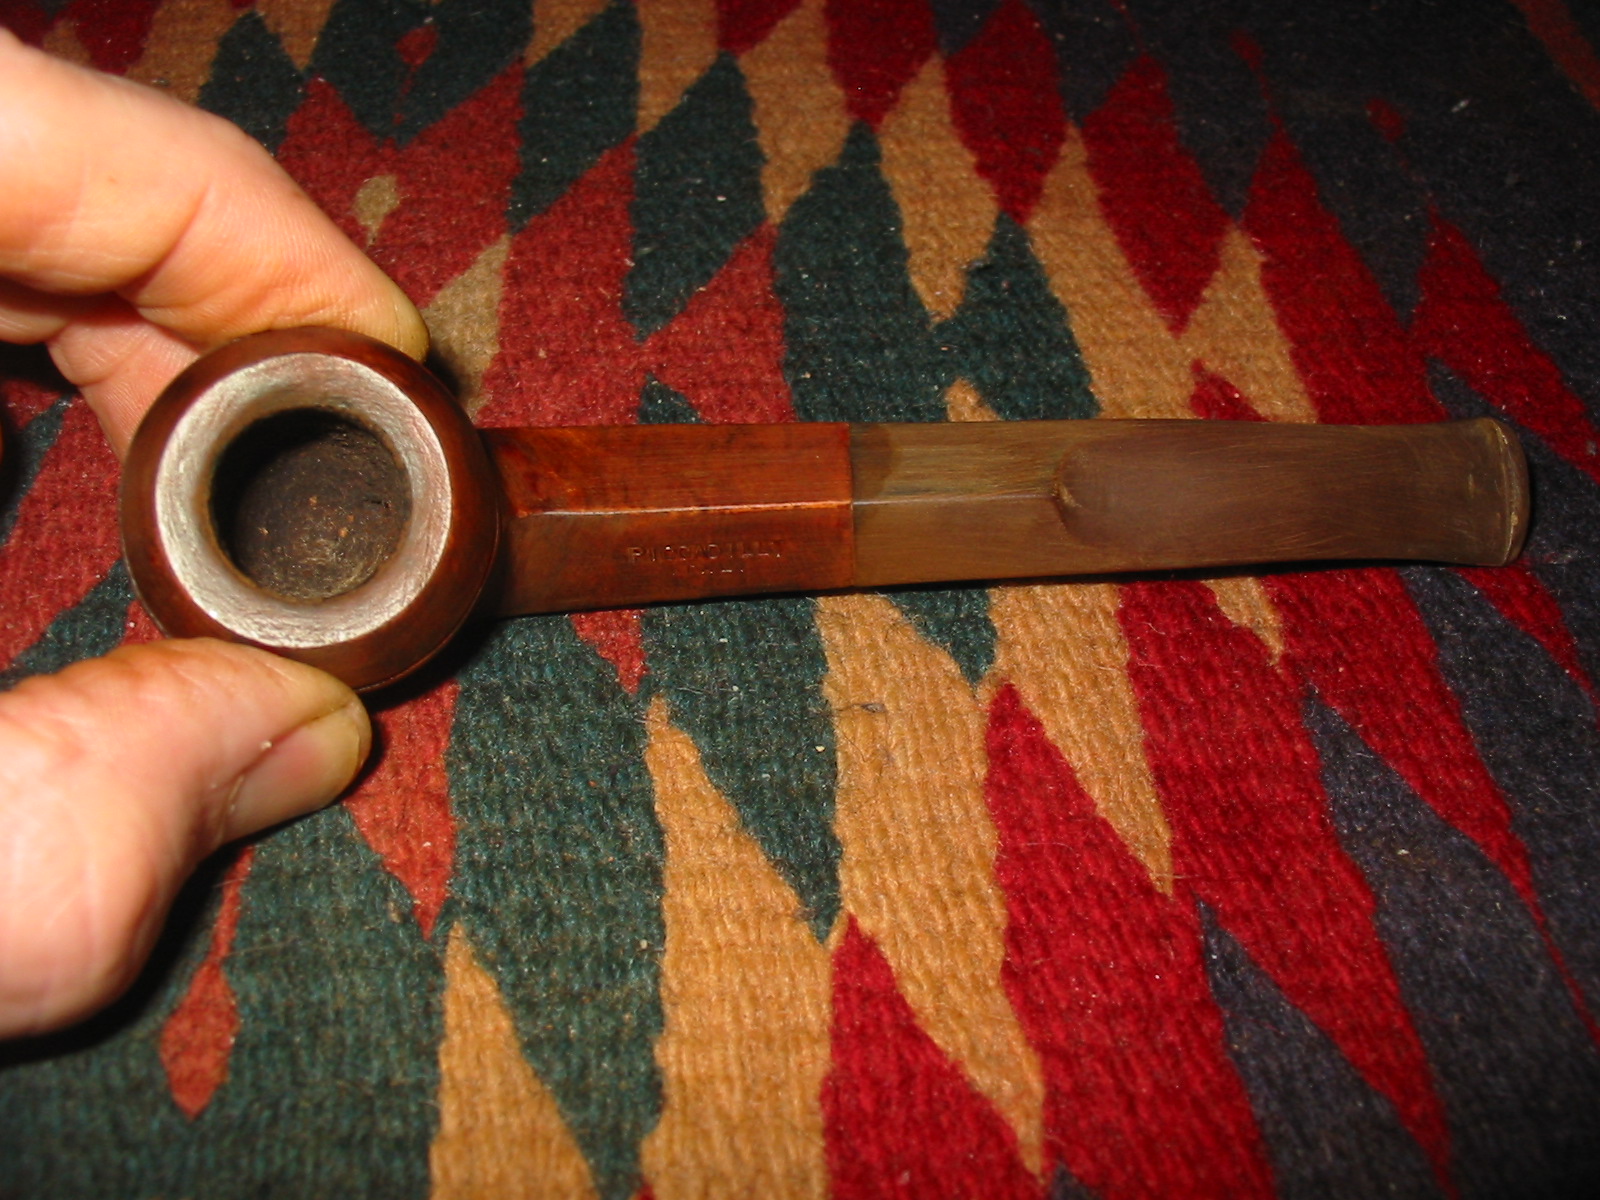
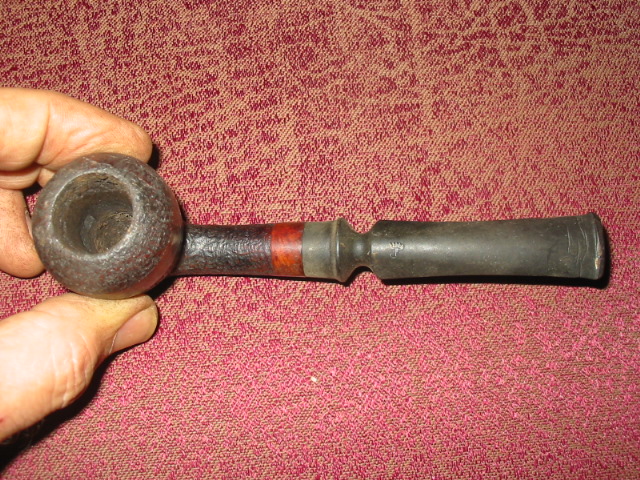
The bowl needed a good reaming – a bit of a trick as it is a conical bowl. I used several of the PipNet bits on the T handle to ream the bowl. The finish was faded and dirty. The inside of the shank was tarry and dirty and the inside of the stem was the same. The stem was oxidized and the original owner had modified it by carving some horizontal lines (3x) on the top and bottom of the stem to make kind of a homemade dental bit. He had also used some Elmers Glue to repair the button where he cracked it trying to put a pipe cleaner through it. The glue was all over the top of the stem.

ImageImage

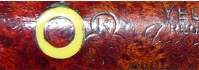
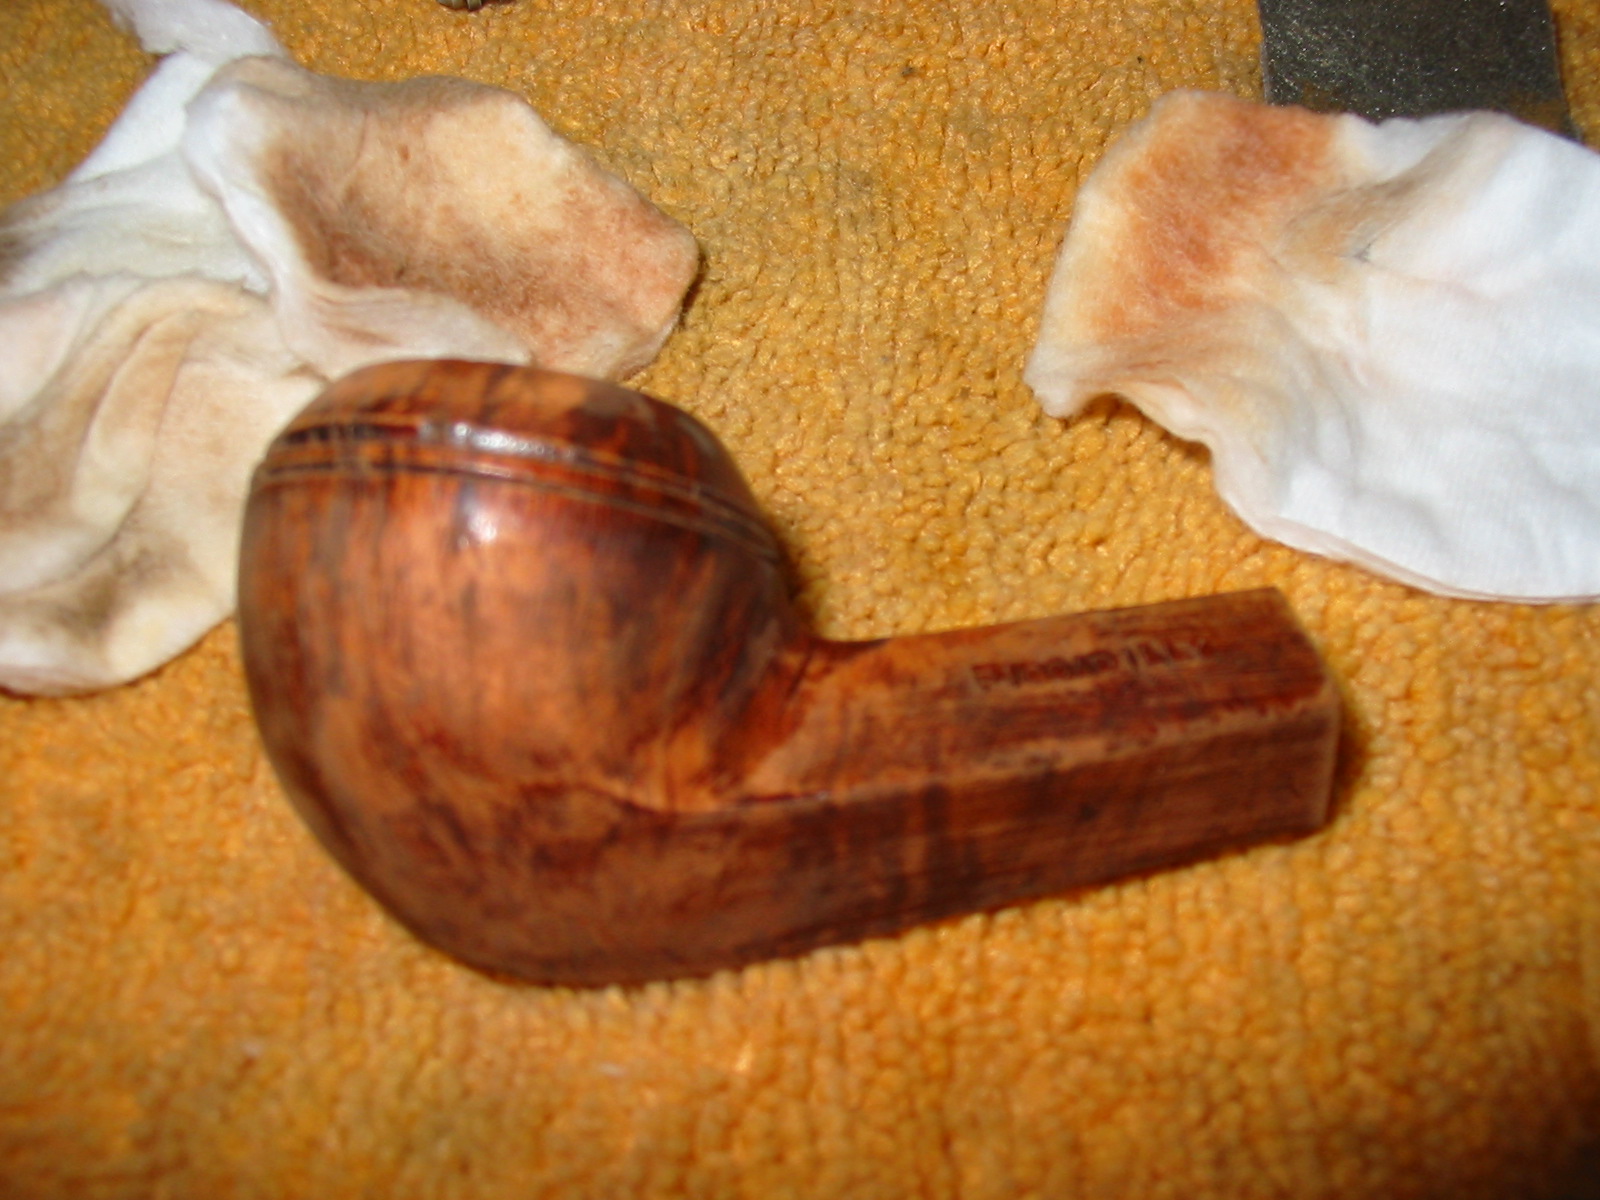
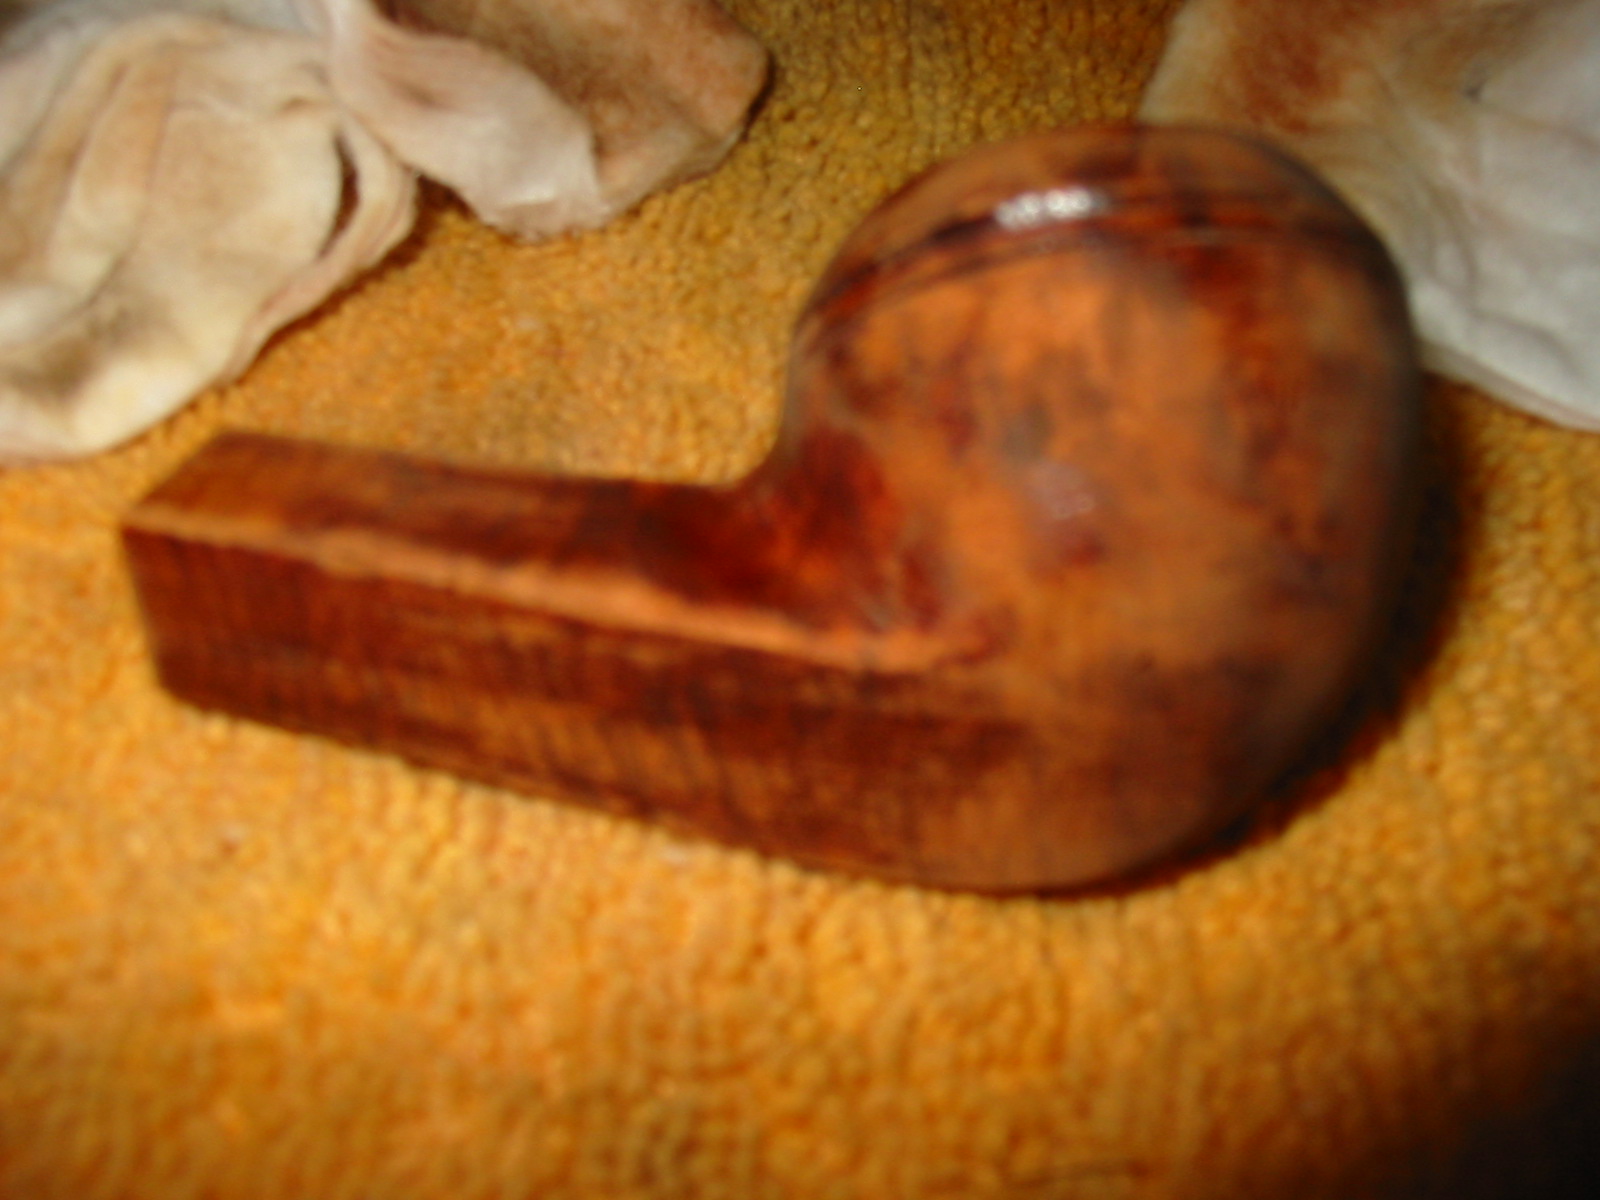
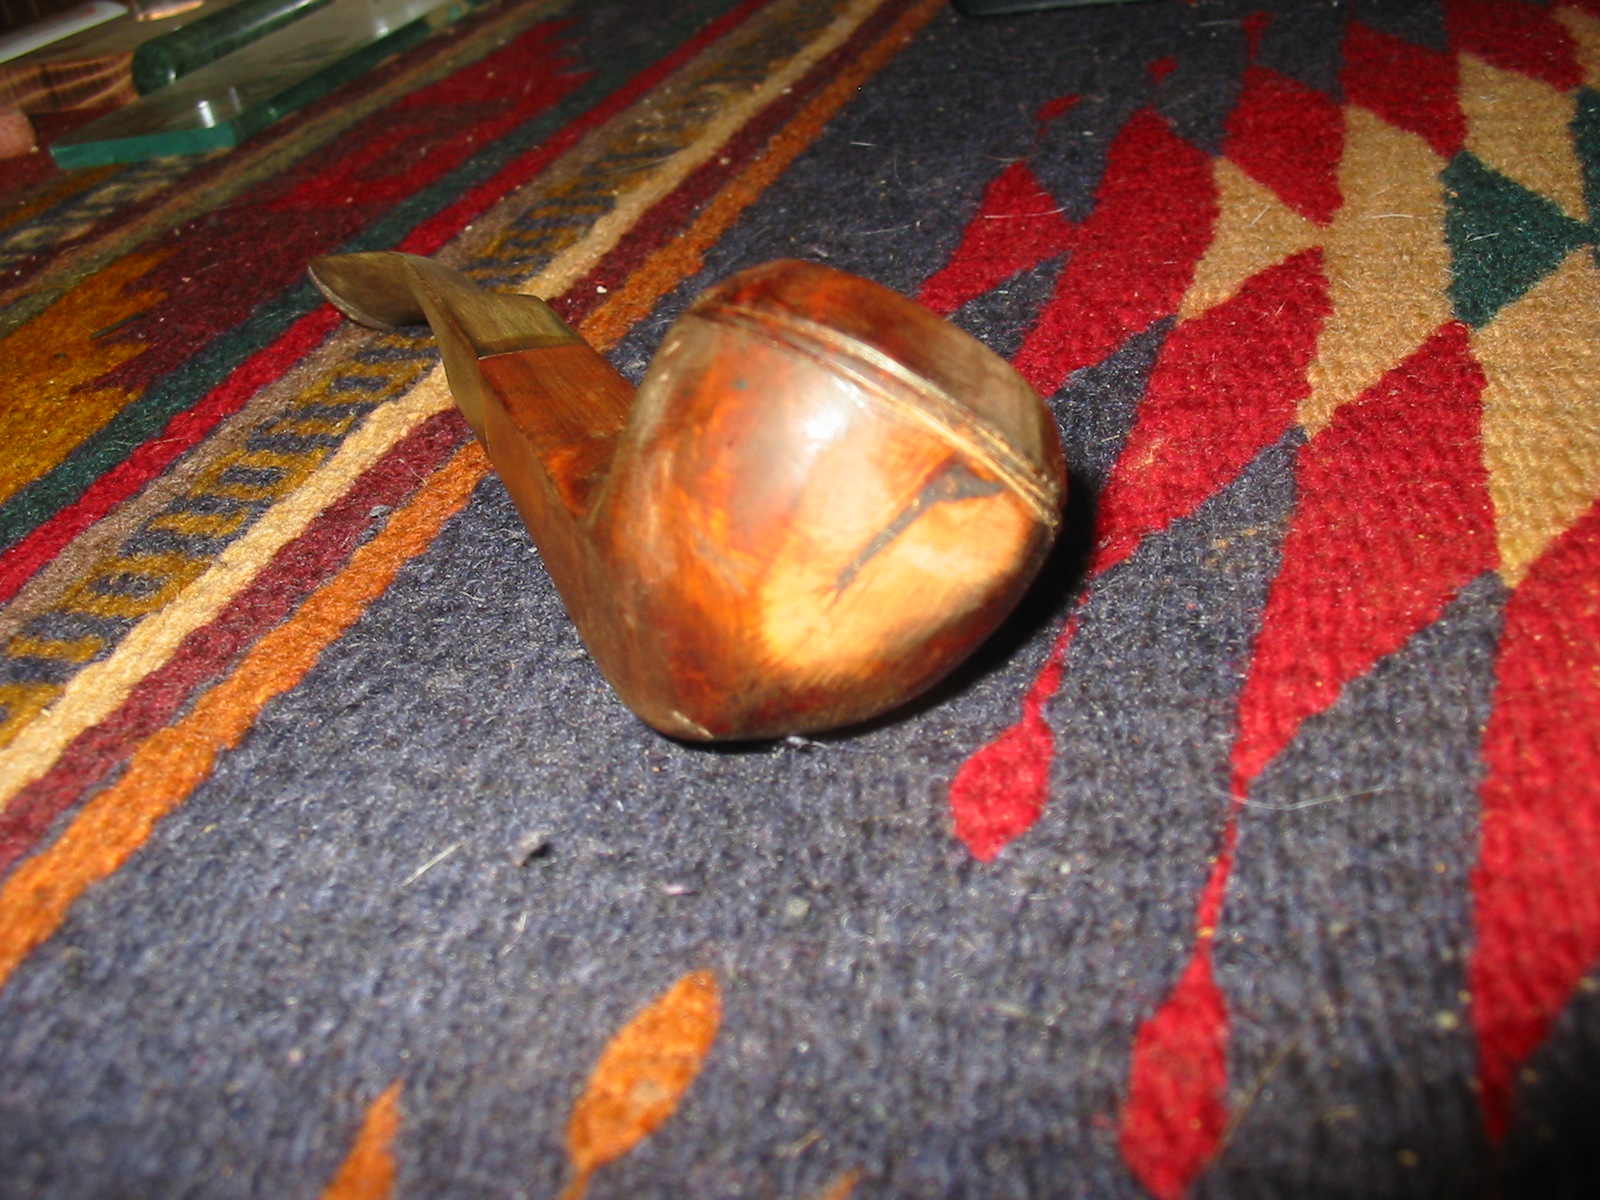
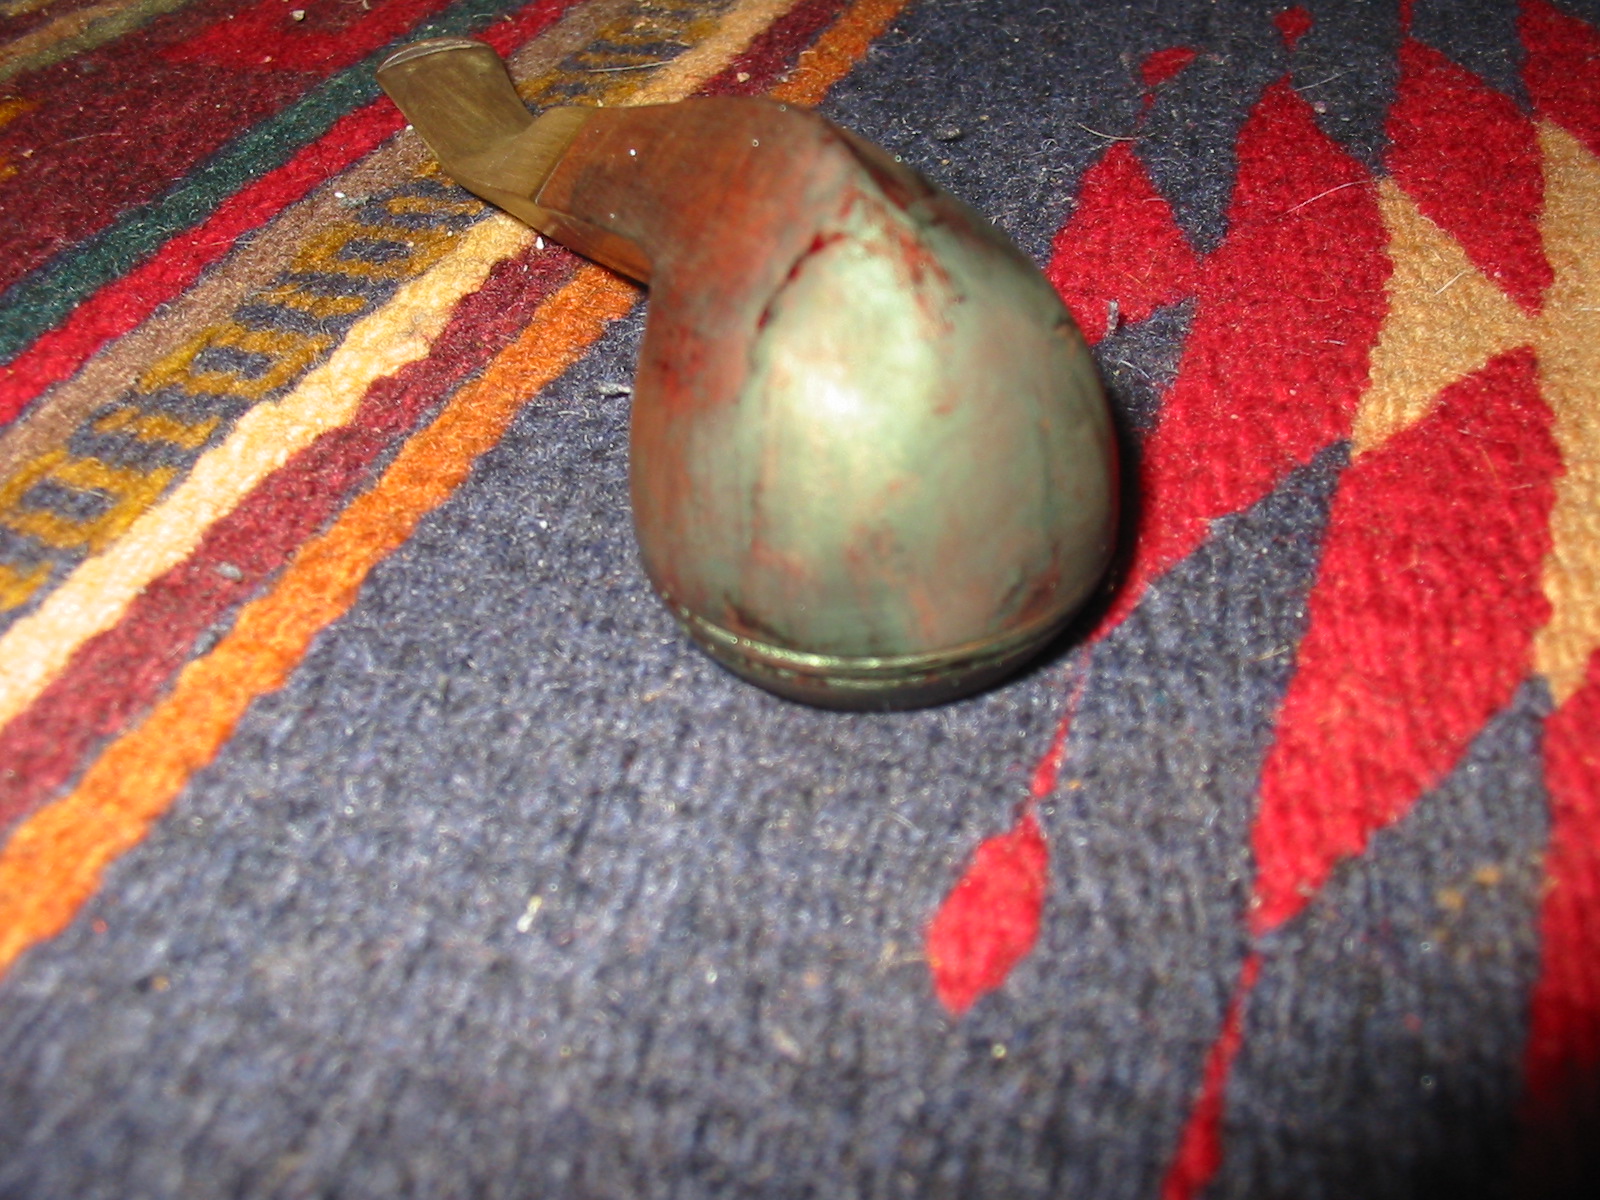
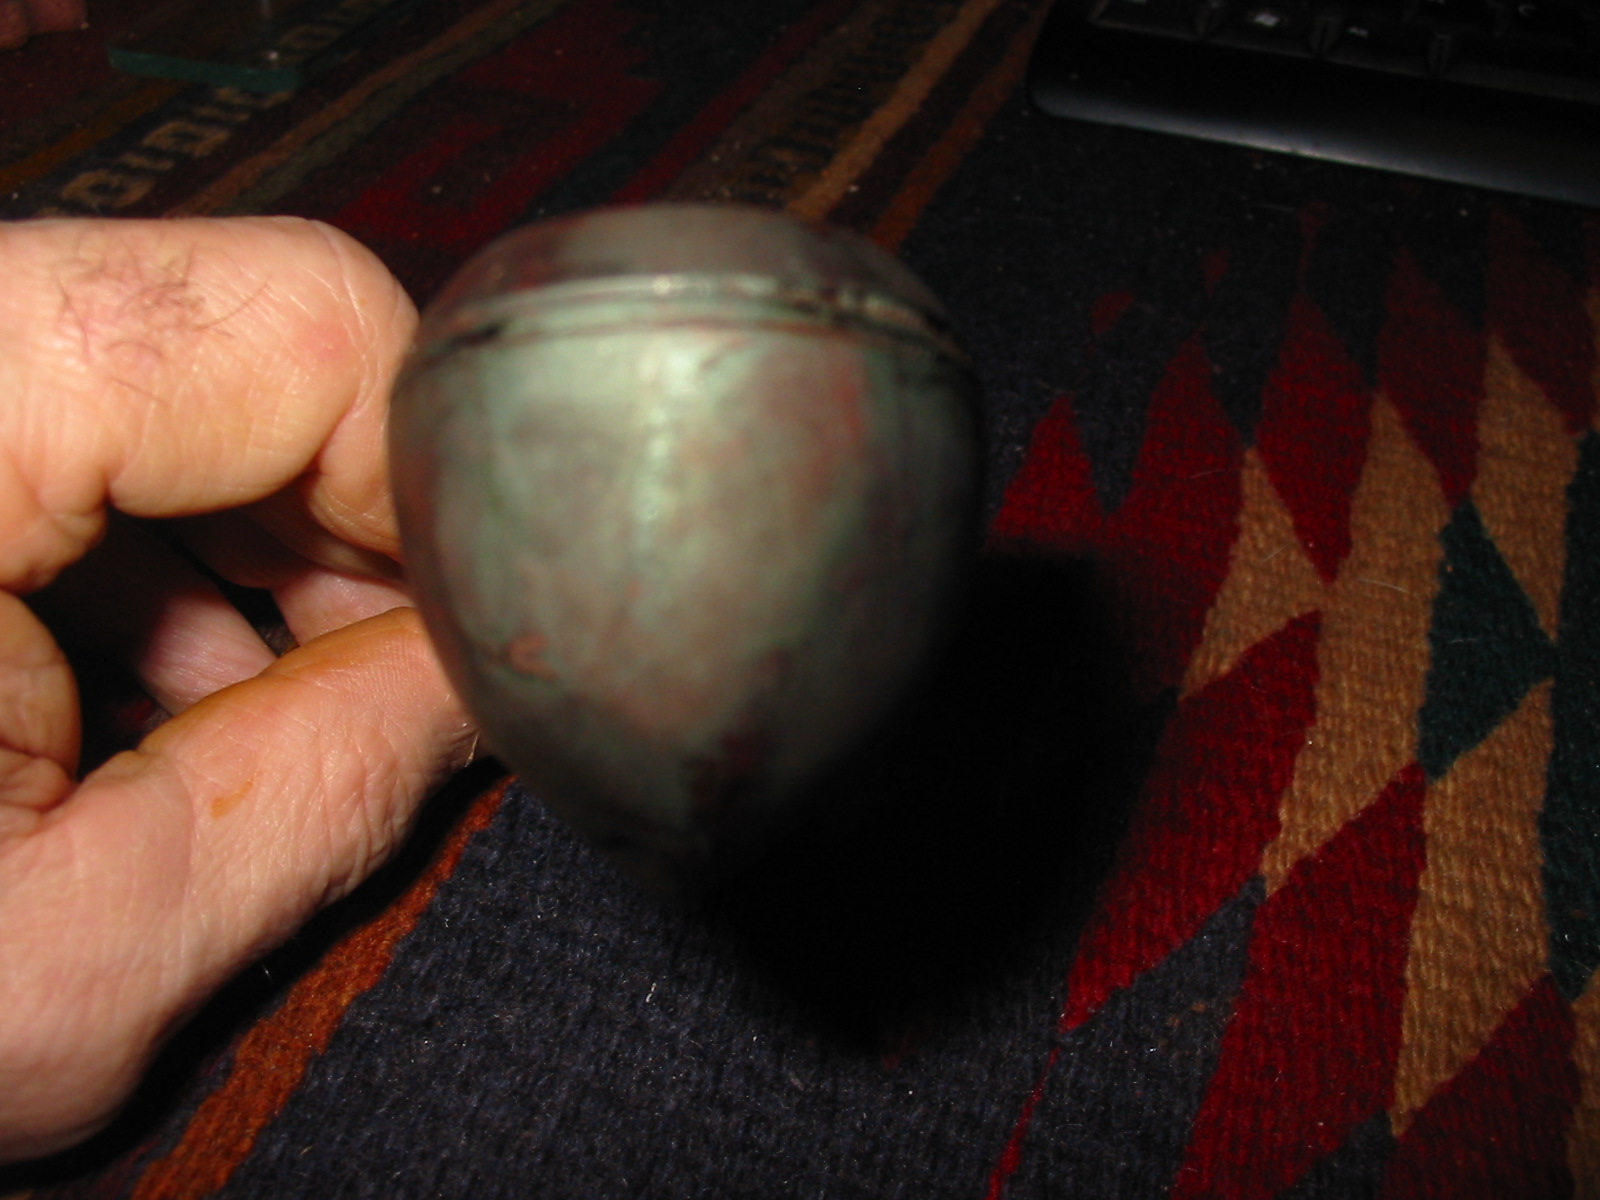
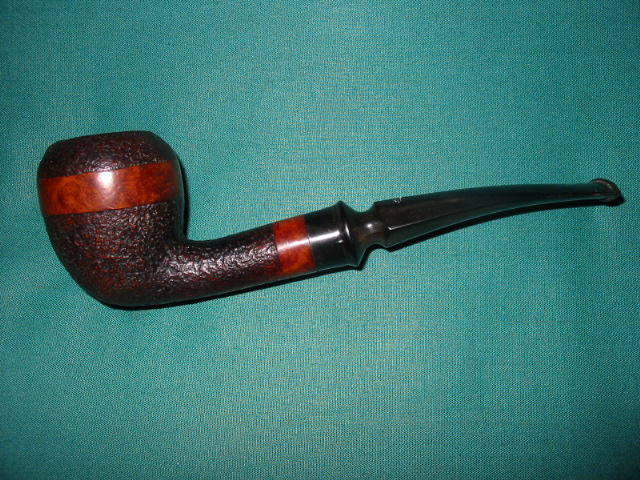
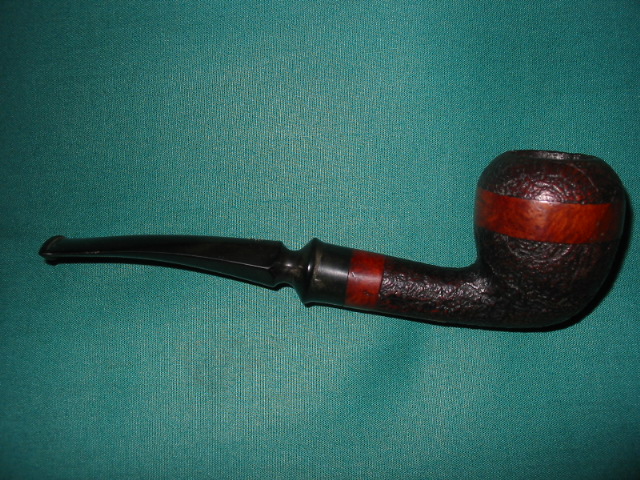
I scrubbed the bowl with some Murphy’s Oil Soap and a soft bristle tooth brush to clean out the grime and dirt from the sand blasted portions of the bowl and shank. I scrubbed the ribbon or smooth portions with a cotton pad and Oil Soap. It took a bit of scrubbing to remove the tars from the rim edge and restore the finish there to a clean colour. I ran it under a clear stream of warm water to wash away the soap and then dried it off with a microfibre cloth. Once it was dry I decided to restain it with an oxblood and black stain on the blast portion and a nice oxblood/cherry on the smooth parts. Before staining I cleaned out the shank and airway with cotton swabs/qtips and bristle pipe cleaners to remove the grime. I finished with fluffy pipe cleaners. Once clean it was ready to be stained. I first used a black aniline stain and then flamed it. I took it to the buffer and buffed it with Tripoli and White Diamond to remove the black stain from the smooth surfaces and from the high spots on the blasted portion. Then I restained it with a top coat of oxblood/cherry stain, flamed it and then buffed it with White Diamond to get a good contrast colour to the bowl.

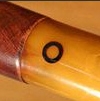
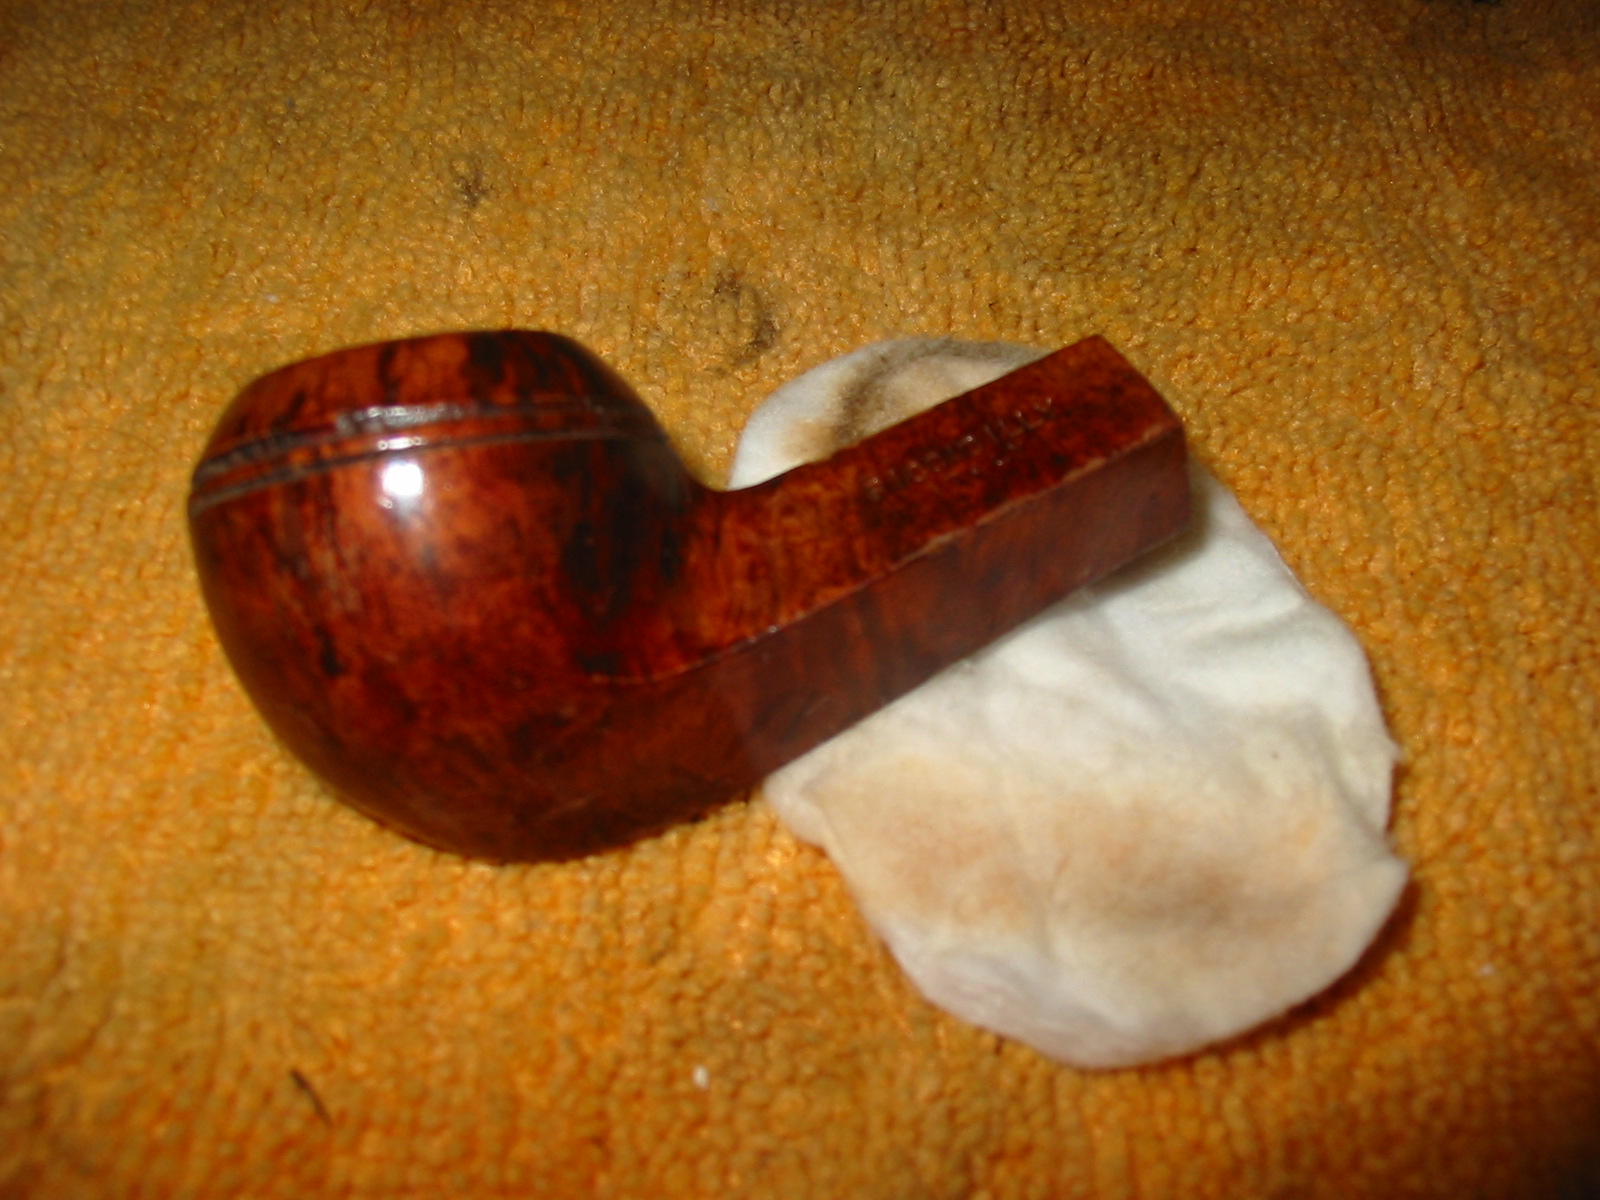
The stem took some work. I was able to sand out the homemade cuts without compromising the thickness to much as they were fortunately not too deep. The cracked button was a challenge. I cleaned off the Elmers Glue and then scrubbed the crack clean with alcohol and a soft brush. I picked out the bits of glue that were in the crack with a dental pick. I dried the area and then repaired it with Super Glue. It came out looking like new. The stem was buffed with Tripoli and White Diamond after sanding. The entirety was given a coat of Halcyon II wax and buffed with a shoe brush.

ImageImageImage

Some sad news came back to me regarding this beautiful little acorn pipe. When I finished working on it I gave it away to Desertpipe as a gift. He loved the look and feel of it and appreciated it for what it is. Then one day after using it the cracked portion of the button broke off entirely. He sent the pipe out to be restemmed. I am looking forward to the day it is finished and he sends me some pictures.

Yello Bole Logos From My Collection of Old Yello Bole Pipes


Over the past ten years or so now I have been picking up older Yello Bole pipes. I find that the briar is not bad – some say they are Kaywoodie’s lower line and I suppose that is probably true. The thing that attracts me to them is the stain and stem combinations, the logo inserts in both the stems and shanks. The five photos below show the variety of logos in my pipes. I have several that have what is known as the propeller inset – the first two photos show that inset. I have only seen the propeller inset in the stems and not in the briar itself. The next three photos show the circle inset. The first is a yellow coloured Bakelite or acrylic that is inset in the shank itself next to the KBB cloverleaf stamping. The last two photos show the inset brass rings that are placed in the stem material.

ImageImage

Image

ImageImage

The next two photos show two of my pipes with the logos visible – the first is a nice little Yello Bole apple with a yellow stem and the propeller stem logo. The stamping on this one says that it is a patent pipe and has the KBB in the cloverleaf stamped on the shank. I really like the colour combination of the stain on the briar and the yellow stem. The second pipe is another Yello Bole apple with the brass O insert on the stem. The combination of colours is once again a winner for me. This one is also stamped with the KBB in the cloverleaf.

ImageImage

The final photo in the lot shows my collection of Yello Bole pipes all together. I have two of the propeller logos on the stem, two of the brass O on the stem and one with the yellow O in the shank. The last two on the right are my Yello Bole Bamboo shank pipes. They are a great looking lot of American pipe history.Image Does anybody have any idea as to the dates the various logos and stamping were used on Yello Bole Pipes? I would appreciate any information that anyone can add. Thank you.

Since posting this a few moments ago I found this web site that gives some help in dating Yello Bole Pipes http://www.otcpipes.com/ybdating.html  It looks like my pipes have some old dates. The pipes with propeller logos appear to be made in the 1930’s or 1940’s. The pipe with the yellow circle logo imprinted into the shank of the briar was made in the 1930’s. Those with the brass O seem also to have been made in the 1930’s. Looks to me that most of my Yello Boles are old timers!

A Reborn Piccadilly Bulldog


Blog by Steve Laug

This little bulldog came to me in a lot of six pipes given to me by a friend. Something about it caught my attention as it seemed to have a classic bulldog shape. It was in pretty rough shape. It is stamped Piccadilly over Italy. It had a thick coat of varnish over the whole bowl and shank. There were also paint flecks on the surface of the bowl and shank. The rim was tarred and black with minor dings in the wood on the outer edge. The rim was chamfered in toward the bowl and also showed some wear and tear. The bowl was pretty clean; as I am pretty sure it had been recently reamed. The stem was badly oxidized and when the pipe came to me the stem would not come out of the shank or even turn. There were no bite or tooth marks on the surface of the stem. The inside of the stem was also tarry and dirty. The first series of three photos shows the state of the pipe when it arrived.

ImageImageImage

I put the pipe in the freezer for several hours and then I was able to remove the stuck stem. It was incredible tight and very dirty. The tars seemed to have acted like glue holding the stem in the shank. I cleaned out the stem with pipe cleaners and a shank brush and then put it in a bowl of Oxyclean to soak overnight. I dropped the bowl in an alcohol bath overnight as well. The next series of five photos show the bowl and the stem the next morning after an all-night soak in the baths. You can see that the bowl is clean and incredibly shiny. The alcohol bath removed the paint flecks and the surface grime. The rim tars had softened and were ready to be removed. The varnish coat however was not even touched by the soak in isopropyl. The stem was much better than when it went in to the bath. The oxidation had softened and much of it was removed when I dried off the stem. What remained would take more work.

ImageImageImageImageImage

I then wiped the bowl and shank down with cotton pads soaked with acetone to try to break up the varnish finish. It took many wipes to cut through the finish and also to cut through the tars on the rim. I also sanded the rim with 320 grit sandpaper to remove the remaining tars and the slight burning around the inner edge of the rim. The next three photos show the result of the sanding on the rim and the wiping down of the bowl. The varnish was untouched – maybe softened a little but it did not give way at all to the acetone.

ImageImageImage

More drastic measures were going to be required to remove this thick varnish coat. It was almost acting like a coat of polyurethane. I would have to sand the finish off the bowl if I was going to remove it at all. This required care as I wanted to remove the finish and not change the shape of the bowl and shank. I used a medium grit emery cloth to break through the finish coat. The next series of three photos shows the pipe after the sanding with emery cloth. I also wiped it down again with acetone at this point to clean the finish and see what remained. You can see the stubborn remainders of the topcoat.

ImageImageImage

At this point I switched to a medium grit sanding sponge to remove more of the remaining finish. I removed the inserted stinger apparatus and put the stem back in place so that I would not change the angles on the shank where it met the stem when I sanded. It also allowed me to sand the stem and shank simultaneously and to keep the angles sharp and intact. The next three photos show the pipe after sanding with the sponge. I continued to sand until the shiny finish was gone. I then wiped it down with acetone on a cotton pad to clean the surface.

ImageImageImage

I sanded the bowl and shank with 320 grit sandpaper and then 400 and 600 grit wet dry sandpaper followed by micromesh pads from 1500-6000 grit before staining the bowl with a dark brown aniline stain thinned 2:1 with isopropyl alcohol. I wanted to give the pipe a stain so I could see if the many fills that were revealed could be camouflaged with the stain coat. My guess was that they would stand out and I would need to pick them out and refill them with superglue and briar dust. I stained and flamed the pipe several times. The next series of six photos shows the results after staining. I would indeed have to rework the fills – at least the large ones.

ImageImageImageImageImageImage

I used my dental pick to remove the old fill material – it seemed to be white putty that did not take the stain. The pick removed the white material easily and I wiped the bowl down with an alcohol wetted cotton pad to clean up the dust before refilling the flaw. I then took out my container of briar dust (I collect this from the bowls that I top) and used the dental pick to pack the flaw with briar dust. Once it was packed and overflowing I dribbled drops of superglue into the packed dust. It dries quickly so there is no time to work it or move it. Once I finished the first pack and drip I added more briar dust and redripped the glue. The three photos below show the new fill before I sanded it. The briar dust and glue are very hard and I always over fill the flaw and sand it back to smooth. I do not want any shrinkage in the fill so I work with the material as I spelled out above and over fill the flaw.

ImageImage

Image

Since the glue and dust fill dries very quickly, it can be immediately sanded. I used some fine grit emery cloth to smooth out the glue and followed that with some 240 and 320 grit sandpaper. The next two photos show the fill after I had sanded it smooth. The fill is now dark and hard. I have found from past experience that the dark fill is much easier to blend in with the stain than the white or pink putty fills.

ImageImage

After the sanding and preparation of the other fills that I replaced I restained the bowl with the dark brown aniline stain. I flamed it and restained it several times. The bowl is seen both wet and after the flaming in the three photos below. The fill is well blended into the dark stain.

ImageImageImage

Once the stain was dry I took the pipe to my buffer and buffed the bowl with Tripoli and White Diamond. The fills were still to visible to my liking so I used a trick I learned somewhere – I used a black permanent marker (Sharpie) and highlighted the grain on the pipe and also stroked in grain through the fills. Once it was finished I stained it one last time with the dark brown stain and then buffed it to a polish. The bowl was finished and I set it aside to work on the stem.

The stem needed quite a bit of work. I sanded it with the medium grit sanding sponge and then with 320 grit sandpaper and 400 and 600 grit wet dry sandpaper. The oxidation was still stubbornly remaining on the saddle and in the slope of the saddle to the flat bit. I used the Bic lighter and moved it over the surface of the stem to burn off the oxidation. I repeated this several times and then sanded the stem with 1500-4000 micromesh sanding pads. I also used the Maguiar’s Scratch X2.0 between grits of micromesh. I also used my Bic lighter to burn more of the oxidation between the grits. Once I was finished I polished the stem with Maguiar’s and then buffed with White Diamond to polish it. I gave it a coat of Obsidian Oil followed by multiple coats of carnauba wax to the stem and bowl. The final pictures show the pipe after this work. In the last photo the area that had the fill repaired is shown to detail how well the fill blends into the finished pipe.

ImageImageImageImageImage