Blog by Steve Laug
I just heard the sad news that Bill Unger died today. He suffered from leukemia and that war is over now. Bill touched many lives in inestimable ways and will be deeply missed by all who knew him. It was not long ago that all of us in the NASPC got news of Bill’s illness and his impending end. It was a shock for certain but none of us would have guessed it would end so soon. Bill is the one who got me started into hunting down old Custom-Bilt and Custombilt pipes. I read his book: As Individual as a Thumbprint: The Custom-Bilt Pipe Story and was sold on the uniqueness and smokability of these pipes. I don’t remember the date I read the book, but probably not long after it came out. I immediately went on the hunt. I have about a half dozen of the pipes and several of the Doodlers as well. With that background and Bill’s book I could not pass up this old pipe when I found it in the antique mall last weekend. It is fitting that the first refurb of this New Year happened on the same day as Bill’s death. So Bill I dedicate this refurbishment to you. I raise my pipe to you my friend and will smoke a bowl this afternoon in your honour. RIP Bill.
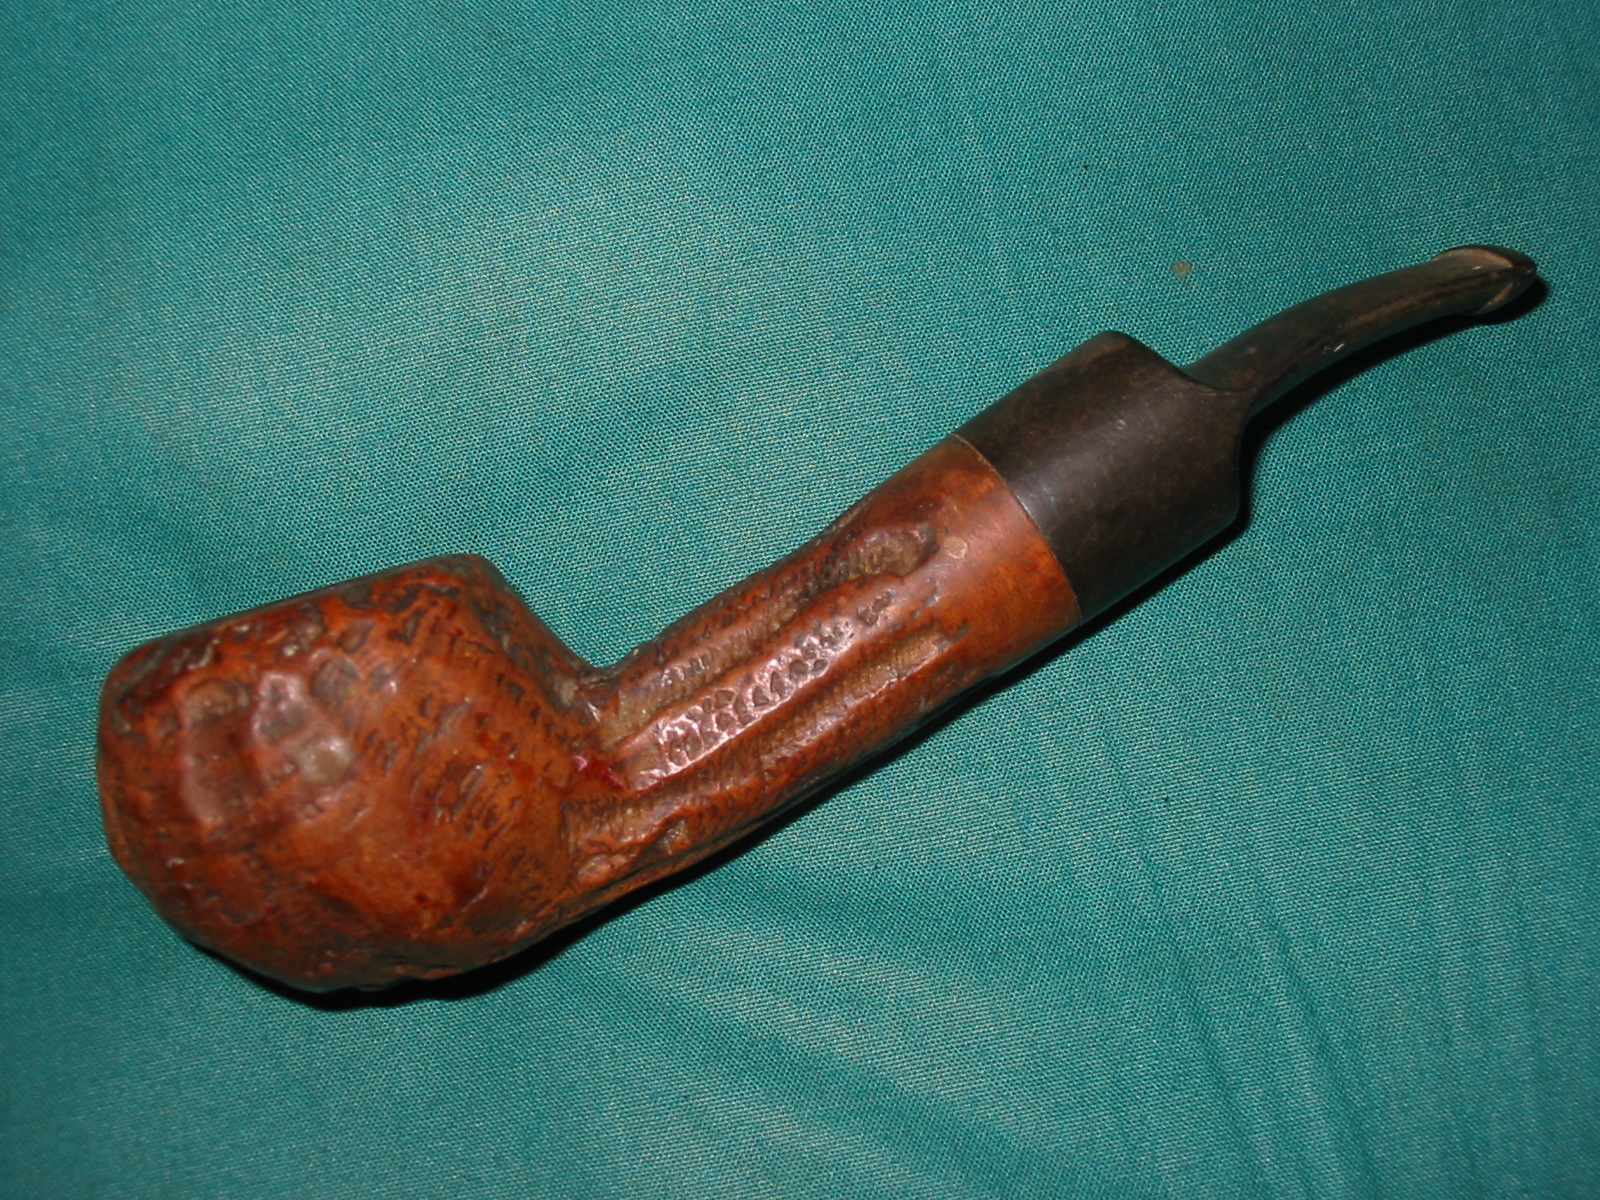
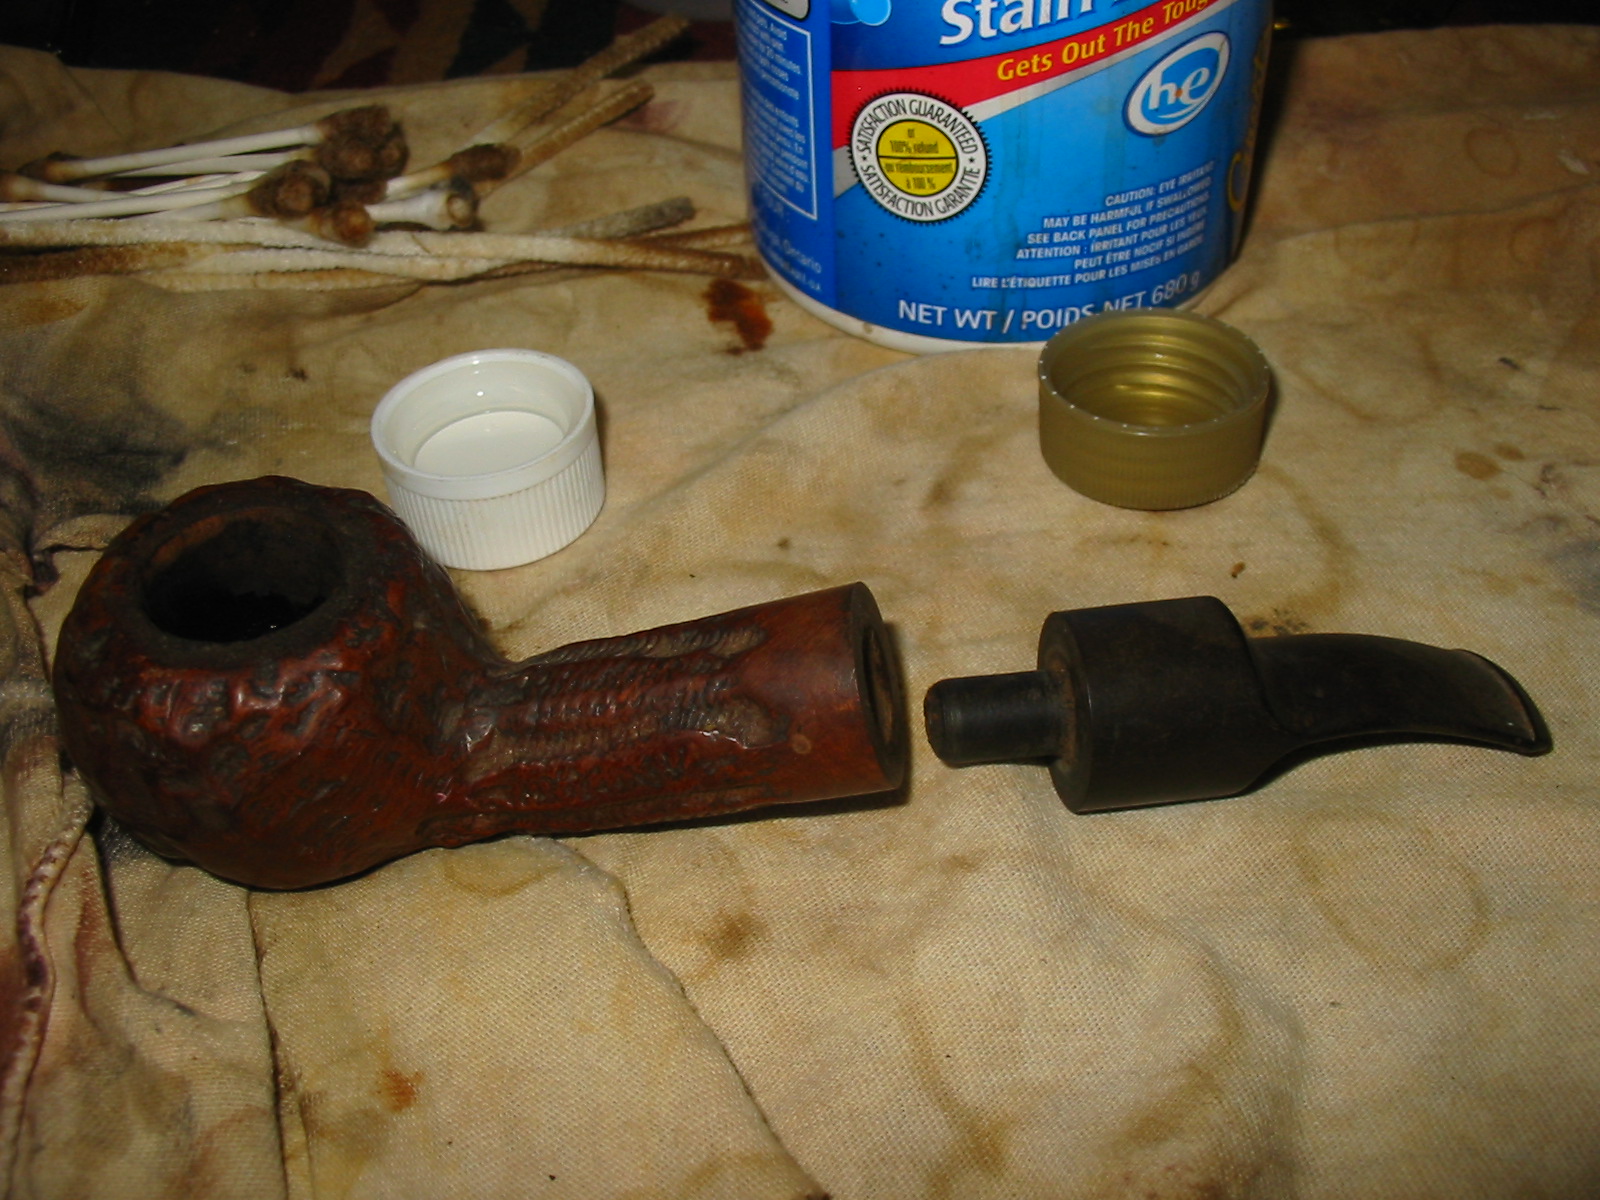
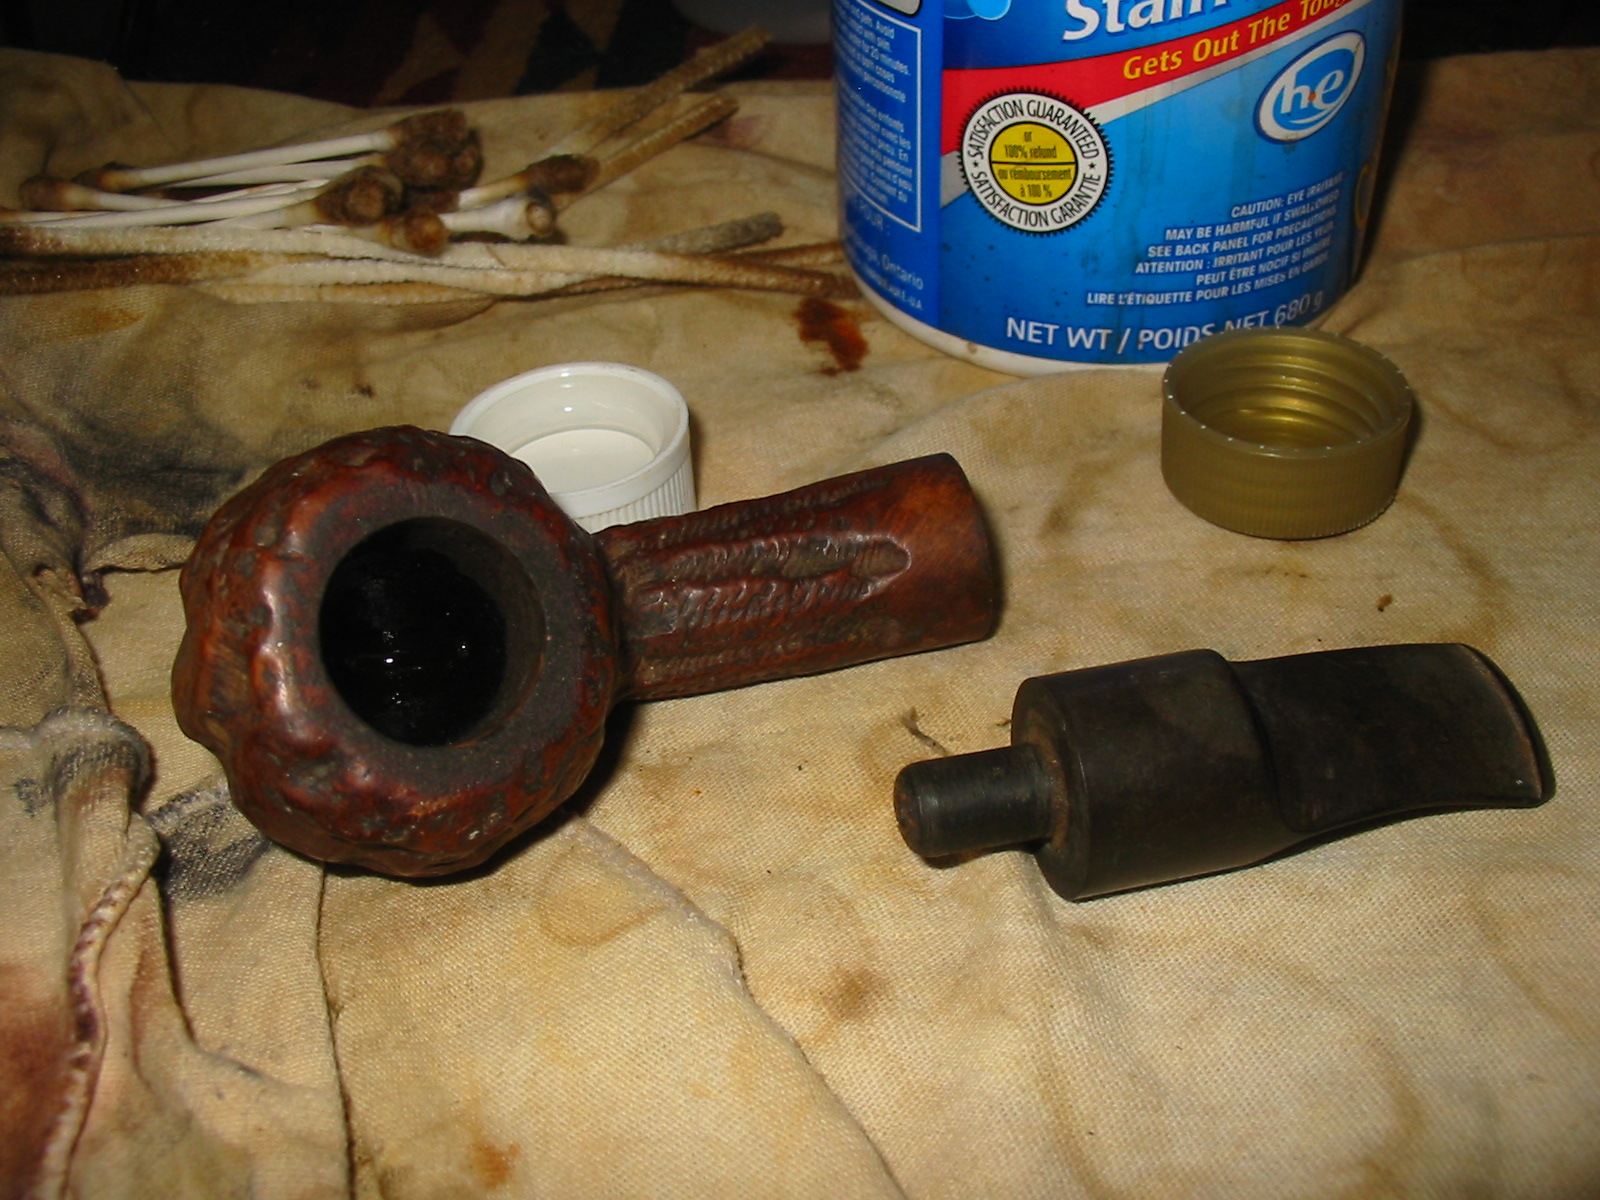
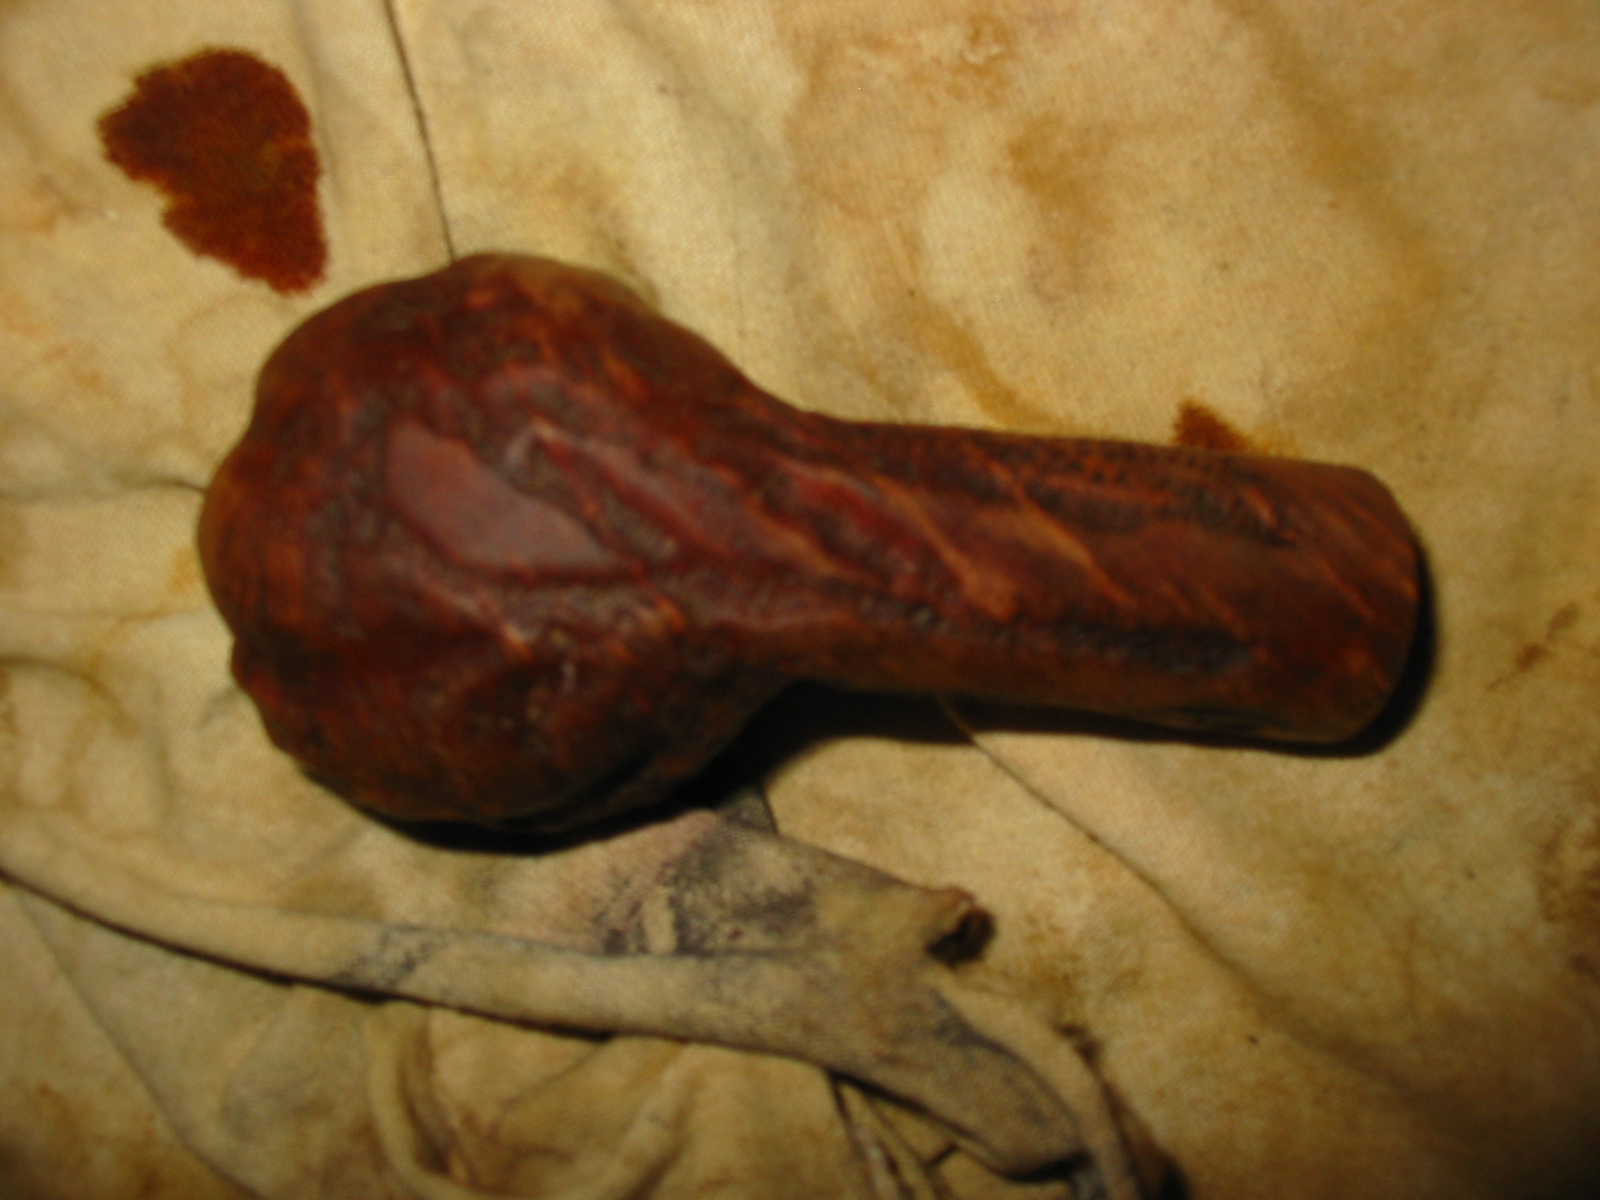
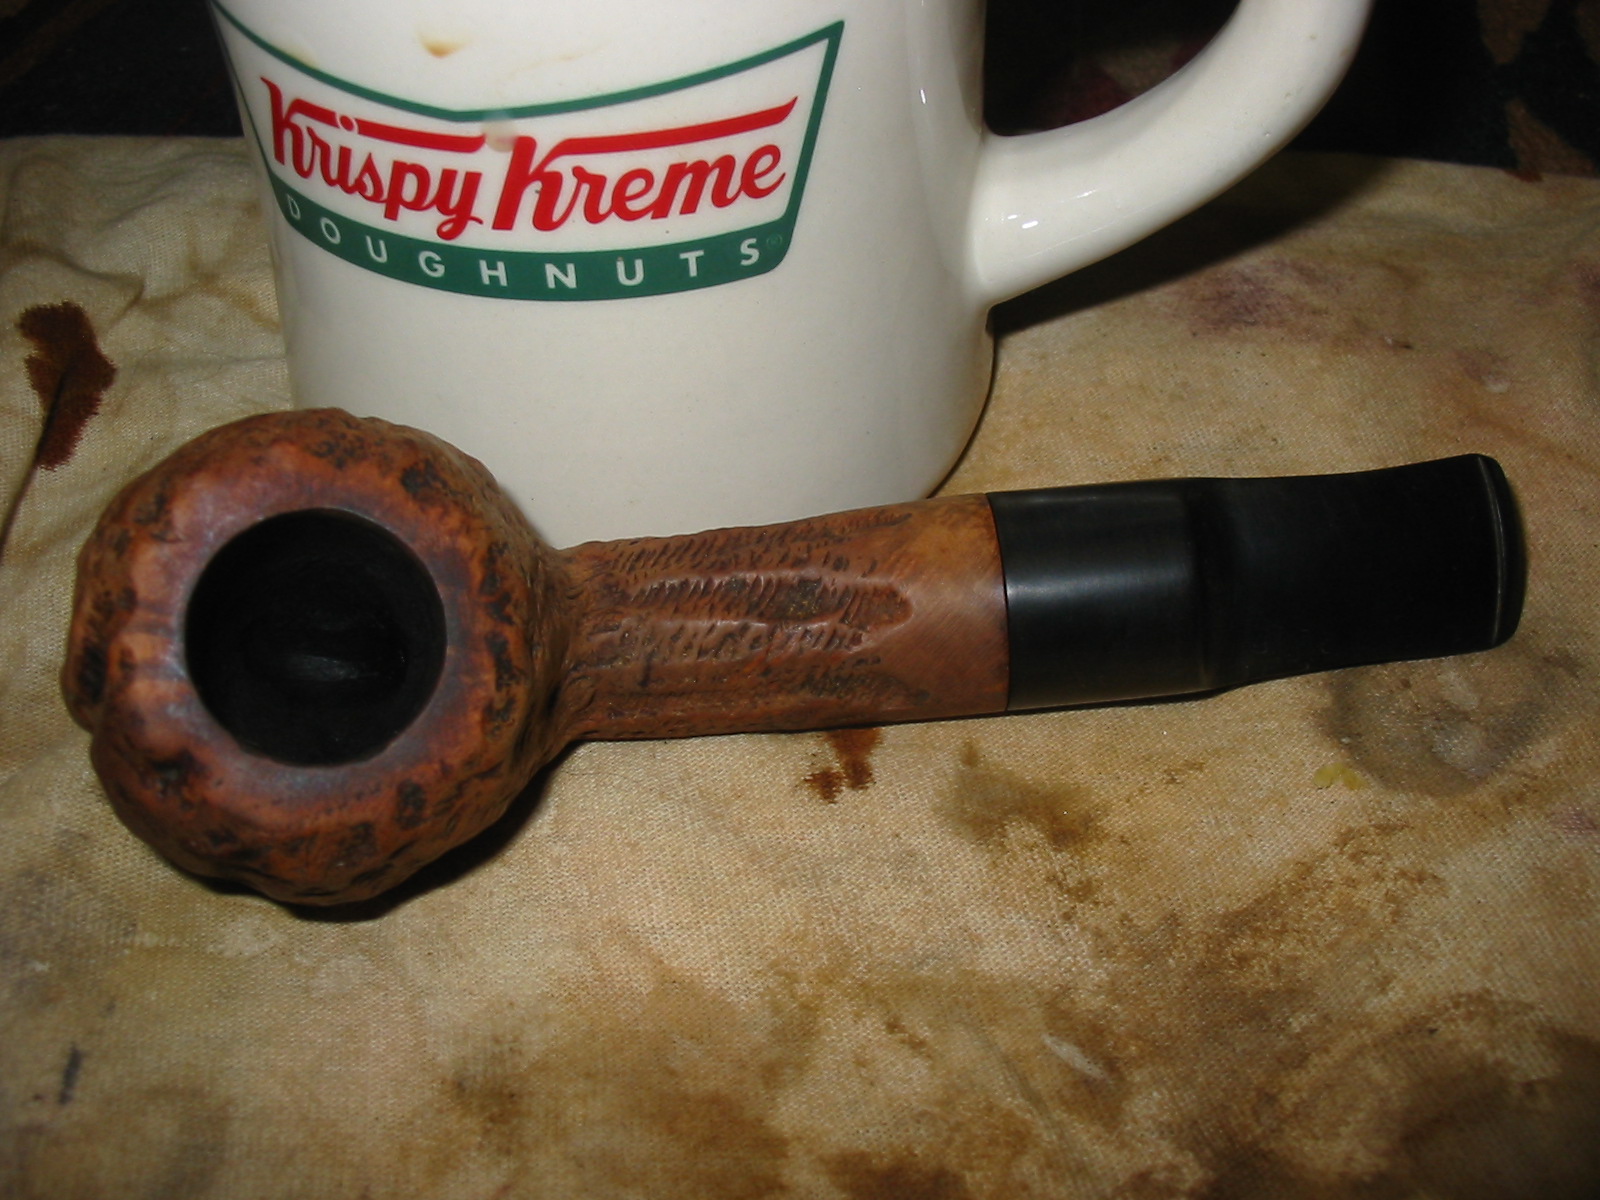
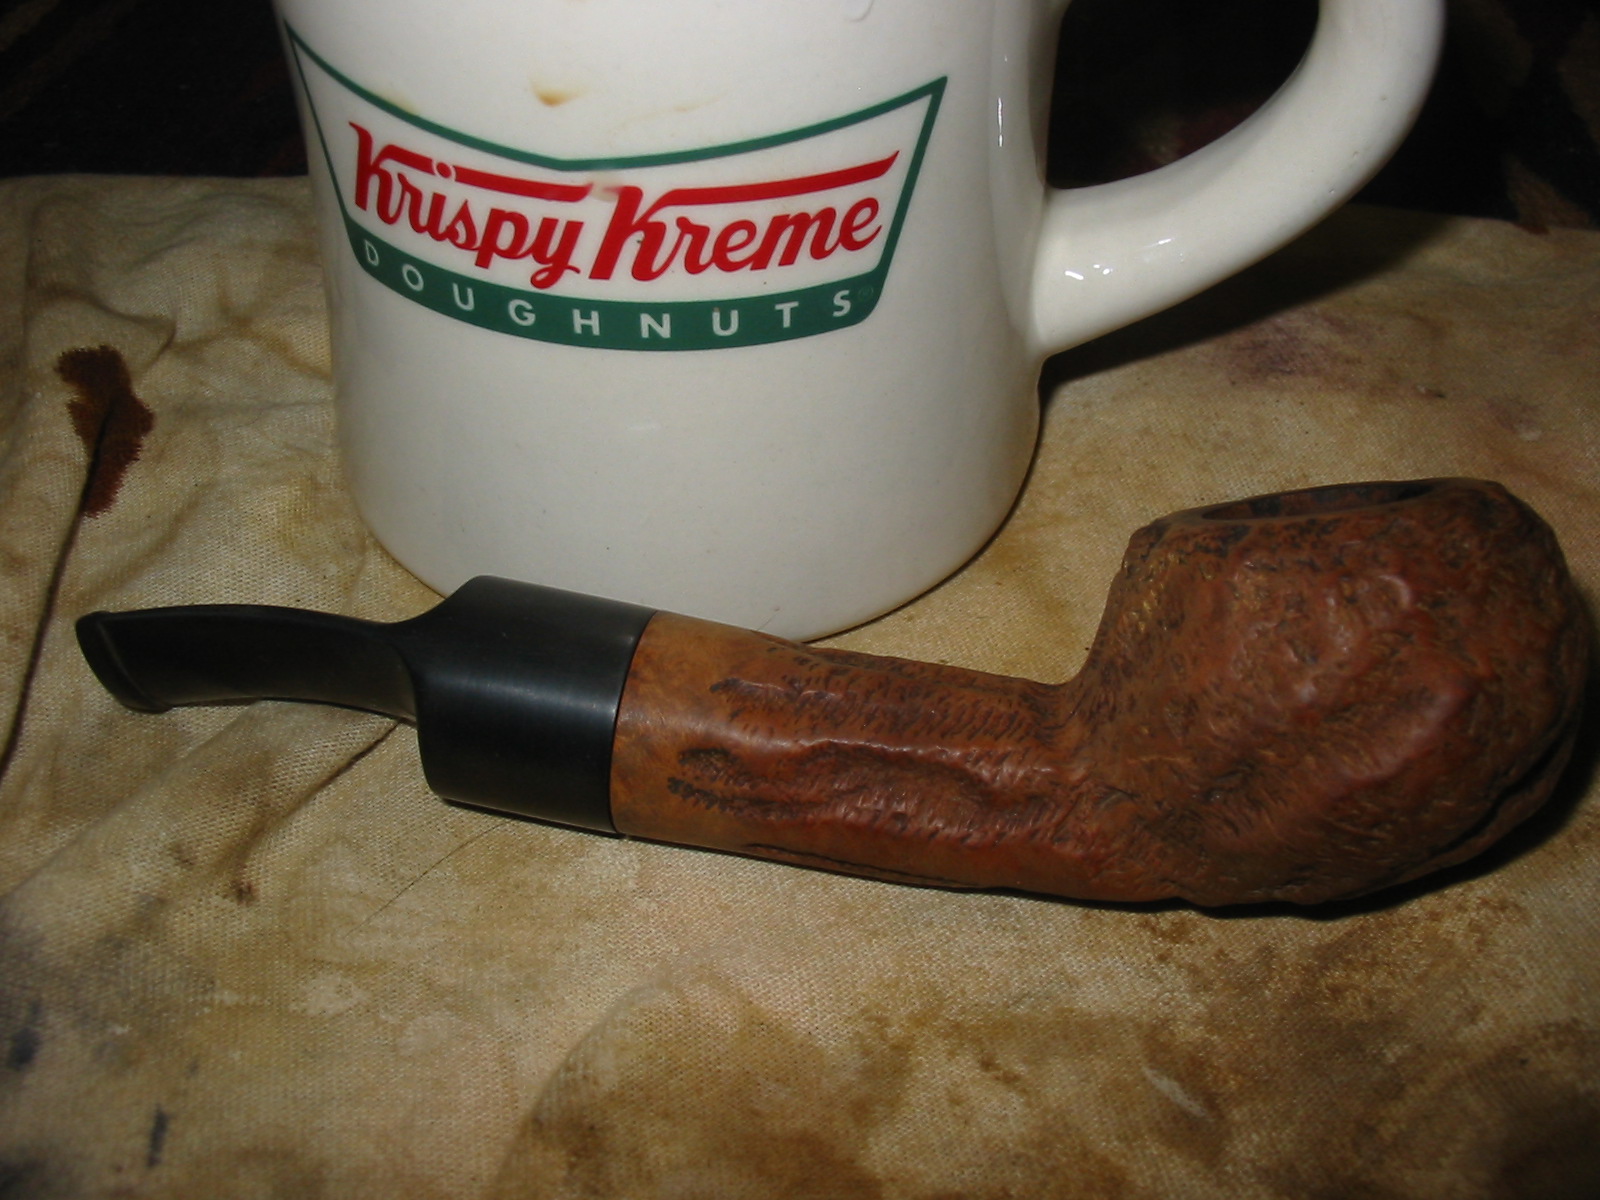
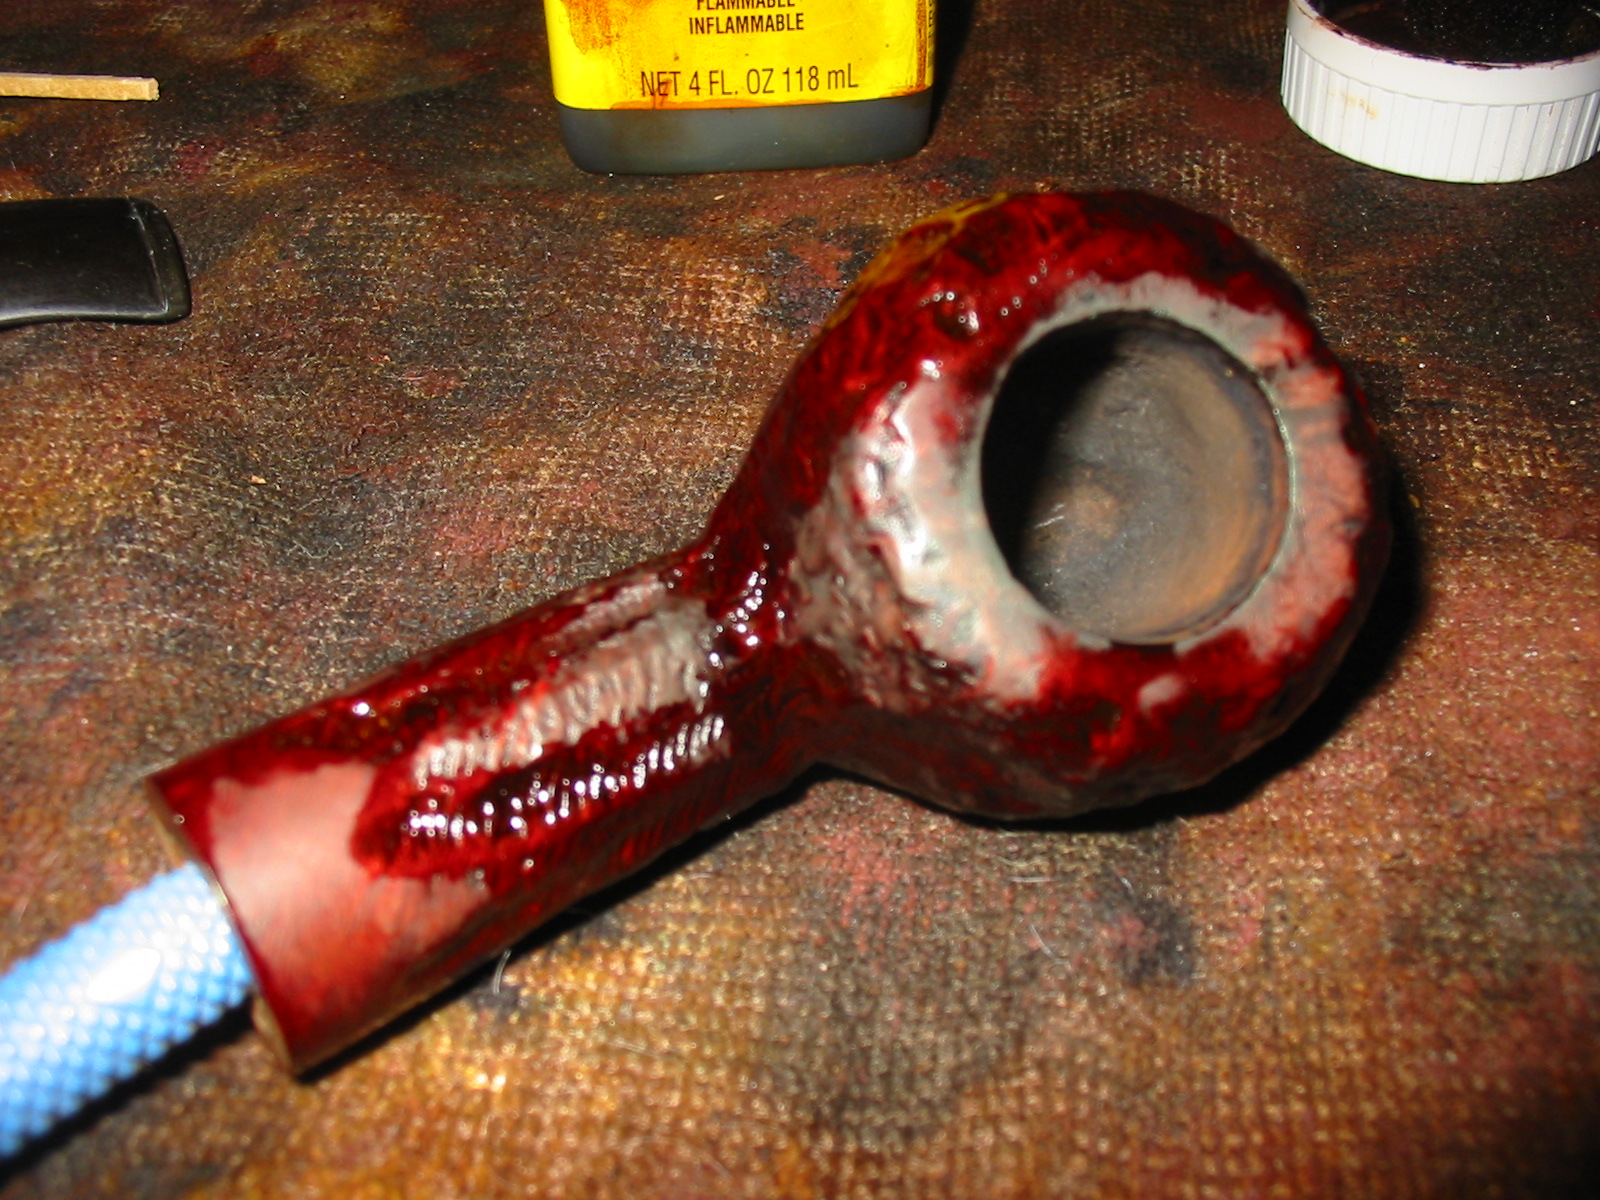
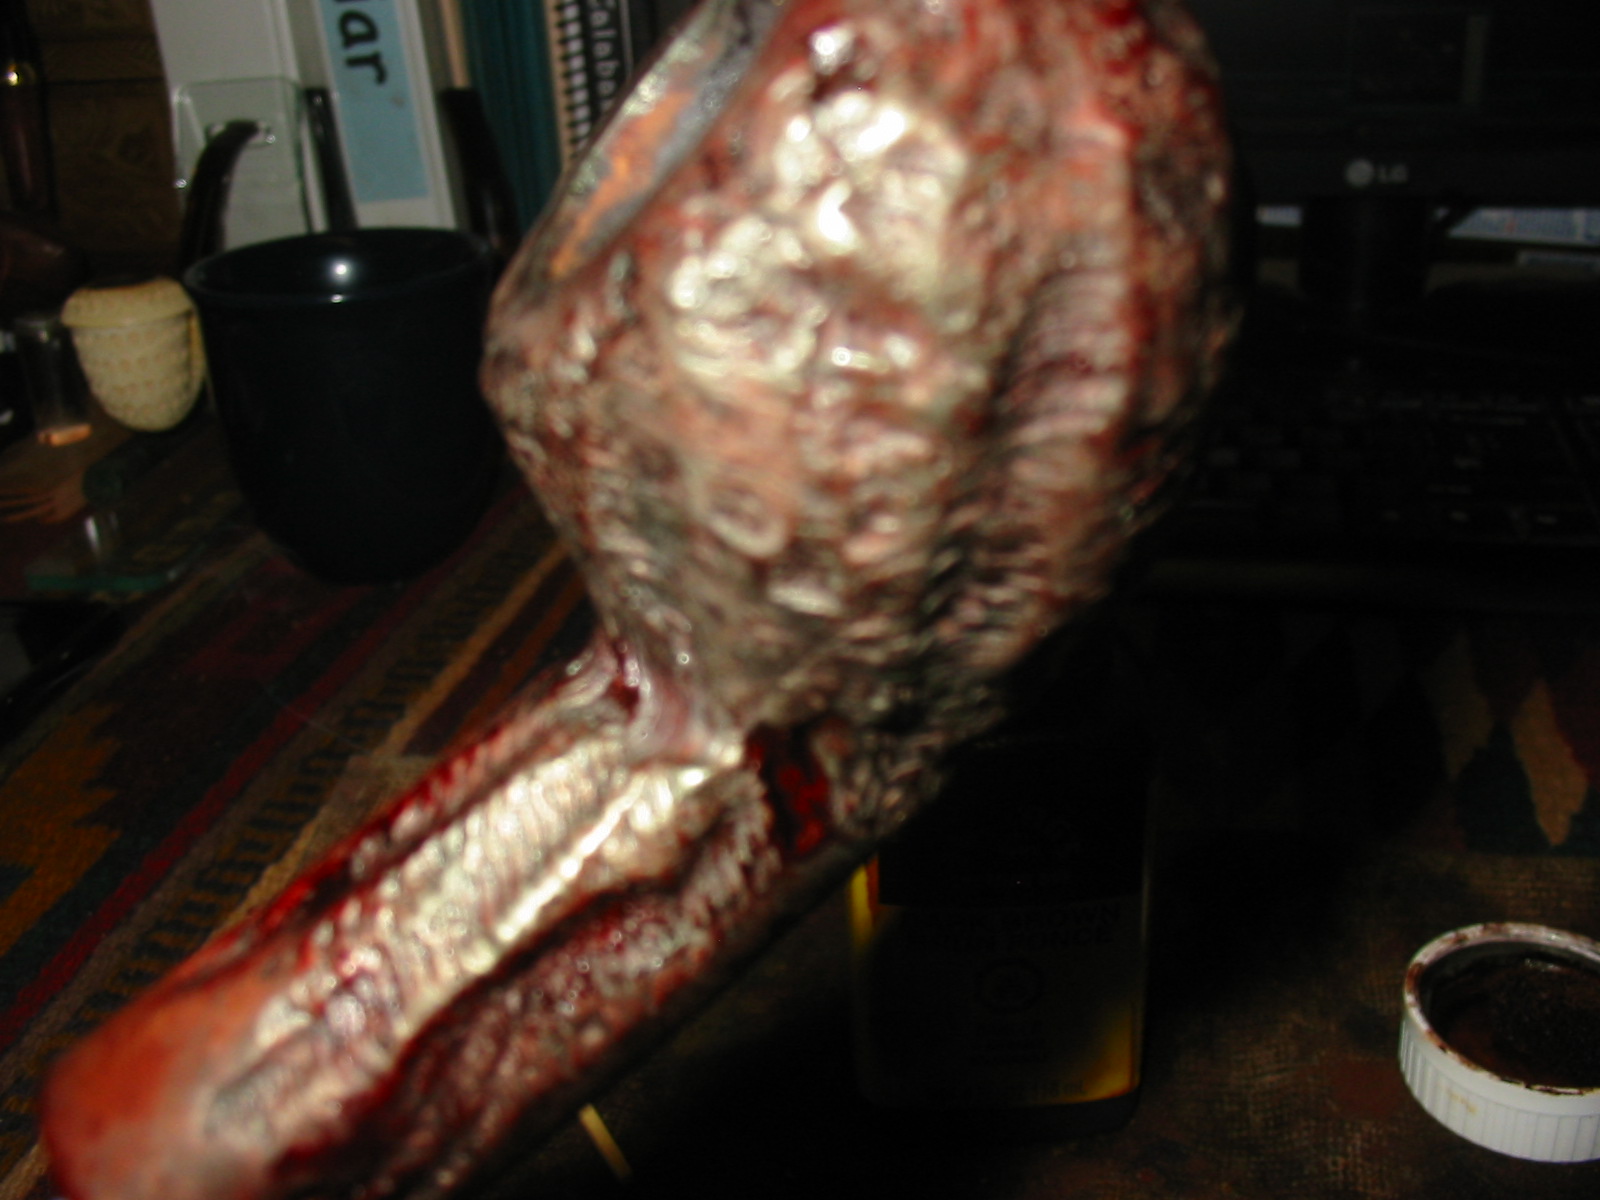
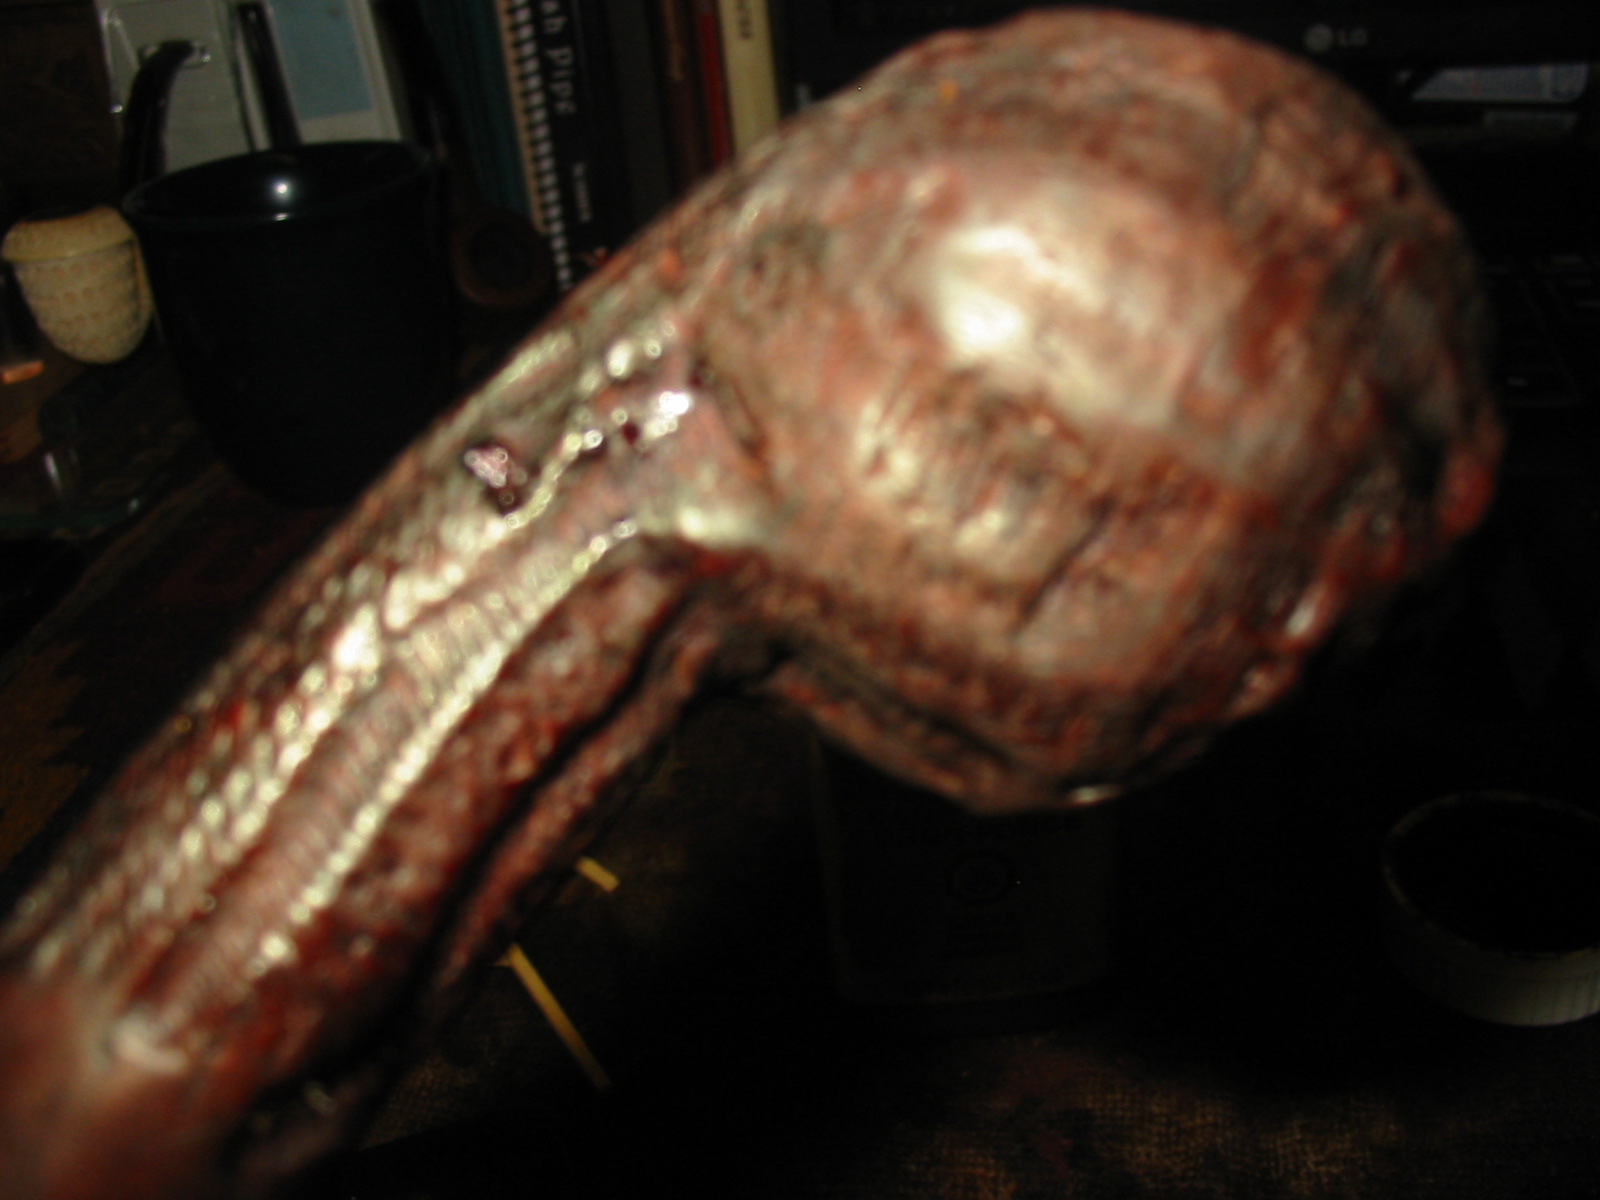
This old timer needed some tlc to make it a functional smoker again. The finish was shot and very dirty. The rim was caked and the cake was thick and heavy. The tars in the shank were so thick that the airway was virtually closed off. I am not sure how the previous owner could still smoke it. The stem was also clogged and dirty. The outside of the stem was oxidized. There were also some tooth marks and bite marks on the underside of the stem near the button. But something about the look and feel of this old timer in my hand drew me to it. I paid a princely sum of $11.99 to take this one home with me. The first set of photos show the state of pipe when I brought it home. The colour of the briar is correct in the first photo. The other ones are cast in an odd light that I cannot quite figure out but you can see what needed to be done to bring this pipe back to life and usefulness.

I took the pipe apart on my worktable and began the long process of cleaning out the tars and grime from the bowl and shank. I reamed the bowl with my Pipnet reaming set until it was down to the bare wood. I like bringing the bowl back to a new base to rebuild the cake as I like it. This one has an odd shaped bowl in that at the bottom of the bowl the airway enters quite high in the side of the bowl – about a 1/8 inch above the bottom of the bowl. Below the airway the bowl bottom is cut like a V – not sure if the previous owner cut the channel that way or it just happened for over working pipe cleaners in the bowl bottom. Whatever the cause, I will need to build up the bowl bottom with pipe mud. I cleaned out the grime from the bowl bottom with a dental pick and removed the dottle that had collected in the V. A good cigar will give me the ash I need to make pipe mud to do the repair. It should be as good as new when I have finished that. I used some isopropyl alcohol and then switched to Everclear to clean the inside of the shank. That took some work as the shank was very constricted from the end of the mortise to the bowl. I cleaned the airway with a bent paper clip and then bristle pipe cleaners to open it up. Because of the way the bottom of the bowl was I did not want to risk a drill bit to clean it at this point. Many pipe cleaners later the airway came out clean. I then scrubbed the mortise with cotton swabs and alcohol until it also was clean and spotless.
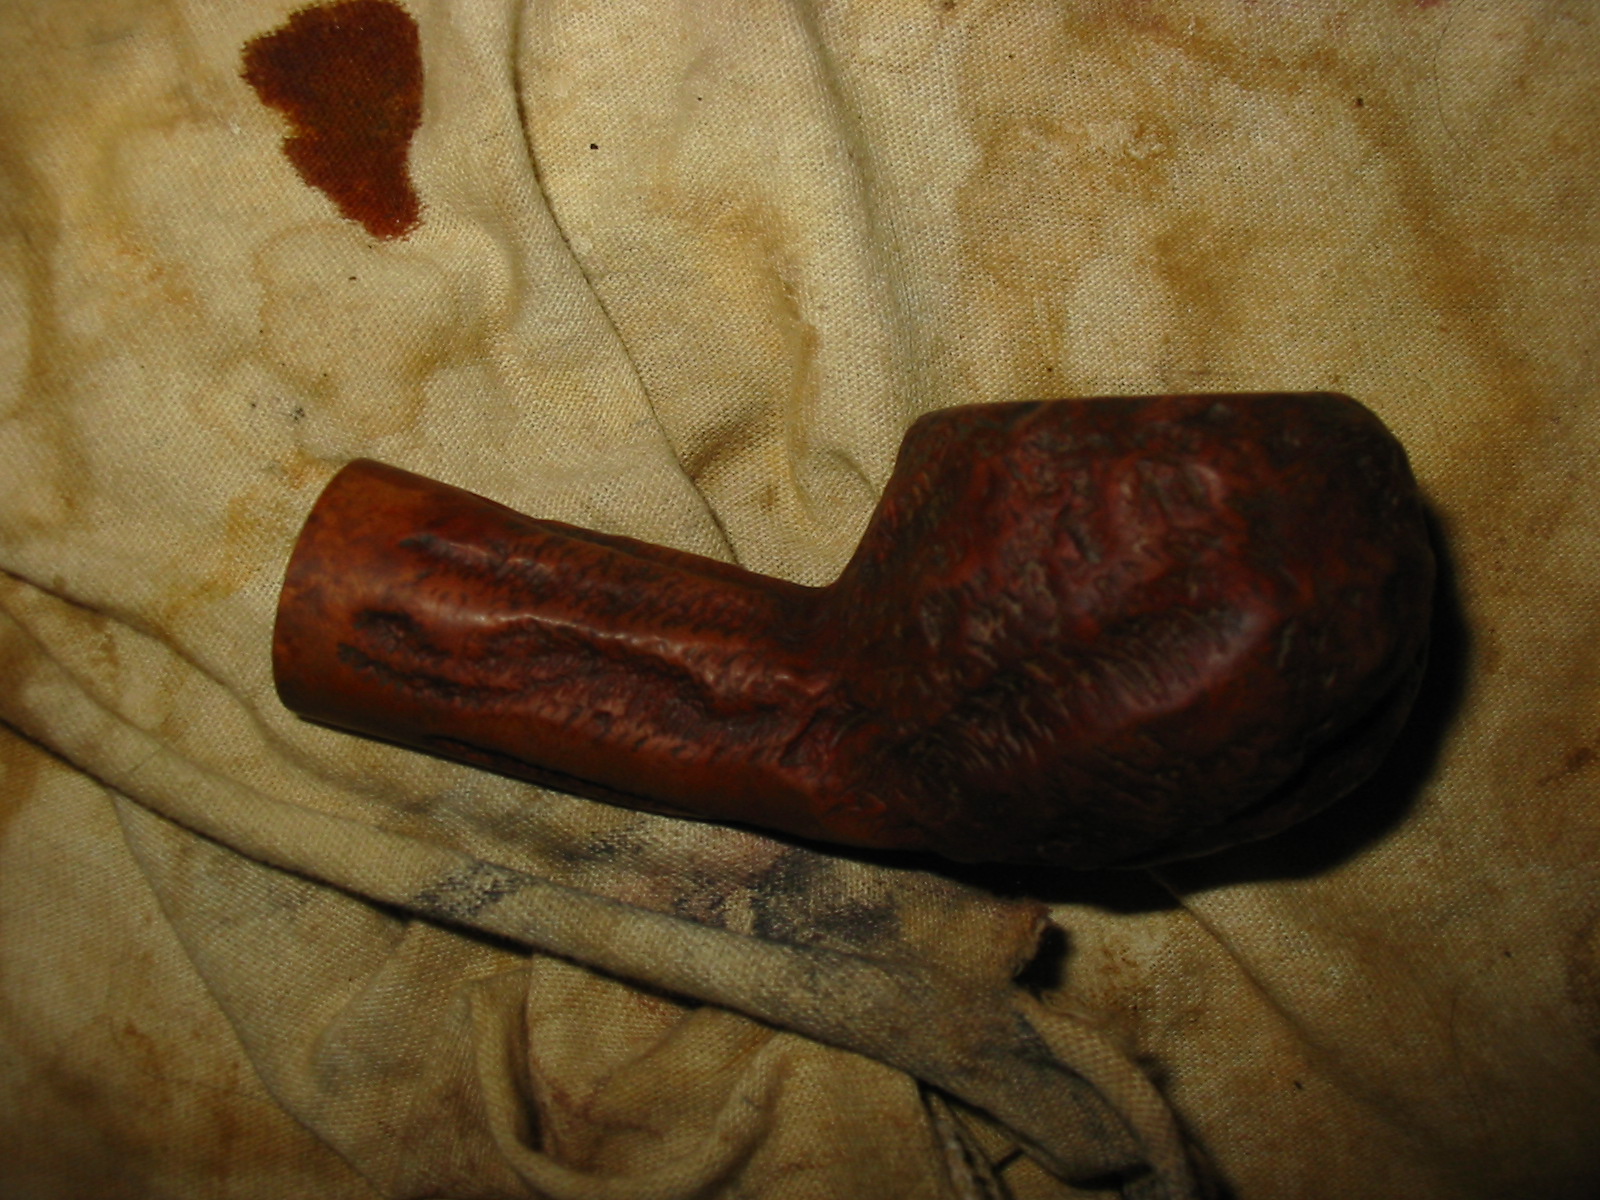
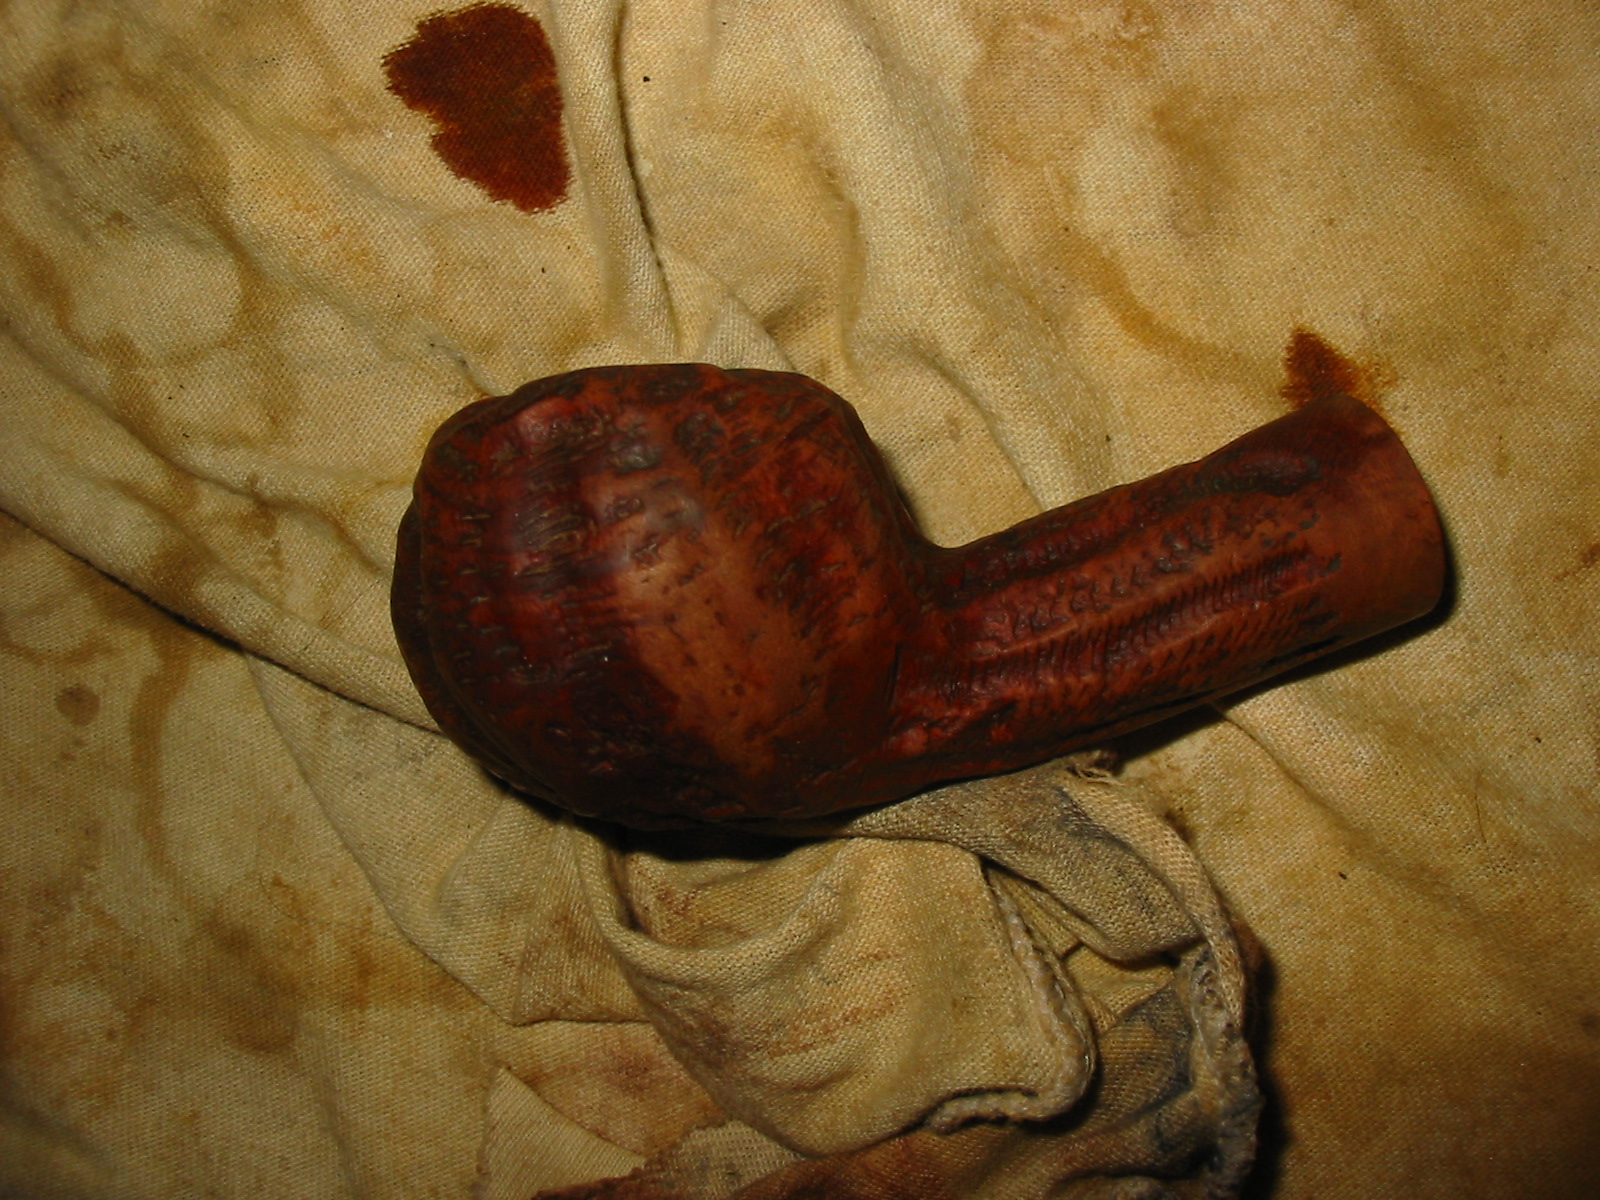
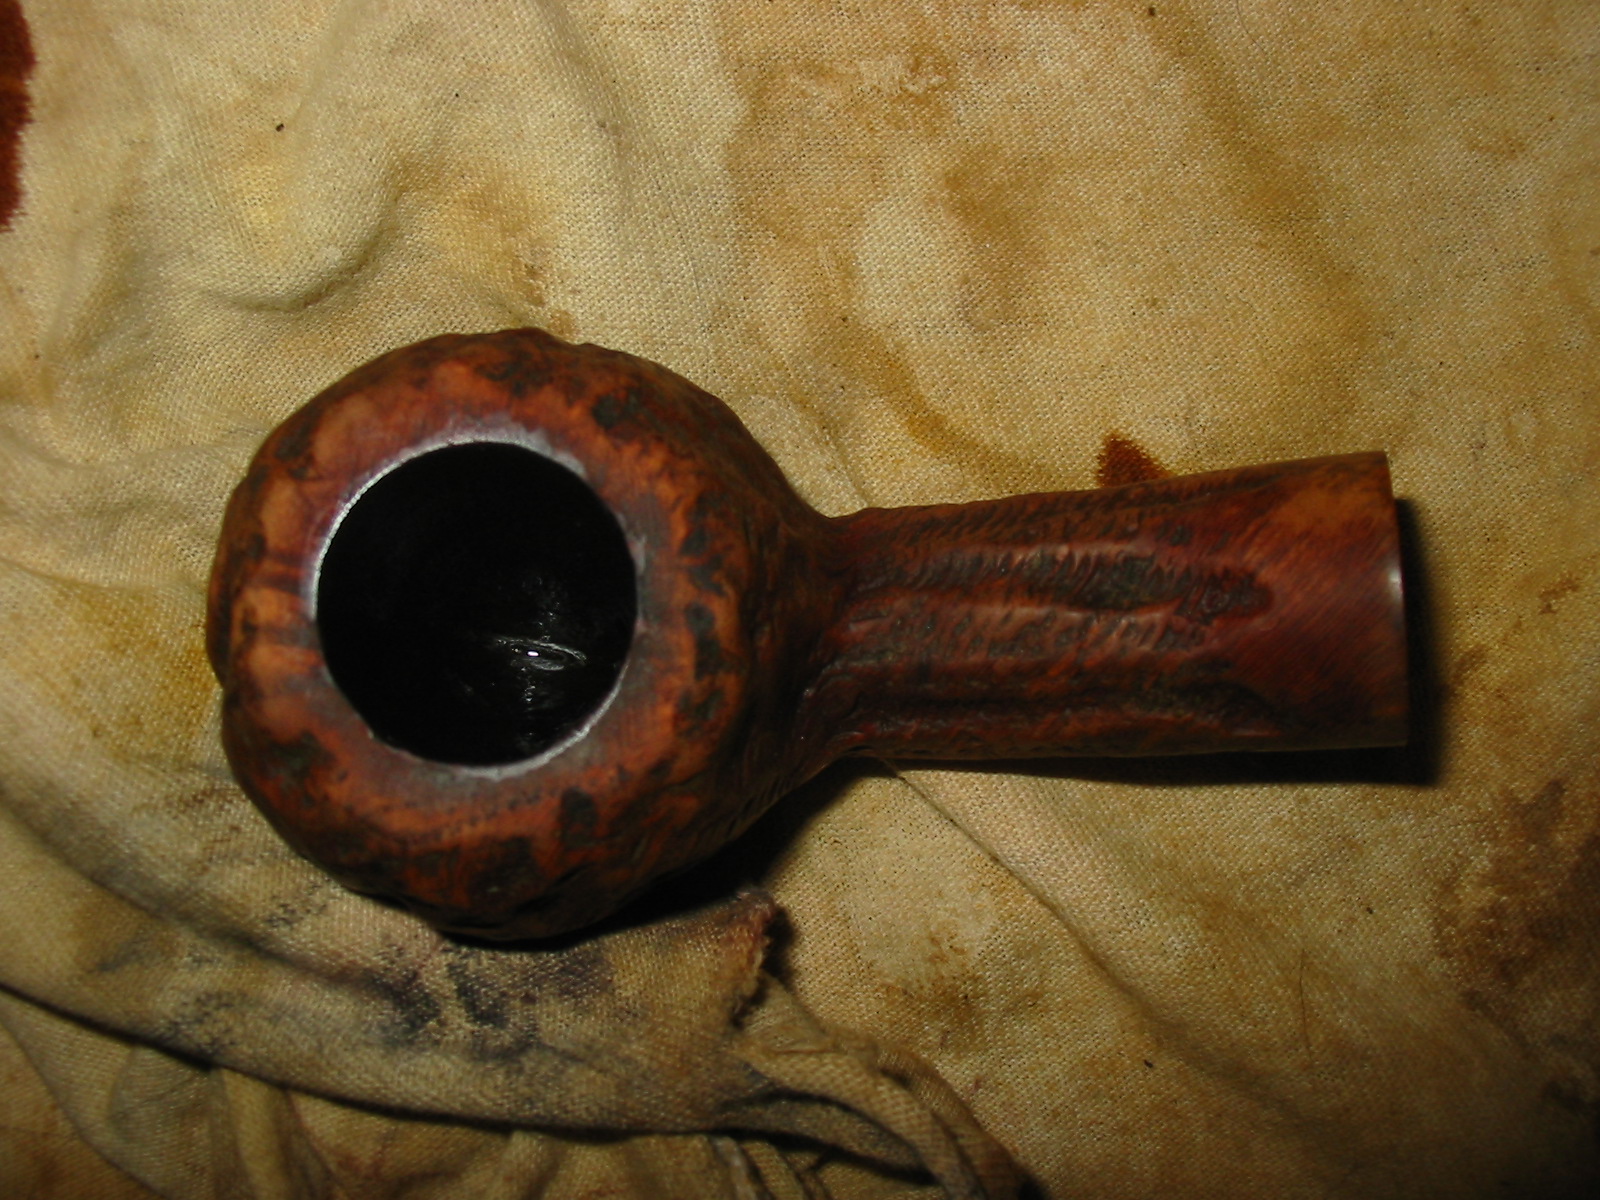
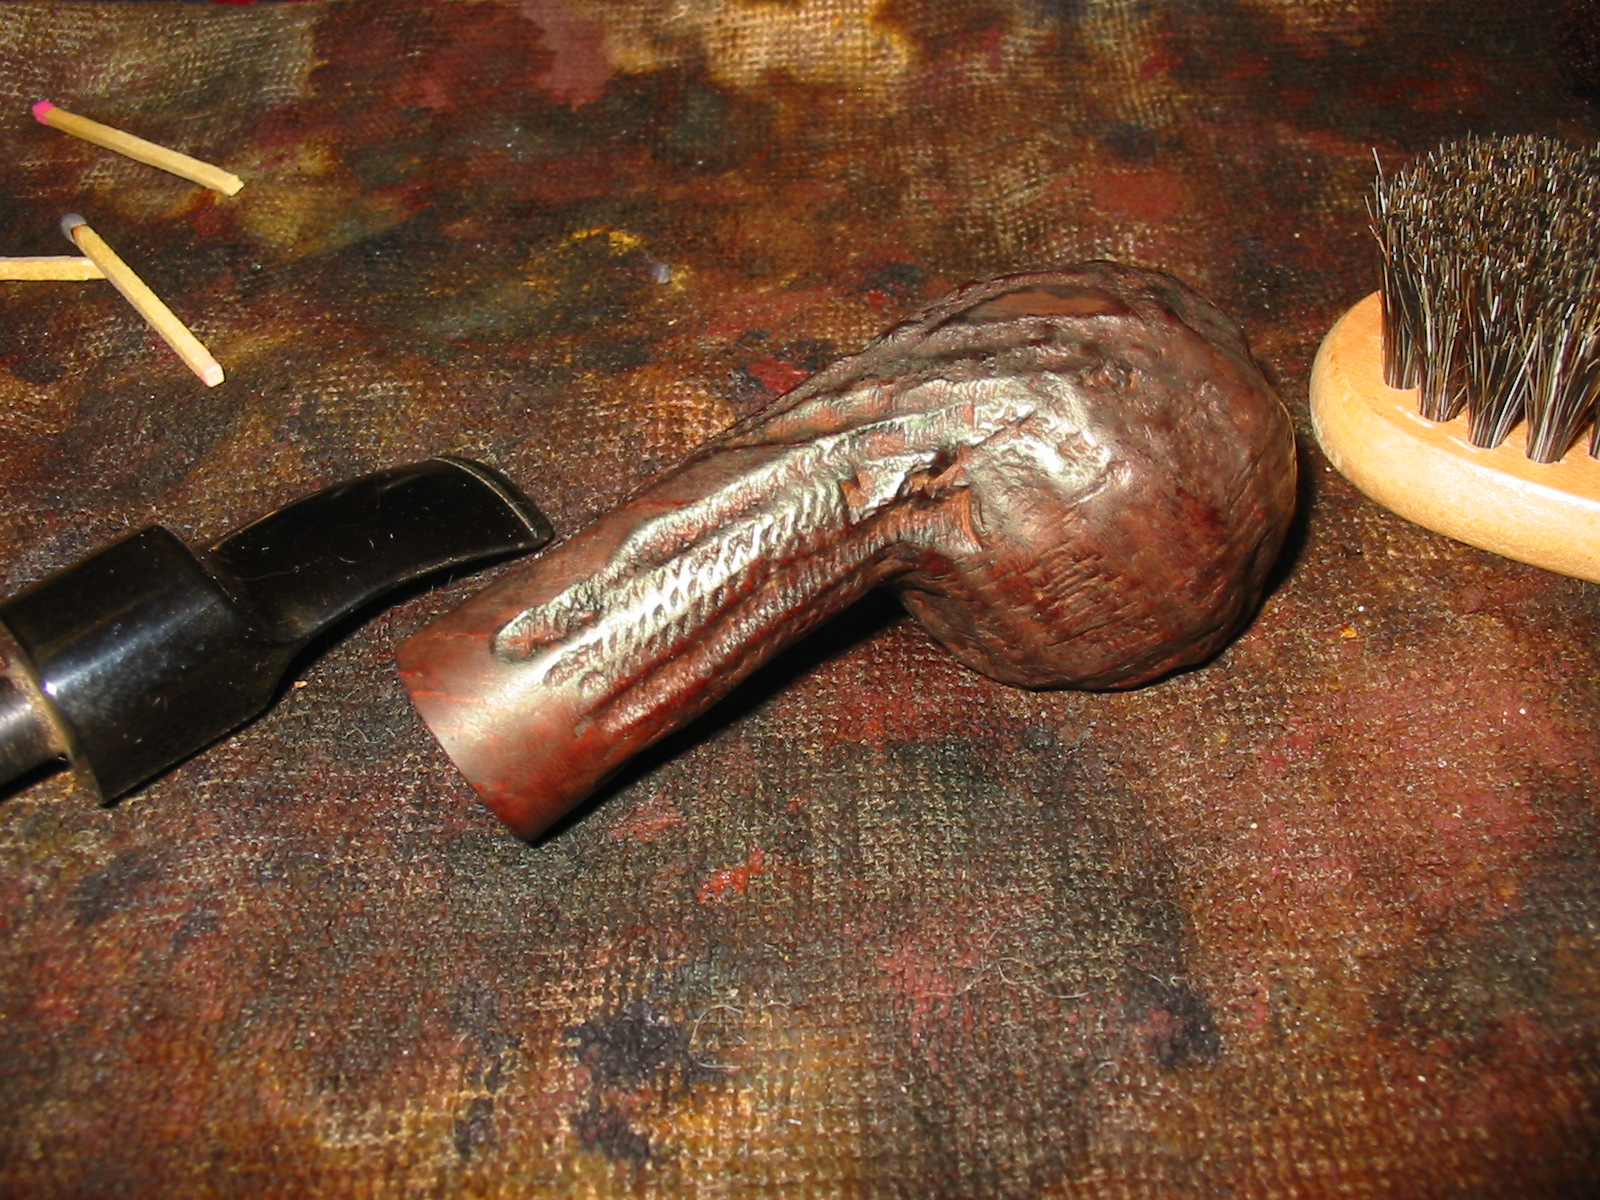
After I had finished cleaning the inside of the pipe I put it in an alcohol bath to remove the grime from the rim and the outside of the bowel. I let the bowl soak in the alcohol bath for about an hour. When the time was up I removed it from the bath and scrubbed it with the alcohol from the bath and a toothbrush. I scrubbed the rim and the exterior of the pipe to remove the softened grime. Once it was finished I dried it off and set it aside to dry. The next series of photos show the bowl after the cleaning in the alcohol bath and the scrubbing.
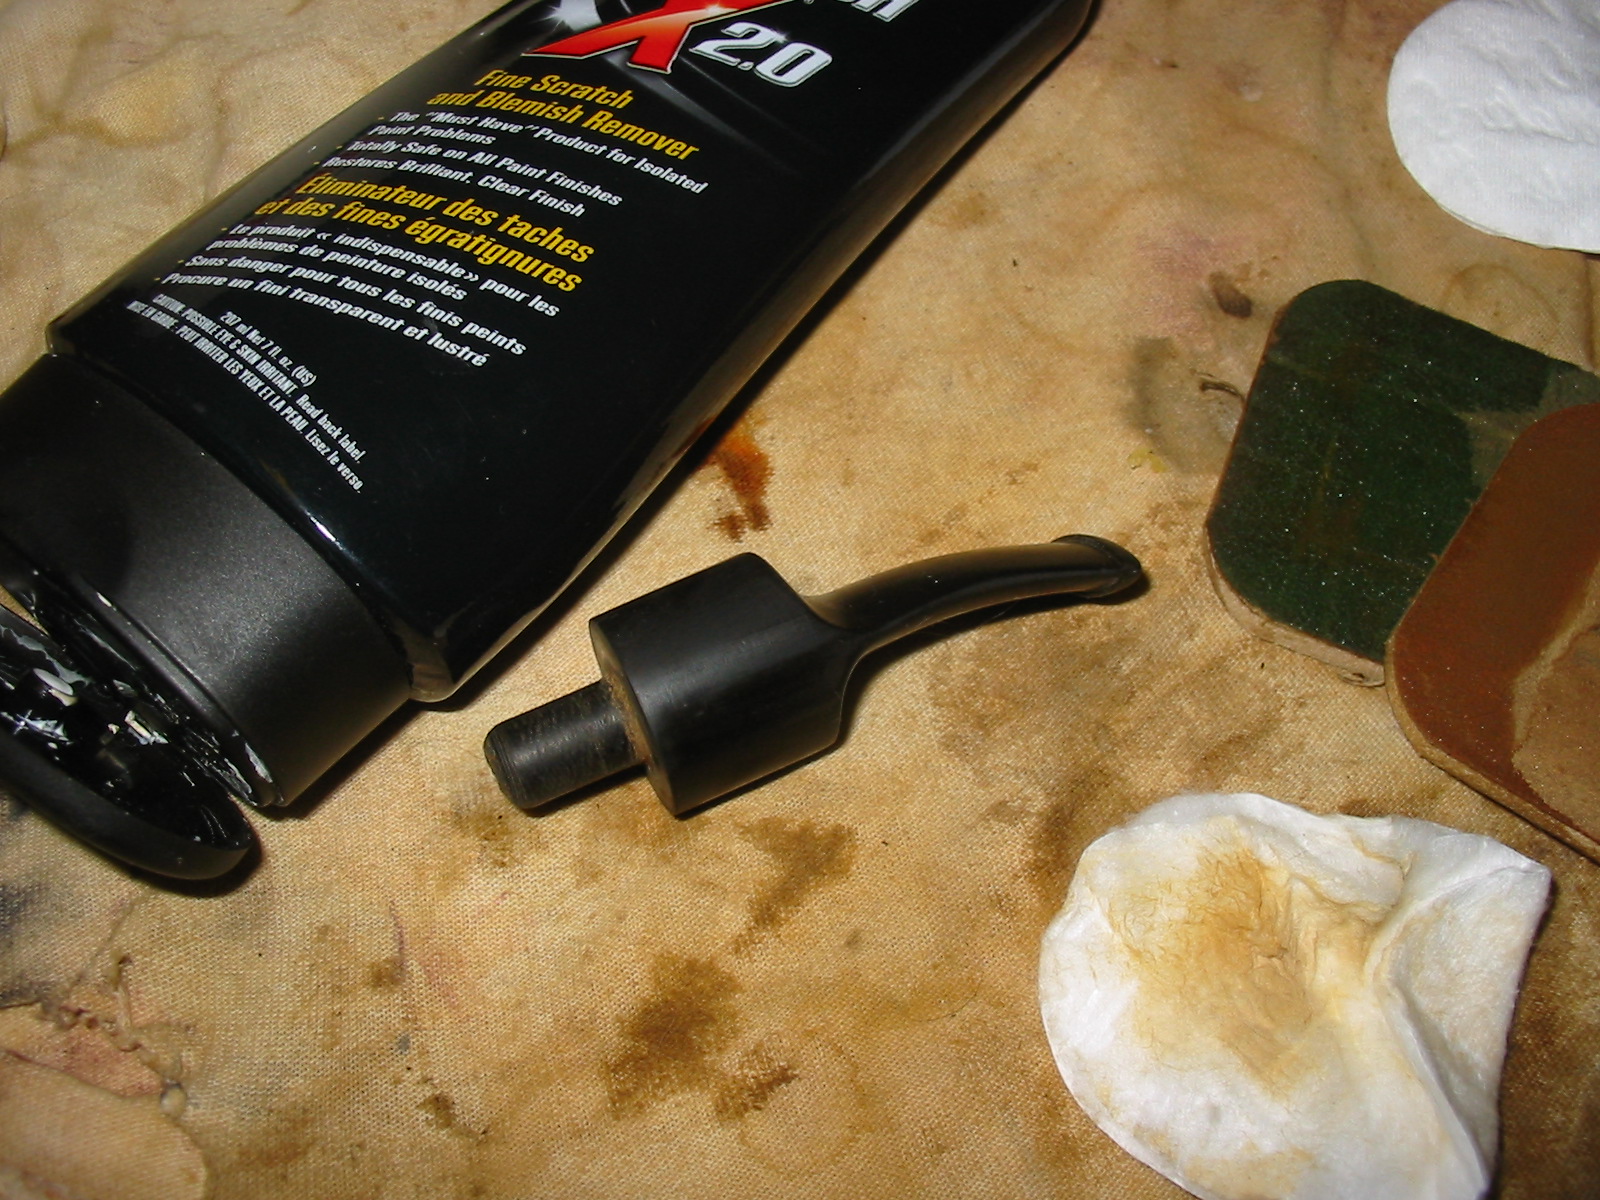
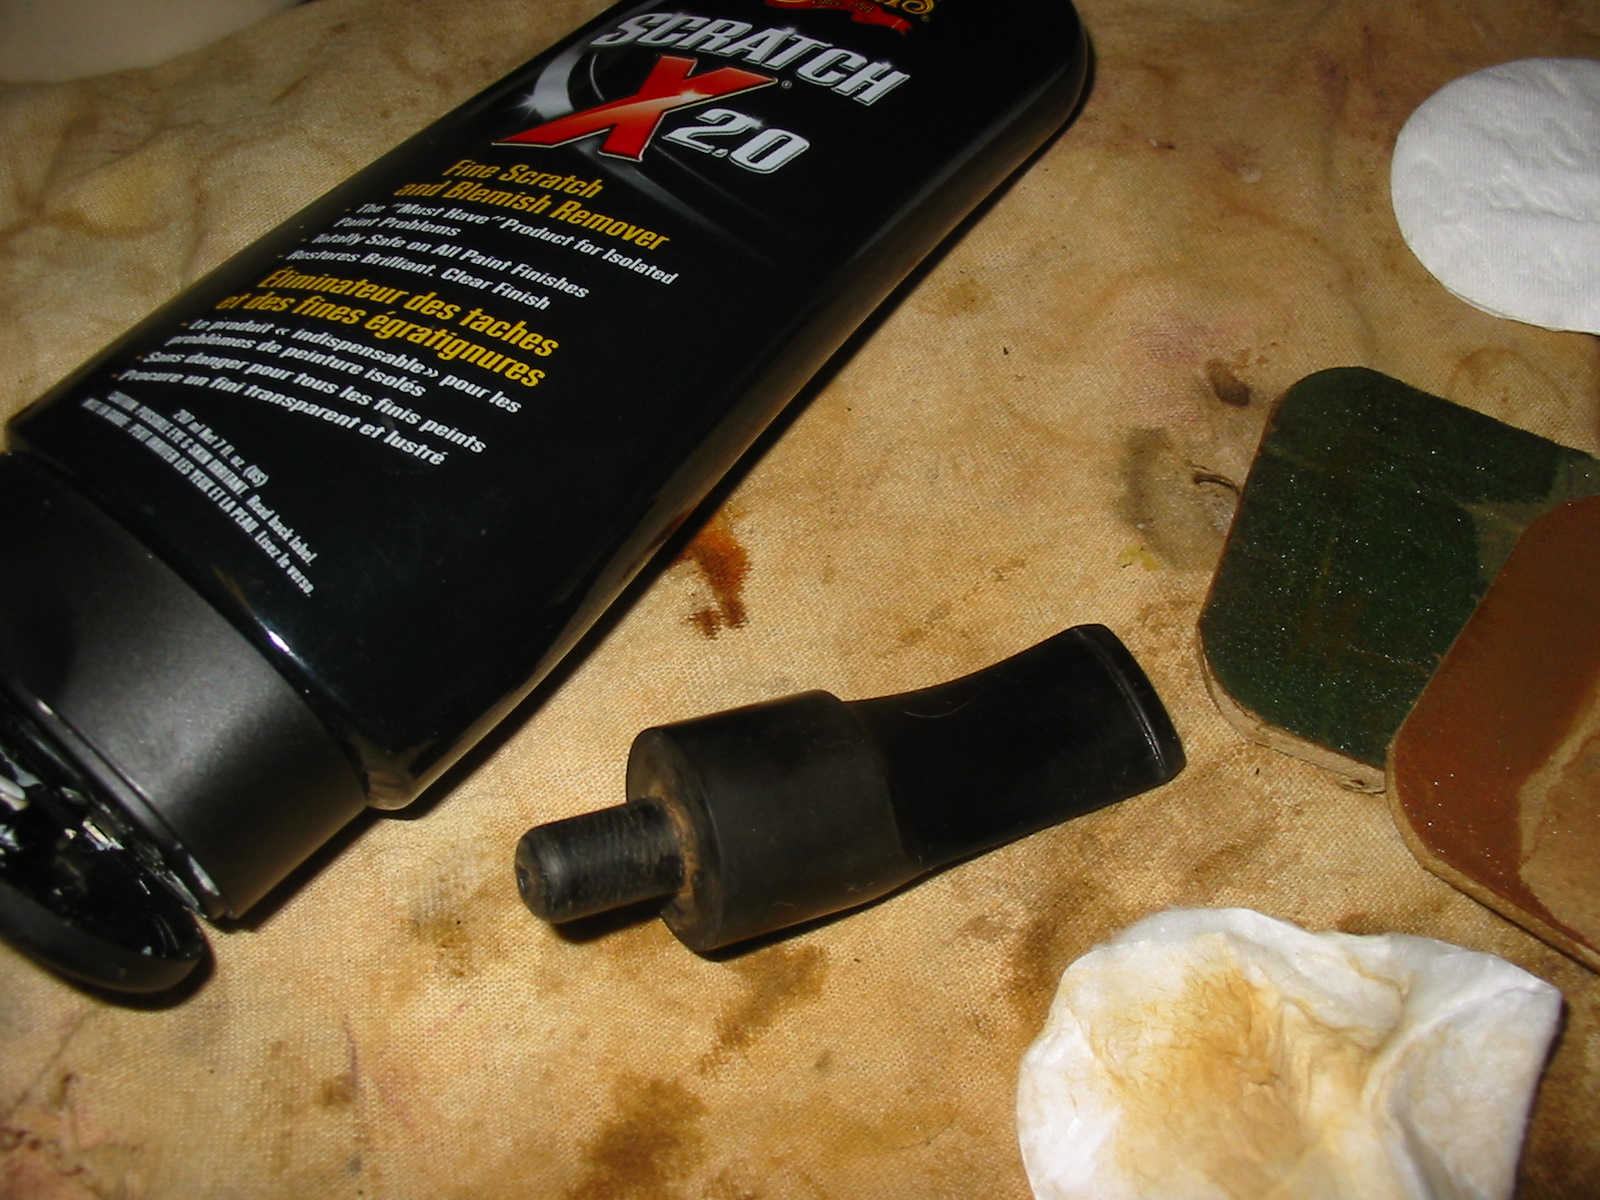
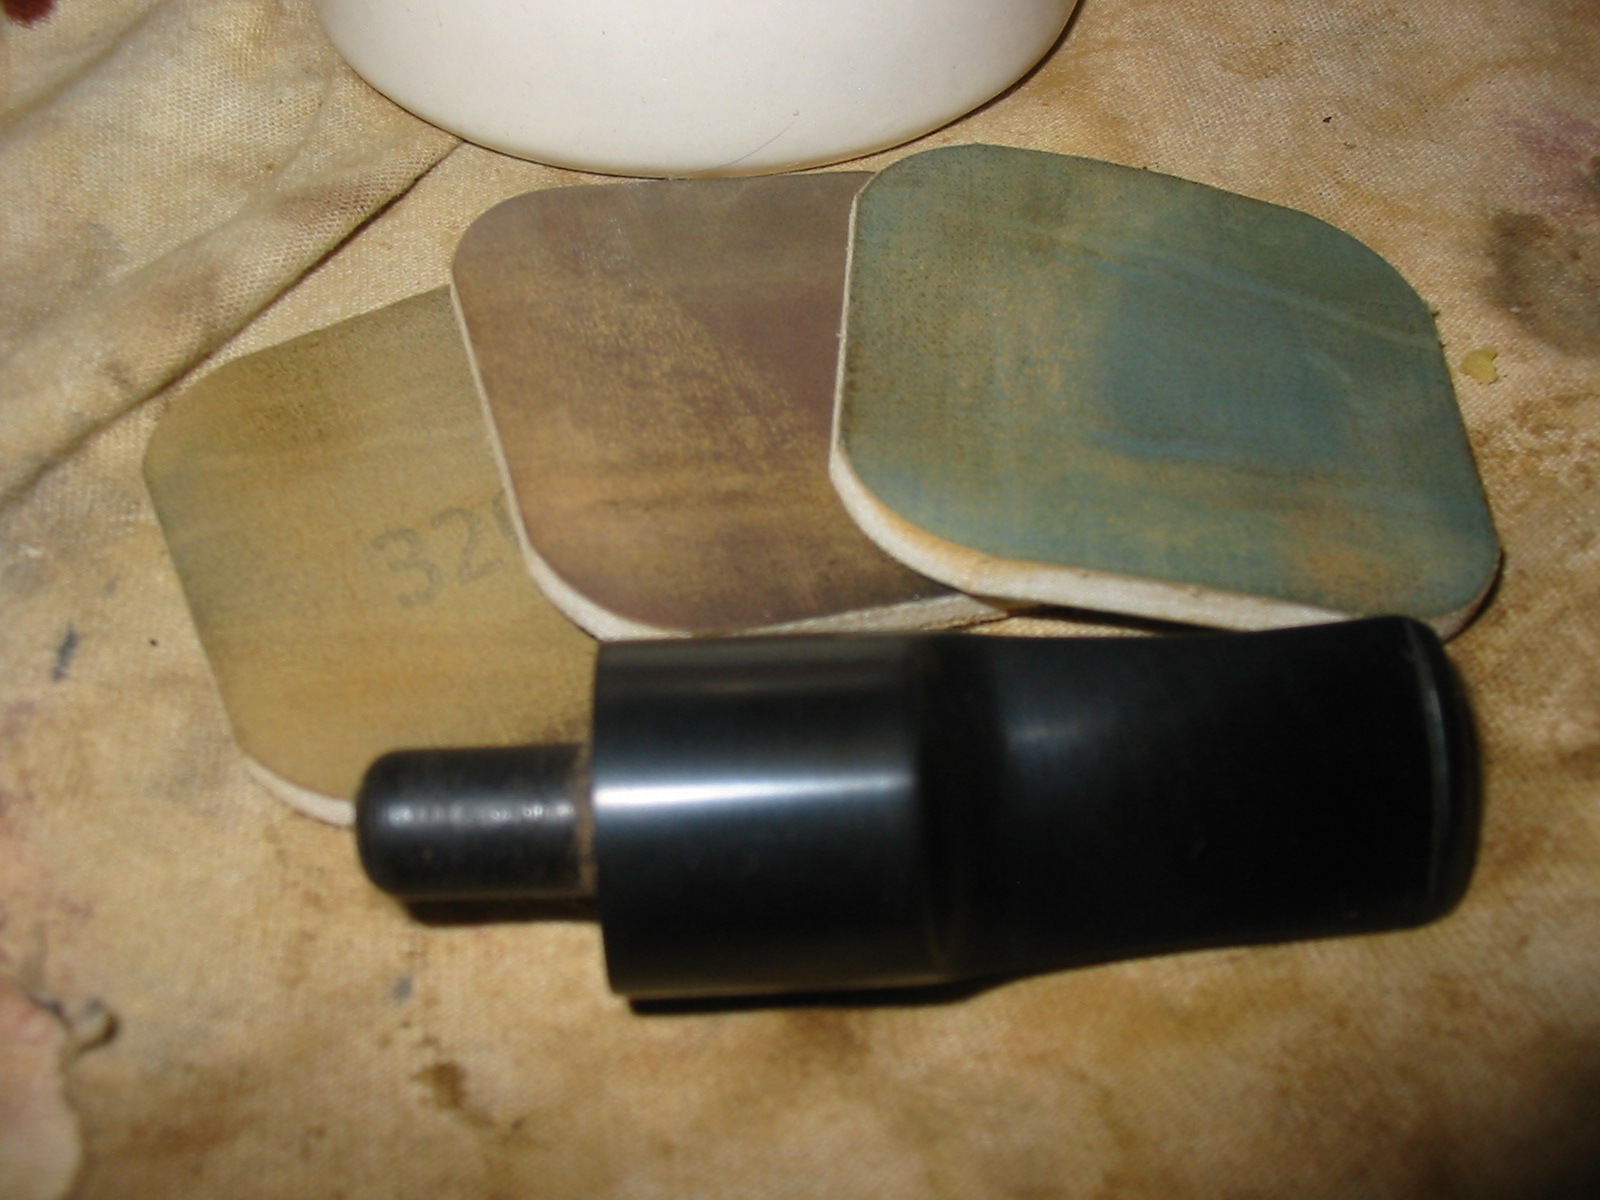
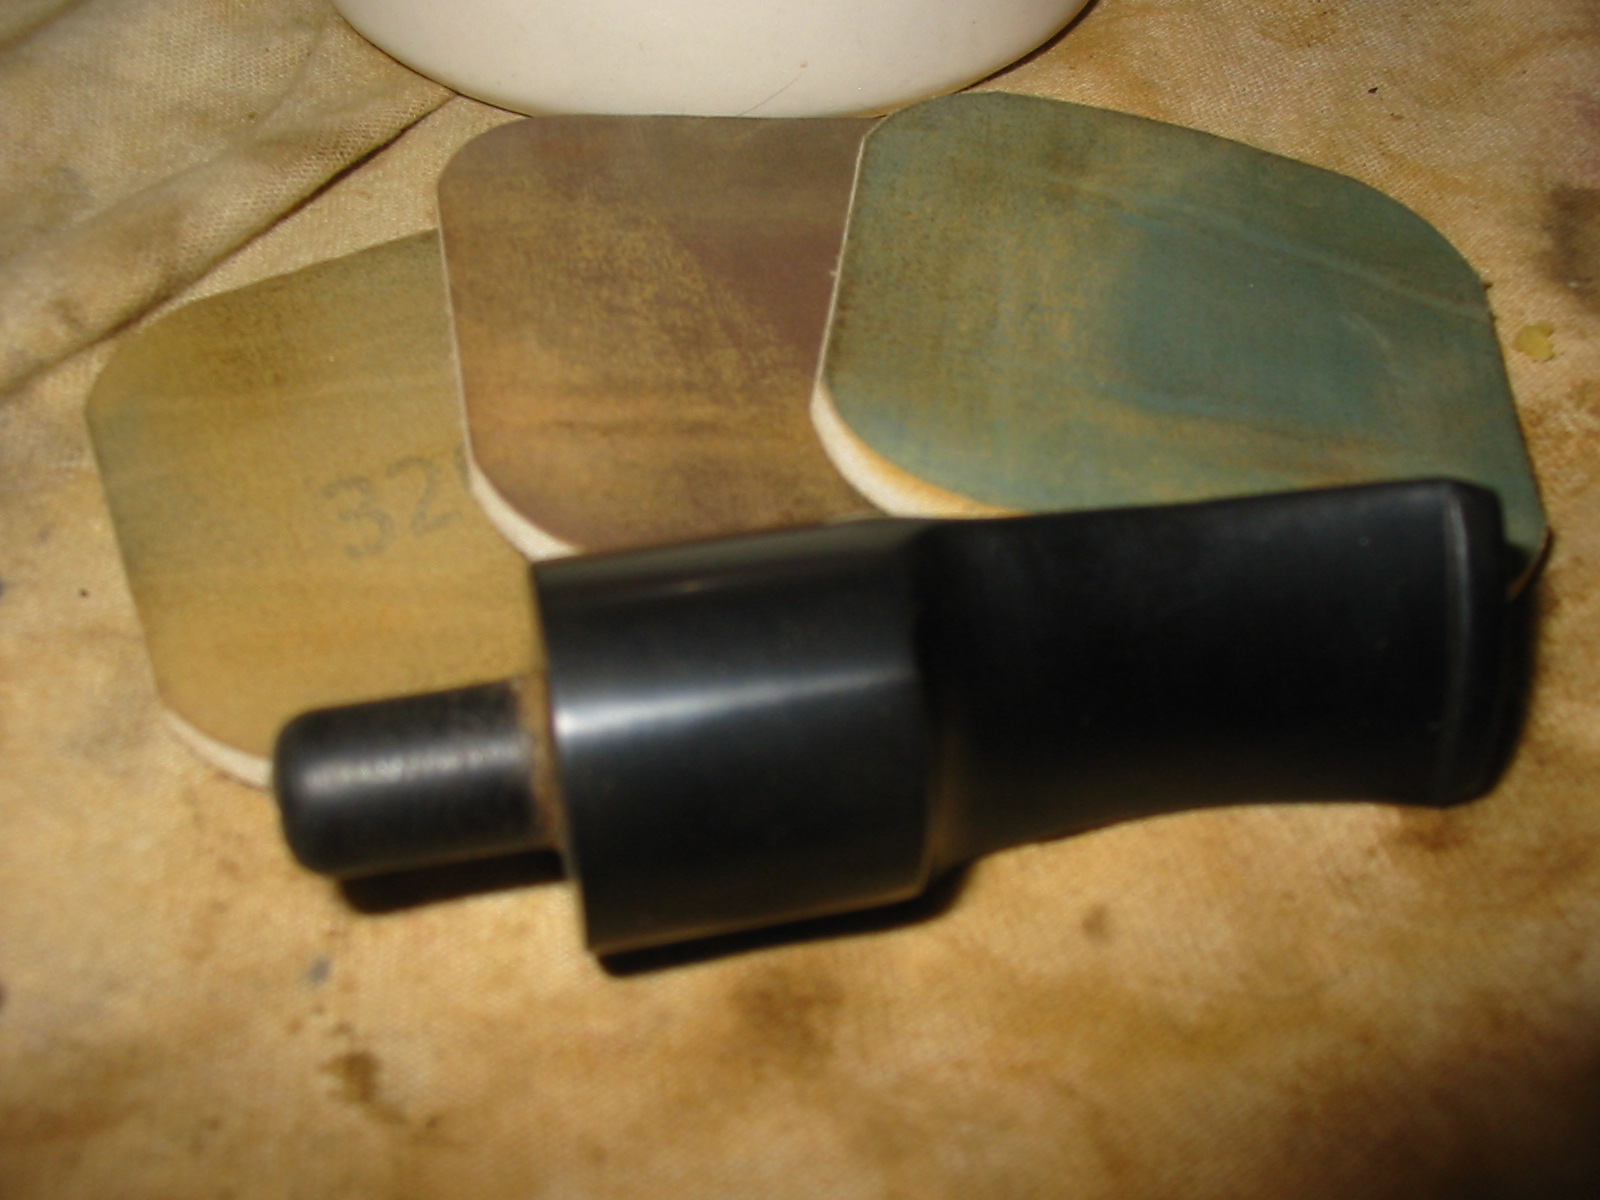
I went to work on the stem at that point and sanded it initially with fine grit sandpaper on foam backing. This gave me the ability to work the angles and curves of the saddle stem and the area around the button to remove the tooth marks and chatter. Once I had done that I used 320 grit sandpaper to sand out the scratches and remove the remaining oxidation. I then used Maguiar’s Scratch X2.0 to polish the stem. I coated the stem with the polish and then scrubbed it with a cotton pad and repeated the process two more times to give it an initial shine. The next two photos show the stem after the polishing with the Maguiar’s polish.
I put the cleaned stem back on the now dried pipe bowl to do some of the close sanding around the shank/stem union. I did not want to round the edges of the stem and ruin the smooth fit that the stem had originally. Using micromesh sanding pads 1500, 1800 and 2400 grit I wet sanded the stem. I then used Murphy’s Oil Soap and a tooth brush to scour the pipe bowl and shank exterior. I scrubbed it until the soap was brown and frothy. I then rinsed it in the sink under warm water and dried it off with a microfiber cloth. The next series of four photos show the finished bowl ready for a new coat of stain.


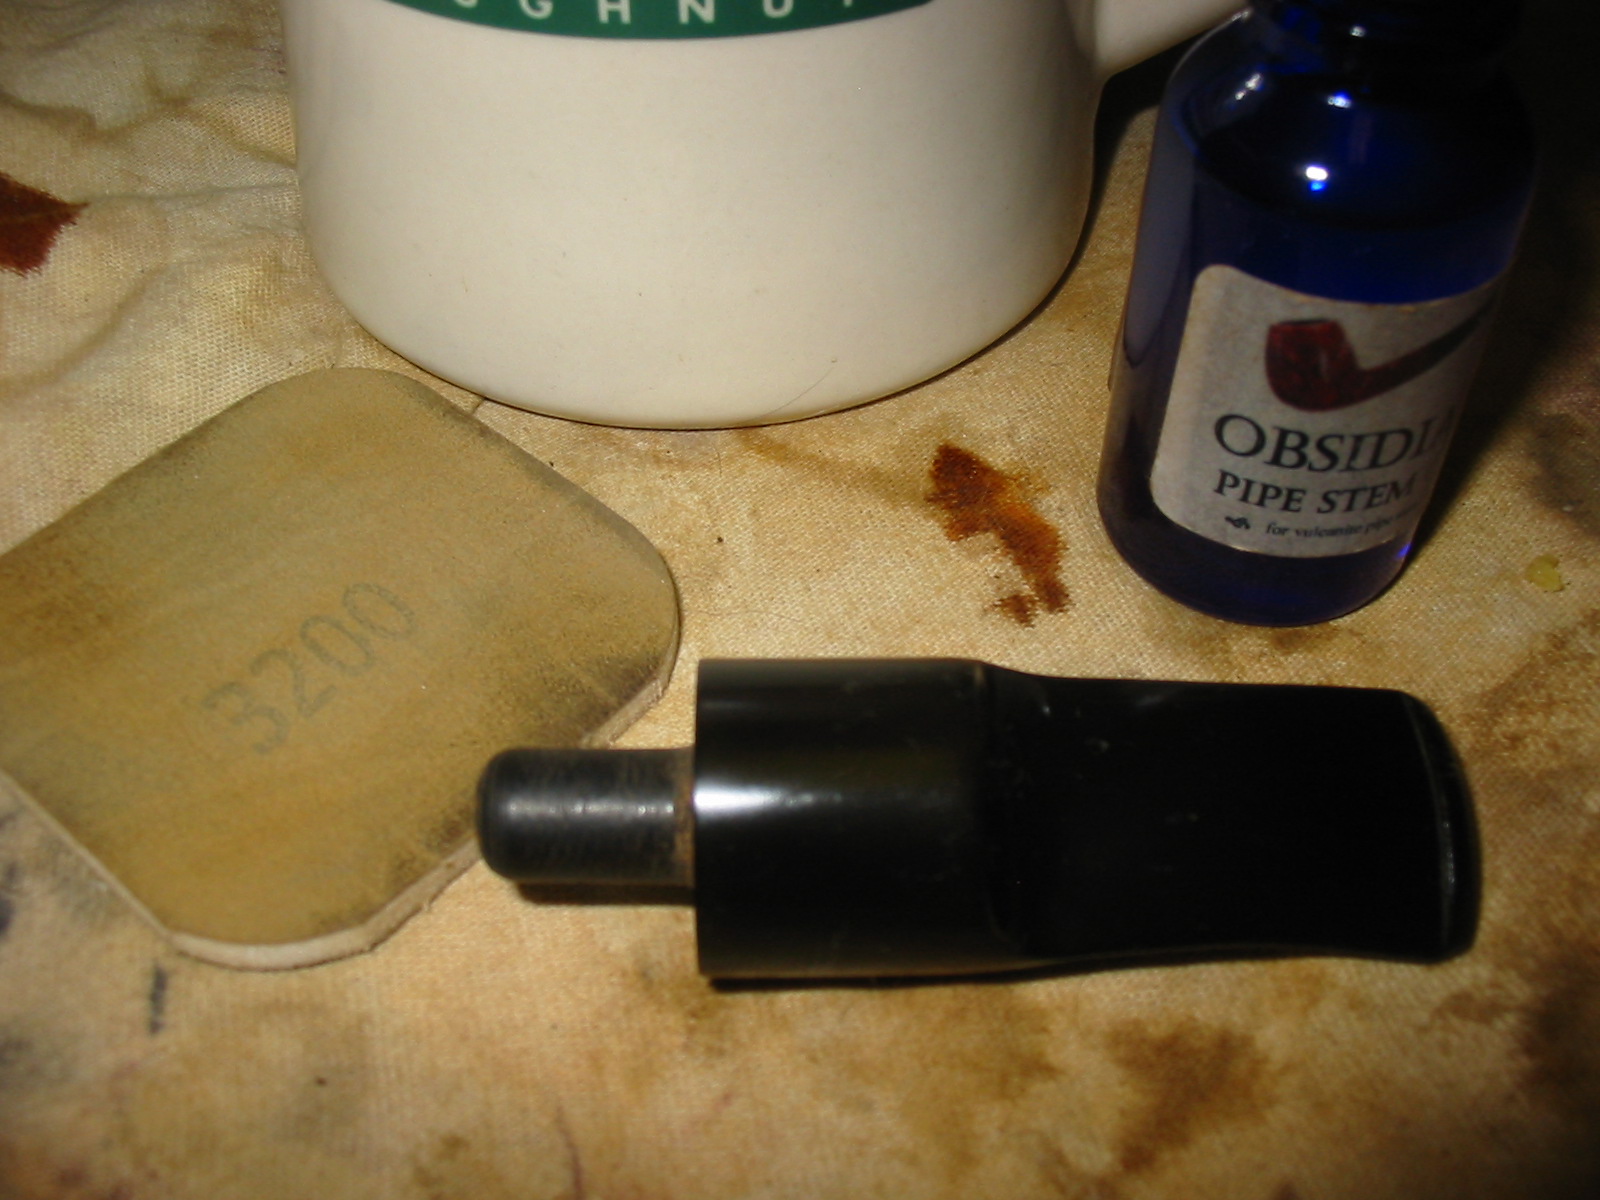
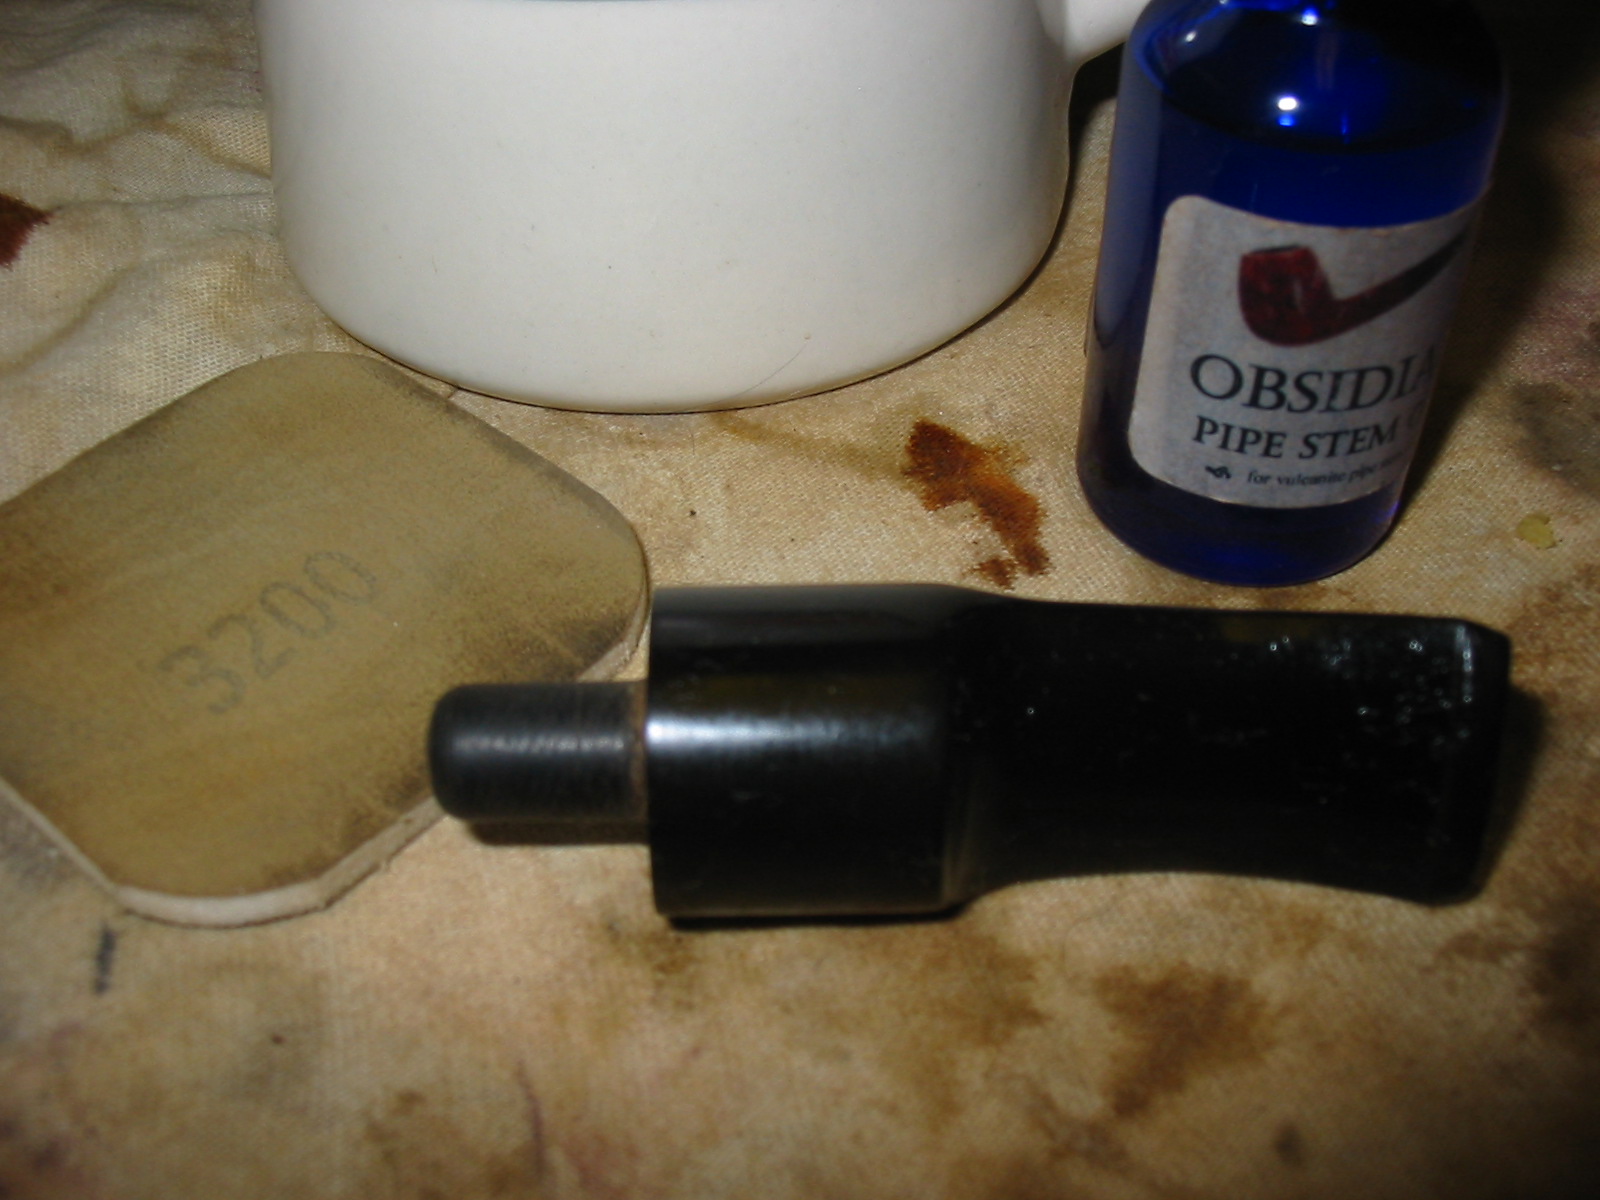
I then set the bowl aside and worked on the stem for the remainder of the micromesh sanding pads from 3200-12,000 grit. Before beginning with the 3200 grit I coated the stem with some Obsidian Oil and rubbed it into the stem. When it was dried I sanded the stem with 3200, 4000 and 6000 grit sanding pads. The next series of photos show the process of the sanding and the resultant look of the stem at this point.
I set up my staining area and took out the dark brown aniline stain. I thinned it with isopropyl alcohol 3 to 1 and then applied the stain with a dauber to get the stain into all the crevices. Once it was coated well I flamed the stain and let it set the stain. The flaming burns off the alcohol in the stain and works to set the stain in the briar. I reapplied the stain and reflamed it to set a second time.
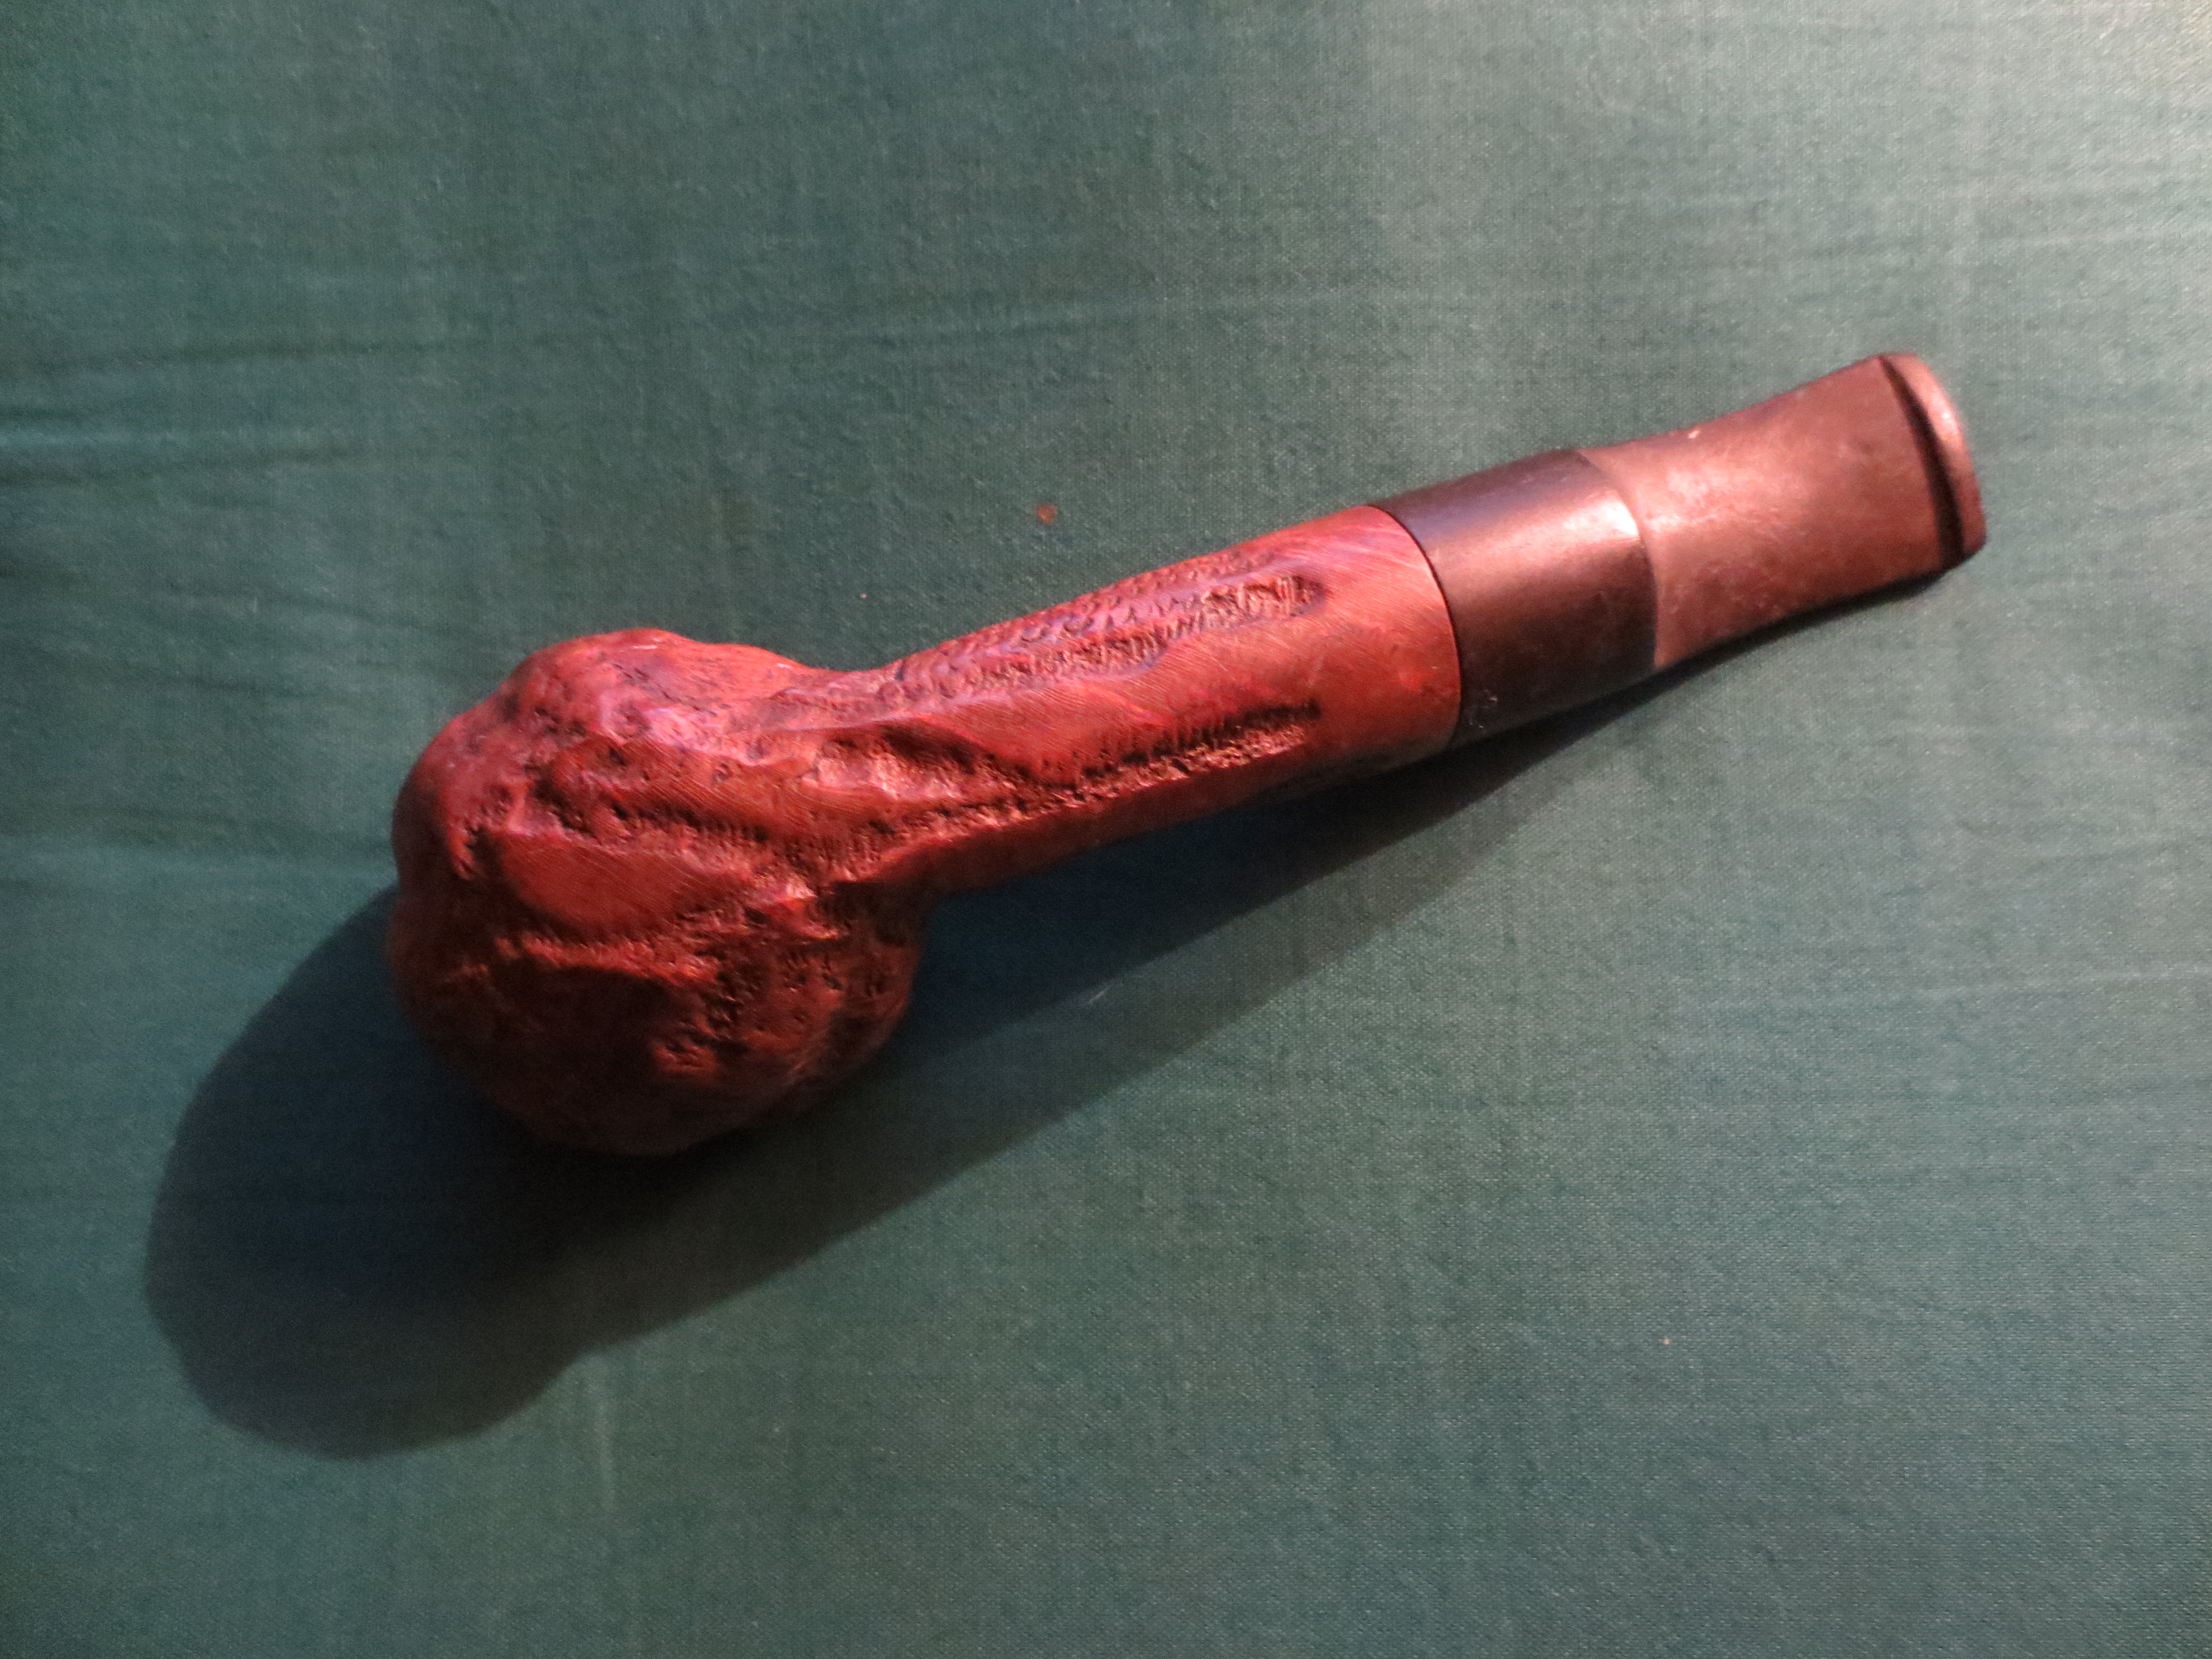
After flaming the stain I let it sit for about 15 minutes to let the stain dry in the crevices of the rustication. The first photo below shows the bowl after the stain has dried to a nice matte finish. I then used a shoe buffing brush to buff the pipe. The second photo shows the bowl after that buffing. I then finished sanding the stem with 6000, 8000 and 12,000 girt micromesh sanding pads and then coated it a final time with Obsidian Oil.

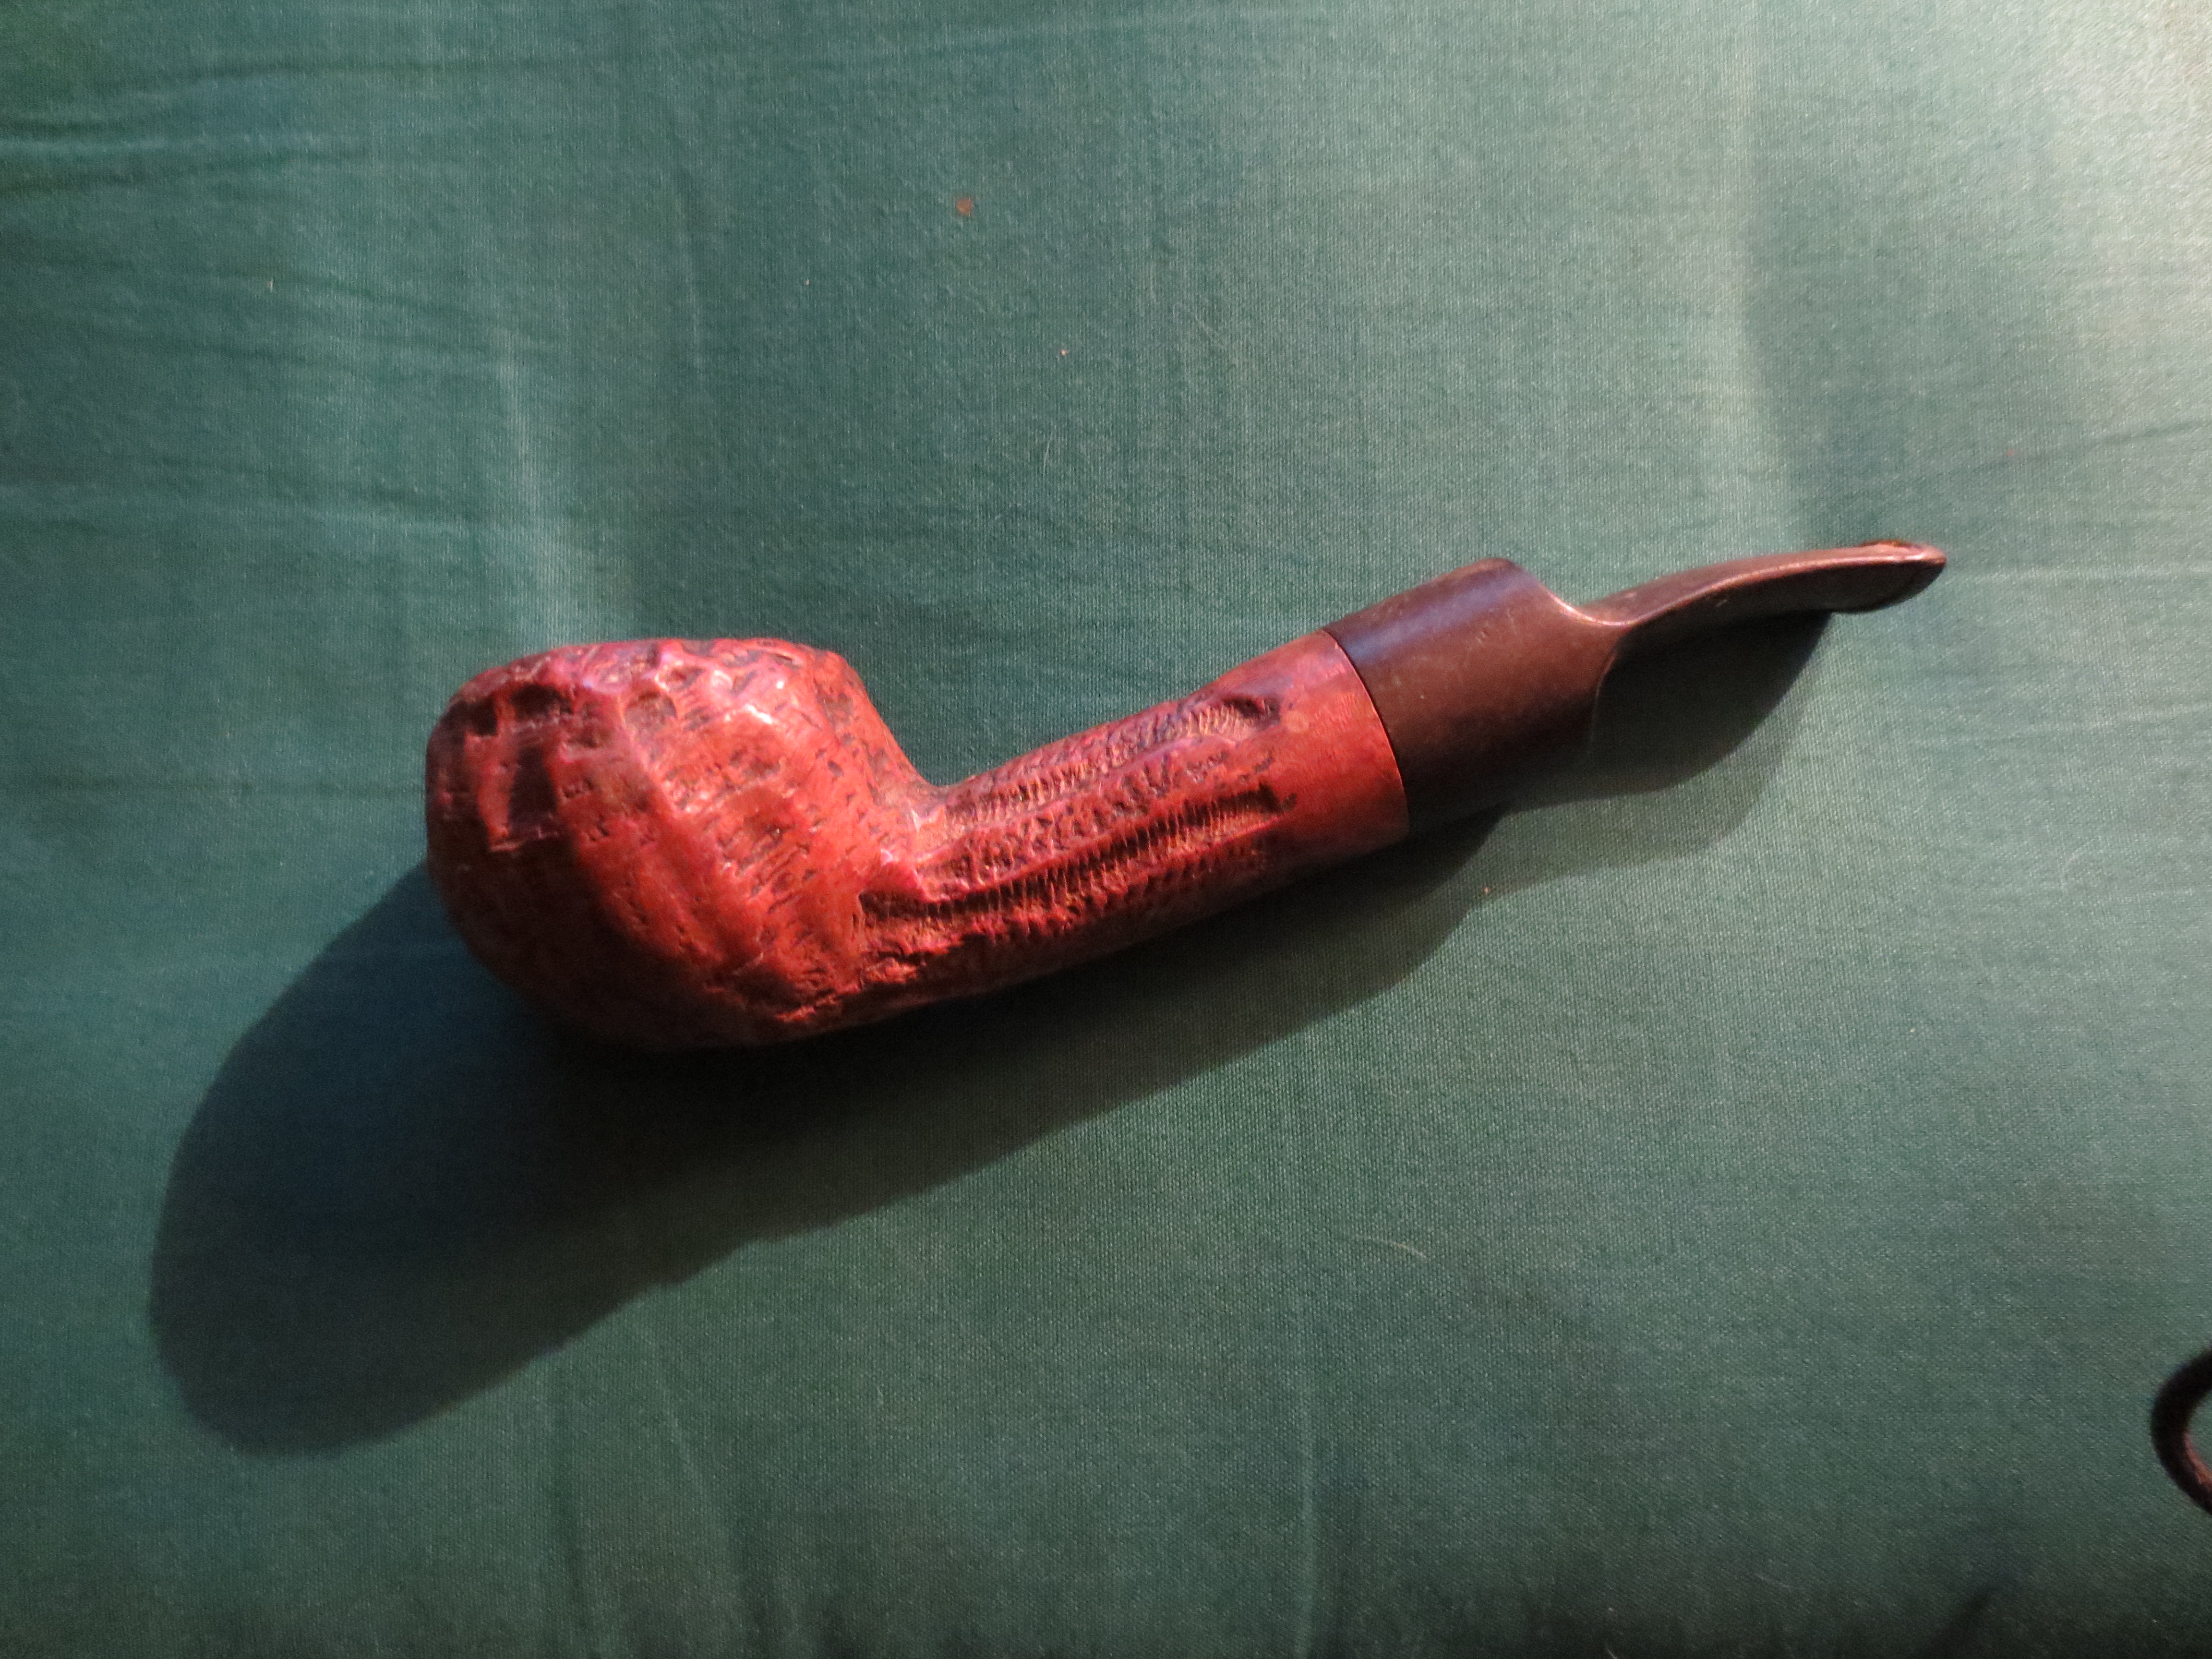
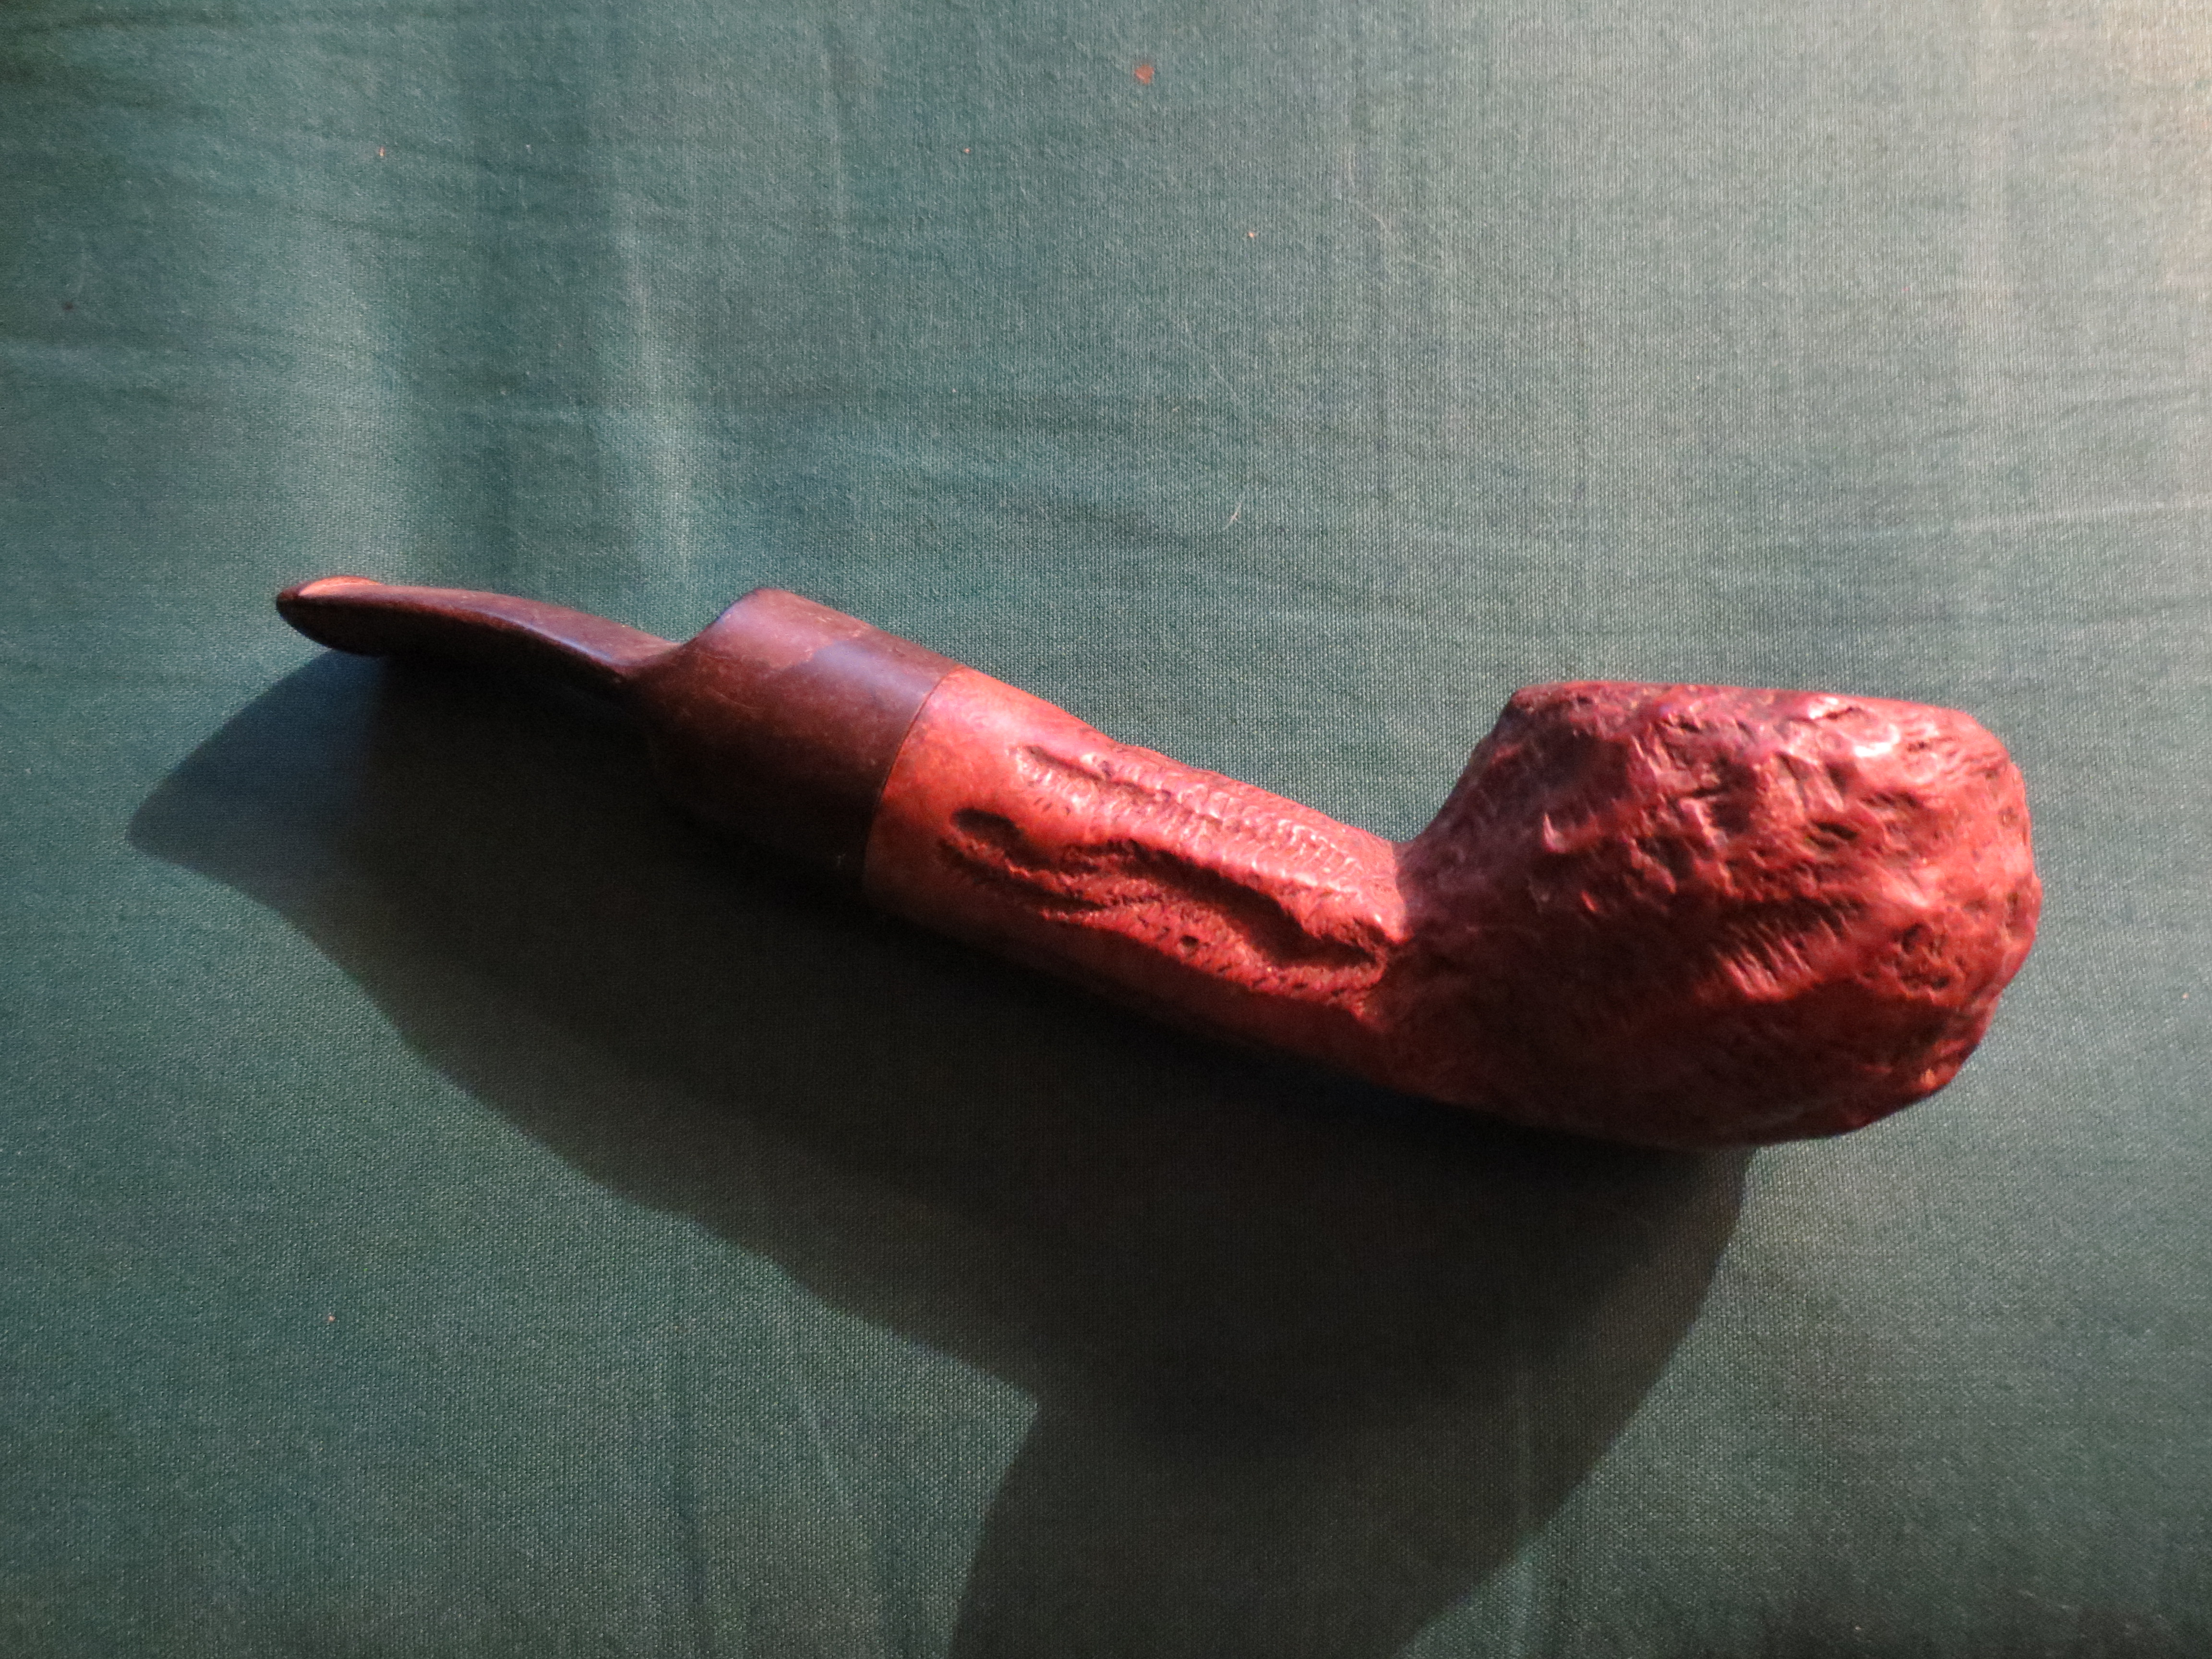
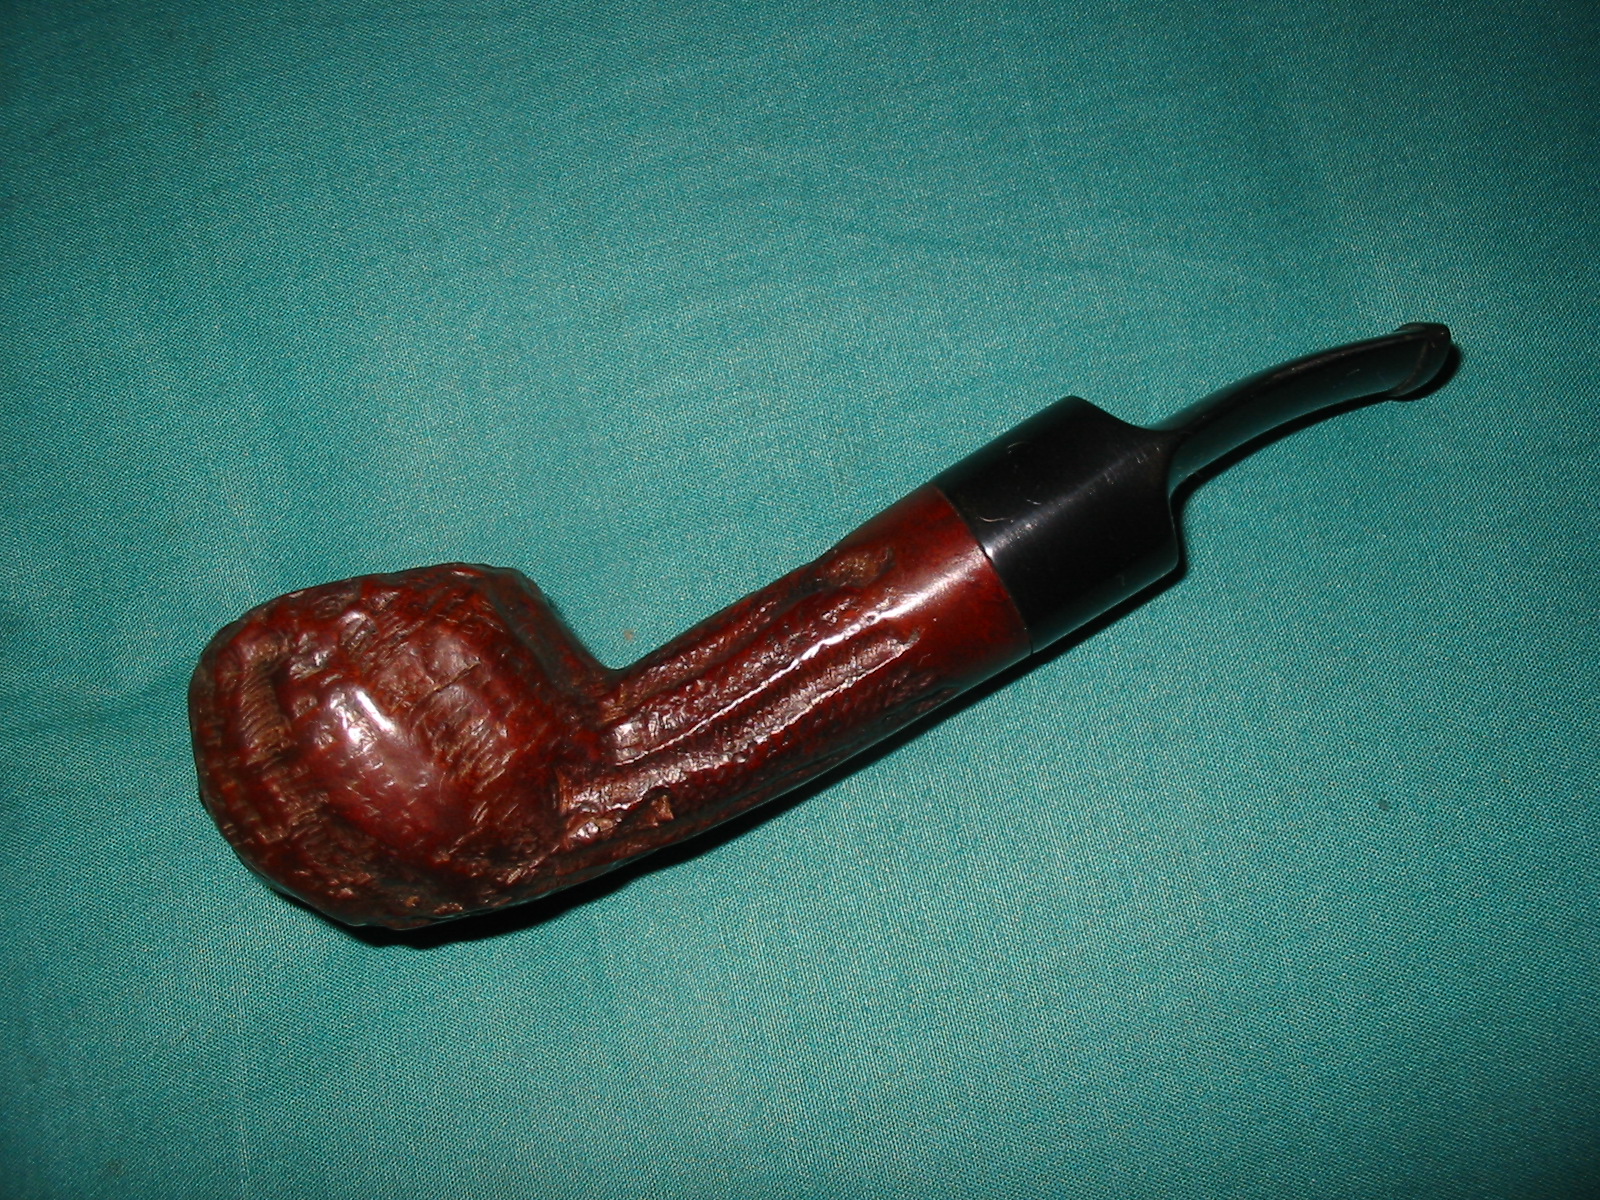
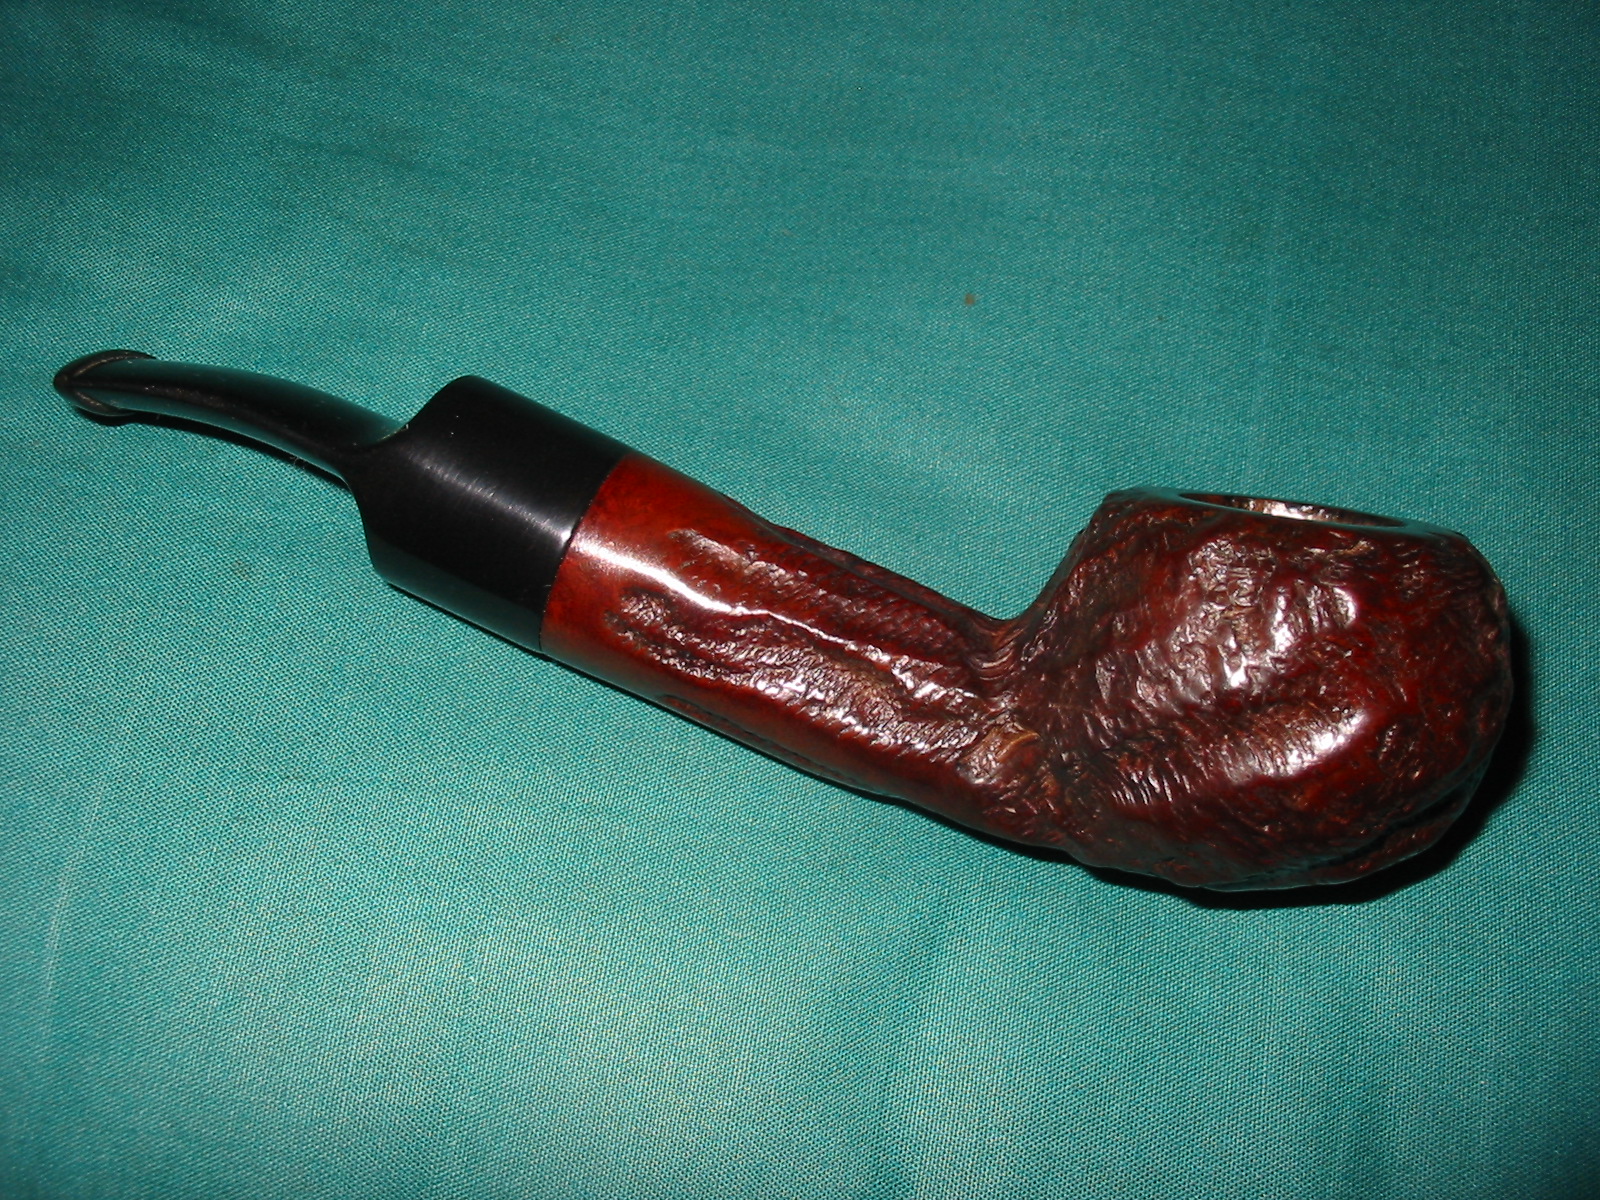
The next series of four photos show the finished pipe. Once I was done with the stem I put it back on the pipe and took the pipe to the buffer and buffed the pipe with White Diamond and then coated the stem with carnauba wax and used Halcyon II wax on the rusticated surface of the bowl. The entirety of the pipe was then buffed with a soft flannel buffing pad to bring up the shine of the wax. Once I have smoked a bowl in Bill’s honour I will coat the bowl with pipe mud to raise the V shaped bottom of the bowl even with the entrance of the airway.
Now the pipe is ready to load with Virginia and smoke a bowl in memory and honour of Bill Unger. Here is to you Bill. May your bowls always be full as you enjoy the end of all your struggles. My prayers and condolences go out to your family and close friends.


Thank you for your thoughtful work. It’s an inspiration.
LikeLike
What a fitting tribute to Bill. Those Custombilt pipes have a certain unique ruggedness to them that is very appealing. I think your work would have put a smile on Bill’s face.
LikeLike