Tag Archives: churchwarden

Bringing Back a Ropp 808 Cherrywood Panel


by Kenneth Lieblich

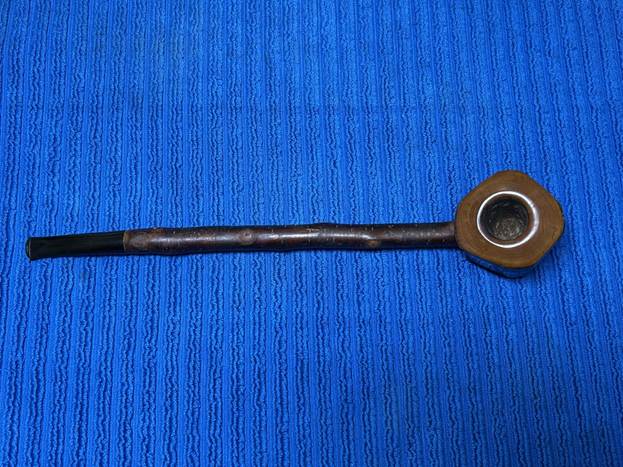
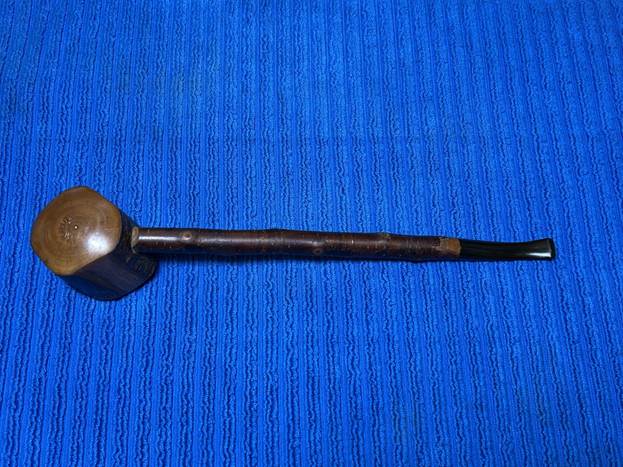
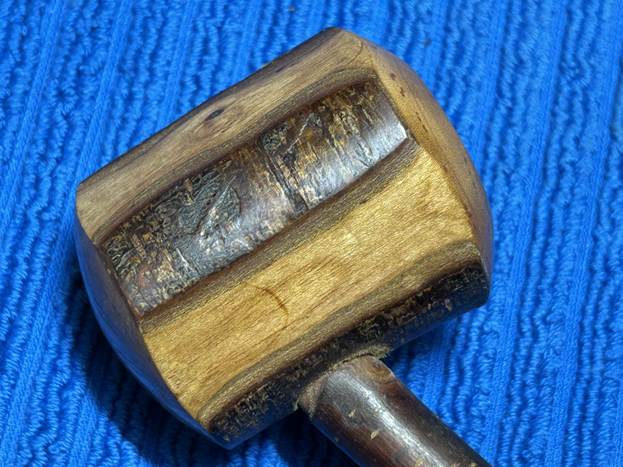
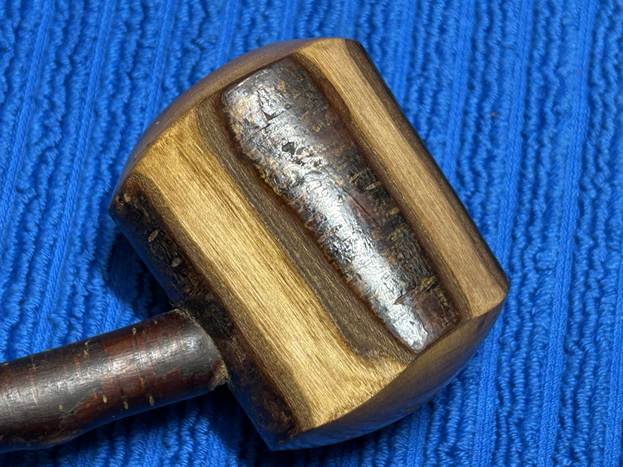
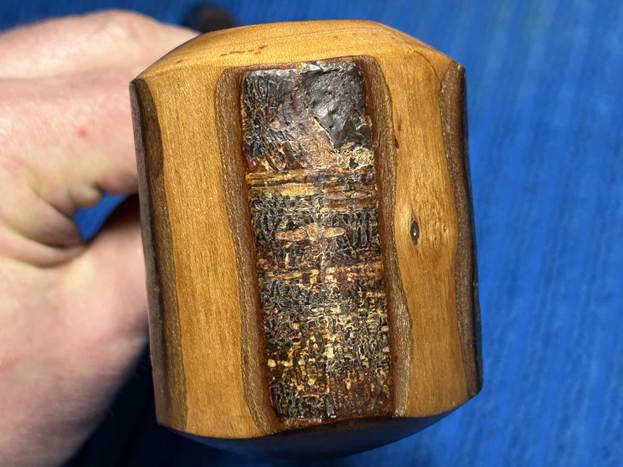
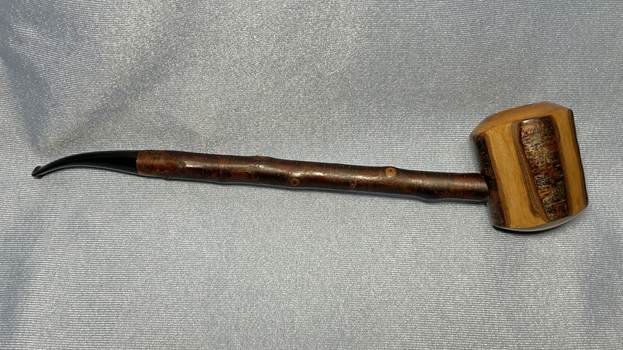
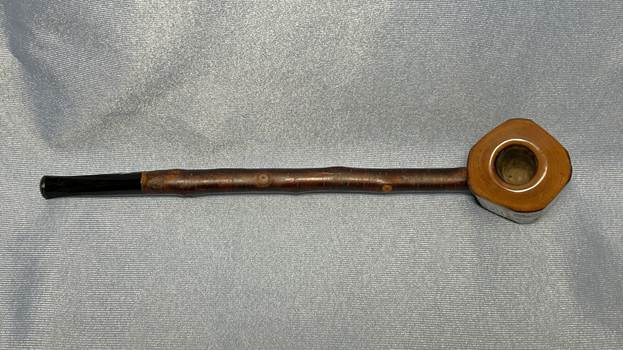
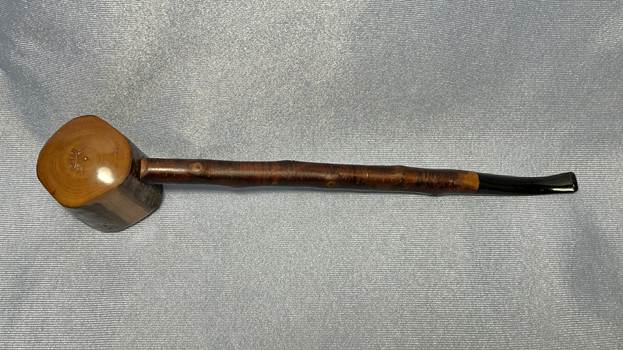
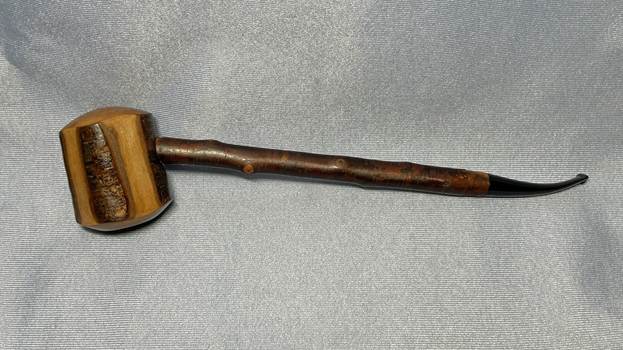
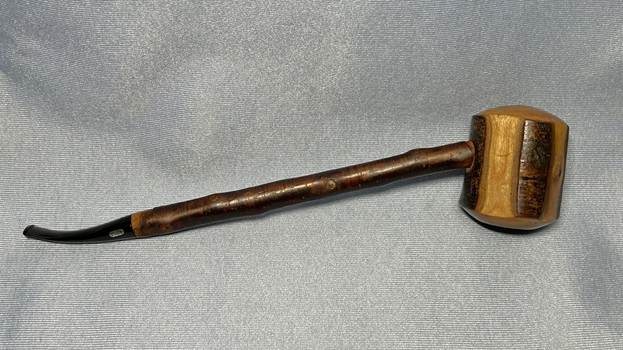
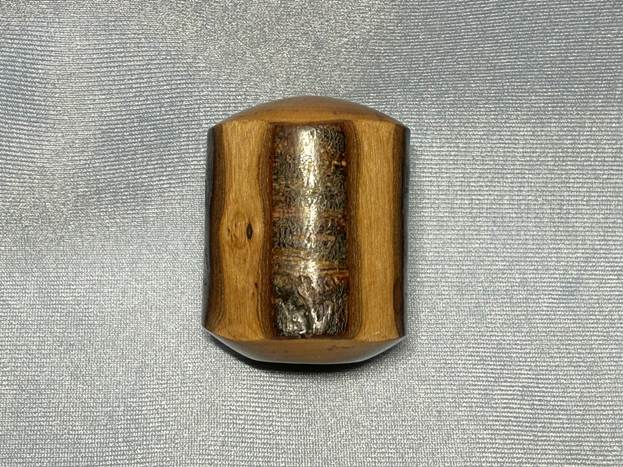
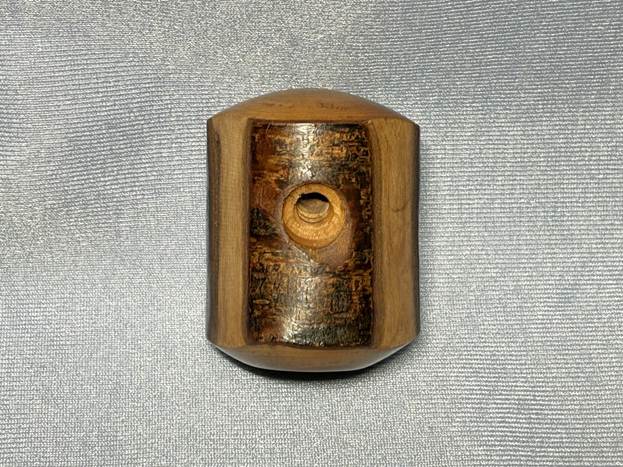
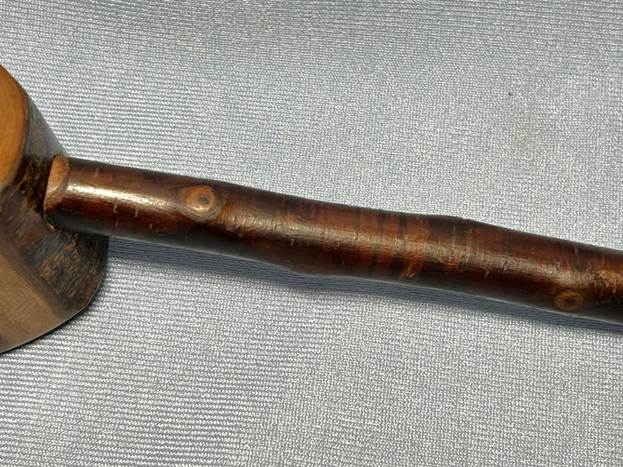
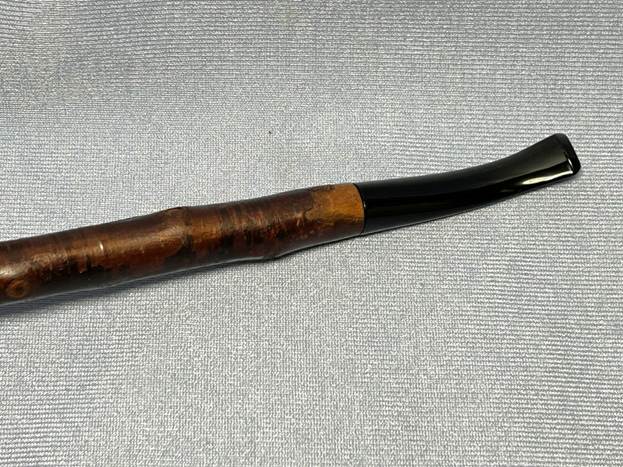
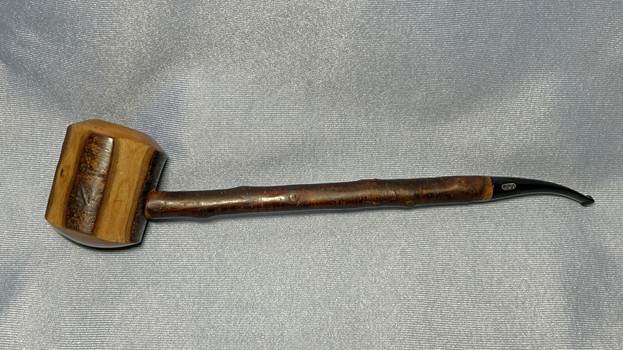
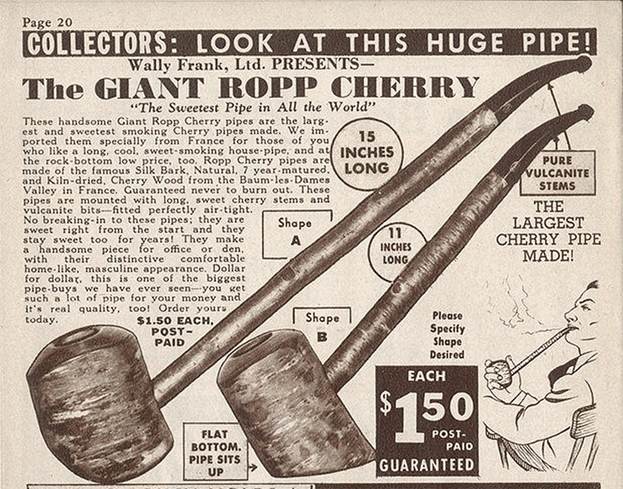
Next in my restoration adventures is a Ropp 808 Cherrywood Panel. As you may know, Ropp is possibly best known for their cherrywood pipes, and this is a large and attractive cherrywood. It’s a foot long – would you call that a churchwarden? I’ve had this pipe for a while and I forgot where I acquired it, but it’s time to clean it up for one of you.
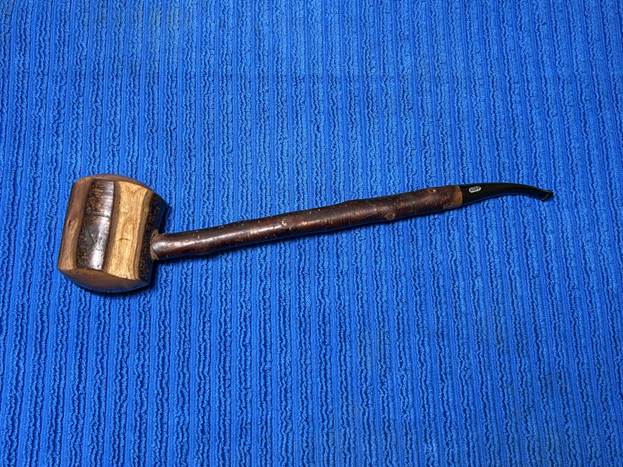
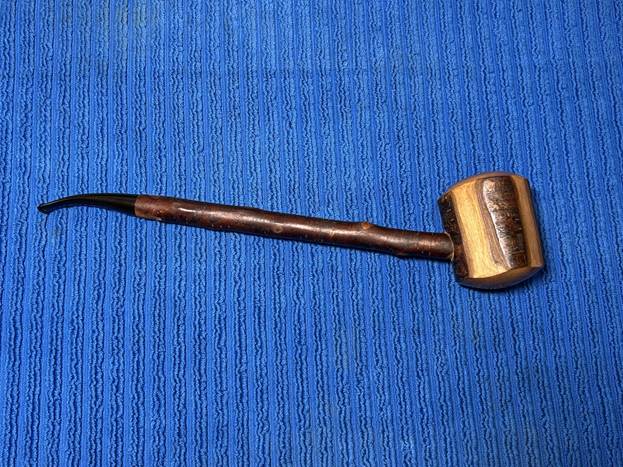
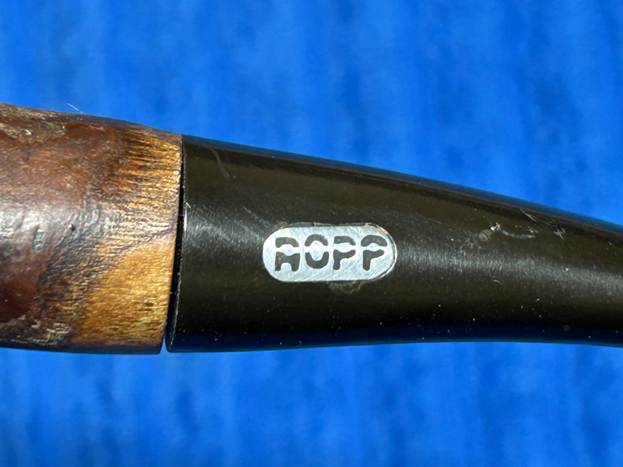
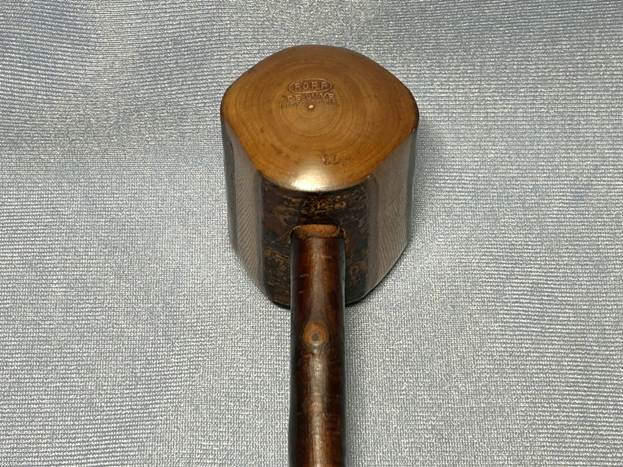
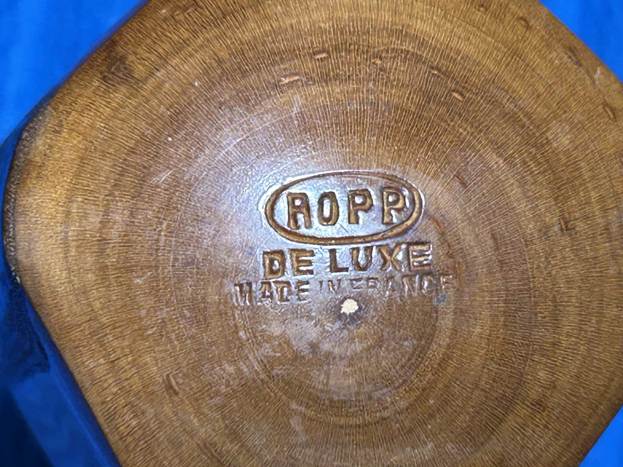
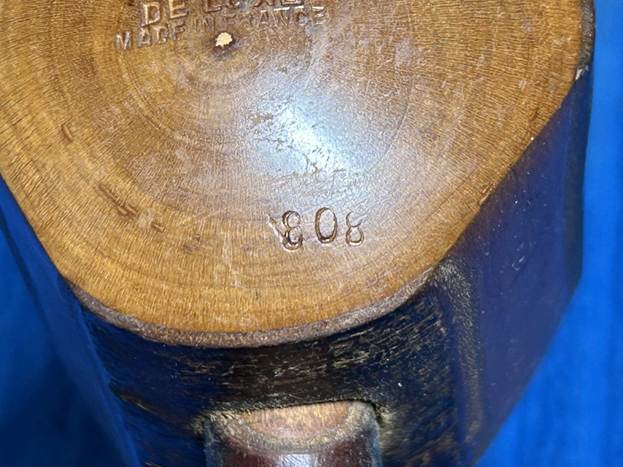
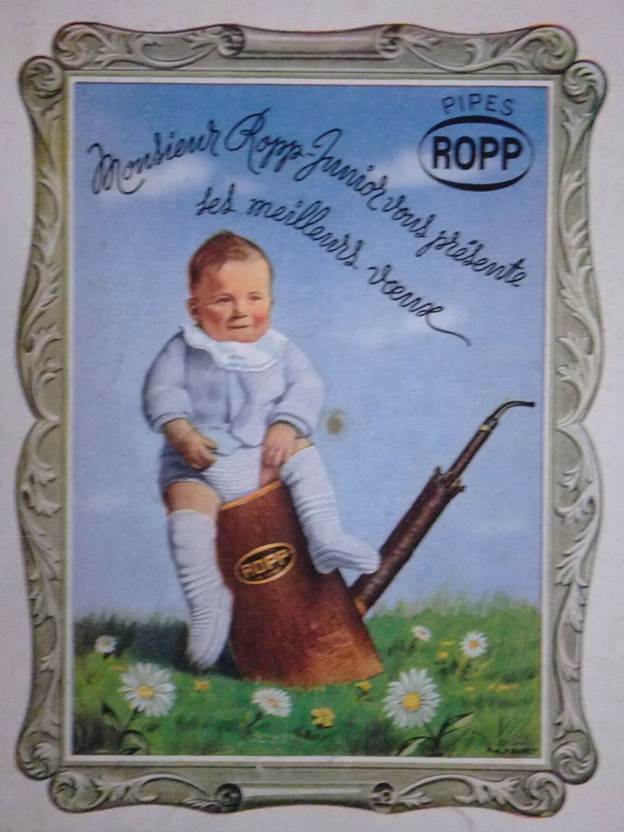
Of course, this pipe was made by the venerable French pipe company, Ropp. The markings on this pipe were on the underside of the bowl and read Ropp (encircled in an oval) [over] De Luxe [over] Made in France [over] 808. This number is the shape number. And, of course, the Ropp logo can be seen on the stem.
From Pipedia, here is a very brief history of the Ropp company:

Eugène-Léon Ropp (1830–1907) acquired a patent for the cherrywood pipe in 1869. In 1870, he established a workshop to manufacture such pipes in Bussang, in the Vosges mountains. Around 1893, his business moved into the former mill of Sicard (part of the community of Baume-les-Dames in Upper Burgundy. The pipes were a big success in export as well. Shortly before 1914, Ropp designated A. Frankau & Co. (BBB) to be the exclusive distributor in the UK and its colonies. Probably in 1917, a workshop in Saint-Claude in the rue du Plan du Moulin was acquired to start the fabrication of briar pipes. In 1923, another small building in Saint-Claude, serving as a workshop for polishing, was added. Cherrywood pipes were the mainstay of Ropp until the company finally closed down in September 1991. The company was taken over by Cuty-Fort Entreprises in 1994.
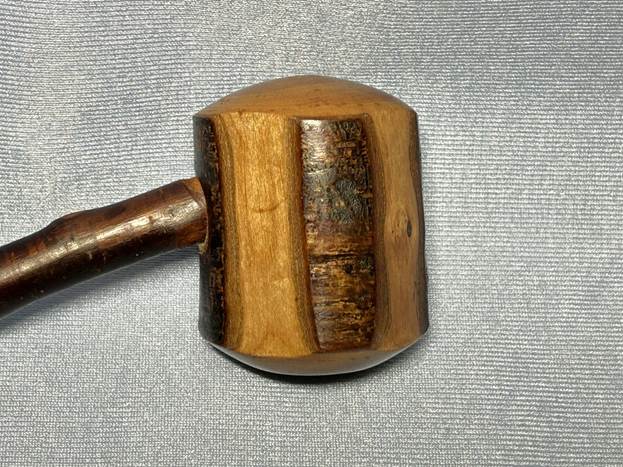
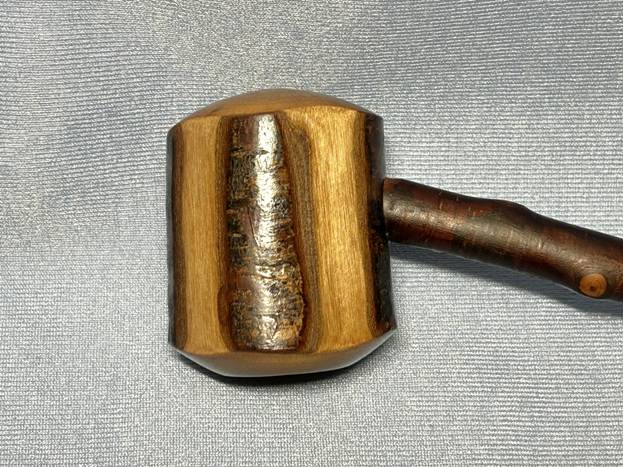
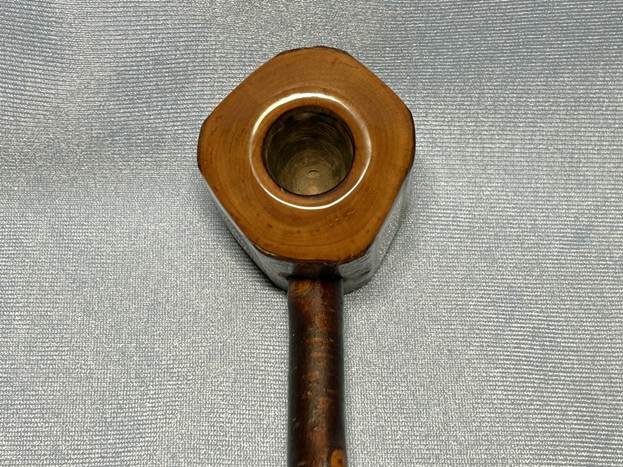
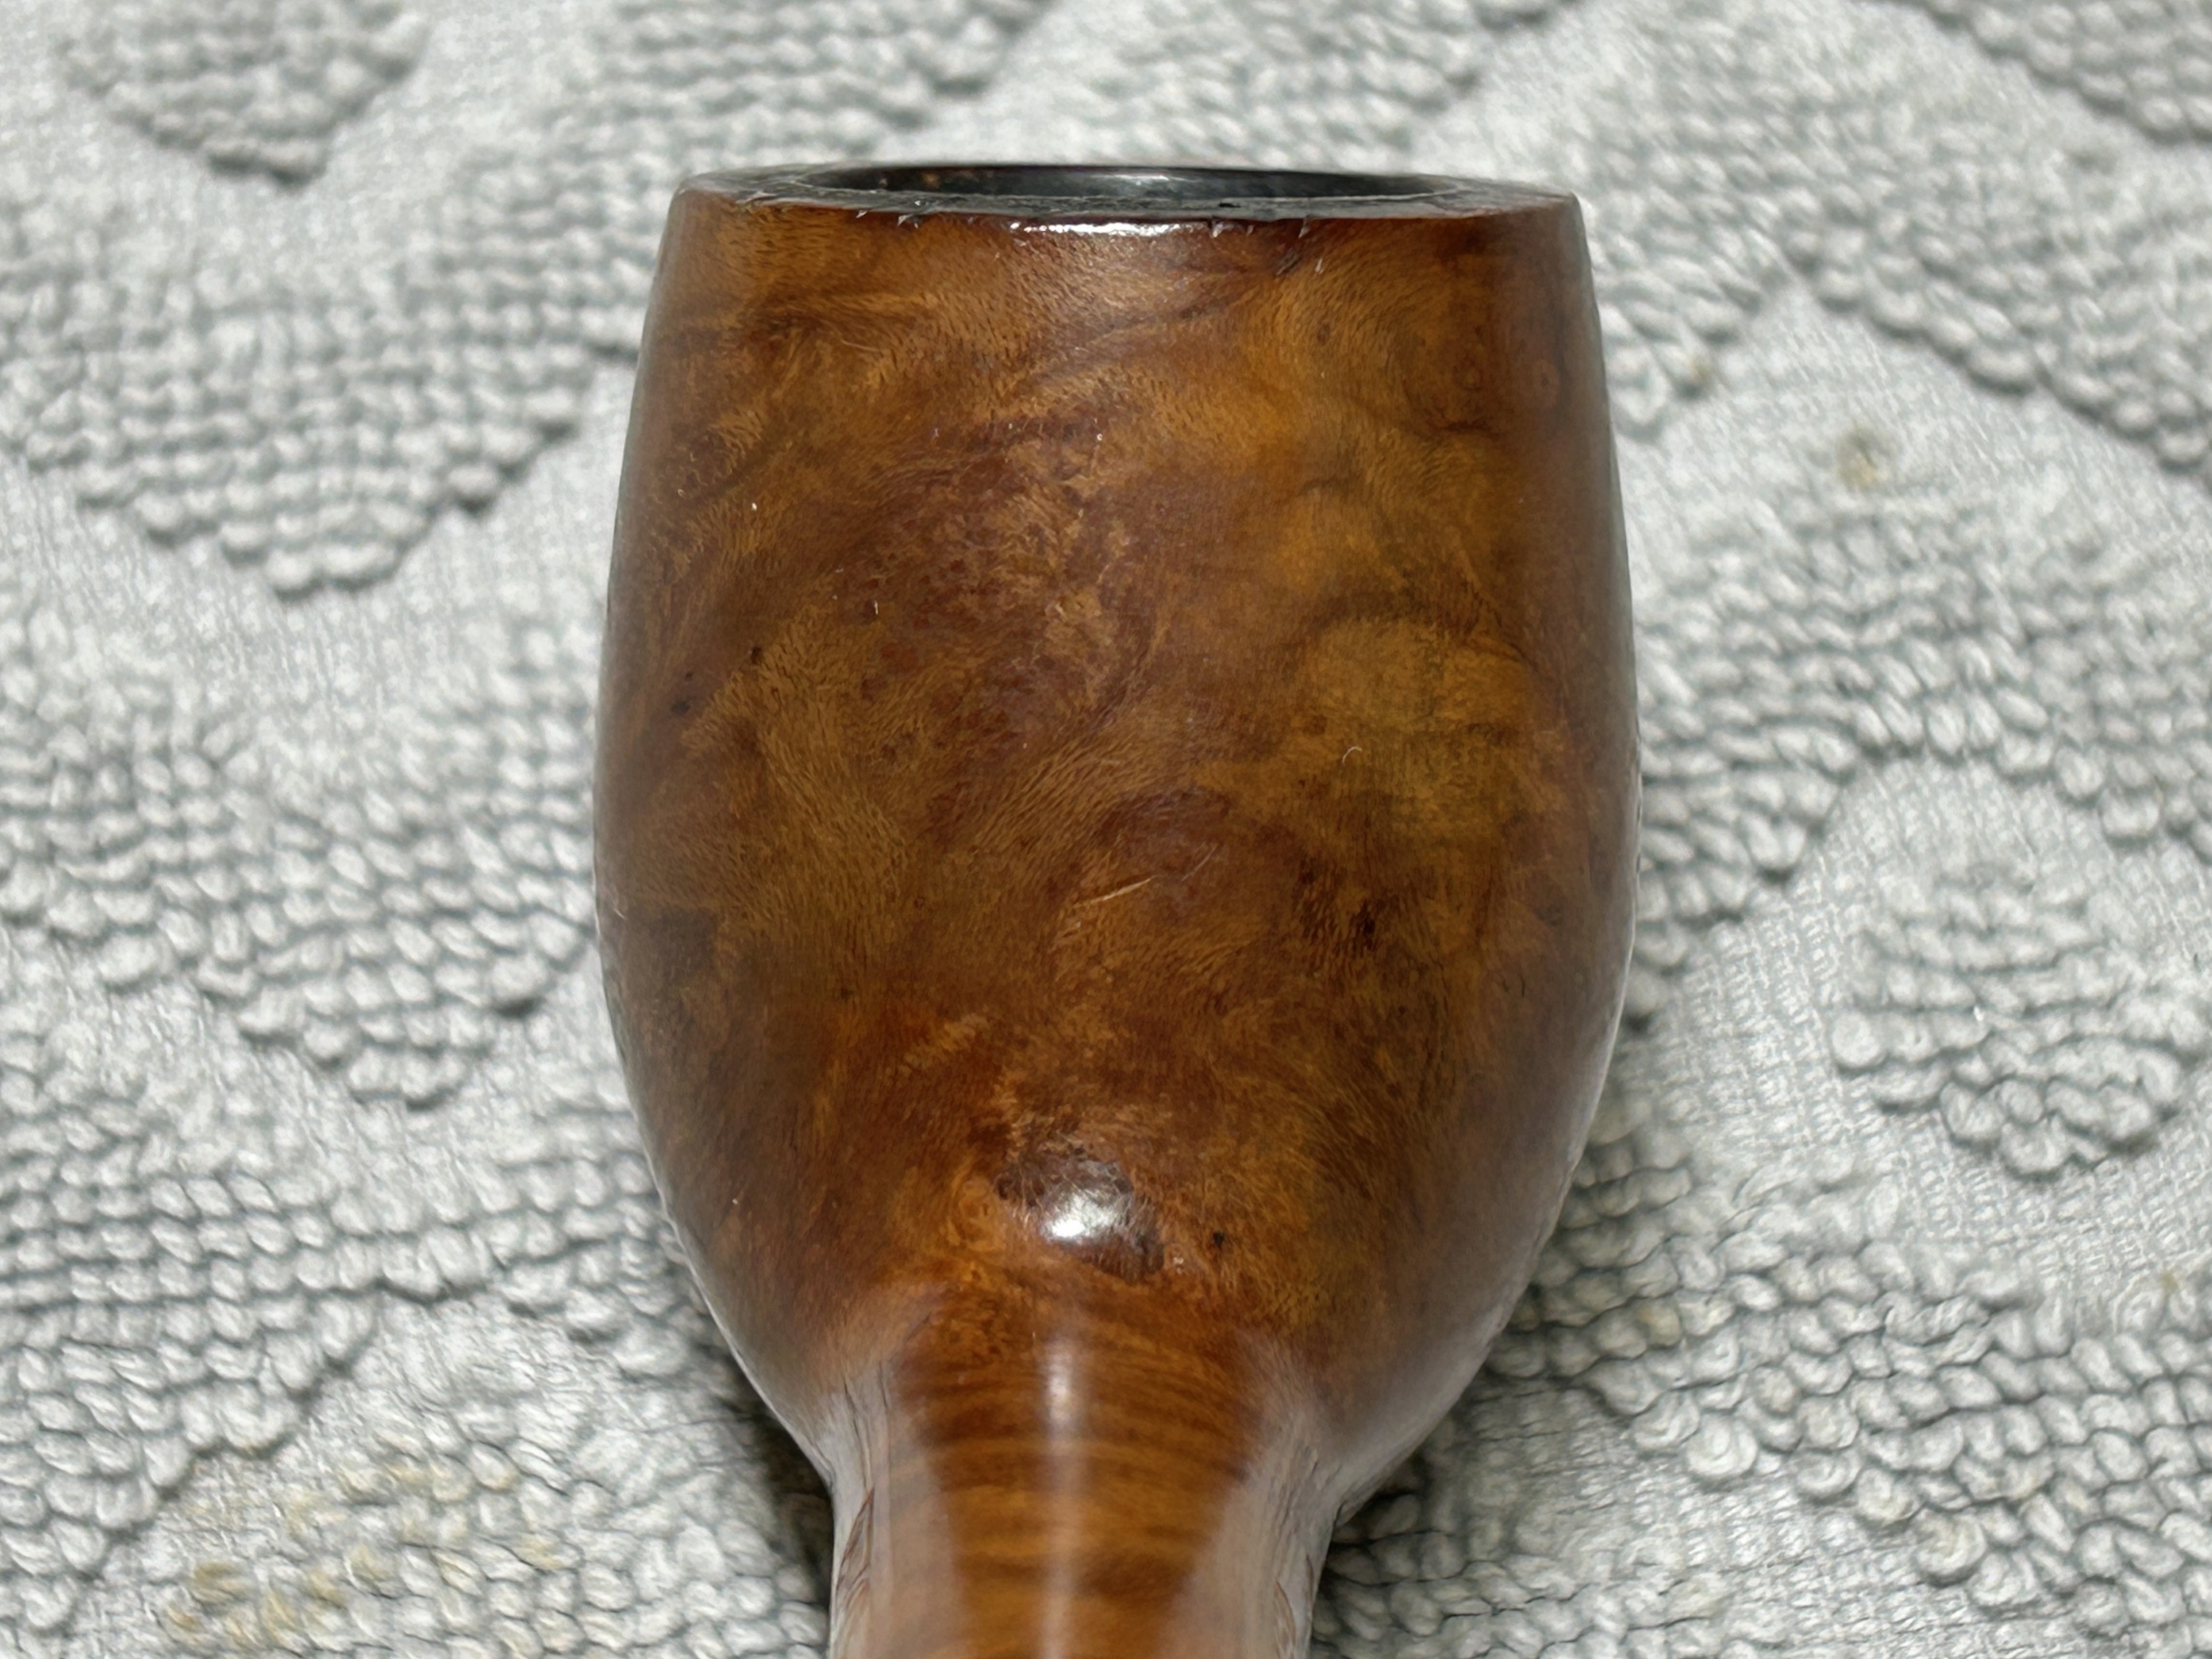
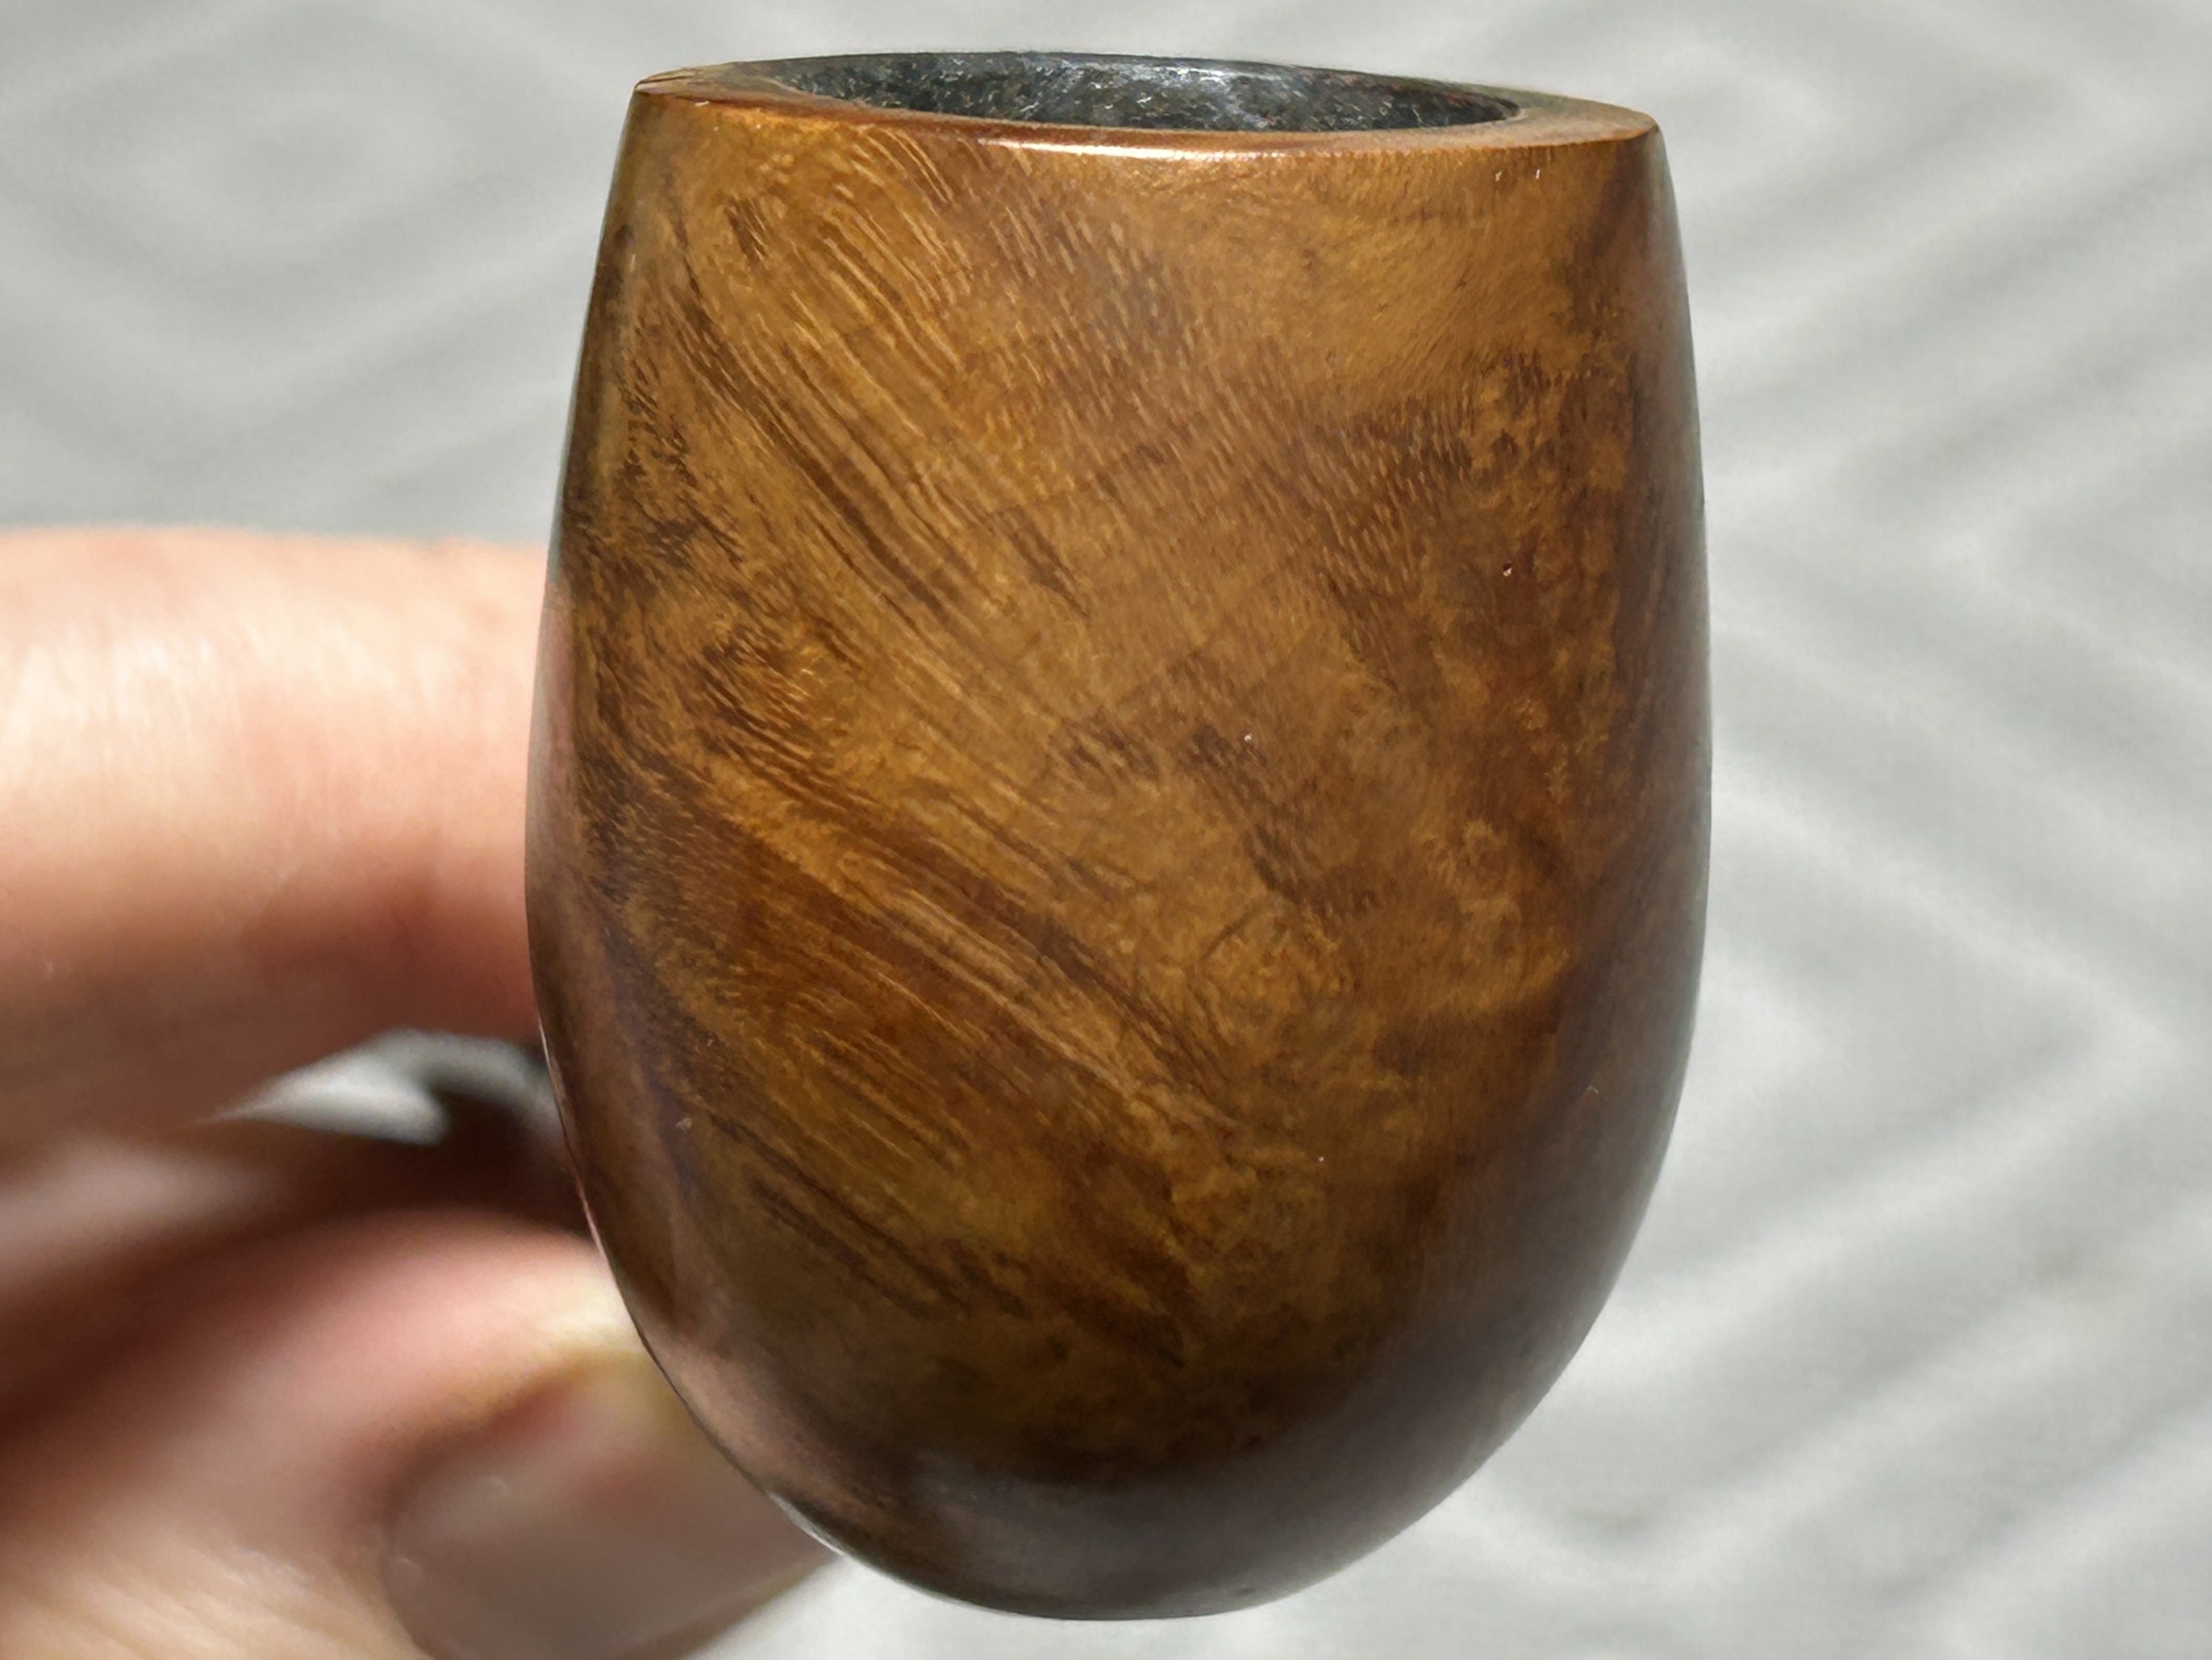
The pipe was in very nice condition. The stummel had been only lightly smoked and the bowl and shank were a bit dirty, but nothing of note. Similarly, the stem was relatively clean – not much oxidation to speak of, and only a few tooth marks on the bit.
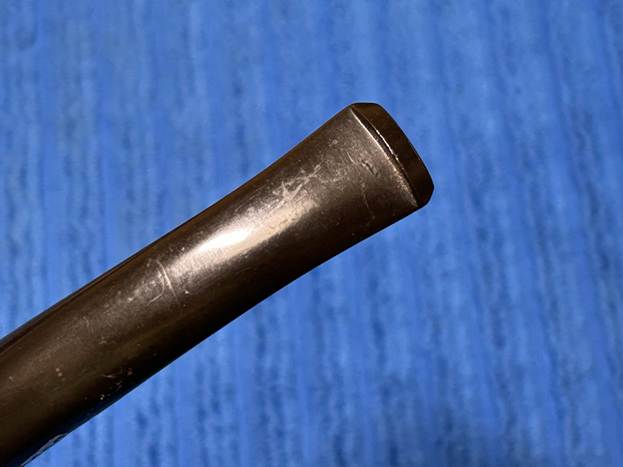
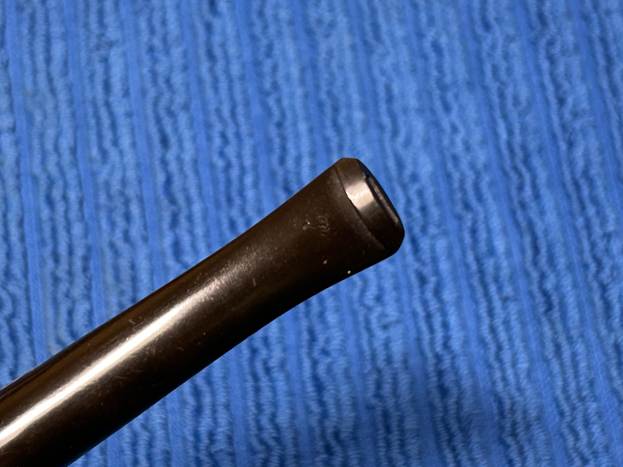
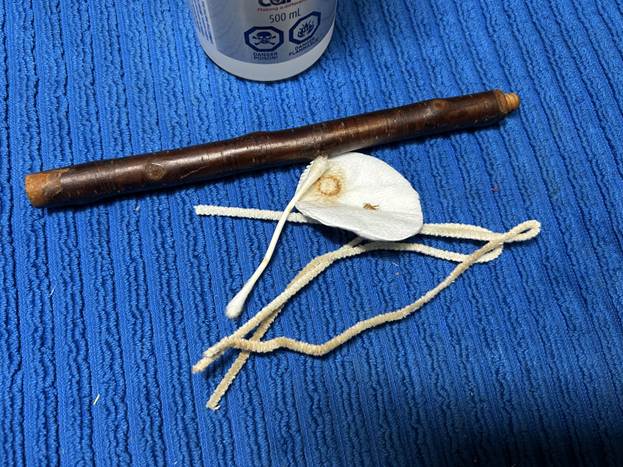
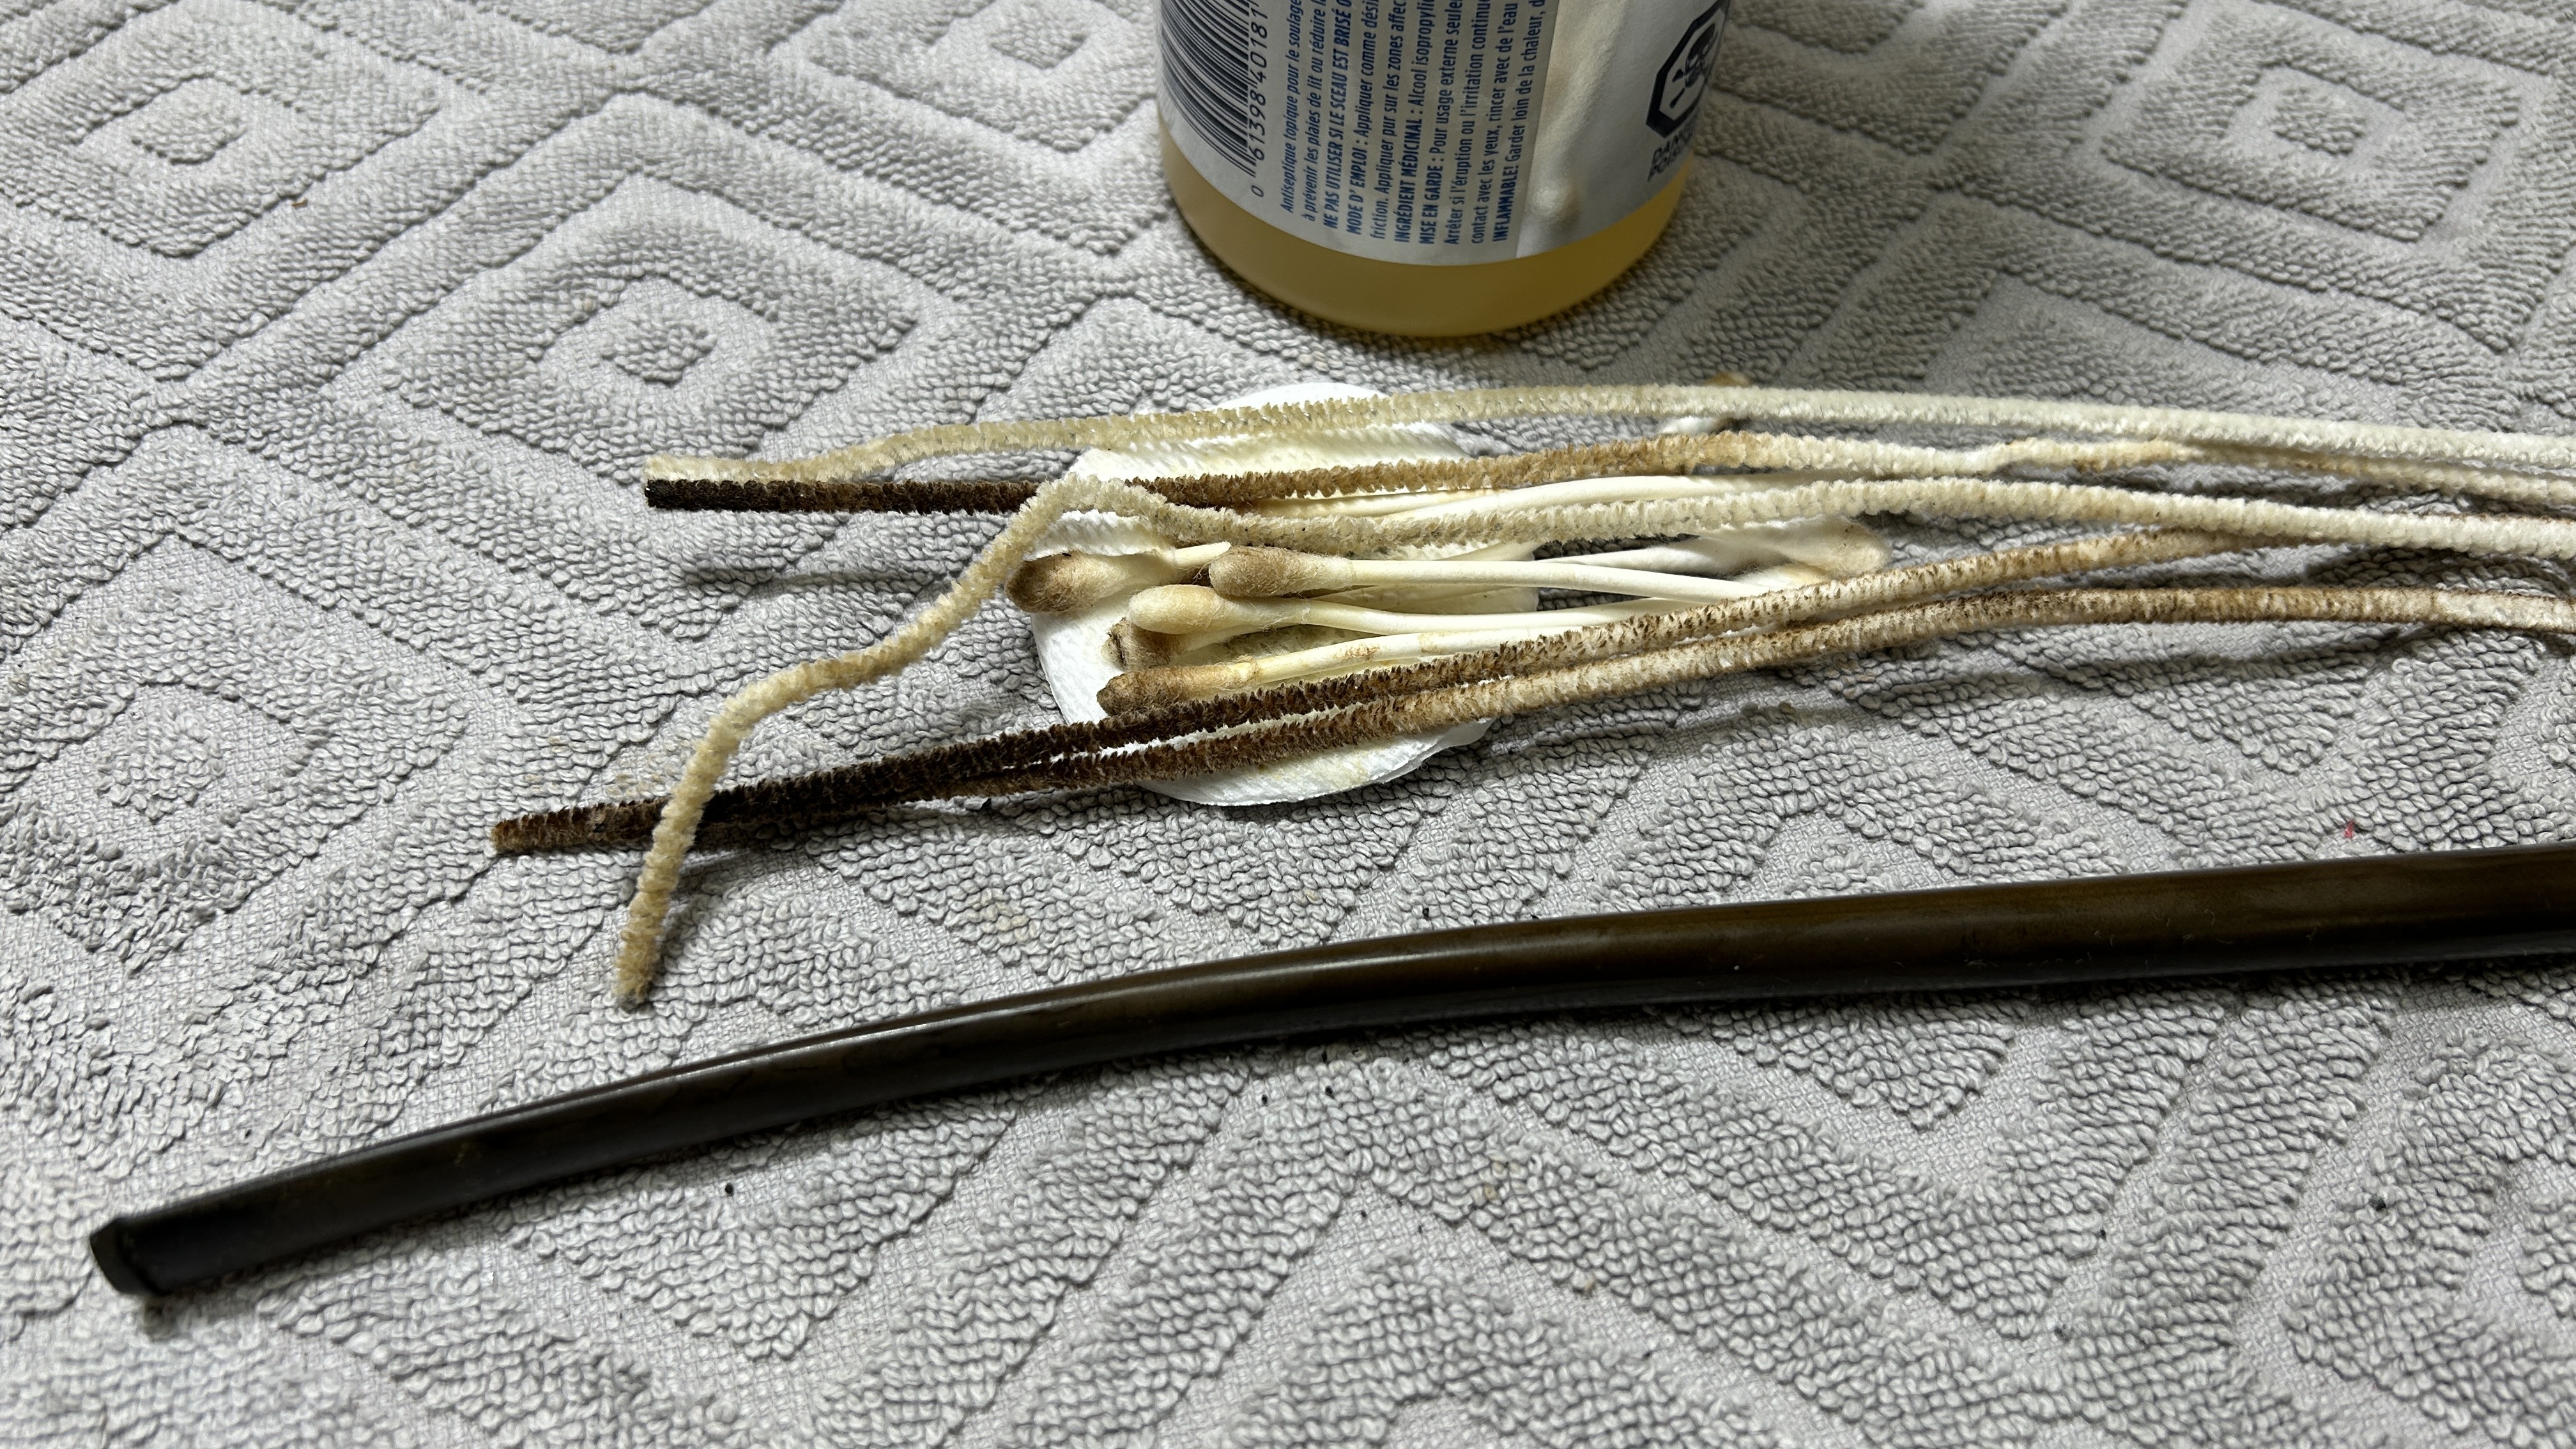
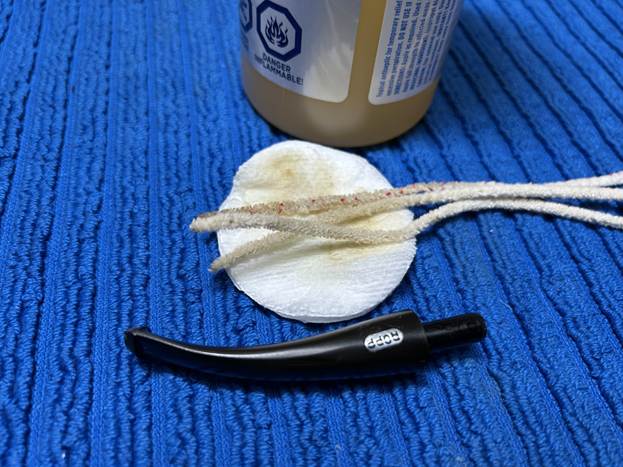
I used isopropyl alcohol on a few cotton rounds and wiped down the stem to provide an initial cleaning before moving on to the next steps. The primary cleaning came next. I disinfected the inside of the stem with both pipe cleaners and cotton swabs dipped in lemon-infused 99% isopropyl alcohol. I scrubbed thoroughly to make sure the interior was very clean. It was already quite clean.
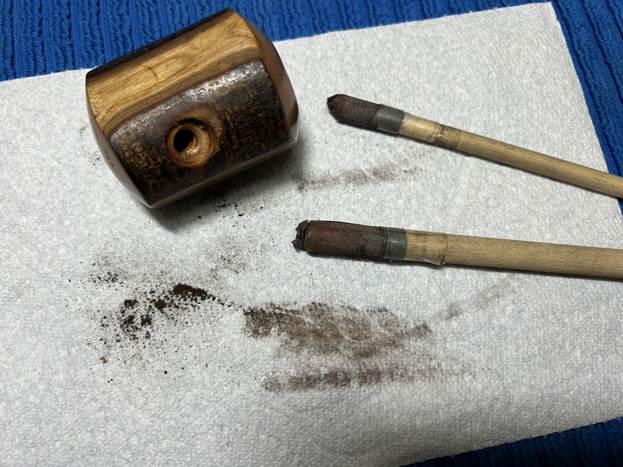
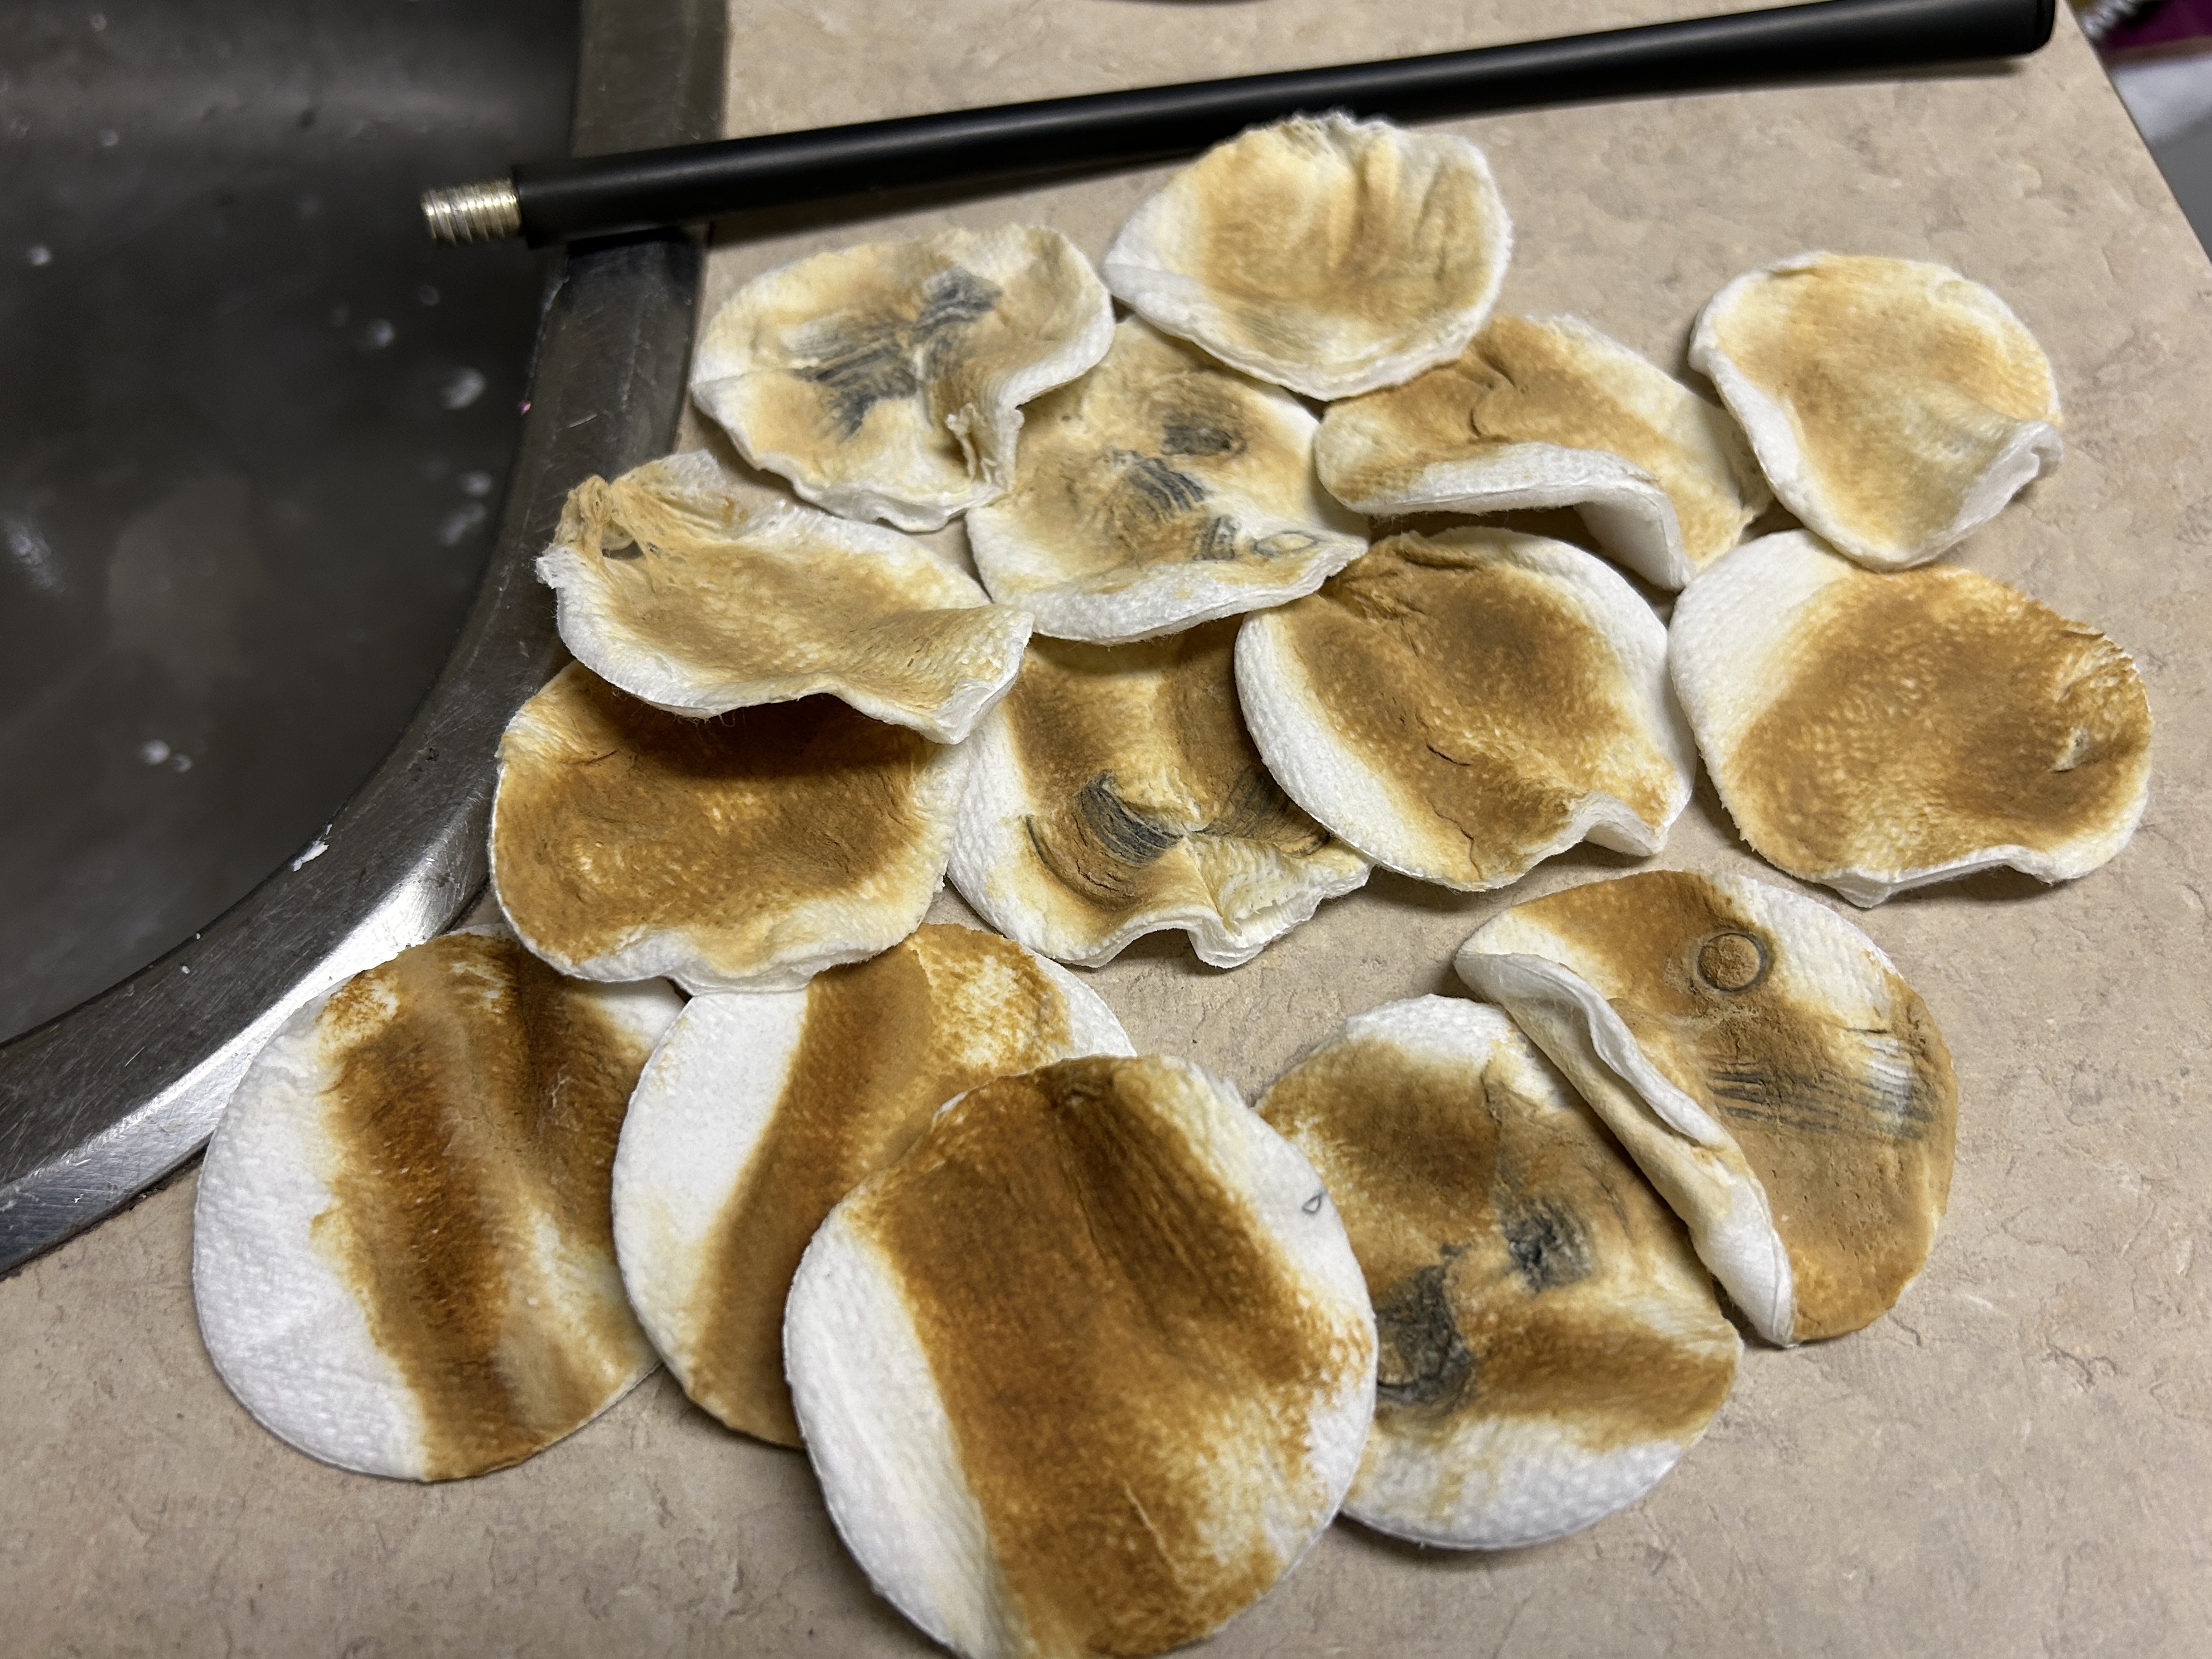
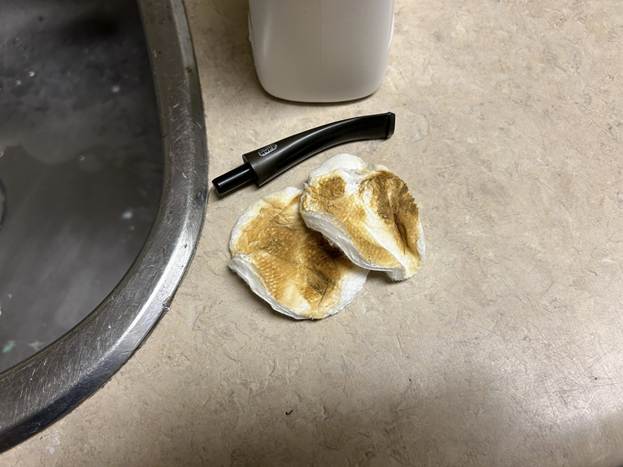
The goal of the next step is the removal (or minimization) of oxidation. Going to my sink, I used cream cleanser, cotton rounds, and a toothbrush, and scoured the stem to remove as much surface oxidation as possible. As the photos show, the result was a hideous, ochre-coloured mess – but better off the stem than on it.
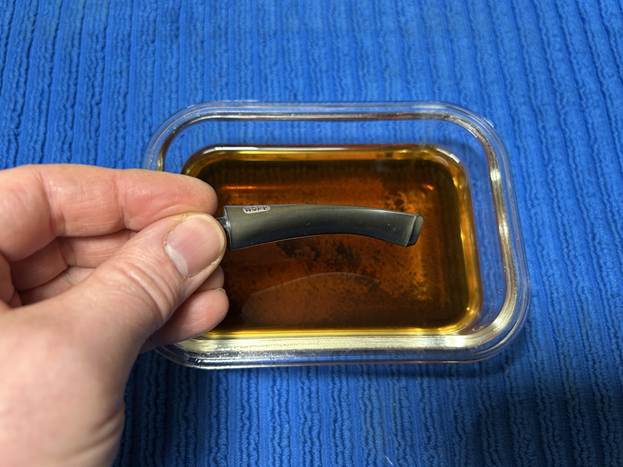
Once the stem was reasonably clean, I soaked it overnight in some Briarville Stem Oxidation Remover. This solution works to draw oxidation in the stem to the surface of the vulcanite. This is a major aid and an important step in ensuring a clean stem. The following day, I drew out the stem from its bath and scrubbed the lingering fluid with a toothbrush.
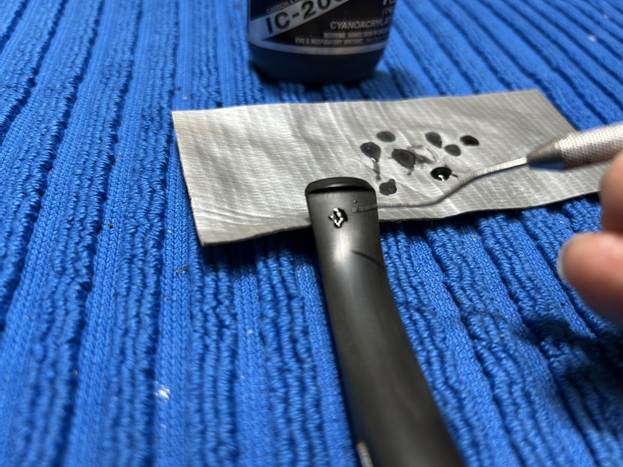
As the stem was now clean and dry, I set about fixing the marks and dents in the vulcanite. This was done by filling those divots with black cyanoacrylate adhesive, impregnated with carbon and rubber. I left this to cure and moved on.
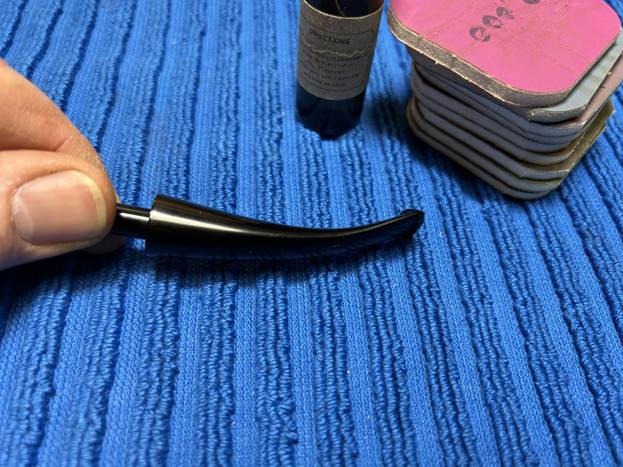
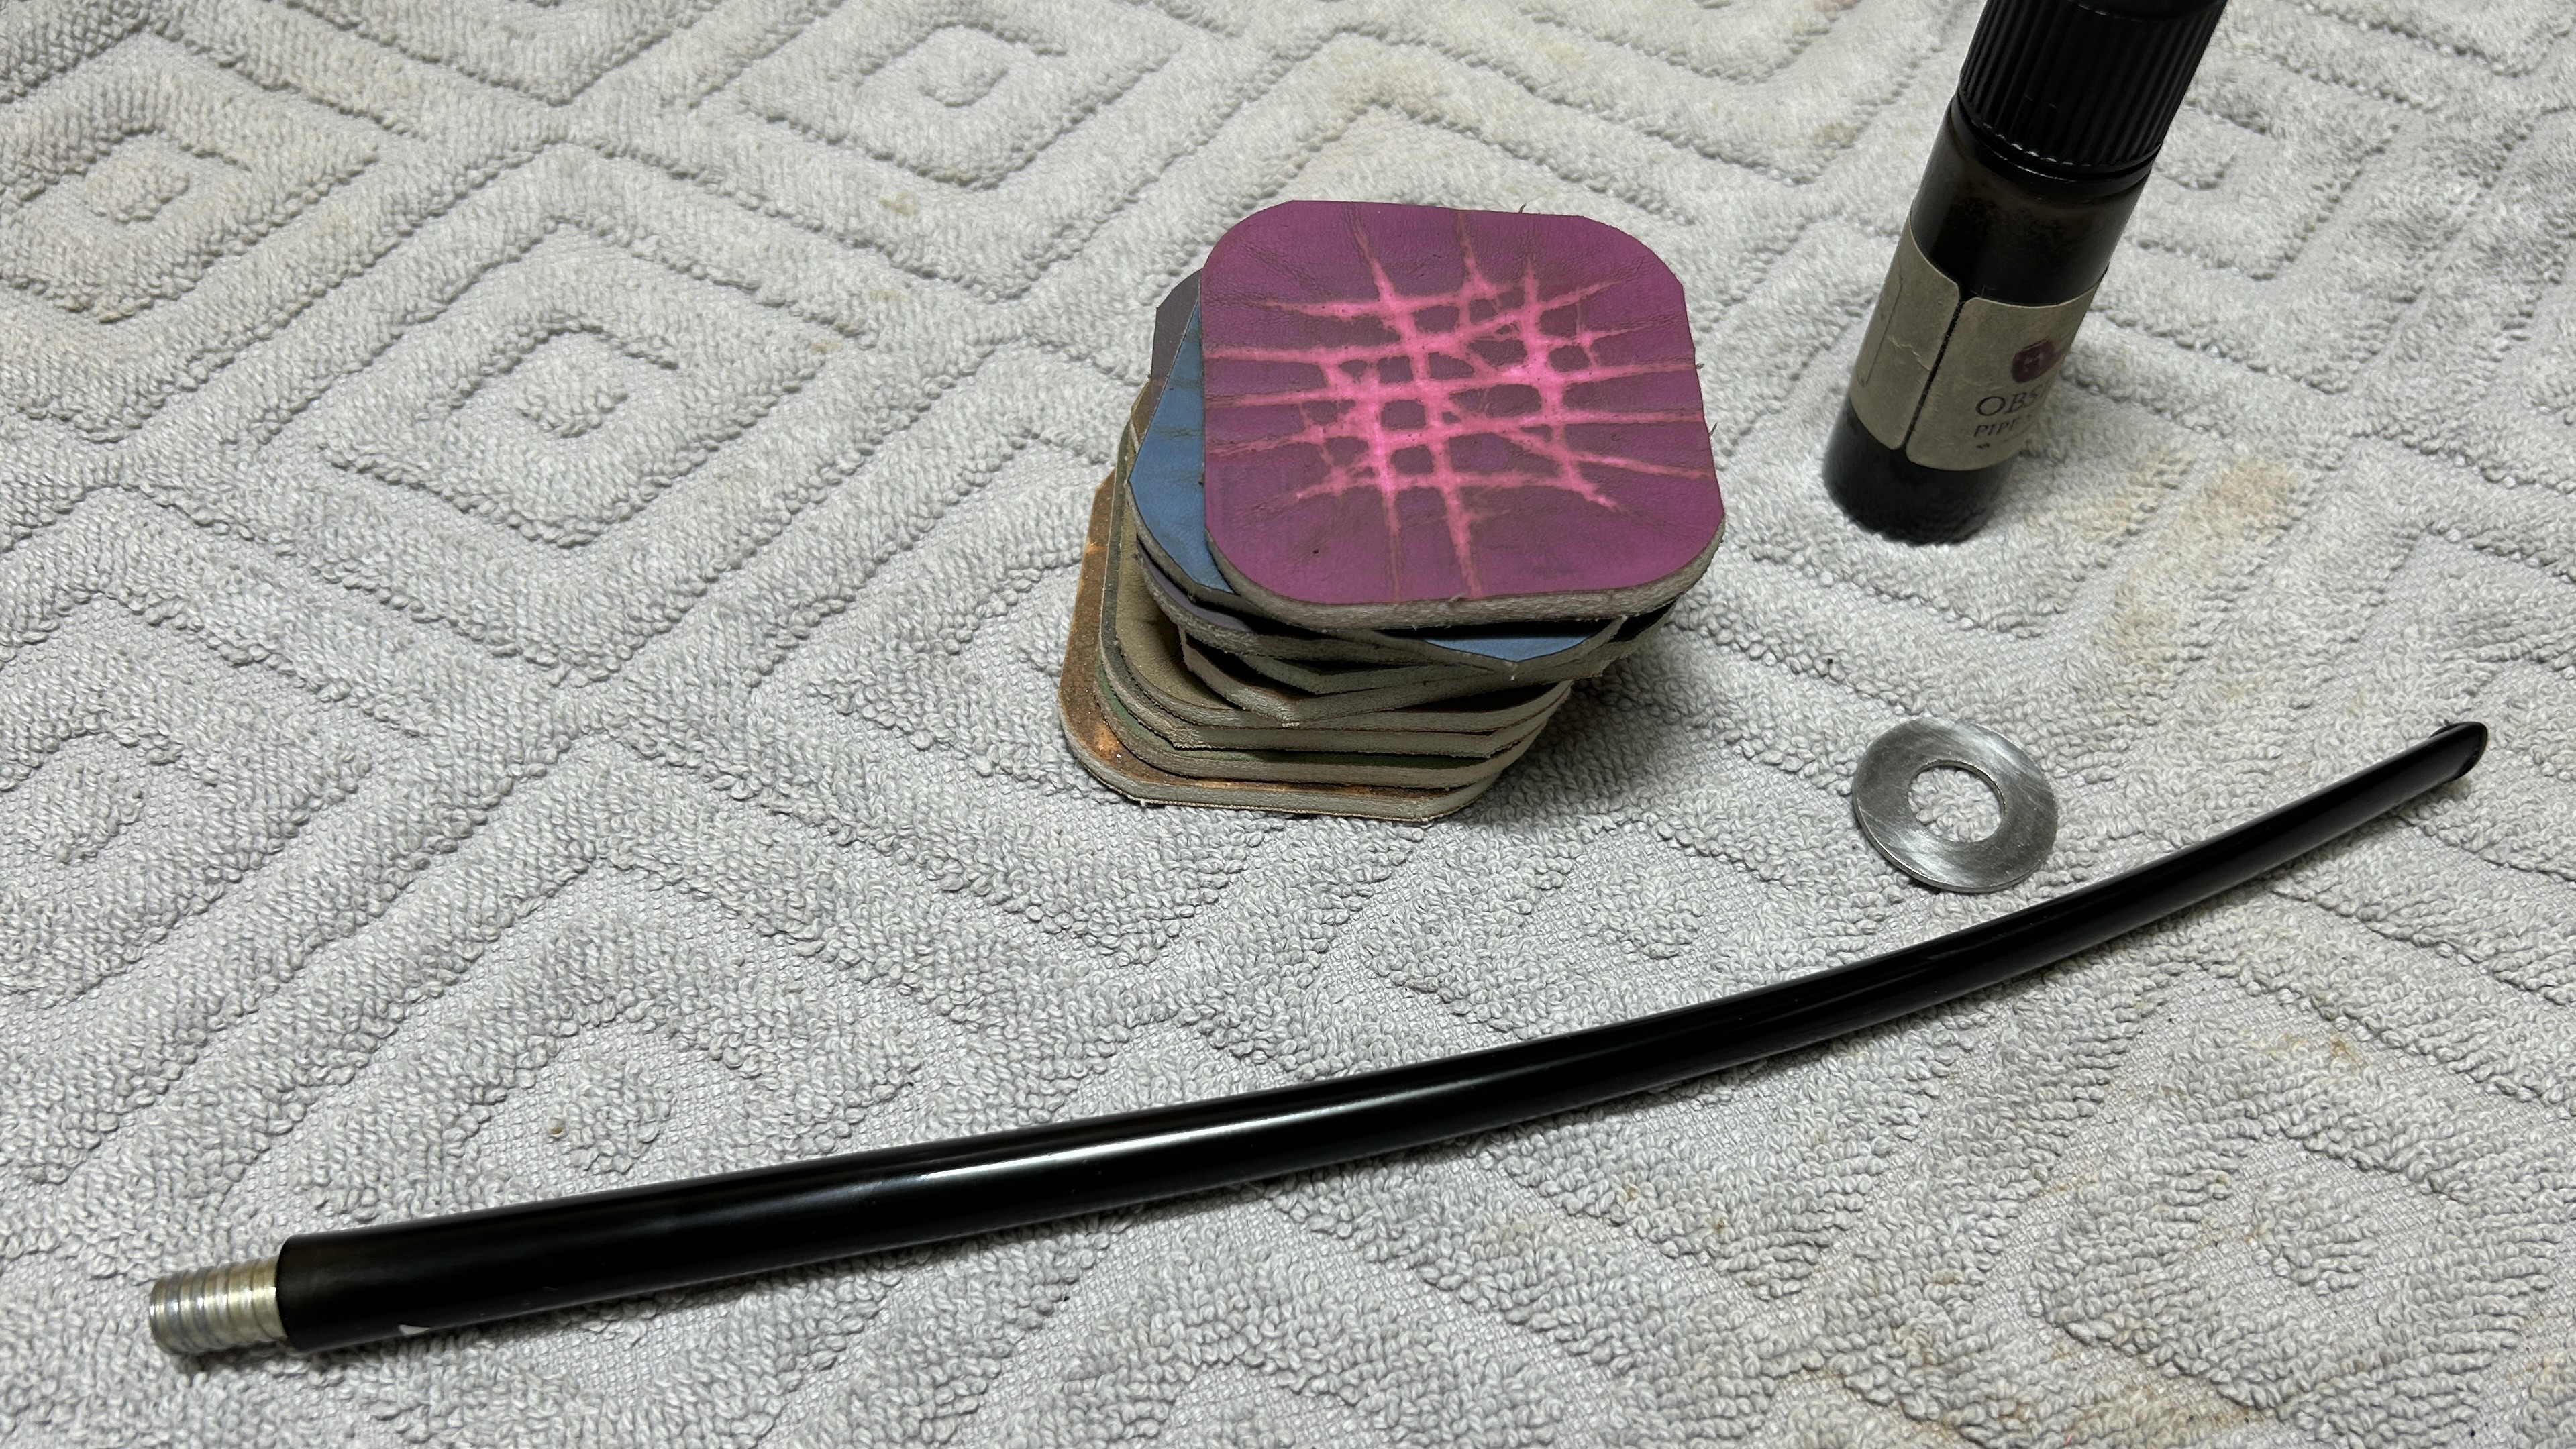
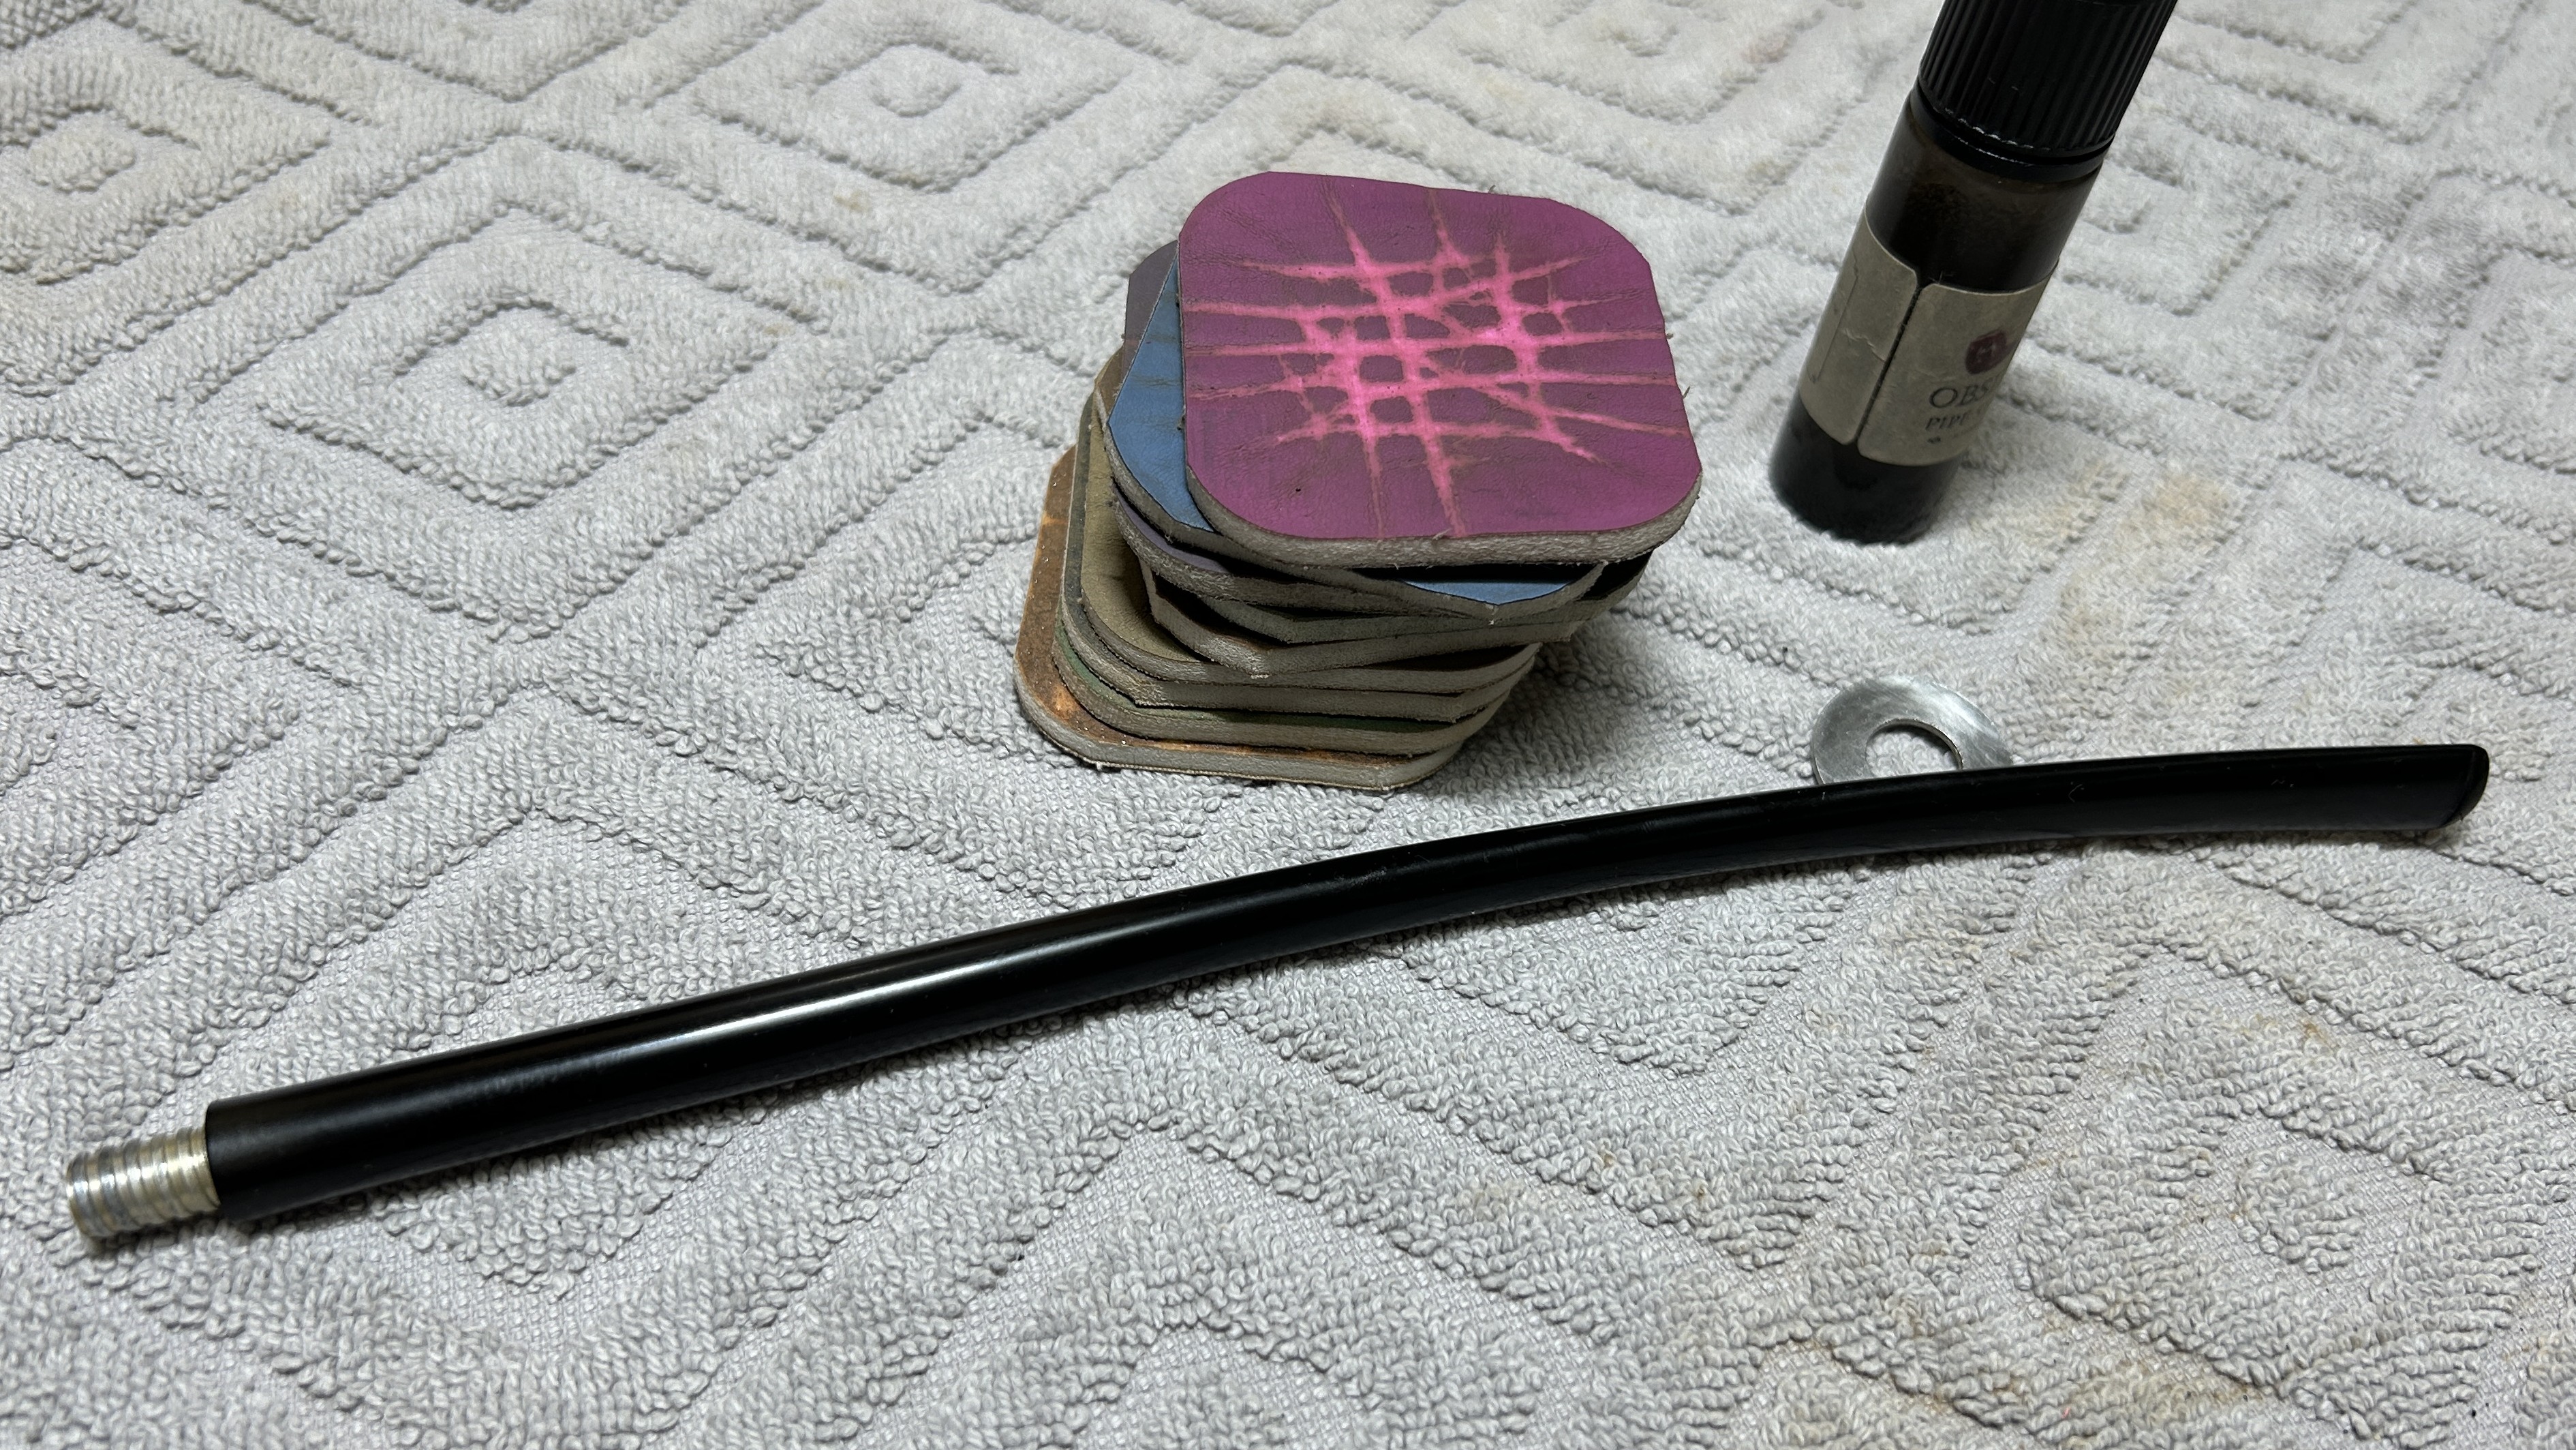
The penultimate step for the stem is sanding. First, with my set of needle files, I reduced the bulk of the cyanoacrylate repairs. I removed the excess adhesive as near to the surface as possible, without cutting into the vulcanite. Following that, I used all nine of the micromesh sanding pads (1,500 through 12,000 grit) to sand out flaws, even out the vulcanite, and provide gentle polishing of the finished surface. I also applied pipe-stem oil while using the last five micromesh pads. There was a wonderful, deep black shine to the stem when I was done.
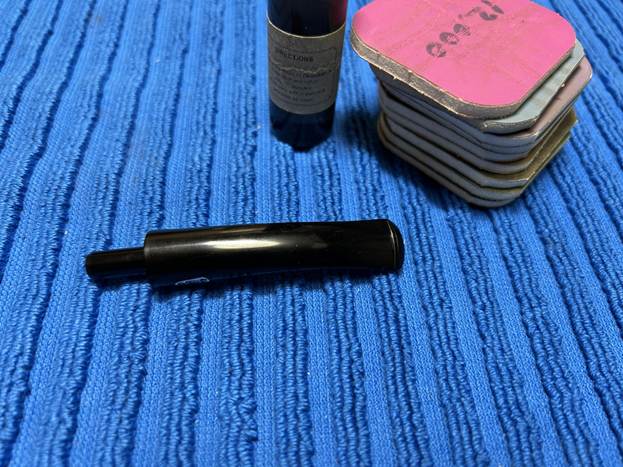
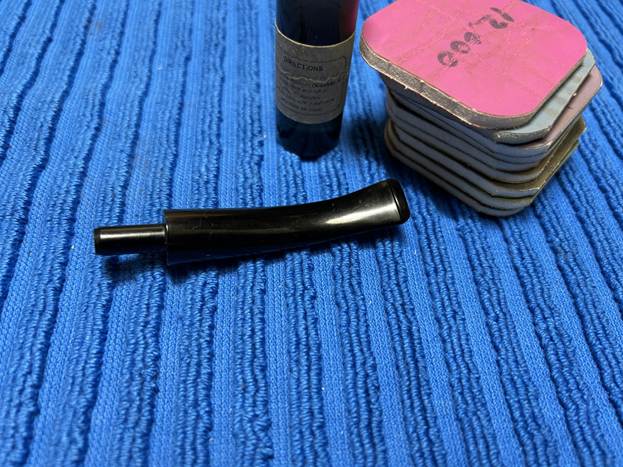
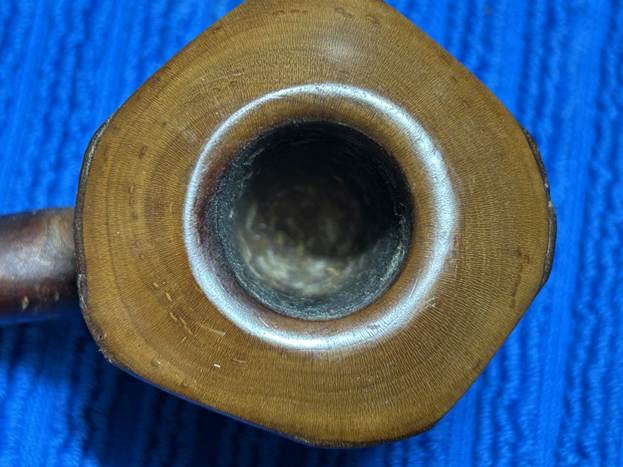
As the stem was (nearly) complete, I moved on to the stummel. The first step was to ream out the bowl – that is to say, remove all the cake inside the bowl. However, there was so little in the bowl that I only needed a piece of sandpaper taped to a wooden dowel. This ensured that the little bit of debris was removed.

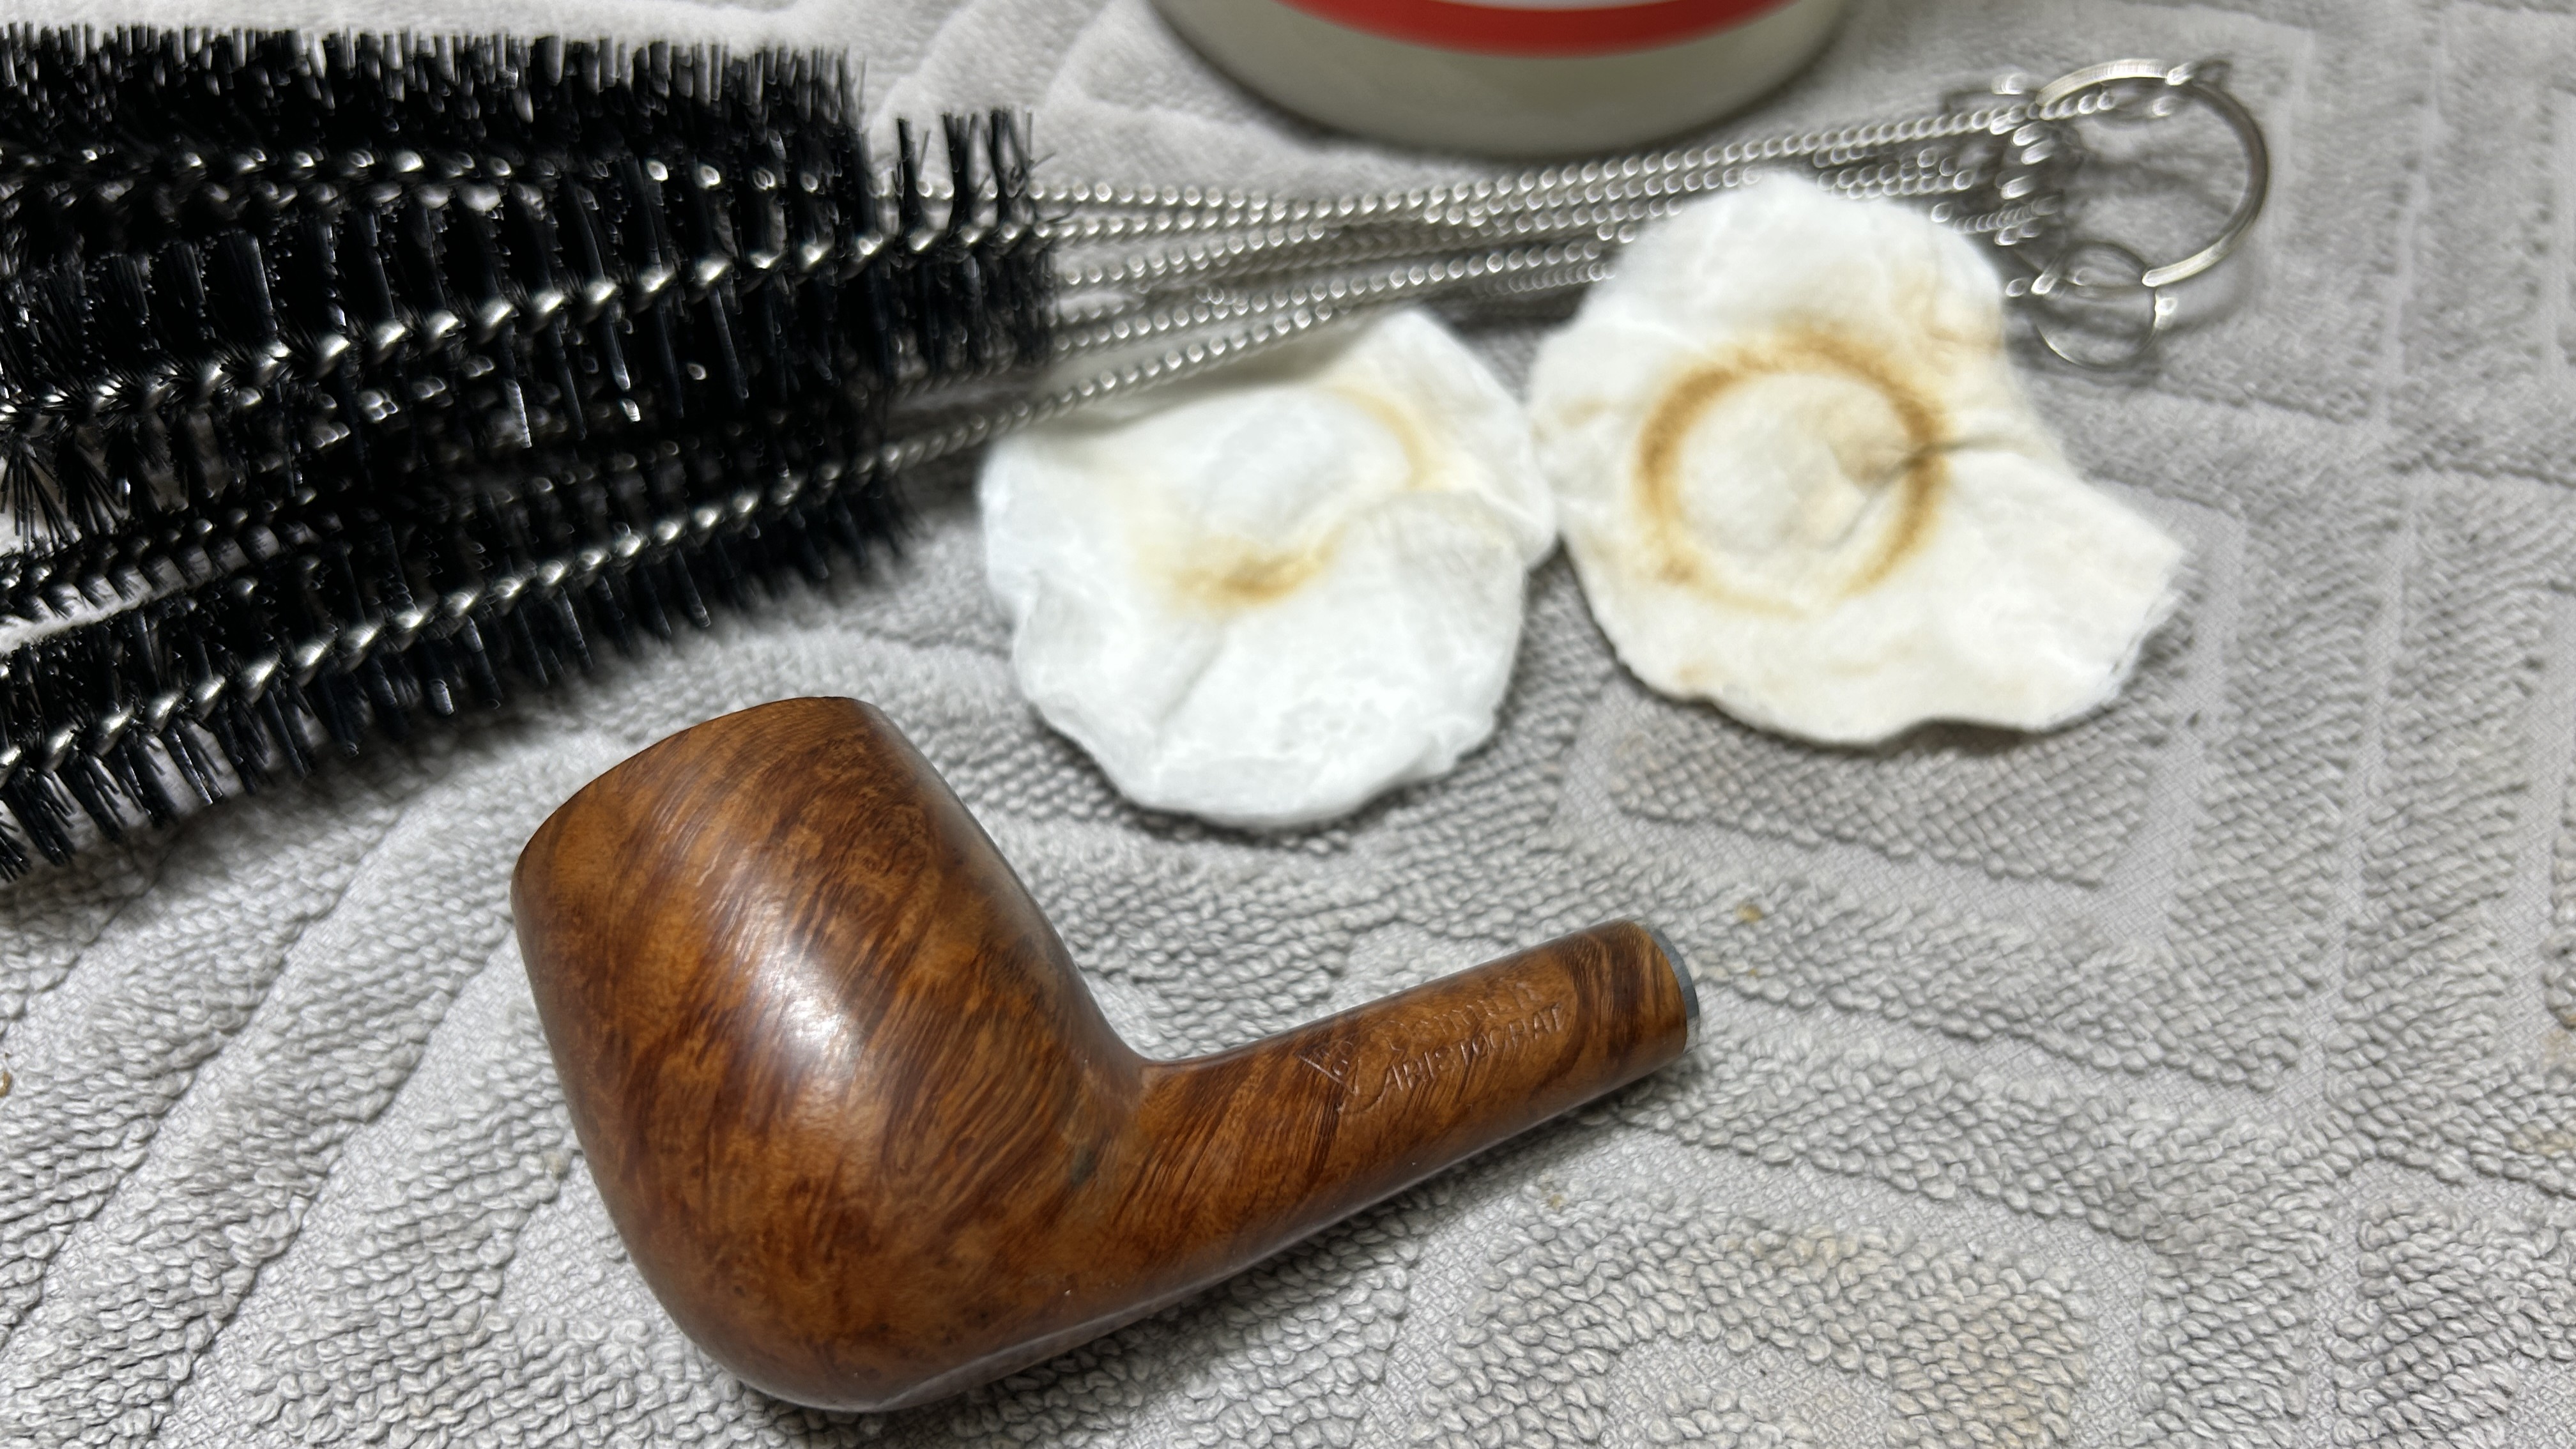
Similar to the stem, I then cleaned the stummel and the shank with both pipe cleaners and cotton swabs dipped in lemon-infused 99% isopropyl alcohol.

I then decided to ‘de-ghost’ the pipe – that is to say, exorcize the remaining filth from the briar. I filled the bowl and the shank with cotton balls, then saturated them with 99% isopropyl alcohol. I let the stummel sit overnight. This caused the remaining oils, tars and smells to leach out into the cotton.

To tidy up the briar, I wiped down the outside, using a solution of a pH-neutral detergent and some distilled water, with cotton rounds. This did a good job of cleaning any latent dirt on the surface of the briar.

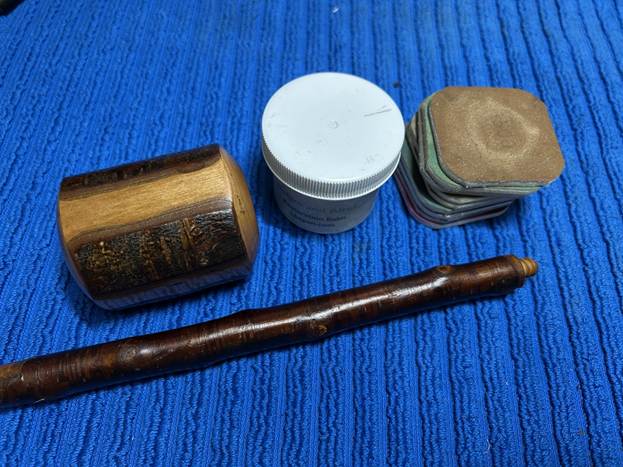
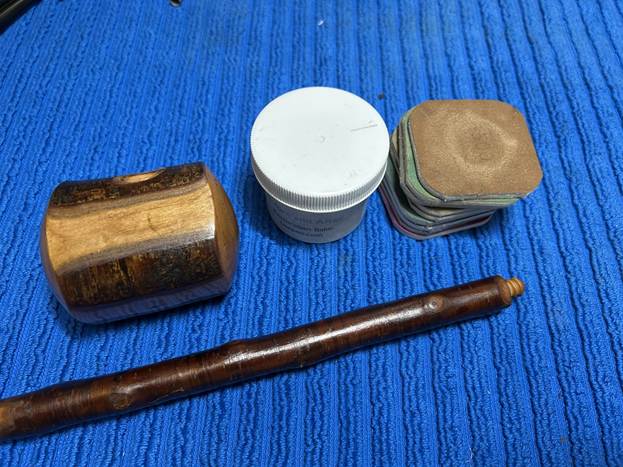
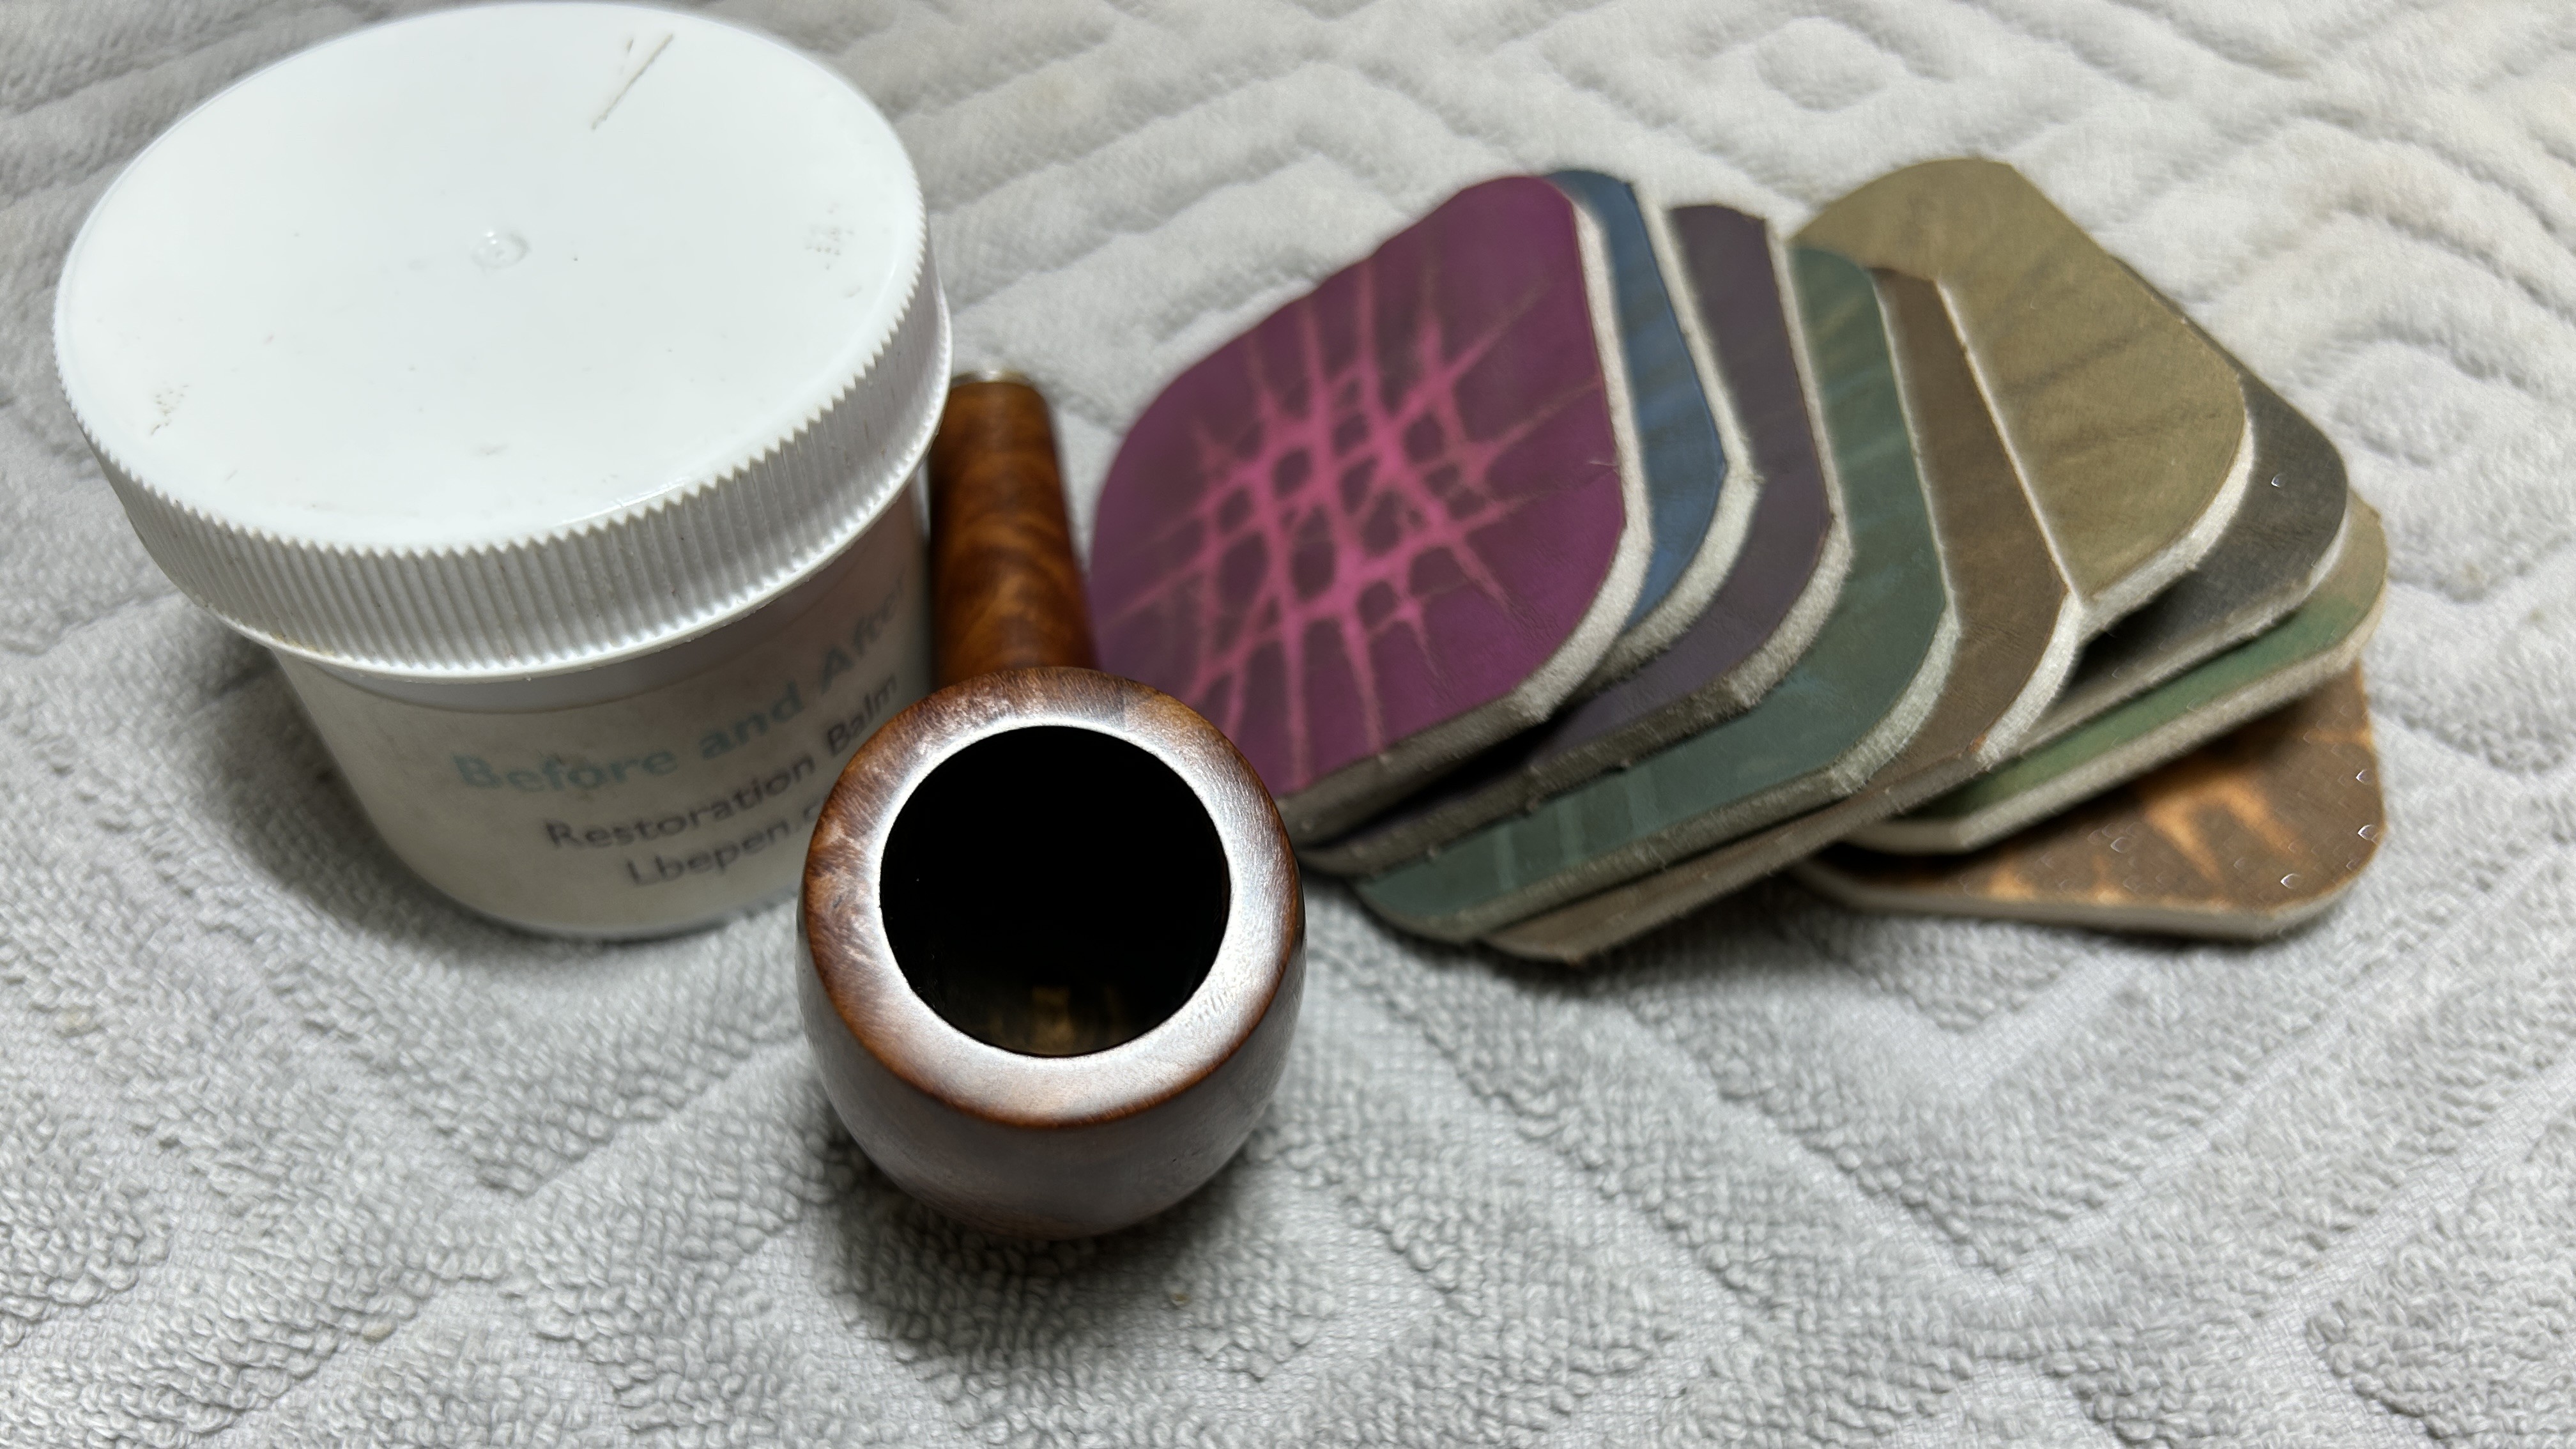
I used all nine micromesh pads (1,500 through 12,000 grit) to sand the outside of the stummel and finish it off. This sanding minimizes flaws in the briar and provides a beautiful smoothness to the wood. I rubbed some LBE Before & After Restoration Balm into the briar and let it sit for an hour or so. The balm moisturizes the wood and gives a beautiful depth to the briar. I then buffed the stummel with a microfibre cloth.

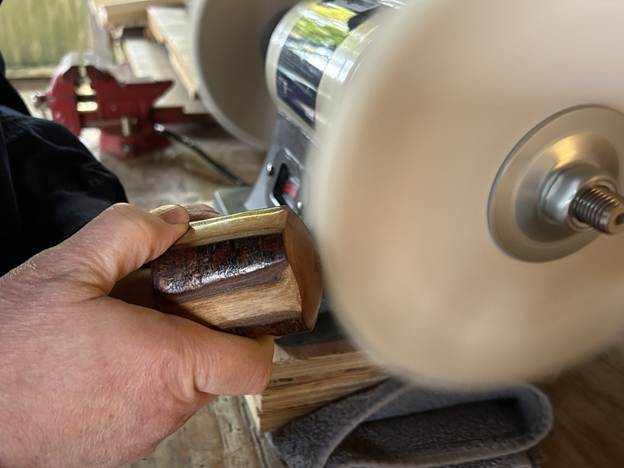
For the final step, I took the pipe to my bench polisher and carefully buffed it. To preserve the bark, I didn’t use the polisher on the sides of the bowl and shank. However, I did buff the top and bottom and smooth sides with blue diamond compound and carnauba wax on the bench buffer. This procedure makes the pipe look its best: the stummel is smart and dapper and the stem is very handsome.

All done! This Ropp 808 Cherrywood panel looks fantastic again and is ready to be enjoyed by its next owner. I am pleased to announce that this pipe is for sale! If you are interested in acquiring it for your collection, please have a look in the ‘French’ section of the store here on Steve’s website. You can also email me directly at kenneth@knightsofthepipe.com. The approximate dimensions of the pipe are as follows: length 12 in. (305 mm); height 2¾ in. (71 mm); bowl diameter 2⅛ in. (55 mm); chamber diameter ⅞ in. (21 mm). The weight of the pipe is 5 oz. (142 g). I hope you enjoyed reading the story of this pipe’s restoration as much as I enjoyed restoring it. If you are interested in more of my work, please follow me here on Steve’s website or send me an email. Thank you very much for reading and, as always, I welcome and encourage your comments.

Restoring a WDC Demuth Aristocrat 88 Churchwarden


by Kenneth Lieblich

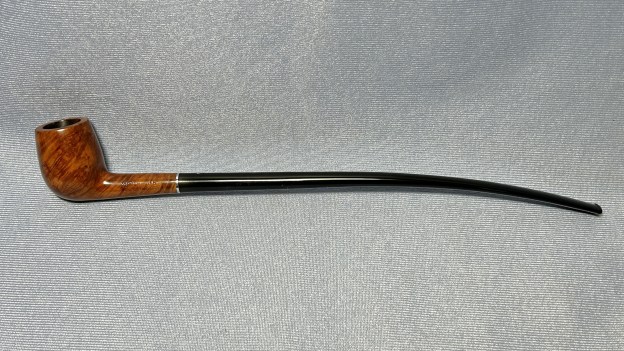
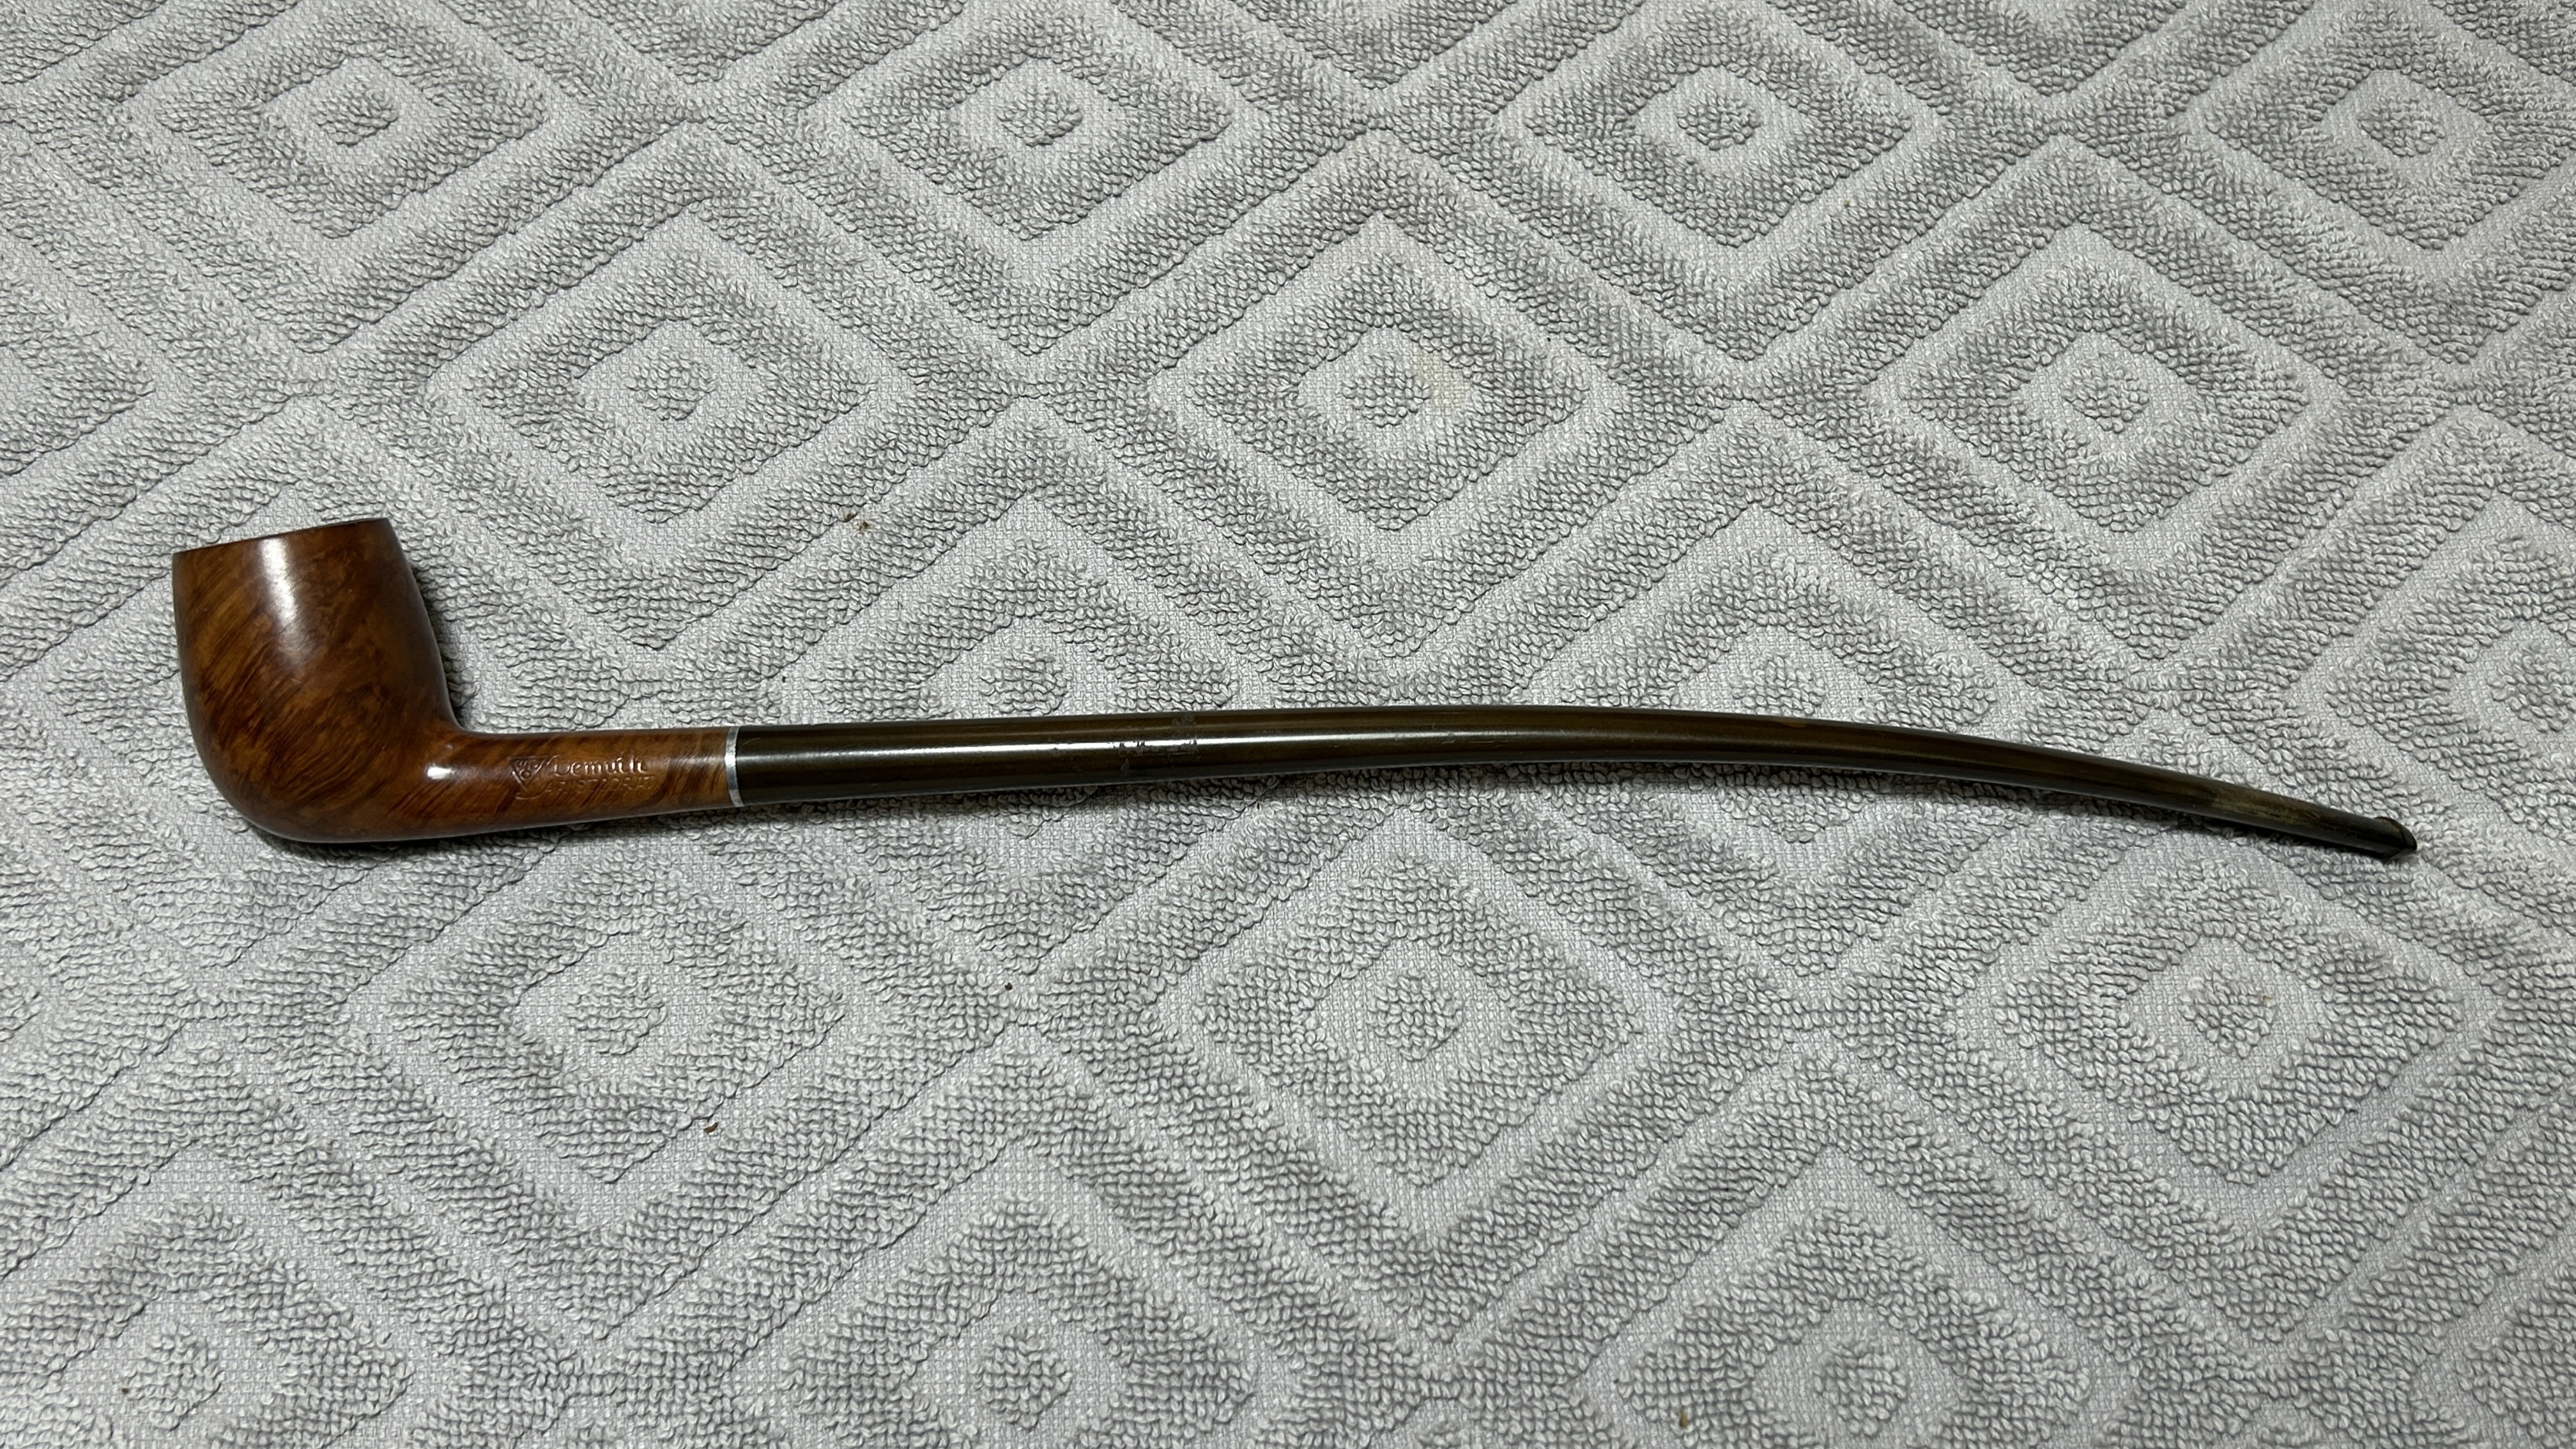
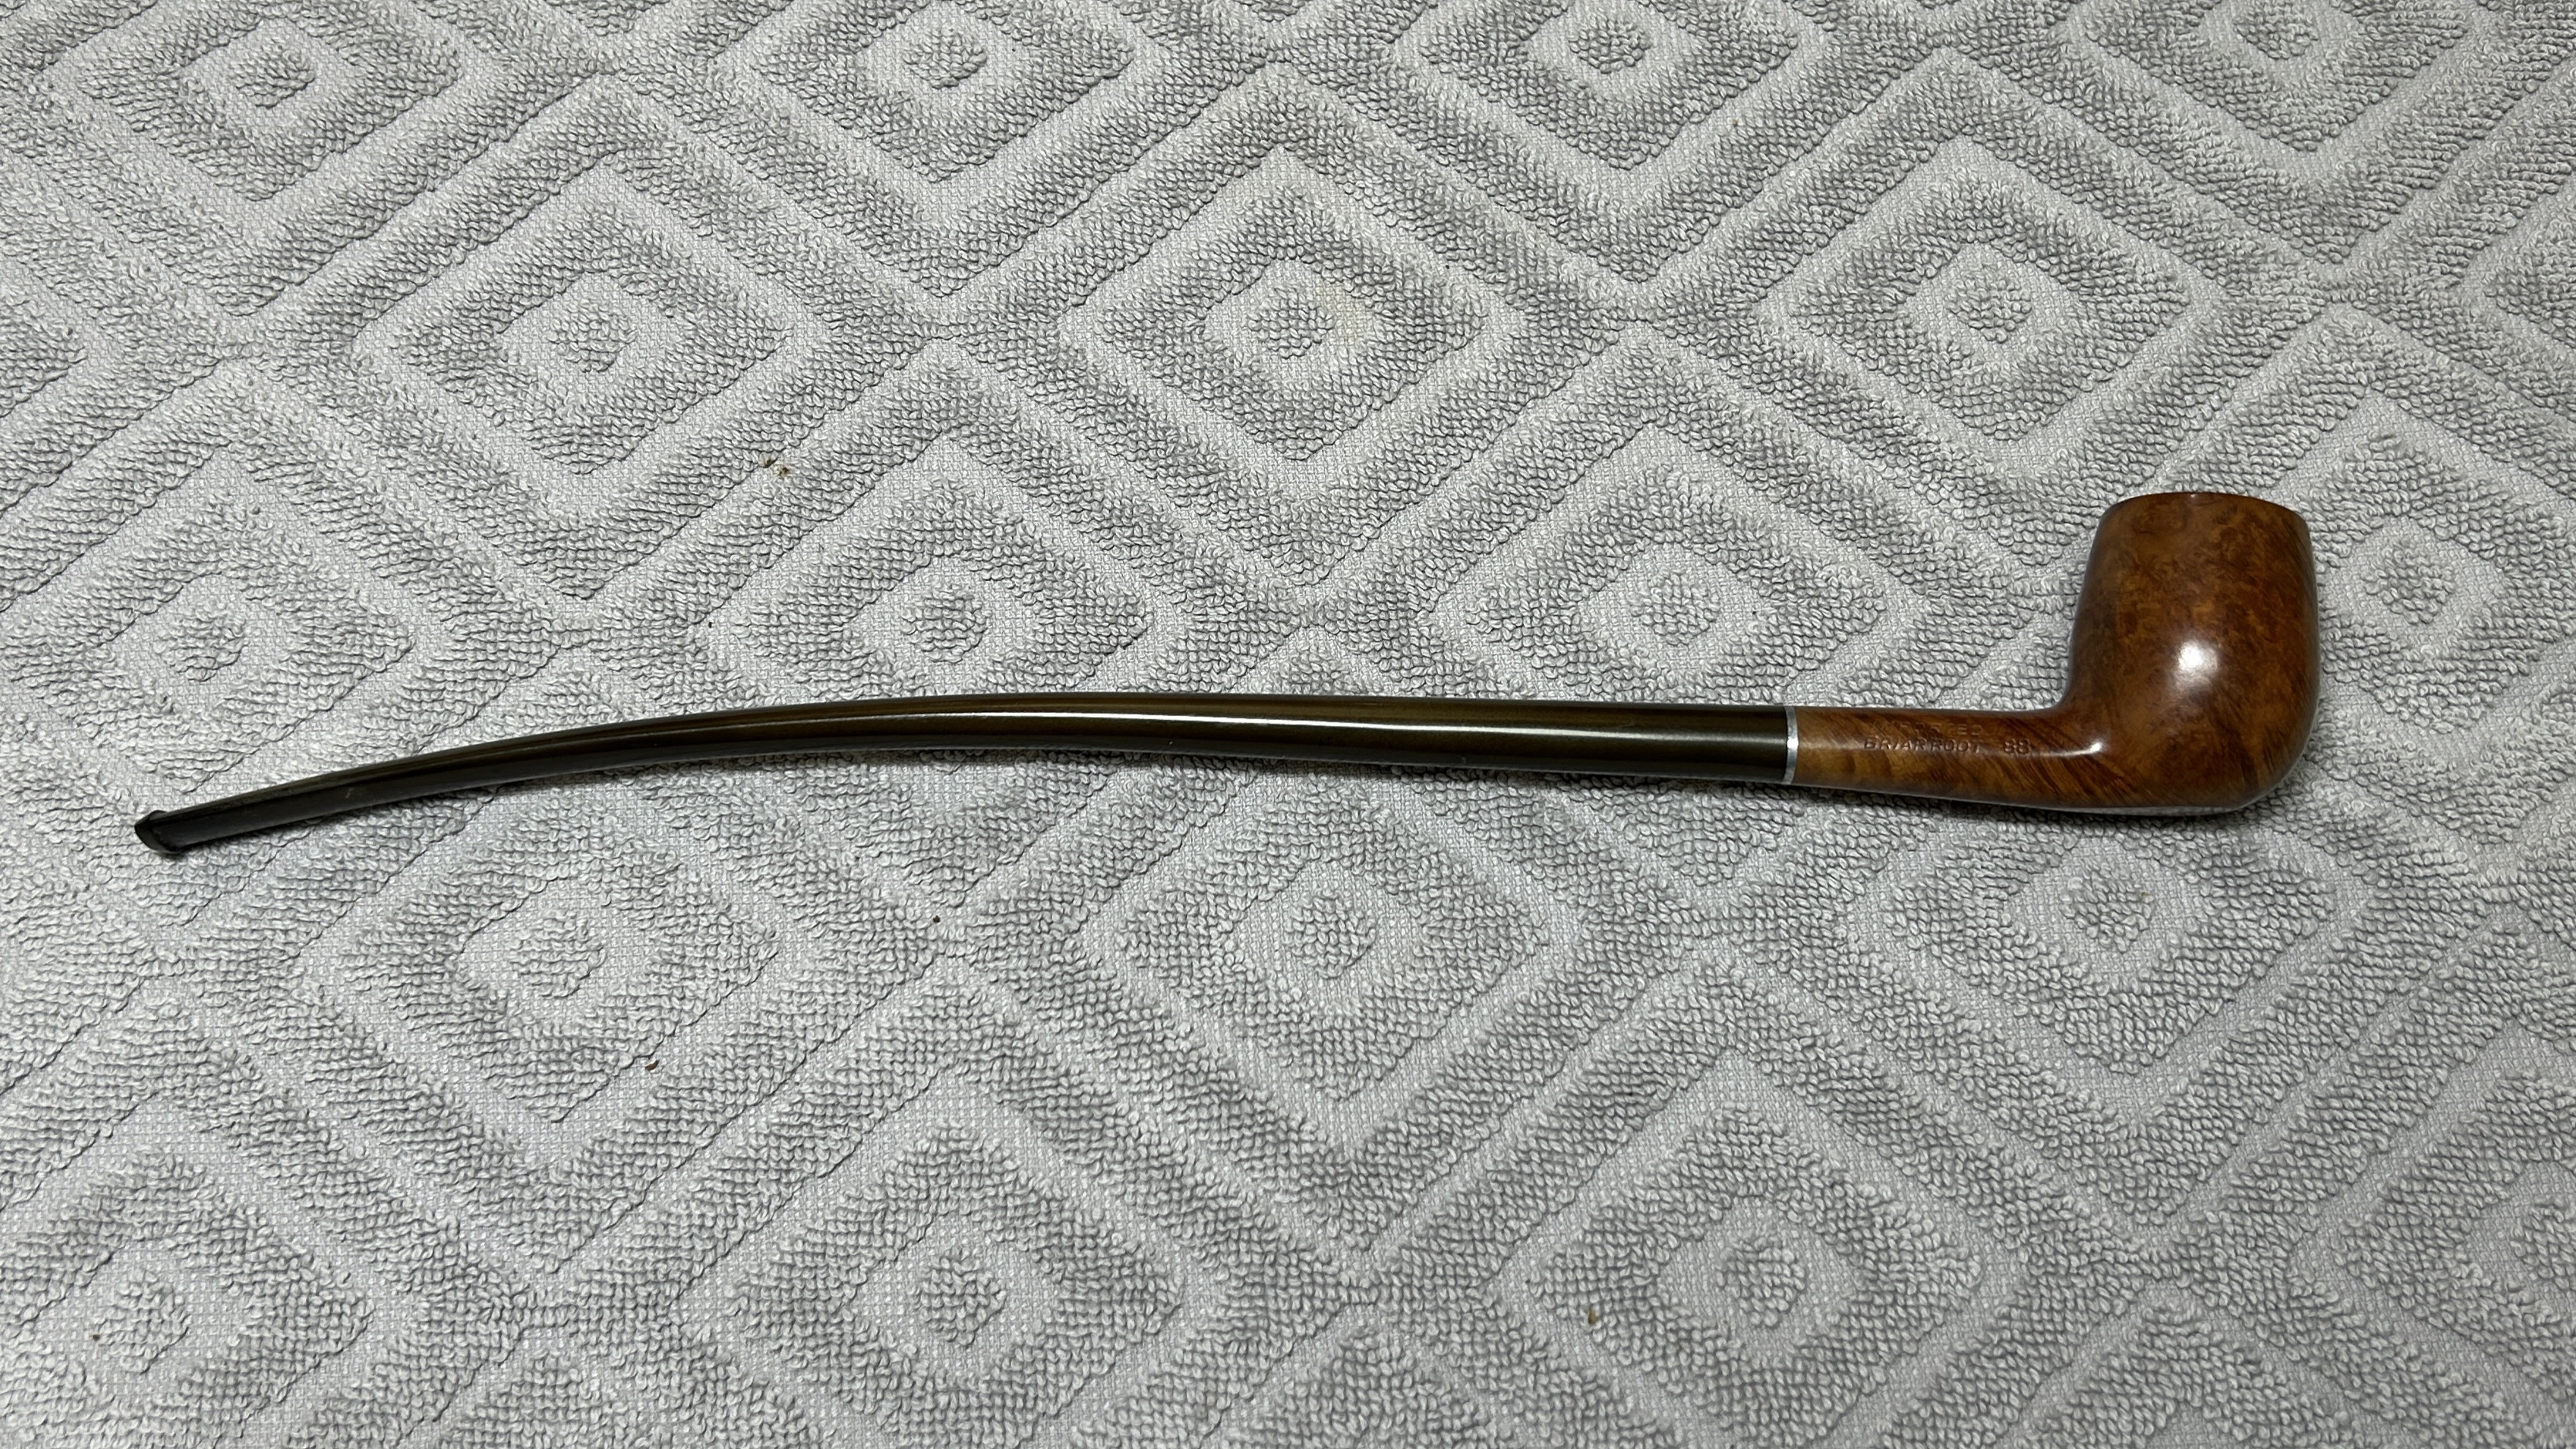
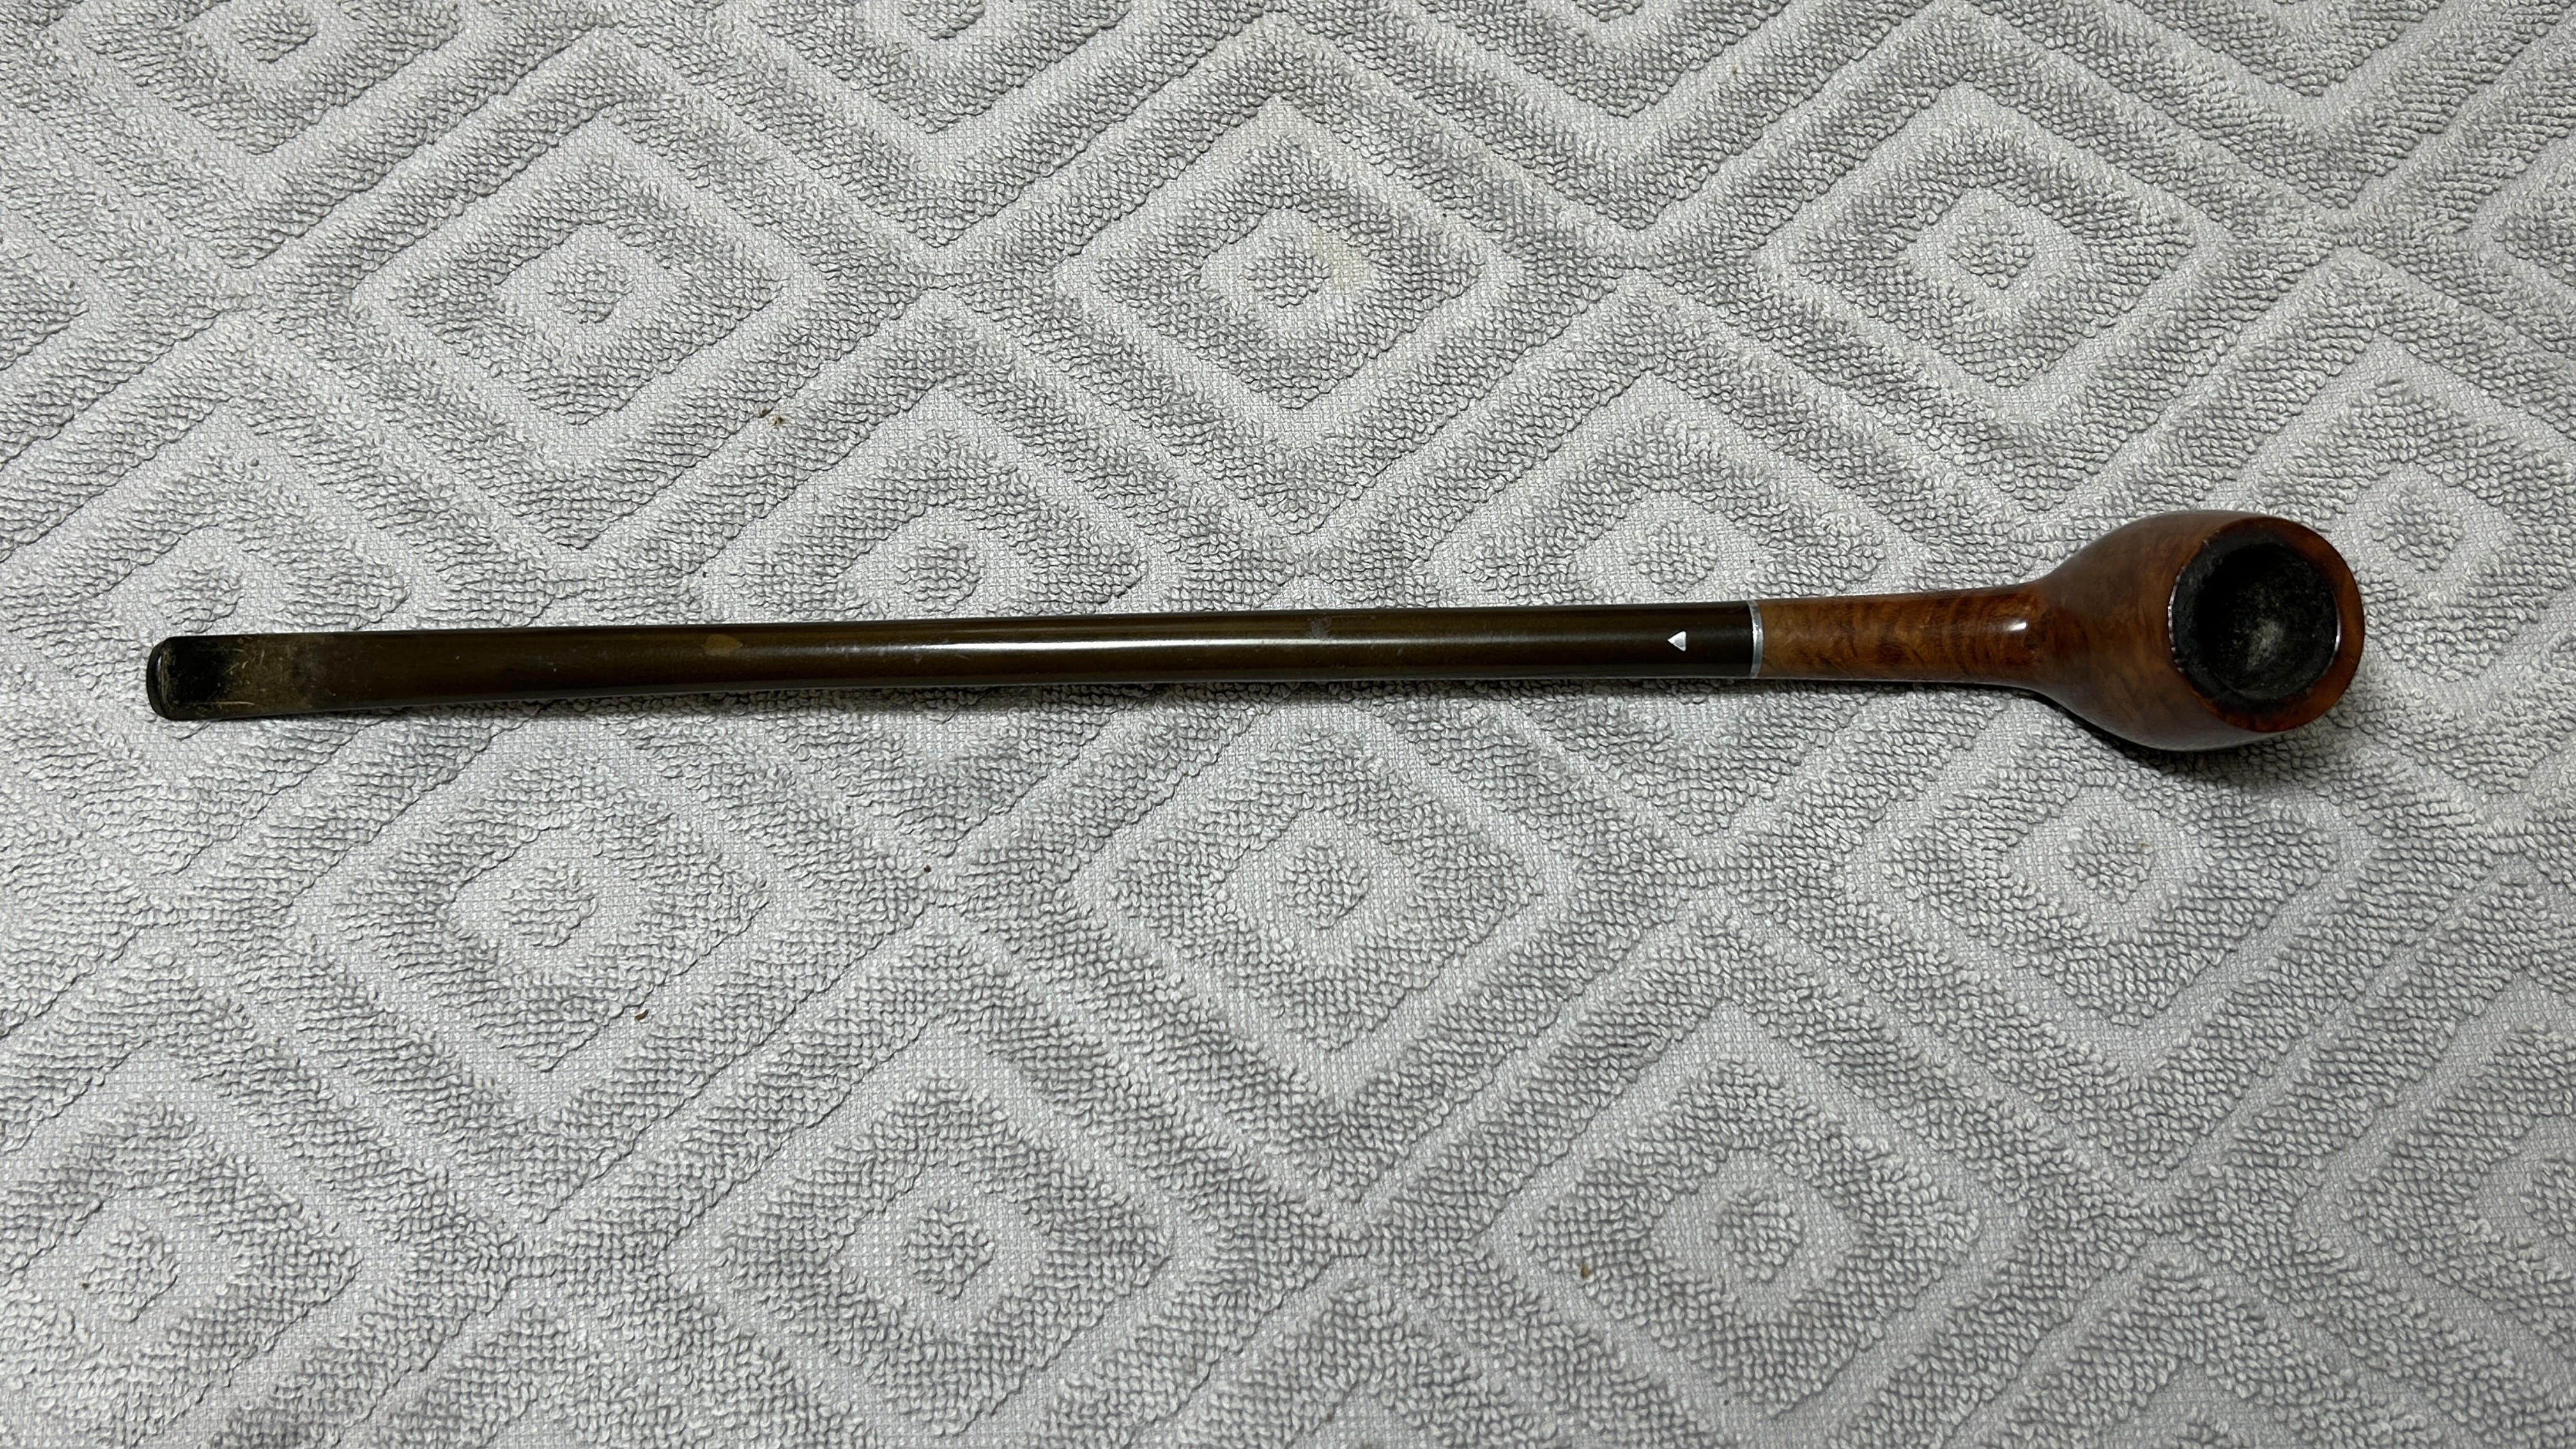
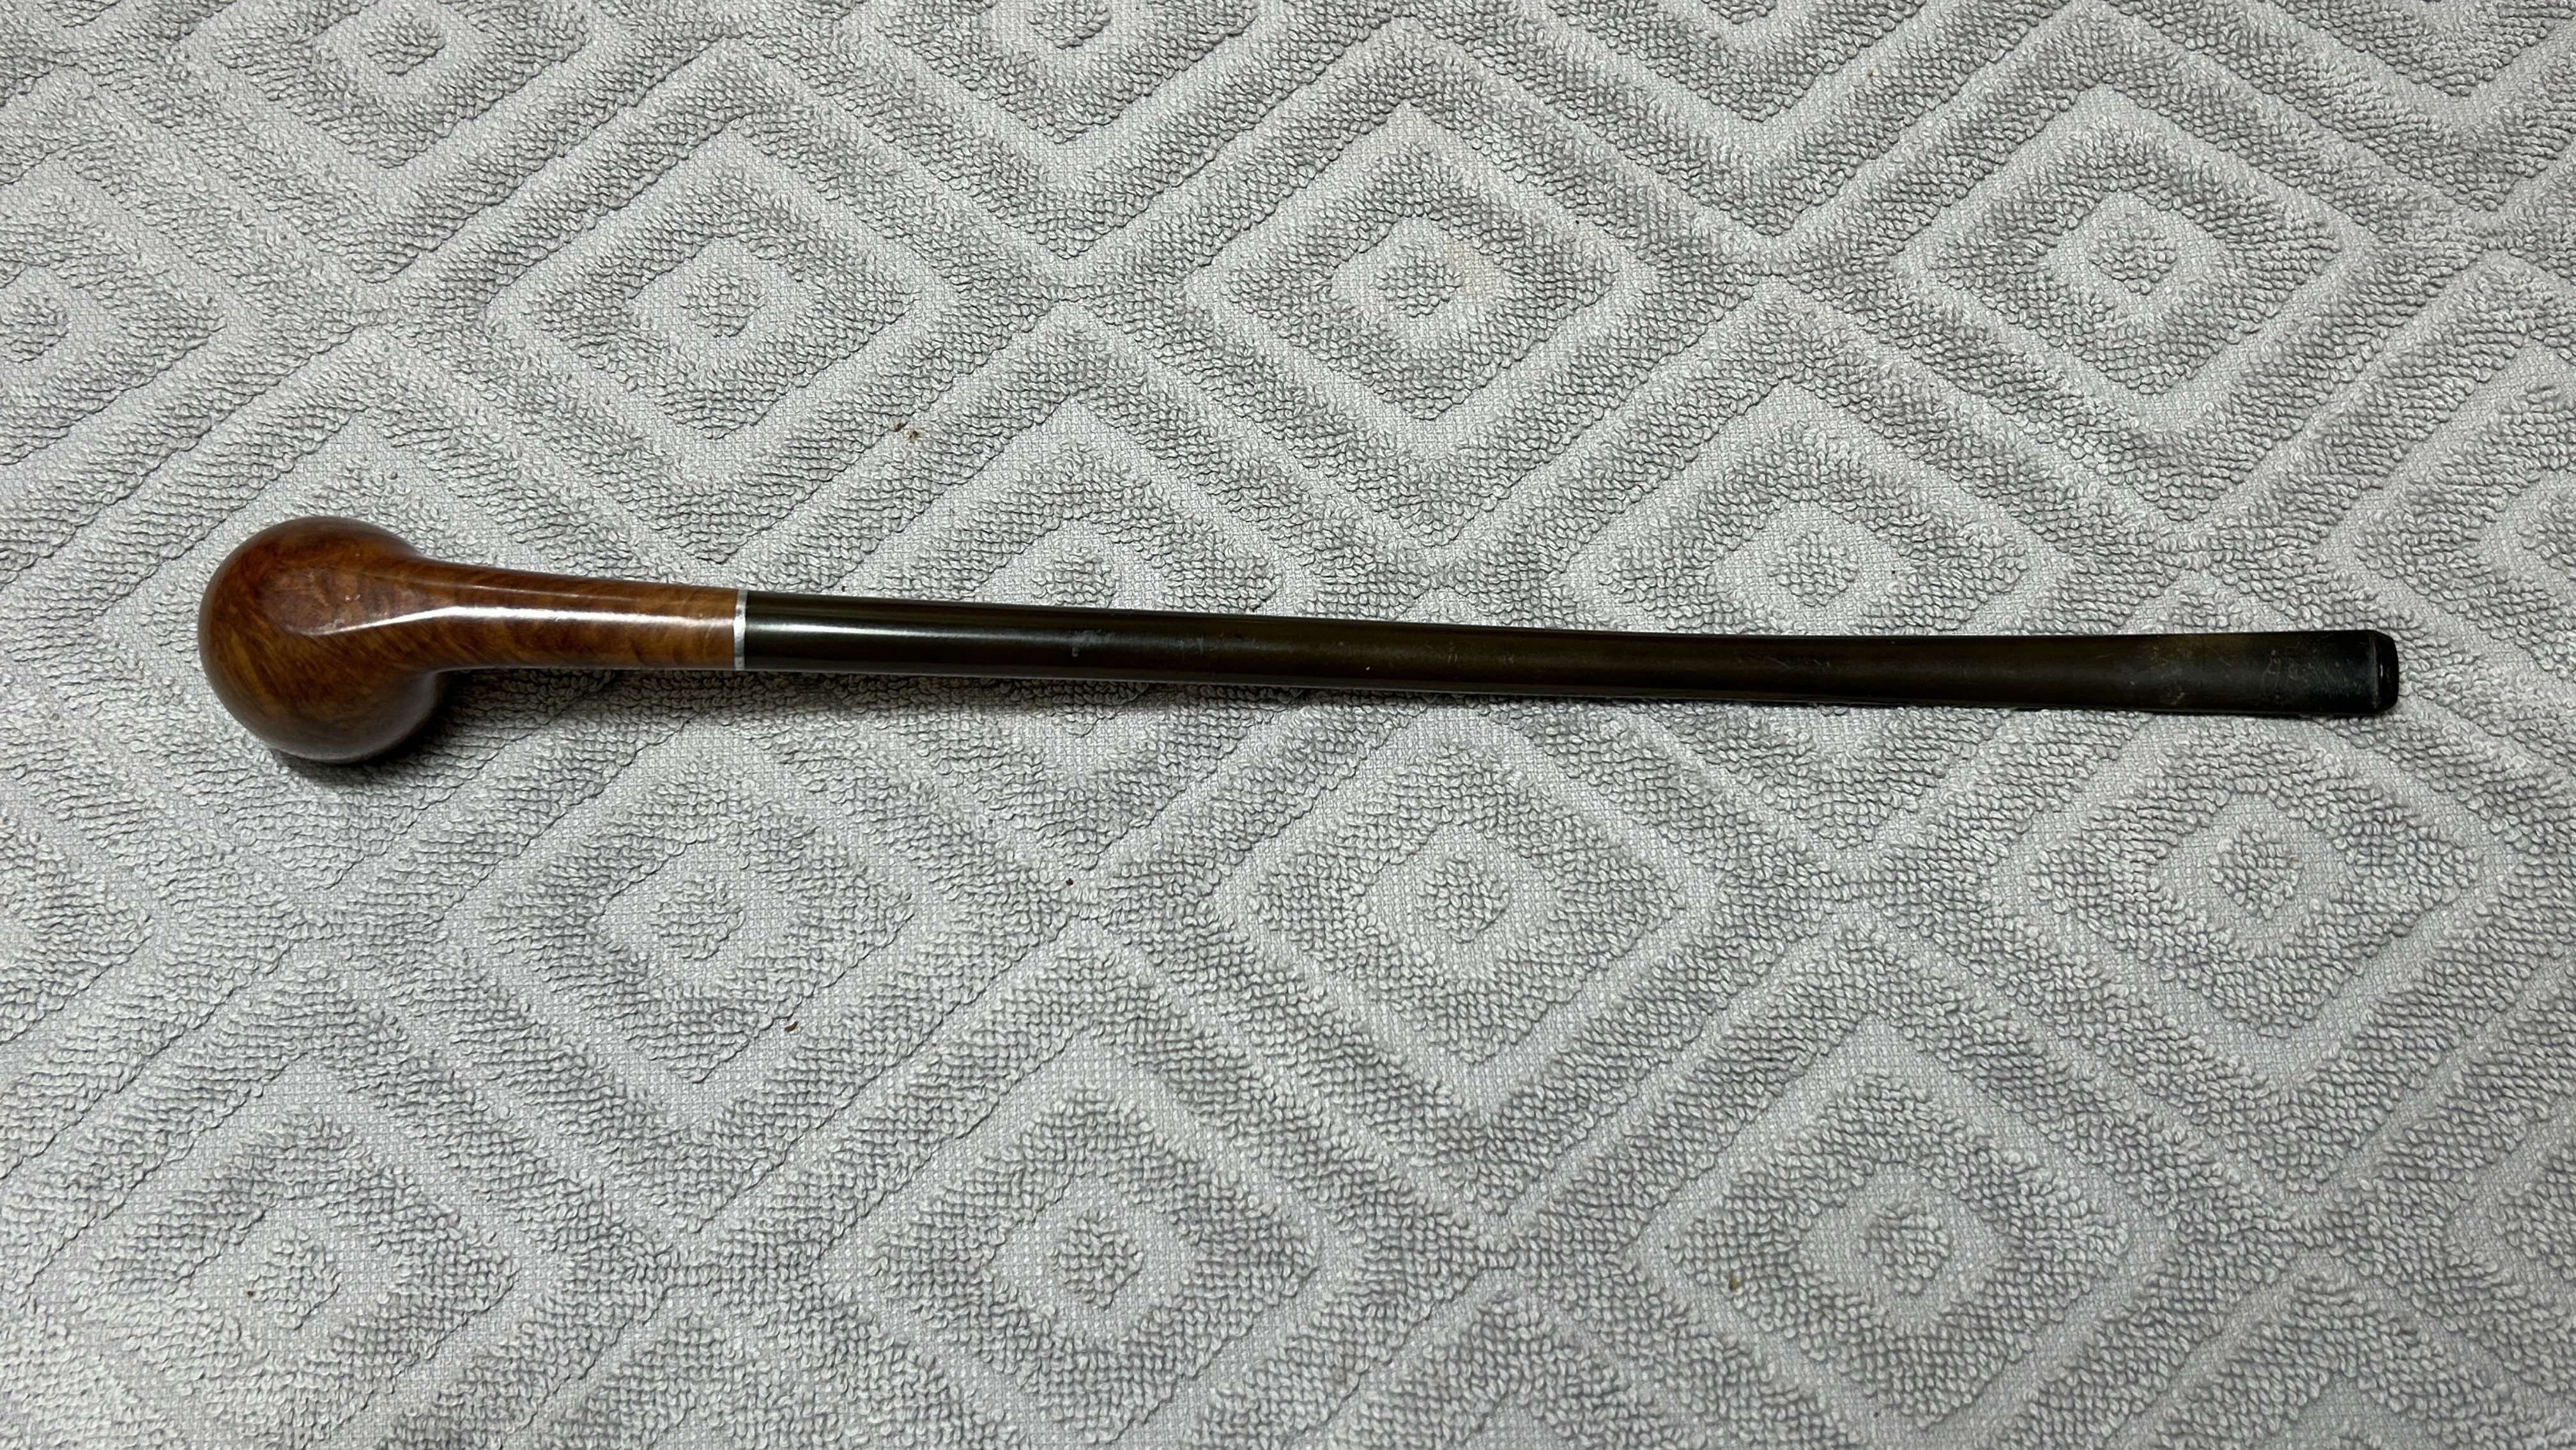
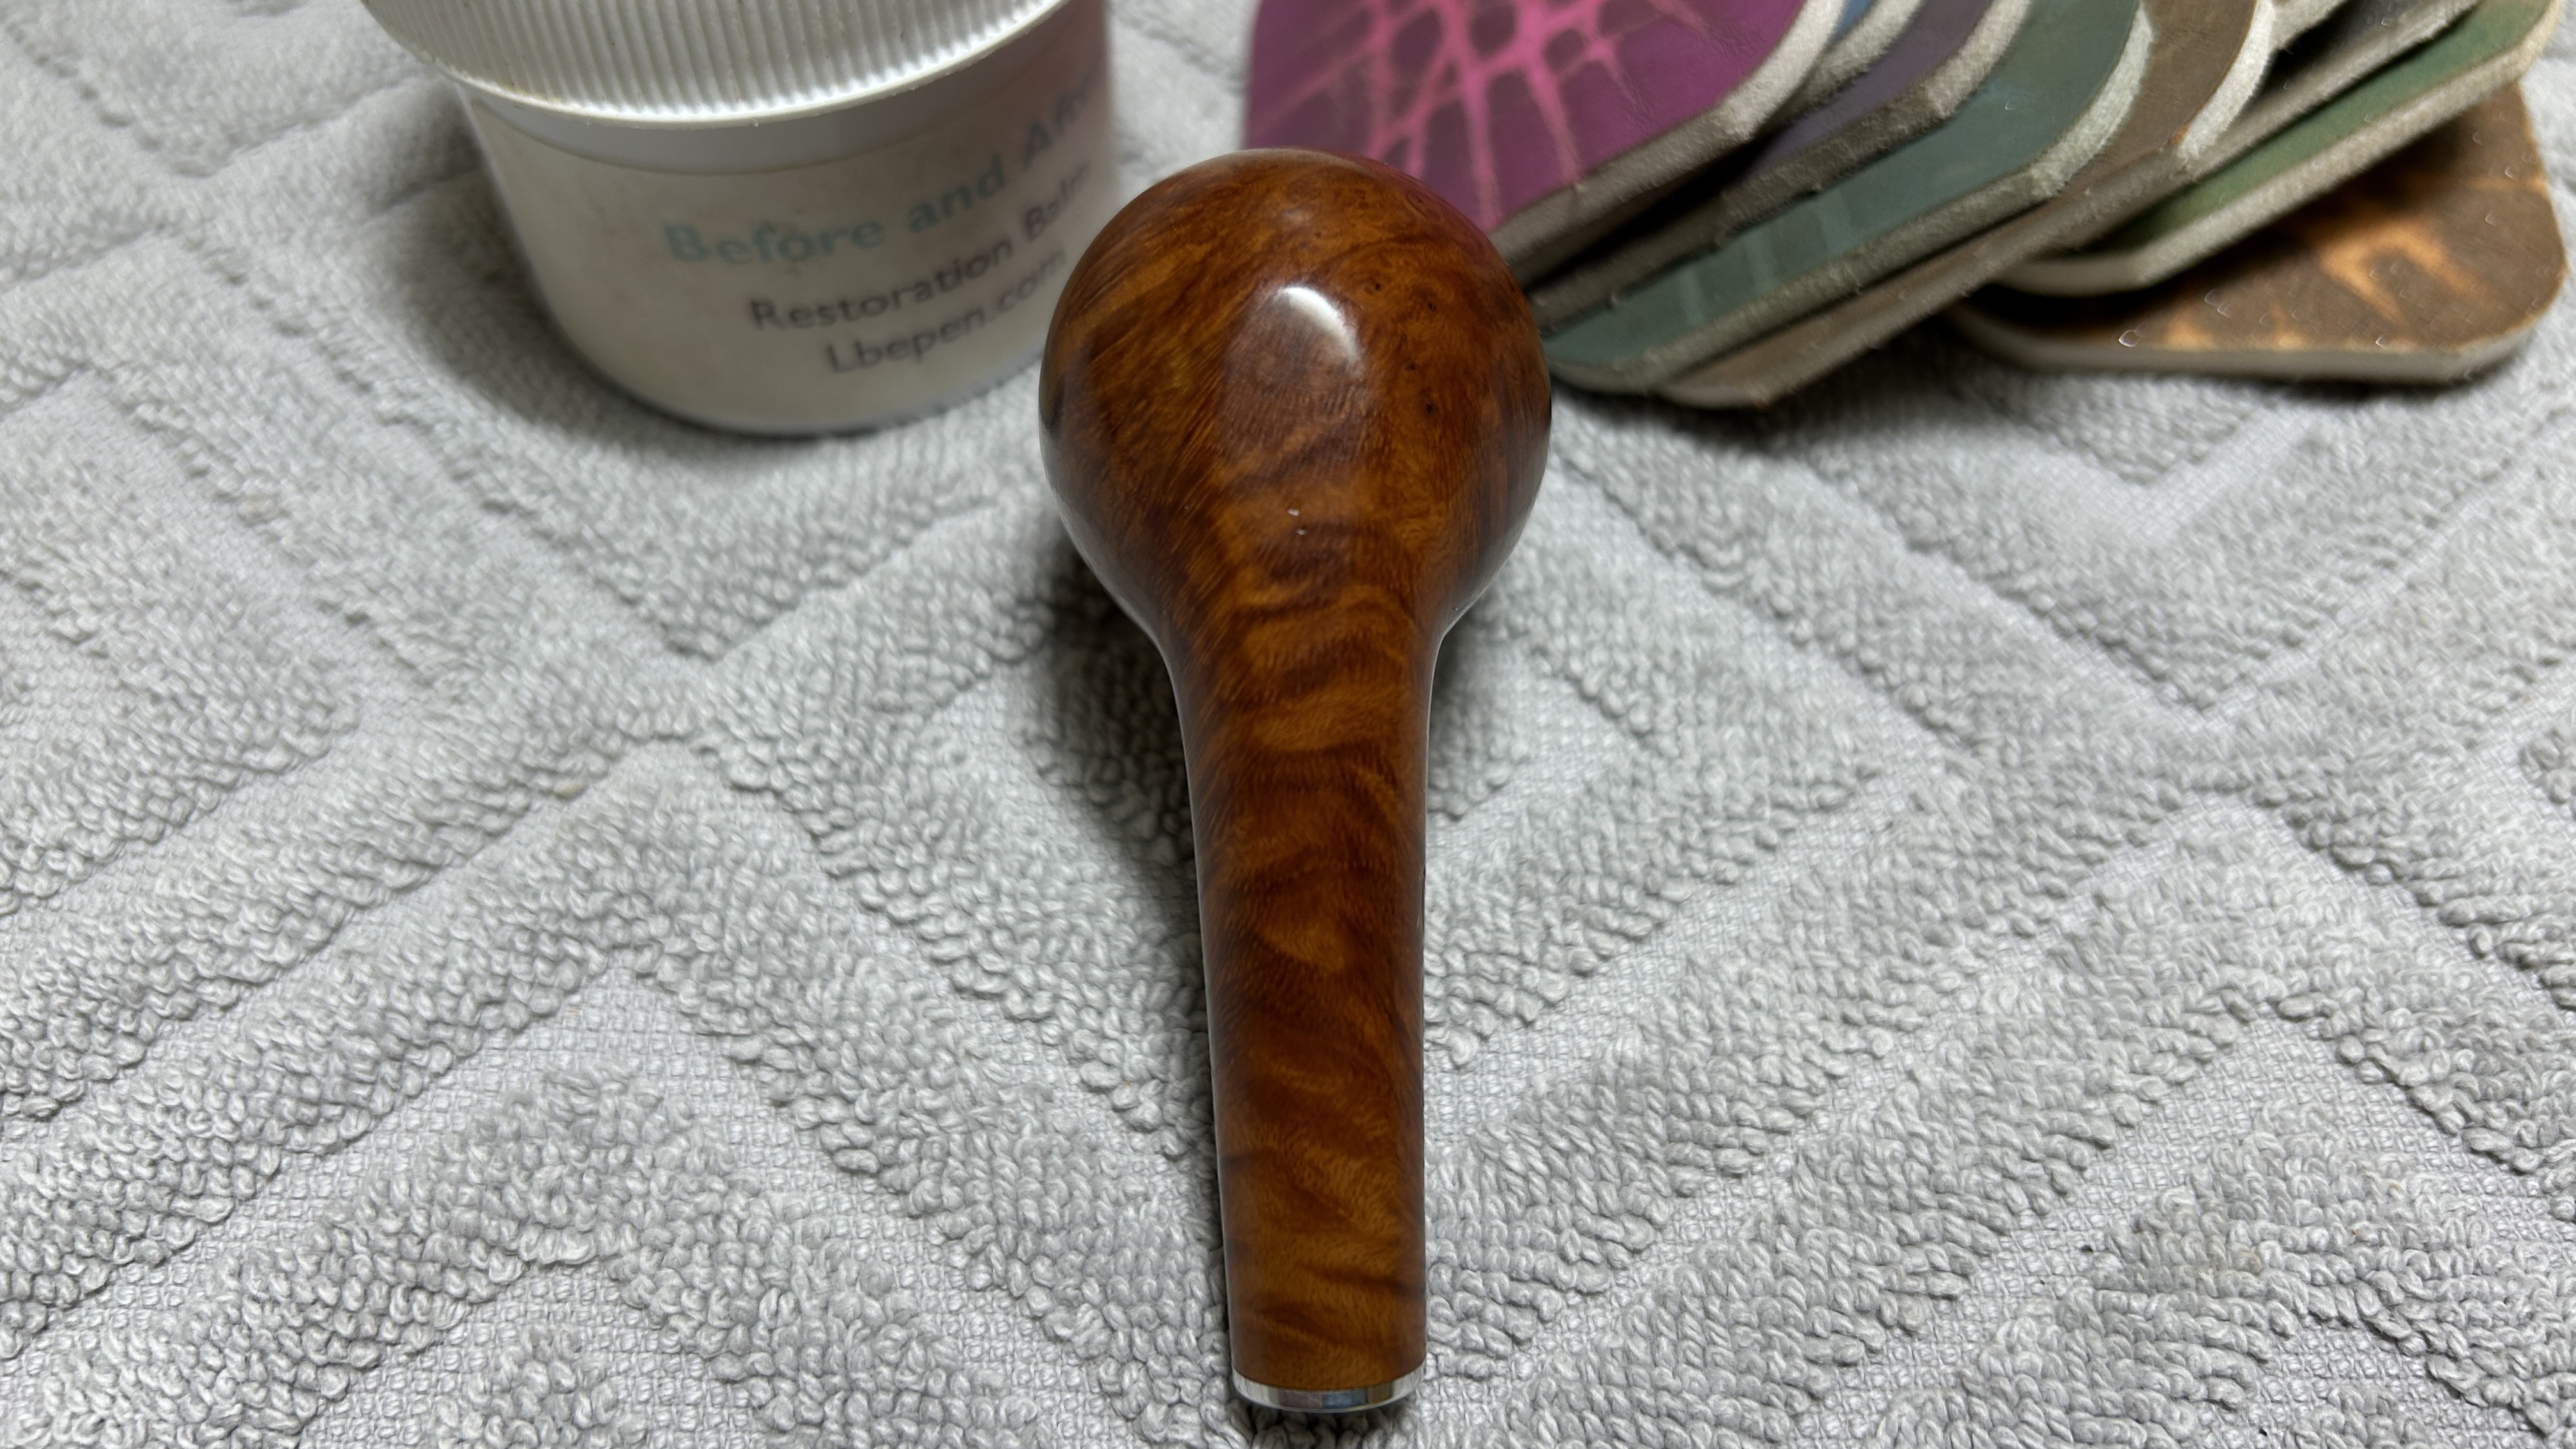
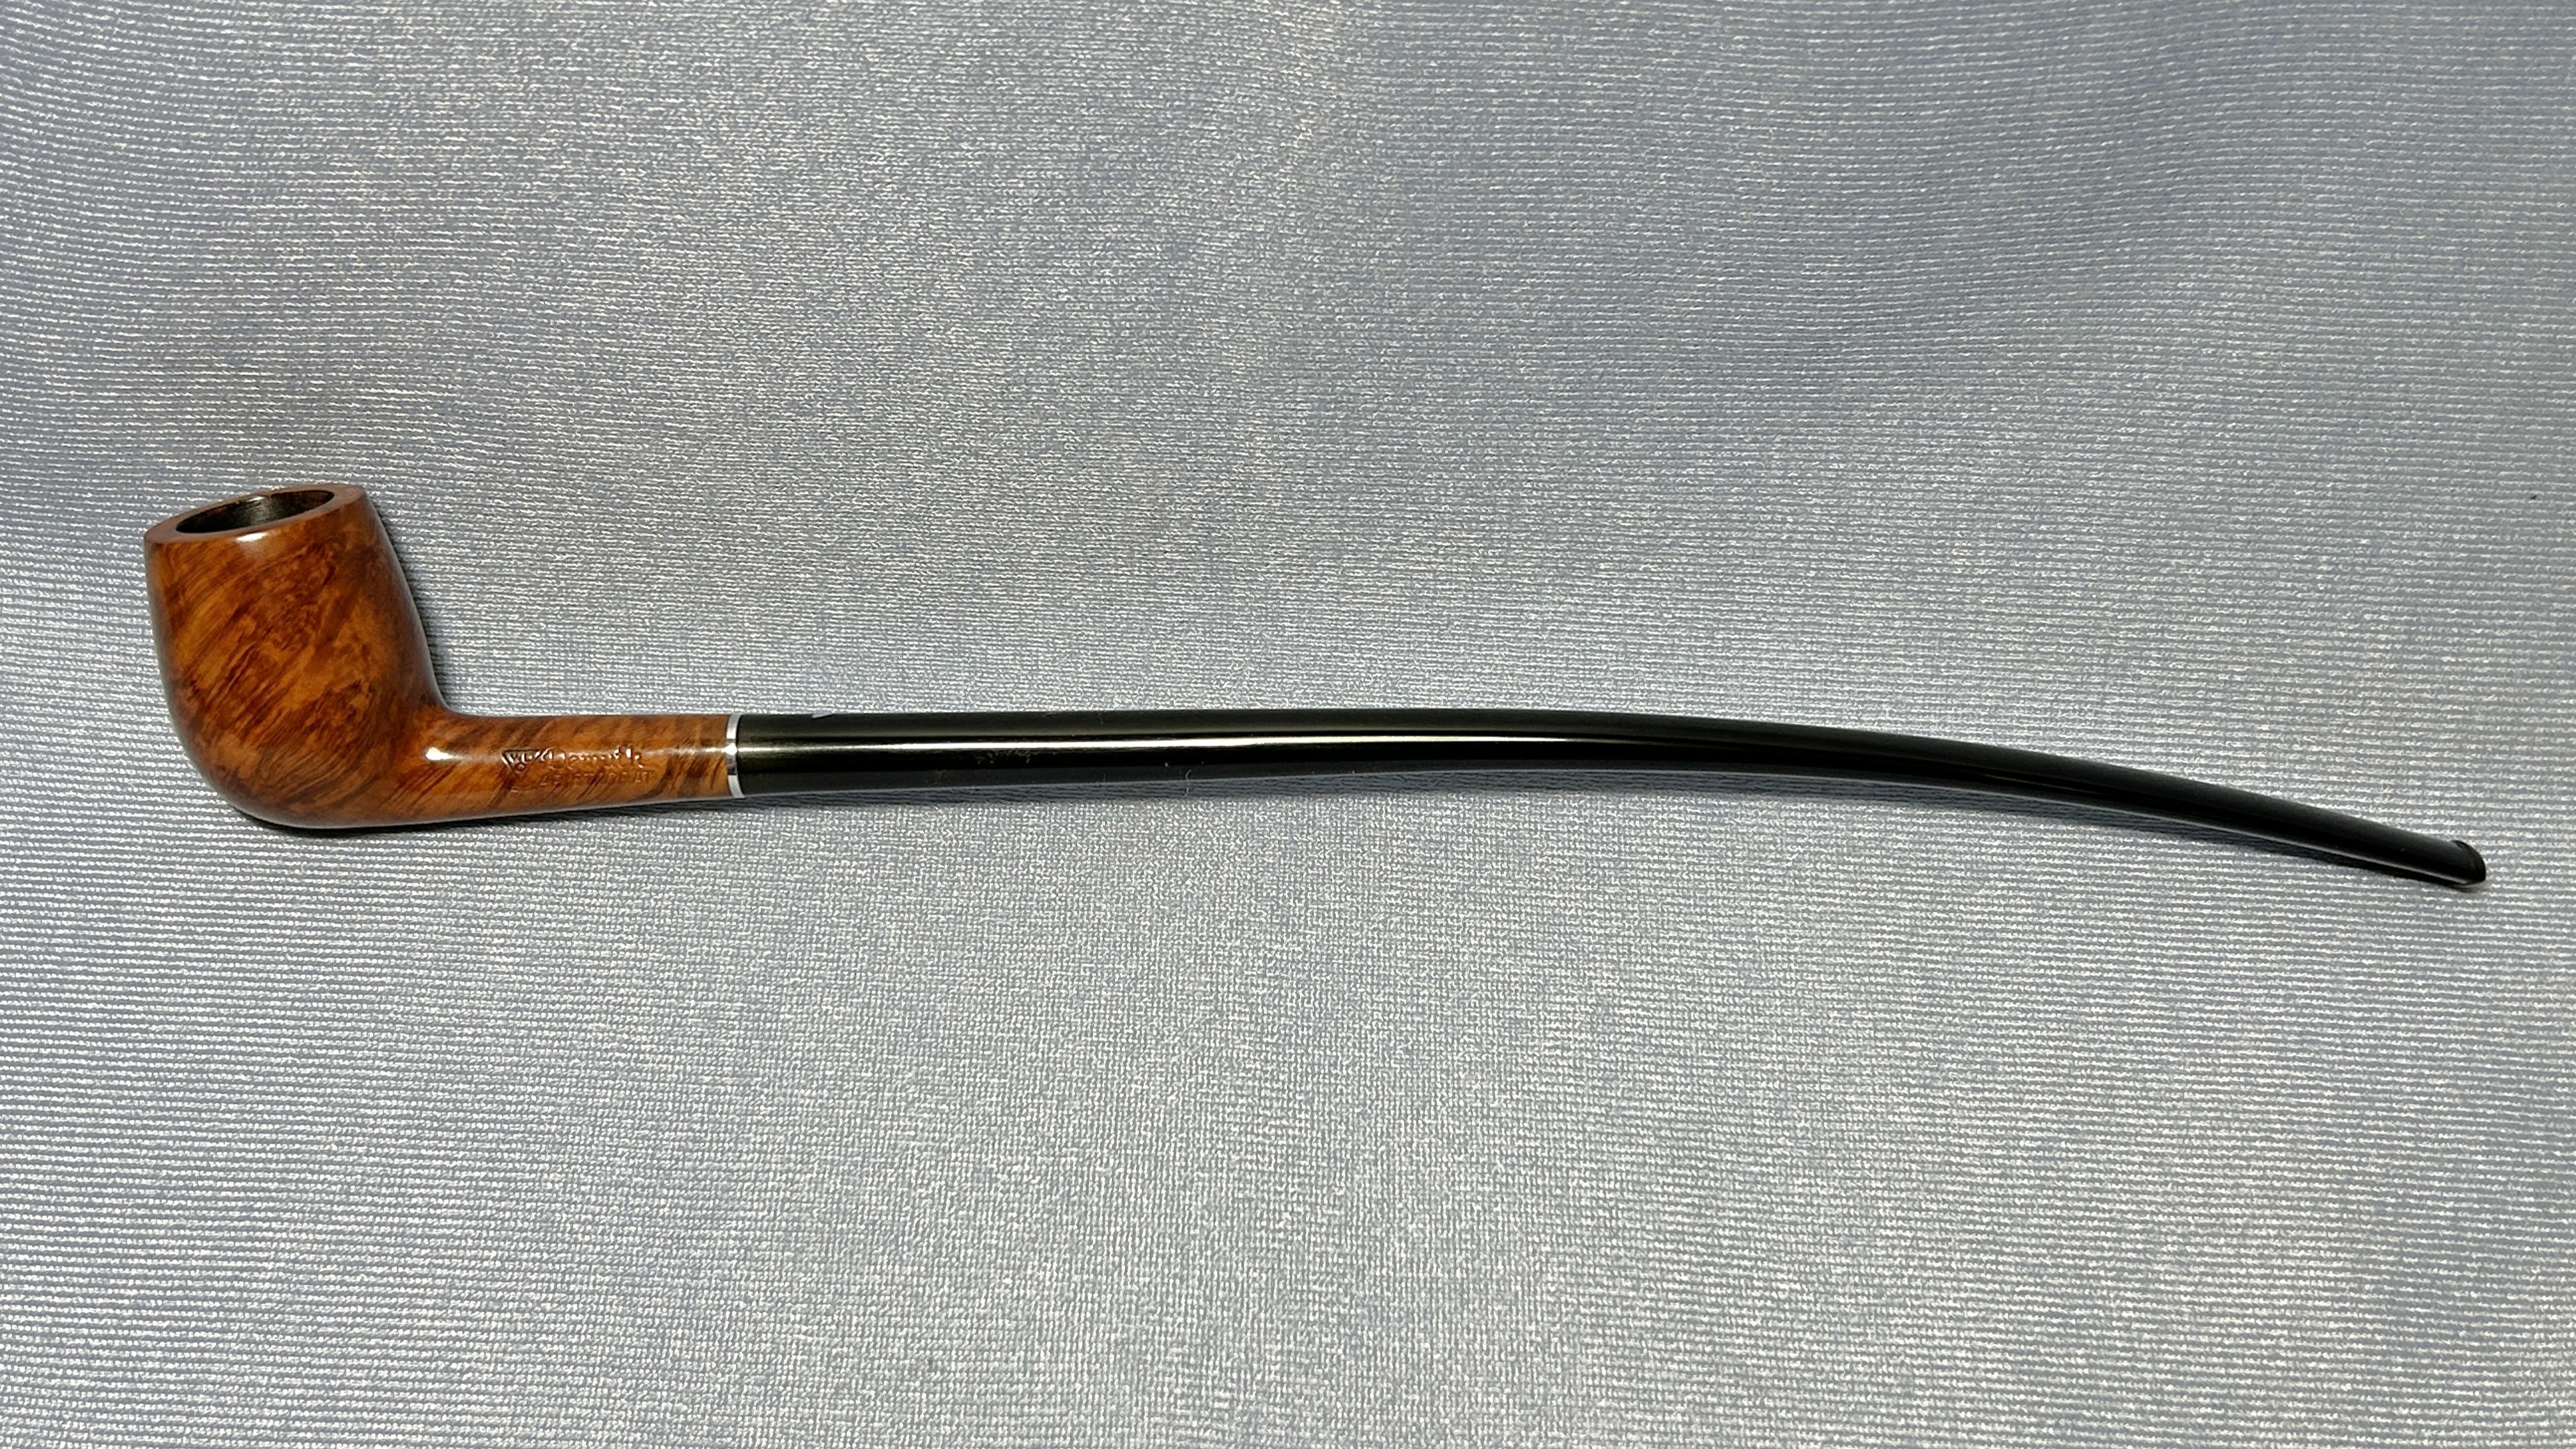
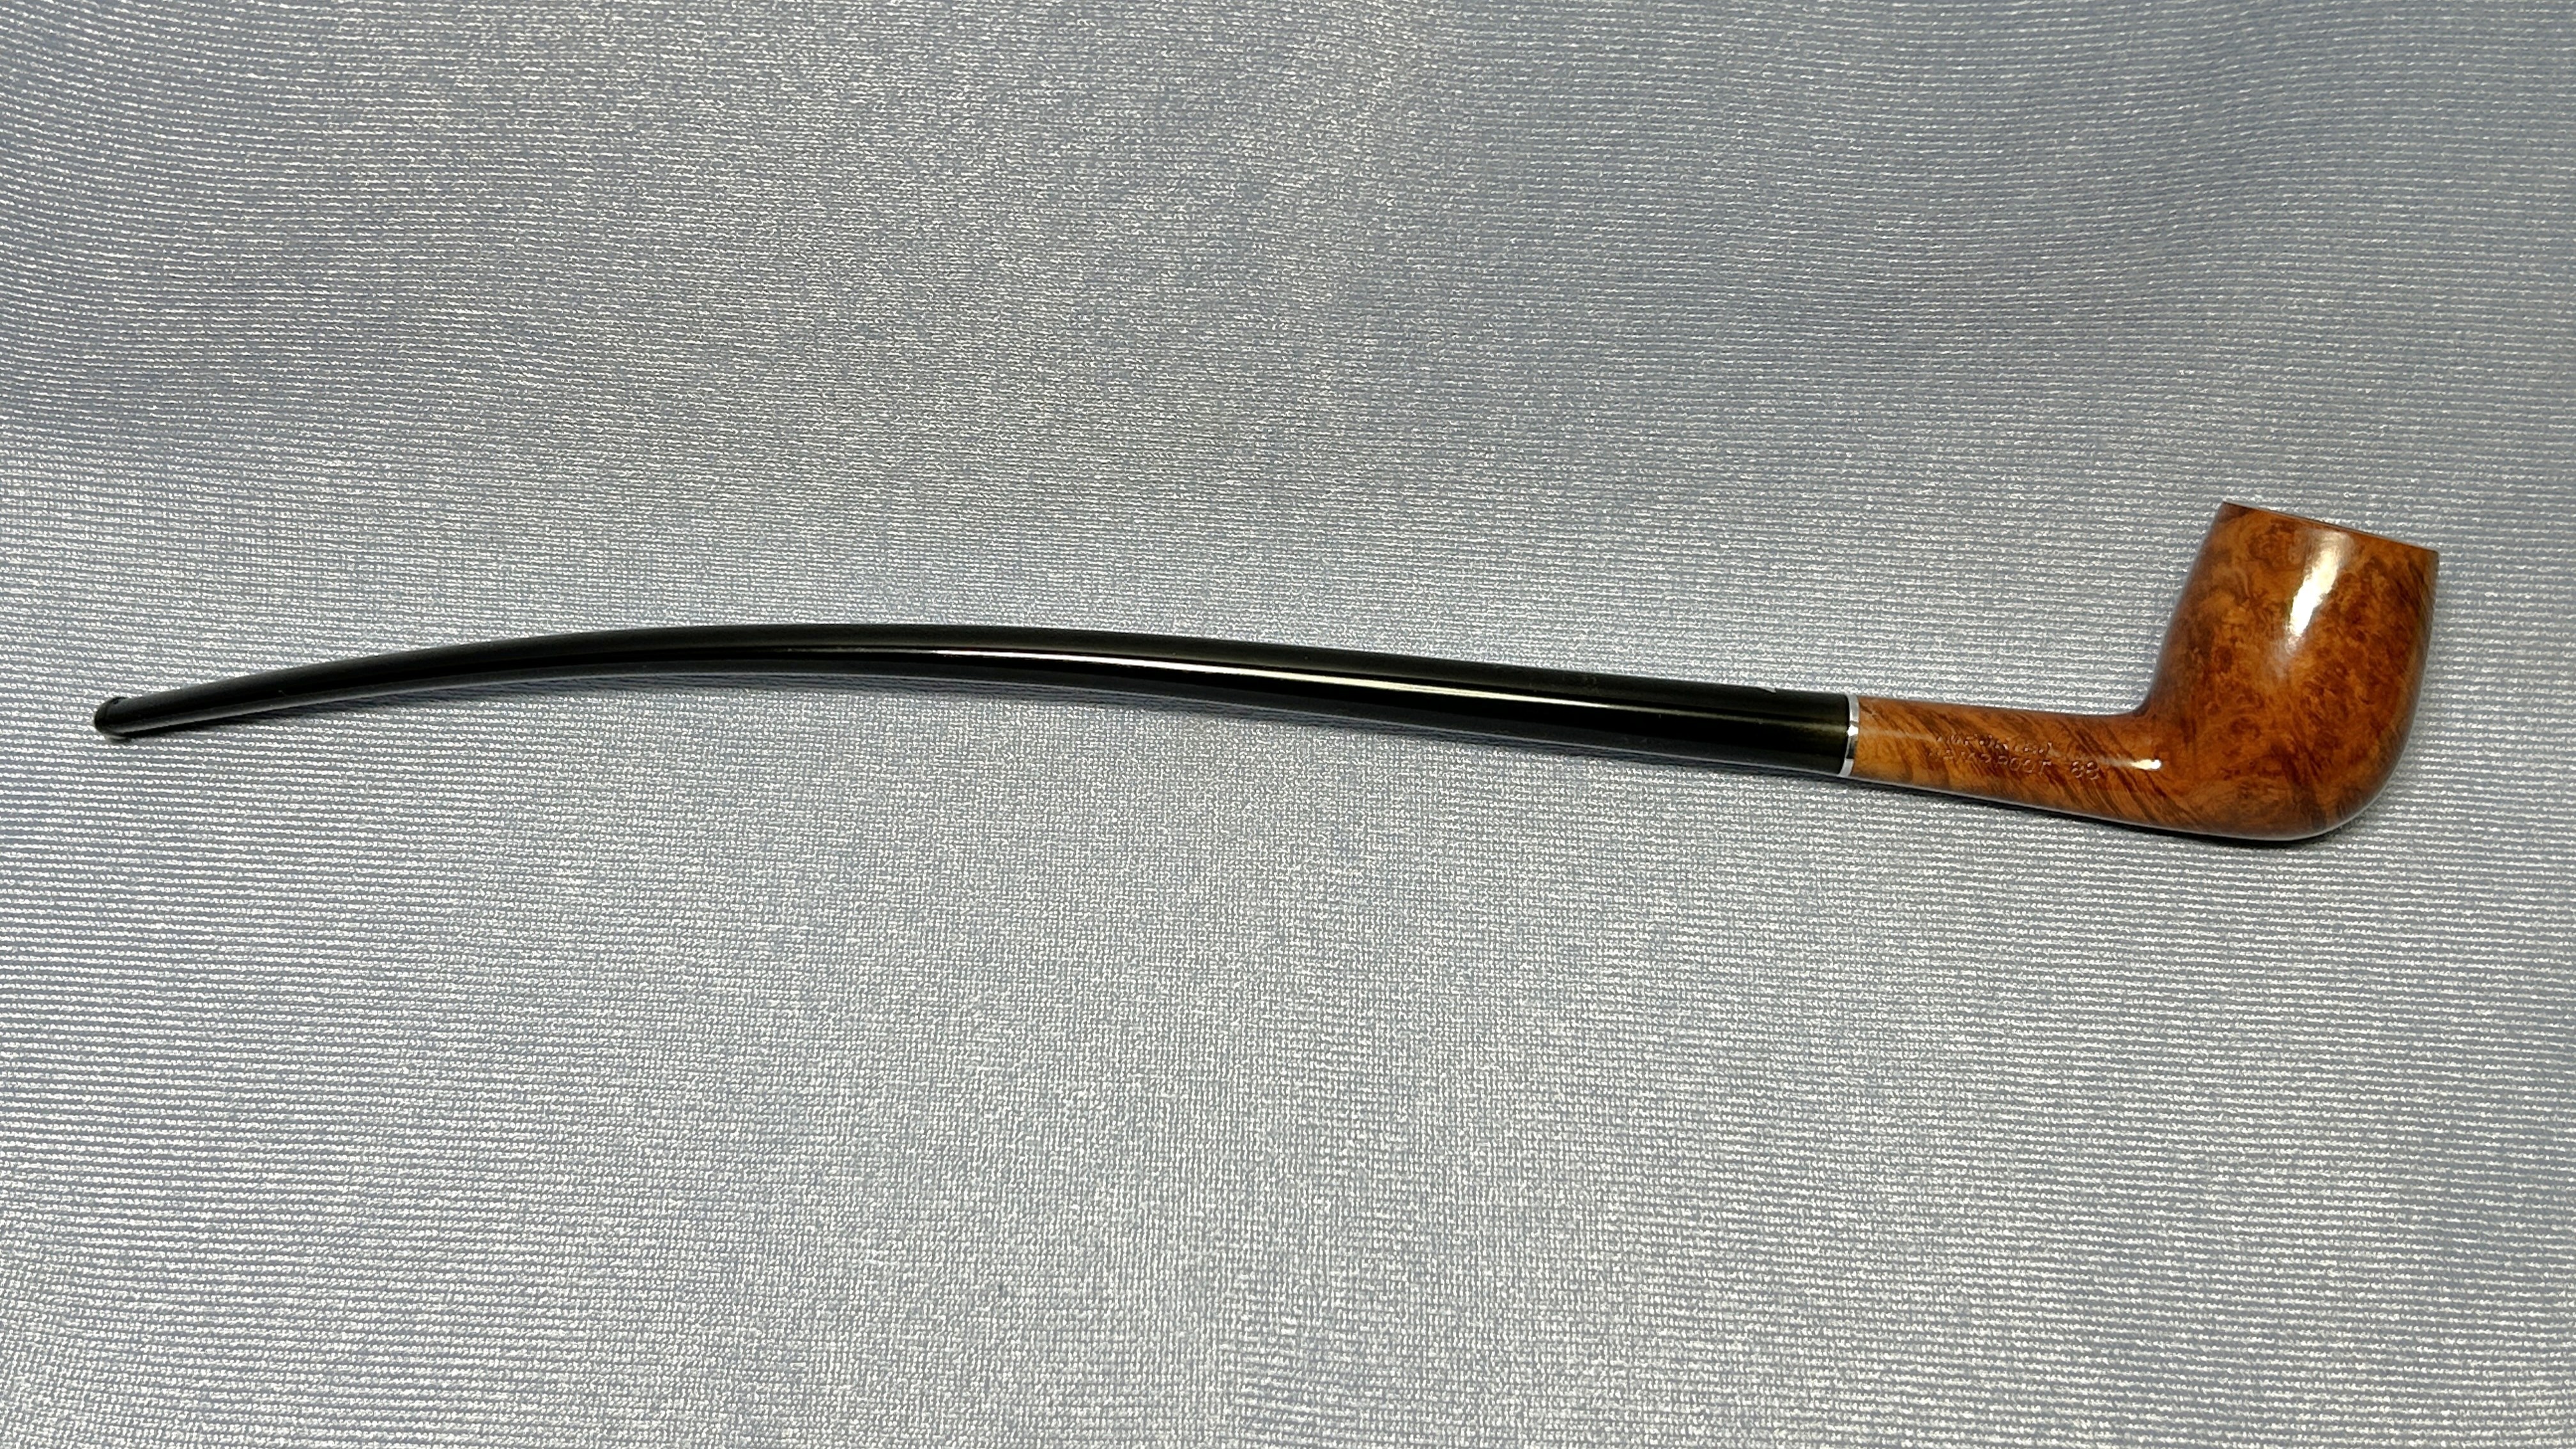
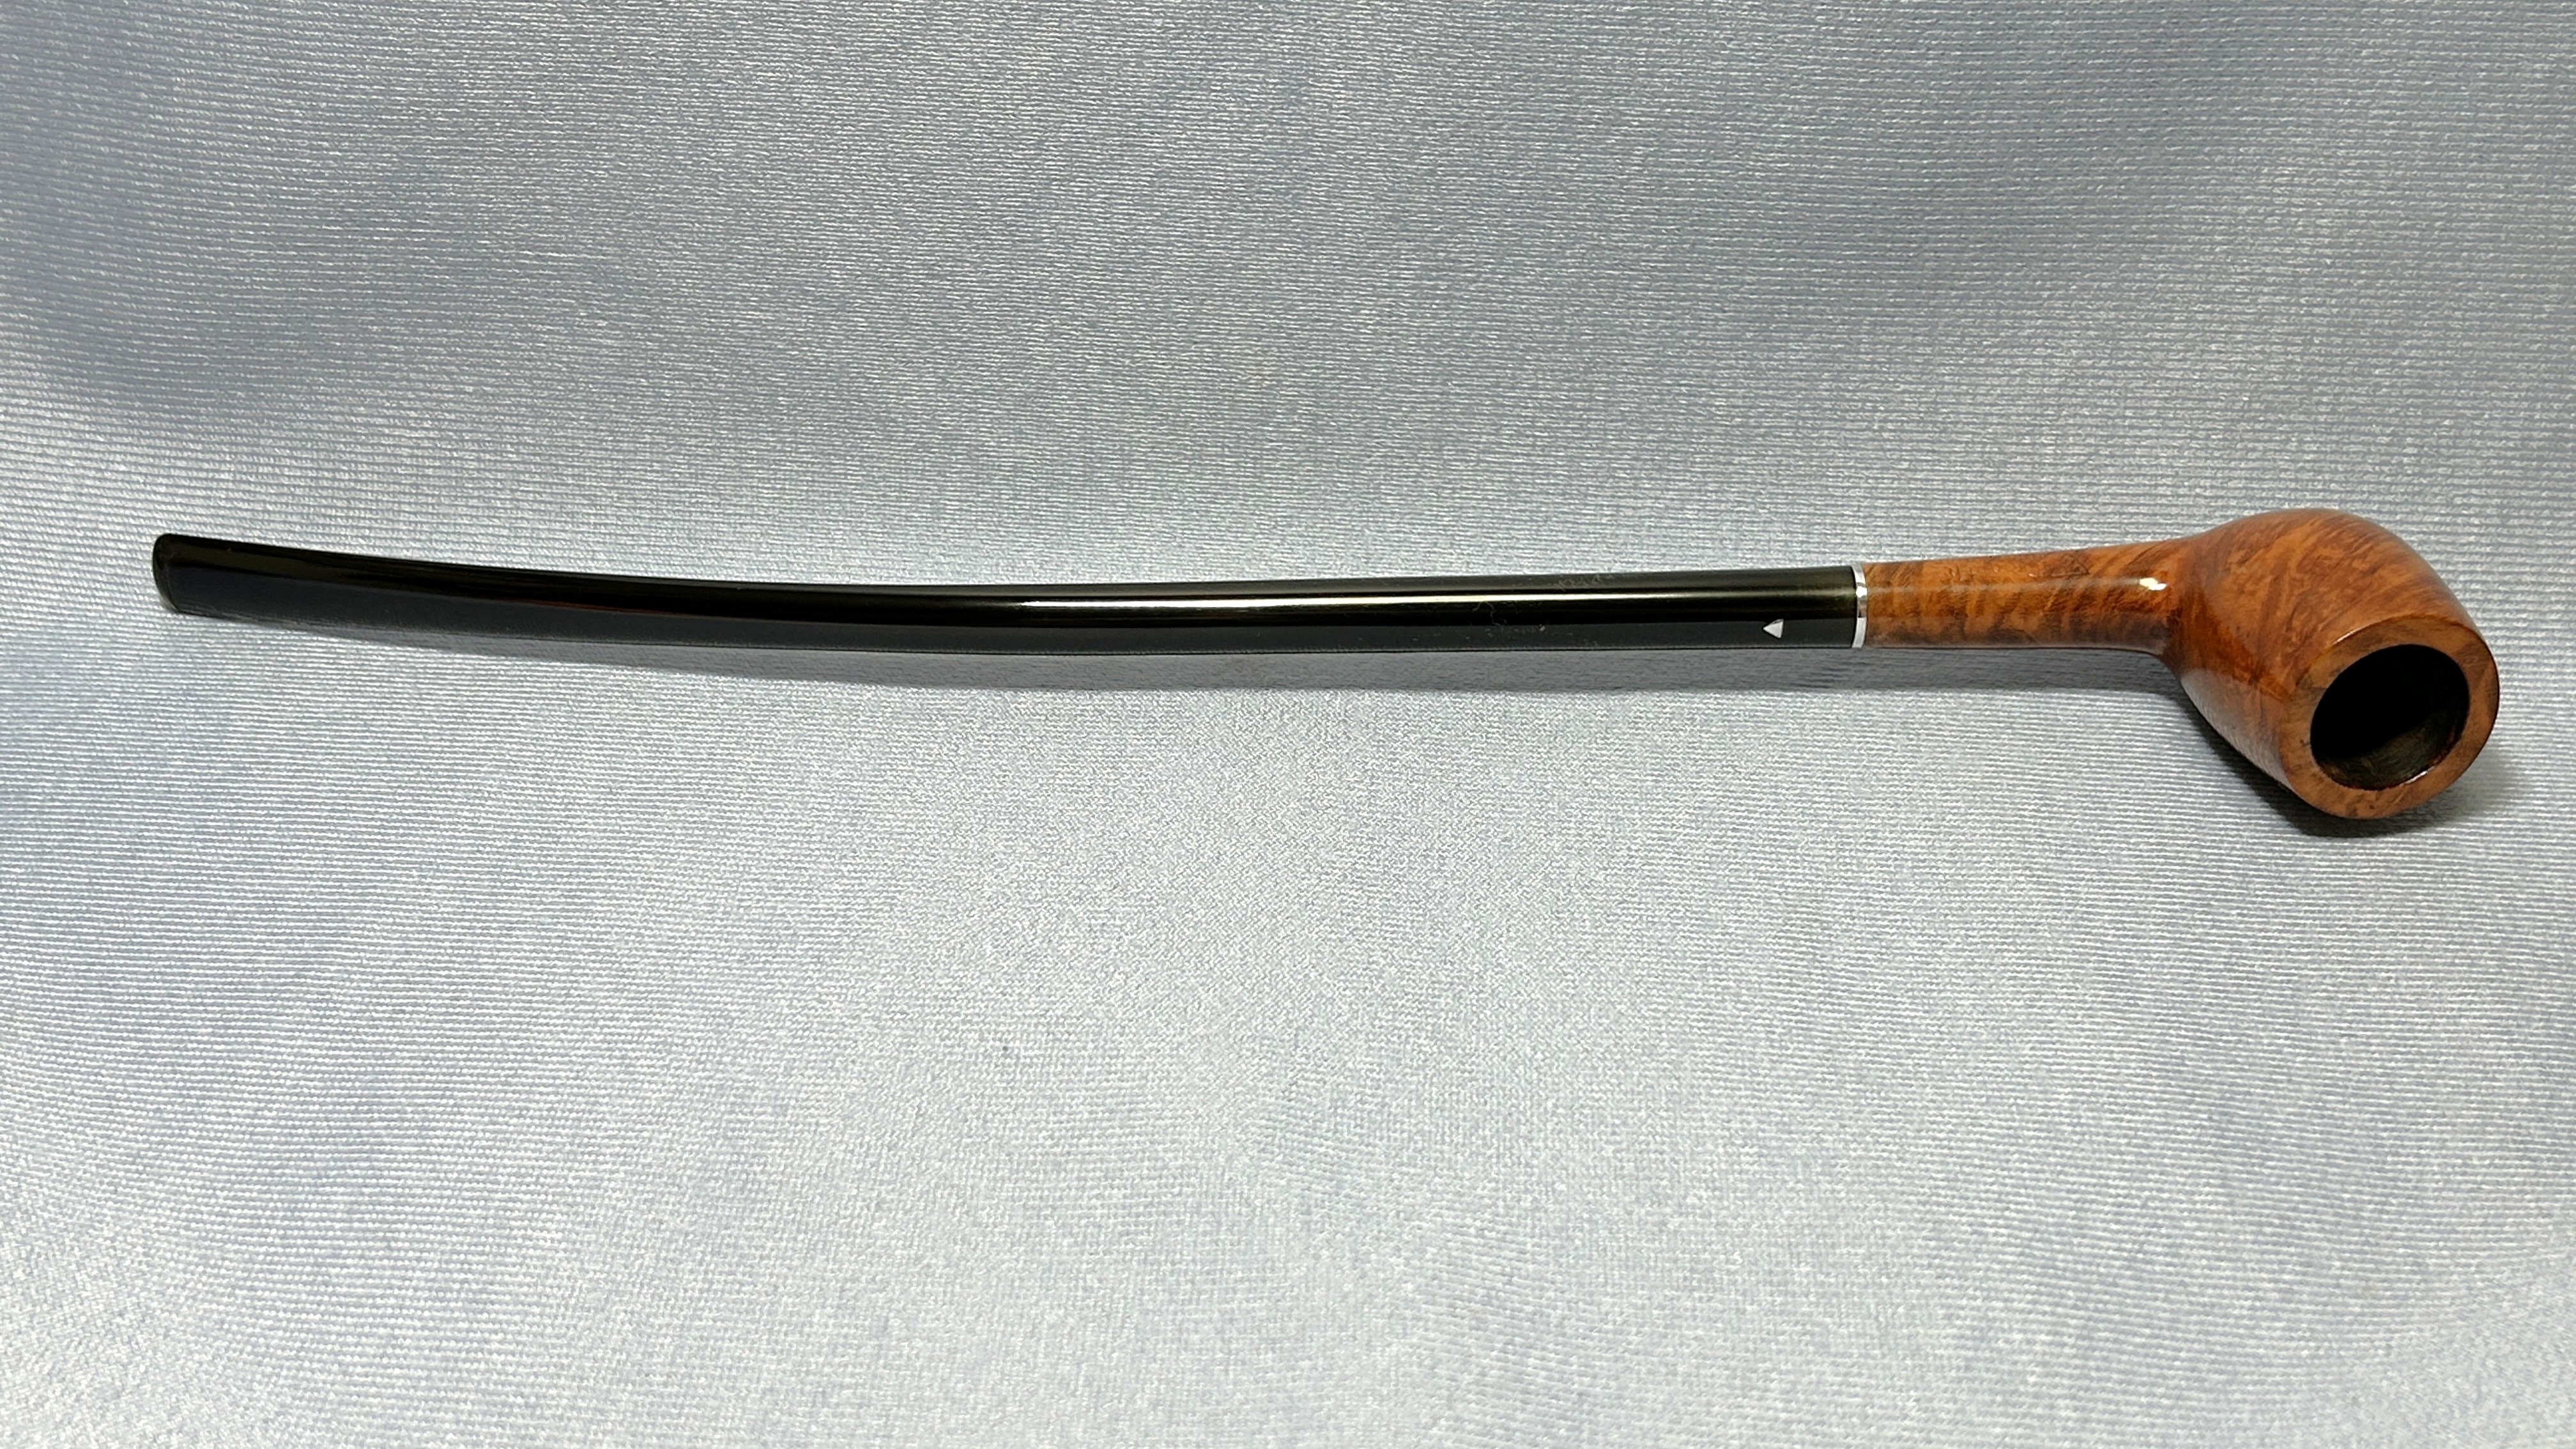
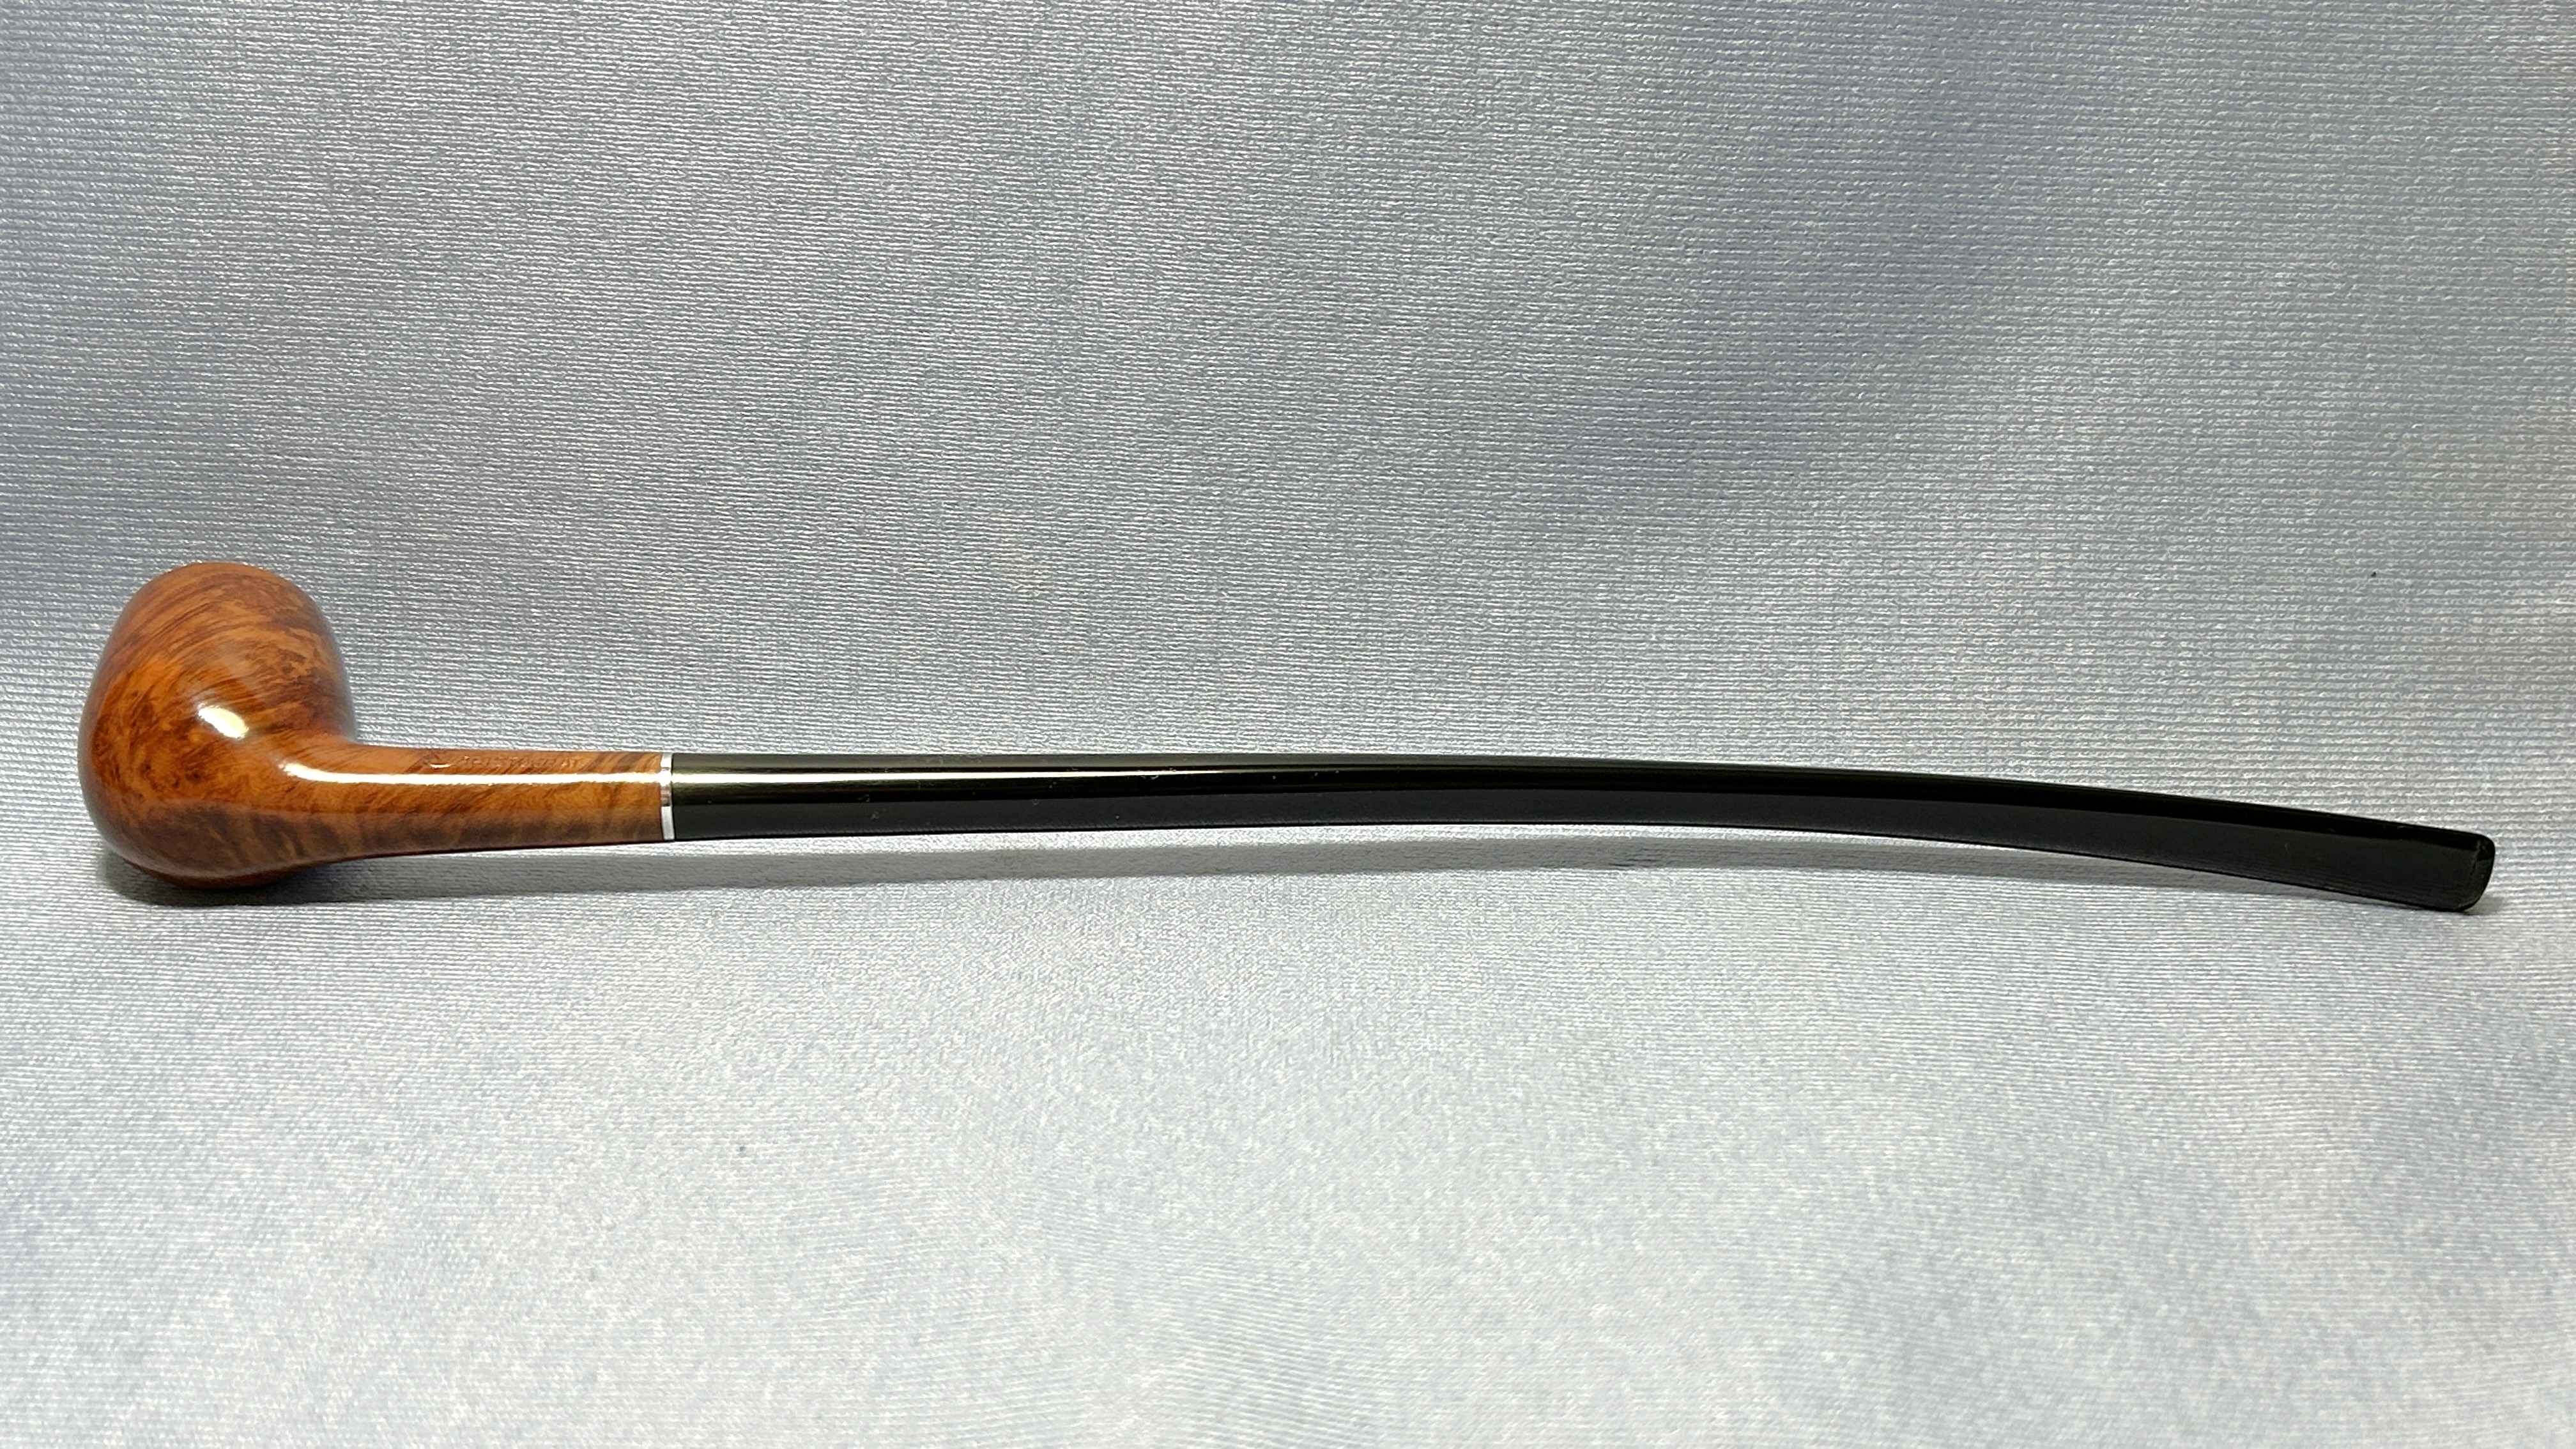
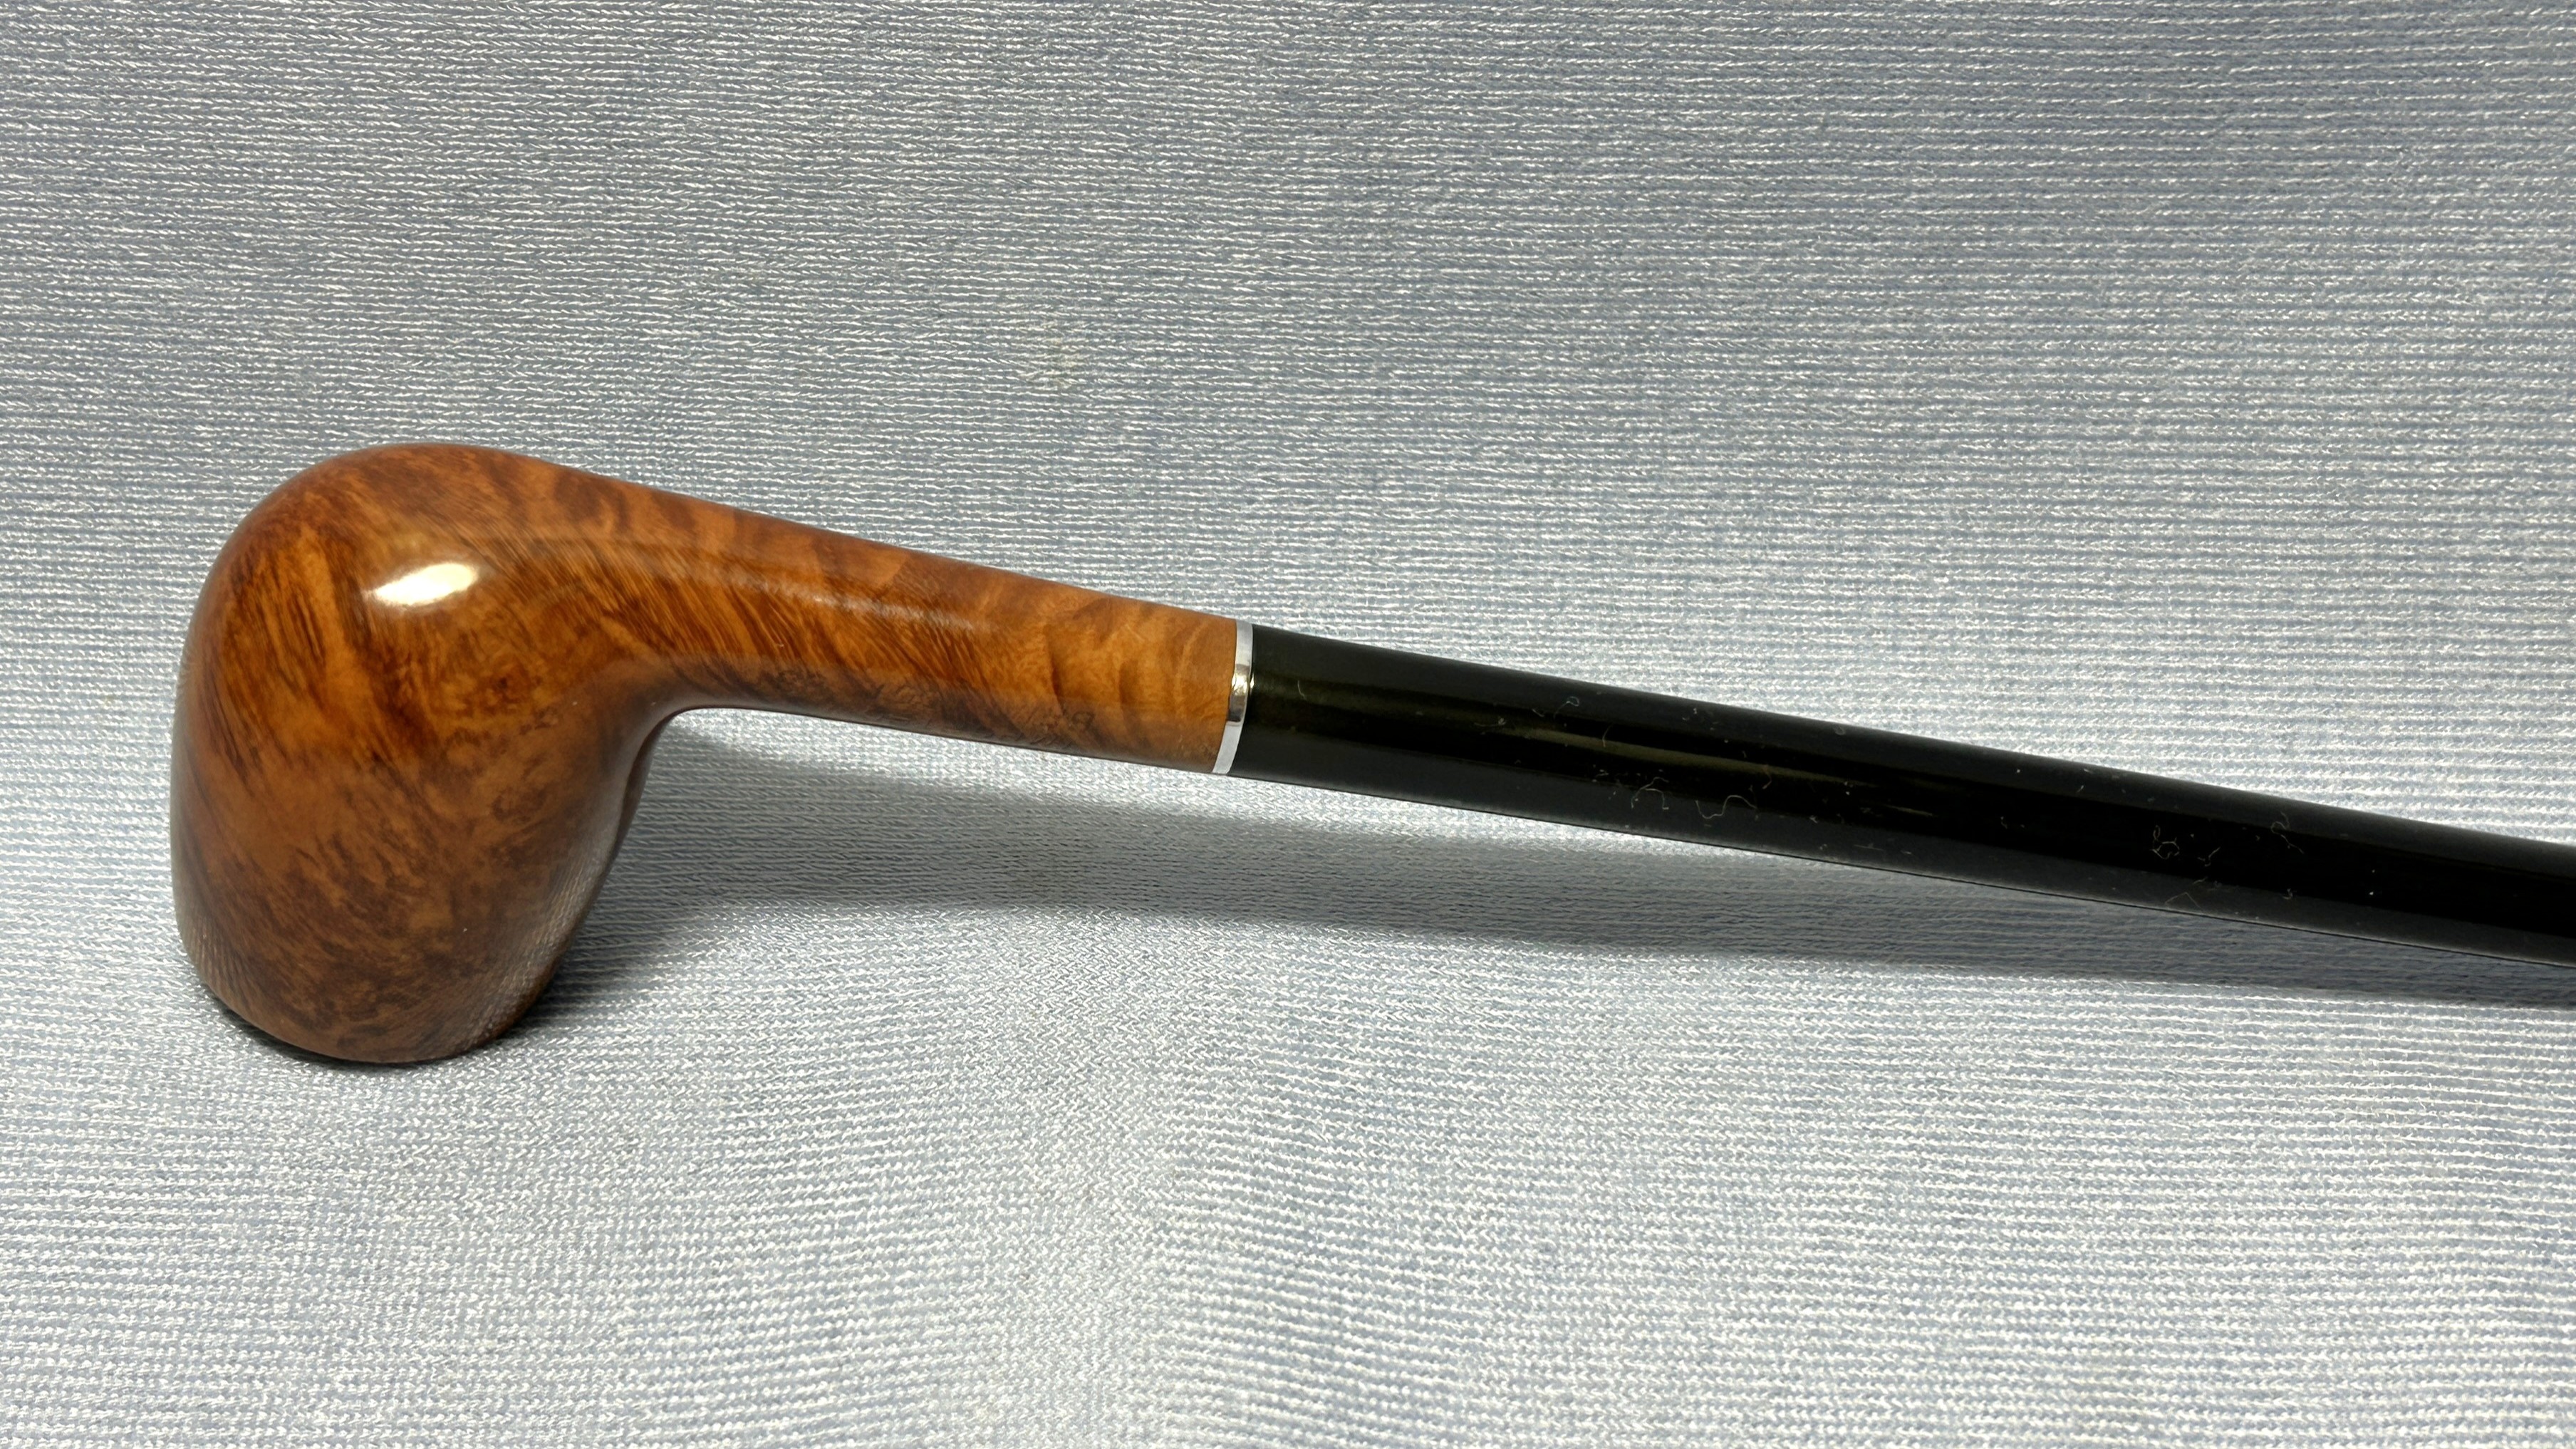
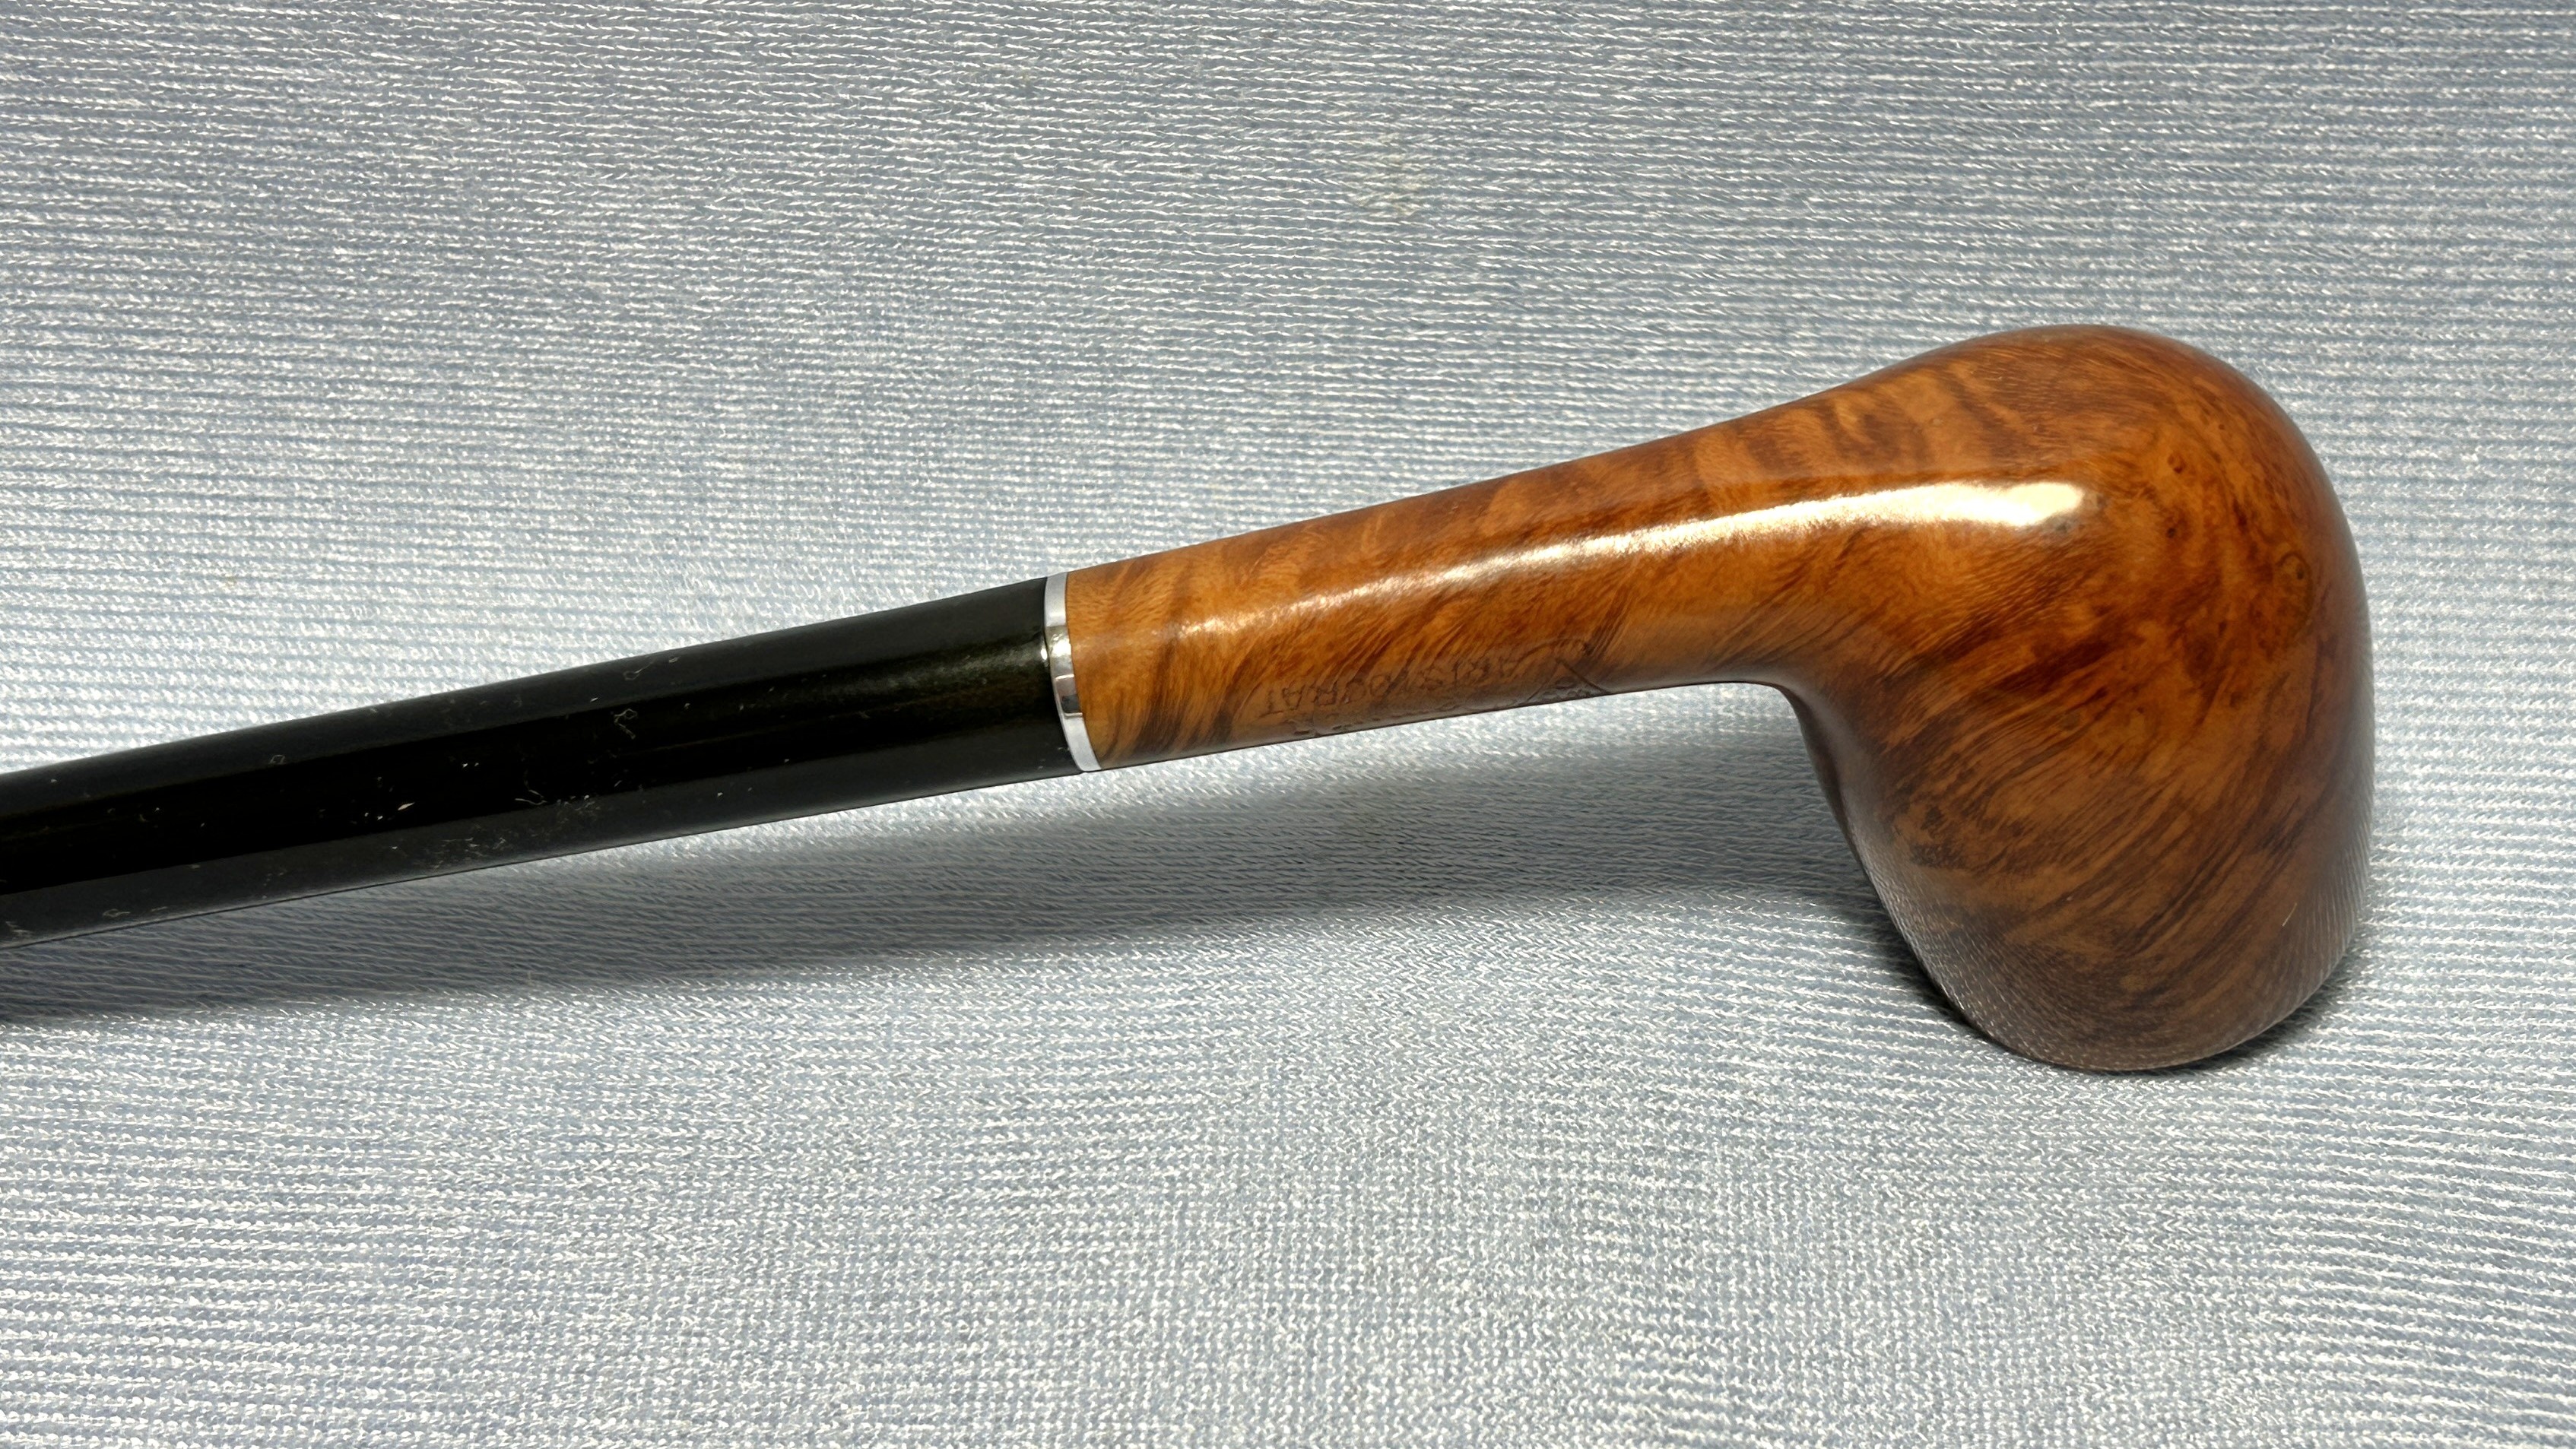
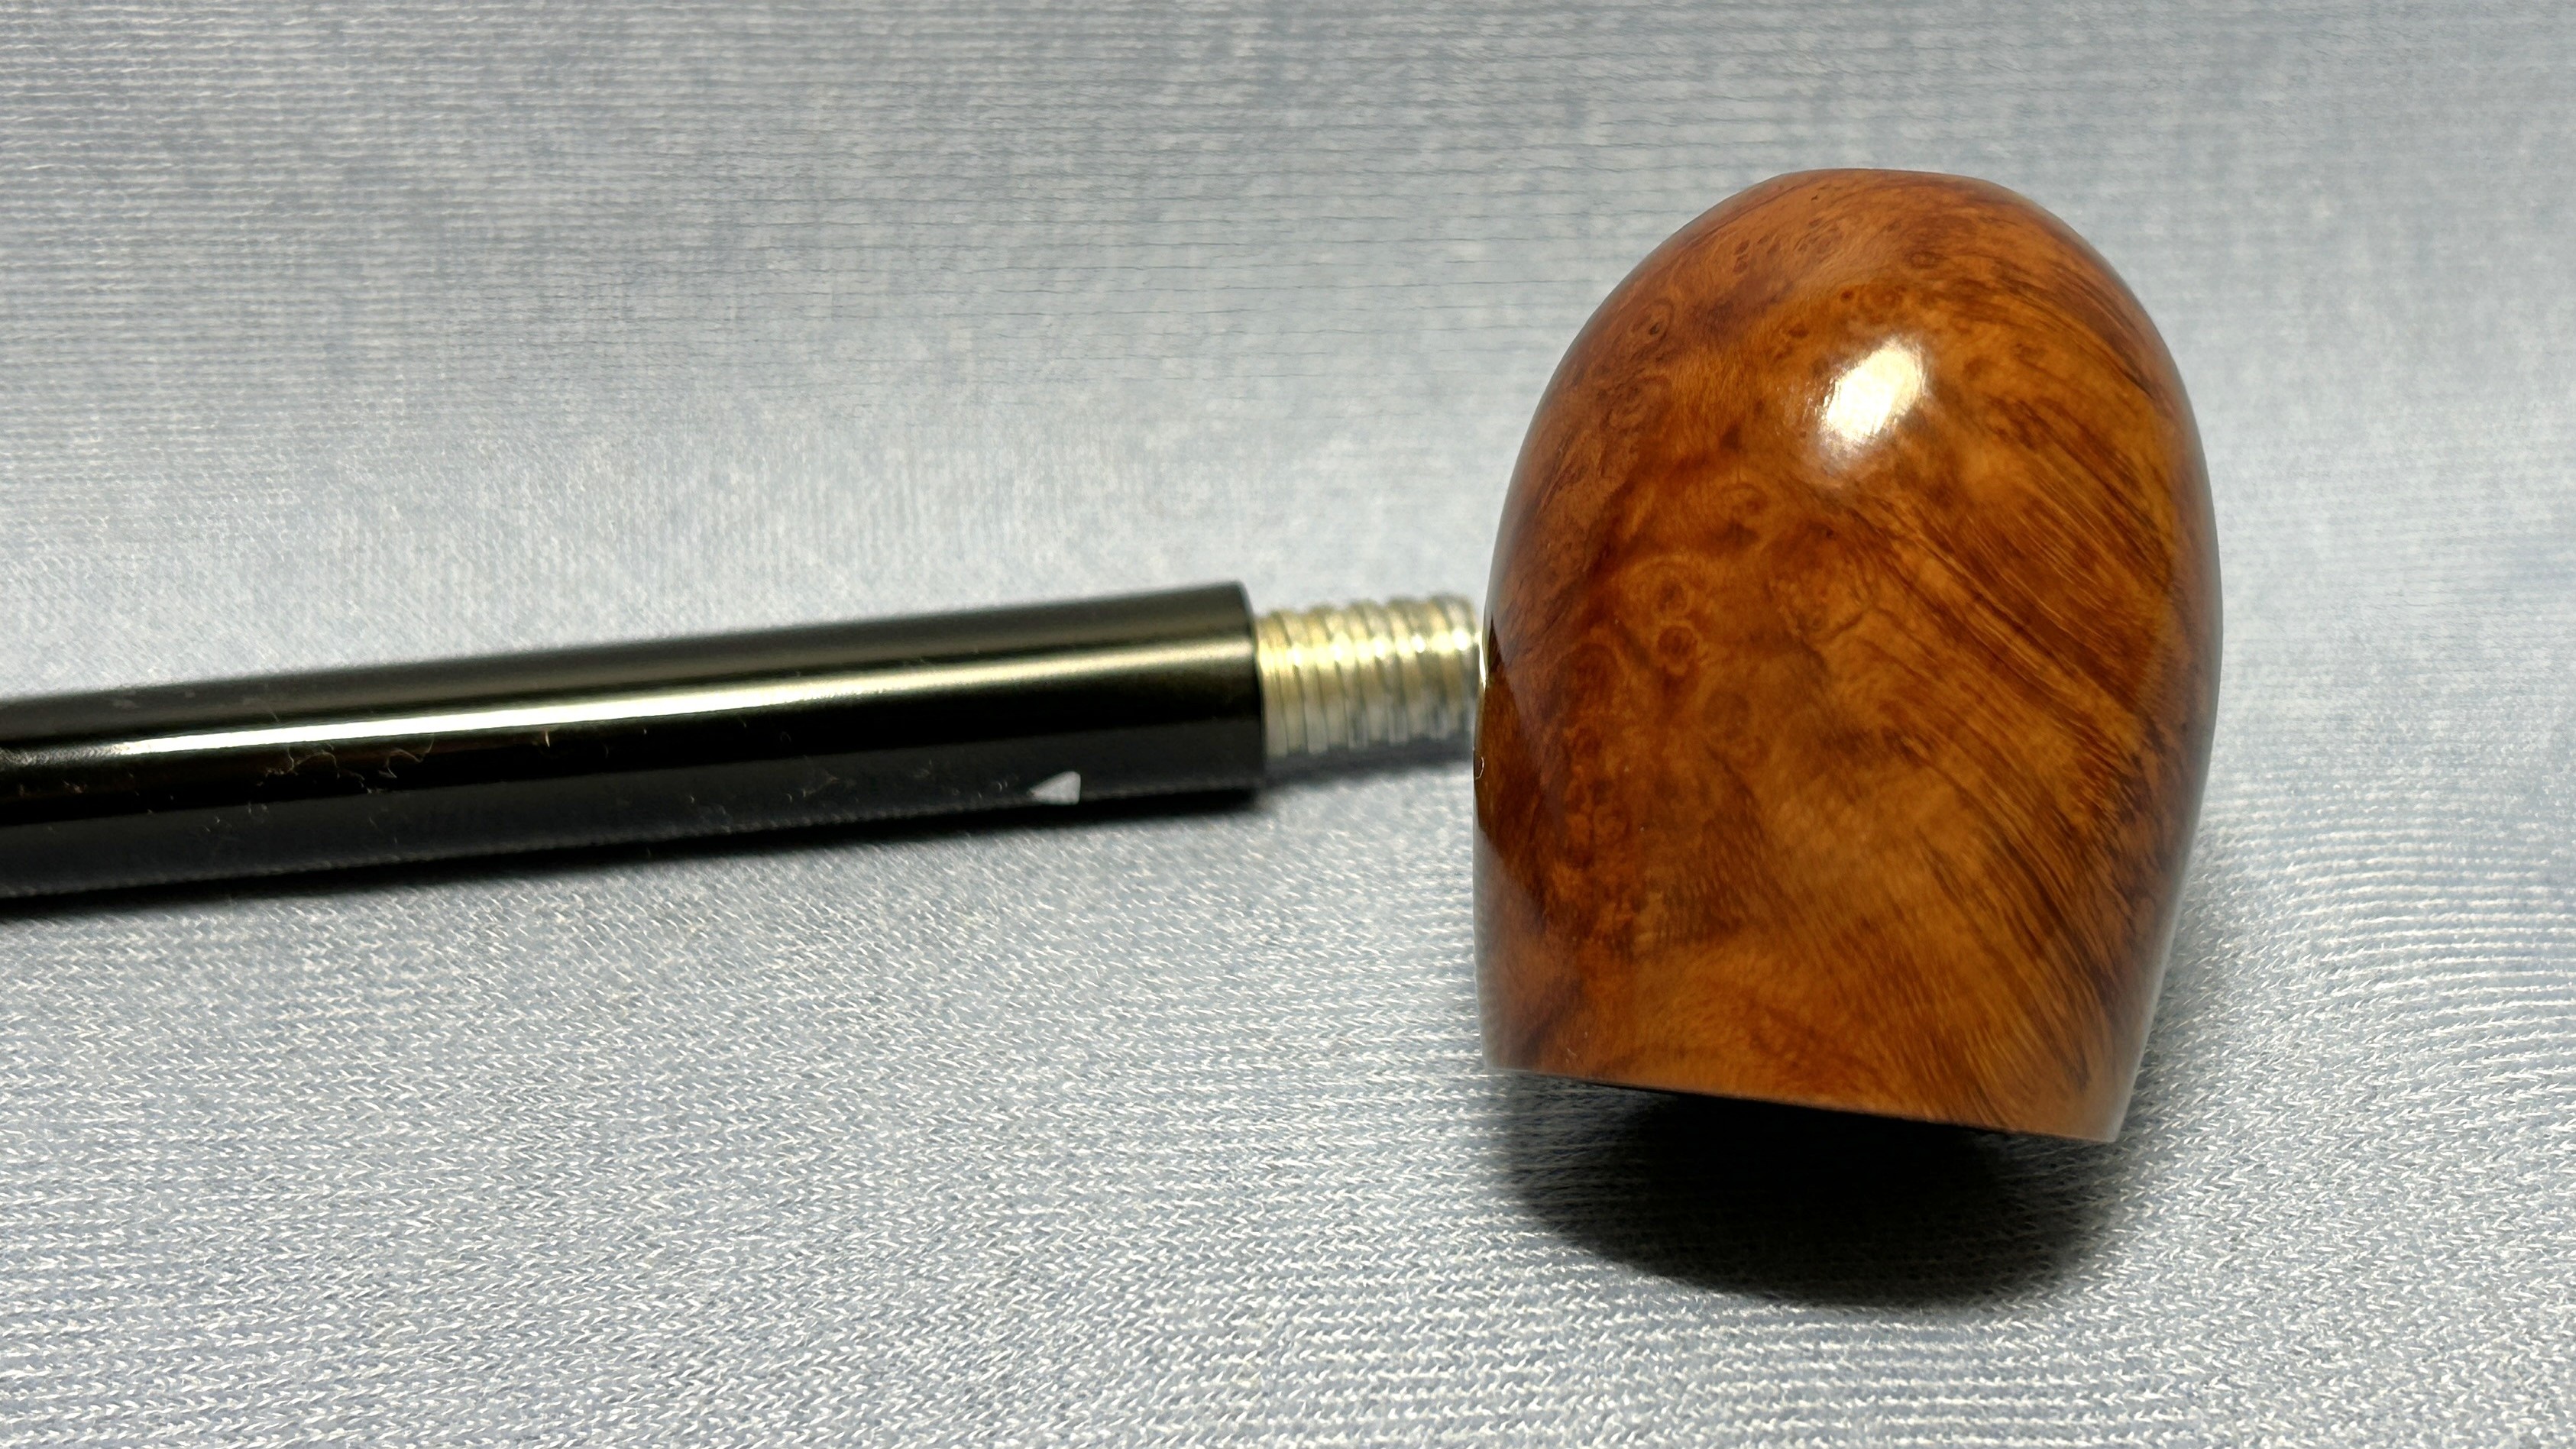
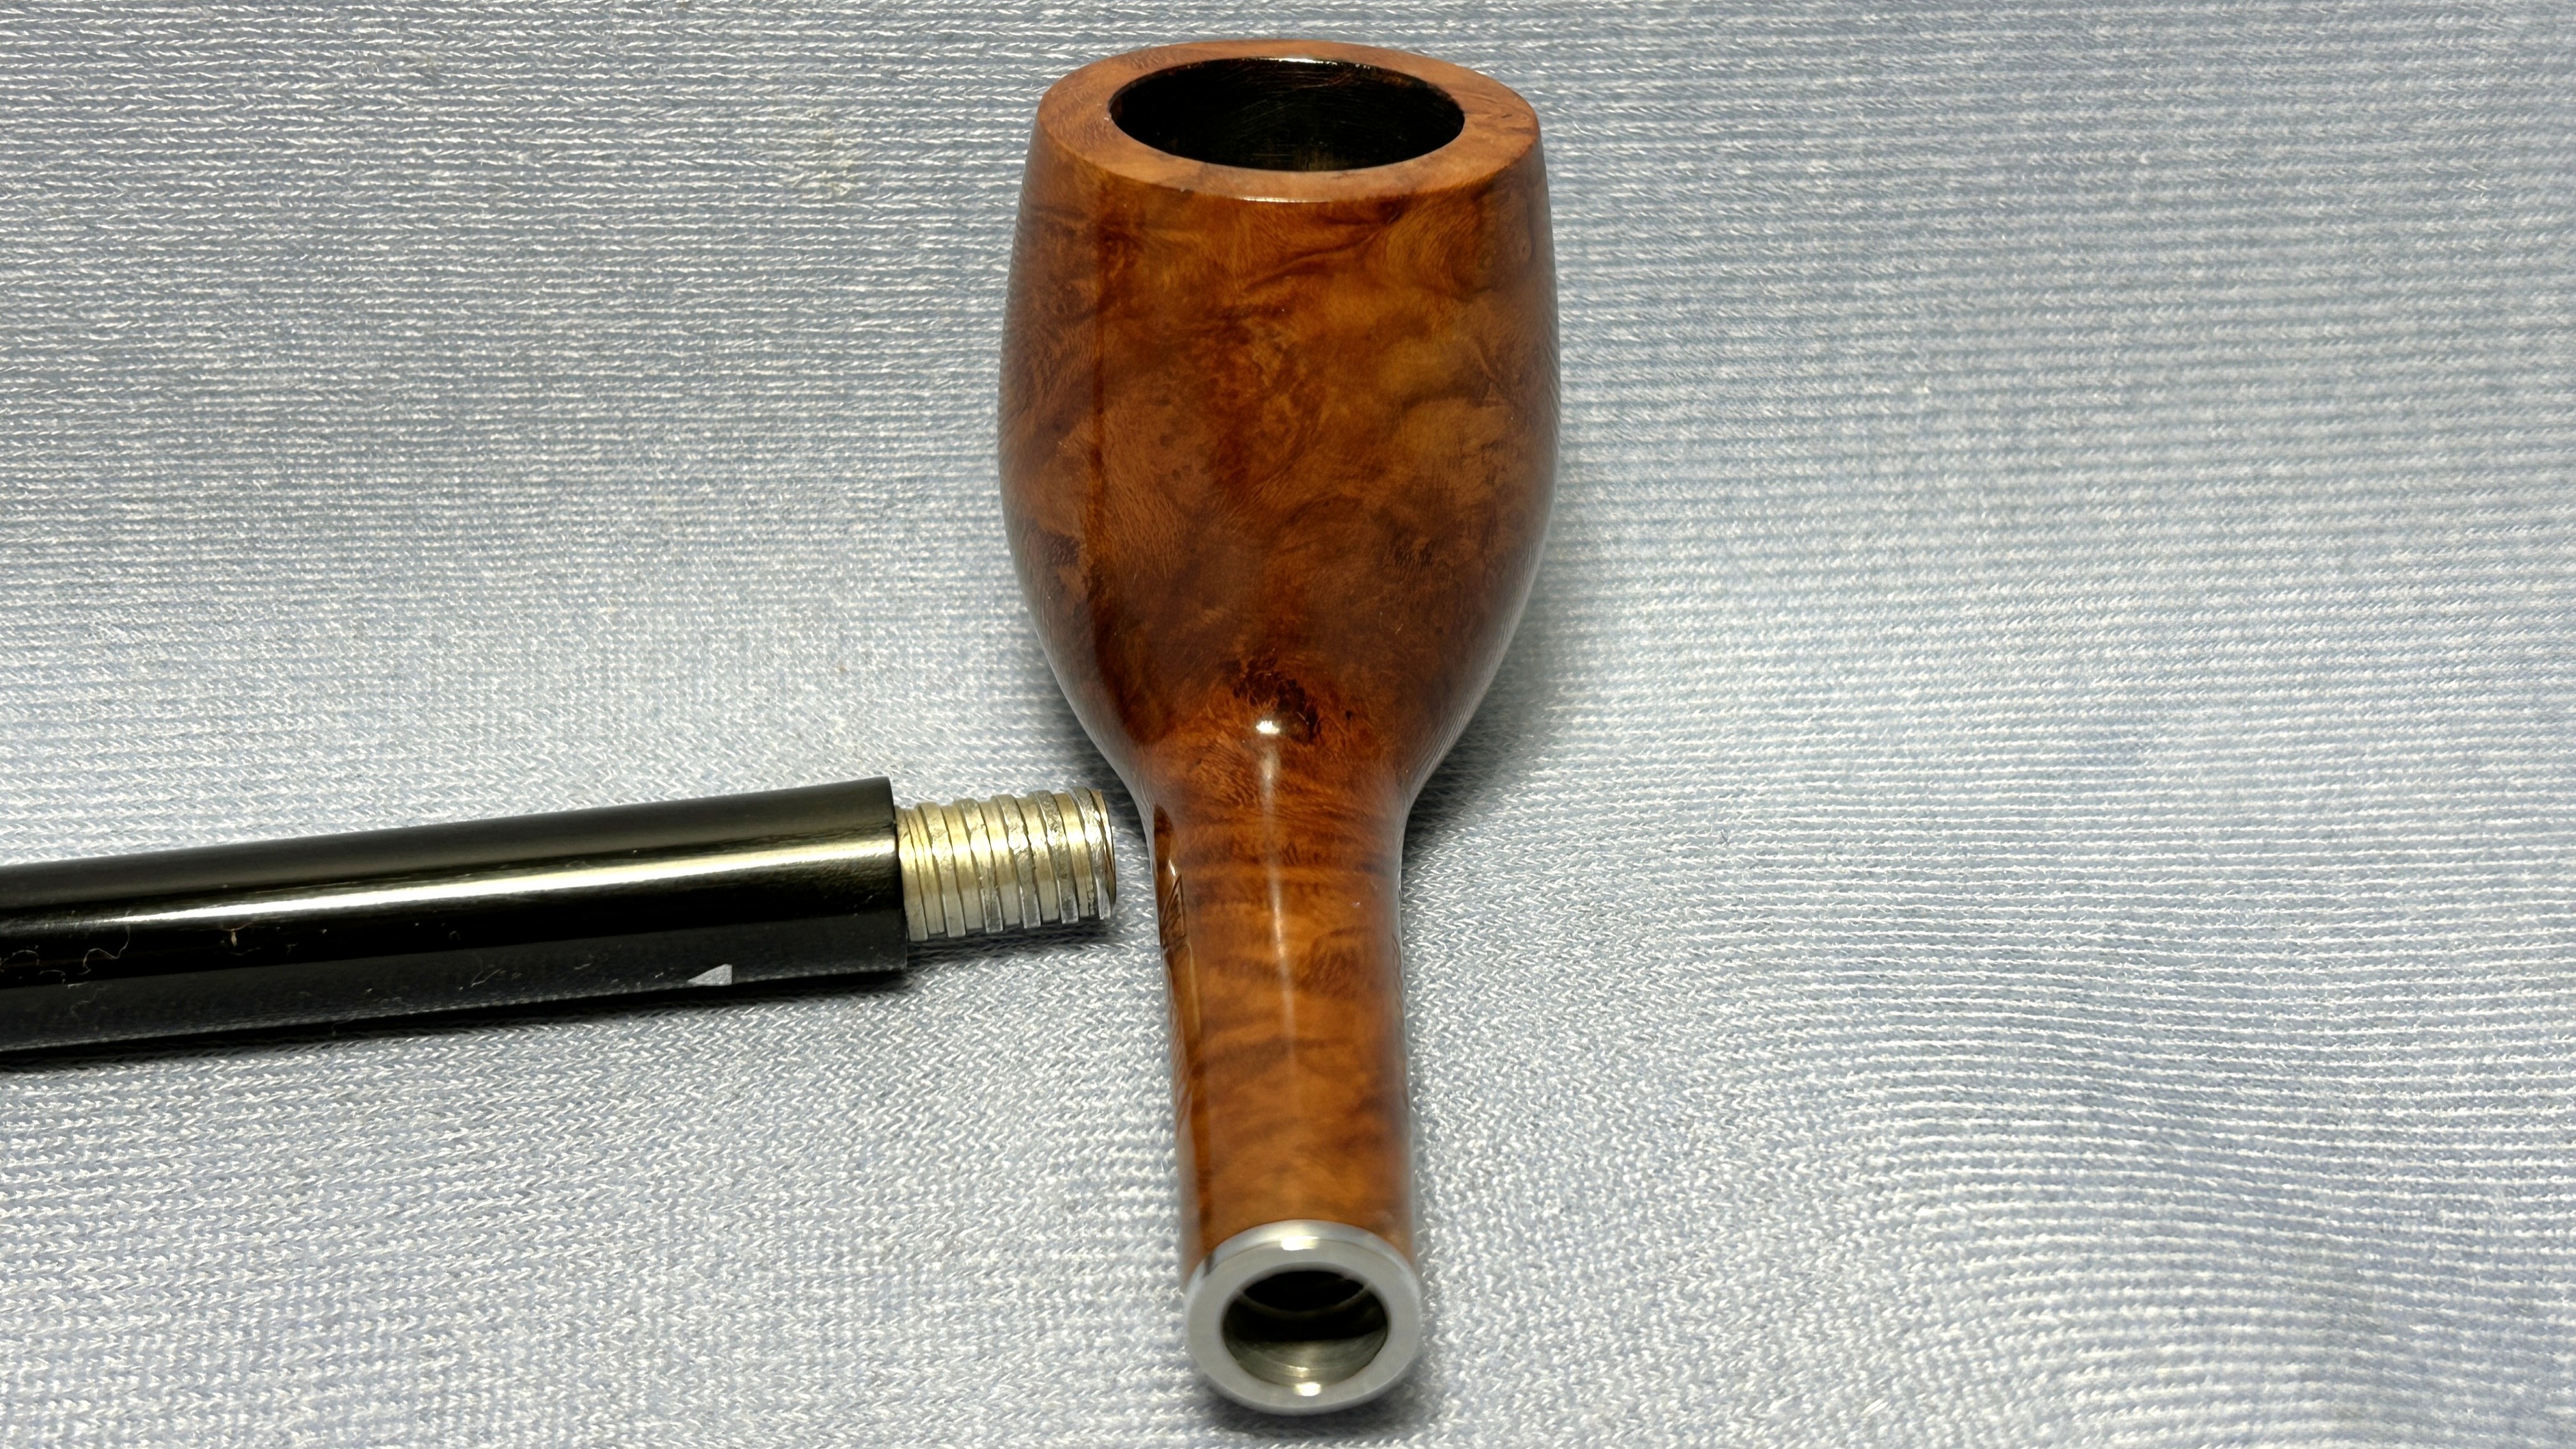
Here is a beautiful, early-twentieth century churchwarden for your perusal. I’ve had it sitting around for a little while, and now it’s time to get it cleaned up. It’s got the typical elegant shape and feel of a regular churchwarden, but this one is a full twelve inches long. This is an old timer and I can’t wait to get it into the hands of its next owner.

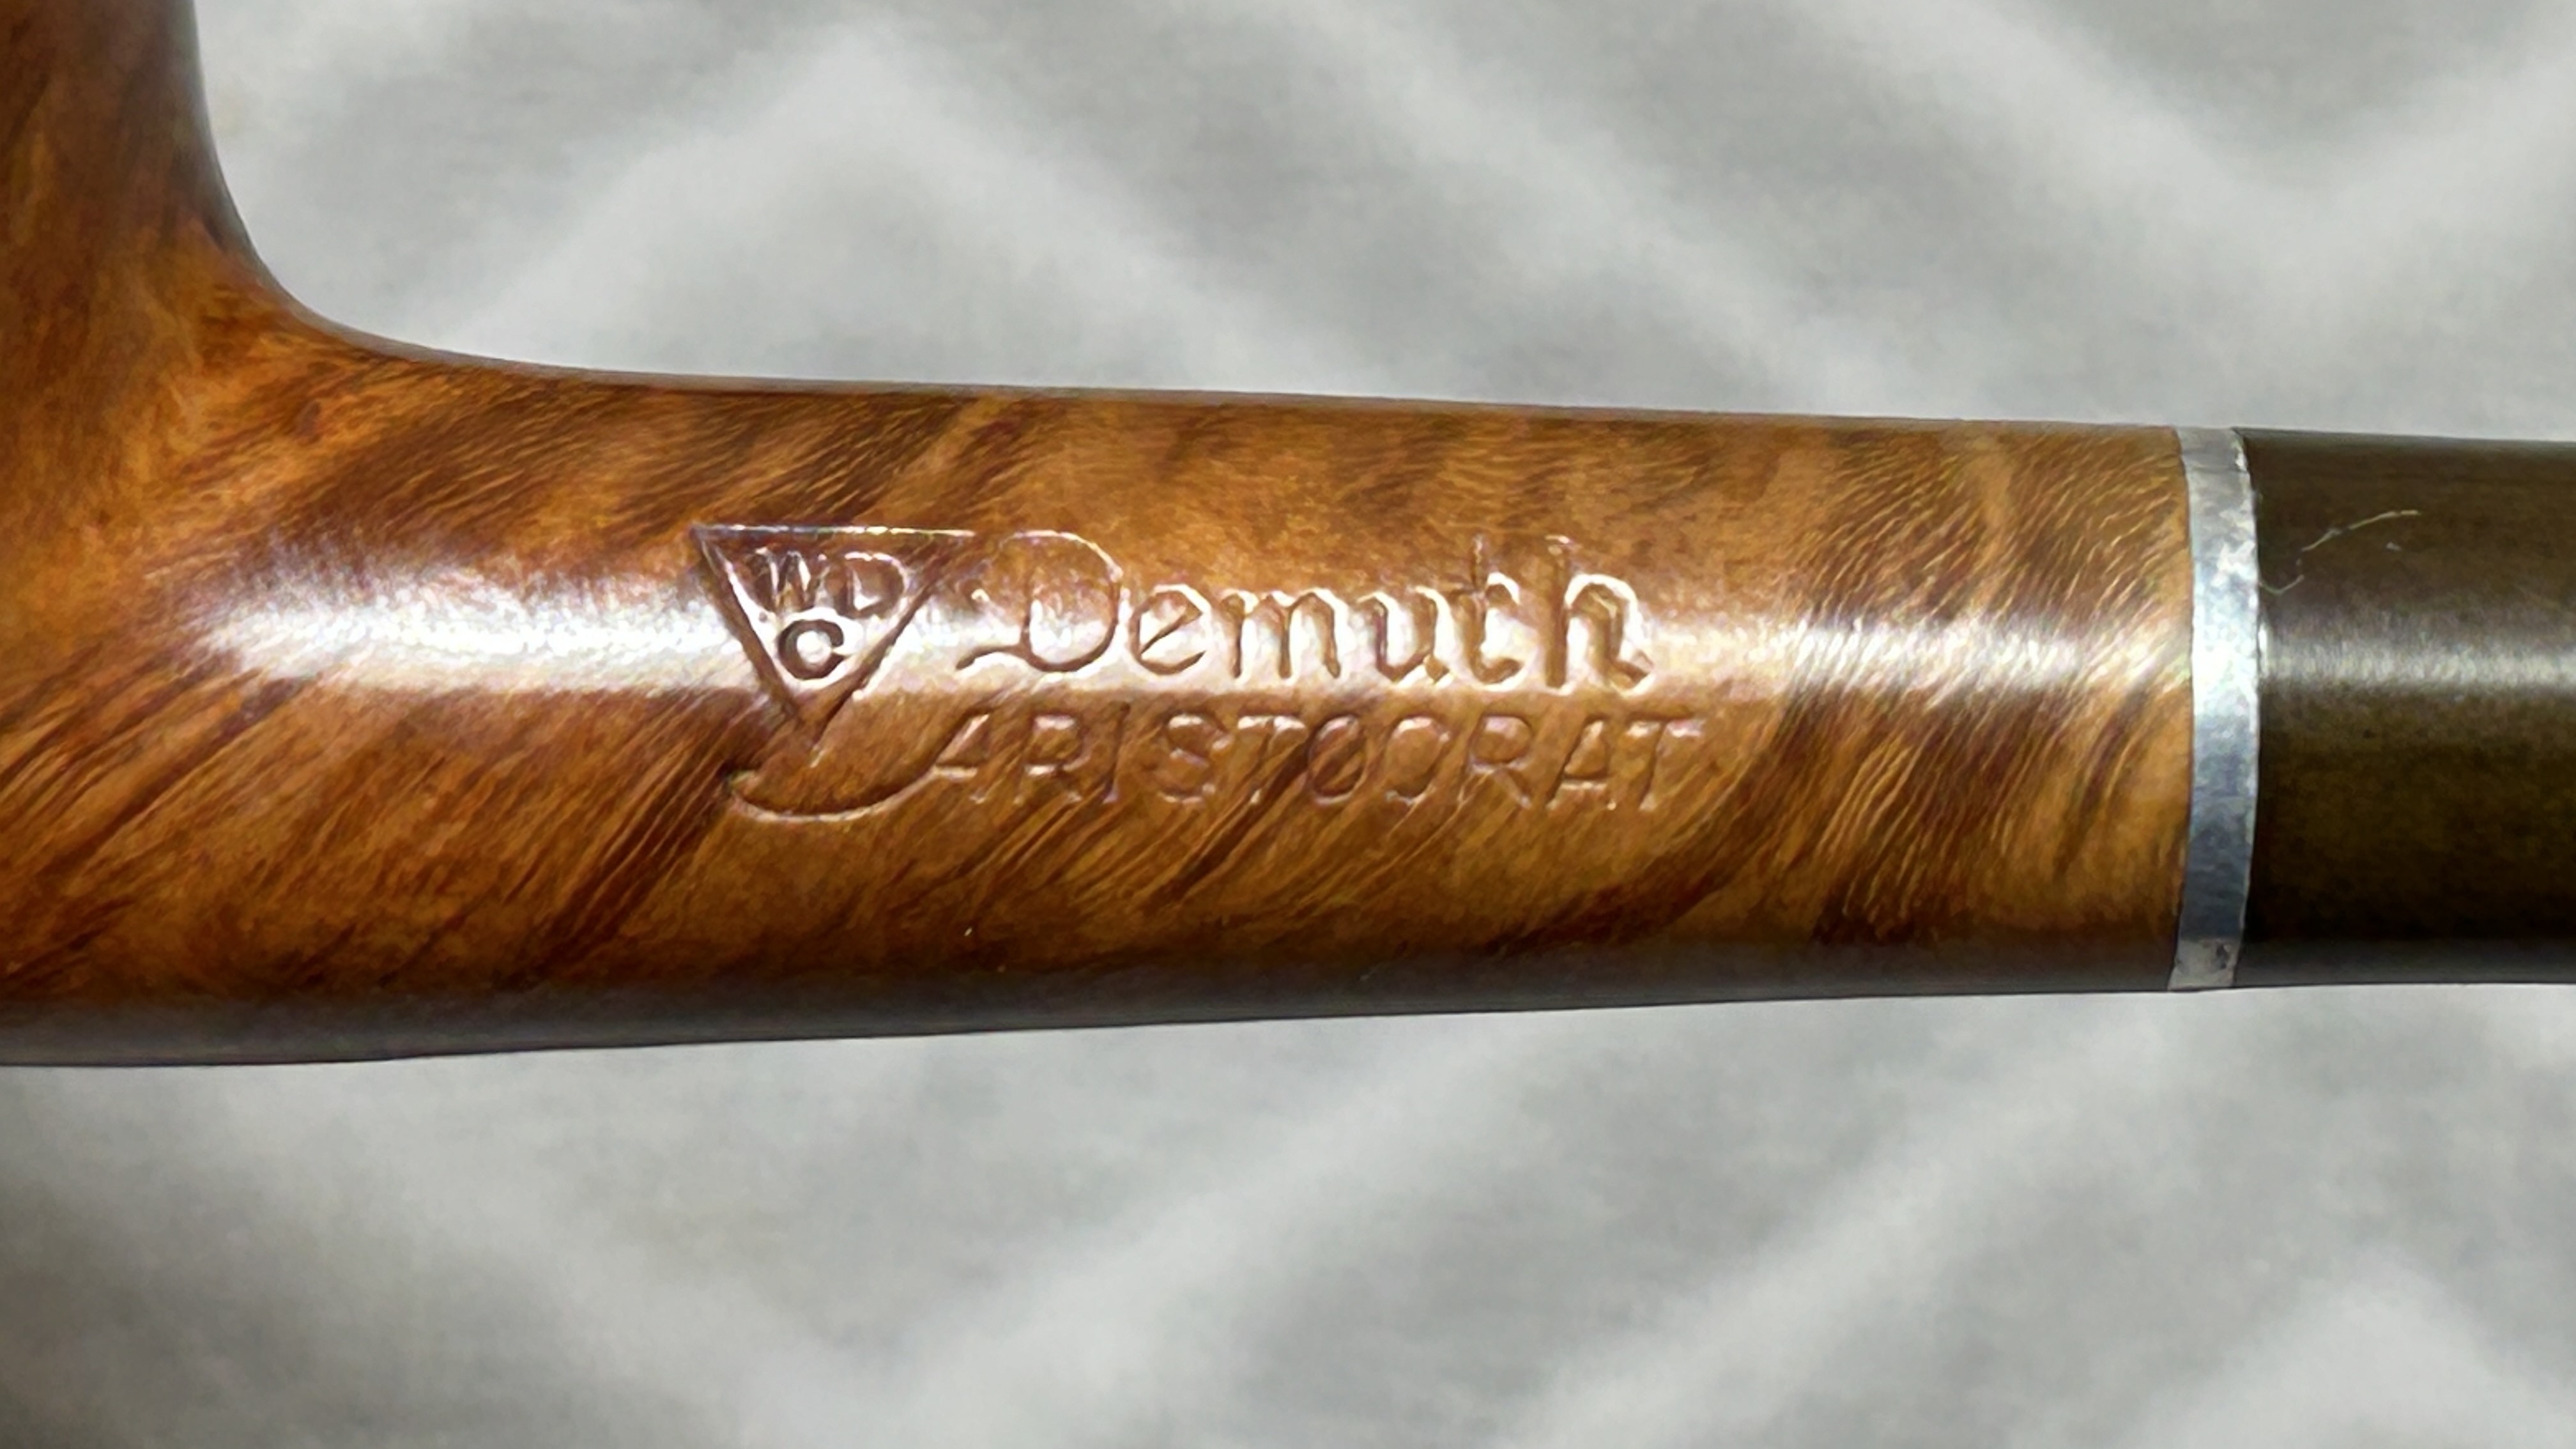
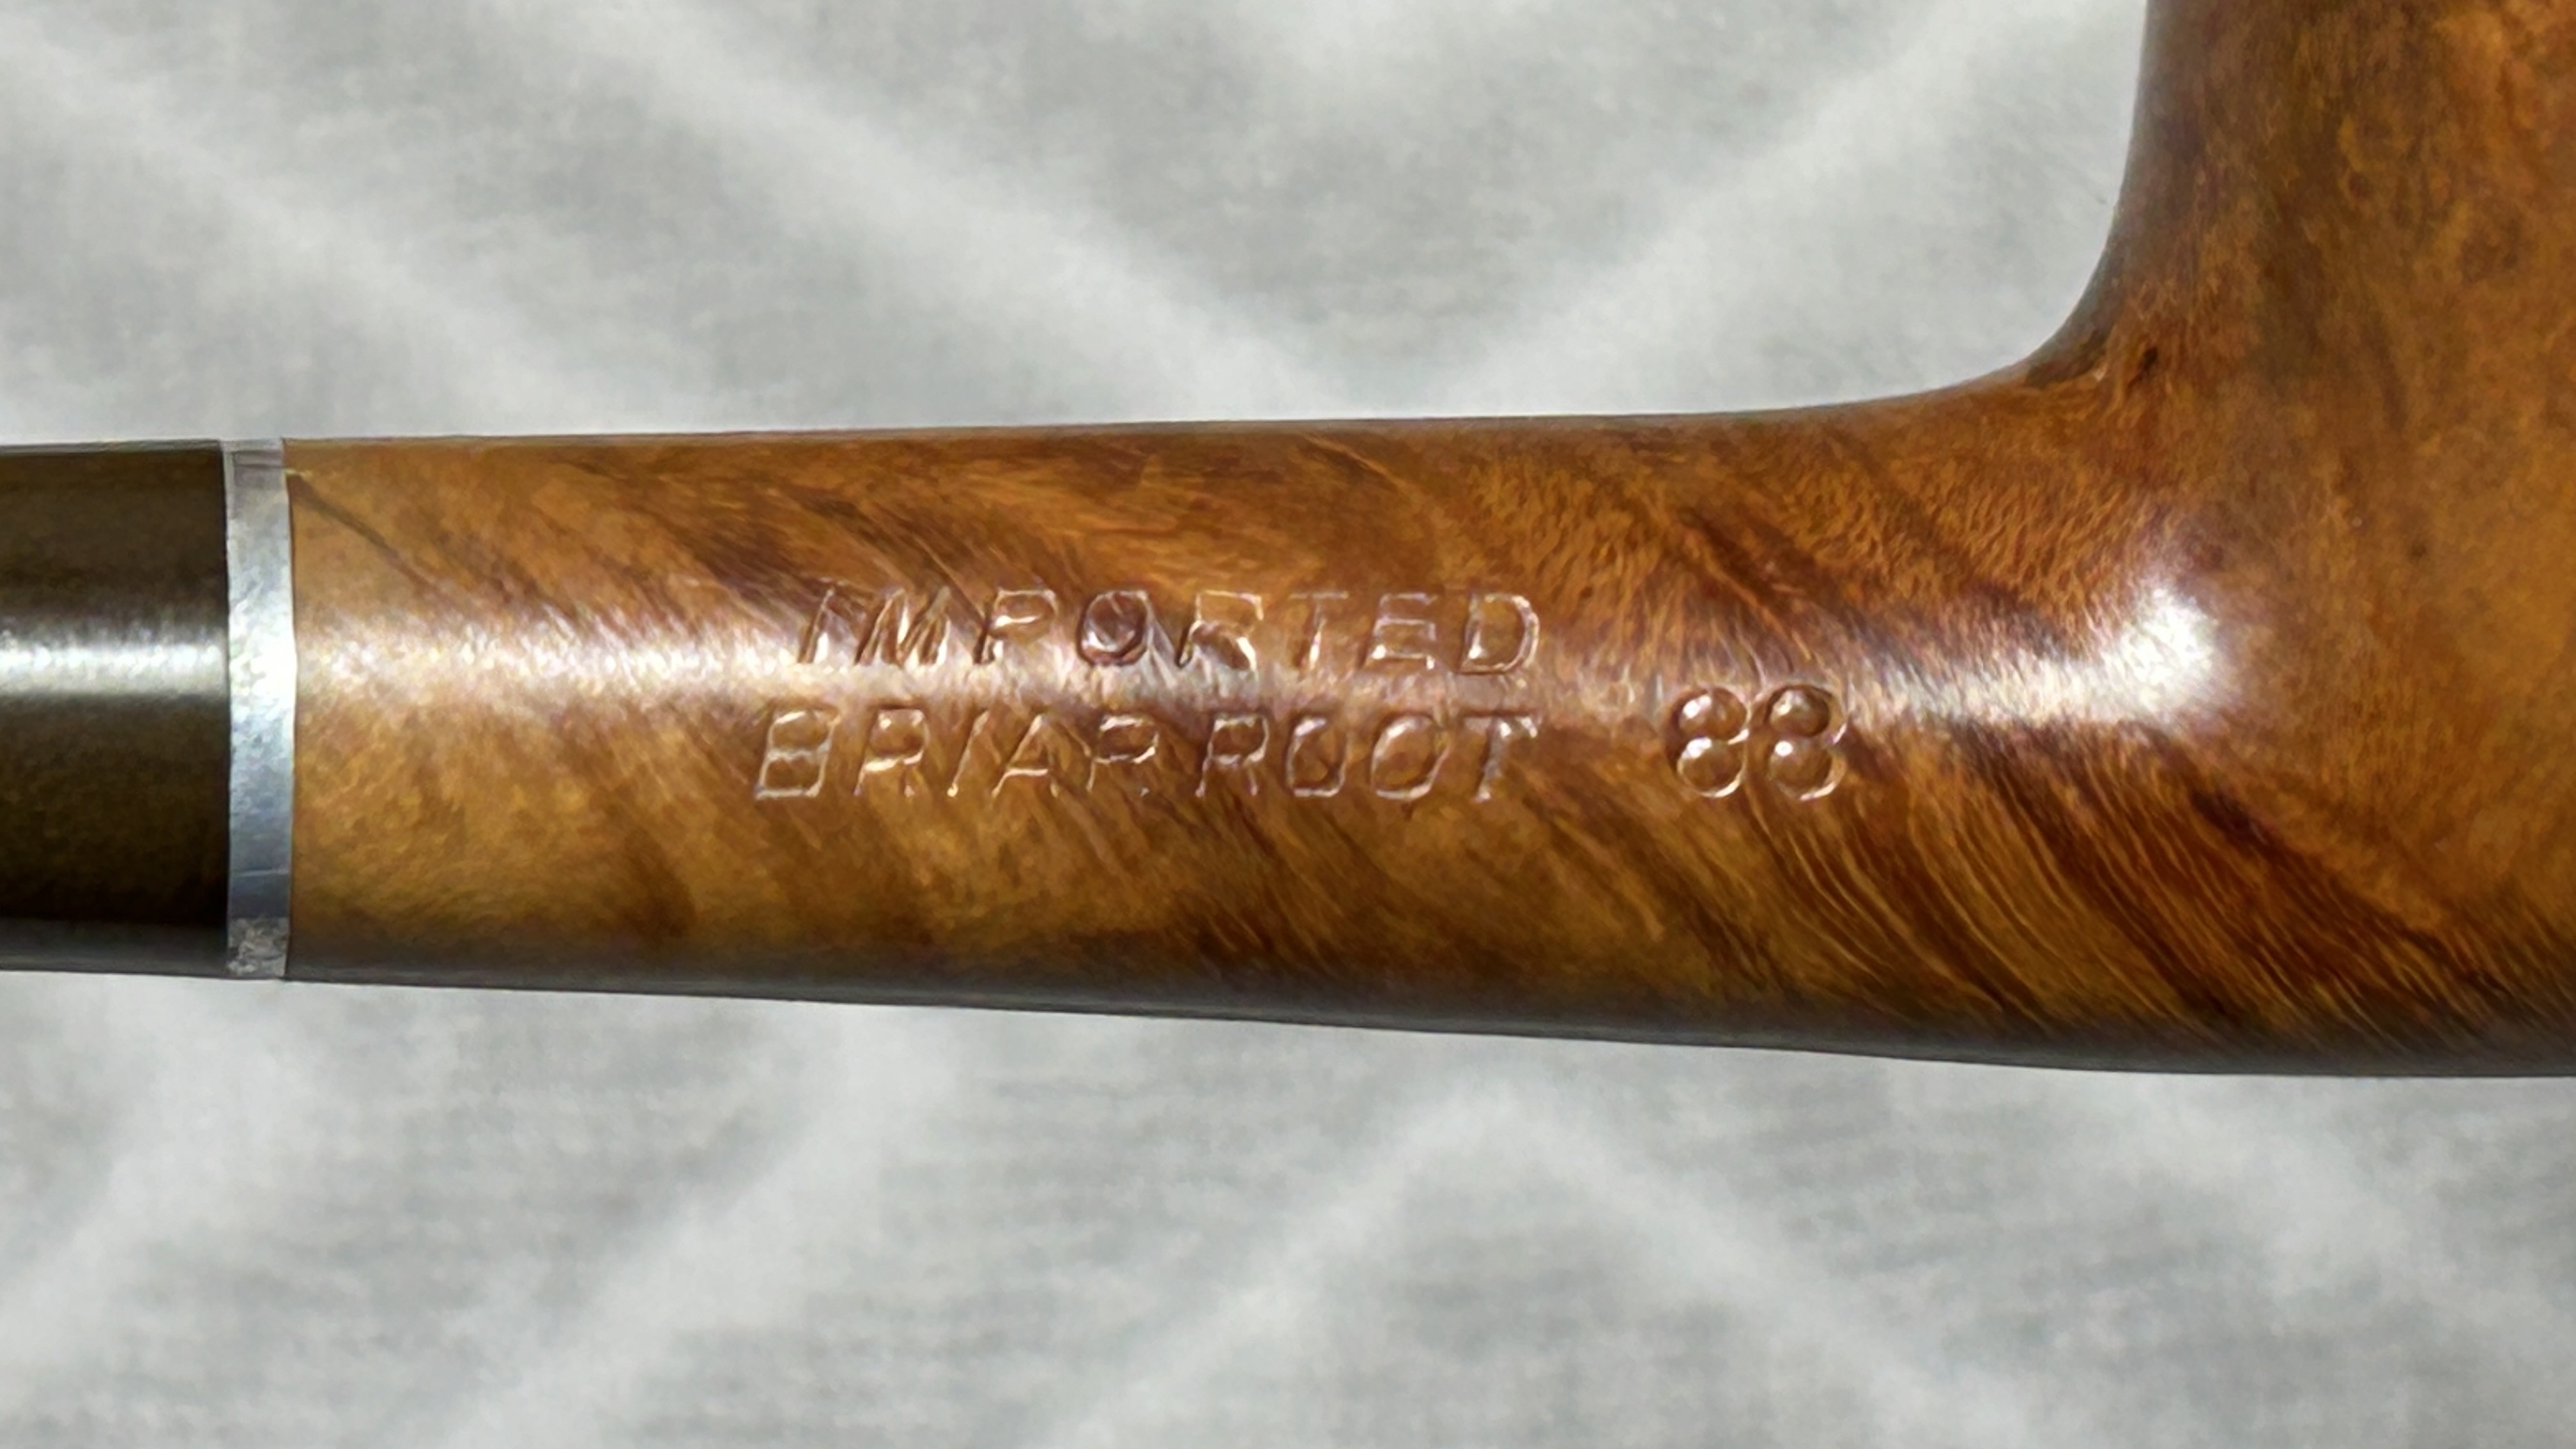
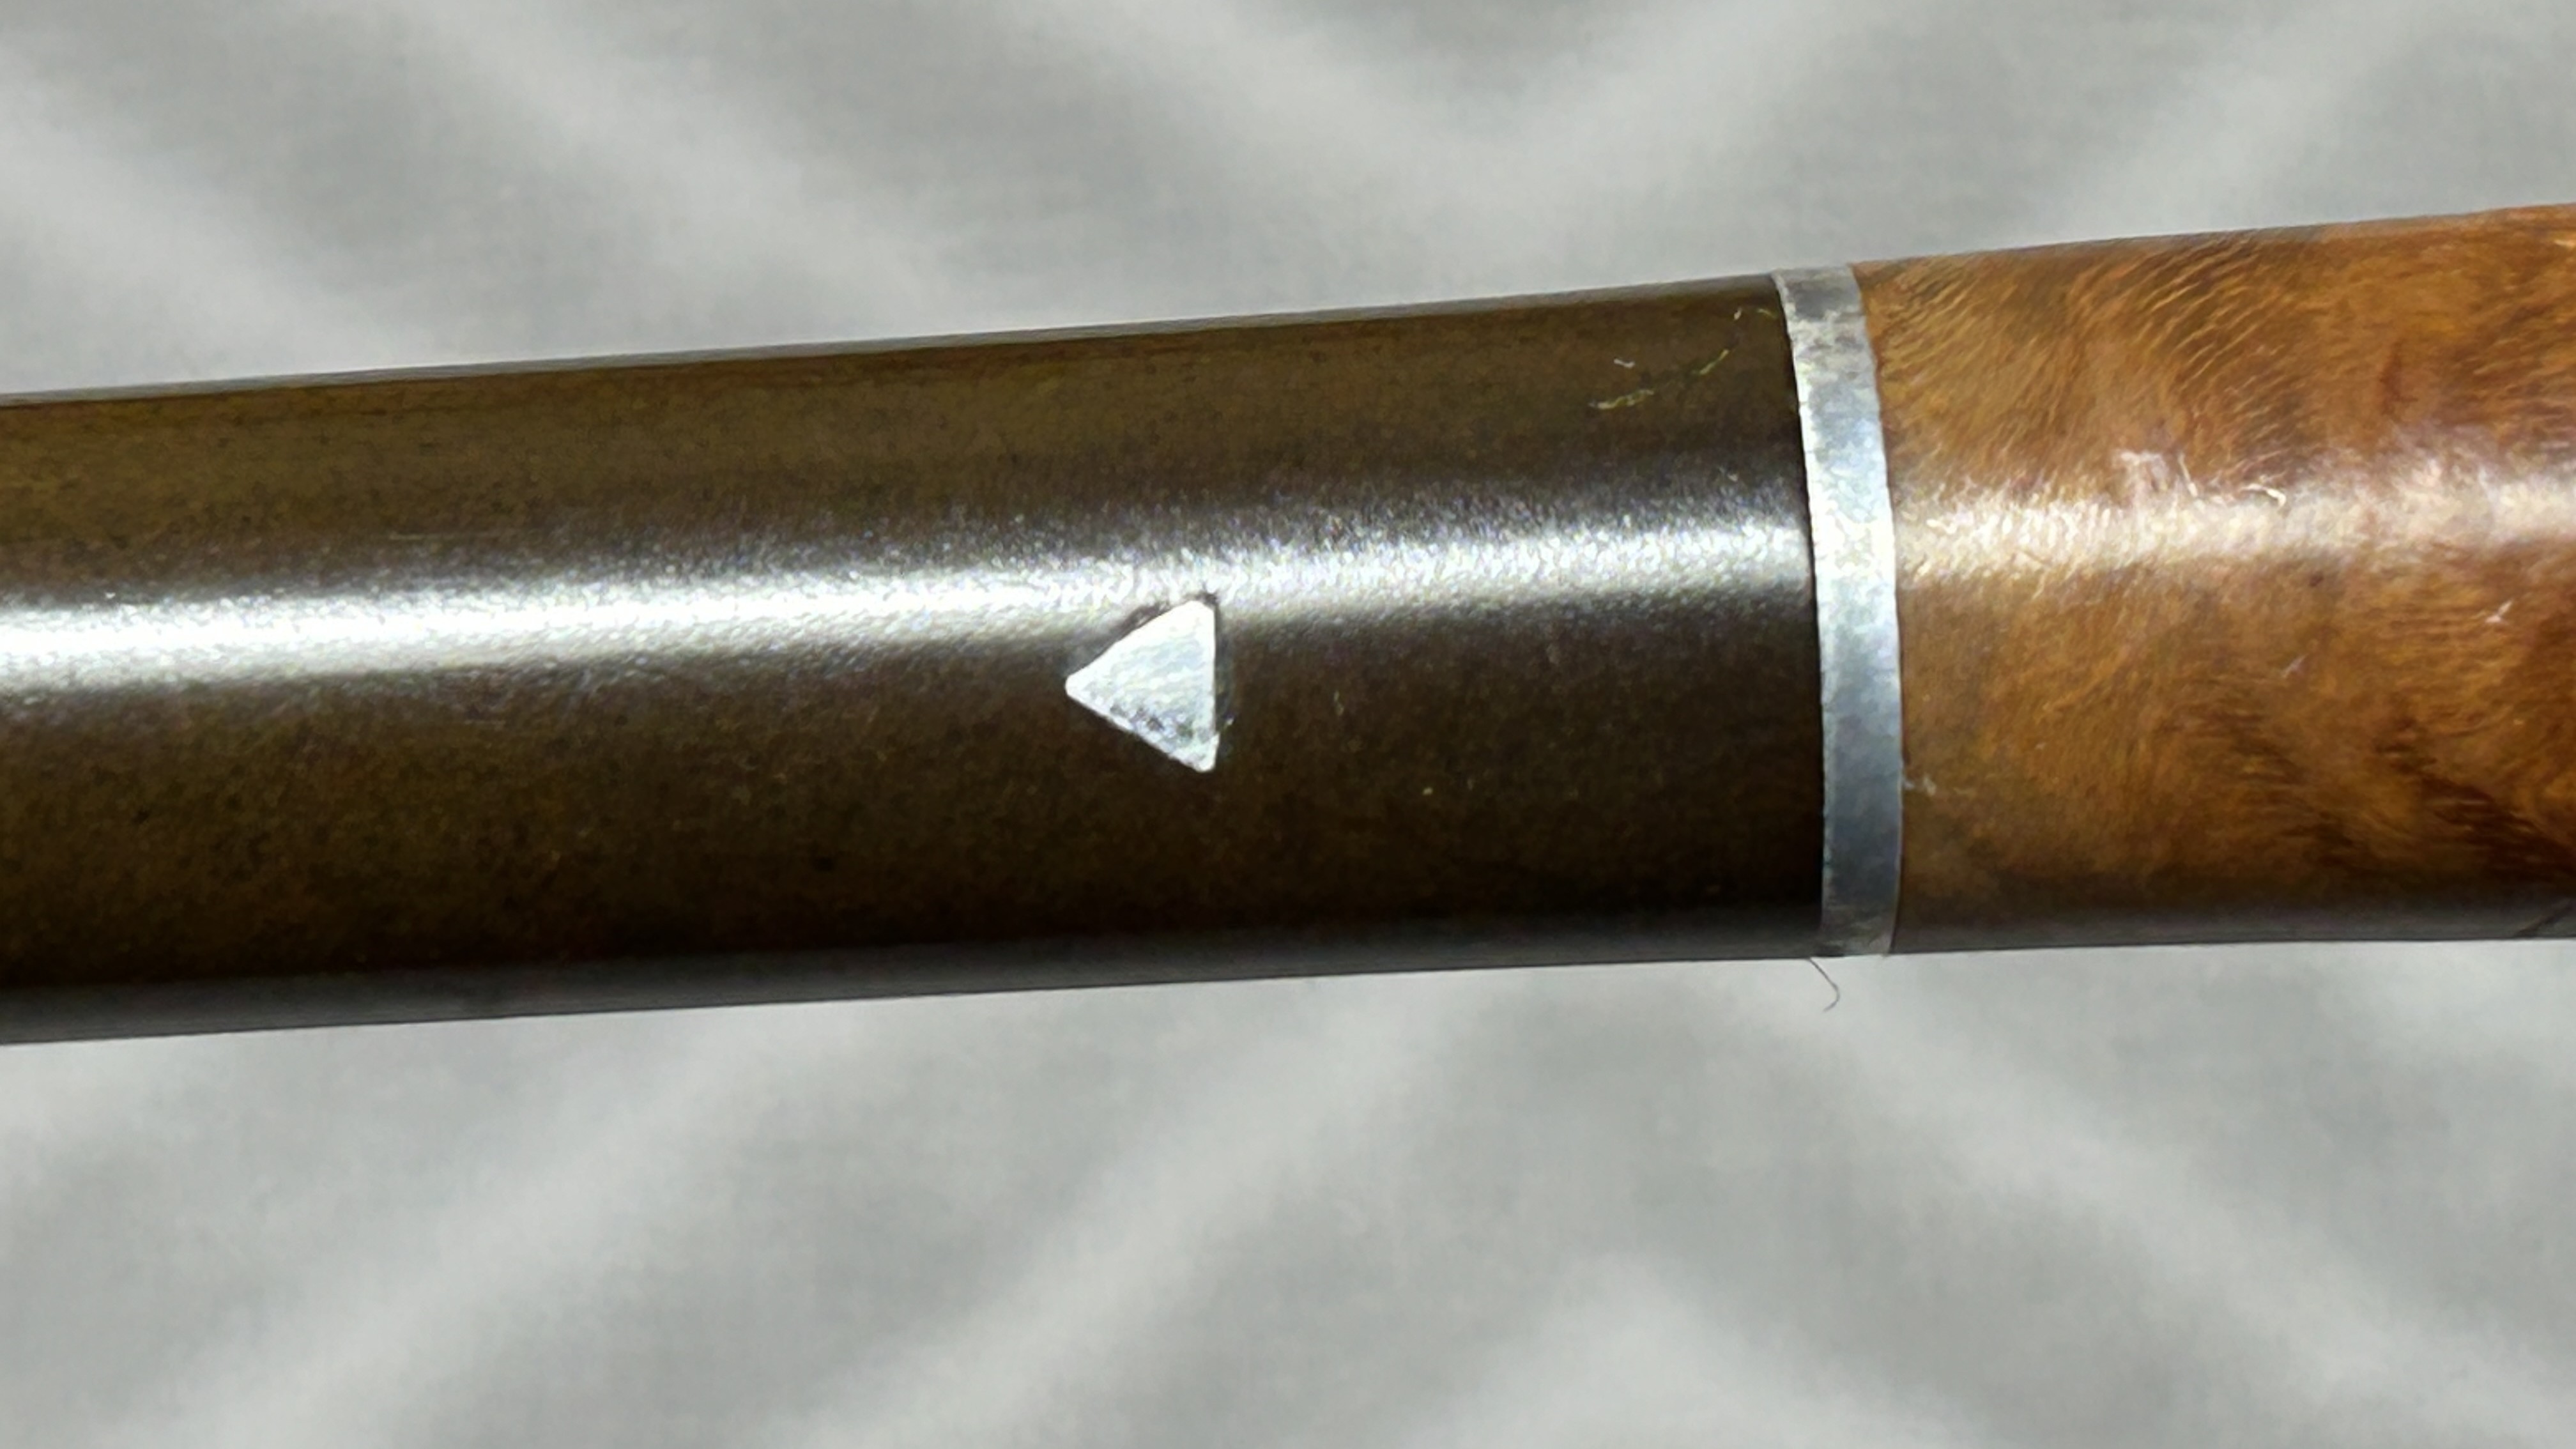
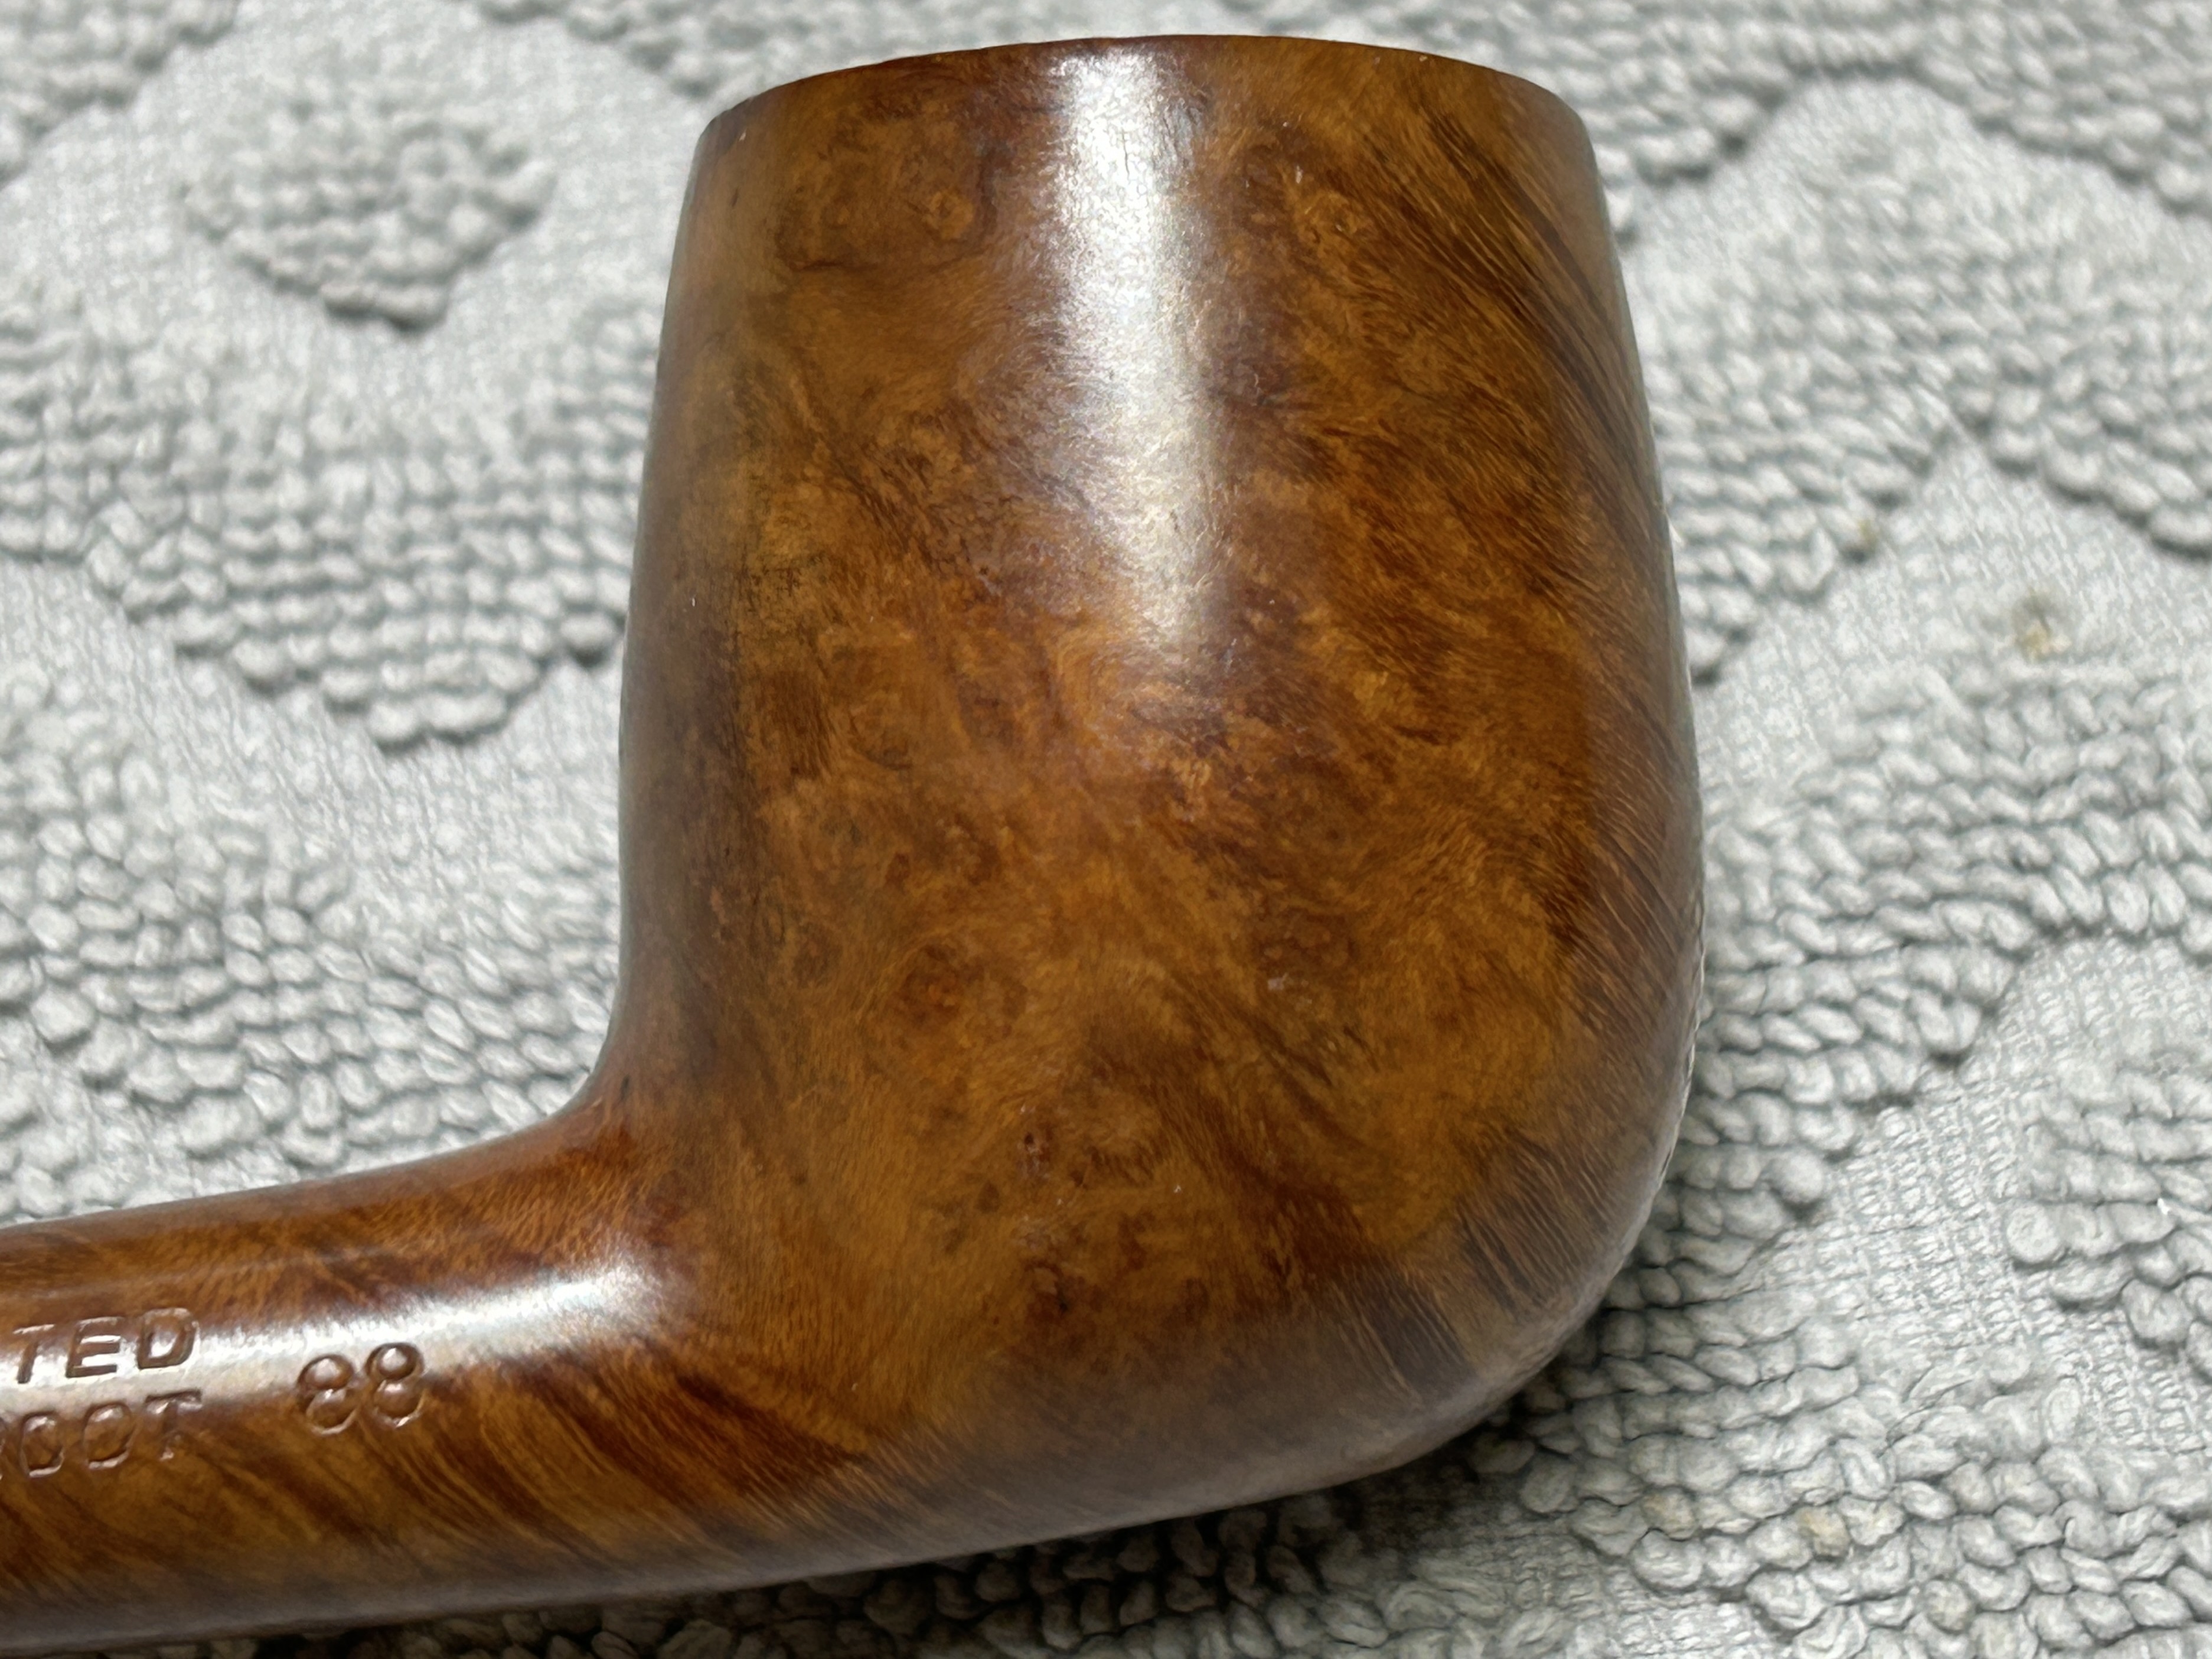
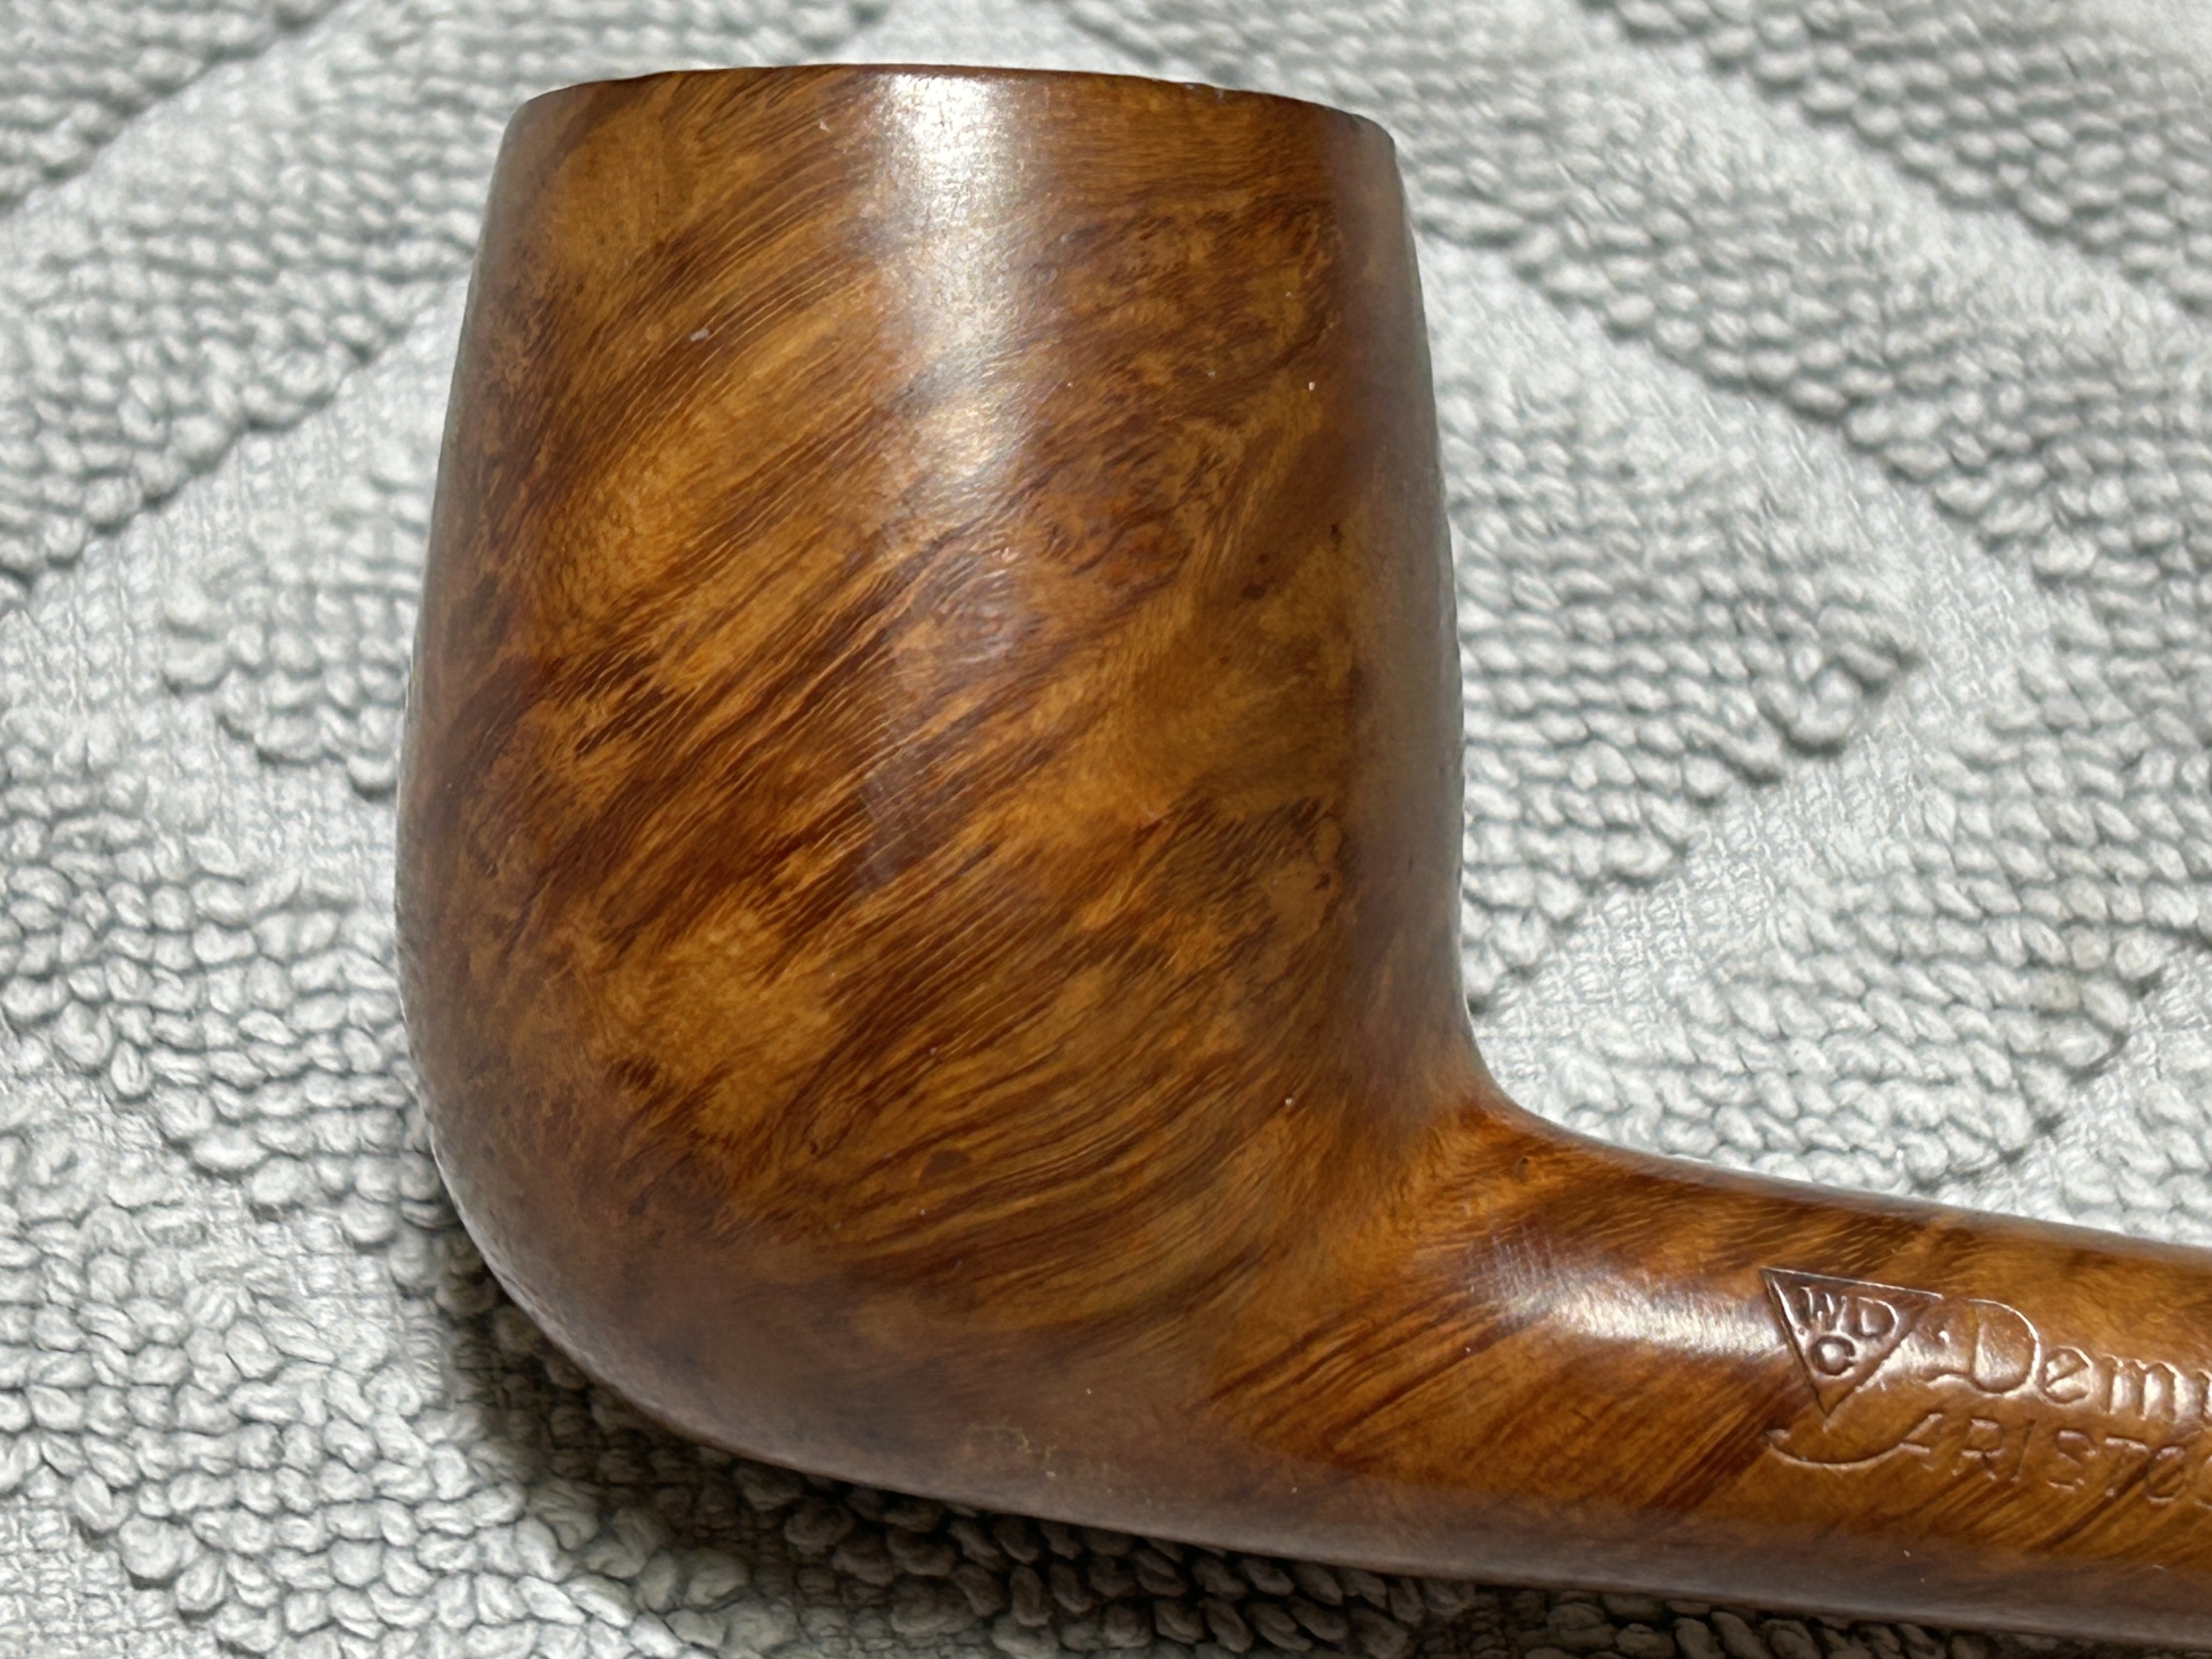
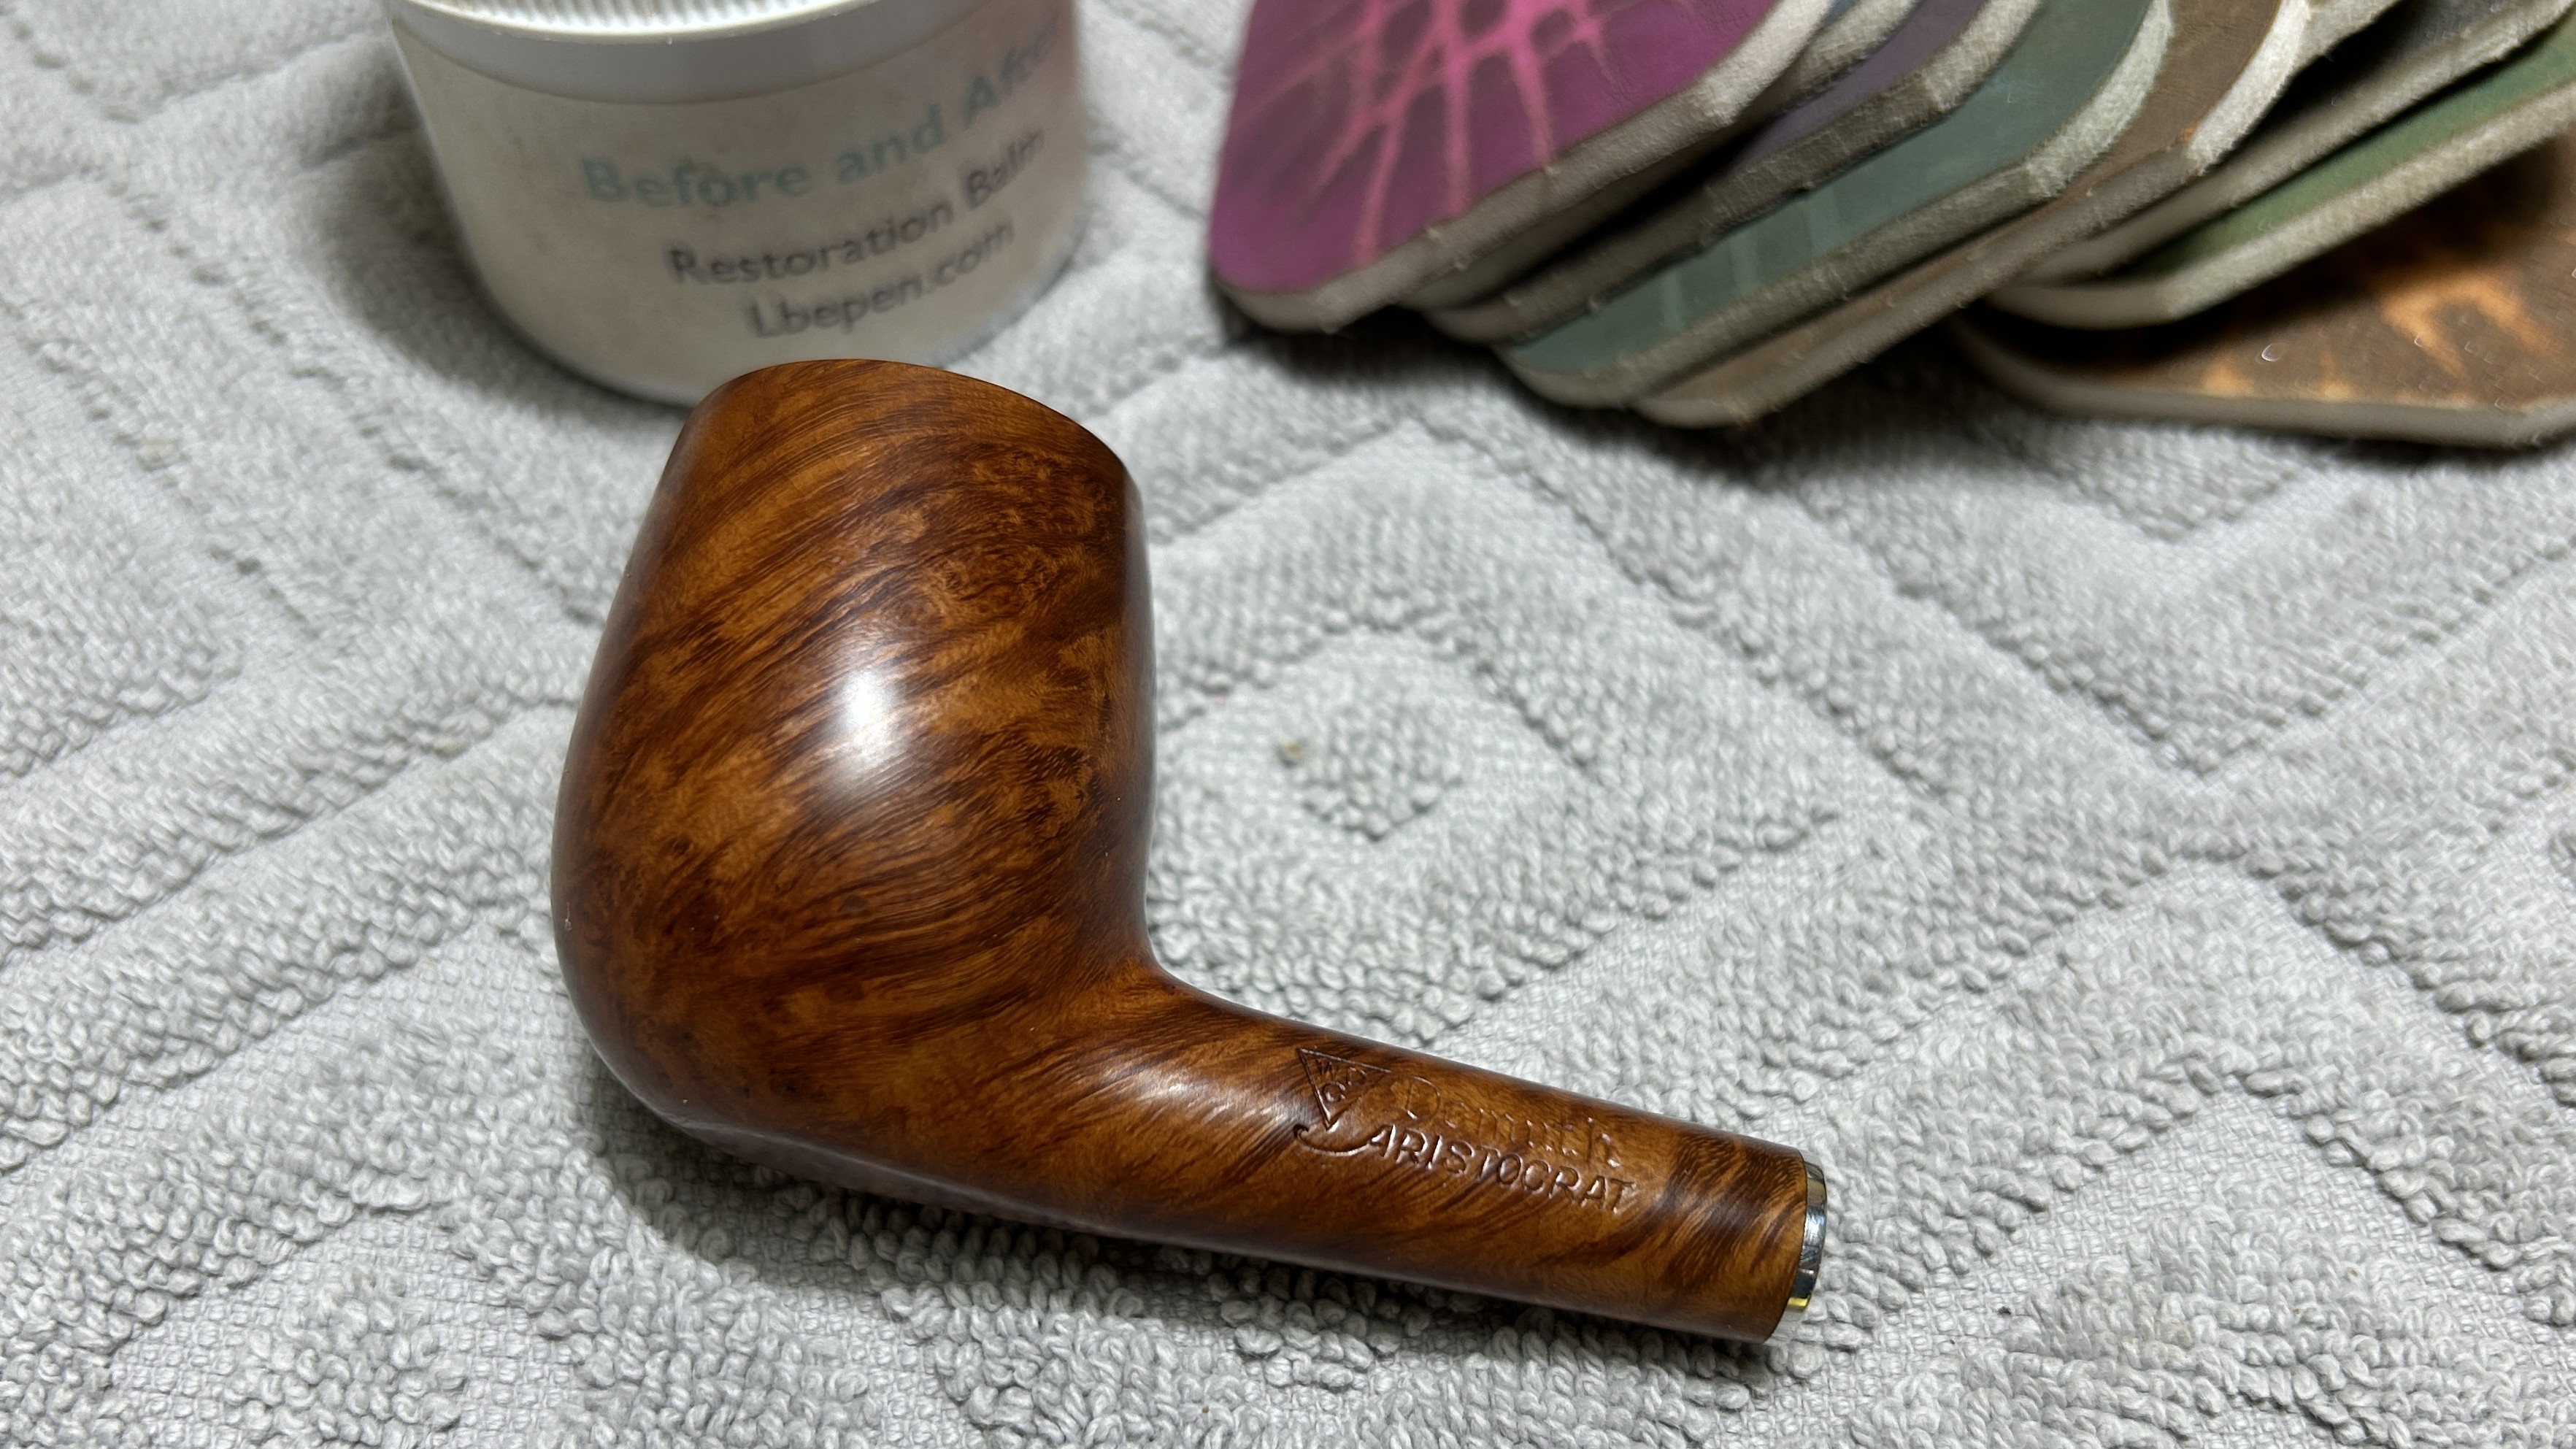
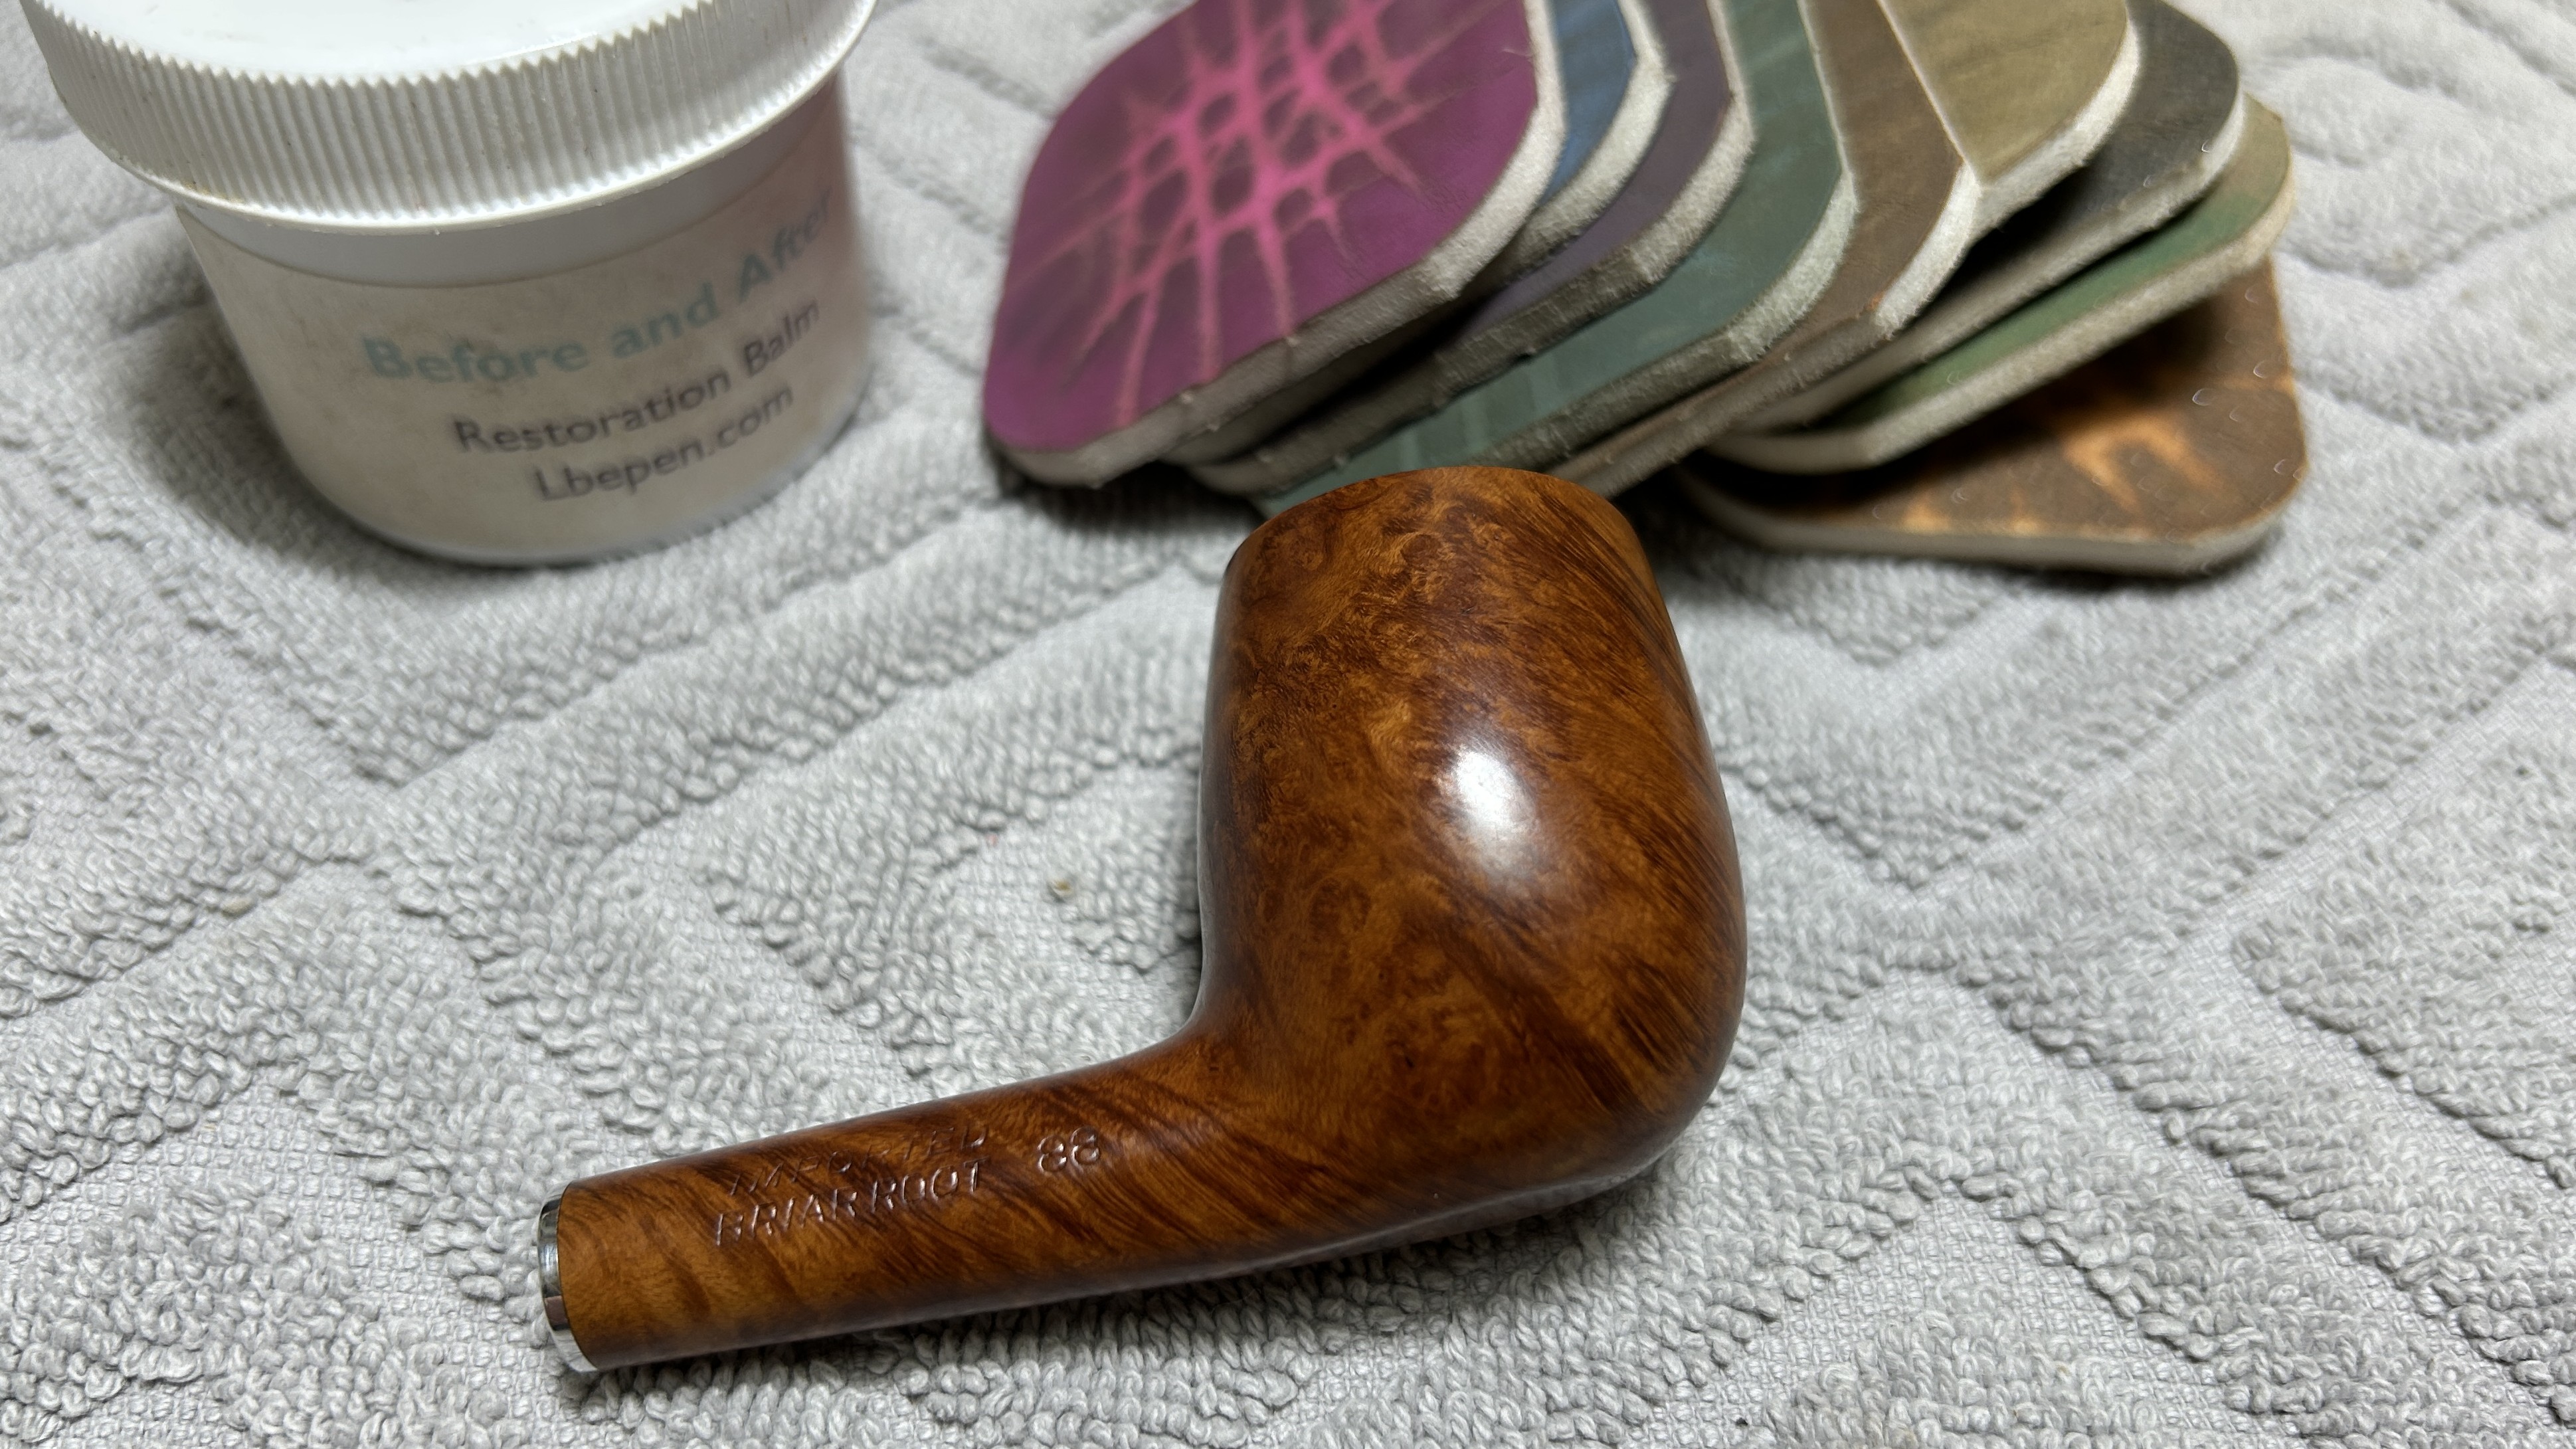
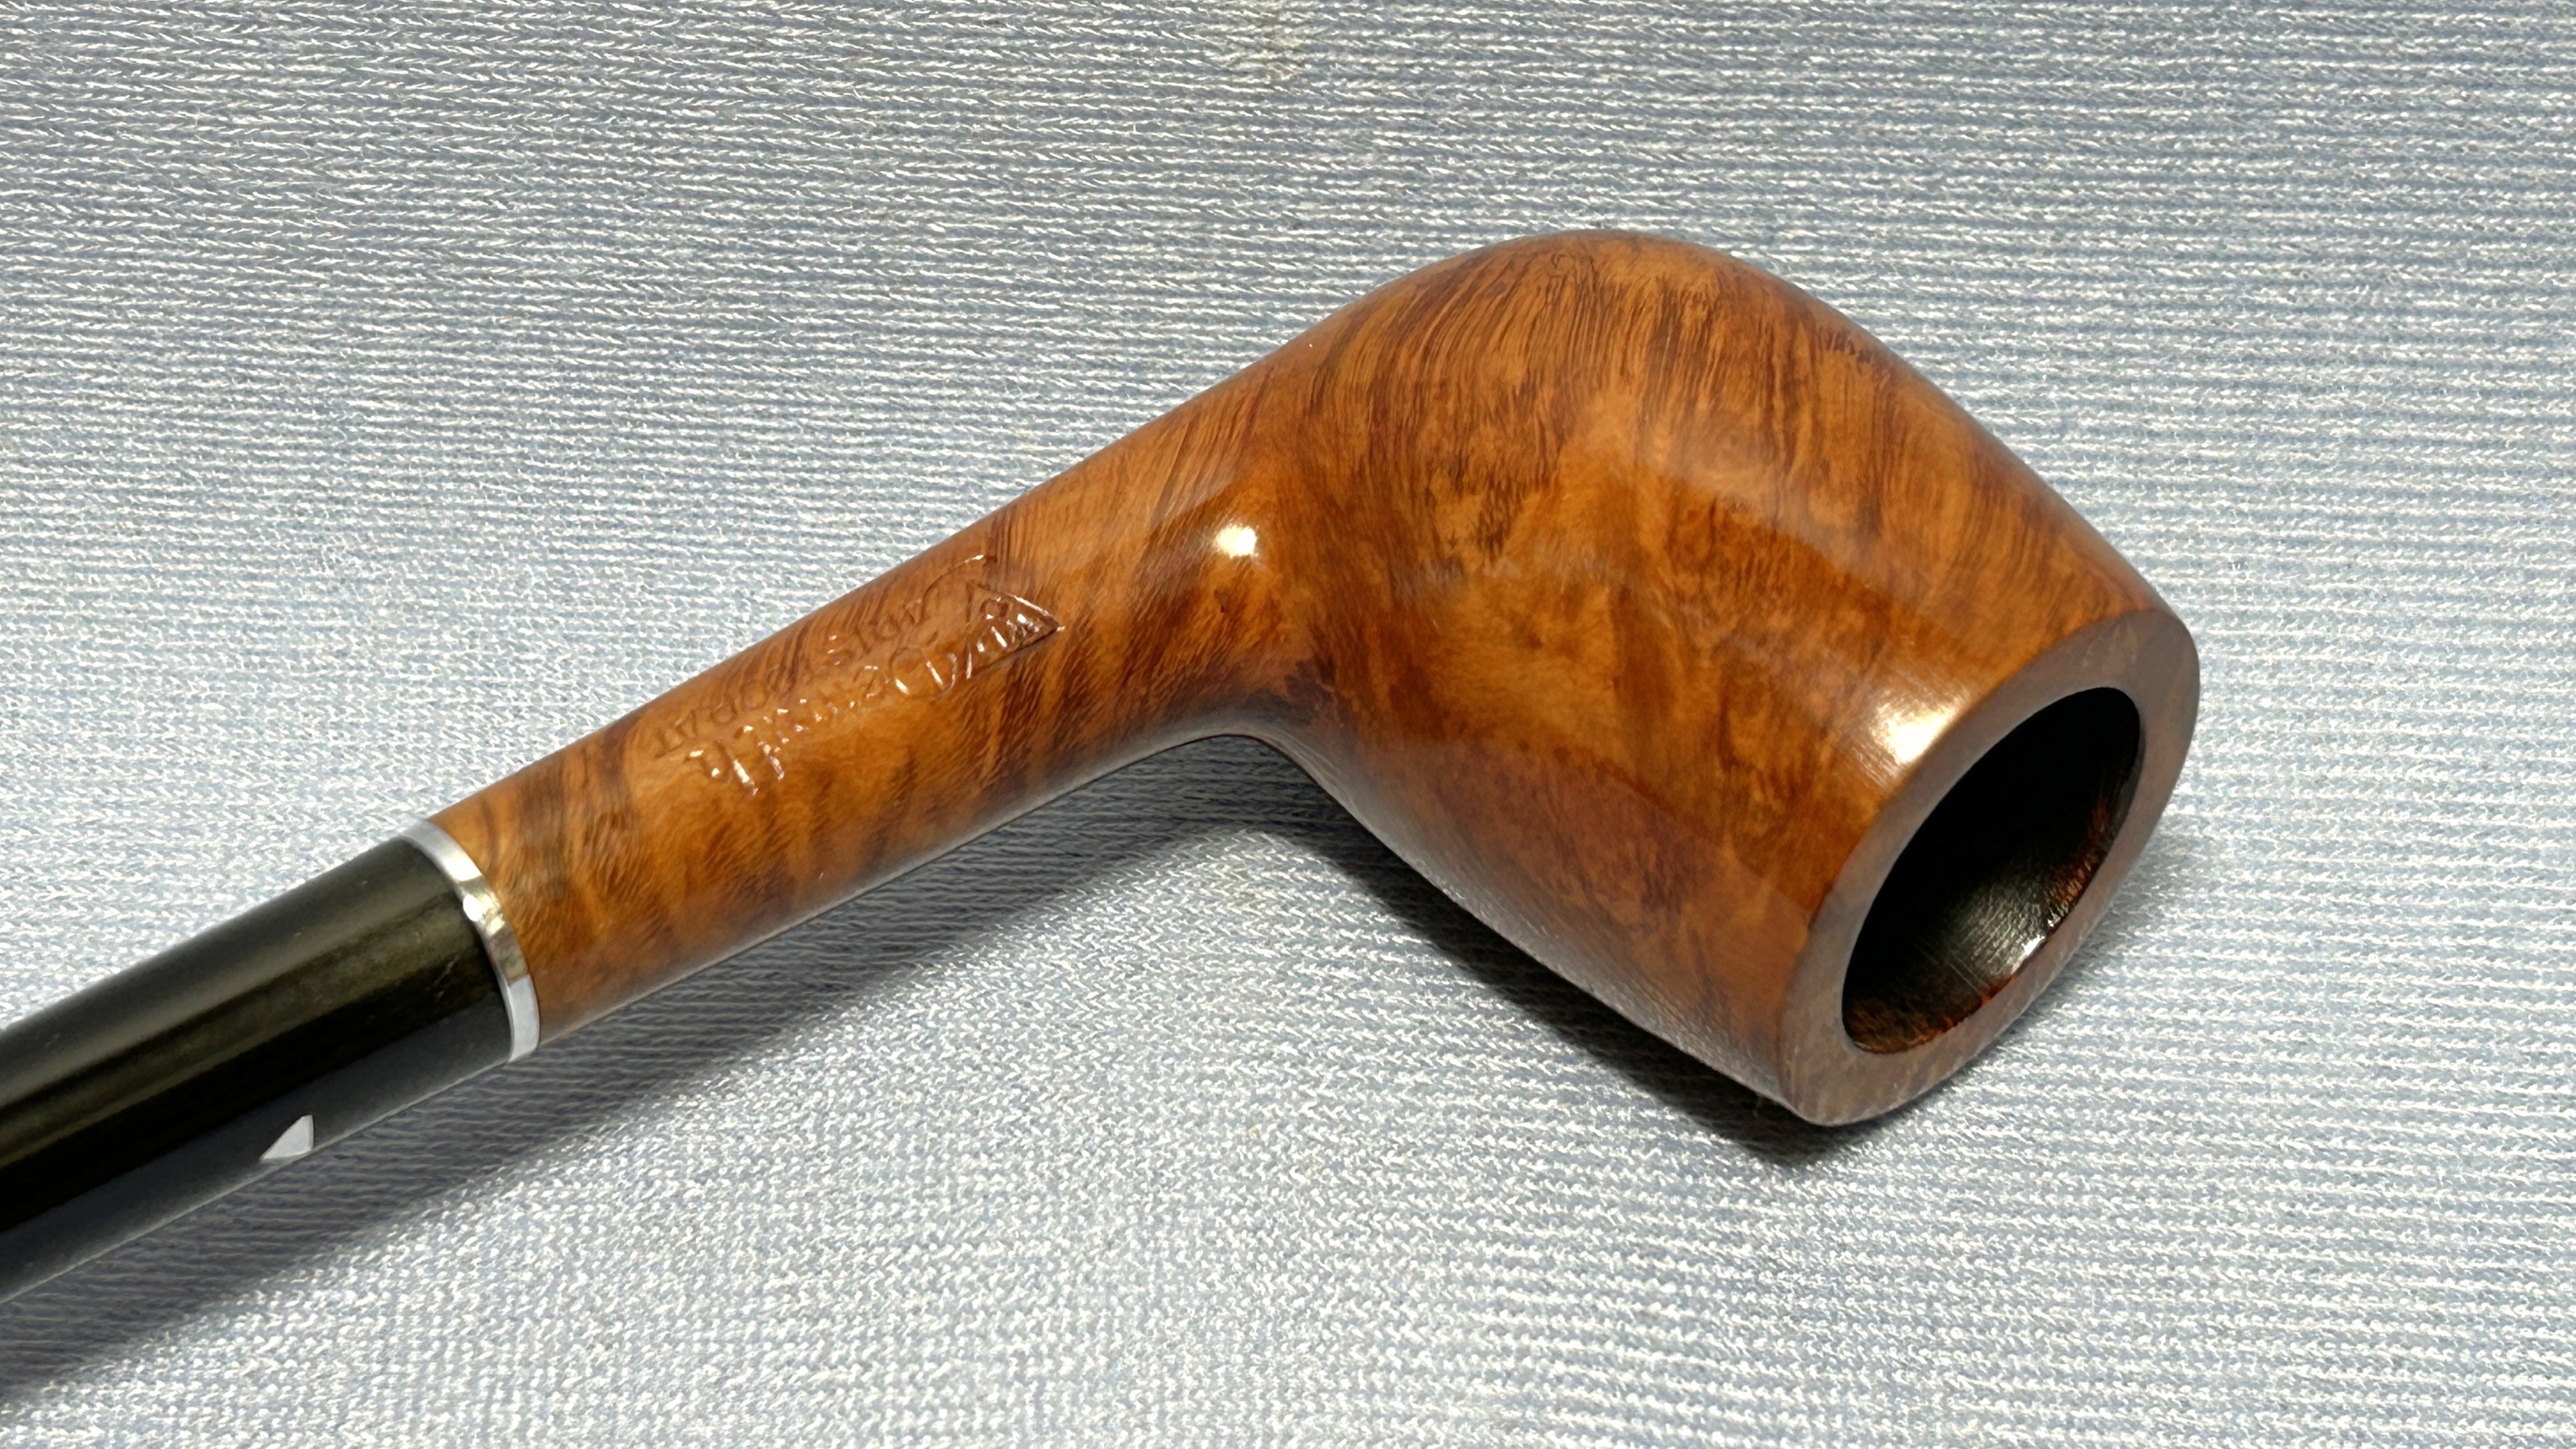
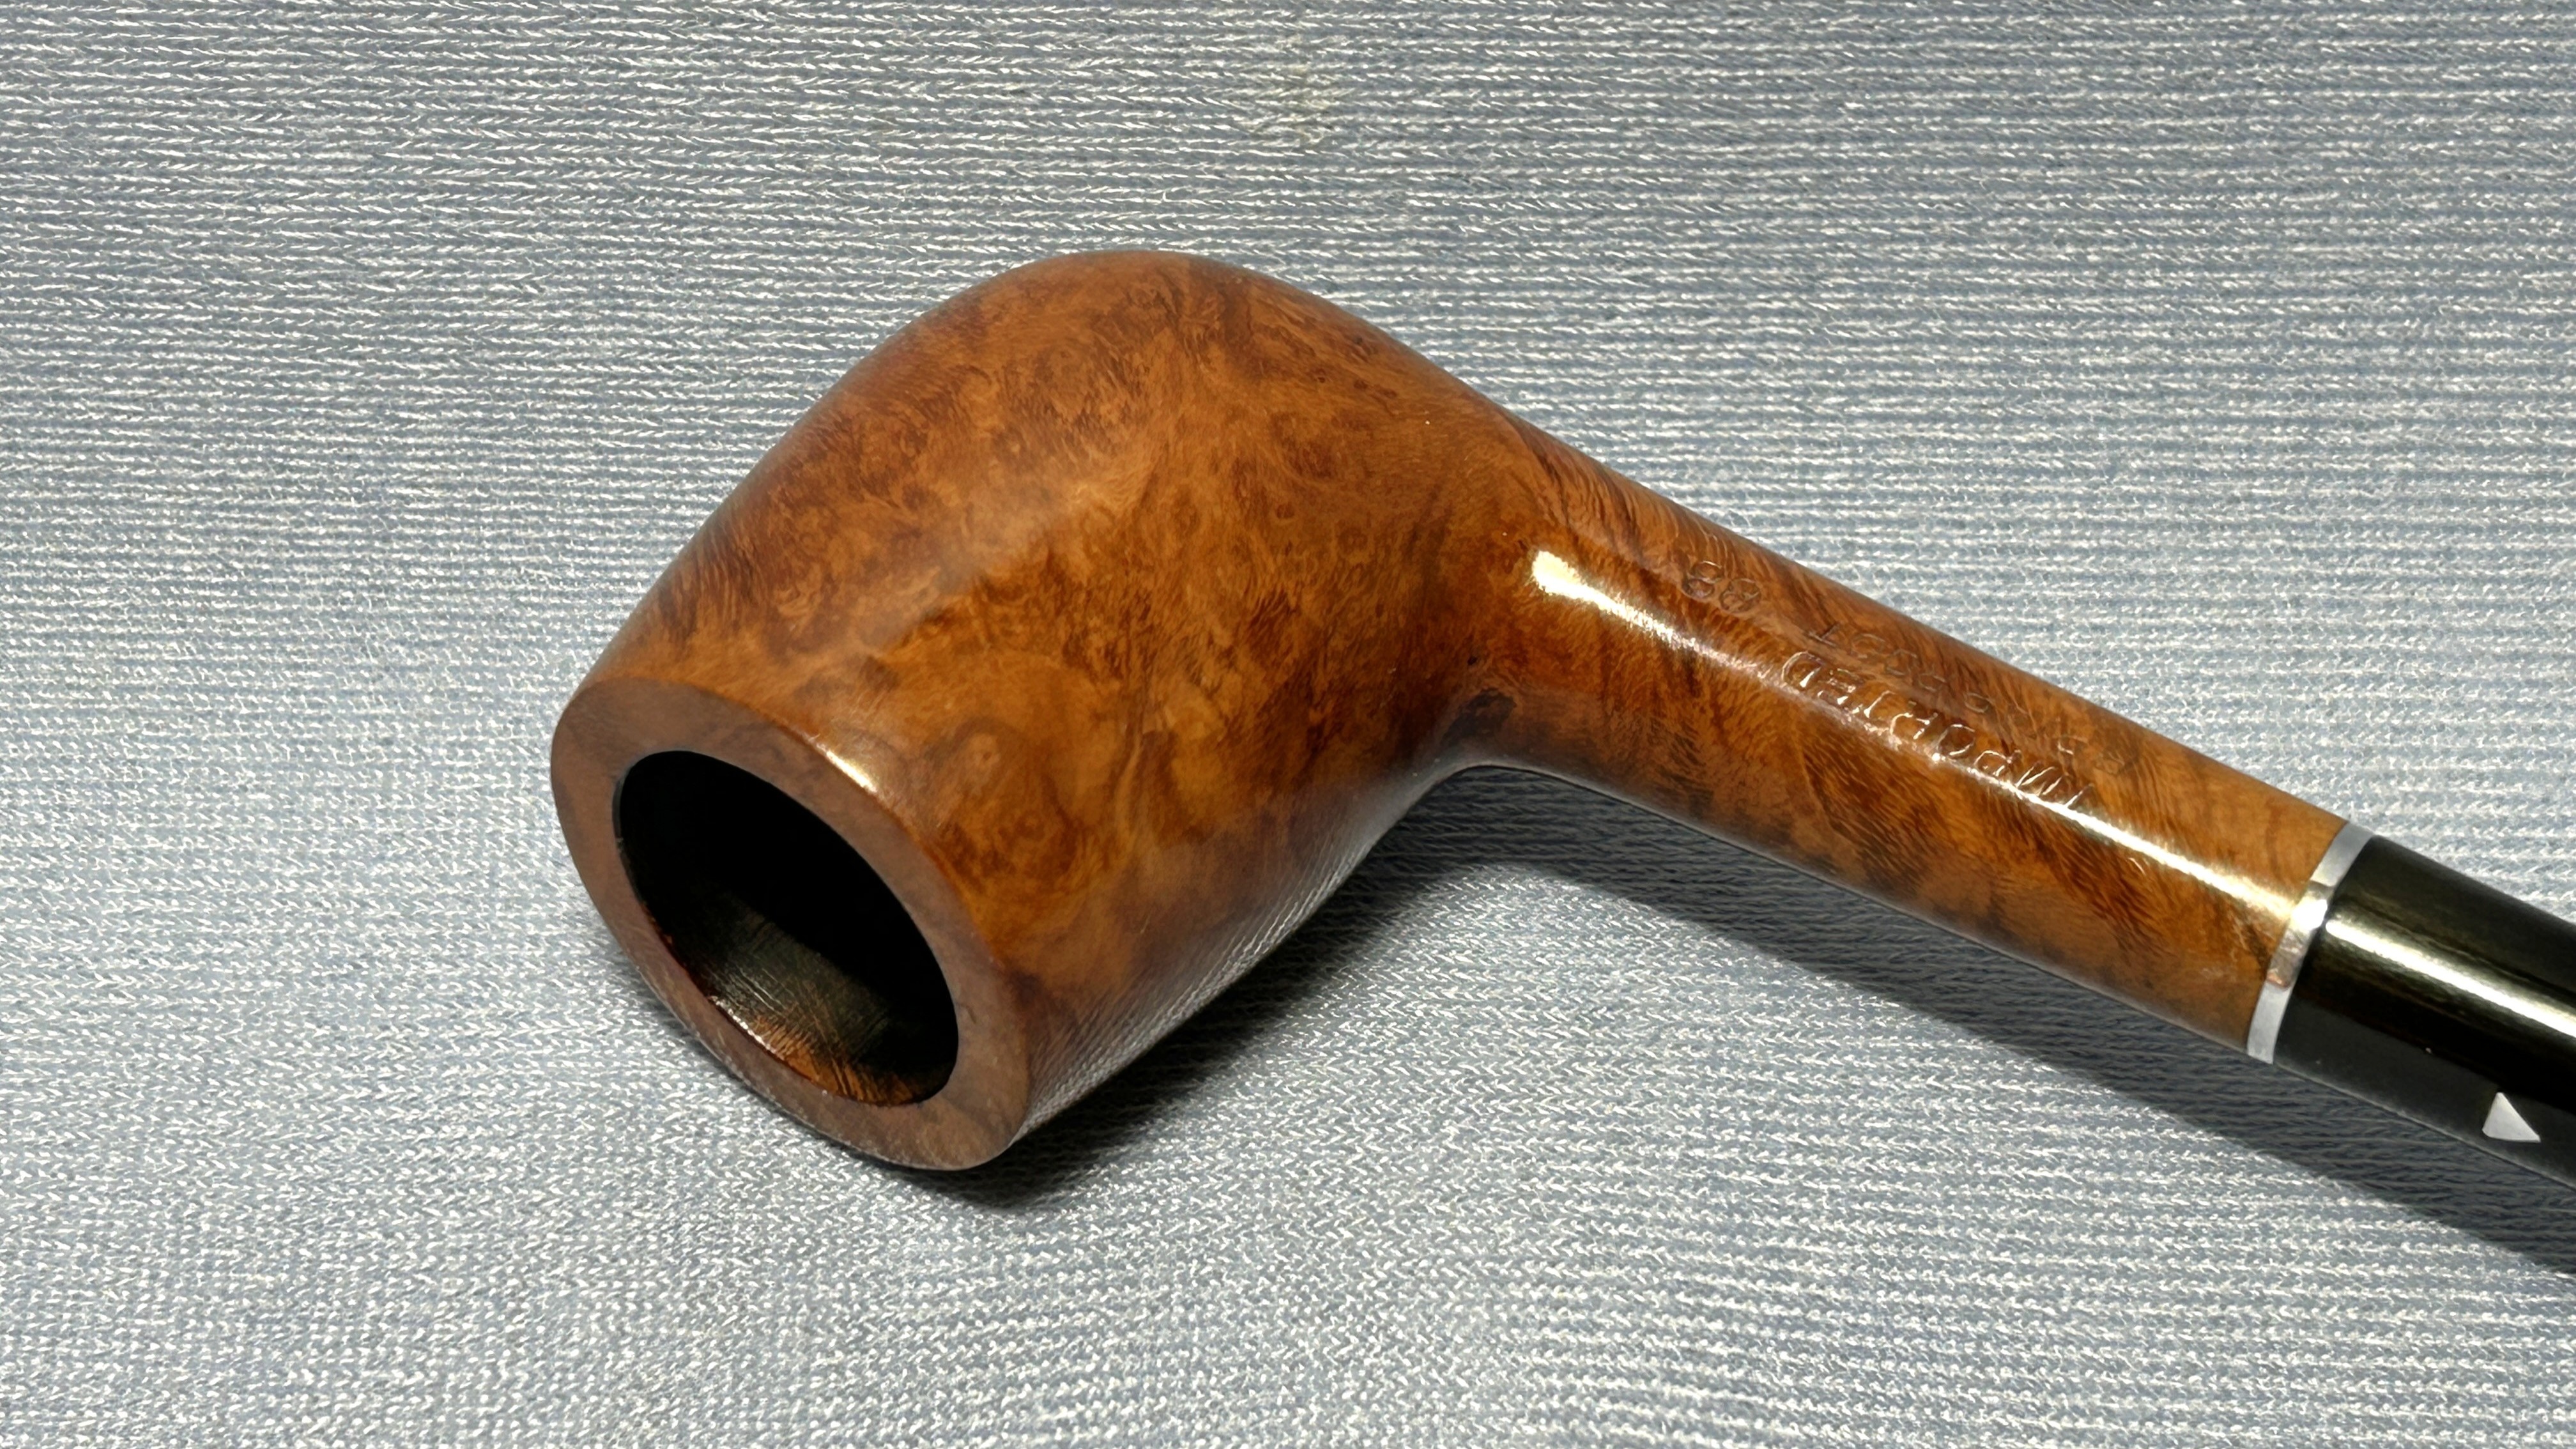
As the title tells you, this pipe is from WDC – the William Demuth Company, a venerable American pipe maker. The markings are as follows: on the left side of the shank are the letters WDC inside an inverted triangle, next to Demuth [over] Aristocrat. On the right side of the shank, we read Imported [over] Briar Root. And next to those, the shape number 88. Finally, the top of the stem shows a metal representation of the invested triangle – the logo for the WDC company. The Aristocrat was one of WDC’s better lines and, indeed, this is a handsome pipe.

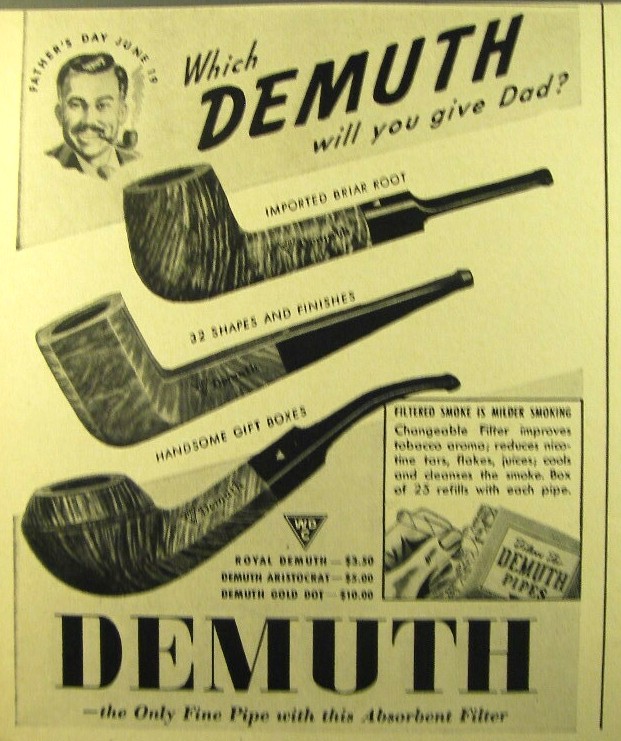
Pipedia has some great information on the history of the company and I encourage you to read it here. In the meantime, here is a quotation from their article:

William Demuth. (Wilhelm C. Demuth, 1835-1911), a native of Germany, entered the United States at the age of 16 as a penniless immigrant. After a series of odd jobs he found work as a clerk in the import business of a tobacco tradesman in New York City. In 1862 William established his own company. The William Demuth Company specialized in pipes, smoker’s requisites, cigar-store figures, canes and other carved objects. The Demuth Company is probably well known for the famous trademark, WDC in an inverted equilateral triangle. In 1897 Ferdinand Feuerbach joined the Demuth company and by 1903 had become the production manager. Feuerbach is credited with developing Demuth’s popular Royal Demuth and Hesson Guard Milano pipelines. He left in 1919, when Sam Frank Sr. needed an experienced pipe man to run his pipe factory, located at 168 Southern Blvd., in the Bronx. Feuerbach and Frank had been close friends since Frank started his own business in 1900 and was closely associated with the sales staff of WDC, selling their line of pipes.

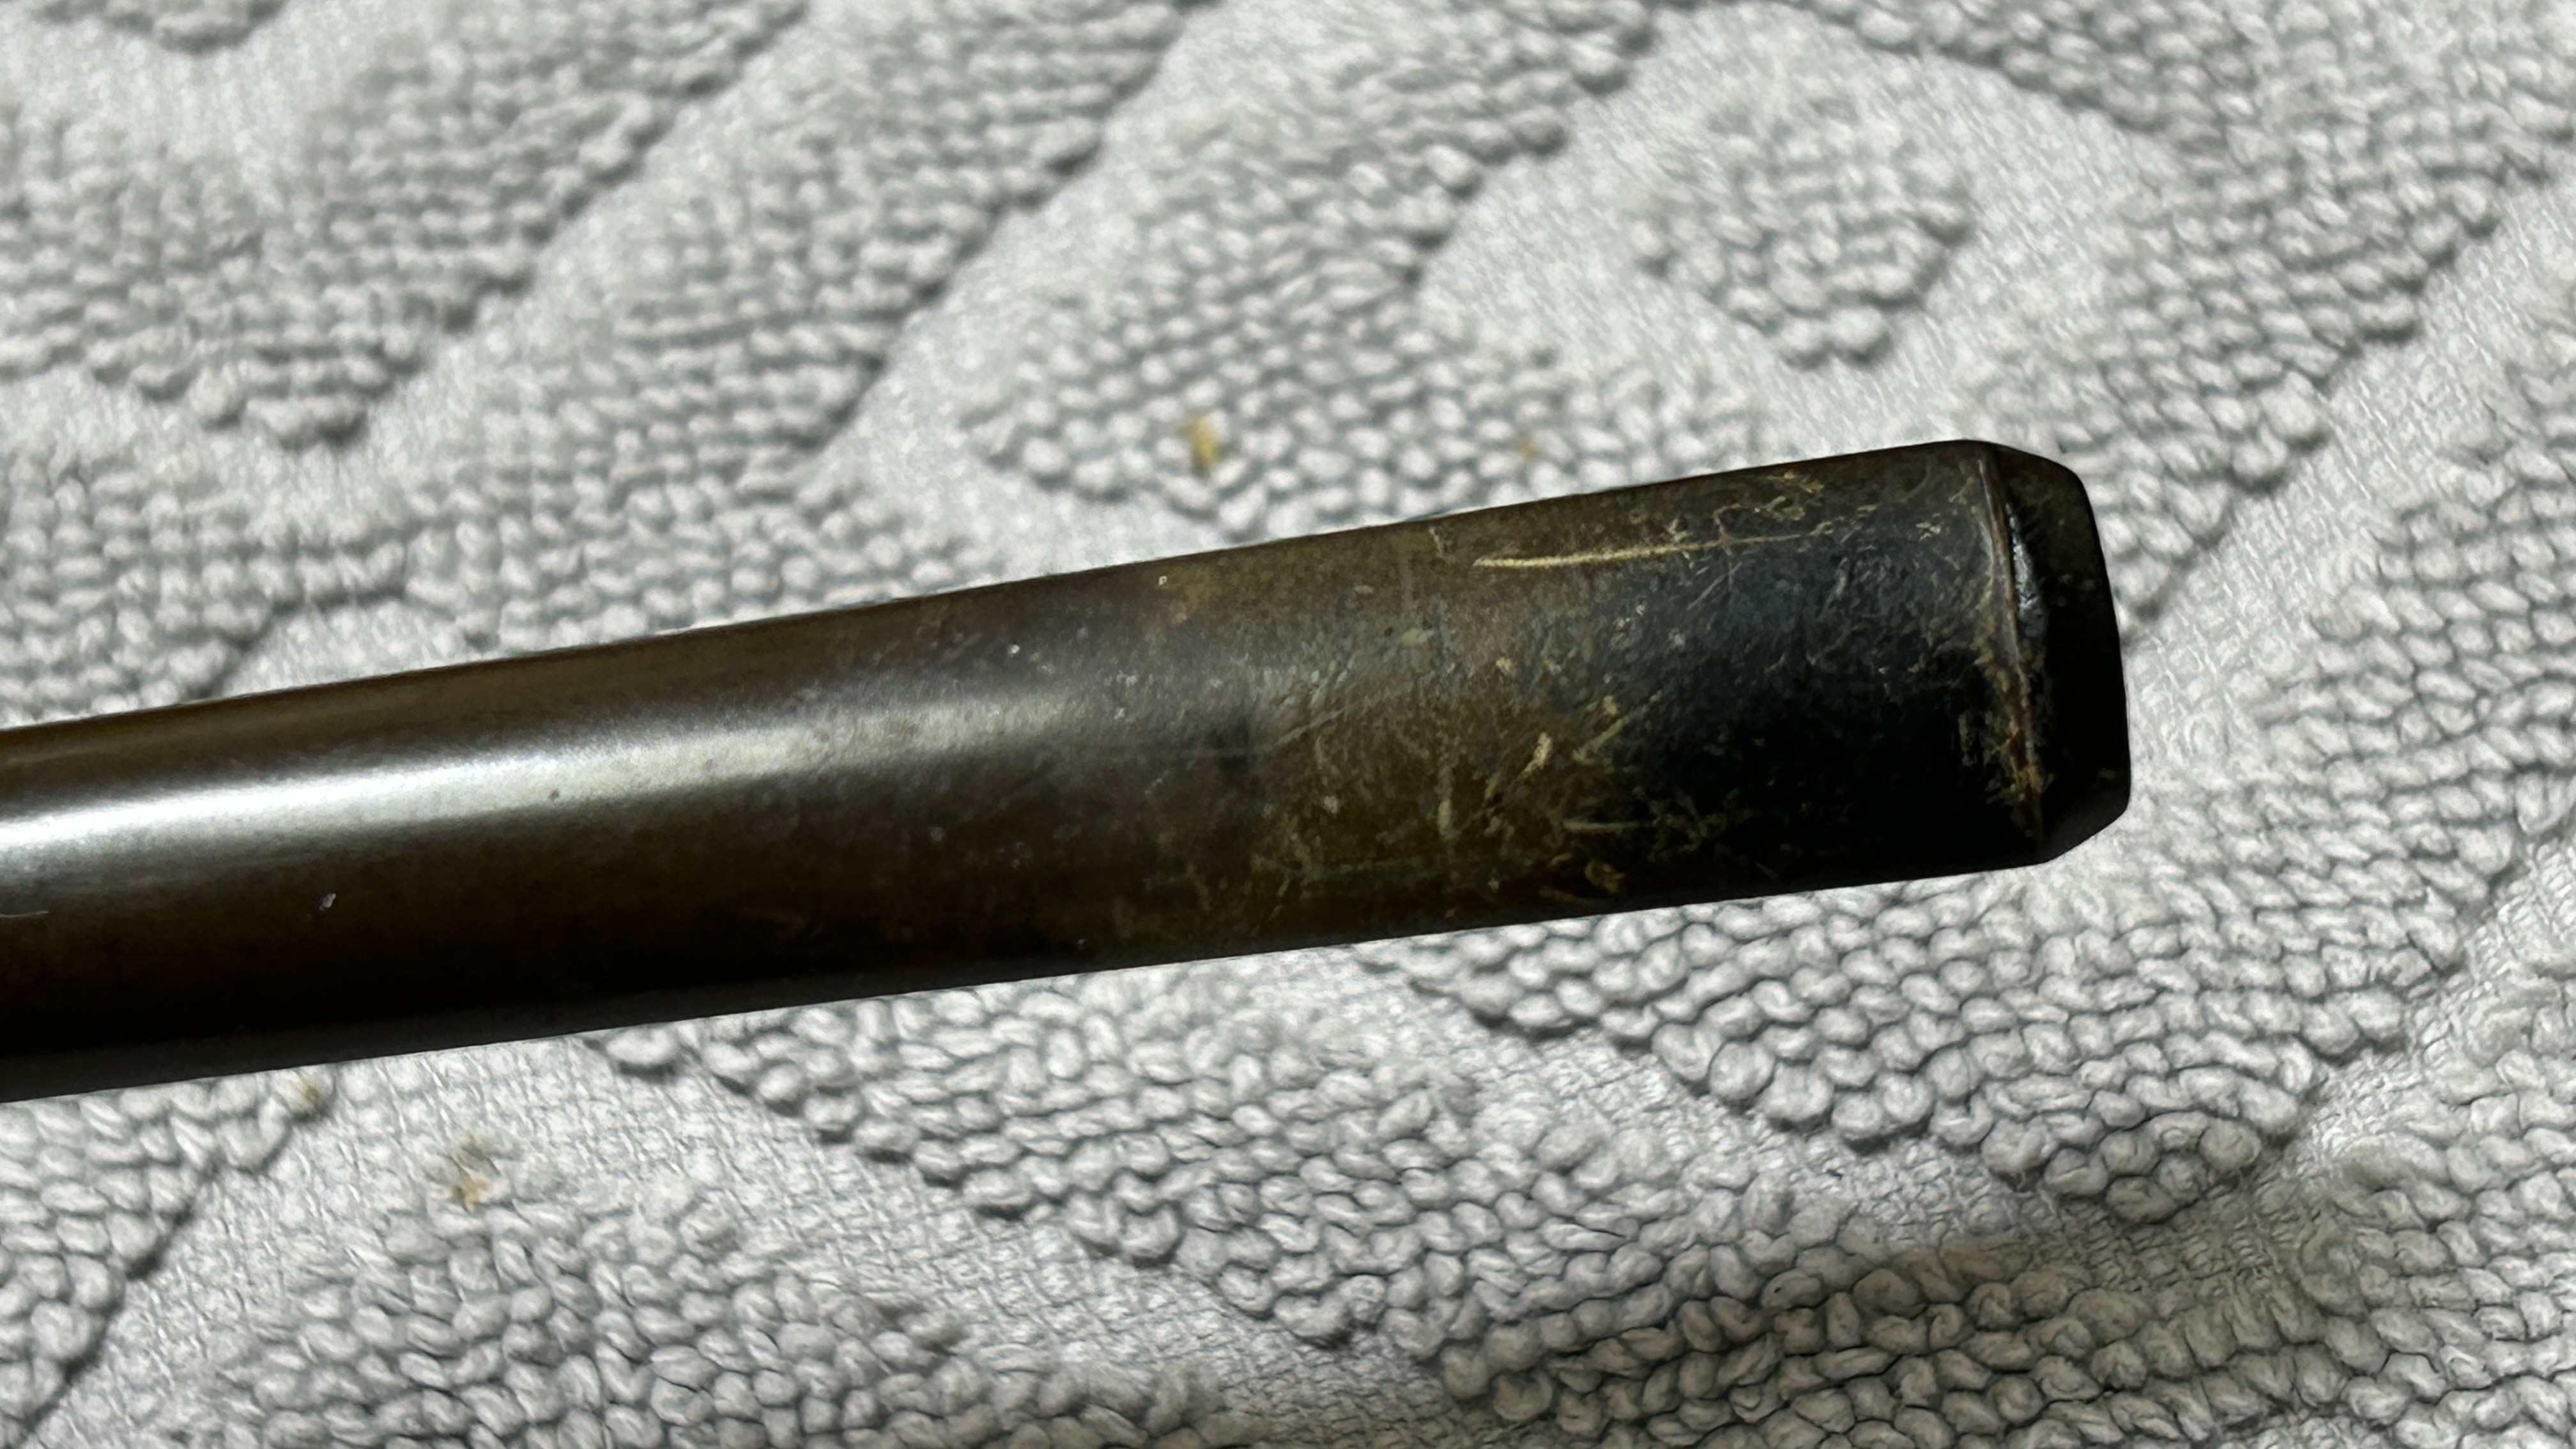
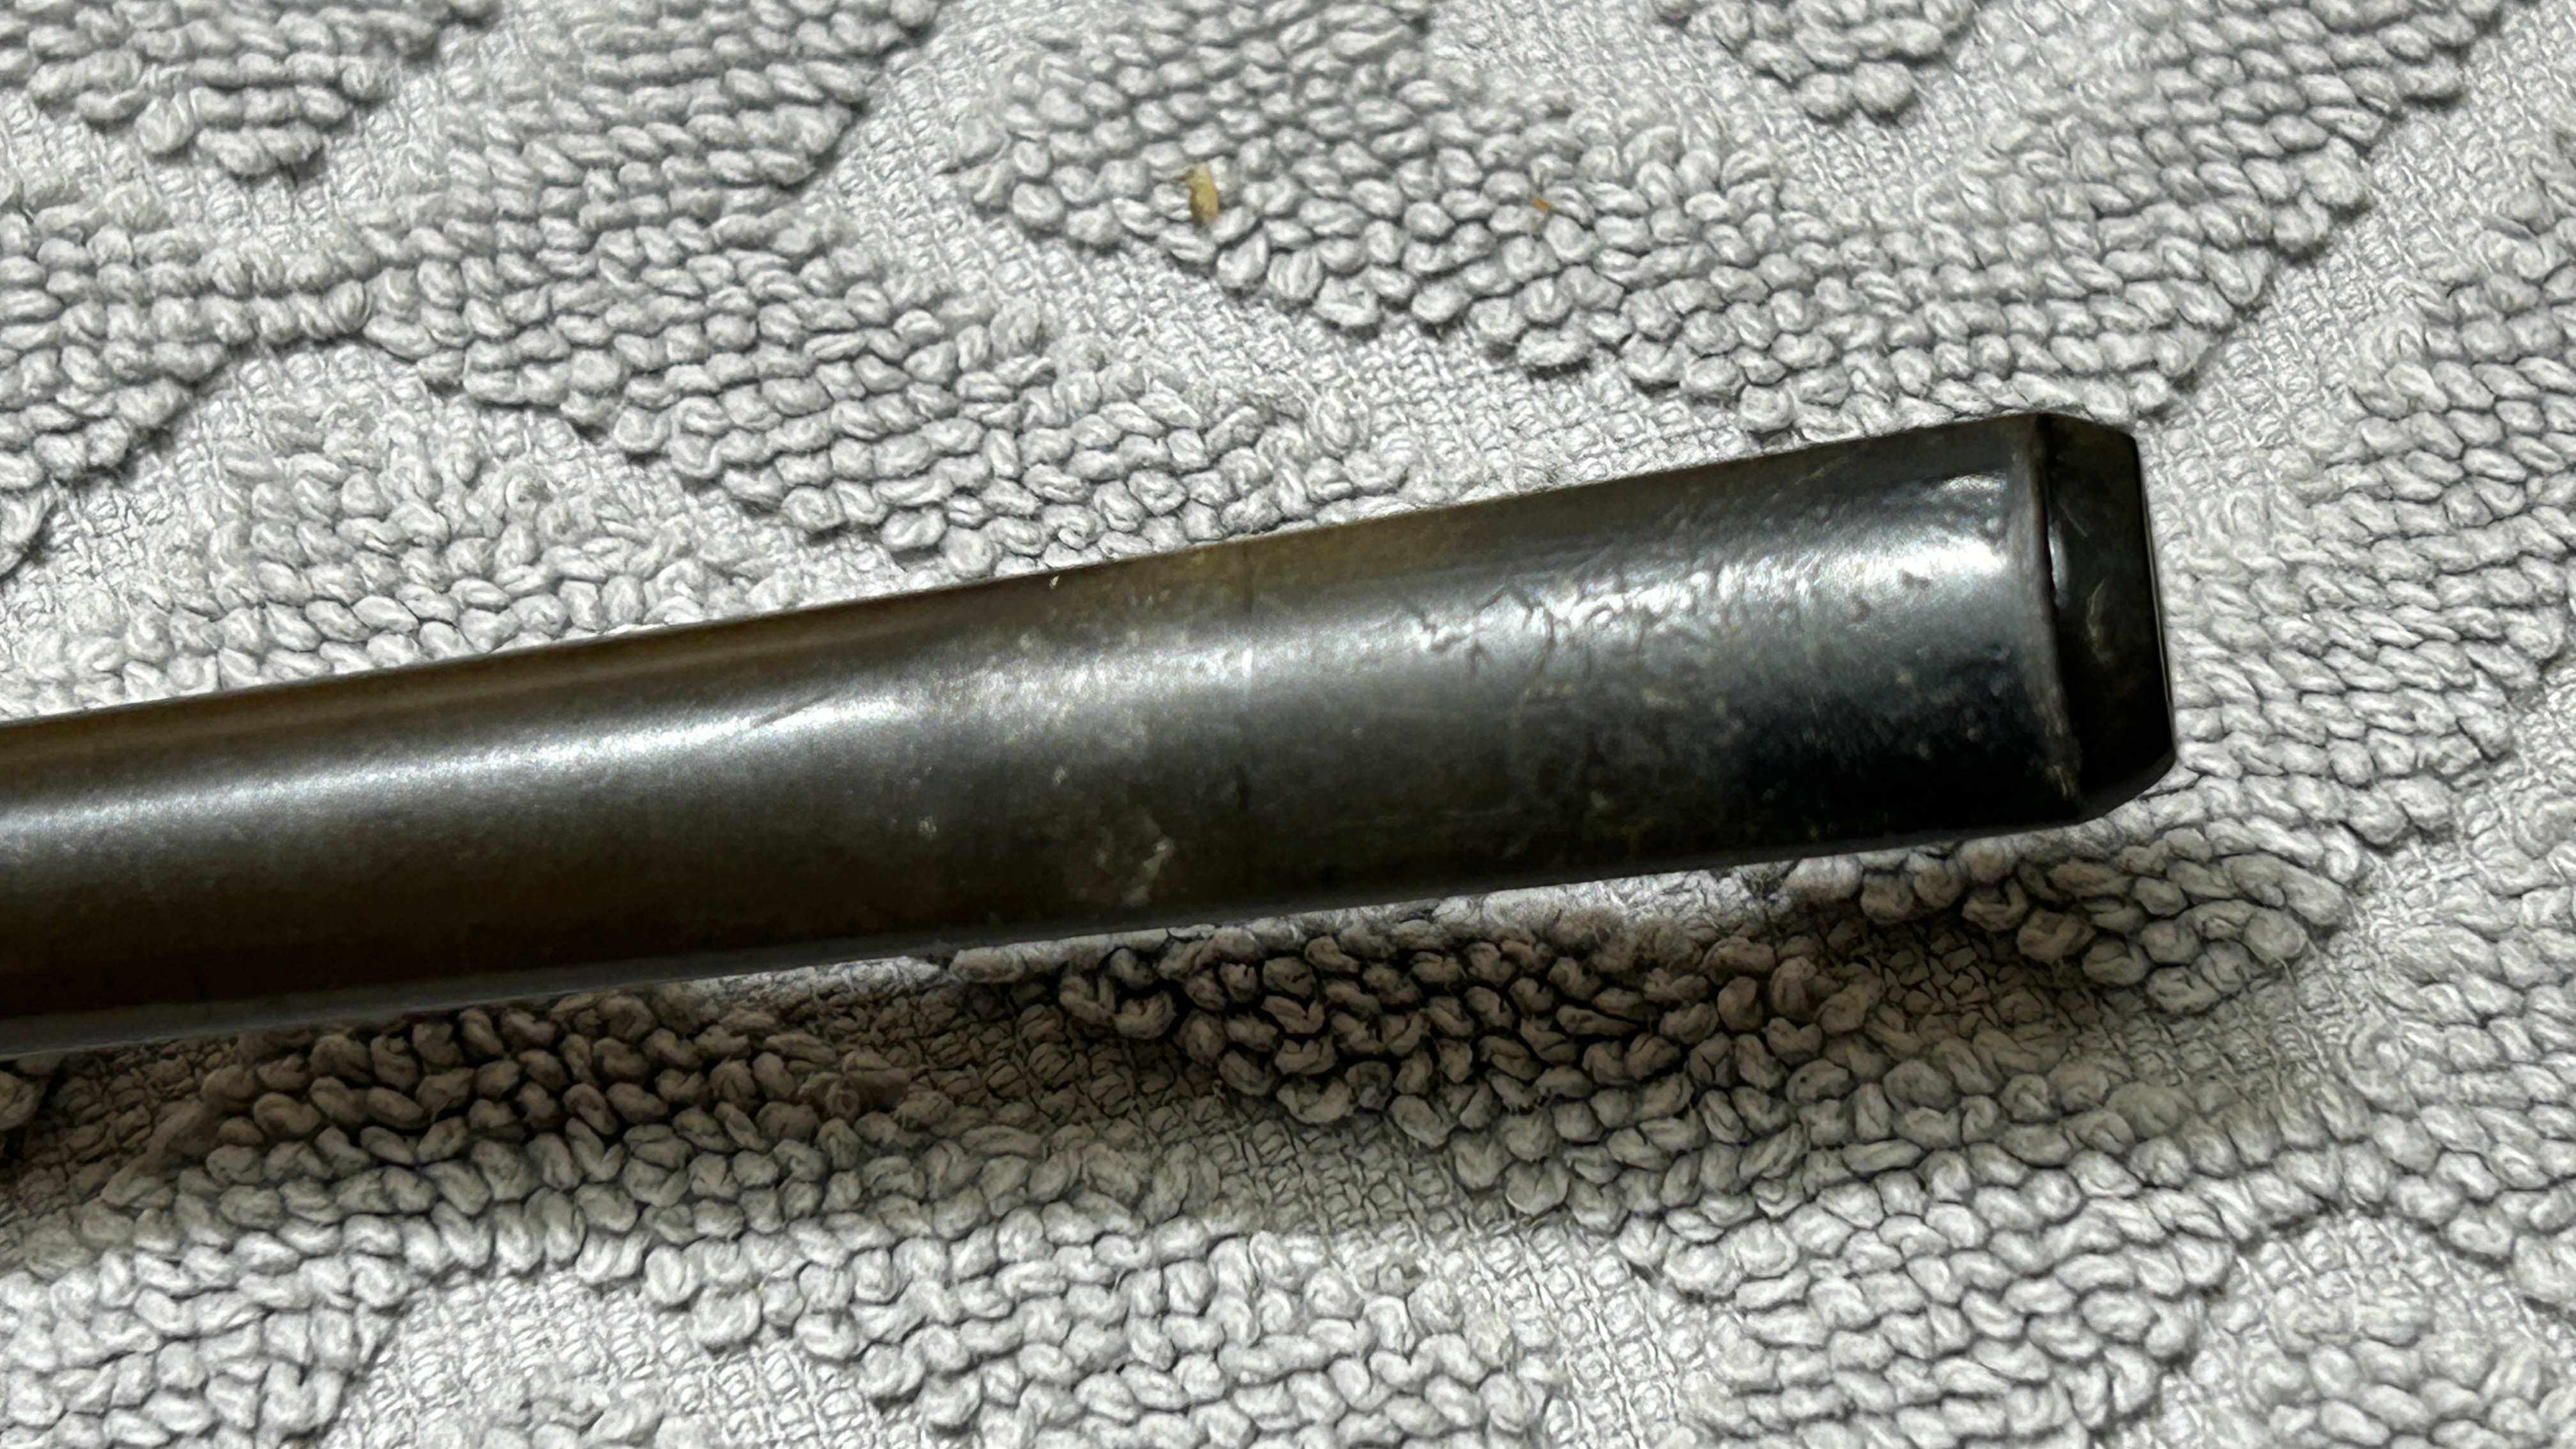
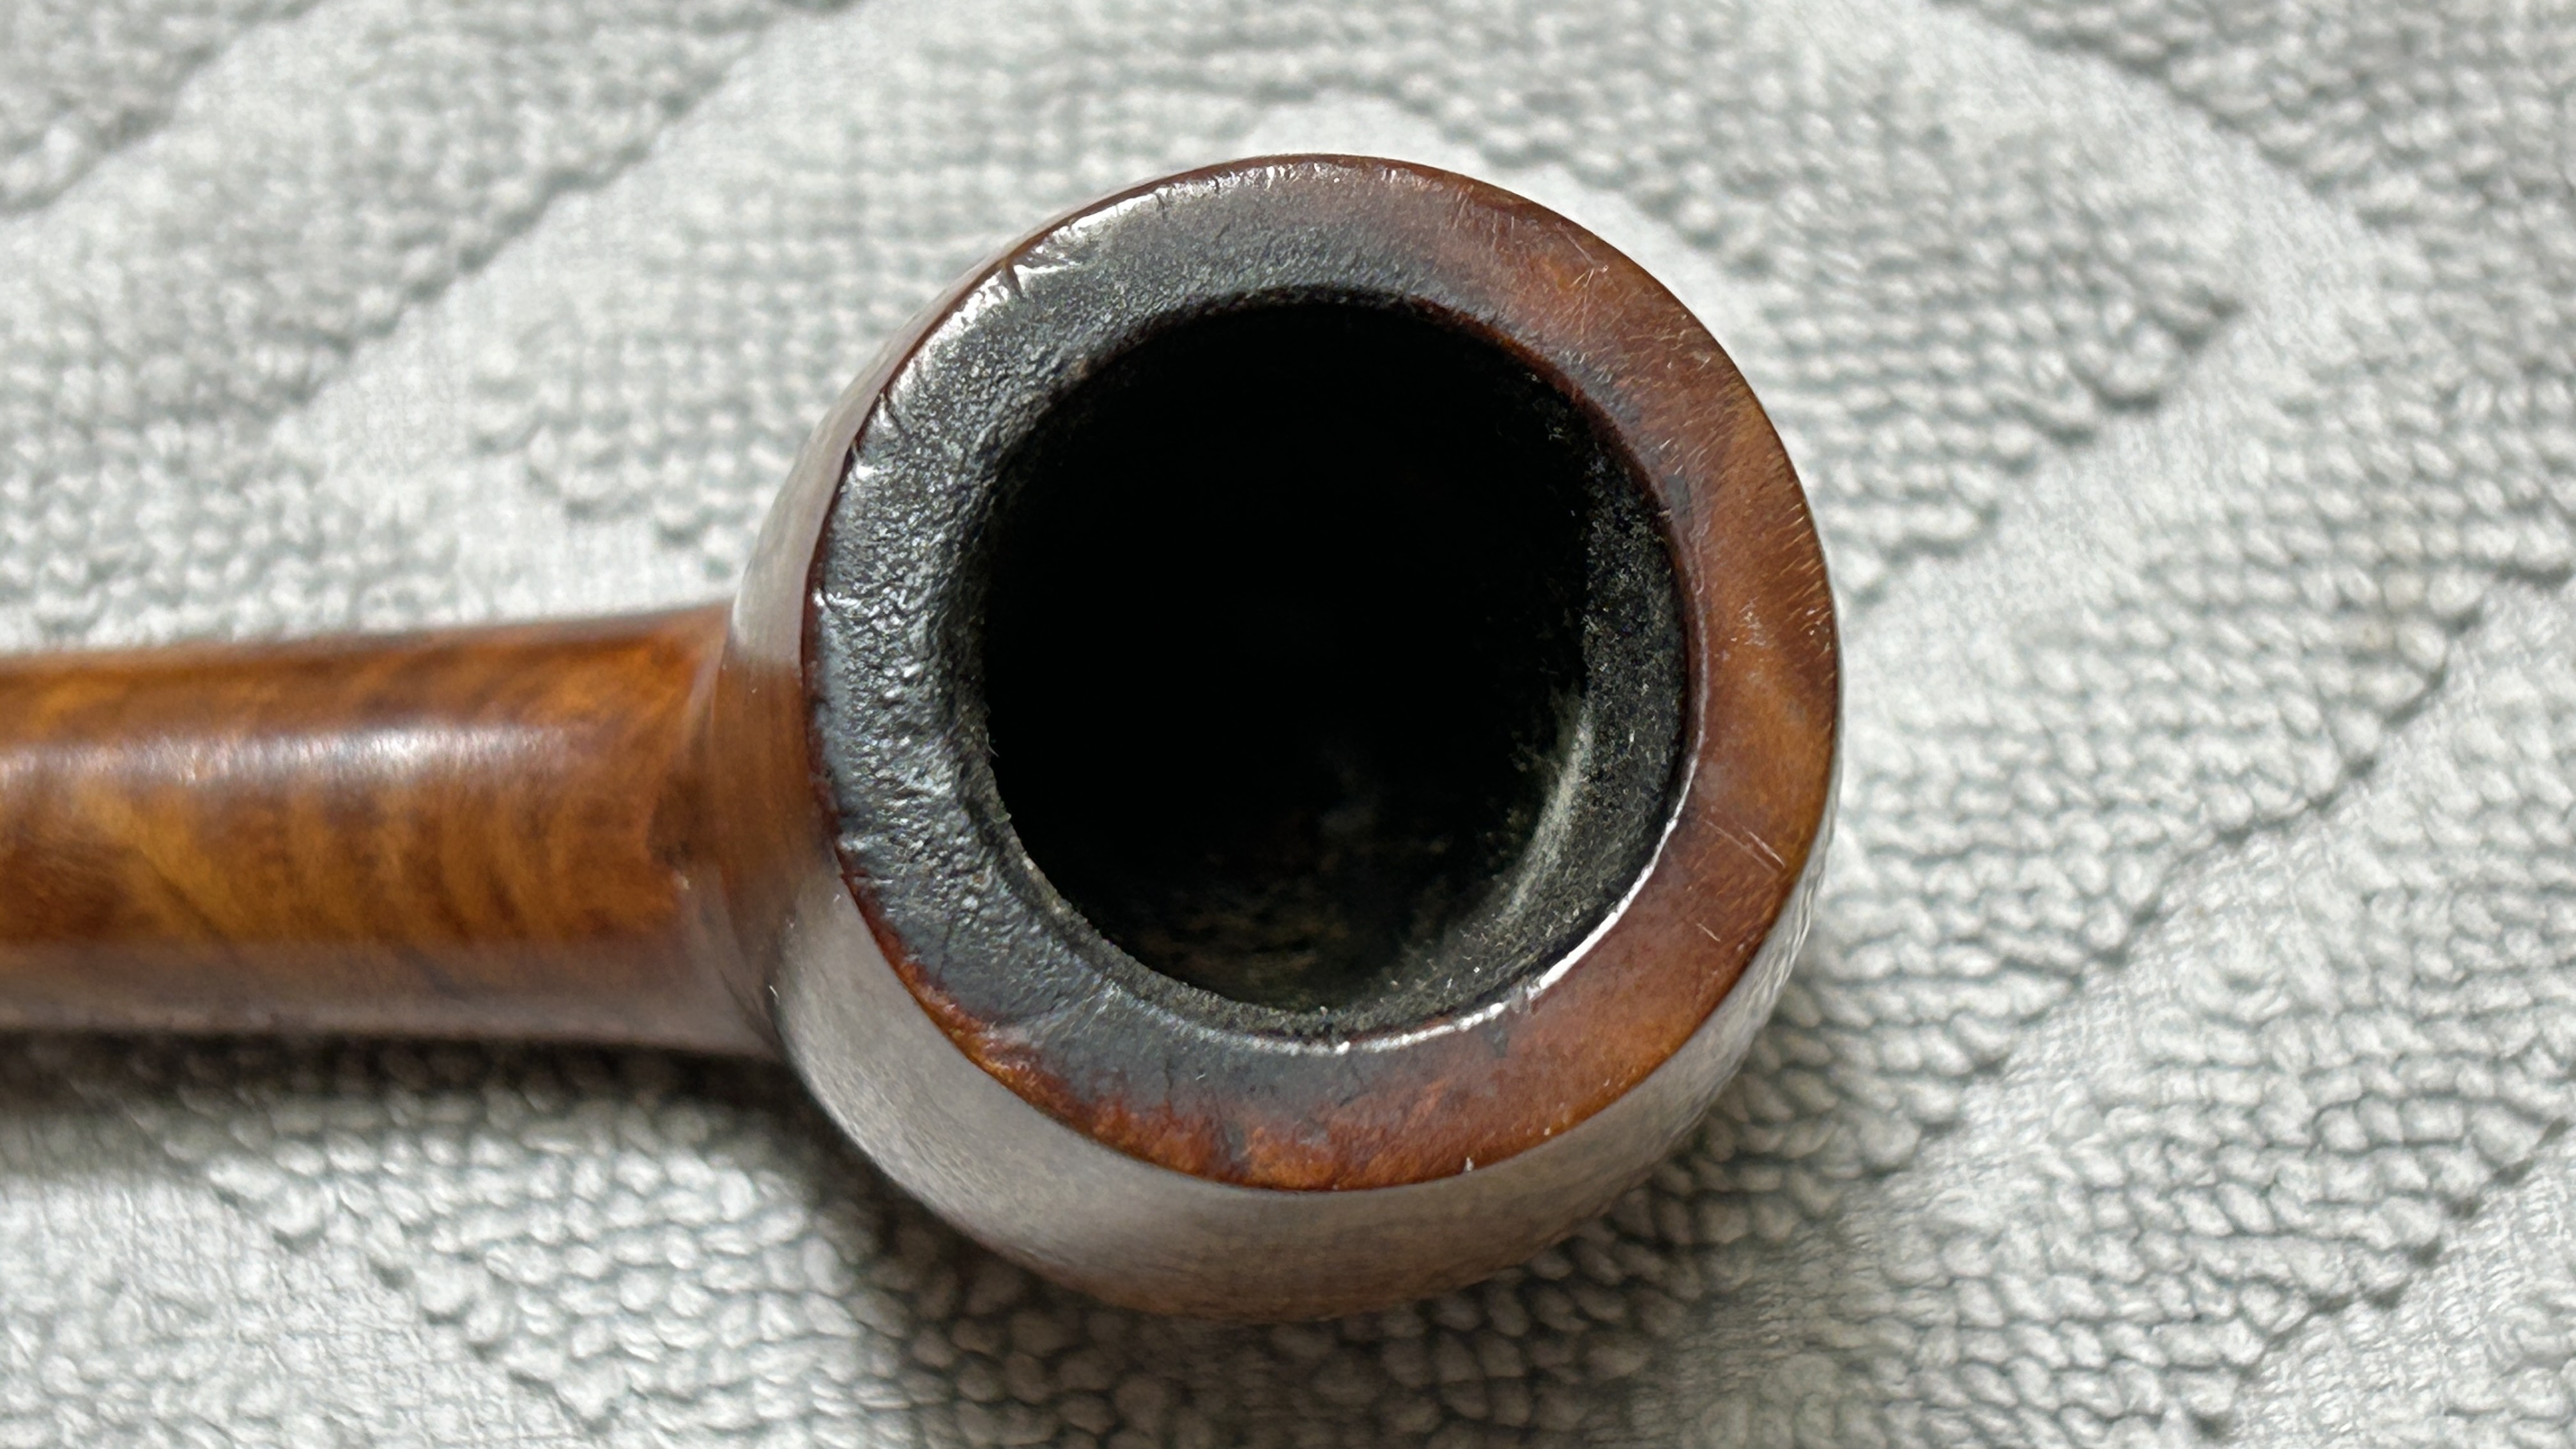
The pipe is in good condition. There are some dark marks on the rim of the briar and a bit of cake in the bowl. Nothing serious. The stem is just fine, aside from some tooth chatter.

I used isopropyl alcohol on a few cotton rounds and wiped down the stem to provide an initial cleaning of filth before moving on to the next steps. The primary cleaning came next. I disinfected the inside of the stem with both pipe cleaners and cotton swabs dipped in lemon-infused 99% isopropyl alcohol. I scrubbed thoroughly to make sure the interior was very clean.

The goal of the next step is the removal (or minimization) of oxidation. Going to my sink, I used cream cleanser, cotton rounds, and a toothbrush, and scoured the stem to remove as much surface oxidation as possible. As the photos show, the result was a hideous, ochre-coloured mess – but better off the stem than on it.

As the stem was now clean and dry, I set about fixing the marks and dents in the vulcanite. This was done by filling those divots with black cyanoacrylate adhesive, impregnated with carbon and rubber. I left this to cure and moved on.

The penultimate step for the stem is sanding. First, with my set of needle files, I reduced the bulk of the cyanoacrylate repairs. I removed the excess adhesive as near to the surface as possible, without cutting into the vulcanite. Following that, I used all nine of the micromesh sanding pads (1,500 through 12,000 grit) to sand out flaws, even out the vulcanite, and provide gentle polishing of the finished surface. I also applied pipe-stem oil while using the last five micromesh pads. There was a wonderful, deep black shine to the stem when I was done.
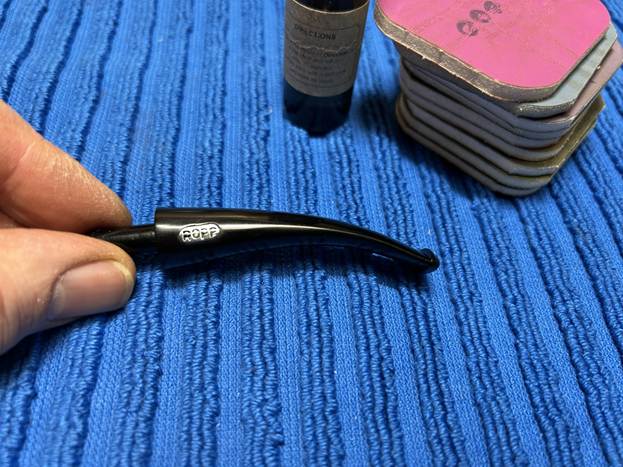
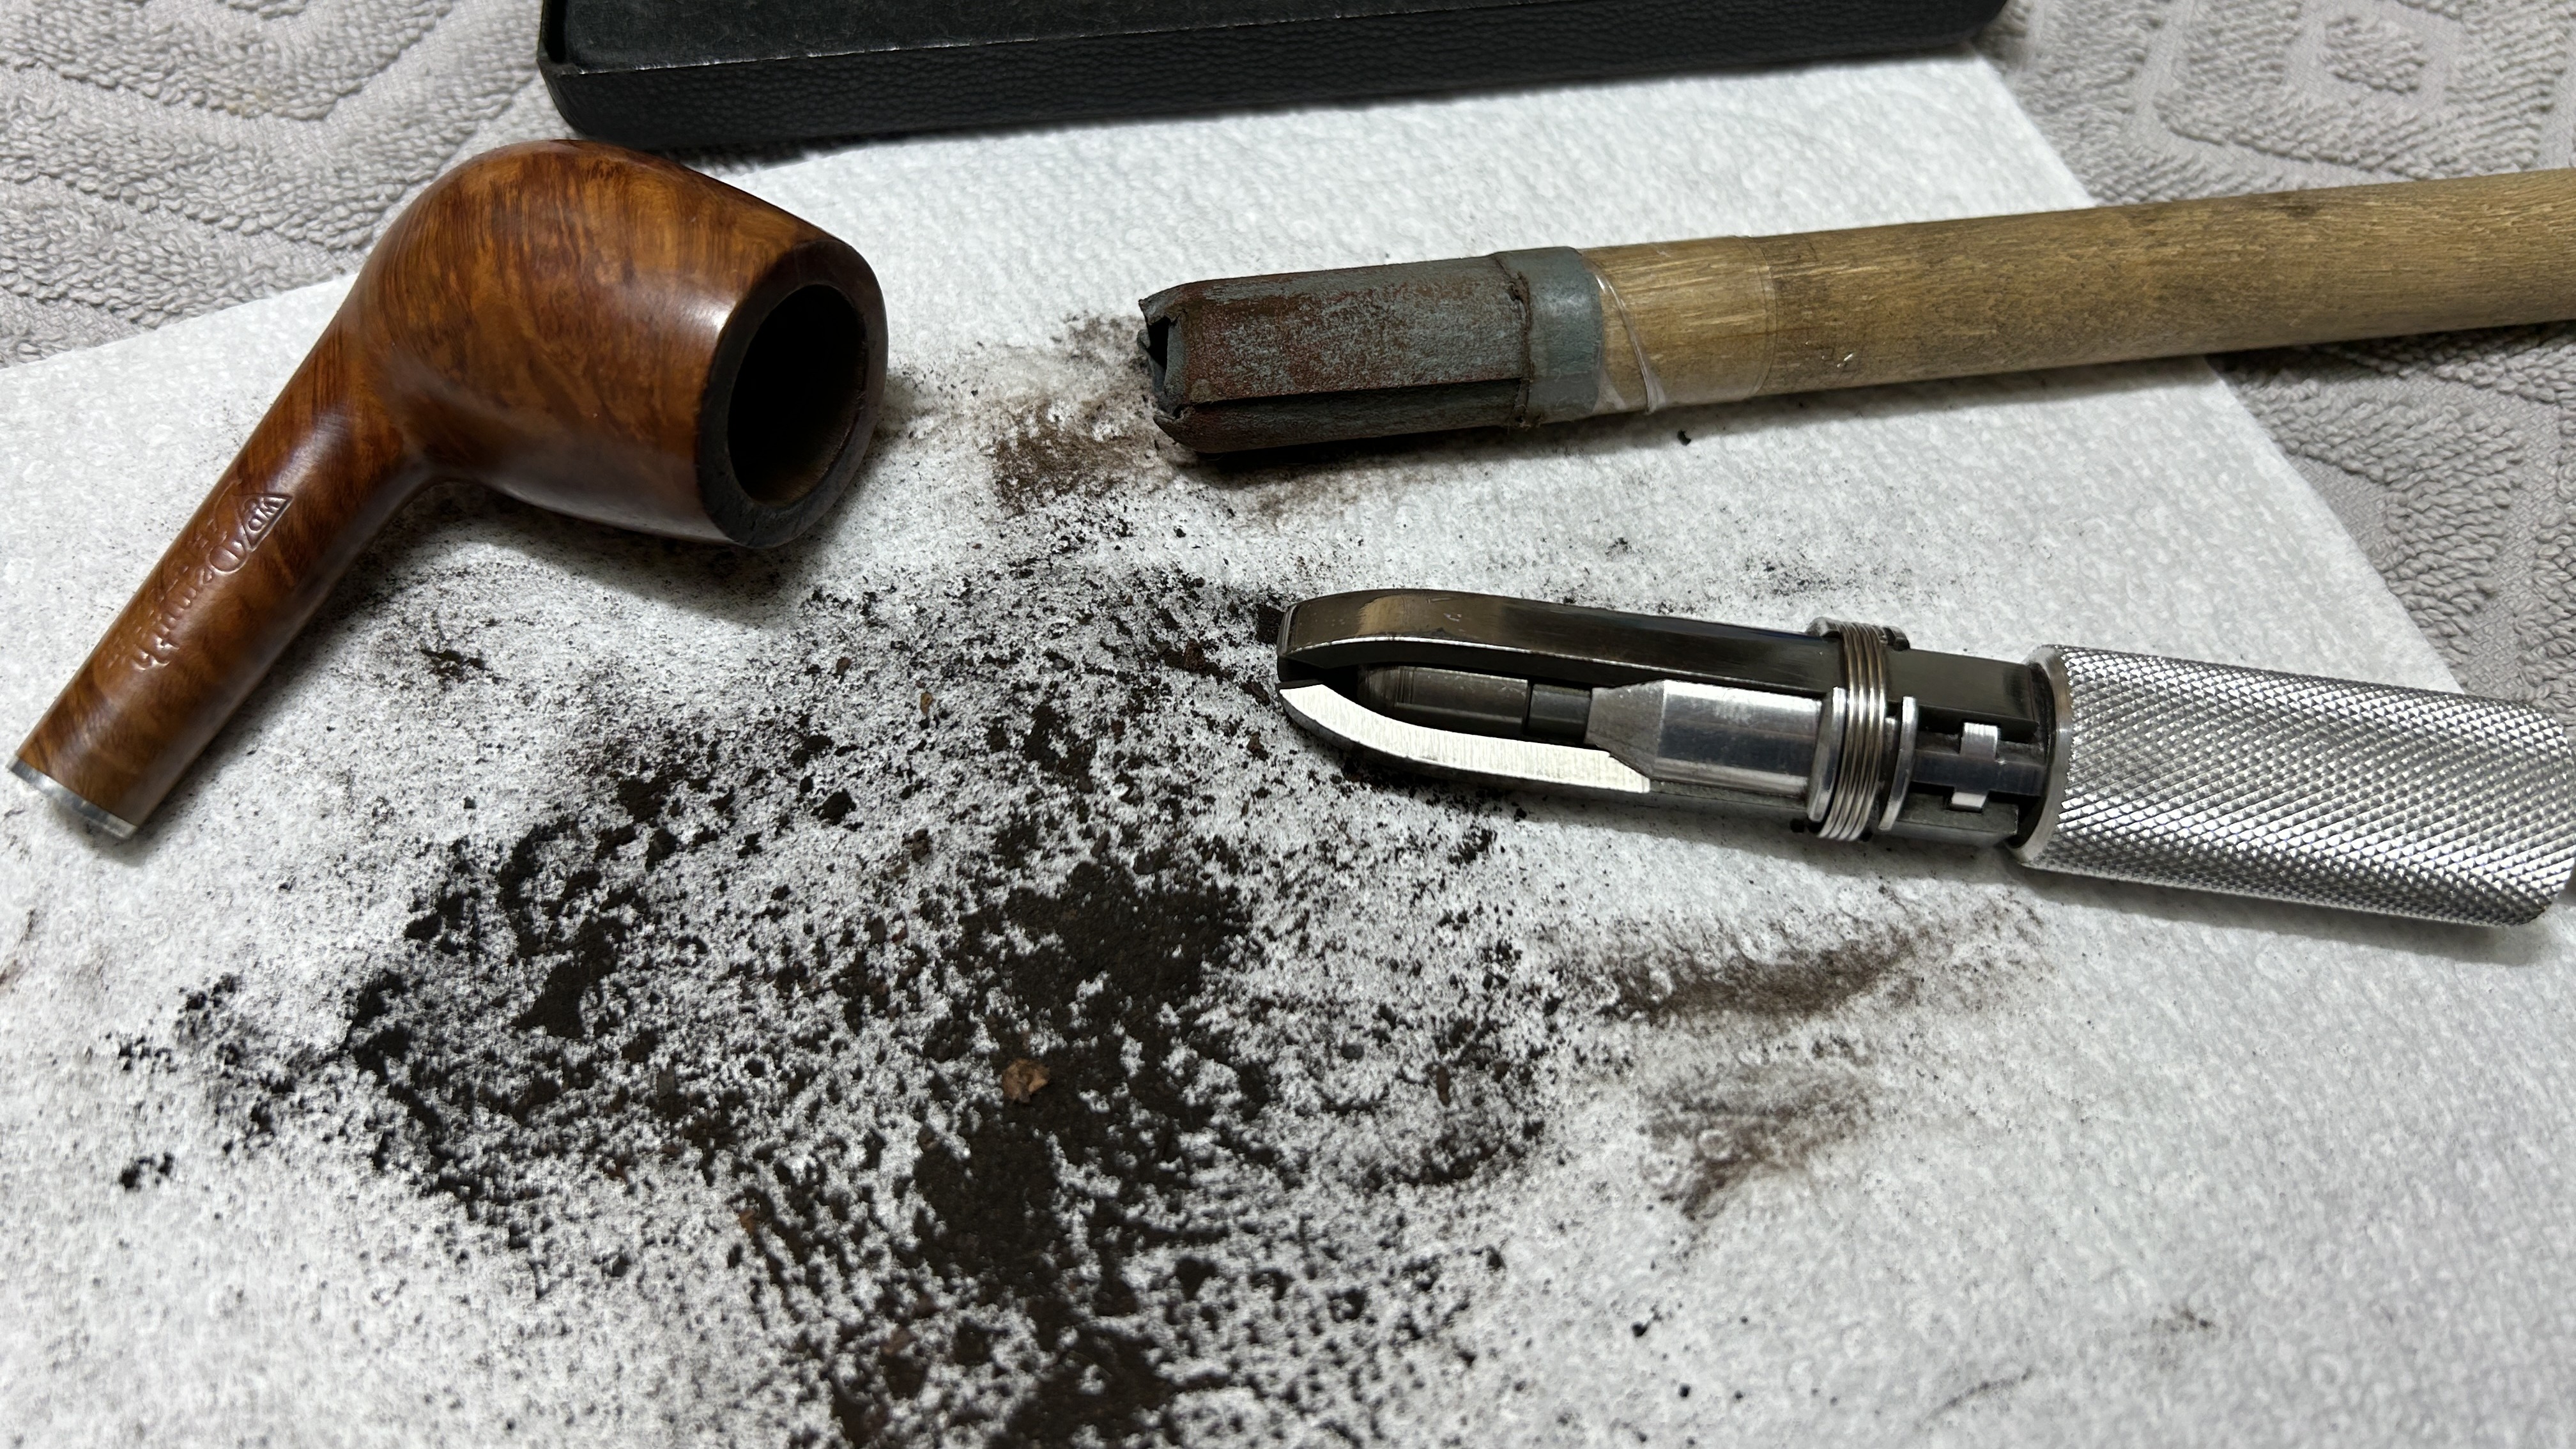
As the stem was (nearly) complete, I moved on to the stummel. The first step was to ream out the bowl – that is to say, remove all the cake inside the bowl. This accomplished a couple of things. First (and most obviously), it cleaned the bowl and provided a refurbished chamber for future smoking. Second, when the old cake was removed, I could inspect the interior walls of the bowl and determine if there was damage or not. I used a reamer and a piece of sandpaper taped to a wooden dowel. Collectively, these ensured that all the debris was removed.

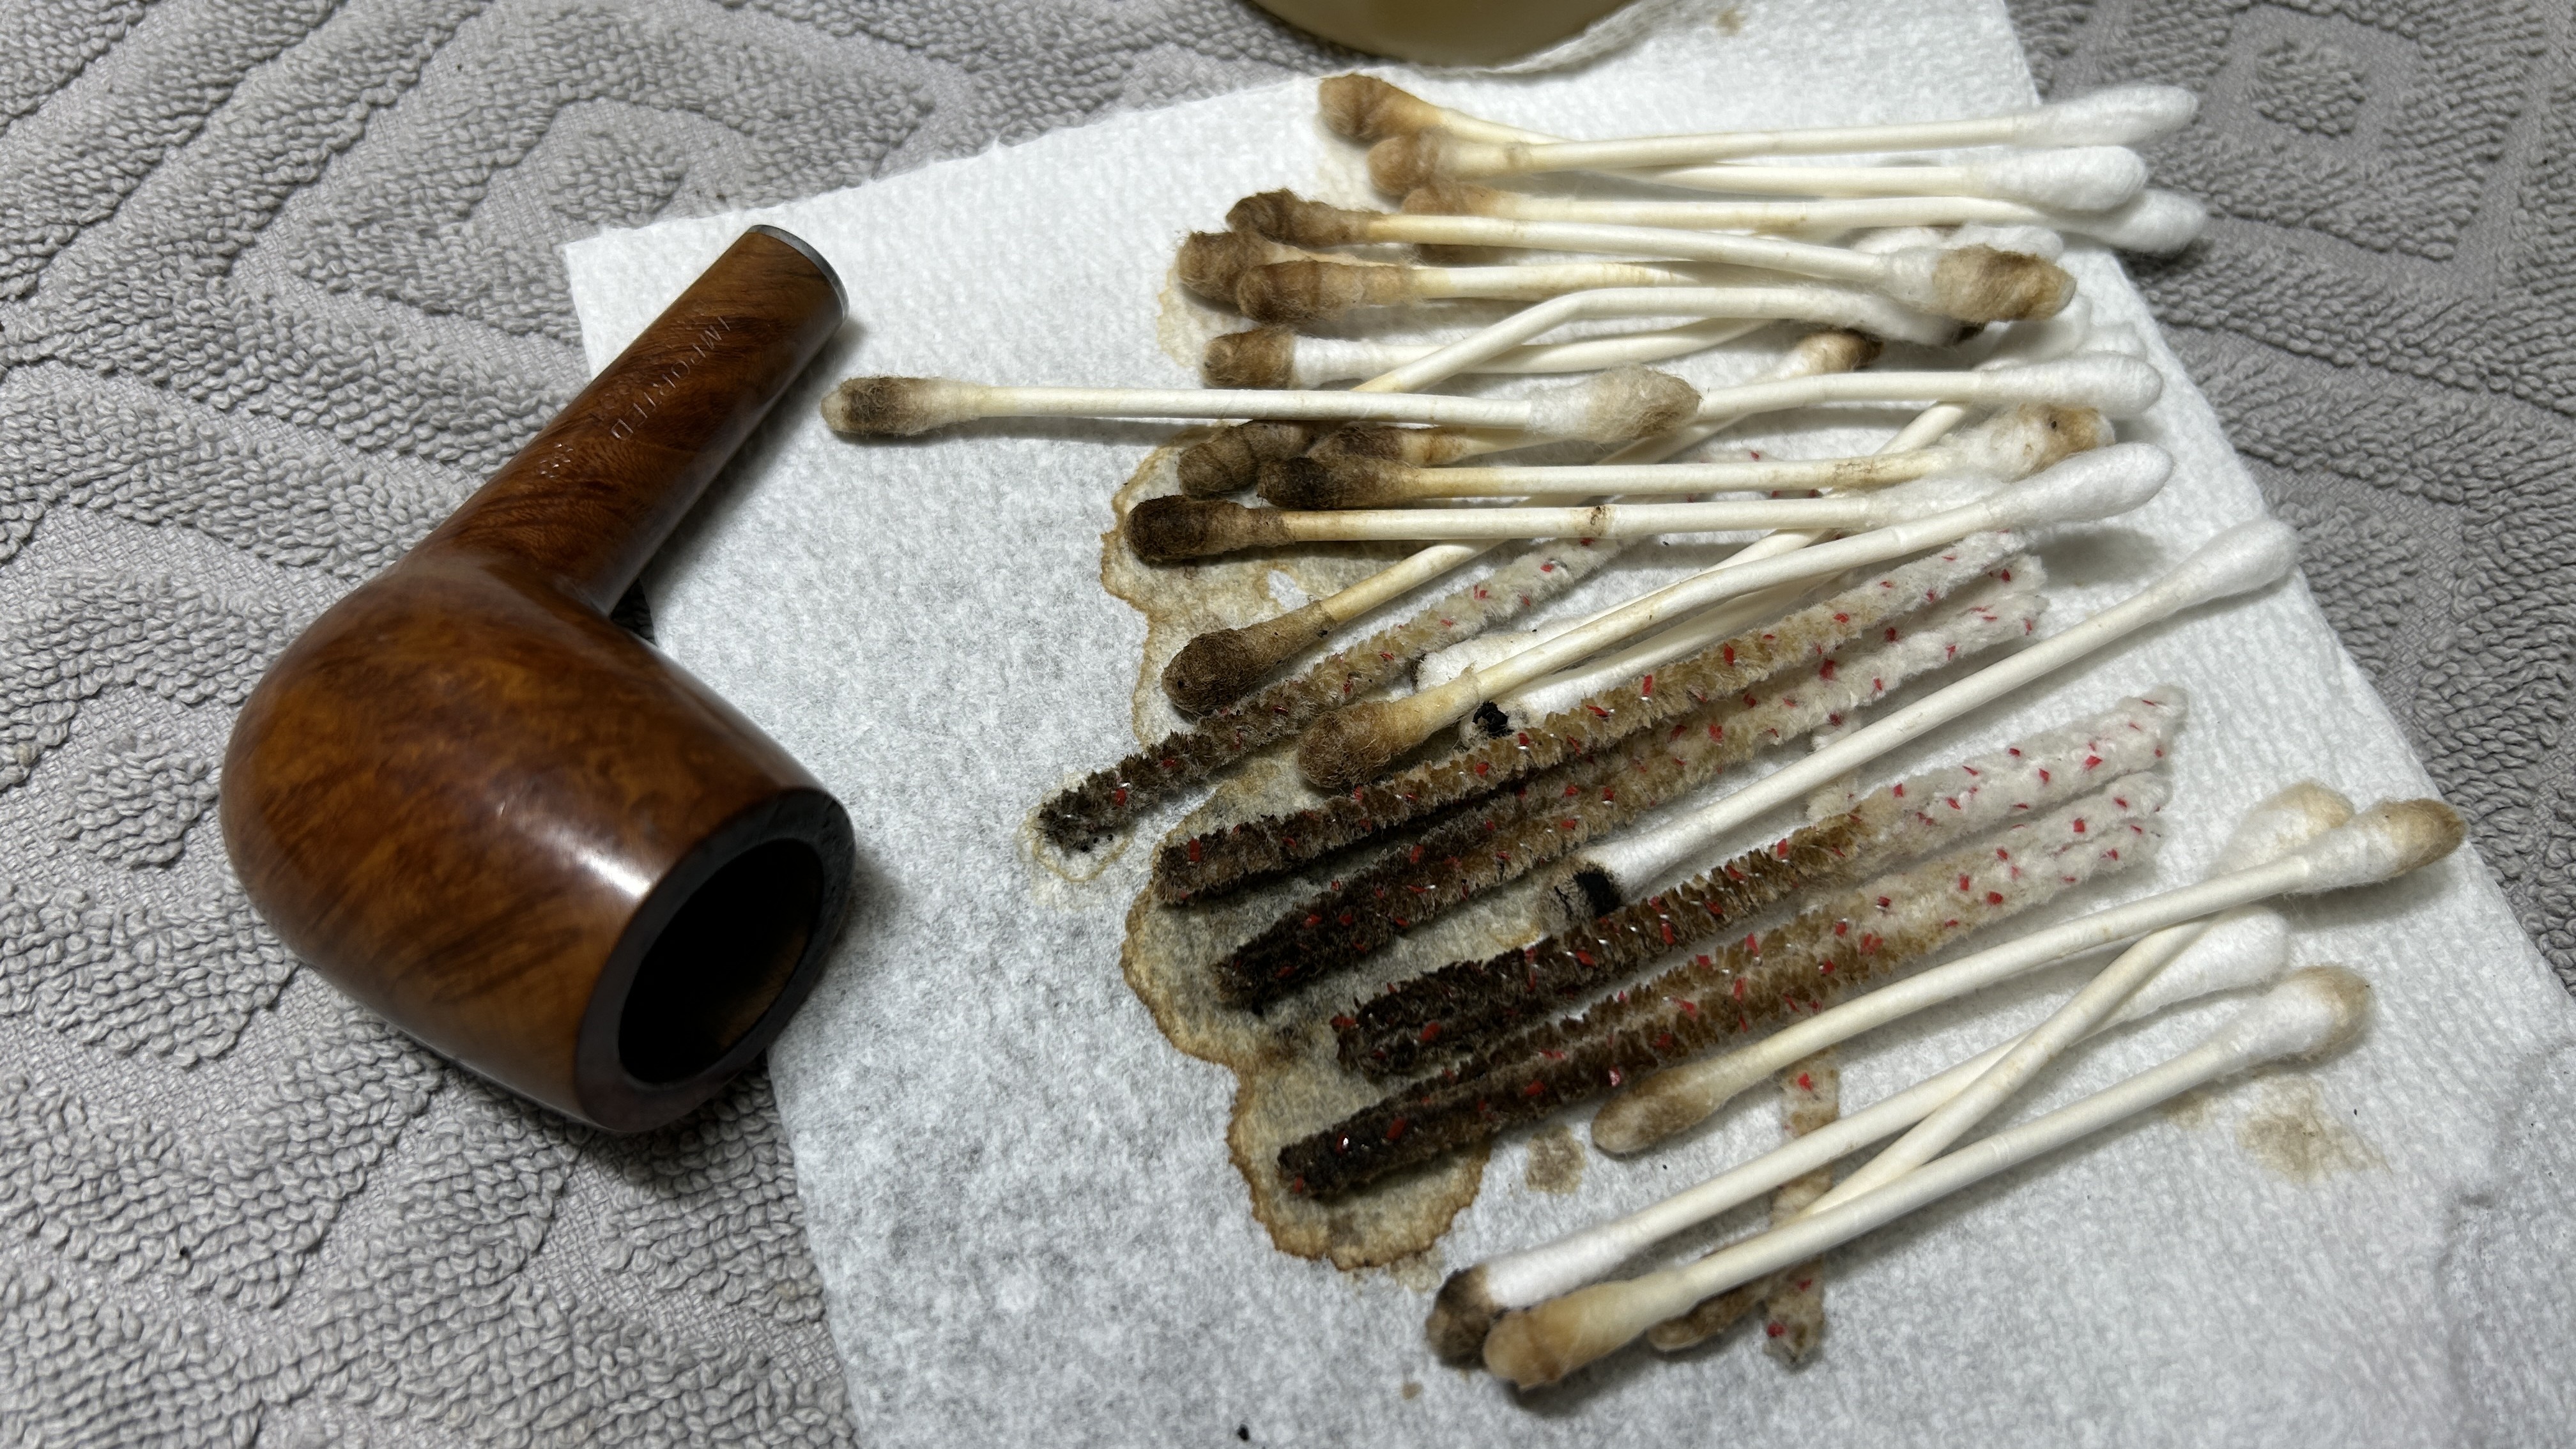
Similar to the stem, I then cleaned the stummel with both pipe cleaners and cotton swabs dipped in lemon-infused 99% isopropyl alcohol. With a pipe this dirty, it took quite a while and much cotton to clean. It was pretty darn dirty.
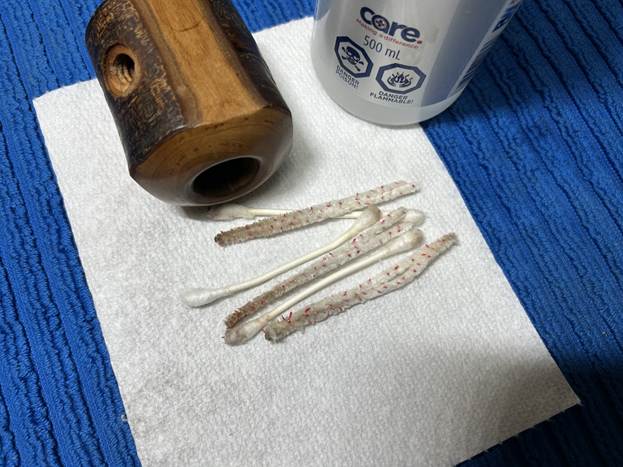
I then decided to ‘de-ghost’ the pipe – that is to say, exorcize the remaining filth from the briar. I filled the bowl and the shank with cotton balls, then saturated them with 99% isopropyl alcohol. I let the stummel sit overnight. This caused the remaining oils, tars and smells to leach out into the cotton.
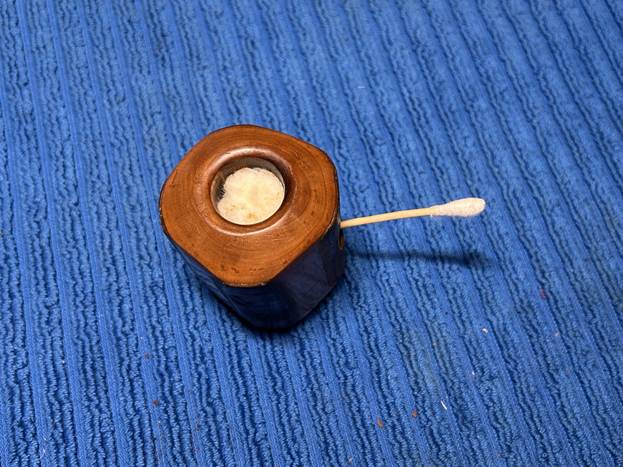
To tidy up the briar, I wiped down the outside, using a solution of a pH-neutral detergent and some distilled water, with cotton rounds. This did a good job of cleaning any latent dirt on the surface of the briar. The last step of the cleaning process was to scour the inside of the stummel with the same mild detergent and tube brushes. This was the culmination of a lot of hard work in getting the pipe clean.

I used all nine micromesh pads (1,500 through 12,000 grit) to sand the outside of the stummel and finish it off. This sanding minimizes flaws in the briar and provides a beautiful smoothness to the wood. I rubbed some LBE Before & After Restoration Balm into the briar and let it sit for 30 minutes or so. The balm moisturizes the wood and gives a beautiful depth to the briar. I then buffed the stummel with a microfibre cloth.
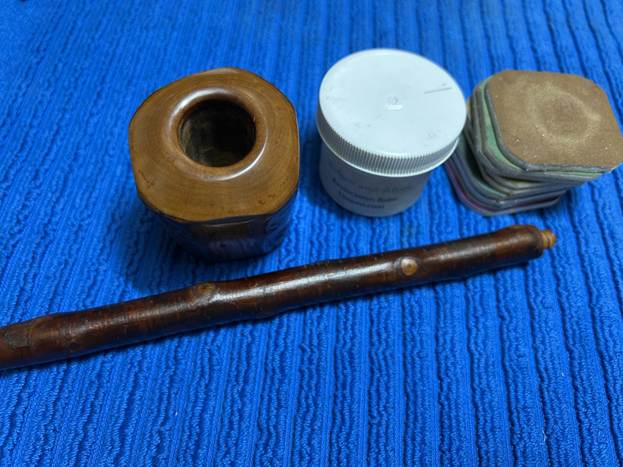
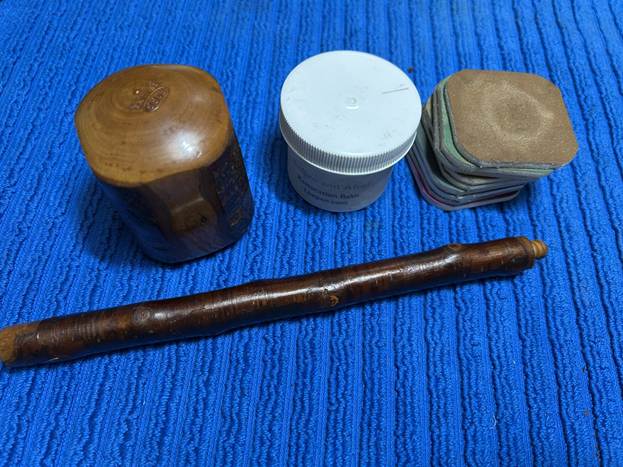
For the final step, I took the pipe to my bench polisher and carefully buffed it – first with a blue diamond compound, then with three coats of carnauba wax. This procedure makes the pipe look its best – the stummel sings and the stem glows.
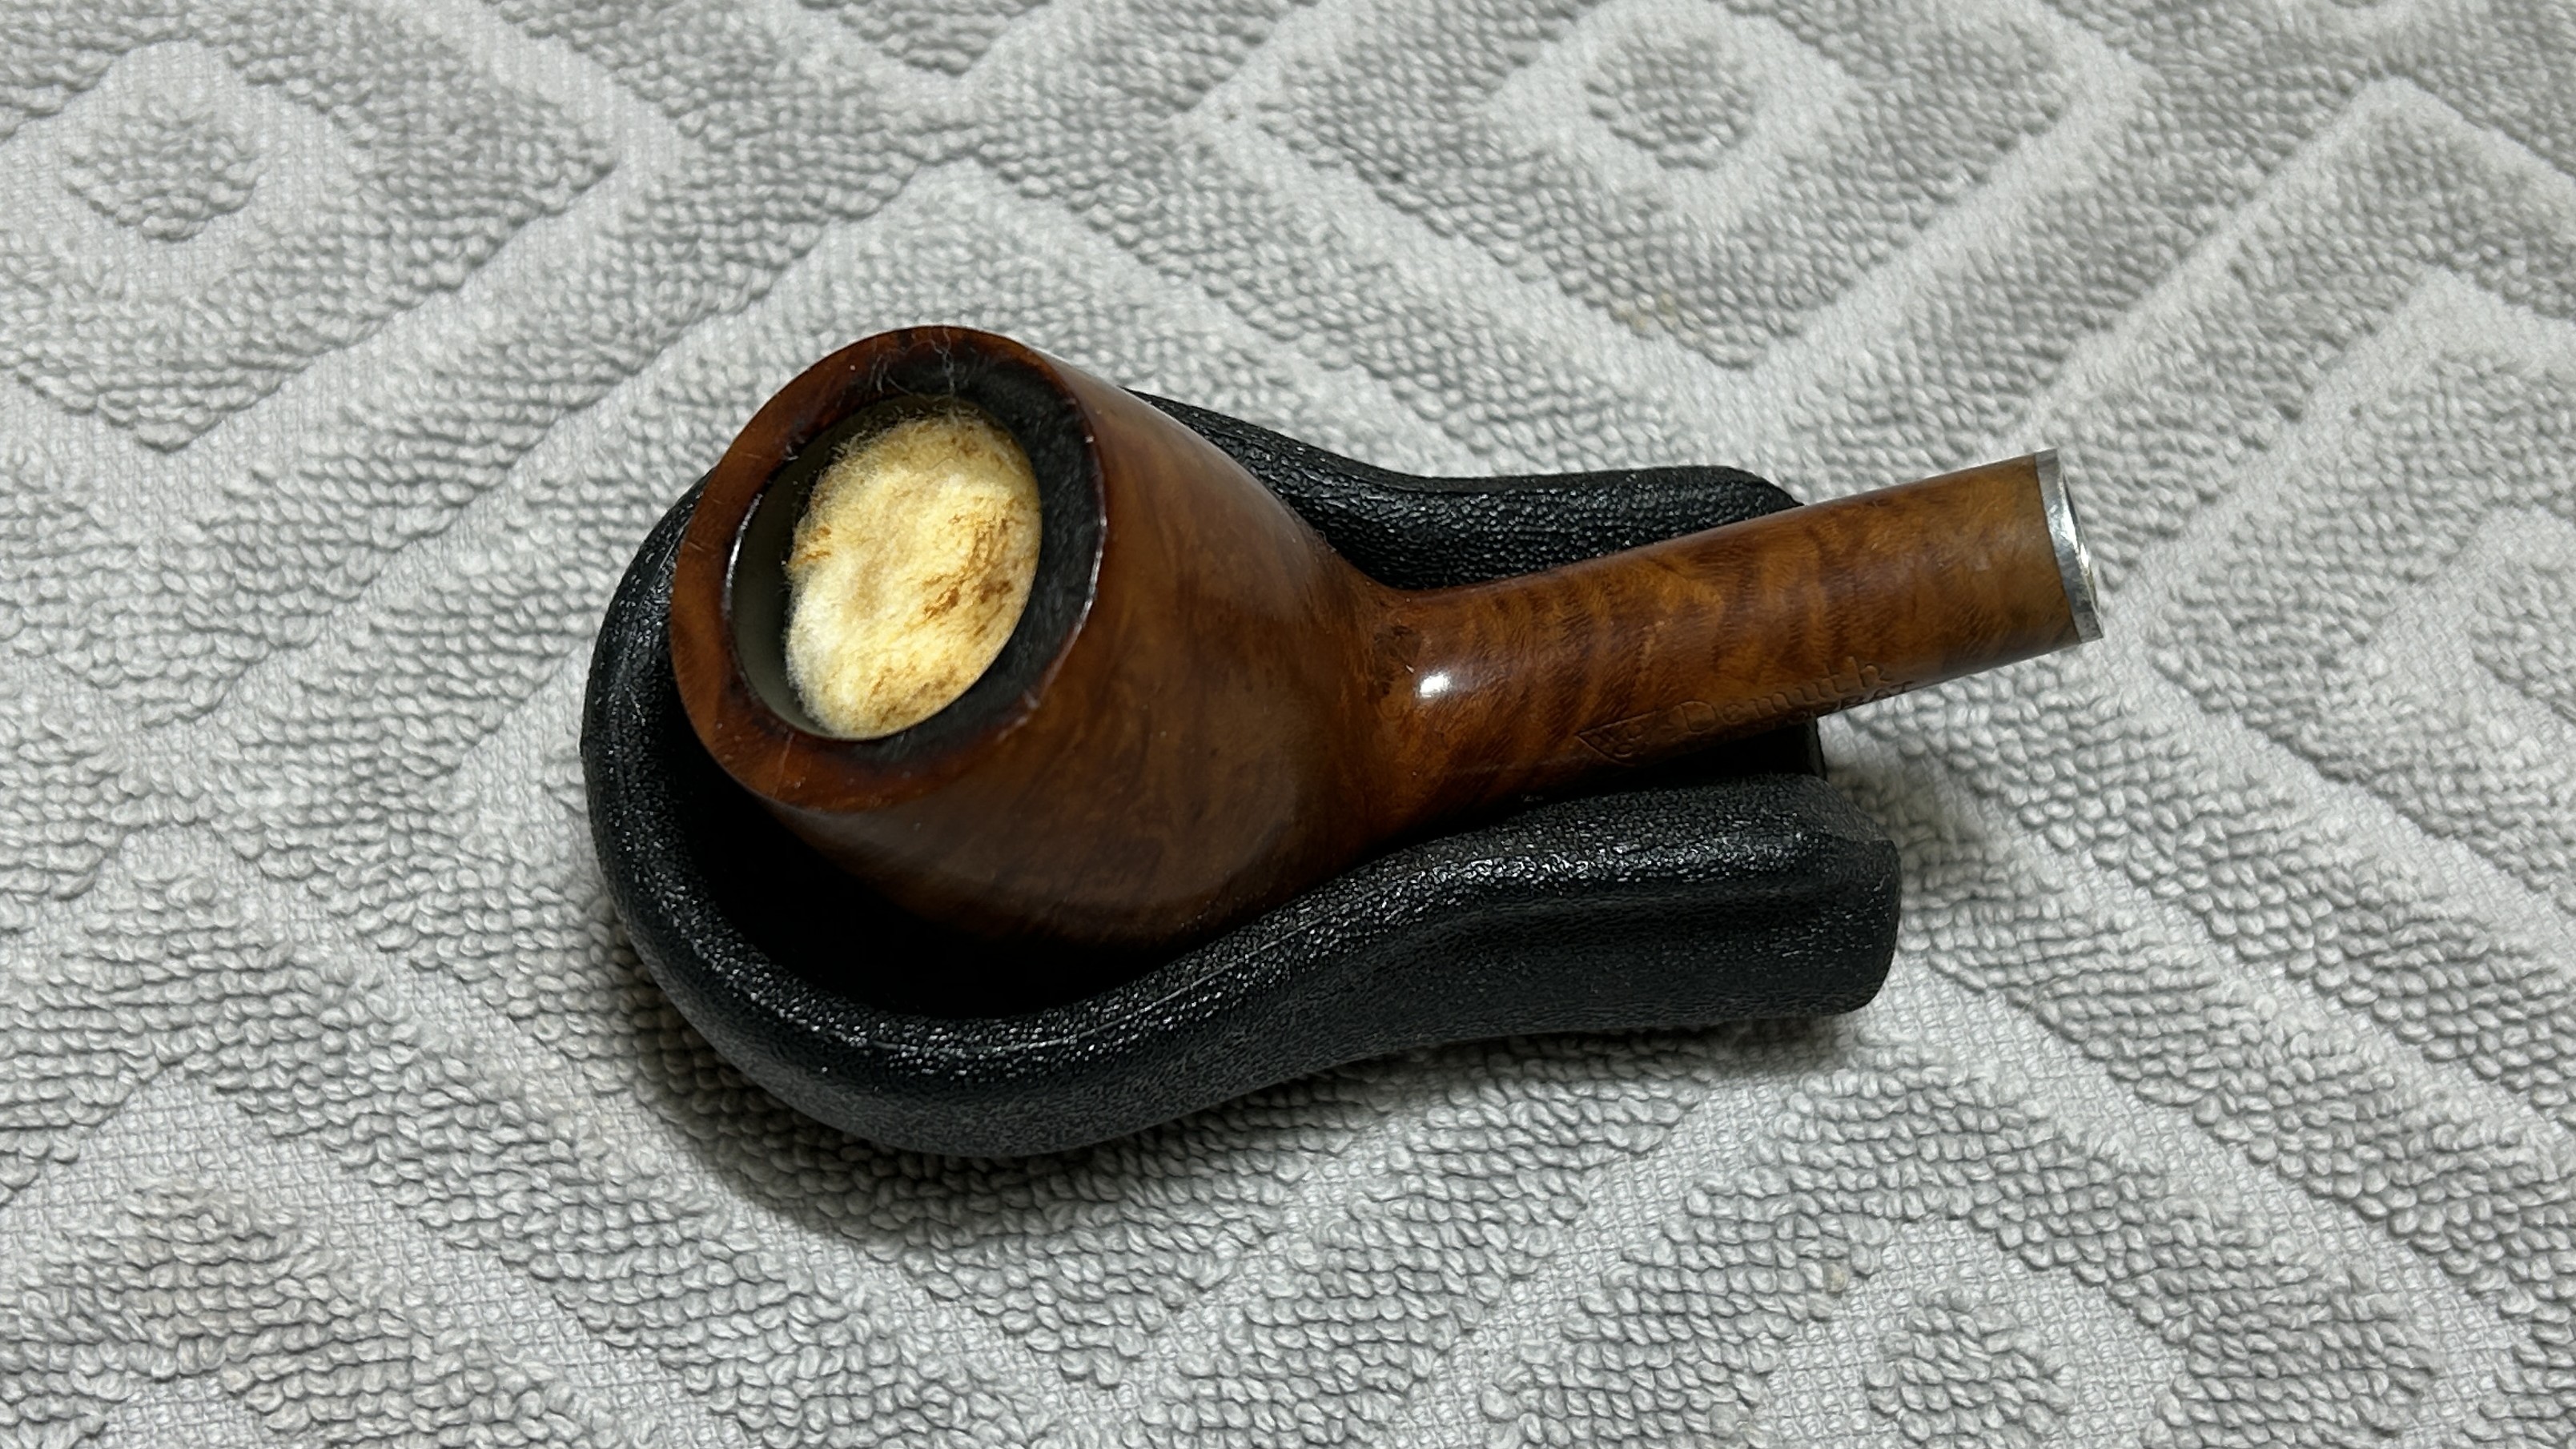
All done! This WDC Demuth Aristocrat 88 churchwarden looks fantastic again and is ready to be enjoyed by its next owner. I am pleased to announce that this pipe is for sale! If you are interested in acquiring it for your collection, please have a look in the ‘American’ section of the store here on Steve’s website. You can also email me directly at kenneth@knightsofthepipe.com. The approximate dimensions of the pipe are as follows: length 12 in. (305 mm); height 1⅔ in. (42 mm); bowl diameter 1⅓ in. (33 mm); chamber diameter ¾ in. (20 mm). The weight of the pipe is 1¼ oz. (38 g). I hope you enjoyed reading the story of this pipe’s restoration as much as I enjoyed restoring it. If you are interested in more of my work, please follow me here on Steve’s website or send me an email. Thank you very much for reading and, as always, I welcome and encourage your comments.