Blog by Steve Laug
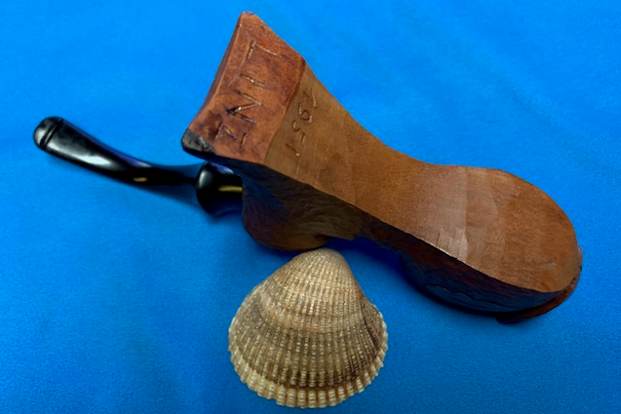
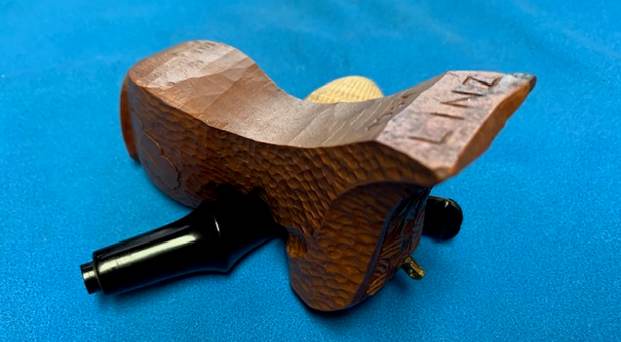
I still remember the day that Jeff called me from an antique shop on the Oregon coast and showed me the next pipe on the table. It was such a unique pipe, a carved bowl with oak leaves around the sides and bark like carving around those. He showed me the pipe. It was different and it was missing a stem. There was a brass semi circle ring on the back of the shank for holding a cord. The bowl was quite small, about the diameter of my little finger. The mortise and the airway into the shank is tapered like a Peterson’s System pipe. It is stamped on the foot of the shank and reads LINZ and above that 1951. I don’t know if Linz is the name of the carver but I assume so. The date 1951 is the year it was made. I was intrigued enough that I told him to grab it and bring home. When Irene and I went to visit Jeff and his wife Sherry in Oregon I picked up the pipes and brought it home with me. Here is what I saw when I looked at it.
-
- It is definitely hand carved and is hard wood. I wonder if it is briar. The bowl sides, top and bottom are rusticated and on the sides of the bowl and the shield shield of the bowl there are some oak leaves.
- The rim top and shank end are also carved. The rim top is smooth and the shank end is carved with geometric lines and marks.
- The bowl was unsmoked for sure but it was quite small. The diameter is about ½ inch. The shank was drilled conically similar to a Petersons System Pipe.
- The left corner of the shank end sitter was chipped and missing a chunk that will need to be cleaned up and smoothed out and recurved to match the rest.
- There is a brass ring on the back side of the shank that I think probably held a decorative cord that was attached to the stem.
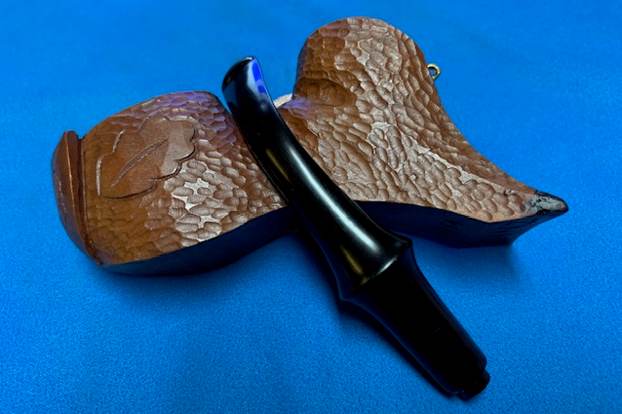
I would need to find a stem that would work. I could probably used a cherry wood piece like that used on Black Forest Tyrolean.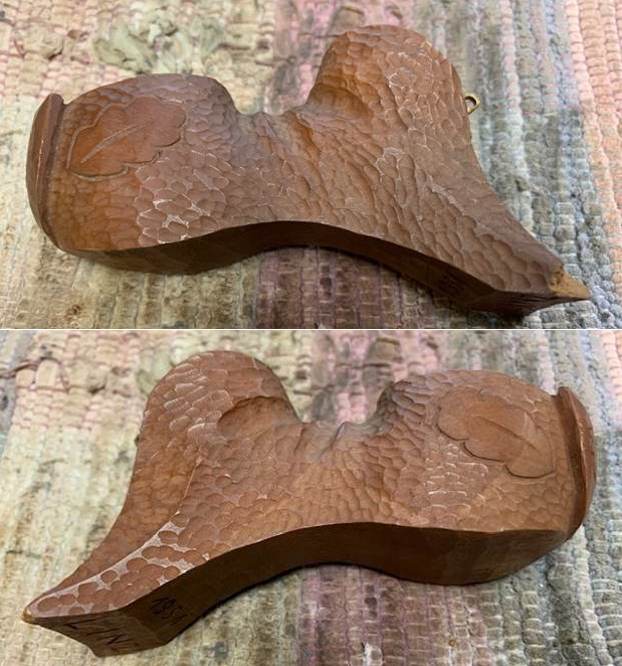
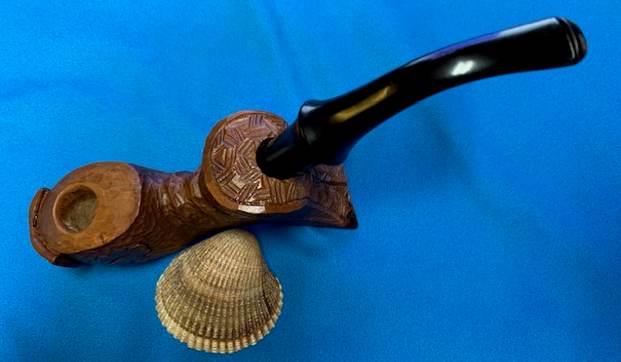
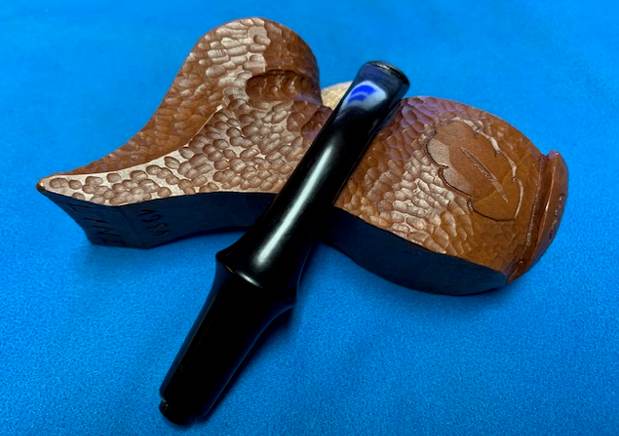
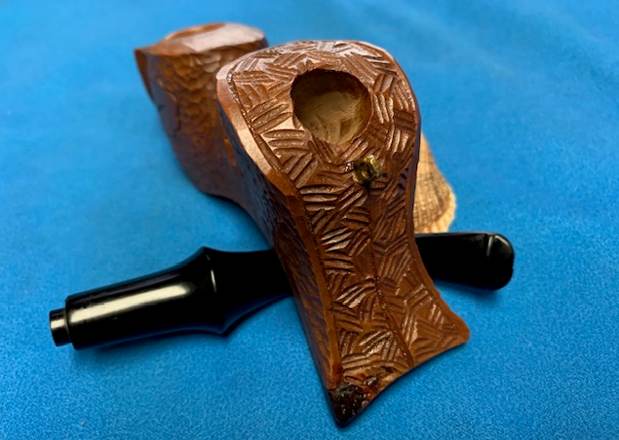
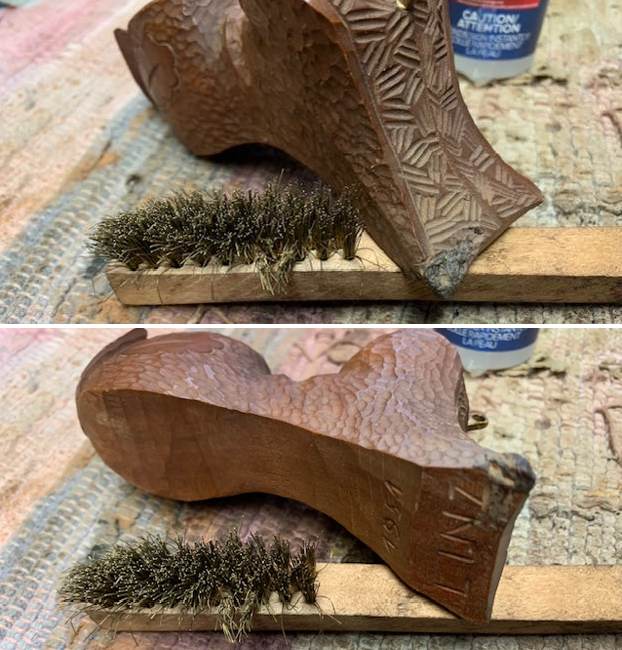
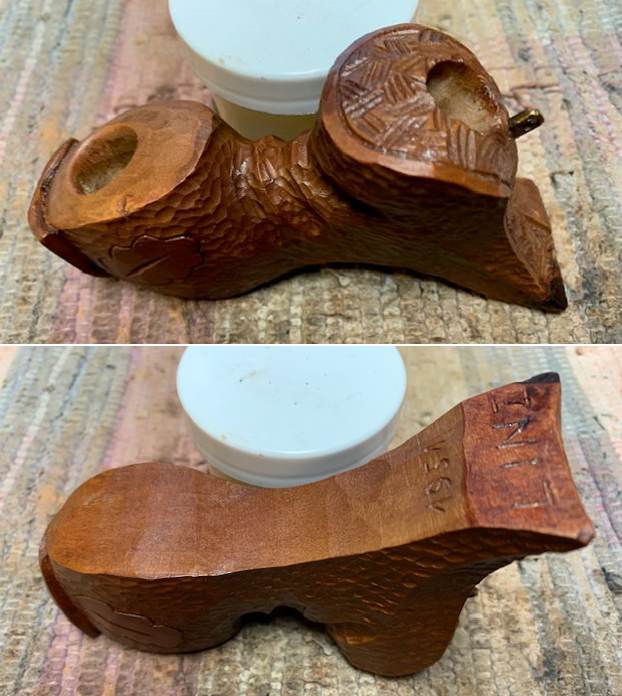
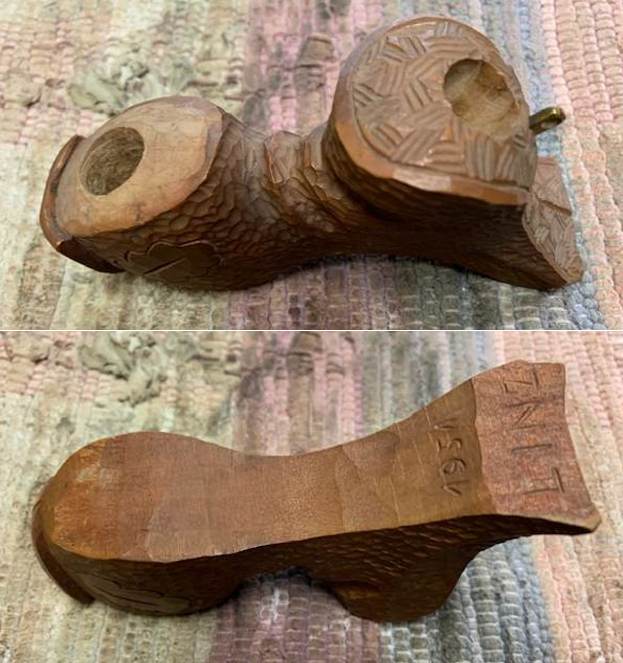 I took photos of the bowl and rim top showing the interesting carving on the front of the bowl. The oval rim top and light edge on the front of the bowl look great. The shank end of the bowl is also well carved. It has a hatch pattern and a groove from the bottom up the shank end. It also included a brass ring for connecting a cord between the stem and the bowl. The lower left hand corner of the shank base was chipped and damaged. It will need to be repaired and recurved to set the base even.
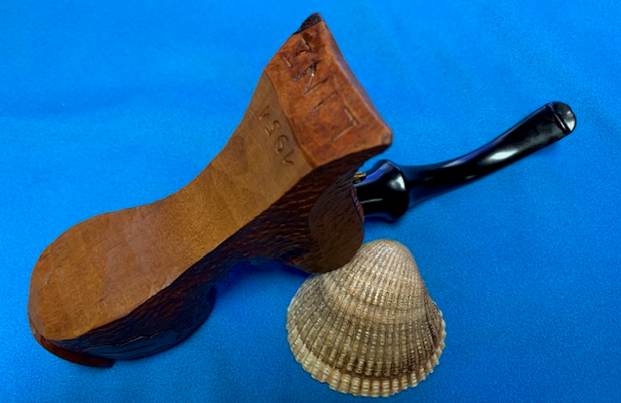
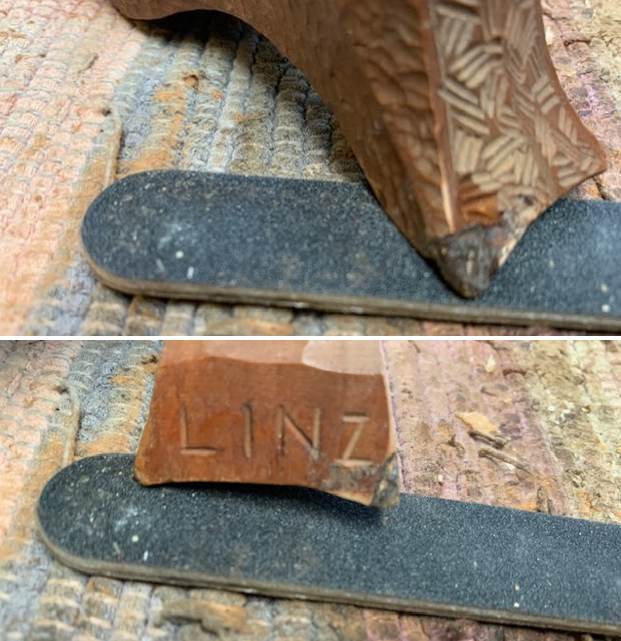
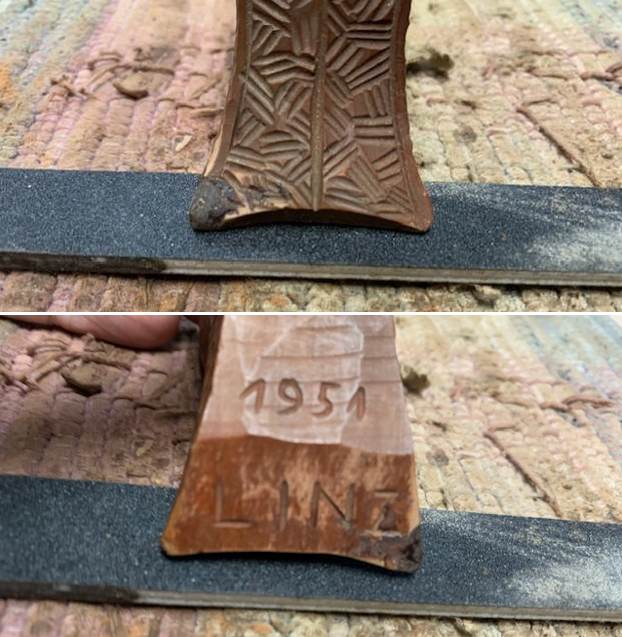
 On the base of the shank/the foot the pipe was stamped LINZ and the year 1951 was above that. It is clear and readable. I am wondering if the name was a personal carver’s name and the year 1951 was certainly the year the pipe was made.
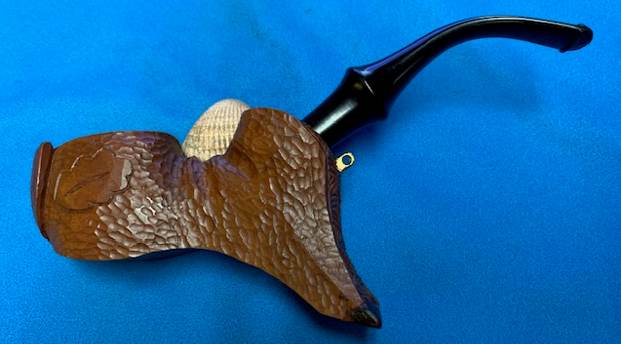
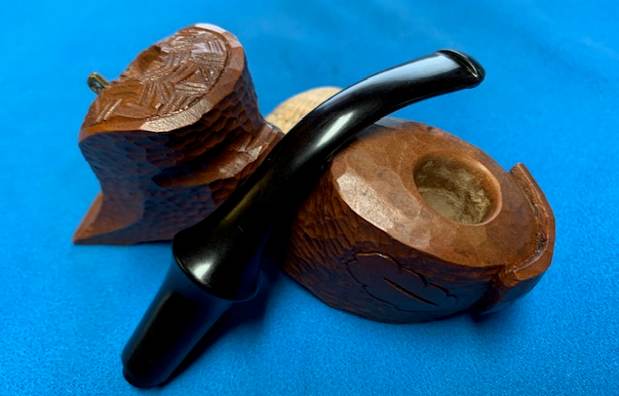
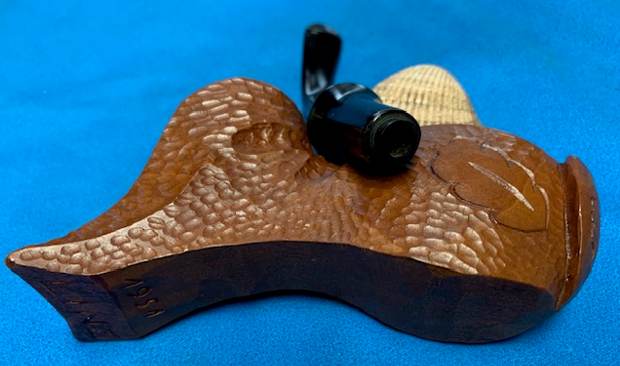
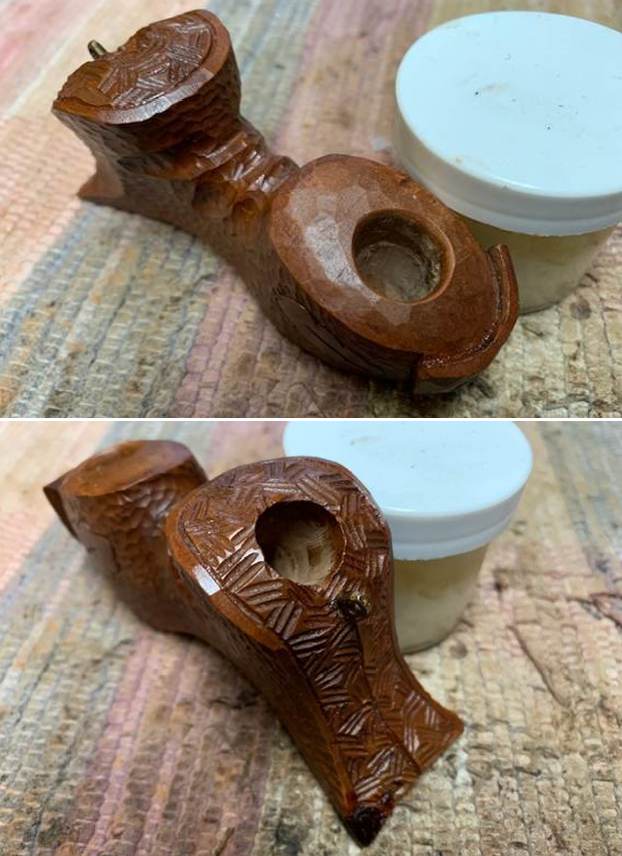
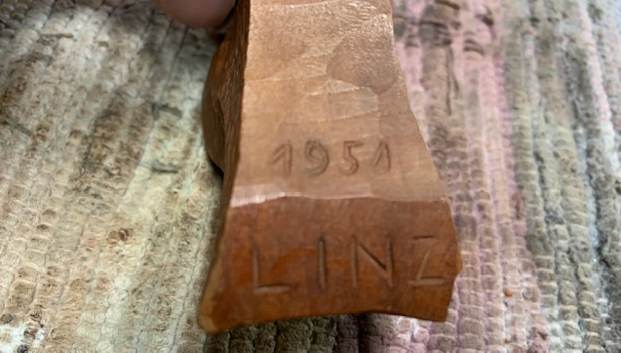 I picked out a stem from my can of stems. It is a Peterson’s P-Lip clone that fits the shank very well. The airway comes out on the end of the stem though rather than on the top. It looks very good. I took a photo of the bowl with the newly fitted stem.
 I started my work on the bowl by rebuilding the chipped portion on the shank base. I rebuilt it with clear CA glue and briar dust. I layered it in place with dental spatula and shaped it at the same time. Once I had enough layers built up I used a wire brush to clean up the surface of the wood. I flattened it out with a filing stick. I sanded it and smoothed out the shape to look good. I like the overall look of the repair.
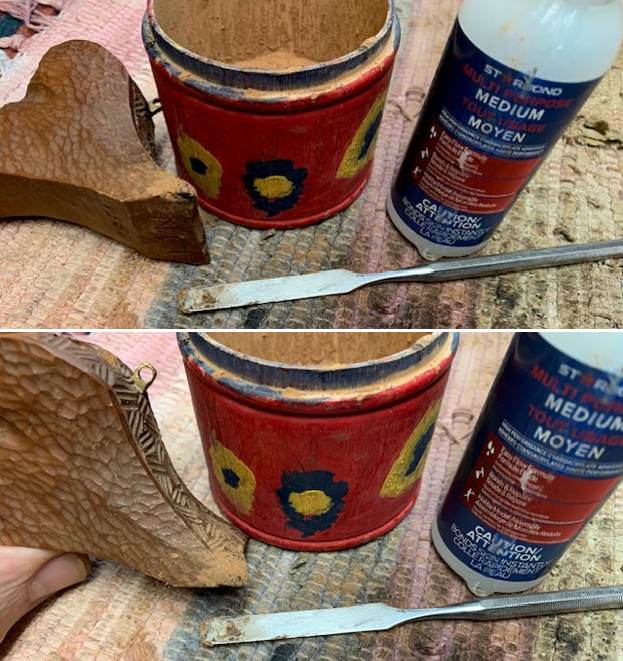

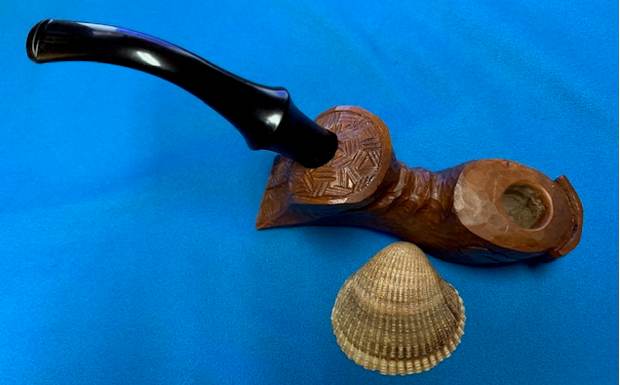
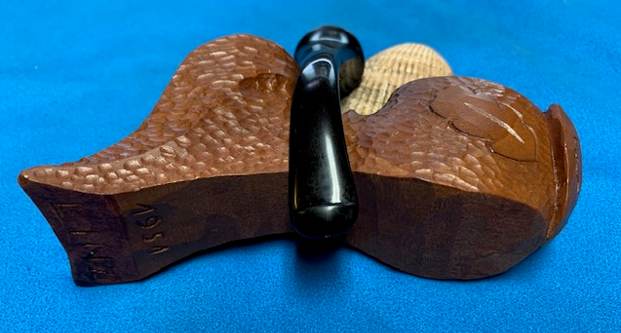
 I took a photo of the bowl and the new stem to give a sense of the look of the parts. I think that the stem would work very well.
 I used Cherry Stain pen to touch up the repair on the shank end/base. The stain matched quite well and when the bowl was polished it would match even better.
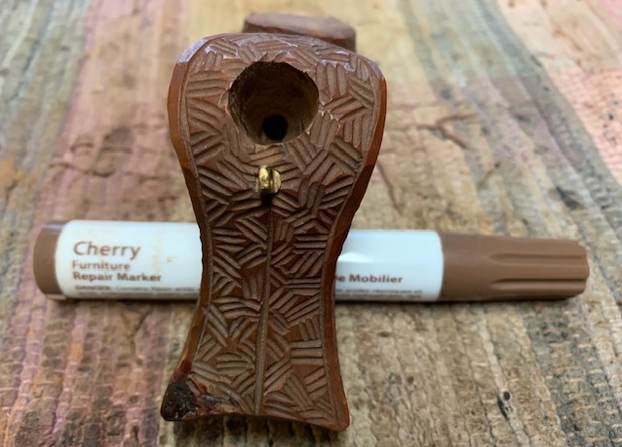 I worked some Before & After Restoration Balm into the smooth rim and the rusticated finish on the bowl and shank. I worked it into the surface of the wood with my fingertips to clean, enliven and protect the wood. I used a horse hair shoe brush to work it into the crevices and keep from building up in the valleys and crevices of the finish. Once the bowl was covered with the balm I let it sit for about 15 minutes and buffed it off with a soft cotton cloth and the shoe brush. I polished it with a microfiber cloth. I took photos of the pipe at this point in the process to show what the bowl looked like at this point.
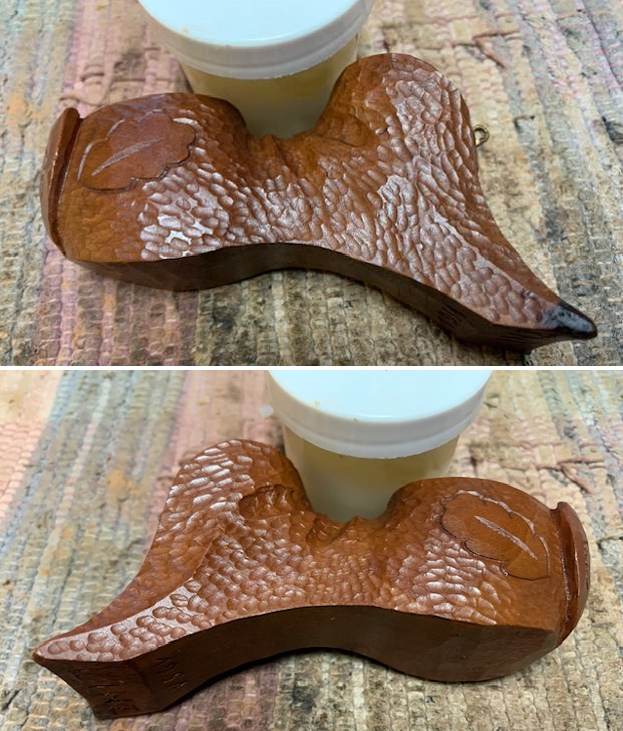
 I set the bowl aside and turned my attention to the stem. It was new so it only needed to be polished. I use micromesh sanding pads and water to wet sand the stem with 1500-12000 grit sanding pads. I wiped it down after each sanding pad with Obsidian Oil on a cotton rag after each sanding pad as I find it does two things – first it protects the vulcanite and second it give the sanding pads bite in the polishing process.
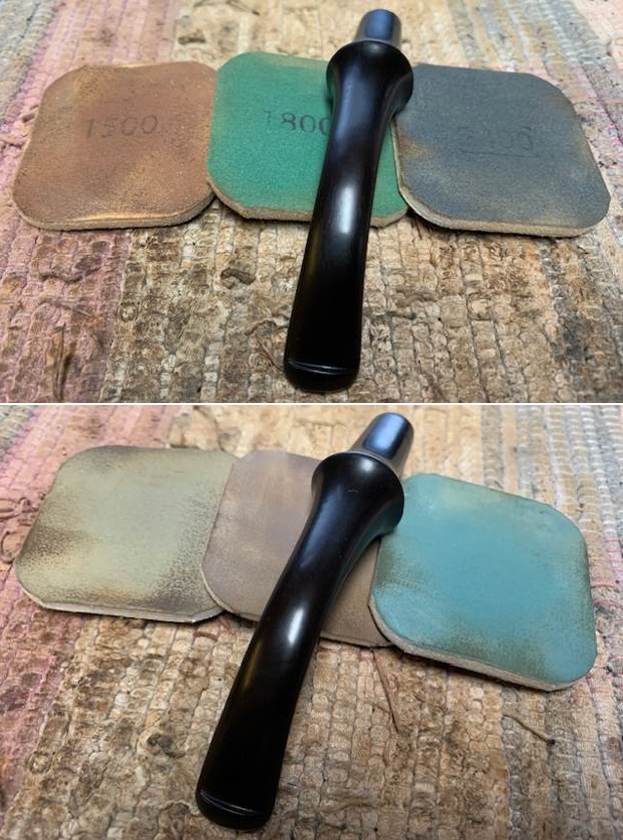
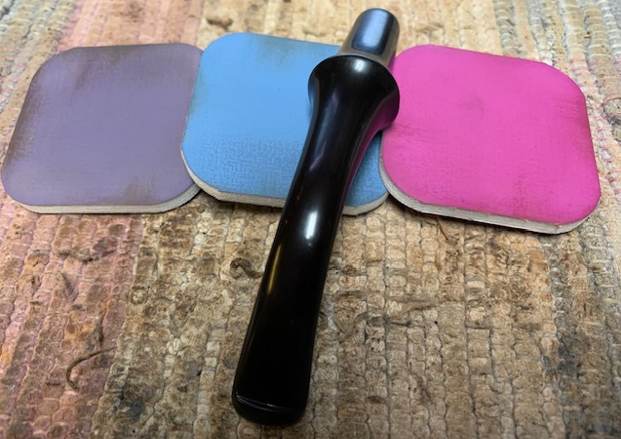 After finishing with the micromesh pads I rub the stem down with Before & After Fine and Extra Fine stem polish as it seems to really remove the fine scratches in the vulcanite. I rub the Fine Polish on the stem and wipe it off with a paper towel and then repeat the process with the Extra Fine Polish. I finished the polishing of the stem down with a final coat of Obsidian Oil and set the stem aside to let the oil absorb. This process gives the stem a shine and also a bit of protection from oxidizing quickly.
 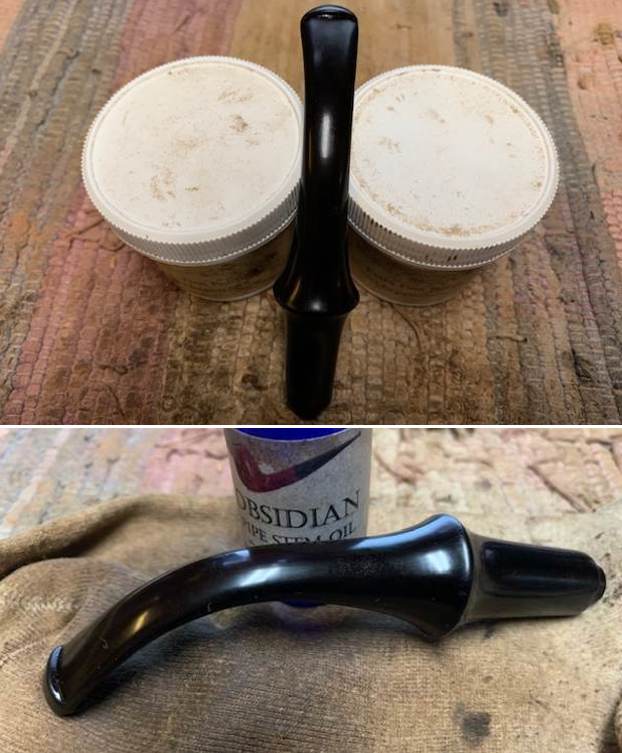 I took the Linz Hand Carved Freehand bowl to wax and polish. I don’t buff the rusticated bowl on the wheel as it leaves a lot of grit in the deep grooves of the finish. I gave the bowl and shank multiple coats of Conservator’s Wax and buffed it with a shoe brush to raise the shine. The wax is great protection and I love using it on sandblast finishes because it does not build up in the grooves and valleys like carnauba wax does. I buffed it by hand with a microfiber cloth to finish the shine. I polished the stem with Blue Diamond on the buffing wheel to polish out the scratches in the acrylic. I buffed the pipe with a clean buffing pad to raise the shine. I hand buffed it with a microfiber cloth to deepen the shine. The pipe polished up pretty nicely. The contrast of the natural colour of the wood with the shine of the polished stem is stunning. The rich rusticated finish around the bowl and shank is quite remarkable and gives the pipe an incredible tactile presence. The Linz Freehand is a nice looking pipe and one that will be a great smoking pipe. The finished pipe is shown in the photos below with each of the stems. The dimensions of the pipe are Length: 7 inches, Height: 1 ¾ inches, Outside diameter of the bowl: 1 ¼ x 2 inches, Chamber diameter: 5/8 of an inch. The weight of the large pipe is a light and comfortable 85 grams/2.96 ounces. It is an interesting Freehand that I wish I could learn more about but as it is it should be a fun smoke. I will be putting it on the rebornpipes store in the American Pipe Makers Section. As always I encourage your questions and comments as you read the blog. Thanks to each of you who are reading this blog. Remember we are not pipe owners; we are pipemen and women who hold our pipes in trust until they pass on into the trust of those who follow us.