Blog by Steve Laug
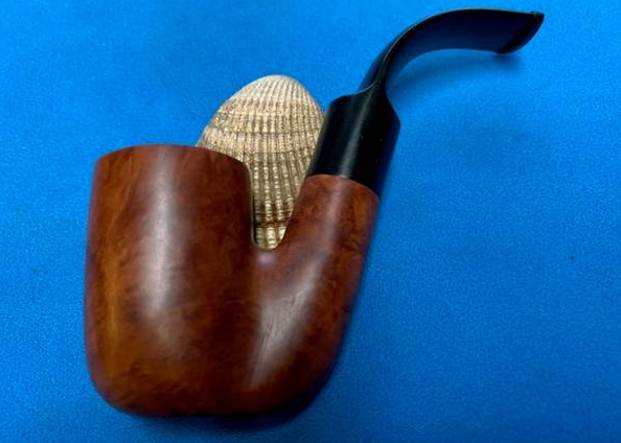
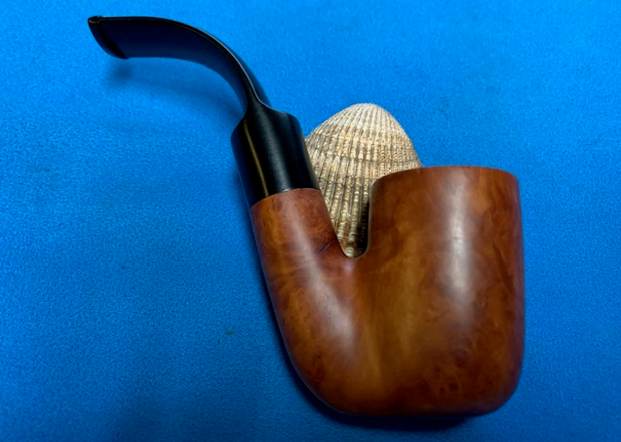
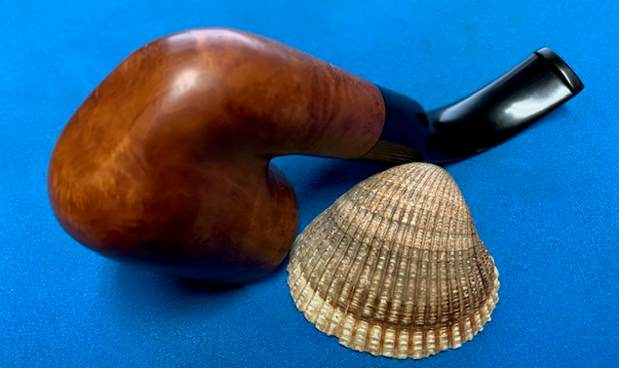
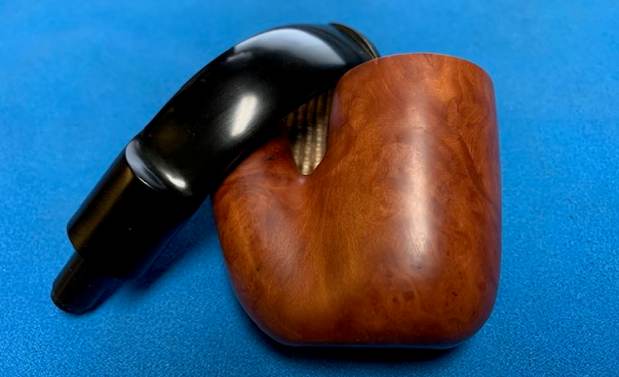
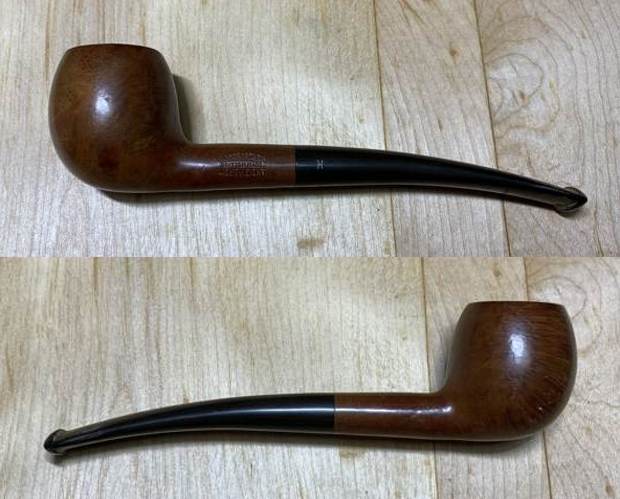
The next pipe I have chosen to work on is a Natural Finish smooth Oom Paul with a bent saddle stem that I picked up in a lot of 10 pipes from a fellow on Vancouver Island who was selling his collection. This is the final pipe of the 10 so it has been a fun journey to clean them up. There is no stamping on the shank on either side. It is unmarked and a no name. The saddle stem has a no stamping either. The pipe is a nice looking pipe with some mixed grain around the bowl and shank. There are some small fills in the briar but not to ugly. It has a natural finish. It is light weight and comfortable pipe to hold. I brought it to the work table and turned it over in my hands. This is what I saw when I over the pipe.
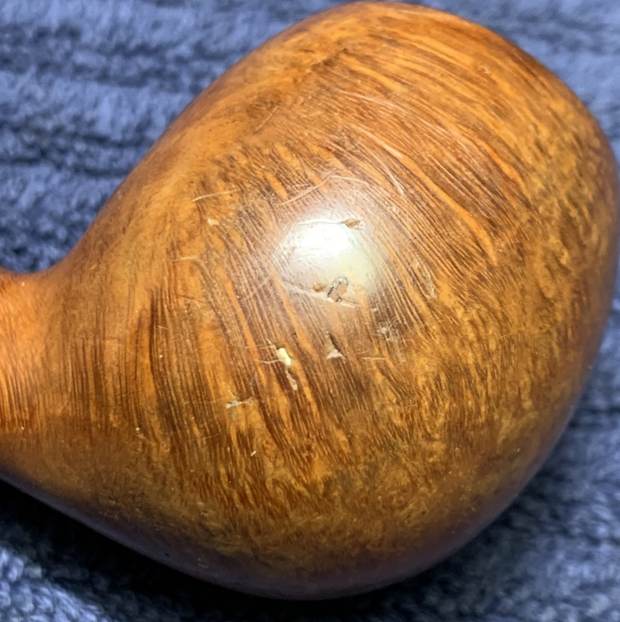
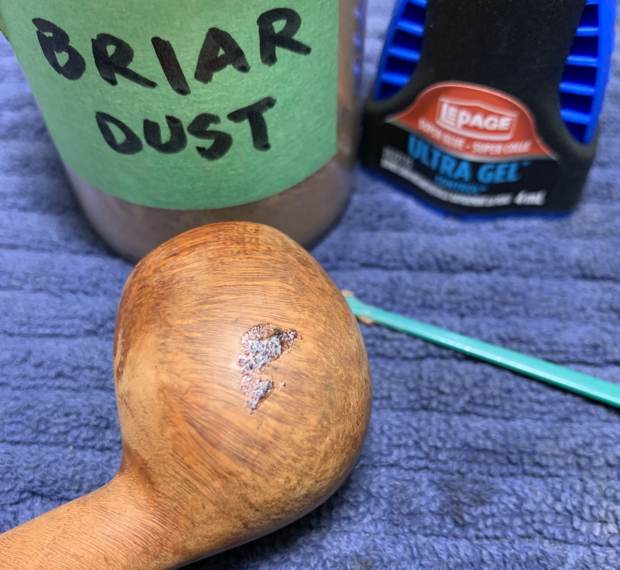
- The natural finish was okay with some hand oils on the sides of the bowl and grime ground into the finish around the bowl sides. The finish is rough and unfinished. It looks dull but the it really highlights the grain around the bowl sides and shank. There are some fills on the bowl – right side toward the top front, back of the rim top and one on the top of the full bent shank.
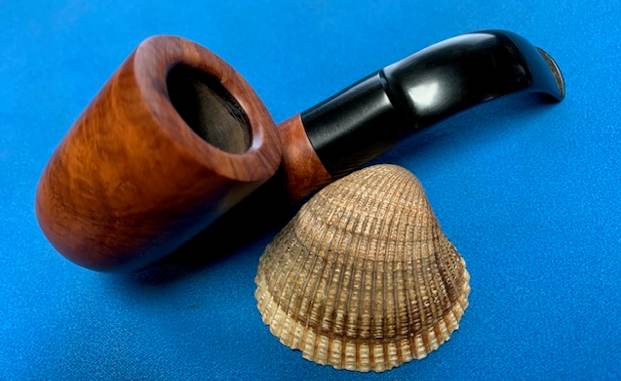
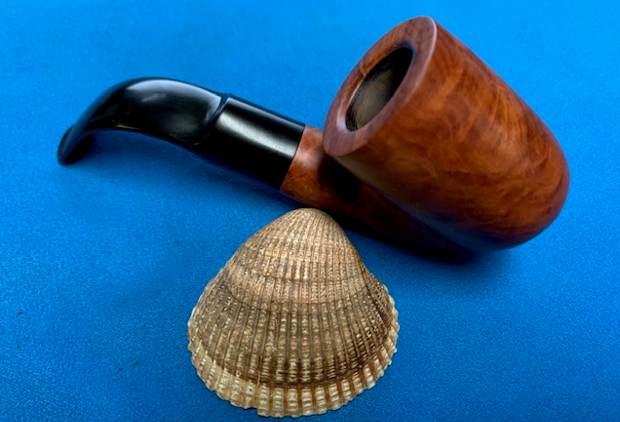
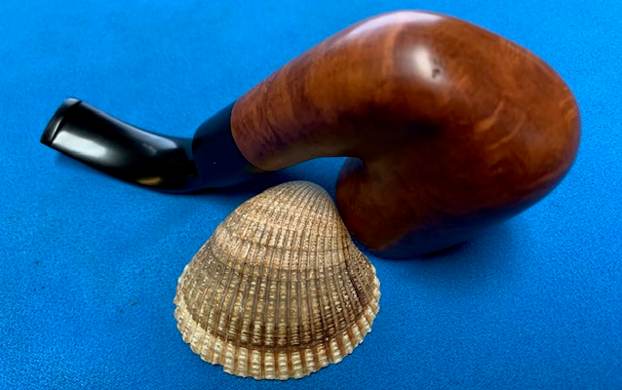
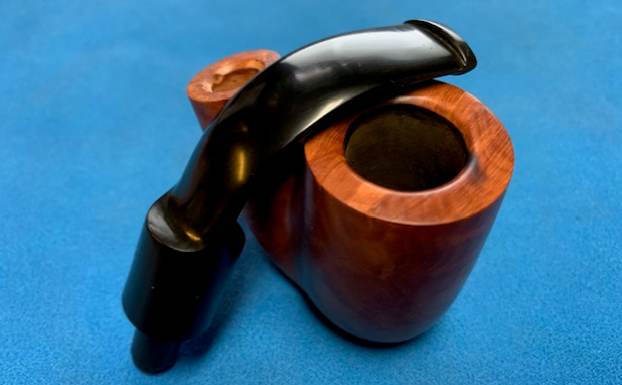
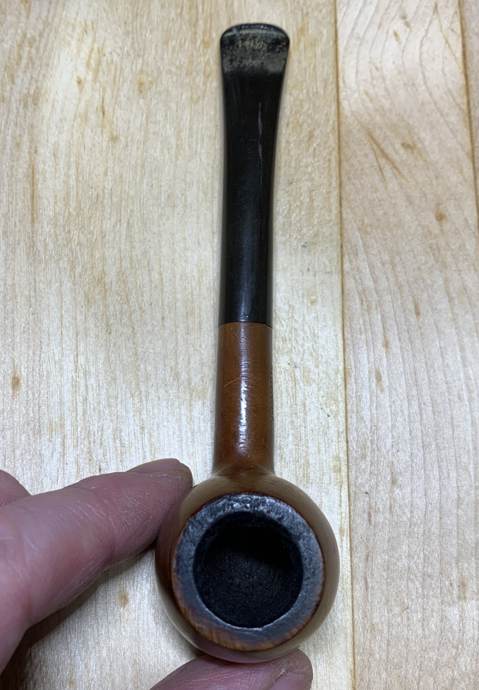
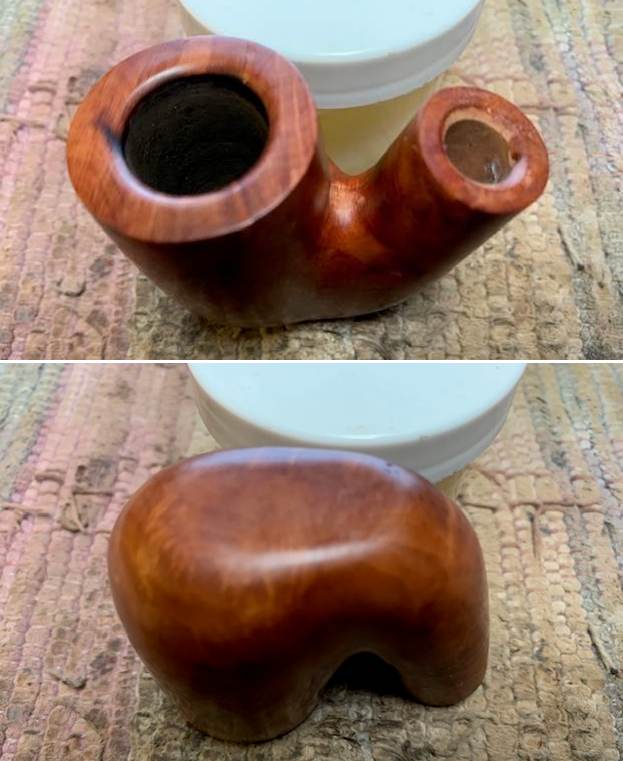
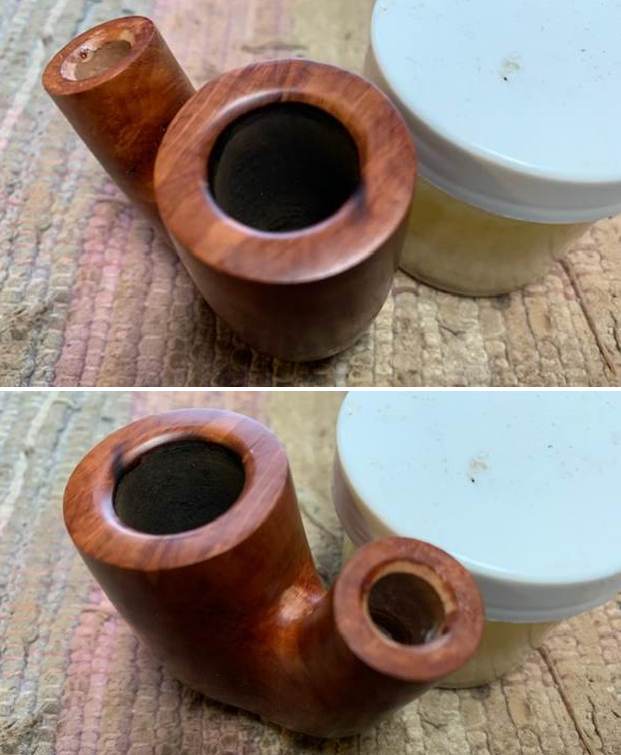
- The smooth rim top was okay and the inner and outer edges looked good. There was no lava build on the top and the beveled inner edge. There was some grime on the rim top and a burn mark on the top front of the rim and the bevel.
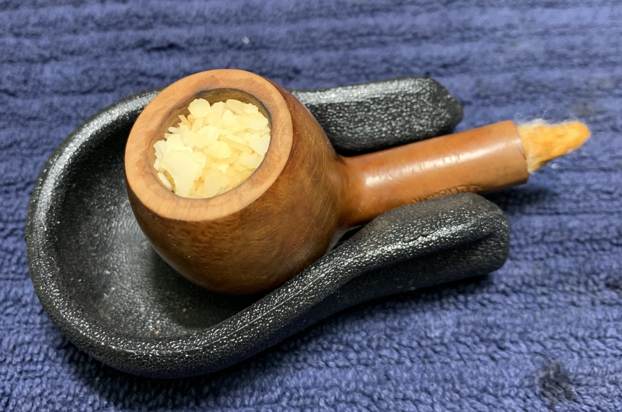
- There was a light cake in the bowl. It held the aroma of the tobaccos smoked in it – fortunately not aromatic. The walls looked to be undamaged but once I removed the light cake I could confirm that.
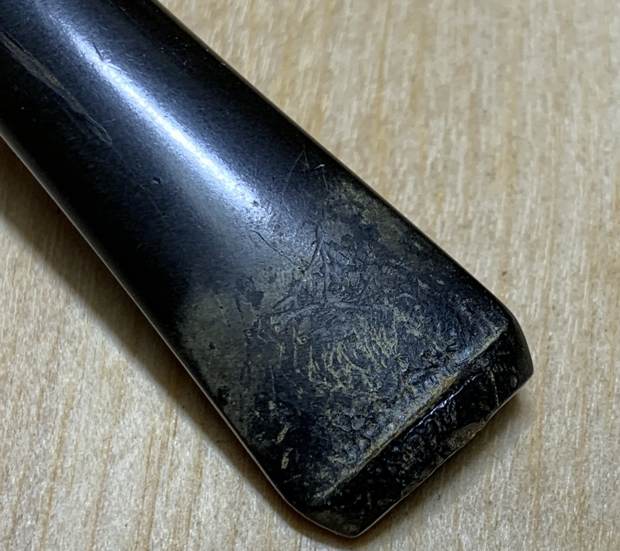
- The vulcanite saddle stem is in good condition with just some oxidation and light tooth marks and chatter on the top and underside ahead of the button.
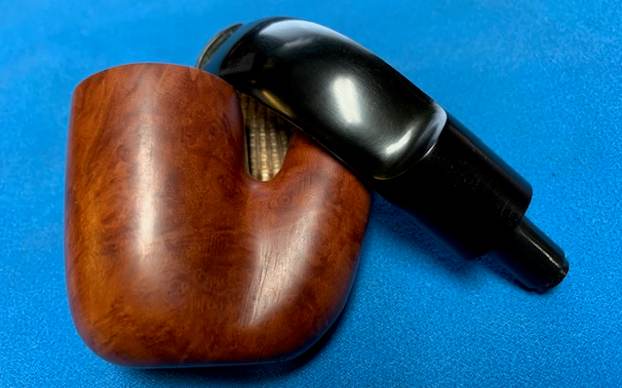
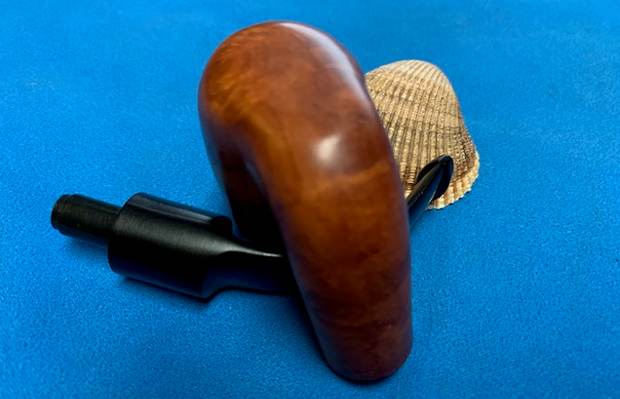
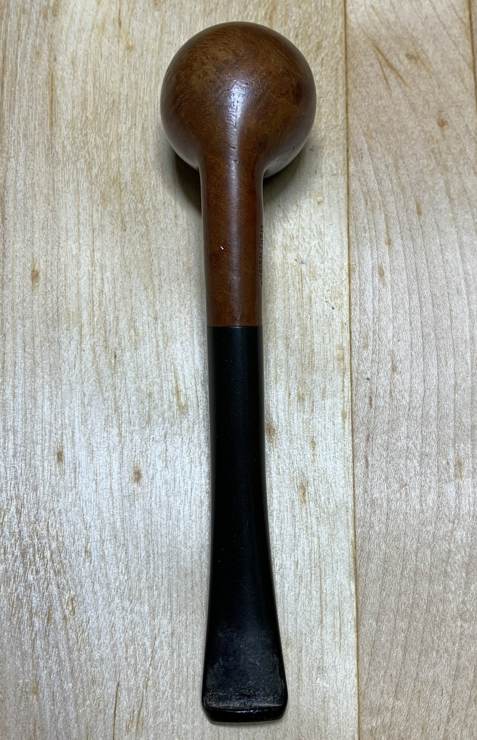
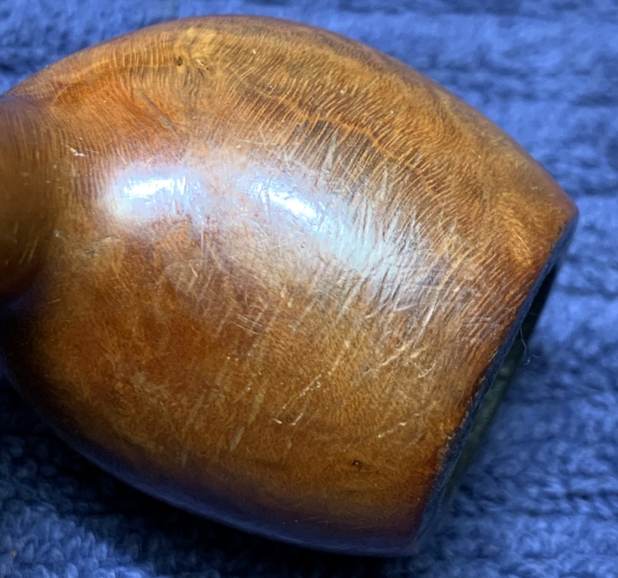
- The heel of the bowl has a sanded spot that is flat and has not been sanded or smoothed out. It was made to be a sitter but it had not been finished out.
To summarize what I saw – this no name Oom Paul is a well made pipe. It is a dirty but otherwise in good condition. The stem is lightly tooth marked but otherwise undamaged. There does not appear to be any calcification, only some light oxidation on the stem surface. The look and feel of the pipe in the hand is great. It is going to clean up very well. Here are photos of the pipe before I started my clean up. 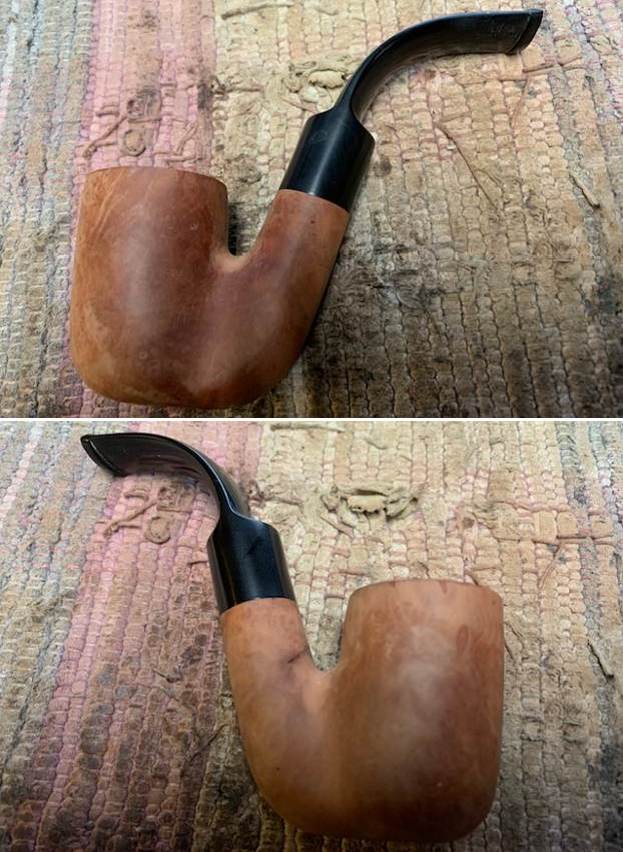
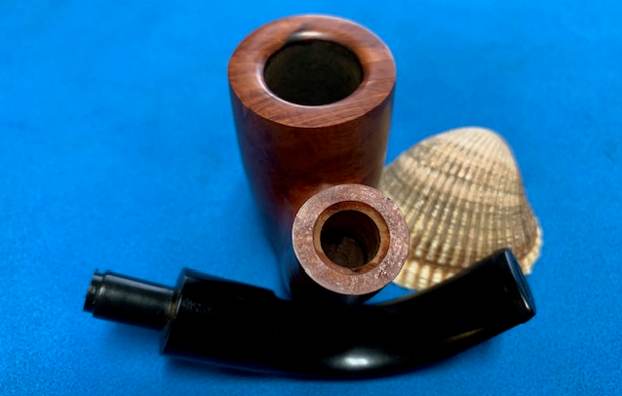
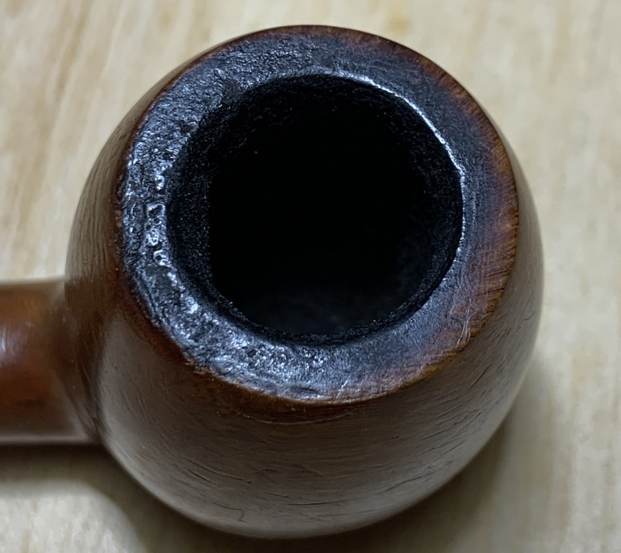
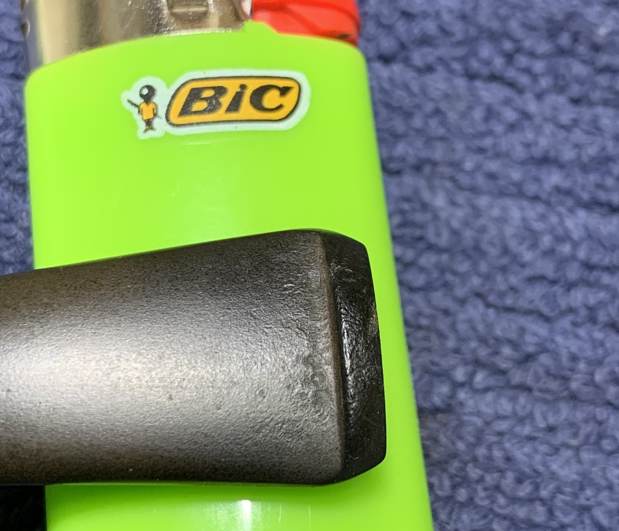
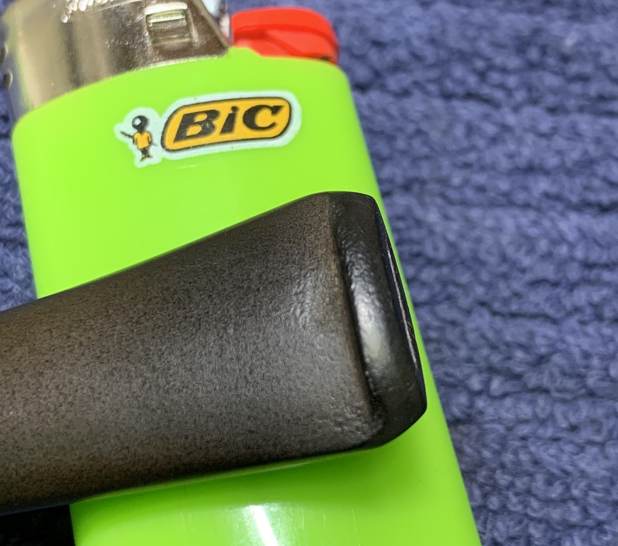
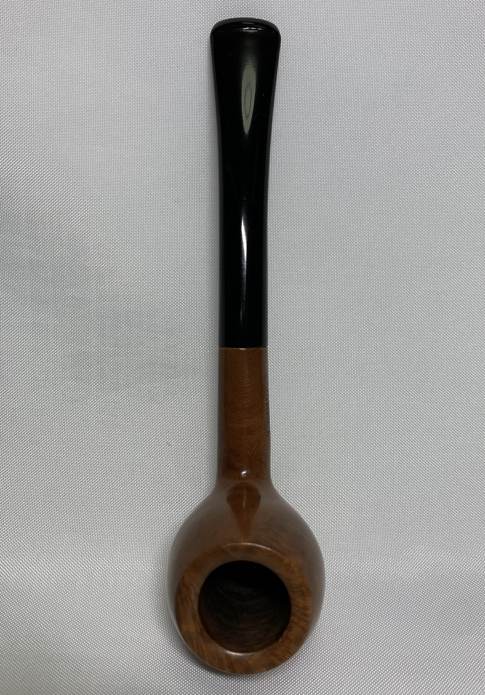
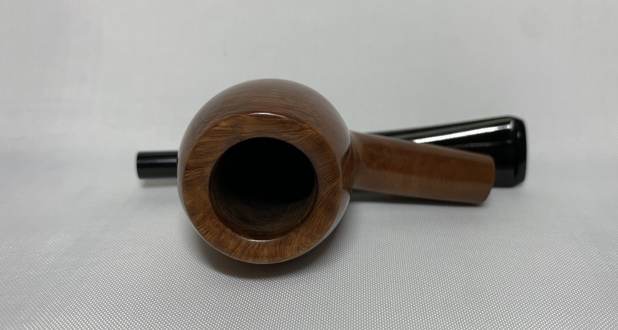
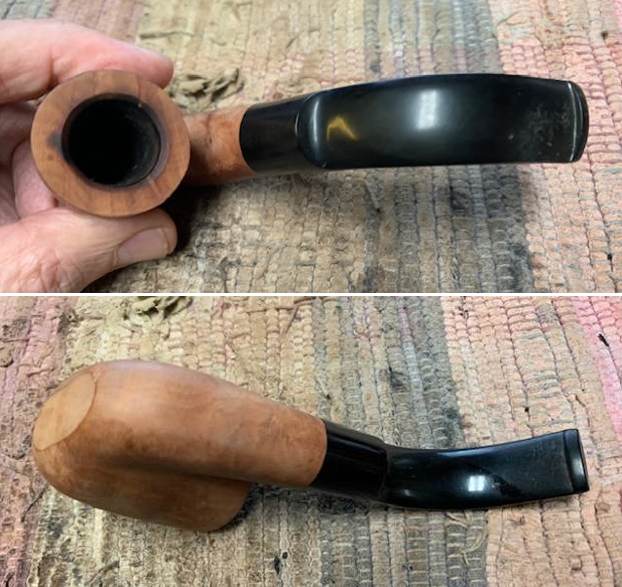 The bowl of the pipe looked good. The rim top is clean but there is some darkening on the beveled inner edge of the bowl on the back right side. There was a burn mark on the rim top at the front of the bowl. There does not seem to be any damage to the smooth finish. I see no warning signs in the rim top or the edges of the bowl. I took photos of the stem to show the condition of it. Though hard to see there are light tooth chatter on the surface of both sides ahead of the button but it should clean up easily with polishing.
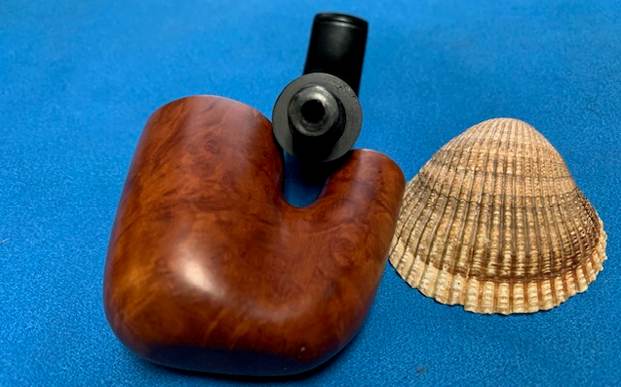
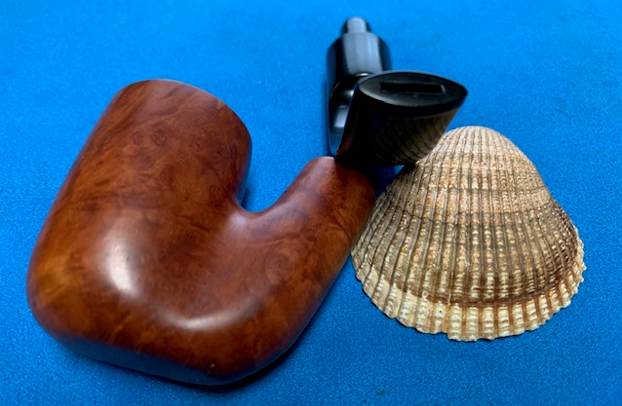
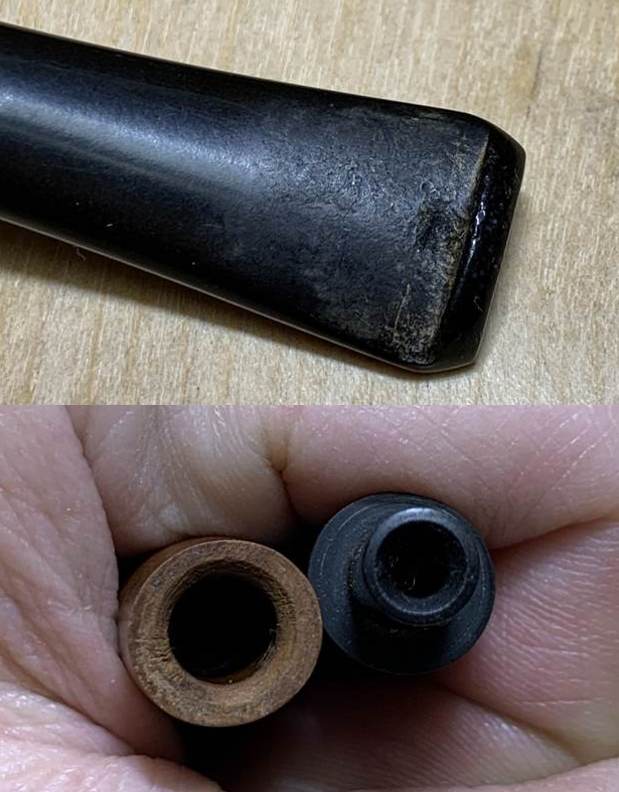
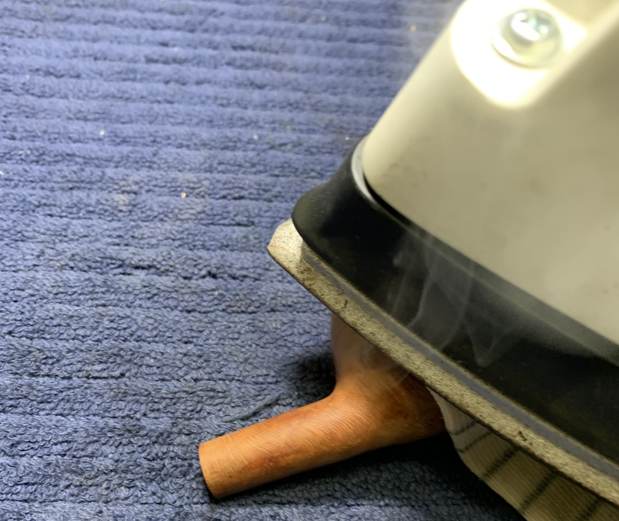
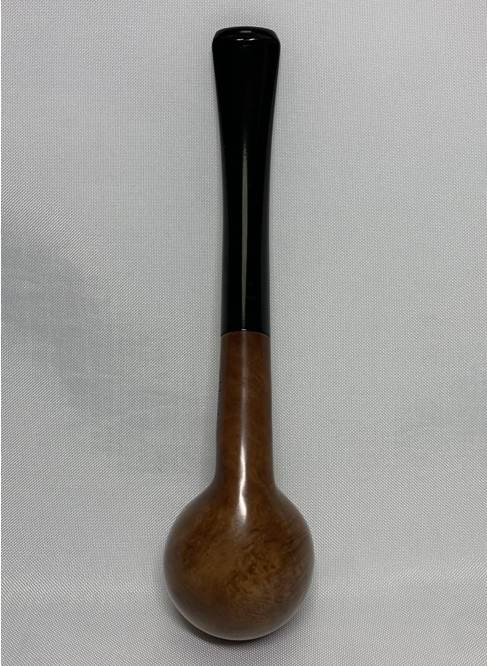
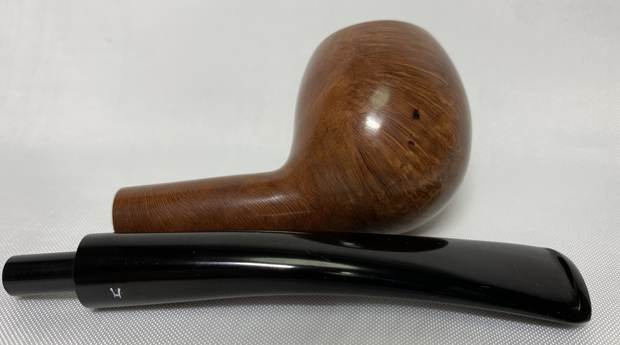
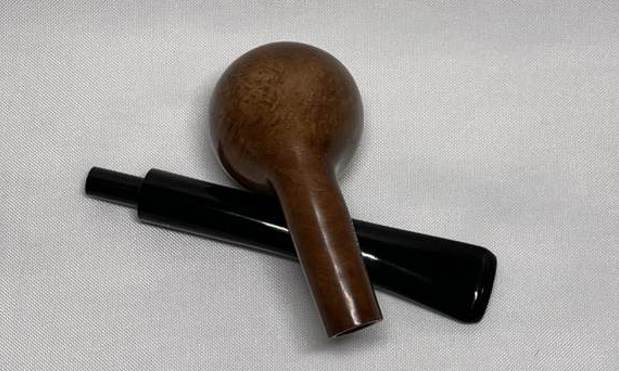
 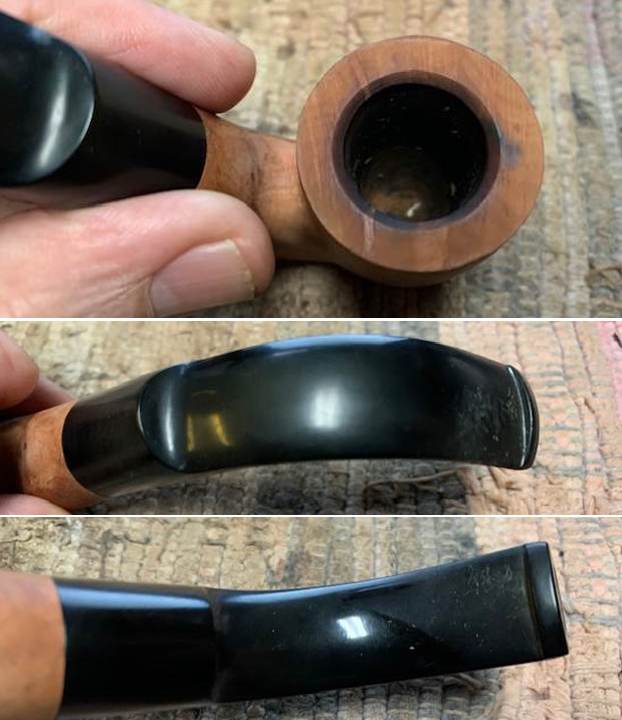 The next photo captures the flattened heel of the bowl. It is still roughly finished and will need some sanding. I removed the stem from the shank and took a photo of it to give a sense of proportion.
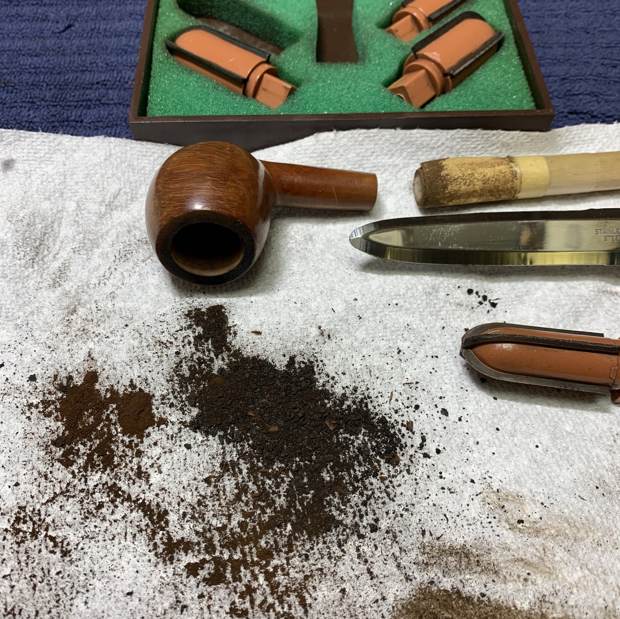
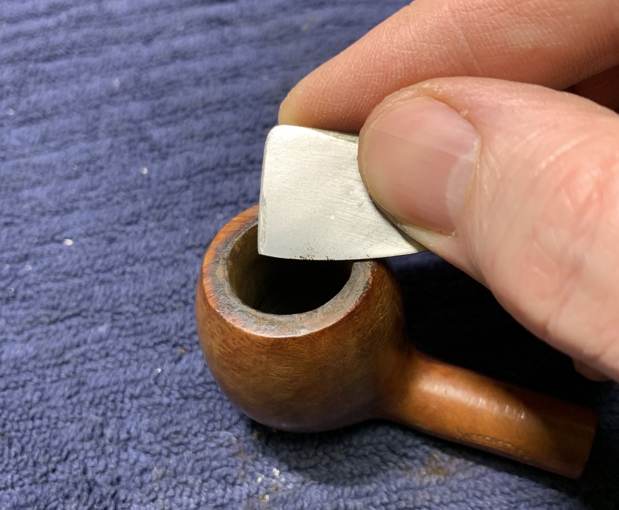
 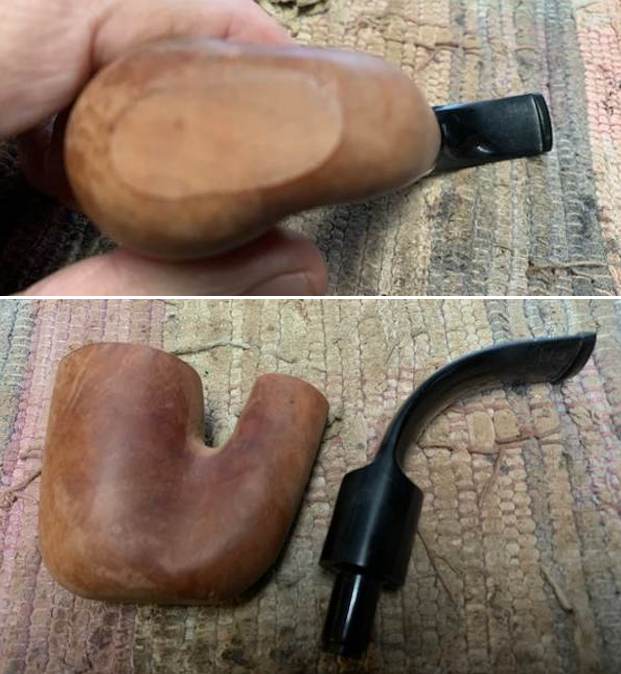 Now it was time to work on the pipe itself. I started my work on the pipe by cleaning the internals. The cake was quite thin but it can hold residual oils from previous tobaccos and I wanted to check the bowl walls for burn damage or checking. I reamed it with a Savinelli Fitsall Pipe knife and took the cake back to bare briar. I sanded the walls with 220 grit sandpaper wrapped around a piece of dowel. I worked on them until they were smooth. There was no checking or burn damage to the bowl walls. It was quite clean.
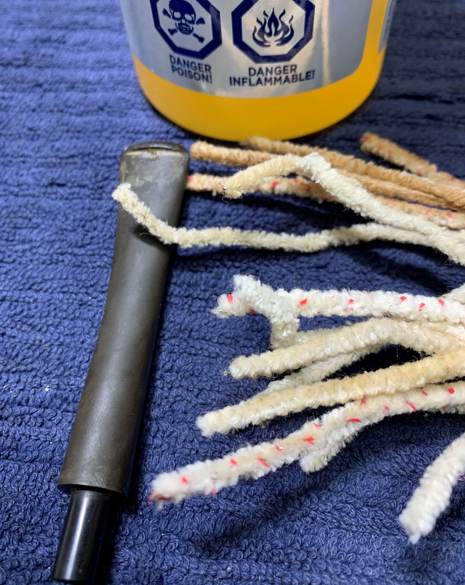
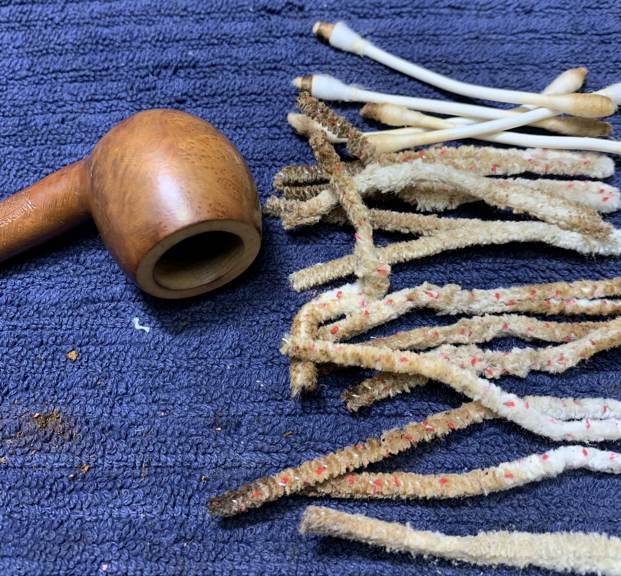
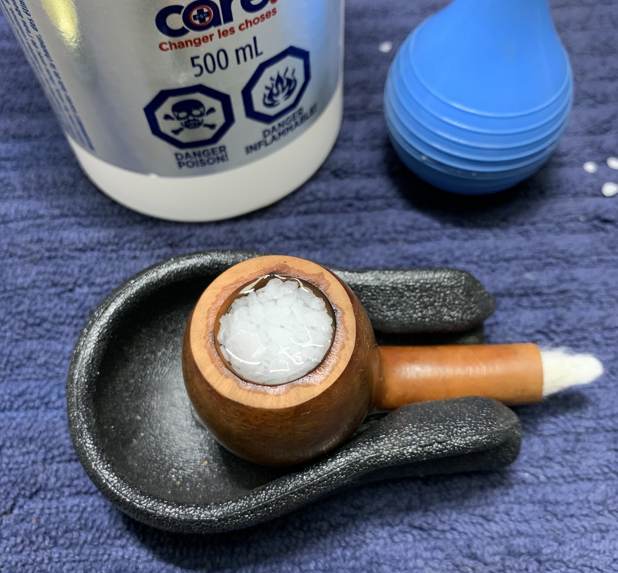
 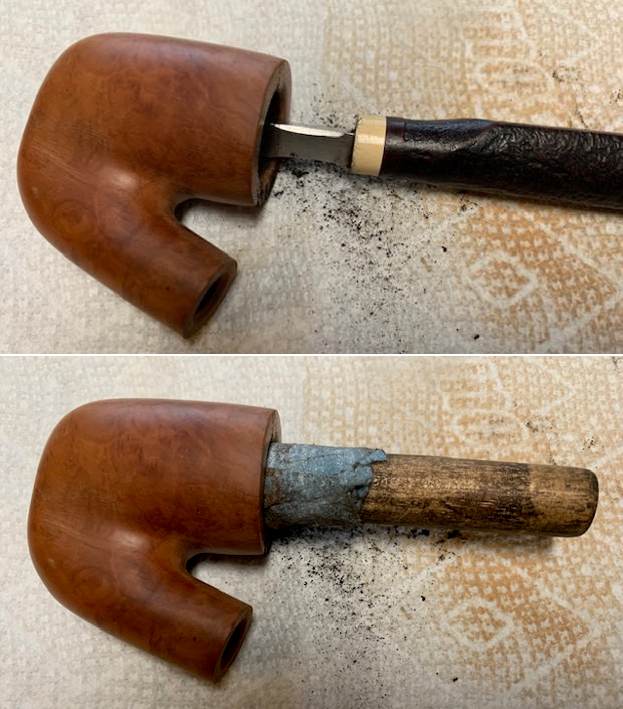 I cleaned out the internals of the shank and the airway in the stem with 99% isopropyl alcohol, cotton swabs and pipe cleaners. I worked them over until they were clean.
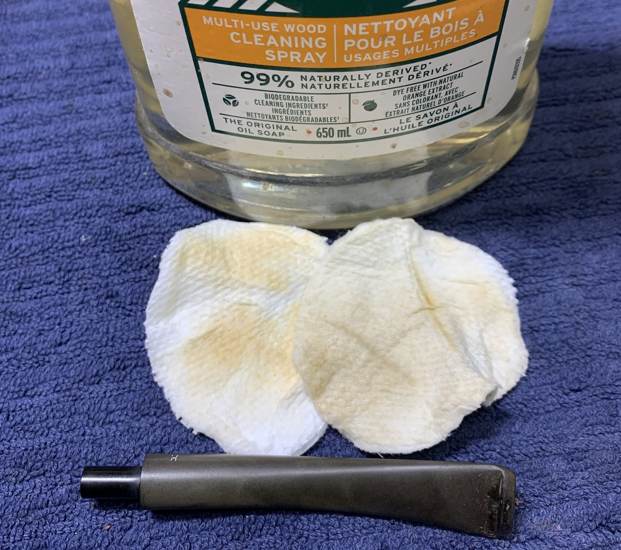
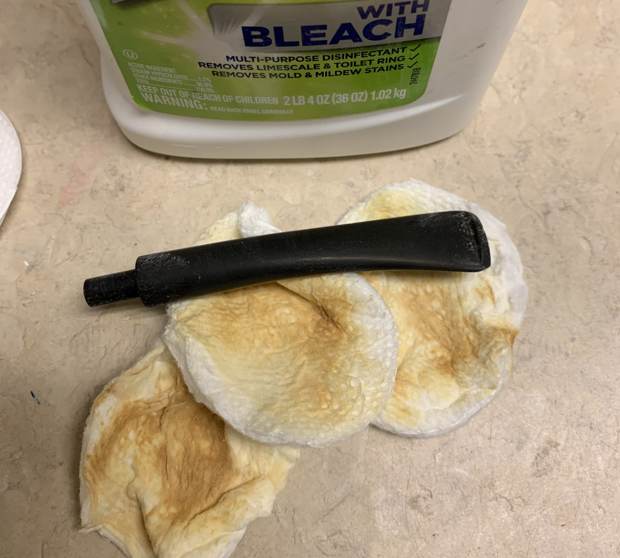
 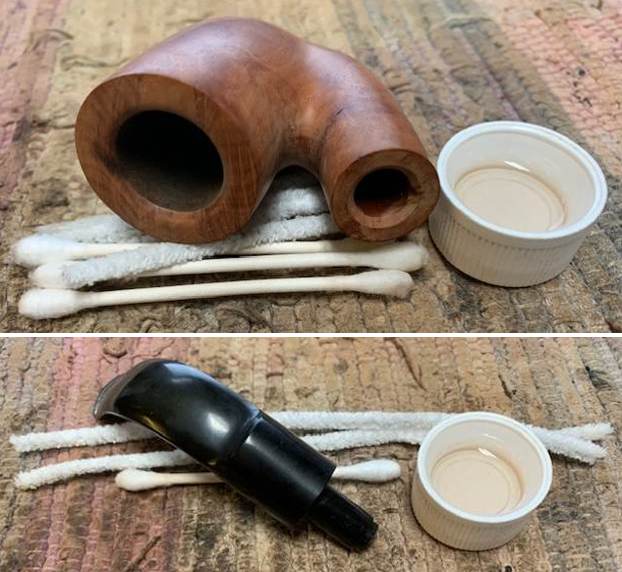 I scrubbed the bowl with acetone and a cotton pad to remove the oils on the sides of the bowl and spottiness from the bowl and shank. It looked much better once it dried off.
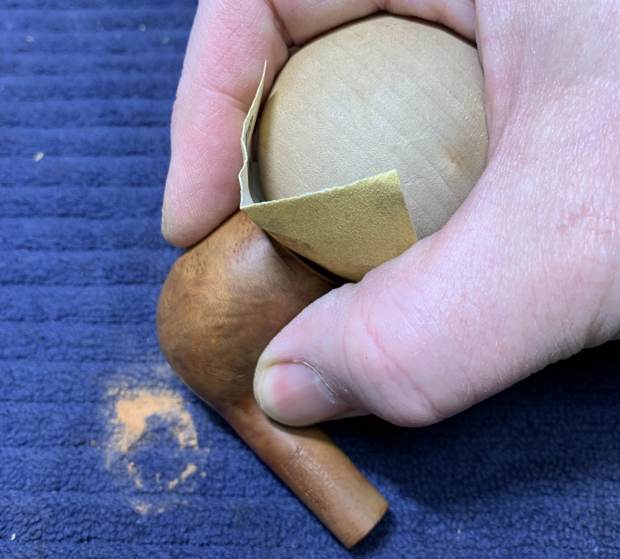
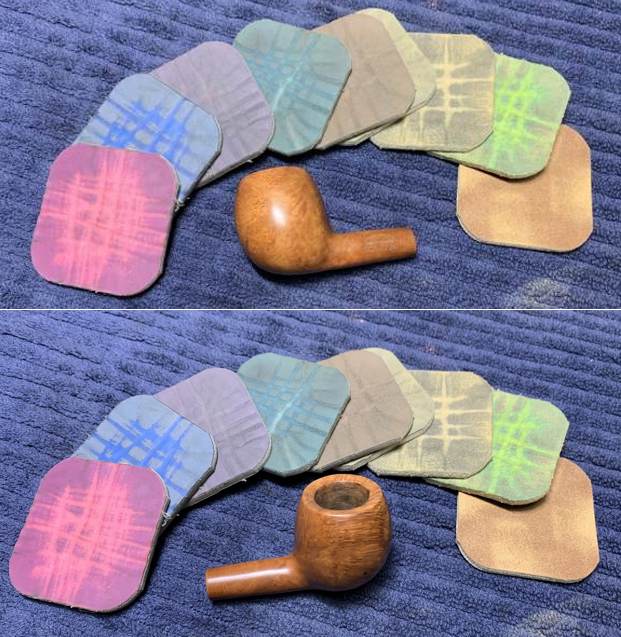
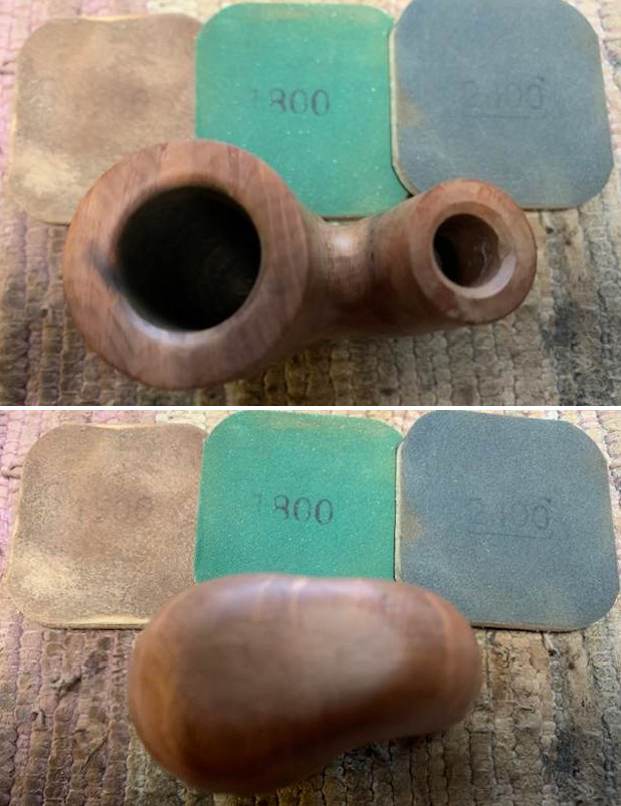
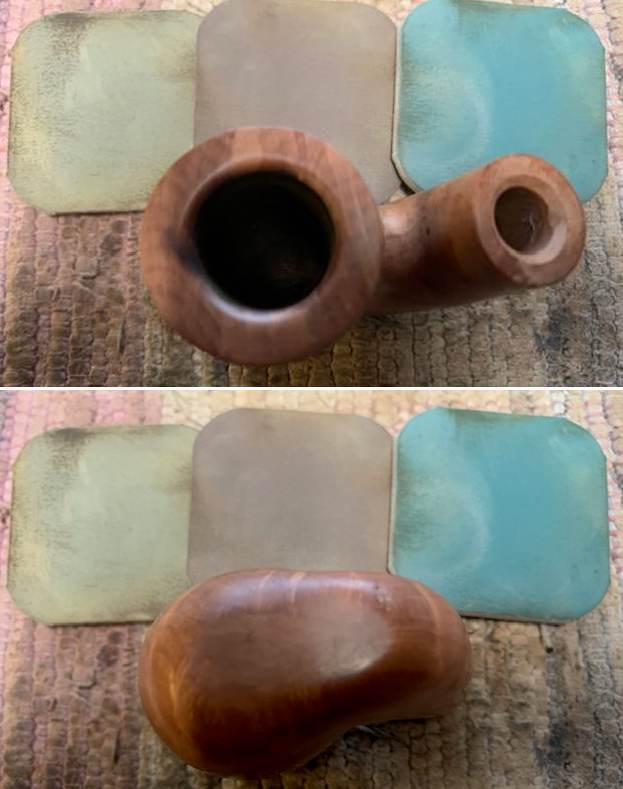
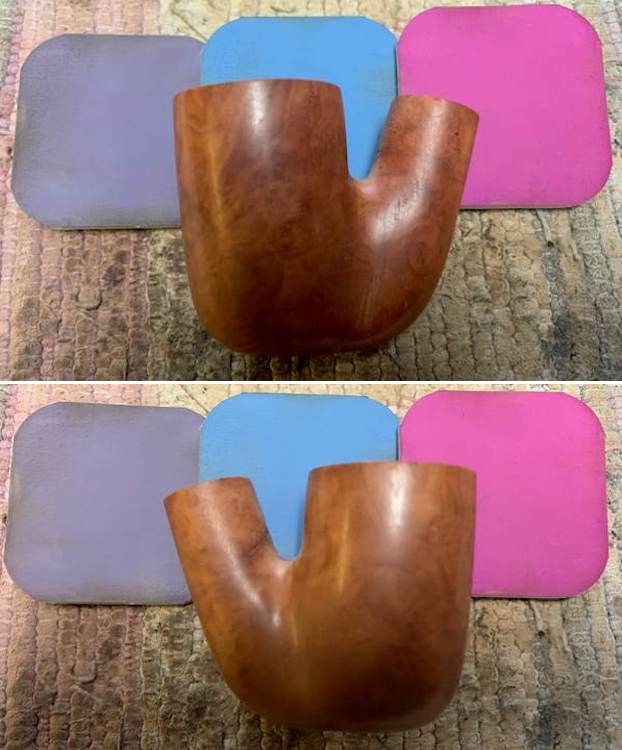
 I polished the briar with micromesh sanding pads. I choose to dry sand the briar rather than wet sand it. Again it is a matter of personal preference. I prefer to use the pads dry and find they work very well on the briar. I sand with each pad (9 in total) and group them by threes for ease of reference. I wipe the bowl down after each pad with a damp cloth to remove the sanding debris and check the briar. I love seeing the developing shine on the briar as I move through the pads which is why I include so many photos of this step.
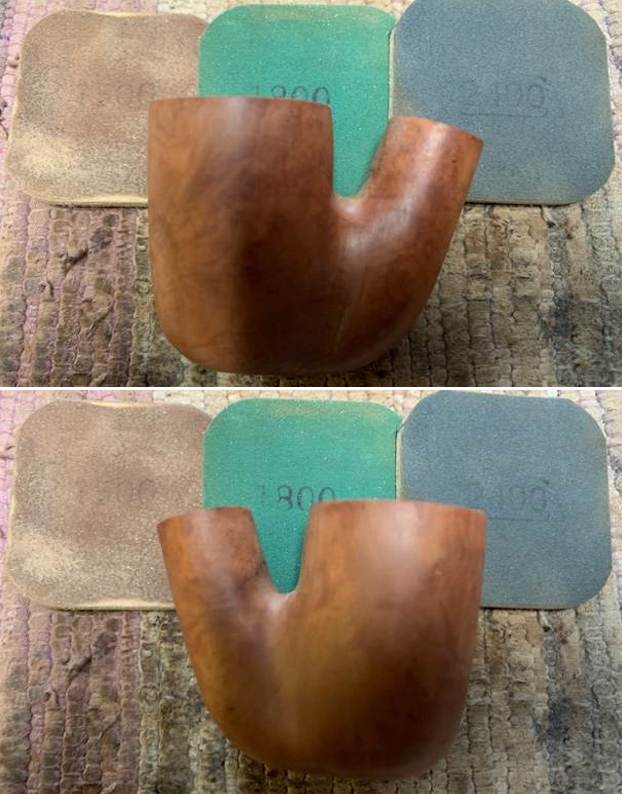

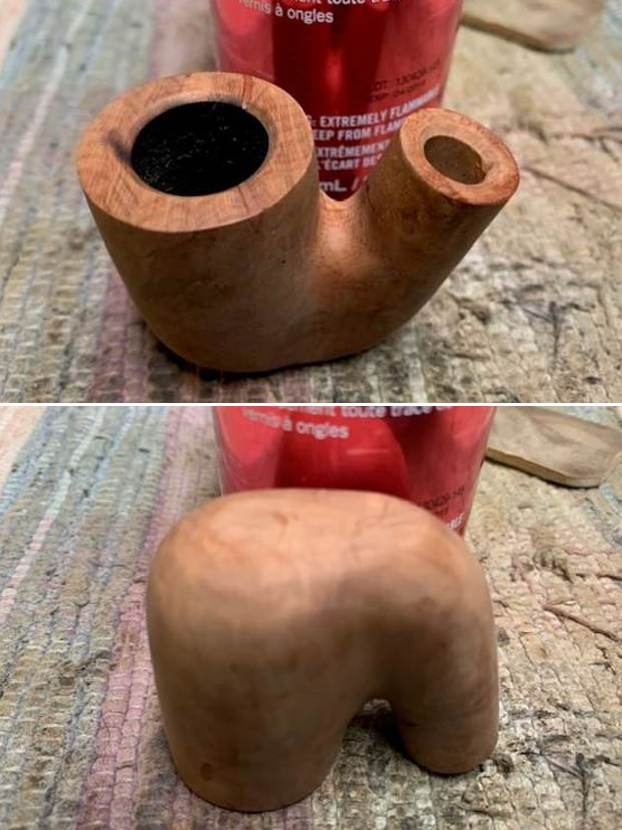
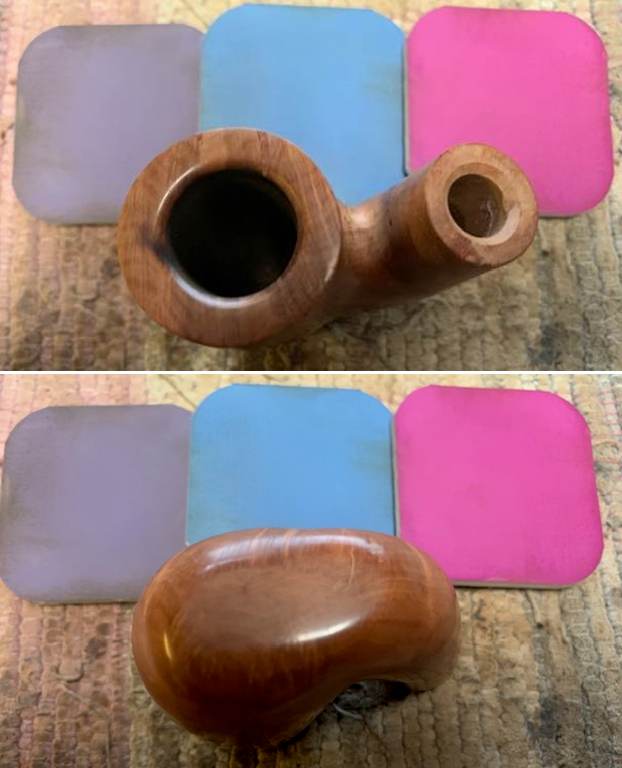 I worked some Before & After Restoration Balm into the finish on the bowl and shank. I worked it into the surface of the briar with my fingertips to clean, enliven and protect the wood. Once the bowl was covered with the balm I let it sit for about 15 minutes and buffed it off with a soft cotton cloth and the shoe brush. I polished it with a microfiber cloth. I took photos of the pipe at this point in the process to show what the bowl looked like at this point. It is really a beauty.
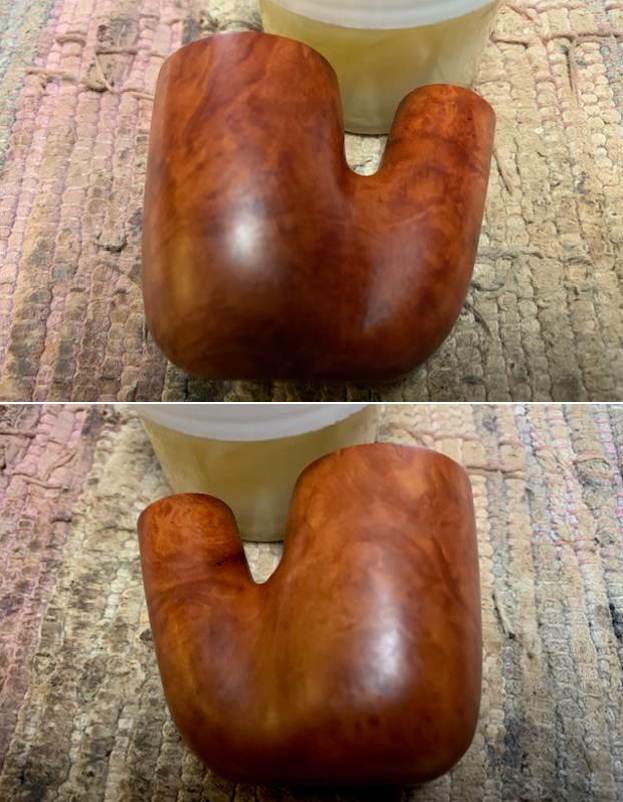
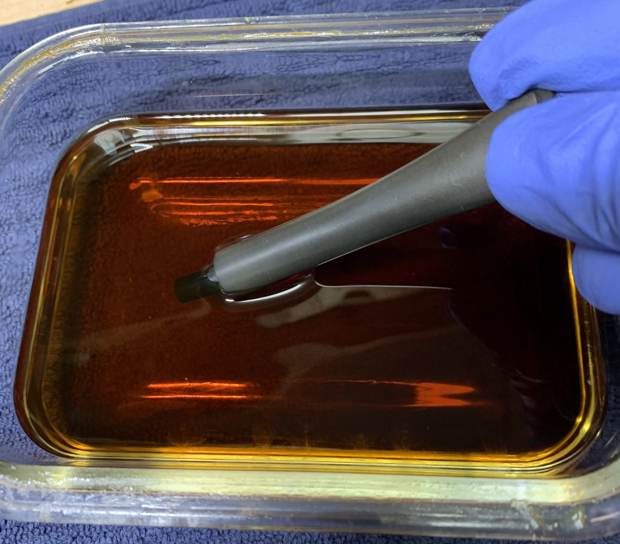
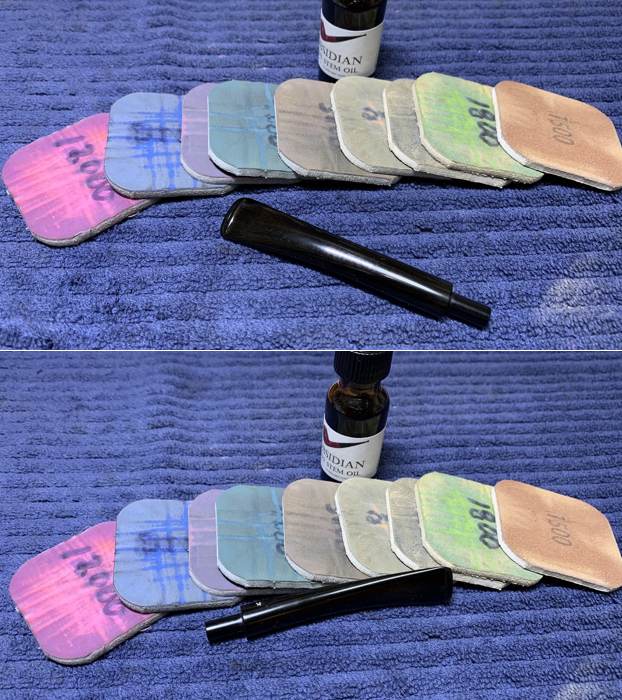
 I set the bowl aside and worked on the stem. I dry sanded both sides of the stem with 1500-12000 grit pads to polish it further. I wiped it down with a cloth impregnated with Obsidian Oil after each sanding pad. Though I know that it does not do much with the acrylic I find that it still adds depth to the final shine on the stem which grew deeper with each sanding pad.
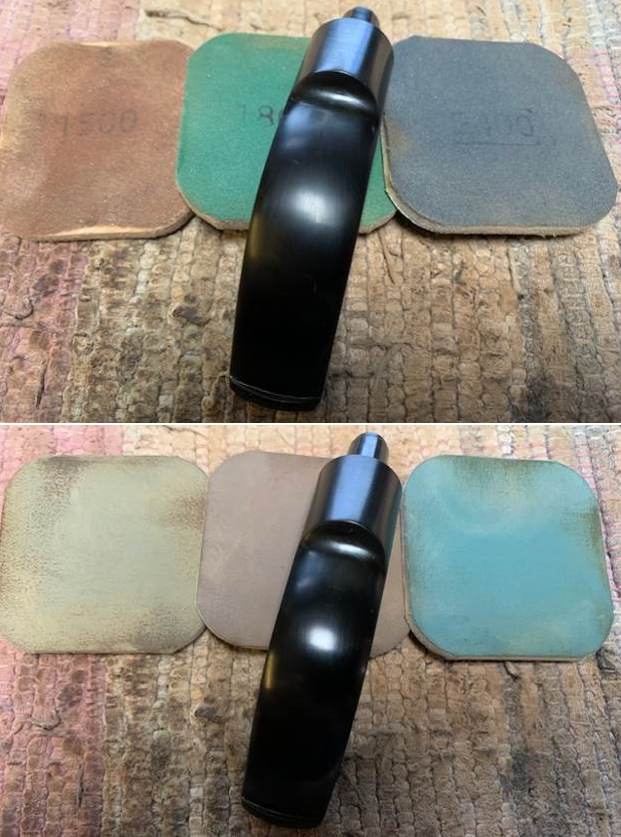
 I finished polishing the stem with Before & After Pipe Polish – both Fine and Extra Fine polishes. I wiped the stem down with some Obsidian Oil afterwards and buffed it with a soft microfiber cloth.
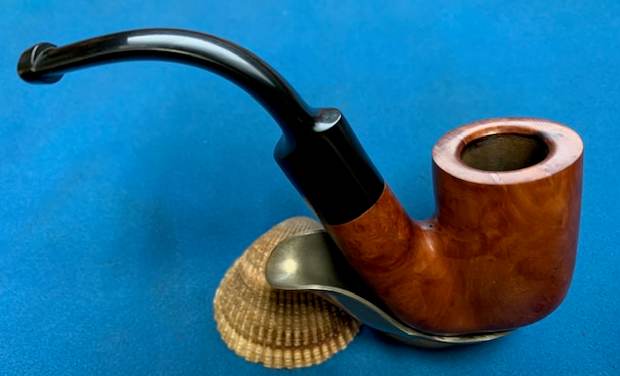
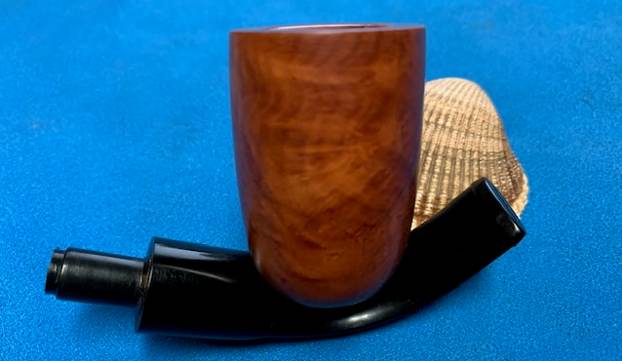
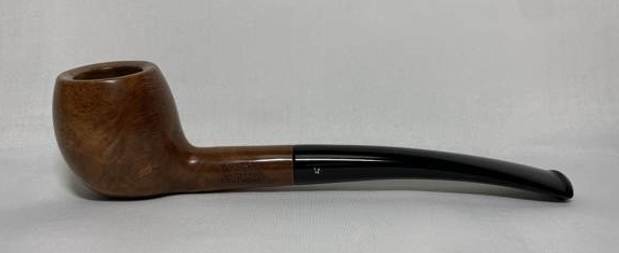
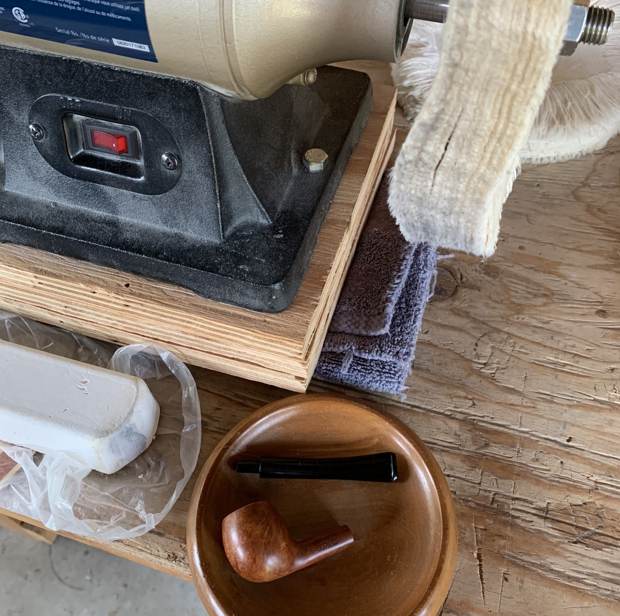
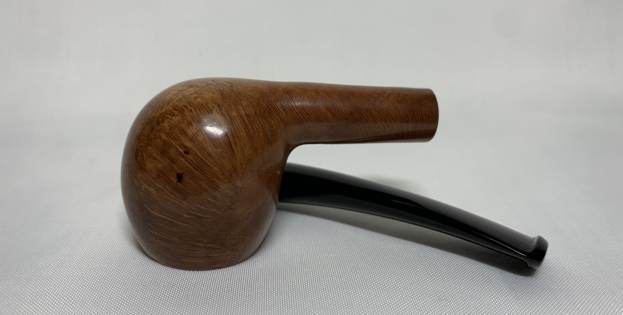
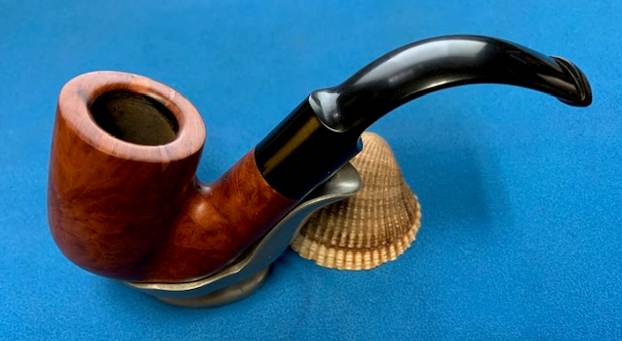
  I took the No Name Oom Paul to the buffer to wax and polish. I buffed the bowl and stem with Blue Diamond polish on the wheel to polish out the scratches in the vulcanite. I gave the pipe multiple coats of carnauba wax on the wheel and then buffed the pipe with a clean buffing pad to raise the shine. I hand buffed it with a microfiber cloth to deepen the shine. The pipe polished up pretty nicely. The Natural finish used on the briar brings out the grain and the bowl looks excellent with the shine and the bent saddle stem. The rich finish around the bowl and shank is quite remarkable and gives the pipe a great look. The No Name Oom Paul is a beautiful pipe and one that will be a great smoking pipe. The finished pipe is shown in the photos below with each of the stems. The dimensions of the pipe are Length: 5 inches, Height: 2 inches, Outside diameter of the bowl: 1 ¼ inches, Chamber diameter: ¾ of an inch. The weight of the large pipe is a light and comfortable 55 grams/1.94 ounces. This is a great looking Natural Finish Oom Paul. I will be adding it to the rebornpipes store in the American Pipe Makers Section. If you want to add it to your rack let me know. Thanks for walking through the restoration with me. Cheers.