Daily Archives: May 25, 2023

1965 Barling Sandblast Bent Billiard Restoration


By Al Jones

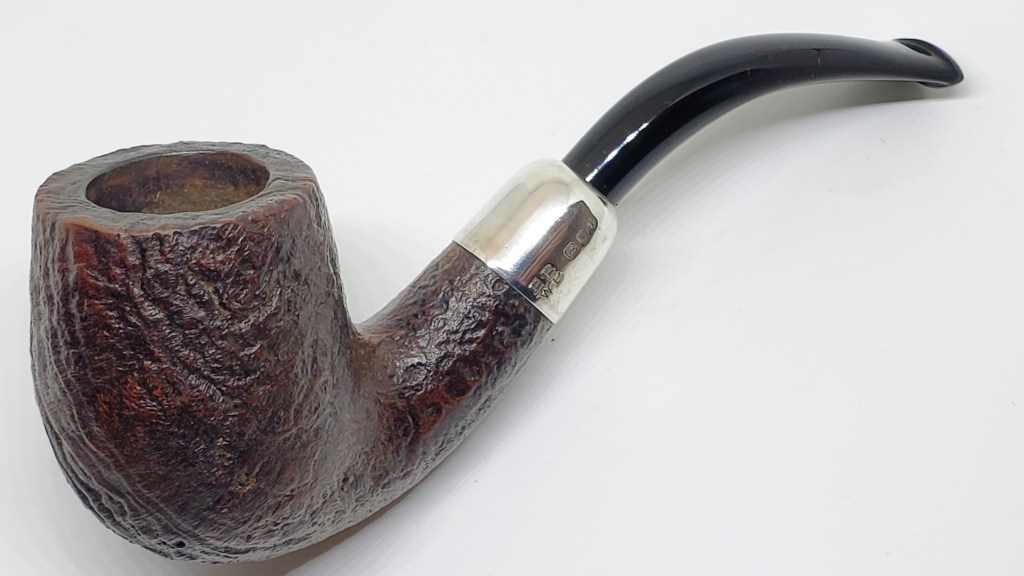
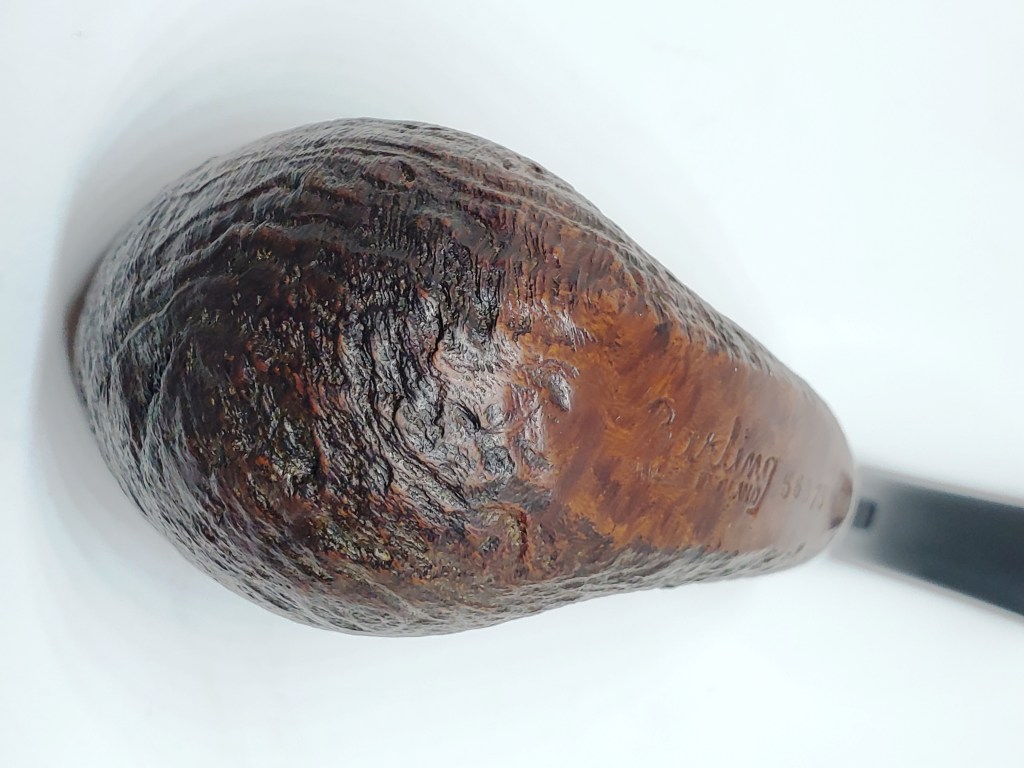
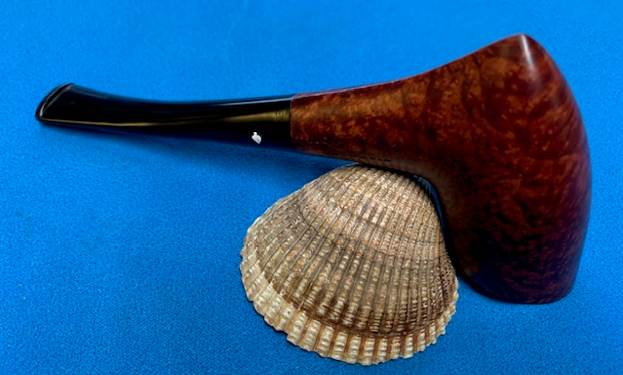
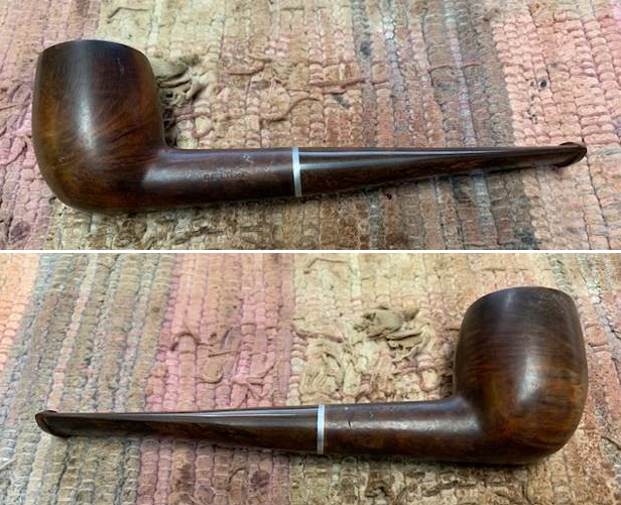
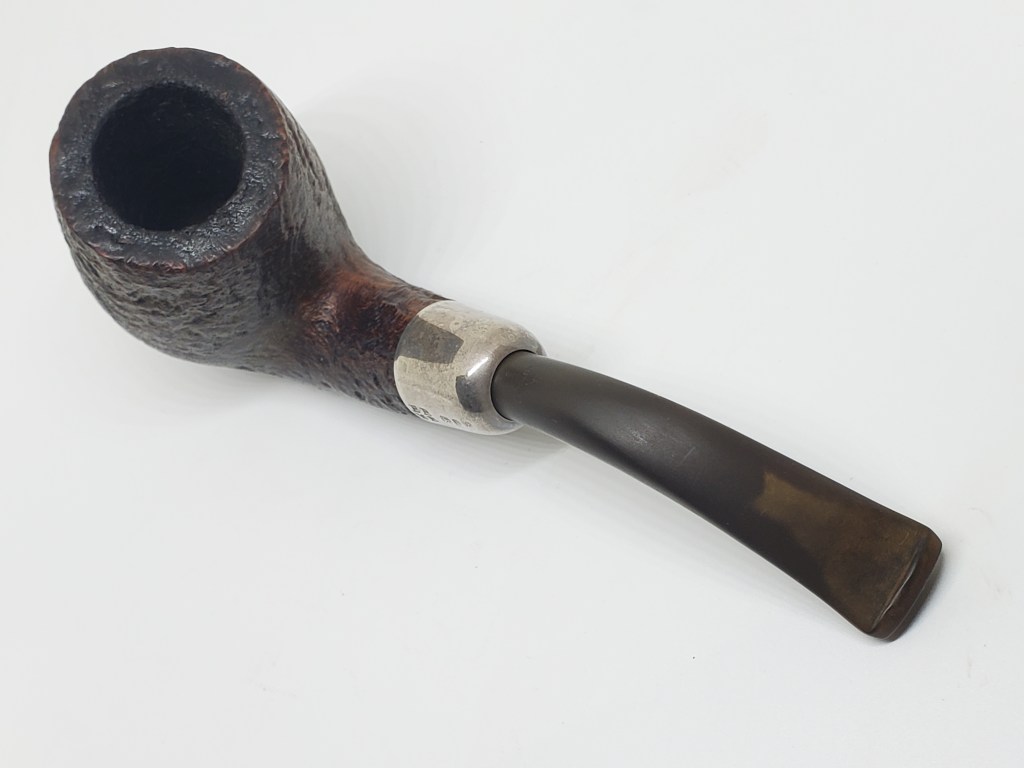
Barlings pipes are not a brand I typically collect, but this bent billiard caught my attention on eBay. It didn’t garner much interest, despite having a hallmarked silver shank cap. I won the auction with a somewhat modest bid. I enjoy small bent billiards and this one is remniscent of the Comoy’s 215 or GBD 9456 shapes.

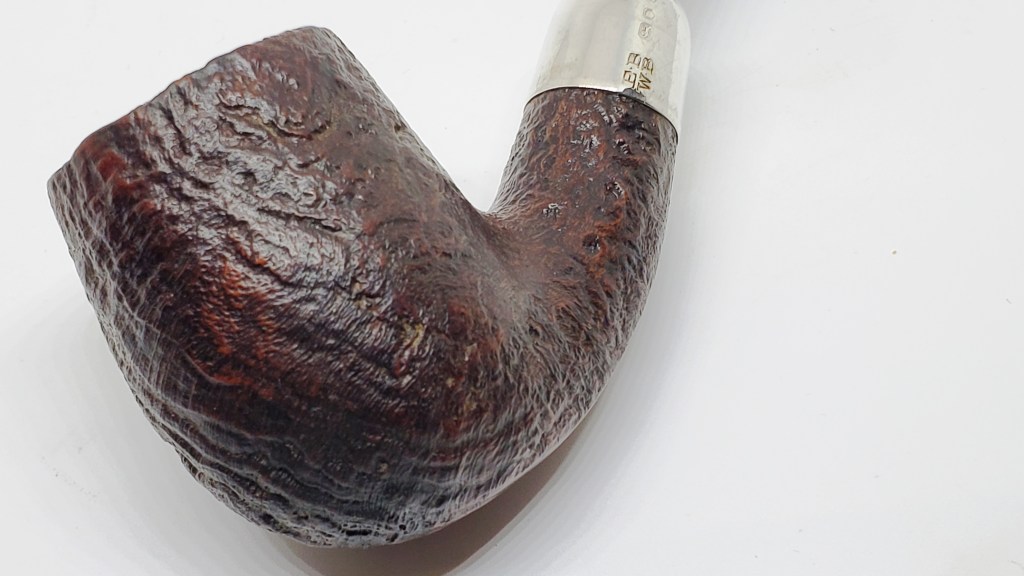
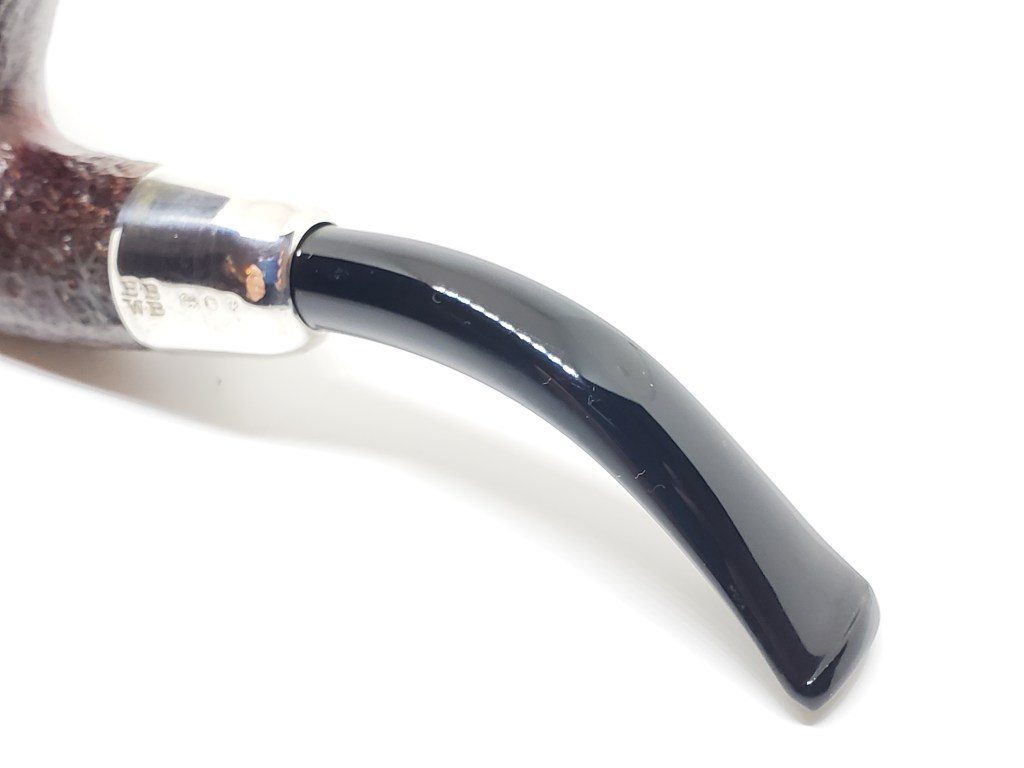
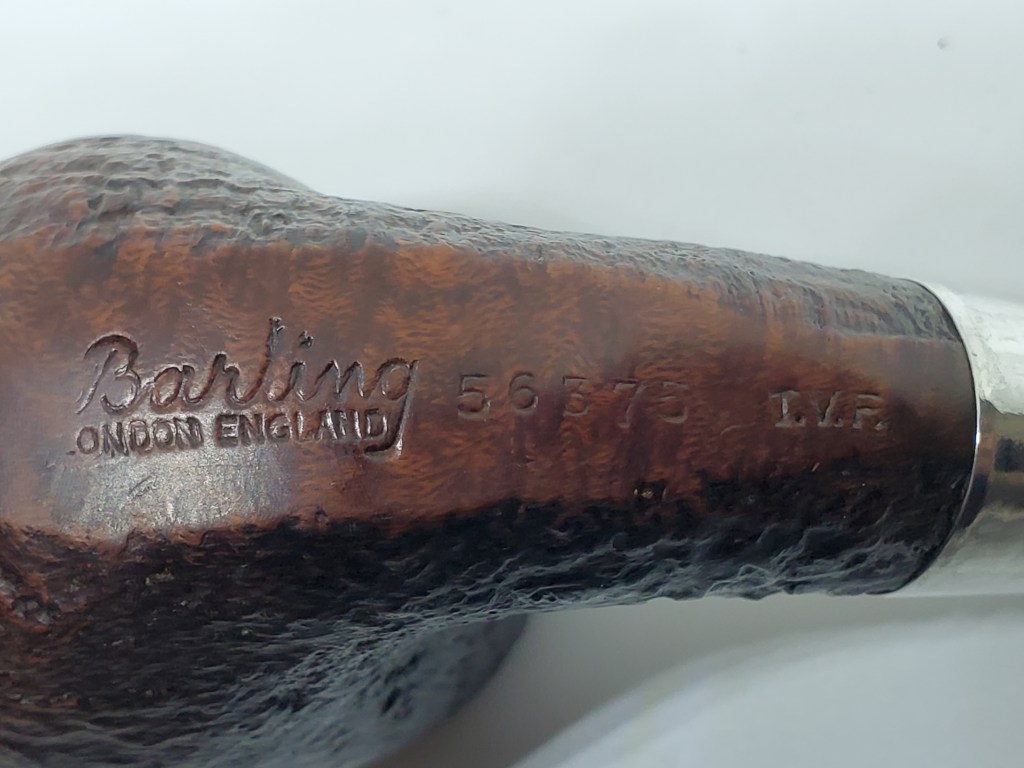
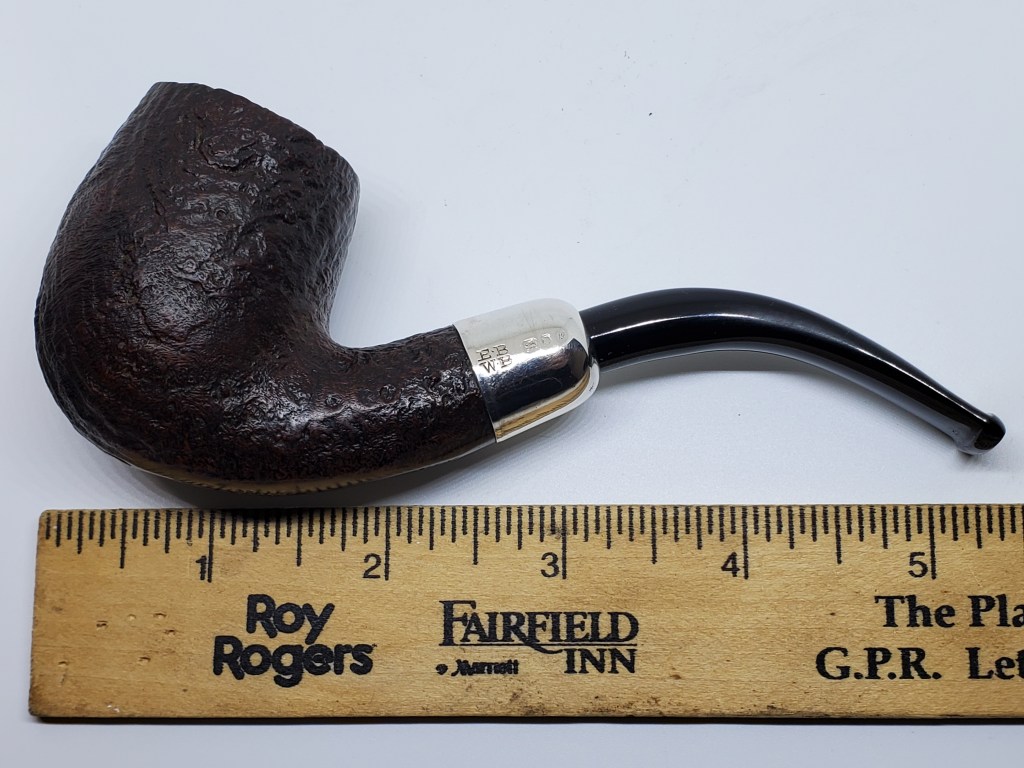
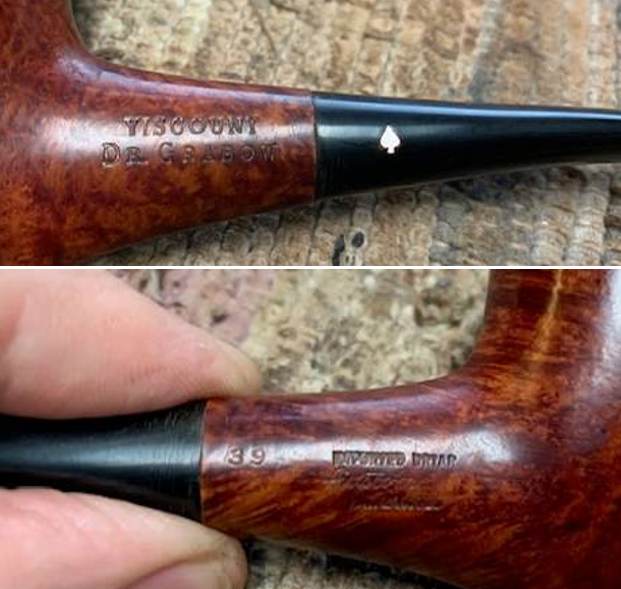
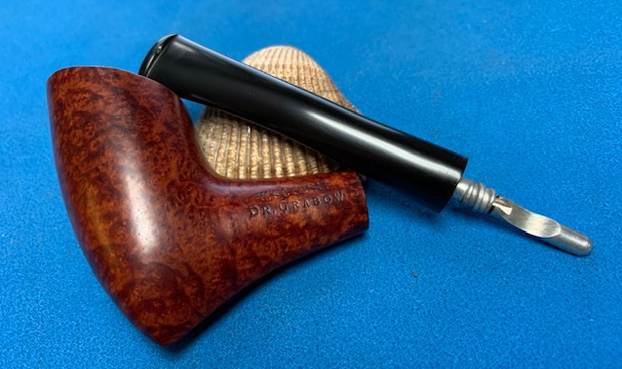
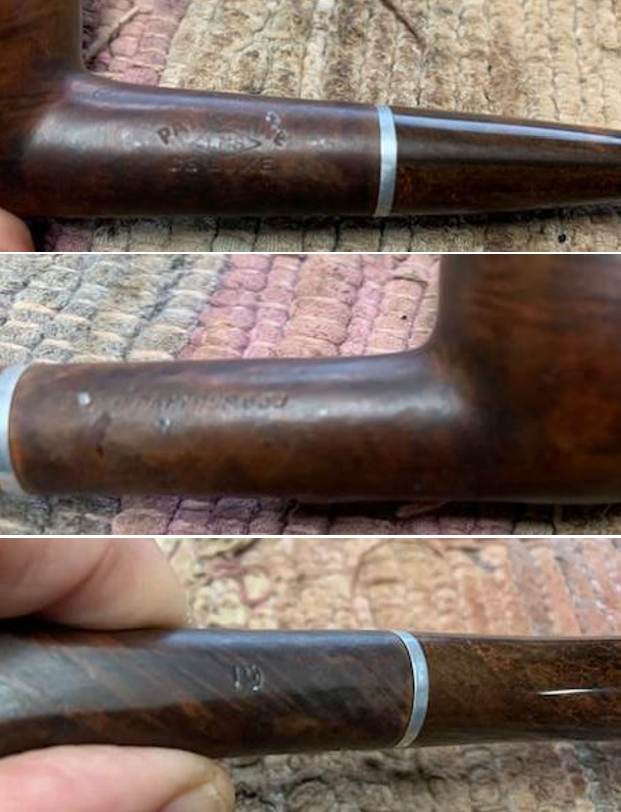
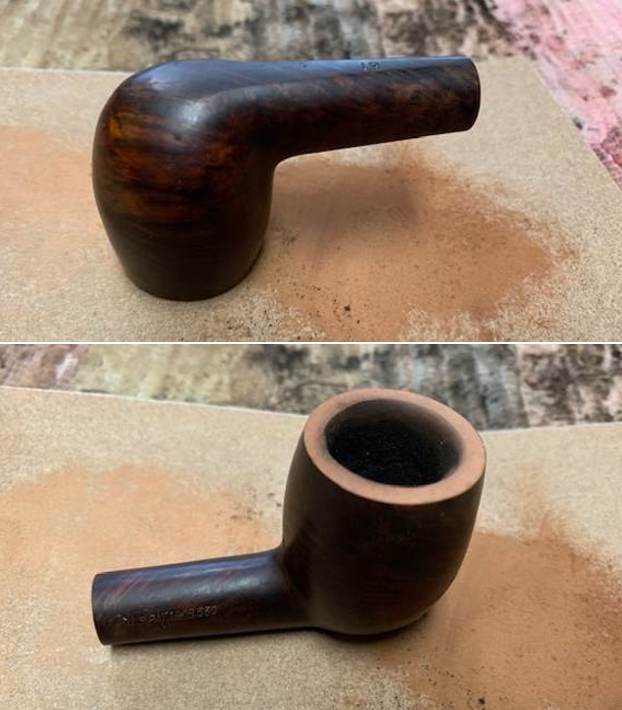
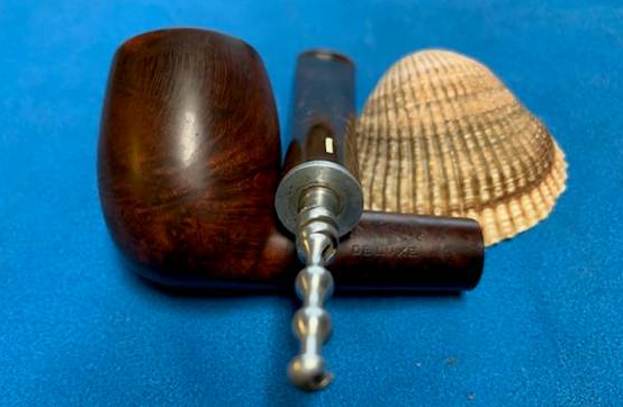
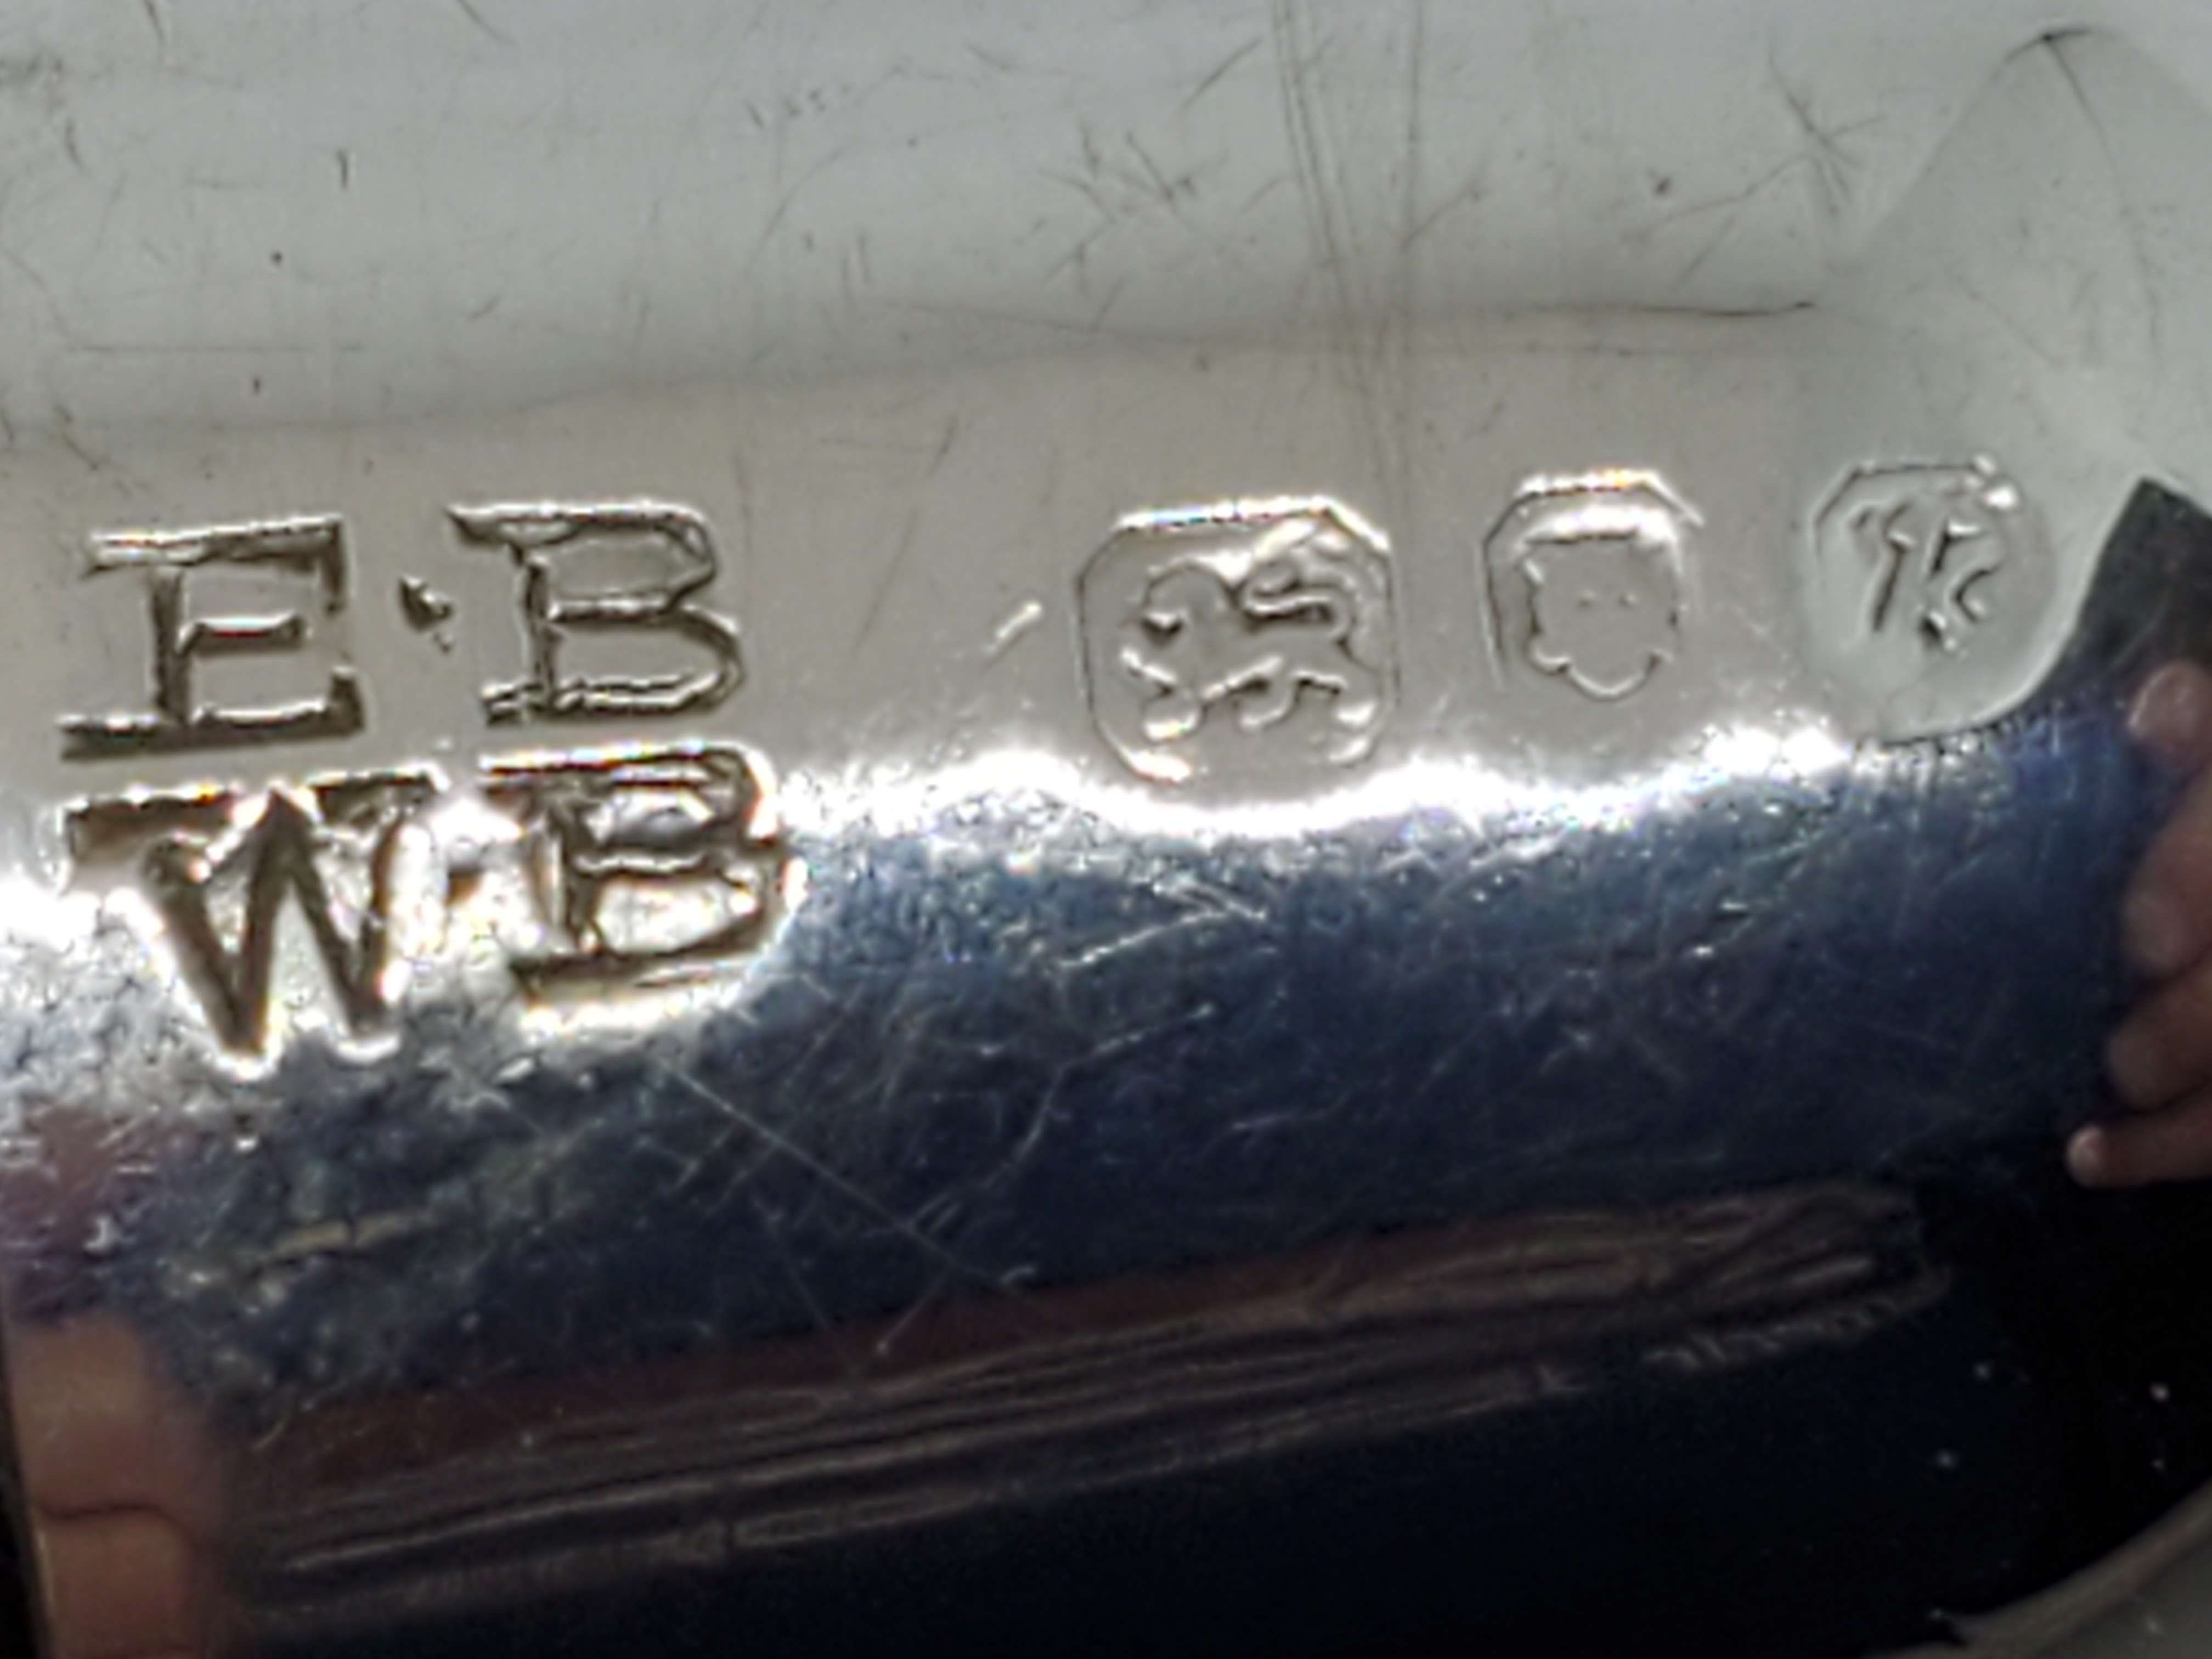
The sellers pictures weren’t very clear, but I could see that the pipe had a five-digit shape number and appeared to just be stamped “Barling”. I thought it was most likely from a latter era of the brand. On delivery, the hallmark was a lower case “k” and my British hallmark charted identified that as from the year 1965. Checking the Pipepdia section for Barlings, I couldn’t find any reference to pipes with a five digit shape code. I posted some pictures of the pipe on the PipesMagazine, and several members commented. One mentioned that Army-mount hallmarked pipes seem to use five digit shape codes. I used some silver cream on the silver cap.

Jesse Silver, one of the co-authors of the updated Pipedia article on Barlings also commented. He tells me that my 1965 pipe would be from the Corporate era (or post Transition).

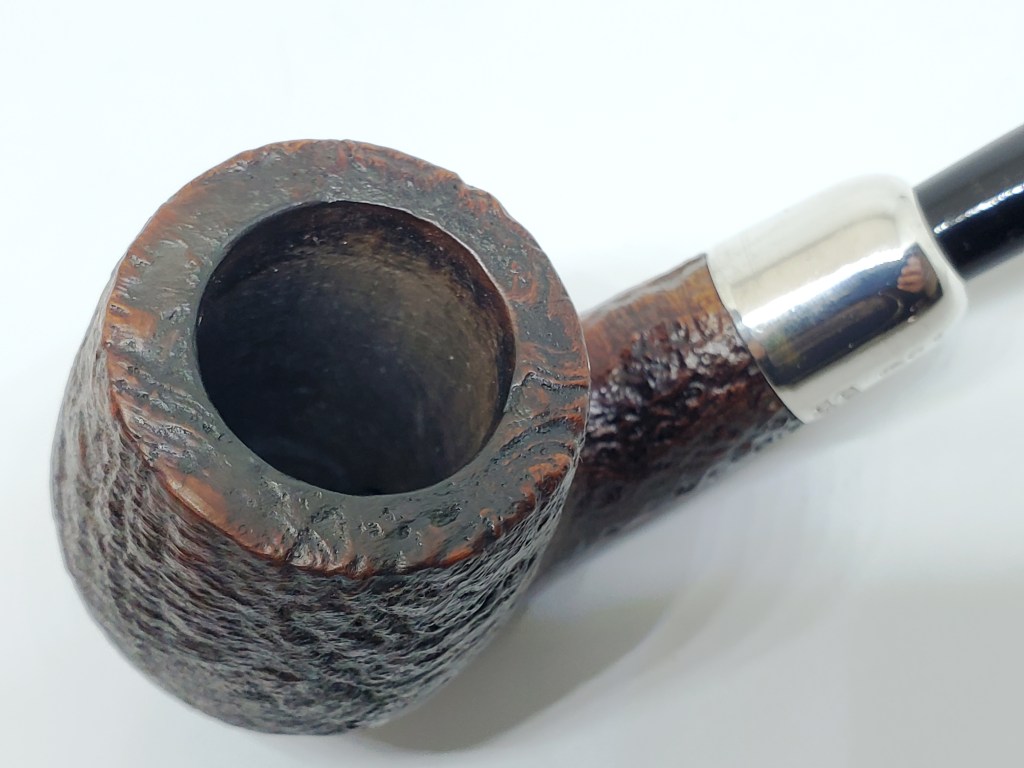
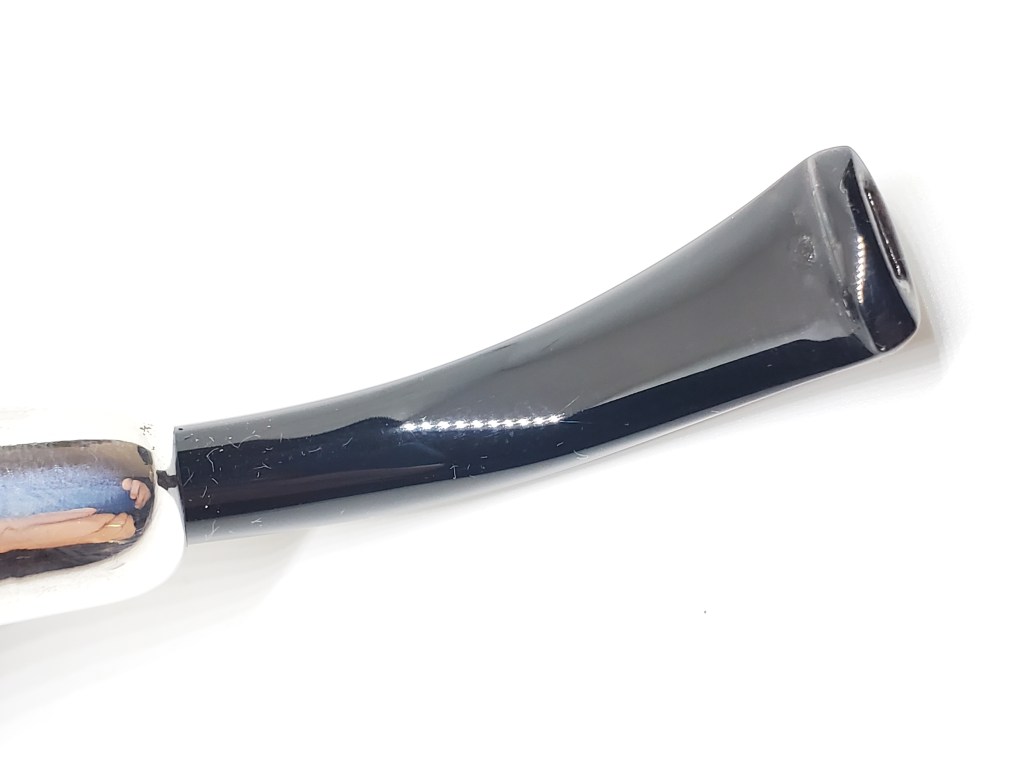
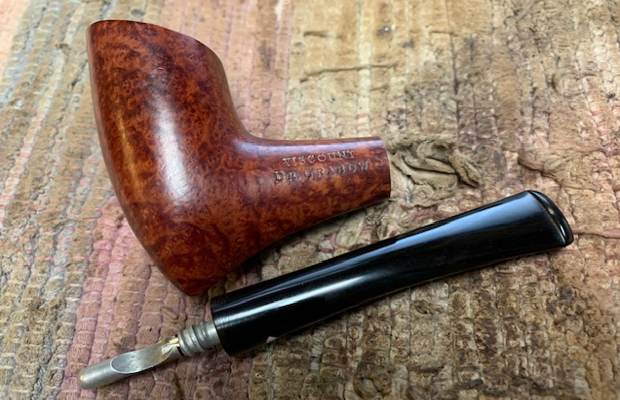
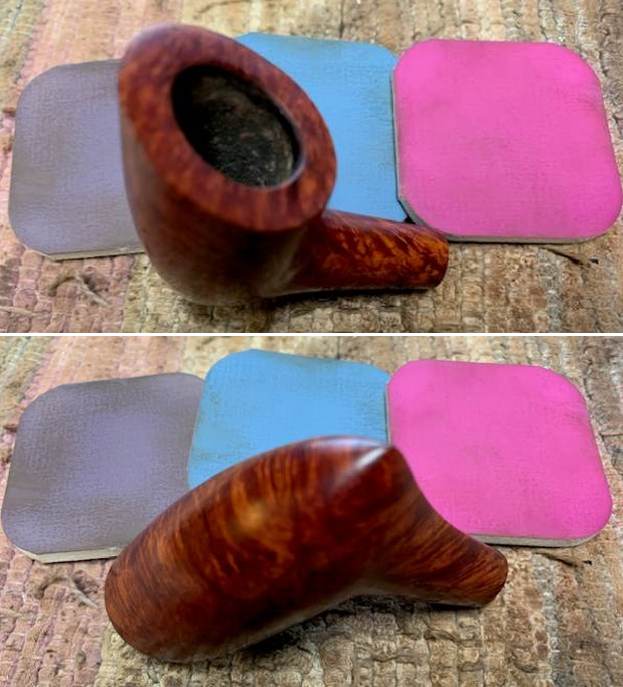
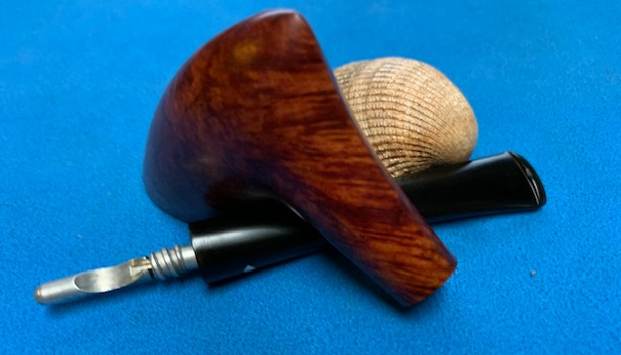
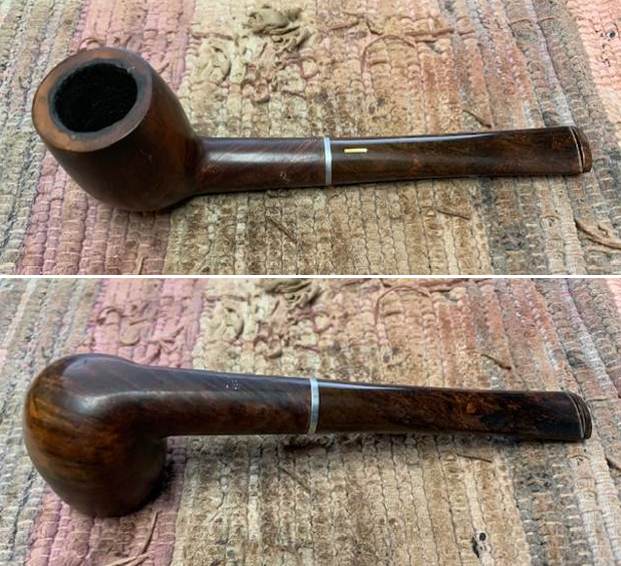
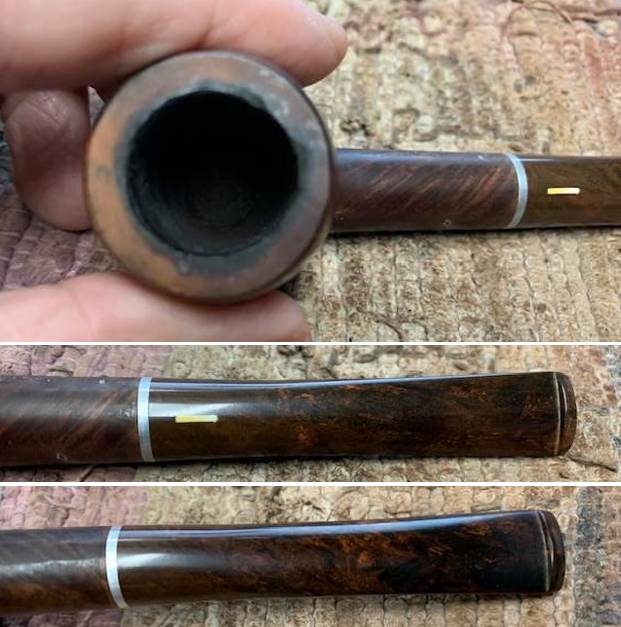
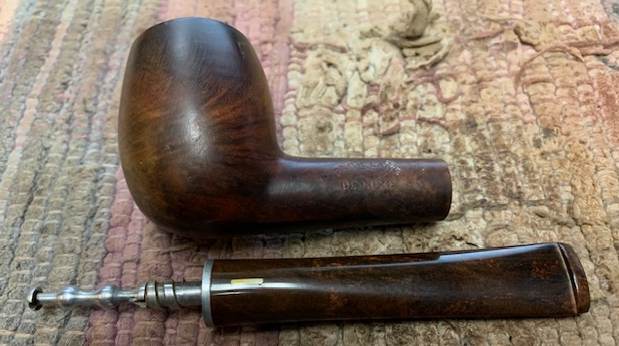
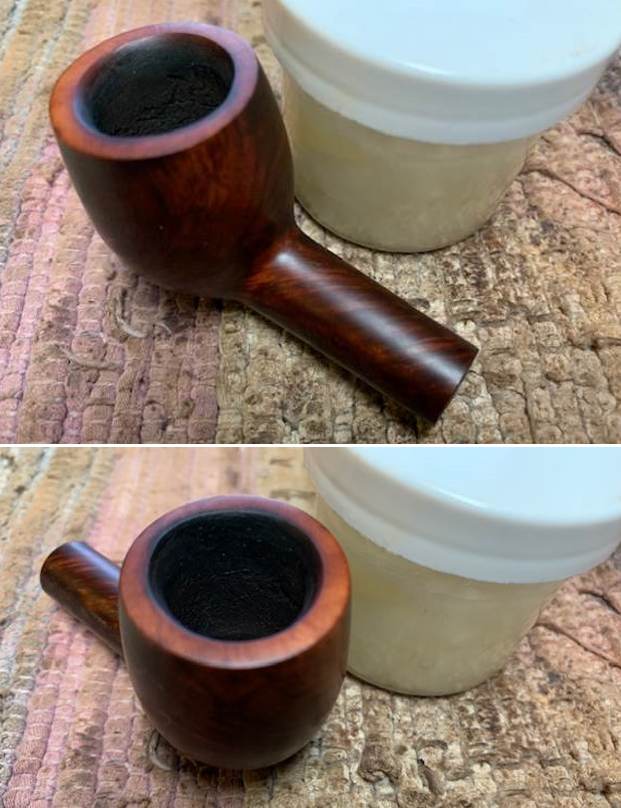
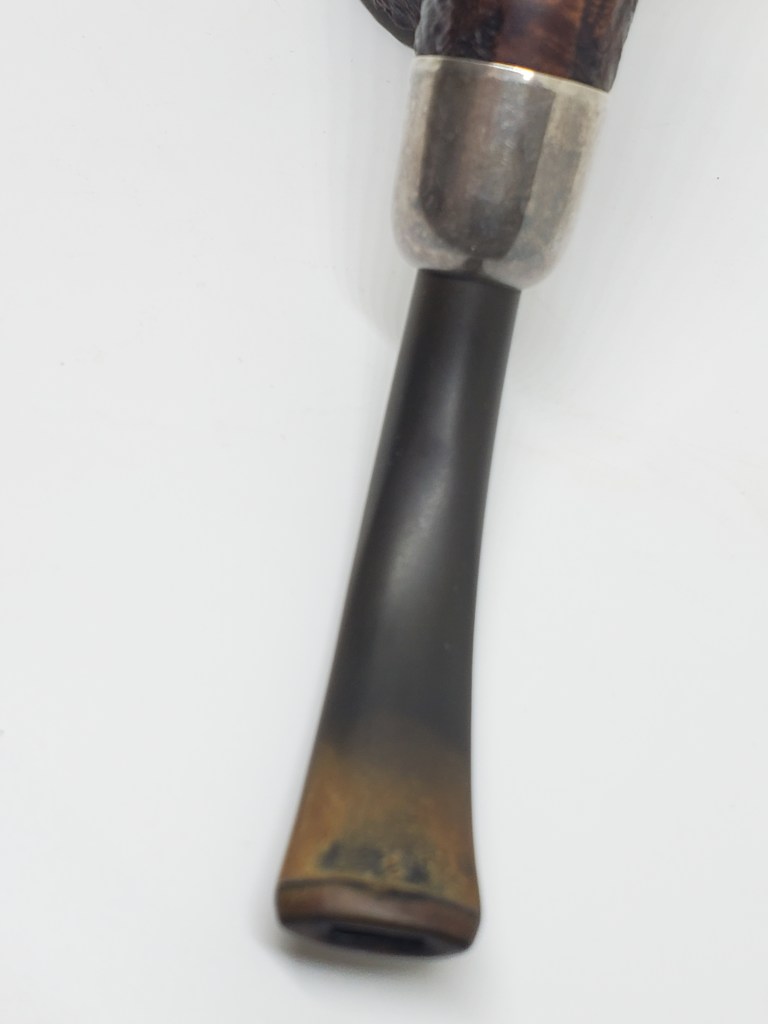
The pipe had a sizeable cake and heavily oxidized stem. There was one small tooth indention on the bottom of the stem.

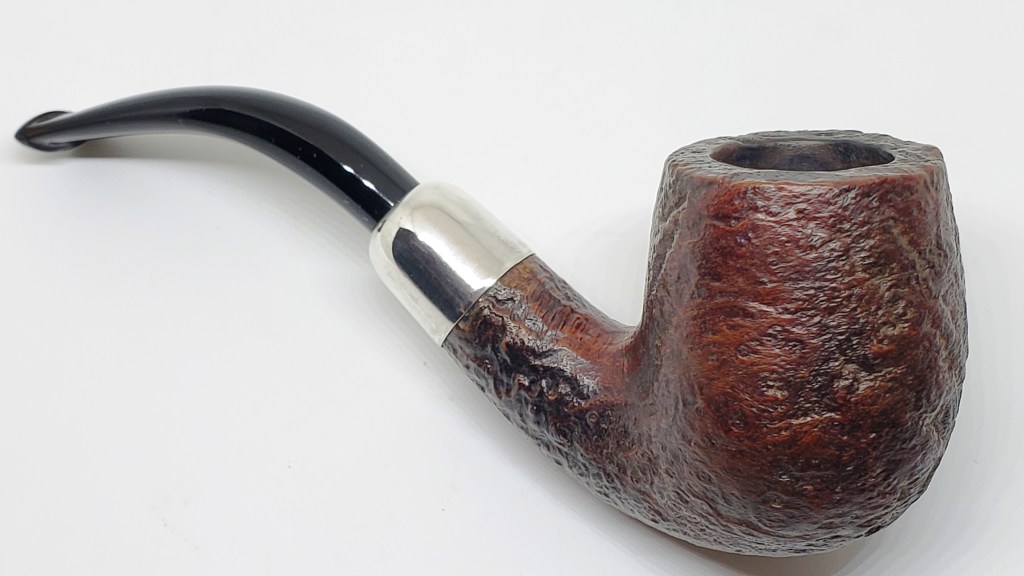
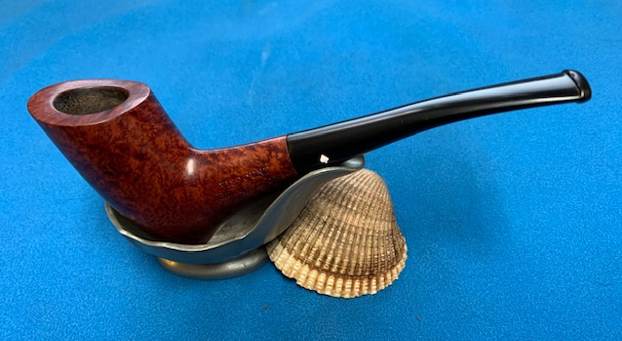
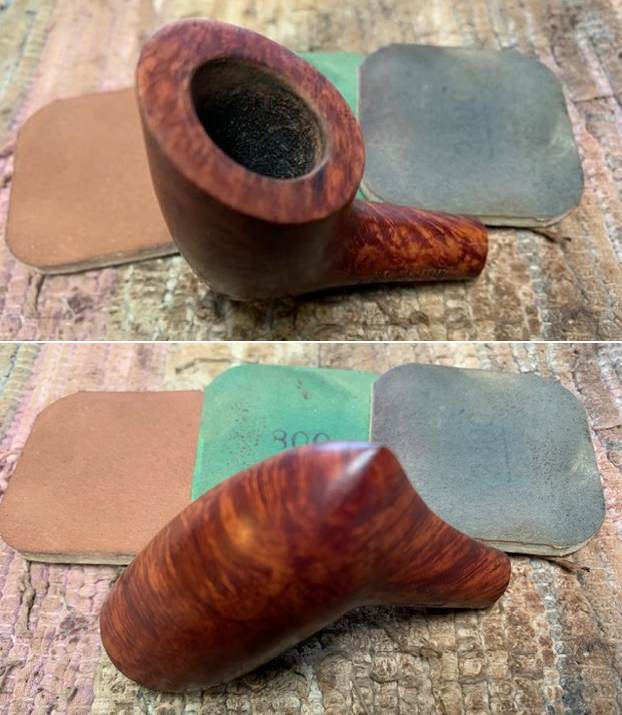
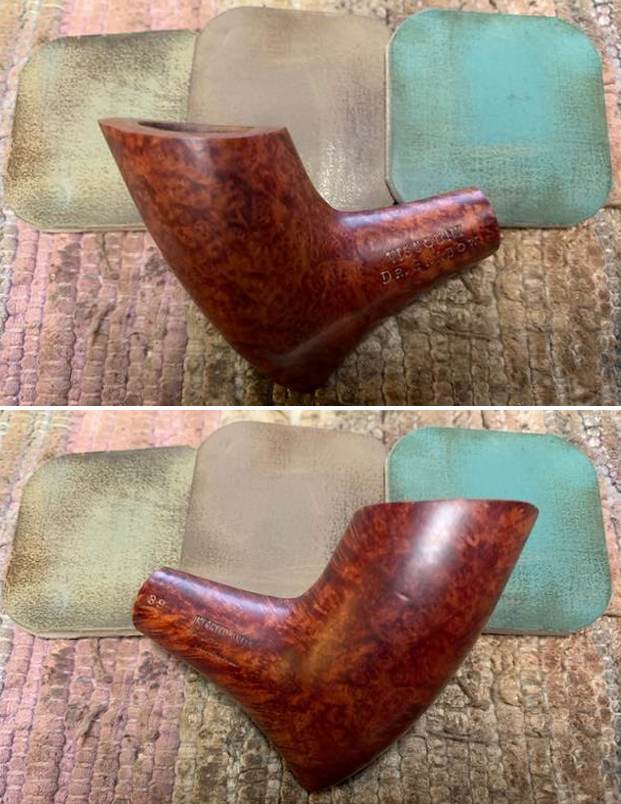
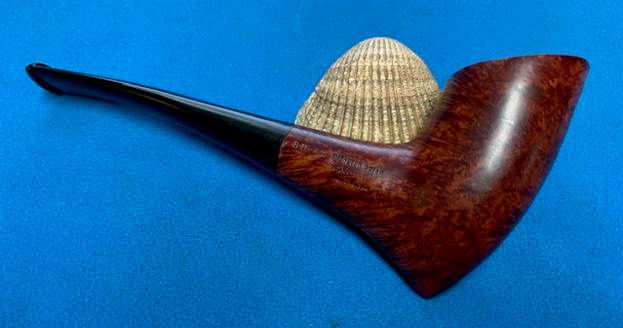
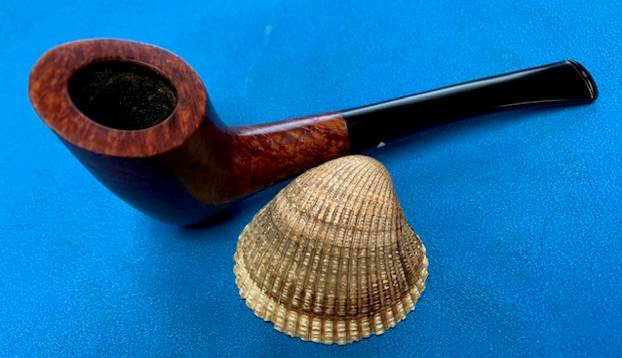
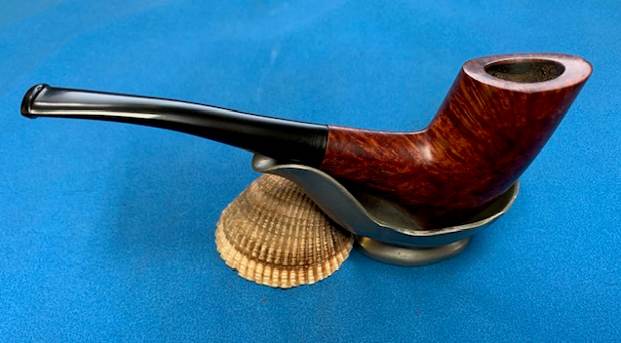
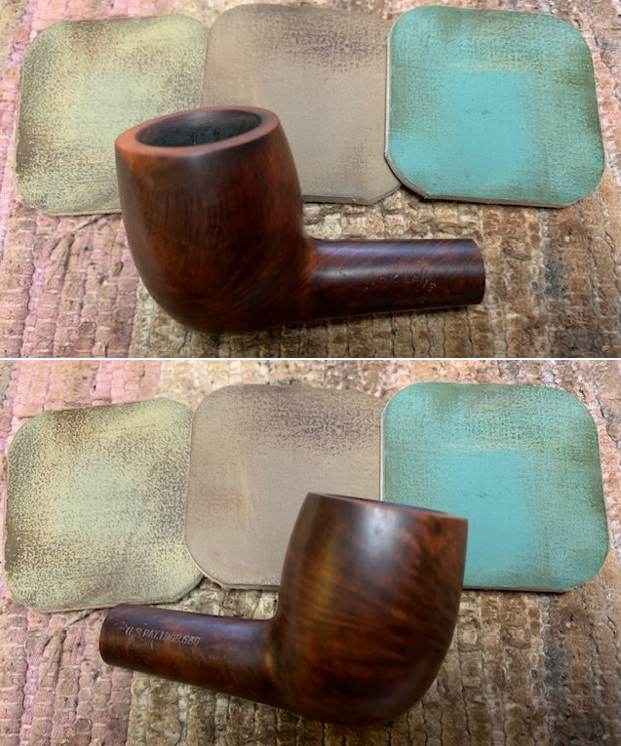
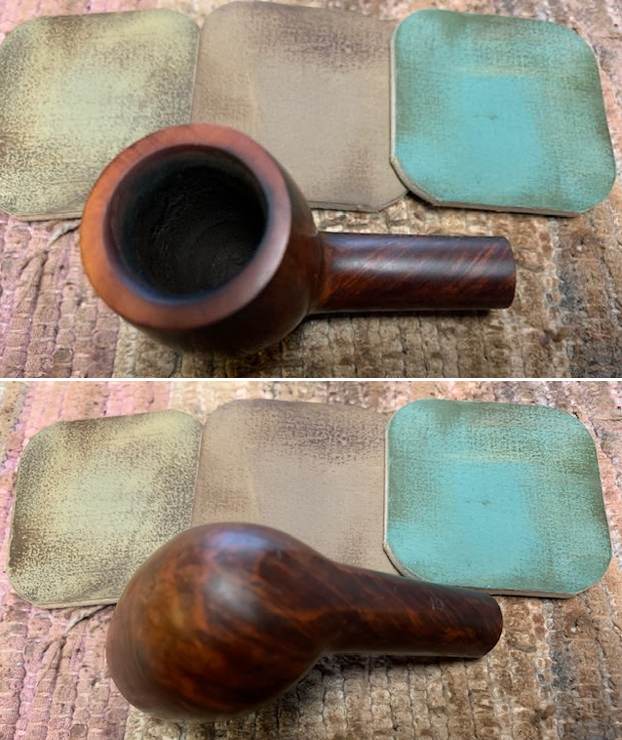
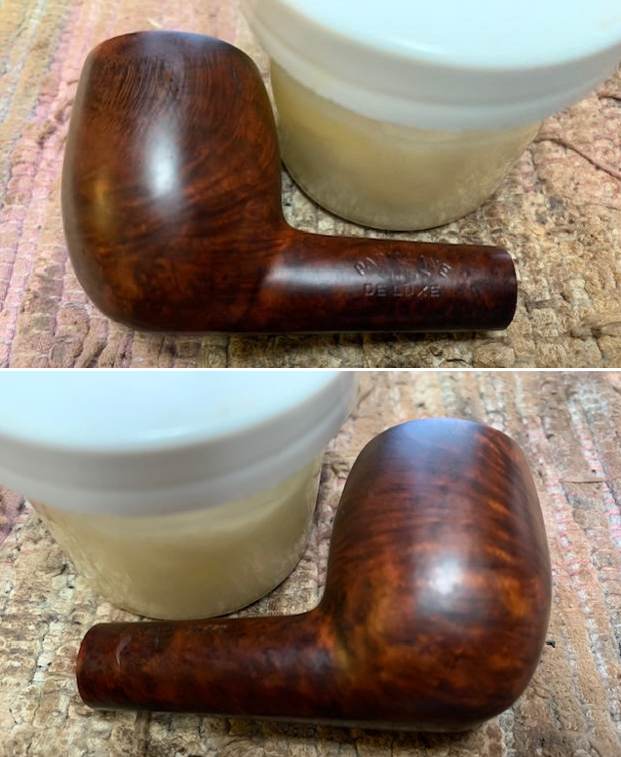
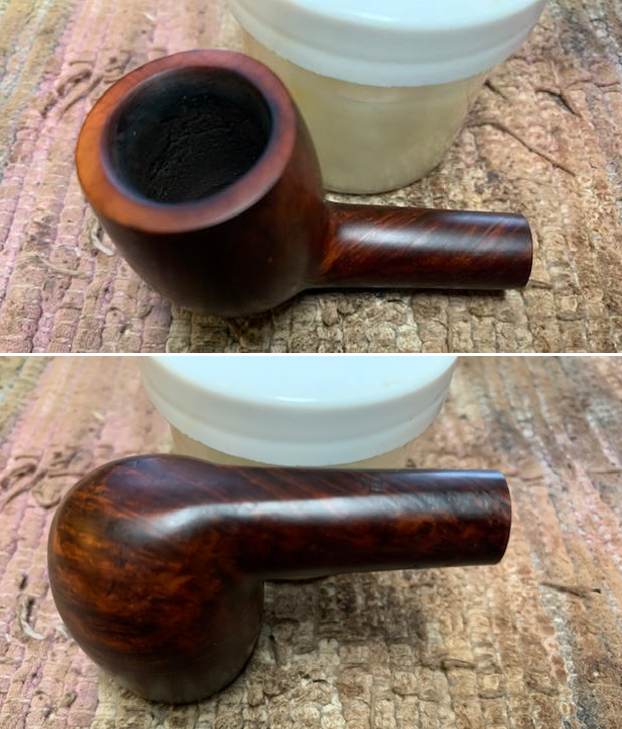
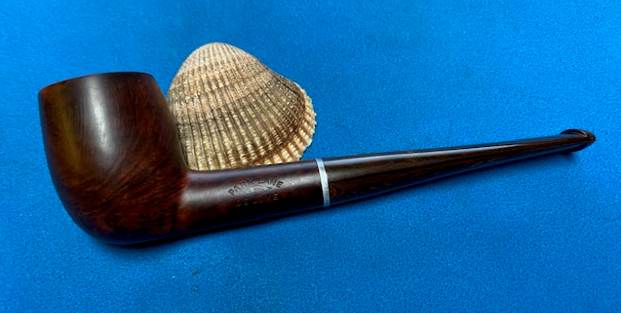
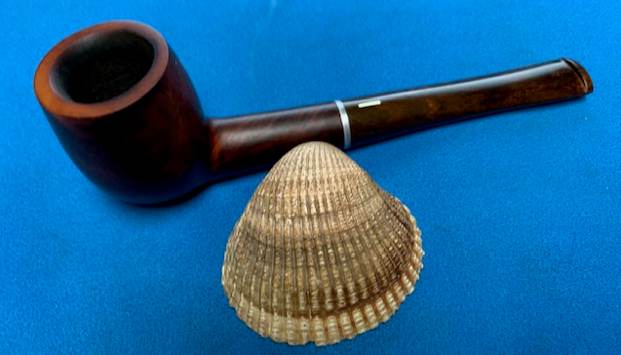
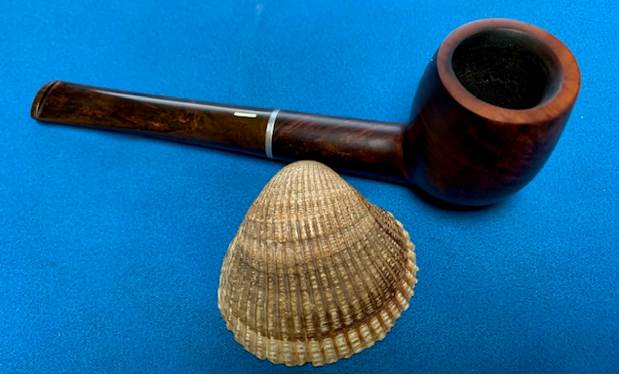
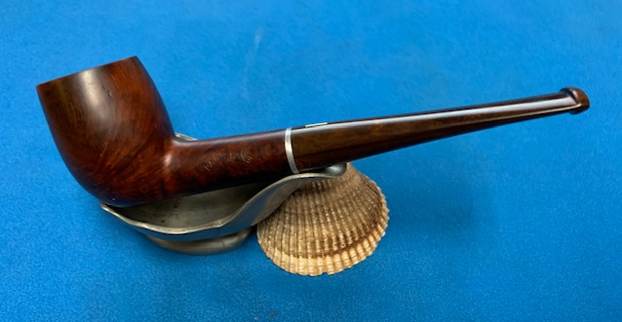
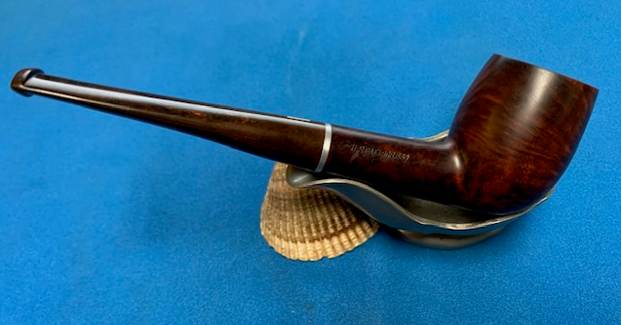
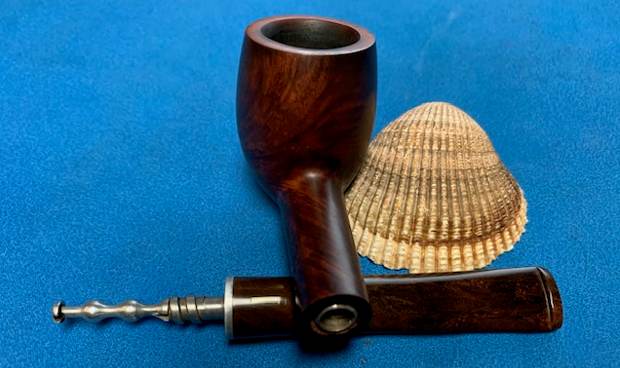
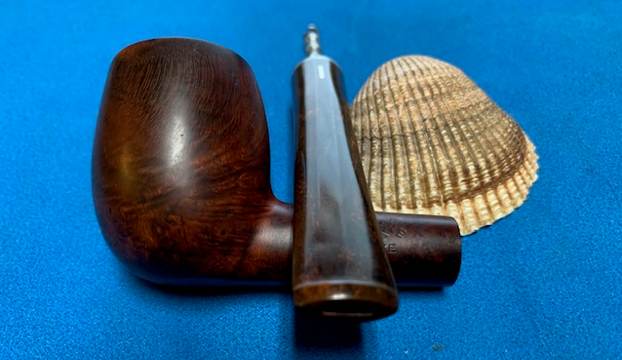
Below is the pipe as it was received.

The stem still showed the Barling cross stem logo

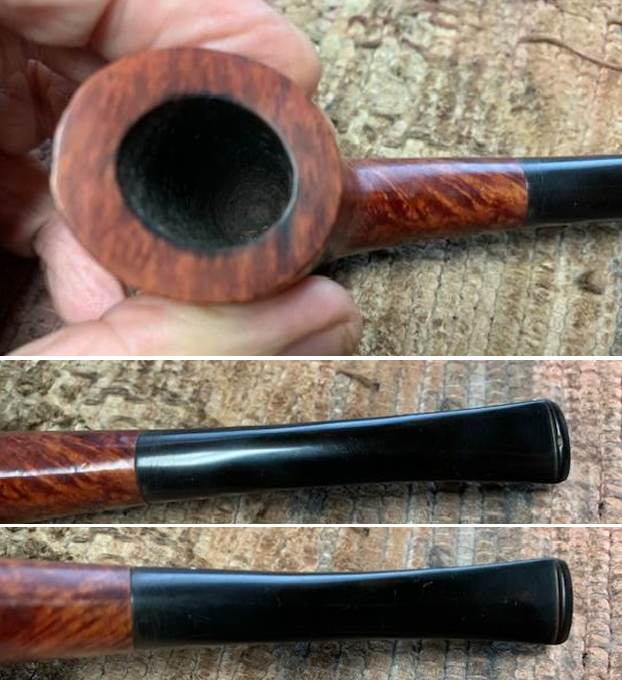
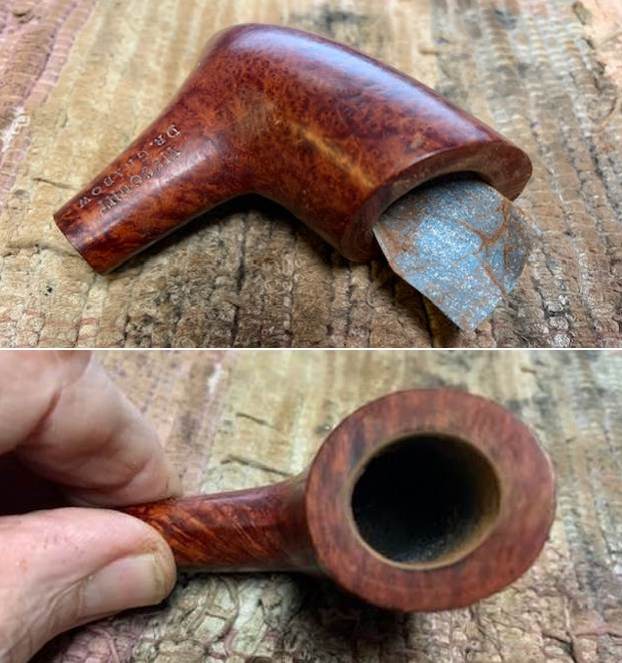
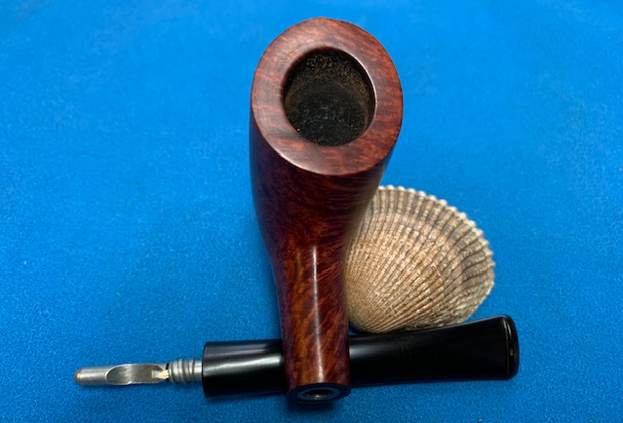
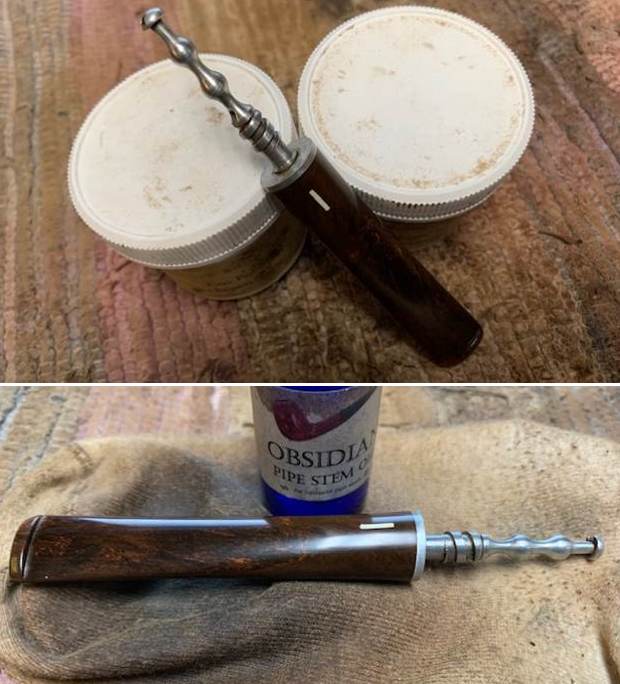
I reamed the cake and found the bowl interior to be in excellent condition. The pipe was soaked with sea salt and alcohol The shank, typically an area that needs a good scrubbing with a bristle brush was very clean. I used a small drop of black superglue on the tooth indention.

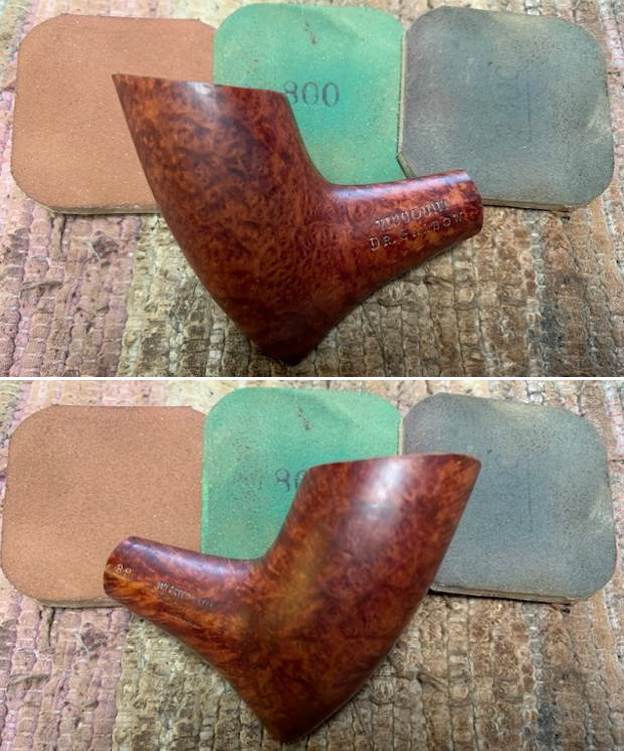
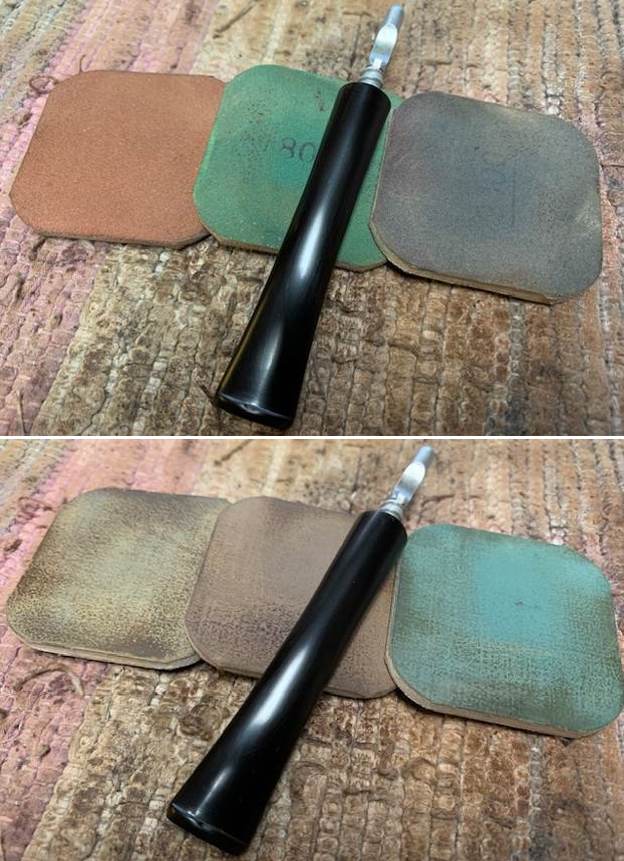
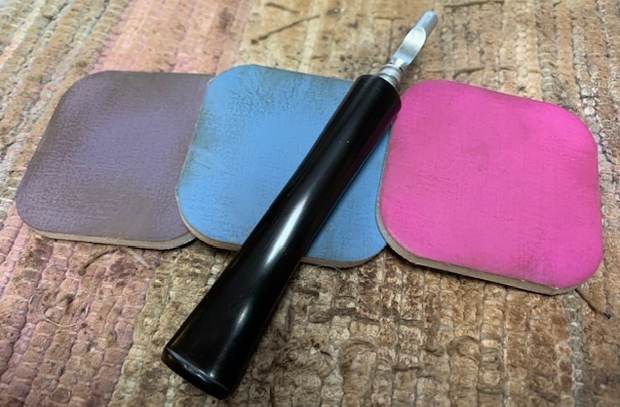
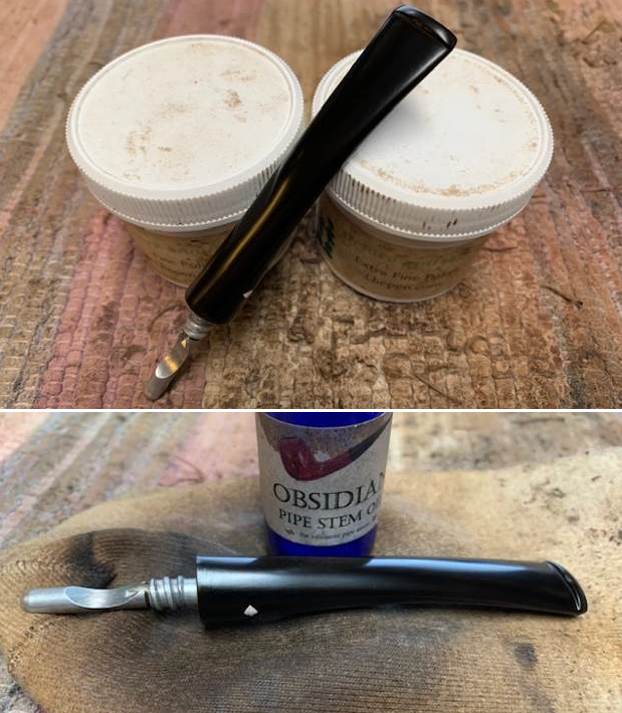
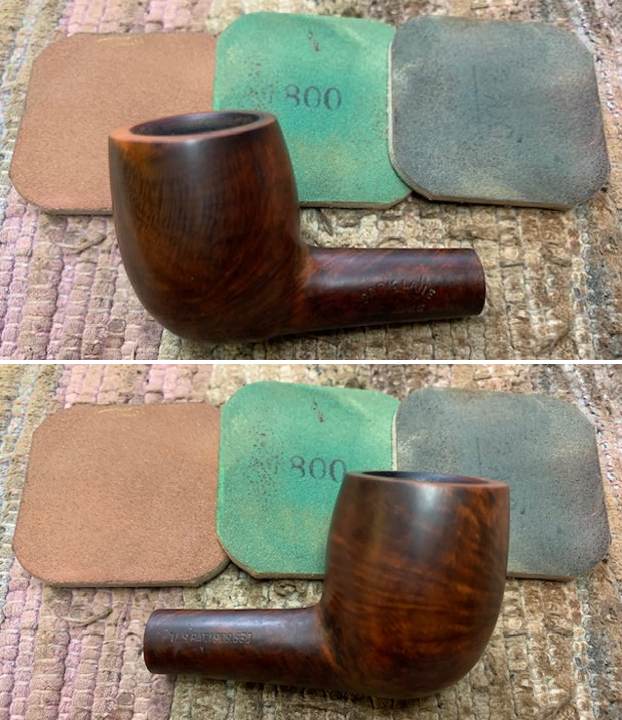
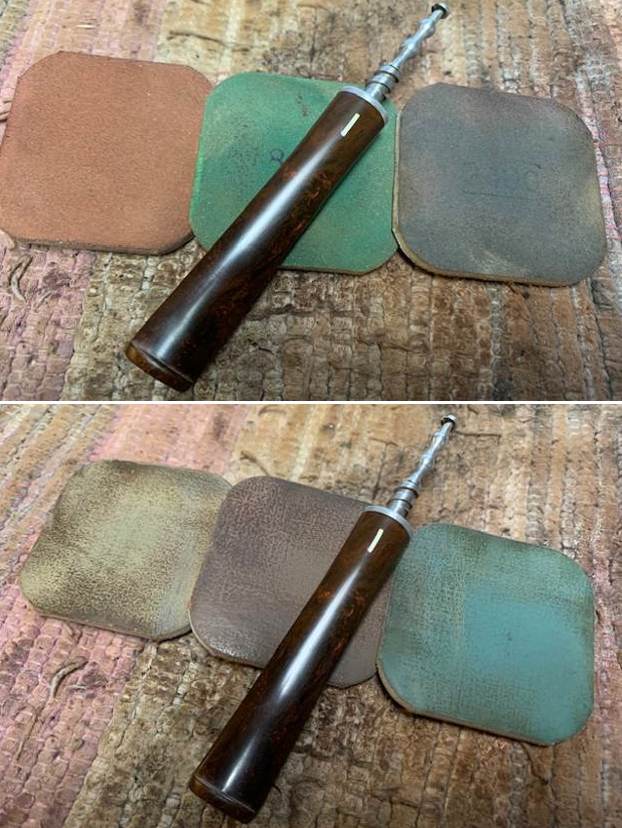
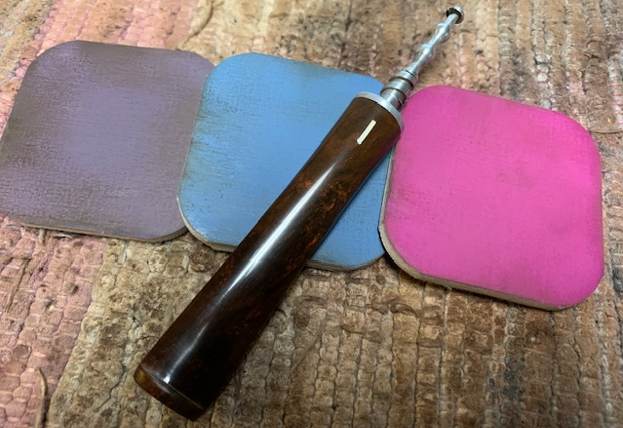
The oxidation was removed with 600,800,1500 and 2000 grit wet paper. I decided not to attempt to save the stem logo. I didn’t feel that I could get all of the oxidation off. The stem was then buffed with White Diamond and Meguiars Plastic Polish.

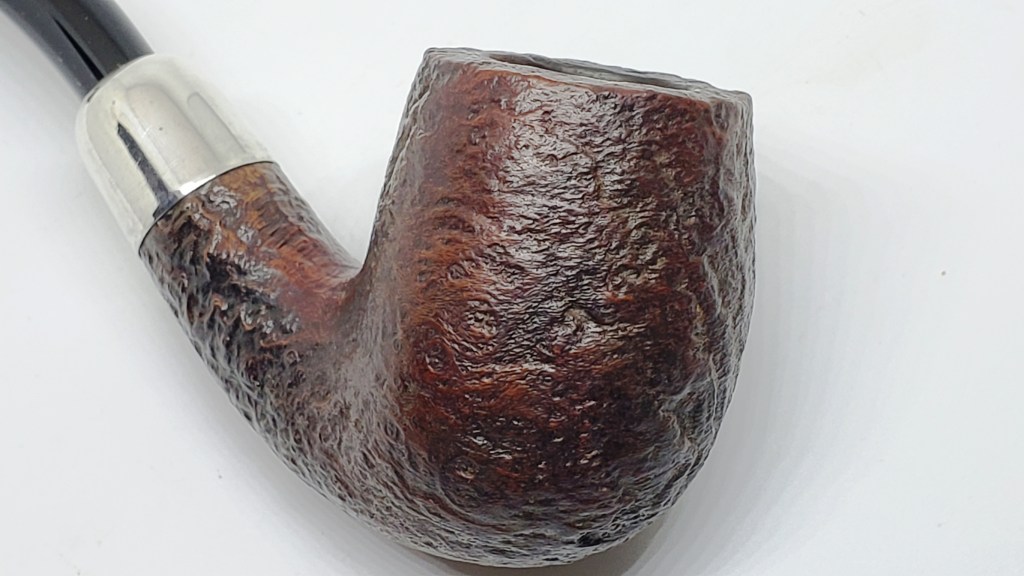
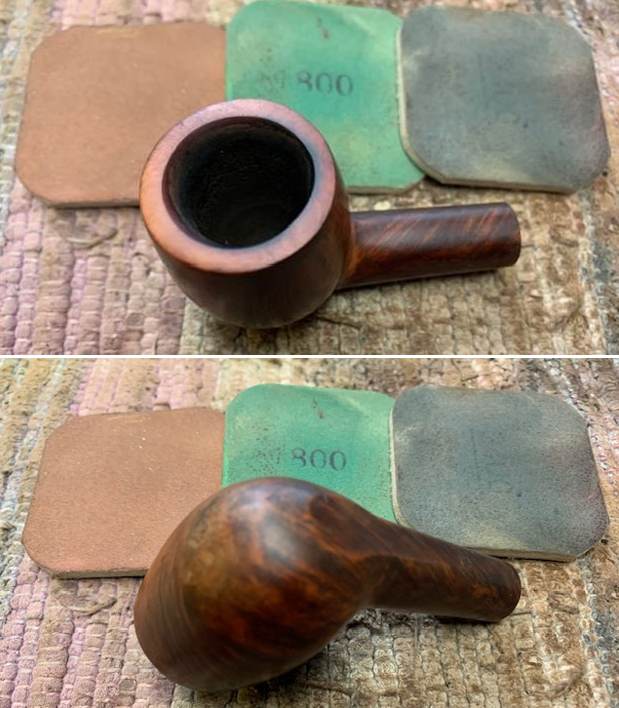
I used a worn piece of Scotch-Brite to remove of of the build-up and darkening on the rim. The briar was then polished with Halycon pipe wax.

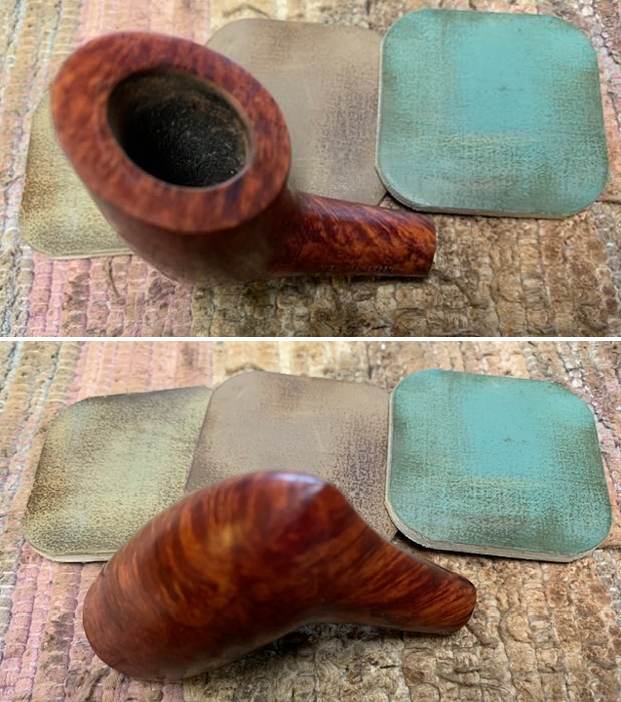
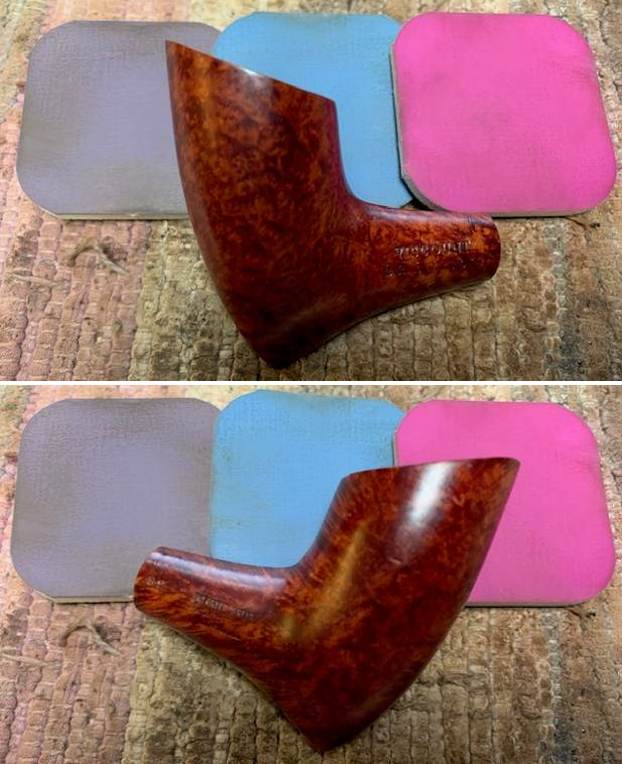
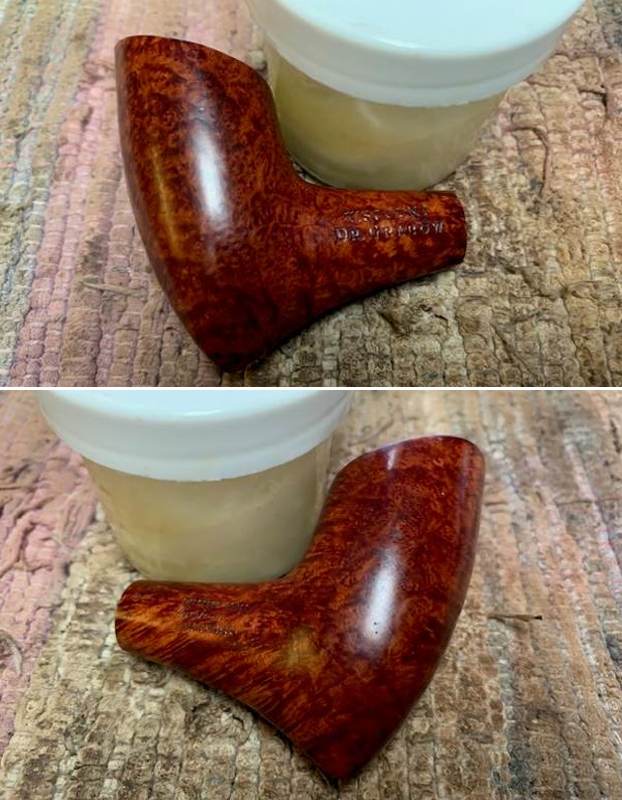
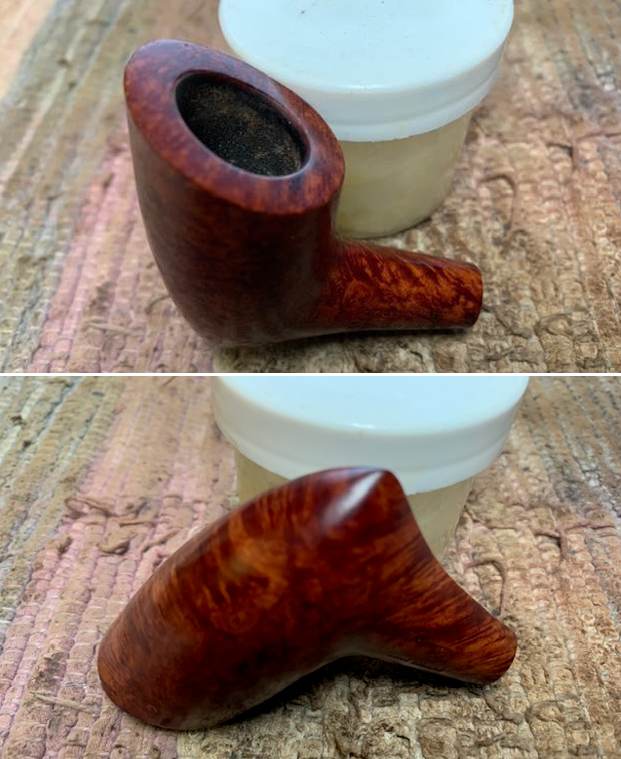
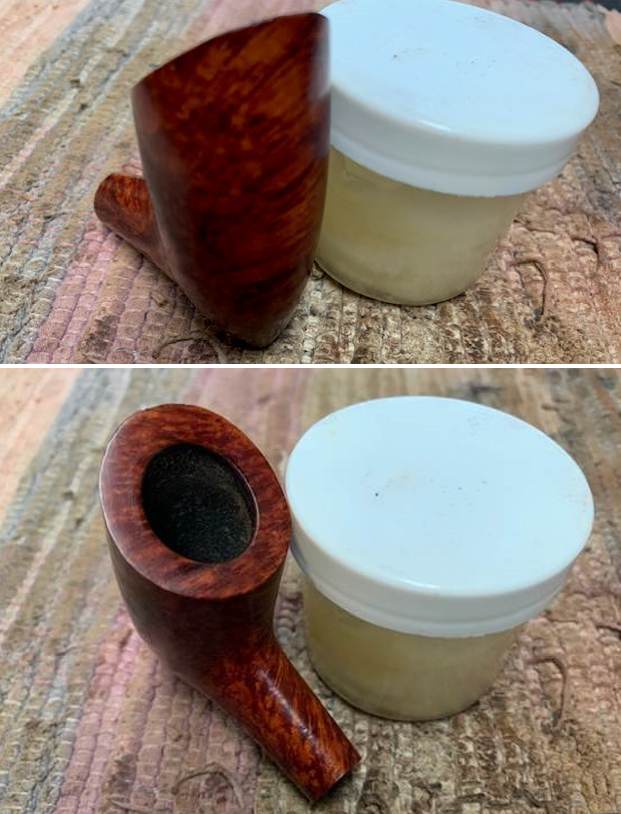
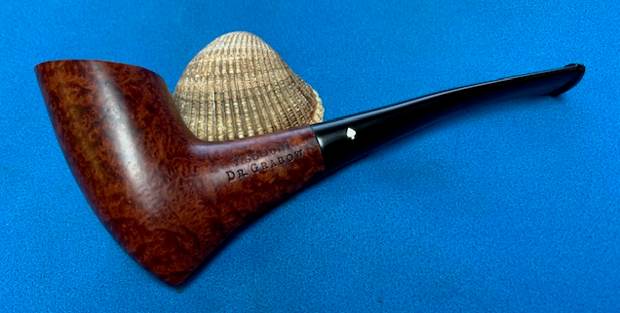
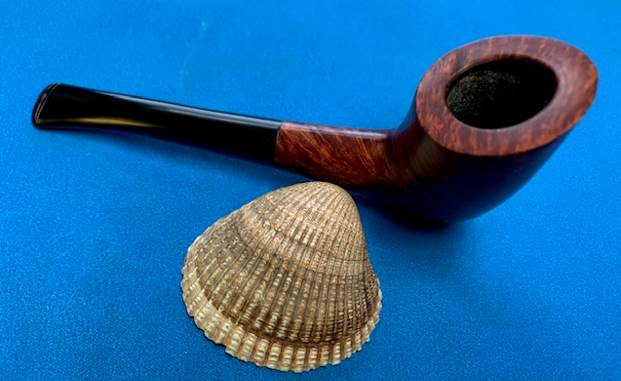
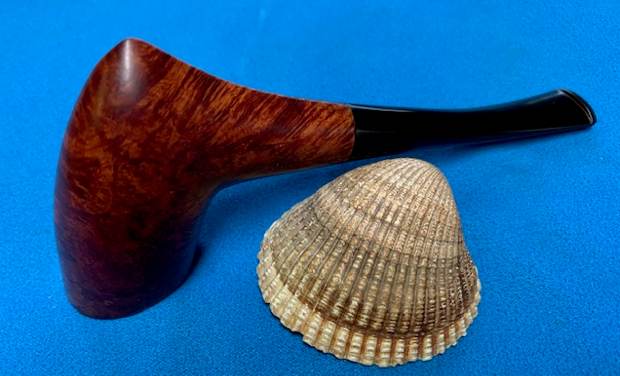
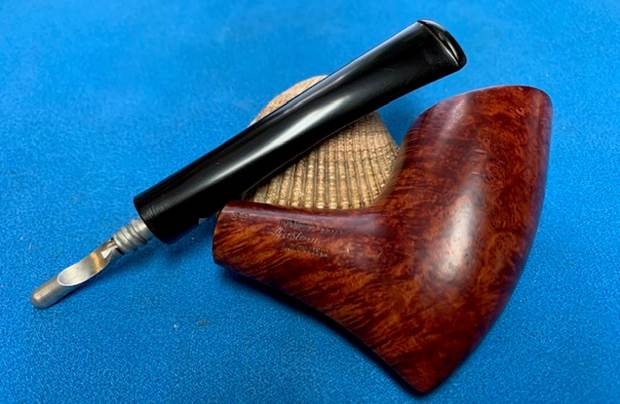
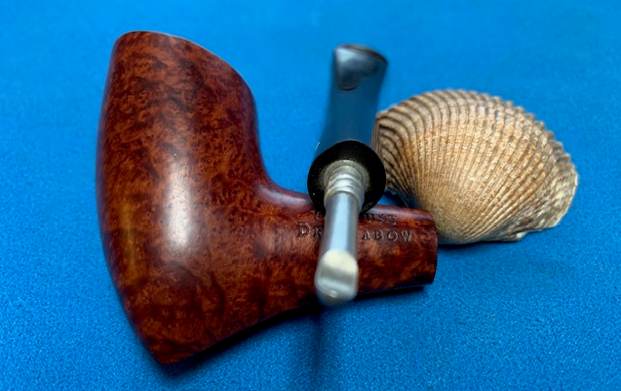
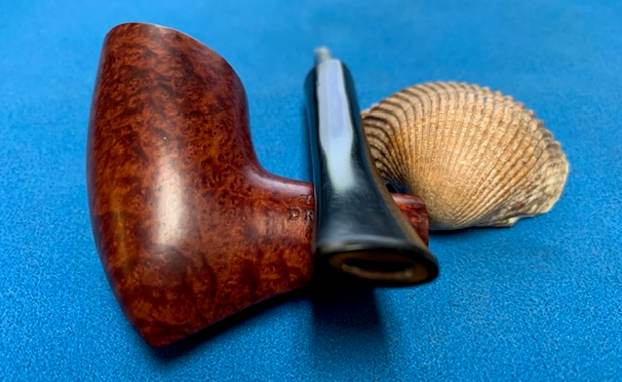
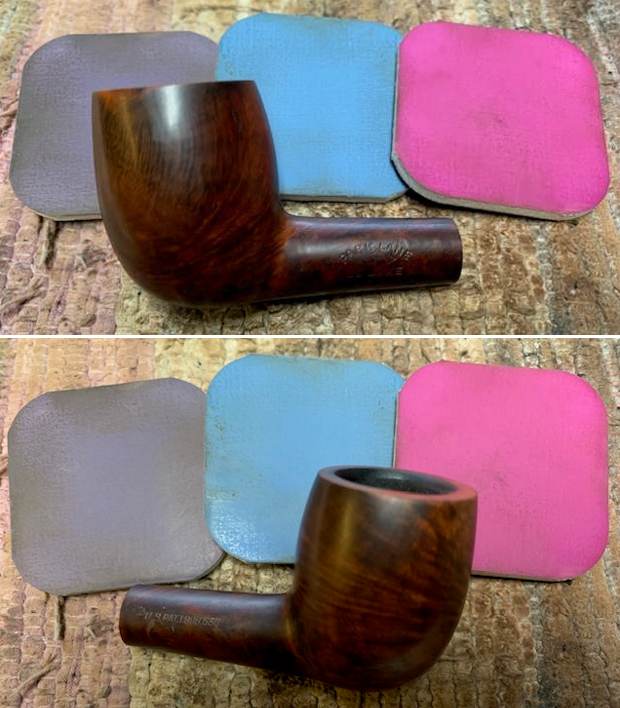
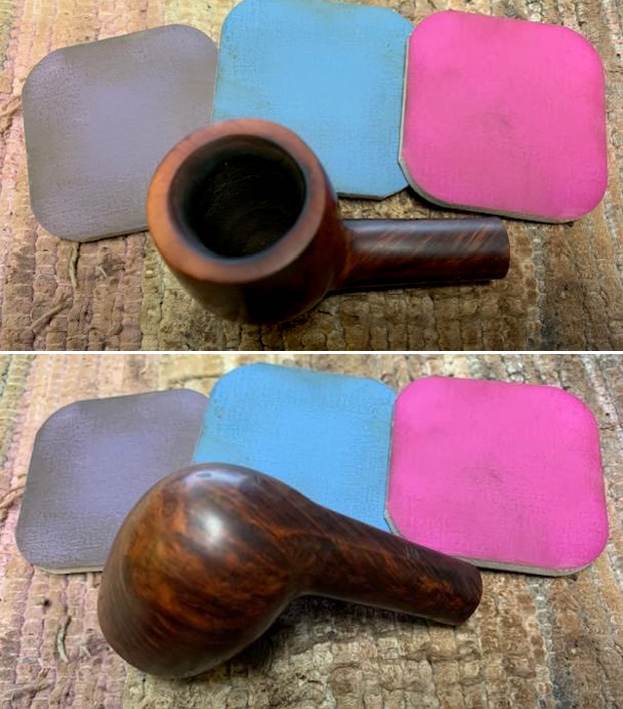
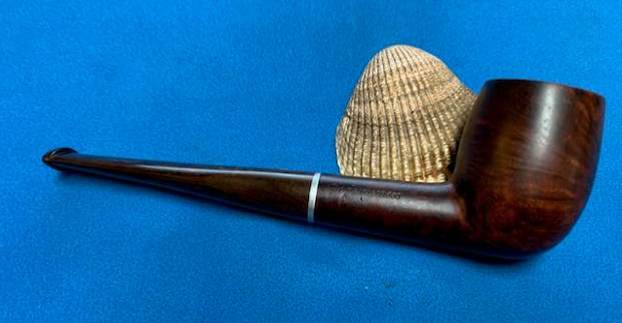
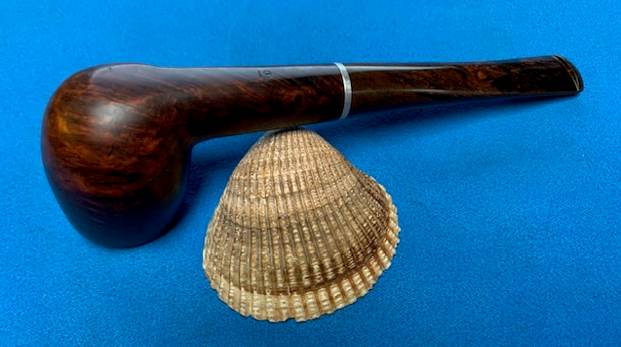
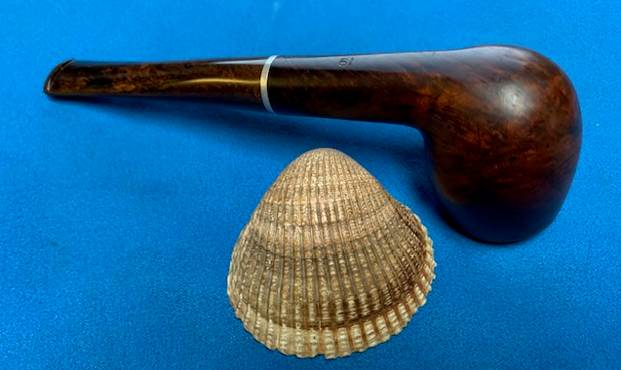
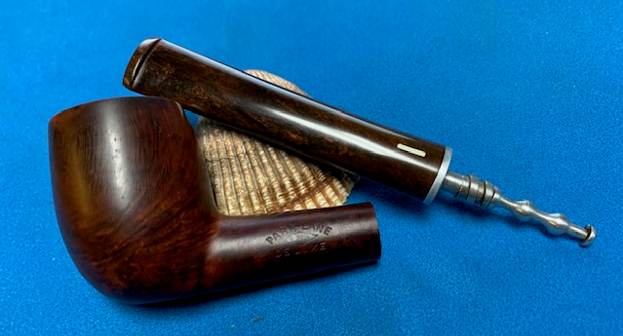
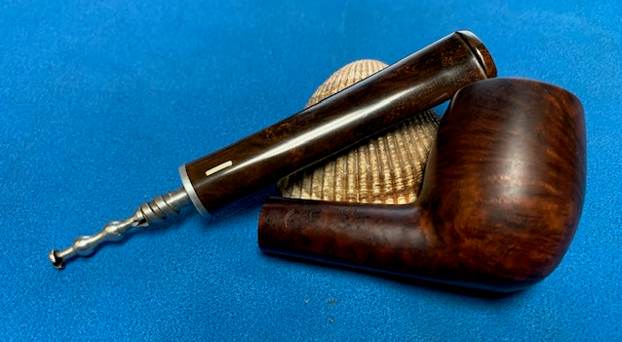
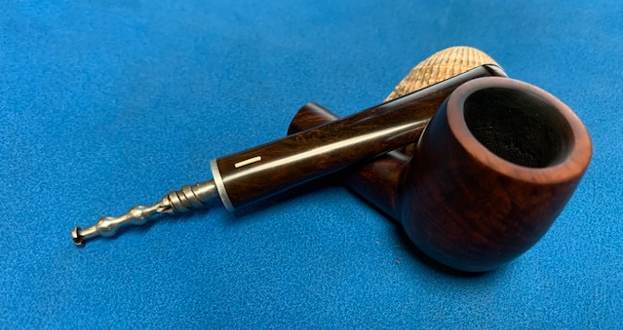
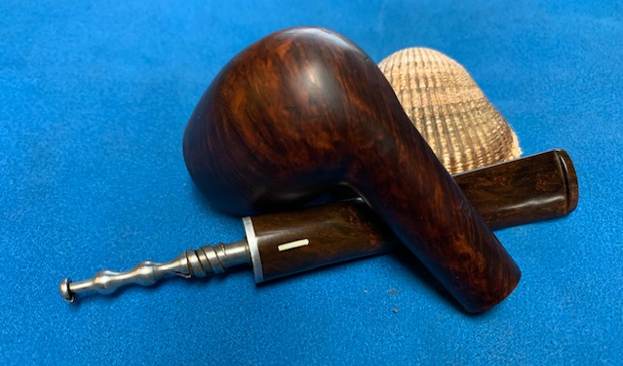
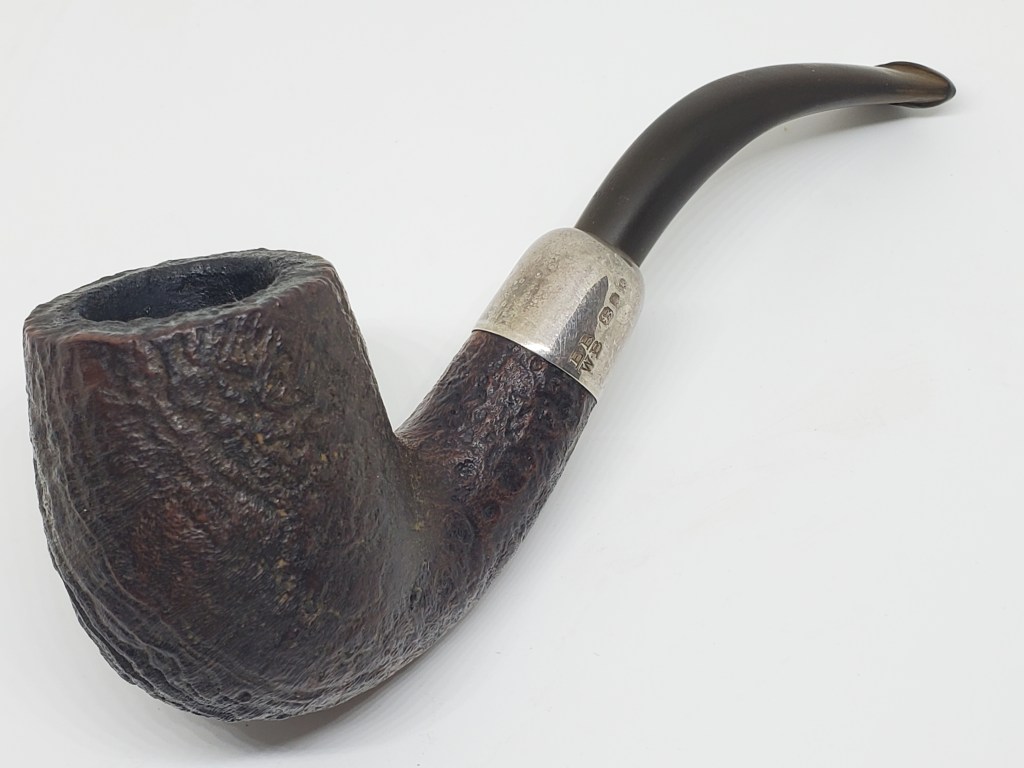
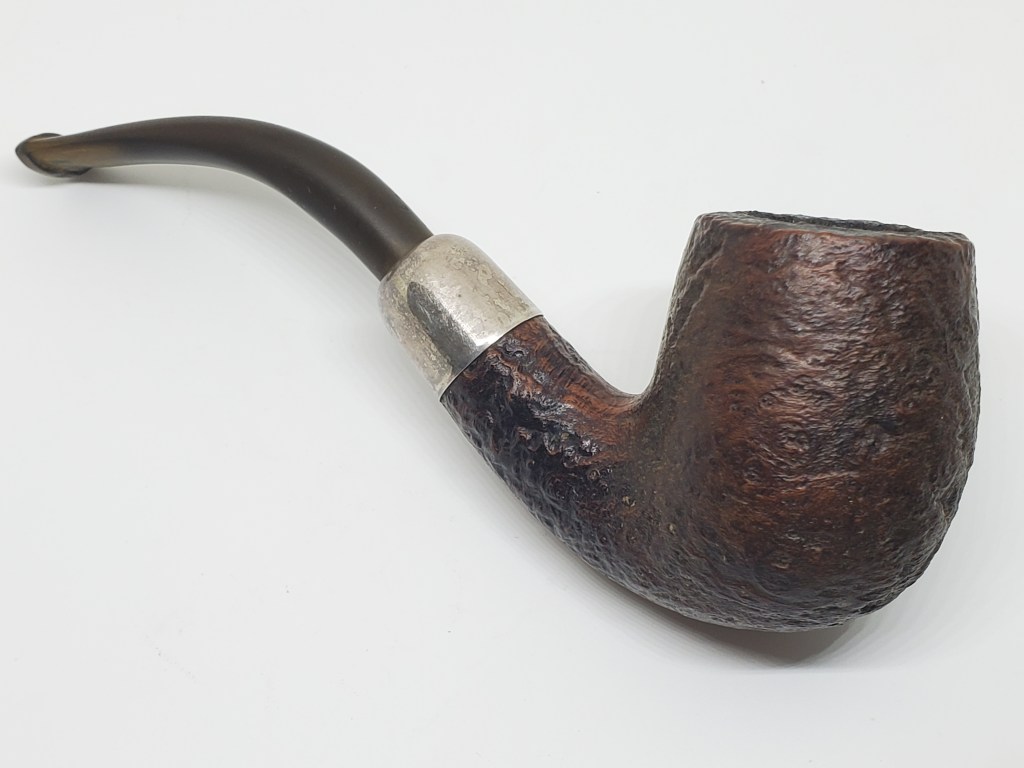
Below is the finished pipe.

Moving another one of my own – a Dr. Grabow Viscount 39 Pickaxe


Blog by Steve Laug

This is another pipe that I have taken out of my personal collection as I just do not use enough to warrant keeping it. This pipe was one that I purchased long ago but have no memory where it came from. I don’t think I ever smoked it to be honest. It is a pipe I should have smoked as it is attractive enough but did not. It is time to move it on to someone who will enjoy it. The airway in the shank and the mortise are very clean. The smooth finish and rim top were in good condition but it is dull and lifeless looking. The inner edge of the rim is in good condition. The stamping on the pipe on the left side of the shank reads Viscount [over] Dr. Grabow. On the right side it is stamped with the shape number 39 next to the shank. That is followed by Imported Briar [over] Adjustomatic [over] Pat.2461905. The finish is a medium brown. Once it is polished the grain will show clearly. The colour of the stain goes well with the vulcanite stem. There is a white spade Grabow logo on the left side of the stem. There is a threaded metal tenon and stinger apparatus on the stem. The stem is in excellent condition with no tooth chatter or marks on it. It is dirty from sitting in my cupboard but otherwise looks good. I took photos of the pipe before I did my clean up work on it to prepare it for you.   I took a photo of the bowl and rim top to verify the description above. The rim top looks good. There is a little darkening around the inner edge but otherwise it is in good shape. The vulcanite stem looks quite good on both sides. I took photos of the stamping on the sides of the shank. It is clear and readable as noted above.I took the stem off the bowl and took a photo of the pipe to give a sense of proportion of the pipe. You can also see shape of the pipe and some interesting grain on the briar. I used a folded piece of 220 grit sandpaper to clean up the darkening on the inner edge of the bowl. Once finished it looked much better.The shank and mortise were very clean and a quick run through with a pipe cleaner proved all that was necessary. I polished the rim top and the briar with micromesh sanding pads – dry sanding with 1500-12000 grit pads. I wiped the bowl down with a damp cloth after each sanding pad to remove the dust and debris. I gave the bowl and shank a coating of Before & After Restoration Balm. I worked it into the surface of the briar with my fingertips to clean, enliven and protect the briar. I let the balm sit for 15 minutes and then buffed with a cotton cloth to raise the shine. The photos show the bowl at this point in the restoration process.   I set the bowl aside and turned my attention to the stem. I polished it with micromesh sanding pads – 1500-12000 grit sanding pads and water to wet sand the stem. I wiped it down after each sanding pad with Obsidian Oil on a cotton rag after each sanding pads. But I find it does two things – first it gives some protection to the stem from oxidation and second it give the sanding pads bite in the polishing process.     After finishing with the micromesh pads I rub the stem down with Before & After Fine and Extra Fine stem polish as it seems to really remove the fine scratches in the vulcanite. I rub the Fine Polish on the stem and wipe it off with a paper towel and then repeat the process with the Extra Fine polish. I finished polishing the stem with a final coat of Obsidian Oil and set the stem aside to let the oil absorb. This process gives the stem a shine and also a bit of protection.   This Dr. Grabow Viscount 39 Pickaxe turned out to be a great looking pipe. With polishing, the grain shines through clearly. The thin vulcanite taper stem is in excellent condition and works great with the polished briar. I put the stem back on the bowl and carefully buffed the pipe with Blue Diamond on the buffing wheel using a light touch on the briar. I gave the bowl and stem multiple coats of carnauba wax on the buffing wheel and followed that by buffing the entire pipe with a clean buffing pad. I hand buffed the pipe with a microfiber cloth to deepen the shine. The finished Dr. Grabow Viscount Pickaxe fits nicely in the hand and feels great. Give the finished pipe a look in the photos below. The dimensions of the pipe are Length: 5 ¾ inches, Height: 2 ½ inches, Outside diameter of the bowl: 1 ¼ inches, Chamber diameter: ¾ of an inch. The weight of the pipe is 34 grams/1.20 ounces. It is a great looking pipe that I will soon be adding it to the rebornpipes store in the American Pipemakers Section. If you are interested in adding it to your collection let me know Thanks for reading this blog and my reflections on the pipe while I worked on it.

Moving another one of my own – an LHS Parklane De Luxe Billiard 19


Blog by Steve Laug

This is another pipe that I have taken out of my personal collection as I just do not use enough to warrant keeping it. This pipe was one that I purchased long ago but have no memory where it came from. I don’t think I ever smoked it to be honest. It is a pipe I should have smoked as it is attractive enough but did not. It is time to move it on to someone who will enjoy it. The airway in the shank and the mortise are very clean. The smooth finish and rim top were in good condition but it is dull and lifeless looking. The inner edge of the rim has a bit of damage on the backside. The stamping on the pipe on the left side of the shank reads Parklane [over] LHS in a diamond [over] De Luxe. On the right side it is stamped US PAT. 1,908,630. The shape number 19 or 61 is on the underside of the shank. The finish is a medium brown. Once it is polished the grain will show clearly. The colour of the stain goes well with the Cumberland or Bowling Ball stem. There is a white bar inset logo on the top of the stem. There is a threaded metal tenon and stinger apparatus on the stem. The stem is in excellent condition with no tooth chatter or marks on it. It is dirty from sitting in my cupboard but otherwise looks goo. I took photos of the pipe before I did my clean up work on it to prepare it for you. I took a photo of the bowl and rim top to verify the description above. The rim top is a bit of a mess with darkening and burn marks around the edges and heavier at the back of the bowl. The Cumberland style stem looks quite good on both sides. I took photos of the stamping on the sides of the shank. It is clear and readable as noted above. The white bar on the top of the stem also is clean and looks good.I took the stem off the bowl and took a photo of the pipe to give a sense of proportion of the pipe. You can also see shape of the pipe and some interesting grain on the briar. I decided to start my work on the bowl by dealing with the burn damage on the back inner edge of the bowl. I used a piece of folded 220 grit sandpaper to give the edge a slight bevel all the way around the bowl to blend in the damage. The top also had some damage so I gently topped it on a topping board with 220 grit sandpaper to remove the damaged portion of the rim top and give the backside some more thickness. Once finished, it looked quite good.    The shank and mortise were very clean and a quick run through with a pipe cleaner proved all that was necessary. I polished the rim top and the briar with micromesh sanding pads – dry sanding with 1500-12000 grit pads. There was a small sandpit on the front of the bowl about mid-bowl. I wiped the bowl down with a damp cloth after each sanding pad to remove the dust and debris.     I gave the bowl and shank a coating of Before & After Restoration Balm. I worked it into the surface of the briar with my fingertips to clean, enliven and protect the briar. I let the balm sit for 15 minutes and then buffed with a cotton cloth to raise the shine. The photos show the bowl at this point in the restoration process.   I set the bowl aside and turned my attention to the stem. I polished it with micromesh sanding pads – 1500-12000 grit sanding pads and water to wet sand the stem. I wiped it down after each sanding pad with Obsidian Oil on a cotton rag after each sanding pads. But I find it does two things – first it gives some protection to the stem from oxidation and second it give the sanding pads bite in the polishing process.     After finishing with the micromesh pads I rub the stem down with Before & After Fine and Extra Fine stem polish as it seems to really remove the fine scratches in the vulcanite. I rub the Fine Polish on the stem and wipe it off with a paper towel and then repeat the process with the Extra Fine polish. I finished polishing the stem with a final coat of Obsidian Oil and set the stem aside to let the oil absorb. This process gives the stem a shine and also a bit of protection.  This LHS Parklane De Luxe Billiard 19 turned out to be a great looking pipe. With polishing, the grain shines through clearly. The Cumberland style taper stem is in excellent condition and works great with the polished briar. I put the stem back on the bowl and carefully buffed the pipe with Blue Diamond on the buffing wheel using a light touch on the briar. I gave the bowl and stem multiple coats of carnauba wax on the buffing wheel and followed that by buffing the entire pipe with a clean buffing pad. I hand buffed the pipe with a microfiber cloth to deepen the shine. The finished LHS Parklane De Luxe fits nicely in the hand and feels great. Give the finished pipe a look in the photos below. The dimensions of the pipe are Length: 5 ½ inches, Height: 1 ½ inches, Outside diameter of the bowl: 1 ¼ inches, Chamber diameter: ¾ of an inch. The weight of the pipe is 32 grams/1.13 ounces. It is a great looking pipe that I will soon be adding it to the rebornpipes store in the American (US) Pipemakers Section. If you are interested in adding it to your collection let me know Thanks for reading this blog and my reflections on the pipe while I worked on it.