Tag Archives: Savinelli Products Pipes

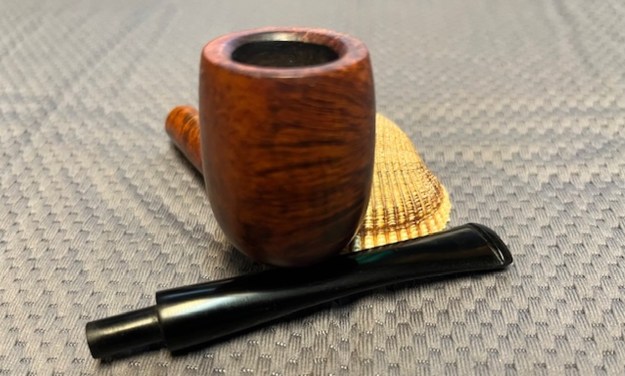
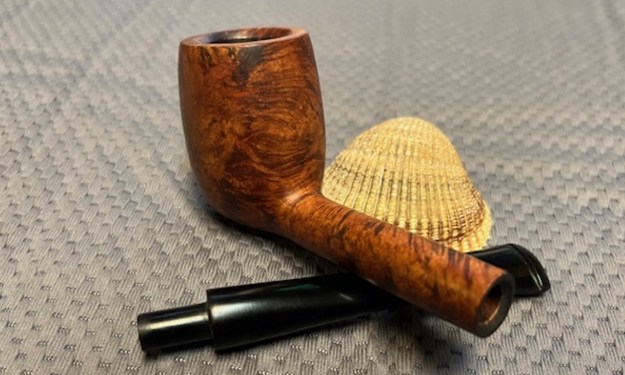
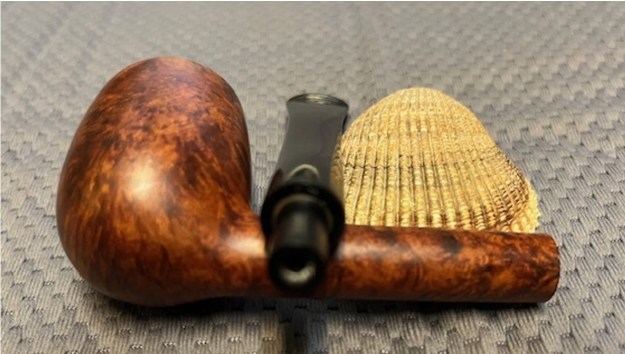
Restoring a Bings Favorite Italy Savinelli Product


Blog by Steve Laug

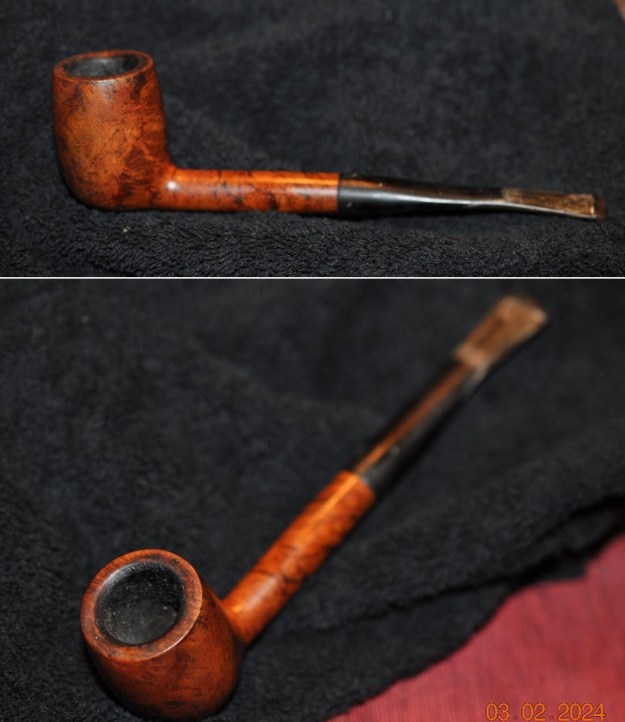
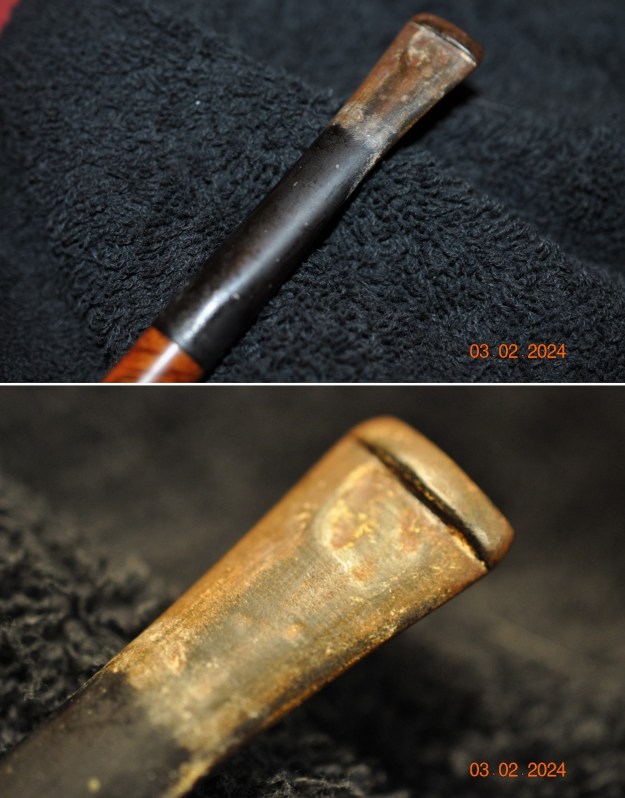
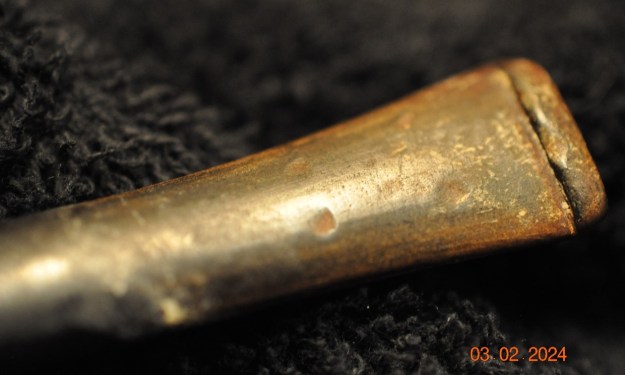
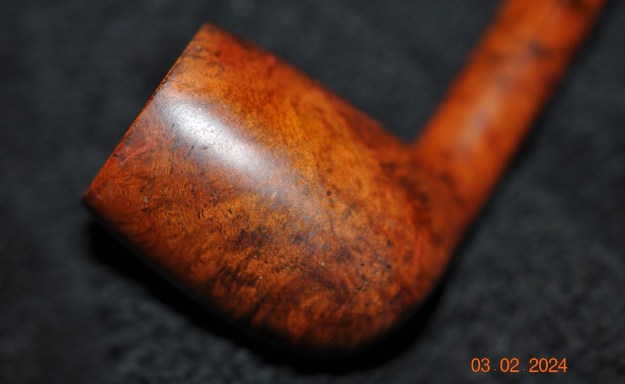
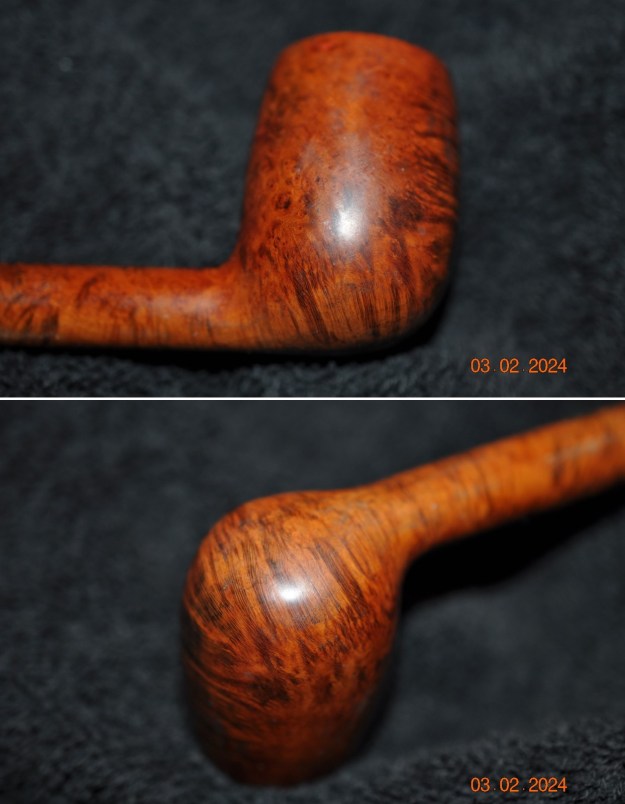
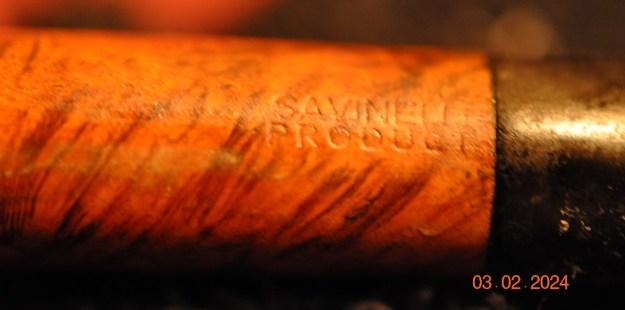
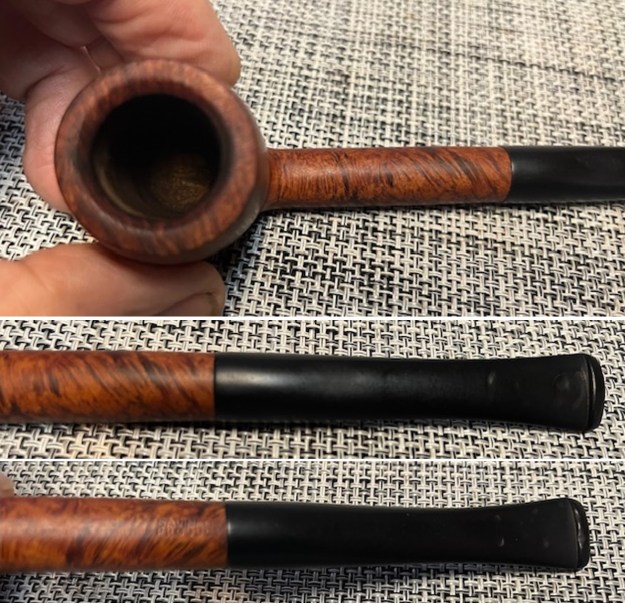
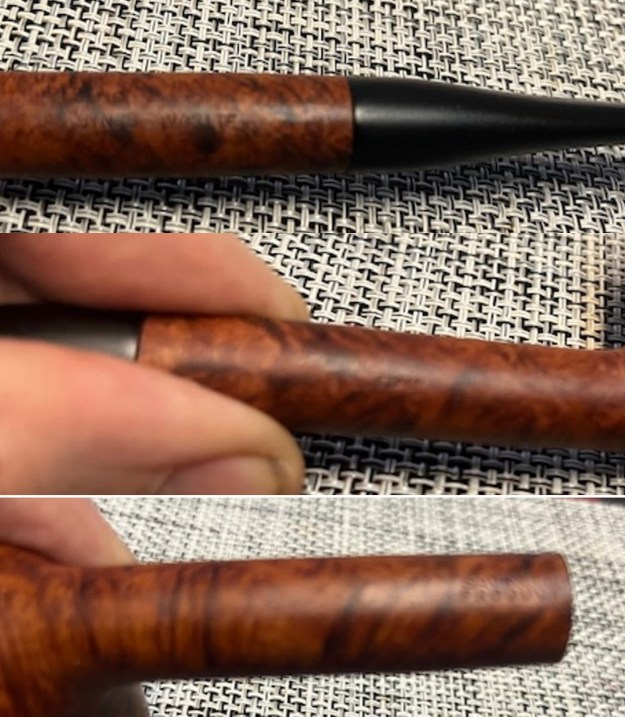
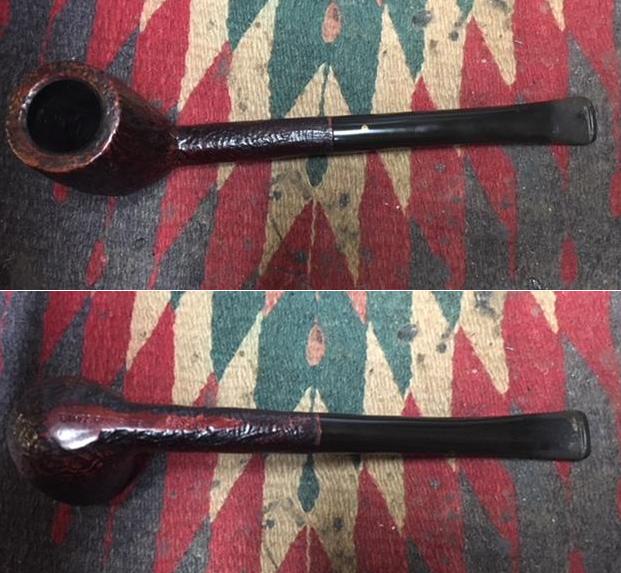
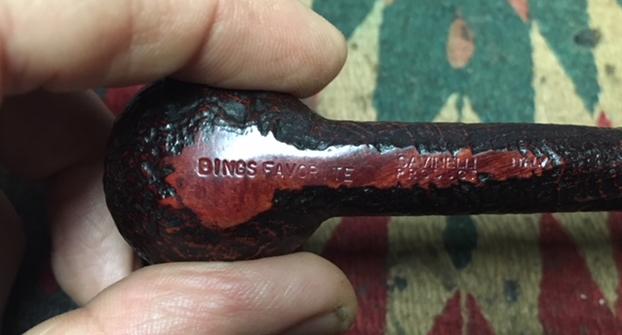
The next pipe that I am working on came from an estate sale in Oregon City, Oregon, USA we purchased on 03/21/24. It was very dirty and was a reddish, brown coloured pipe when it started. The smooth finish around the bowl was dirty and had hand oils ground into the grooves. The bowl had a moderate cake a spotty coat of lava onto the rim edge and top of the bowl. The stem was vulcanite that was very dirty and had tooth marks on both sides ahead of the button. The stem might be a replacement stem as the fit to the shank is off in terms of stem diameter being larger than the shank. The pipe was stamped on the left side of the shank and read Bings Favorite. On the right side of the shank it is stamped Italy. On the underside of the shank it was stamped Savinelli Product. Jeff took photos of the pipe so I could have a sense of what it looked like before he started his work on it. Jeff took photos of the stem surfaces and the bowl and rim to give a sense of condition of the pipe. You can see the thick cake in bowl and the spots of lava overflow on the edges and rim top of the bowl. The stem surface is very dirty, oxidized, calcified and tooth marks covered by the dirt and debris. The stem did not fit the diameter of the shank properly. It was larger than the shank and would need to be fitted. The stamp on the top of the shank is faint. He also took photos of the sides of the bowl and the heel to show the interesting grain that went around the bowl. The grain is beautiful and you can see the oils and debris in the surface of the briar. He took photos of the stamping on the sides of the shank. It is clear and readable on all the shank sides as noted above. Jeff did not capture the stamping on the right side of the shank. I turned to Pipephil’s site (http://www.pipephil.eu/logos/en/logo-savinelli1.html) to get a sense of the Bing’s Favorite. It is a Savinelli Product and it is listed in the Savinelli pipe section. I did a screen capture of the section and included it below. The stamping on the stem confirms that the stem I have is a replacement.I turned to Pipedia (https://pipedia.org/wiki/Savinelli) and after reading through the history I focused on a section entitled Editions in the “Favorite” line. I have included that section below.

We are compiling a sub-list of known editions in the “Favorite” line of Savanelli pipes, starting with those in Fred Huening’s collection. If you know of others, or have additional information about this line of pipes, please add it here, or send them to sethile.pipes@gmail.com and we can add them for you:

  • Bing’s Favorite
  • Byron’s Favorite
  • Clark’s Favorite
  • Ginger’s Favorite
  • Achille’s Favorite (apparently, I, II, and III)

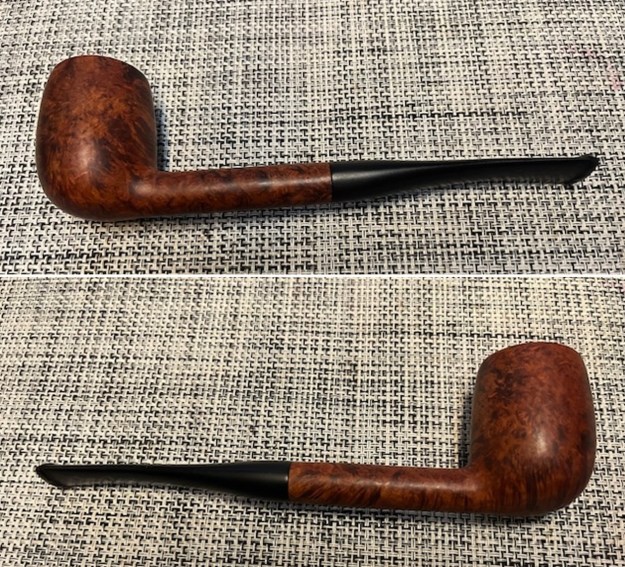
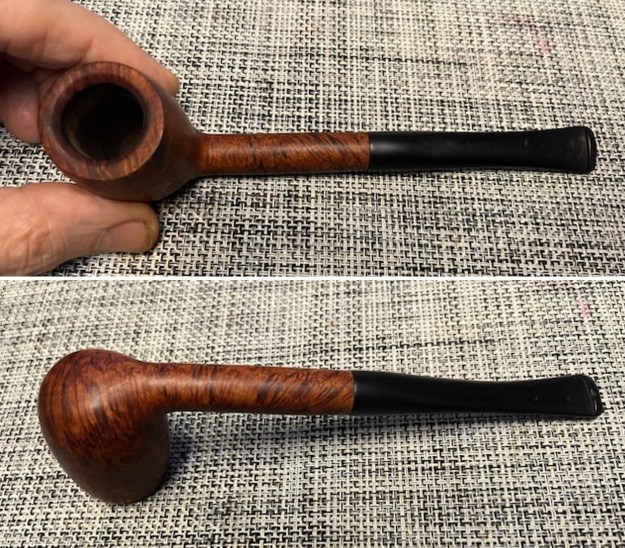
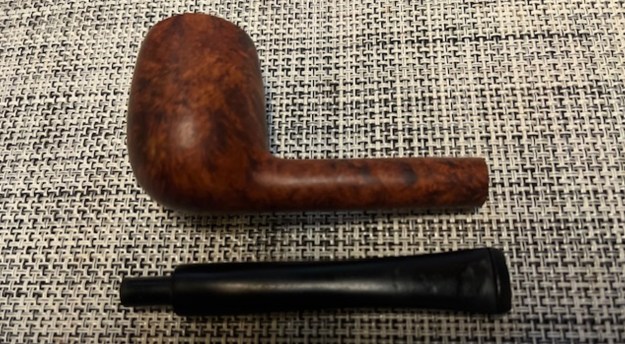
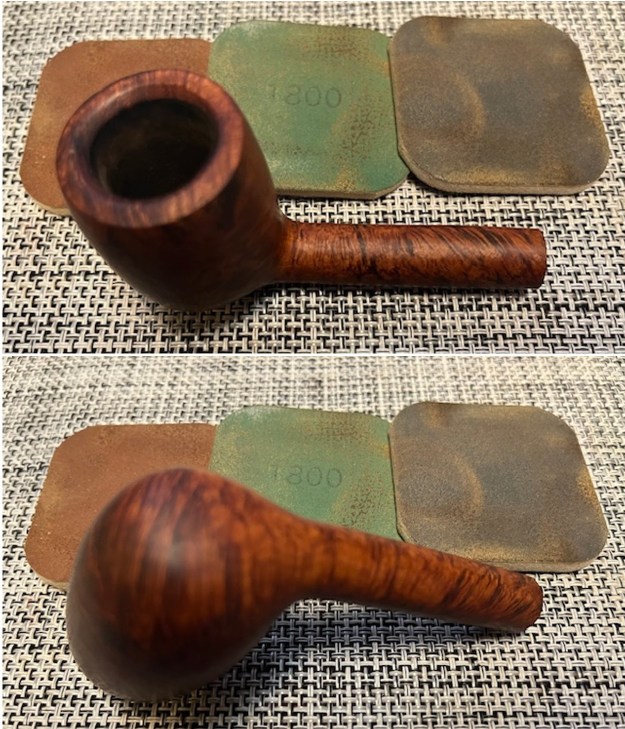
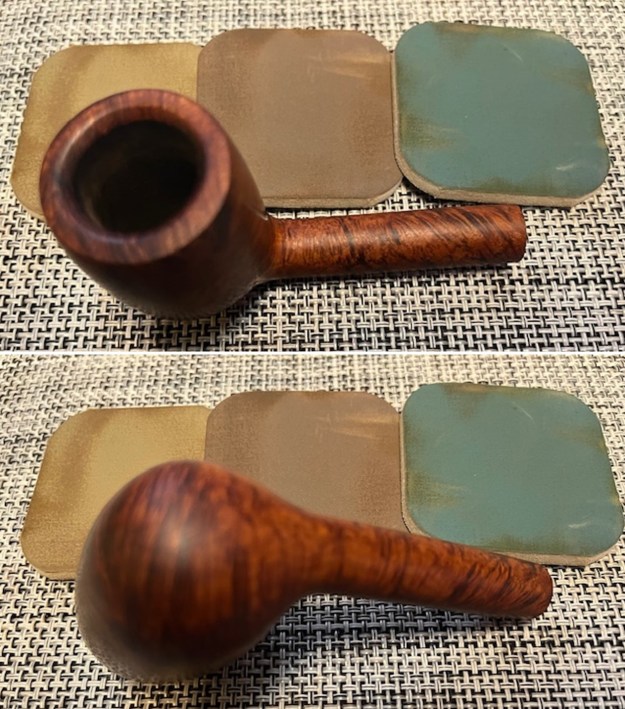
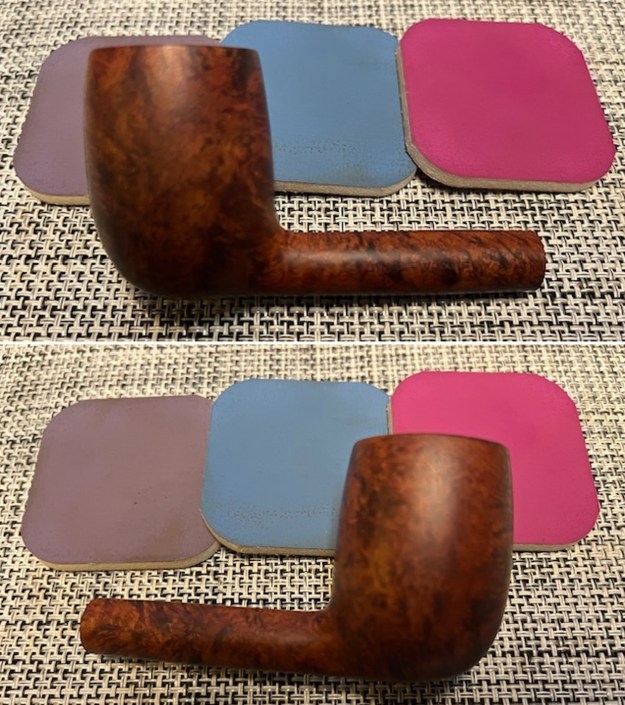
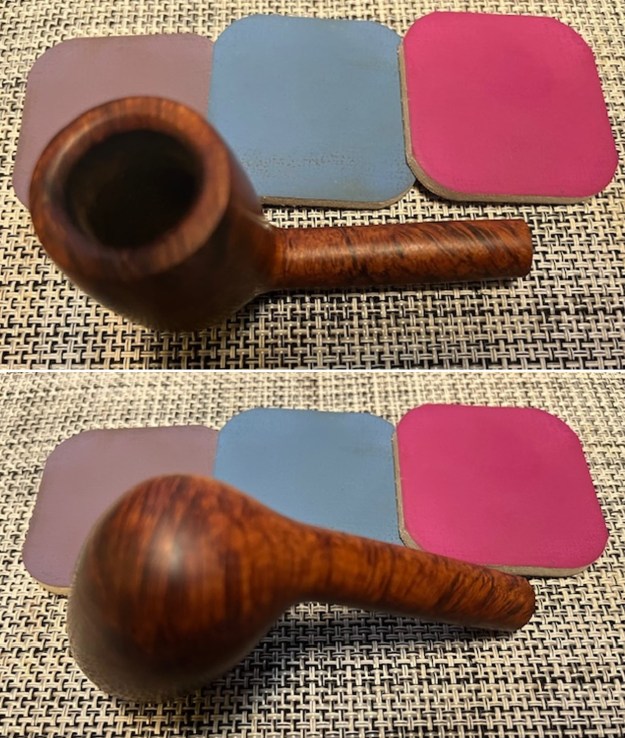
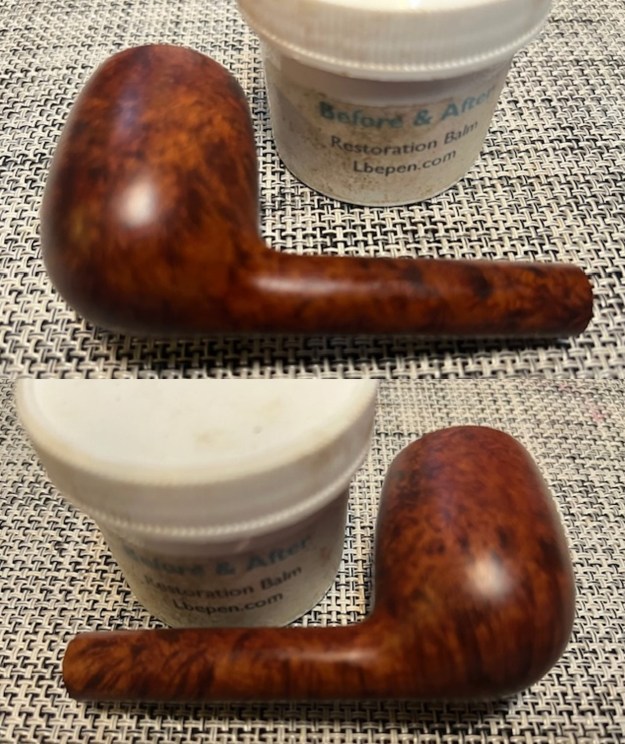
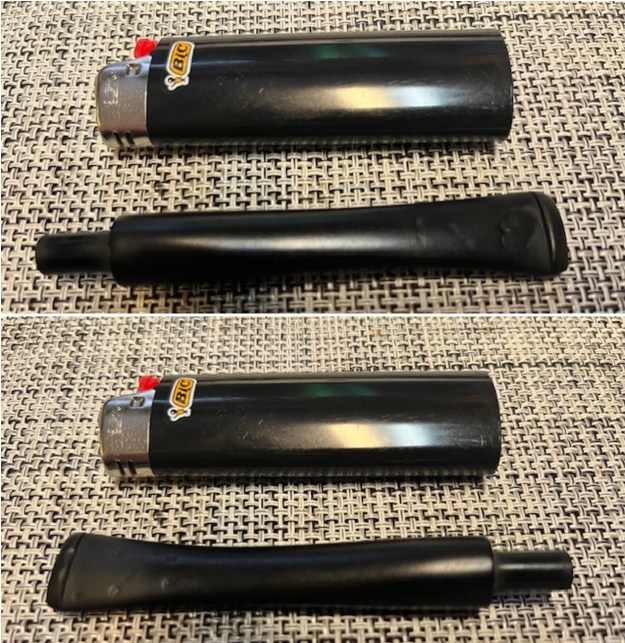
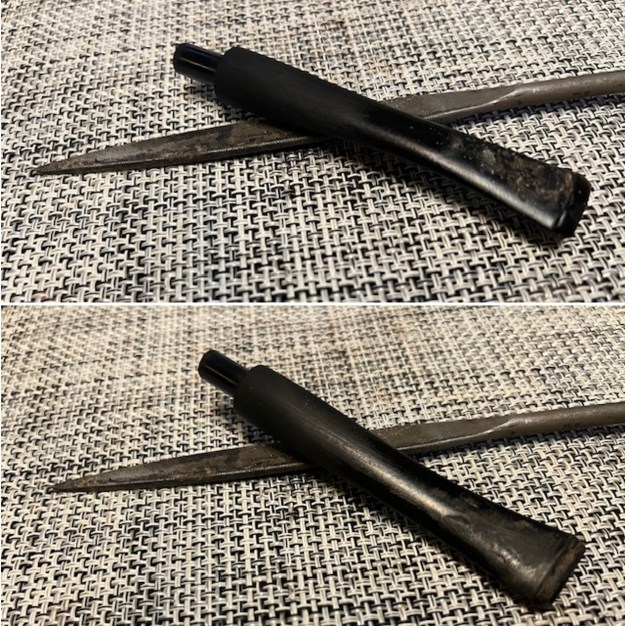
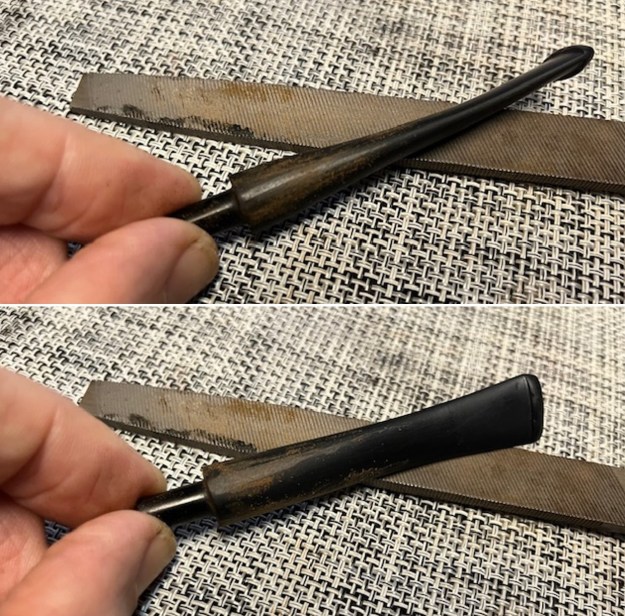
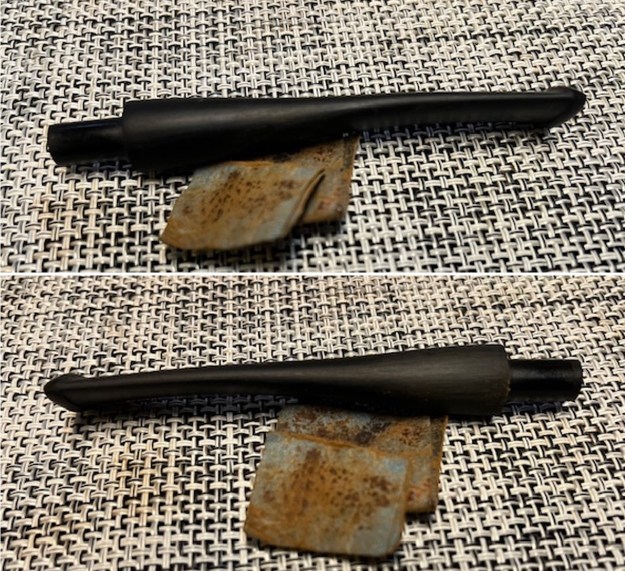
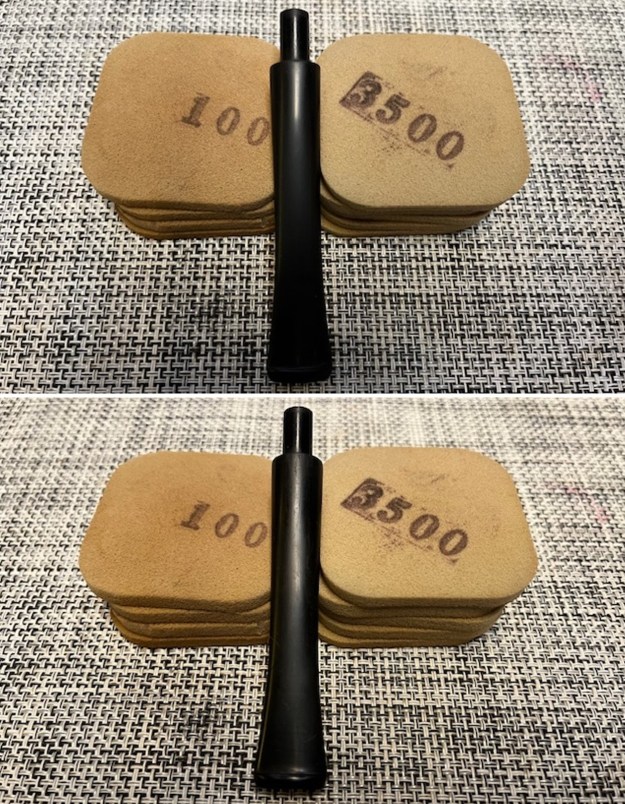
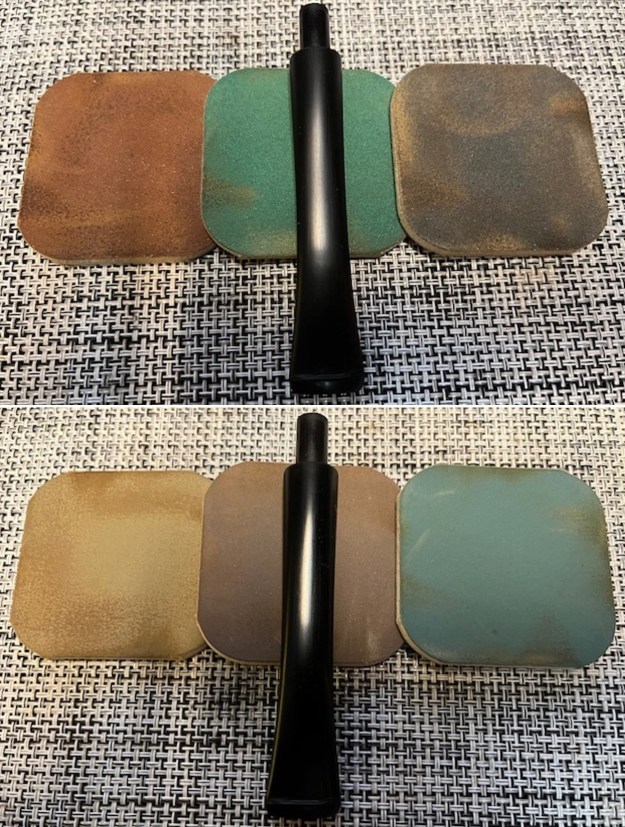
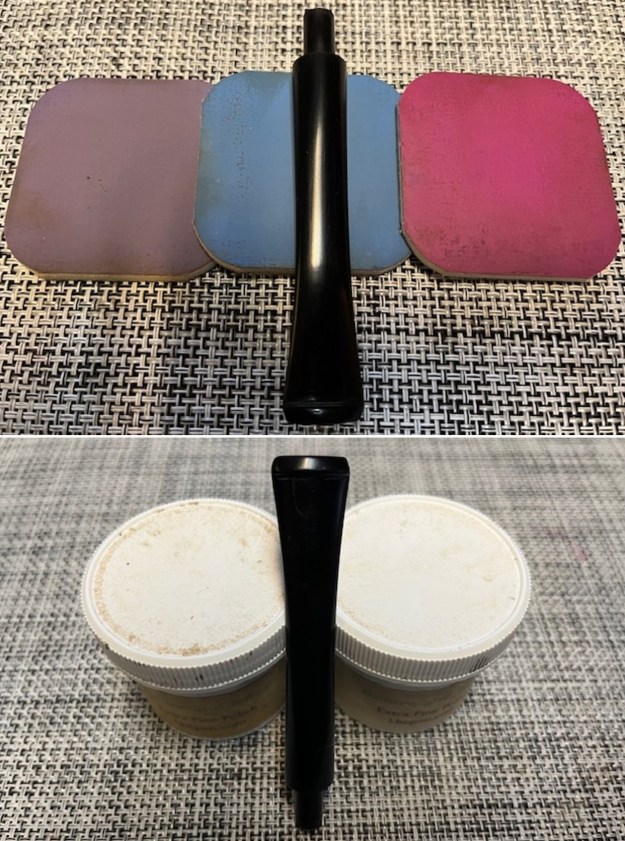
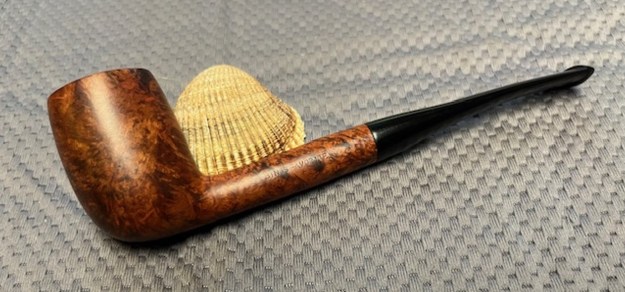
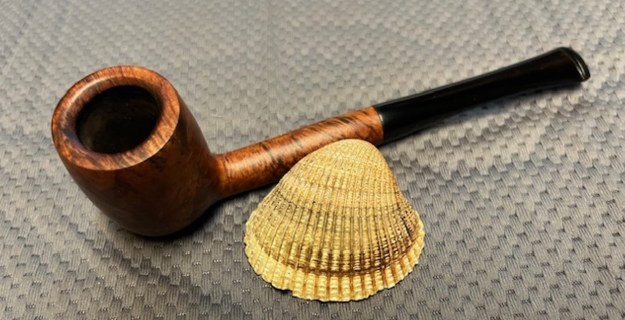
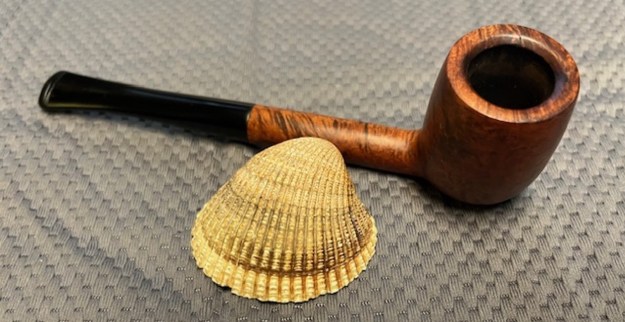
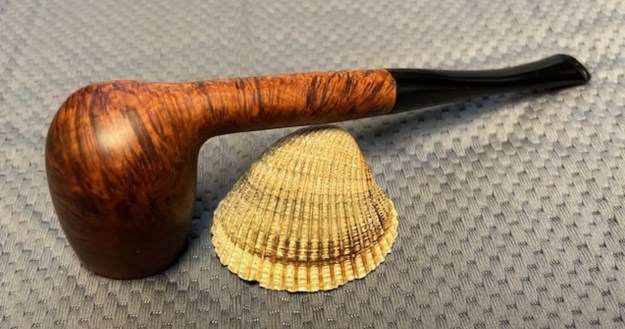
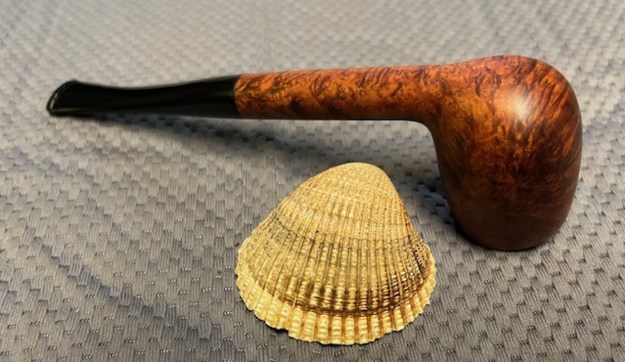
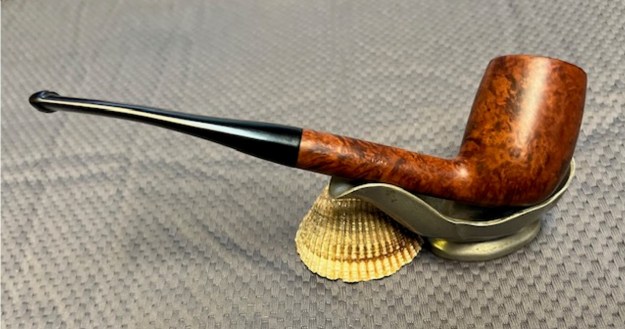
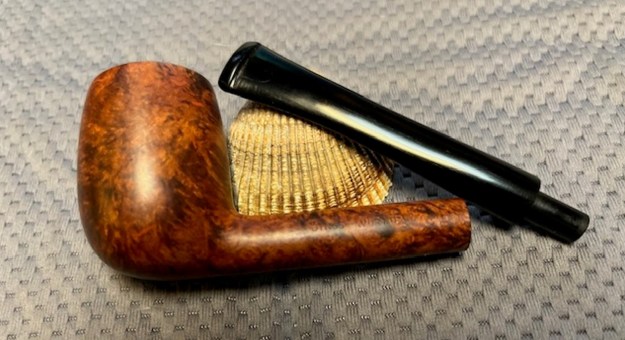
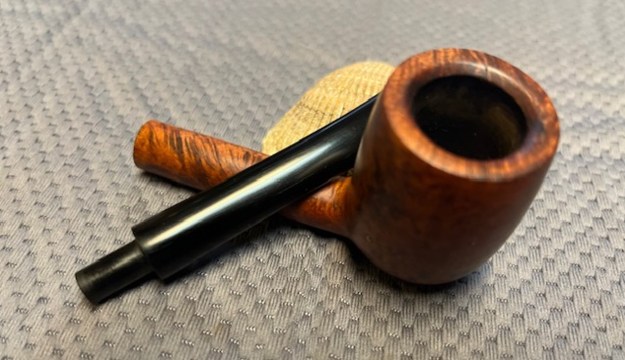
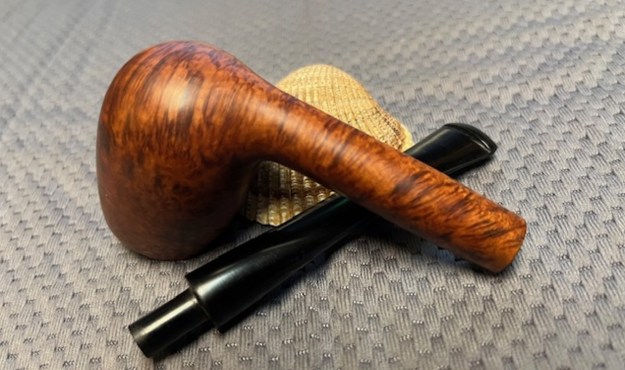
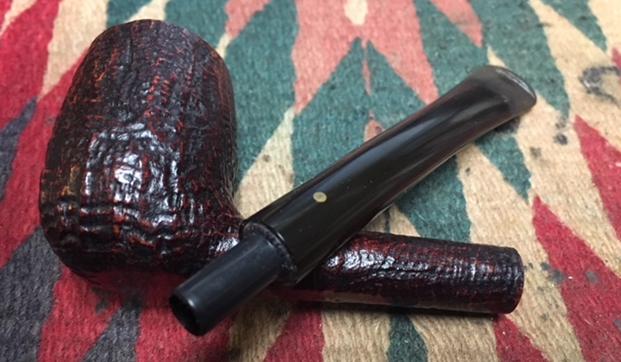
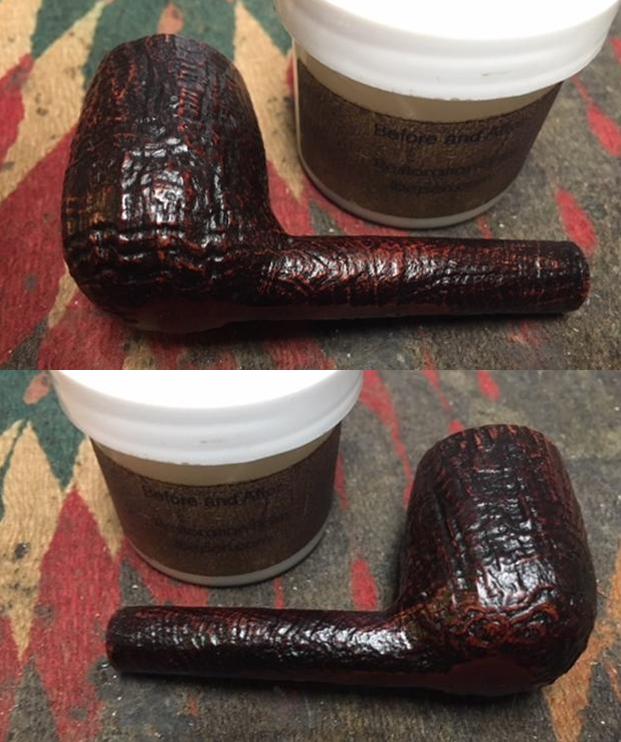
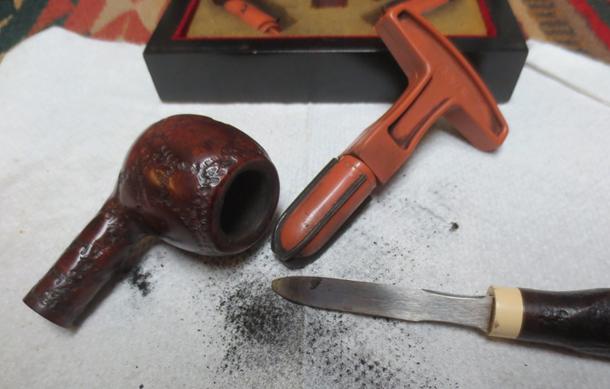
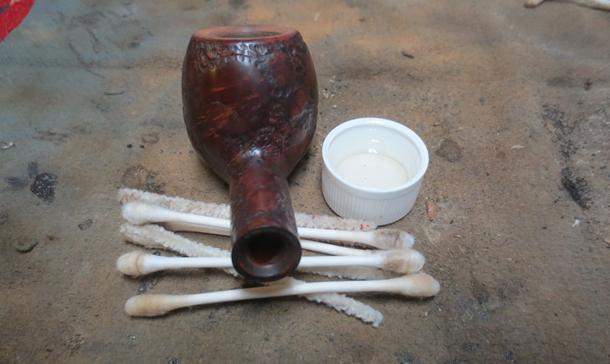
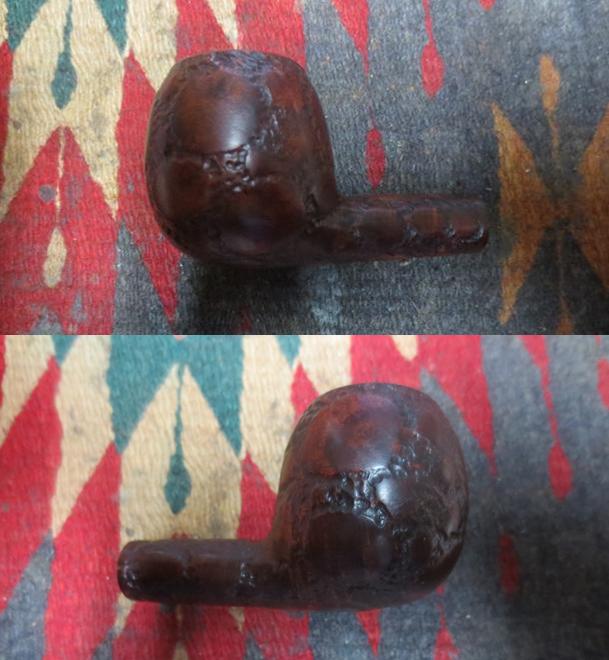
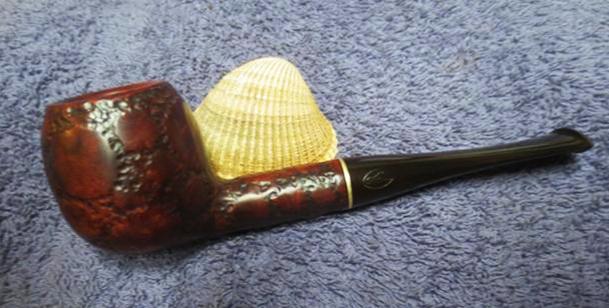
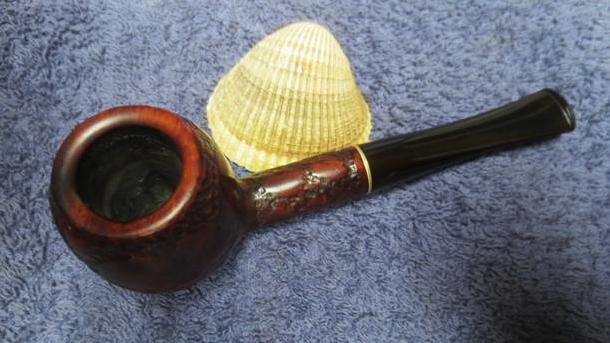
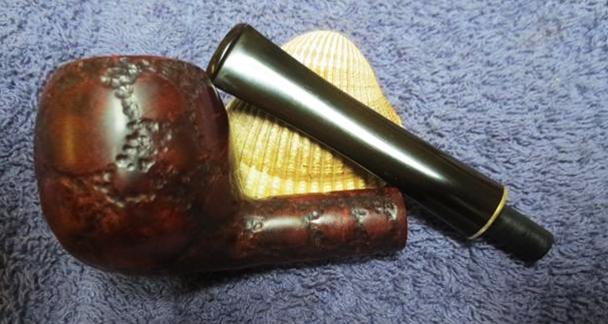
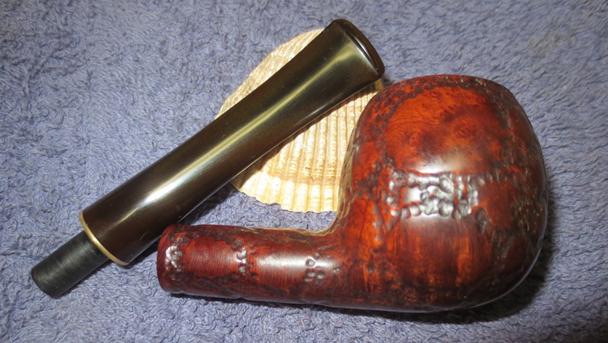
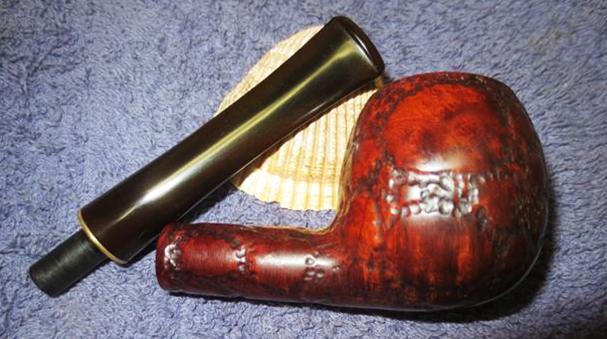
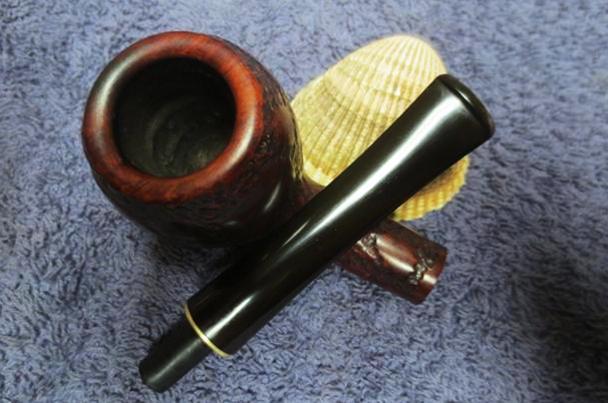
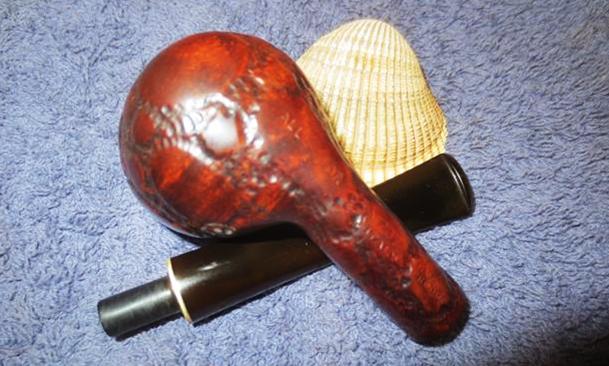
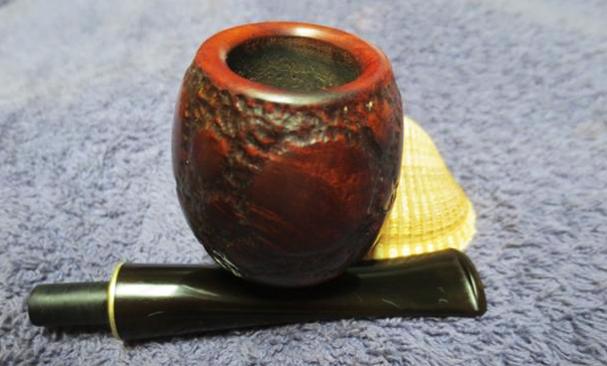
Now it was my turn to work on the pipe. Jeff had done an amazing cleanup of the pipe. He reamed the cake with a PipNet reamer and cleaned up that with a Savinelli Fitsall Pipe Knife. He scrubbed the internals of the bowl and stem with alcohol, cotton swabs and pipe cleaners. He scrubbed the externals with undiluted Murphy’s Oil Soap and rinsed the bowl off with running water. He soaked the stem in Briarville’s Pipe stem Deoxidizer and once it had soaked, rinsed it off with warm water to remove the residual solution. He dried it off and rubbed it down to remove any oxidation that was still on the stem. The pipe looked very good when I received it. I took a photo of the rim top to show the condition. You can see the clean bowl. The bowl is in excellent condition and is clean. The rim top and the inner edge was in great condition. The stem came out looking clean. There were some light tooth marks and chatter on both sides ahead of the button. I took photos of the stamping on the shank. It is faint but still very readable. There was also a very faint stamp on the stem but I am still not certain it is the correct stem because of the fit and shape of the stem. I removed the stem from the shank and took a photo of the pipe parts to show what I was working with. The pipe had cleaned up so well that I turned to polish the briar with micromesh sanding pads. I dry sanded it with 1500-12000 grit sanding pads and wiped the bowl down after each pad with a damp cloth. By the final pads the briar really had a shine. I rubbed the briar down with Before & After Restoration Balm. I worked it into the briar with my fingertips. The product works to clean, enliven and preserve the briar. I let it sit for 10 minutes then I buffed it with a cotton cloth to deepen the shine. The briar really comes alive with the balm. I set aside the bowl and turned my attention to the stem. I “painted” the stem with the flame of a lighter to soften the vulcanite and give the stem a slight bend like it must have originally had.Next, I worked on the diameter of the stem. I needed to take off the excess so that the flow between the shank and the stem was smooth. I used a flat rasp and small file to quickly remove the excess vulcanite. I sanded it with 220 grit sandpaper to clean up the file marks and smooth out the surface of the stem. I moved on to further smooth out the surface of the vulcanite. I sanded it with 320-3500 grit sanding pads to further clean up the scratches and file marks on the surface of the stem.I polished the vulcanite with micromesh sanding pads – 1500-12000 grit pads. I wiped it down with Obsidian Oil after each sanding pad. I used Before & After Pipe Polish – both Fine and Extra Fine to further polish the stem. It really took on a shine and I knew that once it was buffed it would look amazing. I put the stem back on the Bings Favorite ¼ Bent Vulcanite Stem Long Billiard and took it to the buffer. I worked it over with Blue Diamond to polish out the remaining small scratches. I gave the bowl and the stem several coats of carnauba wax and buffed the pipe with a clean buffing pad to raise the shine. I hand buffed it with a microfiber cloth to deepen the shine. The pipe polished up really well and the rim top looked good. I was happy with the look of the finished pipe. The photos below show what the pipe looks like after the restoration. The Bings Favorite Savinelli Product is a beautiful and unique take on a classic shape. The polished, reshaped vulcanite taper stem looks really good with the browns of the briar. The dimensions of the pipe are Length: 6 ½ inches, Height: 1 ¾ inches, Outside diameter of the bowl: 1 ¼ inches, Chamber diameter: ¾ of an inch. The weight of the pipe is 1.27 ounces/36 grams. This is another pipe that I will be putting it on the rebornpipes store in the Italian Pipe Makers Section shortly, if you are interested in adding it to your collection. The long shank and tall bowl look and feel great in the hand. This one should be a great smoker. Thanks for walking through the restoration with me on this beauty!

Restoring one of Gene’s Favourite Pipes – A Savinelli Made Bings Favorite Italy


Blog by Steve Laug

In January Jeff found out about an estate sale in Pocatello, Idaho, USA. It turned out that the sale was for a fellow Jeff and I had purchased pipes from in the past, Gene. He had been the owner of Outwest Tobacco in Pocatello (long closed now) and I bought tobacco and other smoking items from him in the past. As I think about it now, it seems that I had known Gene for over 30 years Jeff and I had been to his home and enjoyed coffee and a few pipes together. I have no idea how many pipes we bought on those visits as well as to the antique shop of his daughter. I know that there were many pipes. When we heard that it was Gene’s personal collection that was for sale and that he had passed away we decided for Jeff to go to the house and have a look. He went on January 25, 2024 to scope it out as we had seen his personal collection of pipes and there were definitely some among those well smoked old warriors that would be great to pick up. Perhaps there would even be one that could join my own collection in memory of Gene.

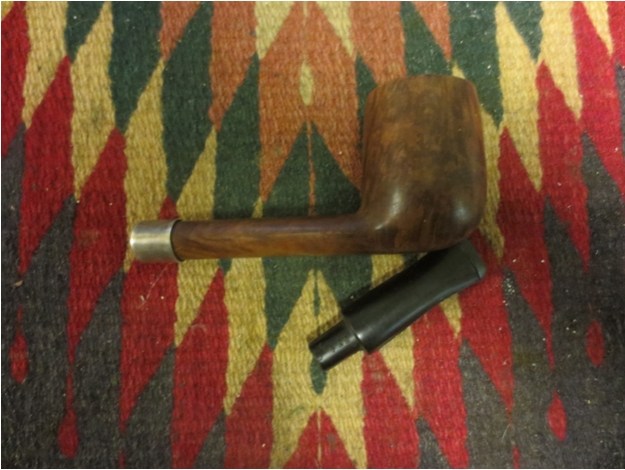
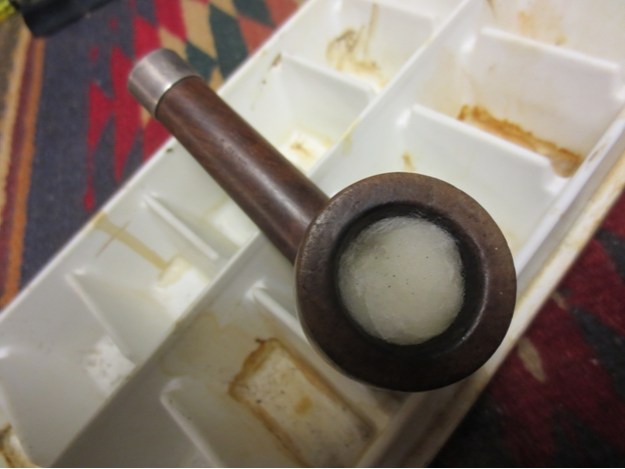
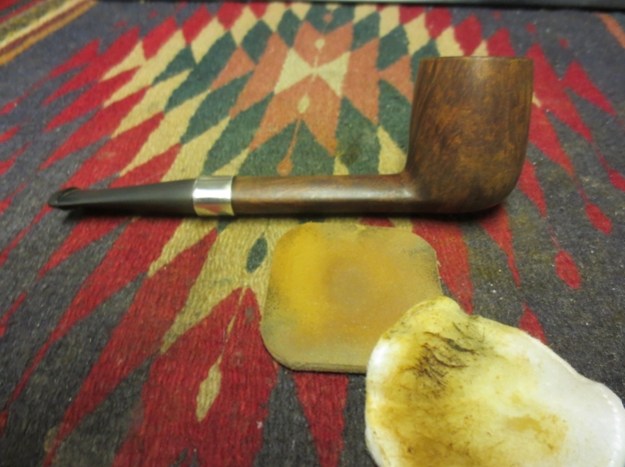
Jeff went to the house and looked through the racks, pipe bags, tobacco both bulk and tinned as well as a variety of pipes. All the pipes were well smoked and needed serious cleaning. Another one of the pipes he picked up was this Savinelli Made Bings Favorite pipes with a poorly fit replacement black vulcanite taper stem. It was very dirty and was a reddish, brown coloured pipe when it started. The smooth finish around the bowl was dirty and had hand oils ground into the grooves. The bowl had a thick cake that overflowed in lava onto the rim edge and top of the bowl. The bottom of the bowl was flattened so the pipe could be set on a desktop. The stem was vulcanite that was very dirty and had the marks of a rubber Softee Bit on the end. It had become discoloured and there was a line where the debris from smoking had accumulated along the edge and under the bit protector. The good news was that there were some deep tooth marks and chatter under the calcification and grime. The rest of the stem was dirty and had lost the characteristic shine. The pipe was stamped on the left side of the shank and read Bings Favorite. On the right side of the shank it is stamped Italy. On the underside of the shank it was stamped Savinelli Product. Jeff took photos of the pipe so I could have a sense of what it looked like before he started his work on it.Jeff took photos of the stem surfaces and the bowl and rim to give a sense of condition of the pipe. You can see the thick cake in bowl and the spots of lava overflow on the edges and rim top of the bowl. It is had to know if there is any damage as the cake and lava is quite thick. The stem surface is very dirty and you can see the area on the end of the stem where the Softee Bit had protected it from chewing though there were some previous deep tooth marks covered by the dirt and debris. I am pretty sure the stem was a replacement and it did not fit the diameter of the shank properly. It was larger than the shank and would need to be fitted. He also took photos of the sides of the bowl and the heel to show the interesting grain that went around the bowl. The grain is beautiful and you can see the oils and debris in the surface of the briar.  He took photos of the stamping on the sides of the shank. It is clear and readable on all the shank sides as noted above. I turned to Pipephil’s site (http://www.pipephil.eu/logos/en/logo-savinelli1.html) to get a sense of the Bing’s Favorite. It is a Savinelli Product and it is listed in the Savinelli pipe section. I did a screen capture of the section and included it below. The stamping on the stem confirms that the stem I have is a replacement.I turned to Pipedia (https://pipedia.org/wiki/Savinelli) and after reading through the history I focused on a section entitled Editions in the “Favorite” line. I have included that section below.

We are compiling a sub-list of known editions in the “Favorite” line of Savanelli pipes, starting with those in Fred Huening’s collection. If you know of others, or have additional information about this line of pipes, please add it here, or send them to sethile.pipes@gmail.com and we can add them for you:

  • Bing’s Favorite
  • Byron’s Favorite
  • Clark’s Favorite
  • Ginger’s Favorite
  • Achille’s Favorite (apparently, I, II, and III)

Now it was my turn to work on the pipe. Jeff had done an amazing cleanup of the pipe. He reamed the cake with a PipNet reamer and cleaned up that with a Savinelli Fitsall Pipe Knife. He scrubbed the internals of the bowl and stem with alcohol, cotton swabs and pipe cleaners. He scrubbed the externals with undiluted Murphy’s Oil Soap and rinsed the bowl off with running water. He soaked the stem in Briarville’s Pipe stem Deoxidizer and once it had soaked, rinsed it off with warm water to remove the residual solution. He dried it off and rubbed it down to remove any oxidation that was still on the stem. The pipe looked very good when I received it. I took a photo of the rim top to show the condition. You can see the clean bowl. The bowl is in excellent condition and is clean. The rim top and the front inner edge was in great condition. The stem came out looking clean. There were definitely deep tooth marks and chatter on both sides. I took photos of the stamping on the shank. It is faint but still very readable. I removed the stem from the shank and took a photo of the pipe parts to show what I was working with. The pipe had cleaned up so well that I turned to polish the briar with micromesh sanding pads. I dry sanded it with 1500-12000 grit sanding pads and wiped the bowl down after each pad with a damp cloth. By the final pads the briar really had a shine. I rubbed the briar down with Before & After Restoration Balm. I worked it into the briar with my fingertips. The product works to clean, enliven and preserve the briar. I let it sit for 10 minutes then I buffed it with a cotton cloth to deepen the shine. The briar really comes alive with the balm. I set aside the bowl and turned my attention to the stem. I “painted” the stem surface with the flame of a lighter. I was able to lift the tooth marks significantly. There were still some deep marks. I filled them in with a coat of clear CA glue and spread it across the surface with a dental spatula. Once the repairs cured I flattened them with a small file. I started the process of blending them into the surface of the surrounding vulcanite.Once I finished that work I addressed the diameter of the stem. I needed to take off the excess so that the flow between the shank and the stem were smooth. I used a flat rasp to quickly remove the excess then sanded it with 220 grit sandpaper to clean up the file marks and smooth out the surface of the stem. I moved on to further smooth out the surface of the vulcanite. I sanded it smooth with 320-3500 grit sanding pads to further blend them into the surface of the stem.I polished the vulcanite with micromesh sanding pads – 1500-12000 grit pads. I wiped it down with Obsidian Oil after each sanding pad. I used Before & After Pipe Polish – both Fine and Extra Fine to further polish the stem. It really took on a shine and I knew that once it was buffed it would look amazing. I put the stem back on the Bings Favorite ¼ Bent Vulcanite Stem Long Billiard and took it to the buffer. I worked it over with Blue Diamond to polish out the remaining small scratches. I gave the bowl and the stem several coats of carnauba wax and buffed the pipe with a clean buffing pad to raise the shine. I hand buffed it with a microfiber cloth to deepen the shine. The pipe polished up really well and the rim top looked good. I was happy with the look of the finished pipe. The photos below show what the pipe looks like after the restoration. The Bings Favorite Savinelli Product is a beautiful and unique take on a classic shape. The polished, reshaped vulcanite taper stem looks really good with the browns of the briar. The dimensions of the pipe are Length: 6 ½ inches, Height: 1 ¾ inches, Outside diameter of the bowl: 1 ¼ inches, Chamber diameter: ¾ of an inch. The weight of the pipe is 1.23 ounces/35 grams. This is another pipe that I will be putting it on the rebornpipes store in the Italian Pipe Makers Section shortly, if you are interested in adding it to your collection. The long shank and tall bowl look and feel great in the hand. This one should be a great smoker. Thanks for walking through the restoration with me on this beauty!

An Easy Restoration – A Savinelli Sandblast Bing’s Favorite


Blog by Steve Laug

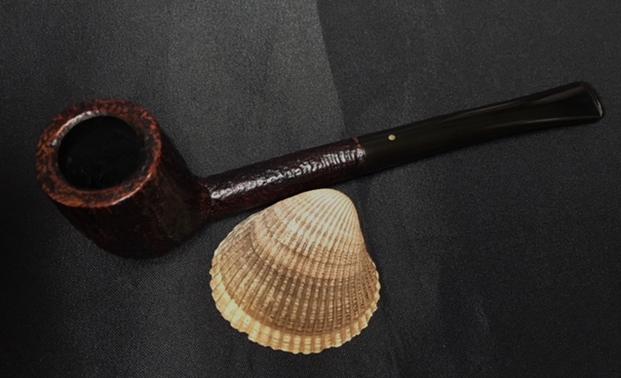
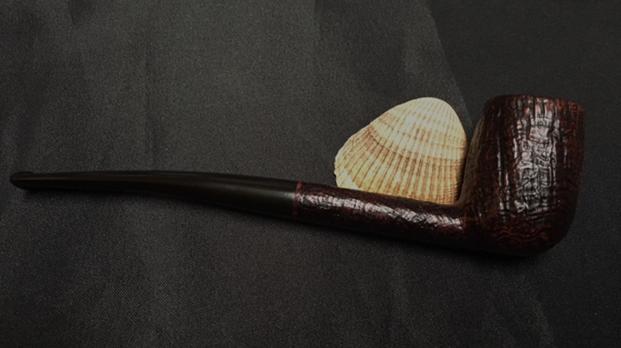
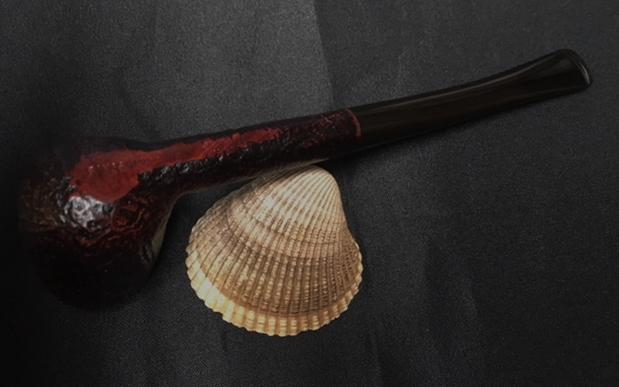
Yesterday was a great day. I finished working on three pipes, started a fourth and returned a group of four repairs to the pipeman who dropped them off for me to repair and refurbish for him. He loved the work and dropped off eight more pipes in various states from very nice and need a refresh to tired and worn. He also wanted to know if I would do a trade with him for part of the cost of labour. He had a pipe he no longer wanted in his collection so he was wondering. He took it out of his pipe bag and showed it to me. It was a Savinelli Bing’s Favorite in a sandblast finish with a vulcanite stem sporting a brass dot on the top. It was in great condition other than a little wear and oxidation on the stem. There was some light tooth chatter on both the top and underside of the stem near the button. It was drilled to take Savinelli Balsa filters or 6mm filters. I looked it over and we made a deal. I think that we were both pleased with the results. Here is what the pipe looked like when I received it. The combination of medium and dark brown stains on the bowl added a great contrast in the high and lows of the sandblast. The bowl was quite clean with very little cake. The aroma of good English tobacco lingered around the pipe and bowl. The rim top was very clean and the outer and inner edges of the bowl were in excellent condition. The stem had tooth chatter and tooth marks on both the top and underside near the button but none of them were too deep. I took close up photos of the bowl and stem to show the condition before I started the cleanup.I took a close up photo of the stamping on the smooth panel on the underside of the bowl and shank. It reads: BINGS FAVORITE followed by Savinelli Product and Italy. The stamping is clear and readable.I removed the stem to have a look at the 6mm filter tenon. It was pretty clean on the outside.I cleaned out the airway in the stem and shank and the mortise area with pipe cleaners – both regular and bristle as well as cotton swabs and alcohol. I cleaned out the wide open tenon with cotton swabs and alcohol as well. It was pretty clean so it did not take too long to clean those areas.I rubbed some Before & After Restoration Balm deep into the crevices and valleys of the sandblast, working it in with my fingertips. I buffed the bowl with a shoe brush to further work it into the finish. I buffed the bowl with a soft cloth to raise a shine. The photos below show the results at this point in the process. I set the bowl aside and turned my attention to the stem. I sanded out the tooth chatter and marks with 220 grit sandpaper blending the areas into the surround vulcanite stem. I sanded both the top and underside of the button as well to remove the light chatter on those areas as well.I polished the stem with micromesh sanding pads – wet sanding with 1500-2400 grit pads and dry sanding with  3200-12000 grit pads. I wiped the stem down with Obsidian Oil after each sanding pad. I rubbed it down with Before & After Pipe Polish – both Fine and Extra Fine to further polish the scratches. I gave it a final coat of Obsidian Oil and set it aside to dry. I have a few of the Savinelli Balsa filters around so I put on it the stem. It is a three sided stick of Balsa wood that absorbs tars and liquids on three sides. The fit is perfect. The tenon can also fit 6mm filters.I put the stem on the pipe and buffed the bowl and stem with Blue Diamond polish on the buffing wheel. I used a light touch on buffing the bowl so that the polish would not get into the sandblast. I gave the bowl several coats of Conservator’s Wax and the stem several coats of carnauba wax. I buffed the bowl and stem with a clean buffing pad to raise the shine. I hand buffed the bowl and stem with a microfiber cloth to deepen the shine. The contrasting brown stains look very good with the dark of the polished vulcanite stem. The brass dot stands out in stark contrast with the black. It is a beautiful pipe and in excellent condition. The measurements are – Length: 6 ¾ inches, Height: 1 ¾ inches, Outside Diameter of Bowl: 1 ¼, Chamber Diameter: ¾ inch. I will be putting it on the rebornpipes store shortly. If you would like to add it to your collection send me an email to slaug@uniserve.com or a message on Facebook. Thanks for reading through this restoration process. It was a fun one to work on.

The Restoration of a Savinelli Alligator 207 Apple


Blog by Steve Laug

If you read the previous blog on the Bari Special Handcut pipe you have also read that for the past month or more I have been carrying on an online conversation with a Colonel in the Indian Military about his own pipe refurbishing and repair work. In the process of talking through a variety of the processes of pipe restoration he asked if I would be willing to work on a few of his pipes that had chipped or broken stems. We decided to look into what it would take to ship them to Canada from India. It seemed like a pretty daunting task but nonetheless he has some pipes in transit to me in Vancouver. In the meantime he wrote and said he had picked up a Bari and a Savinelli Alligator pipe and had the EBay seller send them directly to me in Canada so I could refurbish them for him and add them to the box of other pipes I would be sending back to him. I agreed and this week the pipes arrived.

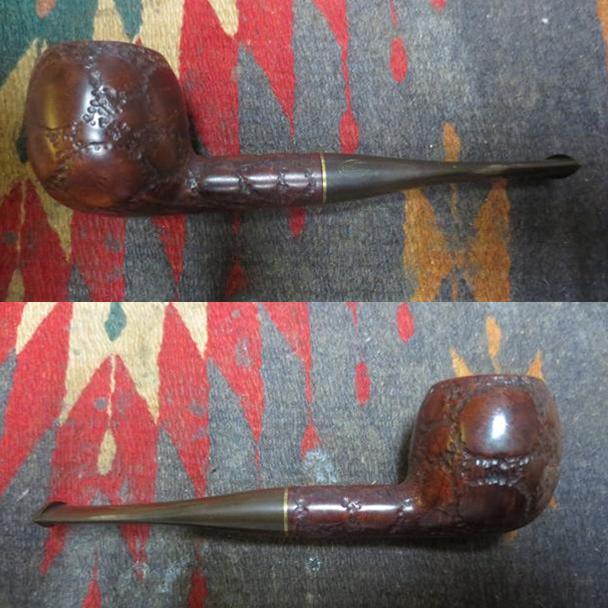
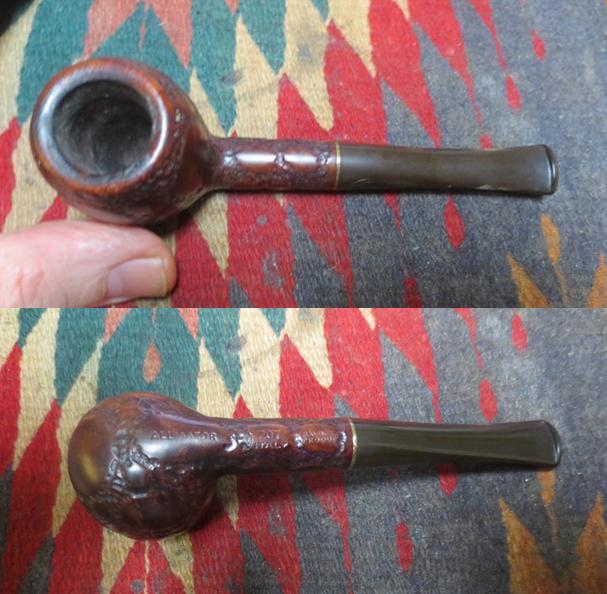
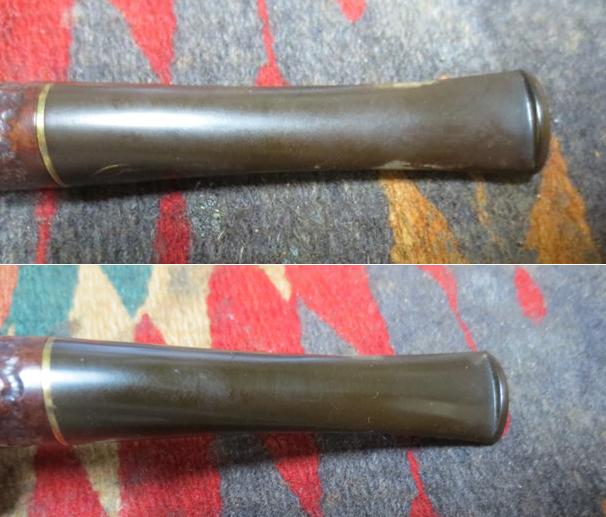
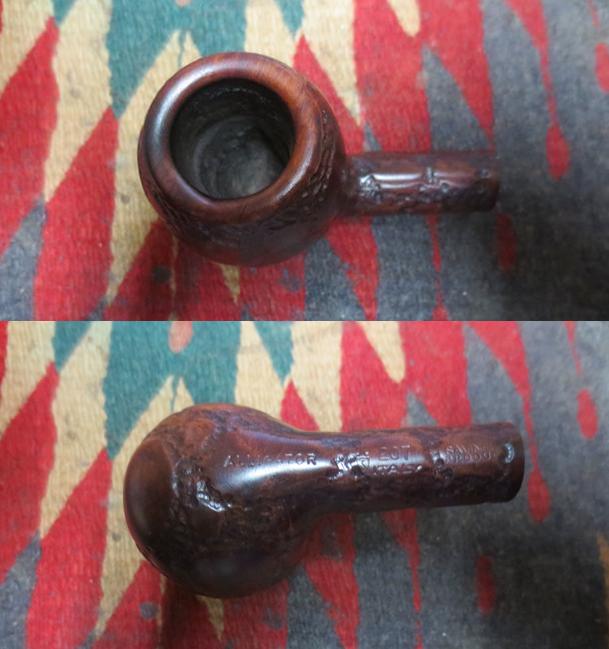
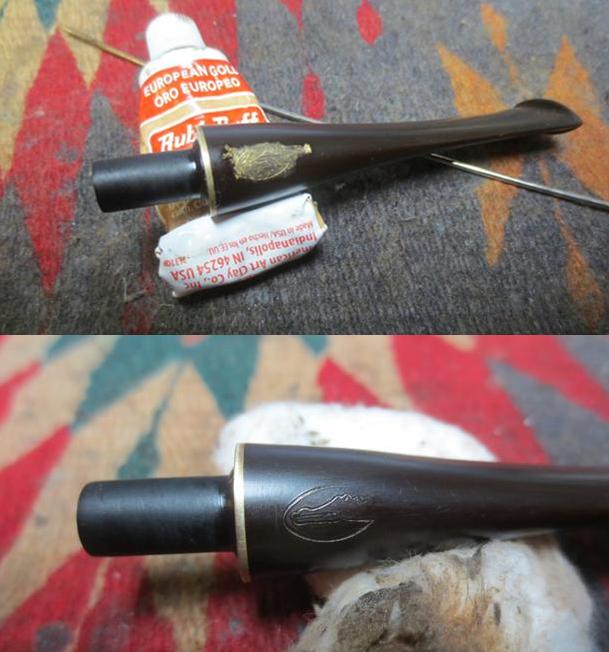
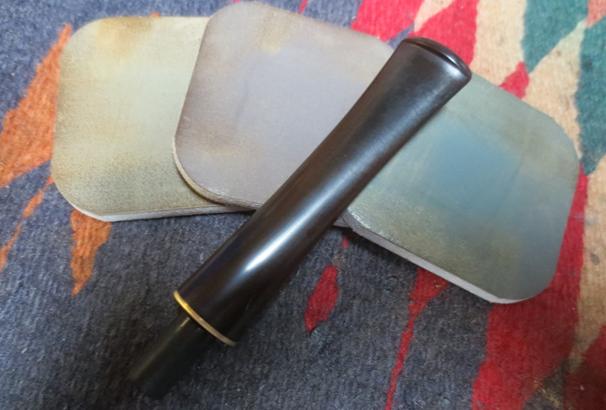
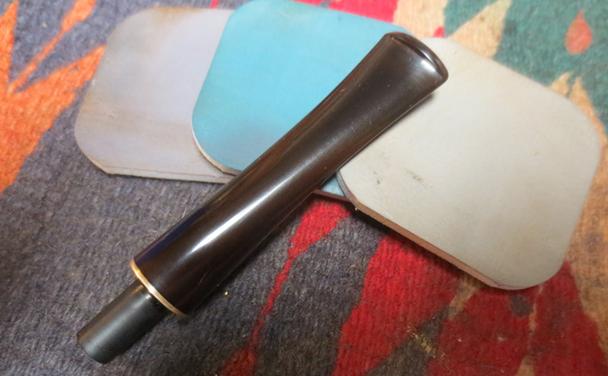
Once I finished the Bari I worked the Savinelli Alligator apple shaped pipe. I have never been attracted to the alligator finish as it just did not work for me. This one however had some very nice looking grain underneath the rustication and in the smooth portions of the finish. The finish was dirty with dirt, grime and oils in the finish and rim edge. It looks good underneath that grime. The bowl has been reamed but a bit poorly. There is some scraping to the inner edge that has affected the roundness of the bowl on the left side and rear edges of the bowl. It is a filter pipe made for the Savinelli triangular Balsa filter that fits in the stem and extends partially into the shank. These are one of the better filters but should be either flushed out with alcohol or replaced often. The seller put a new filter in place in the stem. The stem fit well in the shank but looking down the shank it is dirty and covered with oils and tar. The stem is oxidized (though not as bad as the Bari was). It had some small tooth marks and chatter on the stem near the button. The stem logo is very faint and may not show up well once the stem is cleaned up. I took photos of the pipe to record the condition it was in when it arrived here in Vancouver. It gives me a benchmark to measure the finished pipe against as well. I took a close up photo of the rim top and bowl. The bowl had a thick cake in it all the way down to the heel. The rim top has some light lava overflow but it is not too bad. There is damage on the left side and back inner edge of the bowl that can be seen in the first photo below. The stamping on the underside of the pipe is quite readable through the grime. It reads Alligator and next to that is the Savinelli S Shield logo followed by the shape number 207 over Italy. Next to that it reads Savinelli Product. There is a brass separator on the stem that adds a touch of class to the shank/stem union.I took photos of the stem condition as well. You can see it is oxidized but not in bad condition. The light tooth marks on both sides are barely visible in the photos below. There is a very faint alligator stamp on the left side of the stem in an oval. It is faint enough that I am concerned that there is not enough depth to recolour it but time will tell.I dropped the badly oxidized stem in a bath of Before & After Pipe Stem Deoxidizer to soak away the oxidation. In this case the oxidation was quite thick and the stamping on the left side was so shallow that I did not want to do a lot of sanding. The deoxidizer could do its work. I put the lid on the airtight container and left the stem to soak overnight.I turned my attention to the bowl and the cleanup that was awaiting me there. I reamed the bowl with a PipNet pipe reamer using the second cutting head to work away the heavy cake. I worked at it very slowly so as to keep the blade from creating further damage to the roundness of the bowl. I cleaned up the remaining cake with a Savinelli Fitsall Pipe Knife taking it to almost bare briar and smoothing things out. I used a folded piece of 180 grit sandpaper to work on the inner edge and the damage to the top of the rim on the left and back edge of the bowl and down into the bowl about an inch. With the bowl reamed it was time to clean out the internals of the bowl and shank. I used 99% isopropyl alcohol, cotton swabs and pipe cleaners to remove the accumulated tars and grime in the shank and airway. I folded the used pipe cleaners and swabbed out the walls of the bowl with them. I scraped out the walls of the mortise using a small pen knife blade to remove the buildup on the walls and give the interior a clean smell and feel.I wiped the exterior of the bowl with a damp cloth and then scrubbed it with the Before & After Restoration Balm. I was sure that it would work well on the alligator pattern and the dirty condition of the finish on this pipe. I worked it into the grooves of the rustication with my fingers, rubbing it deep into the grooves. I used a shoe brush to further work it into the finish. I touched up the repaired rim top and edges with a dark brown stain pen and blended the colour into the rest of the stain on the bowl. I buffed the bowl with a shoe brush to further blend the stain on the rim. At this point the rim was looking far better. I buffed the bowl on the buffing wheel with Blue Diamond using a light touch. The photos below show the bowl after the buffing. It is really starting to look good at this point. Once the stem is done I will buff it a bit more and give it several coats of wax but for now it is finished and I am calling it a night. I took the stem out of the bath of Before & After Pipe Stem Deoxidizer and wiped it down with a paper towel to remove the excess deoxidizer. I ran pipe cleaners and alcohol through the airway to clean out the buildup inside. The stem was very clean and the oxidation was gone. The tooth marks in the surface of the stem on both sides near the button were even less visible.I used some European God Rub’n Buff to touch up the very faint logo on the left side of the stem. It helped a bit but it is pretty shallow so I am not sure it will last too long.I sanded the pipe lightly around the button to remove the tooth marks using 220 grit sandpaper. I polished out the sanding scratches and marks in the vulcanite – wet sanding it with 1500-2400 grit pads and dry sanding it with 3200-12000 grit pads and wiped it down with Obsidian Oil after each one. When I finished with the 12000 grit pad I gave it a final coat of oil and set it aside to dry. At this point I was not happy with the remaining oxidation that showed up under the flash of the camera so I went back to the drawing board and reworked it with the sanding pads. Once I finished reworking the oxidation, I put the stem back on the bowl and took the pipe to the buffing wheel to work it over. I gently buffed the rusticated bowl with Blue Diamond to polish the briar. I buffed the stem at the same time to raise the gloss on the vulcanite carefully working around the faint stamping on the stem. I gave the bowl multiple coats of Conservator’s Wax and the stem several coats carnauba wax. I buffed the entire pipe with a clean buffing pad to raise the shine. I hand buffed it with a microfiber cloth to deepen the shine. The finished pipe is shown in the photos below. I am hoping that the fellow I am restoring it for enjoys the second of his “new pipes”. For now he will have to enjoy it by looking at the photos but soon it will wing its way back to India. Thanks for looking.

Giving new life to a Savinelli Product – a David’s Choice Canadian


Blog by Steve Laug

I have written about the restoration and restemming of the first pipe bowl I picked up while on a recent trip. It was found in an antique shop in Nanton, Alberta. It was an old AF Billiard from 1923. The second pipe bowl I found at the same shop is the focus of this refurbishing article. It is stamped on top of the shank with the words David’s Choice and stamped on the underside Italy and barely visible under the repair band Savinelli Product. The repair band was loose and when it was removed the shank had a crack on the bottom side. At the bowl shank junction there is also a small crack that extends back along the shank for almost an inch. It does not appear to go through the shank to the airway but it is visible. The rim of the pipe was clean but the outer edge was damaged and the top edge was badly dented. The finish on the bowl was gone and the briar, though it had stunning grain, was lifeless looking. The bowl was clean in the top ½ inch – looking to have been reamed. The rest of the bowl was badly caked to the point that a pencil would stand in the bottom half unaided. There was no room for additional tobacco. Surprisingly the shank was clean. The stem was long since gone but I found a stem blank in my stem can that would work very well with the pipe.Sav1 Sav2 Sav3 Sav4 Sav5 Sav6 The cake was like concrete in the bottom half of the bowl. I could not cut through it with either the PipNet or the KleenReem pipe reaming tools. I filled the bowl with cotton balls and then used an ear syringe to fill the bowl with isopropyl alcohol. I let it sit for several hours while I worked on fitting the stem.Sav7 Sav8 I used the Pimo Pipe Turning tool to reduce the diameter of the tenon and cut a clean edge against the stem. I sanded it by hand to get it to the proper diameter to fit the shank. I still needed to fit the stem to the angles of the shank and make the lines straight and clean from shank to button. I fit it on the pipe and took some photos to get an idea of what I needed to sand.Sav9 Sav10 I took the cotton balls out of the bowl and then reamed the bowl. The alcohol softened the hard cake and it came out more easily. I finished scraping the bowl with a sharp knife to take out the remnant of cake. I sanded the stem with 220 grit sandpaper to reduce the stem to fit the shank. I glued the band in place on the shank with an all-purpose wood glue.Sav11 Sav12 Sav13 Sav14 Sav15 I wiped down the bowl with acetone on cotton pads to remove the remaining finish from the briar. I would eventually stain the briar – not sure at this point what colour I would use but I wanted to have a clean surface for the stain. I also lightly topped the bowl with a topping board and 220 grit sandpaper to remove the damaged top and edges of the rim.Sav16 Sav17 Sav18 I heated the briar with a heat gun to open the pores in the briar to receive the stain and then used a dark brown aniline stain. I applied it and flamed and repeated the process until I had an even coverage over the surface of the bowl. In the past I have thinned the stain to lighten it but have lately just applied it and then wiped it down with alcohol and cotton pads to lighten it after staining.Sav19 Sav20 Sav21 I sanded the bowl and shank with a 1500 grit micromesh sanding pad to further lighten the finish and then wiped it down a further time with the alcohol wet pads.Sav22 Sav23 Sav24 Sav25 I sanded the stem with 220 grit sandpaper and medium and fine grit sanding sponges. I wet sanded with 1500-2400 grit micromesh sanding pads and dry sanding with 3200-12,000 grit pads. I rubbed the stem down with Obsidian Oil after each set of three pads. Once I had finished sanding I buffed the stem with White Diamond. I polished the band with silver polish and gave it a light buff with White Diamond as well.Sav26 Sav27 Sav28 I put the stem back on the pipe and buffed it all again with White Diamond and gave it a several coats of carnauba wax. I buffed it with a soft flannel buff to raise the shine. Though this old warhorse of a pipe has seen much use, the new finish and restored, rebanded and restemmed pipe should give many more years of service. It is cleaned and ready to load with its inaugural bowl. Though the pictures do not show it the pipe is a large one – it is 6 inches long with a bowl that is 2 inches tall. The diameter of the bore is 7/8 inches. It will certainly be a long smoke – and if the build of cake left behind by the previous owner tells any tales it will be a good smoking pipe.Sav29 Sav30 Sav31 Sav32