
Blog by Steve Laug
Not long ago a good friend of mine here in Vancouver wrote me an email about a repair on one of his pipes. Pre- COVID we used to have lunch together at least every other month and go for pipe walks after the meal. Since COVID hit we have met a couple of times for me to fix his pipes and enjoy a bowl on my front porch. So I am always glad to hear from him because it means at least on one end of the repair we will have a visit and a few bowls. Here is the email he sent me.
Hi Steve – I’ve a Savinelli that has the top centre of the button worn away — could you find time to fix it for me, please?
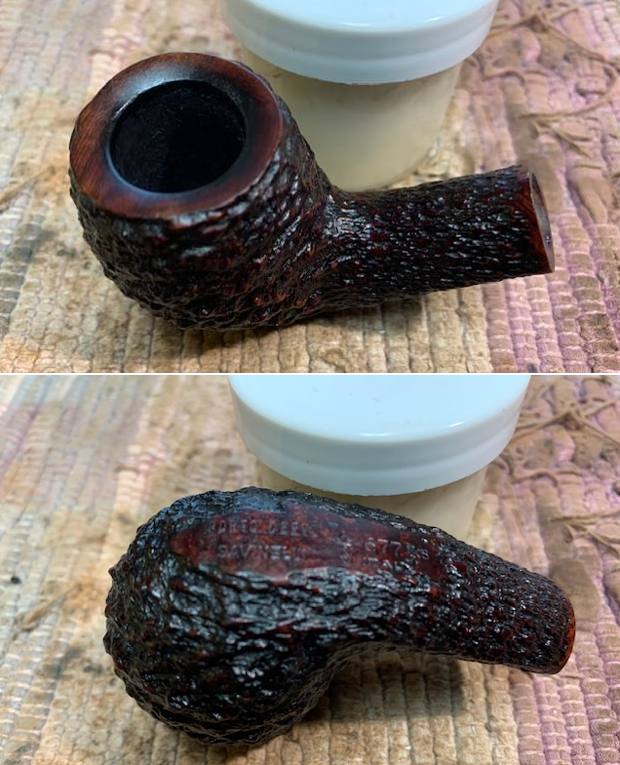
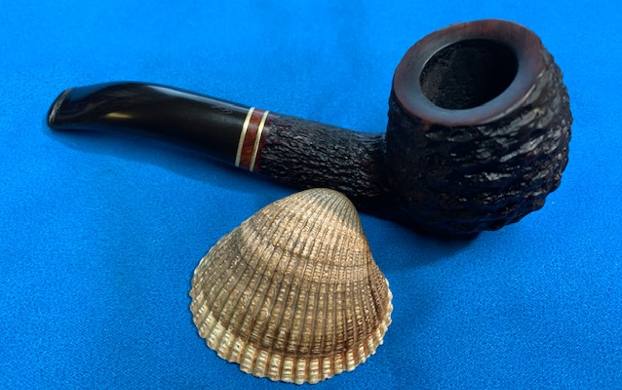
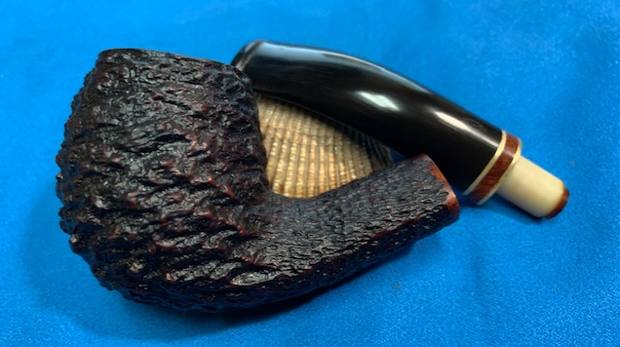
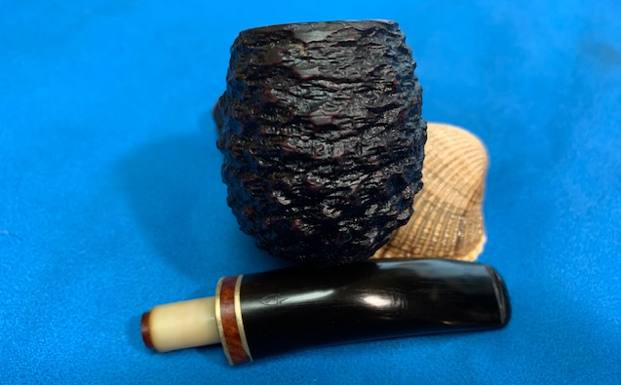
I wrote him back and told him I would gladly repair the pipe for him. He dropped it by a few days later and it joined the queue of four others that I had to work on. Today though is the day to work on his pipe. The pipe is a Savinelli Porto Cervo in a Rusticated Brandy 677KS shape with a triangular shank and stem. It has coral like rustication on it and it is a nice looking pipe. When I work on repairing his pipe’s I generally do a thorough ream and clean job on them. This had a thick soft cake in the bowl as he generally smokes aromatics. The rim top had a very thick coat of lava. The pipe was a filter pipe but he rarely uses a filter. The internals were also dirty and sticky with the tars and oils. The stem was oxidized, calcified and had tooth marks on the button and on the surface of the stem on both sides. The button was worn down in the top middle. I took some photos of the pipe before I started my clean up. 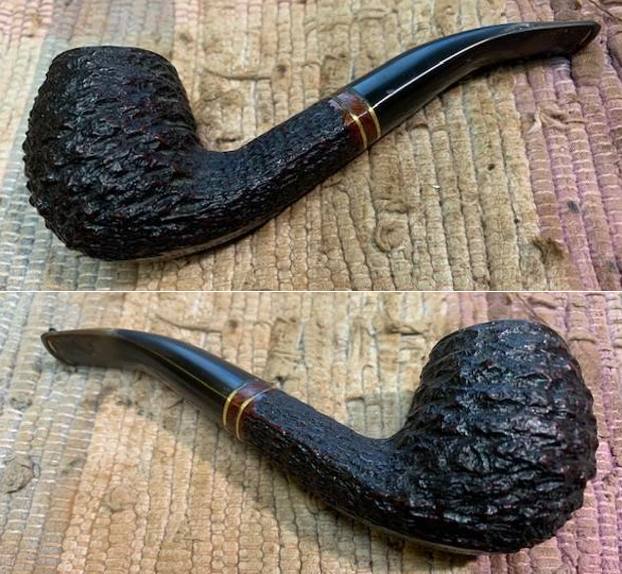
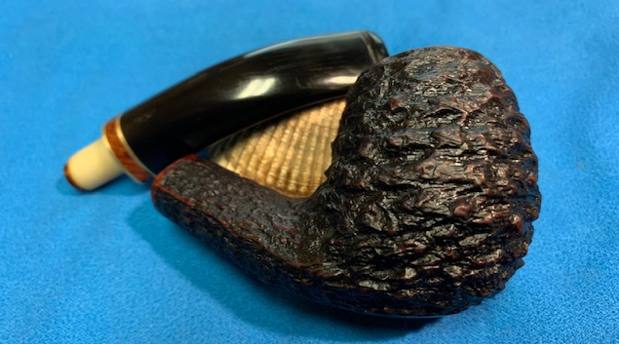
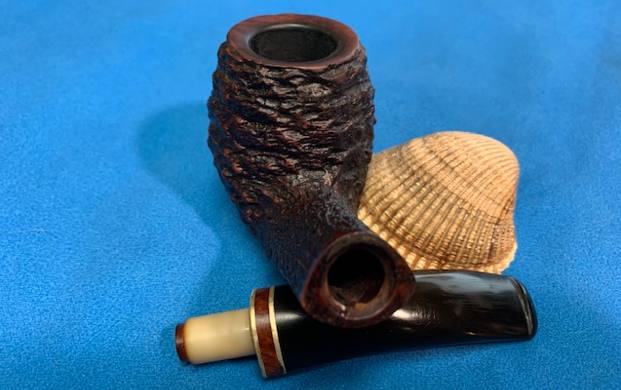
 I took a photo of the rim top to show the thick, soft cake and the thick lava coat on the rim top. It was sticky. The exterior was also sticky and a bit dull in spots. I like to work on clean pipes so I decided that would be the first order of business on this one before I address the issues with the stem button. I took photos of the top and underside of the stem to show the oxidation, calcification and tooth damage on both sides of the stem surface and button.
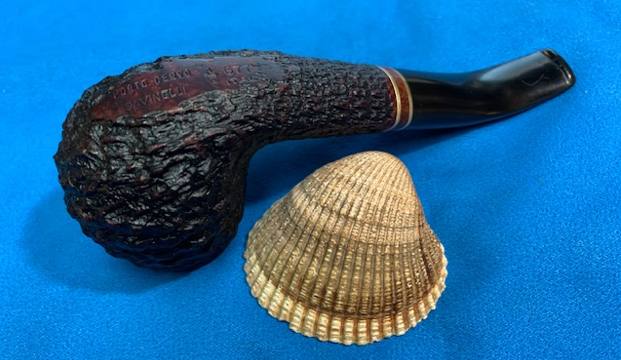
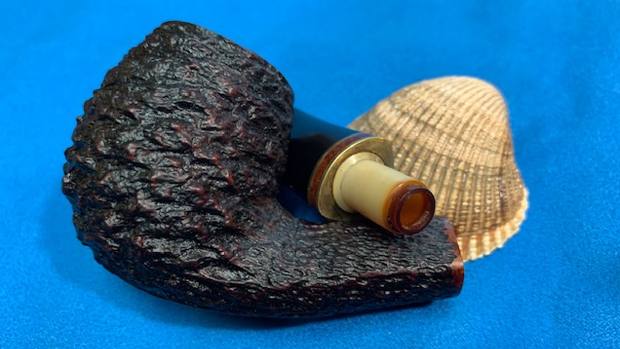
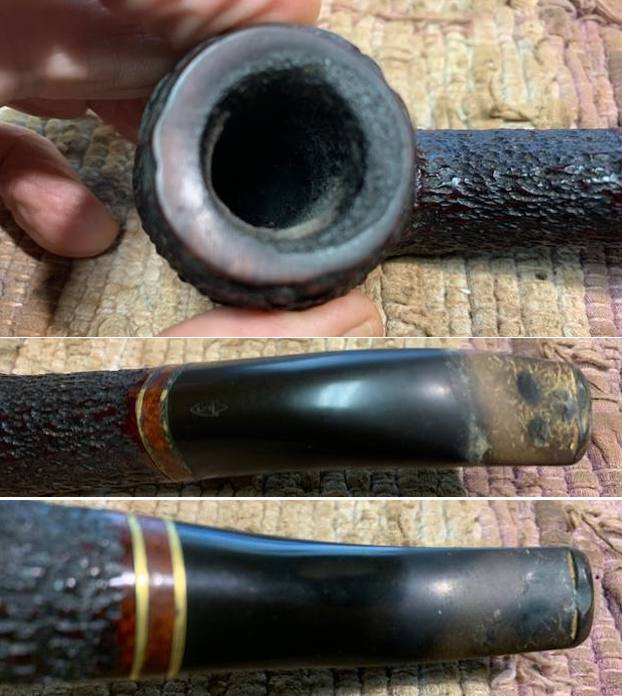 I took a photo of the heel of the bowl and the underside of the shank to show the stamping. It reads Porto Cervo [over] Savinelli on the heel of the bowl. That is followed by the Savinelli shield S logo then 677 KS [over] Italy. It is clear and readable.
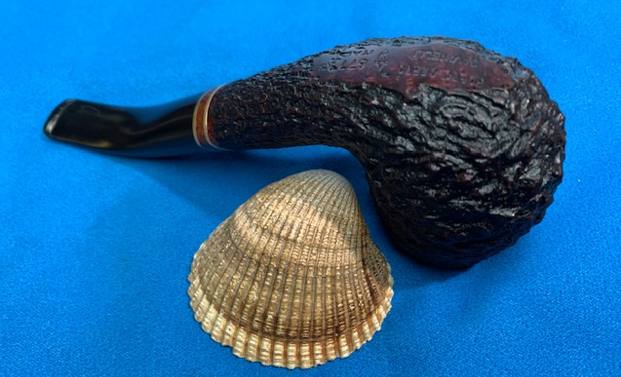
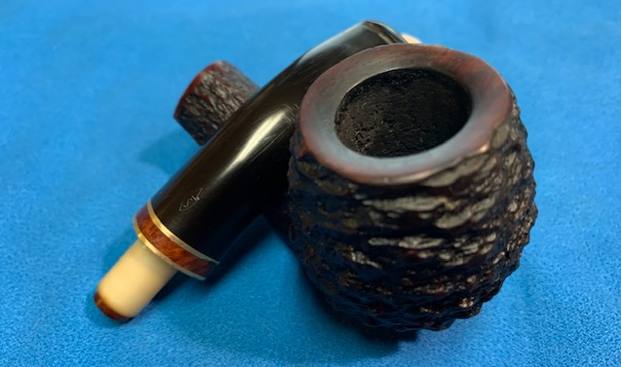
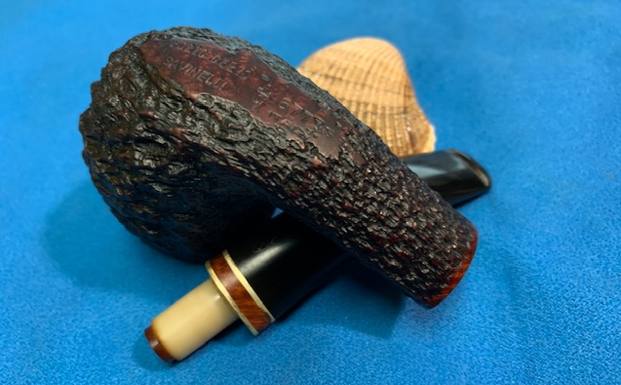
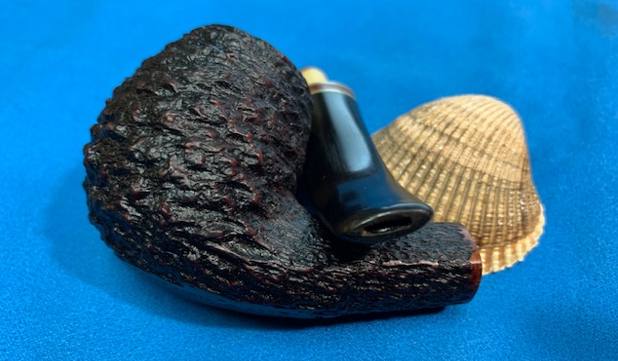
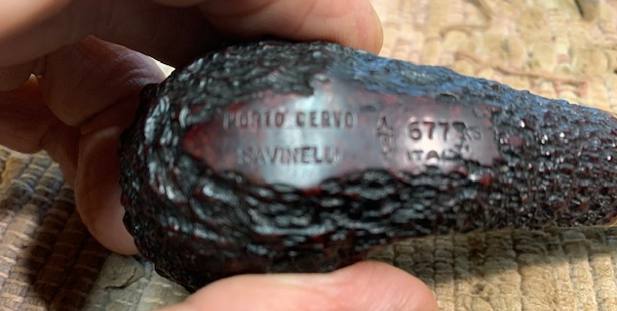 I removed the stem from the shank and took a photo to give a sense of the look of the pipe. It is a nice looking pipe and the two brass rings separated by a piece of briar on the stem is a nice touch.
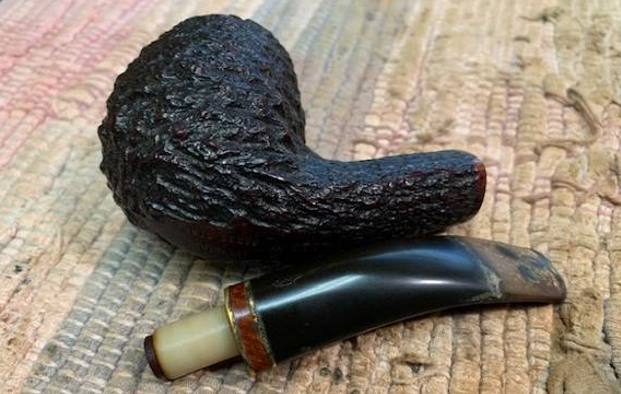 If you would like to read about the history of Savinelli, Pipedia has a great article and some amazing photos of different pipes, lines and catalogue pages. Here is the link – check it out (https://pipedia.org/wiki/Savinelli). I also have included a Savinelli Shape Chart from the site for reference to the 677 KS Shape. I have circled it in red (https://pipedia.org/images/4/41/Sav_Shape_Chart_2017.jpg).
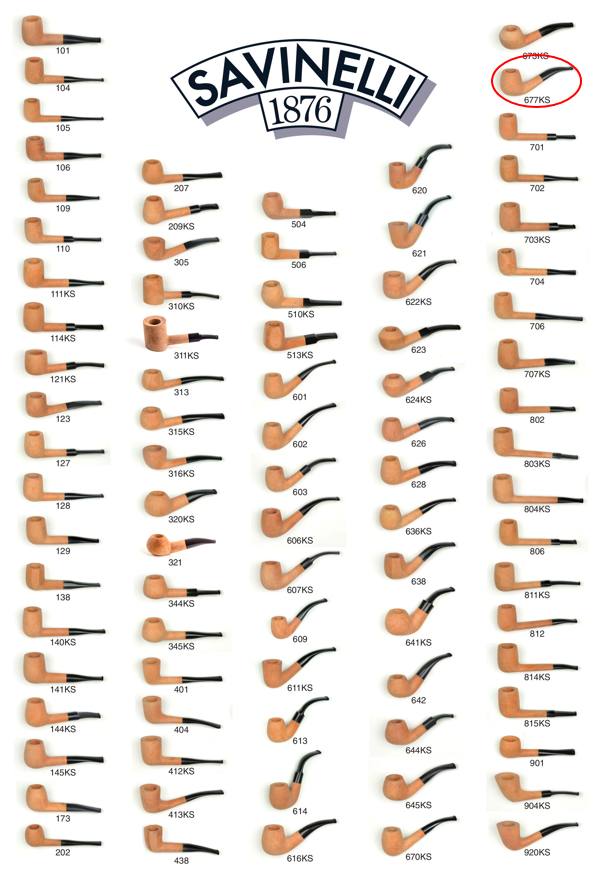 Now it was time to start the clean up work on the pipe. I mentioned above that I like to work on clean pipes so I began by reaming the sticky, soft cake back with a PipNet pipe reamer and the second cutting head. I cleaned up the reaming with a Savinelli Fitsall Pipe Knife. It began to look and smell better!
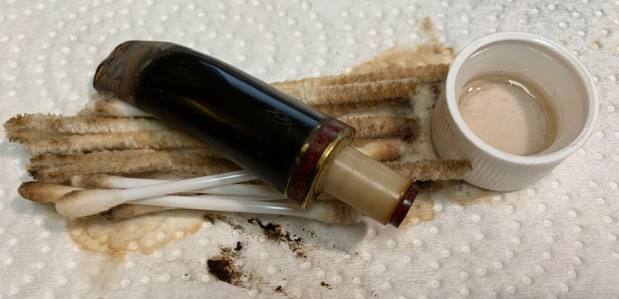
 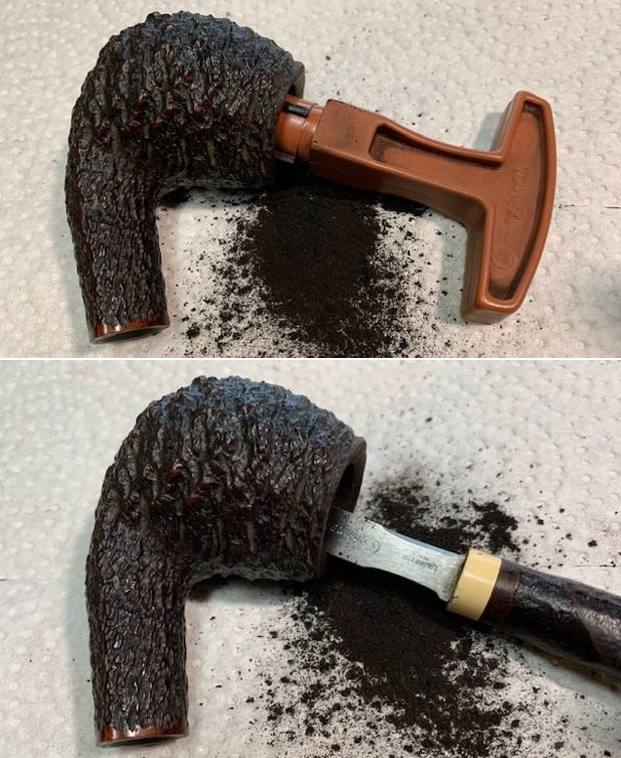 With the bowl reamed I turned to clean out the tars and oils in the shank and in the airway in the bowl and the stem. I scraped the airway clean with a pen knife as the first few cotton swabs told me that there was a ridge of tar mid shank. I scrubbed the shank and airway in the stem with isopropyl alcohol (99%) and cotton swabs and pipe cleaners and the pipe smelled clean with just a hint of my friend’s pipe tobacco of choice.
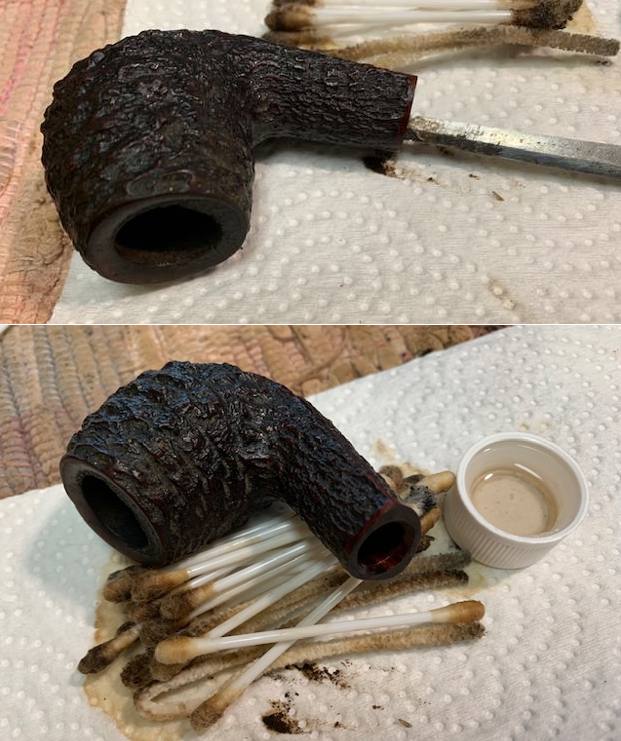
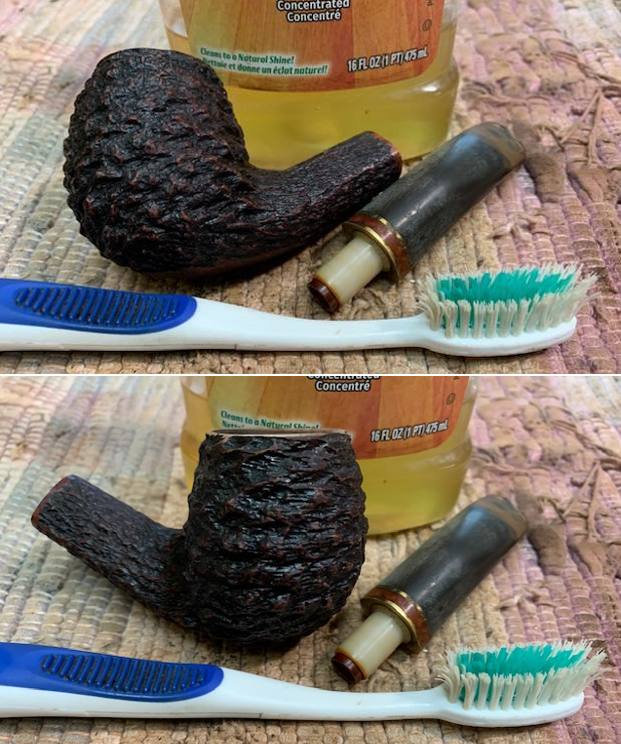
 Now it was time to work on the externals. I carefully scraped off the thick lava coat with a small pen knife. With that finished I scrubbed the briar and the surface of the stem with undiluted Murphy’s Oil Soap and a tooth brush. I was able to remove the dust and debris from the rustication and more of the tars on the rim top.
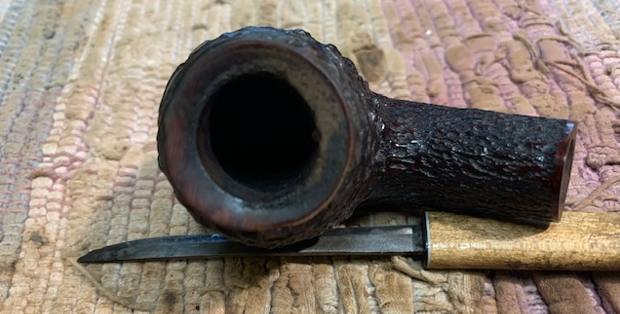
 I used a folded piece of 220 grit sandpaper to further clean up the rim top. I gave it a quick polish with 1500 grit micromesh.
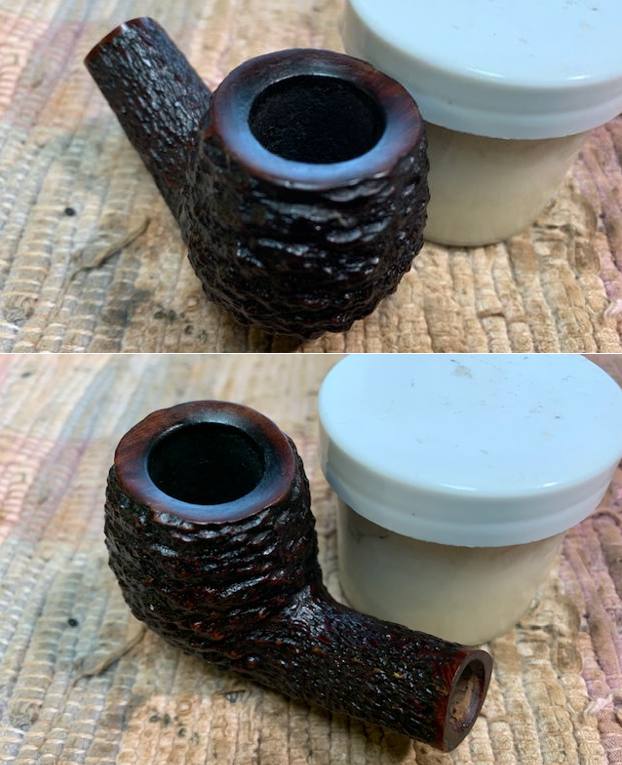
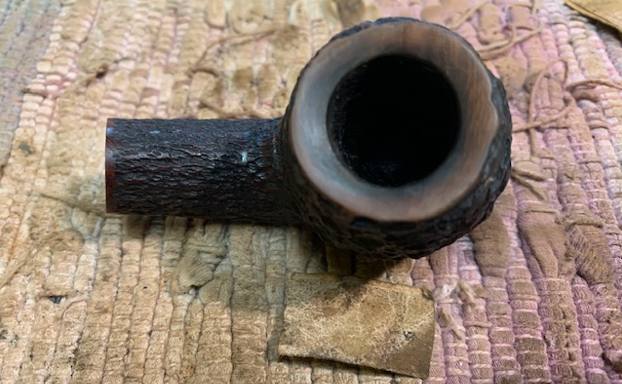 I worked some Before & After Restoration Balm into the surface of the briar with my fingertips and a horsehair shoe brush to clean, enliven and protect the briar. I let the balm sit for 15 minutes and then buffed with a cotton cloth to raise the shine. The photos show the bowl at this point in the restoration process.
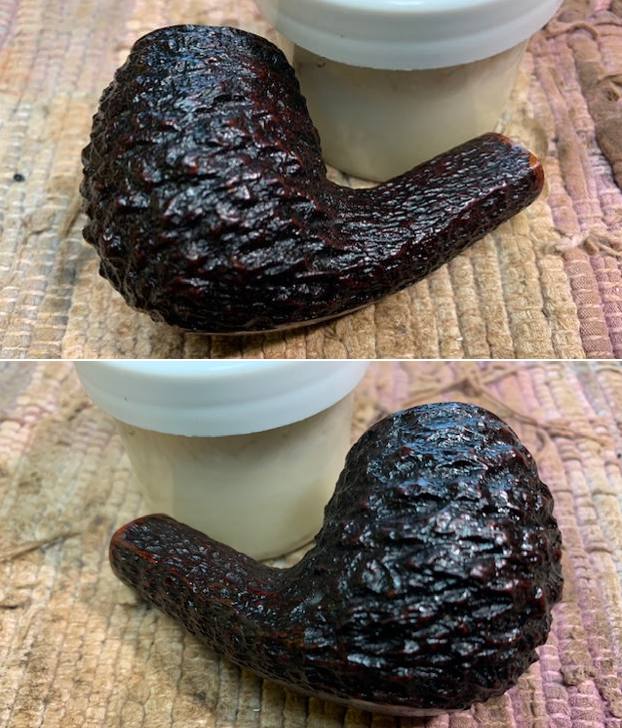
 I set the bowl aside and turned my attention to the stem. I gave the surface a quick sand with 220 grit sandpaper to knock of the oxidation and the calcification. It was quite dirty so I needed to clean it before rebuilding the button. I “painted” the surface of the stem with the flame of a Bic lighter and was able to lift the tooth marks on the top side. I was able to lift the majority of those on the underside as well. I then scrubbed the stem with Soft Scrub to remove the rest of the oxidation from the stem. It worked quite well.
 I built up the deep tooth marks on the button with a Black Rubberized Super Glue. I layered it and sprayed it with an accelerator before adding another layer and repeating the process until the surface was where I wanted it. I set it aside to cure overnight.
 In the morning the repair had hardened. I used a file to flatten the repairs and to recut the edge of the button on both sides. I also flattened the top and underside of the button and reshaped it with the files.
 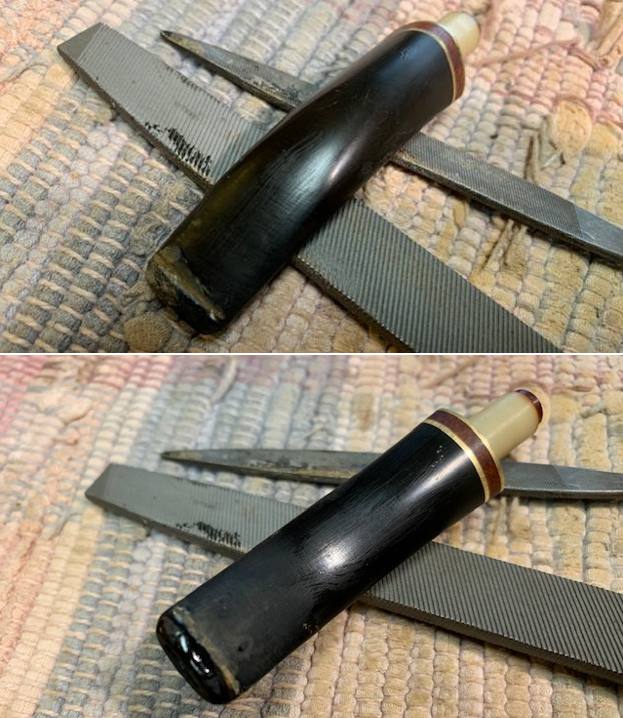 I sanded the repaired areas smooth with 220 grit sandpaper and reshaped them further. I started the polishing with 400 grit wet dry sandpaper.
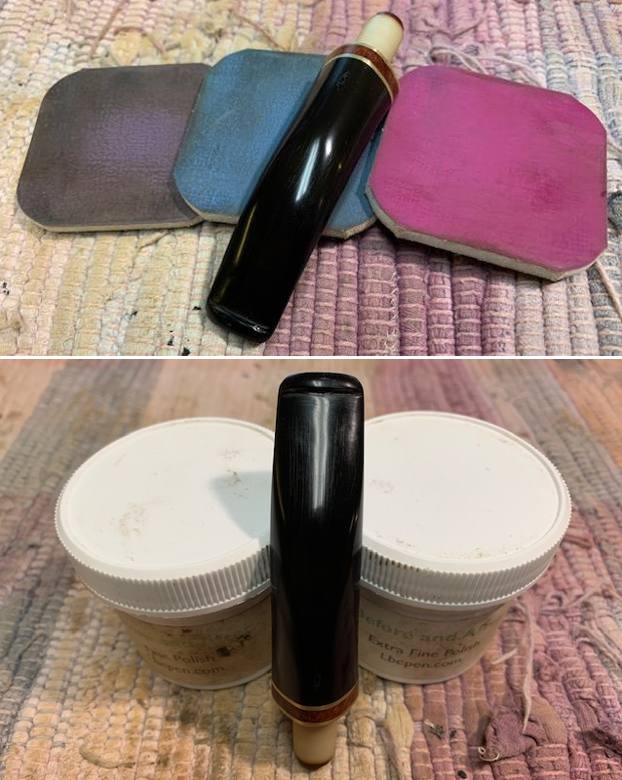
 I polished the stem with micromesh sanding pads – wet sanding with 1500-12000 grit sanding pads. I wiped it down after each sanding pad with Obsidian Oil. I polished it with Before & After Pipe Stem Polish – both Fine and Extra Fine.
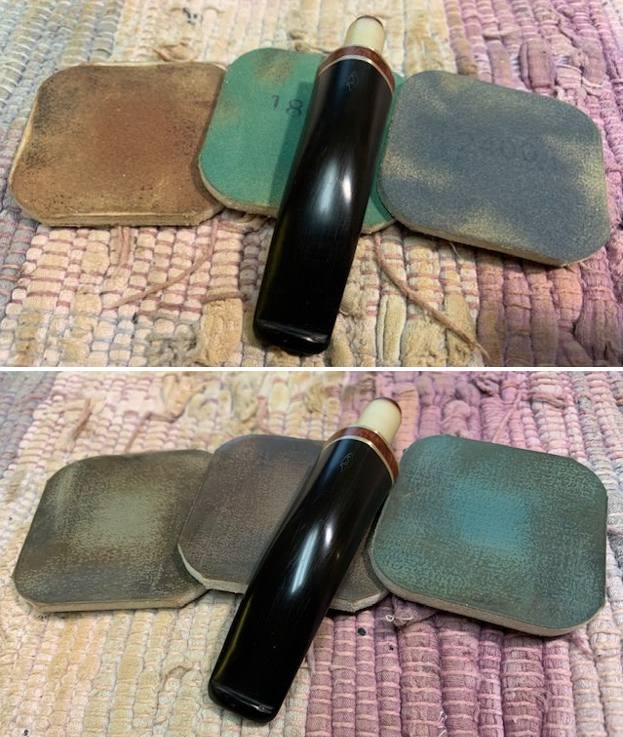
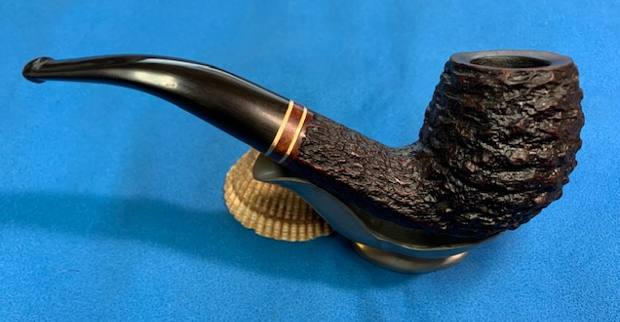
 I am excited to finish this Savinelli Porto Cervo 677KS Rusticated Bent Brandy. It turned out to be a nice looking Bent Brandy. It has a rusticated finish around the bowl with a smooth rim top. I put the pipe back together and buffed it with Blue Diamond on the buffing wheel. I gave the bowl multiple coats of Conservator’s Wax and the stem multiple coats of carnauba wax. I buffed the pipe with a clean buffing pad to raise the shine. I hand buffed it with a microfiber cloth to deepen the shine. It is fun to see what the polished bowl and the black vulcanite stem the twin rings of brass with briar sandwiched between them. Have a look at it with the photos below. The dimensions are Length: 5 ½ inches, Height: 1 ¾ inches, Outside diameter of the bowl: 1 ¼ inches, Chamber diameter: ¾ of an inch. The weight of the pipe is 57 grams/2.01 ounces. It is a beautiful pipe and one I am sure my friend will pick up and reacquaint himself with soon. Thanks for walking through the restoration with me as I worked over this pipe. Thanks to each of you who are reading this blog.

