Blog by Steve Laug
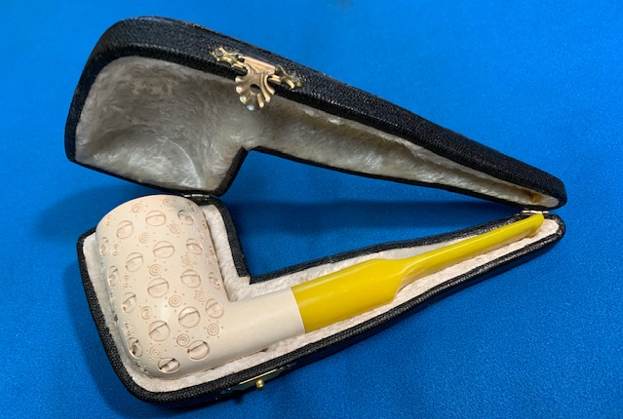
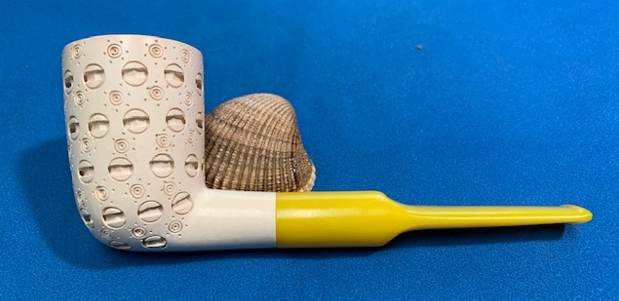
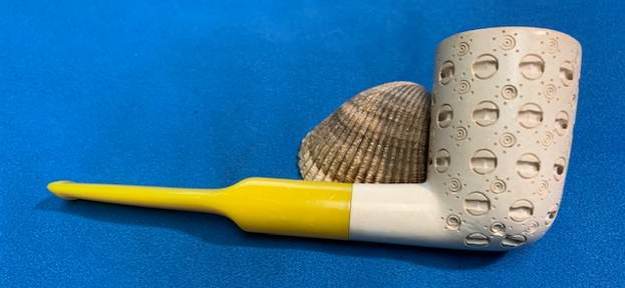
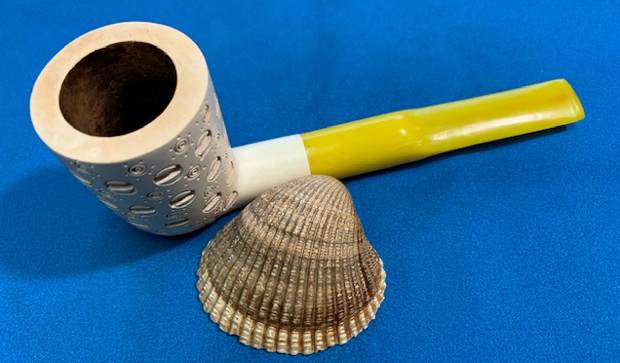
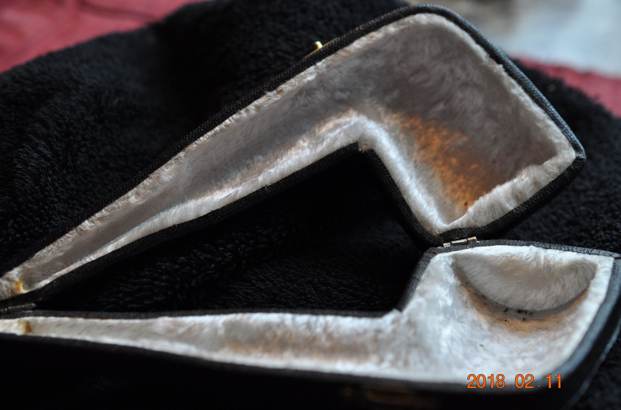
The next pipe on the table is an interesting meerschaum Dublin with geometric designs around the bowl sides and shank. The rim top was smooth. There was no marking on the pipe or on the case to help identify the maker. It is a nicely made pipe by an anonymous carver. The stem is a modified/customized saddle style acrylic in yellow/gold. It is a nice complement to the white of the meerschaum. The finish was surprisingly clean though the top of the rim had some dark spots and lava on it. There was a thin cake in the bowl that was not too much to deal with. The stem is also quite clean and there was light chatter and marks on both sides near the button. Jeff took some photos of the pipe before he started his clean up work. The first two photos show the pipe in the case and the case without the pipe. It is quite clean and in good condition.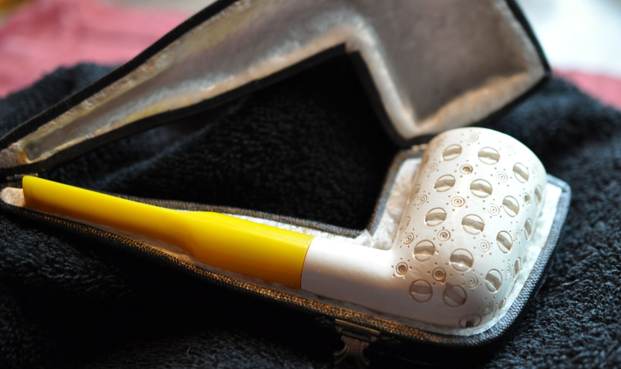
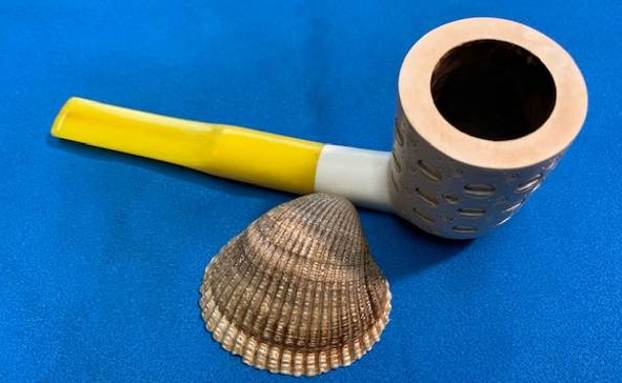
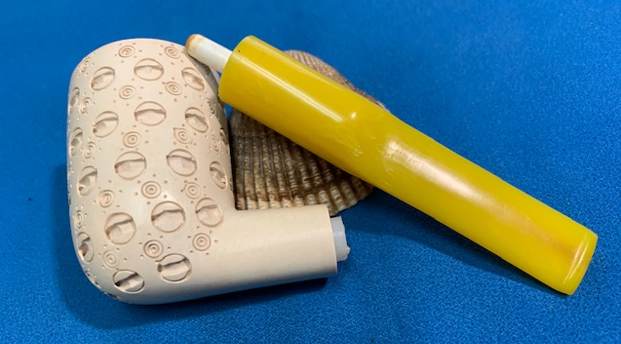
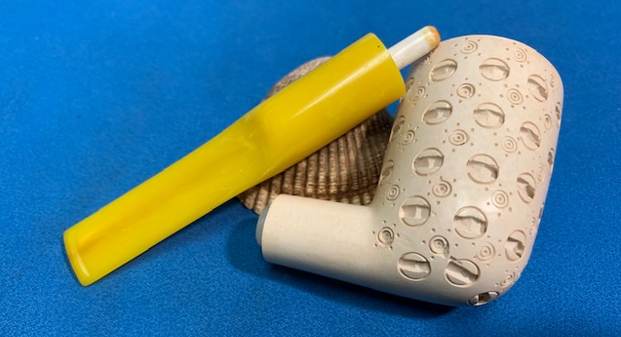
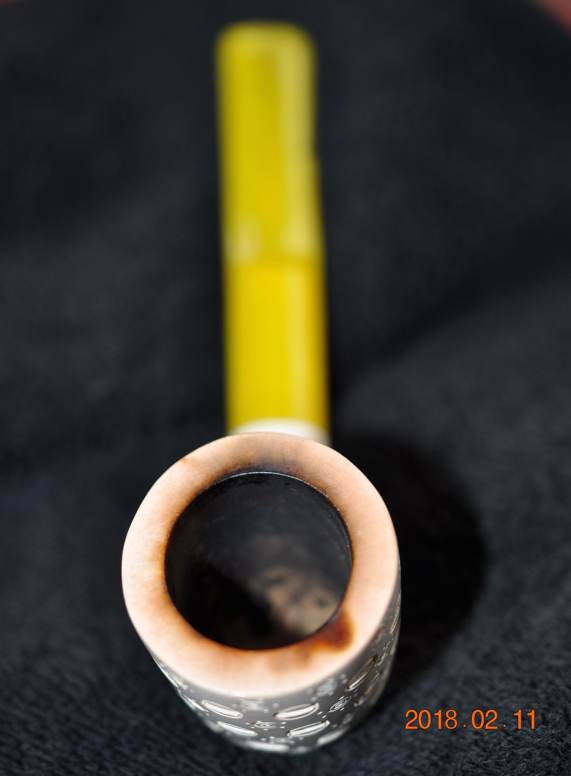
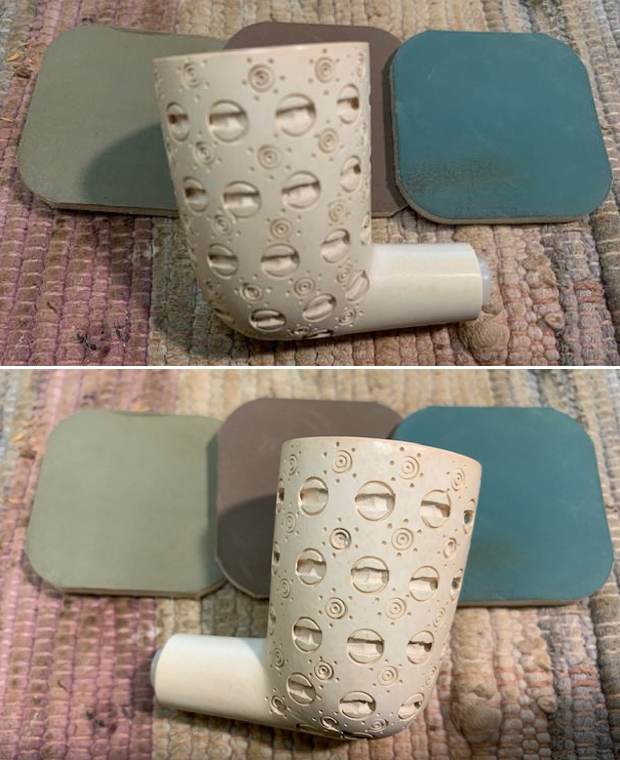
 Jeff removed it from the case and took photos of the pipe. It is a really nicely made pipe.
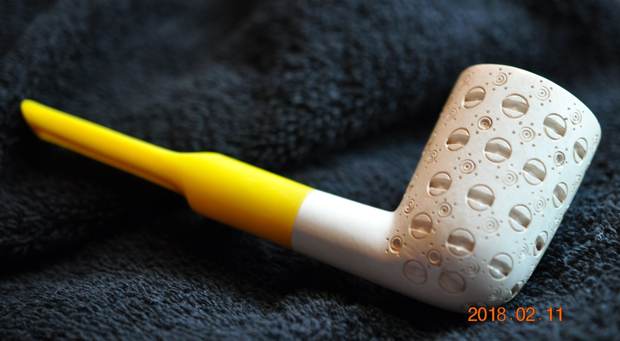
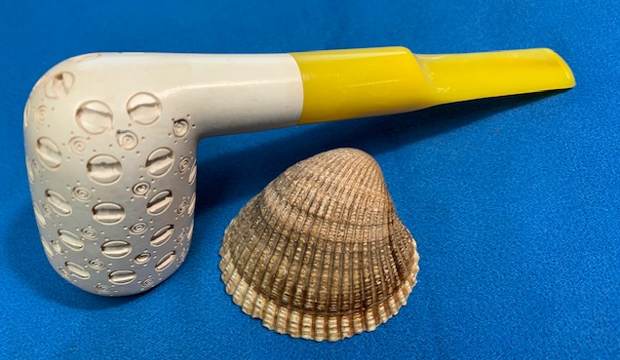
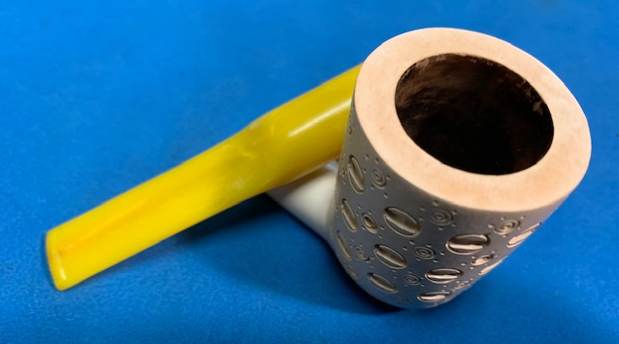
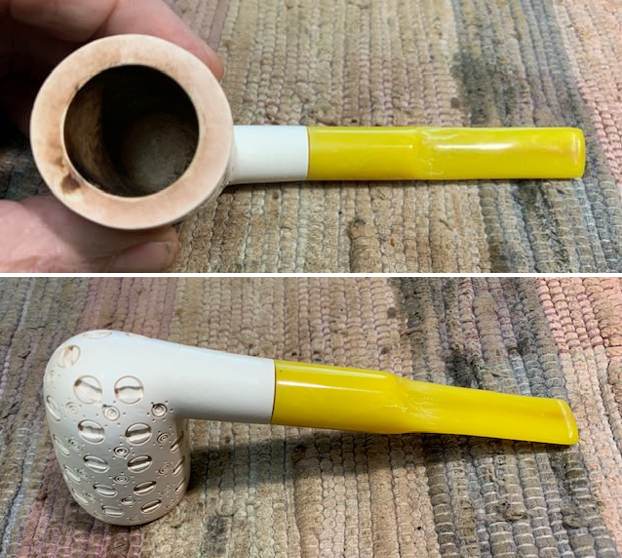
 He took a close up photo of the bowl to show the marks and the lava on the rim top. There was some darkening on the front and back of the top side. The stem photos show the tooth chatter and marks on the top and underside near the button.
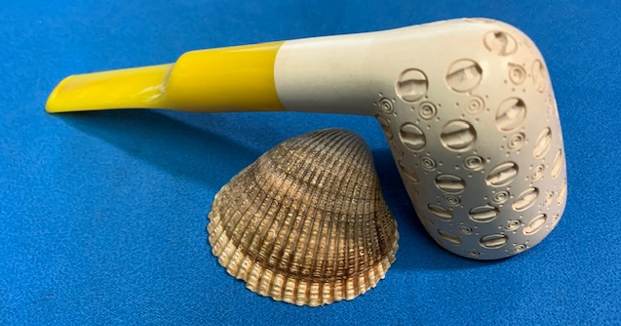
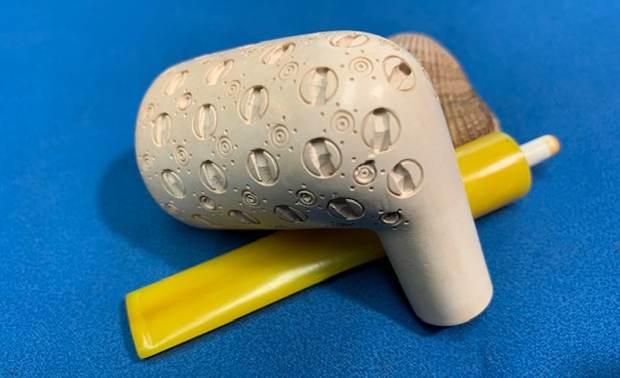
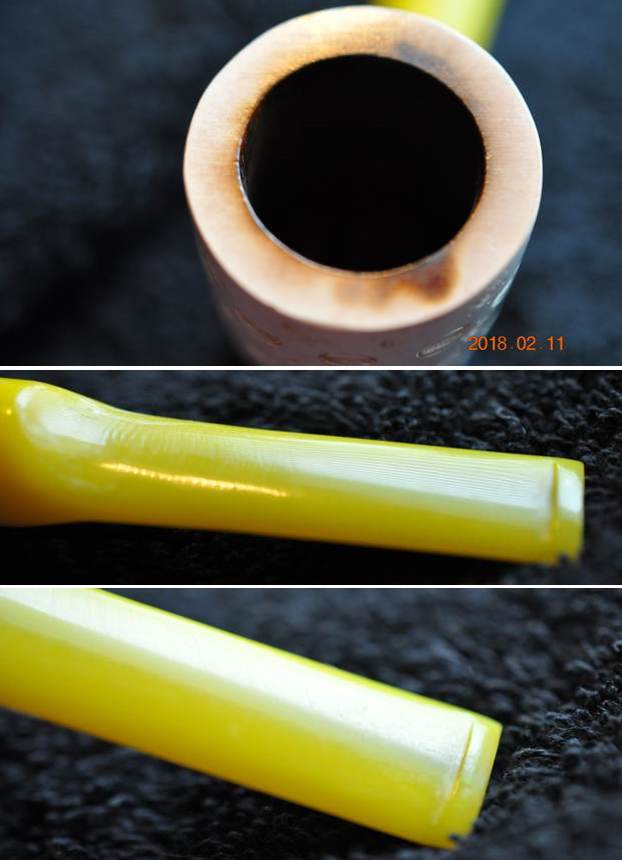 Jeff took some photos of the sides and heel of the bowl to show the pattern that had been carved around the bowl and shank.
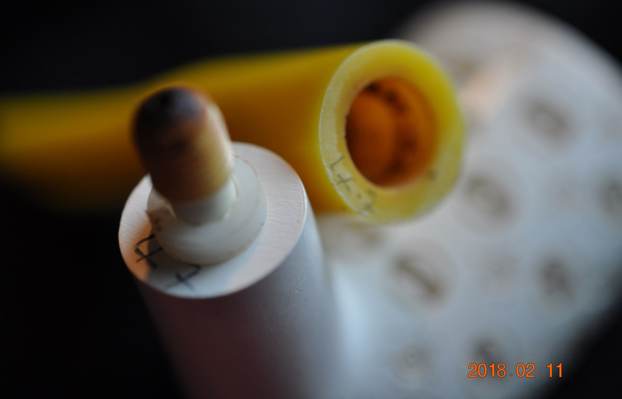
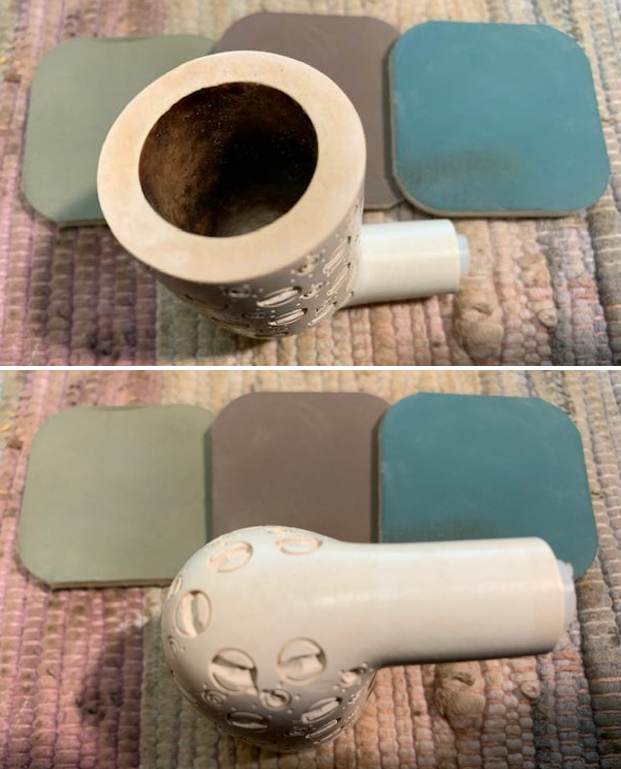
 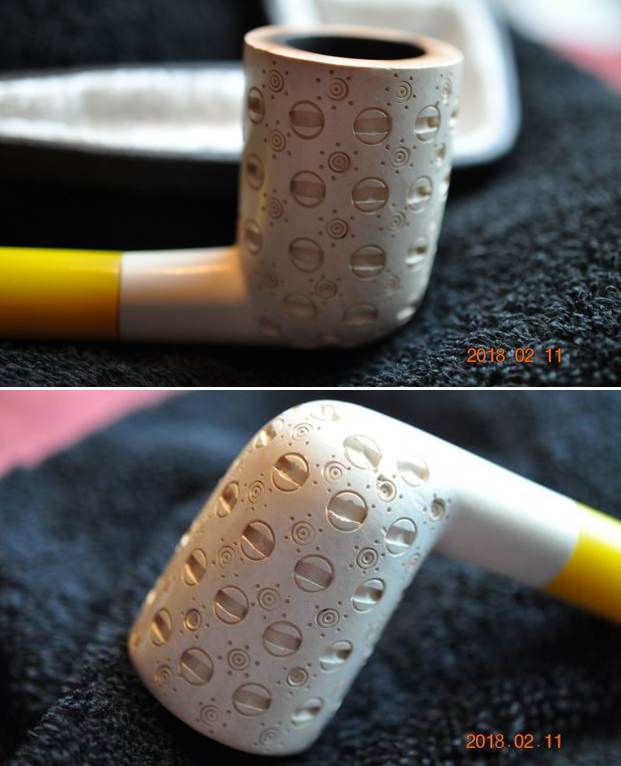 Jeff also took photos of the push style tenon. It came out of the stem when turned but remained in the shank. You can also see what appear two numbers 77 on the end of the shank and the stem. My assumption is that the numbers match the parts when the pipe was made.
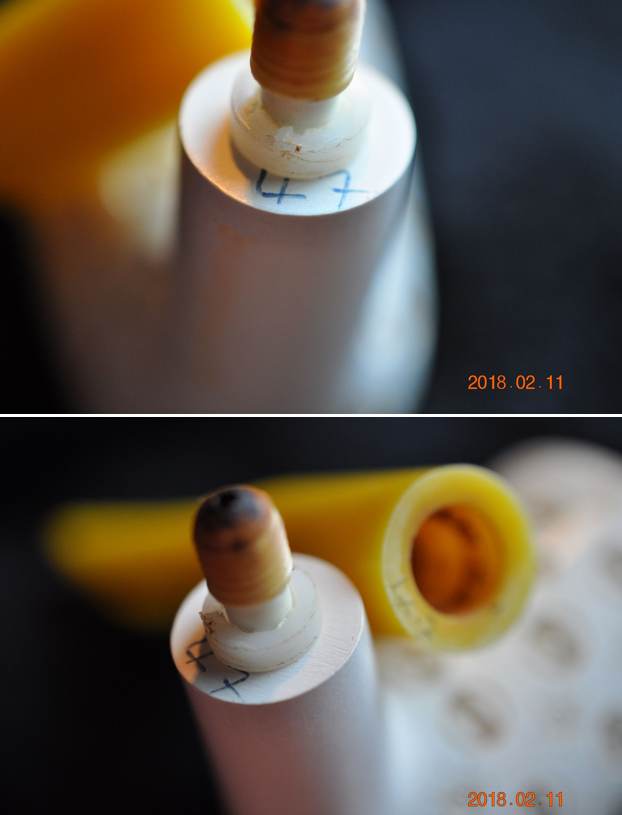
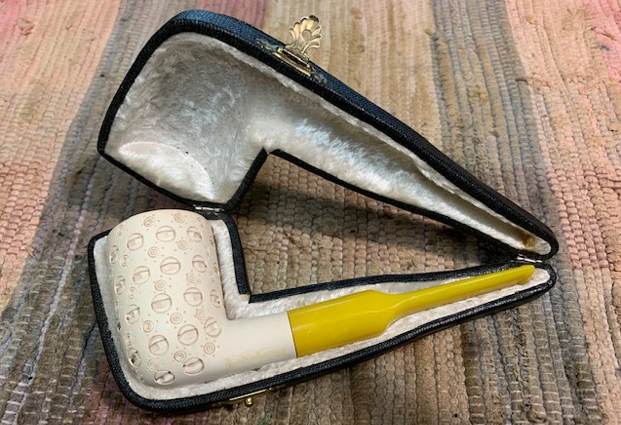
 Jeff had cleaned the pipe thoroughly. He had reamed it carefully with a PipNet reamer and cleaned that up with a Savinelli Fitsall Pipe Knife. He worked slowly so as not to damage the inner edge of the bowl. He had scrubbed the exterior of the meerschaum with undiluted Murphy’s Oil Soap and a soft tooth brush. He cleaned out the interior of the shank and airway with alcohol, pipe cleaners and cotton swabs. He cleaned out the acrylic stem with alcohol, cotton swabs and pipe cleaners to remove the debris and oils in the airway and the threads of the push tenon. Once it was clean he turned the tenon into the stem. I took photos of the pipe when it arrived here. The first two photos show the condition of the black case. It was in excellent condition. The third photo shows the pipe in the opened case. It was a great looking pipe.
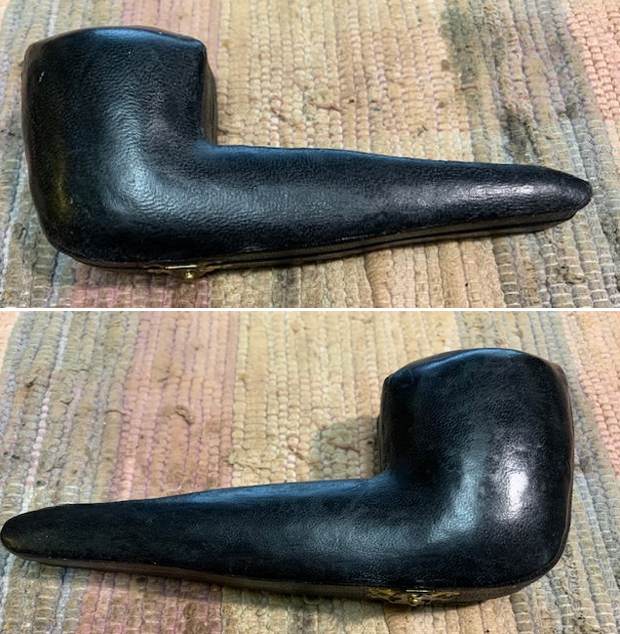
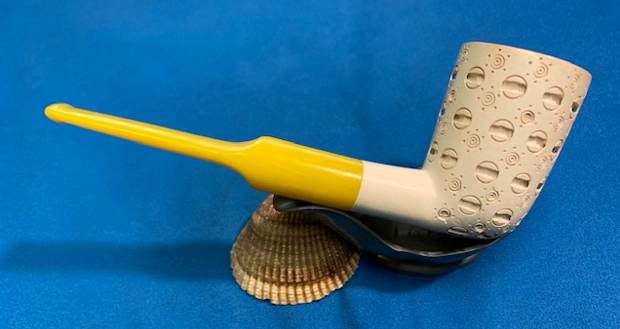
 I took the pipe out of the case and took photos of the cleaned pipe. The bowl has the look of a tall Dublin. The exterior of the bowl looked very good as did the stem. There was still some dark spots on the rim top on the front left side.
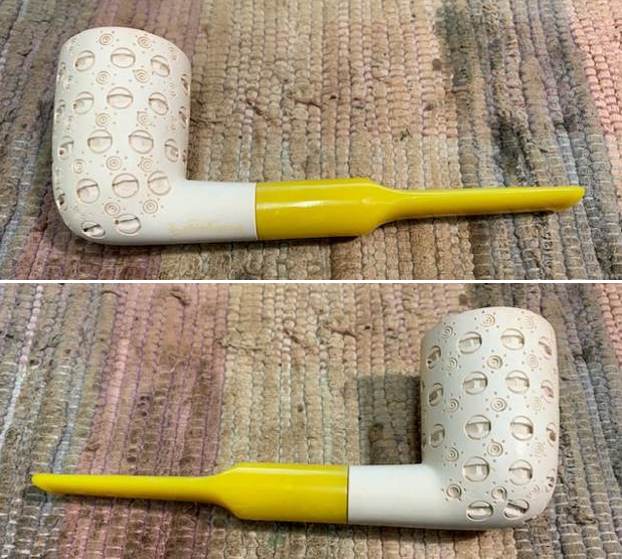
 I took some close up photos of the rim top and stem. You can see the marks on the rim top that I noted above. The tooth chatter on both sides of the stem were quite light.
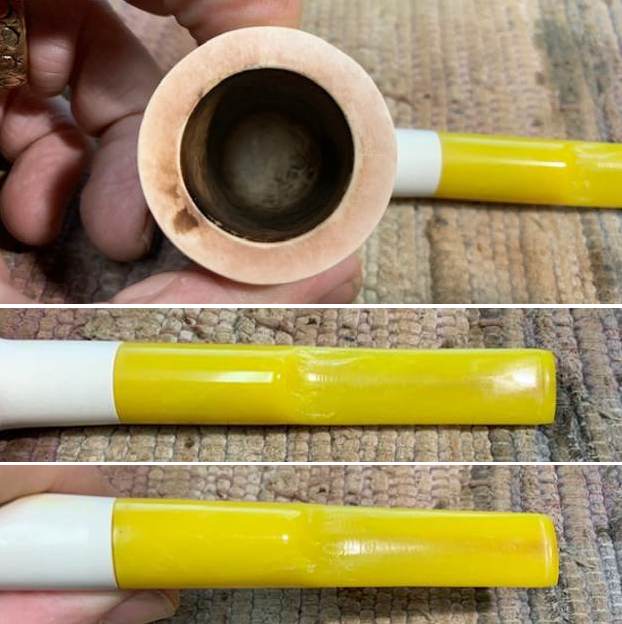 I removed the stem from the shank and took a photo of the parts of the pipe. It is well proportioned and looked really good.
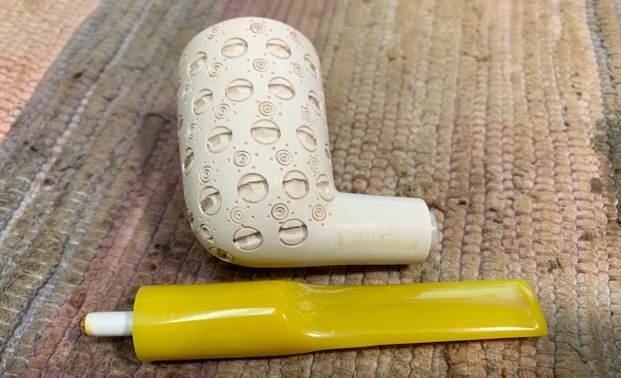 I decided to start my work on the pipe by polishing the bowl with micromesh sanding pads. I worked over the rim top with the pads at the same time. I used micromesh pads – dry sanding with 1500-12000 grit pads and wiped the bowl down with a damp cloth after each pad. I was able to remove the dark spots and give the bowl a shine.
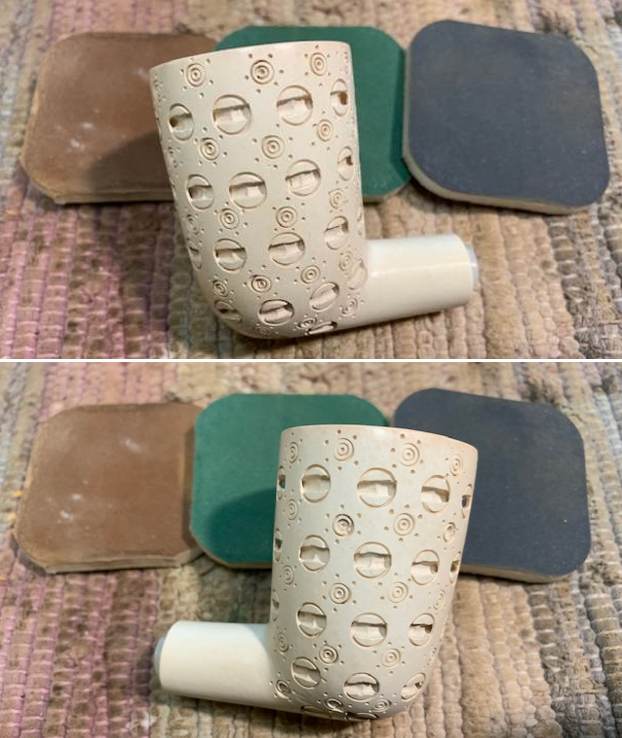

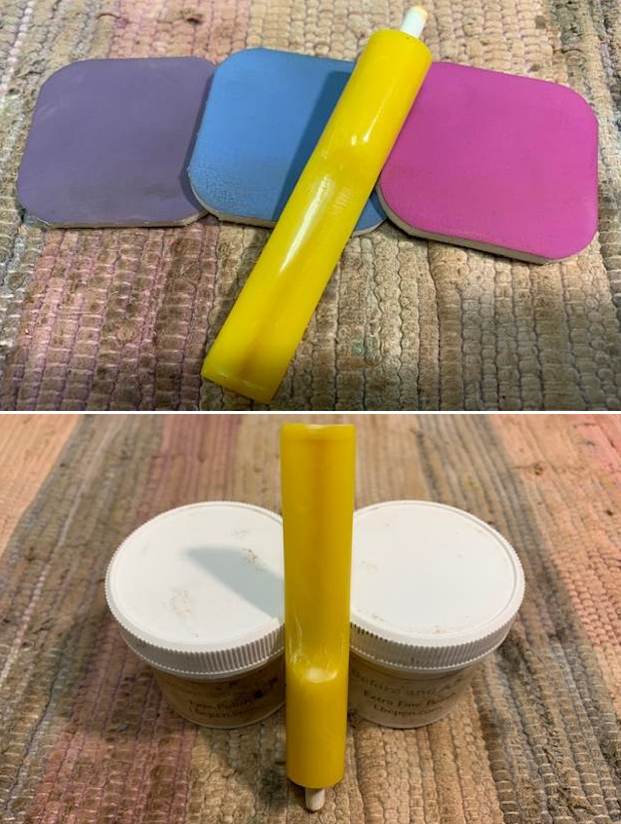
 I set the bowl aside and turned my attention to the stem. Since the tooth chatter was quite shallow I polished the newly shaped acrylic stem with micromesh sanding pads – dry sanding with 1500-12000 grit sanding pads. I wiped it down after each sanding pad with a cloth containing some Obsidian Oil. I know Obsidian Oil does nothing for acrylic but I have found that it removes the small particles left behind by the polishing. I finished polishing the surface with Before & After Pipe Stem Polish – both Fine and Extra Fine and buffed it off with a cotton cloth. I gave it a final coat of obsidian Oil and set it aside to dry. It is a beautiful looking golden, yellow acrylic stem.
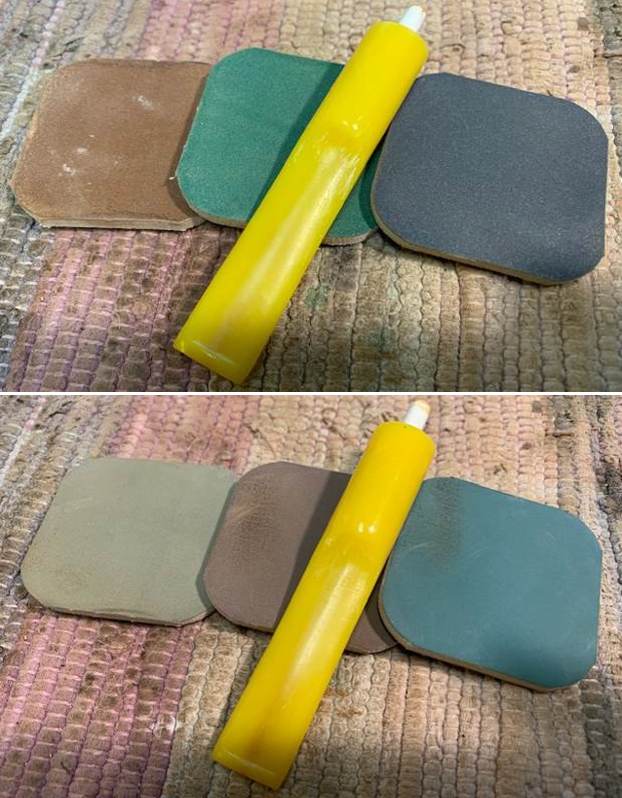
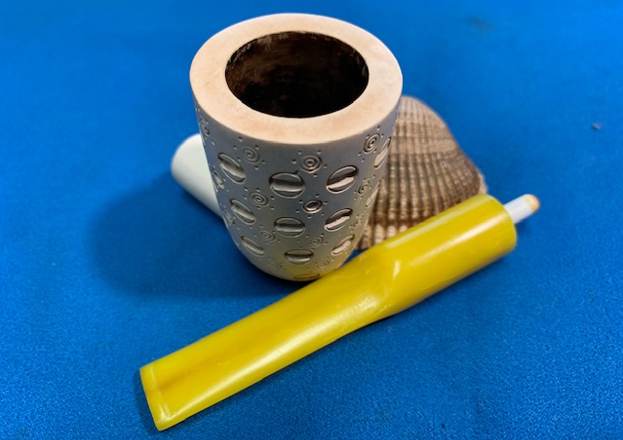
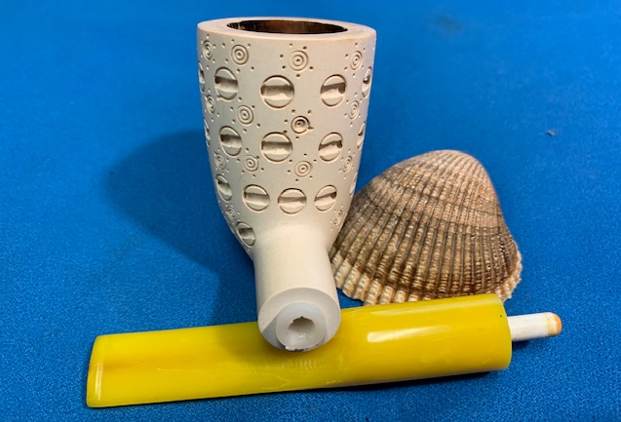
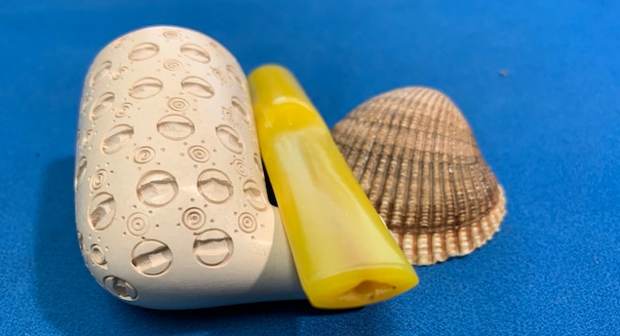
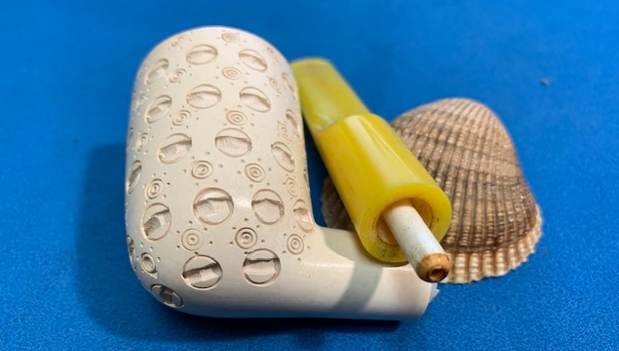
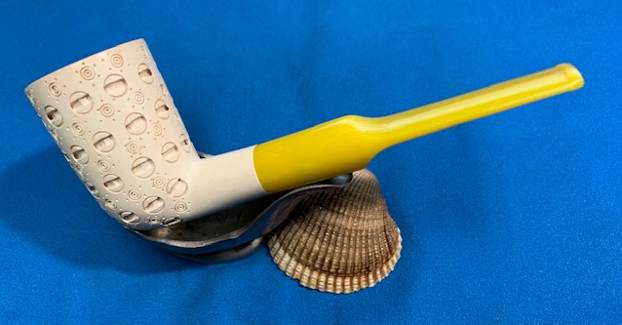
 This Carved Meerschaum Dublin with Geometric Patterns turned out to be another fun pipe to work on and I was excited to see it come back together. It was a clean pipe that did not take Jeff too much work to ream and clean. My work was also simpler than expected. I chose not to rewax it because of the shine that still showed on the bowl. I put the stem back on the bowl and lightly buffed the pipe with a clean buffing pad to raise the shine. I hand buffed the pipe with a microfiber cloth to deepen the shine. The rich polished meerschaum on the bowl looks really good with the polished yellow/golden acrylic stem. The bowl and stem came together looking quite spectacular. Give the finished pipe a look in the photos below. I can only tell you that it is much prettier in person than the photos capture. The dimensions of the pipe are Length: 5 ¾ inches, Height: 2 ¼ inches, Outside diameter of the bowl: 1 ½ inches, Chamber diameter: 1 inch. The weight of the pipe is 36 grams/1.27 ounces. This is truly a great looking Meerschaum. Thanks for walking through the restoration with me as I worked over another beautiful pipe. I will be putting it on the rebornpipes store in the Ceramic and Meerschaum Pipe Section. If you are interested in the pipe send me an email or a message. Thanks for your time.