Blog by Steve Laug
This is the twelfth pipe from the box of pipes that I was gifted by a good friend of mine with the instructed purpose of cleaning them up and selling them with all of the proceeds going to the aid of earthquake victims in Nepal. Once again all funds raised will all go to the SA Foundation, and organization that has worked in Nepal for over 15 years helping provide recovery, housing and job training for women who are victims of sexual exploitation and trafficking. The ongoing earthquakes (over 300) that continue to shake Nepal have left much in ruins. The SA Foundation Project there was able to find new housing for the women and help with staff as well. Every dollar raised from the sale of these pipes will go to the work in Nepal.
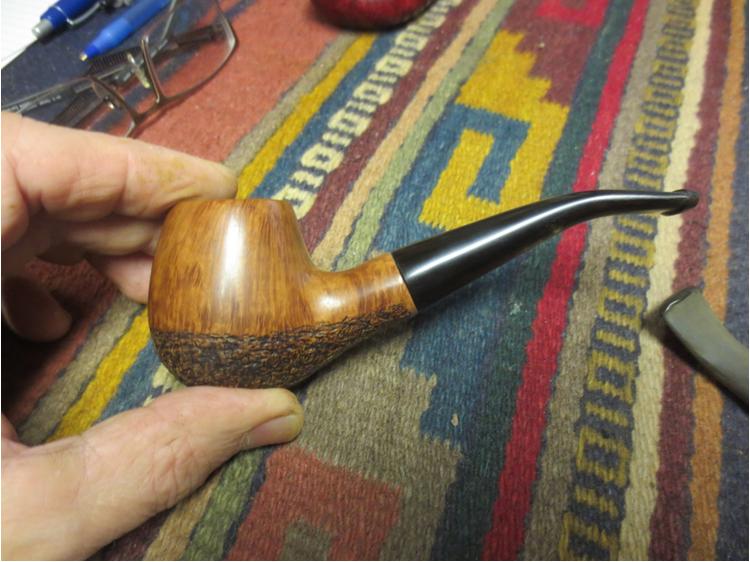
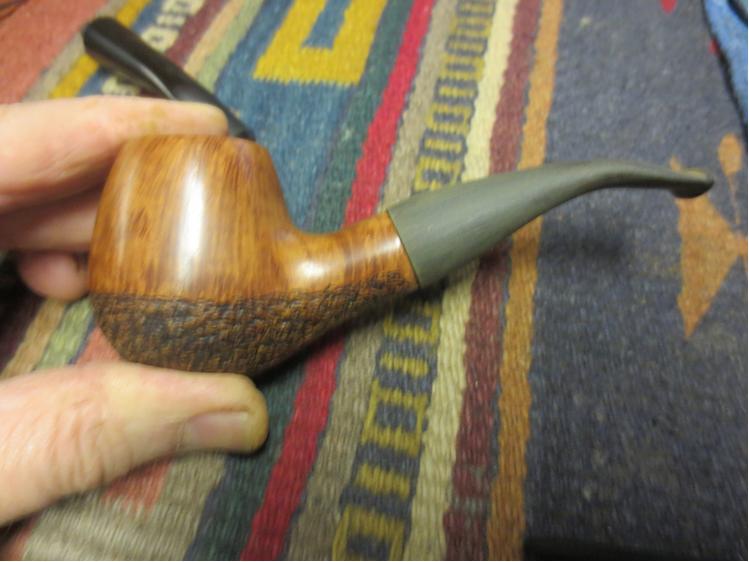
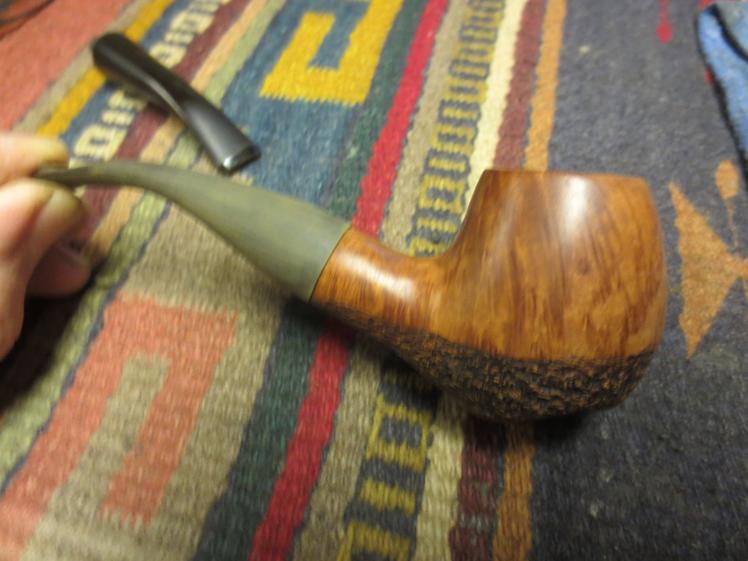
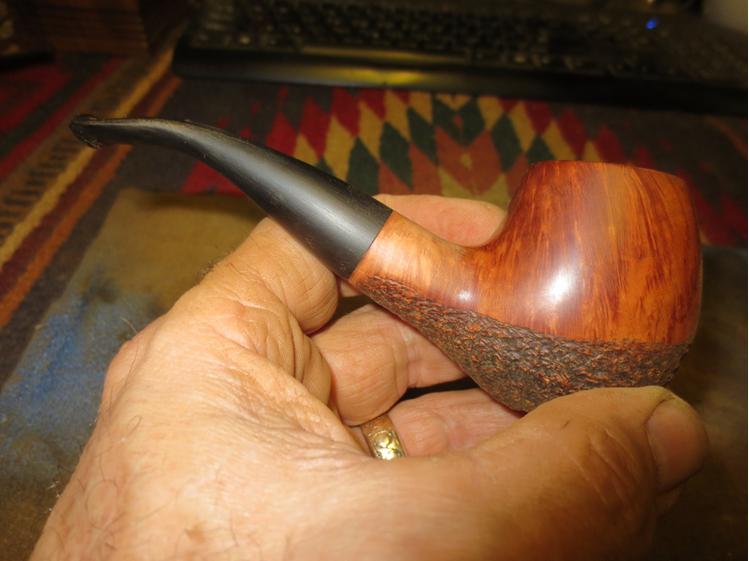
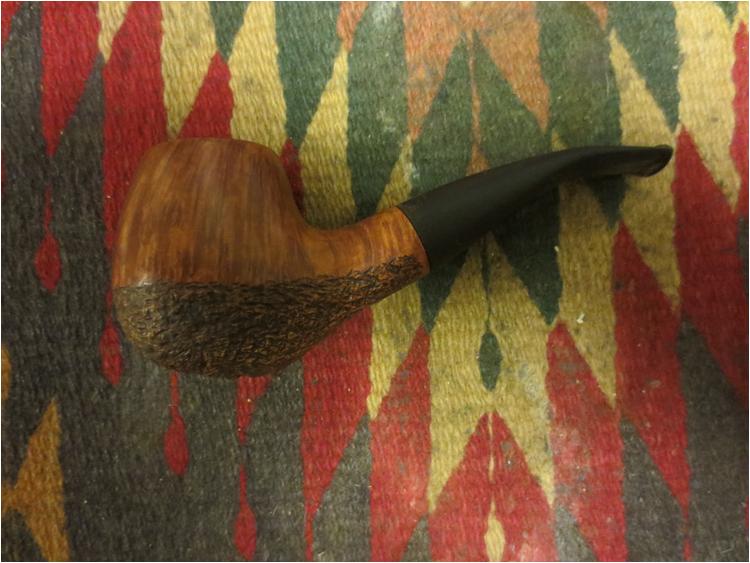
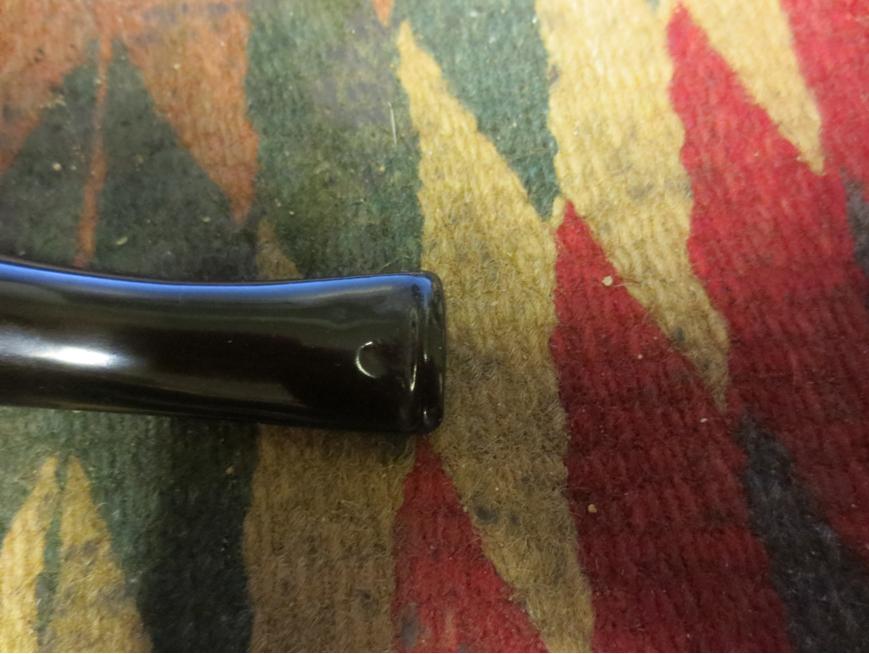
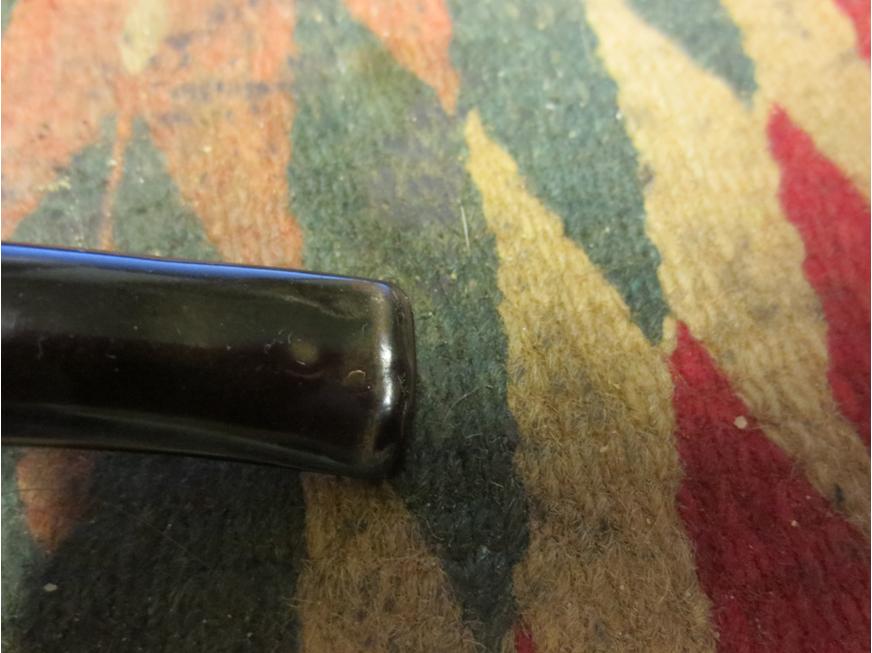
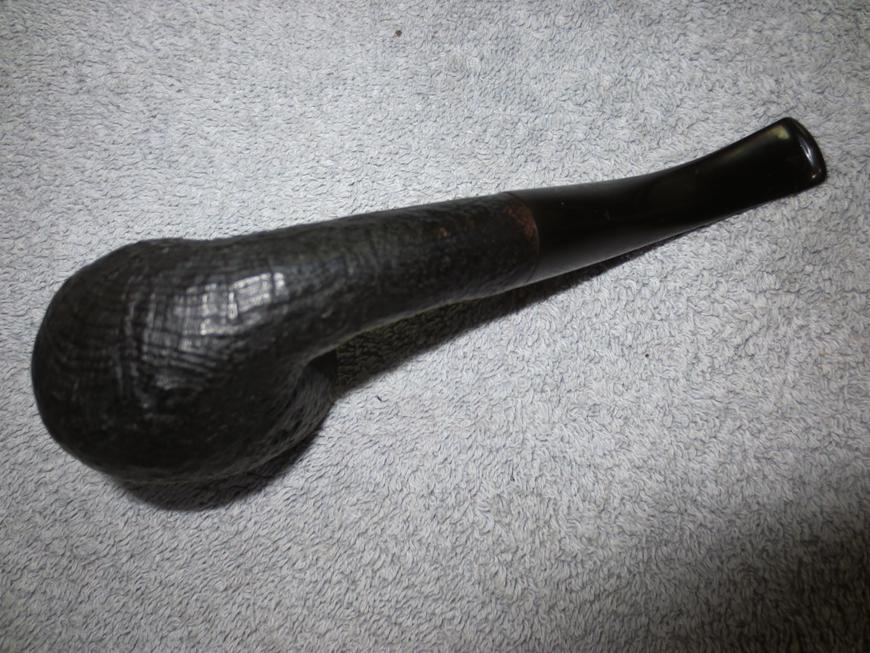
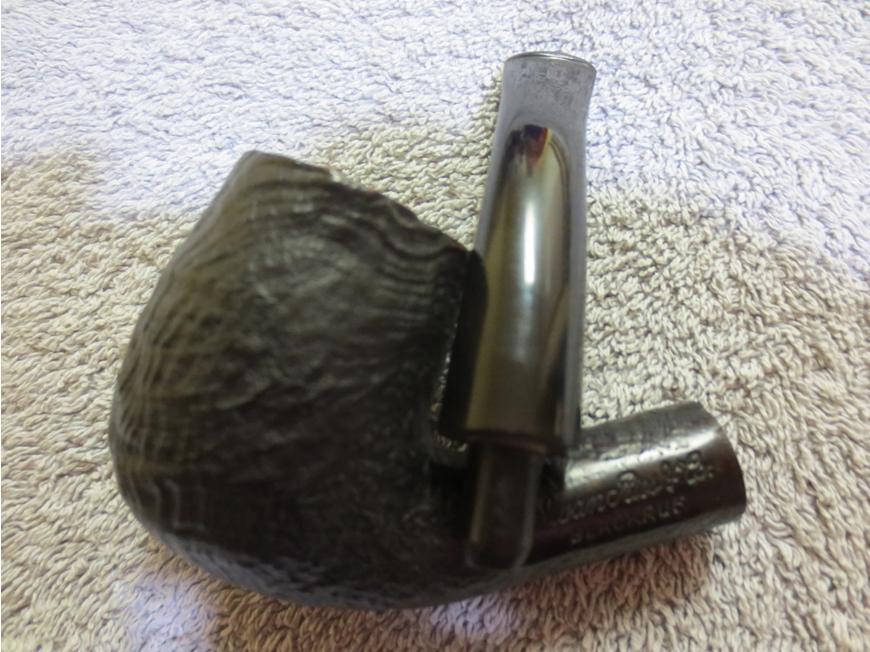
This one is Iwan Ries & Co. Blackruf, or sandblast billiard. It is stamped very clearly on the left side of the shank, Iwan Ries & Co. over Blackruf. There are no other stampings on the pipe. The finish is in the best shape of all of the pipes in this lot that I have worked on. The sandblast is not deep and the finish is a mix of blasted birdseye and swirls. That makes it an interesting blast. The exterior of the bowl is not round as the blast removed a lot of the wood near the top left edge of the pipe. It is still nice and thick but is out of round. The bowl needed a light reaming and the shank and airway were dirty. The rim was very clean and the inner edge is sharp and undamaged. The stem was oxidized and had tooth marks on the top and underside near the button. Most of the oxidation was on both ends of the stem. The stem was also slightly twisted from the bend back to that it did not sit correctly. The button on the top side was quite thin and worn down and the sharp edges on both the top and bottom had been smoothed out. The tenon was unique to me in that it was rounded at the end. Once it was cleaned up and repaired this would be a beautiful looking pipe.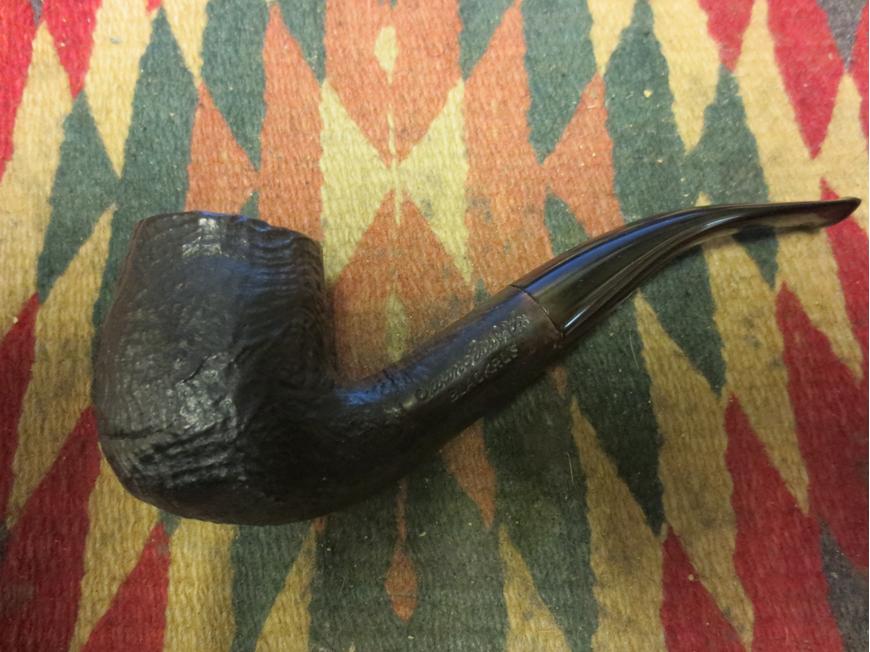
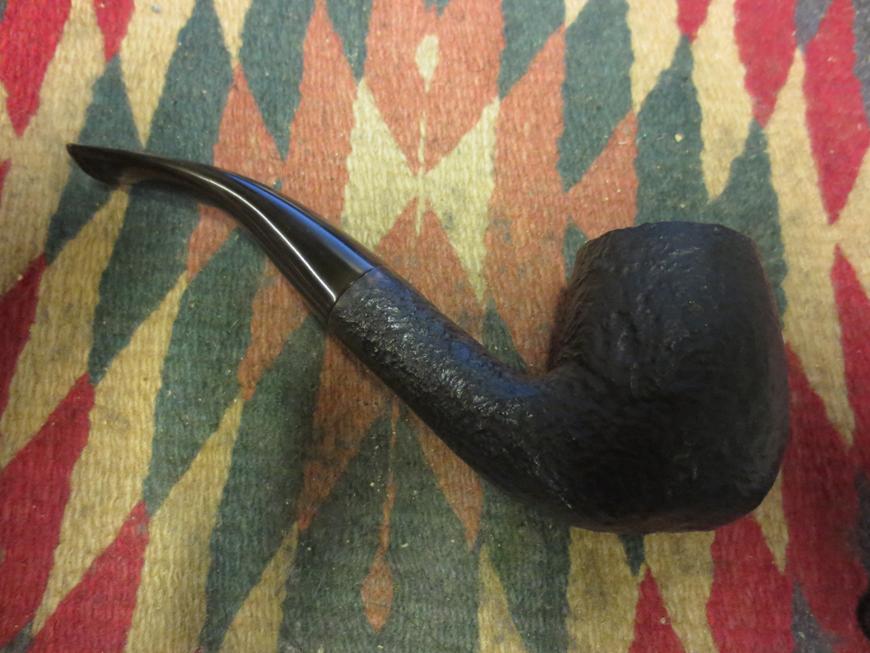
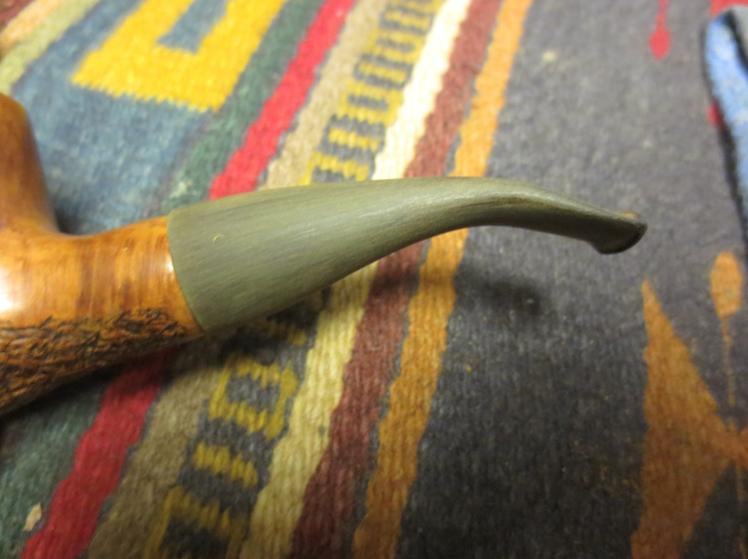
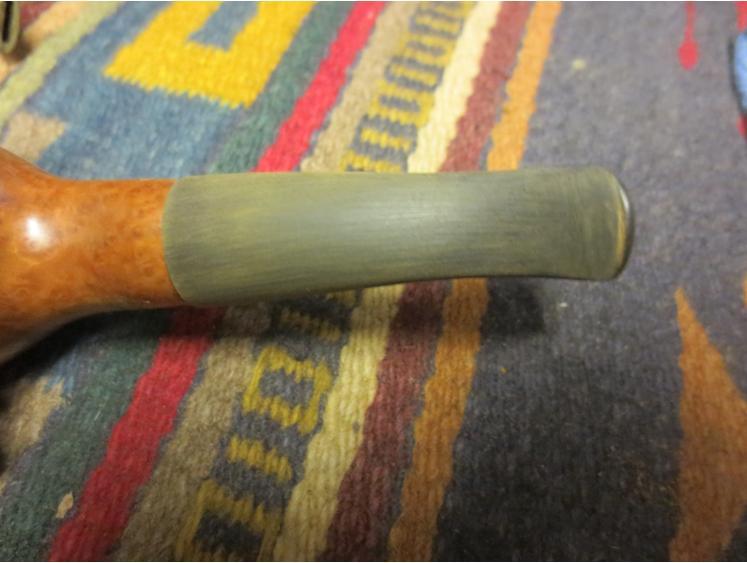
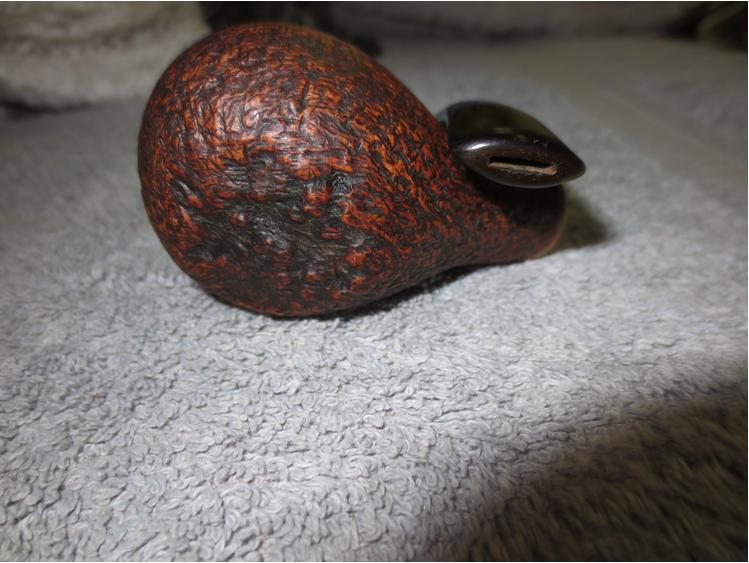
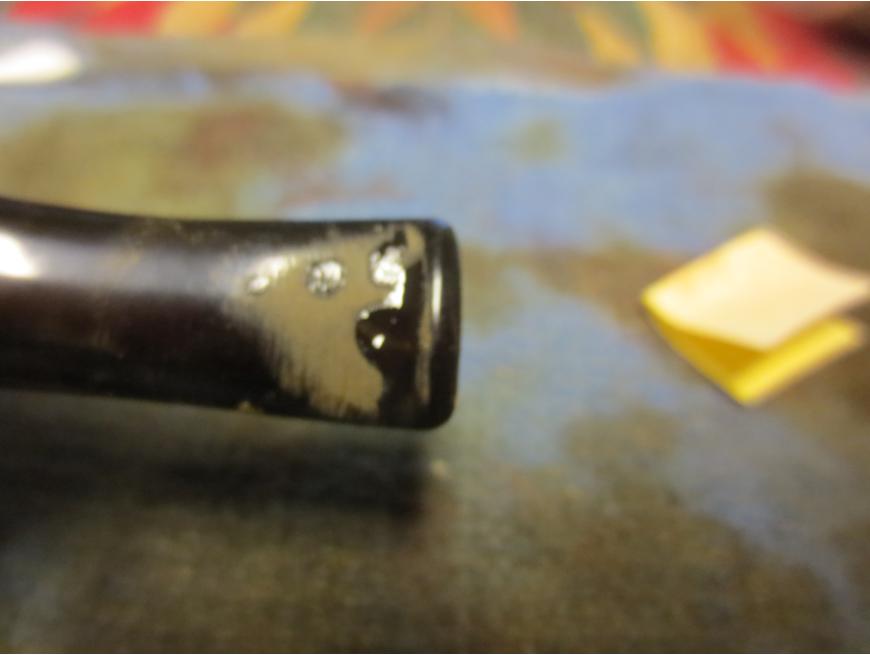
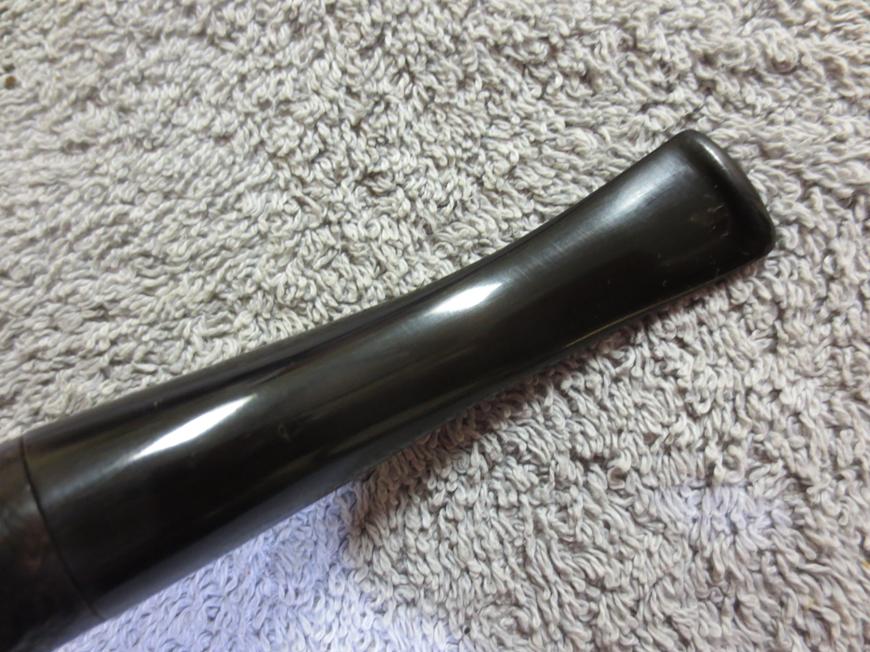
 I took some close-up pictures of the rim and the stem to show how they looked when I brought them to the work table.
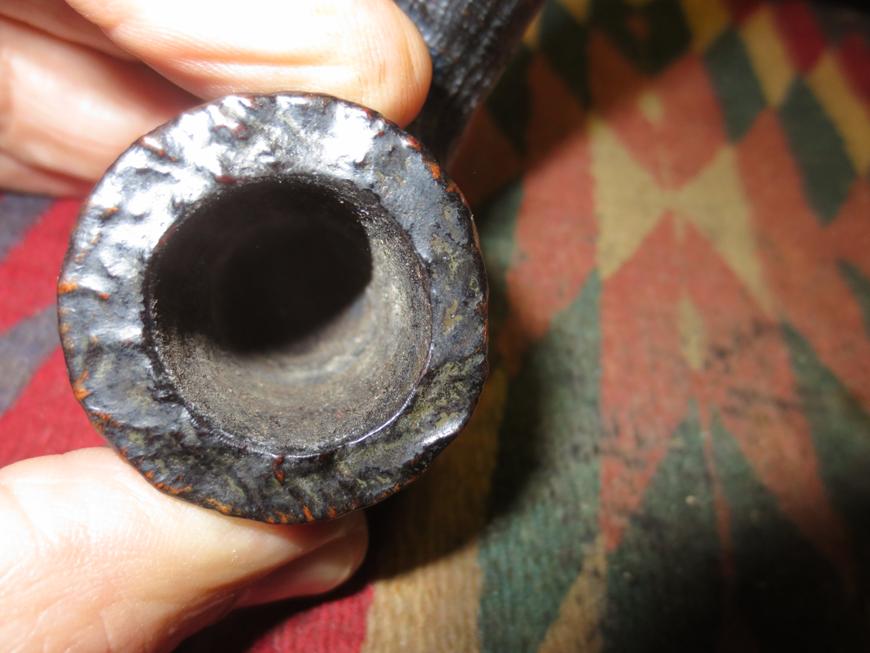
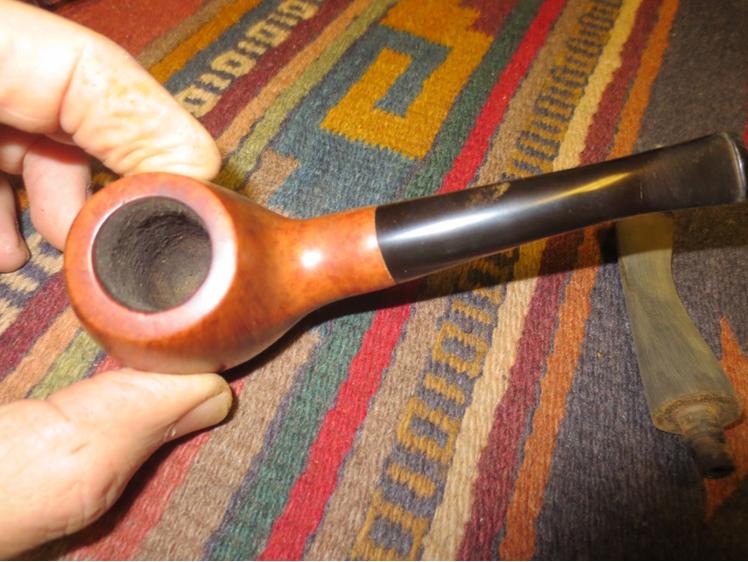
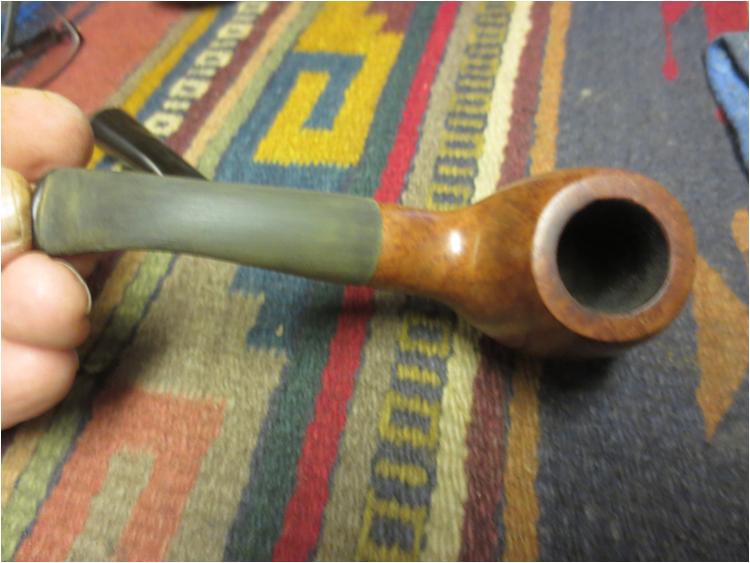
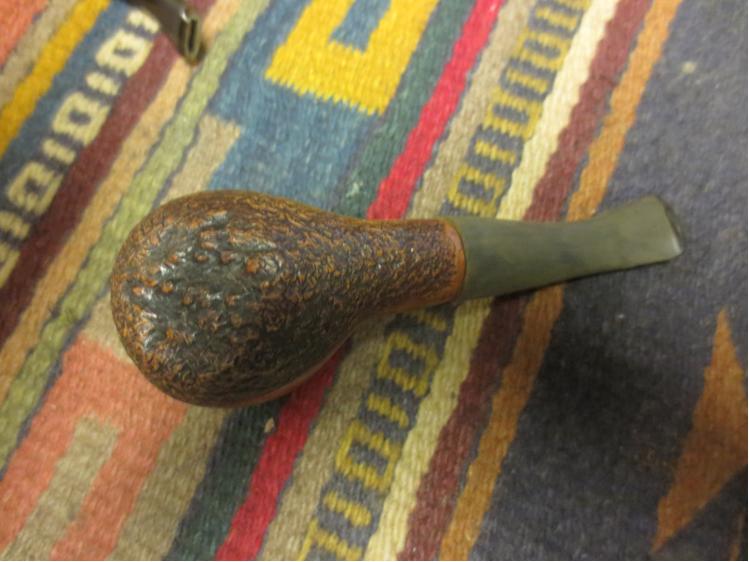
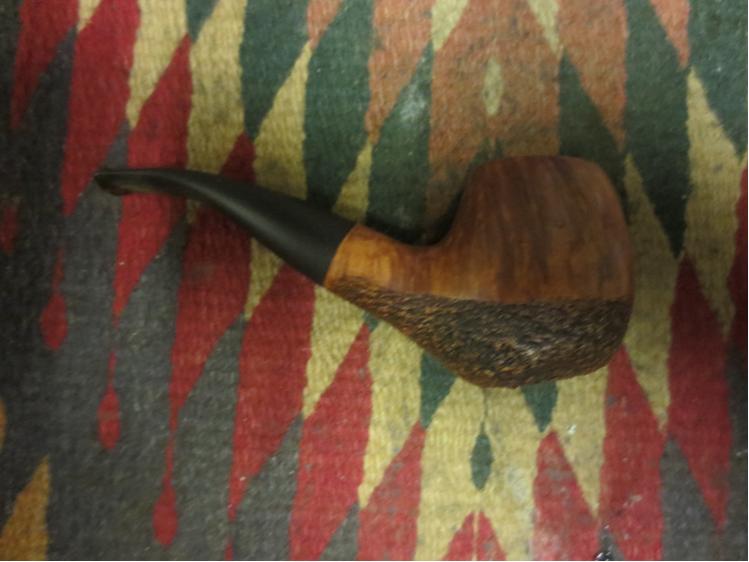
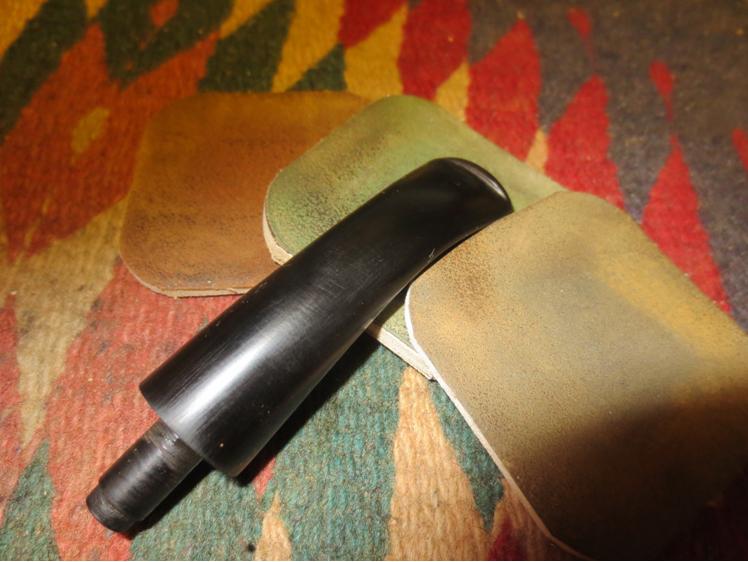
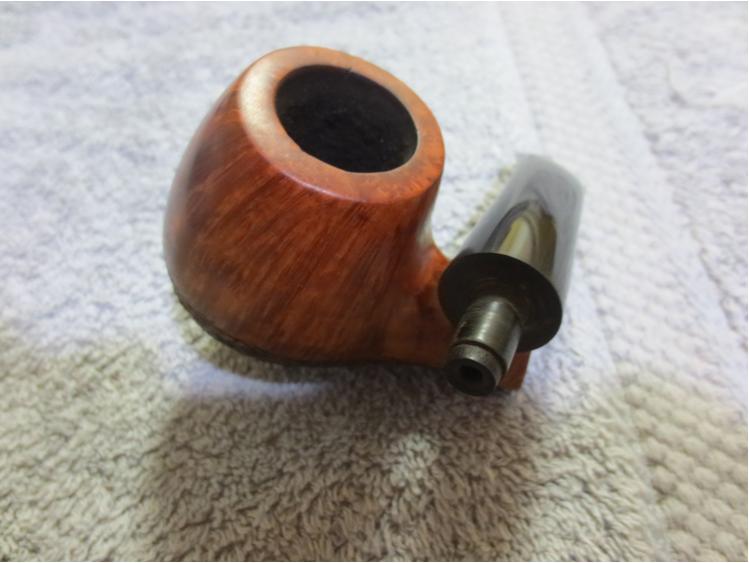
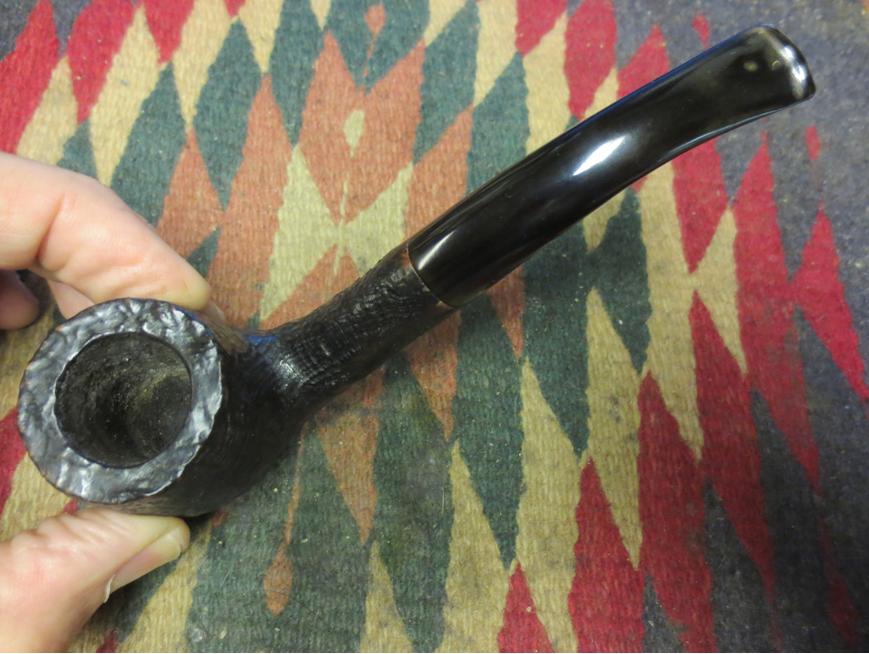
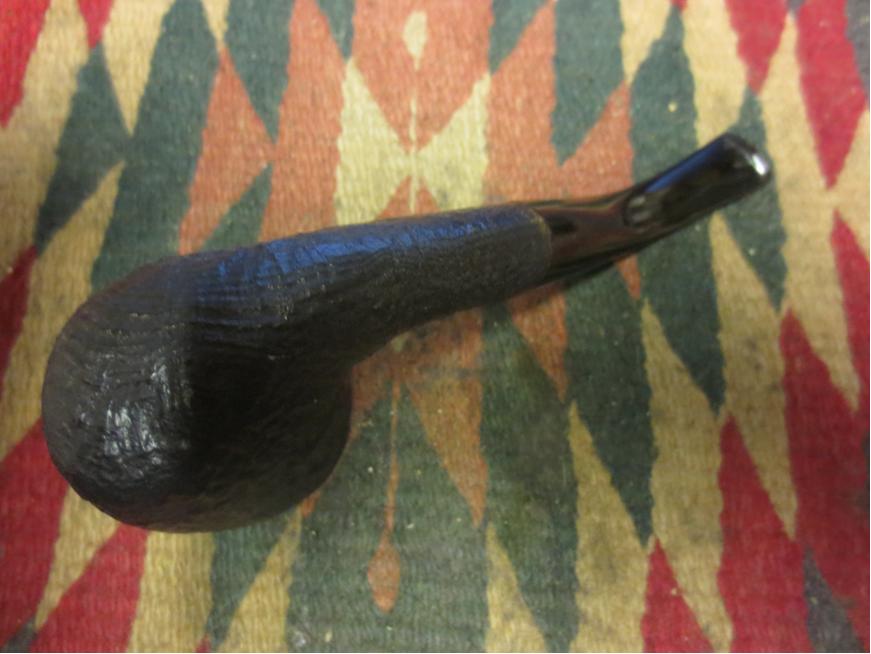
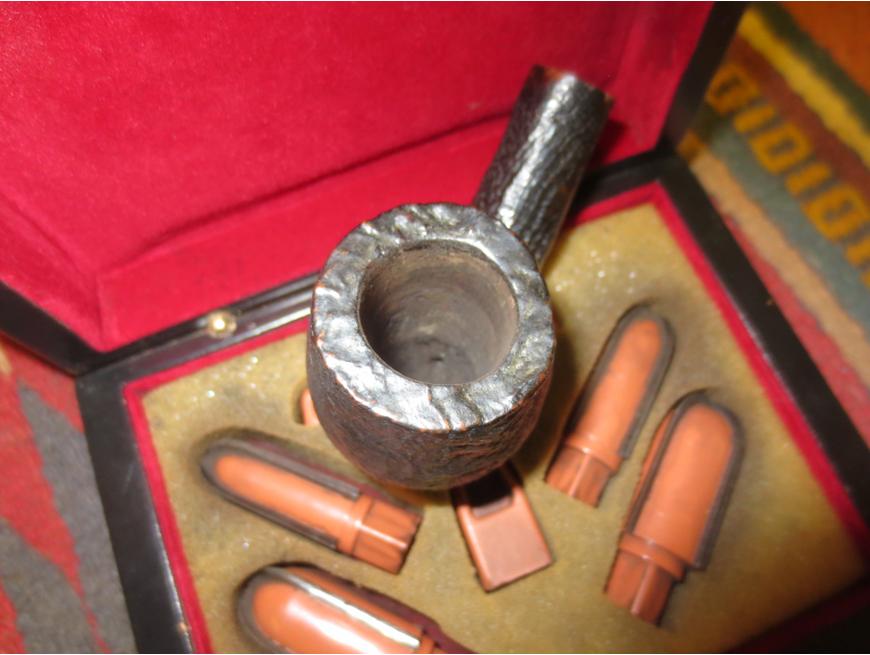
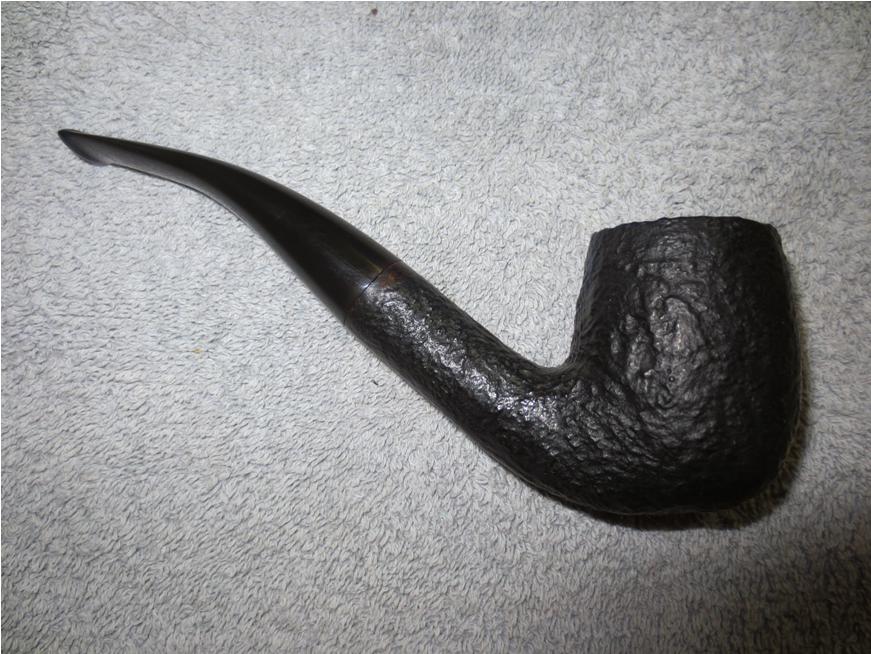
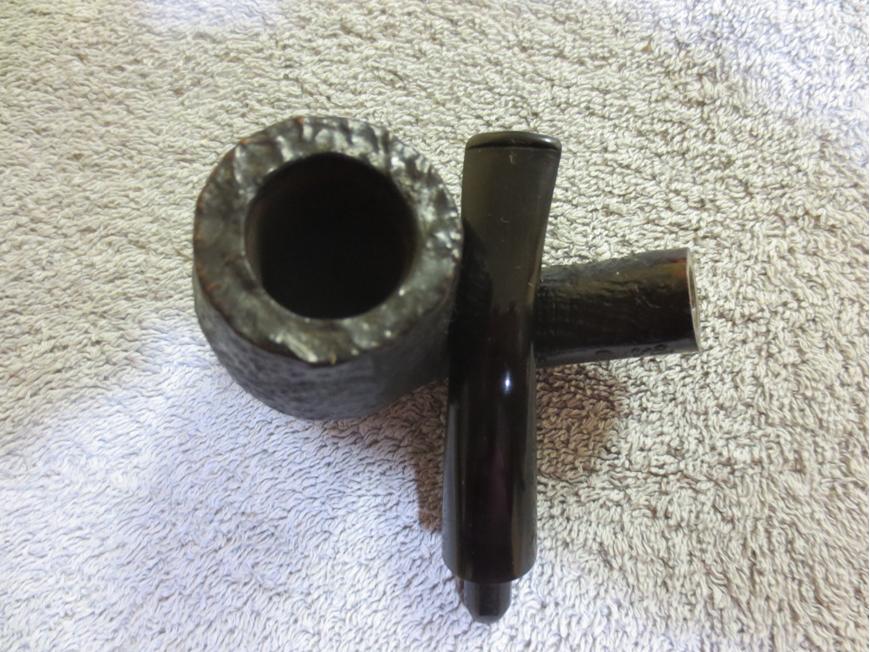
 The next photo shows the rounded end of the tenon, the oxidation on the stem and also the dusty buildup on the bowl in the grooves of the sandblast.
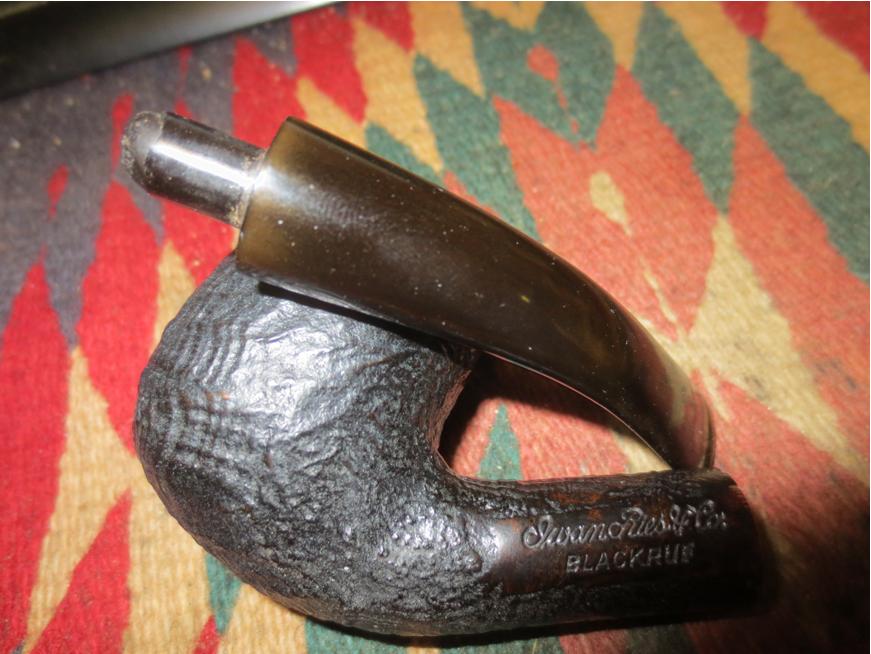 I reamed the bowl back to a thin cake with a PipNet reamer. There was a lot of tobacco debris in the bowl, stuck to the sides that needed to be removed and the cake was uneven so I wanted to even it out and make it easier to rebuild the new cake.
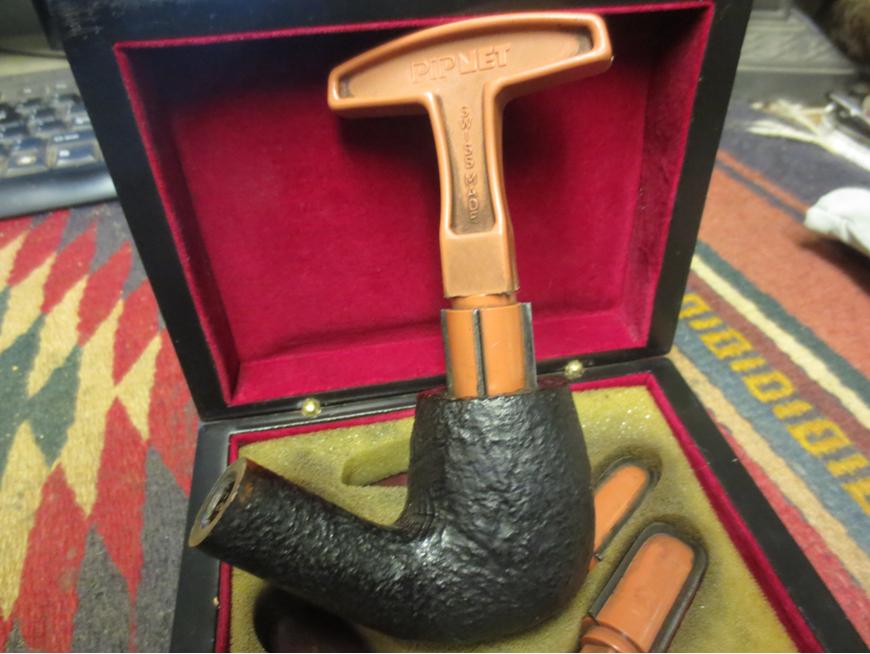
 I scrubbed out the mortise and the airway to the bowl with pipe cleaners, cotton swabs and alcohol. It took quite a bit of scrubbing to get them clean and to remove the “crud” (technical term) that had collected there over the years. I used a thin, sharp knife to scrape out the thick ridge of “gunk” (another technical term) in the mortise.
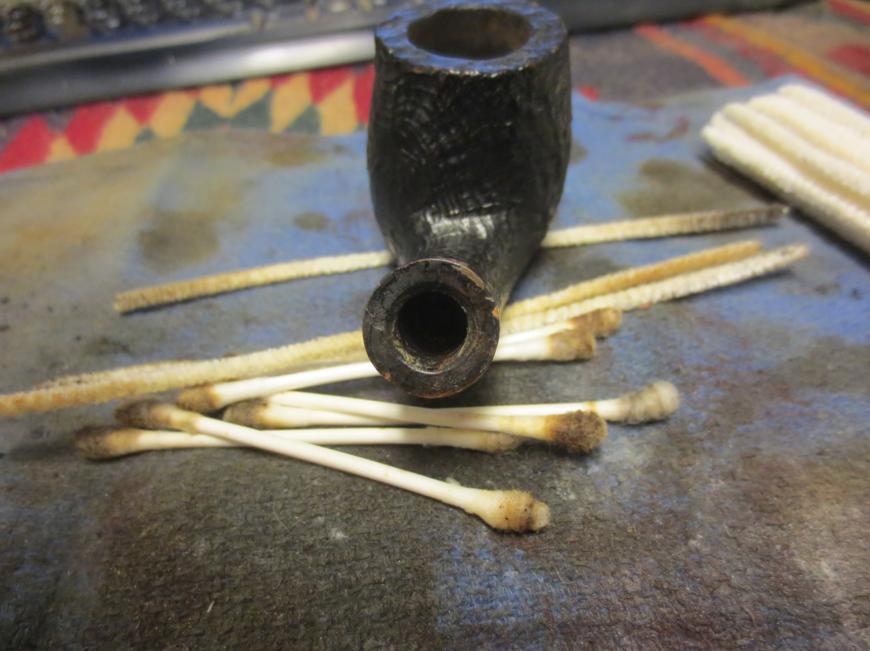 I cleaned out the stem with pipe cleaners and alcohol and also sanded the surface of the dents with 220 grit sandpaper and then wiped it down with alcohol to prepare it for the repairs. I filled the deep dents/tooth marks with clear superglue and let them dry (one side at a time). On the top side I also built up the button edge to give it some additional thickness.
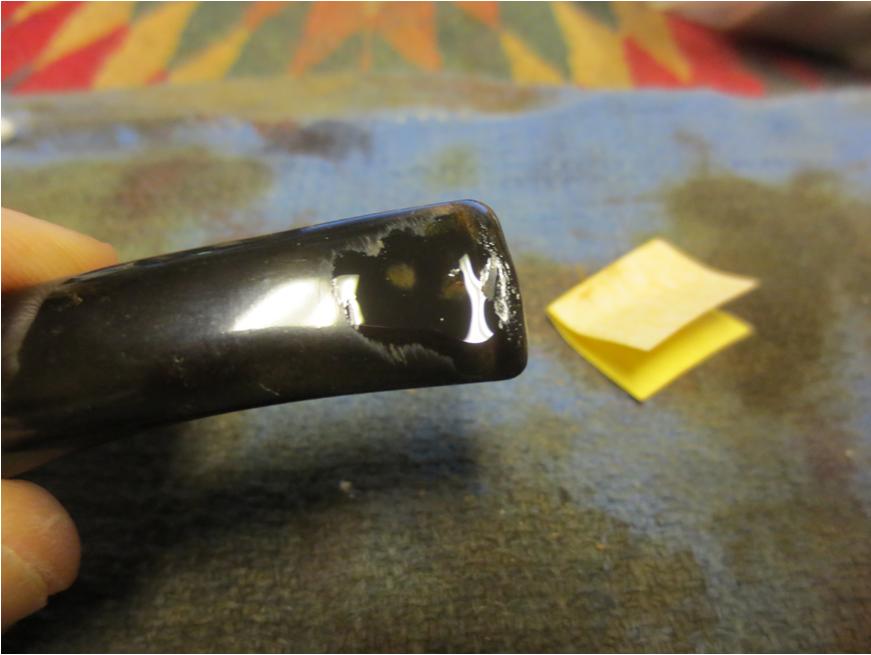
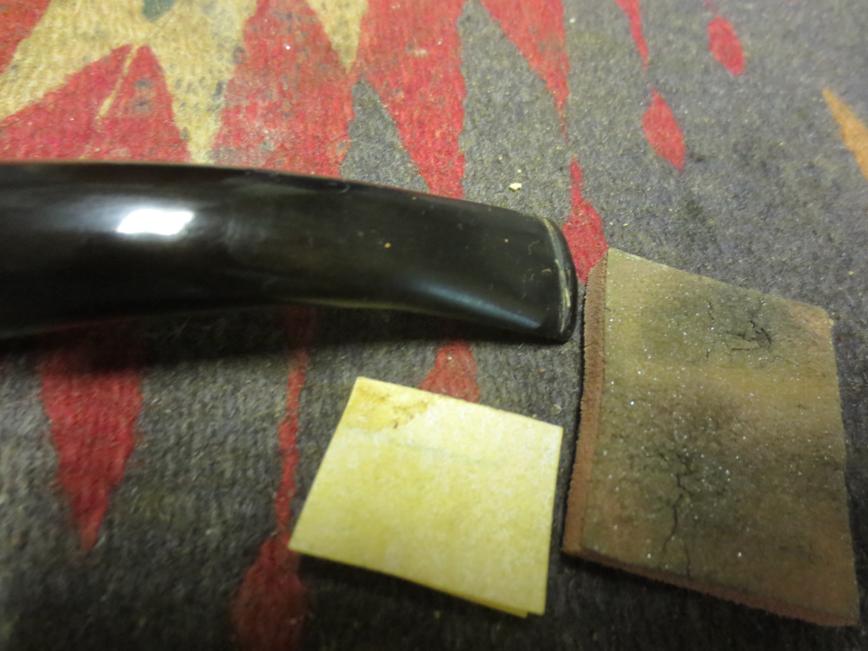
 Once the glue had dried I used a needle file to redefine the sharp edge of the button against the surface of the stem. I sanded the patches with 220 grit sandpaper until they were even with the surface of the stem so that they blended in better.
 I sanded the repairs with a medium and a fine grit sanding sponge to reduce the scratches on the surface.
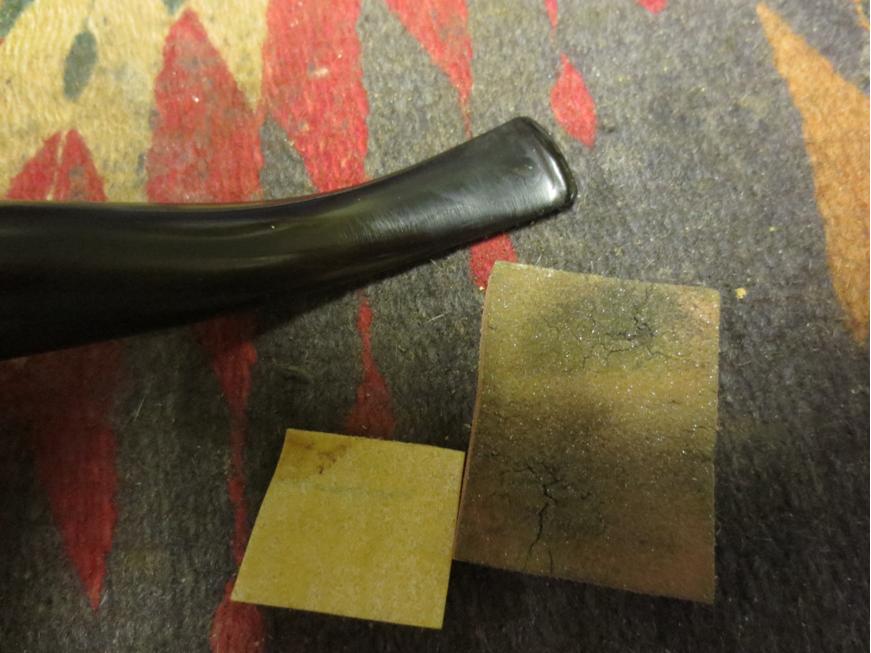
 I wanted to rebend the stem to take out the twist in the end. I set up a heat gun and heated the stem so that it would go back to its original shape. That is one of the things I love about vulcanite – is that it seems to have “memory” and returns to the shape it was before bending or twisting. It took some time to heat and straighten it out.
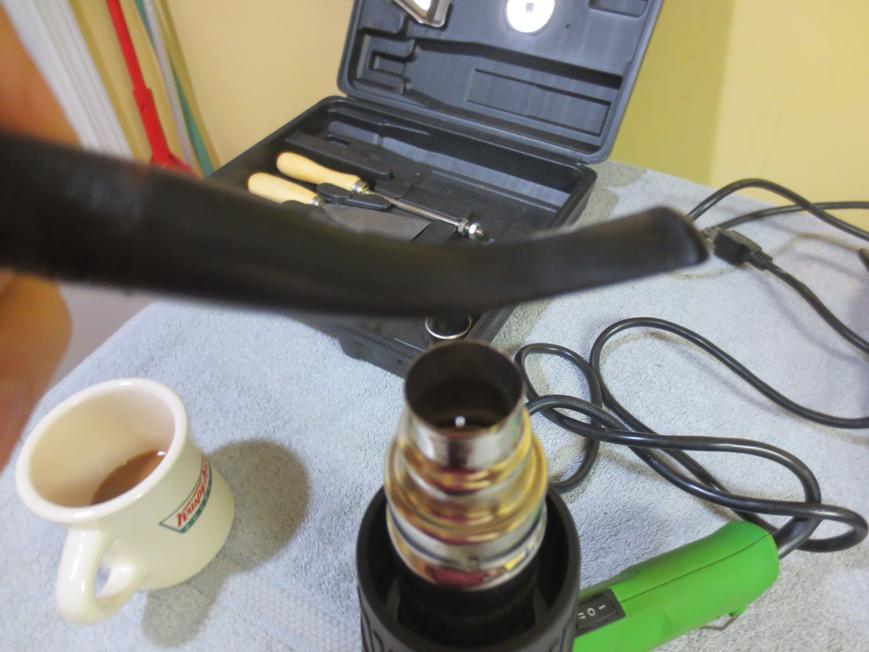 A secondary benefit of heating the stem is that it smooths out all of the scratches and gives the stem a mat look. I rebent it over an old rolling pin to get a straight bend. I held it in the bend while I cooled it with running water.
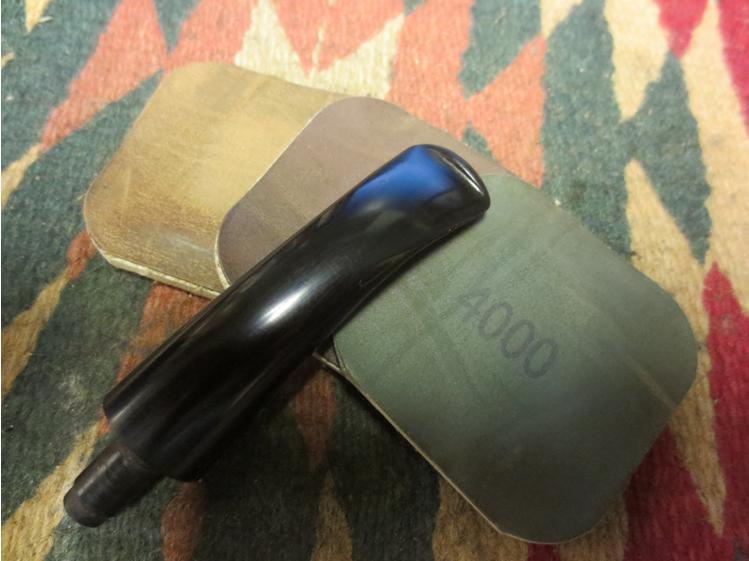
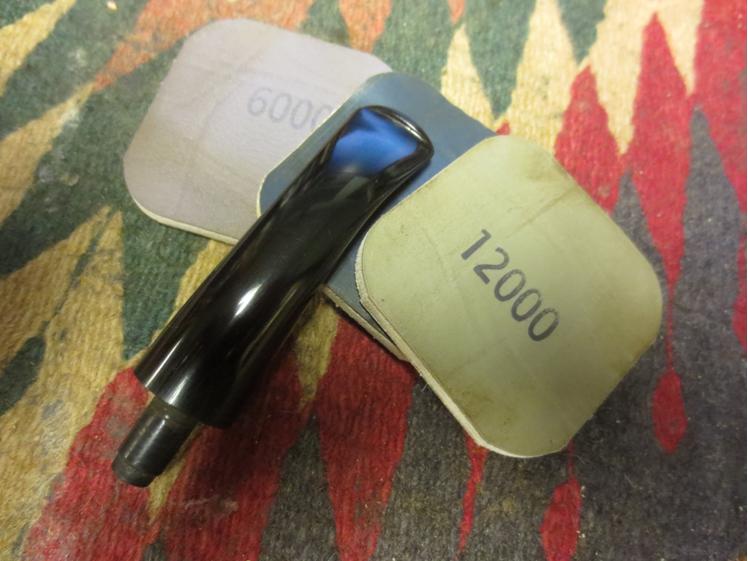
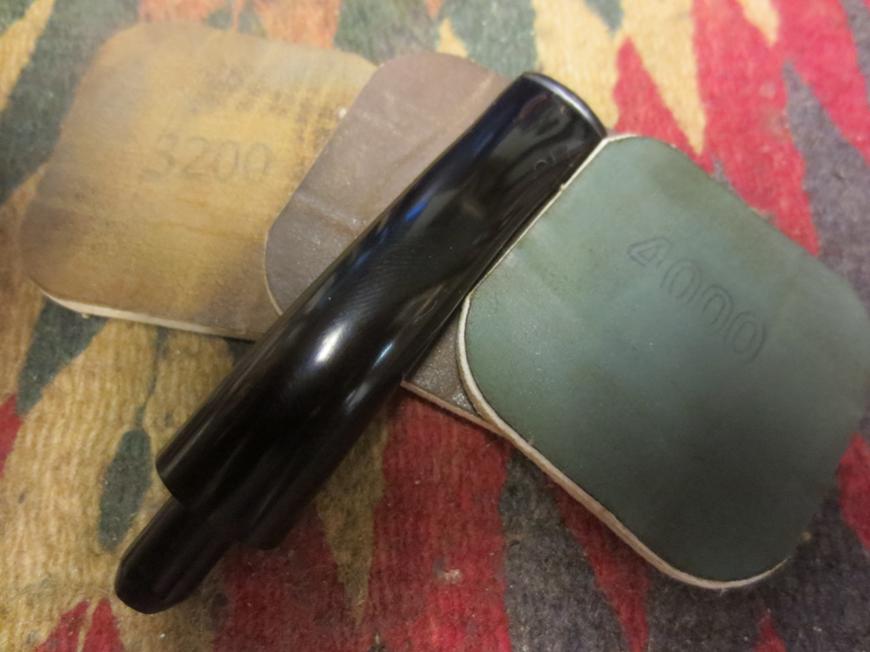
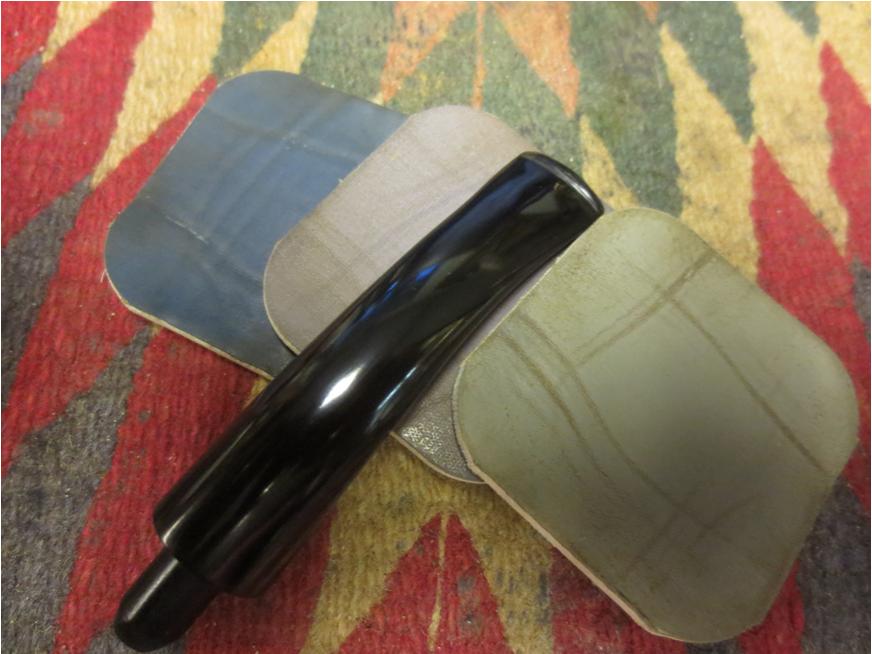
 I polished it micromesh sanding pads – wet sanding with 1500-2400 grit pads and rubbing it down with Obsidian Oil when I finished this first set. I dry sanded with 3200-4000 grit pads and rubbed it down with oil again when I finished that set. Finally I dry sanded it with 6000-12,000 grit pads and gave it a final coat of Obsidian Oil and set it aside to dry.
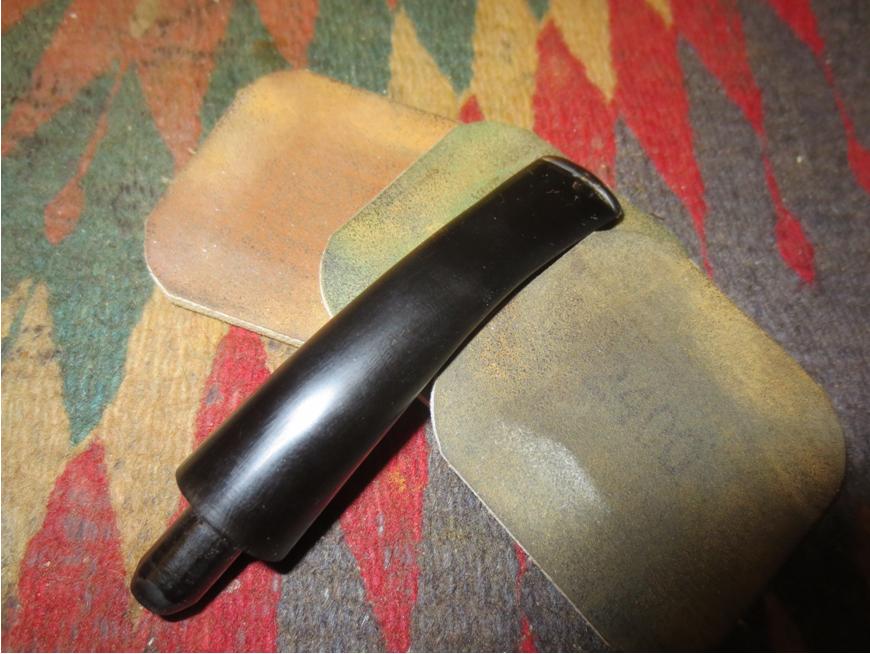
 I buffed it with Blue Diamond Plastic Polish on the wheel to give a deep shine and to remove any final scratches.
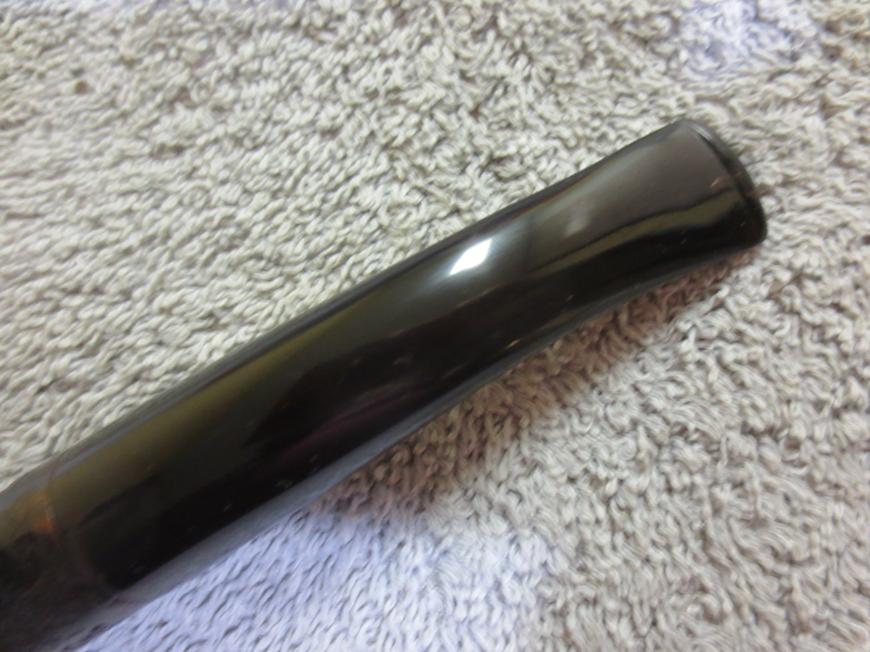
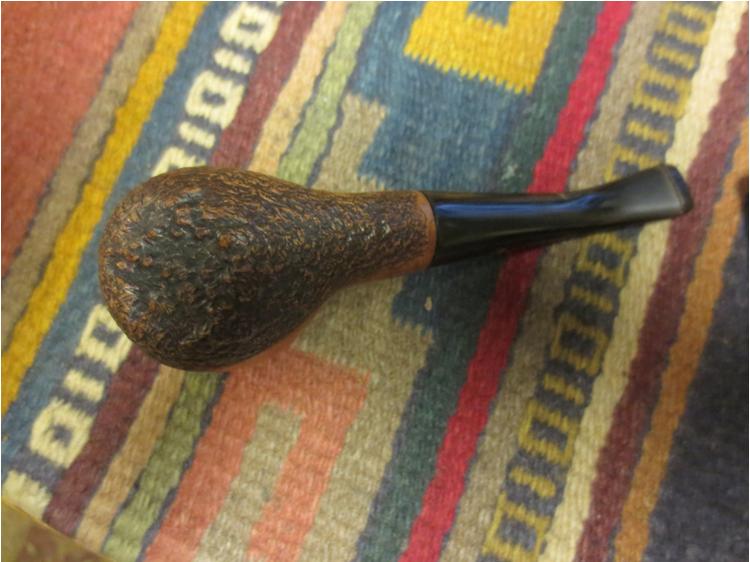
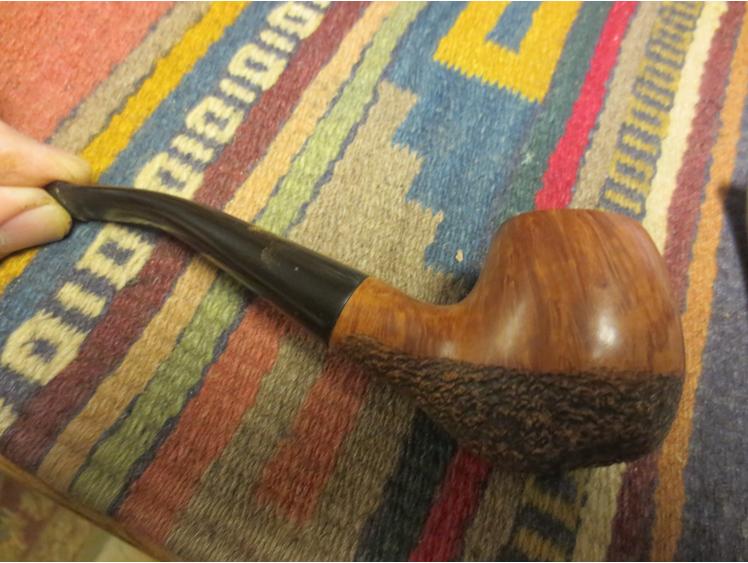
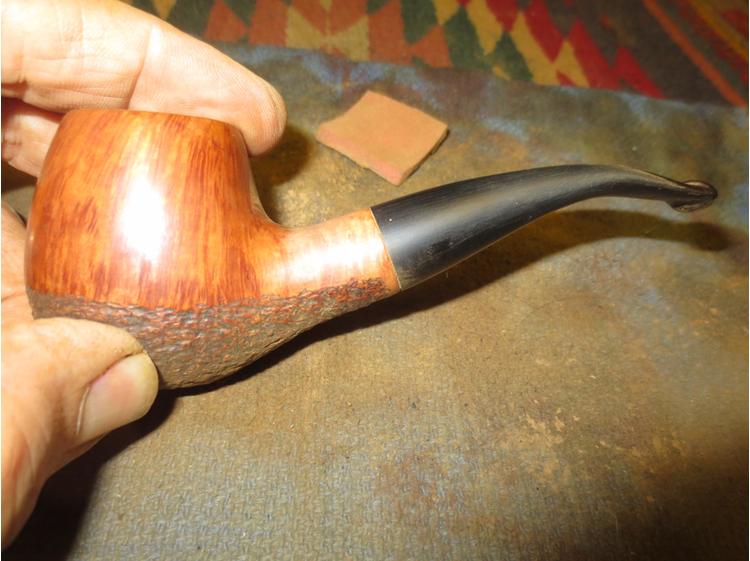
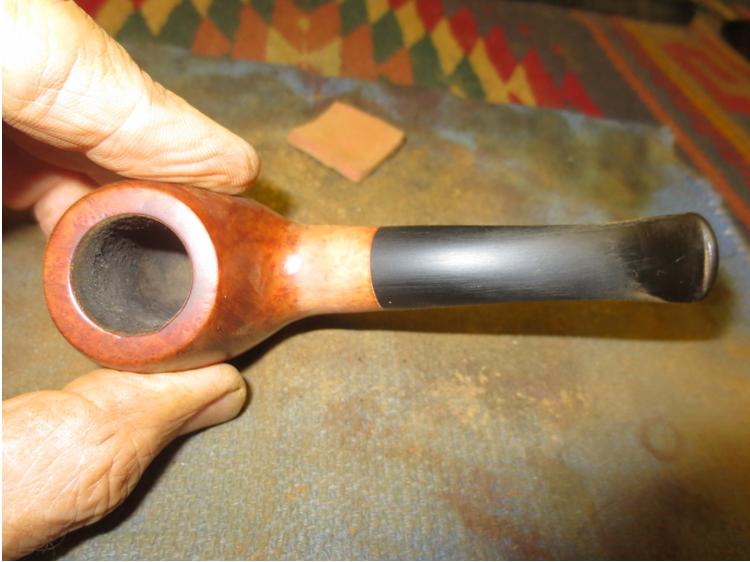
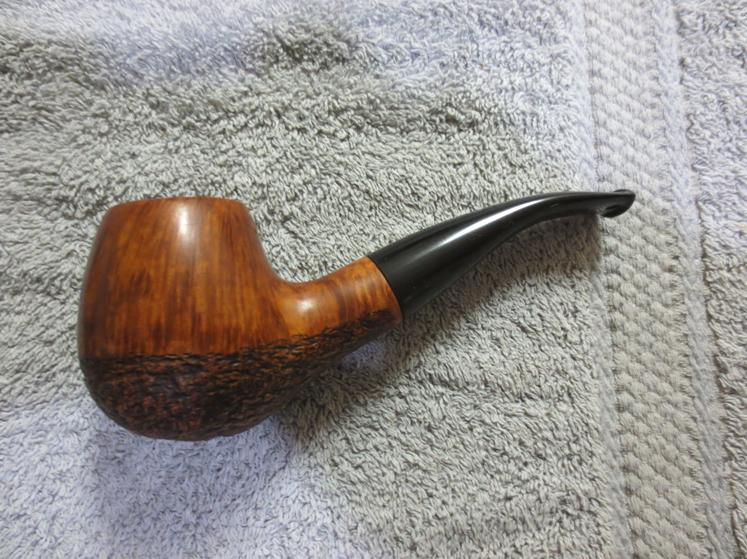
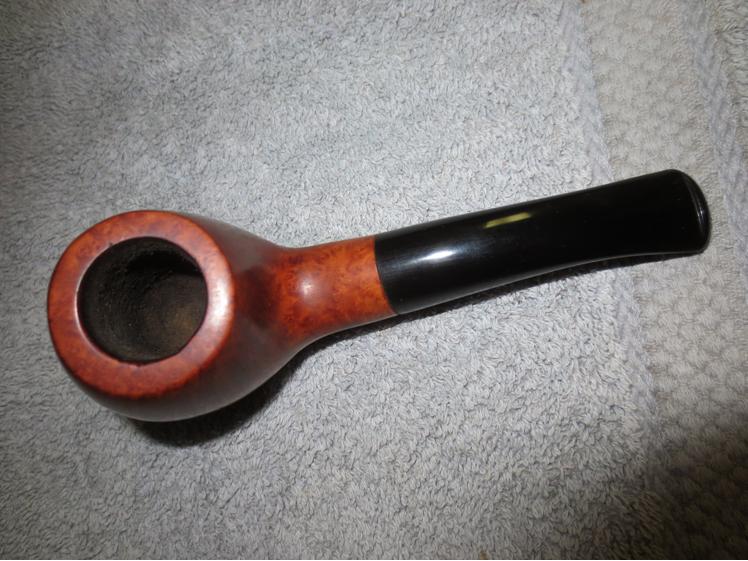
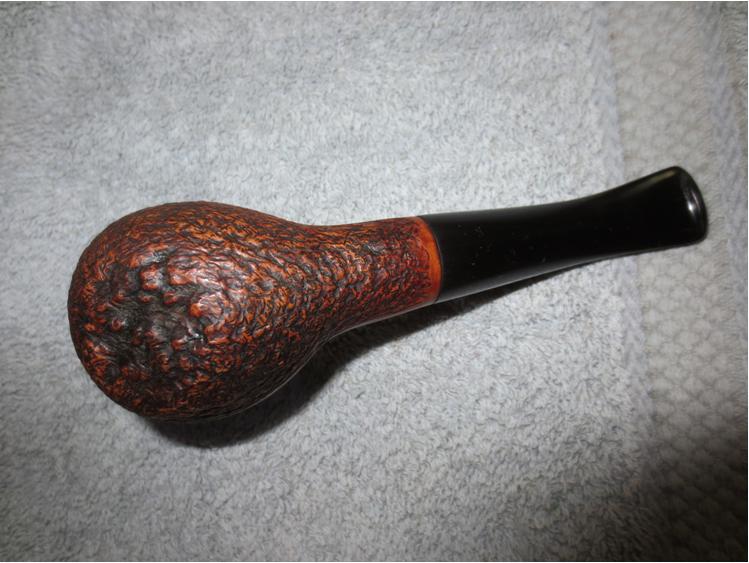
 I buffed the bowl lightly with Blue Diamond and the stem once again before giving them both a coat of carnauba wax. I gave the bowl a light coat so as not to fill in the grooves and repeated several more coats on the stem. The finished pipe is shown below. It is ready for the next pipeman who will enjoy smoking this beauty.
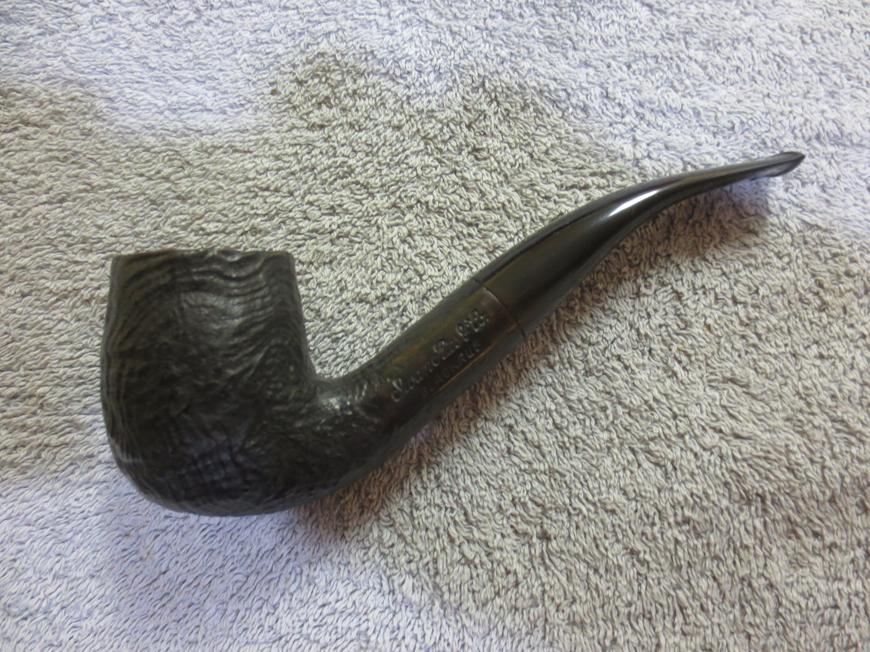
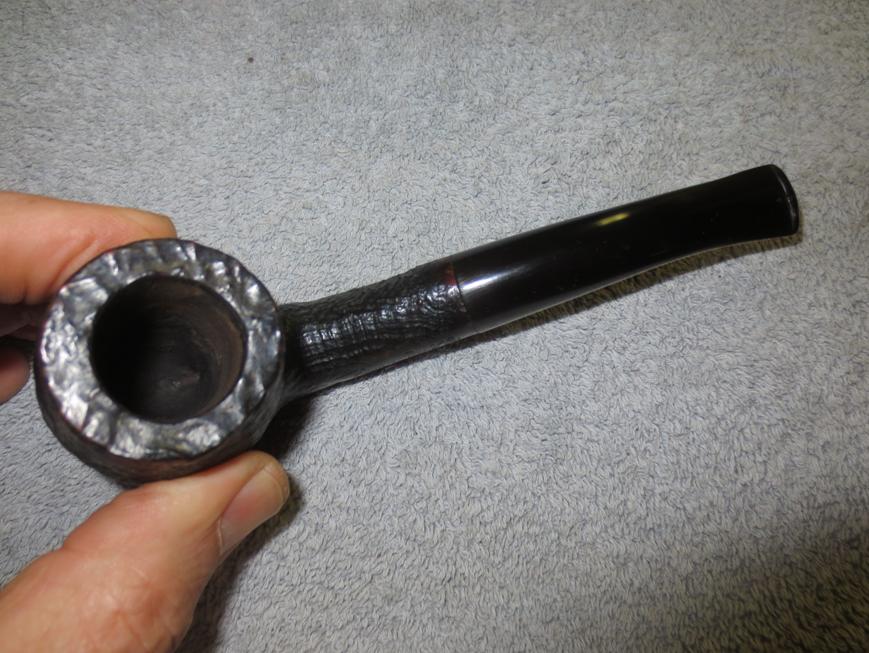
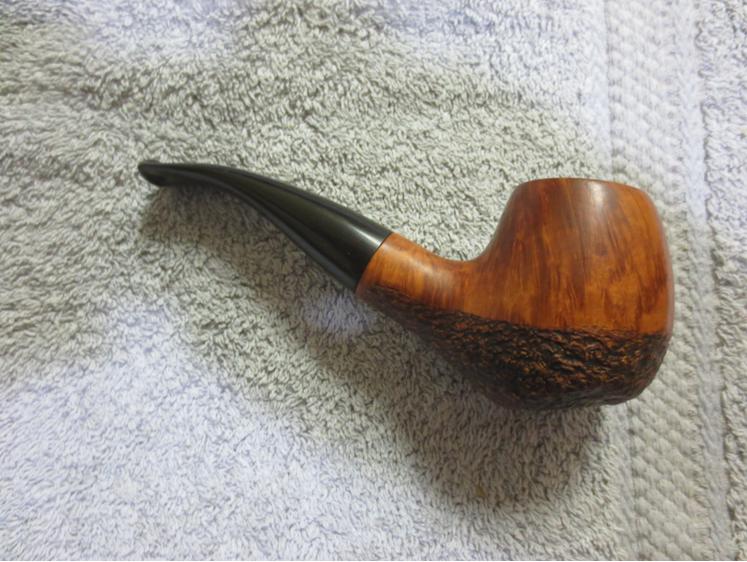
 This Iwan Ries Blackruf bent billiard is quite a large pipe, basically a Group 4/5 in Dunhill terms. The shallow mixed grain blast makes it interesting to look at and the feel of it in the hand will make it quite tactile when heated up and smoked. The stain is a combination of dark browns and black that gives it a multidimensional look. It should make someone a great addition. If you are interested in this pipe email me with an offer at slaug@uniserve.com and we can discuss it. The entirety of the sale price will go to the Nepal project. I will pay the postage so that does not get taken off the proceeds. If you are interested in reading about the SA Foundation you can look at their website at http://www.safoundation.com.
Thanks for looking.