Blog by Steve Laug
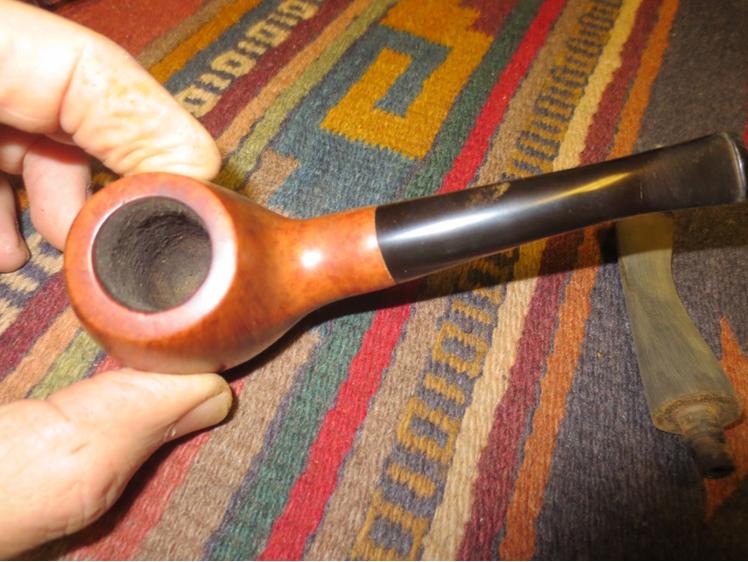
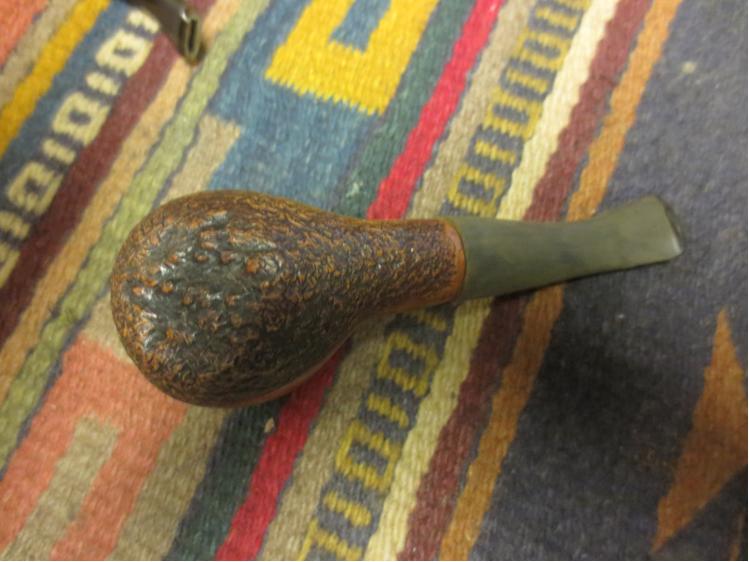
I don’t remember when I carved this pipe I do know it was one of the first I carved. It was a kit and the plateau was on the bottom of the bowl. I did the work with a Dremel and sanding drum. The stem was the one that came in the kit and I just used it. Over the years, probably in the neighbourhood of ten years, I smoked it infrequently but enough to know that it delivered a decent smoke. Looking at it the other day I noticed that it had a thin cake in the bowl so I obviously smoked it more than I remember. When I took it out of the rack the fit of the stem to the shank irritated me. It was a sloppy fit and slightly rounded at the shoulders. The diameter of the shank and the stem were not matched. On and on went the list of imperfections that stood out to me when I looked at it. I love the shape of the bowl, my odd rustication on the bottom of the bowl and shank and the look and feel of the bowl in my hand. But the stem had to go.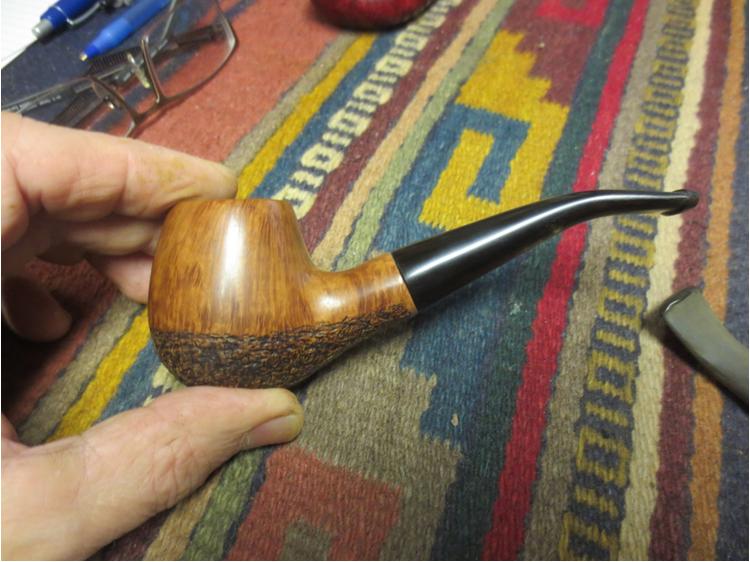
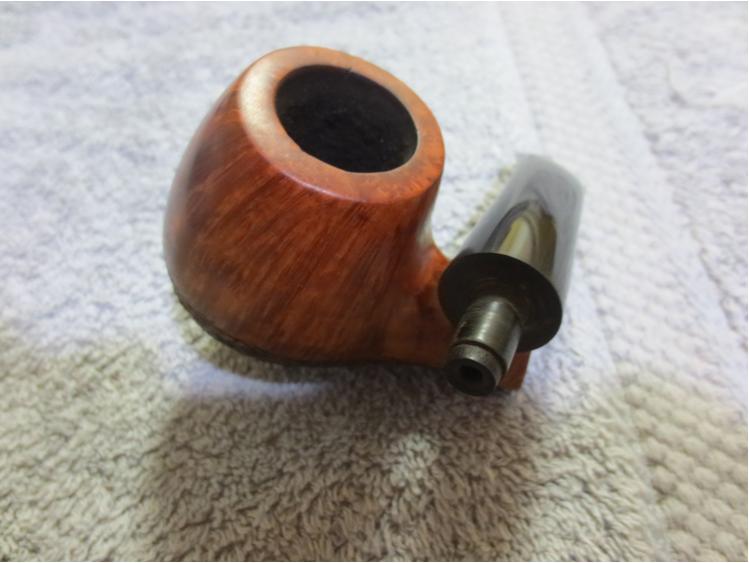
 I had a little time on my hands so I went through my can of stems and found a stem that was thicker looking and about ½ inch shorter. I fit the tenon in the mortise and the fit against the end of the shank was tight and clean. Personally I liked the chubbier stem and the compact look it gave the pipe. To me it just seemed to work with this bowl. The stem was larger in diameter than the shank so it needed to be brought down to a clean transition between the two.
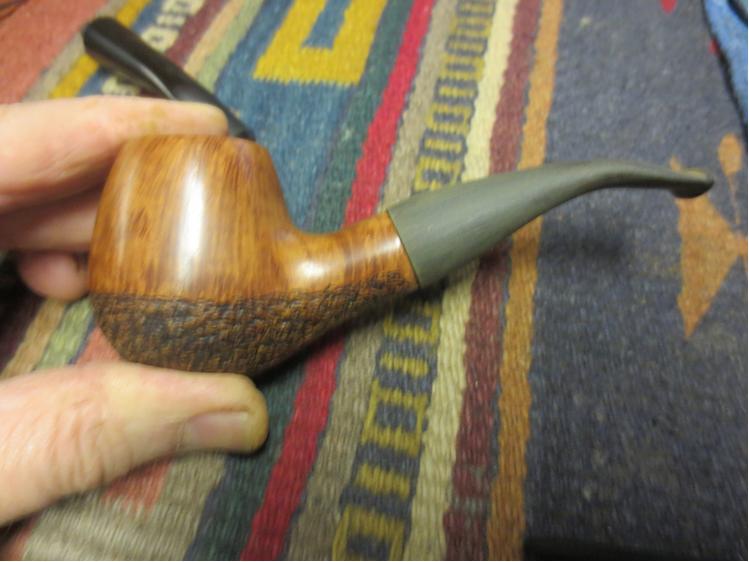
 I worked on the stem diameter with emery cloth and sandpaper taking off the excess material and adjusting the fit to the shank.
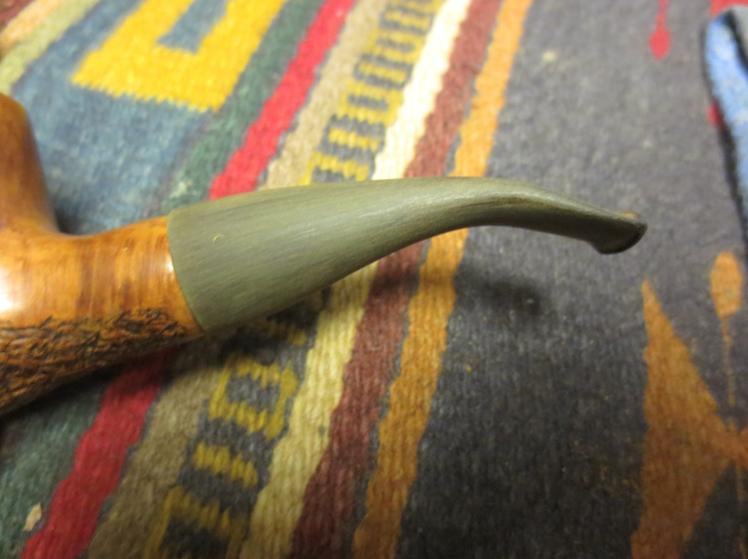
 When the fit was better I sanded the stem and the shank with medium and fine grit sanding sponges to minimize the scratches.
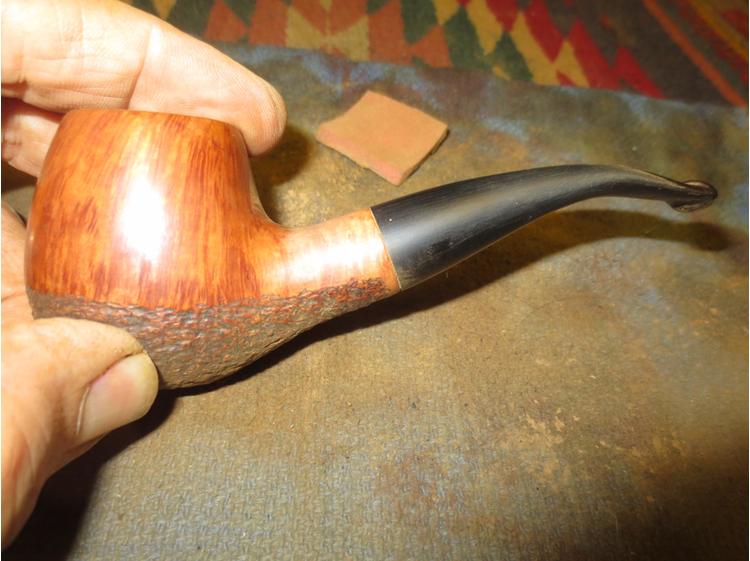
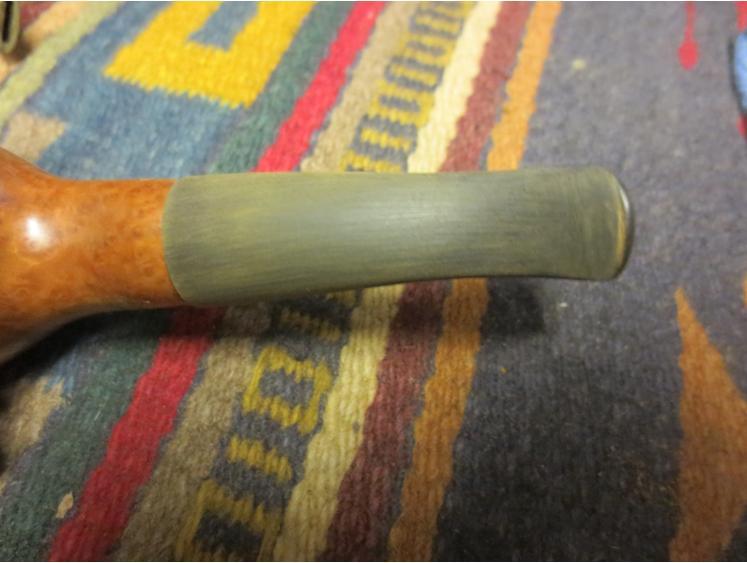
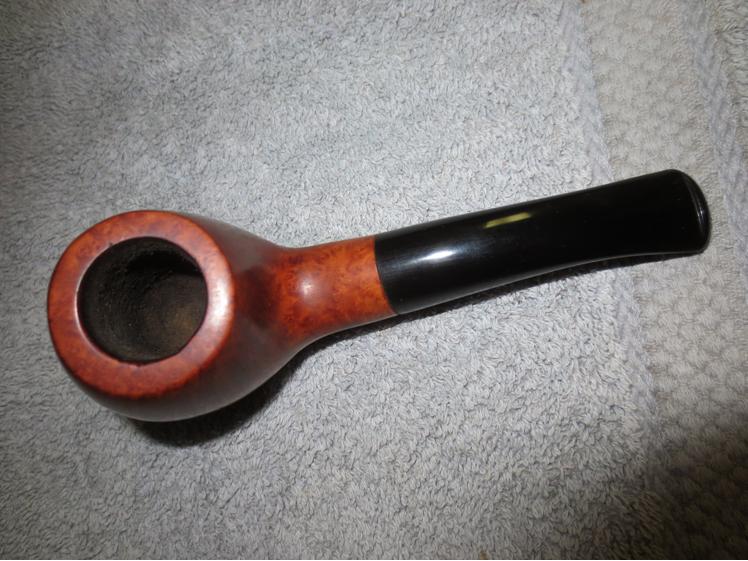
 Once I had the fit correct and the transition smooth I took the photo below. I needed to restain the shank when I was finished to match the bowl.
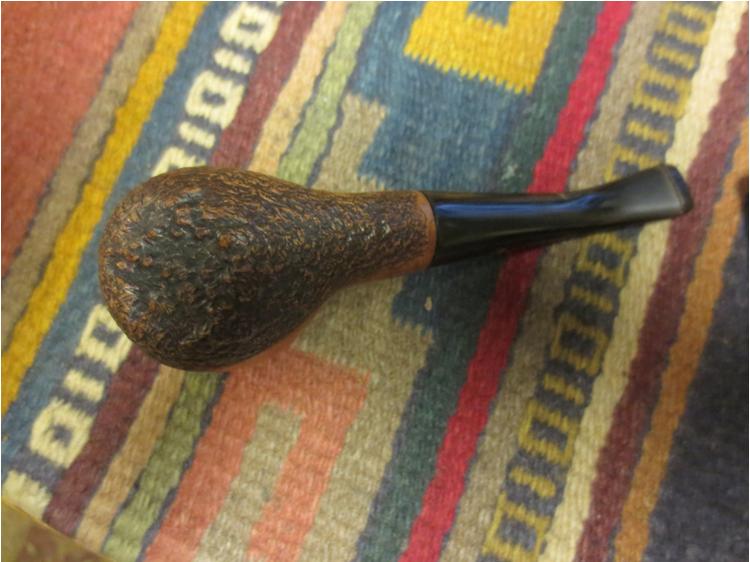
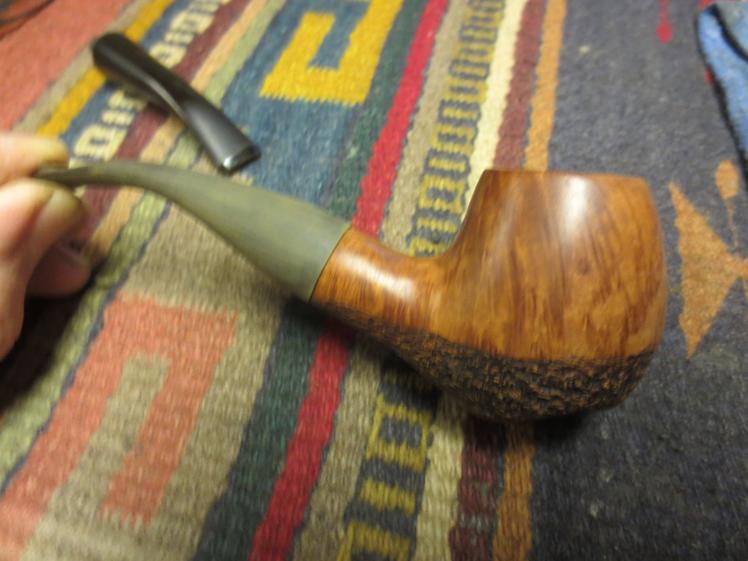
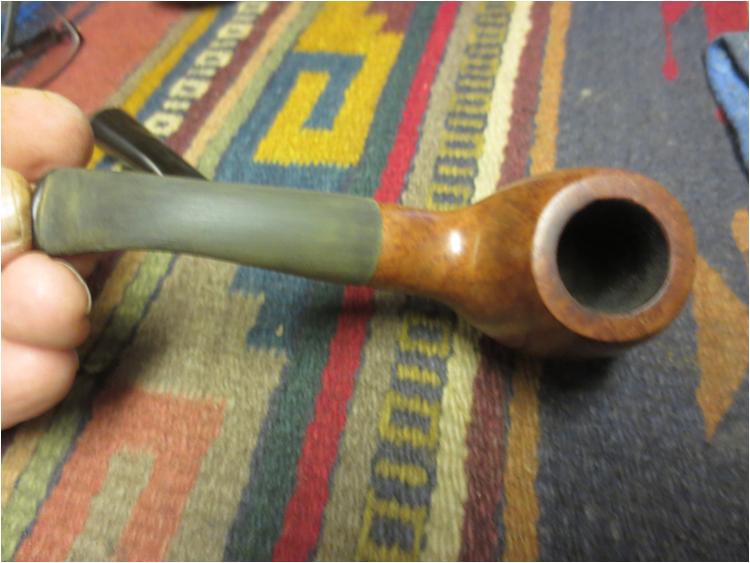
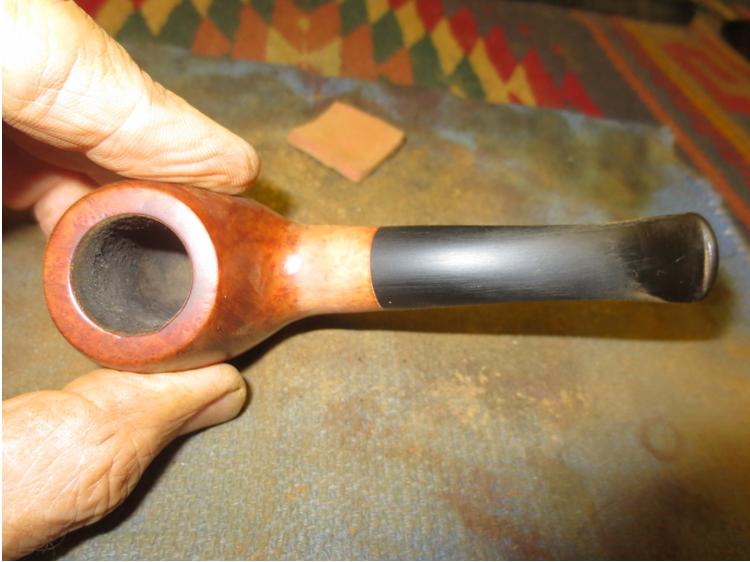
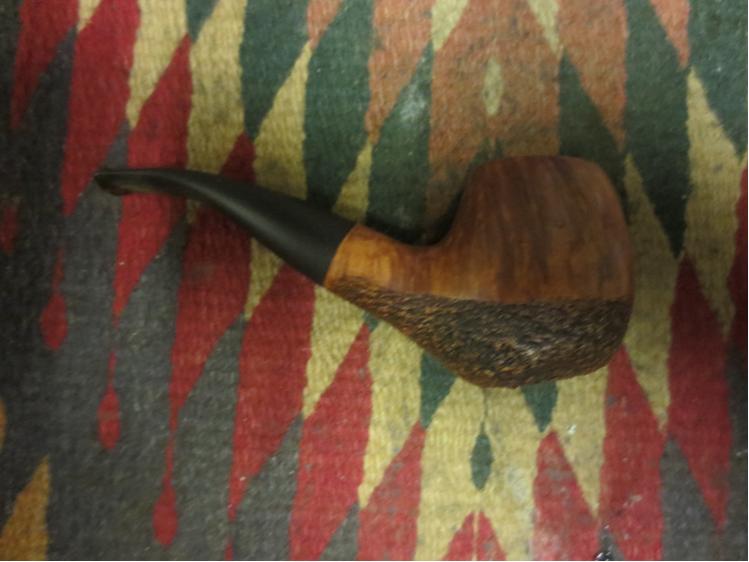
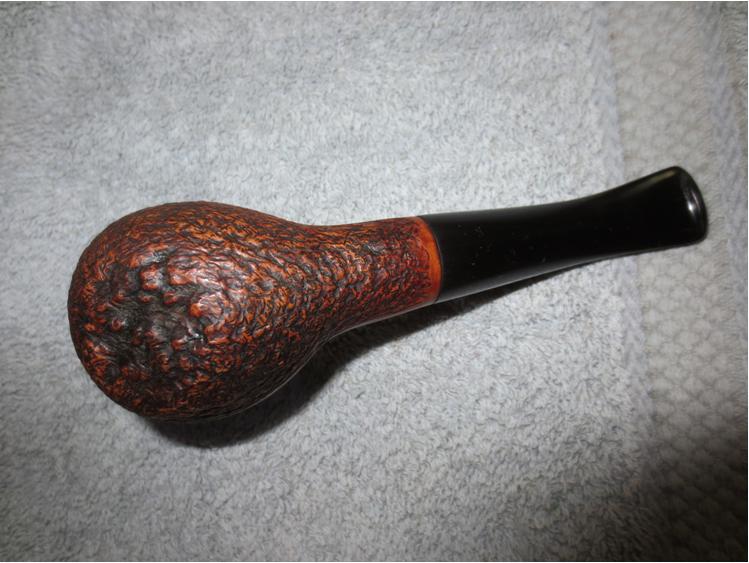
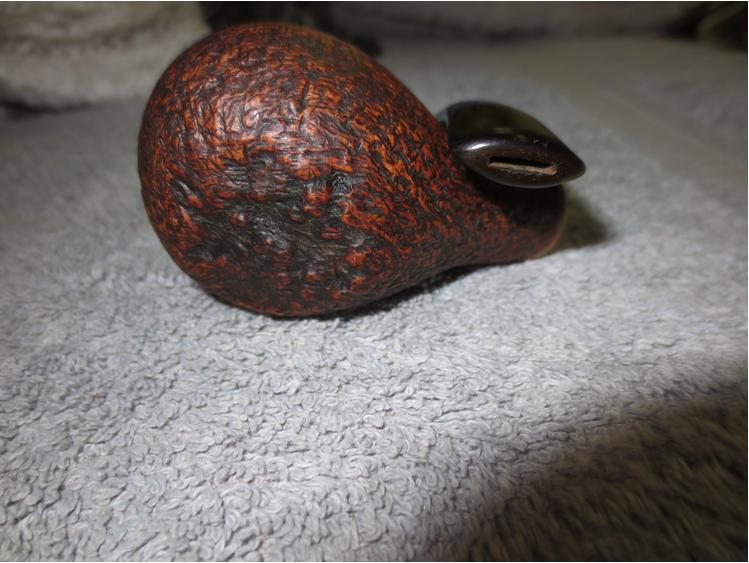
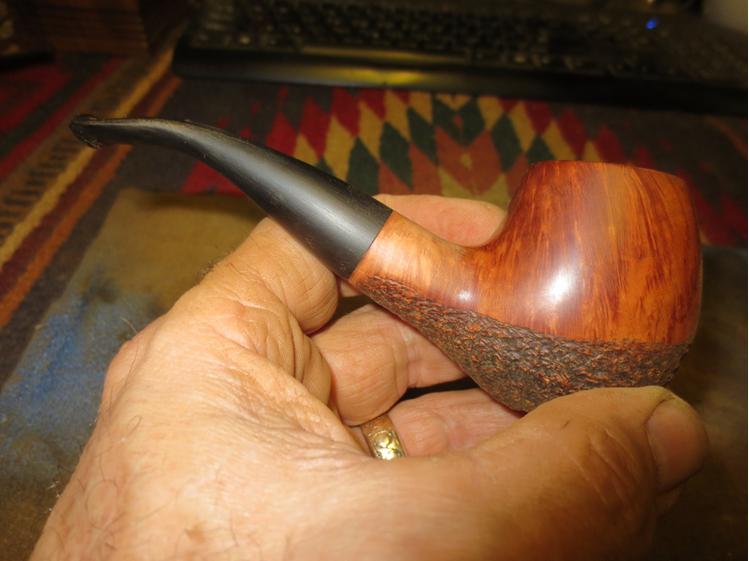 I used a light brown stain pen to match the stain on the bowl. I stained it and hand buffed it out to blend it in. Once the stain was buffed I set up my heat gun and heated the stem to adjust the bend slightly. In the original stem there was an abrupt down turn that did not work for me. I heated the stem and rebent it. Afterward I took the next series of photos to show the state of the pipe after the rebend.
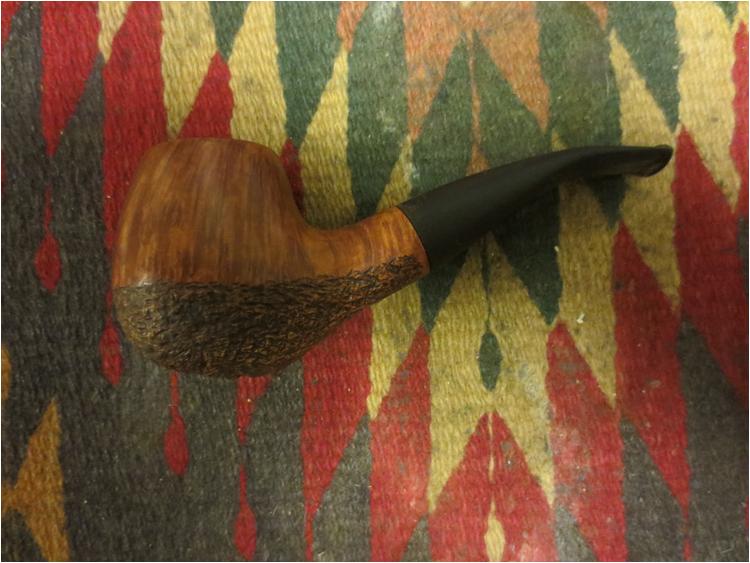

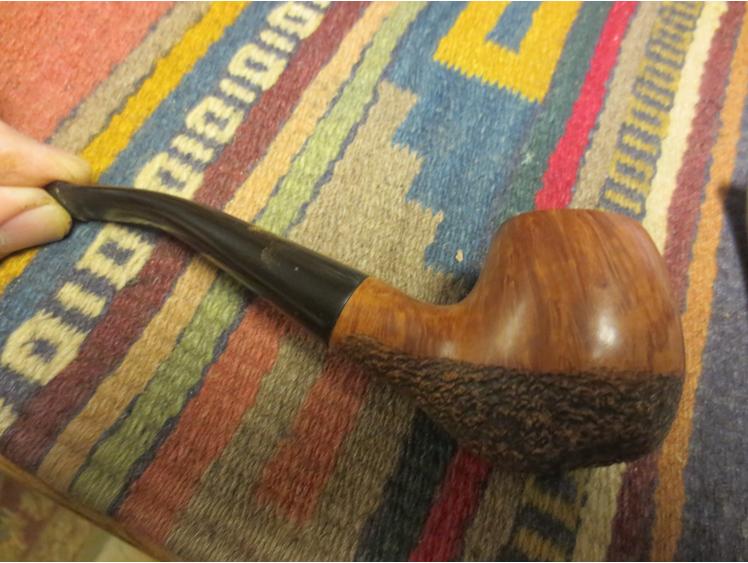
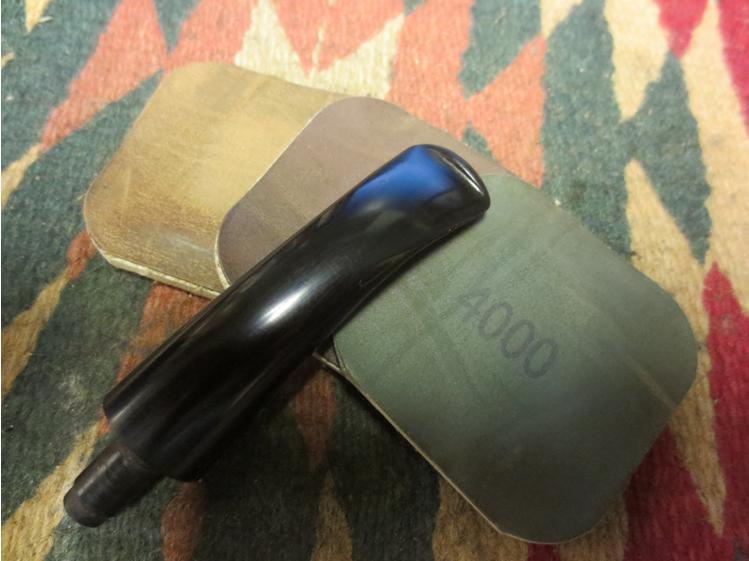
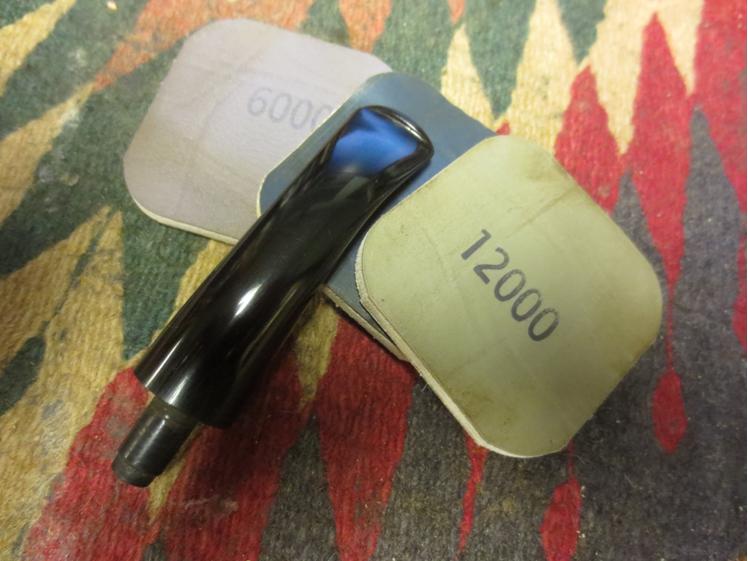
 With the stem bent the angle I wanted it was time to polish the stem. I sanded it with a fine grit sanding sponge and the used micromesh sanding pads to finish it. I wet sanded with 1500-2400 grit pads and then rubbed it down with Obsidian Oil. When the oil had been absorbed I dry sanded it with 3200-4000 grit pads. Each successive grit of pad raised more shine in the vulcanite. I rubbed it down again with oil and then continued dry sanding it with 6000-12,000 grit pads. When I finished I rubbed it down a final time with the oil and let it dry.
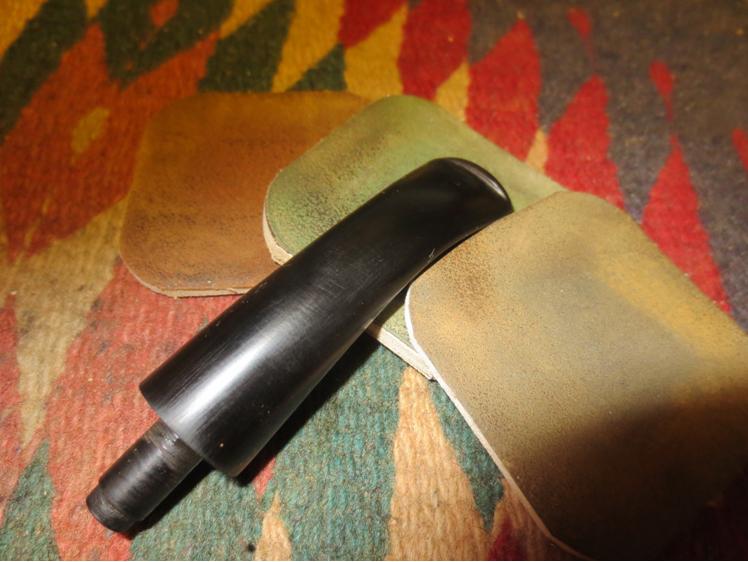
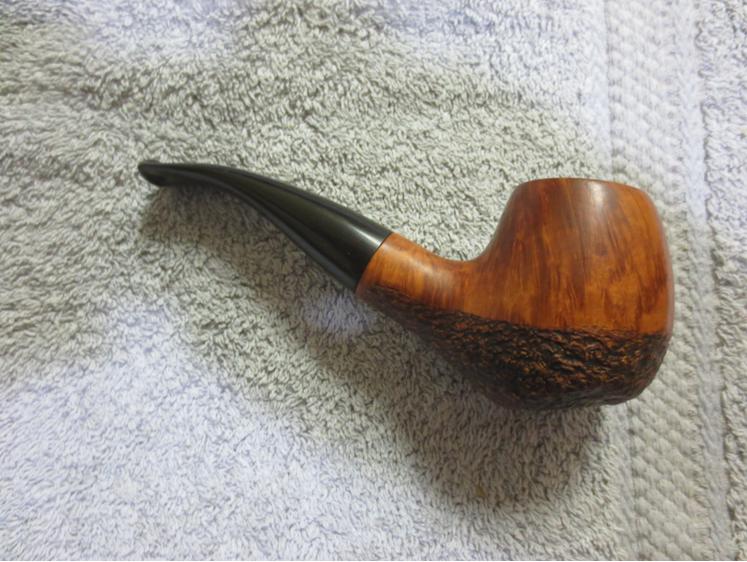
 When it dried I took it to the buffer and buffed it with Blue Diamond Plastic polish and then gave the pipe multiple coats of carnauba wax. I finished by buffing it with a clean flannel buff to give it a finished shine. This one is going as a birthday present to a friend of mine. I gave him a choice of pipes that I had made and he chose this one. It is a great smoking pipe and I think he will enjoy it.
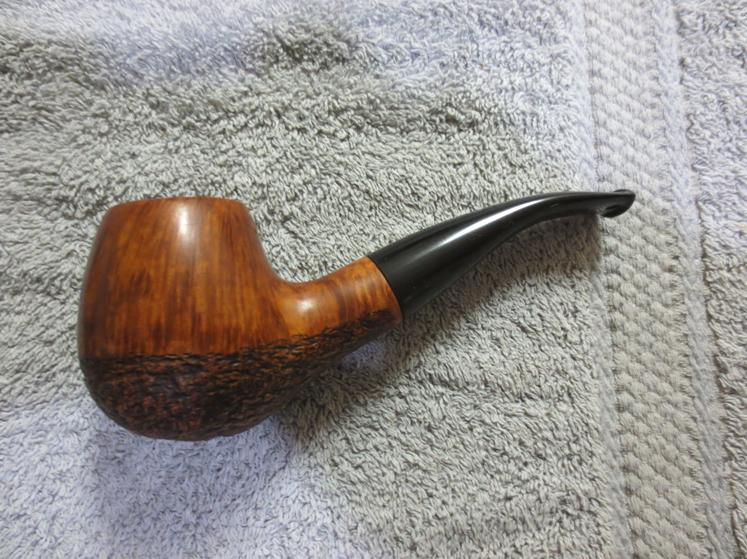
 It seems that the work never seems to be finished on the pipes I have carved. I always seem to see one more adjustment, one more tweak to get it just right. Ah well, at least I am done with this one. Thanks for looking.
