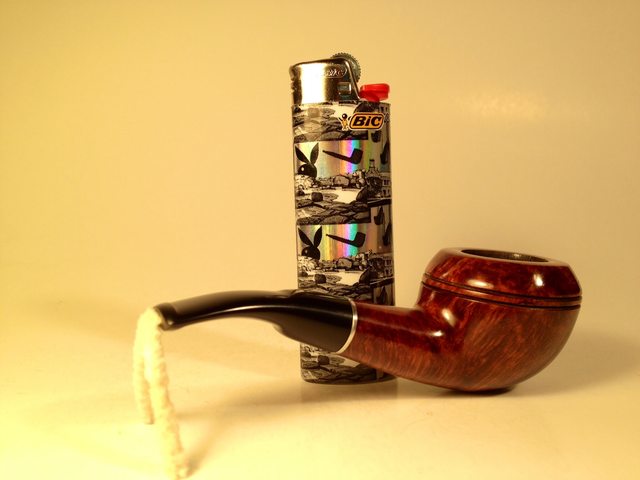
Blog by Steve Laug
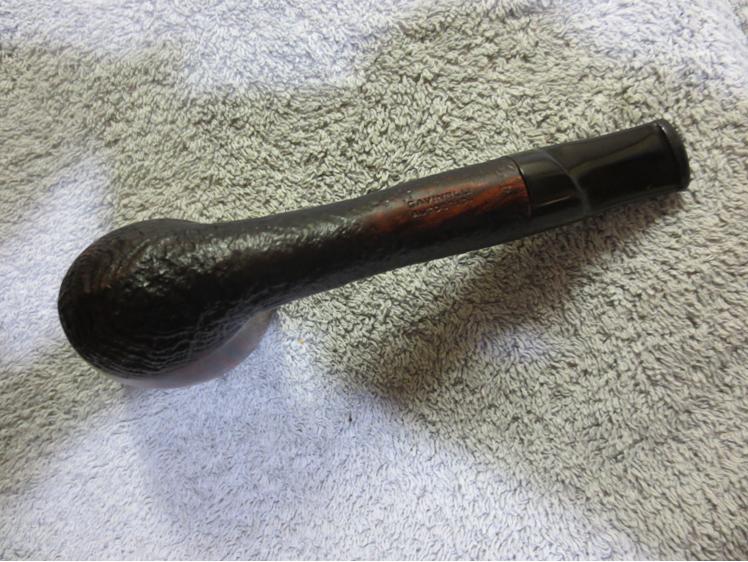
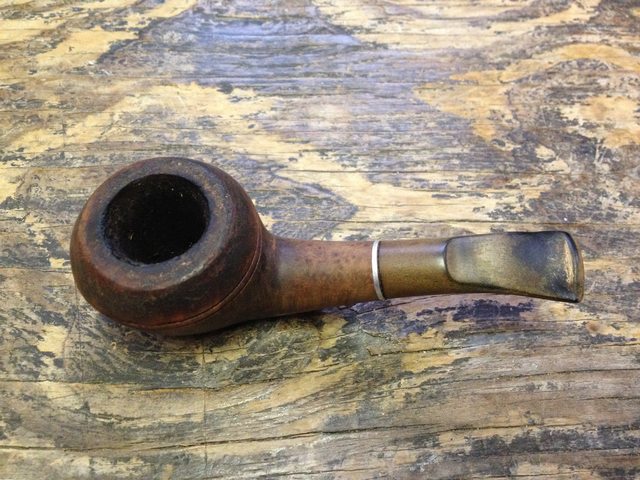
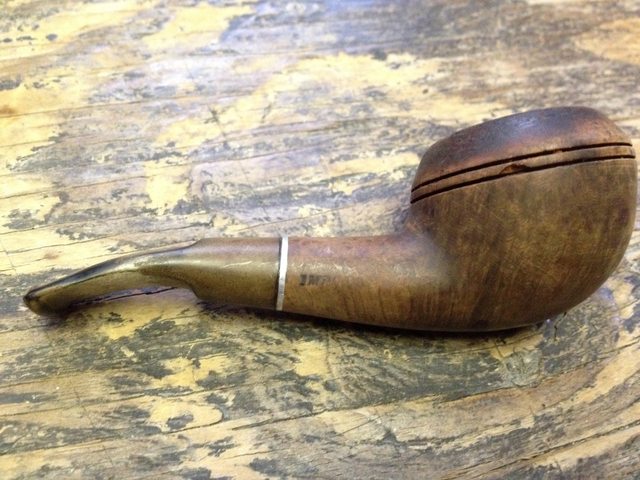
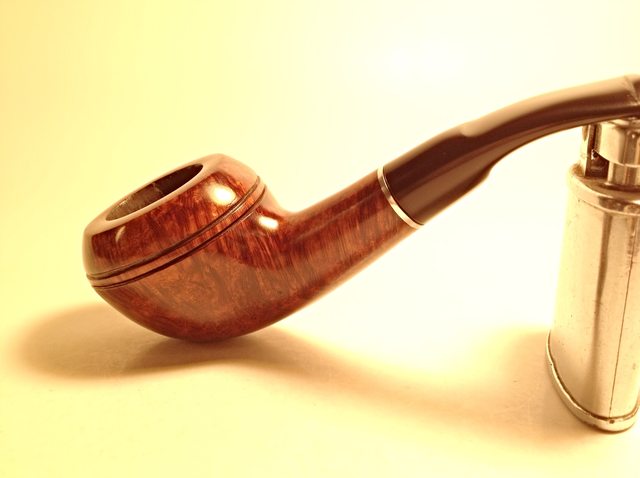
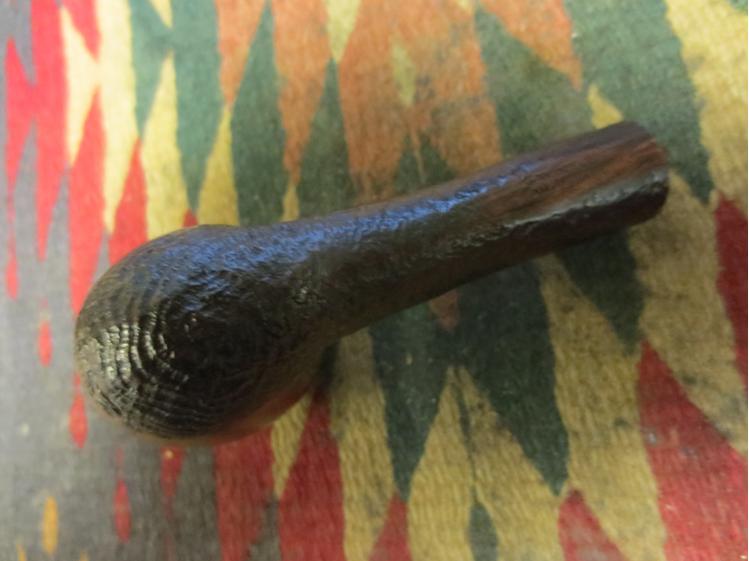
I decided to tackle another button rebuild. A friend brought over a cut off Savinelli Autograph long shank plateau Dublin that he had picked up. The shank was stamped Savinelli Autograph 4 on the underside and there was a signature stamp on the stem.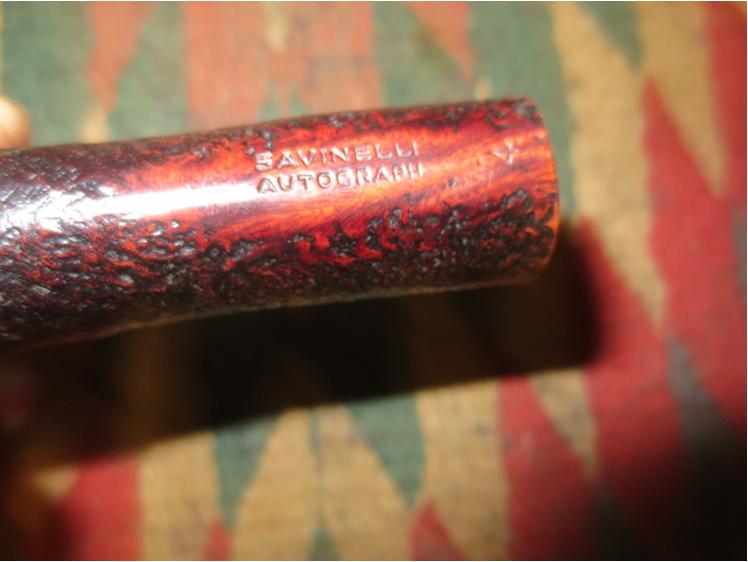 I have no idea how the stem got cut off but my guess would be that someone removed the damaged part of the stem and button and then saw how close to the surface the airway was and decided to abort the mission of cutting a new button on the stem. I have been working with developing my mixture of medium viscosity black cyanoacrylate glue and charcoal powder to rebuild/craft new buttons. I have used it on quite a few repairs of my own and on a few for friends. It definitely dries harder than the glue by itself and seems to be very strong once it has cured. I thought this pipe would be a good candidate for that process.
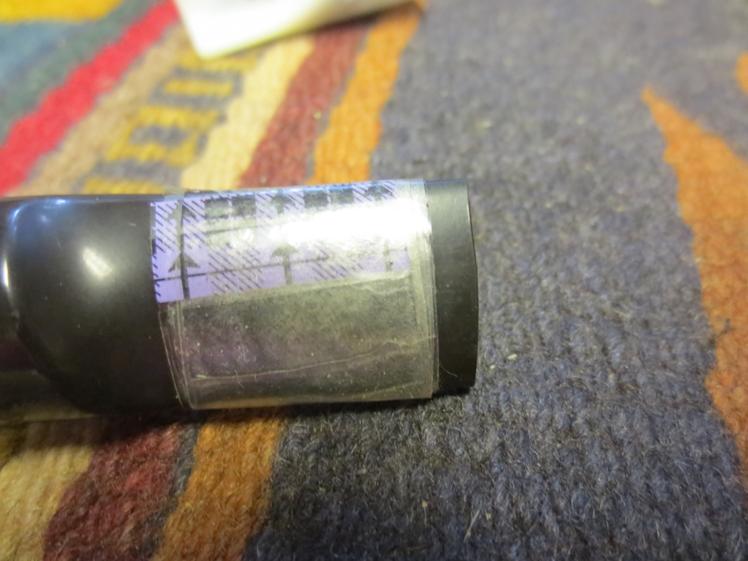
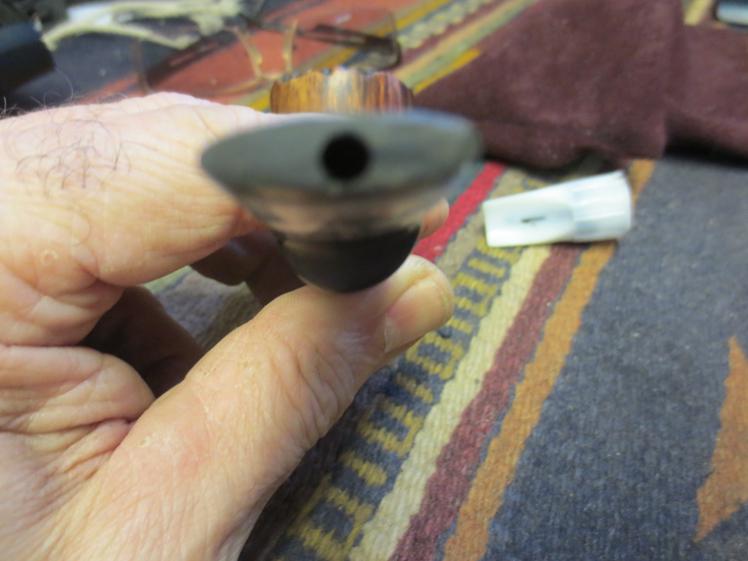 I wrapped the end of the stem with a band of cellophane tape to make a straight edge to work against for the glue and charcoal powder mixture. It works to keep a semi-straight edge but I find it is more of a guide than anything else. It gives me an edge to work with when I build up the layers of patch material.
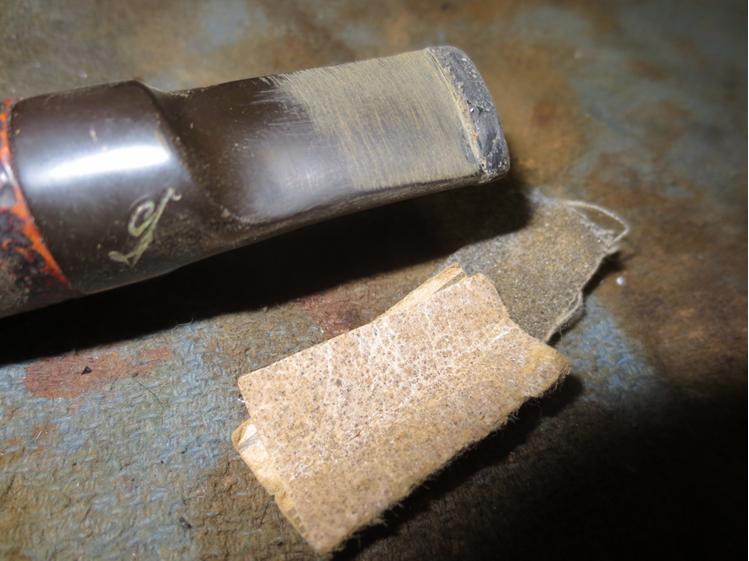
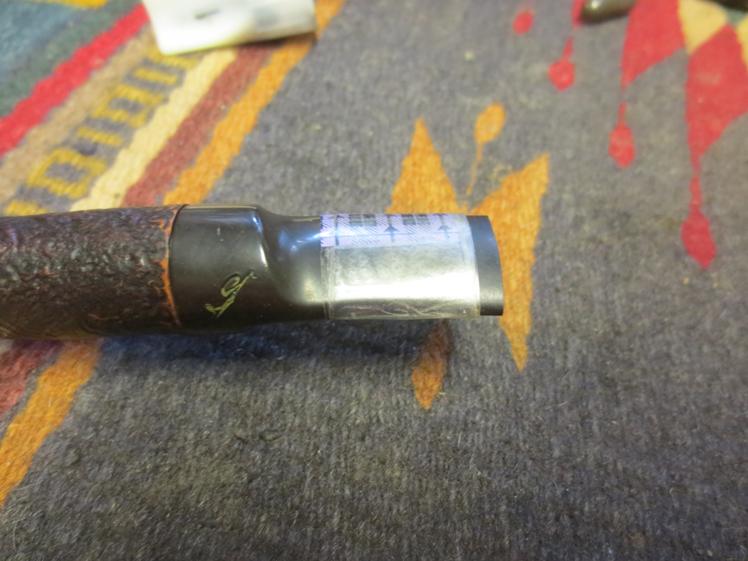
 I mixed a batch of glue and charcoal powder on a card that I use for that purpose. That way when I have finished the mix and repair I can fold the card and throw it away without getting the glue all over the place.
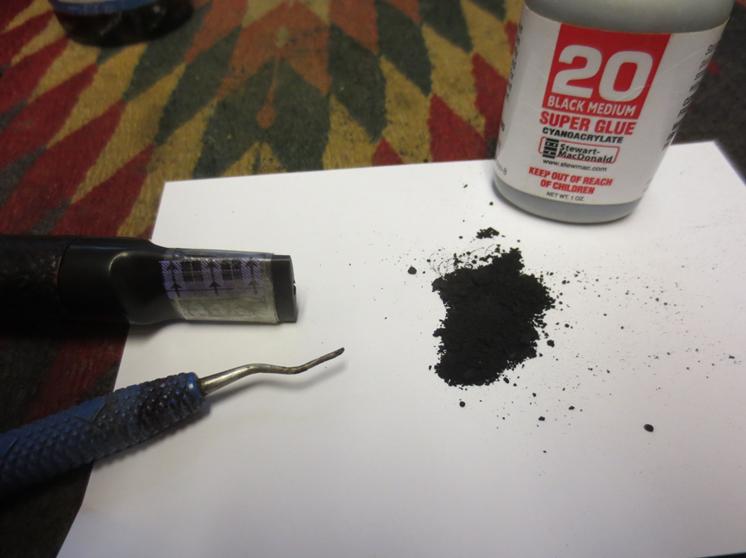 I stirred the powder and glue together with a dental pick until I had a thick paste mixture that was still workable.
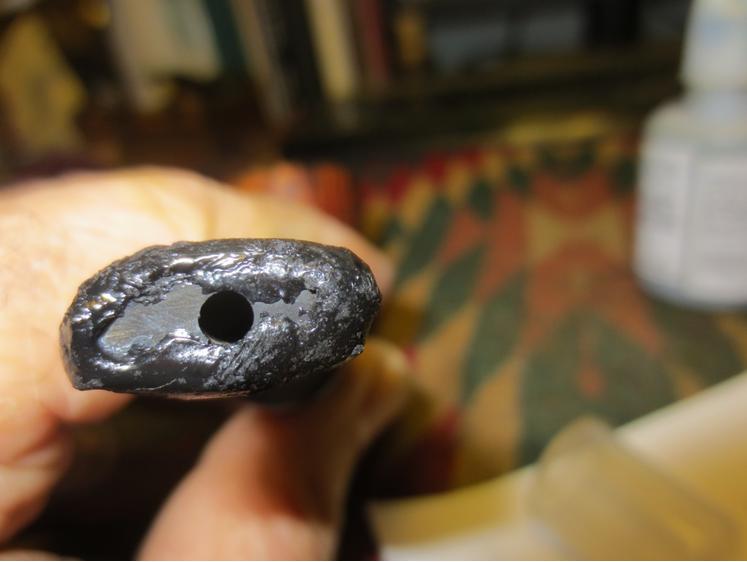
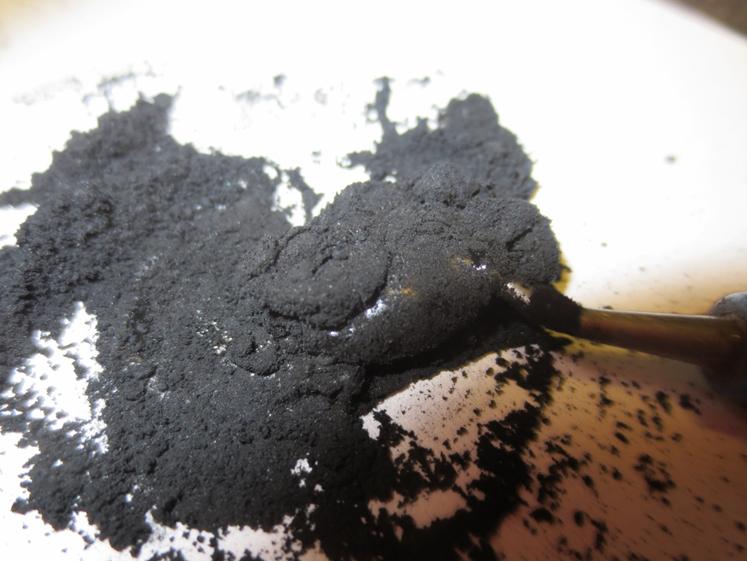 I applied it to the end of the cut off stem with the dental pick and shaped it roughly to match the kind of button shape I was aiming for when finished.
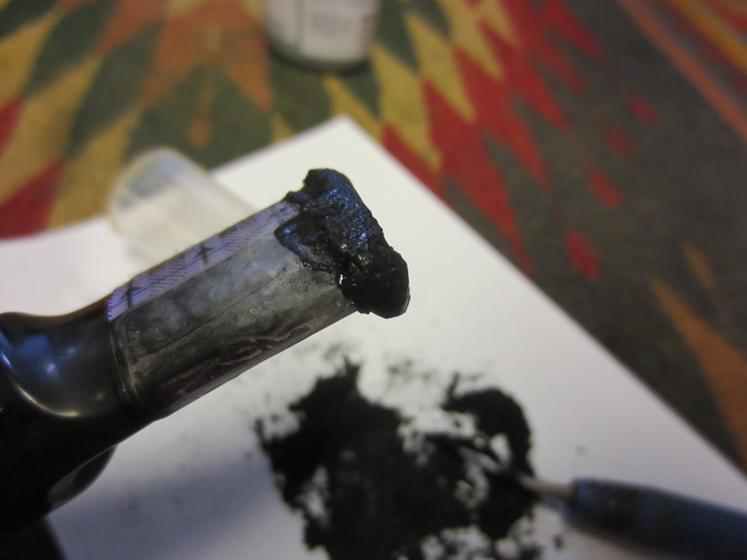
 I put the pipe on a cork and candle stick holder that I use for drying bowls when I stain them or stems when I have done this kind of repair and set it aside to cure for two days. This kind of patch is a long haul project. It is not a quick repair. If you start reshaping the button too soon the repair breaks off in chunks that are still soft underneath the surface. So, having learned that I left it alone and did other work while the days passed.
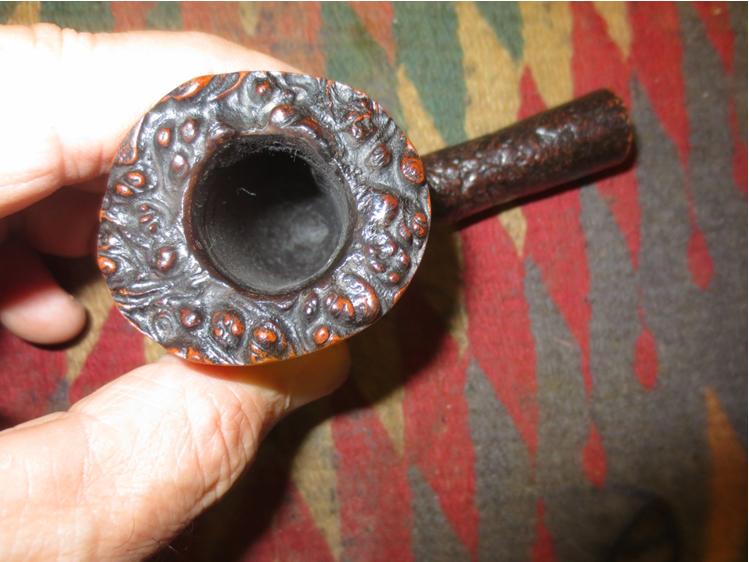
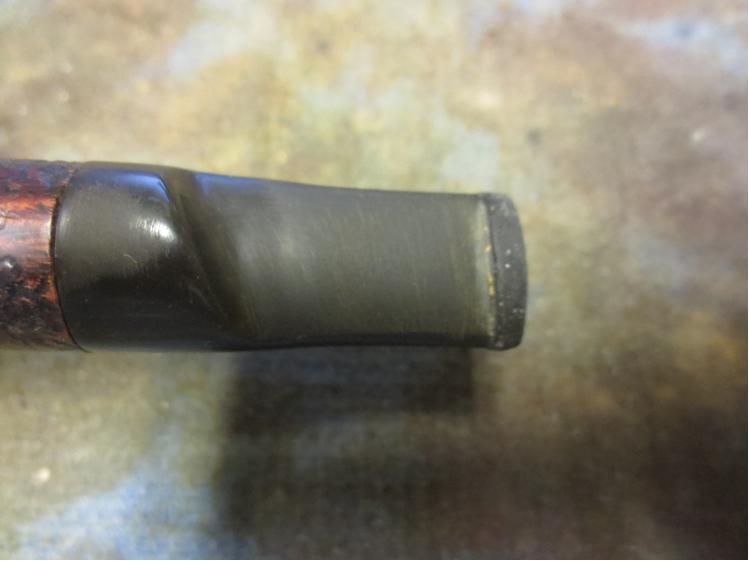
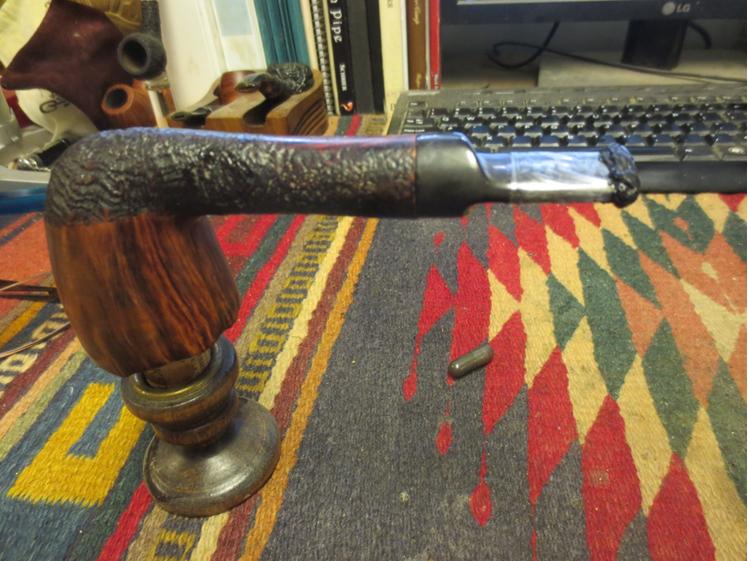 After two days of curing the repair was solid all the way through. I would still need to be careful as the longer it cured the harder it would become. I used emery cloth and 180 grit sandpaper to shape the button into an oval and to face the end of the button. You can see in the photo below how much more material there was to work with now in terms of shaping the airway and the slot in the button thanks to the build-up of material.
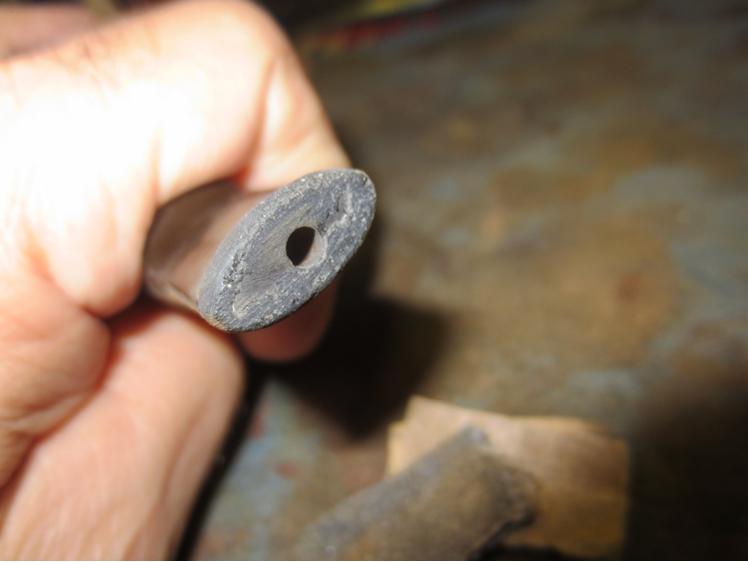
 I worked over the edge of the button with the sand paper as well to clean up the sharp edge next to the blade of the stem. I moved on to sand with 220 grit sandpaper and also with a medium and a fine grit sanding sponge to further define the new button and to clean up the scratches.
 After the initial shaping and sanding I put the stem to the side to cure longer and addressed the bowl and shank. I reamed the bowl with a PipNet reamer and took the cake back to a very thin layer.
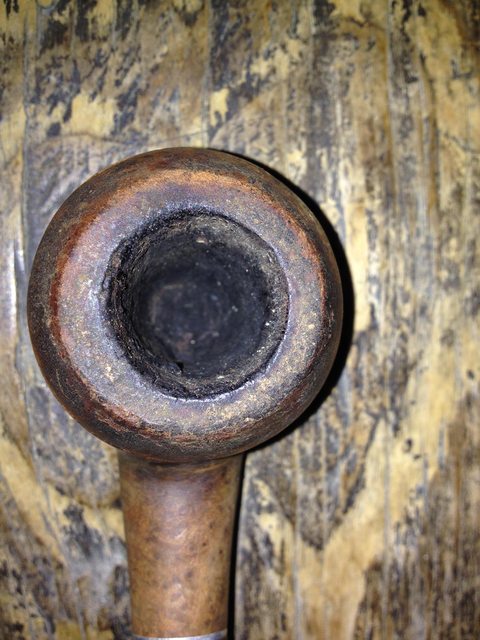
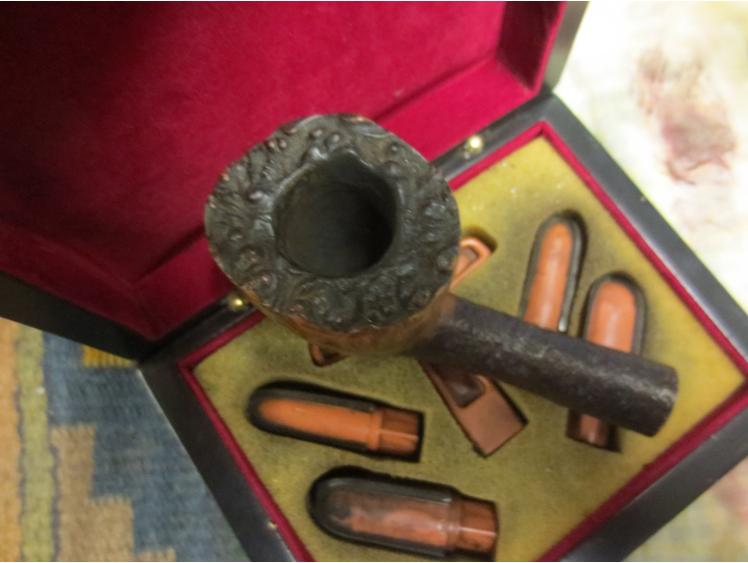
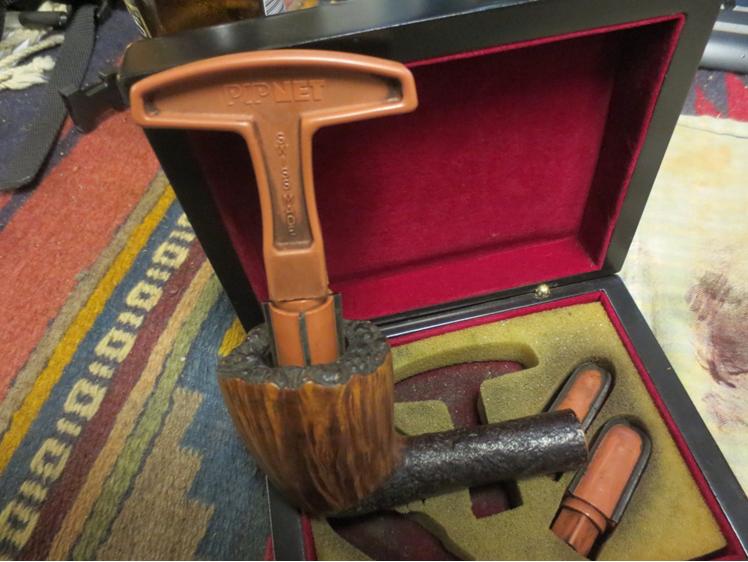
 I cleaned the interior of the airway and mortise with pipe cleaners, cotton swabs and isopropyl alcohol until they were clean.
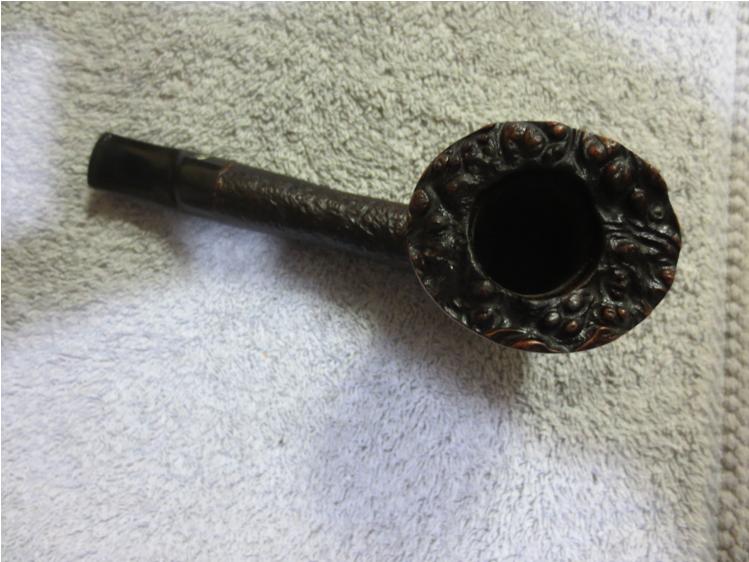
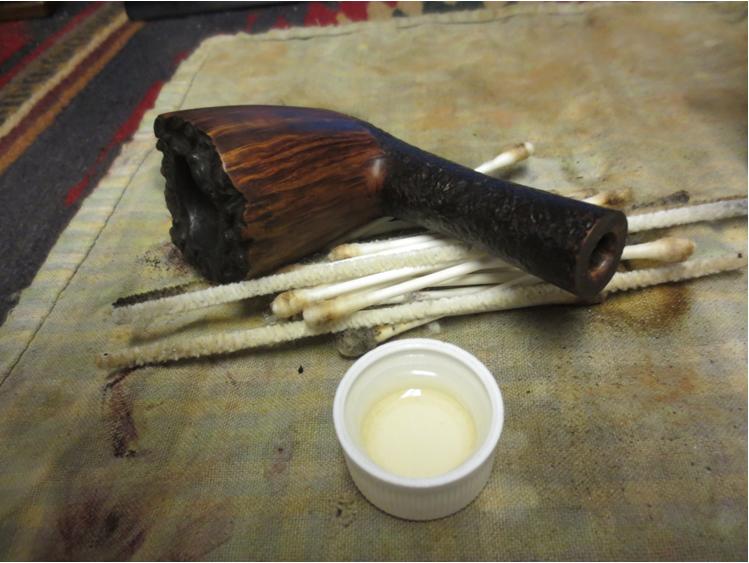 I scrubbed the bowl and the plateau rim with a tooth brush and Murphy’s Oil Soap to clean off the grime and dirt in the plateau and the sandblast shank.
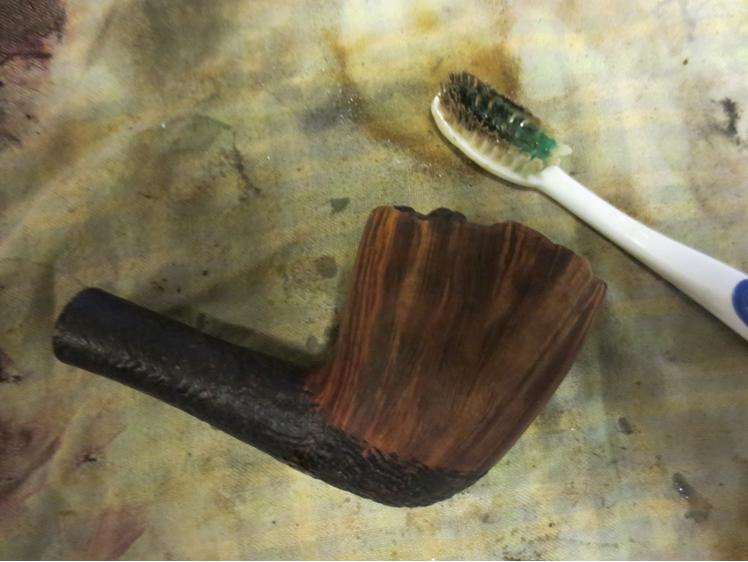
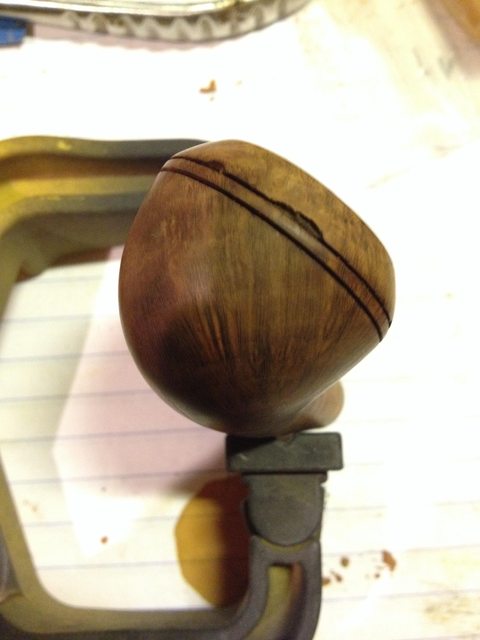
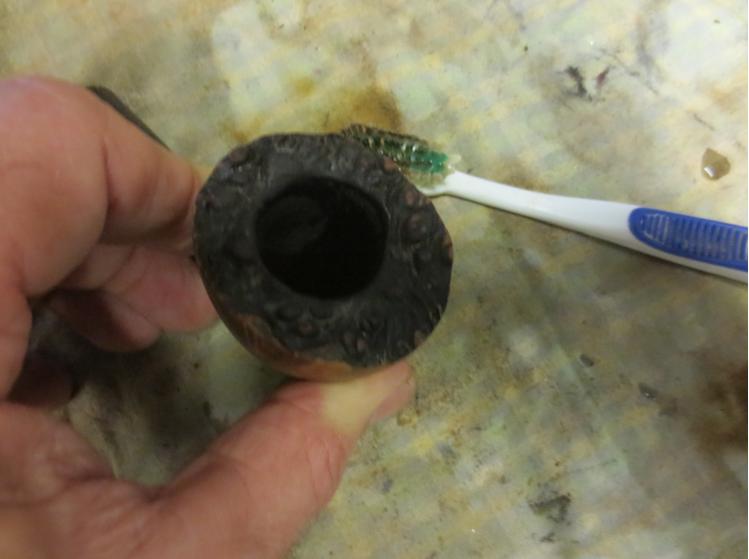 I scrubbed the plateau with a brass tire brush to dig out the built up tars and oils that had clogged the crevices in the finish there.
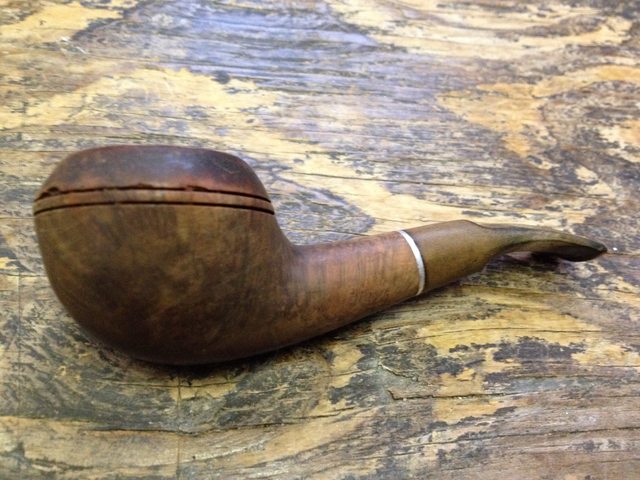
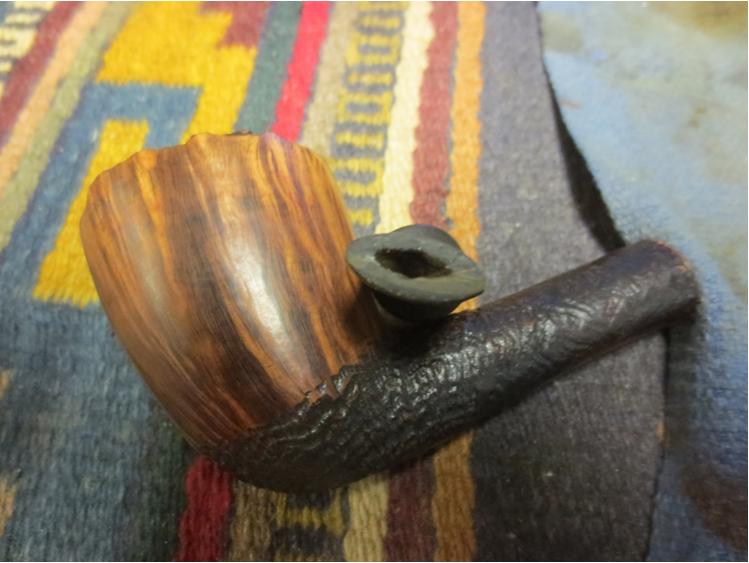
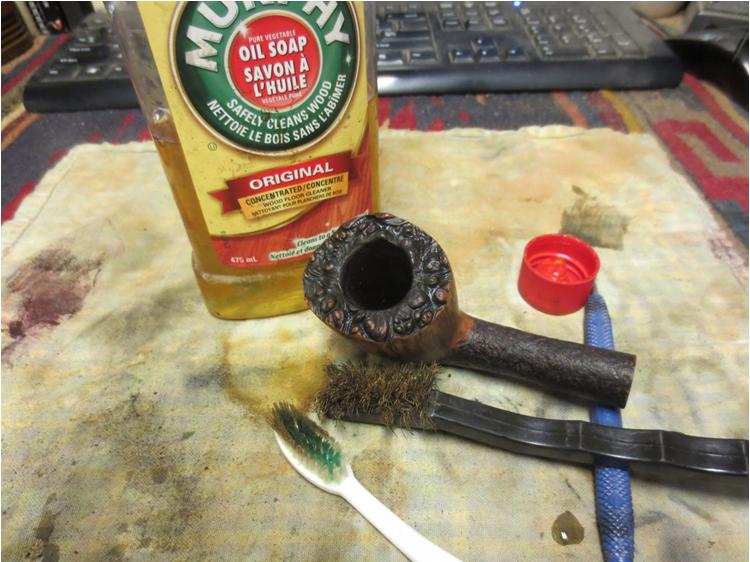 I put my thumb in the bowl and carefully rinsed off the soap with cool running water. I dried the bowl with a cotton rag and took the next series of photos to show what the bowl looked like clean.
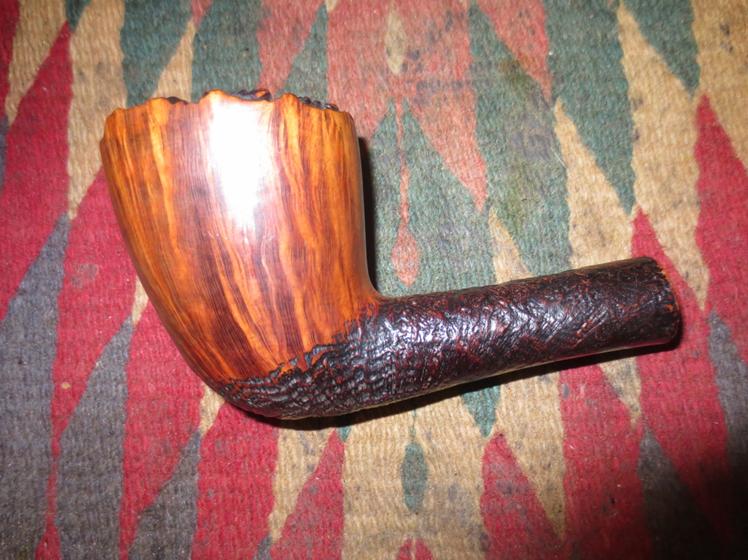

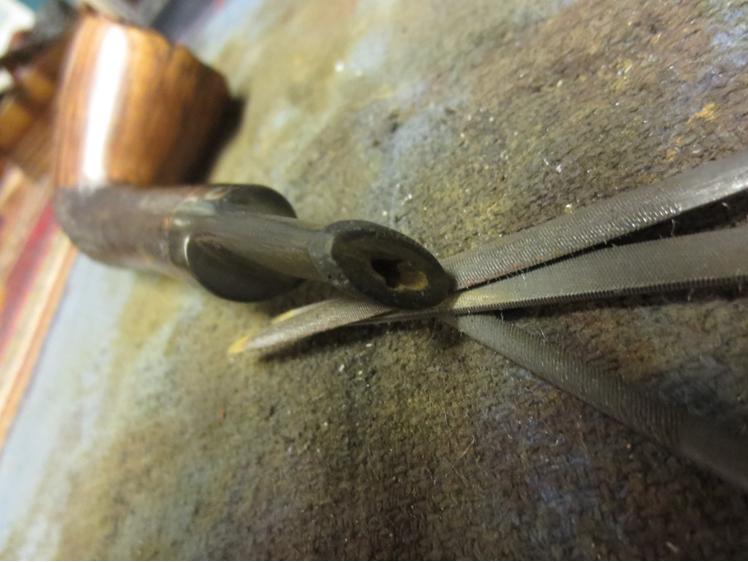
 The next day I decided to work on the slot in the button and open it up with a flare to create a Y shape. I used needle files to work on the airway. The next series of photos show the files and the progress of opening the airway.
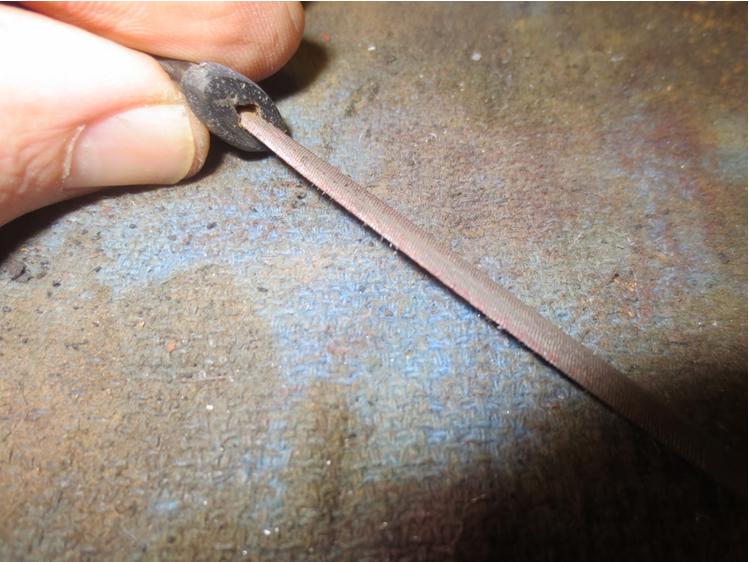
 With the airway/slot roughed in it was time to continue shaping the button and the face of the slot. I sanded it with 220 grit sandpaper to refined the shape and to smooth out the end of the stem.
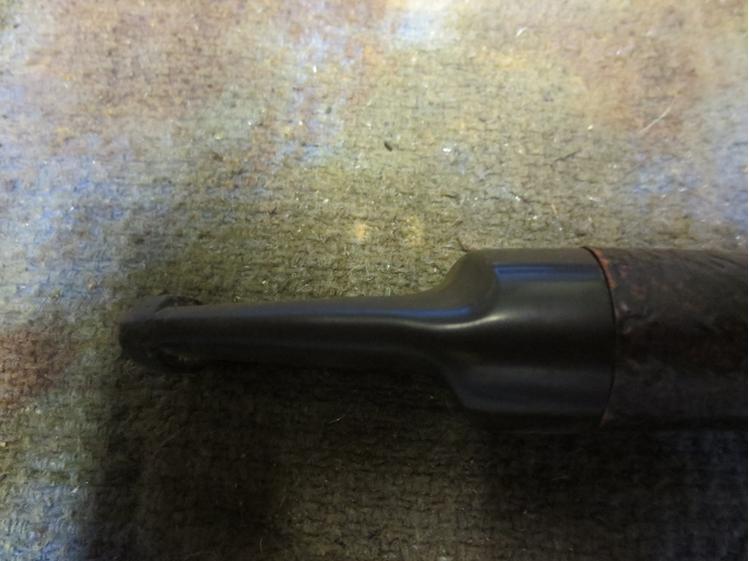
 I used a folded piece of sandpaper to smooth out the interior of the slot and further shape it. The photo below shows the state of the slot and the shape of the button.
 With the shaping completed it was time to work on fine sanding of the stem and new button. The charcoal bits in the mixture are hard and coarse and need to be refined with fine sanding. I worked over the stem and button with micromesh sanding pads, wet sanding with 1500-2400 grit pads to remove the majority of the coarseness. It is only this first step in the process of polishing the stem but it is amazing to see the transformation as I work through the various grits of micromesh. I rubbed the stem down with Obsidian Oil when I had finished with the 2400 grit pad. I will still need to refine the inner edge of the button with files but the overall shape of the stem and button are clearly visible.
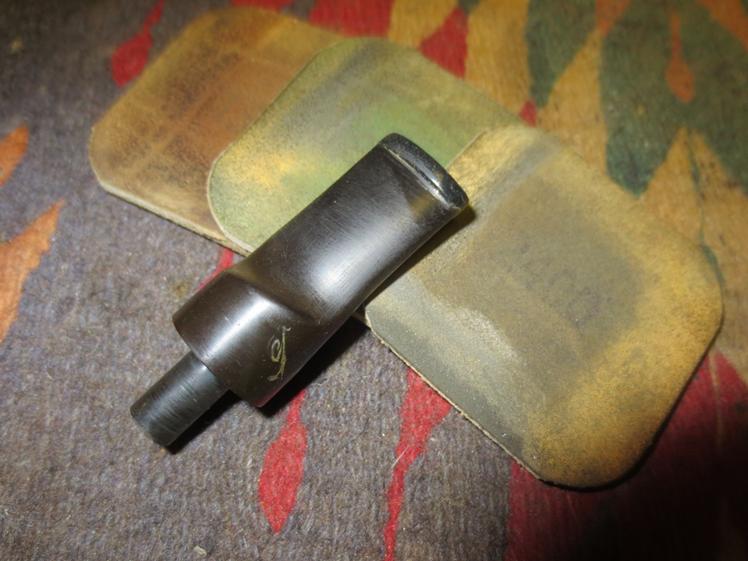
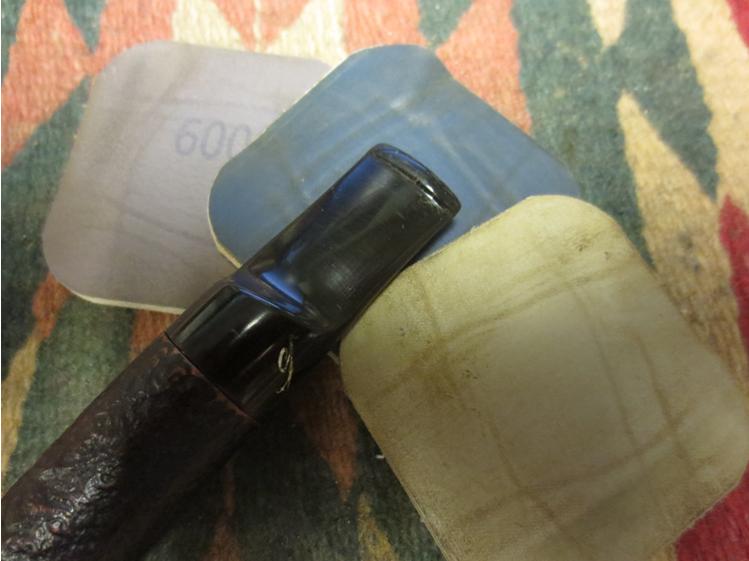
 I wet sanded the stem with the 2400 grit micromesh until I had minimized the scratches and polished the button. I then rubbed it down with another coat of Obsidian Oil and then sanded it with 3200-4000 grit micromesh pads. I gave it another coat of oil and then sanded it with 6000-12,000 grit pads. I gave it a final coat of oil and let it dry.
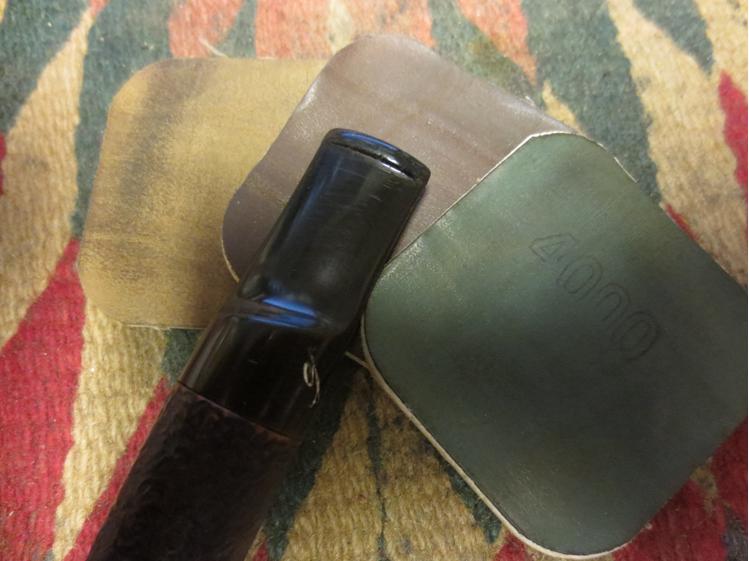
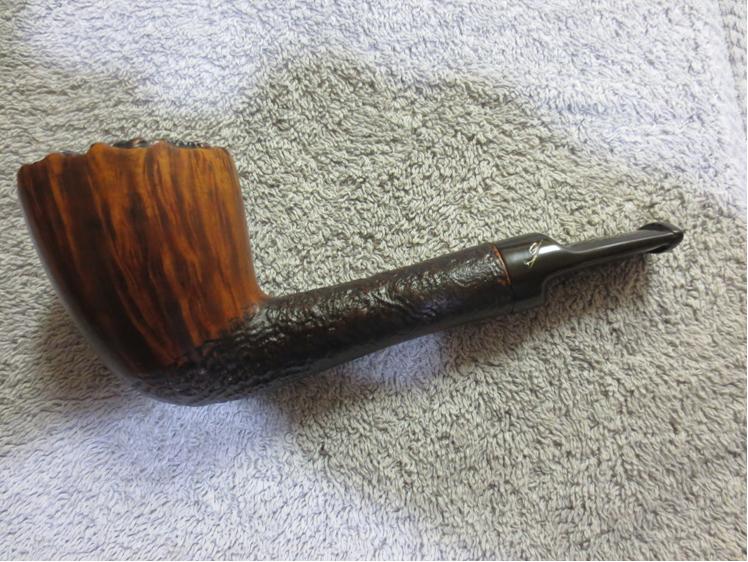
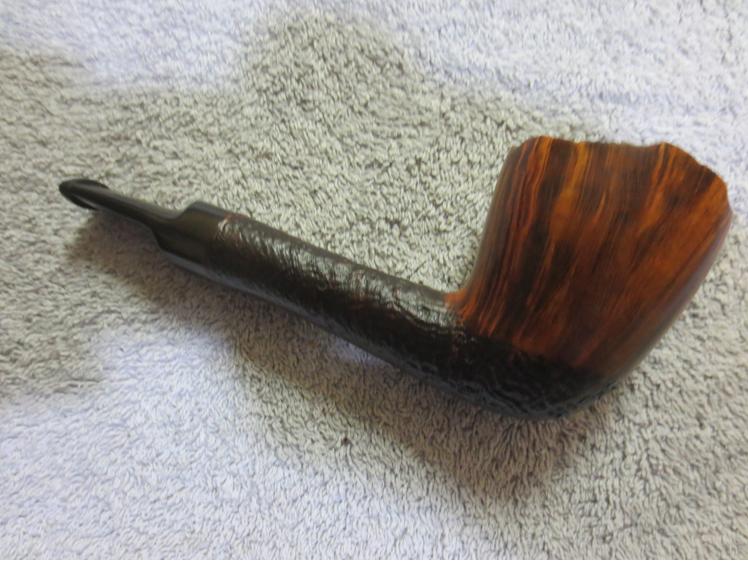
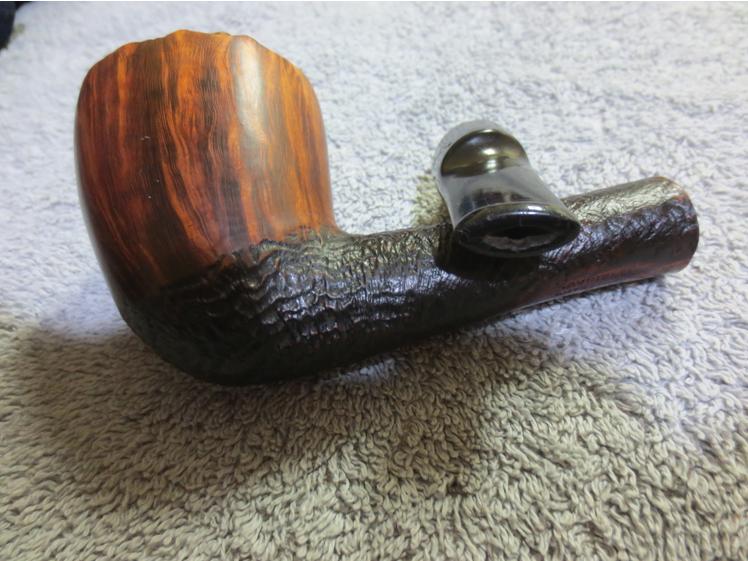
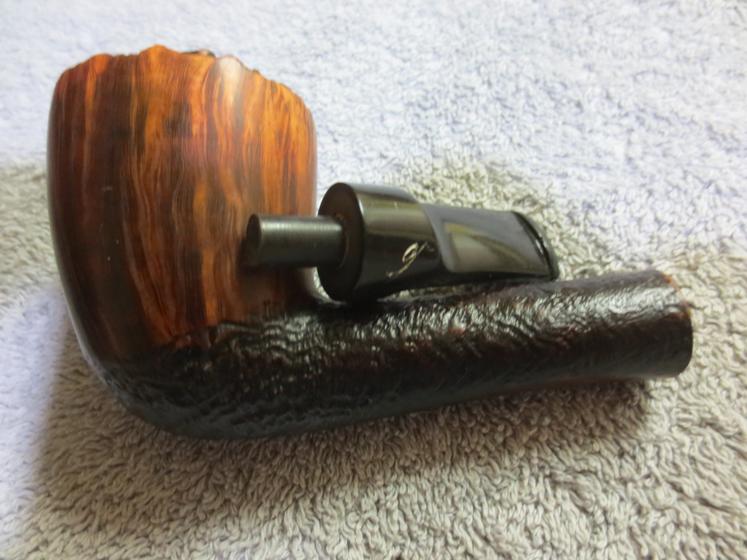
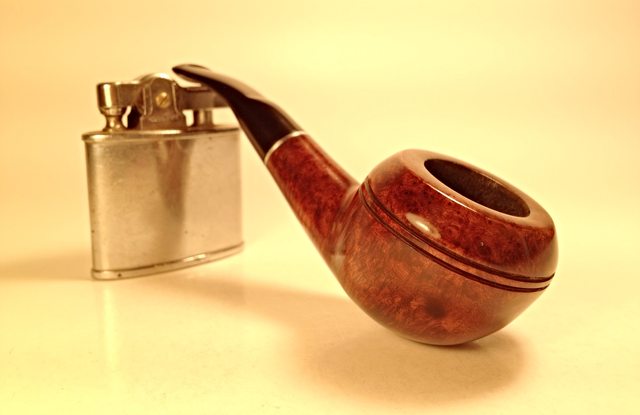
 I buffed the stem and the bowl with Blue Diamond and then lightly buffed the blast with the same. I gave it multiple coats of carnauba wax and buffed it with a clean flannel buffing pad to raise the shine. The finished pipe is shown below. The new button looks like it belongs. The shape of the slot is open and it accepts a pipe cleaner with ease. It should provide years of service to the pipeman who is holding it in trust. He should enjoy smoking it with much more ease. Thanks for having a look!